Caratteristica: Itinerario ad anello

  • Sentiero Attrezzato Bozzetti al Monte Zeledria

    Sentiero Attrezzato Bozzetti al Monte Zeledria

    Vie Ferrate › Trentino-Alto Adige › Trento
    Sentiero Attrezzato Bozzetti al Monte Zeledria

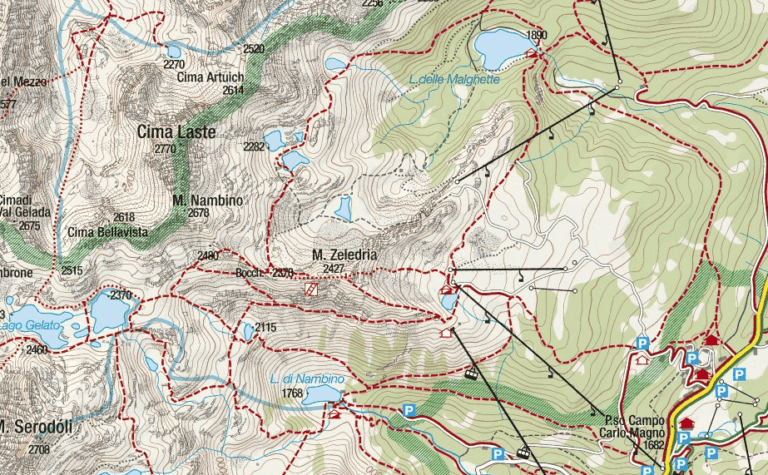
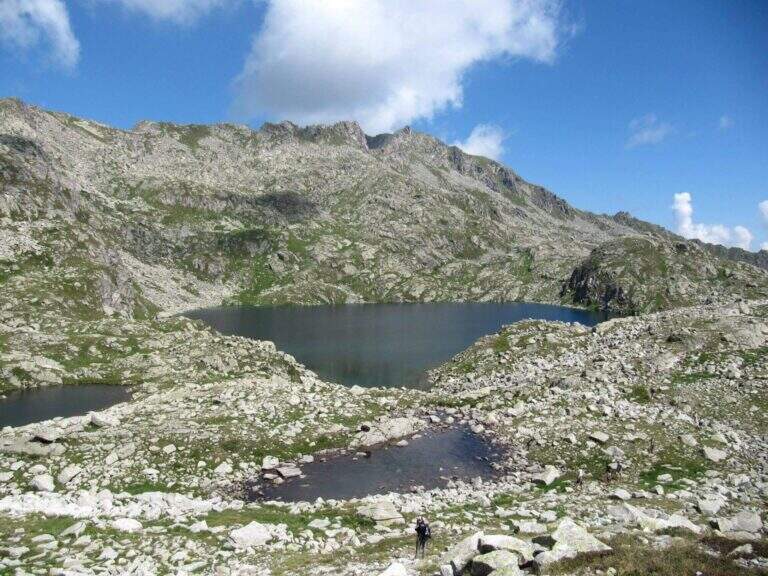
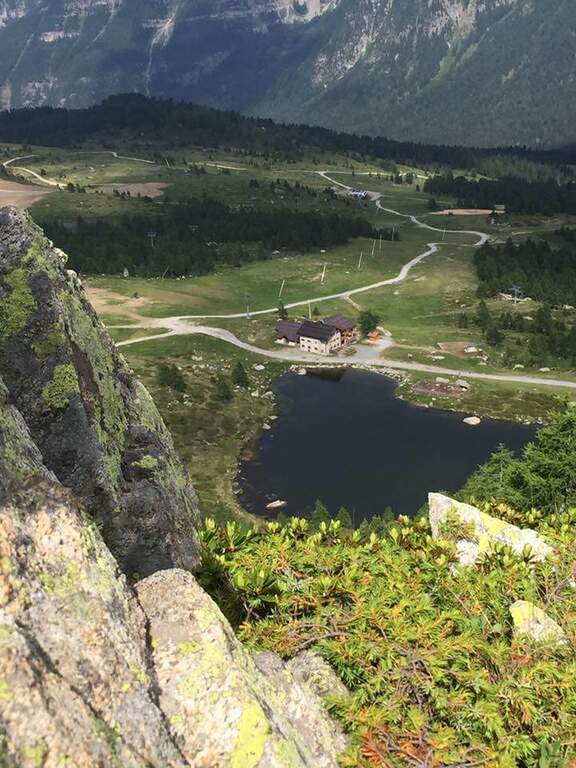
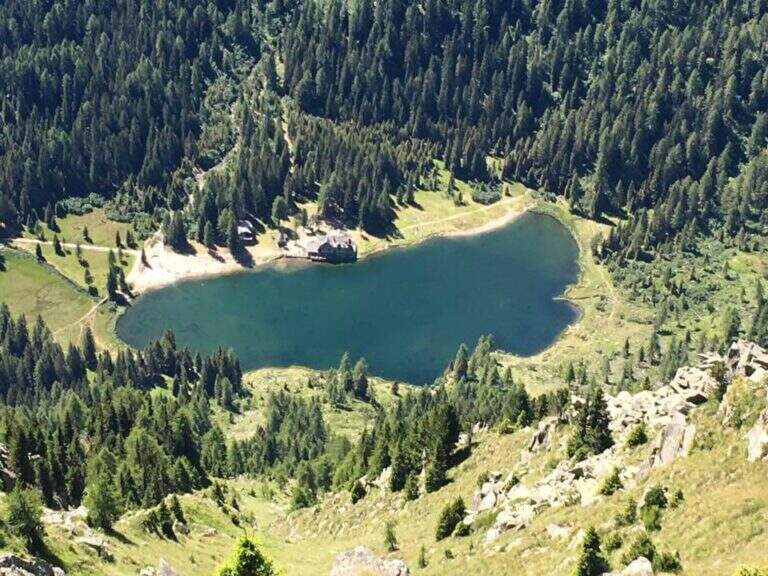
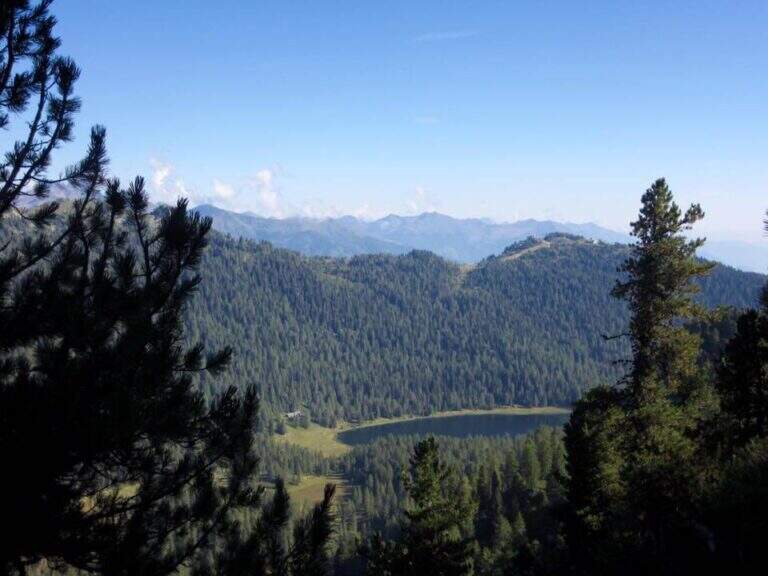
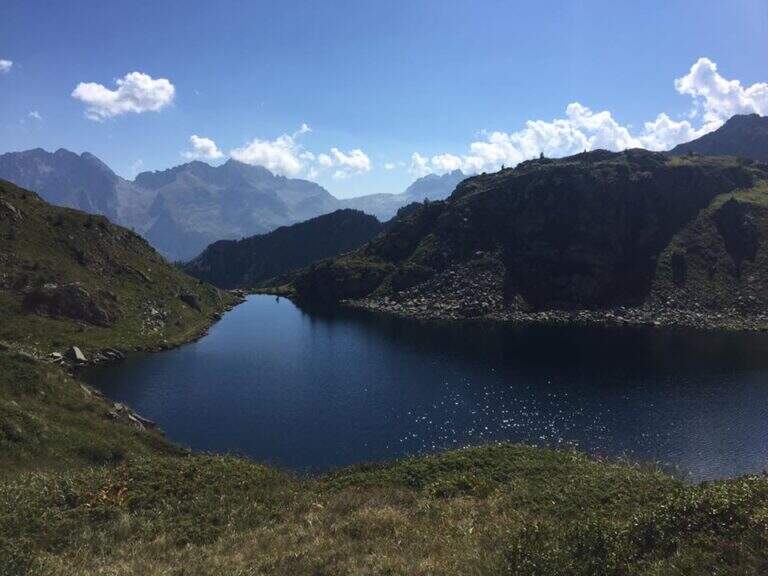
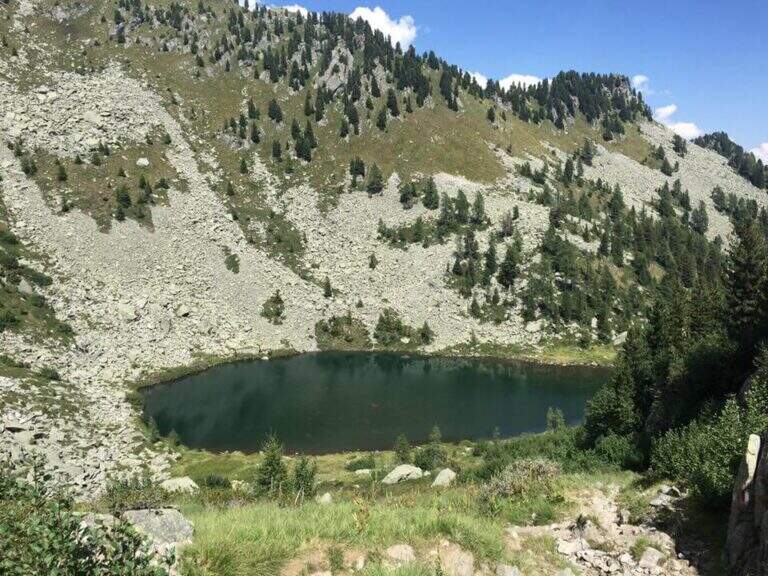
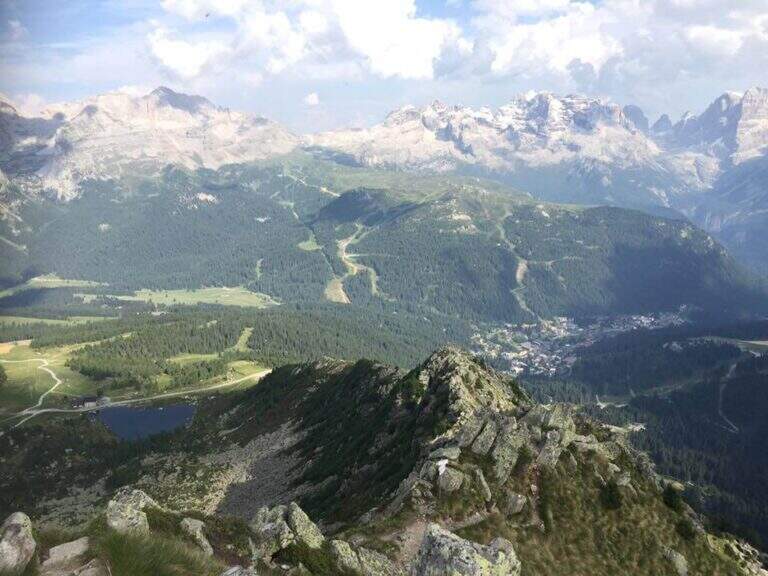
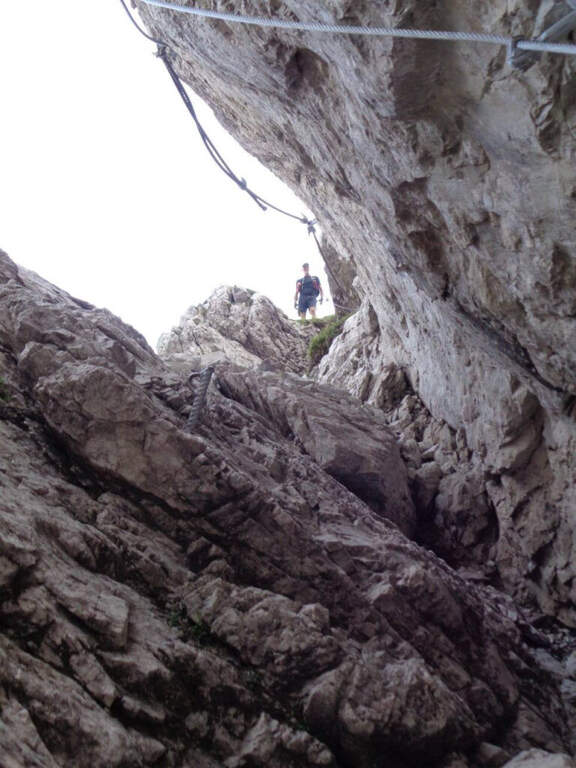
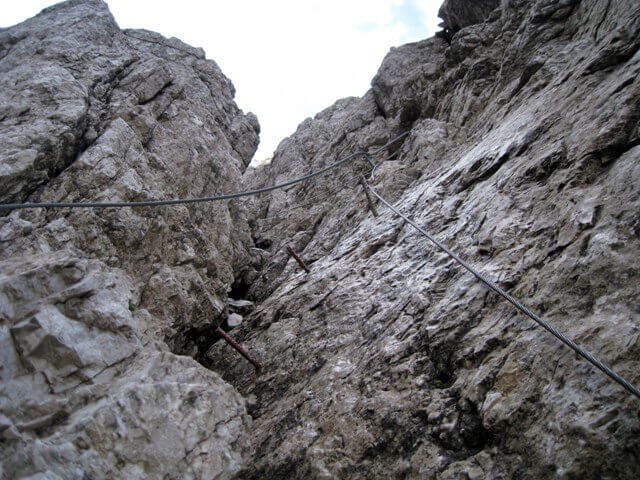
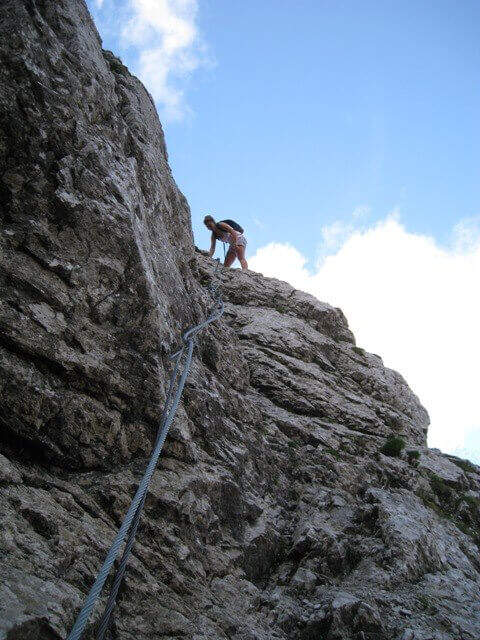
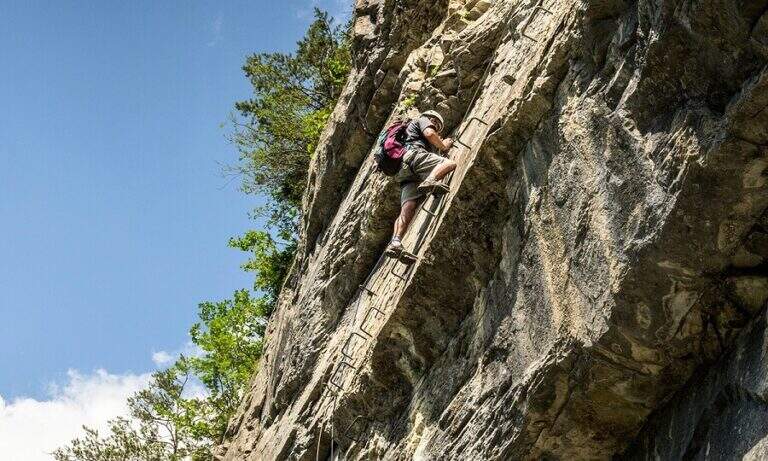
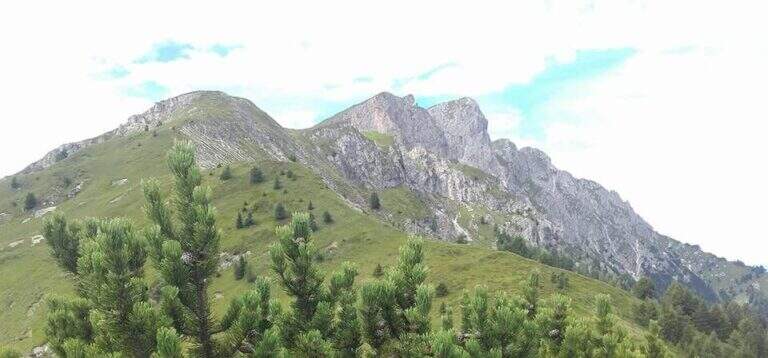
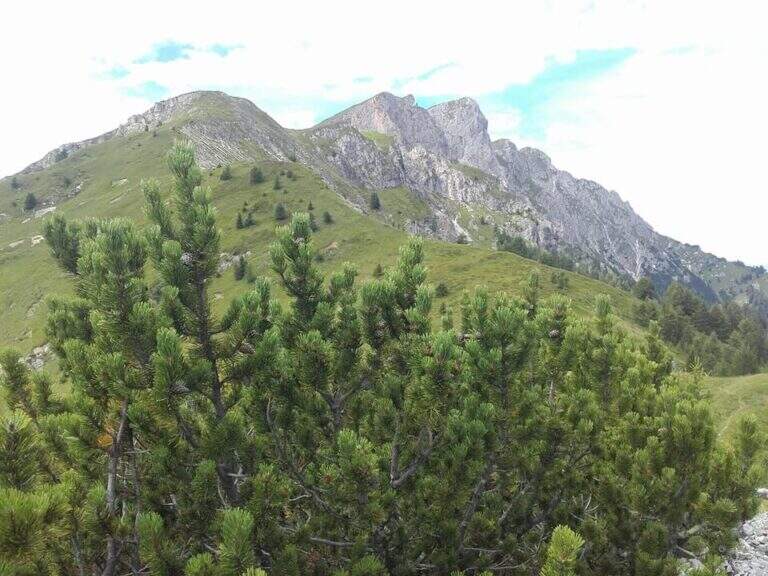
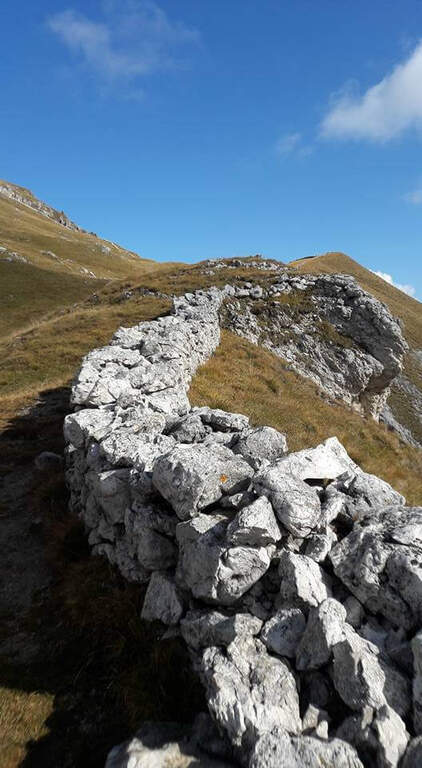
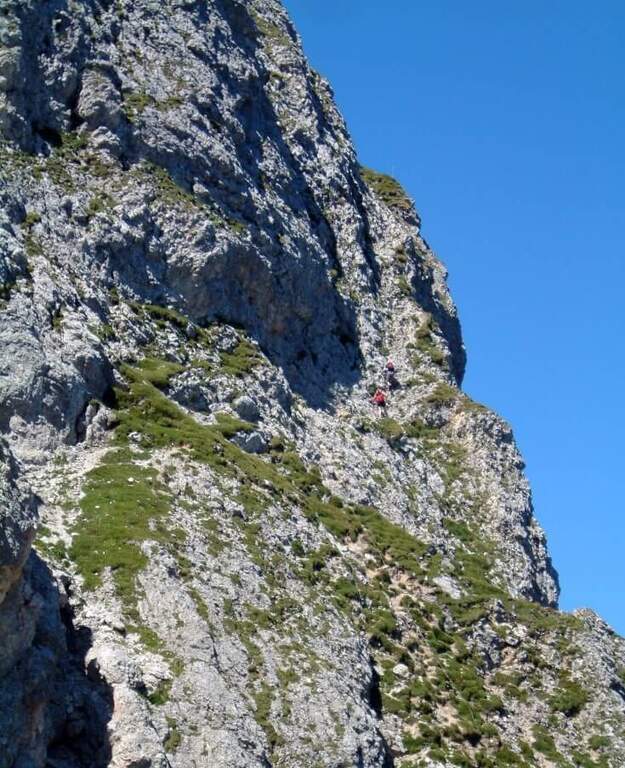
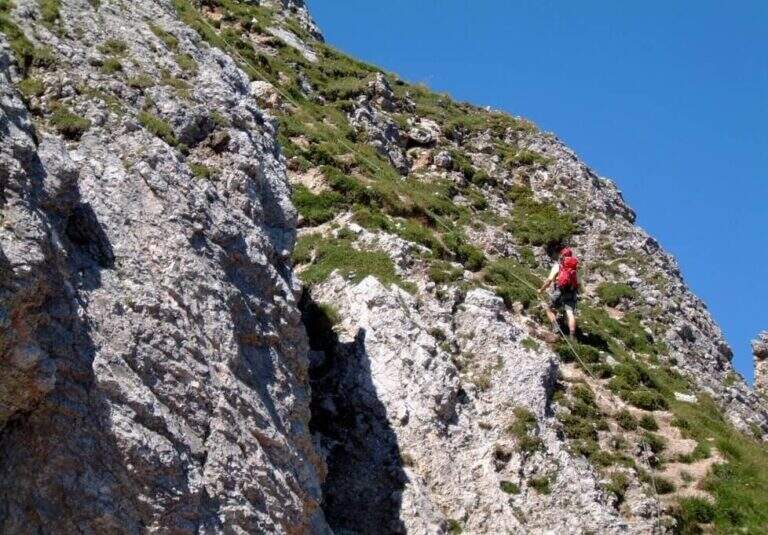
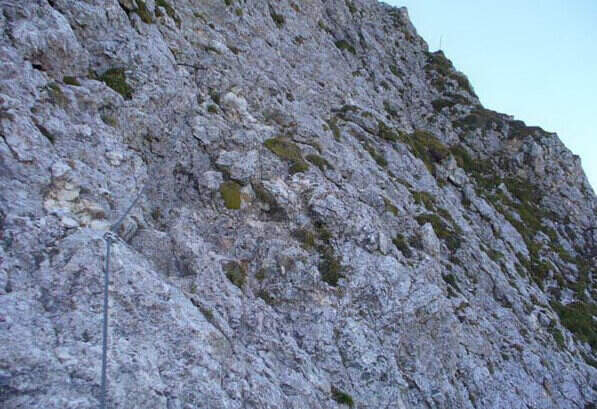
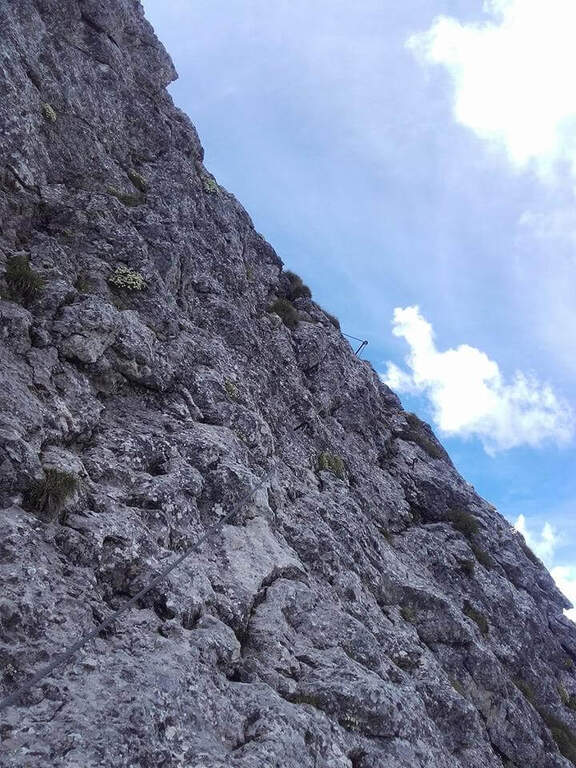
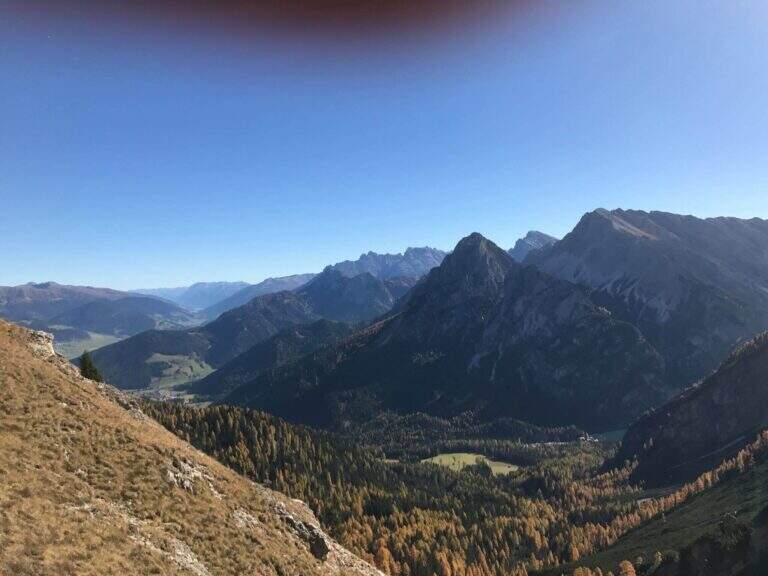
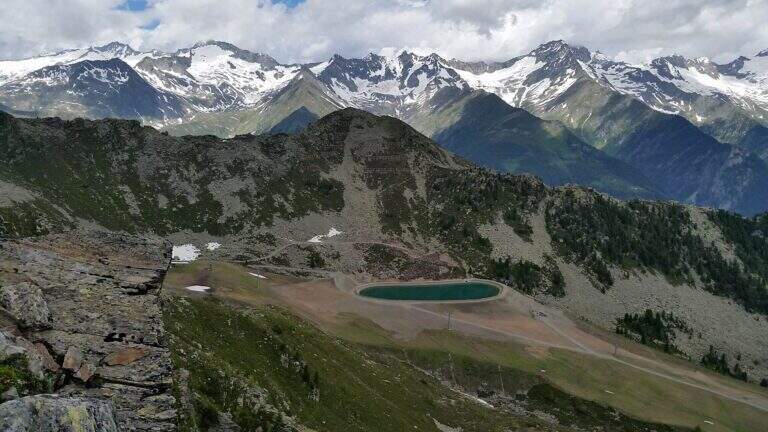
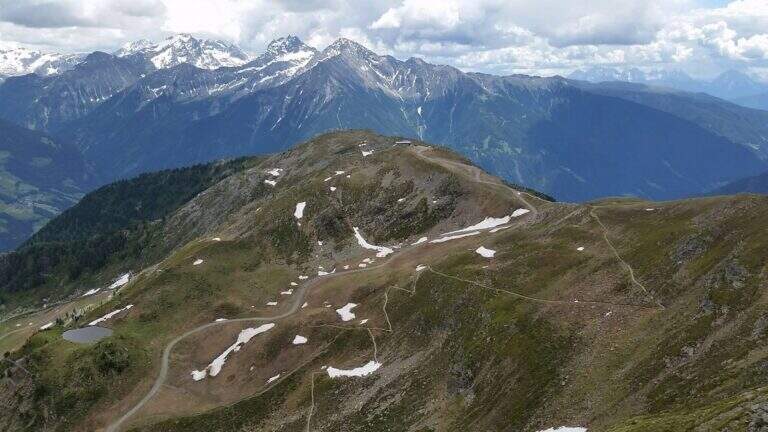
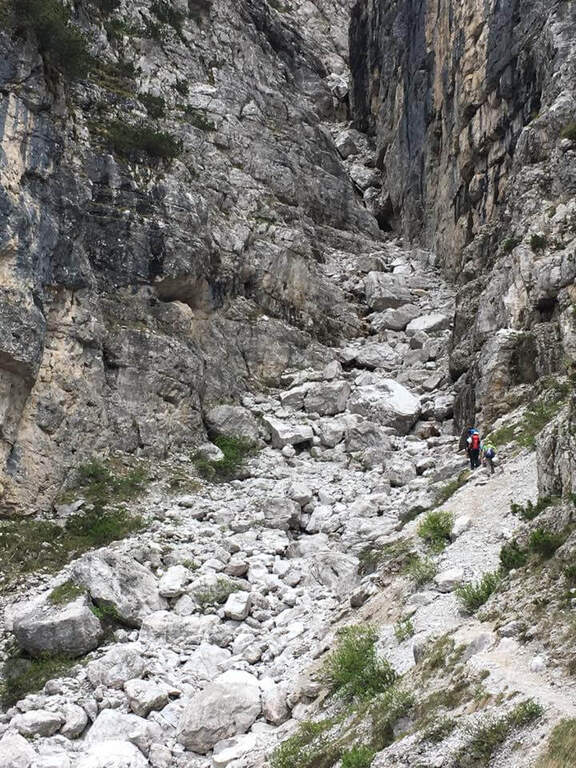
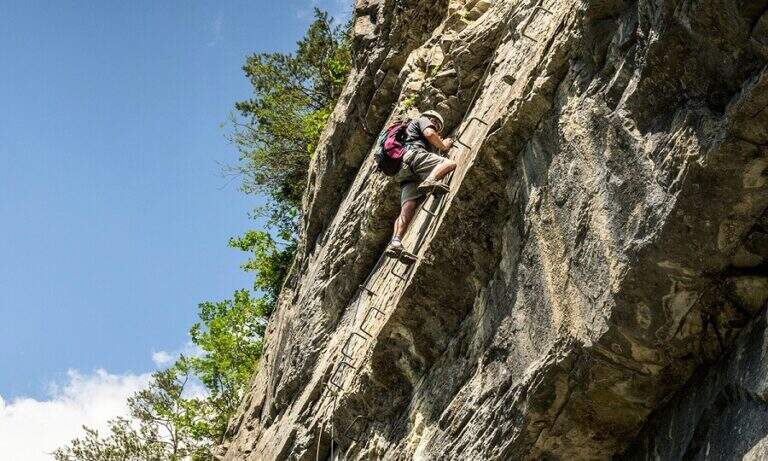
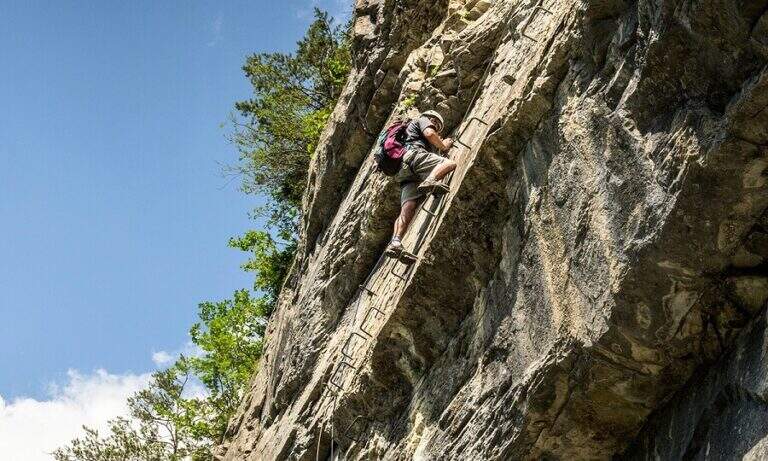
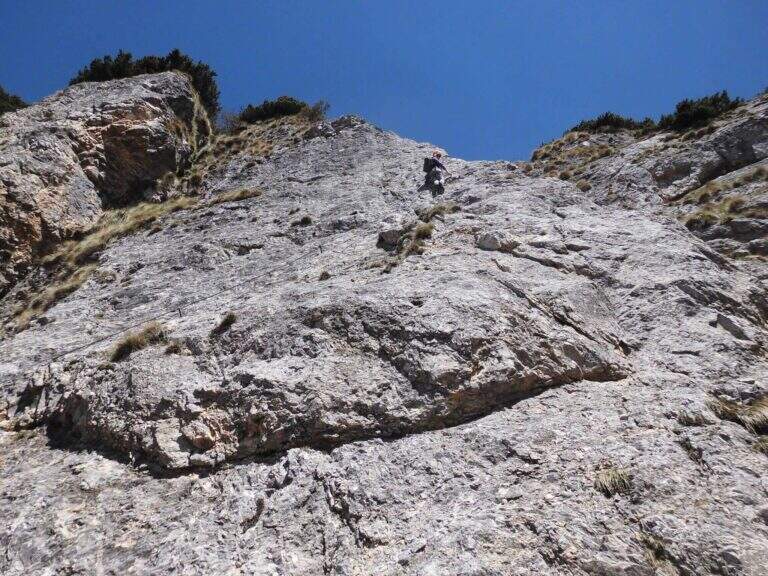
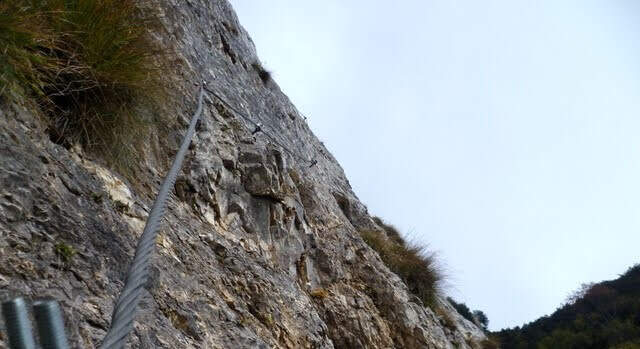
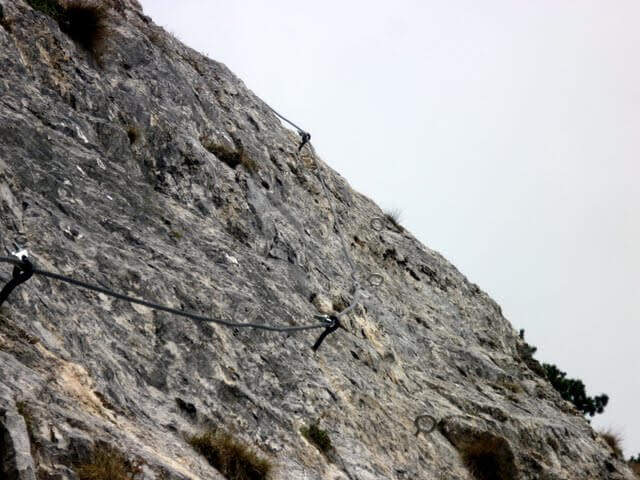
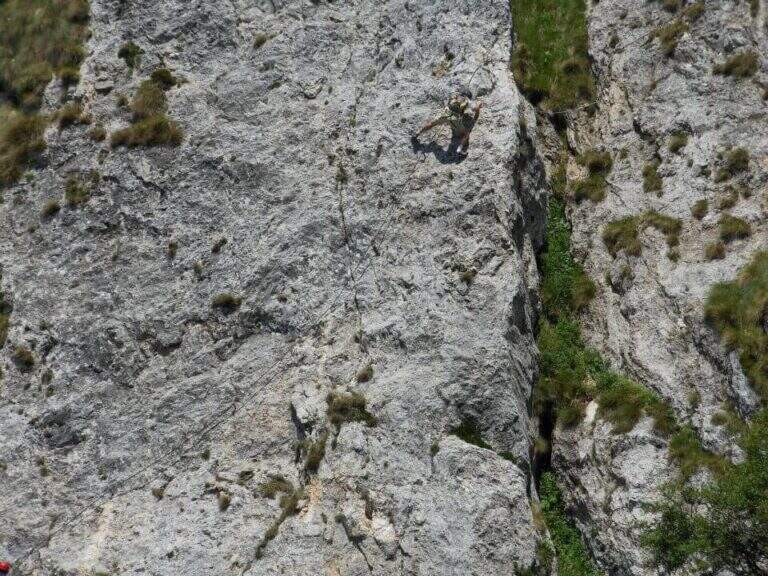
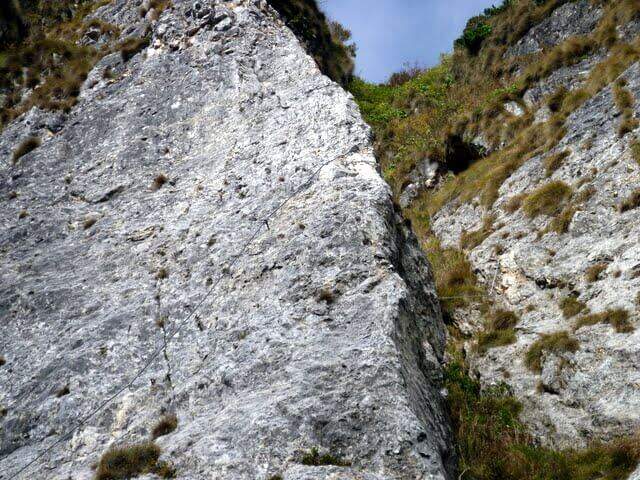
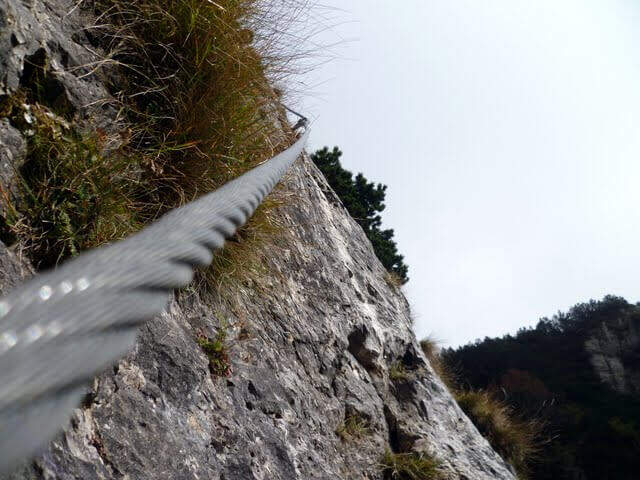
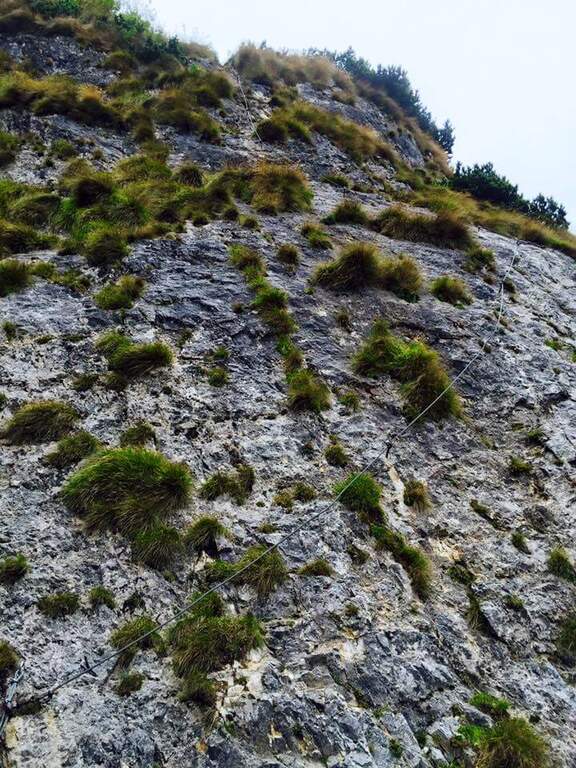
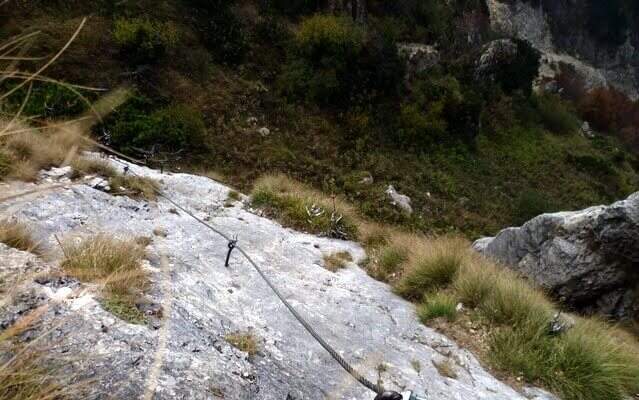
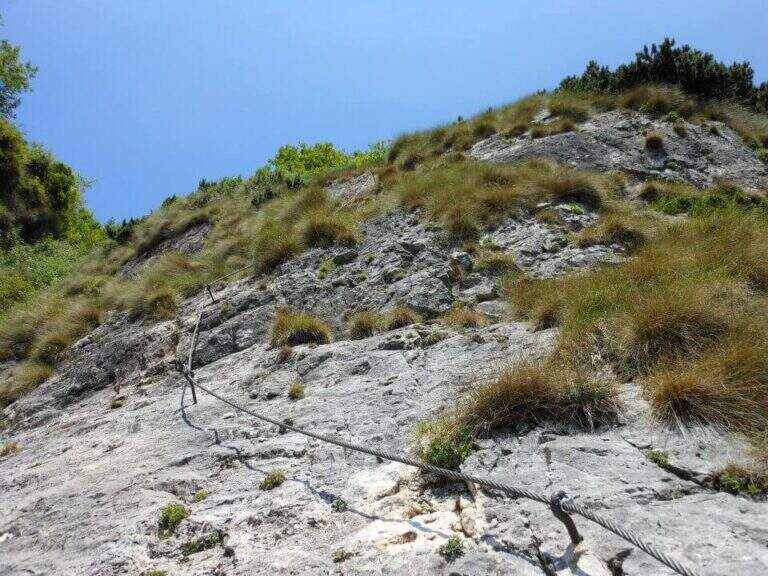
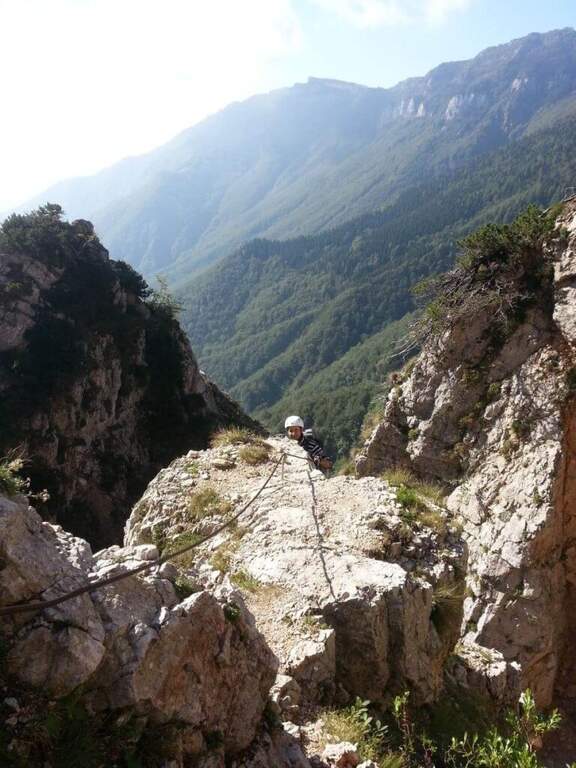
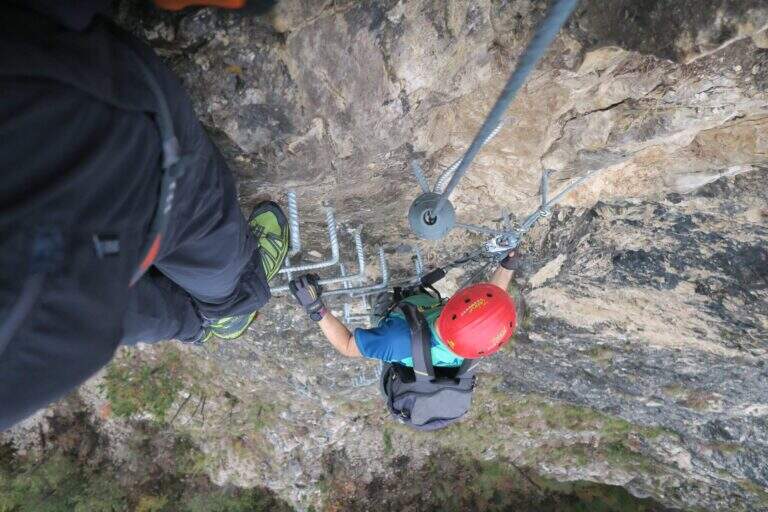
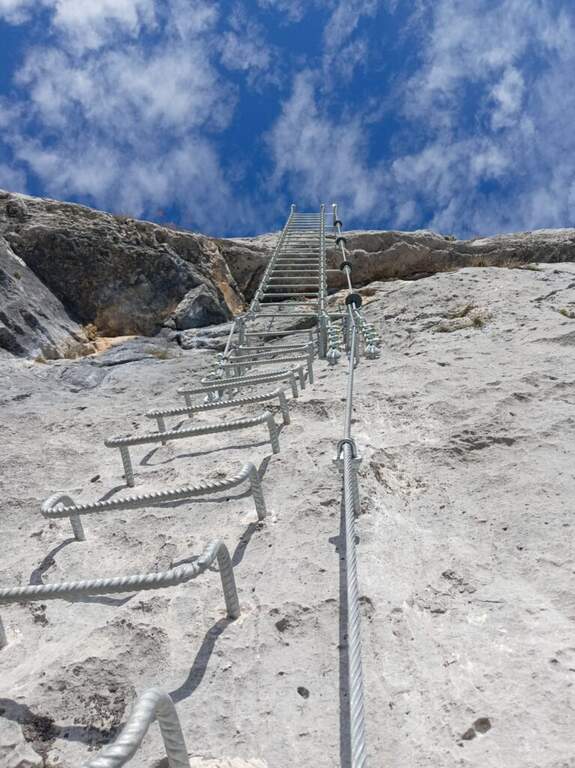
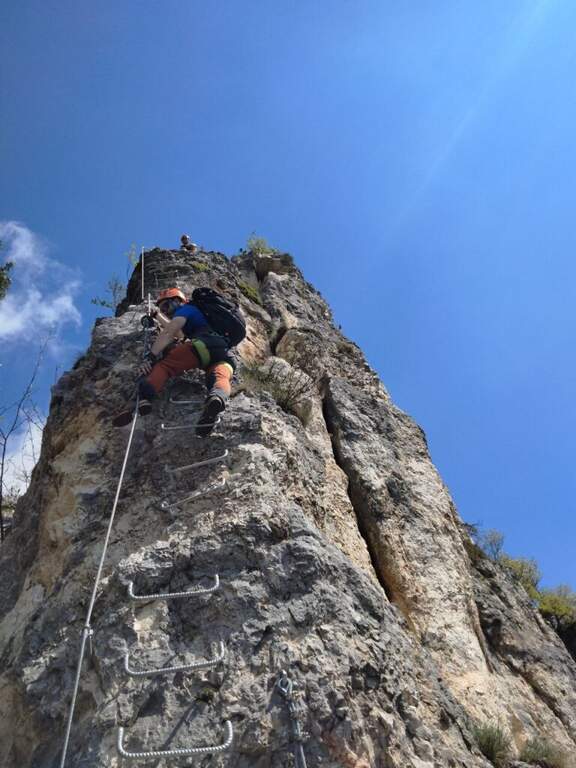
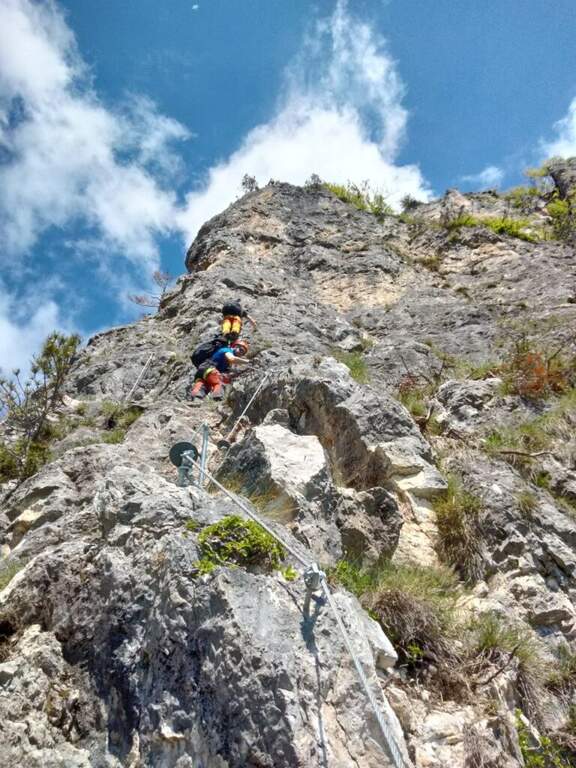
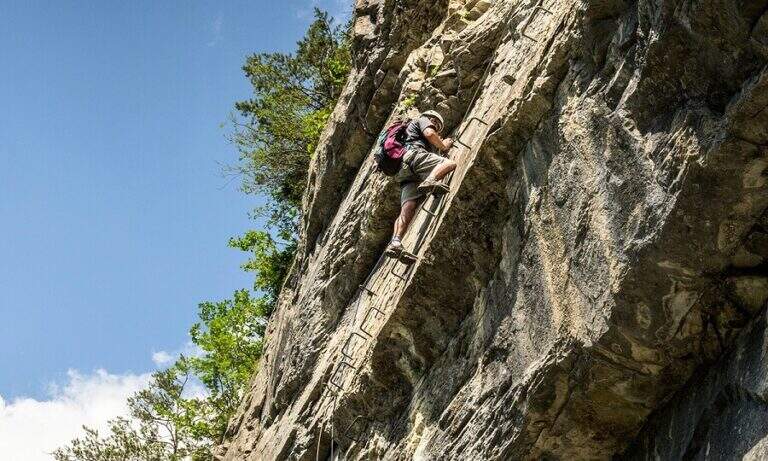
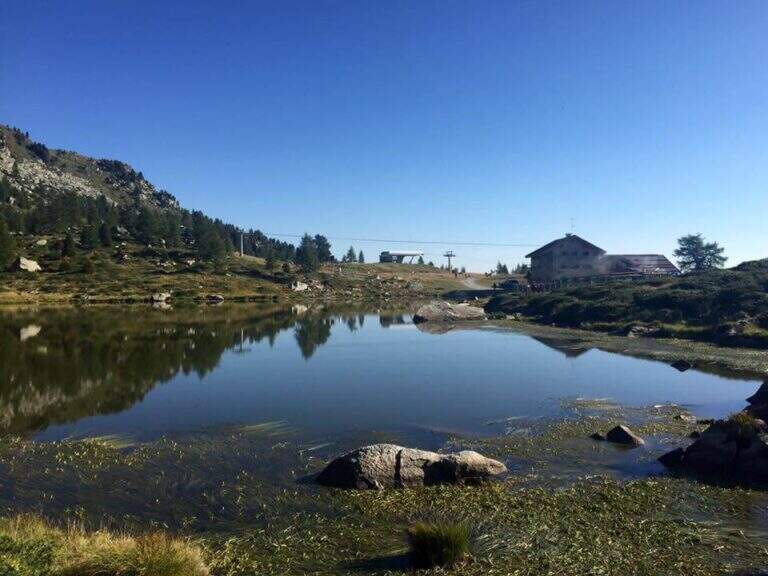
    Il Sentiero Attrezzato Bozzetti climb to Mount Zeledria above Madonna di Campiglio. It is an easy equipped itinerary, also suitable for beginners, in an area of great landscape: the view of the Brenta Dolomites and the lakes below pays off the ascent. It lends itself to a nice ring between the lakes in the area.

    ▲Approach

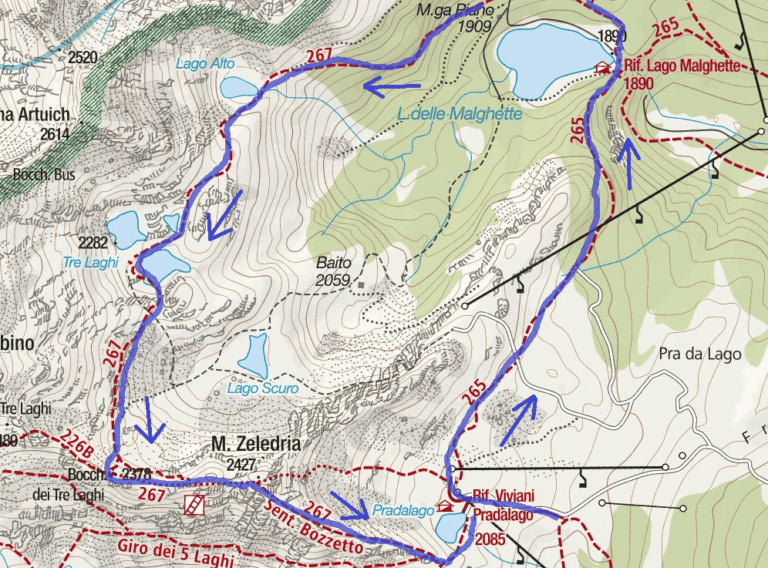
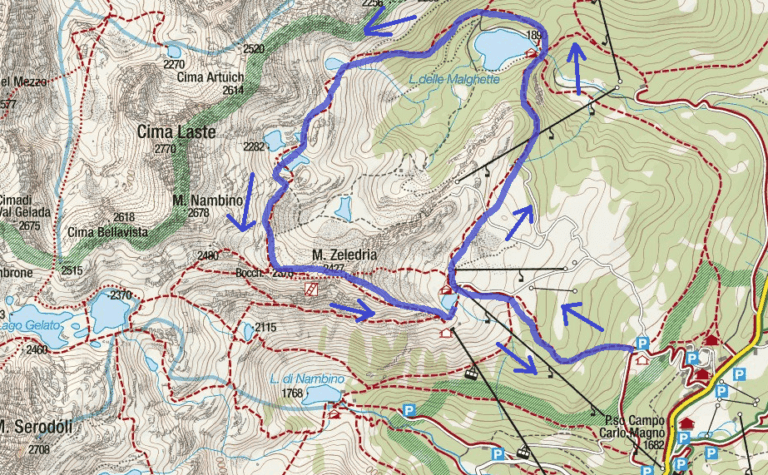
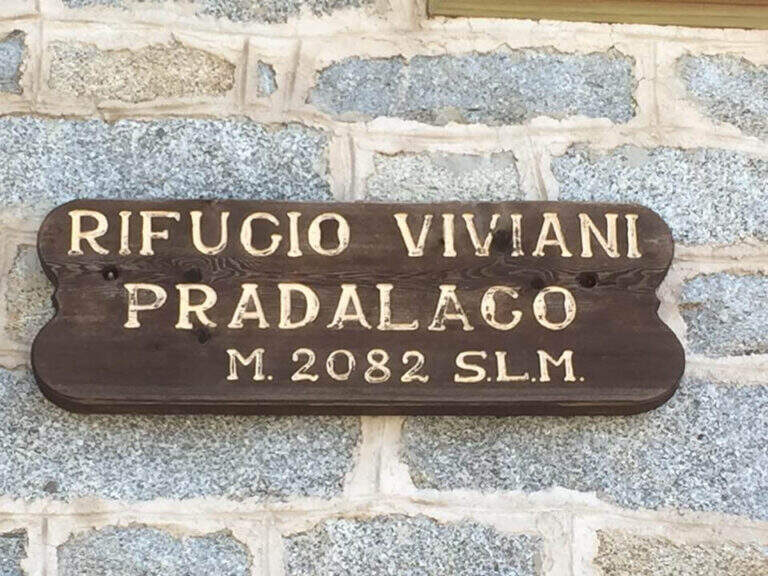
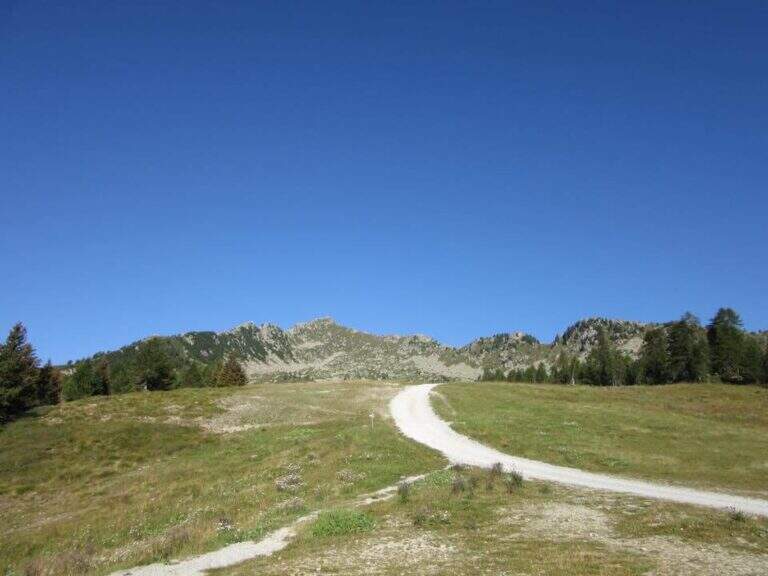
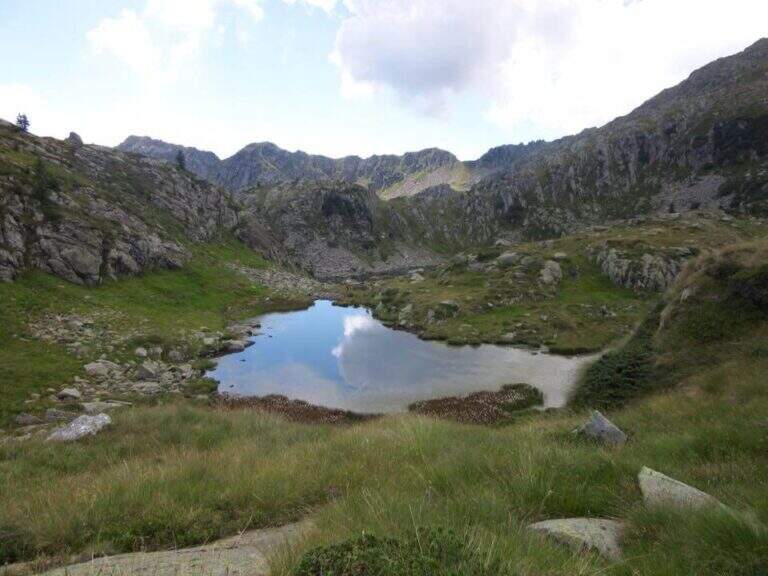
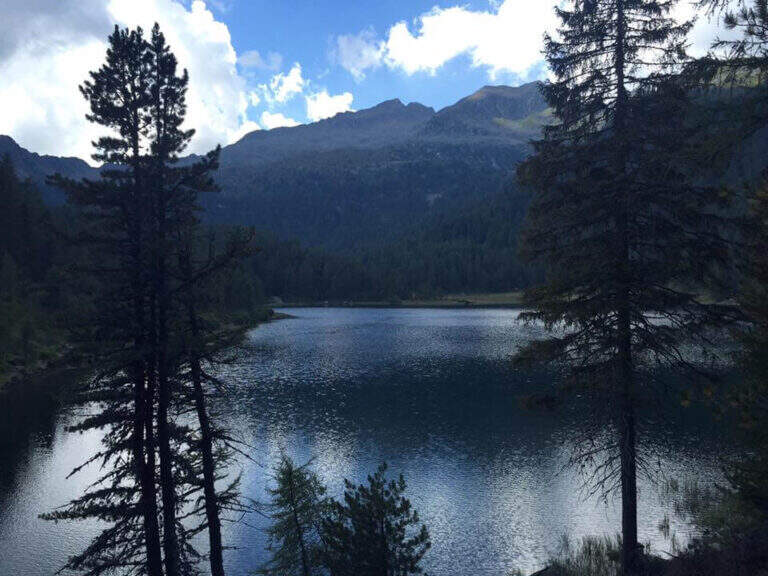
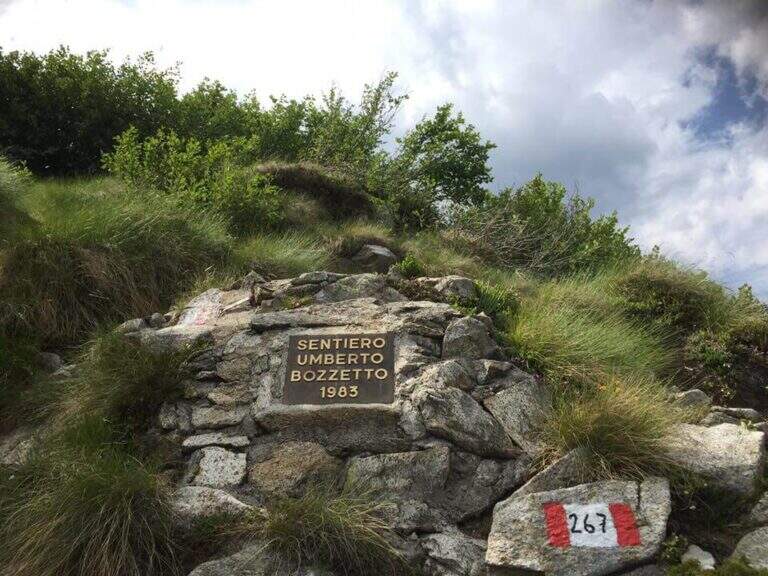
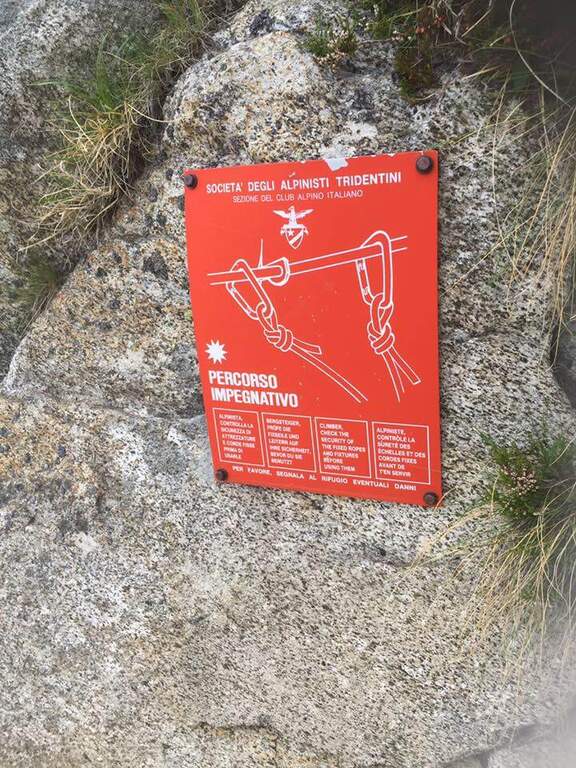
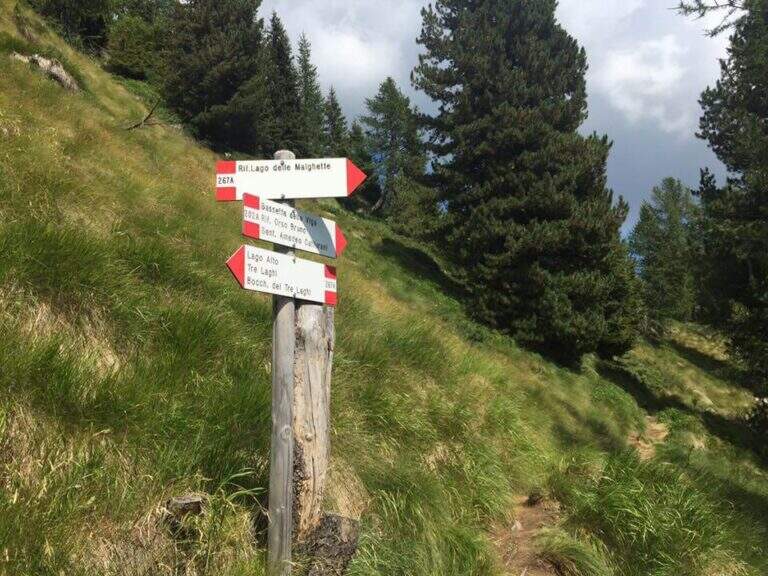
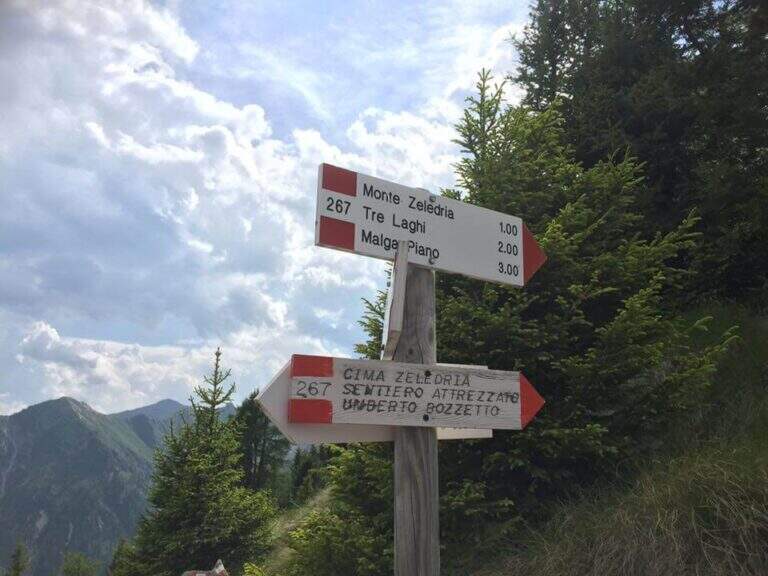
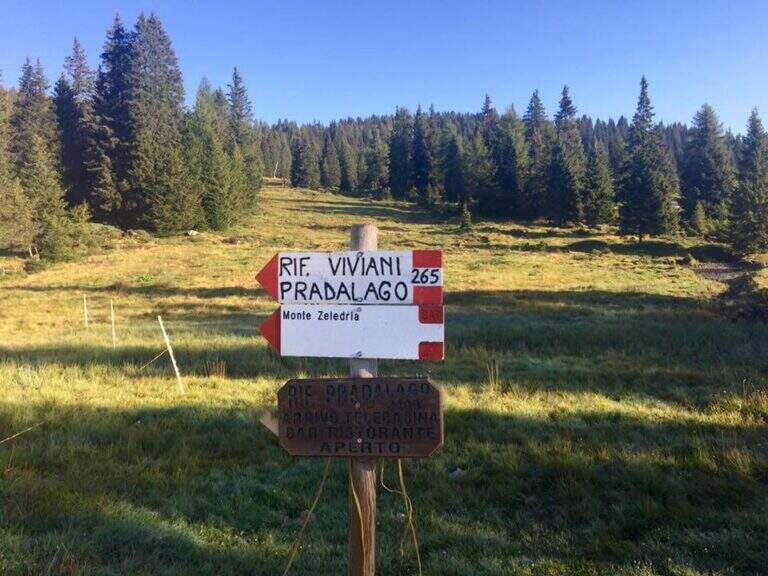
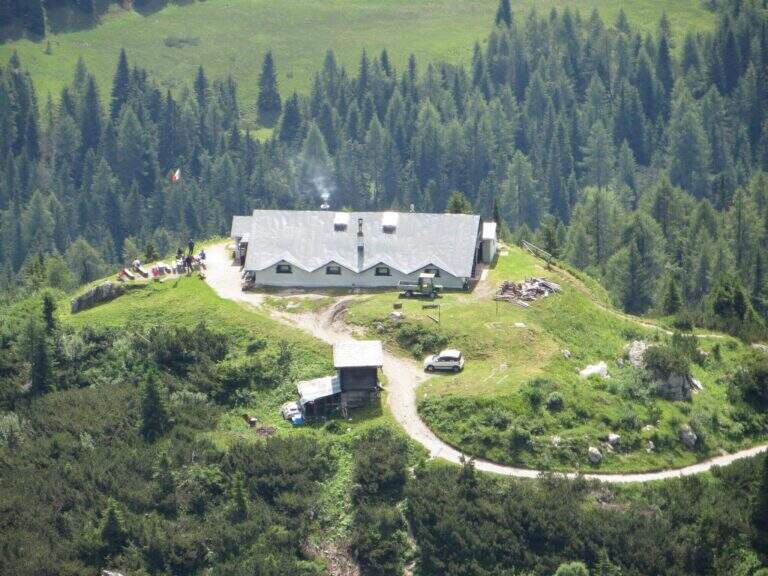
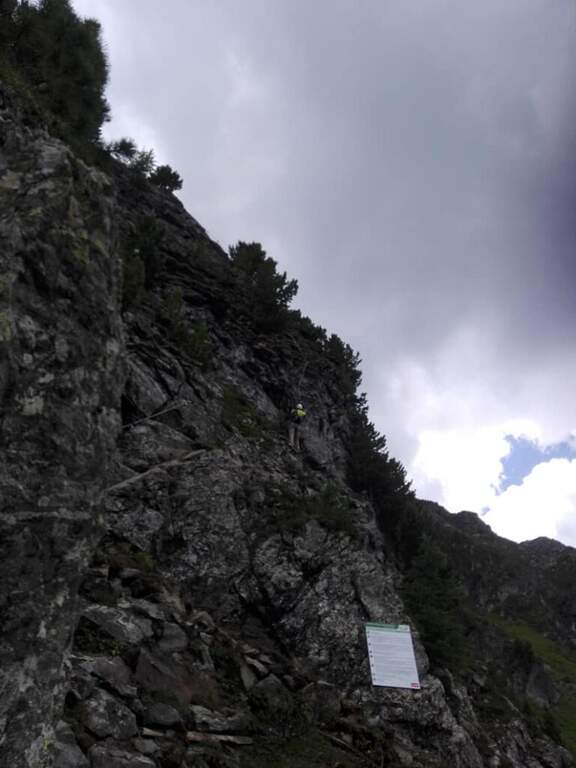
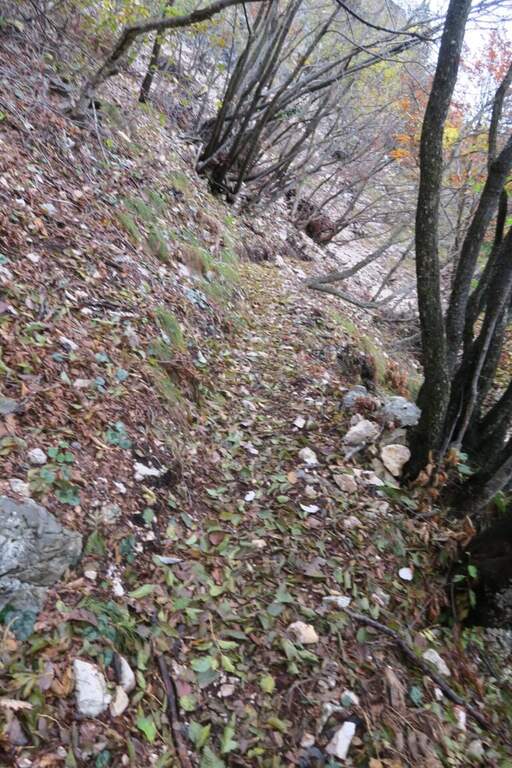
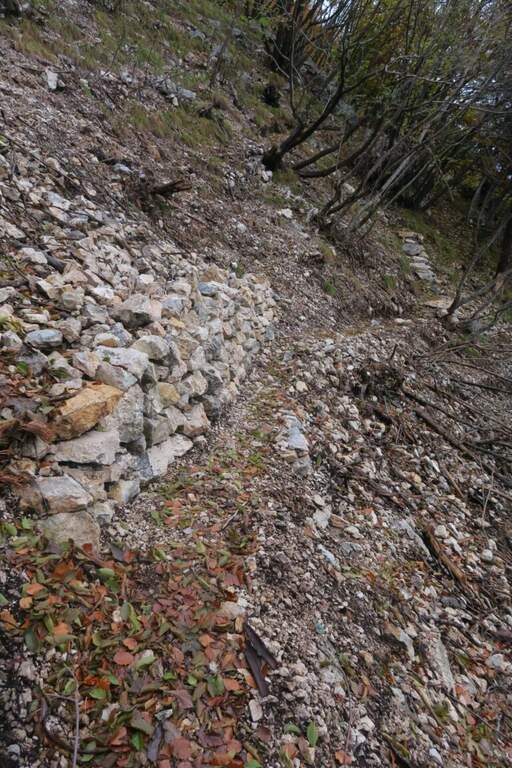
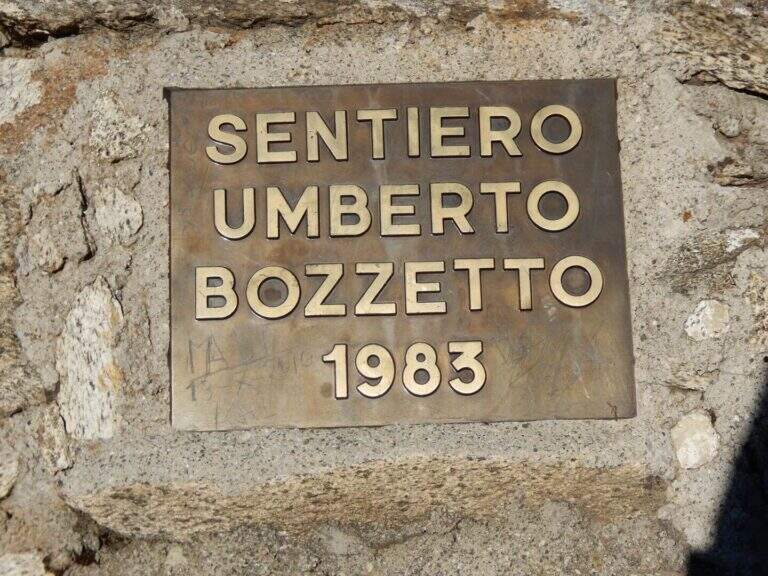
    From Cascina (Malga) Zeledria, in the municipality of Madonna di Campiglio: in the direction of Folgarida, all' height of the Campo Carlo Magno Pass (1682 m), take the left Via Zeledria going up to the hut. Open road signs on Google Maps. From the parking lot you climb to the CAI 265 towards the Viviani Refuge at the Lago Pradalago (40'); staying on 265 you descend slightly towards the Lago delle Malghette and l' the same refuge (1890 m, 1h 30'). Conveyed the lake and around it from the north, follow the CAI 201 to the left and then the CAI 267 to the 3 Lakes: first the Lake Alto, then the 3 Lakes (2282 m) with Lake Medio and Lake Inferiore (1h from Lake Malghette, 2h 30'). On a stretch of ridge, ignored the path that descends towards the Dark Lake, you reach l' attack, signaled by a metal plate (2h 45' from the parking lot).

    ▲The path

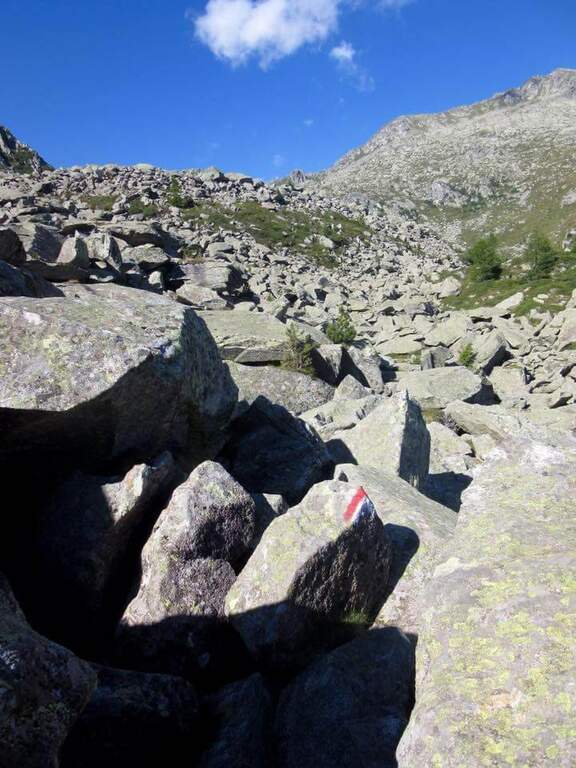
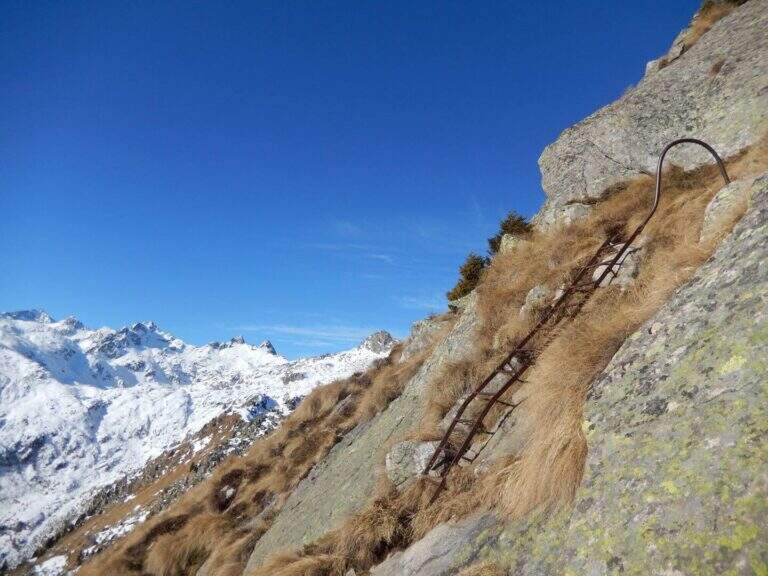
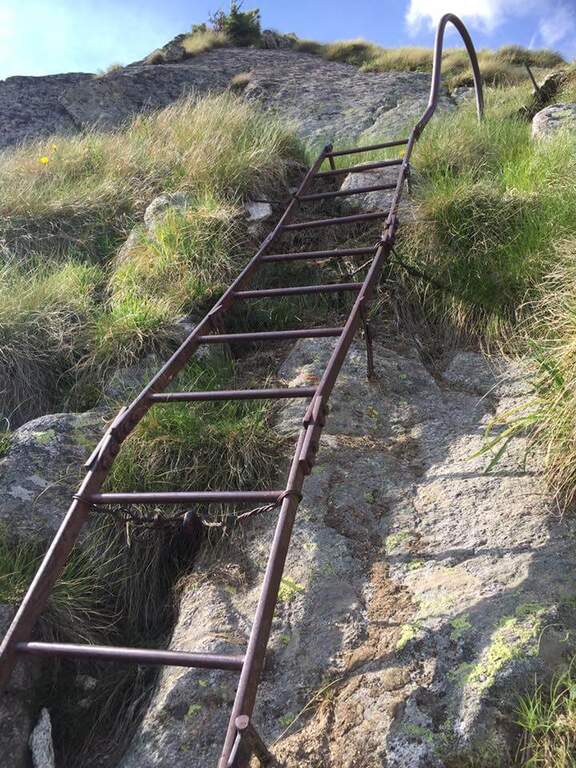
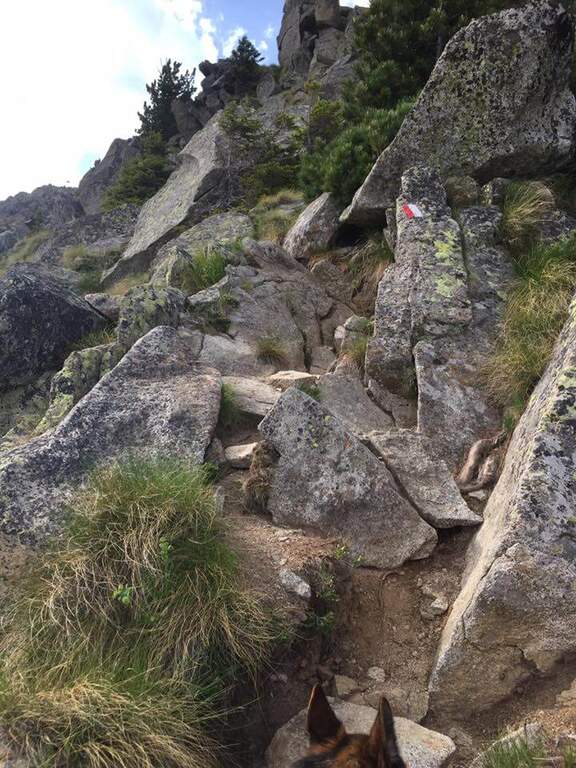
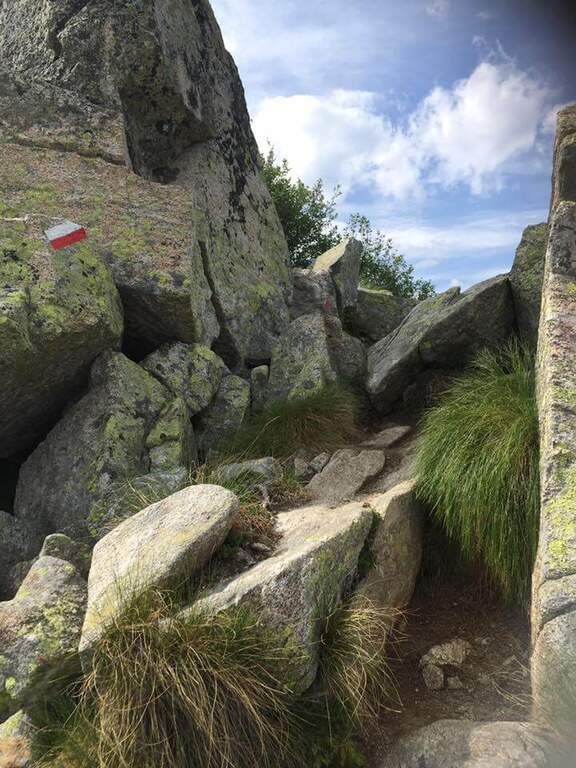
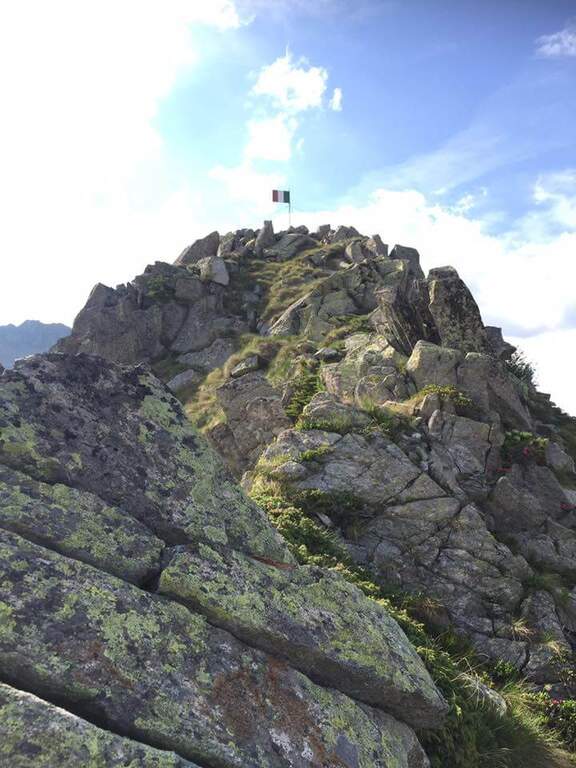
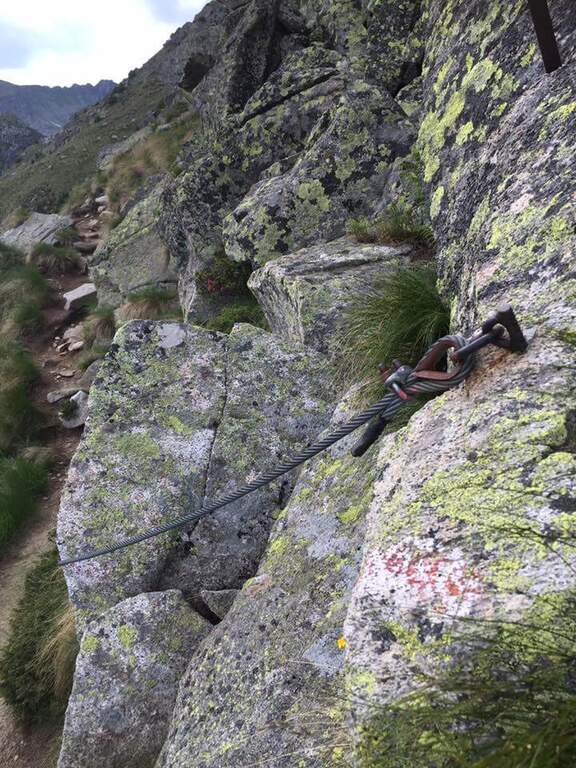
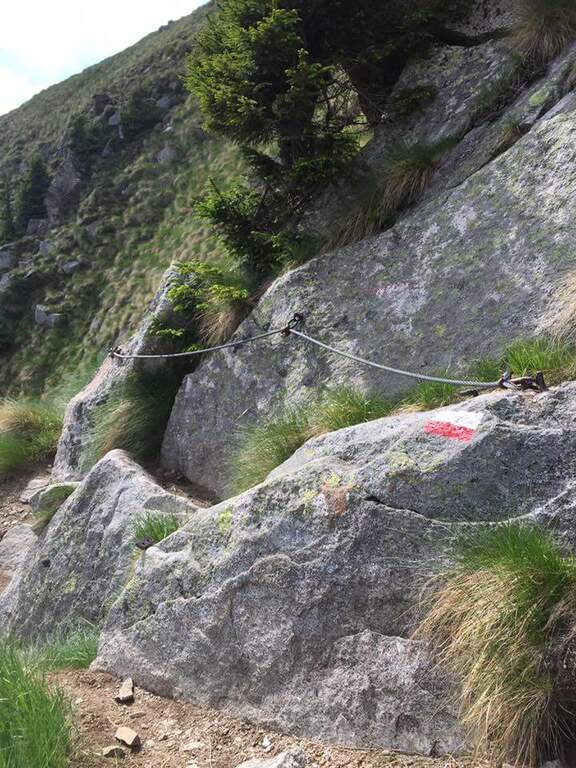
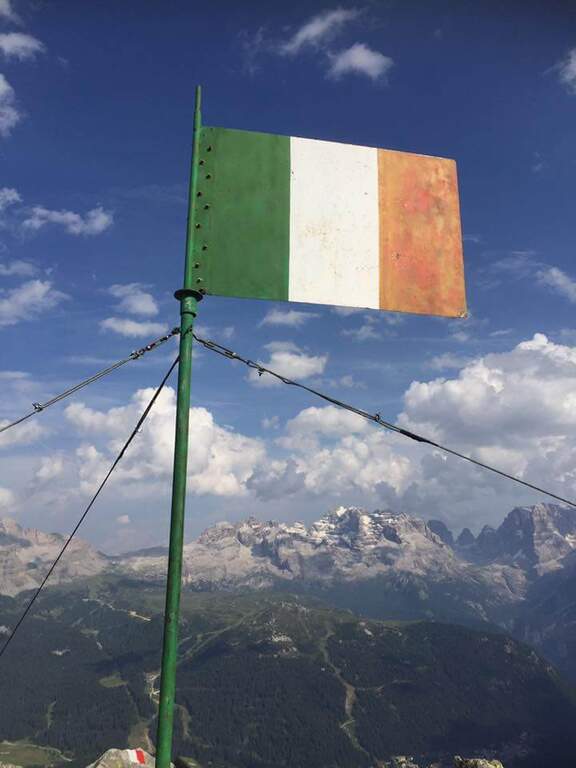
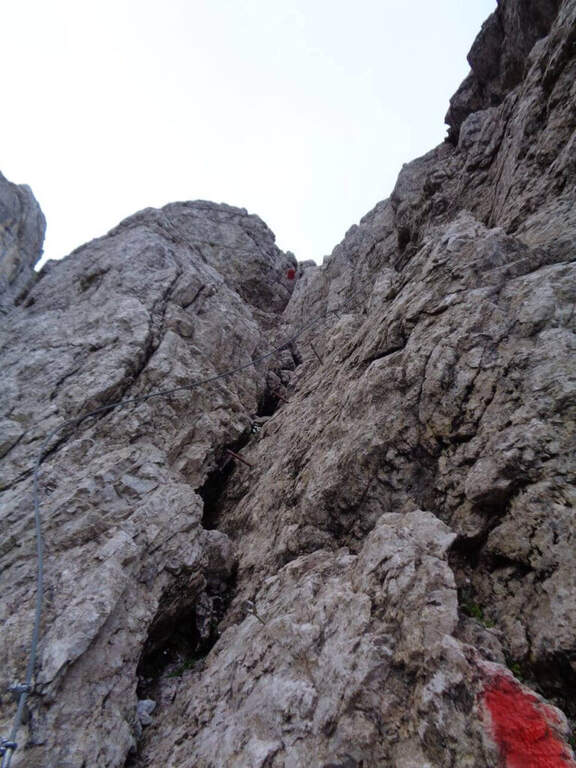
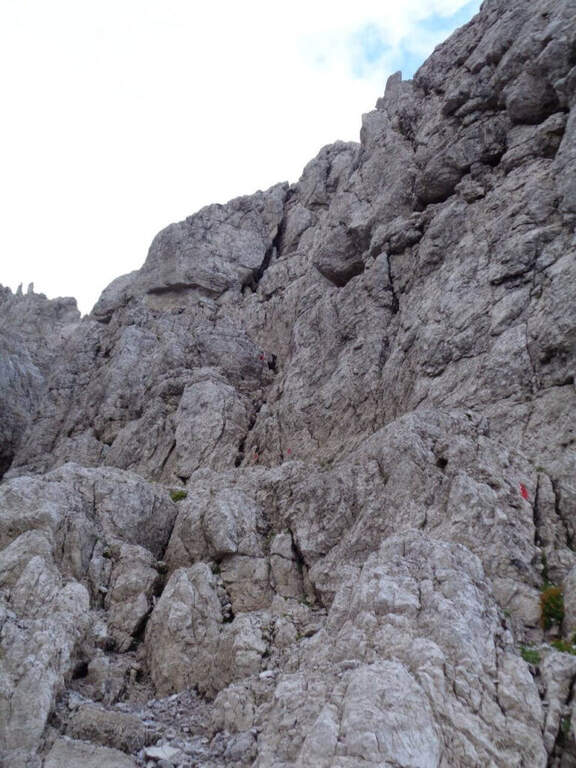
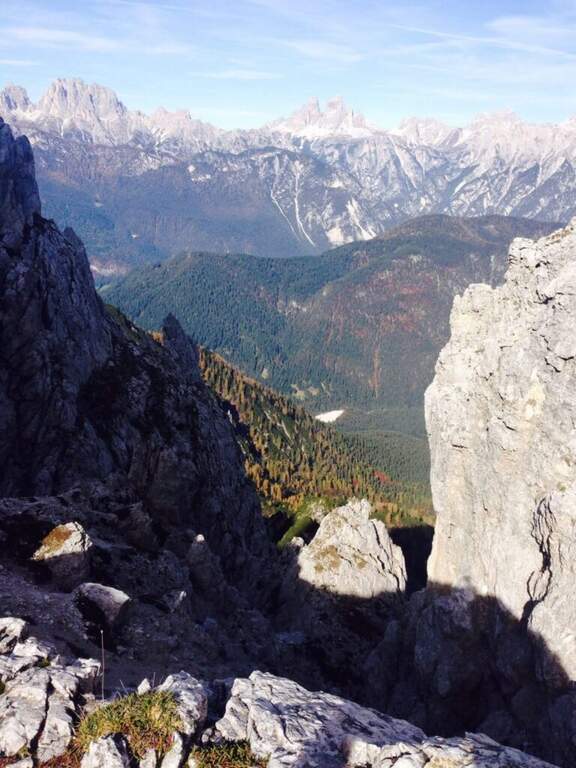
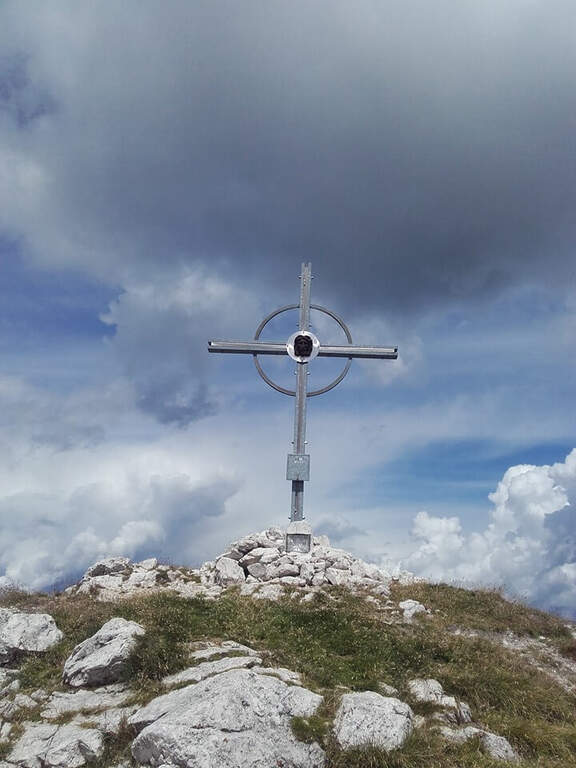
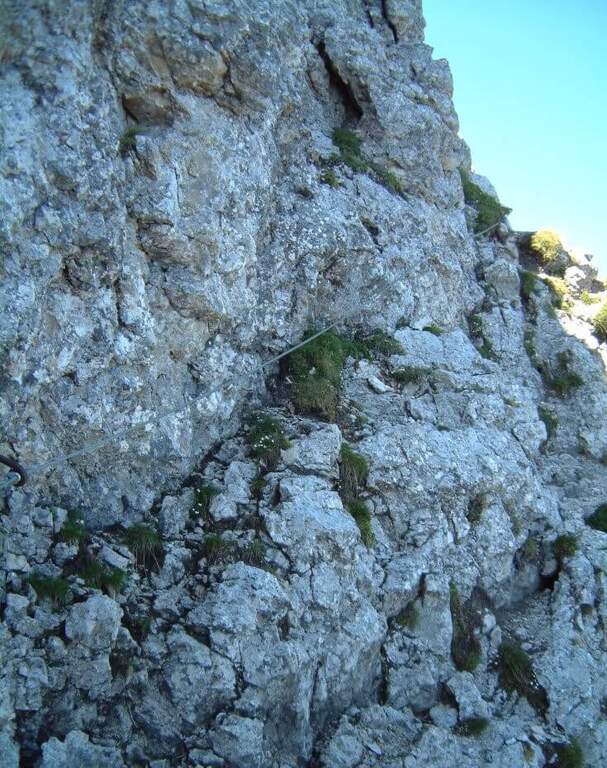
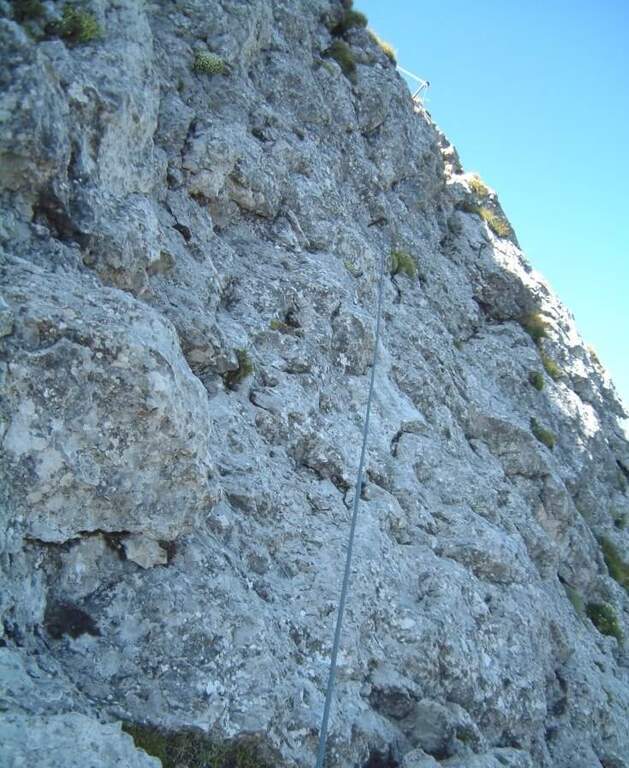
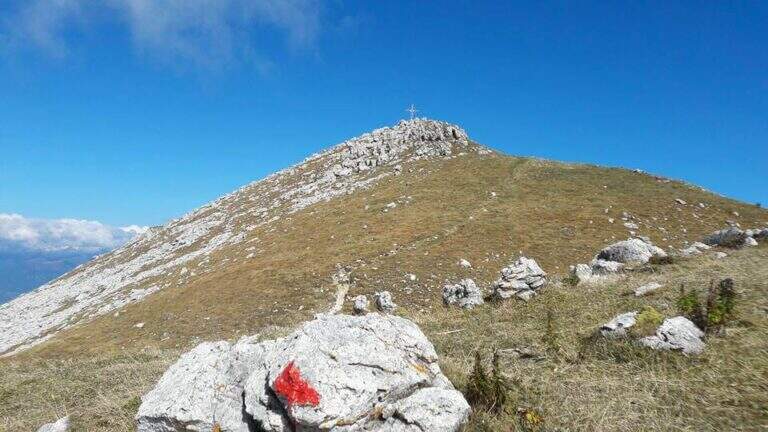
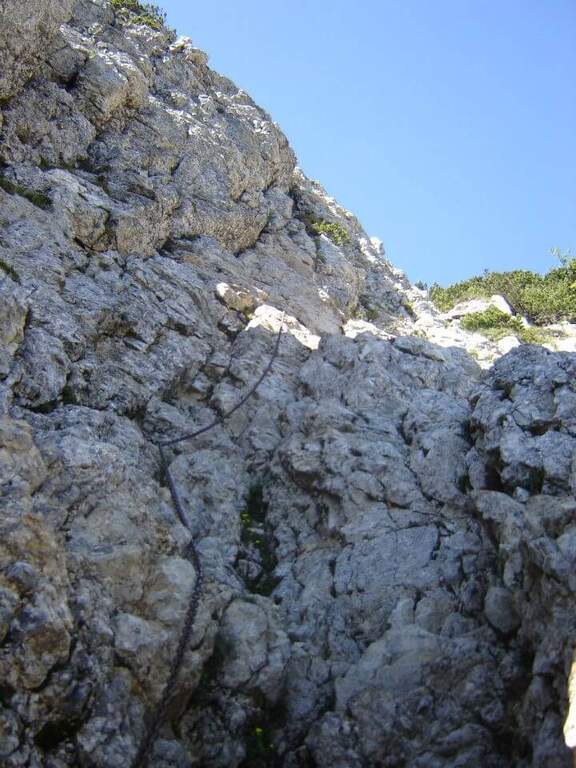
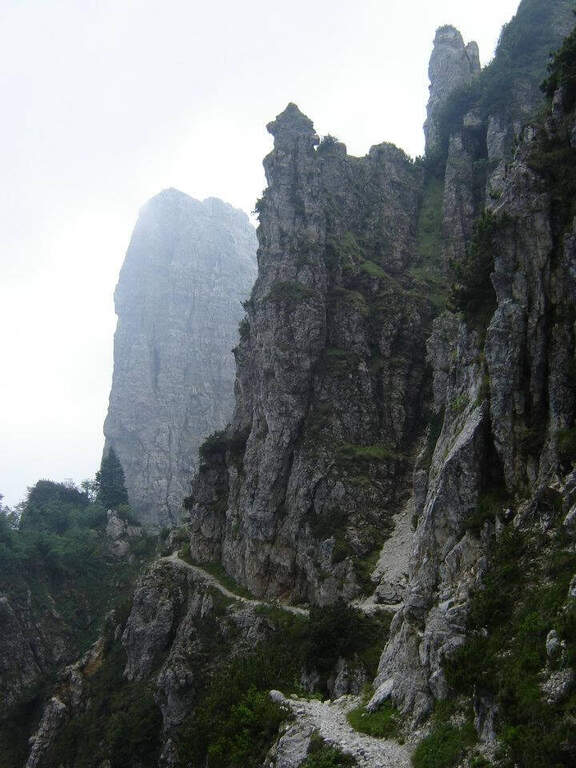
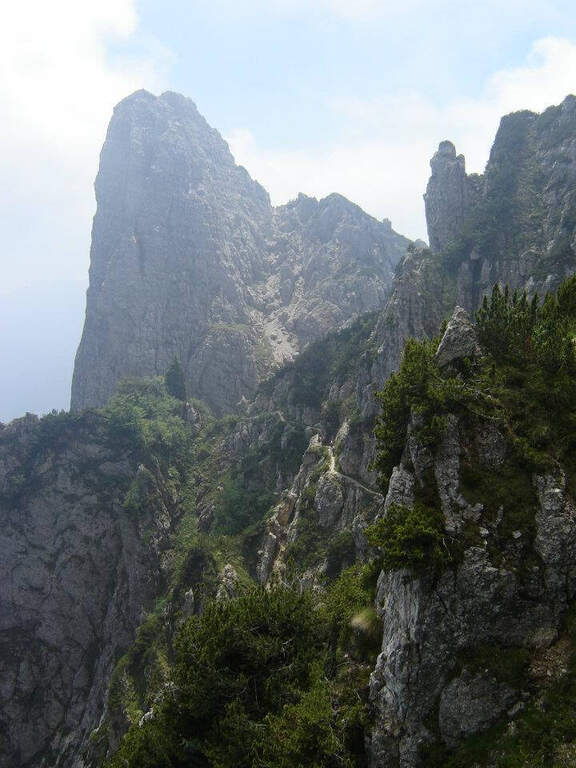
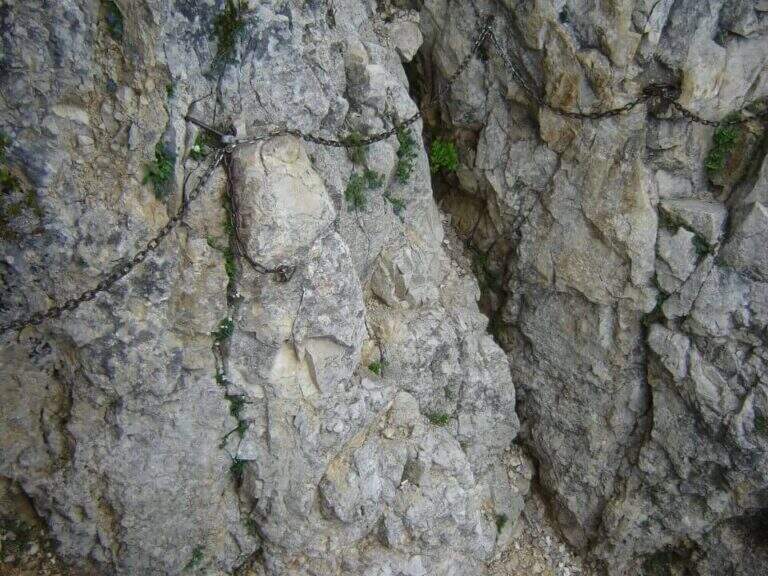
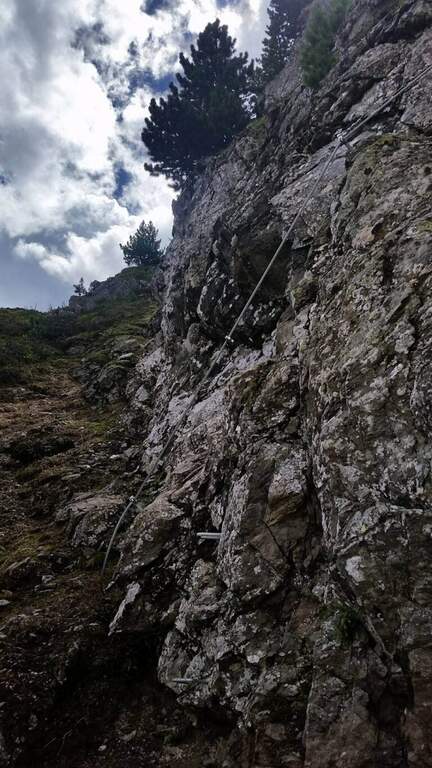
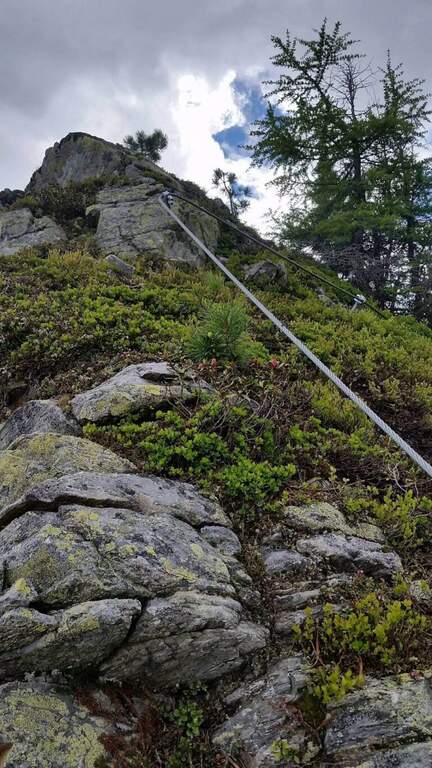
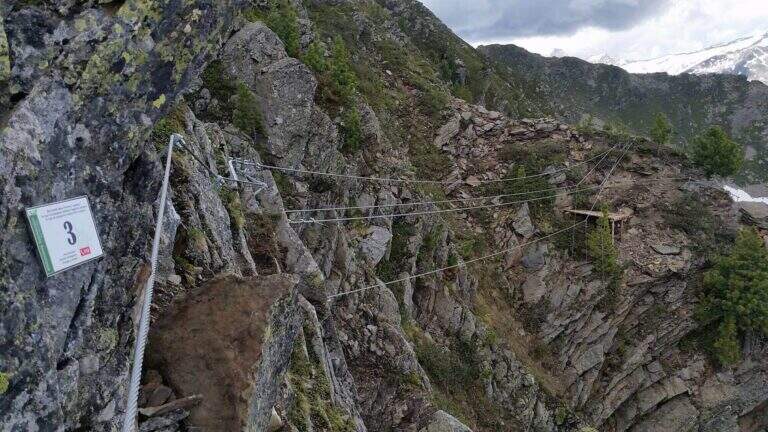
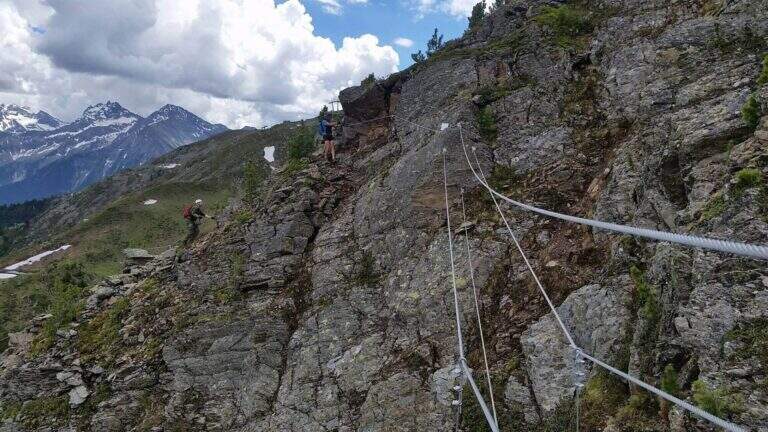
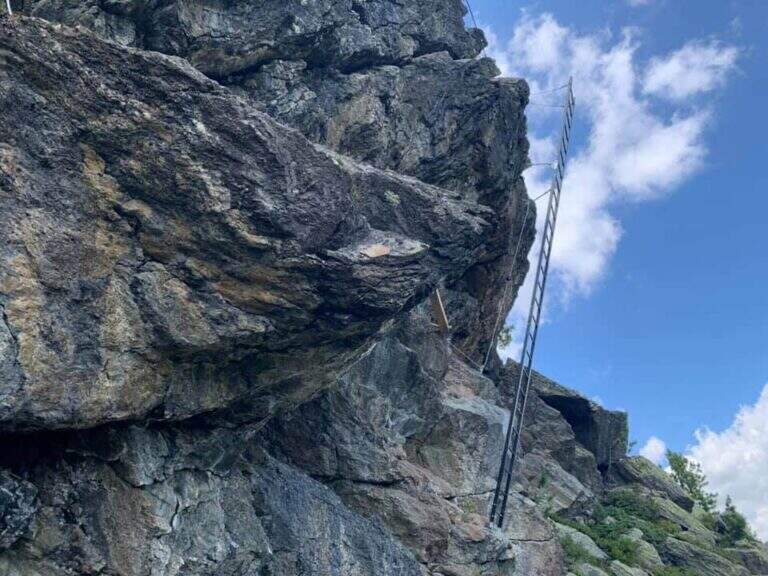
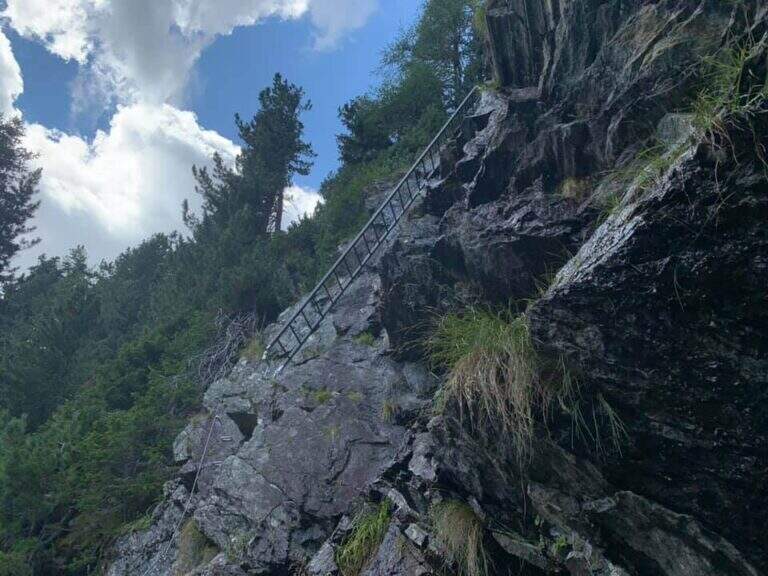
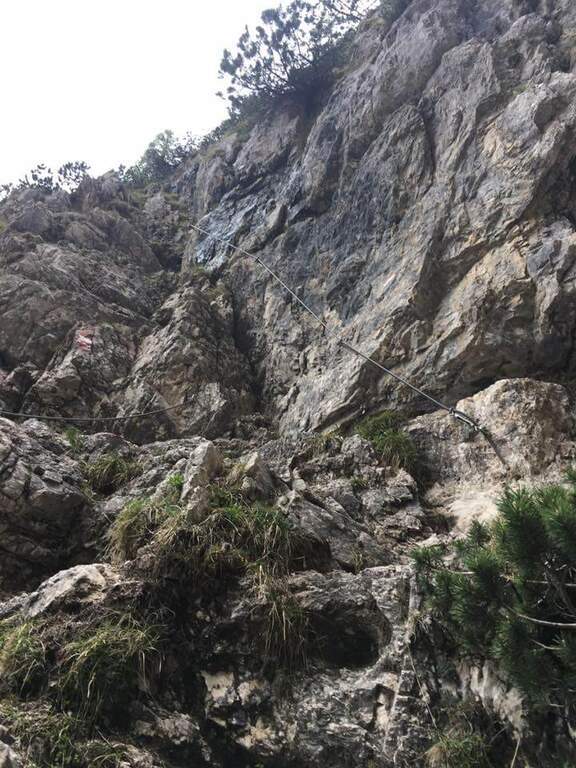
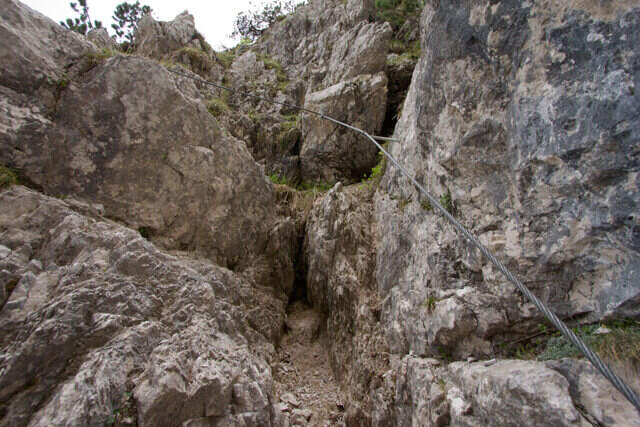
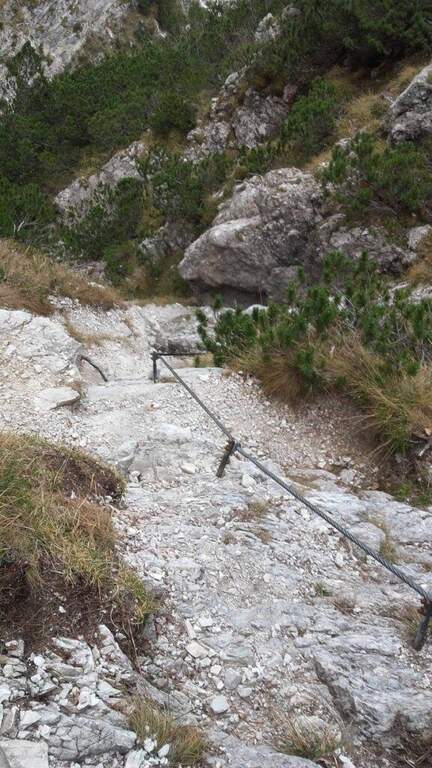
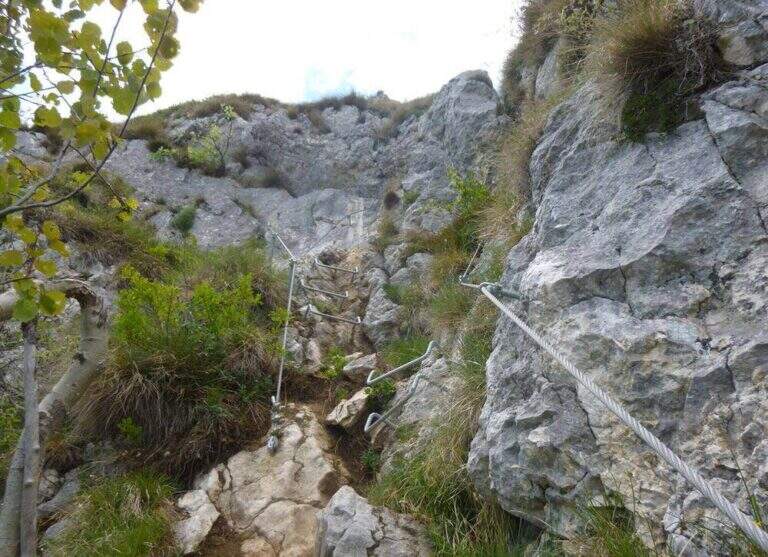
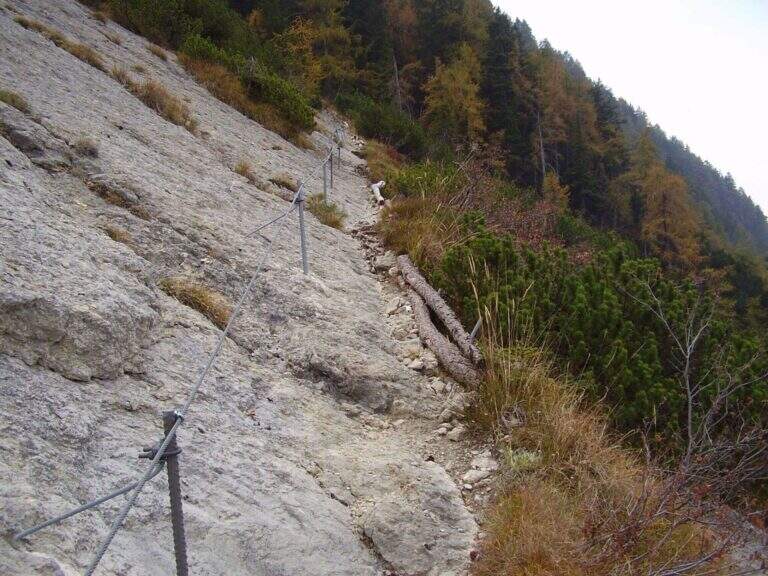
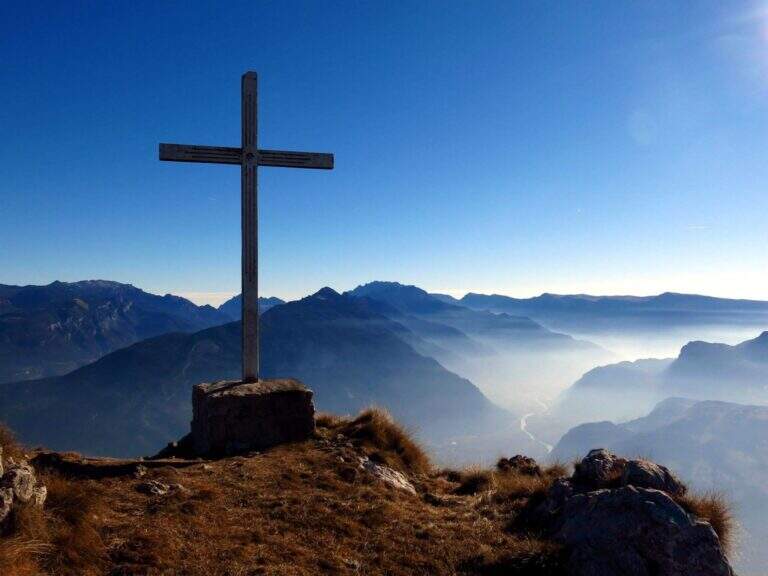
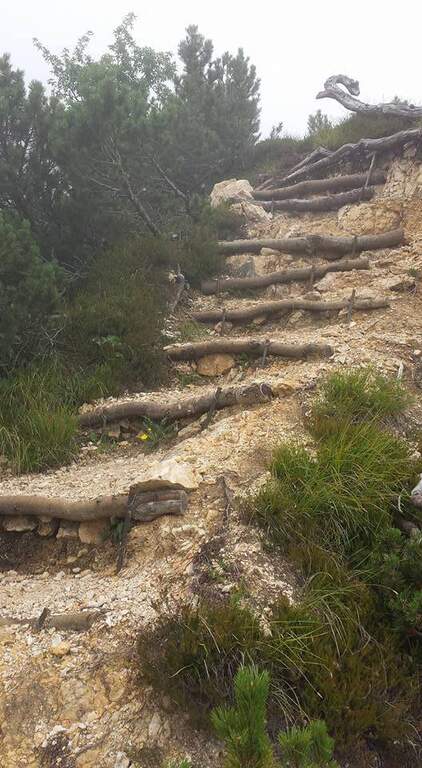
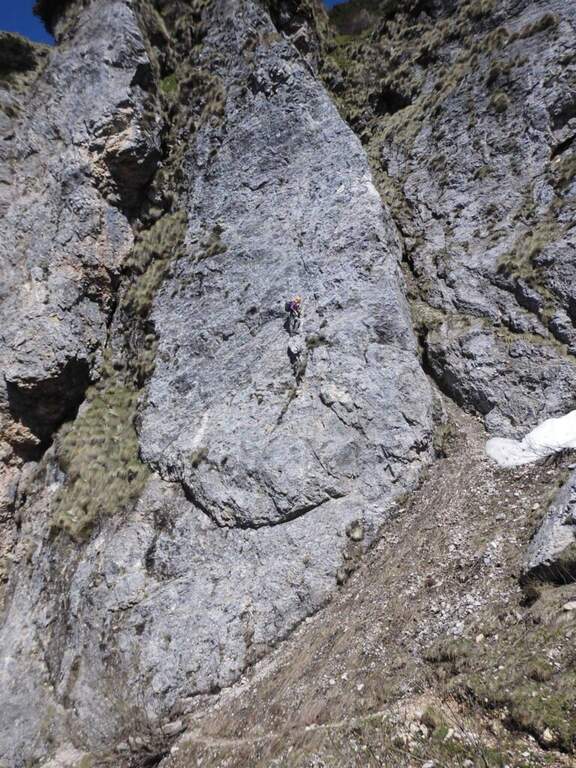
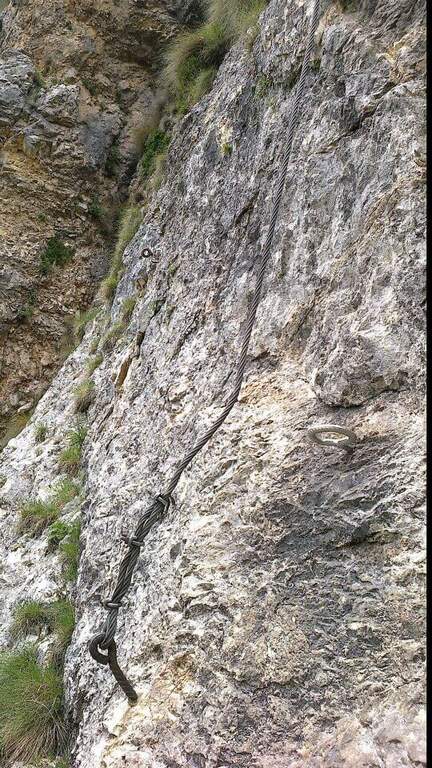
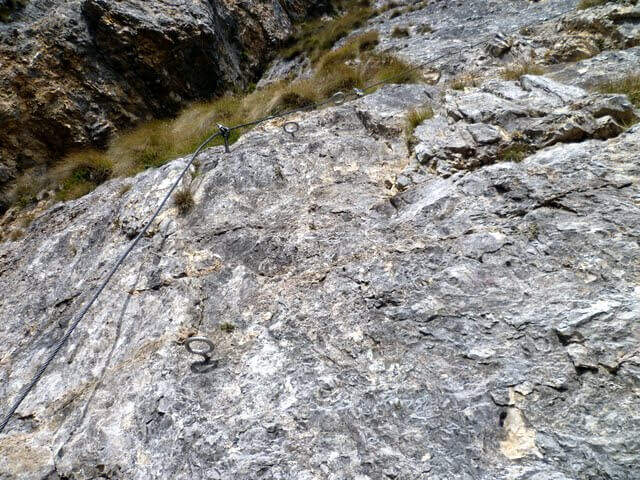
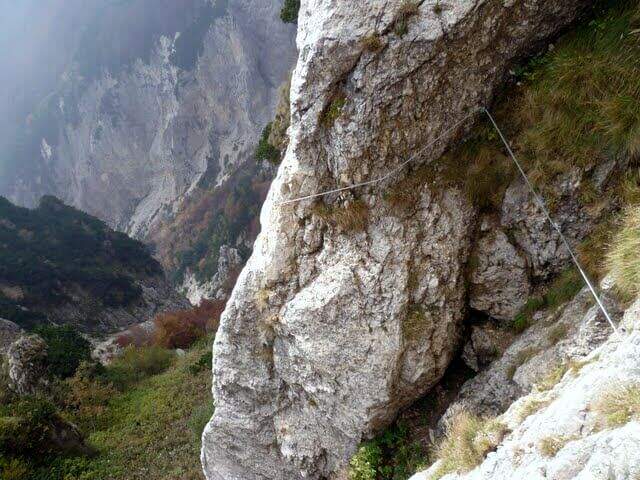
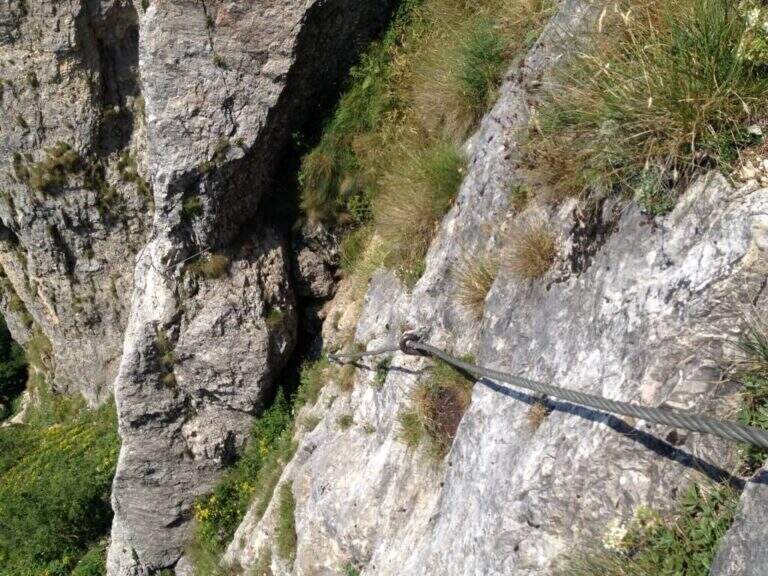
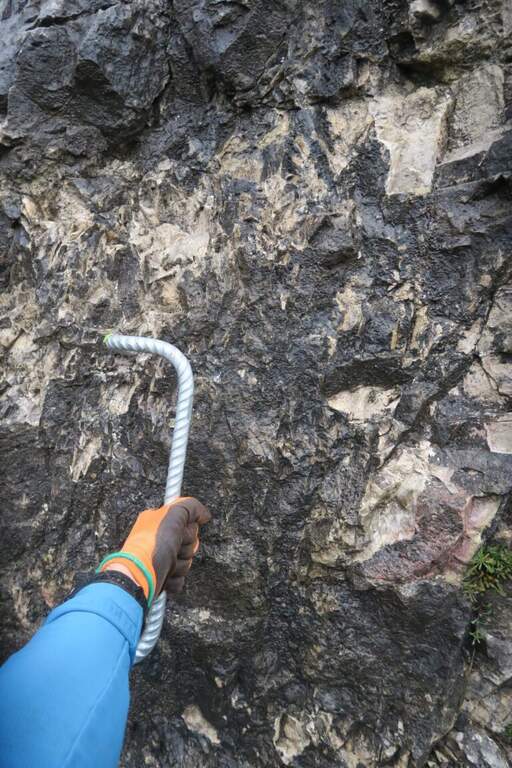
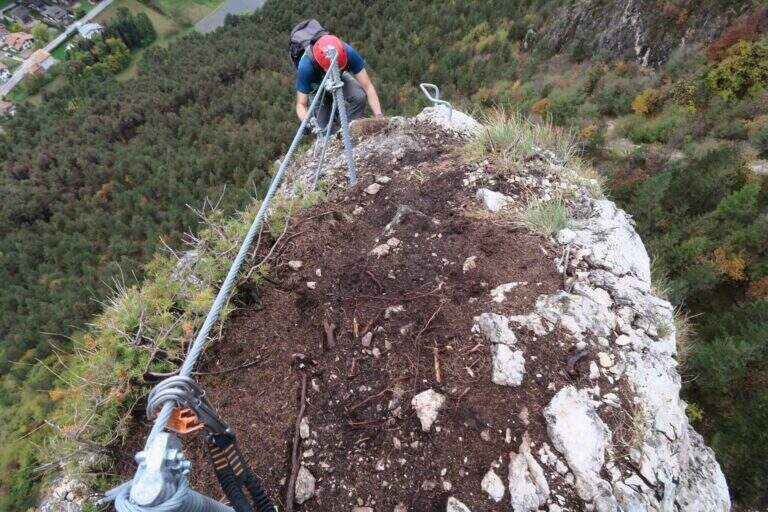
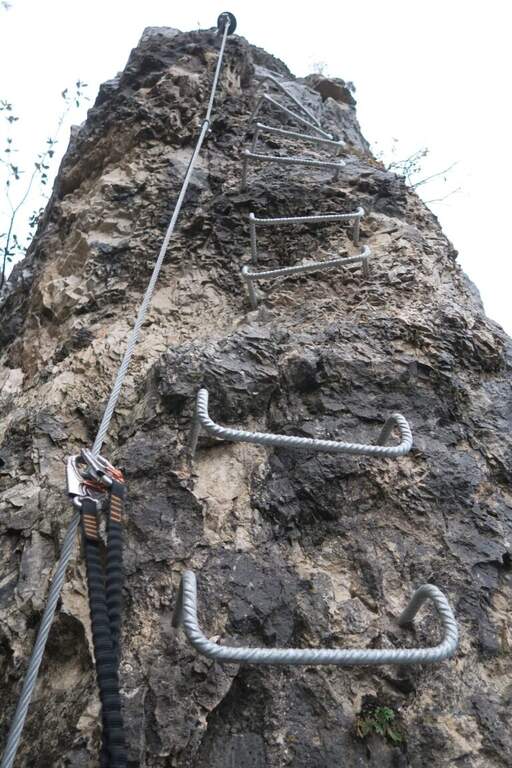
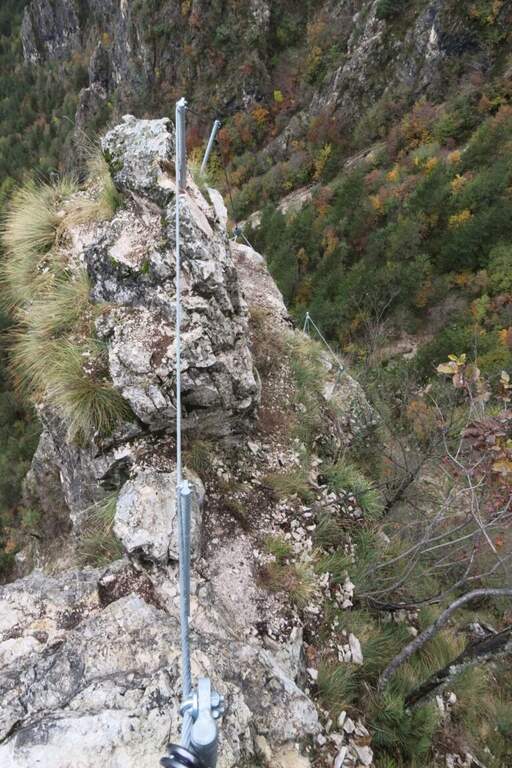
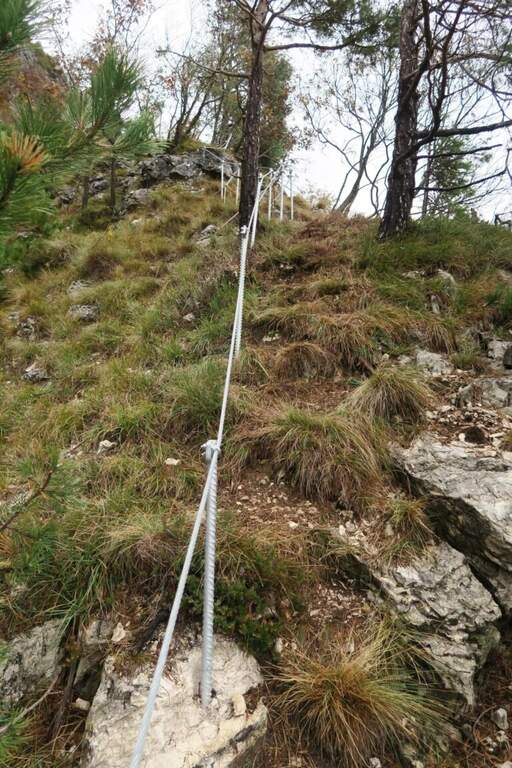
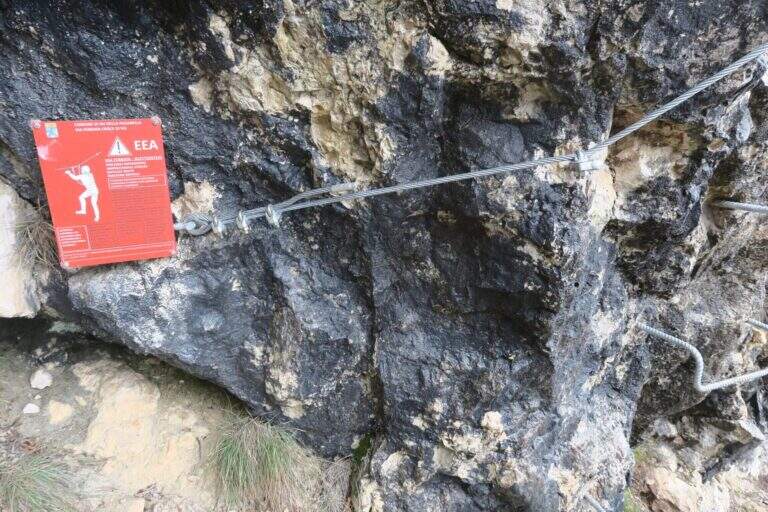
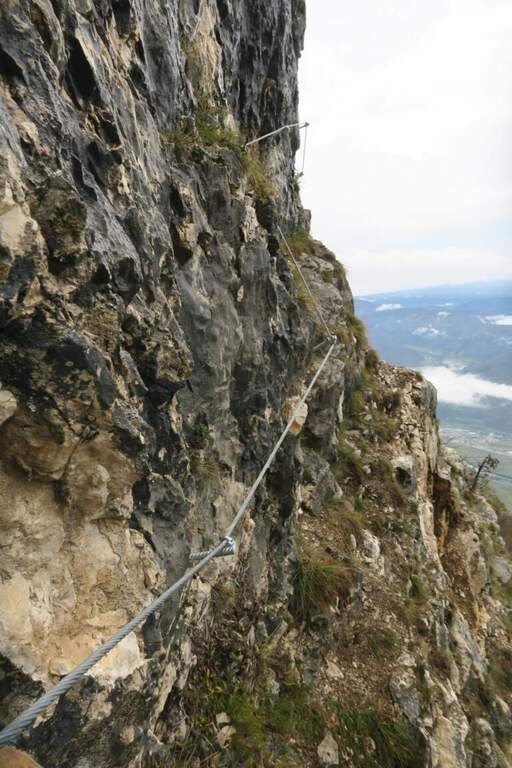
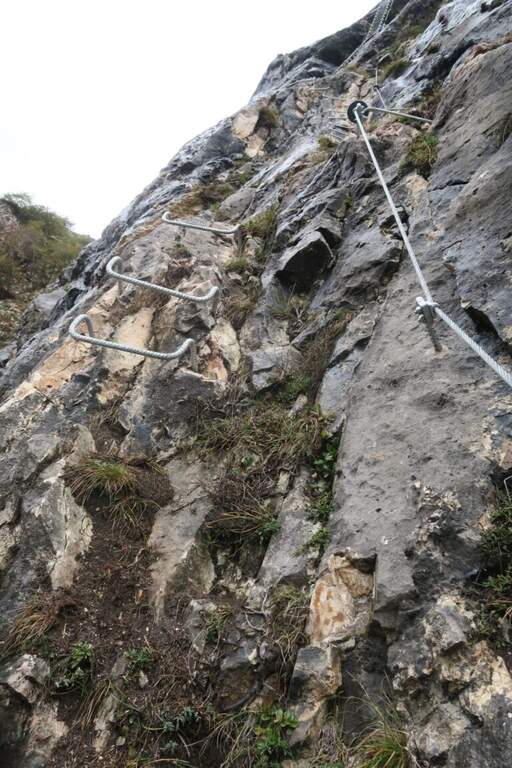
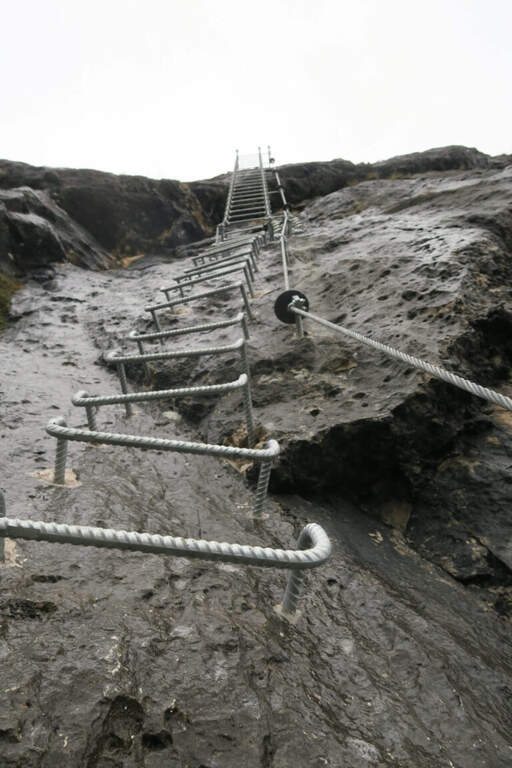
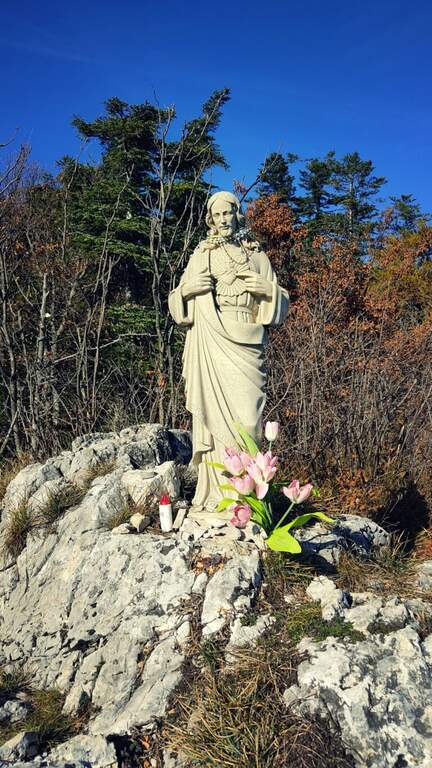
    Continue south to some left flakes; on the right c' ` the junction for CAI 226/B towards Lake Seredoli, but the right is held and the cresta connects Mount Zeledria to Mount Nambino, gaining 150 meters of altitude difference. The stretch è a po' tiring and in some points helped by metal strings and a staircase, up to the vetta (marked by an Italian flag), with magnificent views of the Brenta and the lakes. Then begins the downhill part of Bozzetti, on the eastern side: some stretches equipped with scale and rope protect the steep southern rib that descends towards Lake Nambino. Finish the equipment (red card for those who climb in the opposite direction), go right on easy rocks to Lake Pradalago, where the path ends (1h 30' from the plate, 4h 15' overall).

    ▲Character and difficulty

    Itinerary without particular difficulties: the few exposed points are well protected. Great for approaching neophytes and those with little experience, in a very interesting landscape ring.

    ⚠ Although easy, it is a high-mountain equipped road: helmet and set from recommended ferrata. The ring route is long (about 11 km): calculate well times and weather.

    ▲Discipline

    From the end of the well-equipped path you will cross the section of the approach between Lake Pradalago and Cascina Zeledria down to the parking lot (30' from the end, 4h 45' overall).

    ▲To match

    In the same area of Adamello-Presanella and Brenta there are numerous itineraries equipped; moving south, over Pinzolo and in Val Rendena, the via dei Bocchette and the classics of the Brenta.
    ▲Gallery
    Technical data
    • DifficultyEasy
    • RegionTrentino-Alto Adige
    • ProvinceTrento
    • GroupAdamello-Presanella
    • Approach2h 45'
    • Fully equipped1h 30'
    • Ring itinerary4h 45'
    • Level difference70 m
    • Route difference646 m
    • Maximum2426 m
    • Length11 km
  • Sentiero Attrezzato Amalio da Prà al Monte Ciareido

    Sentiero Attrezzato Amalio da Prà al Monte Ciareido

    Vie Ferrate › Veneto › Belluno
    Sentiero Attrezzato Amalio da Prà al Monte Ciareido
    Moderately Hard● OpenDescriptionComplexityMapsGallery

    Il Sentiero Attrezzato Amalio da Prà circumvents Monte Ciareido in the Marmarole, a much less popular dolomitic group of neighbors and for this wild and surprising. It is a medium difficulty ring: a couple of challenging equipped steps and, above all, exposed and unprotected traits that raise the overall commitment.

    ▲Approach

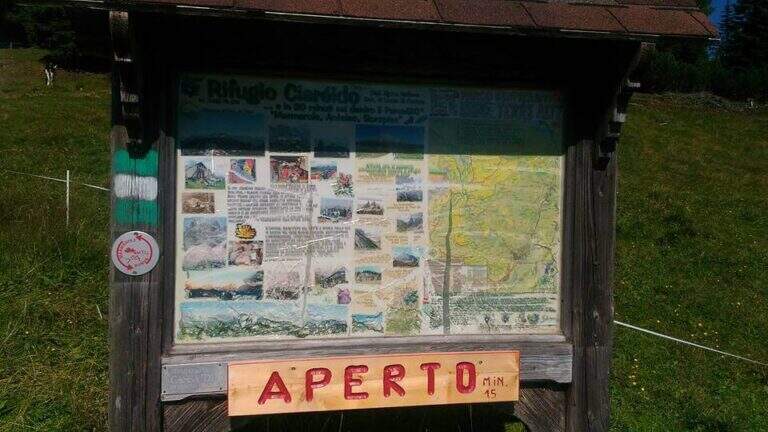
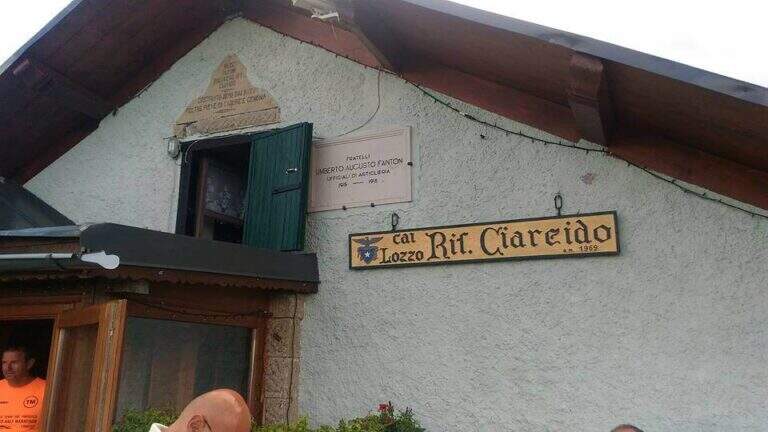
    It starts from the Parco to the Memory of Pian dei Buoi, above Lozzo di Cadore. Just before the' intersection between the SS52 and the SS51 a road on the left, with indications for the Ciareido and the Marmarole, rises for several kilometers and è narrow: in high season there is the senso unico alternating at times (verify on the site of the Municipality). You get to' last parking (100 places), not far from the Ciareido Refuge. Open road signs on Google Maps. Continue on the dirt road until the Rifugio Ciareido (1969 m, 15' from the parking lot); just beyond, at a crossroad, the destra is held on the CAI 272 towards the north, remaining on the floor until a crossroad where on the left a path with red signs climbs rapidly towards l' obvious fork between the Ciareido and a.

    ▲The path

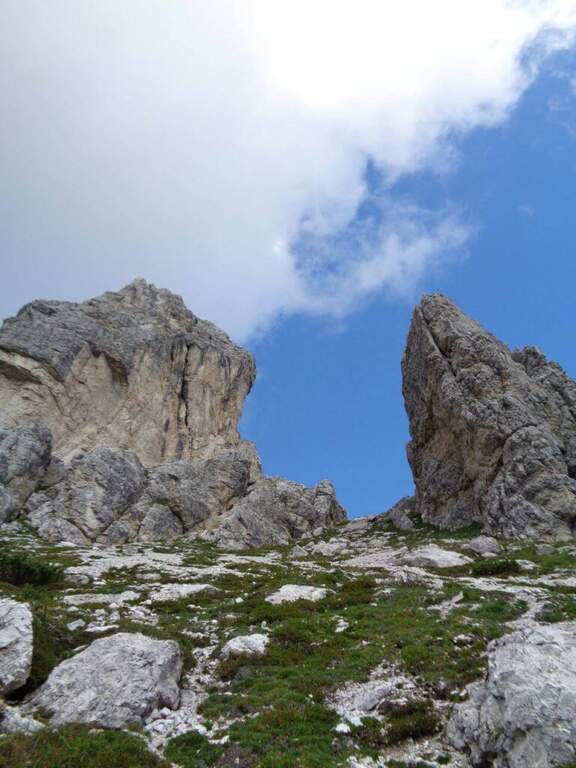
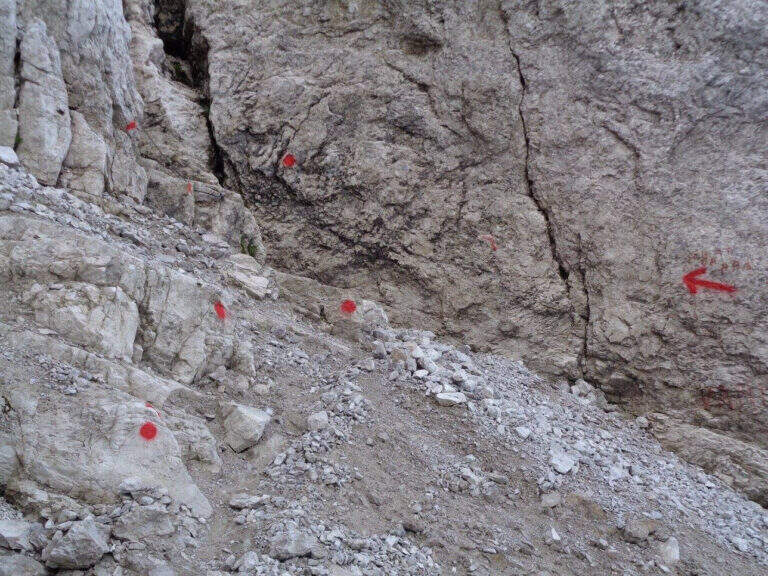
    From the fork you go down to the left and quickly meet the equipment: the cable acts as the runner downhill to bypass the Pian dei Buoi Tower first and then the east side of the Ciareido; characteristic a passage where the cable runs along a channel carved diagonally into the wall. The path descends steeply and bends to the left with some cenge almost always protected. Start the più tract; interesting: you descend a few meters in dis climbing on the east walls of the Ciareido, you walk a stretch of exposed and equipped path and you go up a vertical parete equipped – the più point; difficult of the track, however on moderate levels. A last canal with a few leaps closes the equipment; we continue halfway following the abundant signs to the fork on the south side of the Ciareido, where the equipped path ends (1h 30' from' attack, 2h 30' from parking).

    ▲Character and difficulty

    The equipped parts are quite easy, except for the downhill section and the vertical wall to rise, not trivial. L' greater commitment lies in the unprotected tracts and exposed, where they serve firm foot and attention: no excessively difficult passage, but not to underestimate.

    ⚠ Some sections remain often snow-covered even in late season: è prudent to bring peak and ramps. Maximum attention in exposed and unequipped steps.

    ▲Discipline

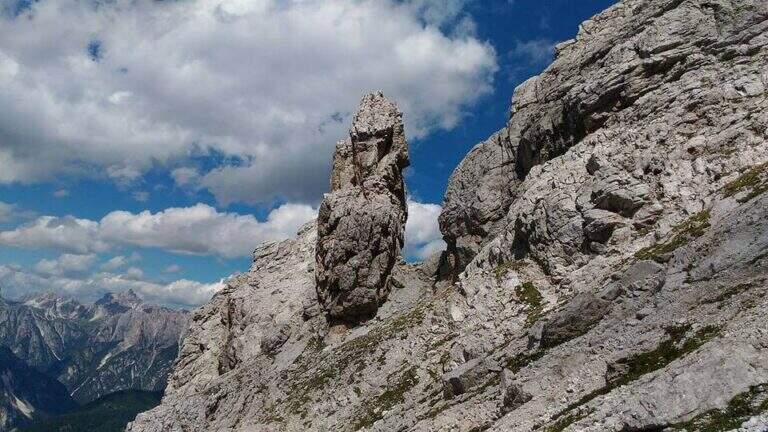
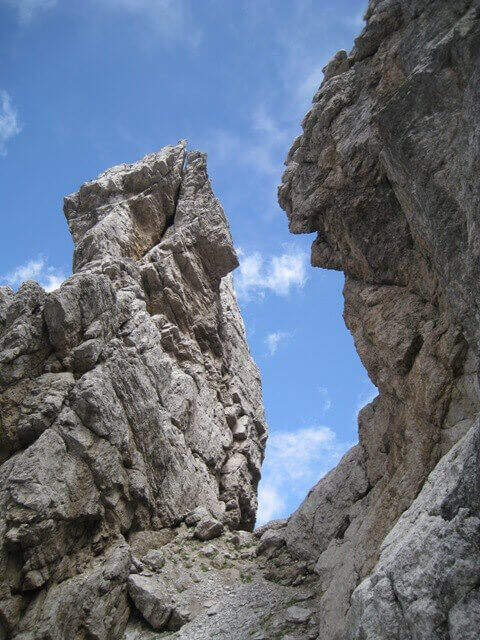
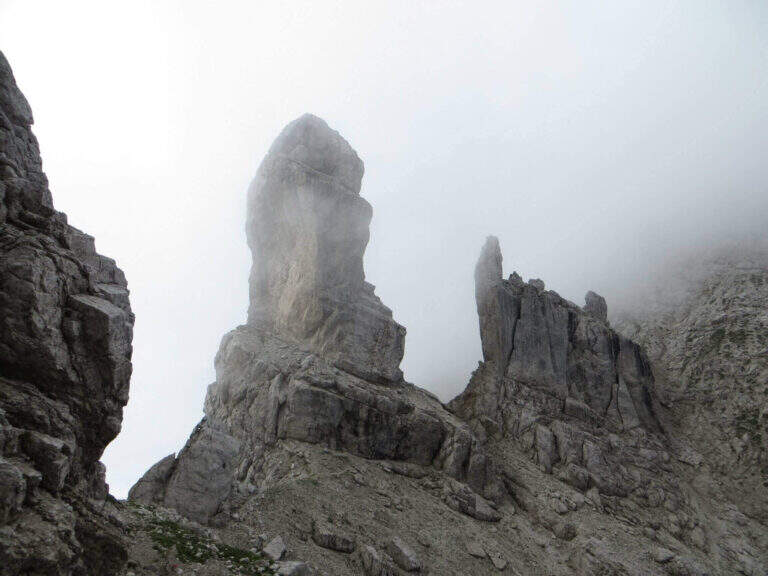
    From the end the parete south of the Ciareido (leaving behind the spire called « Il Pupo») in a very beautiful environment, descending towards the refuge. At a crossroads, you can go right to the Rifugio Baion-Boni (1828 m, 45' from the end), or continue bypassing the Ciareido to the Rifugio Ciareido dell' then go back to the parking lot (1h 15' from the end, 3h 45' overall).

    ▲To match

    Nearby, challenging, the Sentiero Attrezzato degli Alpini that climbs to Forcella Jau Tana: easy in the equipped but of strong character in those not protected, to reserve to experienced hikers.

    ▲Gallery
    Technical data
    • DifficultyModerately Hard
    • RegionVeneto
    • ProvinceBelluno
    • GroupMarmarole
    • Approach1h
    • Fully equipped1h 30'
    • Ring itinerary4h
    • Level difference100 m
    • Route difference550 m
    • Maximum2298 m
    • Length8,7 km
  • Ferrata di Valdaora alla Cima di Colli Alti

    Ferrata di Valdaora alla Cima di Colli Alti

    Vie Ferrate › Trentino-Alto Adige › Bolzano
    Ferrata di Valdaora alla Cima di Colli Alti

    La Ferrata di Valdaora (Olanger Klettersteig) at the Cima di Colli Alti is an easy route that offers an alternative to the normal route to climb this panoramic top above the Val di Braies. The route is long and with good difference in altitude but without any technical difficulties, suitable for all trained hikers.

    ▲Approach

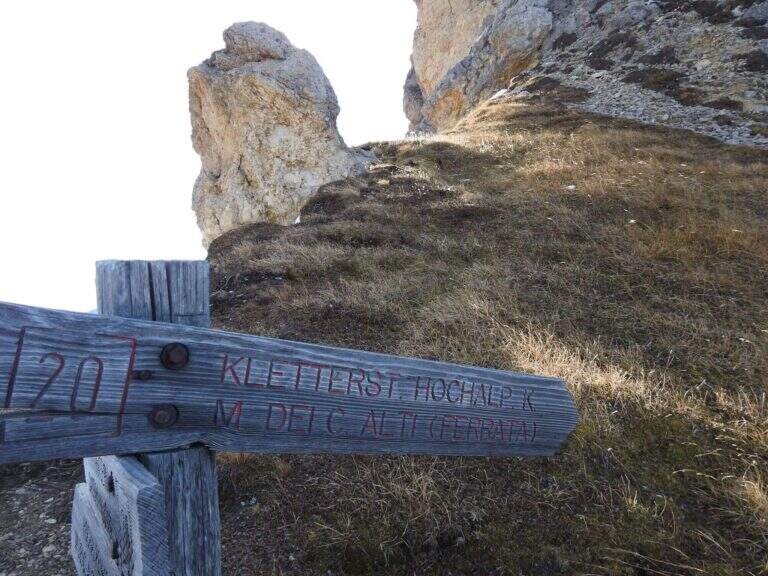
    Starting from the parking lot north of the Lago of Braies, at l'Hotel Lago di Braies (1490 m); between Monguelfo and Villabassa turn south along the Braies Valley. Open road signs on Google Maps. È a long ring: from the lake you climb on the eastern side with the sentiero 20 at constant slope; after about one' hour, at a crossroad, you hold the 20 (indications « Pra Medals of Vacche») while the sentiero 61 on the left & the normal way back. Continue più steep up to a panoramic fork on the Val Pusteria (2140 m) with directions to the ferrata; exit from the forest, after a climb a po' exposed on a grassy path then rocky, you reach the first ropes (2h 30' from the start).

    ▲The path

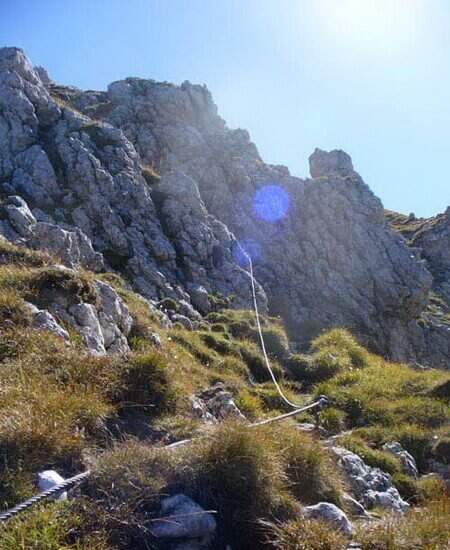
    The ferrata è technically easy and takes place on small rocks, stretches of equipped path and a couple of vertical jumps followed by easy walks. Developing on the cross north, the può soil; be wet or snowy and the equipment helps in the più traits; exposed. It rises between sphas and grass, then più steep on rocks towards the north wall of Kaserkopf; a pair of diagonal strokes and a single well-dressed vertical tract precede the key pass, a right traverse that bypasses an exposed edge, well-dressed and short. Equipment ends just before the summit of the Kaserkopf (2414 m, 30' from the attack, 3h total); on a half-coast path on the south side you will reach the cross of the Cima of Colli Alti (2542 m, 3h 30' total).

    ▲Character and difficulty

    Easy way, ideal for those who want a more varied alternative to the normal way; the commitment lies above all in the length and the difference in altitude. Level difference in ferrata 140 m, total over 1000 m, maximum altitude 2542 m, development 9.1 km.

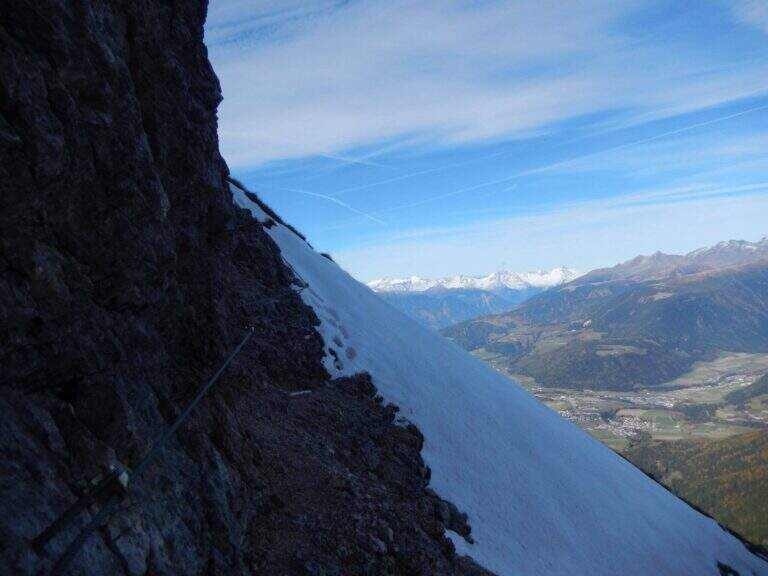
    ⚠ Developing on the north side, at the beginning of the season the route can be wet or snowy: useful attention and an assessment of the conditions.
    ▲Discipline

    We go down normal way: from the southern meadows of the Cima di Colli Alti follow the red signs with the indications of the path 61A and then 61, up to the junction of ' gone and then back to Lake Braies (2h 30' from the summit, 6h totali).

    ▲To match

    In the Puster-Aurina area: la Ferrata Piz de Peres and, above Campo Tures, the Ferrata Speikboden.

    ▲Gallery
    Technical data
    • DifficultyEasy
    • RegionTrentino-Alto Adige
    • GroupDolomiti di Braies
    • Approach2:30 h
    • Ferrata1:00 h
    • Itinerary (a/r)6:00 h
    • Hardware level difference140 m
    • Route difference1053 m
    • Max2542 m
    • Length9,1 Km
  • Ferrata del Vajo Stretto

    Ferrata del Vajo Stretto

    Vie Ferrate › Trentino-Alto Adige › Trento
    Ferrata del Vajo Stretto
    Moderately Hard● OpenDescriptionComplexityMapsGallery

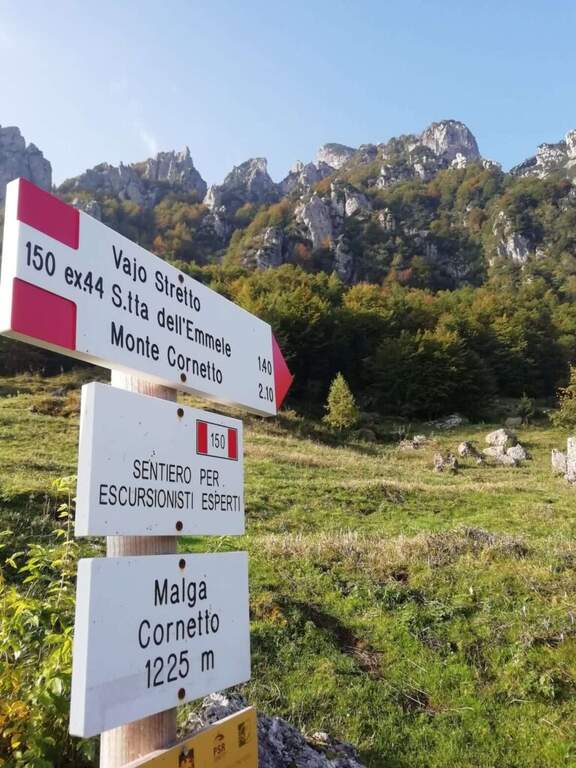
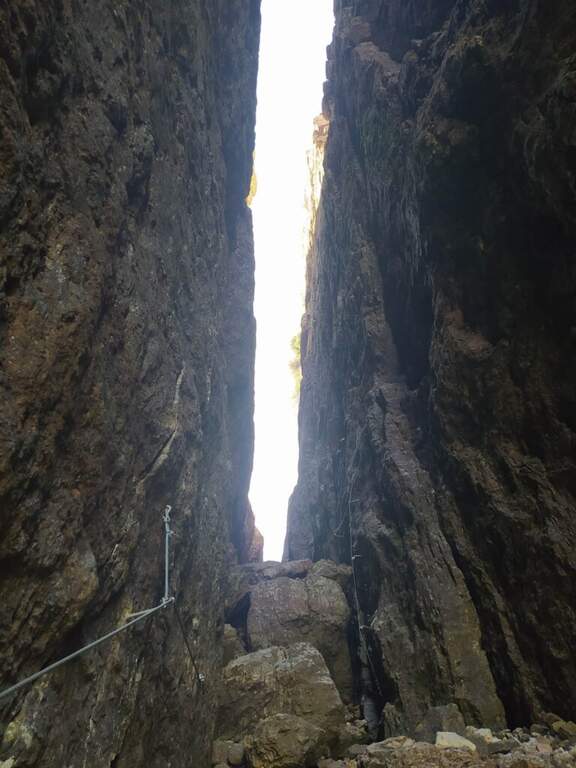
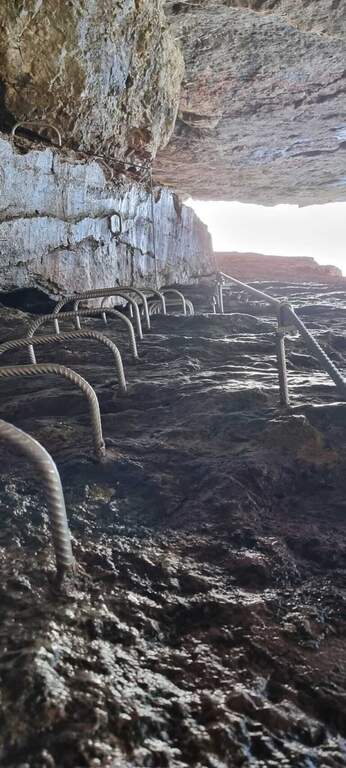
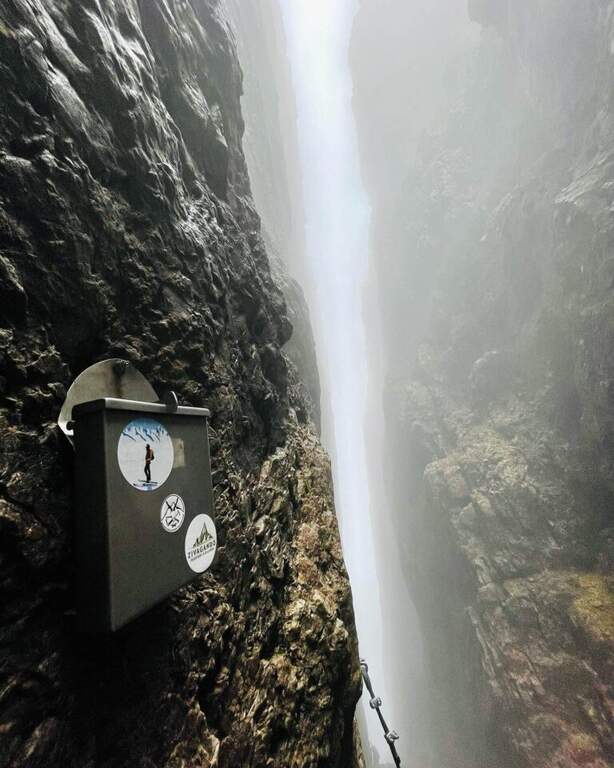
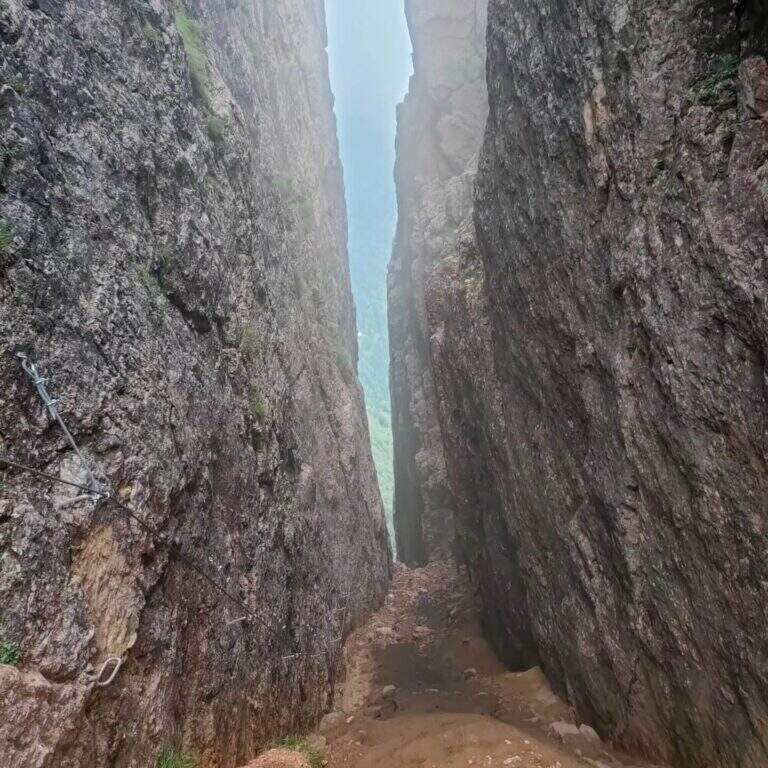
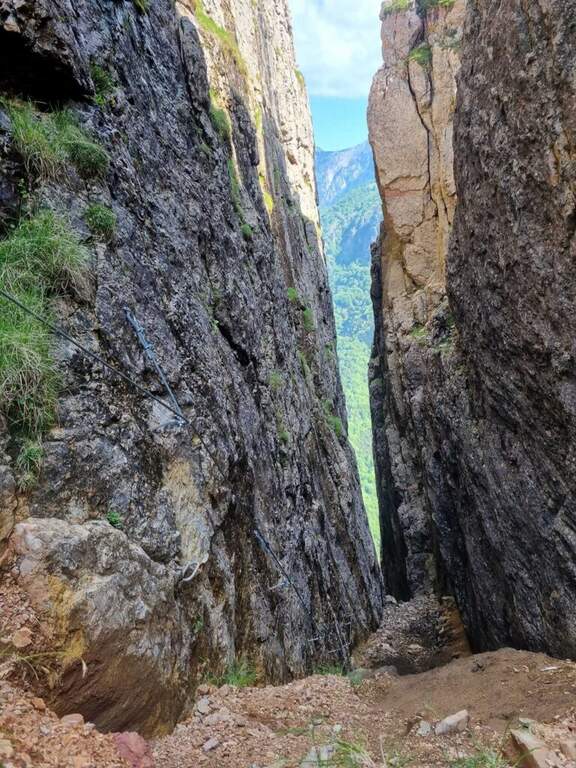
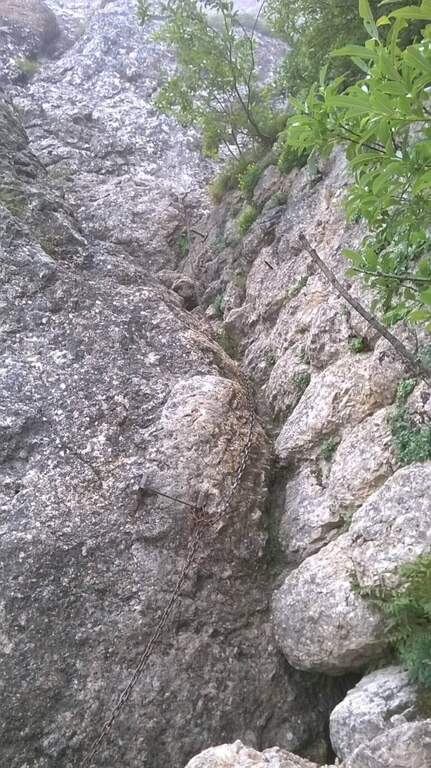
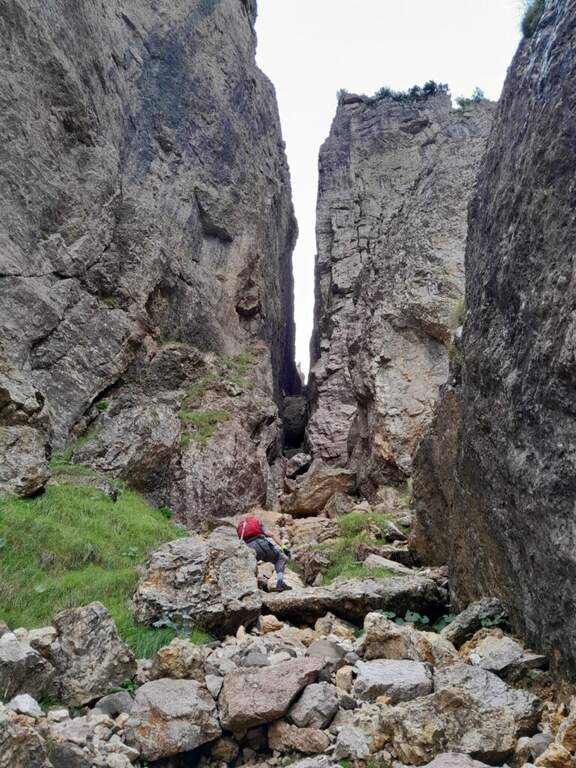
    La Ferrata del Vajo Stretto rises the eastern wall of the Monte Cornetto, in the small Dolomites on the border between Trento and Vicenza. It stands a narrow rocky streak with difficulty and agrave; never significant, in a very beautiful environment; combined with the summit of Cornetto becomes a long and fulfilling ring.

    ▲Approach

    Starting from Malga Cornetto (1225 m), on the road connecting Pian delle Fugazze to the Pasubio Shrine (large paid parking). Open road signs on Google Maps. Follow the sentiero 150 (ex 44) first on meadows then in the forest, with CAI signs and written on stones, up to ' attack ( approximately 40' from parking ).

    ▲The path

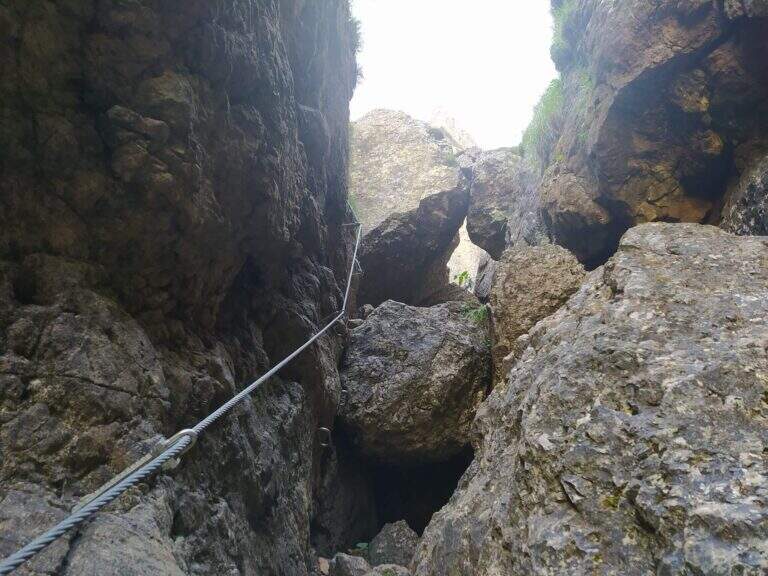
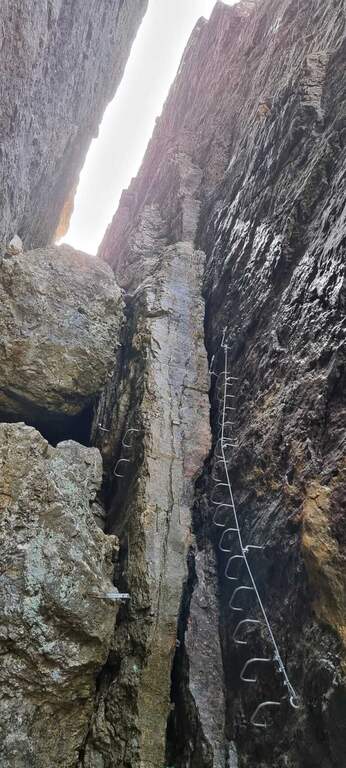
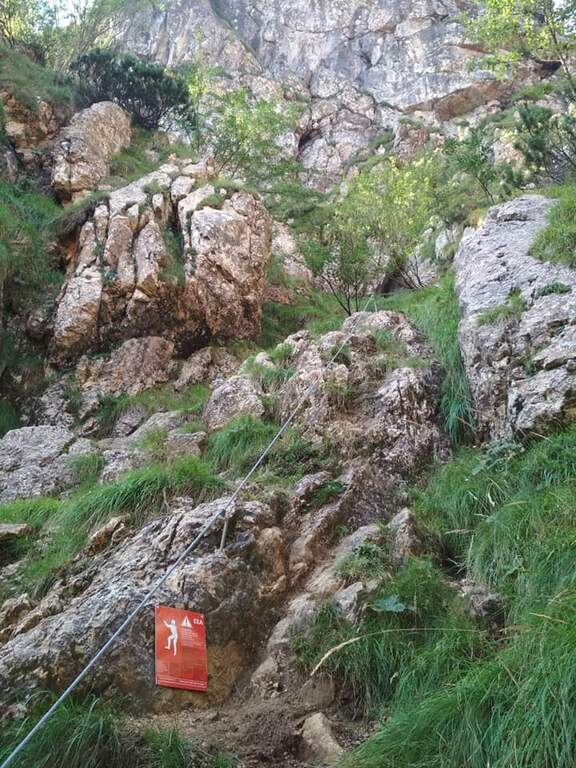
    Dal cartello rosso si salgono facili roccette verso l'evidente canalone, alternando risalti e cenge erbose fino all'ingresso del vajo. Le attrezzature si interrompono e ci si sposta sul lato sinistro per risalire il canale su roccia appigliata e qualche cambra, verso un caratteristico tunnel naturale tra massi incastrati. Oltre il tunnel si prosegue nella fenditura tra incombenti pareti, alternando tratti di sentiero a tratti assicurati con passi di arrampicata mai difficili e diversi passaggi in camino tra rocce incastrate. Un passaggio più verticale (molte cambre) e un traverso esposto a sinistra, oltre un grande masso spesso umido, portano al libro firme; si sale infine la rampa sul lato destro e si esce dal Vajo Stretto, dove termina la ferrata (circa 1550 m, 1h dall'attacco, 1h 45' dal parcheggio). All'intersezione col Vajo Cassa da Morto si tiene la sinistra in salita fino a un ghiaione e alla Selletta dell'Emmele (1675 m, 20'); consigliato proseguire per la vecchia mulattiera militare alla Forcella del Cornetto (1825 m) e, per il sentiero attrezzato della via normale (esposto ma non difficile, tratti con catena), alla croce del Monte Cornetto (1899 m, circa 3h dal parcheggio).

    ▲Character and difficulty

    Itinerary of difficulty contained but of great atmosphere, between fireplaces and framed stones. Overall difference 600 m, maximum altitude 1899 m, development 8.6 km.

    ⚠ Helmet absolutely necessary for the danger of falling stones along the vajo. Attention to the slippery bottom of some sections; bulky backpacks create problems in the most cramped points, better a small backpack or connect it to the harness with a fectuccia.
    ▲Discipline

    You go down backwards the path equipped with summit up to path 149; it is recommended to continue south halfway towards the Baffelan and the Campogrosso Pass, between never difficult stretches and war tunnels, up to the Passo degli Onari (1760 m) and the Passo del Baffelan. From here the sentiero 177 (Boale del Baffelan) descends a canalone (attention, with a vertical jump protected by chain) to the Road of the King (sentiero 175) which reports to Malga Cornetto (3h from the summit, 6h totali).

    ▲To match

    The Cornetto area is rich in equipped itineraries: towards Carega la Ferrata del Vajo Scuro e la Ferrata Campalani at Carega.

    ▲Gallery
    Technical data
    • DifficultyModerately Hard
    • RegionTrentino-Alto Adige
    • GroupSmall Dolomites
    • Approach0:40 h
    • Ferrata1:00 h
    • Itinerary (a/r)6:00 h
    • Route difference600 m
    • Max1.899 m
    • Length8,6 Km
  • Ferrata Ulassai One

    Ferrata Ulassai One

    Vie Ferrate › Sardinia › Nuoro
    Ferrata Ulassai One
    Moderately Hard● OpenDescriptionComplexityMapsGallery

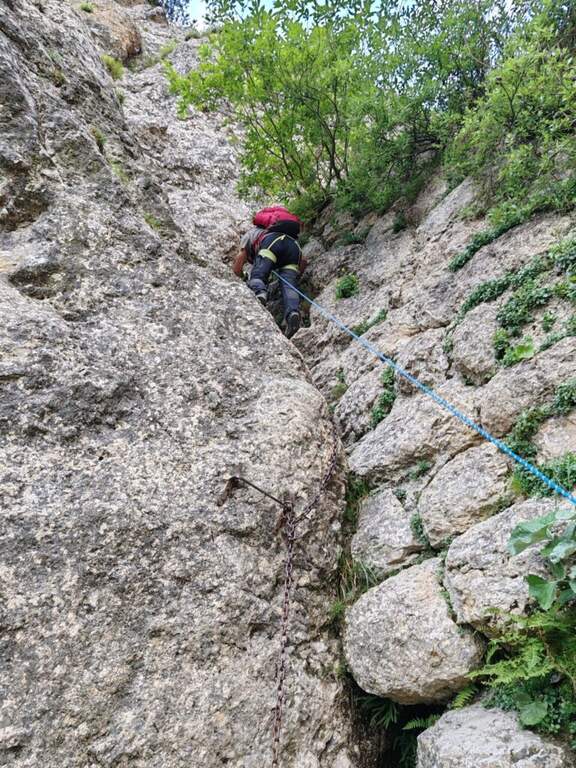
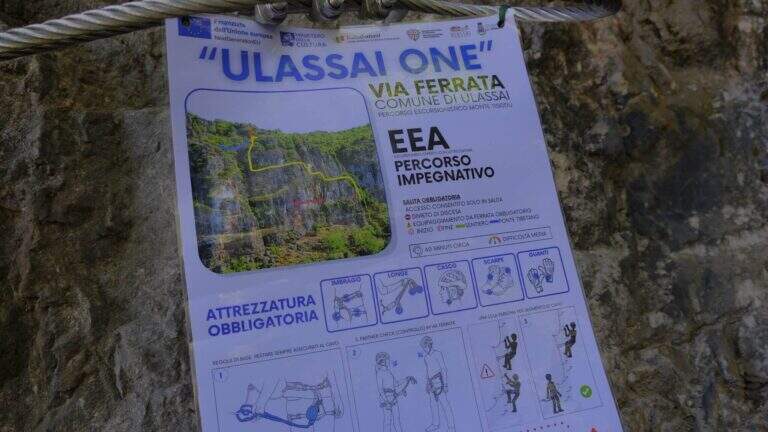
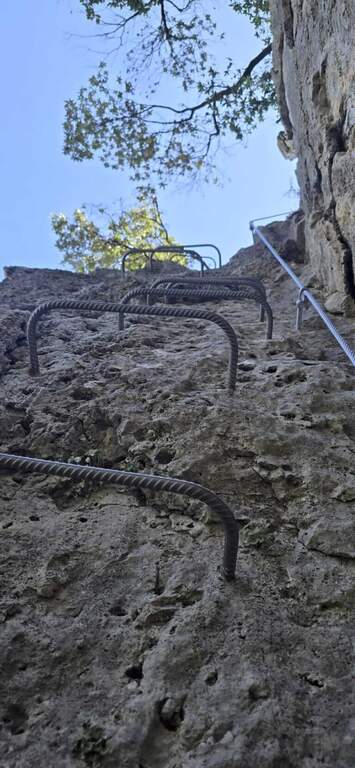
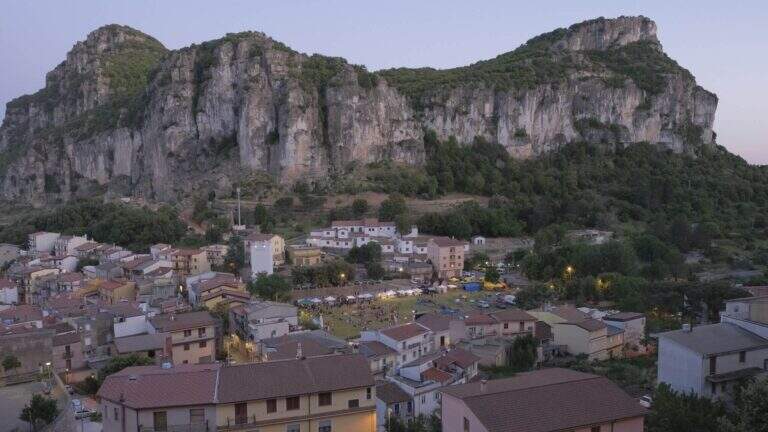
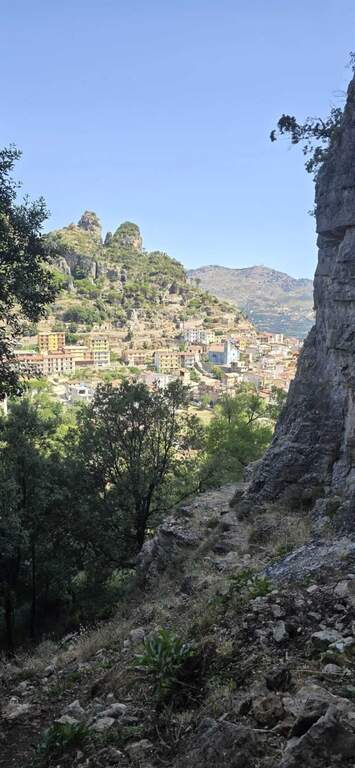
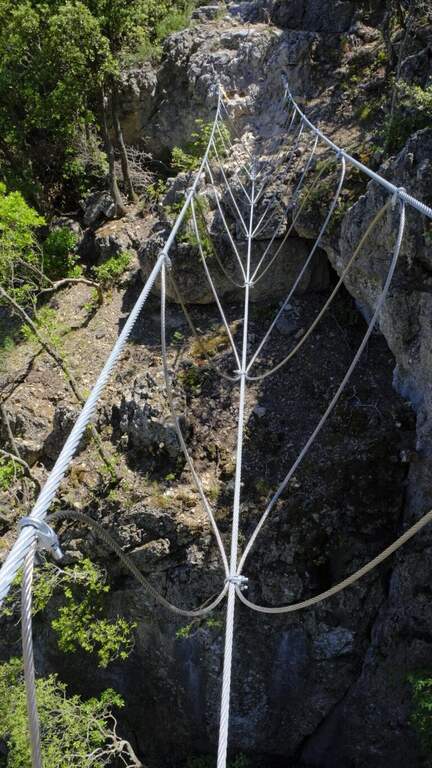
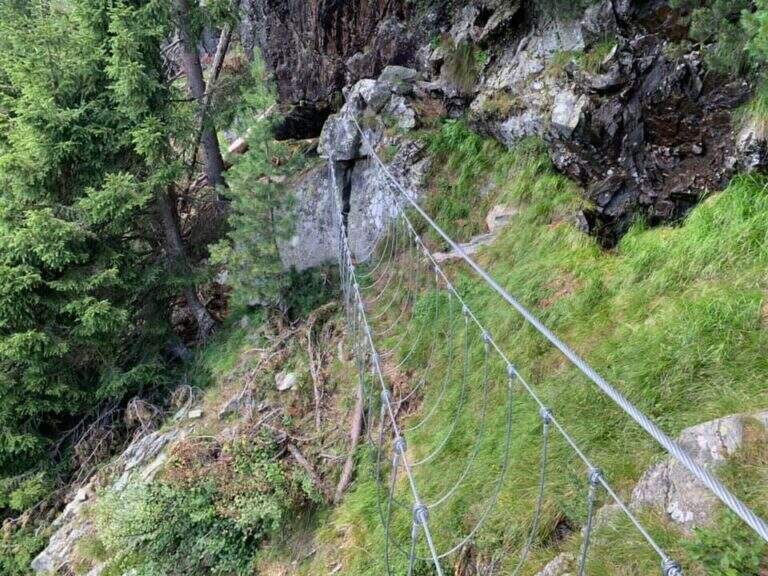
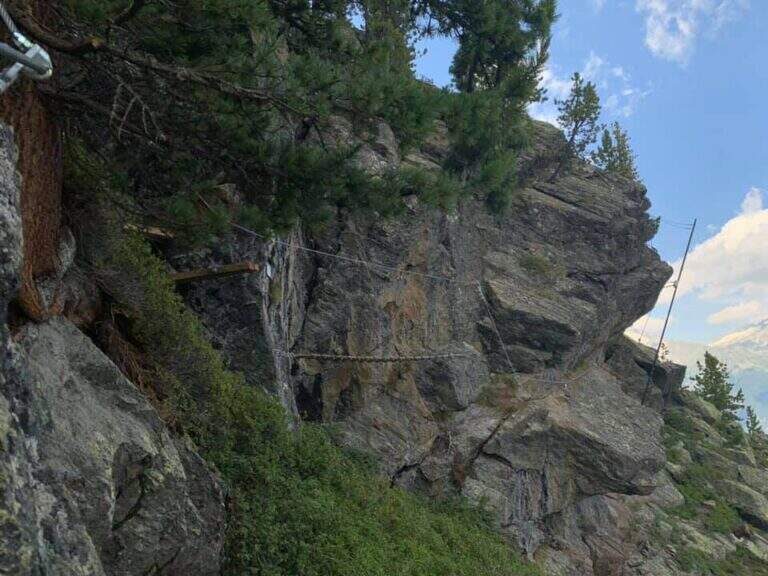
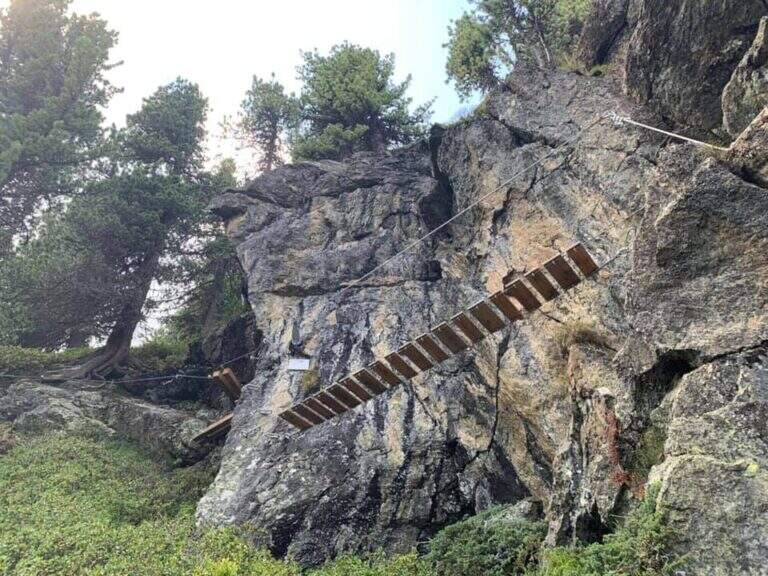
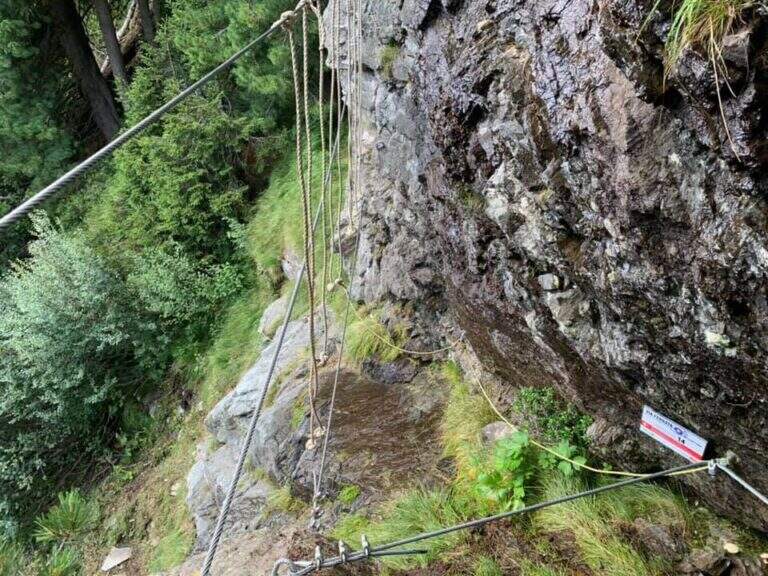
    La Ferrata Ulassai One ` a recent, short and fun way, over the village of Ulassai in Ogliastra. It offers a constant view of the country and stretches exposed mainly horizontal, on beams, in addition to a Tibetan bridge; from the summit; the look reaches the sea.

    ▲Approach

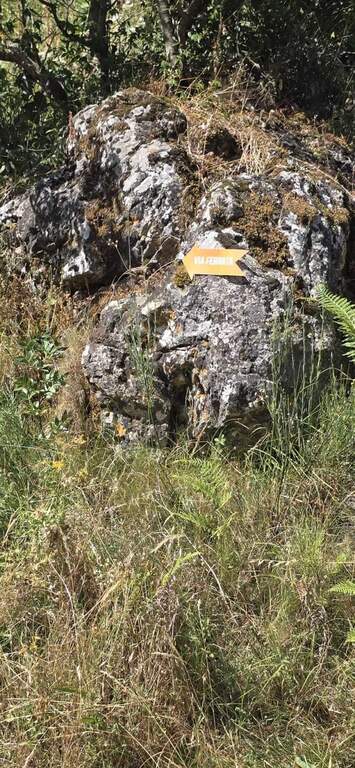
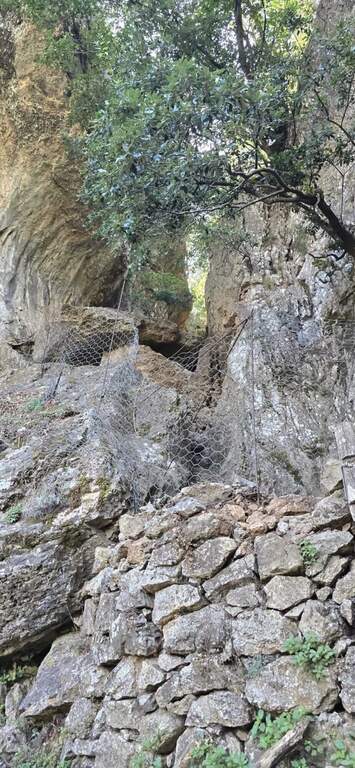
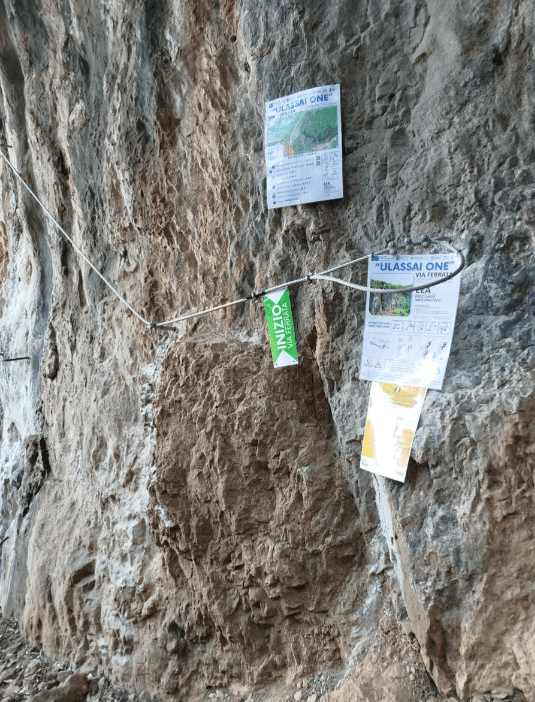
    From the village of Ulassai, parking between the playground and the kiosk-bar. Open road signs on Google Maps. You take the road behind the kiosk and in a couple of minutes you enter a grove, following the orange arrows; you climb up to a channel between the rocky walls, you pass a small fence (open with già ropes; present) and you reach l' attack on the left (10' from the parking lot).

    ▲The path

    Si inizia con un traverso verso sinistra che esce dal canale, poi una scala staffata sale in verticale una decina di metri fino a una cengia da cui si apre il panorama su Ulassai. Si prosegue arrampicando facilmente su roccia ricca di appigli, un traverso diagonale porta a uno spigolo esposto, quindi un altro traverso e una parete in salita diagonale (con appoggi e cambre dove servono) conducono a una cengia. Una breve verticale staffata porta al ponte tibetano, lungo circa 10 metri e stabile; oltrepassatolo si sale ancora a destra su roccia ben appigliata e, con un'ultima scala staffata verticale, si raggiunge la sommità e la fine della ferrata, con vista fino al mare (1h dall'attacco, 1h 10' dal parcheggio).

    ▲Character and difficulty

    Not particularly difficult, with some exposed points and a Tibetan bridge; short approach and duration of about an hour. Inaugurated in 2025, it develops mostly in the shade and lends itself well even on summer days. Maximum altitude 830 m, development 1 km.

    ⚠ In the attack channel and downhill some service ropes are worn: pay attention in the supports.
    ▲Discipline

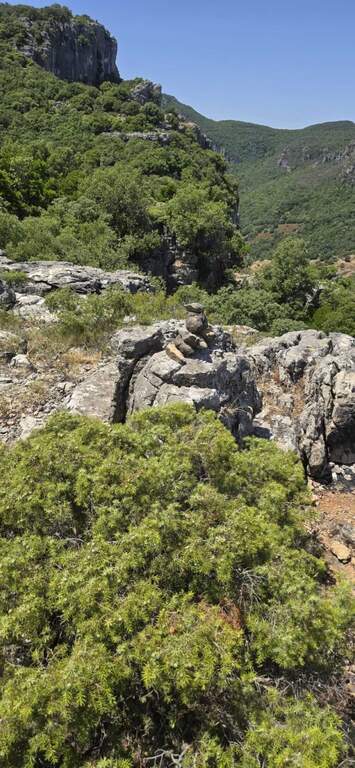
    Dal termine si tiene la destra seguendo gli ometti di pietra lungo un percorso che chiude l'anello: in breve si raggiunge il sentiero nel boschetto e l'apice del canale dell'attacco; si scende il canale aiutati da alcune corde, tra grandi rocce, gradoni e un suggestivo camino, fino all'attacco (20' dalla fine) e poi a ritroso al parcheggio (1h 40' totali).

    ▲Gallery
    Technical data
    • DifficultyModerately Hard
    • RegionSardinia
    • GroupOgliastra
    • Approach0:10 h
    • Ferrata1:00 h
    • Itinerary (a/r)1:45 h
    • Route difference120 m
    • Max830 m
    • Length1 Km
  • Ferrata Speikboden

    Ferrata Speikboden

    Vie Ferrate › Trentino-Alto Adige › Bolzano
    Ferrata Speikboden
    Moderately Hard● OpenDescriptionComplexityMapsGallery

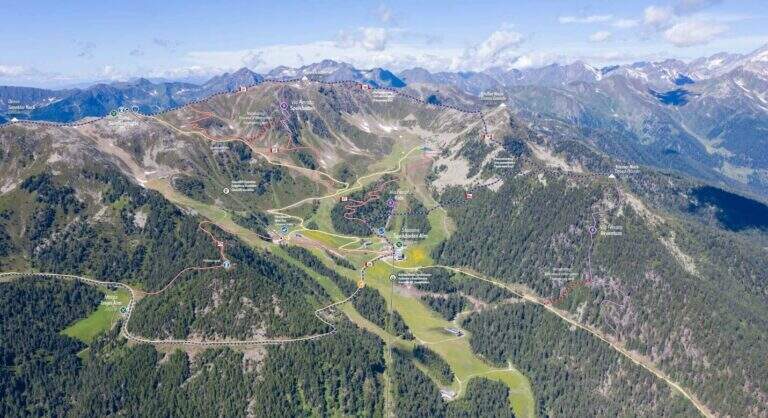
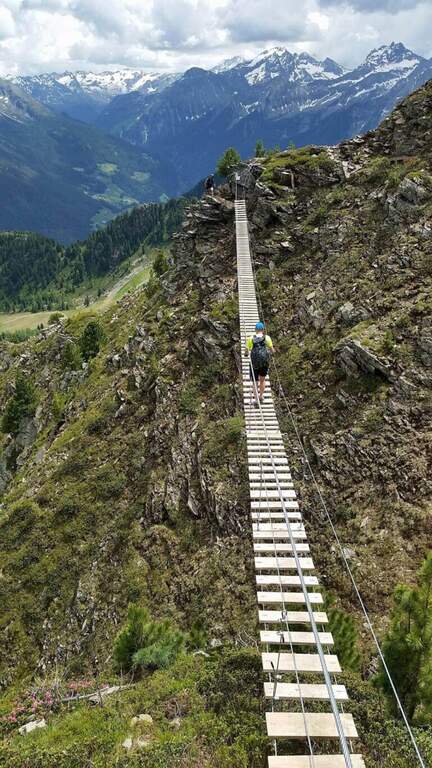
    La Ferrata Speikboden ` a recent route that climbs to the top of Speikboden, above Campo Tures in Valle Aurina. È of media difficoltà , very panoramic, with ring return and two fun suspended bridges; the ascent does not have difficulties; relevant techniques and, for those who ` accustomed to challenging, può routes; be climbing almost entirely.

    ▲Approach

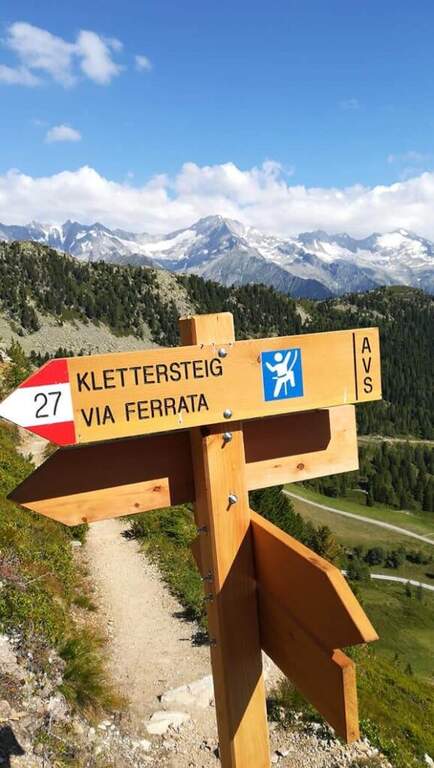
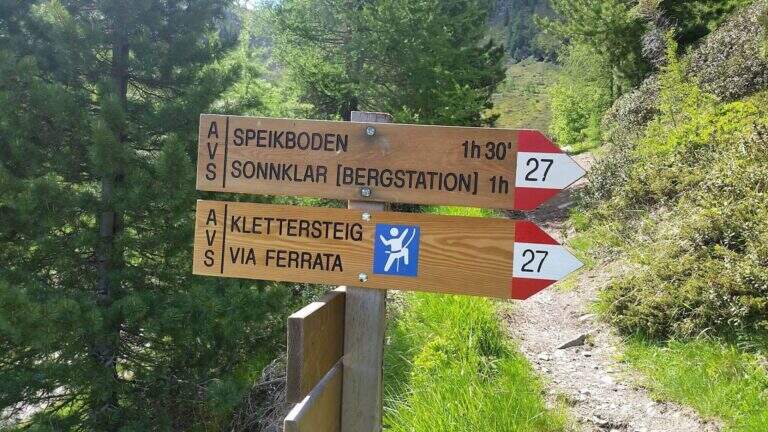
    Starting point is the valley station of the cable car of Costa di Tures, aboard the SS 621 in Valle Aurina. Open road signs on Google Maps. With the cable car you climb the first trunk up to Malga Speikboden (about 1970 m); from here you follow up to the southwest the path 27 with the first indications for the ferrata, up to a crossroads marked to the right where you leave the 27 and you reach l' attack (45' from the cable car).

    ▲The path

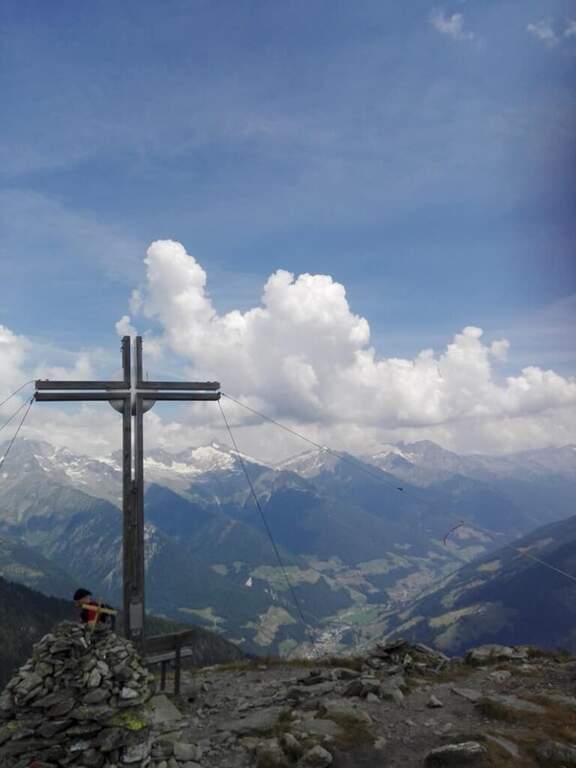
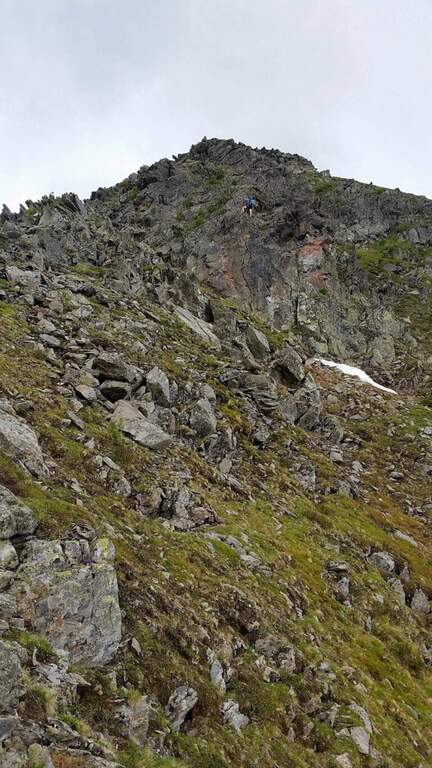
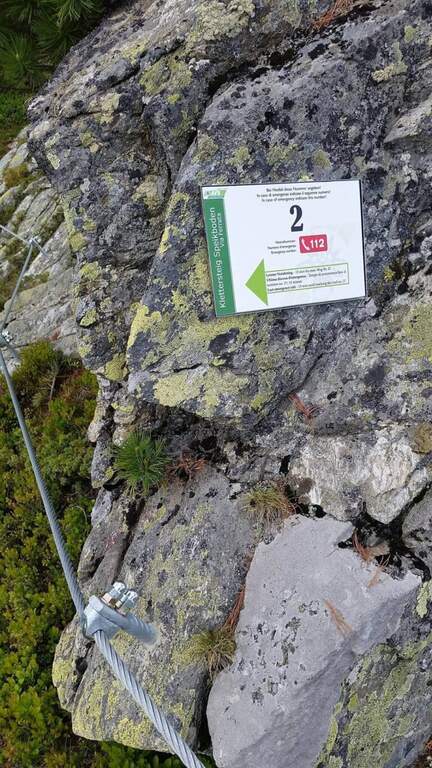
    Next to a wooden bench, near the green sign, the cable sticks on a diagonal ramp to the right; a first non-hard vertical leap and some small rocks precede a long stretch equipped with a connection without difficulty and agrave;. You reach the first suspension bridge at 4 ropee, stable but long and adrenaline, and shortly after a second bridge, still più long but with solid wooden boards, which closes the first section. After a stretch of path, the second section attacks vertically (arrampical), bends right onto some paths, continues on easy rocks up to a vertical passage of greater commitment, a short diagonal stretch and a last vertical tear; some small rocks close the equipment (2480 m, 1h 30' from' ) attack and for the path you will soon reach the peak of the Speikboden (2517 m).

    ▲Character and difficulty

    Average difficulty, without significant technical steps, made fun of the two suspended bridges and beautiful views of the Aurina Valley. It is part of a district that since summer 2021 also offers a Ferrata Kids (facial, for children) and a Ferrata Avventura (modern, with bridges, networks, stairs and passages on logs).

    ▲Period and safety

    GPS tracks (GPX and KMZ) are available. The return is ringed in both variants of descent.

    ▲Discipline

    Dalla croce dello Speikboden due opzioni, entrambe ad anello: verso sud si riprende il sentiero 27 in discesa fino a un bivio, da cui si torna alla funivia (eventualmente passando per Malga Sonnklar e il Dosso Sonnklar sul sentiero 26; 3h 30' totali); verso nord, tenendo la destra, si segue il sentiero 18 in quota fino al Dosso Grande (2400 m) e poi il 18A in discesa verso la funivia (2h 30' totali).

    ▲To match

    Complete the ferrates of the Aurina Valley, where the other two are for experts: the athletics Pursteinwand e la Fireplace / Steel at Monte Nero. Near Campo Tures the difficult Hans Kammerlander; towards Brunico Ferrata di Valdaora e la Piz de Peres; on the north side of the Odleshigh street Günther Messner e la Sass de Putia; towards Val Passiria la la Ferrata delle Cascate di Stuller.

    ▲Gallery
    Technical data
    • DifficultyModerately Hard
    • RegionTrentino-Alto Adige
    • GroupAurine Alps
    • Approach0:45 h
    • Ferrata1:30 h
    • Itinerary (a/r)3:30 h
    • Hardware level difference277 m
    • Route difference557 m
    • Max2517 m
    • Length6 Km
  • Ferrata Sora el Sass

    Ferrata Sora el Sass

    Vie Ferrate › Veneto › Belluno
    Ferrata Sora el Sass

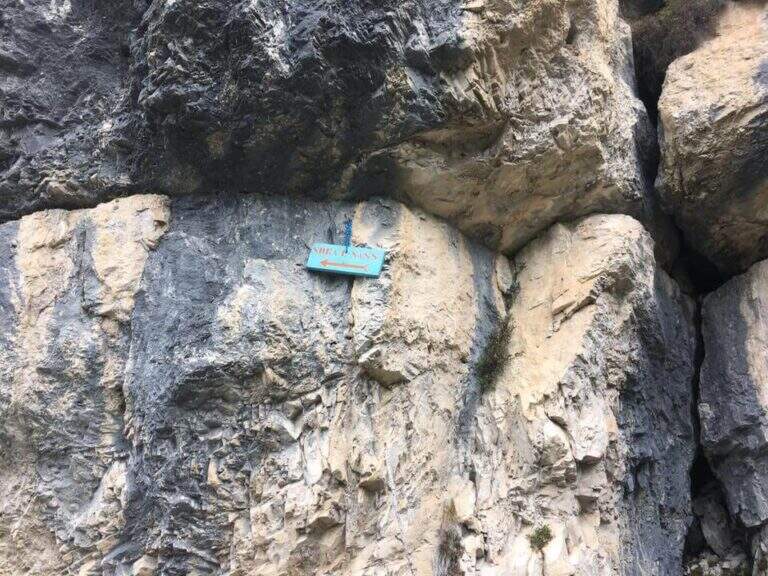
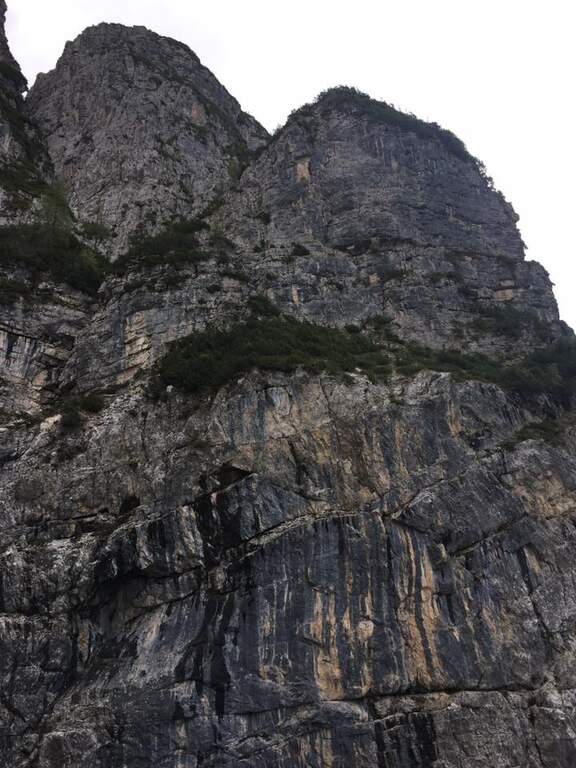
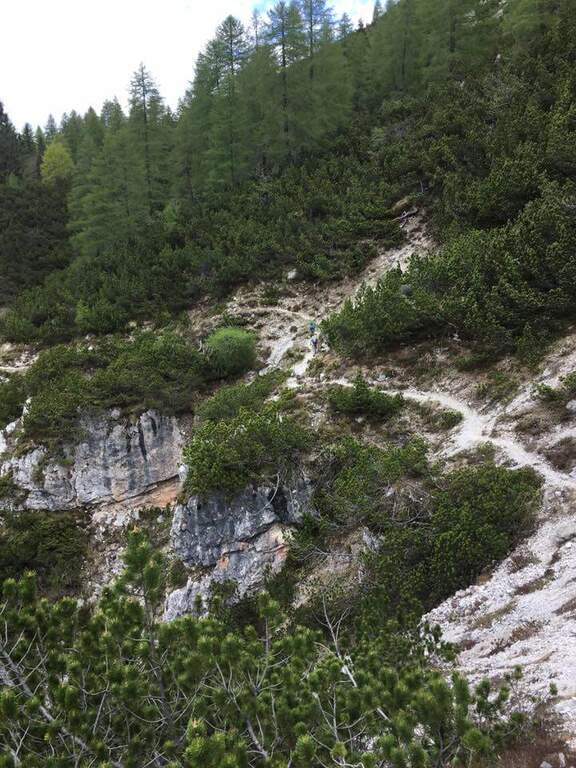
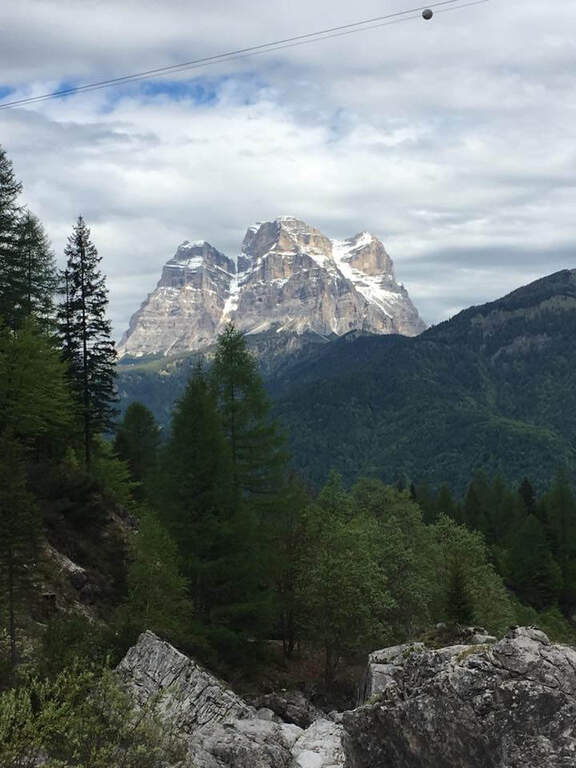
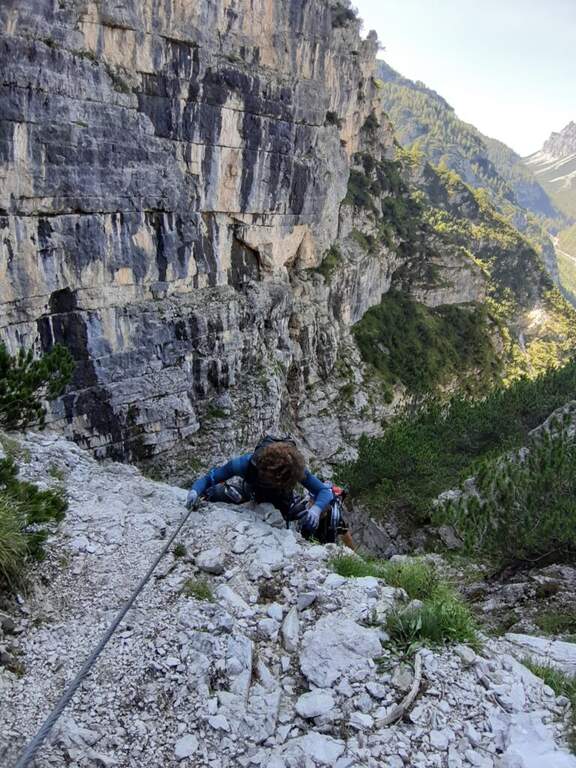
    La Ferrata at the Sora el Sas, near the Spitz of Mezzodì, è a facile street divided into two short sections: the first goes up a canalone, the second goes up to a panoramic pulpit called Belvedere. Adapted to the neophytes, it offers beautiful views of the Dolomites of Bellunese.

    ▲Approach

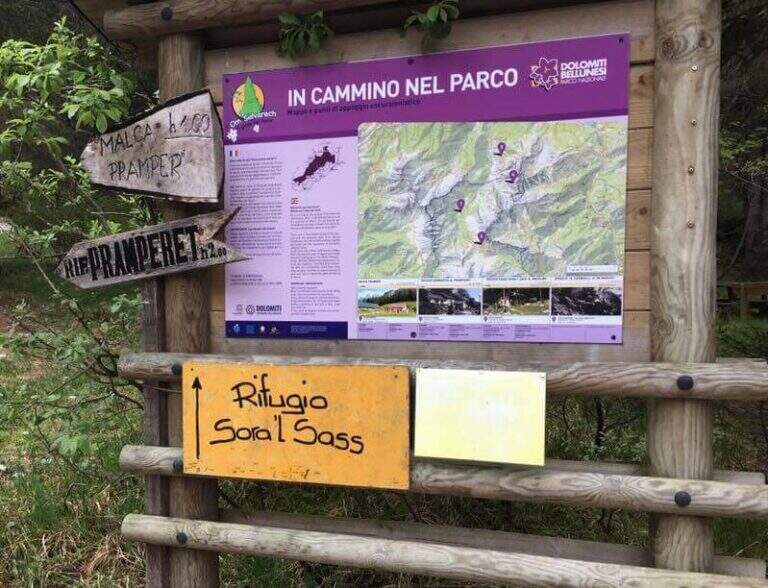
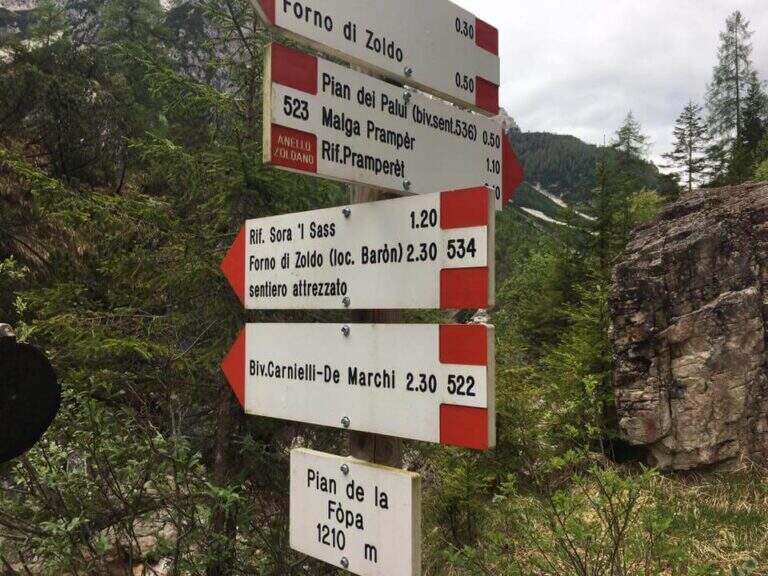
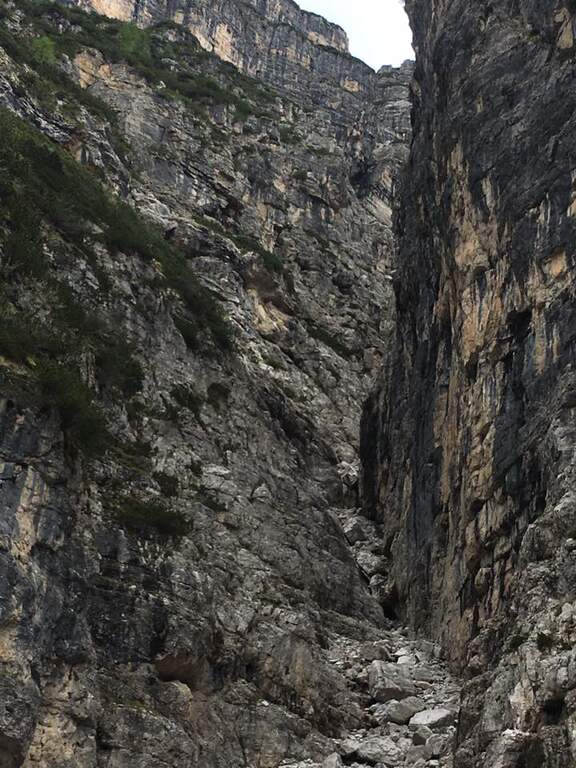
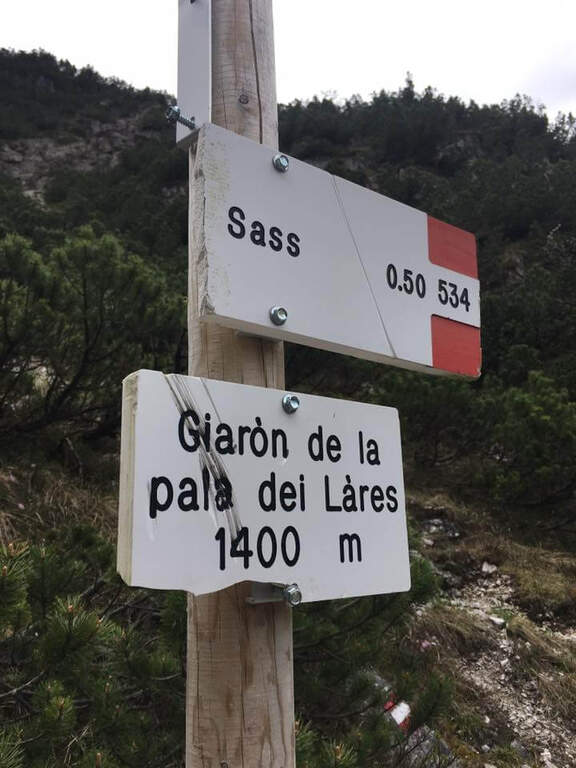
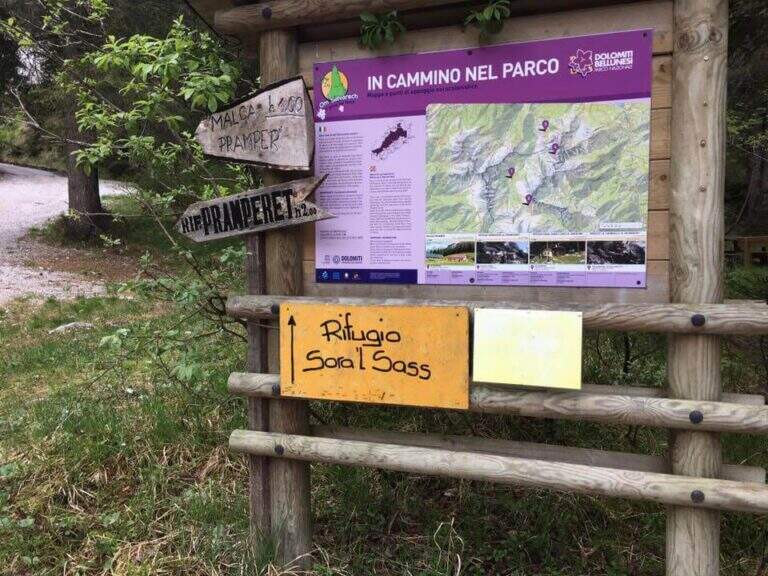
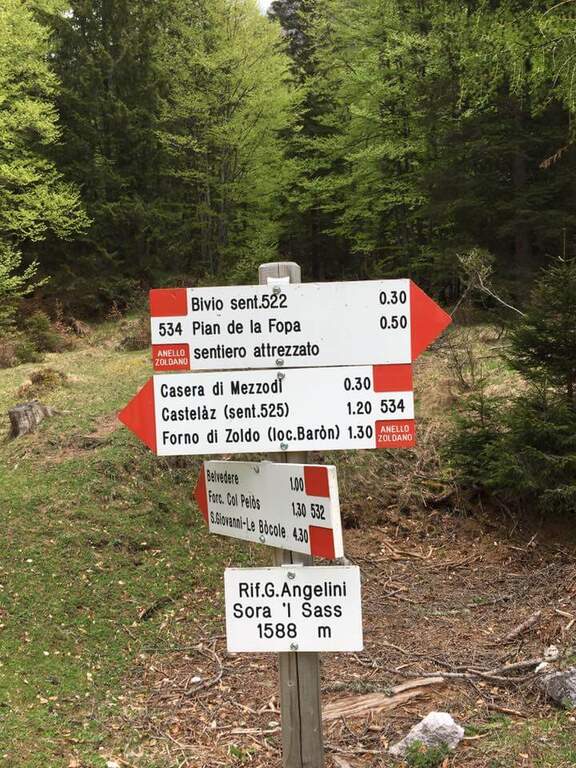
    Starting point parking in the village of Pian de la Fopa, in Val Pramper south of Forni di Zoldo (Belluno): in the village follow the signs south towards the Rifugio Pramperet, then at a crossroad take the secondary road (in part dirt road but in good condition) to the Rifugio Sora el Sass, for about 4.5 km until the parking lot. Open road signs on Google Maps. Follow the forest and then the CAI path 534 for the refuge Sora el Sass towards the walls of the Spitz of Mezzodì at a crossroads you leave 522 (to the Bivacco Carnielli) holding the left towards a shady canalone, up to the first equipment (45' from the parking lot).
    ▲The path

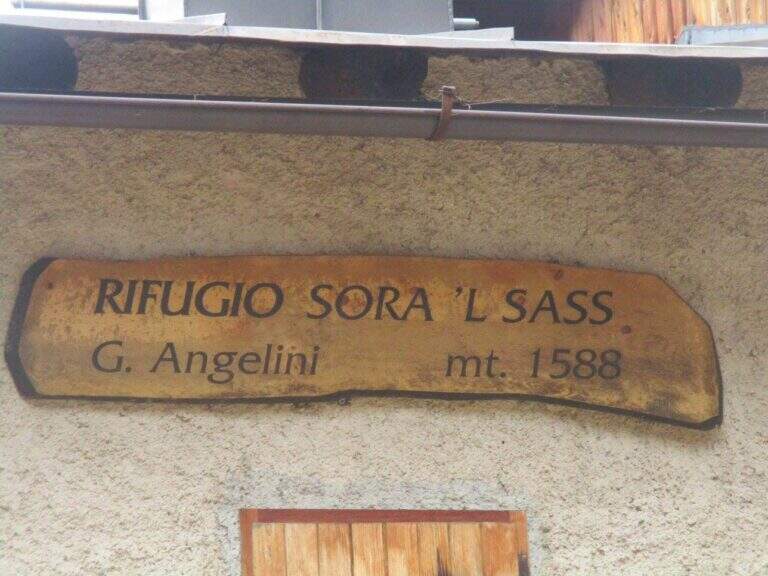
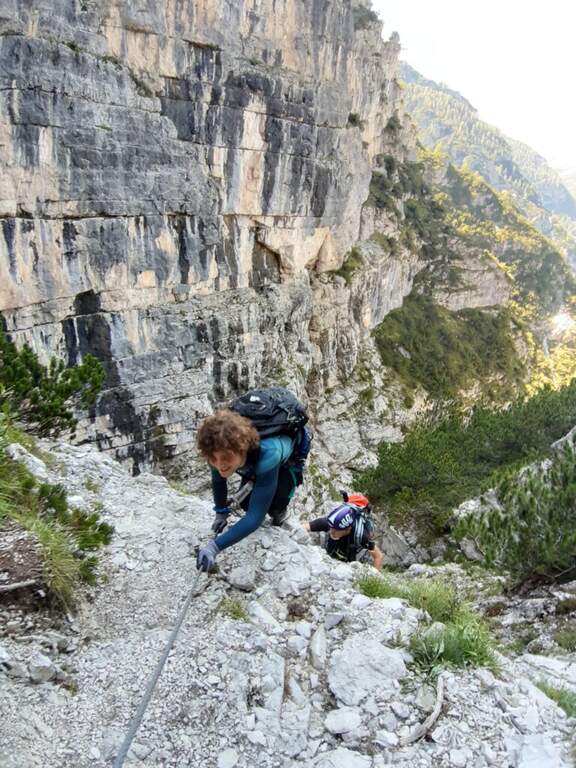
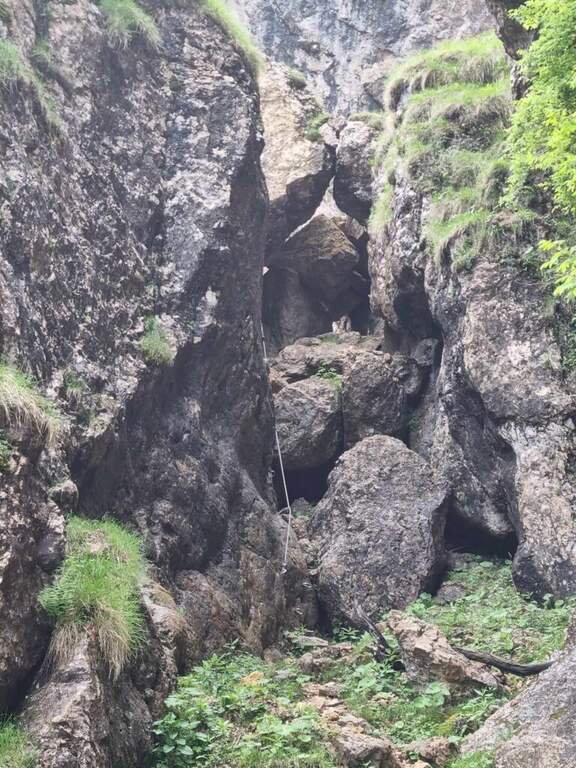
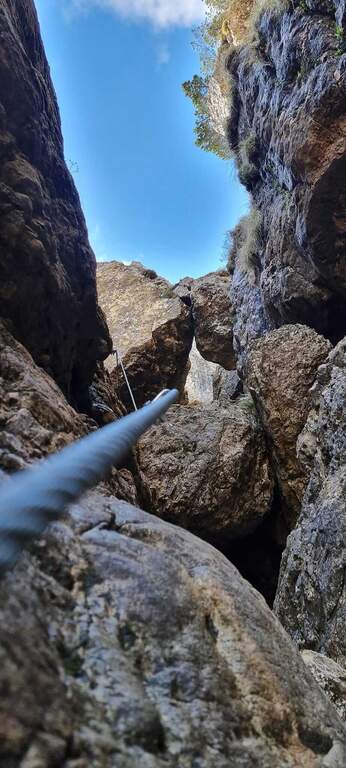
    La first section esce dal canalone con una rampa a sinistra priva di difficoltà e un facile canalino gradonato (attrezzatura a destra, appigli abbondanti a sinistra); si piega a destra per pochi metri e poi su comoda cengia a sinistra, si aggira uno spigolo e si salgono roccette ben appigliate, arrampicabili (attenzione al fondo di ghiaino instabile, rischio di smuovere detriti). Una facile placchetta e una cengia a sinistra chiudono le attrezzature (20' dall'attacco); su comodo sentiero si raggiunge il Rifugio Angelini (Sora el Sass, 1588 m, 1h 30' dal parcheggio). Da qui si può rientrare oppure proseguire verso il Belvedere col CAI 532: a un bivio si sale a destra per il sentiero attrezzato (per scendere poi dalla via normale), superando un balzo verticale ben appigliato, una cengia, un canalino e un balzo più marcato, fino al Belvedere, punto panoramico sui gruppi bellunesi con il Pelmo in evidenza (1965 m, 45' dal rifugio, 2h 15' totali).

    ▲Character and difficulty

    Easy itinerary, ideal for neophytes and families.

    ⚠ At the beginning of the season the canalone can still be snowed: it is useful to have the ramps. The equipped sections are quite dirty with debris material: pay close attention not to move stones.

    ▲Period and safety

    An official GPS track is not available for this route. The map of the 4Land Dolomites is useful.

    ▲Discipline

    Dal Belvedere si scende sul lato nord per sentiero facile, si aggira il Belvedere e si rientra al Rifugio Angelini (45' dalla vetta); per chiudere l'anello si prosegue verso nord sul CAI 534 verso la Casera di Mezzodì, scendendo il ripido Vallon Piccolo a tornanti, poi sul 525 fino alla forestale e in salita al parcheggio (1h 30' dal Rifugio Angelini, 4h 30' totali).

    ▲To match

    The way is in the Pramper group. To the west the Civetta and the Moiazza with the difficult Constantine, Titus, Alleghesi e Yellow Flames; to the south Ferrata della Memoria al Vajont e la Val Gallina; northwards Vandal and the impegnative Ferrata at the Glacier of Antelaoto Agordo Alpine star at Agner.

    ▲Gallery
    Technical data
    • DifficultyEasy
    • RegionVeneto
    • GroupPrampering
    • Approach0:45 h
    • Ferrata1:15 h
    • Itinerary (a/r)4:30 h
    • Hardware level difference200 m
    • Route difference764 m
    • Max1964 m
    • Length6 Km
  • Ferrata del Somator (Monte Biaena)

    Ferrata del Somator (Monte Biaena)

    Vie Ferrate › Trentino-Alto Adige › Trento
    Ferrata del Somator (Monte Biaena)

    La Somator Ferrata ` a pleasant ring itinerary at Monte Biaena, in the Gardesane Prealps between Rovereto and Riva del Garda. È a facile street: some elementary rocky ridges are equipped with brackets and cambres to facilitate hikers, and l' environment with lake view makes it an ideal destination for families.

    ▲Approach

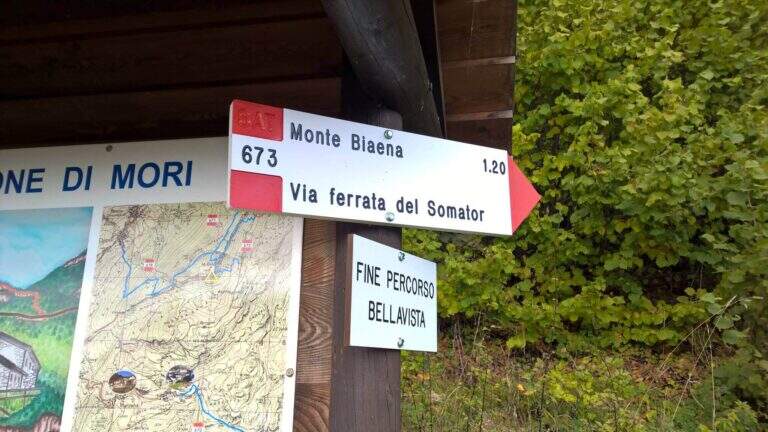
    Starting point is the parking of the Restaurant Pizzeria La Baita, between Ronzo-Chienis and Castellano (Trento). Open road signs on Google Maps. From the parking lot follow the CAI signs 671 on asphalt road to the east; the first crossroad to the left is ignored for the Path Attrezzato de le Laste (which will be the return) and, between the tracks that detach to the right, we start after a few minutes on the path 673, where the Somator Path begins (30' from'auto); wanting, a short deviation on 642 reaches the Malga Somator Refuge.

    ▲The path

    The path always remains quite easy, with some stretches that shrink and become equipped, a couple of easy vertical leaps and a canal. After passing the stretches, continue in view of Mount Biaena, with a beautiful view of the lake (1617 m, 1h 30' from'auto).

    ▲Character and difficulty

    Although known as «ferrata», the climb to Mount Biaena is an easy route, suitable for neophytes and families.

    ▲Period and safety

    GPS tracks (GPX and KMZ) are available; the map of Alto Garda and Valle di Ledro is useful for the area, or Pasubio and Vallagarina 4Land.

    ▲Discipline

    For the return you descend on the east side following the track 671; after about 10' the trail 678 is ignored on the left and continues in the forest with some easy stretches equipped up to a track and at the junction of the ' gone, returning all' car ( approximately 2h 30' totali).

    ▲To match

    Garda offers many similar routes: Ferrata Rio Sallagoni in Castel Drena, la Ferrata Colodri to Arco; on the western side the Susatti a Cima Capi e l'Friendship in Cima Sat; for a higher degree the Marangoni to Mori.

    ▲Gallery
    Technical data
    • DifficultyEasy
    • RegionTrentino-Alto Adige
    • GroupPrealps Gardesane
    • Approach0:30 h
    • Ferrata1:00 h
    • Itinerary (a/r)2:30 h
    • Hardware level difference70 m
    • Route difference315 m
    • Max1617 m
    • Length4,5 Km
  • Ferrata Ferrari al Gramolon

    Ferrata Ferrari al Gramolon

    Vie Ferrate › Veneto › Vicenza
    Ferrata Ferrari al Gramolon

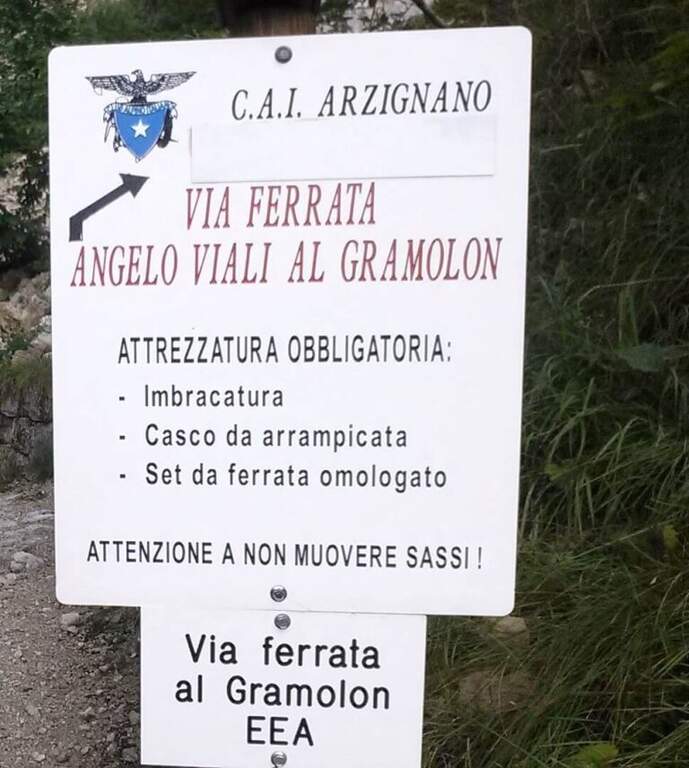
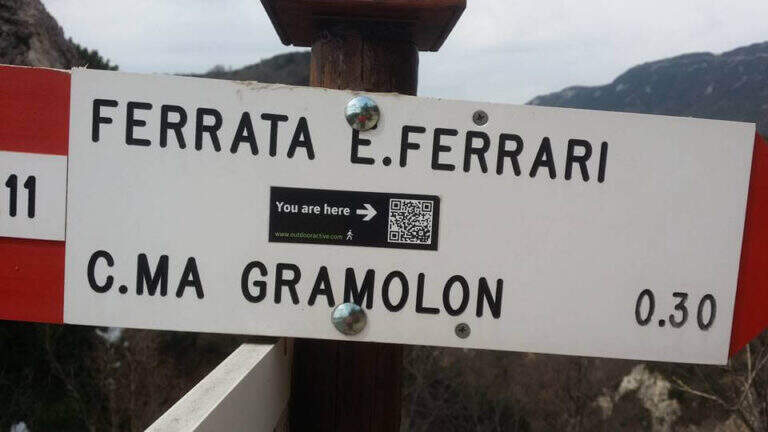
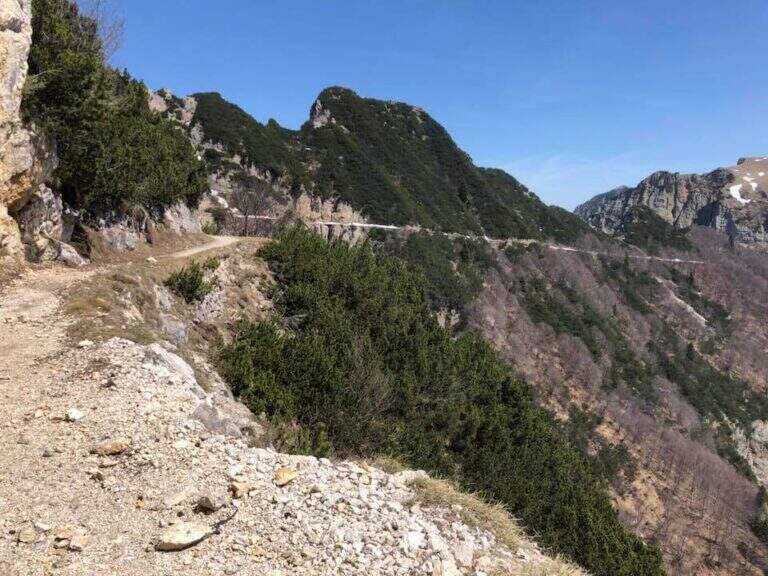
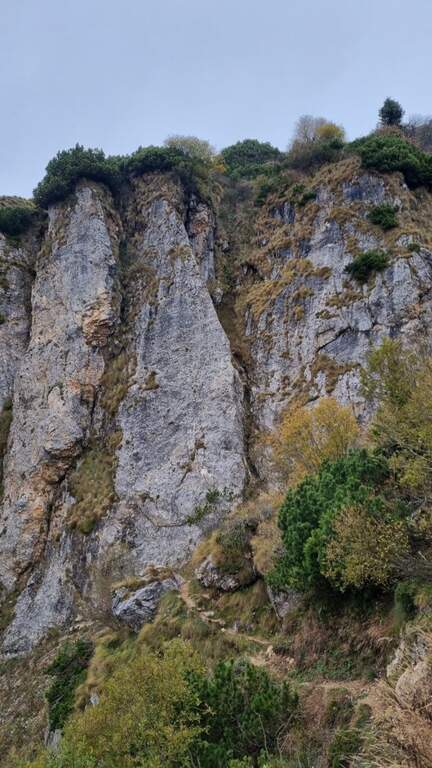
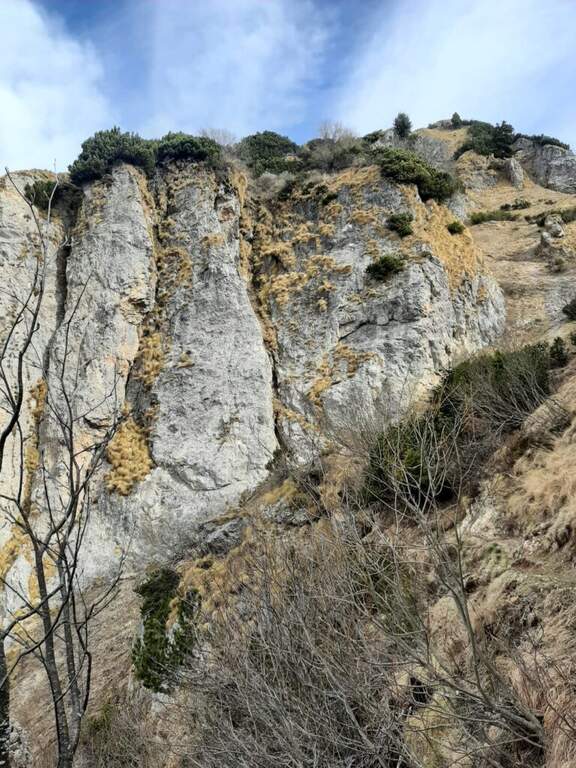
    La Ferrata Ezio Ferrari al Gramolon è breve, atletica e impegnativa: si sviluppa quasi per intero su traversi diagonali in forte esposizione, lungo una placca levigata delle Piccole Dolomiti vicentine. È il naturale completamento di un'escursione che comprende prima la vicina Ferrata Viali e poi la salita alla vetta del Gramolon.

    ▲Approach

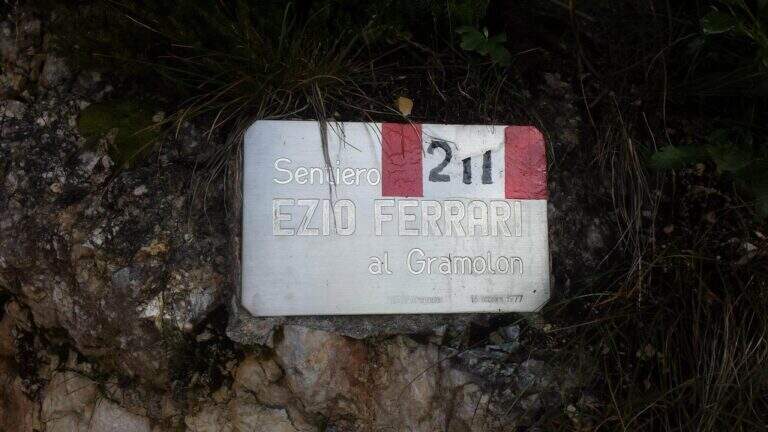
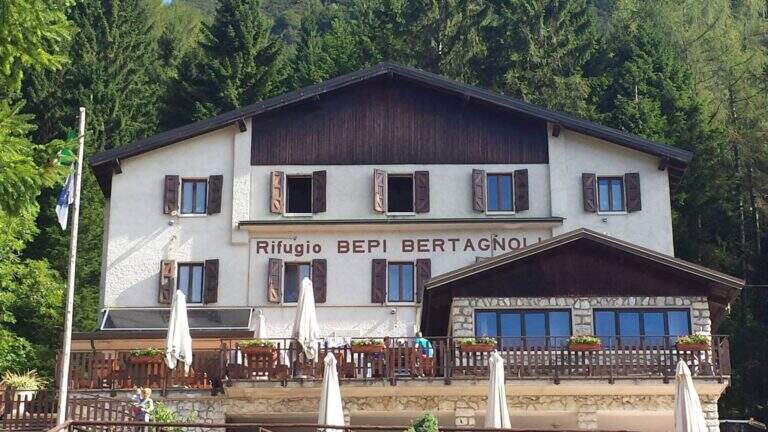
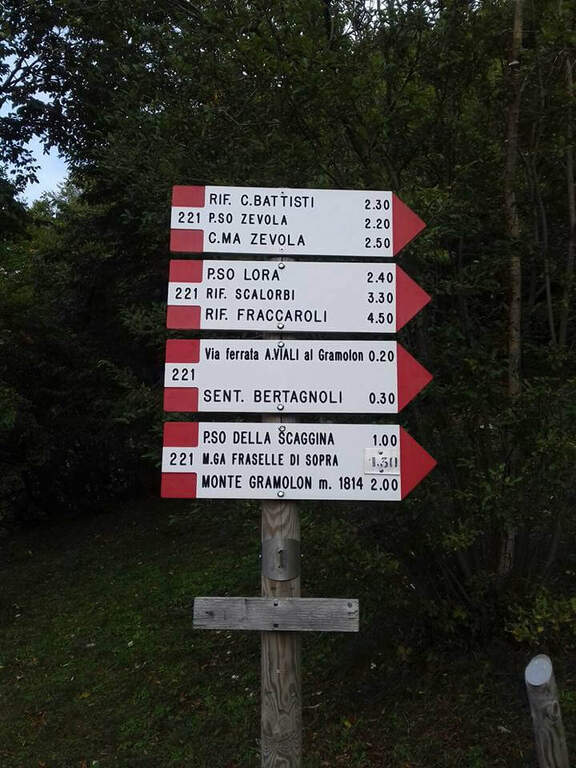
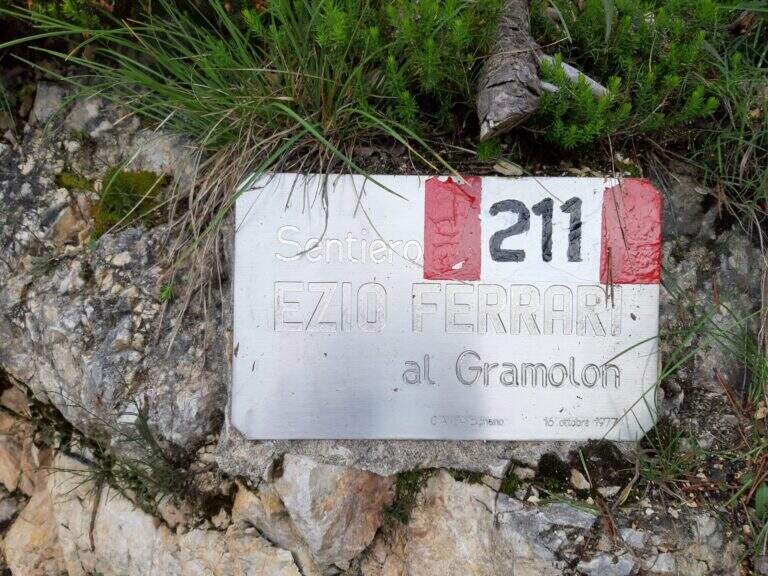
    Il punto di partenza è il Rifugio Bepi Bertagnoli (1225 m), dove termina la strada che risale la Val di Campodalbero, in provincia di Vicenza. Da sud si segue per Arzignano e poi in direzione Chiampo; risalendo la valle, dopo la località Valletta si presta attenzione alla svolta a destra per Campodalbero (prima indicazione per il rifugio) e si prosegue su strada via via più stretta, oltre Campodalbero, fino al parcheggio del rifugio (starting point on Google Maps). La soluzione consigliata è percorrere prima la Ferrata Viali e poi, con un breve tratto di collegamento (10'), la Ferrari: in questo caso si calcolano circa 2h 30' dal parcheggio. Volendo invece raggiungere direttamente la Ferrari, dal rifugio si seguono i segnavia 211 verso est; si sale e poi si scende fino all'attacco della Ferrata Viali, che si ignora, proseguendo in salita costante. Si incontra una deviazione a destra (scorciatoia più ripida ma consigliata, che fa risparmiare circa 15') e si raggiunge il sentiero 202, che taglia a mezzacosta il Monte Gramolon. Si tiene la destra e si attraversa una galleria militare (non serve la torcia); usciti, in breve si arriva a un tornante con una panchina e le indicazioni del sentiero 211 per il Gramolon. Si sale ripidi tra rocce e mughi, su un percorso attrezzato in alcuni brevi tratti esposti, fino a una forcellina da cui si vede la parete della Ferrari; a un bivio segnalato si tiene la sinistra e, attenzione, si supera un singolo passaggio esposto aggirando un masso, raggiungendo infine l'attacco (1h 15' dal parcheggio).

    ▲The path

    La ferrata risale una placca levigata dotata di pochi appigli artificiali e di piccole rugosità naturali: è una salita atletica, con molti passaggi d'aderenza, e può essere utile percorrerla con scarpette d'arrampicata per migliorare il grip. Il primo passaggio sono una decina di metri verticali su roccia levigata, con alcune maniglie d'aiuto; il cavo inizia poi a piegare a destra a circa 45 gradi in un lungo traverso che aumenta gradualmente la pendenza, sempre con qualche maniglia, fino a uno spigolo. Aggirato lo spigolo si entra in un diedro che si percorre spostandosi con un traverso orizzontale dal suo lato sinistro a quello destro; sul lato destro si prosegue con elevata esposizione lungo un traverso diagonale levigato di una trentina di metri, fino a una brusca deviazione della fune verso sinistra. Si sale il balzo e si prosegue a sinistra in un nuovo traverso; al suo termine il cavo riprende in verticale con un singolo passaggio strapiombante, dove con un po' di forza e agilità si supera uno spanciamento della roccia. Si risale poi una placca verticale priva di appigli e si esce dalla parete su un ripido sentiero attrezzato a fondo terroso: pochi metri ancora e terminano le attrezzature (20' dall'attacco, circa 1h 40' dal parcheggio, circa 3h se si è percorsa anche la Viali).

    ▲Character and difficulty

    La Ferrari è diversa dalle altre vie delle Piccole Dolomiti: corta, quasi interamente su traverso impegnativo e poco arrampicabile, tanto che sarà frequente l'uso estensivo della fune metallica per progredire.

    ⚠ Via breve ma fisicamente esigente, con traversi esposti su roccia levigata: se mantenesse questo impegno su sviluppo maggiore sarebbe da classificare «Molto Difficile». Da affrontare ben allenati. I sentieri della zona sono ben segnati, un aiuto in caso di nebbia, frequente nel pomeriggio sulle Piccole Dolomiti.

    ▲Period and safety

    Itinerario per la stagione estiva. Cartografia consigliata: carta del Pasubio e Vallagarina di 4Land.

    ▲Discipline

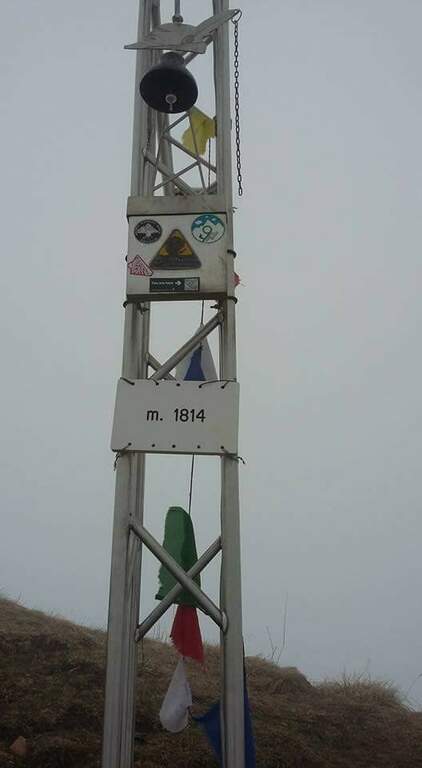
    Terminata la ferrata si prosegue sulla traccia che si innesta sul sentiero abbandonato in precedenza e si sale alla croce di vetta del Gramolon (1814 m, 20' dal termine della ferrata, circa 2h dal parcheggio). Per chiudere l'anello si rientra a ritroso fino all'innesto sul sentiero 202 (20'), poi si tiene la sinistra percorrendo a mezzacosta l'ampio sentiero di origine militare fino all'innesto del 207, che a destra scende al Rifugio Bertagnoli e quindi al parcheggio (1h dalla vetta, circa 3h totali).

    ▲To match

    L'abbinamento naturale è con la Ferrata Viali, da percorrere prima. Restando nelle Piccole Dolomiti, in direzione del Carega si raggiungono la Ferrata del Vajo Scuro, la Ferrata Campalani at Carega and the answer Ferrata Biasin; in Val d'Astico si trovano invece gli Anelli delle Anguane.

    ▲Gallery
    Technical data
    • DifficultyHard
    • RegionVeneto
    • GroupSmall Dolomites
    • Approach1:15 h
    • Ferrata0:20 h
    • Itinerary (a/r)3:00 h
    • Hardware level difference60 m
    • Route difference589 m
    • Max1814 m
    • Length6 Km
  • Ferrata della Croce di Fai

    Ferrata della Croce di Fai

    Vie Ferrate › Trentino-Alto Adige › Trento
    Ferrata della Croce di Fai
    Moderately Hard● OpenDescriptionComplexityMapsGallery

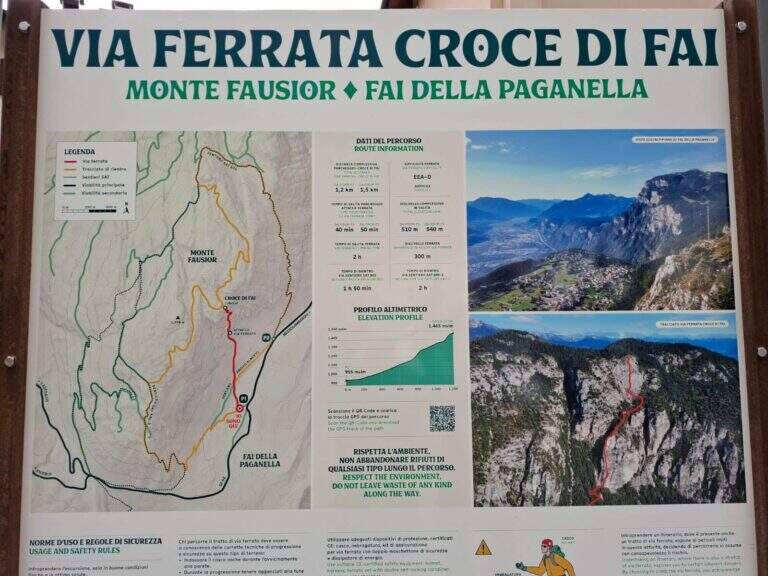
    La Ferrata della Croce di Fai sale il Monte Fausior, che sovrasta Fai della Paganella (Trento) e separa l’Altopiano della Paganella dalla sottostante Piana Rotaliana. È una via moderna, prevalentemente verticale, di difficoltà moderata salvo un paio di passaggi più impegnativi ma brevi; ben staffata, ma con appigli spesso limitati su placche lisce. Ideale d’inverno e nelle mezze stagioni, da evitare in piena estate perché a bassa quota ed esposta a est.

    ▲Approach

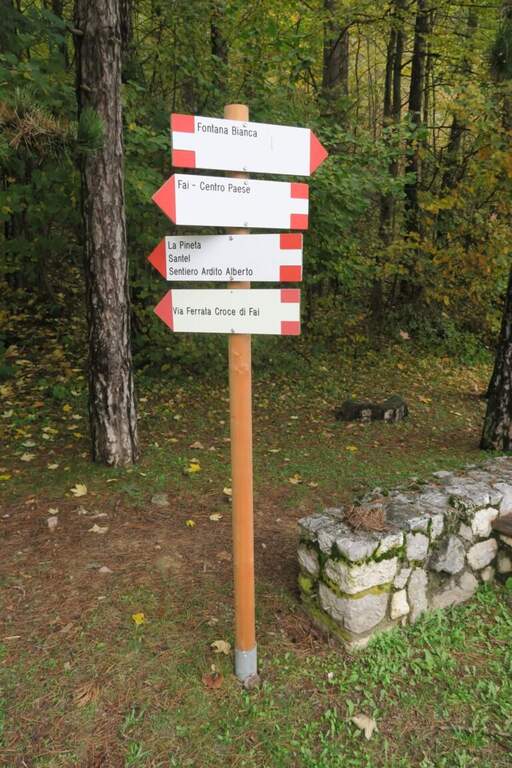
    Il punto di partenza è sulla provinciale che da Mezzolombardo sale a Fai della Paganella: poco prima del paese, sulla destra, un ampio spiazzo adibito a parcheggio e area pic-nic, di fronte al distributore di benzina (930 m) (starting point on Google Maps). Dal parcheggio, presso la bacheca informativa, si imbocca un sentiero che entra nel bosco in falso piano; dopo alcuni minuti, nei pressi di due panchine, si tiene la destra in salita seguendo il segnavia chiaro per la ferrata, fino al cartello d’attacco (30′ dal parcheggio).

    ▲The path

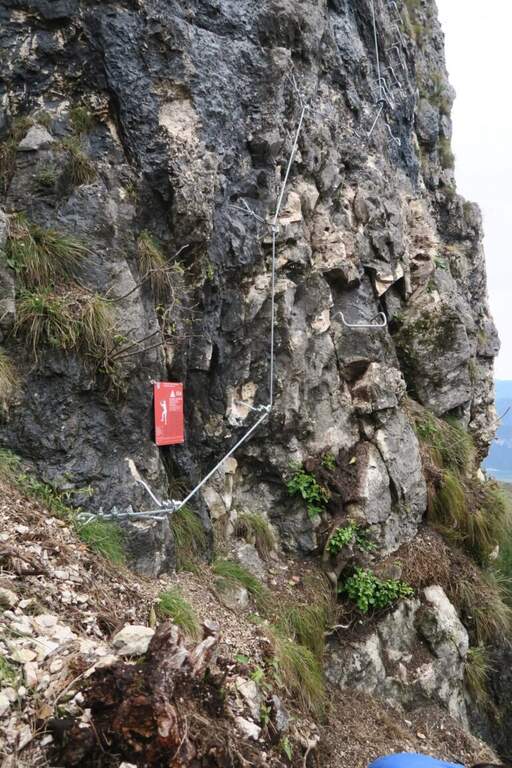
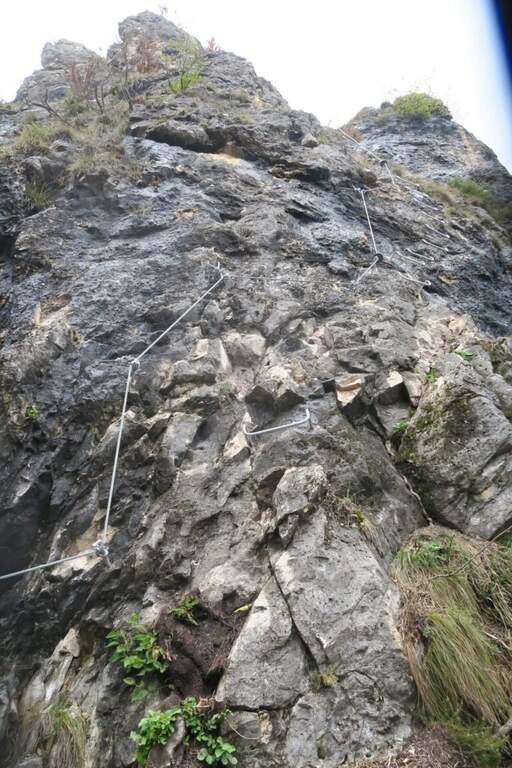
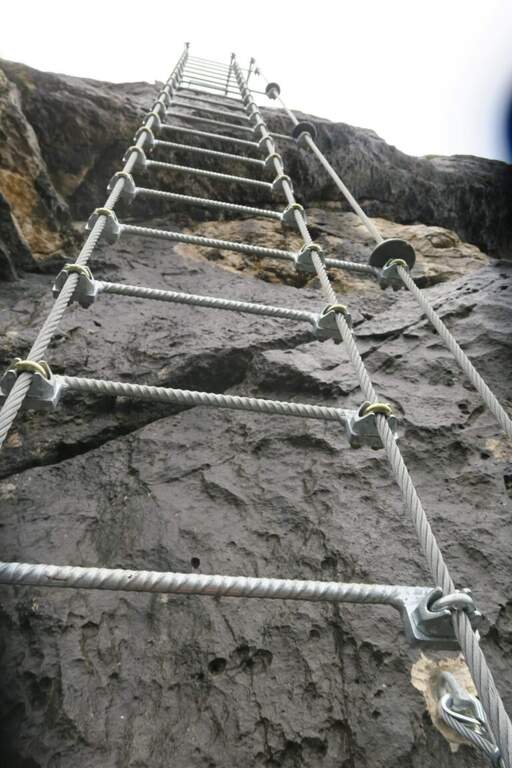
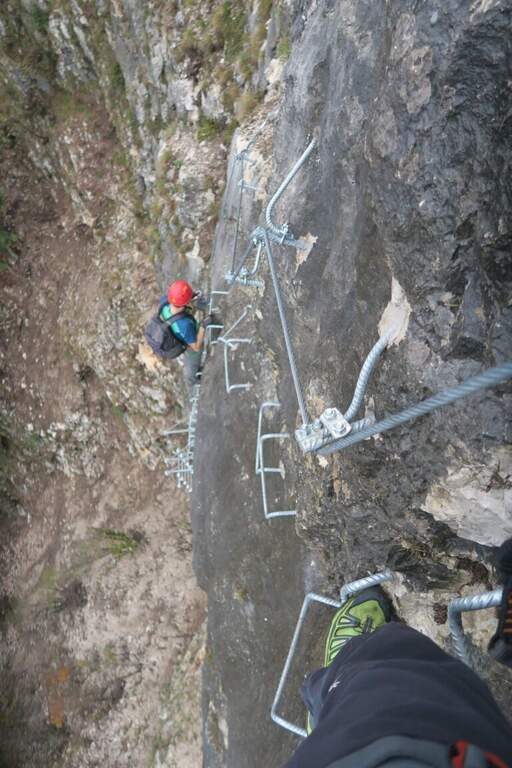
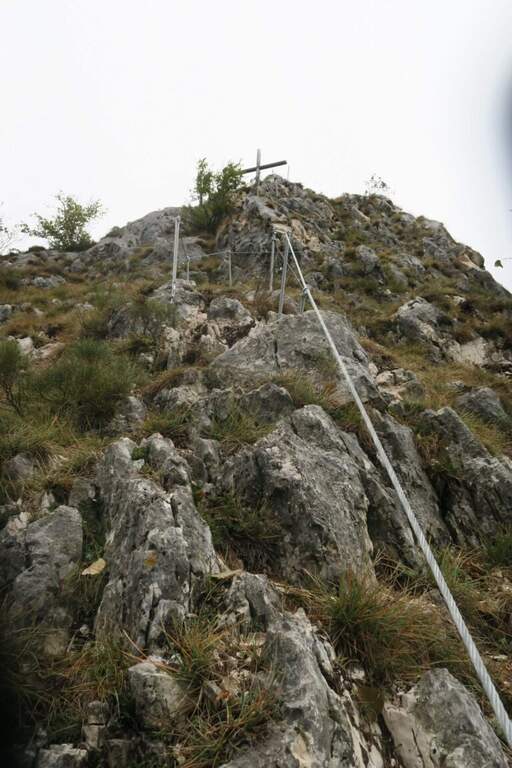
    Il percorso inizia a quota 1170 m con un tratto verticale tra roccette e staffe; dopo un breve tratto orizzontale si prosegue per balzi verticali senza difficoltà, mentre la vista si apre sull’altopiano di Fai, la Piana Rotaliana e la Valle dell’Adige. Inizia poi una lunga serie di scalini a cambra, verticale ed esposta, con piccoli passaggi laterali agevolati da staffe usate come maniglie: è il primo tratto più impegnativo. Si continua in verticale alternando staffe e appoggi su roccia, fino a uno sperone che si percorre in cresta per alcuni metri e a un secondo sperone, più sottile, da affrontare prima in verticale e poi sulla crestina orizzontale. Si torna su rampe erbose e sentiero attrezzato nel bosco: termina così la prima sezione e si prosegue su sentiero normale per una decina di minuti (tra le due sezioni non ci sono vie di fuga). La seconda parte, segnalata da un cartello rosso, presenta inizialmente più roccette e meno cambre; si alternano poi tratti verticali a staffe e brevi traversi con buoni appoggi, fino a una scala metallica di cordini su una placconata liscia sormontata da roccia a sbalzo, da superare in leggero strapiombo: è il secondo tratto più atletico, che richiede forza nelle braccia. Superato il balzo restano alcuni tratti esposti e staffati su placca, in traverso e in verticale, e pochi passaggi su facili roccette fino alla Croce di Fai (1465 m; 1h 30′ dall’attacco, 2h dalla partenza), bel punto panoramico con panca e tavolo.

    ▲Character and difficulty

    Via di stampo moderno, di difficoltà media (Moderatamente Difficile), con molte staffe dove la parete è verticale o strapiombante; non manca l’esposizione in alcuni tratti, e due punti risultano leggermente atletici pur essendo brevi.

    ⚠ Tra la prima e la seconda sezione non esistono vie di fuga: valutare bene prima di proseguire. Le placche lisce offrono pochi appigli naturali; in estate evitare le ore più calde, vista la bassa quota e l’esposizione a est.

    ▲Period and safety

    Percorribile gran parte dell’anno, ideale nelle giornate fresche; in estate da affrontare al mattino presto o a fine giornata. Ferrata inaugurata a fine estate 2024. Relazione redatta con il contributo di Diego Frainer.

    ▲Discipline

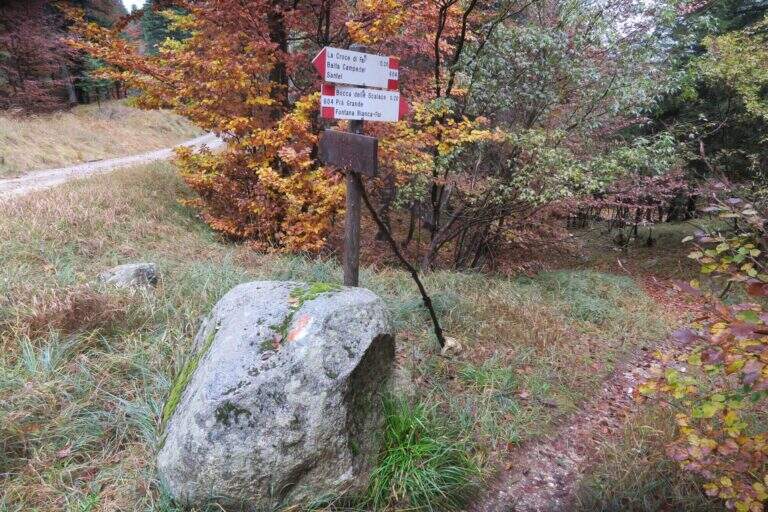
    Dalla croce un sentierino porta in pochi metri alla strada forestale, che si percorre verso destra (lato opposto rispetto alla salita), prima in lieve salita poi in discesa; dopo circa 15′ si prende a destra il bivio per il sentiero 604 (Bocca delle Scalacce – Fontana Bianca – Fai) e poi il 603 (Fontana Bianca – Fai), che aggirando il monte riporta al parcheggio (circa 50′ dal termine, circa 3h totali).

    ▲To match

    A 10-15 minuti d’auto: la Ferrata Rio Secco, la Ferrata della Val di Ri e la Ferrata del Burrone Giovannelli; poco oltre la Ferrata delle Aquile in Paganella.

    ▲Gallery
    Technical data
    • DifficultyModerately Hard
    • RegionTrentino-Alto Adige
    • GroupPaganella – Monte Fausior
    • Approach0:30
    • Ferrata1:00 h
    • Itinerary (a/r)2:30 h
    • Hardware level difference300 m
    • Route difference570 m
    • Max1490 m
    • Length4,4 Km
Need help? Write to us!