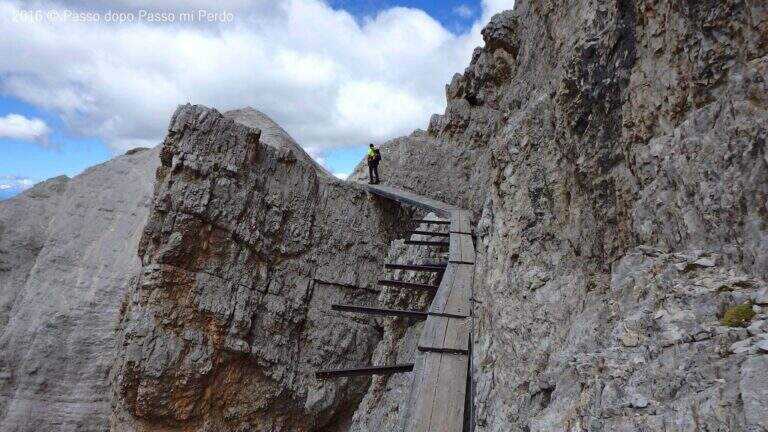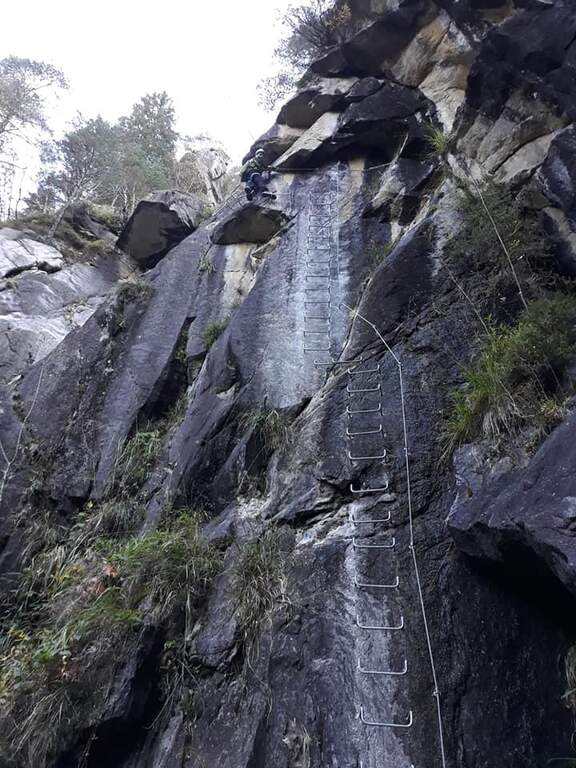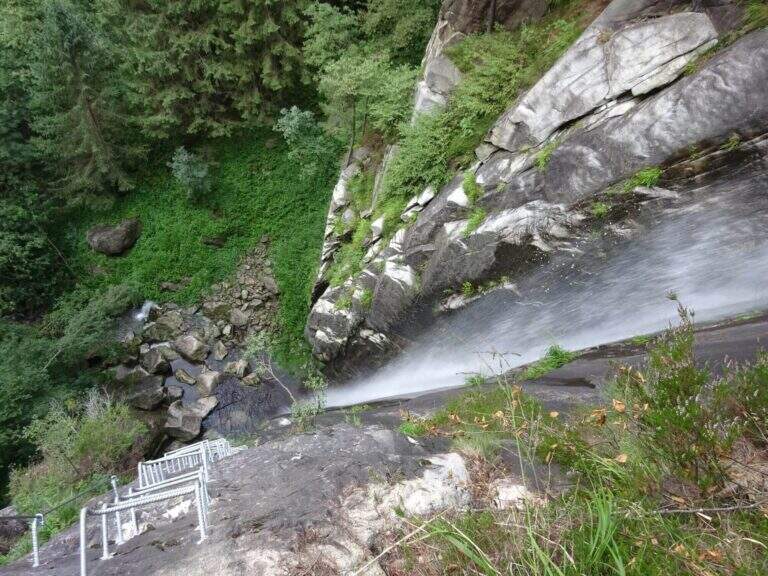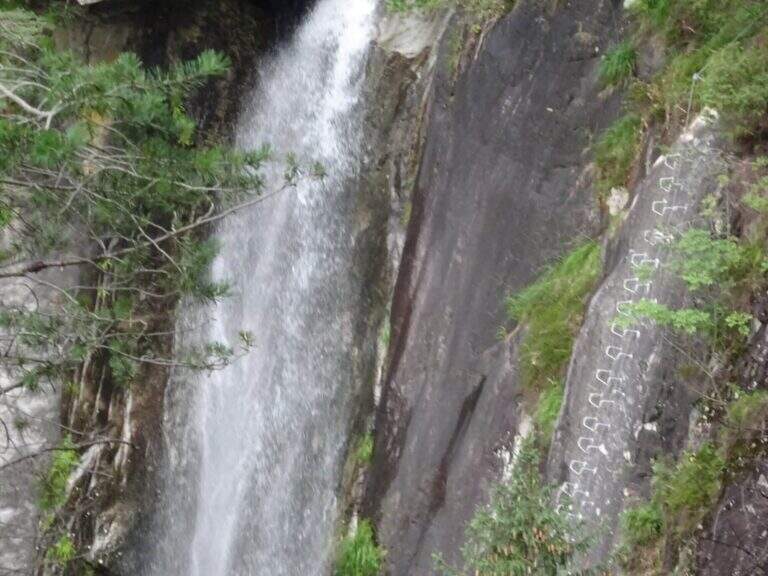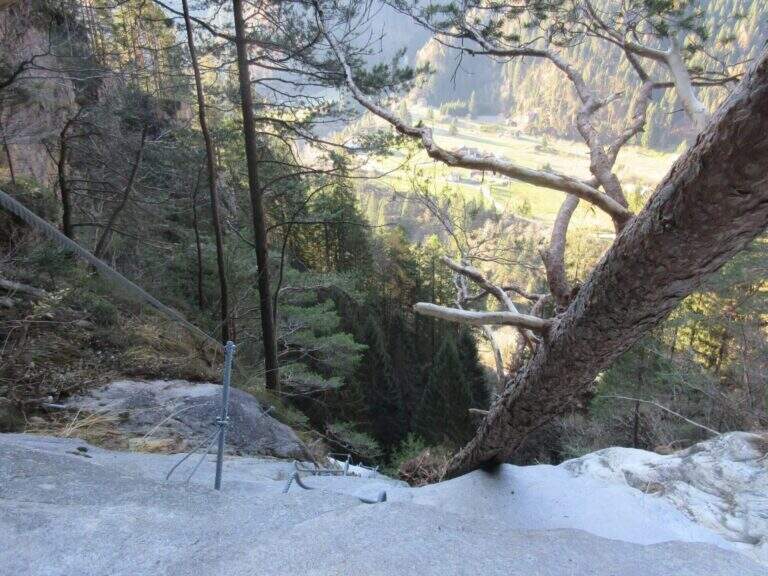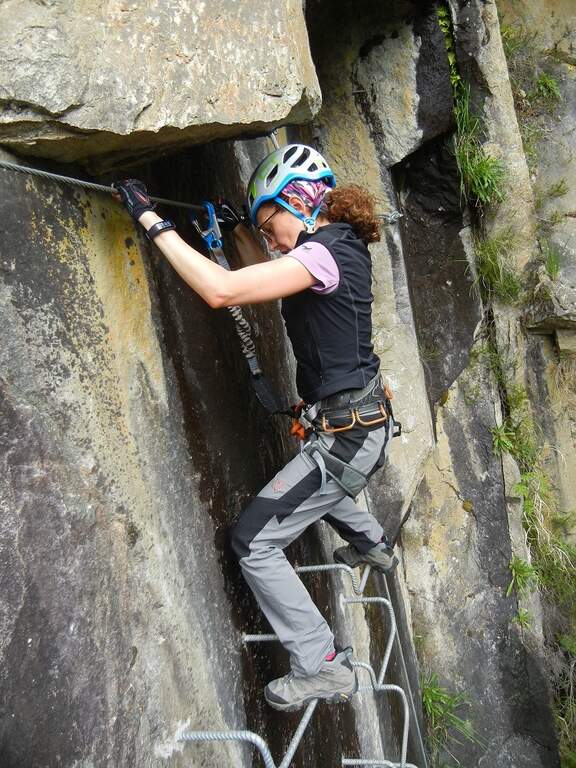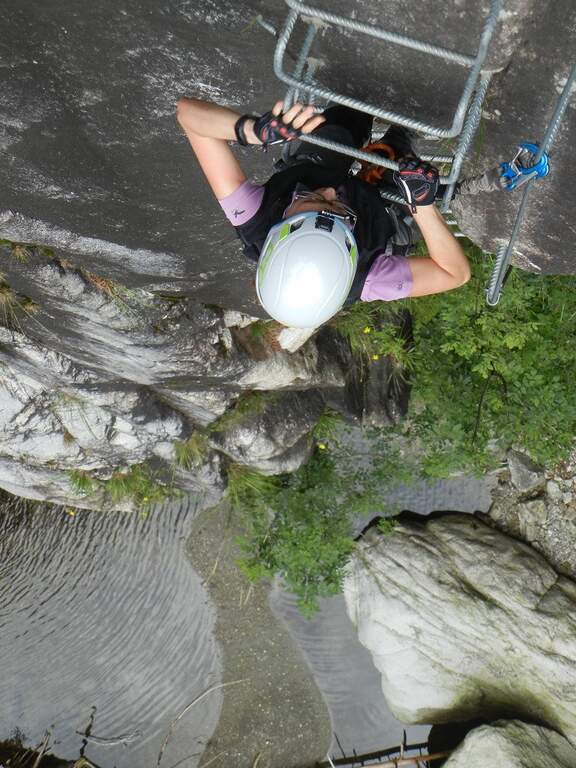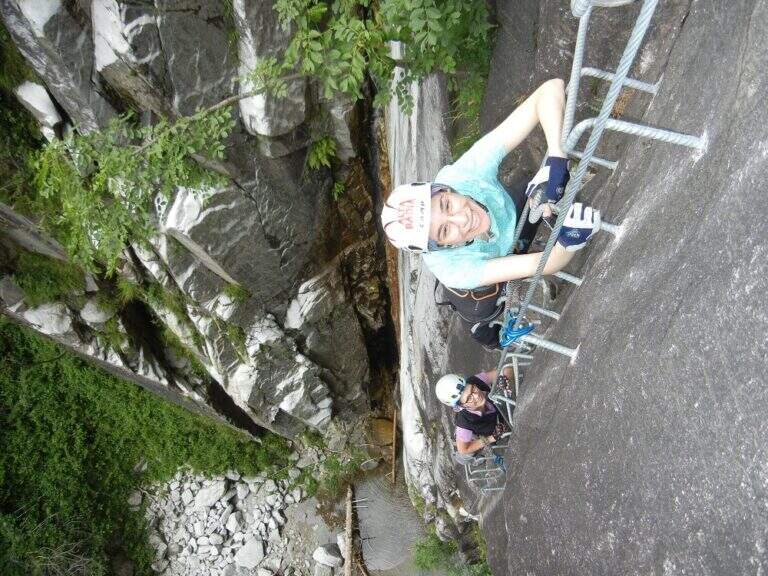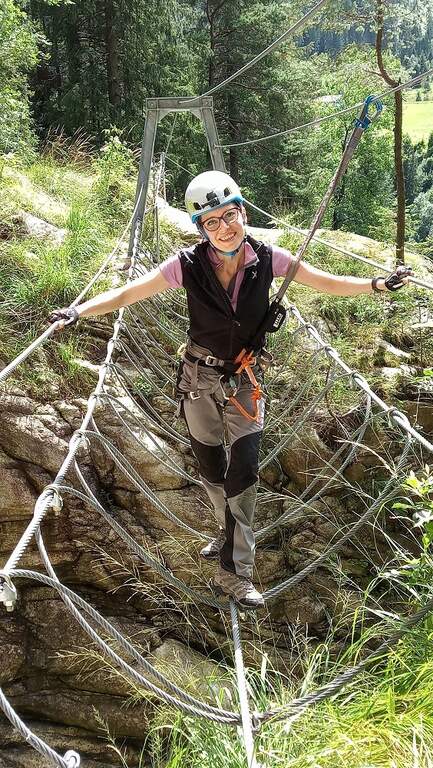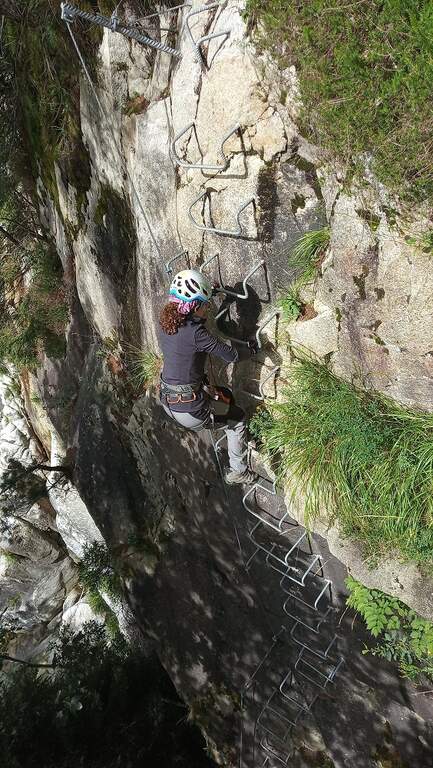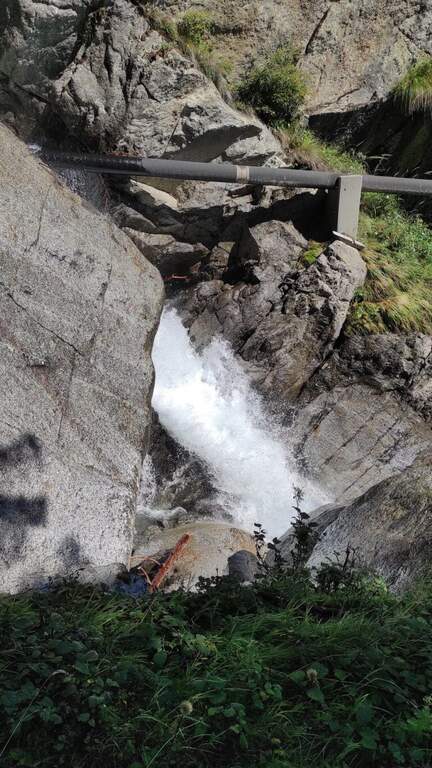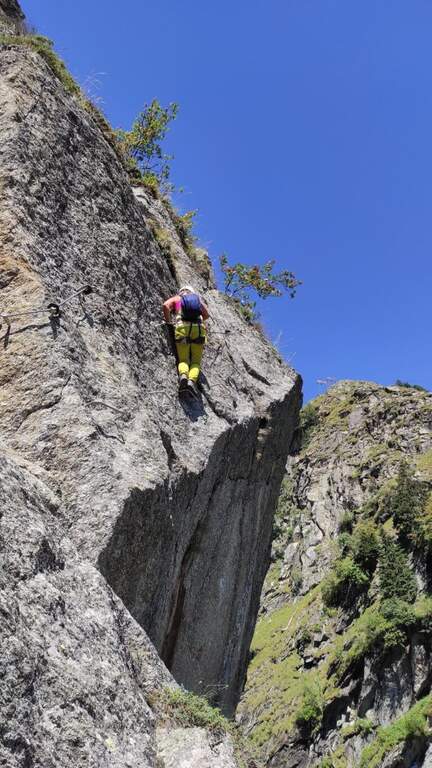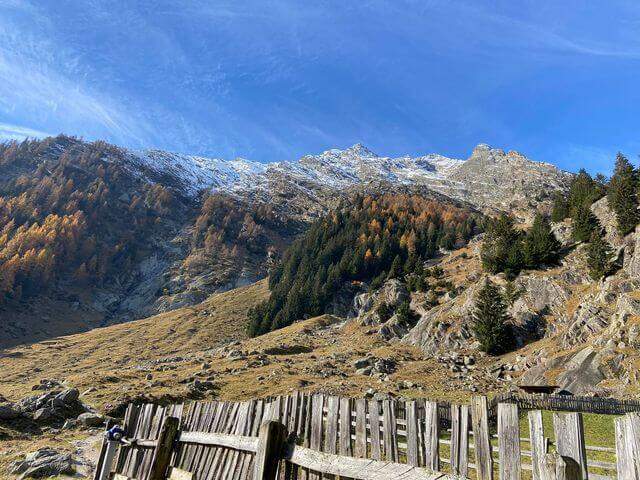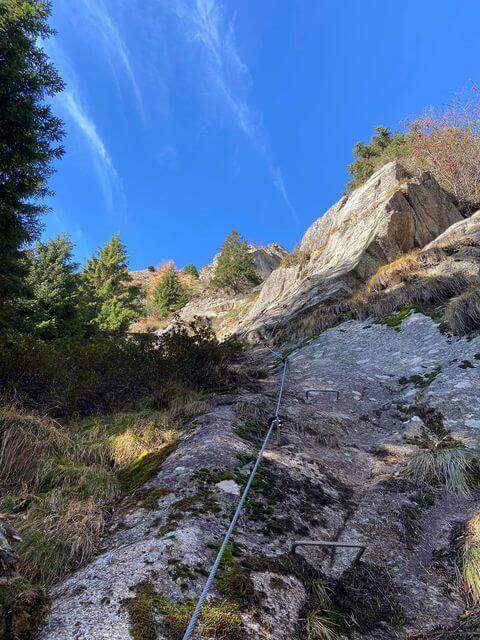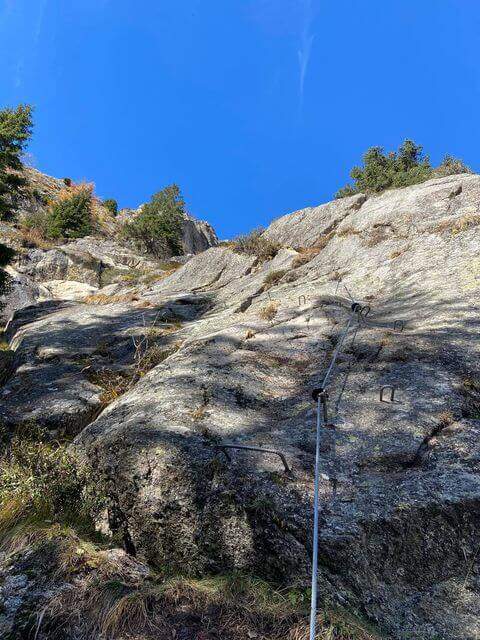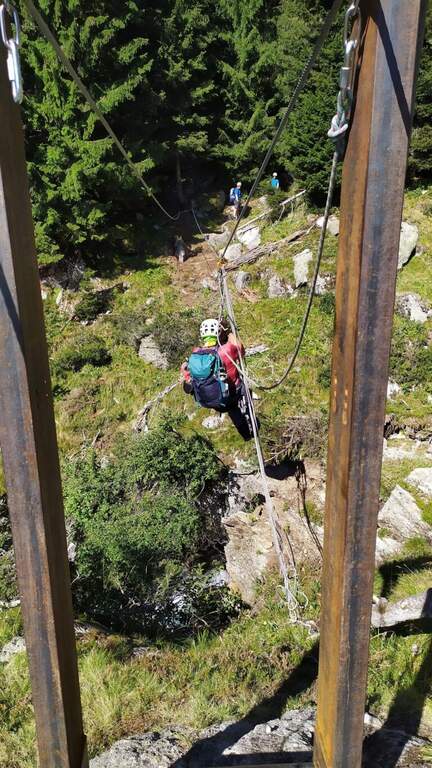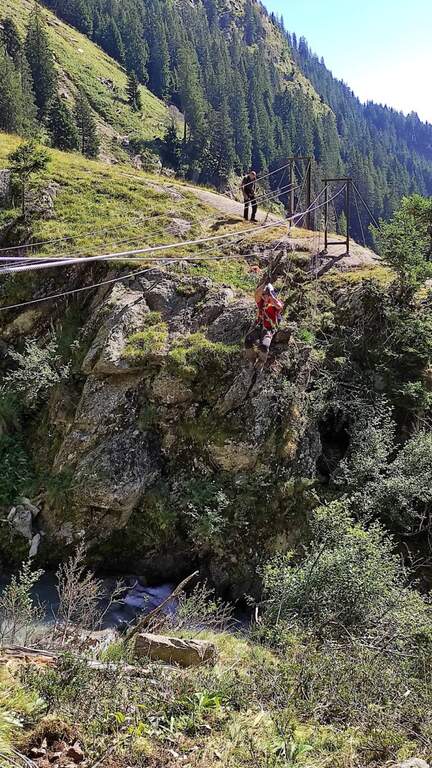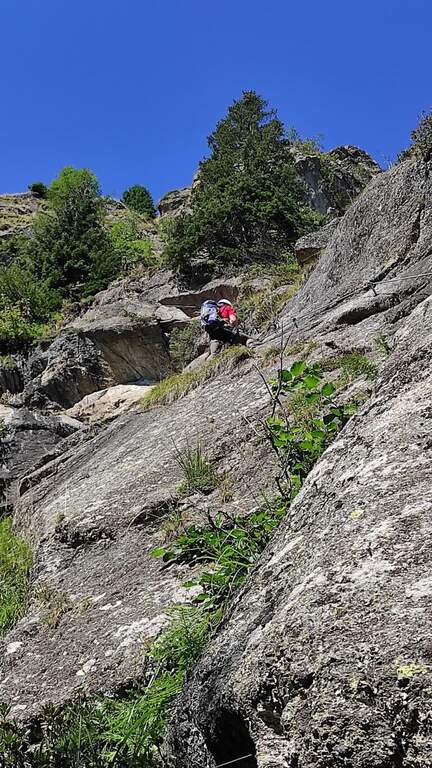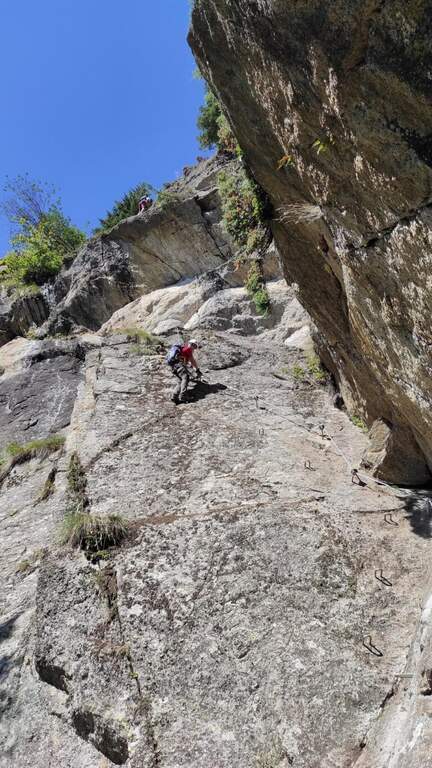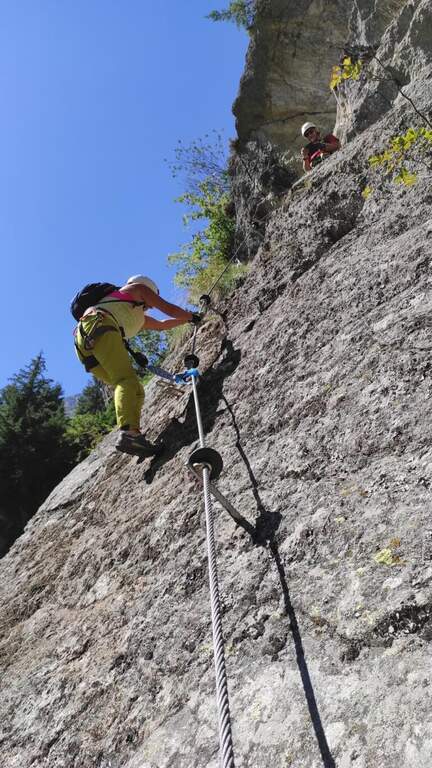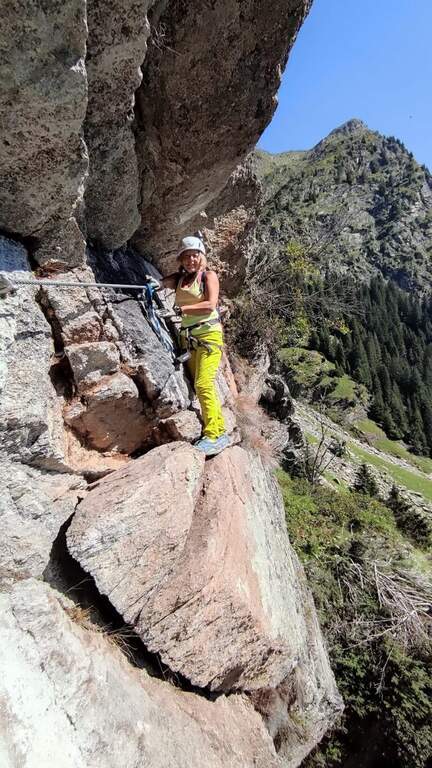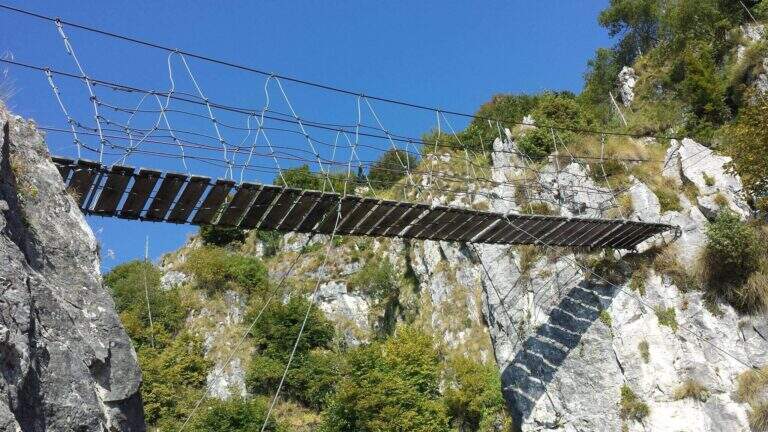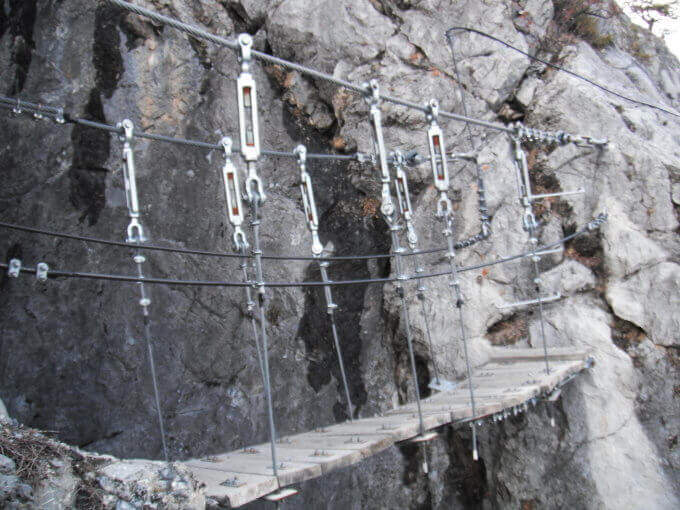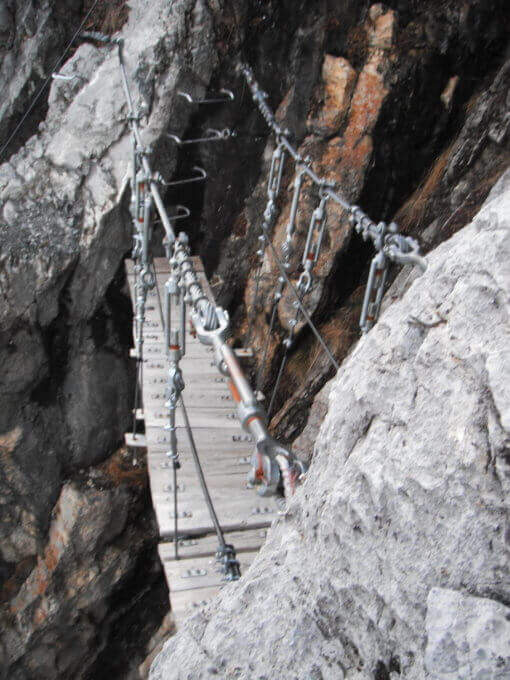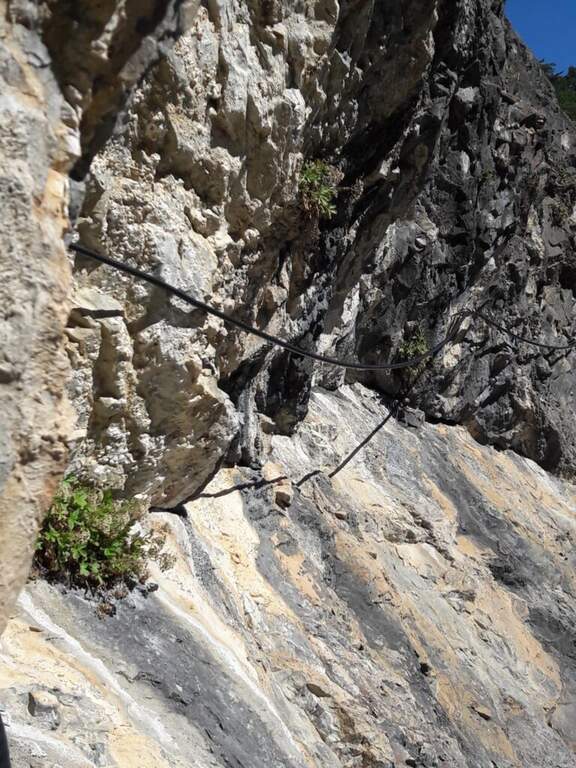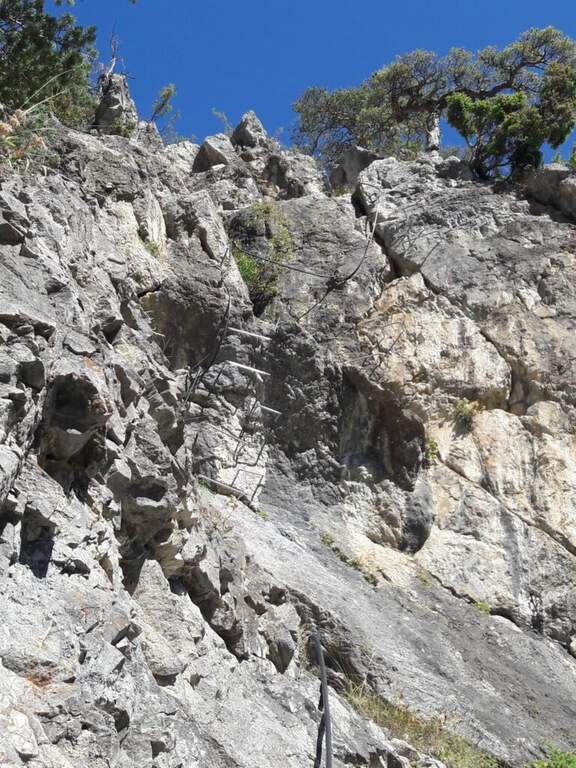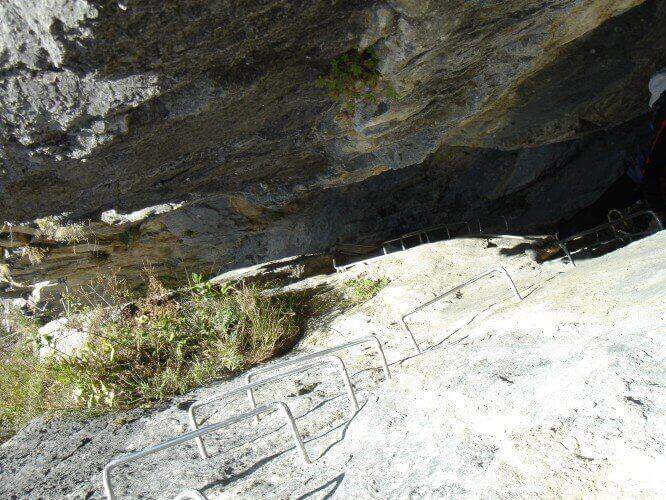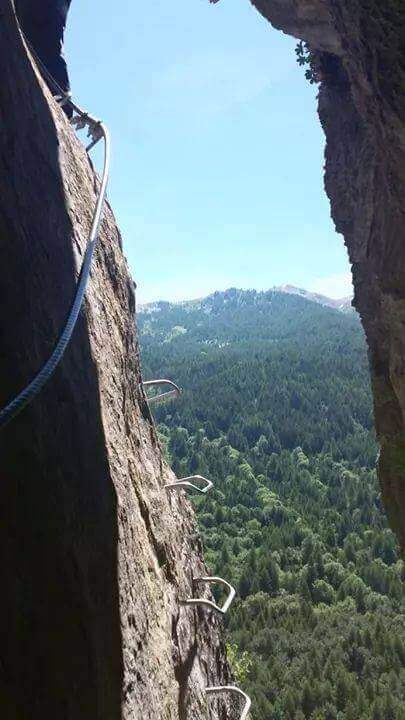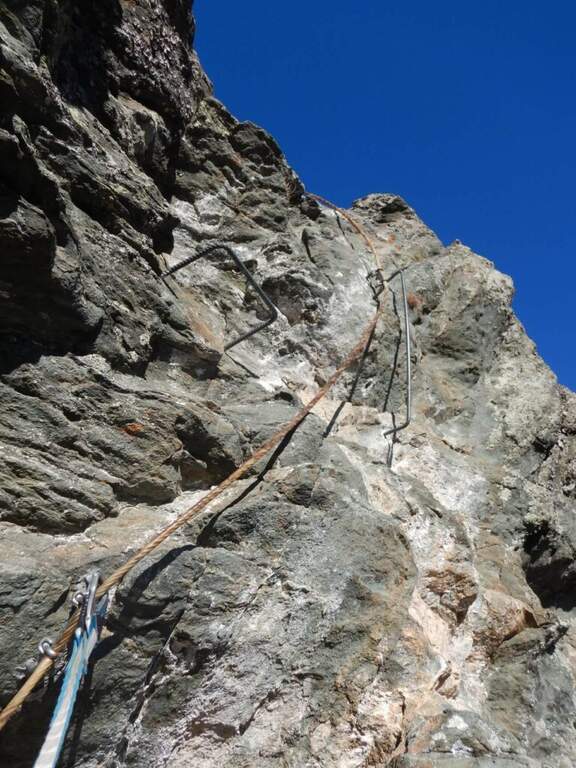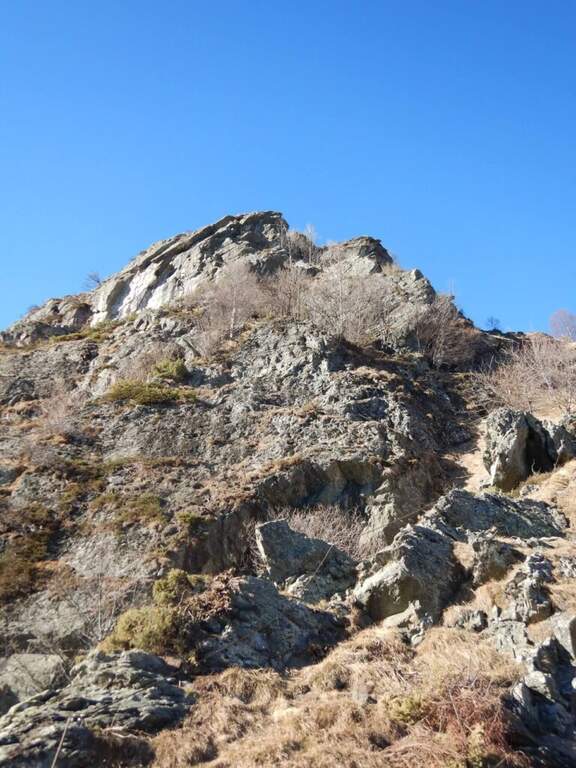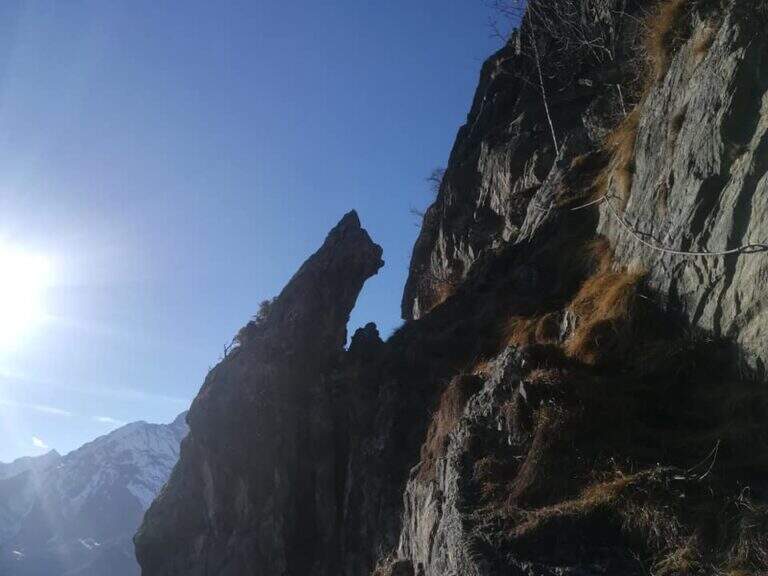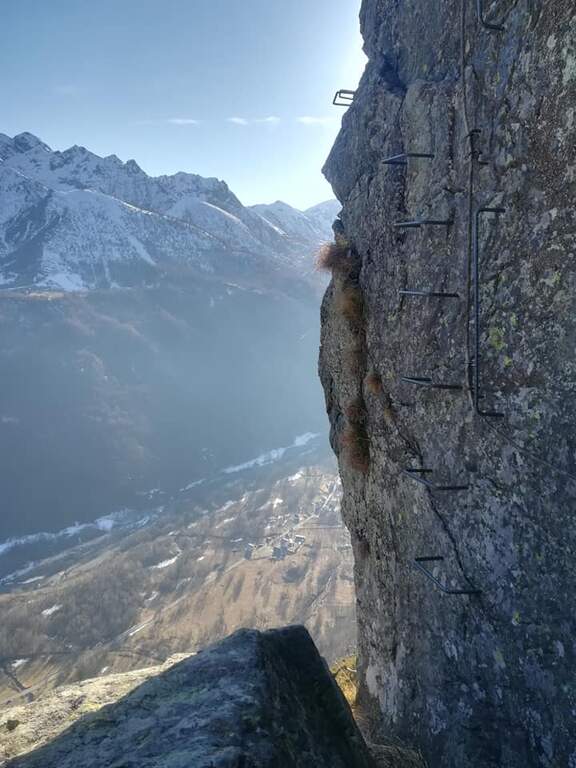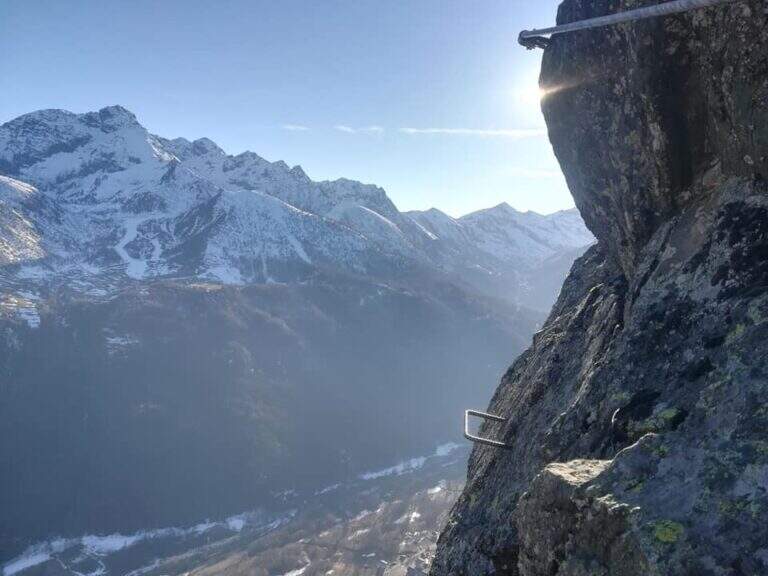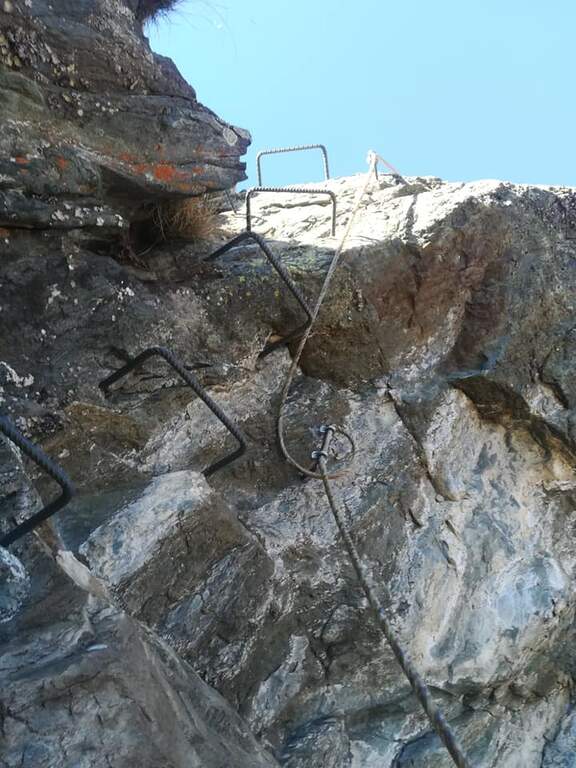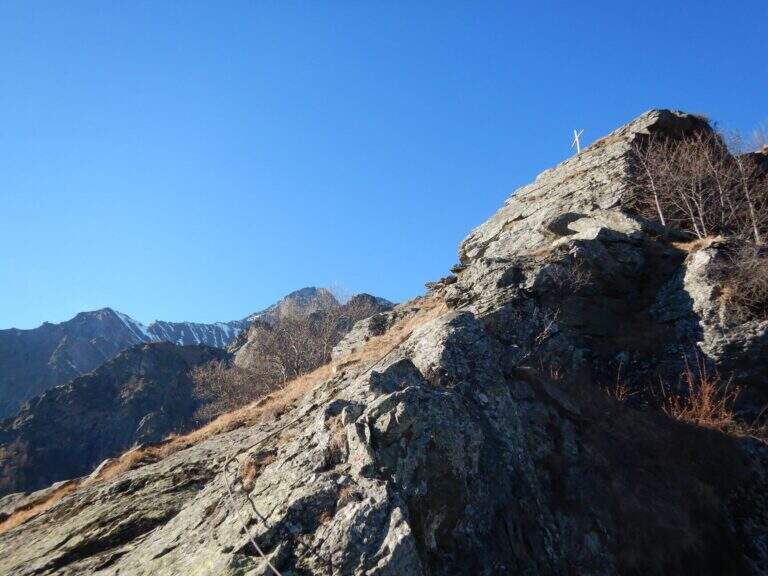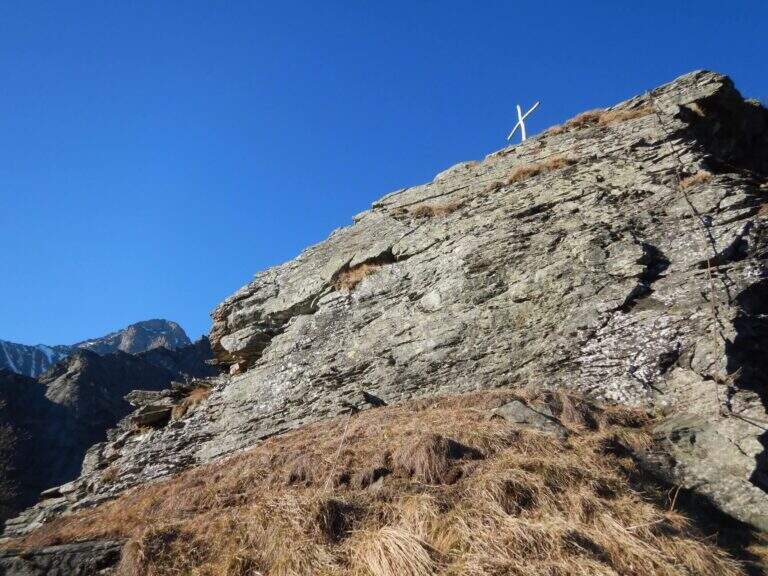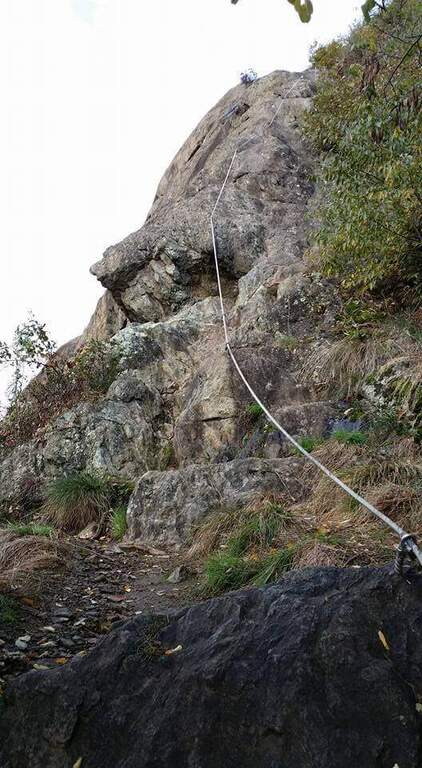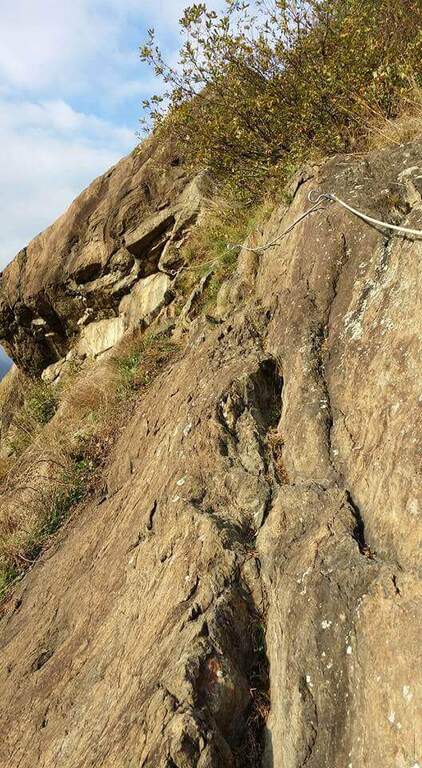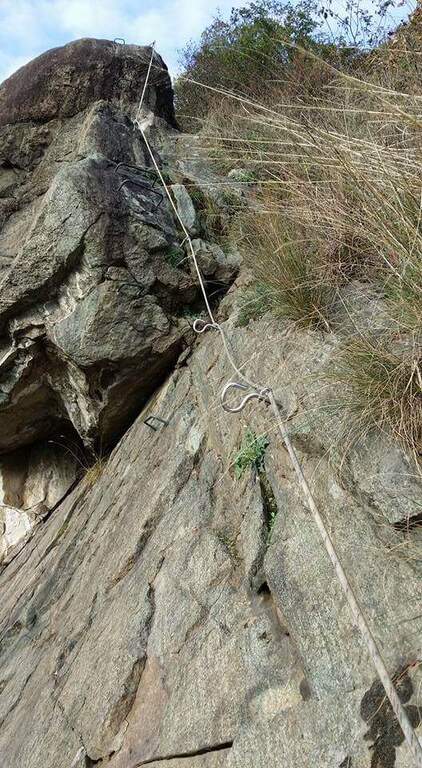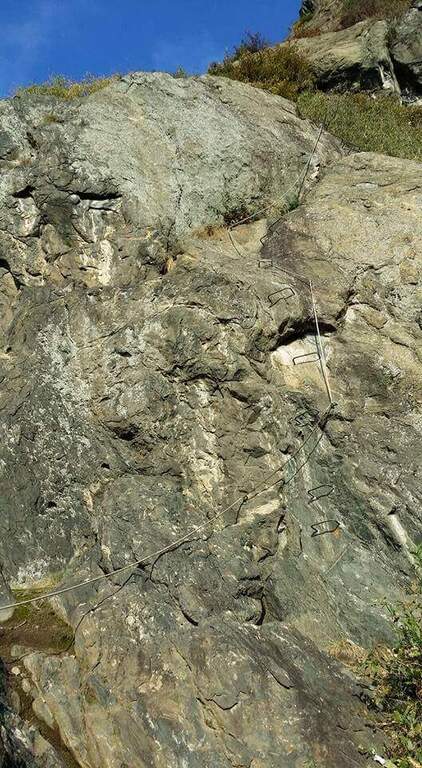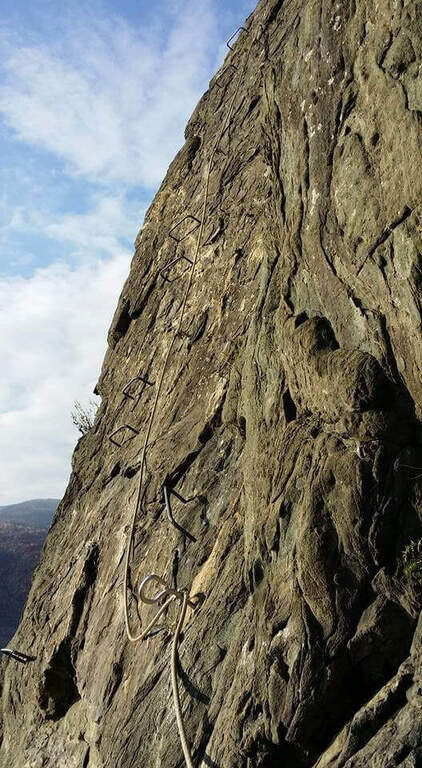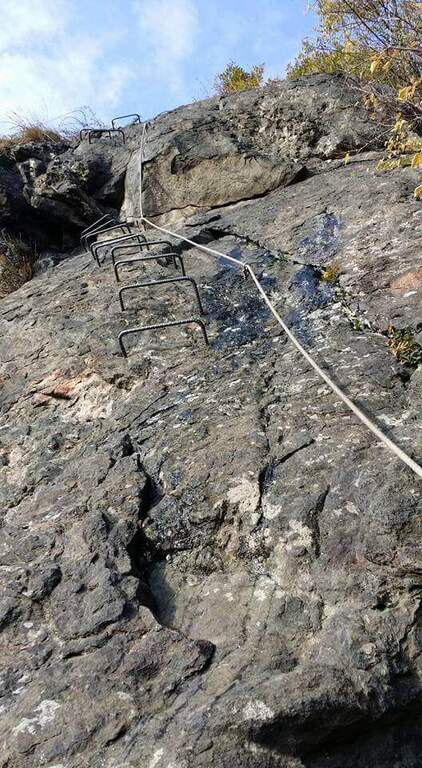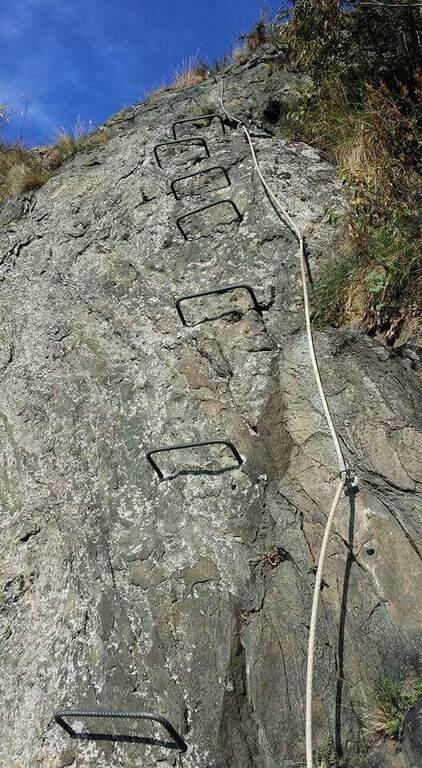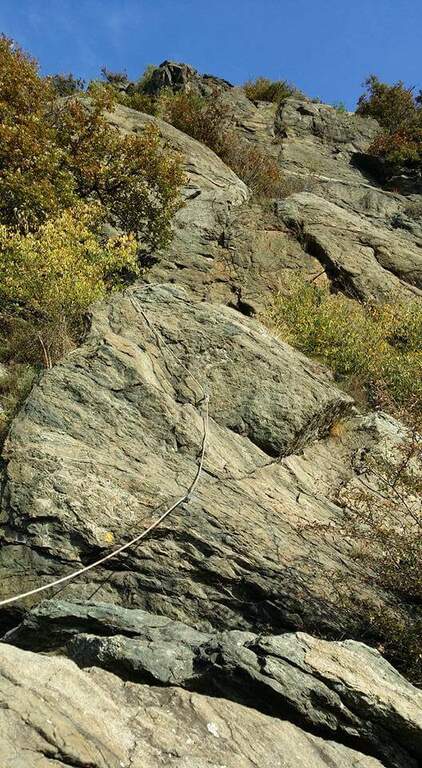
Caratteristica: Ponte sospeso

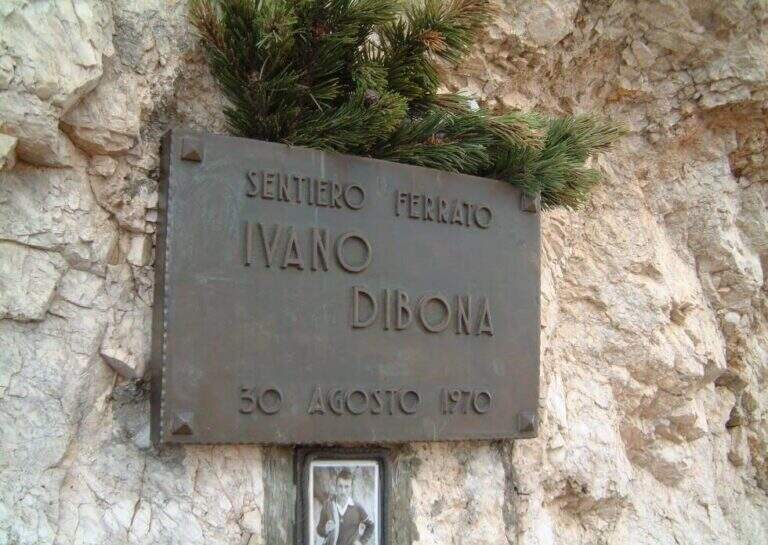
  • Ferrata Ivano Dibona al Cristallo

    Ferrata Ivano Dibona al Cristallo

    Vie Ferrate › Veneto › Belluno
    Ferrata Ivano Dibona al Cristallo
    Moderately Hard● OpenDescriptionComplexityMapsGallery

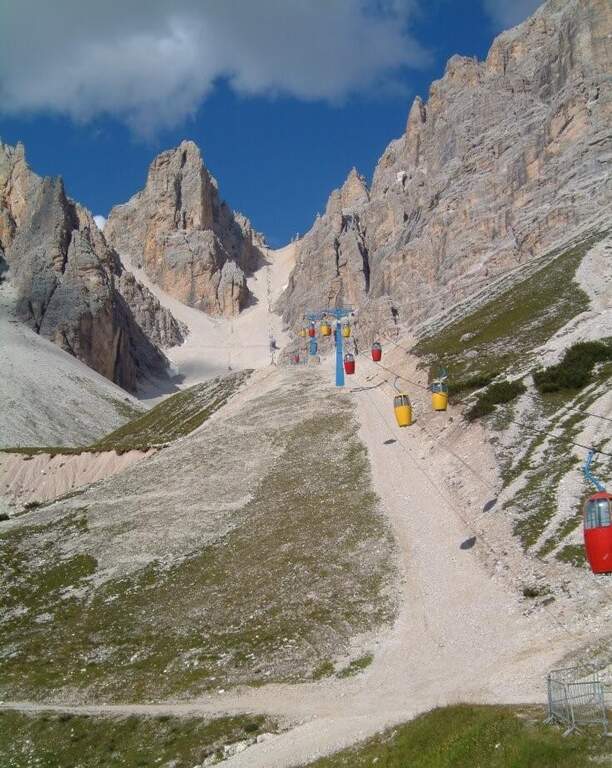
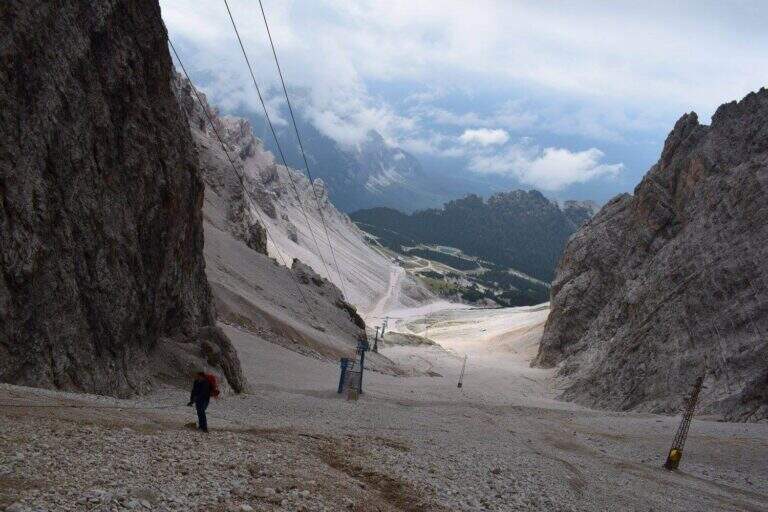
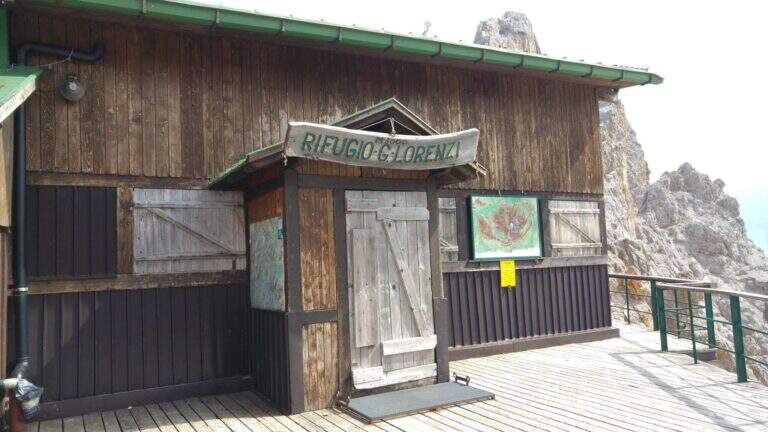
    viso Notice — The bidonvia that climbed to Forcella Staunies has been dismantled (July 2017) and is waiting for reconstruction to date to be allocated; the only way to reach the attack is today to trace the steep detritic valley of the Gran Staunies, on an unstable gravel bottom (at least 2h from the end of the chairlift). The Lorenzi refuge, at the beginning of the ferrata, is also closed. It is a long and challenging itinerary regardless: plan time and weather carefully.

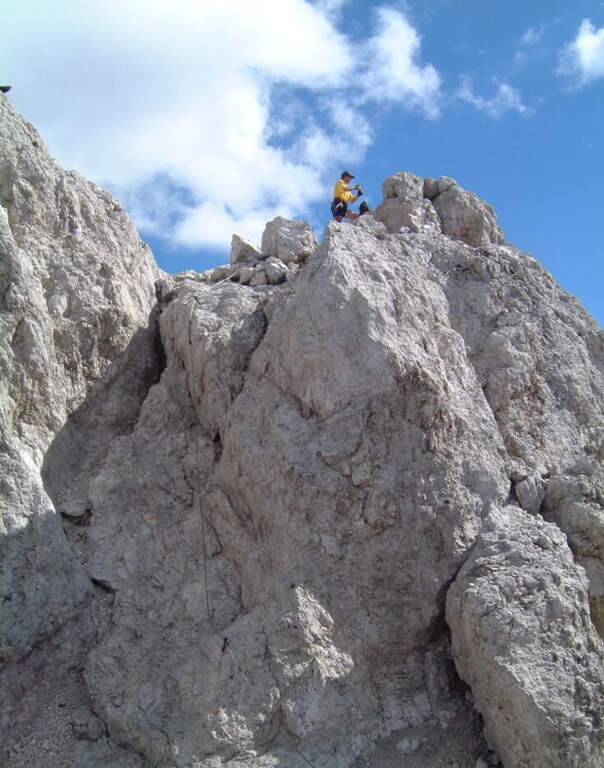
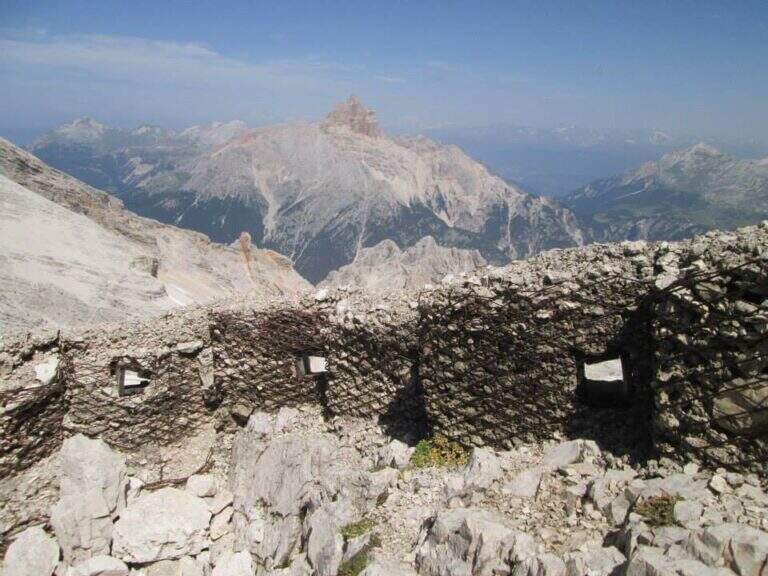
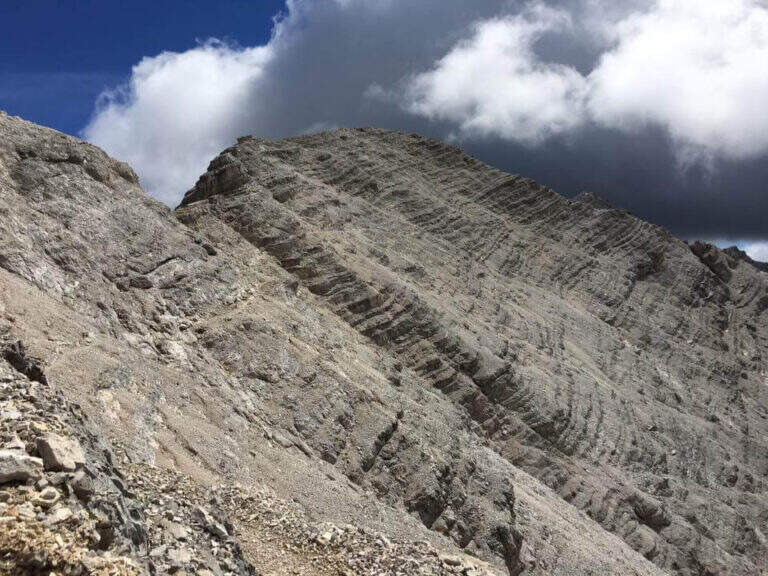
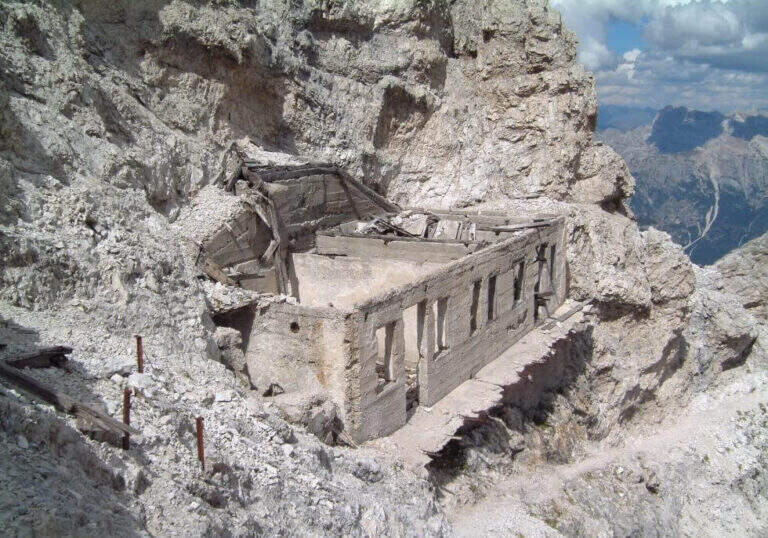
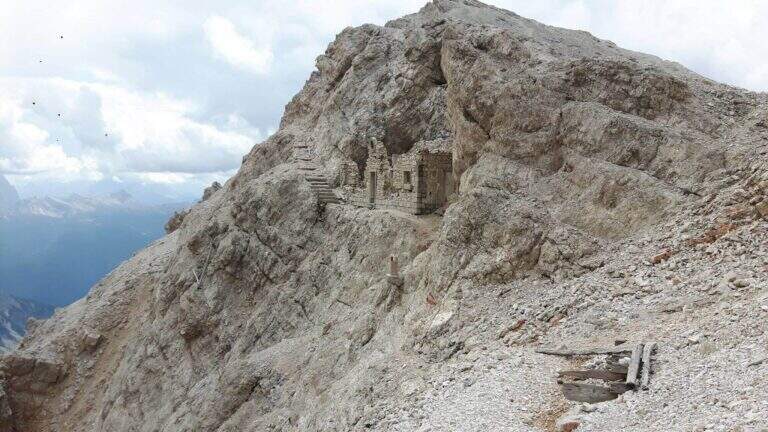
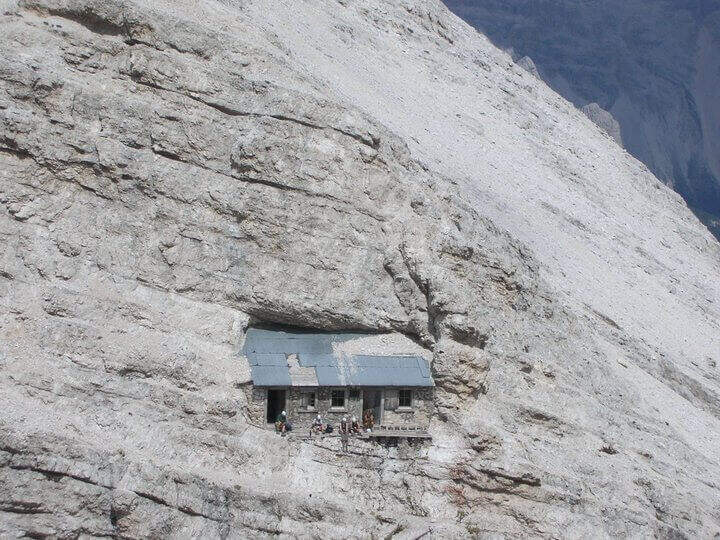
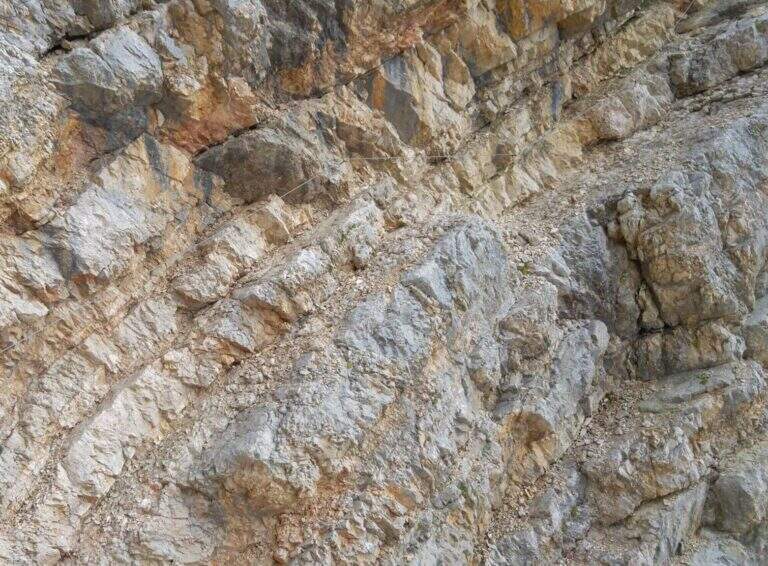
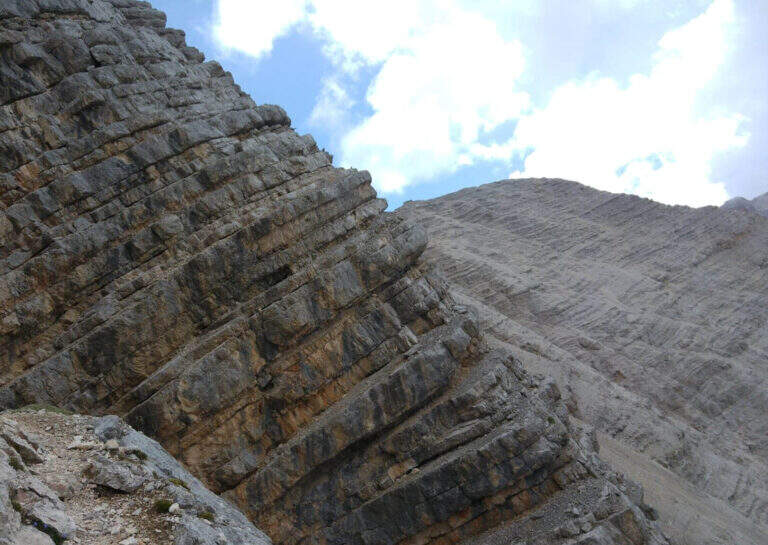
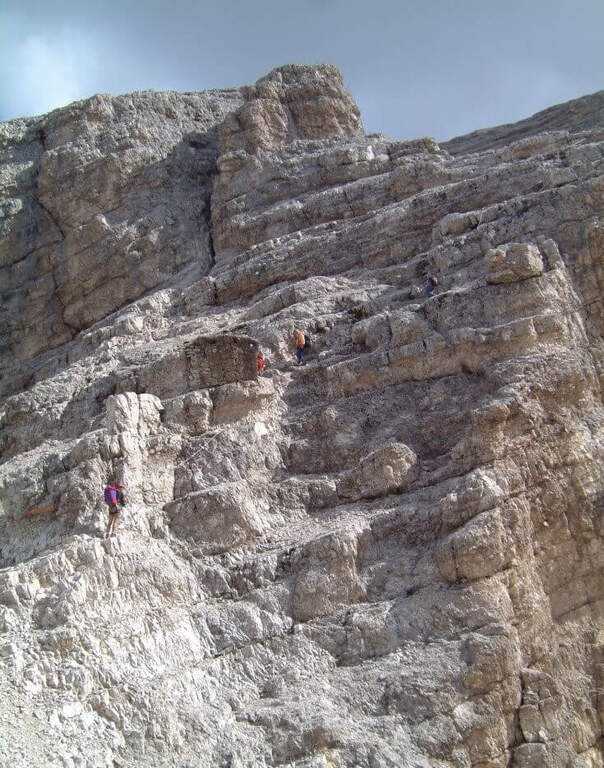
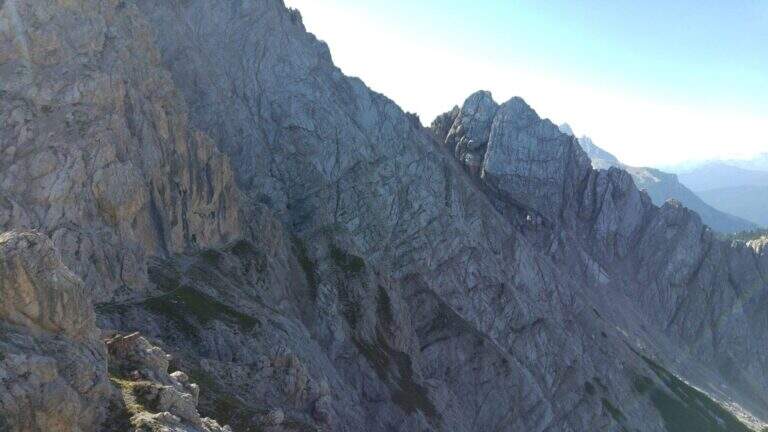
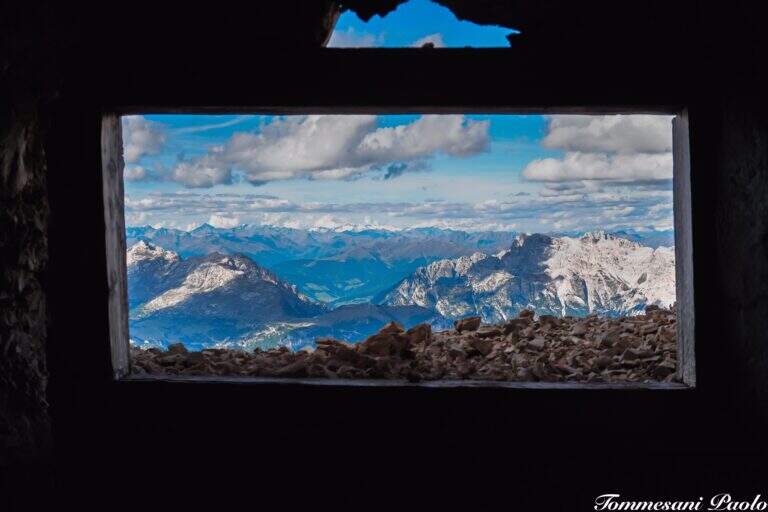
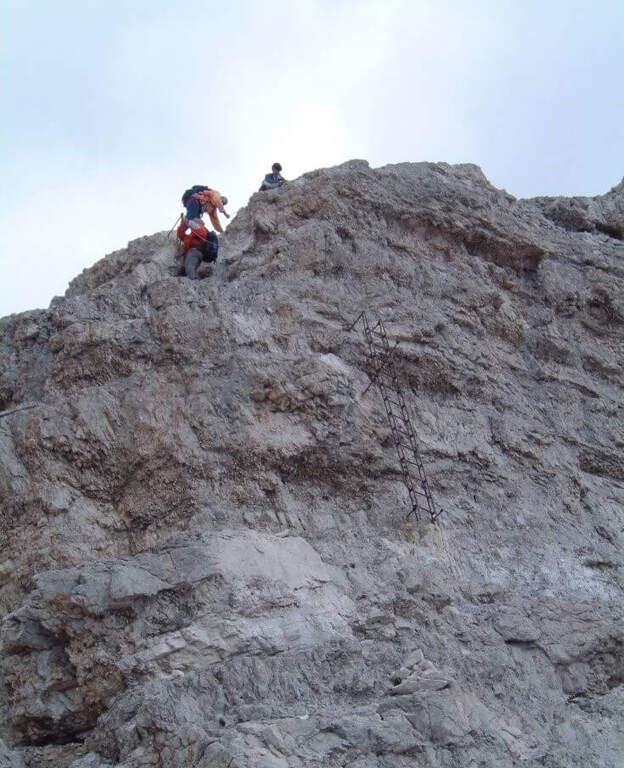
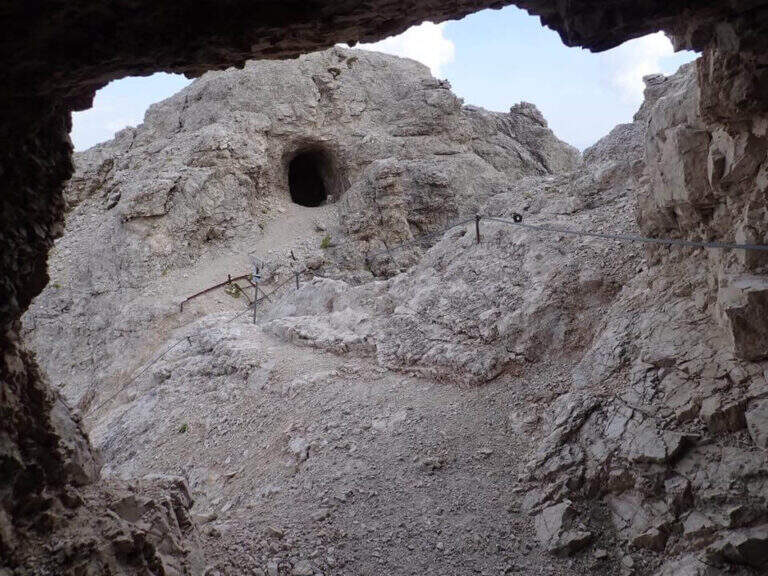
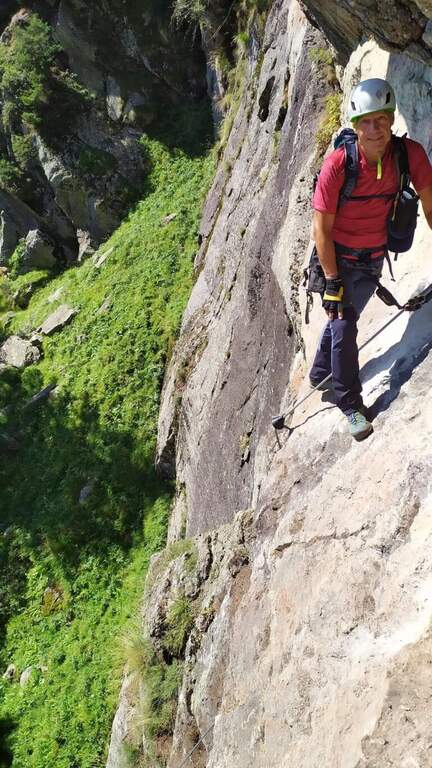
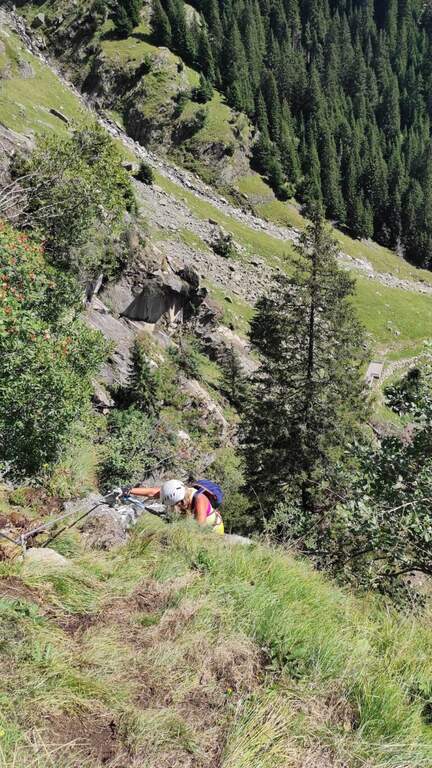
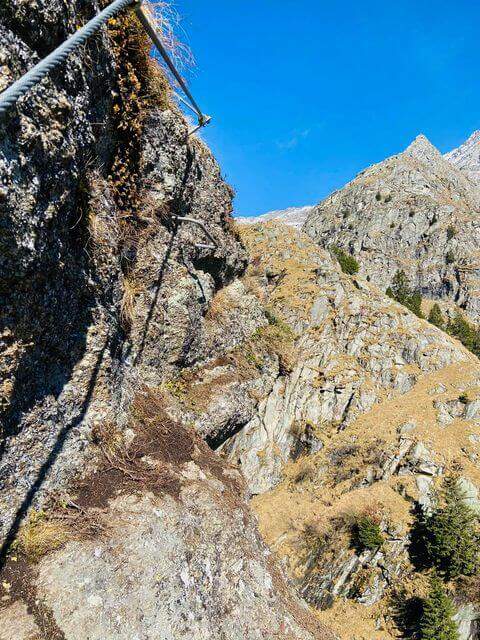
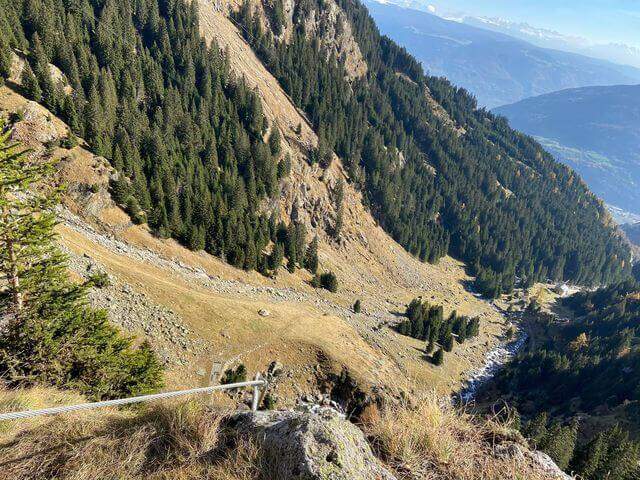
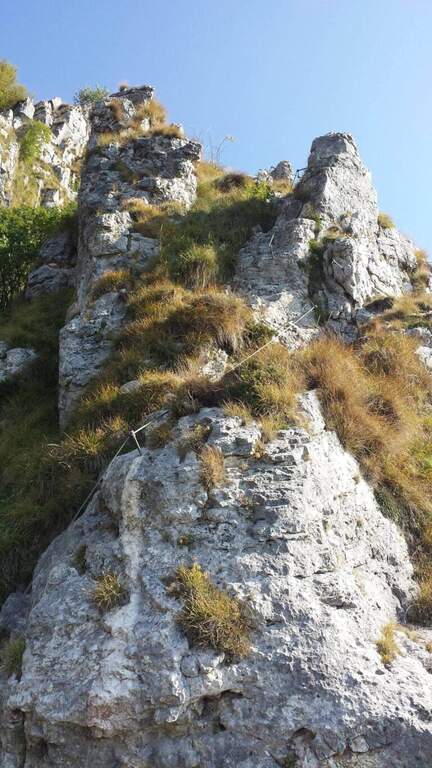
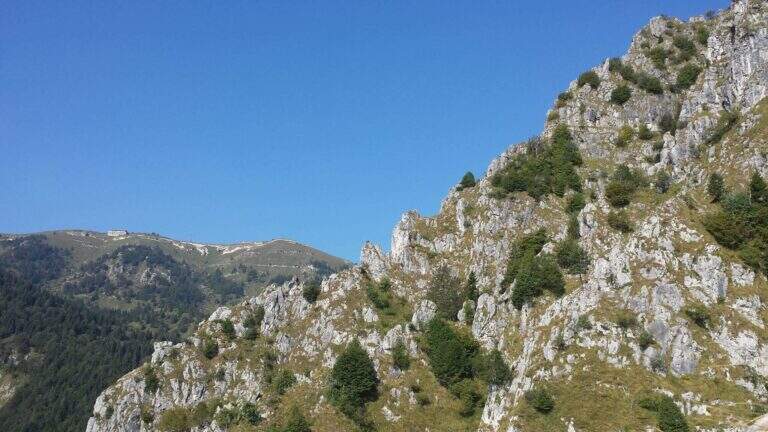
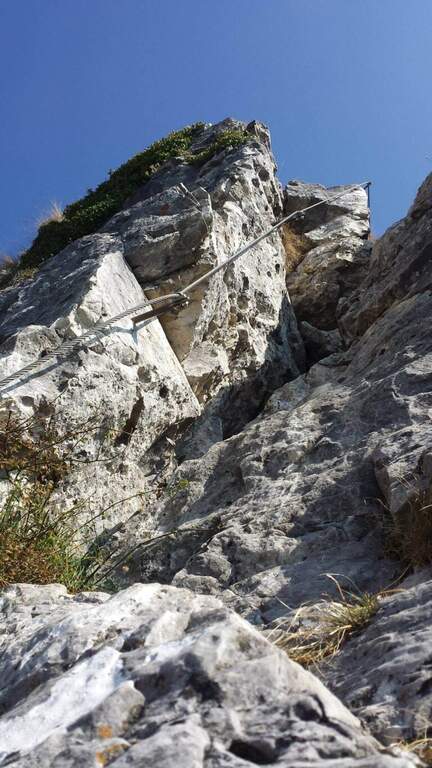
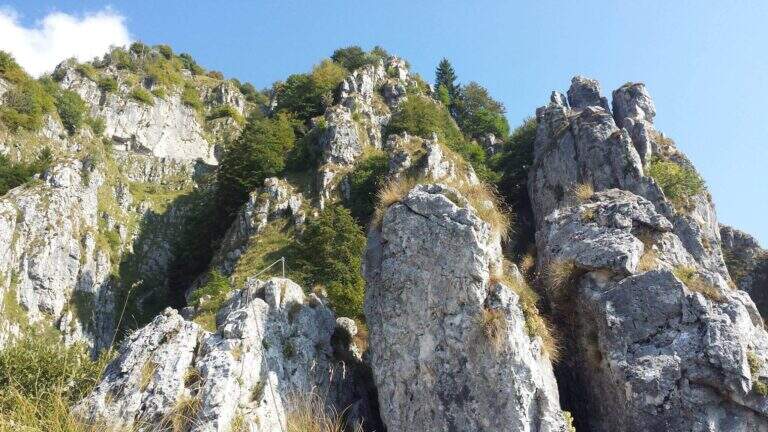
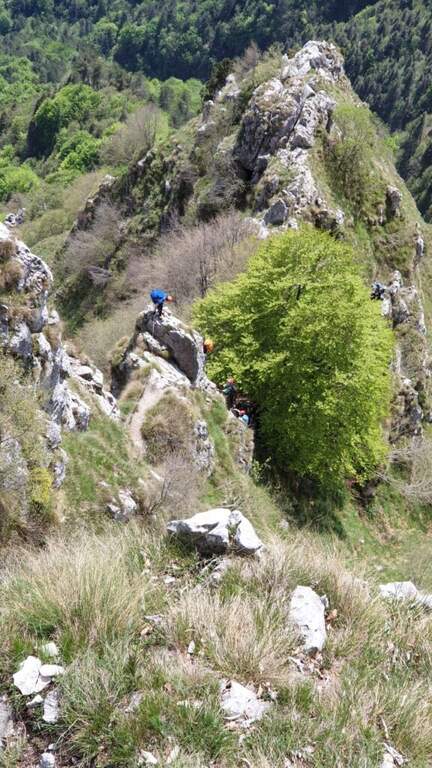
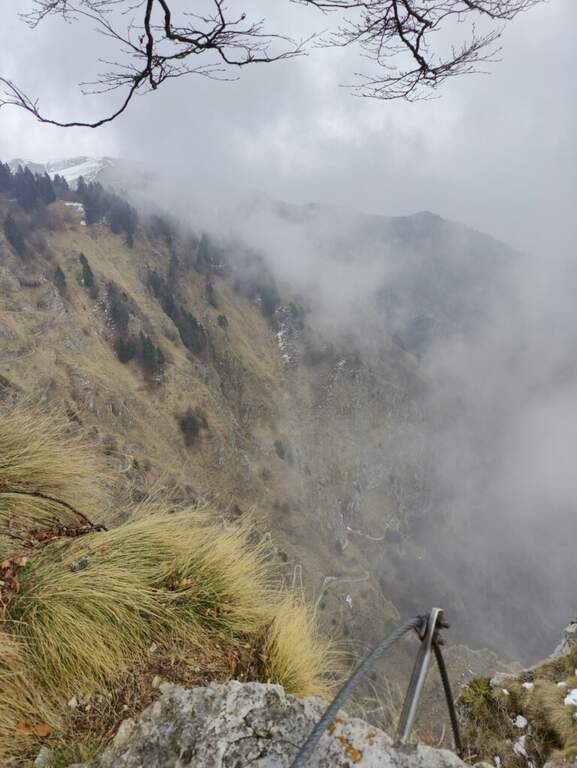
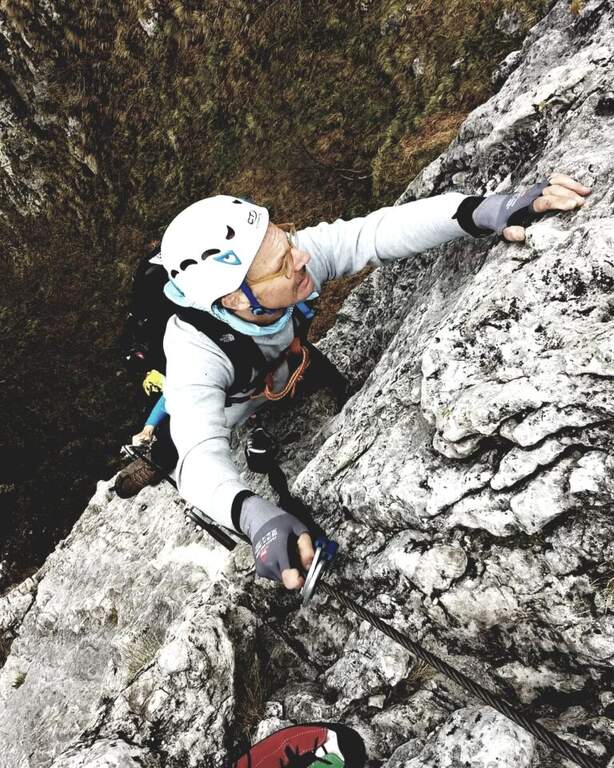
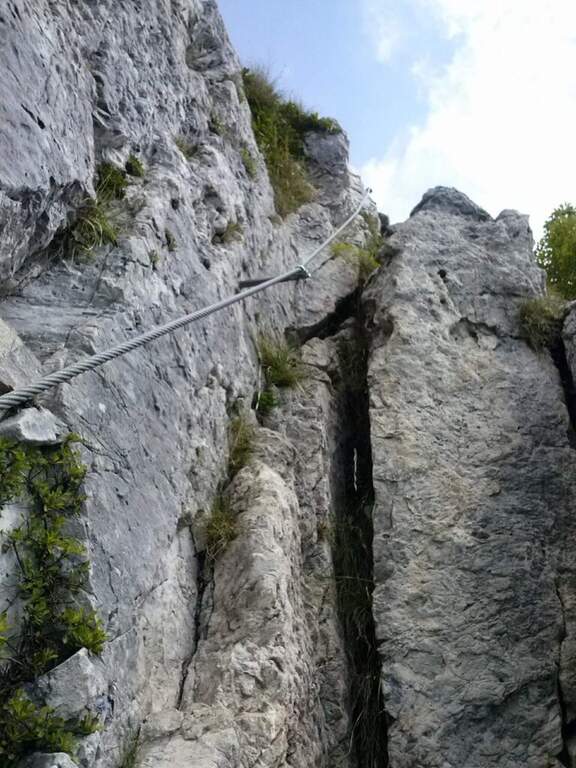
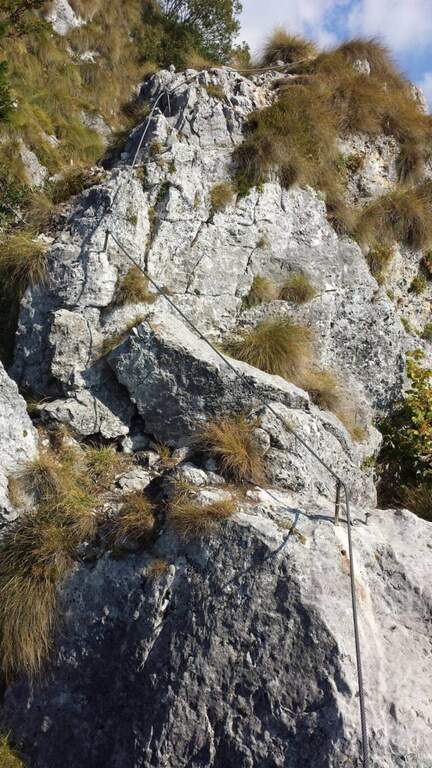
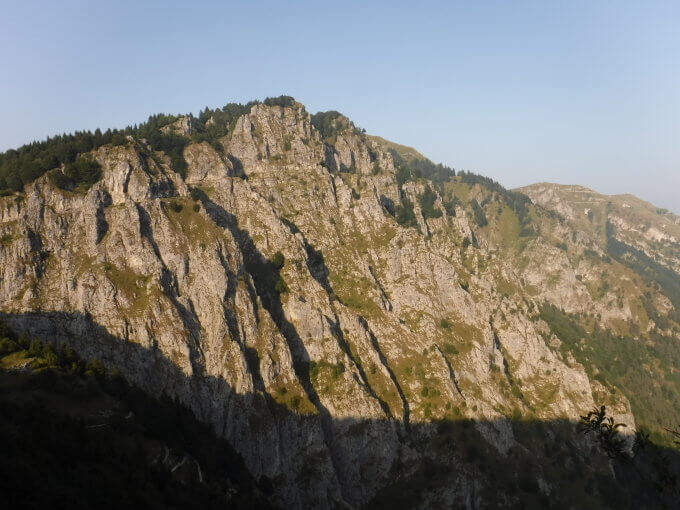
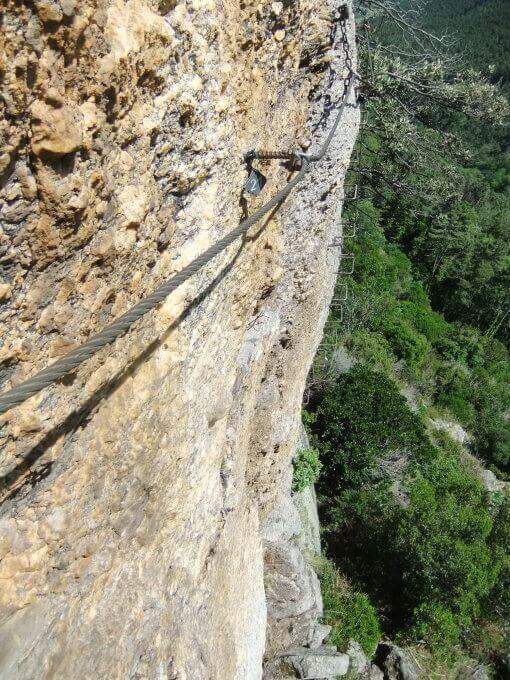
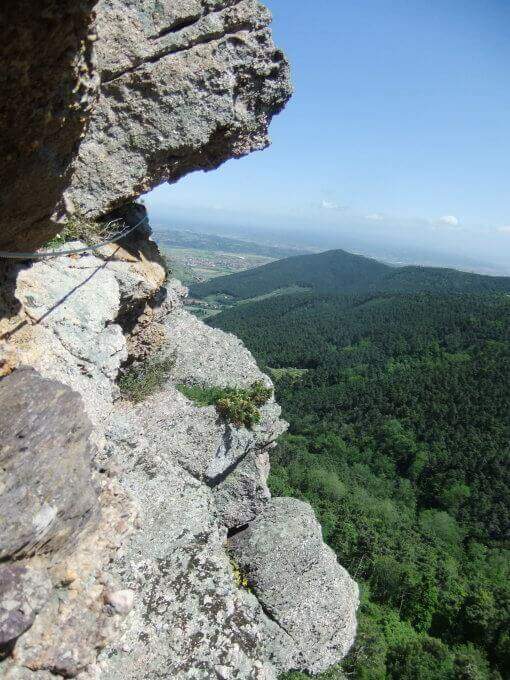
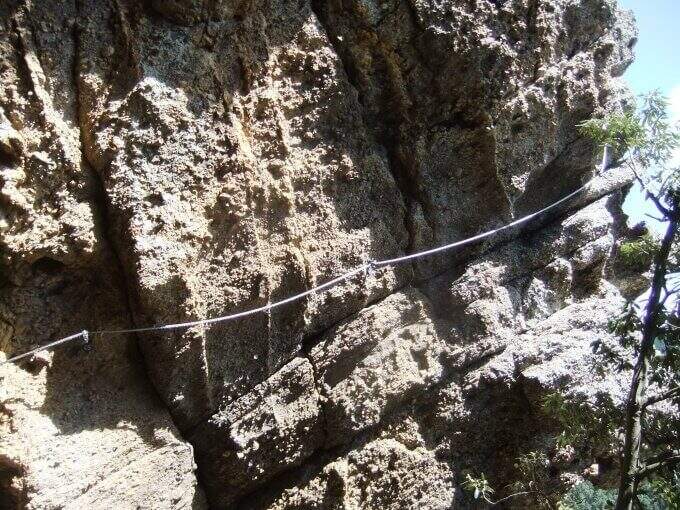
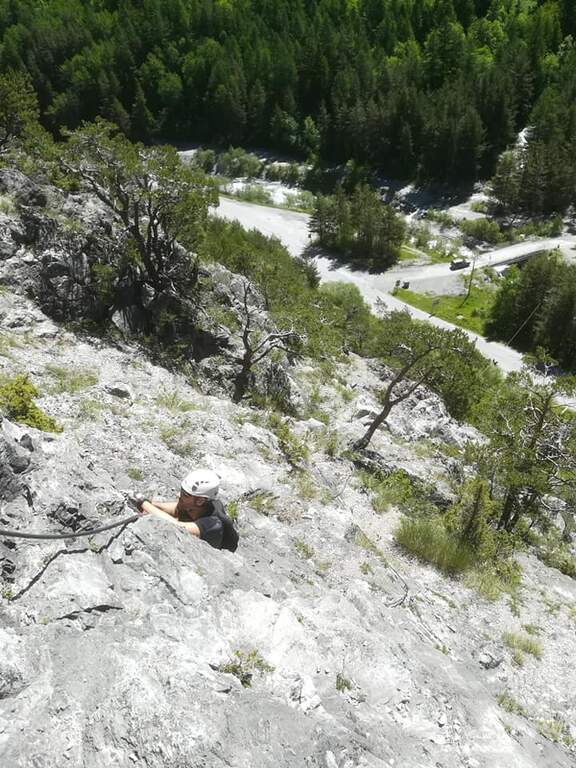
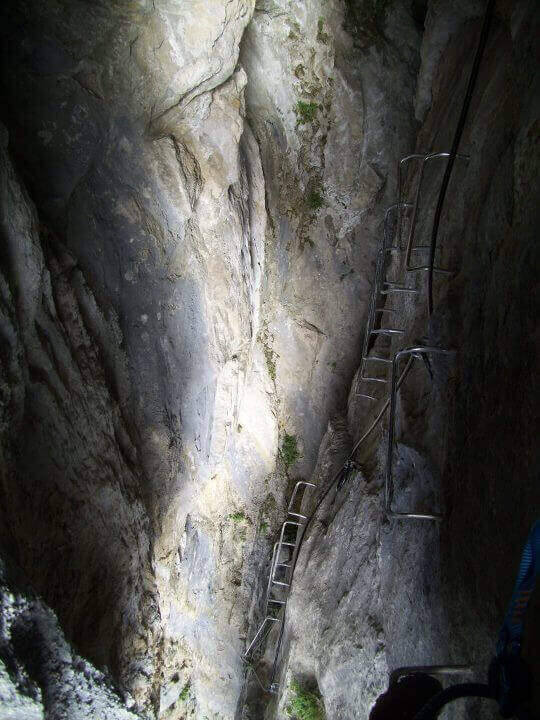
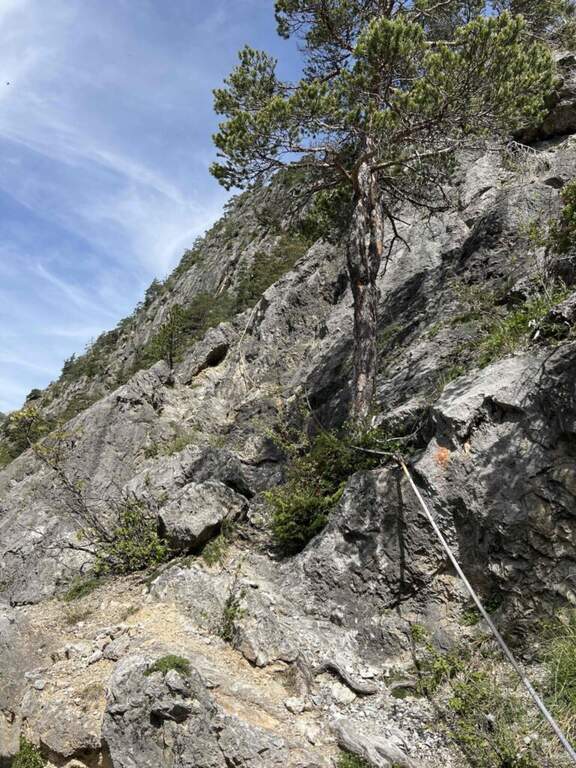
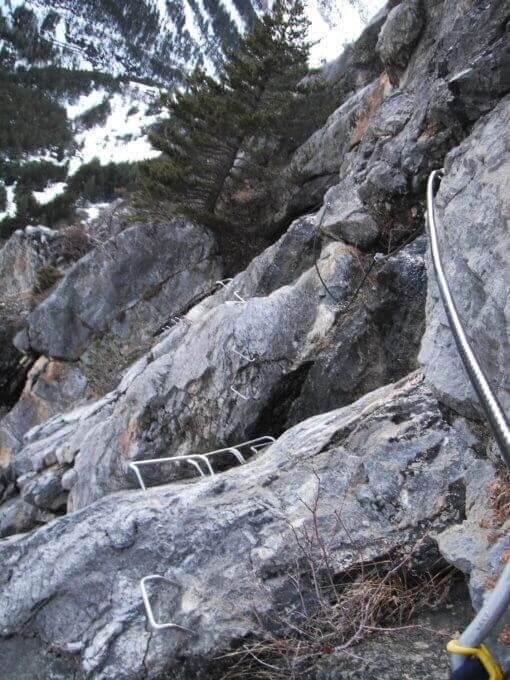
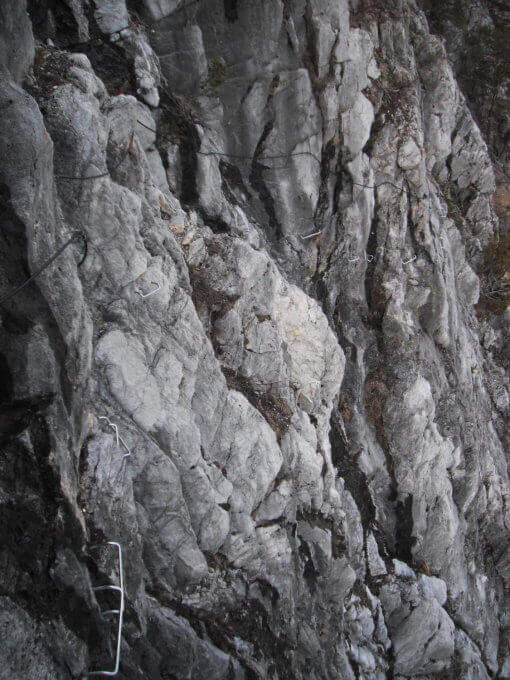
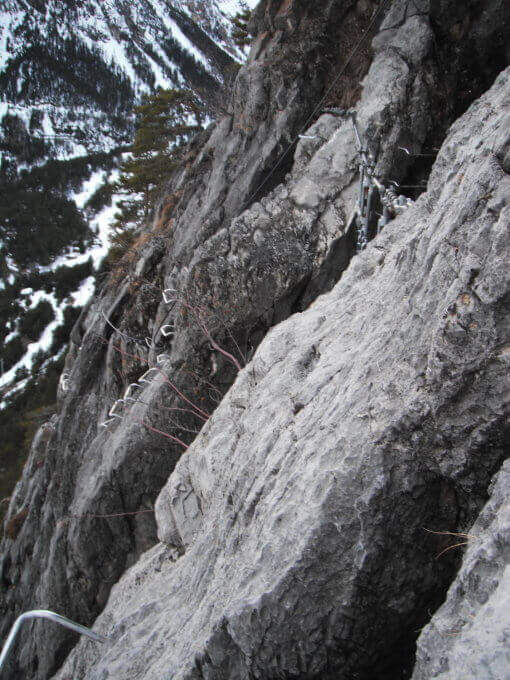
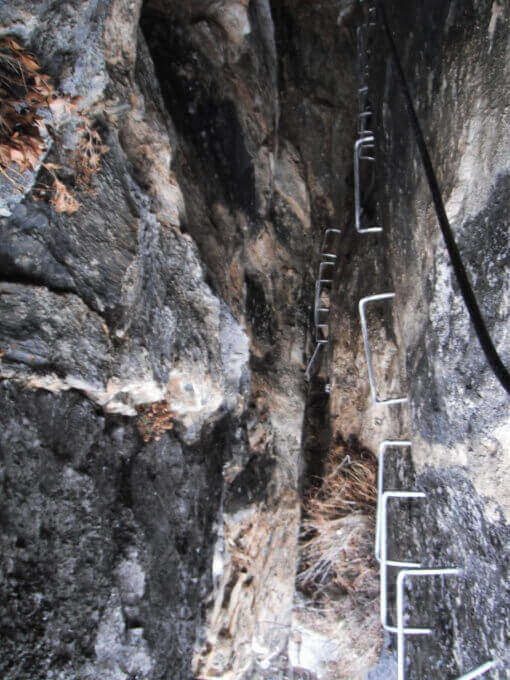
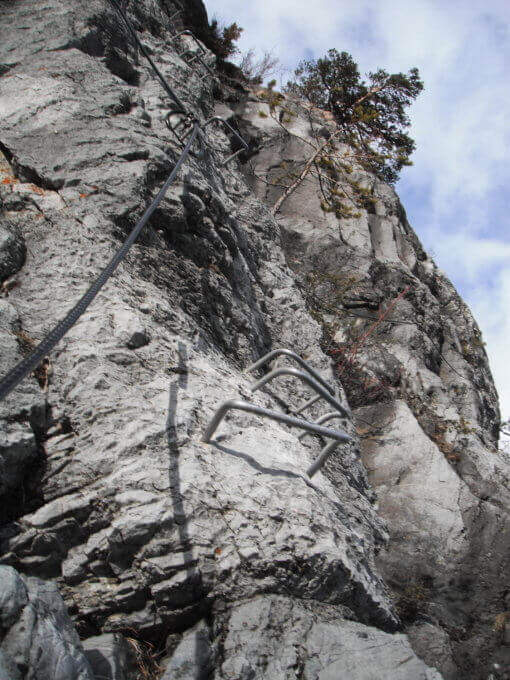
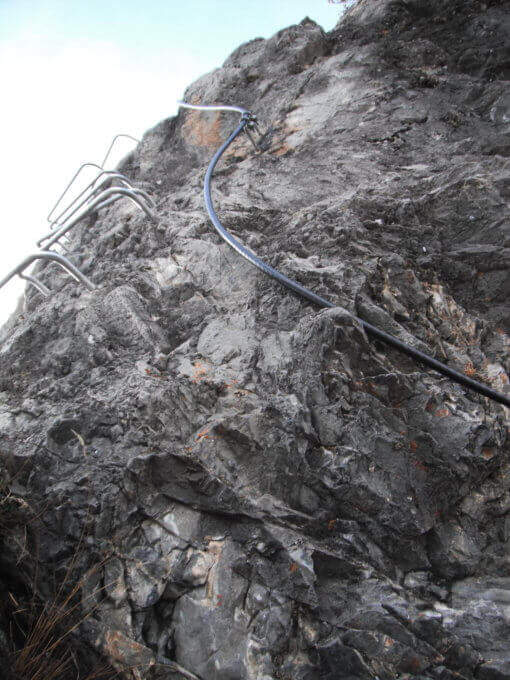
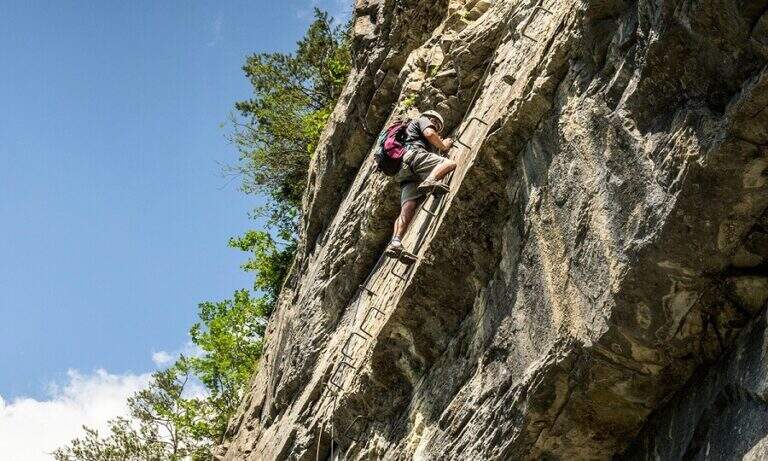
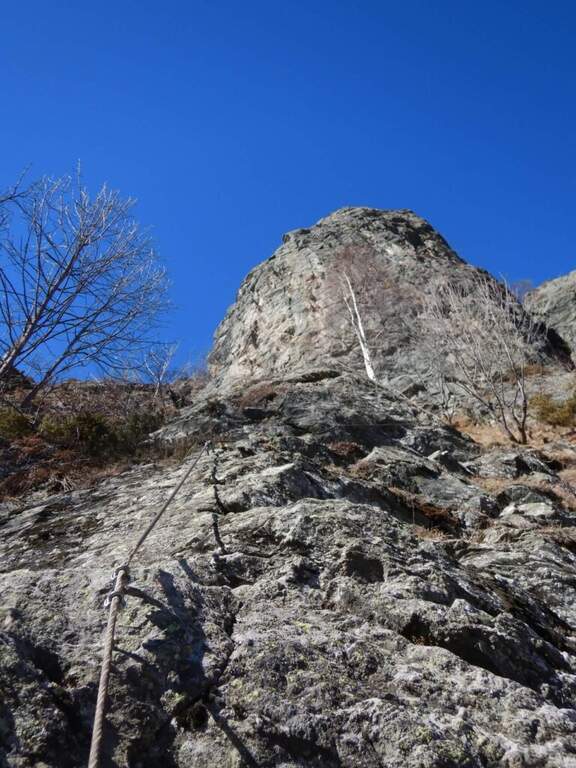
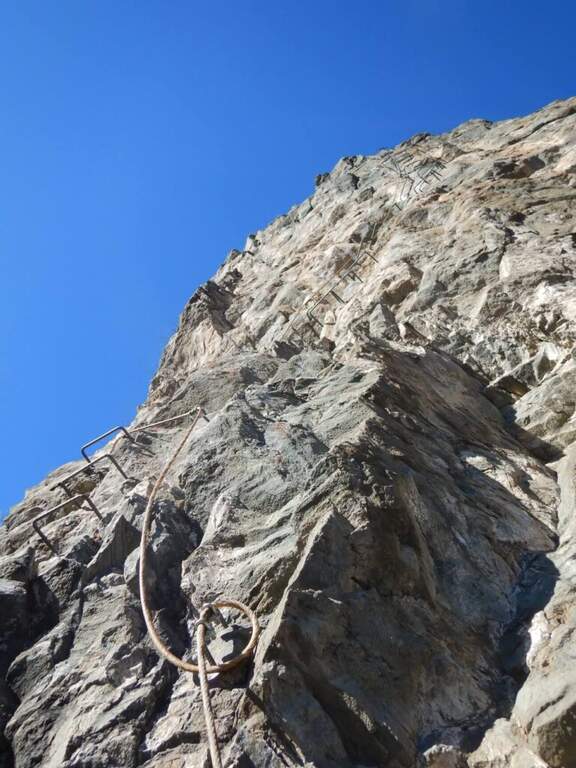
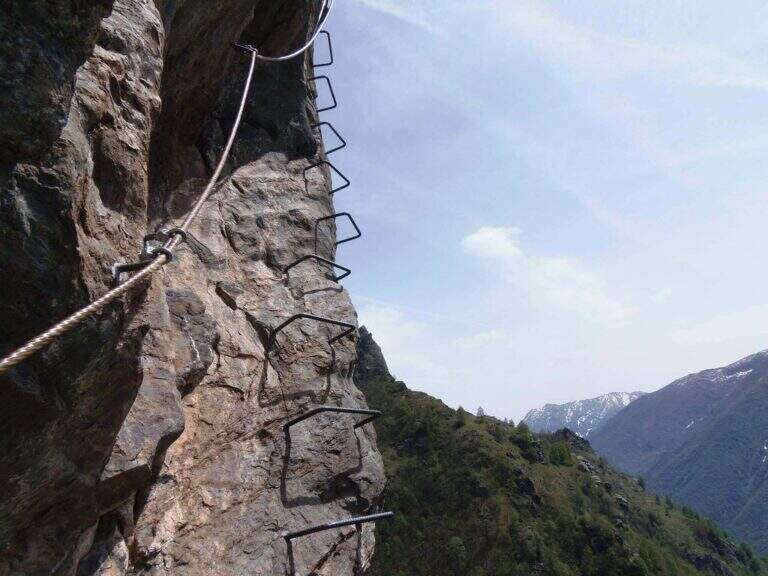
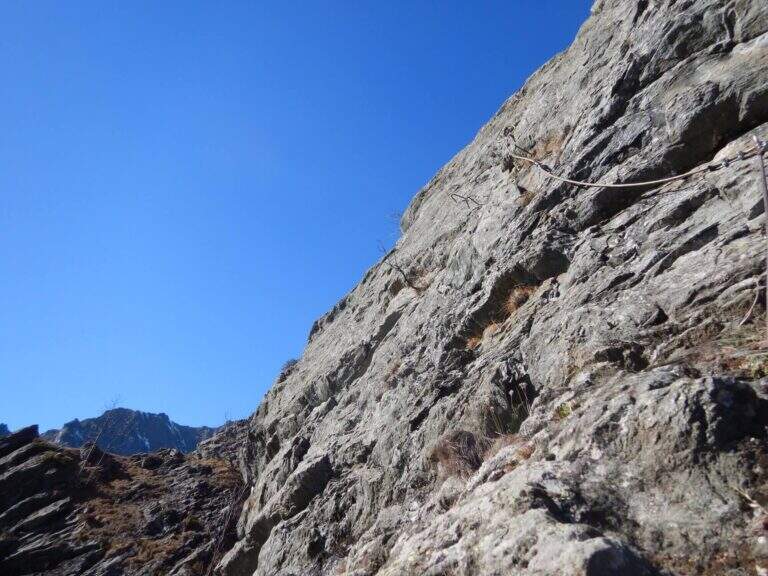
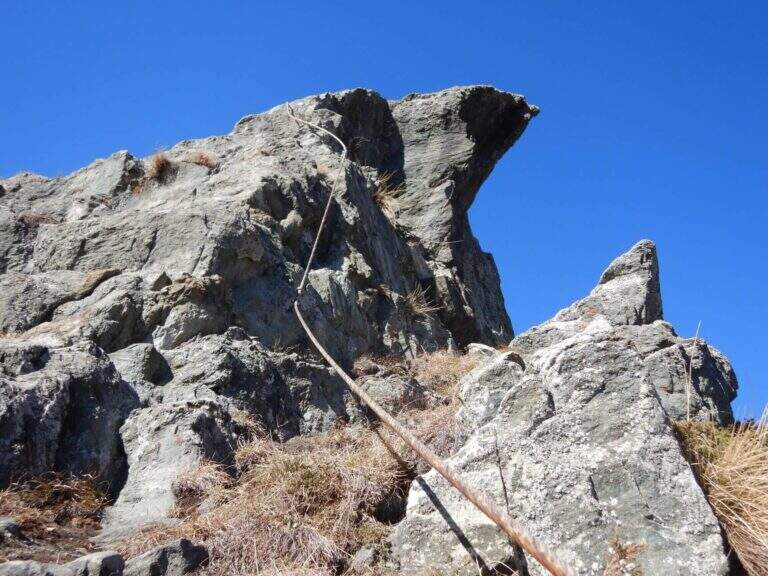
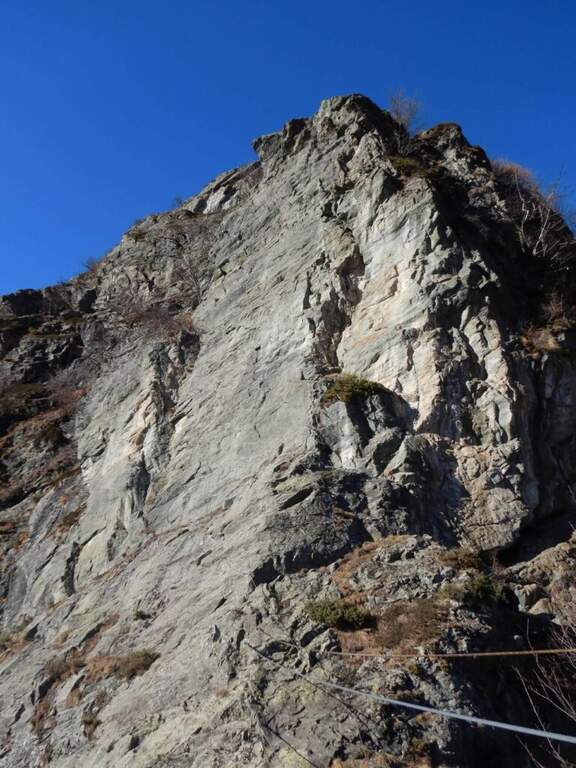
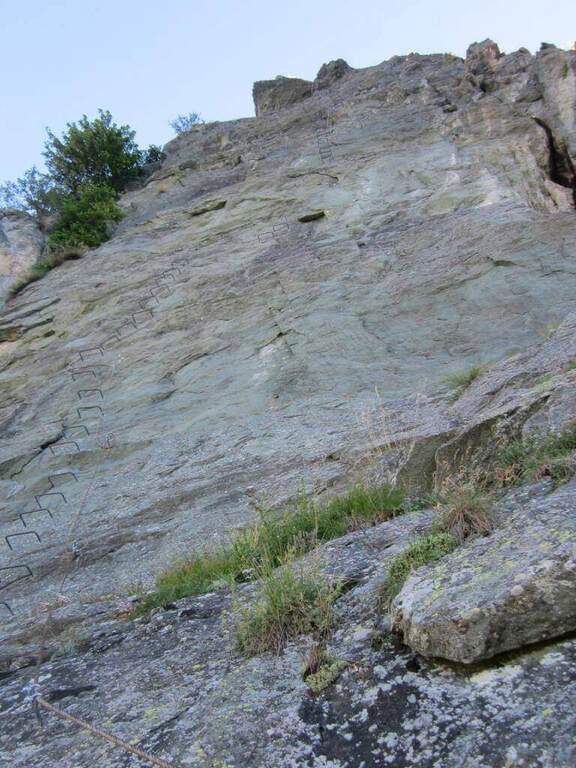
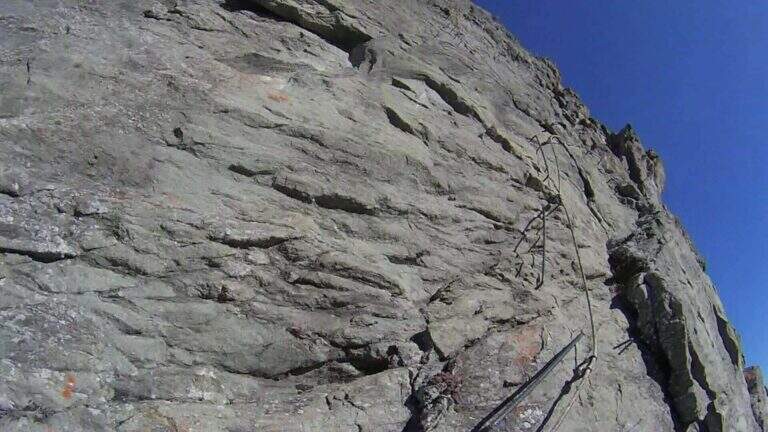
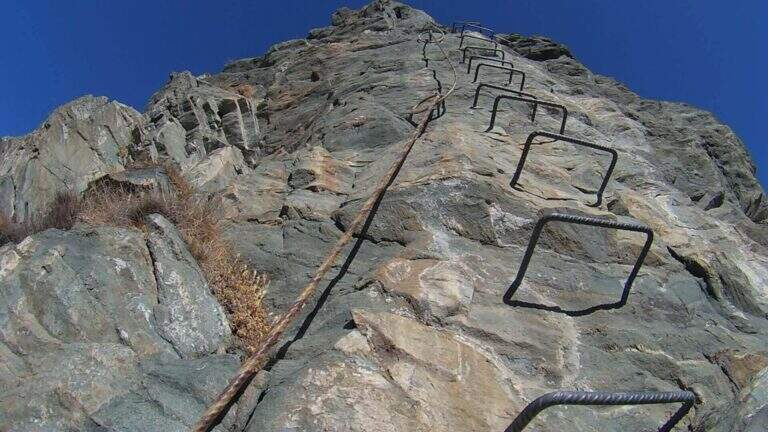
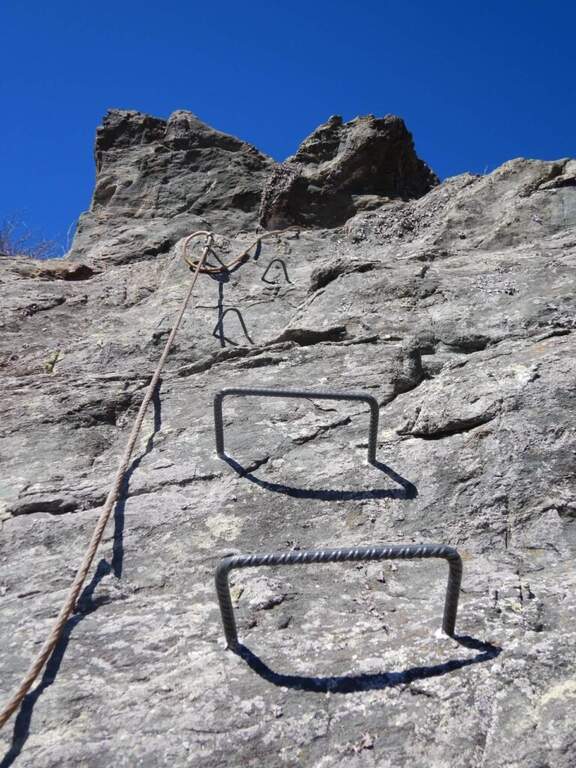
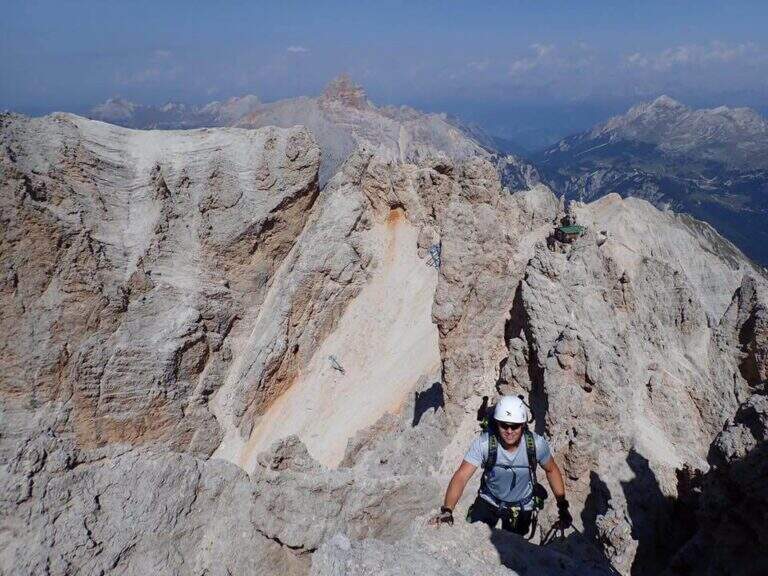
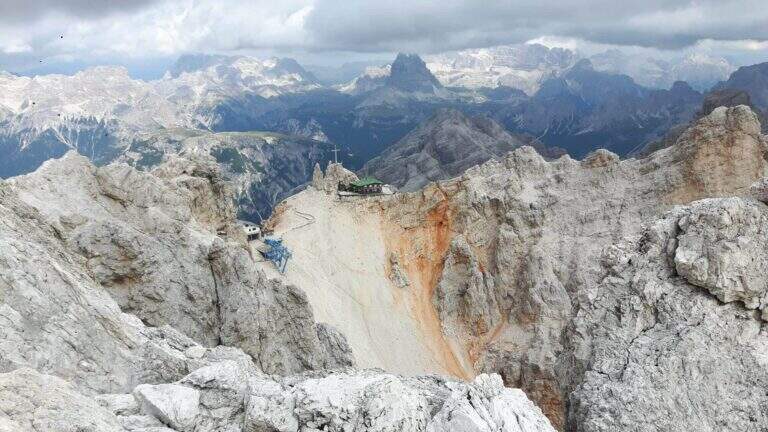
    The Ferrata Ivano Dibona is a wonderful ridge route on the Crystal Group. From Forcella Staunies runs through the entire ridge that descends to the Col dei Stombi, in a path of great landscape interest and rich in in indelible traces of the fighting of the Great War. The technical difficulties are not high, but some traits are exposed and above all the overall difference requires an excellent training.

    ▲Approach

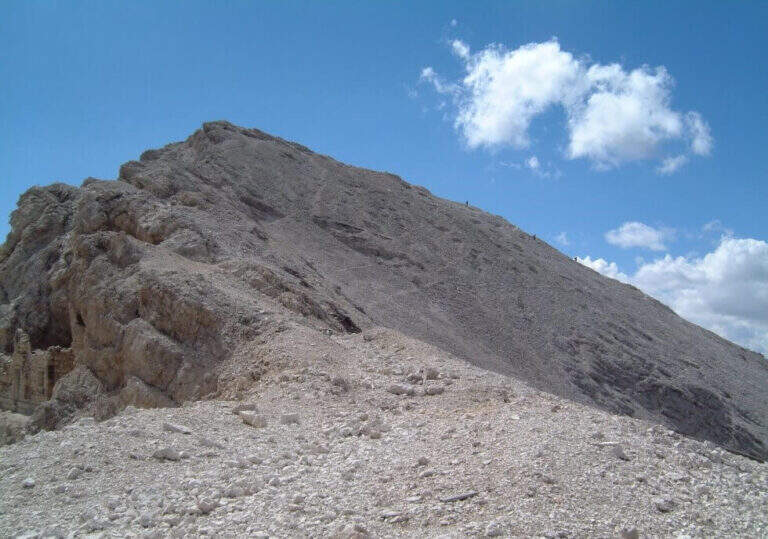
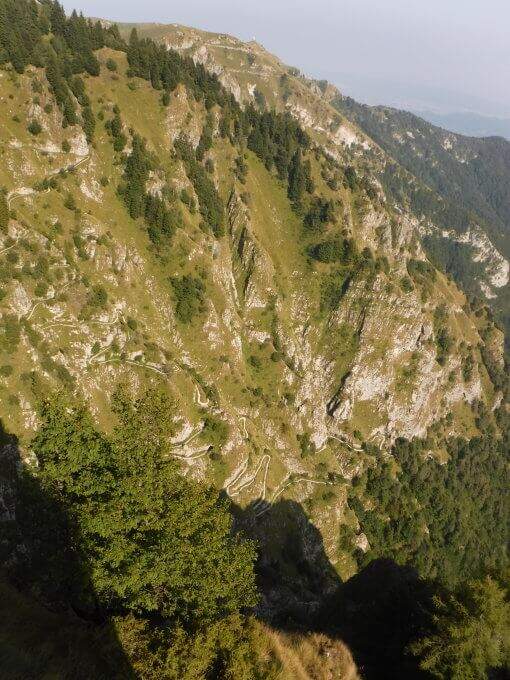
    Starting from the parking lot at the Restaurant Rio Gere, from which rises the chairlift that connects Rio Gere (1700 m) with the Son Forca Refuge (2215 m), along the road of the Passo delle Tre Croci that joins Cortina d’Ampezzo to Auronzo di Cadore, on the ampezzano slope (open up Google Maps). The attack is in Forcella Staunies (2932 m): from Rio Gere there are almost 1250 m of altitude, so it is highly recommended to use the chairlift up to the Son Forca Refuge. From here, dismantling the old bidonvia that climbed to the fork, the only solution is to climb up the detritic valley of the Gran Staunies, a steep channel and on unstable gravel bottom to deal with carefully, taking into account at least 2 hours from the end of the chairlift.

    ▲The path

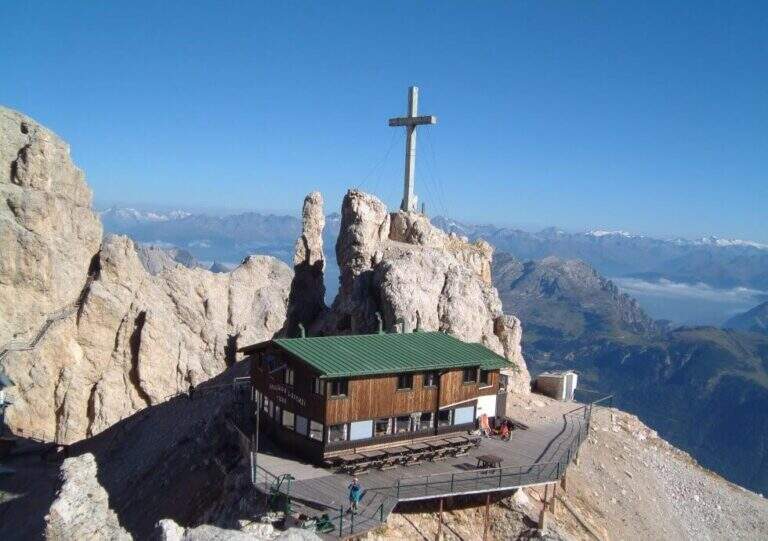
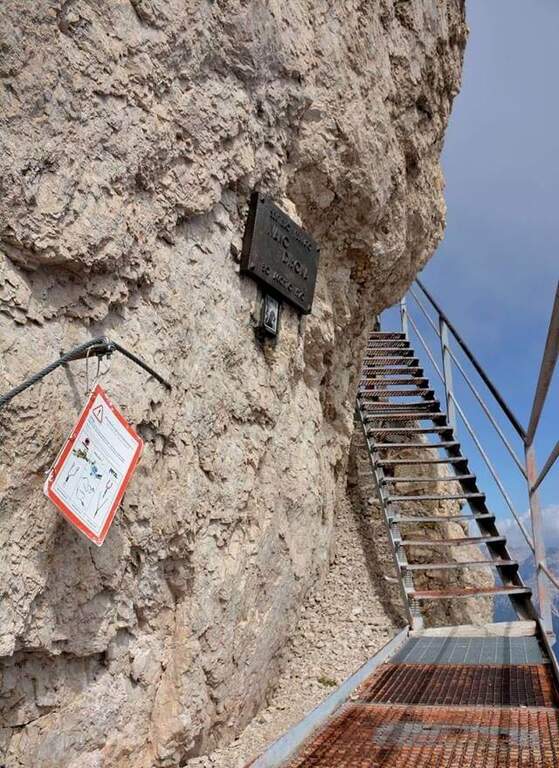
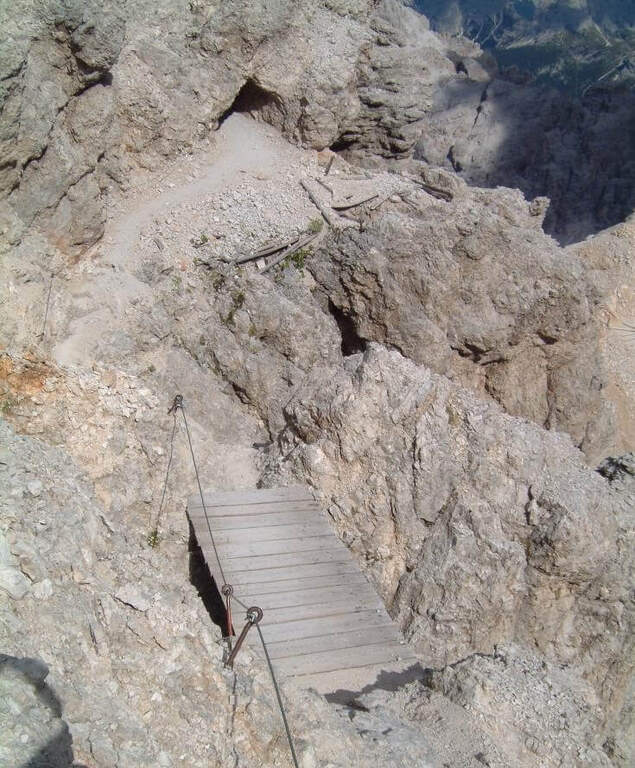
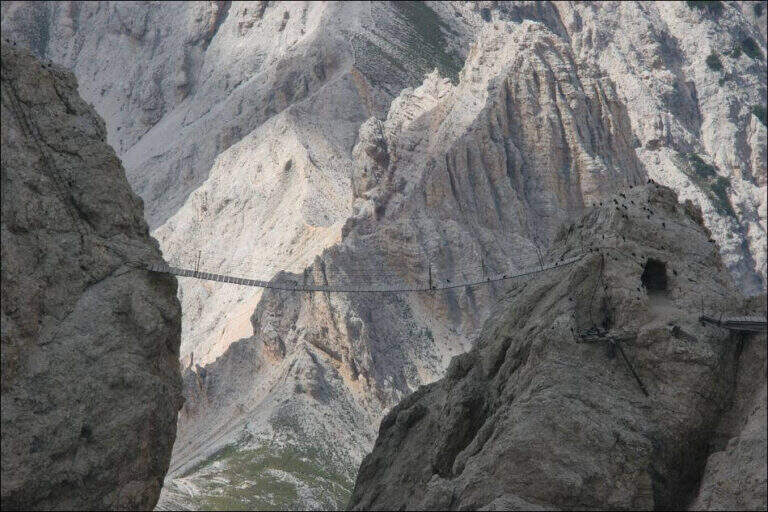
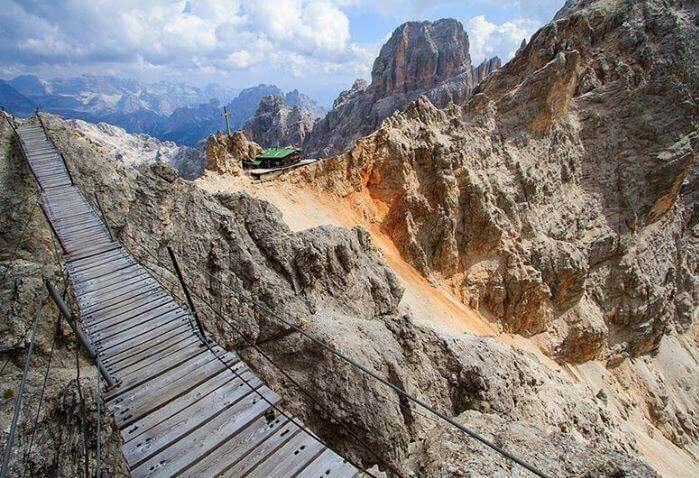
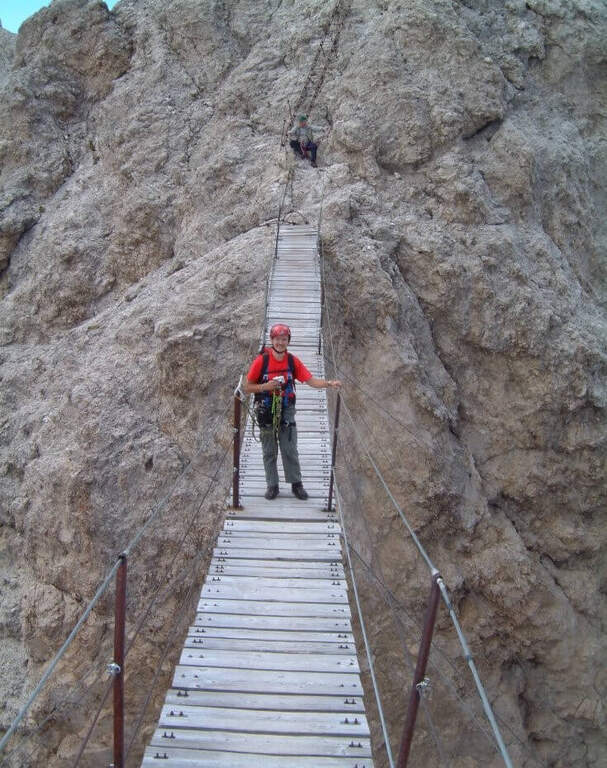
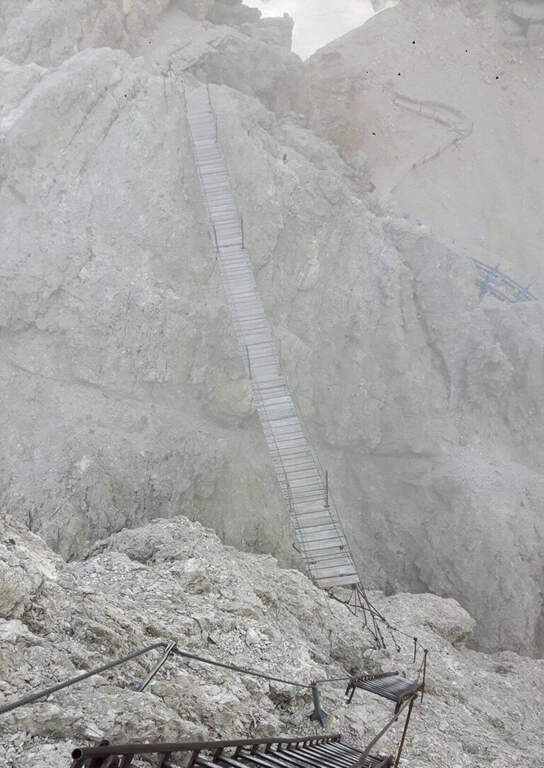
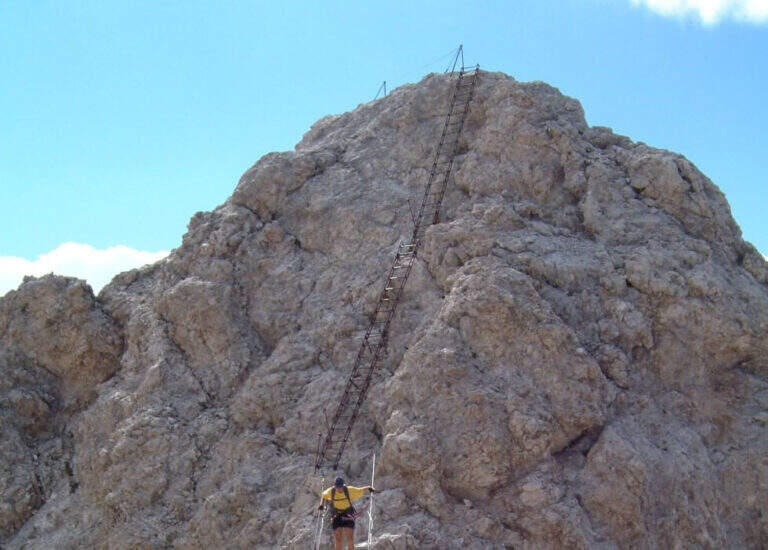
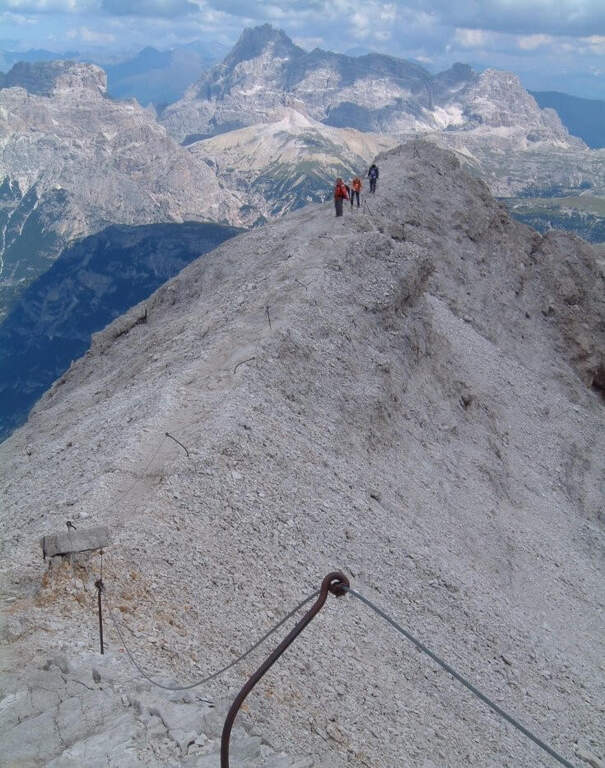
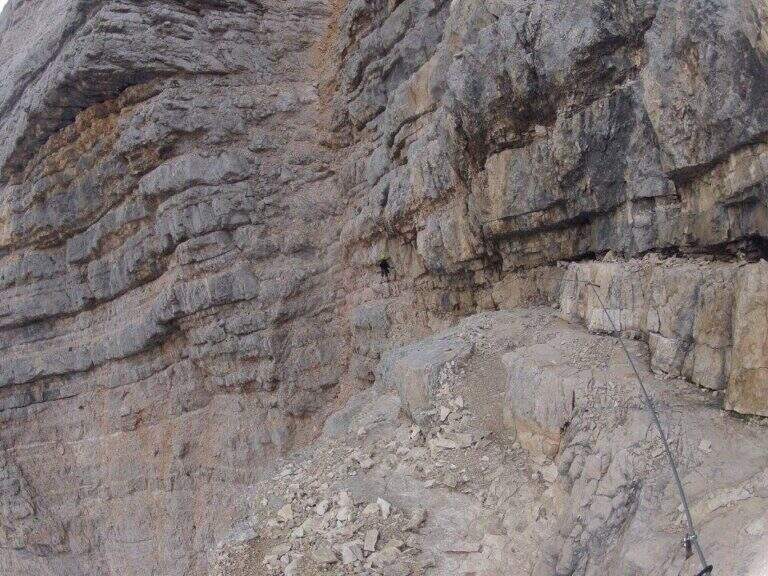
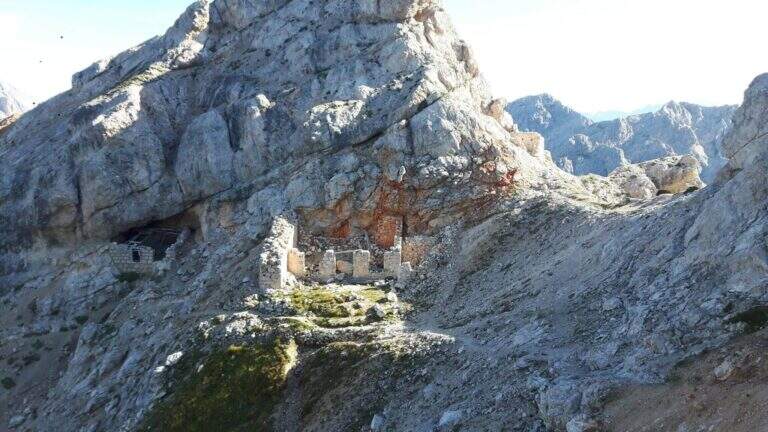
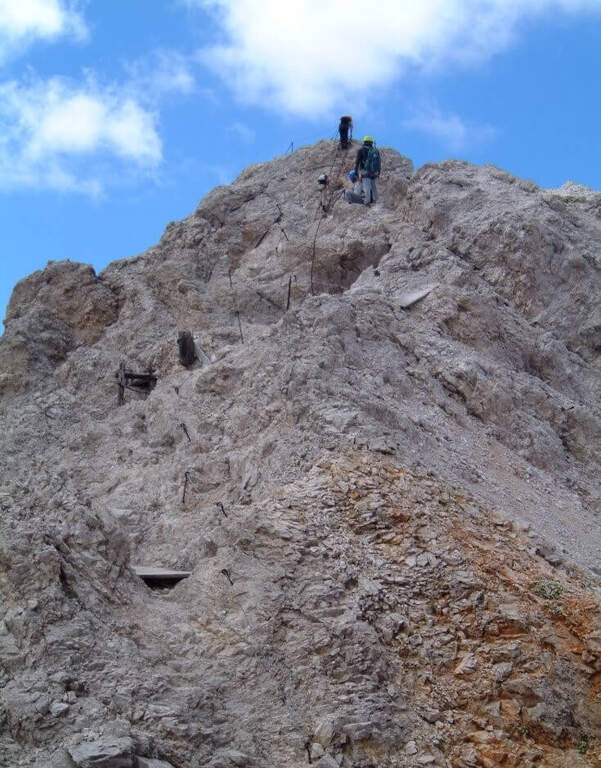
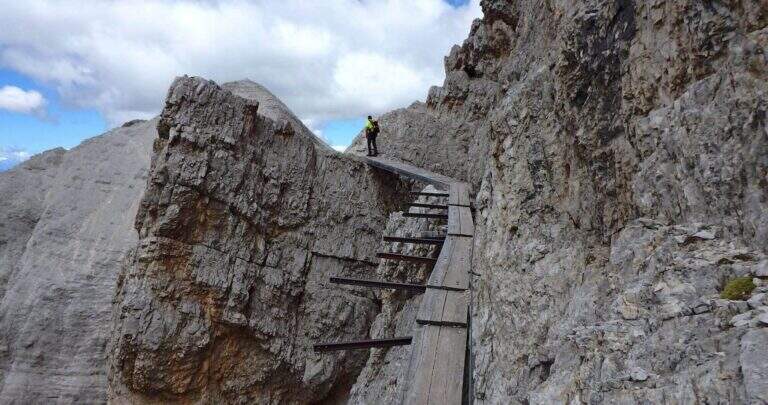
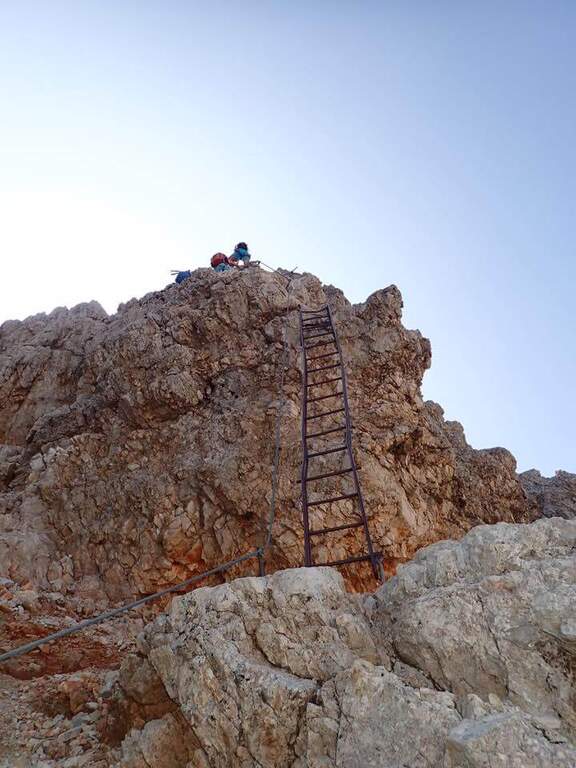
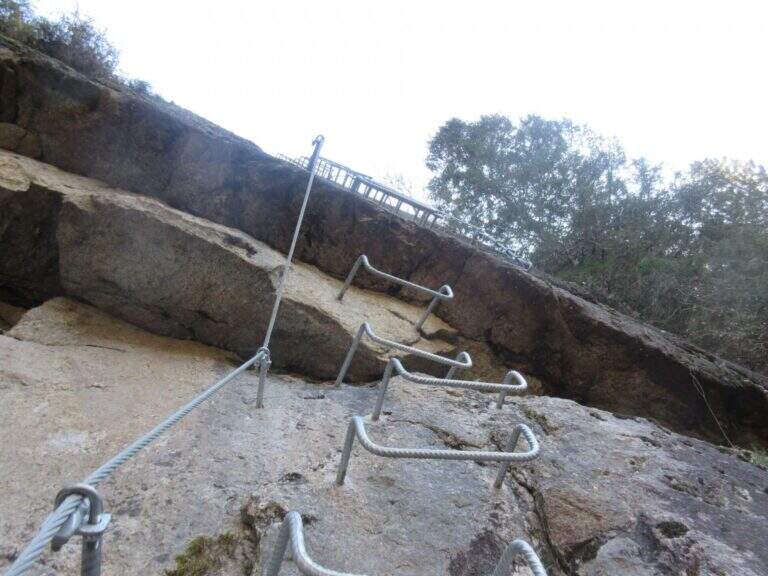
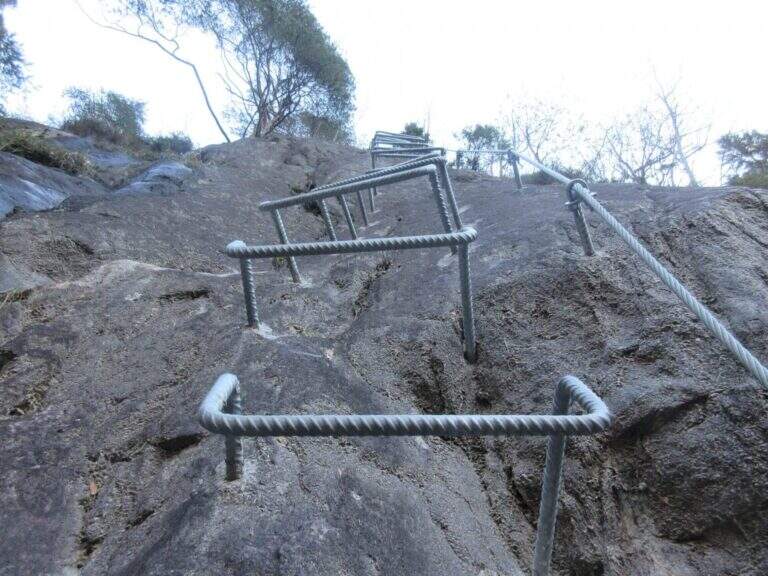
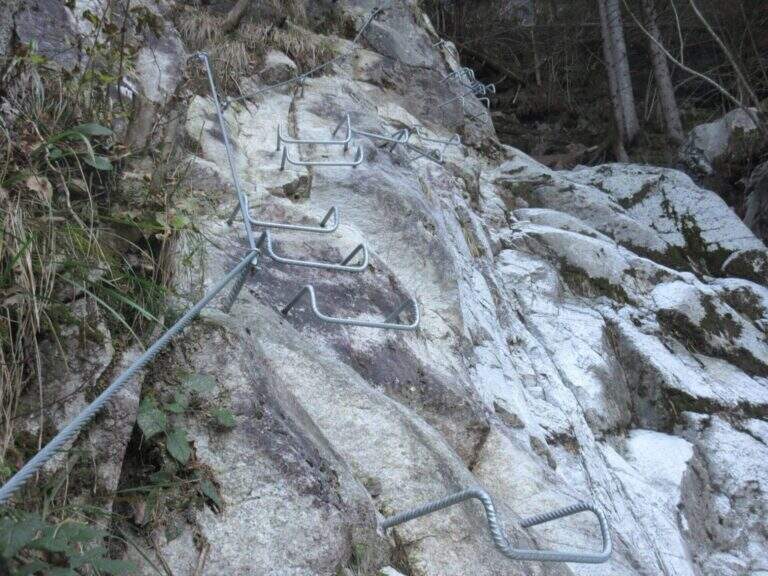
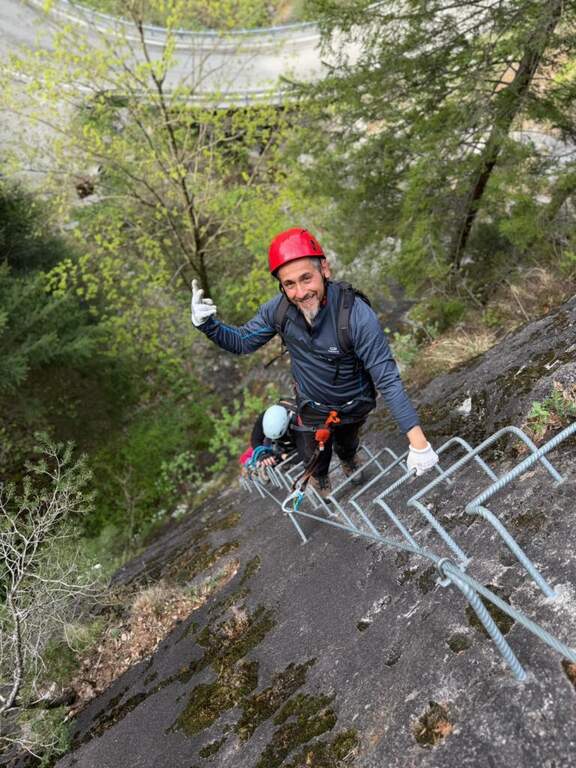
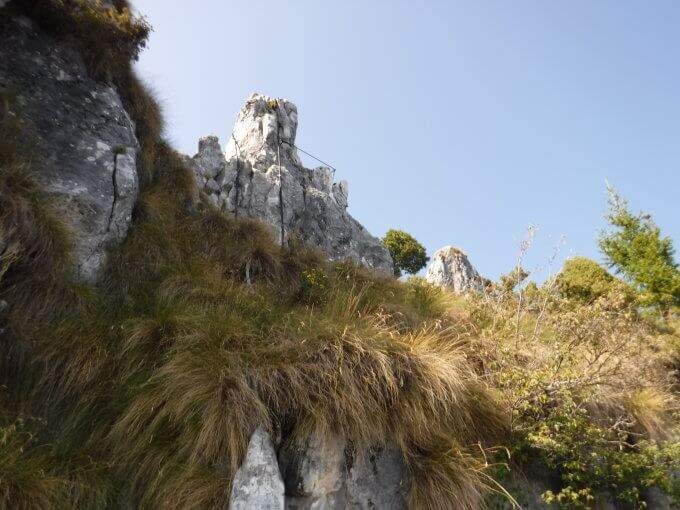
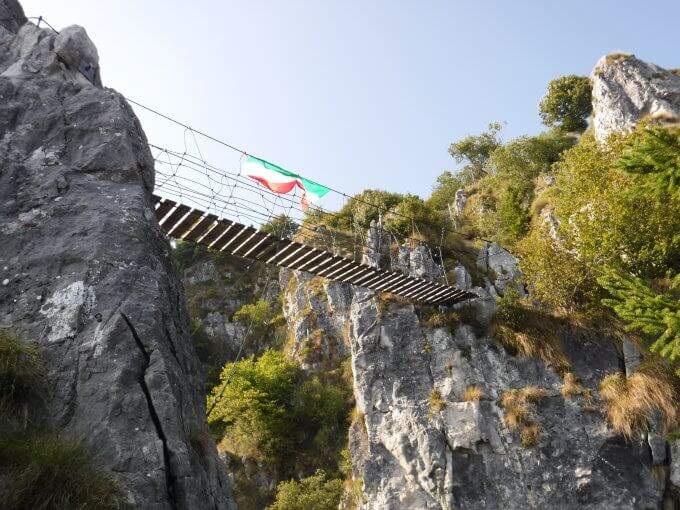
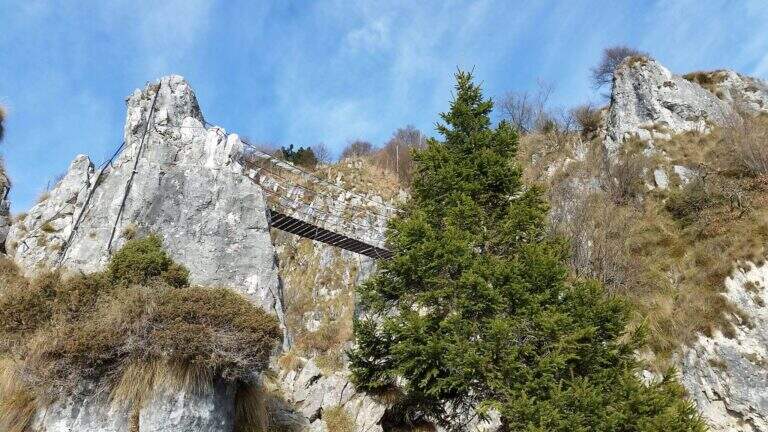
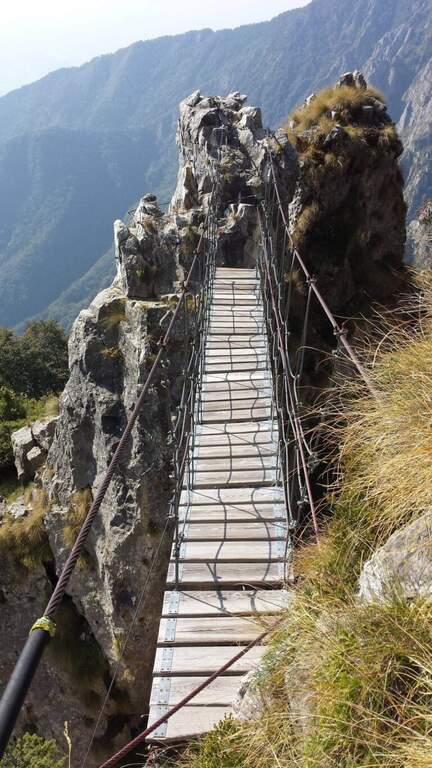
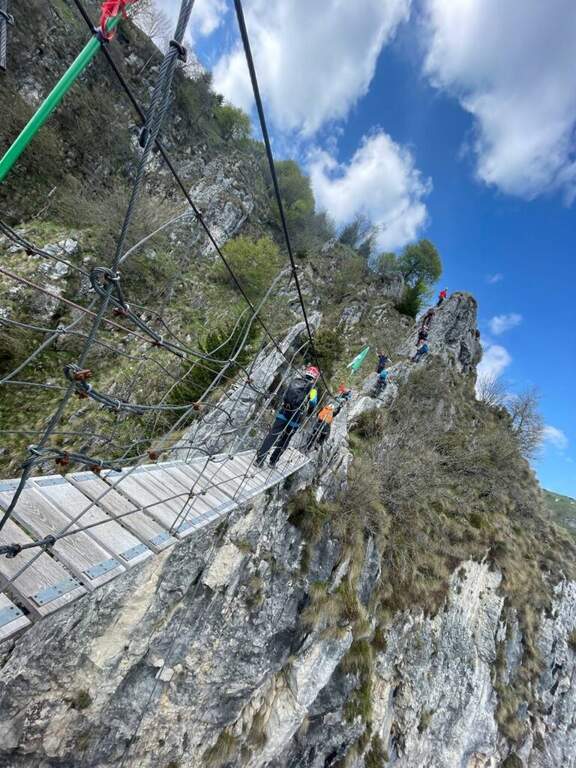
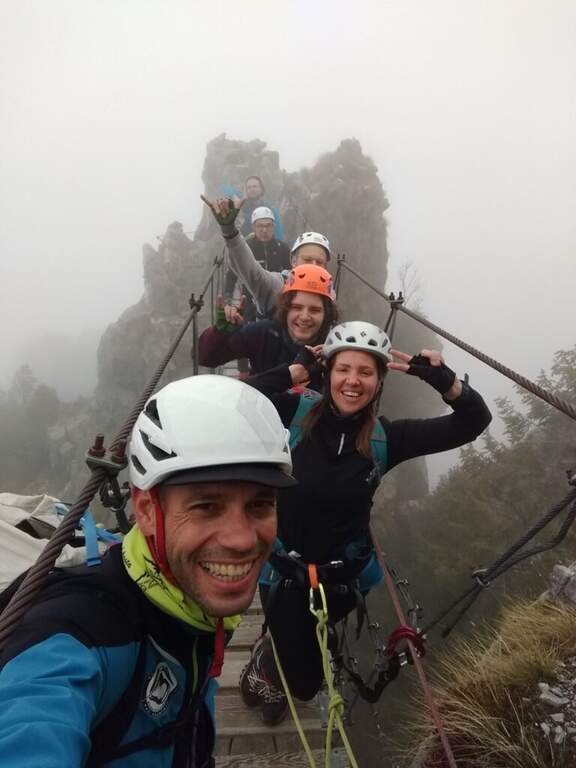
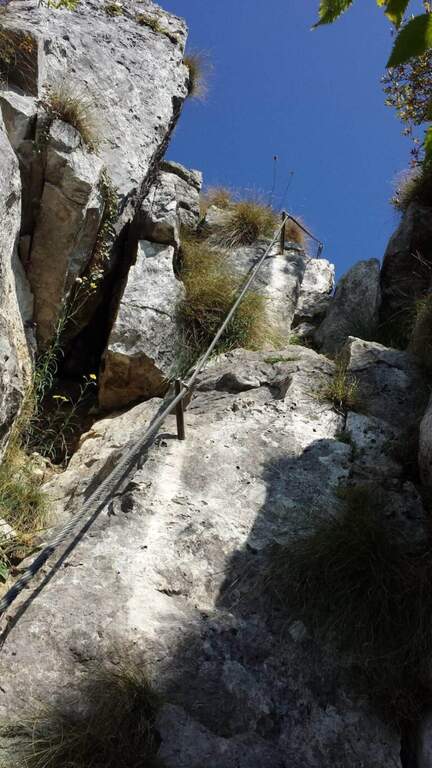
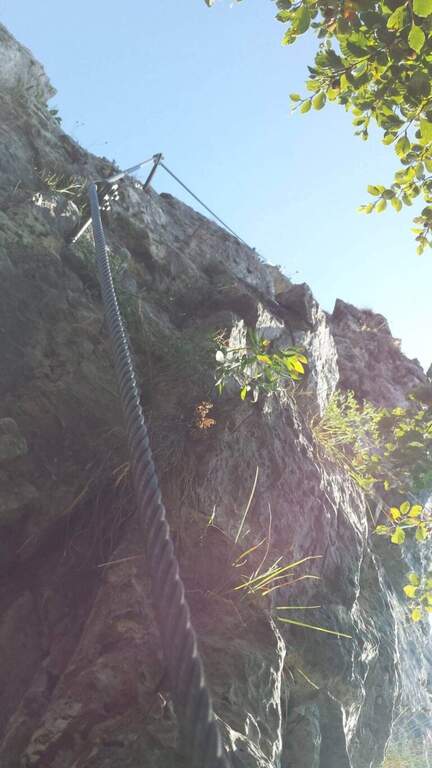
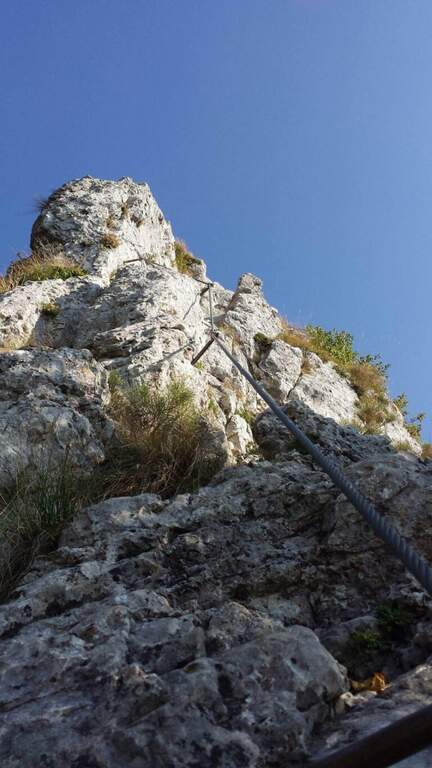
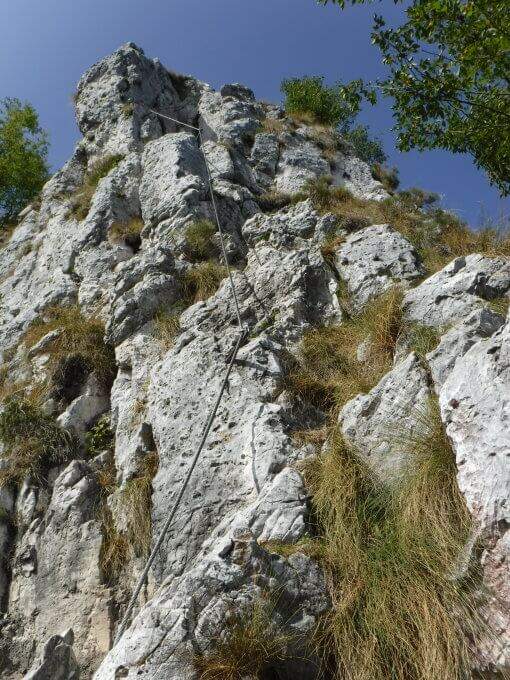
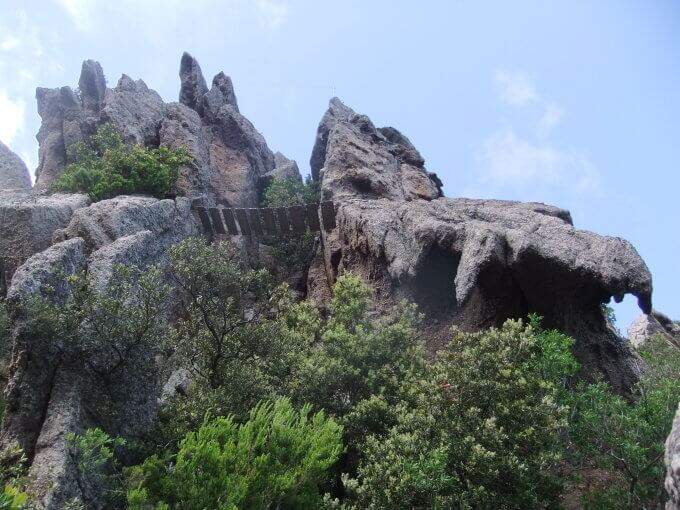
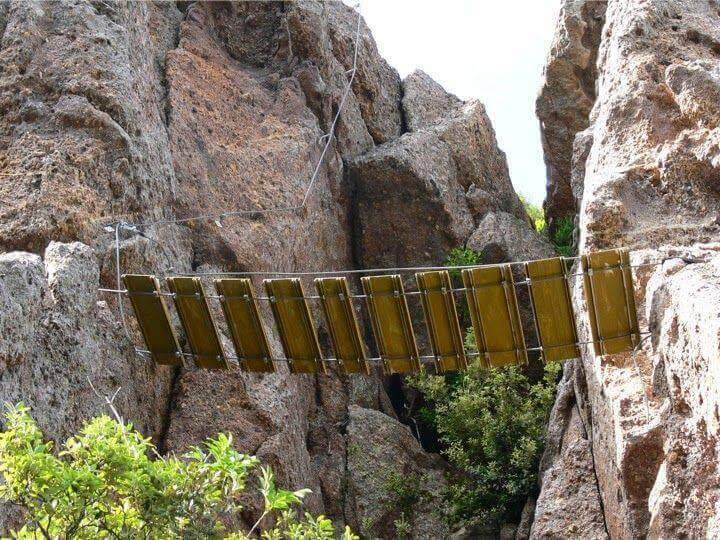
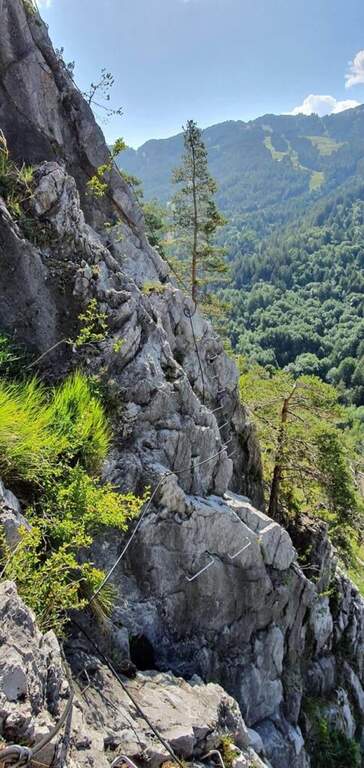
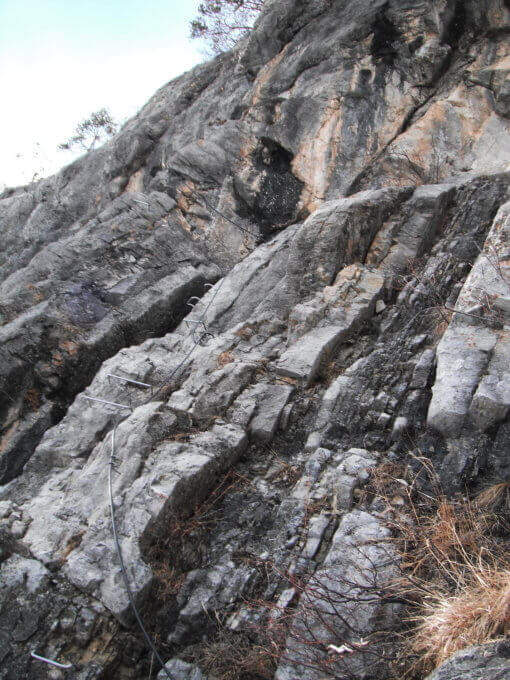
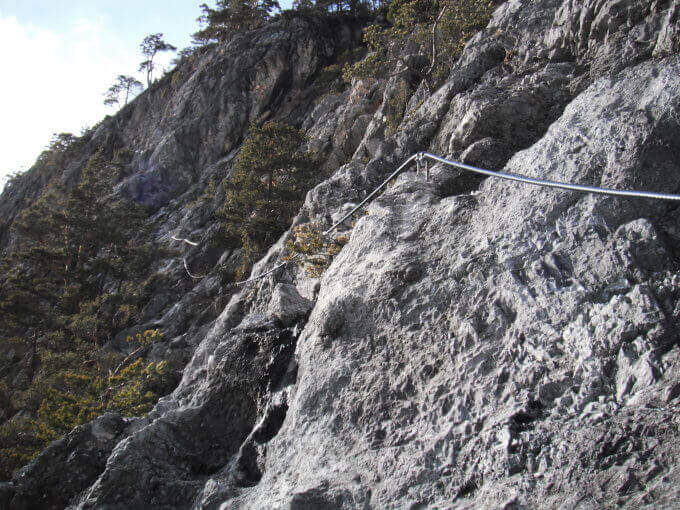
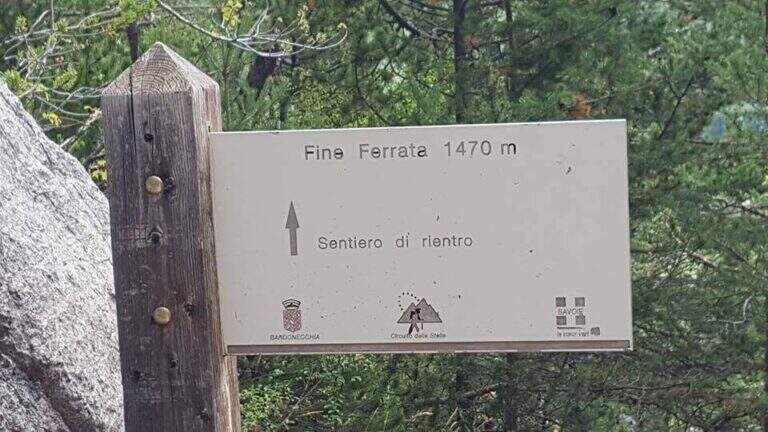
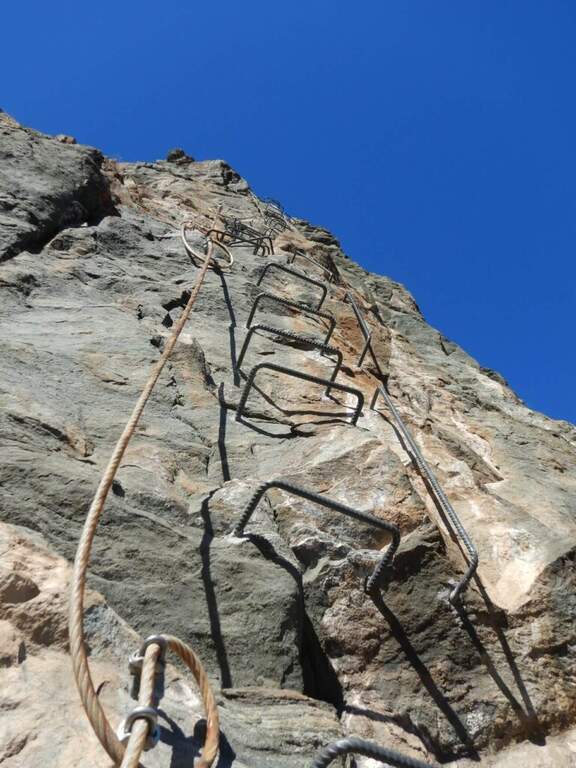
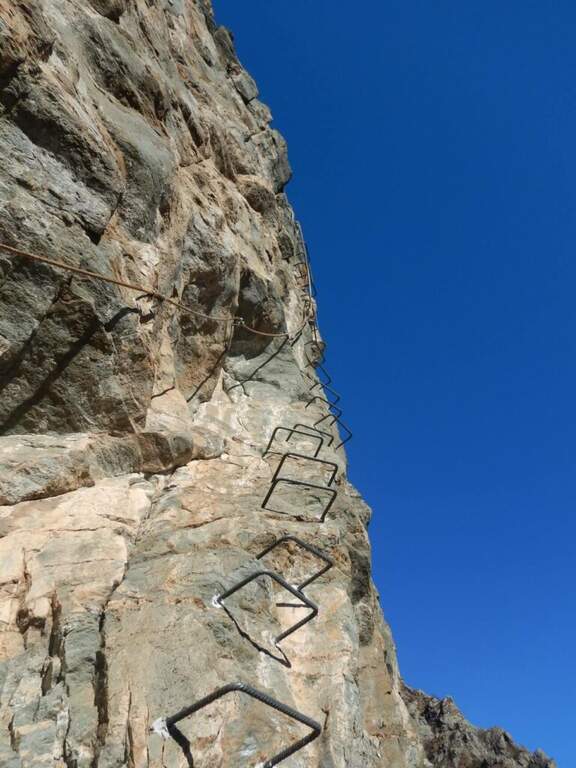
    Adding the Forcella Staunies you can see the silhouette of the Lorenzi Refuge, in a beautiful but closed position; behind it a metal staircase set in the rock gives start to the ferrata. After finishing the metal walkway, a ladder starts the first section, the most “ferrate” of the entire itinerary: a nod with a passage on a wooden walkway, a short passage that circumvents a rocky highlight with a couple of climbs without difficulty, some small rocks towards a rather short arcade that bends immediately to the left (not necessary twist) and a comfortable nod with wooden walkway. There are other small rocks and you will continue just below the ridge, with large passages and wooden walkways where the ground narrows, up to the suspended bridge of about 30 meters, one of the most iconic points of the route: turning you see the Lorenzi Refuge just left and the beginning of Ferrata Bianchi, which proceeded in reverse direction (15′ from the attack to the refuge, 2h30 total). The bridge is very large, built with wooden beams (a pair not fixed). Beyond the bridge a long metal staircase, divided into two sections, earns altitude and leads on the long ridge that characterizes this part of the route, well equipped with rope despite it is almost everywhere wide. After a slight descent to the Forcella Grande you will find a crossroads (2980 m, 15′ from the bridge, 30′ from the attack): you can go straight on the Dibona or take the optional turn left for Cima Cristallino, going up halfway to an insellatura and then on a corner not difficult to the base of the summit (2997 m, 10′ from the junction); you will climb preferably from the west side, Resumption downhill the Dibona, descends towards the Forcella Grande (2874 m), where on the right is the path to the Ferrata Renè de Pol at the Punta del Forame and you will meet some remains of snipers of the Great War; on the fork is held the left remaining on the Dibona. On the left side you pass next to the ruins of a former Italian military shelter and follow, under the Cresta Bianca, a section where you alternate paths, cenges, easy walks and walks equipped with a modest difference in altitude, up to the Forcella Padeon (2762 m, 2h from the attack included the deviation to the Cristallino, 4h15 total), where stands the Bivacco Buffa di Perre Guerra Continue on a half-coast on the south side of Vecio del Forame, with some exposed cenges at unprotected strokes, up to a detritic canalone that descends on the left with a long stretch, reaching first the Forcella Alta (2650 m) and then a fork (2490 m, 1h from the Bivacco Buffa di Perrero, 5h15 total). Here, while on the left the steep franous canal of Val Padeon is a difficult and little advisable escape route, continue straight on the path Dibona up to the Forcella Bassa (2450 m); then walk halfway without equipment along the Cresta dello Zurlon, climb a ladder that leads to some military ruins (2360 m, 40′ from Forcella Bassa, 6h total) and, after a short climb From Col dei Stombi you descend steeply, between bends and serpentine, up to the graft on the forest (CAI 203, 1700 m, 30′ from the hill, 7h15 total).

    ▲Character and difficulty

    The technical difficulties are not high, but the itinerary is long and contracting, with exposed traits and some unprotected cenges; the difference in level to be faced is remarkable and requires excellent training. Historically it is one of the most fascinating routes in the Dolomites, scattered with traces of the Great War.

    ⚠ Itinerary very long (23 km, up to 10h) and challenging, with exposed traits and blinds at unprotected strokes: start early, with stable weather, and take into account the now more tiring access (risalita del Gran Staunies).
    ▲Period and safety

    High mountain summer itinerary (max. 3008 m at Cristallino). The length, exposure and demanding access make it suitable for well-trained and autonomous hikers.

    ▲Discipline

    Adding the forest is left on path 203, ignoring all deviations, up to Passo Son Forcia (2109 m, 1h45 from graft on the forest, 8h total). From here you can go up to the Son Forca refuge to take the chairlift that goes down to the Rio Gere (attention to the opening hours of the lifts), or keep the right on 203 until you turn left for the CAI 206 (1948 m, 20′ from the Son Forcia Pass), in the direction of Malga Lareto; go down on 206 until you find an exotic unmarked track that goes down to the Rio Gere (30′ from the end of the inn.

    ▲To match

    From the Forcella Grande the Ferrata Renè de Pol to the Punta del Forame, natural continuation for those who still have energies.
    ▲Gallery
    Technical data
    • DifficultyModerately Hard
    • RegionVeneto
    • GroupCrystal
    • Approach2:15 h
    • Ferrata5:00 h
    • Itinerary (a/r)10:00 h
    • Hardware level difference1300 m
    • Route difference1300 m
    • Max3008 m
    • Length23 Km
  • Ferrata Val di Scala

    Ferrata Val di Scala

    Vie Ferrate › Trentino-Alto Adige › Trento
    Ferrata Val di Scala

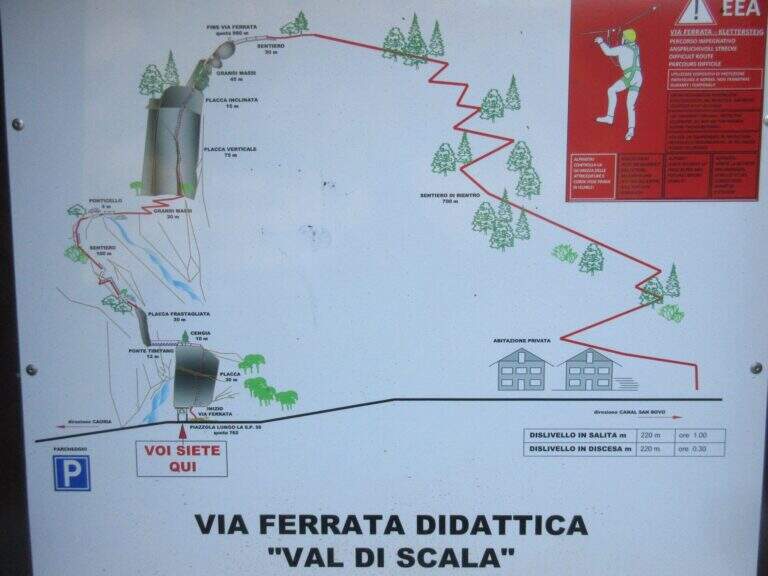
    La Ferrata Val di Scala (also called Caoria or the Canal San Bovo) is a short and well-equipped itinerary, ideal for approaching the world of equipped routes: technical difficulties remain modest even in the presence of a good exposure. The context, in the province of Trento on the side of the Lagorai Chain, is very beautiful and isolated, away from mass tourism.

    ▲Approach

    The starting point is located along the road connecting Canal San Bovo e Caoria and that goes up the Val di Scala: you park near a pronounced curve, with the attack placed a few meters from the road. Open road signs on Google Maps. From the parking lot the street is already visible: in a few minutes, following the track, you reach the attack (10' from the parking lot).

    ▲The path

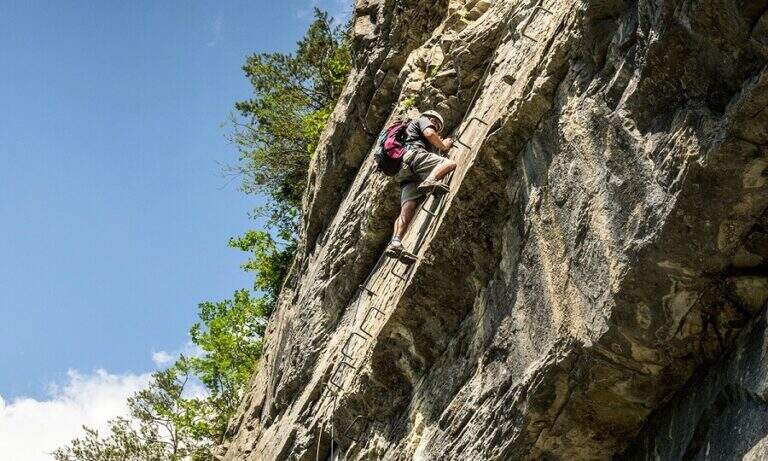
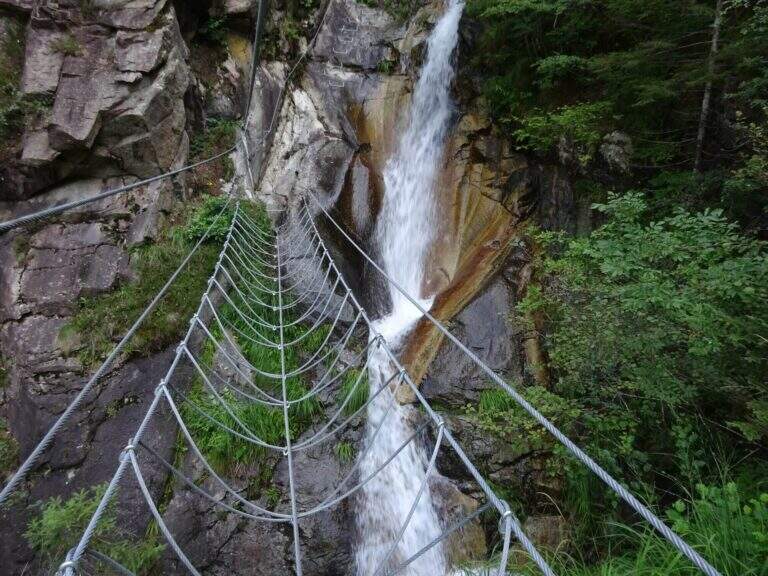
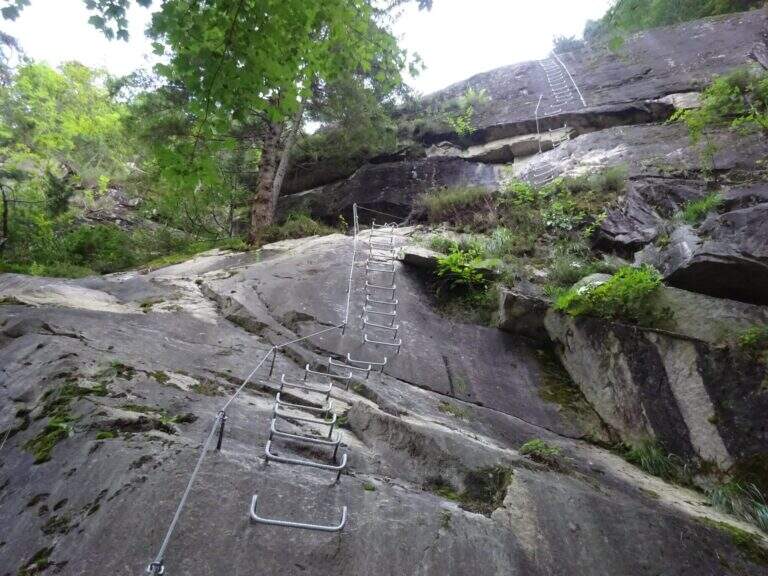
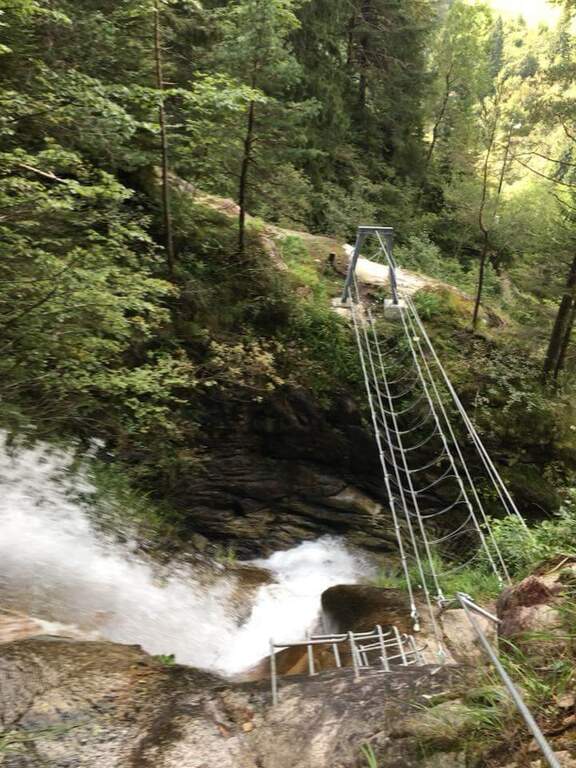
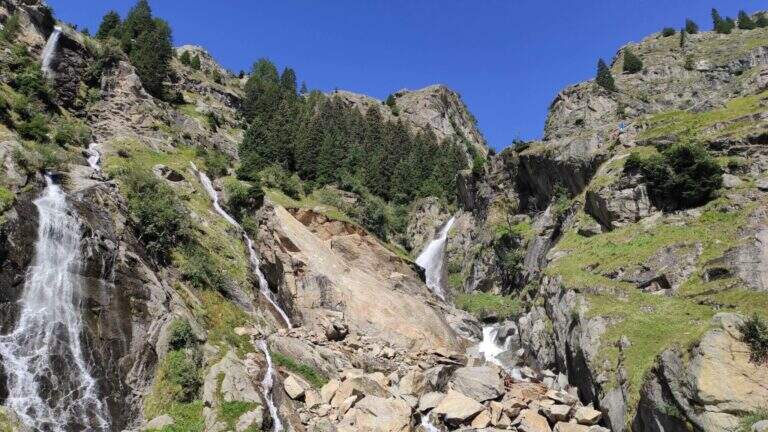
    The first meters are immediately vertical on plate, with a rapid succession of cambre for about fifteen meters, after which a short terrosa nod leads to the right. The cable starts vertically, always on metal cambres, leading under a tetto rocky that goes beyond with the cable that for some meters flows on both sides. Continue vertically on the cambre scale and then on the left towards the bridge suspended , very stable and along about fifteen meters; beautiful the waterfall that flows right of the bridge and that, after l' crossing, it turns uphill. After a short horizontal stretch on the edge of the stream, a series of difficult-to-grave transverses; but very panoramic accompanies the leaps of the course d' water. The equipment is interrupted by a stretch of connecting path, then the cables resume at some small rocks and act as a handrail where the path tightens; a stone goes up beyond which a wooden walkway crosses the stream. Beyond the catwalk we proceed on a track, on the left, to a vertical wall: a long row of cambre rises, interspersed by a short stretch on the left, up to a new rocky roof that this time wanders left with the feet on the &ndash cambre; the più point; exposed to the via. Mounted the roof is divided vertically for about twenty meters up to a short stretch; next to the waterfall again. Finally, there are some rocky balconies abundantly relayed, with short stretches of connection, and after the last equipped rocks the way ends (40' from the ' attack).

    ▲Character and difficulty

    Recent and modern hardware in the design, with numerous metal fixtures. Those looking for a "arrampable" route will be disappointed; those who appreciate verticality will find satisfaction, with limited technical difficulties. It is perfect for taking confidence with the equipped routes to those who are already accustomed to exposed excursions; the equipment is in good condition.

    ⚠ Although technically easy, the way è ben exposed: non è suitable for those suffering vacuum. Helmet and hardware set remain indispensable. For the cartography ` useful the map of the Park of Paneveggio – Pale di San Martino o la Lagorai – Cima d'Asta.

    ▲Discipline

    After finishing the ferrata follow the clearly visible track that brings to the parking space in about 20 minutes (1h 15' overall).

    ▲To match

    It is probably the only easy route in this area of Trentino, rich instead of long and challenging routes. Not far away Ferrata Gabrielli salt in Cima d'Asta; moving to the Pale di San Martino there is the Ferrata del Porton, la Ferrata del Velo e la Ferrata Bolver-Lugli. For those in the first arms, in Val di Fiemme there is the Ferrata del Bombasel at Cermis.

    ▲Gallery
    Technical data
    • DifficultyEasy
    • RegionTrentino-Alto Adige
    • ProvinceTrento
    • GroupChain of Lagorai
    • Approach10 min
    • Ferrata45 min
    • Complete itinerary (a/r)1h 15'
    • Hardware level difference200 m
    • Route difference239 m
    • Maximum1004 m
    • Length2,4 km
  • Ferrata Ziel (Rio di Tel)

    Ferrata Ziel (Rio di Tel)

    Vie Ferrate › Trentino-Alto Adige › Bolzano
    Ferrata Ziel (Rio di Tel)
    Moderately Hard● OpenDescriptionComplexityMapsGallery

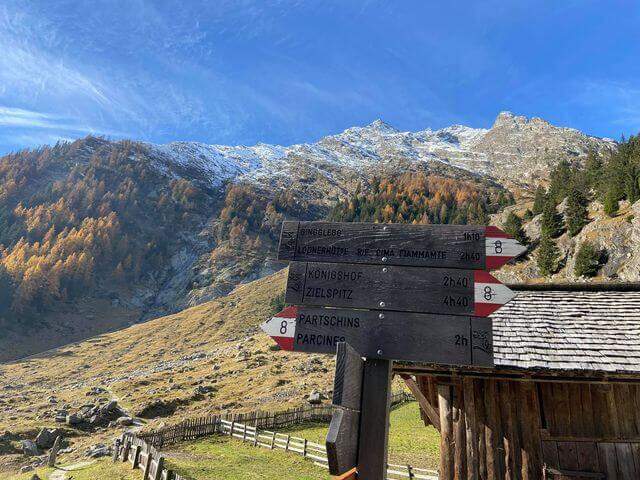
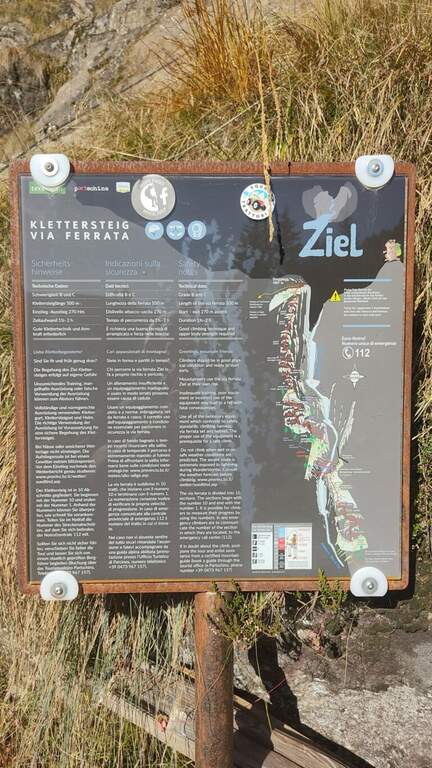
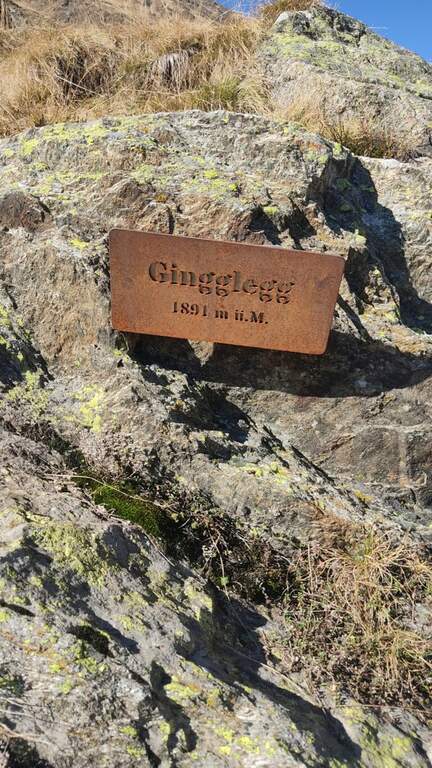
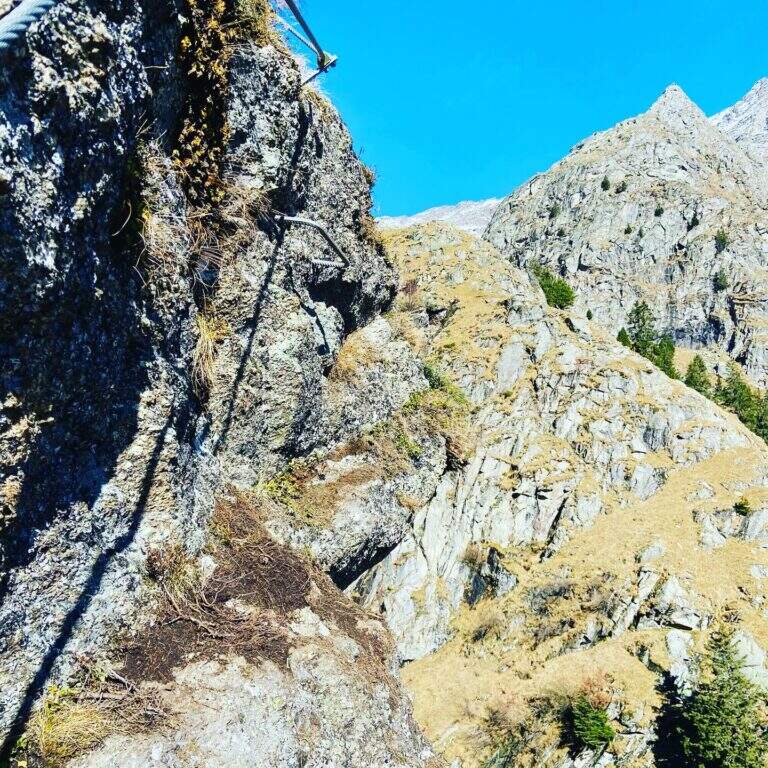
    La Ferrata Ziel (or Ferrata Rio di Tel), of medium difficulty and agrave;, go up the Zieltal valley following the bustling Rio di Tel, not far from the Parcines waterfall, up to the panoramic Gingglegg (1891 m) in the Gruppo di Tessa Nature Park. È was opened in Methà August 2020.

    ▲Approach

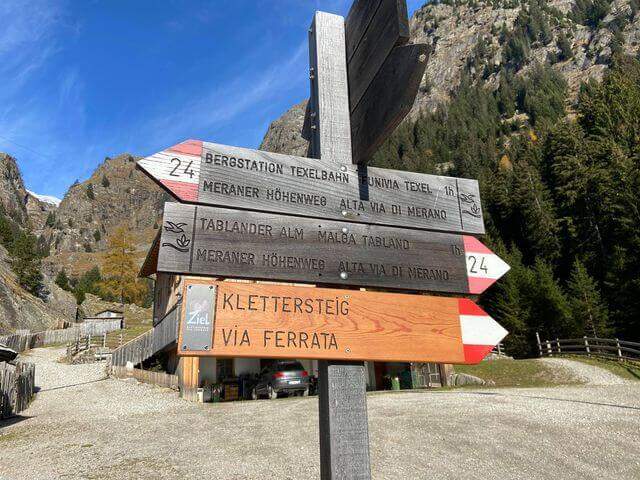
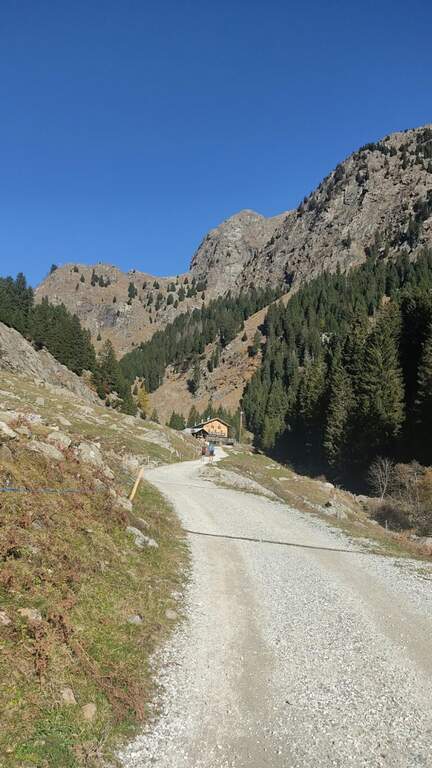
    Starting from the valley station of the funivia Texel in Rablà, fraction of Parcines, all' start of the Val Venosta (available from Merano also by public transport). Open road signs on Google Maps. From the mountain station, follow the sentiero 24 Alta Via di Merano to the Nasereit Refuge (1523 m, 45'); next to the refuge you cross the bridge over the stream and, immediately after, on the left you follow the red points along the rio until all' attack (15' from the shelter, 1h totali), with the top Ggging.

    ▲The path

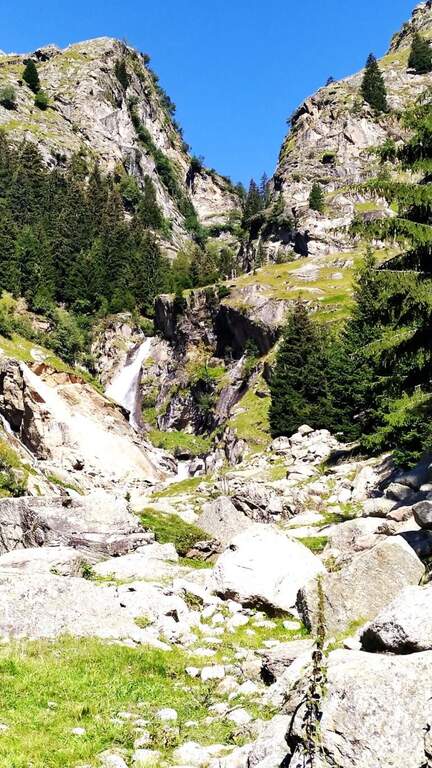
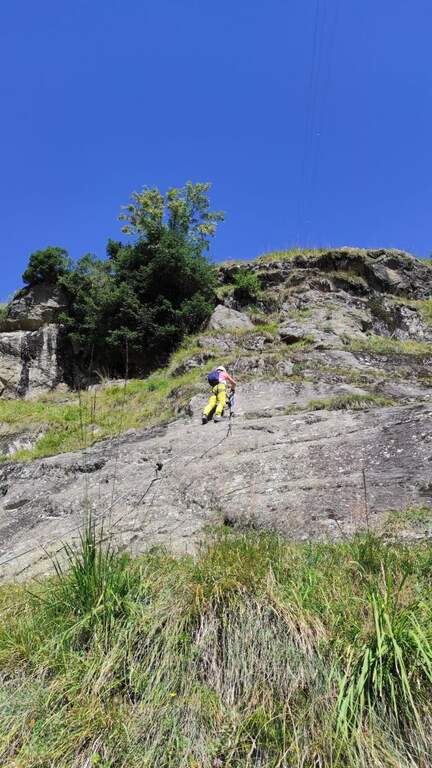
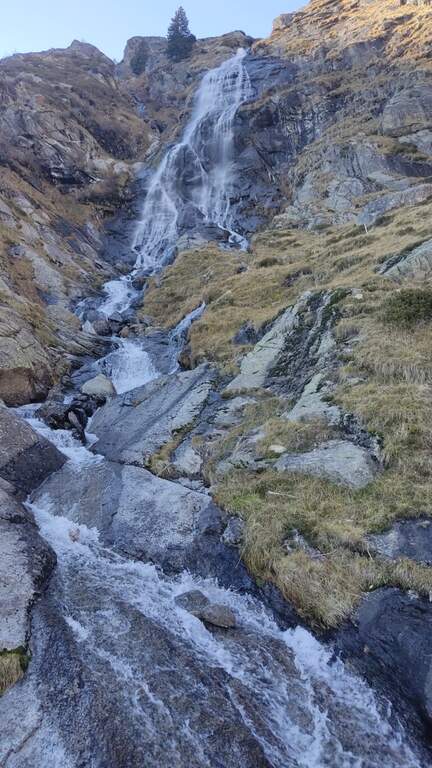
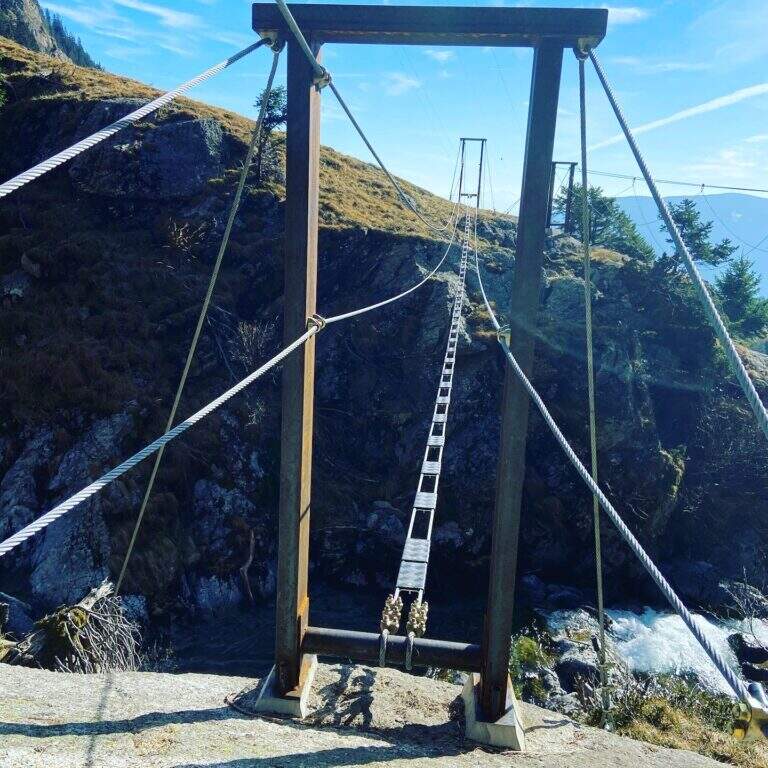
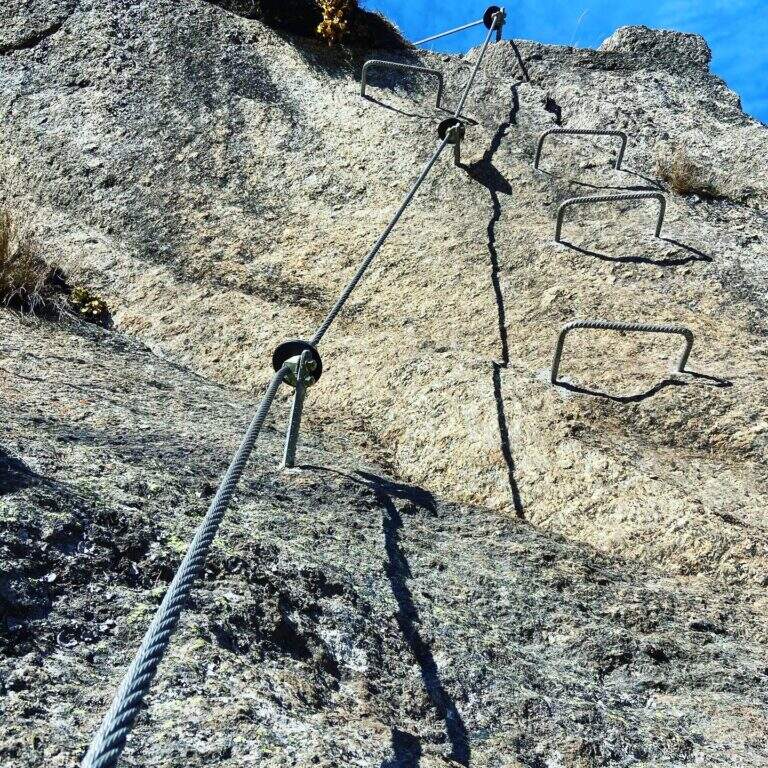
    The street, about 530 meters long, è divided into 10 sections of rope numbered and well anchored; the difficult ` are concentrated in the central part (some moderately difficult passages and a fairly difficult one). The first part rises a plaque resting with cambre and handles on the right side of the throat up to a step next to the first waterfall; after an easy stretch crosses the stream with two options: a suspended bridge not perfectly stable, with plates arranged in a longitudinal sense, or due thyrolienne (Flying Fox). We continue in front of a water conduct, we climb helped by wide cambre towards a rocky roof that is held on the right side on the plate, then we cross to the left over the roof; narrow brackets lead to a vertical wall and to a plate exposed to the right (here an escape route leads to the bridges). Follow the rope on grassy blocks and a wooden ladder up to the sentiero 8, with bench to remove l' equipment (1h 30' from the ' attack, about 2h 30' from the mountain station).

    ▲Character and difficulty

    Itinerary varied and fun in the hole environment, with the attraction of the suspended bridge and the Tyrolean. Level difference in ferrata 450 m, total 510 m, maximum altitude 1891 m, development 7.5 km.

    ⚠ In case of rain or even only of humidity the ferrata can be not completely agibile due to the numerous plaques. There is no indication of the correct use of the Tyrolean: if you are not practical, better inform yourself before or use the suspended bridge.
    ▲Discipline

    Dall'uscita si scende lungo il sentiero 8, si passa il Kaserstein (piccola baita presso un masso) e si arriva al Rifugio Nasereit (45' dal termine); dal rifugio, a ritroso sul sentiero 24 Alta Via di Merano, si torna alla stazione a monte della funivia Texel (circa 1h dal rifugio, 4h 15' totali).

    ▲To match

    The Val Venosta and its surroundings offer many ferrates: towards Solda la Ferrata Tabaretta, la Ferrata di Trafoi e la Cengles Croda; to Naturno the Hoachwool e la Knott; at Merano Heini Holzerin Val Passiria la Stuller Waterfalls and in Val Senales la Larix.

    ▲Gallery
    Technical data
    • DifficultyModerately Hard
    • RegionTrentino-Alto Adige
    • GroupGroup of Tessa
    • Approach1:00 h
    • Ferrata1:30 h
    • Itinerary (a/r)4:15 h
    • Hardware level difference450 m
    • Route difference510 m
    • Max1891 m
    • Length7,5 Km
  • Ferrata della Sassella

    Ferrata della Sassella

    Vie Ferrate › Lombardy › Sondrio
    Ferrata della Sassella

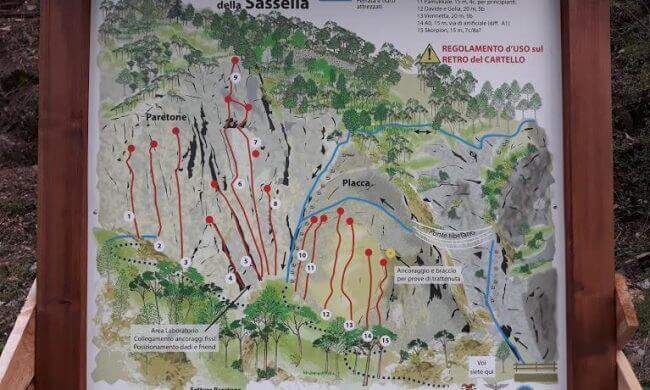
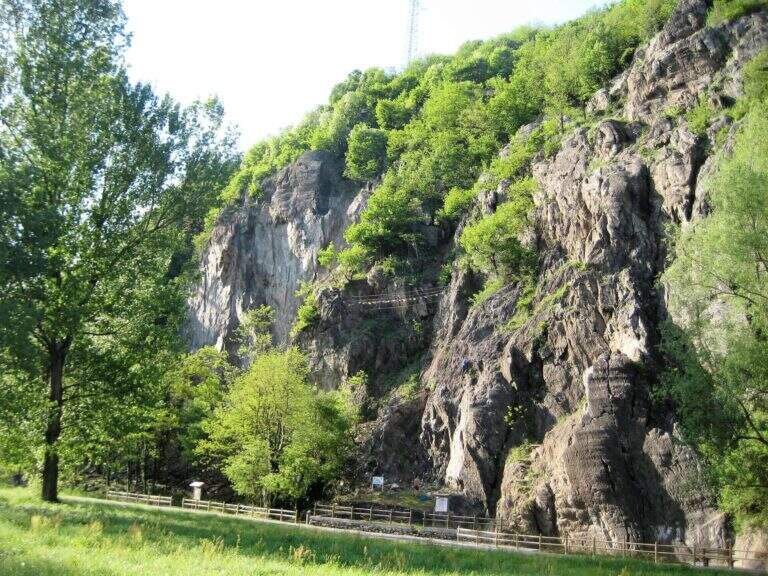
    La Ferrata della Sassella ` a short, well-equipped route built on the rock gym of the same name, at the western gates of Sondrio in Valtellina. The development è content and, except for short sections, does not have any difficulty and importance. The wall offers two parallel routes connected by a suspended bridge, indicated in the all' basin; entrance: a quick and fun itinerary, perfect to join some d' shooting; climbing.

    ▲Approach

    You can reach the locality; Sassella, on the west outskirts of Sondrio. Open road signs on Google Maps. Already from the parking lot is well visible, on the opposite side of the road, the wall on which the ferrata and the climbing routes run; a short path leads in a few minutes to the wall and the attack.

    ▲The path

    The wall, a sixty-foot tall, houses two tracks that rejoin to metà. The settore right rises a rather lean hedgehog, then a vertical at first and finally with a short overhanging section, supported by numerous brackets; it arrives così to the ponte suspended on three ropes. Cross it, continue on a plaque with an easy traverse to the left until you meet the left settore , which attacks about fifty meters beyond the right leaving, going up a vertical wall but full of brackets and handles. From the point where the two itineraries are joined vertically on brackets along a placconata, then the path enters the forest turning into a path equipped and ends in short (circa 20' overall wall).

    ▲Character and difficulty

    Short and never really difficult, ideal for those who move the first steps and perfect to match some shooting along the adjacent rock gym.

    ▲Period and safety

    The low share makes it possible for most of the year. An official GPS track is not available for this route.

    ▲Discipline

    You descend on the right following the traces of return.

    ▲History

    The Ferrata è was inaugurated on the 21 April 2018, at the adjacent rock gym.

    ▲To match

    Ferrates in Valtellina are not many: Sassella lends itself to be combined with Torrione Porro or Ferrata della Croce al Palabione; not far, in Valchiavenna, the ferrates ♪ e Succeeds.

    ▲Gallery
    Technical data
    • DifficultyEasy
    • RegionLombardy
    • GroupValtellina
    • Approach0:10 h
    • Ferrata0:25 h
    • Itinerary (a/r)1:00 h
    • Hardware level difference70 m
    • Route difference80 m
    • Length0,5 Km
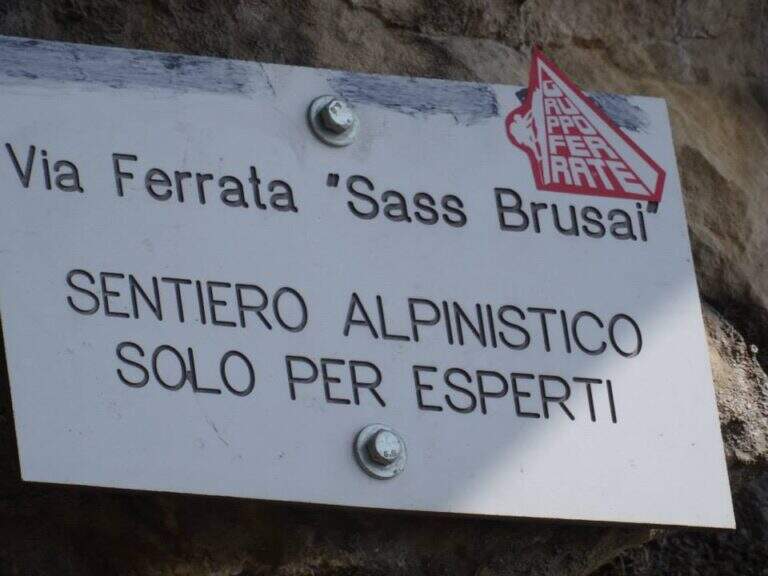
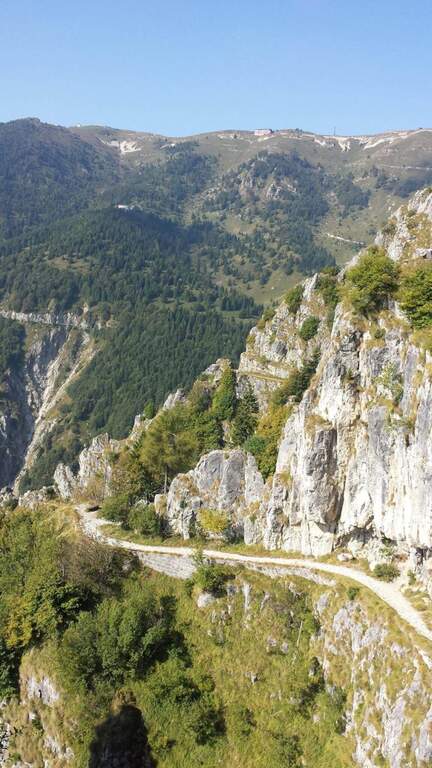
  • Ferrata Sass Brusai at Monte Boccaor (Grappa)

    Ferrata Sass Brusai at Monte Boccaor (Grappa)

    Vie Ferrate › Veneto › Treviso
    Ferrata Sass Brusai at Monte Boccaor (Grappa)
    Moderately Hard● OpenDescriptionComplexityMapsGallery

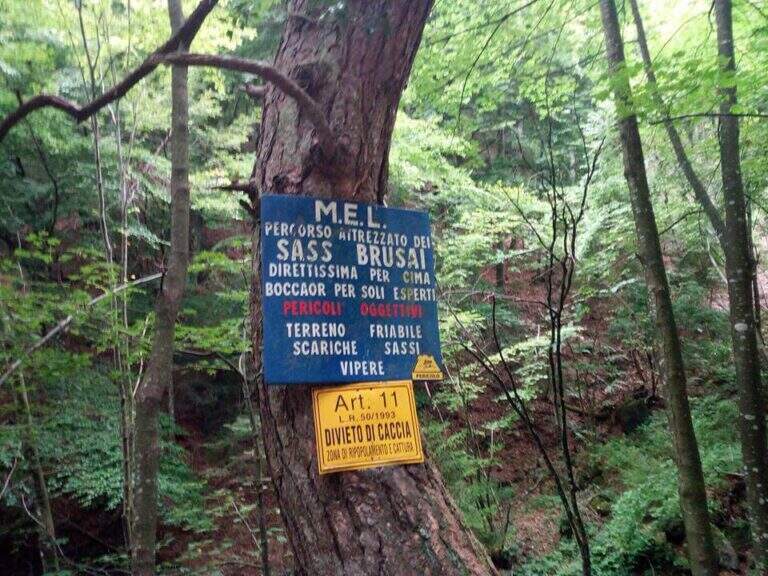
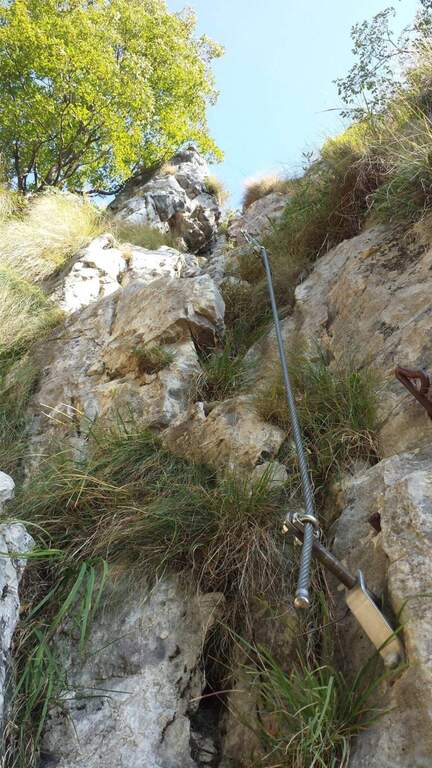
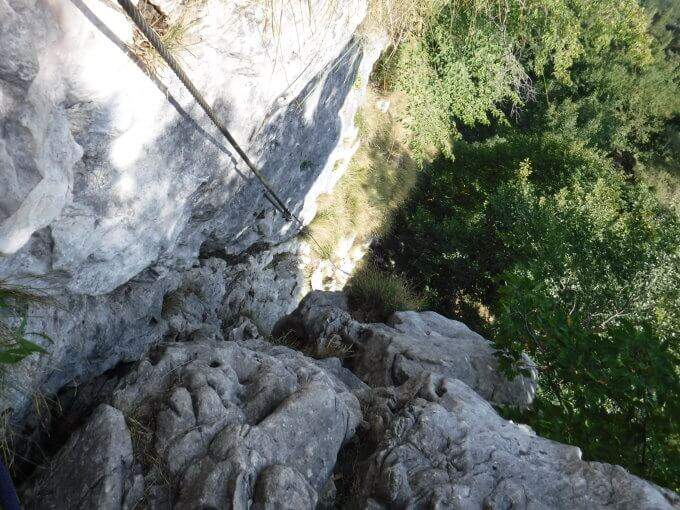
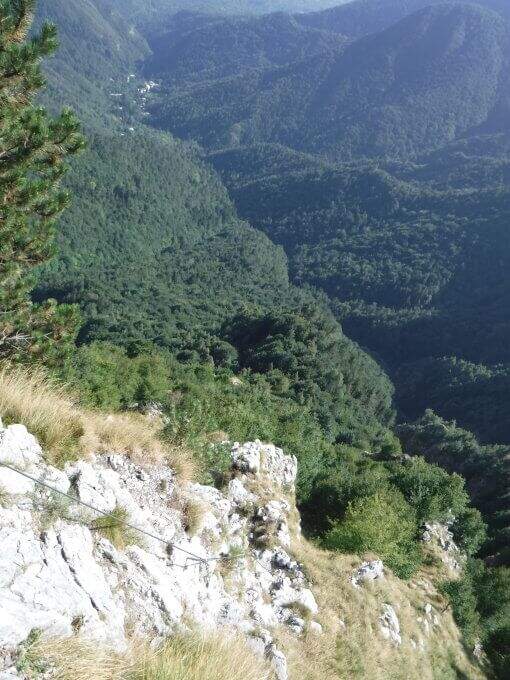
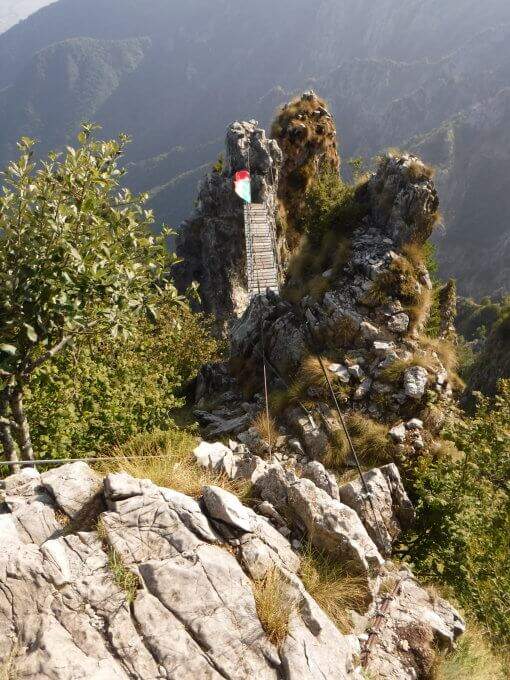
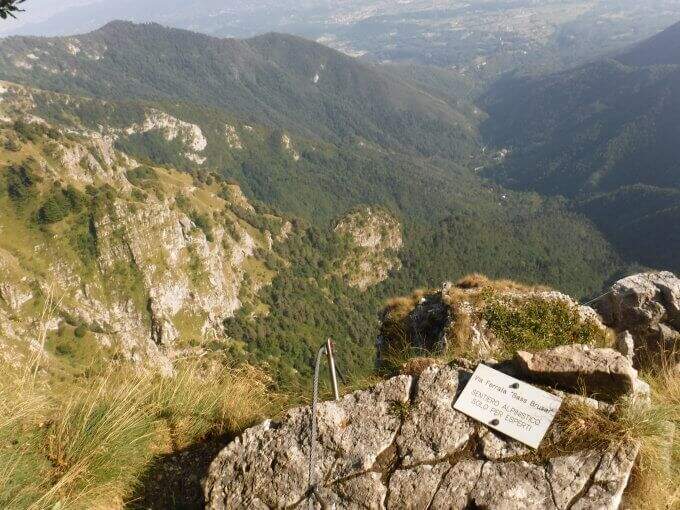
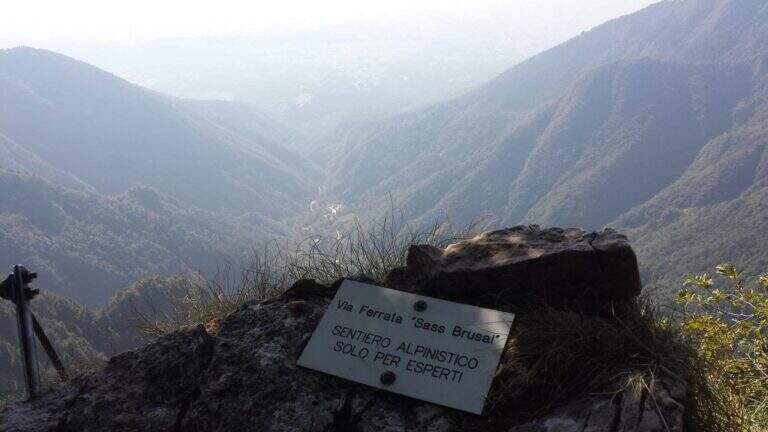
    The Ferrata Sass Brusai climbs the Monte Boccaor in the Grappa Massif: a very climbing route, with più passes; challenging places all' start and end. From the top you can può continue towards the Grappa Shrine and eventually descend from the nearby Ferrata Guzzella. Itinerary of low altitude, for long stretches of the' year.

    ▲Approach

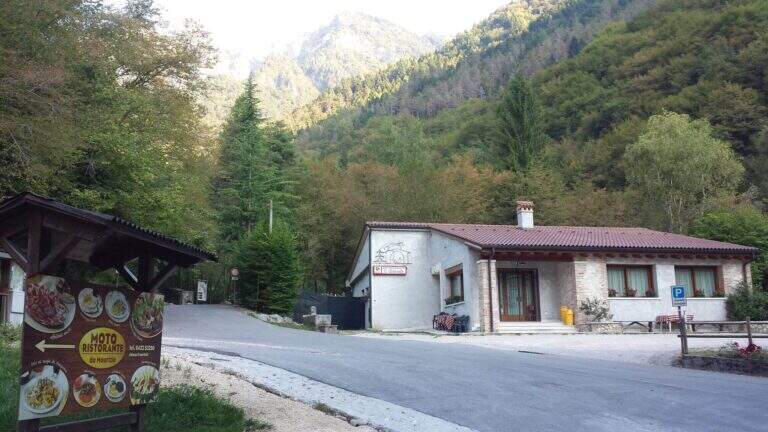
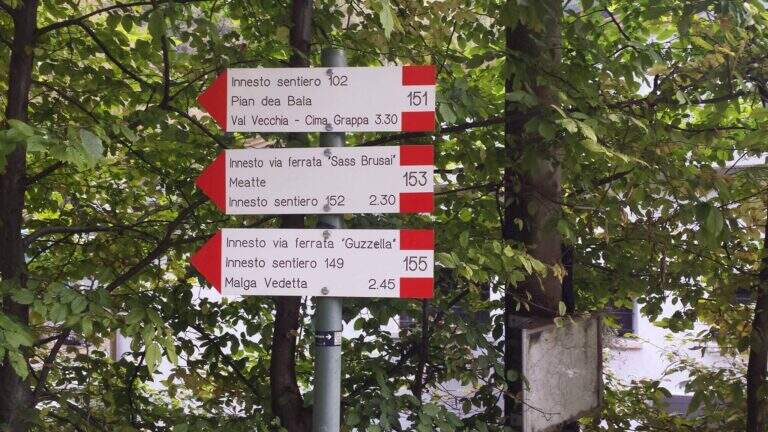
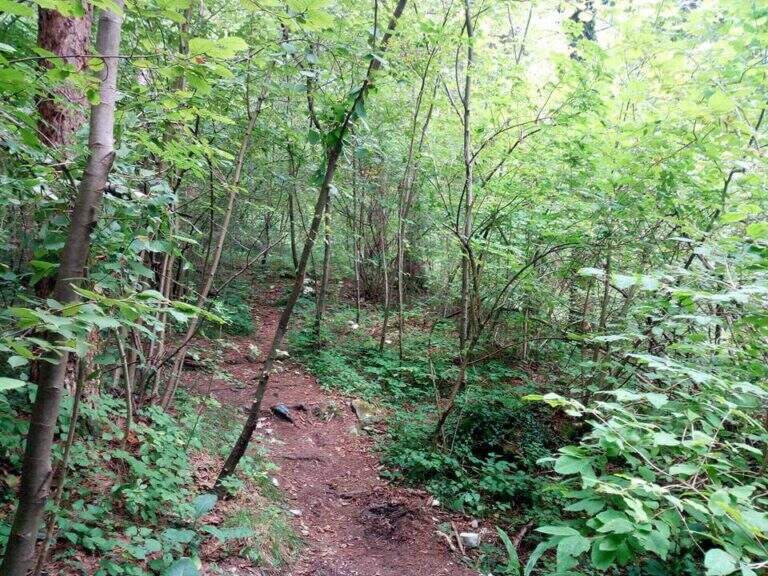
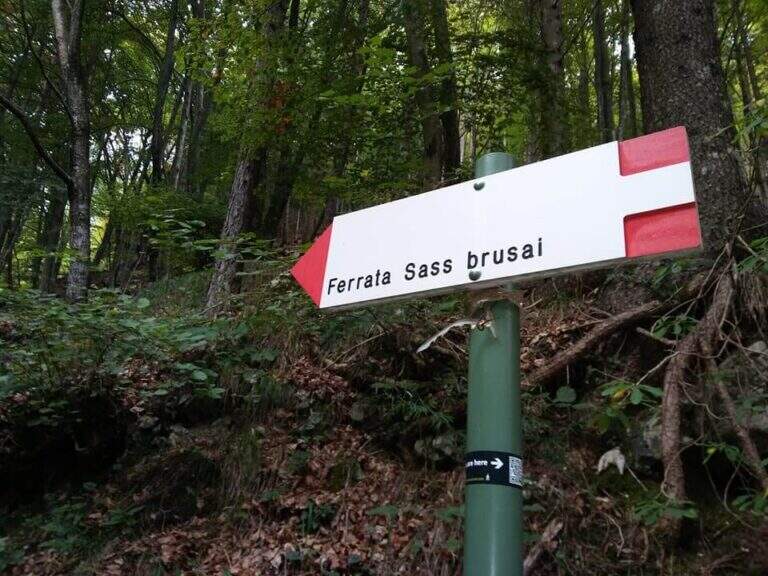
    Starting point the Val San Liberale, at l' the same restaurant, reachable from Crespano del Grappa (TV) along the SP 26: in Crespano follow the signs north to the Val San Liberale up to the ' ample parking at the restaurant (600 m). Open road signs on Google Maps. Si sale per una stradina asfaltata fino a un primo bivio (a sinistra la Ferrata Guzzella, a destra la Sass Brusai): si prosegue dritti finché l'asfalto diventa sterrato e, a un bivio segnalato (710 m, 30' dal parcheggio), si tiene la destra sul CAI 153. Per ripido sentiero nel bosco, seguendo i bolli rossi, si arriva a un bivio dove a sinistra si raggiunge l'attacco (1160 m, 1h 15' dal parcheggio).

    ▲The path

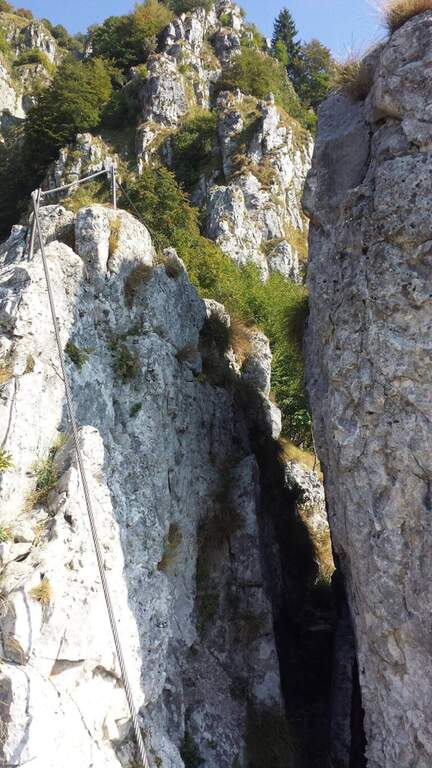
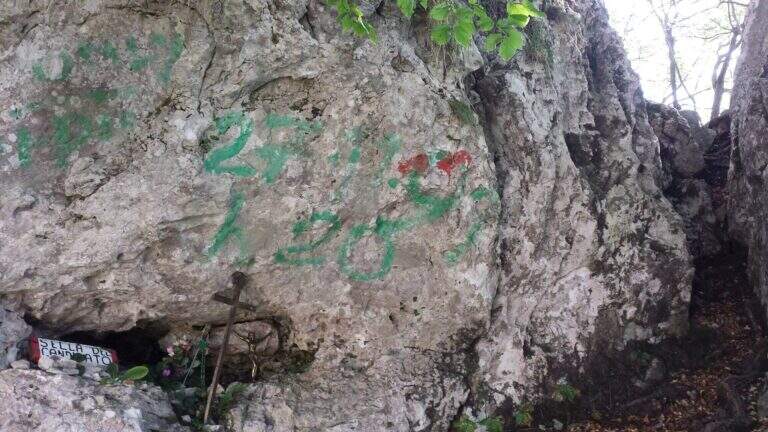
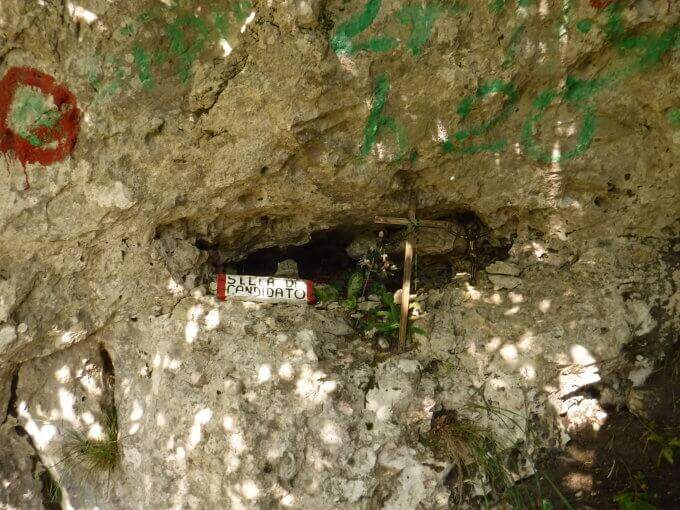
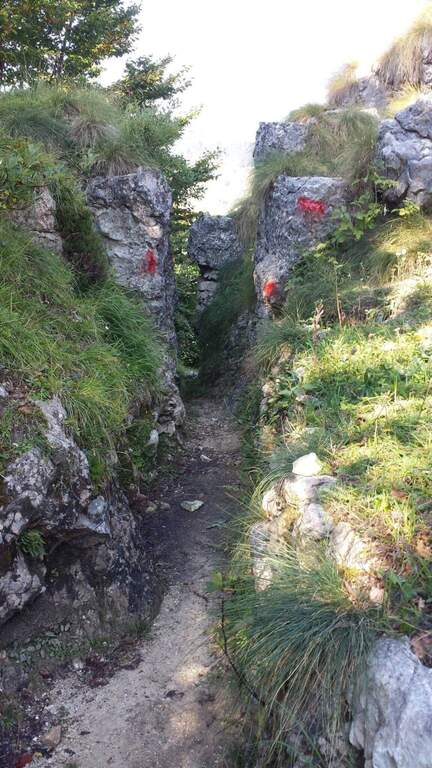
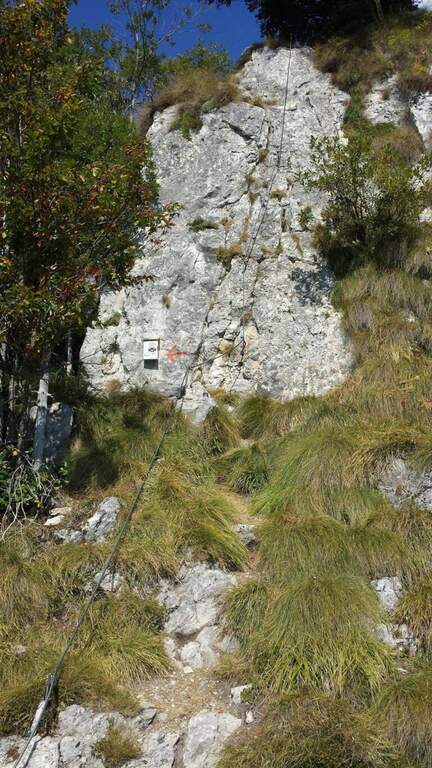
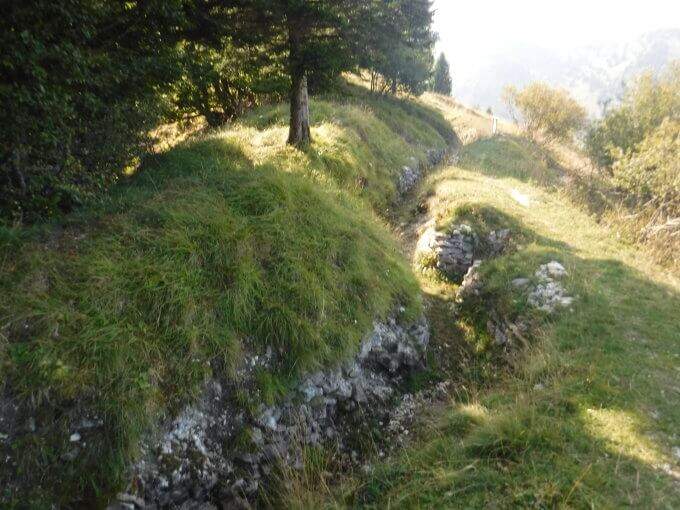
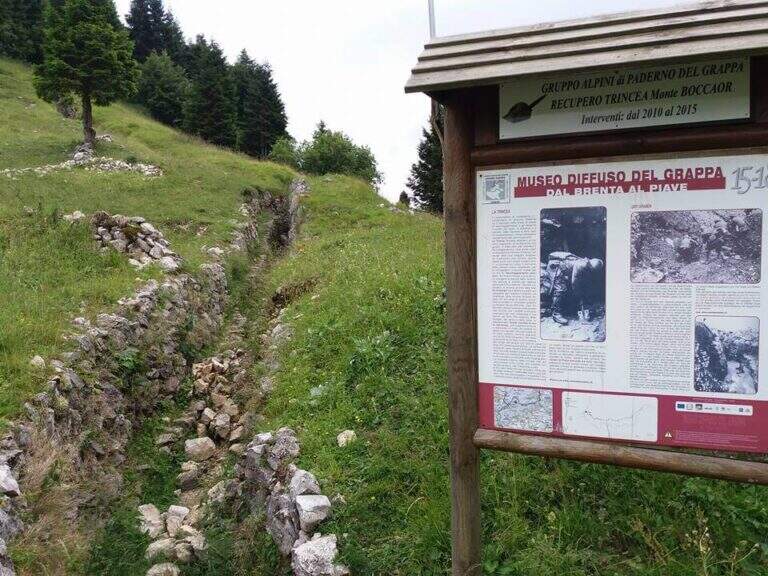
    Dal balconcino d'attacco si salgono alcune roccette a sinistra della targa e si entra nella prima sezione: una parete di una quindicina di metri che in alto prende la forma di un camino, molto piacevole su roccia frastagliata e ricca di appoggi. Usciti dal camino, un paio di balzi su fondo misto roccia-erba (attenzione se umido) e una breve cengia introducono un tratto di sentiero. La seconda sezione risale una cresta di ampi blocchi, tenendosi sul lato sinistro, con basso senso di esposizione per gli alberi circostanti; seguono sentiero erboso e facili balzi attrezzati. La terza sezione sale una costola rocciosa, ben gradonata in basso e più tecnica in alto, dove una fessura e un paio di sporgenze obbligano a procedere in spaccata sul versante opposto alla fune; poi una paretina ben appigliata, una placca e un camino (anch'esso in spaccata) si aprono sulla vista del Monte Grappa. Tra risalti, cenge erbose attrezzate e facili balzi si raggiunge la forcellina «Sella del Candidato» (1345 m, 45' dall'attacco). Oltre la sella due passaggi impegnativi e verticali: una prima parete levigata (possibile qualche trazione sul cavo) e, dopo un collegamento, una nuova paretina esposta presso la cresta. Si prosegue su cresta esposta ma più facile, si risale uno sperone (una rara staffa metallica aiuta dove mancano appigli) e si aggira uno spigolo; una lunga costola, gradoni rocciosi e una placchetta di 6 m portano a un sentiero attrezzato, un balzo e un canalino. Dopo un lungo collegamento si ignora la deviazione per il CAI 152 (1455 m, 1h 15' dall'attacco) e si sale al ponte sospeso: si rimonta il gendarme su placca liscia, lo si aggira a destra e si attraversa il ponte su solide assi (sul versante opposto, a sinistra, una via di fuga verso la strada). Si prosegue a destra: alcune roccette, poi un tratto esposto più impegnativo sotto un gendarme con pochi appigli, una spaccatura da attraversare in spaccata e una cresta appoggiata dove il cavo fa quasi da corrimano. L'ultimo passaggio è una parete di una decina di metri arrampicabile (aggirabile seguendo la freccia rossa presso il libro di via); al termine della placca finiscono le attrezzature e, seguendo la traccia parallela a una vecchia trincea, si raggiunge la vetta del Boccaor (1532 m, 1h 45' dall'attacco / 3h dal parcheggio).

    ▲Character and difficulty

    The most challenging passages are on the first and last wall. Fatious approach and short return to account.

    ⚠ Low altitude and exposure to south: prohibitive in the più months; warm. Beware of unprotected traits with grassy background, which tends to be slippery.
    ▲Period and safety

    Maximum altitude 1532 m: for good part of the year, but to avoid on hot summer days for exposure to the south.

    ▲Discipline

    Dalla vetta si seguono le indicazioni a sinistra per Pian della Bala (1380 m), dove ancora a sinistra si prende il sentiero 151 che scende fino al bivio incontrato all'andata e quindi al parcheggio (1h 30' dal termine / 4h 30' totali).

    ▲To match

    Experts can close a more challenging ring with the neighbor Ferrata Guzzella (preferable downhill, to avoid the many unprotected and slippery sections of Sass Brusai). Near Grappa also athletics Ferrata Santa Felicita; in Val d'Astico the recent Ferrata Anelli delle Anguane; towards the Dolomites Feltrine la Ferrata at Monte Coppolo.

    ▲Gallery
    Technical data
    • DifficultyModerately Hard
    • RegionVeneto
    • GroupGrappa Massif
    • Approach1:15 h
    • Ferrata1:45 h
    • Itinerary (a/r)4:30 h
    • Hardware level difference450 m
    • Route difference905 m
    • Max1532 m
    • Length10 Km
  • Ferrata Sant’Antone al Monte Serra (Buti)

    Ferrata Sant'Antone al Monte Serra (Buti)

    Vie Ferrate › Tuscany › Pisa
    Ferrata Sant'Antone al Monte Serra (Buti)

    ⚠ Reported as a CHIUSA. The source shows the status of this ferrata as chiusa: check agibilità and conditions at the CAI section of Pontedera (which manages it) or the authorities; local, and do not travel untilché it is not reopened.

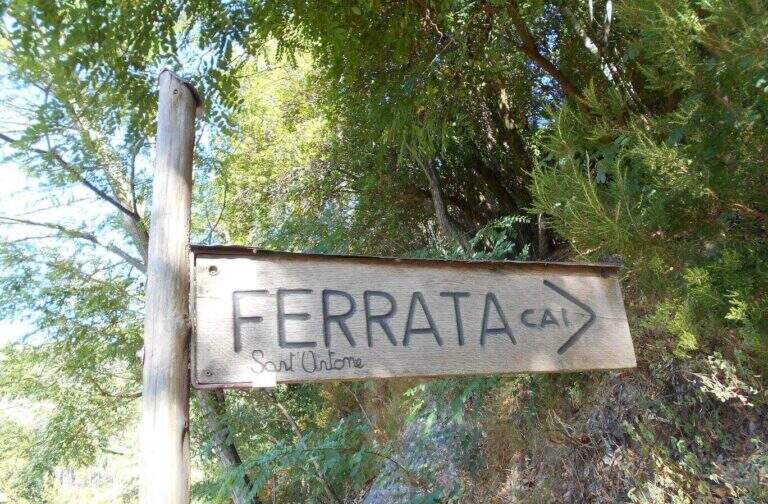
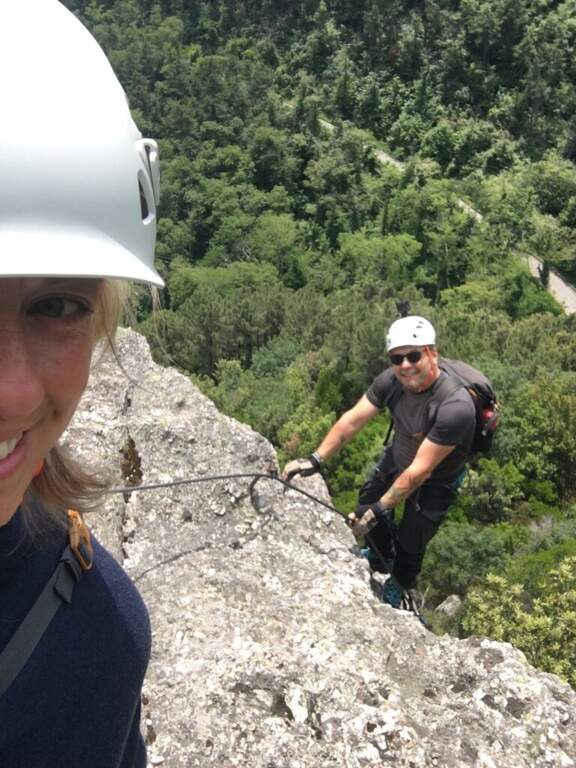
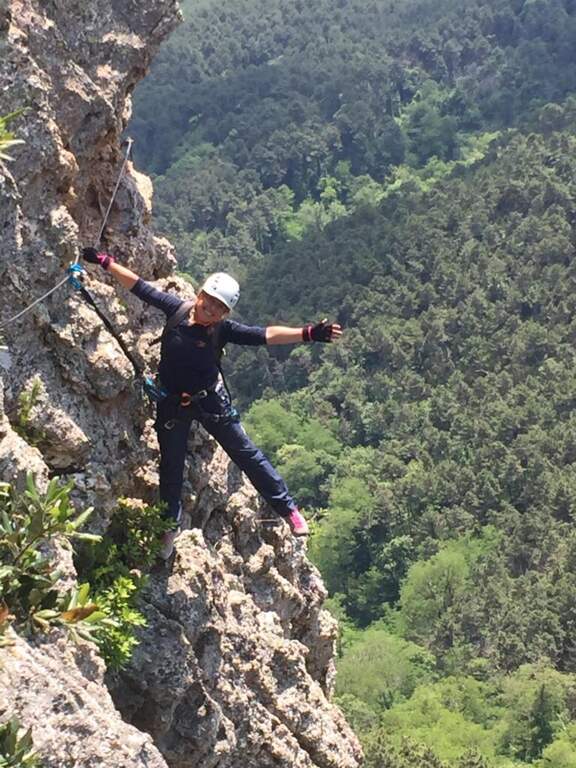
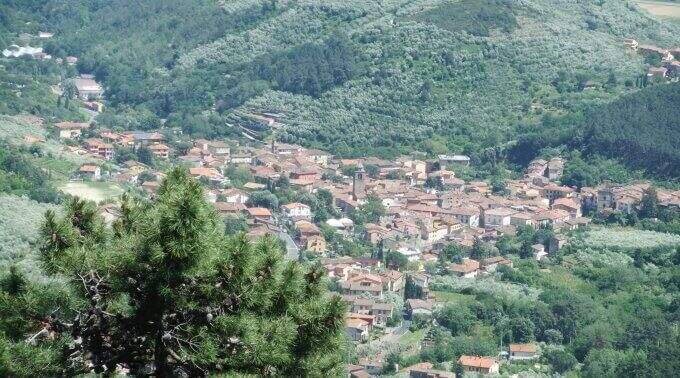
    The Ferrata Sant'Antone è a difficile street on the Pisani Mountains, between 500 and 600 meters of altitude. It has no great difference in altitude, but & made of numerous traversi exposed and overhanging that test arms and technique.

    ▲Approach

    Starting point a well visible pitch along the SP 56 that from Buti (PI) climbs to Monte Serra, recognizable for the fontana and the canton house on the opposite side. Open road signs on Google Maps. You go up the paved road for about 200 m up to the ferrata sign, you take 5' an uphill path with white-red signs and at the crossroad you will take the destra towards l' attack (10' parking ).

    ▲The path

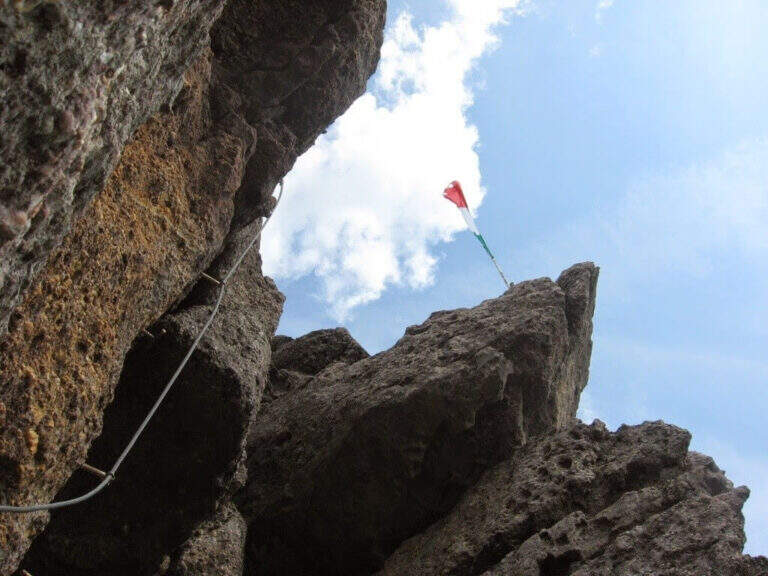
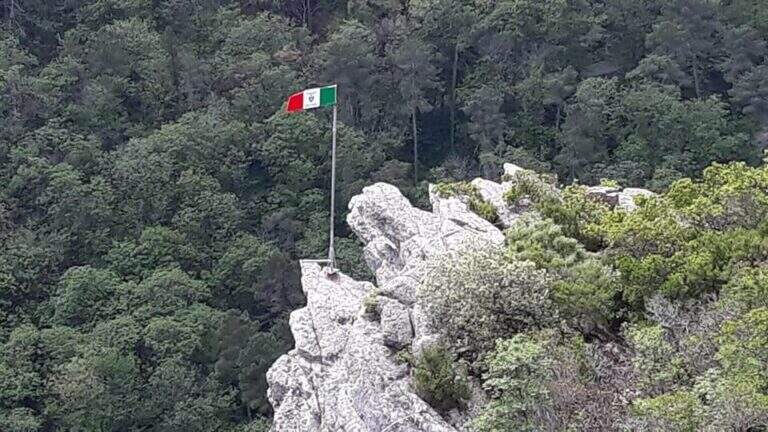
    Si parte subito con un obliquo traverso che supera uno spigolo in esposizione, in trazione sul cavo e con gli scarponi in aderenza — il tema dominante della via. Si risale una parete verticale con attacco leggermente strapiombante (aiutano le cambre), poi un esposto traverso orizzontale in aderenza, attenti alla roccia sporgente sopra la testa; un passaggio in discesa non banale (bisogna buttarsi in fuori per cercare gli appoggi) precede un impegnativo traverso a sinistra leggermente strapiombante che entra e aggira una gola. Si sale in diagonale dove un tetto obbliga ad abbassarsi, si supera un'ultima parete verticale di media difficoltà e si raggiunge una via di fuga (in salita conduce alla fine della via in 5', in discesa all'attacco in 10'). Proseguendo a sinistra, dopo un traverso obliquo e l'aggiramento di un altro spigolo esposto, si scende un passaggio in cui studiare bene la posizione per non essere sbalzati contro la roccia; seguono saliscendi, camini e traversi generalmente difficili e atletici. L'ultima sezione, più verticale, ha due passaggi più duri: un camino decisamente strapiombante (tecnico nei primi metri) e, dopo una breve interruzione delle attrezzature, un sasso da risalire in spaccata con pochi appigli e un leggero strapiombo. Alcuni traversi esposti ma non difficili portano all'ultimo bivio: a destra si conclude la via; a sinistra, dopo un traverso, un breve ed esposto ponte sospeso introduce al passaggio chiave, un tratto verticale tecnico e fisico (5 fittoni fino alla bandiera italiana), reso difficile dalla mancanza di appigli e dalla stanchezza: l'ostacolo maggiore è staccarsi dal ponte, soprattutto per chi è di bassa statura, aiutandosi poi con due singolari staffe a Y sul lato destro. Così si conclude la ferrata (1h 15' dall'attacco / 1h 25' dal parcheggio).

    ▲Character and difficulty

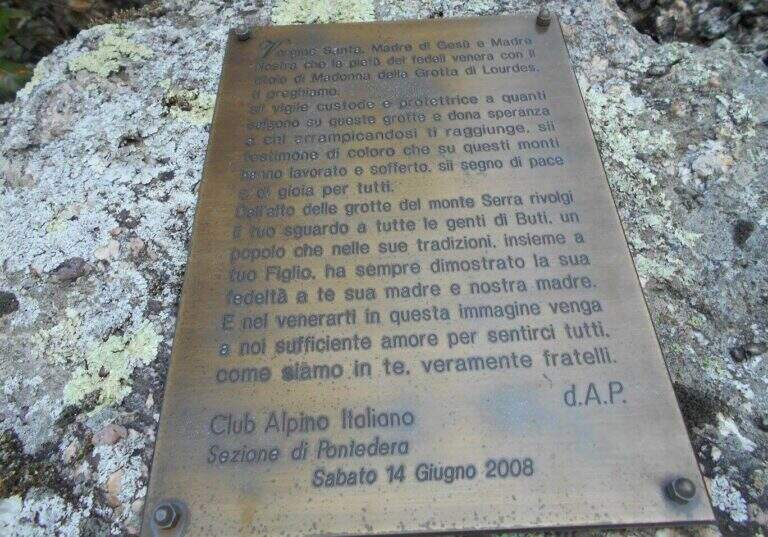
    Very varied and athletes: plenty of transverses, challenging downhill stretches, walls and fireplaces, with many overhanging steps that require good force of arms. Each stick is numbered (about 170 in everything). Inaugurated on the 14 June 2008 and managed by the CAI section of Pontedera; very exciting the descent into the ridge.

    ▲Period and safety

    Low altitude, in theory all l' year with good grip of rock; at the moment, però, the route turns out chiusa (see notice in the head). For the many transverses it lends itself to be chased back by experts.

    ▲Discipline

    From the term, a labile trace to sinistra is followed to a series of stones to be traced back and to the «Ghiaccietto» ; cross right towards the parking lot following the CAI path to the first escape route, then giù until all' attack and, backwards, all' car. After l' crossing with the escape route the signs ` poor: the road & however a few tens of più meters; below and, between shrubs and franosis traits, it is reached by holding the left (25' from the term / 1h 45' from the parking ).

    ▲To match

    In Tuscany, towards Arezzo la Ferrata Romana Nesi at Pratomagno; on the Apuans the Ferrata Salvatori e la Ferrata del Procinto.

    ▲Gallery
    Technical data
    • DifficultyHard
    • RegionTuscany
    • GroupMonti Pisani
    • Approach0:10 h
    • Ferrata1:10 h
    • Itinerary (a/r)1:50 h
    • Hardware level difference120 m
    • Route difference200 m
    • Max540 m
    • Length3,3 Km
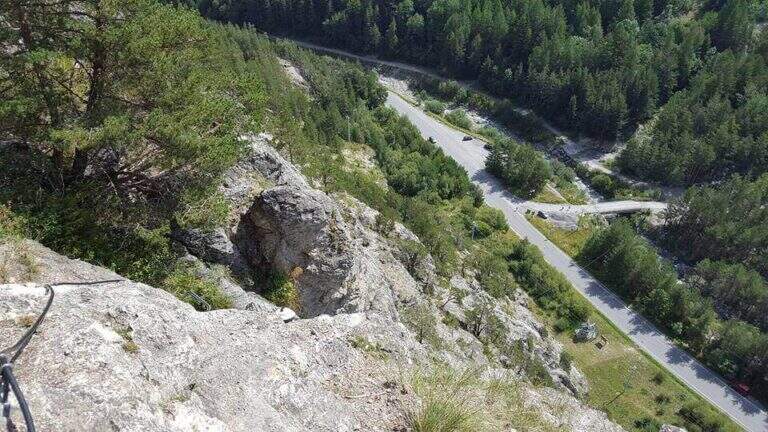
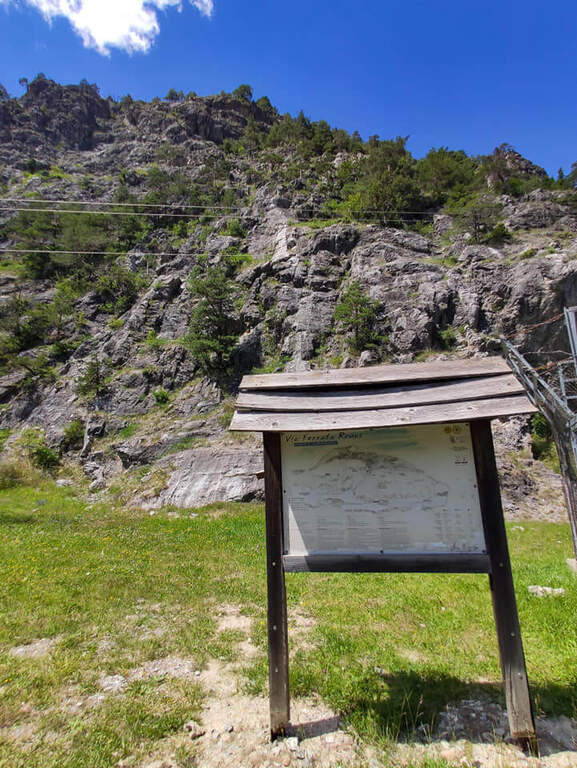
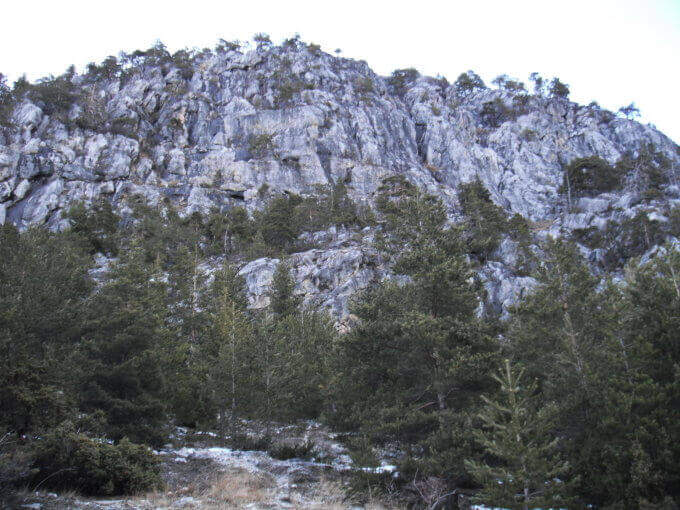
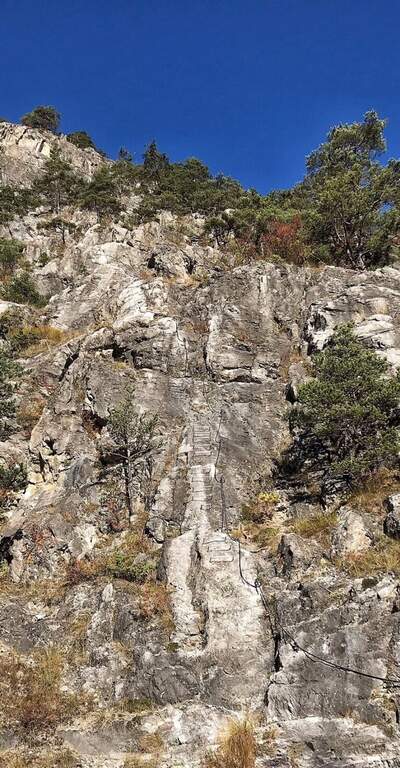
  • Ferrata del Rouas in Bardonecchia

    Ferrata del Rouas in Bardonecchia

    Vie Ferrate › Piedmont › Turin
    Ferrata del Rouas in Bardonecchia
    Moderately Hard● In MaintenanceDescriptionComplexityMapsGallery

    to Status reported: «In Maintenance». The source indicates ongoing work/maintenance: verify the agility and state of the equipment before leaving.

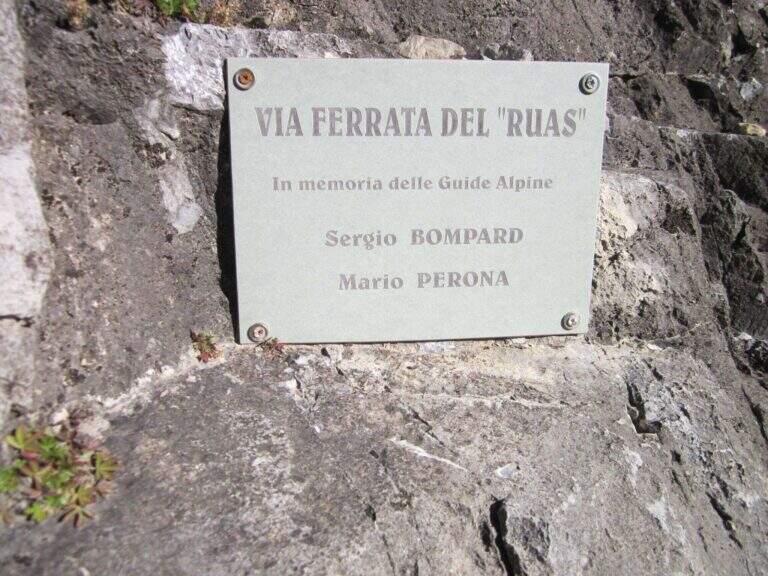
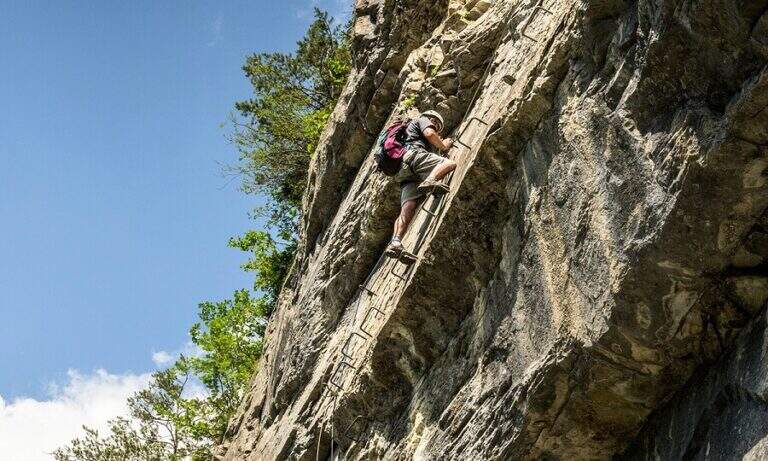
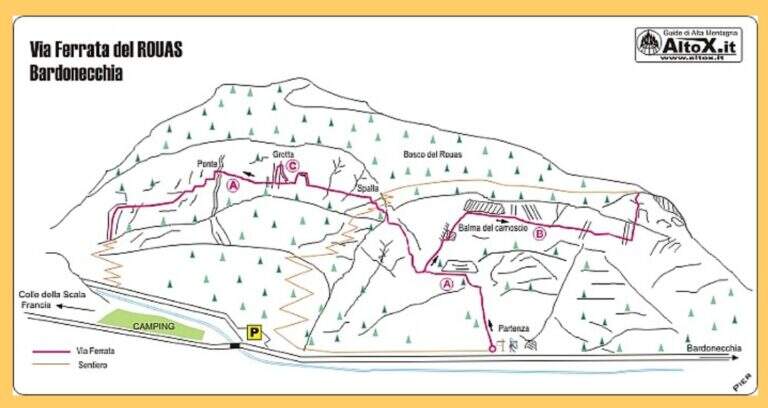
    La Ferrata del Rouas è una via recente nell'alta Val di Susa, al confine con la Francia: atletica e «alla francese», molto attrezzata, con una variante difficile e impegnativa. Nell'itinerario base è adatta anche ai neofiti, viste le attrezzature in ottimo stato. È intitolata a Bompard e Perona.

    ▲Approach

    Starting point the fraction of Melezet, municipality of Bardonecchia (TO): cross the village continue on SP216 for 300 m, until you notice the parable of a repeater; just beyond you park at the inn of the ferrata. Open road signs on Google Maps. A very short path leads in just over 5 minutes to the attack wall.

    ▲The path

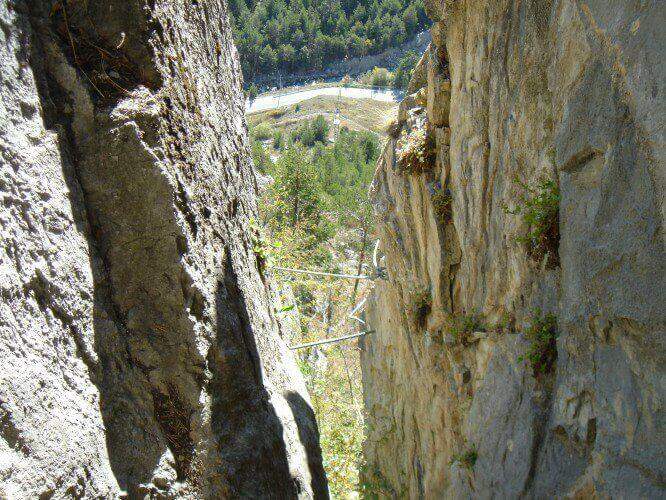
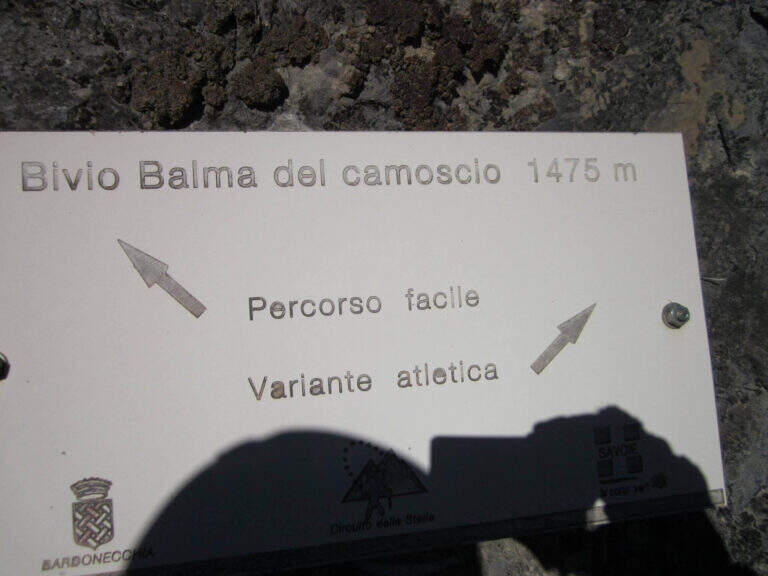
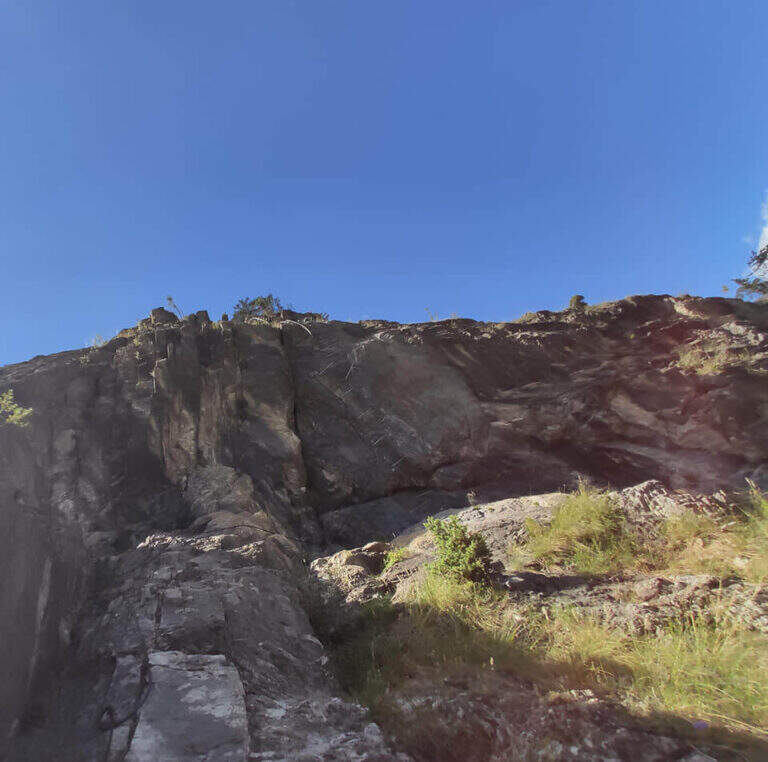
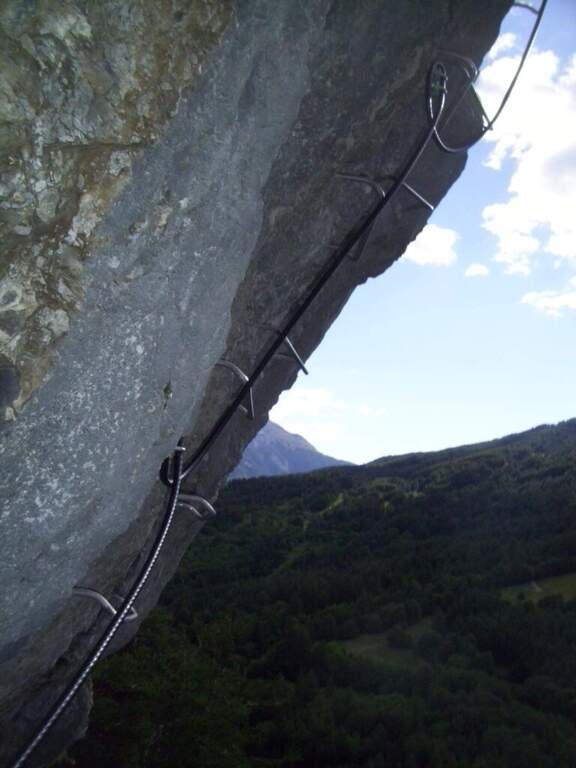
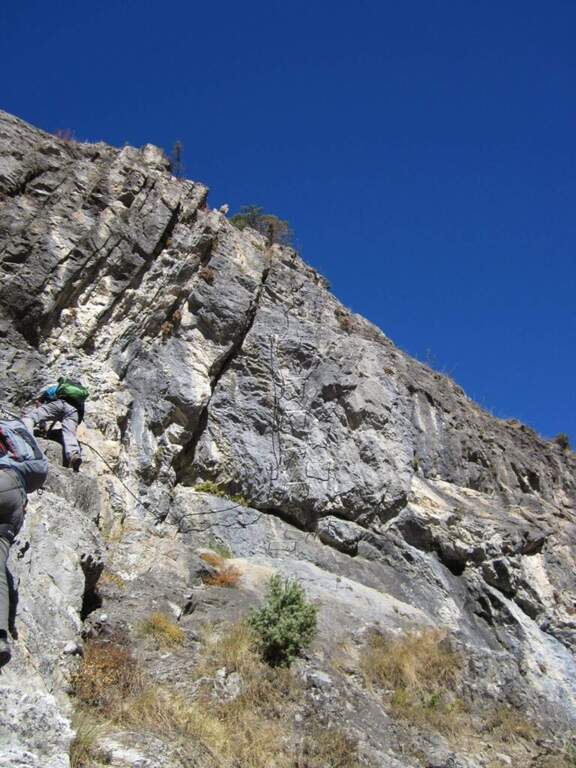
    The route consists of 3 sectors not necessarily concatenabiles. Il sector shares the first section with sector B: a couple of tilted walls and balconies with abundant cambre, turn left on a traverse that bypasses a' imposing protrusion and you reach a crossroad where, vertically, part l' route B (Balma del Camoscio). After leaving the B, three vertical walls with cambre, never too difficult but in increasing exposure, interspersed with traverses (at a point attention to the bulky backpack: useful a postponement to hang it); you reach the shoulder where the path of the section B falls and the via escape. Continue on a long oblique traverse to the cave (Porta C); ignoring the deviation continues until the bridge suspended , crosses it and begins the descent with beams and short walls assisted by brackets, never difficult, until the end (2h by ' attack ignoring the two deviations / 2h 5' totali). L'itinerary B, dal bivio, risale un primo tratto verticale e un lungo traverso, poi un altro tratto verticale impegnativo e infine il passaggio chiave: una parete strapiombante di circa 6 metri, perfettamente staffata ma che «spancia» mettendo a dura prova le braccia (utile un rinvio corto); seguono un traverso in leggera discesa (attenzione ai piedi), un diedro e un paio di piccoli strapiombi, fino a una facile cresta e al bosco di Rouas (1h 15' dal bivio / 1h 45' dall'attacco), da cui un sentiero riporta a un incontro con l'itinerario A. Il tratto C è una breve parete con una grotta e un piccolo tratto sospeso, dopo il quale si ridiscende verso il proseguimento dell'itinerario A (10' dalla deviazione).

    ▲Character and difficulty

    Via alla Francese, very equipped and fun; there is no real summit. L' A è itinerary; also suitable for neophytes, while the B è sector; clearly più athletics (keystrapiombo). Recent equipment and in good condition.

    ▲Period and safety

    Season from spring to autumn with dry rock. Remembering the state "In Maintenance", make sure of the conditions of the equipment.

    ▲Discipline

    After the A section descends along l' obvious path up to a road, which runs towards sinistra in the direction of the parking lot (15' from the term / 2h 20' total if you do not walk the B and C sections; 4h total if routes A, B and C).

    ▲To match

    In Val di Susa, area rich in itineraries: in Claviere la Ferrata di Rocca Clarì, la Ferrata del Bunker e la Low Battery Hardware; la Ferrata Guido Rossa in Caprie, la Ferrata dell'Orrido di Chianocco, la Ferrata dell'Orrido di Foresto e la Ferrata della Ruceia.

    ▲Gallery
    Technical data
    • DifficultyModerately Hard
    • RegionPiedmont
    • GroupVal di Susa
    • Approach0:05 h
    • Ferrata2:40 h
    • Itinerary (a/r)3:00 h
    • Hardware level difference125 m
    • Route difference275 m
    • Max1500 m
    • Length1,4 Km
  • Ferrata di Rosazza (Valle Cervo)

    Ferrata di Rosazza (Valle Cervo)

    Vie Ferrate › Piedmont › Biella
    Ferrata di Rosazza (Valle Cervo)
    Moderately Hard● OpenDescriptionComplexityMapsGallery

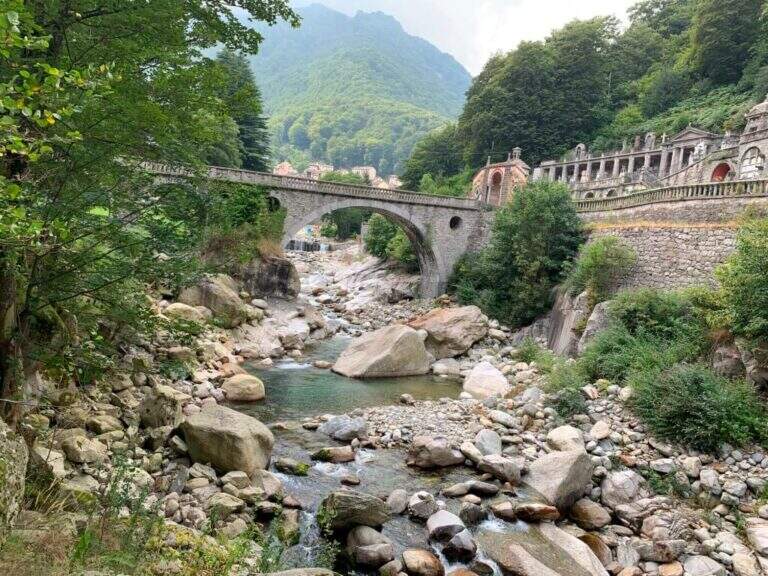
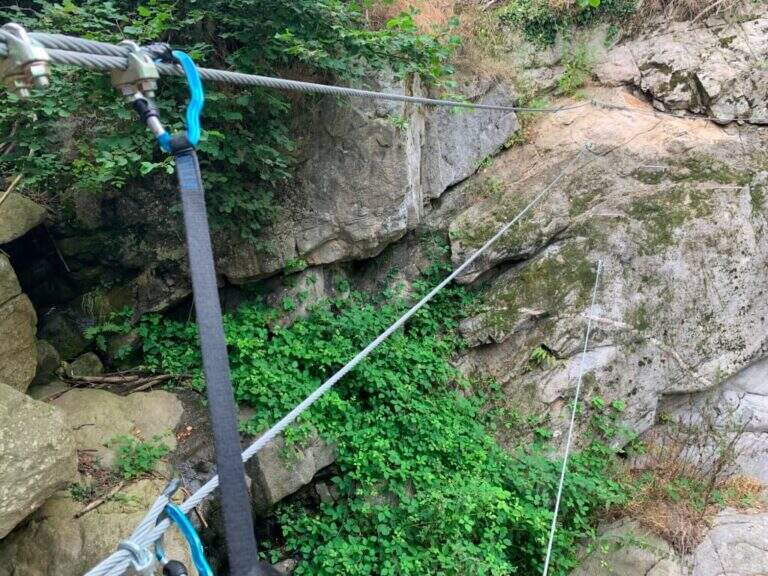
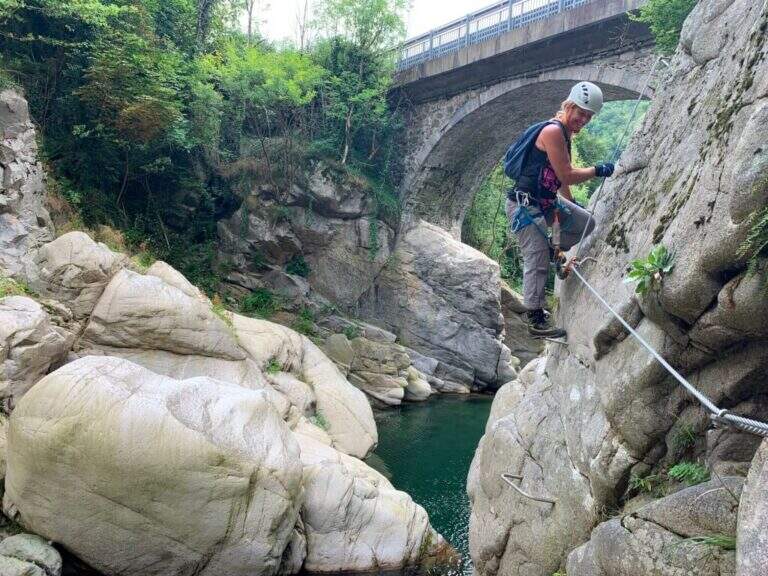
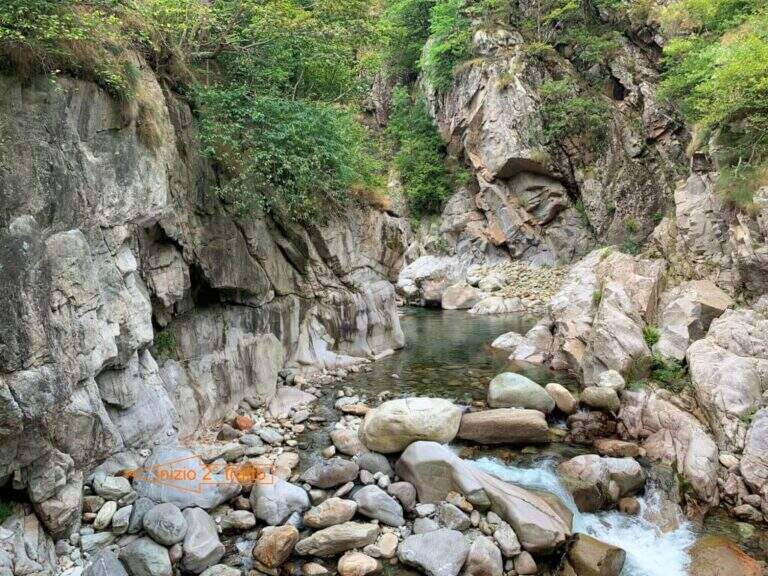
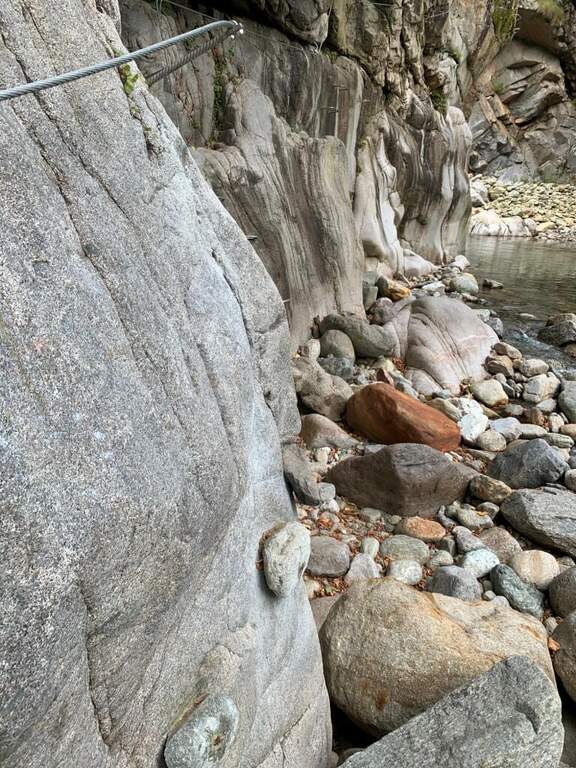
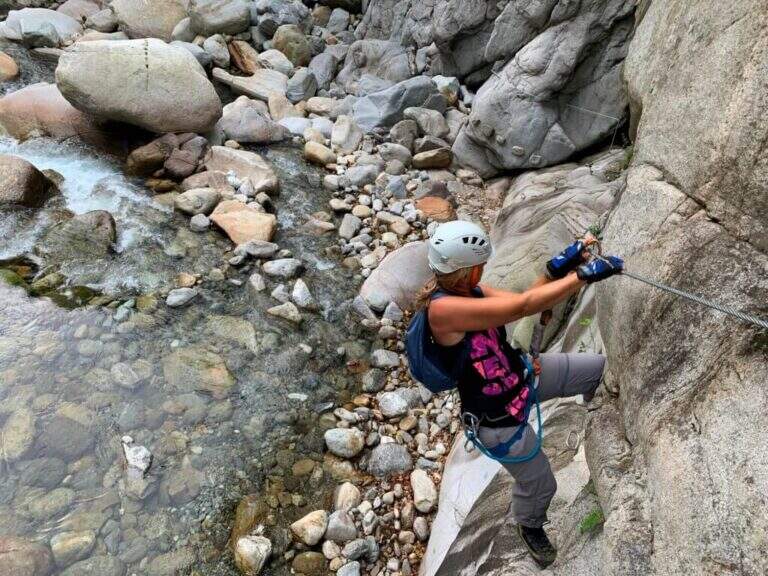
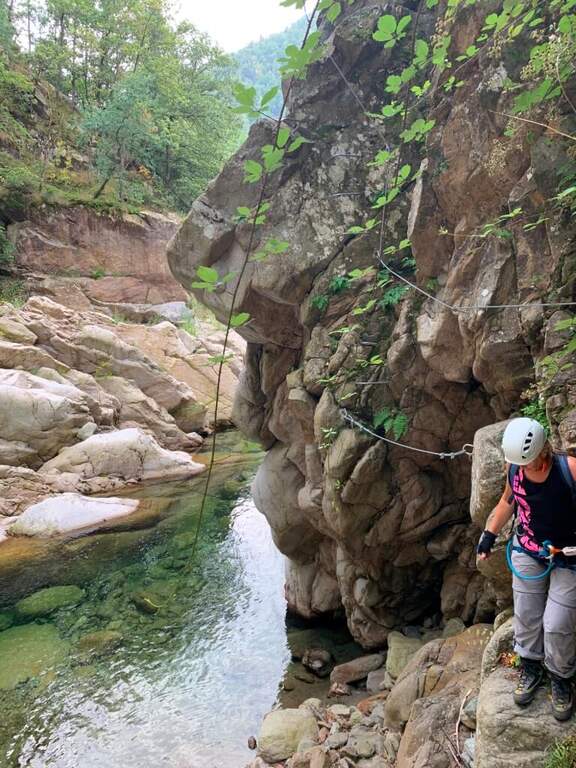
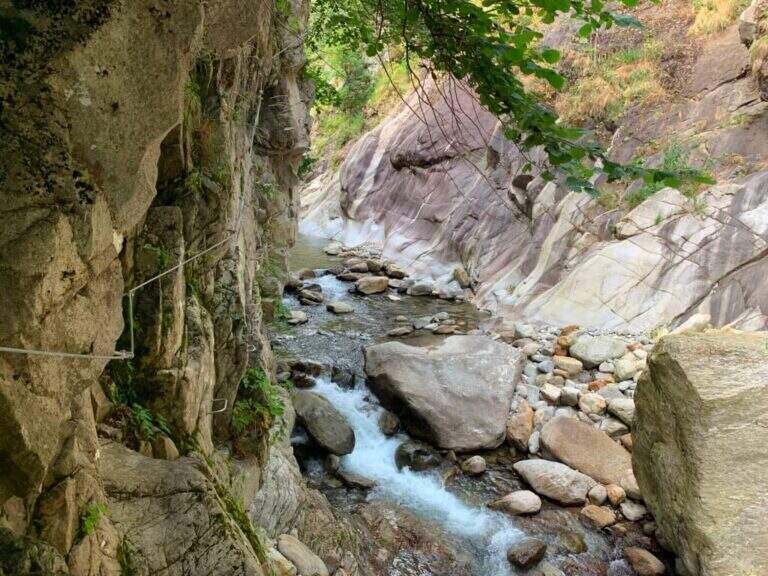
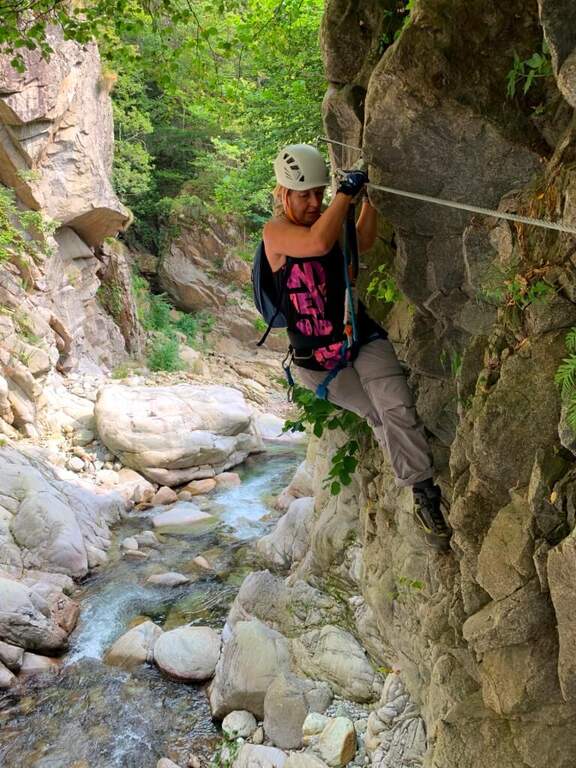
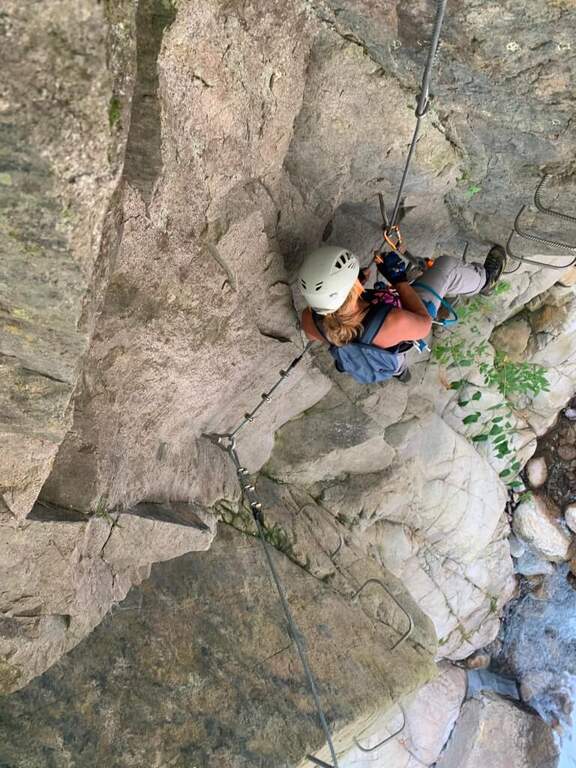
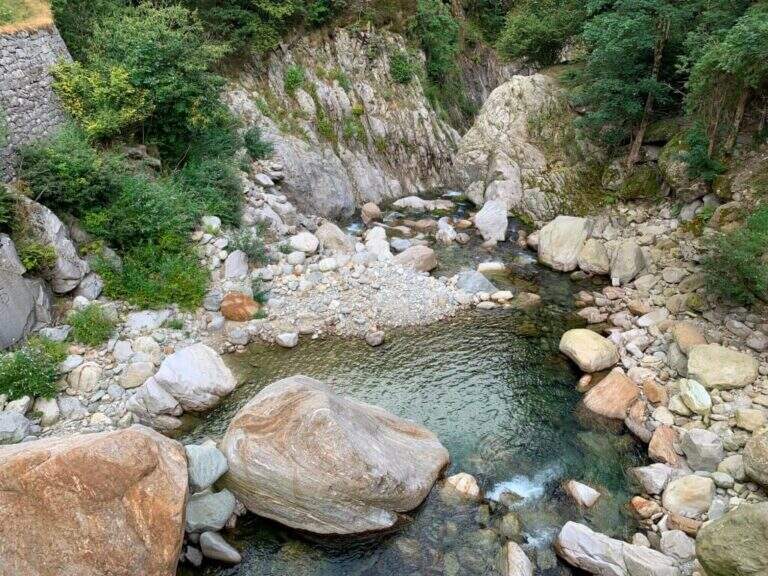
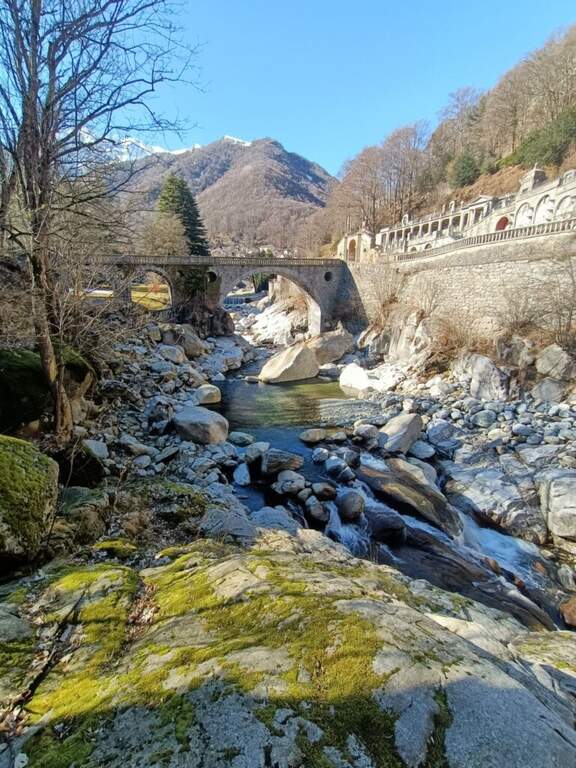
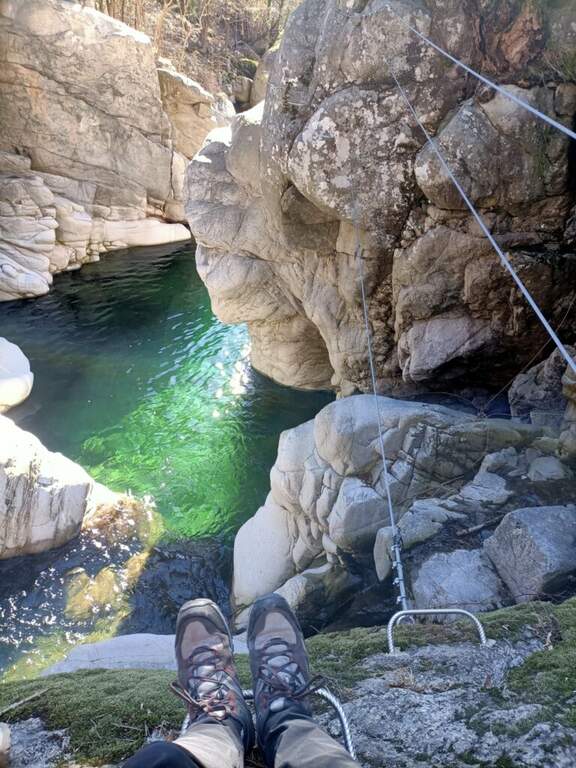
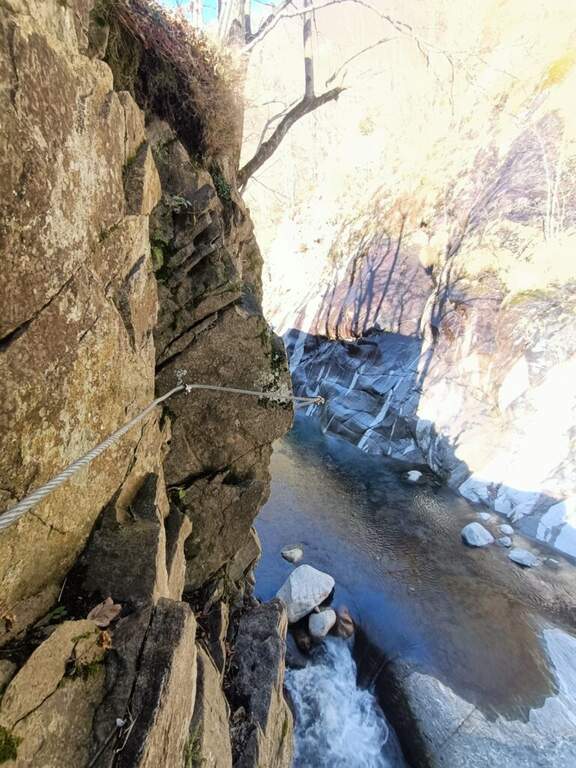
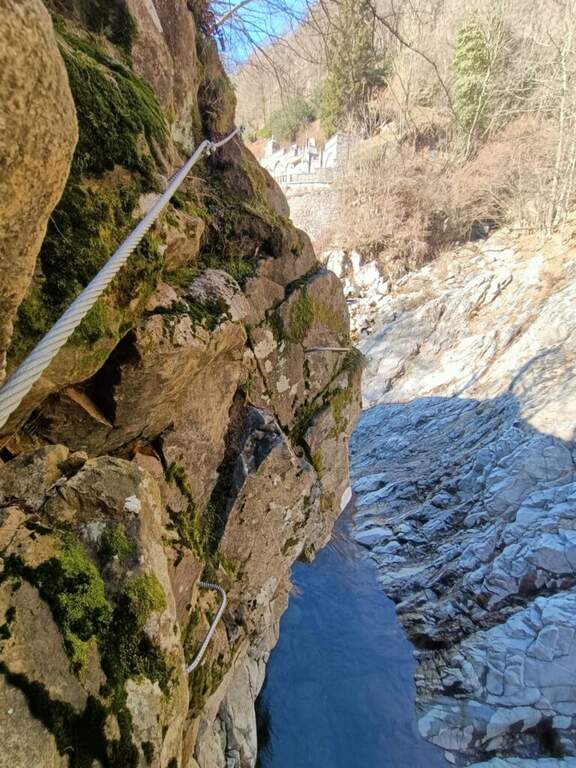
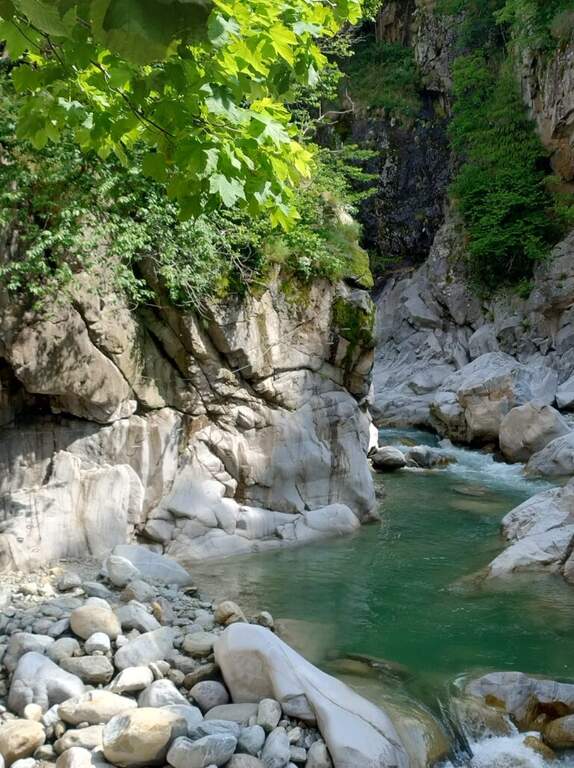
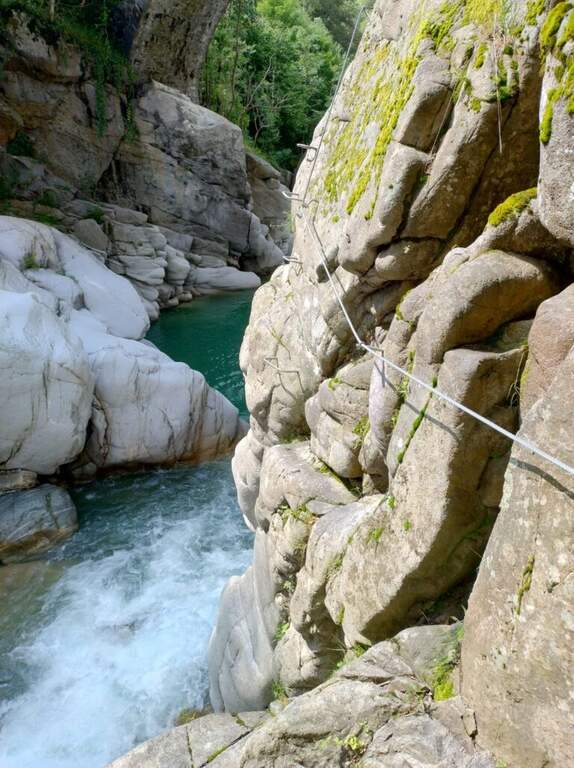
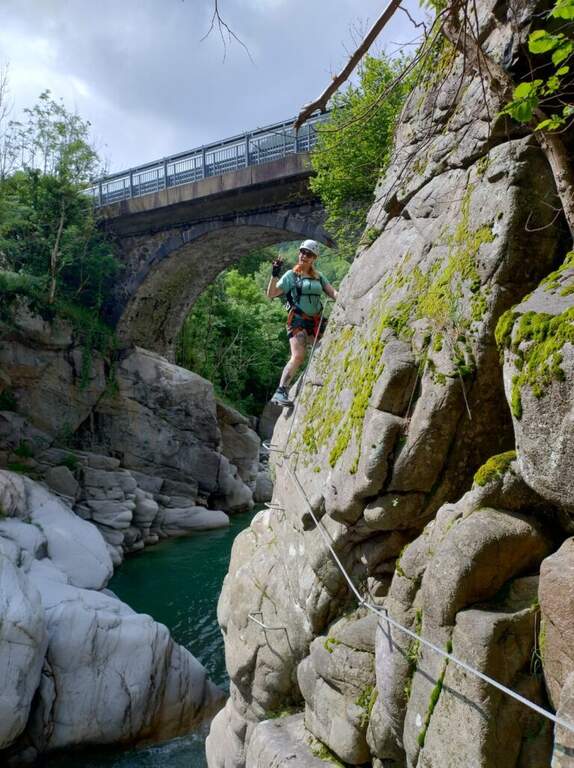
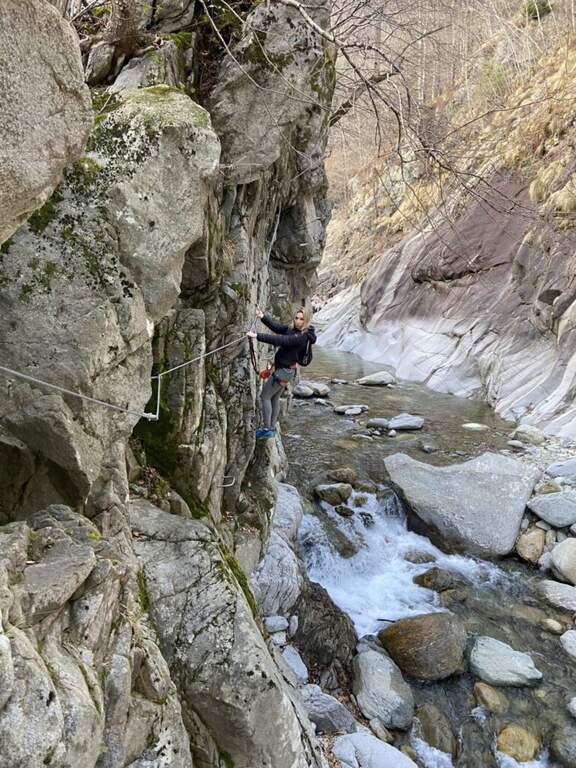
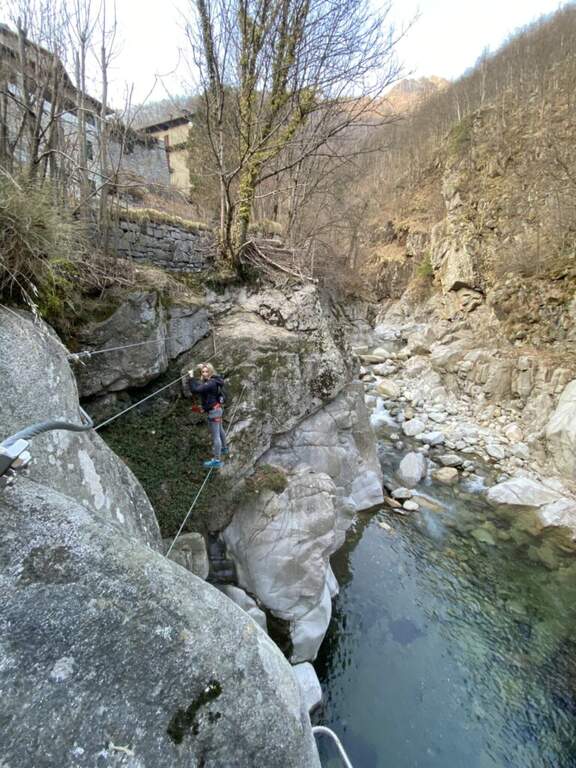
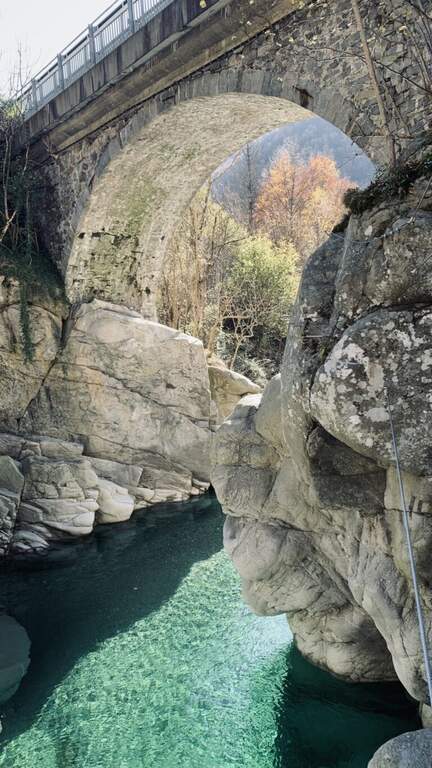
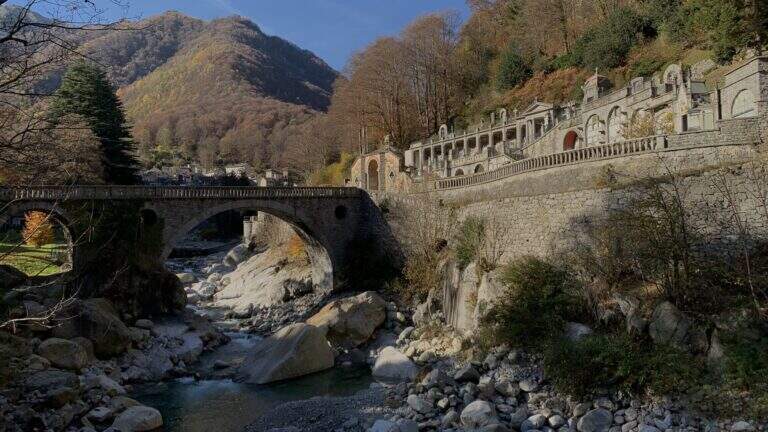
    The Ferrata di Rosazza runs through the beautiful gola of the creek Cervo, between the cemetery of Rosazza and the road bridge just downstream: granite smoothed by ' water, crystal-clear pools that d' summer invite to the bathroom and a mainly horizontal development with short vertical sections uphill and downhill. Two distinct sections and altitude of only 900 m make it suitable for all seasons.

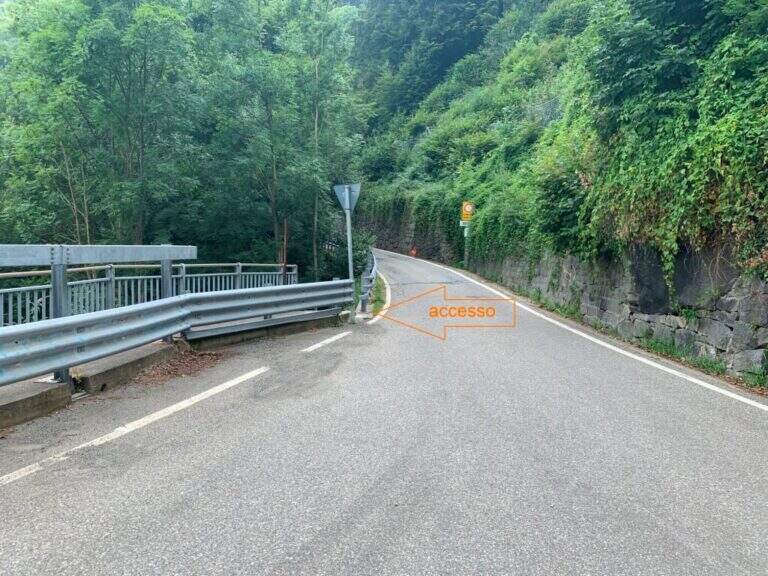
    ▲Approach

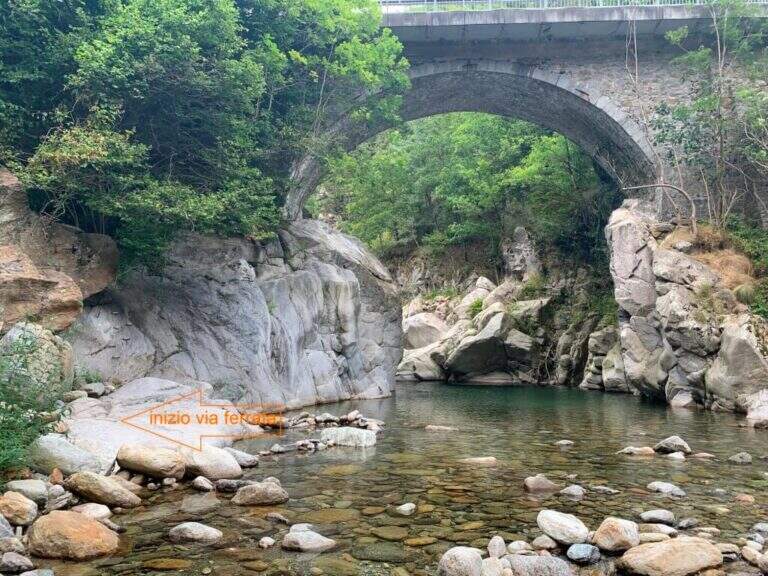
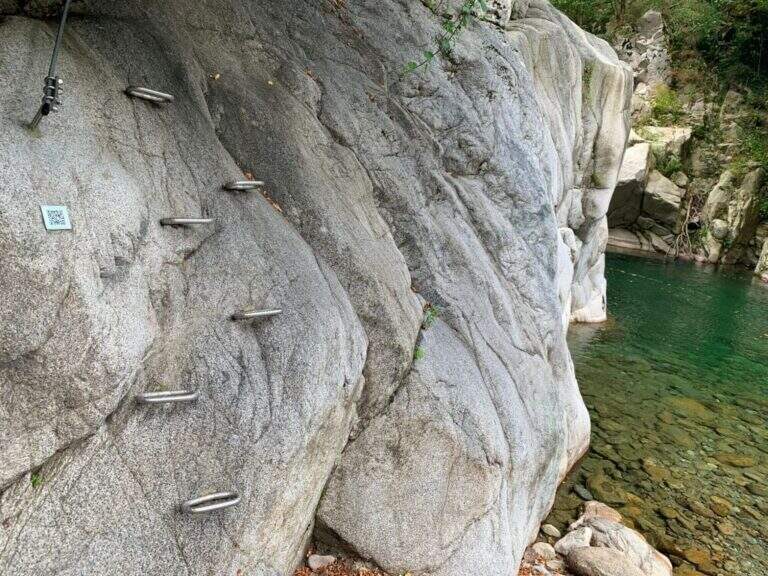
    The route starts at the road bridge on the Cervo stream, which meets arriving from Campiglia Cervo, before Rosazza. From Biella you go up the Cervo Valley; past the bridge between Campiglia and Rosazza you park at ' height of the cimitero of Rosazza. Open road signs on Google Maps. On foot you go back to the valley bridge and descend from the ladder just down the bridge, on the destra orografica (5' from the parking lot); the descriptive cartel arrives on the crude, where a QR code provides information on the first section.

    ▲The path

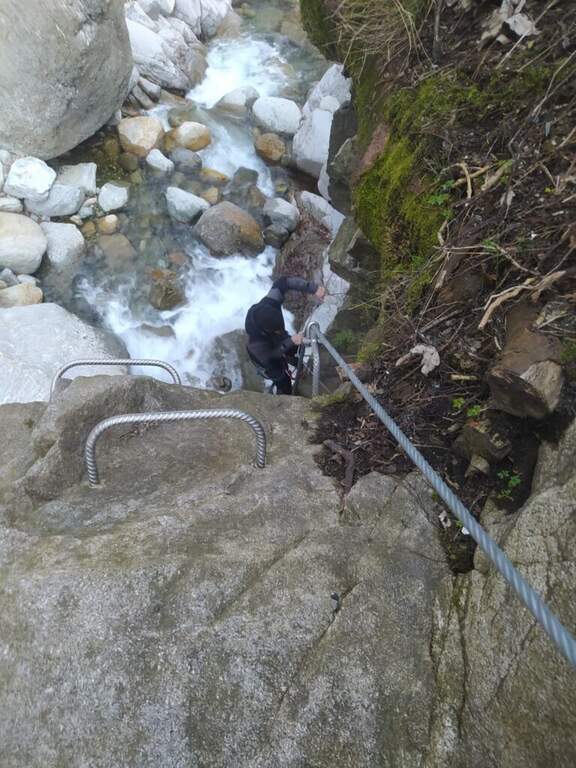
    La first section part with abundant cambres that facilitate progression and continues horizontally, with an easy equipped crossing, passing under the road bridge; you arrive at the ponte Tibetan, beyond which you descend to the bank of the stream on a pebble beach, where the first section (easy) ends and you find a comfortable via of escape towards the road. The second section, marked by a second QR and by foot supports made with nailed stones, immediately shows the più character; technical with some small overhanging carabiner changes; climbing up the gorge the landscape becomes più Wild. A metà about the route earns altitude to the back of some garages at the street, where c'è a second escape route; then returns to metà wall with technical beams, descents and laughter overhanging. When you go back to the gorge and the bridge of the monumental cemetery of Rosazza appears, the ferrata ends (25' from ' attack / 30' from the parking lot); the downstream pozza of the bridge invites you to a bathroom.

    ▲Character and difficulty

    Very short and with multiple escape routes: the first part is easy, also suitable for beginners; the second is more technical but with never excessive difficulty, ideal for those who want to try for the first time with some more complex passage. Report by Stefano Caprile.

    ⚠ Difficultà reduced environment, but evaluate the port of the torrent: after heavy rain some sections may be slippery.
    ▲Period and safety

    Low altitude (about 900 m): can be reached in all seasons, pleasant even in summer for the freshness of the throat.

    ▲Discipline

    Parking & free; less than 100 m from the end of the ferrata: you reach l' car in one minute ( approximately 10' from the term / 50' totali).

    ▲To match

    In the area there are five other routes, all moderately difficult: the Ferrata Nito Staich, la Ferrata Hi Miki, la Ferrata del Limbo, la Ferrata dell'Infernone e la Ferrata della Balma (the first three at Oropa, about 30 minutes by car).

    ▲Gallery
    Technical data
    • DifficultyModerately Hard
    • RegionPiedmont
    • GroupValle Cervo
    • Approach0:05 h
    • Ferrata0:30 h
    • Itinerary (a/r)0:50 h
    • Max880 m
  • Ferrata di Rocca Candelera (Valli di Lanzo)

    Ferrata di Rocca Candelera (Valli di Lanzo)

    Vie Ferrate › Piedmont › Turin
    Ferrata di Rocca Candelera (Valli di Lanzo)

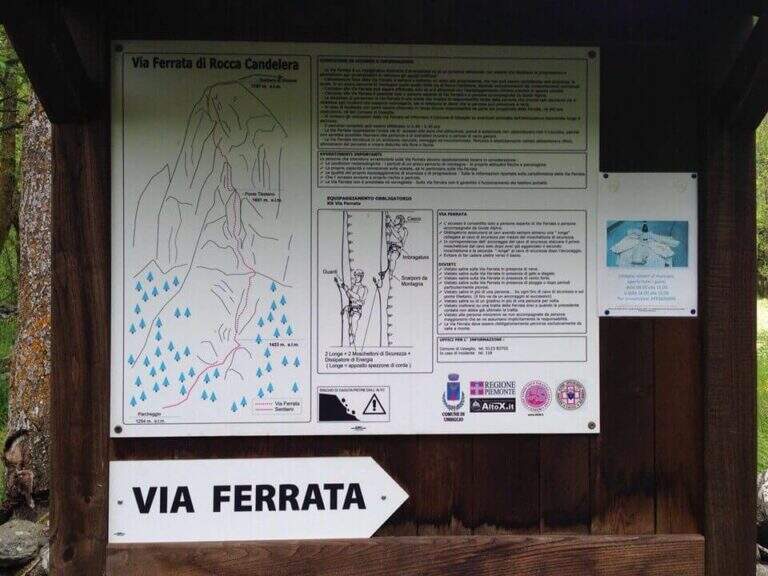
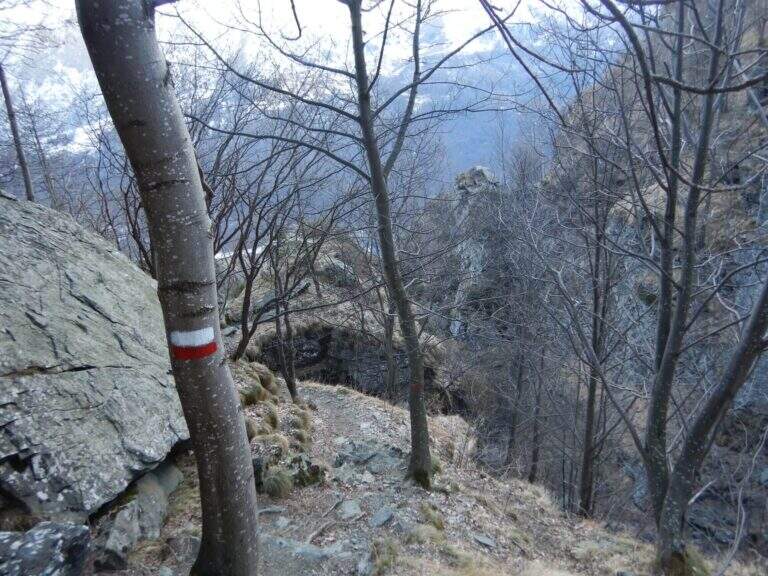
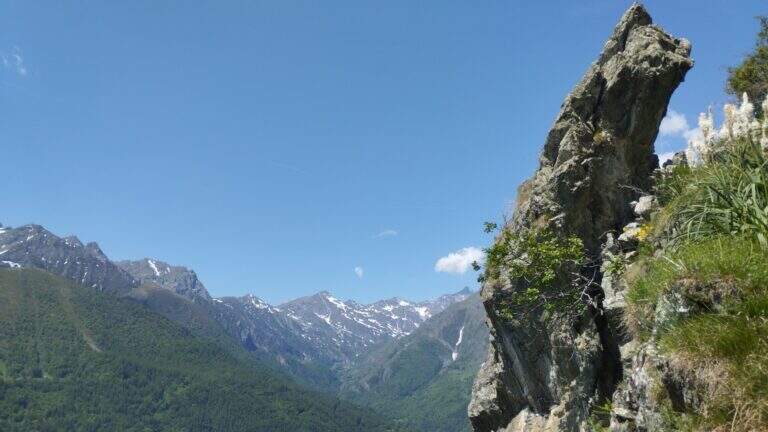
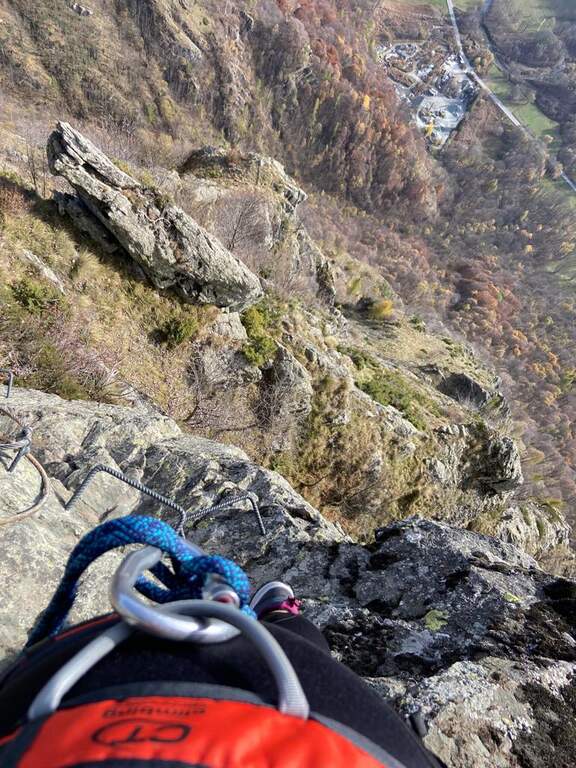
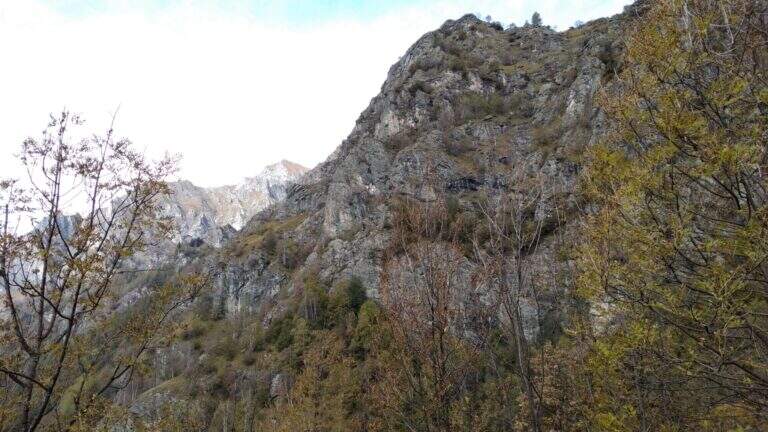
    The new Ferrata di Rocca Candelera rises a rocky counterfeit of the Valli di Lanzo, which rises steeply above the wood and the village of Piazzette. Wild and vertical environment, with a bridge suspended and some overhanging features, on excellent granite rock.

    ▲Approach

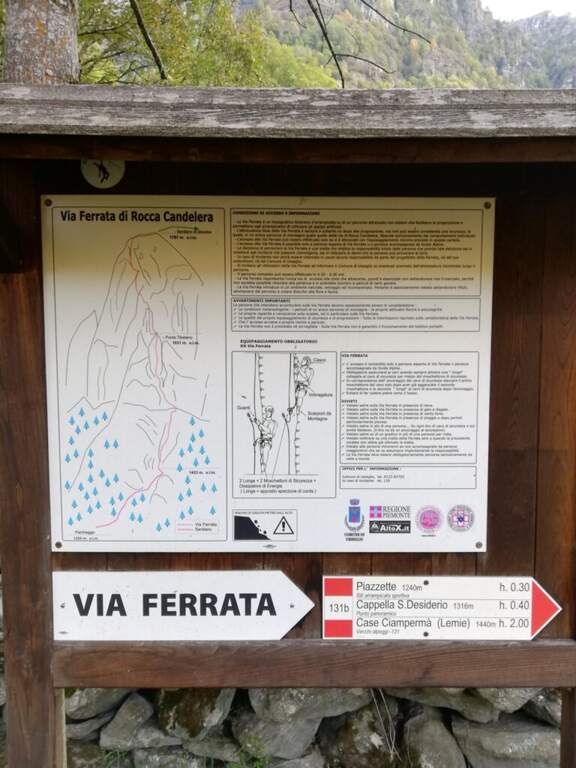
    Starting point the village of Usseglio (TO): just before ' inhabited park at a cava, paying attention to the sign along the road. Open road signs on Google Maps. From the parking lot (bacheca) follow a path that runs along dry walls to a crossroads: on the right the return path, take the sinistra with directions for the ferrata. On the path well marked, along the slope line, you reach the sign d' start (40' from the parking ).

    ▲The path

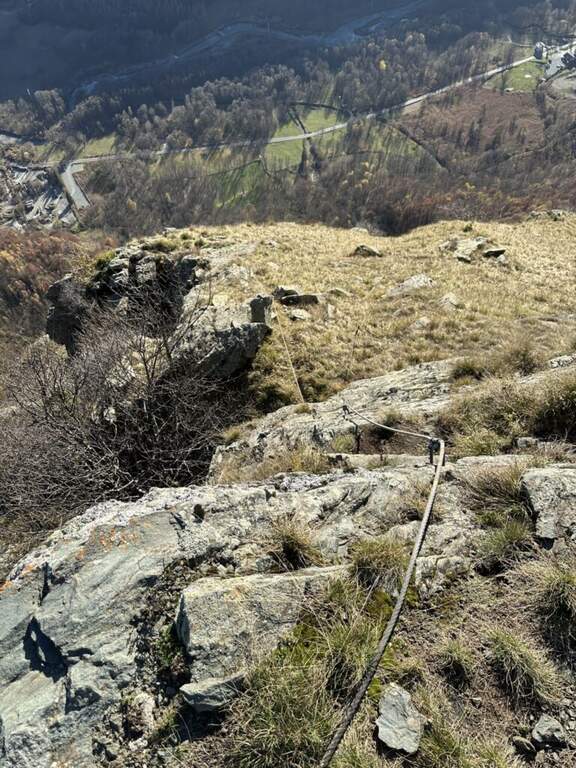
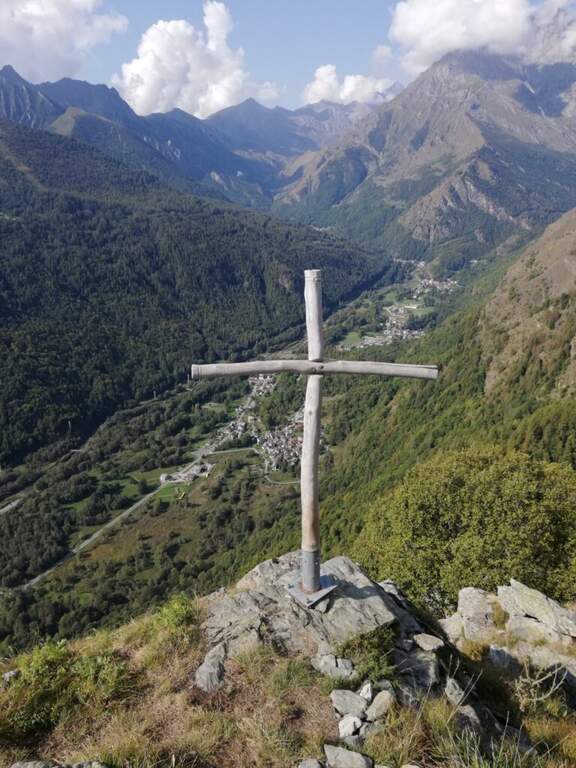
    La prima parte può trarre in inganno: si superano modesti risalti rocciosi e pareti appoggiate con staffe dove serve, alternati a tratti di collegamento, mentre si guadagna quota sulla valle. Si risalgono un paio di paretine di una ventina di metri ciascuna, senza particolari difficoltà, su ottimo granito, fino all'inizio della seconda sezione, decisamente più verticale e impegnativa. Si parte con una placchetta appoggiata senza staffe e si raggiunge la lunga parete che caratterizza la via: si sale in verticale per 30-40 metri — non tecnicamente difficile per l'abbondanza di staffe, ma con qualche leggero strapiombo ed esposizione crescente. Spostandosi gradualmente a destra lungo un bello spigolo, poi un traverso a sinistra, si guadagna un terrazzino; si risale un pulpito senza staffe fino al ponte sospeso a 3 corde, piuttosto stabile. Oltre il ponte si traversa in diagonale a sinistra sotto una lunga placconata grigia attrezzata con staffe: 20 metri verticali, poi a destra sopra una lama, ancora traverso e verticale in forte esposizione verso un tetto roccioso, che si aggira sul lato destro. Un tratto di collegamento panoramico precede una breve paretina e uno spigolo, aggirato a sinistra; si risale un diedro non marcato, una placchetta, un tratto su erba e l'ultima placchetta appoggiata fino alla croce di legno di Rocca Candelera (circa 2h 30' dall'inizio / 3h totali).

    ▲Character and difficulty

    Like many fervent Piedmontese people, they use plenty of staff and equipment, which lowers the degree and makes it accessible to unexperienced hikers of climbing; some overhanging traits remain to be carefully addressed.

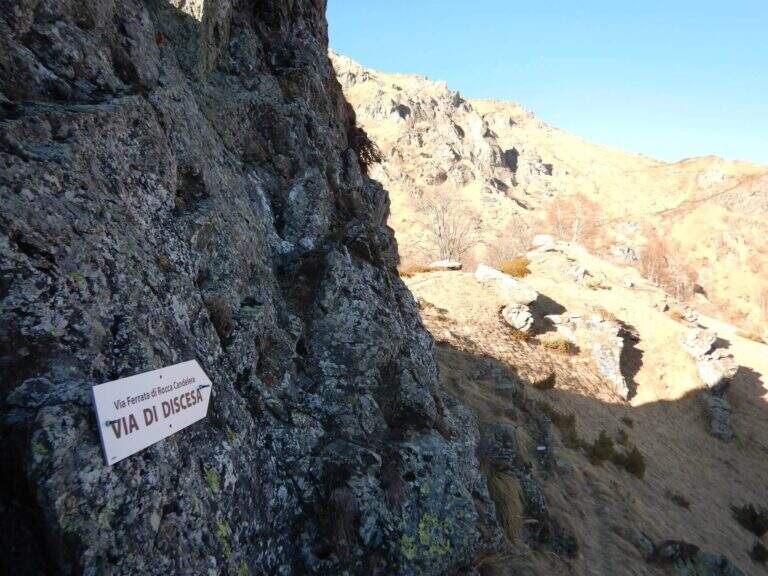
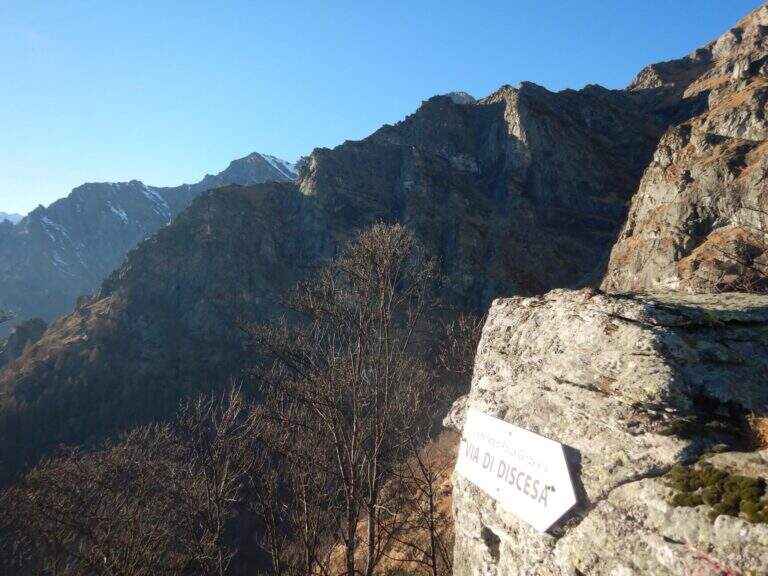
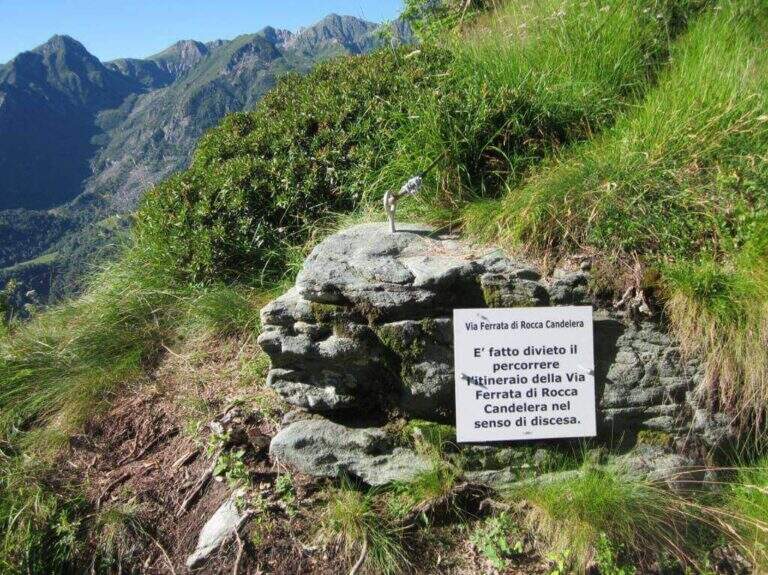
    ⚠ È explicitly forbidden to descend along the via ferrata: you leave only from the summit and you return from the path indicated.
    ▲Period and safety

    Long way: leave now. Season from spring to autumn with dry rock.

    ▲Discipline

    From the summit you turn to destra along a ridge path to a sign indicating the descent; you go down a steep path with traverse tracts on slippery grass, following the red signs on the trees. Più below the path becomes più easy and brings back to the quarry (1h from the term / 4h 30' total).

    ▲To match

    It is the first ferrata of the Valli di Lanzo; to combine another one in the day, given the length, it is advisable to leave early and choose a way about an hour by car: the Ferrata di Pont Canavese, la Ferrata di Rocca Bianca in Caprie or Ferrata Carlo Giorda.

    ▲Gallery
    Technical data
    • DifficultyHard
    • RegionPiedmont
    • GroupValli di Lanzo
    • Approach0:40 h
    • Ferrata2:30 h
    • Itinerary (a/r)4:30 h
    • Hardware level difference364 m
    • Route difference533 m
    • Max1787 m
    • Length5 Km
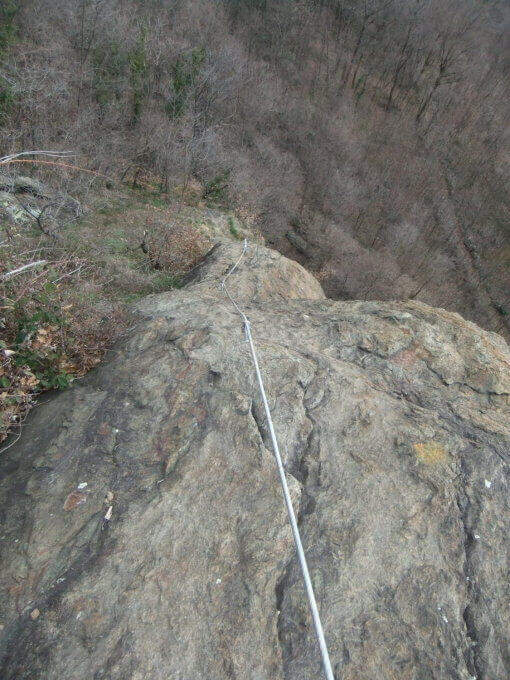
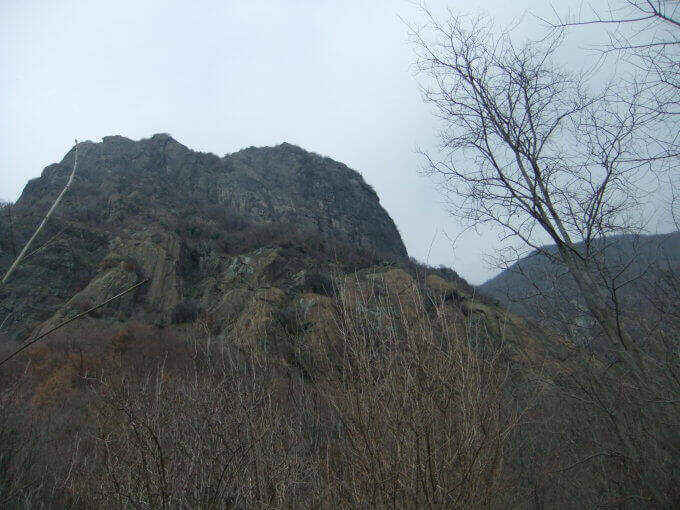
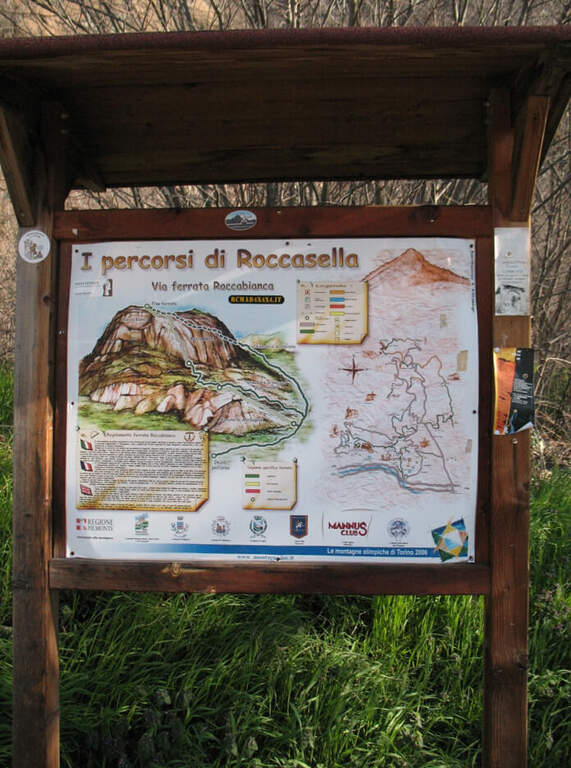
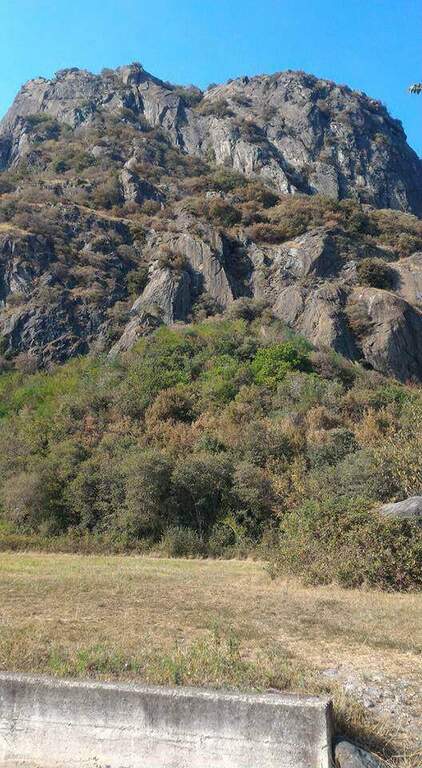
  • Ferrata Guido Rossa in Caprie (White Rock)

    Ferrata Guido Rossa in Caprie (White Rock)

    Vie Ferrate › Piedmont › Turin
    Ferrata Guido Rossa in Caprie (White Rock)
    Moderately Hard● OpenDescriptionComplexityMapsGallery

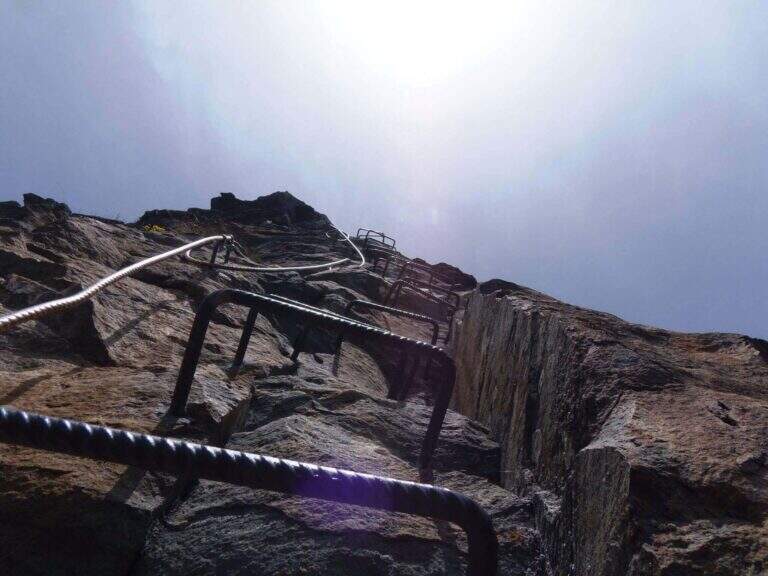
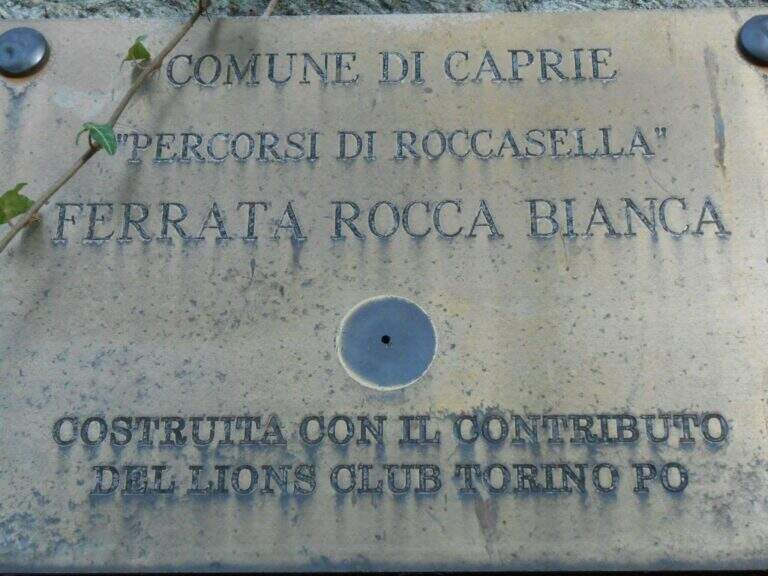
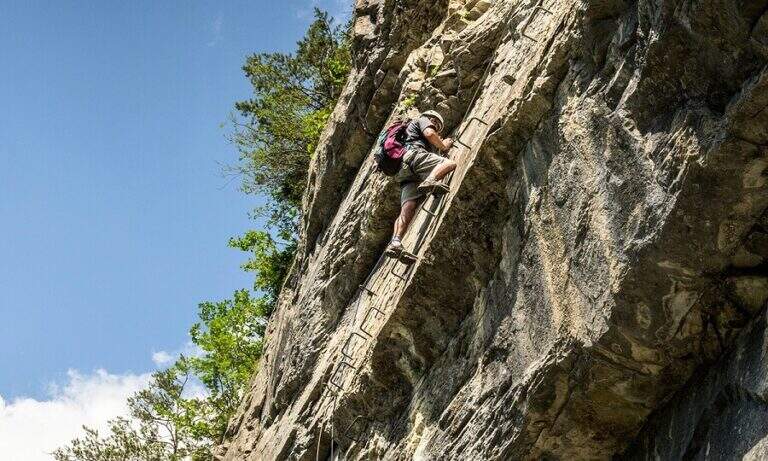
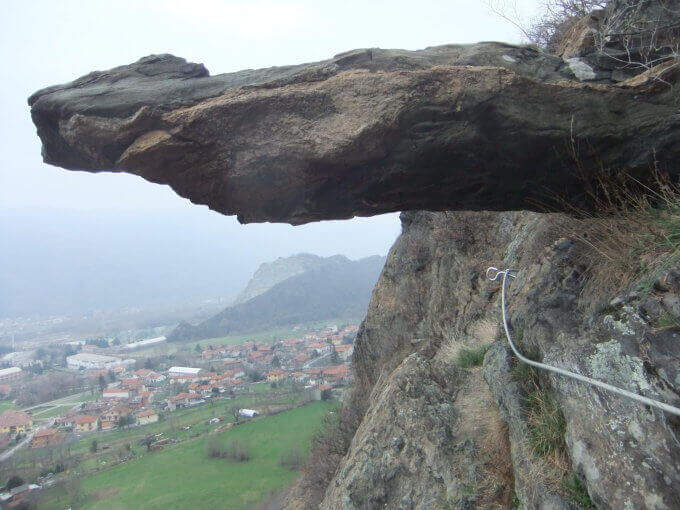
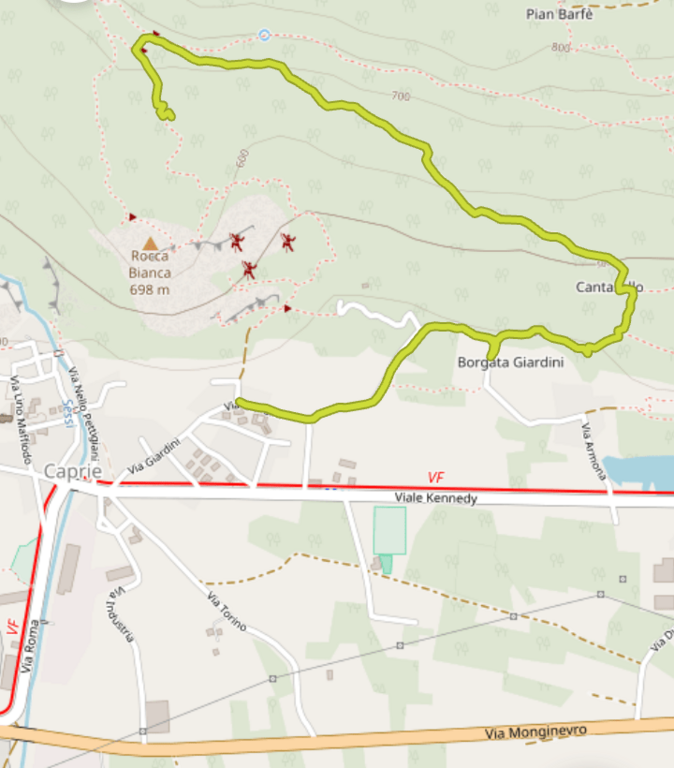
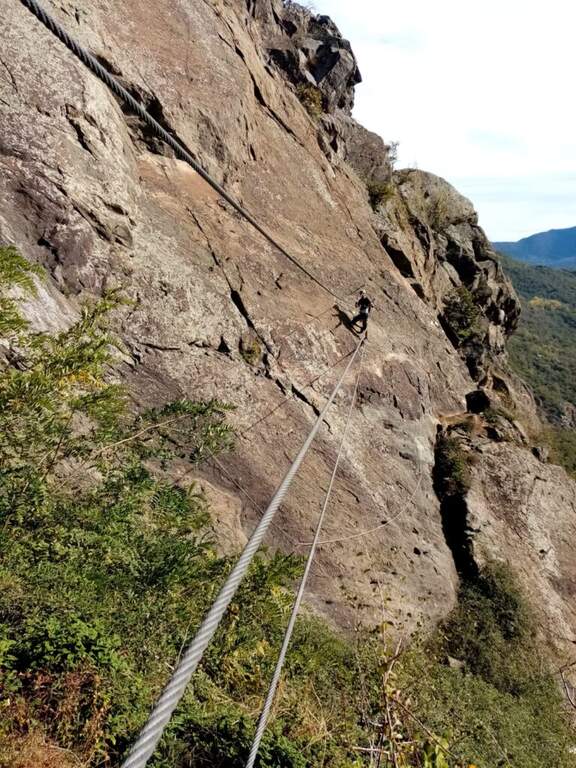
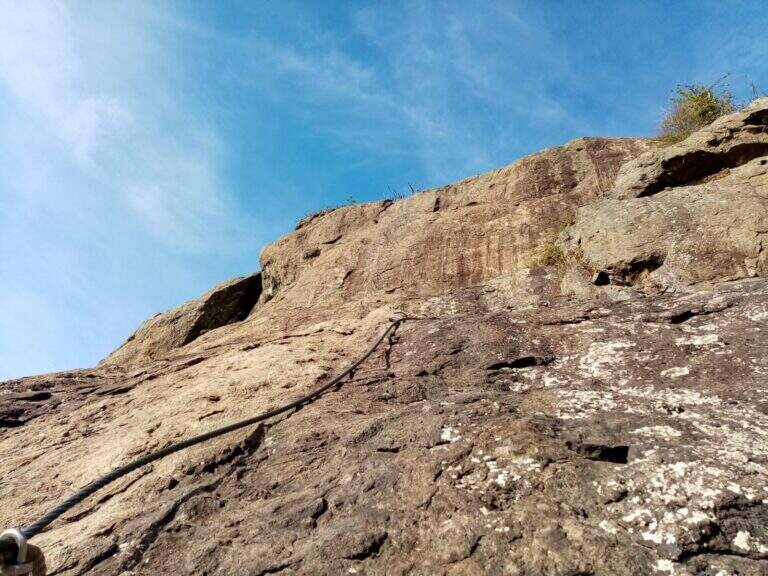
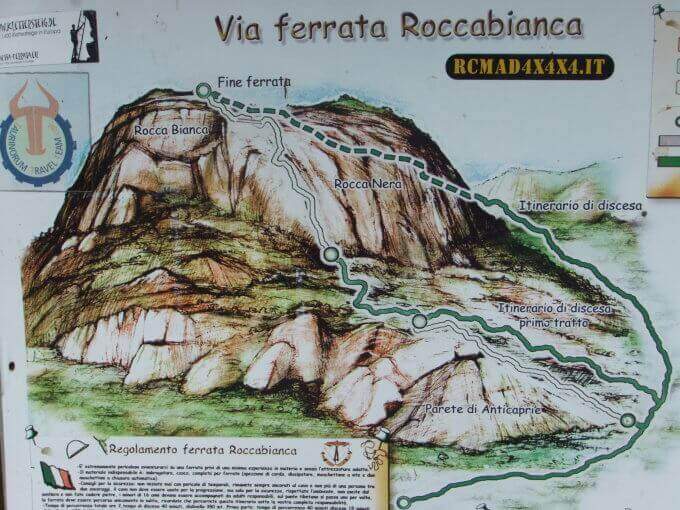
    La Ferrata Guido Rossa in Caprie (già Ferrata della Rocca Bianca) rises the Rocca di Caprie, in Val di Susa: an intense, physical and pleasant route that, although not to be classified difficult, requires good form and concentration. È varied — exposed traits, transverses, vertical walls and overhangs — and includes a ponte suspended (of the monkeys) of 25 meters, adrenaline and dancer.
    ▲Approach

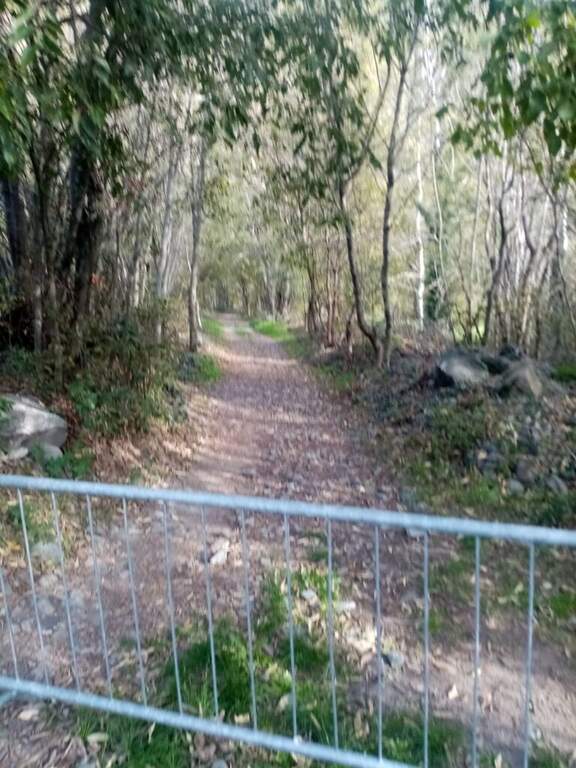
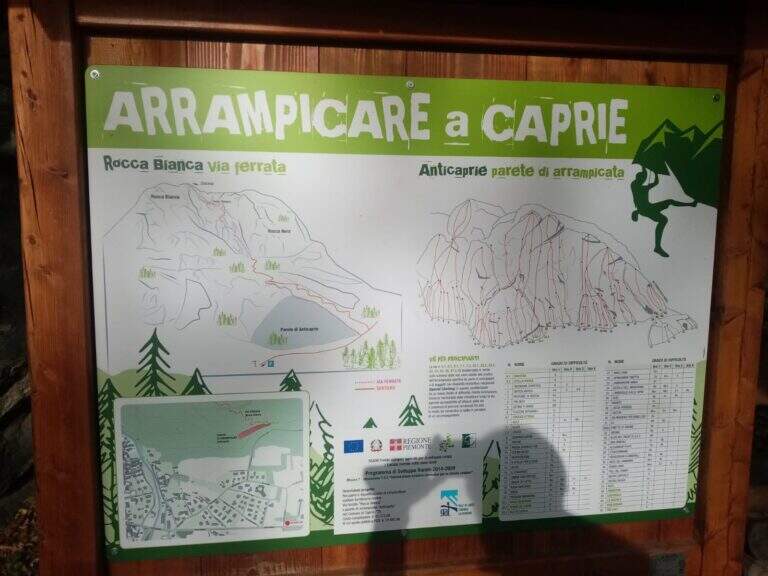
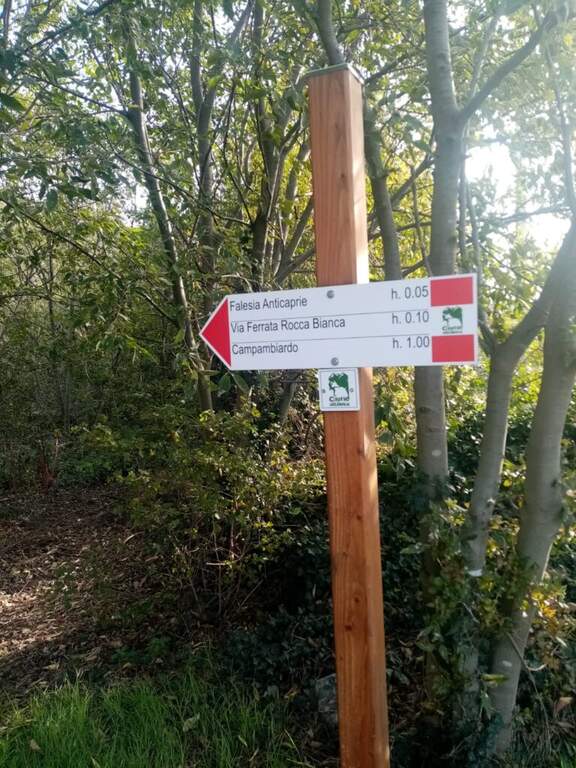
    Park at Caprie (TO), in via Colomba, from which the wall is already visible; on the spot an informative bulletin board. Open road signs on Google Maps. Take the path on the destra and, at the first junction, the destra (marked) is still held until the sign d' start of the ferrata (15' from parking ).

    ▲The path

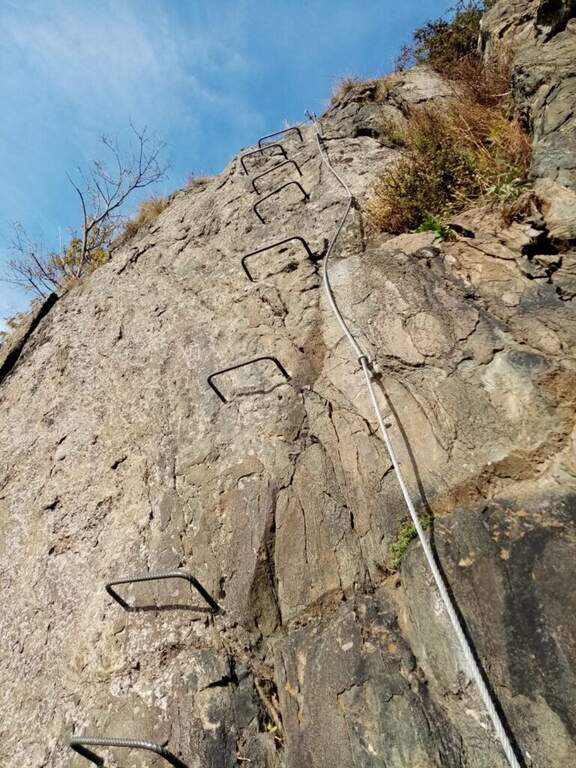
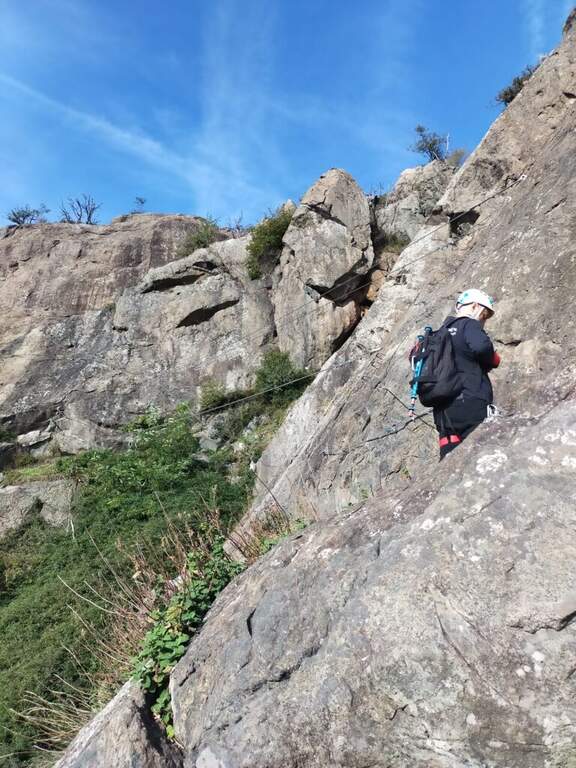
    Si attacca un sasso ancora nel bosco e alcune facili roccette; usciti dal bosco inizia un tratto ripido con due-tre tiri abbastanza impegnativi per via della roccia non perfettamente appigliata. Si risale uno spigolo poco marcato tenendosi sul lato sinistro; pian piano si allarga in un traverso con qualche staffa per i piedi, poi di nuovo verticale su parete con leggero strapiombo. Si supera un masso in forte esposizione e si chiude il primo tratto (20' dall'attacco), dove c'è una via di fuga segnalata. Nel bosco si raggiunge il secondo tratto seguendo i bollini rossi e il cartello «Placca delle Malizie»: si riparte verticali su una placca abbastanza liscia dove le staffe aiutano fino a scavalcare una sporgenza, poi si sale alternando tratti verticali, diagonali e cenge, con esposizione via via crescente, fino a un punto orizzontale dove rifiatare. Si affronta quindi il ponte sospeso (circa 25 m), aggirabile. Si riparte su un tratto strapiombante: il passaggio chiave è un pezzo difficile in cui il cavo corre in mezzo, con due moschettonate in posizione scomoda (un rinvio può essere molto utile). Si prosegue su parete verticale ed esposta fino a un traverso impegnativo da fare in aderenza, poi in diagonale si aggira la parete e si guadagna la sommità. Si continua su placche inclinate e qualche balzo facilmente arrampicabile fino a un'ultima parete attrezzata, dove il leggero strapiombo e la stanchezza accumulata non devono far calare la concentrazione, e si arriva in vetta (2h dall'attacco / 2h 15' totali).

    ▲Character and difficulty

    Not difficult in a technical sense but varia and physics: many vertical traits, some overhangs and exposure that raise l' commitment. The Via è entitled to Guido Rossa, worker, trade unionist and mountaineer of the Alta Montagna Group of the CAI of Turin, killed by the Red Brigades in Genoa in 1979.

    ⚠ After a fire in 2017 the Via è remained closed a few years and è officially reopened the 17 October 2021; the reference report not è updated after the reopening. Referral & recommended for overhanging key passage.

    ▲Period and safety

    Itinerary of low-average altitude in Val di Susa, accessible in most of the season with dry rock.

    ▲Discipline

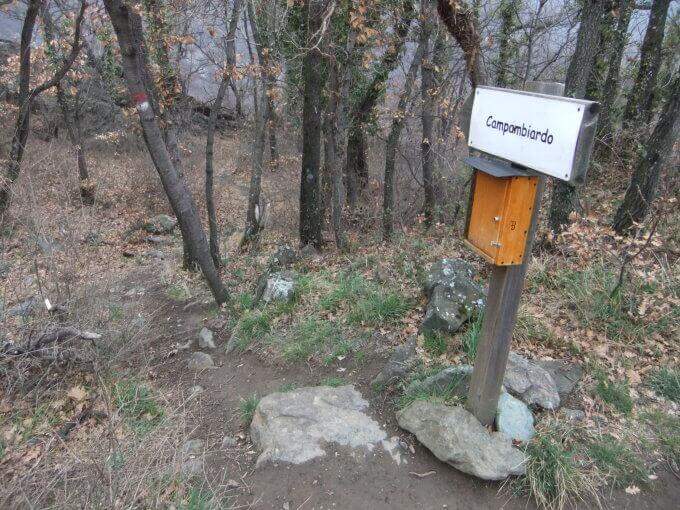
    Go down the path on the destra indicated «Campambiardo» , then follow the signs for Caprie in the forest until parking (30' from the term / 2h 45' totali).

    ▲To match

    Near the Ferrata della Ruceia e la Ferrata Carlo Giorda. In Val di Susa: la Ferrata Gorge della Dora, la Ferrata dell'Orrido di Chianocco, la Ferrata dell'Orrido di Foresto and, higher, the Ferrata del Rouas in Bardonecchia; to Claviere the ferrates of Rocca Clari, the Military/Bunker, the Low Battery and the Chaberton.

    ▲Gallery
    Technical data
    • DifficultyModerately Hard
    • RegionPiedmont
    • GroupVal di Susa
    • Approach0:15 h
    • Ferrata2:00 h
    • Itinerary (a/r)2:45 h
    • Hardware level difference255 m
    • Route difference350 m
    • Max715 m
    • Length3 Km
Need help? Write to us!