Caratteristica: Possibile anello

  • Sentiero Attrezzato Bertotti at the Cross of Chegul

    Sentiero Attrezzato Bertotti at the Cross of Chegul

    Vie Ferrate › Trentino-Alto Adige › Trento
    Sentiero Attrezzato Bertotti at the Cross of Chegul

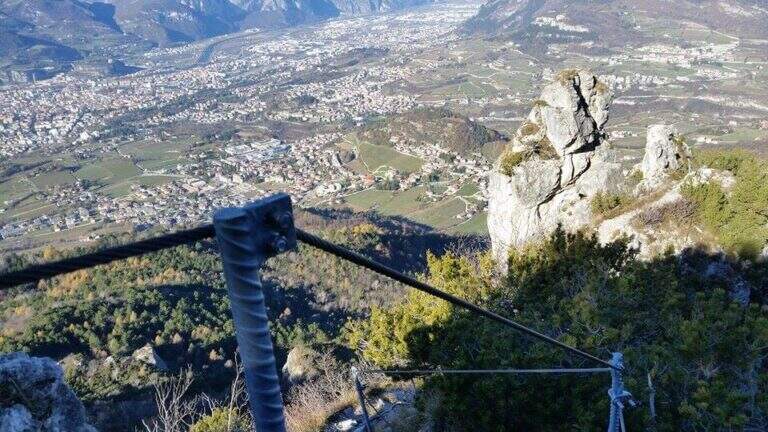
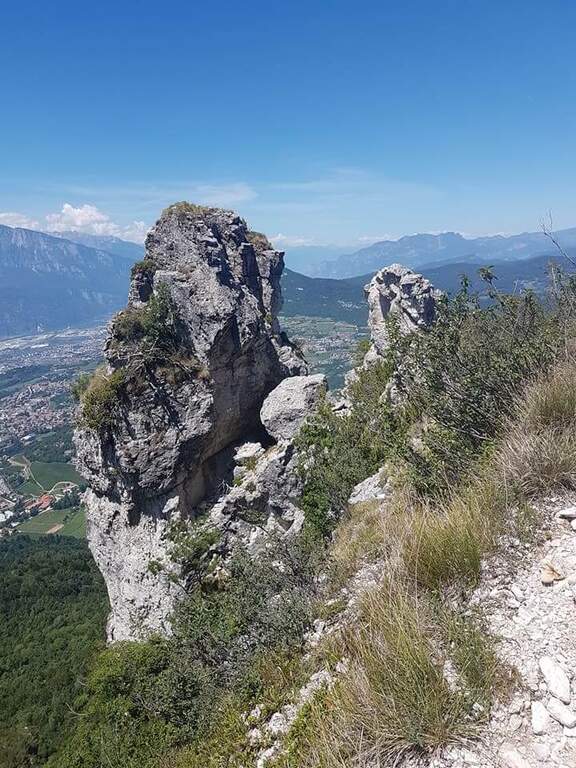
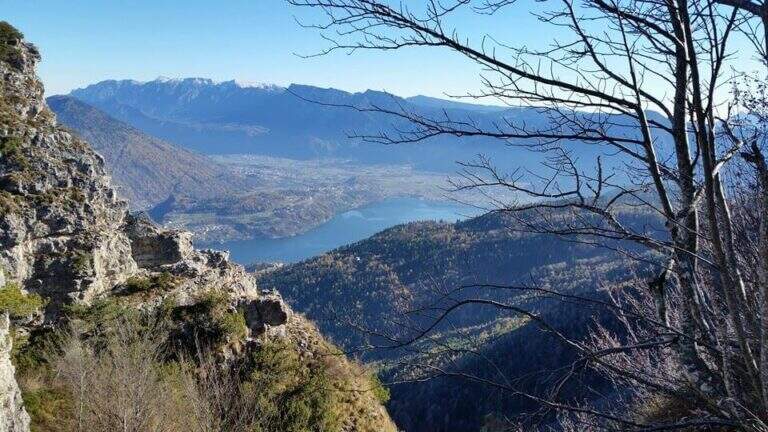
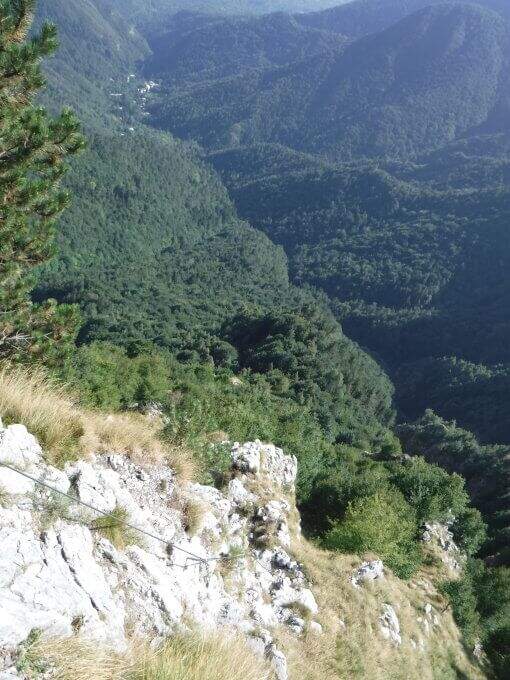
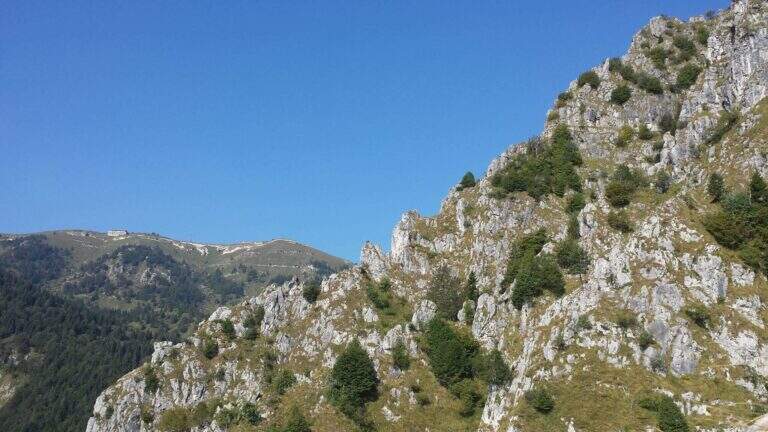
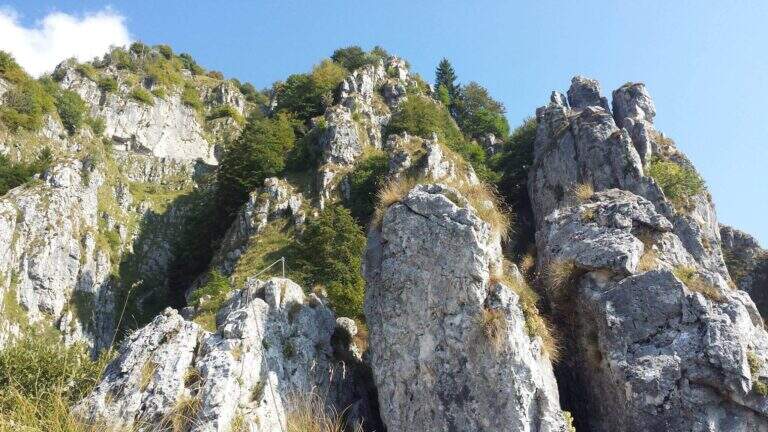
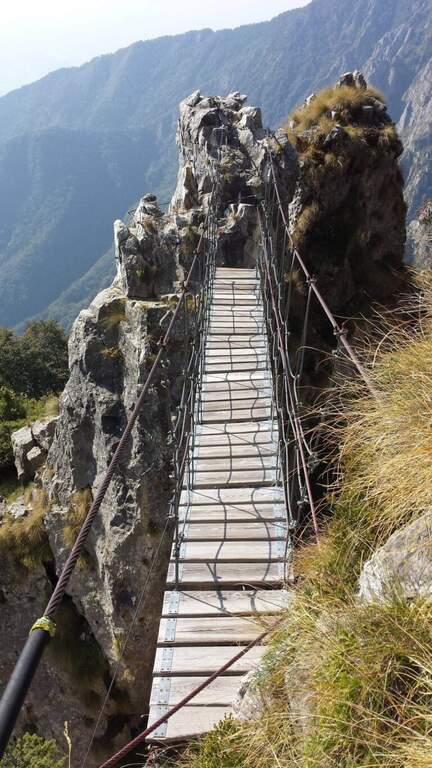
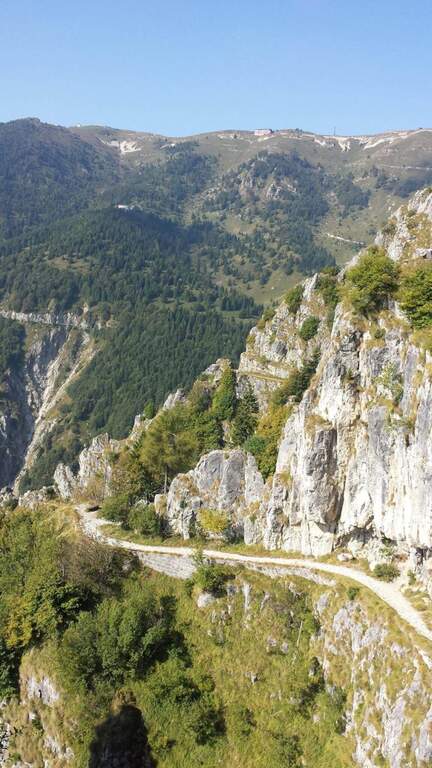
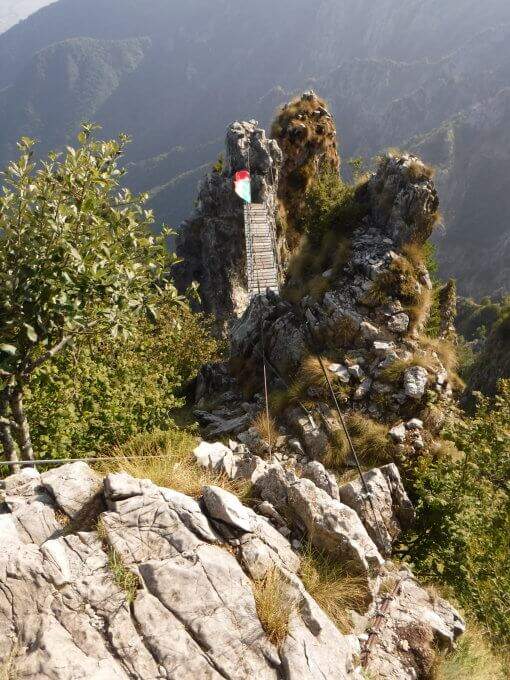
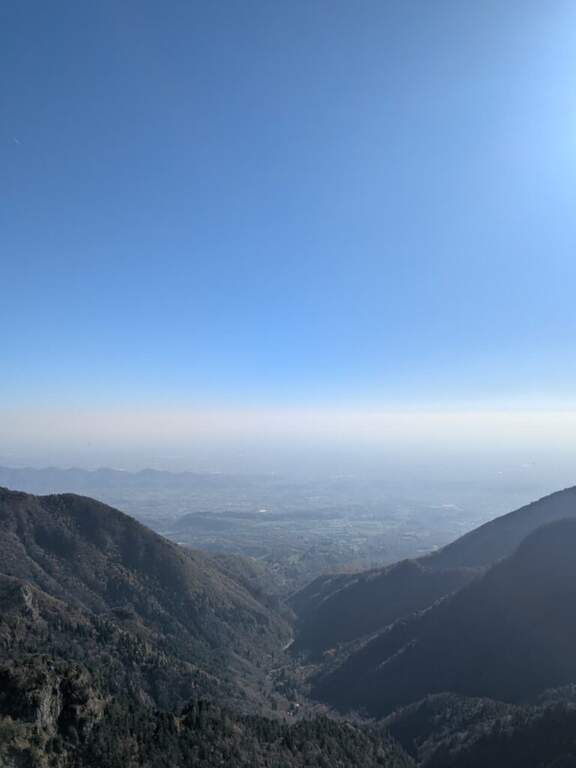
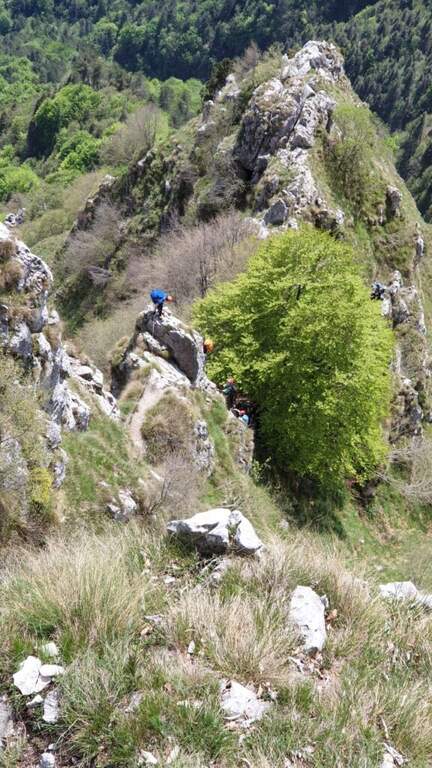
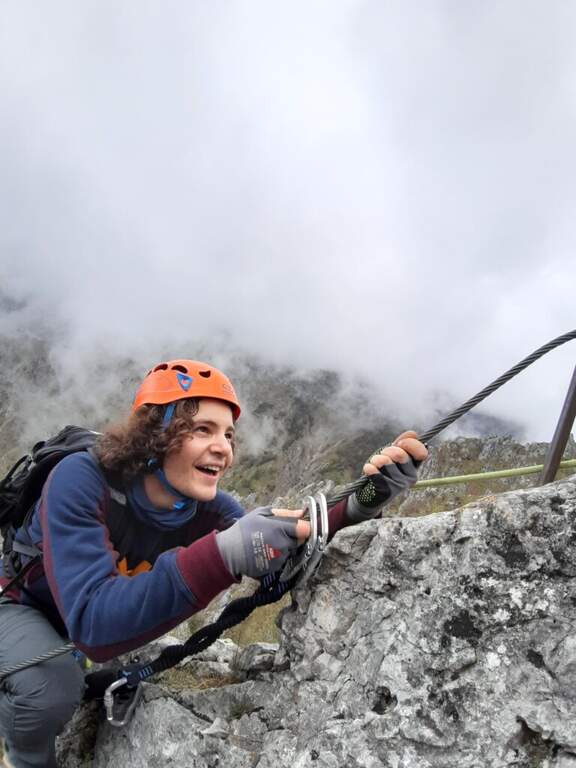
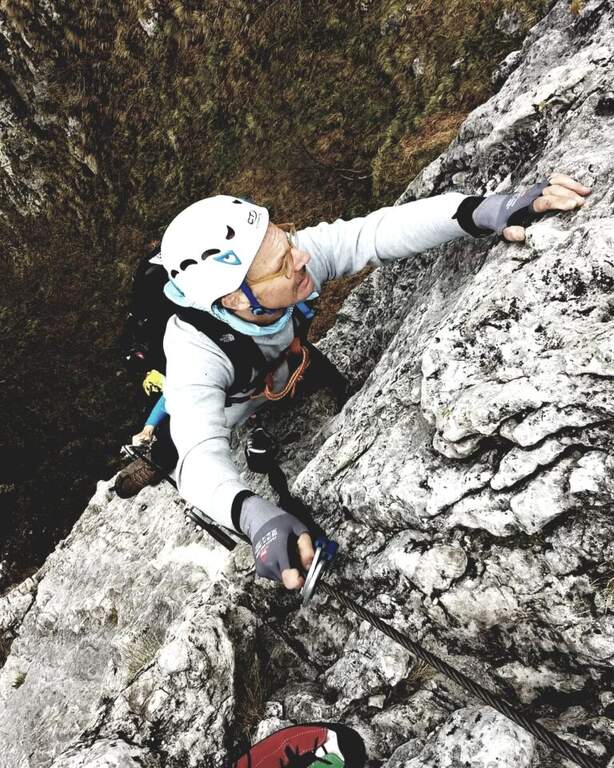
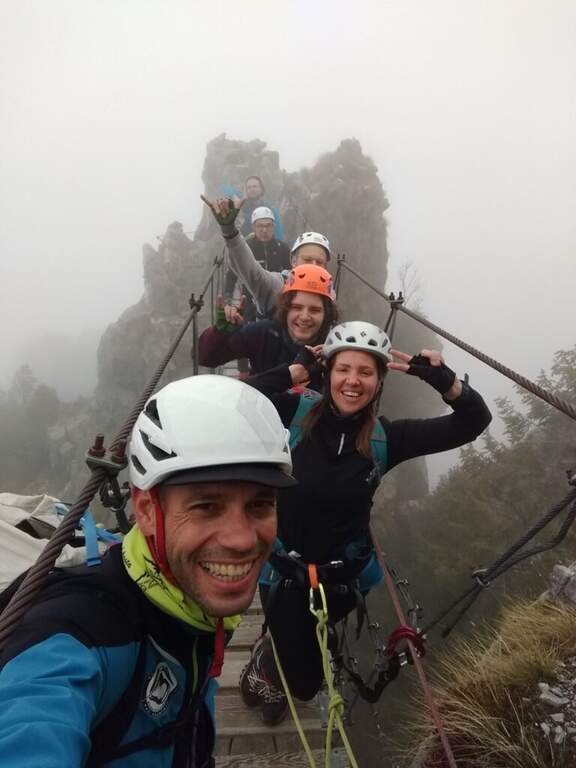
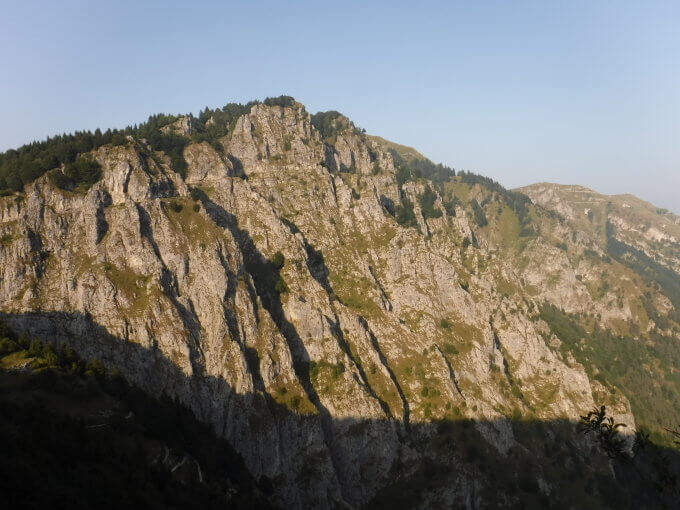
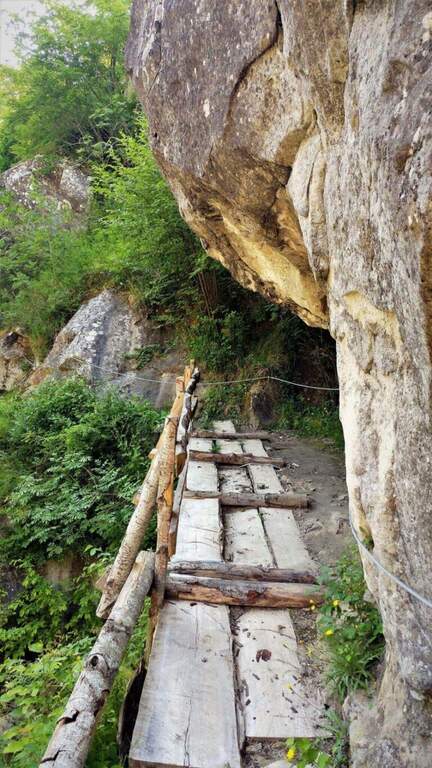
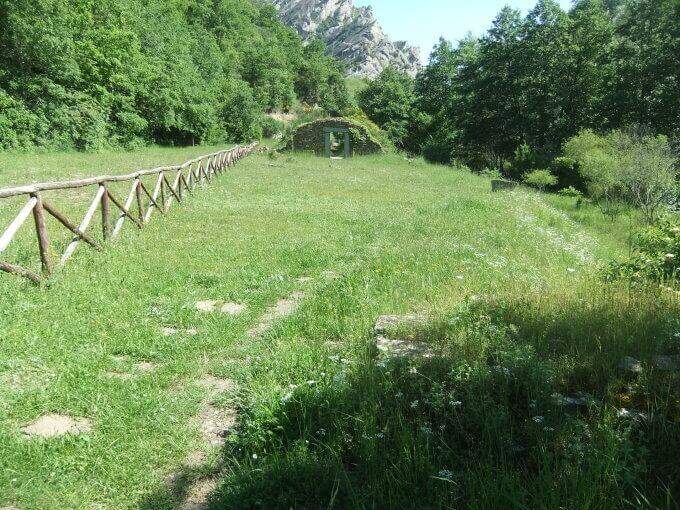
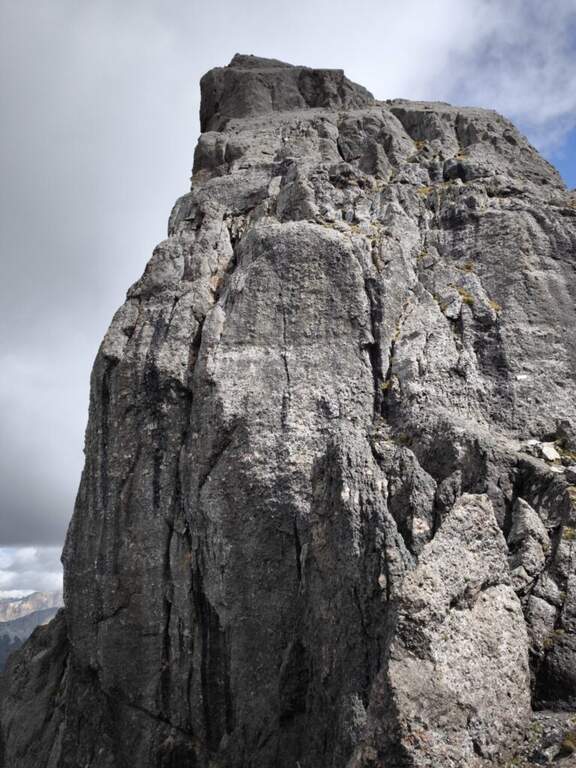
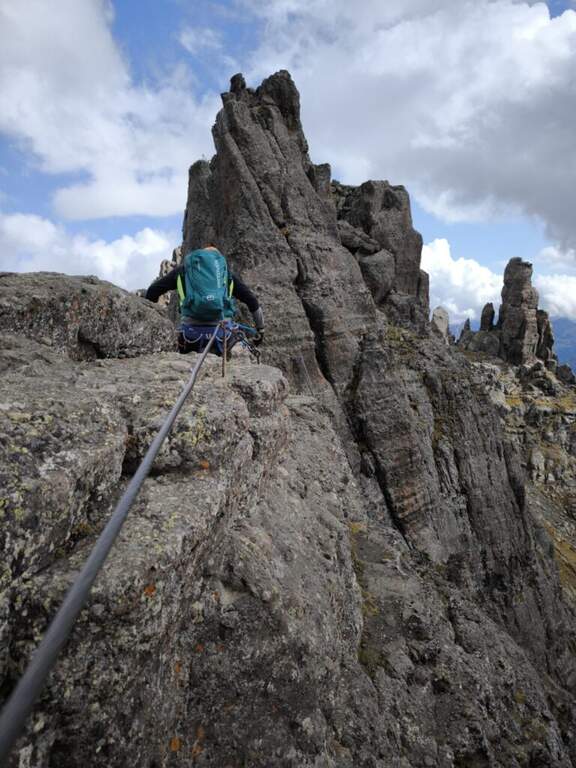
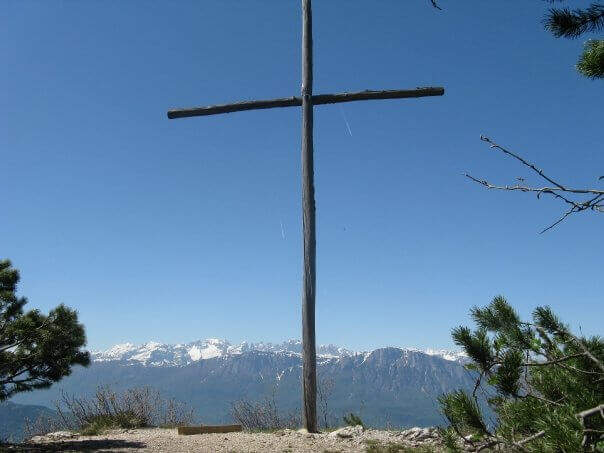
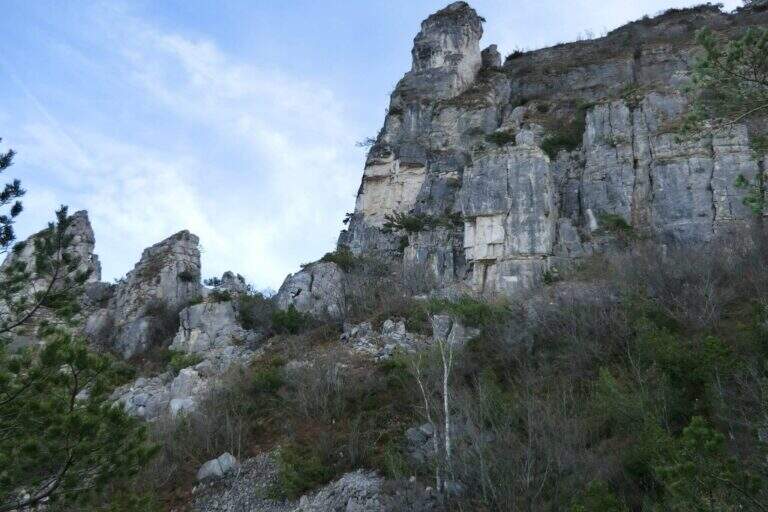
    Il Sentiero Attrezzato Bertotti is a pleasant itinerary of low difficulty that climbs to the Chegul Cross, on the mountains to the east of Trento. It has no technical difficulties and is also suitable for neophytes or those with little experience of ferrate; from the top the panorama is 360 degrees.

    ▲Approach

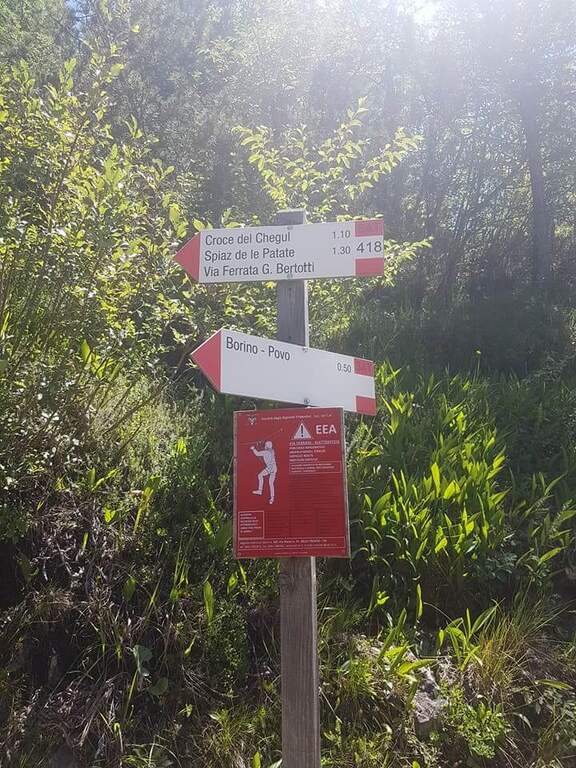
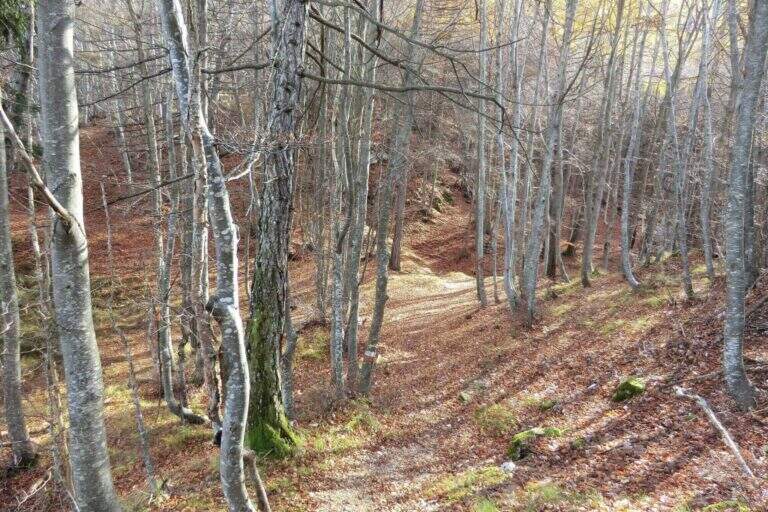
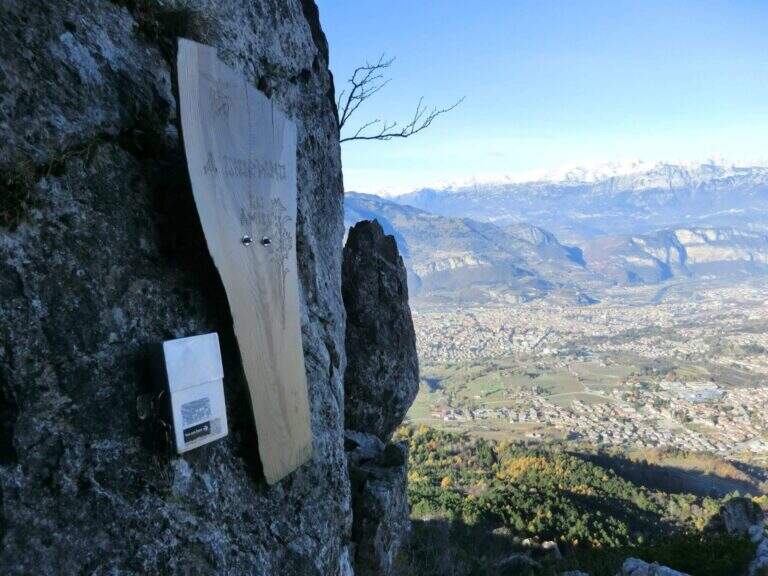
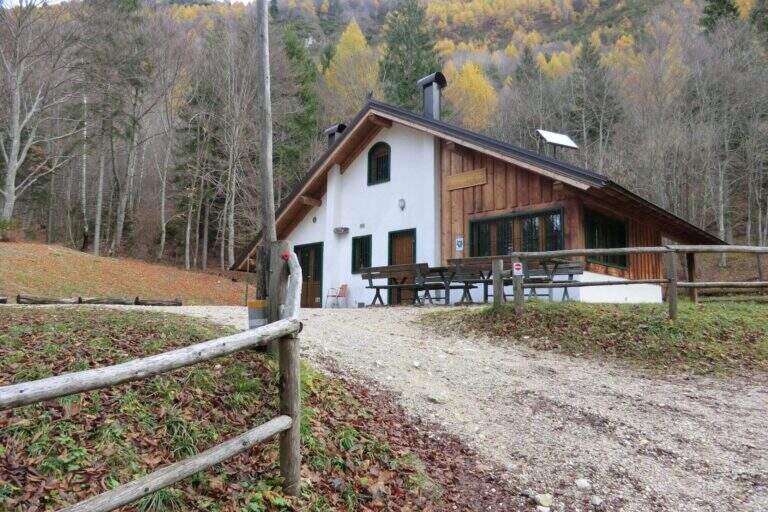
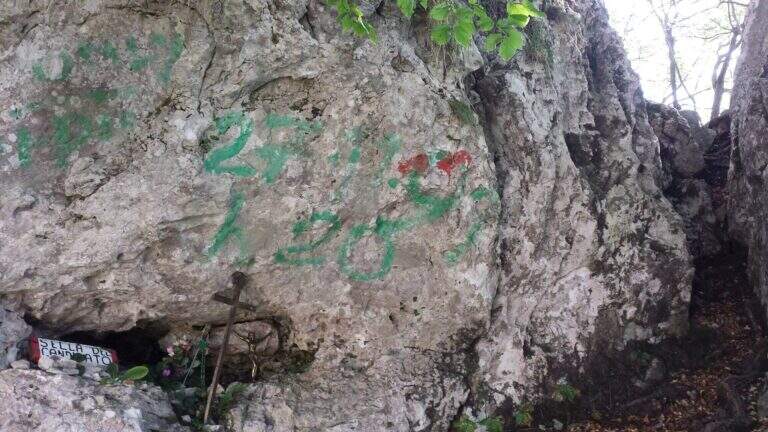
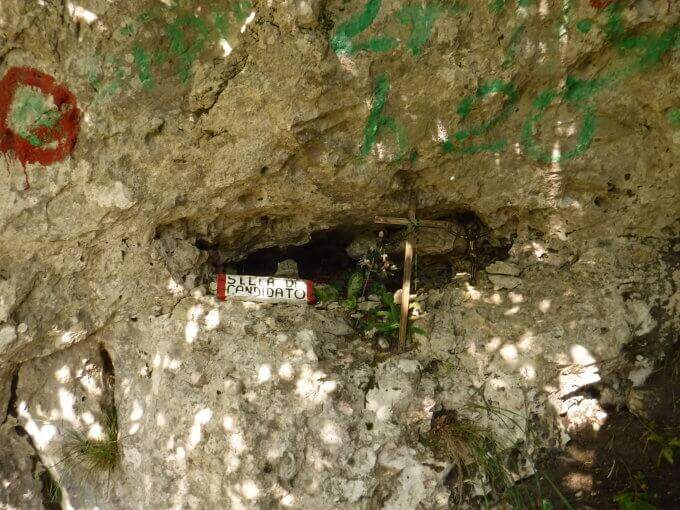
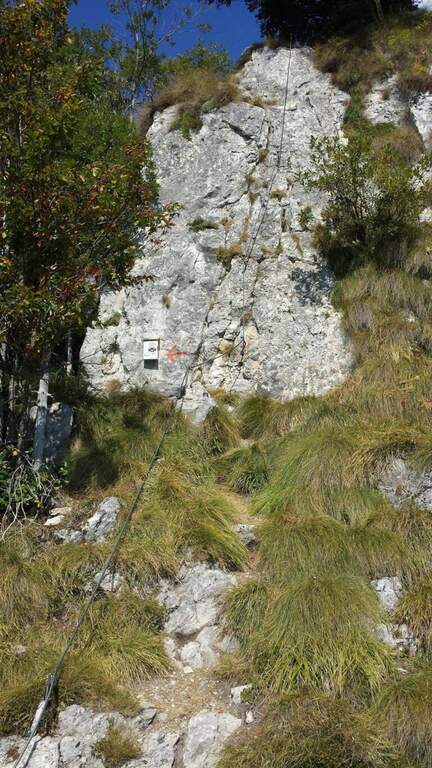
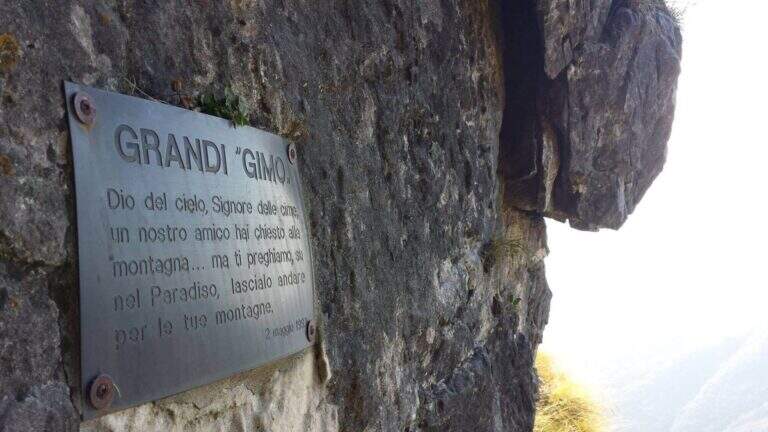
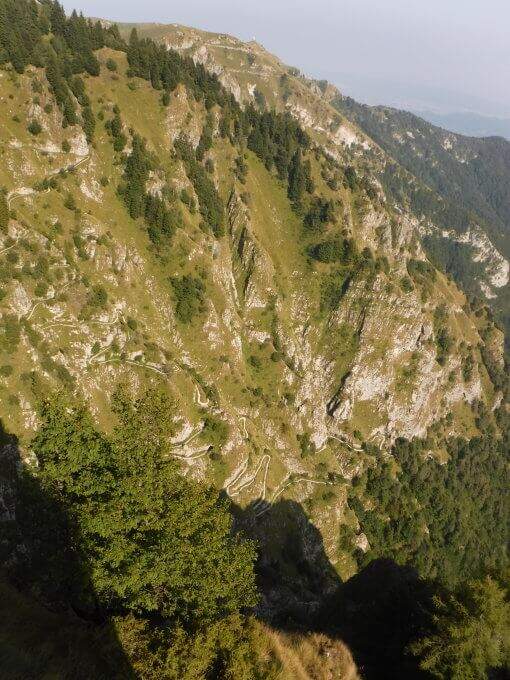
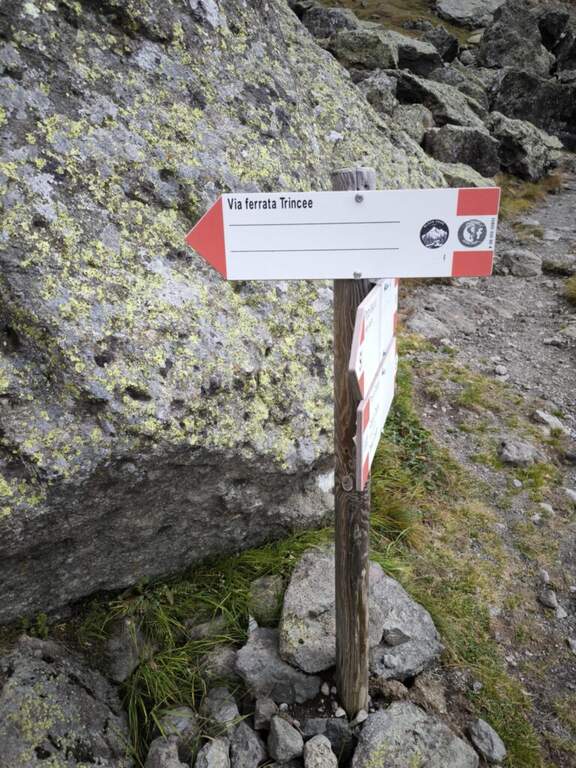
    From the Passo del Cimirlo (733 m), reached by Trento, take the road to the right with indications for Maranza; after about 1.5 km, narrow but asphalted, you can see on the left the signs CAI 418 of the Route Attrezzato Bertotti. You park on the road. Open road signs on Google Maps. From the sign (850 m) you climb steeply into the wood between bends, rocky and massive steps under the walls of the Chegul, then right on a slope up to a census under the crest; with short stretches equipped you reach the libro of the signatures, where a plate marks l' start of the path equipped (1115 m, 30' from the parking lot).

    ▲The path

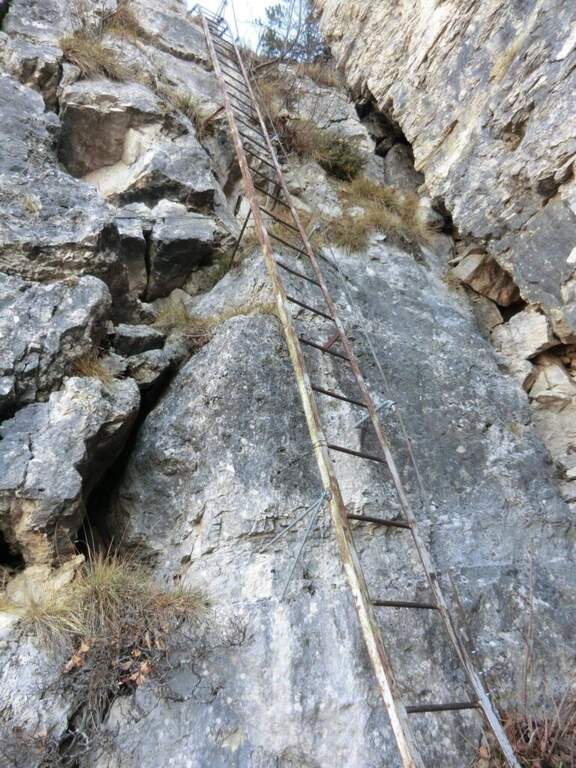
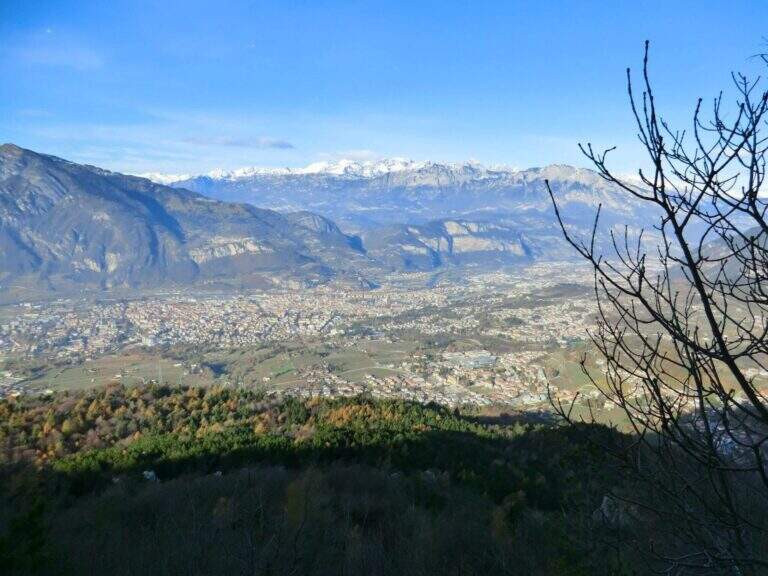
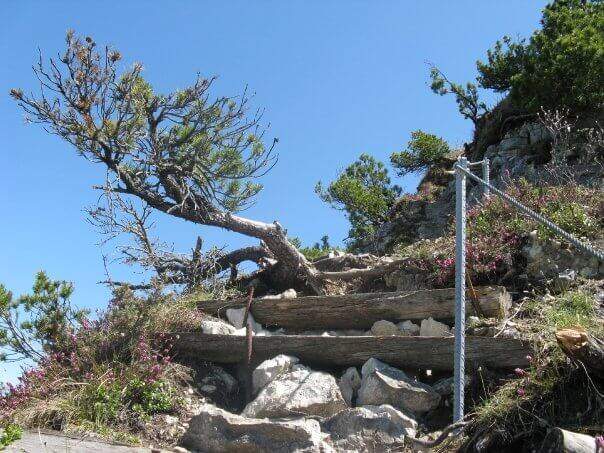
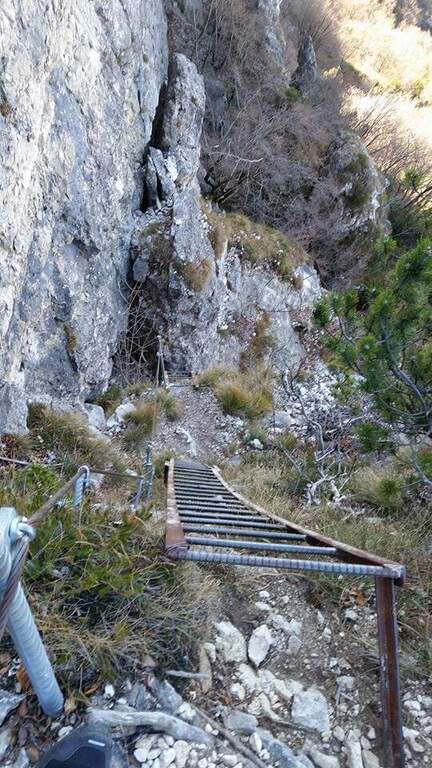
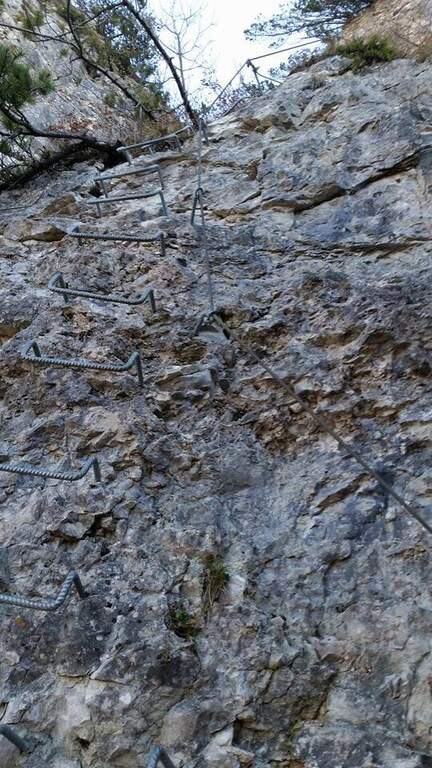
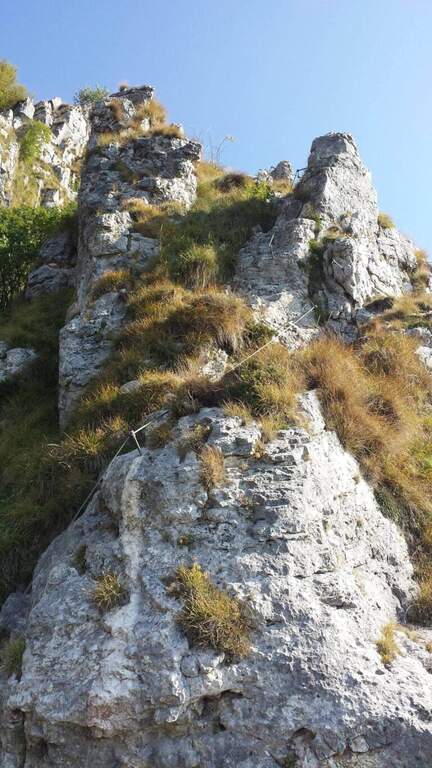
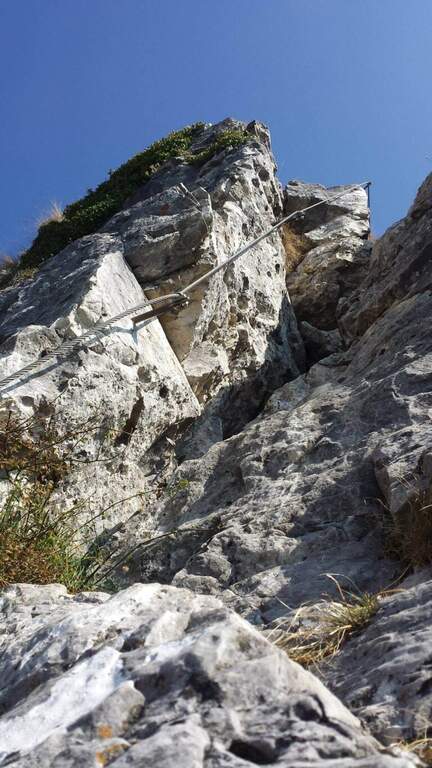
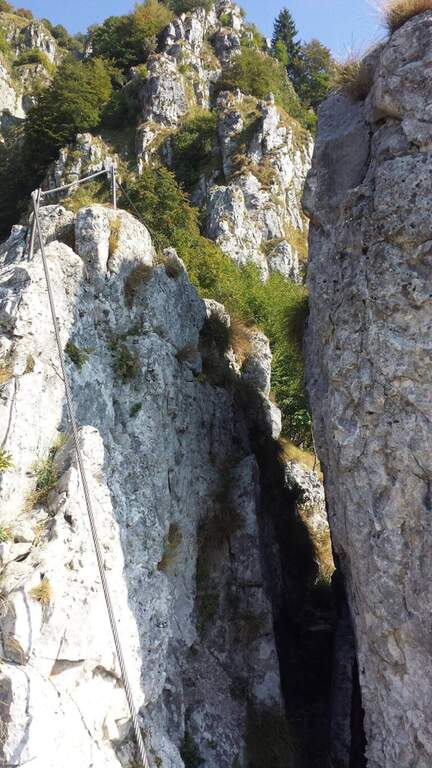
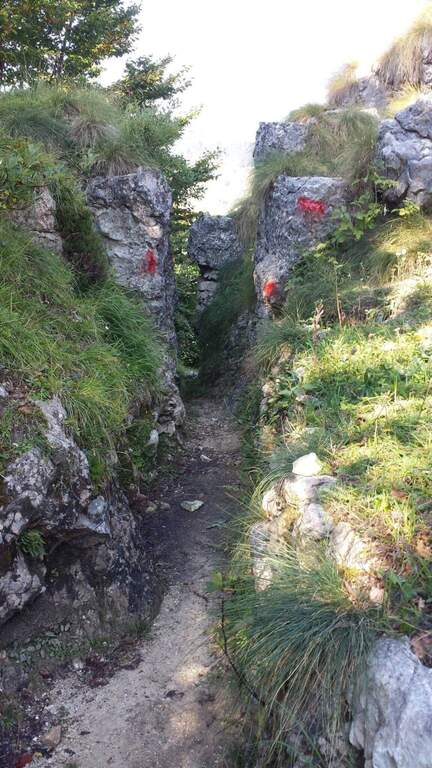
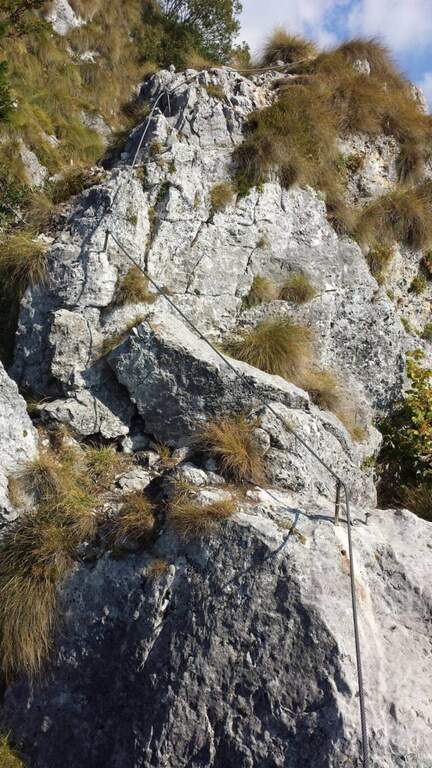
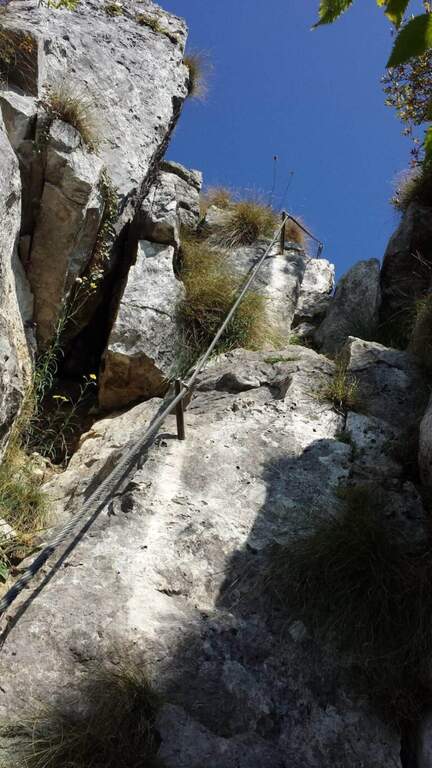
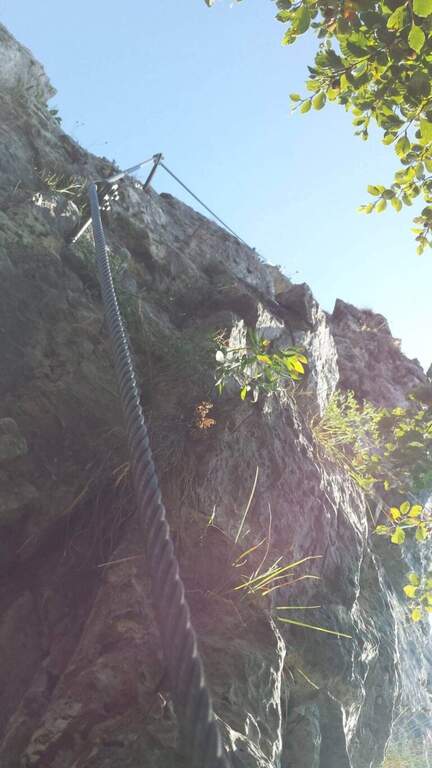
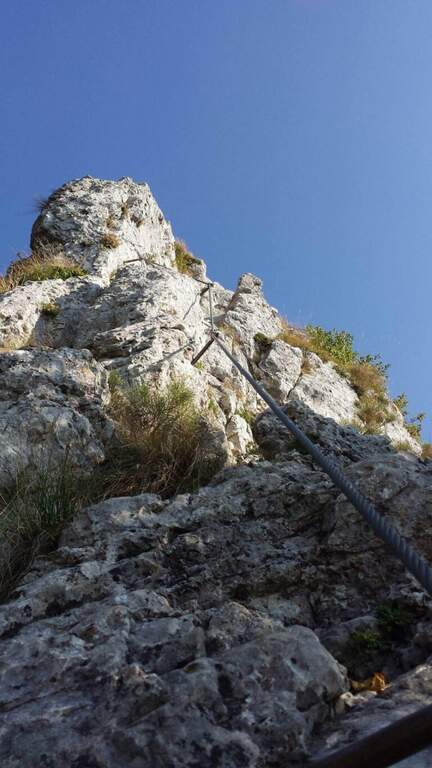
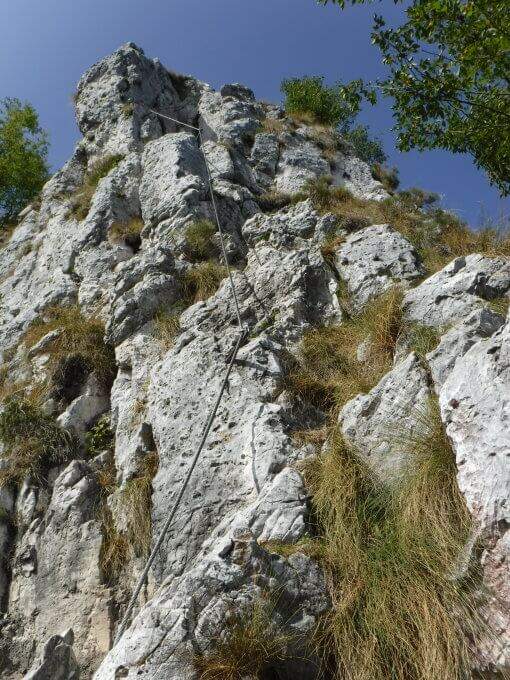
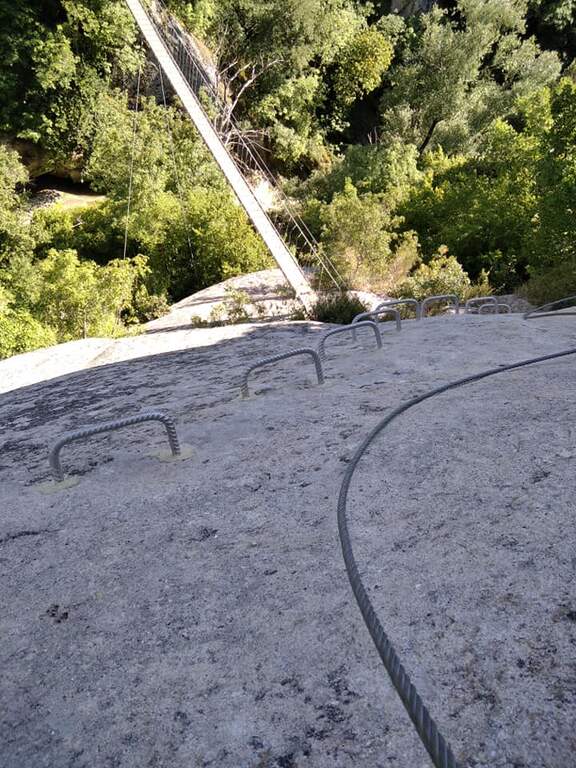
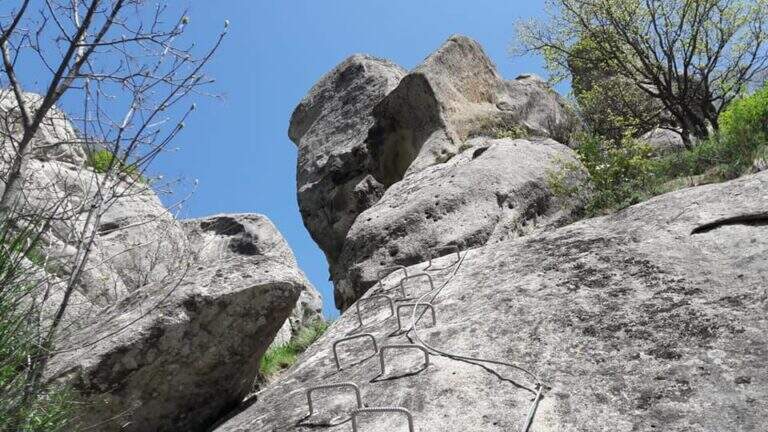
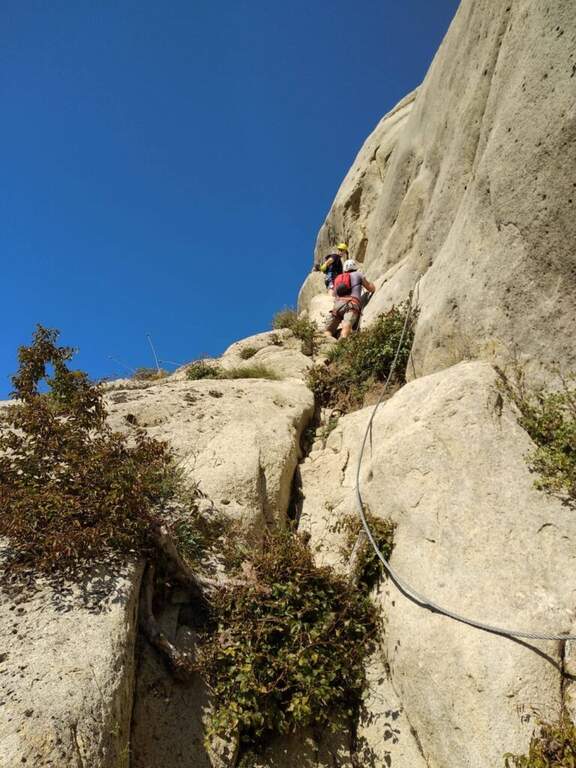
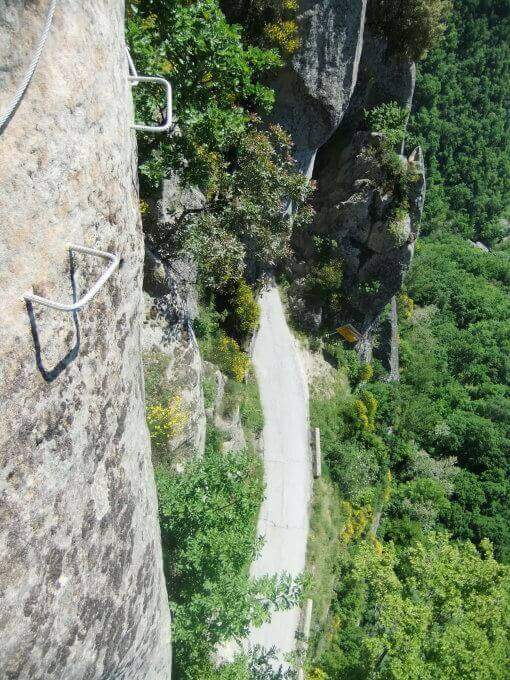
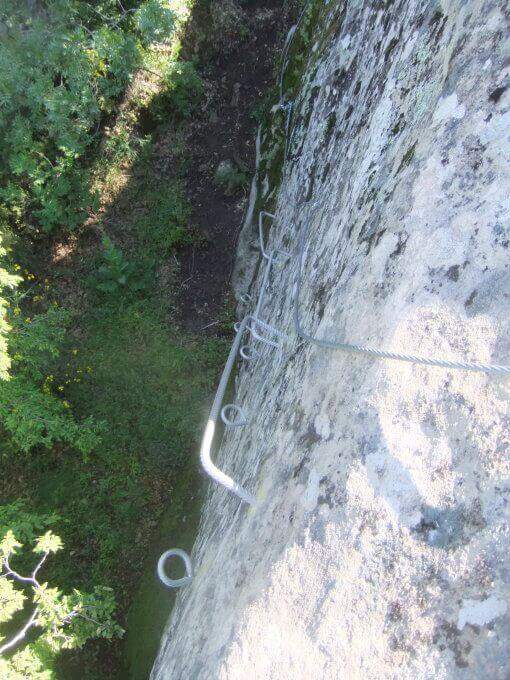
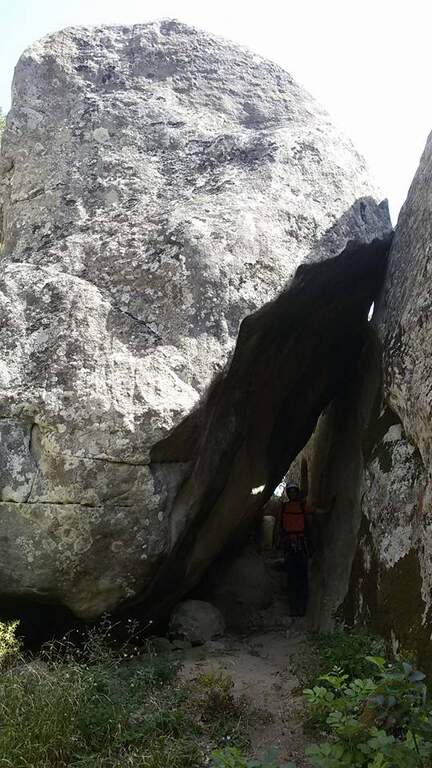
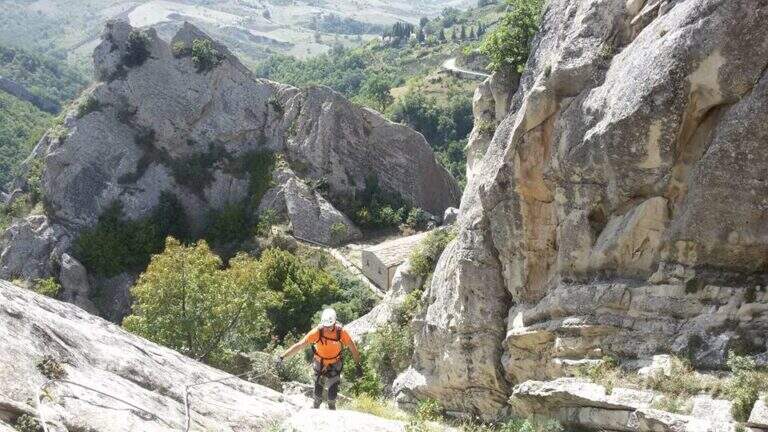
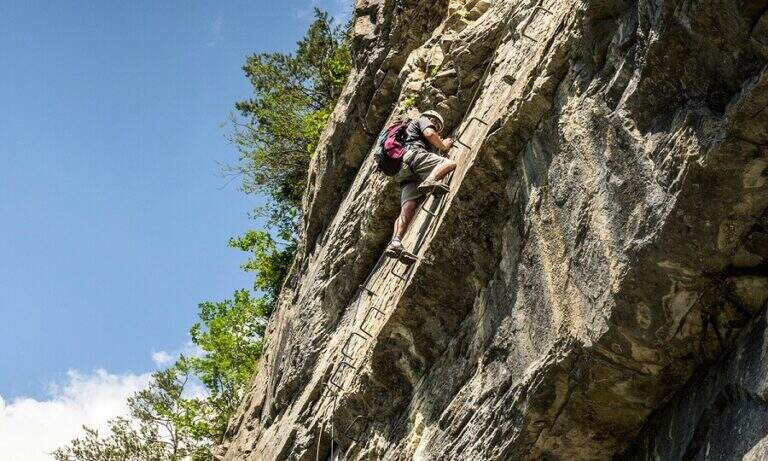
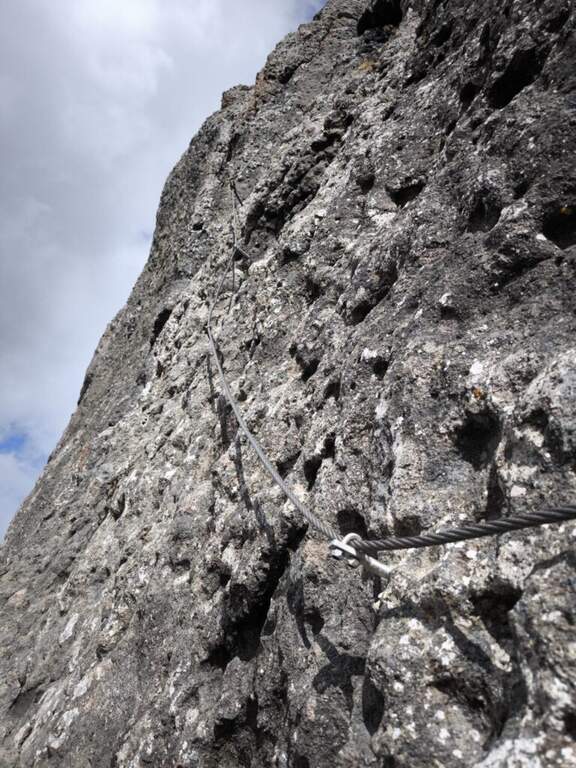
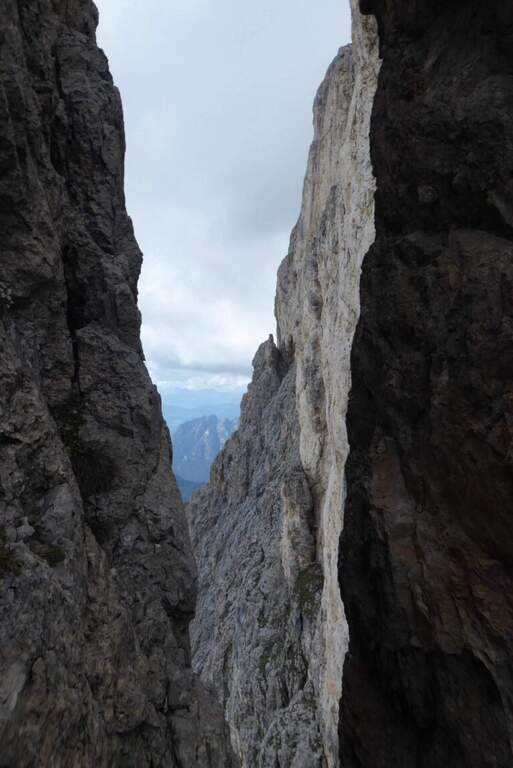
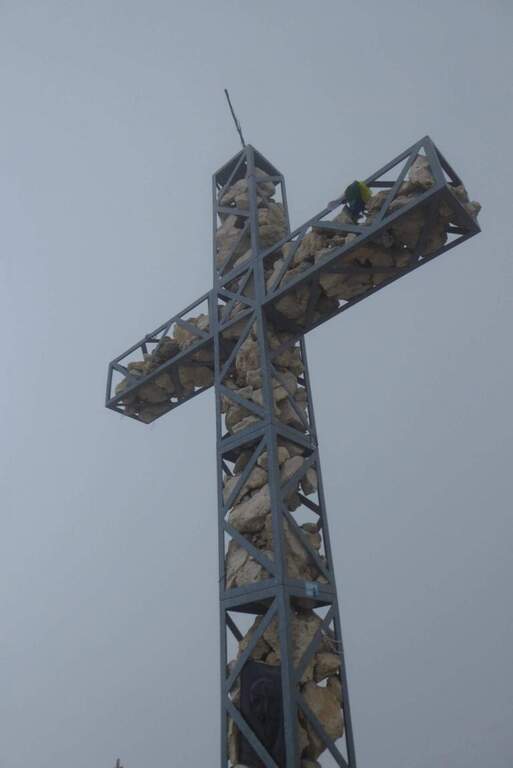
    You go up a canyon in the woods to its più point; high, where you pass between two rocks; then you face a vertical parete equipped with wide cambre. The trail continues easy and free of equipment for a few minutes, up to some small rocks and a long 20-metre-long wire scale, a series of equipped steps leads smoothly to the Croce del Chegul (1263 m), with excellent views of Trento and Bondone (30' from the signature book, 1h overall).

    ▲Character and difficulty

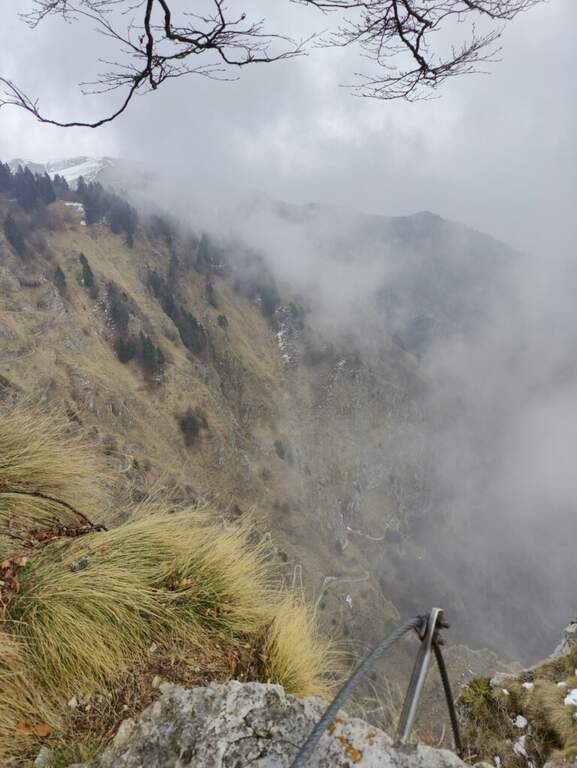
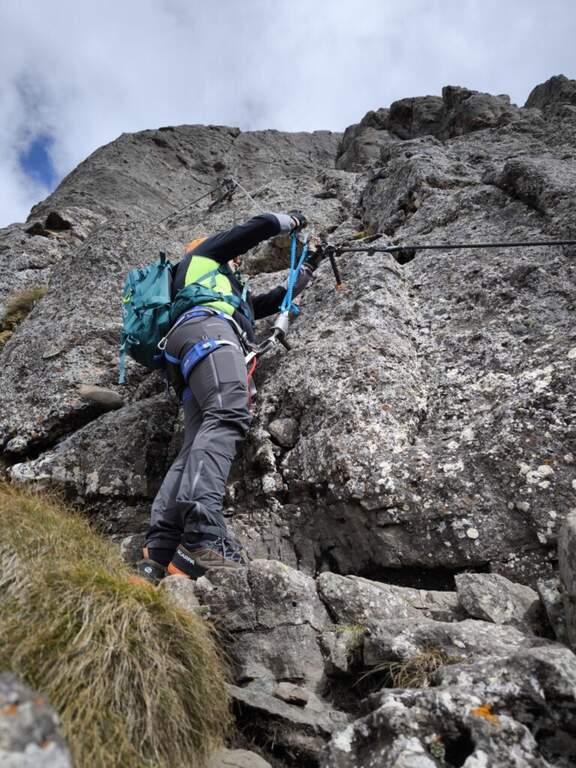
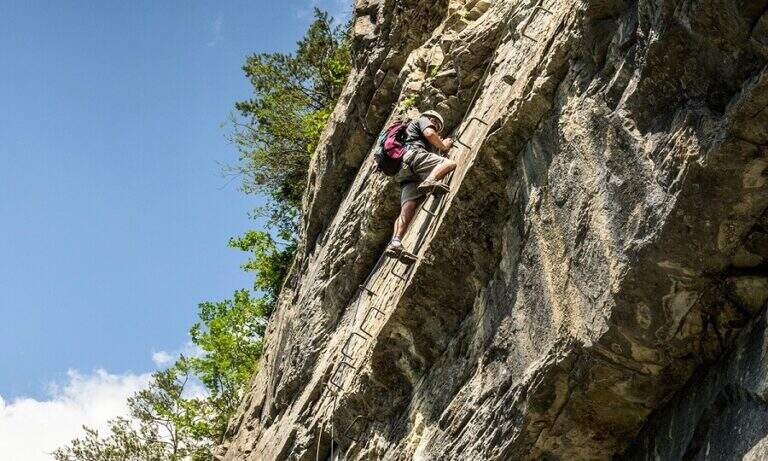
    Itinerary is not difficult: the two vertical sections are facilitated by a staircase and a series of brackets; the difference in altitude is exceeded with stretches equipped in the most exposed points, but the difficulty remains modest. Very beautiful instead the view from the top.

    ⚠ Although easy, it remains an equipped way: helmet and ferrata sets are recommended, especially for the neophytes that approach you.

    ▲Discipline

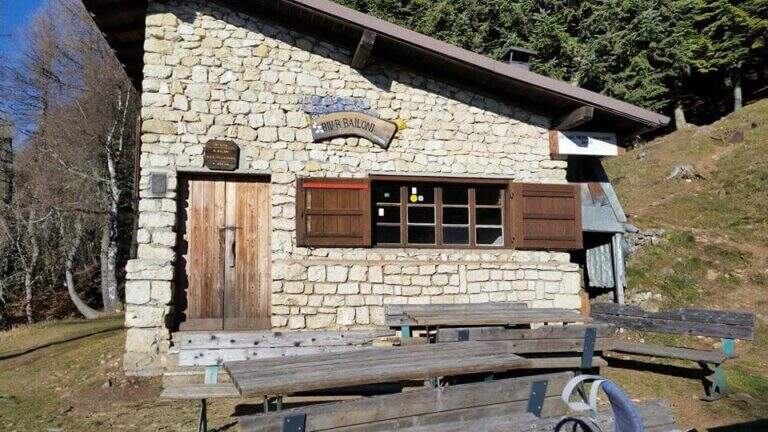
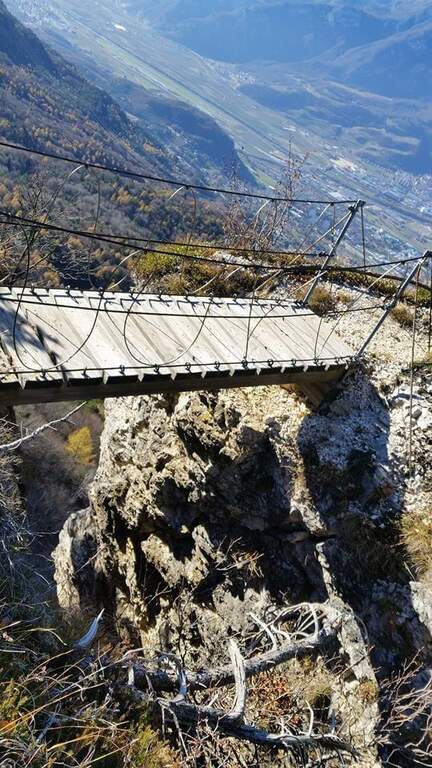
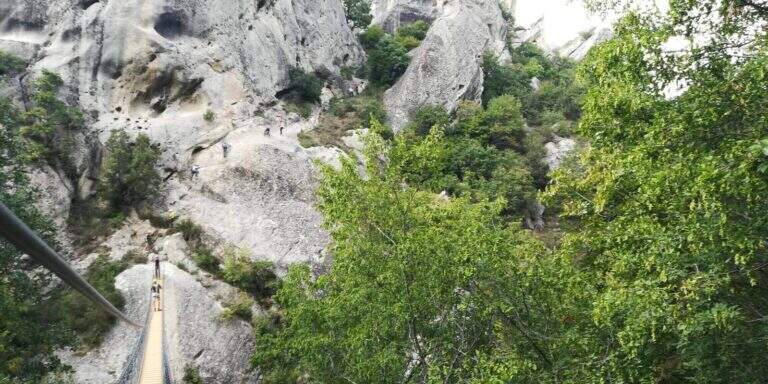
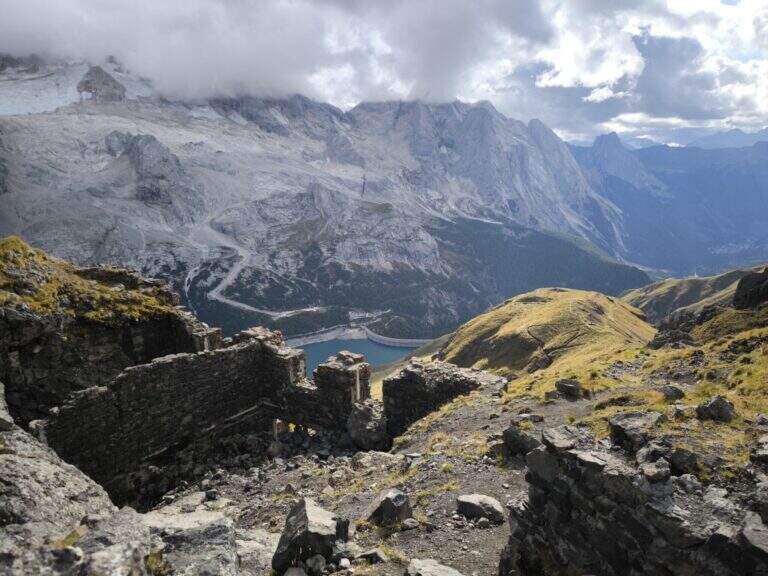
    On the same route (45' 1h 45' overall) or take a più along anello: a bridge goes up to the Spiaz delle Patate (1310 m), then south to the CAI 411 towards Monte Lalonila, passing old war stations; at a crossroad (1541 m) From the bivouac, in steep descent with the CAI 412 to the west, you reach the Rifugio Maranza (1072 m) and finally, on the CAI 426 and 413, l' car (about 5h total).

    ▲To match

    Walking through the short variant remain time and energy for another way: in Val d'Adige la Ferrata Rio Secco e la Ferrata di Favogna, o il Burrone Giovannelli; towards Garda la Ferrata Che Guevara e la Sentiero de le Stel.
    ▲Gallery
    Technical data
    • DifficultyEasy
    • RegionTrentino-Alto Adige
    • ProvinceTrento
    • GroupValsugana
    • Approach30 min
    • Fully equipped30 min
    • Ring itinerary5h
    • Level difference150 m
    • Route difference886 m
    • Maximum1737 m
    • Length14,7 km
  • Ferrata Sass Brusai at Monte Boccaor (Grappa)

    Ferrata Sass Brusai at Monte Boccaor (Grappa)

    Vie Ferrate › Veneto › Treviso
    Ferrata Sass Brusai at Monte Boccaor (Grappa)
    Moderately Hard● OpenDescriptionComplexityMapsGallery

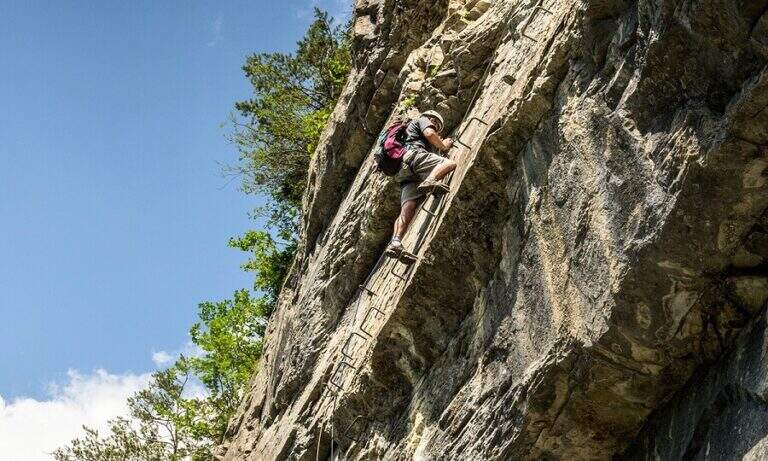
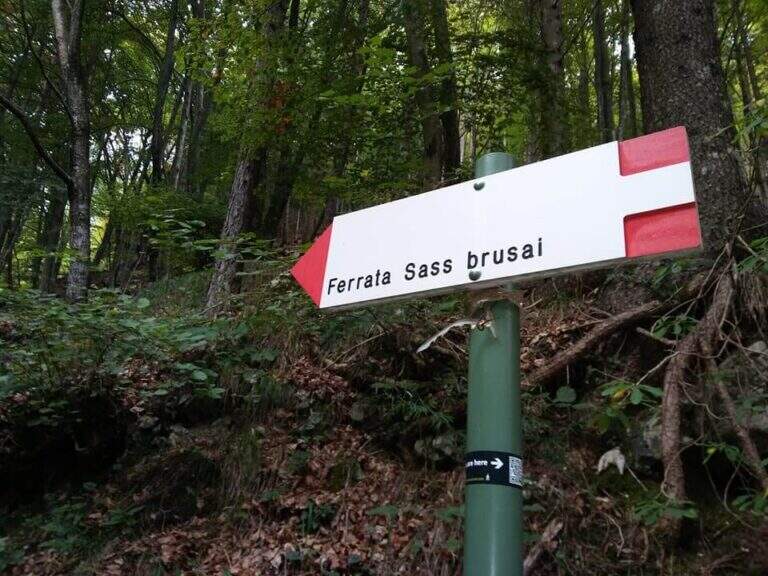
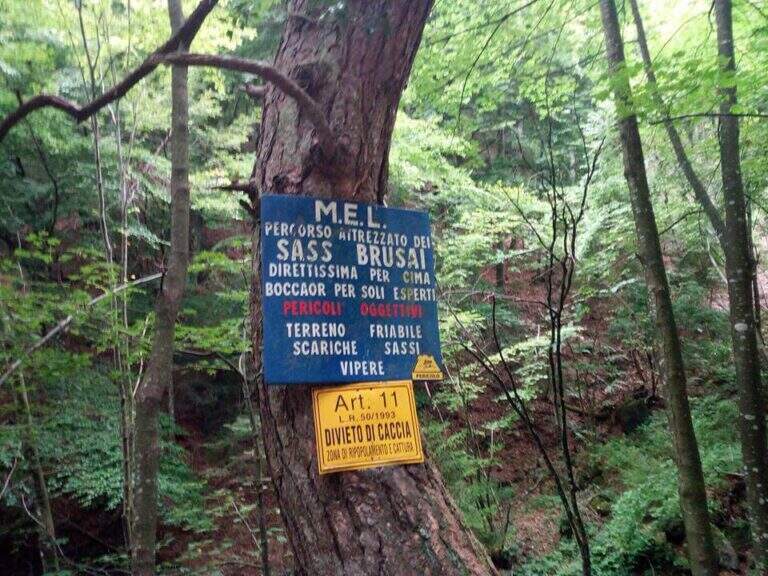
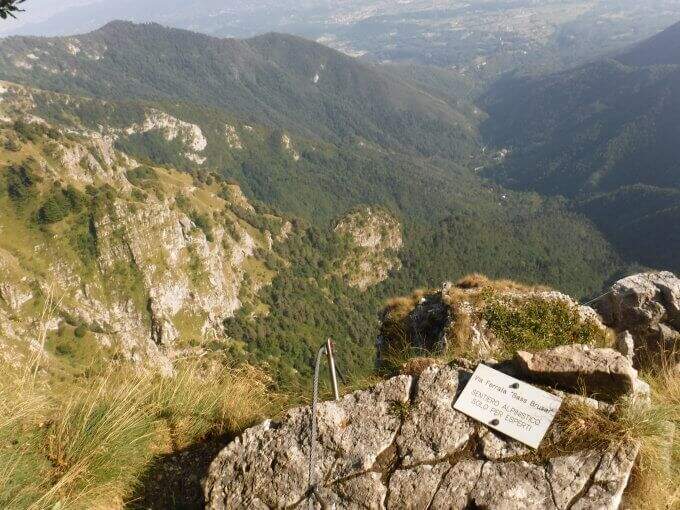
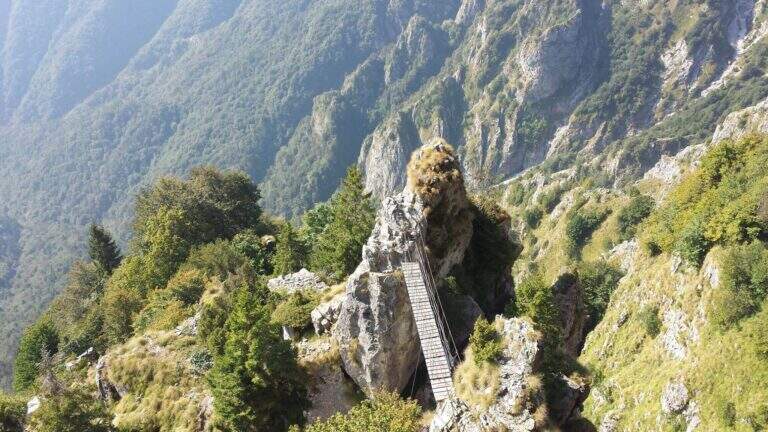
    The Ferrata Sass Brusai climbs the Monte Boccaor in the Grappa Massif: a very climbing route, with più passes; challenging places all' start and end. From the top you can può continue towards the Grappa Shrine and eventually descend from the nearby Ferrata Guzzella. Itinerary of low altitude, for long stretches of the' year.
    ▲Approach

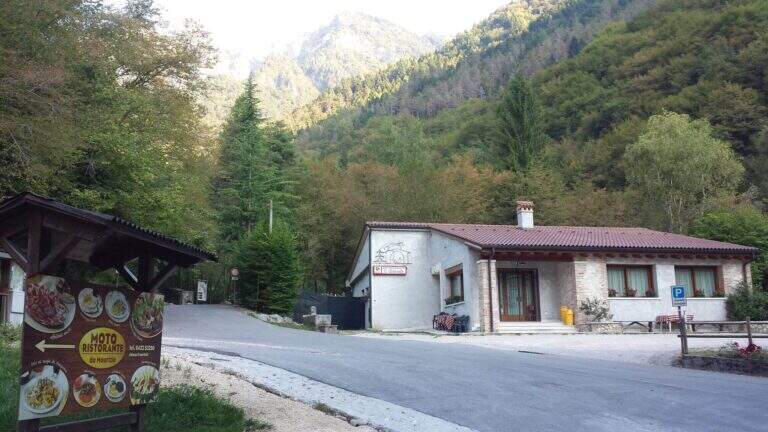
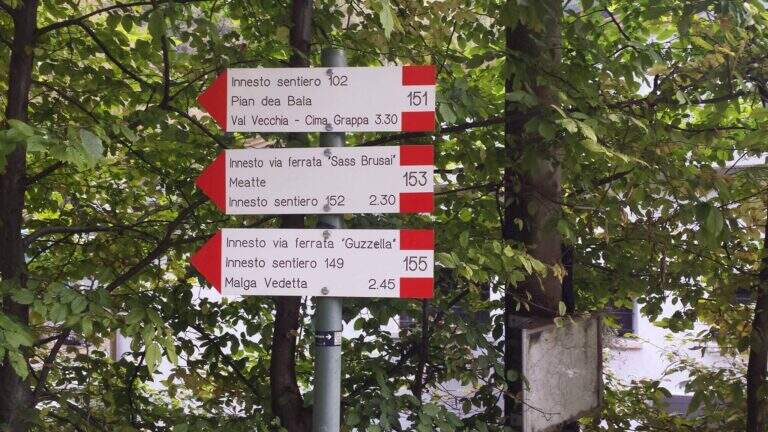
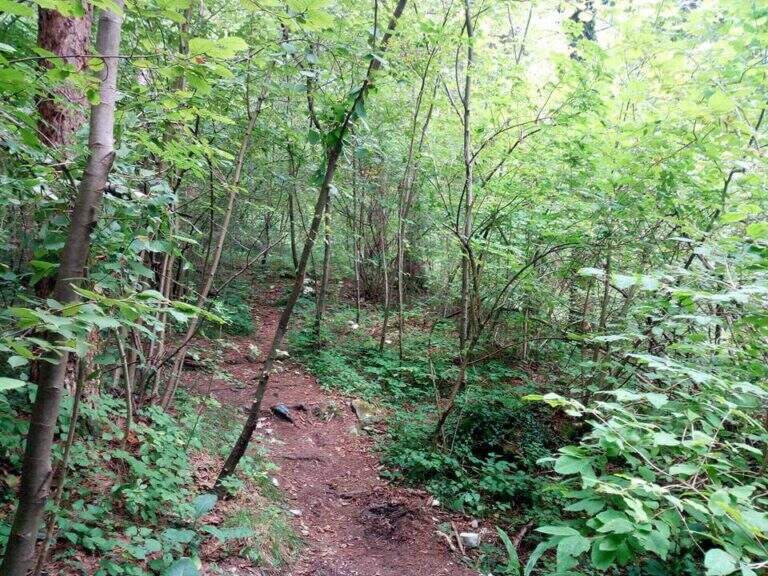
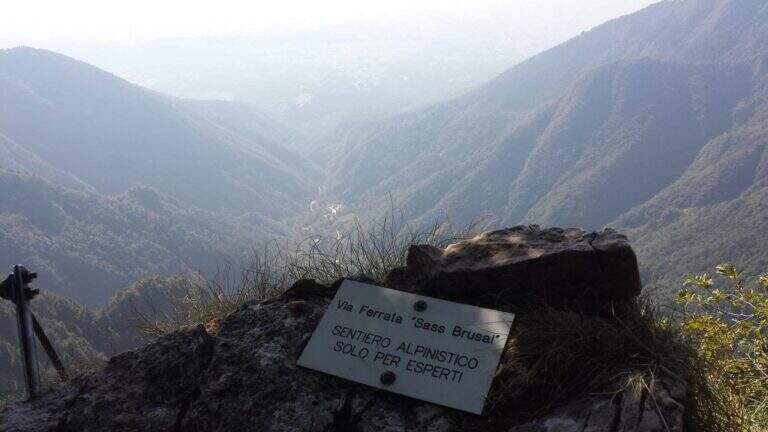
    Starting point the Val San Liberale, at l' the same restaurant, reachable from Crespano del Grappa (TV) along the SP 26: in Crespano follow the signs north to the Val San Liberale up to the ' ample parking at the restaurant (600 m). Open road signs on Google Maps. Si sale per una stradina asfaltata fino a un primo bivio (a sinistra la Ferrata Guzzella, a destra la Sass Brusai): si prosegue dritti finché l'asfalto diventa sterrato e, a un bivio segnalato (710 m, 30' dal parcheggio), si tiene la destra sul CAI 153. Per ripido sentiero nel bosco, seguendo i bolli rossi, si arriva a un bivio dove a sinistra si raggiunge l'attacco (1160 m, 1h 15' dal parcheggio).

    ▲The path

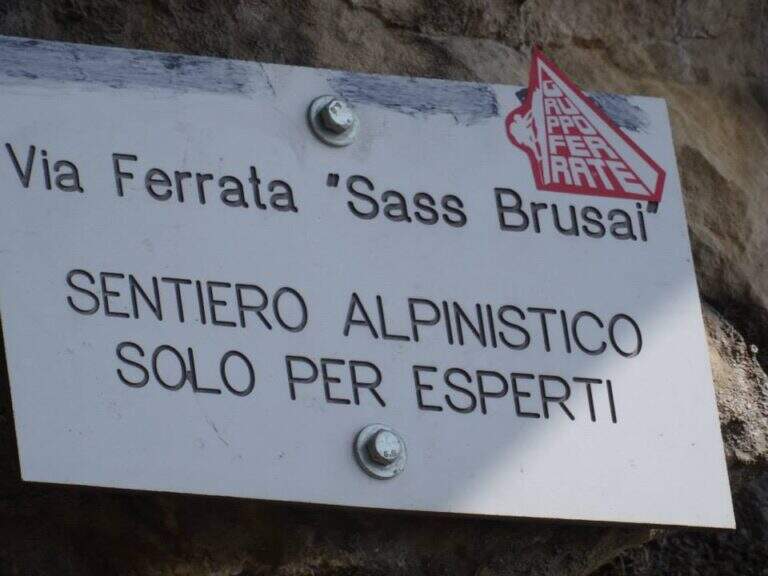
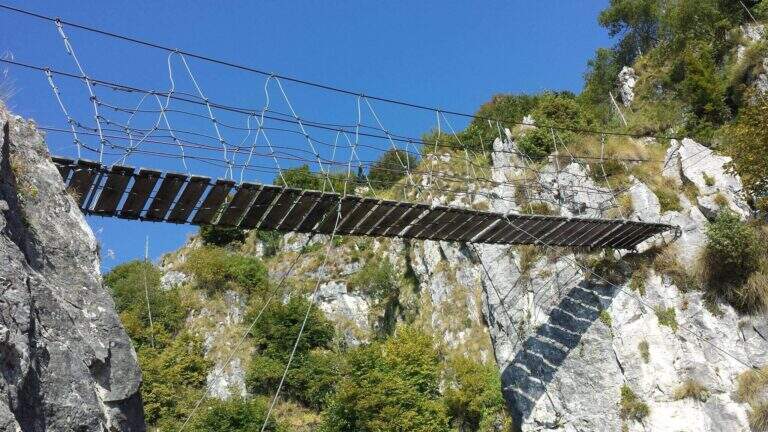
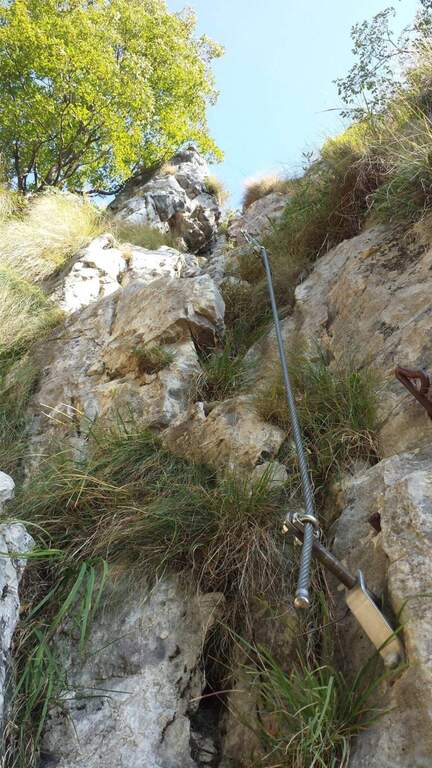
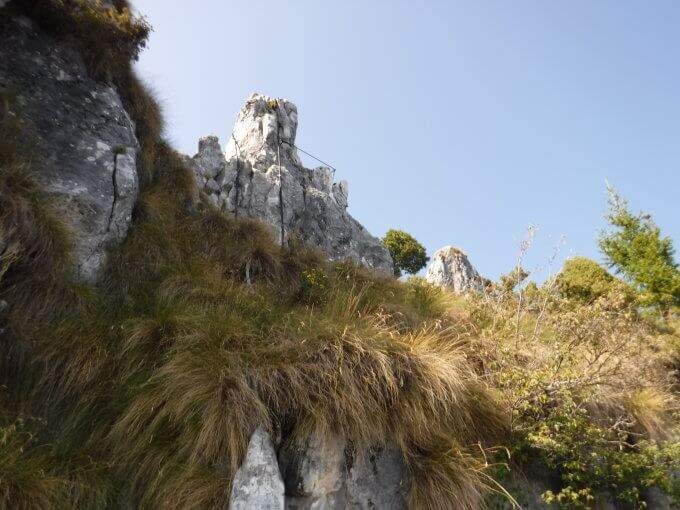
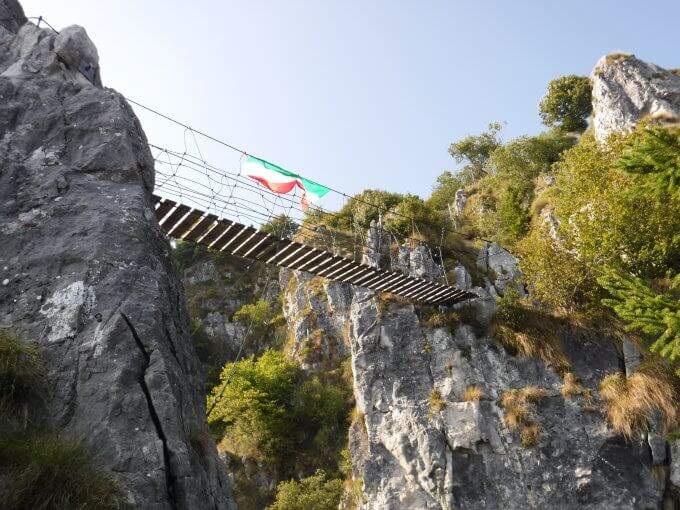
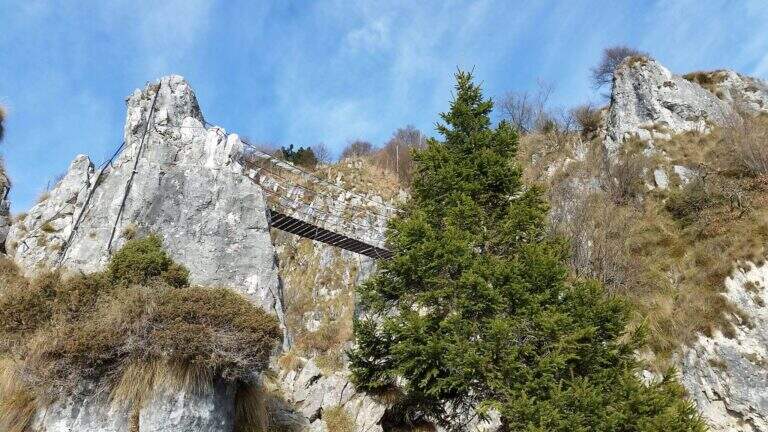
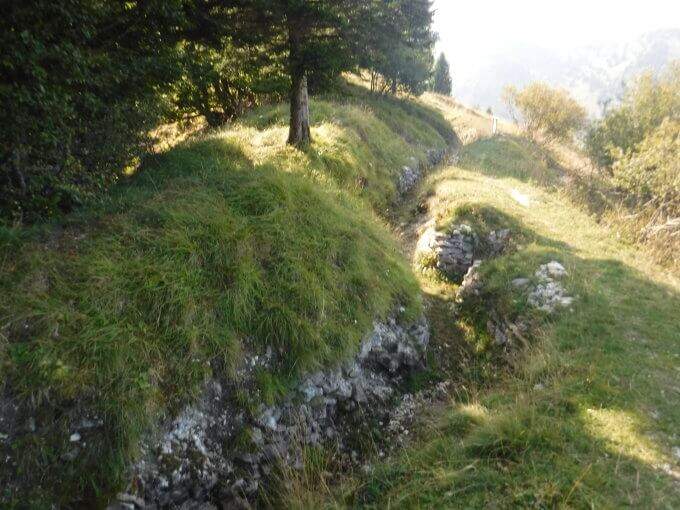
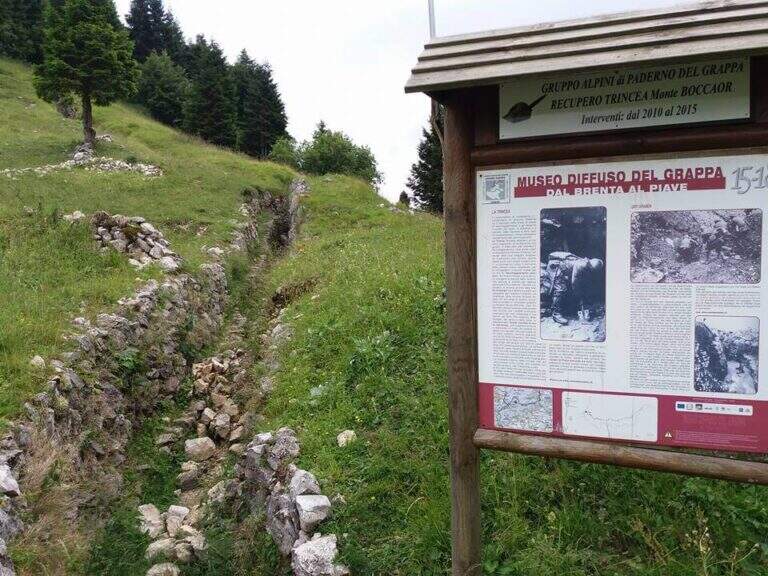
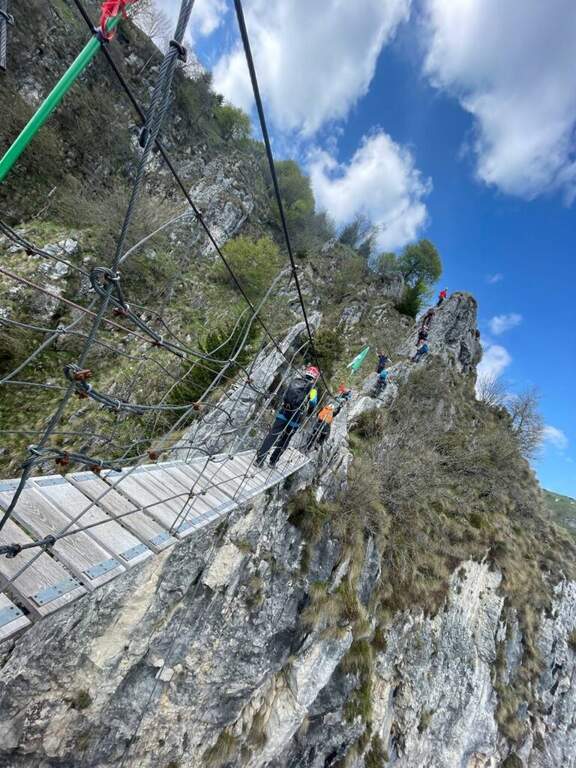
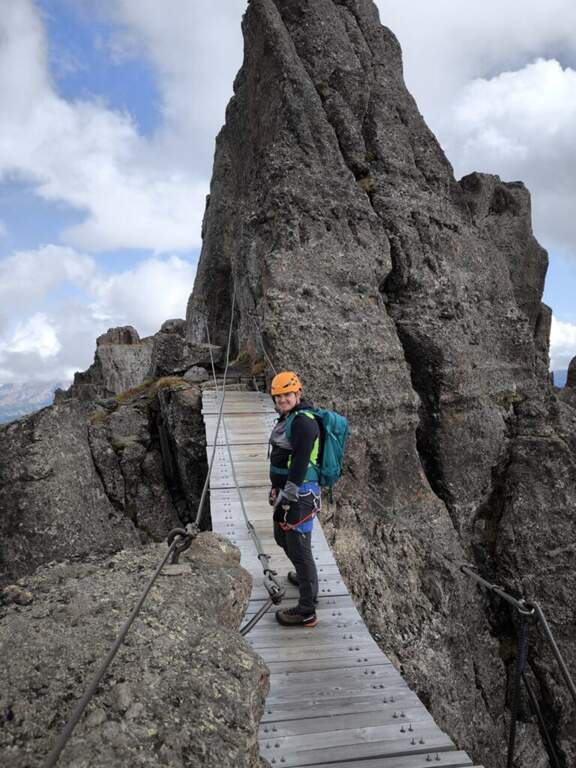
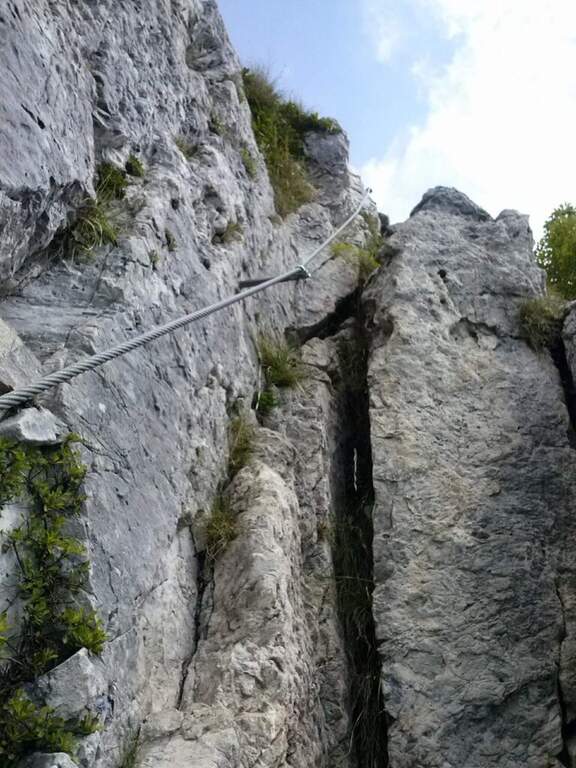
    Dal balconcino d'attacco si salgono alcune roccette a sinistra della targa e si entra nella prima sezione: una parete di una quindicina di metri che in alto prende la forma di un camino, molto piacevole su roccia frastagliata e ricca di appoggi. Usciti dal camino, un paio di balzi su fondo misto roccia-erba (attenzione se umido) e una breve cengia introducono un tratto di sentiero. La seconda sezione risale una cresta di ampi blocchi, tenendosi sul lato sinistro, con basso senso di esposizione per gli alberi circostanti; seguono sentiero erboso e facili balzi attrezzati. La terza sezione sale una costola rocciosa, ben gradonata in basso e più tecnica in alto, dove una fessura e un paio di sporgenze obbligano a procedere in spaccata sul versante opposto alla fune; poi una paretina ben appigliata, una placca e un camino (anch'esso in spaccata) si aprono sulla vista del Monte Grappa. Tra risalti, cenge erbose attrezzate e facili balzi si raggiunge la forcellina «Sella del Candidato» (1345 m, 45' dall'attacco). Oltre la sella due passaggi impegnativi e verticali: una prima parete levigata (possibile qualche trazione sul cavo) e, dopo un collegamento, una nuova paretina esposta presso la cresta. Si prosegue su cresta esposta ma più facile, si risale uno sperone (una rara staffa metallica aiuta dove mancano appigli) e si aggira uno spigolo; una lunga costola, gradoni rocciosi e una placchetta di 6 m portano a un sentiero attrezzato, un balzo e un canalino. Dopo un lungo collegamento si ignora la deviazione per il CAI 152 (1455 m, 1h 15' dall'attacco) e si sale al ponte sospeso: si rimonta il gendarme su placca liscia, lo si aggira a destra e si attraversa il ponte su solide assi (sul versante opposto, a sinistra, una via di fuga verso la strada). Si prosegue a destra: alcune roccette, poi un tratto esposto più impegnativo sotto un gendarme con pochi appigli, una spaccatura da attraversare in spaccata e una cresta appoggiata dove il cavo fa quasi da corrimano. L'ultimo passaggio è una parete di una decina di metri arrampicabile (aggirabile seguendo la freccia rossa presso il libro di via); al termine della placca finiscono le attrezzature e, seguendo la traccia parallela a una vecchia trincea, si raggiunge la vetta del Boccaor (1532 m, 1h 45' dall'attacco / 3h dal parcheggio).

    ▲Character and difficulty

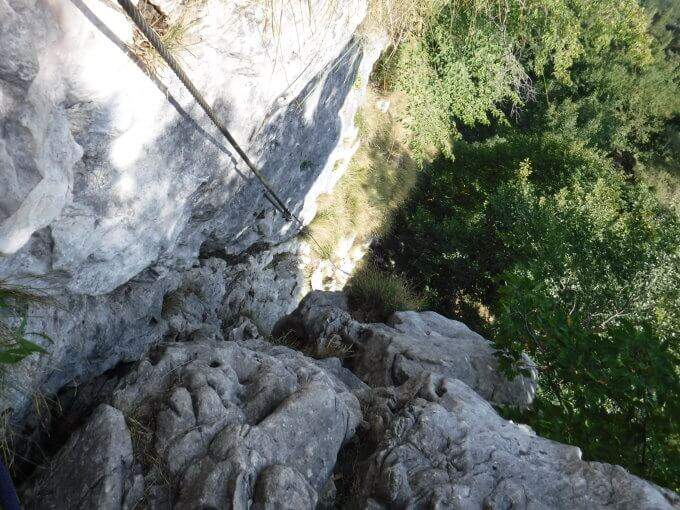
    The most challenging passages are on the first and last wall. Fatious approach and short return to account.

    ⚠ Low altitude and exposure to south: prohibitive in the più months; warm. Beware of unprotected traits with grassy background, which tends to be slippery.
    ▲Period and safety

    Maximum altitude 1532 m: for good part of the year, but to avoid on hot summer days for exposure to the south.

    ▲Discipline

    Dalla vetta si seguono le indicazioni a sinistra per Pian della Bala (1380 m), dove ancora a sinistra si prende il sentiero 151 che scende fino al bivio incontrato all'andata e quindi al parcheggio (1h 30' dal termine / 4h 30' totali).

    ▲To match

    Experts can close a more challenging ring with the neighbor Ferrata Guzzella (preferable downhill, to avoid the many unprotected and slippery sections of Sass Brusai). Near Grappa also athletics Ferrata Santa Felicita; in Val d'Astico the recent Ferrata Anelli delle Anguane; towards the Dolomites Feltrine la Ferrata at Monte Coppolo.

    ▲Gallery
    Technical data
    • DifficultyModerately Hard
    • RegionVeneto
    • GroupGrappa Massif
    • Approach1:15 h
    • Ferrata1:45 h
    • Itinerary (a/r)4:30 h
    • Hardware level difference450 m
    • Route difference905 m
    • Max1532 m
    • Length10 Km
  • Ferrata Salemm (Dolomiti Lucane)

    Ferrata Salemm (Dolomiti Lucane)

    Vie Ferrate › Basilicata › Power
    Ferrata Salemm (Dolomiti Lucane)
    Moderately Hard● OpenDescriptionComplexityMapsGallery

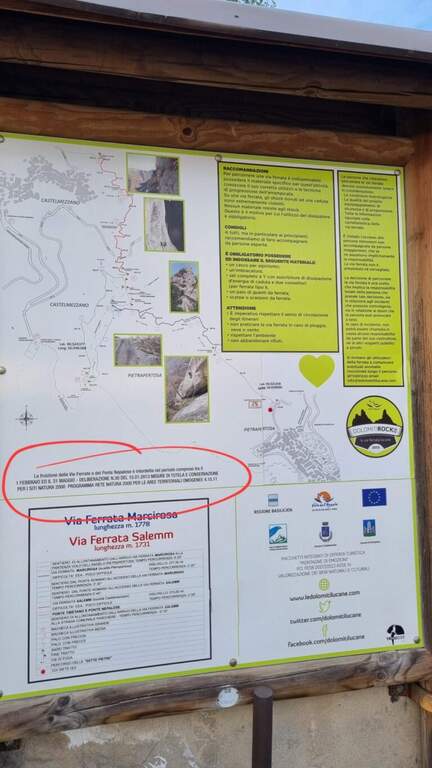
    . Seasonal closure. For on-site sign the Ferrata Salemm non è from 1° February to 31 May: program l' exit out of this period and respect the signs.

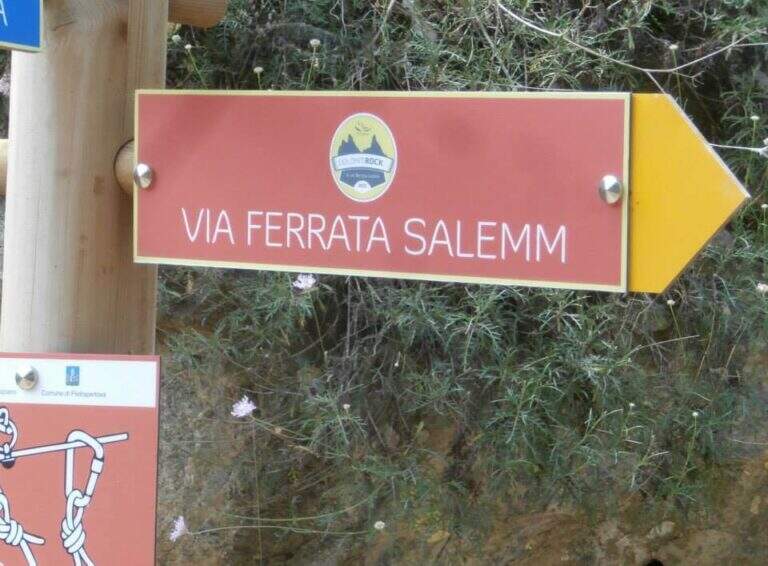
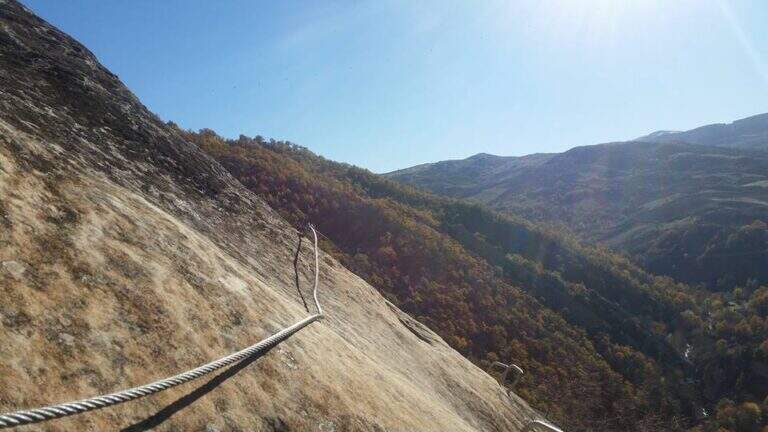
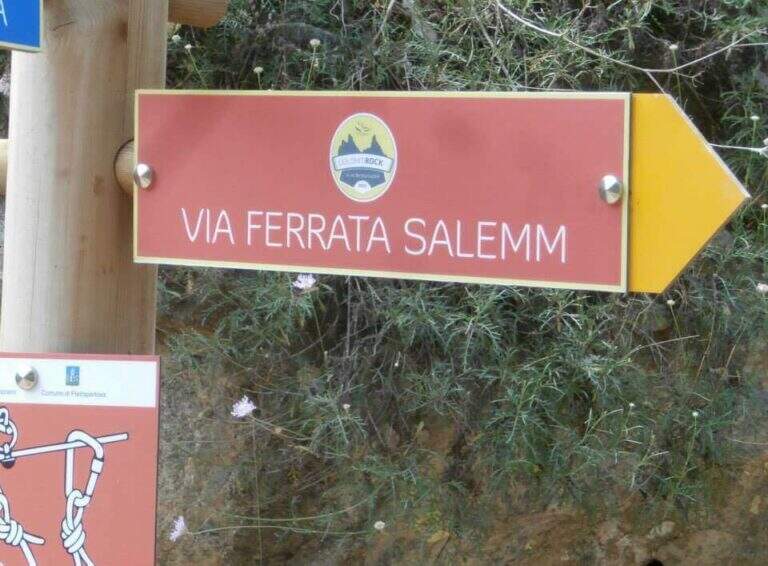
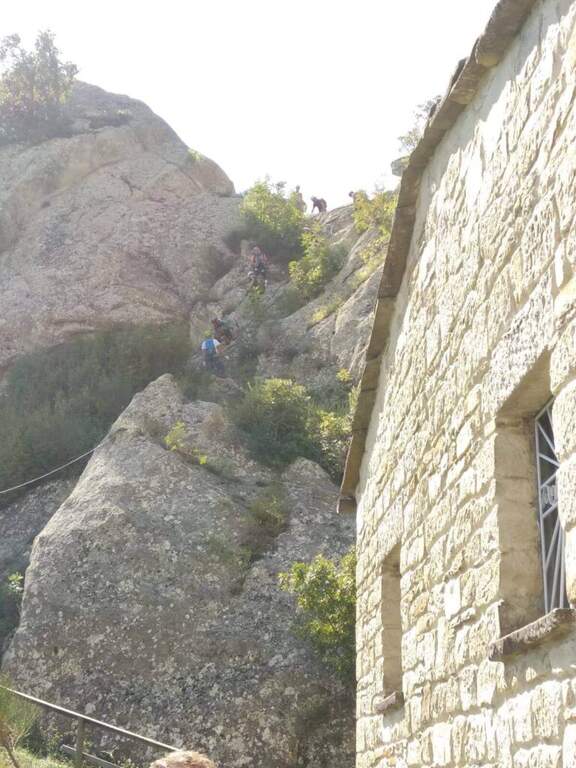
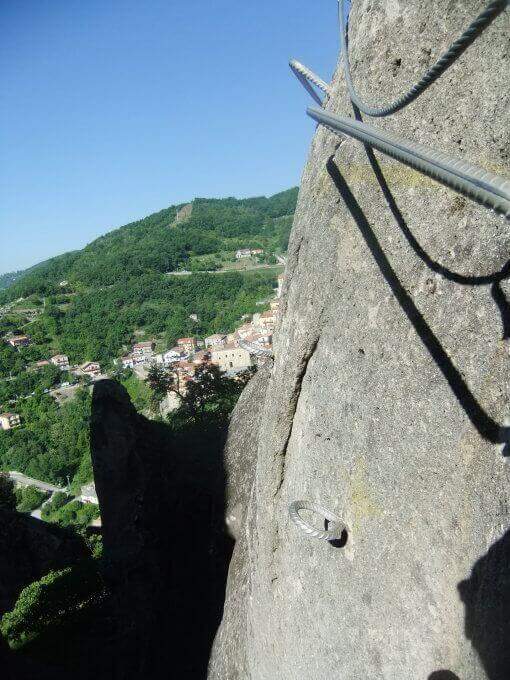
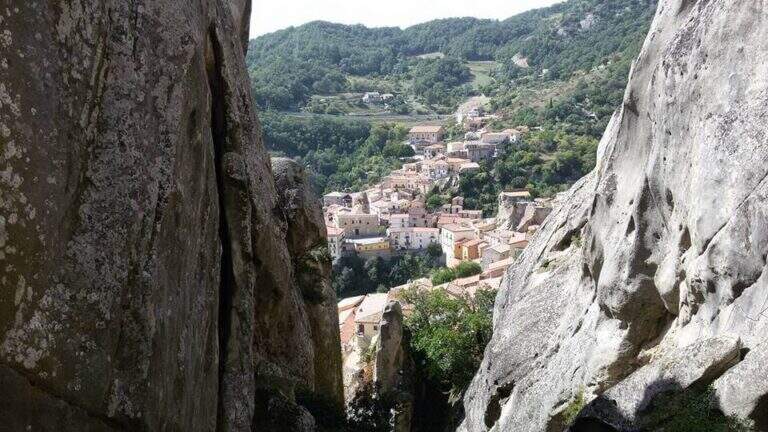
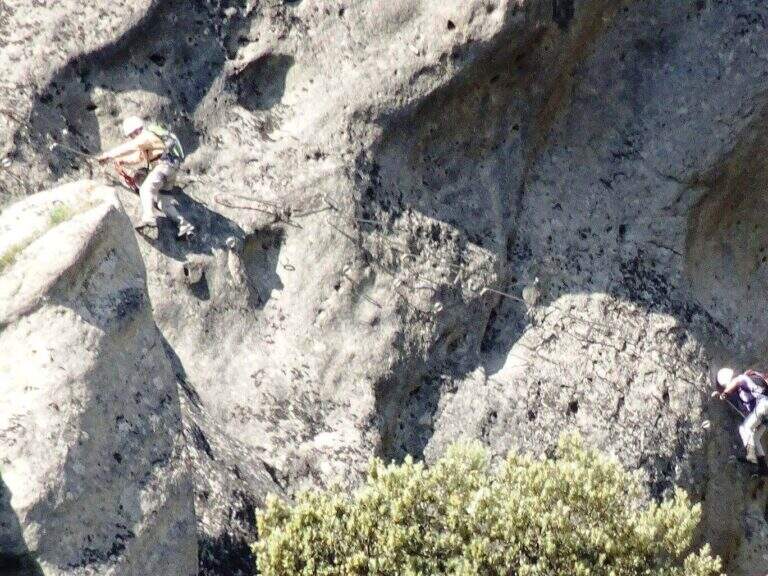
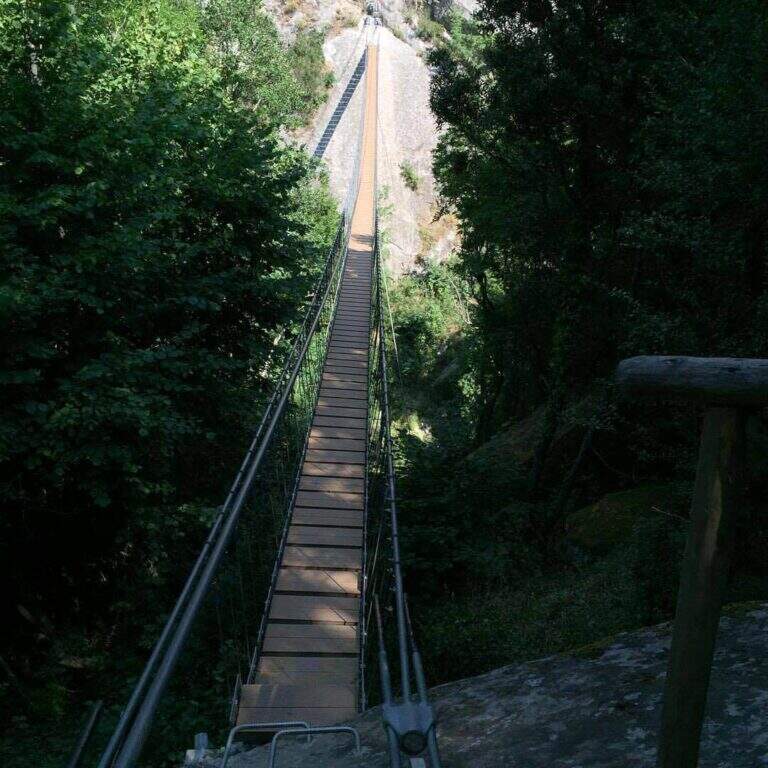
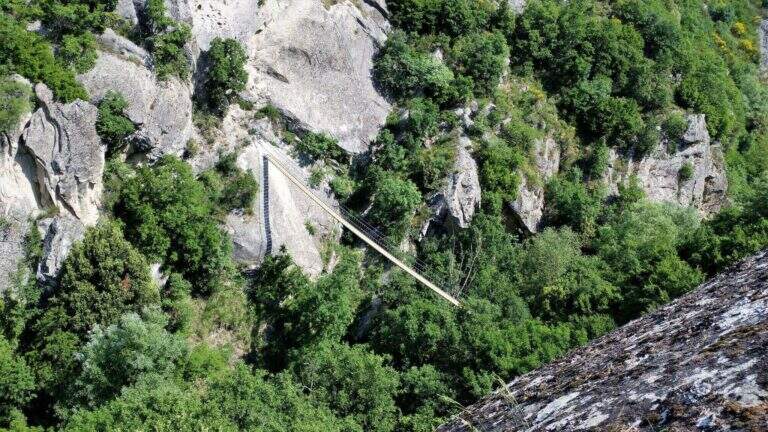
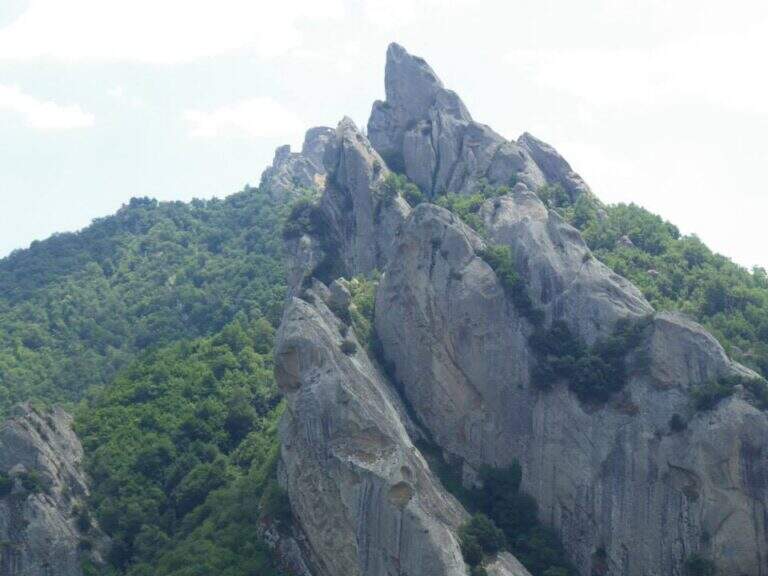
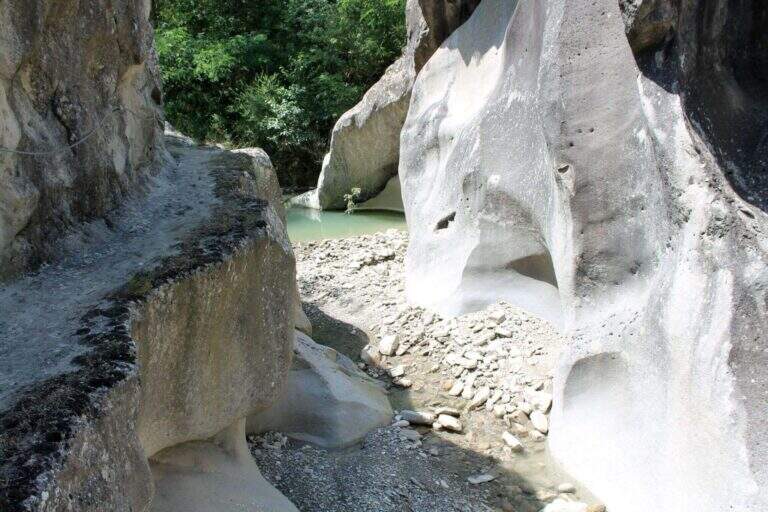
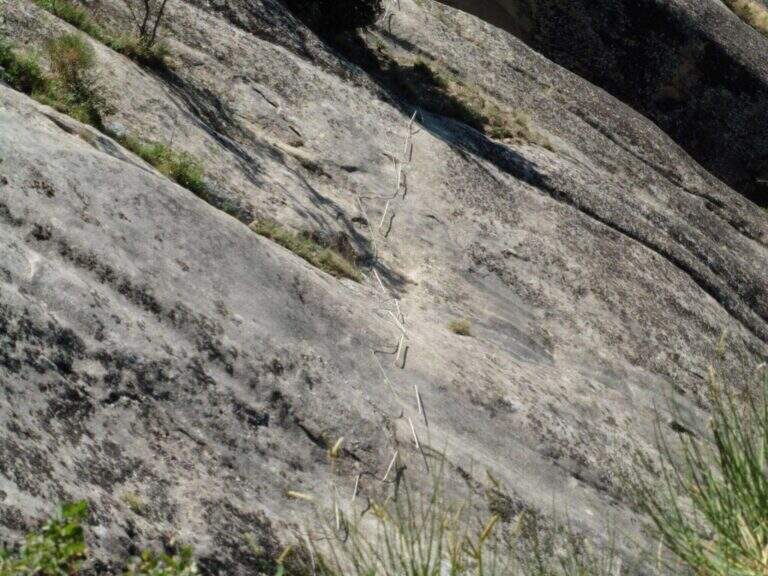
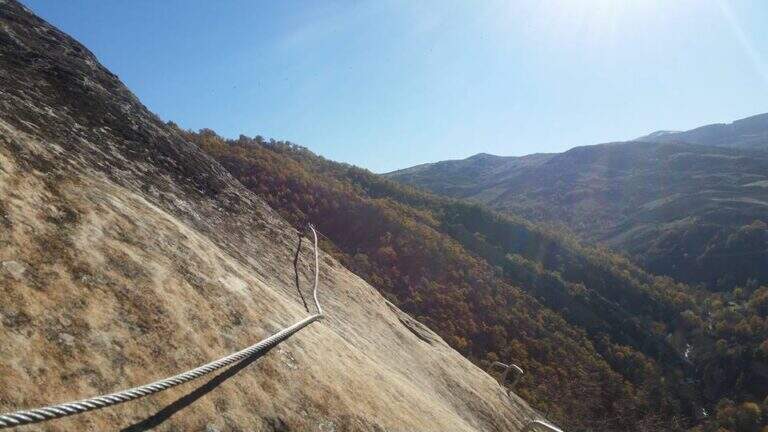
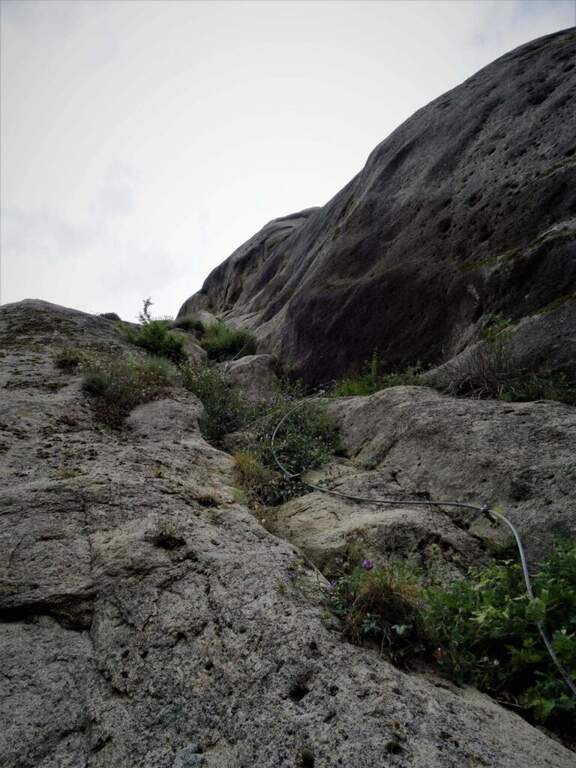
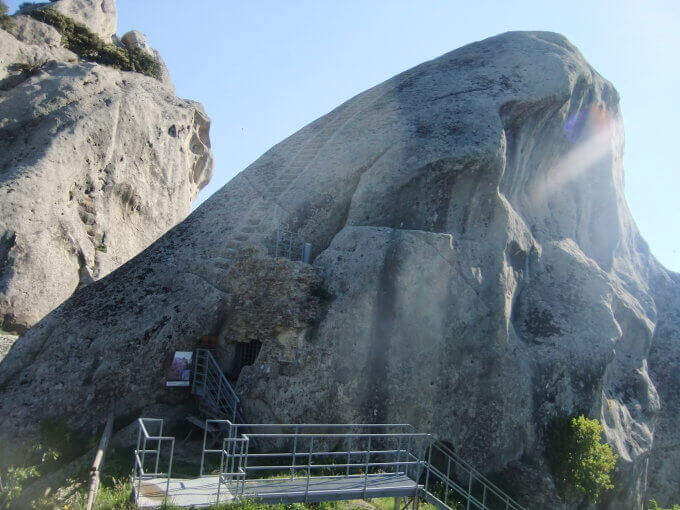
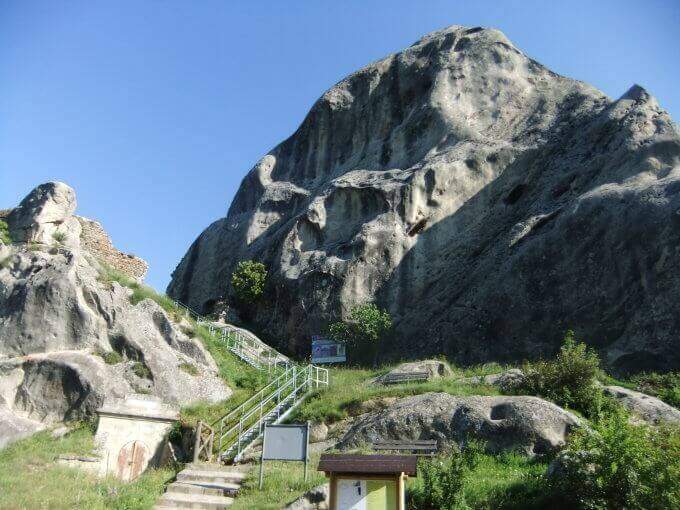
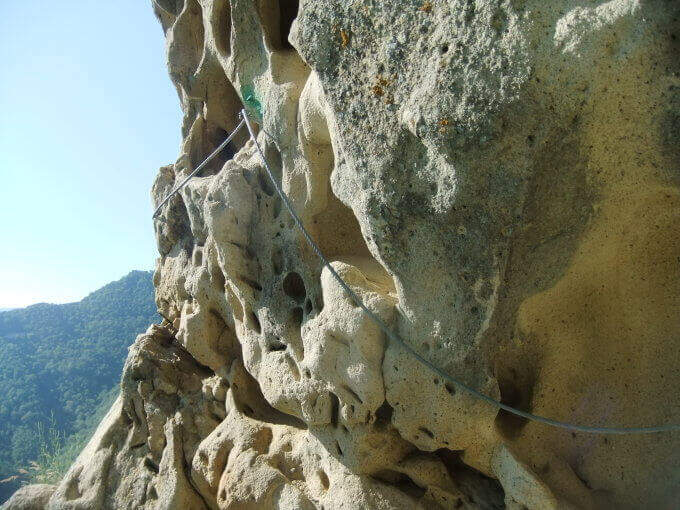
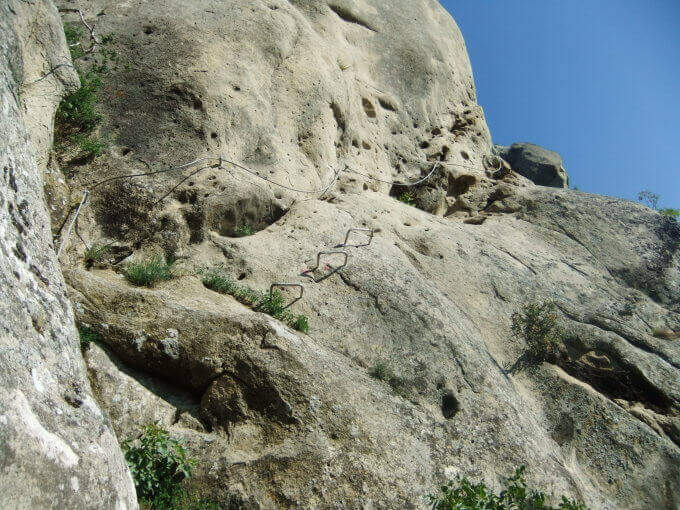
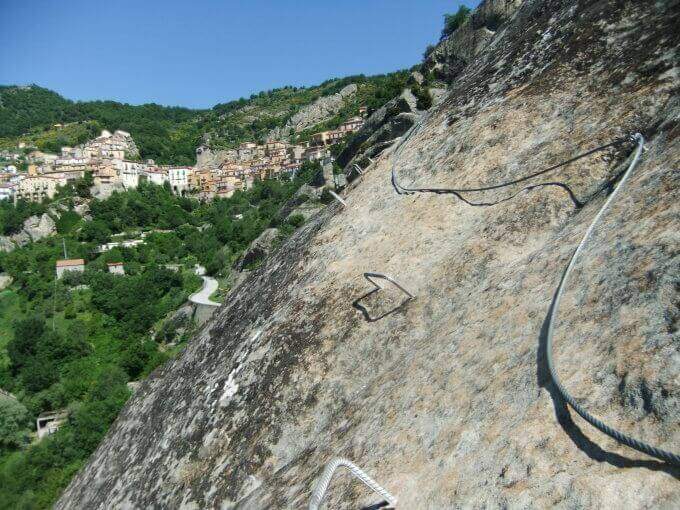
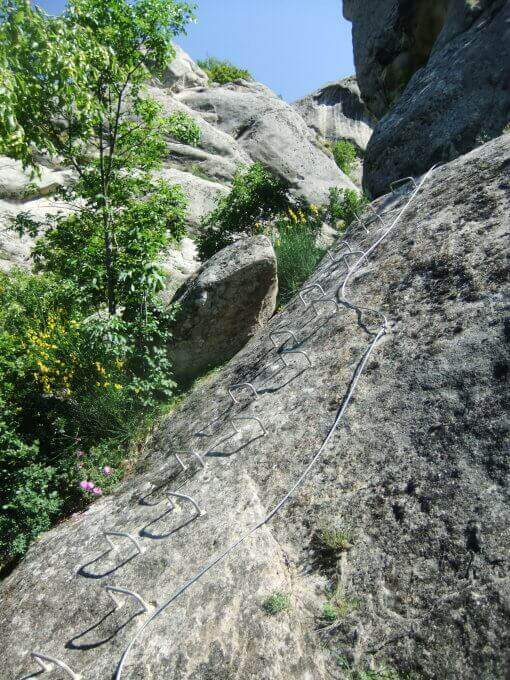
    The Ferrata Salemm ` a difficult way; moderate in the Dolomiti Lucane, on the side of Castelmezzano. It unfolds in a spectacular setting of sandstone gushes and is può chainring with the nearby Ferrata Marcirosa, which starts from the side of Pietrapertosa.

    ▲Approach

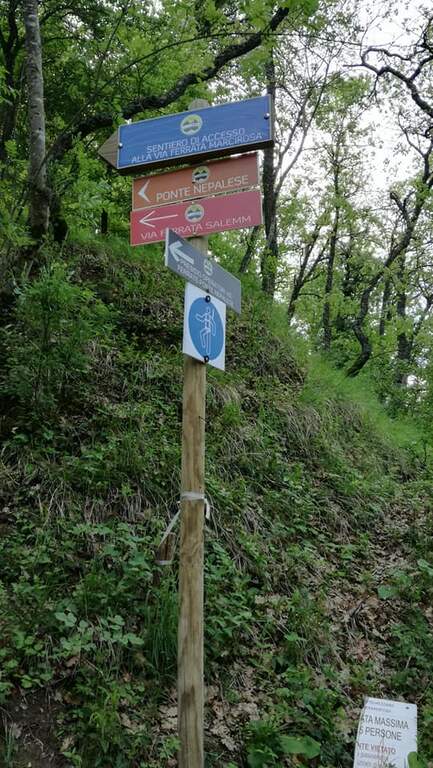
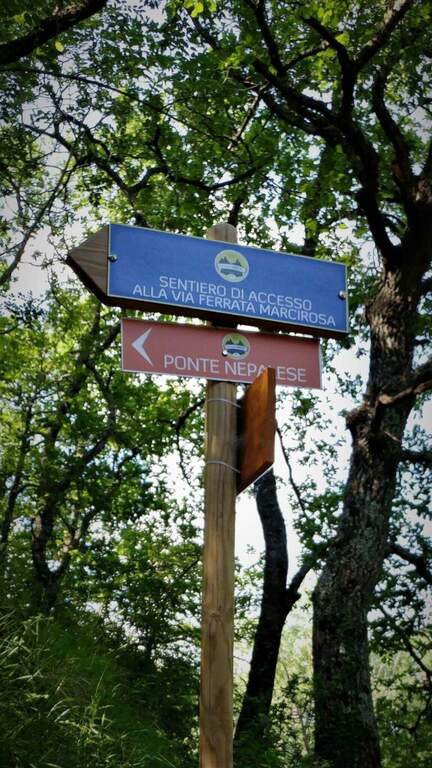
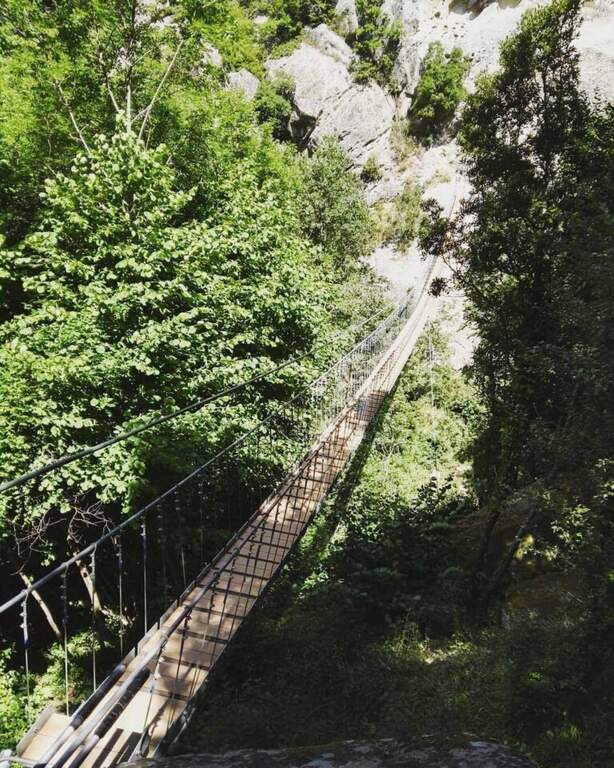
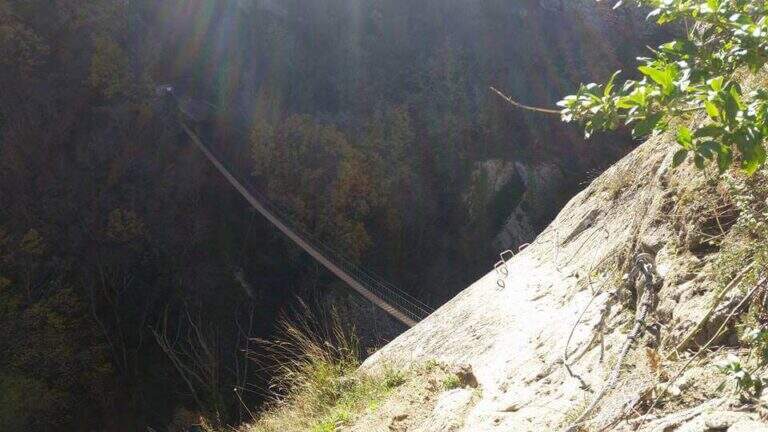
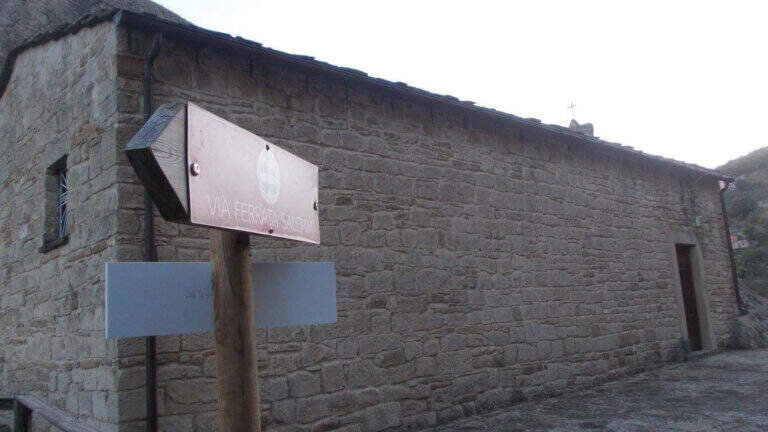
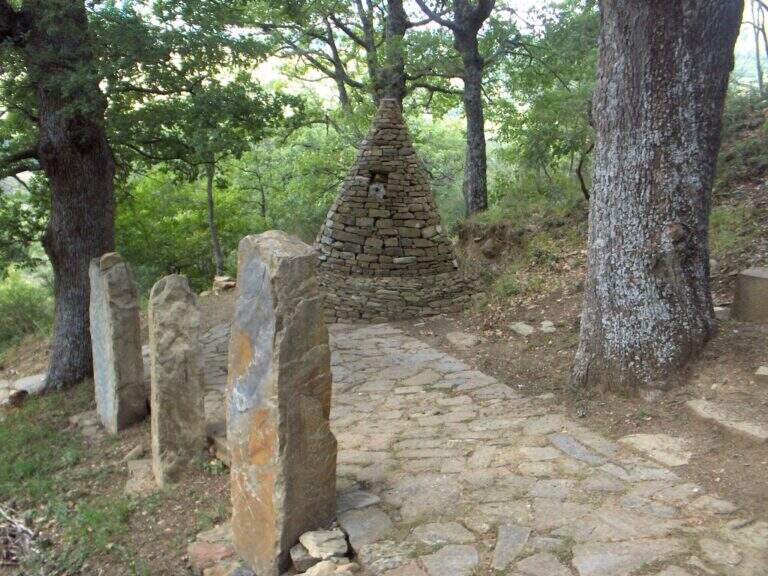
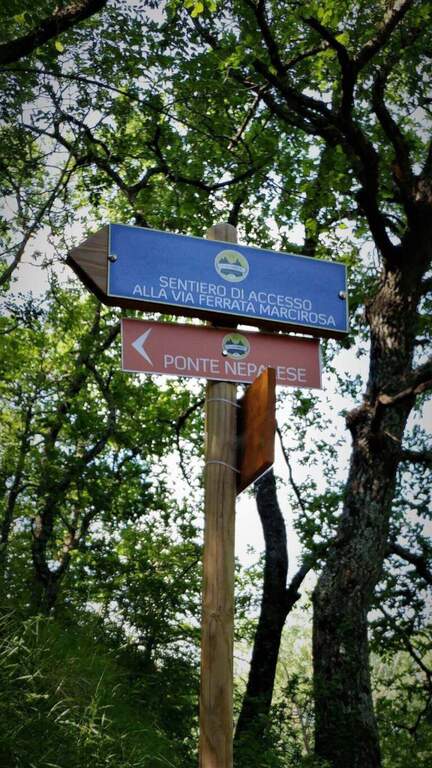
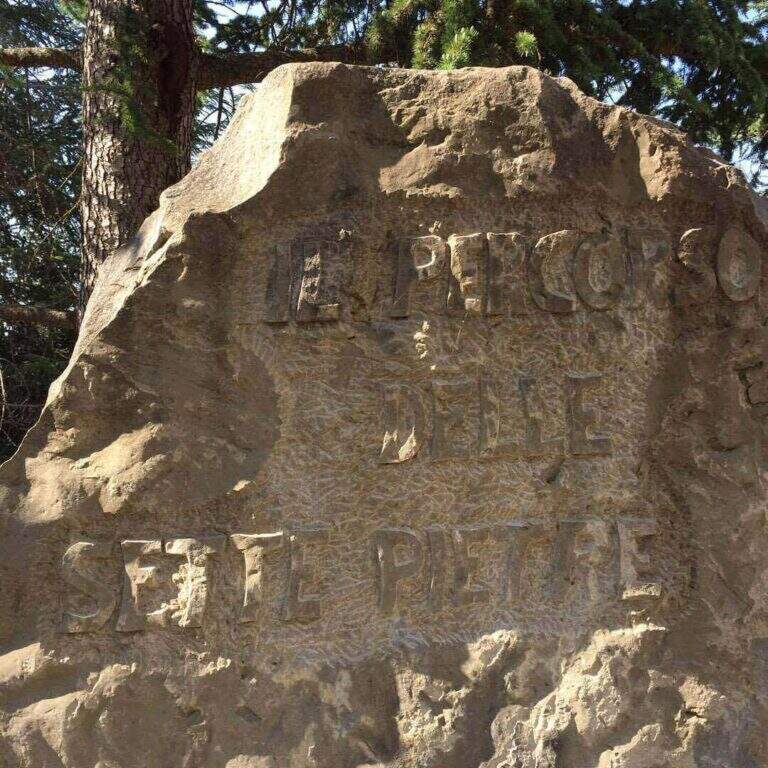
    Starting point Castelmezzano (PZ), reachable from Potenza (SP 13) or from the Apulian side. You park at the cimitero and take the Sentiero delle Sette Pietre towards the Roman bridge. Open road signs on Google Maps. From the Roman bridge there is the sinistra (and still left at the next junction), along the Caperrino stream on the left side (on the right you would go to the Ferrata Marcirosa and the Nepalese bridge); in about 45' from the bridge you will arrive at ' attack (1h from the Roman bridge). Those who want to walk first the ponte nepalese follows for the Marcirosa and, at a signposted junction, keeps the left towards the long bridge, then a stretch of linking ferrata on the right, with discreet exposure, up to a stone building all' start of the road.

    ▲The path

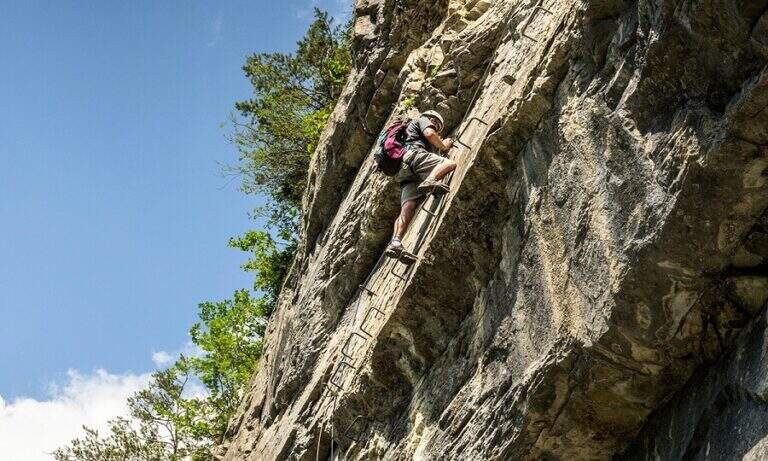
    Dopo qualche facile tratto di sentiero attrezzato si incontra una parete appoggiata con abbondanti cambre; ci si sposta a sinistra e si sale una parete verticale ben staffata fino a una rampa inclinata a sinistra, un facile canalino e qualche placchetta. Si prosegue su placche appoggiate verso un rilievo, poi, dopo un tratto di sentiero, si affronta una parete liscia e verticale con un esposto traverso orizzontale a sinistra, che termina in discesa su sentiero. Si sale un breve balzo, si passa sotto un masso appoggiato e si percorre un'affilata cresta in discesa, con traversi e balzi, fino alla chiesetta del Santo Sepolcro, dove c'è una via di fuga segnalata. La via prosegue verso Castelmezzano con un bel traverso orizzontale, impegnativo, lungo una gola rocciosa, con staffe e pioli per mani e piedi: lo si percorre in discesa, prima sotto un tetto poi in crescente esposizione verso sinistra, con qualche stacco verticale, fino al termine (2h dall'attacco / 3h totali).

    ▲Character and difficulty

    Moderate difficulty in a very panoramic environment. Along the way two marked escape routes.

    ⚠ The rock è particularly friable and poor of stickers: difficult and unsafe after recent rains. In addition to the seasonal closure (1° feb – 31 mag), well evaluate the conditions of the rock.
    ▲Period and safety

    Recommended season summer and autumn (out of the closing period). Avoid with wet rock.

    ▲Discipline

    From the term, a path leads to a dozen minutes on an asphalted road (via Peschiere), on the outskirts of Castelmezzano; from lì you return to the center and you reach the cimitero (30' from road / 45' from term / 3h 45' total).

    ▲To match

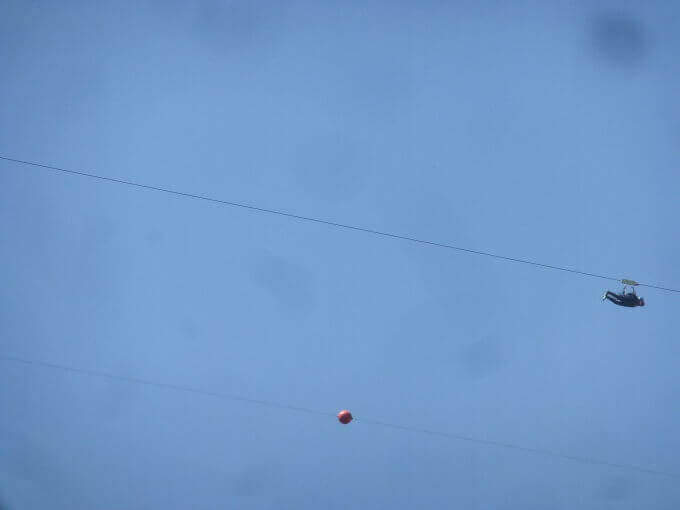
    L' più exit; rewarding è l'anello with Ferrata Marcirosa, leaving the car at the cemetery of Castelmezzano: Seven Stones to the Roman bridge, Marcirosa to Pietrapertosa, return to the Roman bridge, crossing the suspended bridge and finally the Salemm to Castelmezzano. About 1h 15' drive, in Sasso di Castalda, la Ferrata dell'Arenazzo e la Ferrata del Belvedere.

    ▲Gallery
    Technical data
    • DifficultyModerately Hard
    • RegionBasilicata
    • GroupDolomiti Lucane
    • Approach1:00 h
    • Ferrata2:00 h
    • Itinerary (a/r)3:45 h
    • Hardware level difference215 m
    • Route difference250 m
    • Max909 m
    • Length2 Km
  • Ferrata Roda di Vael (Catinaccio)

    Ferrata Roda di Vael (Catinaccio)

    Vie Ferrate › Trentino-Alto Adige › Trento
    Ferrata Roda di Vael (Catinaccio)
    Moderately Hard● OpenDescriptionComplexityMapsGallery

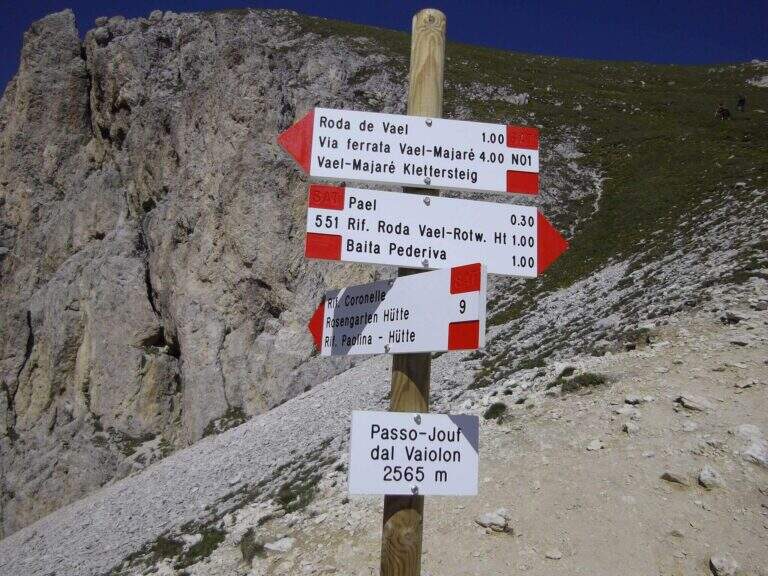
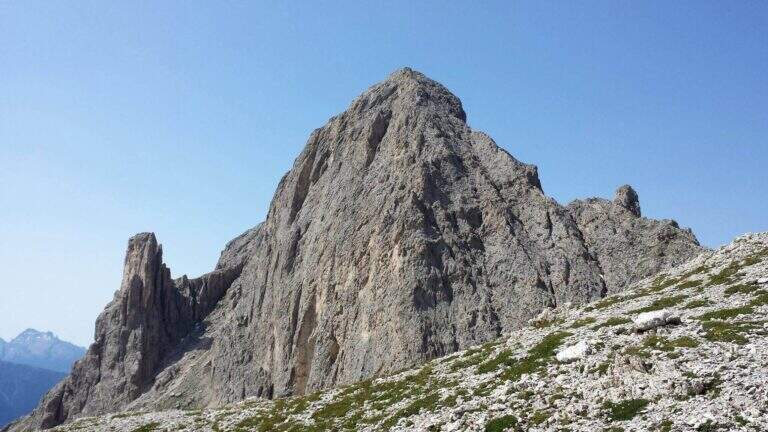
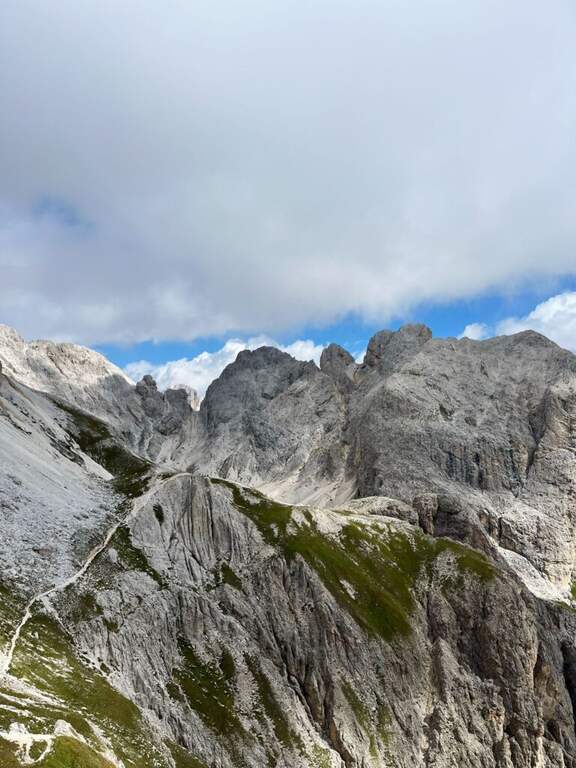
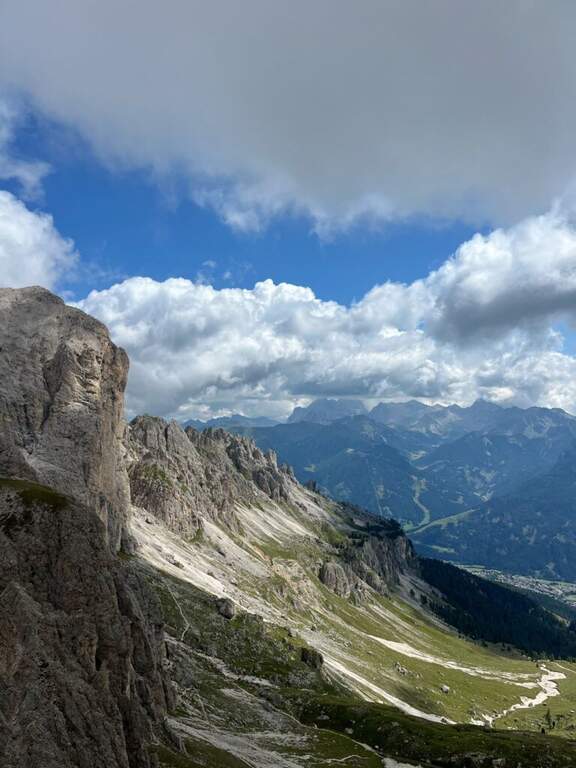
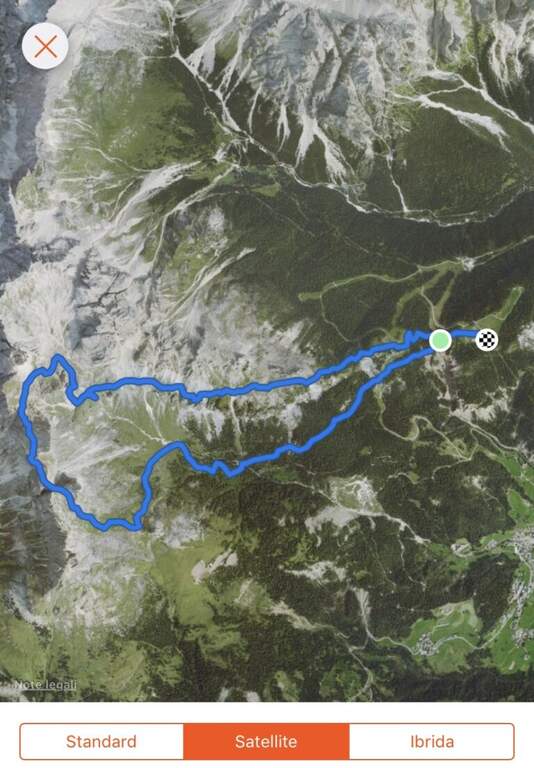
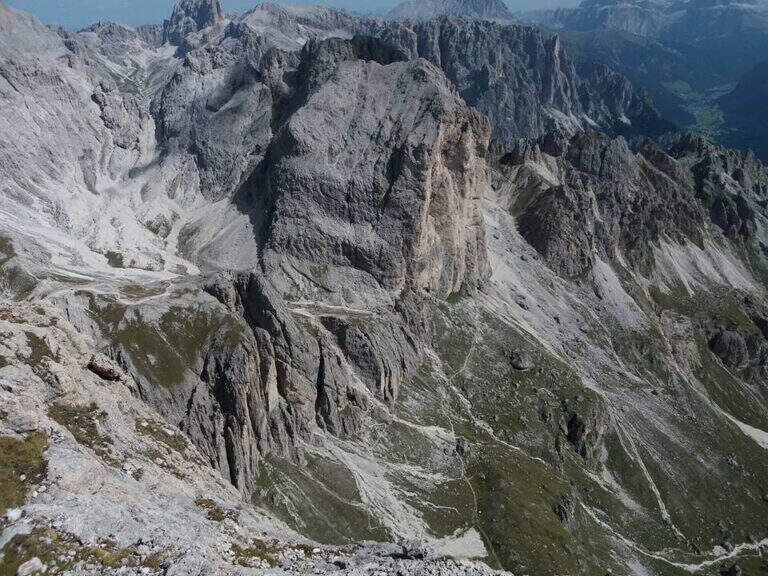
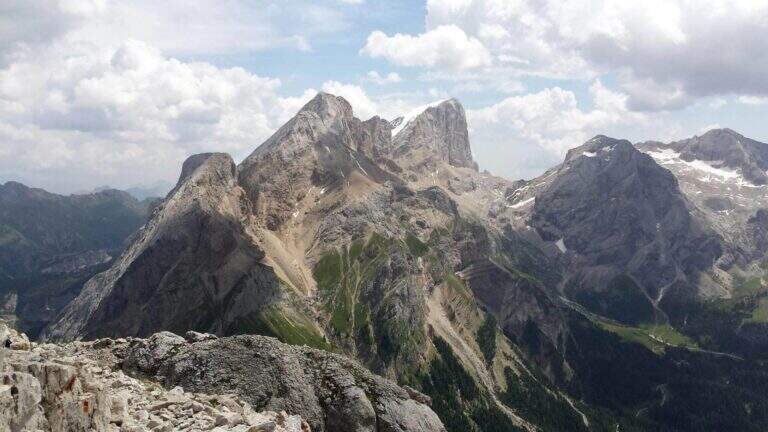
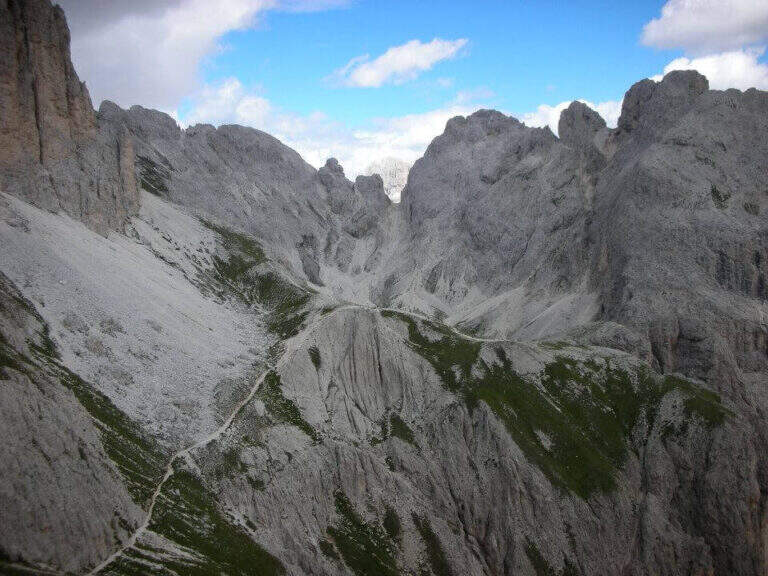
    The Ferrata Roda of Vael brings all' imposing peak of the same name (2806 m) to the Gruppo del Catinaccio, with an itinerary of difficult and difficult averages;. The climb from the Vajolon Pass è easy; the descent to the Window Tower presents individual più passages; challenging. It can be combined with the Ferrata Masarè for a satisfying ring tour.

    ▲Approach

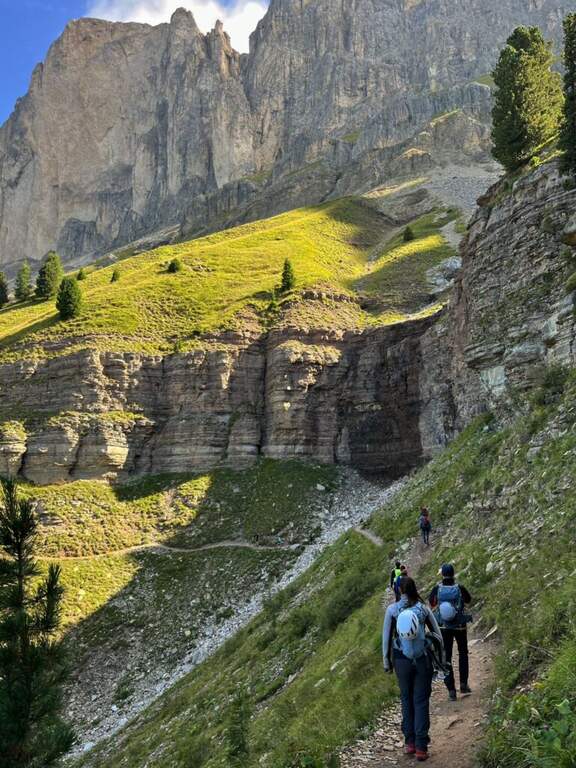
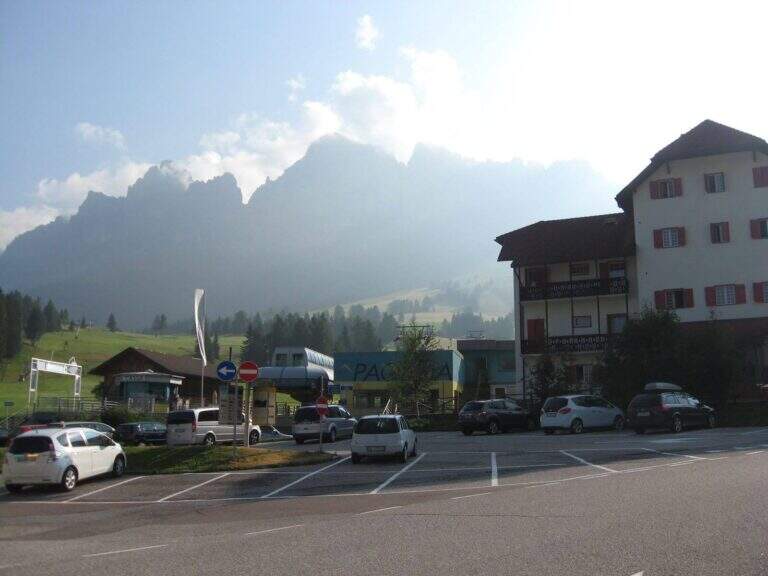
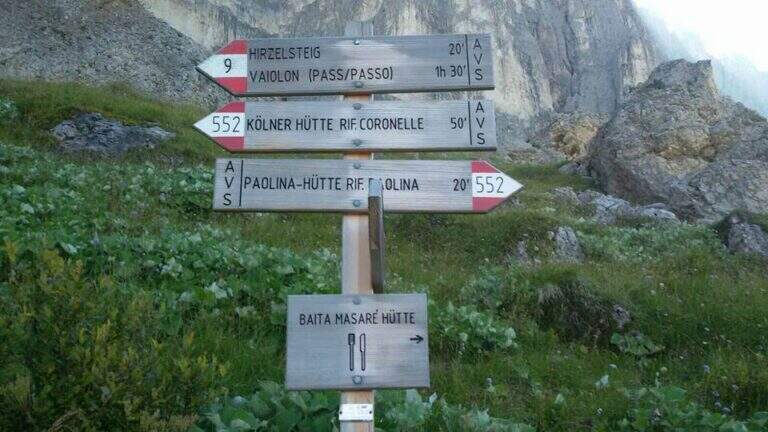
    Base the Rifugio Paolina (2125 m), reachable with the Paolina cable car from Carezza, at the Costalunga Pass; large parking to the plants. Open road signs on Google Maps. Dal Paolina si va verso nord/sinistra sul CAI 552, in leggera salita verso la parete ovest della Roda di Vael, poi sul CAI 549 e in direzione del Passo del Vajolon; superato un primo tratto attrezzato con fune e scaletta, lungo la traccia detritica si raggiunge il Passo del Vajolon (2565 m, 1h dal Rifugio Paolina). In alternativa si parte dalla Val di Fassa: da Vigo, funivia al Rifugio Ciampedie e sentieri CAI 541 poi 551 al Passo Vajolon (2h dalla stazione a monte).

    ▲The path

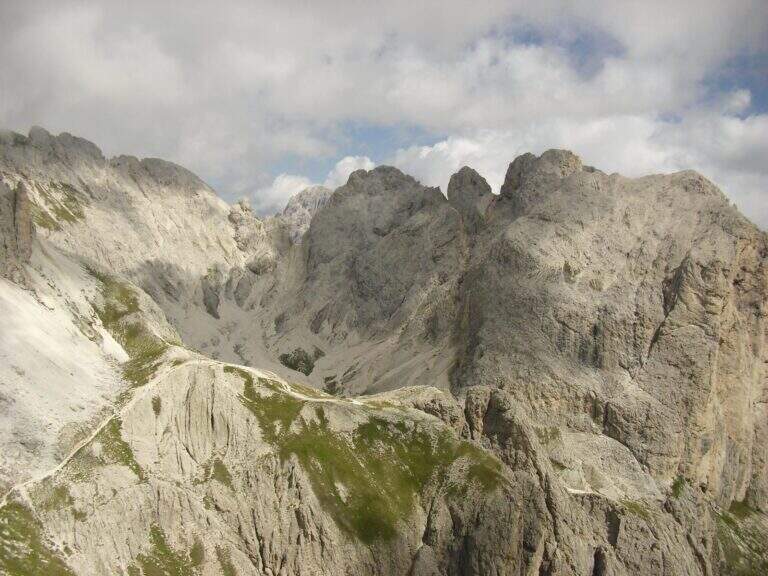
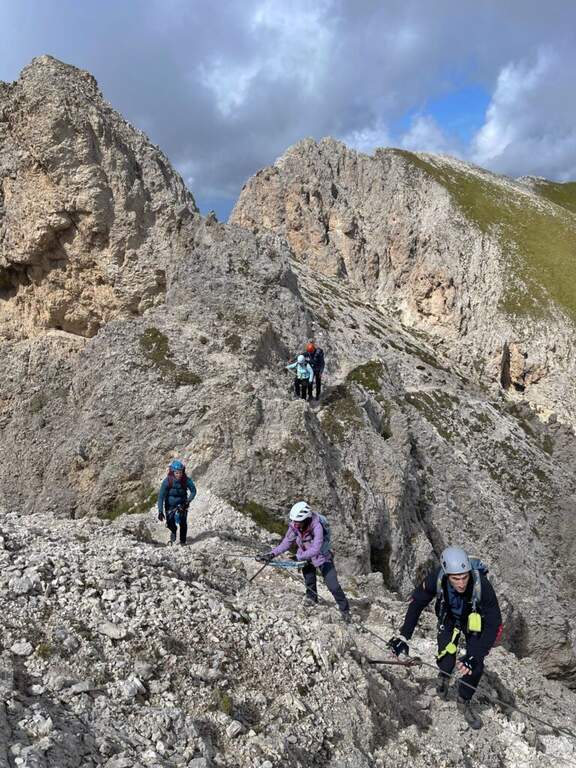
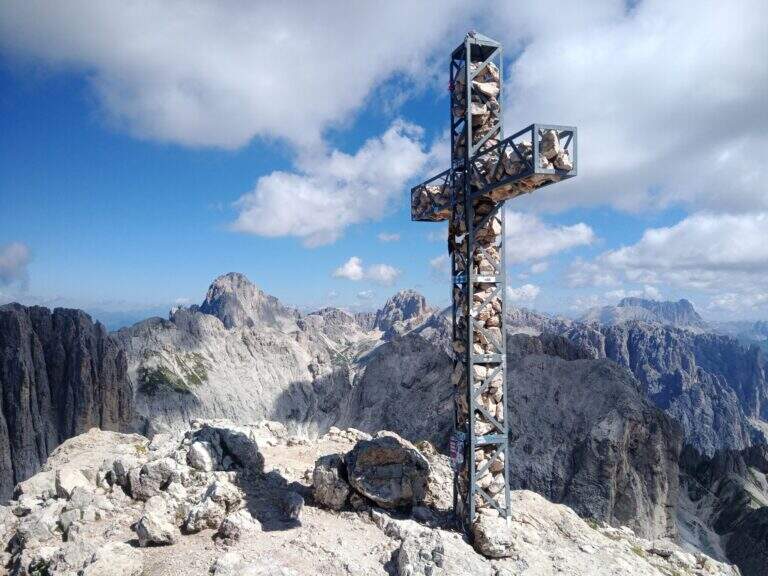
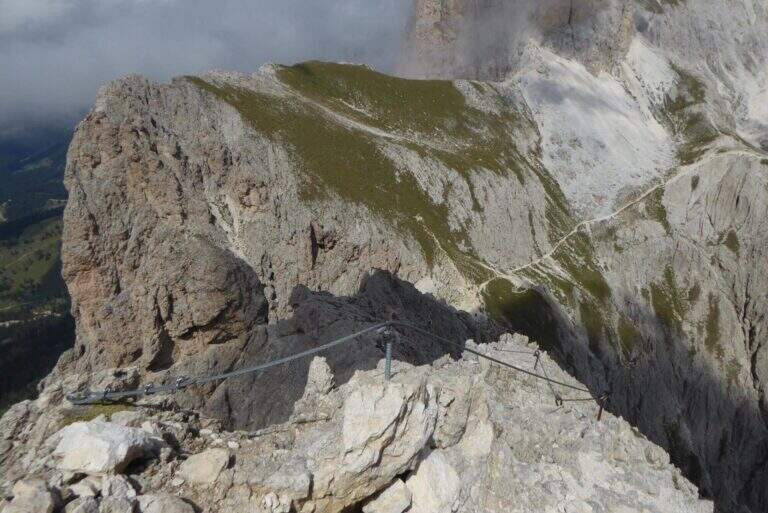
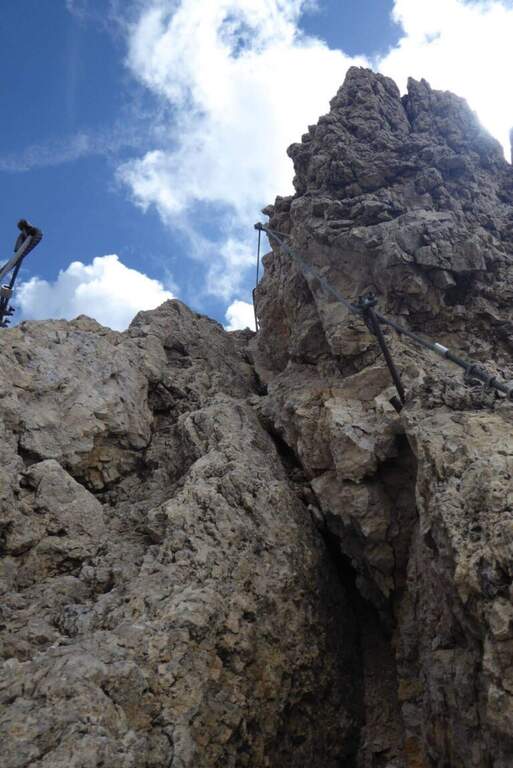
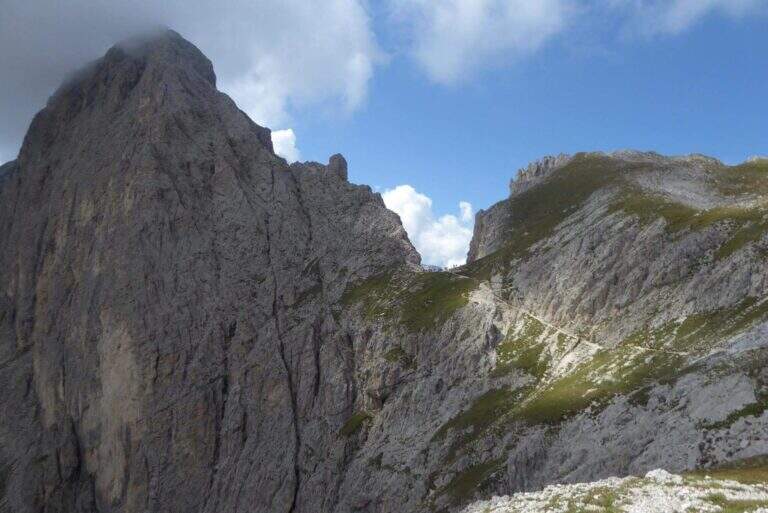
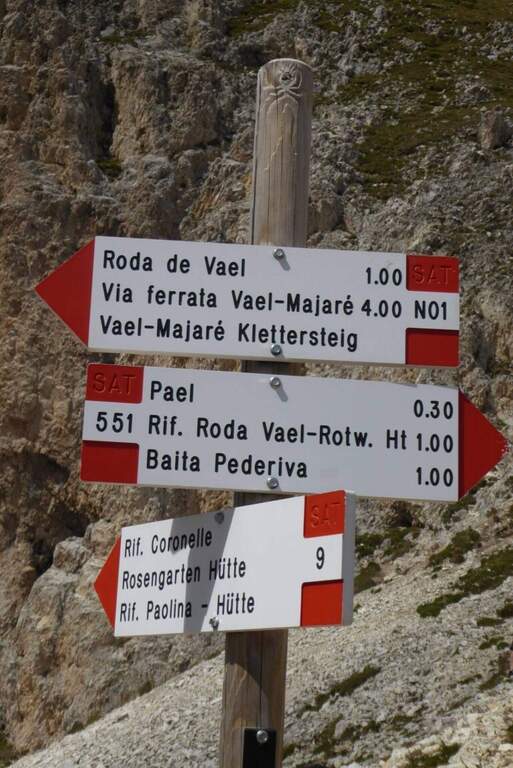
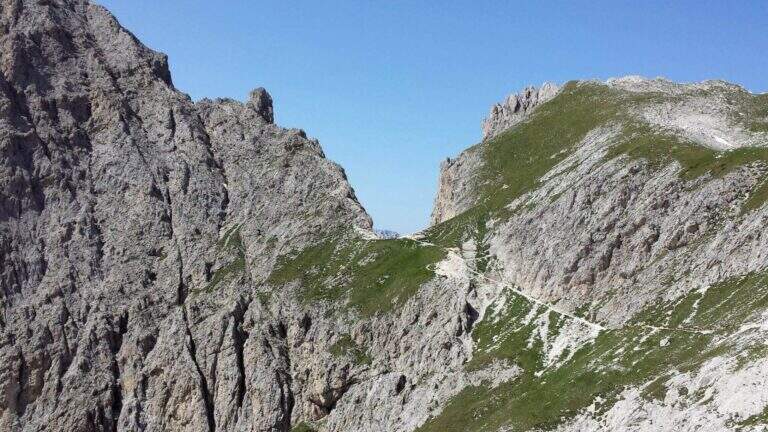
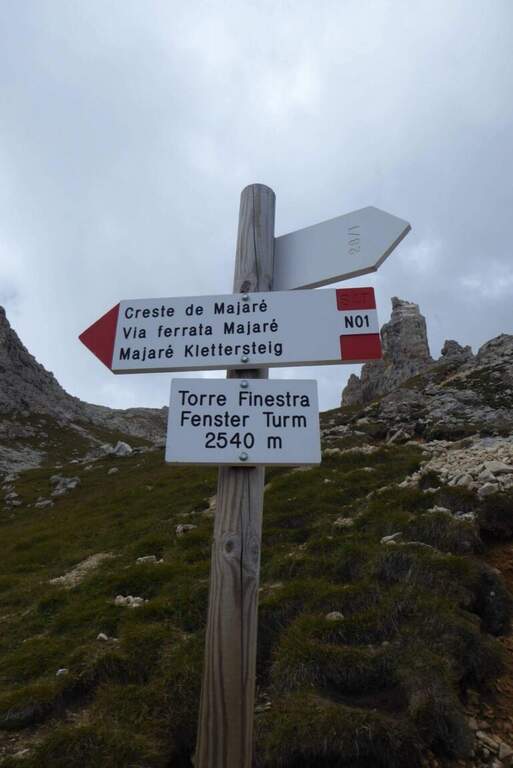
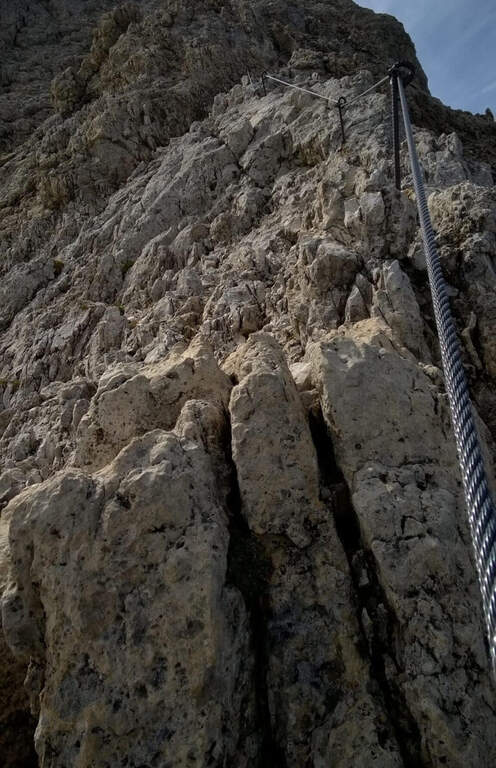
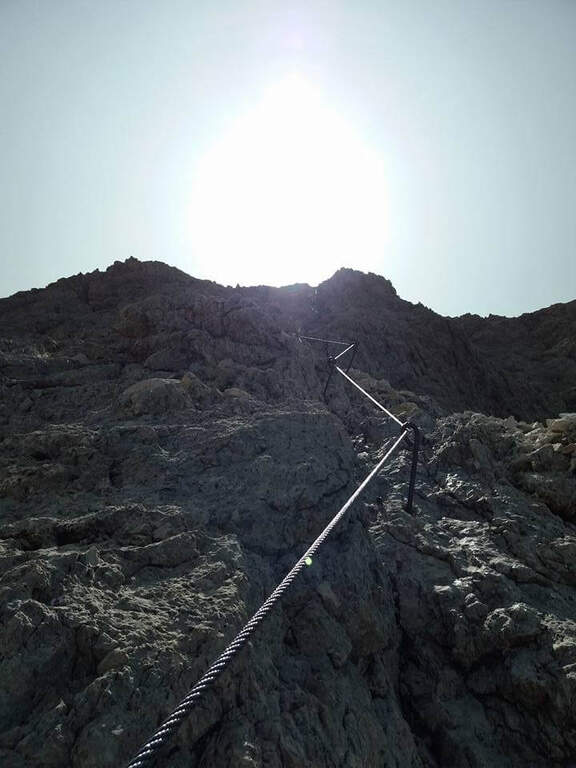
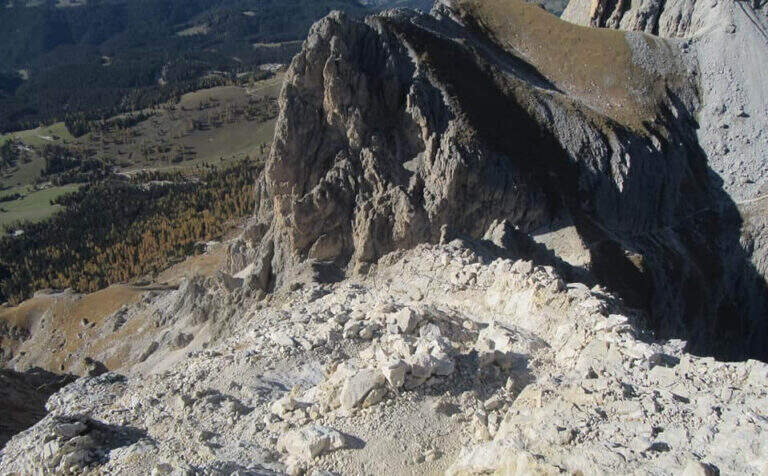
    Dal passo si risale in linea logica il filo di cresta dello spigolo della Roda di Vael seguendo le attrezzature: la salita non presenta particolari difficoltà e alterna tratti attrezzati medio-facili a roccette non attrezzate, con bella vista sulla valle detritica dietro il Catinaccio. Per sentiero di cresta attrezzato e qualche facile balzo si arriva in vetta alla Roda di Vael (2806 m), con la croce metallica (45' dal Passo del Vajolon / 1h 45' totali). Si scende quindi sul versante opposto su ampio sentiero, attrezzato nei tratti più ripidi: alcune roccette e una scala portano verso la Forcella delle Rode (si ignorano le funi che scendono ripide nel canalino e si prosegue in quota). Raggiunta la forcella si affronta il passaggio chiave: una parete verticale e molto esposta, con pochi appigli naturali, da risalire in diagonale verso sinistra; le numerose staffe sostengono la progressione e si esce al Pian del Diaol (2625 m, 1h 15' dall'attacco / 2h 15' totali). Si passa sotto la Torre Finestra (la fessura con la croce al centro) fino a un bivio: a destra sale la Ferrata Masarè (2h), a left you descend for a narrow stretch with a staircase in a rocky anfract and a couple of other equipped sections that close the ferrata (45' from the junction / 3h 15' totali). In both cases you descend to the Rifugio Roda di Vael (2283 m).

    ▲Character and difficulty

    Average difficulty in high altitude environment. The most challenging point is the diagonal wall of Pian del Diaol, exposed and able to put in difficulty the less experienced, although without any difficulty relevant techniques thanks to the excellent equipment.

    ⚠ Possible presence of neve also in late season in the stretch towards the Vajolon Pass. Beware of the detritic material that moves into the downhill section.
    ▲Period and safety

    Summer season, dry rock and no residue. Maximum altitude 2806 m.

    ▲Discipline

    From the Rifugio Roda di Vael you return to the Rifugio Paolina for a comfortable half-coast path CAI 549 and then 539, passing through the Monumento to Christomannos, up to the cable car station (1h from the Roda Refuge of Vael; without Ferrata Masarè 4h 15' total, with the Masarè 6h 15' total).

    ▲To match

    Natural continuation is the Ferrata Masarè. In the Catinaccio also the easy Ferrata Santner, la Ferrata Bepo de Medil, la Ferrata at the Catinaccio d'Antermoia, la Ferrata Laurenzi and the answer Ferrata Maximilian.

    ▲Gallery
    Technical data
    • DifficultyModerately Hard
    • RegionTrentino-Alto Adige
    • GroupCatering
    • Approach1:00 h
    • Ferrata1:00 h
    • Itinerary (a/r)4:15 h
    • Hardware level difference246 m
    • Route difference681 m
    • Max2806 m
    • Length13,1 Km
Need help? Write to us!