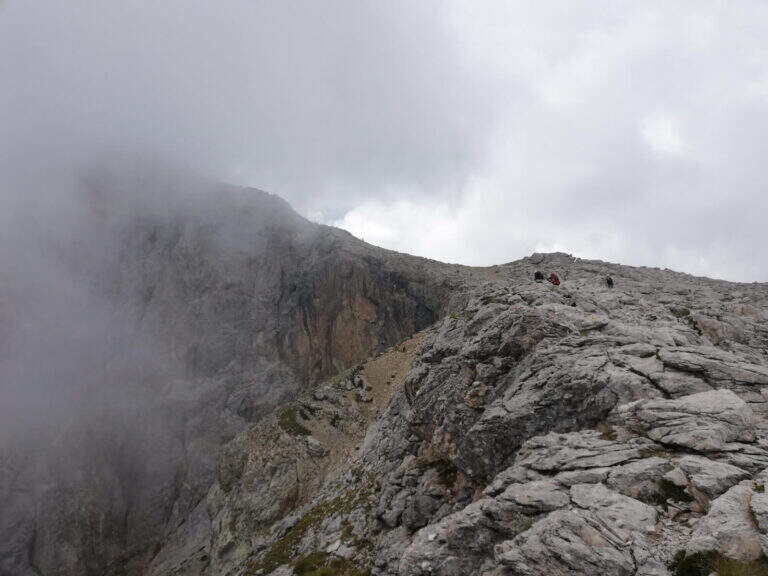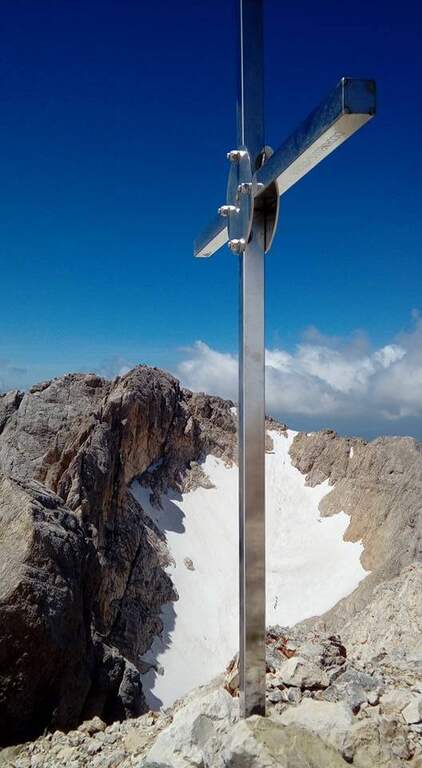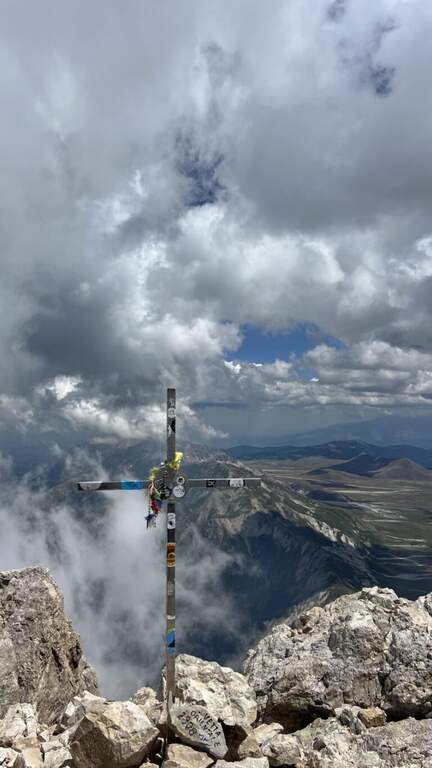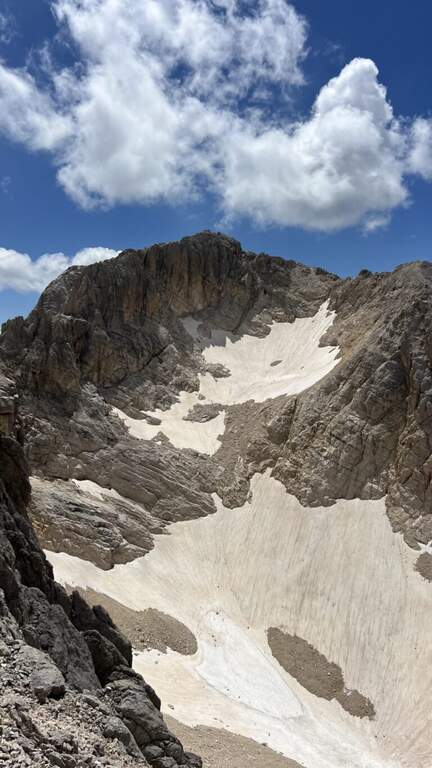
Caratteristica: Possibile neve tardiva

  • Sentiero Attrezzato degli Alpini in Punta Charrà

    Sentiero Attrezzato degli Alpini in Punta Charrà

    Vie Ferrate › Piedmont › Turin
    Sentiero Attrezzato degli Alpini in Punta Charrà
    Moderately Hard● OpenDescriptionComplexityMapsGallery

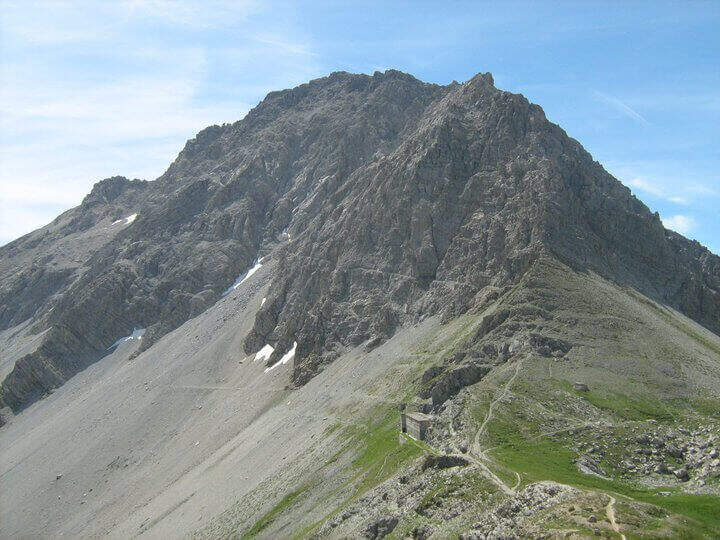
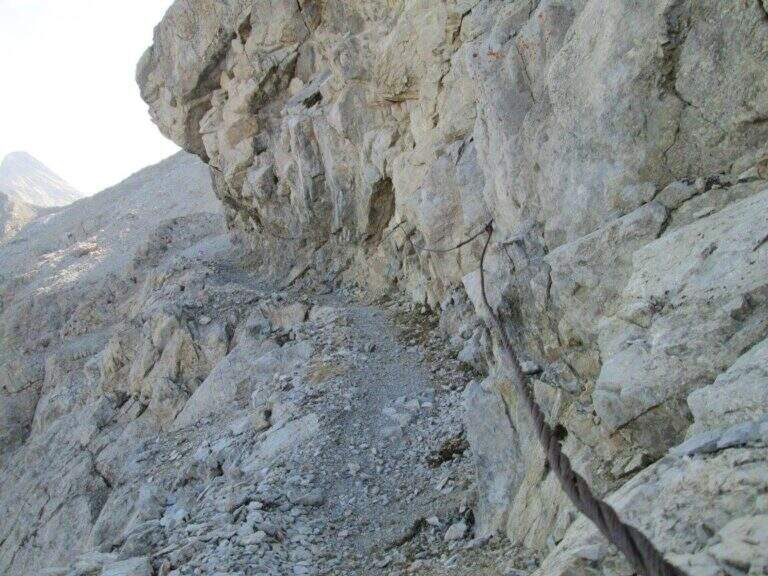
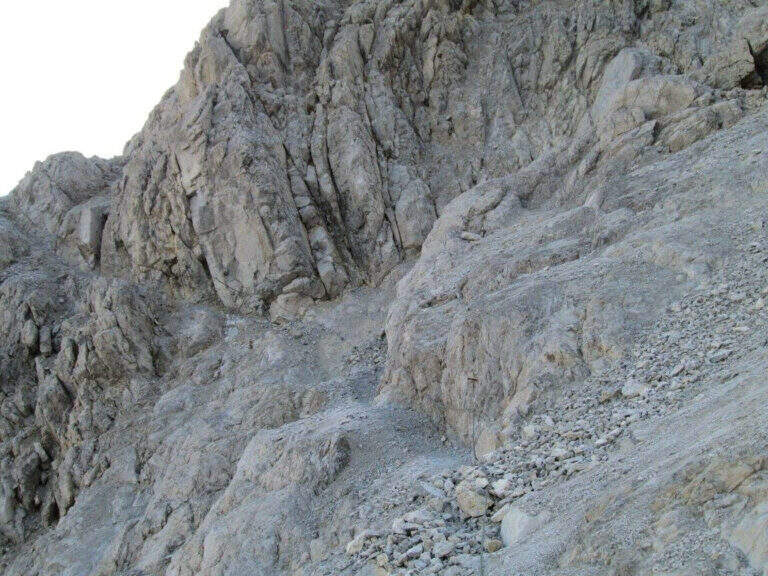
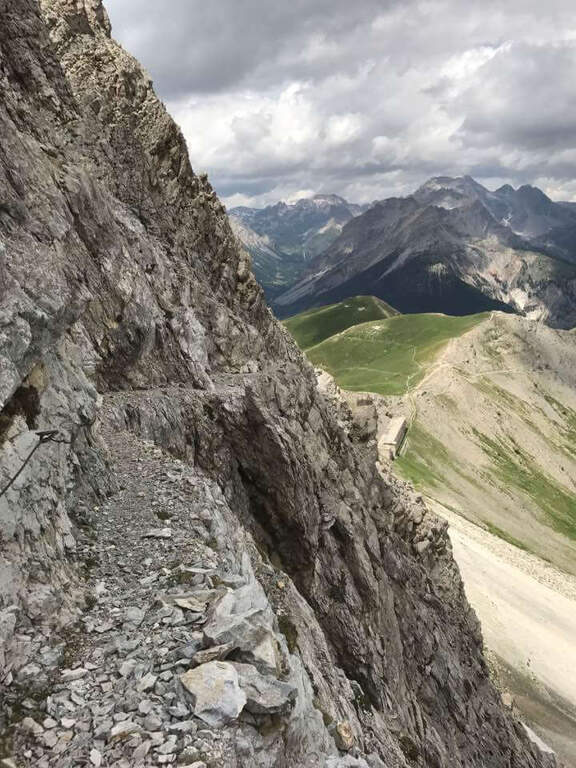
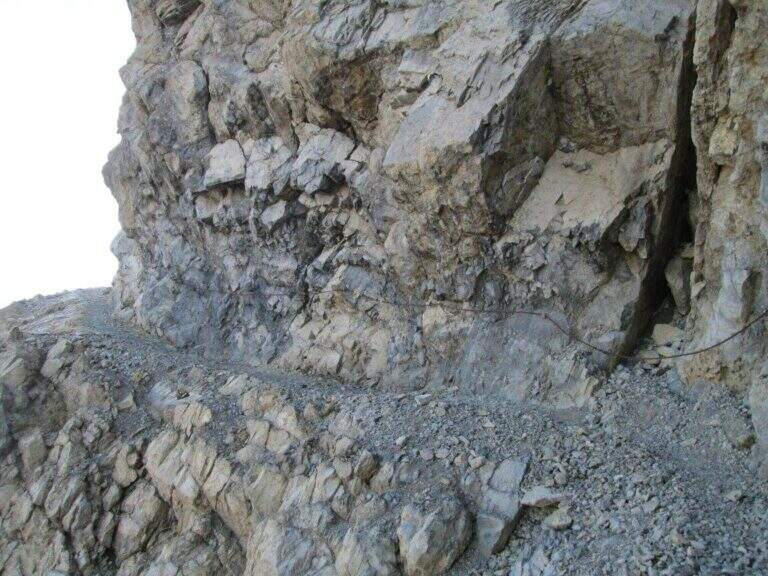
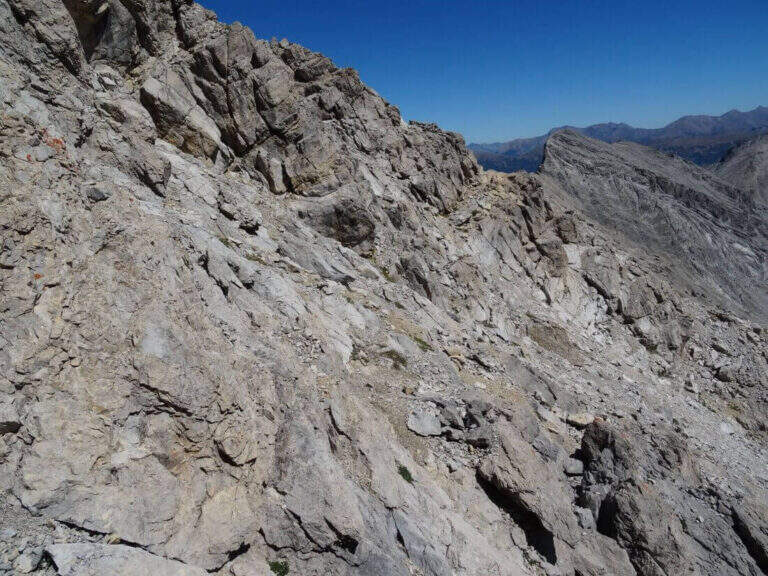
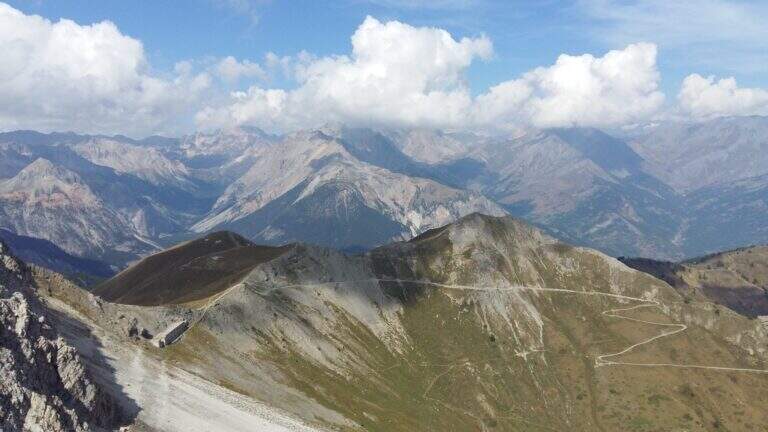
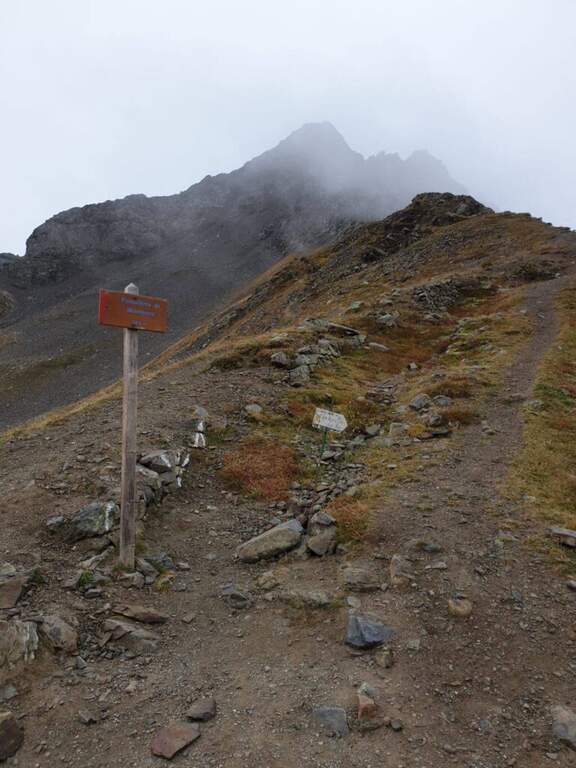
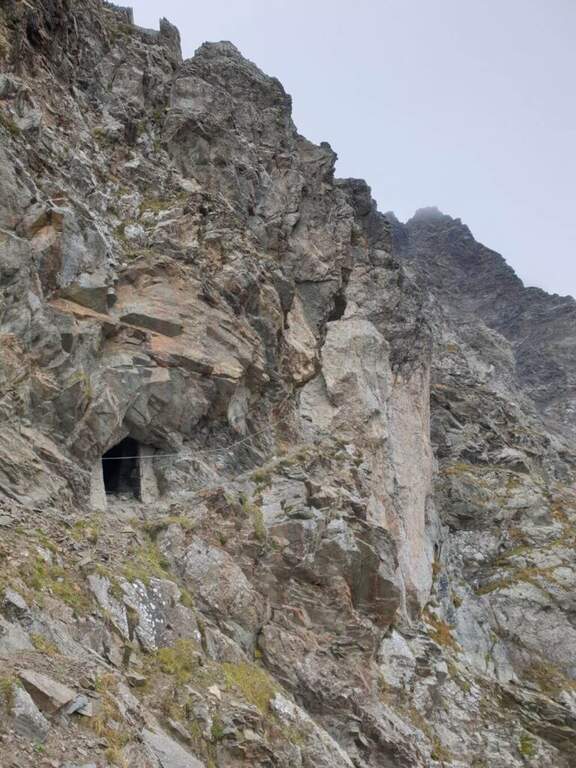
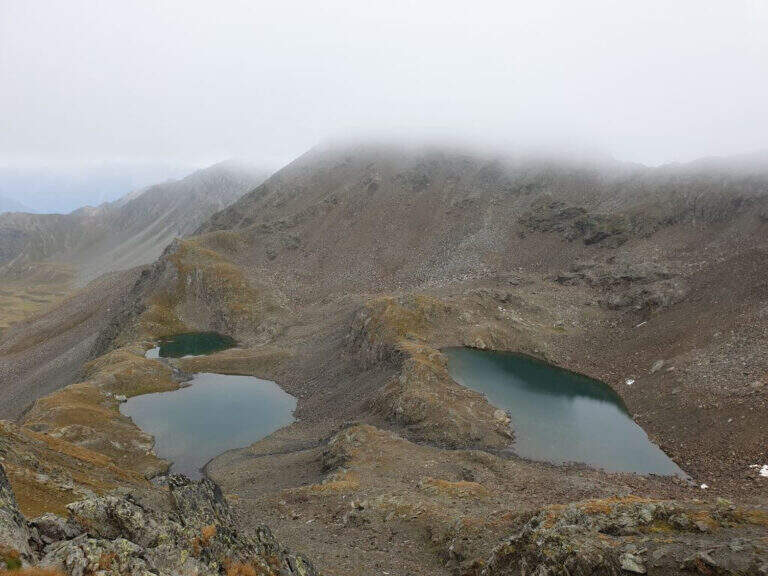
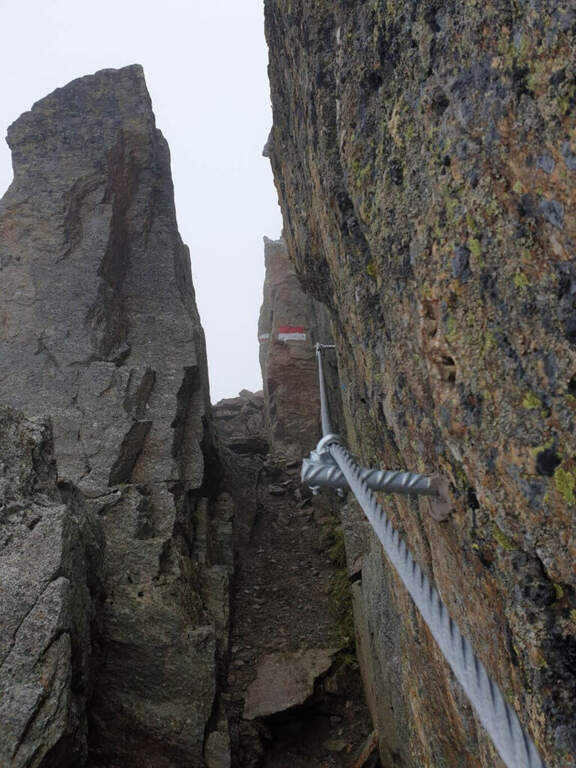
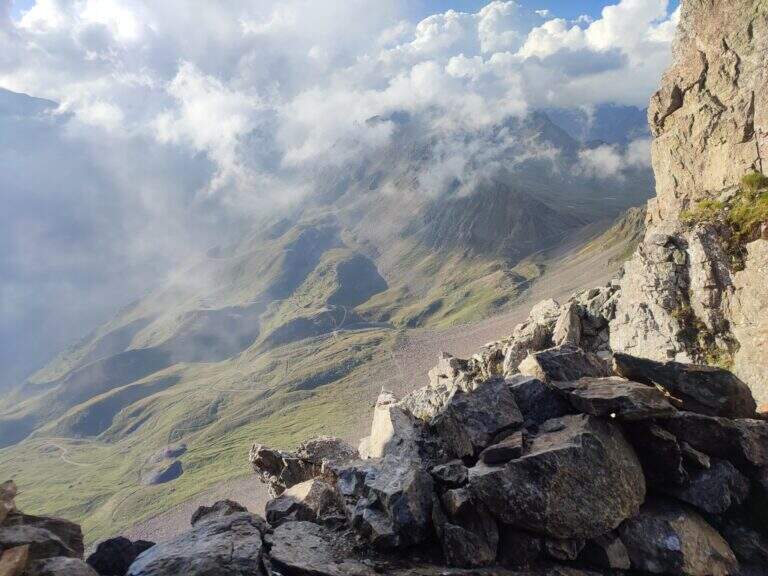
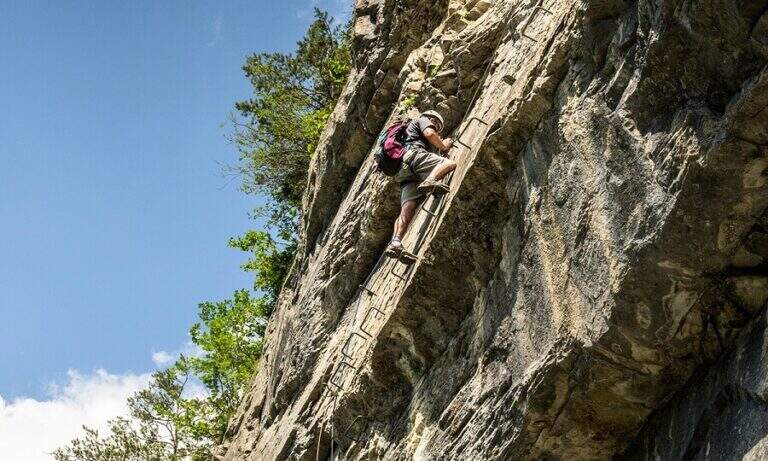
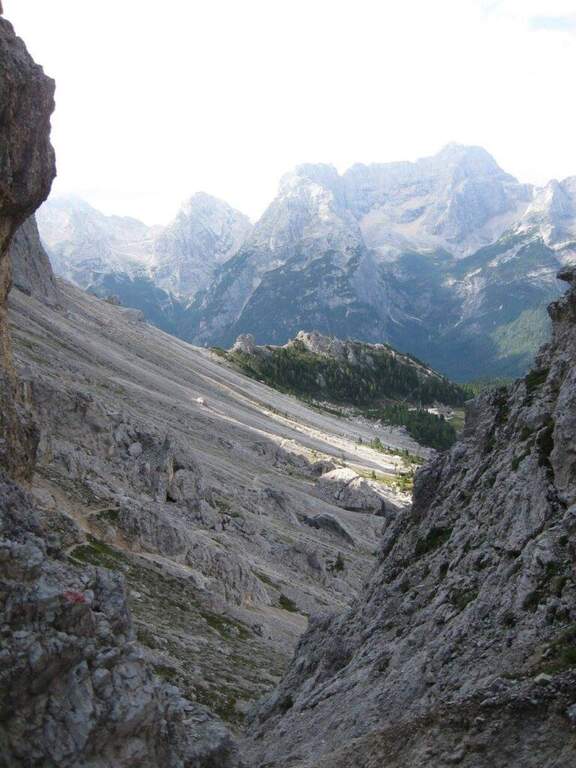
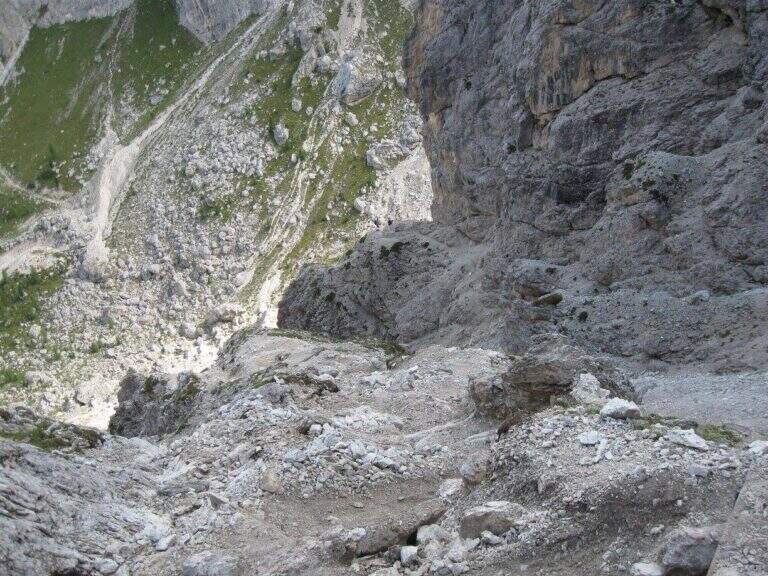
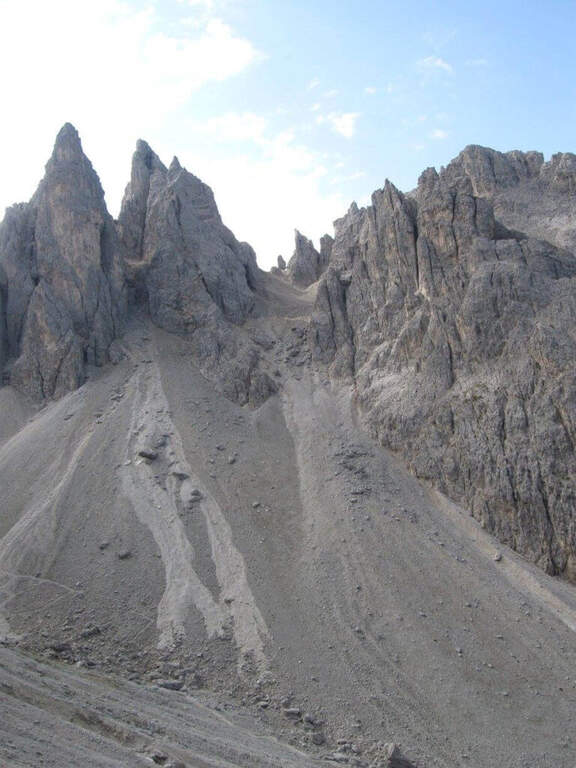
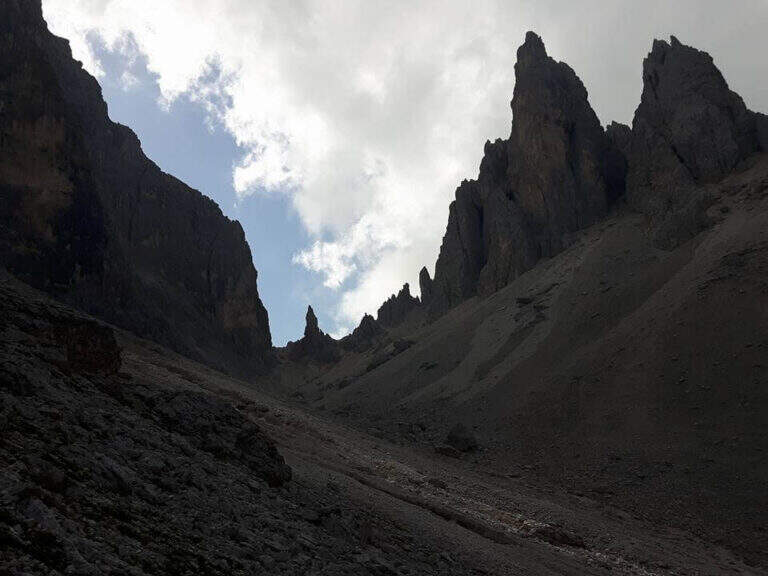
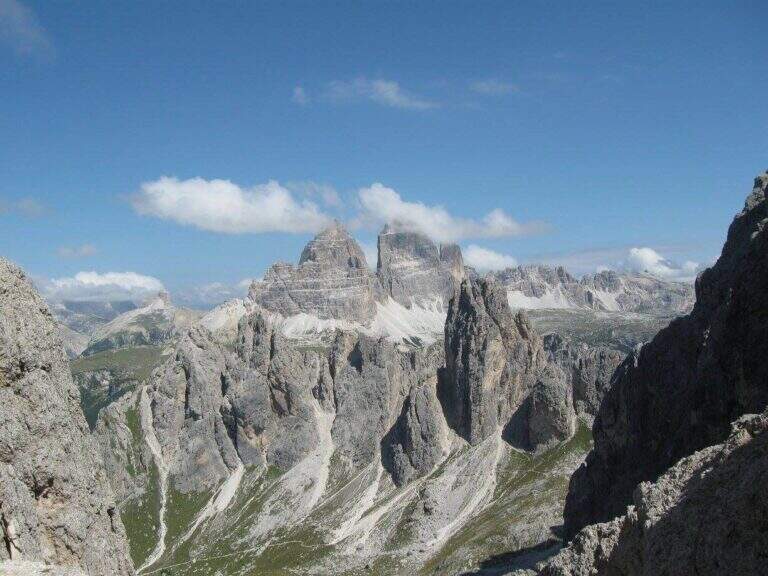
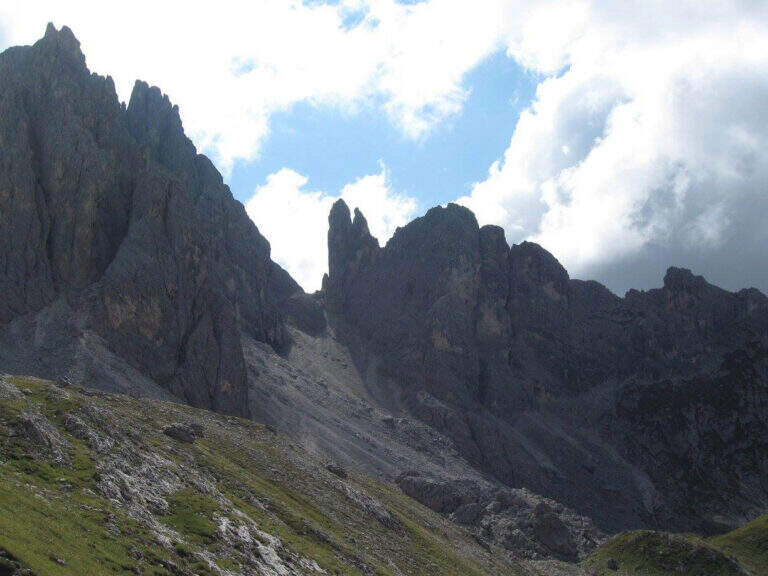
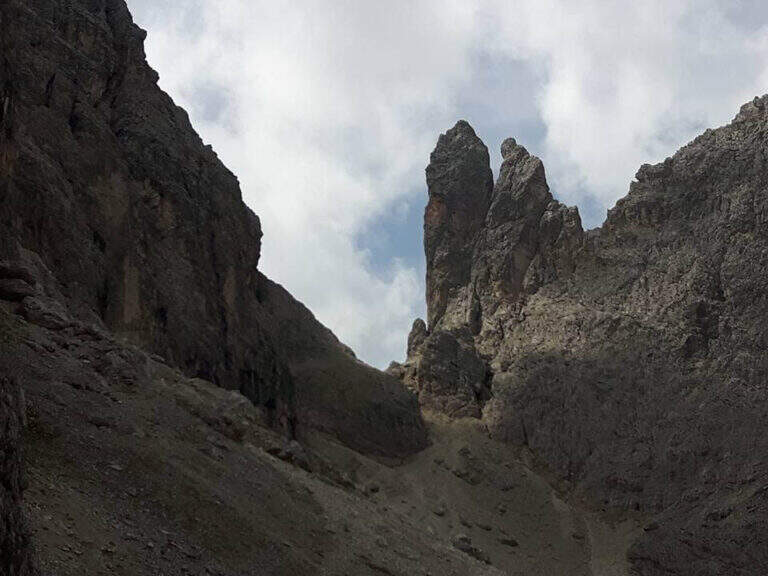
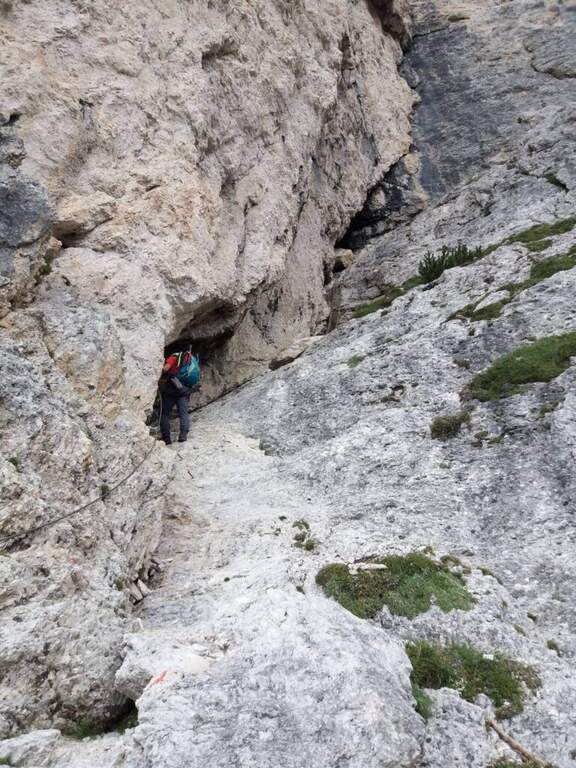
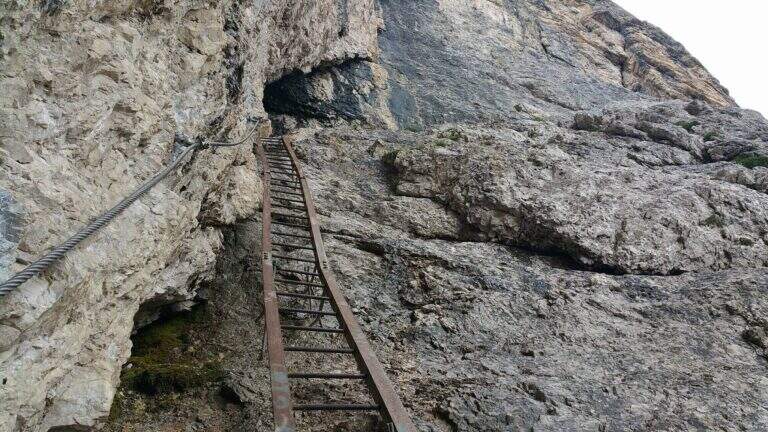
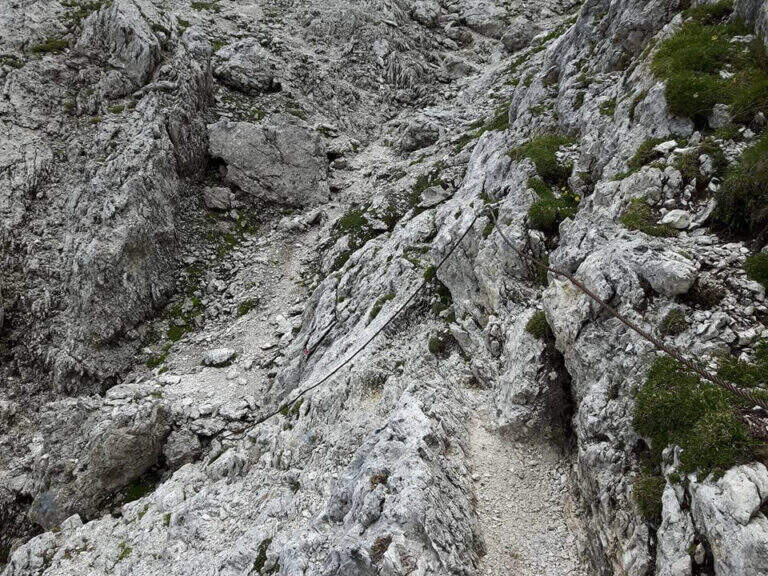
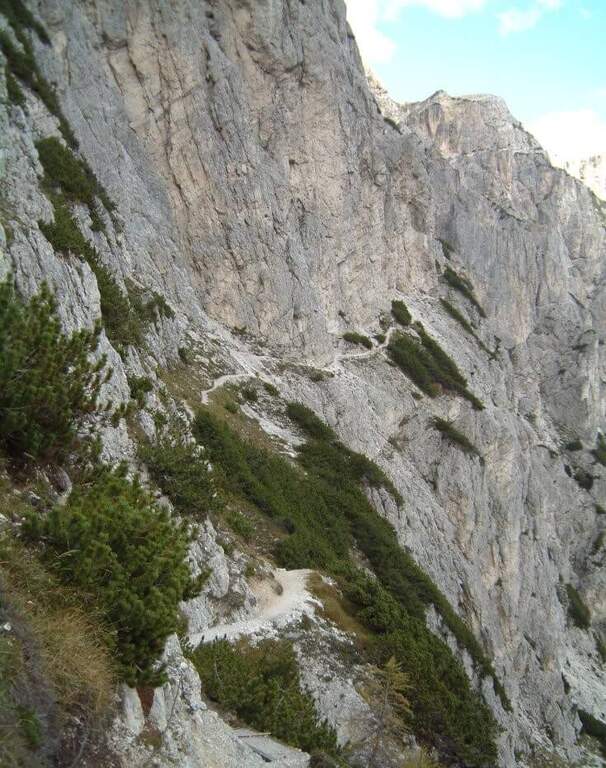
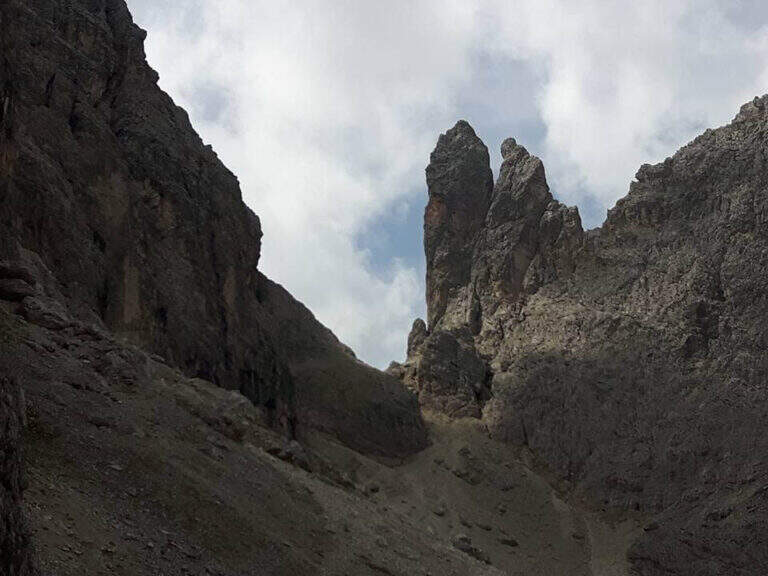
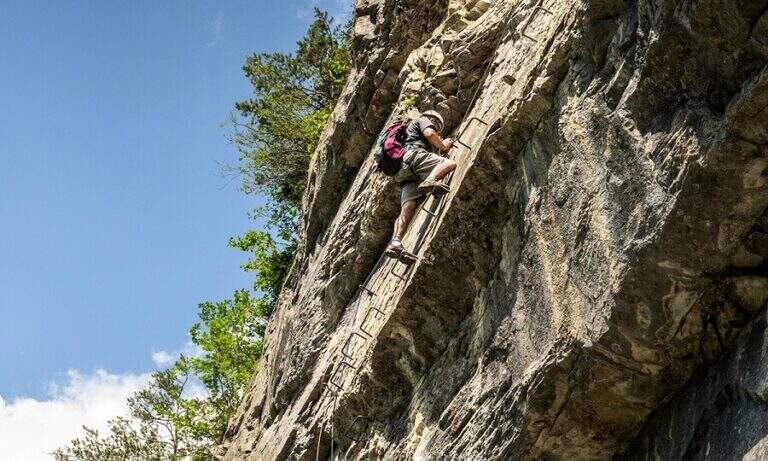
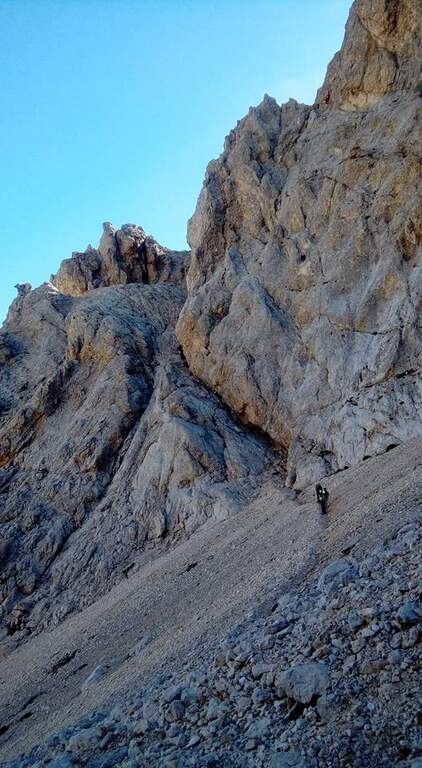
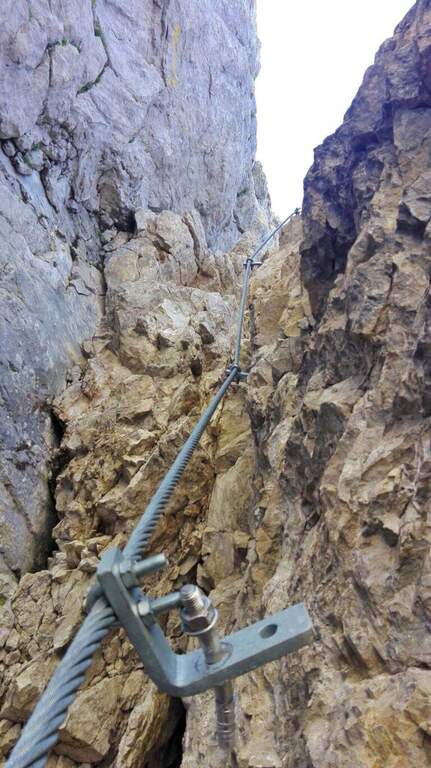
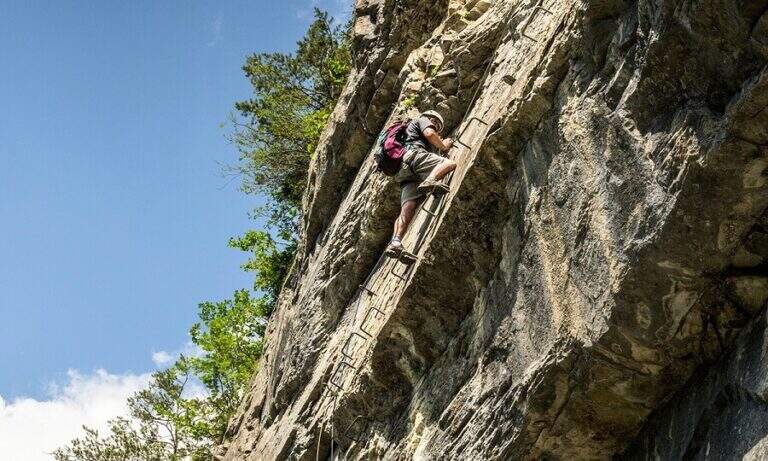
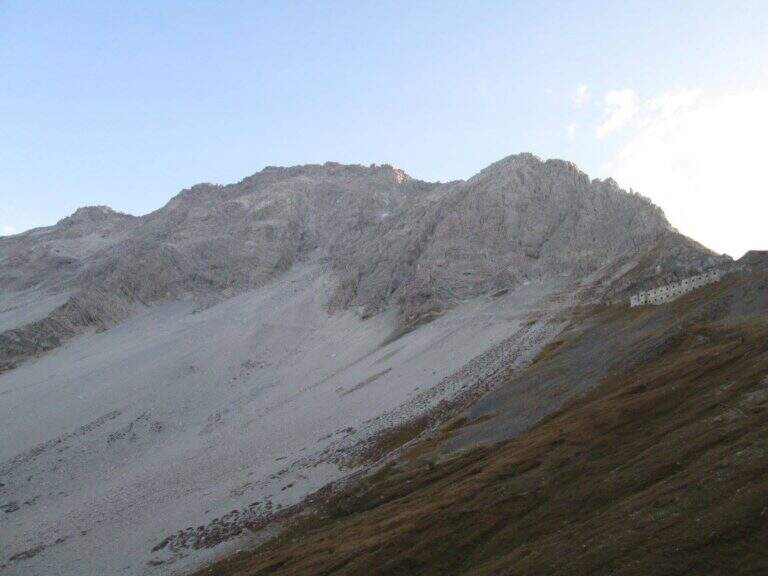
    On the ridge that divides Italy and France over Bardonecchia, this equipped path connects the Passo della Mulattiera to Passo della Sanità, at the foot of Punta Charrà. The development is almost entirely horizontal: the equipment is mainly used to secure the progression on soil at times unstable and on thin waxes, while the vertical passages are practically absent. There is a long itinerary and great hiking breath, but to be faced with stable time because along the path there are no support points.

    ▲Approach

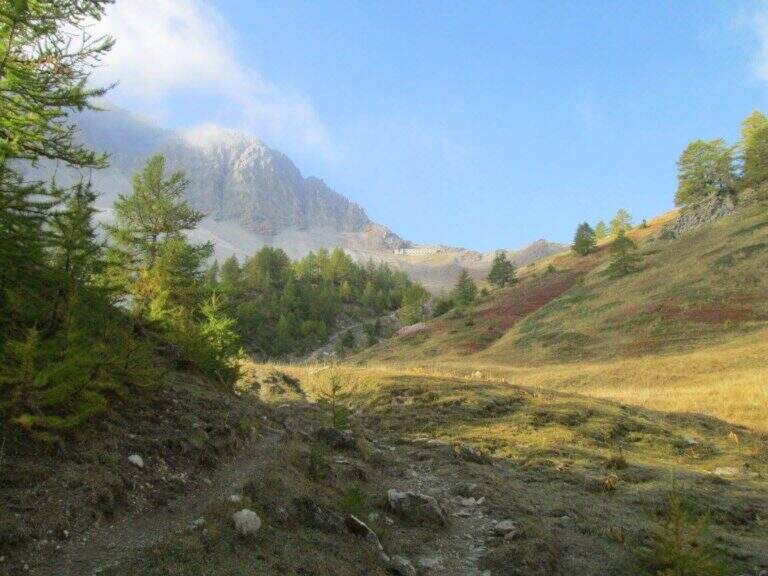
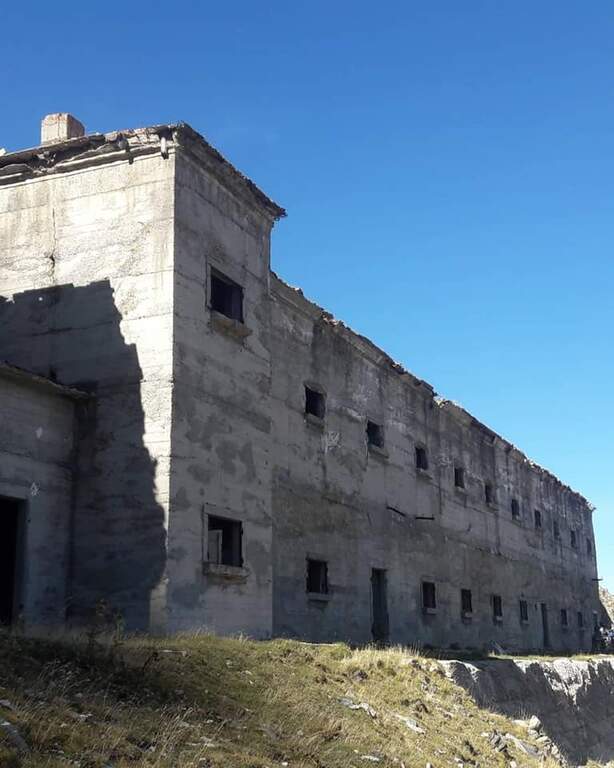
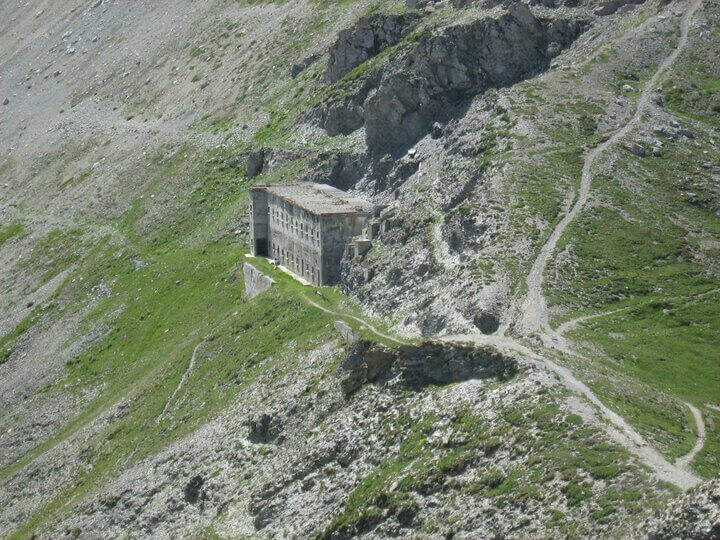
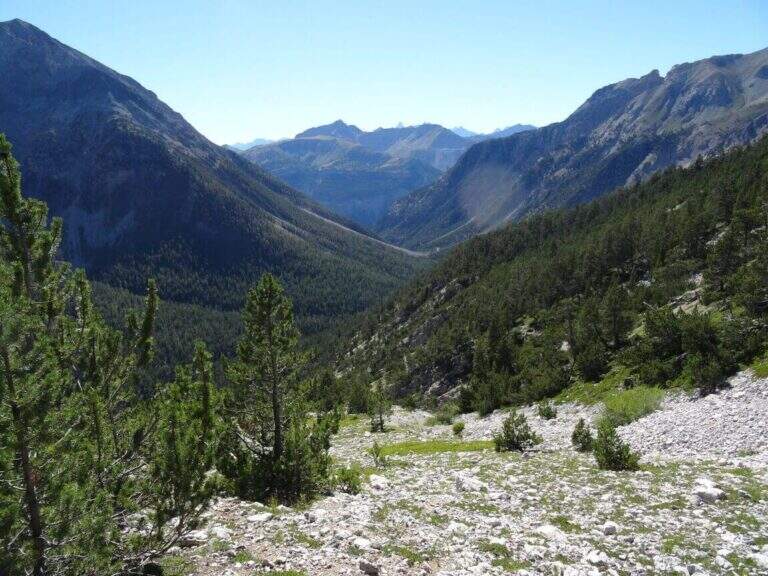
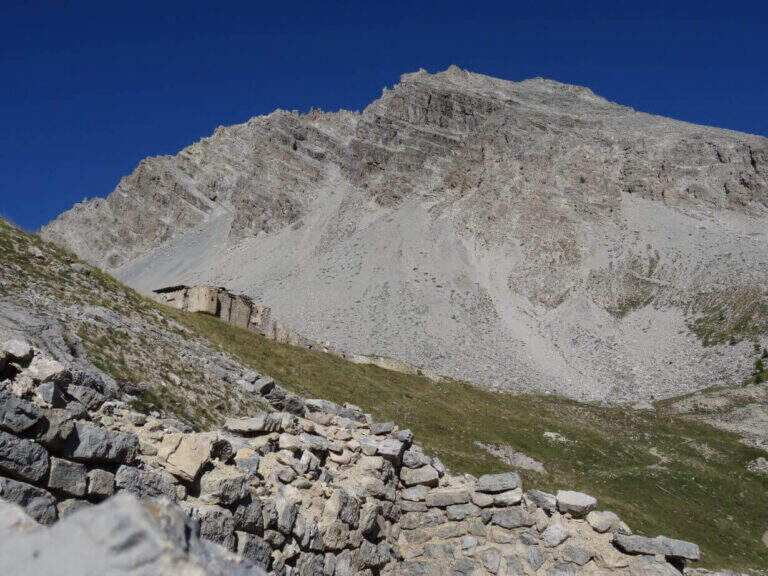
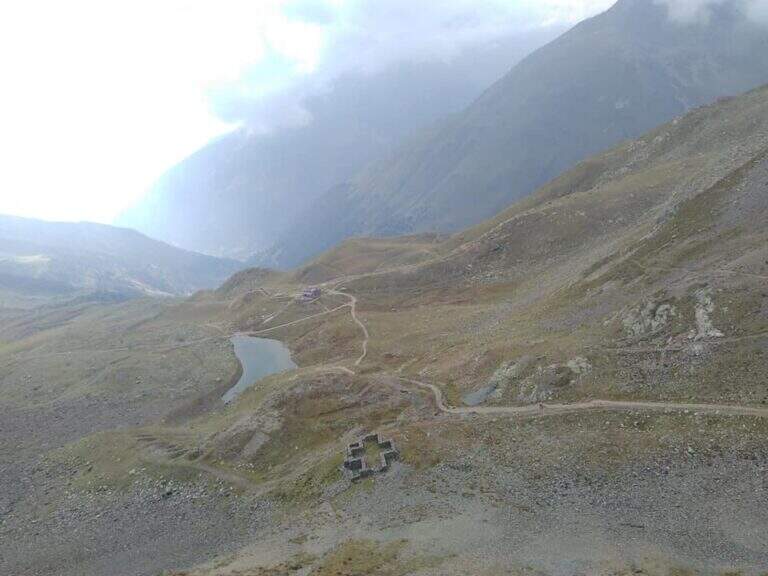
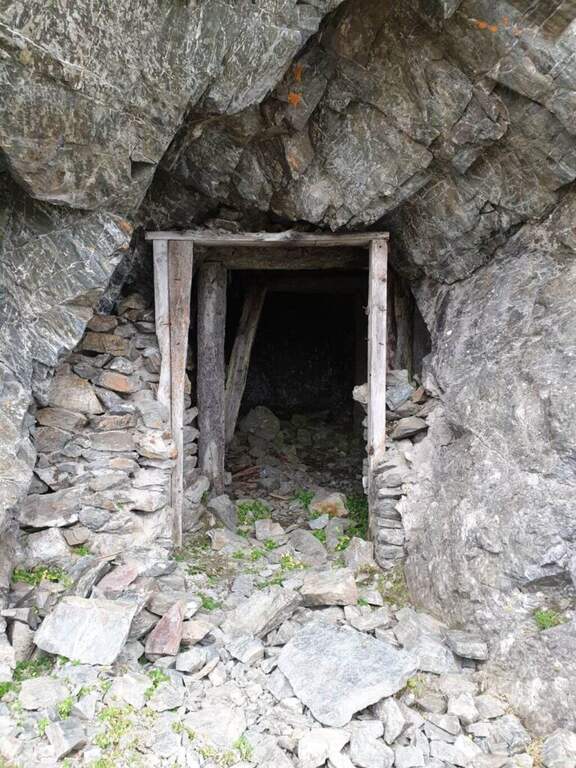
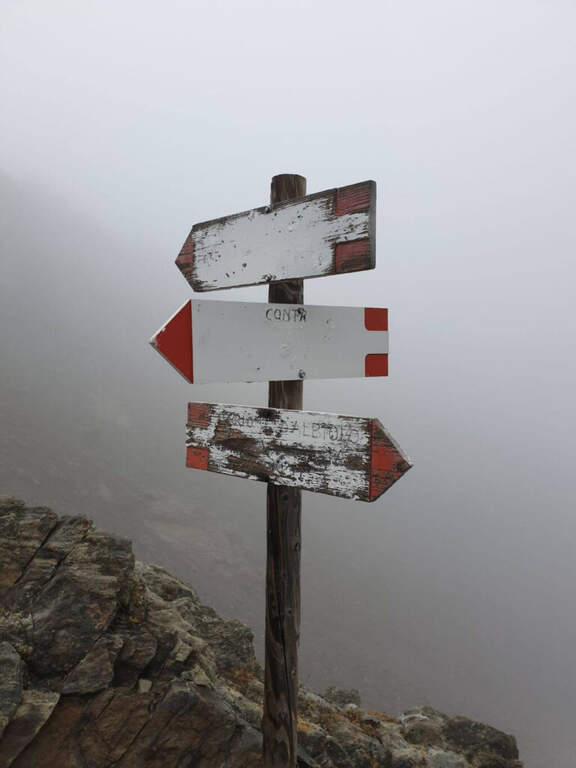
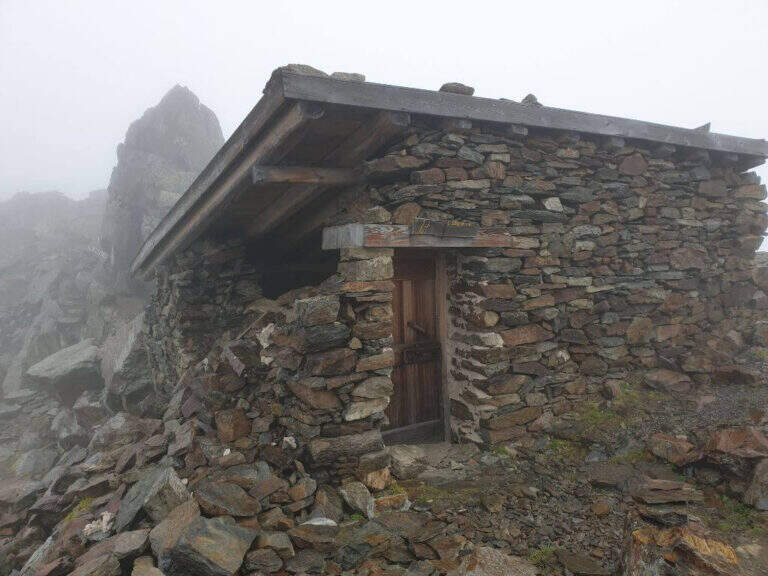
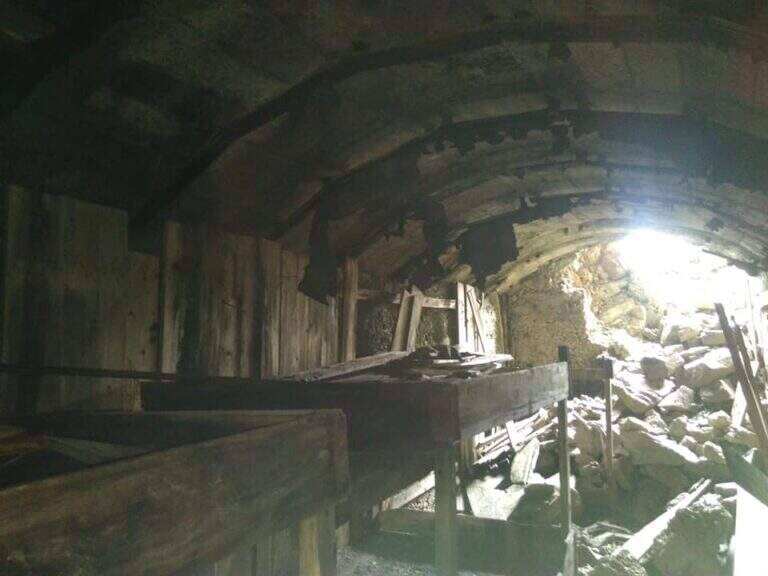
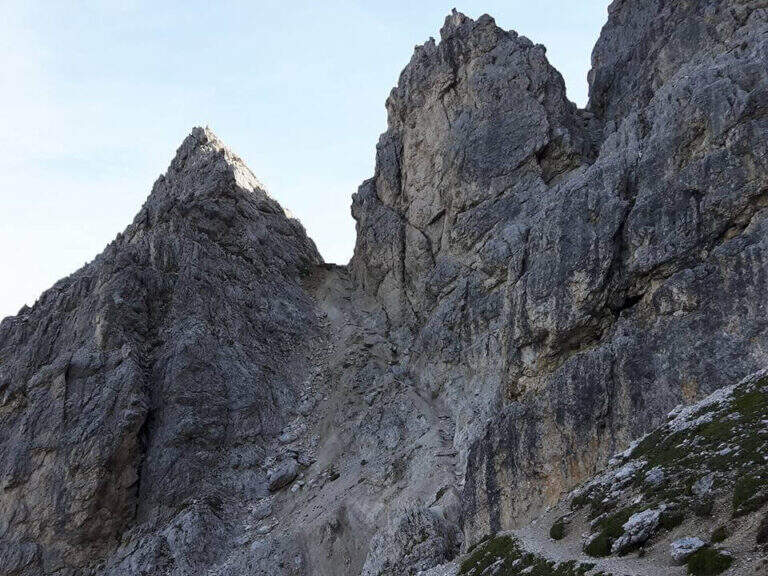
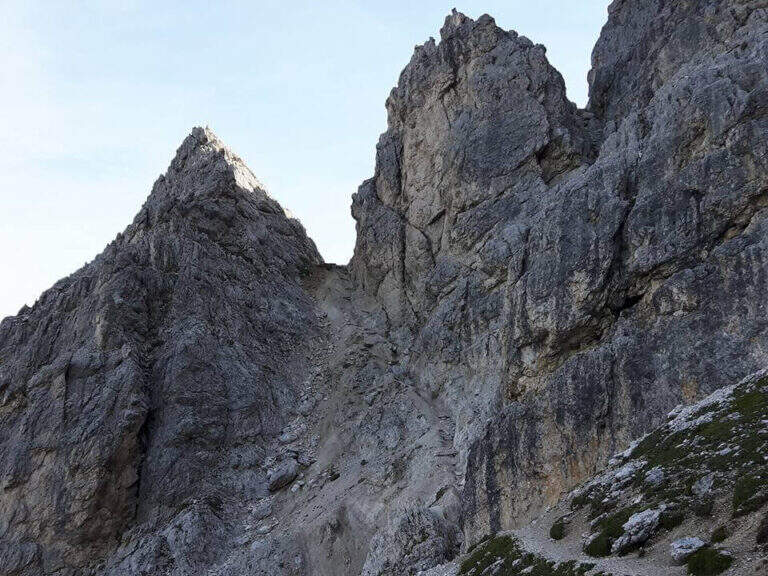
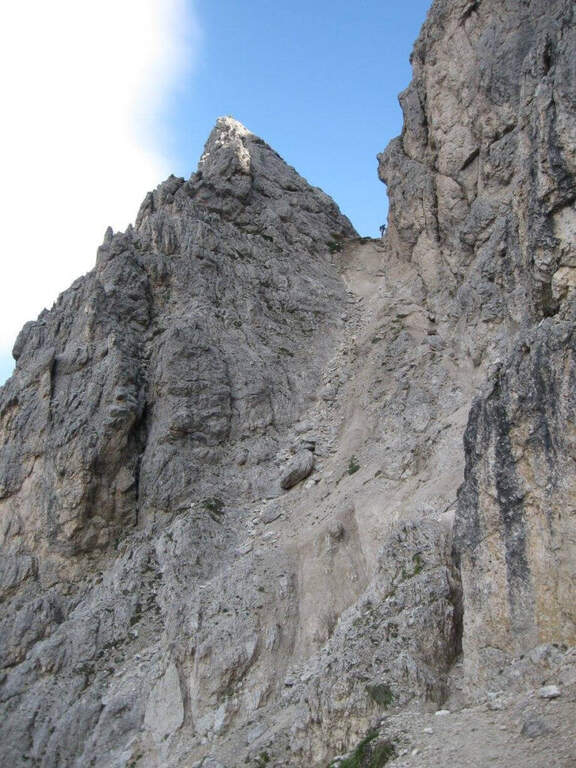
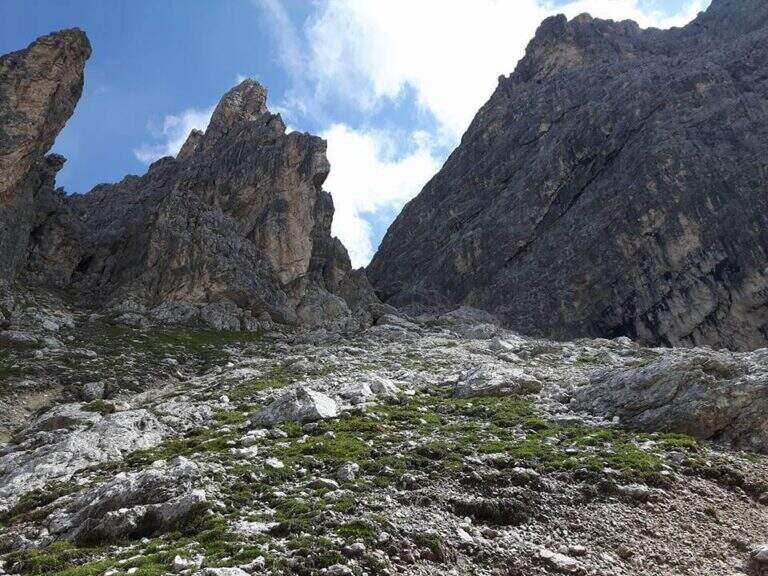
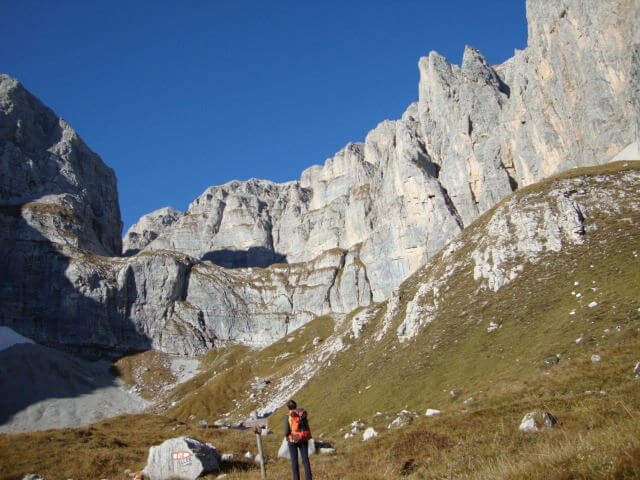
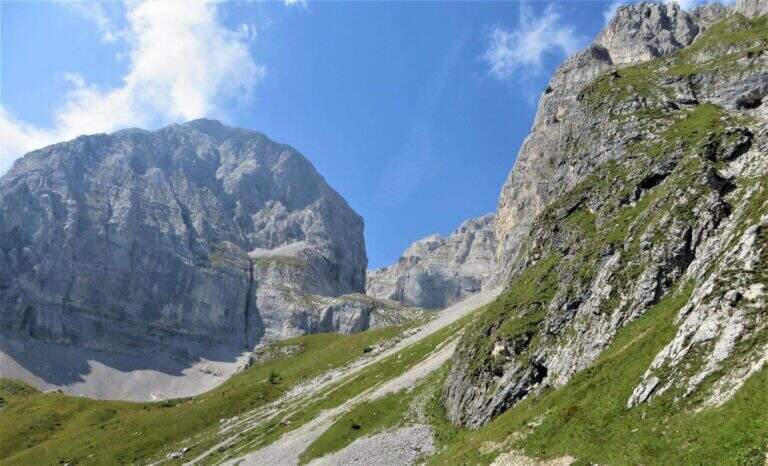
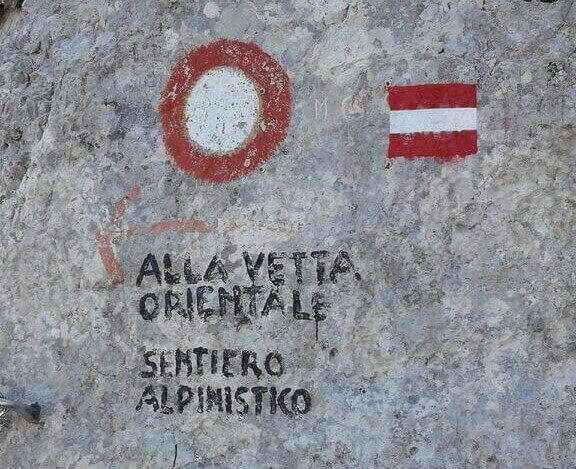
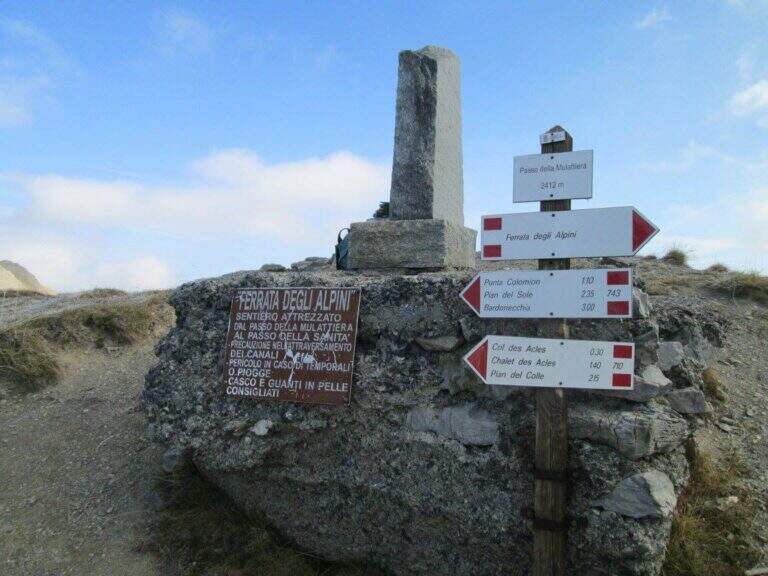
    The recommended base is the Colletto del Colomion, which can be reached by cable car from Bardonecchia (Pian del Sole) and by car. Who climbs by car points to the small town of Puys: you arrive first to Beaulard, in Val di Susa, and — going up from the valley — just before leaving the village you cross the railway to the left taking Via San Giusto; you follow it up to a blue sign that indicates Puys at 3 km, on narrow but asphalted road. From Puys you continue on dirt until the Colletto del Colomion, where you should leave the car because beyond the bottom becomes difficult (open up Google Maps). From the parking lot you walk on the dirt road towards the Passo della Mulattiera: the path climbs first to the edge of the forest in a beautiful valley, then cuts halfway up to the pass (2412 m, 1h15 from the parking lot), where rises the barracks of the Alpini XVI, abandoned but visitable. The Passo della Mulattiera is a well-marked crossroads: it is held the left towards Punta Charrà, which faces the obvious carving in the rock. It avoids the steep direct ridge and cuts diagonally the north slope, on a blue track and radi signs, until the beginning of the equipment (15′ from the step, 1h30 from the parking lot).

    ▲The path

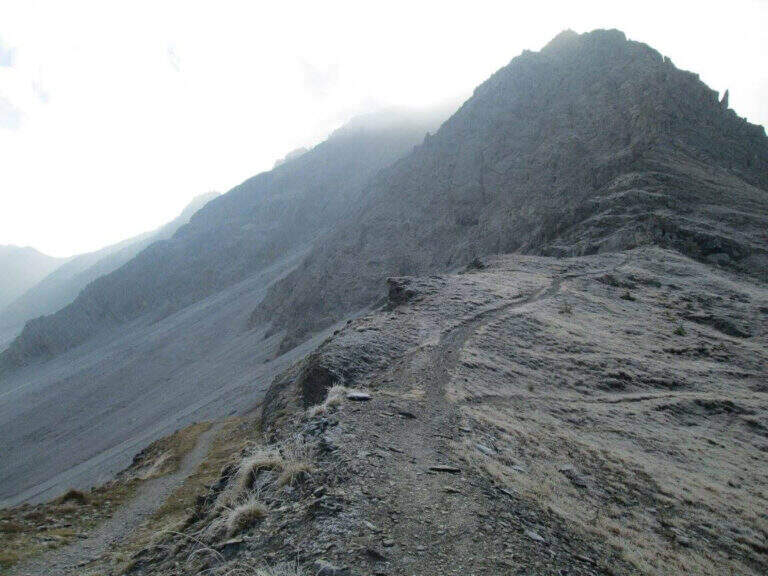
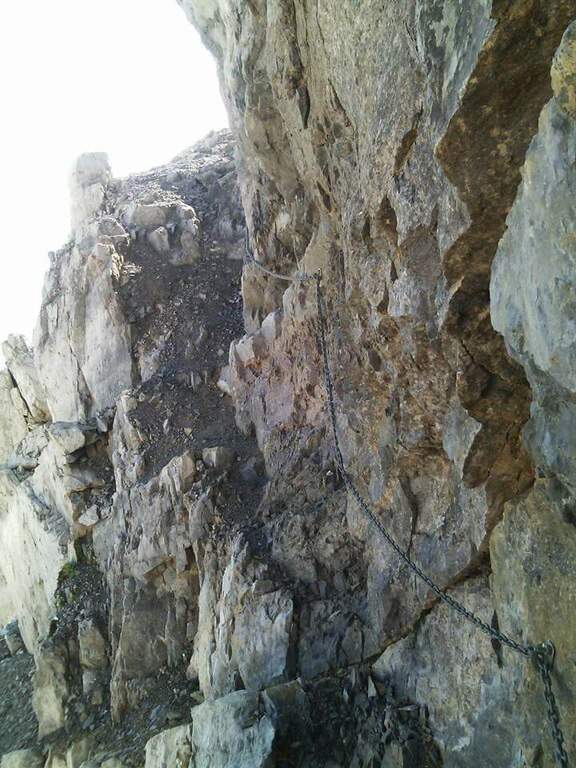
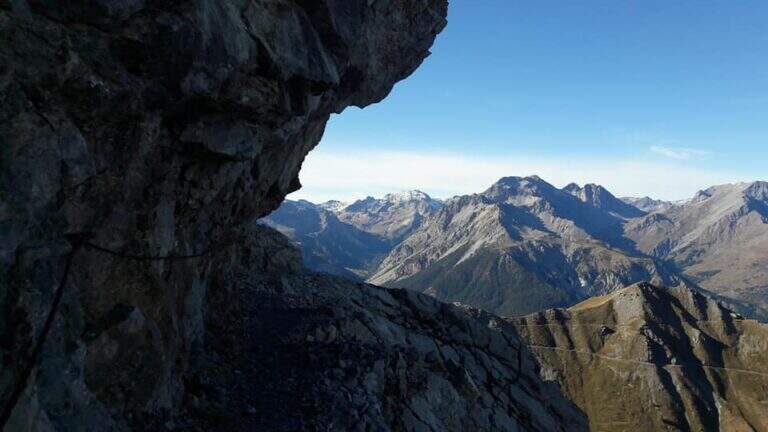
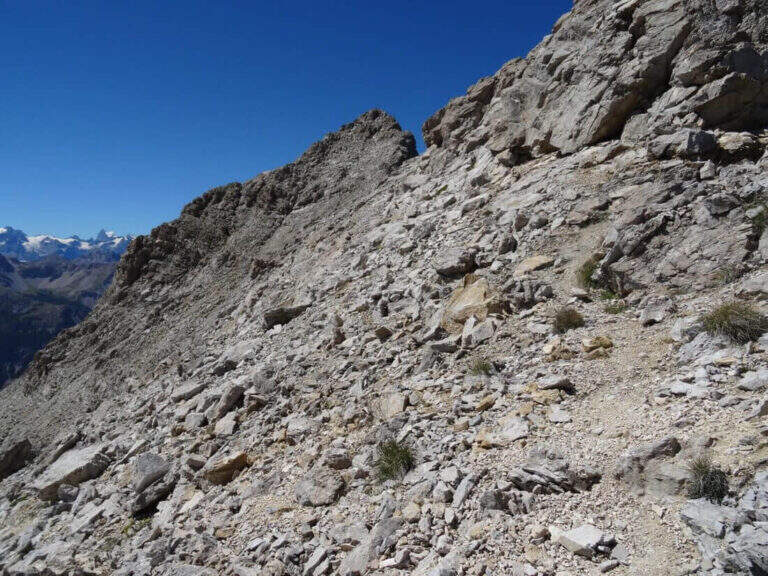
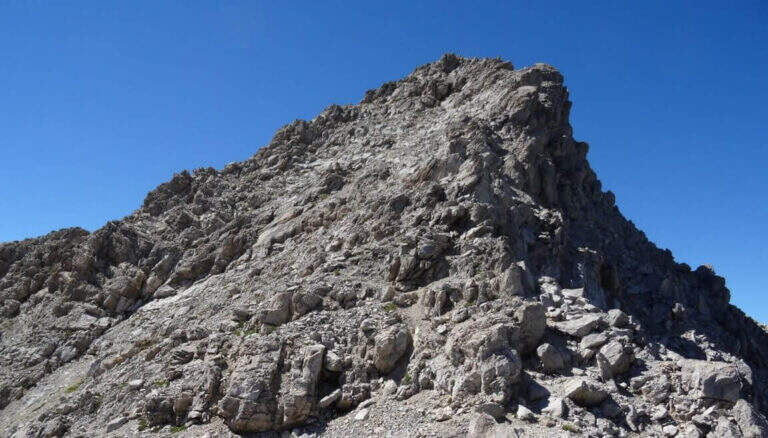
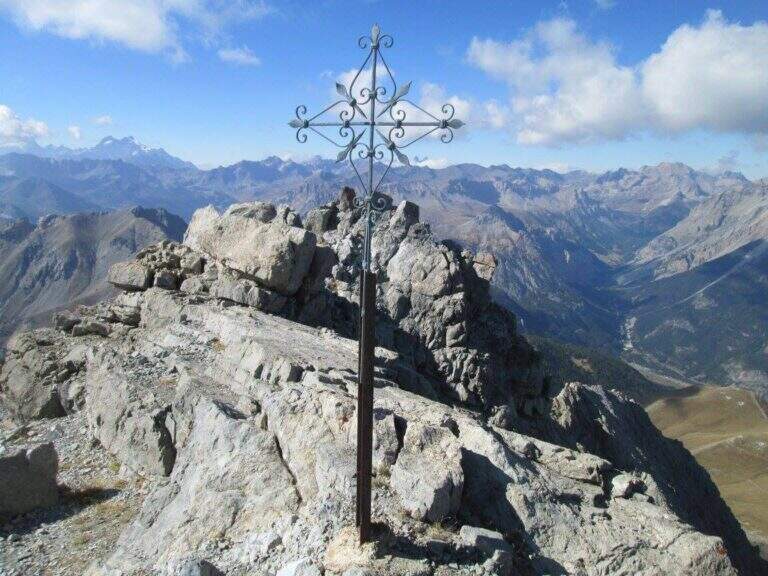
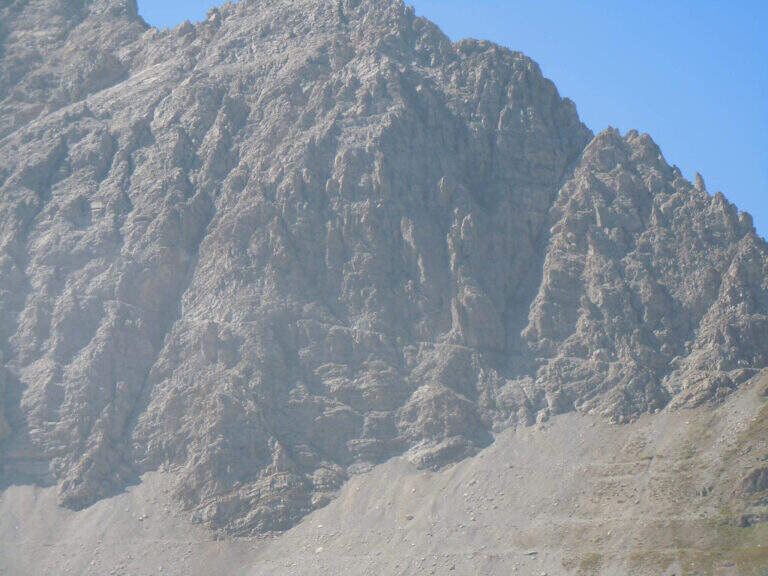
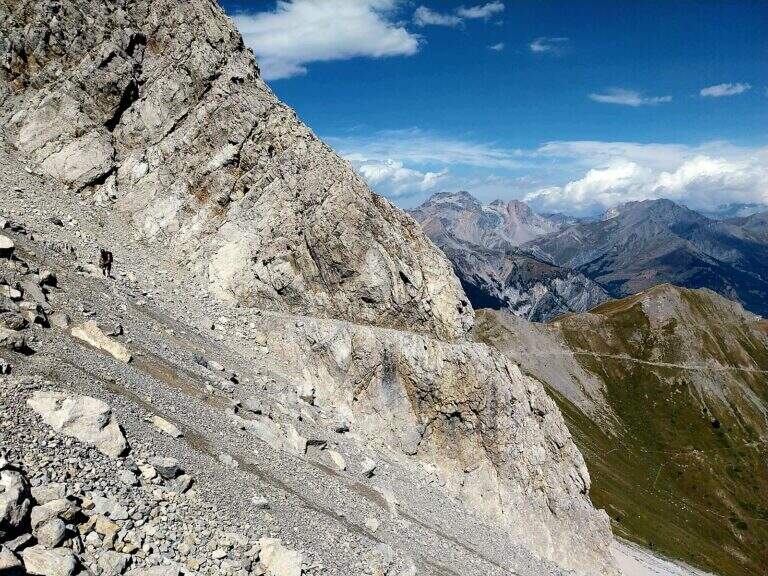
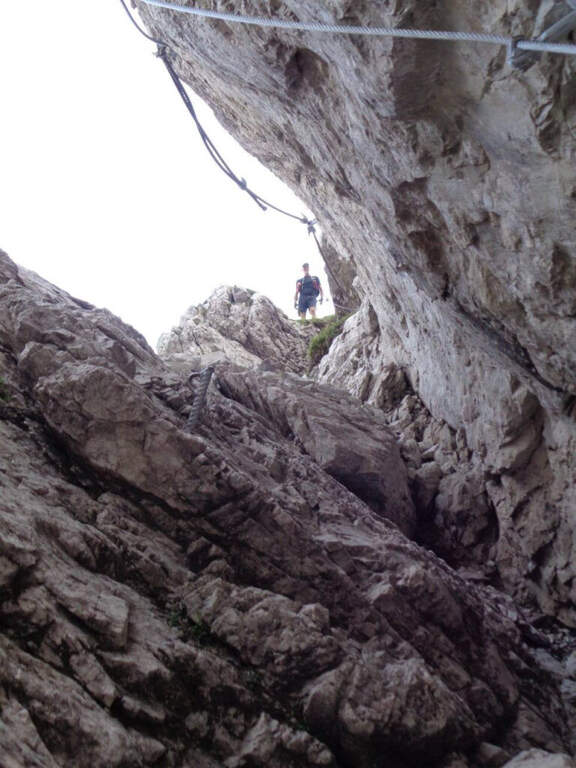
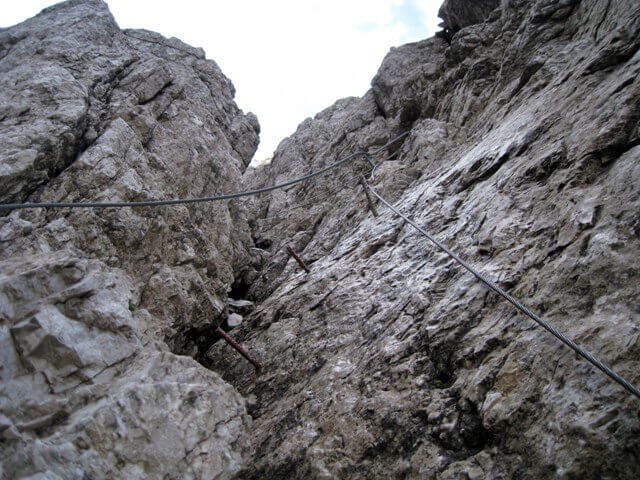
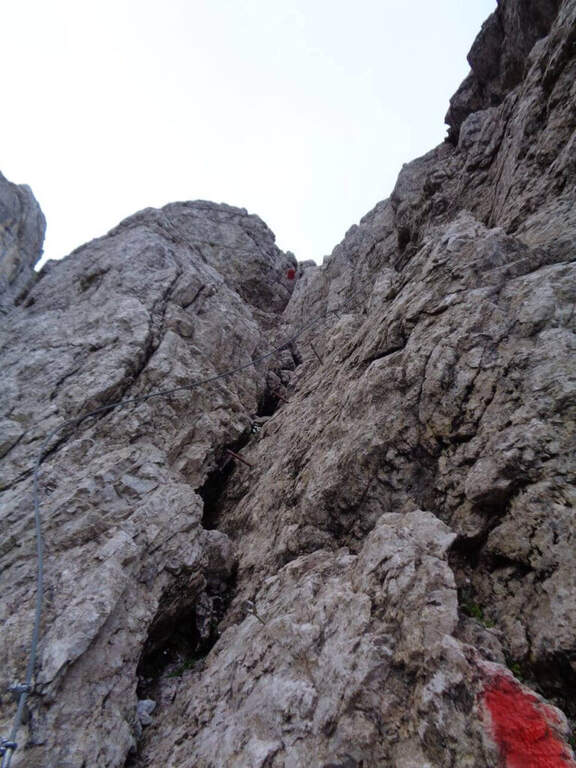
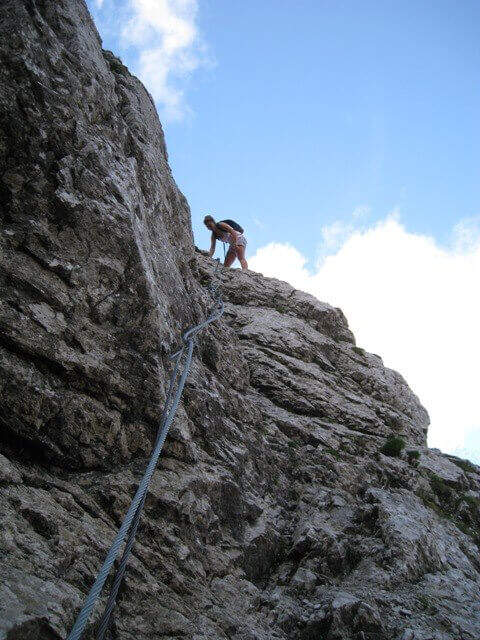
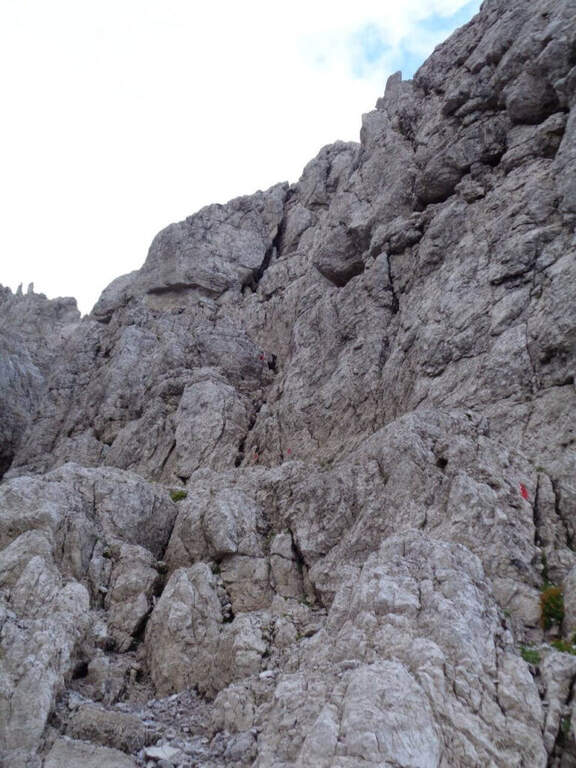
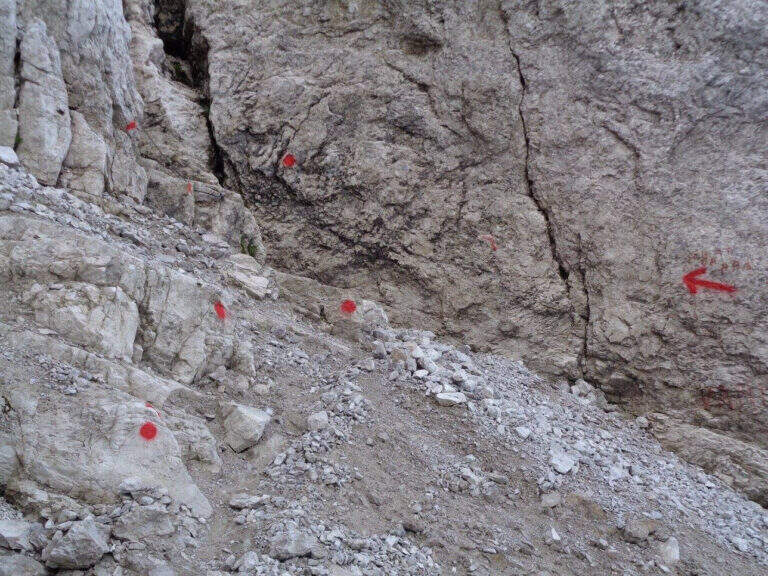
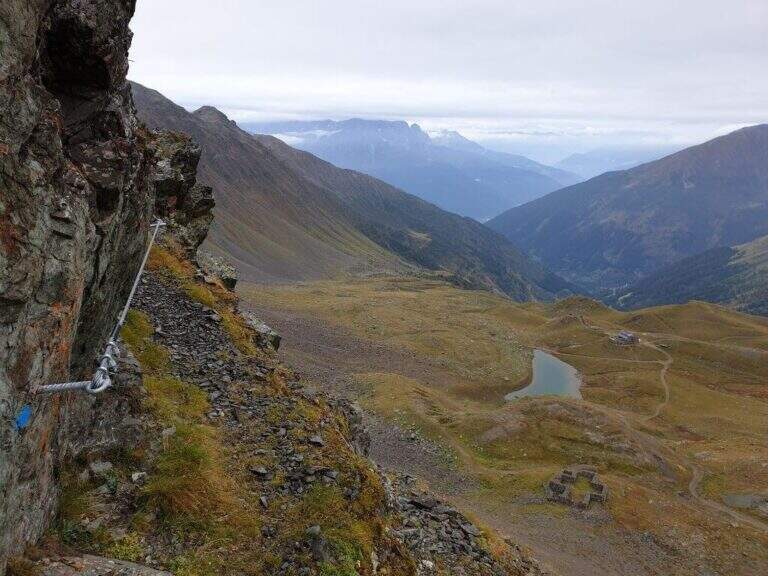
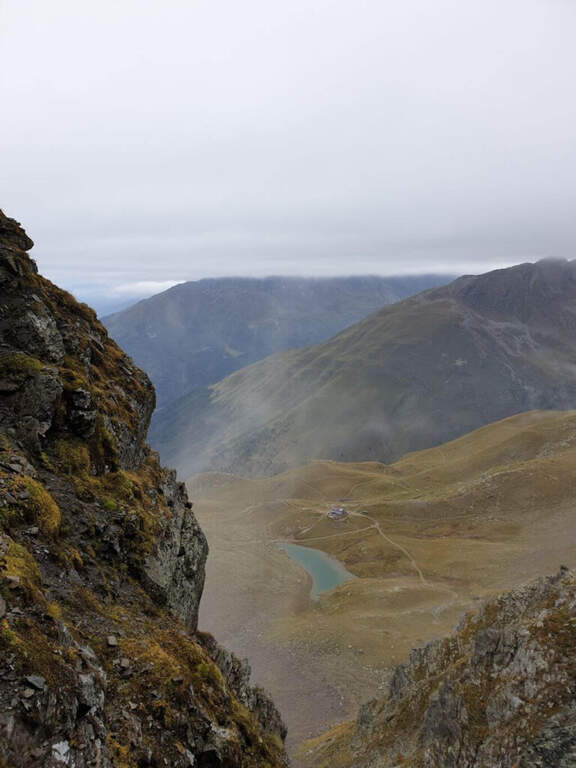
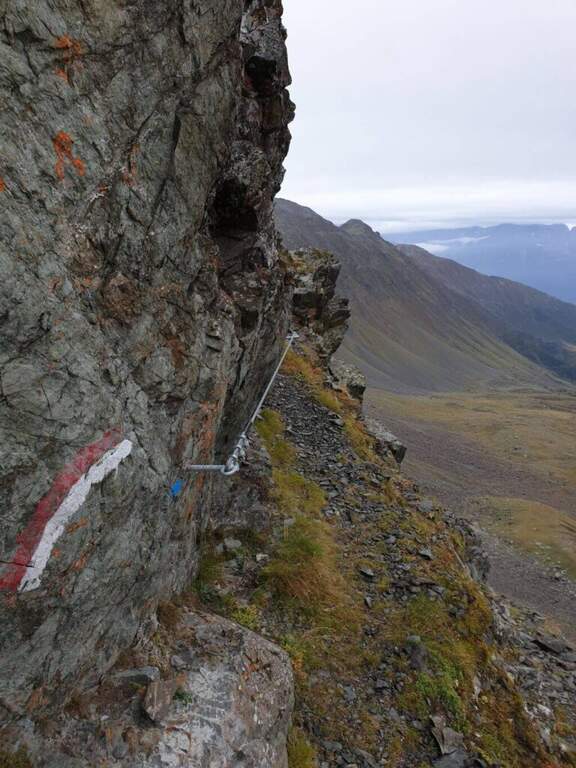
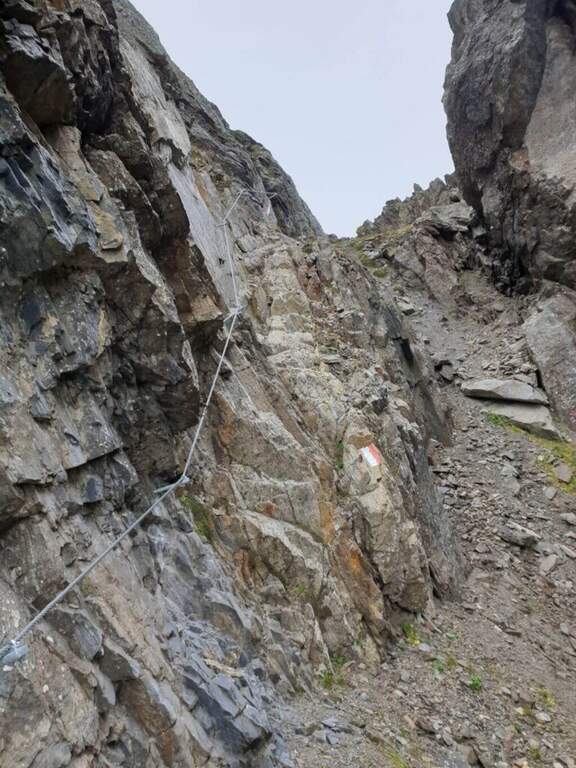
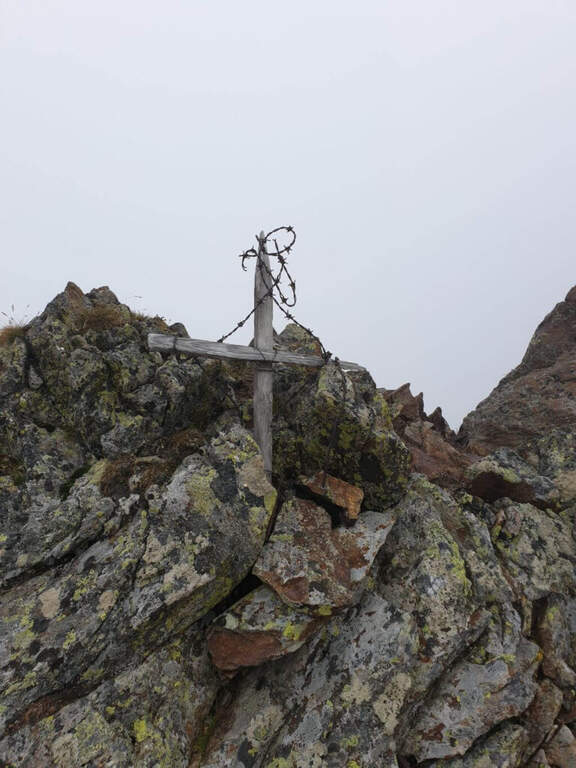
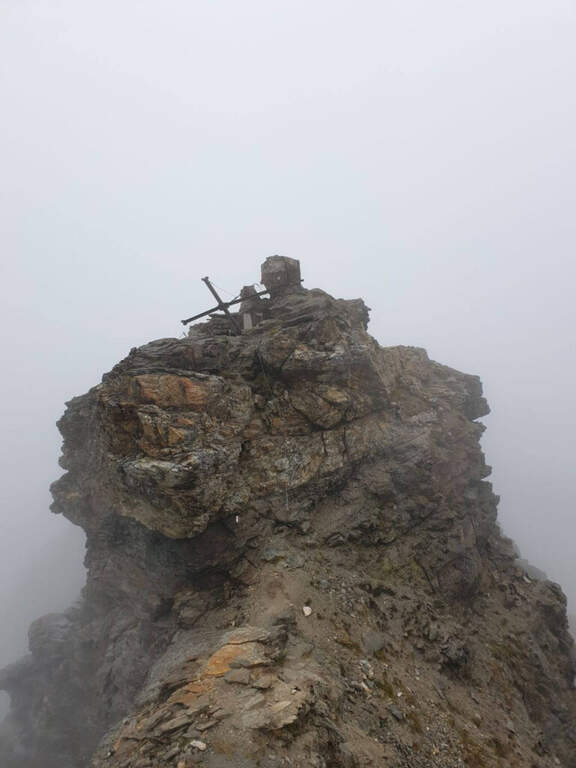
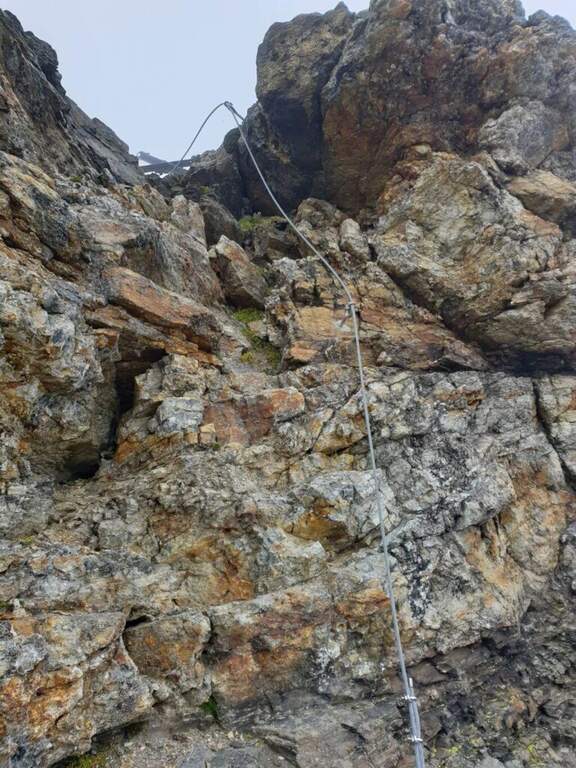
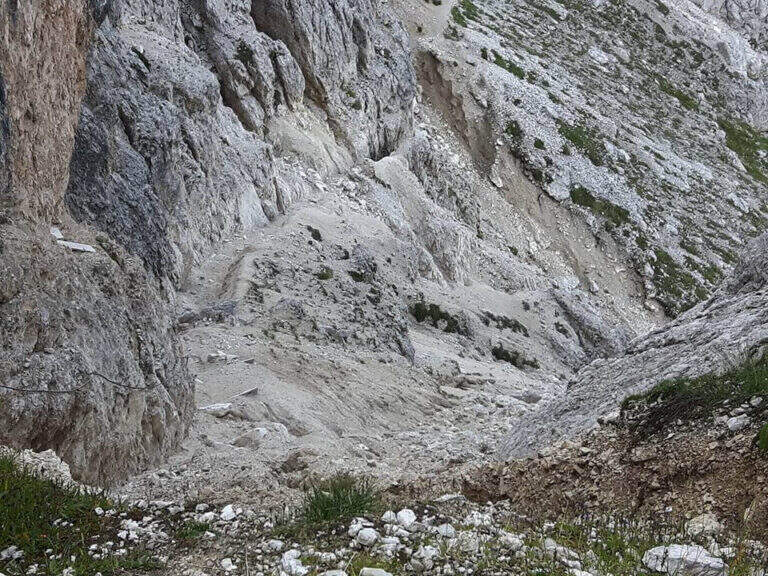
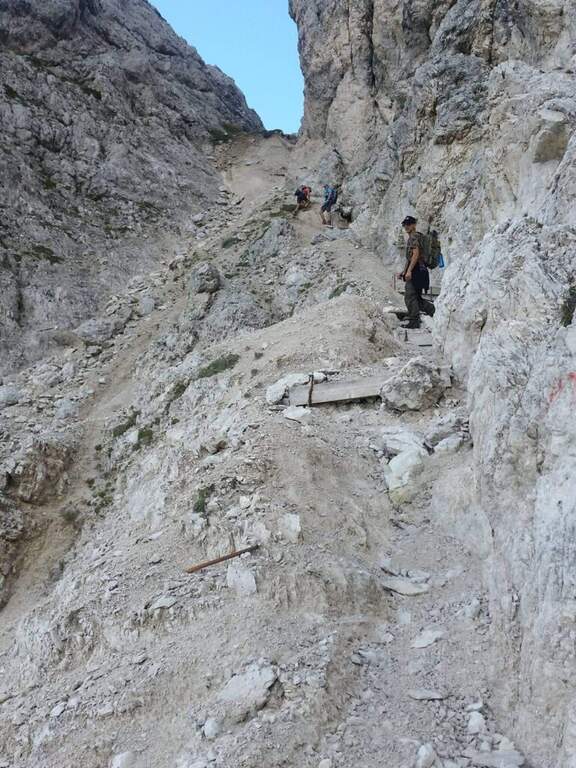
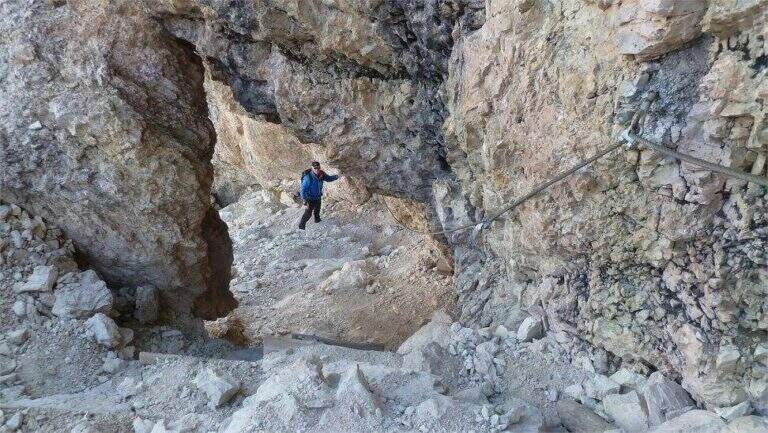
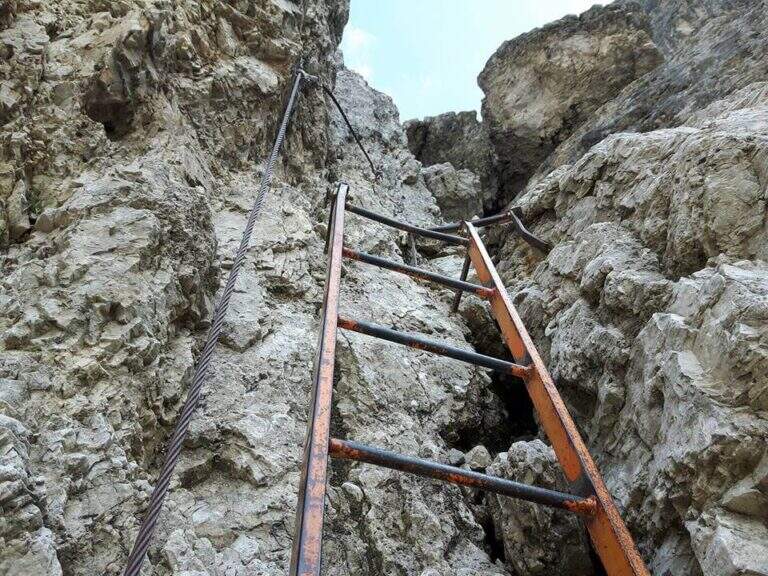
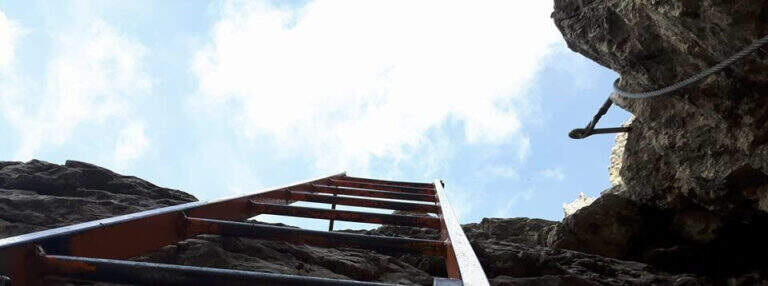
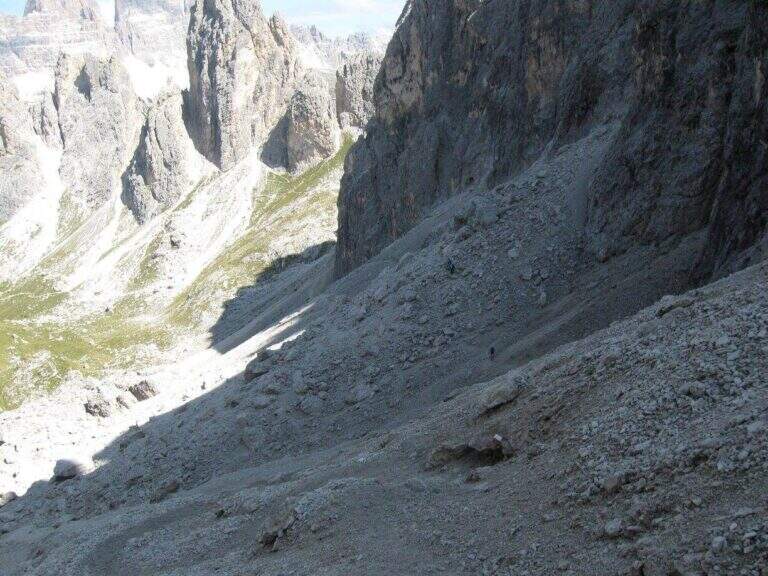
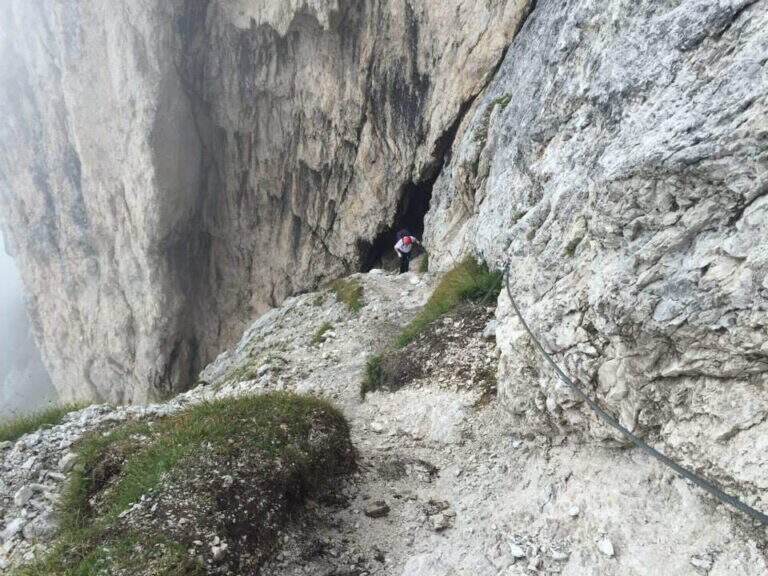
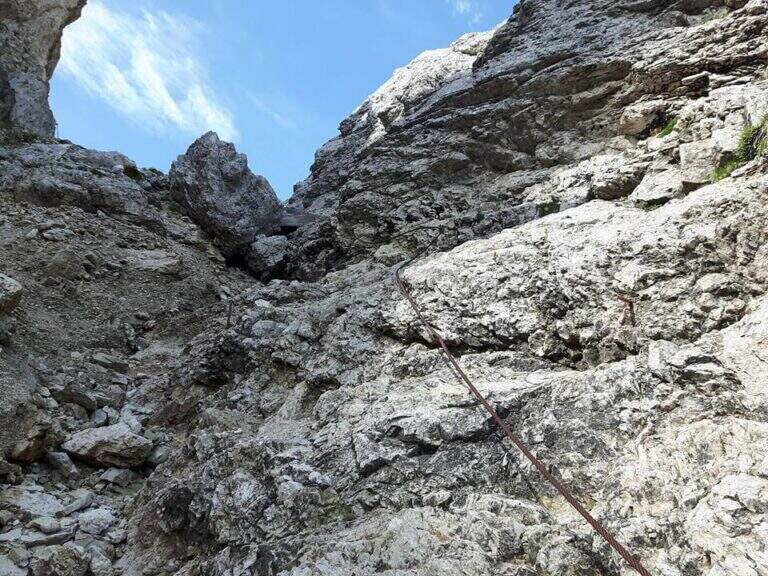
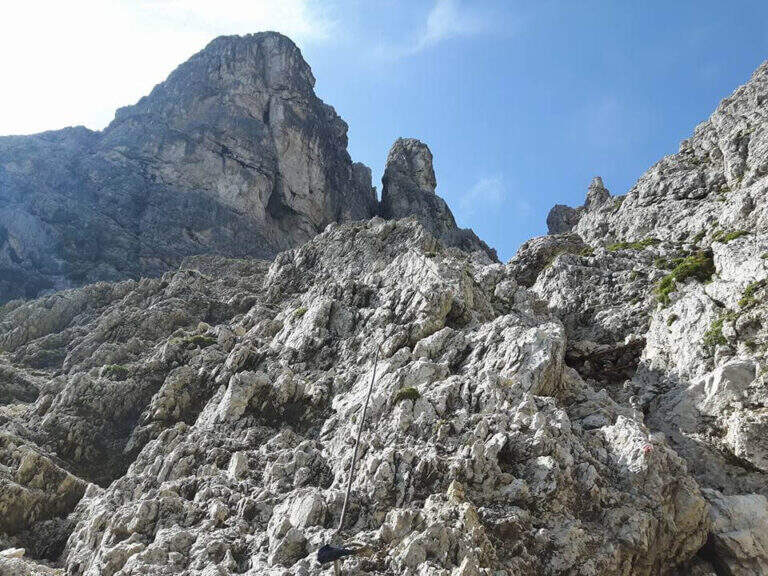
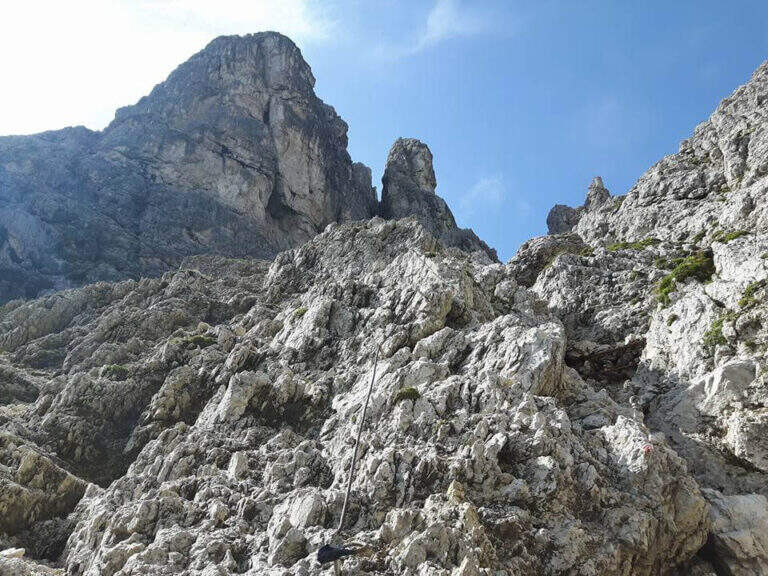
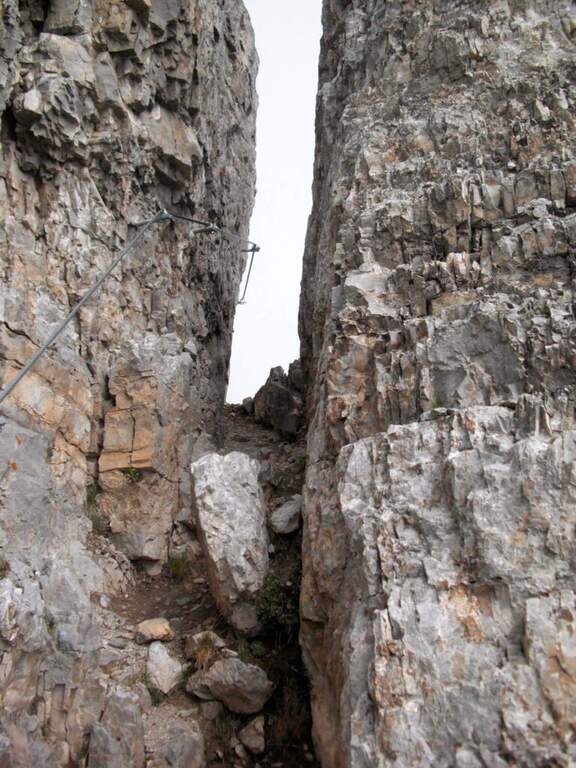
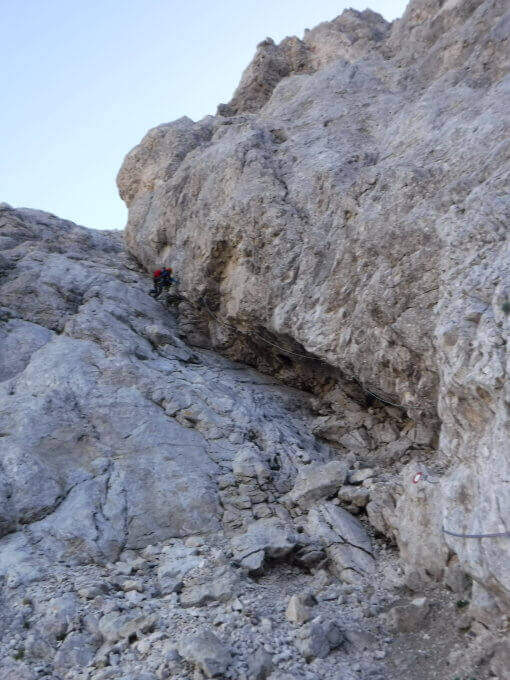
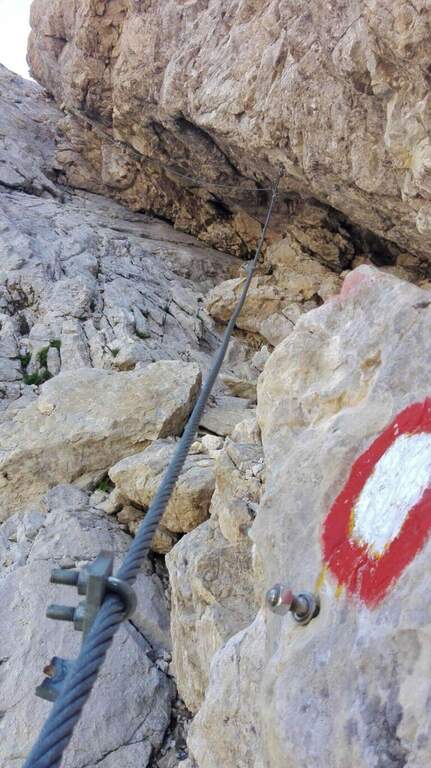
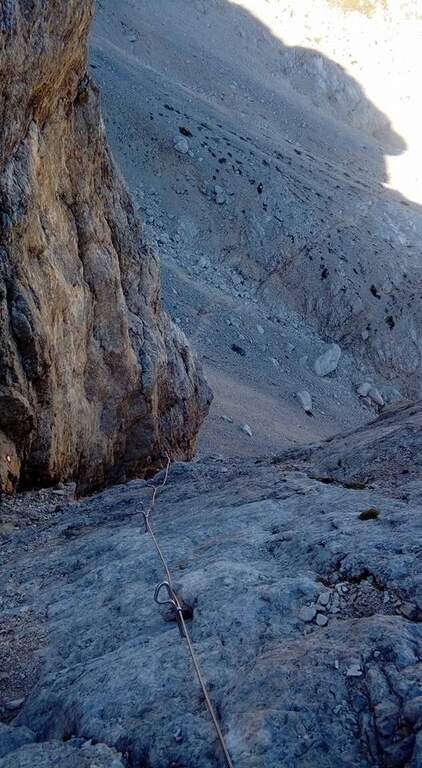
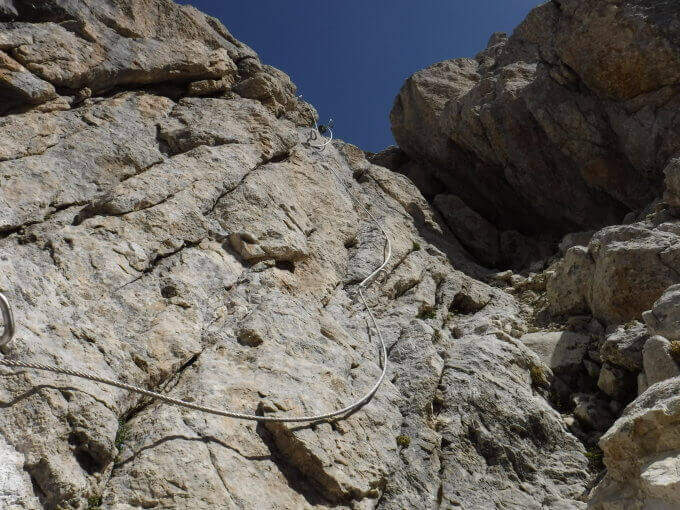
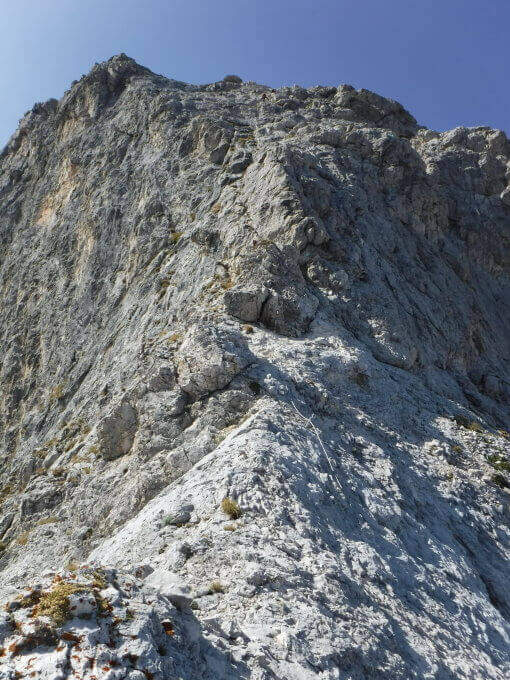
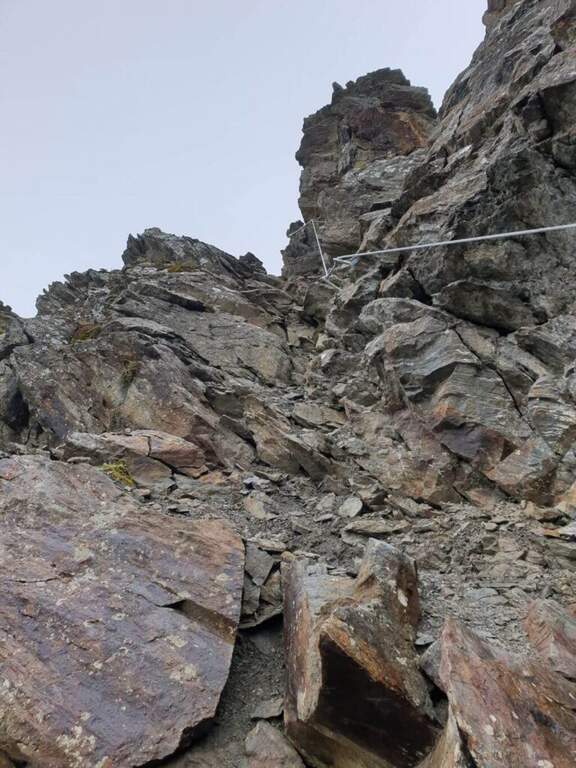
    The cable starts along a nod, first flat and then more marked. At first the rope is dated and lasca, but the ease of the soil does not create problems; later the nod shrinks and the bottom, made of guinea pig, gives little safety, so the cable acts as a precious handrail. We proceed between carvings and canals to be overcome with cable or chains, always to your right, with exposure that grows but technical difficulties almost null, except some point for the infido fund. The equipment ends at Passo della Sanità (2629 m, about 1h from Passo della Mulattiera). The optional climb — but recommended — to the summit follows the obvious ridge: you first gain a grassy slope on easy track up to a first natural carving, then you climb with caution between smossi rocks, transverses, spikes and rocks, following the numerous omits and red signs; where you do not follow the dorsal remains on the south side. After a couple of ups and downs you touch the top of Punta Charrà (2843 m, 1h from Passo della Sanità, 2h from Passo della Mulattiera, about 3h30 overall).

    ▲Character and difficulty

    Taken to itself, the equipped part is easy and without real technical difficulties, developing mainly horizontally. What is committed is the high mountain environment: the excursion is long and requires preparation, experience and orientation, especially in case of uncertain weather. The equipment was modernized and in good condition at 2021.

    ⚠ Itinerary not recommended with unstable weather: the route lacks support points. Also at the beginning of the summer season it is not rare to find snowy canals in rather exposed traits: recommended peak.
    ▲Period and safety

    Summer season, with a maximum altitude of 2843 m in the Alpine border. For the length of the ring and the exposure of some traits serve steady pace, training for the total 6h45 and attention to the snow conditions remaining in the canalons.

    ▲Discipline

    From the top you return to the Passo della Sanità (about 45′). From here two possibilities. The first is to retrace the Alpine Path to the Mulattiera Pass and then return to the parking lot on the ascent route. The second is to close a ring around Punta Charrà descending into French territory in the valley des Acles: it falls steeply to zig-zag on debris to the wood, where the path is almost flat, then cuts the south side up to a rocky shoulder beyond which appear the barracks of the French army under the Col des Acles; from there follow the signs that bring back to the ascent 30 From the pass you return to the parking lot (about 6h45 total).
    ▲Gallery
    Technical data
    • DifficultyModerately Hard
    • RegionPiedmont
    • GroupCozie Alps – Val di Susa
    • Approach1:30 h
    • Ferrata2:00 h
    • Itinerary (a/r)6:45 h
    • Hardware level difference217 m
    • Route difference850 m
    • Max2843 m
    • Length14 Km
  • Sentiero Attrezzato Amalio da Prà al Monte Ciareido

    Sentiero Attrezzato Amalio da Prà al Monte Ciareido

    Vie Ferrate › Veneto › Belluno
    Sentiero Attrezzato Amalio da Prà al Monte Ciareido
    Moderately Hard● OpenDescriptionComplexityMapsGallery

    Il Sentiero Attrezzato Amalio da Prà circumvents Monte Ciareido in the Marmarole, a much less popular dolomitic group of neighbors and for this wild and surprising. It is a medium difficulty ring: a couple of challenging equipped steps and, above all, exposed and unprotected traits that raise the overall commitment.

    ▲Approach

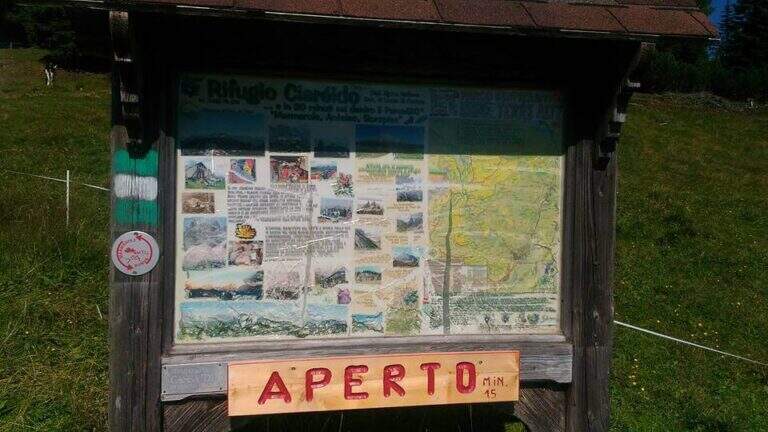
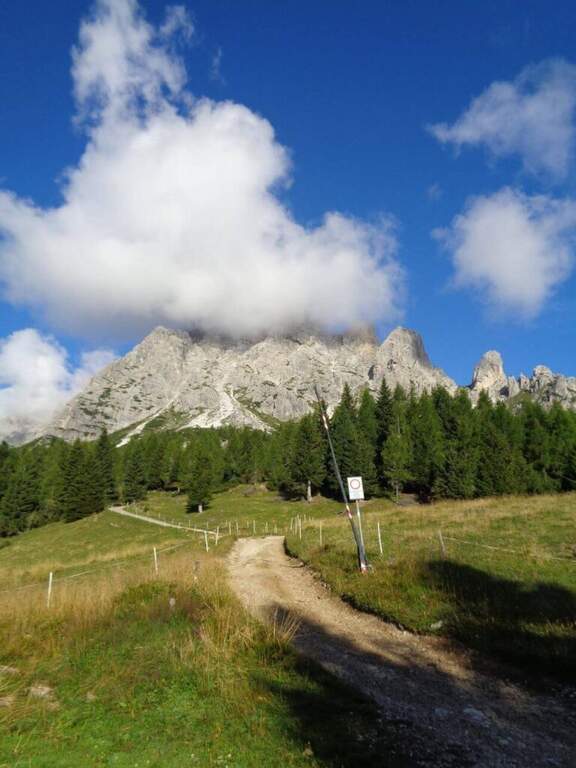
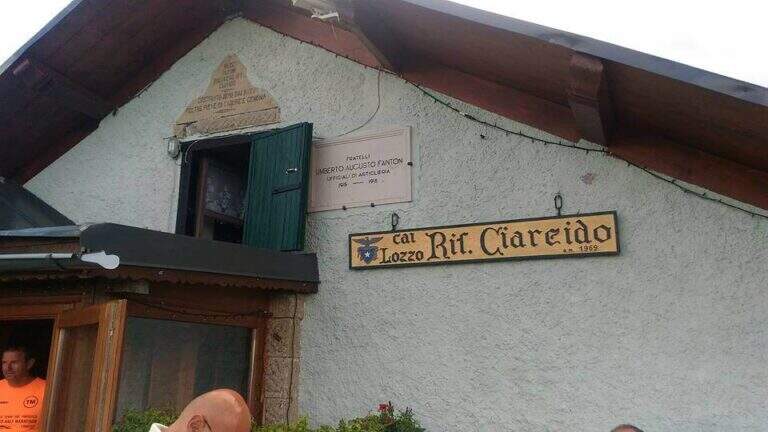
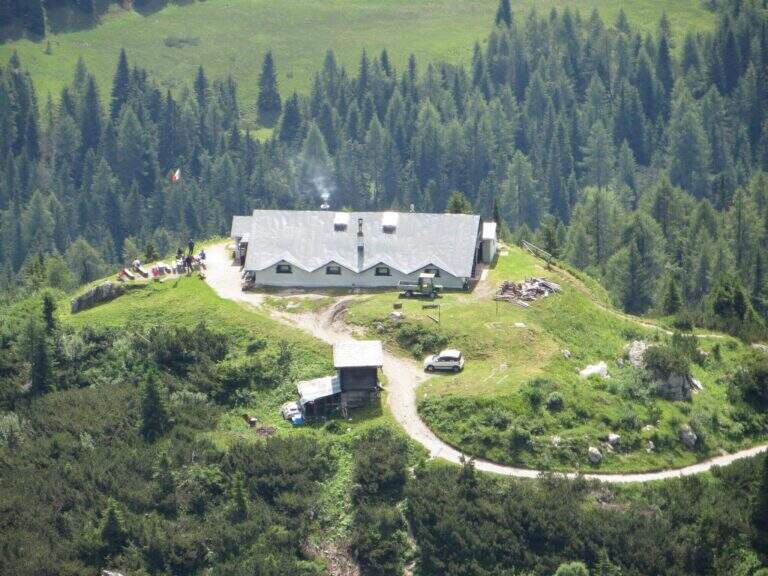
    It starts from the Parco to the Memory of Pian dei Buoi, above Lozzo di Cadore. Just before the' intersection between the SS52 and the SS51 a road on the left, with indications for the Ciareido and the Marmarole, rises for several kilometers and è narrow: in high season there is the senso unico alternating at times (verify on the site of the Municipality). You get to' last parking (100 places), not far from the Ciareido Refuge. Open road signs on Google Maps. Continue on the dirt road until the Rifugio Ciareido (1969 m, 15' from the parking lot); just beyond, at a crossroad, the destra is held on the CAI 272 towards the north, remaining on the floor until a crossroad where on the left a path with red signs climbs rapidly towards l' obvious fork between the Ciareido and a.

    ▲The path

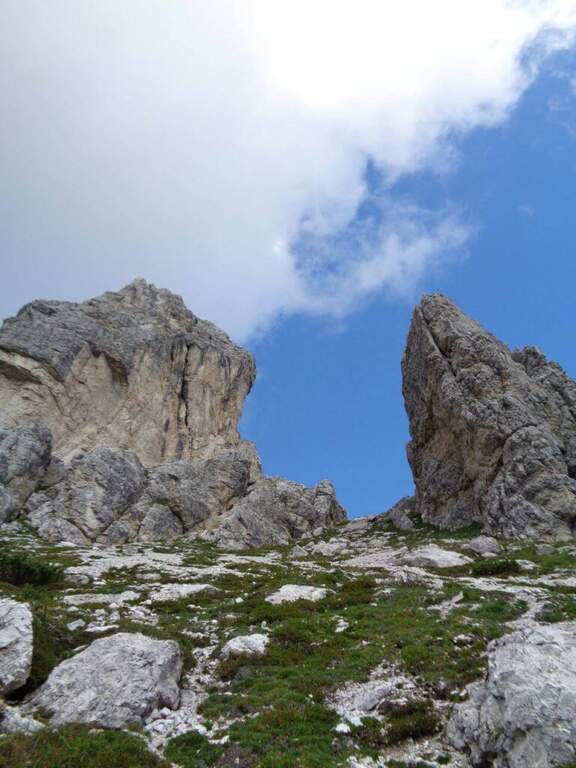
    From the fork you go down to the left and quickly meet the equipment: the cable acts as the runner downhill to bypass the Pian dei Buoi Tower first and then the east side of the Ciareido; characteristic a passage where the cable runs along a channel carved diagonally into the wall. The path descends steeply and bends to the left with some cenge almost always protected. Start the più tract; interesting: you descend a few meters in dis climbing on the east walls of the Ciareido, you walk a stretch of exposed and equipped path and you go up a vertical parete equipped – the più point; difficult of the track, however on moderate levels. A last canal with a few leaps closes the equipment; we continue halfway following the abundant signs to the fork on the south side of the Ciareido, where the equipped path ends (1h 30' from' attack, 2h 30' from parking).

    ▲Character and difficulty

    The equipped parts are quite easy, except for the downhill section and the vertical wall to rise, not trivial. L' greater commitment lies in the unprotected tracts and exposed, where they serve firm foot and attention: no excessively difficult passage, but not to underestimate.

    ⚠ Some sections remain often snow-covered even in late season: è prudent to bring peak and ramps. Maximum attention in exposed and unequipped steps.

    ▲Discipline

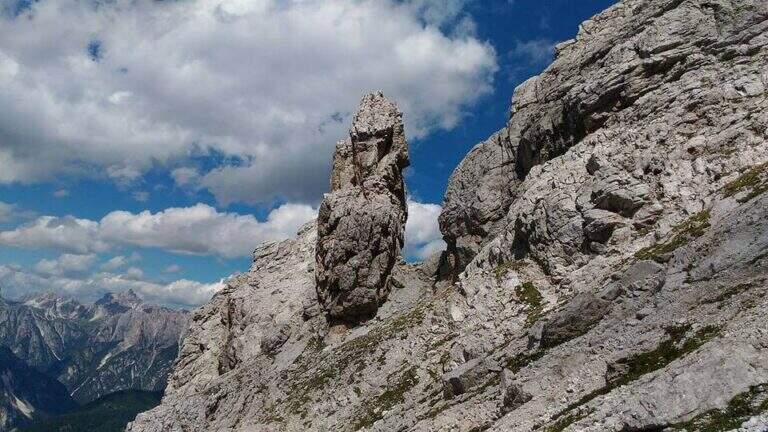
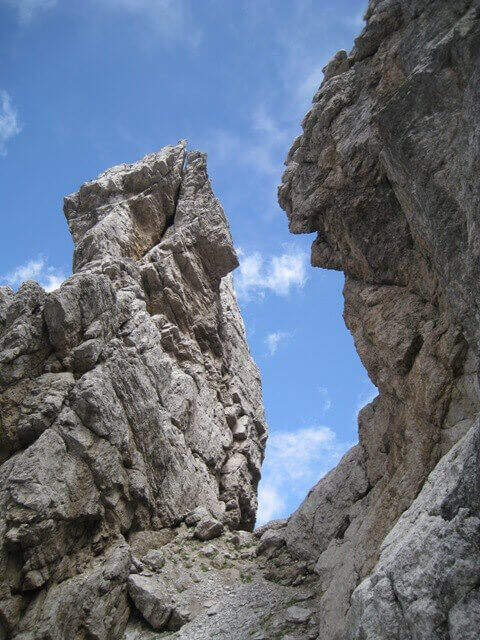
    From the end the parete south of the Ciareido (leaving behind the spire called « Il Pupo») in a very beautiful environment, descending towards the refuge. At a crossroads, you can go right to the Rifugio Baion-Boni (1828 m, 45' from the end), or continue bypassing the Ciareido to the Rifugio Ciareido dell' then go back to the parking lot (1h 15' from the end, 3h 45' overall).

    ▲To match

    Nearby, challenging, the Sentiero Attrezzato degli Alpini that climbs to Forcella Jau Tana: easy in the equipped but of strong character in those not protected, to reserve to experienced hikers.

    ▲Gallery
    Technical data
    • DifficultyModerately Hard
    • RegionVeneto
    • ProvinceBelluno
    • GroupMarmarole
    • Approach1h
    • Fully equipped1h 30'
    • Ring itinerary4h
    • Level difference100 m
    • Route difference550 m
    • Maximum2298 m
    • Length8,7 km
  • Sentiero Attrezzato degli Alpini a Punta d’Albiolo

    Sentiero Attrezzato degli Alpini in Punta d'Albiolo

    Vie Ferrate › Lombardy › Brescia
    Sentiero Attrezzato degli Alpini in Punta d'Albiolo
    Moderately Hard● OpenDescriptionComplexityMapsGallery

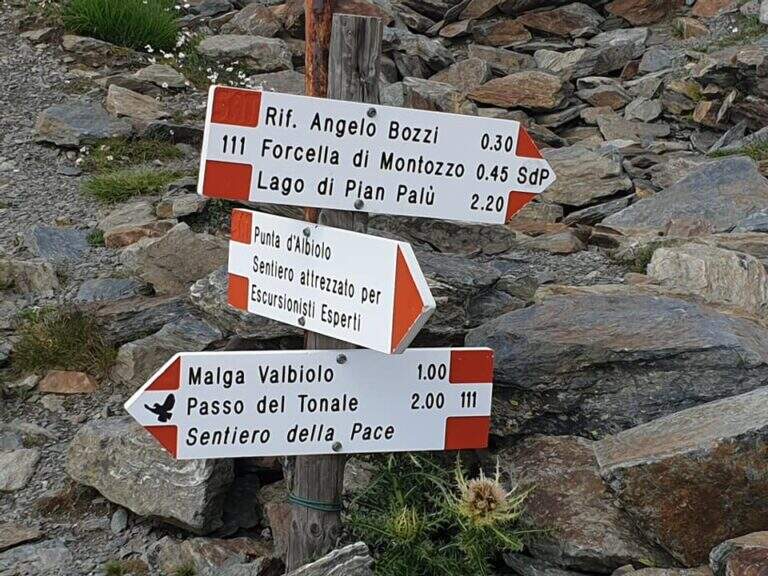
    Il Sentiero Attrezzato degli Alpini connects the Forcella del Montozzo to Passo dei Contrabbandieri, near Passo del Tonale (Brescia). More than a via ferrata is an exposed path equipped with modest difficulty: the cable is useful especially with wet bottom and in a couple of exposed beams. The report is described by the Forcella del Montozzo at Passo dei Contrabbandieri, but the route is commonly done on the contrary; the optional climb to Punta d'Albiolo is recommended.

    ▲Approach

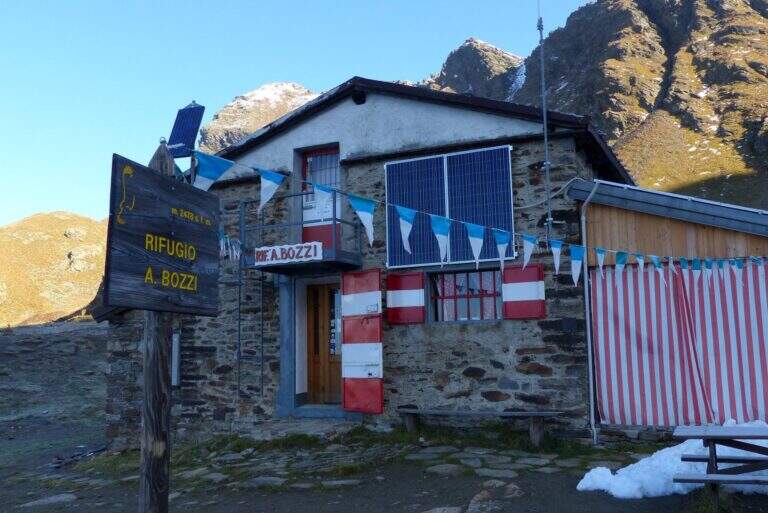
    It starts from Case of Viso (1754 m), in the province of Brescia at Passo del Tonale. Open road signs on Google Maps. Take the sentiero n. 52 which in a ' hour and a half leads to the Rifugio Bozzi (2478 m); stretching about twenty minutes you will reach steeply the Forcella del Montozzo (2613 m, 1h 45'), beginning of the path equipped. Alternatively, you can può climb from Trentino to Pejo (loc. Fontanino, paths 111/111b, about 3h 50') or from Passo del Tonale (Hospizio di San Bartolomeo, path 111 for Malga Valbiolo, about 2h 30' at Passo dei Contrabbandieri, along così l' route on the contrary).

    ▲The path

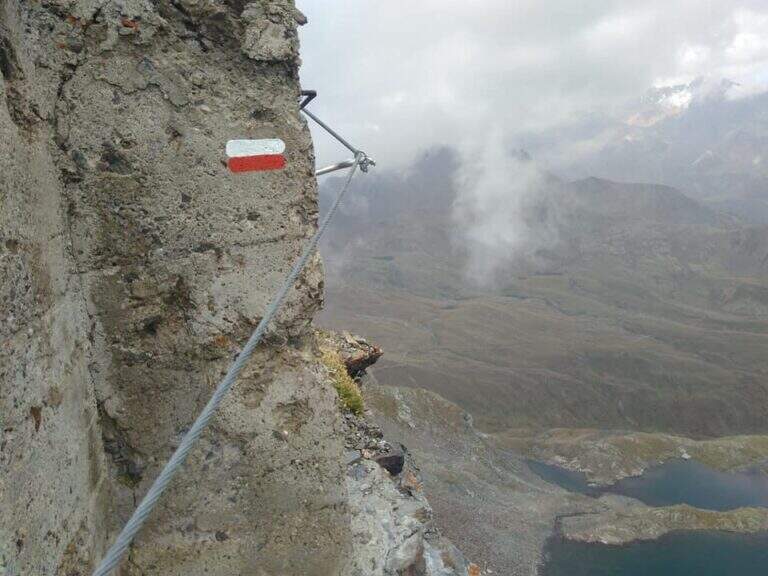
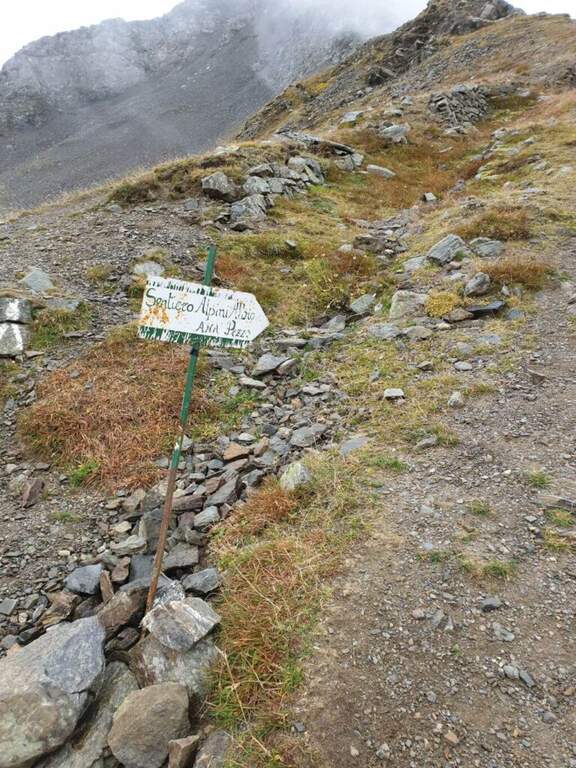
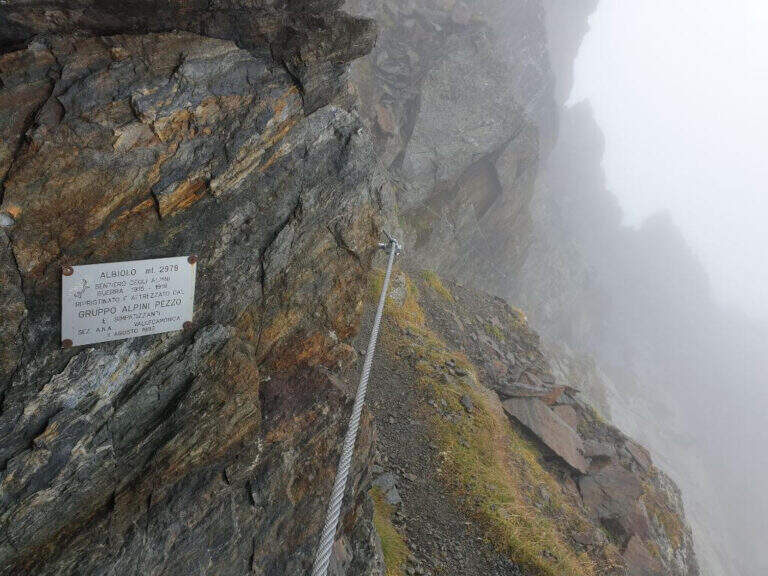
    Dalla Forcella del Montozzo (2613 m) il sentiero parte sul versante che domina la valle del Montozzo e il Rifugio Bozzi, incontrando subito diverse gallerie e tunnel usati dagli Alpini nella Prima Guerra Mondiale. Il tracciato è molto ripido e a tratti esposto; dopo alcuni passaggi attrezzati si supera una piccola forcella che apre la vista sui laghetti di Albiolo. Seguono altre cenge e passaggi esposti fino a un cartello: a destra prosegue il Sentiero degli Alpini verso il Passo dei Contrabbandieri, a sinistra la deviazione per il Torrione di Albiolo. Prendendo la deviazione, in pochi minuti e semplici passaggi si arriva sotto l'Albiolino (piccola croce di vetta); proseguendo a sinistra si trova il Torrione di Albiolo (2976 m), con un cavo metallico che aiuta la salita alla croce (attenzione: tratto con pericolo di caduta). Tornati al cartello, si riprende il Sentiero degli Alpini che in circa mezz'ora porta al Passo dei Contrabbandieri (2679 m), dove sorge una capanna in totale abbandono (1h 30' dall'inizio del sentiero, circa 3h 30' complessive). Chi vuole può allungare in meno di mezz'ora alla Cima Casaiole (2779 m), splendido balcone panoramico con altri camminamenti e trincee della Grande Guerra.

    ▲Character and difficulty

    Nice path of mention on the war walks, of technical commitment contained but with exposed traits where the cable instills safety. The equipped part has been completely renovated in August 2019 and is in excellent condition, except for a couple of loose but not dangerous thickets.

    ⚠ To face only in the absence of snow (ideally from June to September): wet soil è insidious, especially in chain-free passages. Helmet and iron set recommended.

    ▲Discipline

    From the Contrabbandieri Pass the più return; quick descends north to the Rifugio Bozzi (20-30') and from here to Case di Viso (about 1h 15'), for a total of almost 5h.

    ▲To match

    The natural ridge ` the Ferrata of Austriaci, which from Punta d'Albiolo leads to the Eastern Tonal (a similar, difficult and slightly higher environment). In the area of Ponte di Legno è very recommended the Path of Flowers; going down in Val Camonica there are the Ferrata at Corno del Grevo, la Ferrata at Pizzo Badile Camuno e il Parco delle Fucine di Casto.

    ▲Gallery
    Technical data
    • DifficultyModerately Hard
    • RegionLombardy
    • ProvinceBrescia
    • GroupAdamello-Presanella
    • Approach1h 45'
    • Fully equipped1h 30'
    • Complete itinerary4h 45'
    • Route difference1250 m
    • Maximum2970 m
    • Length11 km
  • Path equipped Bonacossa

    Path equipped Bonacossa

    Vie Ferrate › Veneto › Belluno
    Path equipped Bonacossa
    Moderately Hard● To checkDescriptionComplexityMapsGallery

    viso Notice — Since 2017 the Forcella di Misurina è affected by a landslide that has made it impossible to reach the point of the path is still closed. È it is possible to travel on the route from the Ciadin de la Neve. Always check the current conditions at the refuges in the area before leaving.

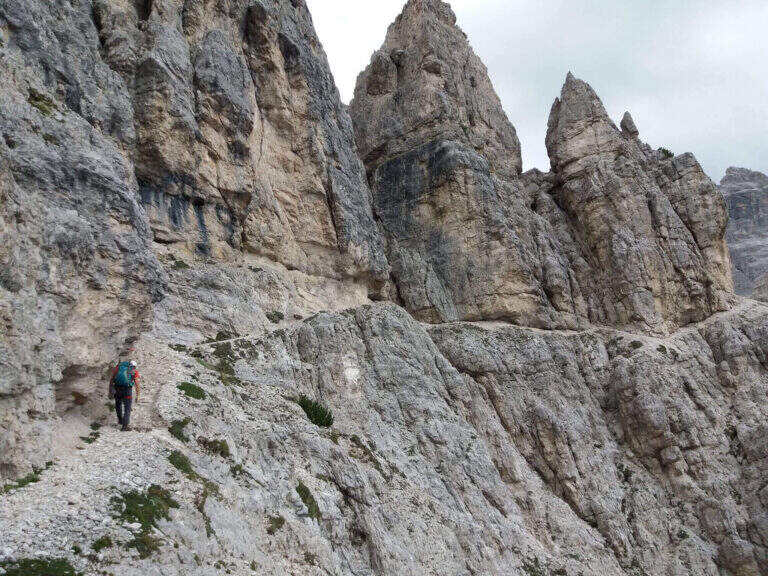
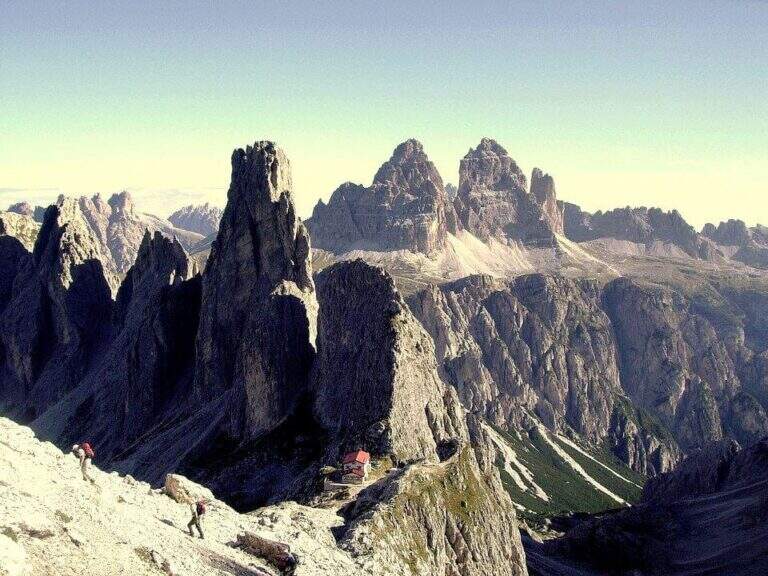
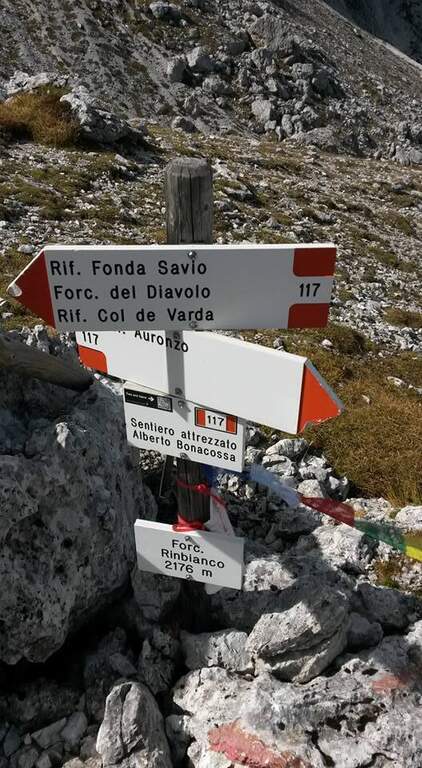
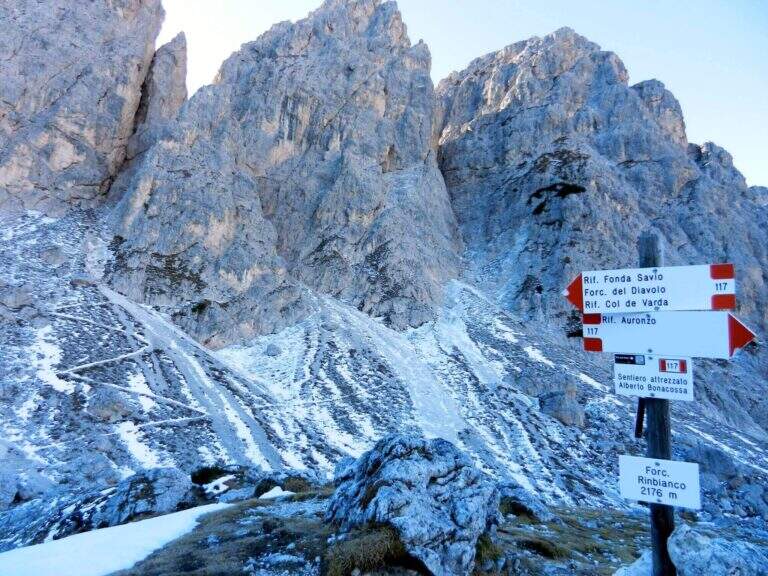
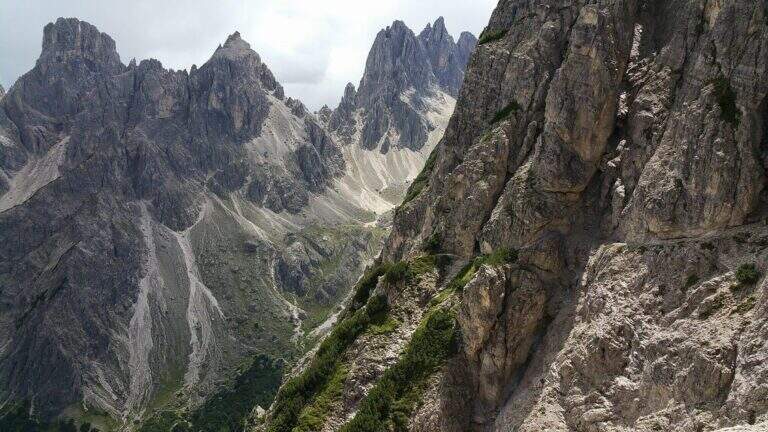
    Il Path equipped Bonacossa is a long and beautiful itinerary, partly equipped, which cuts in south-north direction the Group of the Cadini di Misurina (Dolomiti di Sesto). Different room forks, with a total difference of height much greater than the absolute for the continuous climbs. The equipped stretches are not difficult, but the excursion requires good training and steady foot, especially from Forcella de Rinbianco onwards.

    ▲Approach

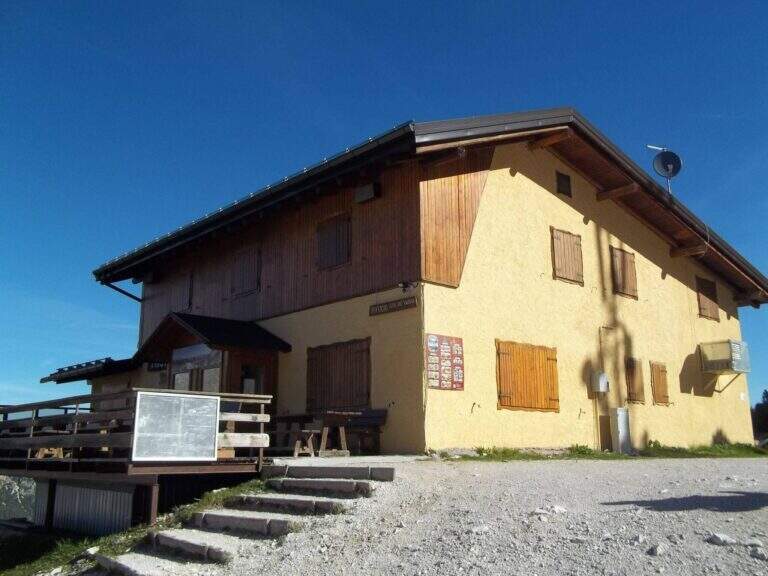
    The starting point & the mountain station of the Col de Varda, on the eastern side of Lake Misurina. You park at the south side of the lake, near the ' Hotel Alpenrose, and you reach the facilities. Open road signs on Google Maps. With the seggiovia not c' & ` approaching; alternatively, it rises in 45' from Lake Misurina (1756 m) to the Col de Varda Refuge (2115 m) for the steep 120 signpost.

    ▲The path

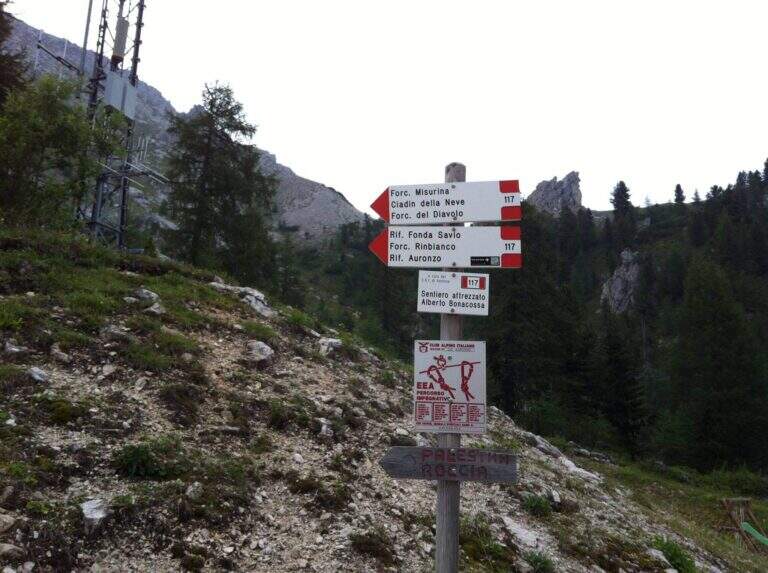
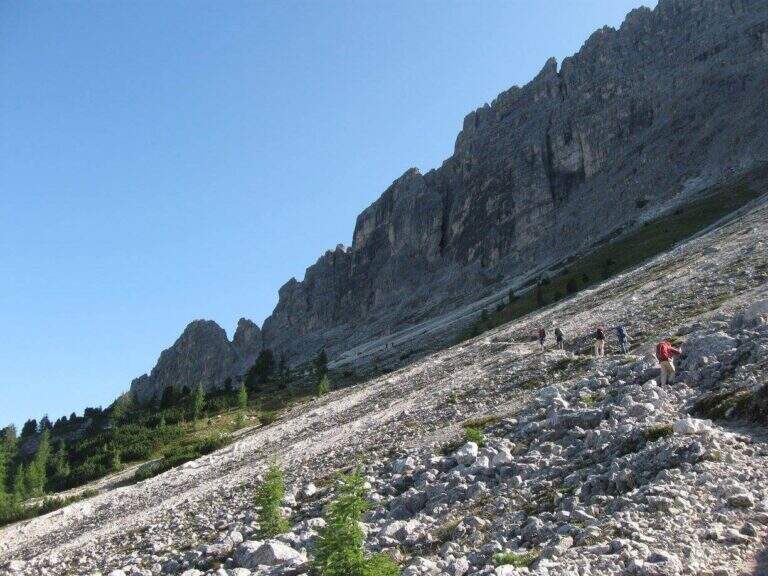
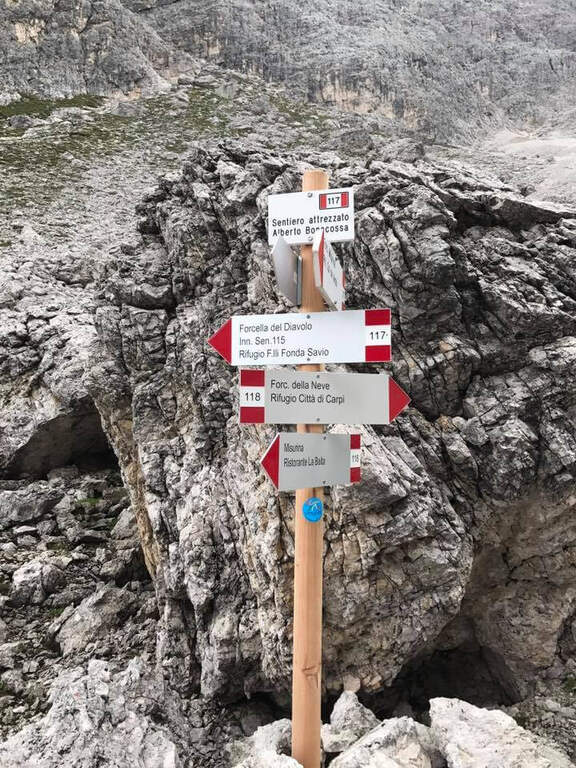
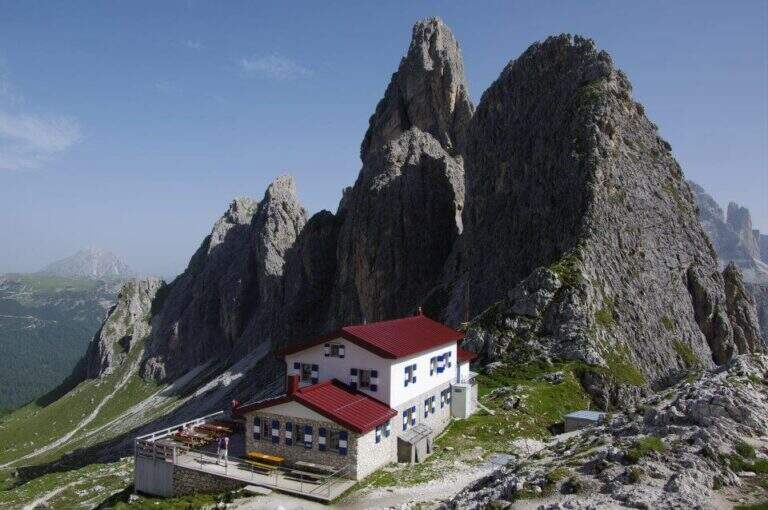
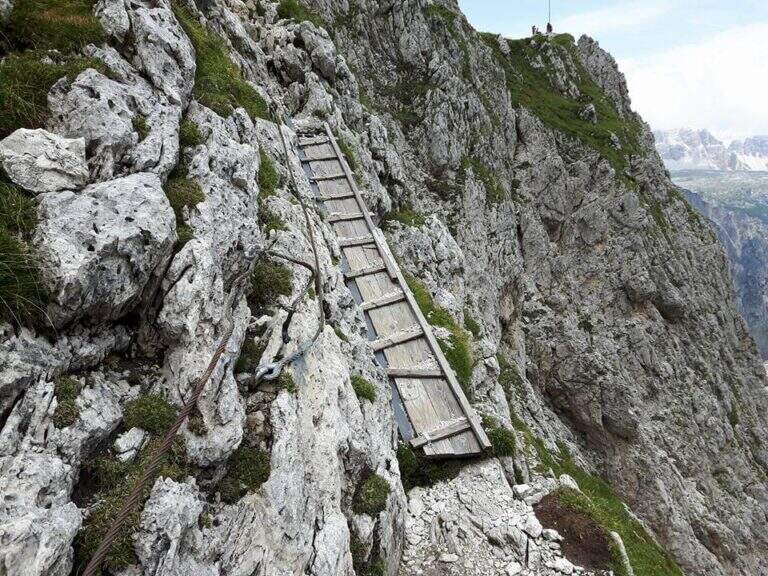
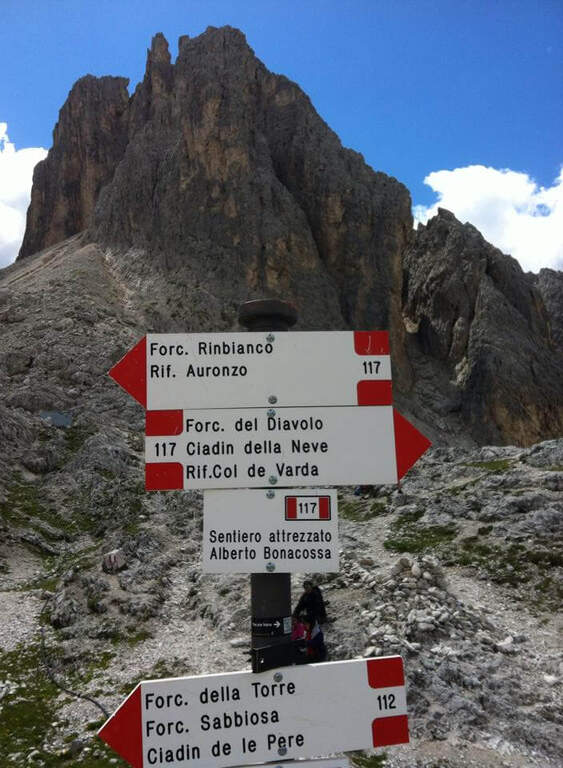
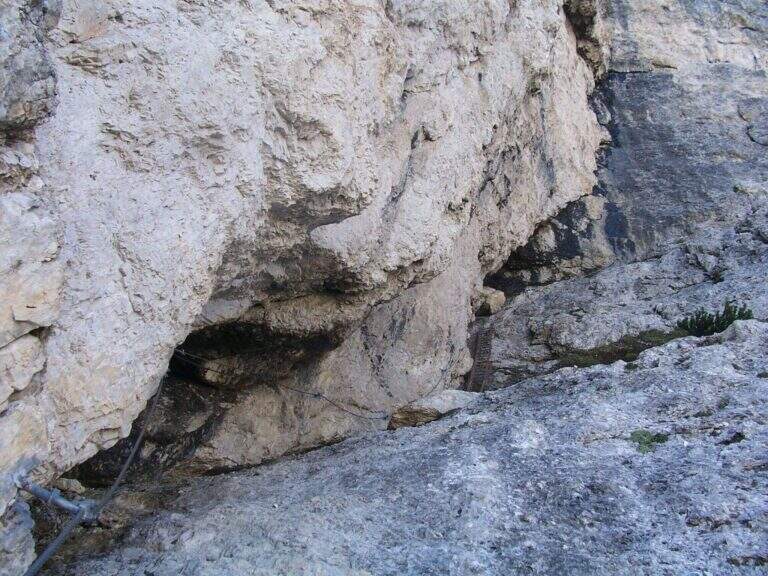
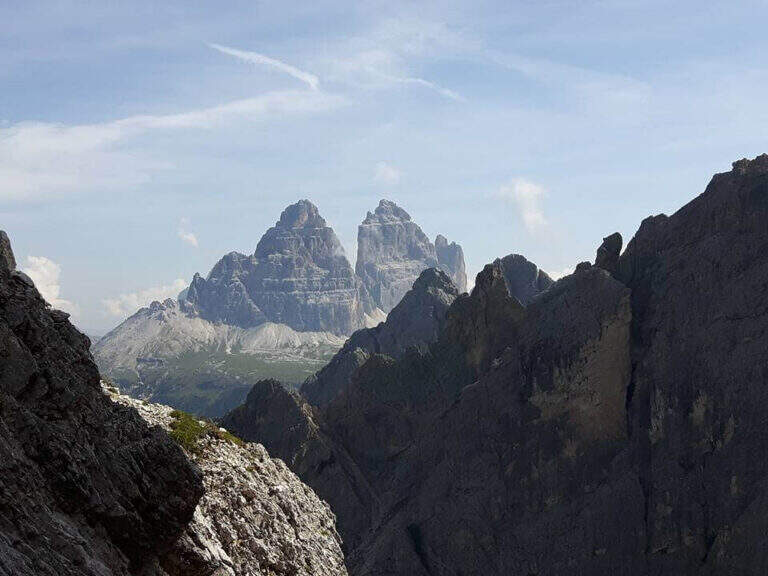
    From the upstream station (Rifugio Col de Varda) the metal plate marks the beginning of the mark 117 north. Following radi red boils rises, first half-coast then steeper, towards the Misurina Fork (2395 m, 45' from the station), going up a detritic canal on the right side to stretches equipped with rope ( steep and tiring, with wooden frames in support of the bottom). NB: questo tratto è quello interessato dalla frana del 2017 (vedi avviso). Dalla forcella si scende ripidamente lo stretto intaglio in un canalino detritico, aiutati da corde metalliche su un paio di balzi verticali e un traverso a destra, e si attraversa un foro nella roccia attrezzato con fune e gradini artificiali, fino al Ciadin della Neve (2250 m, 1h 30' dalla stazione), dove si incrocia il sentiero 118. Restando sul 117 si risale ripidi verso nord-est: due scalette metalliche superano due salti rocciosi, poi si piega a destra salendo la parte alta del canalino, instabile negli ultimi metri, fino alla Forcella del Diavolo (2380 m, circa 2h 15'). Si scende ripidi sulla destra di un ghiaione (possibile neve a stagione inoltrata) fino al Rifugio Fonda Savio (2367 m, circa 3h), crocevia dei Cadini da cui parte verso sud l'attacco dell'aerea Ferrata Merlone. Dal rifugio il 117 prosegue a nord: un tratto ripido con passaggi attrezzati, un canalino attrezzato e una cengia con passerella in legno riportano verso il Ciadin della Neve; ignorata la deviazione per Forcella Sabbiosa (sentiero 112) si raggiunge Forcella de Rinbianco (2176 m, 3h 30'), dove si tiene la destra verso il Rifugio Auronzo. Segue una cengia panoramica, a tratti esposta e attrezzata ma non difficile, sopra la Val de le Cianpedele; superata una passerella e alcuni resti della Grande Guerra, a un bivio si lascia il Sentiero Durissini e si resta sul 117 a sinistra in salita. Si aggira la parete orientale del Ciadin delle Bisse con roccette, una rampa diagonale (cavo a sinistra) e una scaletta appoggiata; i passaggi non sono difficili ma il fondo è spesso umido, quindi conviene assicurarsi. Una serie di cenge e brevi canalini franosi, sempre attrezzati nei punti più esposti, costituisce il tratto più adrenalinico fino a una forcella (2300 m, 4h 30') che scavalca dal versante est a quello ovest, con le Tre Cime di Lavaredo di fronte. Dopo l'ingresso di una galleria (facoltativa, aggirabile per sentiero) si raggiunge il Rifugio Auronzo (2320 m, 5h 15').

    ▲Character and difficulty

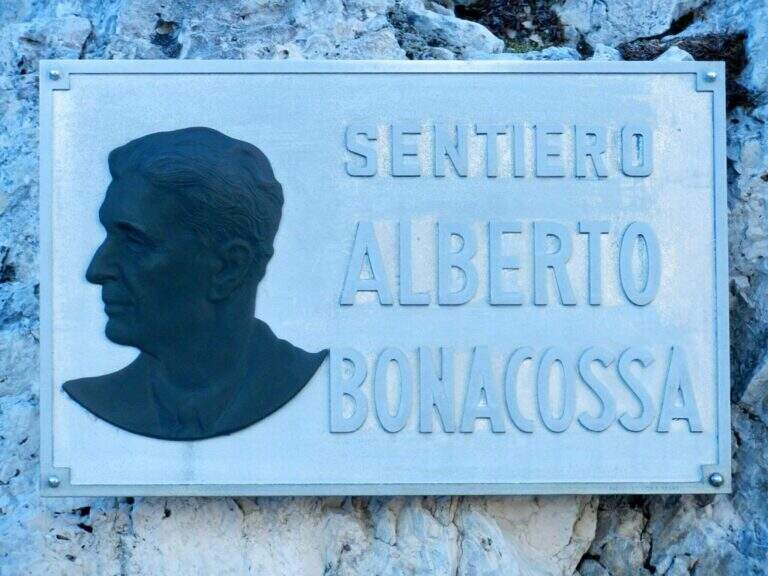
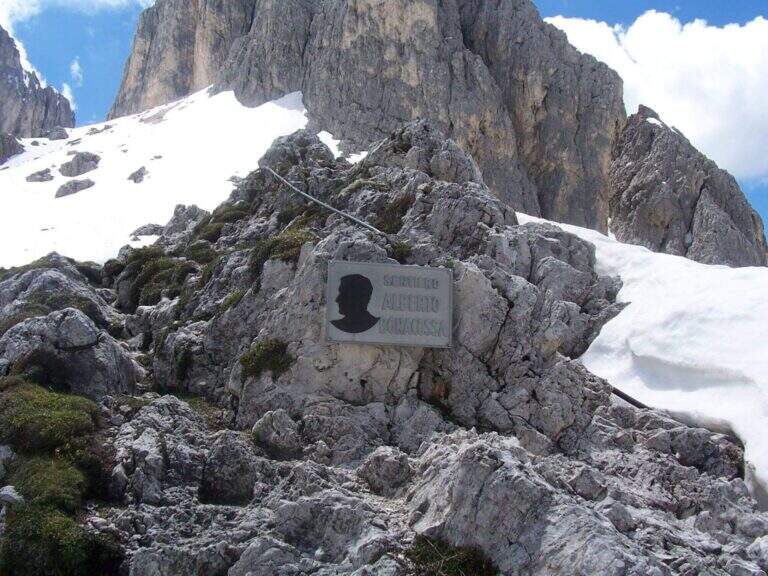
    The equipped sections are without technical difficulties and most useful as handrail; the pitfalls are the length, the numerous ups and some sections exposed (especially by Forcella de Rinbianco), however always well equipped. Itinerary dedicated to Alberto Bonacossa, a multifaceted sports and military figure of the first half of the twentieth century.

    ⚠ Attention to nevai also present in late season, especially in the valleys; the wet bottom of the cenges requires caution. Remember the closure of the stretch of Forcella di Misurina (frana 2017).

    ▲Discipline

    From the refuge Auronzo, the return to Misurina takes place by bus or following the tourist trail 101, in constant and never excessive slope, up to Lake Misurina in 1h 30' (about 7h overall).

    ▲To match

    From the Rifugio Fonda Savio you can turn south to Ferrata Merlone. From the refuge Auronzo you climb to Monte Paterno for the Ferrata Innerkofler-De Luca, or Toblin Tower for Ferrata delle Scalette e la Ferrata Hosp. From Lake Misurina you can reach the itineraries of Cristallo, including the Ferrata René De Pol e la Ferrata Capitano Bilgeri monte Piano.

    ▲Gallery
    Technical data
    • DifficultyModerately Hard
    • RegionVeneto
    • ProvinceBelluno
    • GroupCadini di Misurina
    • Approach5 min (with chairlift)
    • Equipment5h 15'
    • Complete itinerary7h
    • Level difference100 m
    • Route difference624 m
    • Maximum2495 m
    • Length17,5 km
  • Ferrata della Val Gelada

    Ferrata della Val Gelada

    Vie Ferrate › Trentino-Alto Adige › Trento
    Ferrata della Val Gelada
    Moderately Hard● OpenDescriptionComplexityMapsGallery

    La Ferrata della Val Gelada it is part of an itinerary that dates back to the steep valley under the Horn of Flavona, in the northern Brenta Dolomites (Trento). The equipped sections do not have particular technical difficulties, but the harsh environment, the high altitude difference and several exposed passages reserve it to trained and experienced hikers.

    ▲Approach

    L' ring described here è the più way; short and simple to travel the ferrata and starts from the Lago of Tovel. You reach Tuenno, on the eastern side of the Brenta, and at a crossroads on the left follow the signs for Lake Tovel along about 11 km asphalt road; at the end, on the right, c'è a first parking, then continue on the dirt road in front following the indications for the Chalet (about 2 km). Open road signs on Google Maps. From Lake Tovel, take the sentiero CAI 314 towards Malga Tuenna; go up comfortably on track until you cross the CAI 312 (Sentiero della Dena), steep west. Ignored a first crossroads on the right, follow the signs to Malga Tuenna and then to Passo della Val Gelada (CAI 380), passing a first equipped section. Exit from the wood you can reach l' crossroads with the CAI 306 (Sentiero Attrezzato delle Palete): you ignore it and you drive west to the crossroads of the Val Gelada Pass (2171 m, about 2h from the parking lot).

    ▲The path

    The CAI 380 that goes up the Val Gelada: the stretch è definitely tiring and earns almost 500 m of altitude difference. As you enter the inner part of the valley you can see a rocky bastion where some ports are equipped in a canal allow you to overcome it without excessive difficulty. A last equipped section leads to the Passo di Val Gelada (2686 m, about 4h from the parking lot), crossroads with the Costanzi Mountain Trail (CAI 336). Here the sinistra is held towards the Three Sassi's Bocchetta: some vertical sections equipped with ropes and stairs, then a stretch of path not particularly difficult, lead to the Three Sassi (2613 m, 45' from the Pass, 4h 45' overall).

    ▲Character and difficulty

    The two iron sections help to overcome jumps that pass the first degree, but the major pitfalls are the alpine character of the excursion, length and exposure. There are also a couple of unprotected grade I climbing routes. The Val Gelada is among the wildest and least frequented corners of the Brenta.

    ⚠ Both Val Gelada and Val delle Giare can present snow-covered extracts even at the advanced season: bring ramps and peaks to avoid dangerous situations. L' route è long and with strong altitude difference: very recommended telescopic sticks. The few equipped sections must not lower the guard on the alpine character of the' exit.

    ▲Discipline

    Dalla Bocchetta dei Tre Sassi si prende il CAI 334, dapprima in falso piano verso sud e poi in discesa nella Val delle Giare lungo un vallone detritico, fino a incrociare il CAI 306 (Sentiero delle Palete) con un paio di tratti attrezzati e una scaletta da scendere; lo si ignora e si continua a scendere fino al CAI 314, che si prende a sinistra verso il Rio Tresenga riportando comodamente al Lago di Tovel e al parcheggio (2h 30' dalla Bocchetta, 7h 30' complessive).

    ▲To match

    L' può ring; be composed in different ways: often it matches the Sentiero Attrezzato delle Palete o al Alpine trail Costanzi (both very difficult, for experts), perhaps continuing towards Sentiero Attrezzato Vidi. Going to the Grostè Pass for the overnight stay you can then continue south towards the Ferrata Benini e le Bocchette Alte.

    ▲Gallery
    Technical data
    • DifficultyModerately Hard
    • RegionTrentino-Alto Adige
    • ProvinceTrento
    • GroupDolomiti di Brenta
    • Approach2h
    • Equipment3h
    • Ring itinerary7h 30'
    • Level difference100 m
    • Route difference1508 m
    • Maximum2686 m
    • Length21 km
  • Ferrata Ricci al Corno Grande Orientale

    Ferrata Ricci al Corno Grande Orientale

    Vie Ferrate › Abruzzo › Teramo
    Ferrata Ricci al Corno Grande Orientale
    Moderately Hard● OpenDescriptionComplexityMapsGallery

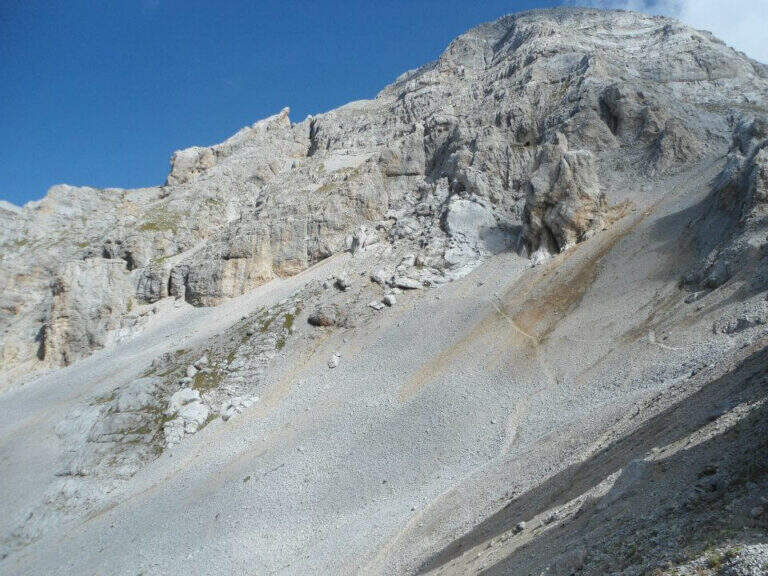
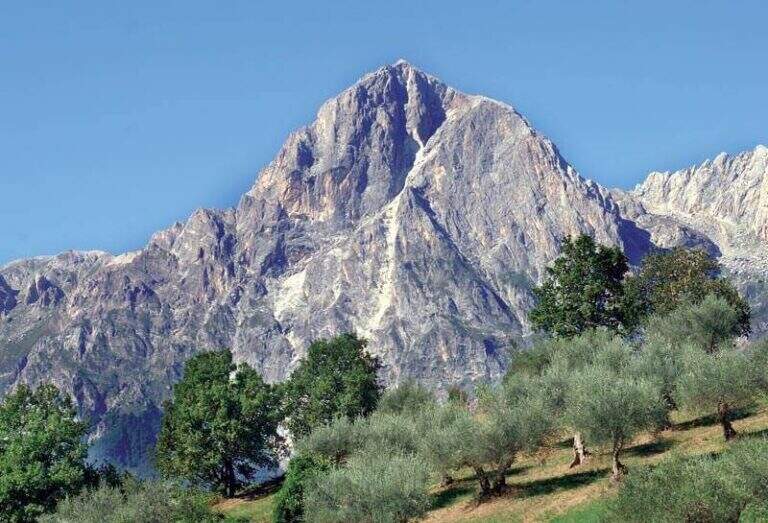
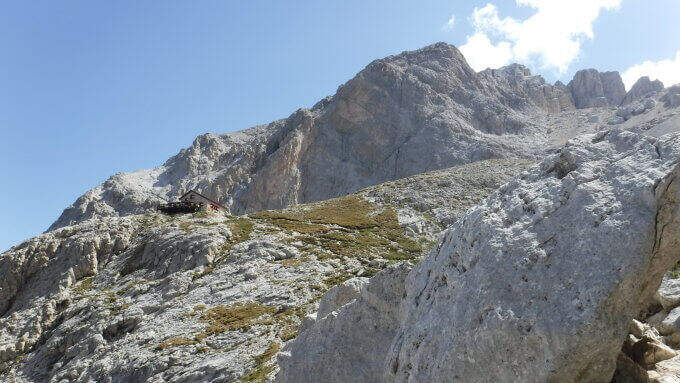
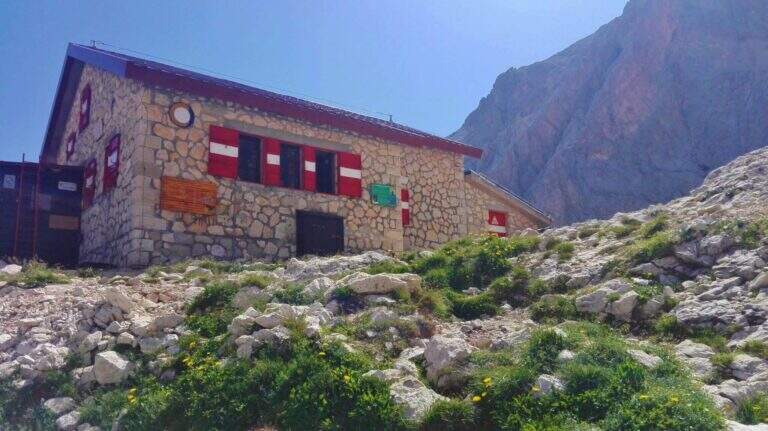
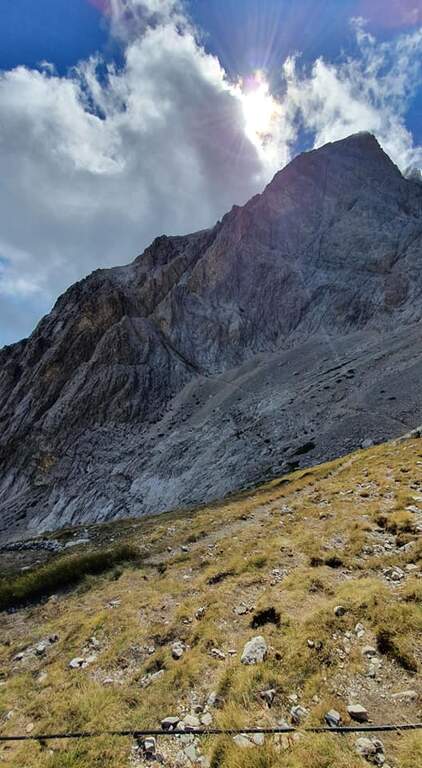
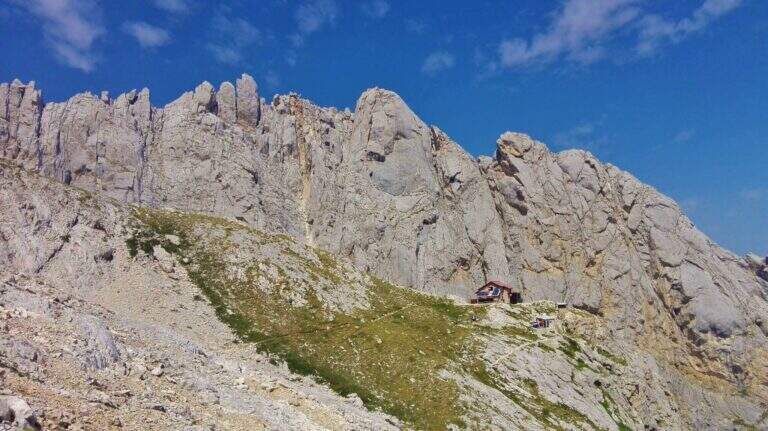
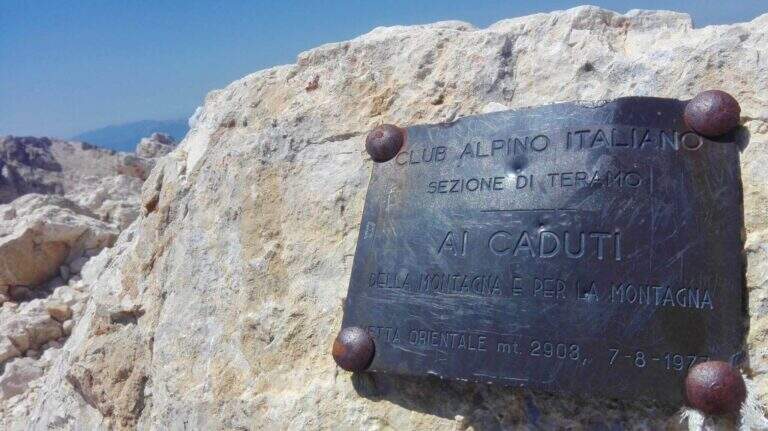
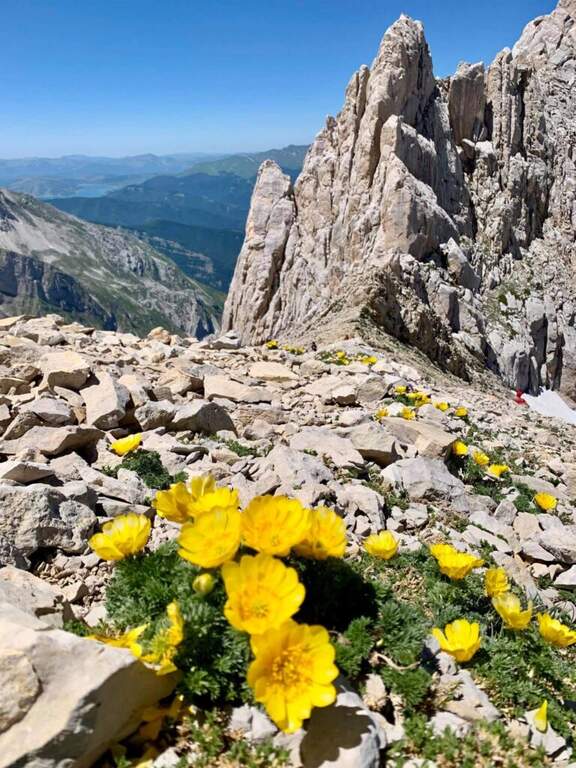
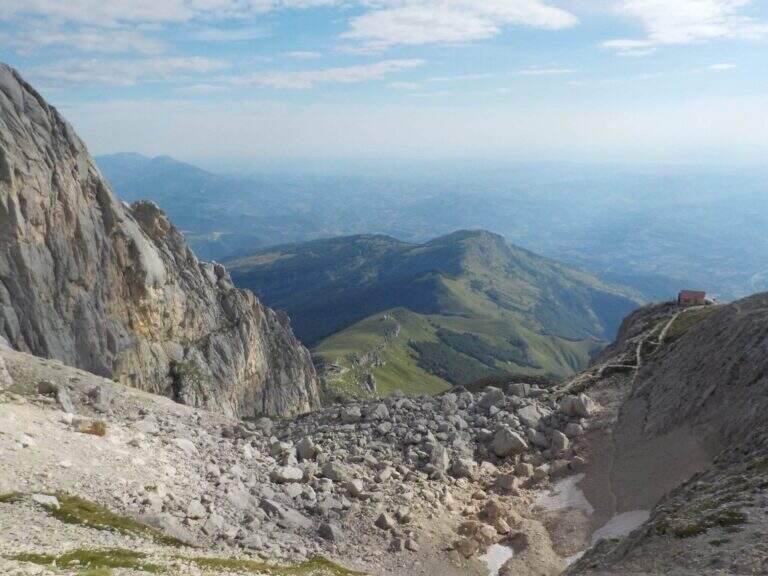
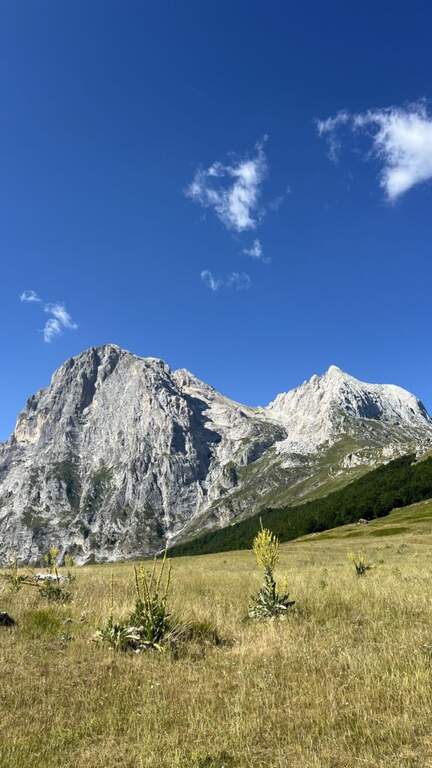
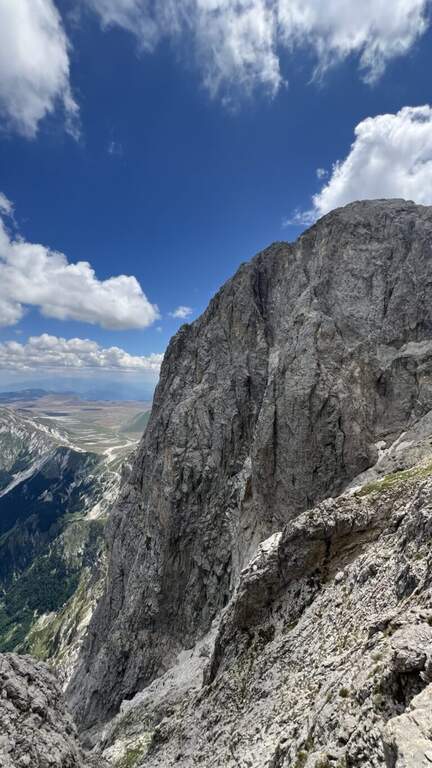
    La Ferrata Ricci porta al Corno Orientale del Corno Grande, sul Gran Sasso: una vetta solo 9 metri più bassa del Corno Occidentale ma forse la più suggestiva, affacciata sull’imponente Paretona est che precipita per quasi 1500 metri sulla valle. Via di media difficoltà in ambiente d’alta montagna severo.

    ▲Approach

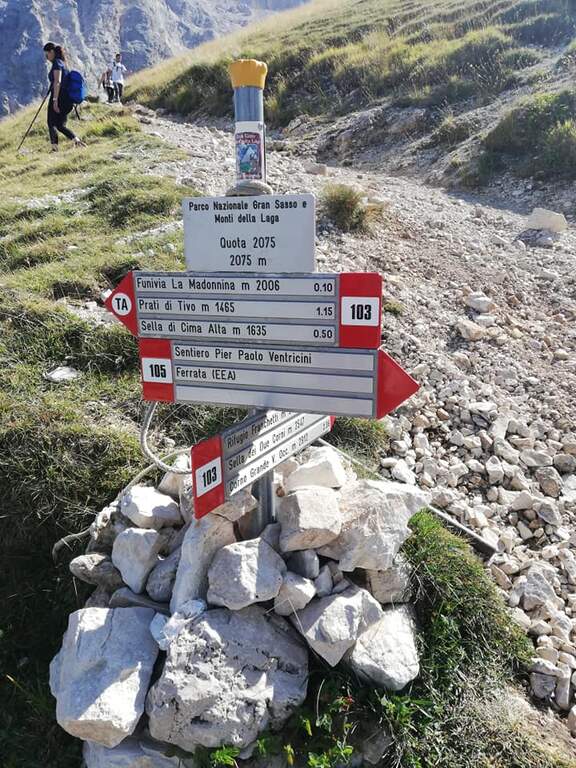
    Punto di partenza consigliato è Prati di Tivo (TE), raggiungibile dall’A24 (uscita San Gabriele – Colledara) seguendo per la SS del Gran Sasso e poi per Prati di Tivo (starting point on Google Maps). In estate è comoda l’ovovia che porta in località Madonnina; in sua assenza si può proseguire circa 4 km verso il rifugio Cima Alta, dove ci sono parcheggi, e salire a piedi alla Madonnina. Dalla Madonnina si prende il sentiero 103 verso la cresta est del Corno Piccolo; a un bivio presso alcuni terrapieni si tiene la sinistra per il Rifugio Franchetti, salendo (tratti attrezzati dove esposto) per circa un’ora fino al rifugio, dopo un esposto vallone. Dal rifugio una chiara traccia scende a sinistra nel vallone delle Cornacchie fino all’attacco della Ferrata Ricci, su pendio detritico (1h 15′ dall’ovovia).

    ▲The path

    Si attacca su una placca diagonale non difficile fino a una forcella dove il cavo termina momentaneamente; si devia a sinistra lungo una breve cengia e un tratto detritico dove riprendono le attrezzature. Si risale una parete inclinata, faticosa ma non difficile, che porta al tratto più suggestivo: un esposto balcone sulla Paretona est del Gran Sasso, 1300 metri di parete di rara imponenza. Si costeggia questo orlo fino a riattaccare la salita lungo un esposto spigolo di circa 30 metri (passaggio chiave), molto aereo ma con buoni appigli che favoriscono l’arrampicata; pochi metri sopra il cavo termina sull’anticima nord (2700 m, 1h 15′ dall’attacco). Si prosegue su pareti esposte ma mai difficili fino a incrociare la via normale al Corno Orientale, si attraversa un’esposta forcella e si risalgono alcune roccette di I grado fino in vetta al Corno Orientale (30′ dal termine della ferrata, 1h 45′ dall’attacco, 3h dall’ovovia).

    ▲Character and difficulty

    Via Moderatamente Difficile, con un esposto spigolo come passaggio chiave; le difficoltà tecniche restano contenute, ma l’ambiente è d’alta montagna e impegnativo.

    ⚠ Non è raro trovare neve anche in stagione avanzata: in tal caso la difficoltà cambia radicalmente e l’itinerario è da riservare a escursionisti esperti e attrezzati. La discesa per la via normale richiede particolare attenzione nei tratti non attrezzati in disarrampicata. Verificare l’apertura dell’ovovia di Prati di Tivo prima di partire.

    ▲Period and safety

    Itinerario d’alta quota per la piena estate (quota massima 2903 m). Cartografia: carta del Gran Sasso d’Italia.

    ▲Discipline

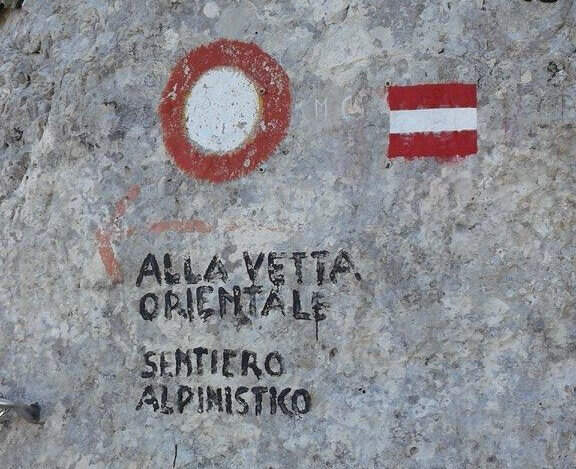
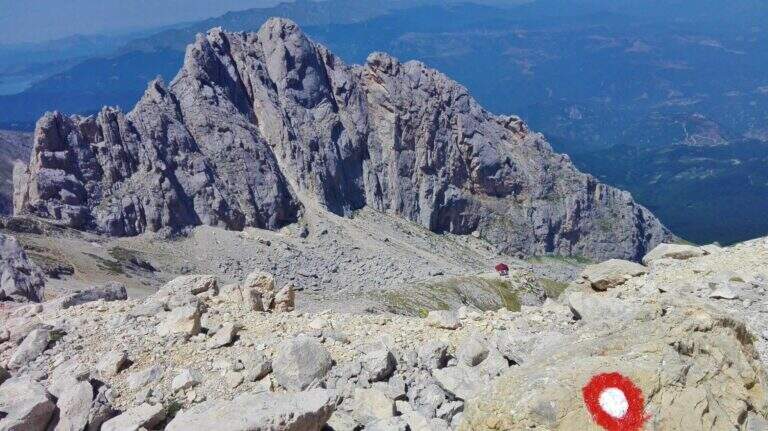
    Due opzioni: ripercorrere a ritroso l’intero itinerario inclusa la Ferrata Ricci (più sicuro), oppure scendere per la via normale, più breve ma tecnicamente più complessa. Per la via normale, dalla vetta si torna al bivio con la ferrata e si seguono i segnavia tondi biancorossi: prima roccette di I grado, poi un esposto e insidioso camino con passaggi di II grado in disarrampicata; quindi un facile sentiero porta alla parte terminale del Ghiacciaio del Calderone, al bivio per il Corno Occidentale e alla Sella dei Due Corni, da cui si scende al Rifugio Franchetti (1h 15′ dal termine della ferrata, 4h 15′ totali) e poi all’ovovia (5h 30′ totali).

    ▲To match

    La Ricci si concatena facilmente con le vicine Ferrata Danesi e Ferrata Ventricini al Corno Piccolo (anello lungo, consigliato il pernottamento al Franchetti); dalla Sella dei Due Corni si raggiungono la Ferrata Brizio e il Bivacco Bafile con l’omonima ferrata. Sul versante sud il Sentiero del Centenario e la Ferrata Famigliari; a nord la Ferrata Bertona.

    ▲Gallery
    Technical data
    • DifficultyModerately Hard
    • RegionAbruzzo
    • GroupGran Sasso
    • Approach1:15 h
    • Ferrata1:45 h
    • Itinerary (a/r)5:30 h
    • Hardware level difference470 m
    • Route difference900 m
    • Max2903
    • Length8,4 Km
Need help? Write to us!