Caratteristica: Vie di fuga

  • Ferrata di Volturara Irpina (Maroia)

    Ferrata di Volturara Irpina (Maroia)

    Vie Ferrate Campania › Avellino
    Ferrata di Volturara Irpina (Maroia)
    Moderately Hard● OpenDescriptionComplexityMapsGallery

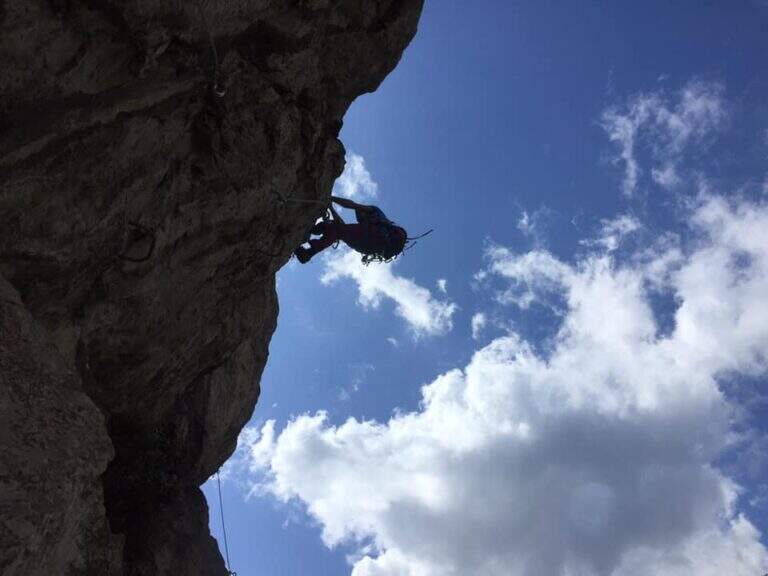
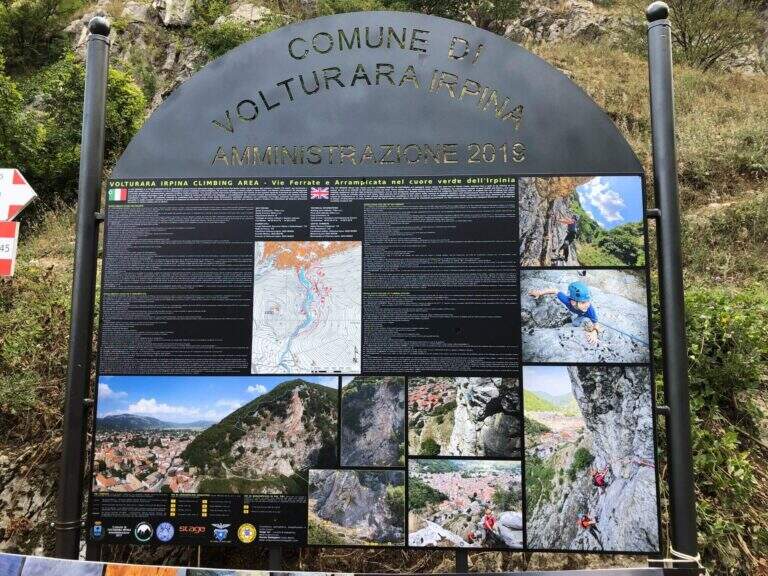
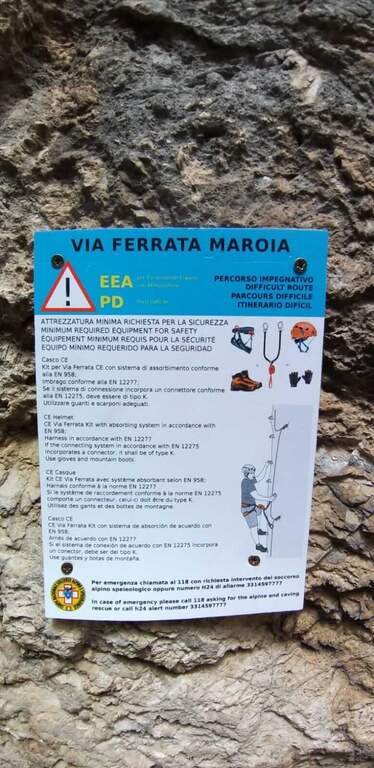
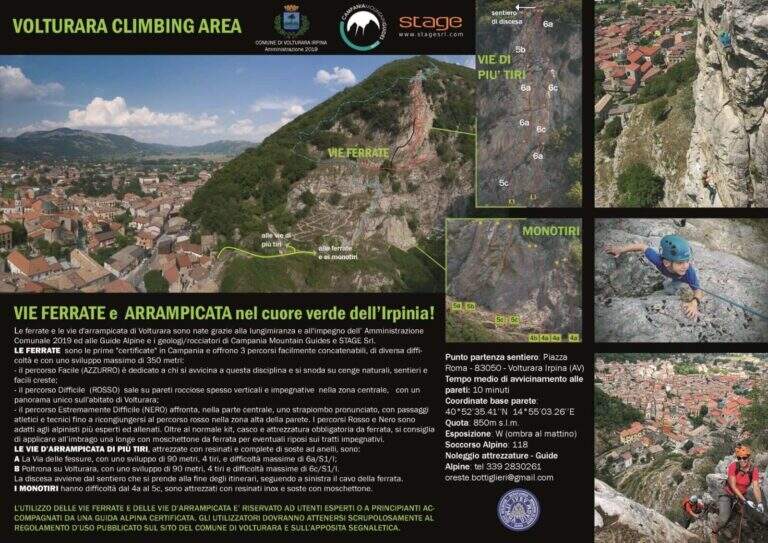
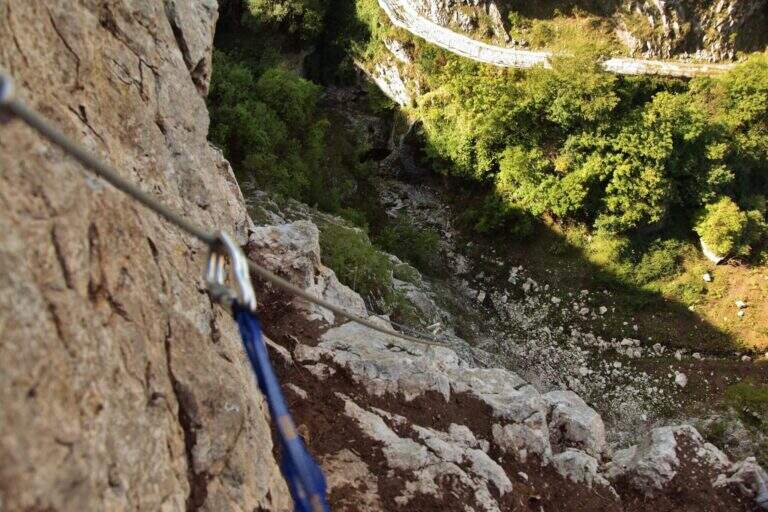
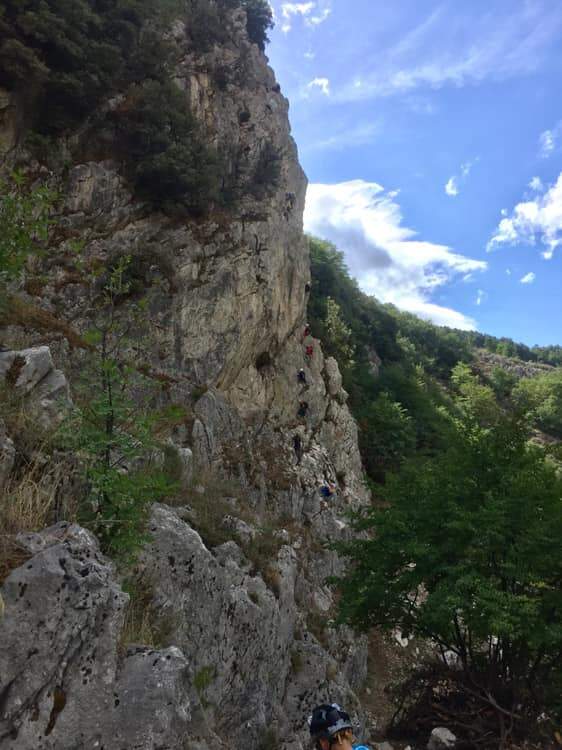
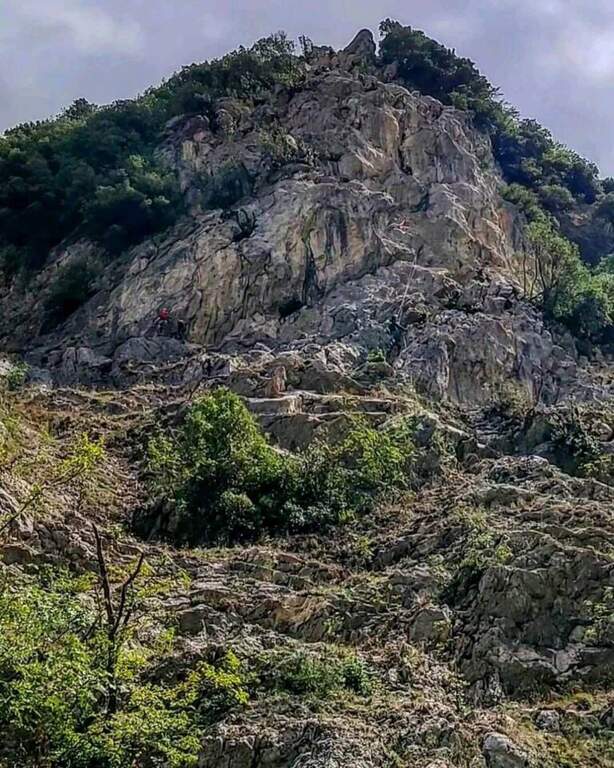
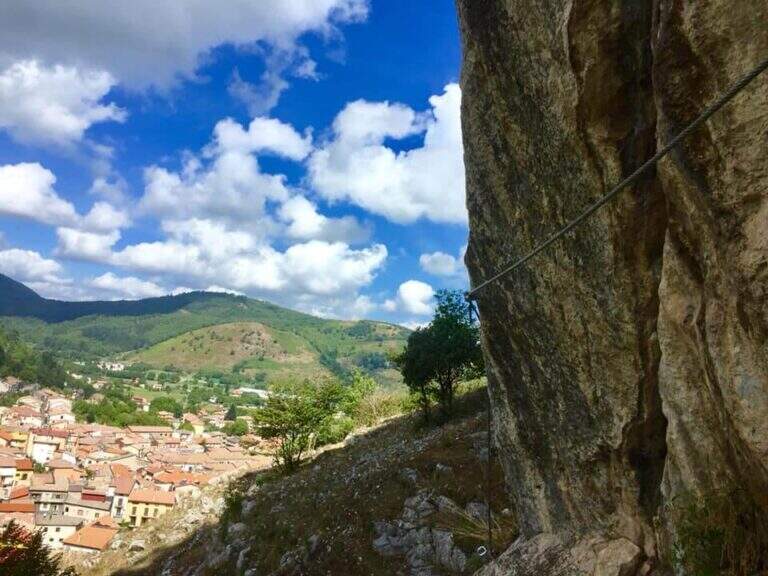
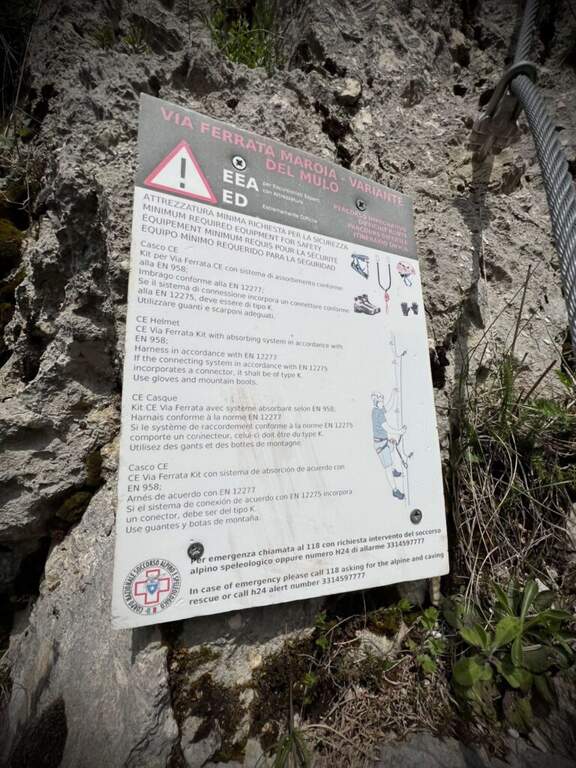
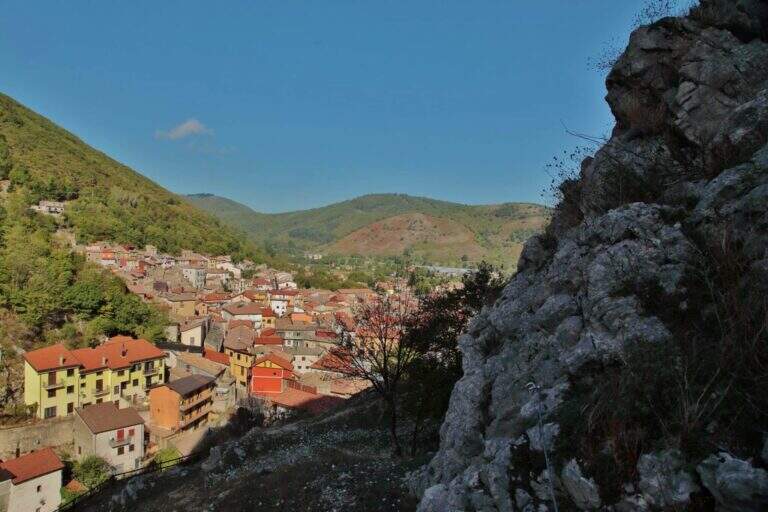
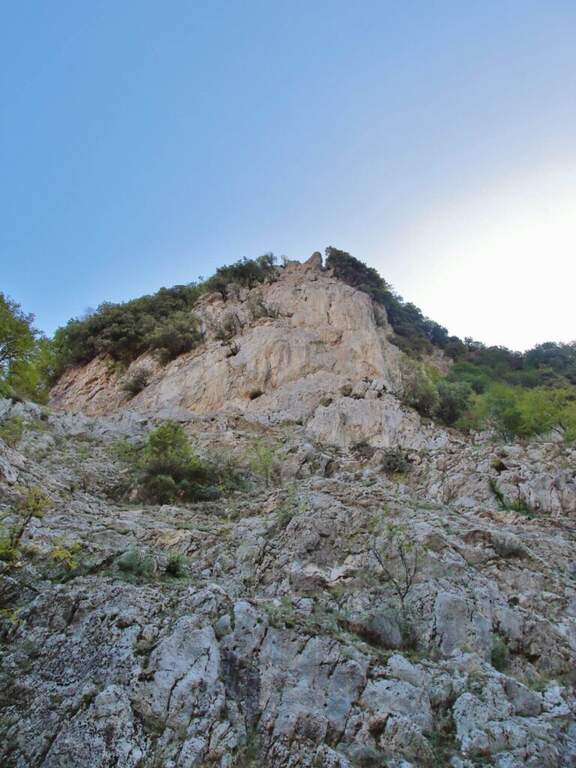
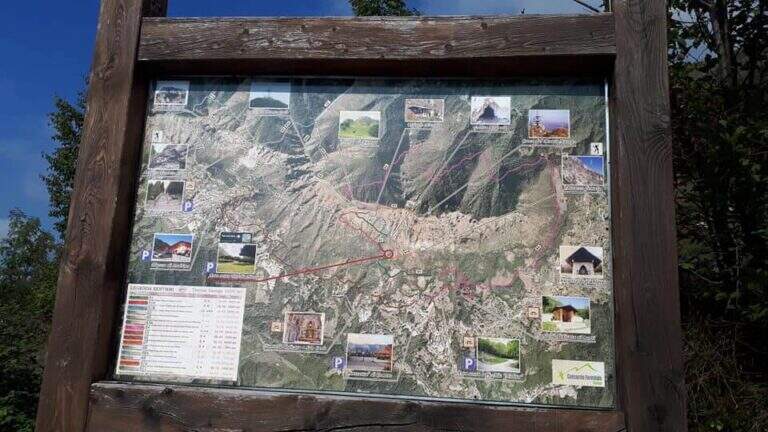
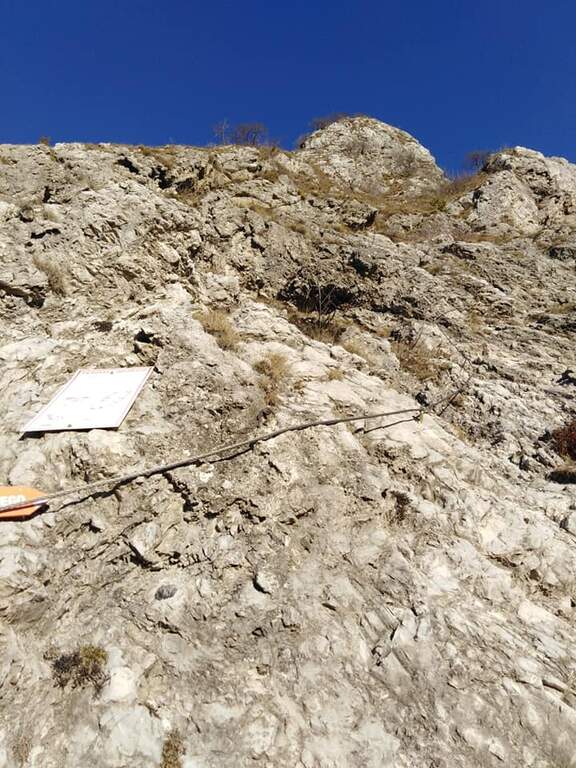
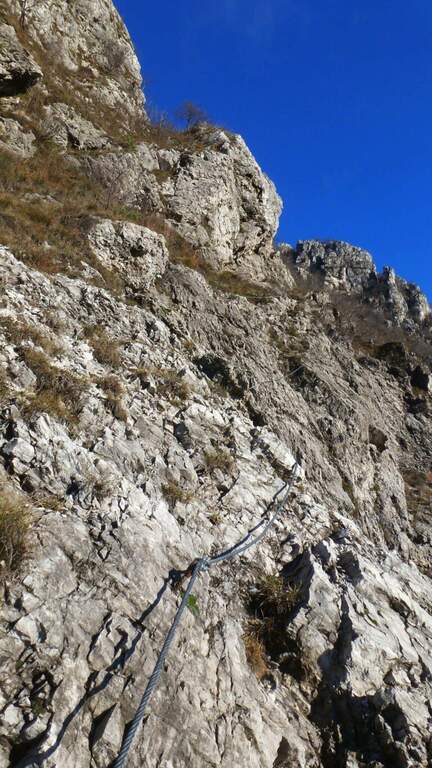
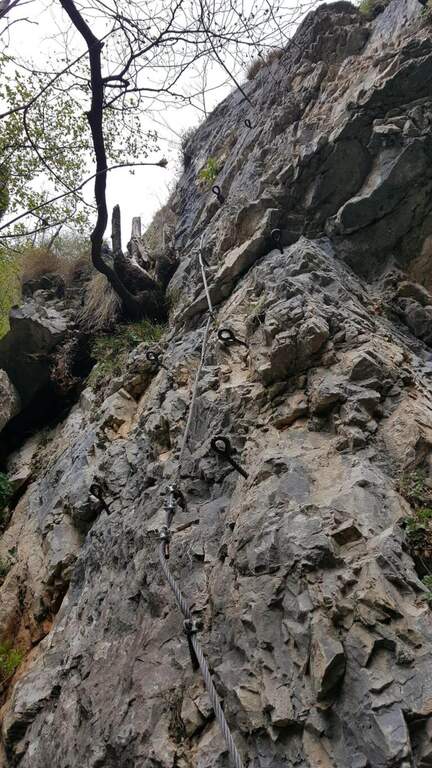
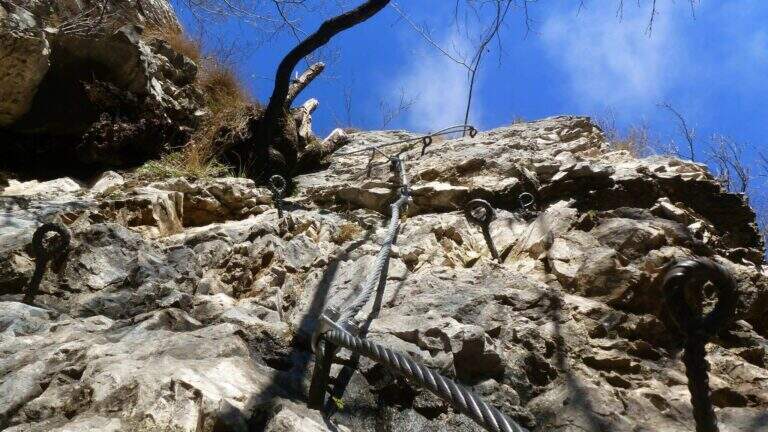
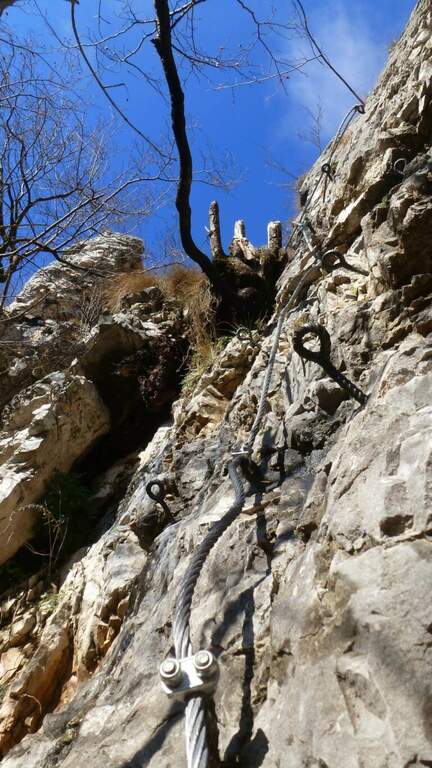
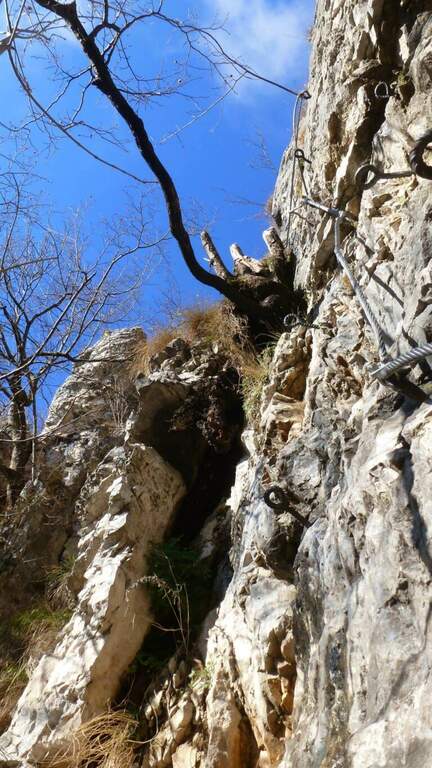
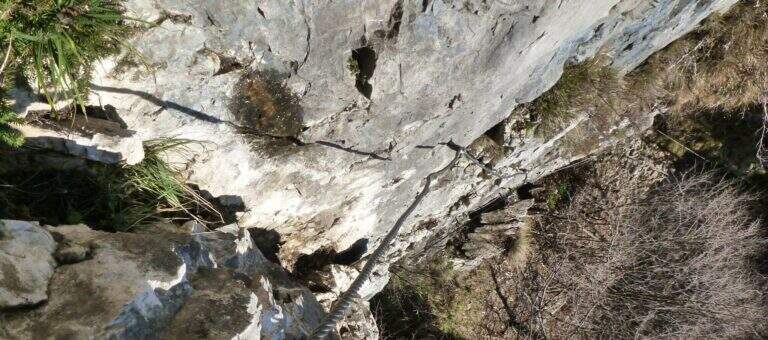
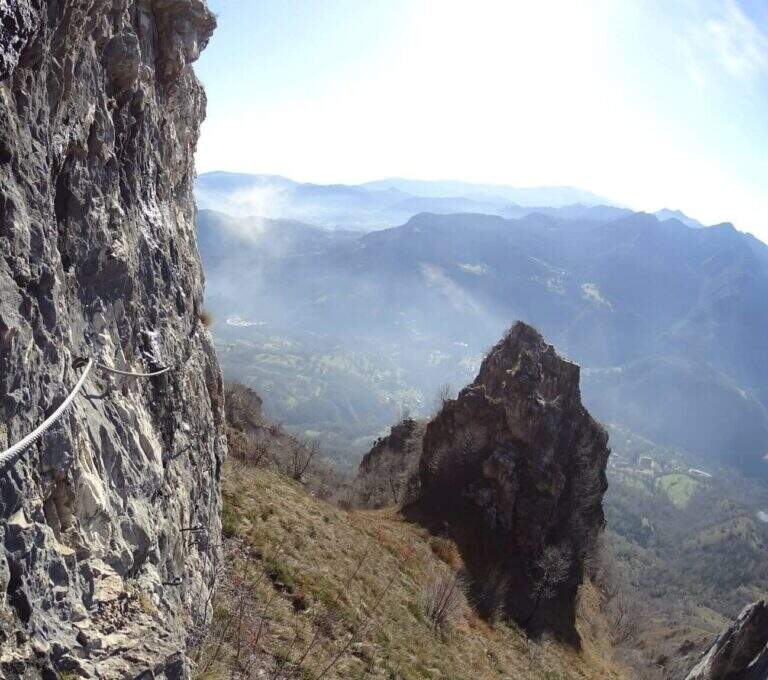
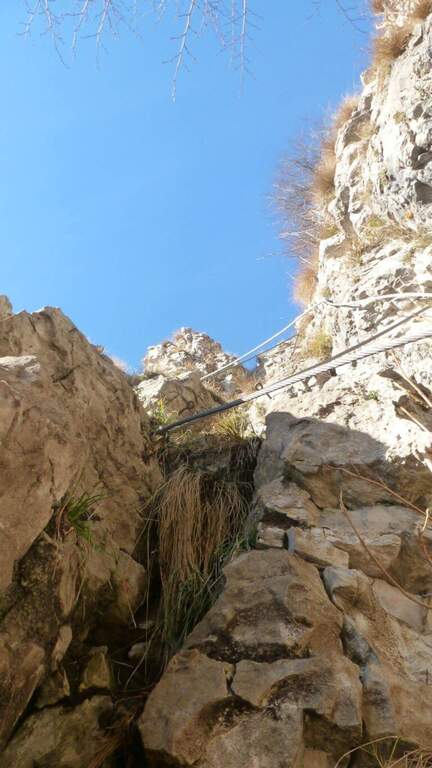
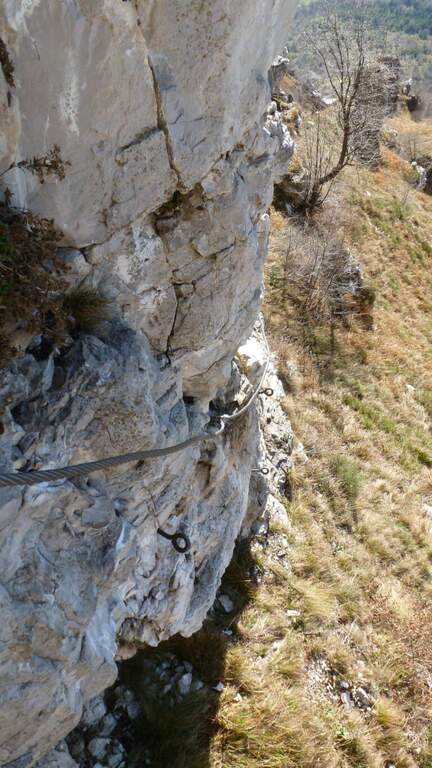
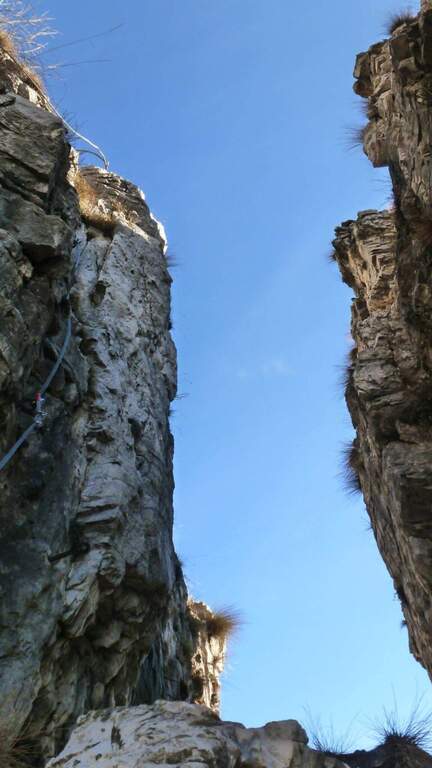
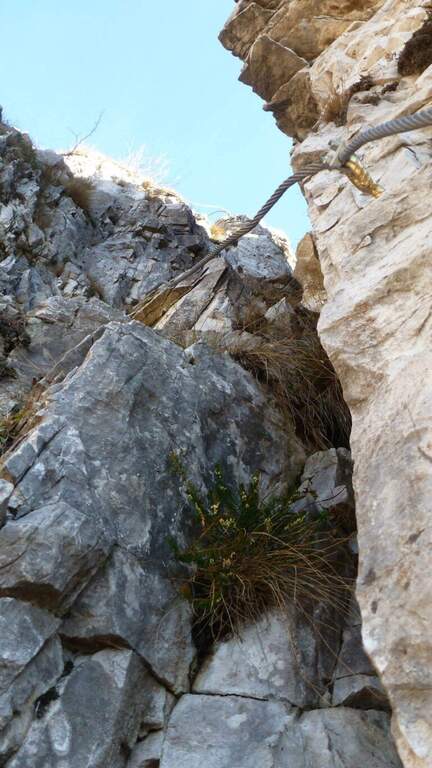
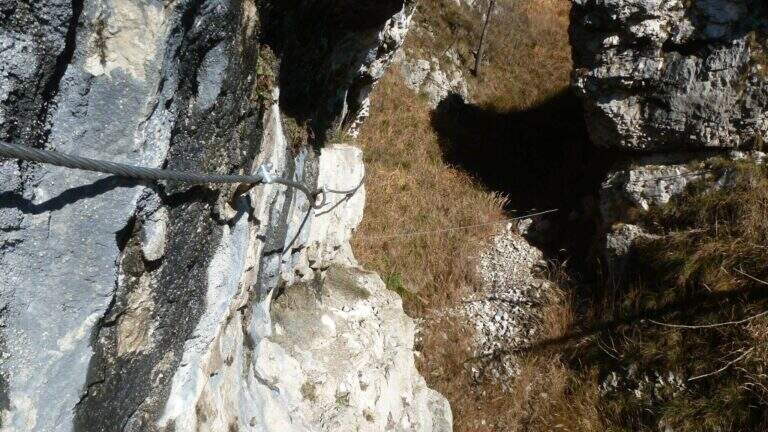
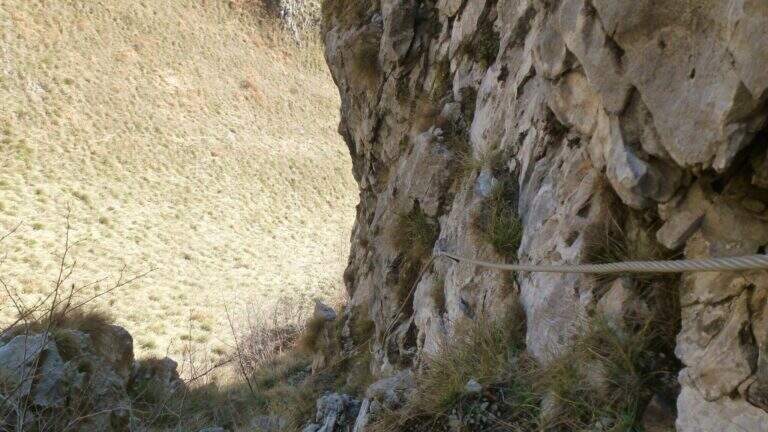
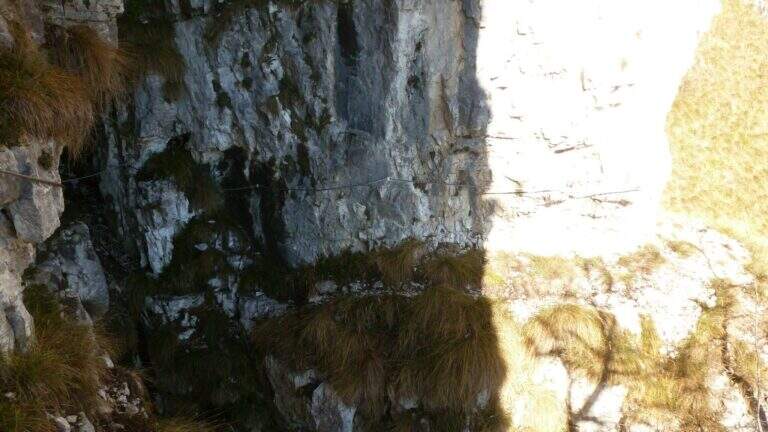
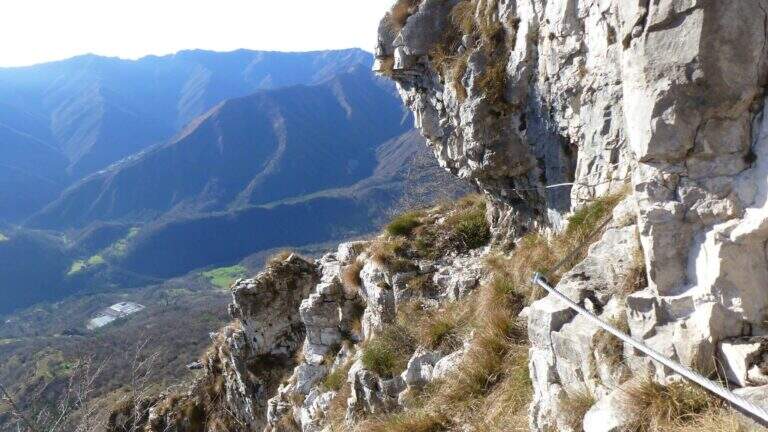
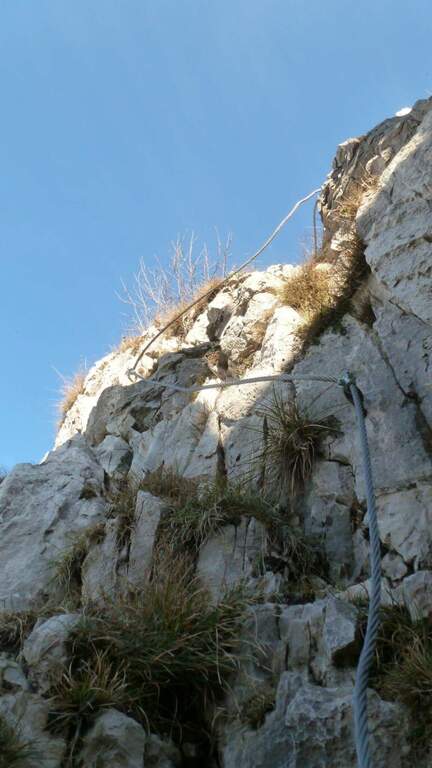
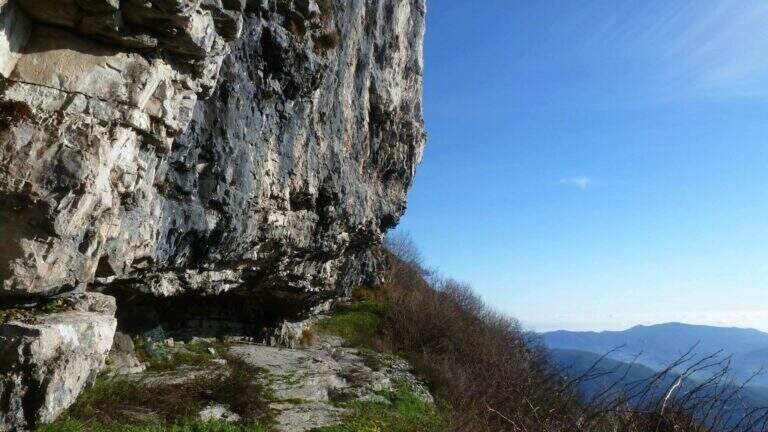
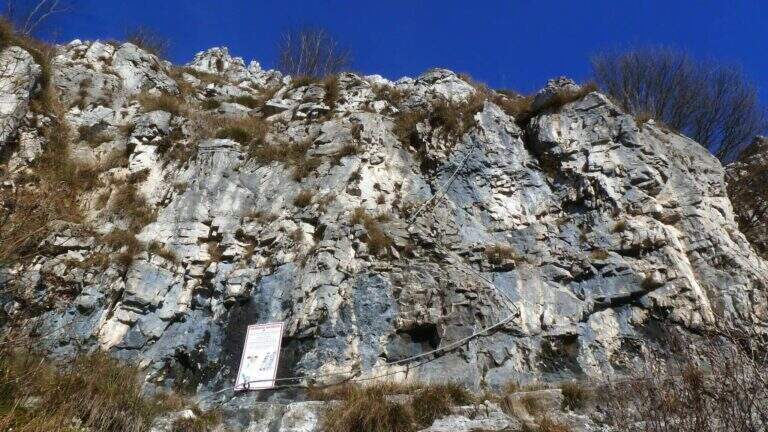
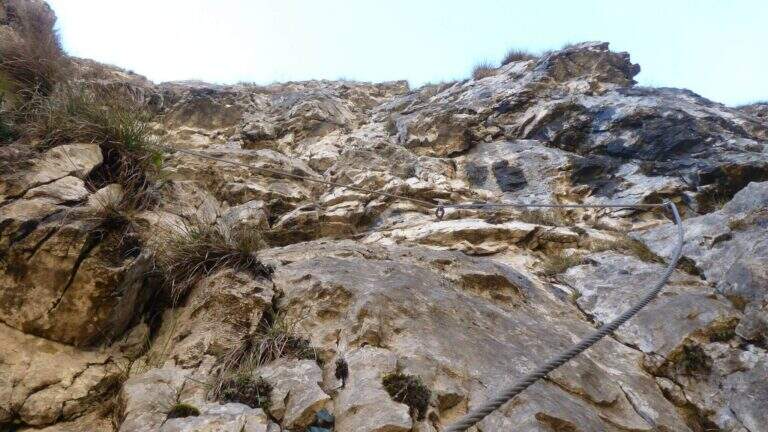
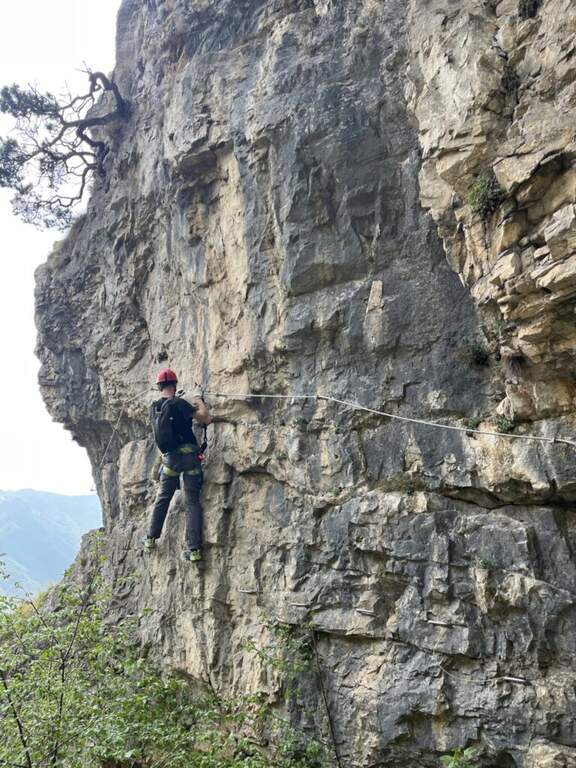
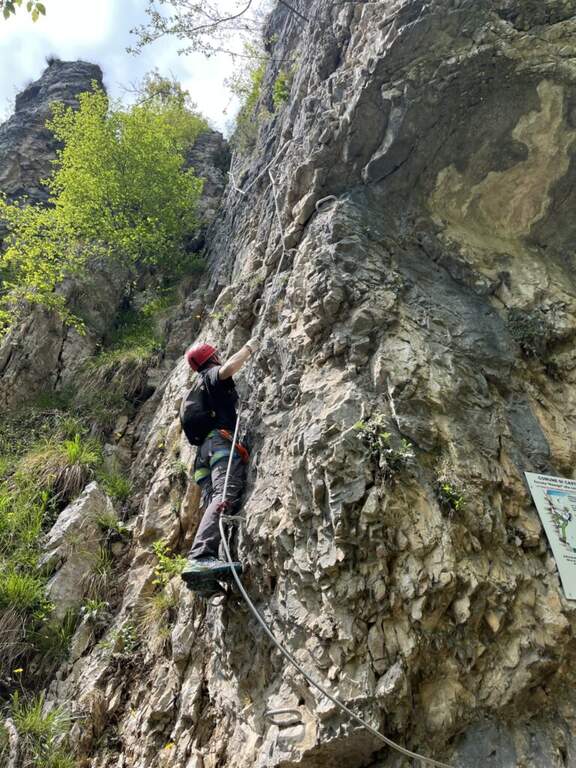
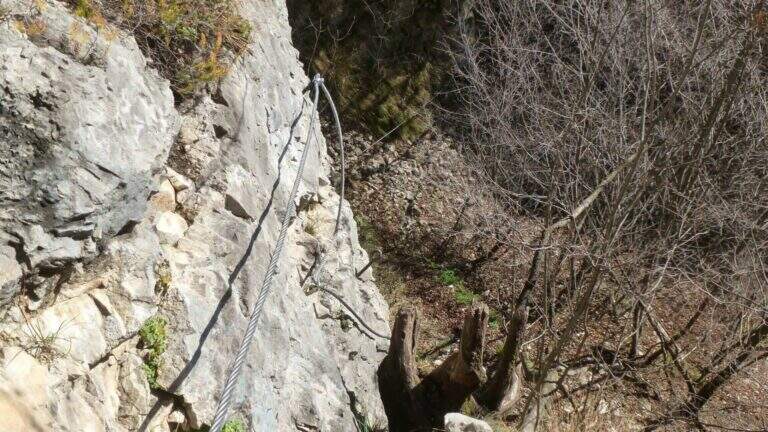
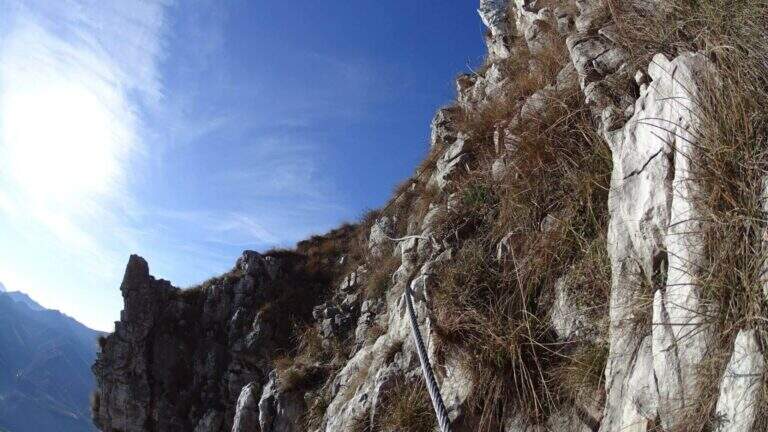
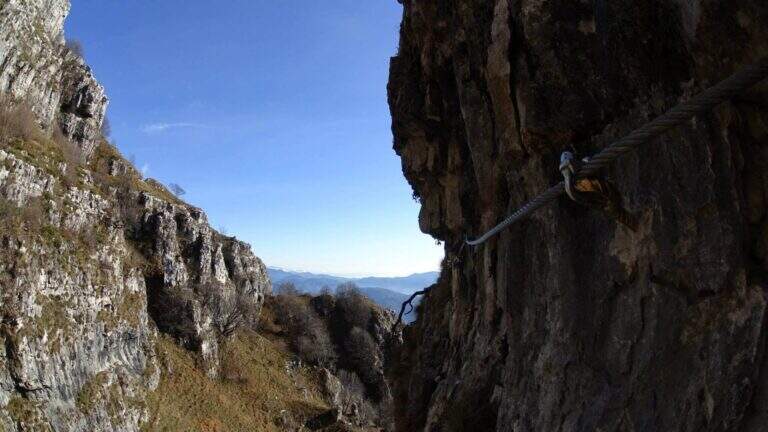
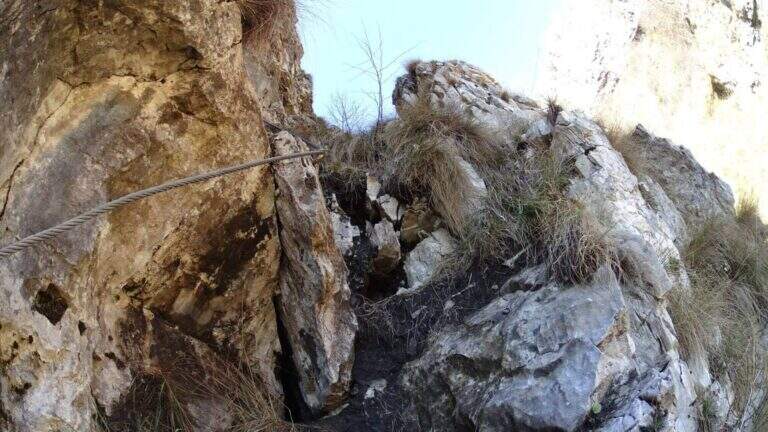
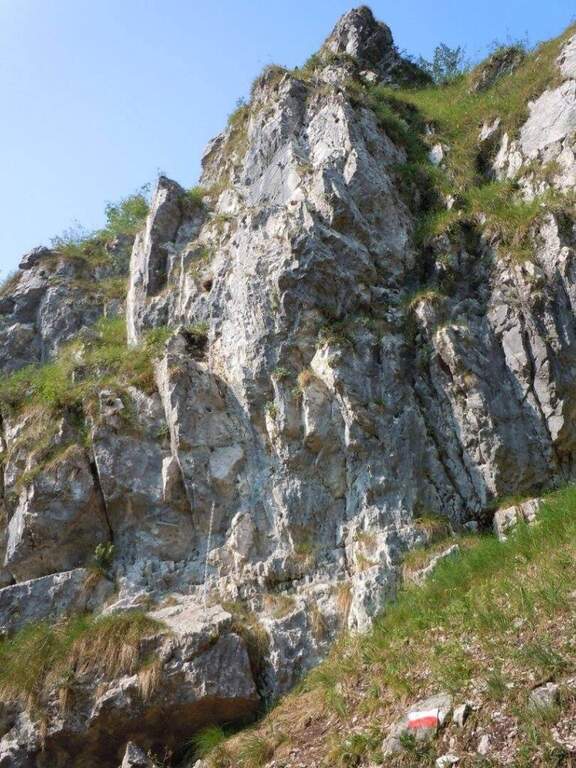
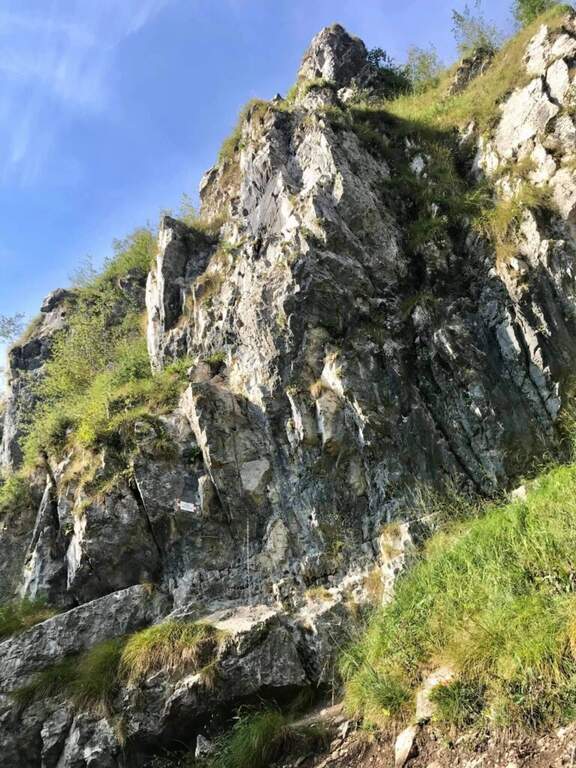
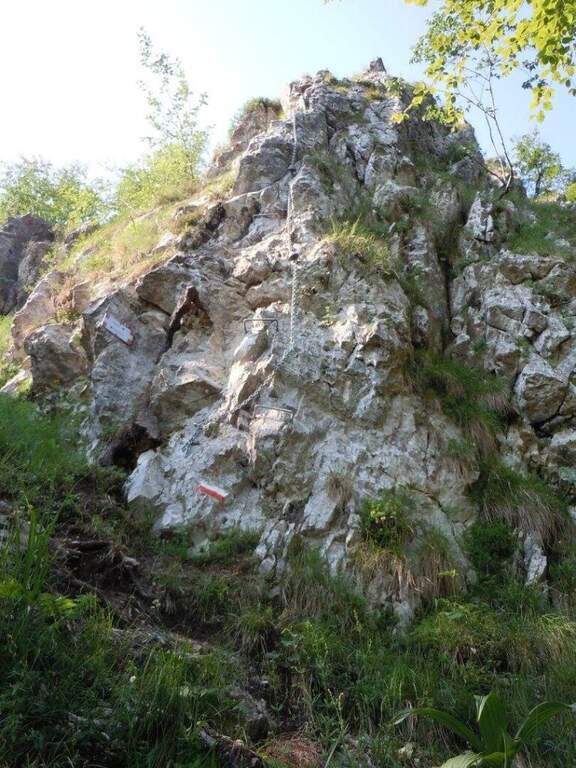
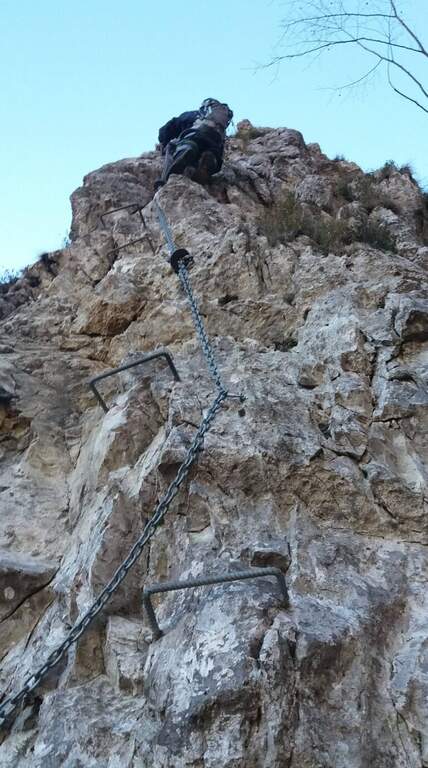
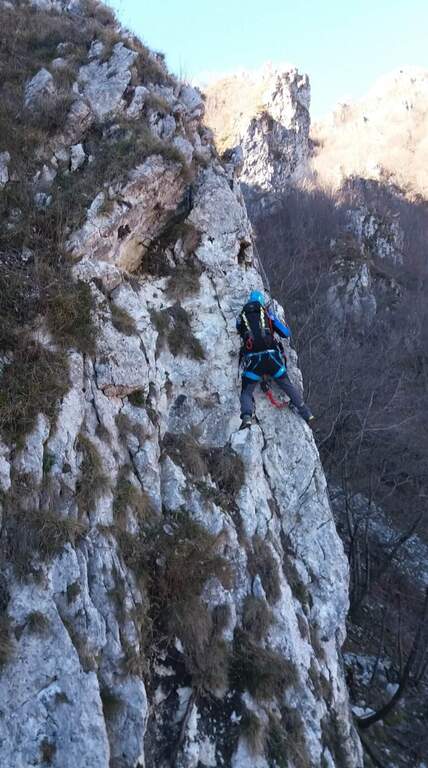
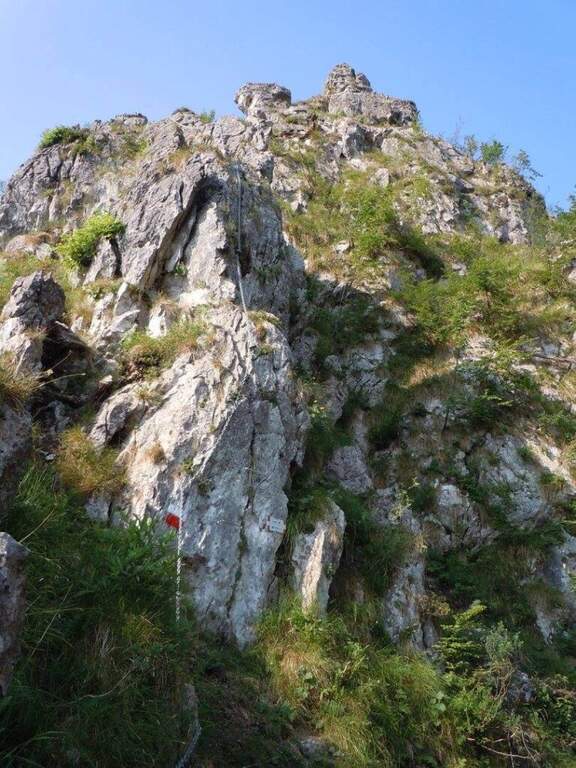
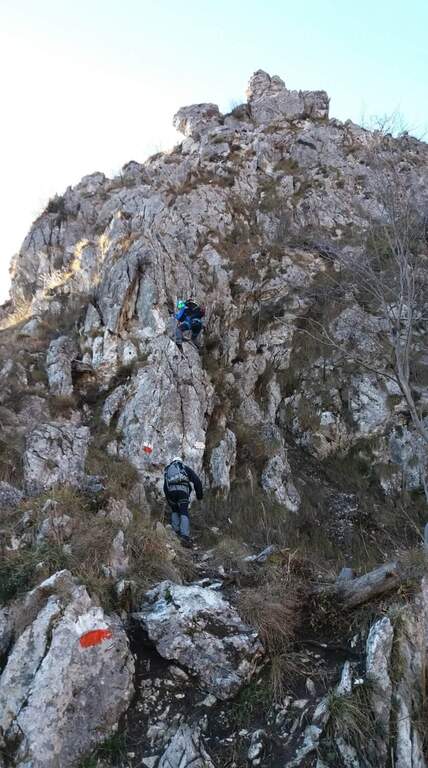
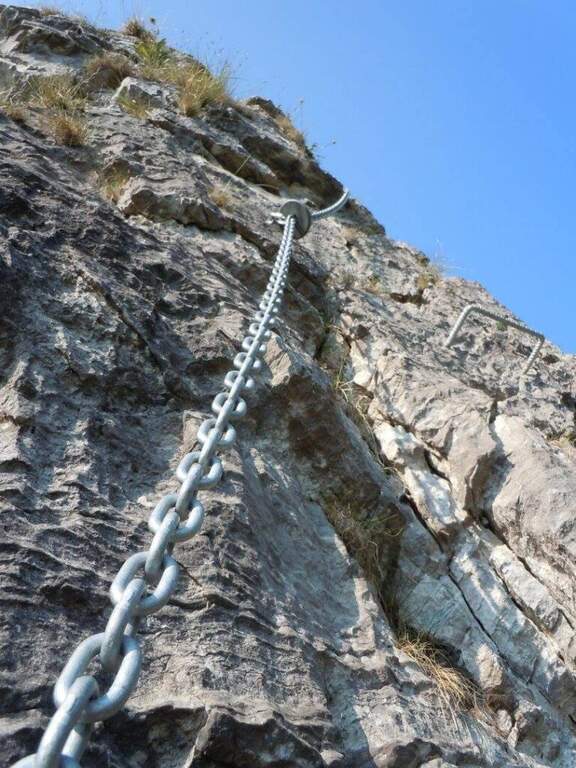
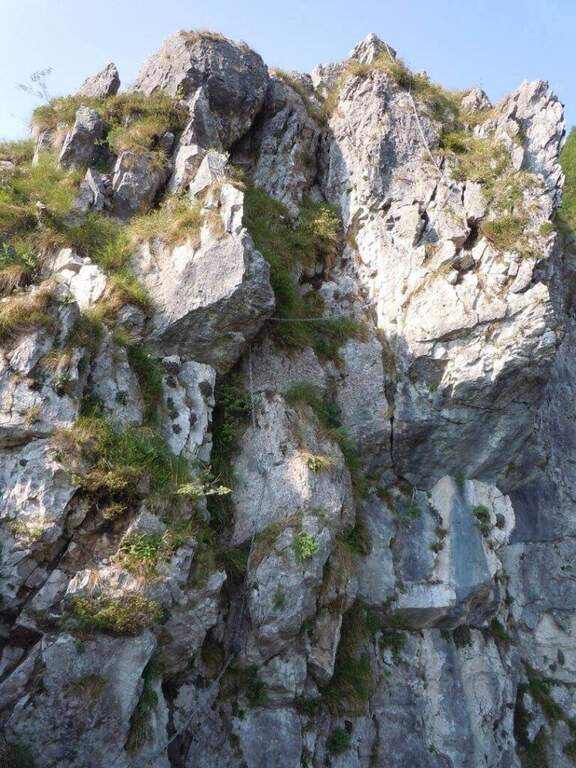
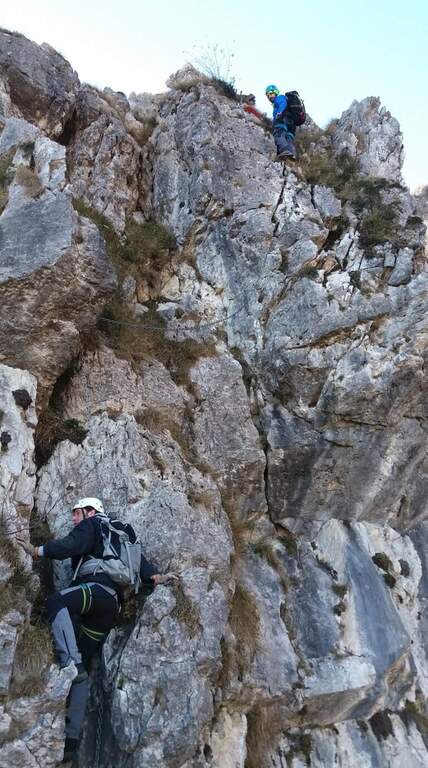
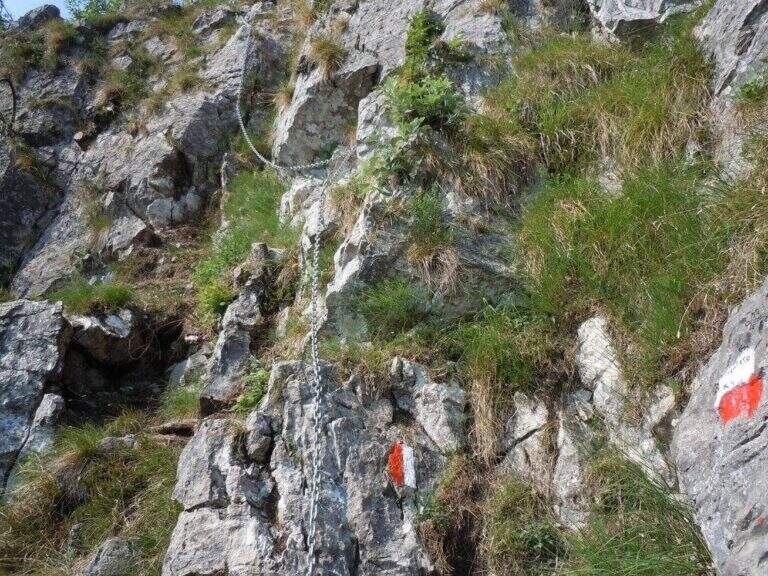
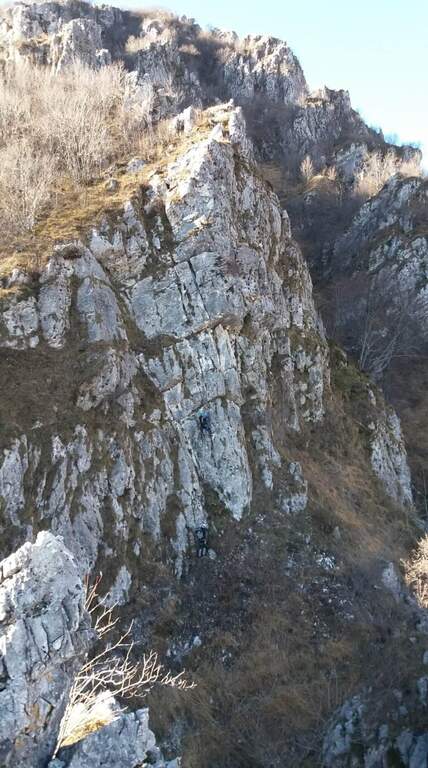
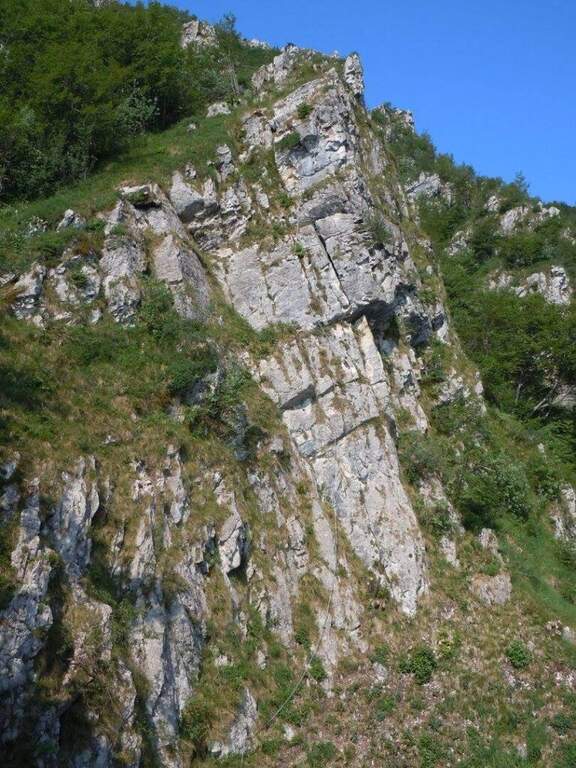
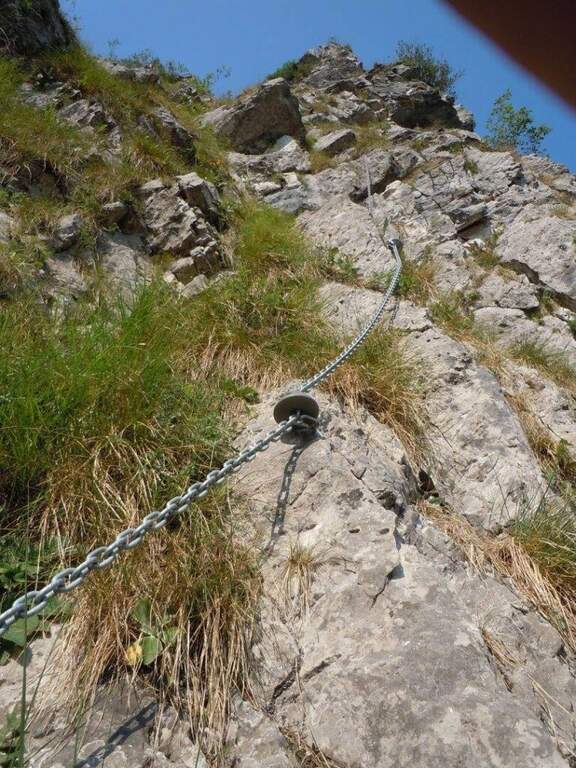
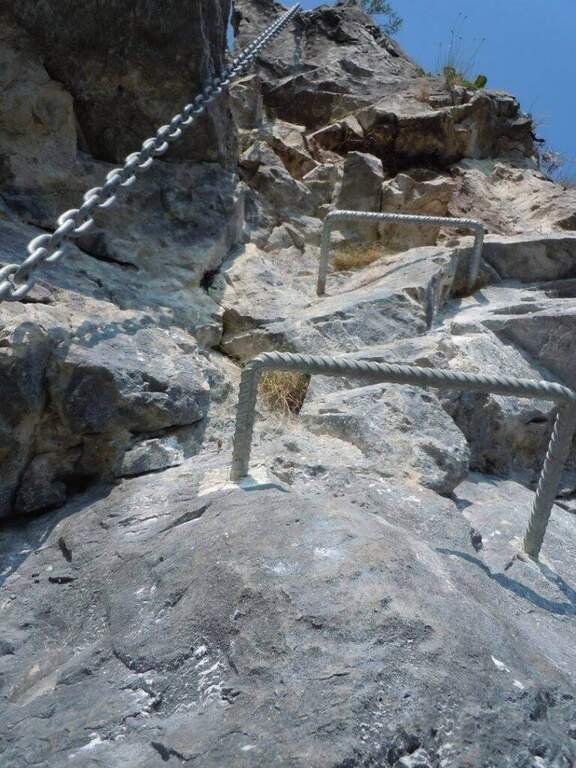
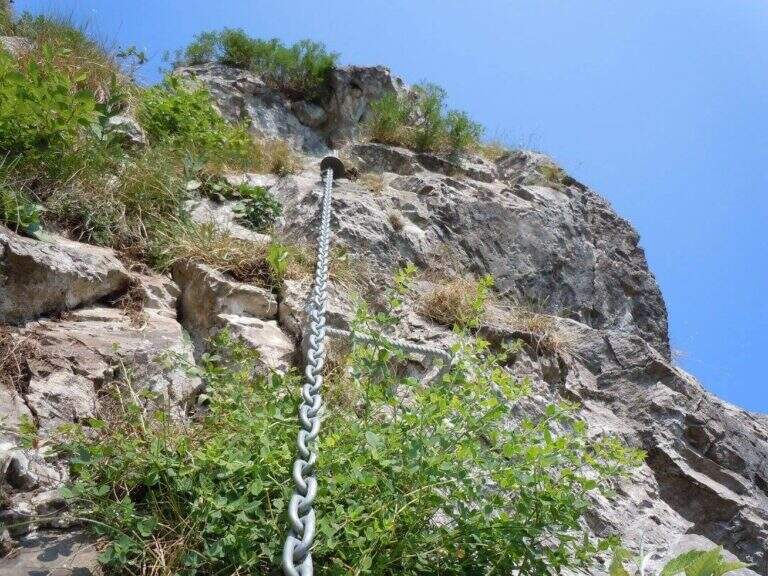
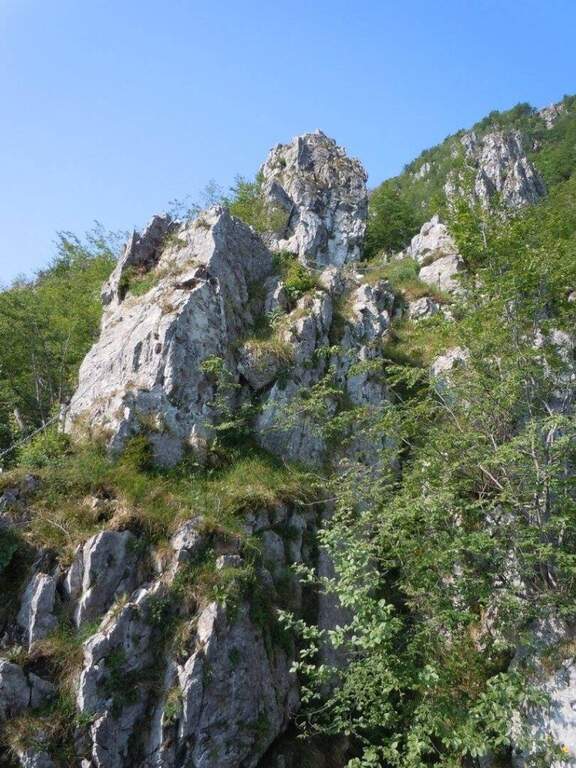
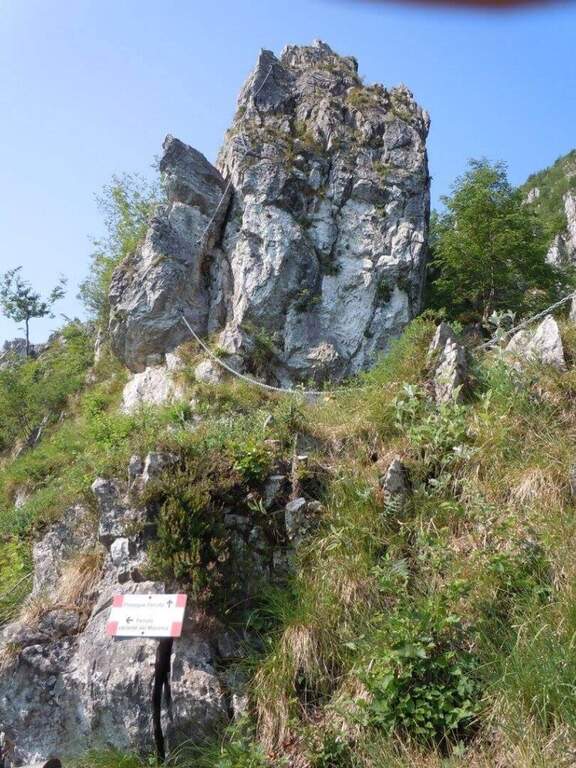
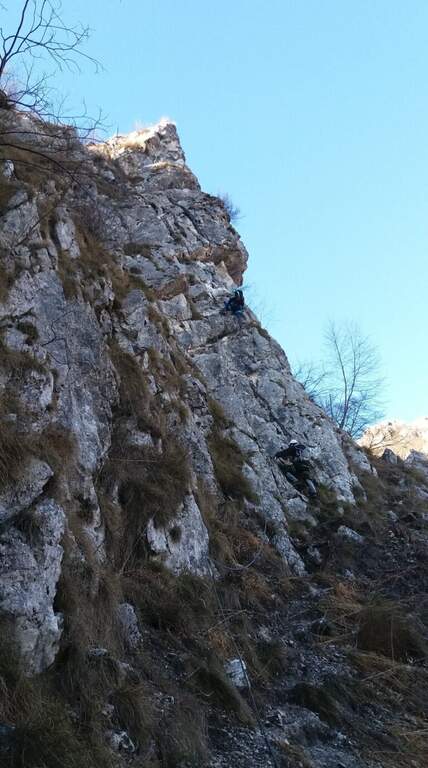
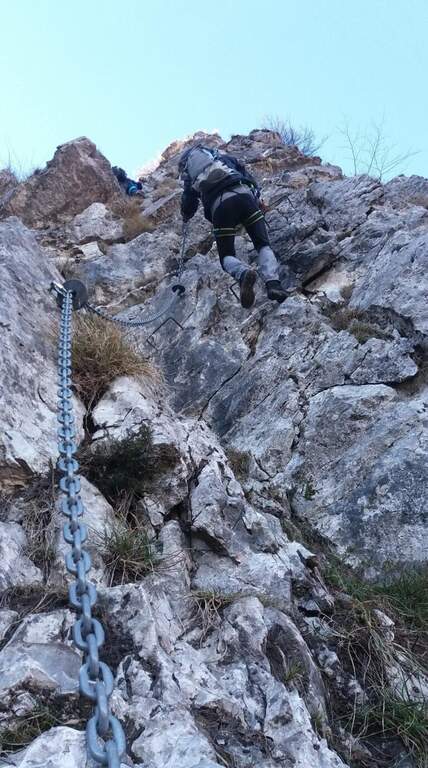
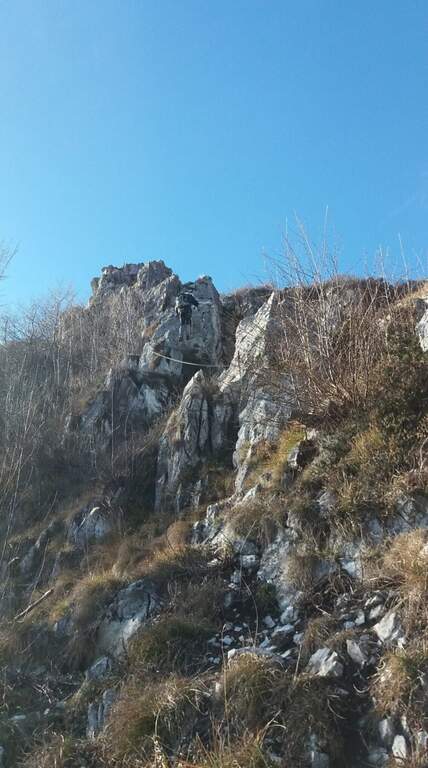
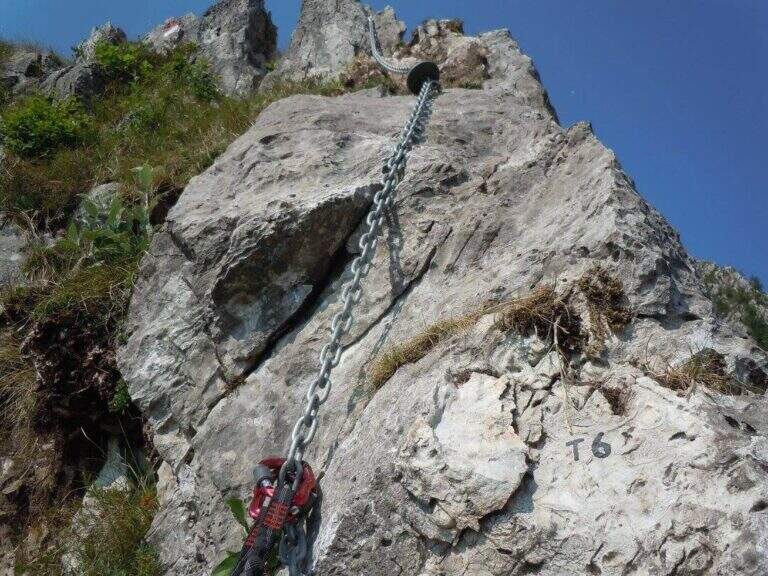
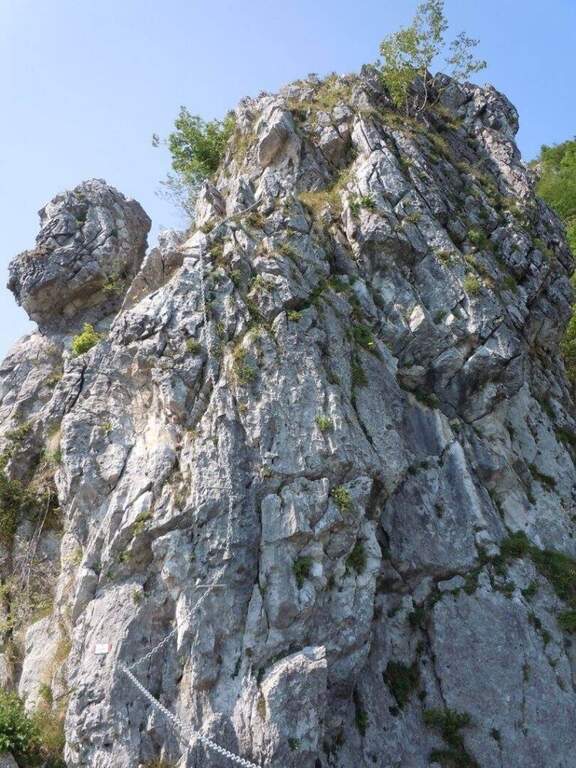
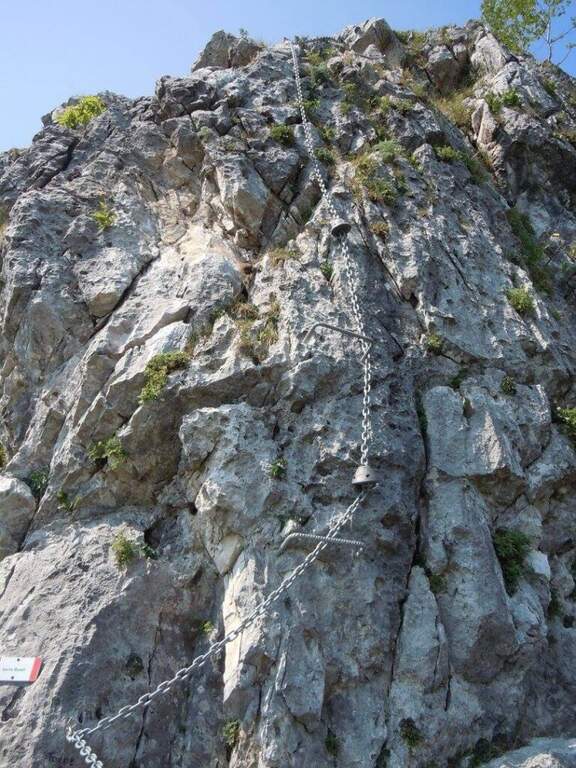
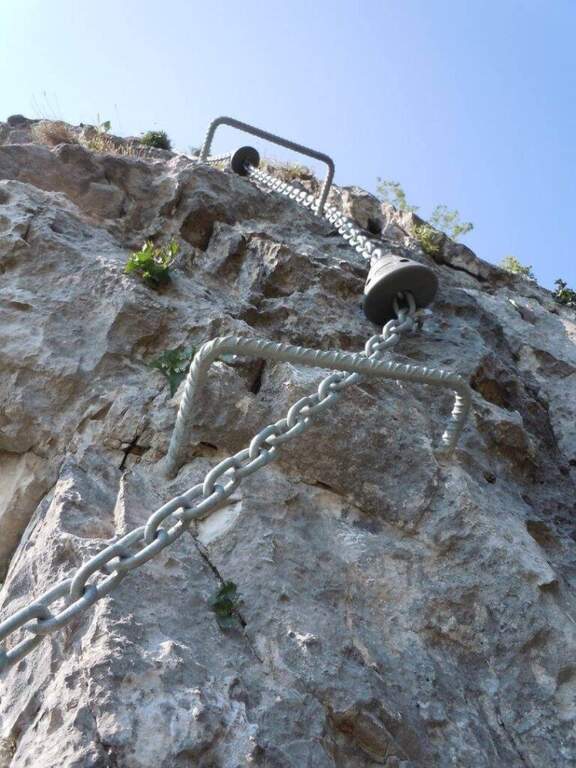
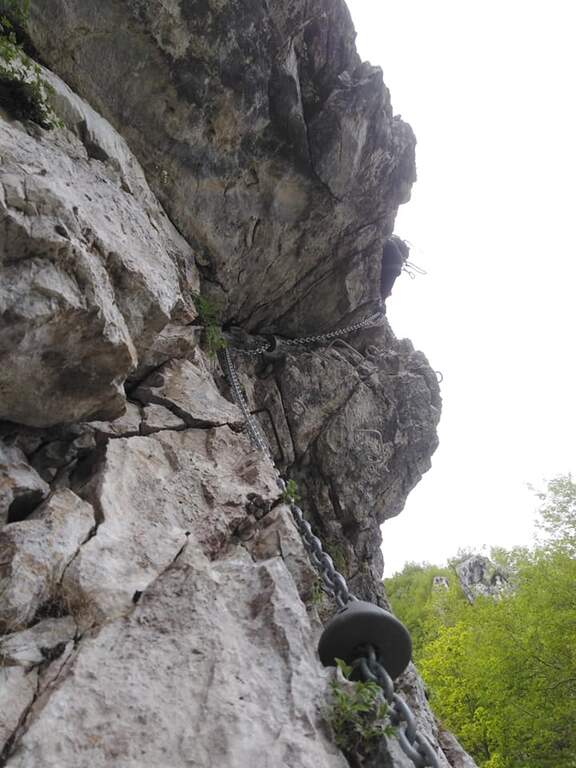
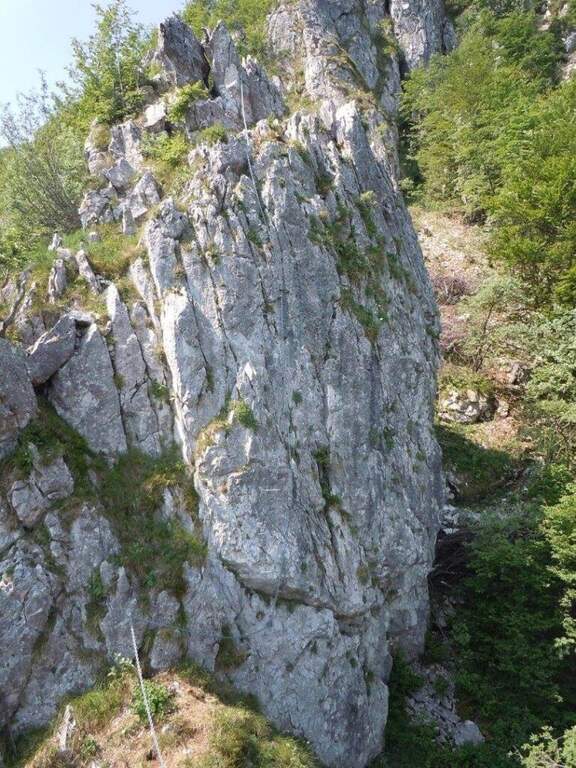
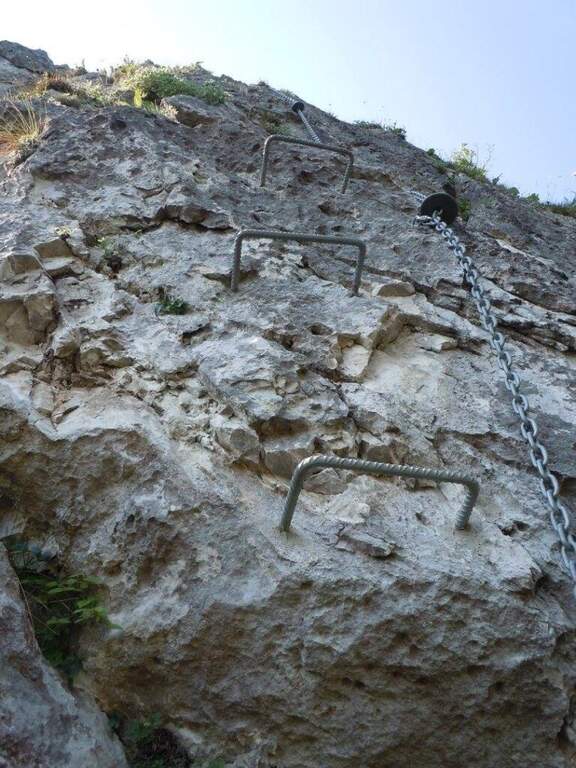
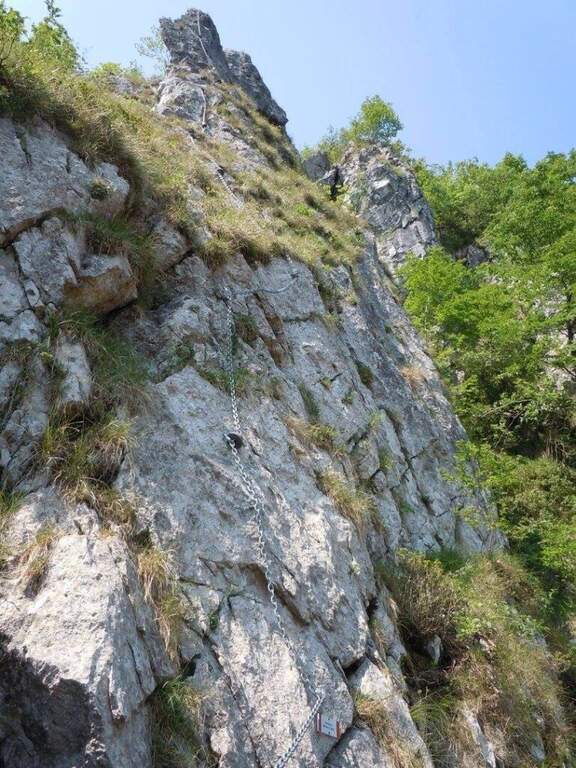
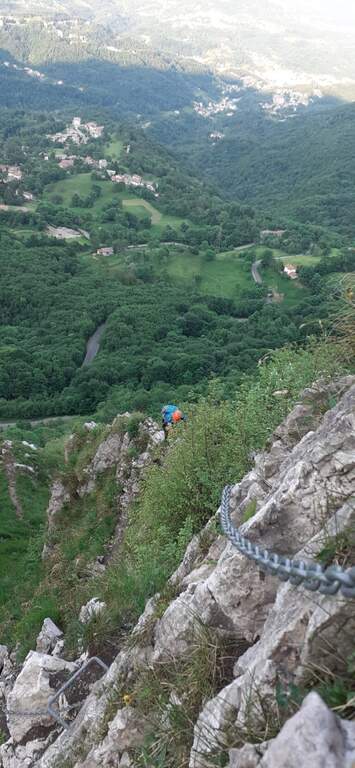
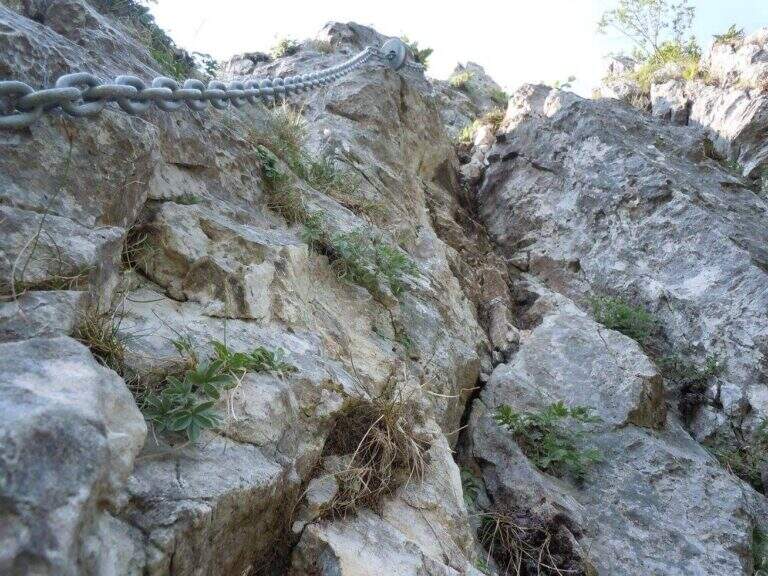
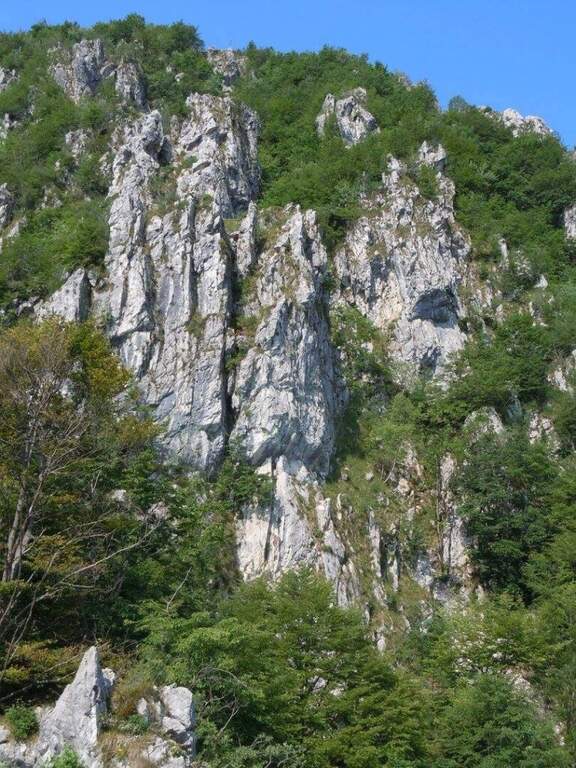
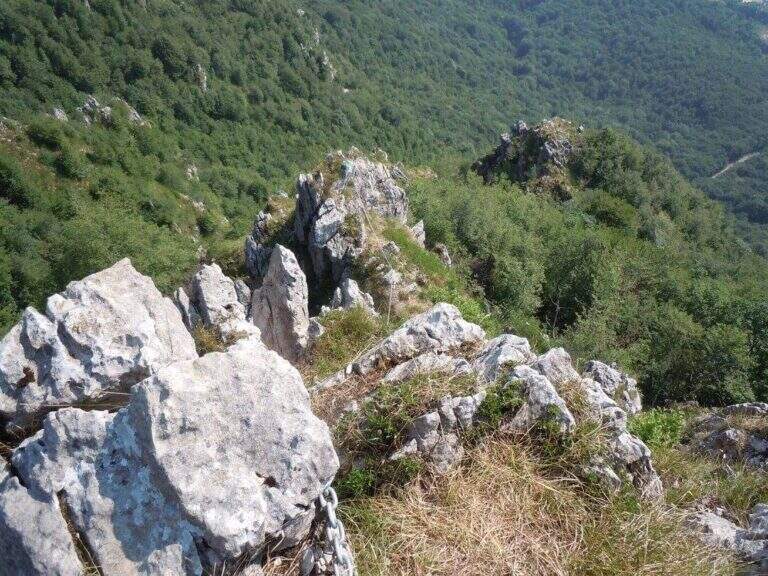
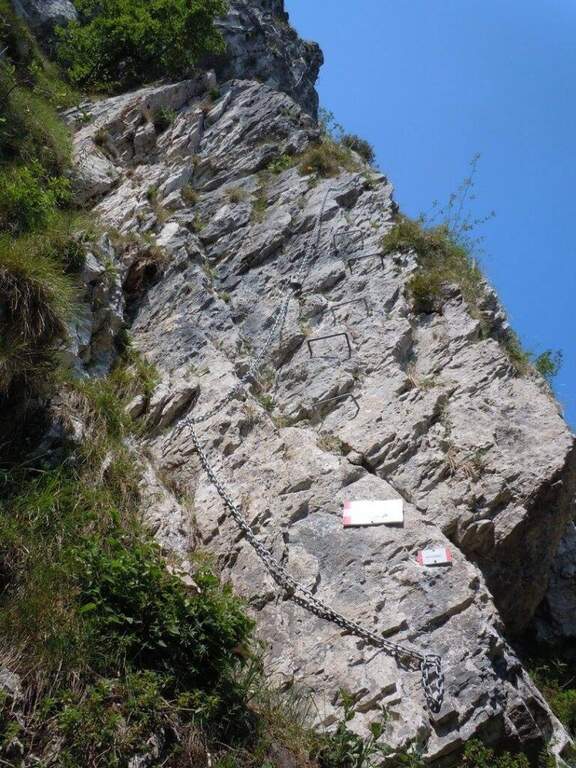
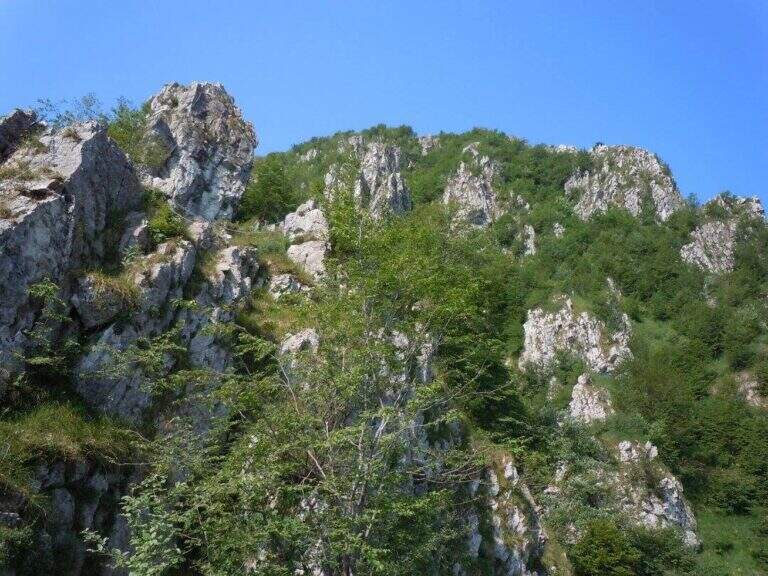
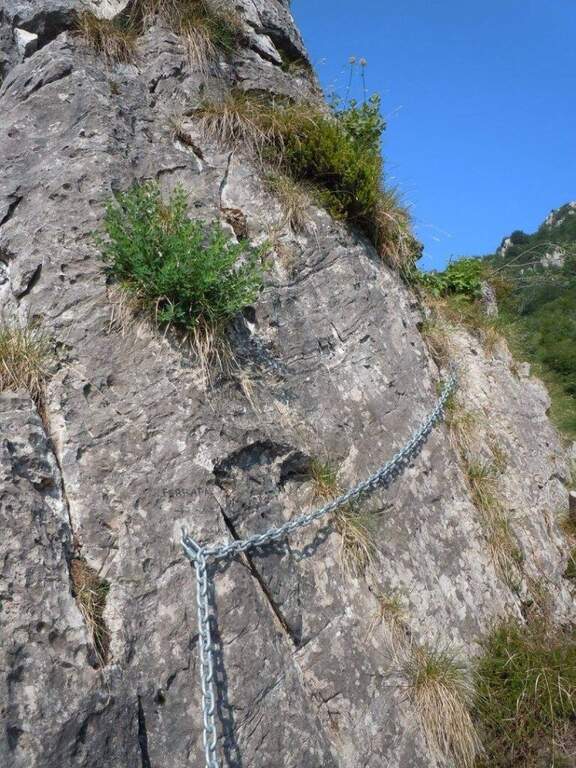
    La Ferrata di Volturara Irpina (or Ferrata di Maroia) è the first via ferrata certified in Campania, installed in 2019 on the west wall of Monte Costa. It offers tre routes difficultà growing – an easy base track, a moderately difficult variant and an extremely difficult variant with strapiombi – in a beautiful and out of the usual destinations.

    ▲Approach

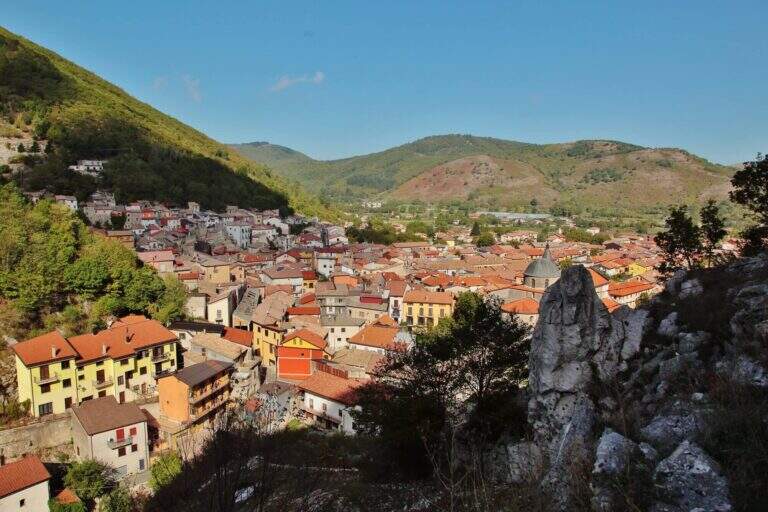
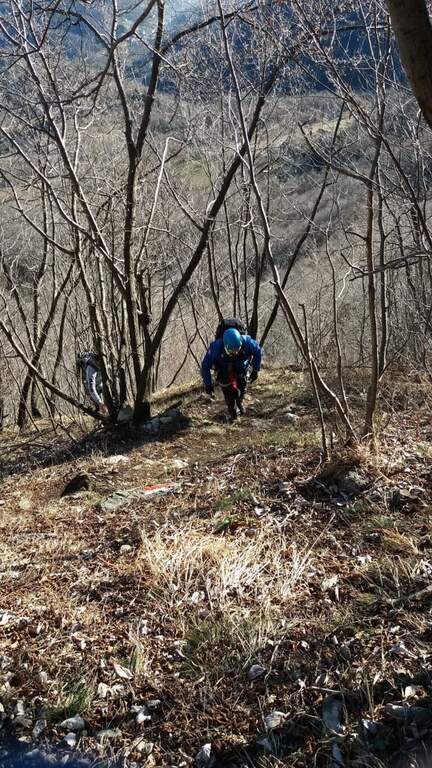
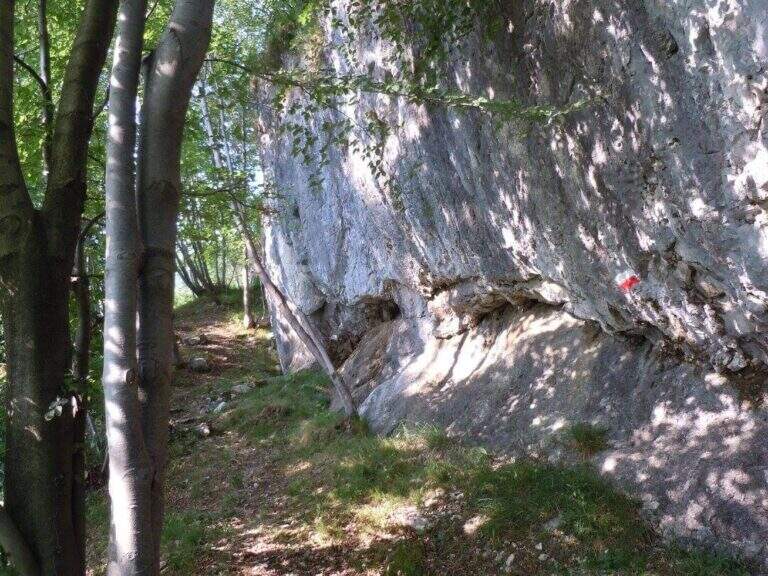
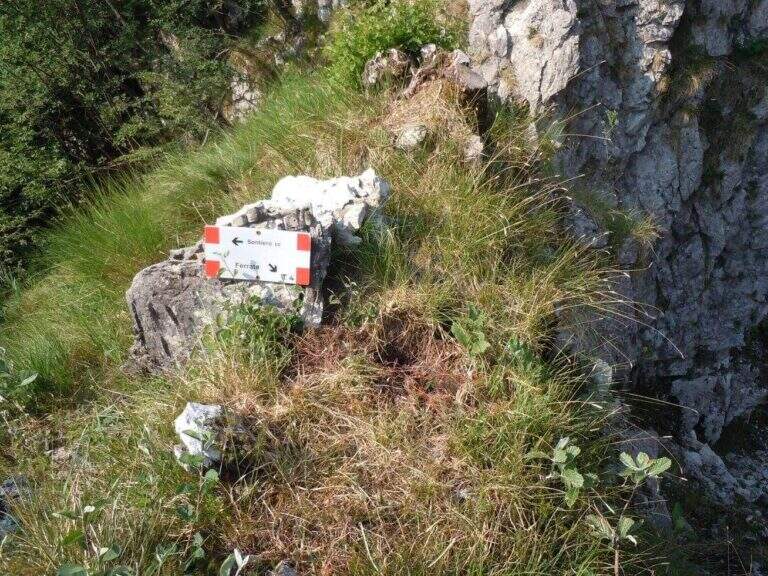
    It starts from the center of Volturara Irpina (Avellino), with the wall clearly visible to the southeast. Open road signs on Google Maps. From' crossroads between Via Sibilla, Via Candragone and Via Pasquale de Feo a road to the wall: follow the signs, ignoring on the left the multipitch routes, and in a few meters you reach l' hardware attack (10' from center).

    ▲The path

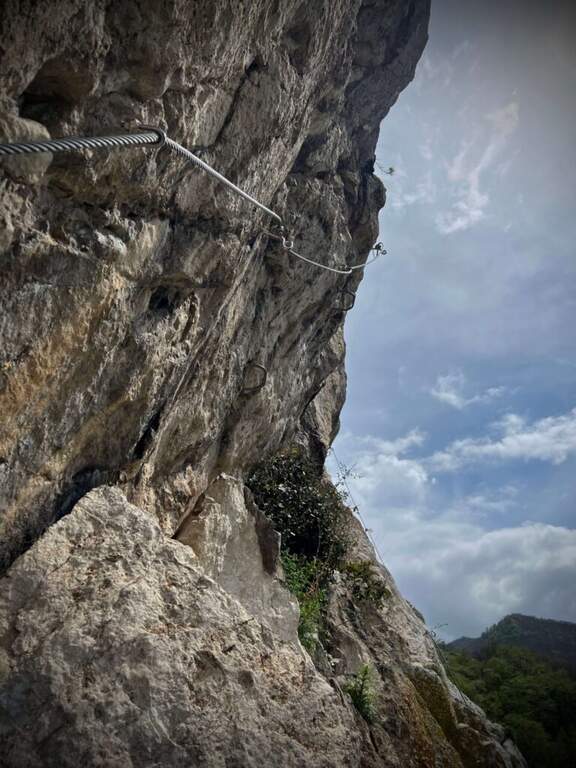
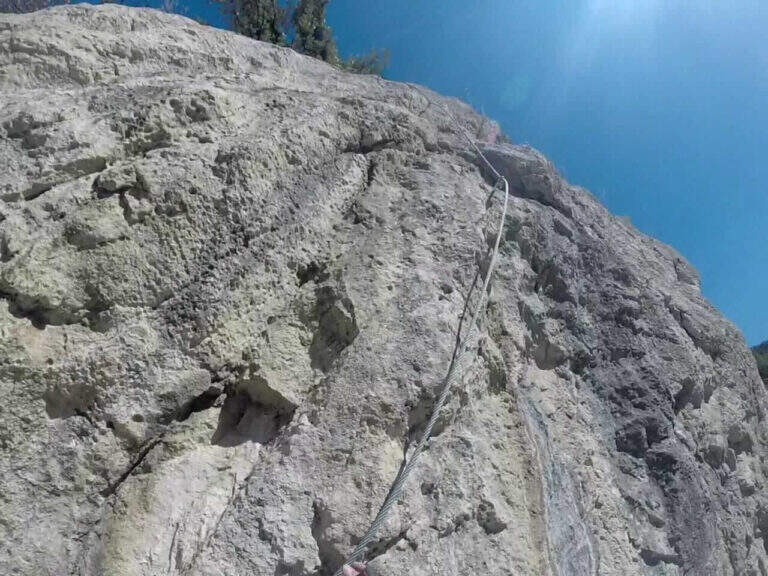
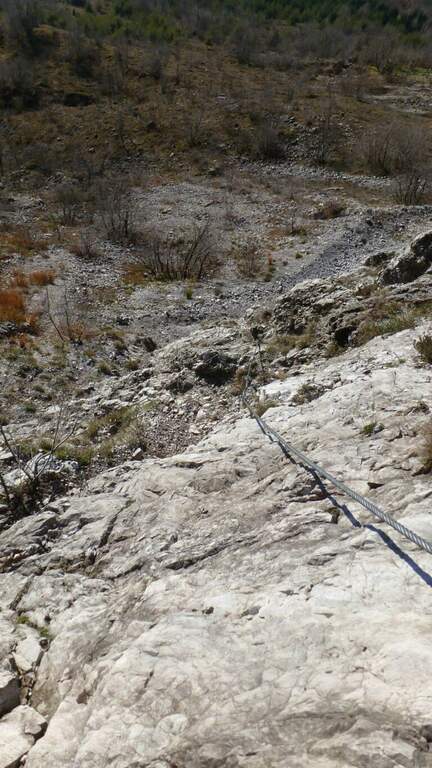
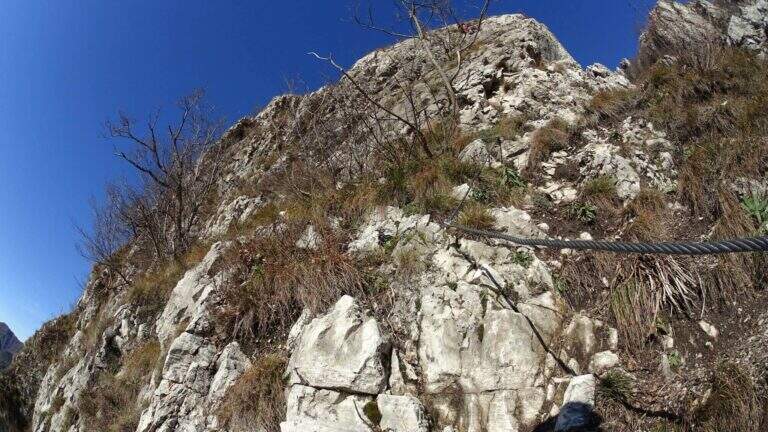
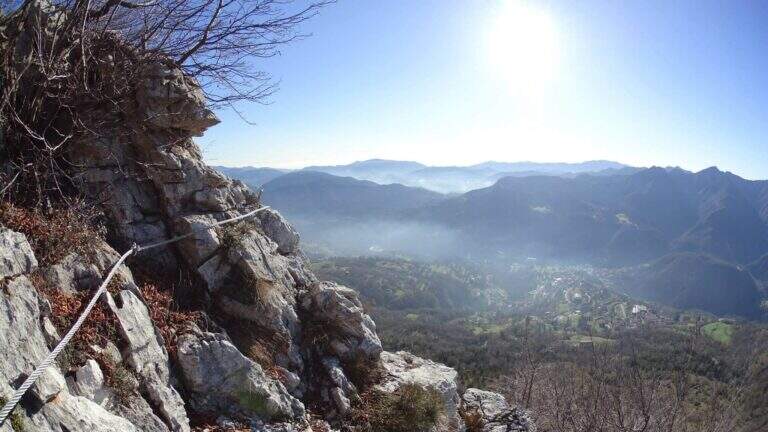
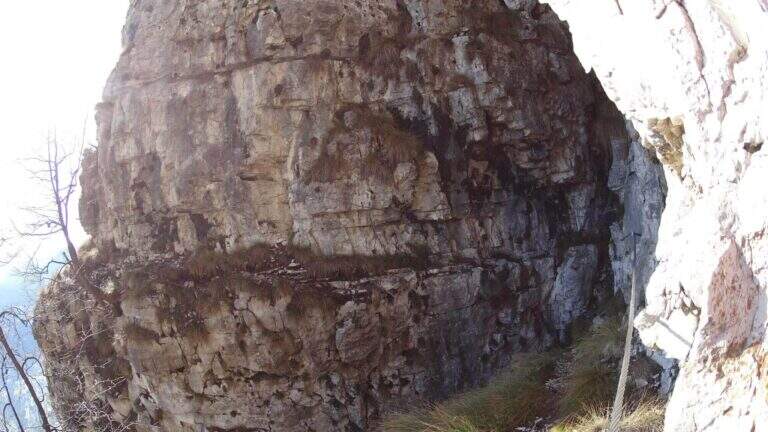
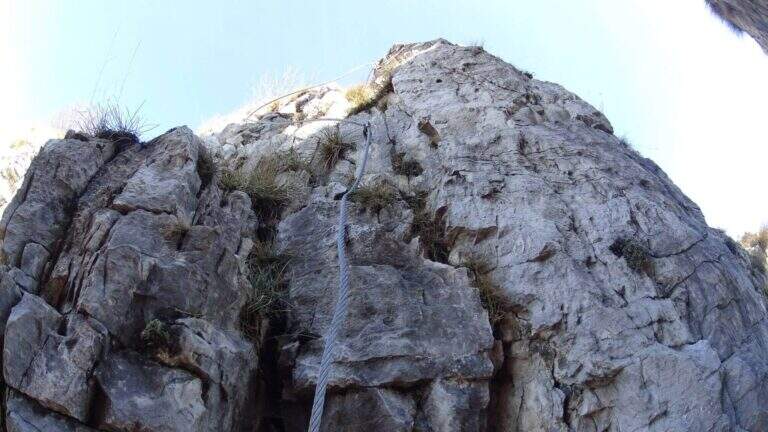
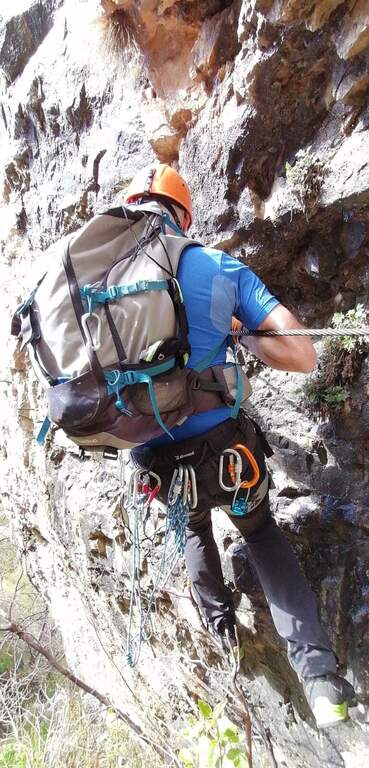
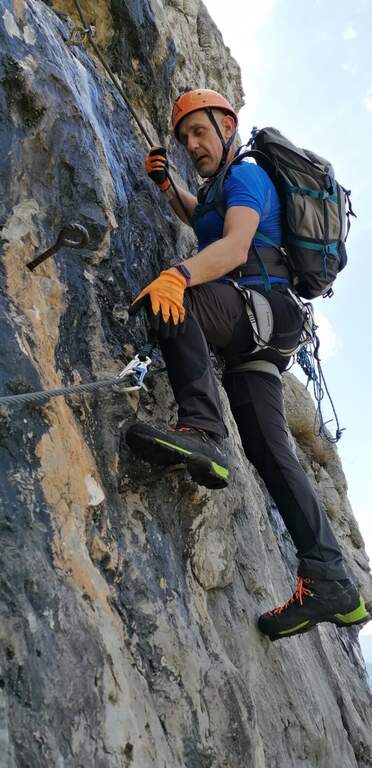
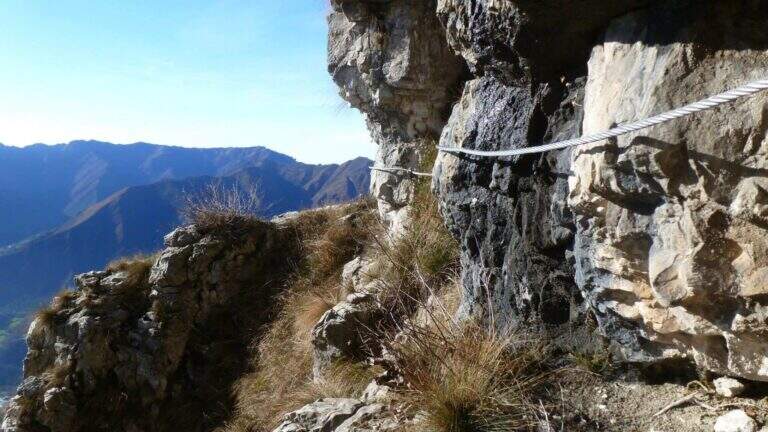
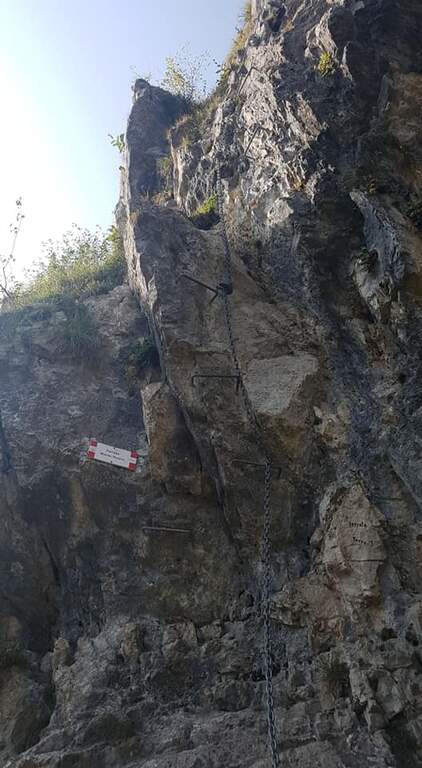
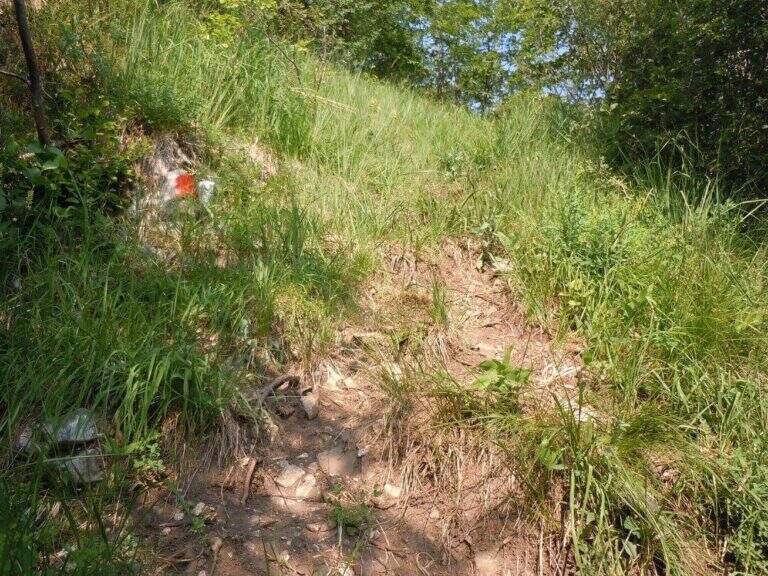
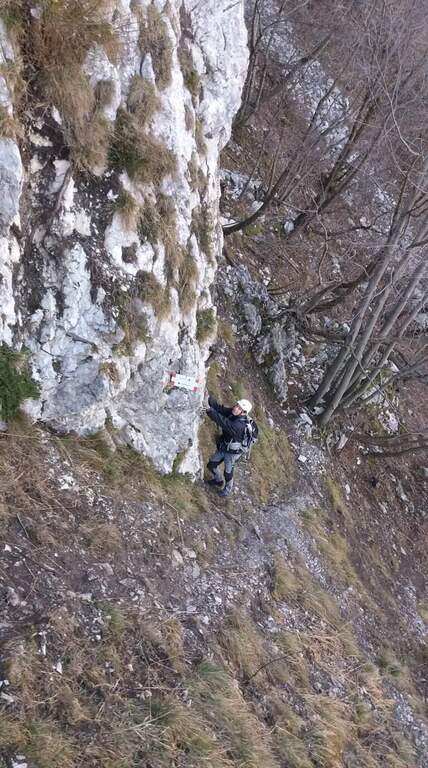
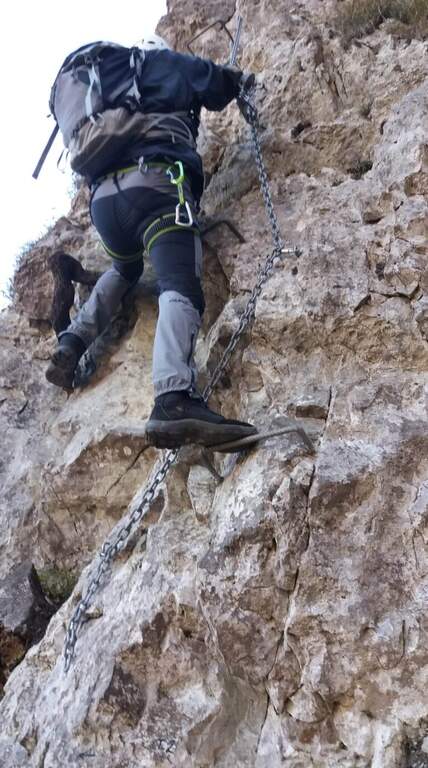
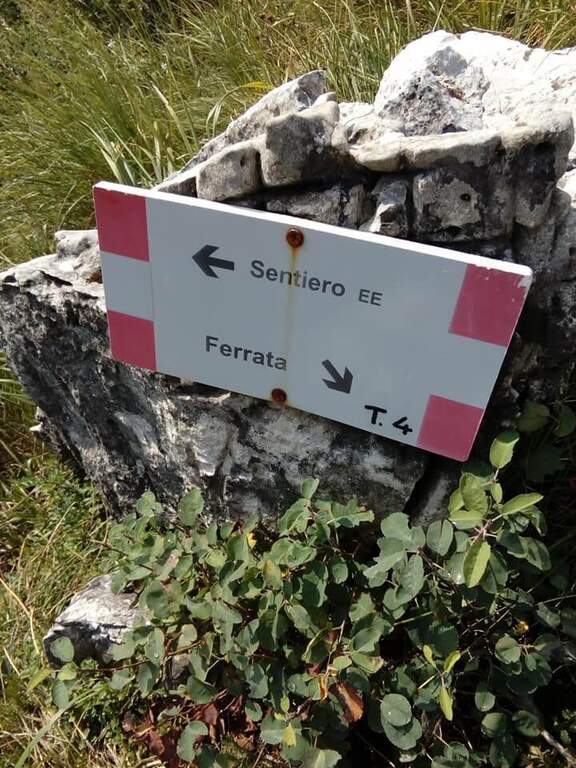
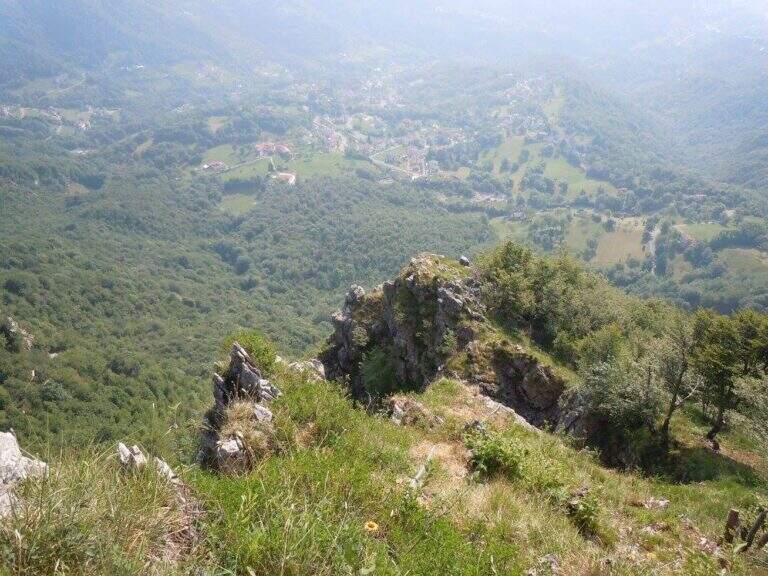
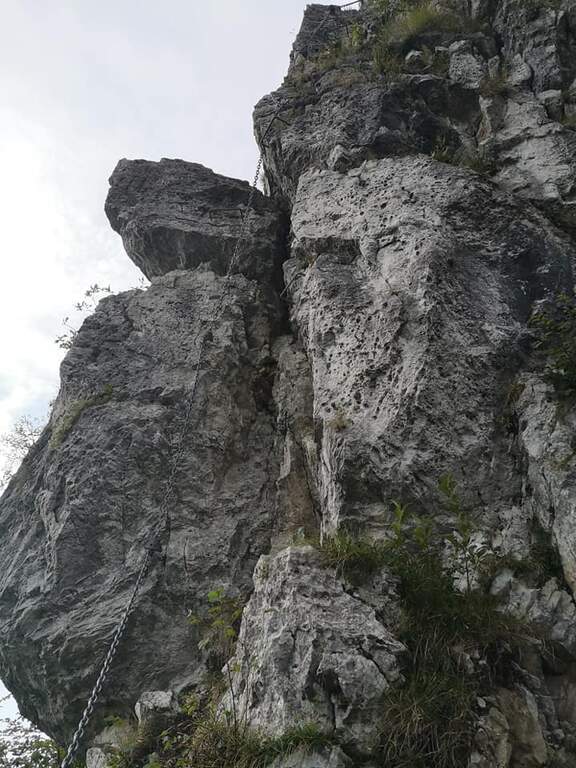
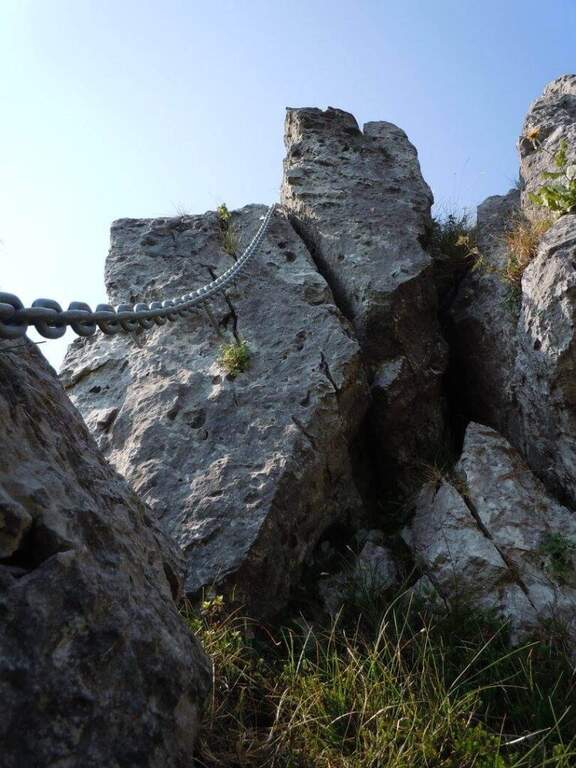
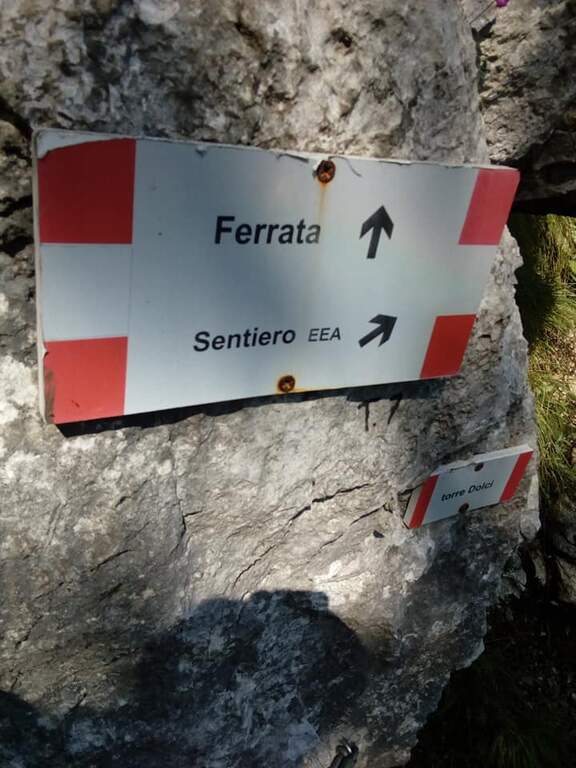
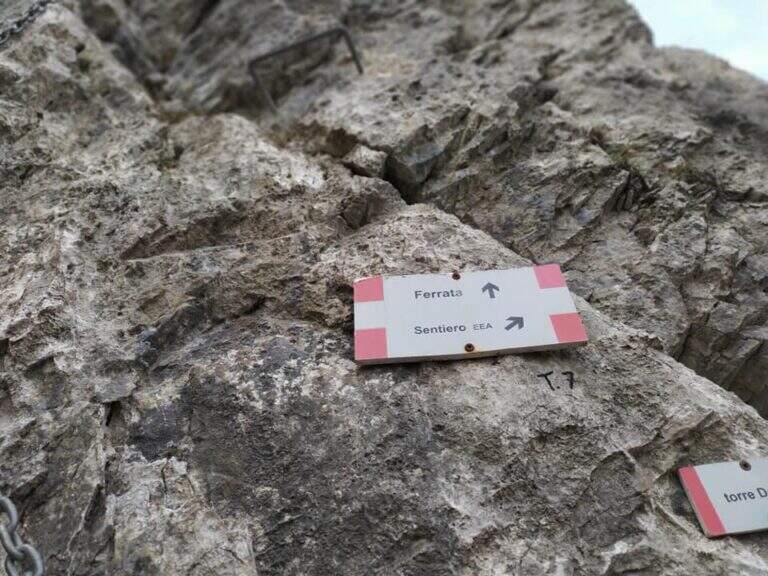
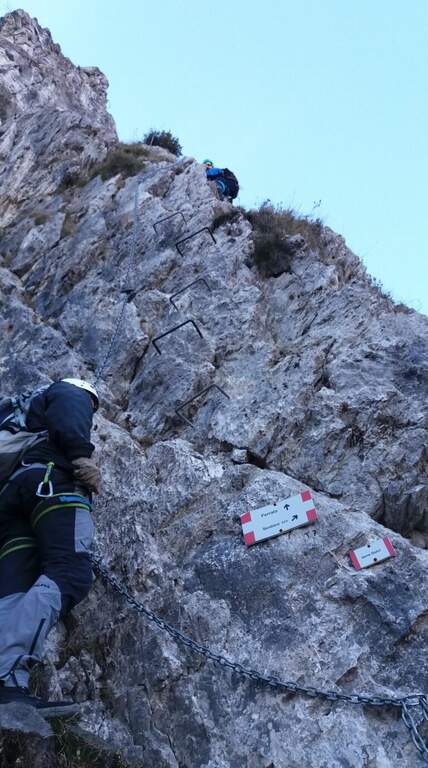
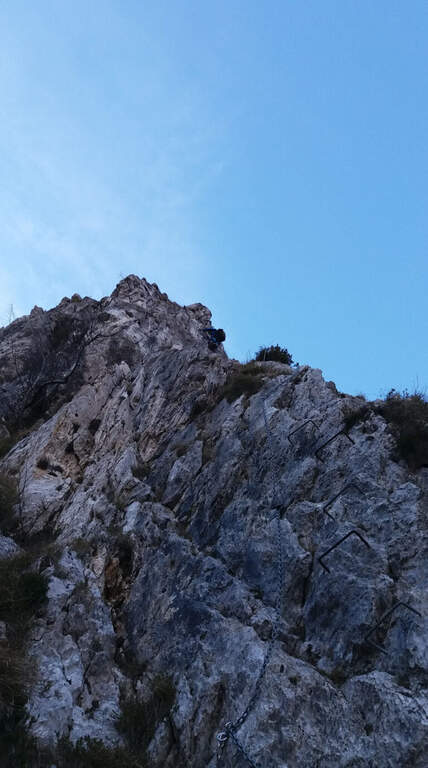
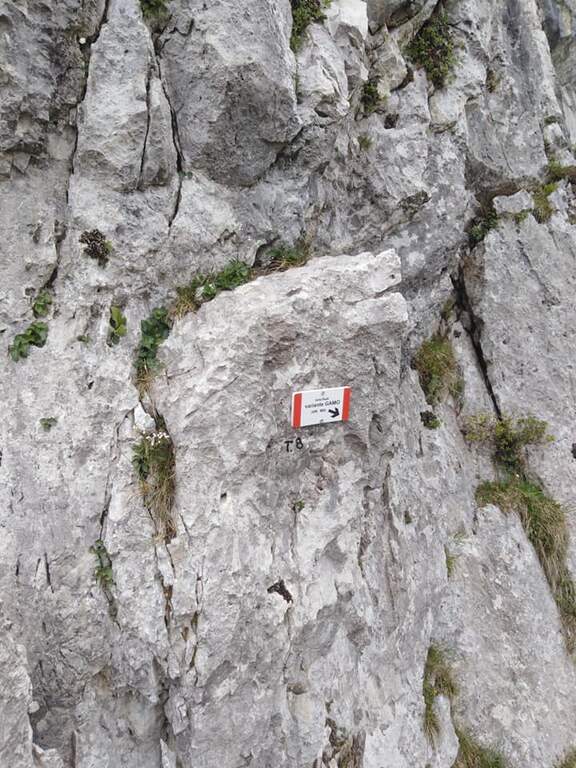
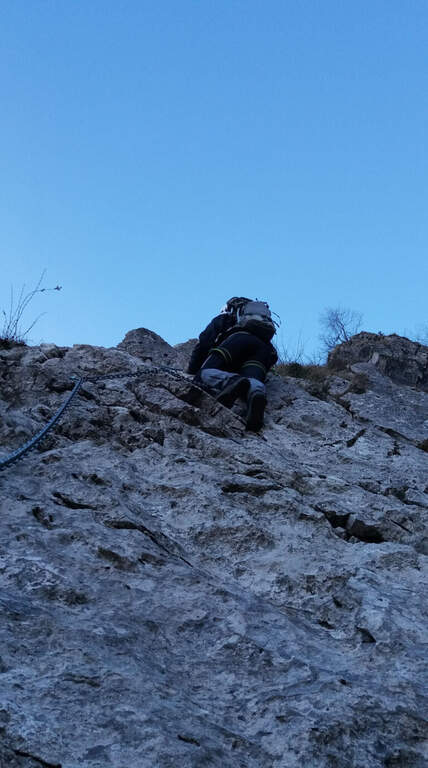
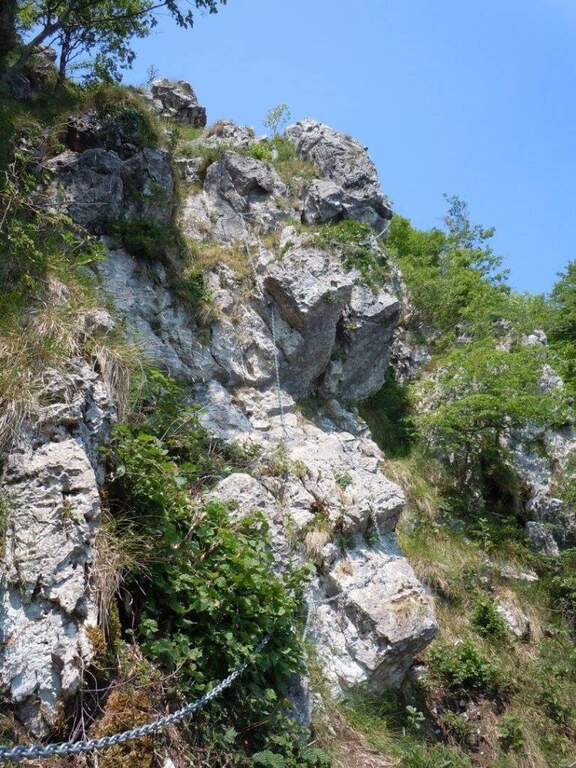
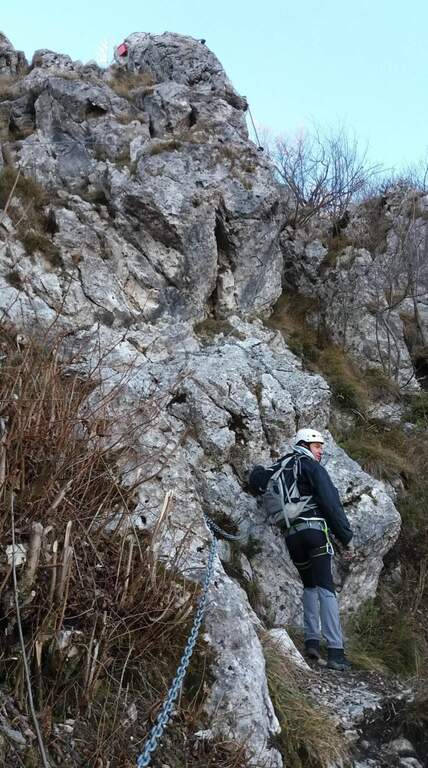
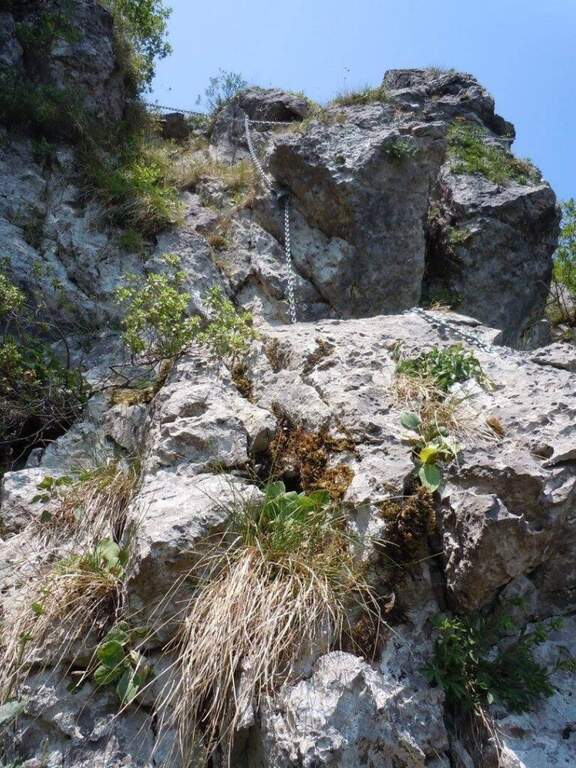
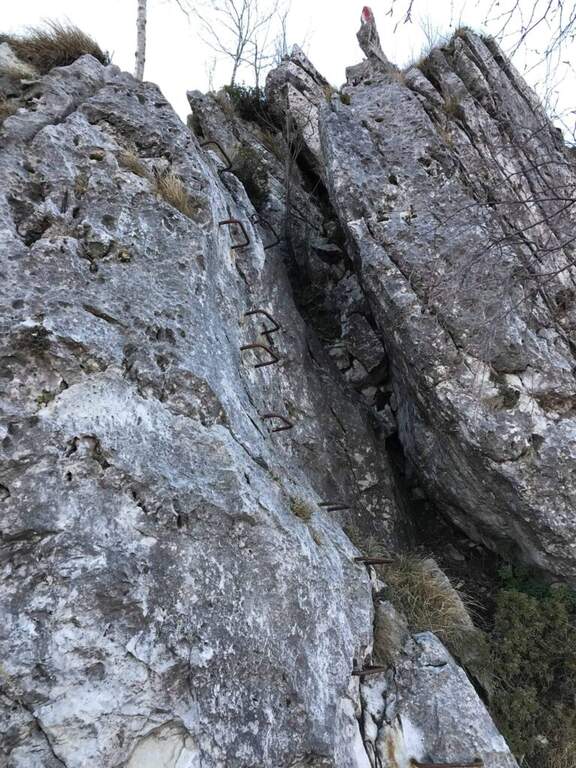
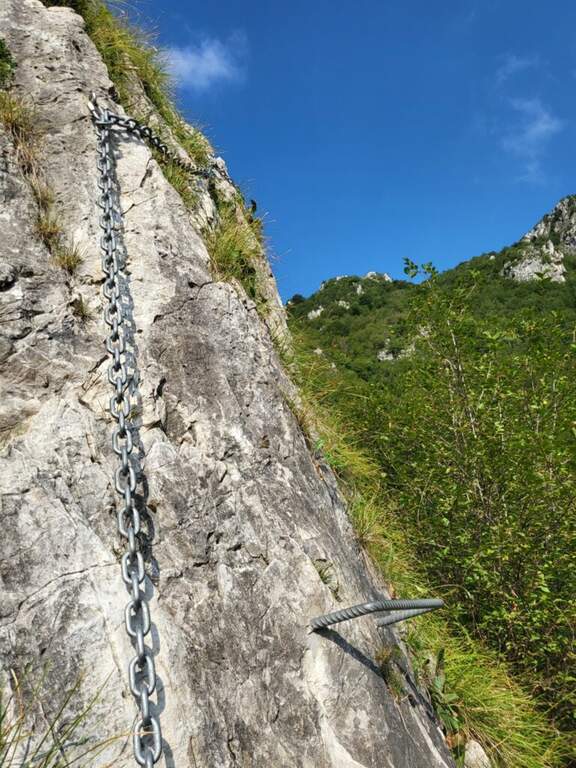
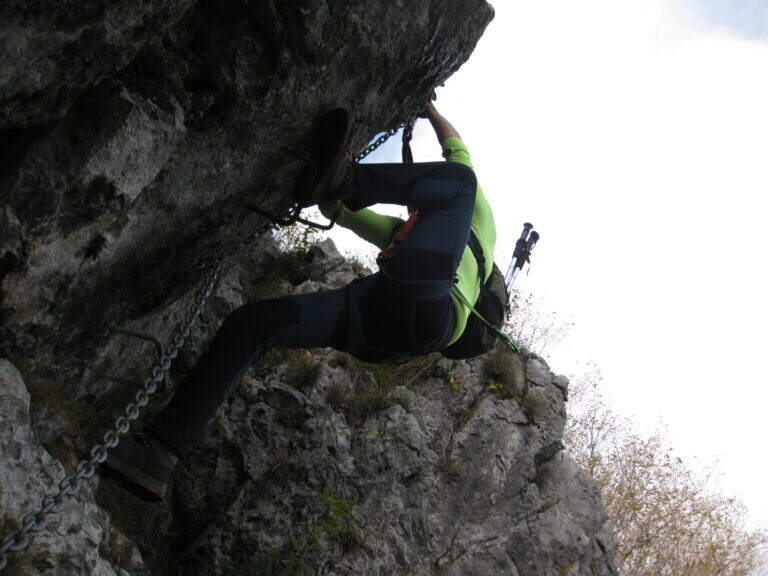
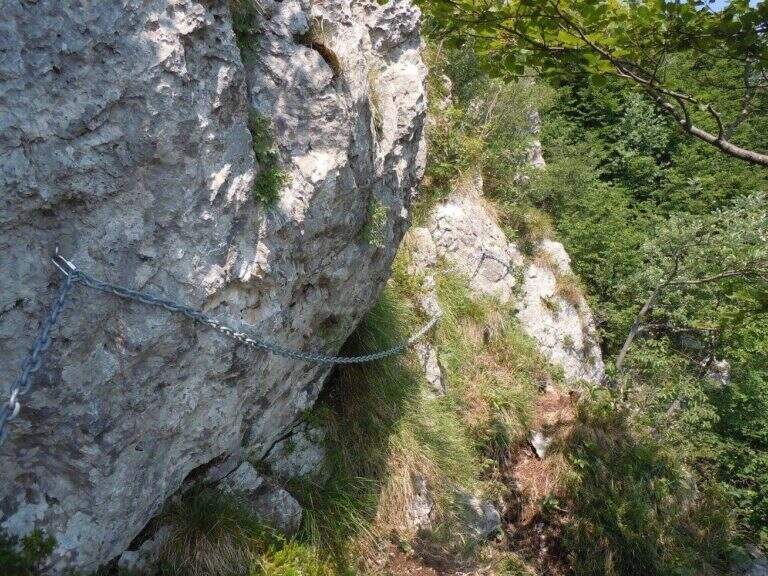
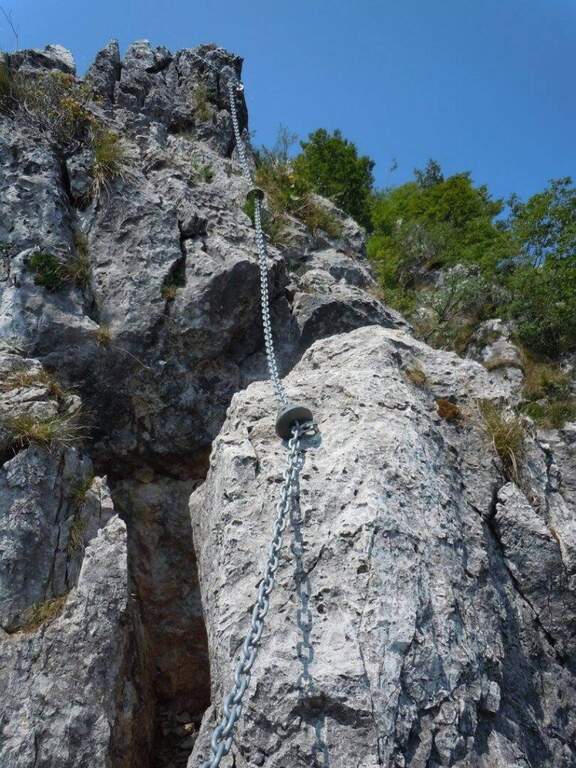
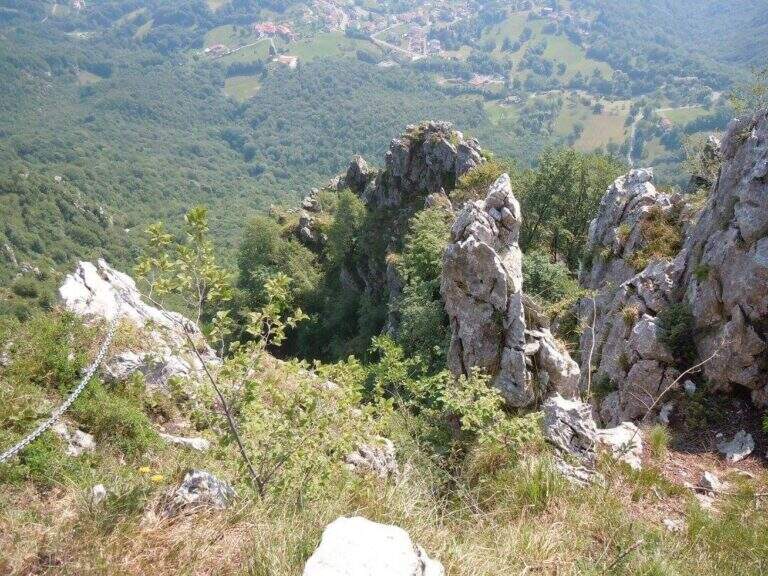
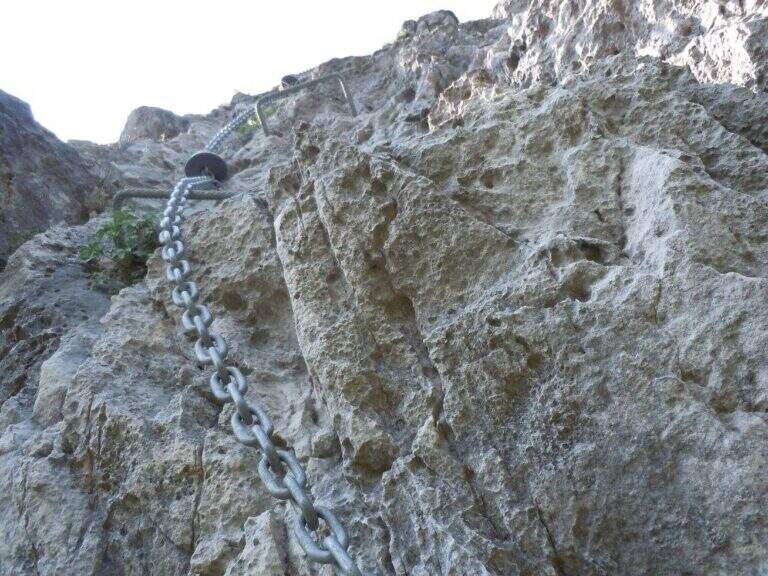
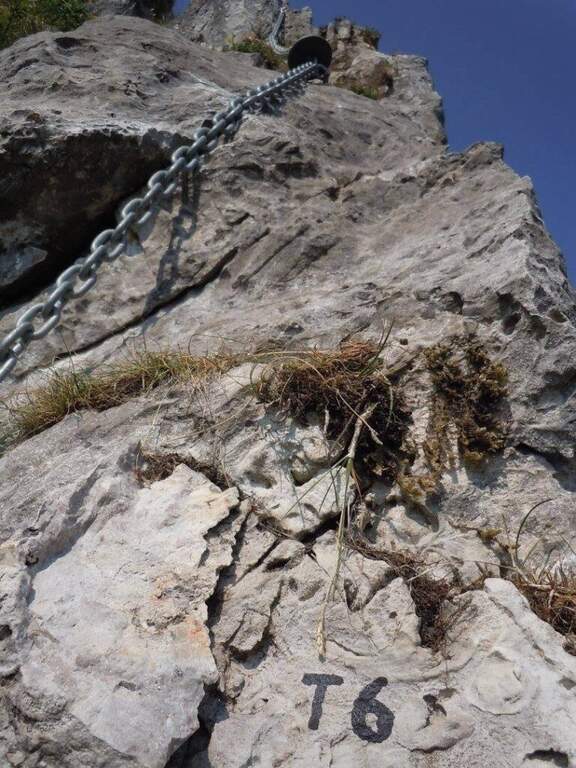
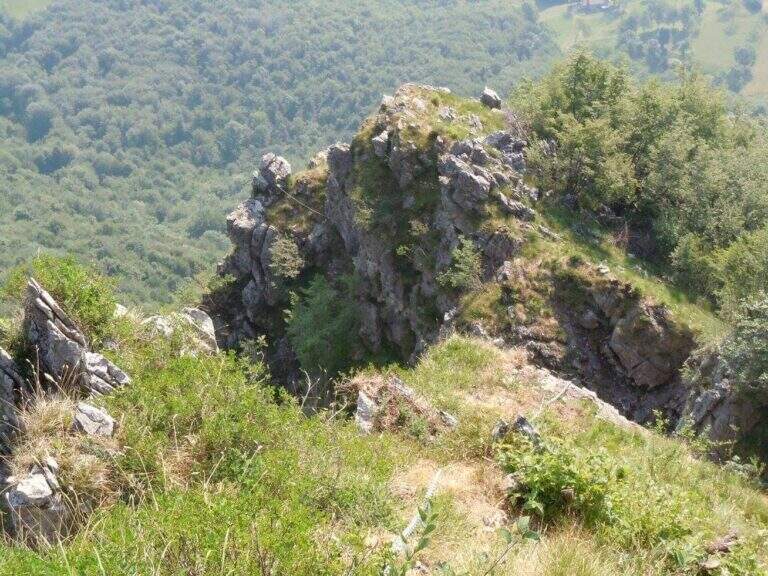
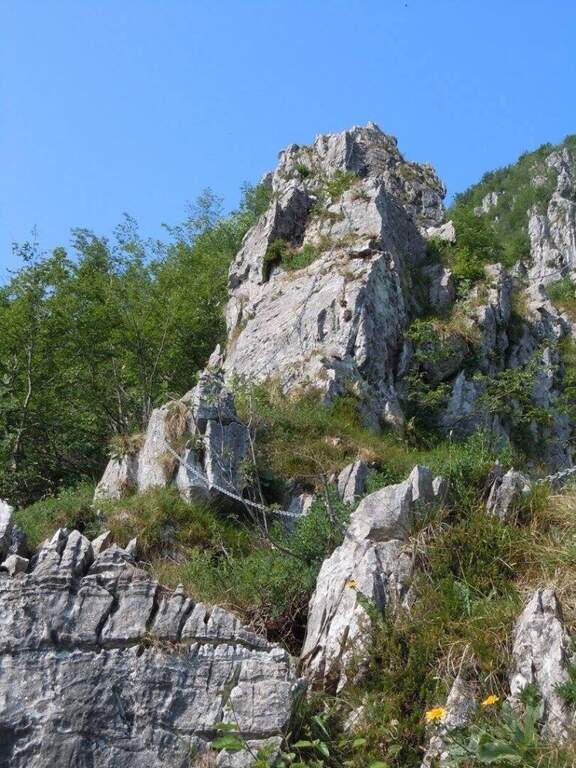
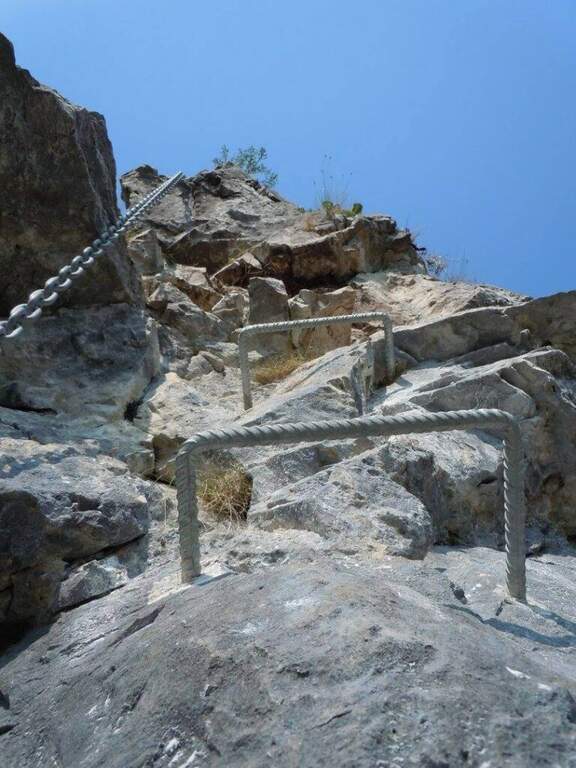
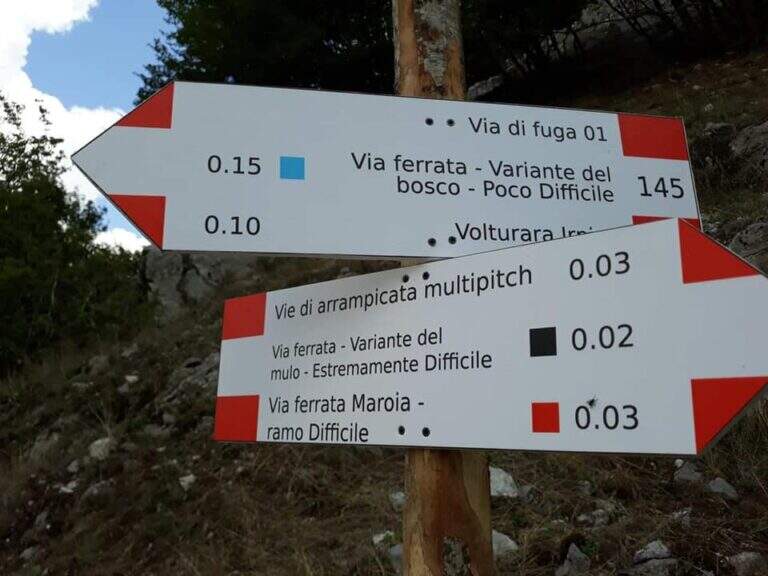
    The route has a first common obligated trait, then it is divided into three tracks with an escape route after the first stretch. The blue path (easy) climbs a ramp to the right and a stranded edge in climbing, then descends a couple of meters to the left on an exposed and panoramic traverse; it continues left on path in the forest (here the escape route) and ends with blinds and easy leaps on the summit cres. The Red Path (the real Ferrata Maroia, moderately difficult) keeps the right on a ' wide nod, exceeds a challenging diagonal traverse, a strapiombo with athletic pitch and beautiful exposure, until you reach the blue path. The Black Path (Mount, extremely difficult) & short but very athletic: after an easy start rooms challenging walls up to a netto vertical strapiombo devoid of hooks, to pass fast, before rejoining the red path.

    ▲Character and difficulty

    Recently with equipment in good condition and the possibility to choose the level suitable for your preparation. Level difference in ferrata 150 m, total 180 m, maximum altitude 800 m, development 4 km.

    ⚠ The red and especially black variants have athletic strapiombi: honestly evaluate their conditions before engaging them and taking advantage of the escape route after the first stretch if necessary.
    ▲Discipline

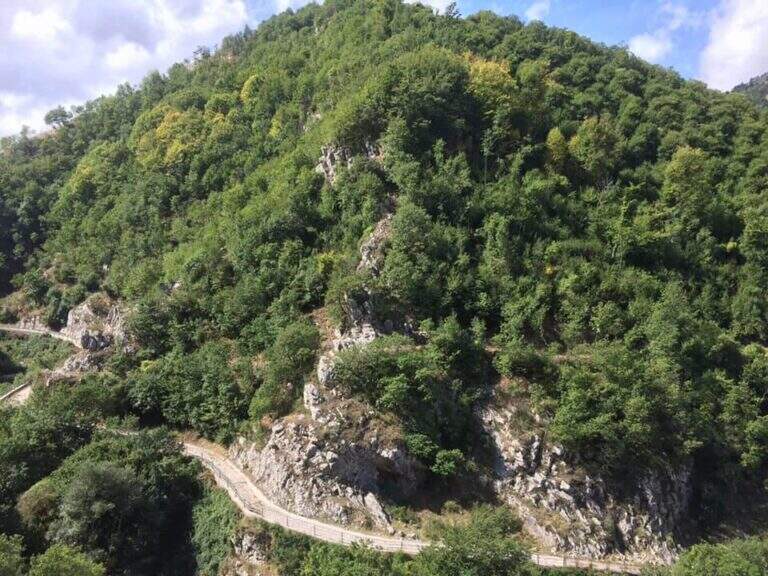
    From the word follow signs CAI 145 and 145a which in about 20' they report to the center of the village: on the left (north) you descend into the forest until the census of the ' attack, on the right (south) you reach the alleys of the country (2h totali).

    ▲Gallery
    Technical data
    • DifficultyModerately Hard
    • RegionCampania
    • GroupMonti Picentini
    • Approach0:10 h
    • Ferrata1:30 h
    • Itinerary (a/r)2:00 h
    • Hardware level difference150 m
    • Route difference180 m
    • Max800 m
    • Length4 Km
  • Ferrata Nasego (Corna di Savallo)

    Ferrata Nasego (Corna di Savallo)

    Vie Ferrate › Lombardy › Brescia
    Ferrata Nasego (Corna di Savallo)
    Moderately Hard● OpenDescriptionComplexityMapsGallery

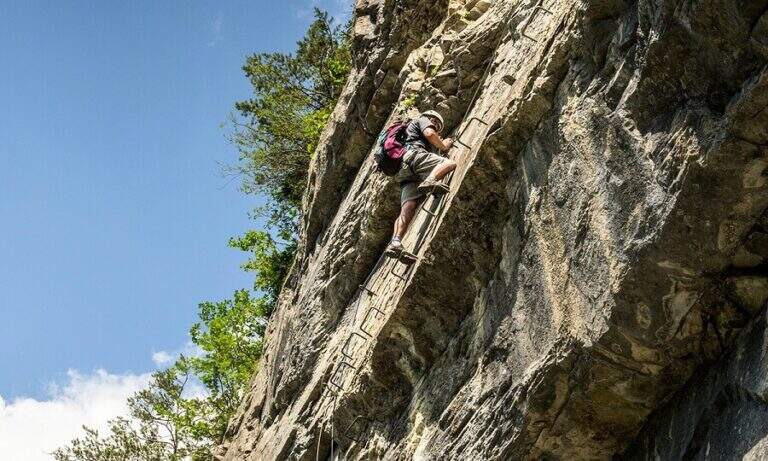
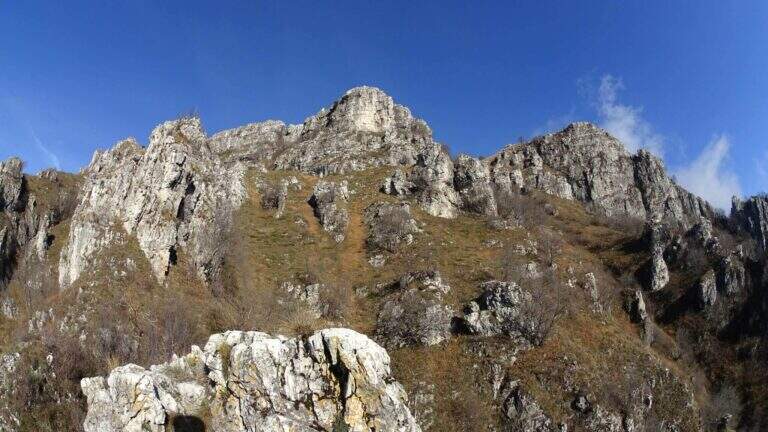
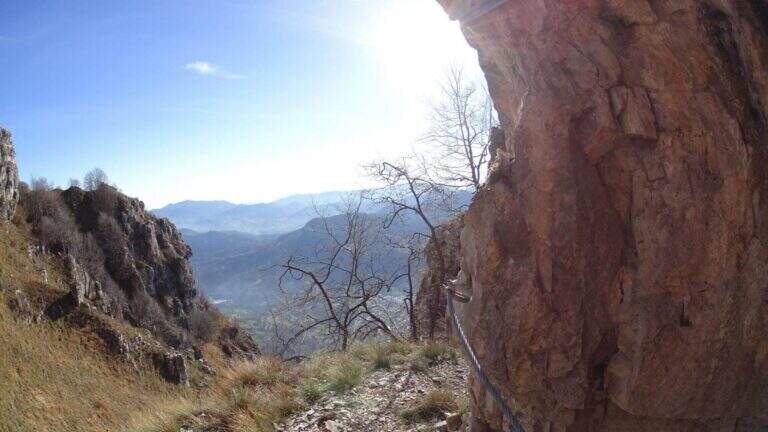
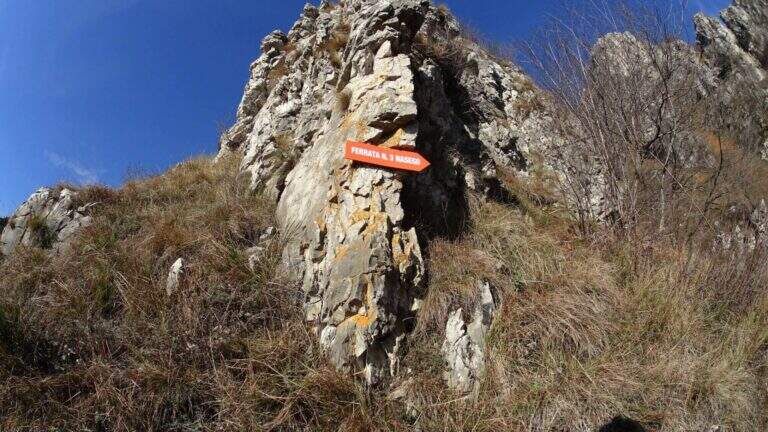
    La Ferrata Nasego si sviluppa su 5 sezioni ben distinte e di difficoltà media, con alcuni tratti più impegnativi. Mediamente esposta, alterna pareti, traversi, cenge e tratti di cresta; pur abbastanza lunga, offre molti punti dove rifiatare. La bassa quota la rende percorribile gran parte dell'anno.

    ▲Approach

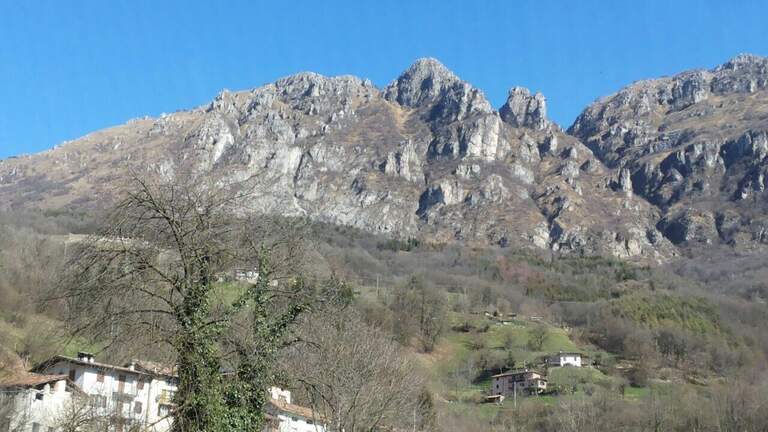
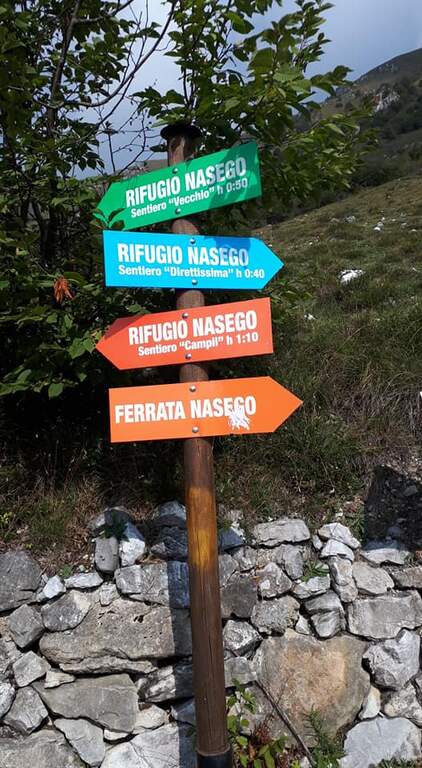
    Si parte presso l'abitato di Comero, vicino a Lodrino (Brescia). Superato Casto, sulla provinciale si nota a destra una strada che risale in senso inverso, con le indicazioni per il Rifugio Nasego e le Corna di Savallo già visibili sopra. La si risale fino a un bivio dove, seguendo il rifugio, si va a destra, si aggira una chiesa e si sale per una strada che si restringe e diventa sterrata in discrete condizioni, fino a uno spiazzo con tettoia dove parcheggiare. Open road signs on Google Maps. Dal parcheggio si seguono le indicazioni per la ferrata verso destra (est) in lieve salita; usciti dal bosco si costeggia la base della Corna di Savallo fino all'inizio delle attrezzature a sinistra (20' dal parcheggio).

    ▲The path

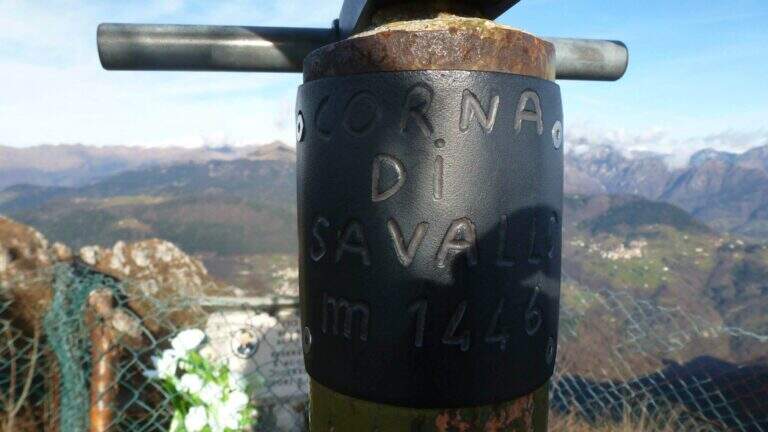
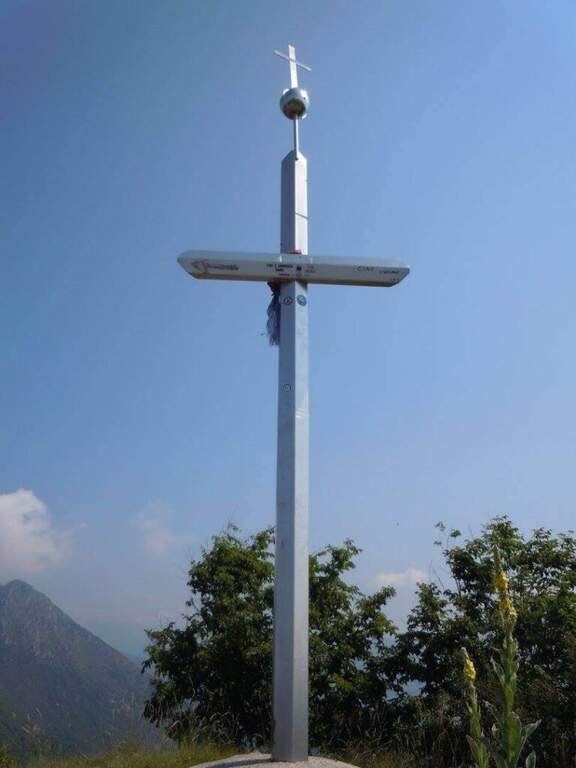
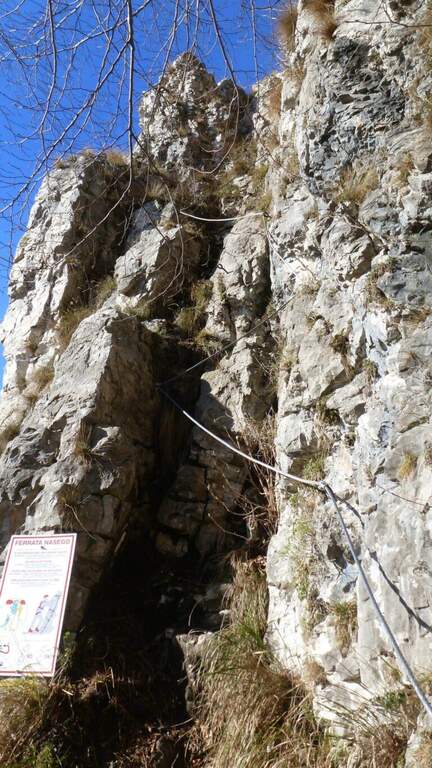
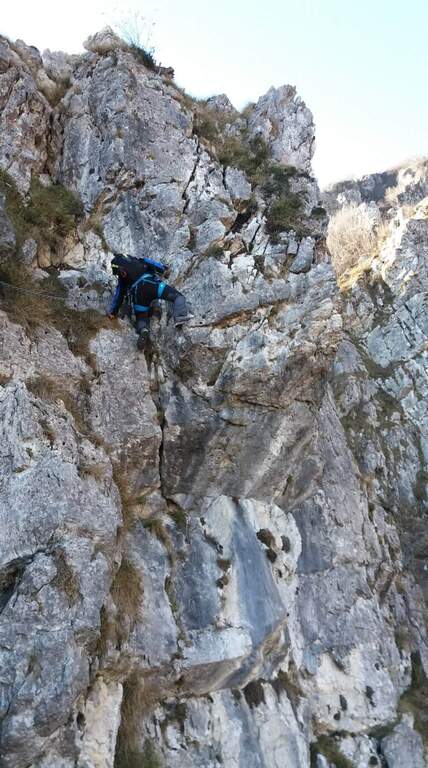
    La via è suddivisa in 5 tronconi. La prima sezione inizia su un tratto inclinato (cavo di equilibrio), poi una paretina coricata dove il cavo zigzaga e va scavalcato un paio di volte, quindi una parete più verticale su spigolo non marcato; si guadagna quota ed esposizione alternando destra e sinistra fino a una cengia e a un breve sentiero attrezzato, dove le attrezzature terminano. Per sentiero erboso si scende al secondo troncone: presso un canale roccioso si risale una parete verticale di 8-10 m con pioli, un breve strapiombo e una pianta sul lato opposto da scavalcare (passaggio non agevole per chi è basso di statura); sopra, il cavo prosegue verticale ed esposto, poi più appigliato, fino a roccette facili. La terza sezione attacca con un traverso diagonale a destra e poi in direzione opposta su pioli, un tratto di sentiero attrezzato, un traverso sotto un tetto poco marcato e facili balzi arrampicabili (attenzione alla roccia friabile). Il quarto troncone sale facili balzi, poi un traverso in leggero strapiombo che sollecita le braccia (meglio non temporeggiare), una breve fessura verticale e balzi gradonati più fisici ed esposti, fino a una forcella tra due torrioni: si rimonta quello di sinistra e si passa sul lato opposto, una stretta cengia terrosa aggira un canalino e una rampa inclinata richiede uno strappo fisico di un paio di metri in contropendenza, poi un facile traverso chiude la sezione. La quinta sezione percorre una cengia sotto un tetto: attenzione all'inizio, con un paio di pareti verticali a pochi appigli; si risalgono balzi e una cengia diagonale attrezzata e un ultimo tratto verticale fino alla croce di vetta della Corna di Savallo (1446 m, 3h dall'attacco, 3h 20' totali).

    ▲Character and difficulty

    Difficoltà media; i passaggi più duri sono la parete con la pianta e il traverso strapiombante. Molti i punti dove riposare grazie alla suddivisione in tronconi.

    ⚠ La roccia è spesso friabile: in alcuni tratti è sconsigliato affidarsi alla sola roccia. I sentieri di collegamento possono essere scivolosi dopo le piogge. Nell'ultimo tratto, se si prosegue sulla cengia senza notare le attrezzature verticali, si arriva a una sella da cui un sentiero attrezzato di cresta porta comunque alla croce, ma saltando l'ultimo troncone di ferrata.
    ▲Period and safety

    Percorribile gran parte dell'anno data la quota contenuta; evitare le giornate umide per i collegamenti scivolosi.

    ▲Discipline

    Dalla croce si prosegue dritti verso ovest seguendo la traccia, che scende con pendenza moderata fino a incrociare la via di fuga e, più in basso, il Rifugio Nasego (gestito da volontari). Dal rifugio si scende al parcheggio per uno dei percorsi possibili: a sinistra il più diretto e ripido, a destra il più dolce (45' dalla vetta, 4h 15' totali).

    ▲To match

    Partendo presto, si concatena con le Ferrate di Casto, sul versante opposto della valle. Verso il Lago d'Idro: Ferrata Fregio, Ferrata delle Ginestre e Ferrata Crench.

    ▲Gallery
    Technical data
    • DifficultyModerately Hard
    • RegionLombardy
    • GroupPrealps Bresciane
    • Approach0:20 h
    • Ferrata3:00 h
    • Itinerary (a/r)4:15 h
    • Hardware level difference400 m
    • Route difference550 m
    • Max1436 m
    • Length3 Km
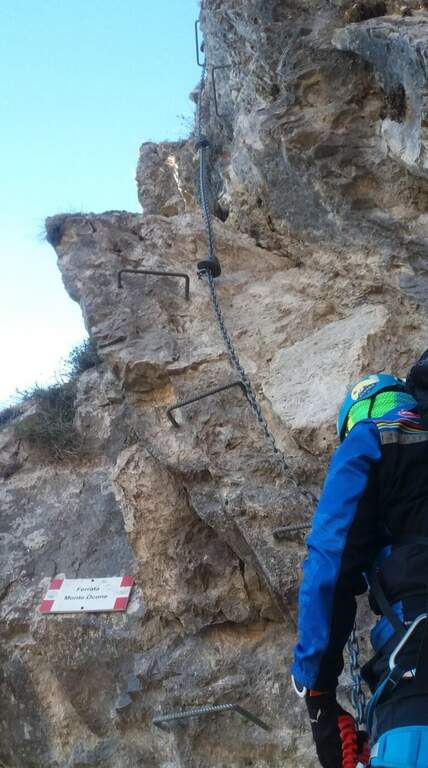
  • Ferrata del Monte Ocone

    Ferrata del Monte Ocone

    Vie Ferrate › Lombardia › Bergamo
    Ferrata del Monte Ocone

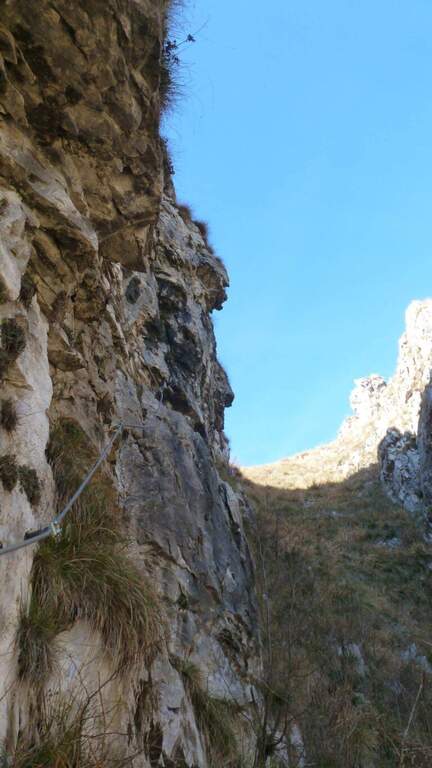
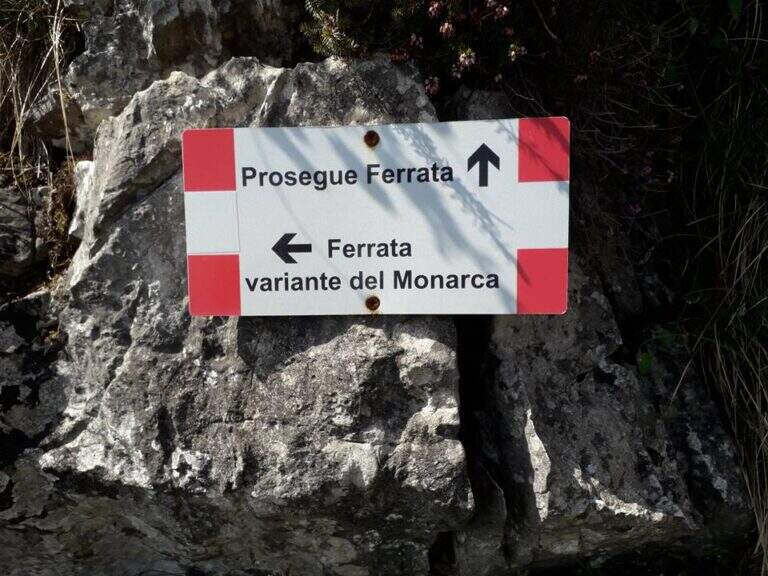
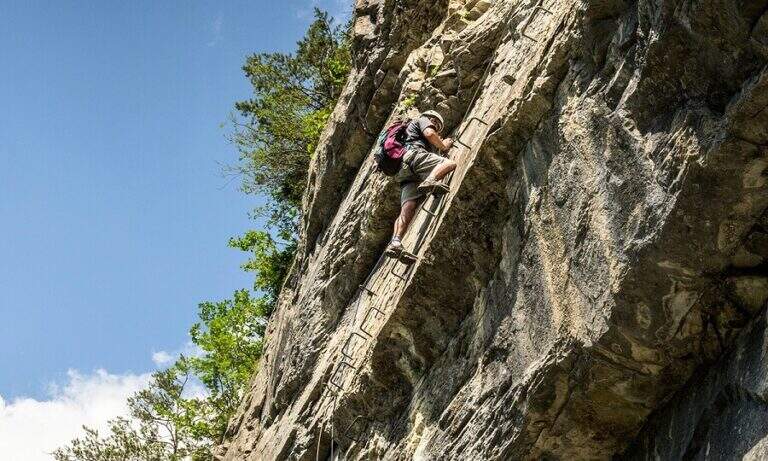
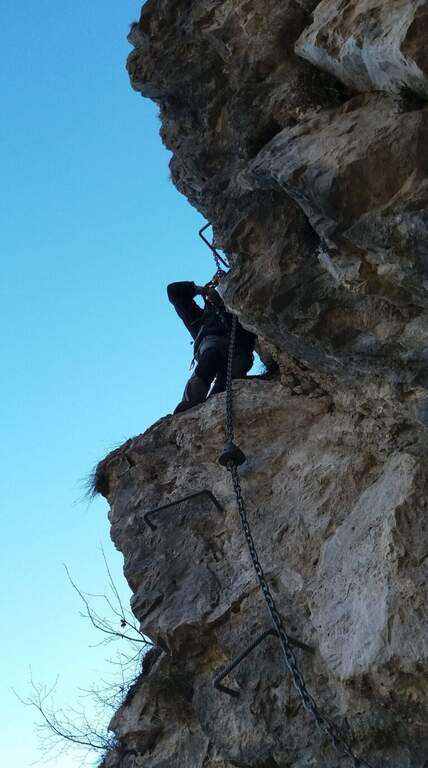
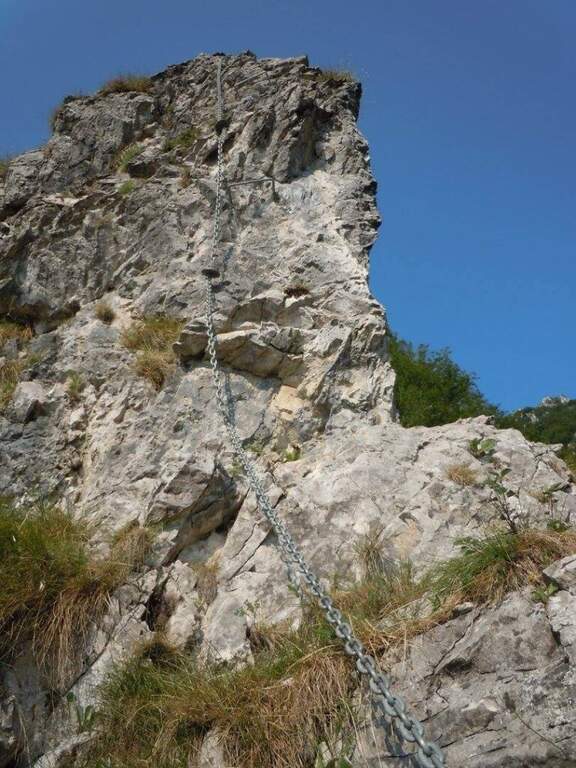
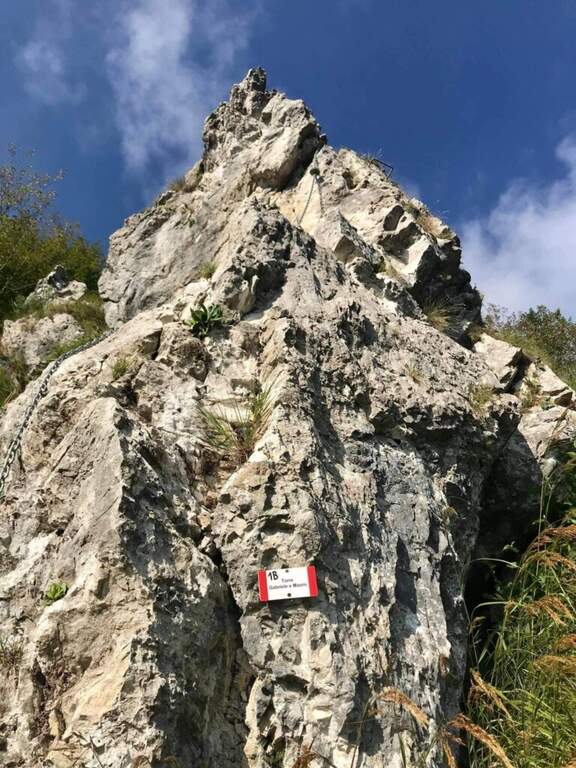
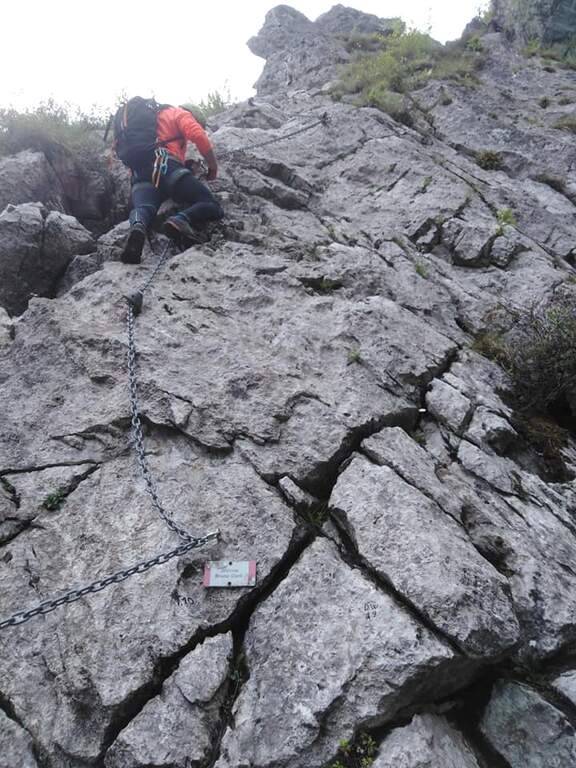
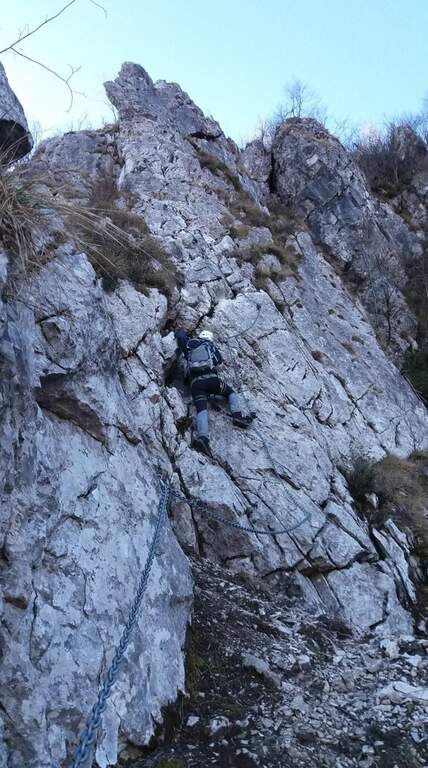
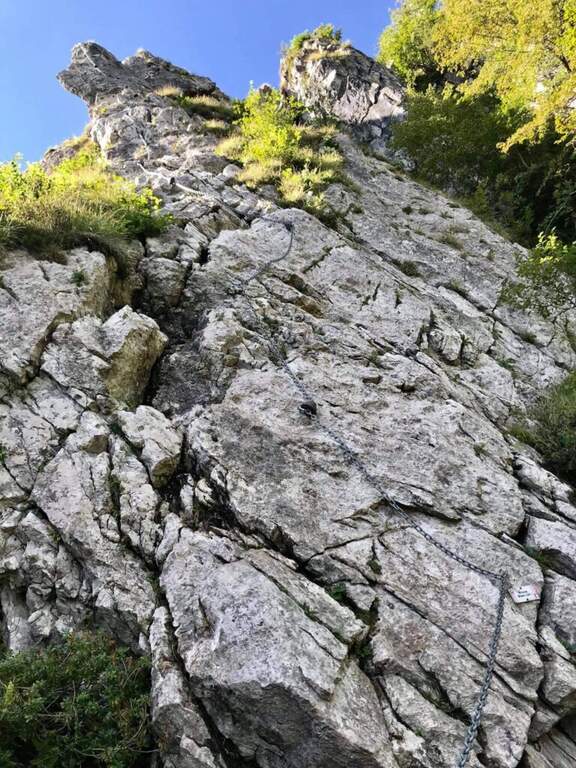
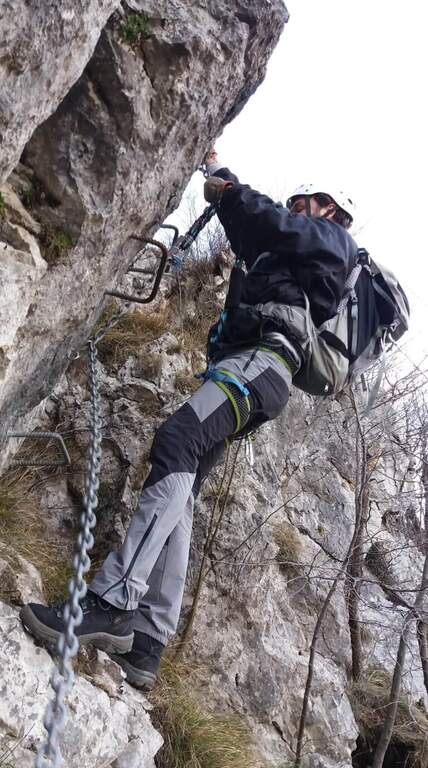
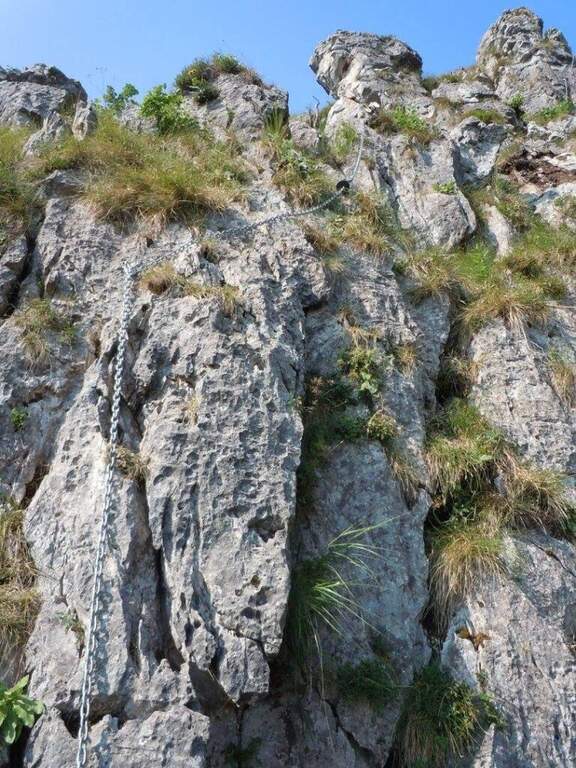
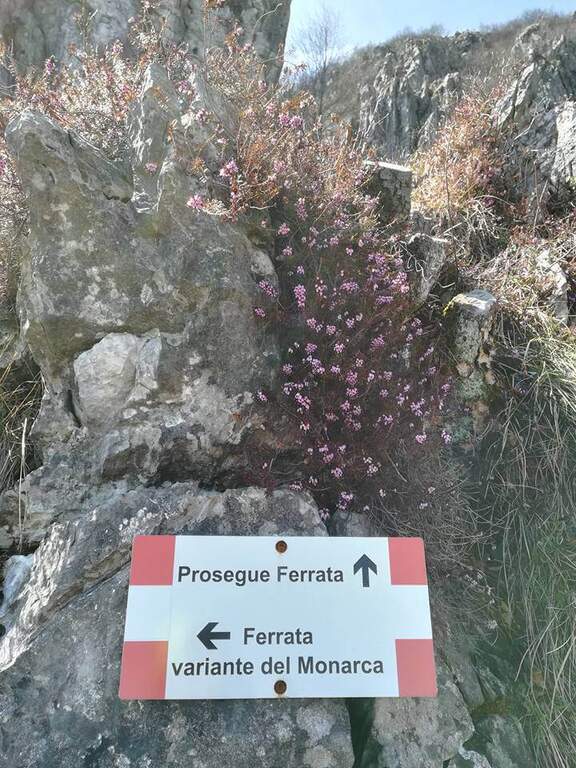
    The Ferrata del Monte Ocone is vertical, exposed and at times athletic, but generous of pauses: in fact the concatenation of 11 torrioni connected by short stretches of path. It also features some more difficult variants (the Monarch variant on the seventh tower and the extremely difficult variant all' eleventh).

    ▲Approach

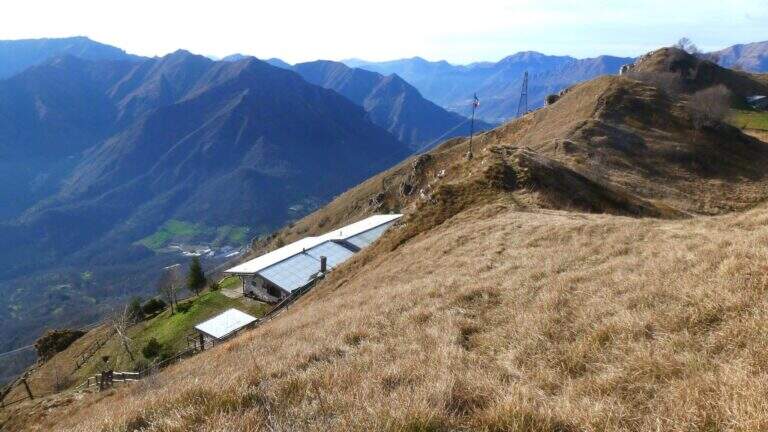
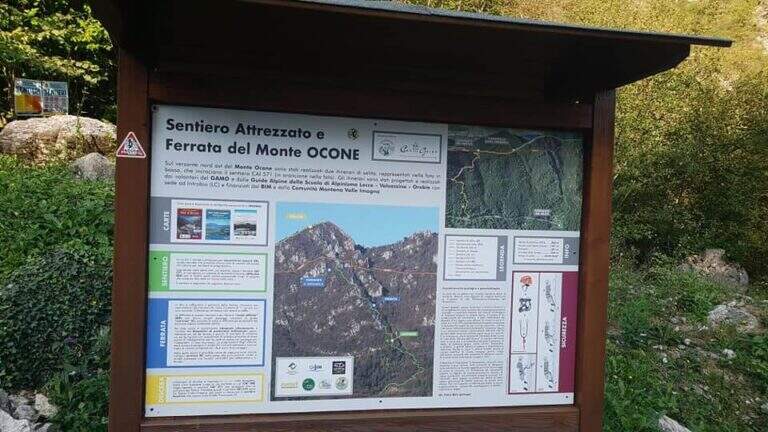
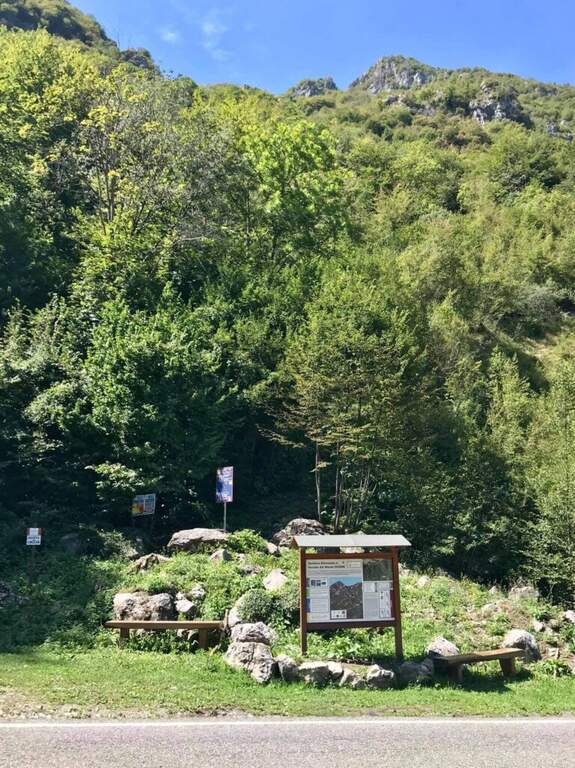
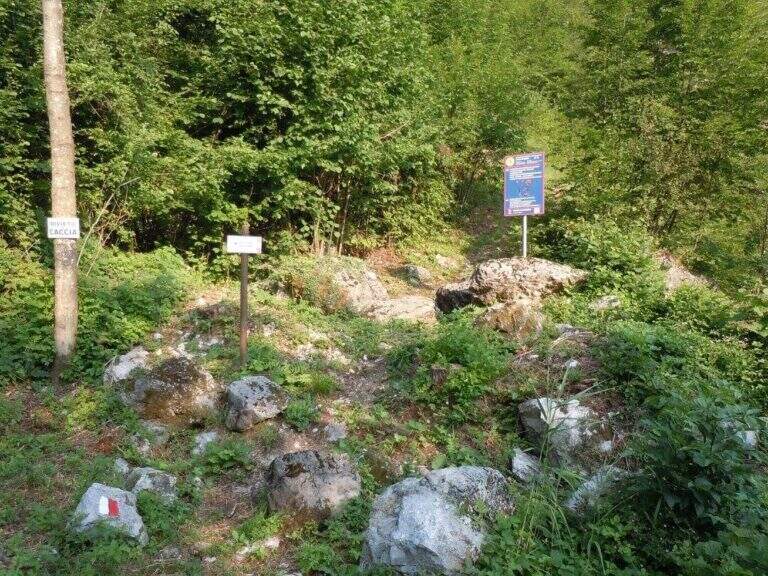
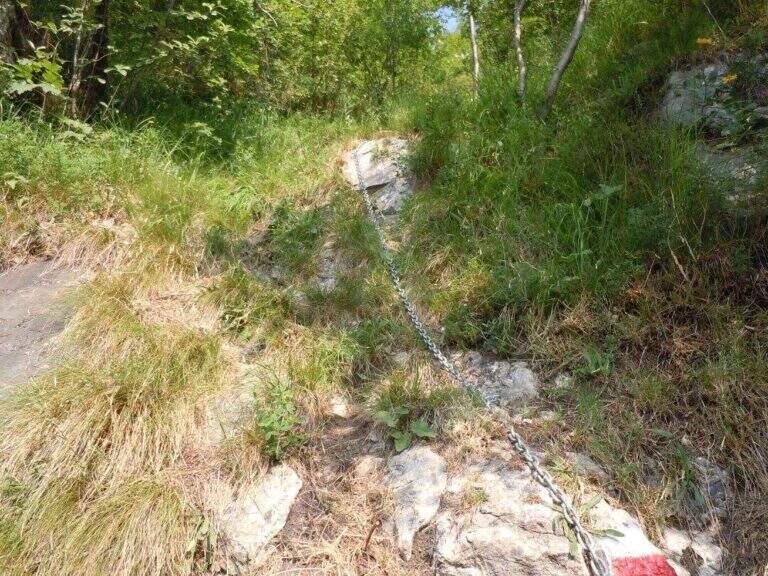
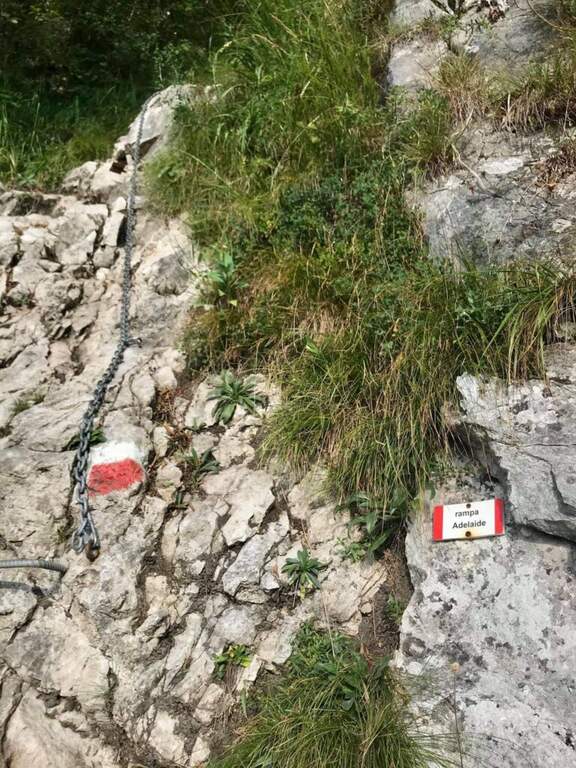
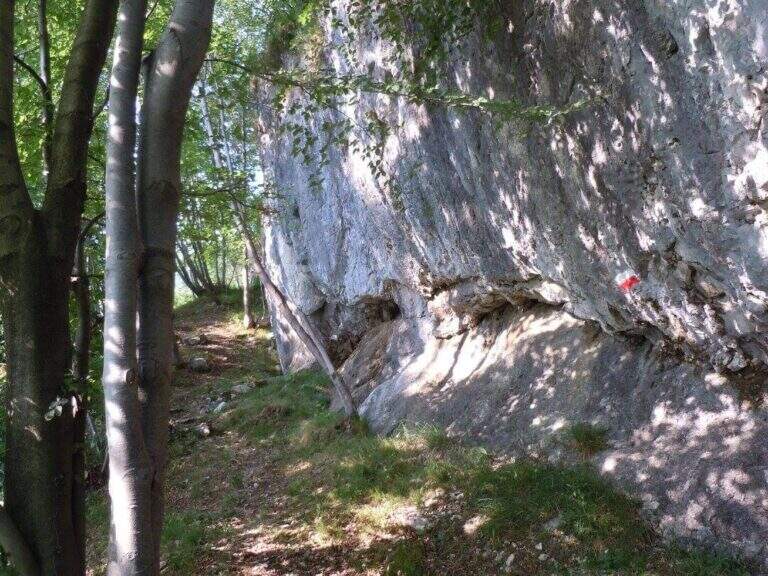
    From the road that connects Costa Valle Imagna to Valsecca (province of Bergamo, on the border with Lecco). Arriving from Costa Valle Imagna, after a little more than 3 km and before a bend on the left, you notice a basin with information on the route; you park on a right side. Open road signs on Google Maps. From the basin follow the steep path in the woods; a small building is reached a first equipped section (the Rampa Adelaide) and, after a few minutes, a saddle where you can see l' equipment of the first of the eleven towers (20' from the parking lot).

    ▲The path

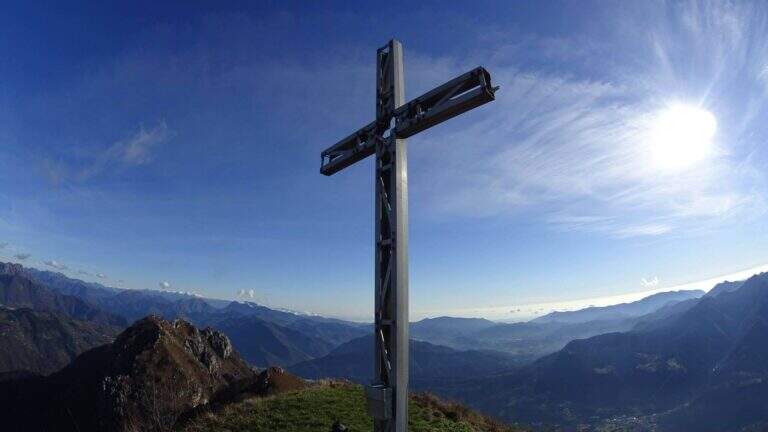
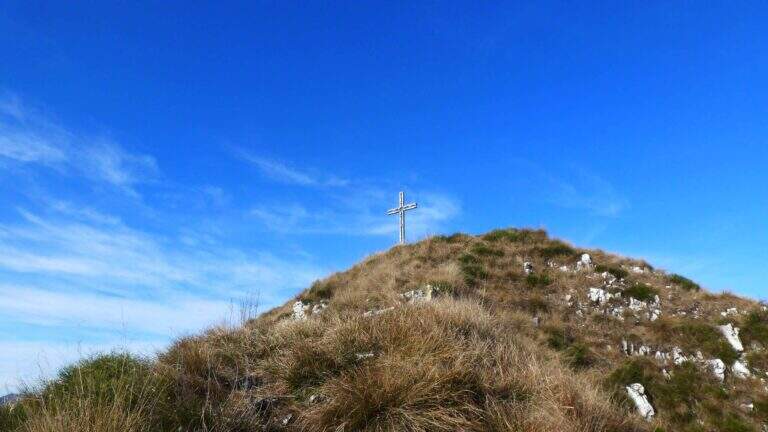
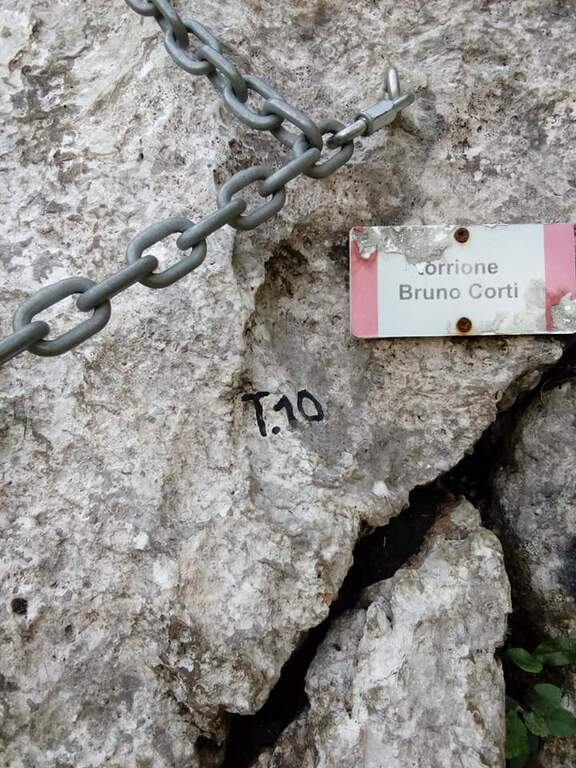
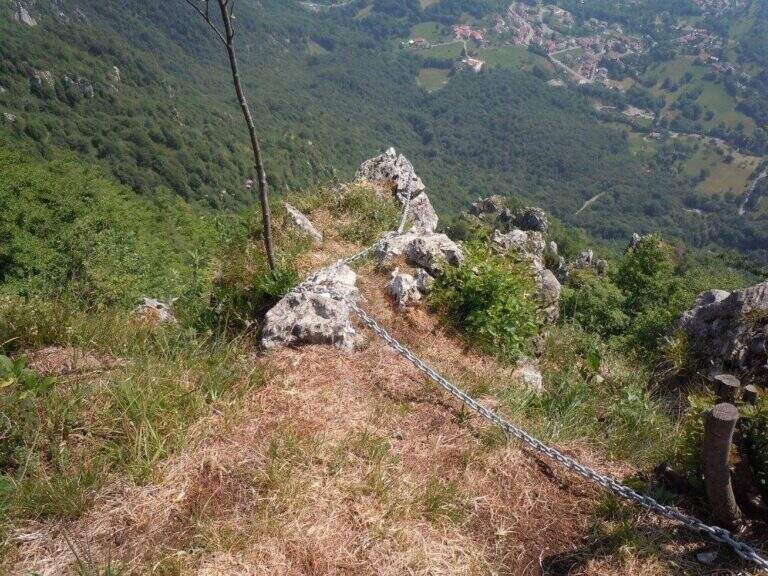
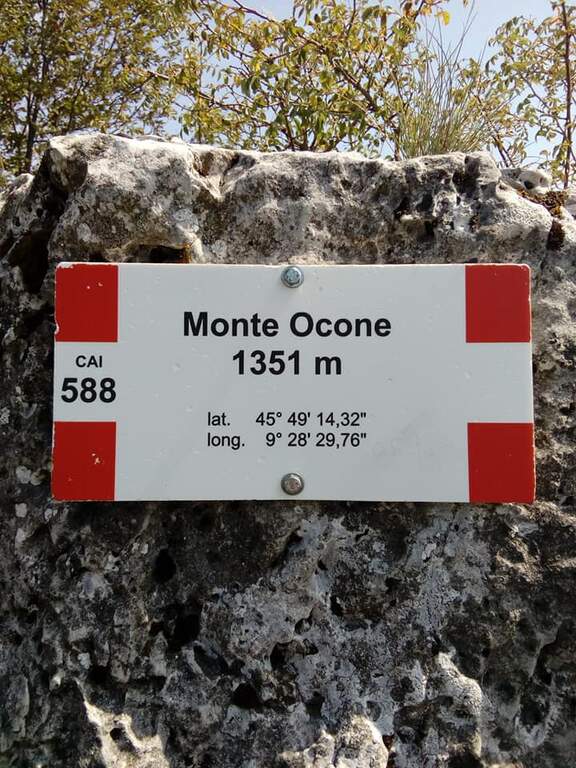
    La via sale concatenando 11 torrioni di difficoltà variabile, ciascuno spesso aggirabile da un sentierino sulla destra. Il primo torrione attacca subito impegnativo, con i primi 3 metri strapiombanti (utili le due staffe a sinistra e un buon appiglio per il piede a destra), poi piega a destra su uno spigolo esposto. Il secondo sale molto verticale su parete levigata con staffe, poi uno spigolo più appigliato e un traverso che aggira uno sperone. Il terzo alterna verticali, una cengia di collegamento e una lunga placca affrontata in diagonale (il tratto più difficile finora, roccia povera di appigli), chiudendo con un diedro e una breve parete. Il quarto entra in un diedro (prima in spaccata, poi su staffe) e aggira un esposto spigolo verso sinistra, breve ma adrenalinico. Il quinto inizia dopo una forcella erbosa; qui si sceglie se proseguire sulla variante del Monarca (sinistra) o sulla via normale, che affronta un gendarme con uscita esposta su spigolo. Il sesto è un bel diedro appigliato; segue una crestina in saliscendi fino al settimo torrione «Dolci», da cui un sentiero permette di salire in vetta evitando gli ultimi torrioni: è verticale e nella parte alta strapiombante e atletico, con abbondante uso della catena (che, se trazionata, sbandiera a sinistra: meglio procedere in spaccata). L'ottavo «Busti» risale uno spigolo e aggira a sinistra un tetto roccioso in forte esposizione (parallela, sulla destra, la dura variante «GAMO», fra i tratti più impegnativi). Il nono ha un attacco insidioso e fisico ma breve. Il decimo «Corti» offre una placca appigliata e una bella arrampicata su un gendarme ricco di maniglie naturali. L'undicesimo «Torre Orobie» propone due opzioni che si ricongiungono pochi metri sopra: a destra estremamente difficile (parte con strapiombo evidente), a sinistra difficile (parete liscia). Si conclude presso il libro di vetta e, in pochi metri di sentiero, si raggiunge la vetta del Monte Ocone (1351 m, 3h dall'attacco, 3h 20' totali).

    ▲Character and difficulty

    Hard, athletic and long enough. A parallel path (CAI 571) runs halfway and acts as a way of escape and return to the seventh tower; in the successive towers there are two more escape routes. All variants are more difficult than the average level (from very difficult to extremely difficult): those who do not look for natural hooks will find it, overall, very tiring.

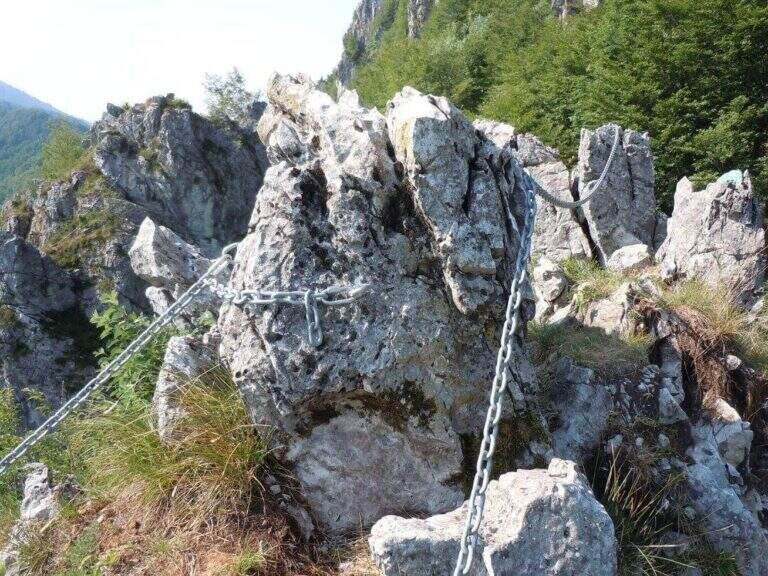
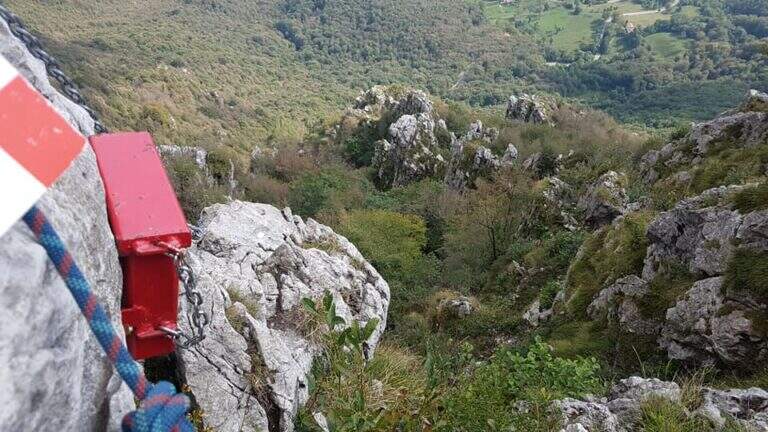
    ⚠ The chain has a rather wide diameter and in some points it tends to prevent the gliding of the muskets: keep it present in the progression. Rock often compact but smooth: very useful brackets. Inaugurated in June 2017.
    ▲Period and safety

    Season from spring to autumn. Good training recommended for overall physical engagement.

    ▲Discipline

    From the top, three options in descending order of difficulty: (1) to the left (bergamasco side), descending the crestine exposition with equipped sections up to the CAI 571 and then to the parallel path to the ferrata, downhill to the car (1h, 4h 30' total); (2) to the right, for the simplest normal route up to the CAI 571 at Passo Pertus, then left to the north and down from the parallel path to the towers (1h, 4h 30'); (3) as the 2 but holding the right on the CAI 571 south to the Convent Pertus, then CAI 574 and CAI down to the road and to the car (1h 15', 4h 45' total).

    ▲Gallery
    Technical data
    • DifficultyHard
    • RegionLombardy
    • GroupPrealps Bergamasche
    • Approach0:20 h
    • Ferrata2:30
    • Itinerary (a/r)4:15 h
    • Hardware level difference300 m
    • Route difference500 m
    • Max1355 m
    • Length3,5 Km
  • Ferrata alla Forcella del Sassolungo

    Ferrata alla Forcella del Sassolungo, group of Sassolungo, Dolomites

    Vie Ferrate › Trentino-Alto Adige › Bolzano
    Ferrata alla Forcella del Sassolungo
    Moderately Hard
    ● Open
    Description
    Complexity
    Maps

    Gallery

    Inaugurated in 2022, the railway that climbs to the Forcella del Sassolungo is a modern, varied and very climbing route that leads from Passo Sella to the Toni Demetz Refuge, in the heart of the Sassolungo–Sassopiatto group, between the Val Gardena wood carving e la Val di Fassa. It is a medium difficulty road (MD) that, while not reaching a peak, gives a fun progression, some air stroke and an exceptional panorama on the Dolomite groups around Passo Sella. The altitude is not high and the approach is short, which makes it an excellent start of season or to be combined with other itineraries of the area.

    ▲Departure and approach

    The starting point & the valley station of the cable car that from the Passo Sella (2180 m) rises to the Demetz Refuge. The pass is reached by car both from Canazei, coming up from Val di Fassa, and from Selva, from Val Gardena. Here the road signs and parking on Google Maps →

    There are two ways to get to the’ attack. The first è all on foot: from the parking lot follow the sentiero CAI 525 and, after about 45–60 minutes, the signs indicate l’ are located on the left. The second takes advantage of the funivia Passo Sella → Demetz: once in altitude you lose a po’ of difference in altitude descending along the 525 until the junction for l’ attack, saving about one’ hour of walk. The climb on foot remains the più choice; satisfying and complete.

    ▲The route, stretch by stretch

    The ferrata does not allow heating: the first meters are the most challenging of the whole street. It attaches a short vertical dihedron of dark rock with an initial step in light overhangs to disconnect from the ground; pioli and metal brackets help in the very first meters, then it crosses right and begins to gain altitude. After passing this first leap, you walk around a corner and walk a narrow nod to the left, up to a beautiful vertical wall.

    Here the rock is very well-maintained and it is best to climb by looking for natural hooks instead of tractioning on the cable: it is one of the most pleasant traits. You reach the edge of a canal, you cross it and continue on the right side; bypassing another edge you are under a leap near a diedro, where some brackets facilitate the rise of a logical and fun passage. Upstairs it stands on a small grassy plateau.

    Start to the left on a nod that is thinned to become a cross, reaching a classic dolomitic channel. The cable leads uphill diagonally, with good supports for the feet but a constant commitment, up to a short overhanging step: here too the brackets reduce the difficulty and, but it serves a decisive point to face it. All’ exit from the fireplace the spires of the Sassolungo and the Sassopiatto emerge imposing above the head. The box with the libro of summit and a panoramic bench, about 30–40 minutes after l’ attack: the ideal spot for a stop.

    From here the road goes up some small rocks, over a corner and with a right-hand crossing reveals the Rifugio Demetz, destination of the ’ itinerary. You earn the ridge, easy but exposed, you walk through short climbs and a characteristic bridge suspended , then you wind up a vertical stretch up to a fork. In addition to the fork the cable is divided vertically and, for più rocks; easy, leads to a beautiful yellowish placconata: a challenging first step, then still vertical climb up to a worked dihedron. The last fifty meters remain beautiful and continuous, bringing back on the ridge with a narrow fireplace, before the short discesa equipped that closes the way just above the shelter (about 1h 30′ from the’ attack, 2h 30′ from Passo Sella).

    Numerous equipped escape routes allow you to return to path 525 without completing l’ entire ferrata: useful in case of crowding or weather worsening.

    ▲Character and difficulty

    Despite the classification of difficultà media; (MD), the Forcella del Sassolungo non è a way for absolute beginners. È continuously equipped and therefore always safe, but often develops vertically and on display, with three or four steps requiring good force of arms and familiarity with the rock. Where progression is made più hard intervene pioli and artificial brackets that lower the difficultà technique, but l’ initial attack and overhanging steps remain challenging. È perfect for those who have già some ferrata in the legs and want to climb having fun; not recommended to those suffering from vacuum or è to the very first experience.

    ▲Period, equipment and descent

    Recommended period: from the beginning of summer all’ autumn, snow allowing; the contained quota makes it available even at season not yet mature. Tool: homologated hardware kit, harness and mandatory helmet — this is a recent opening route, the può rock; present still friable traits, then pay attention to the mobile stones, especially at the start and with other ropes above. Descent: from the end of the cable leads down to the nearby Demetz Refuge (2685 m, about 10 minutes); from here you return with the cable car to Passo Sella or walk on path 525 (about 1h 15′), for a total of about 4 hours.
    ▲To match

    The natural continuation from Demetz is the summit of Sassopiatto with the Ferrata Oskar Schuster: who leaves early and is well trained can chain the two ways into a challenging ring. From Passo Sella you can also reach the short Ferrata at the Col Rodella and the commitment Ferrata delle Mesules in the Sella Group; coming down in Val Gardena you will find the Tridentine, il Small e il Gran Cir.
    ▲Gallery

    Technical data
    • DifficultyModerately Hard
    • RegionTrentino-Alto Adige
    • ProvinceBolzano
    • GroupSaxony
    • Approach1:00 h
    • Ferrata1:30 h
    • Total itinerary4:00 h
    • Hardware level difference~200 m
    • Route difference440 m
    • Max Altitude2685 m
    • Length~5 km
    • Opening2022
Need help? Write to us!