Gruppo: Alpi Orobie

  • Ferrata Pizzo Recastello

    Ferrata Pizzo Recastello

    Vie Ferrate › Lombardia › Bergamo
    Ferrata Pizzo Recastello
    Moderately Hard● OpenDescriptionComplexityMapsGallery

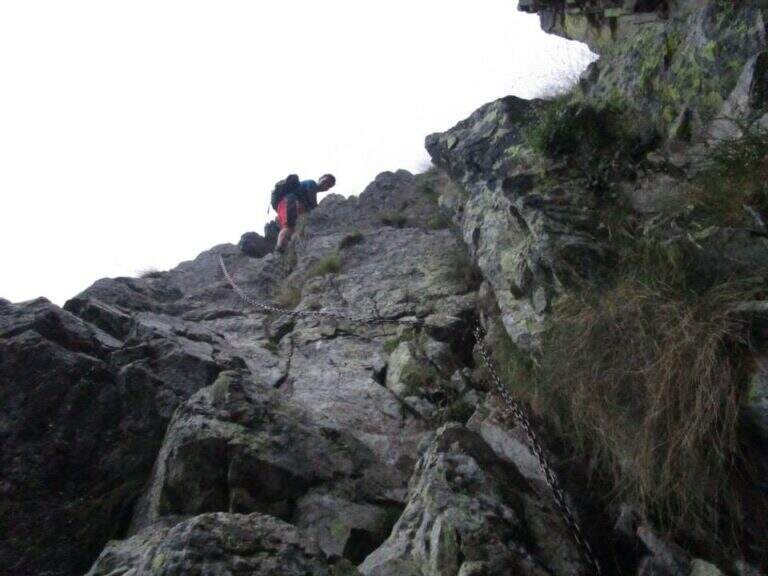
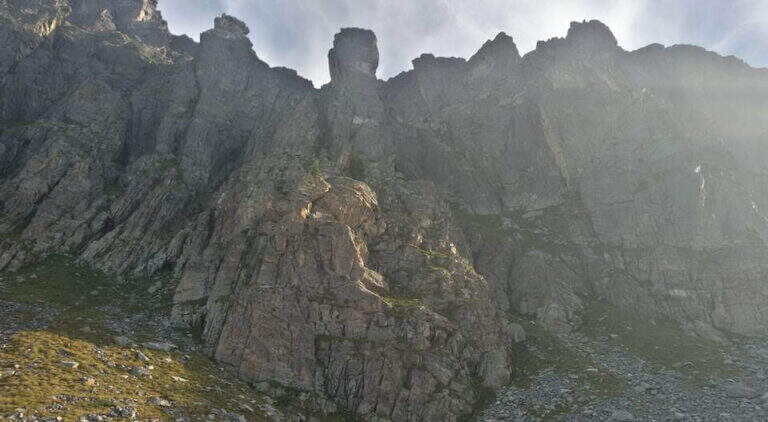
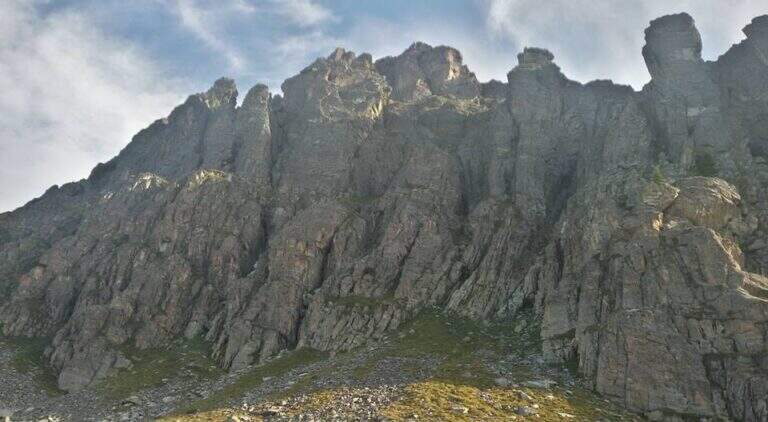
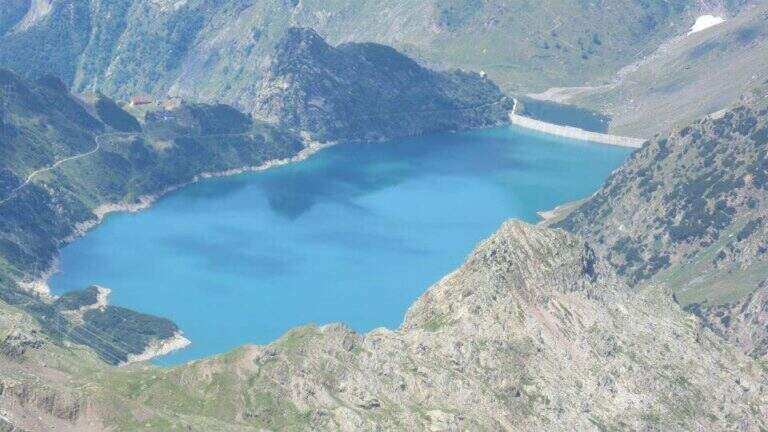
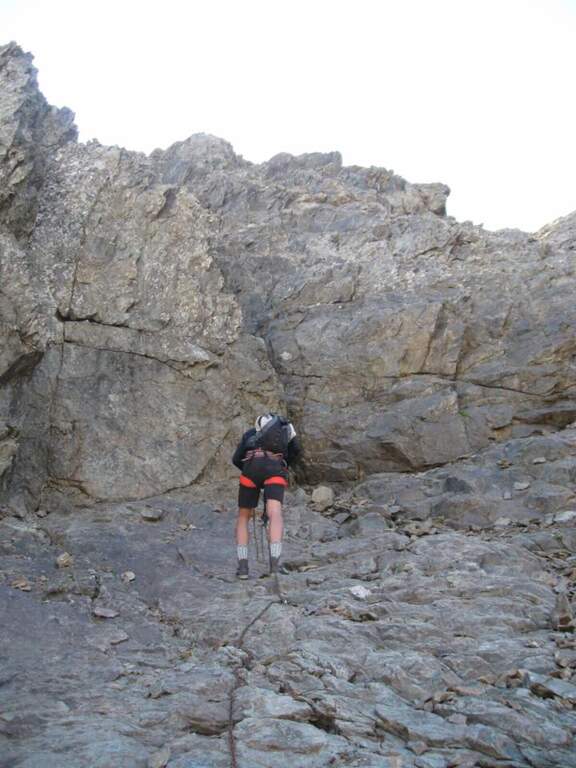
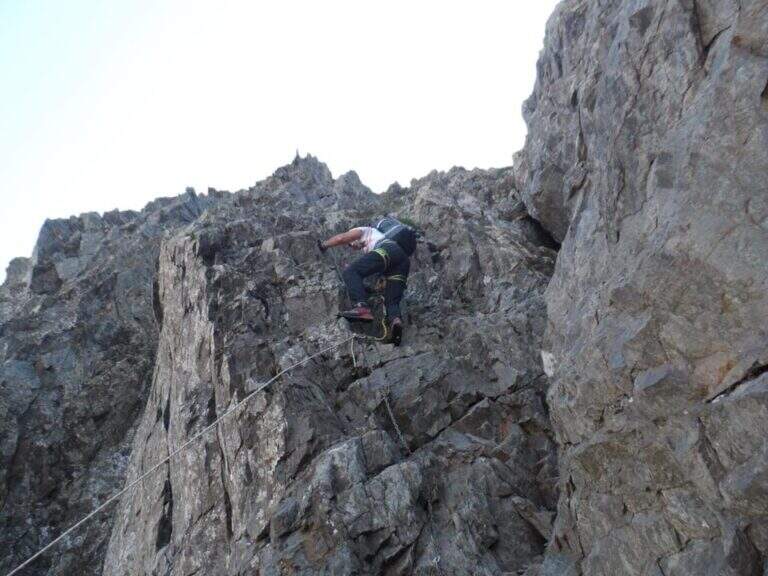
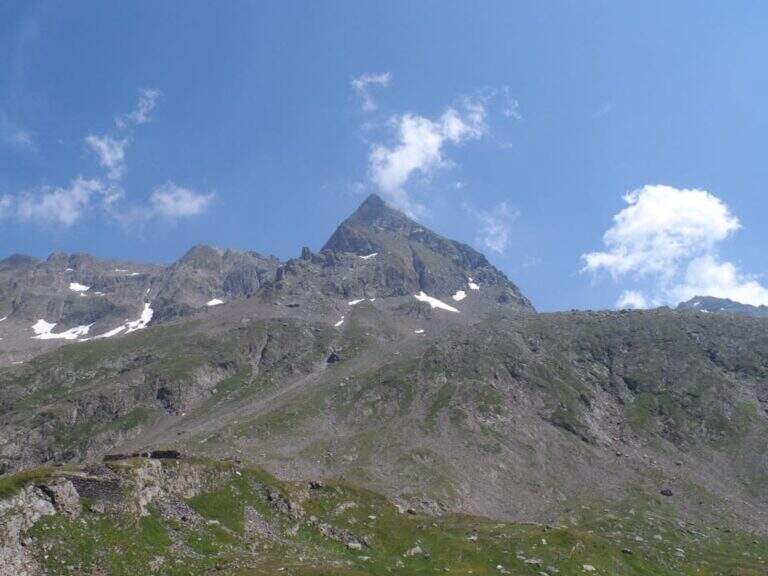
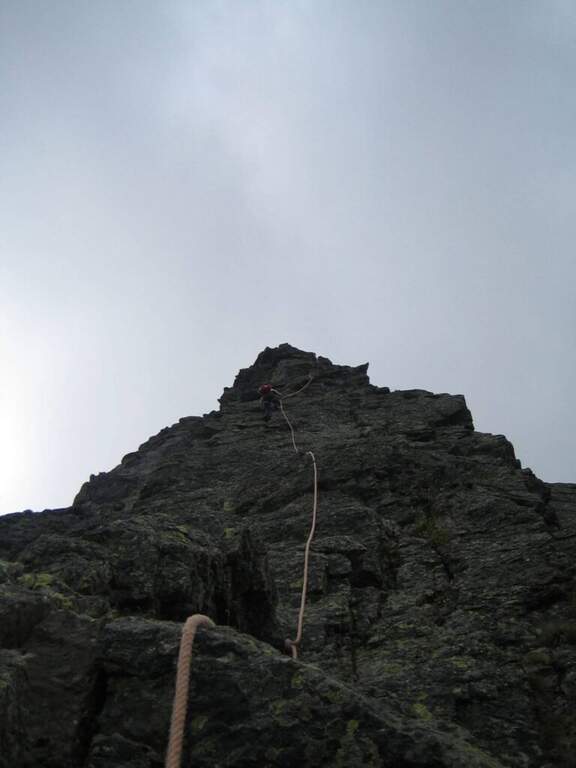
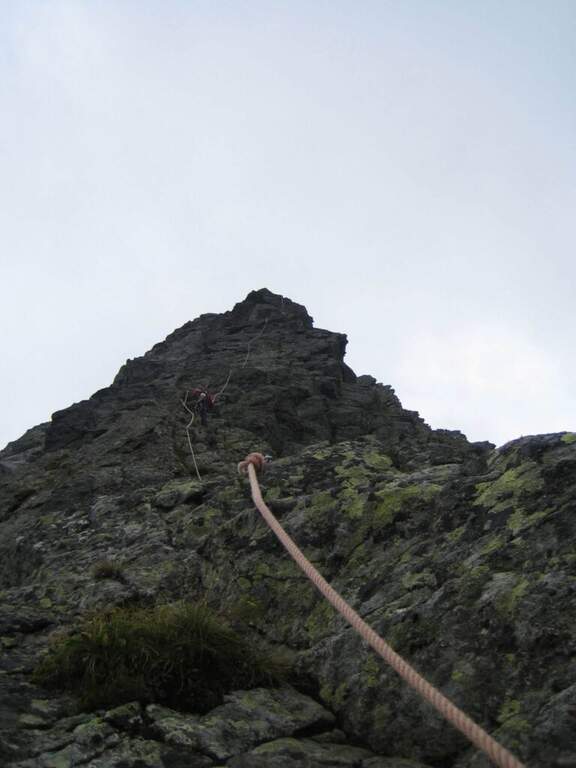
    The climb to the Pizzo Recastello is one of the classic routes of Orobie. The equipped section is short and dates back to a detritic canal not difficult but from the unstable background; the itinerary in the complex is however long, with almost 2000 m of altitude difference in an imposing mountain environment.

    ▲Approach

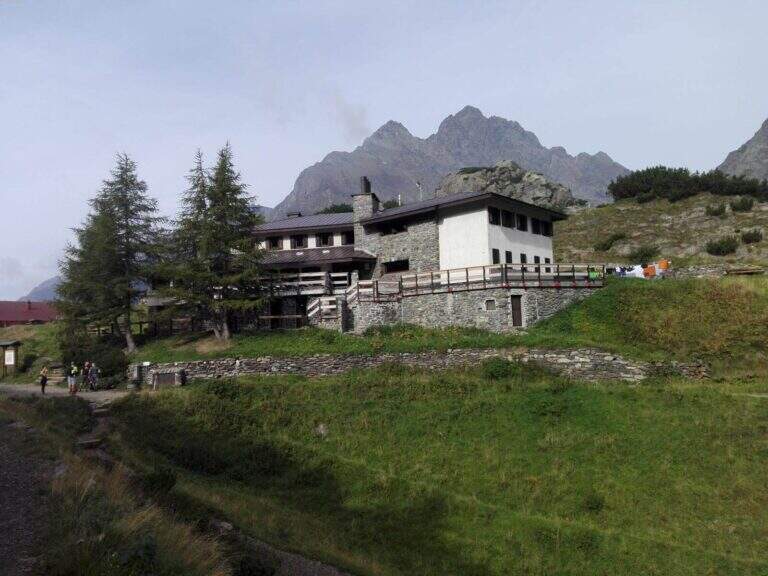
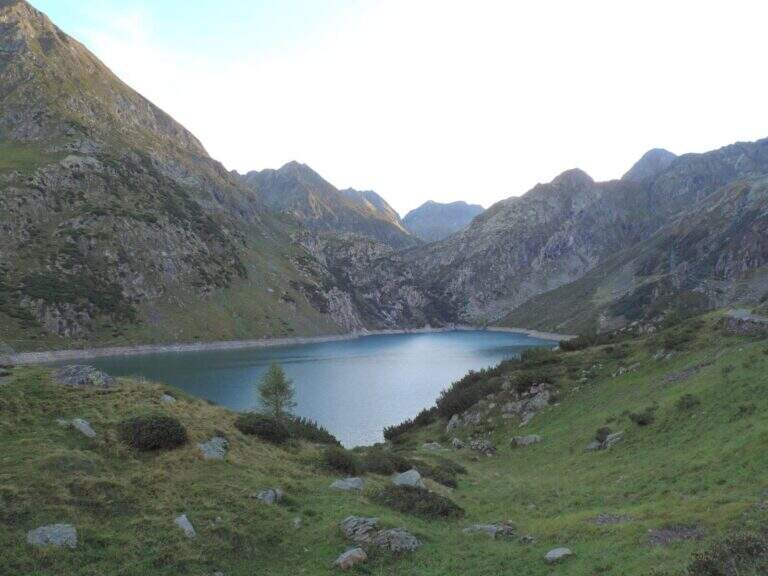
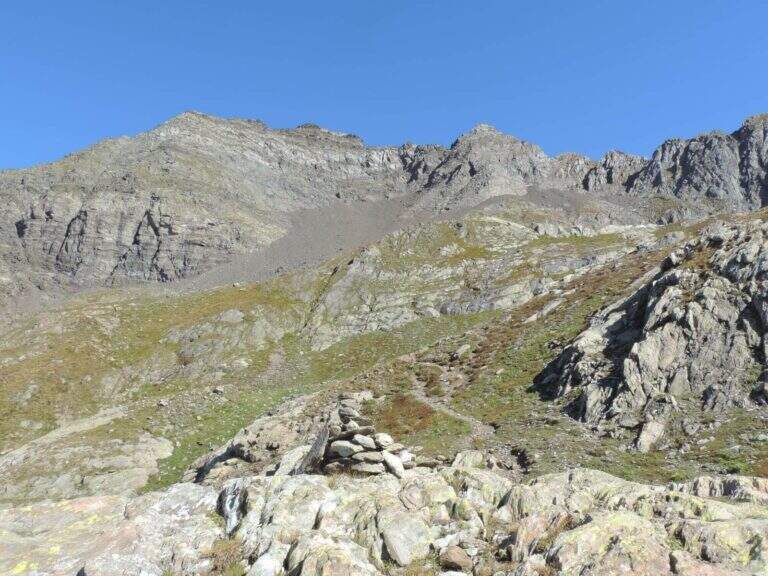
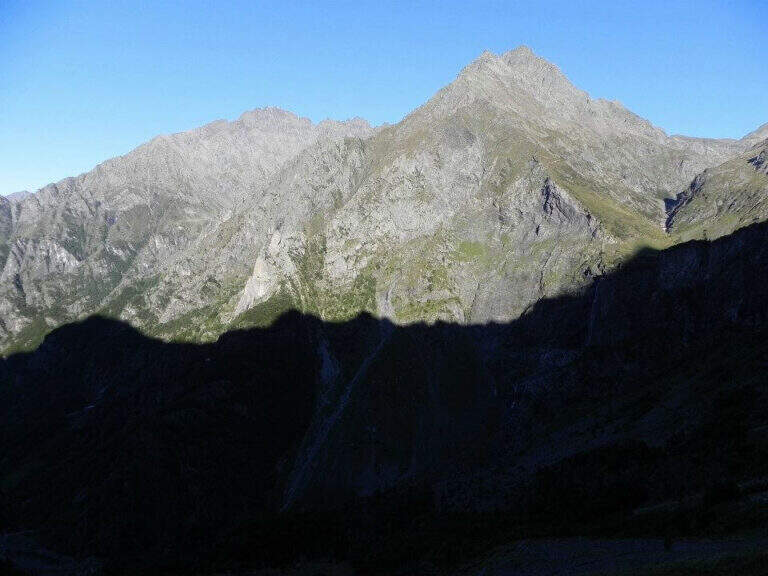
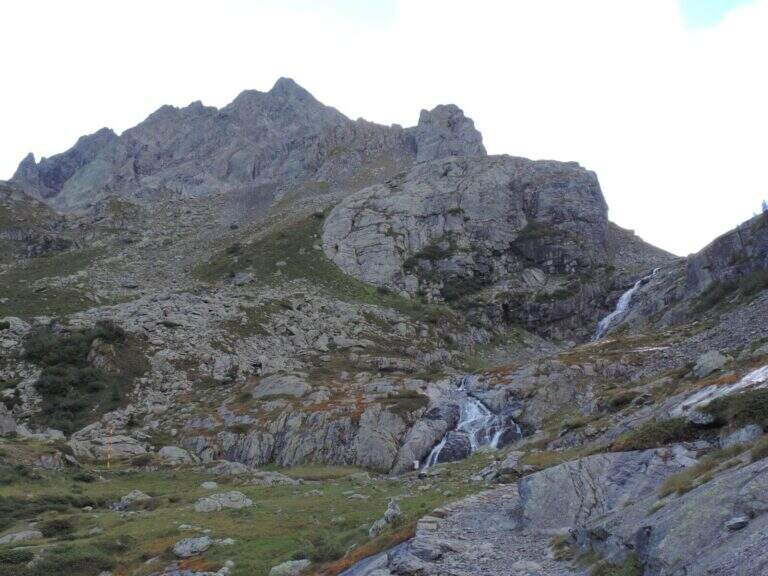
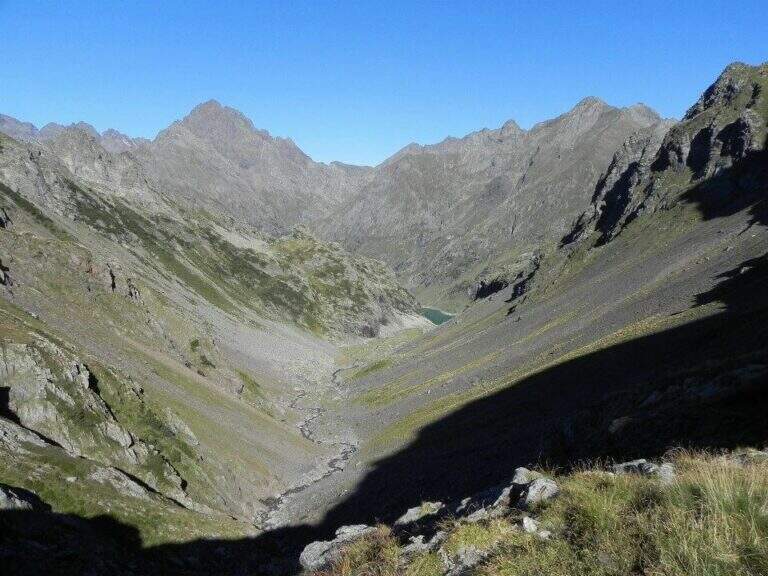
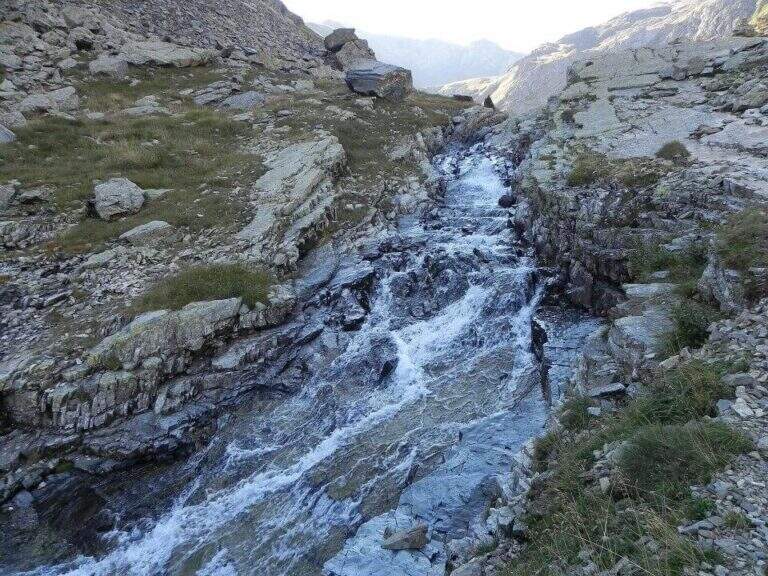
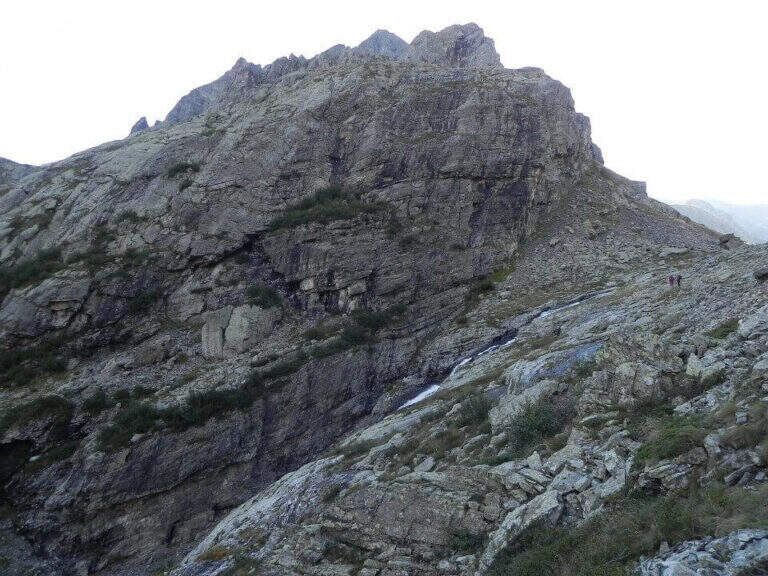
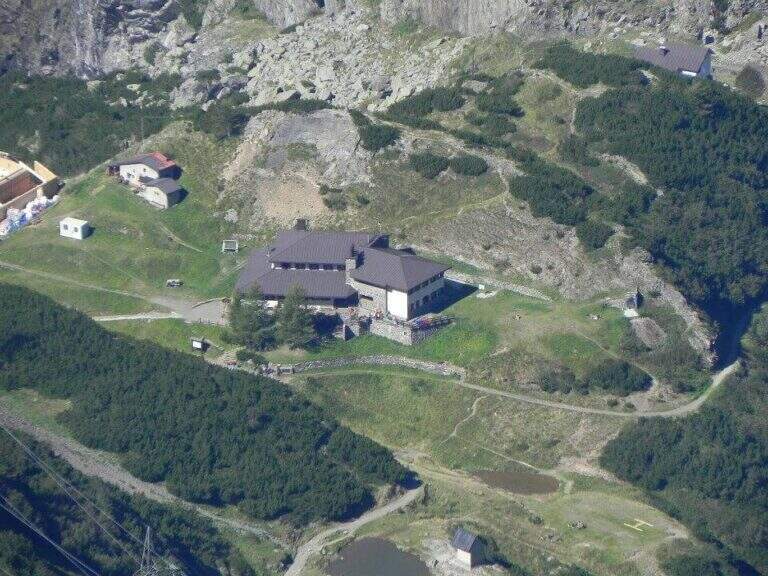
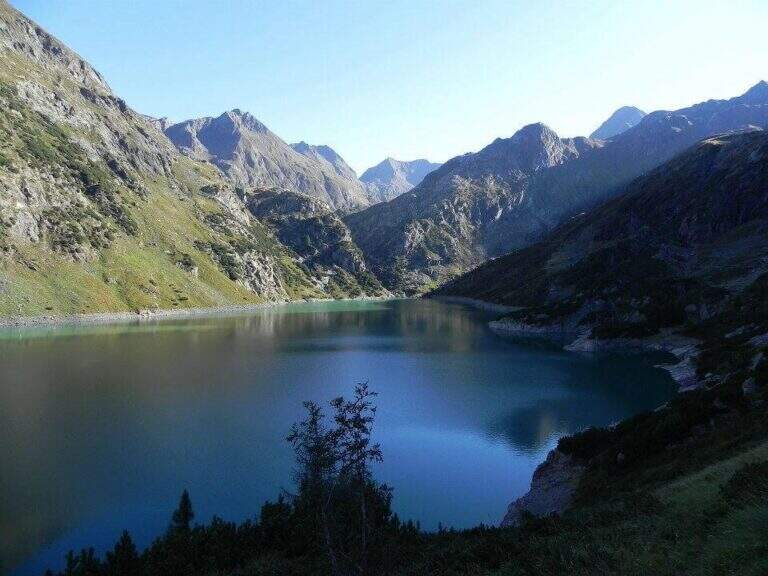
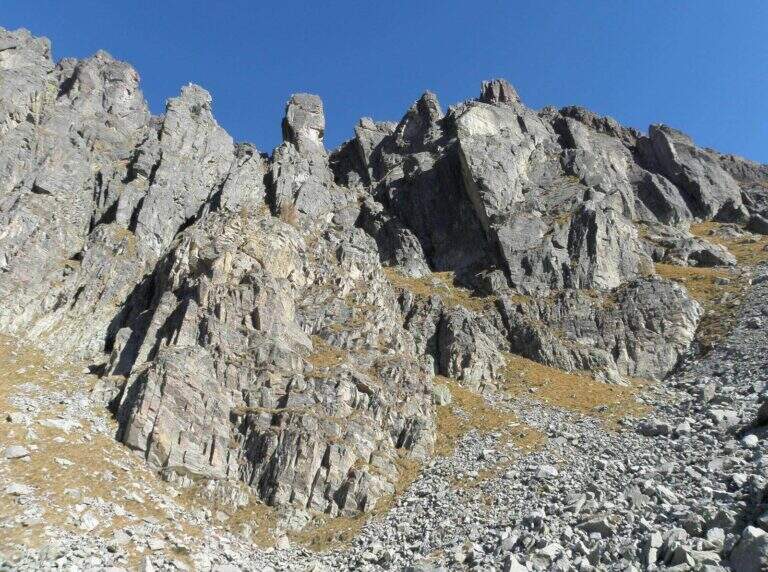
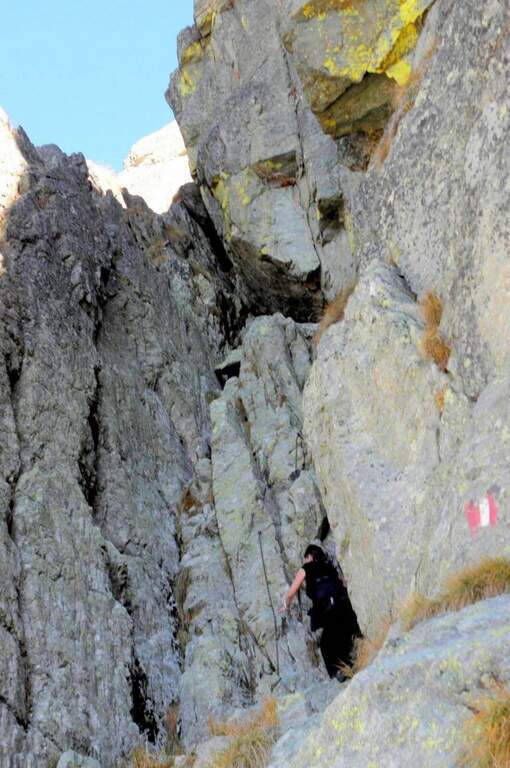
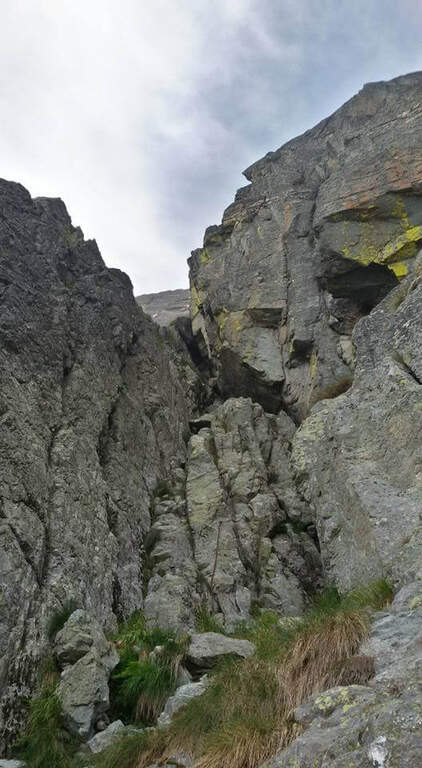
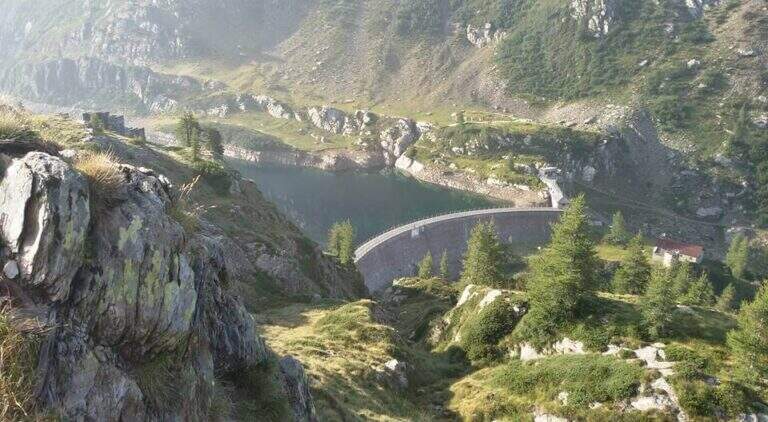
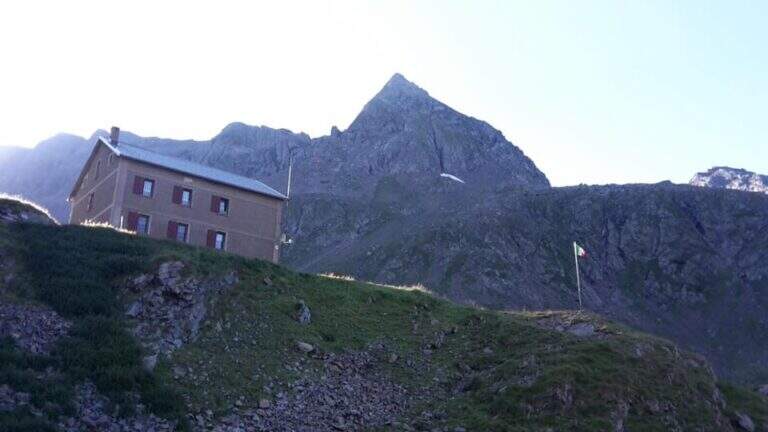
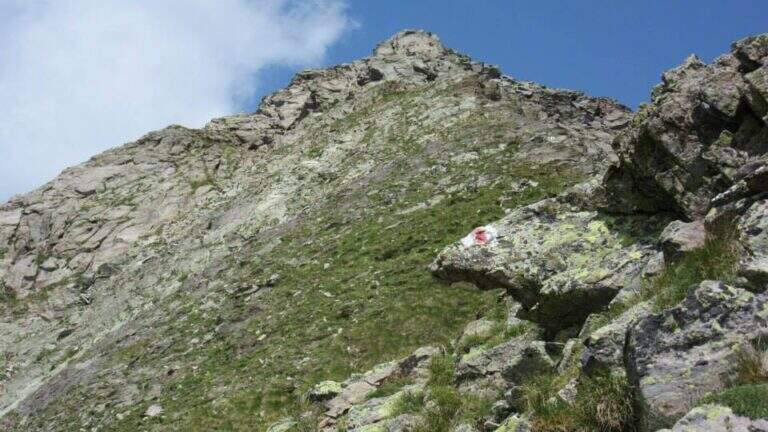
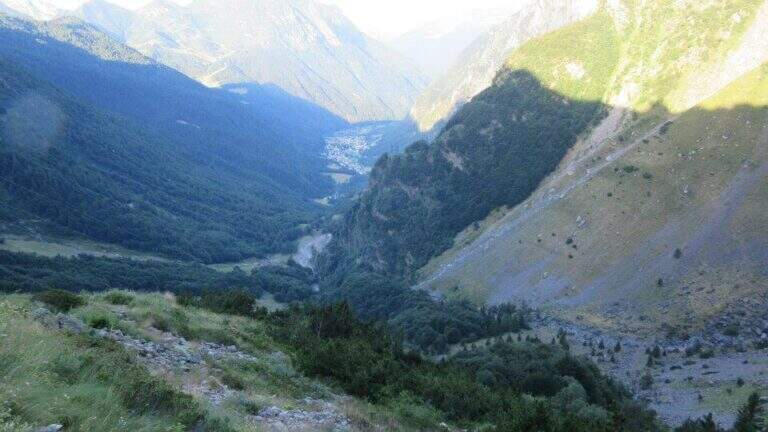
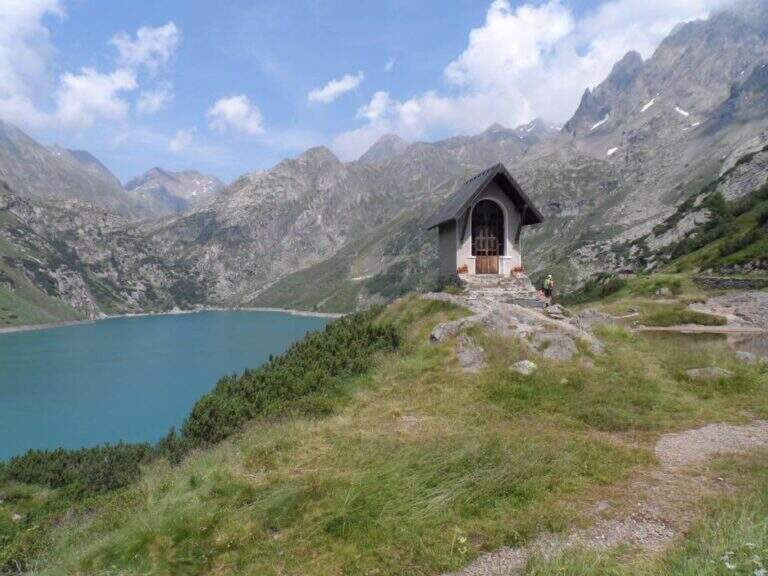
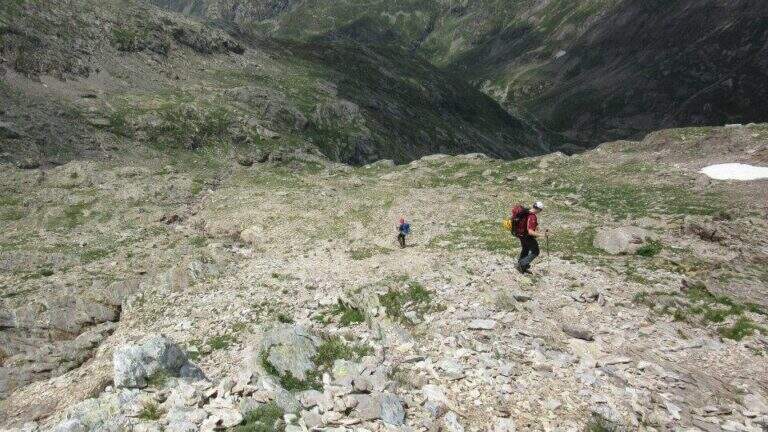
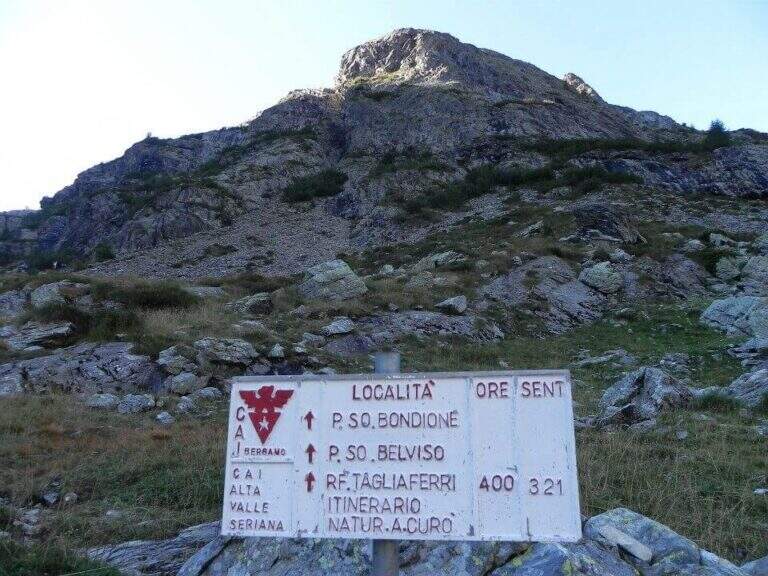
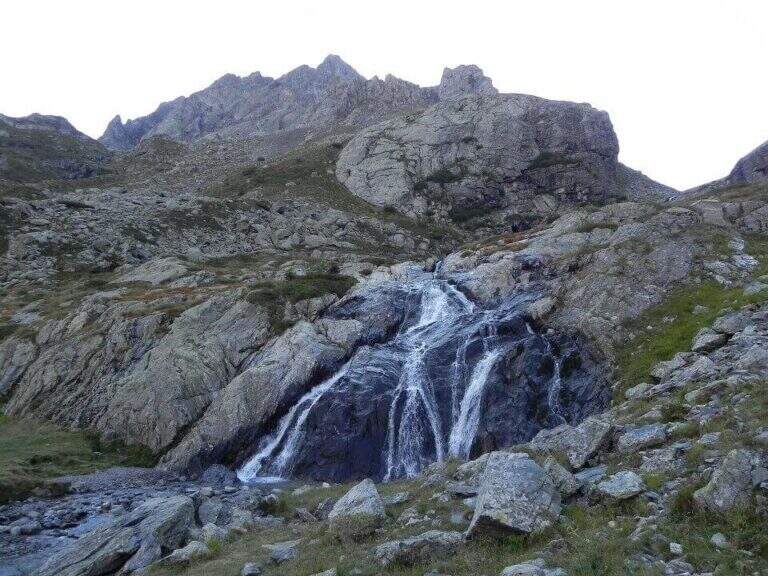
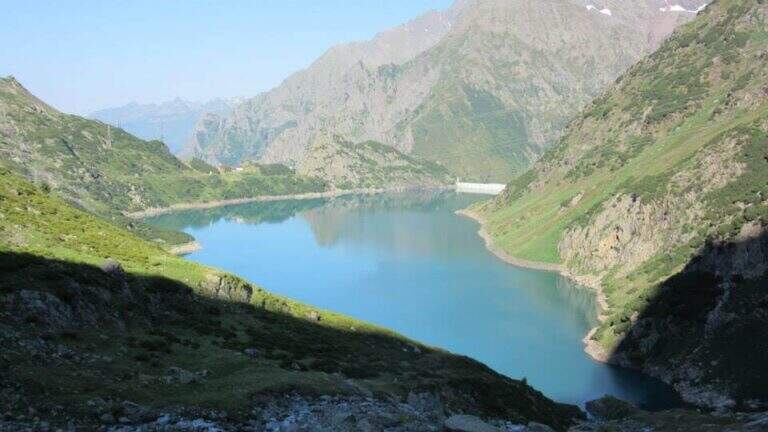
    The starting point is Grumetti, in the municipality of Valbondione, in the upper Val Seriana (Bergamo): from Valbondione go straight to Grumetti, parking in the beach at the end of the road. Starting point on Google Maps. You go up the path 332 towards the artificial lake of the Barbellino, reaching on its shore the Hostel Curò (about 2h 15' from the parking lot). The right is held along the southern shore of the lake to a clear crossroads, where you climb on the path 321 in the Val Cerviera; you go up towards the walls of the Pizzo Recastello while keeping on the left the river (in front you will see the imposing Pizzo Coca). Where the valley is tightened you cross the creek and, following the signs, you go to the south wall; carefully follow a trace with some red stamp on pietrisco and drain until you find the rocky canal where the via equipped (3h 30' from the parking lot).

    ▲The path

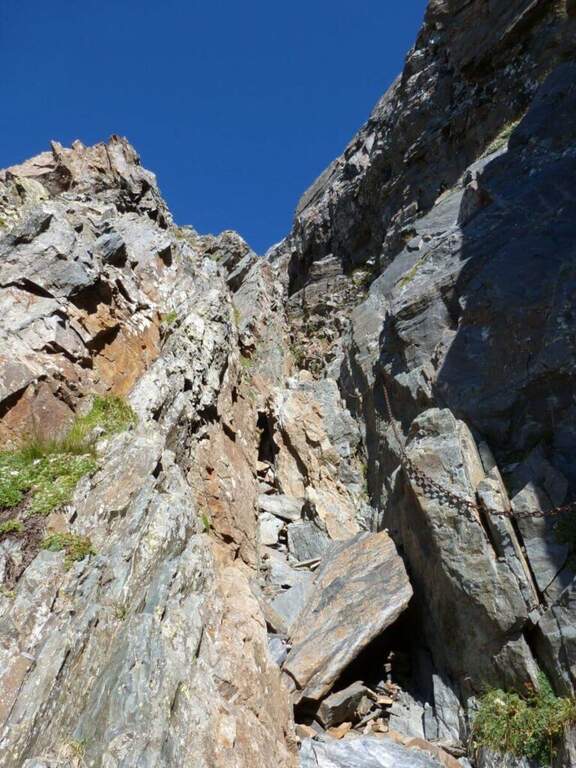
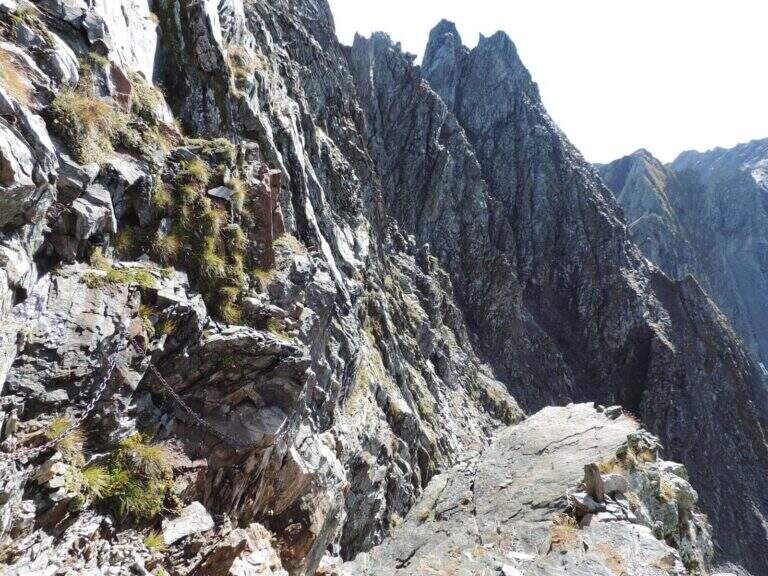
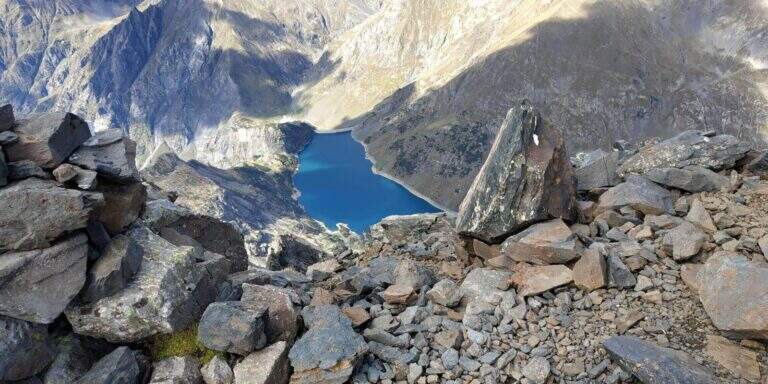
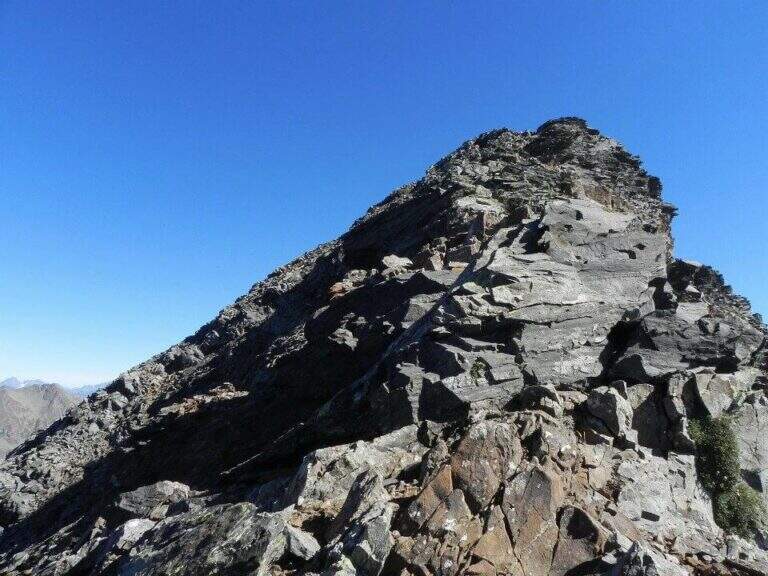
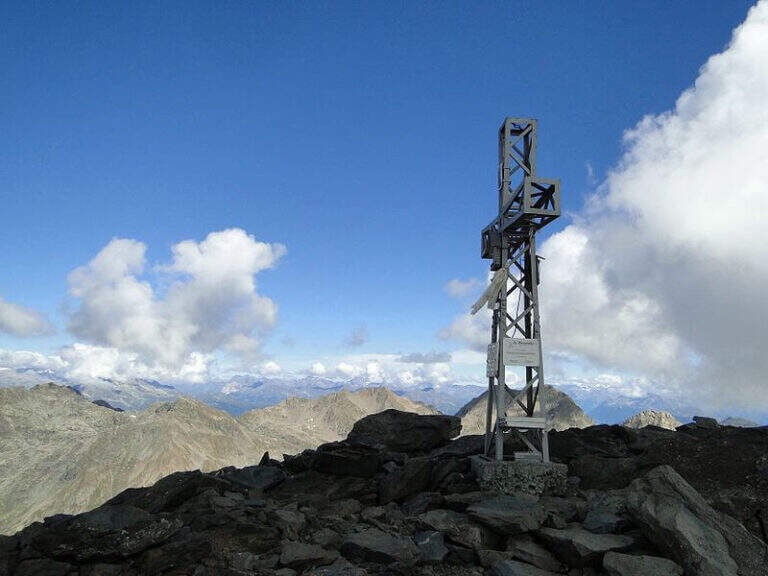
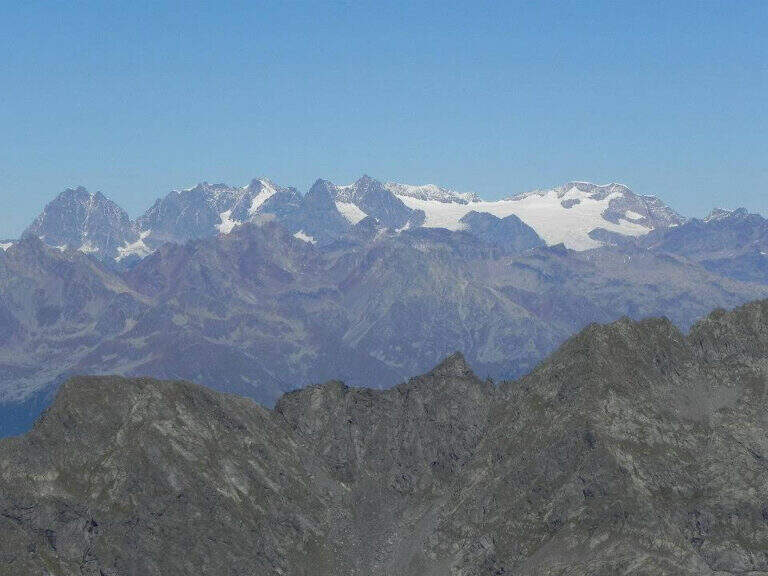
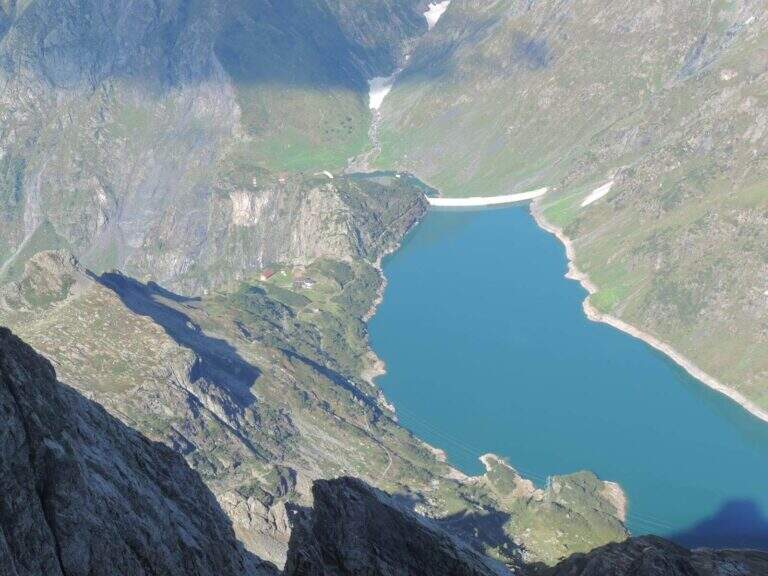
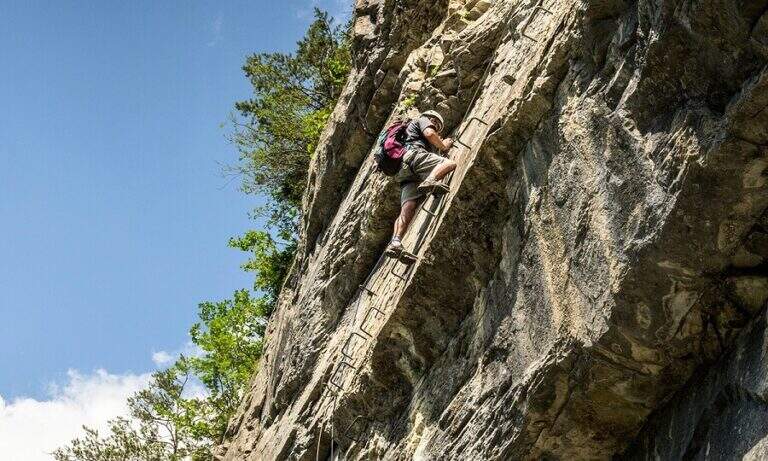
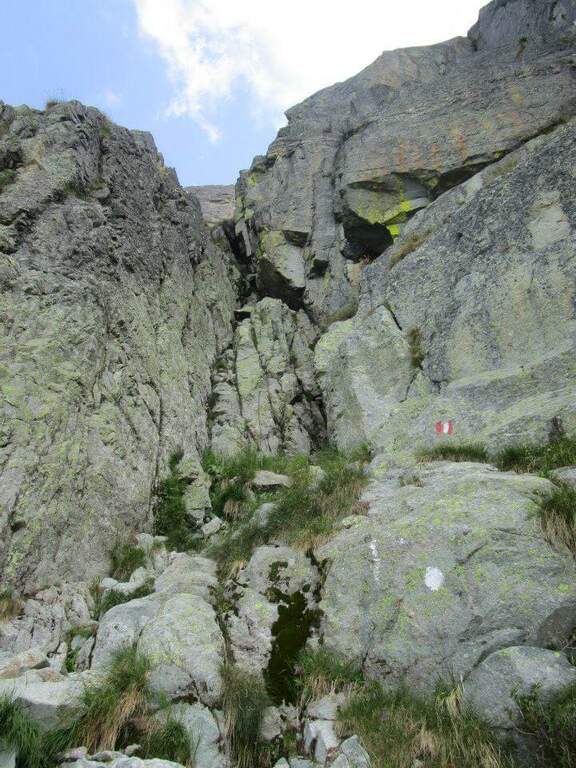
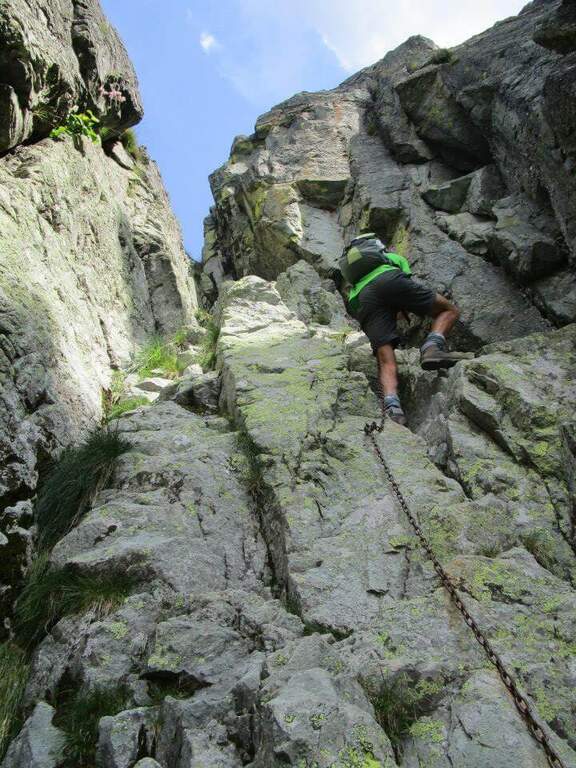
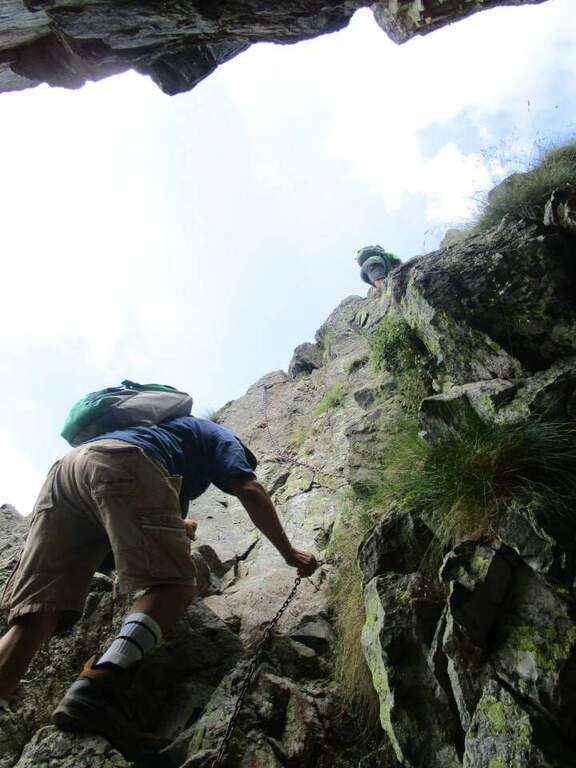
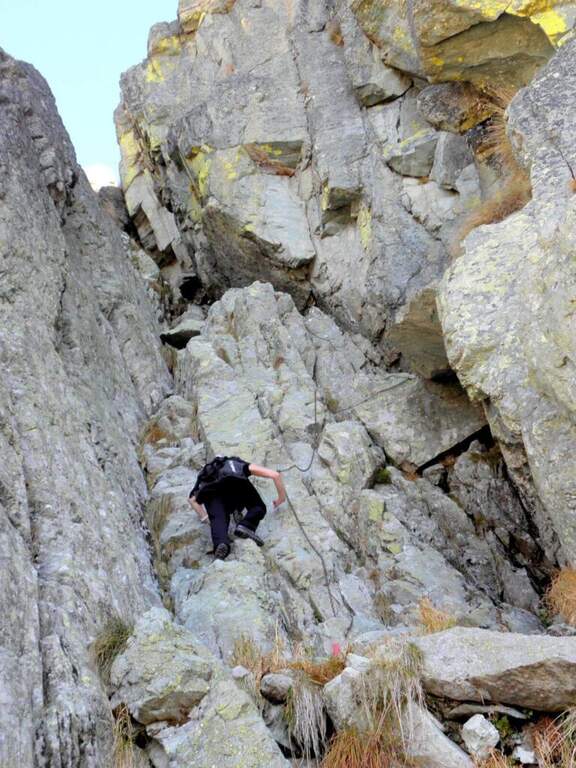
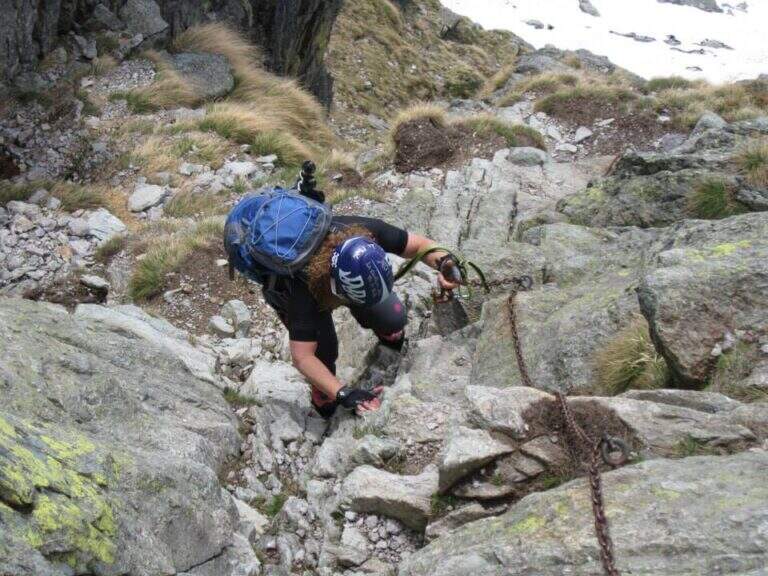
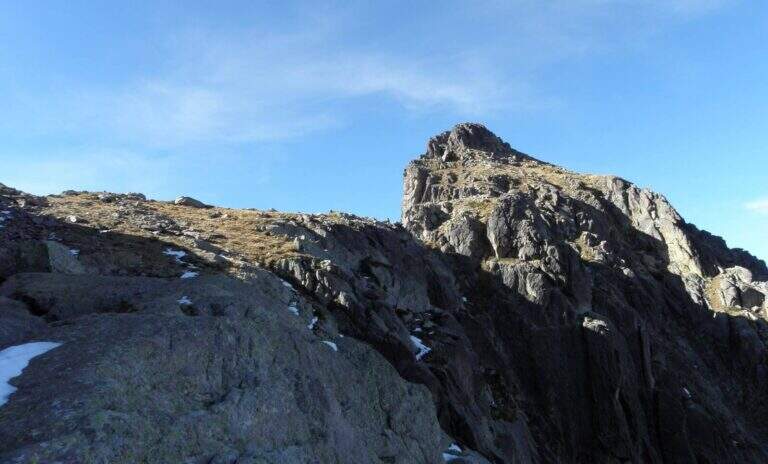
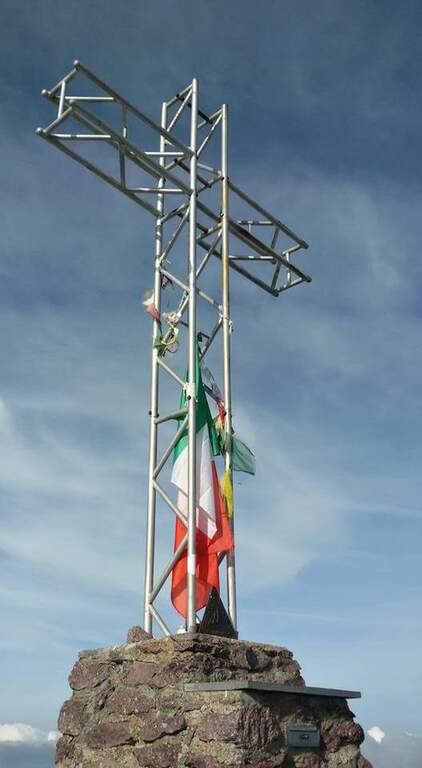
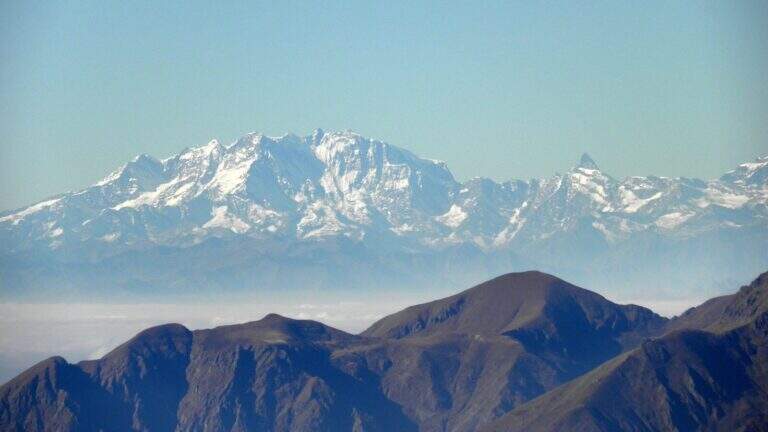
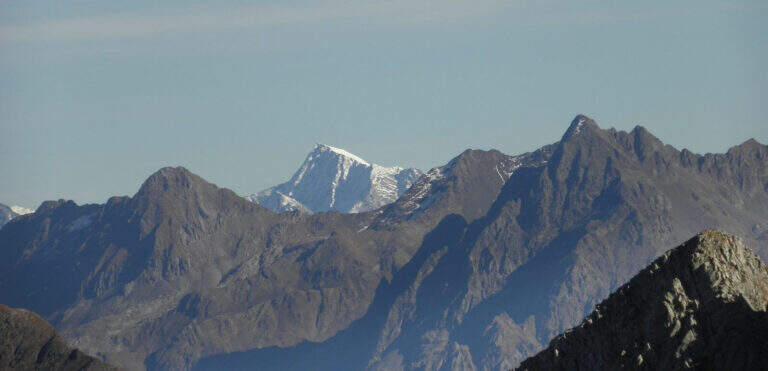
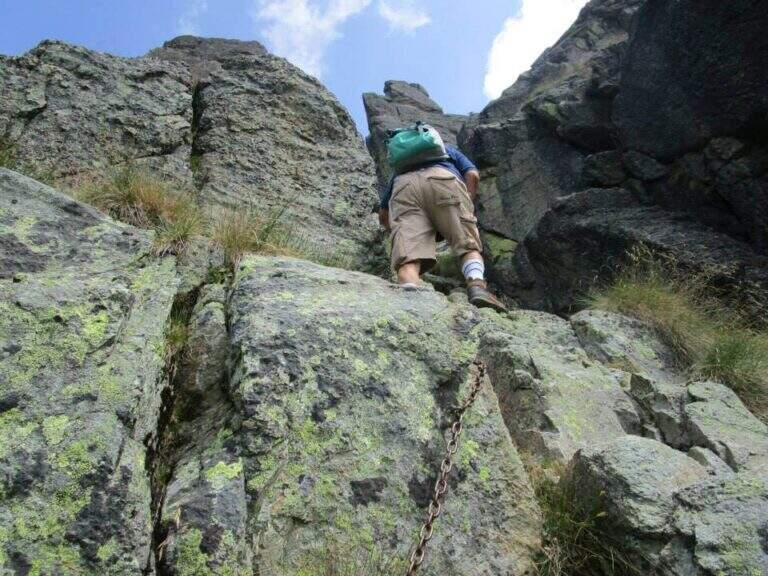
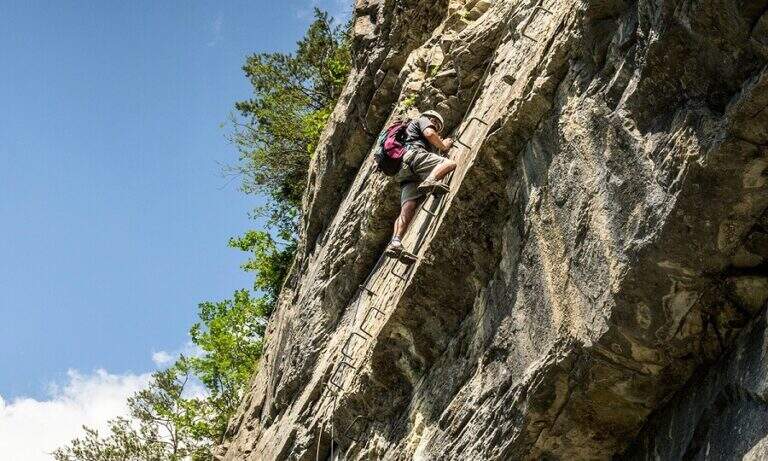
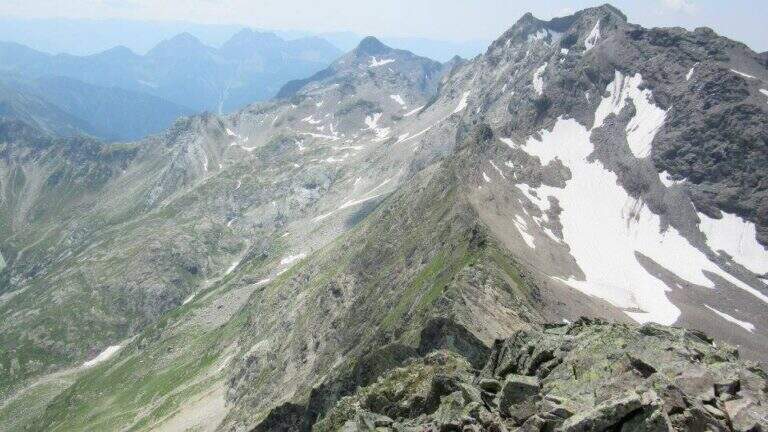
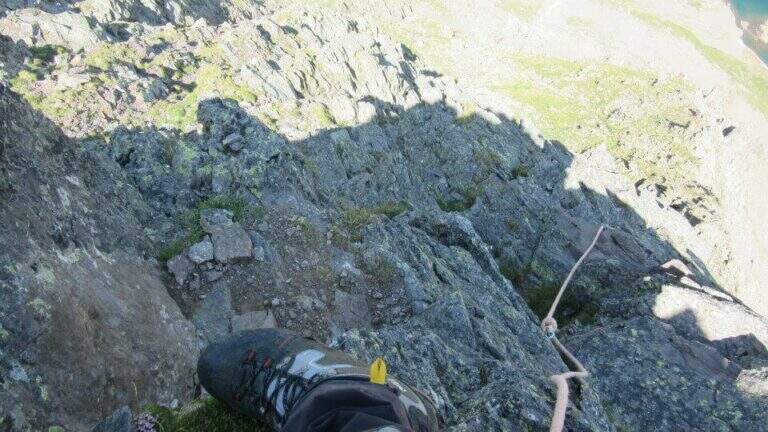
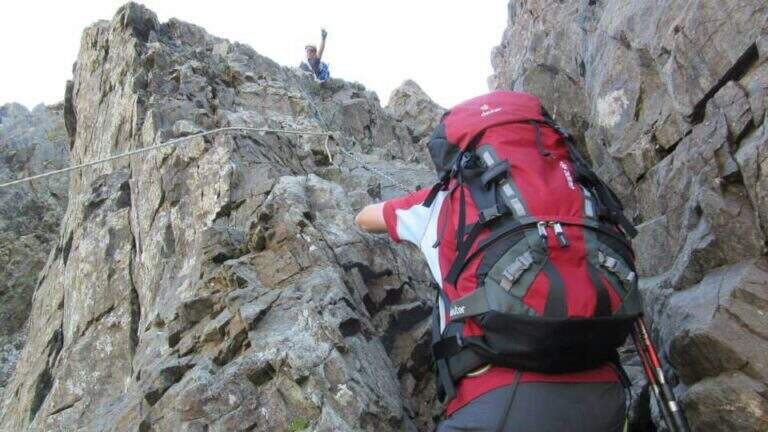
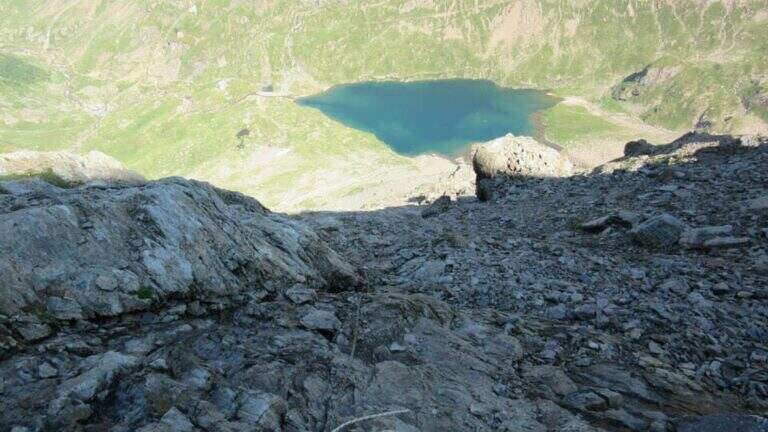
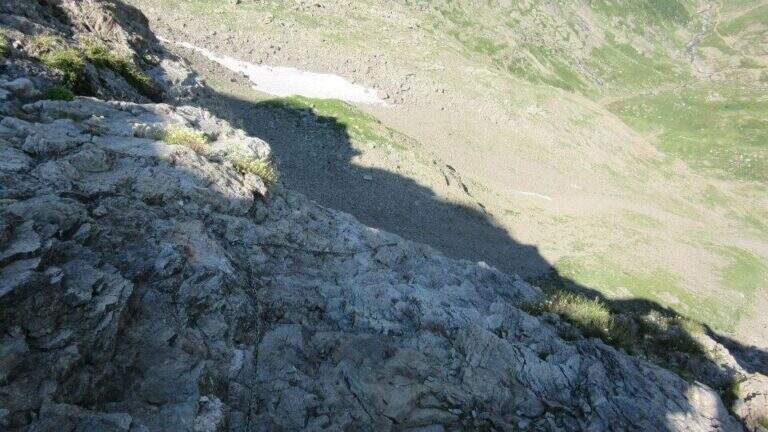
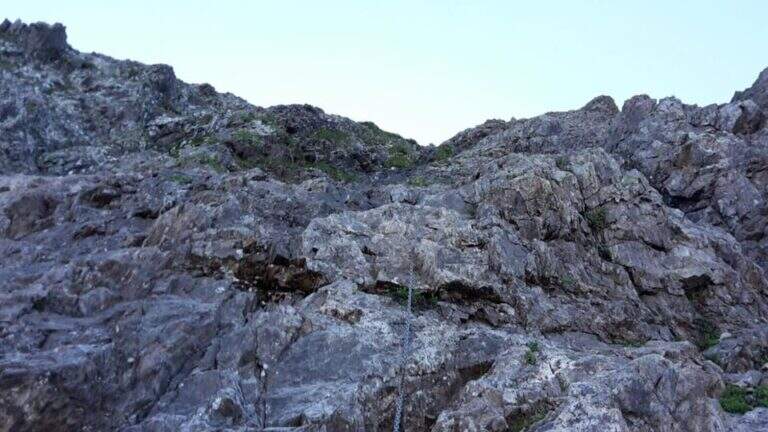
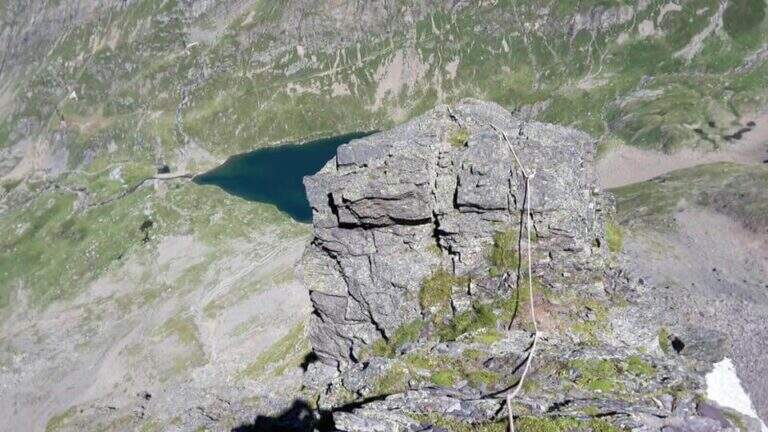
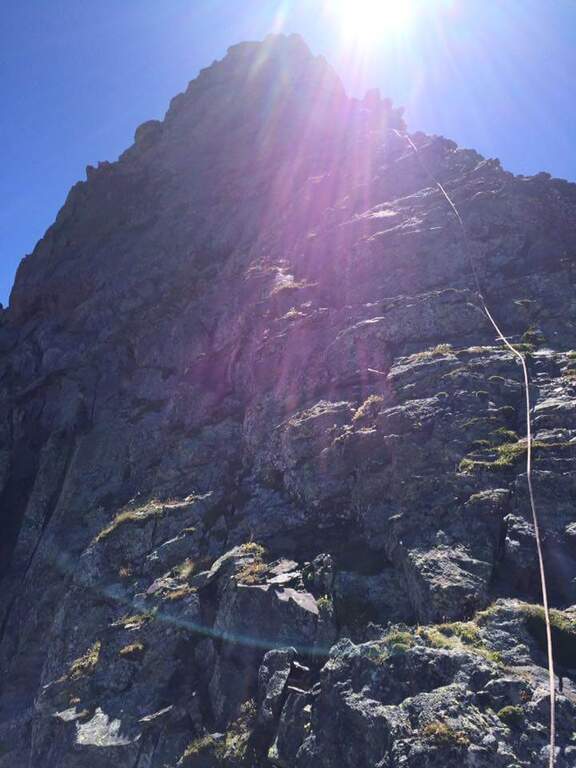
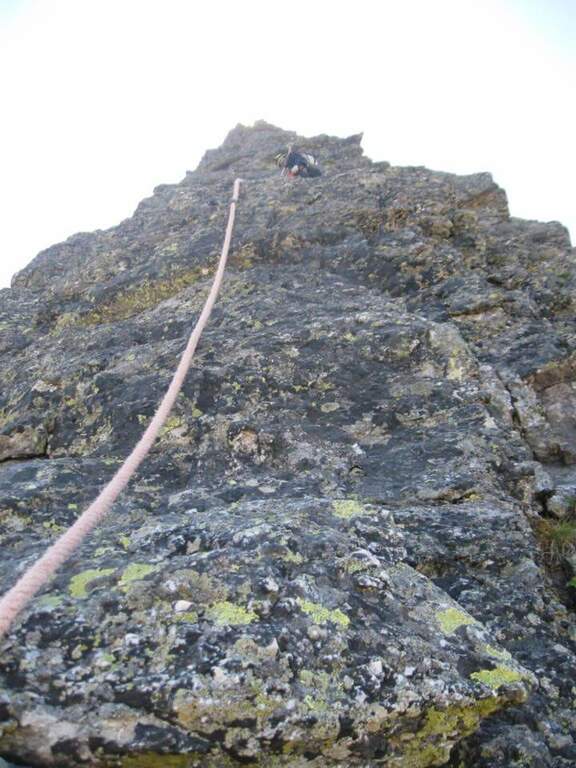
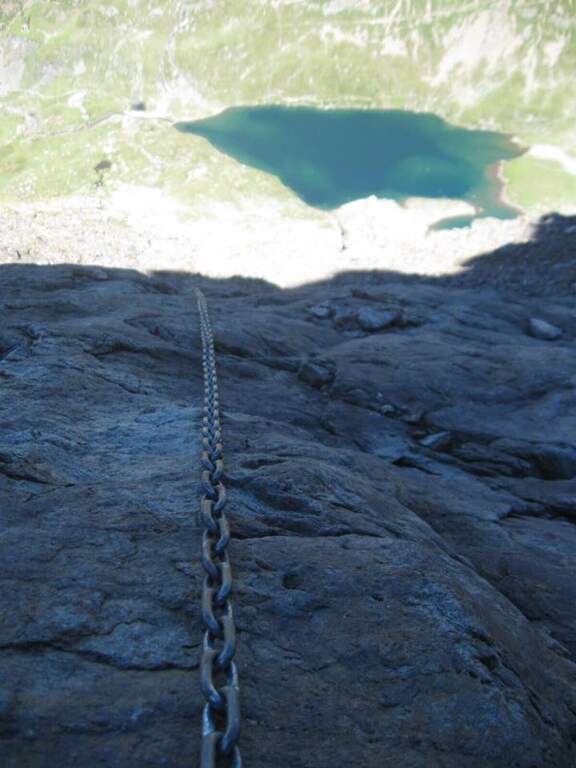
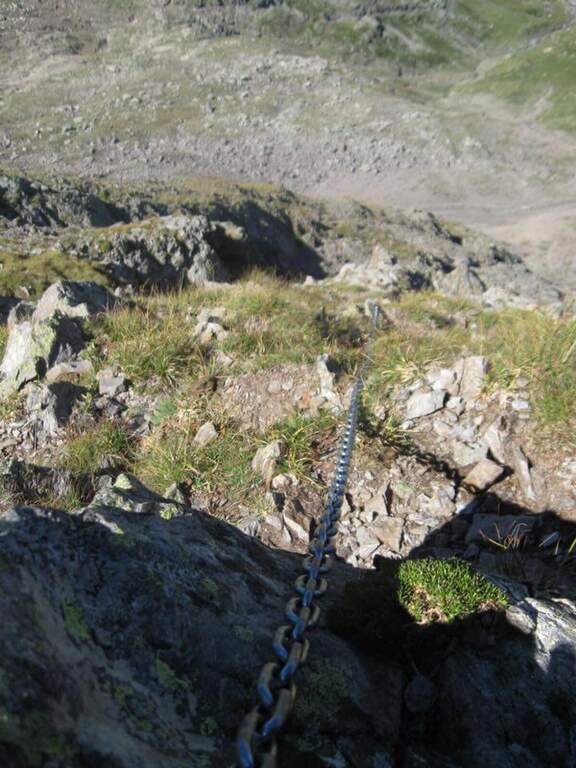
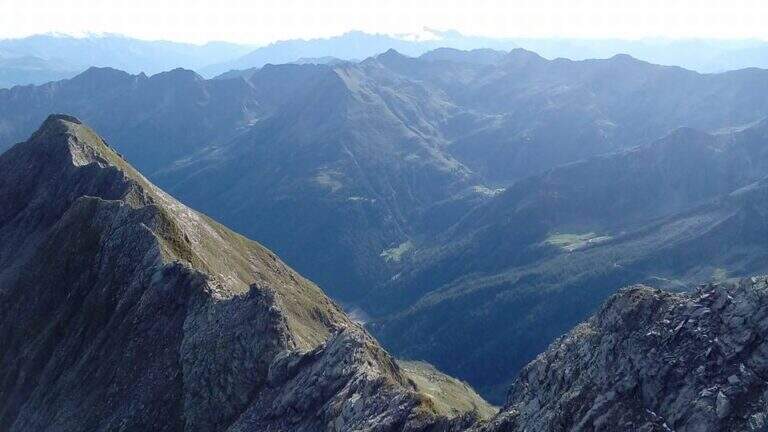
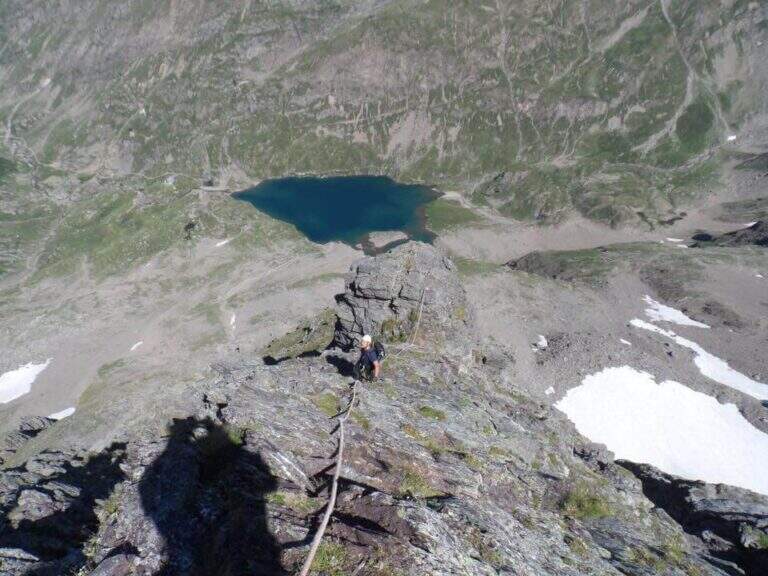
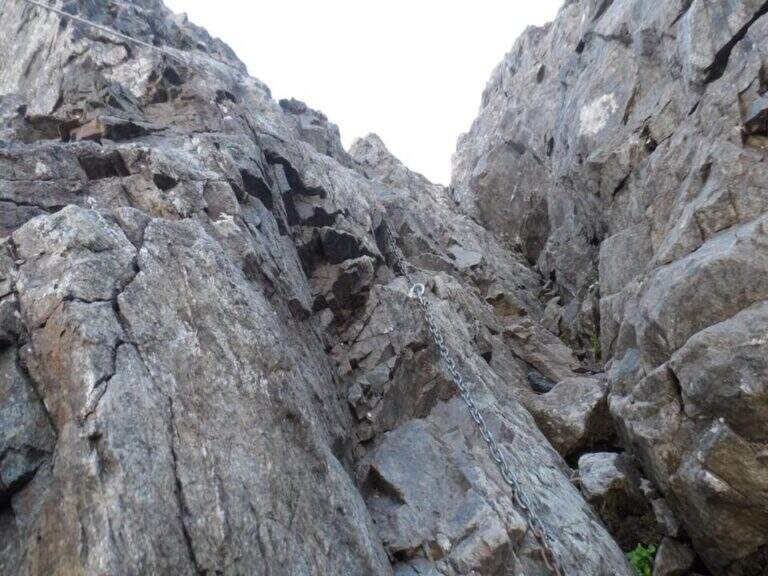
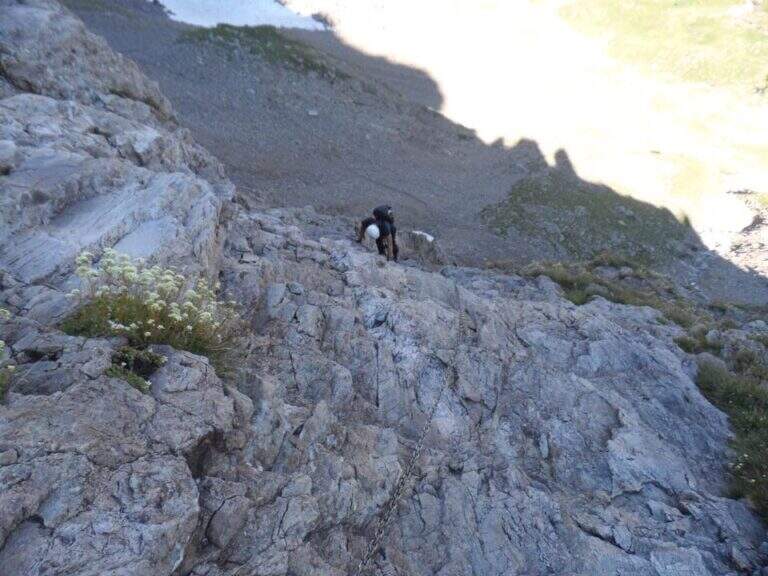
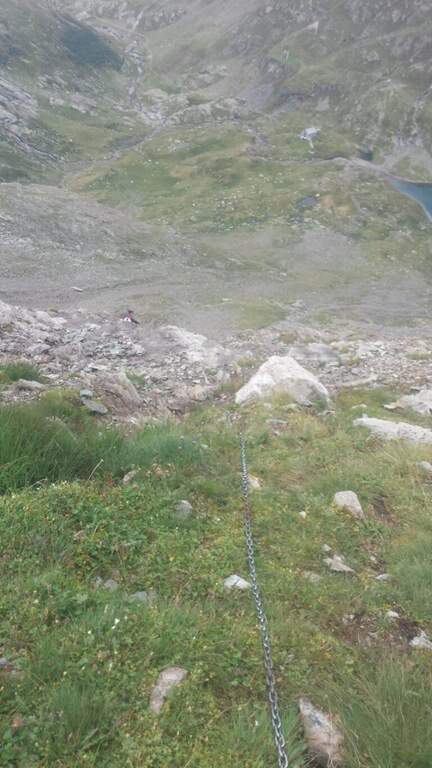
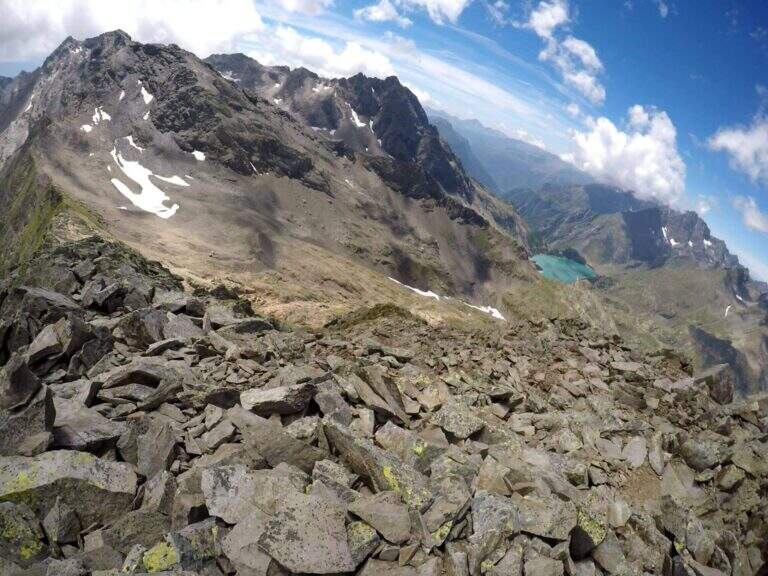
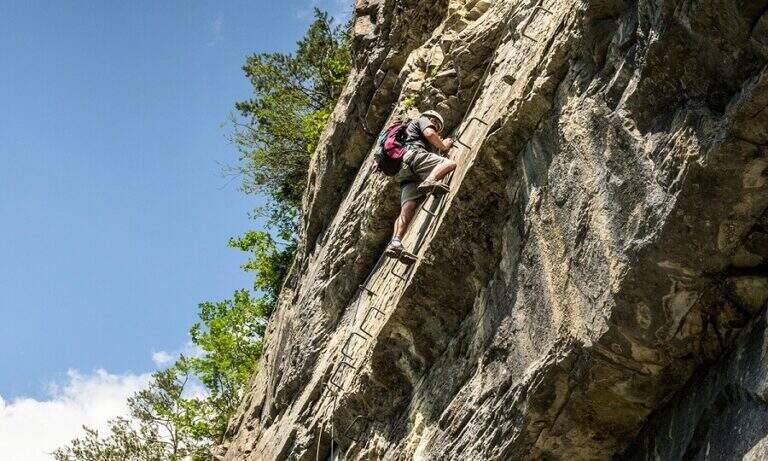
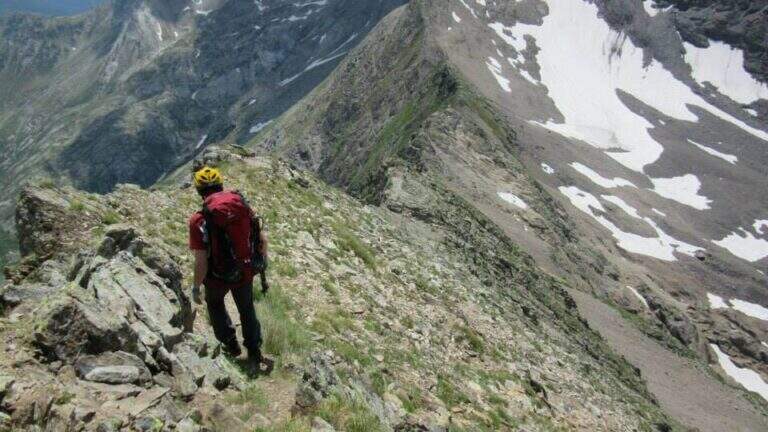
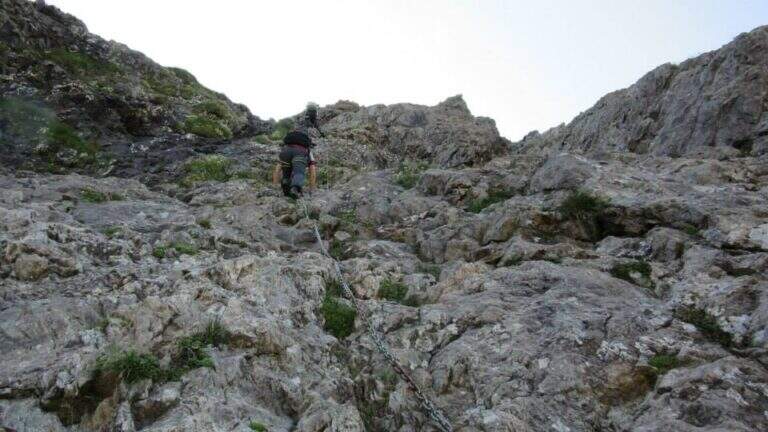
    You go up a rocky canal very climbing, with the chain on the right: the climb is steep but well-tended and you go climbing without excessive tractions on the cable (difficulty never beyond the II degree). After a first steep stretch there is a more supported one and then a third again steep, with almost absent exposure; in about 15' it comes out from the canal and ends the equipment. Then follow a track that cuts diagonally the wall and leads to the final crest, in good exposure with Lake Barbellino a thousand meters lower; between climbs and easy small rocks (insidious if wet) you reach the summit cross of Pizzo Recastello (2886 m, about 4h 30'-5h from the parking lot), with views of Orobie, Bernina and Adamello.

    ▲Character and difficulty

    Technically the equipped road is contained (channel of 2nd degree), but it should be framed in a long climb of high mountain; the detritic bottom of the canal requires caution.

    ⚠ The main objective risk is the fall of stones, from those who precede or from those who fall back: wear the helmet just started the canal.
    ▲Period and safety

    High-altitude summer climb; the length and altitude difference impose departure at dawn and good energy management.

    ▲Discipline

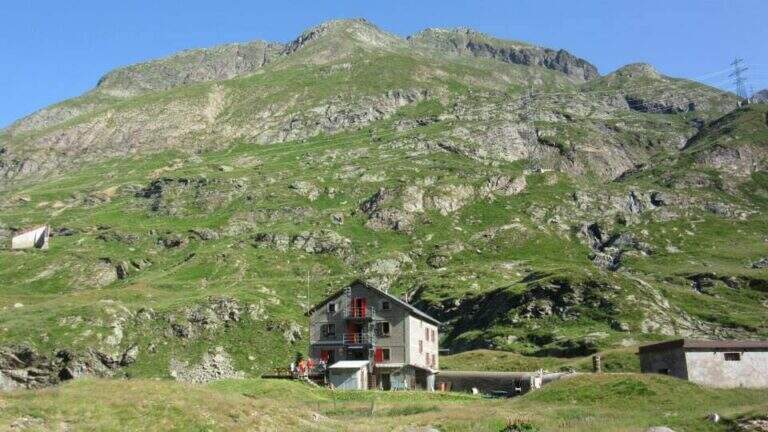
    You go down backwards through the route, via equipped, up to the Curò hut already visible from the summit. A recommended variant: coming to the Barbellino Lake near the Curò, you keep the left on path 304/306 for a return different from the first part of the route; the 304 runs in falsepiano south bypassing Monte Verme and in about 20' leads to a crossroad where you keep the right downhill on the 305 signpost, which after a steep stretch enters the wood and returns to the parking lot of Grumetti (about 9-10h total).

    ▲To match

    For those staying in the area: from the hut Barbellino you can face the next day the Ferrata at Pizzo Strinato, with a similar but longer character, or the neighbor Ferrata al Pizzo del Becco. In the area Presolana the easiest Ferrata del Monte Sarrandone; going down to the city Ferrata Maurizio, la Ferrata alla Madonnina del Coren and, towards Lecco, the Ferrata at Monte Ocone.
    ▲Gallery
    Technical data
    • DifficultyModerately Hard
    • RegionLombardy
    • GroupAlps
    • Approach3:30 h
    • Ferrata0:20 h
    • Itinerary (a/r)9:00 h
    • Route difference1950 m
    • Max2886 m
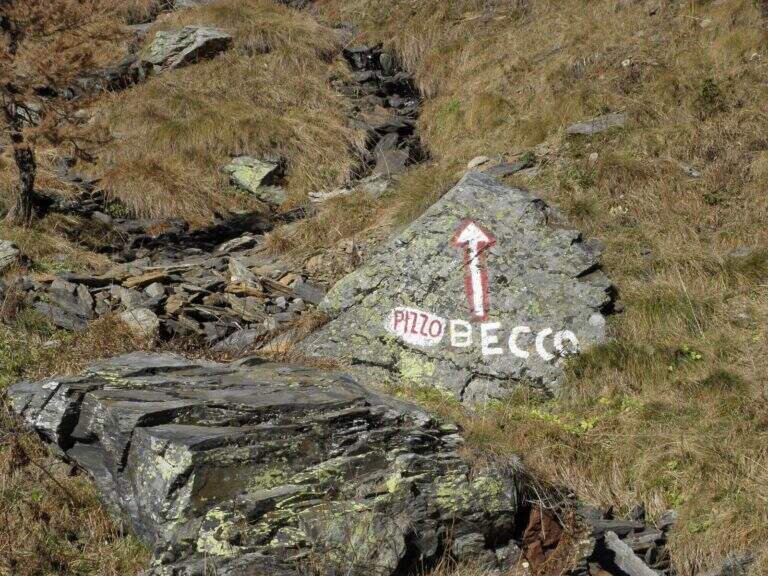
  • Ferrata al Pizzo del Becco

    Ferrata al Pizzo del Becco

    Vie Ferrate › Lombardia › Bergamo
    Ferrata al Pizzo del Becco
    Moderately Hard● OpenDescriptionComplexityMapsGallery

    The Ferrata al Pizzo del Becco is a short stretch equipped with no technical difficulties of importance, but inserted in a long and challenging itinerary: before and after the equipment there are rocks exposed to face in free, where it serves foot. The environment, in the heart of the Bergamo Orobies, is wild and isolated.

    ▲Approach

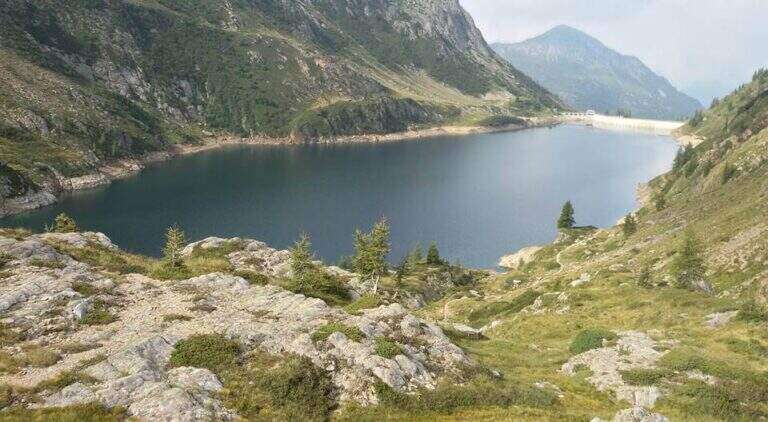
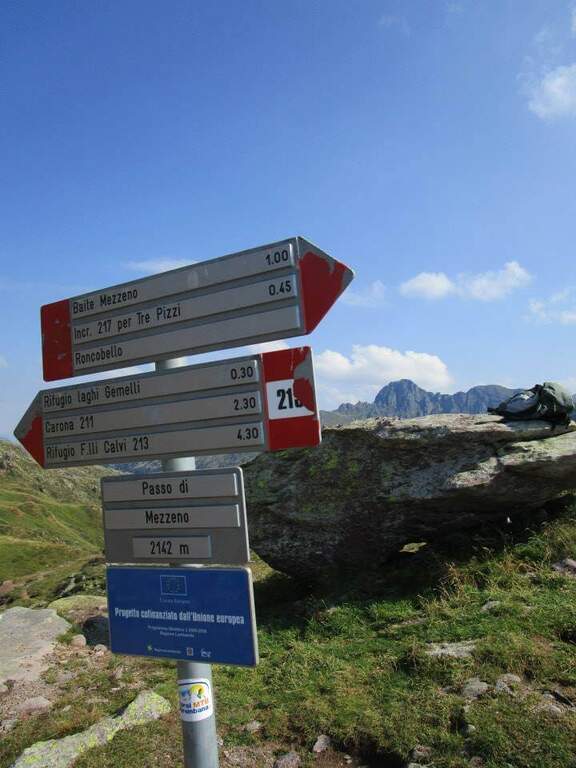
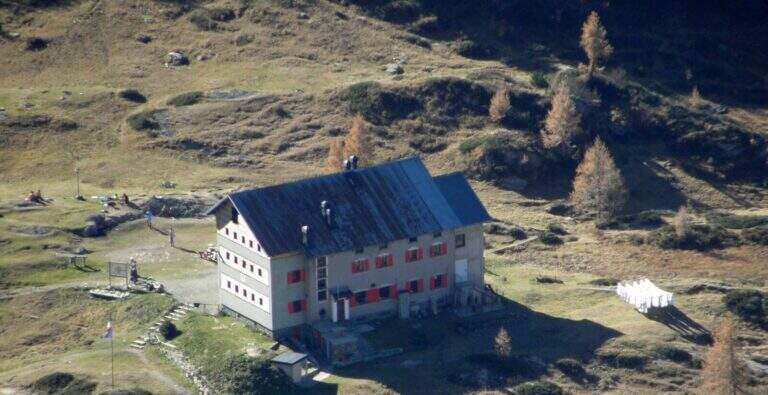
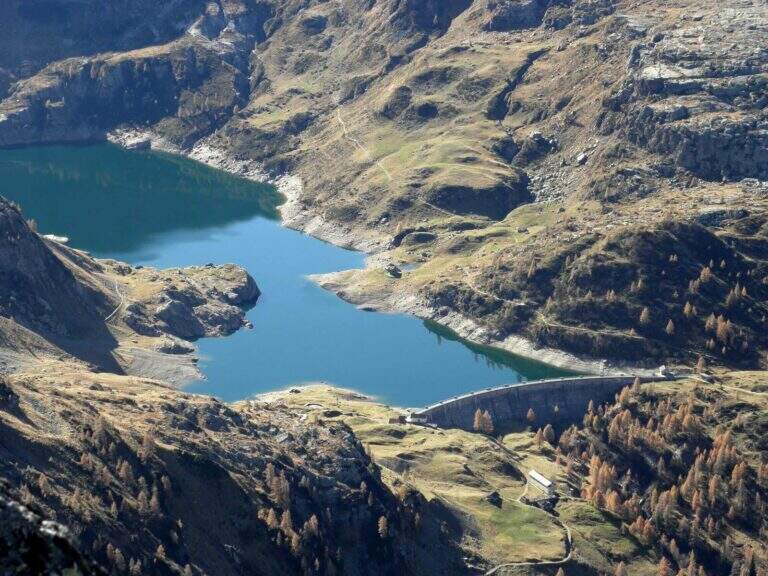
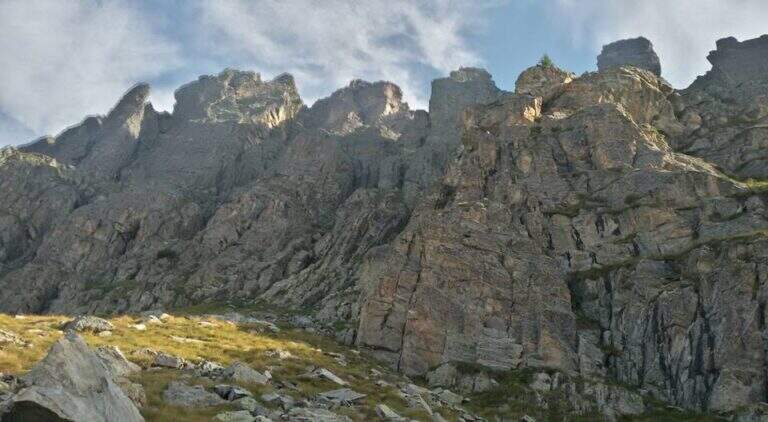
    The starting point is the Baite di Mezzeno, above Roncobello in Val Brembana: from Roncobello you continue on the road first paved and then dirt until you end at the huts, where you park. Starting point on Google Maps. Take the path 215 uphill, which enters almost immediately into the woods; exit on the pastures of height you reach a crossroads where you keep the right towards the Rifugio Laghi Gemelli. The path is steeped to the Mezzeno Pass (2140 m), beyond which a pier, and in a half hour leads to the refuge (2h from the parking lot). Cross the dam of the lake passing on the other side, continue on dirt road to Lake Colombo and cross it on a second dam; just beyond a red sign indicates to keep the left. Approaching the walls of the Pizzo del Becco you follow a clear track first, then the white-red signs on path and rocks, up to the chain that gives start to the ferrata (1h 15' from the shelter, 3h 15' total).

    ▲The path

    The equipped stretch covers less than 100 m of altitude difference and has in fact only two vertical points. You start in a well-dressed dihedron, you pass a prominence and turn left on some rocks up to a small terrace where it is worth turning for the nice eye shot on Lake Colombo. Then a second vertical wall rises, with excellent hooks for hands and feet, up to a final exit slot; the chain folds right and on a more coricated wall, with the cable as a simple balance, you reach the end of the equipment (20' from the attack, about 3h 40' total). Continue on uphill track, on easy but exposed rocks, up to the Forcella del Valico (from which to the right would descend the normal way); for the final ridge there are some rocks and a last stretch equipped up to the summit cross (20' from the end of the ferrata, 4h total).

    ▲Character and difficulty

    The equipped part is easy and the chain, not very tense, serves seldom; the commitment lies in the length of the itinerary and in the stretches of exposed rocks, uphill and downhill, to be covered independently.

    ⚠ Wearing the helmet just started the rocky area: the main risk is the fall of stones on who goes up or down. Beware of moisture on the rocks before and after the ferrata after recent rains.
    ▲Period and safety

    High mountain road, to be covered in summer with dry rock; the isolated environment requires good autonomy.

    ▲Discipline

    From the cross you go back to the Forcella del Valico, where you can choose if you redefine the ferrata crossed uphill (40' from the summit, be careful not to move stones on who is below) or follow straight signs towards Passo di Sardegnana; in both cases you arrive at Lake Colombo (1h 15' from the summit). From here you go back to the approach path to the parking lot (1h 30' from Lake Colombo, about 6h 15' total).

    ▲To match

    It is part of a long itinerary that leaves little energy for another day, but the Orobie Park and Bergamo offer many equipped to join in several days: the Ferrata Guerino Rossi al Pizzo Strinato, la Ferrata at Monte Ocone, la Ferrata alla Madonnina del Coren, la Ferrata Maurizio and, in Val Brembana, the Ferrata di Santa Croce alla Corna Maria.

    ▲Gallery
    Technical data
    • DifficultyModerately Hard
    • RegionLombardy
    • GroupAlps
    • Approach3:15 h
    • Ferrata0:20 h
    • Itinerary (a/r)6:15 h
    • Hardware level difference70 m
    • Route difference1200 m
    • Max2507 m
    • Length17,2 Km
  • Ferrata Guerino Rossi al Pizzo Strinato

    Ferrata Guerino Rossi al Pizzo Strinato

    Vie Ferrate › Lombardia › Bergamo
    Ferrata Guerino Rossi al Pizzo Strinato
    Moderately Hard● ClosedDescriptionComplexityMapsGallery

    ⚠ FERRATA SMANTELLATA A LUGLIO 2020. La via attrezzata risulta rimossa: questa scheda è mantenuta a scopo documentale e storico. Non considerarla percorribile come ferrata; verificare sempre lo stato attuale presso i rifugi e le fonti locali prima di programmare qualsiasi salita al Pizzo Strinato.

    La Ferrata Guerino Rossi era inserita in un'impegnativa ascensione al Pizzo Strinato, nelle Alpi Orobie: più un percorso alpinistico dal carattere selvaggio che una semplice ferrata, in un ambiente molto bello e panoramico. La salita non presentava tratti tecnicamente difficili, ma era a lungo esposta e su fondo spesso instabile, da evitare con tempo incerto e con pernottamento consigliato al Rifugio Barbellino per spezzare il lungo itinerario.

    ▲Approach

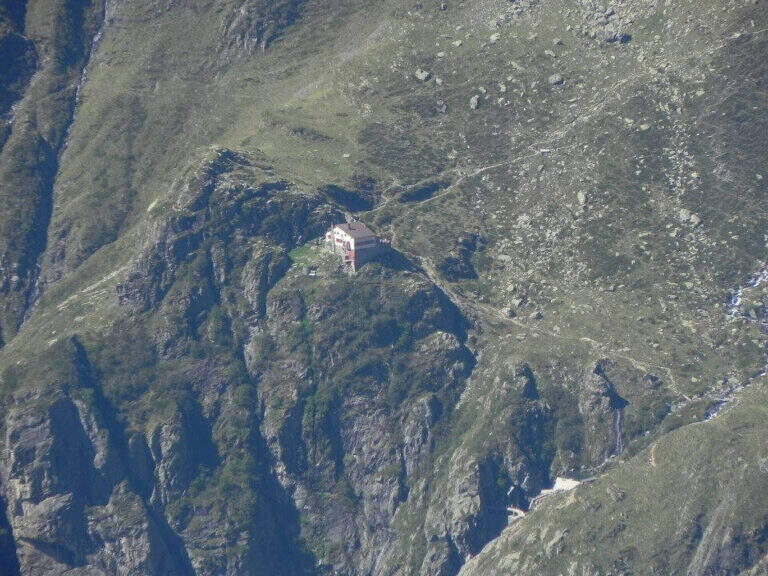
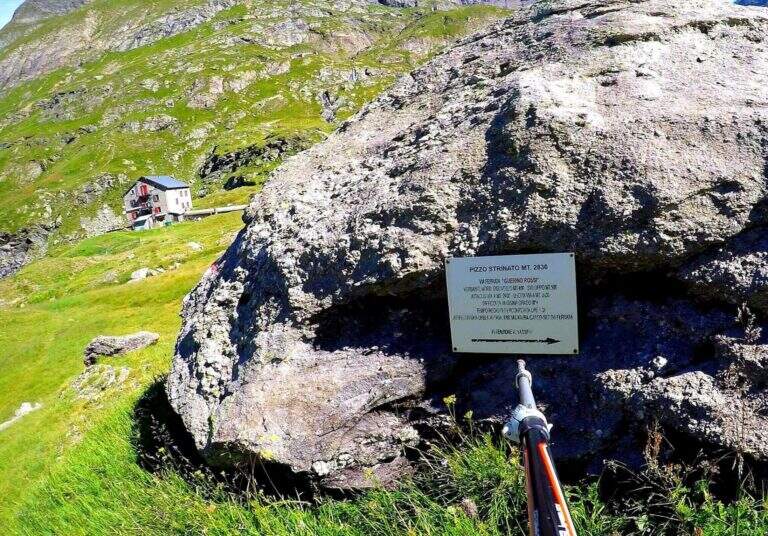
    Il punto di partenza è l'abitato di Grumetti, nel comune di Valbondione (provincia di Bergamo), in alta Val Seriana: da Valbondione si prosegue dritti fino a Grumetti, parcheggiando nello spiazzo al termine della strada (starting point on Google Maps). Dal parcheggio si risale il sentiero 332 verso il lago artificiale del Barbellino, dove sul bordo si trova l'ostello Curò (circa 2h 15' dal parcheggio); si costeggia la riva sud del lago e si segue il sentiero 308/324 fino al Rifugio Barbellino (3h 30' dal parcheggio), in una bella conca da cui, verso sud-est, si individua il Pizzo Strinato. Dal rifugio si tiene la destra risalendo una morena con segnavia rossi e ometti verso sud-est fino a un masso indicato "Pizzo Strinato"; a un bivio successivo, dove la via normale prosegue dritto, si vira a sinistra sui segni bianco-rossi fino all'attacco, segnalato da una targa bianca (1h dal rifugio, 4h 15' dal parcheggio). Vista la lunghezza dell'avvicinamento conveniva raggiungere il rifugio il giorno prima e pernottare, per disporre poi di molte ore di luce.

    ▲The path

    La ferrata si divideva in due sezioni distinte: la prima sulla parete nord, la seconda lungo l'esposto spigolo nord-est. Oltre alle difficoltà tecniche (moderate), l'itinerario richiedeva passo fermo, capacità di affrontare passi di I e II grado non attrezzati e buona preparazione fisica. La prima sezione attaccava con una lunga parete di rocce appoggiate, da arrampicare facendo attenzione alla roccia a tratti instabile (pareti coricate, roccette, tratti diagonali e balzi), guadagnando esposizione rapidamente; dopo la prima parete si piegava a destra in diagonale per una cinquantina di metri su roccette, fino a un tratto dove la catena era spesso coperta dalla neve accumulata (in tal caso si risaliva una ventina di metri di canalino per riprendere la catena pochi metri a sinistra, sulla parete superiore). Seguiva il tratto più impegnativo, un diedro con la catena sul versante sinistro da risalire in spaccata, che in alto si apriva in parete verticale; usciti dalla parete si risaliva uno spigolo non molto ripido, poi una parete appoggiata di roccia ed erba fino alla seconda sezione. Qui la catena diventava un canapone e si usciva dall'ombrosa parete nord sullo spigolo nord-est al sole: si risaliva lo spigolo in forte esposizione, alternando tratti facili a tratti di media difficoltà, tenendo conto che il canapone, con ancoraggi lontani, era meno teso e stabile di una fune metallica. Verso l'alto la parete saliva più ripida in vista di un gendarme roccioso, da discendere parzialmente, e l'ultima parte molto esposta risaliva alcuni balzi fino al termine del canapone, pochi metri sotto la croce (1h 30' dall'attacco, 5h 45' complessive). Dalla croce iniziava un tratto aereo e impegnativo: si proseguiva sulla sottile e aerea cresta fino al punto più alto del Pizzo Strinato (20' dalla croce, 6h complessive) con alcuni passaggi di I e II grado non protetti.

    ▲Character and difficulty

    Itinerario alpinistico austero e selvaggio, su roccia di arenaria a tratti poco stabile.

    ⚠ La parete nord della prima sezione restava innevata fino a stagione inoltrata: poteva avere senso portare ramponi e piccozza. I fittoni della catena, spesso lasca, erano distanti tra loro e una caduta era assolutamente da evitare. Da percorrere solo con tempo stabile. (Via comunque oggi smantellata.)

    ▲Period and safety

    Quando era in opera, l'itinerario era riservato all'estate inoltrata e a giornate stabili, possibilmente senza nuvole, per l'ambiente austero. Oggi la via è smantellata: l'ascensione al Pizzo Strinato resta un terreno alpinistico da valutare con competenza e informazioni aggiornate.

    ▲Discipline

    La discesa scendeva per la cresta sud-ovest, tenendo spesso il versante destro su roccia a tratti instabile, con alcuni passaggi di disarrampicata di I grado e traversi esposti, fino alla Forcella del Lago; da qui si scendeva a destra verso il rifugio, seguendo i segni rossi sotto la parete del Pizzo Strinato, in una discesa lunga e faticosa fino al Rifugio Barbellino (1h 30' dalla vetta, 7h 30' complessive) e quindi al parcheggio per il sentiero dell'andata (2h 30' dal rifugio, 10h complessive). La prima mezz'ora di discesa richiedeva probabilmente più concentrazione della salita, per l'instabilità del fondo.

    ▲To match

    Restando nella zona del Lago del Barbellino si può intraprendere la Ferrata del Pizzo Recastello, pernottando in uno dei rifugi. Nelle alte valli bergamasche ci sono inoltre la Ferrata al Pizzo del Becco e la Ferrata al Passo della Porta, d'alta montagna e di media difficoltà; scendendo verso la città si incontrano la Ferrata Maurizio, la Ferrata alla Madonnina del Coren e, verso Lecco, la Ferrata al Monte Ocone, mentre in Val Brembana c'è la Ferrata di Santa Croce alla Corna Maria.

    ▲Gallery
    Technical data
    • DifficultyModerately Hard
    • RegionLombardy
    • GroupAlps
    • Approach4:30 h
    • Ferrata1:30 h
    • Itinerary (a/r)10:00 h
    • Hardware level difference406 m
    • Route difference1940 m
    • Max2836 m
    • Length23,5 Km
Need help? Write to us!