Gruppo: Prealpi Bresciane

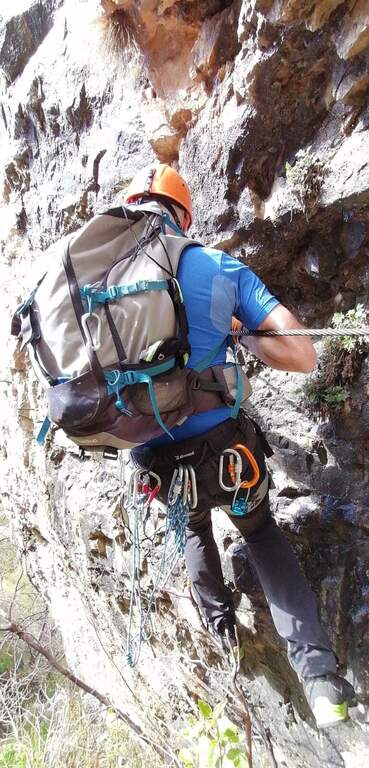
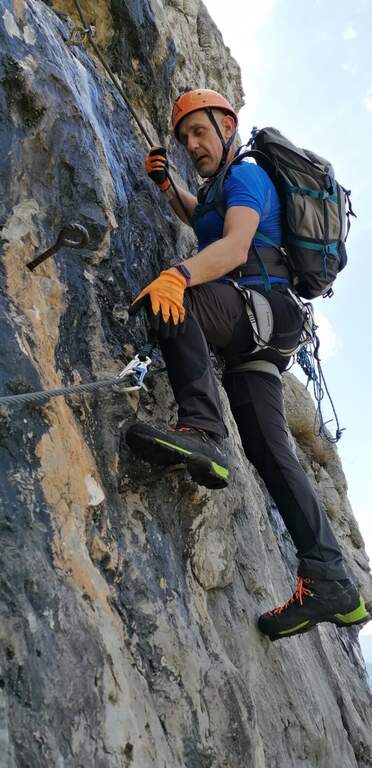
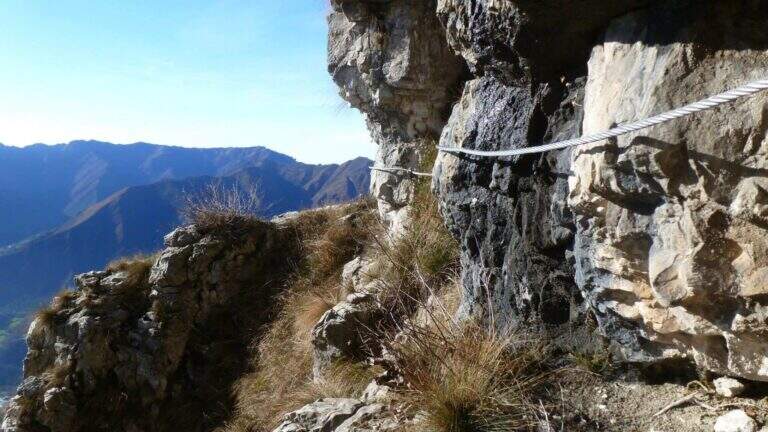
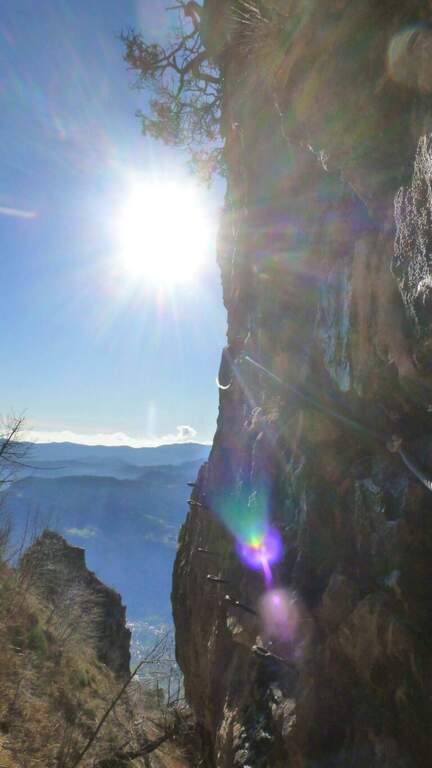
  • Sentiero Attrezzato Sperone del Crocefisso

    Sentiero Attrezzato Sperone del Crocefisso

    Vie Ferrate › Lombardy › Brescia
    Sentiero Attrezzato Sperone del Crocefisso

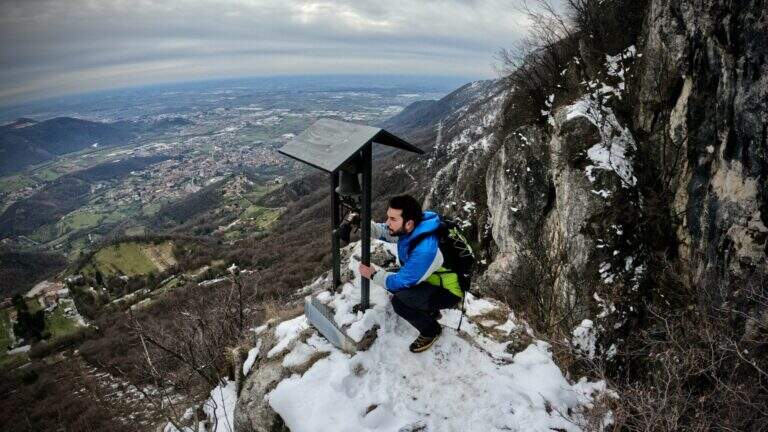
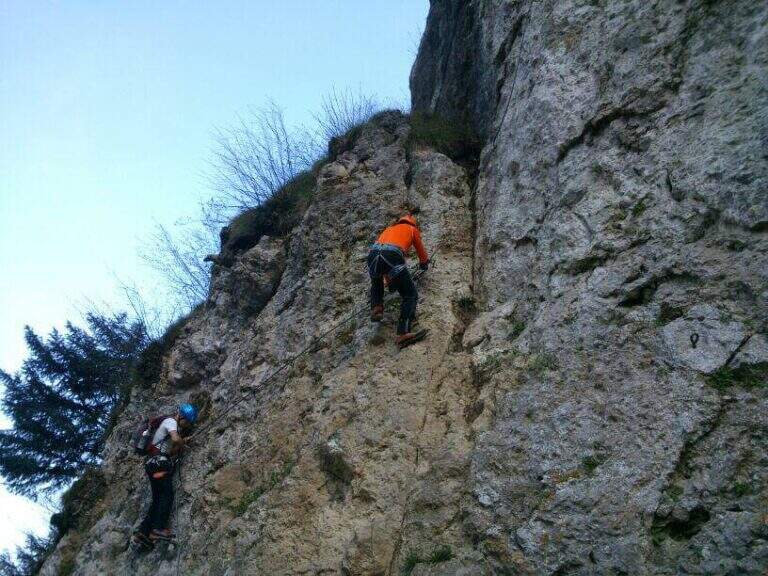
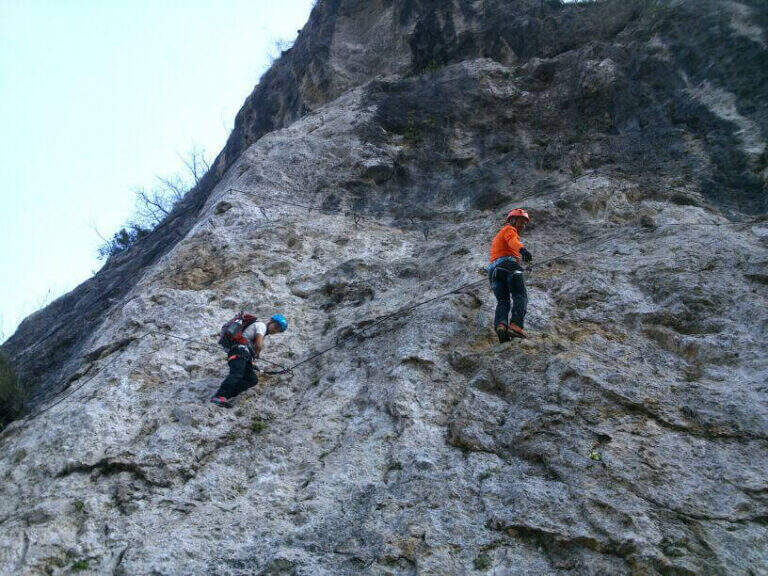
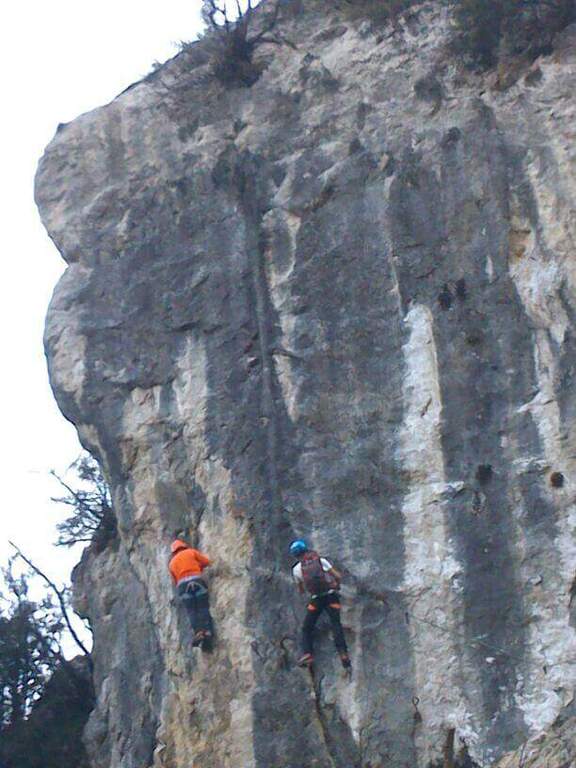
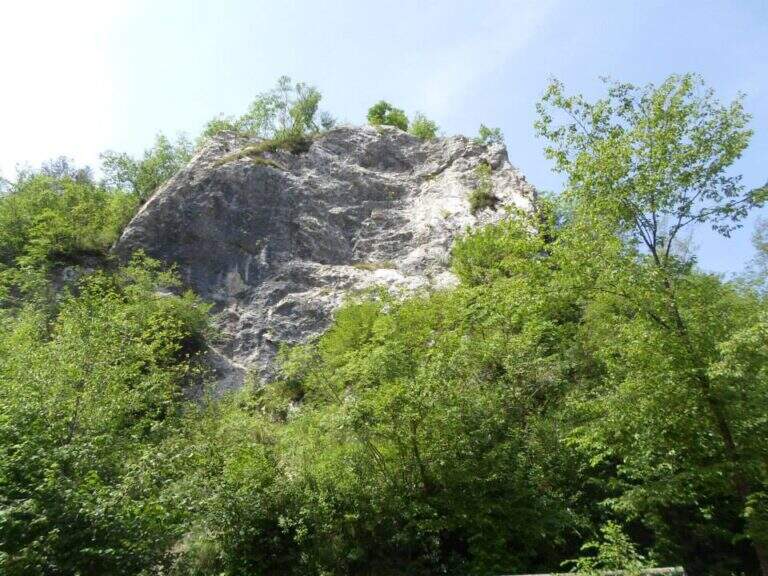
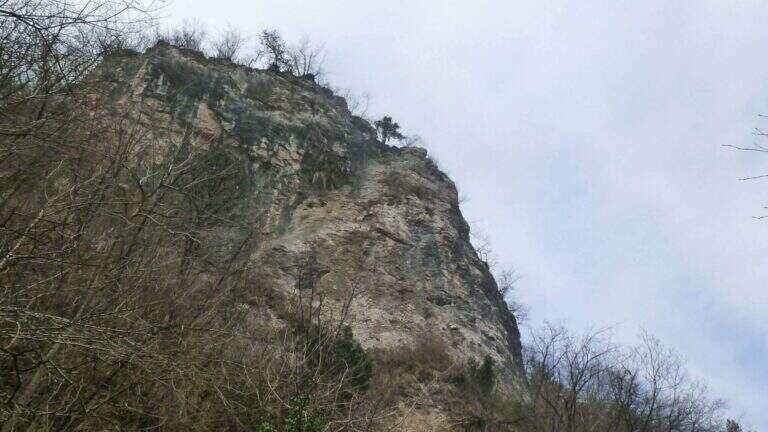
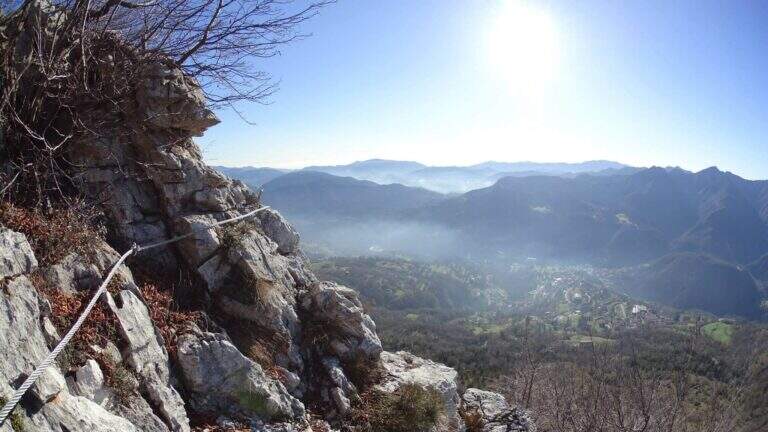
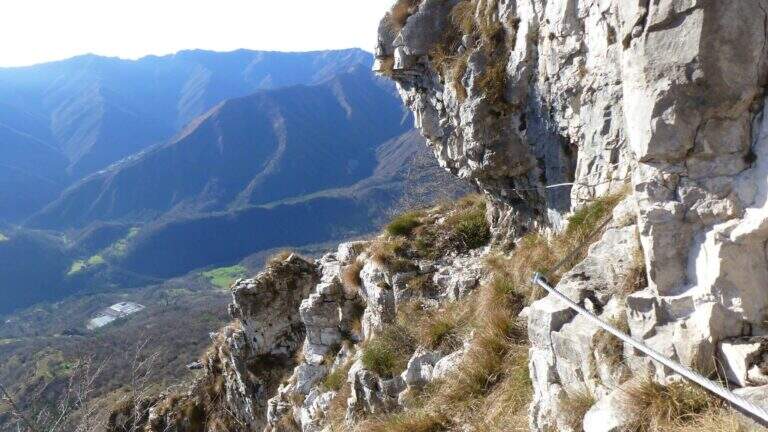
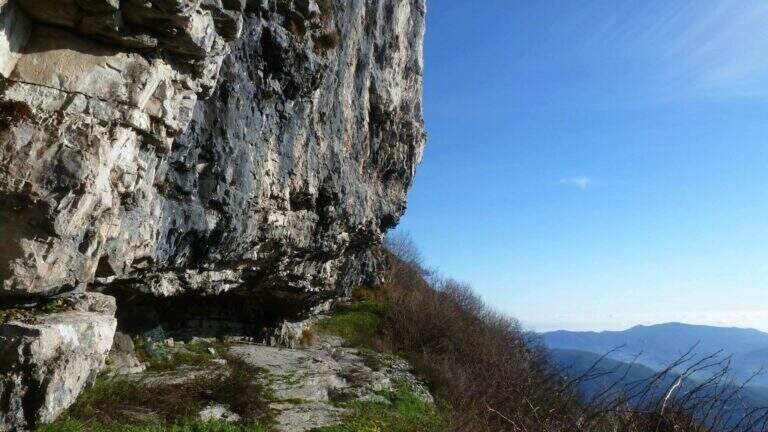
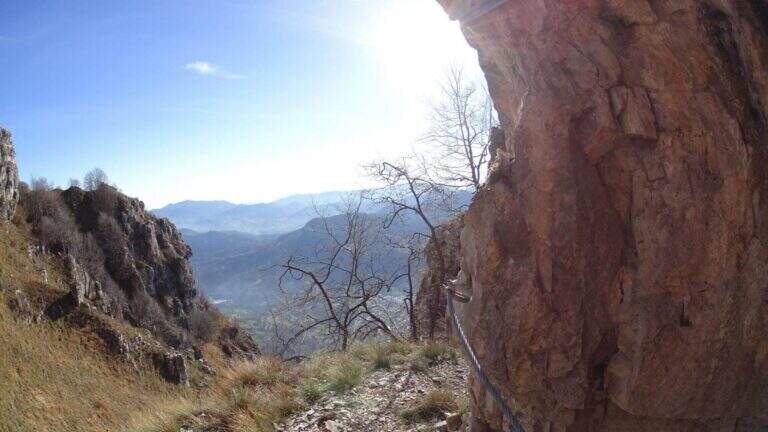
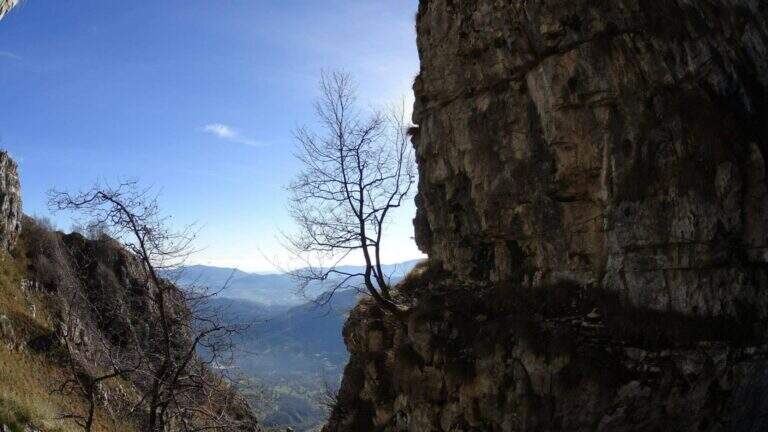
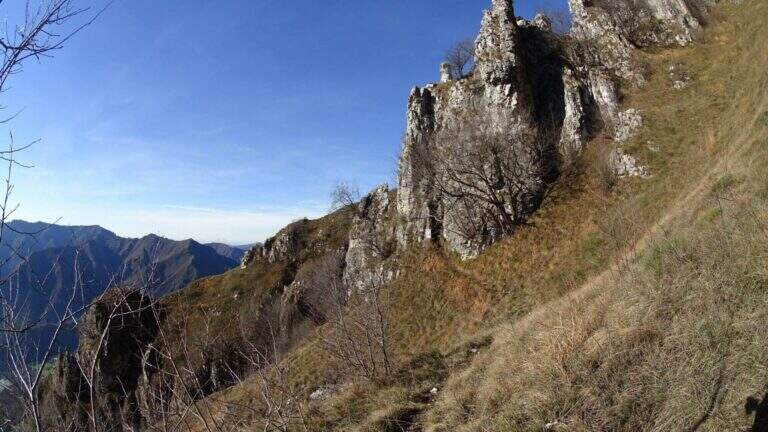
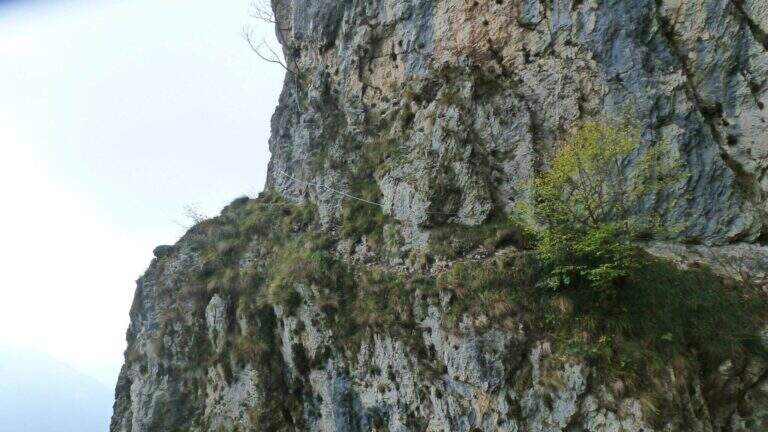
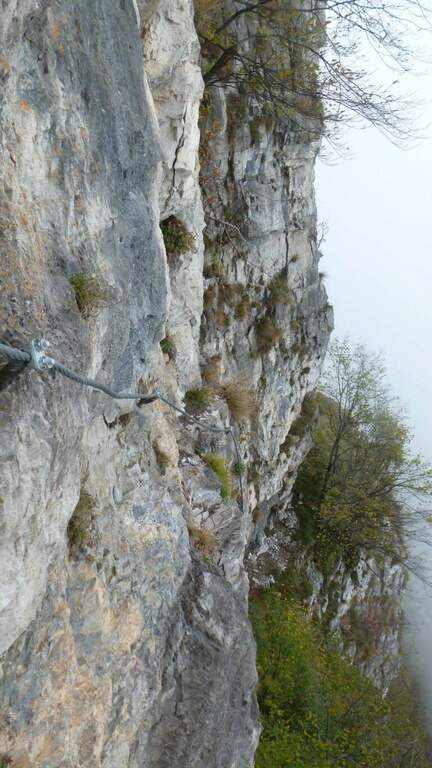
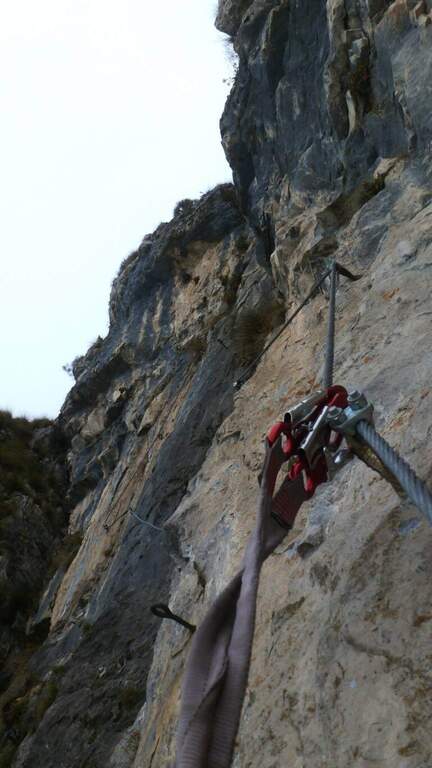
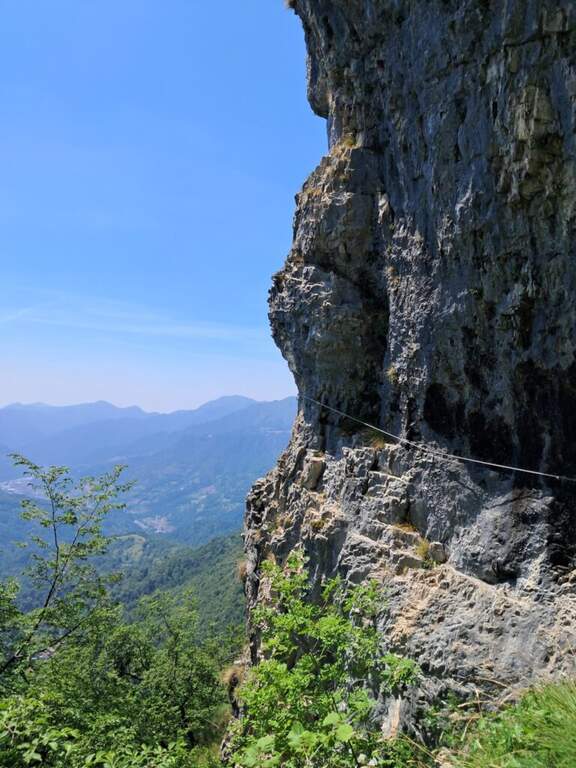
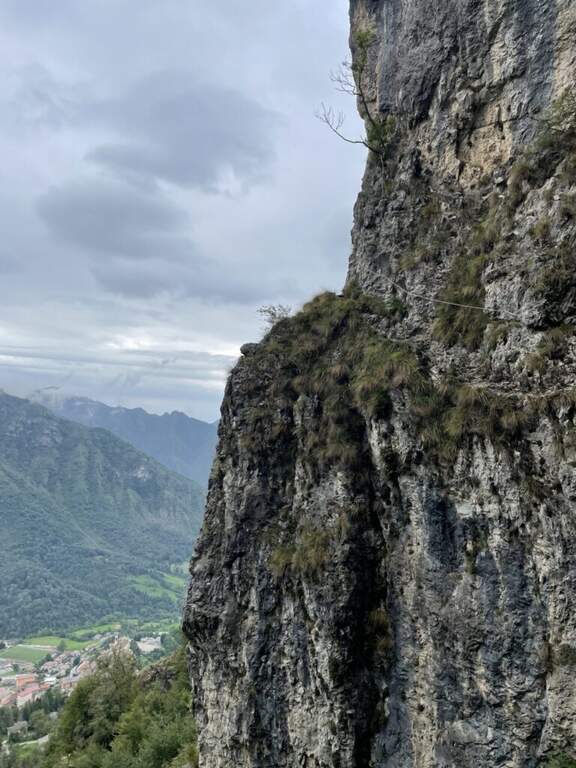
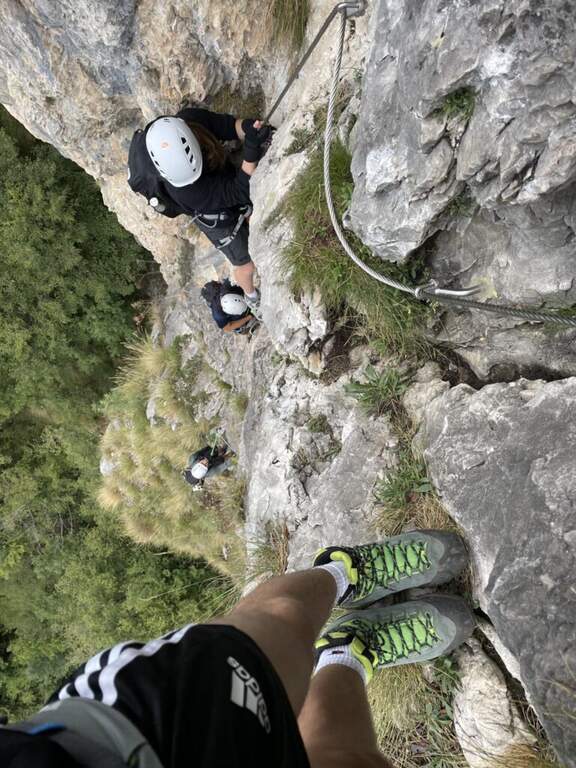
    Short excursion equipped in the Brescian Prealps that leads to an iconic rocky spur under the Monte Maddalena, with stretches equipped with low difficulty and a beautiful view over the city of Brescia. Suitable for neophytes and families, it is available in any season thanks to low altitude.

    ▲Approach

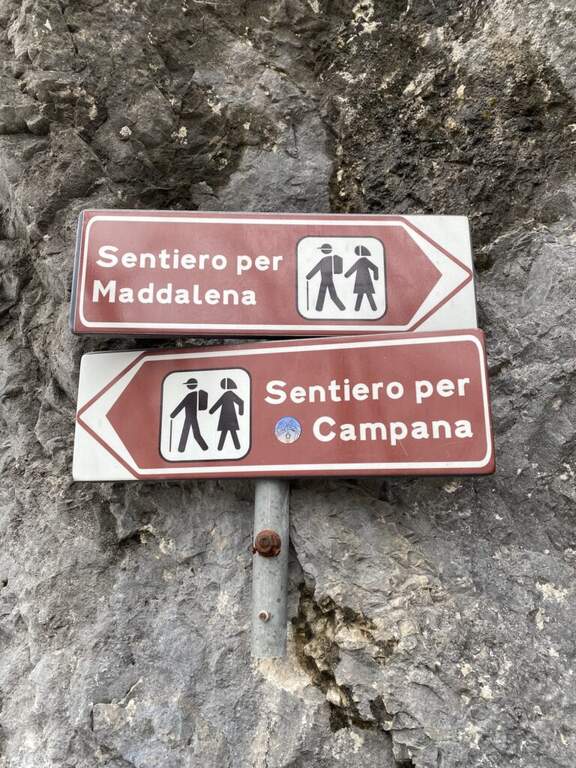
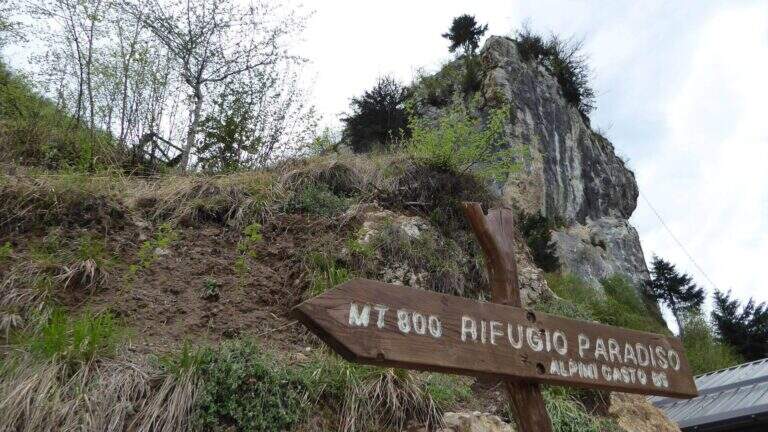
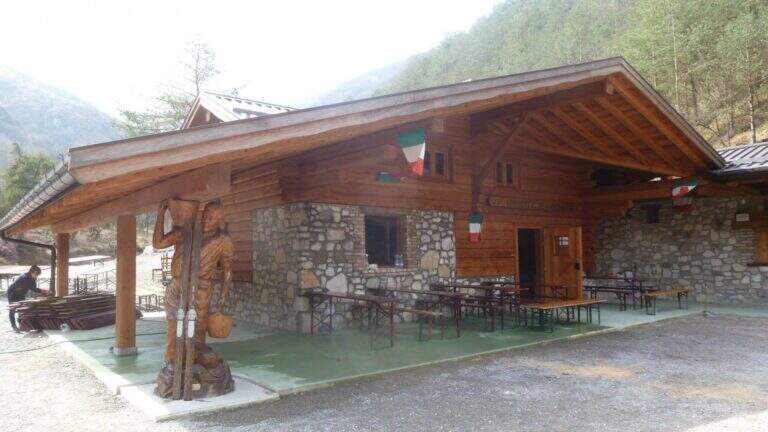
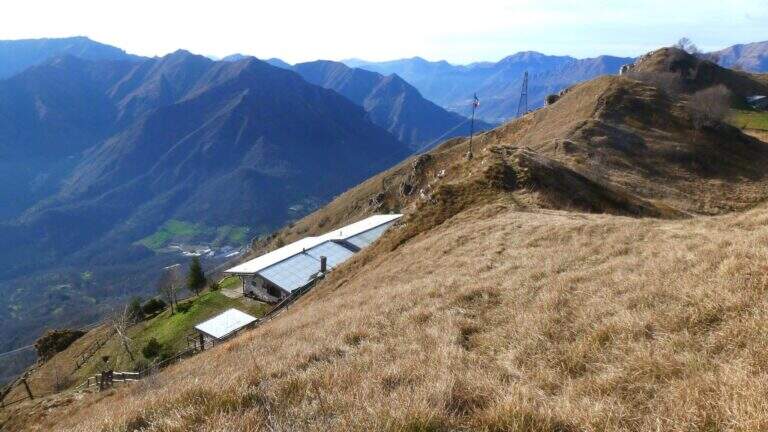
    The starting point is the parking lot of the restaurant Al Grillo in Via della Maddalena, Brescia, reachable along Via della Maddalena north from the city. From the parking lot (approx. 430 m) follow the CAI path with a white-blue marker towards the former Magdalene refuge (0h 30 min).

    ▲The path

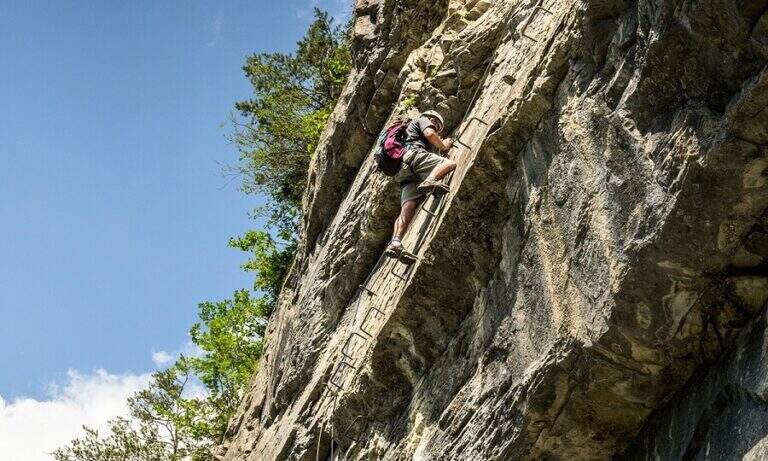
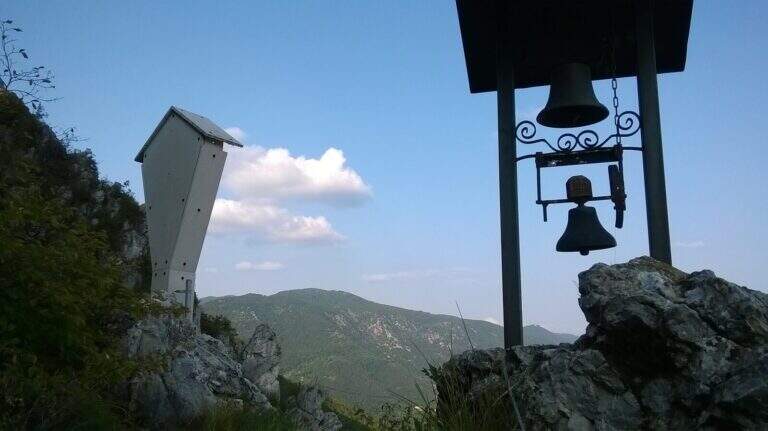
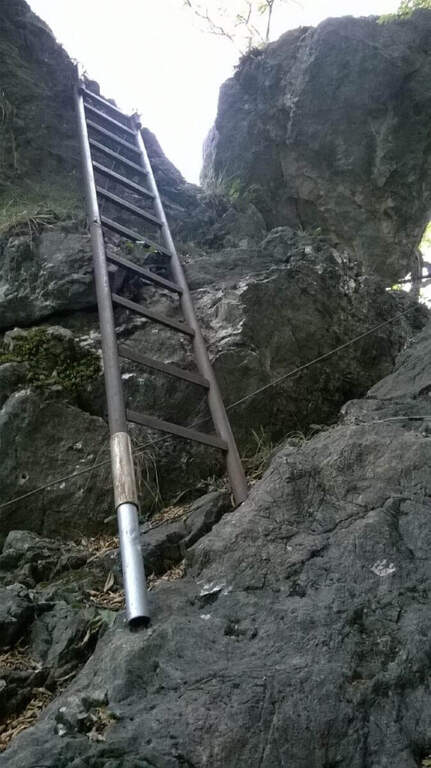
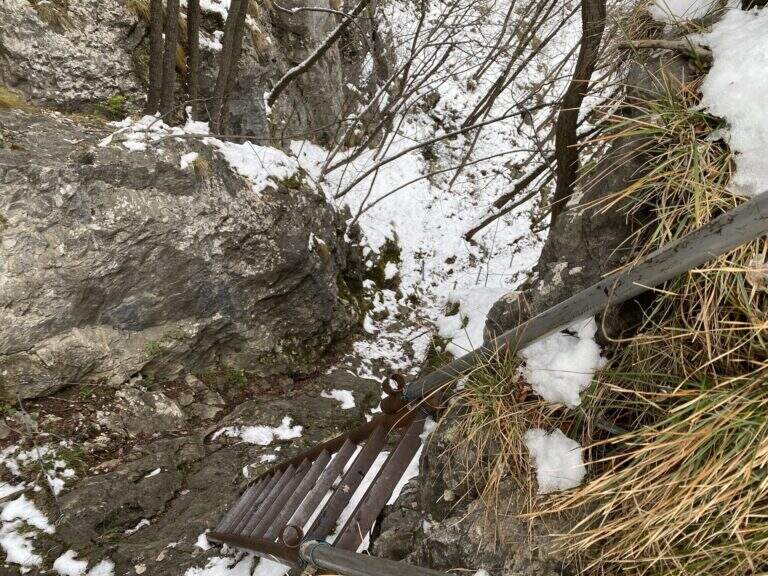
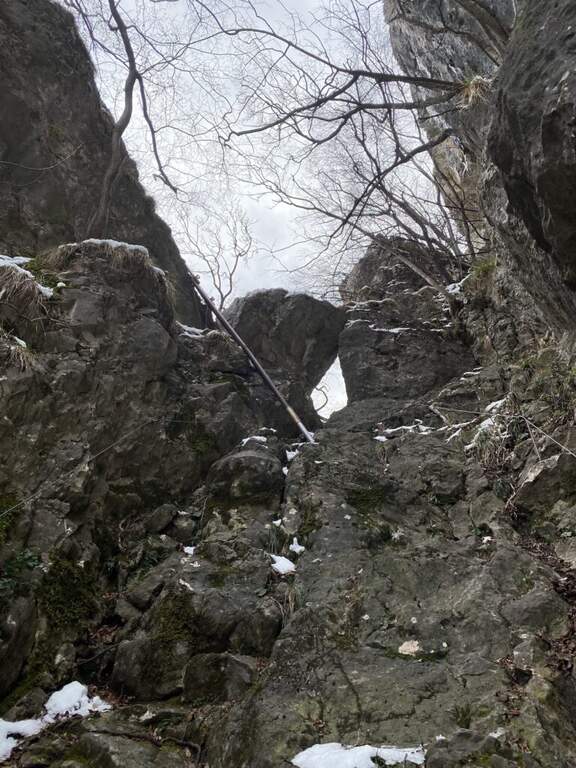
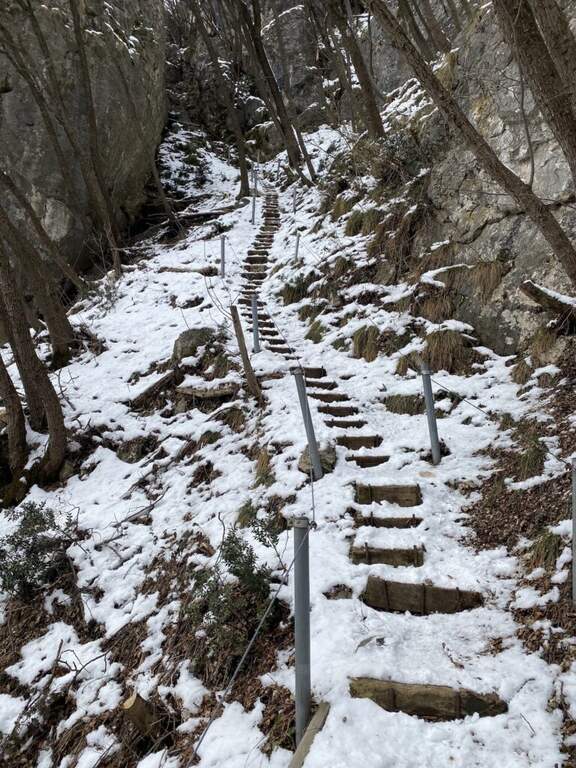
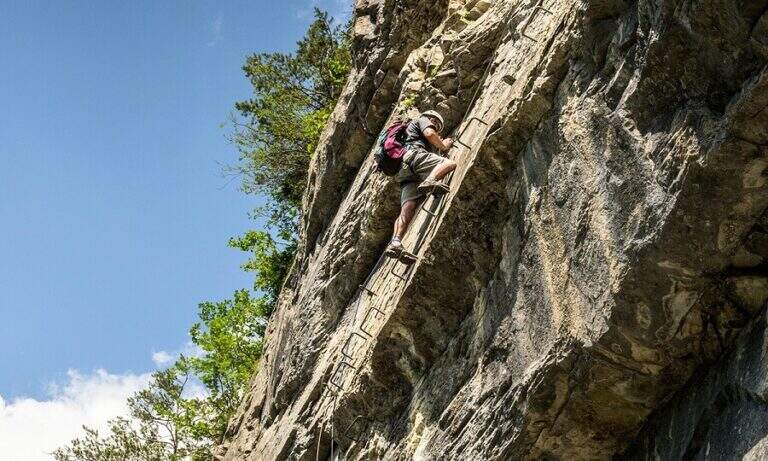
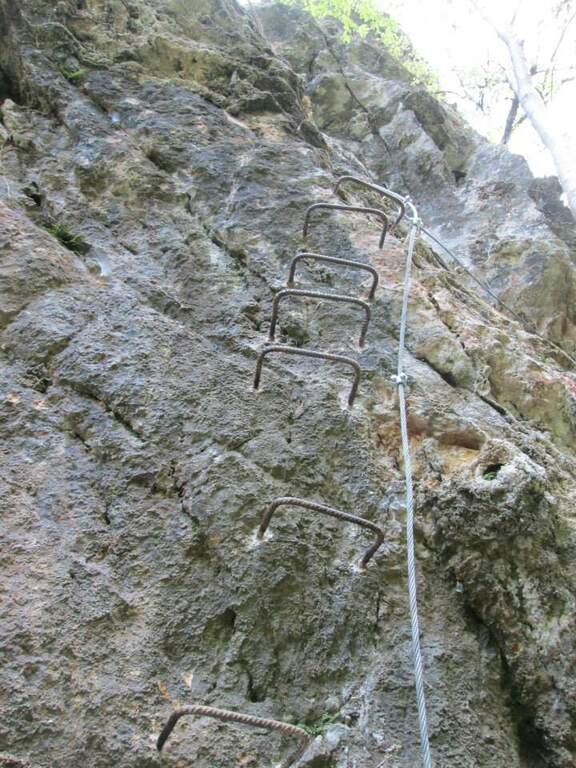
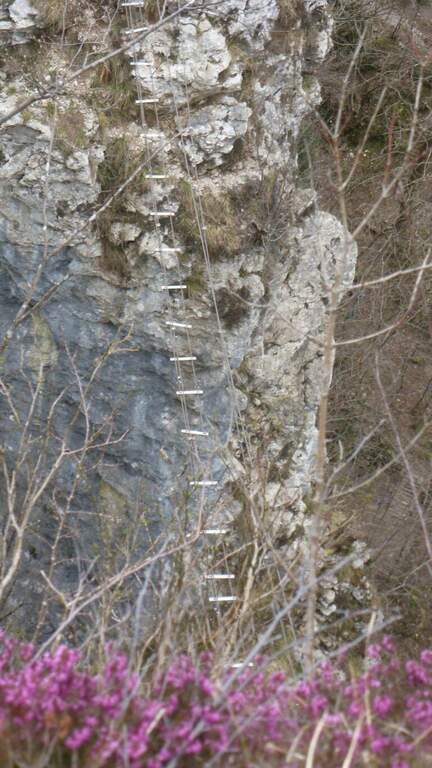
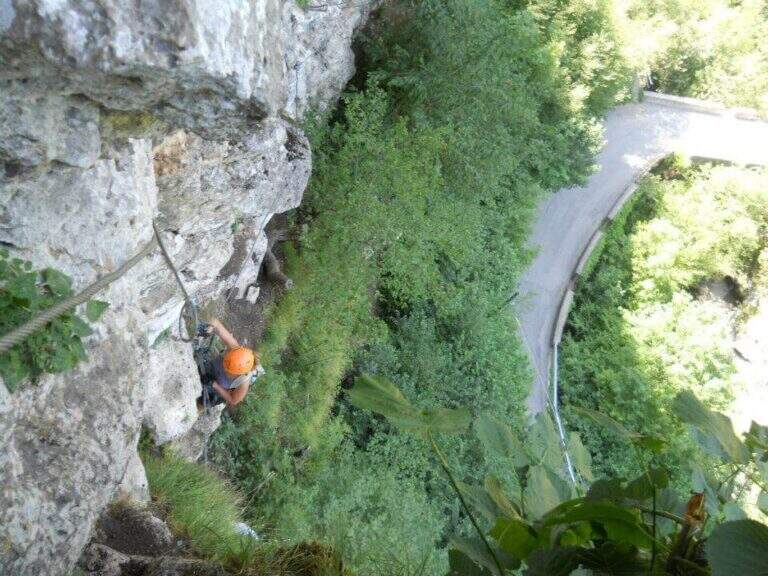
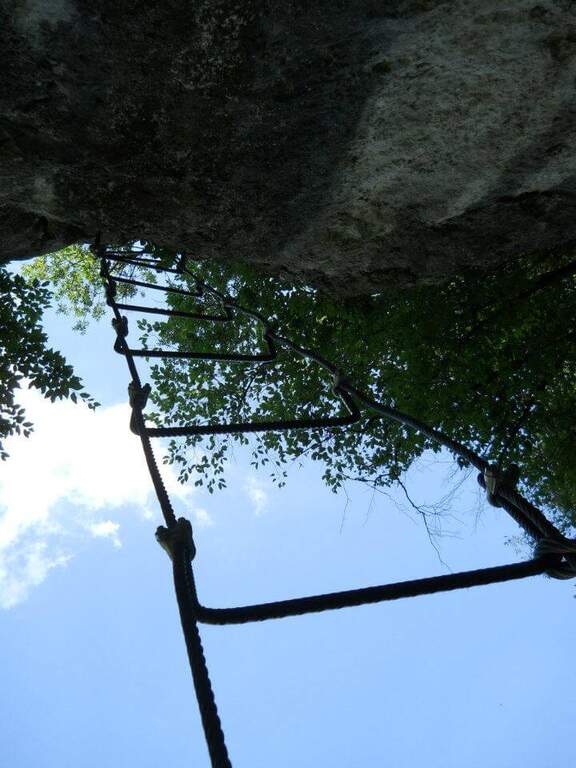
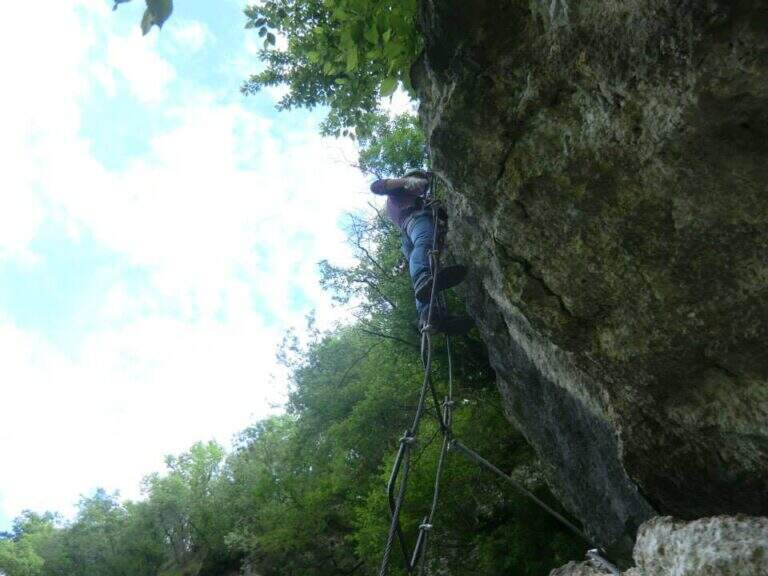
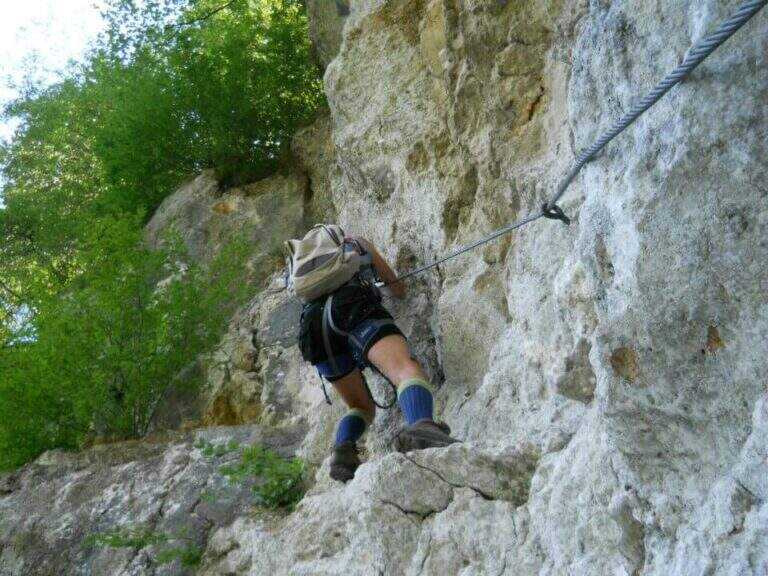
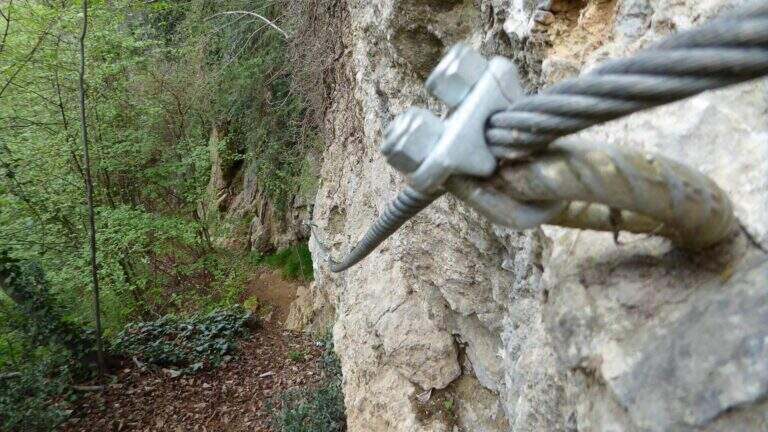
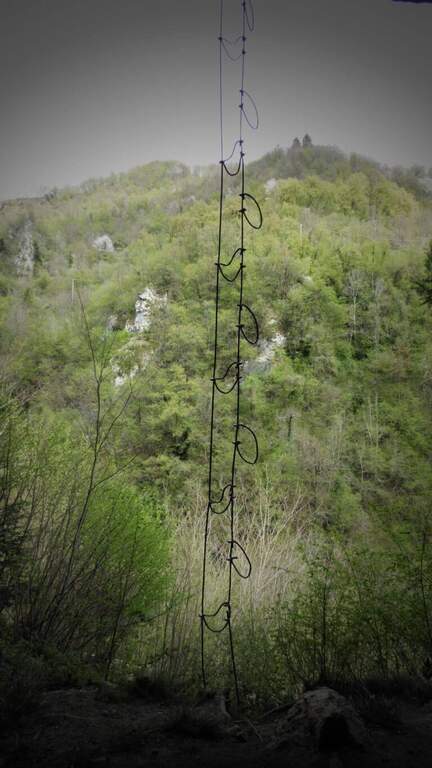
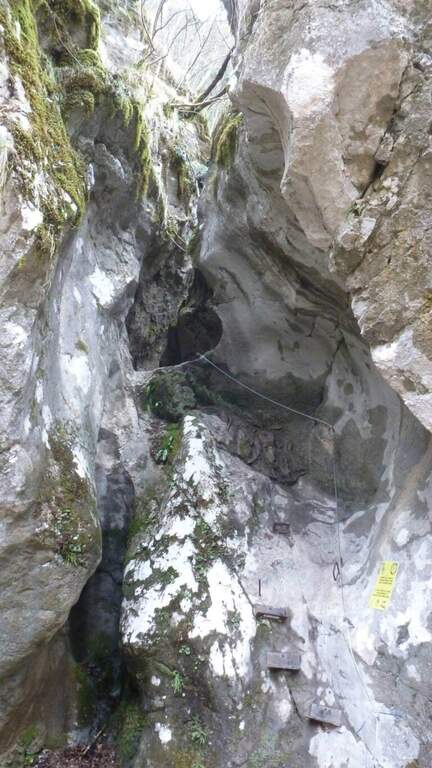
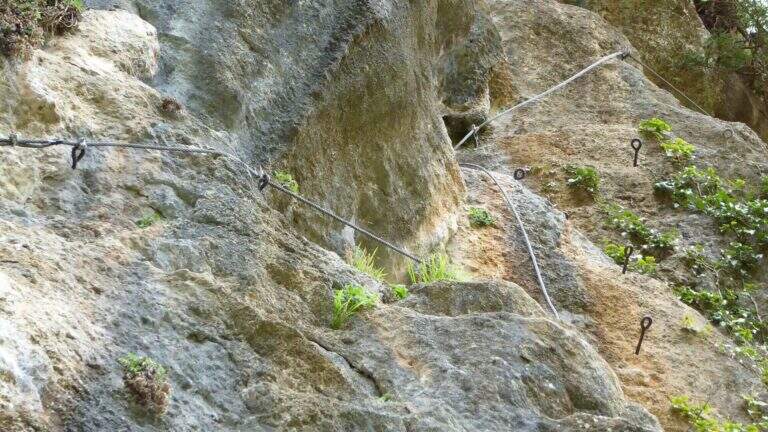
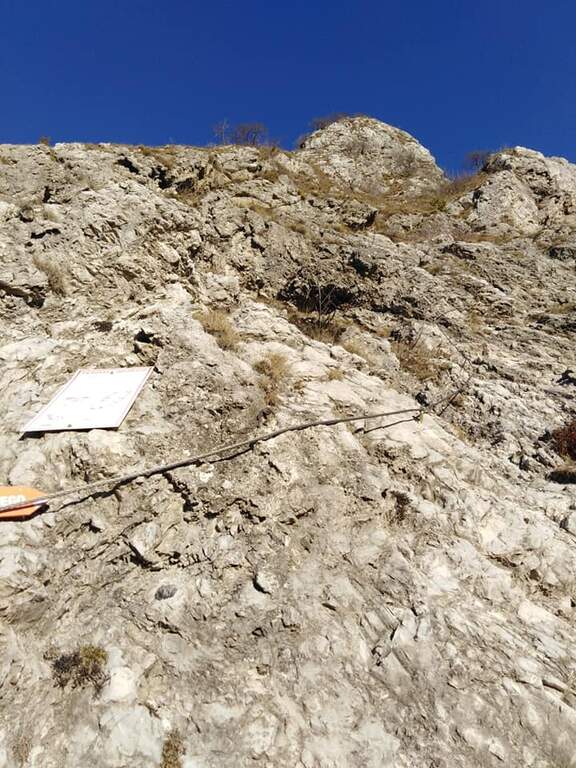
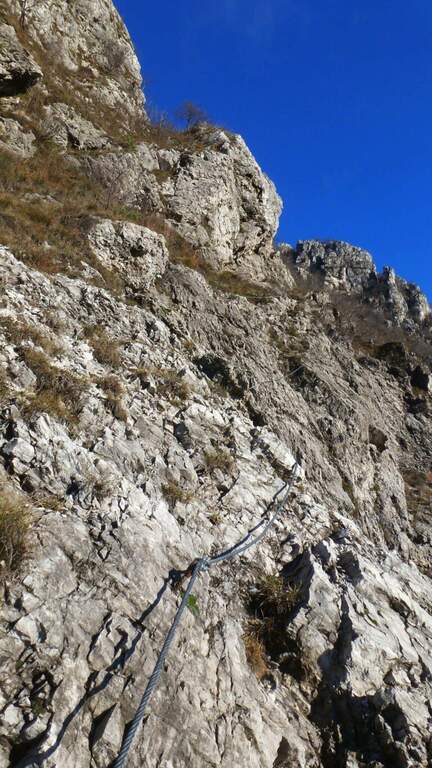
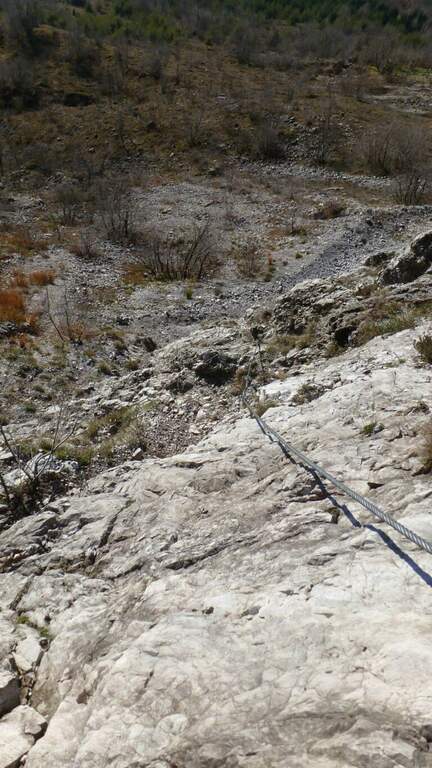
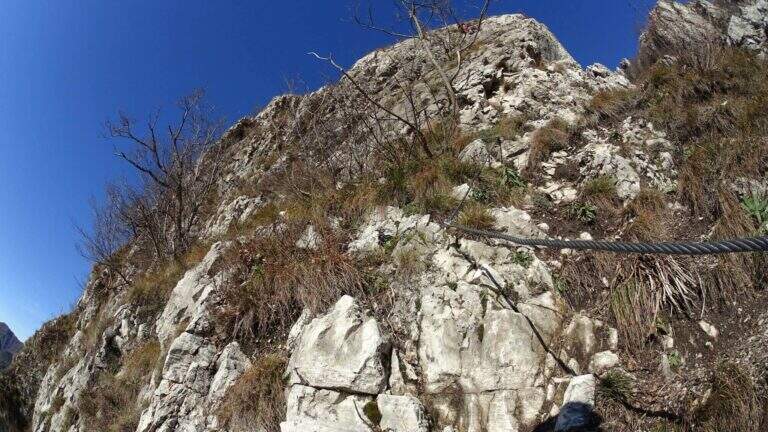
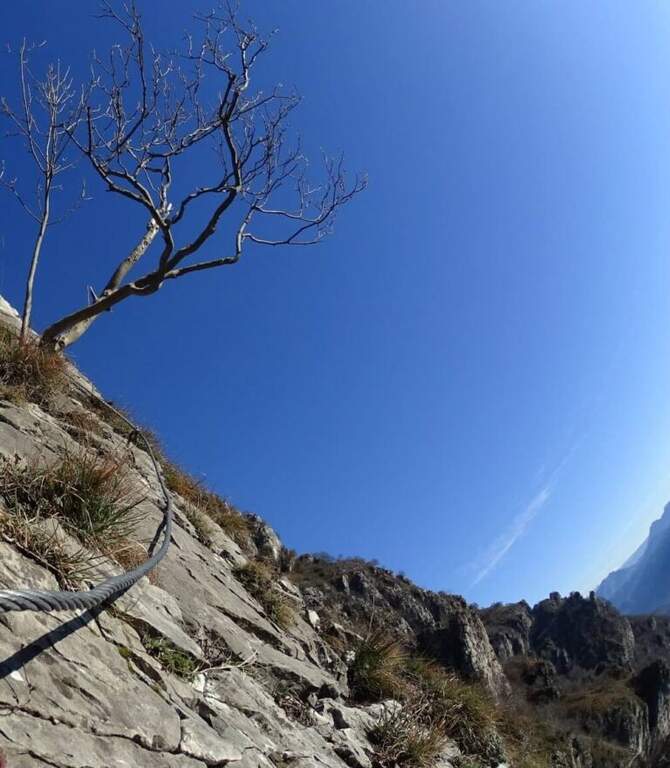
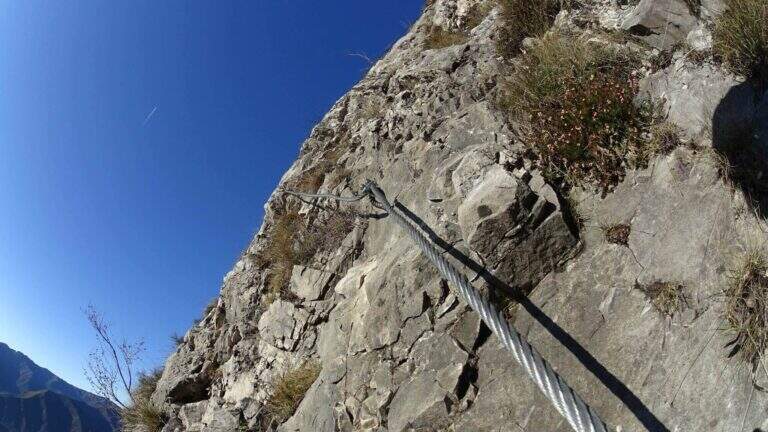
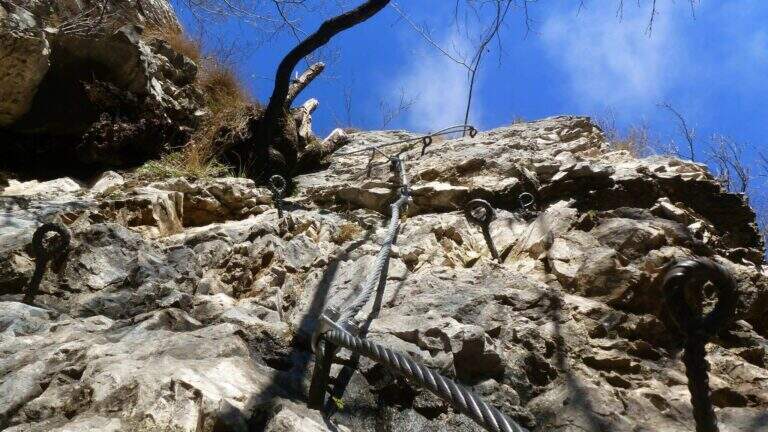
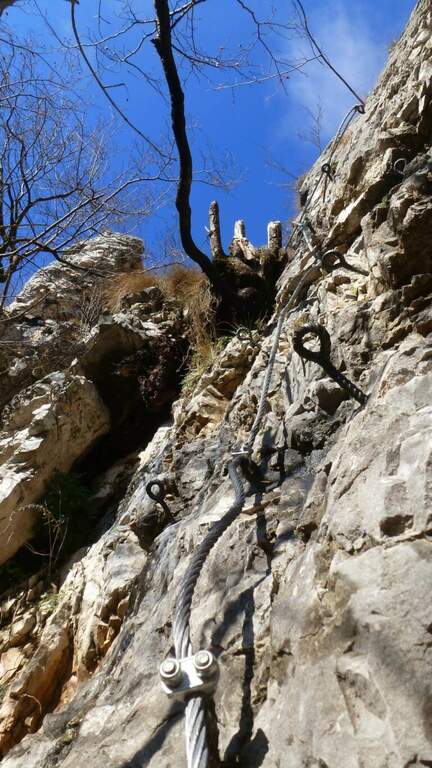
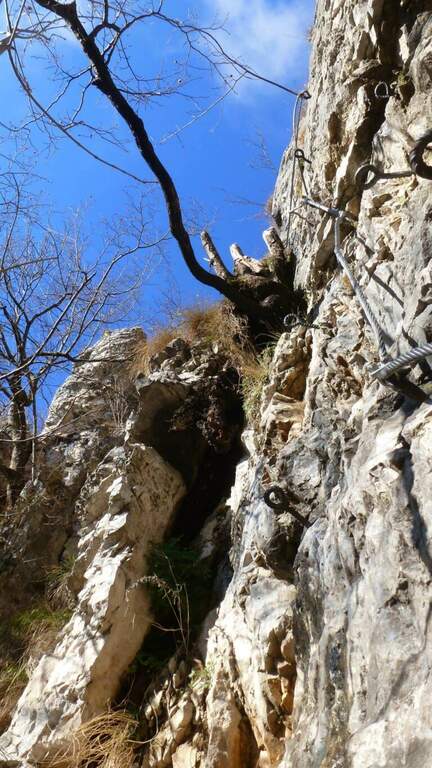
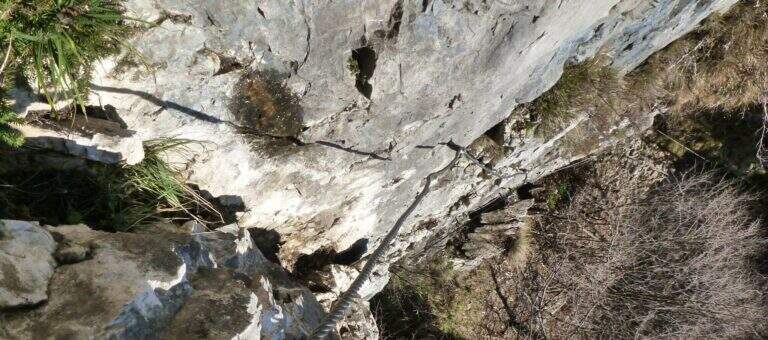
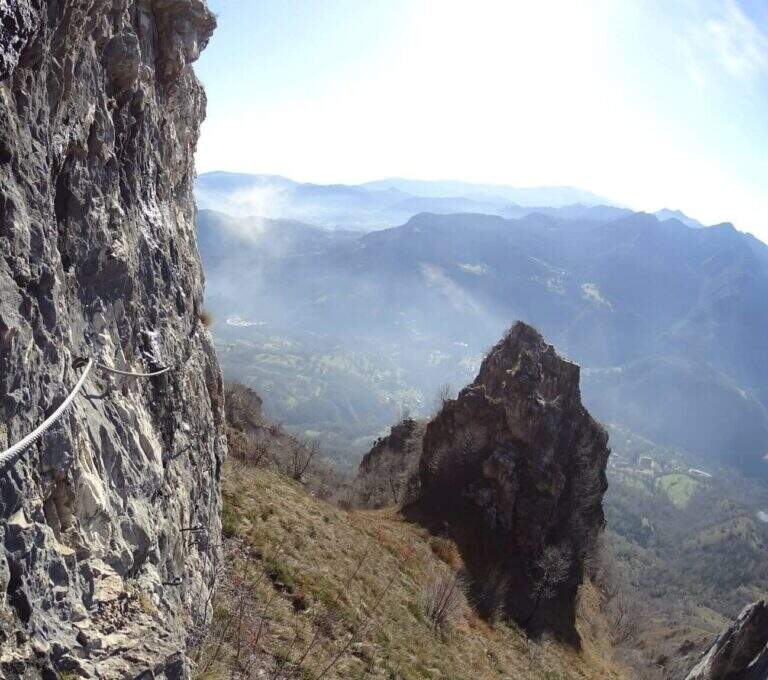
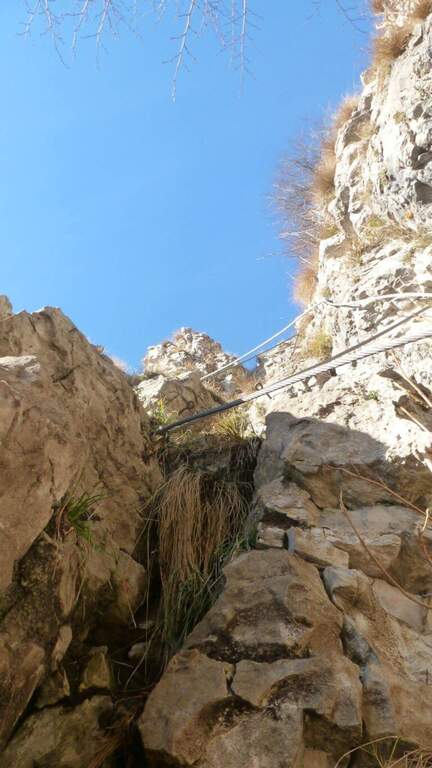
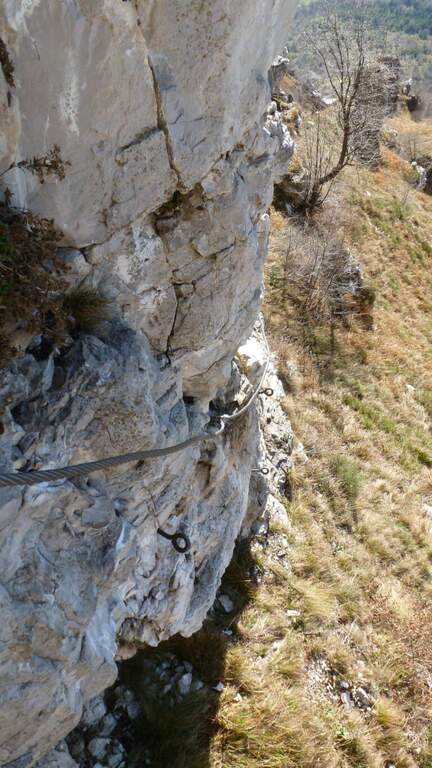
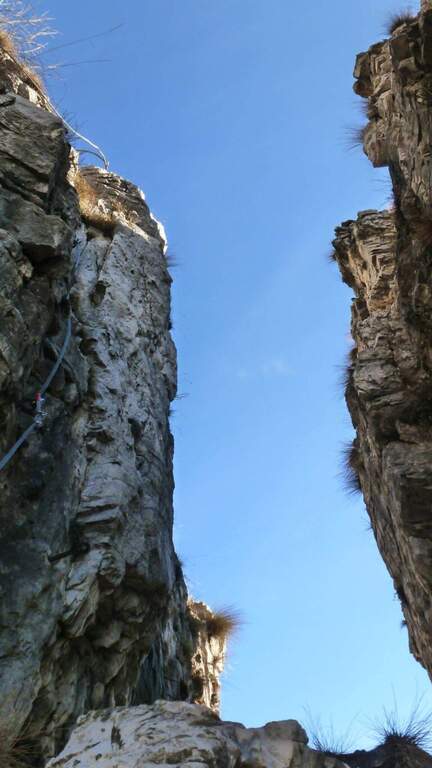
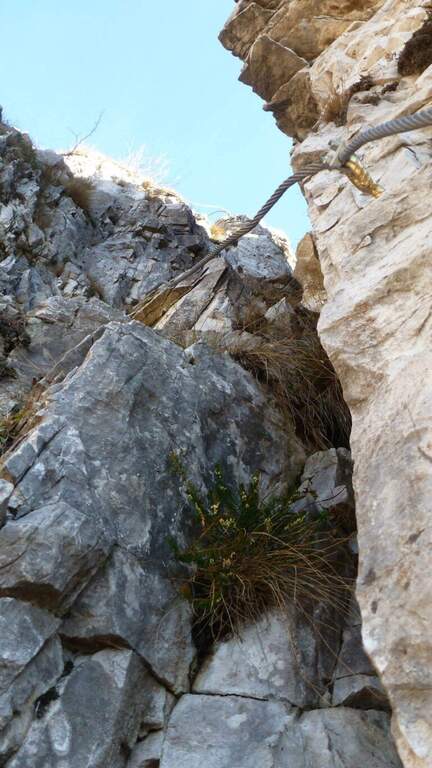
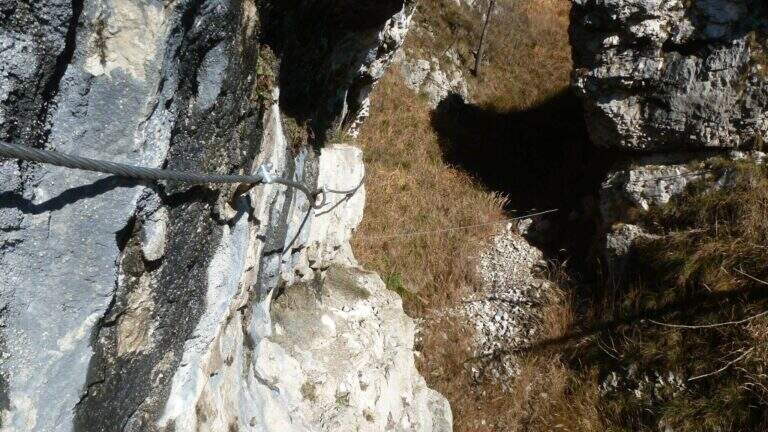
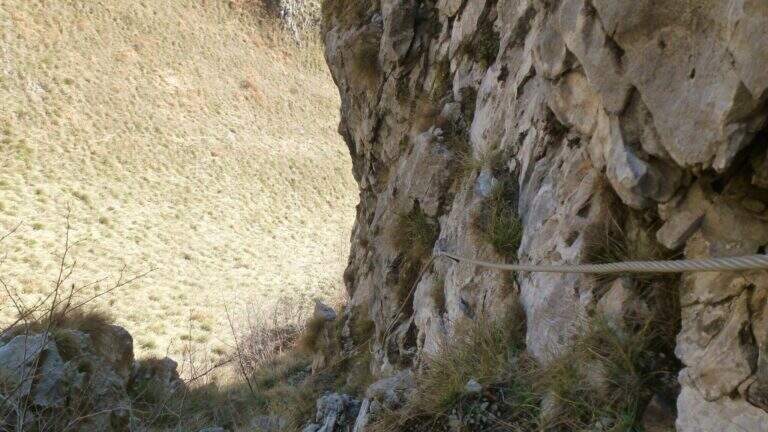
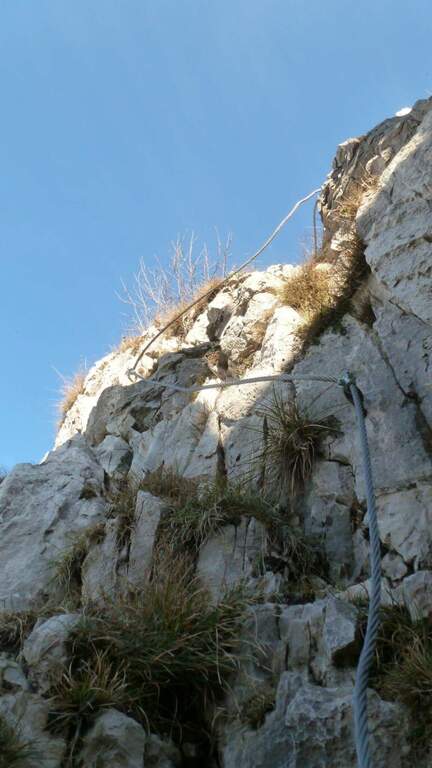
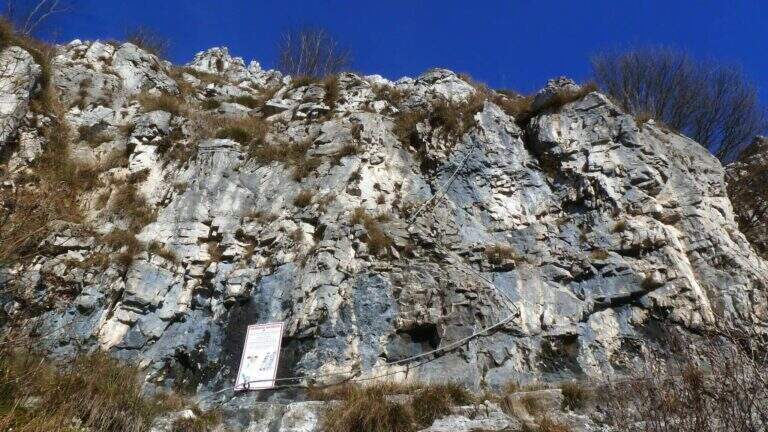
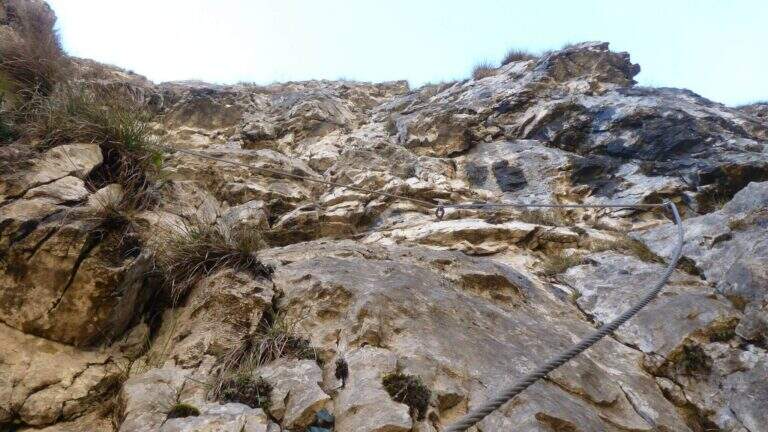
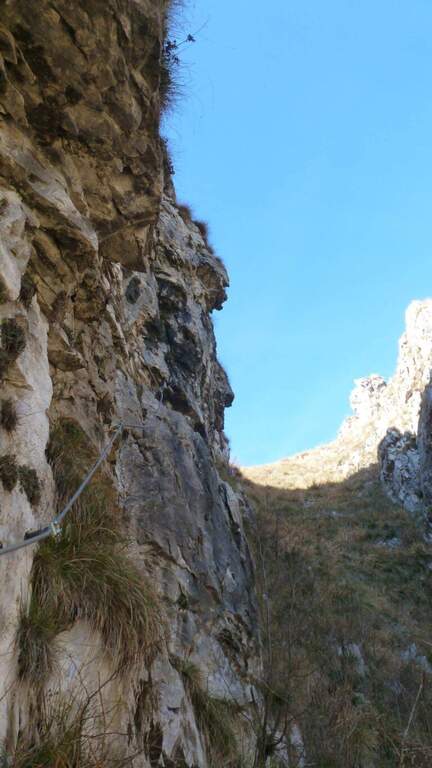
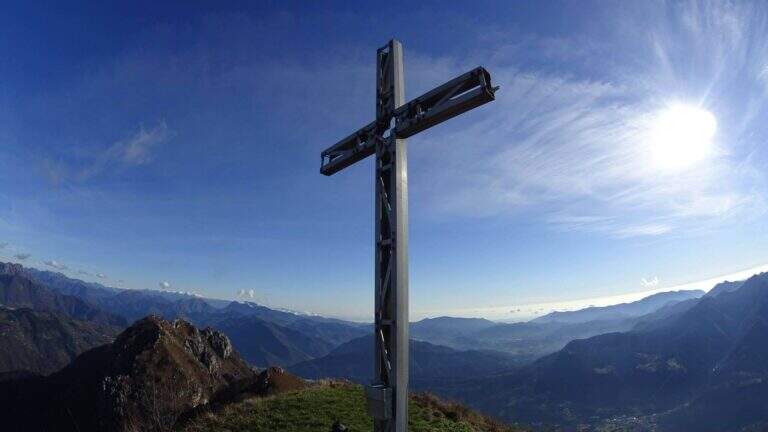
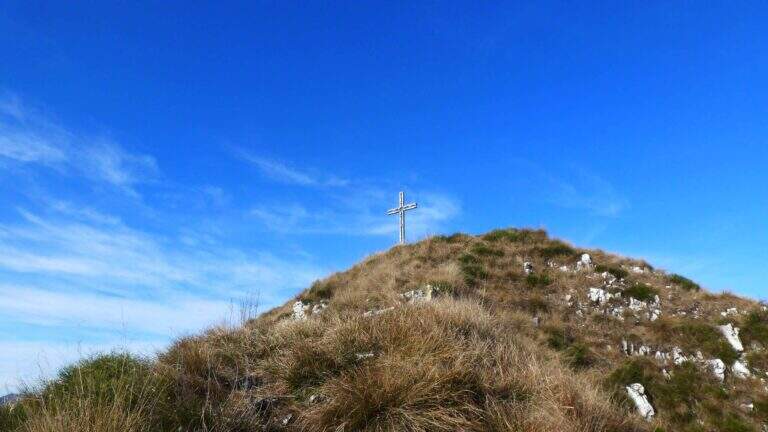
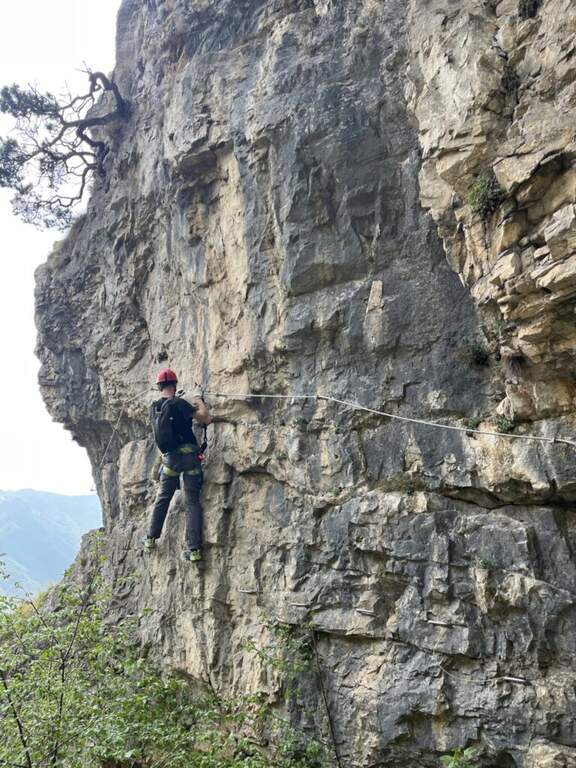
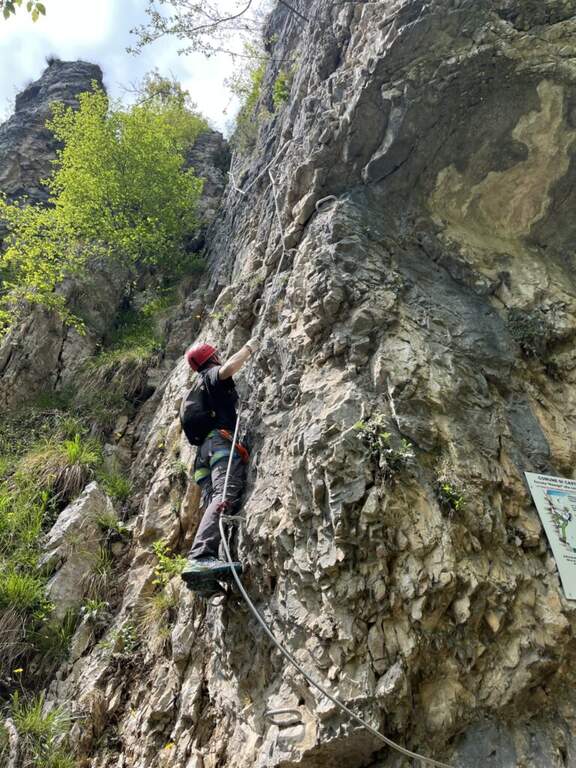
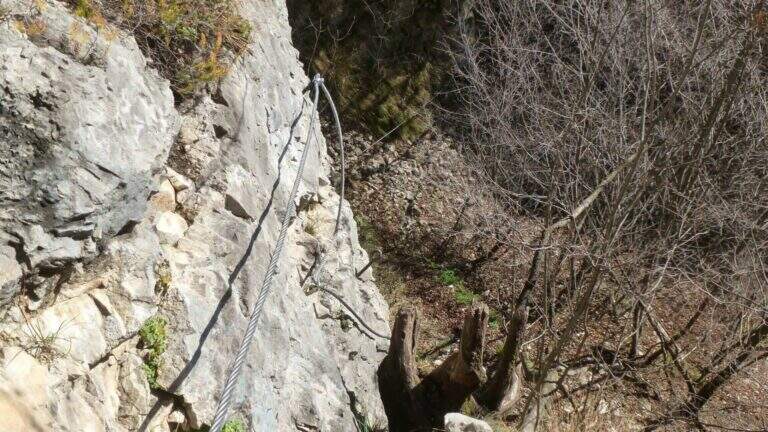
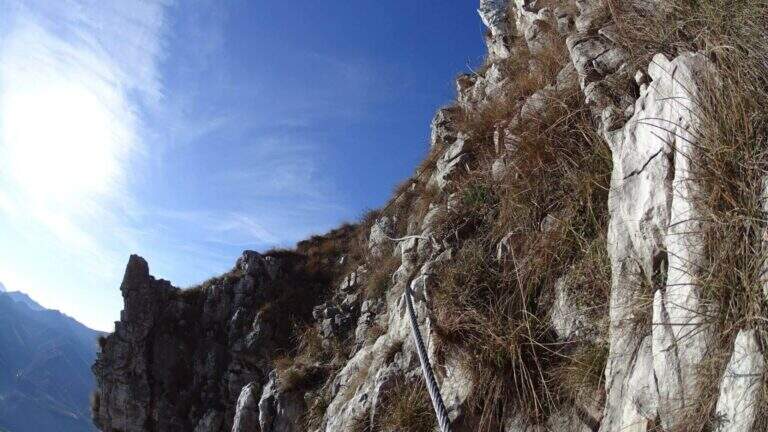
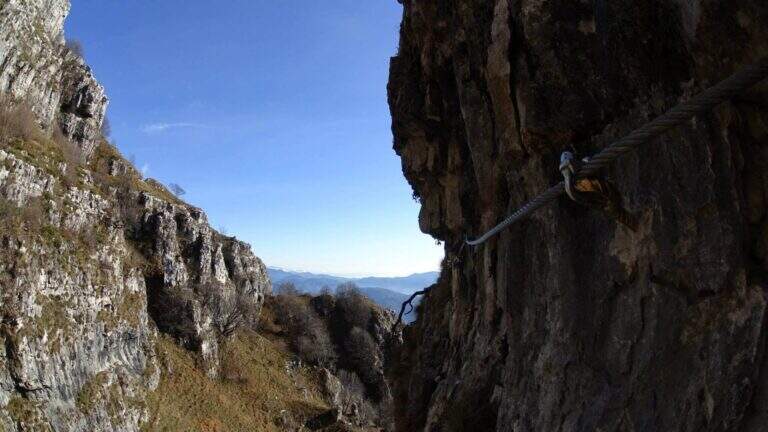
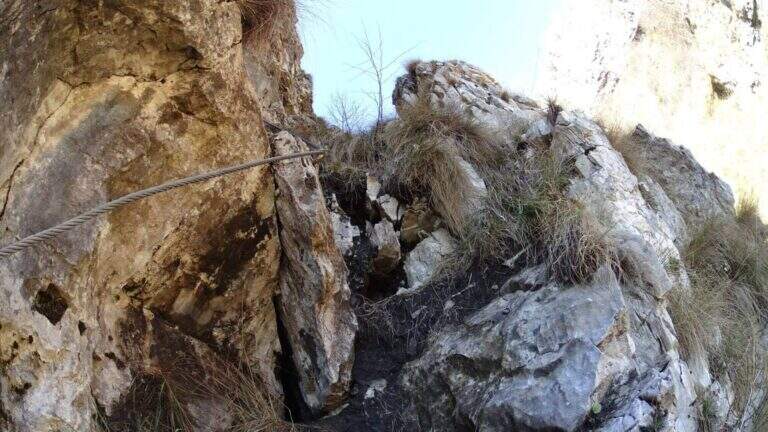
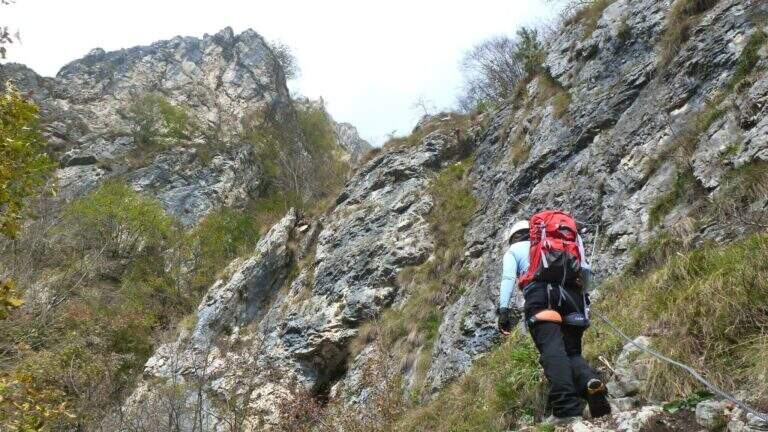
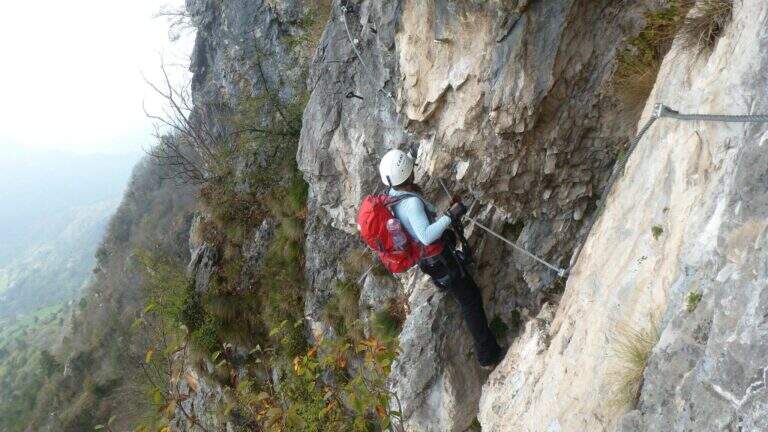
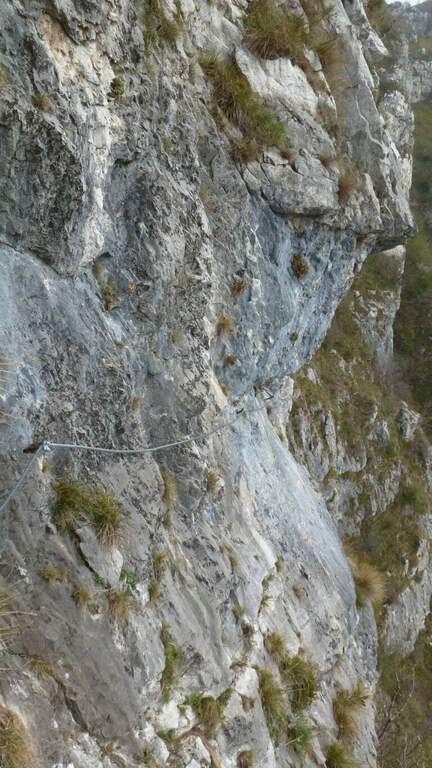
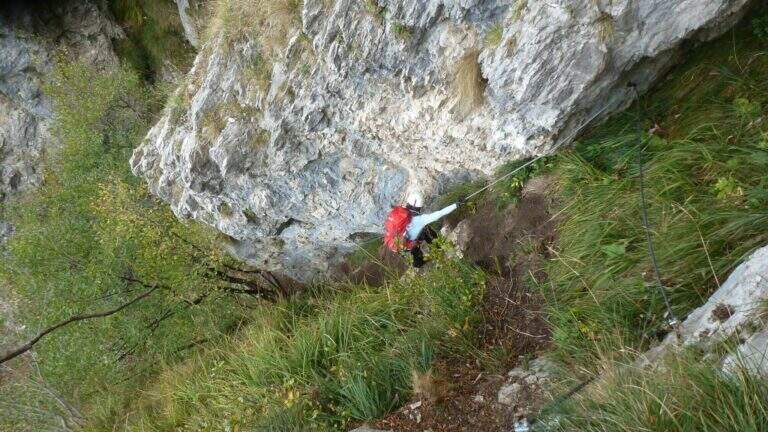
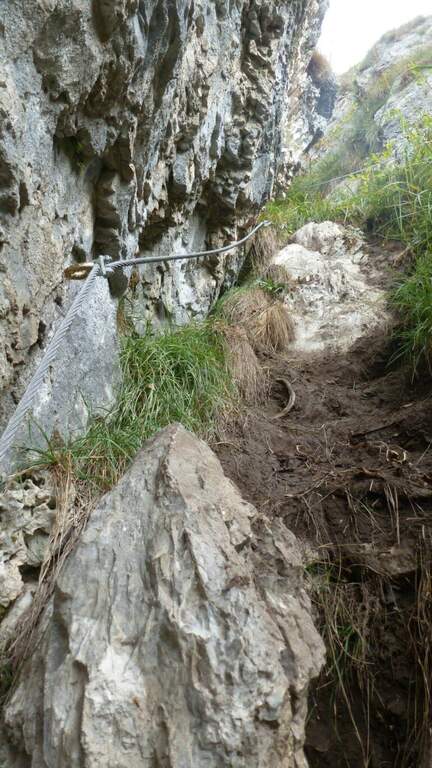
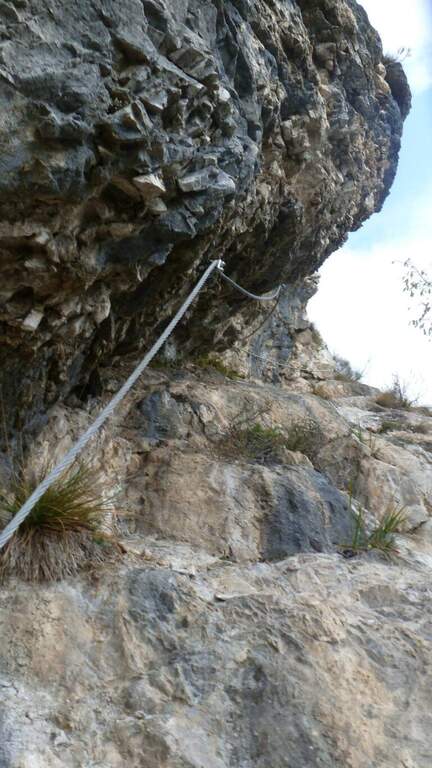
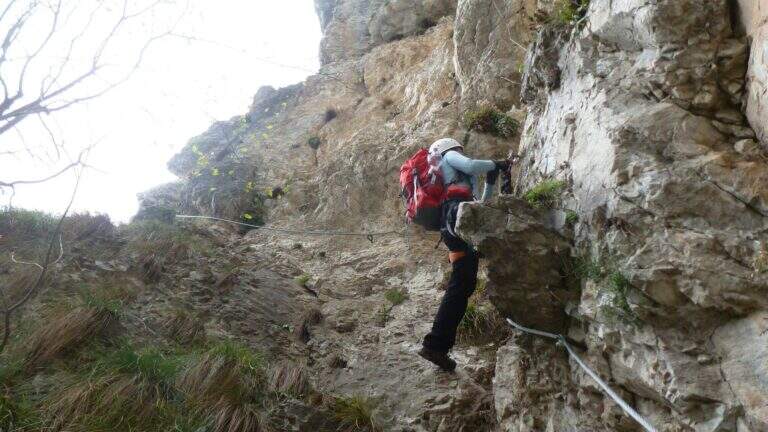
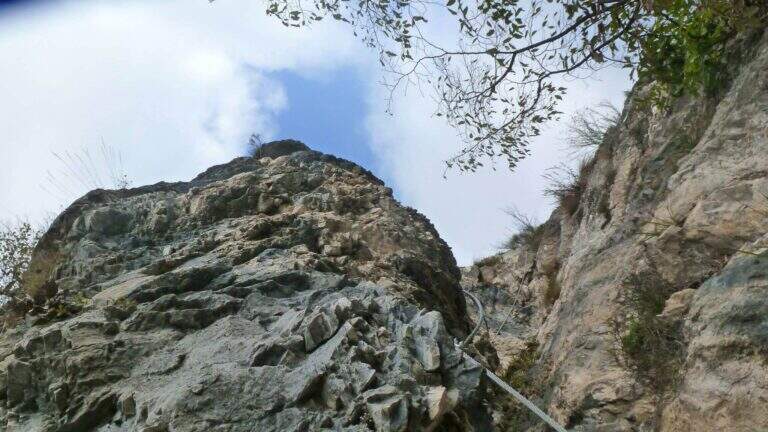
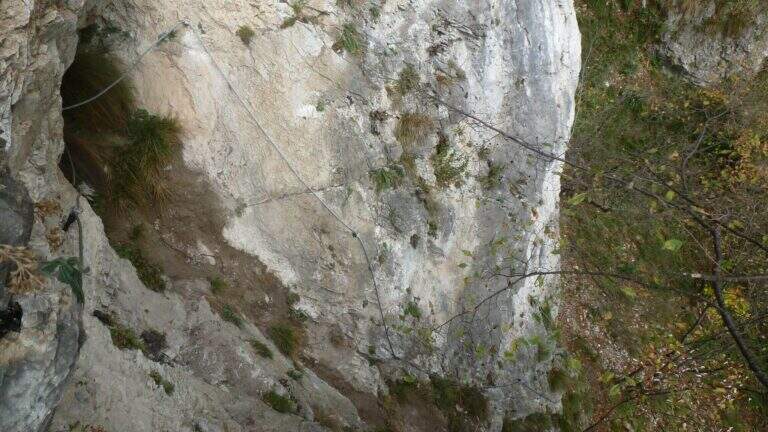
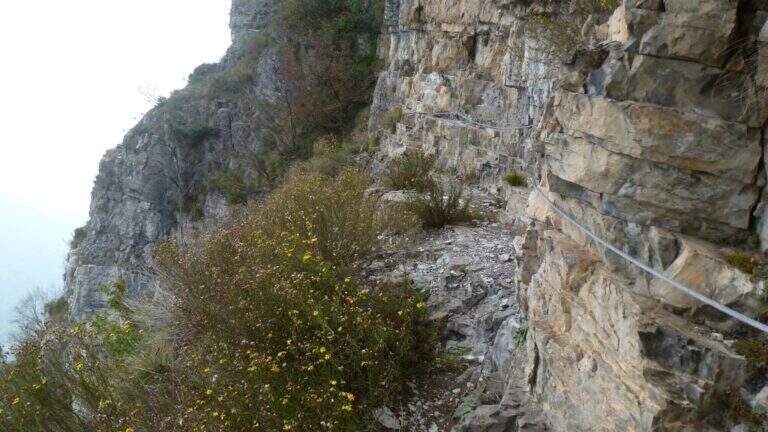
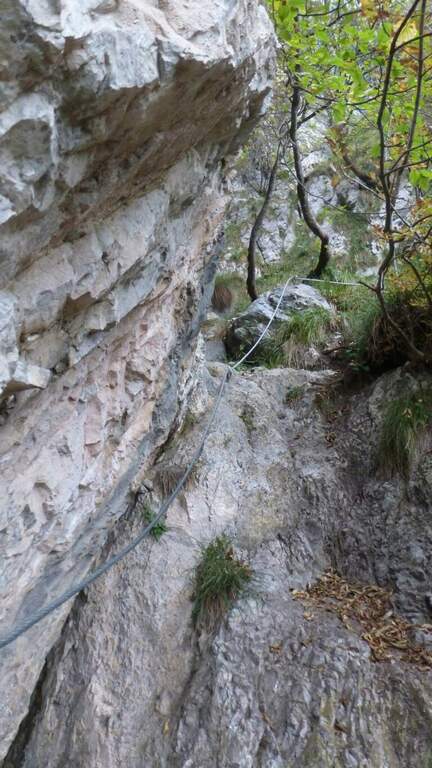
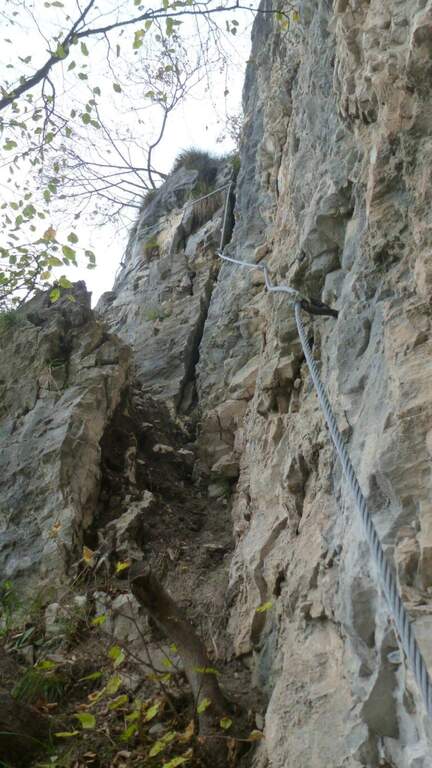
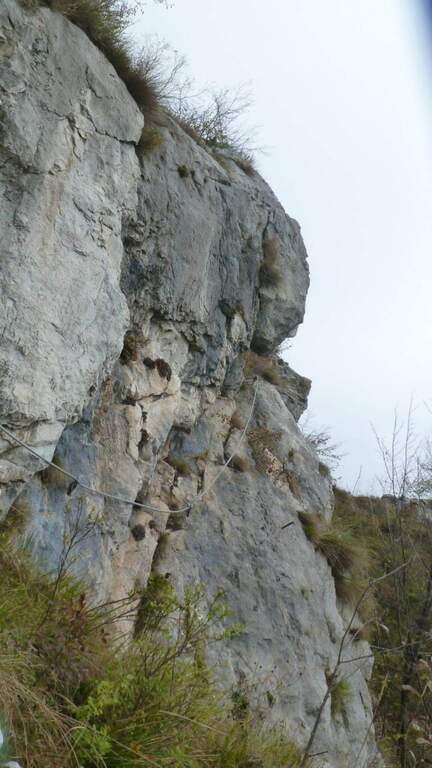
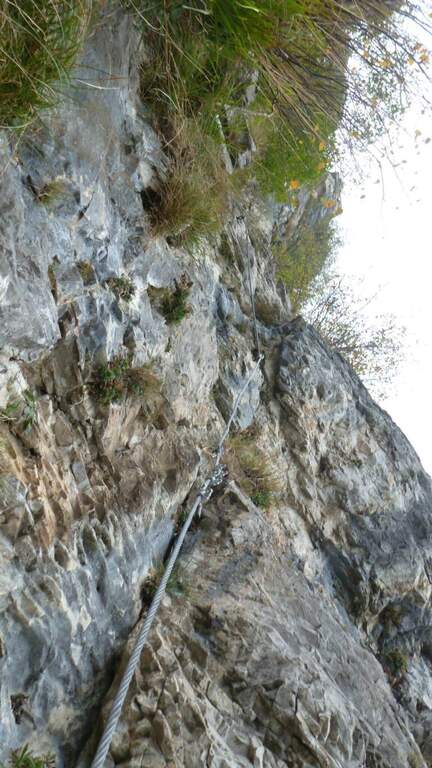
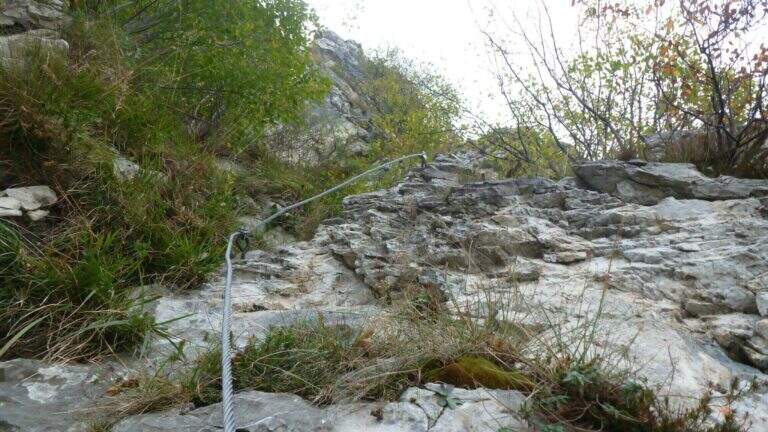
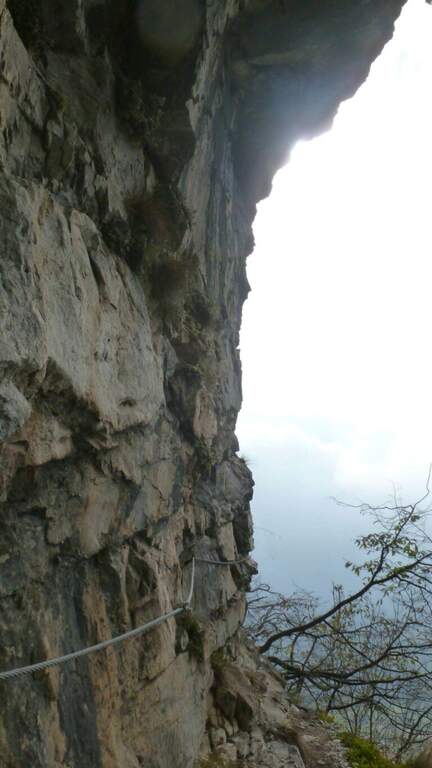
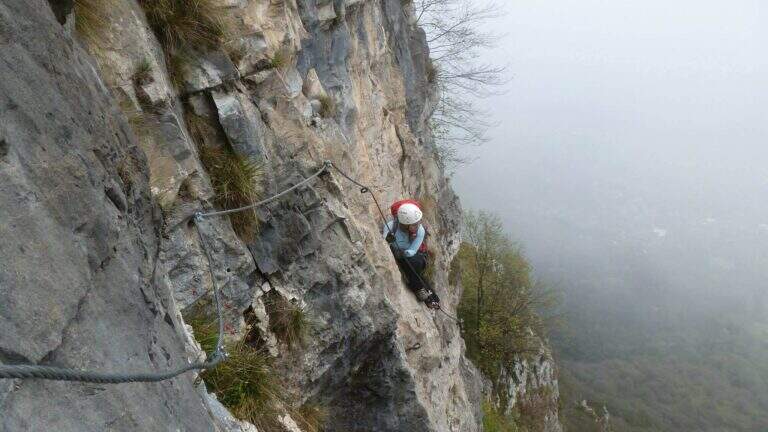
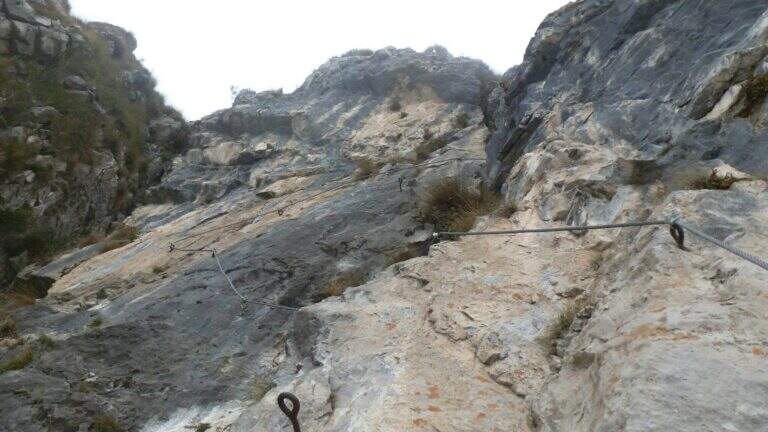
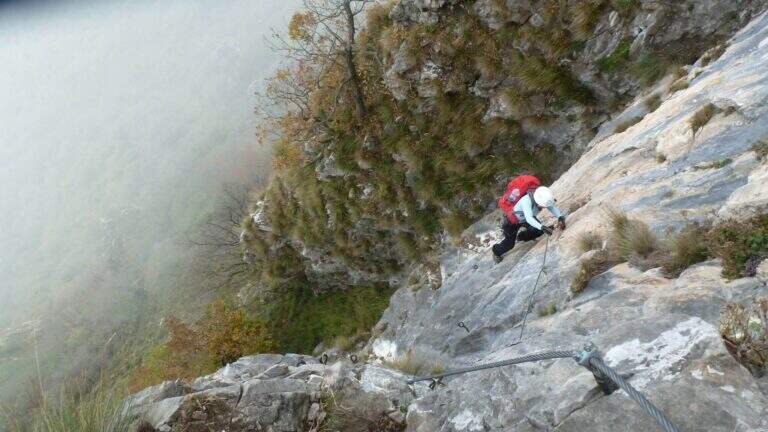
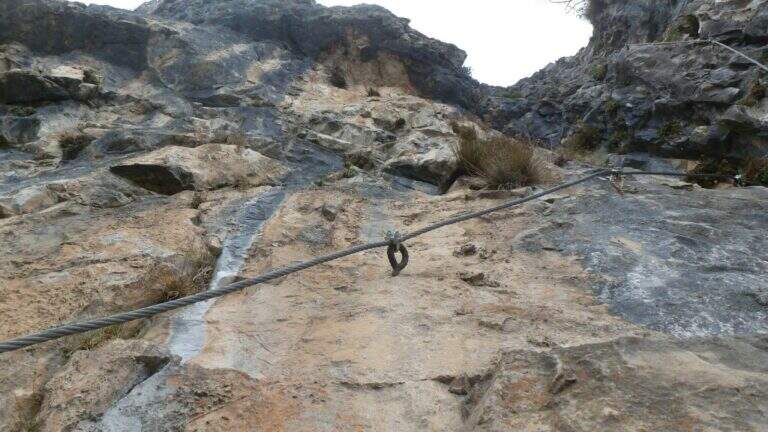
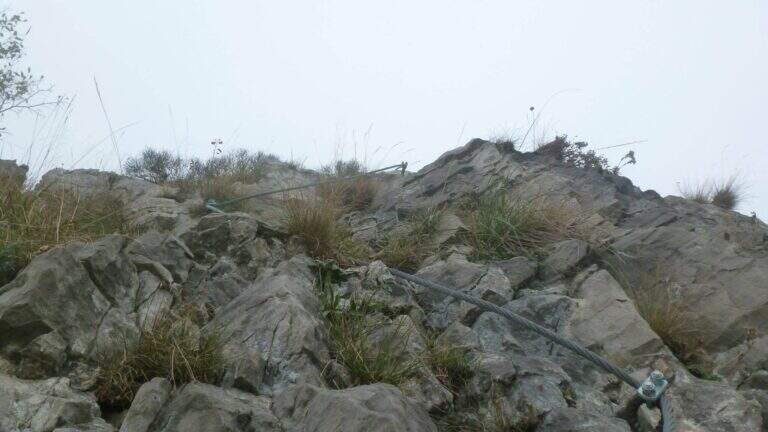
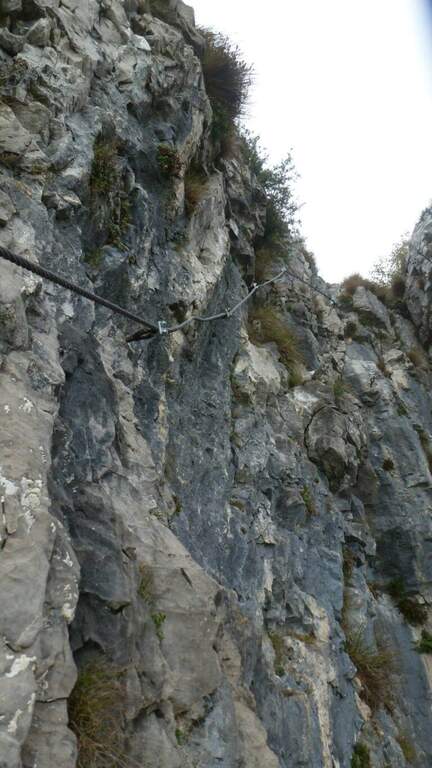
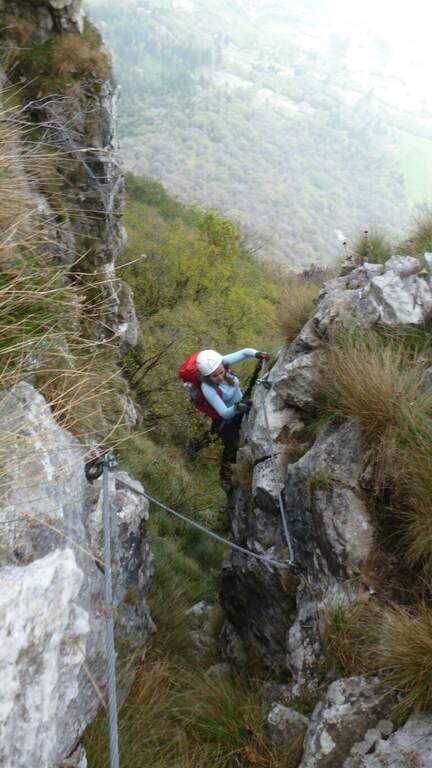
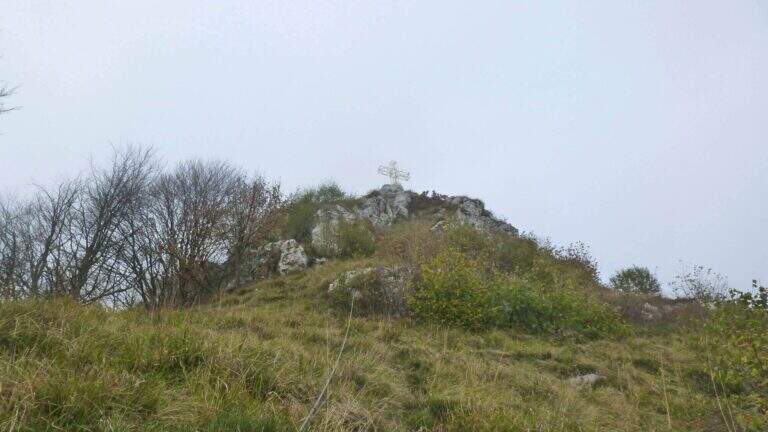
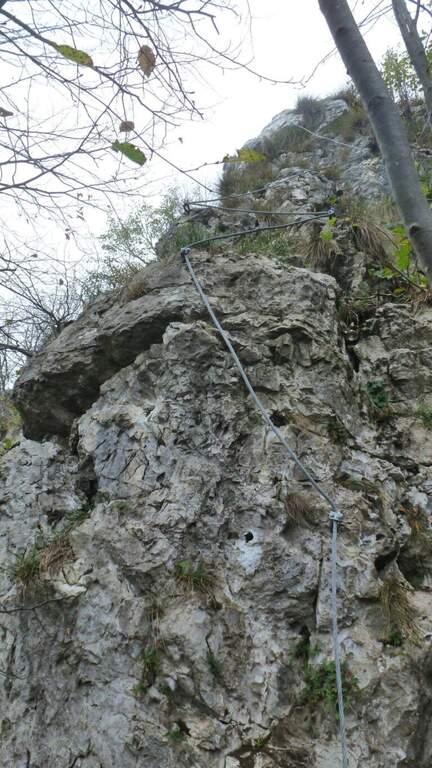
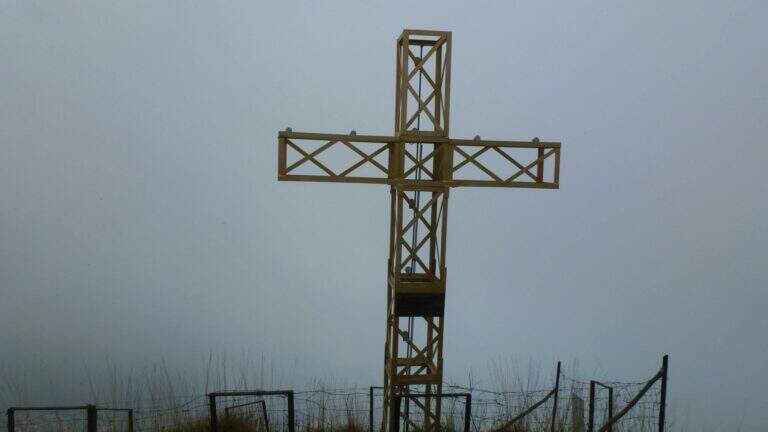
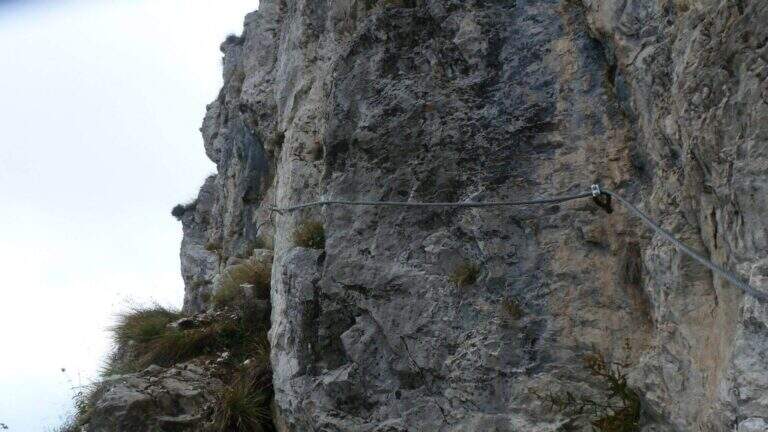
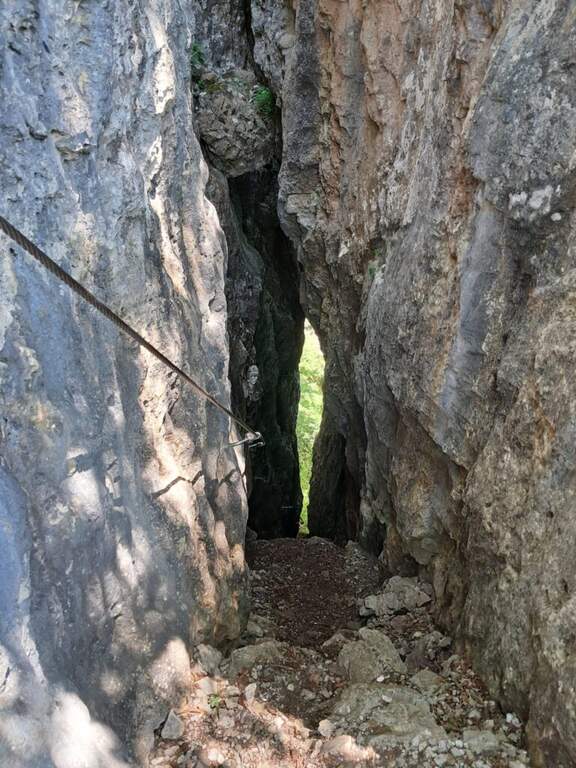
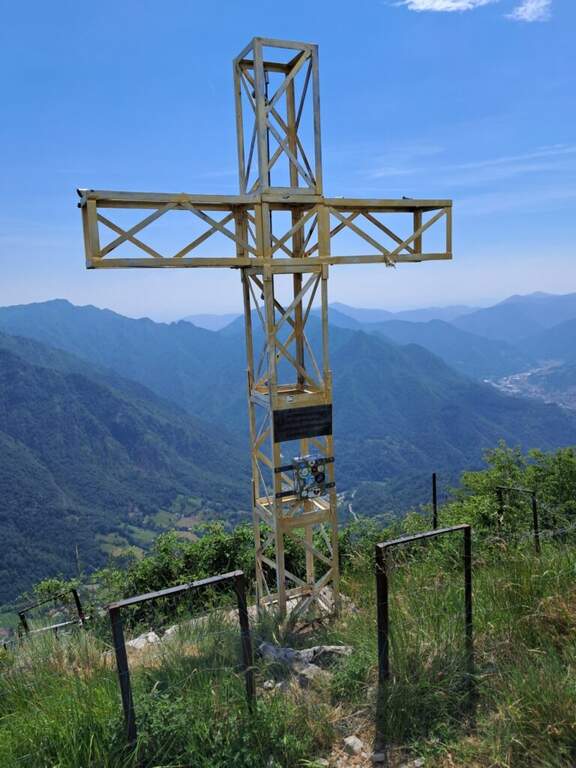
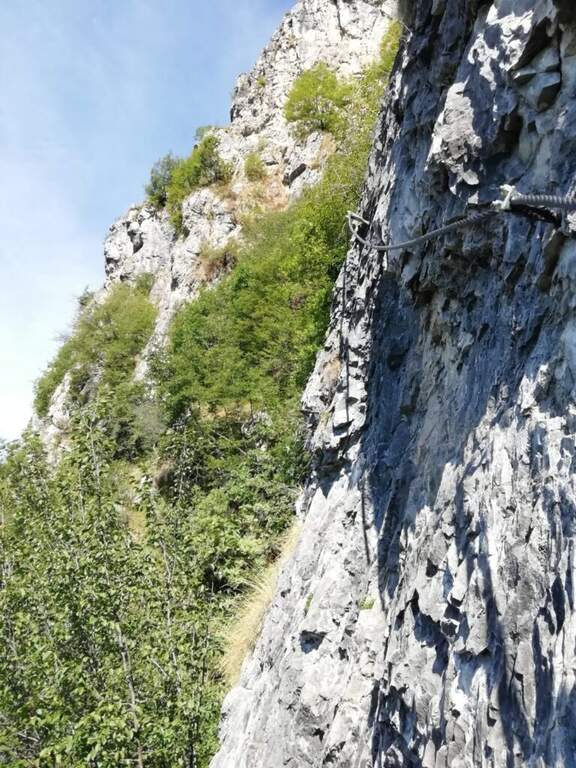
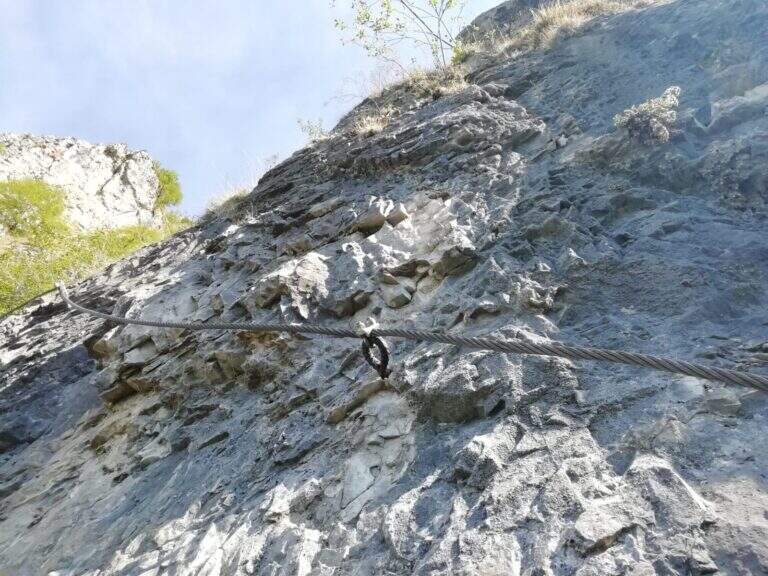
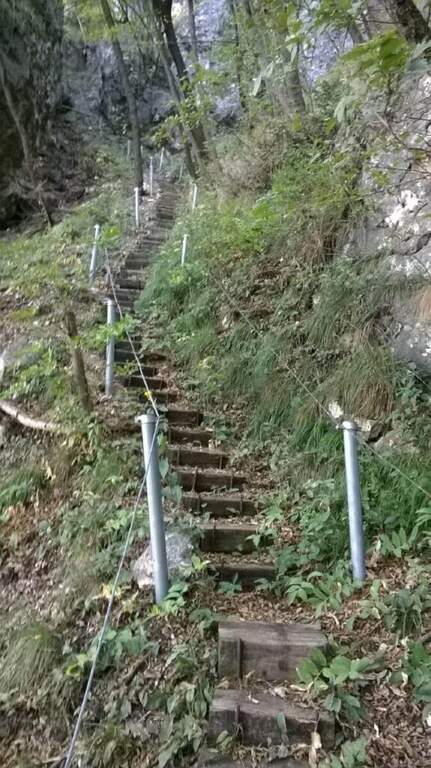
    From the ’ former Magdalene refuge, continue along the path towards the radio repeaters of Monte Denno, following the white-blue markers of CAI. The first equipped section dates back to a series of steps made with wooden frames, simple and safe. It then accesses a rocky sloped ramp always equipped but without technical difficulties: turn left and in short you reach under a metal staircase that leads to the top of the Sperone del Crocefisso (730 m circa, 0h 40 min from the’ start of the equipment). The summit offers a close view of the capital and surrounding Prealps.

    ▲Character and difficulty

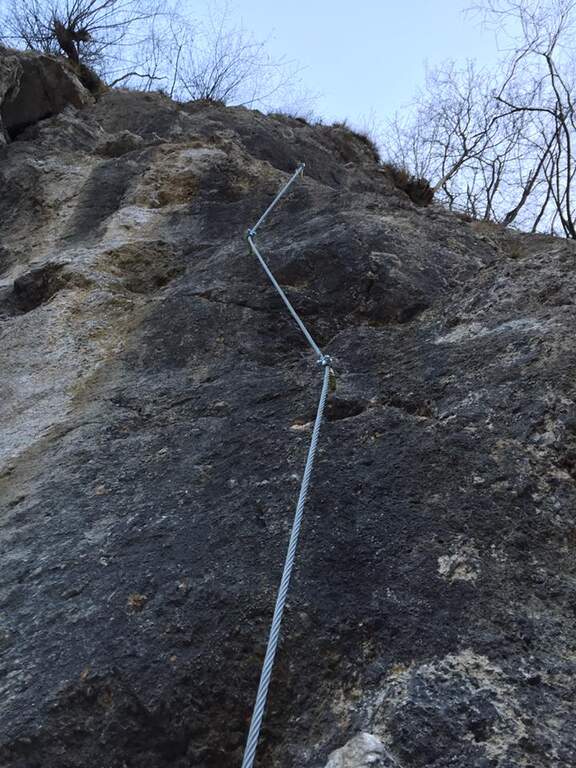
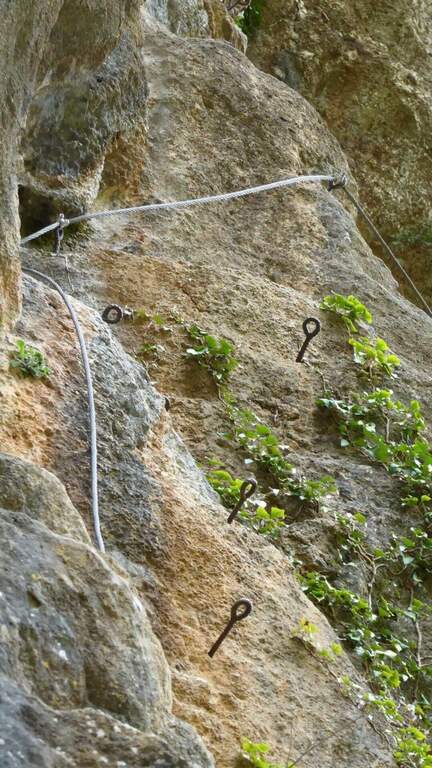
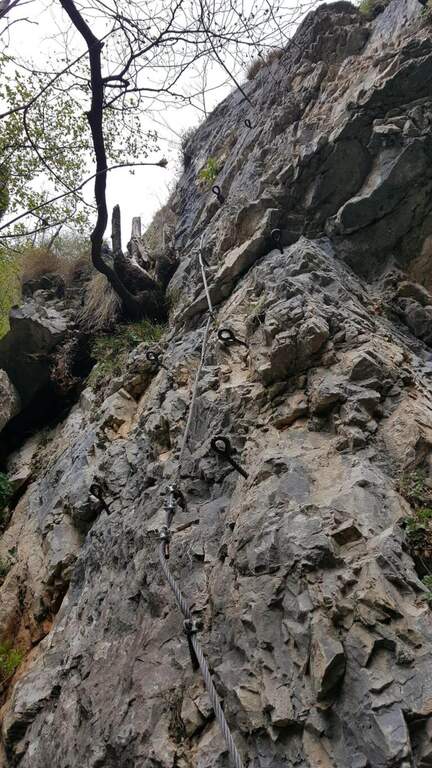
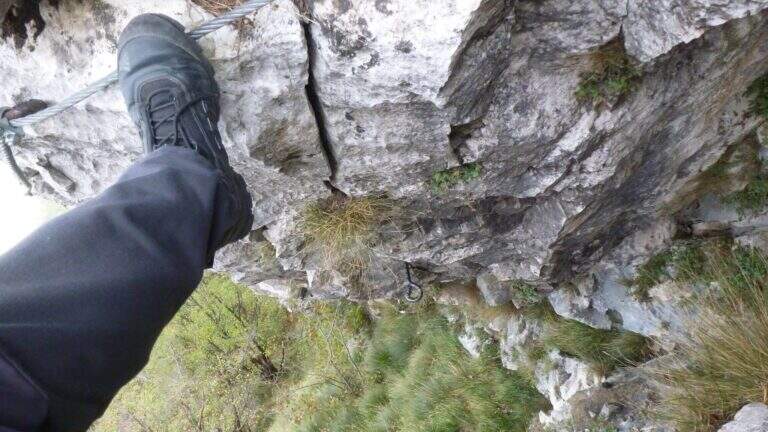
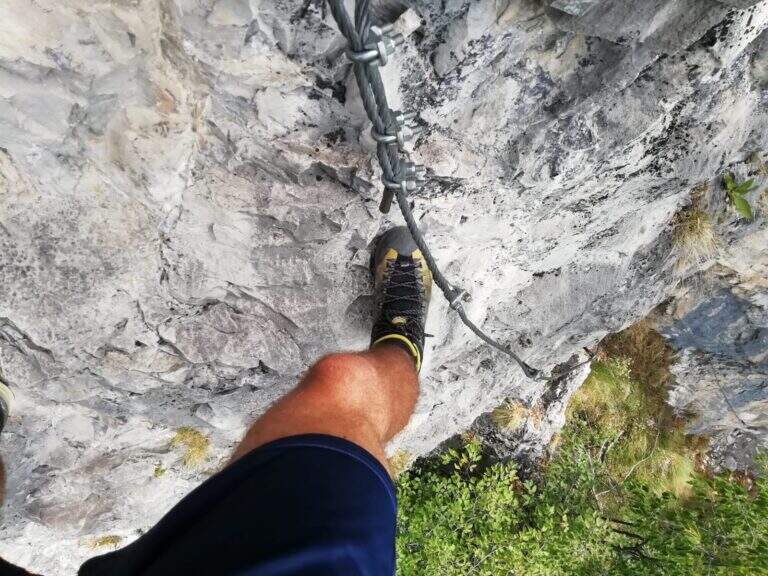
    Easy itinerary, without technical difficulties. The equipped sections are short and well protected: wooden steps, rock ramp with rope and metal staircase. Recommended route as the first approach to the equipped paths.

    ▲Period and safety

    Throughout the year thanks to low altitude. In winter pay attention to any ice on the steps and on the rocky ramp. The itinerary is short (3 km, 1h 30 min total), ideal as a morning excursion from Brescia.

    ▲Discipline

    You return to the same route to the parking lot (approx. 45 min from the top, 1h 30 min total).

    ▲Gallery
    Technical data
    • DifficultyEasy
    • RegionLombardy
    • GroupPrealps Bresciane
    • Approach0:30 h
    • Ferrata0:40 h
    • Itinerary (a/r)1:30 h
    • Hardware level difference30 m
    • Route difference300 m
    • Max730 m
    • Length3 Km
  • Sentiero Attrezzato delle Cascate di Monticelli Brusati

    Sentiero Attrezzato delle Cascate di Monticelli Brusati

    Vie Ferrate › Lombardy › Brescia
    Sentiero Attrezzato delle Cascate di Monticelli Brusati

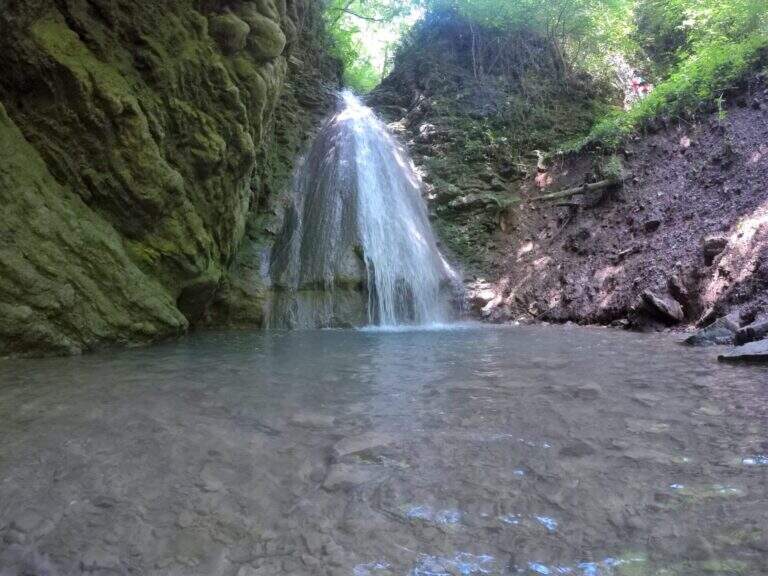
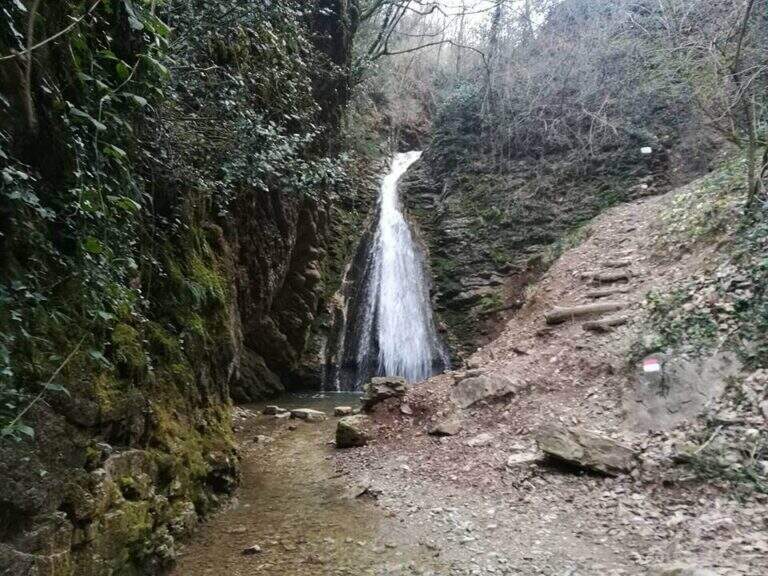
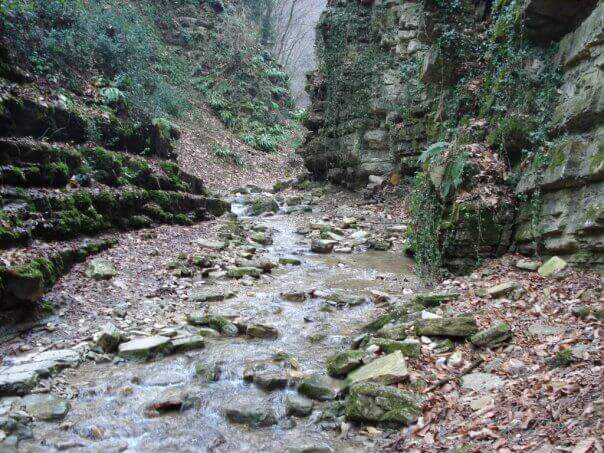
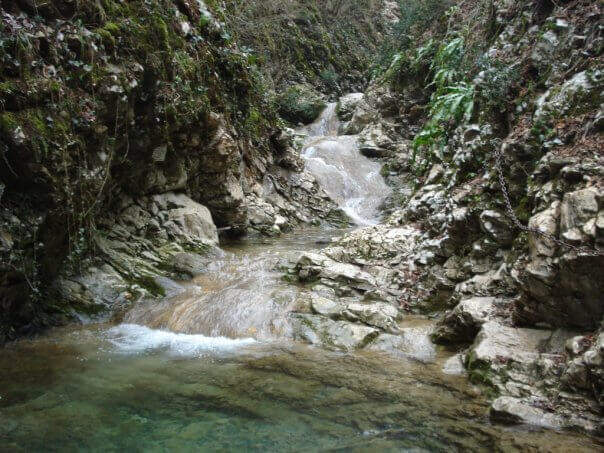
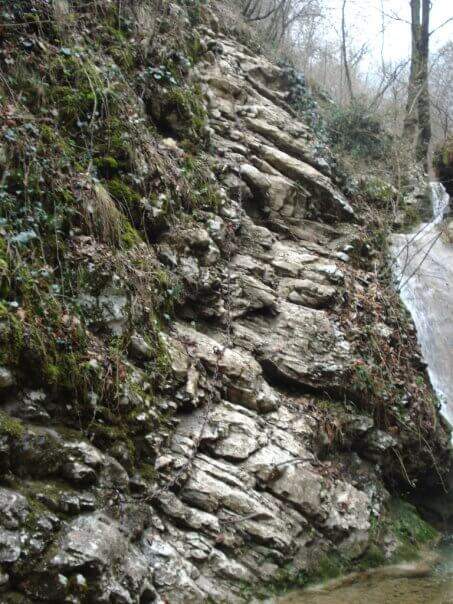
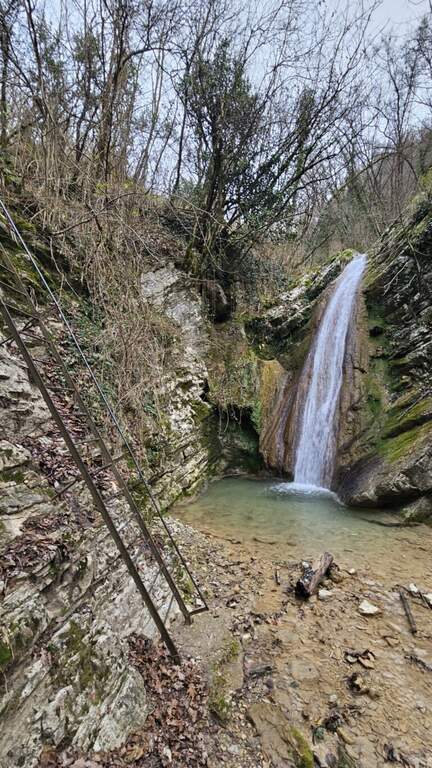
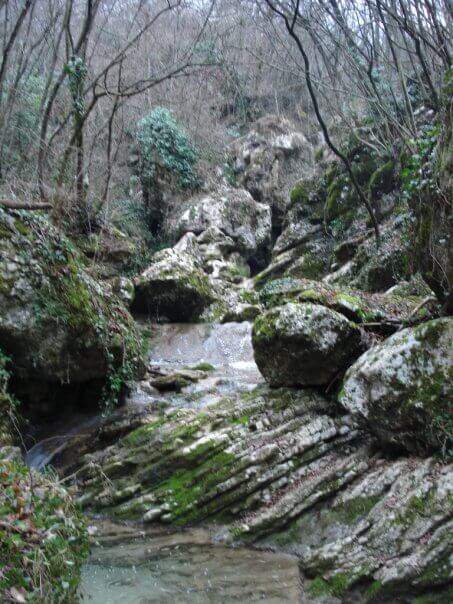
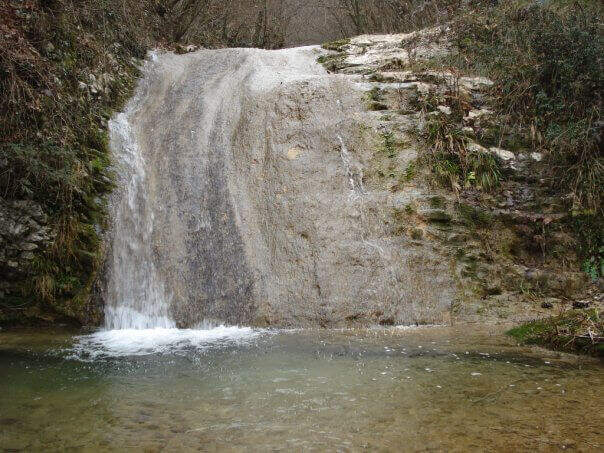
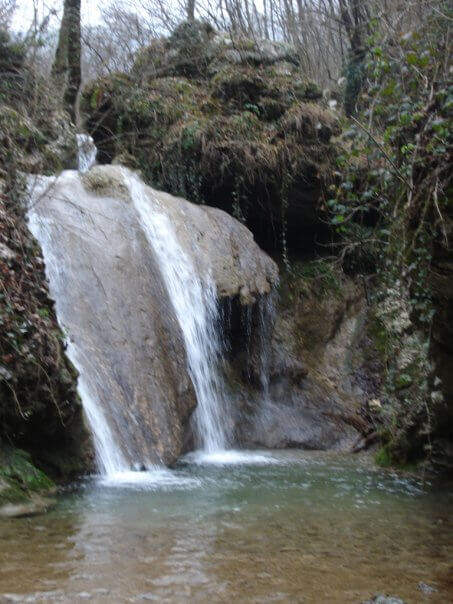
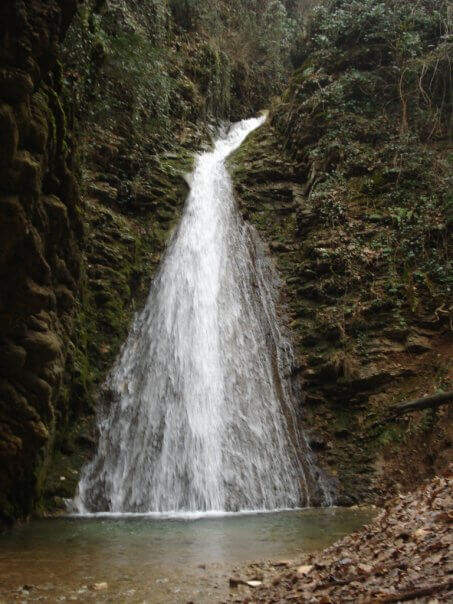
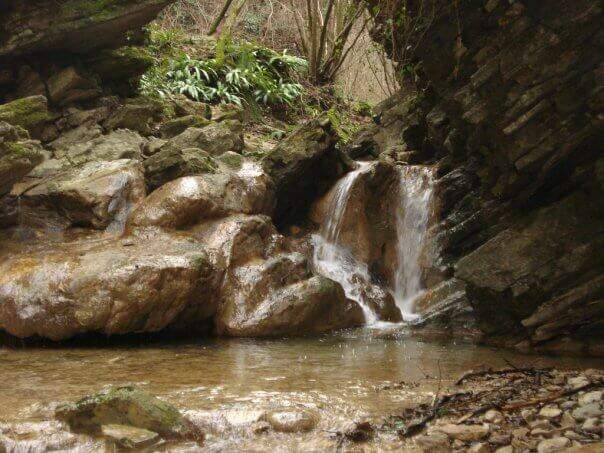
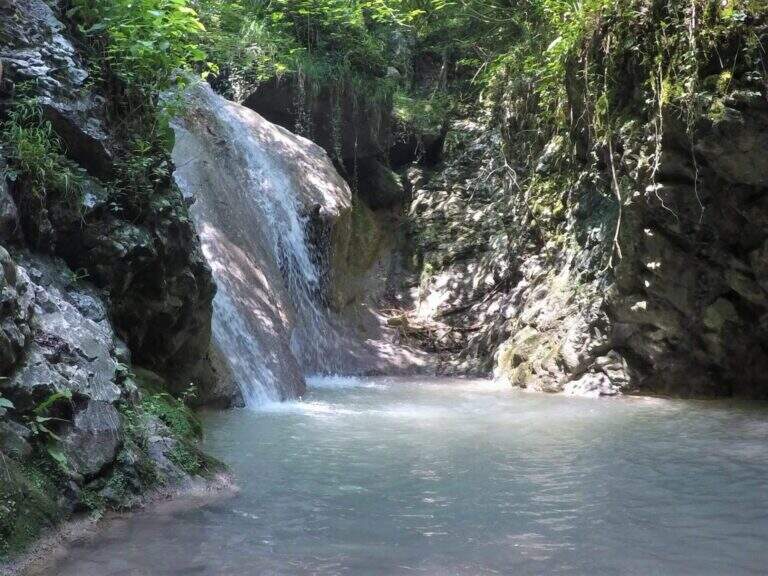
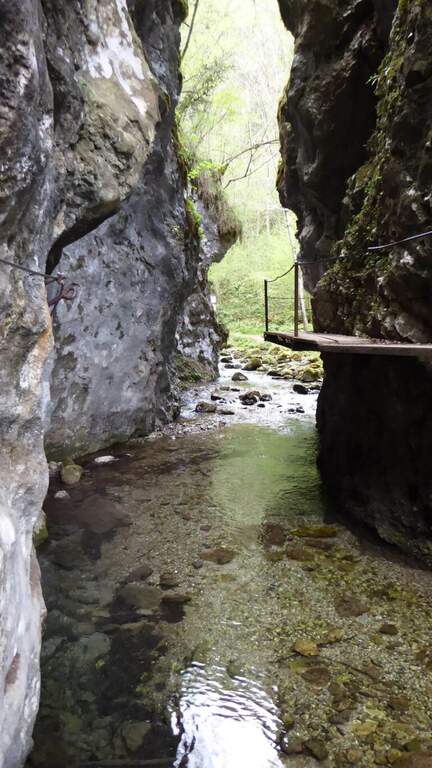
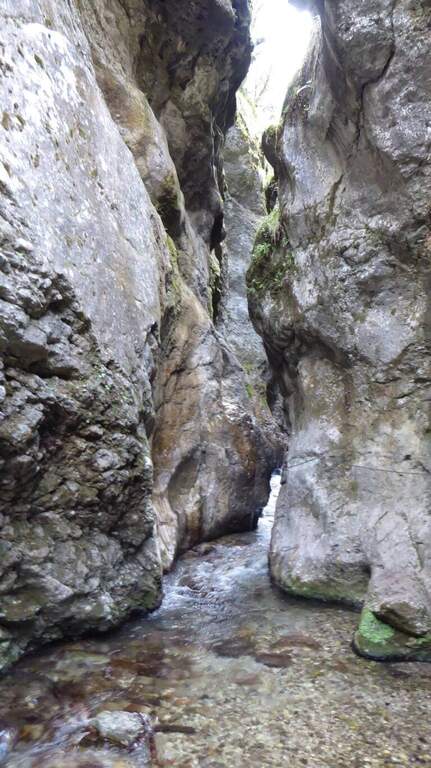
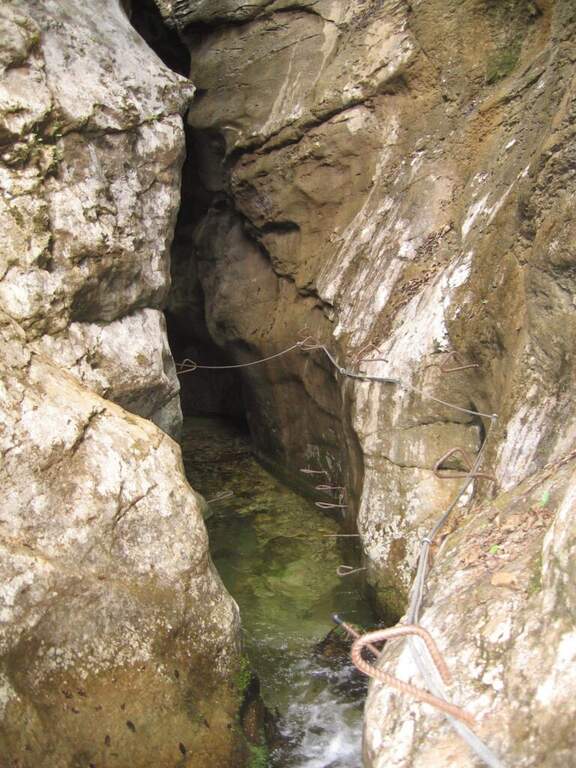
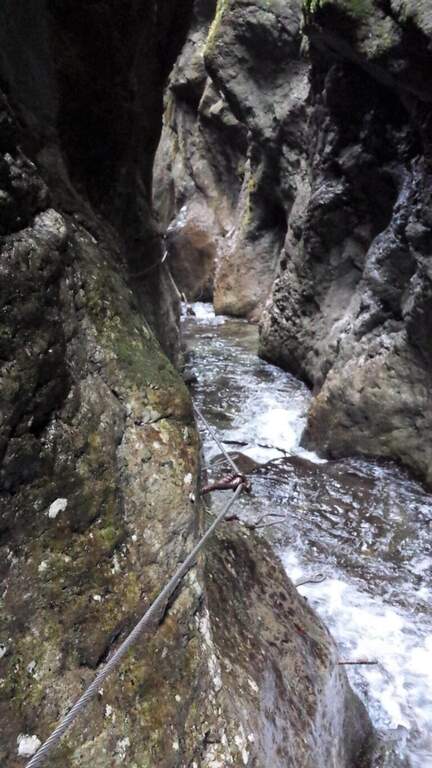
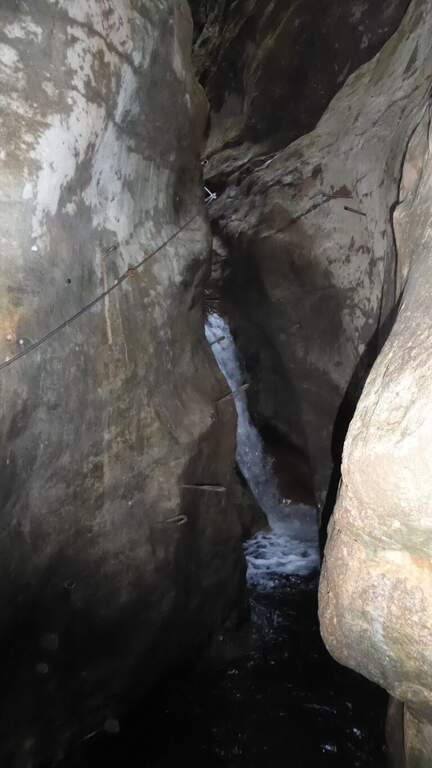
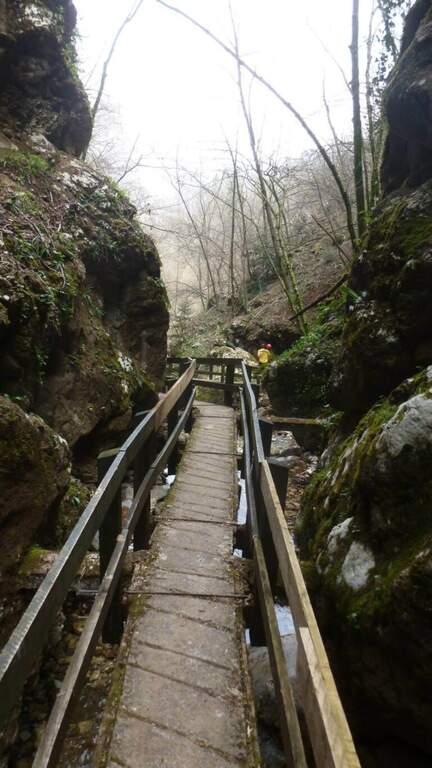
    In the gorge excavated by the Gaina stream, in the province of Brescia, this equipped path gives an easy and suggestive itinerary, without technical difficulties and with a landscape suitable also for families and children. It is the type of route that you play all about the environment: water, laminated rocks and waterfalls, with the equipment used only to accompany the progression along the stream.

    ▲Approach

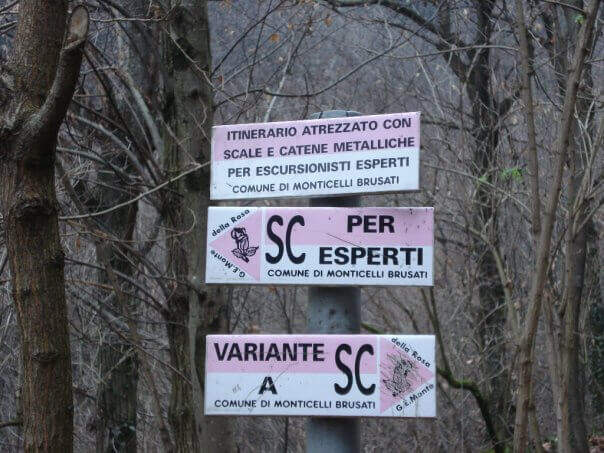
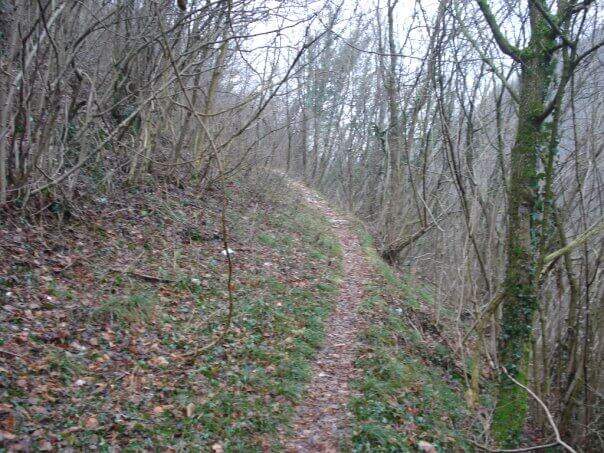
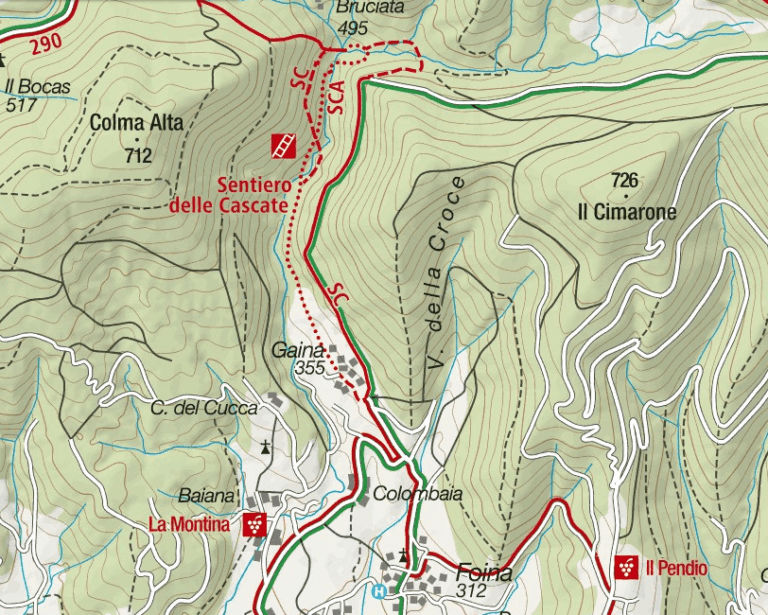
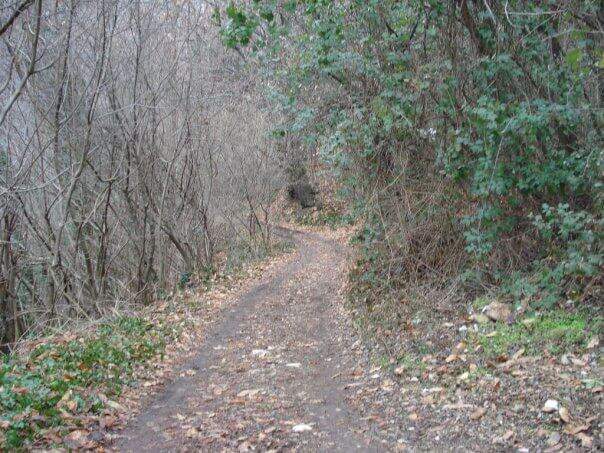
    It starts from the village of Gaina, fraction of Monticelli Brusati (BS). After passing the bus station of Monticelli Brusati, after a few minutes you can see on the left a white sign that indicates Gaina: take the road uphill, which soon narrows, until the village, where the road biforca. You hold the right and you will immediately find the parking place where you leave the car (open up Google Maps). From the parking lot, in front, a brown sign indicates “Cascate”: continue on the road, initially asphalted, up to a junction (10′ from the parking lot) where you choose between the easy route and that for experts. The most beautiful solution is to climb from the path for experts and return from the easy one.

    ▲The path

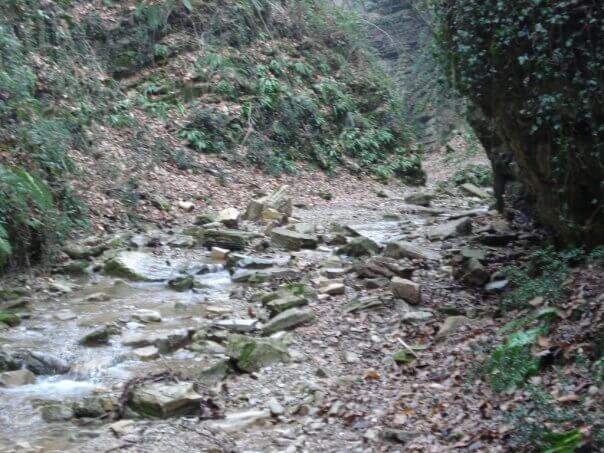
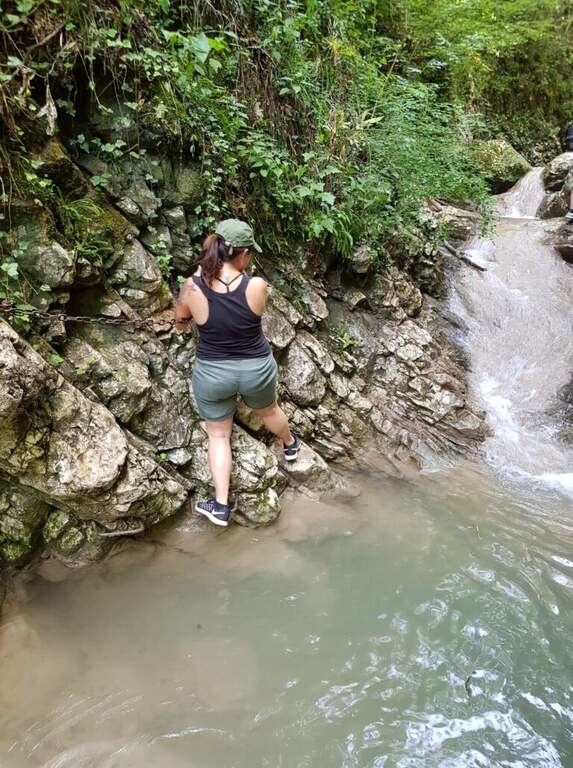
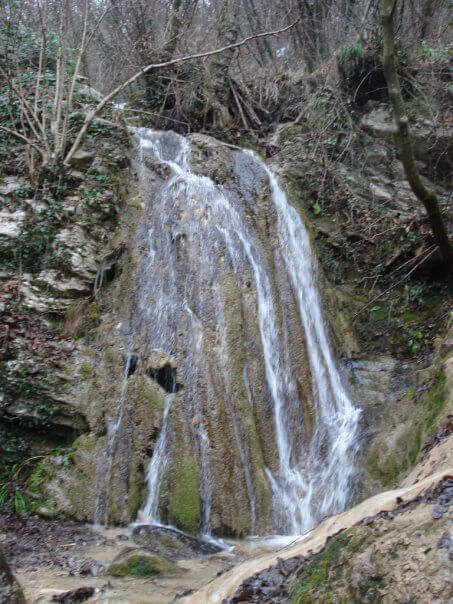
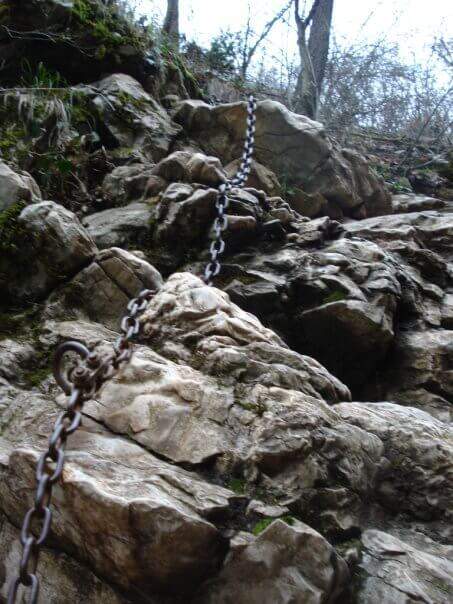
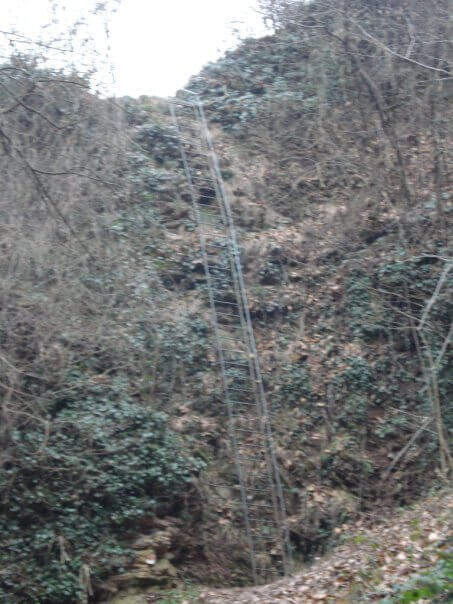
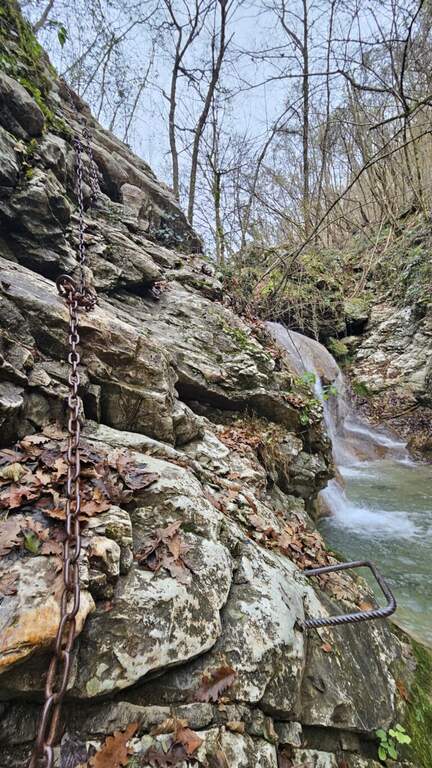
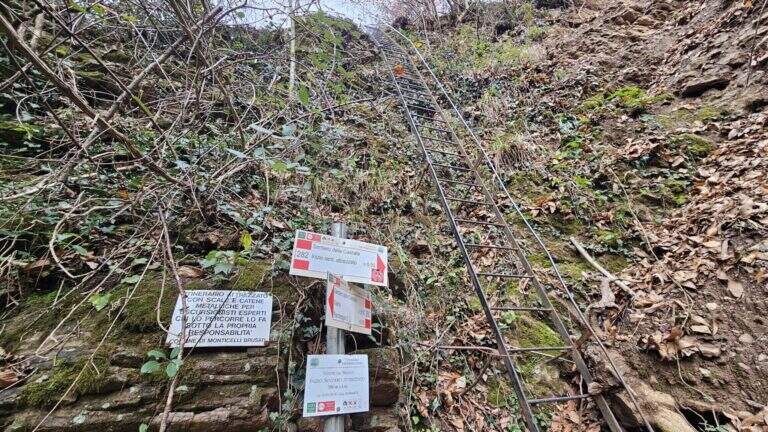
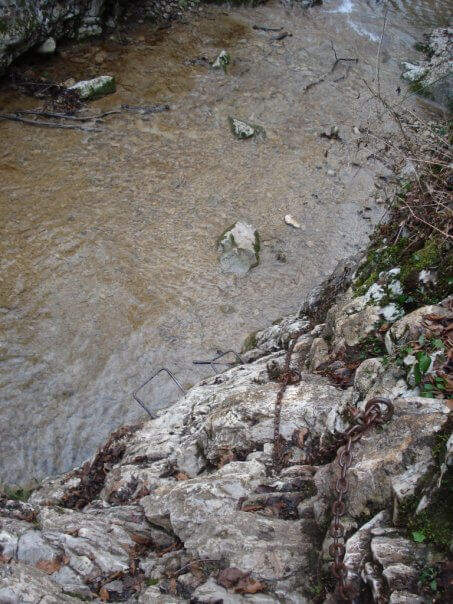
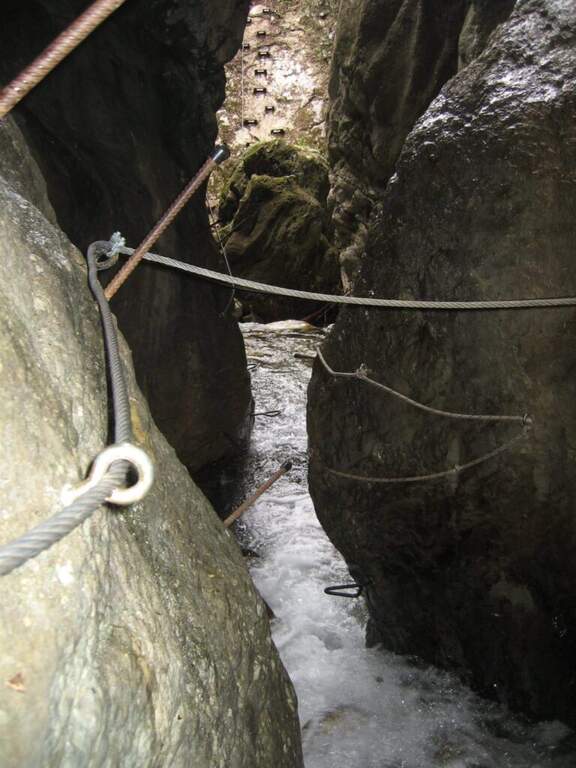
    You descend on the bed of the creek, now proceeding on the right now on the left horographic depending on where the bottom is dry, helping with the big rocks to cross it. You will encounter a crossroads that would bring you back to the easy path: you ignore it and head towards a waterfall, where the equipped section begins. It sticks up a metal staircase of about ten meters, then walks next to the stream between laminated rocks and wood. After a first curve the throat tightens and finally begins the equipped part: it starts on the left with some chains on sloping rocks, then it passes on the right horographic with a short traverse equipped with three brackets for the feet, which avoids entering the water. Continue on a slight diagonal and cross the stream, then go up a rocky slope diagonally next to the water (attention to the wet rock). A new crossing wets the feet, except in the summer months; on the other side you find the chain at a waterfall, in correspondence of the only vertical stretch equipped, a 6-8 meters wall to be overcome also with the help of the brackets. You cross the stream and enter the final stretch: in short, on the path, you reach the last beautiful waterfall, next to which a second staircase closes the route (1h15 from the attack, 1h30 total).

    ▲Character and difficulty

    Also in the variant for experts the path does not have significant technical difficulties: it is suitable for neophytes and keeps everywhere a contained exposure. The only real attention goes to the moisture brought from the stream, which can make more slippery some passages.

    ⚠ The rock at the creek is often wet: careful foot in the transverses and the cenges. Several crossings bathe the feet, except in summer when the flow is low or the bed is dry.
    ▲Period and safety

    The altitude is low (538 m), therefore the route is accessible in most of the year; in the warm months the stream can however show up with little water or dry, reducing the spectacularness of the falls.

    ▲Discipline

    From the end of the staircase you go up the track to a crossroads that indicates the easy return or that for experts. You can then go back to the equipped path or, more quickly, take the easy variant that runs higher than the stream. In both cases you reach the country and then parking (30′ from the end of the street, 2h overall).

    ▲To match

    Energies allowing, it is a route that lends itself to be combined with a more challenging route of the area, such as the Ferrata Corno del Bene o il Sentiero Attrezzato Trentapassi. Moving to Val Trompia you can reach Ferrata Caspai, la Ferrata Nasego e il Parco delle Fucine di Casto.

    ▲Gallery
    Technical data
    • DifficultyEasy
    • RegionLombardy
    • GroupPrealps Bresciane
    • Approach0:10 h
    • Ferrata1:15 h
    • Itinerary (a/r)2:00 h
    • Hardware level difference190 m
    • Route difference200 m
    • Max538 m
    • Length5 Km
  • Ferrate del Parco delle Fucine di Casto

    Ferrate del Parco delle Fucine di Casto

    Vie Ferrate › Lombardy › Brescia
    Ferrate del Parco delle Fucine di Casto

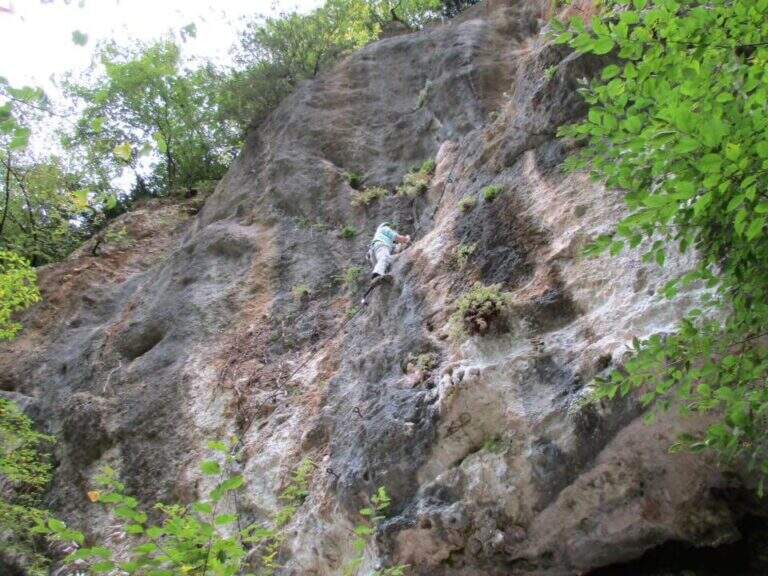
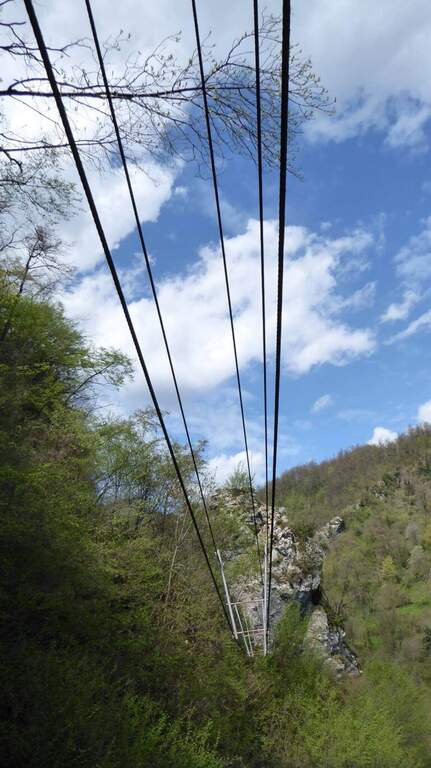
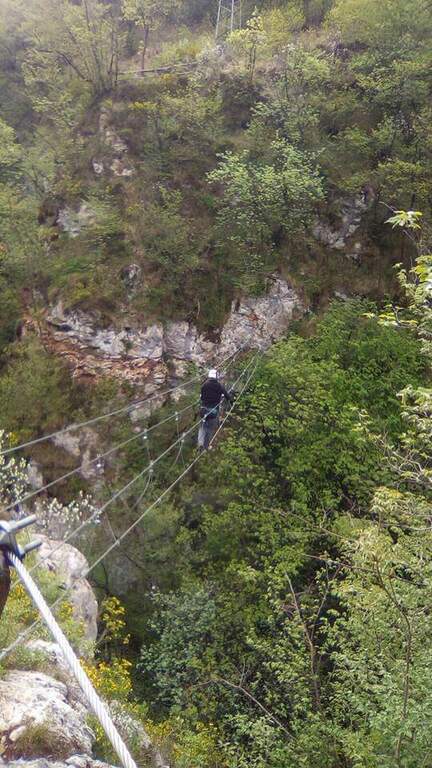
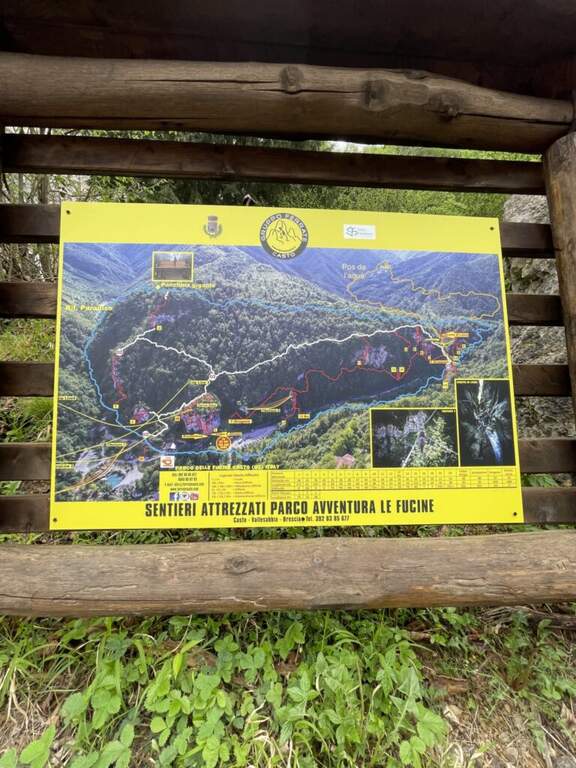
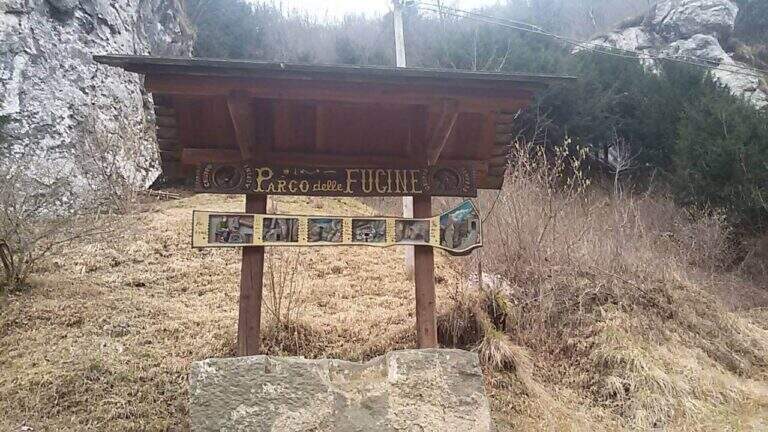
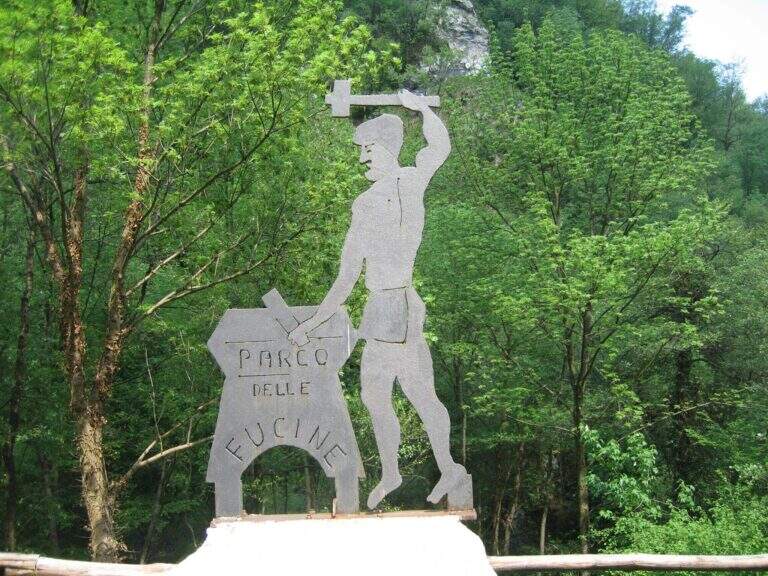
    Il Parco delle Fucine di Casto (Brescia, Valle Sabbia) è a unique park in Italy: at free entrance, it gathers on a few walls over fifteen equipped routes, as well as hiking, mountain biking, zip line, suspended bridges and refreshments. The streets are largely atletic and little climbable, excellent for l' training; the difficult ` ranges from an easy way to vertical and very demanding tracks.

    ▲Approach

    Starting from the ' ample parking along the park, at Casto. From the center of the village take left (south) via Marconi which, with clear indications, leads to the Parco delle Fucine in about a kilometer. Open road signs on Google Maps. Parking is just a few steps from the entrance (free); from here you can see some streets (the Strega Colpo, the Arcobaleno) and at least one suspended bridge. The times of approach to the individual attacks range from a few minutes up to about 15 minutes in the most distant ways, towards the Strait of Luina.

    ▲The equipped routes

    Each path has development to itself and signalled attack; below a faithful picture of length, difference in level and character.

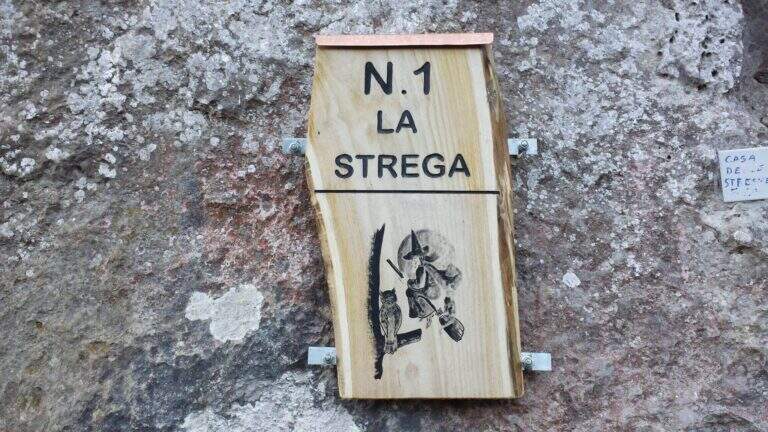
    Ferrata 1 (House of Witches, on Corna Zana, near the parking lot): 115 m, height difference 28 m. Dedicated diagonal traverse and horizontal beams exposed, with brackets and pioli on polished rock.
    Ferrata 2: 61 m, height difference 23 m. The least challenging of the park, on beams with good supports and a vertical variant; ideal for starting.
    Ferrata 3: 152 m, height difference 78 m. Long and challenging, with long beams on very smooth rock (strong traction on the cable) and vertical aerial traits.
    Ferrata 4: 60 m, height difference 49 m. Vertical, with first challenging and slightly overhanging meters and an aerial edge; higher climbing part.
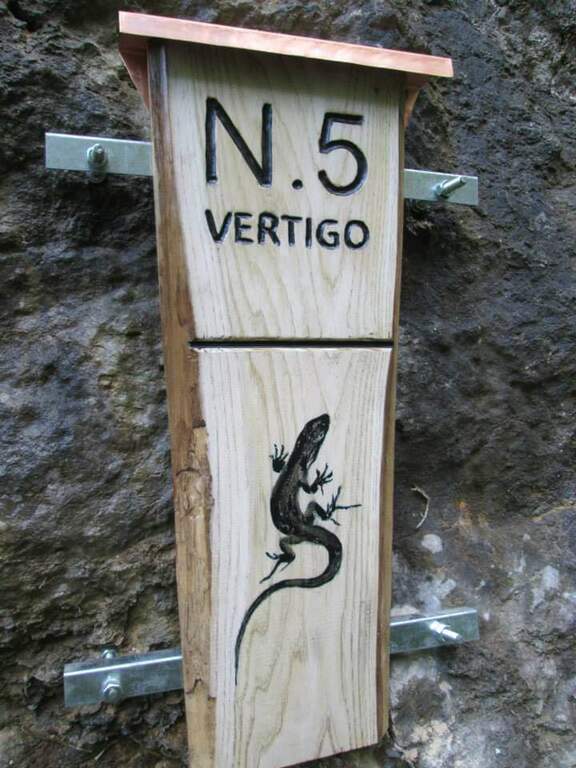
    Ferrata 5 «Vertigo»: 40 m, height difference 25 m. Verticality, slightly overhanging brackets and a challenging overhanging passage; ends at a suspended bridge of about 30 m.
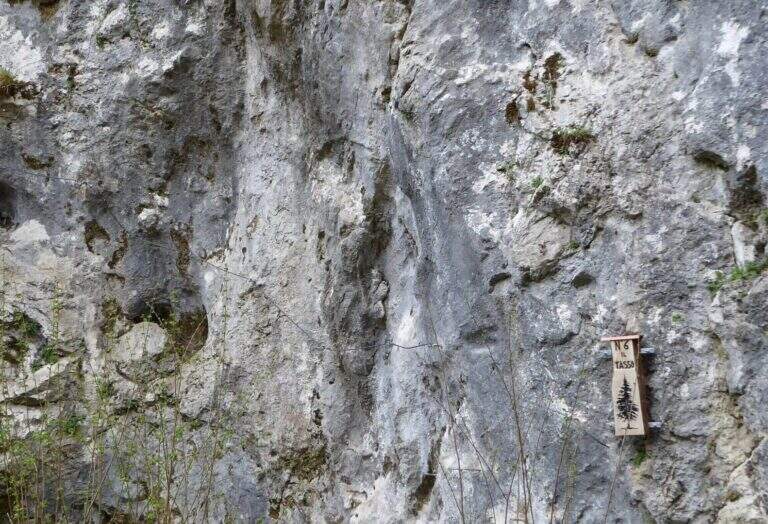
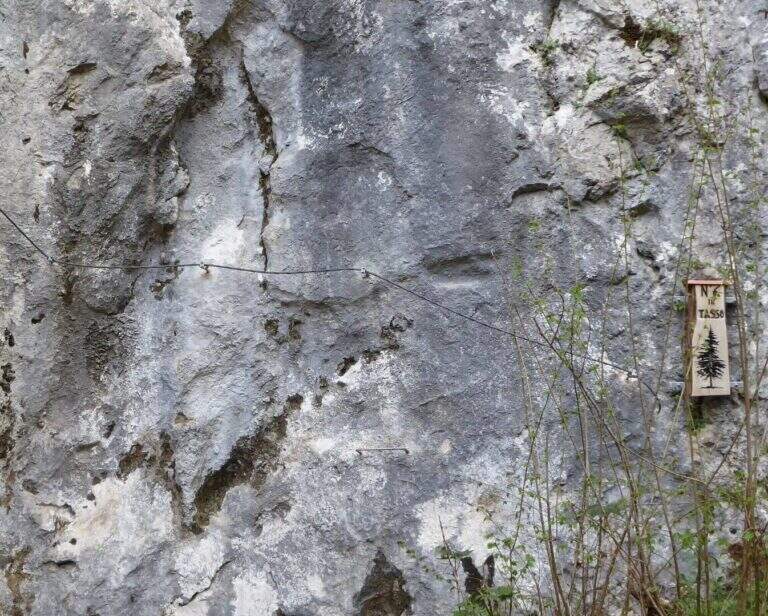
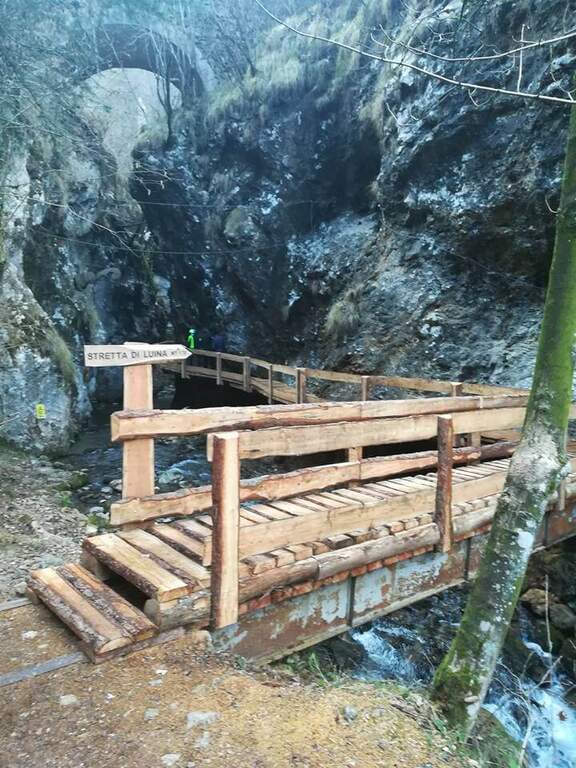
    Ferrata 6 «Tasso»: 28 m, altitude difference 25 m. Short: initial crossing, overhanging stretch with brackets; at the end you cross the bridge suspended on the Strait of Luina.
    Ferrata 7: 60 m, height difference 28 m. Follow us downhill from the suspended bridge; adrenaline exposed edge and tiring vertical descent, up to join Ferrata 8.
    Ferrata 8: 68 m, height difference 47 m. Impegnative, with key passage on dark and polished wall of 4-5 m and marine scale final.
    Ferrata 9: 68 m, height difference 47 m. Adjacent to 8, with a demanding vertical tear up to the common sea scale.
    Ferrata 10: 60 m, elevation difference 46 m. Diagonal copper, exposed beams and challenging vertical passages alternating with terraces.
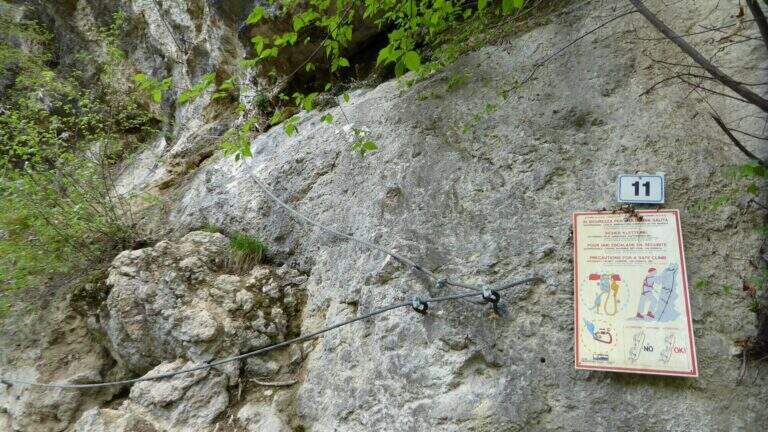
    Ferrata 11: 58 m, dislivello 45 m. Tra le più dure del parco: parete giallastra verticale e strapiombante, variante verticale estrema e forte esposizione.
    Ferrata 12: 65 m, dislivello 28 m. Spigolo, canalino e un passo strapiombante; sale un gendarme (bandiera in vetta), con rientro per un ponte sospeso di quasi 40 m piuttosto ballerino.
    Ferrata 12 bis: 46 m, dislivello 26 m. Attacco subito verticale e strapiombante, ponte delle scimmie di circa 8 m, poi si innesta sulla Ferrata 12.
    Ferrata 14 «Edera»: 44 m, dislivello 36 m. Diedro tecnico e piacevole, poi un ponte sospeso a 4 corde di circa 35-40 m e un secondo ponte più stabile.
    Ferrata 15: 125 m, dislivello 23 m. Prevalentemente in traverso lungo il torrente, con ponti sospesi e un ponte delle scimmie; senza difficoltà particolari ma talvolta scivolosa.
    Colpo della Strega (sopra il parcheggio): 45 m, dislivello 38 m. Verticale, tecnica e difficile, su roccia levigata povera di appigli che sollecita molto le braccia.
    Arcobaleno: 55 m, dislivello 38 m. Privilegia l'arrampicata su pioli e prese sferiche (cavo «alla francese»), con spigolo aereo e passaggio strapiombante assistito.
    Dragone (Grotta del Dragone): 240 m, sviluppo 50 m. Meno verticale, di fatto un sentiero attrezzato con scala marinara e un lungo ponte sospeso, che tocca gli attacchi delle vie 11, 10, 9, 8, 7 e quelle 5, 6 e 14.
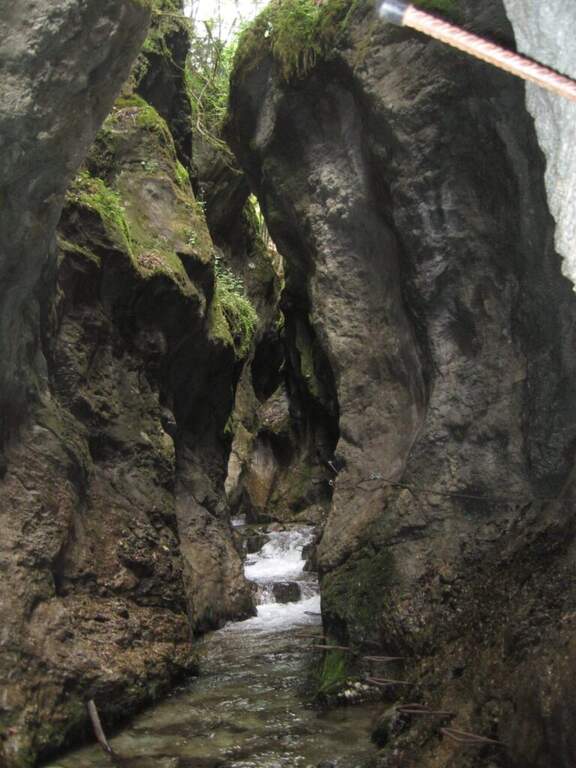
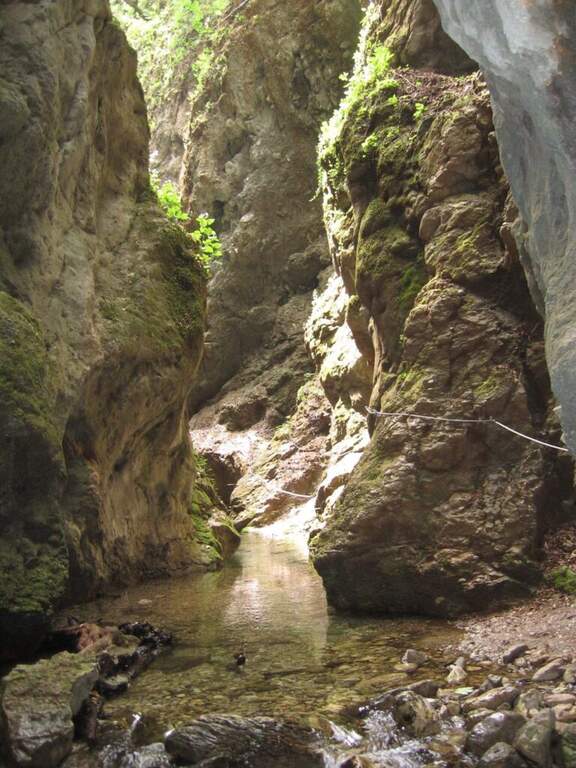
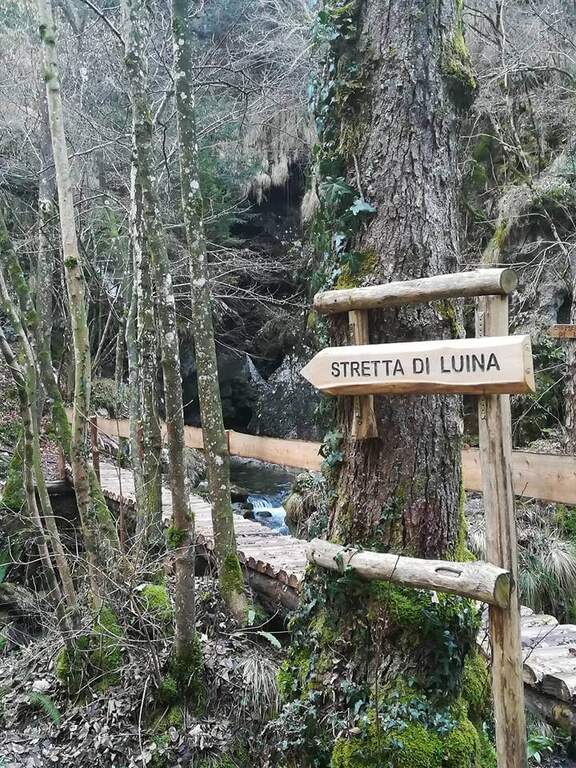
    Stretta di Luina: percorso prevalentemente orizzontale, quasi al pelo dell'acqua nella forra del torrente; non difficile ma scivoloso, con ponti su tronchi e ponti delle scimmie.

    ▲Character and difficulty

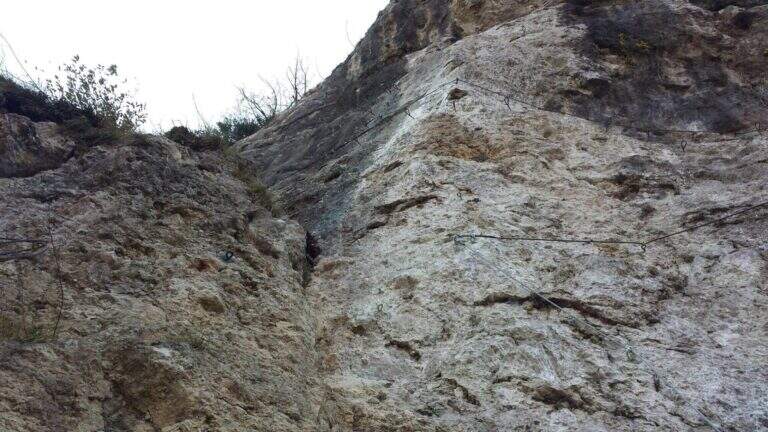
    The park offers a wide range: from easy Ferrata 2 and the Dragon to extremely athletic and overhanging routes (Ferrata 11, Vertigo, Colpo della Strega). The rock is often smoothed and undressed, with frequent traction on the cable; numerous suspended bridges and monkey bridges, exposed but fun.

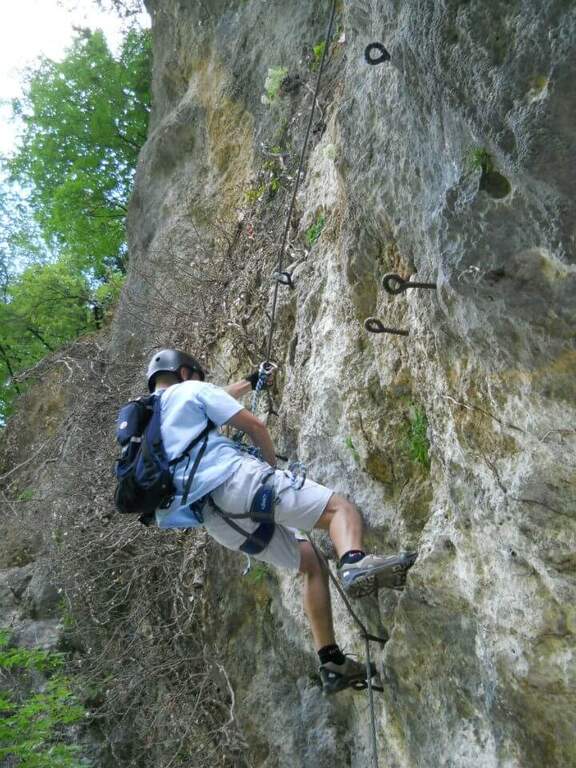
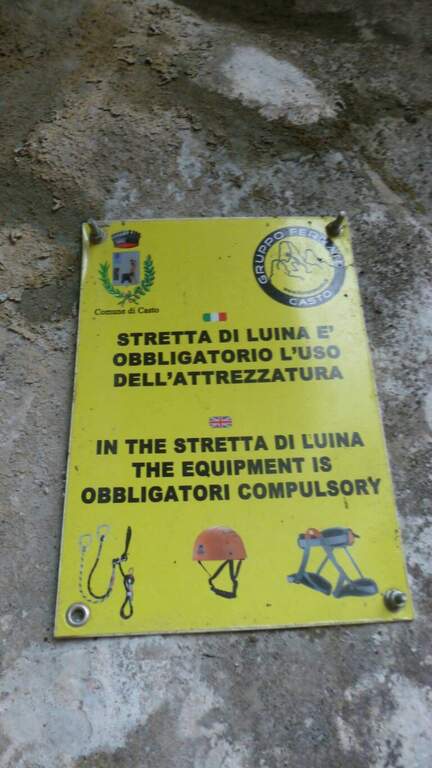
    ⚠ Many routes are physically demanding and little climbing, not suitable for neophytes (except Ferrata 2 and Dragon). Helmet and hardware set are indispensable; attention to the slippery bottom in the holes and swinging bridges. Choose the route based on your training.

    ▲Discipline

    Almost all routes fall for sentiero (usually holding the right at the end). The routes 5, 6 and 14 and 7-8 use the bridges suspended on the Strait of Luina; the 12 and the 12 bis fall through the suspension bridge of almost 40 m at the tower. The times are short given the proximity to the parking lot.

    ▲Period and safety

    The best periods are the mezze season; the itineraries can also be covered d' winter, except in snowy periods. Being at low altitude, in the middle of summer some walls exposed to the sun are very warm.

    ▲To match

    Always in the area of Lake Idro you can walk Ferrata Crench, il Idro Waterfall Trail e la Ferrata delle Ginestre.

    ▲Gallery
    Technical data
    • DifficultyFrom Easy to Extremely Hard
    • RegionLombardy
    • ProvinceBrescia
    • GroupPrealps Bresciane
    • Approach5-15 min
    • Fully equippedover 15
    • EntryFree
    • PeriodHalf seasons (also winter except snow)
  • Ferrata Nasego (Corna di Savallo)
    Ferrata Nasego (Corna di Savallo)
    Vie Ferrate › Lombardy › Brescia
    Ferrata Nasego (Corna di Savallo)
    Moderately Hard● OpenDescriptionComplexityMapsGallery

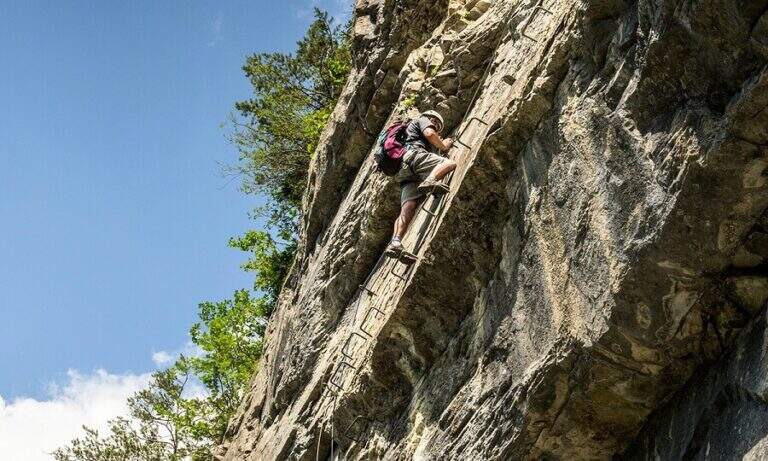
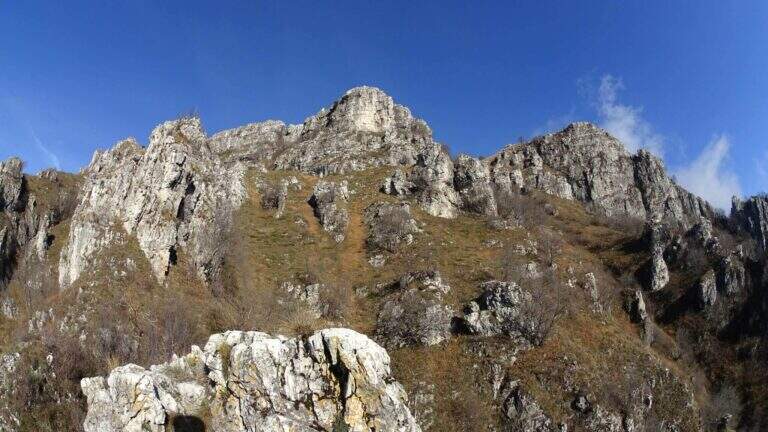
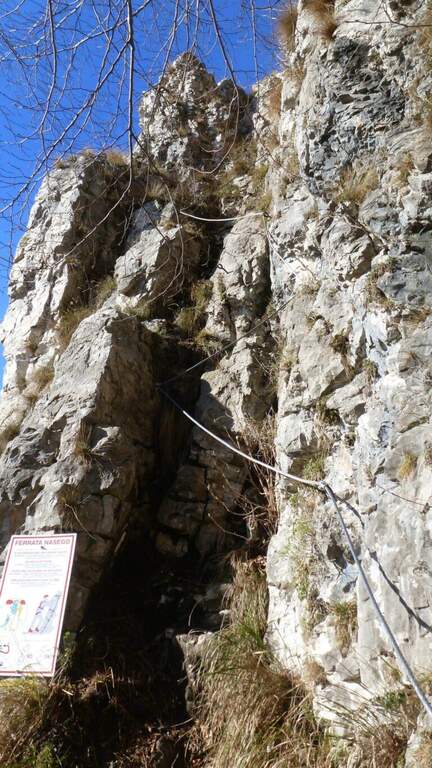
    La Ferrata Nasego si sviluppa su 5 sezioni ben distinte e di difficoltà media, con alcuni tratti più impegnativi. Mediamente esposta, alterna pareti, traversi, cenge e tratti di cresta; pur abbastanza lunga, offre molti punti dove rifiatare. La bassa quota la rende percorribile gran parte dell'anno.

    ▲Approach

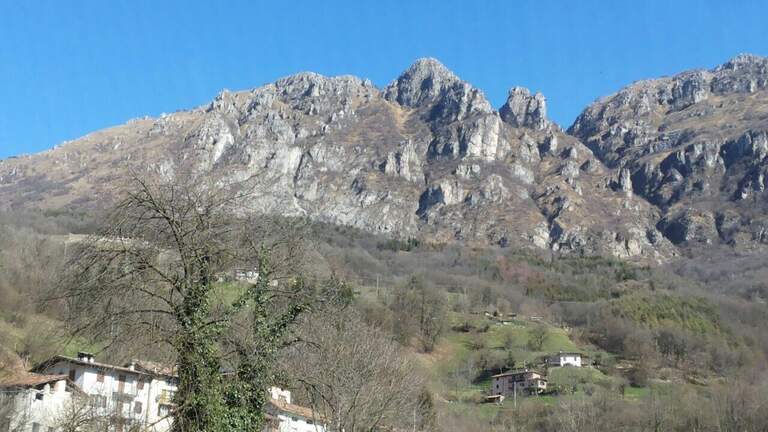
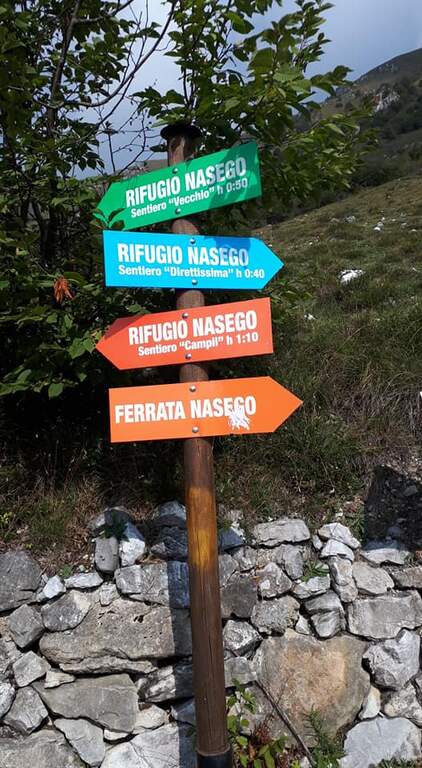
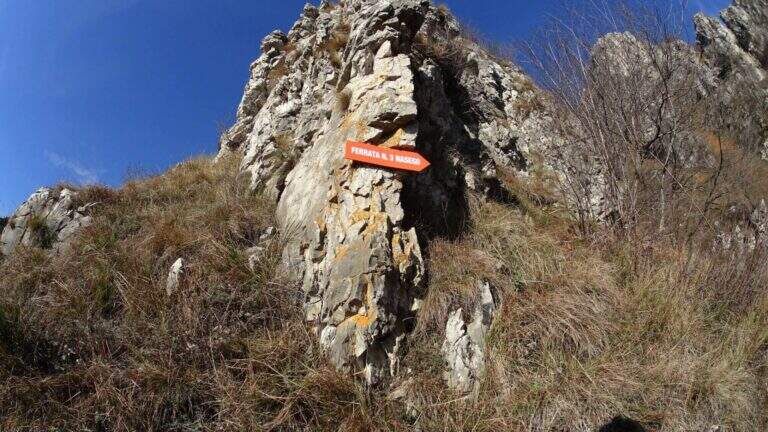
    Si parte presso l'abitato di Comero, vicino a Lodrino (Brescia). Superato Casto, sulla provinciale si nota a destra una strada che risale in senso inverso, con le indicazioni per il Rifugio Nasego e le Corna di Savallo già visibili sopra. La si risale fino a un bivio dove, seguendo il rifugio, si va a destra, si aggira una chiesa e si sale per una strada che si restringe e diventa sterrata in discrete condizioni, fino a uno spiazzo con tettoia dove parcheggiare. Open road signs on Google Maps. Dal parcheggio si seguono le indicazioni per la ferrata verso destra (est) in lieve salita; usciti dal bosco si costeggia la base della Corna di Savallo fino all'inizio delle attrezzature a sinistra (20' dal parcheggio).

    ▲The path

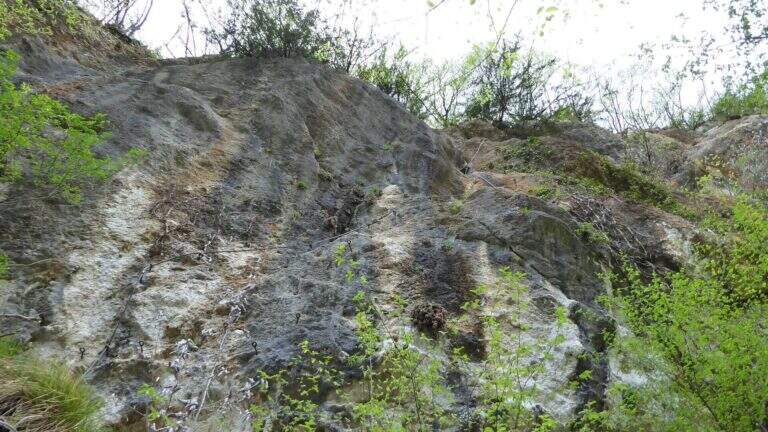
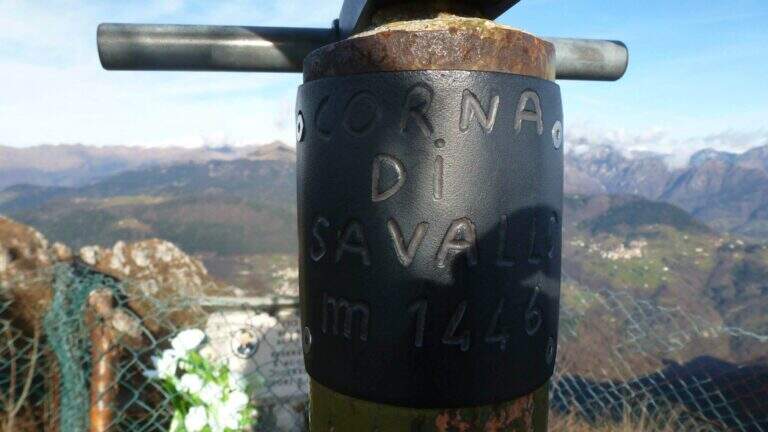
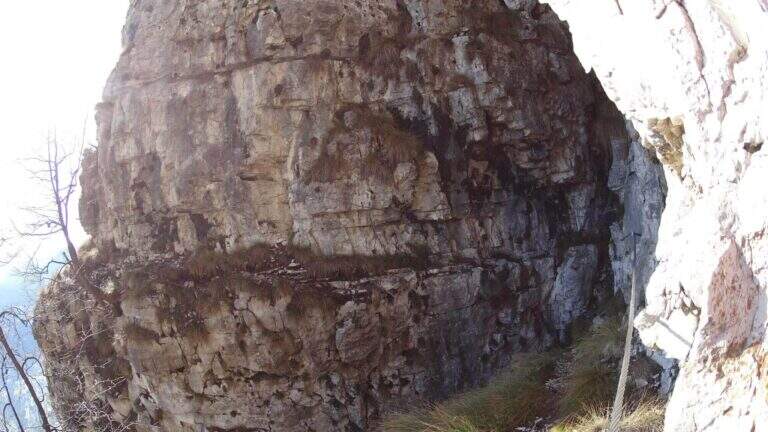
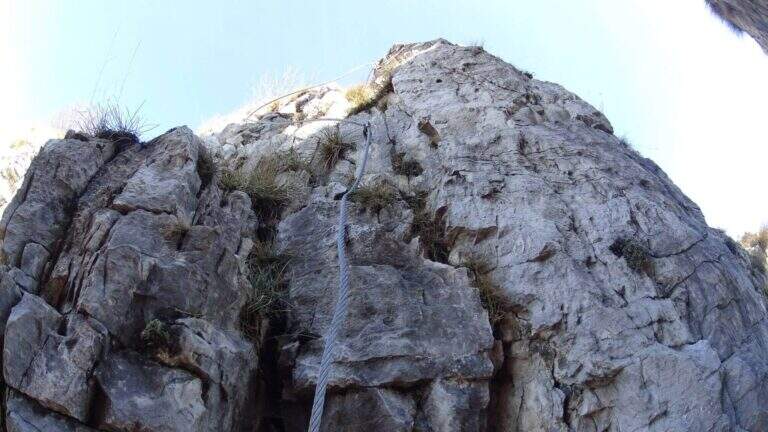
    La via è suddivisa in 5 tronconi. La prima sezione inizia su un tratto inclinato (cavo di equilibrio), poi una paretina coricata dove il cavo zigzaga e va scavalcato un paio di volte, quindi una parete più verticale su spigolo non marcato; si guadagna quota ed esposizione alternando destra e sinistra fino a una cengia e a un breve sentiero attrezzato, dove le attrezzature terminano. Per sentiero erboso si scende al secondo troncone: presso un canale roccioso si risale una parete verticale di 8-10 m con pioli, un breve strapiombo e una pianta sul lato opposto da scavalcare (passaggio non agevole per chi è basso di statura); sopra, il cavo prosegue verticale ed esposto, poi più appigliato, fino a roccette facili. La terza sezione attacca con un traverso diagonale a destra e poi in direzione opposta su pioli, un tratto di sentiero attrezzato, un traverso sotto un tetto poco marcato e facili balzi arrampicabili (attenzione alla roccia friabile). Il quarto troncone sale facili balzi, poi un traverso in leggero strapiombo che sollecita le braccia (meglio non temporeggiare), una breve fessura verticale e balzi gradonati più fisici ed esposti, fino a una forcella tra due torrioni: si rimonta quello di sinistra e si passa sul lato opposto, una stretta cengia terrosa aggira un canalino e una rampa inclinata richiede uno strappo fisico di un paio di metri in contropendenza, poi un facile traverso chiude la sezione. La quinta sezione percorre una cengia sotto un tetto: attenzione all'inizio, con un paio di pareti verticali a pochi appigli; si risalgono balzi e una cengia diagonale attrezzata e un ultimo tratto verticale fino alla croce di vetta della Corna di Savallo (1446 m, 3h dall'attacco, 3h 20' totali).

    ▲Character and difficulty

    Difficoltà media; i passaggi più duri sono la parete con la pianta e il traverso strapiombante. Molti i punti dove riposare grazie alla suddivisione in tronconi.

    ⚠ La roccia è spesso friabile: in alcuni tratti è sconsigliato affidarsi alla sola roccia. I sentieri di collegamento possono essere scivolosi dopo le piogge. Nell'ultimo tratto, se si prosegue sulla cengia senza notare le attrezzature verticali, si arriva a una sella da cui un sentiero attrezzato di cresta porta comunque alla croce, ma saltando l'ultimo troncone di ferrata.
    ▲Period and safety

    Percorribile gran parte dell'anno data la quota contenuta; evitare le giornate umide per i collegamenti scivolosi.

    ▲Discipline

    Dalla croce si prosegue dritti verso ovest seguendo la traccia, che scende con pendenza moderata fino a incrociare la via di fuga e, più in basso, il Rifugio Nasego (gestito da volontari). Dal rifugio si scende al parcheggio per uno dei percorsi possibili: a sinistra il più diretto e ripido, a destra il più dolce (45' dalla vetta, 4h 15' totali).

    ▲To match

    Partendo presto, si concatena con le Ferrate di Casto, sul versante opposto della valle. Verso il Lago d'Idro: Ferrata Fregio, Ferrata delle Ginestre e Ferrata Crench.

    ▲Gallery
    Technical data
    • DifficultyModerately Hard
    • RegionLombardy
    • GroupPrealps Bresciane
    • Approach0:20 h
    • Ferrata3:00 h
    • Itinerary (a/r)4:15 h
    • Hardware level difference400 m
    • Route difference550 m
    • Max1436 m
    • Length3 Km
  • Ferrata Caspai

    Ferrata Caspai

    Vie Ferrate › Lombardy › Brescia
    Ferrata Caspai
    Very difficult● OpenDescriptionComplexityMapsGallery

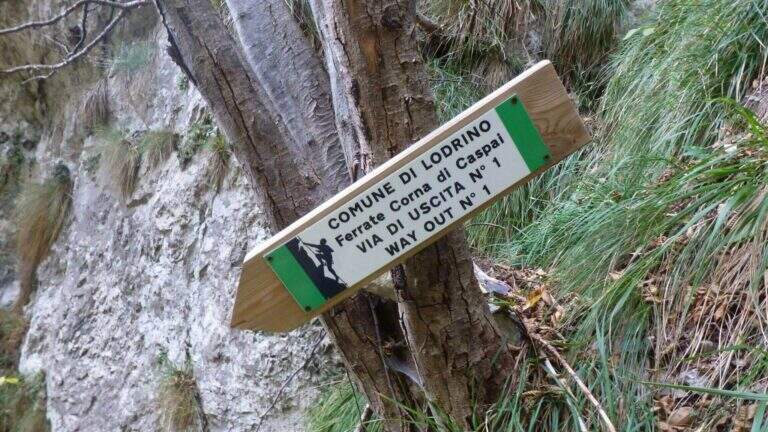
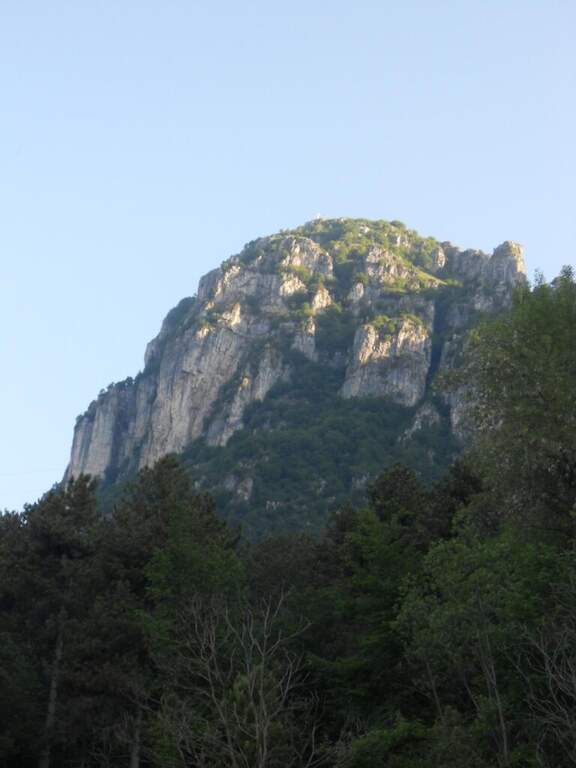
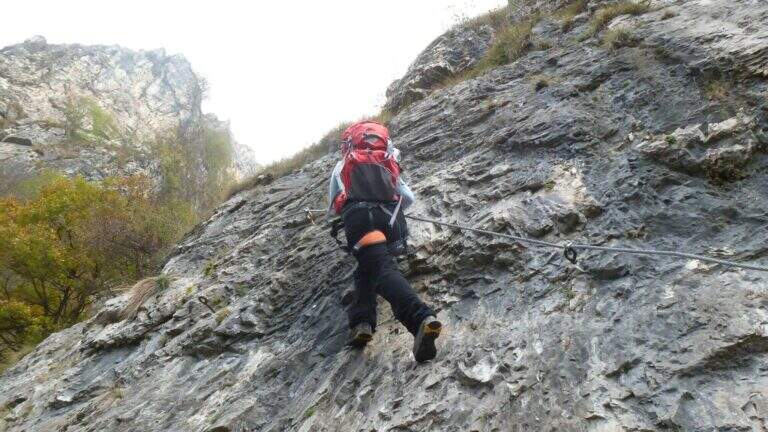
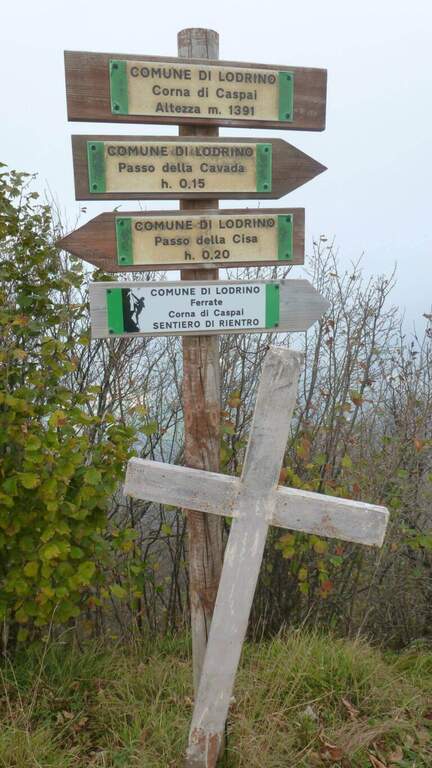
    La Ferrata Caspai si sviluppa sopra Lodrino, nelle Prealpi Bresciane, ed è una via impegnativa, esposta e ricchissima di traversi, da non sottovalutare. L’ultima parte propone una variante difficile, con tratti strapiombanti, camini e traversi che affaticano molto le braccia e portano quel tratto al livello estremo. Esiste però anche una variante più facile per raggiungere comunque la cima.

    ▲Approach

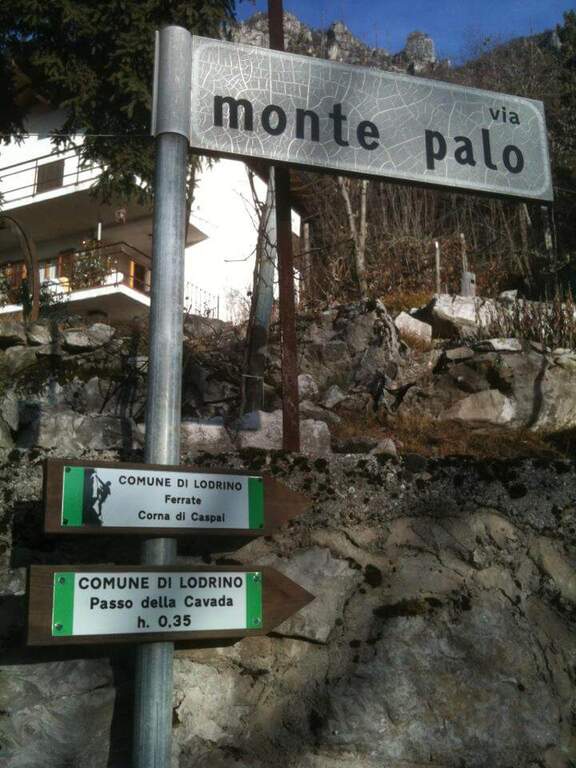
    Punto di partenza l’abitato di Pineta, sopra Lodrino (Brescia): arrivati a Lodrino si seguono i cartelli marroni (uno indica Pineta) salendo la ripida strada fino al Ristorante Genzianella; si può parcheggiare lì oppure proseguire un centinaio di metri tenendo la destra al bivio successivo, fino a un tornante a sinistra con area picnic dove si lascia l’auto (starting point on Google Maps). Si seguono i cartelli bianco-verdi della Ferrata Caspai: un breve tratto di asfalto, poi una traccia a destra che sale ripida nel bosco e un sentiero forestale fino a un incrocio (15′); a sinistra il sentiero conduce all’attacco (30′ dal parcheggio).

    ▲The path

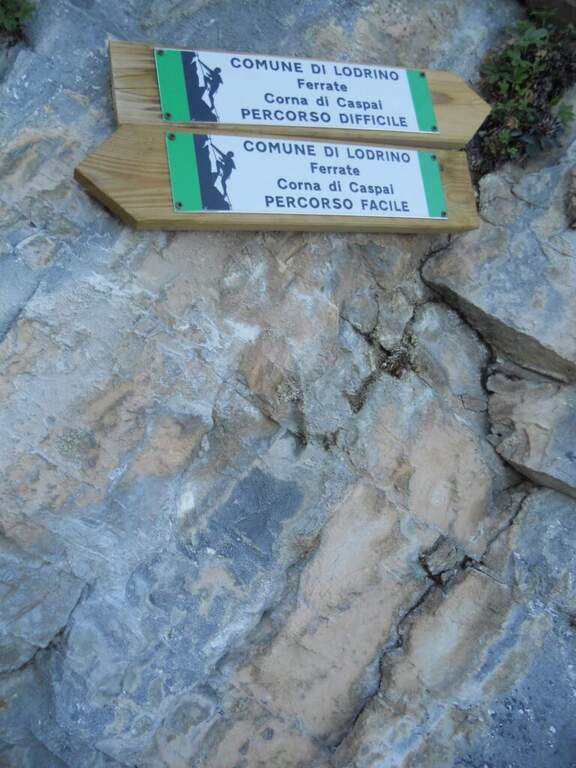
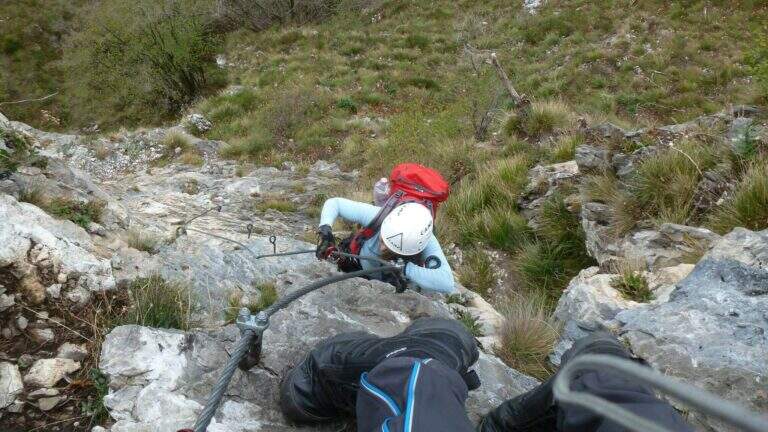
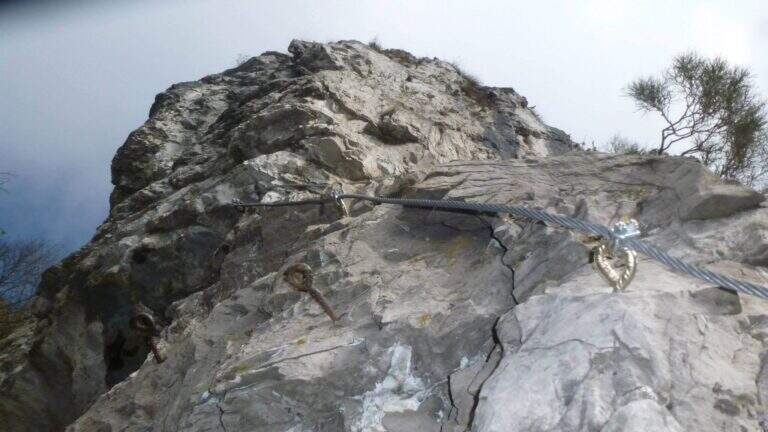
    La via attacca subito con un traverso, prima in diagonale poi orizzontale, da percorrere in aderenza: già fisico. Dopo un breve tratto verticale e un nuovo traverso diagonale e orizzontale, si sale un risalto verticale e si affronta un traverso esposto con pioli per i piedi, che porta a una cengia erbosa verso sinistra. Si aggira un esposto spigolo e, con un traverso in discesa, si passa sotto un tetto roccioso da aggirare rapidi per non sovraccaricare le braccia; oltre il tetto il cavo rimonta verticale fino a un camino con qualche piolo (attenzione al cavo che passa da sinistra a destra e può intralciare le gambe), la cui seconda parte è più appigliata. Seguono un esposto traverso a sinistra (con alcuni passi in discesa, in aderenza), un altro tetto con i piedi su placca inclinata, uno speroncino, una rampa pendente in discesa e, aggirato uno spigolo, un tratto verticale con pioli. Dopo un nuovo traverso esposto in leggera discesa si risale una parete con pochi appigli, dove di fatto serve trazionare sul cavo (roccia buona ma povera di appigli), con un terrazzino terroso a metà per riprendere fiato. Ancora verticale e un traverso a sinistra portano alla prima via di fuga; si supera un breve camino e un traverso in salita fino a un pulpito, da cui si disarrampica, e dopo un altro traverso a sinistra si raggiunge un bivio. Qui si separa il percorso facile (a sinistra: cenge, rampe e brevi tratti verticali non difficili, poi sentiero) dal percorso difficile (a destra), composto da quattro salti — paretine verticali, tratti diagonali e una parete strapiombante attrezzata con pioli — da considerarsi estremamente difficile e privo di vie di fuga. Entrambe le varianti conducono alla cima del Corno di Caspai (1391 m).

    ▲Character and difficulty

    Via esposta, continua e molto fisica per la grande quantità di traversi: 350 m di dislivello attrezzato. Difficoltà complessiva Molto Difficile, che diventa Estremamente Difficile sui quattro salti della variante destra dell’ultima parte.

    ⚠ La variante difficile finale (quattro salti, con parete strapiombante) è estrema e priva di vie di fuga: va affrontata solo da chi è certo delle proprie forze; in caso di dubbi conviene scegliere il percorso facile al bivio. I numerosi traversi affaticano molto le braccia.
    ▲Period and safety

    Bassa quota prealpina (massimo 1391 m): percorribile nelle mezze stagioni e nelle giornate miti, evitando la roccia bagnata. Giornata di circa 4h 45′ complessive per 500 m di dislivello e 7 km.

    ▲Discipline

    Dalla cima del Corno di Caspai si rientra per sentiero verso Pineta, chiudendo l’itinerario al parcheggio di partenza.

    ▲To match

    Nella stessa zona del Bresciano, sul massiccio del Monte Guglielmo, si trovano la Ferrata Corna delle Capre e la Ferrata Corno del Bene.

    ▲Gallery
    Technical data
    • DifficultyVery difficult
    • RegionLombardy
    • GroupPrealps Bresciane
    • Approach0:30 h
    • Ferrata3:15 h
    • Itinerary (a/r)4:45 h
    • Hardware level difference350 m
    • Route difference500 m
    • Max1391 m
    • Length7 Km
Need help? Write to us!