Gruppo: Prealpi Gardesane

  • Path equipped Foletti

    Path equipped Foletti

    Vie Ferrate › Trentino-Alto Adige › TN
    Path equipped Foletti

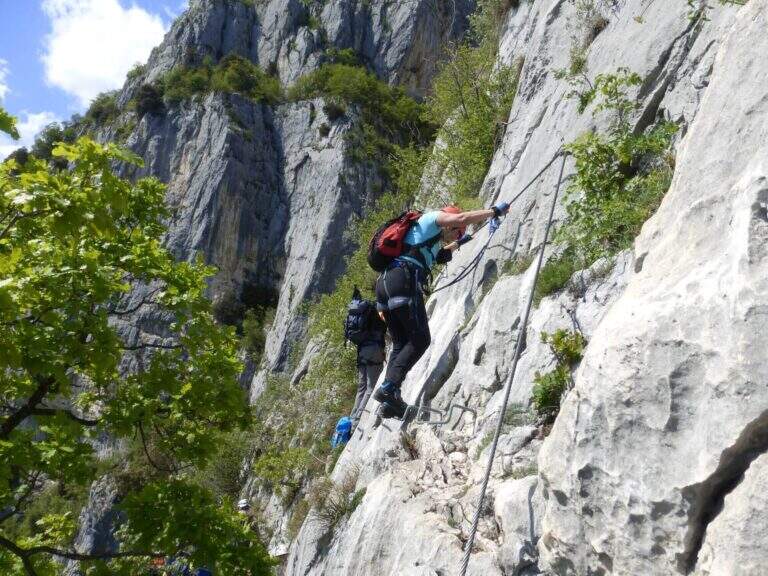
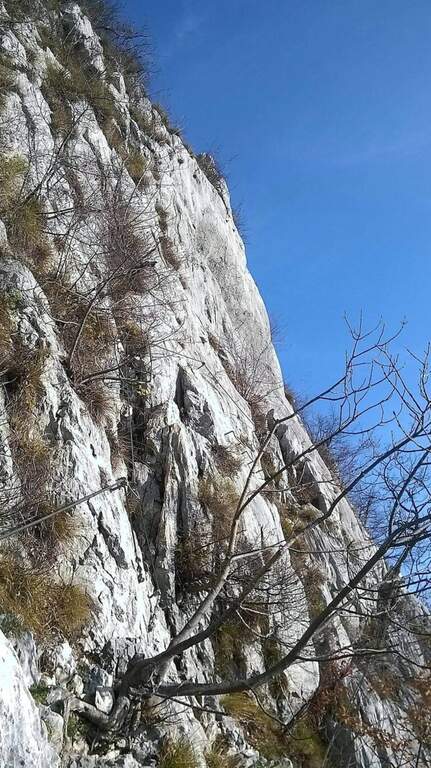
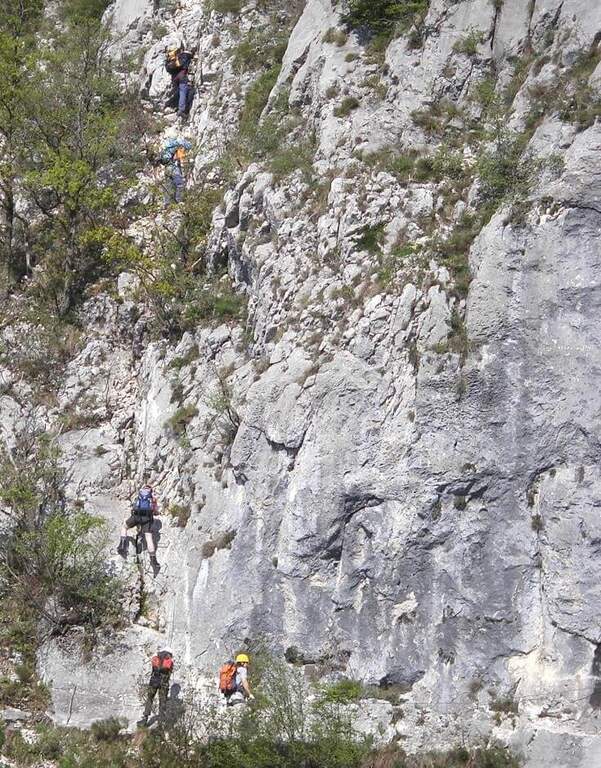
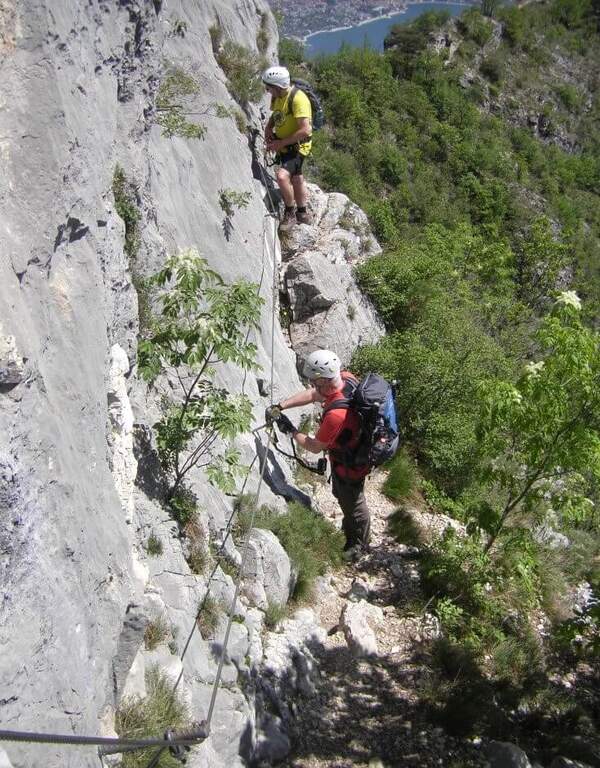
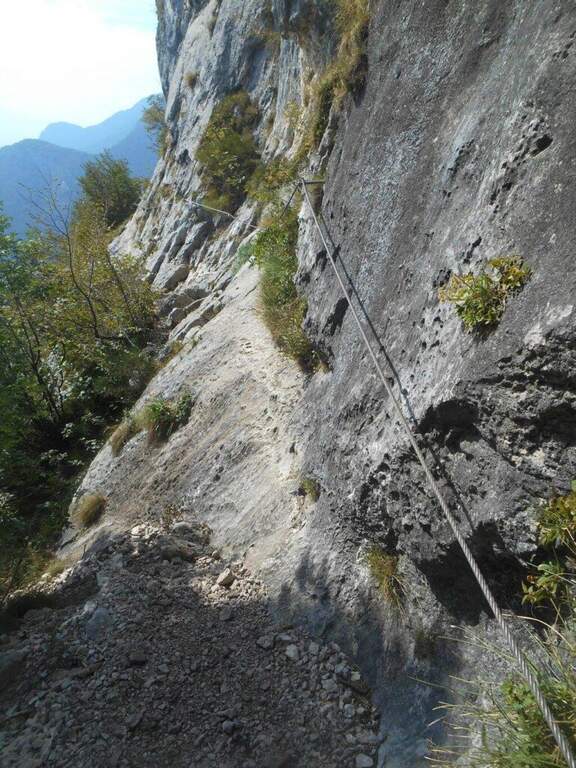
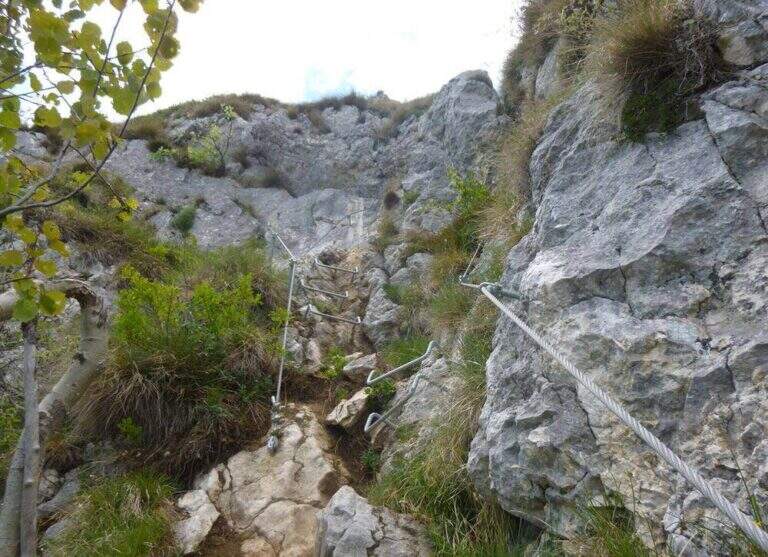
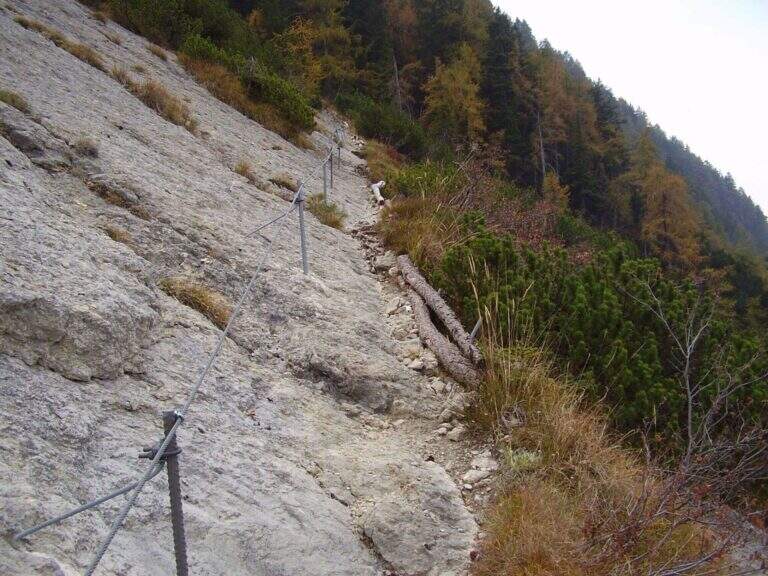
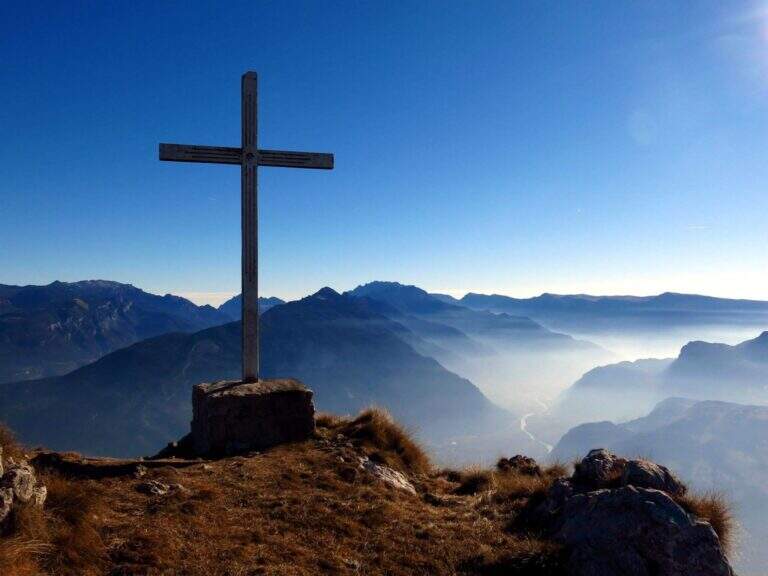
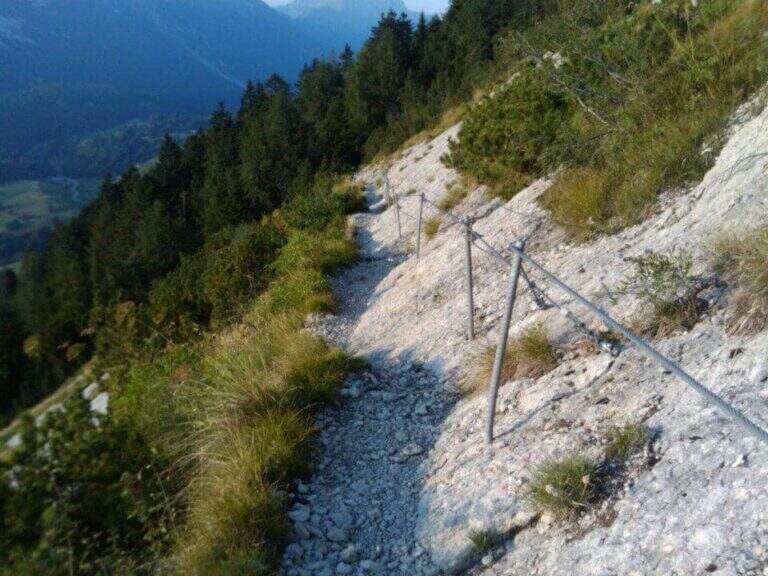
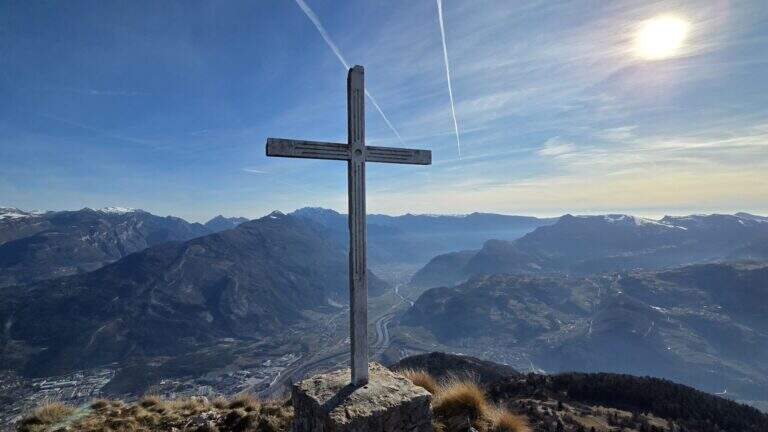
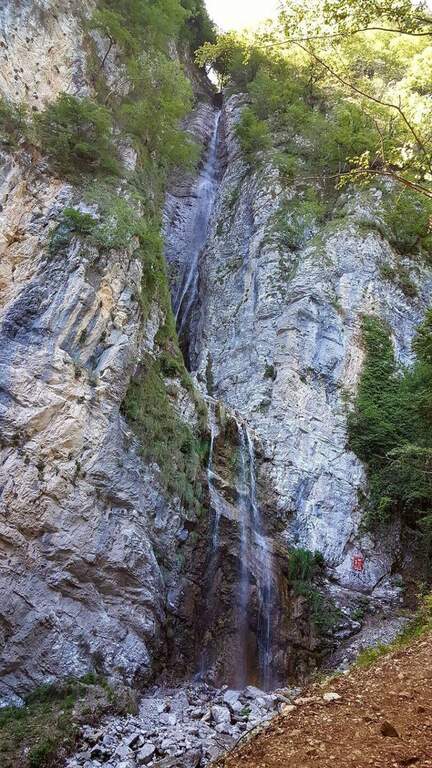
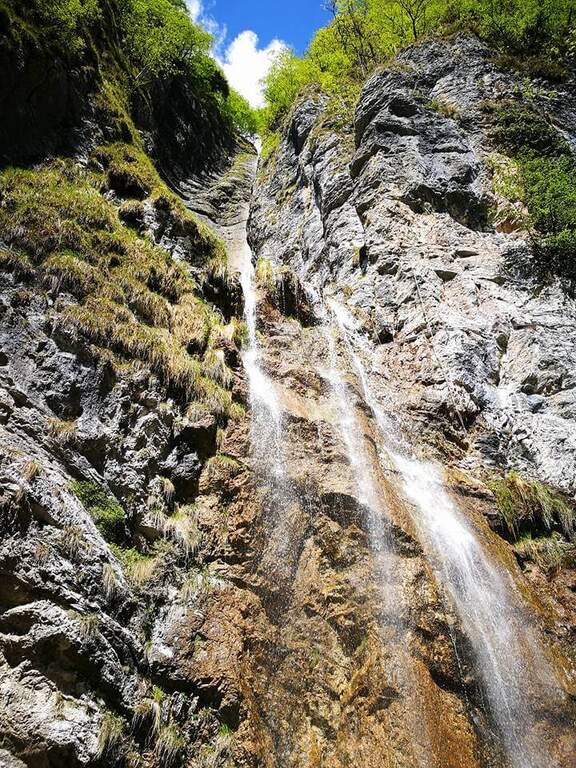
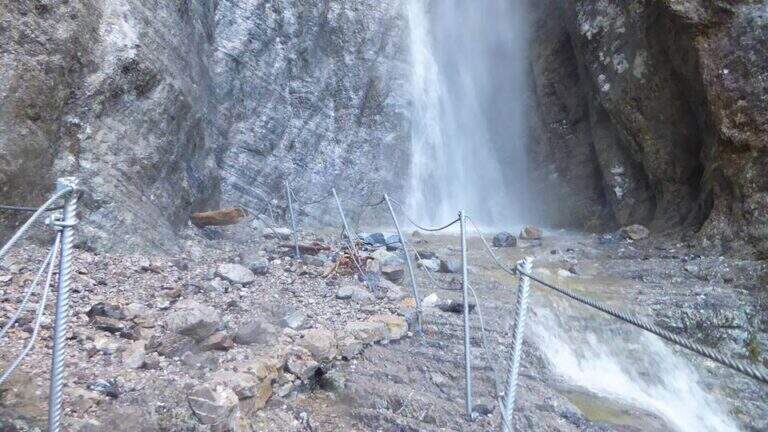
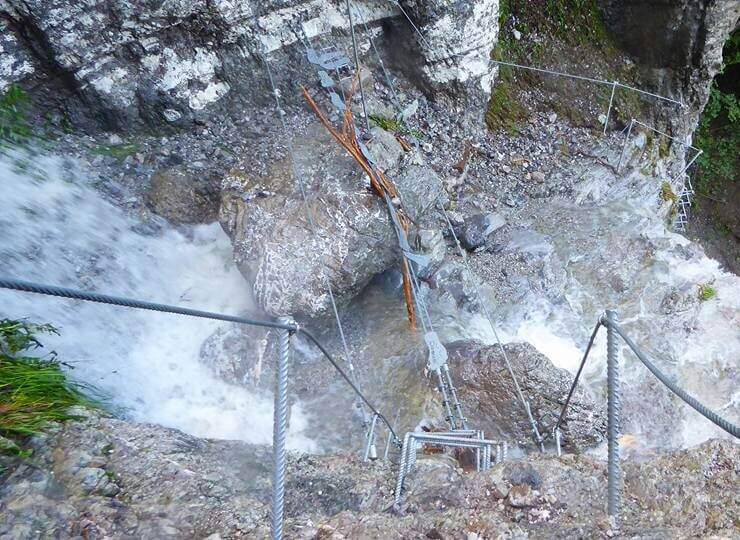
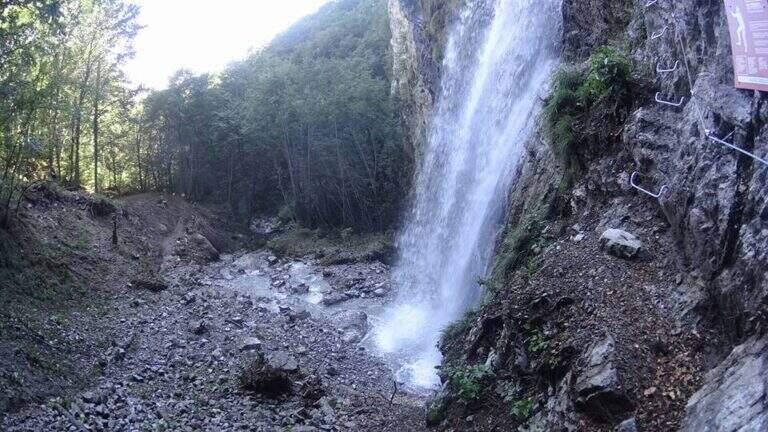
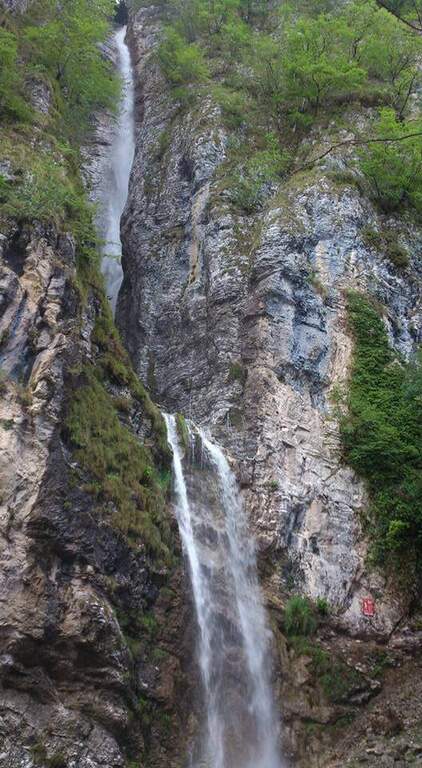
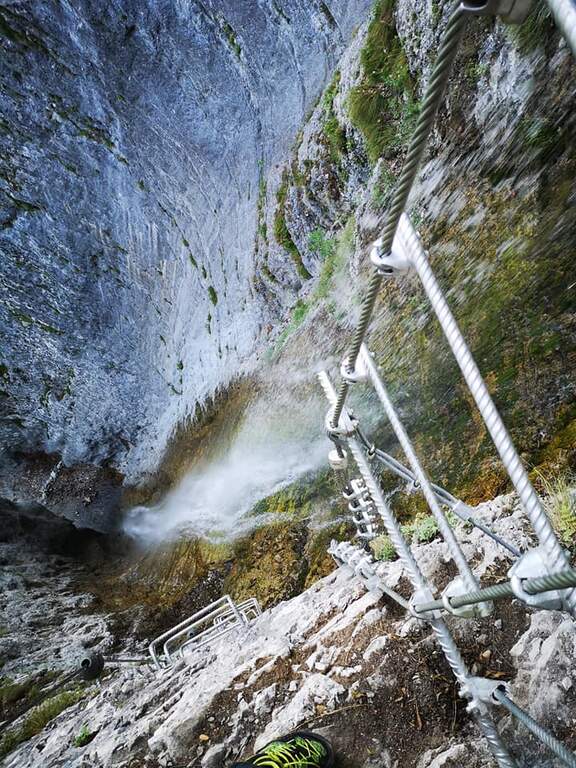
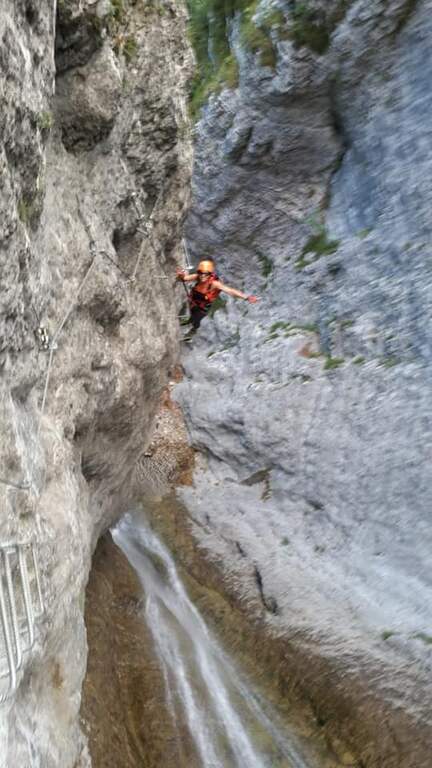
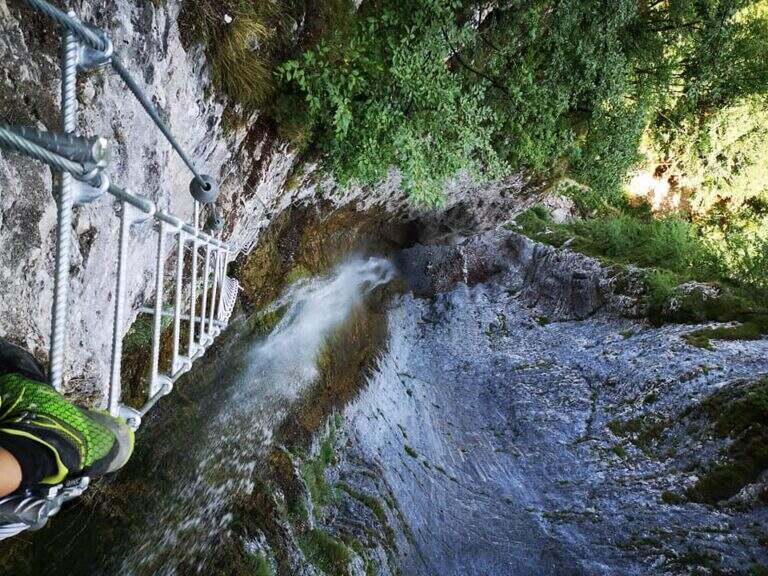
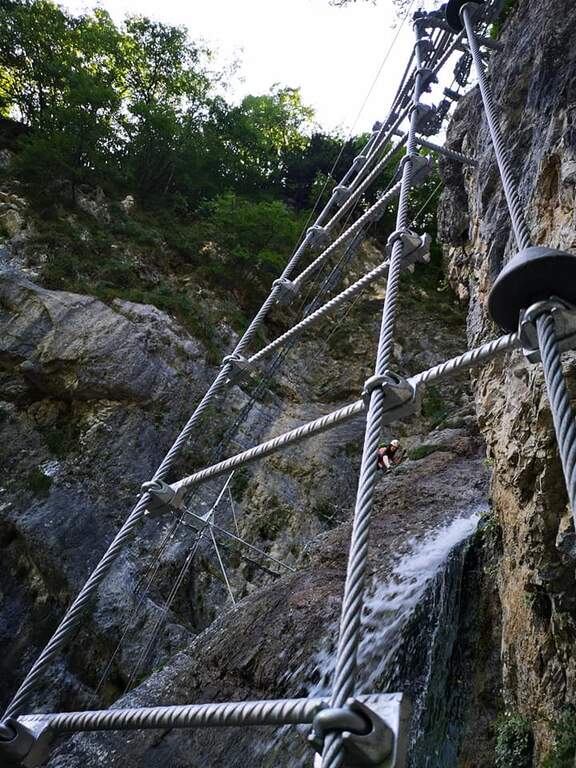
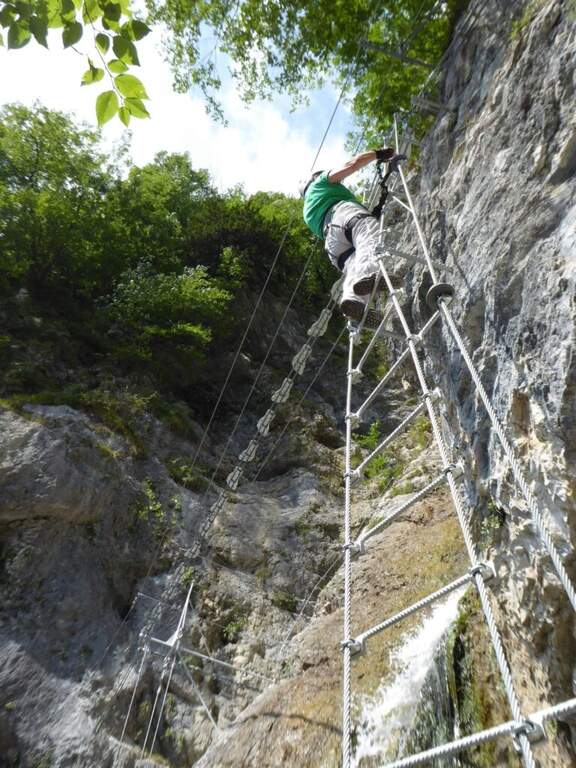
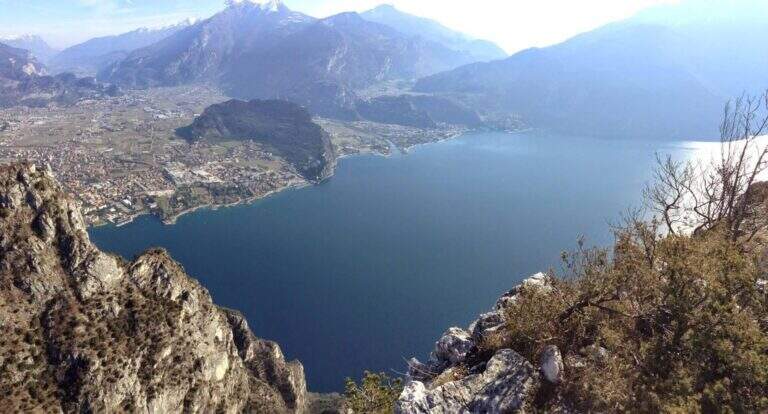
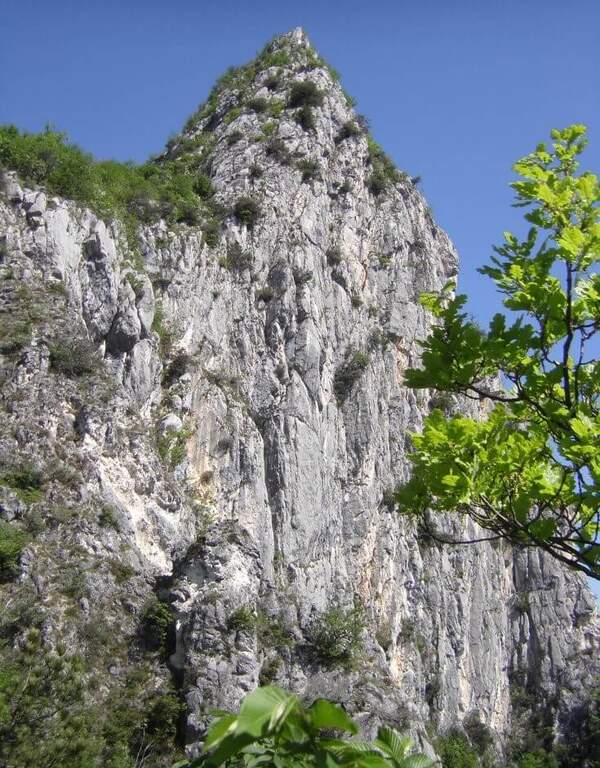
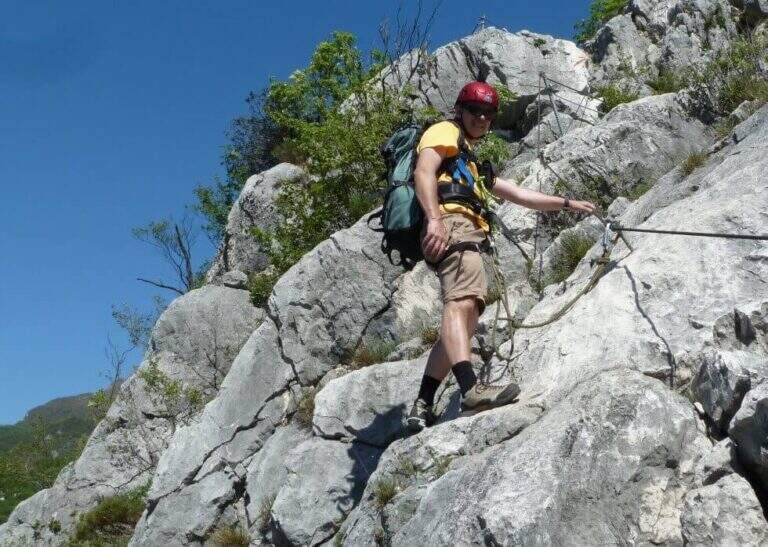
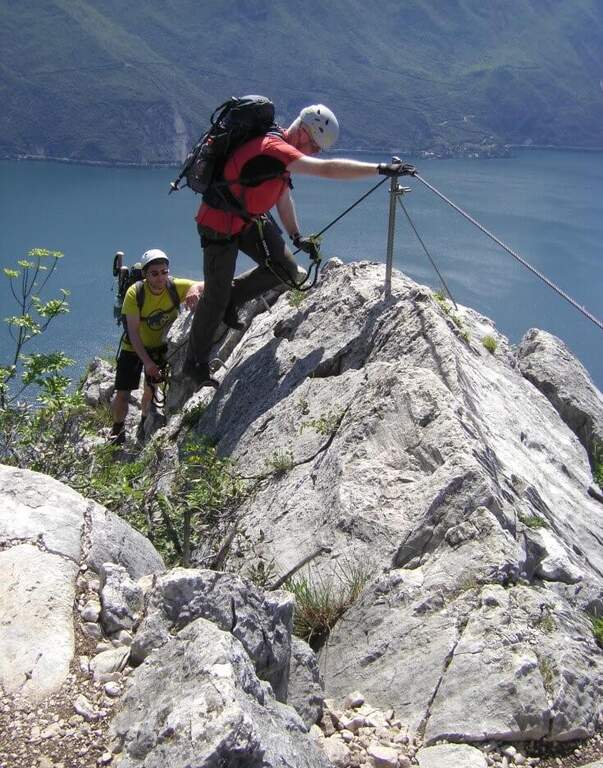
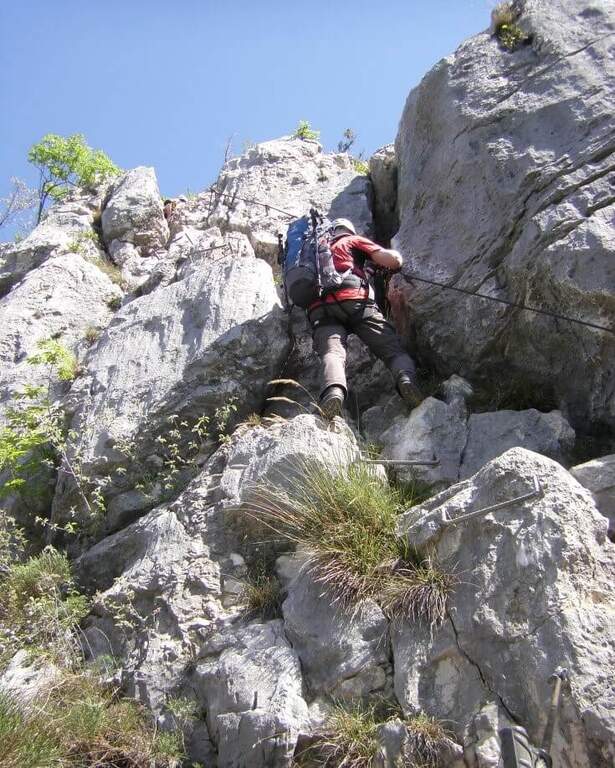
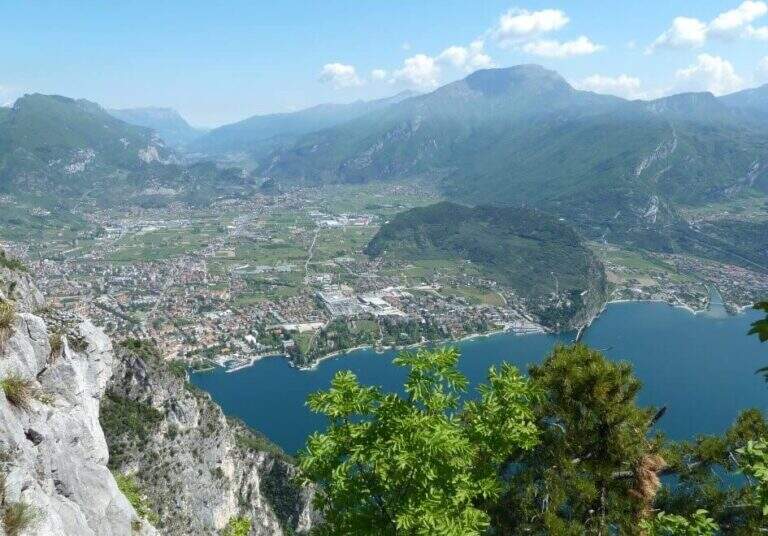
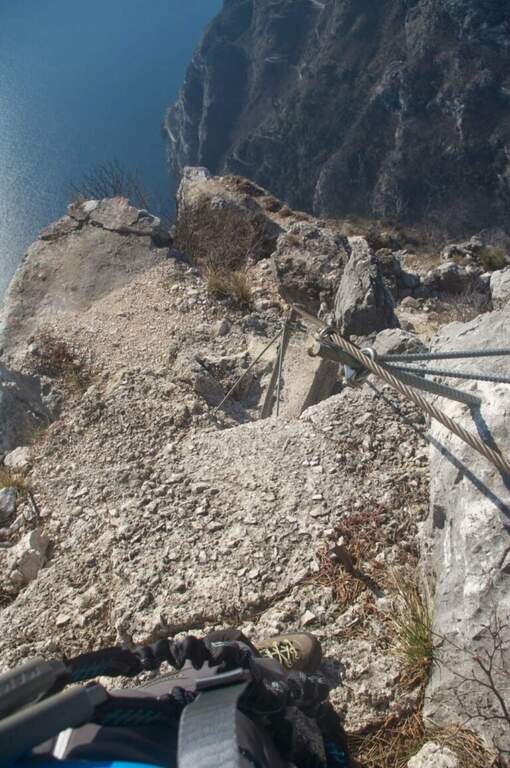
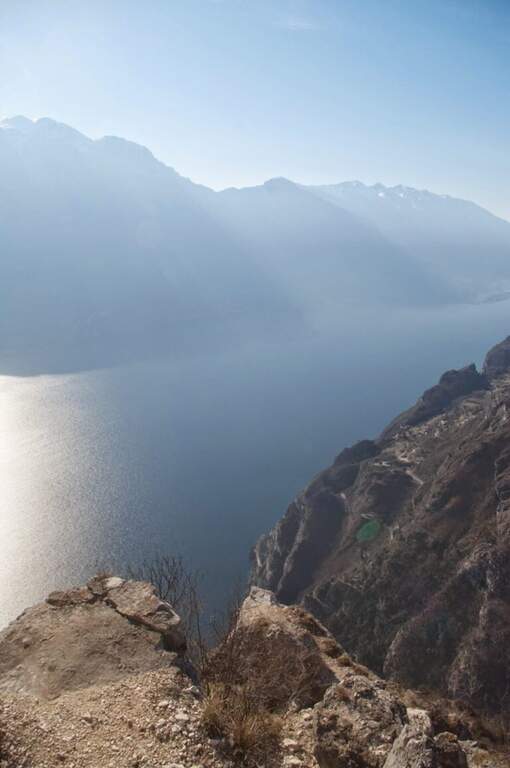
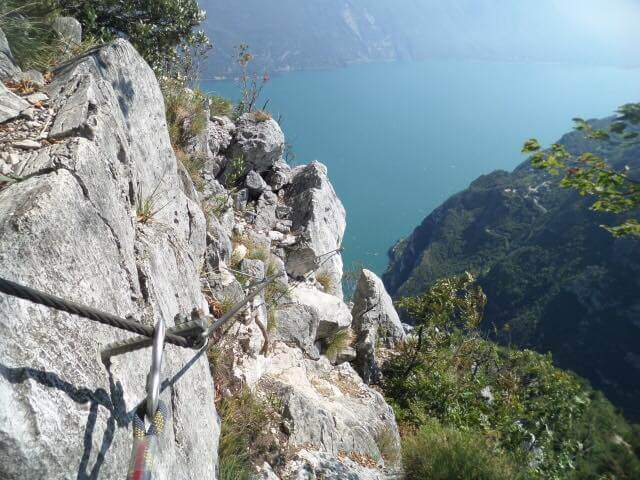
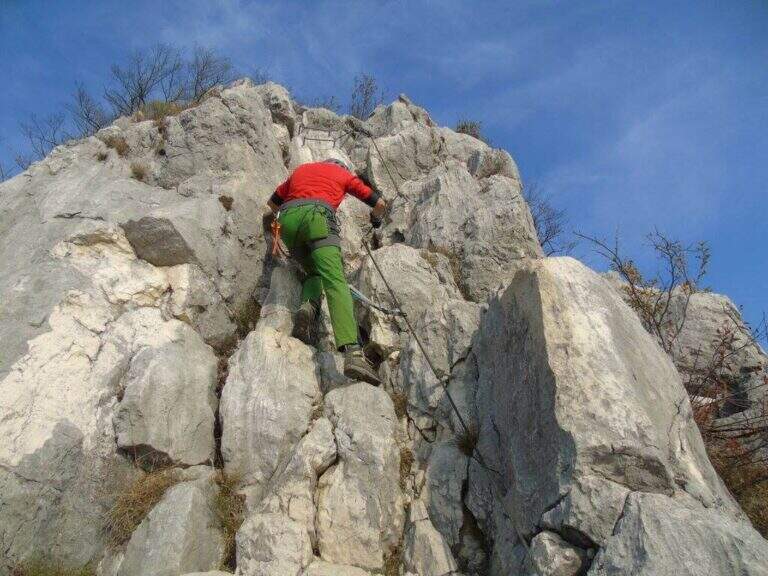
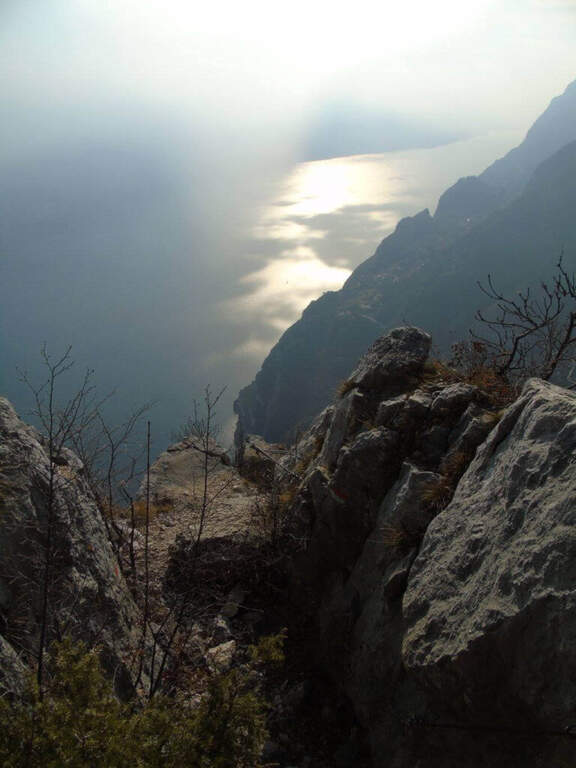
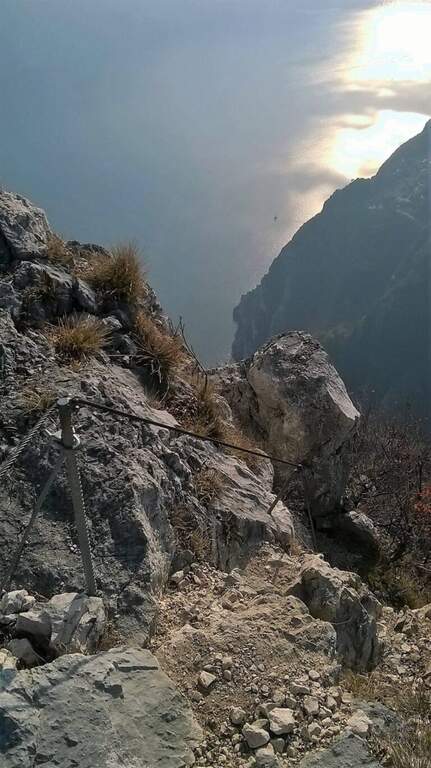
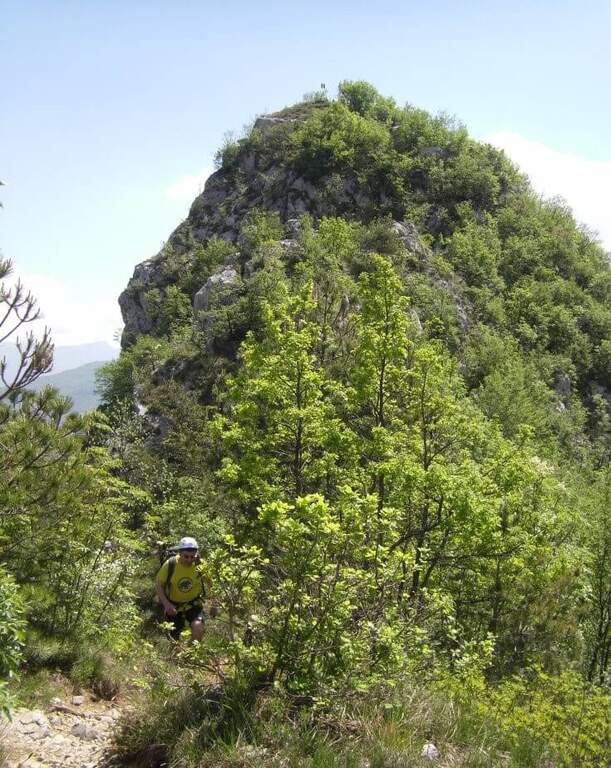
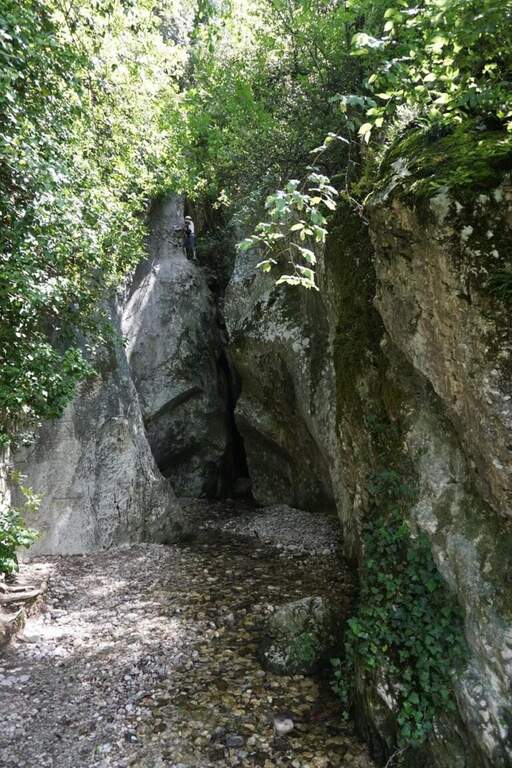
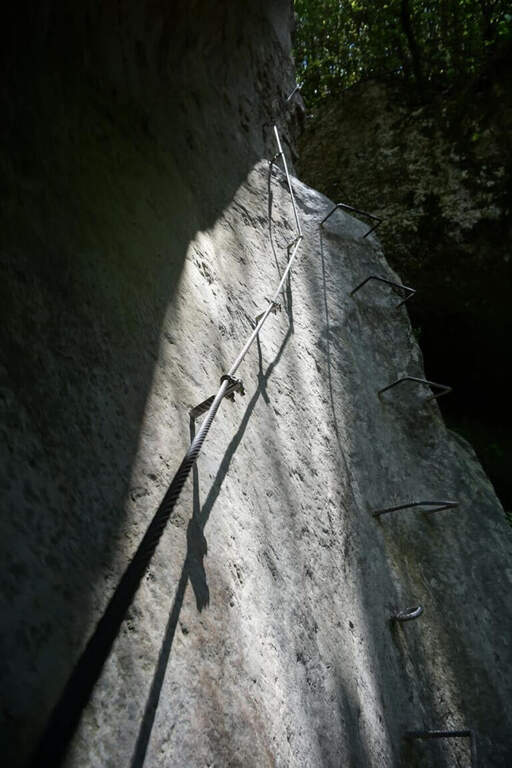
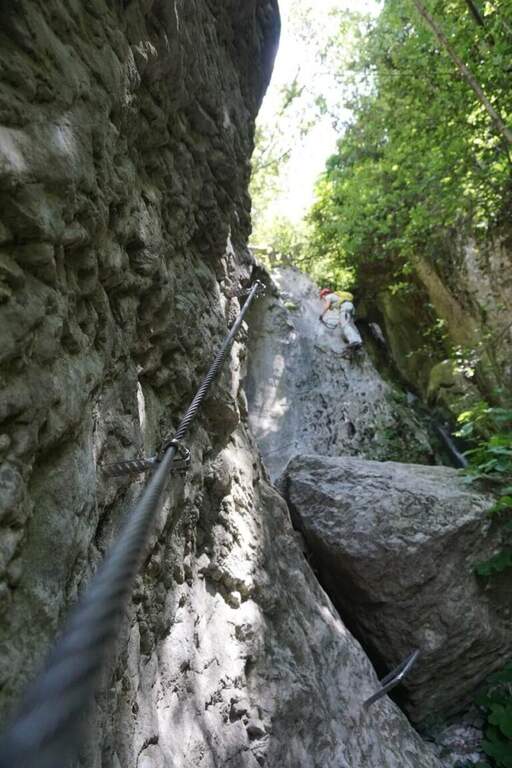
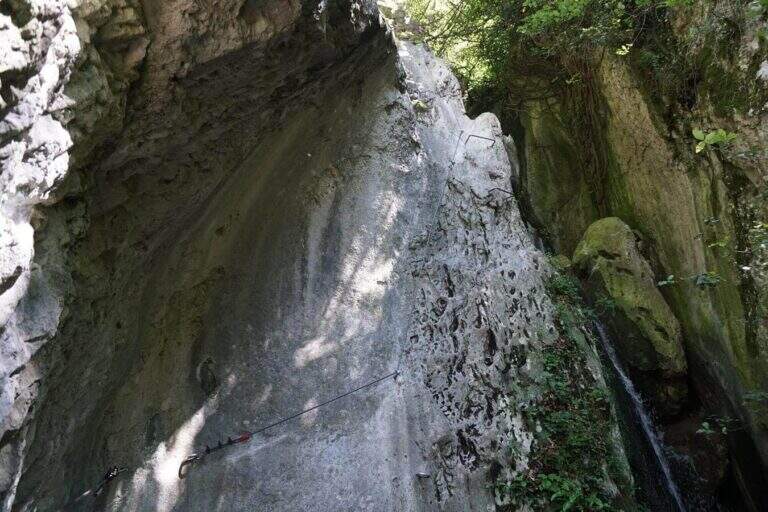
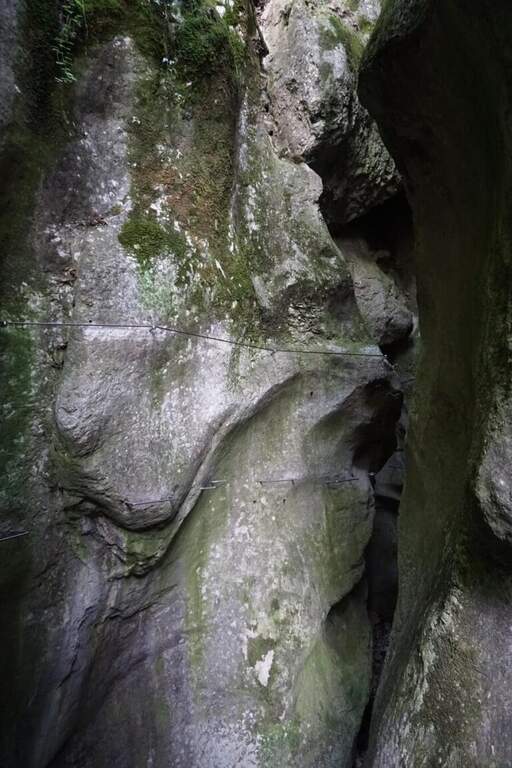
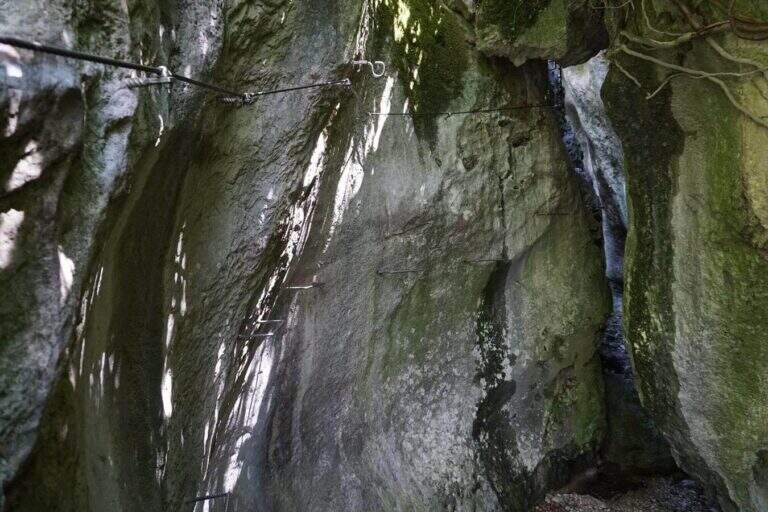
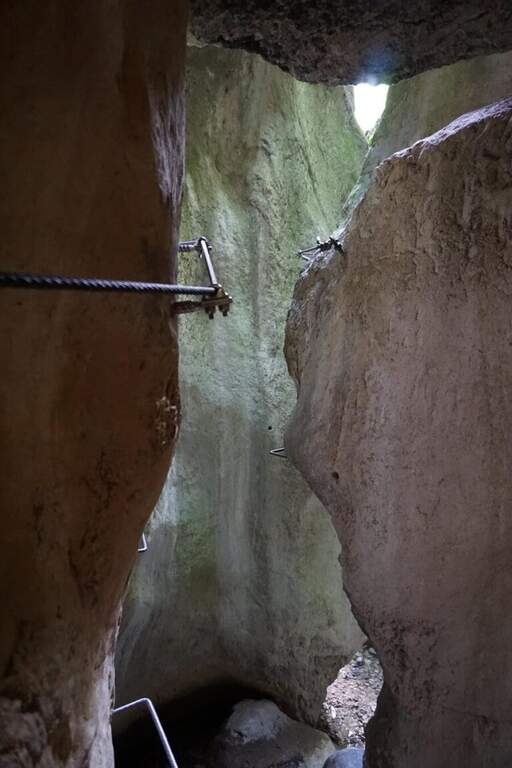
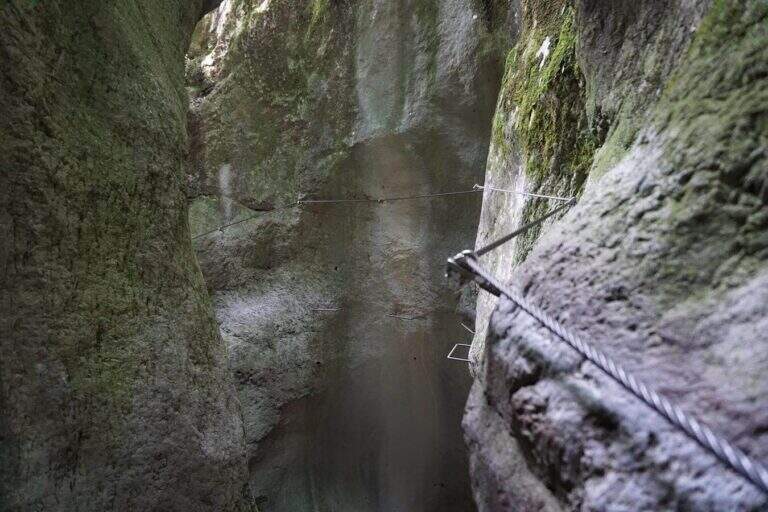
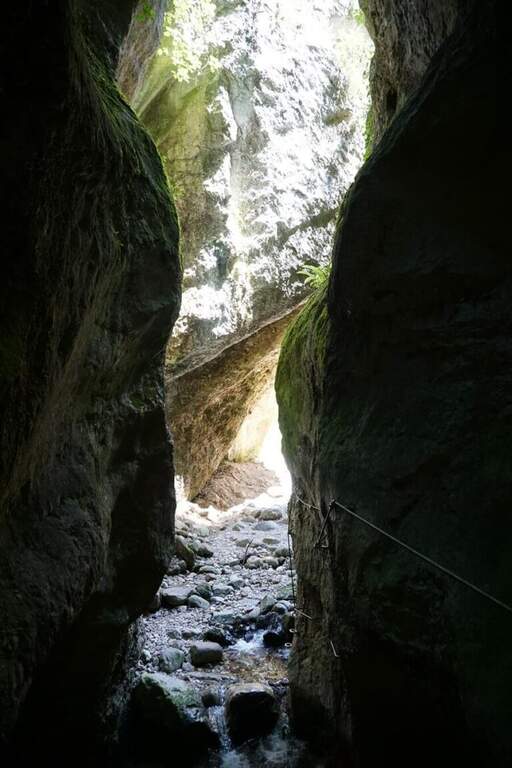
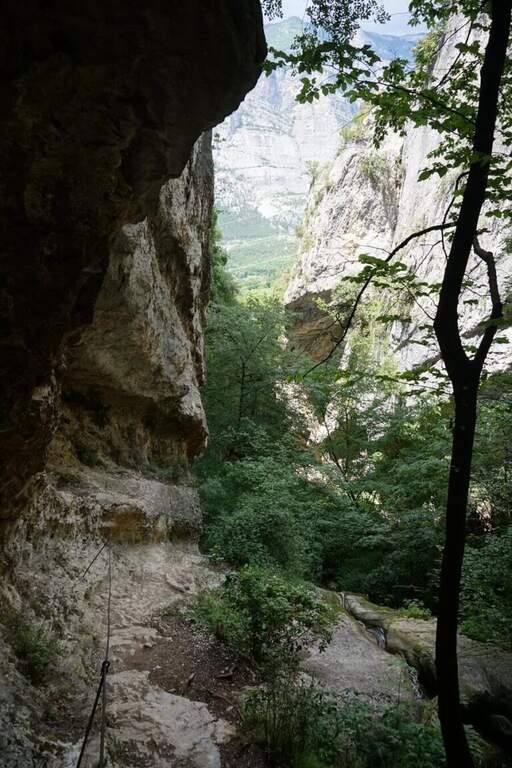
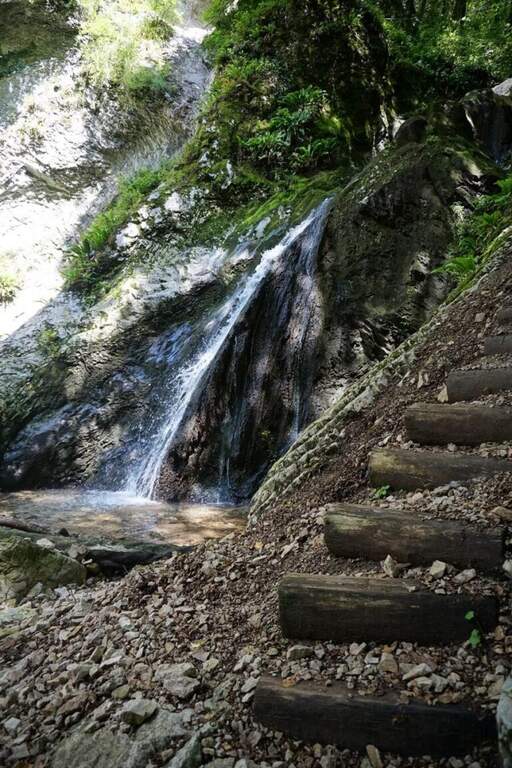
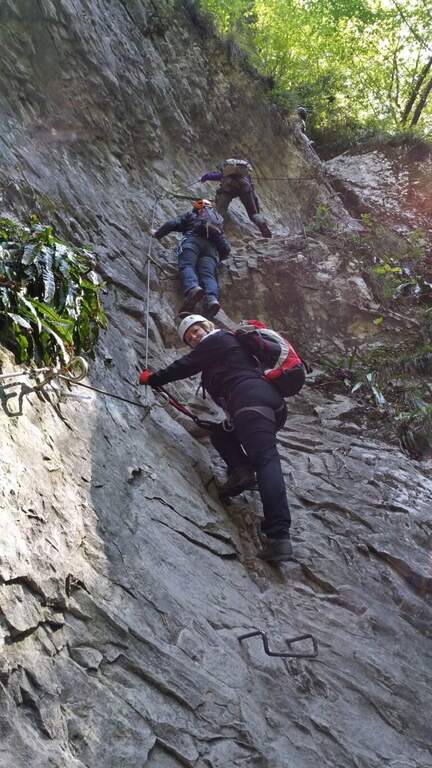
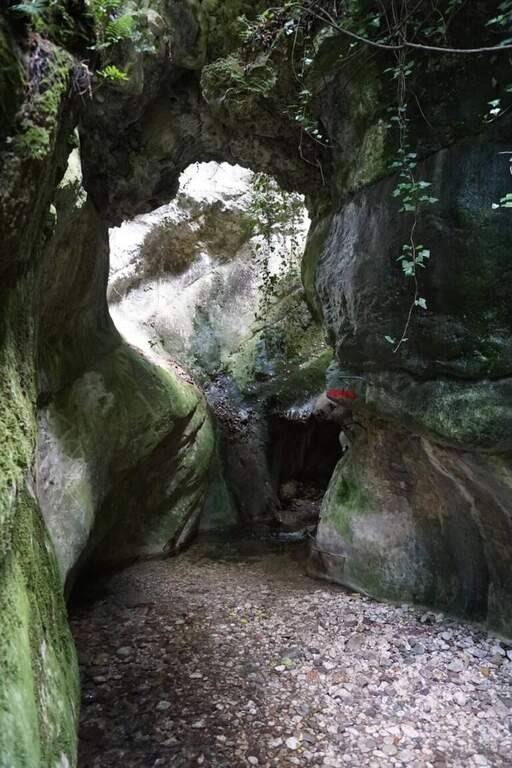
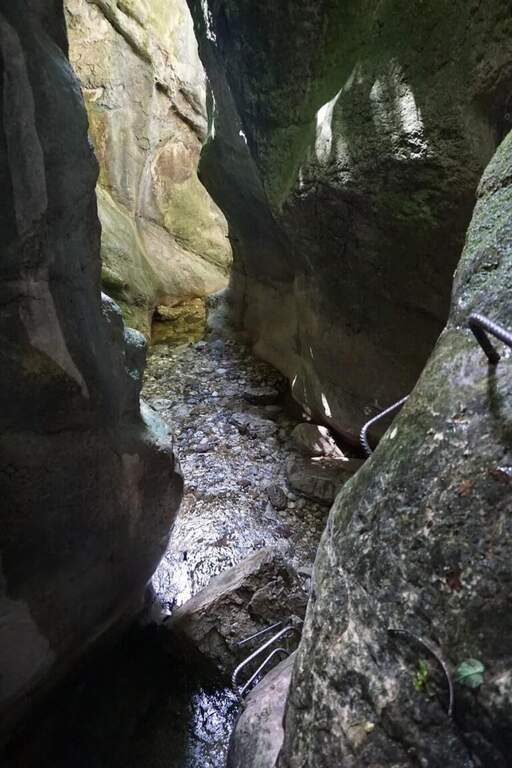
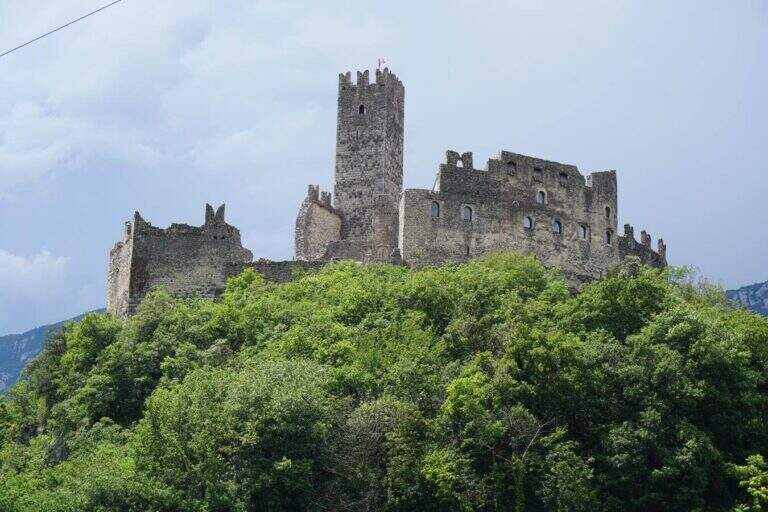
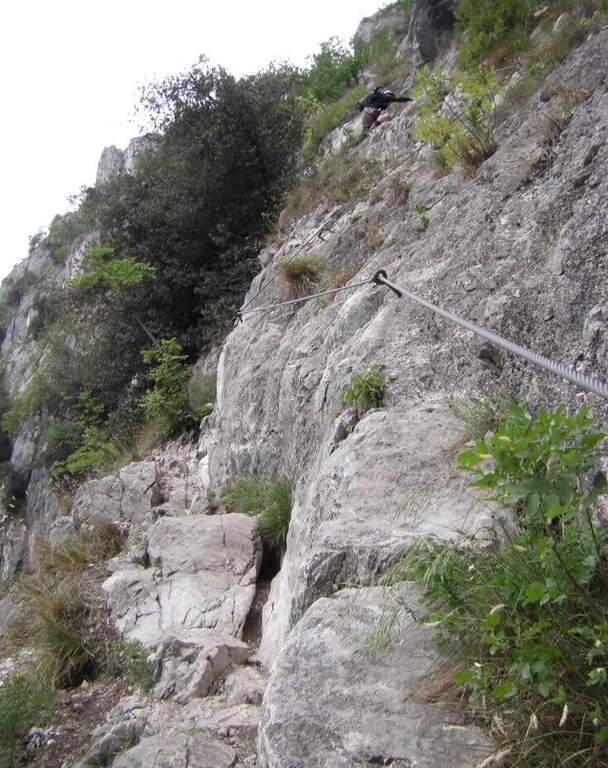
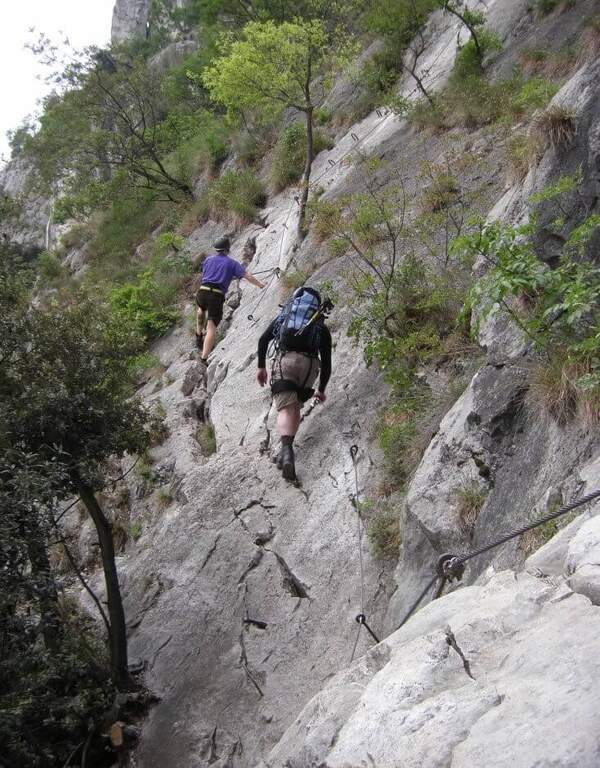
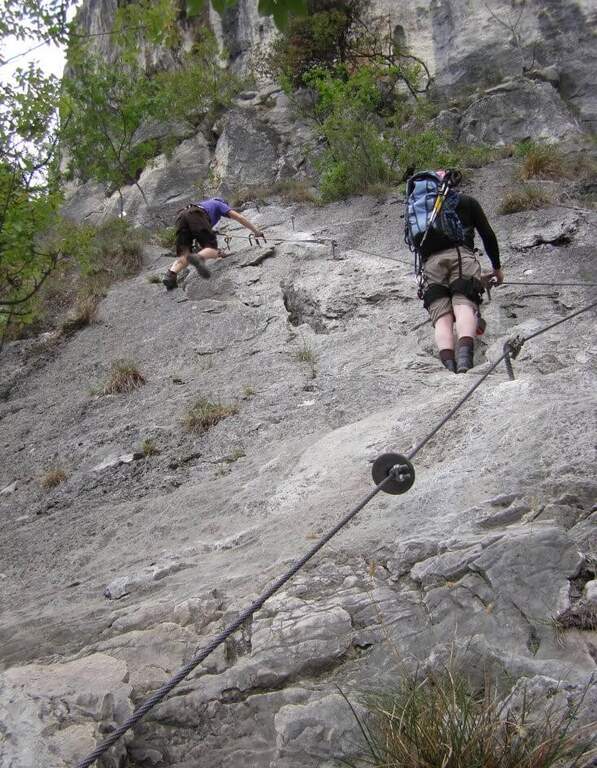
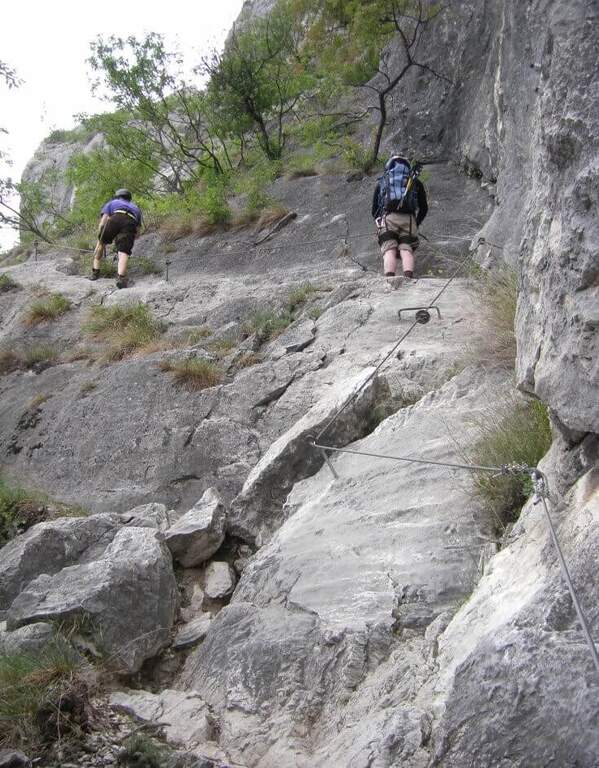
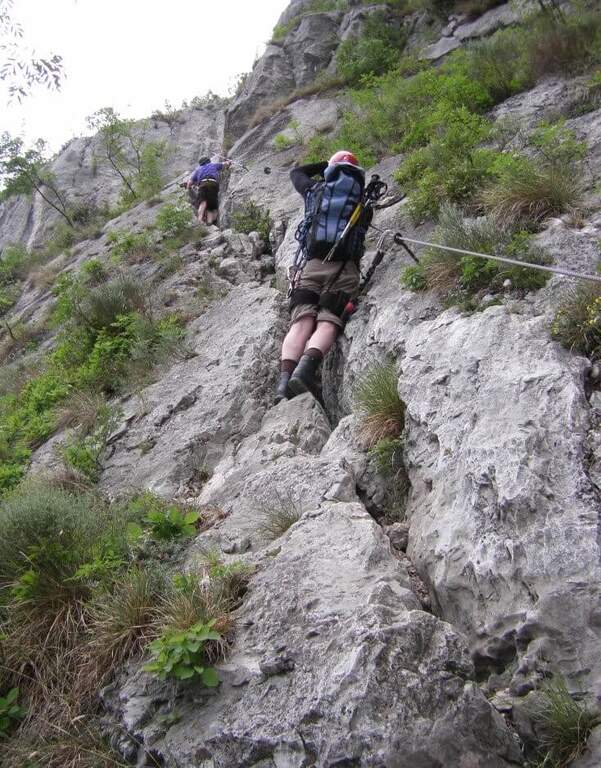
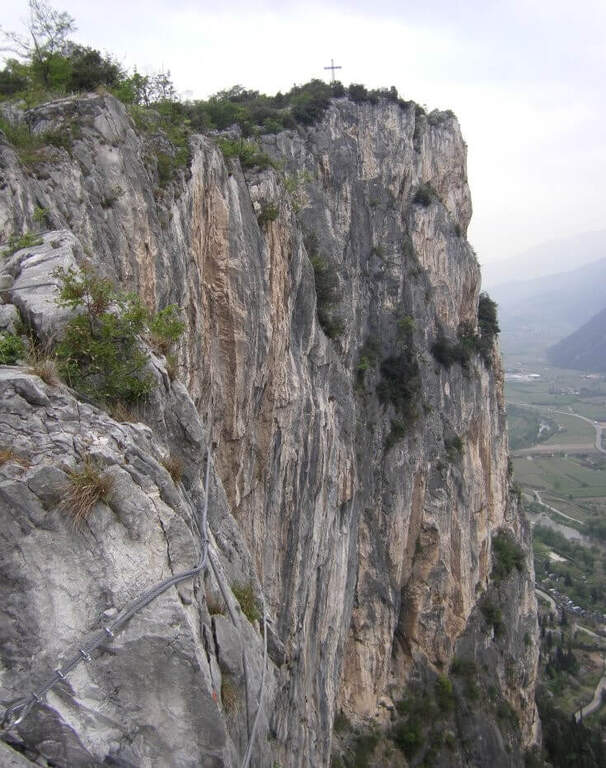
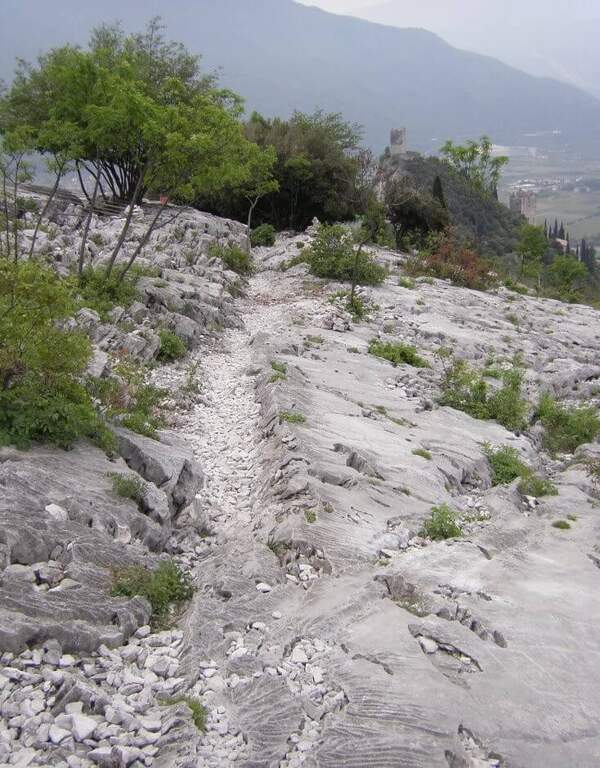
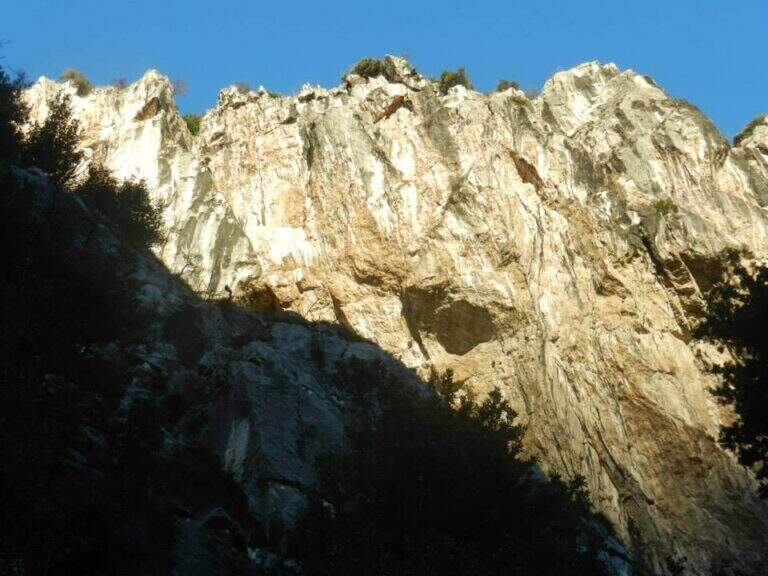
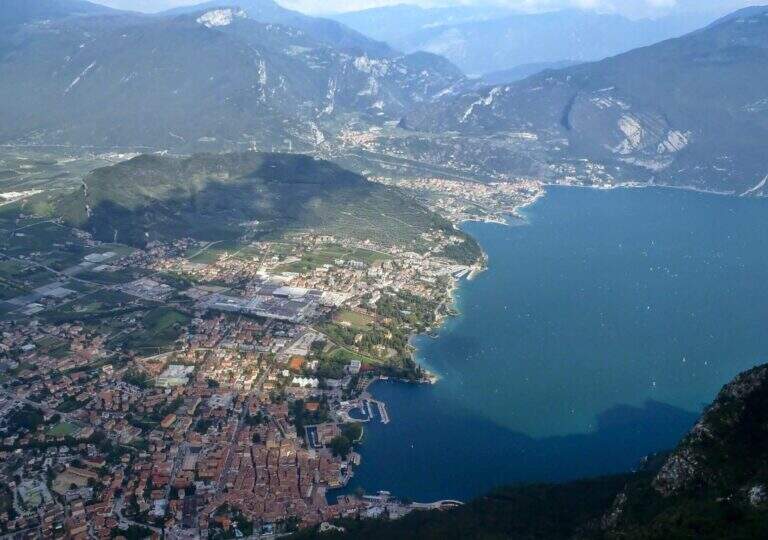
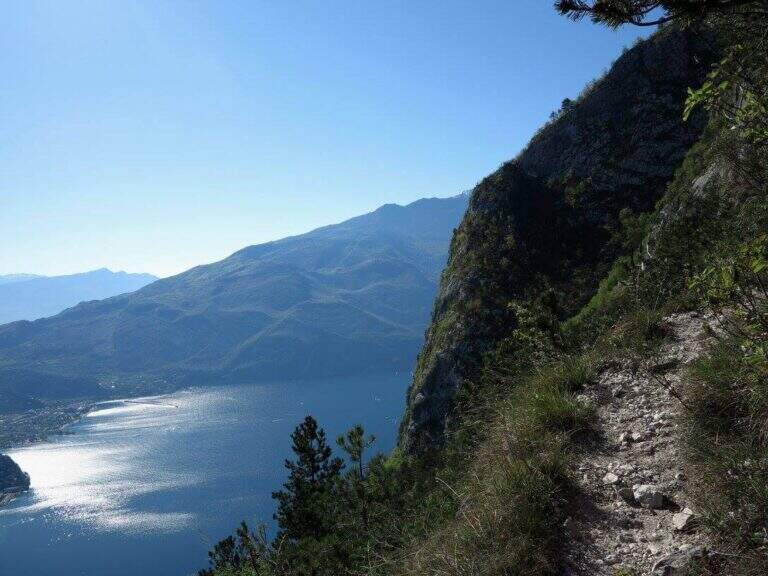
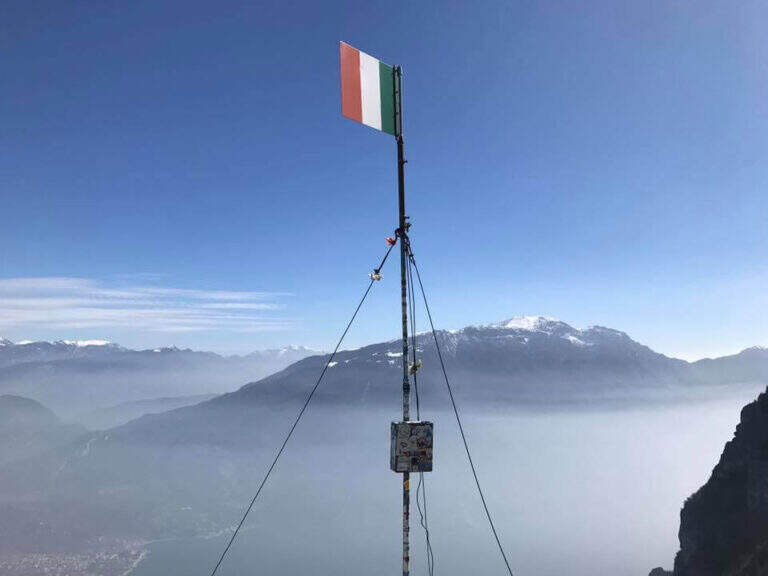
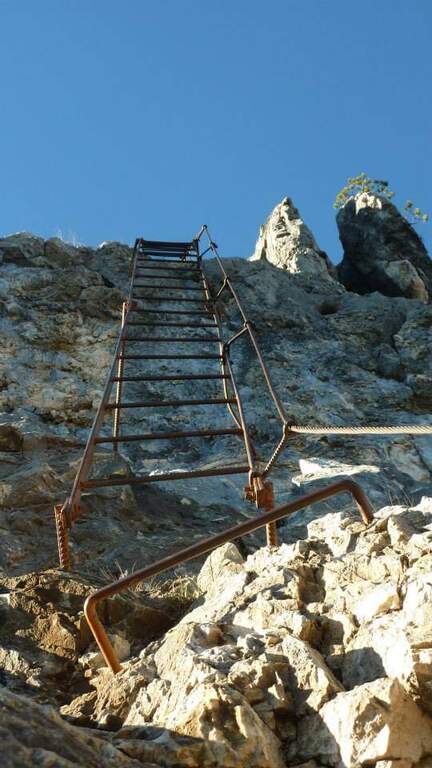
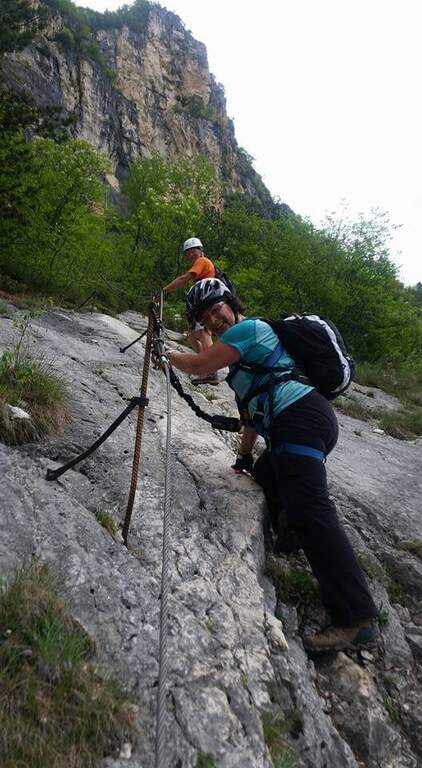
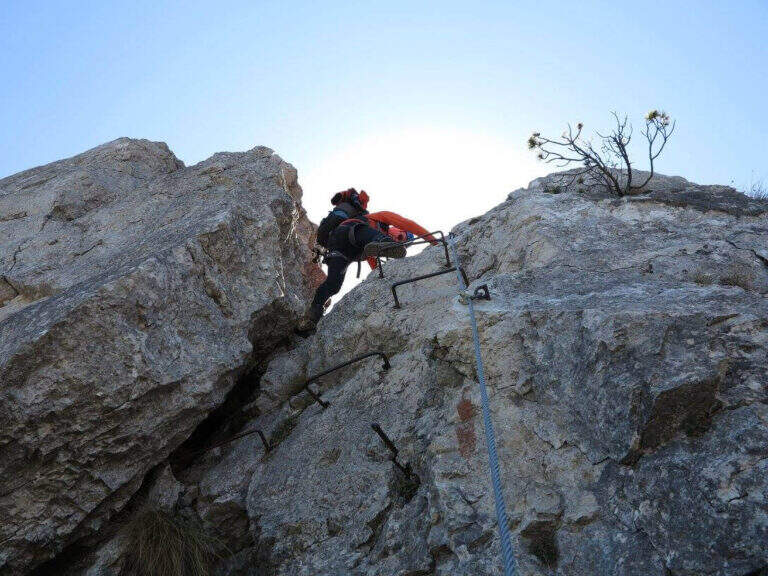
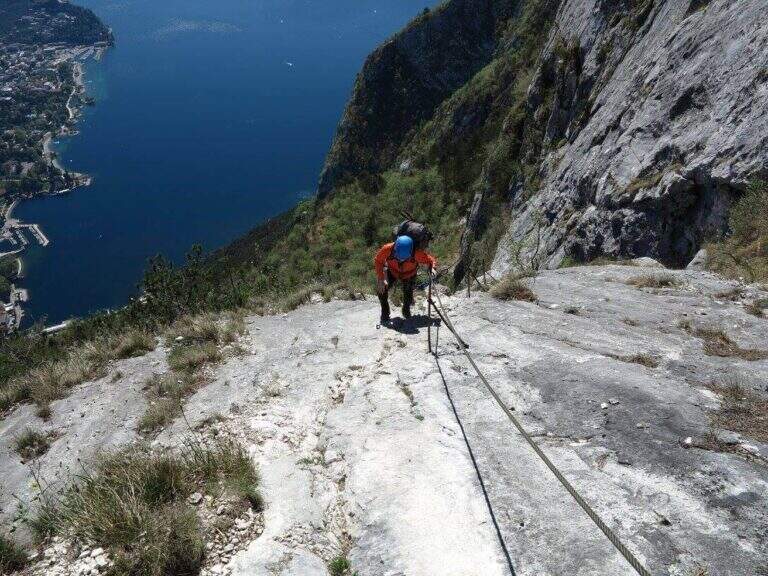
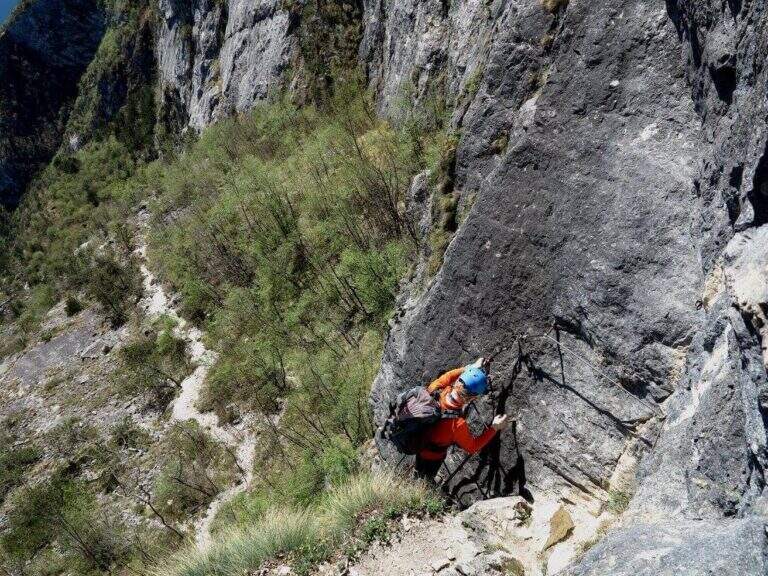
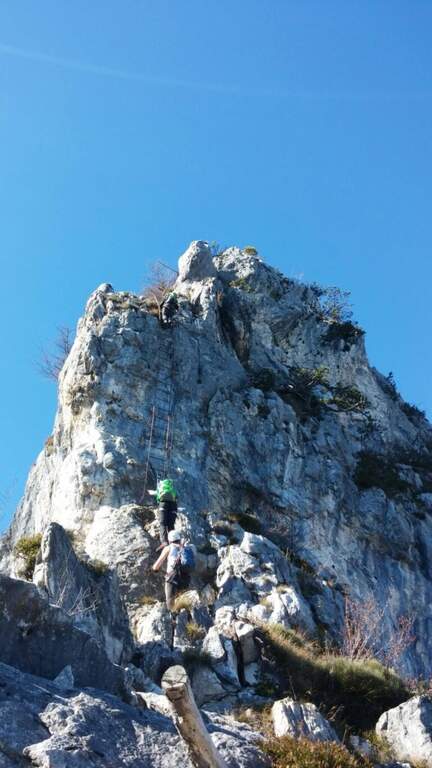
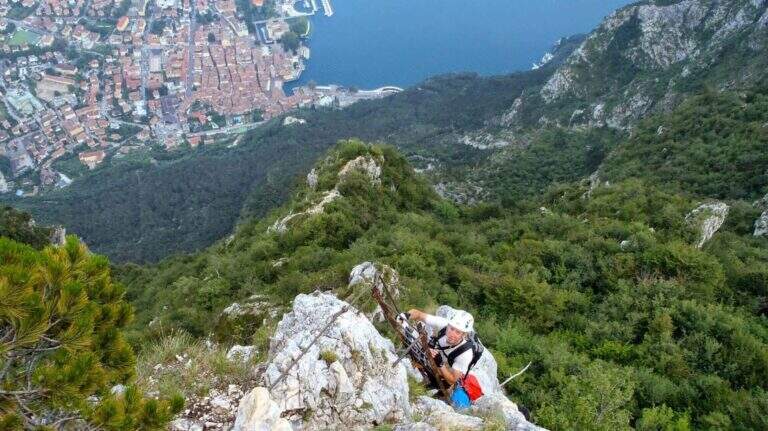
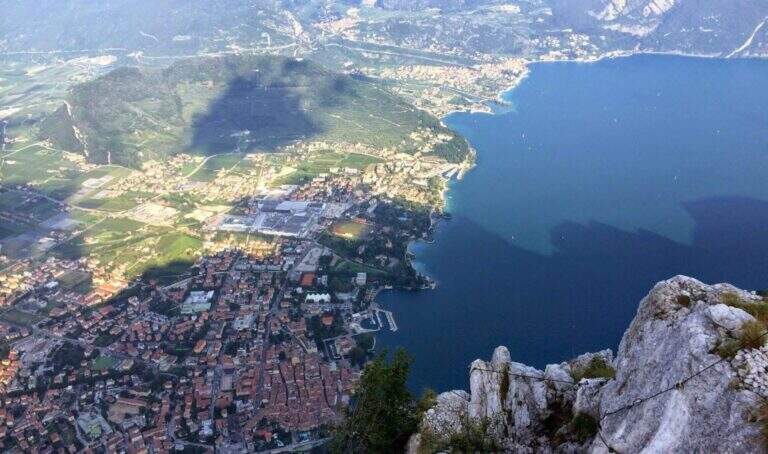
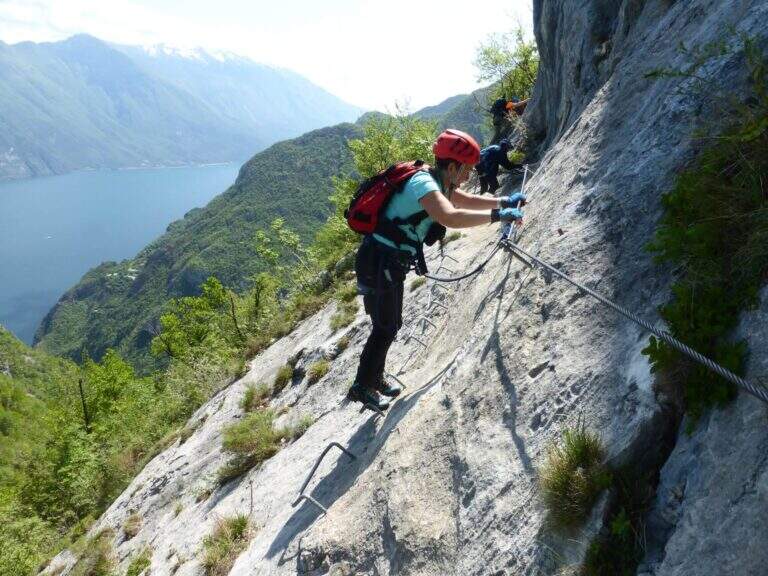
    The Sentiero Attrezzato Foletti is a short but exposed route that descends from the north side of Cima Capi towards Biacesa di Ledro, frequently combined as a descent path to Ferrata Susatti.

    How to arrive and approach

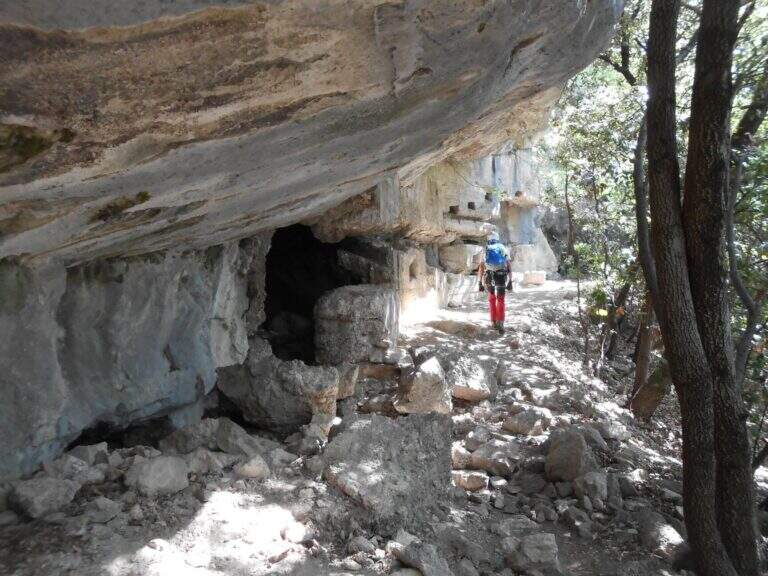
    The village of Biacesa is reached from Riva del Garda along the tunnels towards the Val di Ledro; after the second tunnel it is almost immediately in Biacesa. In the village take Via dei Dazi on the right and, at the bottom, turn right still continuing briefly until a playground with large parking, which is the base of the excursion. Those who intend to walk the Foletti as a descent path after Ferrata Susatti will have to read the report of the Ferrata for the starting point at altitude. For those who want to go back to the Foletti from the bottom, you can reach the Church of San Giovanni for the Path Atrezzato delle Laste (1 hour) or for the CAI 417 path and then CAI 460 from Biacesa (1 hour).

    The path

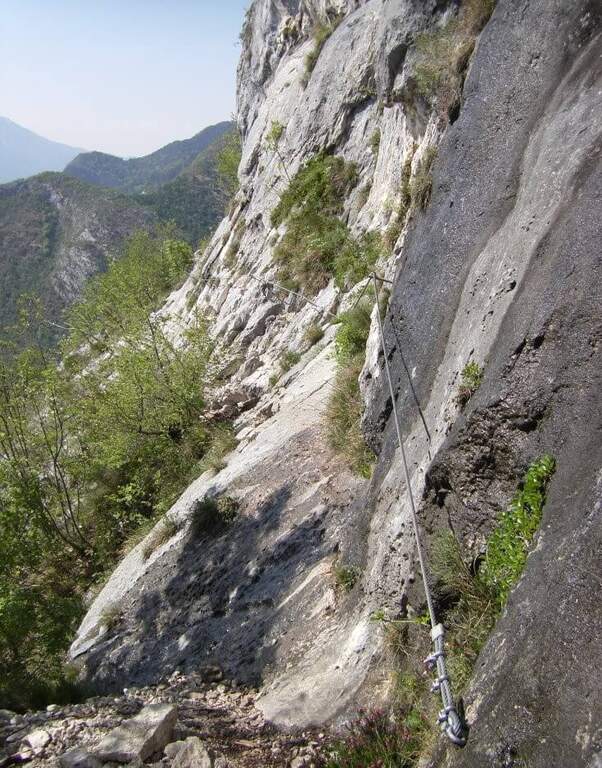
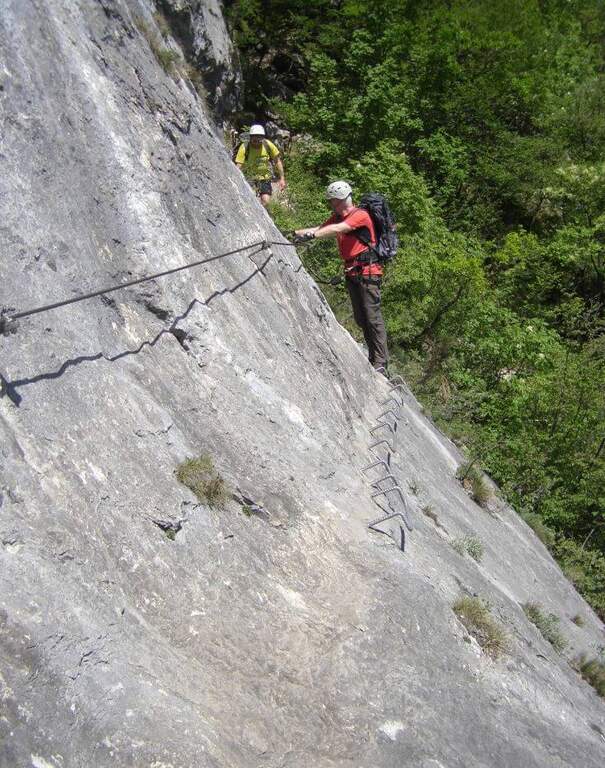
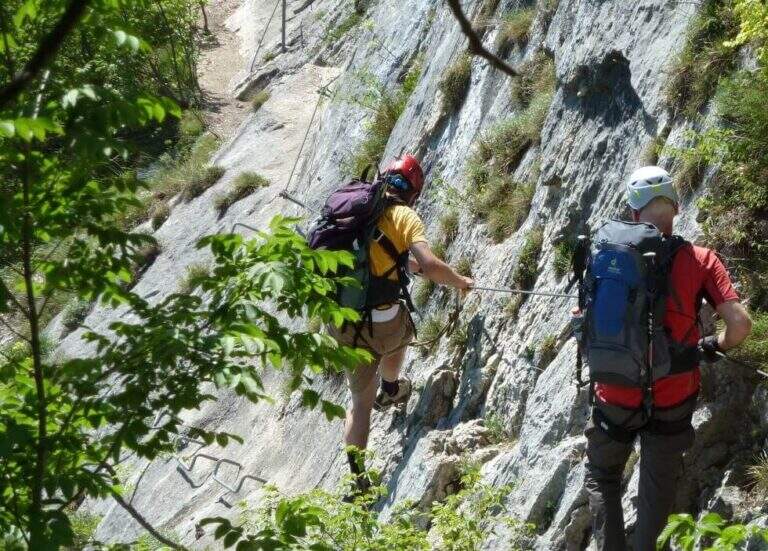
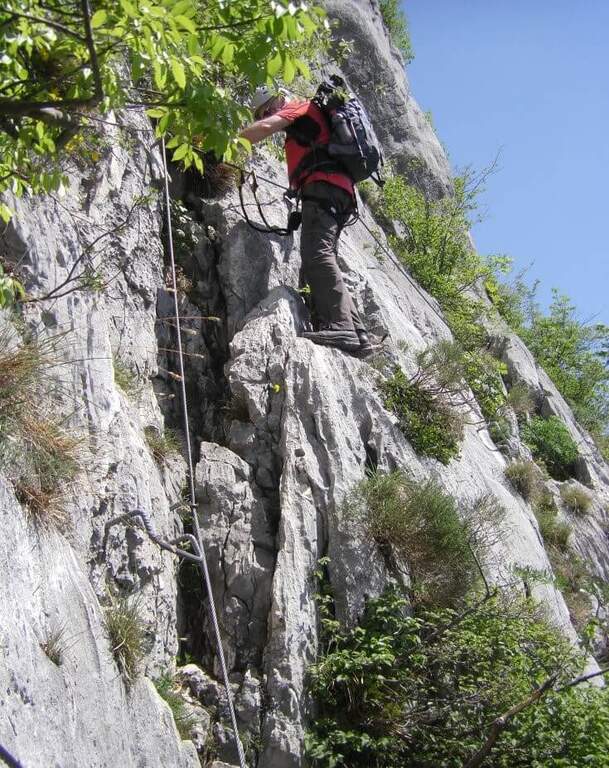
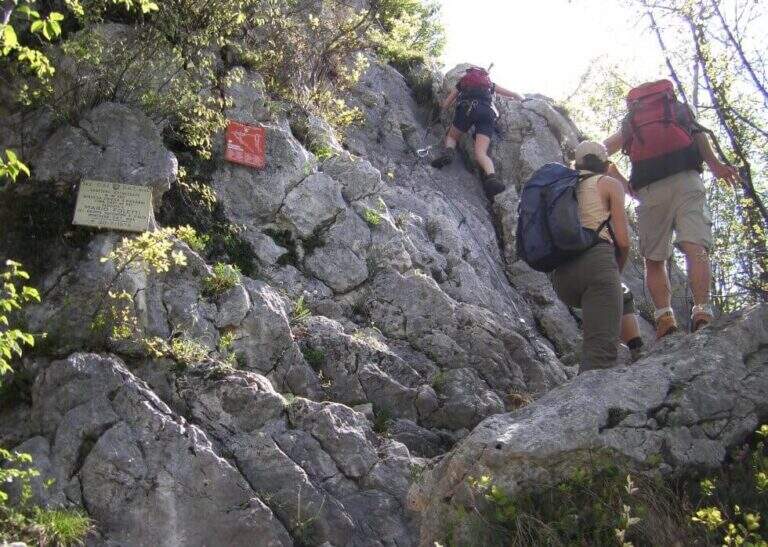
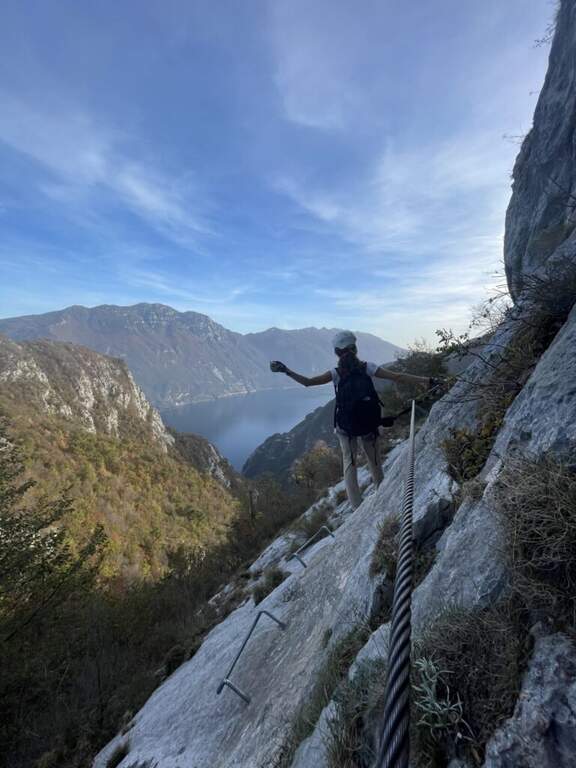
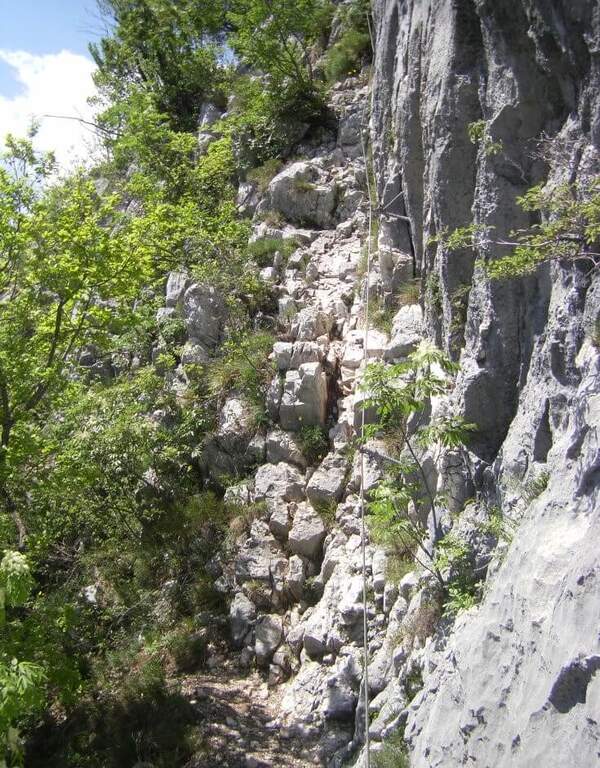
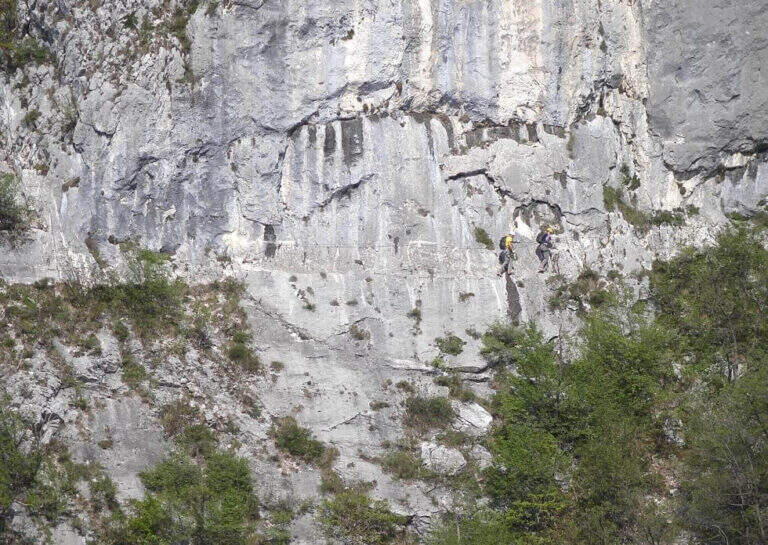
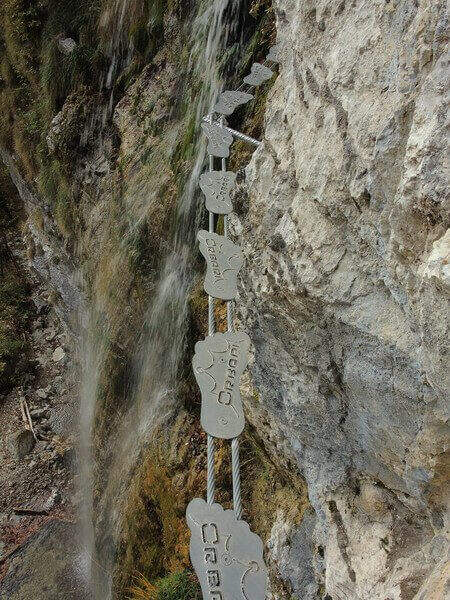
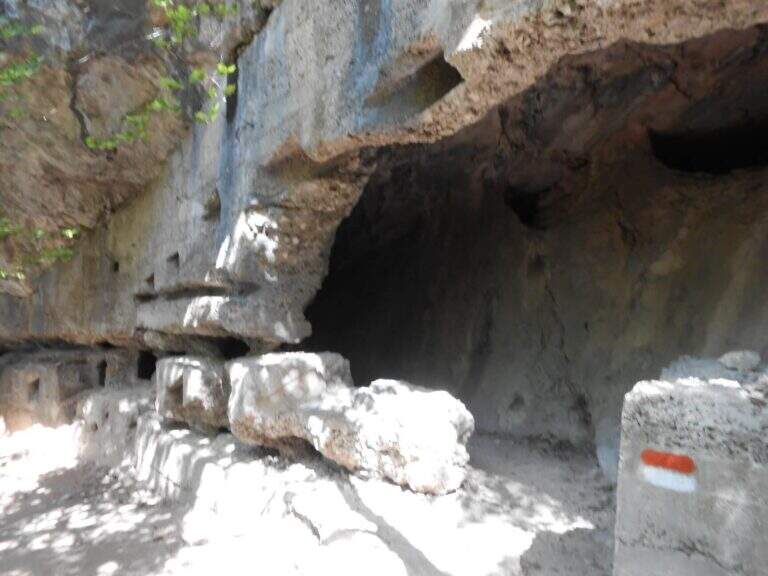
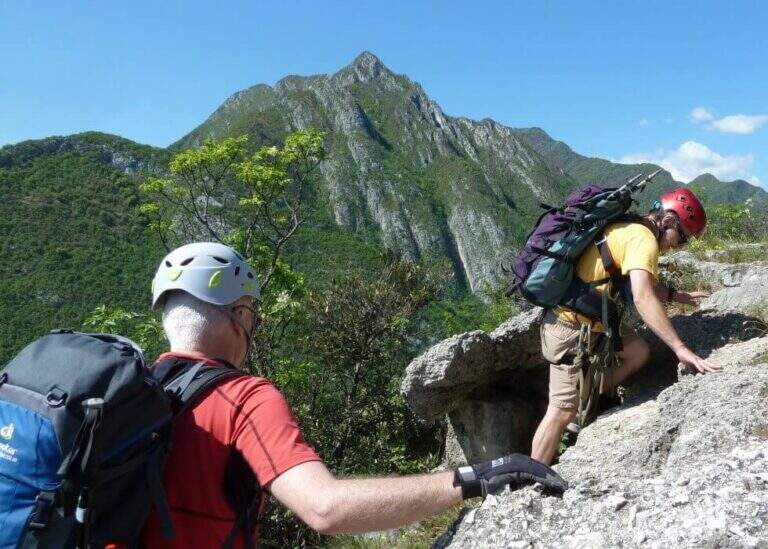
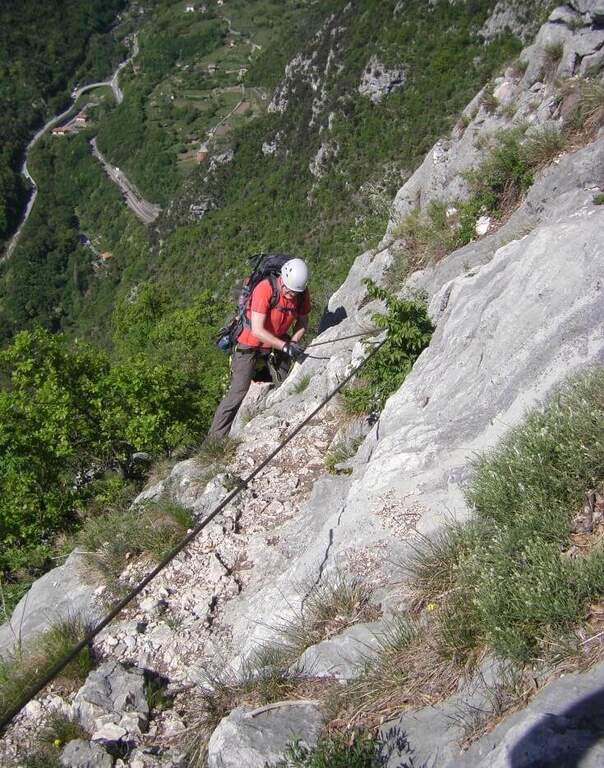
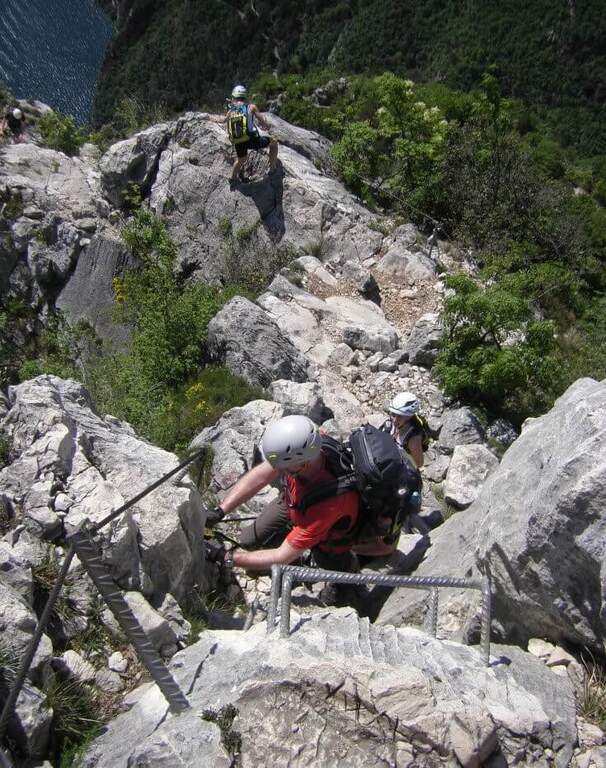
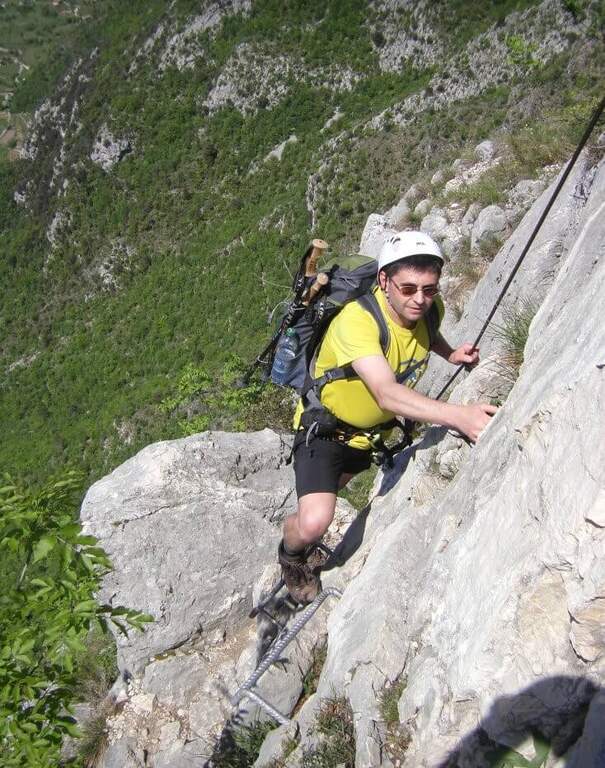
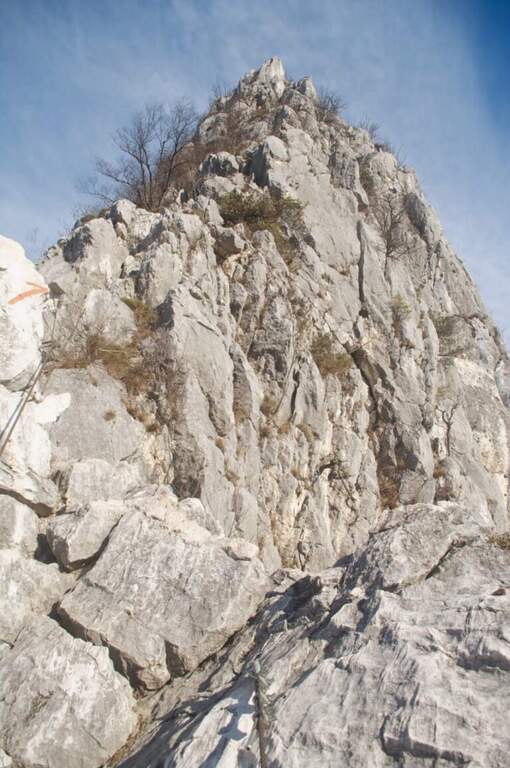
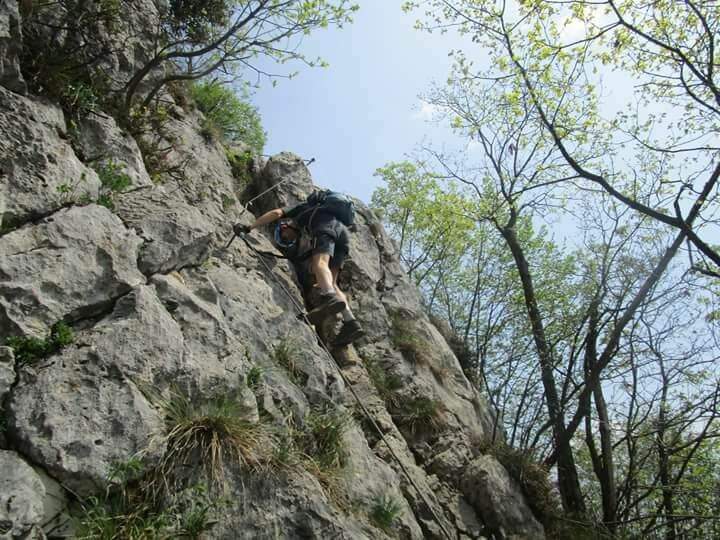
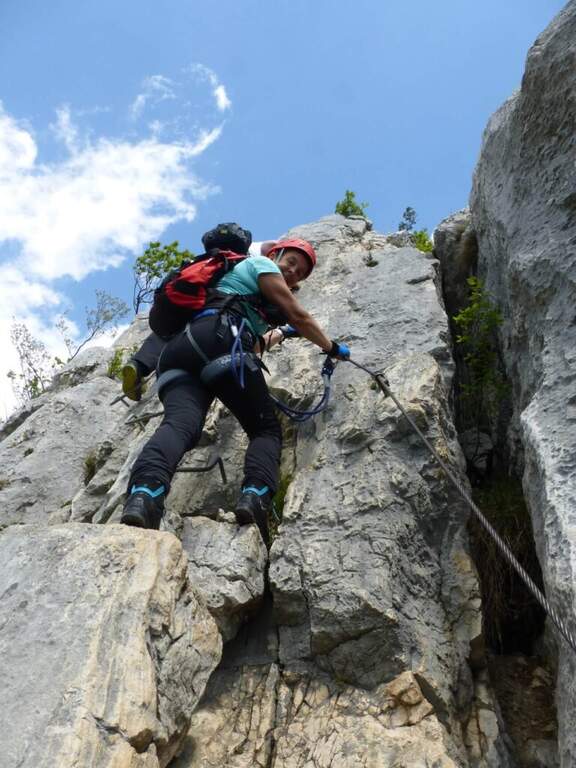
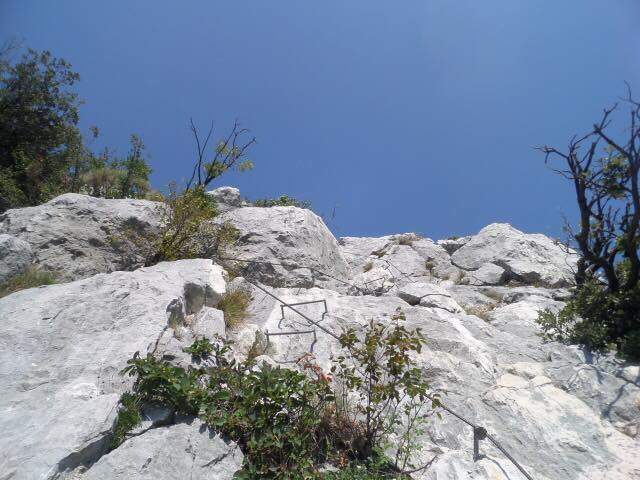
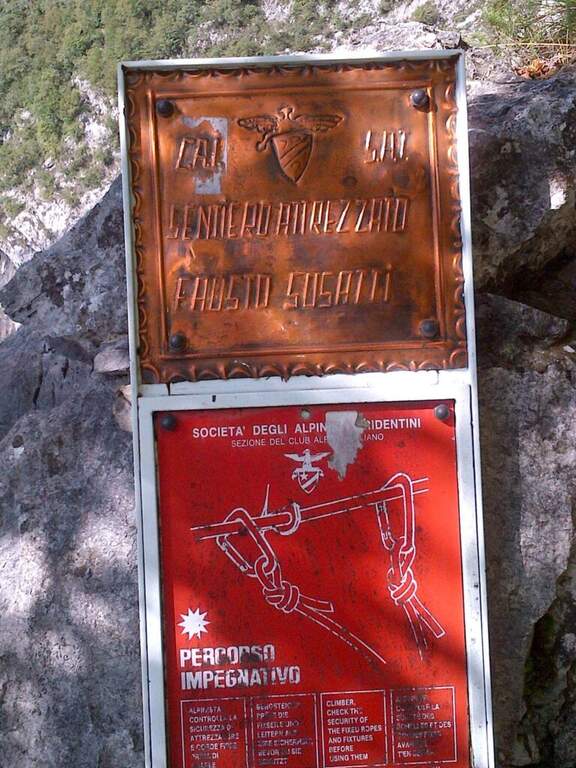
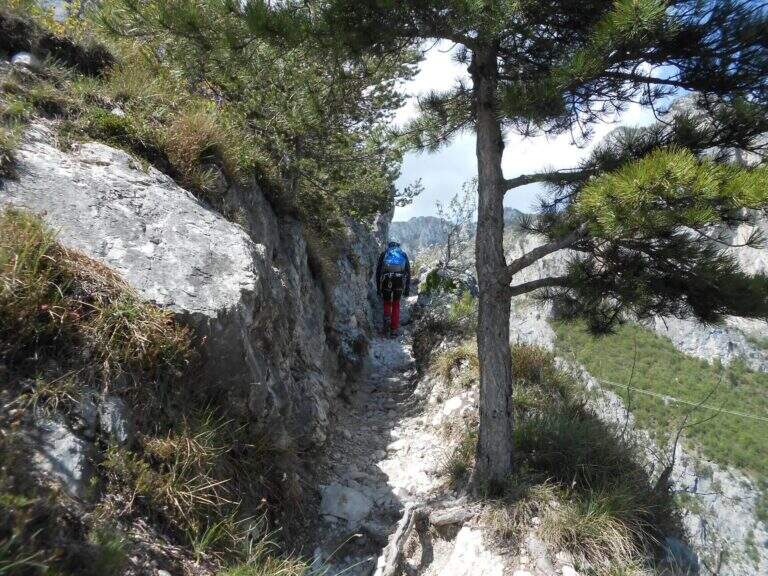
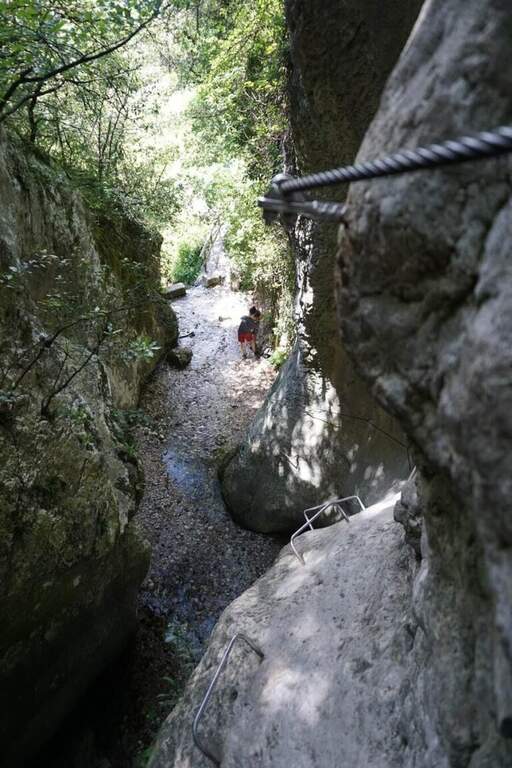
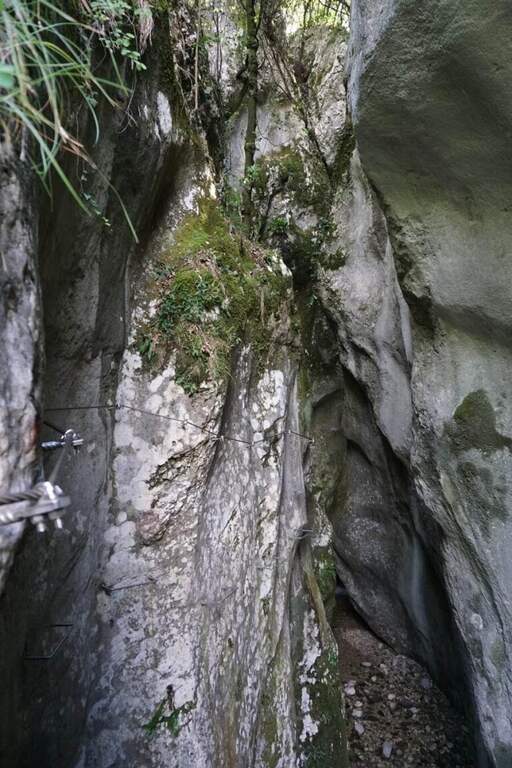
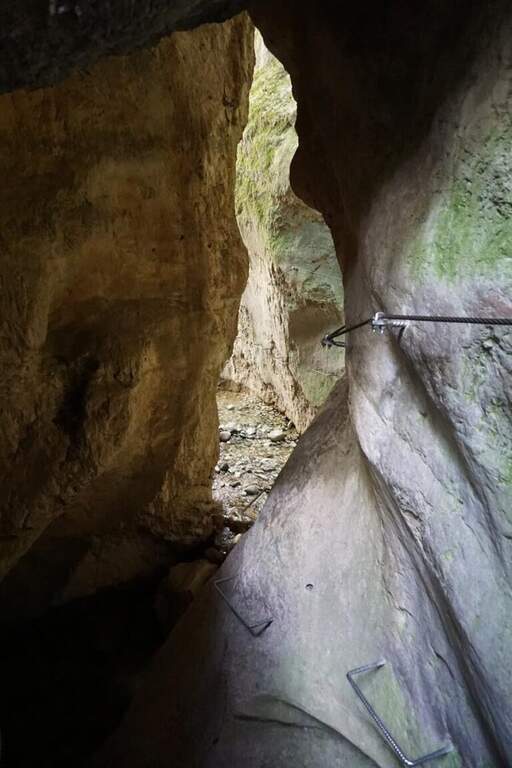
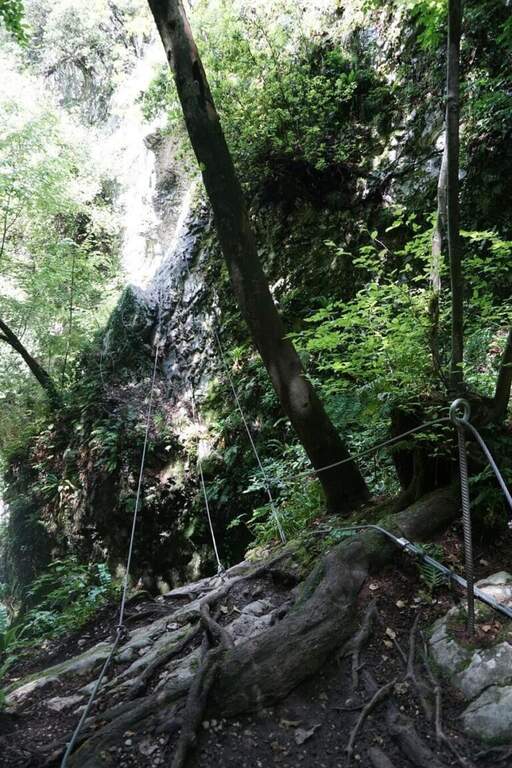
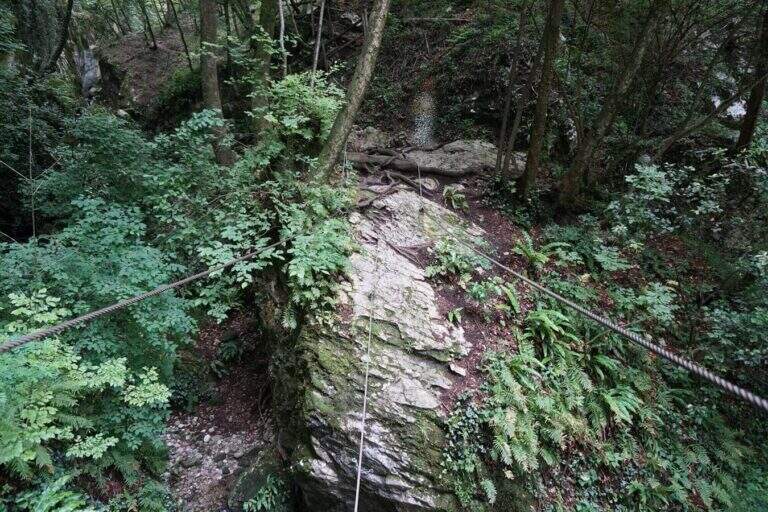
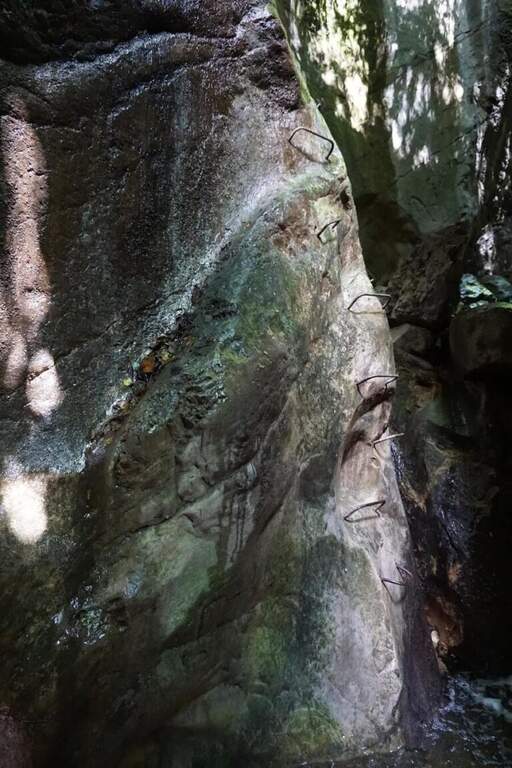
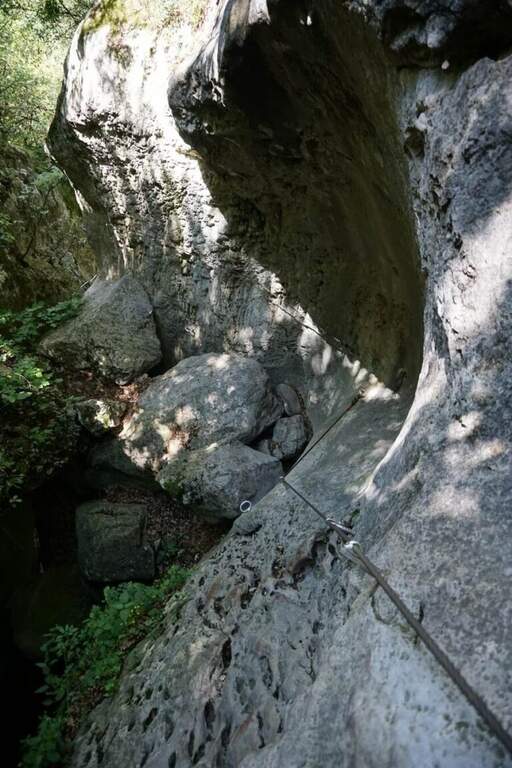
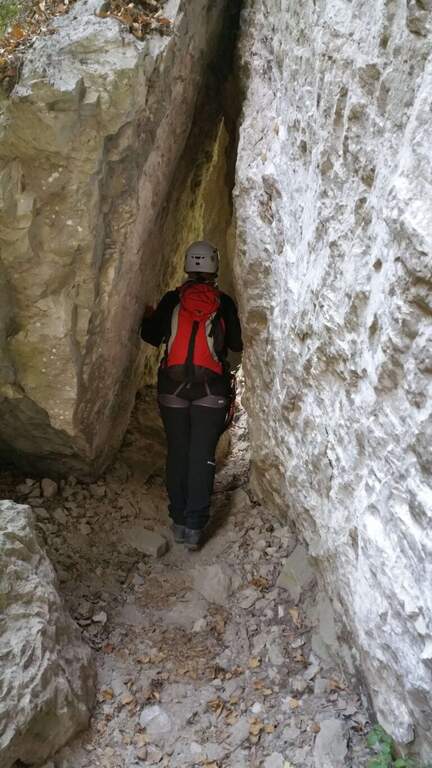
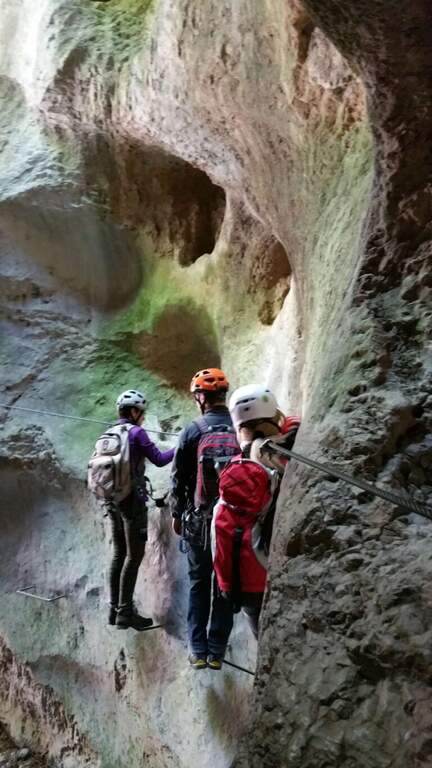
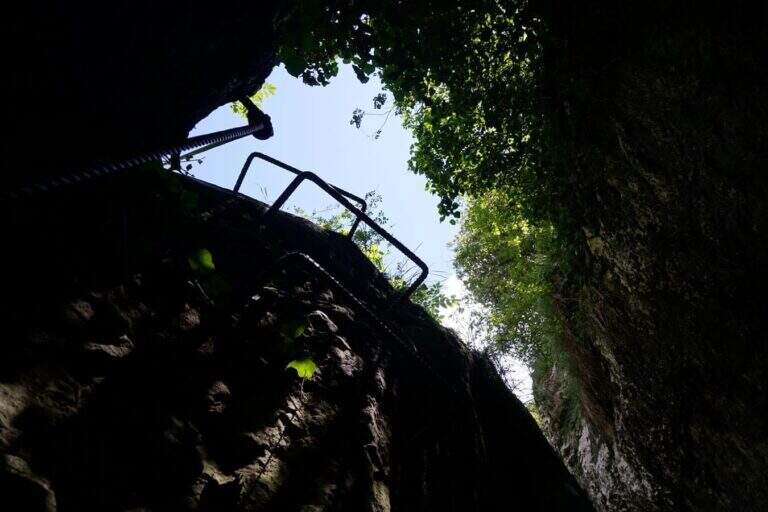
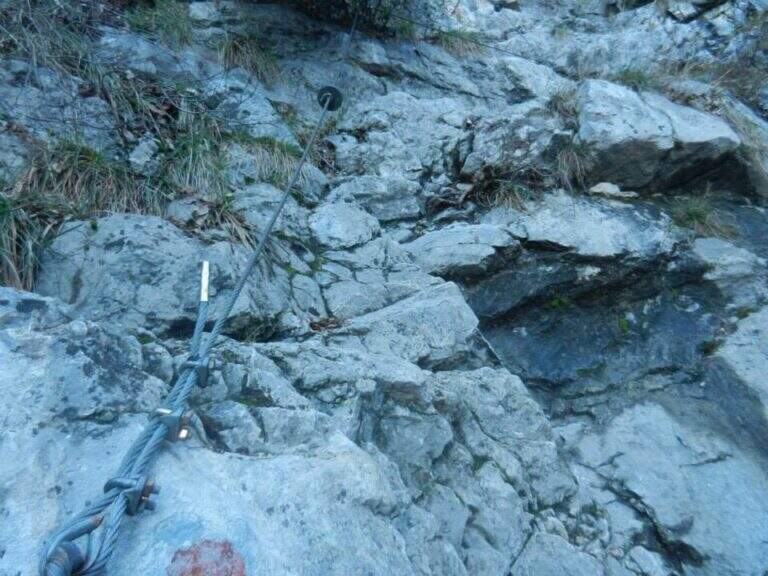
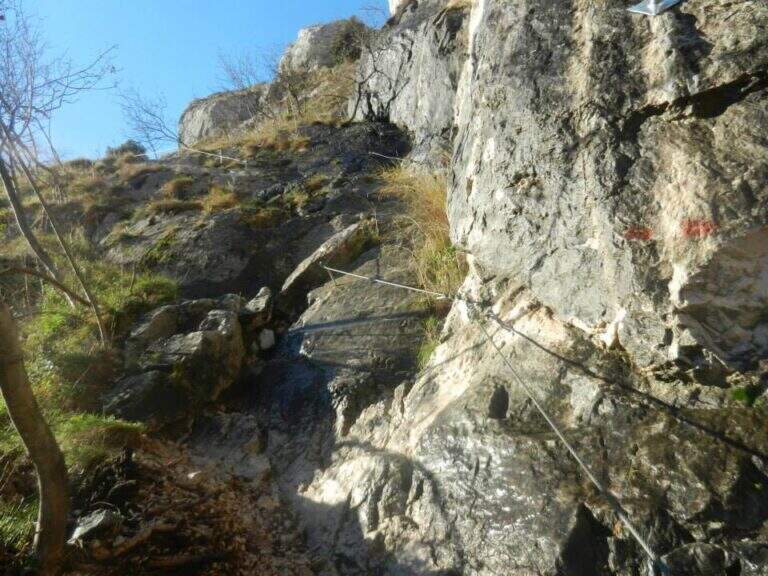
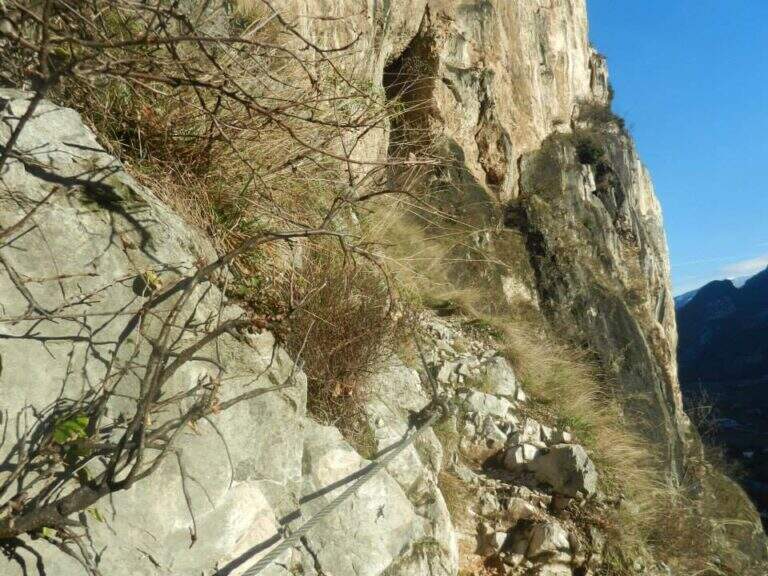
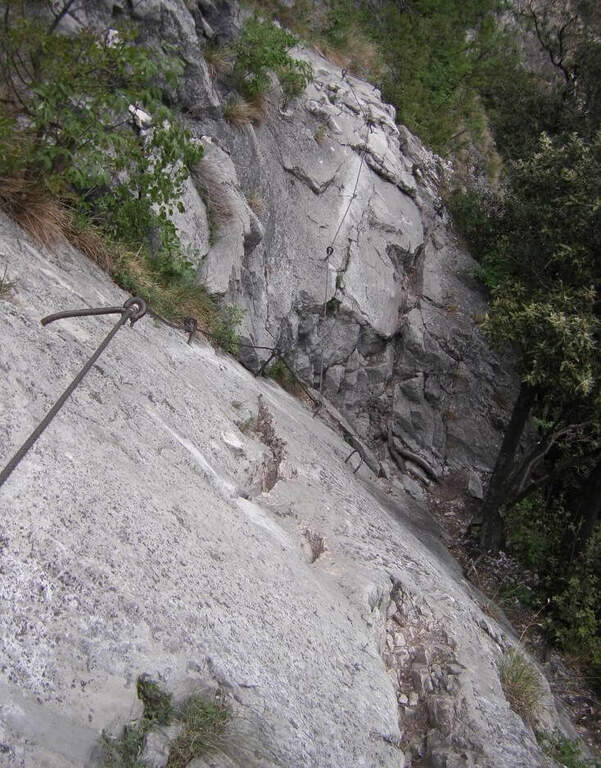
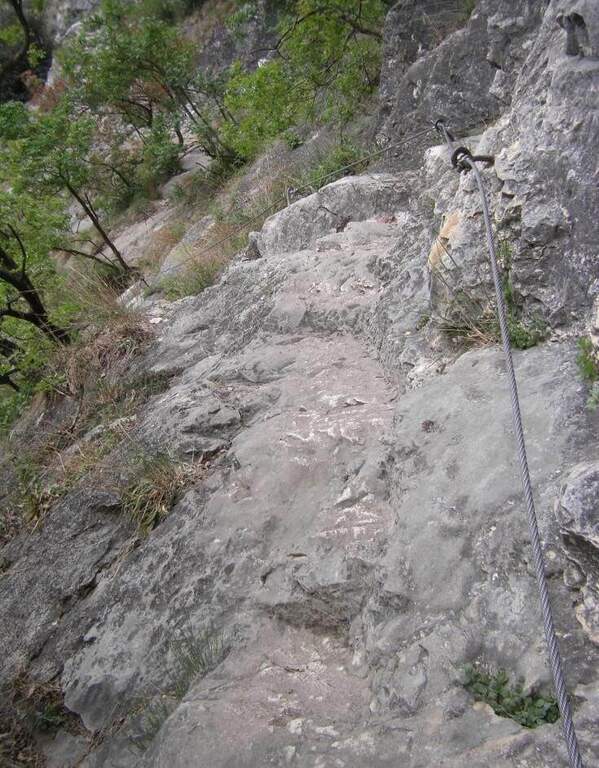
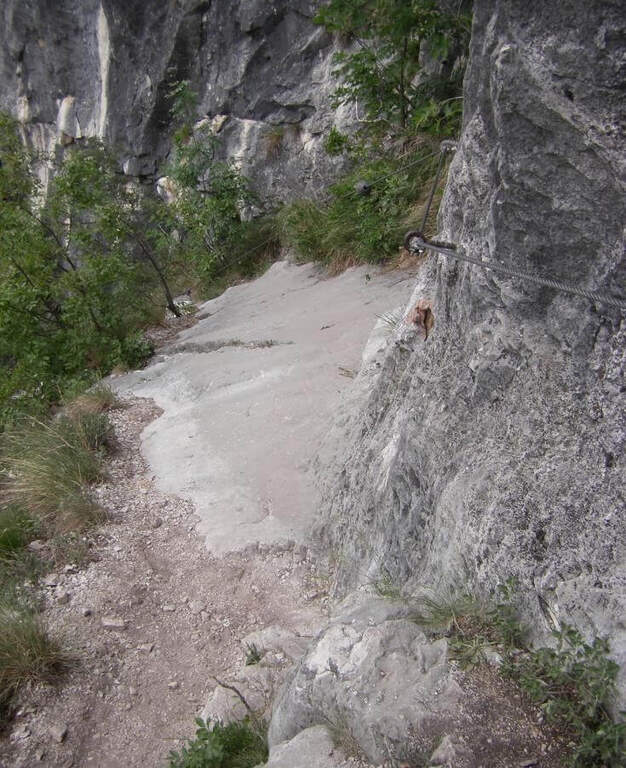
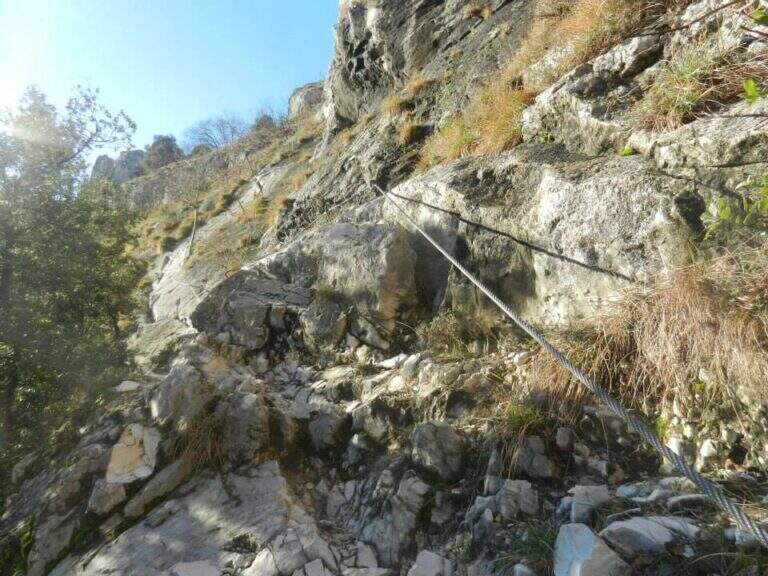
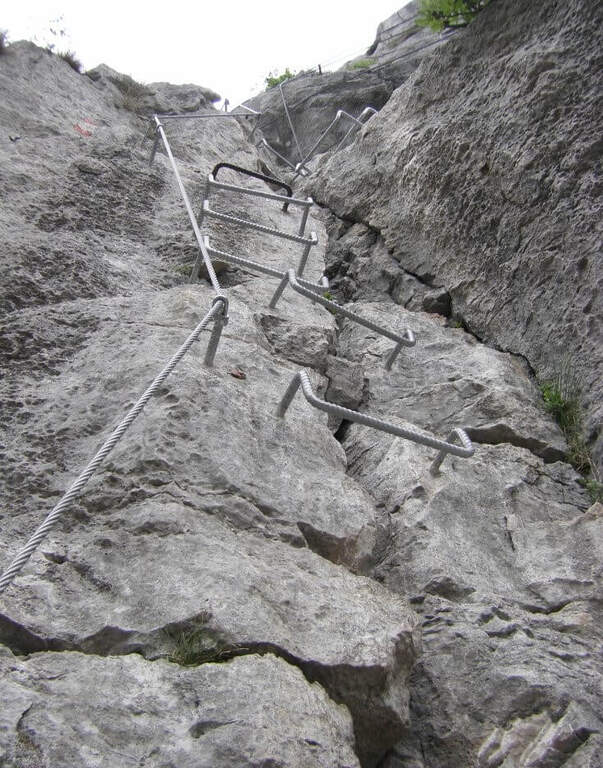
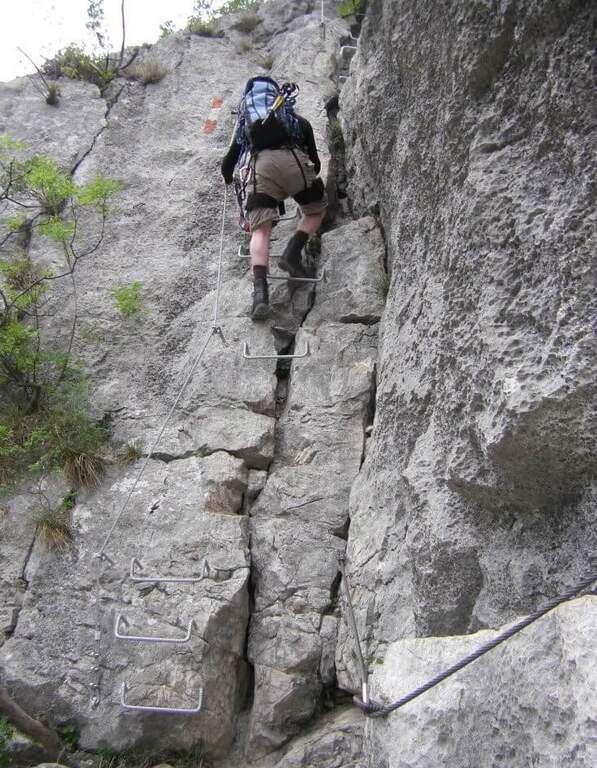
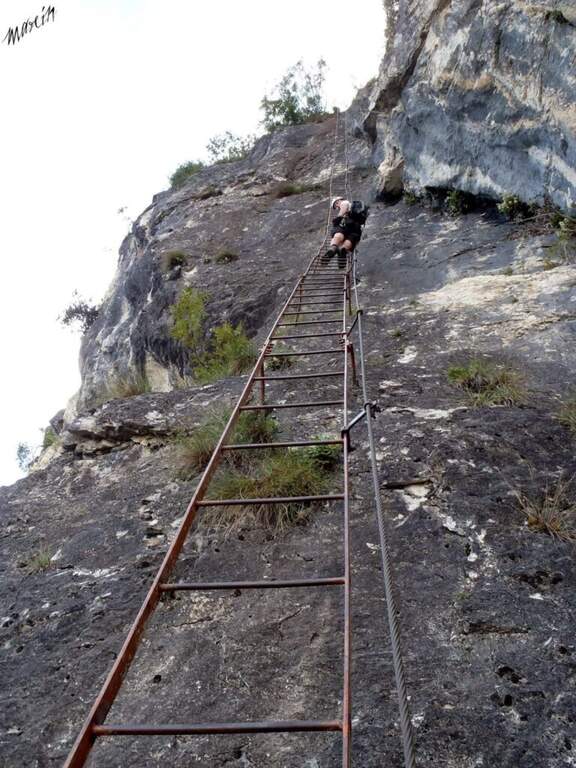
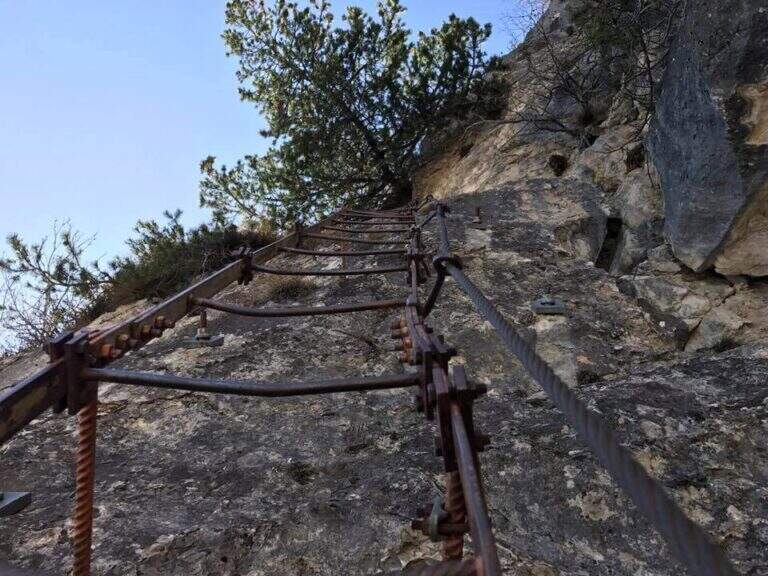
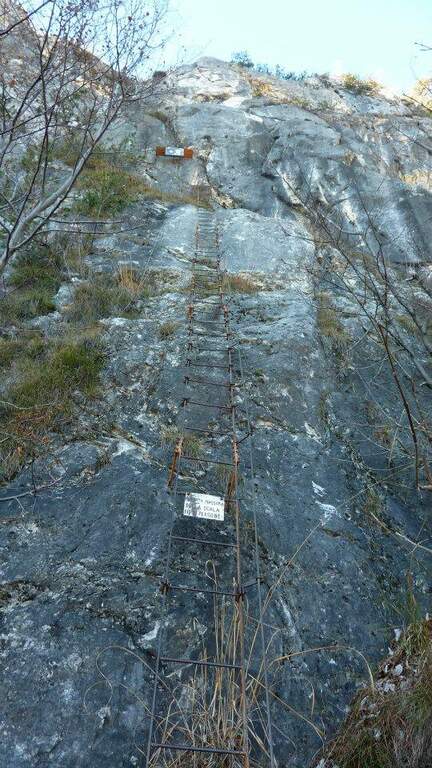
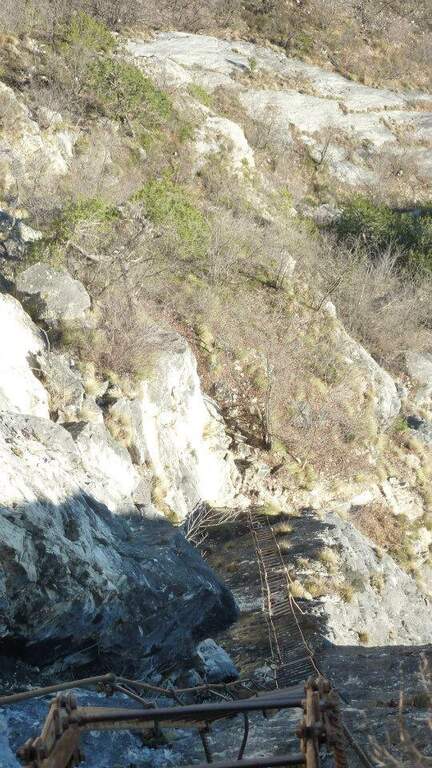
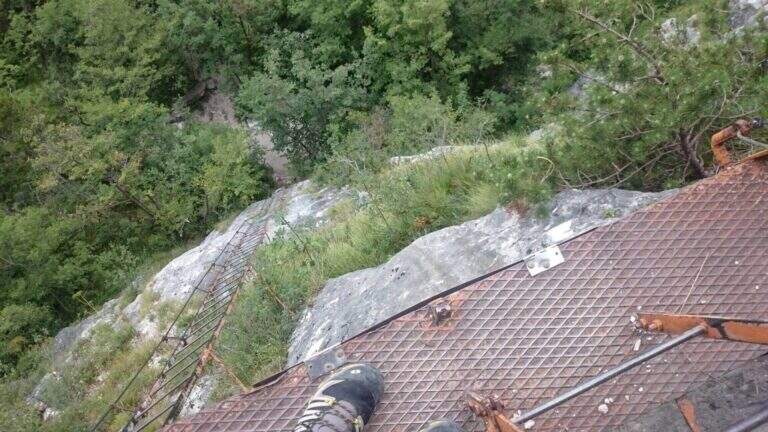
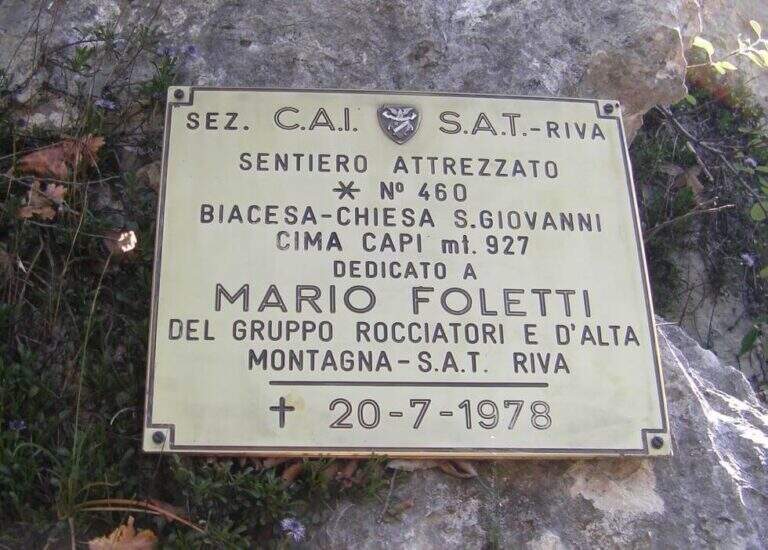
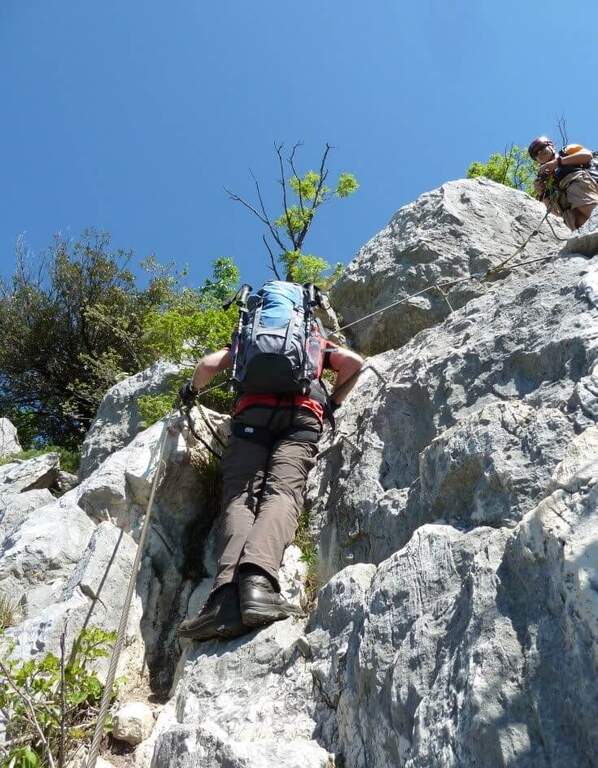
    The first metal equipment guides along a beam exposed to inclined plates, where the foot support points are good and the metal handles fill the missing traits. It follows a vertical stretch uphill and then a more challenging one downhill on the wall. The progression continues up to a wall to be crossed diagonally without particular technical difficulties, until the plaque that marks the end of the equipped path (about 20 minutes from the attack).

    Character and difficulty

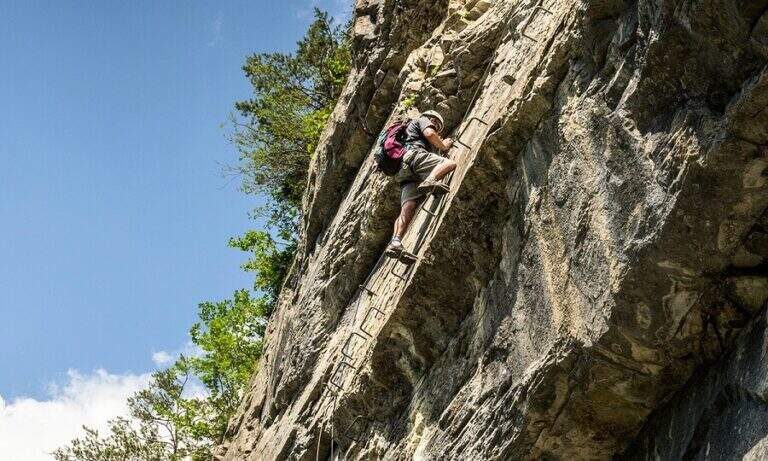
    Short course, without marked technical difficulties, but to be faced carefully especially in the downhill section that requires coordination and safe step. The Foletti does not require advanced experience of ferrata, but the exposure of some passages suggests to equip itself at least with sling and longe. The low altitude and brevity make it suitable as a natural completion of the tour with Ferrata Susatti. Difficulty: Hard.

    Period and safety

    Unconscious on the hottest days of summer for the solar exposure of the slope. The limestone rock of Upper Garda can be slippery in the presence of moisture. The low altitude of Cima Capi (909m) allows the journey in almost all seasons, with greater caution in winter. Pay special attention in the downhill section.

    Discipline

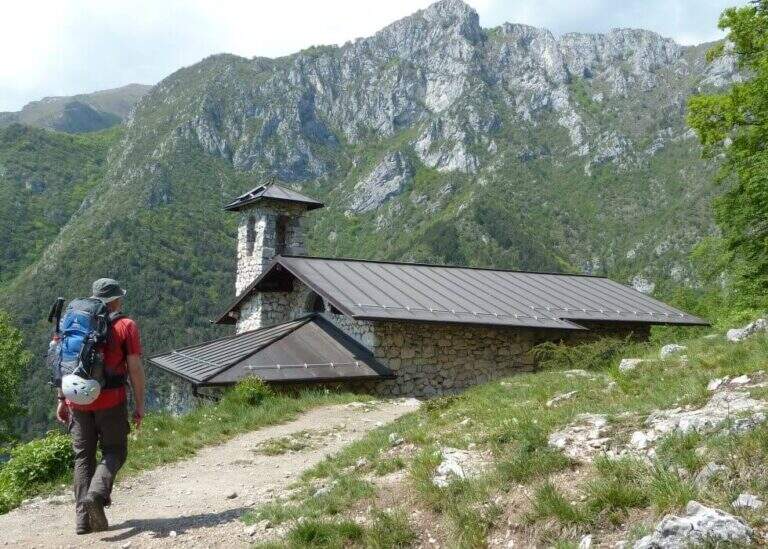
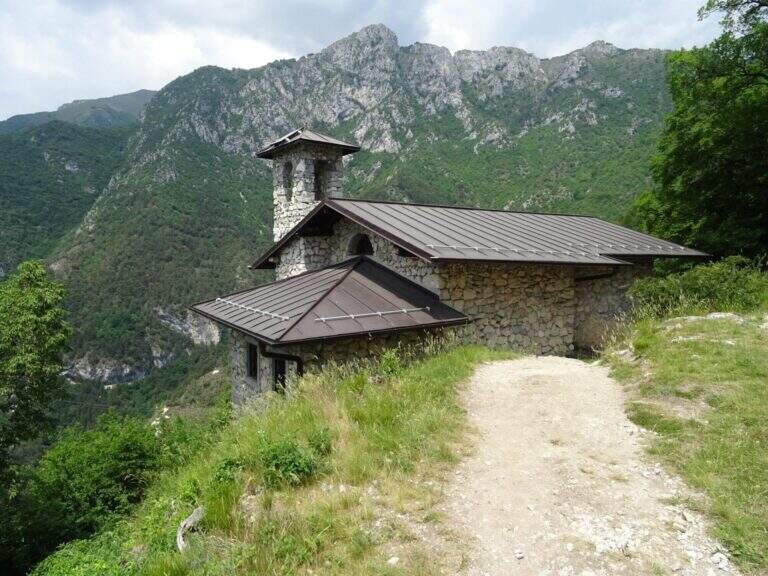
    At the end of the Sentiero Foletti is located near the Church of San Giovanni. From here you will descend to Biacesa following the Route Attrezzato delle Laste (about 45 minutes from the church, 4 hours total starting from Biacesa with the Ferrata Susatti) or along the CAI 460 path in connection with the CAI 417.

    To match

    The Foletti is matched by definition to Ferrata Susatti for Cima Capi, of which it constitutes the classic path of descent. In the area there are also numerous other routes and paths equipped on the Gardesane Prealps, including the Ferrata delle Laste.
    ▲Gallery
    Technical data
    • DifficultyHard
    • RegionTrentino-Alto Adige
    • GroupPrealps Gardesane
    • Approach2:45 h
    • Ferrata0:20 h
    • Itinerary (a/r)4:00 h
    • Hardware level difference70 m
    • Route difference490 m
    • Max909 m
    • Length8,1 Km
  • Ferrata del Somator (Monte Biaena)

    Ferrata del Somator (Monte Biaena)

    Vie Ferrate › Trentino-Alto Adige › Trento
    Ferrata del Somator (Monte Biaena)

    La Somator Ferrata ` a pleasant ring itinerary at Monte Biaena, in the Gardesane Prealps between Rovereto and Riva del Garda. È a facile street: some elementary rocky ridges are equipped with brackets and cambres to facilitate hikers, and l' environment with lake view makes it an ideal destination for families.

    ▲Approach

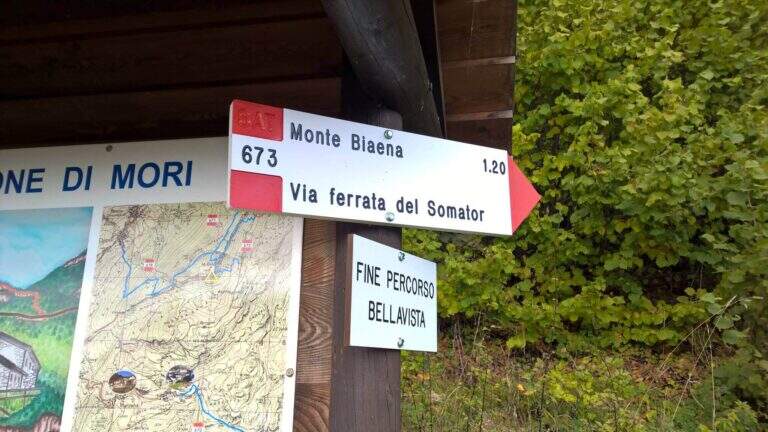
    Starting point is the parking of the Restaurant Pizzeria La Baita, between Ronzo-Chienis and Castellano (Trento). Open road signs on Google Maps. From the parking lot follow the CAI signs 671 on asphalt road to the east; the first crossroad to the left is ignored for the Path Attrezzato de le Laste (which will be the return) and, between the tracks that detach to the right, we start after a few minutes on the path 673, where the Somator Path begins (30' from'auto); wanting, a short deviation on 642 reaches the Malga Somator Refuge.

    ▲The path

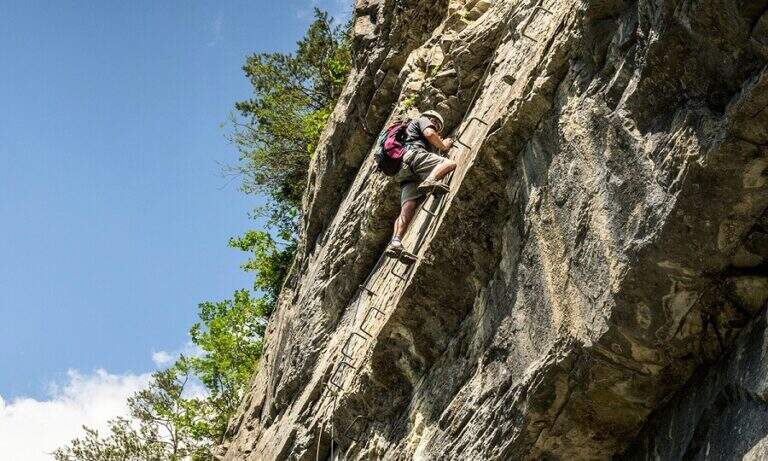
    The path always remains quite easy, with some stretches that shrink and become equipped, a couple of easy vertical leaps and a canal. After passing the stretches, continue in view of Mount Biaena, with a beautiful view of the lake (1617 m, 1h 30' from'auto).

    ▲Character and difficulty

    Although known as «ferrata», the climb to Mount Biaena is an easy route, suitable for neophytes and families.

    ▲Period and safety

    GPS tracks (GPX and KMZ) are available; the map of Alto Garda and Valle di Ledro is useful for the area, or Pasubio and Vallagarina 4Land.

    ▲Discipline

    For the return you descend on the east side following the track 671; after about 10' the trail 678 is ignored on the left and continues in the forest with some easy stretches equipped up to a track and at the junction of the ' gone, returning all' car ( approximately 2h 30' totali).

    ▲To match

    Garda offers many similar routes: Ferrata Rio Sallagoni in Castel Drena, la Ferrata Colodri to Arco; on the western side the Susatti a Cima Capi e l'Friendship in Cima Sat; for a higher degree the Marangoni to Mori.

    ▲Gallery
    Technical data
    • DifficultyEasy
    • RegionTrentino-Alto Adige
    • GroupPrealps Gardesane
    • Approach0:30 h
    • Ferrata1:00 h
    • Itinerary (a/r)2:30 h
    • Hardware level difference70 m
    • Route difference315 m
    • Max1617 m
    • Length4,5 Km
  • Ferrata Signora delle Acque

    Ferrata Signora delle Acque

    Vie Ferrate › Trentino Alto Adige › Trento
    Ferrata Signora delle Acque

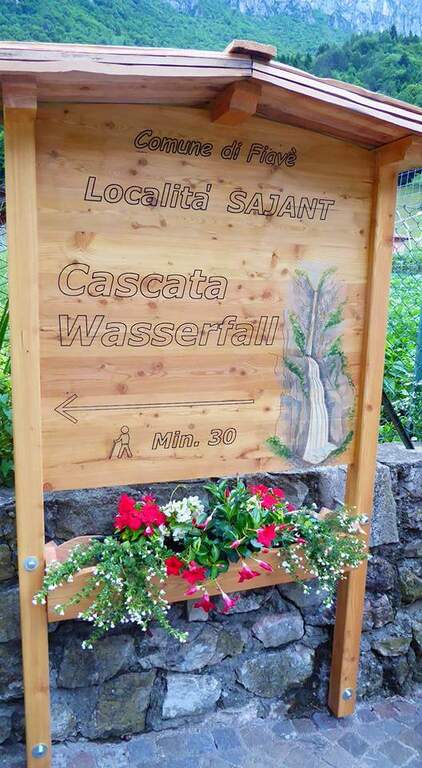
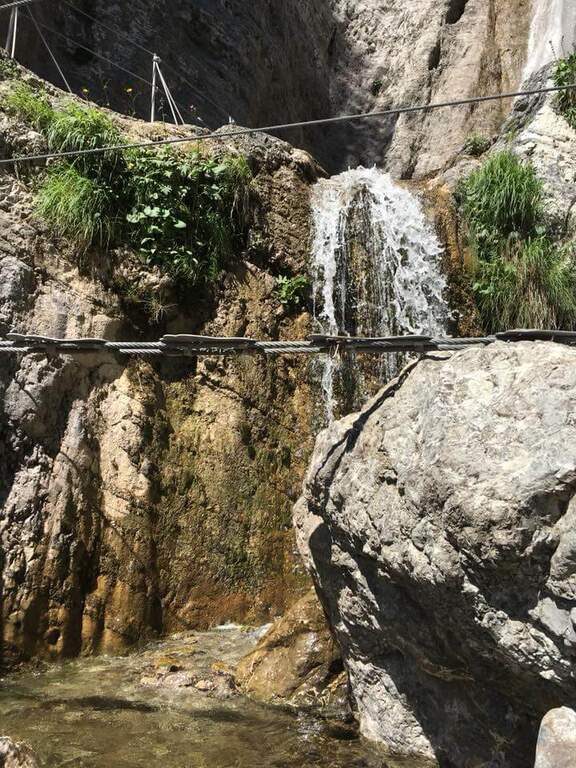
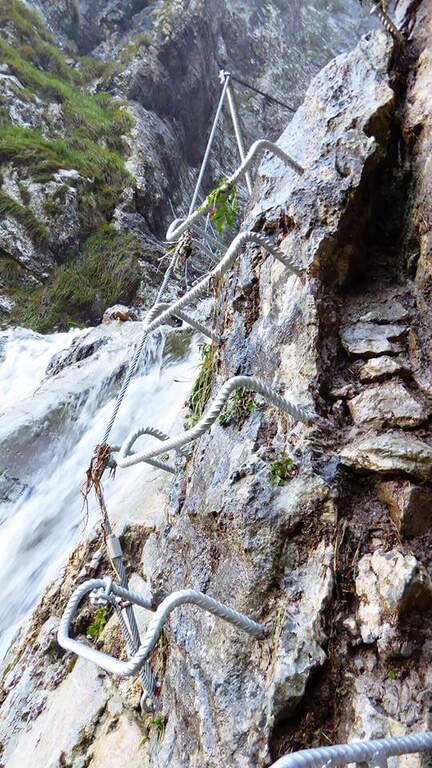
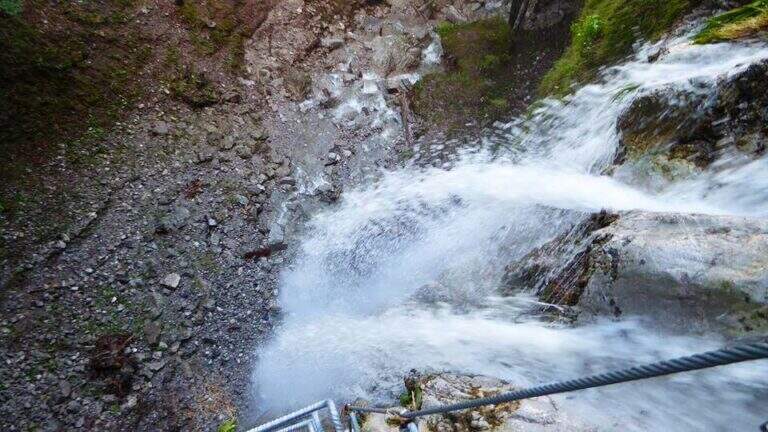
    La Ferrata Signora delle Acque accompagna fino a un tratto panoramico della spettacolare Cascata del Rio Ruzza, sopra Ballino. Inaugurata nel 2019, alterna una prima sezione facile a una seconda decisamente piu impegnativa, dove il cavo distante obbliga ad arrampicare. Due ponti sospesi e l’ambiente bagnato dalla cascata ne fanno un itinerario suggestivo ma da non sottovalutare.

    ▲Approach

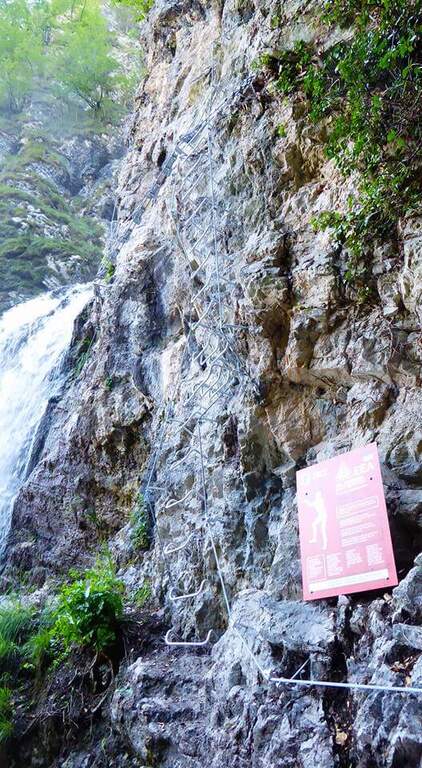
    Si parte da Ballino, frazione di Fiave, nelle Valli Giudicarie. Arrivando dal Lago di Garda si gira a sinistra nella piccola piazza del paese e si tiene la sinistra su via Ballino, dove poco dopo si trova un parcheggio. A piedi si segue la strada asfaltata verso ovest-sudovest, sul sentiero CAI 420 in direzione delle cascate del Rio Ruzza; finito l’asfalto, a un bivio si resta sul CAI 420 girando a destra verso nord fino al Rio Ruzza, dove la segnaletica conduce al cartello rosso di inizio della ferrata (circa 30 minuti dal parcheggio). Apri il punto di partenza su Google Maps.

    ▲The path

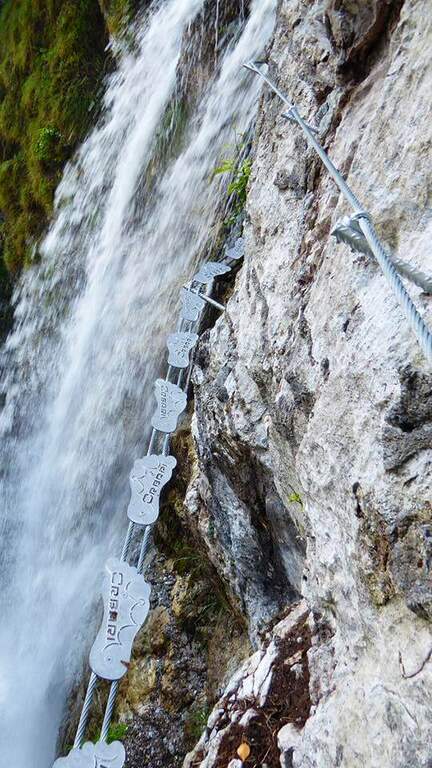
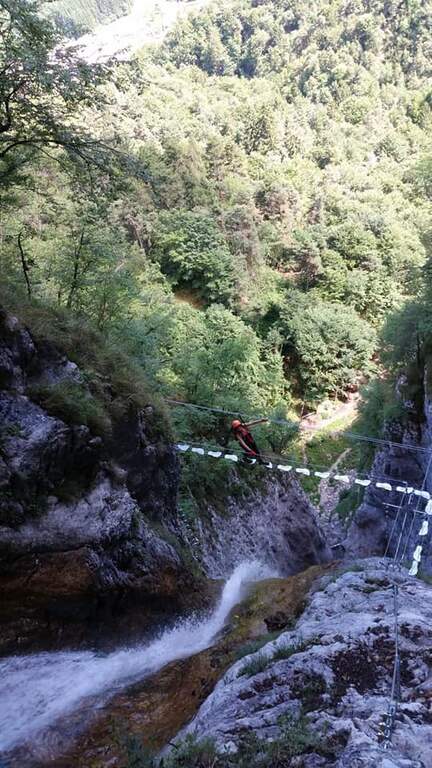
    La prima parete verticale e assistita da numerose, forse fin troppo abbondanti, cambre metalliche di nuova posa. Segue un traverso a sinistra su due funi metalliche con pedane per i piedi, poi il cavo riparte verticale per alcuni metri fino a un ponte sospeso ben attrezzato, con due funi per i piedi munite di pedane e due funi per le mani, che permette di attraversare il torrente tra due salti della cascata. Seguendo le attrezzature si arriva sotto un anfiteatro roccioso dominato dalla cascata principale: qui si chiude la prima parte (circa 15 minuti dall’attacco). Inizia la seconda sezione, piu verticale e impegnativa: il cavo corre spesso molto a destra, costringendo a cercare gli appigli sulla roccia, sempre presenti, e alcuni passaggi sono in strapiombo, con esposizione marcata. Dopo una paretina attrezzata prima con cambre e poi con una scala a pioli si raggiunge un secondo ponte tibetano, particolare perche compie un angolo retto sopra il salto d’acqua. Si superano alcune roccette e una parete con passaggi diagonali e poi verticali fino a un altro ponte sospeso; un’ultima parete verticale, povera di appigli artificiali e da affrontare arrampicando, precede gli ultimi metri su fondo terroso dove la via termina (circa 45 minuti dall’inizio della ferrata, 1 ora e 15 dal parcheggio alla fine delle attrezzature).

    ▲Carattere e difficolta

    L’ambiente, con la cascata che scroscia a fianco, e splendido e l’attrezzatura e nuova e in ottimo stato. Proprio per l’avvicinamento rapido e la bellezza del luogo la ferrata e molto frequentata e le sue reali difficolta spesso sottostimate: non e una via estrema, ma e decisamente esposta e alcuni tratti richiedono tecnica e forza.

    ⚠ Attenzione al secondo ponte sospeso: la fune di sicurezza e piuttosto alta e distante dai piedi. Le persone non molto alte dovranno usare una prolunga o agganciare i moschettoni alle funi laterali. Affrontate la via con un minimo di esperienza e in buona forma.
    ▲Discipline

    Si segue verso destra il sentiero che porta alla base della cascata e quindi, a ritroso, l’itinerario di avvicinamento fino al parcheggio di Ballino (circa 30 minuti dal termine, 1 ora e 45 sull’intero giro).

    ▲To match

    La zona dell’Alto Garda offre moltissime vie attrezzate. Tra le piu facili: il Sentiero Attrezzato delle Cavre, la Ferrata Colodri e la Ferrata Rio Sallagoni; di media difficolta la Ferrata Artpinistica e la Ferrata Che Guevara; per salire decisamente di grado la Ferrata Pisetta o la Ferrata Segata al Bondone.

    ▲Gallery
    Technical data
    • DifficoltaHard
    • RegionTrentino Alto Adige
    • GroupPrealps Gardesane
    • Approach0:30 h
    • Ferrata0:45 h
    • Itinerary (a/r)1:45 h
    • Hardware level difference140 m
    • Route difference390 m
    • Max1062 m
    • Length5 Km
  • Ferrata Susatti a Cima Capi

    Ferrata Susatti a Cima Capi

    Vie Ferrate › Trentino-Alto Adige › Trento
    Ferrata Susatti a Cima Capi

    La Ferrata Susatti a Cima Capi è a facile street and very panoramic above Lake Garda, in Valle di Ledro (province of Trento). Undifficultà techniques of relief but with good exposure, è l’ ideal for those who have già mountain experience but wants to approach the equipped paths. L’ environment, overlooking the lake and rich in traces of the Great War, makes it a journey of great historical interest.

    ▲Approach

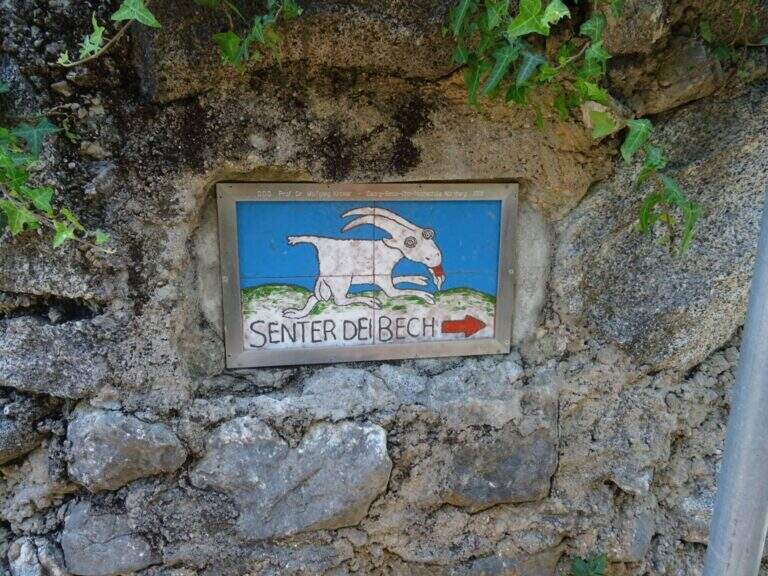
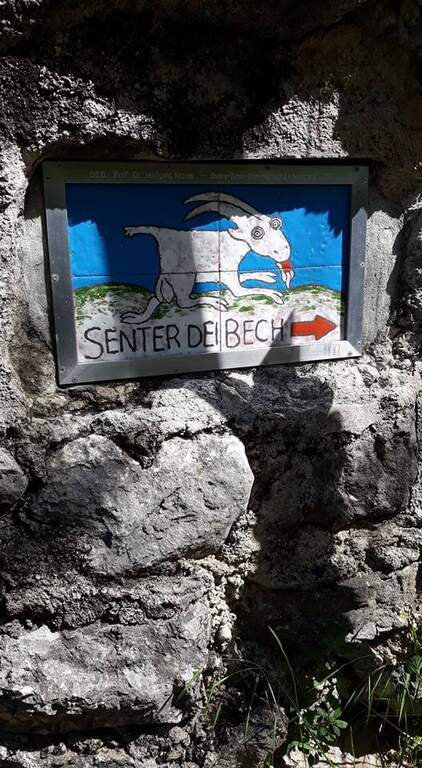
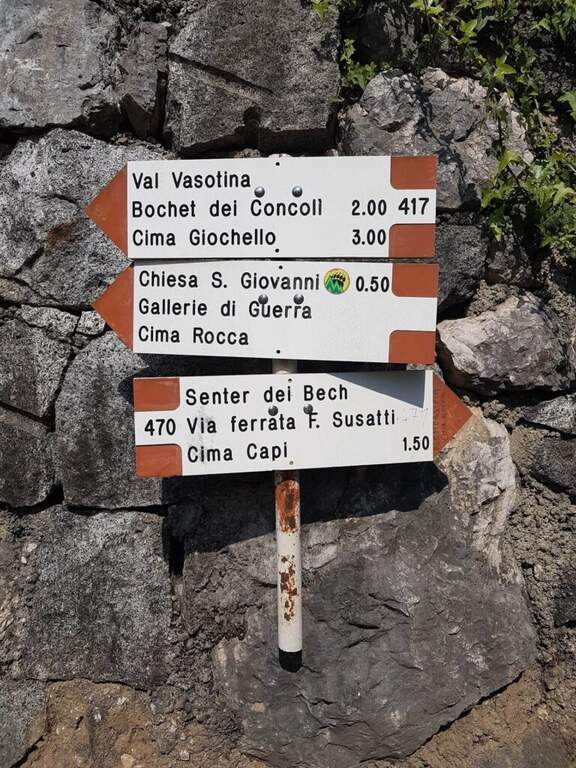
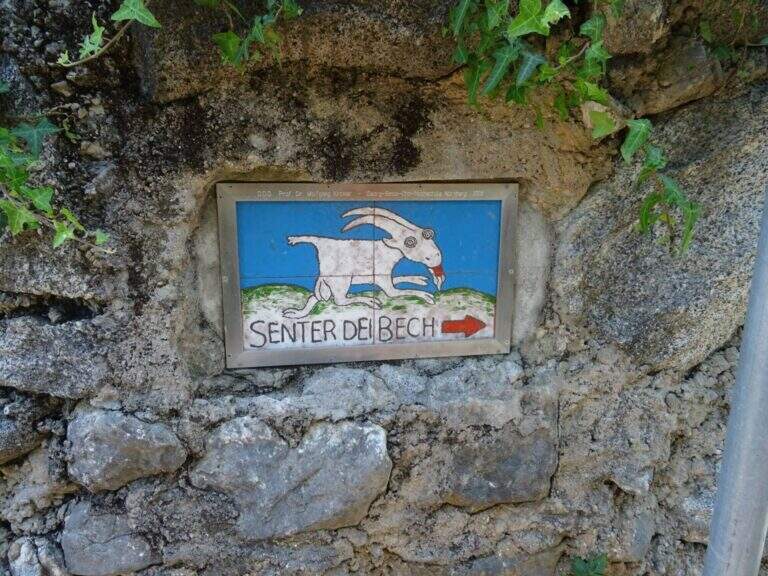
    The starting point è the village of Biacesa, 4 km from Riva del Garda: from Riva follow the tunnels towards Val di Ledro and, exit from the second, you reach Biacesa; you take via dei Dazi to the right and, at the end of the road, still to the right. L’ excursion begins at the playground of Biacesa, where però non è più allowed to park for non-residents: you need to look for a parking place nearby (open the starting point on Google Maps). From Biacesa follow the path CAI 470 (Sentiero dei Bech) to halfway east along the Gec Valley, ignoring the deviation to the left for the Route Attrezzato delle Laste (use as a return). Between climbs and Mediterranean vegetation (fields, olive trees) and some easy rocks you will reach a crossroads where you ignore the CAI 405 (scende to Riva) and climb towards l’ attack, reached after an easy fireplace (1h 15′ from parking).

    ▲The path

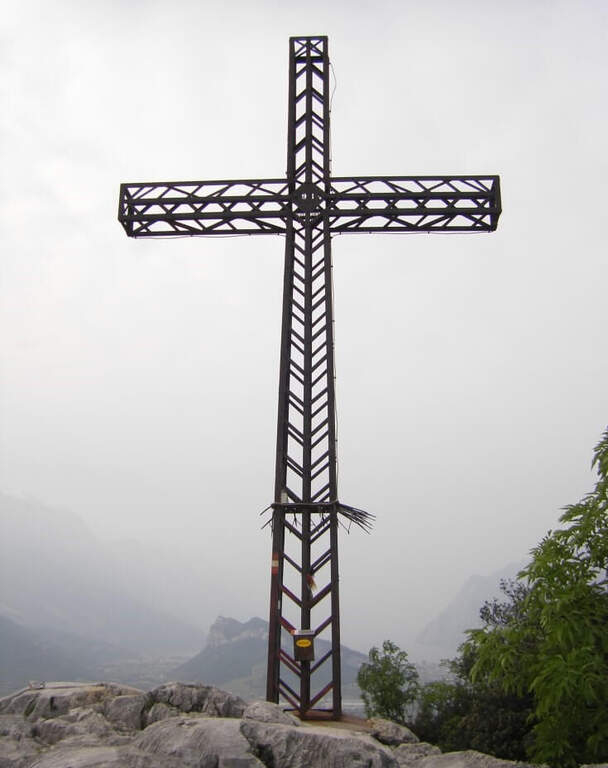
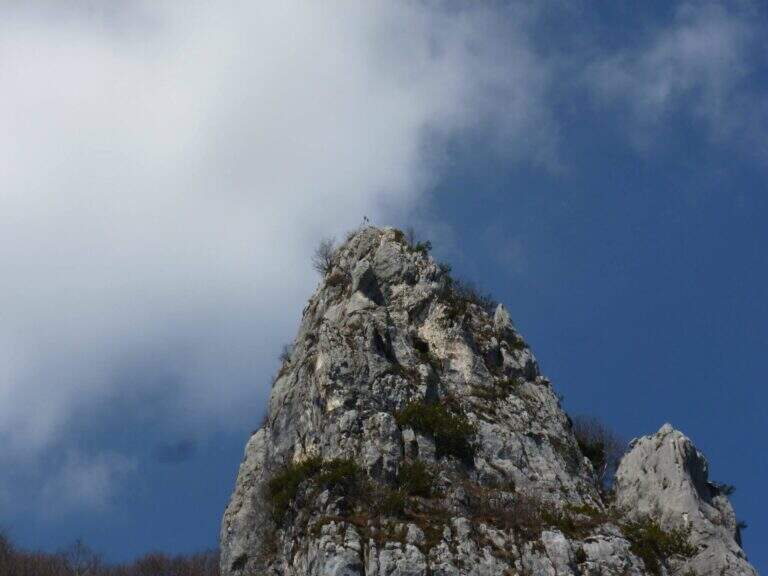
    At the red plate there are some unequipped rocks, besides which the wire rope helps to overcome some rocky jumps in a fireplace. Exit in the ridge rises with increasing exposure, but without difficulty;, on well-calibnate plates where è possible proceed in climbing without relying continuously on the cable. A plaque with a couple of brackets leads to the ridge wire: continue on the right side in strong exposure, always without challenging passages, going up massive and small equipped walls, with Lake Garda behind. L’ the only passage of difficult-and-grave media; consists of the ’ add a large boulder on an exposed traverse, looking for l’appiglio over the edge; supersededed this section, an easy chimney and some short vertical passages put on the path leading to the summit of Cima Capi (909 m, 1h 15′.

    ▲Character and difficulty

    Classified Easy (F), with all the parameters of totaltà on 2/5: the progression è simple but l’ è good, great for taking confidence with l’ equipped environment. Harness obligators, hardware kits and helmet.

    ⚠ Low altitude and prevailing exposure to the south-east: in the summer months può very hot, it is advisable to leave soon. The &grave area, full of tunnels and trenches of the Great War that can be visited along the paths: bring a frontal torch. At the end of the ferrata it is advisable to not remove the set, because they are encountered other stretches equipped along any return option.
    ▲Period and safety

    Thanks to the modest share it is possible to travel most of the year and is particularly pleasant in the half seasons. The path signs are great. Check the weather and, in summer, avoid the hottest hours given exposure to the sun.

    ▲Discipline

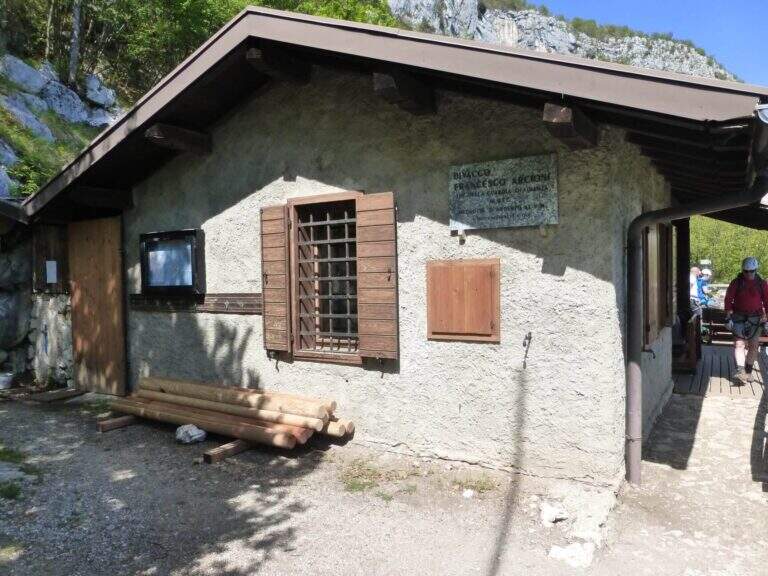
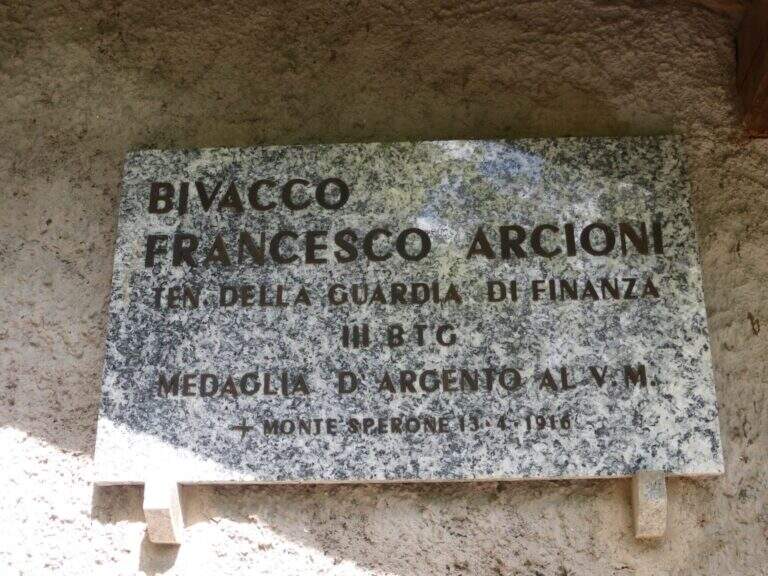
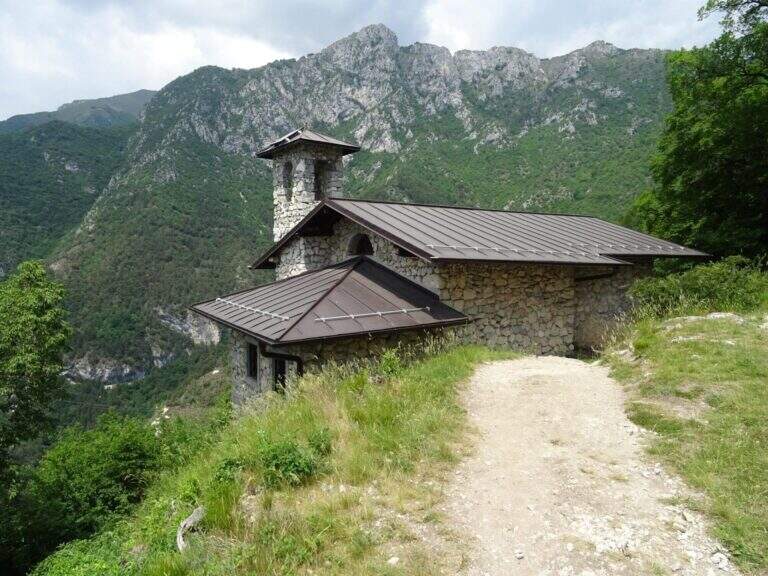
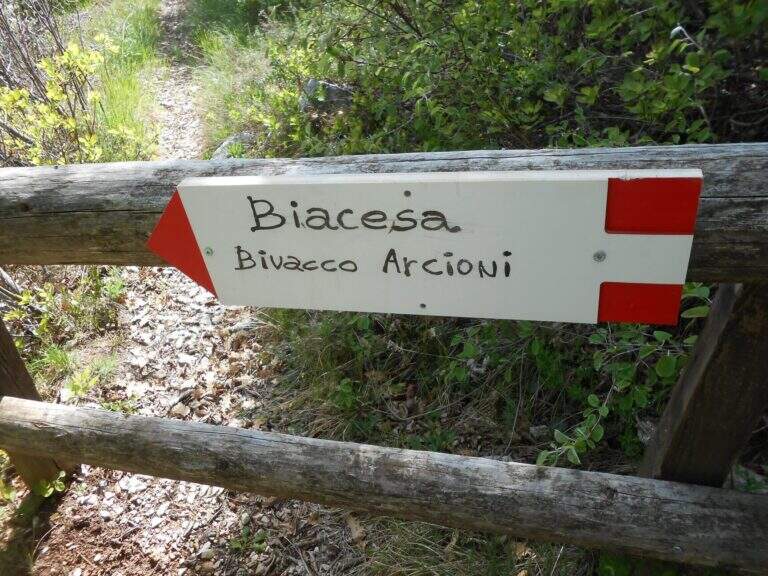
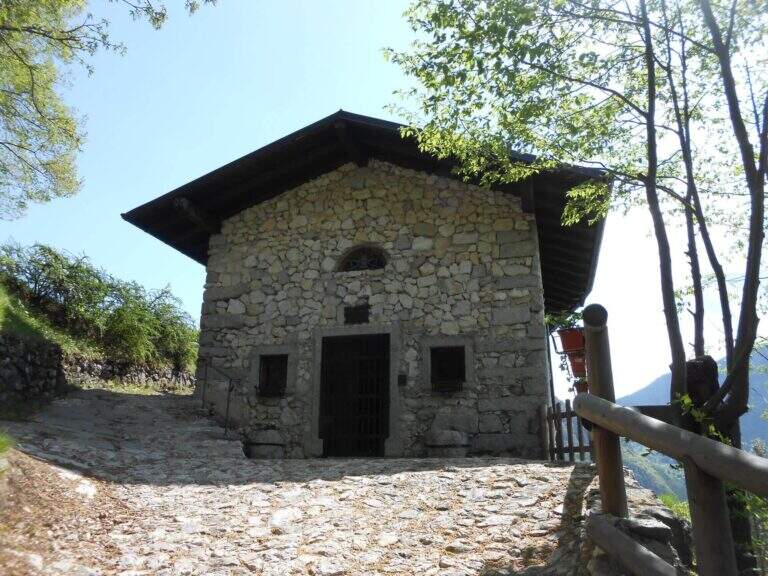
    From the summit you descend on the opposite side to the uphill slope, along an easy ridge path at the trenches of the Great War and a pitch for helicopters; in 15 minutes you reach a crossroads. A left continues the Path Attrezzato Foletti, which leads to the Bivacco Arcioni, to the Church of San Giovanni and then to Biacesa (1h 30′ from Cima Capi, 4 hours overall); from Bivacco Arcioni can be arranged ograve; alternatively go down the più difficult Sentiero delle Laste, which starts on the CAI 470 route Dritto continues the Path Treated Susatti until Bocca d’Enzima (about 1 hour), with not difficult equipped strokes; hence the CAI 404 to Rocchetta Giochello and then the CAI 417 report to Biacesa with a long ring (3 hours from Cima Capi, 5h 30 &8242; overall).

    ▲To match

    You can combine the Path Attrezzato Foletti and the Path of the Laste downhill; from Bivacco Arcioni, energies allowing, the climb to Cima Rocca with the easy hardware. Nearby the Friendship Ferrata in Cima Sat; going up to Trento la Ferrata in Castel Drena and easy Colods and Cavre Path.

    ▲Gallery
    Technical data
    • Approach1:15 h
    • Duration1:15 h
    • Total itinerary4:00 h
    • Hardware level difference315 m
    • Route difference490 m
    • Maximum altitude907 m
    • Length8,1 Km
  • Ferrata Rio Sallagoni

    Ferrata Rio Sallagoni

    Vie Ferrate › Trentino-Alto Adige › Trento
    Ferrata Rio Sallagoni

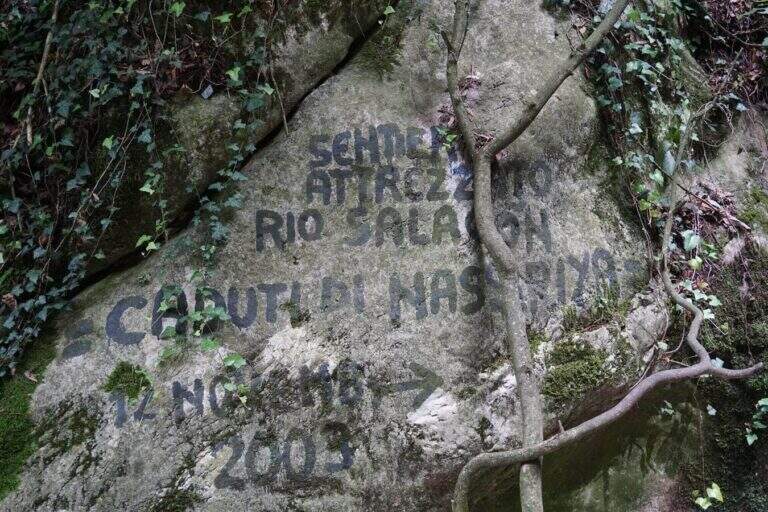
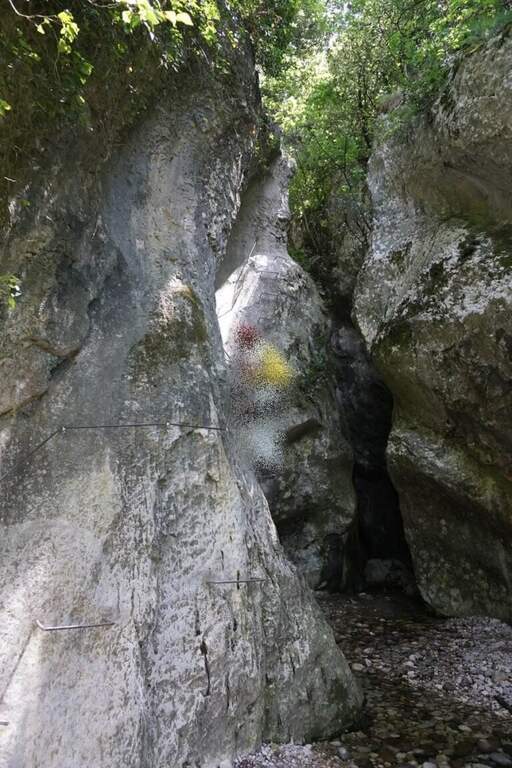
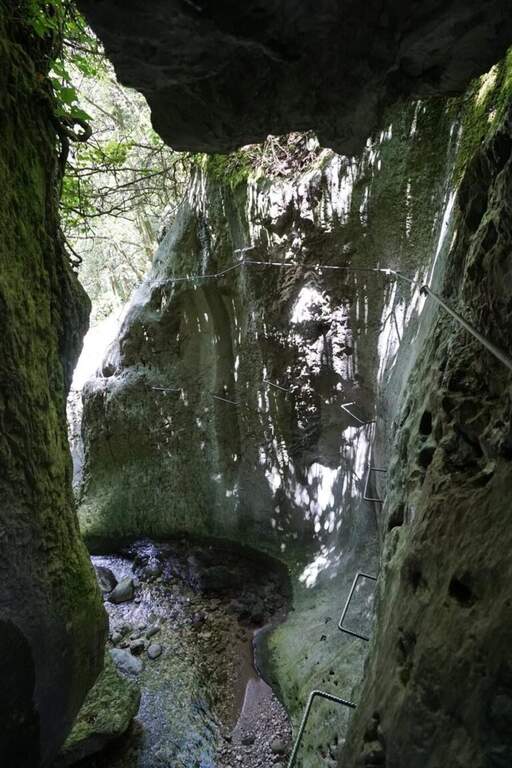
    La Ferrata Rio Sallagoni takes place along the forra dell’ the homonymous stream, at the foot of Castel Drena, in the province of Trento. È a facile street but definitely spectacular: rocking over l’ flowing water, a narrow and suggestive gorge and two suspended bridges make this short itinerary one of the pi’ scenics; Alto Garda. Precisely for the low difficultà and the charm of the ’ environment & very popular in summer.

    ▲Approach

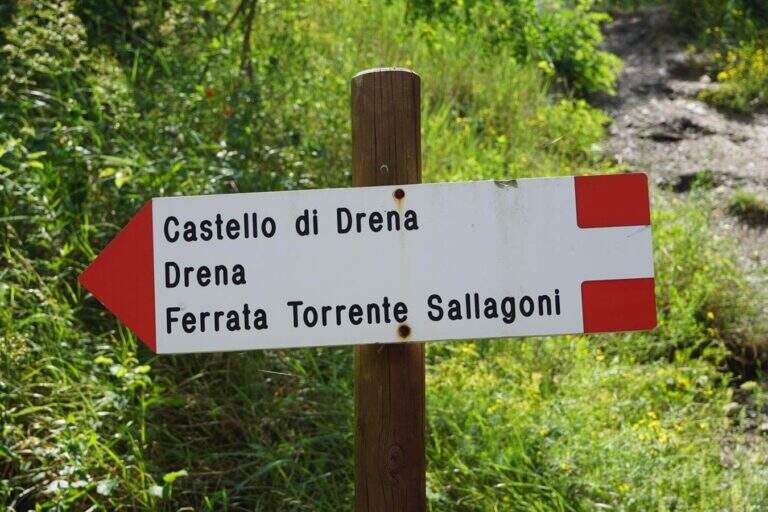
    The starting point is located on the road connecting Dro to Drena. Arriving from Riva del Garda, before the village of Dro follow the signs to the right to climb to Drena; after a few minutes and a hairpin bend, on the left you will find a large parking lot and shortly after, on the right, a field of drum (open the starting point on Google Maps). From the parking lot you will descend towards the hairpin bend by car: on the left side of the road a pole with CAI signs indicates the descent towards the edge of the Rio Sallagoni, where the ferrata immediately begins (about 10 minutes from the parking lot).

    ▲The path

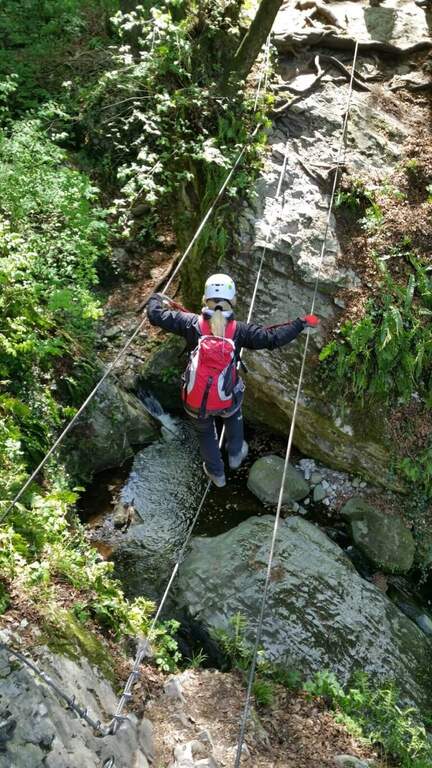
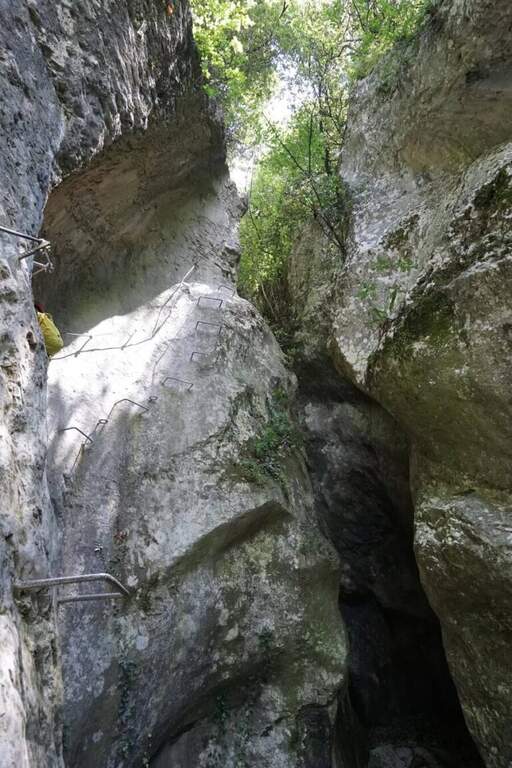
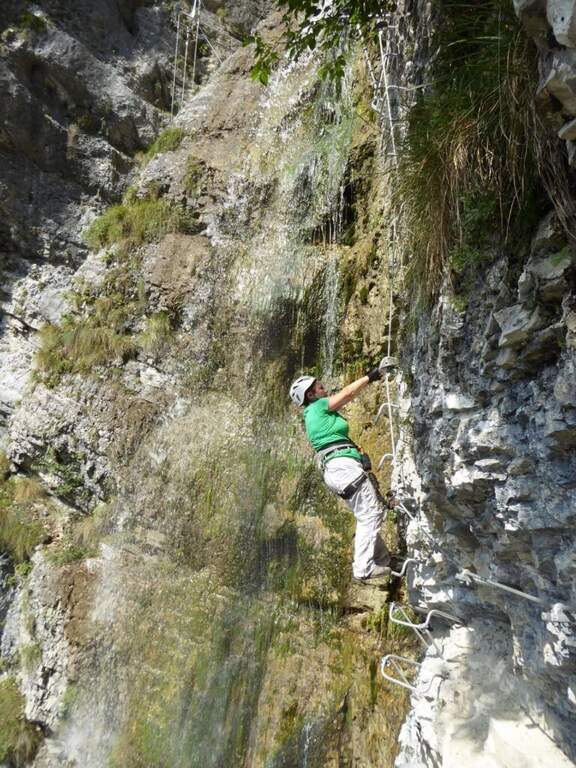
    The ferrata attacks on the left side of the throat. You climb a couple of meters with the rope, then a short traverse to the right on brackets for the feet, then a few meters diagonally and vertically: a stretch exposed and very beautiful, with the river that flows right under the feet. Continue in the traverse and you will encounter the probably more challenging passage of the street, slightly overhanging, which obliges a slight traction on the cable to maintain the balance. After this point you pass under a framed rock and cross a vertical escape route. Continuing in the hole the traverse continues to the right; the throat tightens and, near a large framed rock, passes on the right side facing only one more challenging passage due to a rocky protrusion. In short, the equipment ends and is located in a rocky amphitheatre with waterfalls.

    Start the second part: from the left path you will reach the first suspended bridge at three ropes, about 15 meters long and fairly stable. Continue on the right side of the stream, on equipped path and easy rocky balconies, then you pass on the left side for l’ the only true vertical section of the street, to the right: some passages require a po’ of commitment, but on difficultà altogether low. Then we arrive at the second suspension bridge, più short of the first but less stable, where the Ferrata of Castel Drena ends (40 minutes from the ’ attack, 50 total). You cross a wooden bridge, you go back to the right side of the stream and climb on a path until you exit near the castle (10 minutes from the end of the ferrata, 1 hour overall). At the end of 2024 & a final variante was added dedicated to the Falls of Nassirya: instead of crossing the Rio Sallagoni you stay on the left gold bank, going up on easy equipped strokes (except a sometimes wet and slippery ramp) with long beams on cambre very close to the crude, up to Casteldrena; calculate about 30 minutes in pigrave.

    ▲Character and difficulty

    Classified Easy (F), it has difficulties; techniques, environmental and exposure around 2/5 and minimum physical commitment (1/5). È also suitable for those with little experience, purché at ease with l’ exposure above l’ water. Indispensable l’ complete equipment: harness, hardware kit and helmet.

    ⚠ Itinerary very beaten, especially in summer, by numerous groups: concrete the risk of being bottled in the throat. It is advisable to travel early in the morning or late afternoon, avoiding the più hours; warm and crowded. If you travel the variant of the Nassirya Falls, pay maximum attention to the guadi, which in spring or after abundant rainfall can become difficult: a couple of telescopic sticks are useful.
    ▲Period and safety

    The low altitude makes the ideal way in the half seasons. To avoid with torrents in full or after heavy rains, both for the guds of the variant and for the water level in the hole. Always check the weather and conditions of the rio before descending into the throat.

    ▲Discipline

    From the castle follow the asphalted road downhill; on the left there is a path that, in steep descent with some bends, brings back to the field by drum at the parking (20 minutes from the castle, 1 hour and 20 minutes overall).

    ▲To match

    Given the brevity, the Rio Sallagoni leaves time and energy for a second itinerary in the day. Staying on the easy you can walk Ferrata Colodri o il Sentiero Attrezzato delle Cavre, both towards Riva del Garda. About 45 minutes drive there is the Ferrata Marangoni in Mori, la Ferrata di Ballino e la Artpinistica Ferrata in Preore. For very experienced hikers, about 30 minutes, the difficult Ferrata Rino Pisetta.

    ▲Gallery
    Technical data
    • Approach0:10 h
    • Duration0:40 h
    • Total itinerary1:20 h
    • Hardware level difference150 m
    • Route difference200 m
    • Maximum altitude365 m
    • Length3 Km
  • Ferrata Colodri

    Ferrata Colodri

    Vie Ferrate › Trentino-Alto Adige › Trento
    Ferrata Colodri

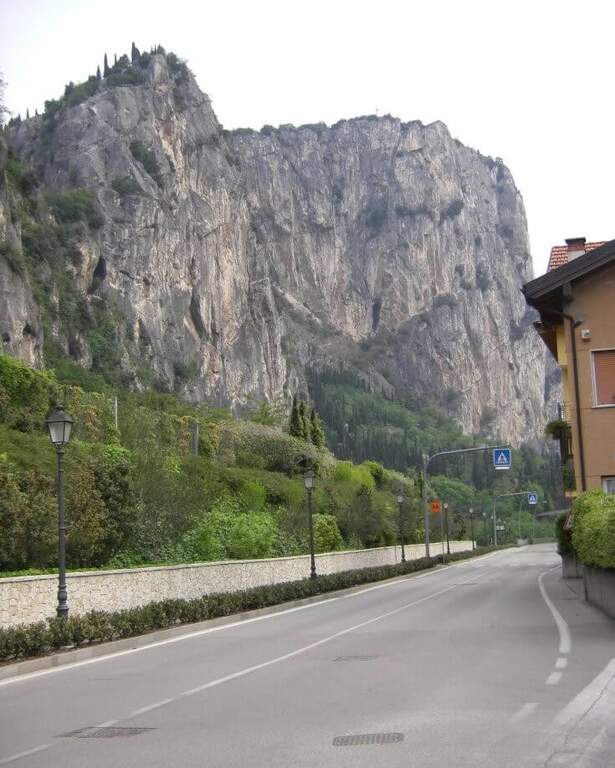
    La Ferrata Colodri sale le pareti orientali del Monte Colodri, che domina la cittadina di Arco in provincia di Trento, a due passi dal Lago di Garda. È una via facile, ottimamente attrezzata e priva di difficoltà tecniche rilevanti: per questo è una delle mete più gettonate per chi vuole avvicinarsi al mondo delle vie ferrate. Si svolge accanto a pareti note per l’arrampicata libera e regala dalla cima un bel panorama su Arco, la valle del Sarca e il lago.

    ▲Approach

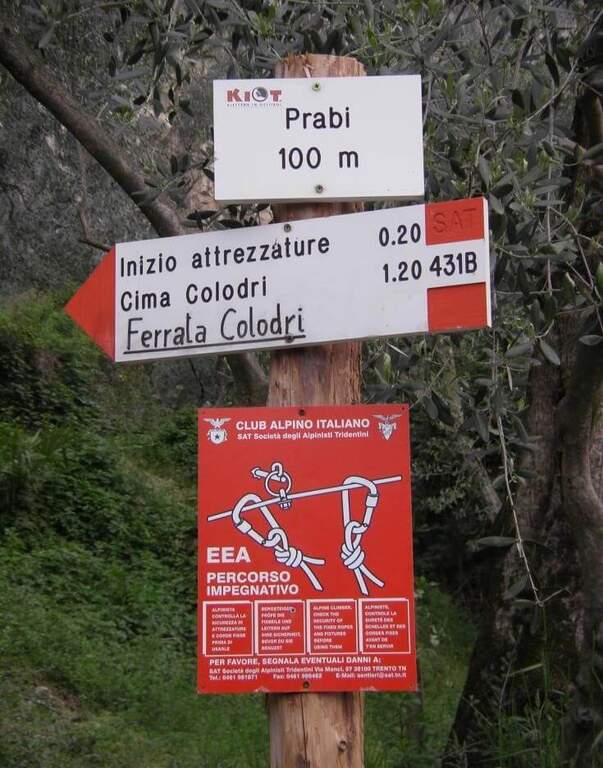
    Il punto di partenza è Arco. Si oltrepassa il fiume Sarca sul ponte e si prende a destra via Maini, proseguendo dritti fino all’ingresso di un campeggio sulla destra; subito dopo, sulla sinistra una bacheca e sulla destra uno slargo permettono di parcheggiare poche auto (open the starting point on Google Maps; in alternativa è segnalato l’ampio parcheggio gratuito presso le piscine). Entrati nel parco si seguono i segnavia bianco-rossi del CAI per Cima Colodri e per la ferrata, raggiunta in breve a una targa bianca, circa 10 minuti dal parcheggio.

    ▲The path

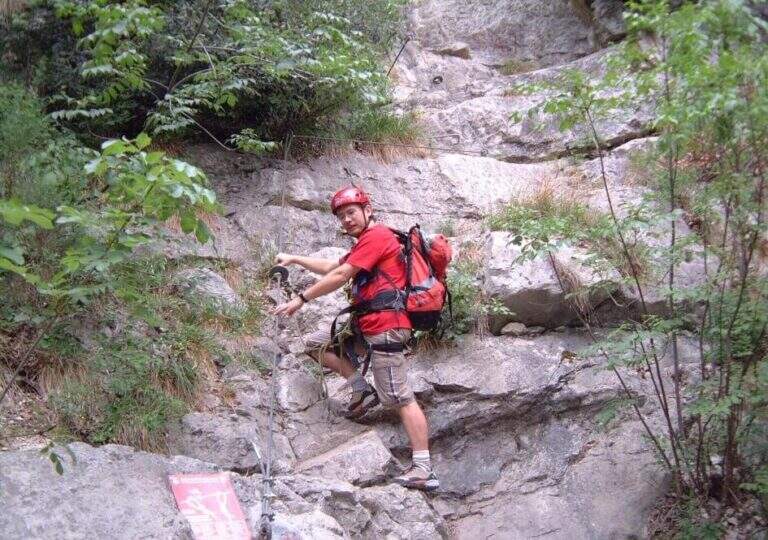
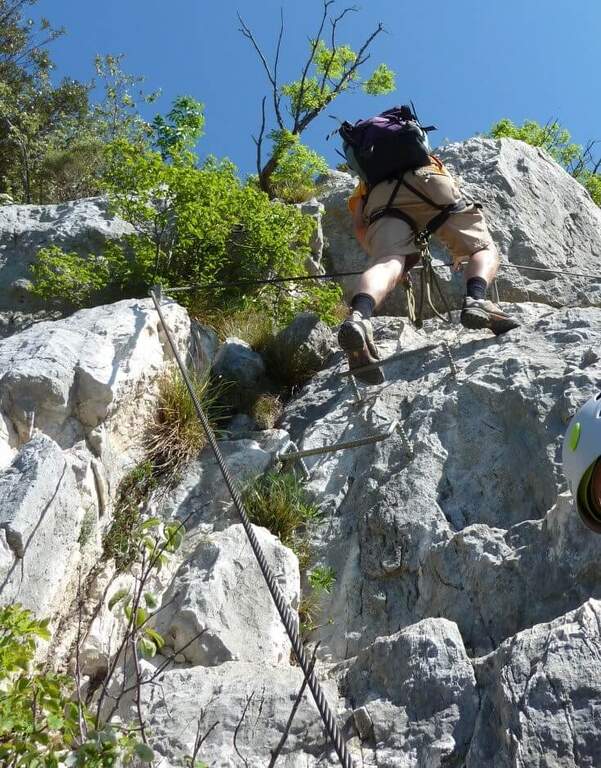
    La ferrata inizia su una rampa gradonata, arrampicabile comodamente anche senza usare il cavo. Saliti i primi gradoni si percorre un facile traverso verso destra e si prosegue su un’altra rampa gradonata, dove il cavo funge da corrimano. Si piega a destra su una larga cengia che porta a un primo tratto verticale ma appoggiato, con ottimi appigli; superato questo breve passaggio si volge a sinistra salendo in obliquo tra piccoli balzi rocciosi, cenge e tratti di sentiero. Lo sviluppo prosegue in prevalente falsopiano, su una cengia liscia ma priva di difficoltà tecniche, verso sinistra. Si risalgono un paio di placche inclinate attrezzate con cambre e staffe, alcuni tratti diagonali e una facile fessura, fino all’ultimo tratto: un diedro di una decina di metri dove le cambre annullano di fatto le difficoltà dove gli appigli naturali sono meno evidenti. Percorsa l’ultima placca appoggiata terminano le attrezzature; un breve sentiero conduce a Cima Colodri (400 m), con la sua croce e la caratteristica madonnina, in circa 30 minuti dall’attacco (40 minuti complessivi).

    ▲Character and difficulty

    Classificata Facile (F), è un itinerario molto elementare, con tutti i parametri di complessità al minimo (1/5): ideale come prima ferrata, adatta anche a chi accompagna persone alle prime armi. Resta comunque indispensabile l’attrezzatura completa: imbracatura, kit da ferrata e casco.

    ⚠ Pericolo di scariche di materiale detritico dall’alto: indossare il casco già durante l’avvicinamento, non solo all’attacco. Sulla via si sono verificati incidenti gravi, anche mortali. Il terreno in alcuni punti è smosso e c’è il rischio di far cadere sassi su chi sta sotto, per cui è importante prestare attenzione, soprattutto quando la via è affollata. La parete è esposta a est ed è in pieno sole al mattino: in estate conviene partire nel pomeriggio per trovare ombra.
    ▲Period and safety

    Grazie alla quota modesta e all’esposizione soleggiata, è percorribile in gran parte dell’anno ed è particolarmente indicata nelle mezze stagioni. La roccia, levigata dalle innumerevoli ripetizioni, può risultare scivolosa: meglio evitarla bagnata. Vista l’elevata frequentazione, mantenere ordine sui passaggi ed evitare di creare ingorghi. Portare acqua e verificare il bollettino meteo prima di partire.

    ▲Discipline

    Da Cima Colodri si scende sul versante opposto (ovest) fino a un bivio con il sentiero CAI 431. Per il rientro più breve si prosegue a sinistra in direzione di Santa Maria di Laghel, quindi si prende la stradina a sinistra che scende verso Arco; dal centro si ripercorre la strada asfaltata fino al parcheggio (1 ora dal termine della ferrata, 1 ora e 45 minuti complessivi). In alternativa è possibile un lungo itinerario ad anello: al bivio si tiene la destra sul CAI 431 fino al Monte Colt e alla Croce di Colt, si scende verso il Sentiero Attrezzato degli Scaloni (parte del Sentiero delle Cavre, circa 2 ore dal termine della ferrata), lo si percorre e, tenendo poi la sinistra sul CAI 408, si rientra nei pressi di Santa Maria di Laghel e quindi ad Arco (circa 4 ore dalla ferrata, circa 5 ore complessive).

    ▲To match

    Arco e l’Alto Garda sono ricchissimi di vie attrezzate per ogni livello. Nella zona di Cima Capi si trovano la Ferrata Susatti e la Ferrata di Cima Rocca; vicino a Riva del Garda la Ferrata dell’Amicizia a Cima Sat. Per chi cerca più difficoltà, l’esposta Ferrata Marangoni in Mori o la molto impegnativa Ferrata Pisetta a Sarche. Verso nord, la Ferrata alla Cascata del Rio Ruzza e la Artpinistica Ferrata in Preore.

    ▲Gallery
    Technical data
    • Approach0:10 h
    • Duration0:30 h
    • Total itinerary1:30 h
    • Hardware level difference280 m
    • Route difference300 m
    • Maximum altitude398 m
    • Length4,5 Km
  • Friendship Ferrata in Cima Sat

    Ferrata dell'Amicizia a Cima Sat

    Vie Ferrate › Trentino-Alto Adige › Trento
    Ferrata dell'Amicizia a Cima Sat

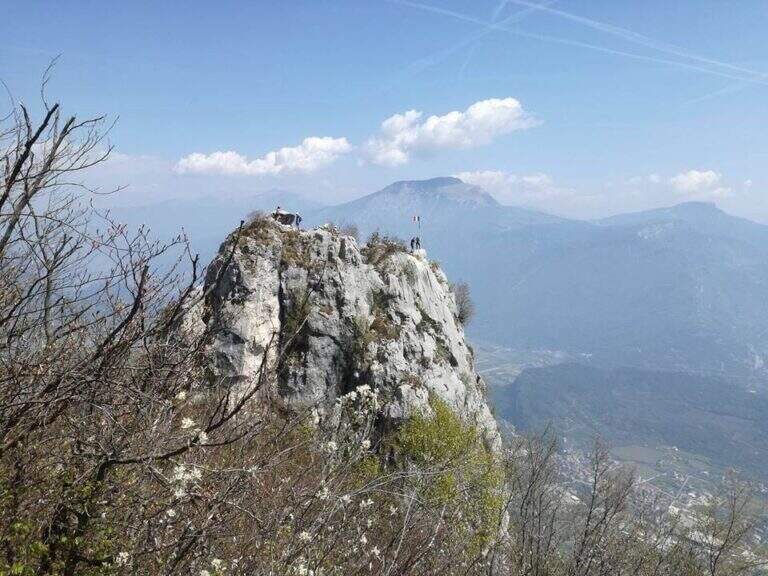
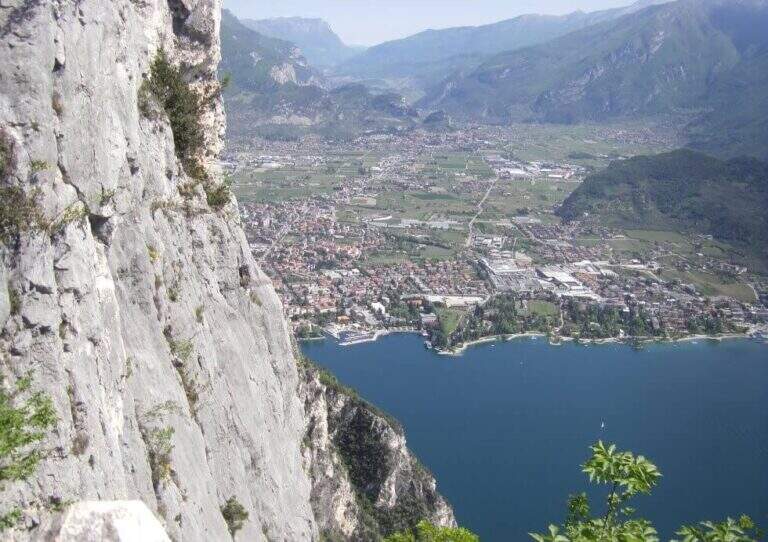
    La Friendship Ferrata in Cima Sat è un itinerario lungo e faticoso che risale dalle sponde del Lago di Garda, sopra Riva del Garda (provincia di Trento), fino all’evidente vetta di Cima Sat. Di grado moderatamente difficile, è celebre per la serie di lunghe scale metalliche che superano i tratti più verticali e strapiombanti delle pareti della Rocchetta. Via molto aerea ed esposta, con dislivello importante: richiede buona preparazione fisica.

    ▲Approach

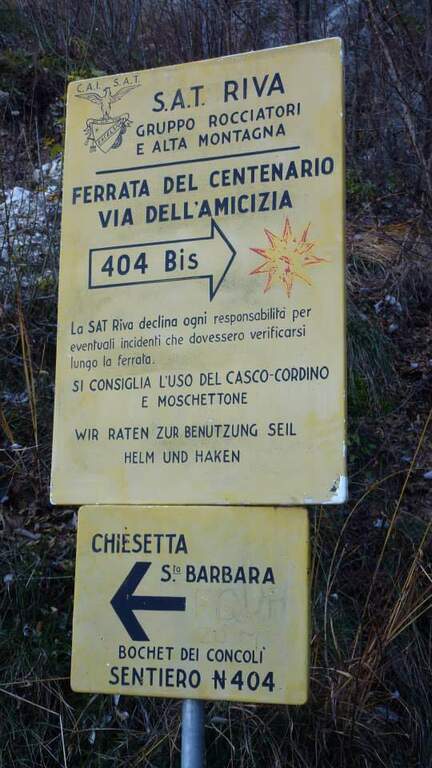
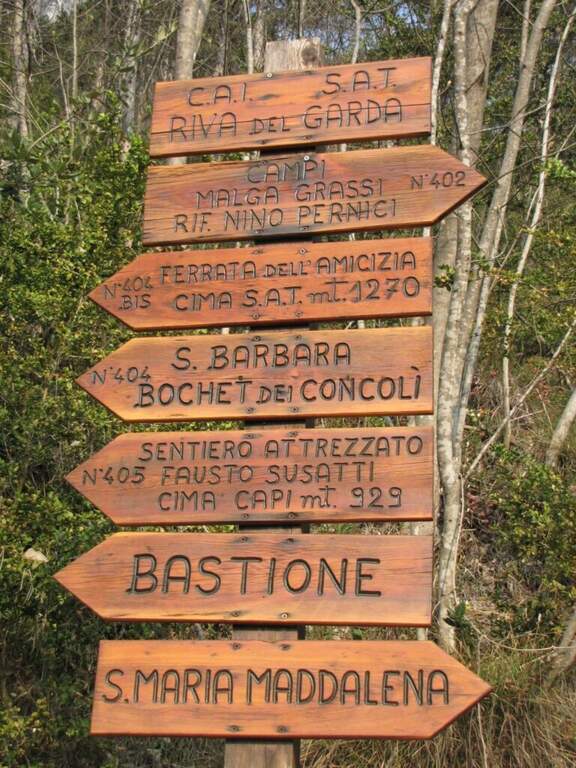
    Il punto di partenza è Riva del Garda. Ci si porta sulla strada gardesana occidentale che da Riva conduce a Limone: nei pressi del parcheggio a pagamento Monte Oro un cartello CAI indica il sentiero in salita; si cerca posto in zona e ci si dirige a piedi verso la palina CAI (open the starting point on Google Maps). La palina indica il sentiero CAI 404 in salita; dopo alcuni tornanti si incrocia un altro sentiero e si tiene la sinistra verso una piccola fortezza veneziana. Poco prima della fortezza, sulla destra, riparte il CAI 404 che porta a una forestale, da imboccare verso sinistra; si prosegue fino a un bivio dove a destra si sale a Capanna Santa Barbara (560 m). Da qui, verso sud, si segue il sentiero fino a una deviazione sulla sinistra per il CAI 404B, che conduce in breve all’attacco della ferrata (1 ora e 15 minuti dal parcheggio).

    ▲The path

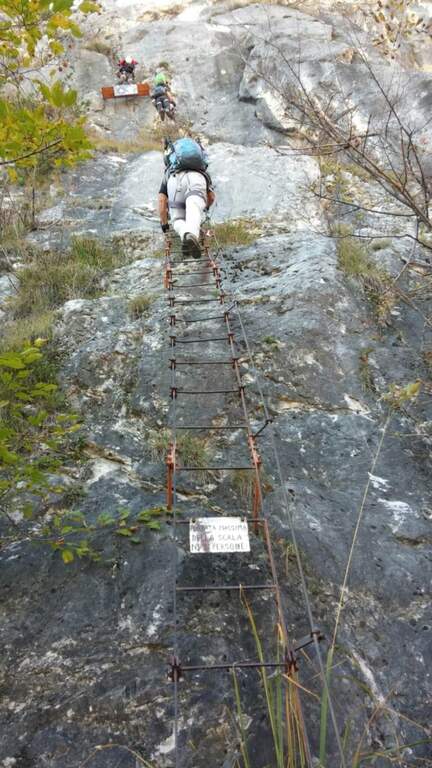
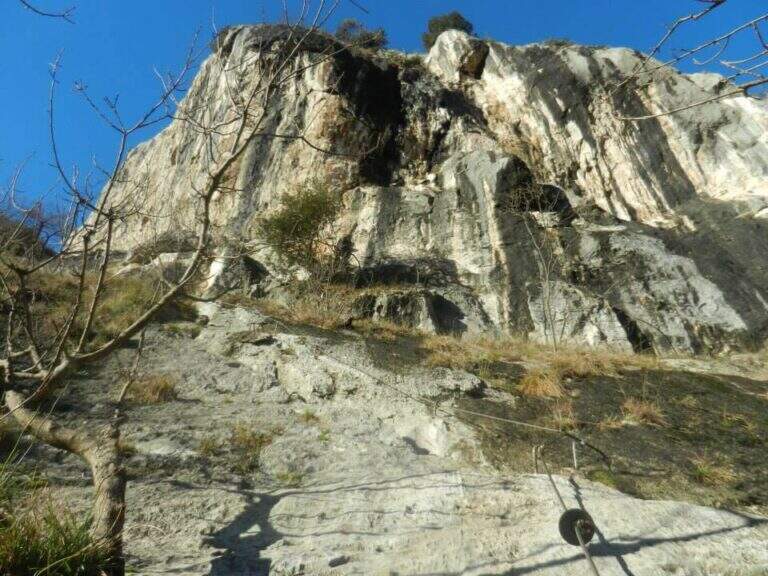
    Sotto la targa d’inizio, l’attrezzatura metallica conduce in diagonale verso sinistra e poi su facile parete gradonata fino a un sentierino sassoso da cui è già visibile Cima Sat. Si superano alcuni balzi rocciosi e una parete appoggiata verso sinistra; le attrezzature si interrompono più volte alternandosi a tratti di sentiero e a roccette ben gradonate. Dopo un terrazzino la salita prosegue a zig-zag, con brevi cenge e passaggi verticali assistiti da staffe, fino a uno dei tratti più caratteristici: una lunga scala metallica di oltre 40 metri che supera una parete leggermente strapiombante; in cima si percorrono due metri in orizzontale su una barra metallica e si sale una seconda scala. Si raggiunge un pianoro sassoso panoramico, davanti al quale si vedono i tratti successivi con altre lunghe scale.

    Dopo un breve tratto di gradoni si arriva a una placchetta verticale che sale a sinistra con alcune staffe; sul lato sinistro inizia la terza scala, che risale un diedro. Si traversa a destra e si riprende la salita verticale su roccia ben appigliata; un facile traverso a destra precede un balzo di 3 metri con staffe. Si giunge quindi alla quarta lunga scala (70 metri), che risale una liscia parete: non difficile ma decisamente esposta. Da un terrazzino panoramico si prende a sinistra una stretta cengia fino a un facile camino, agile nella prima parte e più impegnativo in alto, dove si procede in diagonale verso sinistra con l’aiuto di alcune staffe. Si aggira un masso su una cengia, si affronta un breve tratto di discesa esposta ma non difficile e, dopo un’altra cengia attrezzata, un paio di scale e un ultimo balzo roccioso, si raggiunge la caratteristica bandiera di vetta di Cima Sat (1260 m), in 1 ora e 45 minuti dall’attacco (circa 3 ore complessive).

    ▲Character and difficulty

    Classificata Moderatamente Difficile (MD): tecnicamente non presenta tratti duri (l’unico passaggio di media difficoltà è l’ultimo camino prima della vetta), ma l’esposizione è elevata (4/5) e l’impegno fisico notevole (3/5) per il forte dislivello e il lungo rientro. Obbligatori imbracatura, kit da ferrata e casco.

    ⚠ Itinerario lungo e molto aereo: la successione di scale, alcune oltre i 40-70 metri, è spettacolare ma richiede testa salda e assenza di vertigini. È stato segnalato che le scale possono risultare abbastanza mobili e dare un’impressione di scarsa stabilità, pur senza essere pericolose: procedere con attenzione. Il dislivello (610 m di ferrata, 1150 m complessivi) e i tempi lunghi impongono buona preparazione fisica e partenza presto. In piena estate il caldo può diventare torrido: meglio le mezze stagioni.
    ▲Period and safety

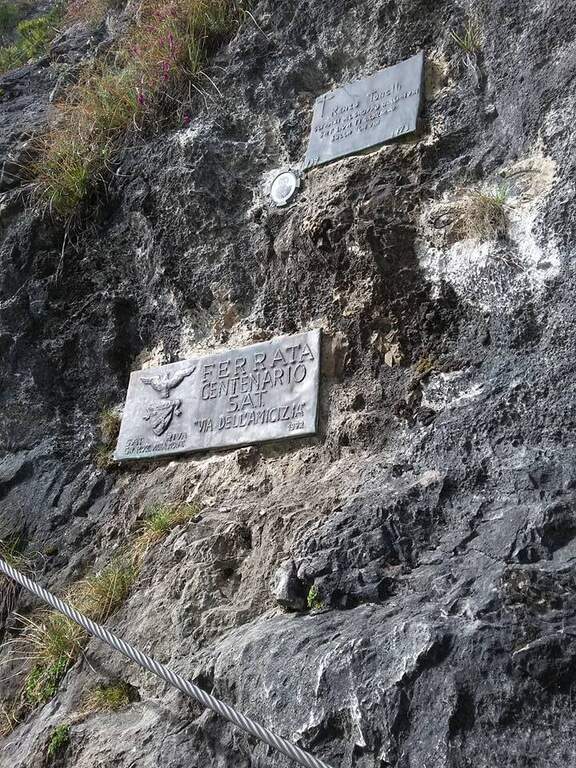
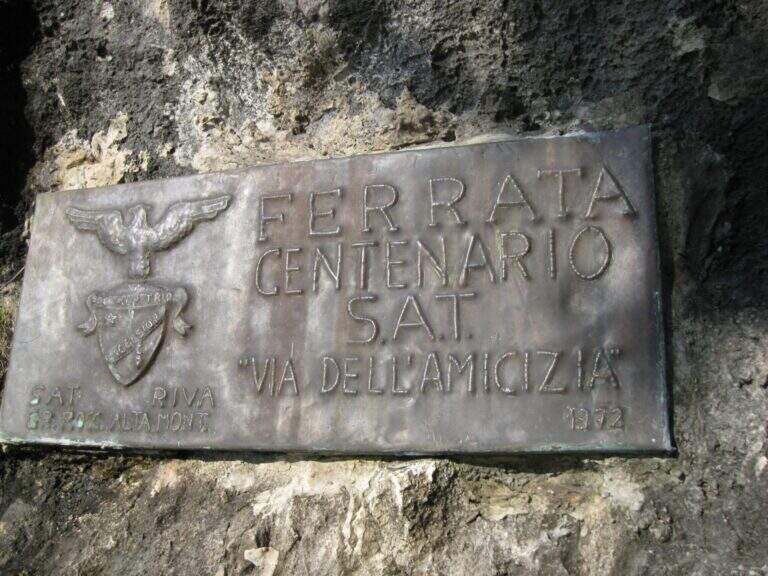
    Grazie alla quota bassa è percorribile in quasi tutte le stagioni, ma se ne sconsiglia la frequentazione nelle giornate più calde d’estate. Un cenno di storia: la via fu costruita su iniziativa del Gruppo Rocciatori di Riva del Garda (G.R.A.M.) e inaugurata nel 1972 per il centenario della fondazione della SAT (Società Alpinisti Tridentini); è una delle ferrate più frequentate dell’arco alpino. Portare acqua in abbondanza e verificare il meteo prima di partire.

    ▲Discipline

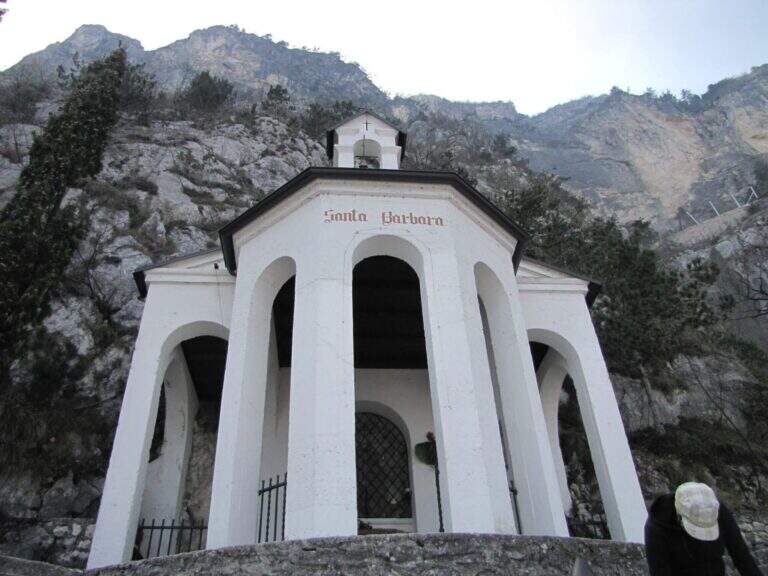
    Dalla vetta si scende verso ovest fino a un breve tratto attrezzato e a una piazzola di atterraggio per elicotteri; si prosegue fino a un bivio con due opzioni. A destra (nord) si scende lungo il CAI 418 che, con molti tornanti, porta a una forestale (CAI 402); si tiene la destra in discesa fino a ritrovare, poco sopra Riva del Garda, il sentiero dell’andata e quindi il parcheggio (circa 2 ore dalla cima, 5 ore complessive). A sinistra (sud) si sale a un bivio dove si tiene la sinistra sul CAI 404, ignorando la deviazione per la Bocchetta dei Concoli e, più avanti, il CAI 404A verso Cima Capi; si prosegue a mezzacosta, anche con una lunga scala, fino alla Chiesa di Santa Barbara e quindi al bivio dell’andata, da cui si rientra a ritroso (circa 3 ore dalla vetta, 6 ore complessive).

    ▲To match

    Vista la lunghezza, difficilmente si aggiungerà un secondo itinerario nella stessa giornata, ma l’Alto Garda è ricco di alternative. Nella zona di Cima Capi ci sono la Ferrata Susatti e la Ferrata di Cima Rocca. Salendo verso Trento, i facili Colods e Sentiero delle Cavre, o la Ferrata Rio Sallagoni a Castel Drena. Per i più preparati, la difficile Ferrata Pisetta in Val di Sarche.

    ▲Gallery
    Technical data
    • Approach1:15 h
    • Duration1:45 h
    • Total itinerary5:00 h
    • Hardware level difference610 m
    • Route difference1150 m
    • Maximum altitude1246 m
    • Length9,5 Km
    • Year opening1972
Need help? Write to us!