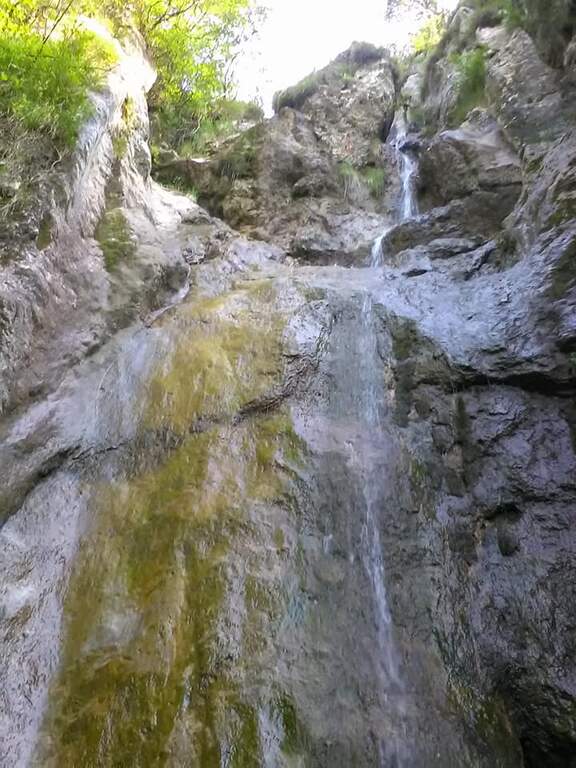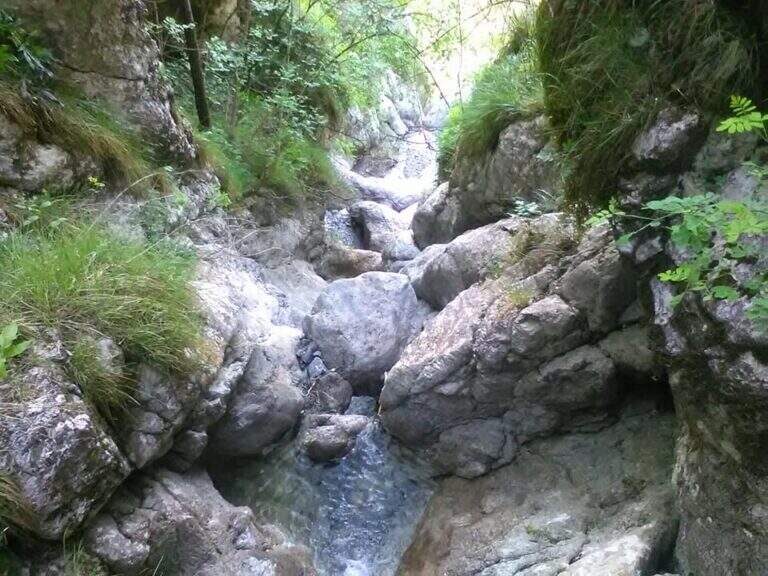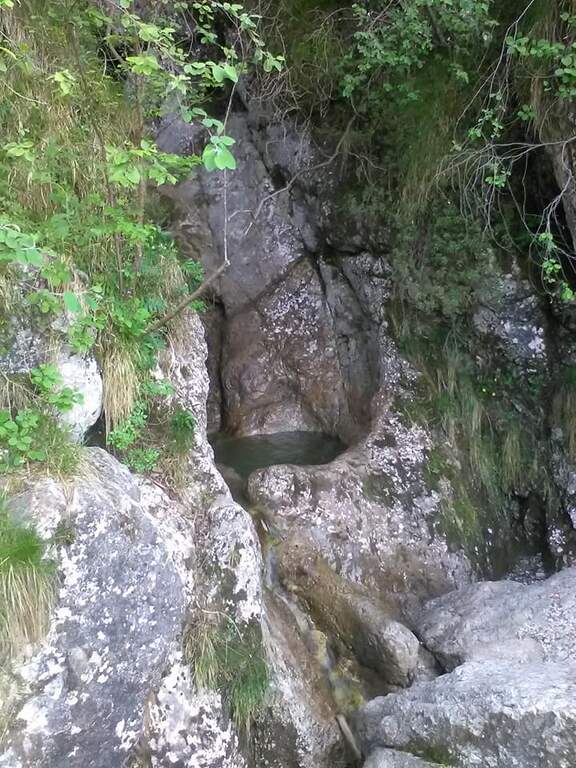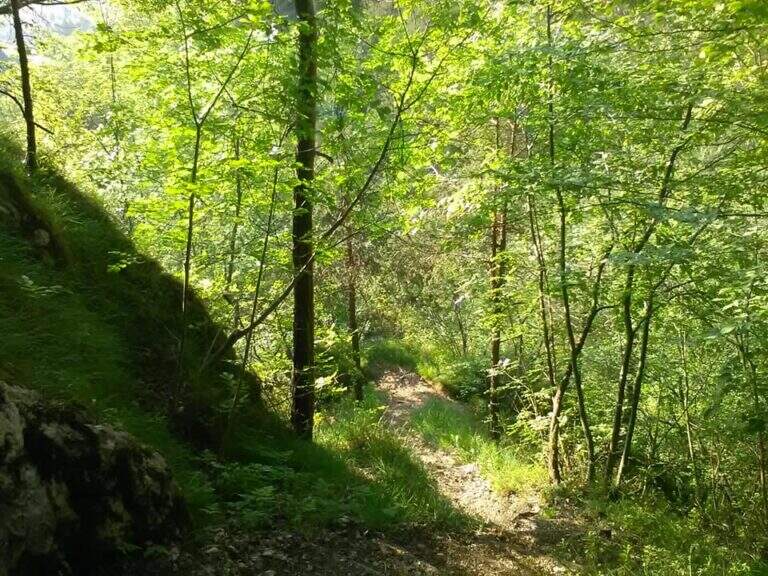
Stato: Aperta

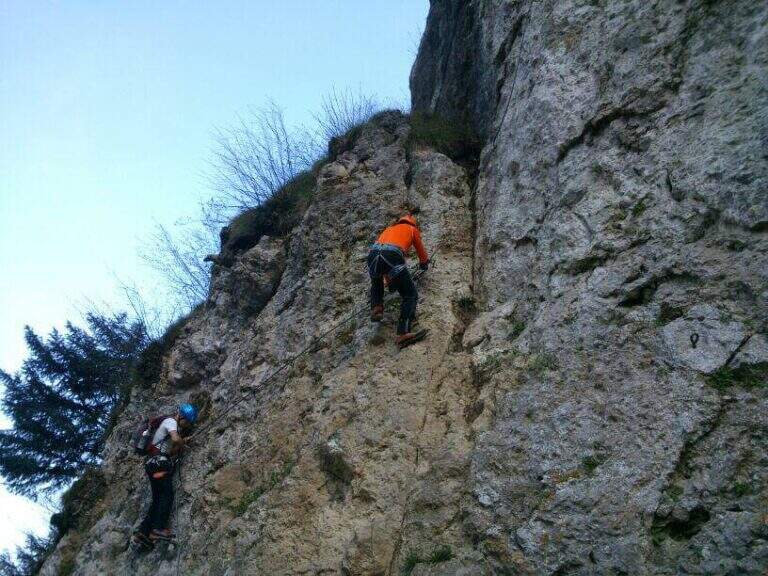
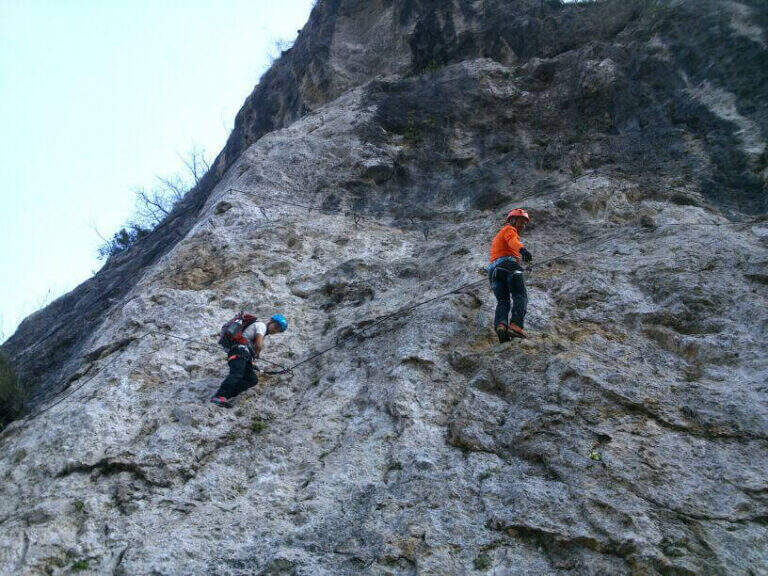
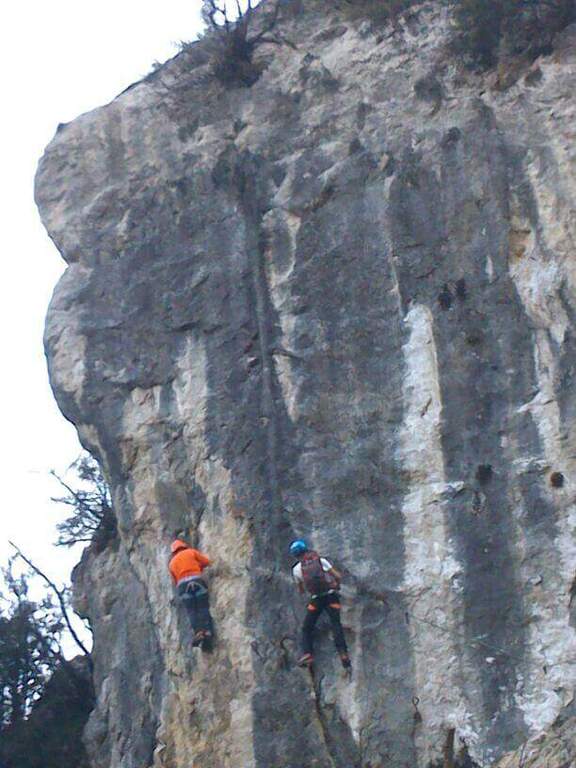
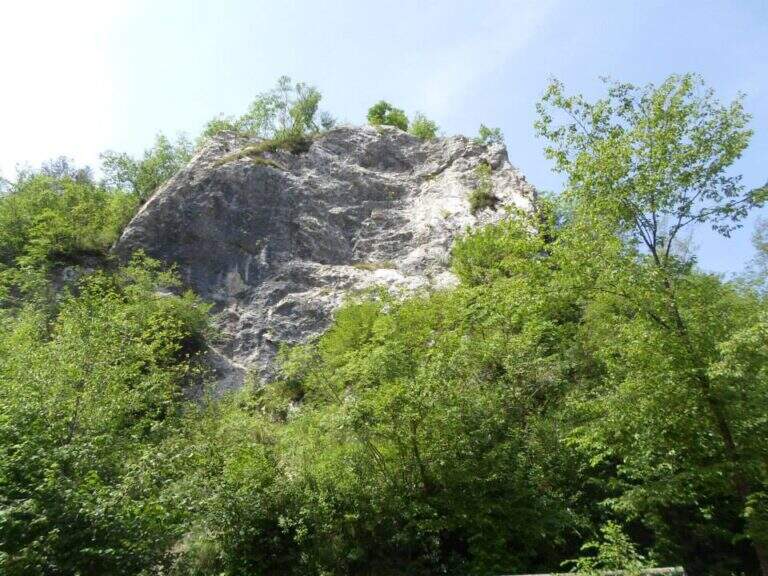
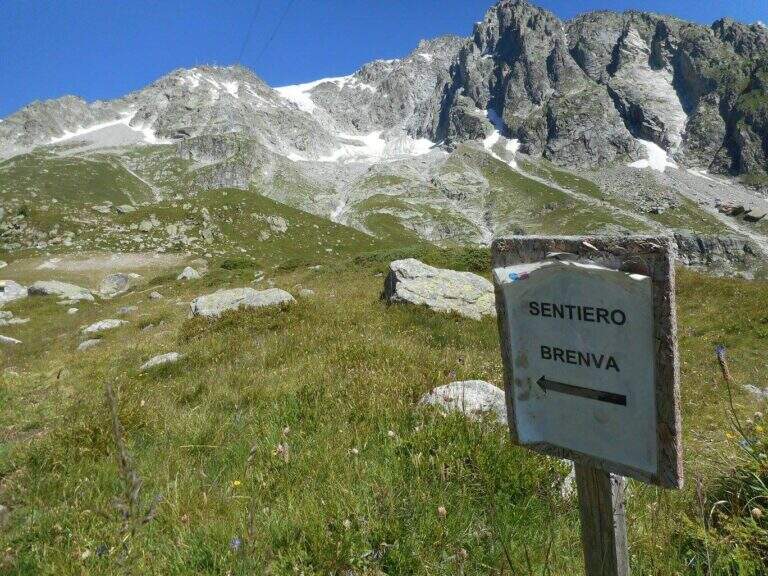
  • Sentiero Attrezzato degli Alpini in Punta Charrร 

    Sentiero Attrezzato degli Alpini in Punta Charrร 

    Vie Ferrate โ€บ Piedmont โ€บ Turin
    Sentiero Attrezzato degli Alpini in Punta Charrร 
    Moderately Hardโ— OpenDescriptionComplexityMapsGallery

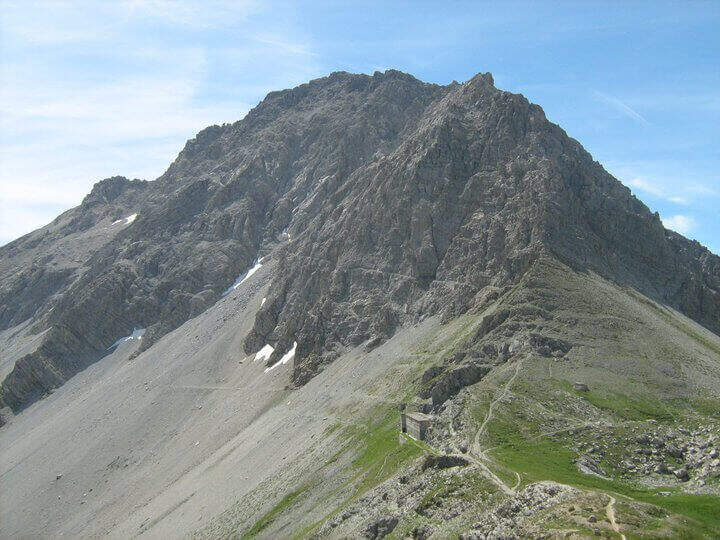
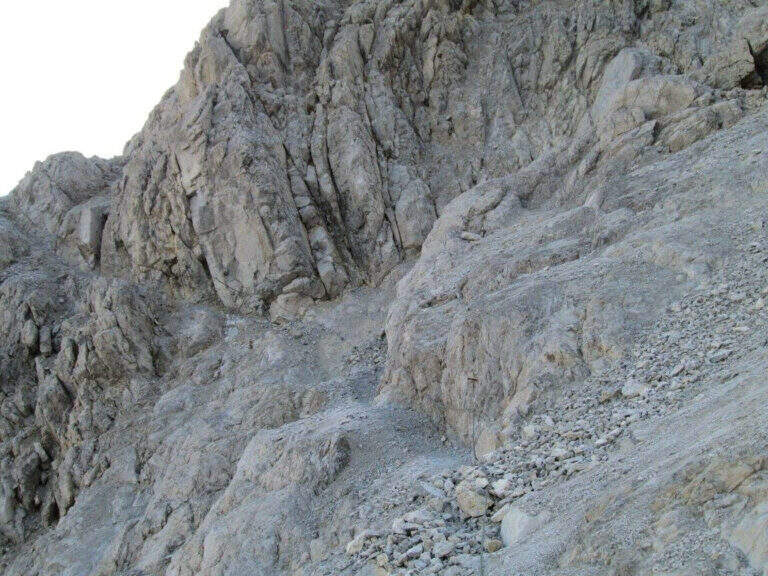
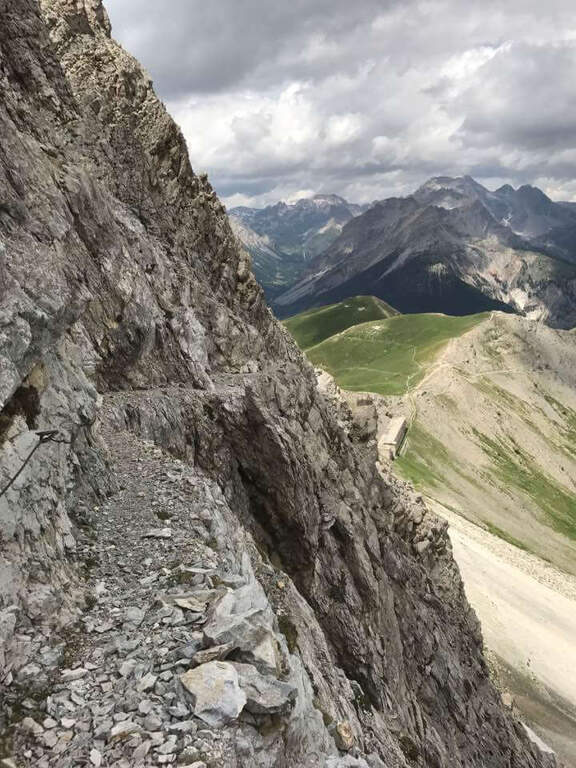
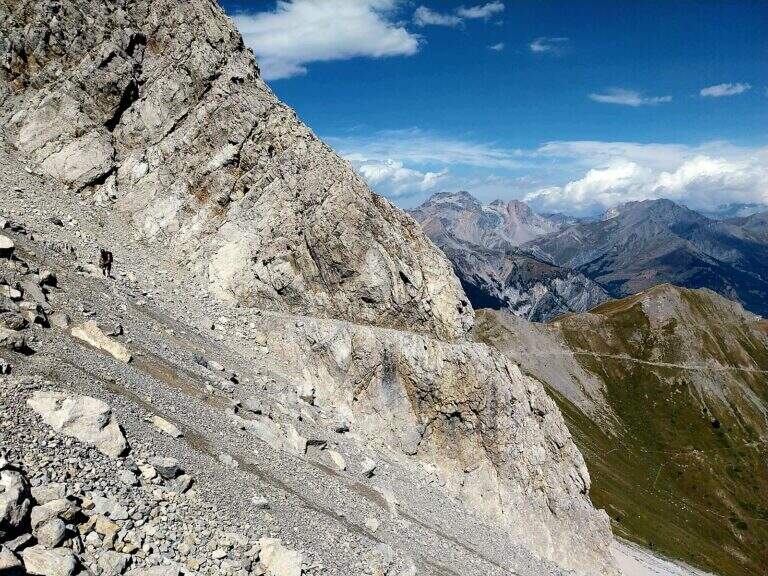
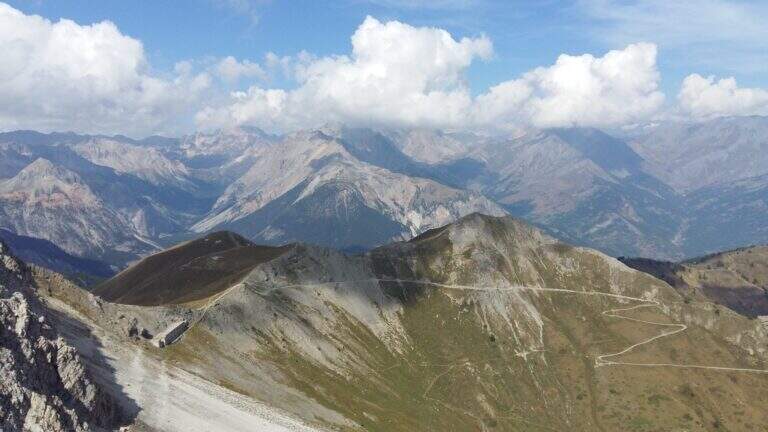
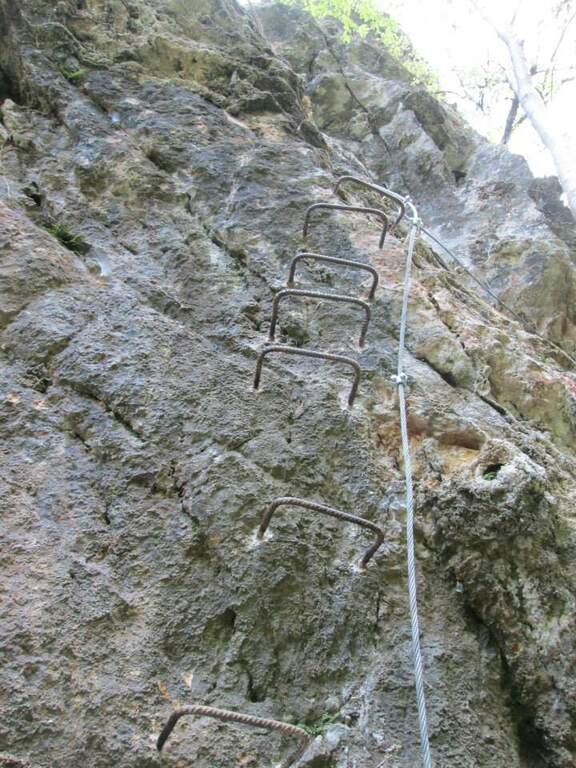
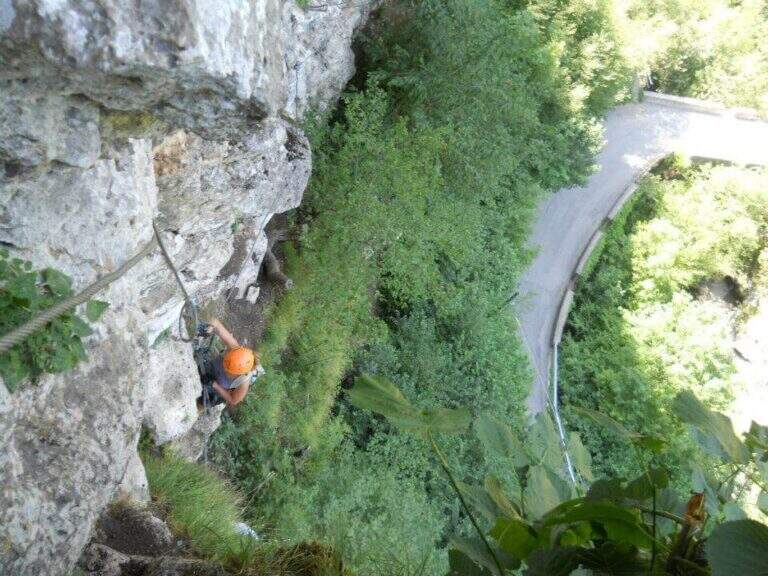
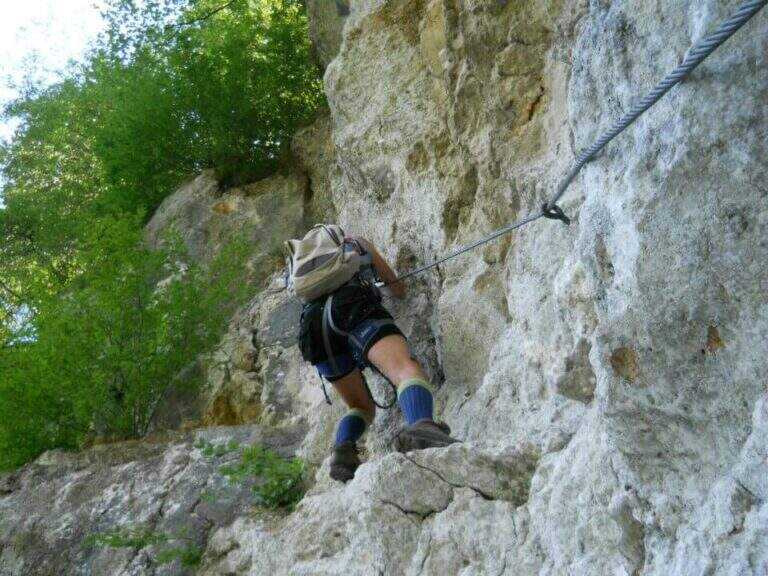
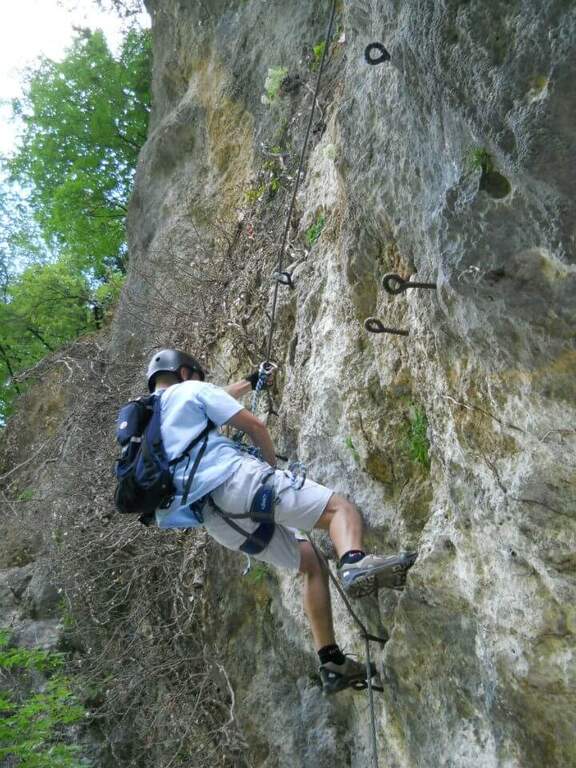
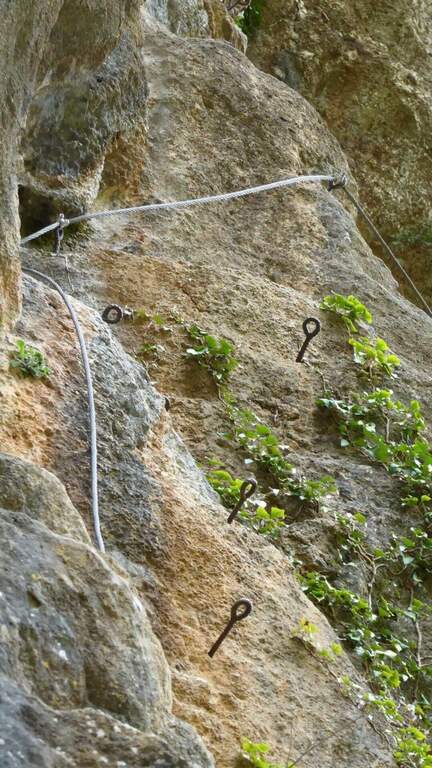
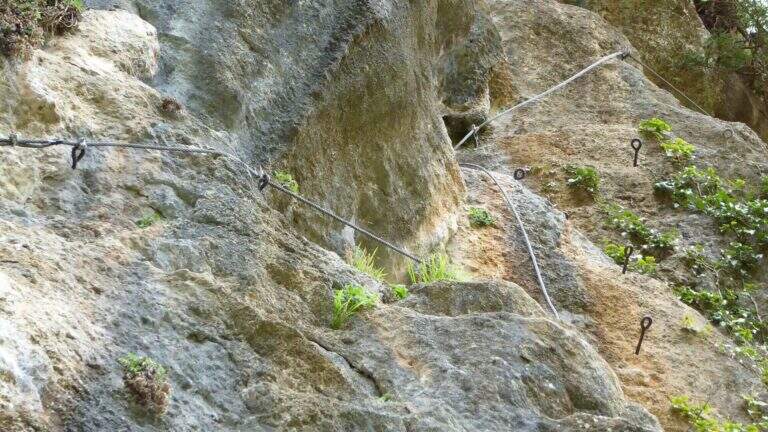
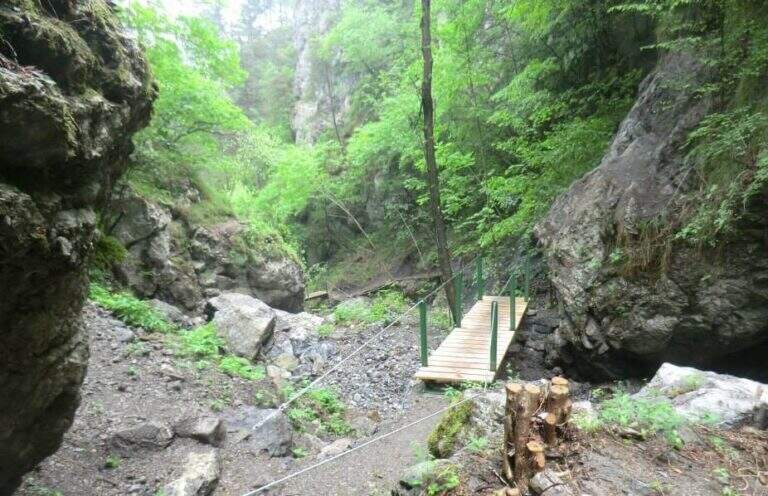
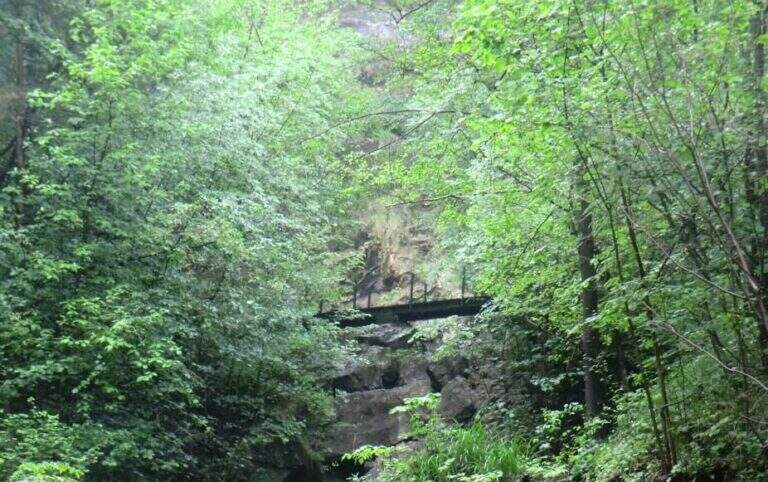
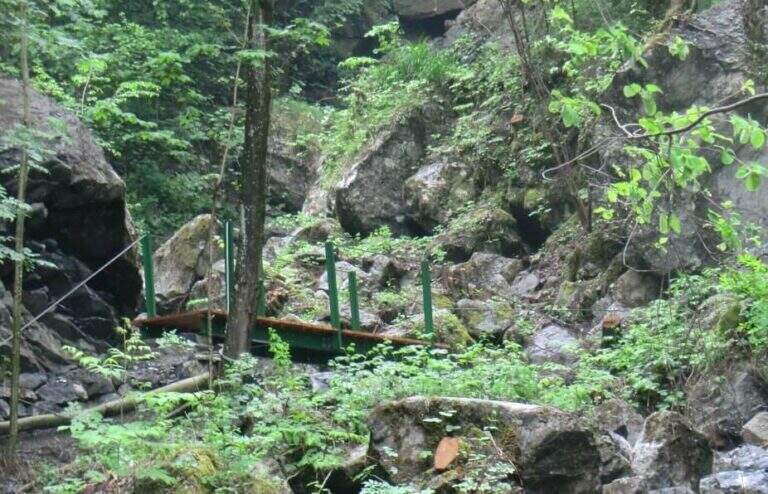
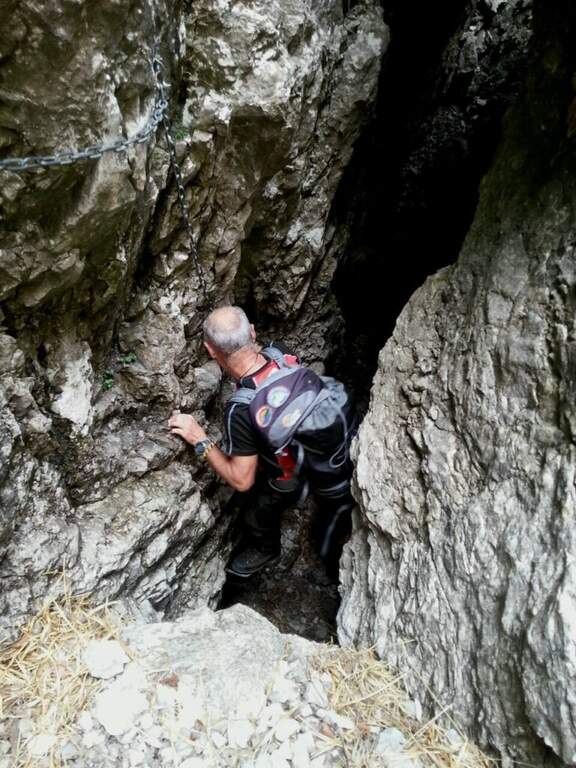
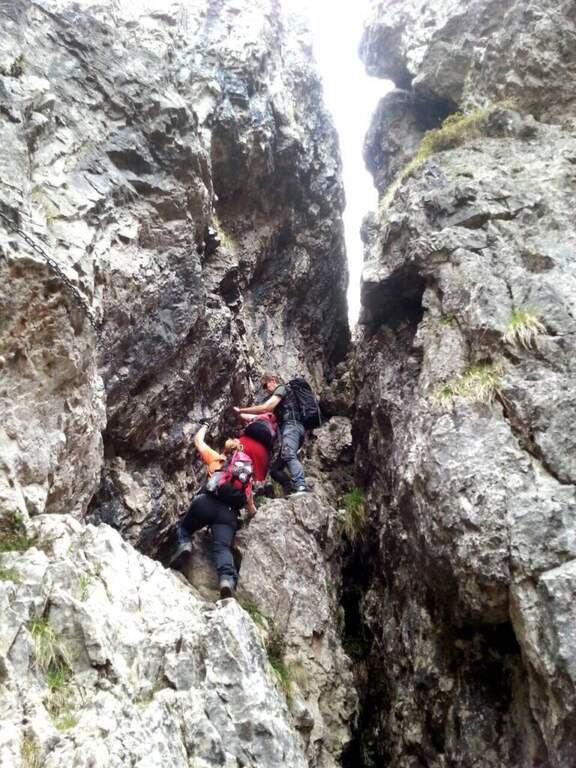
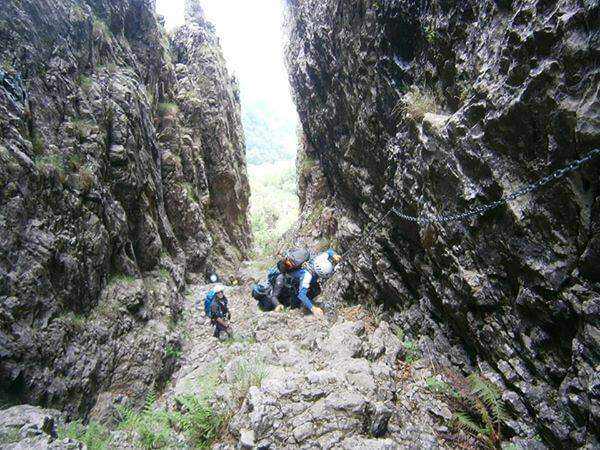
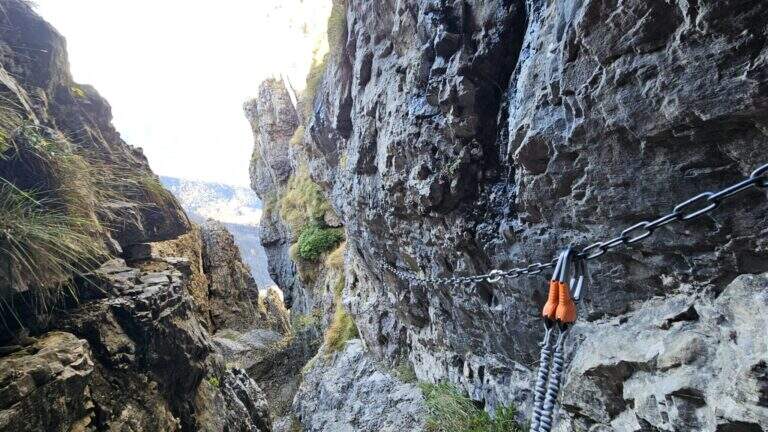
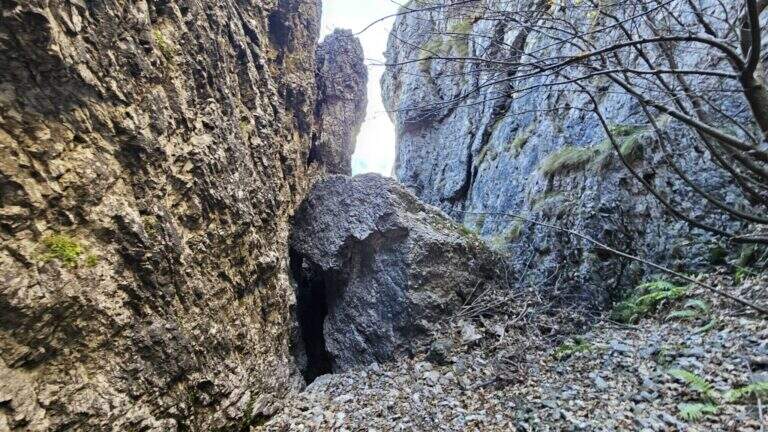
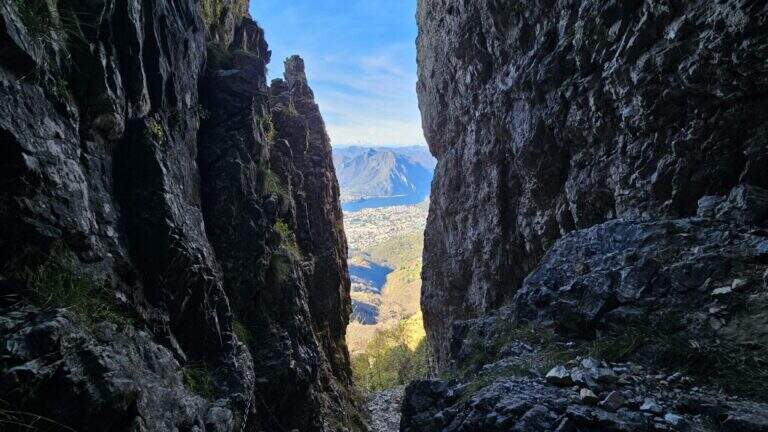
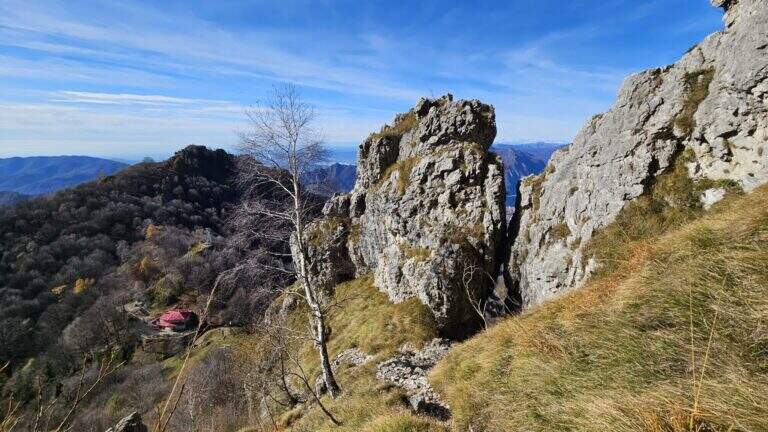
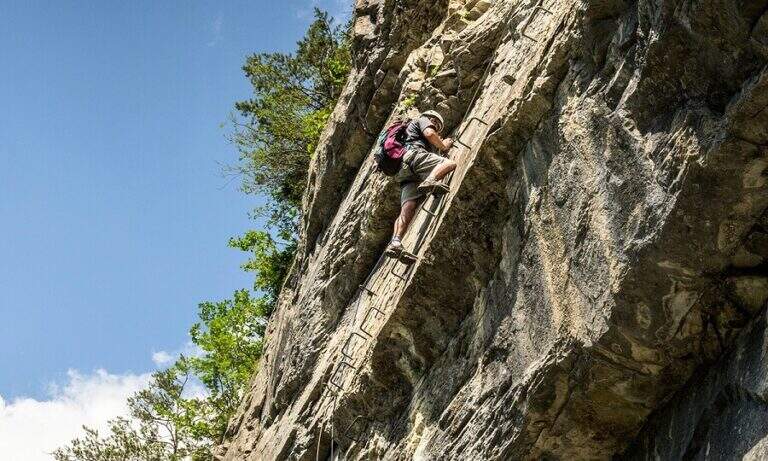
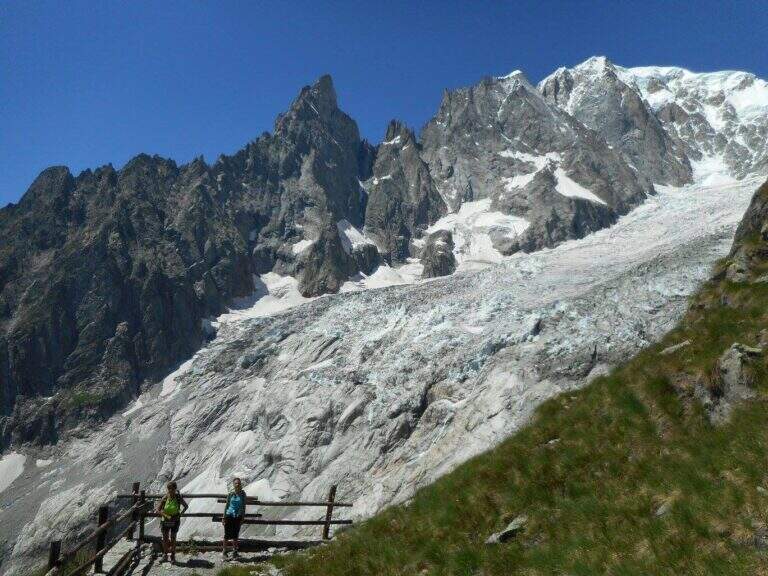
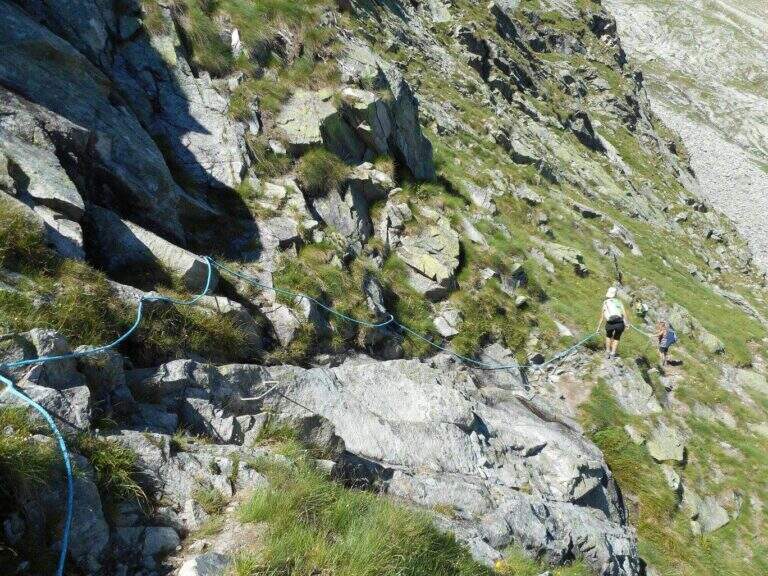
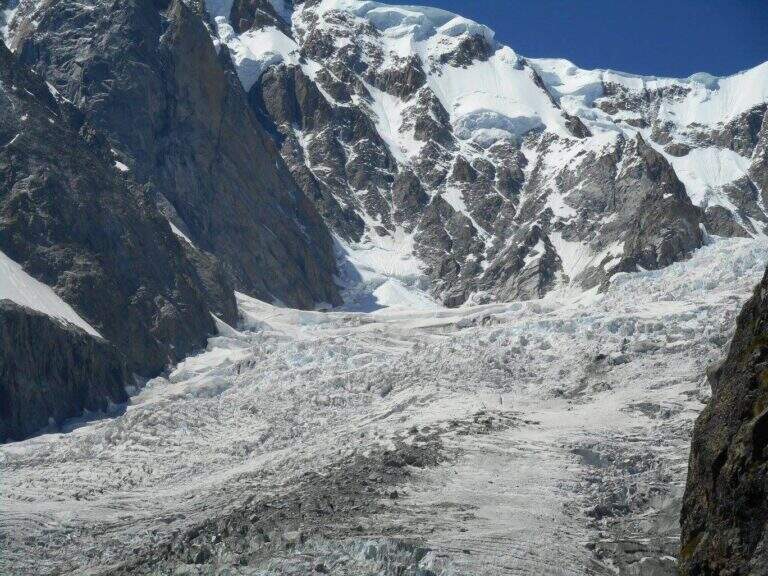
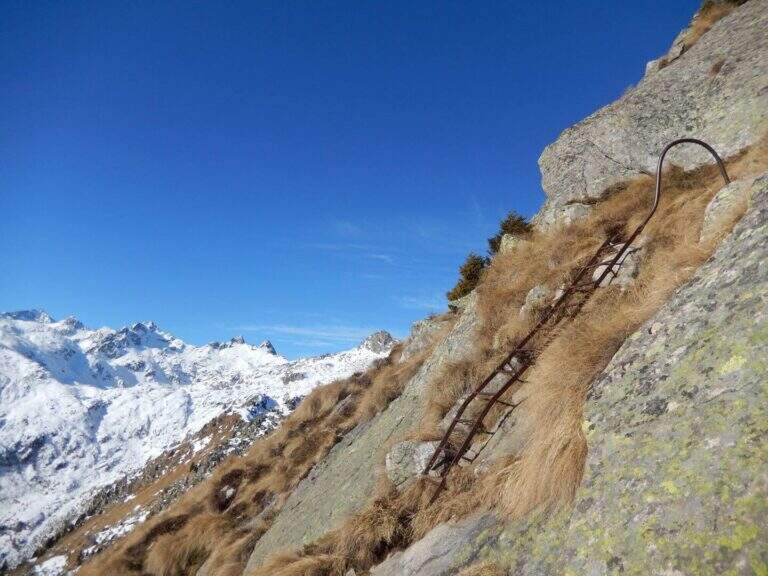
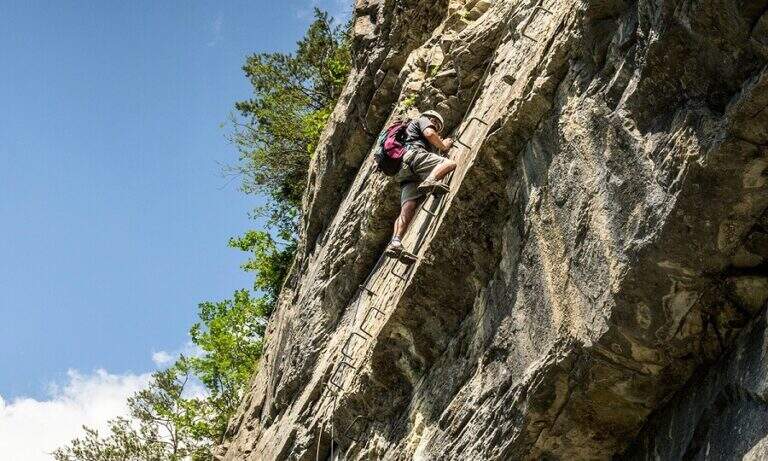
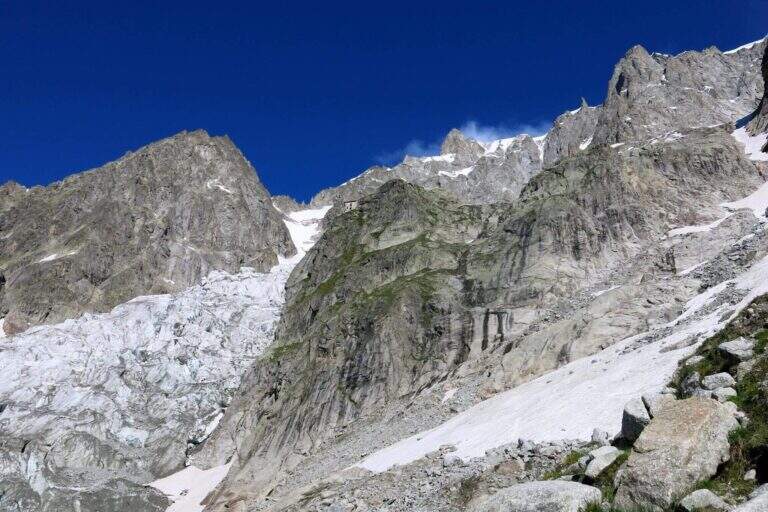
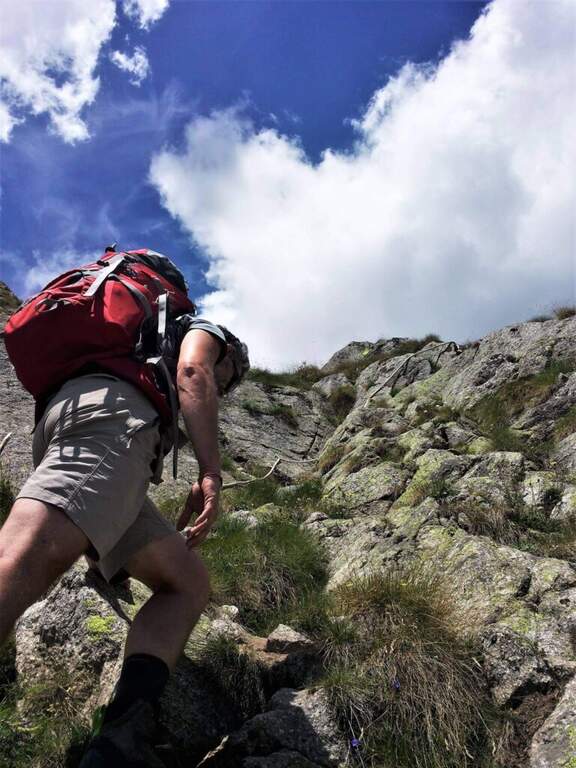
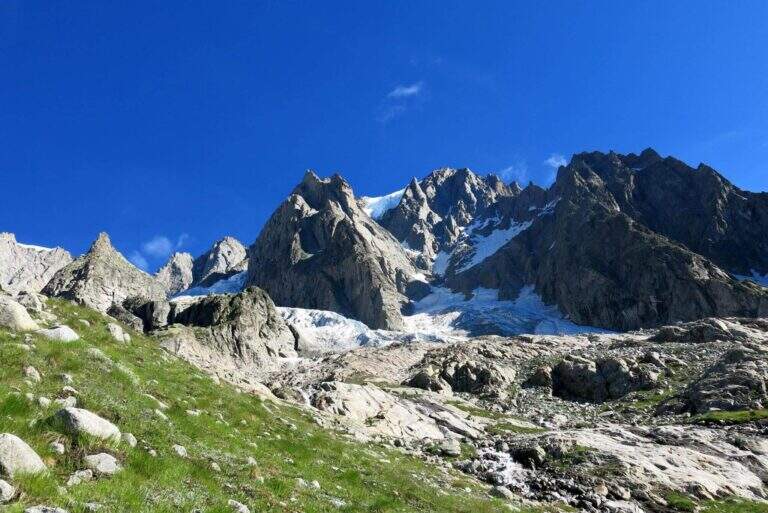
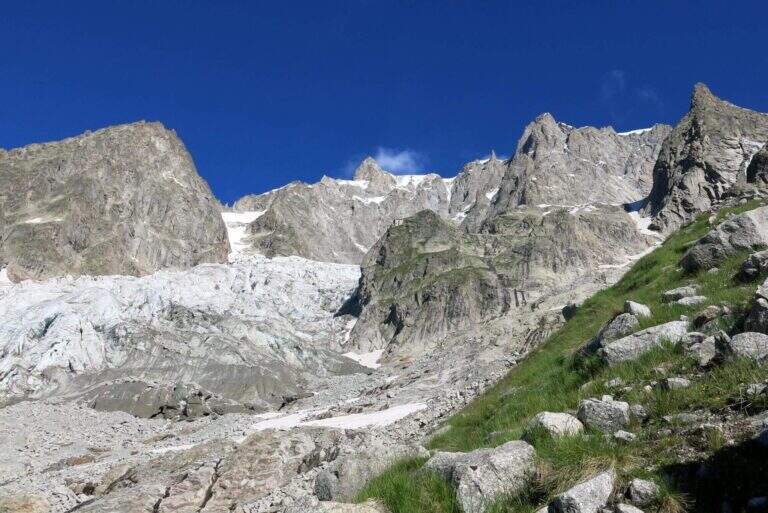
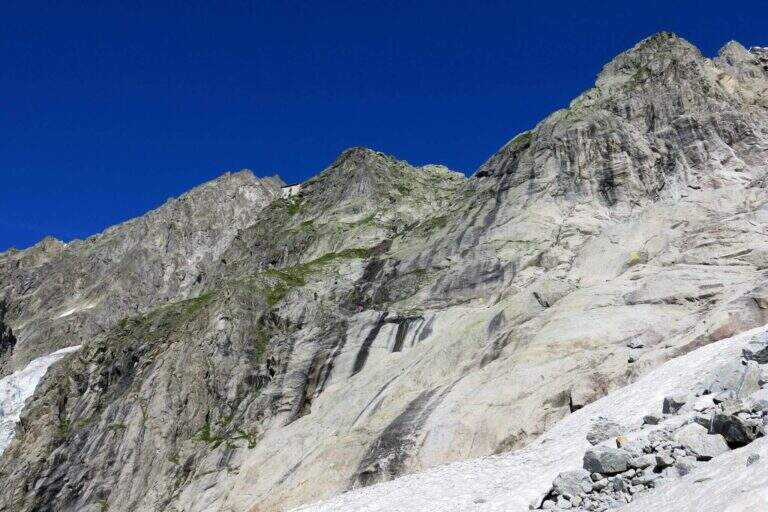
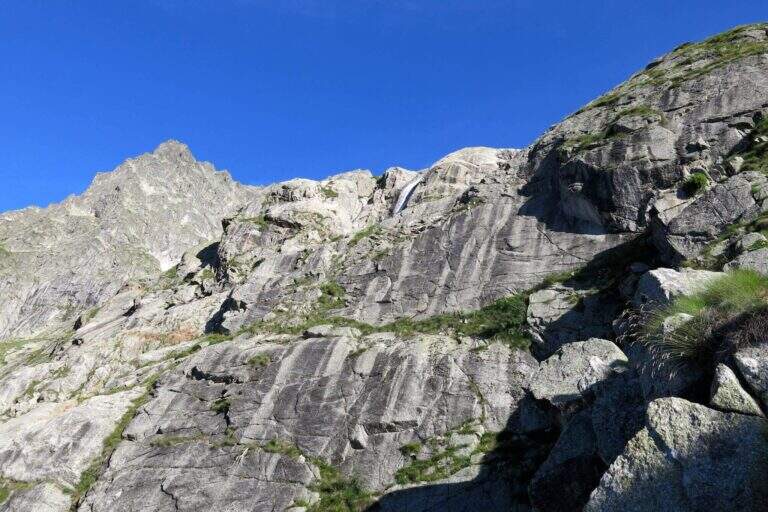
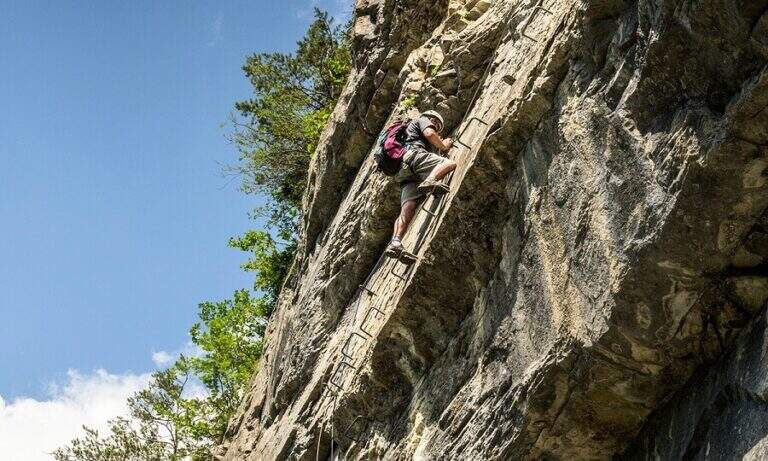
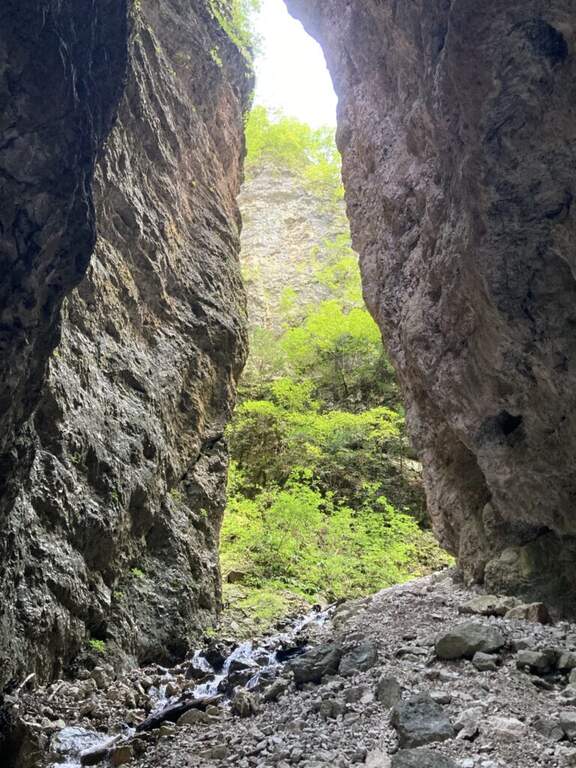
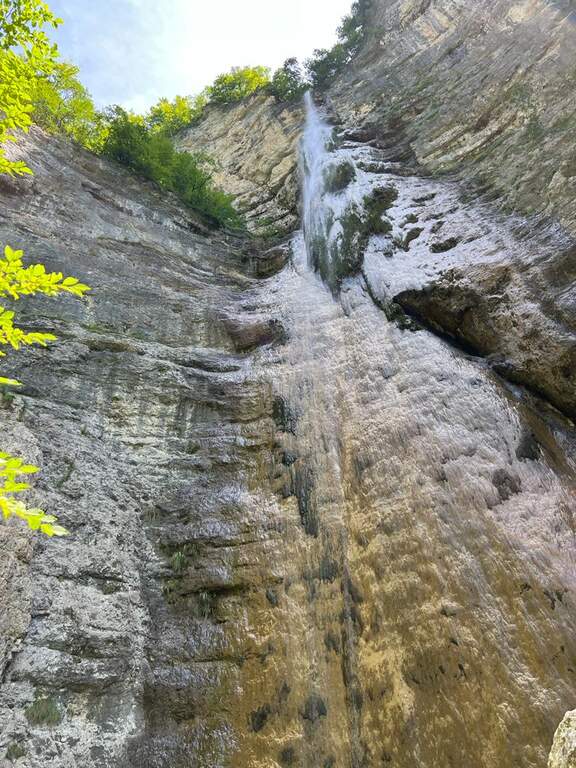
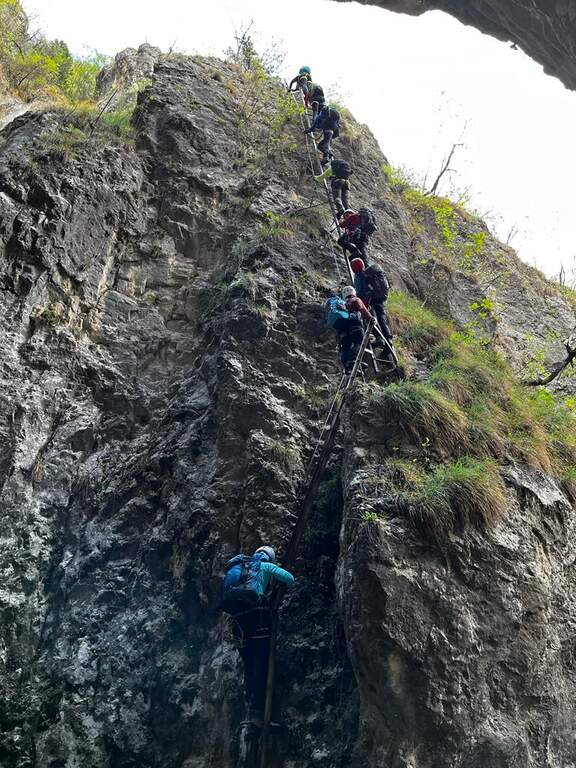
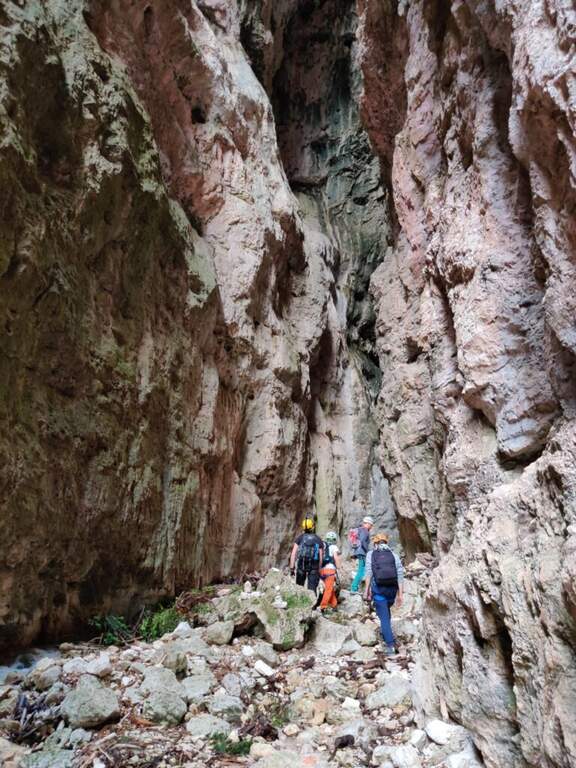
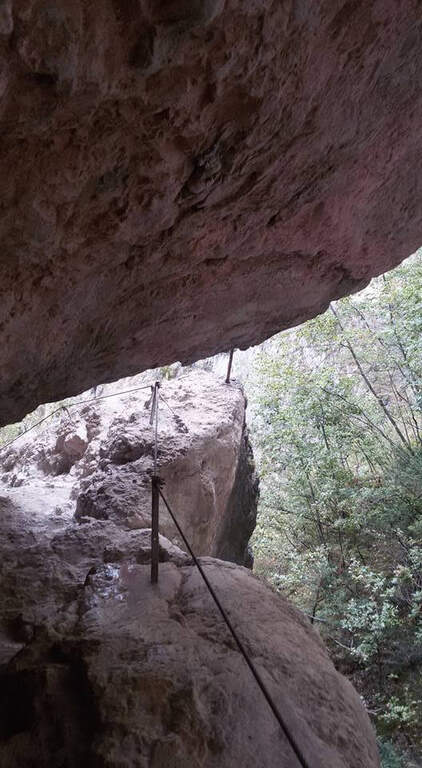
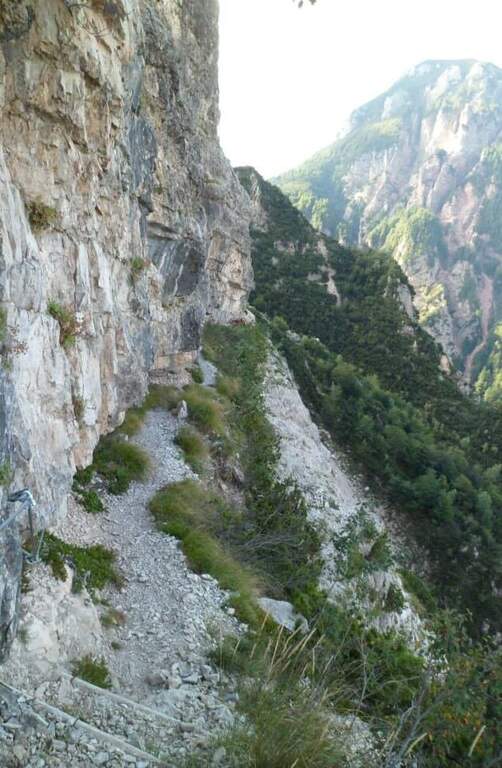
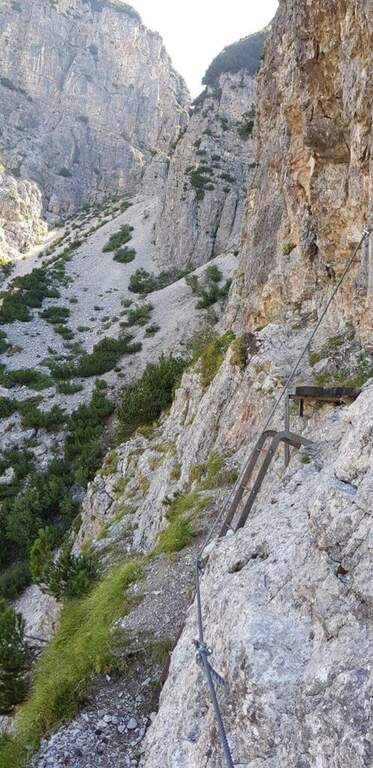
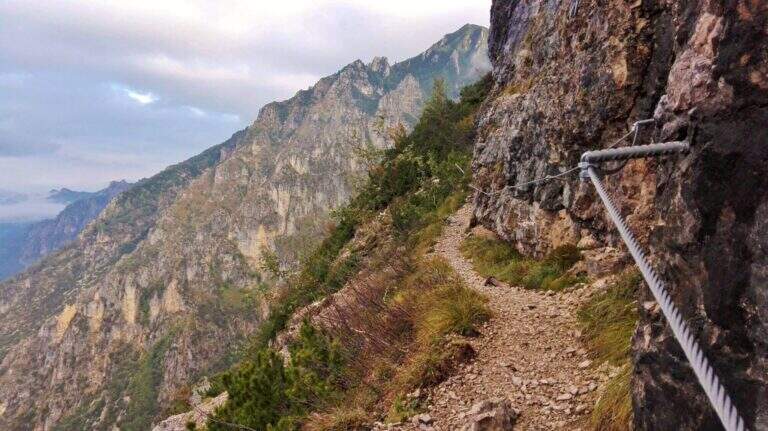
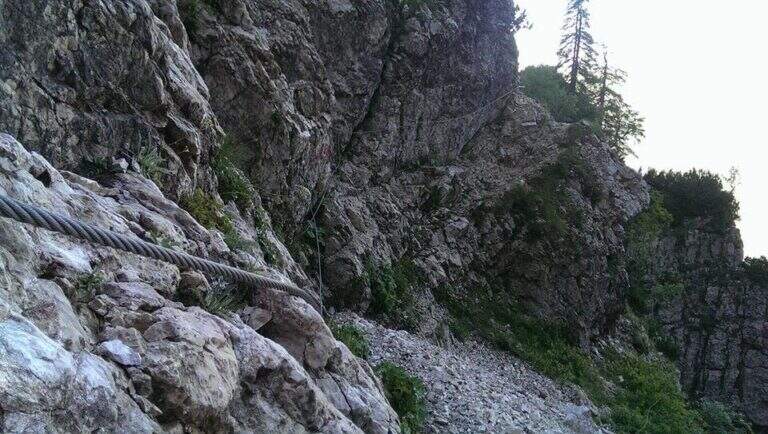
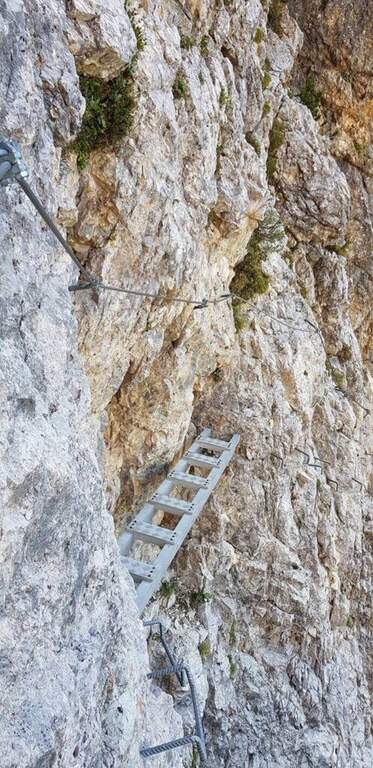
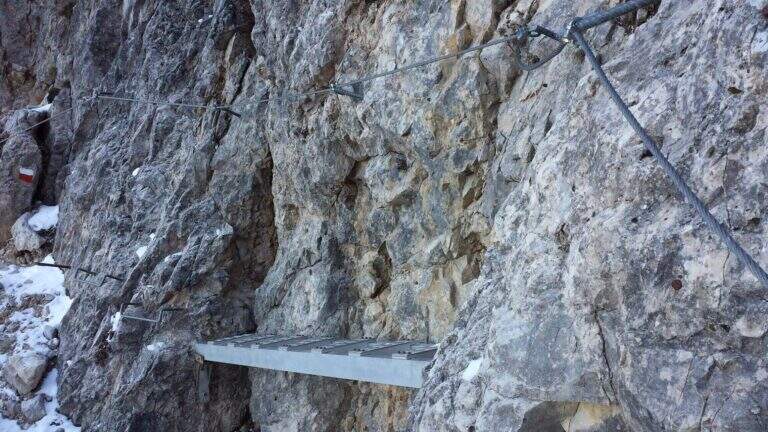
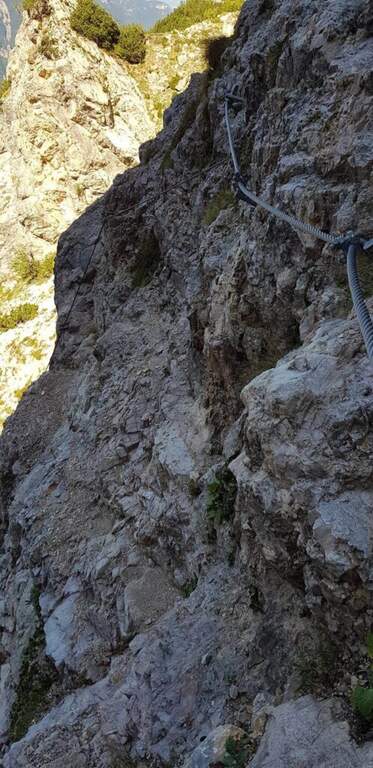
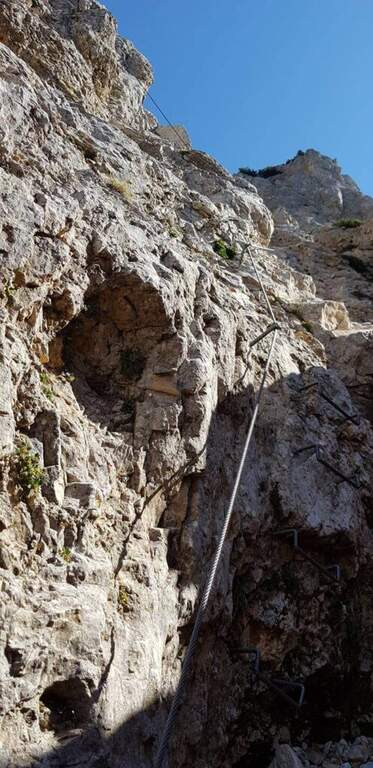
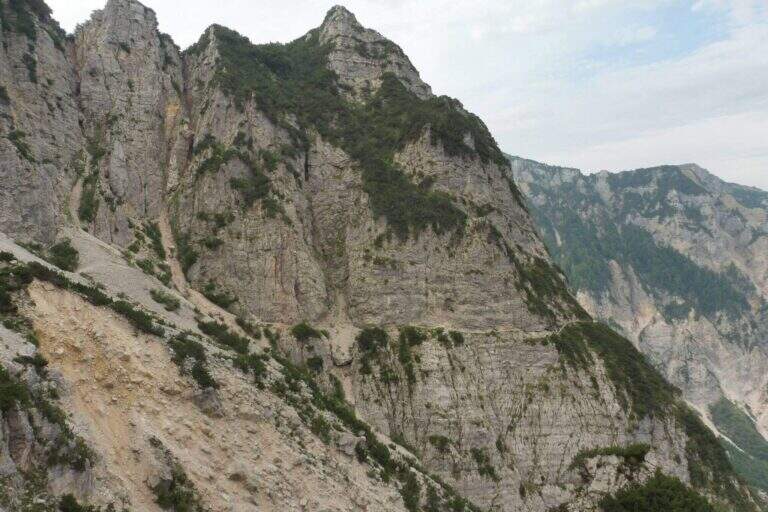
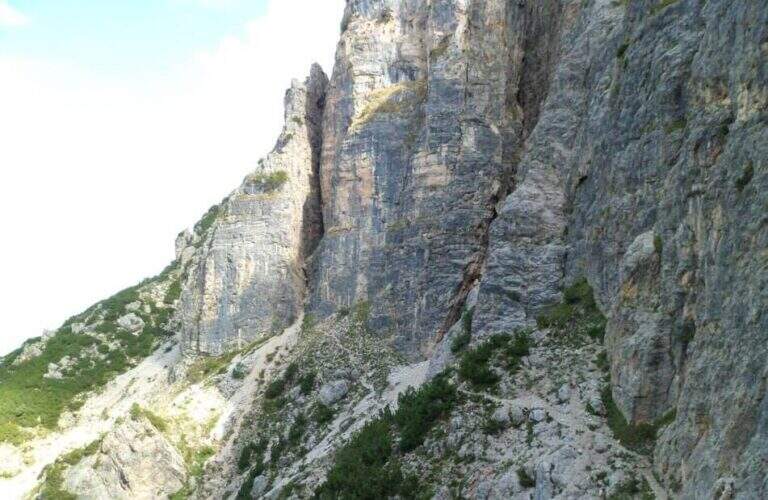
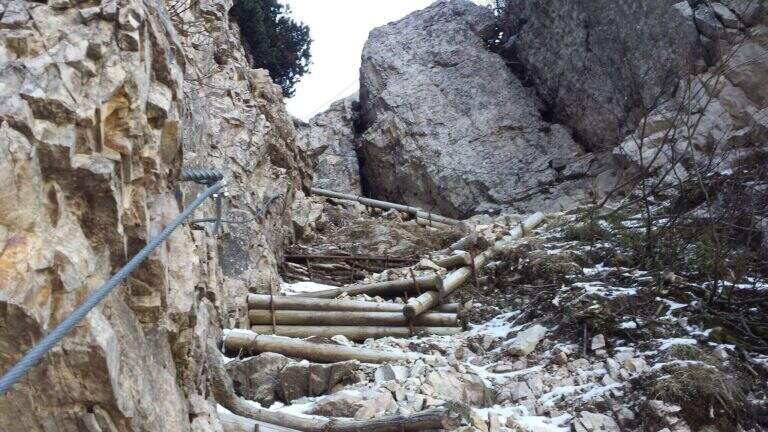
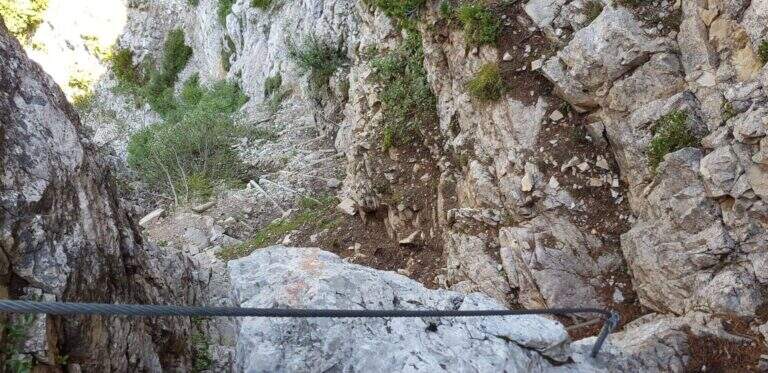
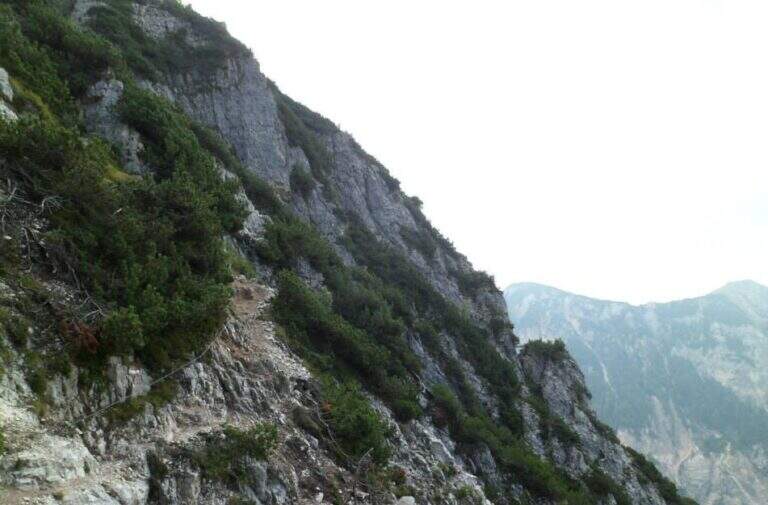
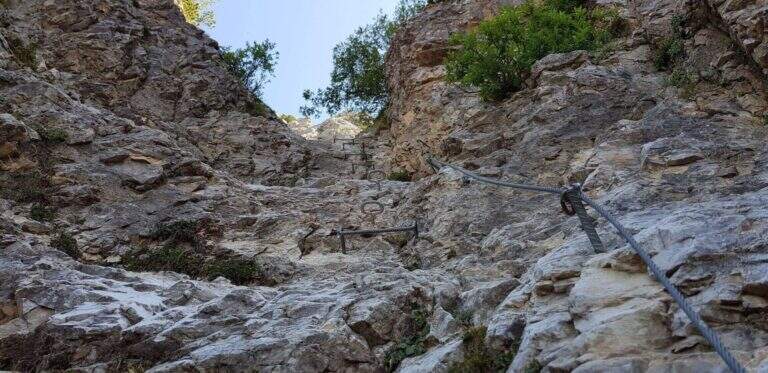
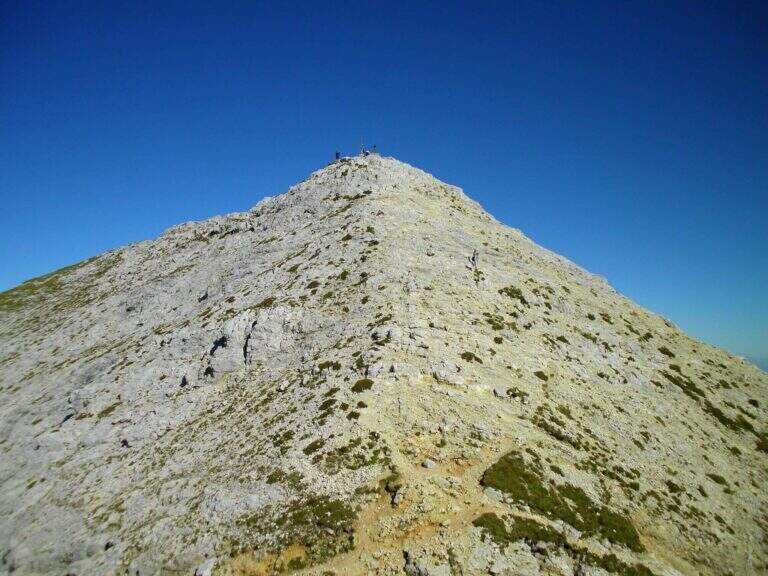
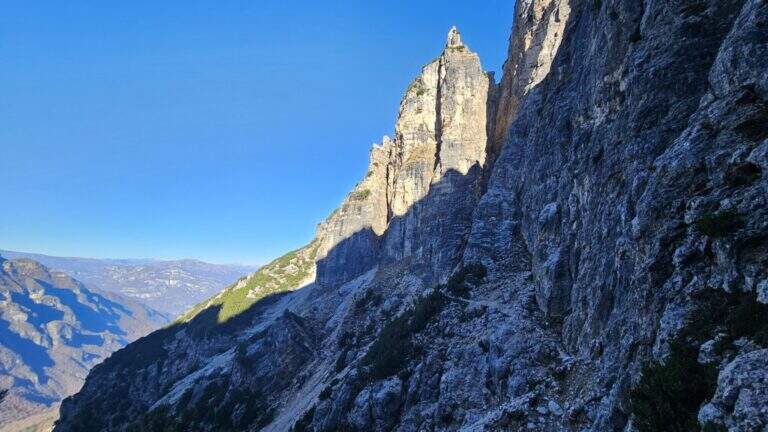
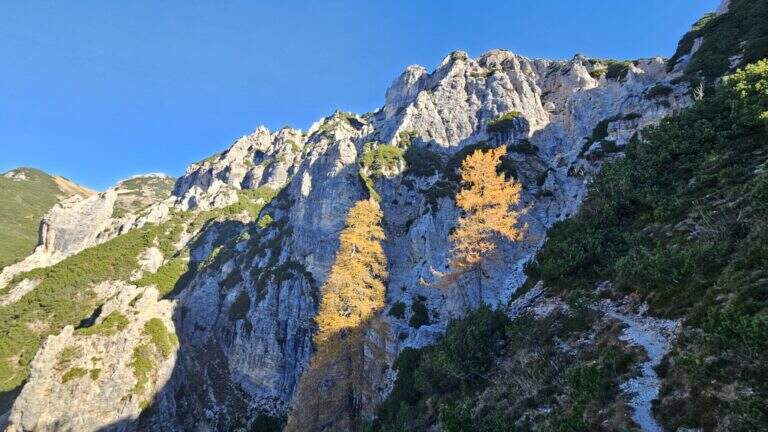
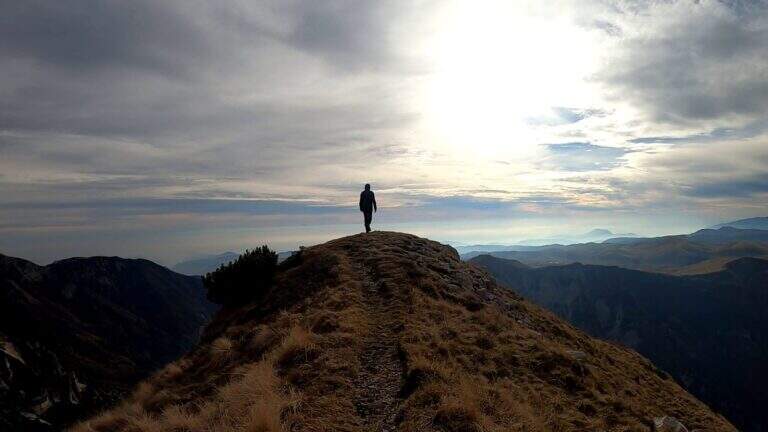
    On the ridge that divides Italy and France over Bardonecchia, this equipped path connects the Passo della Mulattiera to Passo della Sanitร , at the foot of Punta Charrร . The development is almost entirely horizontal: the equipment is mainly used to secure the progression on soil at times unstable and on thin waxes, while the vertical passages are practically absent. There is a long itinerary and great hiking breath, but to be faced with stable time because along the path there are no support points.

    ▲Approach

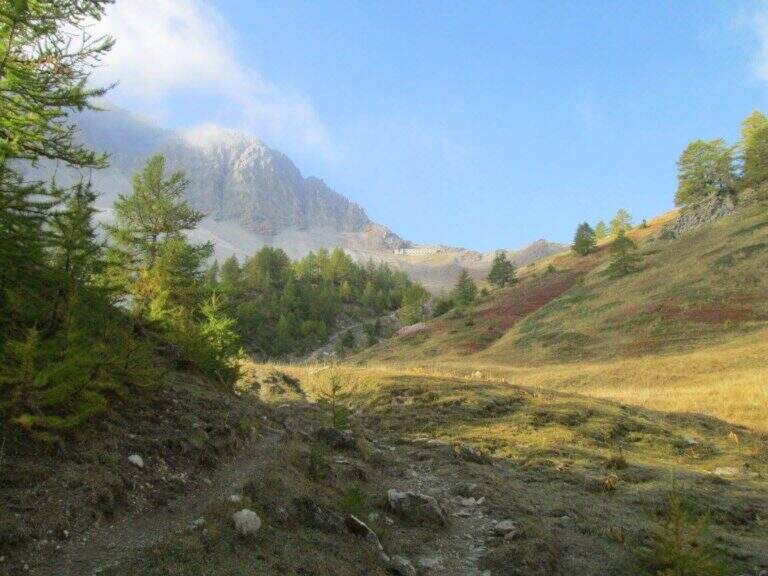
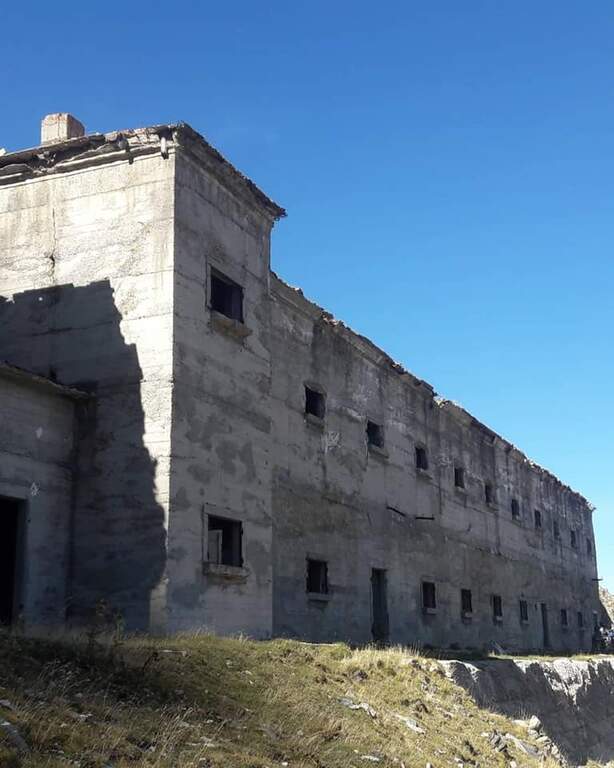
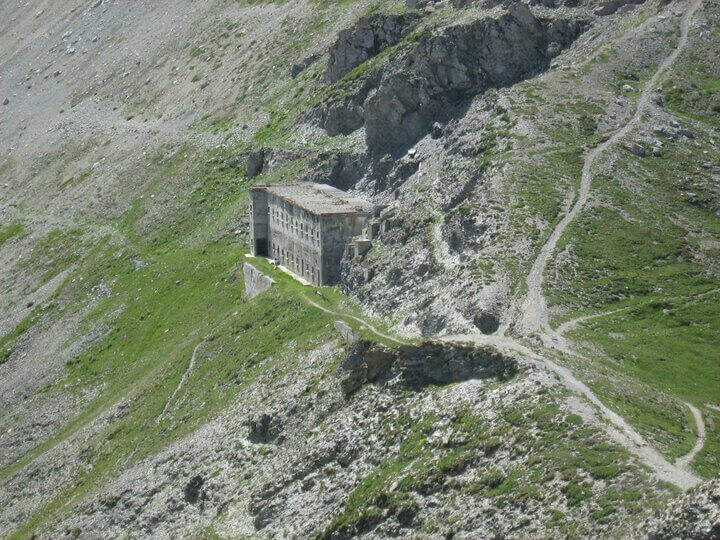
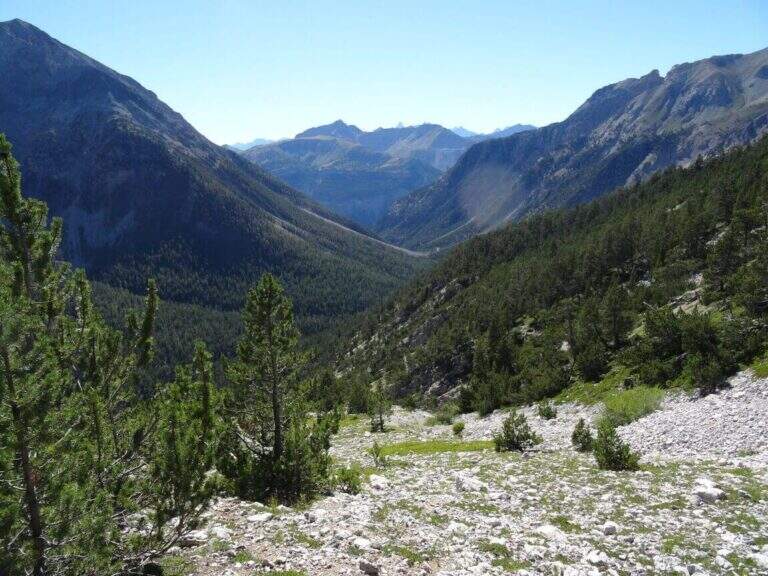
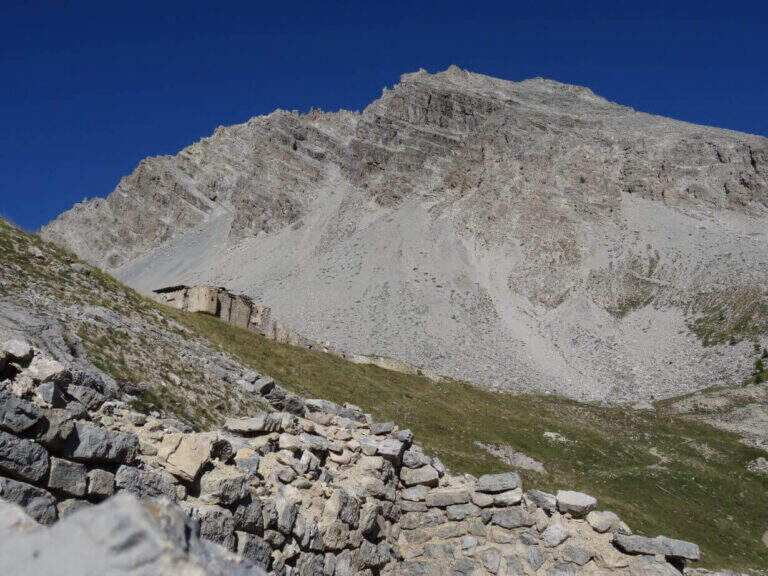
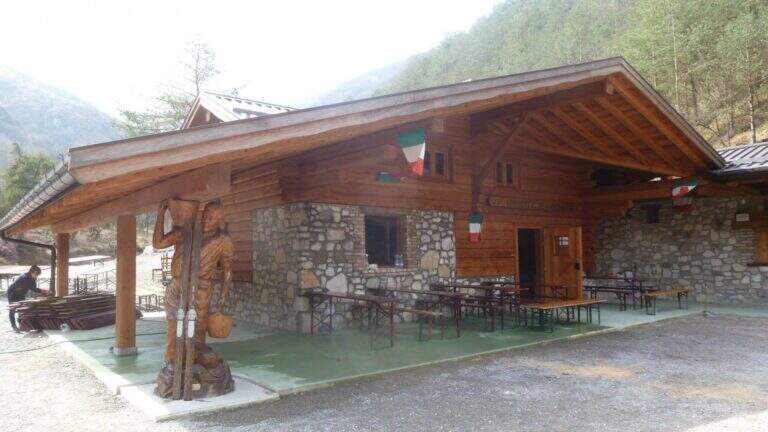
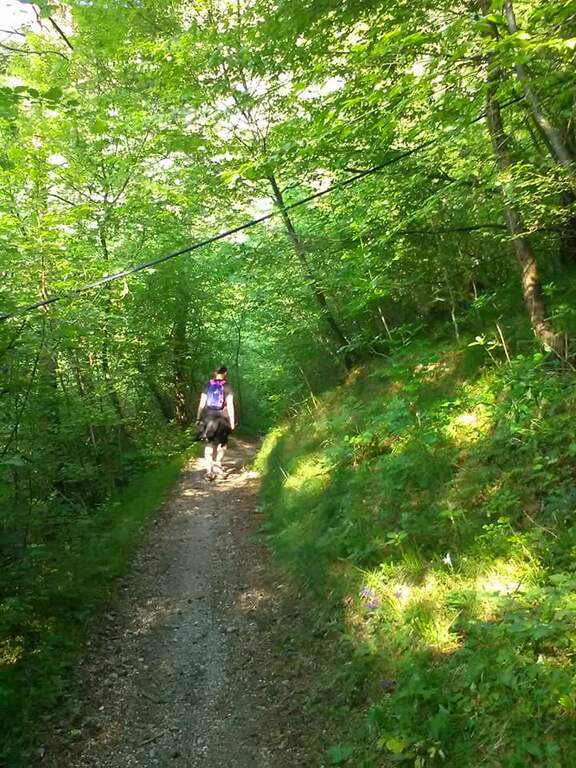
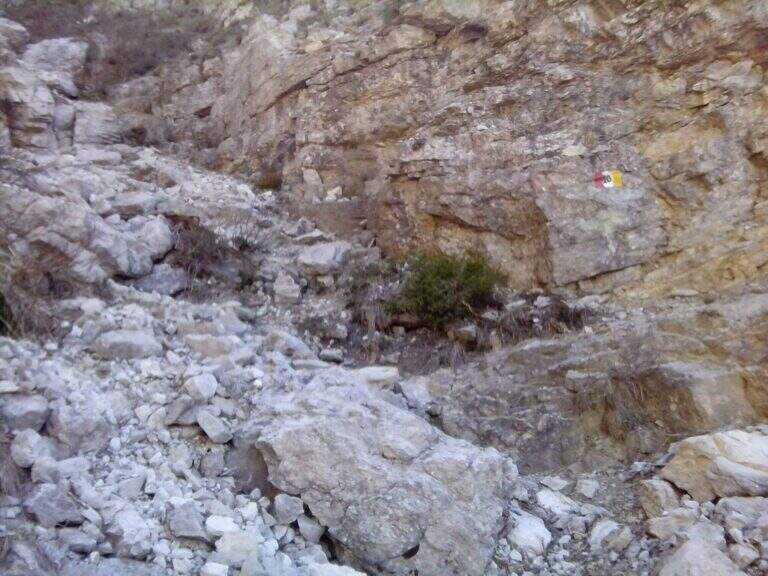
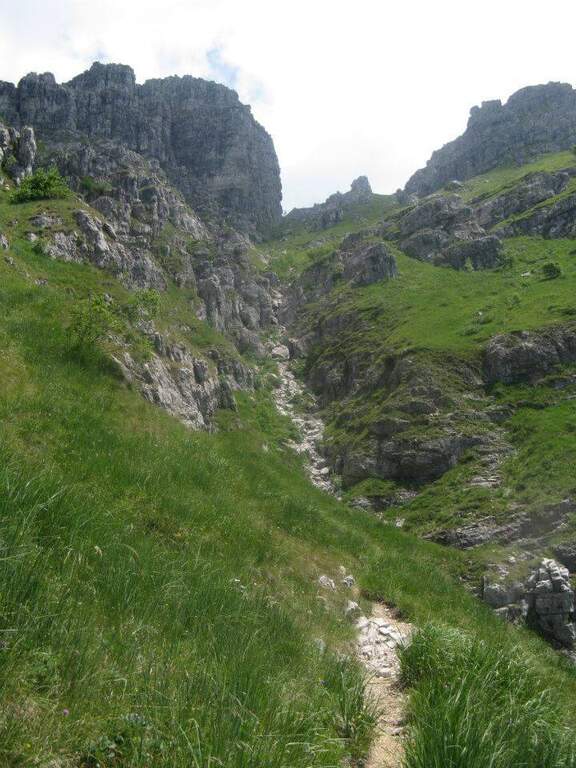
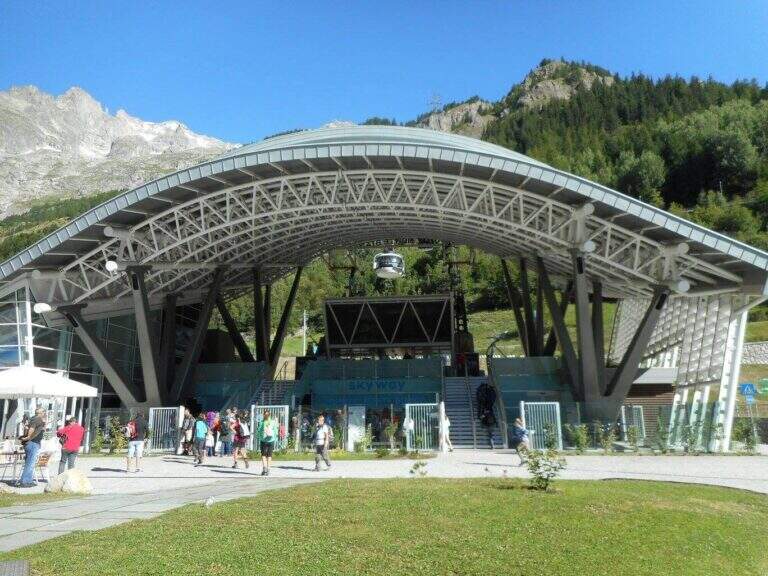
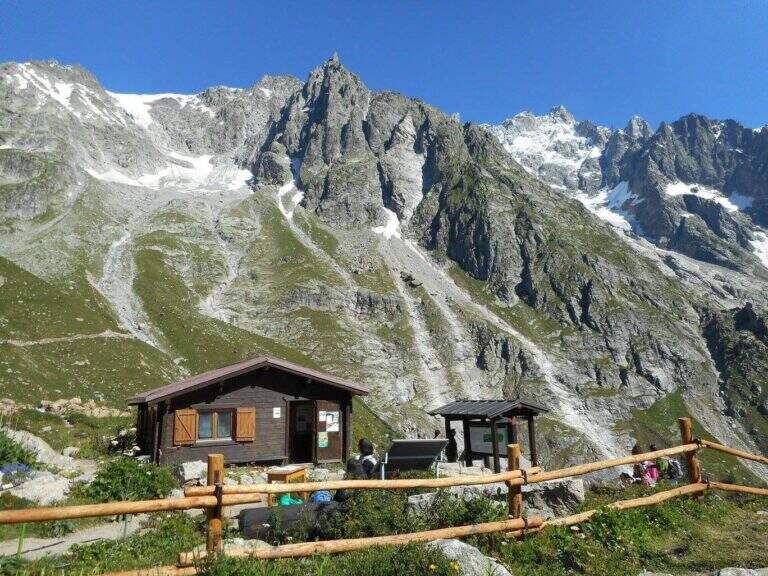
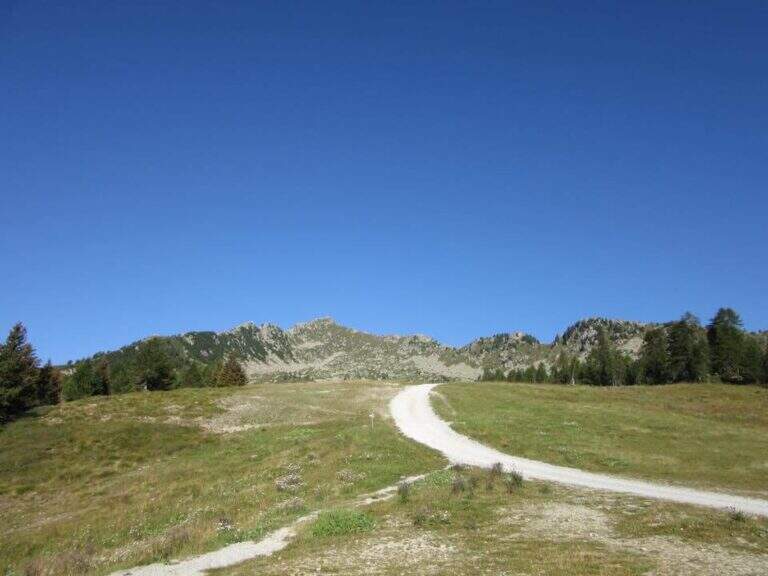
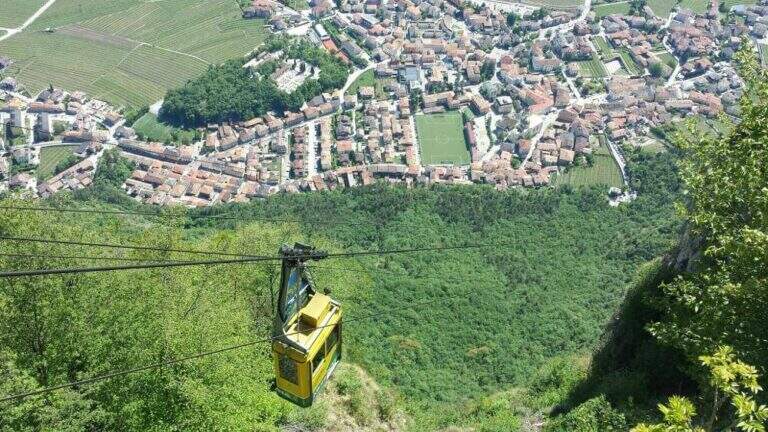
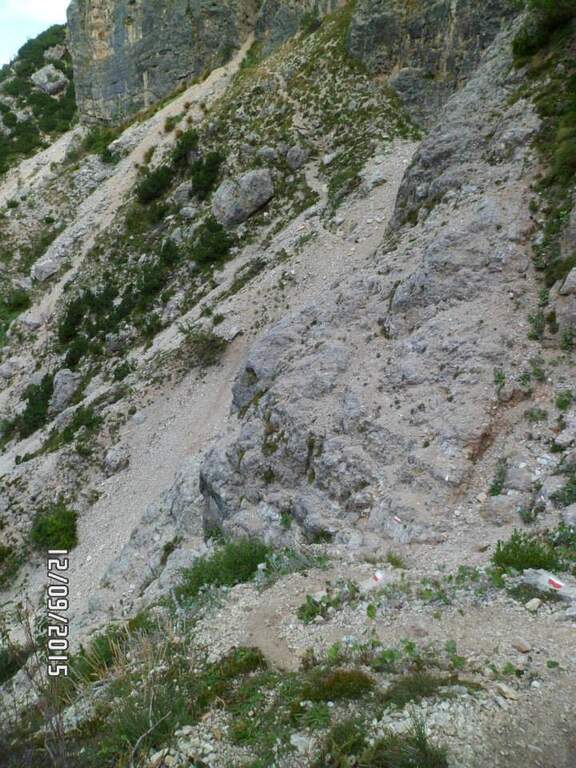
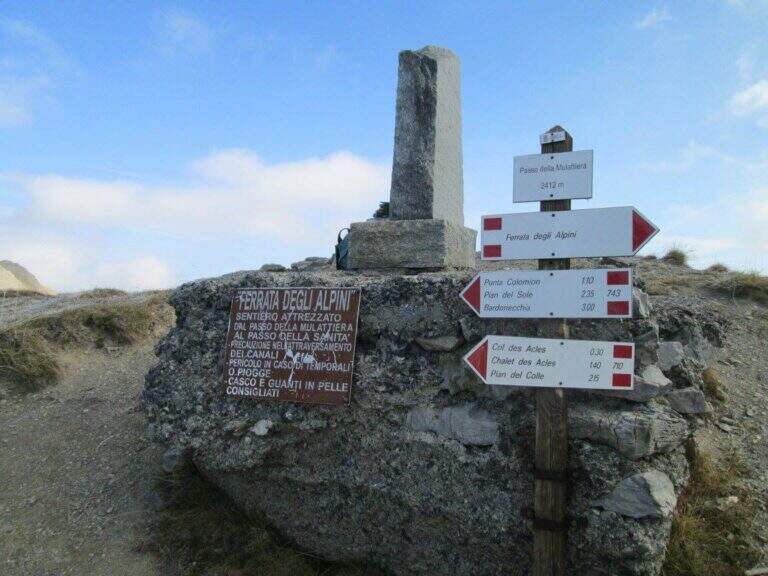
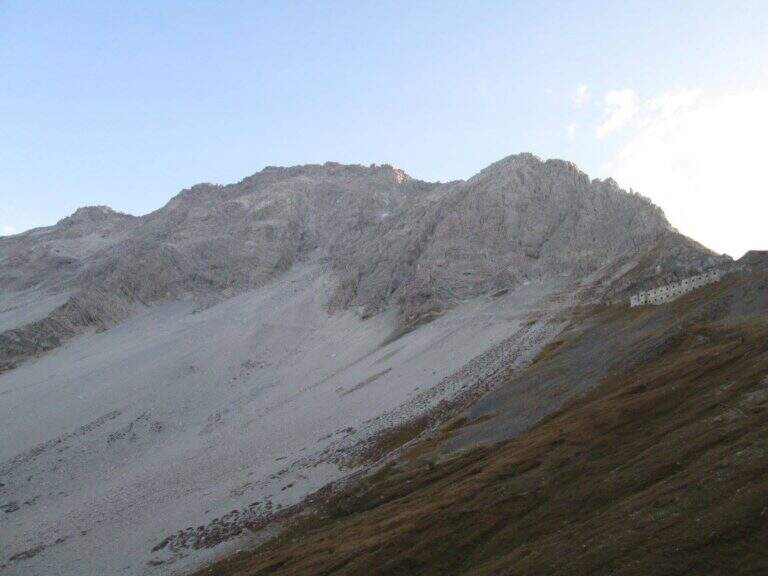
    The recommended base is the Colletto del Colomion, which can be reached by cable car from Bardonecchia (Pian del Sole) and by car. Who climbs by car points to the small town of Puys: you arrive first to Beaulard, in Val di Susa, and โ€” going up from the valley โ€” just before leaving the village you cross the railway to the left taking Via San Giusto; you follow it up to a blue sign that indicates Puys at 3 km, on narrow but asphalted road. From Puys you continue on dirt until the Colletto del Colomion, where you should leave the car because beyond the bottom becomes difficult (open up Google Maps). From the parking lot you walk on the dirt road towards the Passo della Mulattiera: the path climbs first to the edge of the forest in a beautiful valley, then cuts halfway up to the pass (2412 m, 1h15 from the parking lot), where rises the barracks of the Alpini XVI, abandoned but visitable. The Passo della Mulattiera is a well-marked crossroads: it is held the left towards Punta Charrร , which faces the obvious carving in the rock. It avoids the steep direct ridge and cuts diagonally the north slope, on a blue track and radi signs, until the beginning of the equipment (15โ€ฒ from the step, 1h30 from the parking lot).

    ▲The path

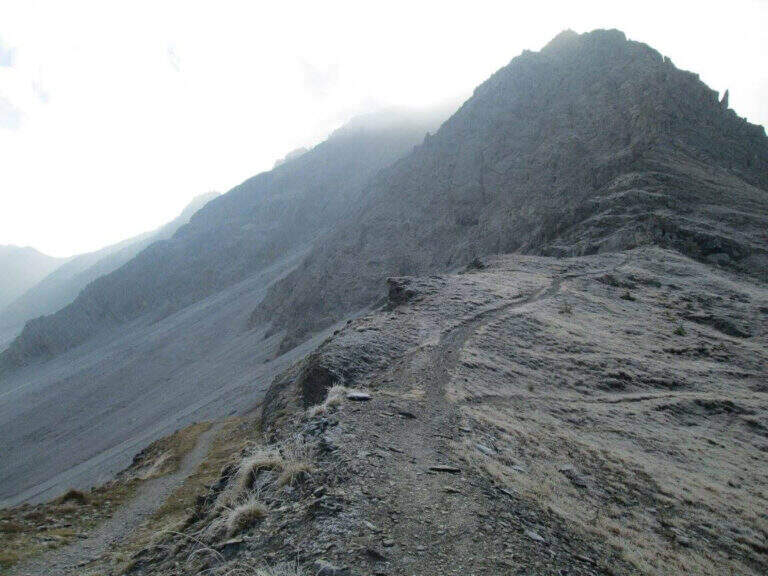
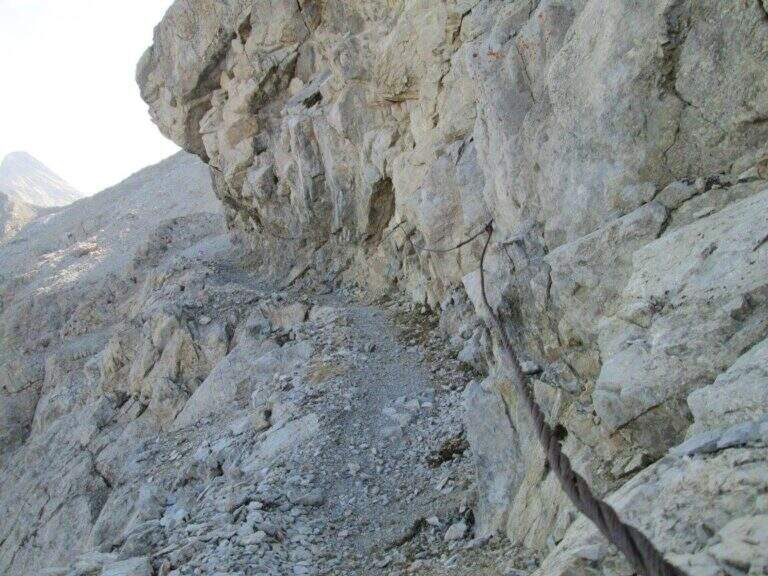
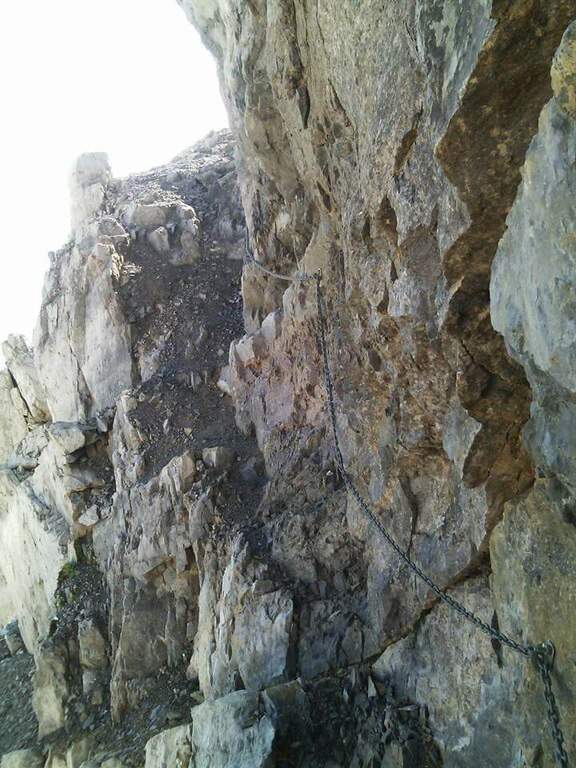
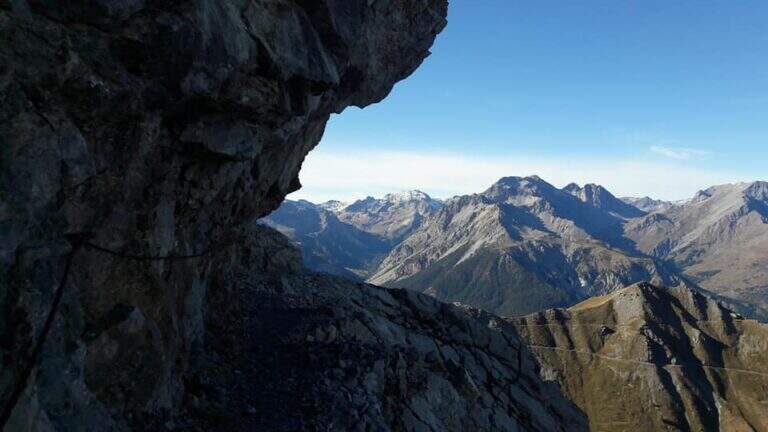
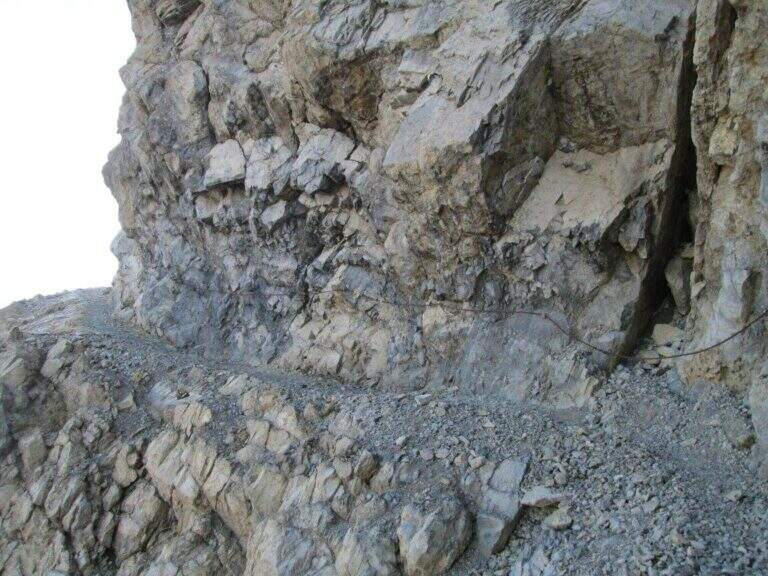
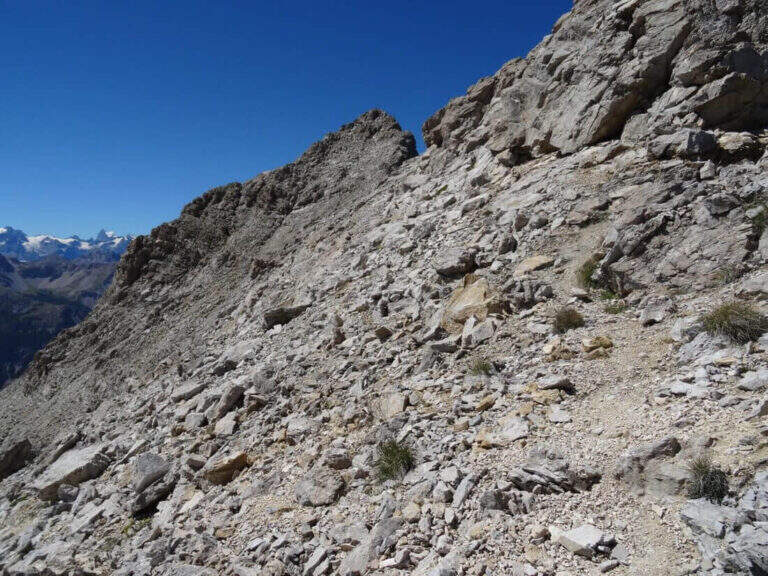
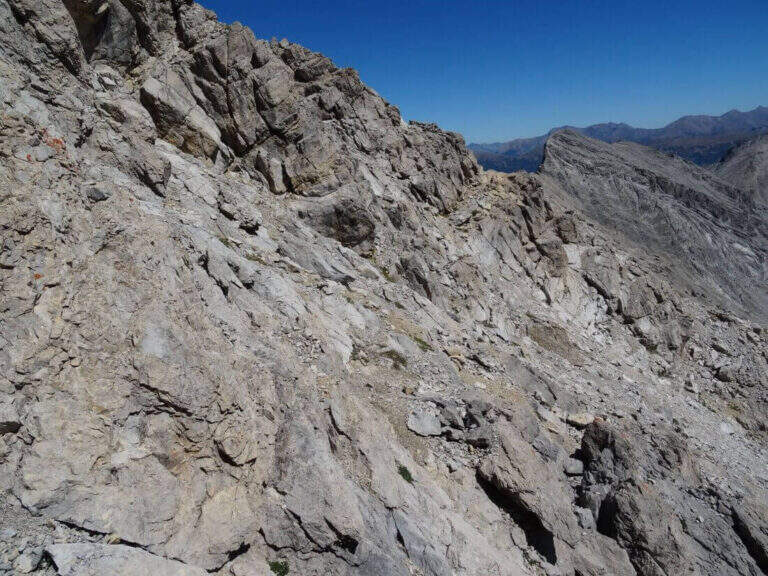
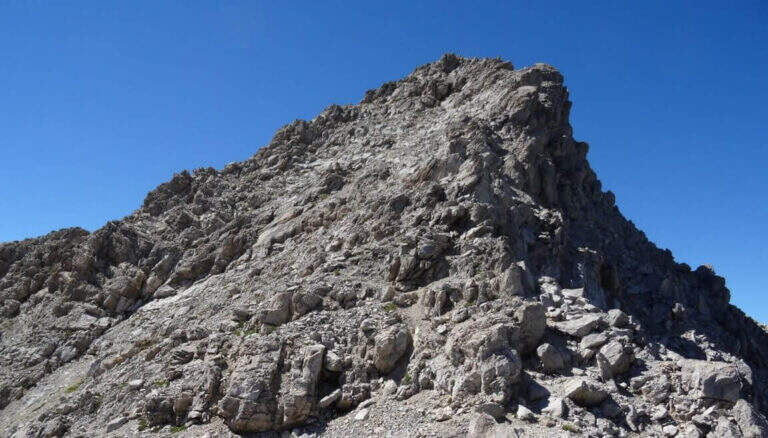
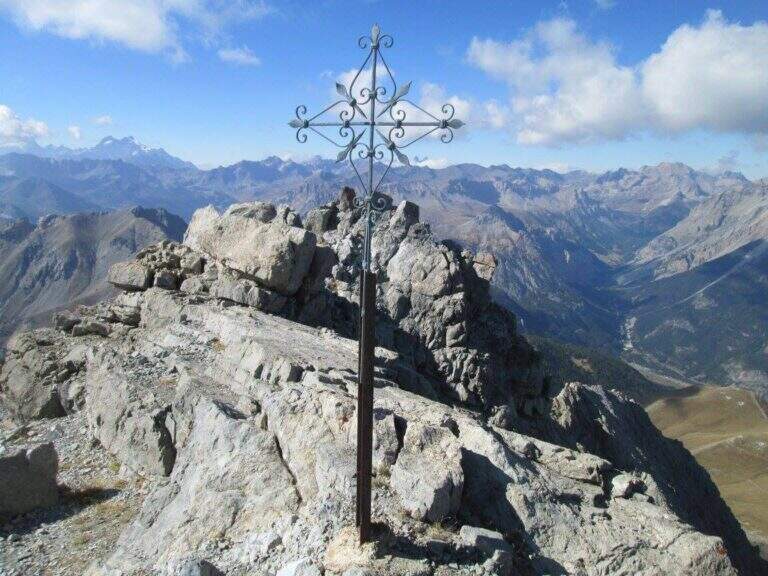
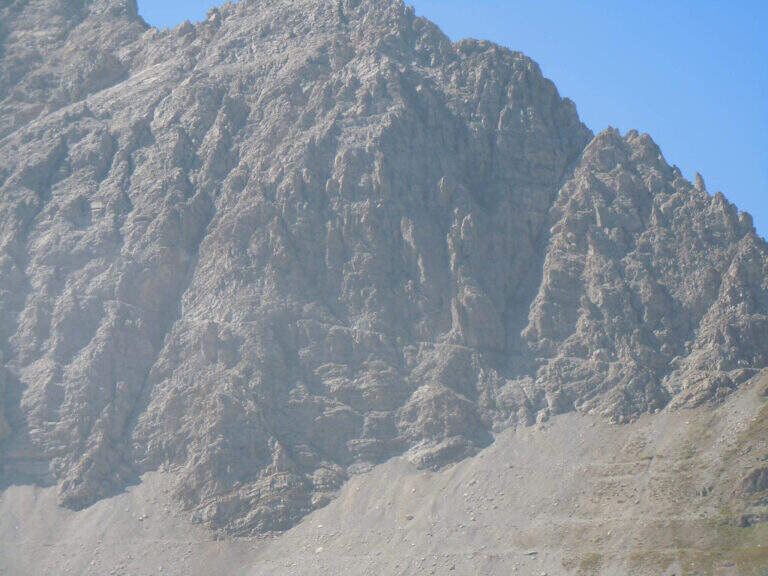
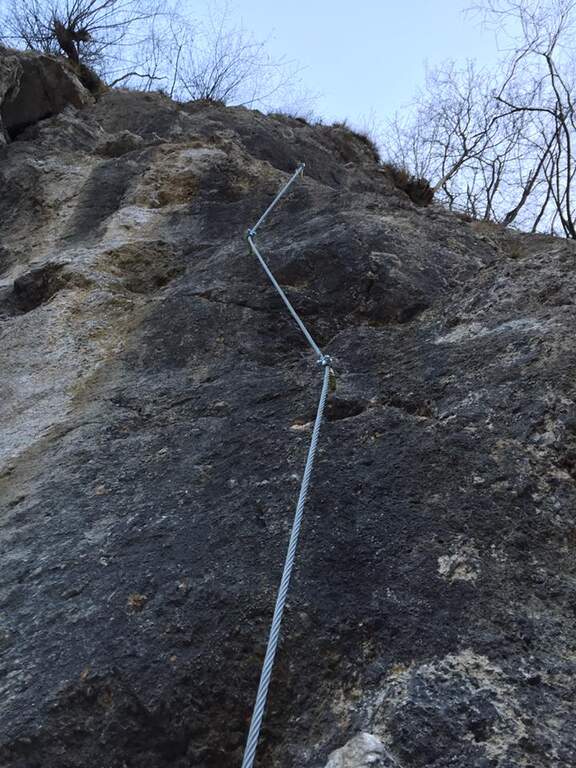
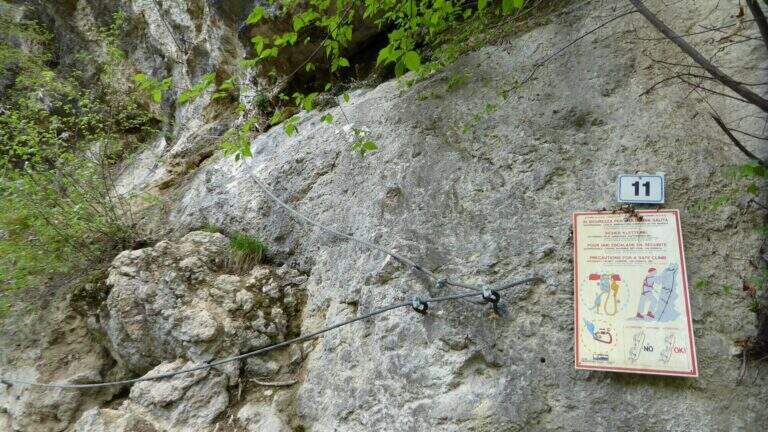
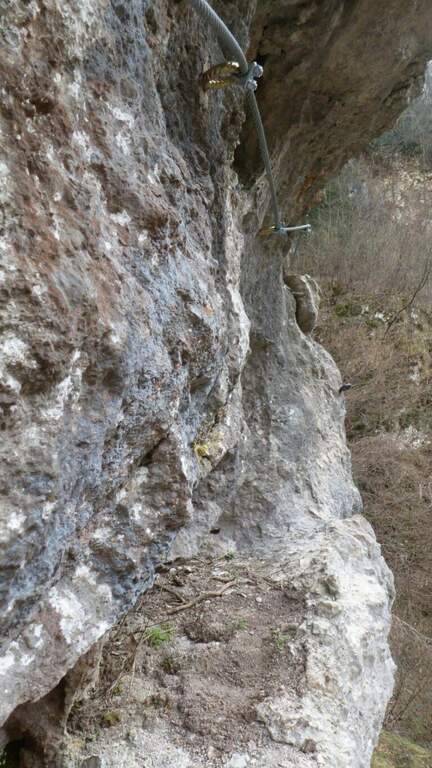
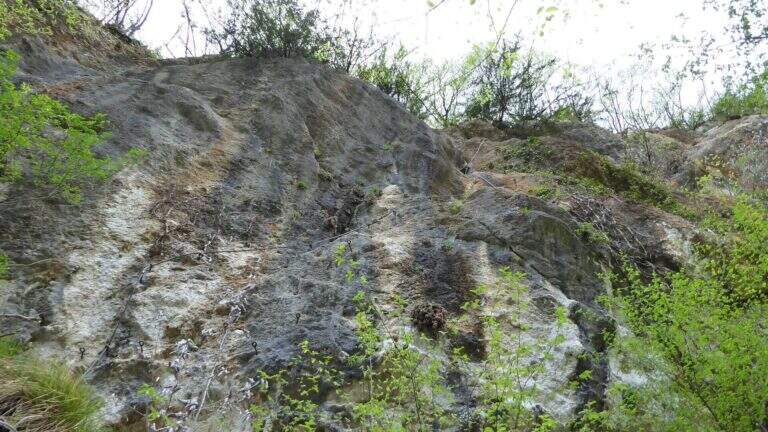
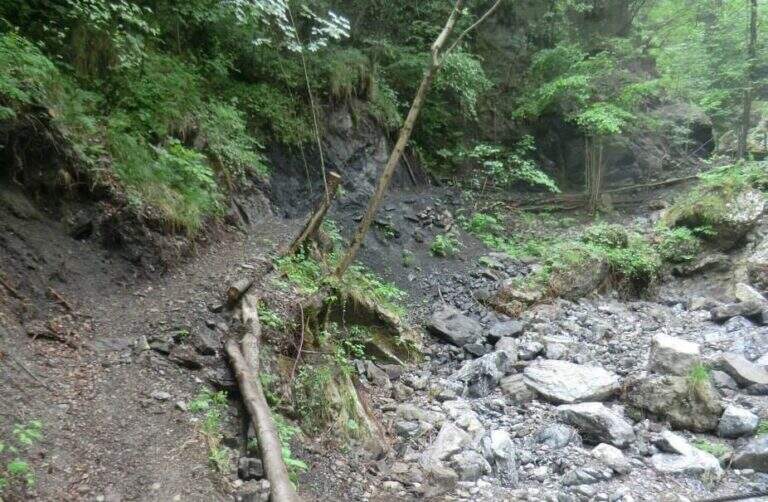
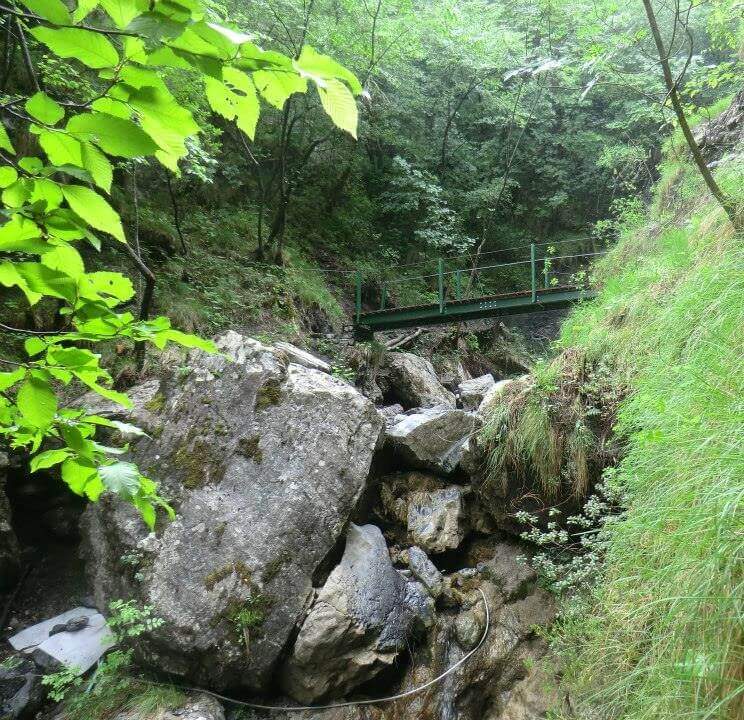
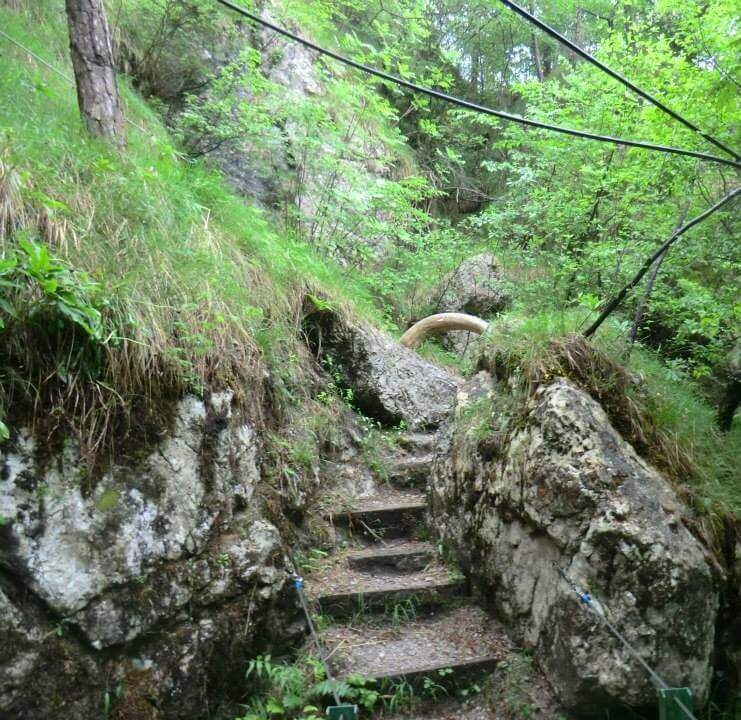
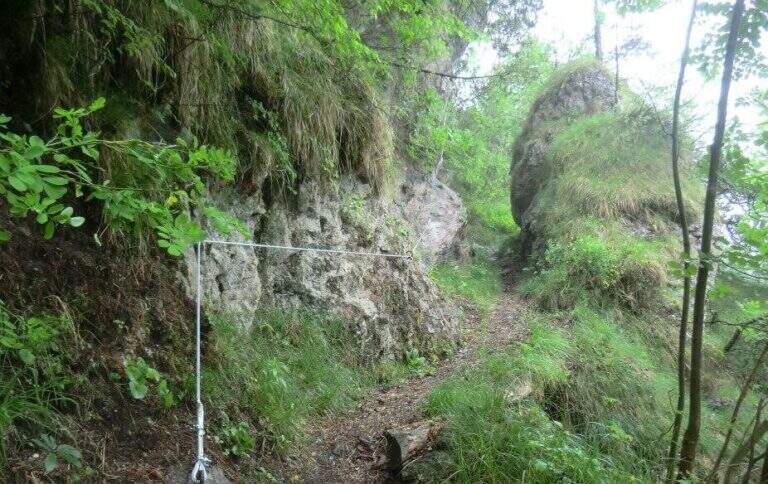
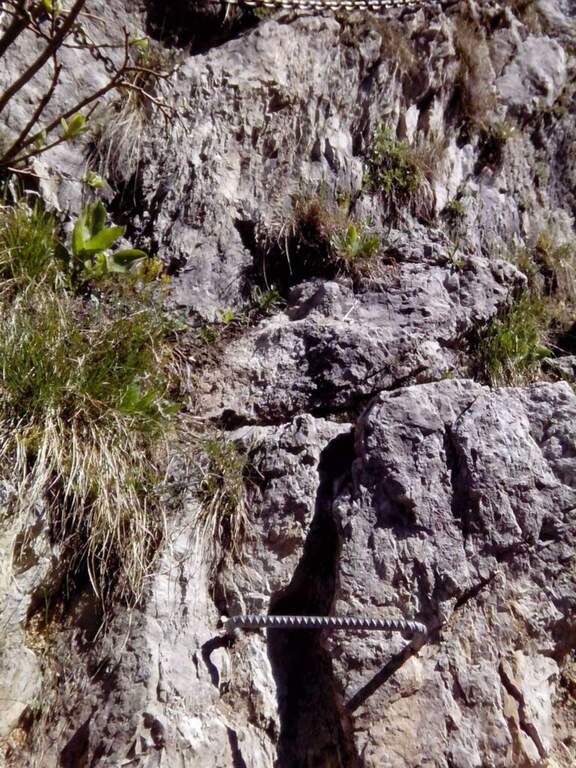
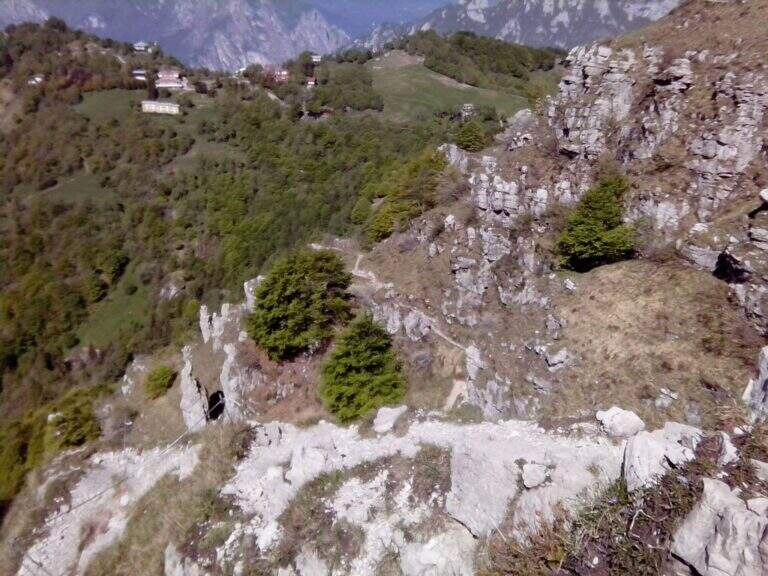
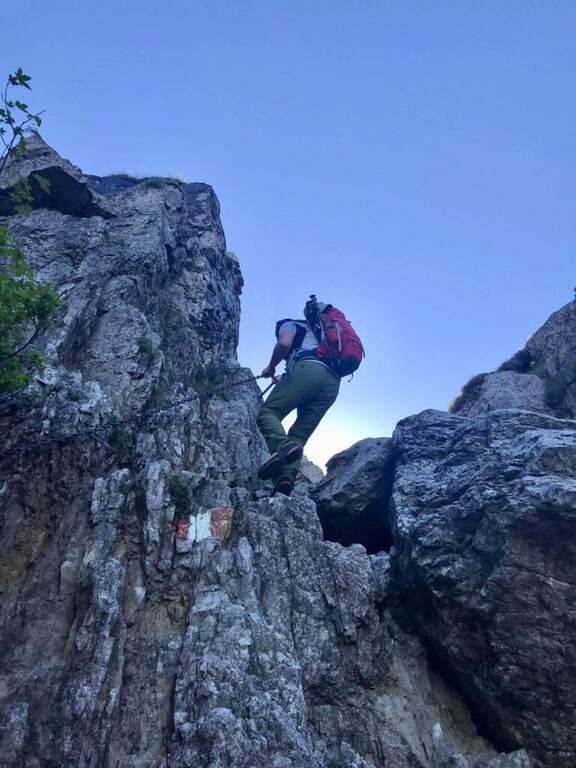
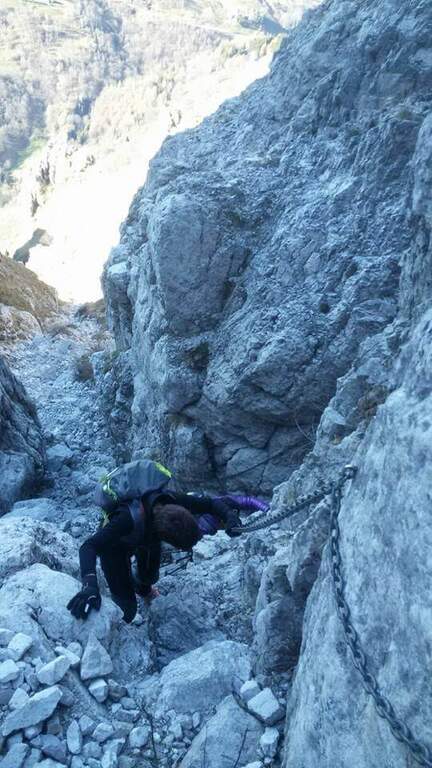
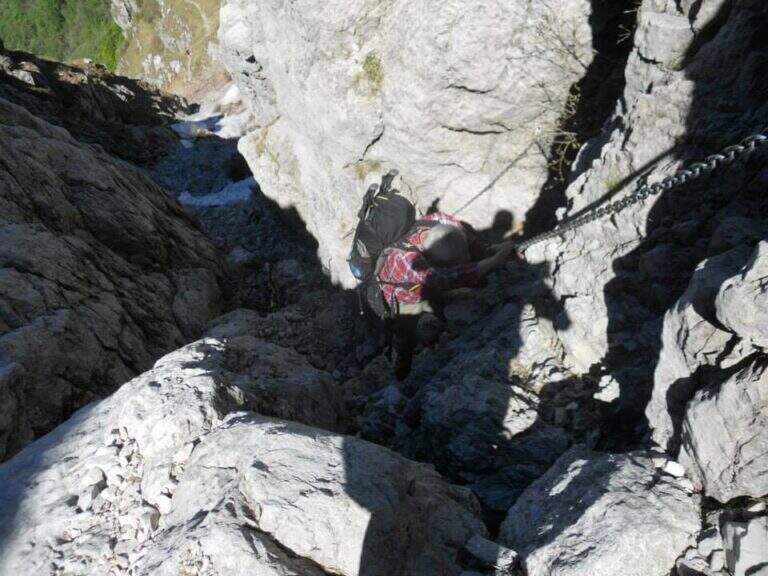
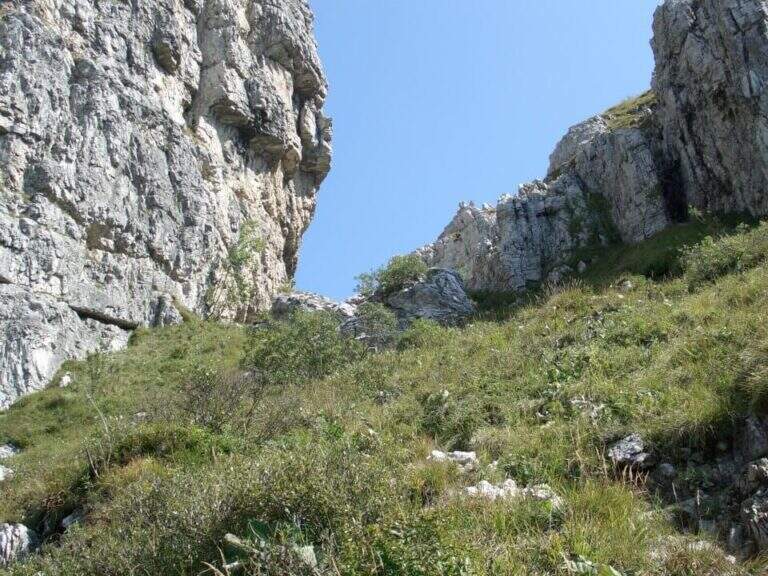
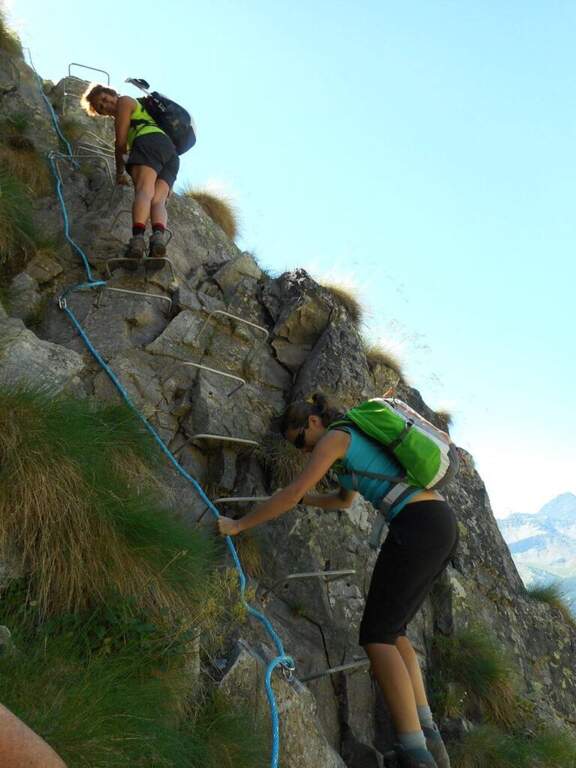
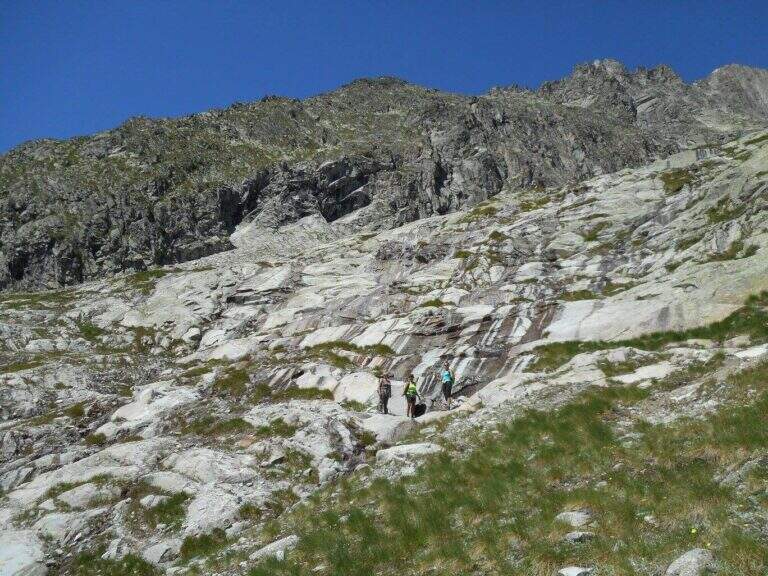
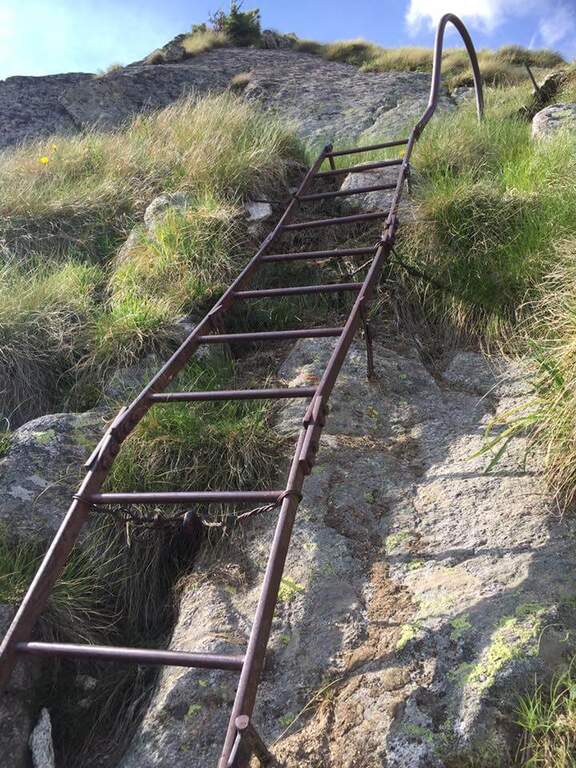
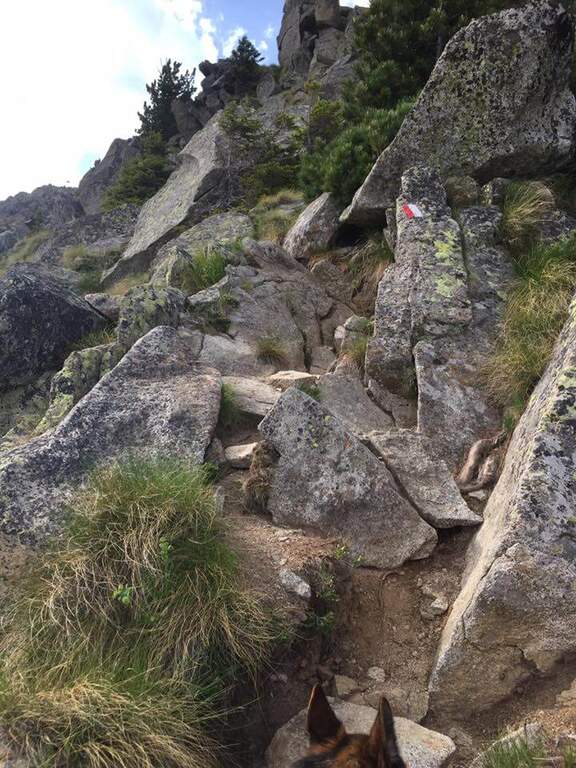
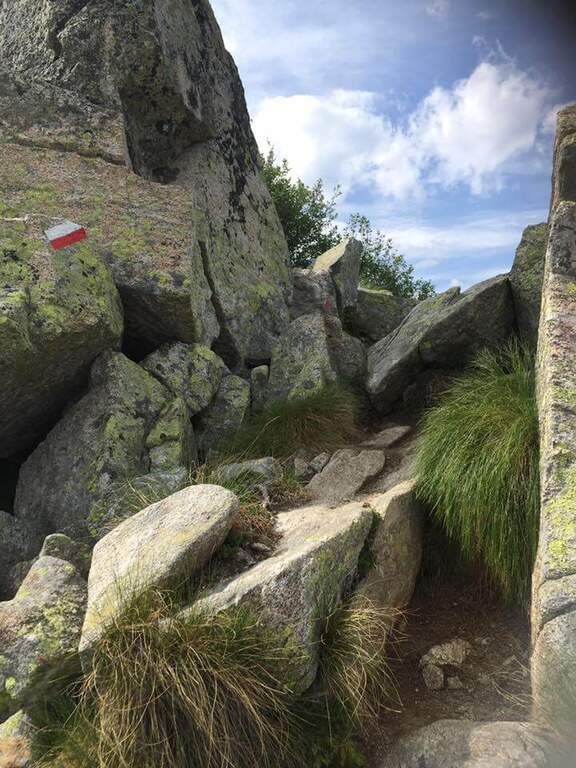
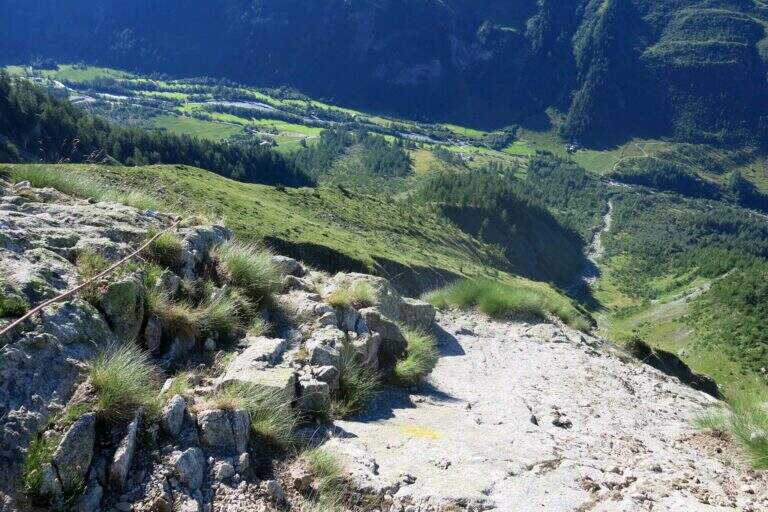
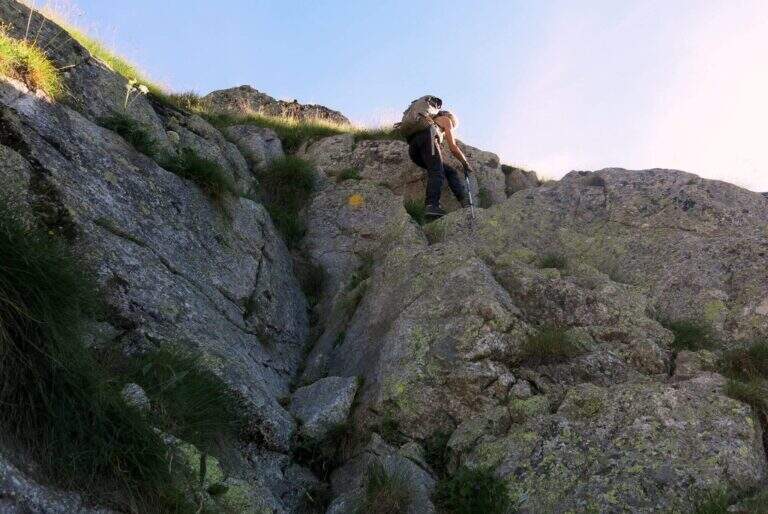
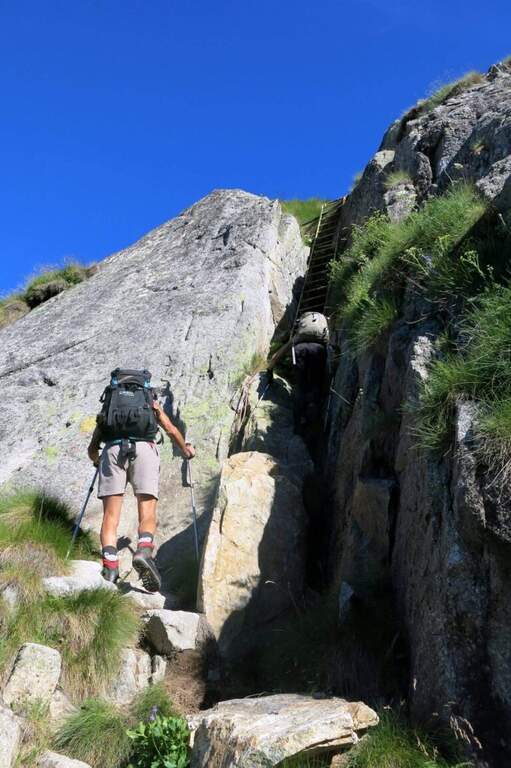
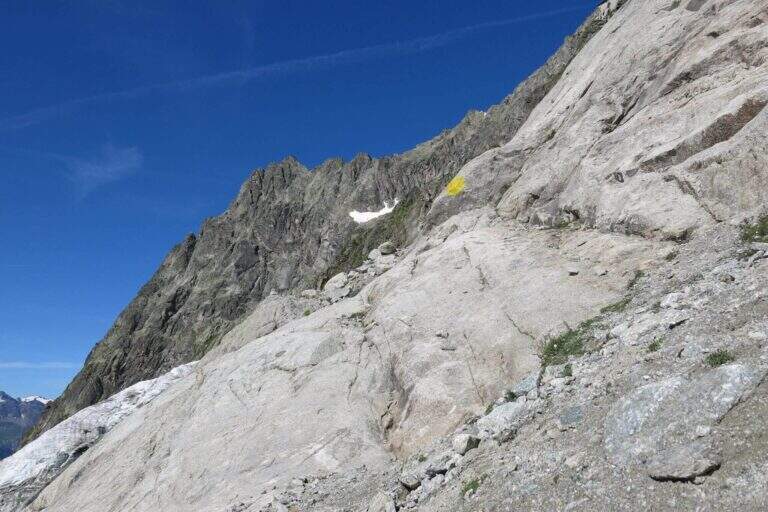
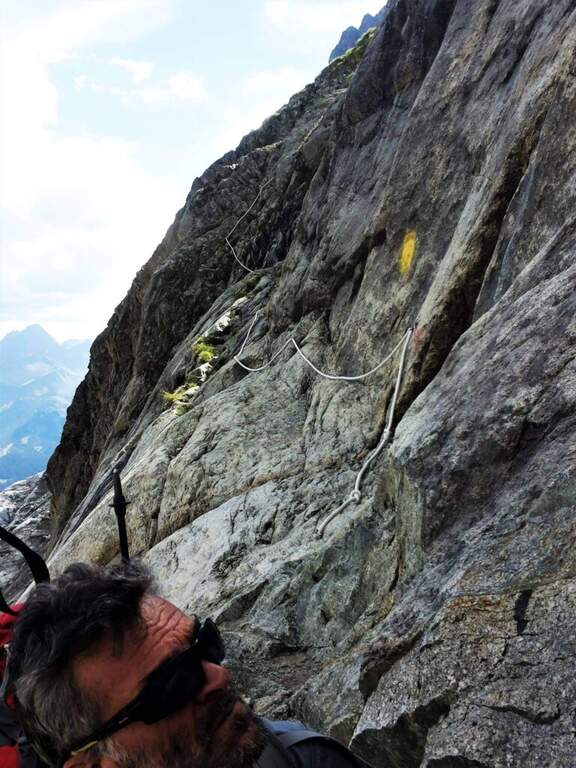
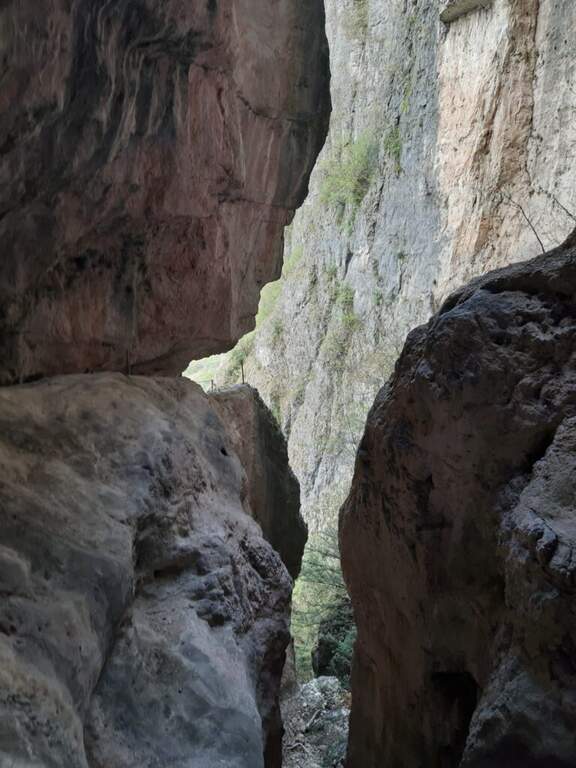
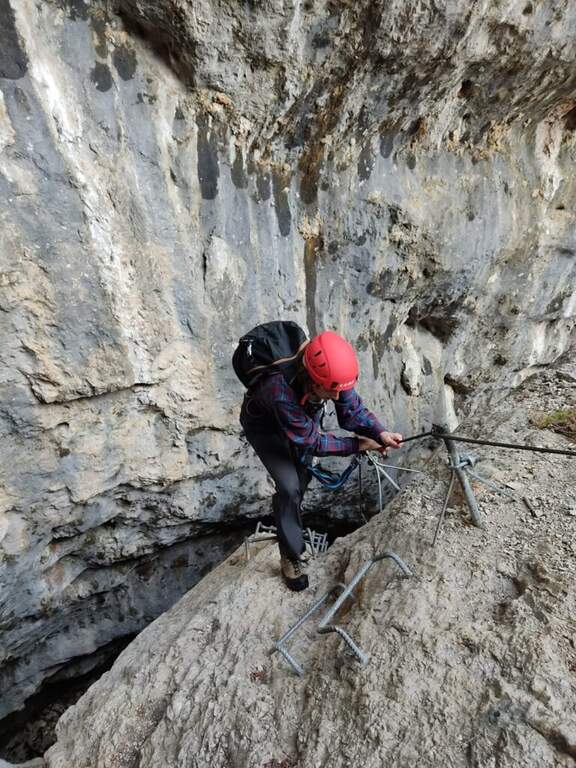
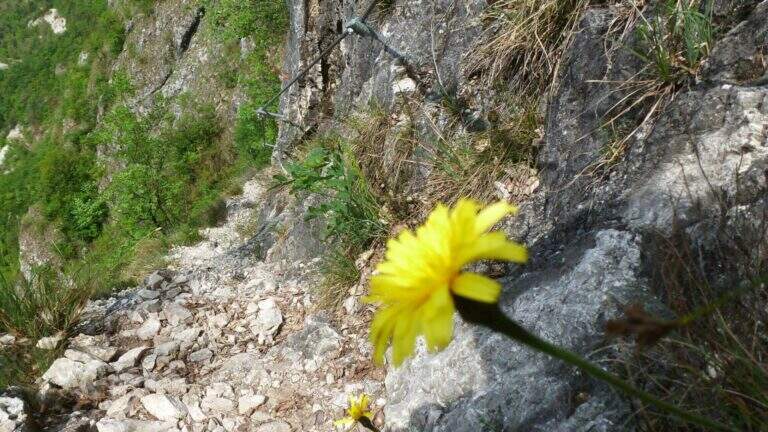
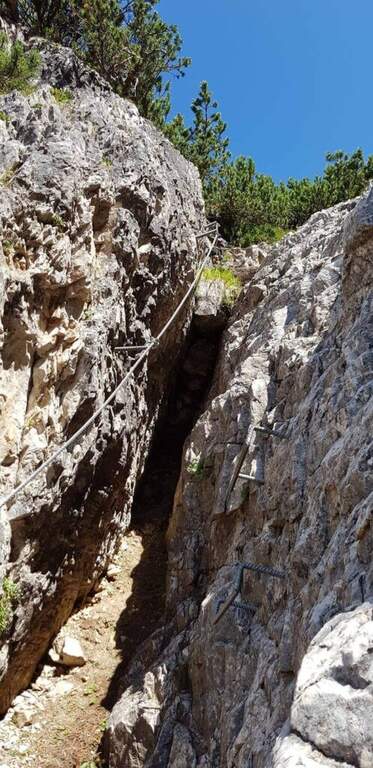
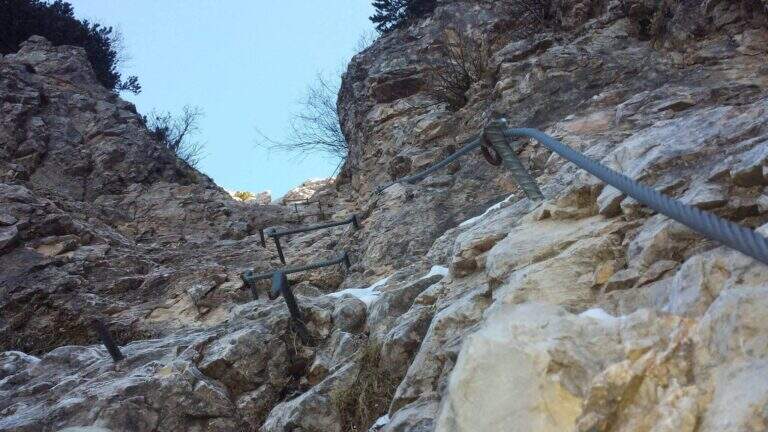
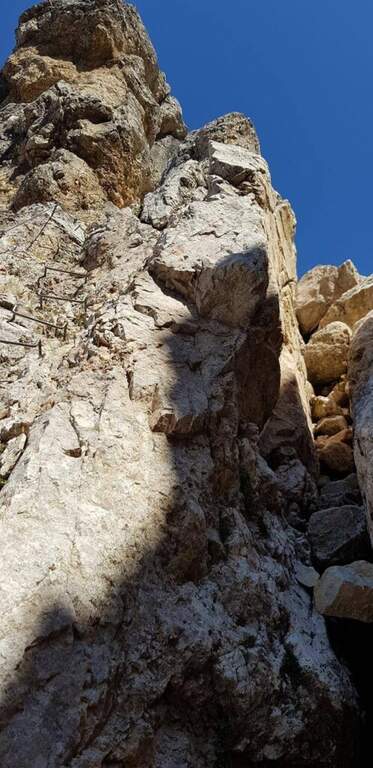
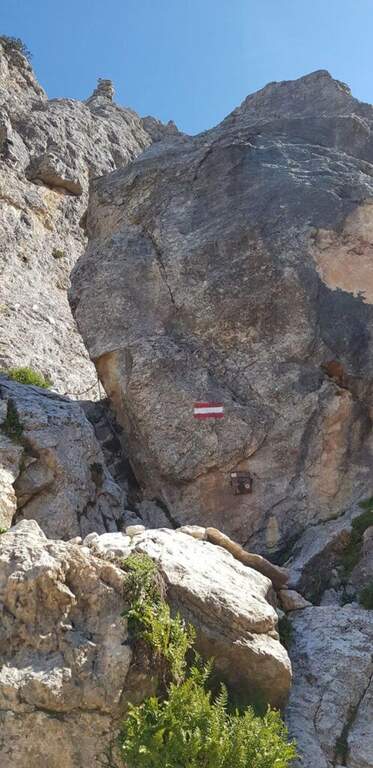
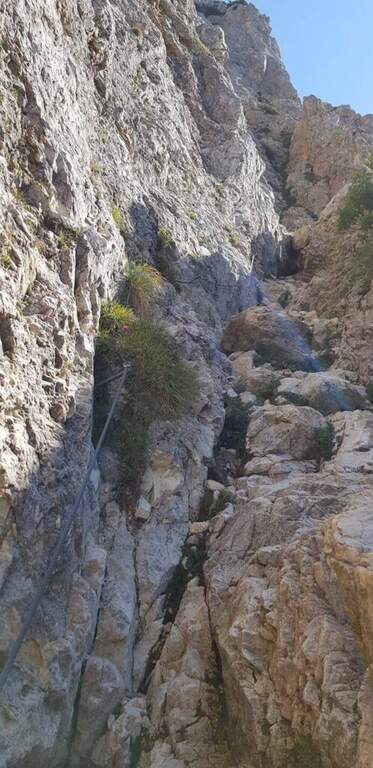
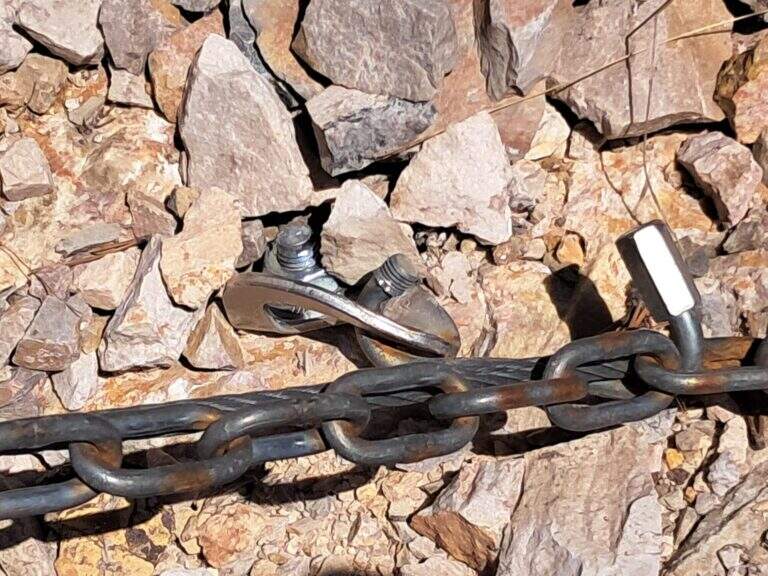
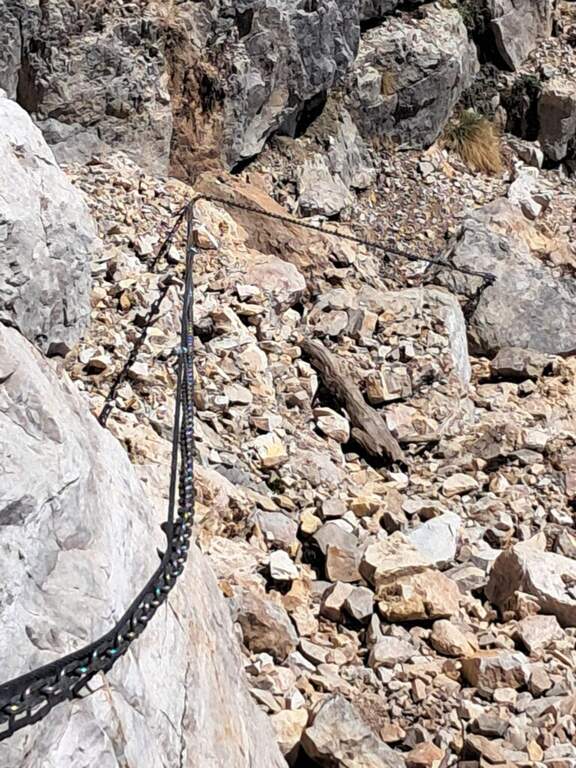
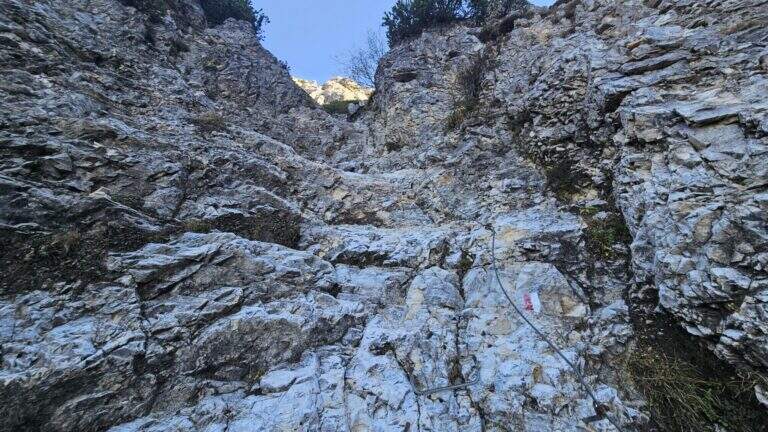
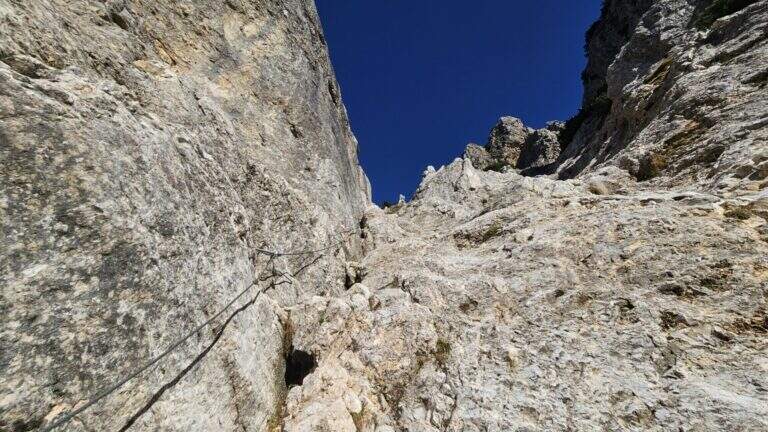
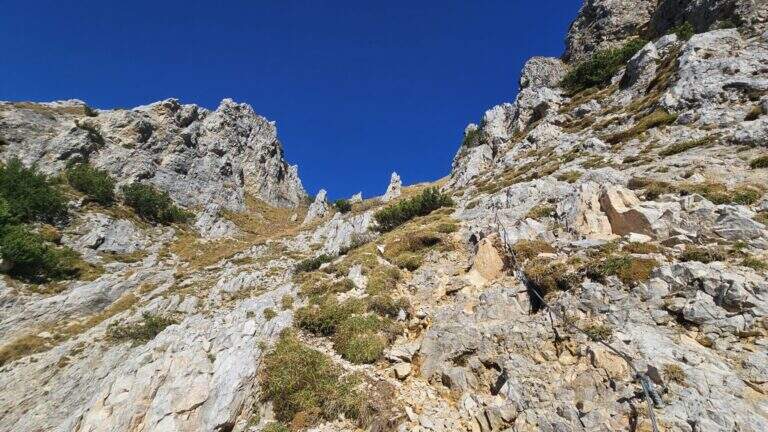
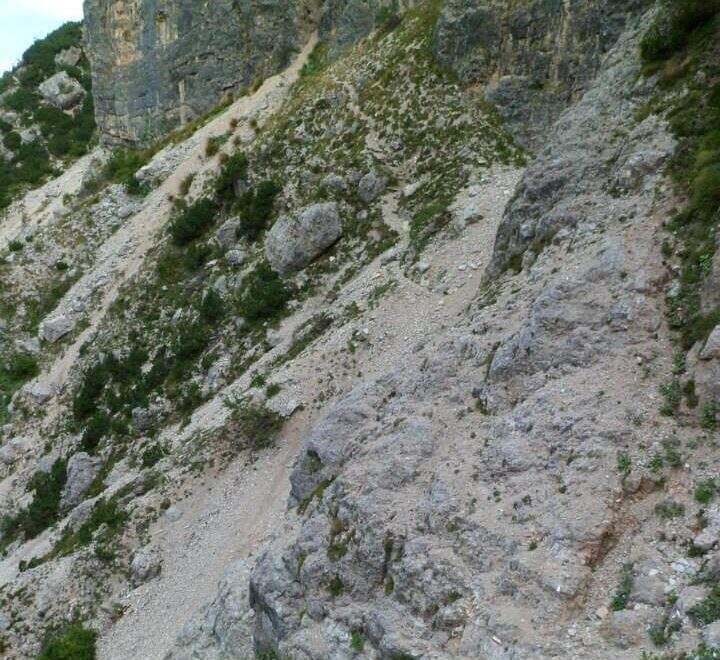
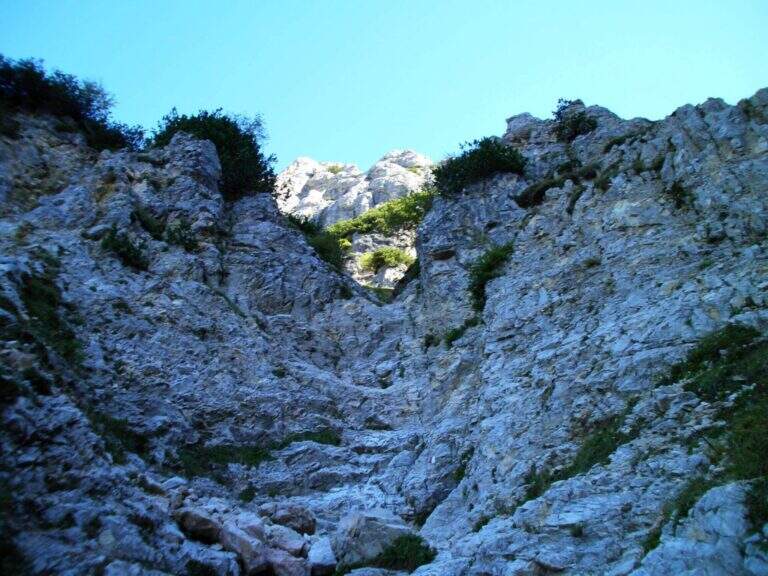
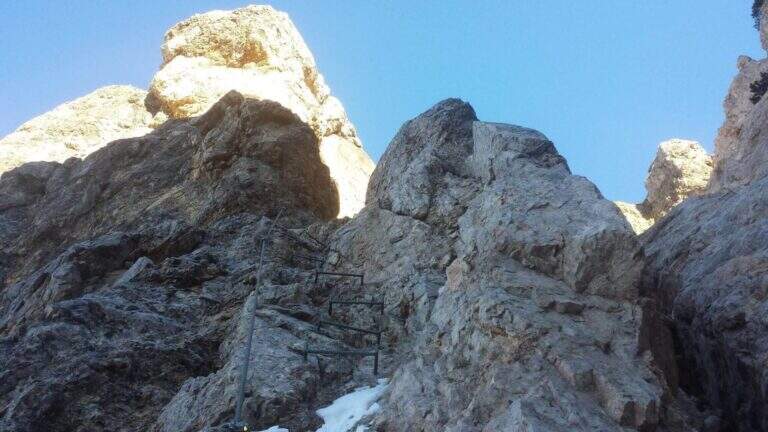
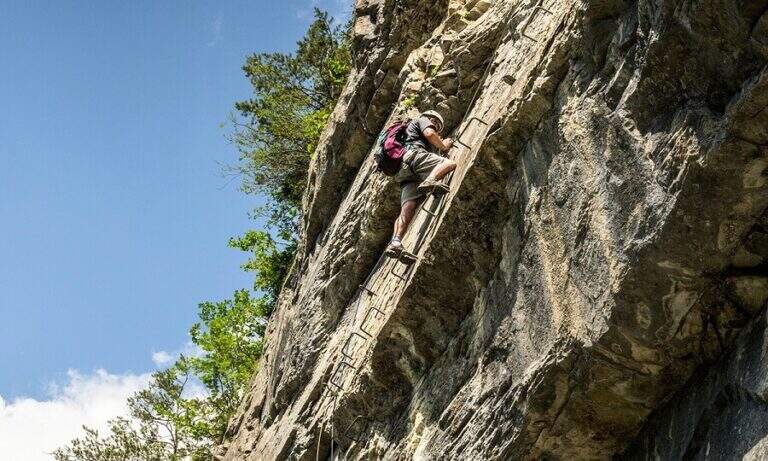
    The cable starts along a nod, first flat and then more marked. At first the rope is dated and lasca, but the ease of the soil does not create problems; later the nod shrinks and the bottom, made of guinea pig, gives little safety, so the cable acts as a precious handrail. We proceed between carvings and canals to be overcome with cable or chains, always to your right, with exposure that grows but technical difficulties almost null, except some point for the infido fund. The equipment ends at Passo della Sanitร  (2629 m, about 1h from Passo della Mulattiera). The optional climb โ€” but recommended โ€” to the summit follows the obvious ridge: you first gain a grassy slope on easy track up to a first natural carving, then you climb with caution between smossi rocks, transverses, spikes and rocks, following the numerous omits and red signs; where you do not follow the dorsal remains on the south side. After a couple of ups and downs you touch the top of Punta Charrร  (2843 m, 1h from Passo della Sanitร , 2h from Passo della Mulattiera, about 3h30 overall).

    ▲Character and difficulty

    Taken to itself, the equipped part is easy and without real technical difficulties, developing mainly horizontally. What is committed is the high mountain environment: the excursion is long and requires preparation, experience and orientation, especially in case of uncertain weather. The equipment was modernized and in good condition at 2021.

    ⚠ Itinerary not recommended with unstable weather: the route lacks support points. Also at the beginning of the summer season it is not rare to find snowy canals in rather exposed traits: recommended peak.
    ▲Period and safety

    Summer season, with a maximum altitude of 2843 m in the Alpine border. For the length of the ring and the exposure of some traits serve steady pace, training for the total 6h45 and attention to the snow conditions remaining in the canalons.

    ▲Discipline

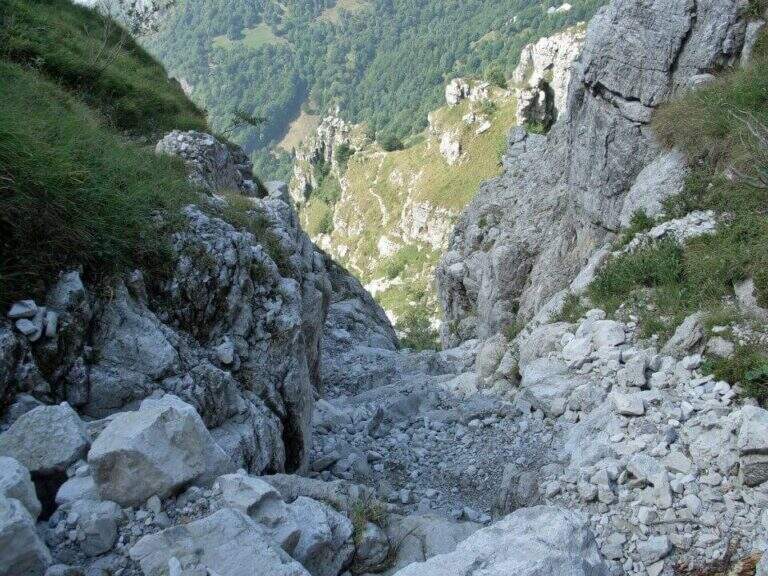
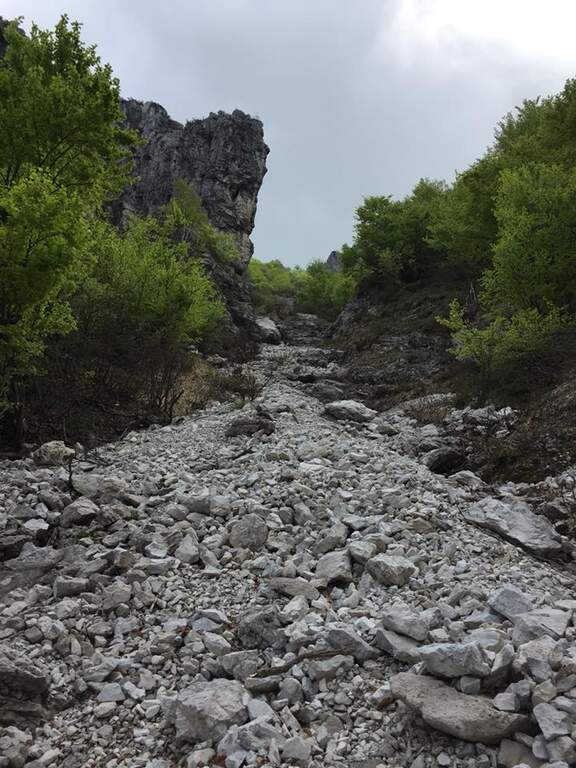
    From the top you return to the Passo della Sanitร  (about 45โ€ฒ). From here two possibilities. The first is to retrace the Alpine Path to the Mulattiera Pass and then return to the parking lot on the ascent route. The second is to close a ring around Punta Charrร  descending into French territory in the valley des Acles: it falls steeply to zig-zag on debris to the wood, where the path is almost flat, then cuts the south side up to a rocky shoulder beyond which appear the barracks of the French army under the Col des Acles; from there follow the signs that bring back to the ascent 30 From the pass you return to the parking lot (about 6h45 total).
    ▲Gallery
    Technical data
    • DifficultyModerately Hard
    • RegionPiedmont
    • GroupCozie Alps โ€“ Val di Susa
    • Approach1:30 h
    • Ferrata2:00 h
    • Itinerary (a/r)6:45 h
    • Hardware level difference217 m
    • Route difference850 m
    • Max2843 m
    • Length14 Km
  • Ferrate del Parco delle Fucine di Casto

    Ferrate del Parco delle Fucine di Casto

    Vie Ferrate โ€บ Lombardy โ€บ Brescia
    Ferrate del Parco delle Fucine di Casto

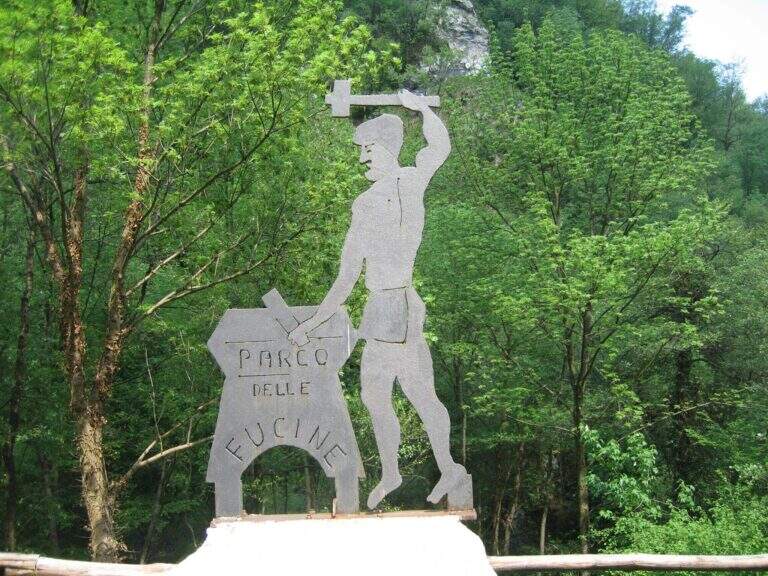
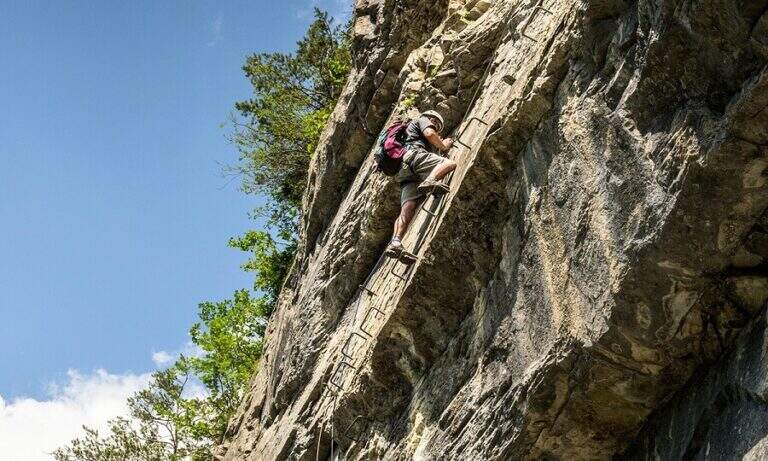
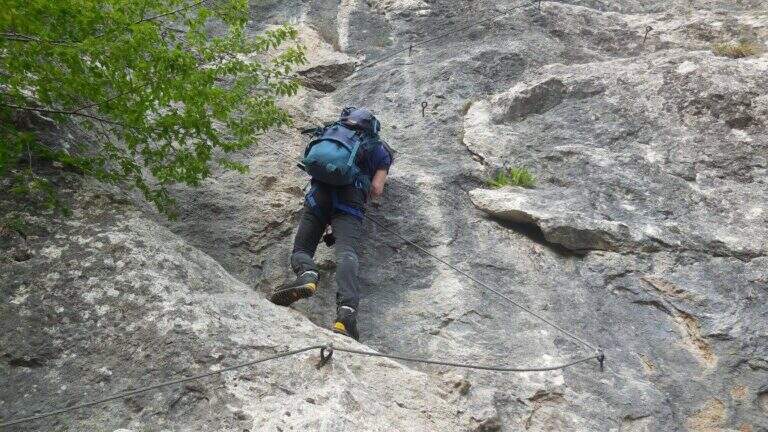
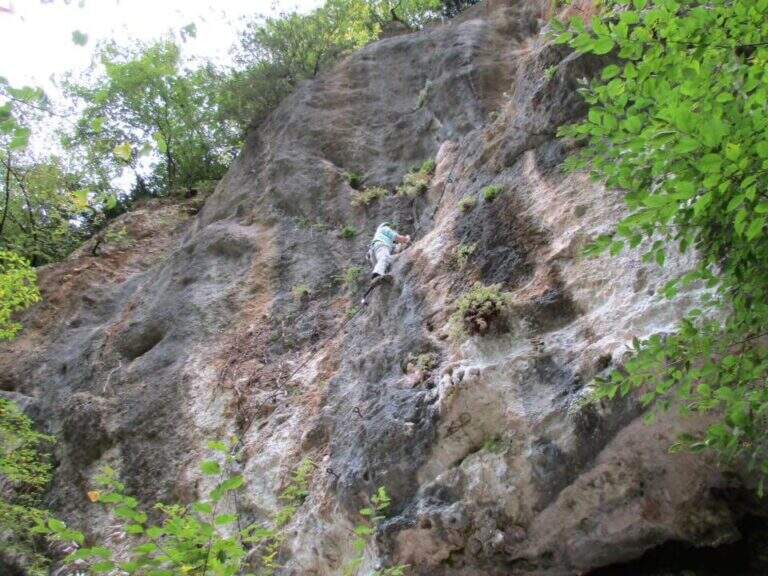
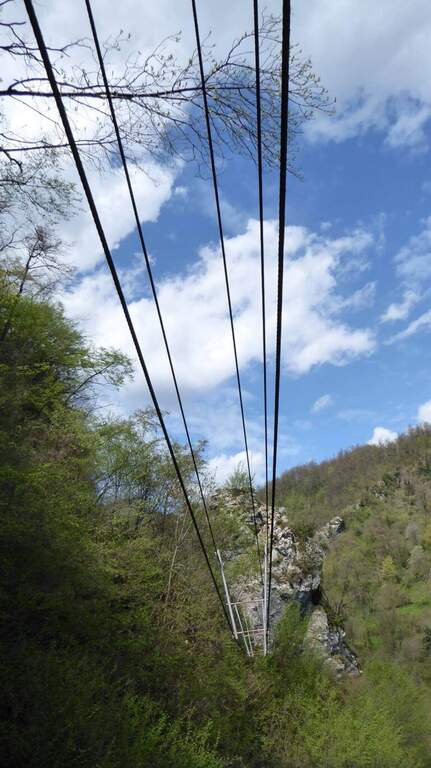
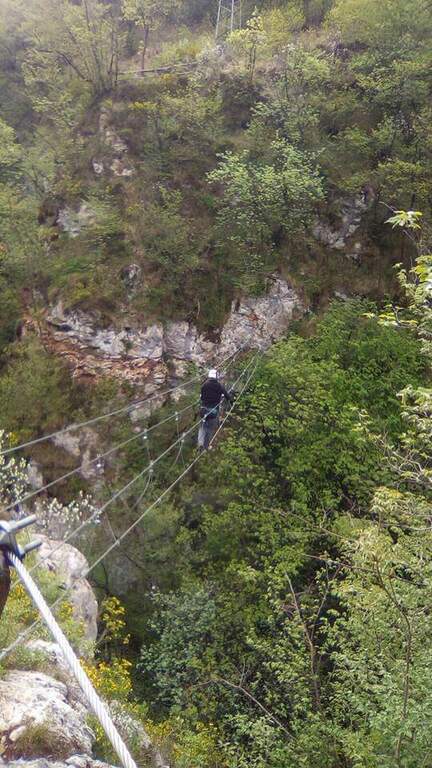
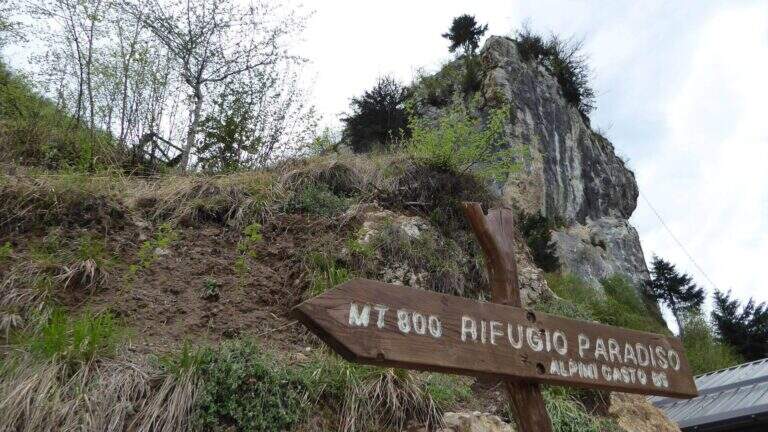
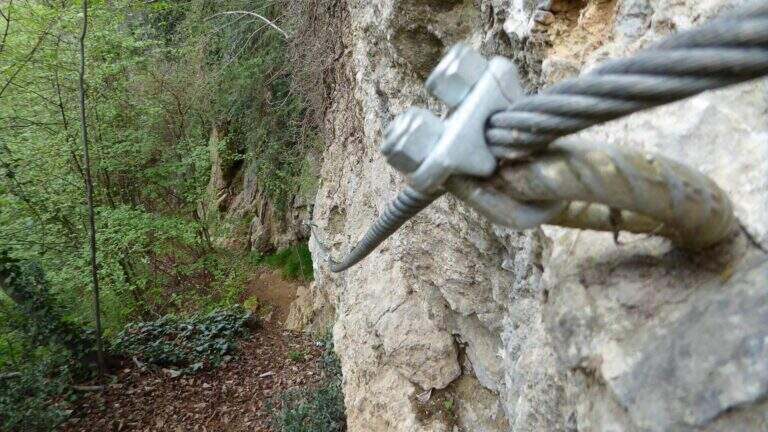
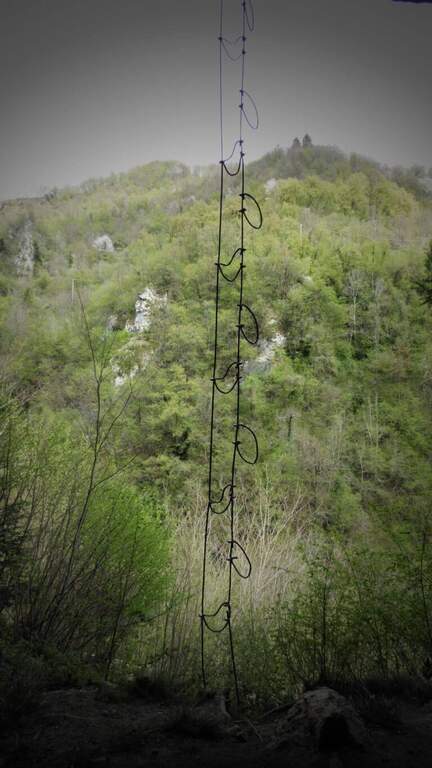
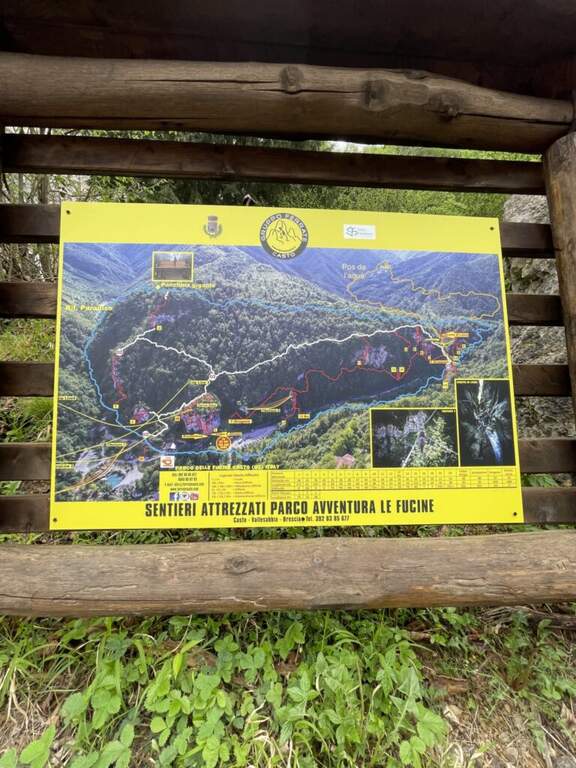
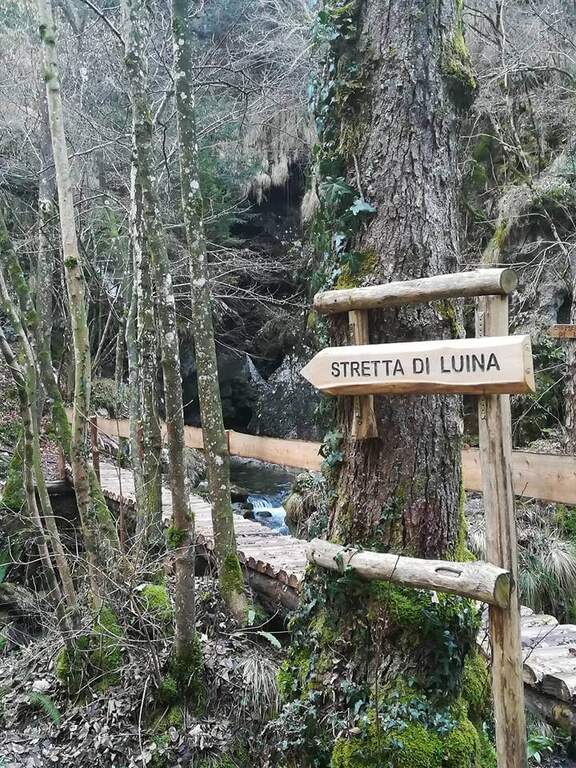
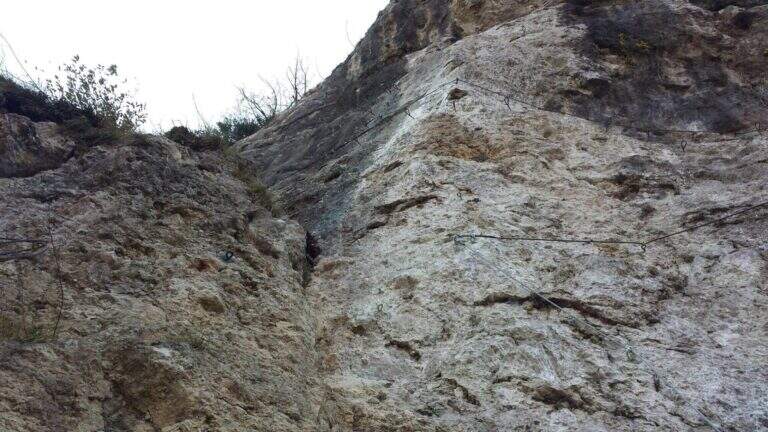
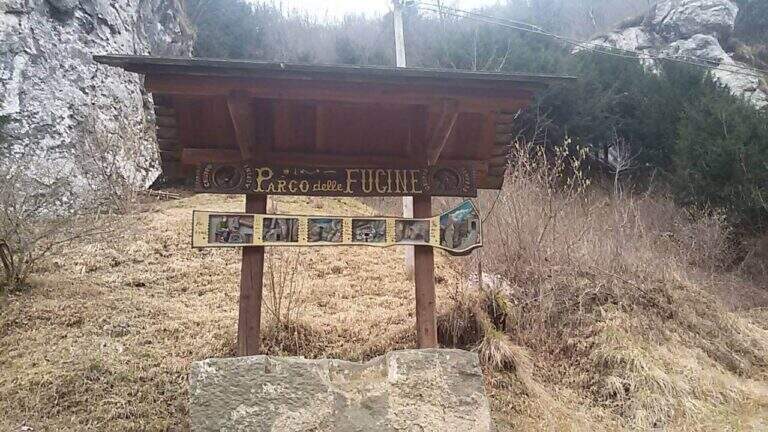
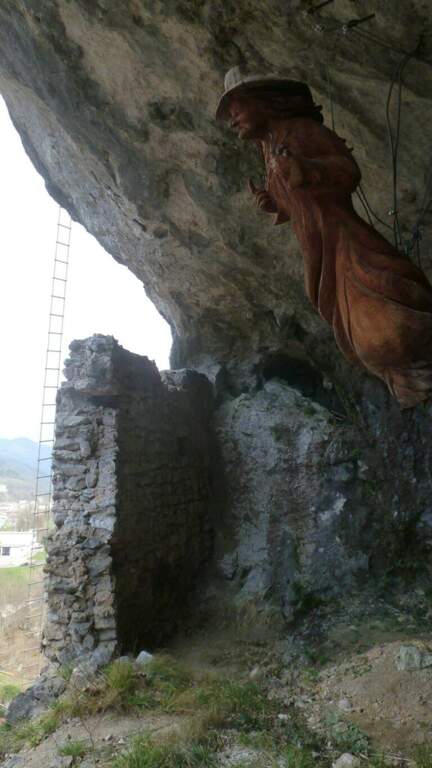
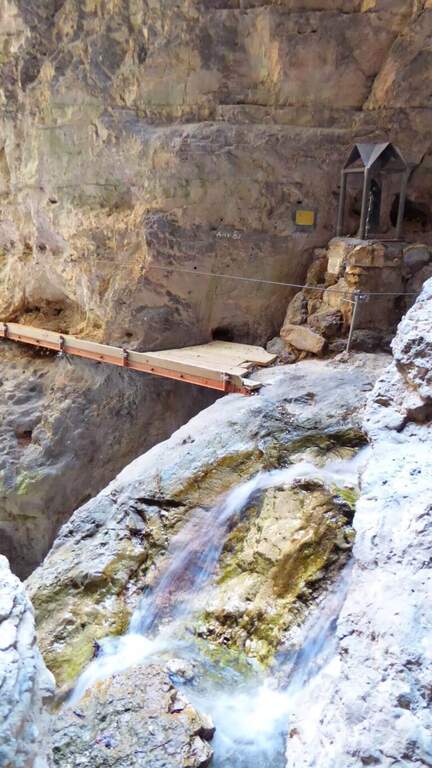
    Il Parco delle Fucine di Casto (Brescia, Valle Sabbia) รจ a unique park in Italy: at free entrance, it gathers on a few walls over fifteen equipped routes, as well as hiking, mountain biking, zip line, suspended bridges and refreshments. The streets are largely atletic and little climbable, excellent for l' training; the difficult ` ranges from an easy way to vertical and very demanding tracks.
    ▲Approach

    Starting from the ' ample parking along the park, at Casto. From the center of the village take left (south) via Marconi which, with clear indications, leads to the Parco delle Fucine in about a kilometer. Open road signs on Google Maps. Parking is just a few steps from the entrance (free); from here you can see some streets (the Strega Colpo, the Arcobaleno) and at least one suspended bridge. The times of approach to the individual attacks range from a few minutes up to about 15 minutes in the most distant ways, towards the Strait of Luina.
    ▲The equipped routes

    Each path has development to itself and signalled attack; below a faithful picture of length, difference in level and character.

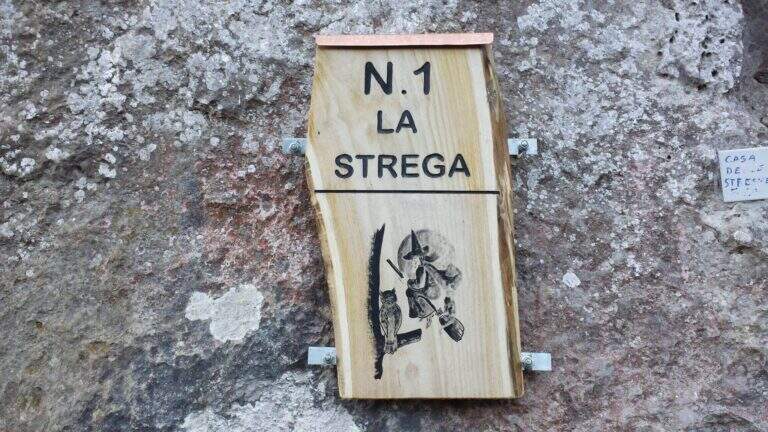
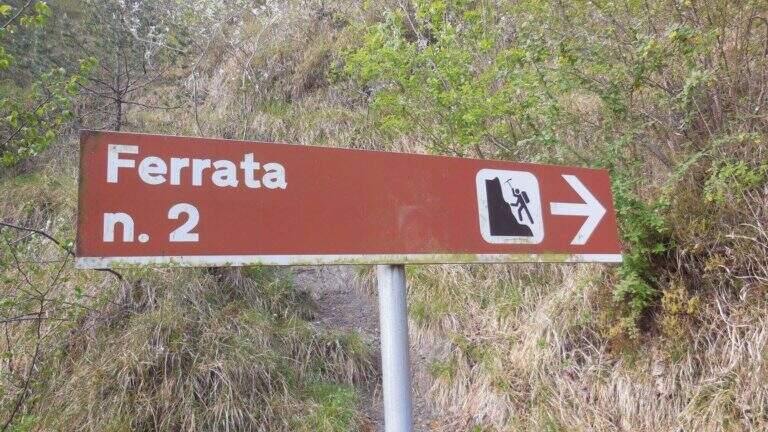
    Ferrata 1 (House of Witches, on Corna Zana, near the parking lot): 115 m, height difference 28 m. Dedicated diagonal traverse and horizontal beams exposed, with brackets and pioli on polished rock.
    Ferrata 2: 61 m, height difference 23 m. The least challenging of the park, on beams with good supports and a vertical variant; ideal for starting.
    Ferrata 3: 152 m, height difference 78 m. Long and challenging, with long beams on very smooth rock (strong traction on the cable) and vertical aerial traits.
    Ferrata 4: 60 m, height difference 49 m. Vertical, with first challenging and slightly overhanging meters and an aerial edge; higher climbing part.
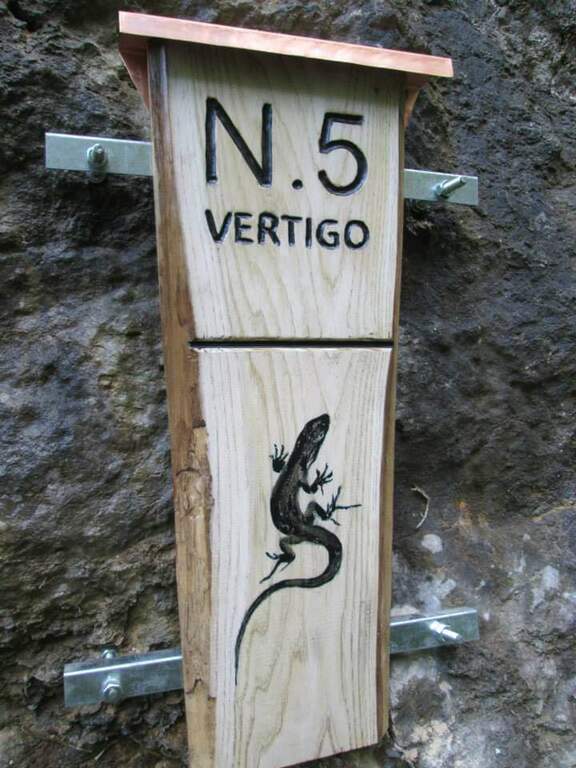
    Ferrata 5 ยซVertigoยป: 40 m, height difference 25 m. Verticality, slightly overhanging brackets and a challenging overhanging passage; ends at a suspended bridge of about 30 m.
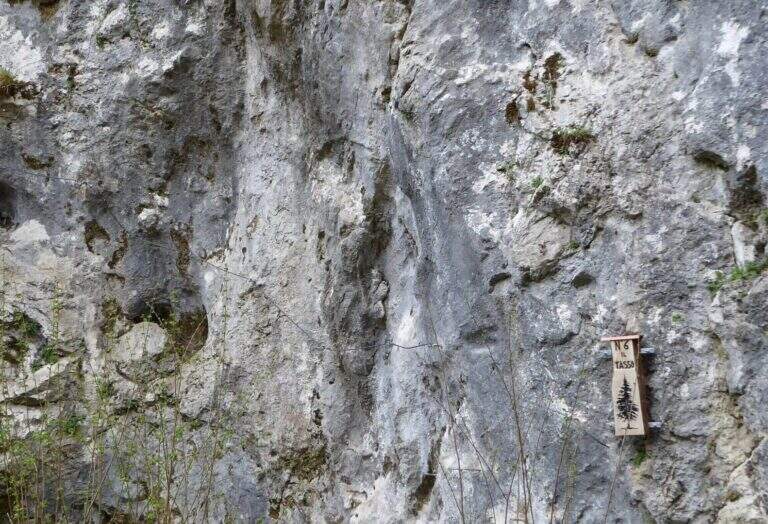
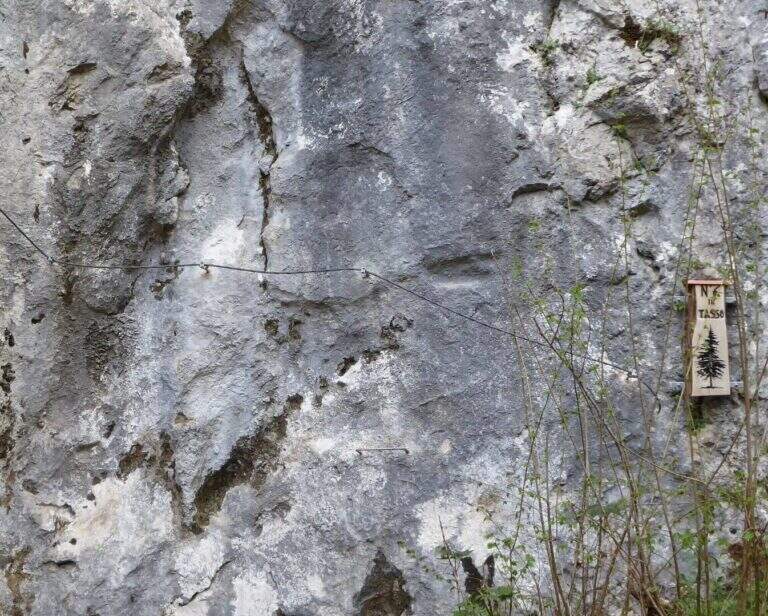
    Ferrata 6 ยซTassoยป: 28 m, altitude difference 25 m. Short: initial crossing, overhanging stretch with brackets; at the end you cross the bridge suspended on the Strait of Luina.
    Ferrata 7: 60 m, height difference 28 m. Follow us downhill from the suspended bridge; adrenaline exposed edge and tiring vertical descent, up to join Ferrata 8.
    Ferrata 8: 68 m, height difference 47 m. Impegnative, with key passage on dark and polished wall of 4-5 m and marine scale final.
    Ferrata 9: 68 m, height difference 47 m. Adjacent to 8, with a demanding vertical tear up to the common sea scale.
    Ferrata 10: 60 m, elevation difference 46 m. Diagonal copper, exposed beams and challenging vertical passages alternating with terraces.
    Ferrata 11: 58 m, dislivello 45 m. Tra le più dure del parco: parete giallastra verticale e strapiombante, variante verticale estrema e forte esposizione.
    Ferrata 12: 65 m, dislivello 28 m. Spigolo, canalino e un passo strapiombante; sale un gendarme (bandiera in vetta), con rientro per un ponte sospeso di quasi 40 m piuttosto ballerino.
    Ferrata 12 bis: 46 m, dislivello 26 m. Attacco subito verticale e strapiombante, ponte delle scimmie di circa 8 m, poi si innesta sulla Ferrata 12.
    Ferrata 14 «Edera»: 44 m, dislivello 36 m. Diedro tecnico e piacevole, poi un ponte sospeso a 4 corde di circa 35-40 m e un secondo ponte più stabile.
    Ferrata 15: 125 m, dislivello 23 m. Prevalentemente in traverso lungo il torrente, con ponti sospesi e un ponte delle scimmie; senza difficoltà particolari ma talvolta scivolosa.
    Colpo della Strega (sopra il parcheggio): 45 m, dislivello 38 m. Verticale, tecnica e difficile, su roccia levigata povera di appigli che sollecita molto le braccia.
    Arcobaleno: 55 m, dislivello 38 m. Privilegia l'arrampicata su pioli e prese sferiche (cavo «alla francese»), con spigolo aereo e passaggio strapiombante assistito.
    Dragone (Grotta del Dragone): 240 m, sviluppo 50 m. Meno verticale, di fatto un sentiero attrezzato con scala marinara e un lungo ponte sospeso, che tocca gli attacchi delle vie 11, 10, 9, 8, 7 e quelle 5, 6 e 14.
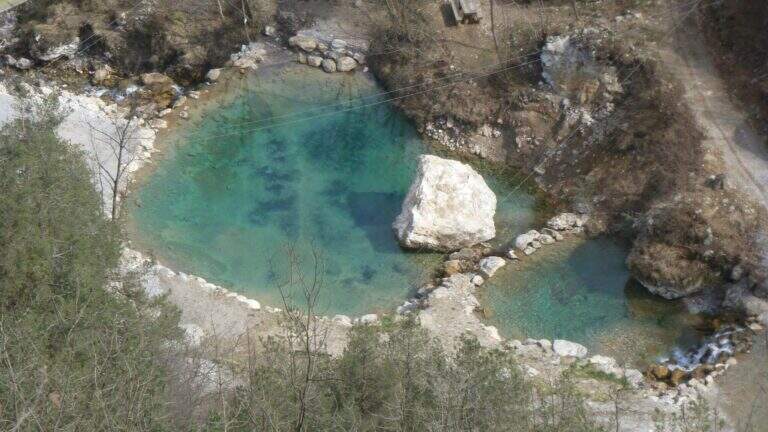
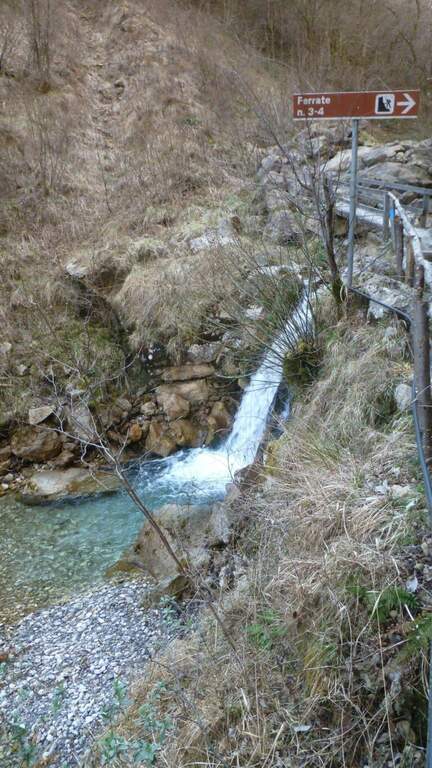
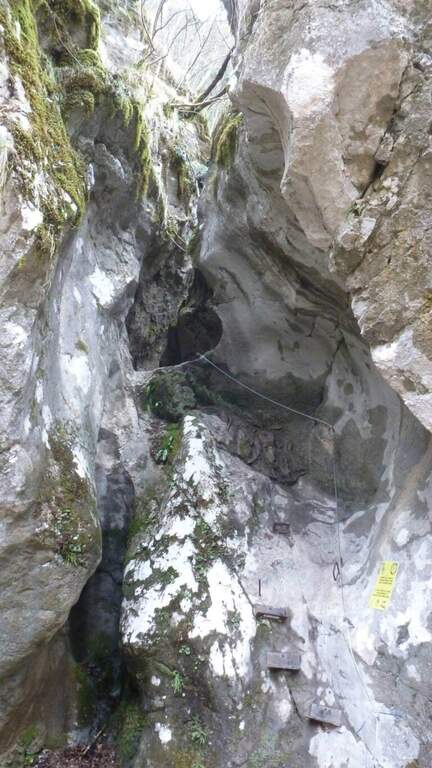
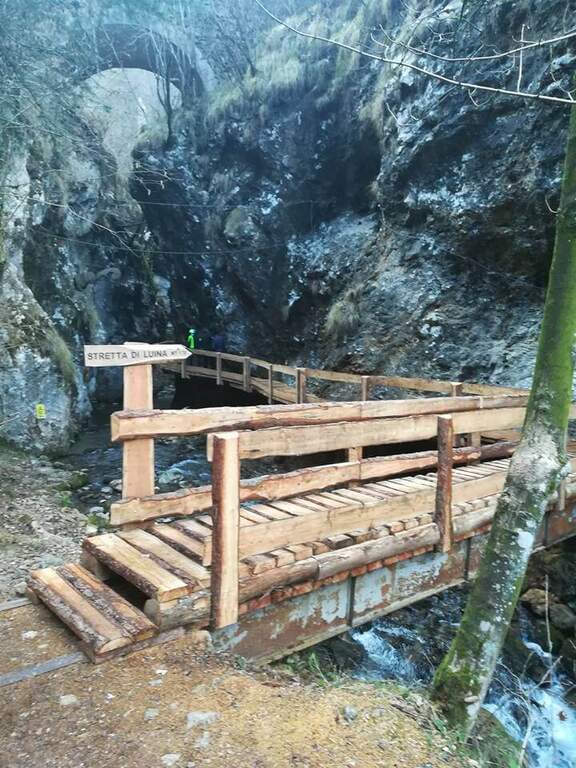
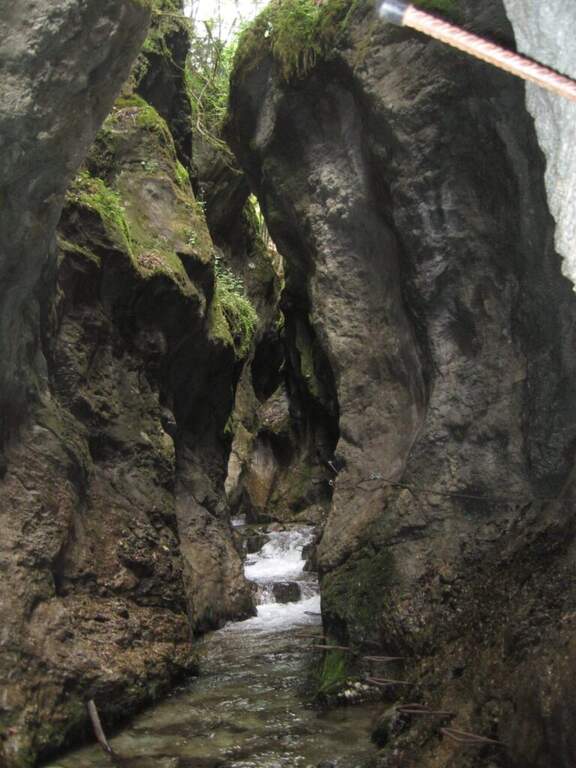
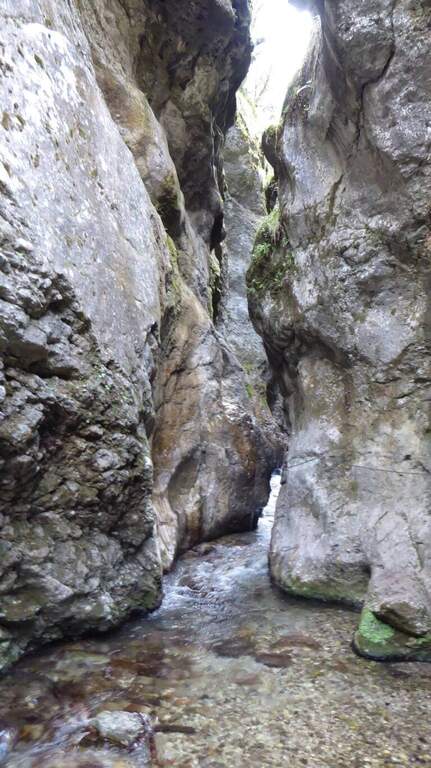
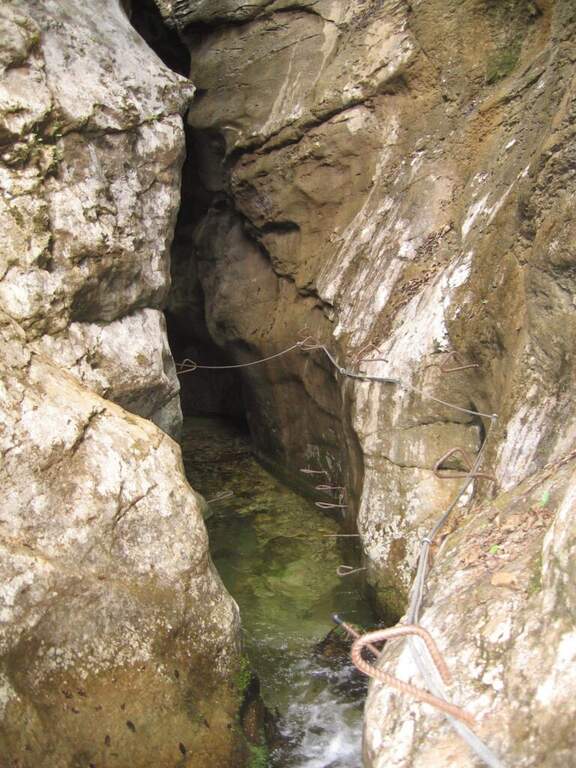
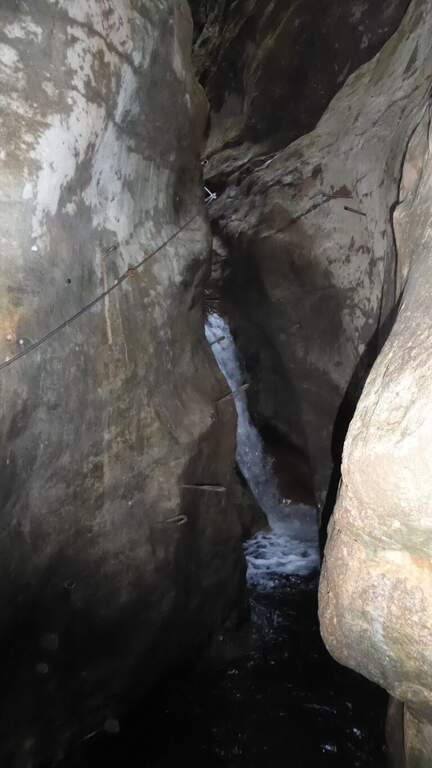
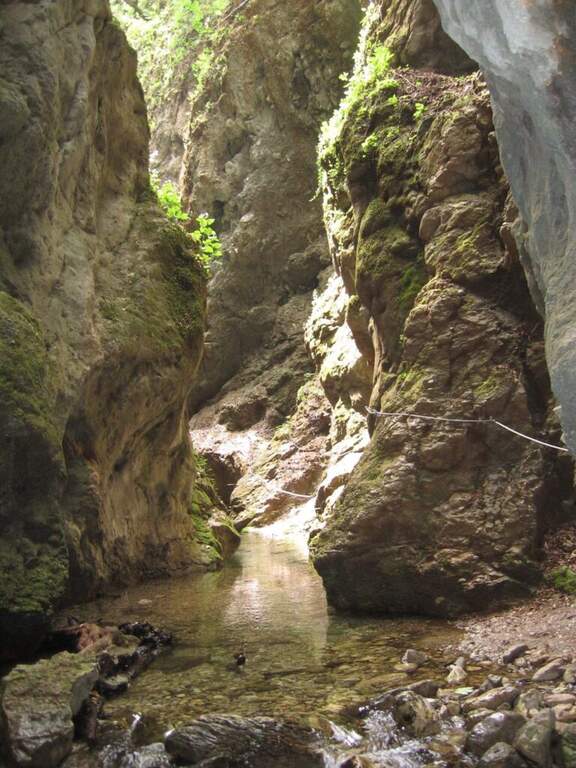
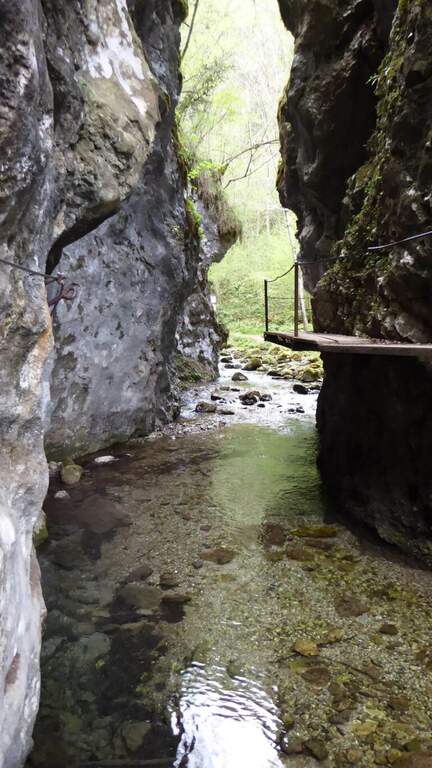
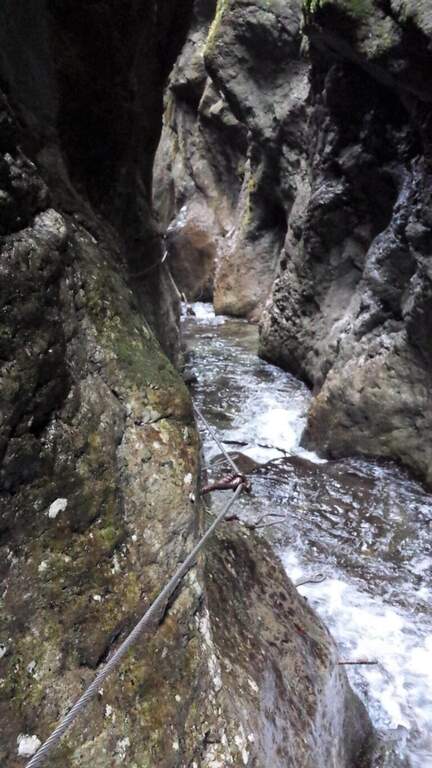
    Stretta di Luina: percorso prevalentemente orizzontale, quasi al pelo dell'acqua nella forra del torrente; non difficile ma scivoloso, con ponti su tronchi e ponti delle scimmie.

    ▲Character and difficulty

    The park offers a wide range: from easy Ferrata 2 and the Dragon to extremely athletic and overhanging routes (Ferrata 11, Vertigo, Colpo della Strega). The rock is often smoothed and undressed, with frequent traction on the cable; numerous suspended bridges and monkey bridges, exposed but fun.

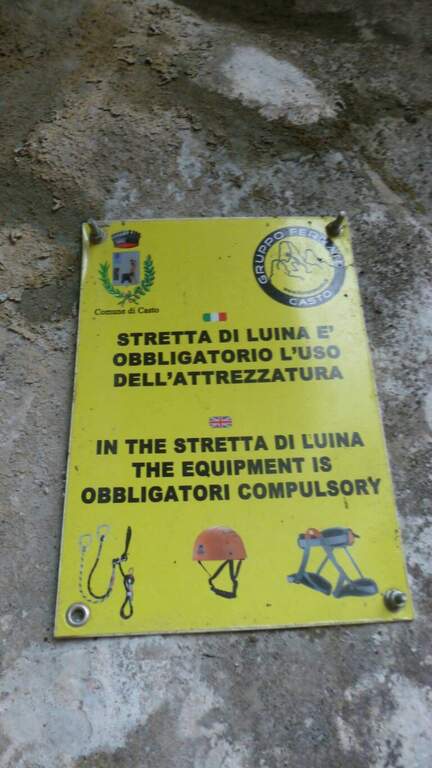
    ⚠ Many routes are physically demanding and little climbing, not suitable for neophytes (except Ferrata 2 and Dragon). Helmet and hardware set are indispensable; attention to the slippery bottom in the holes and swinging bridges. Choose the route based on your training.

    ▲Discipline

    Almost all routes fall for sentiero (usually holding the right at the end). The routes 5, 6 and 14 and 7-8 use the bridges suspended on the Strait of Luina; the 12 and the 12 bis fall through the suspension bridge of almost 40 m at the tower. The times are short given the proximity to the parking lot.

    ▲Period and safety

    The best periods are the mezze season; the itineraries can also be covered d' winter, except in snowy periods. Being at low altitude, in the middle of summer some walls exposed to the sun are very warm.

    ▲To match

    Always in the area of Lake Idro you can walk Ferrata Crench, il Idro Waterfall Trail e la Ferrata delle Ginestre.

    ▲Gallery
    Technical data
    • DifficultyFrom Easy to Extremely Hard
    • RegionLombardy
    • ProvinceBrescia
    • GroupPrealps Bresciane
    • Approach5-15 min
    • Fully equippedover 15
    • EntryFree
    • PeriodHalf seasons (also winter except snow)
  • Sentiero Attrezzato delle Cascate di Idro

    Sentiero Attrezzato delle Cascate di Idro

    Vie Ferrate โ€บ Lombardy โ€บ Brescia
    Sentiero Attrezzato delle Cascate di Idro

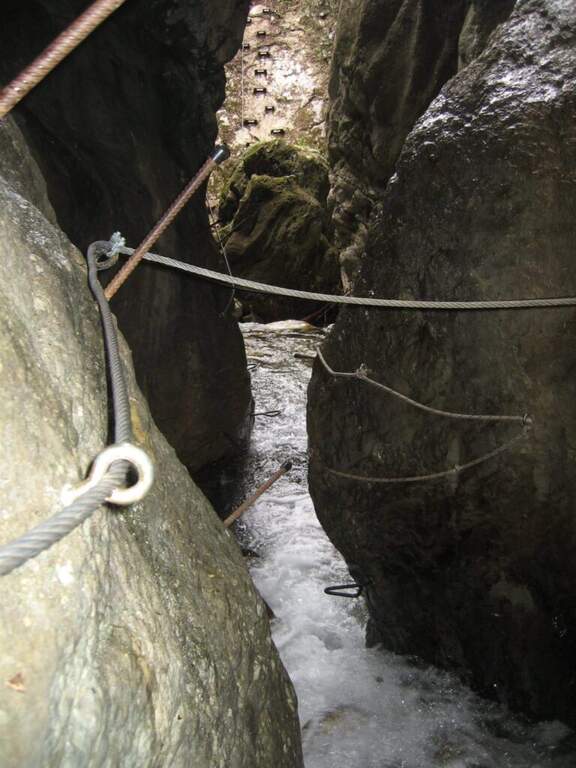
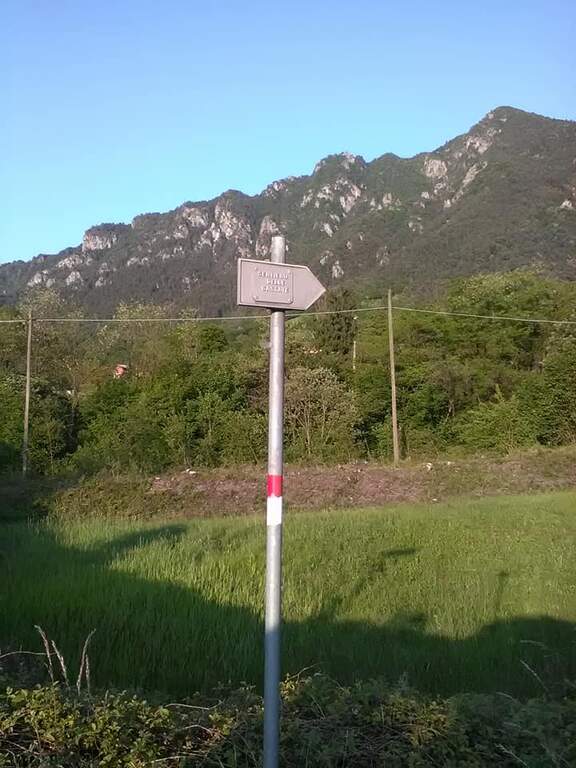
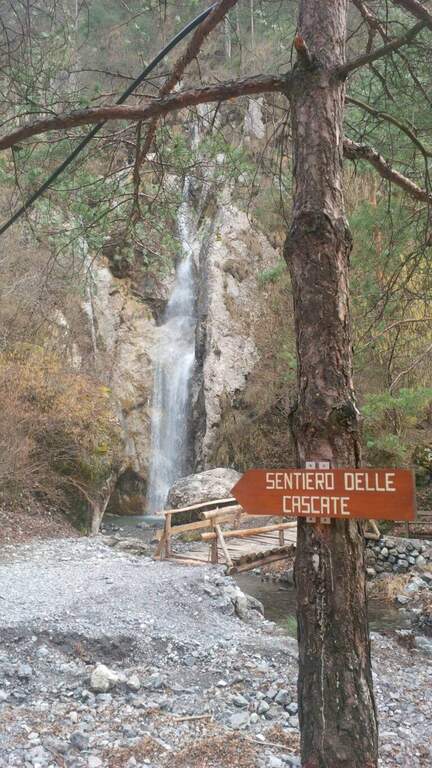
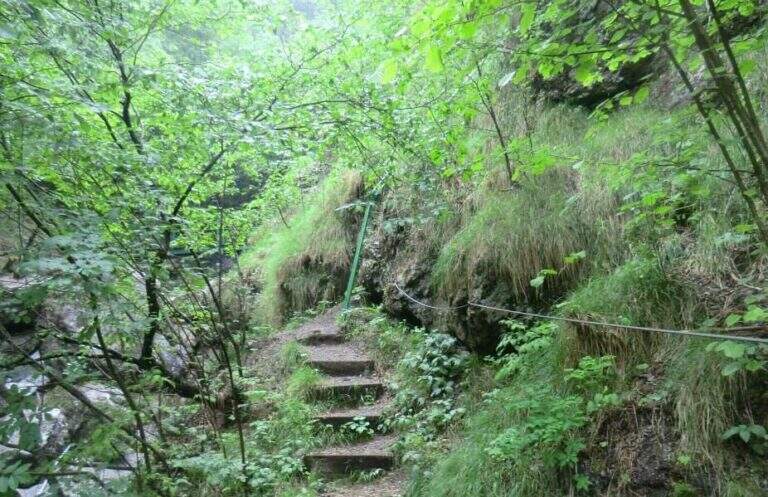
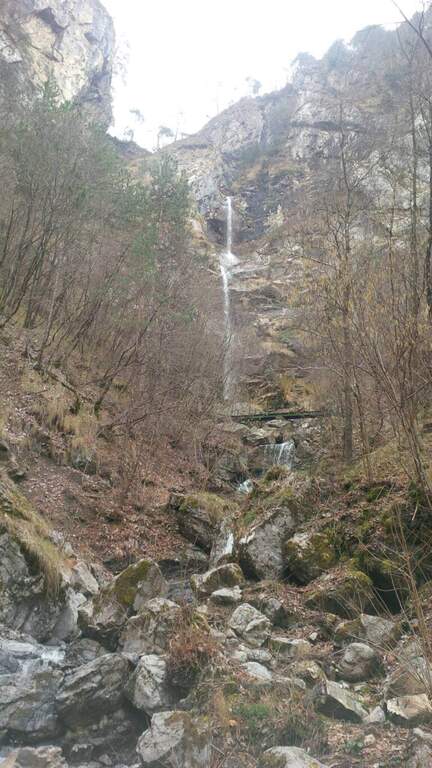
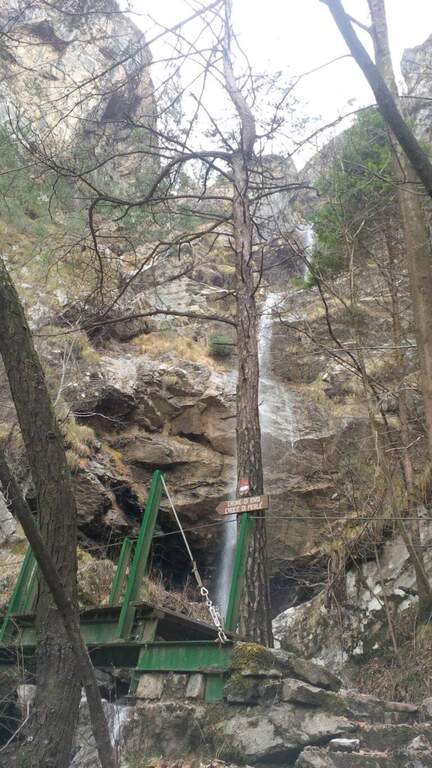
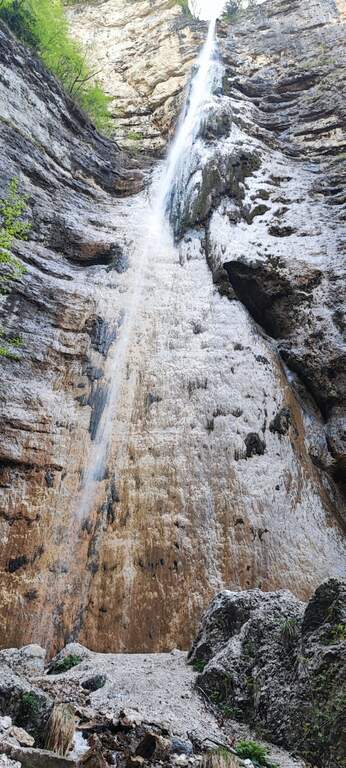
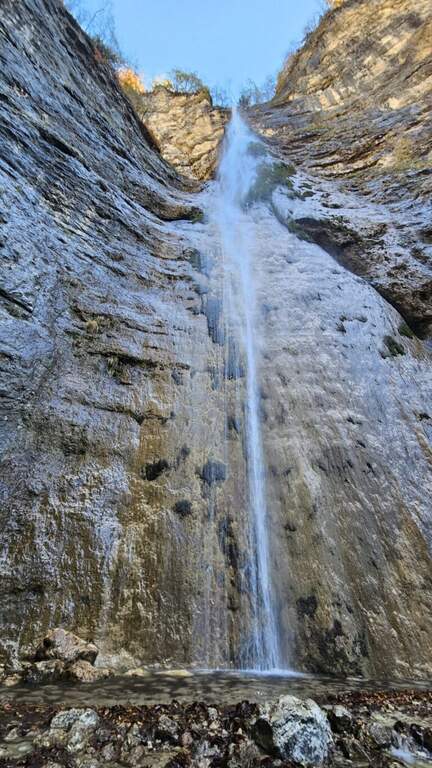
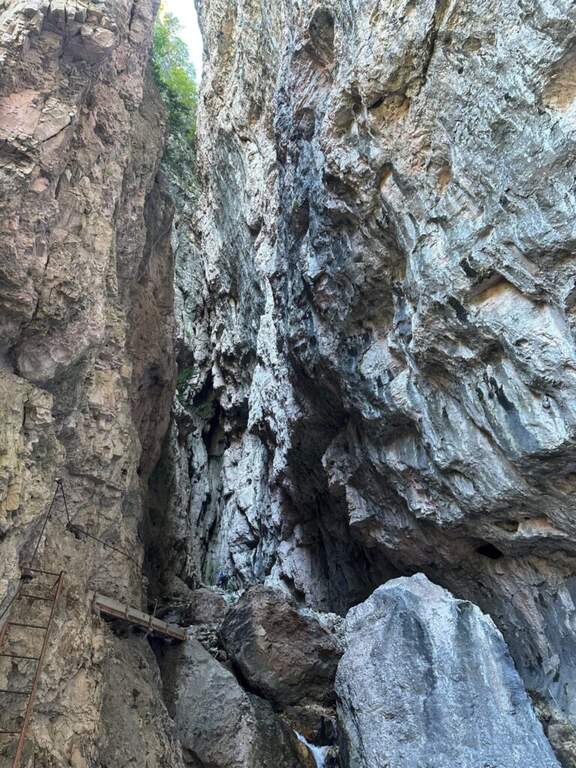
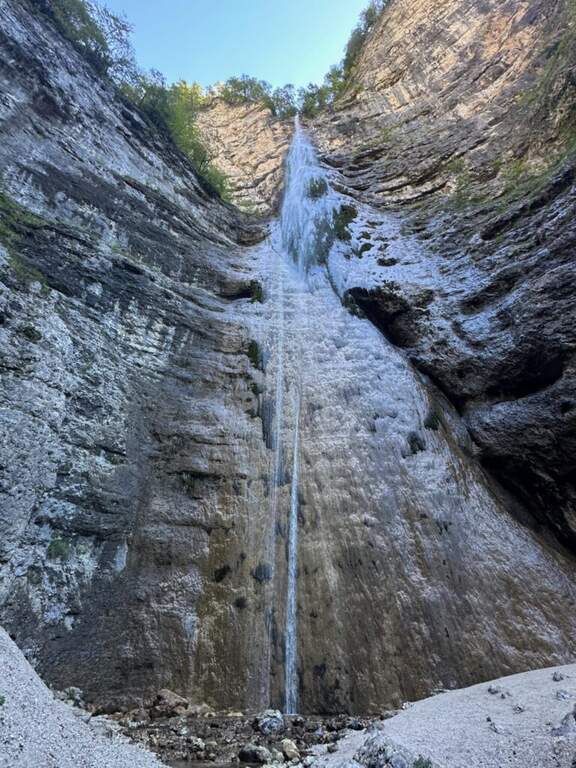
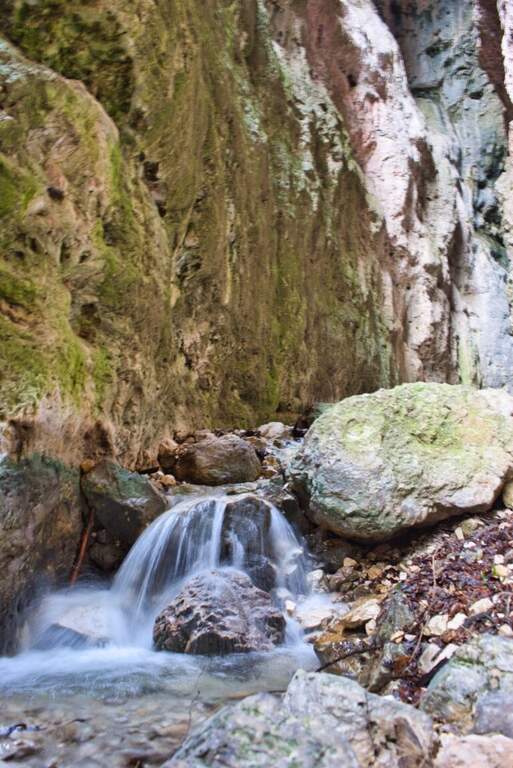
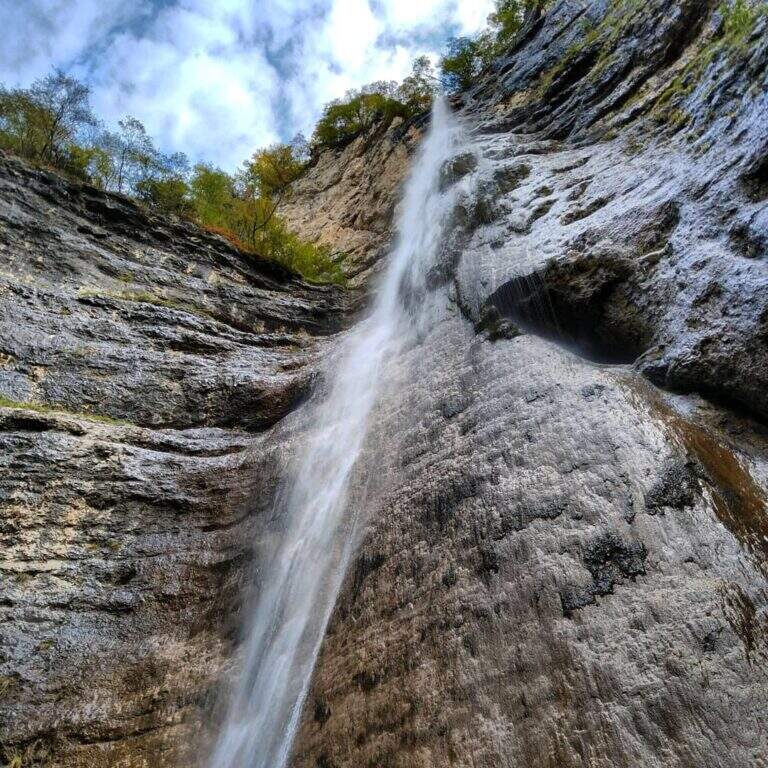
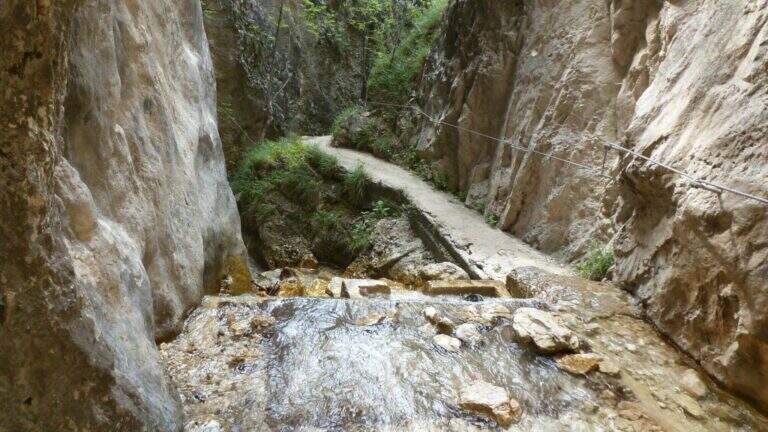
    Il Sentiero Attrezzato alle Cascate di Idro ` an easy itinerary, equipped in the exposed part inside the hole of the torrente Neco, on Lake dโ€™Idro. Very beautiful from the landscape point of view, shows a suggestive throat with short approach, ideal for those with little experience.

    ▲Approach

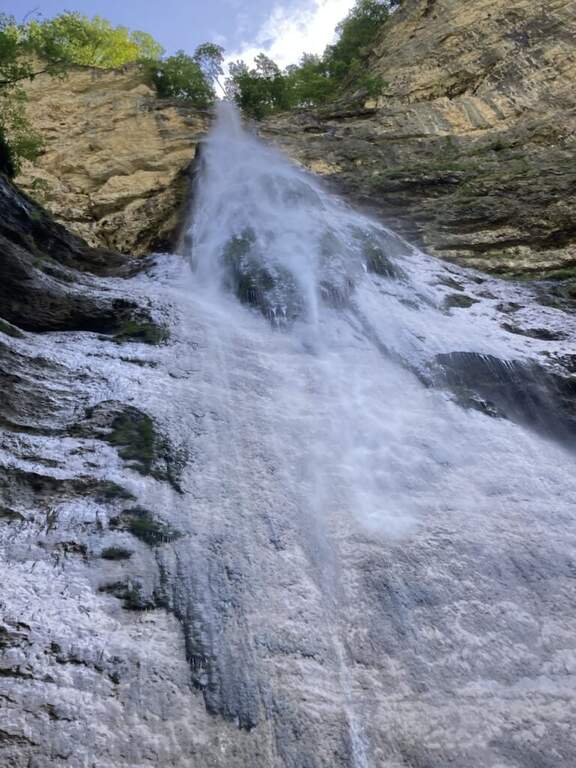
    Starting from Crone, on the eastern shore of Lake dโ€™Idro: along the SP58 you can see on the right a road towards the Pizzeria Ristorante Bellavista, where you park (Via Coste), then take right the directions for the path. Open road signs on Google Maps. Follow the signs: straight the normal path, at destra il ยซSentiero delle Cascateยป (the two are reunited with piรน forward). You climb on the road between the meadows, then downhill to the bed of the Neco and its hole, at a wooden bridge and a first waterfall; you avoid the bridge and climb on the left side of the waterfall, entering the equipped path (15โ€ฒ from the parking lot).

    ▲The path

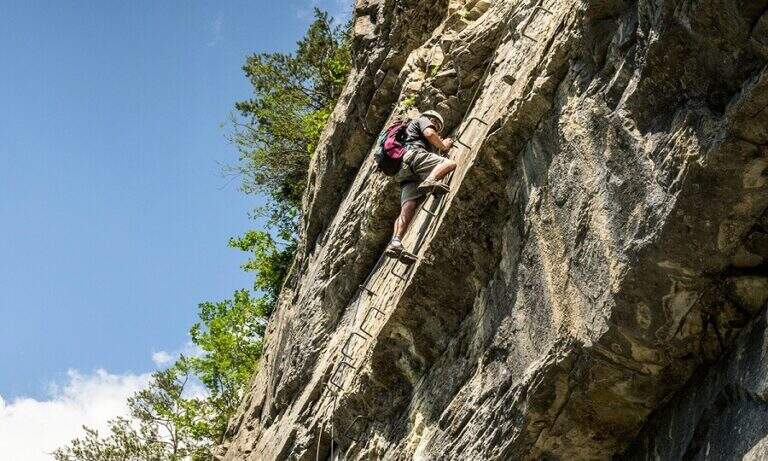
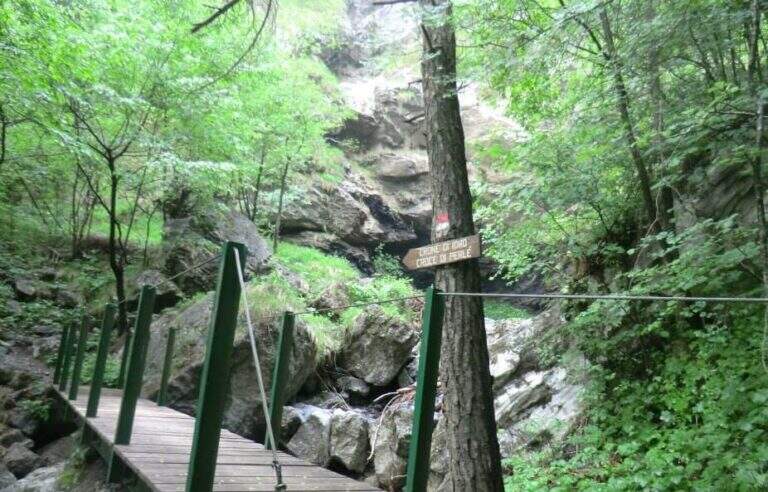
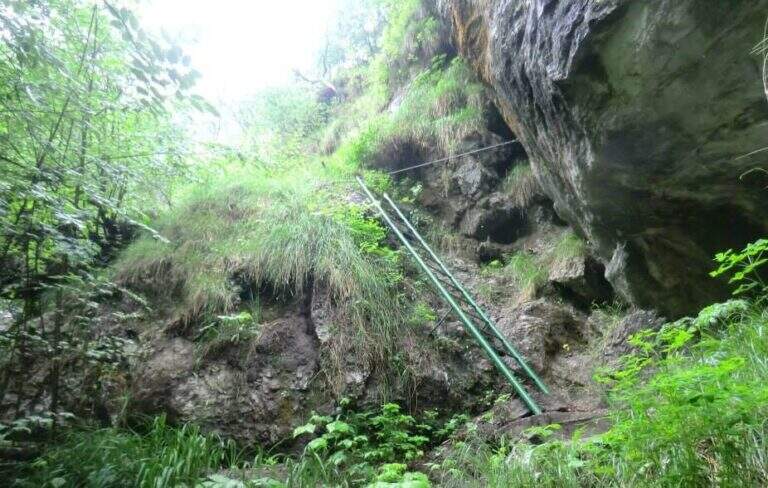
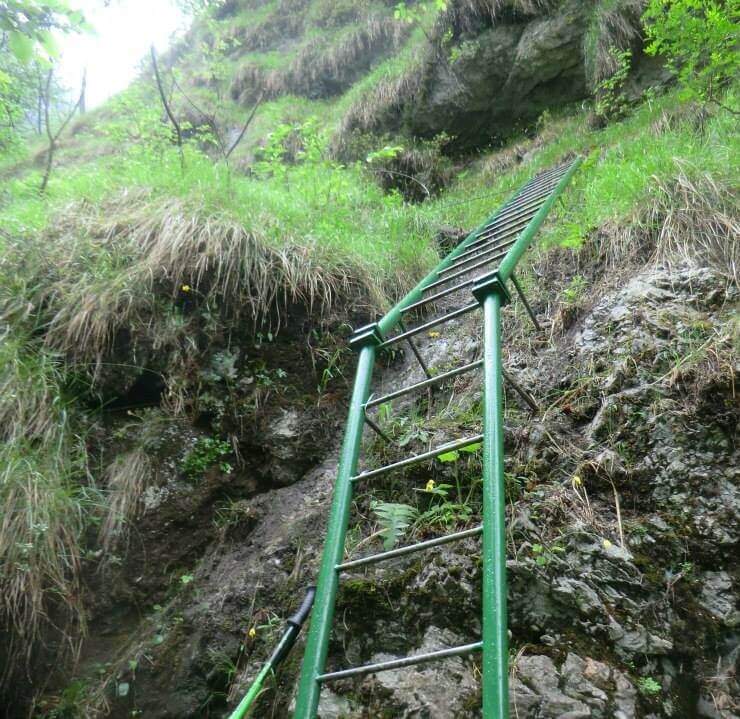
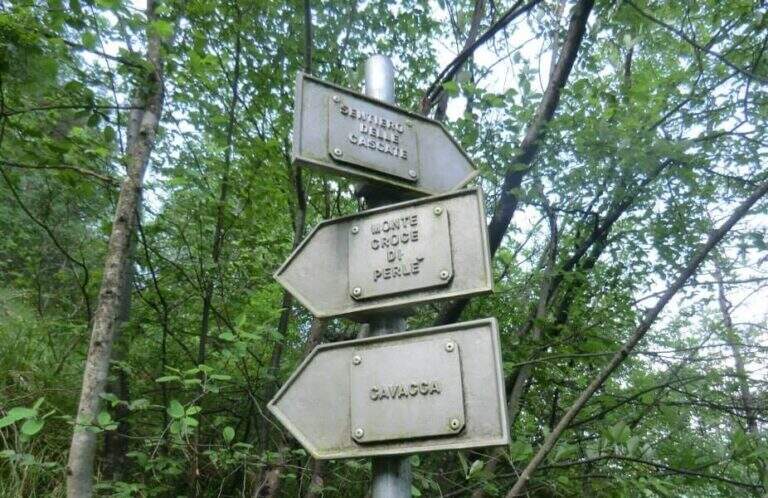
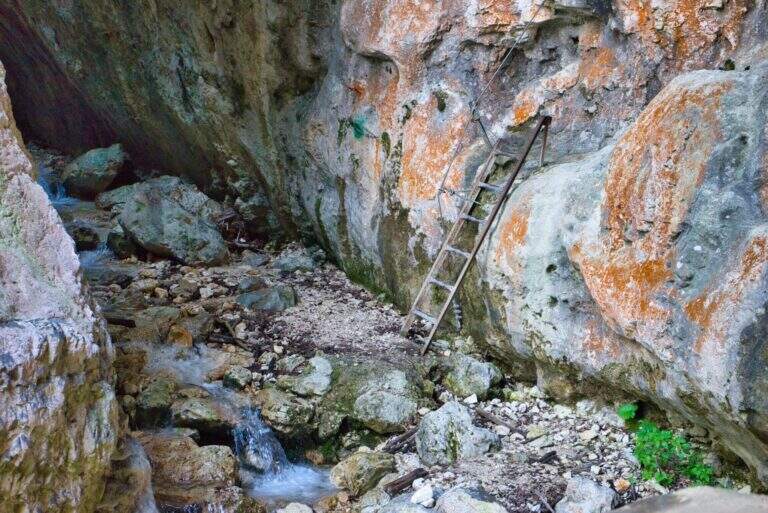
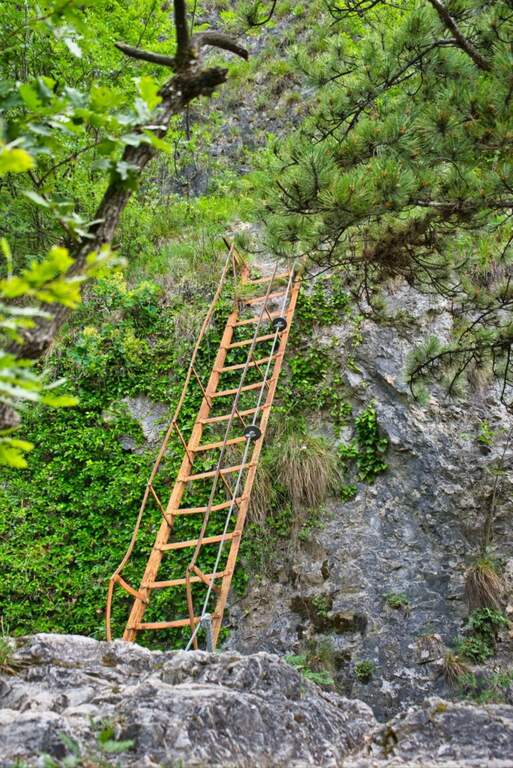
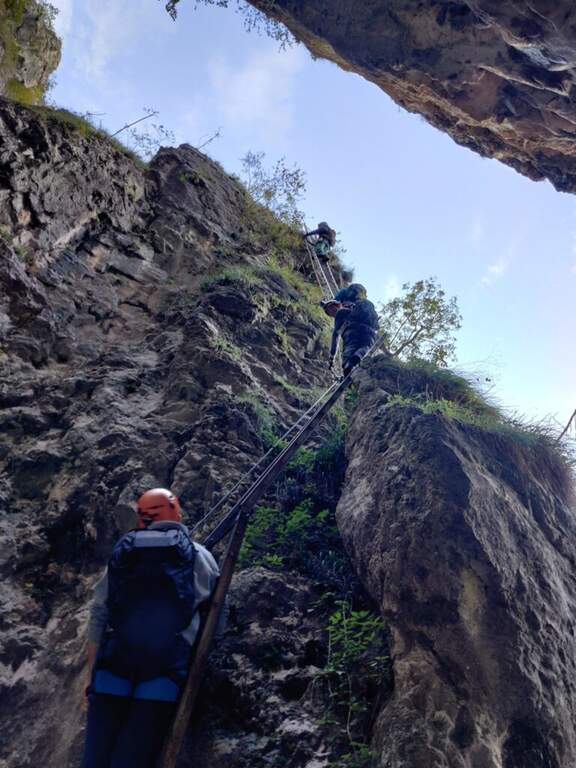
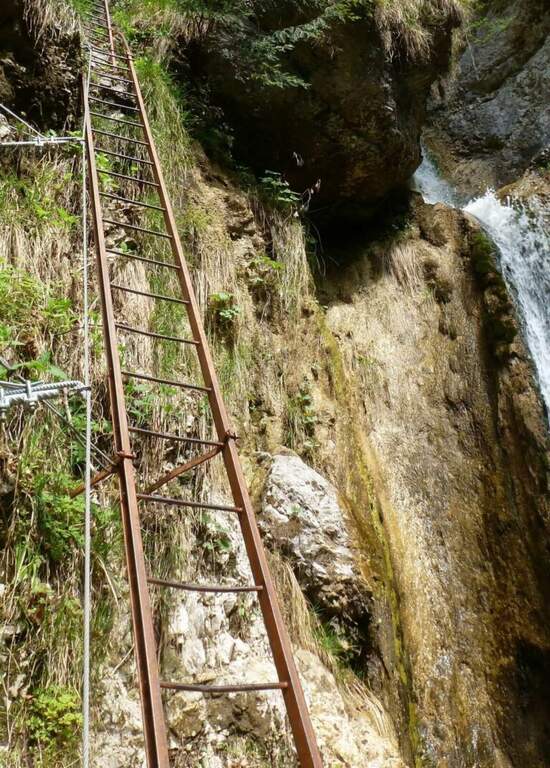
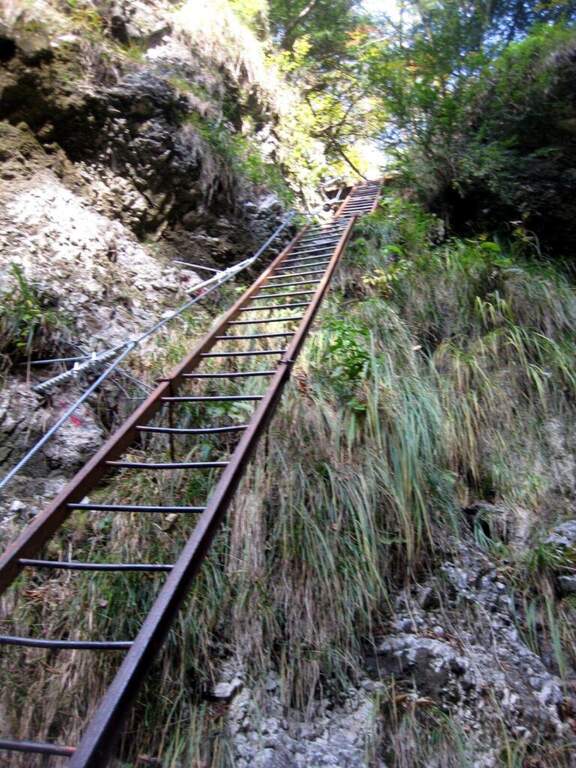
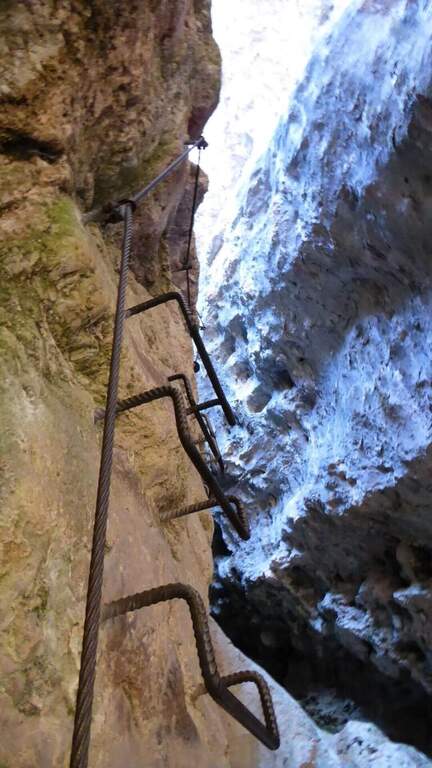
    There are two inclined rock walls equipped with two metal scales (the second piรน long of the first); on the top you go left on a engineered grassy and, bypassing a edge, ends the equipped part (10โ€ฒ fromโ€™ attack, 25โ€ฒ from parking). Continue on the path passing a bridge at a โ€™ another beautiful waterfall and then in the forest, until a crossroads with the normal path left at โ€™ start. From here you can rejoin; close the short hike turning left towards Crone (40โ€ฒ overall) or keep the right towards the Croce of Perlรจ : with lake view, then in the Serรจ valley; and in a thick forest, at a crossroads turn left and follow a short stretch of ridge with easy rocks up to the peak cross (1h 30โ€ฒ overall).

    ▲Character and difficulty

    Itinerary without any technical difficulties of importance, it is also advisable for those who have little or no experience provided in form and with firm foot; equipment in good condition. Traced ex novo in 1995-96 and restored in 2004.

    ⚠ It is better to travel in the half seasons, avoiding the summer heat and lโ€™ winter, when the falls can iced. Recommended helmet for stairs in the hole.

    ▲Discipline

    It can be traced back, possibly along the equipped path (about 1h from the summit, 2h 30โ€ฒ overall). Alternatively, from the โ€™ last intersection can be combined; close a long anello for the Cocca di Idro, Cima Crench and Punta Pelada, returning to Crone (about 4h 30โ€ฒ overall).

    ▲To match

    Concatenate well with the Ferrata Crench (saving Cima Crench and Cocca d'Idro) and, always on Lake Idro, with easy Ferrata delle Ginestre e la Ferrata del Fregio.

    ▲Gallery
    Technical data
    • DifficultyEasy
    • RegionLombardy
    • ProvinceBrescia
    • GroupLake Idro
    • Approach15 min
    • Fully equipped10 min
    • Complete itinerary2h 30′
    • Level difference200 m
    • Route difference220 m
    • Maximum620 m
    • Length3,5 km
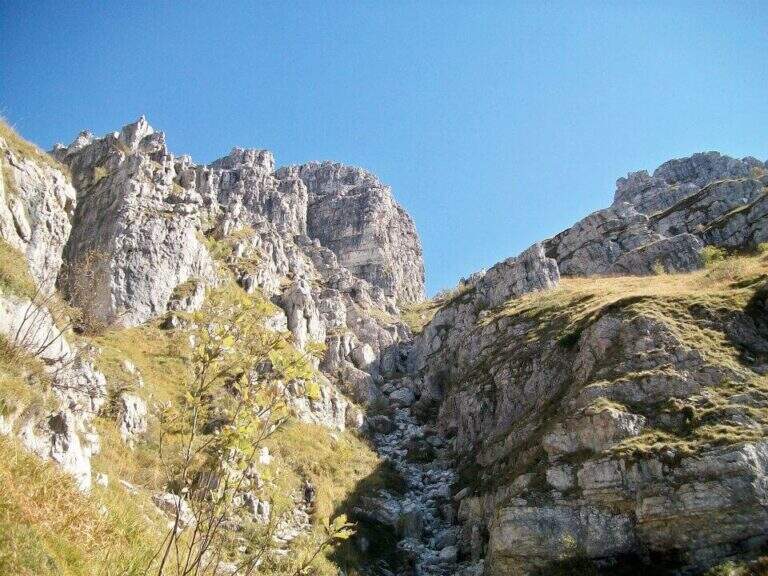
  • Sentiero Attrezzato Carlo Villa al Canale Bobbio

    Sentiero Attrezzato Carlo Villa al Canale Bobbio

    Vie Ferrate โ€บ Lombardia โ€บ Lecco
    Sentiero Attrezzato Carlo Villa al Canale Bobbio
    Moderately Hardโ— OpenDescriptionComplexityMapsGallery

    Il Sentiero Attrezzato Carlo Villa al Canale Bobbio connects the Piani d'Erna to the crest of the Resegone, going up a suggestive channel with some exposed sections equipped. It is accessible in both directions and easily connected to the other routes of Resegone.

    ▲Approach

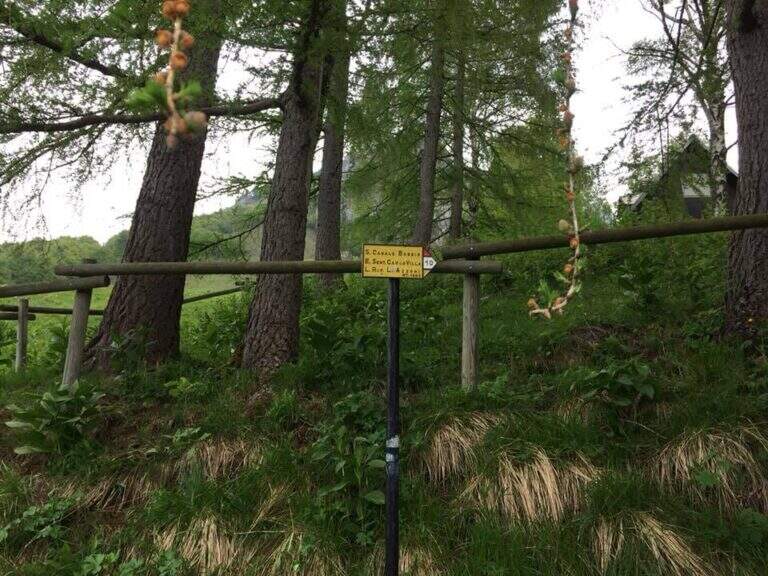
    Starting from the ' wide square of the funivia for the Plans d'Erna in Lecco (from the highway Leccoโ€“Ballabio, exit ยซPiani d'Ernaยป, between the hairpin bends to the square). Open road signs on Google Maps. It can be arranged; climb to Piani d'Erna in three ways: with the funivia, walk to Stoppani Refuge, or with the long but not difficult Ferrata Gamma 1. From Piani d'Erna descends to the Bocche d'Erna and follow the signs for the Sentiero 10, uphill on dirt road to some houses; from here, to the right (cartel), the path enters the forest where the actual route begins (20' from Piani d'Erna).

    ▲The path

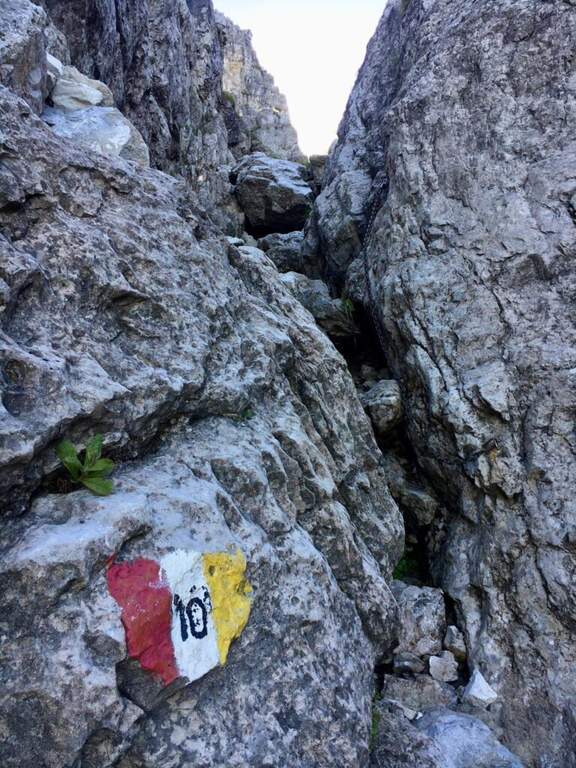
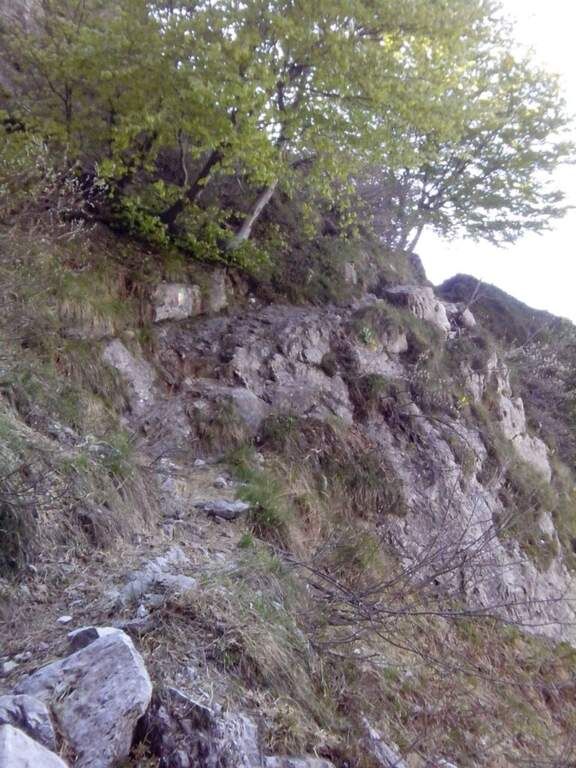
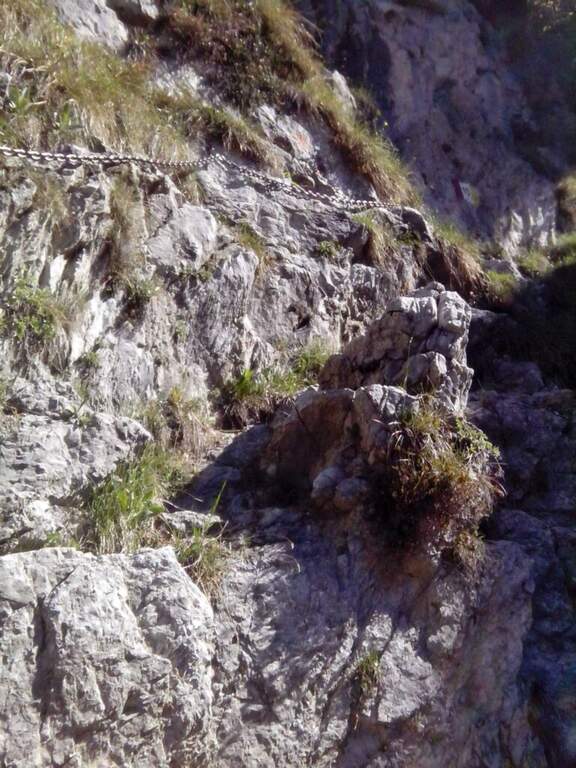
    Il sentiero parte senza difficoltà verso sud-sudovest, con molti saliscendi, alcuni assistiti da catene e cavi nei tratti più esposti (attenzione col fondo umido). Si raggiungono alcune cenge esposte attrezzate, una con una staffa; da qui il percorso si fa più impegnativo addentrandosi nel canalone, seguendo i segni bianco-rosso-giallo. Si risale una costa esposta sul lato destro con l'aiuto del cavo, tratto più ripido e faticoso, incastonato tra le guglie della cresta nord del Resegone, fino nella parte più angusta del Canalone Bobbio. Si risale un tratto di poco meno di 100 metri con diversi massi attrezzati (paretine di 2-4 metri, in genere in traversata diagonale, con un paio di tratti verticali). Il paesaggio diventa più austero fino a una stretta gola dove si trova il passaggio chiave, comunque di difficoltà moderata; nella gola un gendarme roccioso di circa 3 metri si risale e si attraversa in diagonale a sinistra, chiudendo le difficoltà. Si prosegue in ripida salita su misto terra e sassi e poi sui prati sommitali fino alla Selletta di Bobbio, dove il sentiero termina (2h dall'inizio del tratto attrezzato, 2h 20' dalla stazione a monte).

    ▲Character and difficulty

    Itinerary of moderate difficulty: the equipped sections protect exposed cenges and the mass of the canalone, never really exposed but sometimes steep and tiring. Beautiful rocky environment between the Resegone spires.

    ⚠ With wet bottom the initial ups and the cenges become slippery: prudence. Helmet and essential hardware set, also for possible stones in the canalone.

    ▲Discipline

    L' piรน option; common: in about 20' we reach the Rifugio Azzoni by crossing the ridge south-southwest; from here we descend on Sentiero 1 and, at the crossroads on Sentiero 5 to Piani d'Erna and the cable car (1h 45' from the end, 4h complex Alternatively, from the Selletta Bobbio you can puรฒ take the north ridge of the Resegone (beware of the rocks) to the Passo Giuff.

    ▲To match

    It easily concatenates with other routes of Resegone, such as the Ferrata Gamma 1 approaching and the Sentiero del Caminetto downhill.

    ▲Gallery
    Technical data
    • DifficultyModerately Hard
    • RegionLombardy
    • ProvinceLecco
    • GroupResegone
    • Approach20 min
    • Fully equipped2h
    • Complete itinerary4h
    • Level difference400 m
    • Route difference451 m
    • Maximum1740 m
    • Length6 km
  • Sentiero Attrezzato del Caminetto (Buco della Carlotta)

    Sentiero Attrezzato del Caminetto (Buco della Carlotta)

    Vie Ferrate โ€บ Lombardia โ€บ Lecco
    Sentiero Attrezzato del Caminetto (Buco della Carlotta)

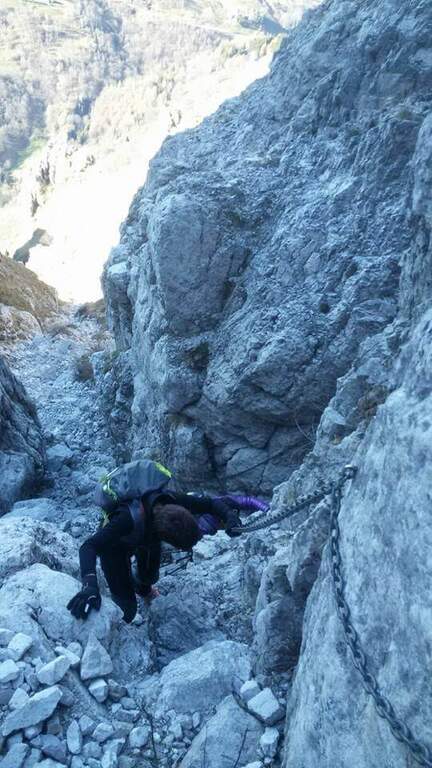
    Il Sentiero Attrezzato del Caminetto, also known as Buco by Carlotta, allows you to reach Pian Serrada from the Fรฒ Pass; under the Resegone (Lecco). It develops along a fairly steep canyon with some chain-equipped sections; it is often combined with other routes in the area.

    ▲Approach

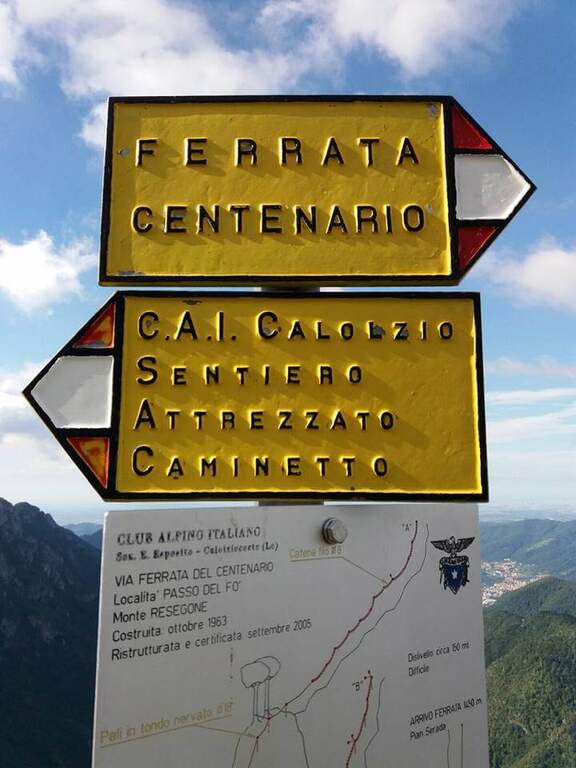
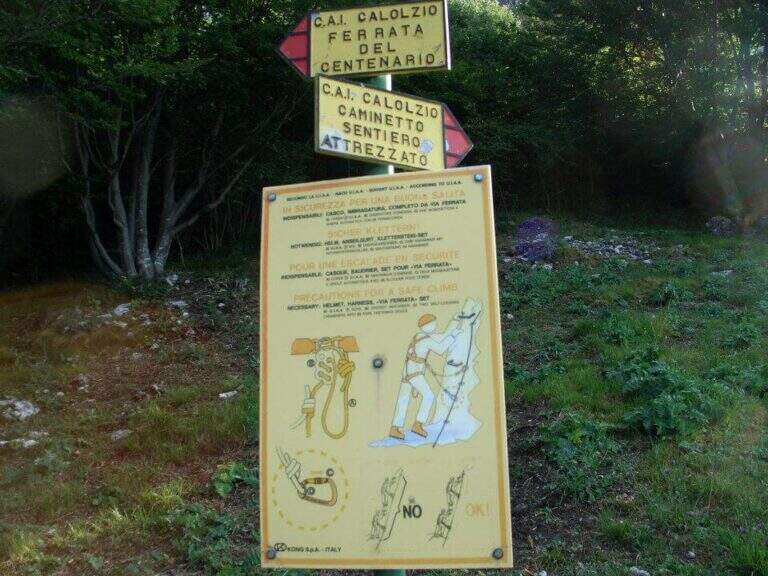
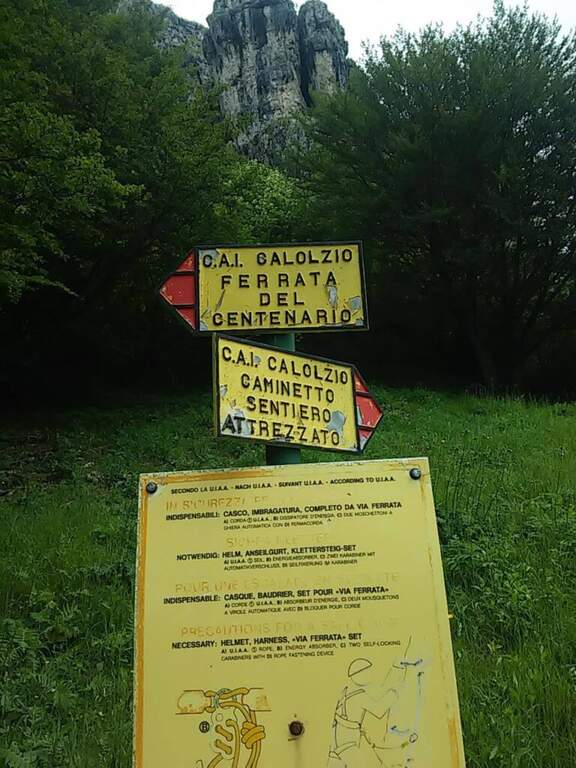
    Starting from the ' wide square of the funivia for the Plans d'Erna in Lecco (from the highway Leccoโ€“Ballabio, all' exit of a gallery follow the signs ยซPiani d'Ernaยป going up through hairpins to the square). Open road signs on Google Maps. L' approach to the Passo Fรฒ coincides with that of the Ferrata del Centenario: about 1h climbing with the cable car, or about 1h 30' walking from the parking lot (Sentiero 1 and then Sentiero 6). At the Fรฒ Pass; the signs separate the ferrata from the equipped path.

    ▲The path

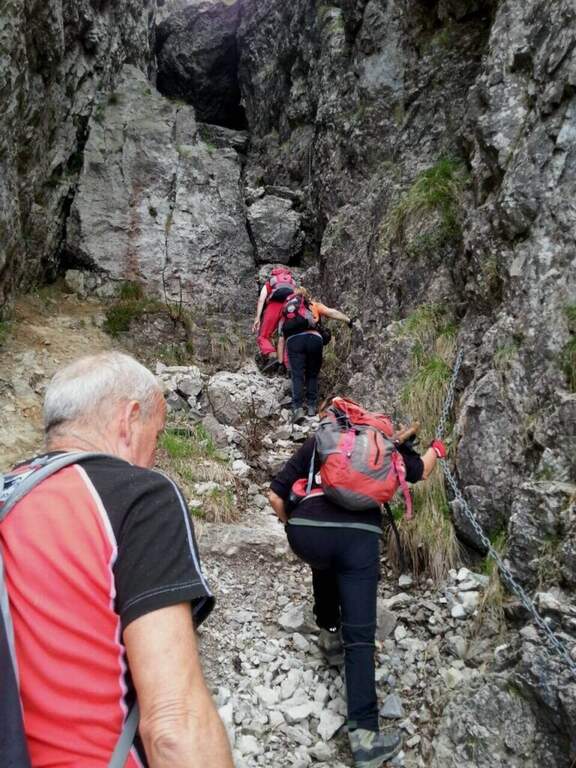
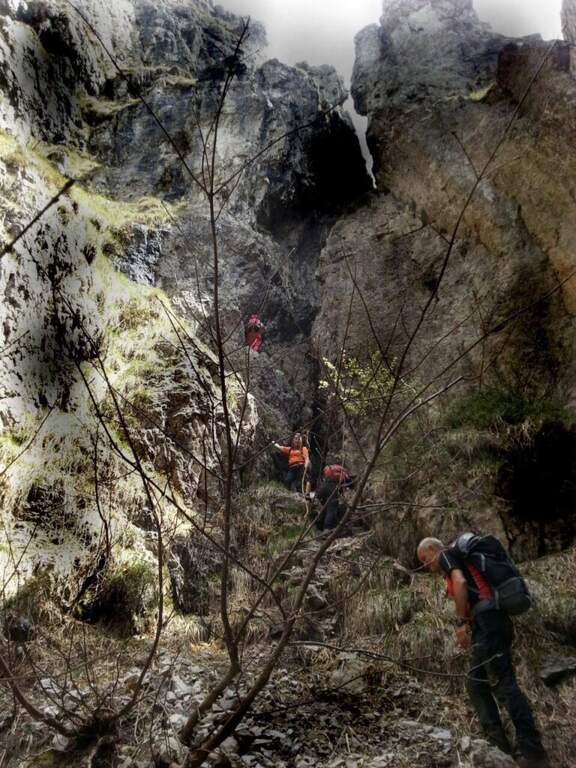
    From the Fรฒ Pass; take destra (cartel) on steep and rocky path until the ' attack. You start with the first chain going up a placca, then turn left, you go back a couple of stretches and you do a short descent. The characteristic passage is reached between slender: under a grosso masso framed which goes beyond the right and goes up the ยซBuco della Carlottaยป until you leave on a nod. It follows a second canal with some stretches a po' athletics (to climb it is necessary to try with patience to stick not immediately evident); then the path becomes piรน easy and exits from the fireplace. On the left, a sign indicates the Ferrata del Centenario; the trail continues on lawn and rocks in the Pian Serrada, where it ends (45' from' attack, 1h 45' from the cable car, 2h 15' overall).

    ▲Character and difficulty

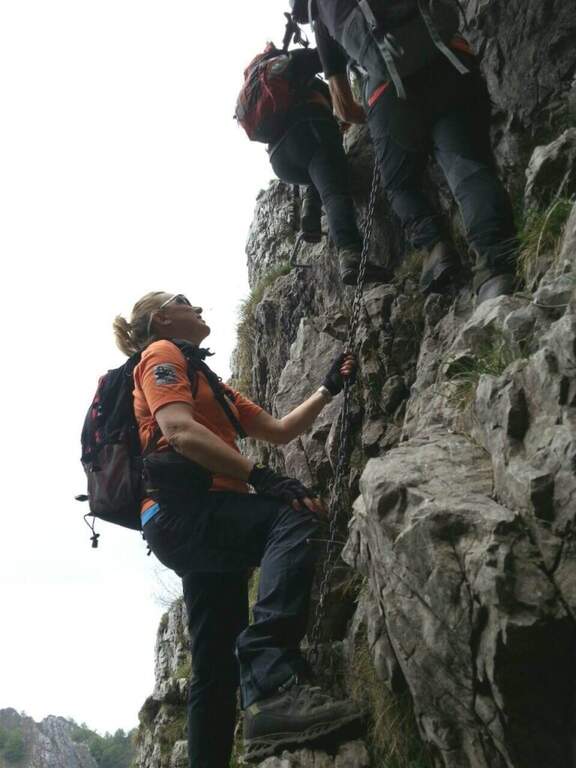
    Itinerary easy, with some vertical but not difficult passages and contained exposure, developing in a canon. More equipped path that real ferrata.

    ⚠ Be careful not to move uphill stones: they could hit those who are below ( indispensable helmet). A passage in the canal is narrow and can give problems with bulky backpacks: useful a postponement/feed to hang the backpack to the harness.

    ▲Discipline

    From Pian Serrada go up to Sentiero 1 and take it downhill until the junction with Sentiero 5: right to the cable car station of Piani d'Erna (1h from the term, 2h 45' overall), or straight to Stoppani Refuge and parking (1h 45' from the term, 3h 30' overall).

    ▲To match

    It is often used as a descent/return to Passo Fรฒ after the Ferrata del Centenario, or as a return from excursions to Resegone as the Ferrata Gamma 2 o la Ferrata Silvano de Franco.

    ▲Gallery
    Technical data
    • DifficultyEasy
    • RegionLombardy
    • ProvinceLecco
    • GroupResegone
    • Approach1h
    • Fully equipped45 min
    • Complete itinerary2h 45'
    • Level difference150 m
    • Route difference180 m
    • Maximum1475 m
    • Length6 km
  • Sentiero Attrezzato Francesco e Giuditta Gatti al Mont de la Brenva

    Sentiero Attrezzato Francesco e Giuditta Gatti al Mont de la Brenva

    Vie Ferrate โ€บ Aosta Valley โ€บ Aosta
    Sentiero Attrezzato Francesco e Giuditta Gatti al Mont de la Brenva
    Moderately Hardโ— OpenDescriptionComplexityMapsGallery

    Il Sentiero Attrezzato Francesco e Giuditta Gatti at Mont de la Brenva รจ an equipped route of difficult and difficult media; in the alpine environment, at the slopes of the Mont Blanc group. It leads to a panoramic plateau โ€“ the Belvedere โ€“ with a view between the pi` beautiful of all the Western Alps.

    ▲Approach

    From the mountain station of the cable car of La Palud (Courmayeur, Aosta). Open road signs on Google Maps. We descend to the first stop of the route ยซ The Paludโ€“Punta Helbronnerยป and follow the path in a slight ascent next to the botanical garden Saussurea; at the first crossroad you will keep the left on a well-marked path that crosses the grassy slopes towards the moraine of the Toula glacier. A short stretch equipped with a chain exceeds some rocks and reaches a ' panoramic area with bench, where the equipped stretch begins (30' from the mountain station).

    ▲The path

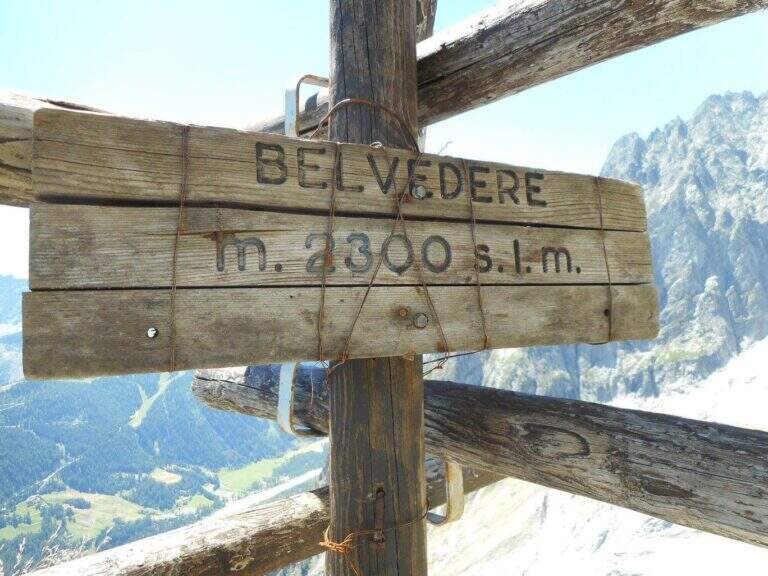
    The equipped part starts going down the eastern shoe of Mont de la Brenva, with steep stretches in which the rope dร  safety; a downhill section of III degree, not difficult, รจ supported by the chain. Continue on half-coast with climbs and descents, assisted by chain and brackets on the right side, and cross a pietraia (yellow signs); at the end a path goes steeply towards the rocks of Brenva to the Belvedere (2300 m, 1h 30' from' start of the stretch), with views of the Bremayn.

    ▲Character and difficulty

    Path equipped not long and not difficult, but in the alpine environment and with exposed sections where the protections are essential; the view from the Belvedere is only a great reason to travel it.

    ⚠ High mountain environment on blackberry and stone: recommended helmet and attention to the bottom. Evaluate the time and time of the cable car for the return.

    ▲Discipline

    The descent takes place on the same climb route (1h 30' from Belvedere, 3h 45' overall).

    ▲To match

    Starting soon, you can connect to Ferrata Casimiro (about 1h by car). In the area Sentiero al Rifugio Dalmazzi, il Sentiero al Bivacco Boccalatte e la Ferrata at Monzino Refuge.

    ▲Gallery
    Technical data
    • DifficultyModerately Hard
    • RegionAosta Valley
    • ProvinceAosta
    • GroupMont Blanc
    • Approach30 min
    • Fully equipped1h 30'
    • Complete itinerary (a/r)3h 45'
    • Level difference130 m
    • Route difference322 m
    • Maximum2300 m
  • Sentiero Attrezzato Bozzetti al Monte Zeledria

    Sentiero Attrezzato Bozzetti al Monte Zeledria

    Vie Ferrate โ€บ Trentino-Alto Adige โ€บ Trento
    Sentiero Attrezzato Bozzetti al Monte Zeledria

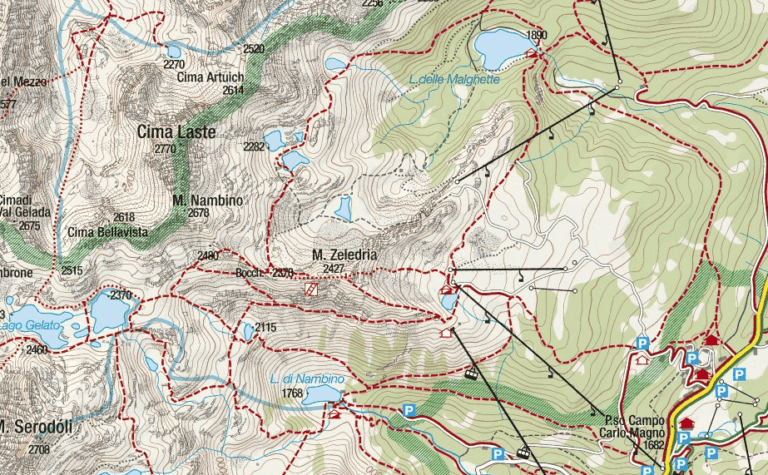
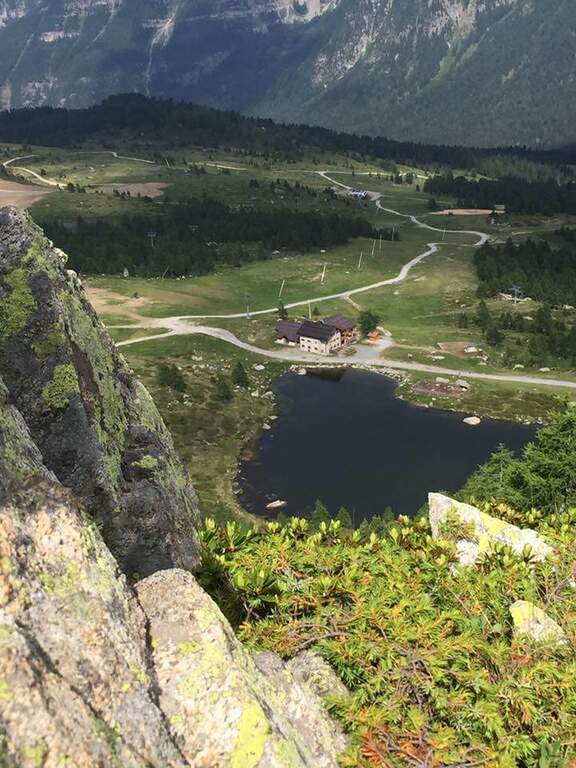
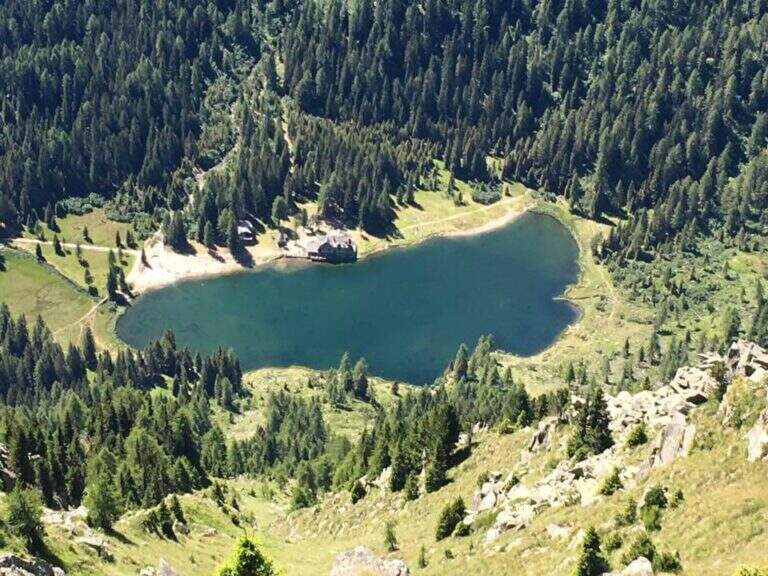
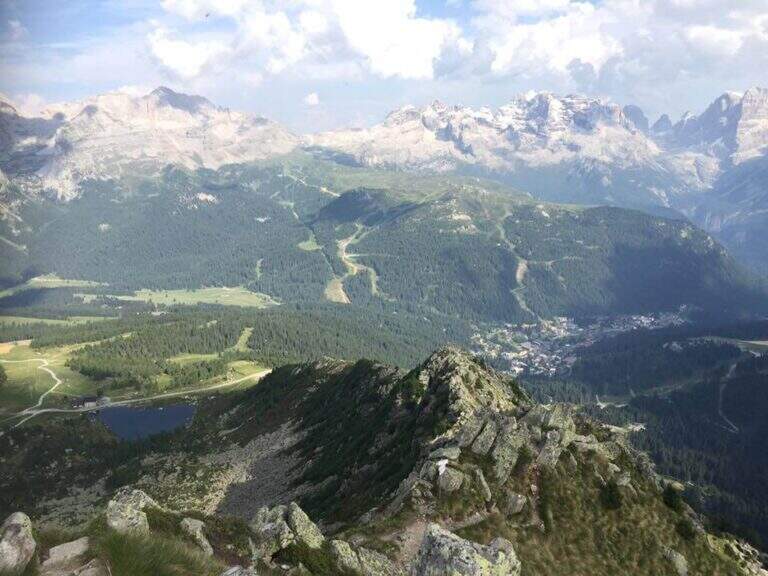
    Il Sentiero Attrezzato Bozzetti climb to Mount Zeledria above Madonna di Campiglio. It is an easy equipped itinerary, also suitable for beginners, in an area of great landscape: the view of the Brenta Dolomites and the lakes below pays off the ascent. It lends itself to a nice ring between the lakes in the area.

    ▲Approach

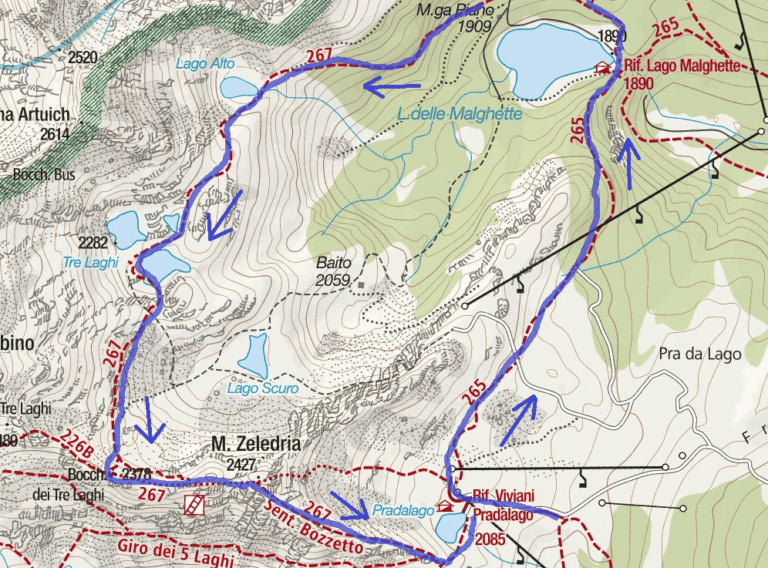
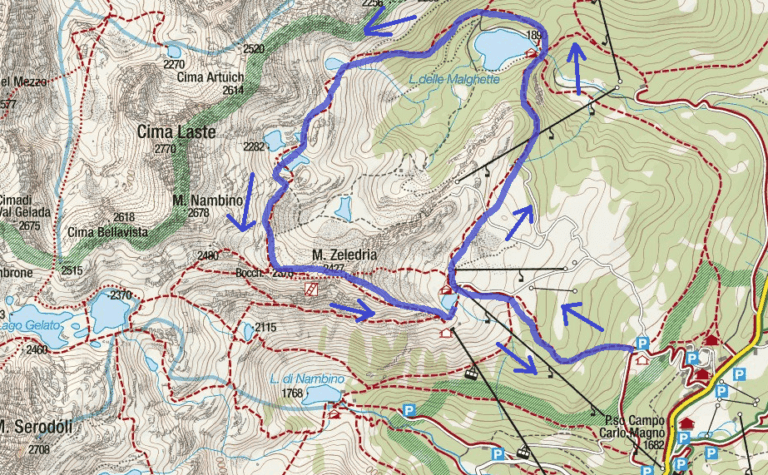
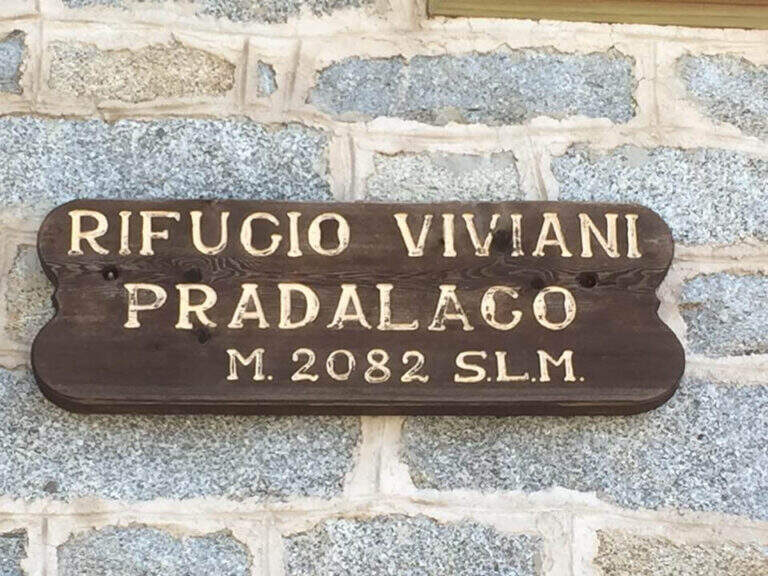
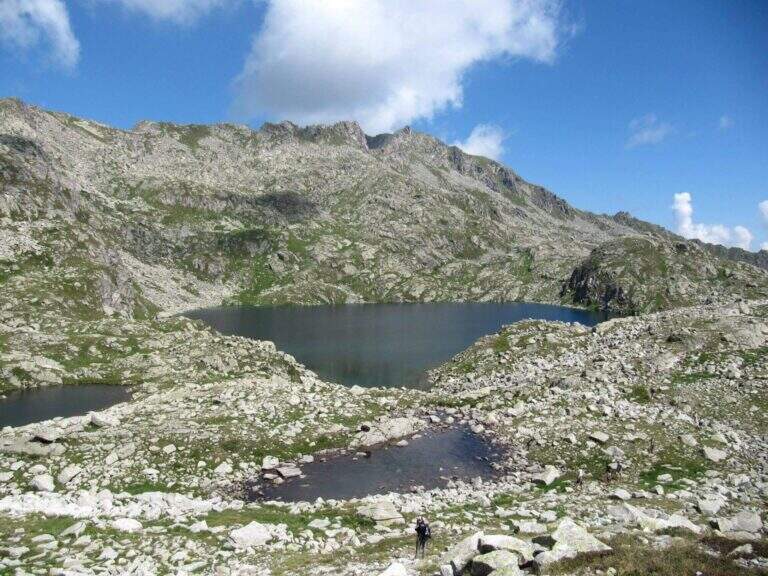
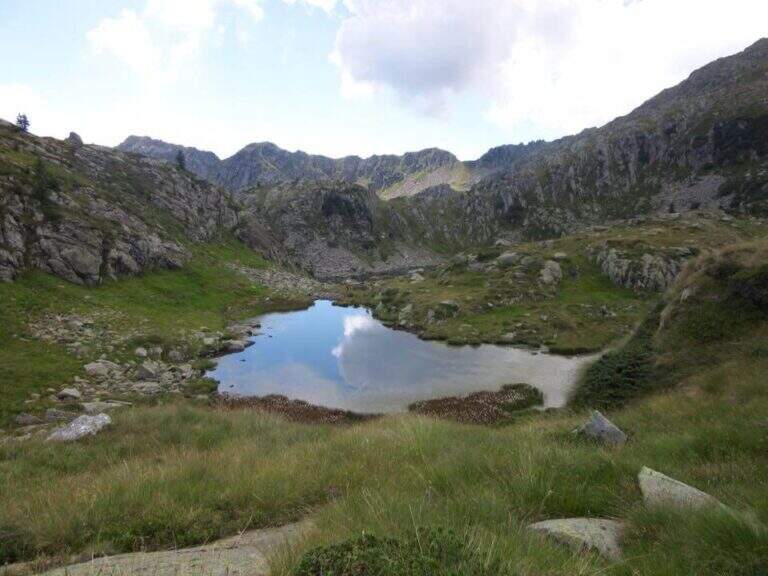
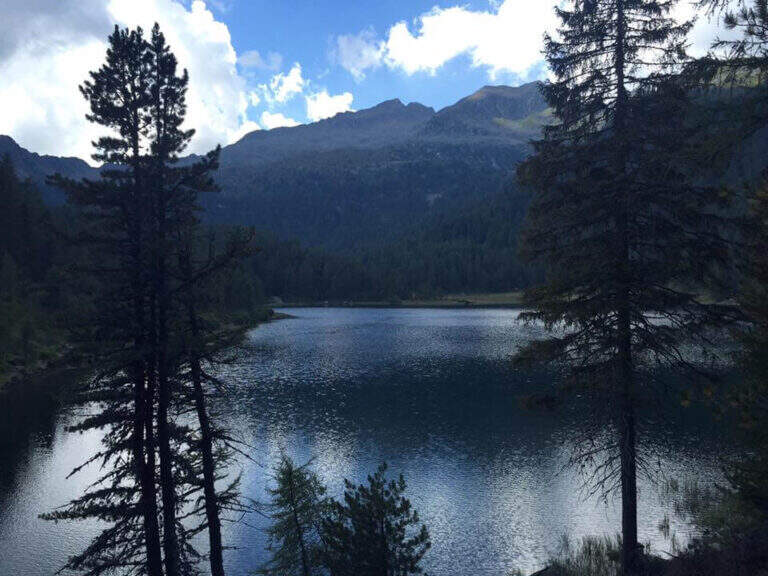
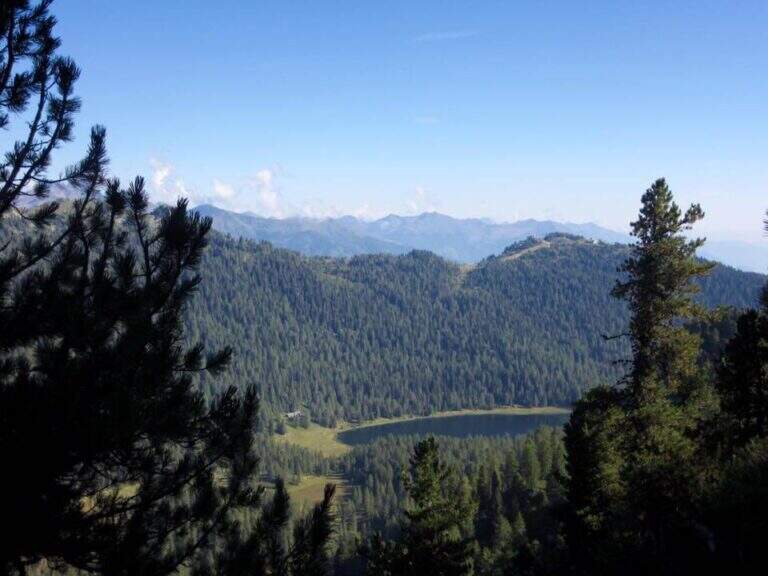
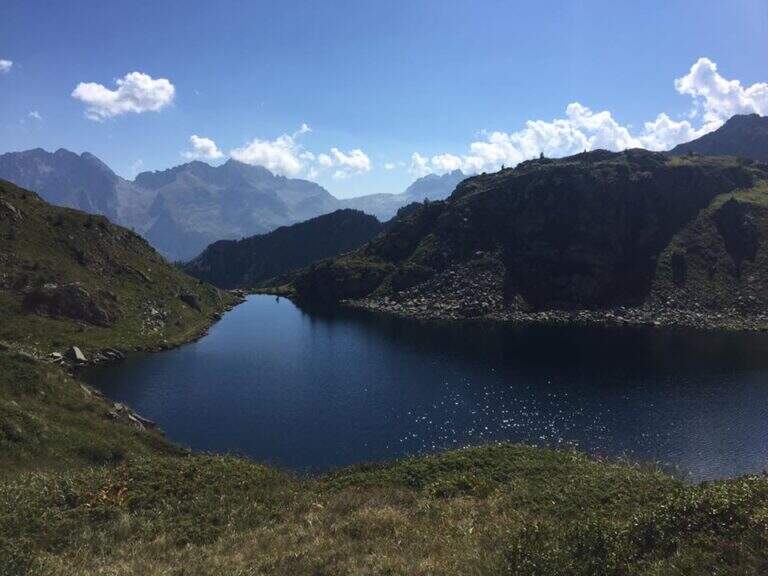
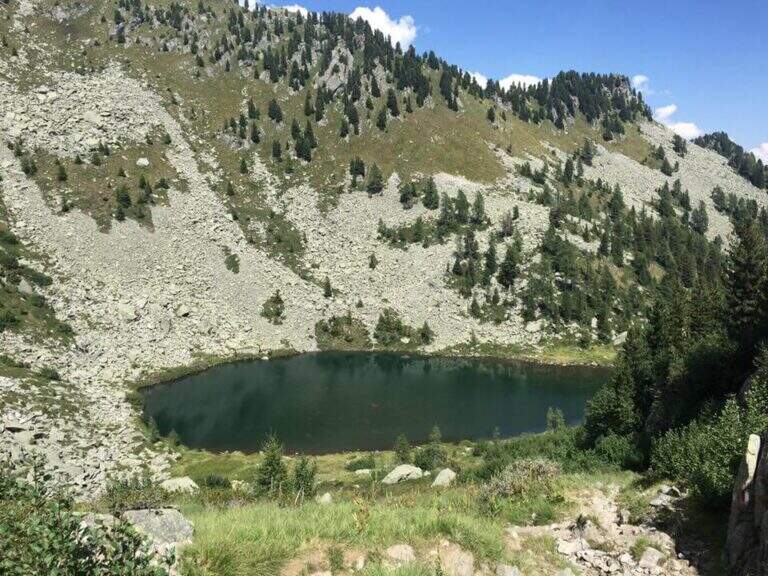
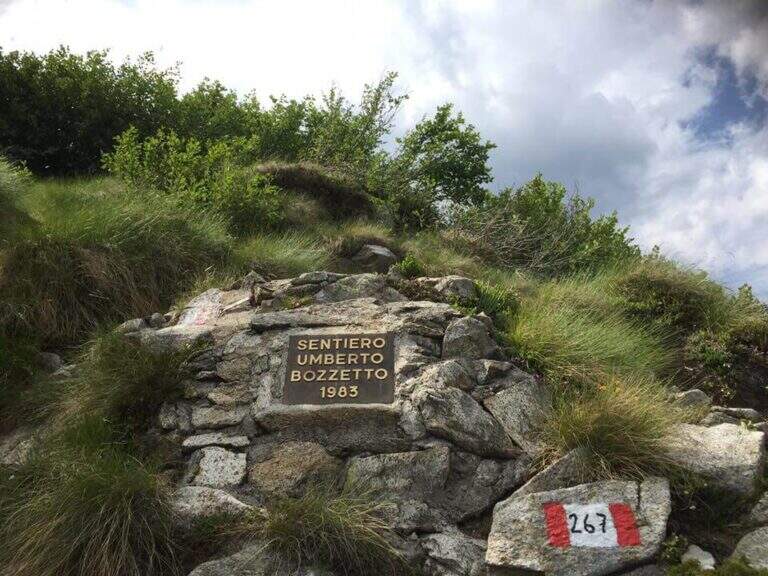
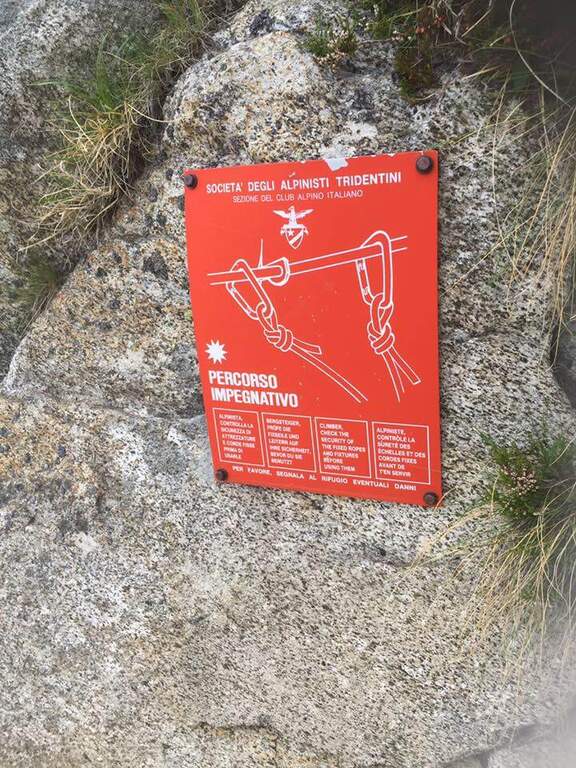
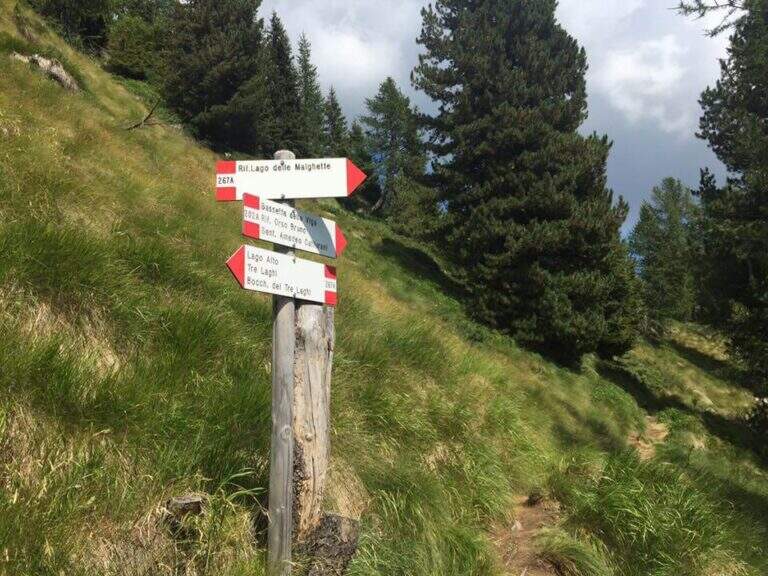
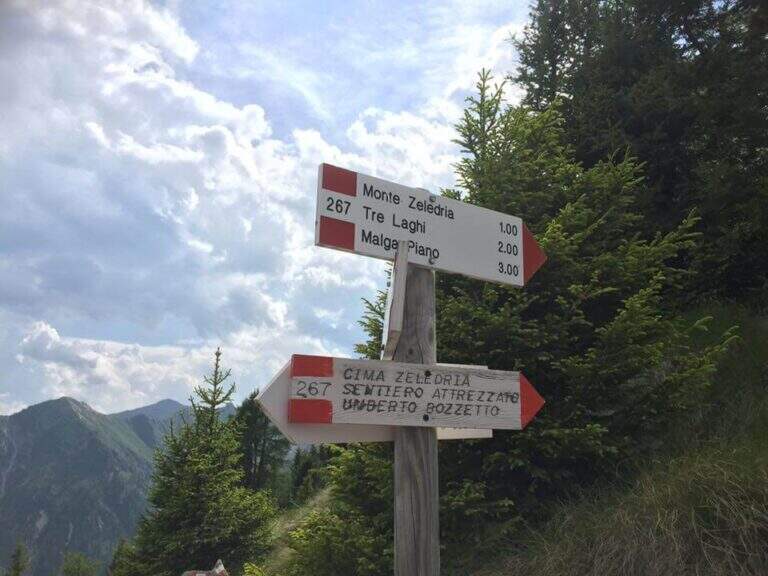
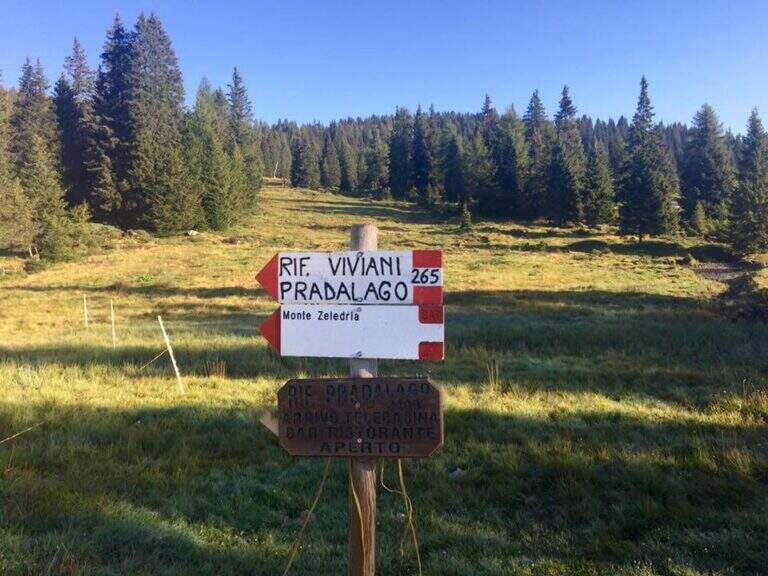
    From Cascina (Malga) Zeledria, in the municipality of Madonna di Campiglio: in the direction of Folgarida, all' height of the Campo Carlo Magno Pass (1682 m), take the left Via Zeledria going up to the hut. Open road signs on Google Maps. From the parking lot you climb to the CAI 265 towards the Viviani Refuge at the Lago Pradalago (40'); staying on 265 you descend slightly towards the Lago delle Malghette and l' the same refuge (1890 m, 1h 30'). Conveyed the lake and around it from the north, follow the CAI 201 to the left and then the CAI 267 to the 3 Lakes: first the Lake Alto, then the 3 Lakes (2282 m) with Lake Medio and Lake Inferiore (1h from Lake Malghette, 2h 30'). On a stretch of ridge, ignored the path that descends towards the Dark Lake, you reach l' attack, signaled by a metal plate (2h 45' from the parking lot).

    ▲The path

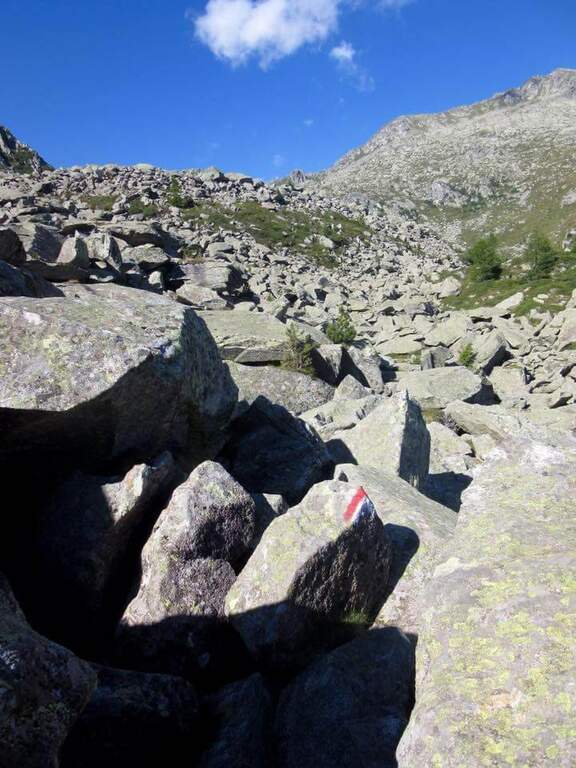
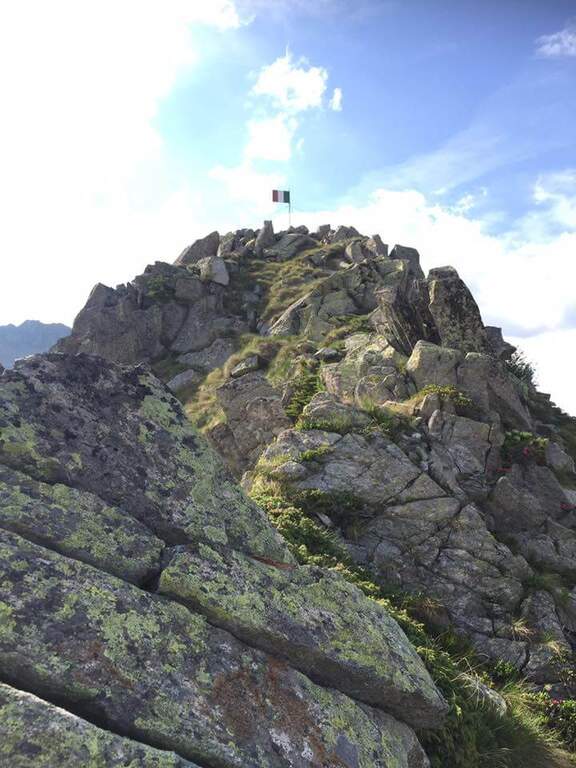
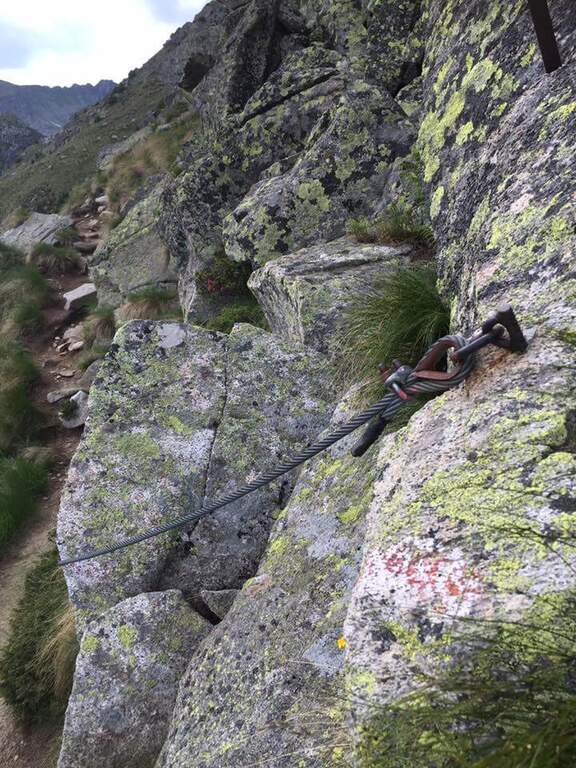
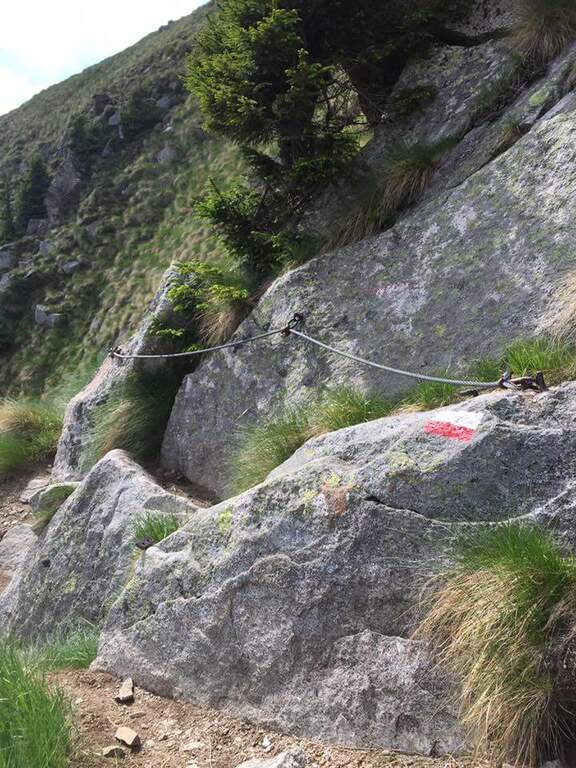
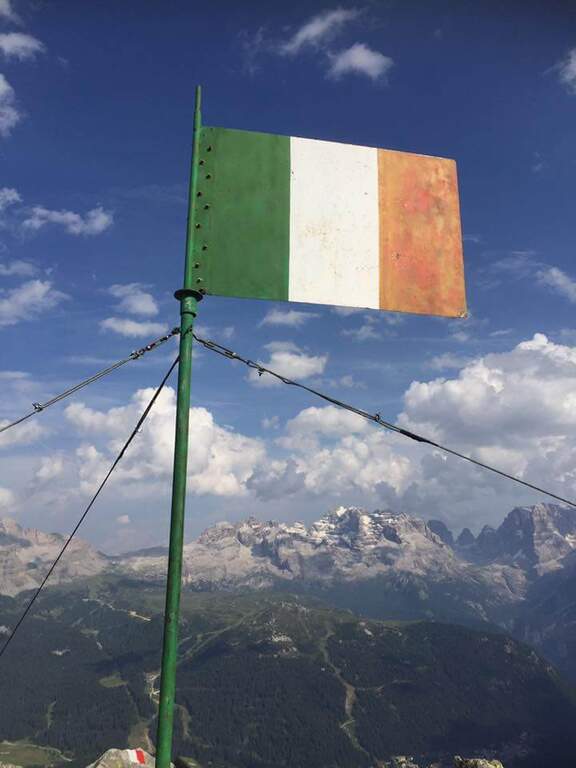
    Continue south to some left flakes; on the right c' ` the junction for CAI 226/B towards Lake Seredoli, but the right is held and the cresta connects Mount Zeledria to Mount Nambino, gaining 150 meters of altitude difference. The stretch รจ a po' tiring and in some points helped by metal strings and a staircase, up to the vetta (marked by an Italian flag), with magnificent views of the Brenta and the lakes. Then begins the downhill part of Bozzetti, on the eastern side: some stretches equipped with scale and rope protect the steep southern rib that descends towards Lake Nambino. Finish the equipment (red card for those who climb in the opposite direction), go right on easy rocks to Lake Pradalago, where the path ends (1h 30' from the plate, 4h 15' overall).

    ▲Character and difficulty

    Itinerary without particular difficulties: the few exposed points are well protected. Great for approaching neophytes and those with little experience, in a very interesting landscape ring.

    ⚠ Although easy, it is a high-mountain equipped road: helmet and set from recommended ferrata. The ring route is long (about 11 km): calculate well times and weather.

    ▲Discipline

    From the end of the well-equipped path you will cross the section of the approach between Lake Pradalago and Cascina Zeledria down to the parking lot (30' from the end, 4h 45' overall).

    ▲To match

    In the same area of Adamello-Presanella and Brenta there are numerous itineraries equipped; moving south, over Pinzolo and in Val Rendena, the via dei Bocchette and the classics of the Brenta.

    ▲Gallery
    Technical data
    • DifficultyEasy
    • RegionTrentino-Alto Adige
    • ProvinceTrento
    • GroupAdamello-Presanella
    • Approach2h 45'
    • Fully equipped1h 30'
    • Ring itinerary4h 45'
    • Level difference70 m
    • Route difference646 m
    • Maximum2426 m
    • Length11 km
  • Sentiero Attrezzato al Bivacco Boccalatte-Piolti

    Sentiero Attrezzato al Bivacco Boccalatte-Piolti

    Vie Ferrate โ€บ Aosta Valley โ€บ Aosta
    Sentiero Attrezzato al Bivacco Boccalatte-Piolti

    The ascent to the Bivacco Boccalatte-Piolti, at the foot of the Grandes Jorasses in the group of Mont Blanc, & a long and challenging itinerary, with considerable difference in altitude and some not always easy. The part with fixed protections (bridges and stairs) covers about 200 meters and ` only a component of un' hike with a strong alpine character.

    ▲Approach

    Starting point & free; Planpincieux, a fraction of Courmayeur (Aosta): turn towards the center of the village, where c' ` a wide deck to park, and follow the signs of the sentiero 21 at l' hotel-restaurant Miravalle. Open road signs on Google Maps. The first hour & quiet, first in the woods then on the meadows with incredible views of Mont Blanc and Grandes Jorasses; after about one' now we face due guadi climbing up the walls of a stream. Then a placconata is very steep with passages of I and II degree (not always stable and slippery if wet); following the yellow signs and a few short stretches equipped you reach a wire scale that exceeds a leap of 20 meters (1h 30' from the parking lot). Continue to zig-zag on a morainic crest and, after about one' now, turn left through a nevaio to the rocky bastion above which rises the bivouac.

    ▲The path

    Climb on rock sections helped by grossi canaponi which cut to the left; follow the fixed ropes up to a pulpit and then, on air route, up to the balcony on which รจ built the Bivacco Boccalatte-Piolti (30' from the strike, 3h 30' from the parking lot รˆ you can continue beyond the refuge on fixed ropes until you reach the glacier.

    ▲Character and difficulty

    Itinerary for experienced hikers: the difficulty lies in the difference in altitude, in the guds, in the rock passages of I-II degree and in the mountain environment at the base of one of the most challenging climbs of the Alps.

    ⚠ In the ' last traverse on the nerve attention to the above steel, which puรฒ download ice blocks: mandatory helmet. Guades can be difficult at certain times. Il bivacco/rifugio รจ open on weekends of June and every day of July and August (information at the CAI of Turin).

    ▲Discipline

    You descend along the same climb route (about 3h).

    ▲To match

    For the length does not match other routes in the same day, but in the area there are the Sentiero Attrezzato al Rifugio Dalmazzi, la Ferrata al Bivacco Borelli, il Sentiero al Mont de la Brenva e la Ferrata at Monzino Refuge.

    ▲Gallery
    Technical data
    • DifficultyHard
    • RegionAosta Valley
    • ProvinceAosta
    • GroupMont Blanc
    • Approach3h
    • Fully equipped30 min
    • Complete itinerary (a/r)6h 30'
    • Level difference150 m
    • Route difference1224 m
    • Maximum2803 m
    • Length8,3 km
  • Sentiero Attrezzato Burrone Giovanelli

    Sentiero Attrezzato Burrone Giovanelli

    Vie Ferrate โ€บ Trentino-Alto Adige โ€บ Trento
    Sentiero Attrezzato Burrone Giovanelli

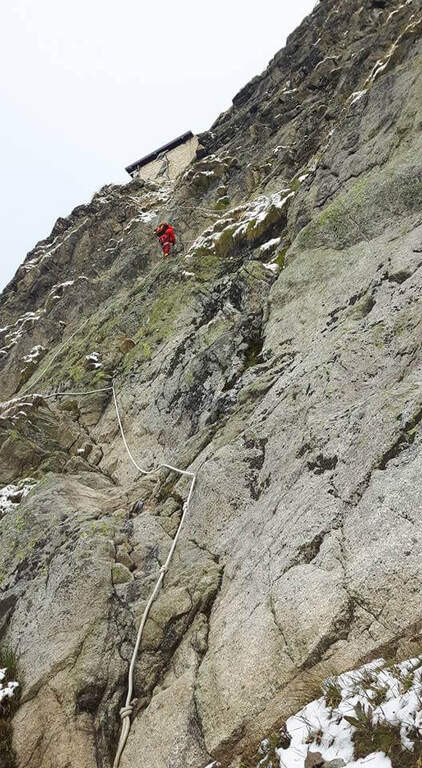
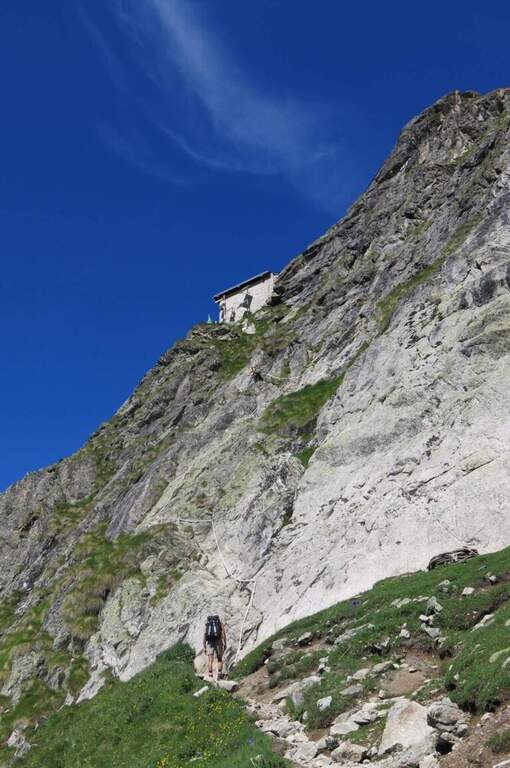
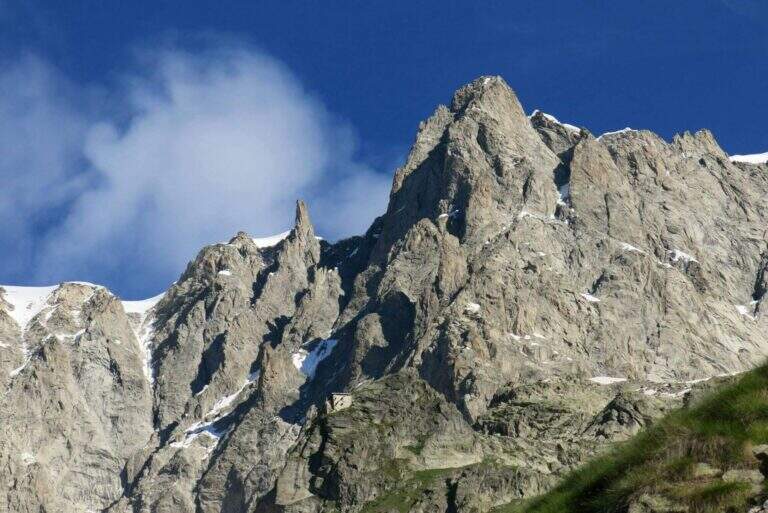
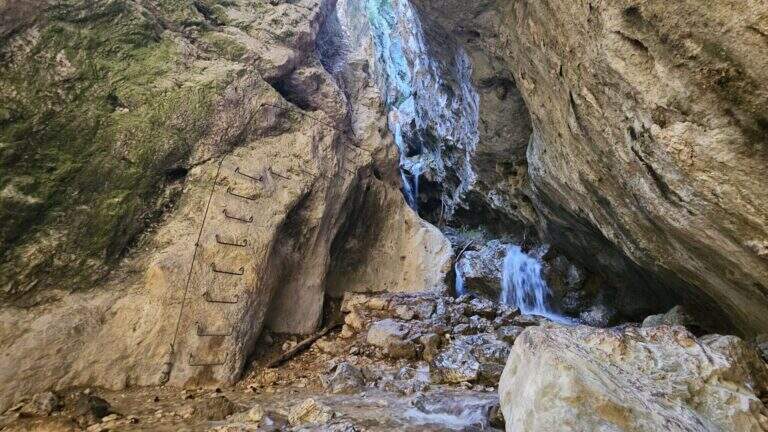
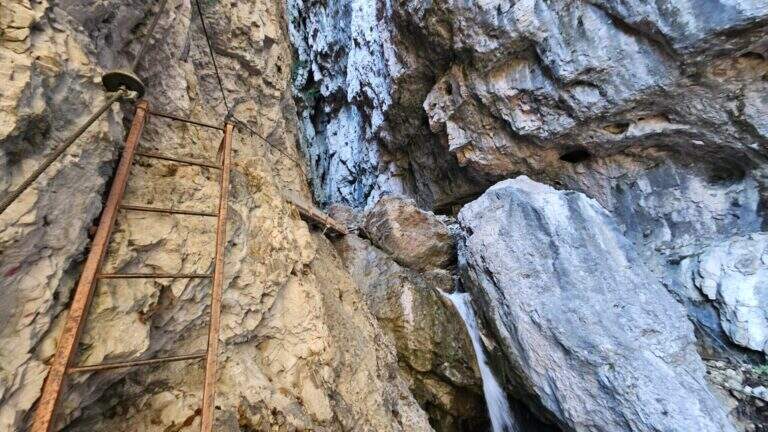
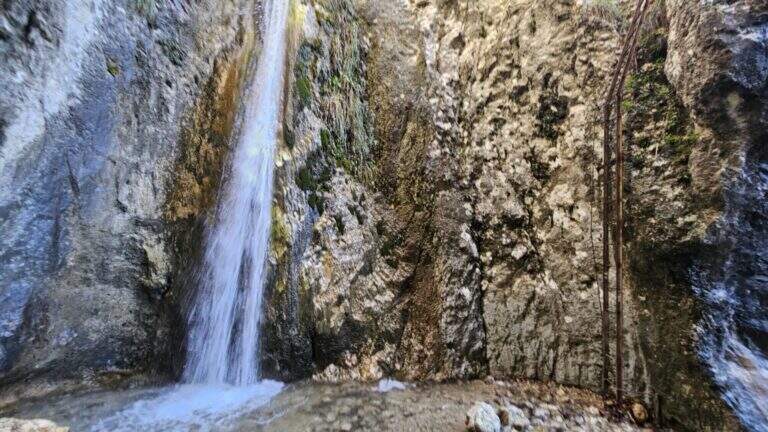
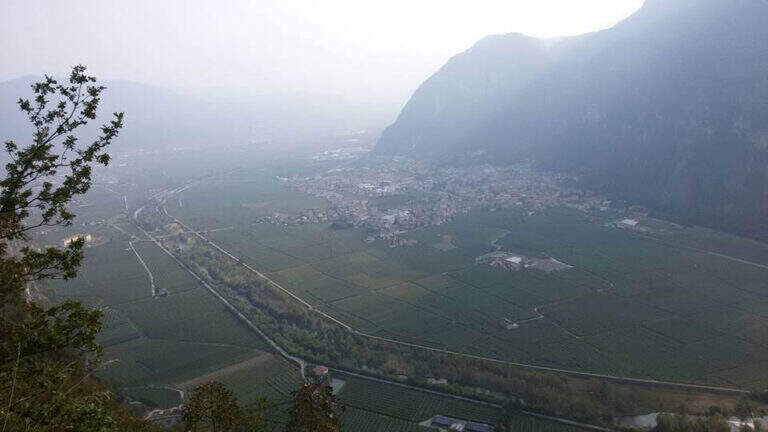
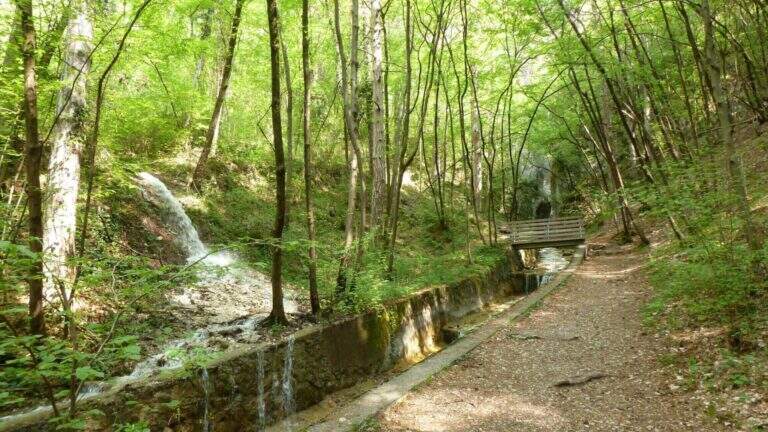
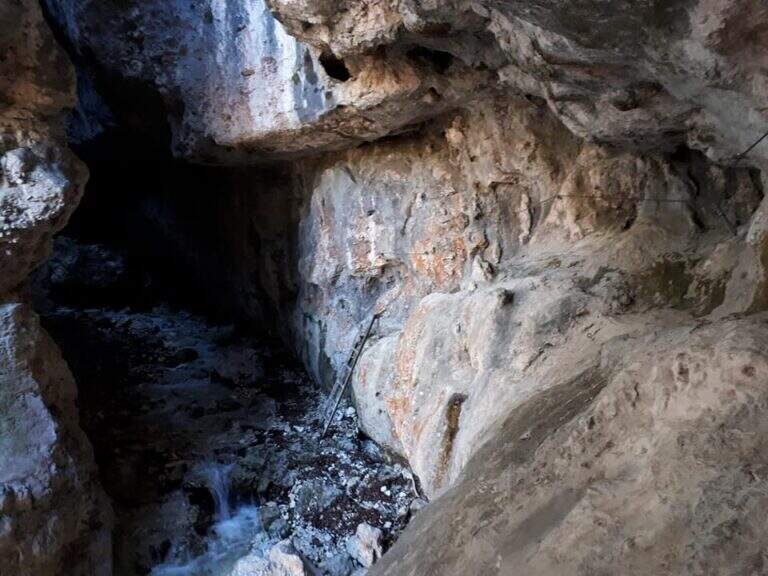
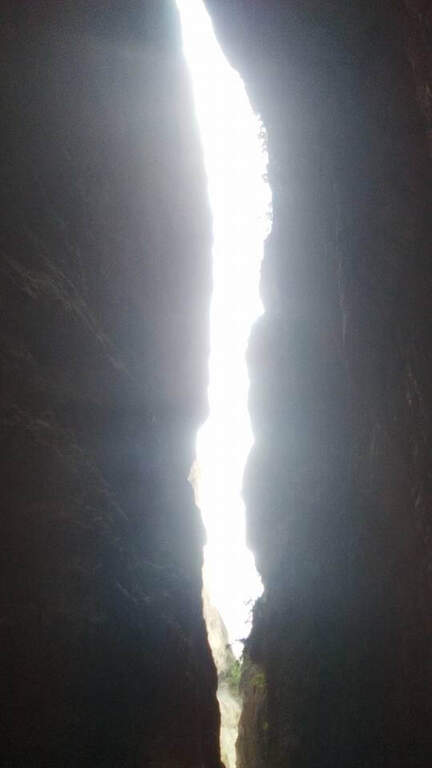
    Il Sentiero Attrezzato al Burrone Giovanelli develops in the suggestive ravine of Mezzocorona, in the province of Trento. It has no particular technical difficulties, it is exposed only in single passages and very pleasant; while being of low altitude you can also travel in summer because it runs largely in a fresh and characteristic hole.

    ▲Approach

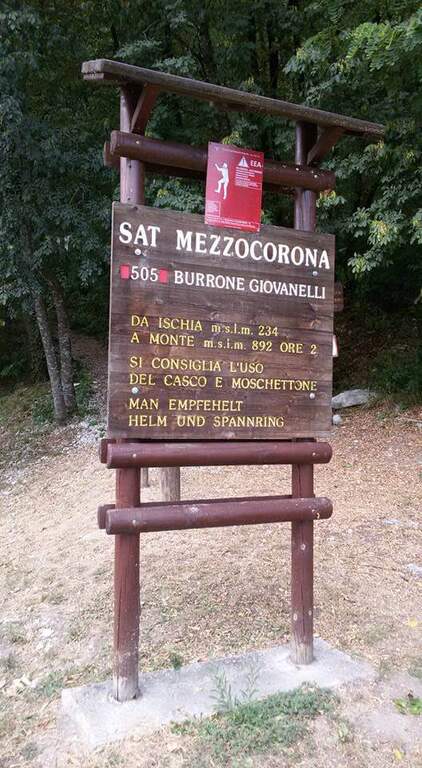
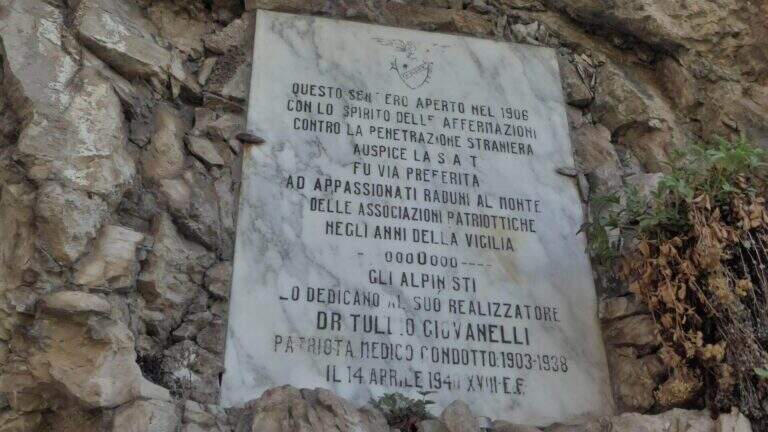
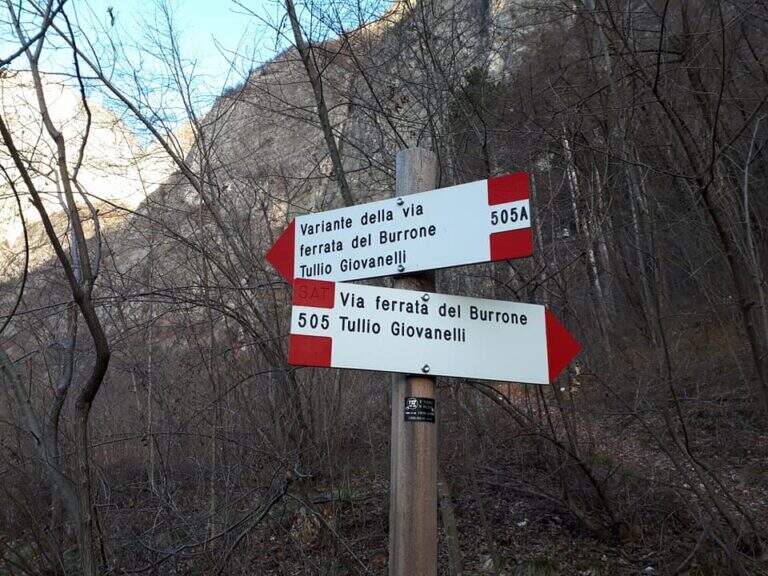
    Starting from Mezzocorona: exit at the toll of San Michele all'Adige (A22) you reach the center, take left Via Cesare Battisti and, before arriving at Mezzolombardo, you will take on the right a narrow but paved road between the vineyards until a parking with information bulletin board. Open road signs on Google Maps. From the parking lot follow the signs of the CAI 505 in the wood; at a first crossroad (5', CAI pole) the sinistra (CAI 505A), a variant piรน complete, reaching a bridge on the stream and going up on the right horographic up to the red sign and the marble plate that mark l#&39.

    ▲The path

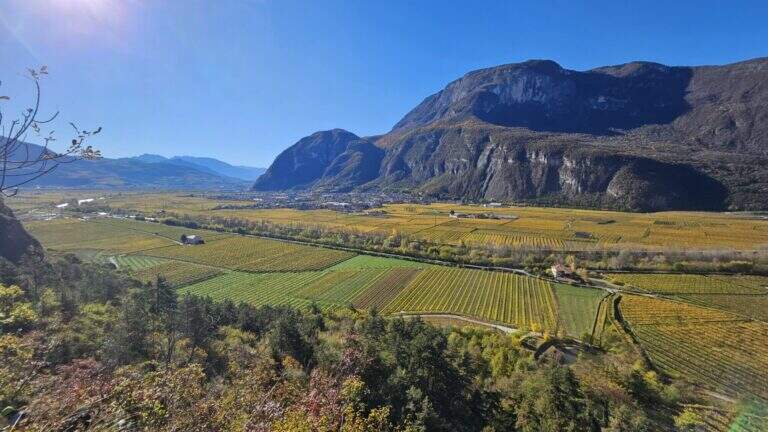
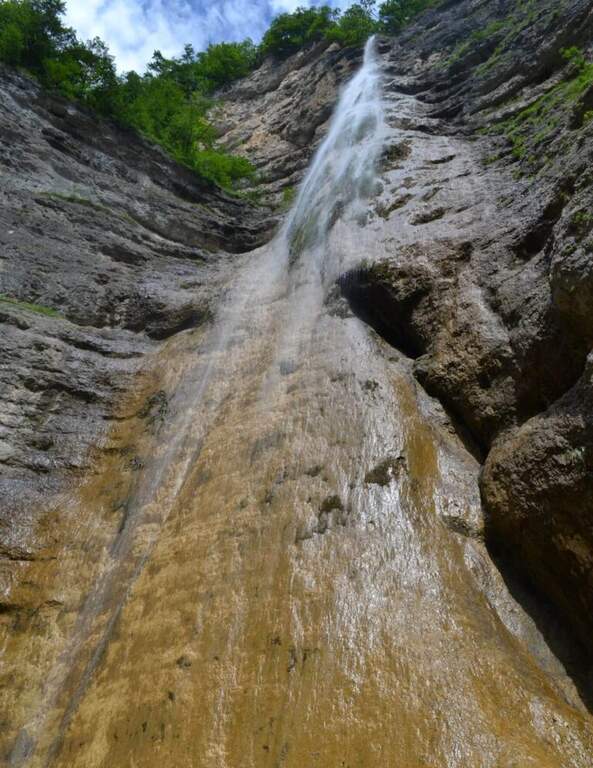
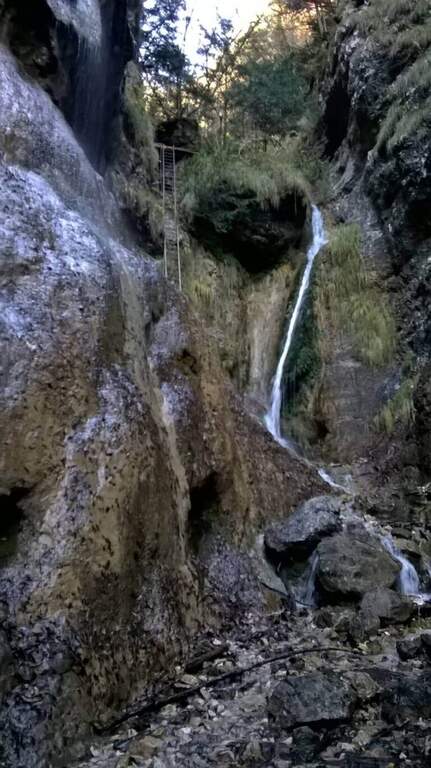
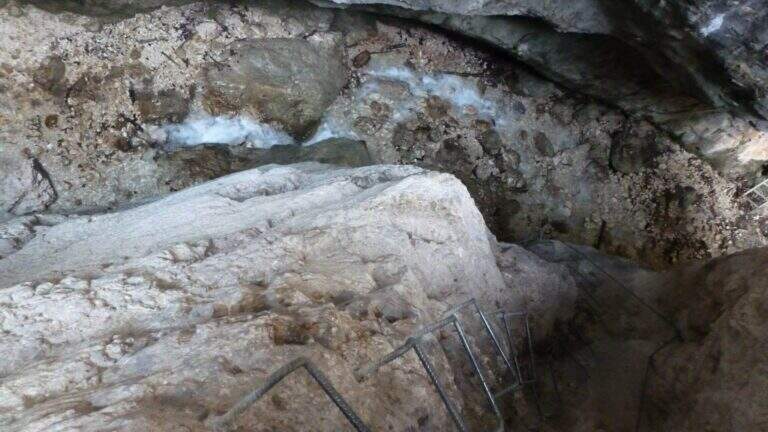
    From the ' start of the equipment an easy cengia horizontal leads to the first waterfall, where you cross the rio and you are under a long metal staircase in two trunks, vertical and exposed but without difficulty; techniques (attention to the wet soles after the forado); at the top, turning, you enjoy the view on the Rotalian Plan. An easy stretch equipped with small rocks and a second ladder piรน short leads inside the ravine; a slightly uphill nod and a narrow passage equipped lead to the ' real entrance of the hole. A short ladder descends, crosses the rio and goes up the right side on ampie and solid cambre, bending to the right; a short ladder and a nod with wooden catwalk lead to a statua of Madonna. You enter the piรน tract; ravine ash, little illuminated except in the central hours, climbing alongside the rio in a very suggestive environment until you get out of it; you continue up to a cascade of about 100 meters. Alternating stretches equipped and easy climbs, overcome some wet rocks and a long and lean staircase, you reach l' last staircase that closes the equipment; in about ten minutes the path ends at a forest road (765 m, 1h 15' from' attack, 1h 30' overall).

    ▲Character and difficulty

    Easy equipped way, surpassed thanks to numerous stairs and cambres, with limited exposure to a few steps; the hole environment is the real strength. Also excellent for accompanied neophytes.

    ⚠ After the rio ford the wet soles slip on the stairs: prudence. Rock often wet in the ravine; helmet and set from essential ferrata.

    ▲Discipline

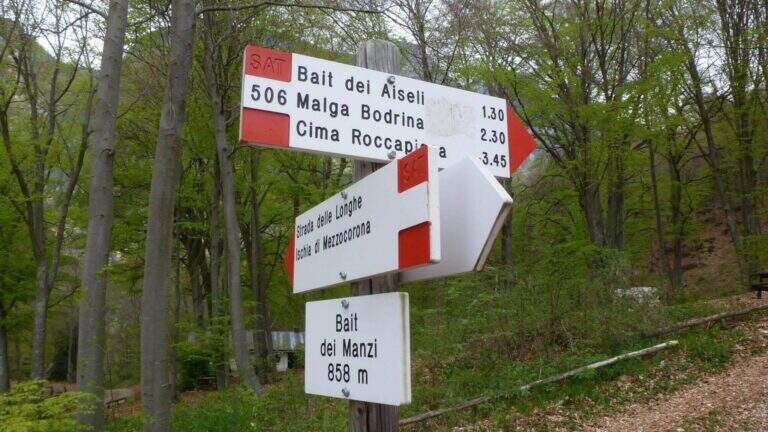
    Adding the forest, for the return there are piรน options: holding the sinistra you descend into the forest on path 504 up to ' car in about 45' (2h 30' overall); holding the destra, in about one' hour on path 505 (passing from Baita Manzi) you reach the station There is also a piรน variant; long: it is advisable to check the signs on site.

    ▲To match

    In the area, near, the Ferrata Rio Secco in Cadino di Faedo, la Ferrata di Favogna e la Ferrata Val del Rรฌ mezzolombardo.

    ▲Gallery
    Technical data
    • DifficultyEasy
    • RegionTrentino-Alto Adige
    • ProvinceTrento
    • GroupPayment
    • Approach15 min
    • Fully equipped1h 30'
    • Complete itinerary2h 30'
    • Level difference480 m
    • Route difference670 m
    • Maximum918 m
    • Length5 km
  • Pojesi Path at Carega

    Pojesi Path at Carega

    Vie Ferrate โ€บ Veneto โ€บ Verona
    Pojesi Path at Carega
    Moderately Hardโ— OpenDescriptionComplexityMapsGallery

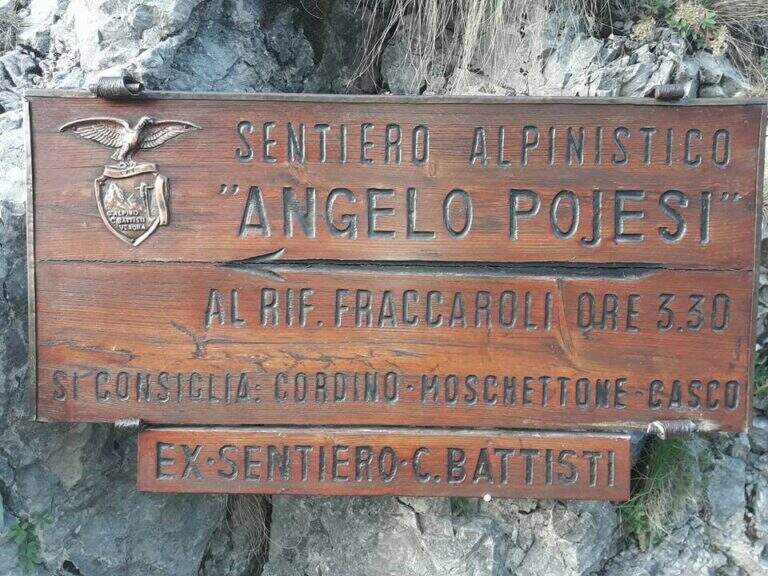
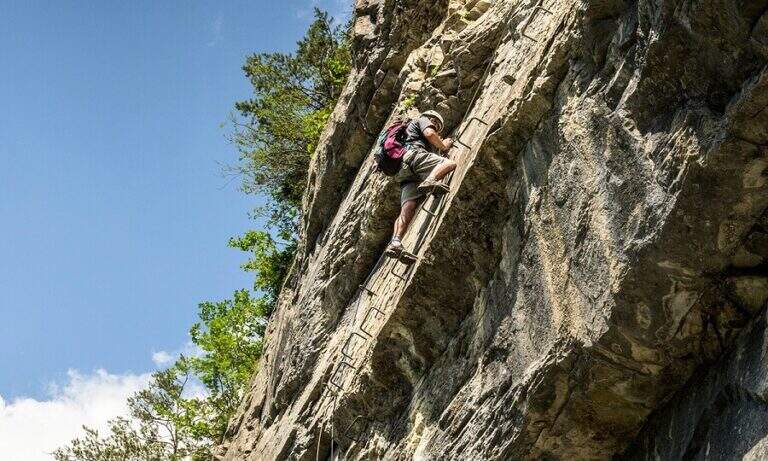
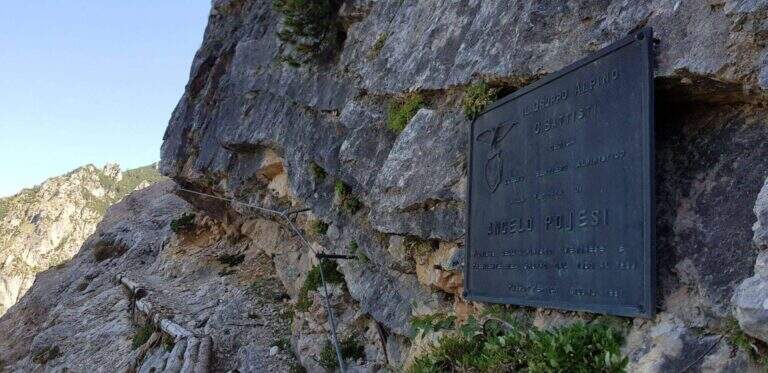
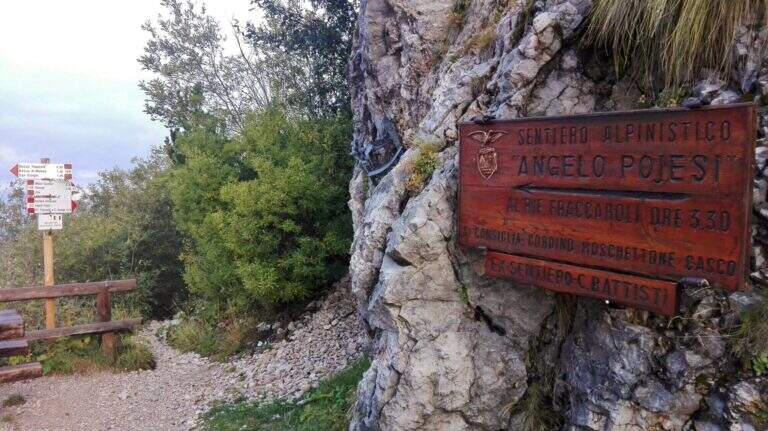
    Il Path equipped Pojesi salt at the Carega in the small Dolomites of Verona. Recently refurbished, it offers a varied and satisfying excursion with a total difficulty: few steps of average difficulty, but at times unstable background on which to pay attention. It is long if you include the climb to Carega.

    ▲Approach

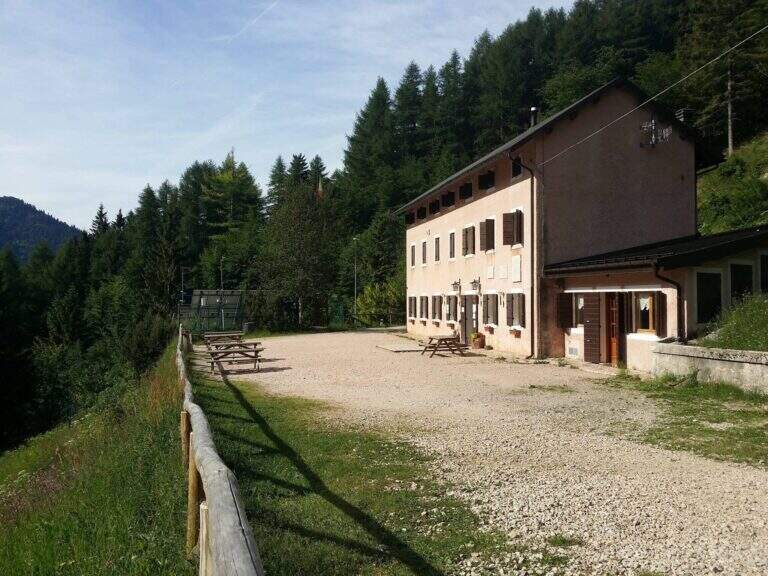
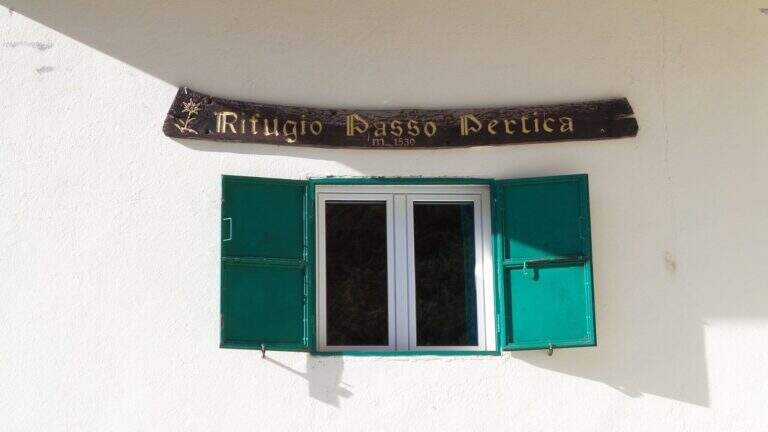
    Starting from the Rifugio Revolto (1355 m), go up the Val d'Illasi: from the south you leave from the 'A4 to Verona East or Soave, you reach Selva di Progno and then Giazza, from which you continue about 7 km on narrow but paved road to the refuge. Open road signs on Google Maps. From the Revolto you go up to the Rifugio Passo Pertica (1530 m), for the forest (30') or for the path in the wood that the size (20'); from here follow the plates to the north-west to the ' start of the path equipped, at a nod (about 30' from the parking lot).

    ▲The path

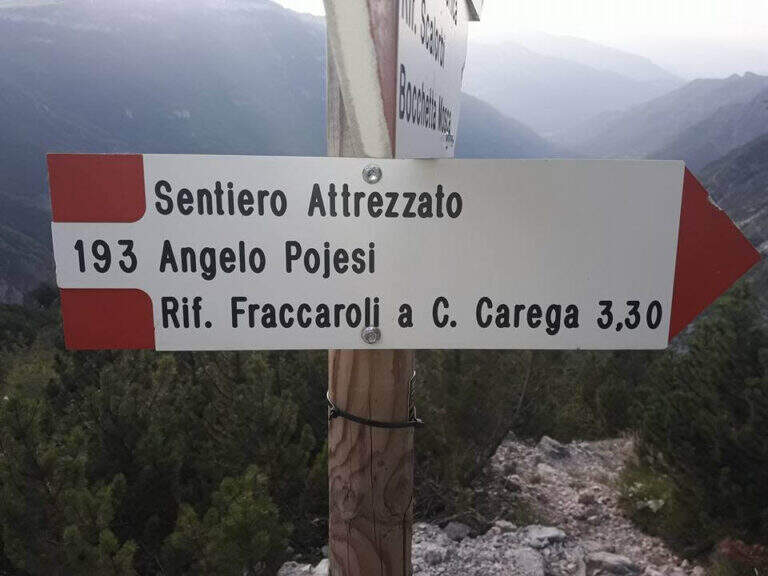
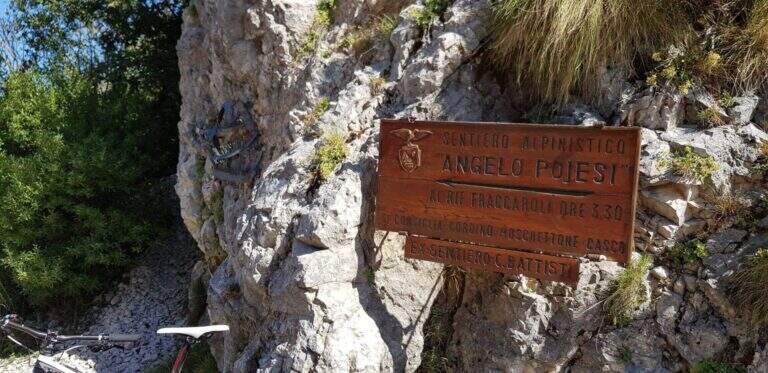
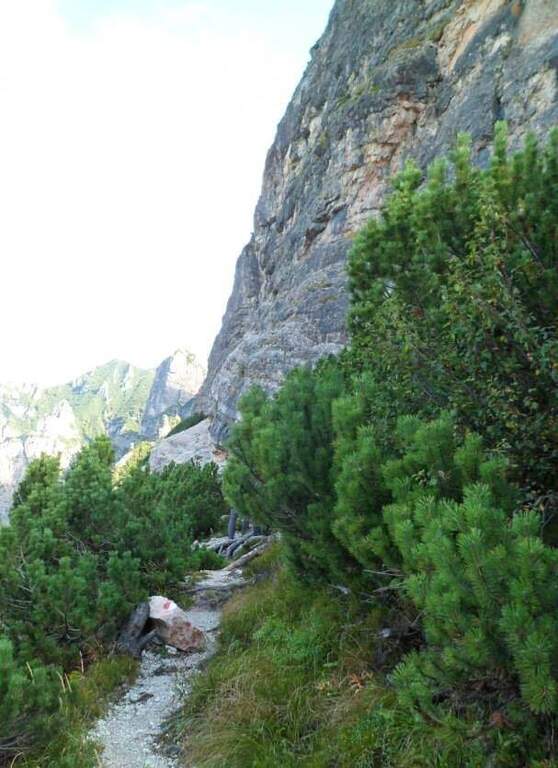
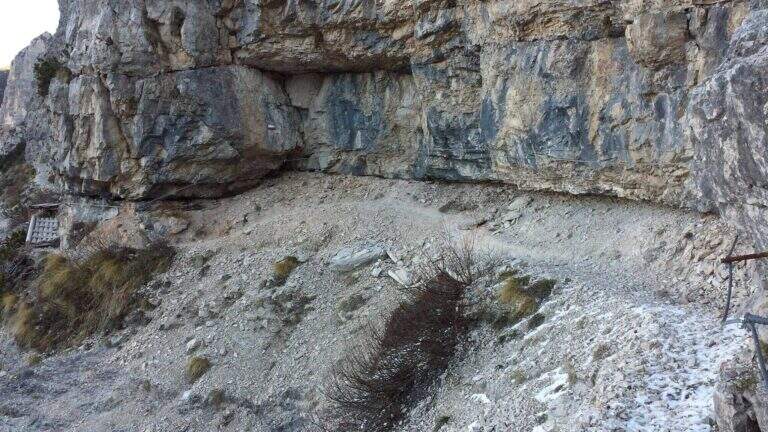
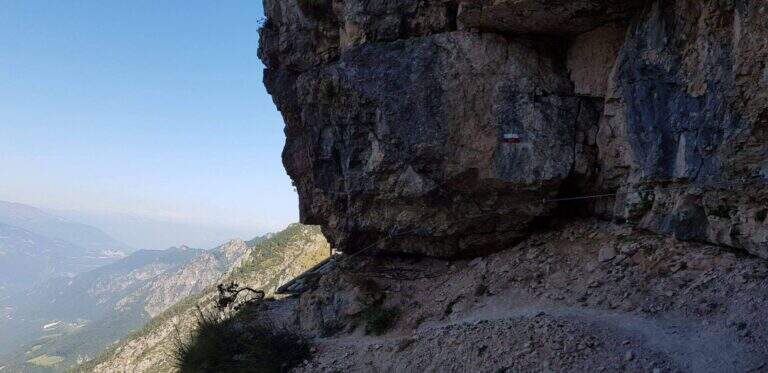
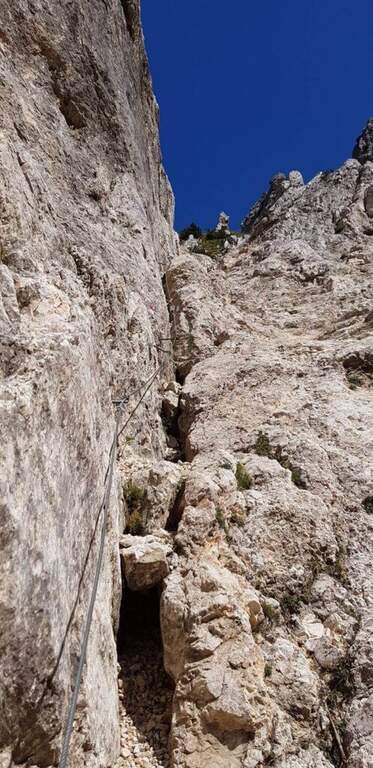
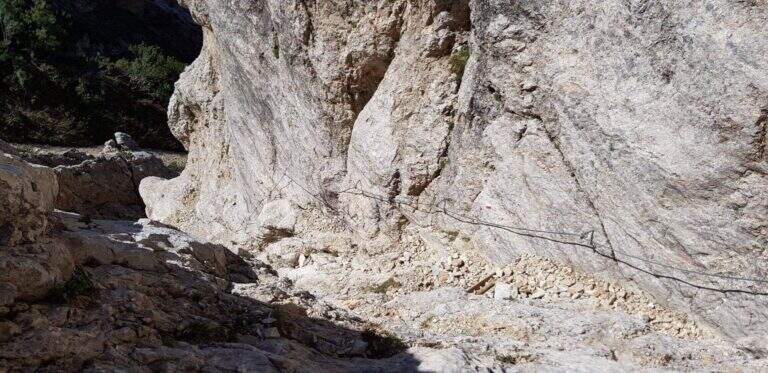
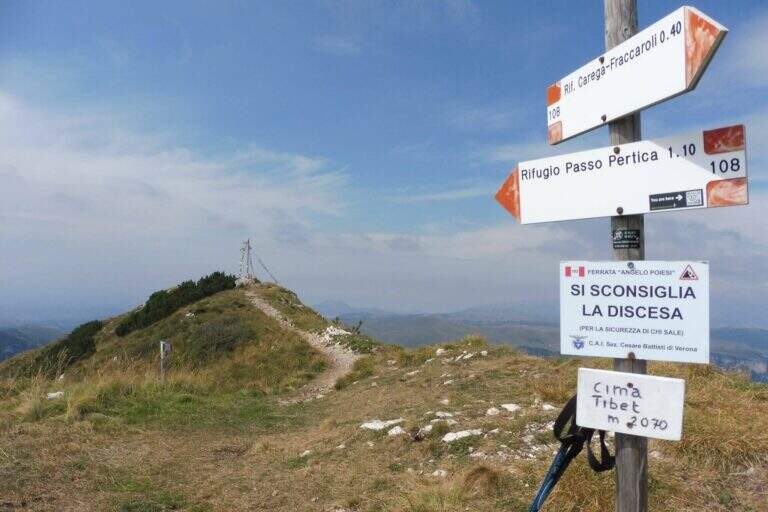
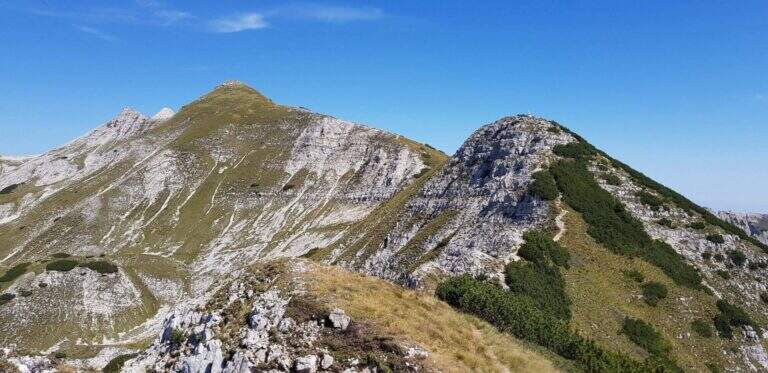
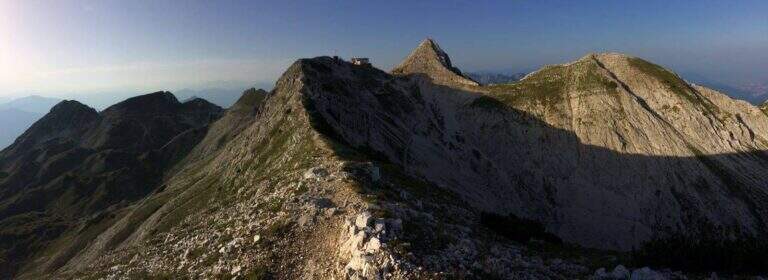
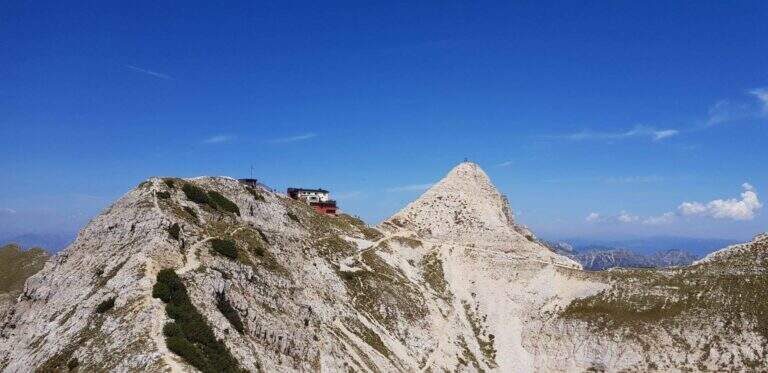
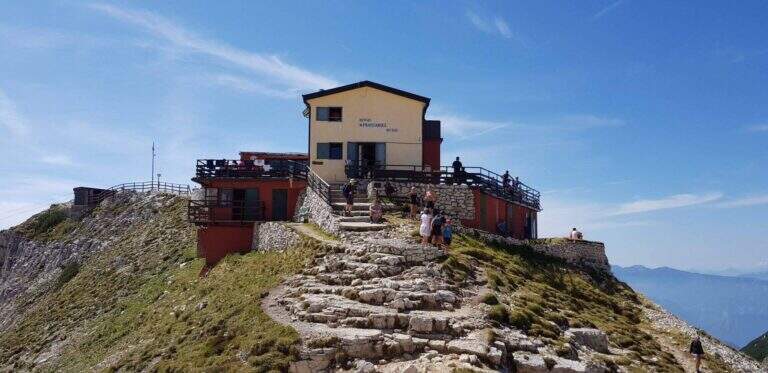
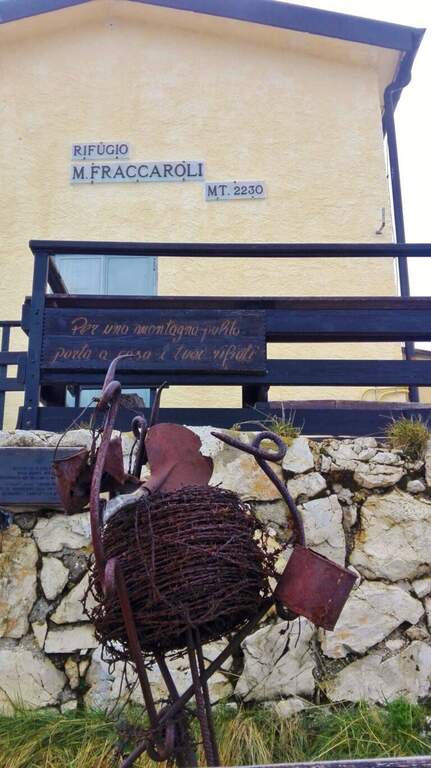
    Il Pojesi inizia con un'esposta ma comoda cengia attrezzata verso sinistra, con passerelle, brevi balzi e scalini; una scaletta metallica e un tratto su fondo ghiaioso portano a un breve e aereo traverso da percorrere su cambre e pioli. Aggirato uno spigolo, una passerella riporta sulla cengia; in lieve discesa su fondo instabile si raggiunge un traverso più corto e facile, poi un tratto di discesa attrezzata, e si piega a destra in salita chiudendo il primo tratto di cengia. Inizia il secondo tratto: un balzo verticale di 4 metri e una serie di balzi e massi attrezzati – il primo realmente arrampicabile – poi un camino con cavo a sinistra e solide cambre a destra. Si prosegue in salita fino a un tratto di discesa attrezzata di circa 15 metri (paretina con cambre, roccette, canalino) e a ripidi gradoni di legno; segue un breve tratto attrezzato e una disarrampicata verticale su roccia molto appigliata. Si scende ancora tra mughi e ghiaioni, con brevi tratti attrezzati, fino sotto una bella parete verticale che si risale per una ventina di metri (cambre e appigli naturali), uscendo su una rampa gradonata; si raggiunge il libro delle firme. La salita però non è finita: si entra in un canalone attrezzato e arrampicabile (conviene restare sul lato destro in spaccata anche se la fune corre a sinistra), poi si risale una parete verticale di una trentina di metri su cambre e appigli. Con alcune roccette e brevi tratti attrezzati il Pojesi termina innestandosi sul sentiero 108 (2h 30' dall'attacco, 3h dal parcheggio). Dal bivio si può rientrare a destra al Rifugio Pertica (circa 1h 15') oppure proseguire a sinistra verso il Rifugio Fraccaroli (2230 m, 45' dal termine) su un bel sentiero di cresta panoramico, salendo infine alla vetta del Carega (2259 m, 4h complessive).

    ▲Character and difficulty

    The renovation has modernized the road and added artificial hooks: apart from three steps (the initial traverse and the two final channels) the route can be considered easy. Functions, fixtures and walkways are in very good condition.

    ⚠ The Piccole Dolomiti often wind up of nebbia in the afternoon, especially in the warm months: better start soon. Attention to stones and unstable background; in the area there are many chamois, therefore always indispensable helmet.

    ▲Discipline

    From the top of the Carega you return to the crossroads between the Pojesi and the path 108 and descend on the 108, without difficulty, first at the Rifugio Pertica and then, on the path of approach, at the Revolto Refuge (2h from the summit, 6h overall).

    ▲To match

    From the Rifugio Pertica part the vertical and exposed Ferrata Biasin and the excursion to Ferrata Campalani. Towards the Gramolon there are Ferrata Viali e la Ferrata Ferrari; towards the Pasubio the Dark Vajo e il Vajo Strait.

    ▲Gallery
    Technical data
    • DifficultyModerately Hard
    • RegionVeneto
    • ProvinceVerona
    • GroupSmall Dolomites โ€“ Carega
    • Approach30 min
    • Fully equipped3h 30'
    • Complete itinerary6h
    • Level difference700 m
    • Route difference908 m
    • Maximum2260 m
    • Length15 km
Need help? Write to us!