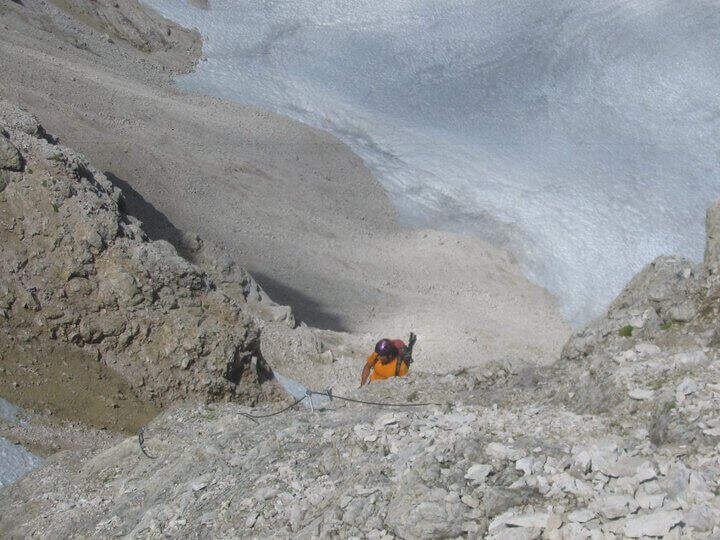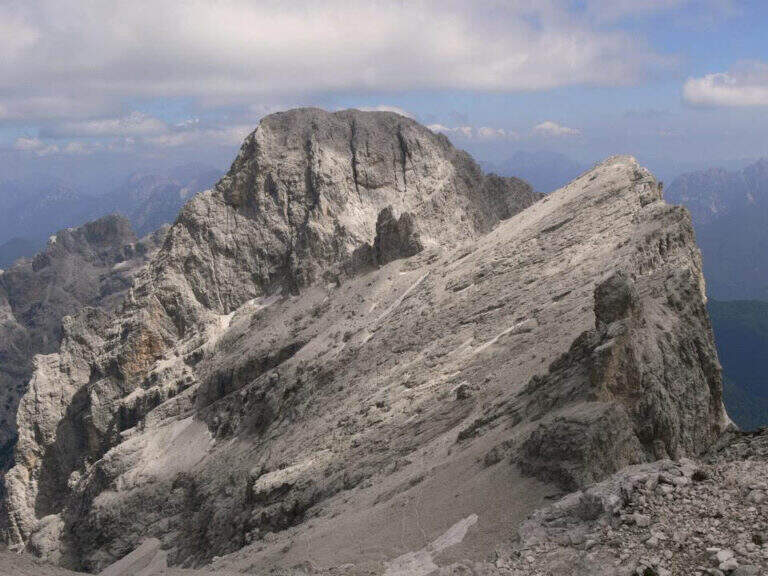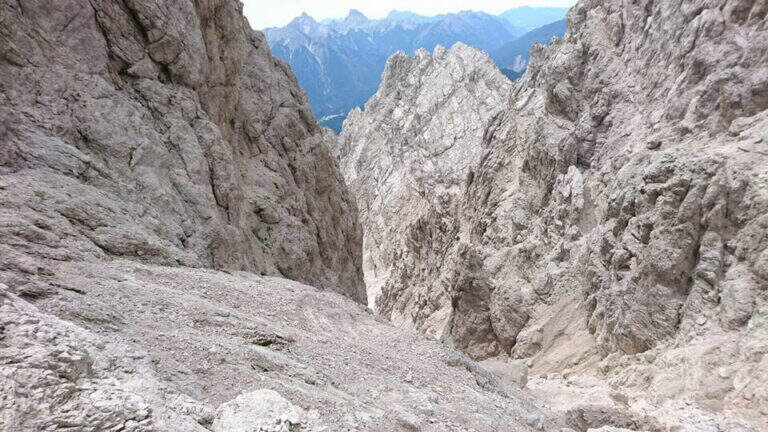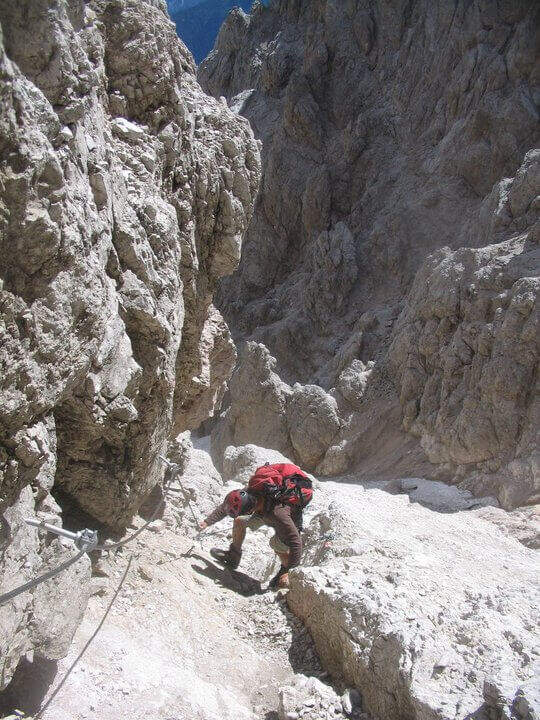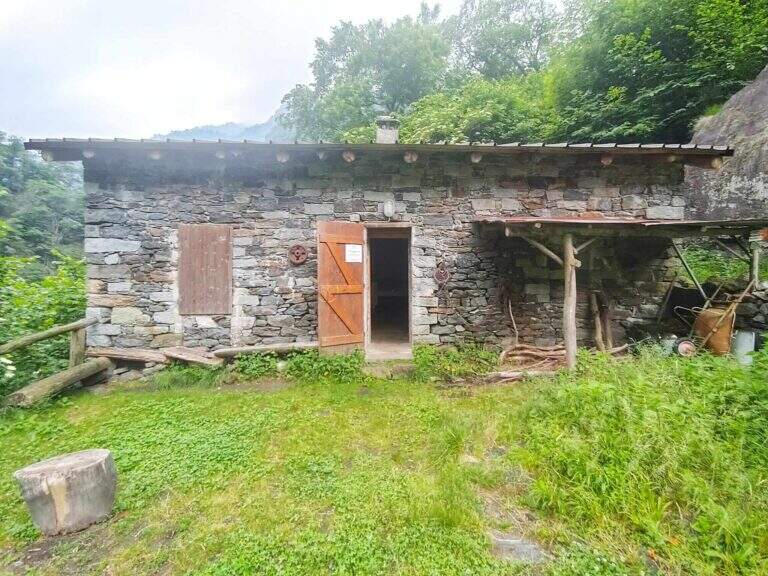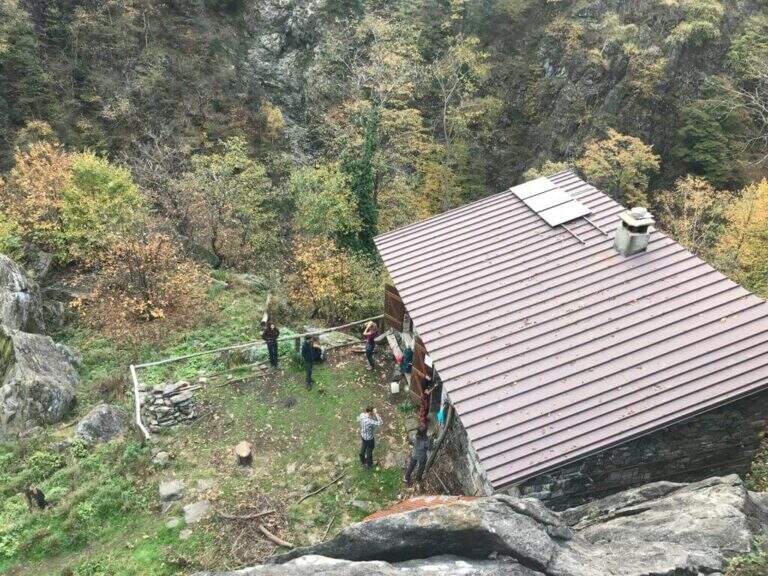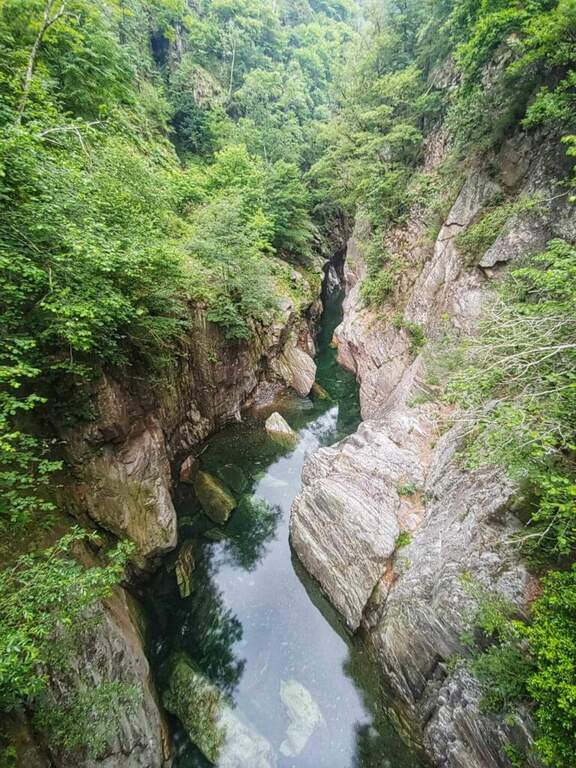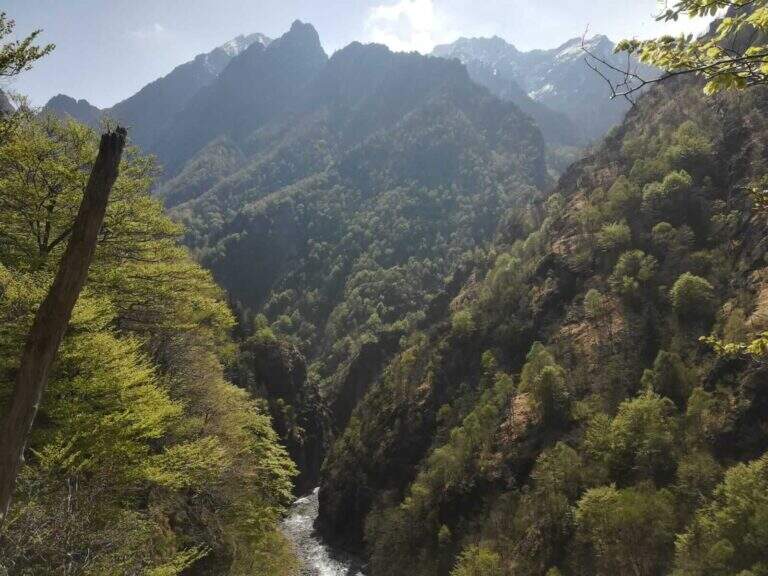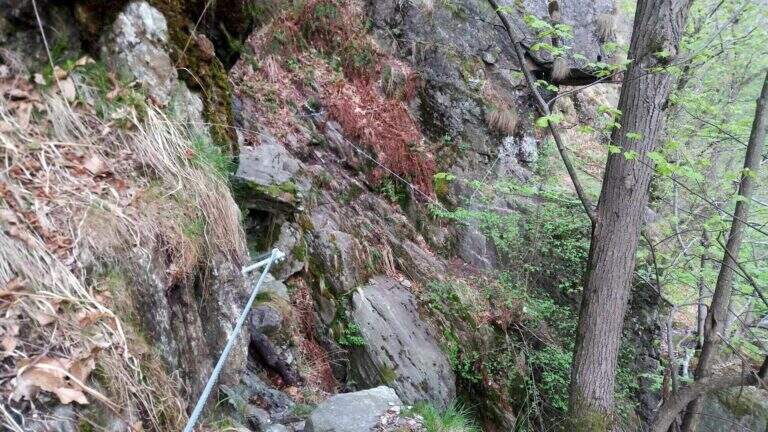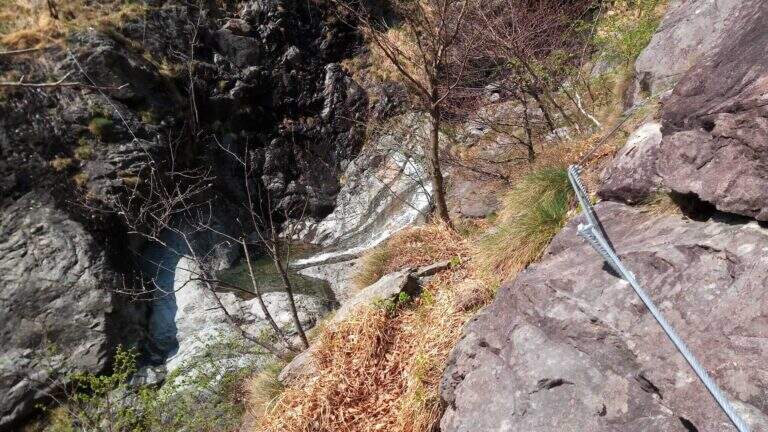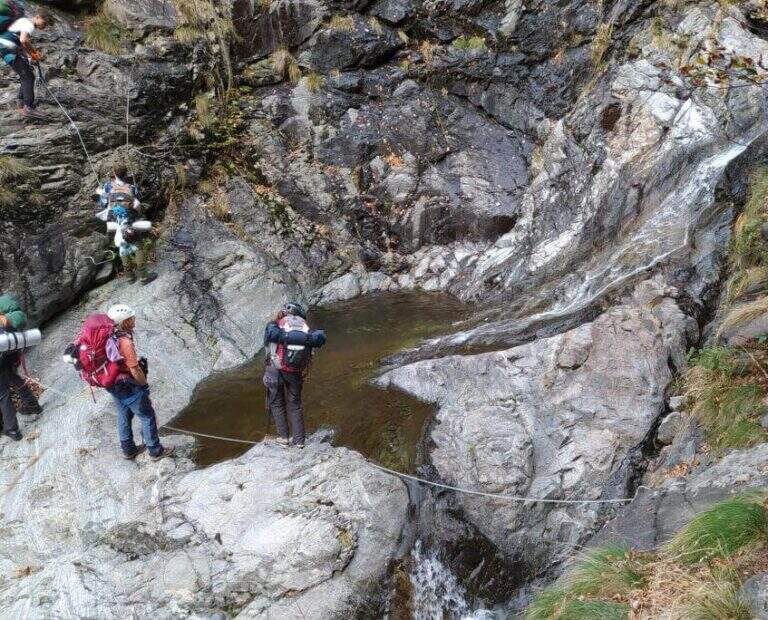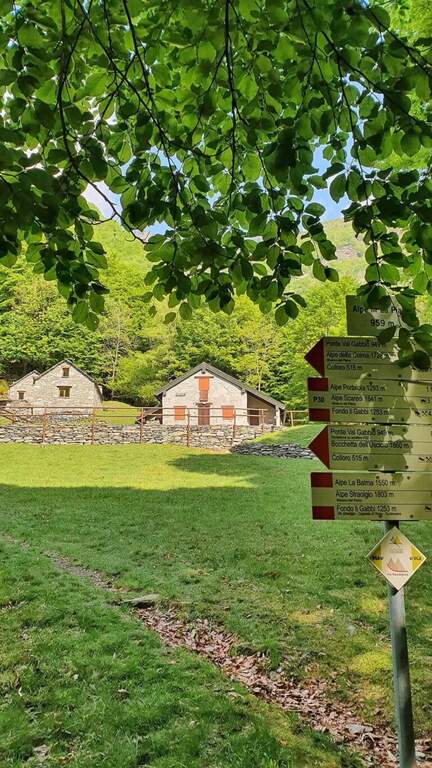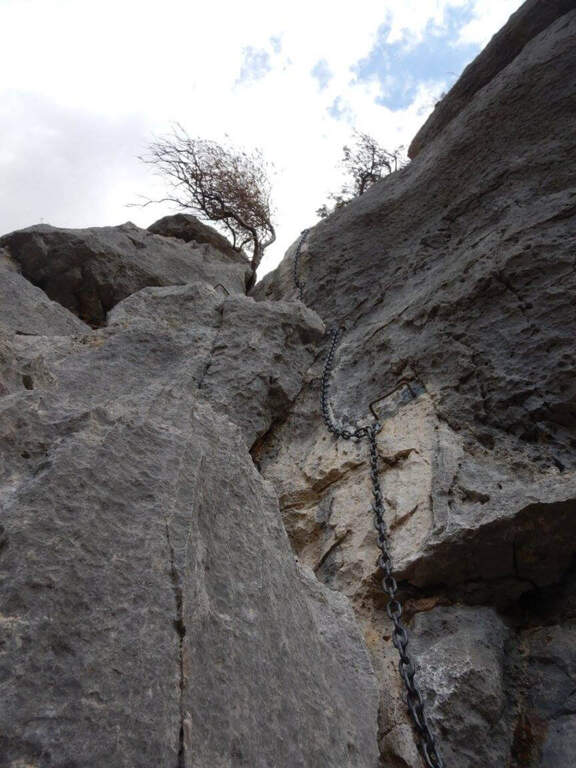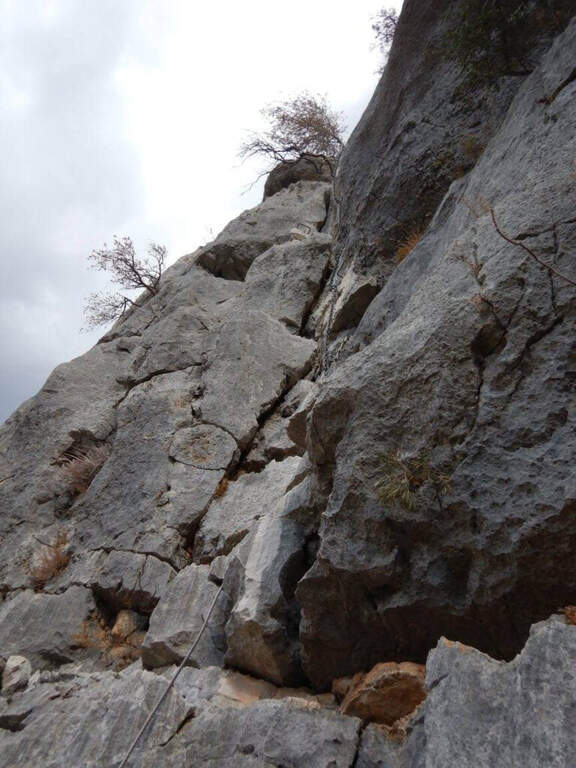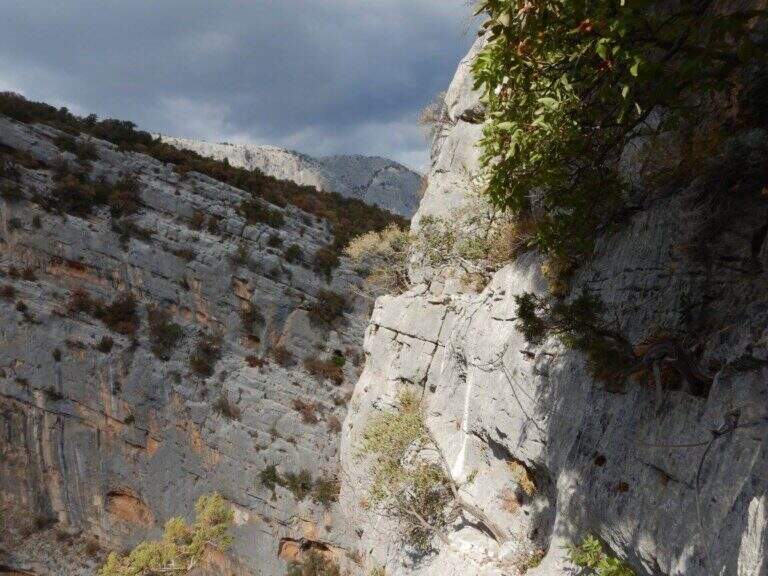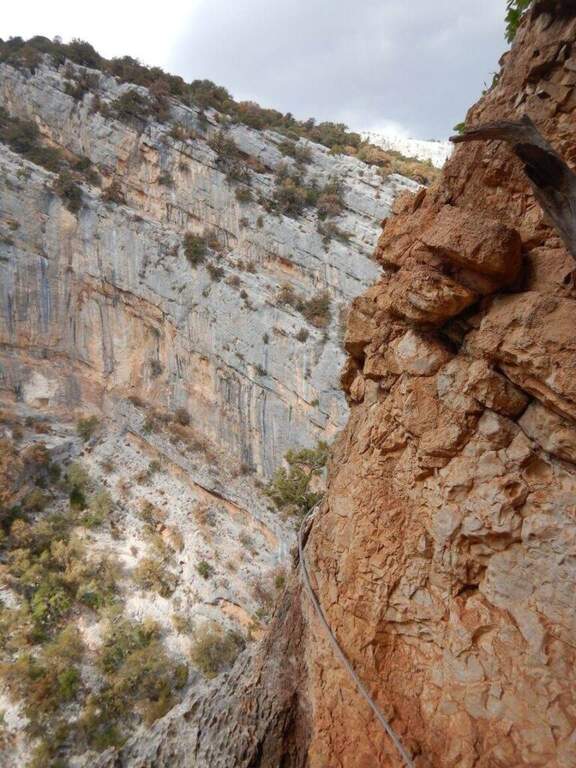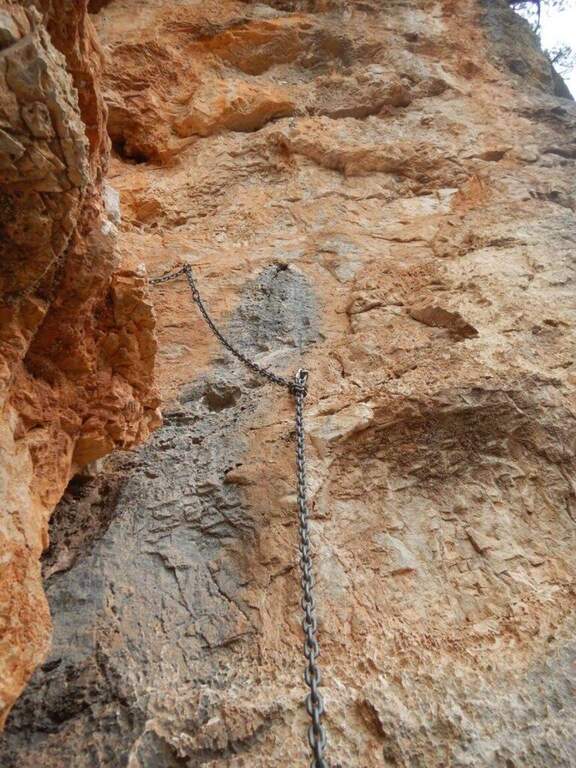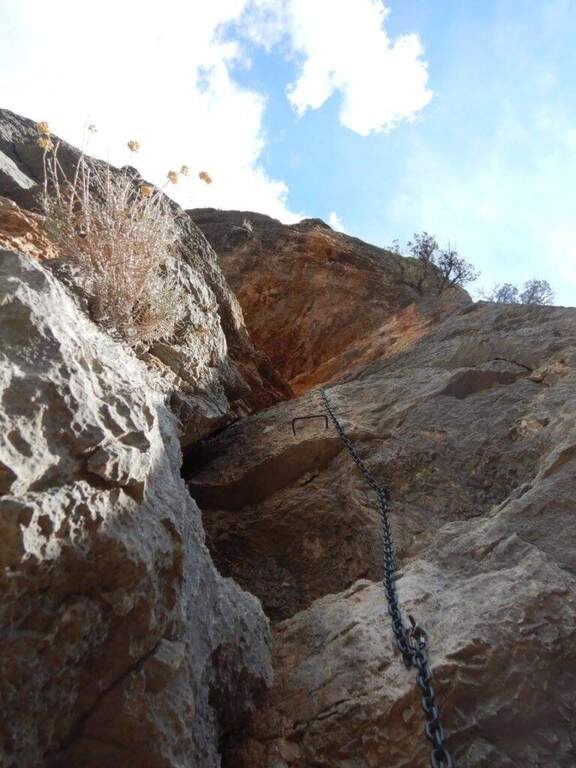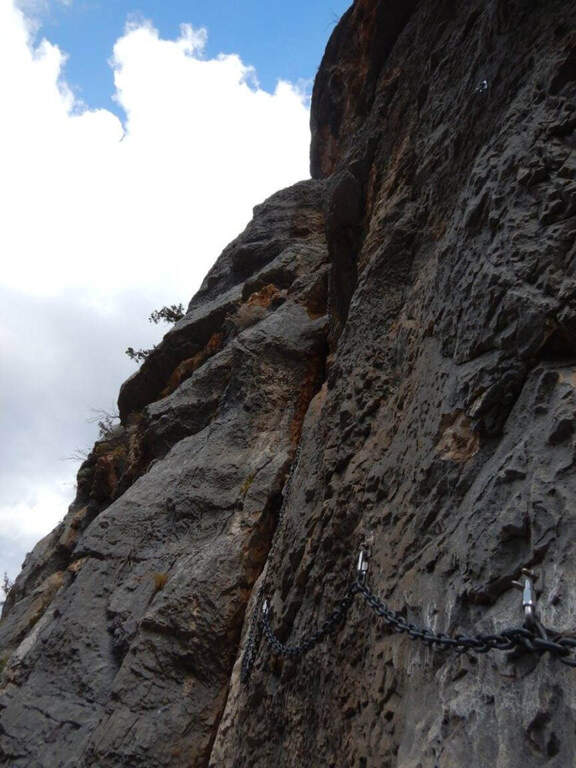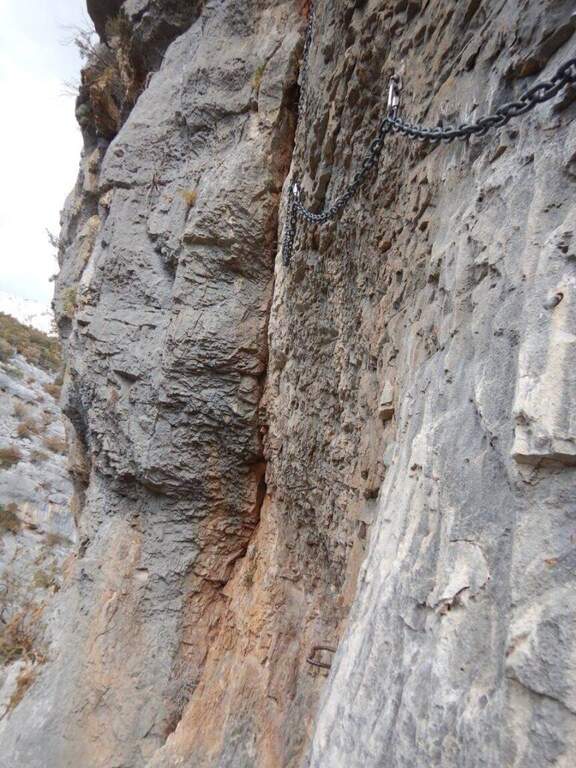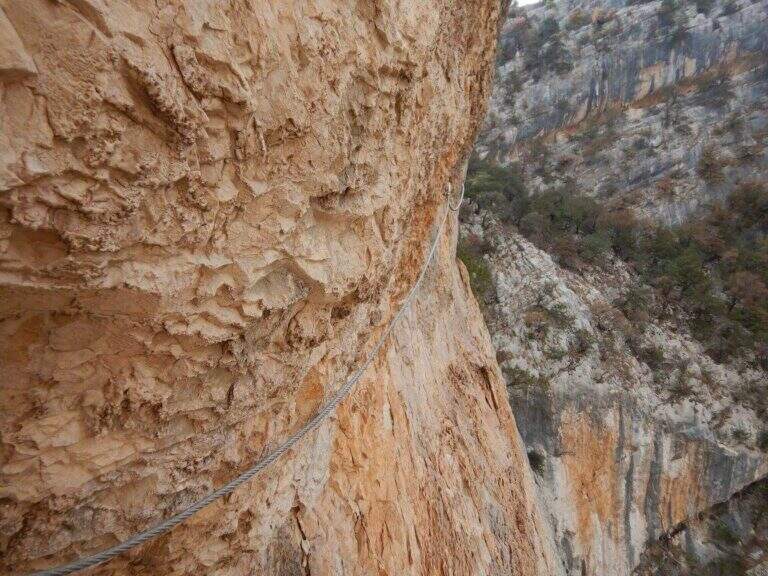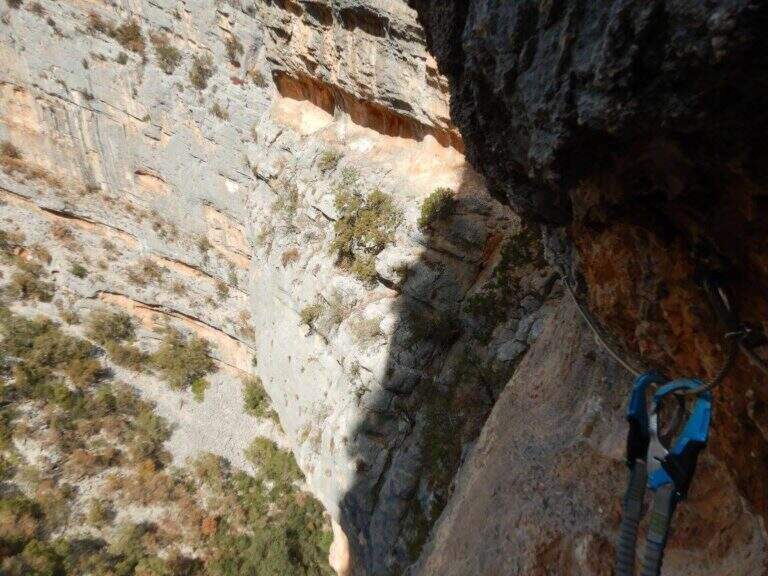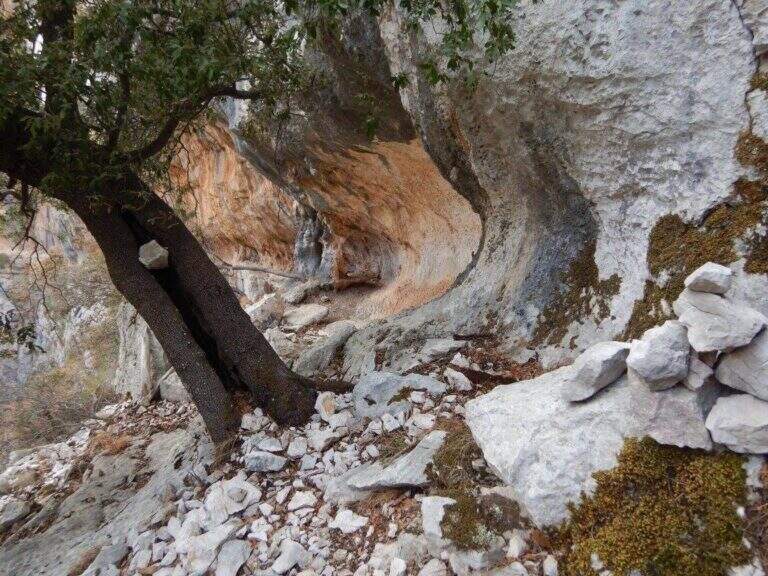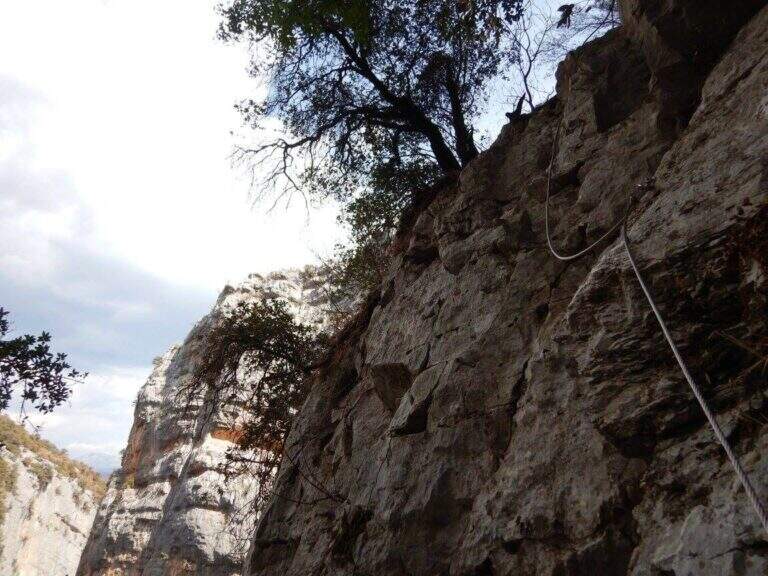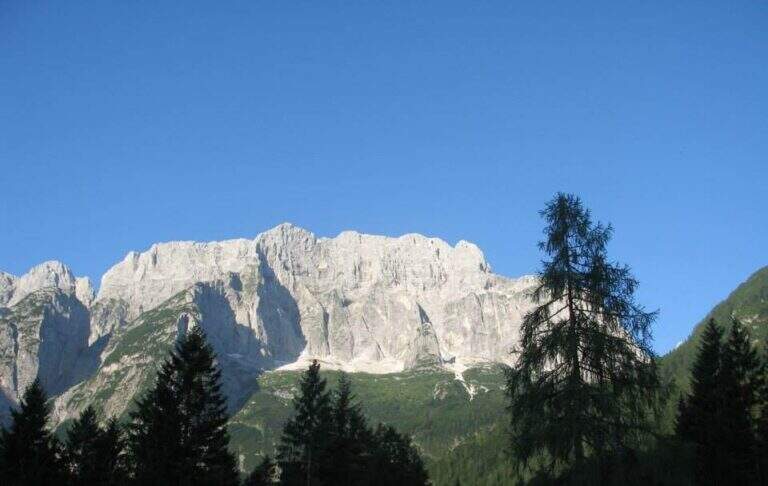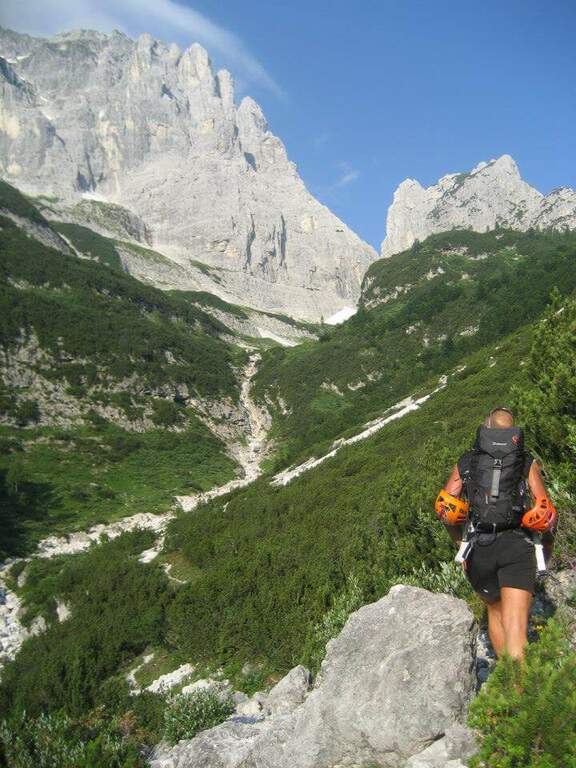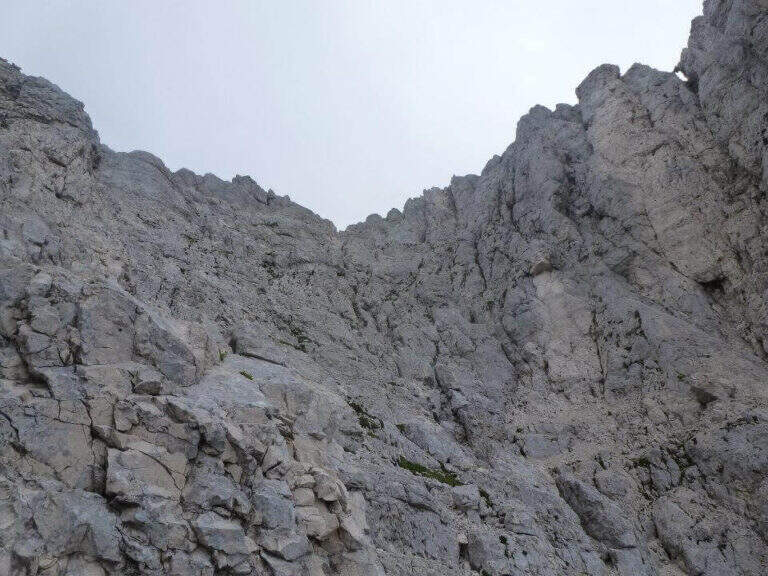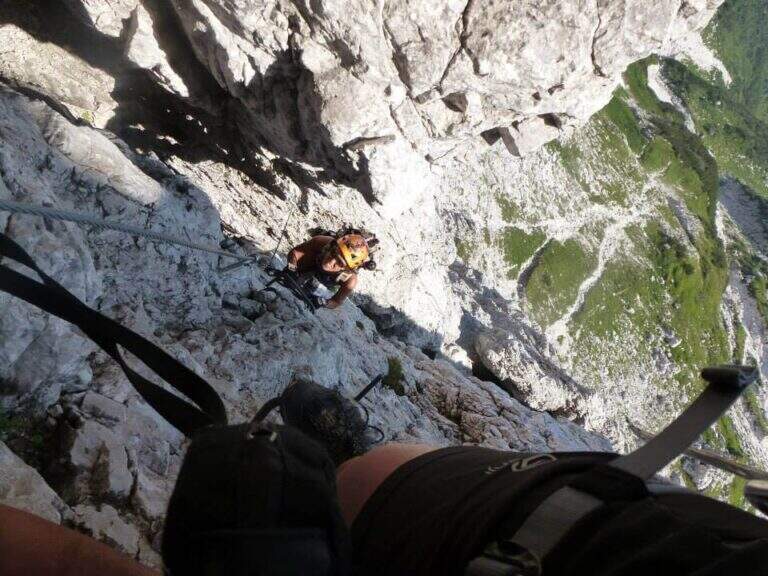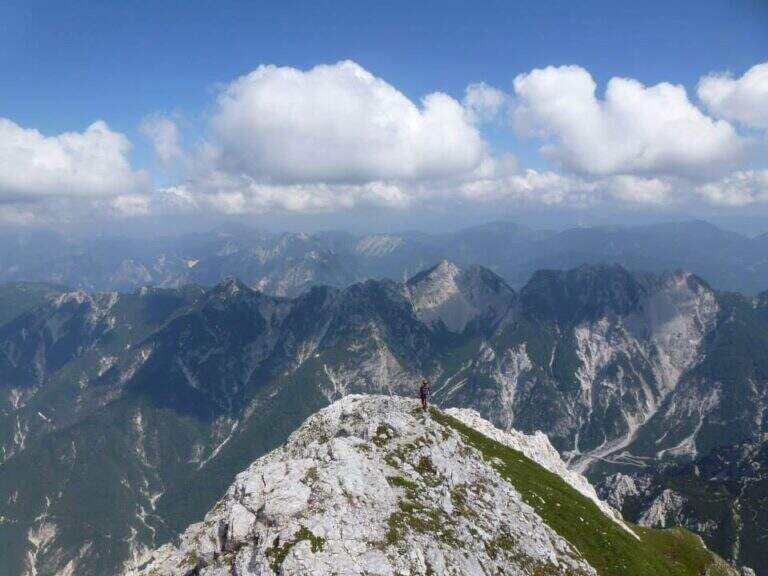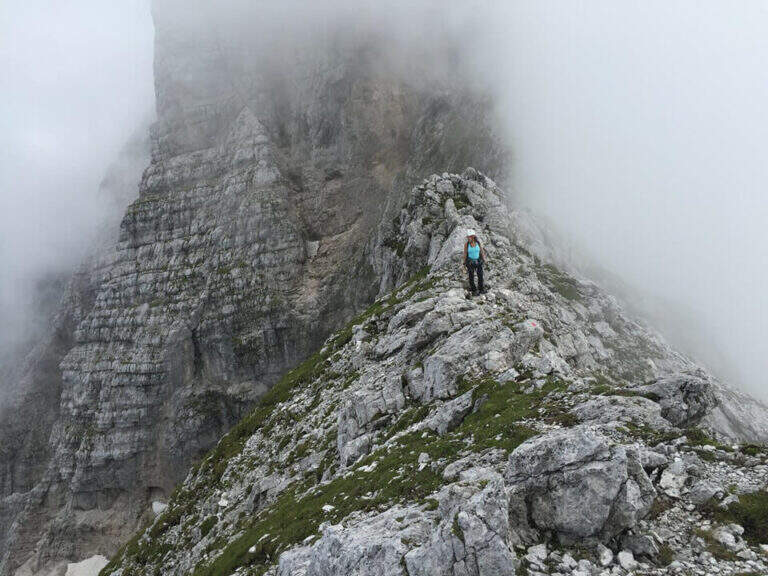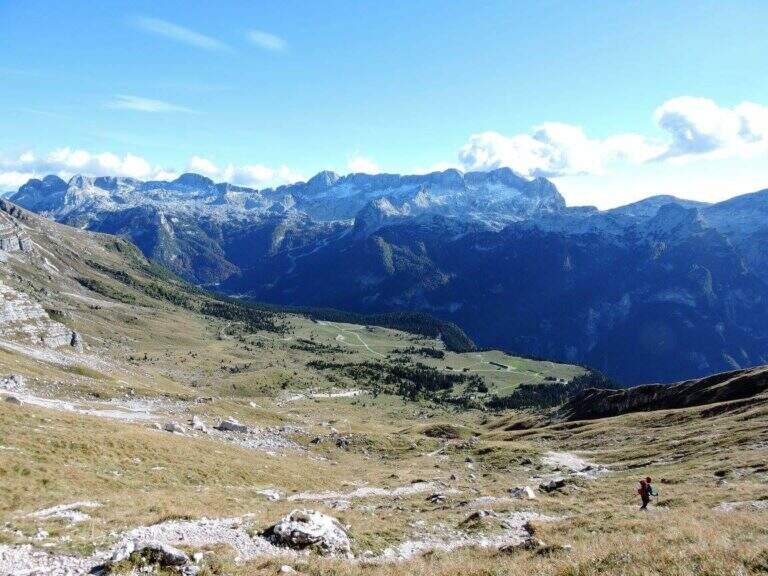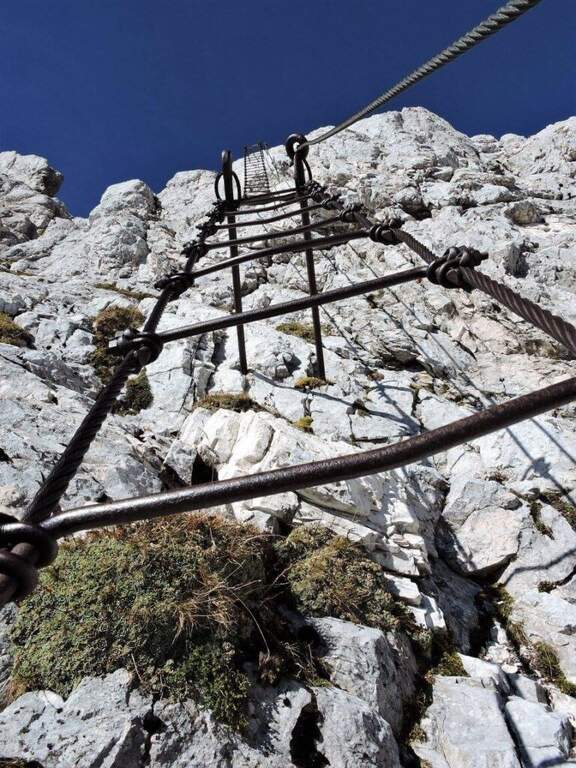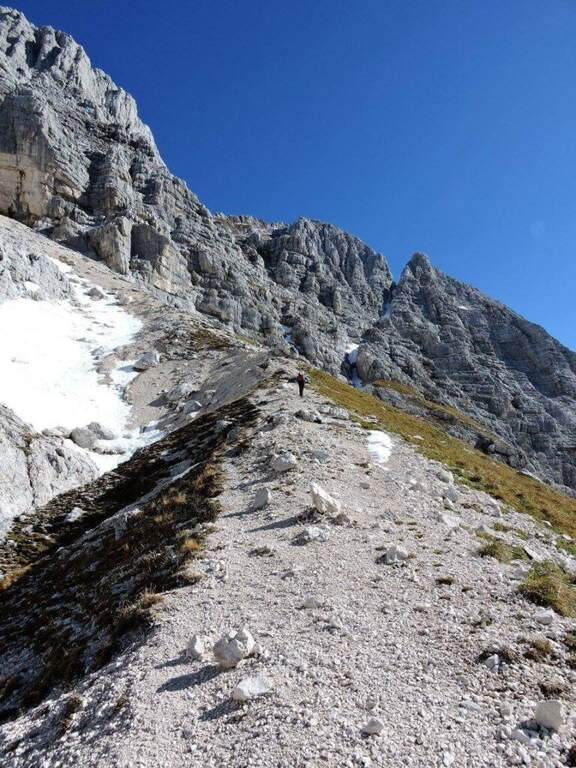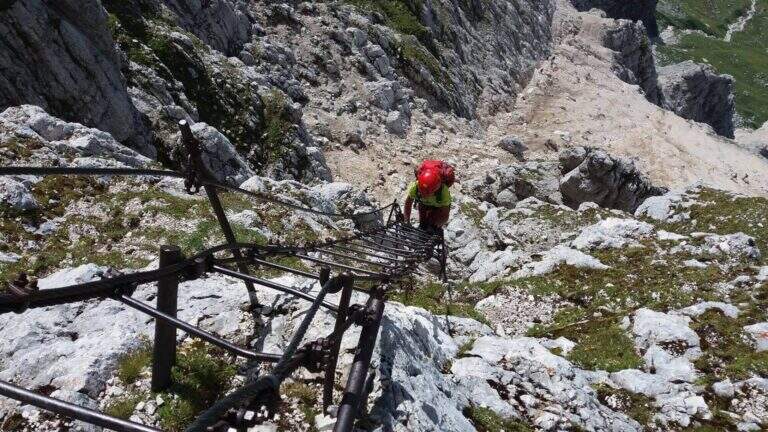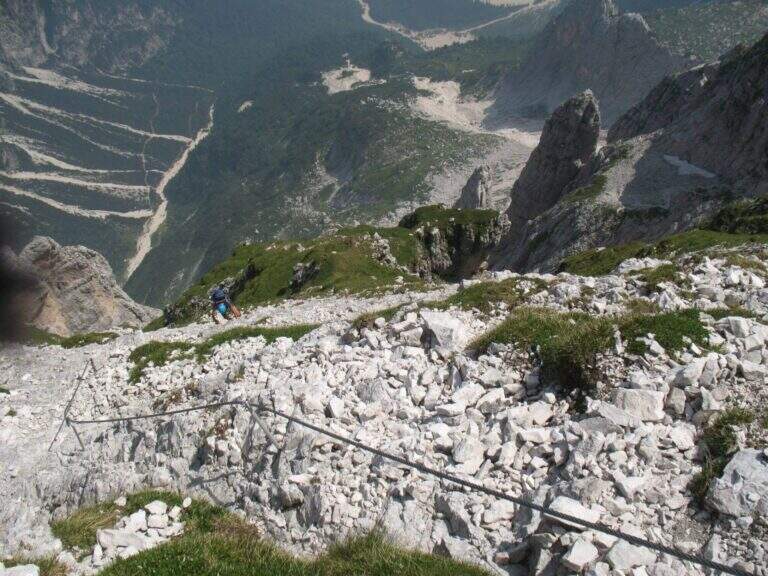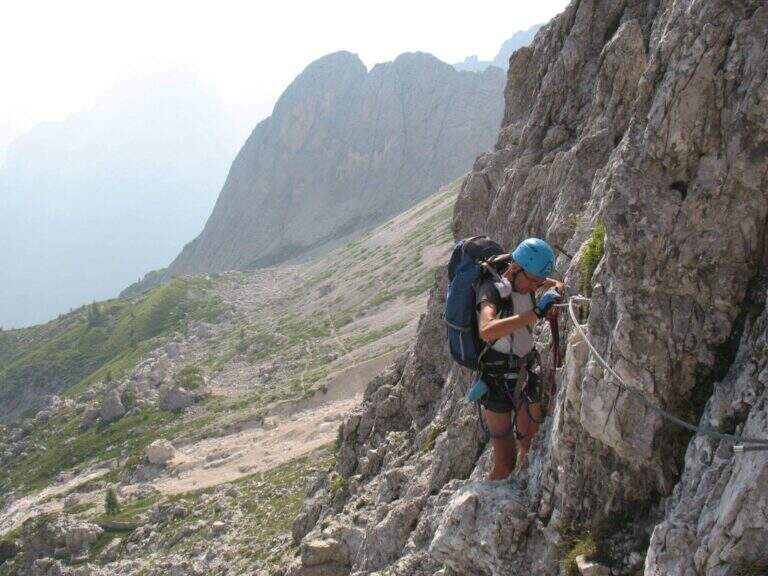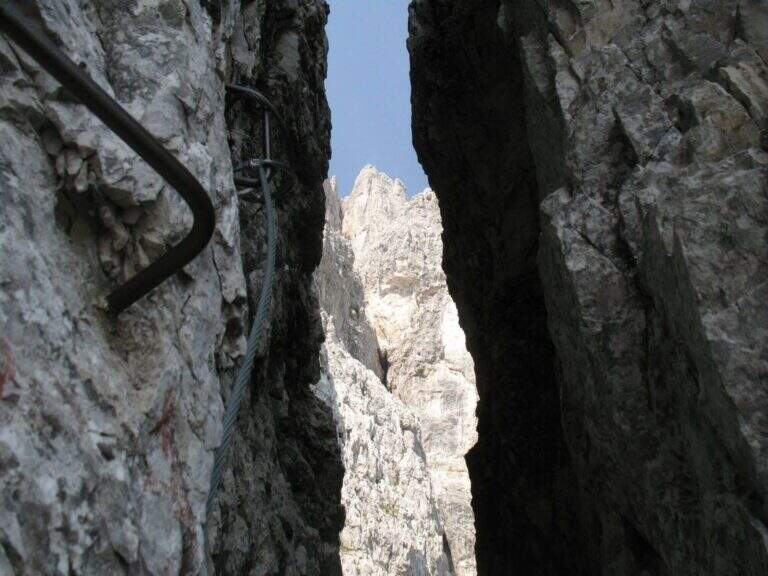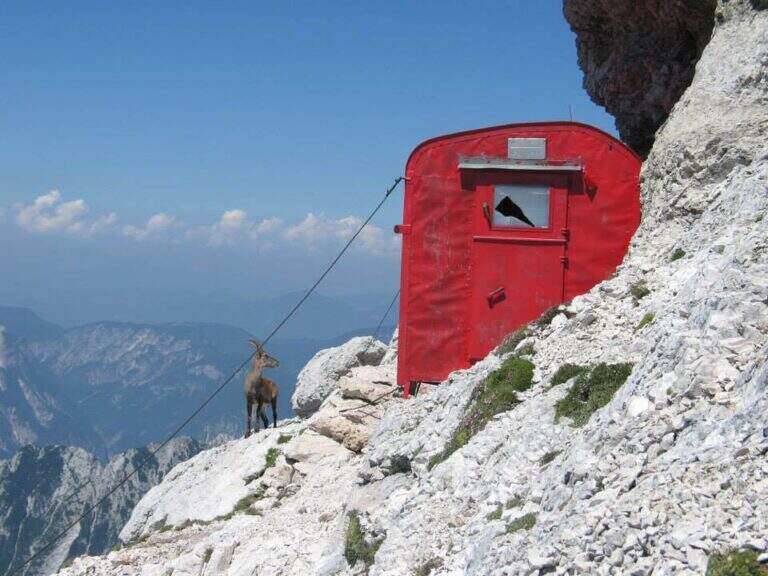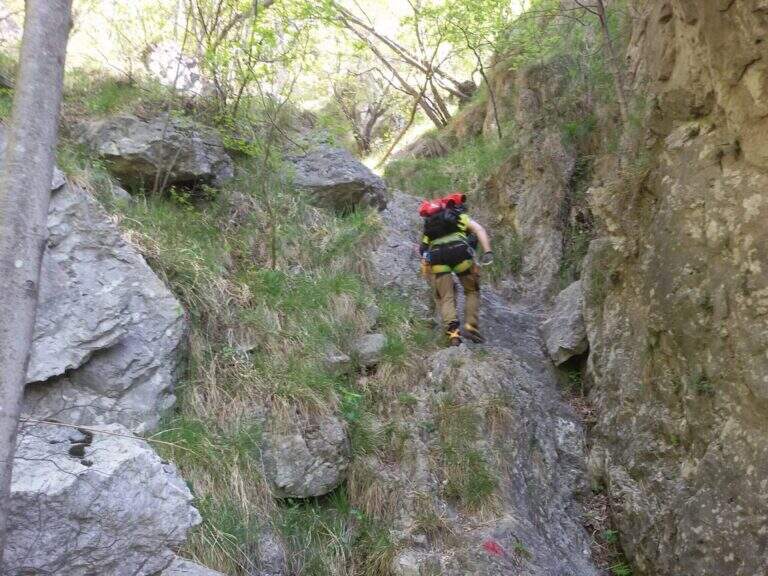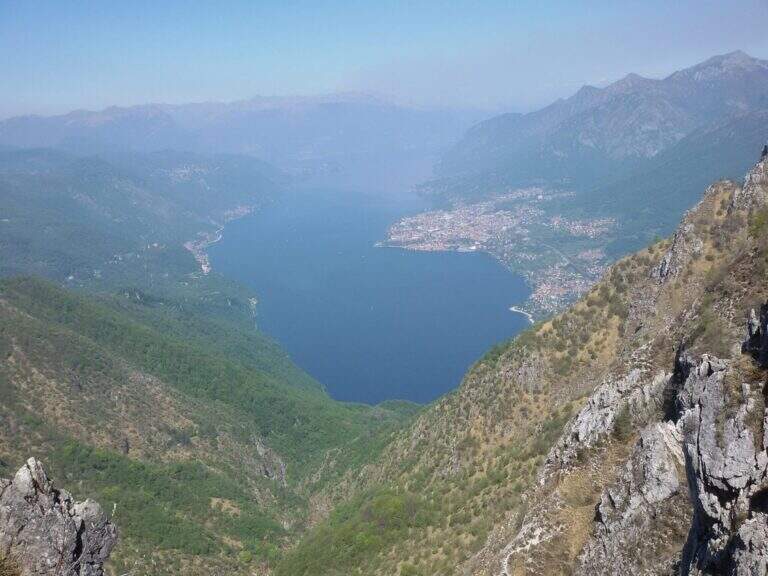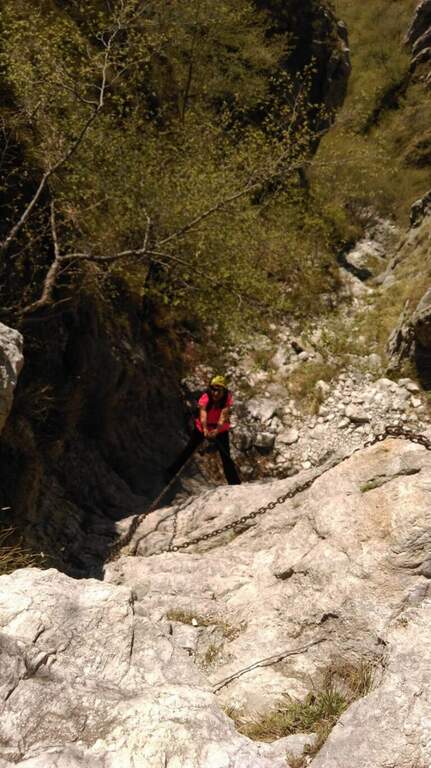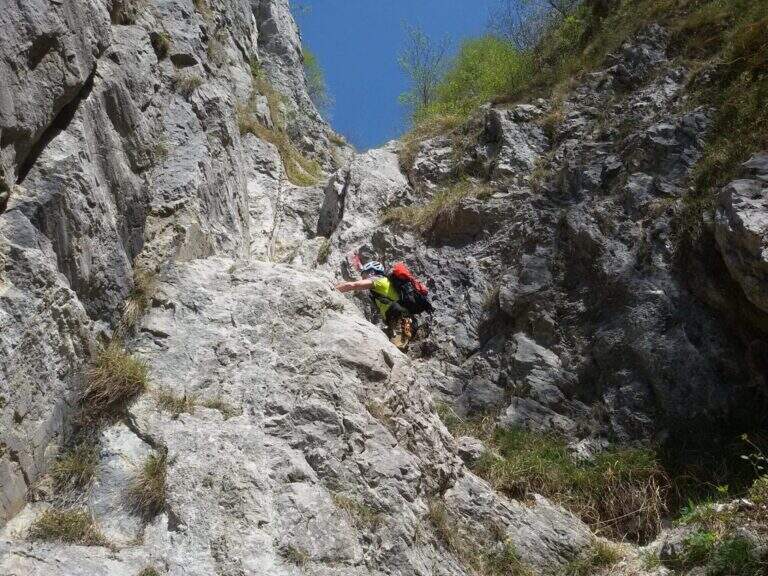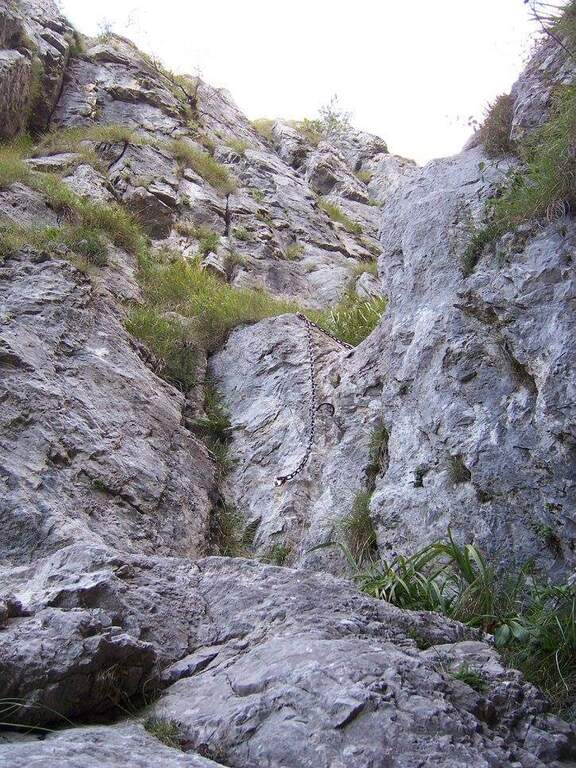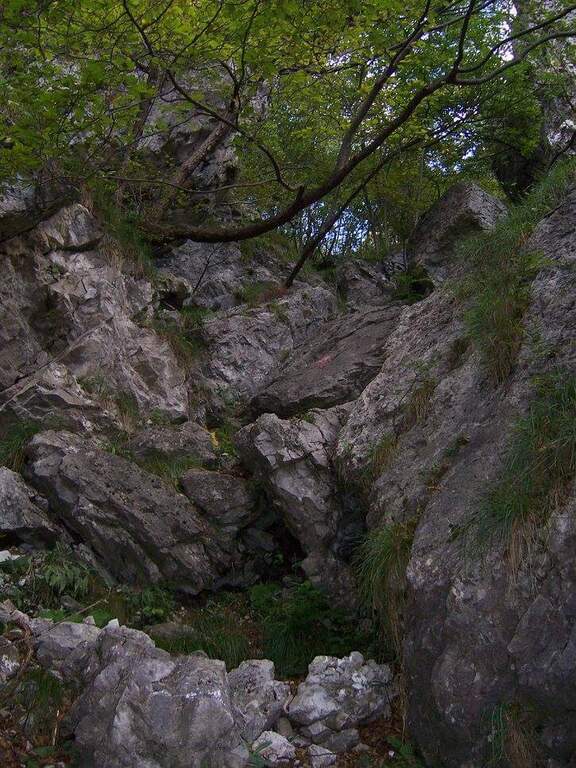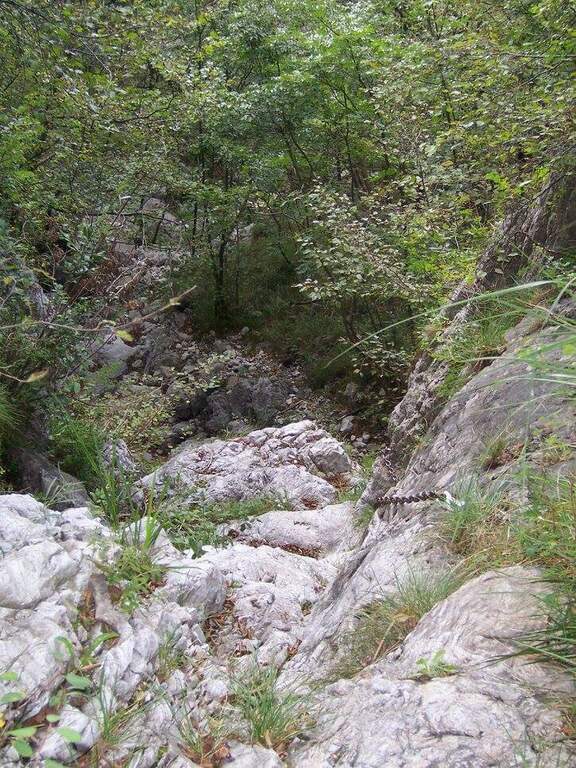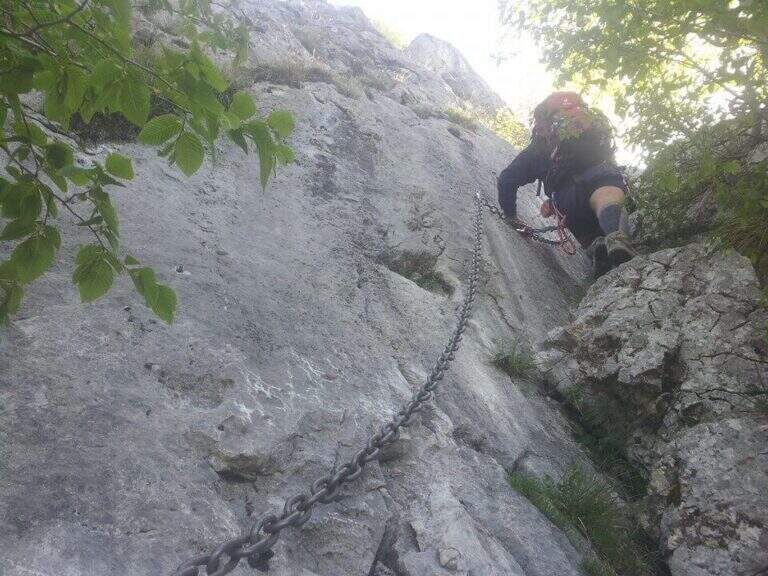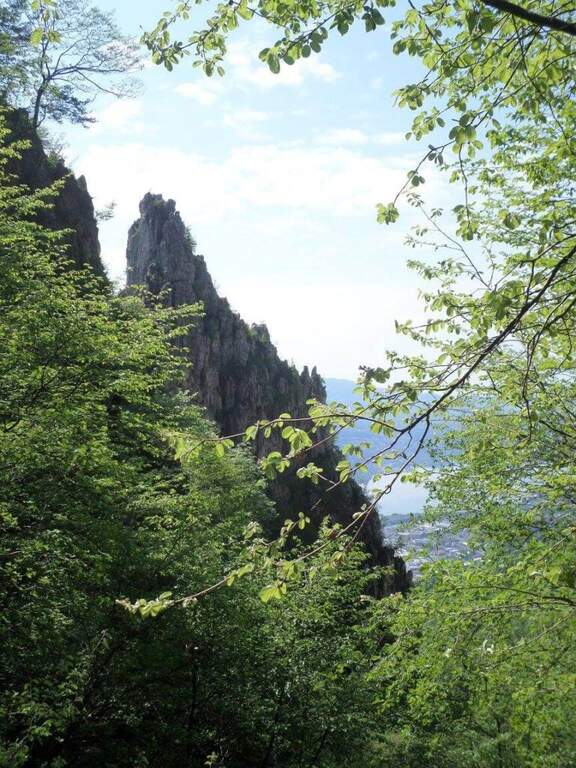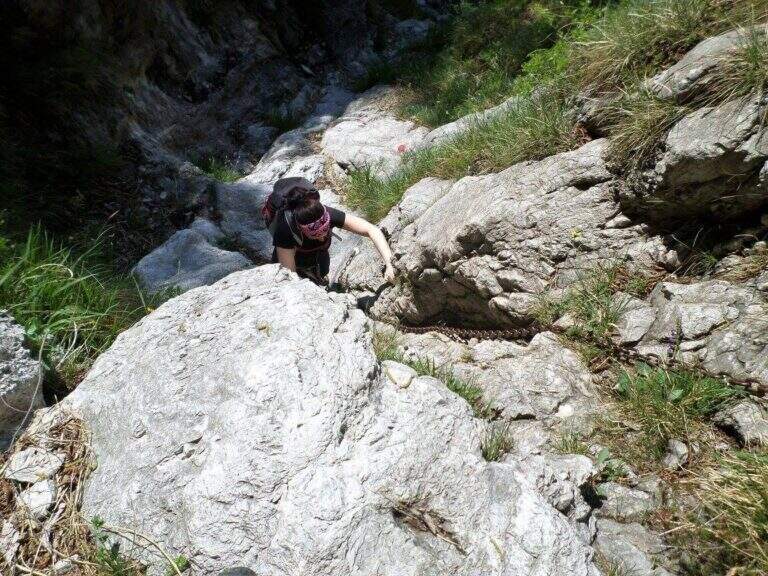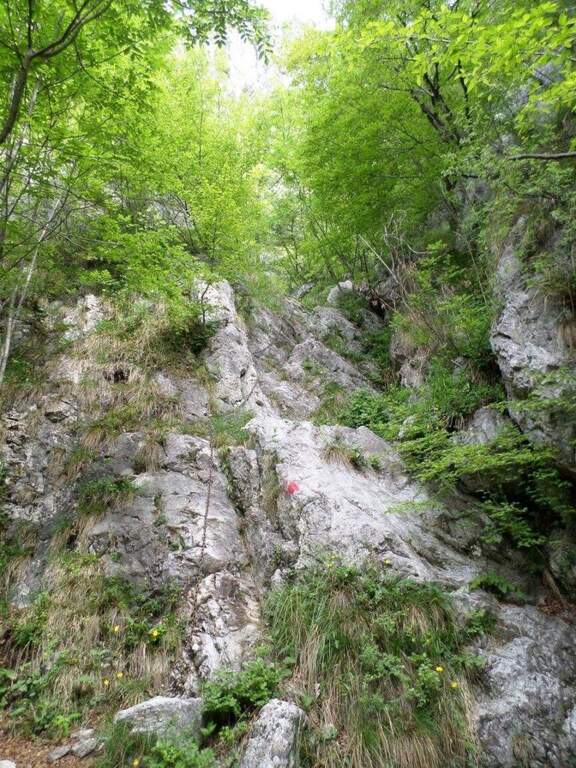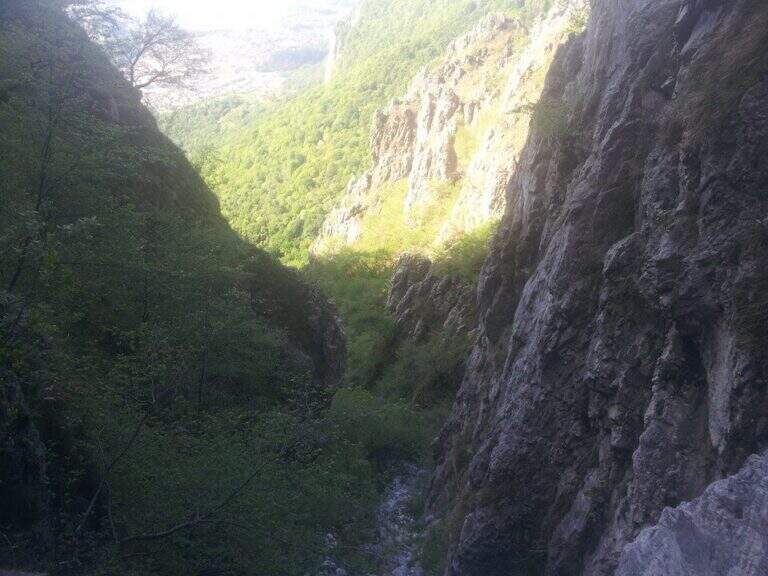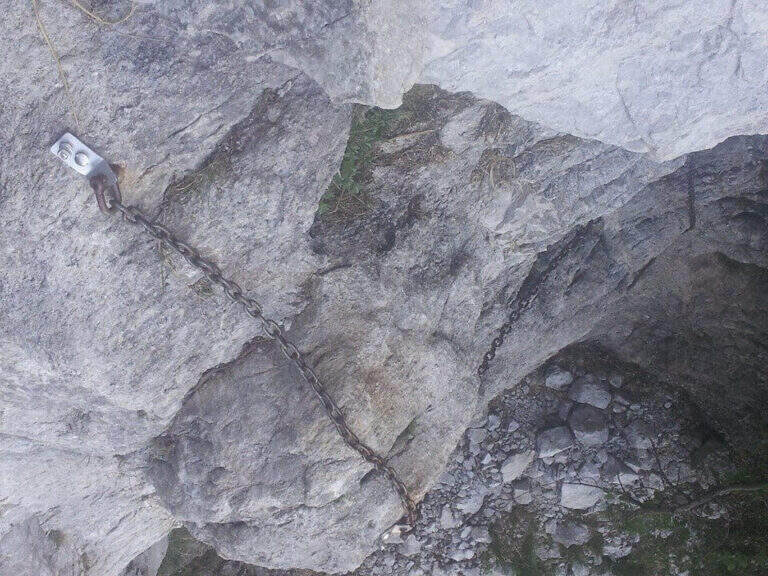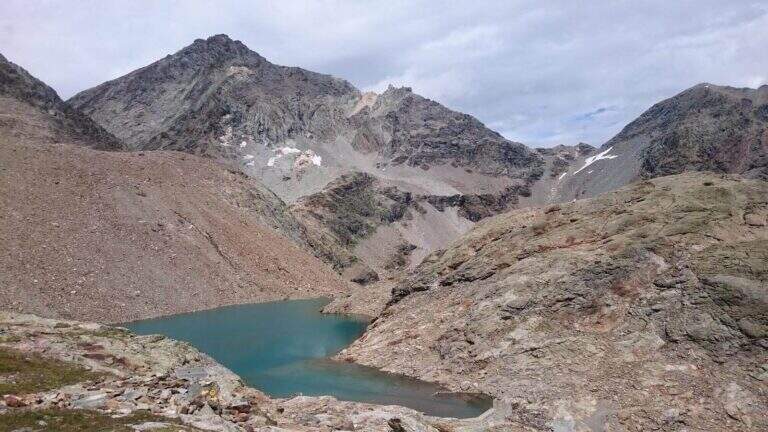
Caratteristica: Ambiente selvaggio

  • Sentiero Attrezzato del Vofrede (Ferrata dello Sperone)

    Sentiero Attrezzato del Vofrede (Ferrata dello Sperone)

    Vie Ferrate › Aosta Valley › Aosta
    Sentiero Attrezzato del Vofrede (Ferrata dello Sperone)

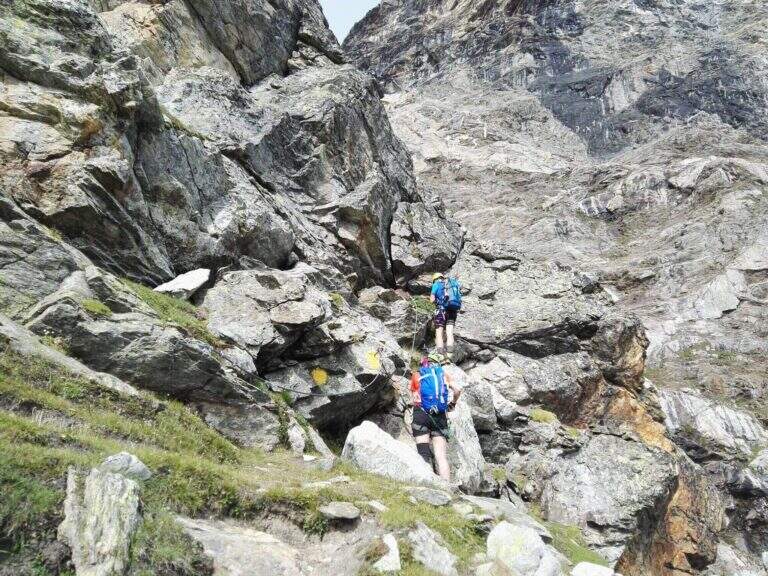
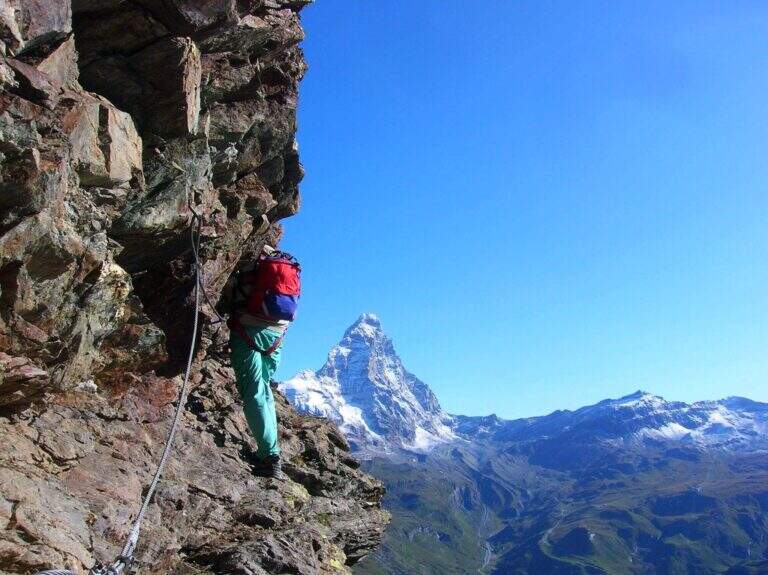
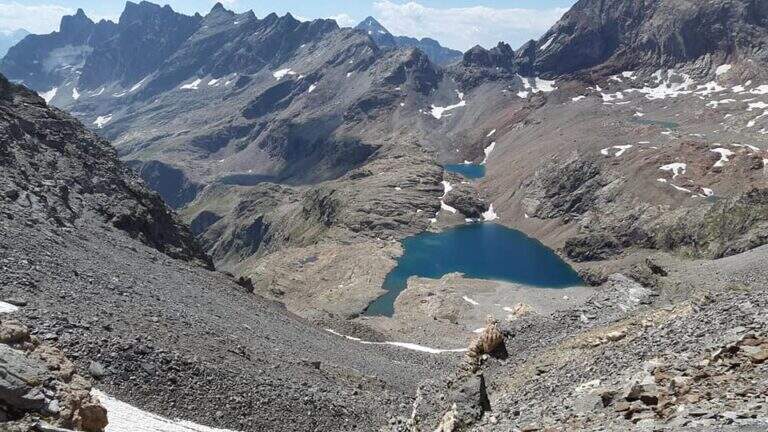
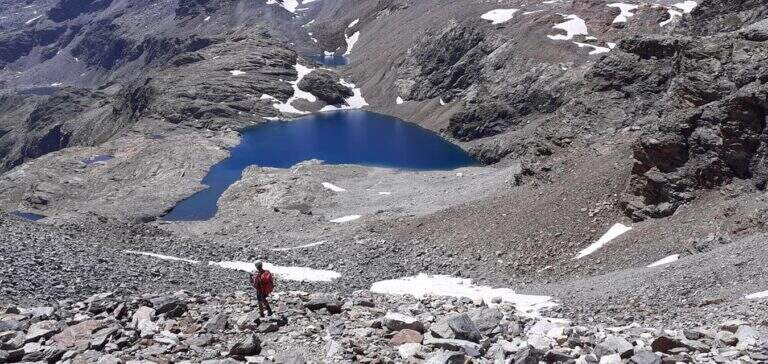
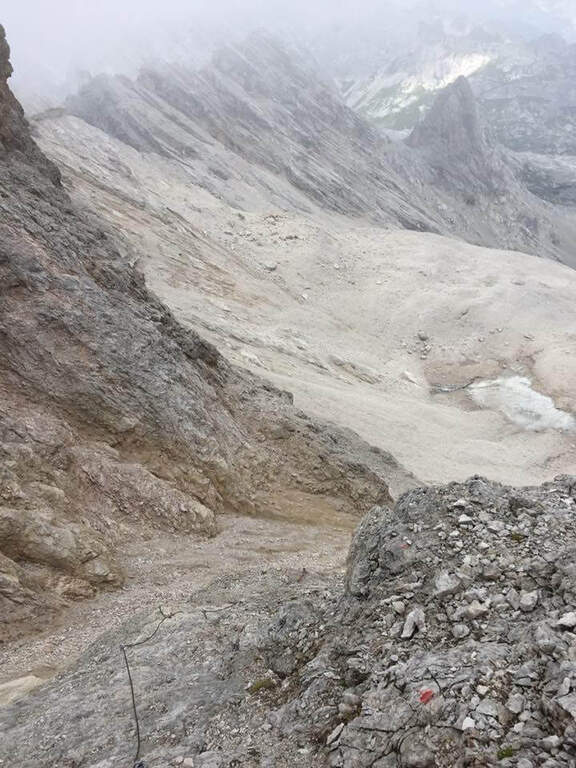
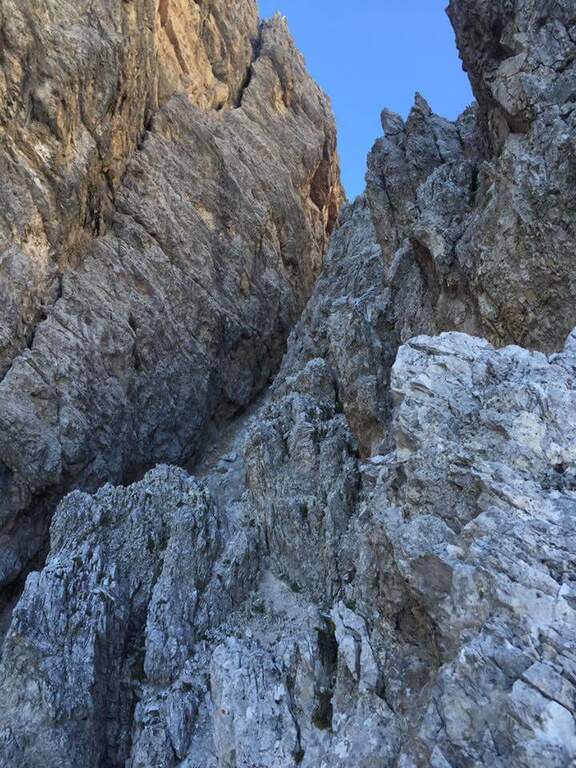
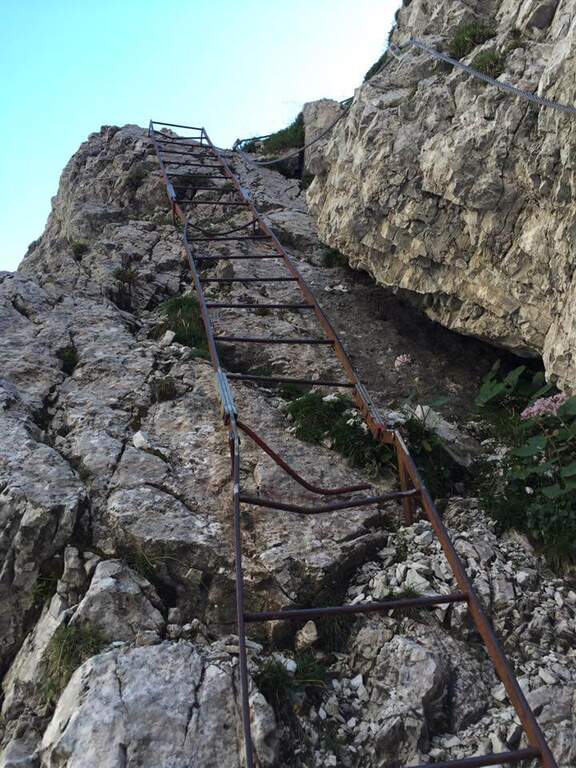
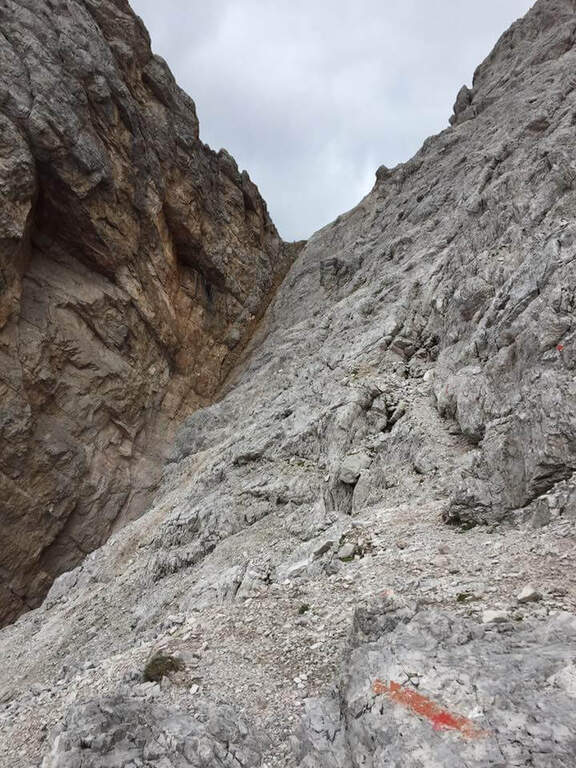
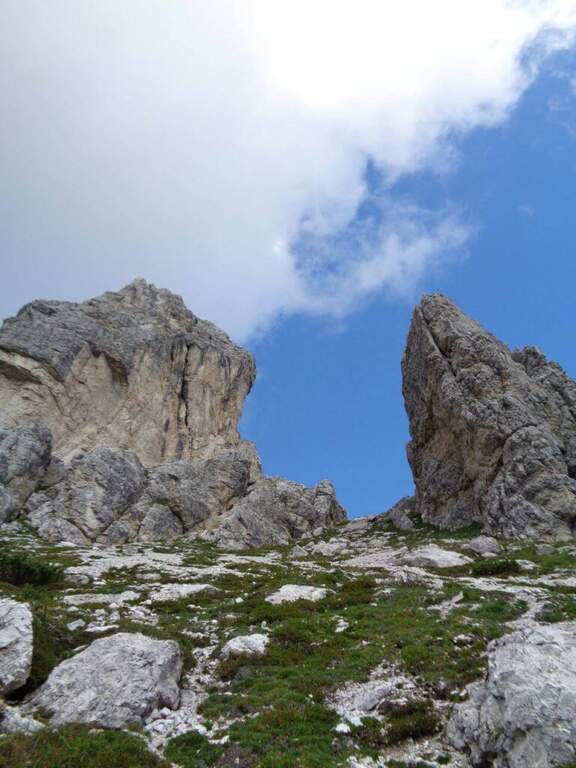
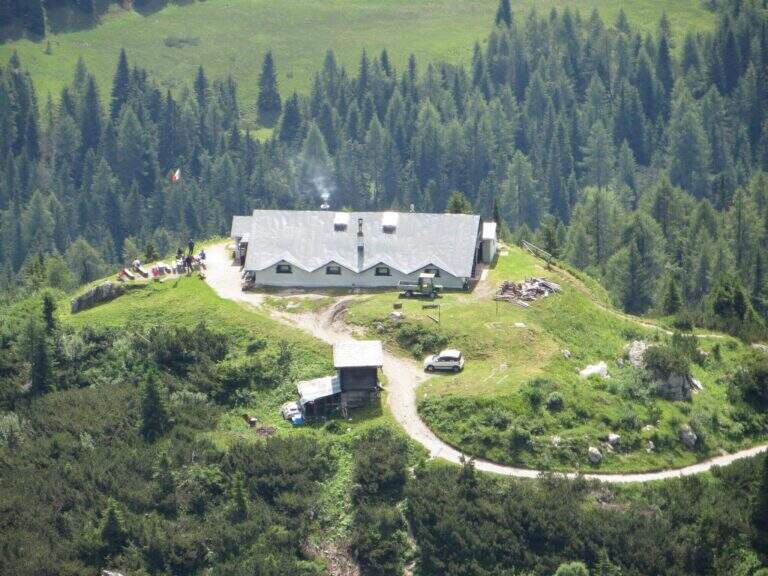
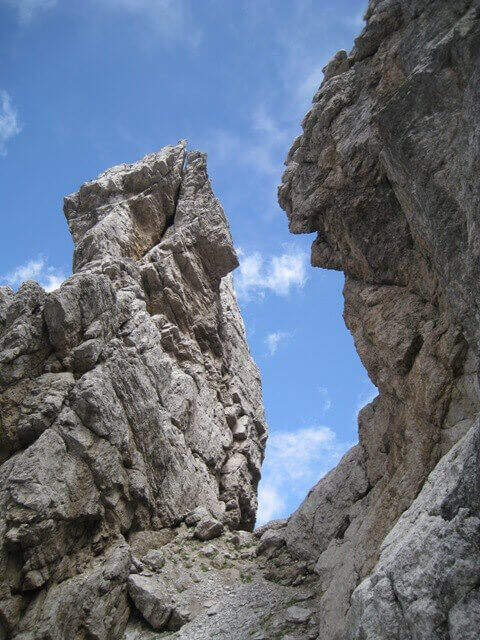
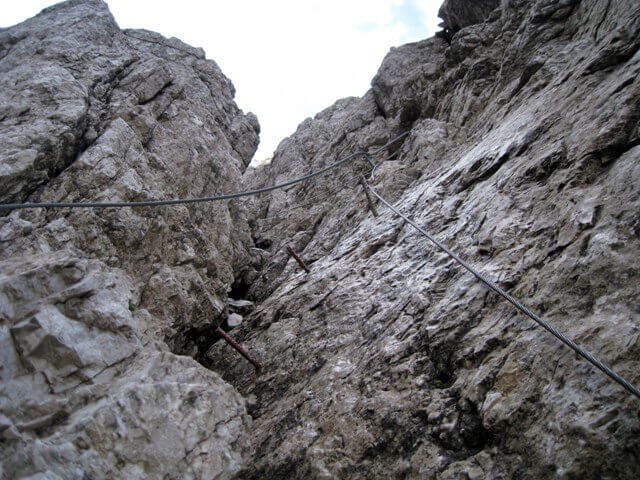
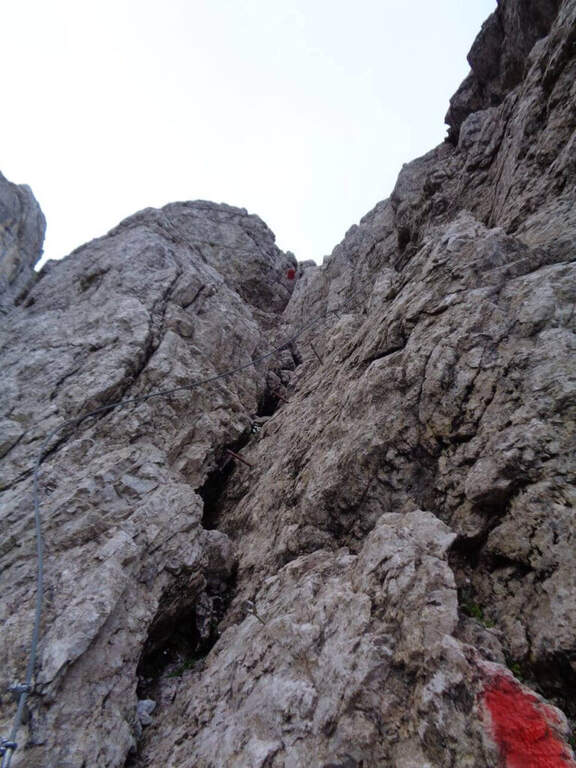
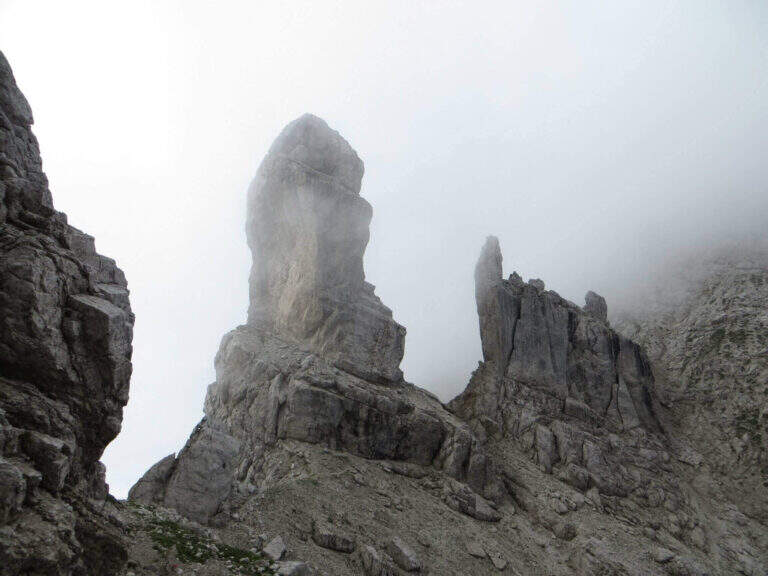
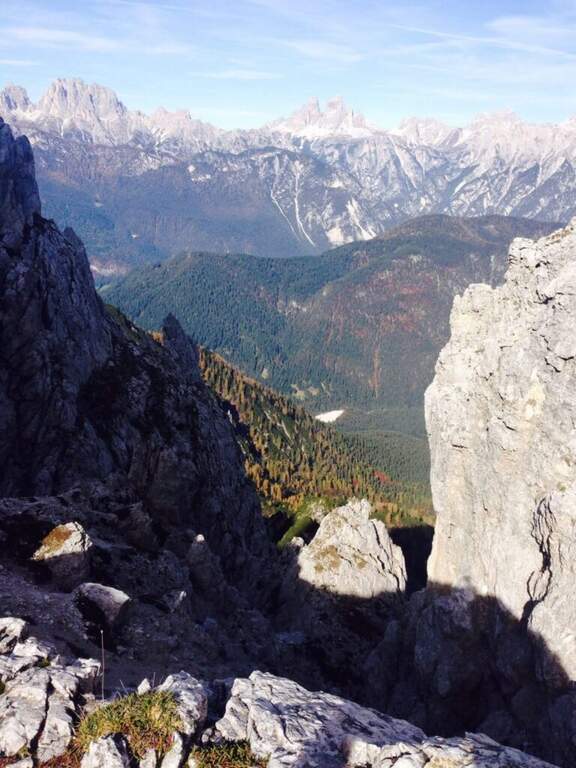
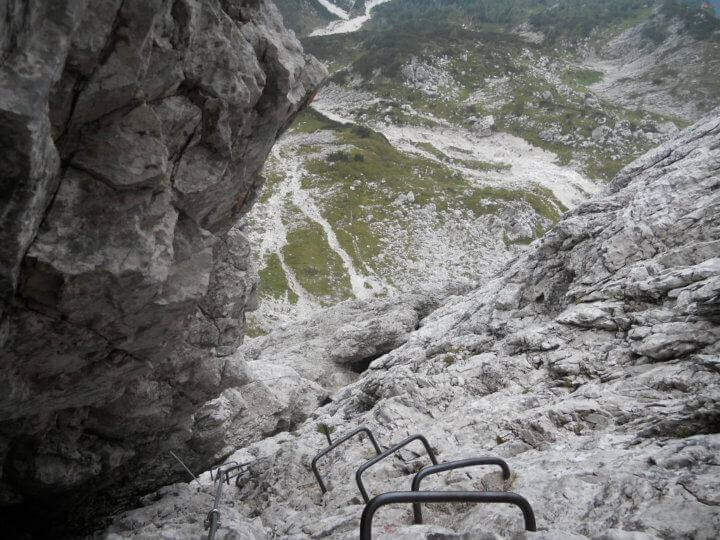
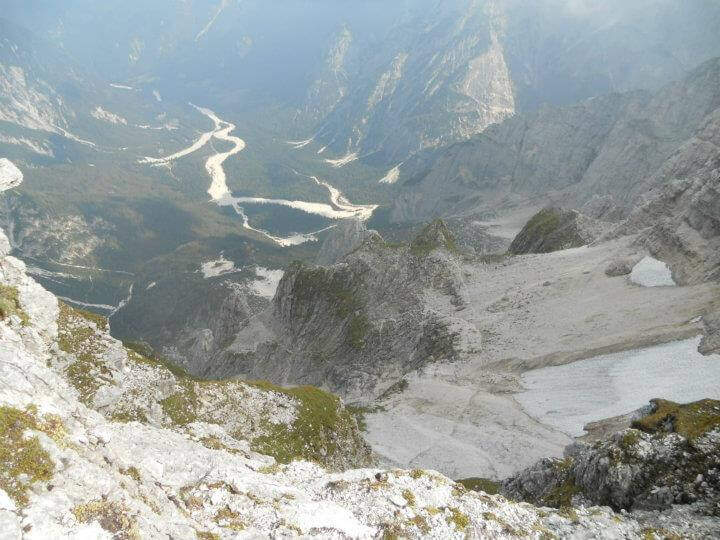
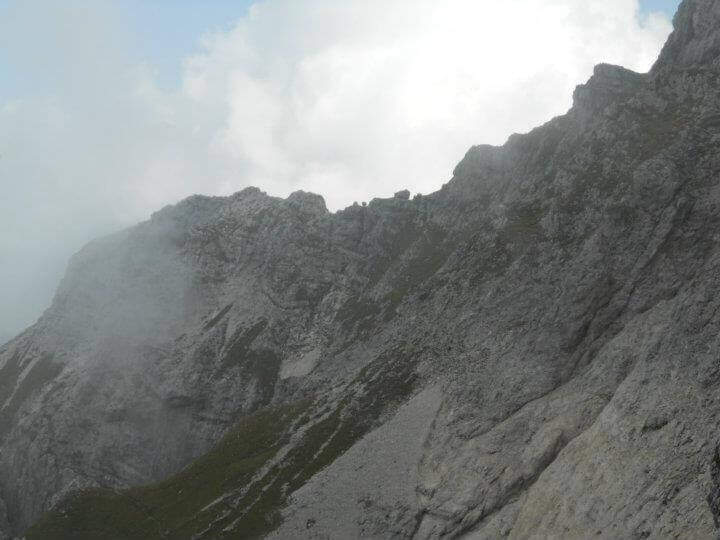
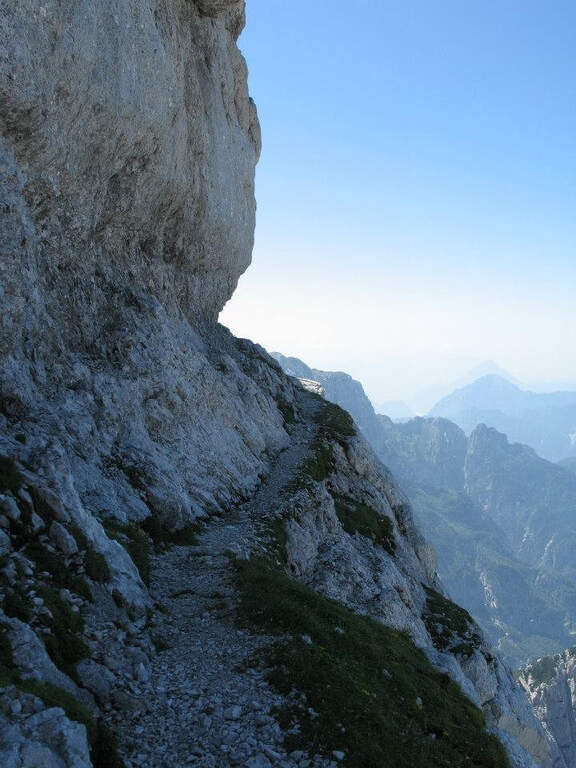
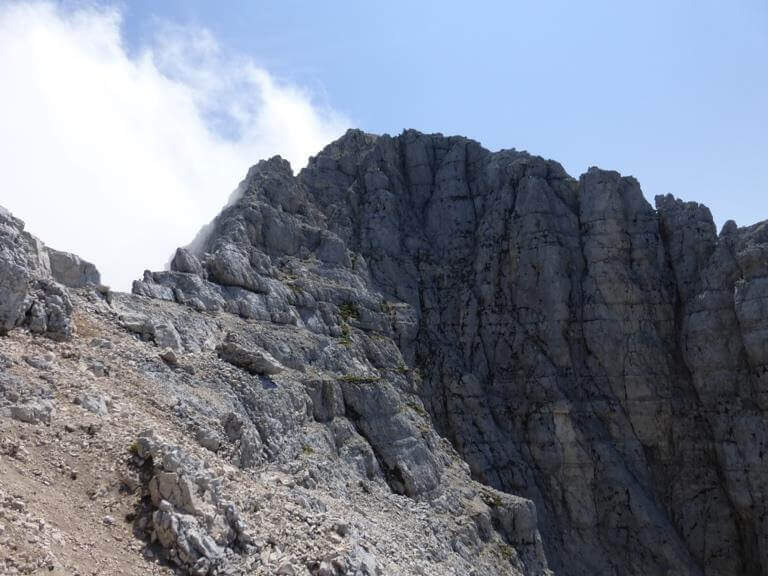
    The Sentiero Attrezzato del Vofrede — called by some Ferrata dello Sperone — is a difficult itinerary but with breathtaking views, which dates back to the Cignana valley surrounded by beautiful alpine lakes. You arrive near the Colle di Vofrede with a ring return on a very satisfying tour, under the look of the Divine.

    ▲Approach

    The starting point is along the road from Châtillon to Breuil-Cervinia (AO). Pass Valtournenche and continue beyond the hydroelectric power station of Perrères until you see on the left an area where you work the sand; along a straight you notice a dirt road that goes down that direction and, before crossing the bridge, you park on the road. If the entrance to the dirt road was not possible for work, continue for a few meters on the main road and park on the right in a small street, elongating the excursion (open up Google Maps). From the parking lot you pass the bridge on the Marmore stream, turning right towards the lake for sports fishing; near the sign for access you take the wide path that goes up the valley of the creton stream, up to a pole with the various signposts, where you hold the signpost 9 (yellow signs). Where the path bends to the left you cross a stream and you go up a hill on a living rock; on a comfortable path you reach a crossroad where, while on the left you go towards the glacier of Vofrede, you keep the right continuing straight along the moraine and, after some bends, you reach the attack of the Sentiero Attrezzato del Vofrede (2h from the parking lot).

    ▲The path

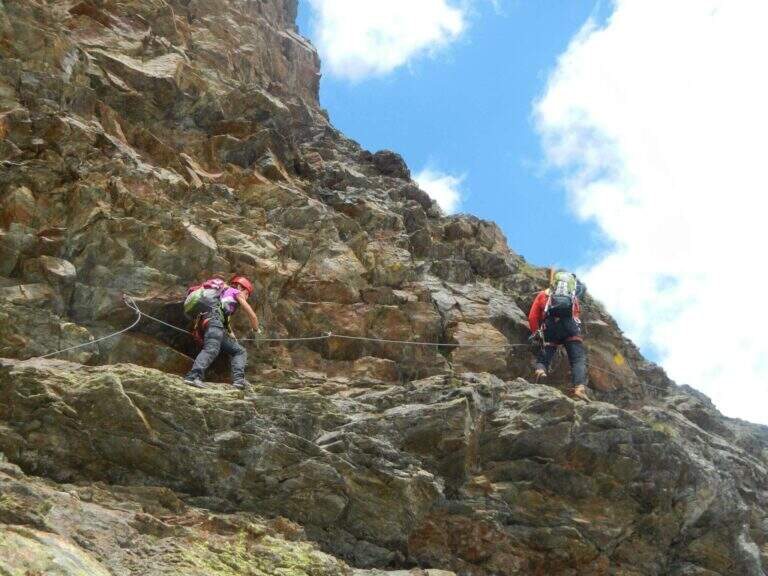
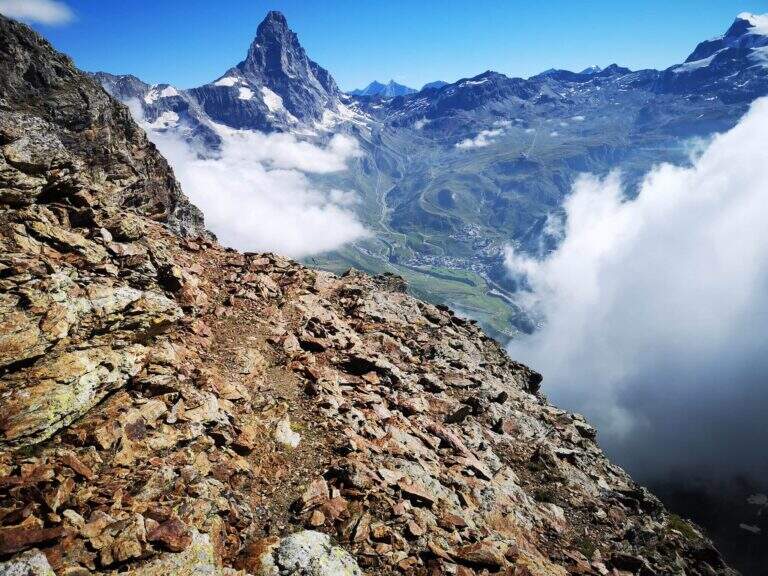
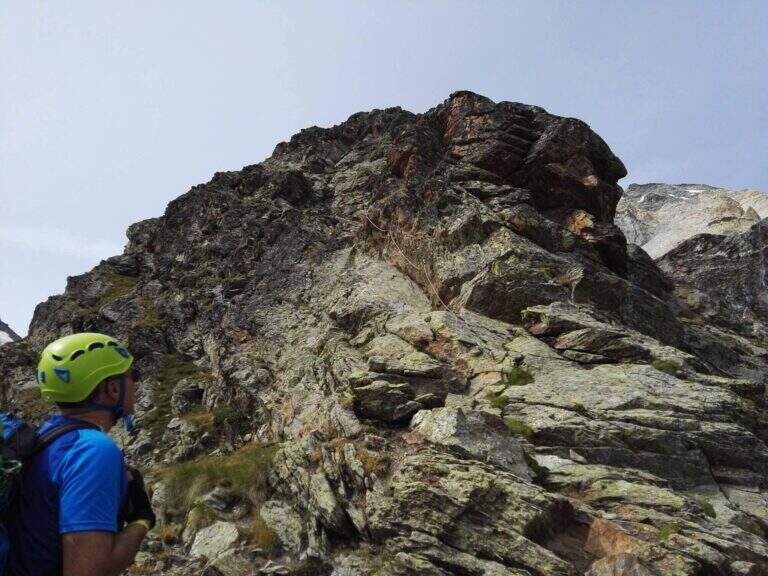
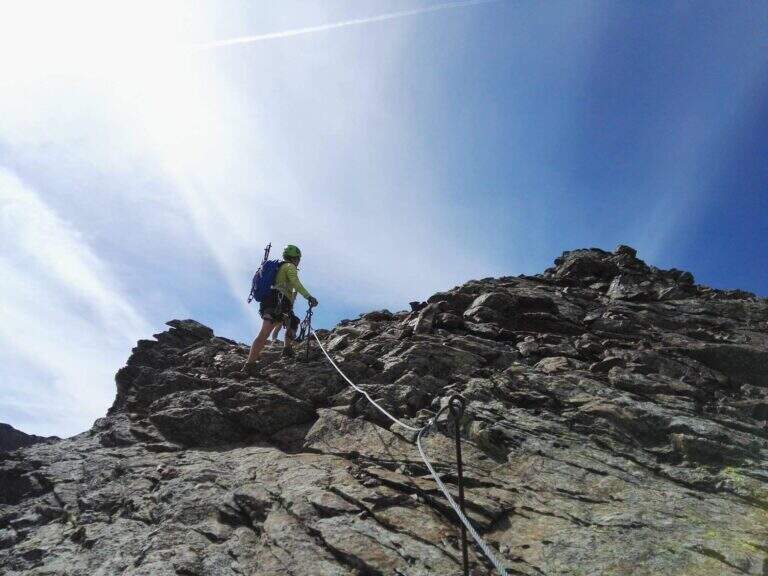
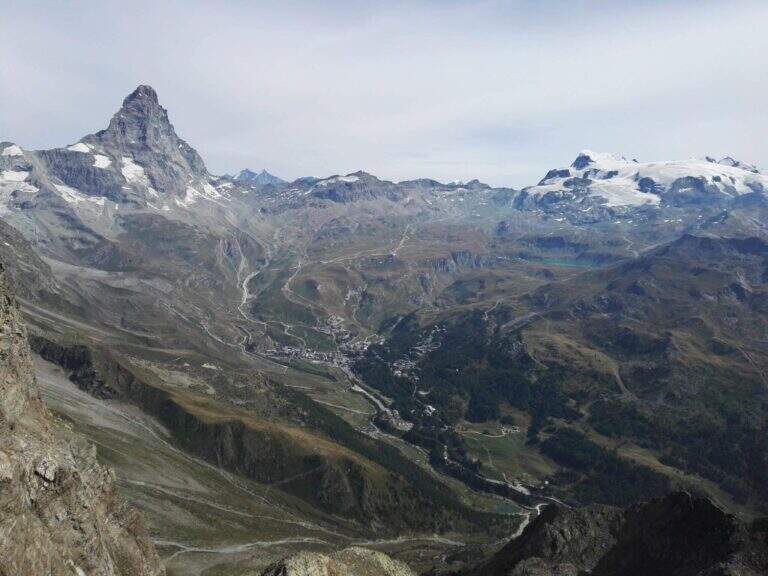
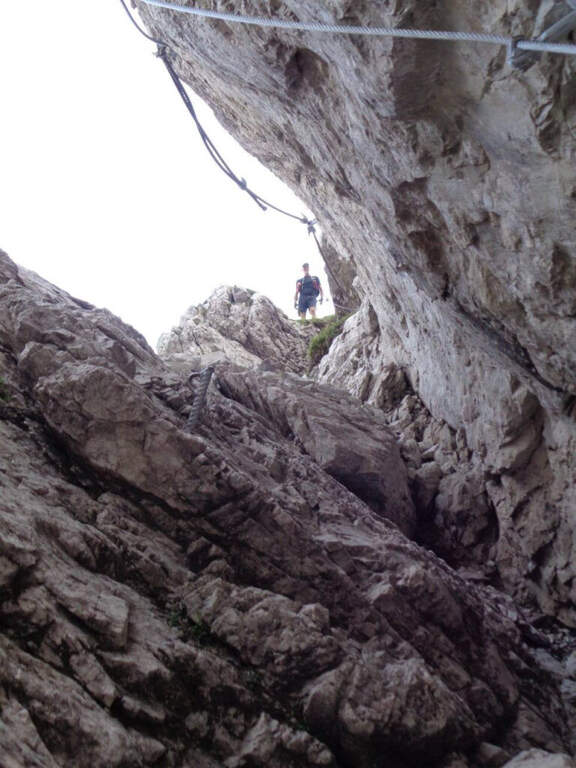
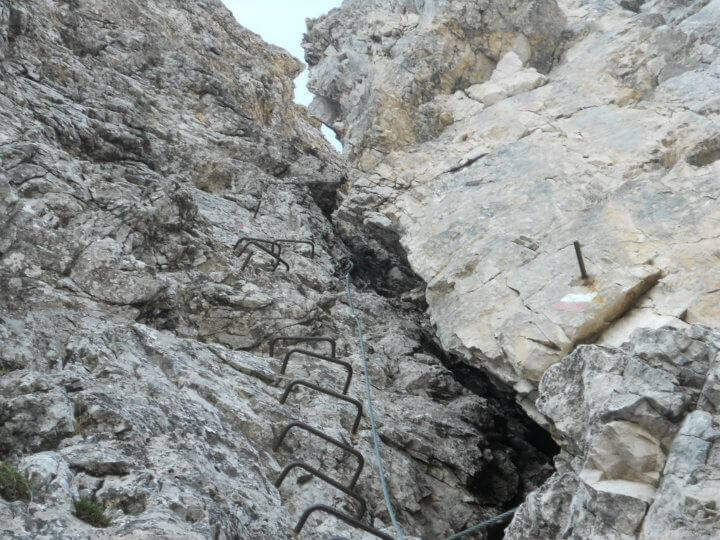
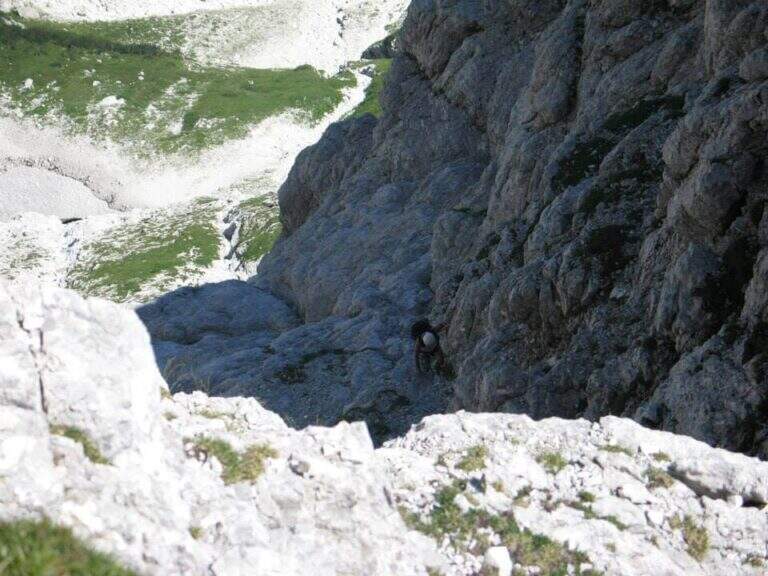
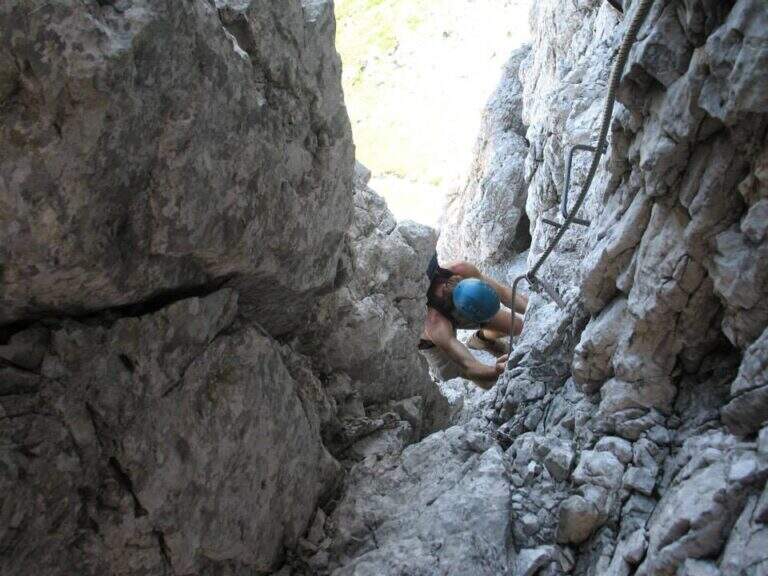
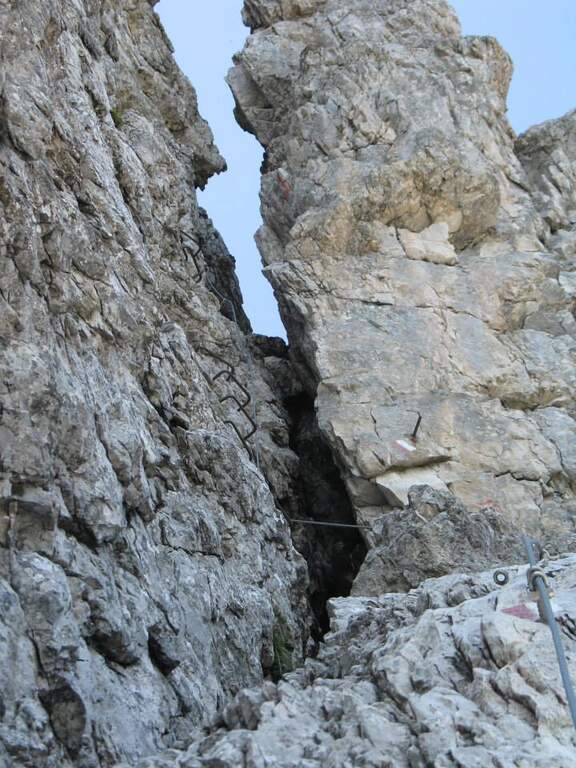
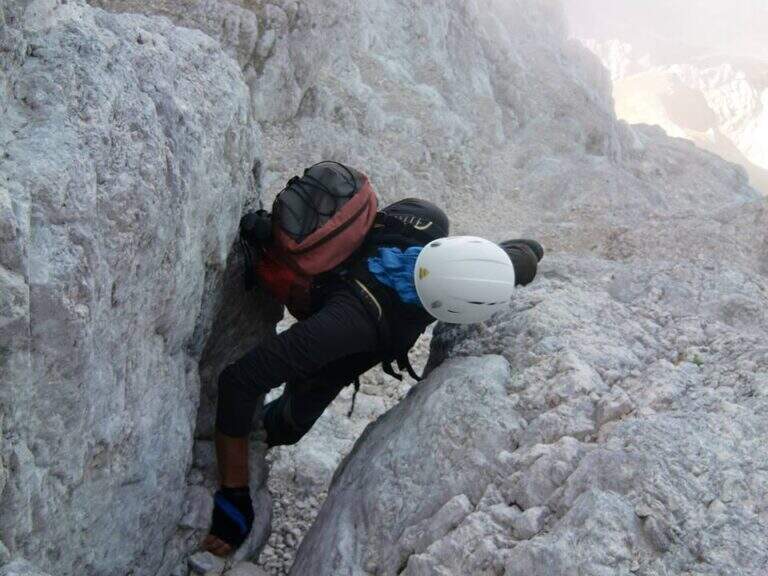
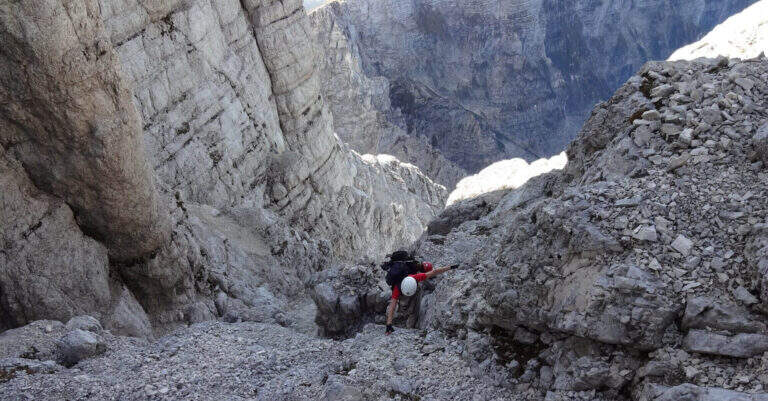
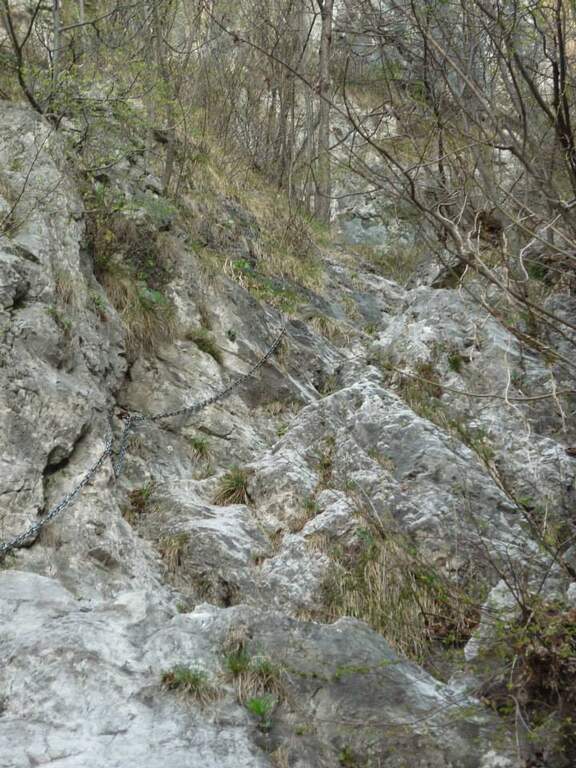
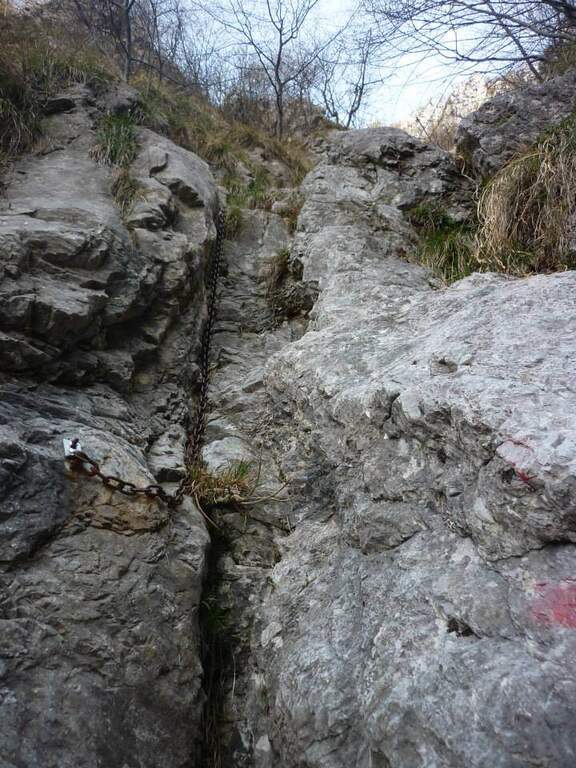
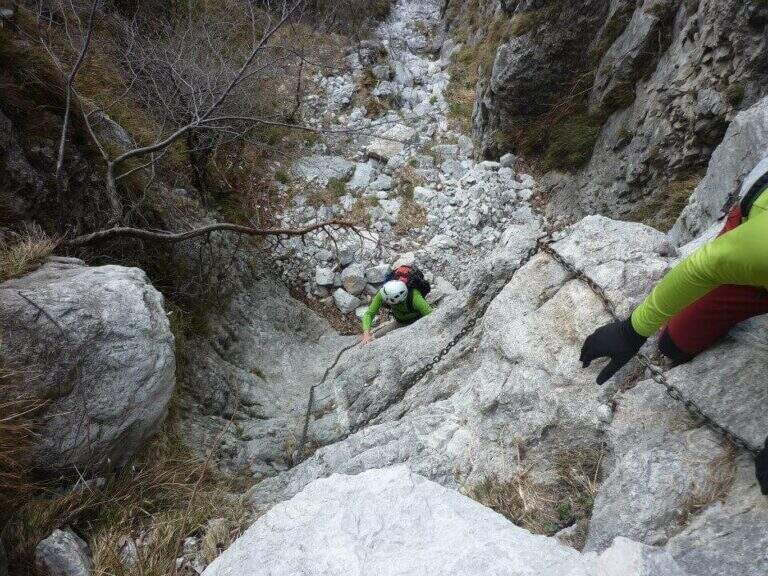
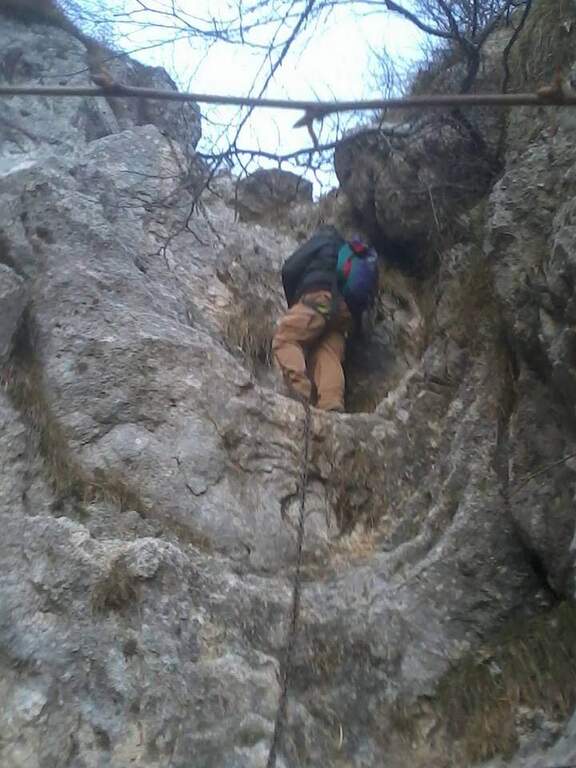
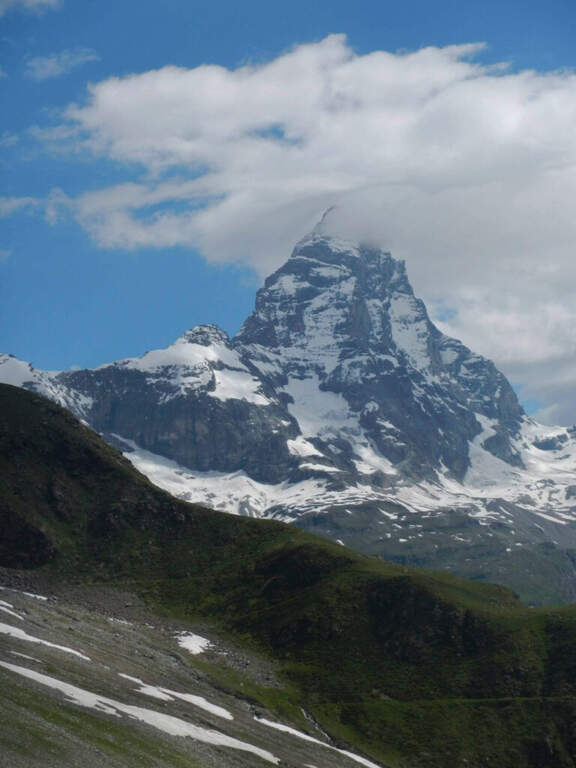
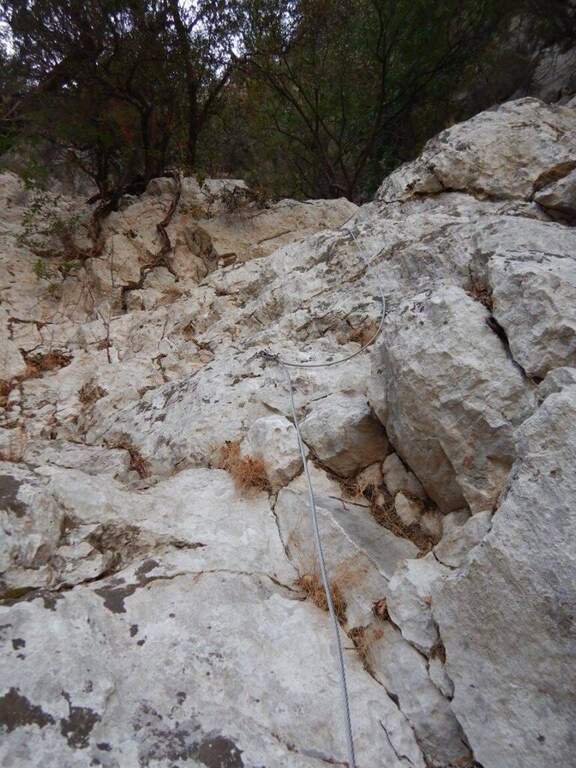
    The first section takes place on some short walls, followed by a horizontal traverse exposed but with plenty of place for the feet; there is an unmarked edge and easy rocks rise. The equipment ends momentarily and follows the track up to a vertical wall, easily climbed secured by the cable; overcoming some rock leaps not steep until a balcony overlooking the Vofrede glacier. From the terrace you face a vertical wall of a few meters, not difficult, which leads to a second panoramic balcony, beyond which continues the vertical tract; the equipped path continues without difficulty until you cross a split in the rock, now near the term. The last tens of meters run and, in the plateau under the Castelletto Whymper, the equipped path ends with a magnificent view of the nearby Cervino (1h30 from the attack, 3h30 total). From the end you continue west (left) along the stone towards the Colle di Vofrede (3130 m, highest point of the excursion, 4h total), following the yellow signs and omits.

    ▲Character and difficulty

    The itinerary is not technically difficult, but it is long: arrived at the Colle di Vofrede you are less than half a hike, so the total length, especially for the return.

    ⚠ The return, although not difficult, takes place in a remote area with path not always well marked: it can make sense to carry a GPS track, in particular in case of announcements or fog with difficulty of orientation.
    ▲Period and safety

    High-mountain summer itinerary (maximum rate 3130 m), in wild and beautiful surroundings. Long development and distance from support points require good autonomy and attention to the weather.

    ▲Discipline

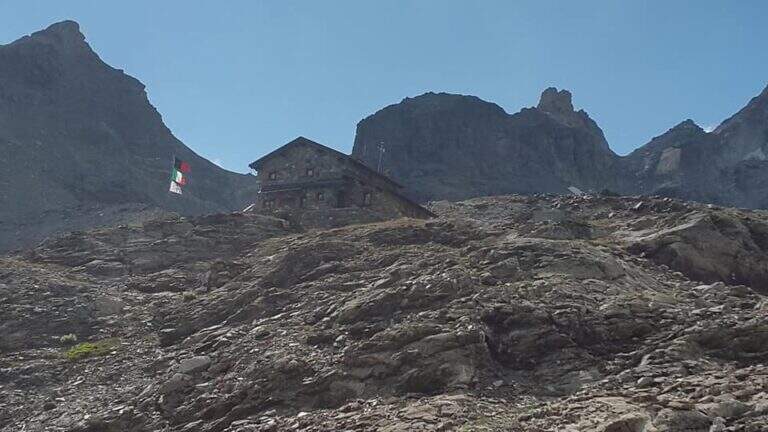
    From the Colle di Vofrede you descend west towards the Gran Lago, following the labile track of the path and then the drains to the eastern side of the basin; follow the wall of containment towards the valley up to a small ruin from the grounded roof, from which a path connects shortly after a larger one that goes up to the wall where rises the Perucca Vuillermoz Refuge. From the hut follow the path 6 – Alta Via 3 towards the bivouac Manenti, to the bends, to the edge of Lake Balanselmo; continue along a half-coast at the Alpe di Chevalley, then on a dirt road up to a saddle from which you take the path 107, holding the left towards the refuge La Riondè and continuing towards the visible sand quarry and then to the parking lot (330).
    ▲Gallery
    Technical data
    • DifficultyEasy
    • RegionAosta Valley
    • GroupCervino – Valtournenche
    • Approach2:00 h
    • Ferrata1:30 h
    • Itinerary (a/r)7:30 h
    • Hardware level difference450 m
    • Route difference1200 m
    • Max3130 m
    • Length14,9 Km
  • Sentiero Attrezzato degli Alpini in Forcella Jau Tana

    Sentiero Attrezzato degli Alpini in Forcella Jau Tana

    Vie Ferrate › Veneto › Belluno
    Sentiero Attrezzato degli Alpini in Forcella Jau Tana

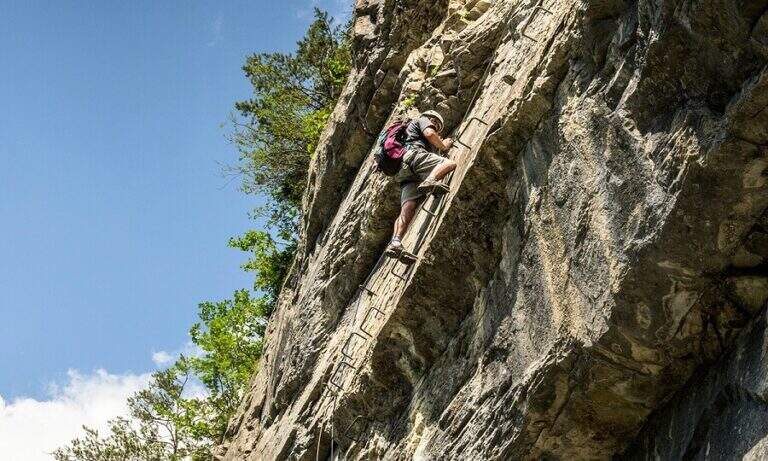
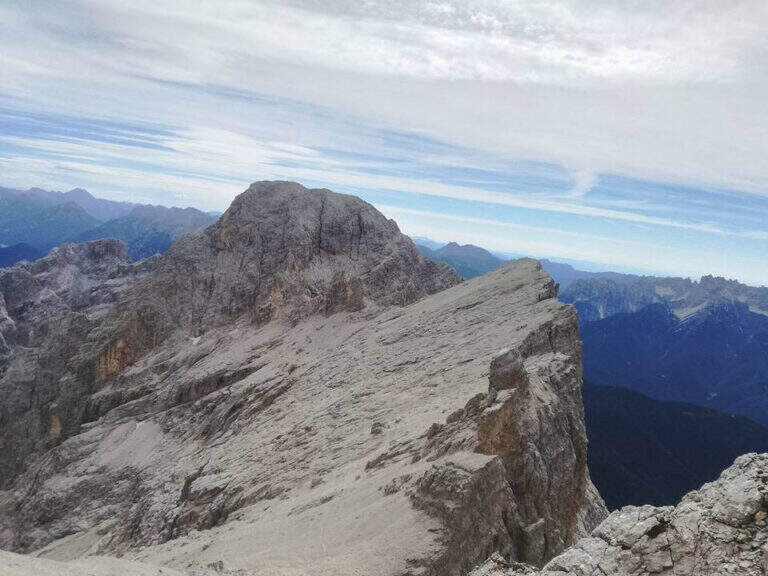
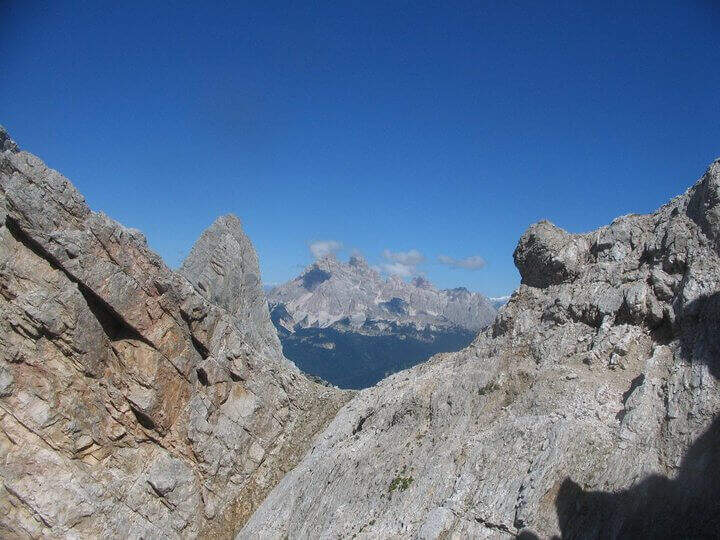
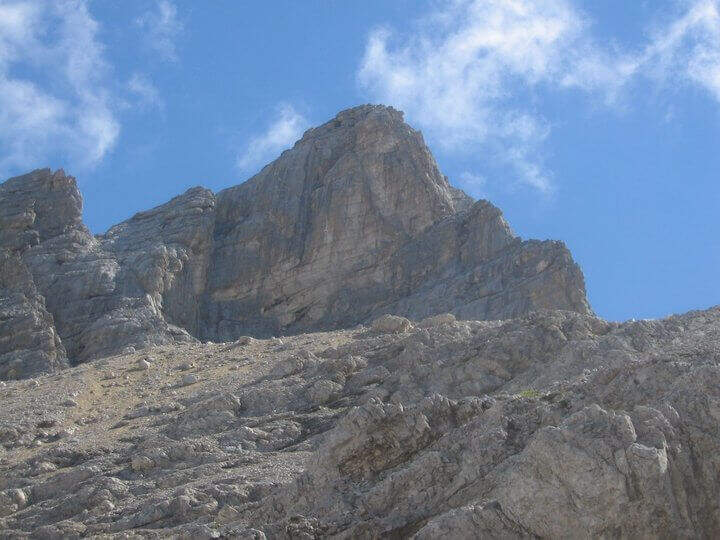
    The Sentiero Attrezzato degli Alpini in Forcella Jau Tana, in the Marmarole Group, is a challenging itinerary: high altitude difference, wild and unspoilt environment. The equipped strokes are of medium-low difficulty, but the long stretches are not protected and must be avoided absolutely with bad weather.

    ▲Approach

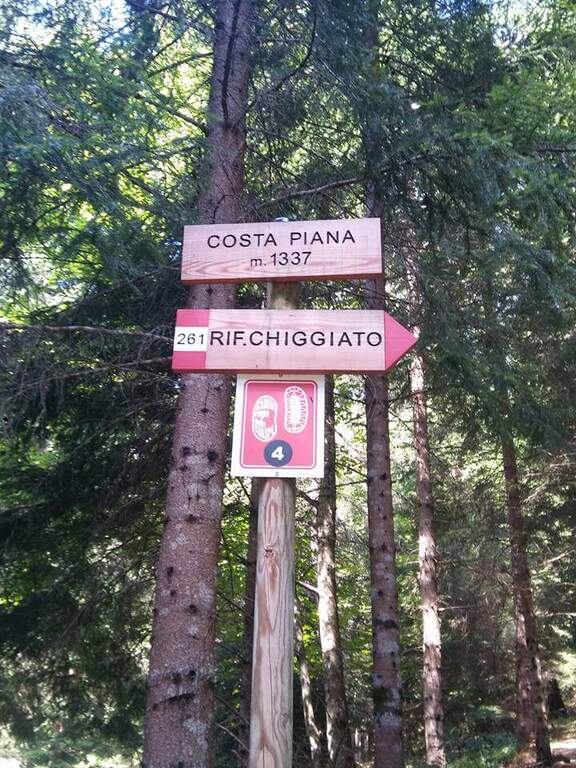
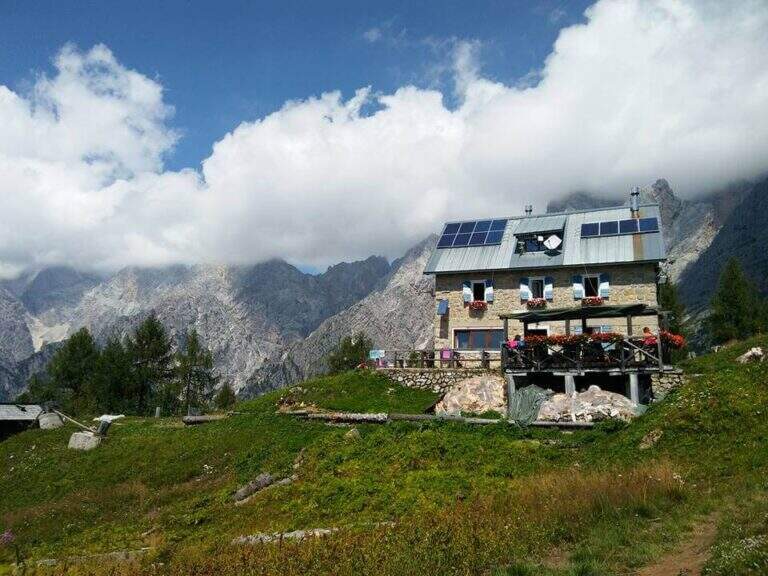
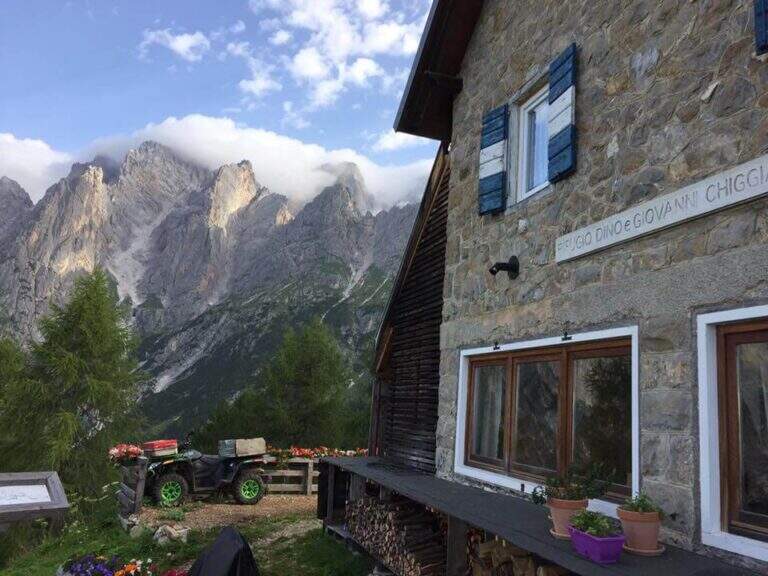
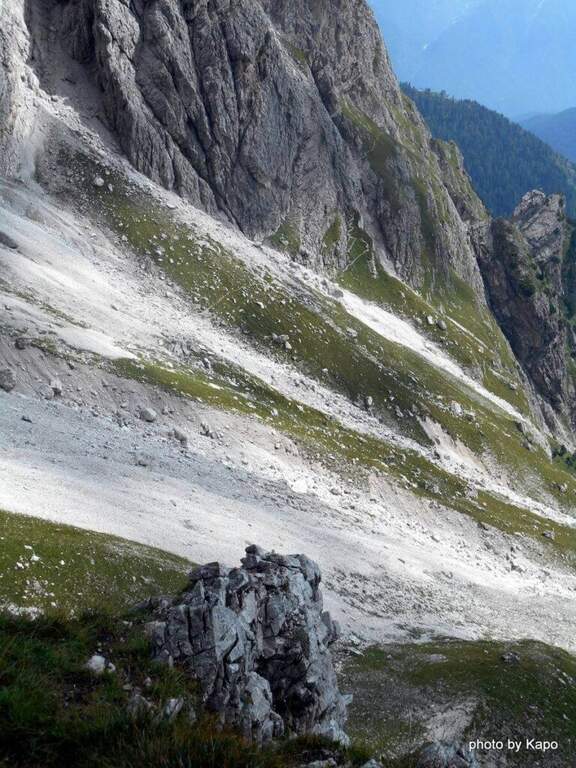
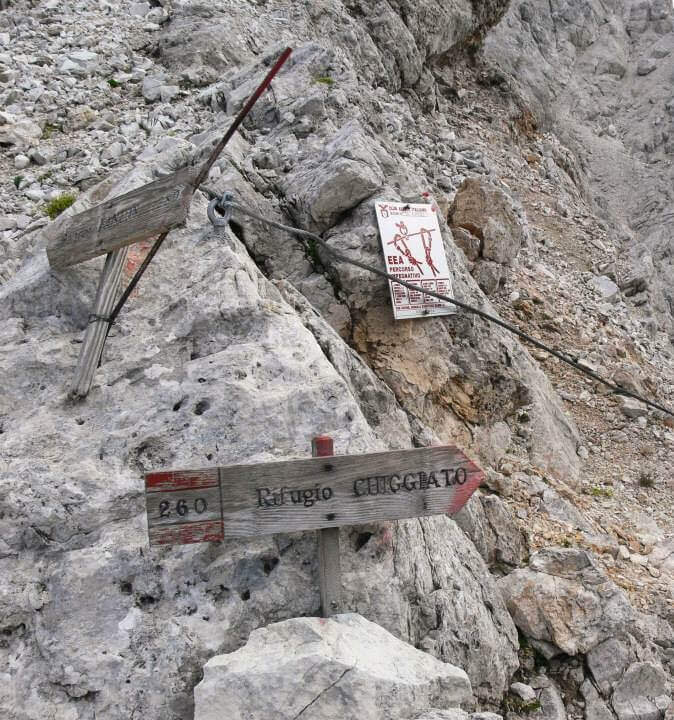
    It starts from the resort Stua, near Calalzo di Cadore (BL). In Calalzo follow the signs for Pian dei Buoi, on a narrow but asphalted road, entering the wood towards Val d’Oten up to a crossroads 2,5 km from the center, where you take to the right and continue for another 2,5 km in the wood until the parking lot (open up Google Maps). From Stua (1555 m) follow the path 261, which climbs steeply in the forest to the bends towards the Chiggiato Refuge: you pass the resort Costapiana (1337 m, 30′ from the parking lot) and the locality La Serra, recognizable for a trip that recalls the passage of Pope John Paul II, up to the Chiggiato Refuge (1911 m, 2h from the parking lot). From the refuge you go north along the high street 5, signpost 260/262, to the Forcella Sacu, where you will meet a first easy passage equipped (1914 m, 15′ from the shelter, 2h15 total). From here the path changes character and begins to climb north-east, cutting diagonally the south walls of the Cimon della Froppa with a succession of narrow cenges exposed; at the top, straight at the front, you can see the fork Jau Tana, the destination. Crossing a detritic valley meet the first metal equipment (1h by Forcella Sacu, 3h15 total).

    ▲The path

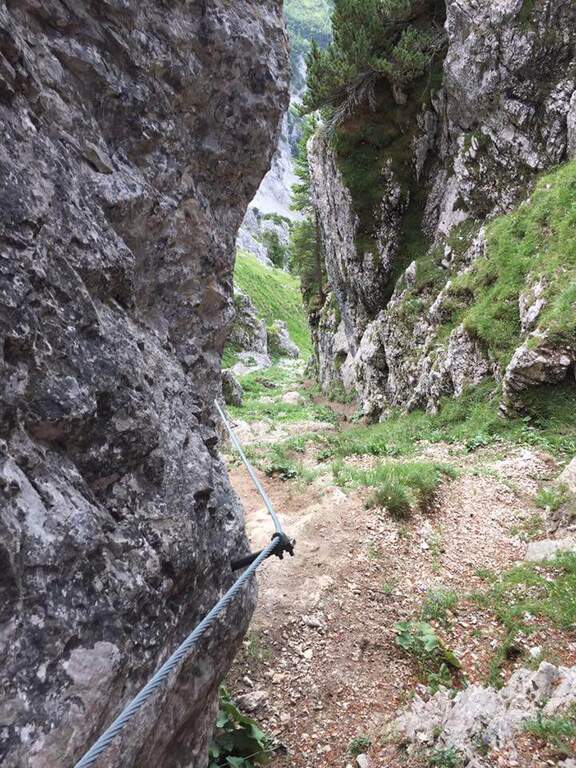
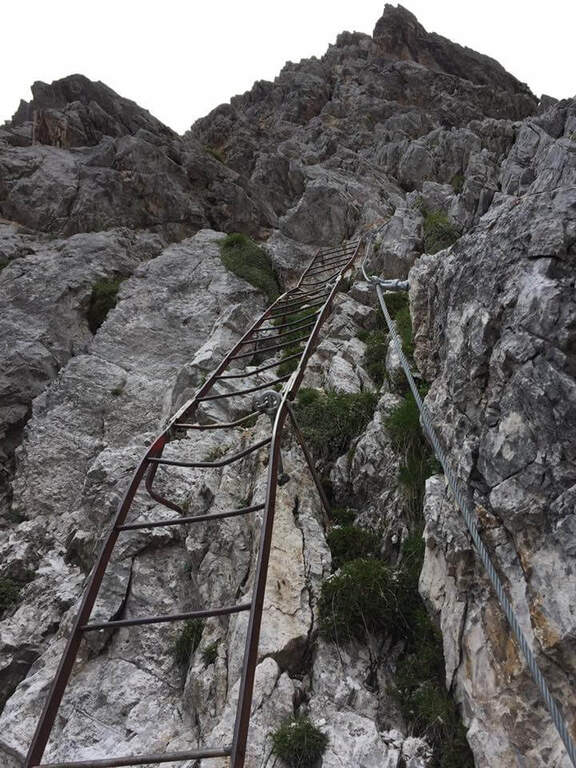
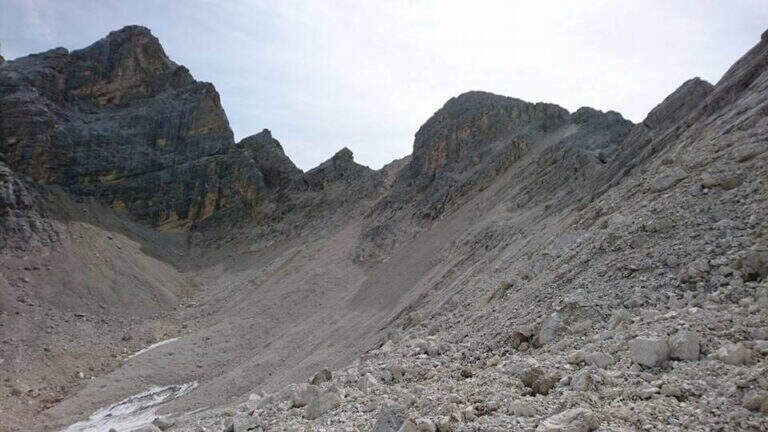
    There are about twenty meters of rocks without particular difficulty and you reach a first metal staircase resting; the ropes then help to climb up the canal, entering the throat that leads to the fork. After a second ladder, a corner is around and climbs towards the fork, with typically easy stretches alternating with stretches of unprotected and rather exposed path, to be faced with caution. In the upper part of the valley you climb on the right side without crossing it, with few equipment, until you reach the fork after a long and constant climb (1h from the attack, 4h15 total). The environment is wild and imposing, with the Cimon della Froppa that stands out right. The route now bends right towards the Forcella delle Marmarole, where the descent begins: it cuts in half-coast the summits, with attention to the bottom not always stable, until the Forcella delle Foppe (2790 m), then a stretch of descent at times equipped leads to the Forcella Marmarole (2661 m, 1h15 from Forcella Jau Tana), with in front of the Cresta degli Invalidi. The difficulties, however, are not finished: the descent continues along the Vallon del Froppa, a steep canyon with an unstable bottom, equipped in the first meters and followed by about 20 minutes on a steep and exposed background to be covered with great attention. At the end of the wreath we start on path 262, where the difficulties — and with them the equipped path — end (1h from Forcella Marmarole, 6h30 total).

    ▲Character and difficulty

    The equipped sections do not have any technical difficulties: the real difficulties are the long stretches not protected on unstable background, in particular the connection section at altitude and the descent in the Vallon del Froppa. It is a physically demanding itinerary, in a wild and unpopular environment.

    ⚠ Long stretches not protected on unstable and infido background, exposed, to avoid absolutely with bad weather. Development (17 km, 1498 m of altitude difference, 8h15) requires excellent physical preparation, experience and stable weather.
    ▲Period and safety

    High mountain summer itinerary (max. 2790 m), reserved for trained and experienced hikers, autonomous on unstable and unprotected terrain. The detritic background and exposure impose constant prudence.

    ▲Discipline

    Follow the path 262 downhill towards the south (right) to the Forcella Sacu and then back, along the approach path, to the Chiggiato Refuge and finally to the parking lot (1h45 from the graft on 262, 8h15 overall).

    ▲Gallery
    Technical data
    • DifficultyHard
    • RegionVeneto
    • GroupMarmarole
    • Approach3:15 h
    • Ferrata3:15 h
    • Itinerary (a/r)8:15 h
    • Hardware level difference200 m
    • Route difference1498 m
    • Max2790 m
    • Length17 Km
  • Sentiero Attrezzato Amalio da Prà al Monte Ciareido

    Sentiero Attrezzato Amalio da Prà al Monte Ciareido

    Vie Ferrate › Veneto › Belluno
    Sentiero Attrezzato Amalio da Prà al Monte Ciareido
    Moderately Hard● OpenDescriptionComplexityMapsGallery

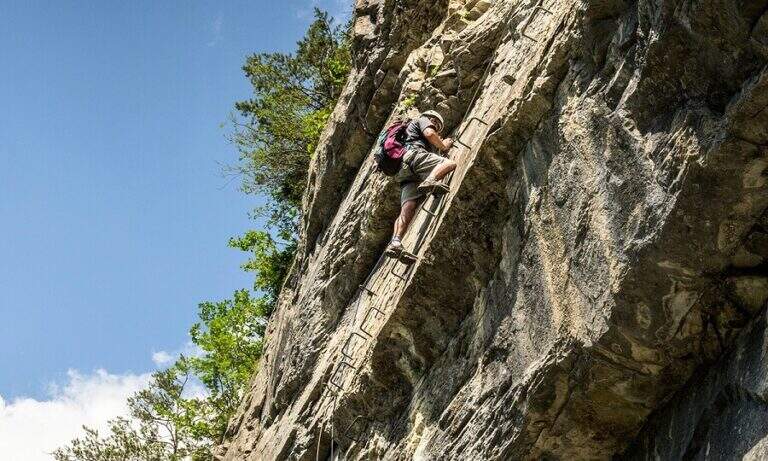
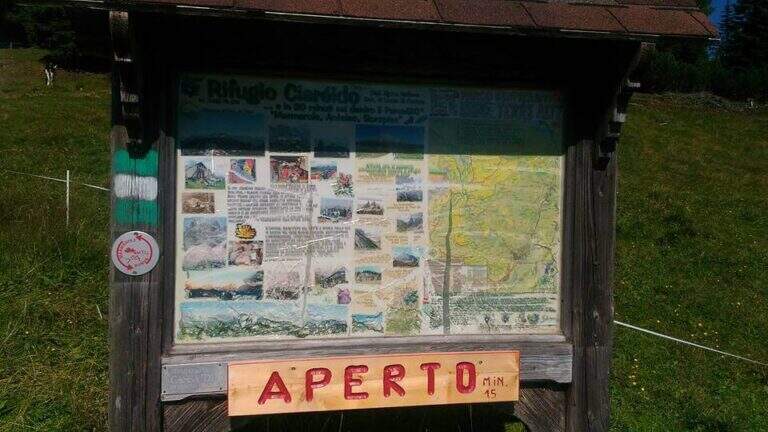
    Il Sentiero Attrezzato Amalio da Prà circumvents Monte Ciareido in the Marmarole, a much less popular dolomitic group of neighbors and for this wild and surprising. It is a medium difficulty ring: a couple of challenging equipped steps and, above all, exposed and unprotected traits that raise the overall commitment.

    ▲Approach

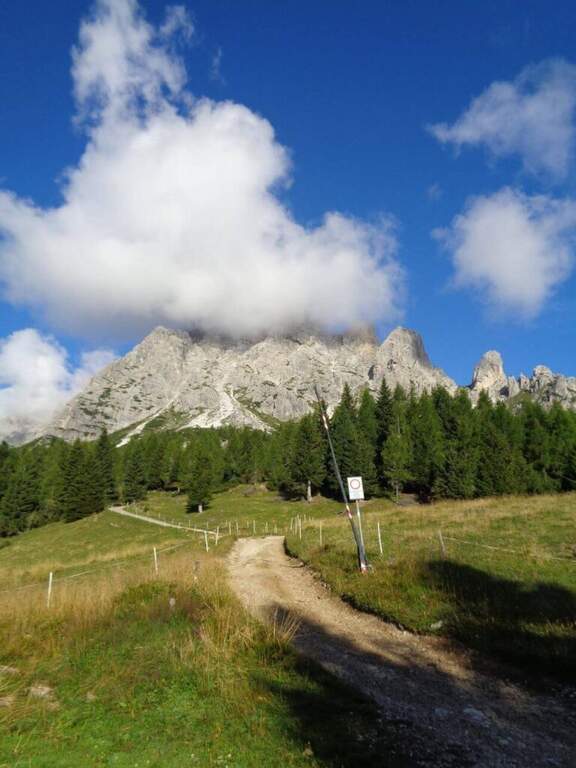
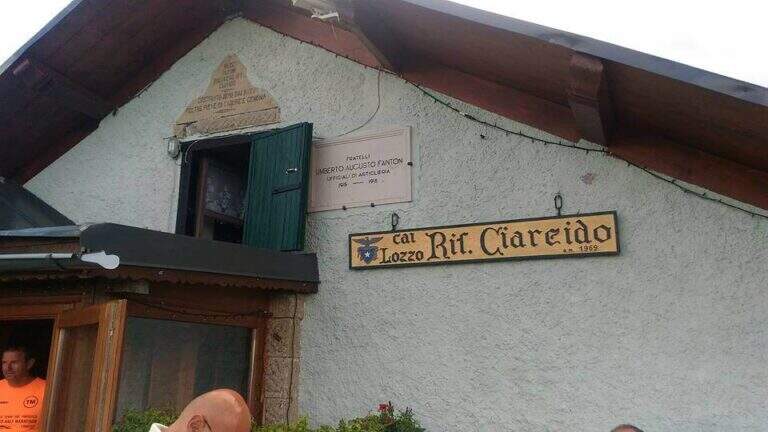
    It starts from the Parco to the Memory of Pian dei Buoi, above Lozzo di Cadore. Just before the' intersection between the SS52 and the SS51 a road on the left, with indications for the Ciareido and the Marmarole, rises for several kilometers and è narrow: in high season there is the senso unico alternating at times (verify on the site of the Municipality). You get to' last parking (100 places), not far from the Ciareido Refuge. Open road signs on Google Maps. Continue on the dirt road until the Rifugio Ciareido (1969 m, 15' from the parking lot); just beyond, at a crossroad, the destra is held on the CAI 272 towards the north, remaining on the floor until a crossroad where on the left a path with red signs climbs rapidly towards l' obvious fork between the Ciareido and a.

    ▲The path

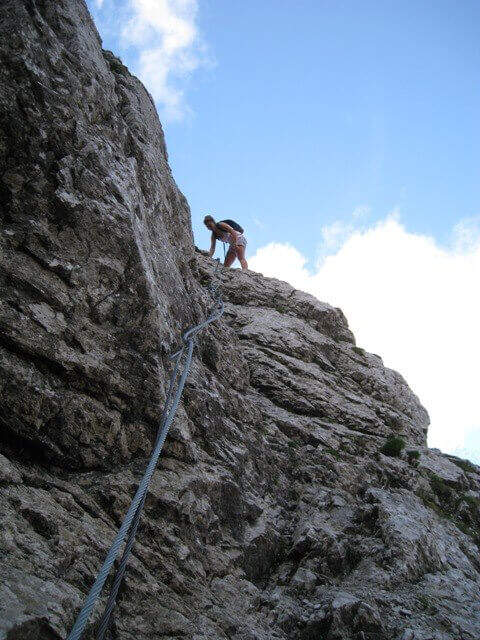
    From the fork you go down to the left and quickly meet the equipment: the cable acts as the runner downhill to bypass the Pian dei Buoi Tower first and then the east side of the Ciareido; characteristic a passage where the cable runs along a channel carved diagonally into the wall. The path descends steeply and bends to the left with some cenge almost always protected. Start the più tract; interesting: you descend a few meters in dis climbing on the east walls of the Ciareido, you walk a stretch of exposed and equipped path and you go up a vertical parete equipped – the più point; difficult of the track, however on moderate levels. A last canal with a few leaps closes the equipment; we continue halfway following the abundant signs to the fork on the south side of the Ciareido, where the equipped path ends (1h 30' from' attack, 2h 30' from parking).

    ▲Character and difficulty

    The equipped parts are quite easy, except for the downhill section and the vertical wall to rise, not trivial. L' greater commitment lies in the unprotected tracts and exposed, where they serve firm foot and attention: no excessively difficult passage, but not to underestimate.

    ⚠ Some sections remain often snow-covered even in late season: è prudent to bring peak and ramps. Maximum attention in exposed and unequipped steps.

    ▲Discipline

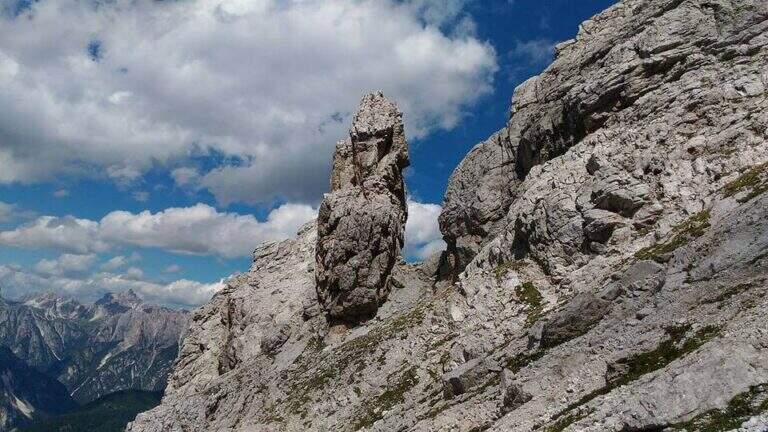
    From the end the parete south of the Ciareido (leaving behind the spire called « Il Pupo») in a very beautiful environment, descending towards the refuge. At a crossroads, you can go right to the Rifugio Baion-Boni (1828 m, 45' from the end), or continue bypassing the Ciareido to the Rifugio Ciareido dell' then go back to the parking lot (1h 15' from the end, 3h 45' overall).

    ▲To match

    Nearby, challenging, the Sentiero Attrezzato degli Alpini that climbs to Forcella Jau Tana: easy in the equipped but of strong character in those not protected, to reserve to experienced hikers.

    ▲Gallery
    Technical data
    • DifficultyModerately Hard
    • RegionVeneto
    • ProvinceBelluno
    • GroupMarmarole
    • Approach1h
    • Fully equipped1h 30'
    • Ring itinerary4h
    • Level difference100 m
    • Route difference550 m
    • Maximum2298 m
    • Length8,7 km
  • Ferrata Selvaggio Verde (Val Grande)

    Ferrata Selvaggio Verde (Val Grande)

    Vie Ferrate › Piemonte › Verbano-Cusio-Ossola
    Ferrata Selvaggio Verde (Val Grande)
    Moderately Hard● OpenDescriptionComplexityMapsGallery

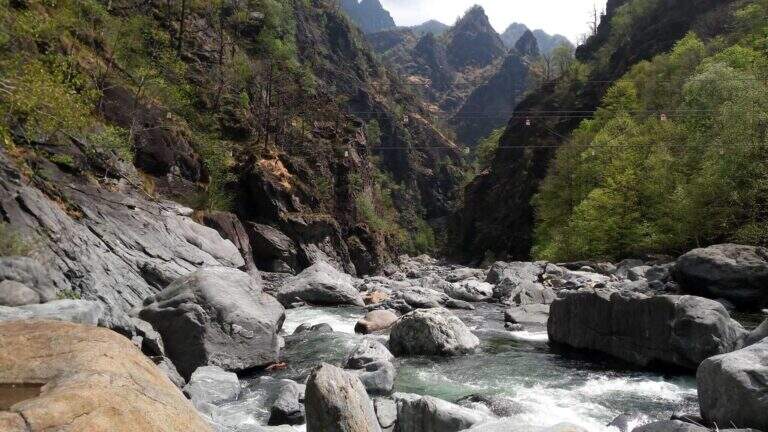
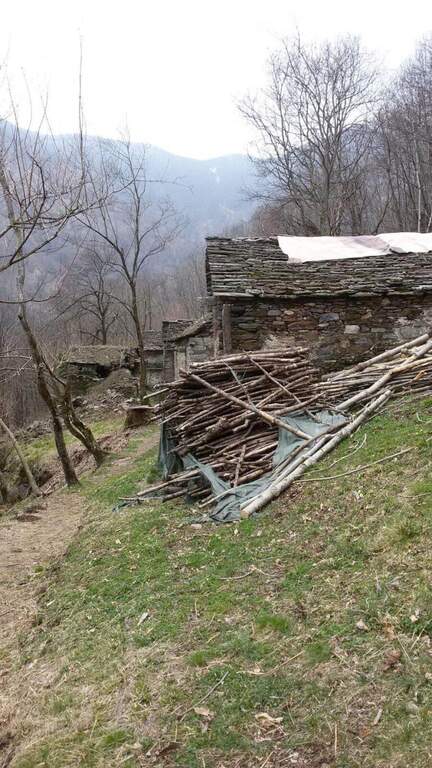
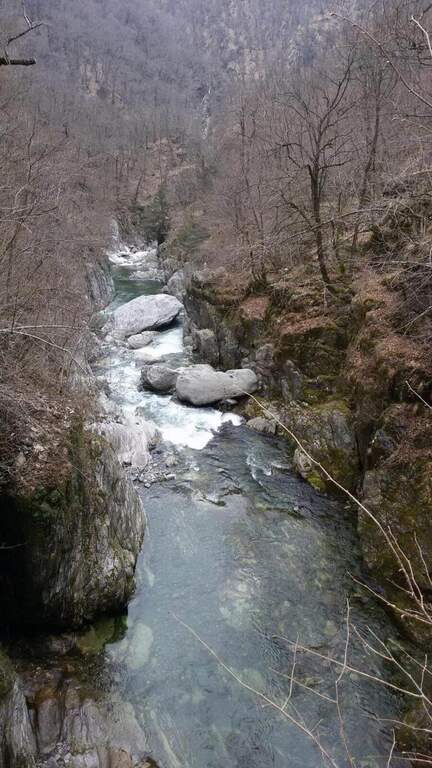
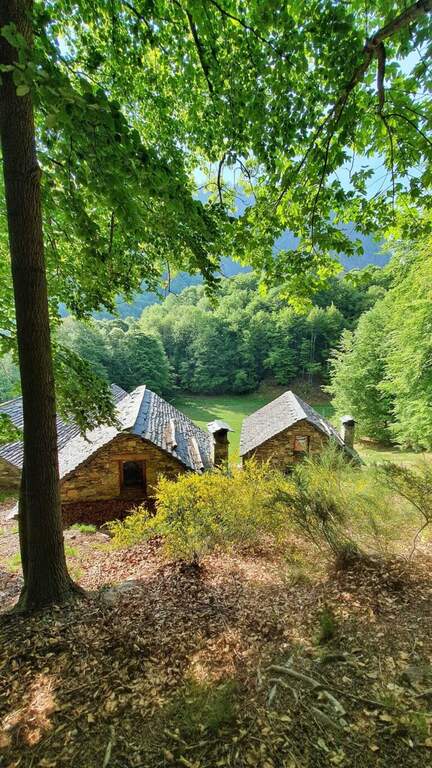
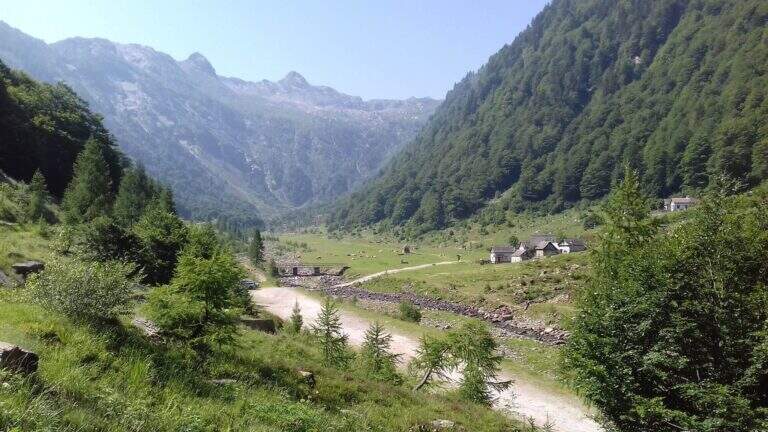
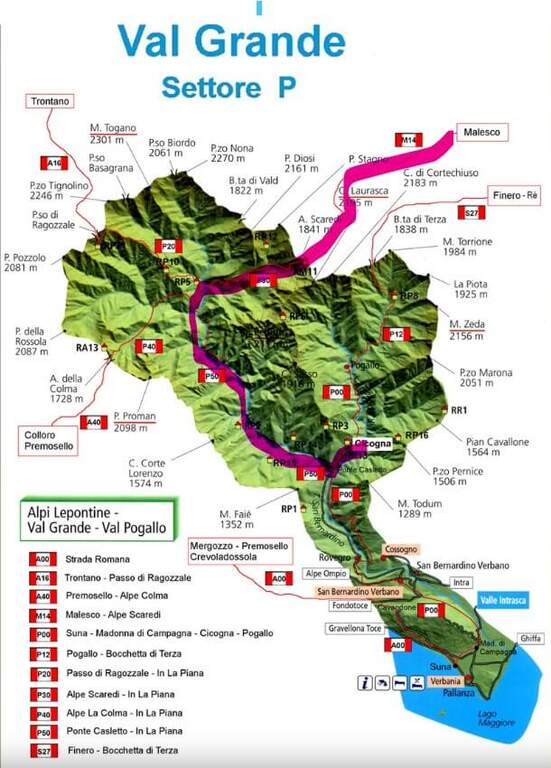
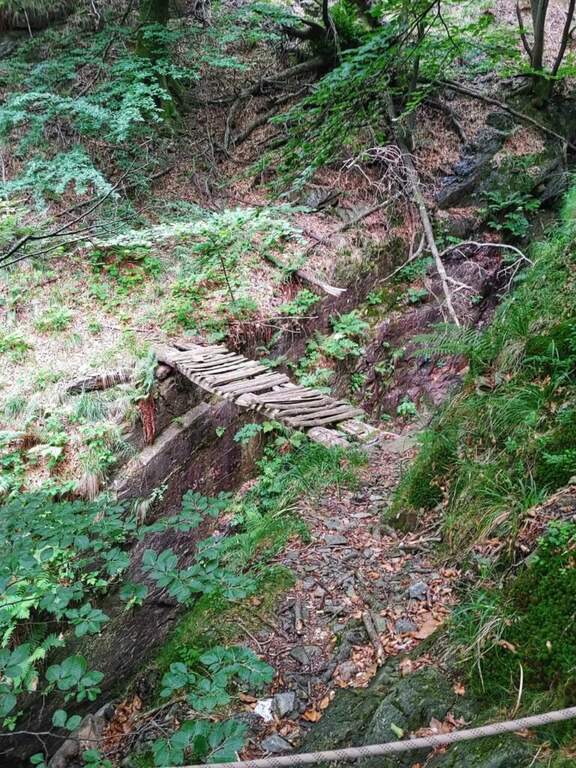
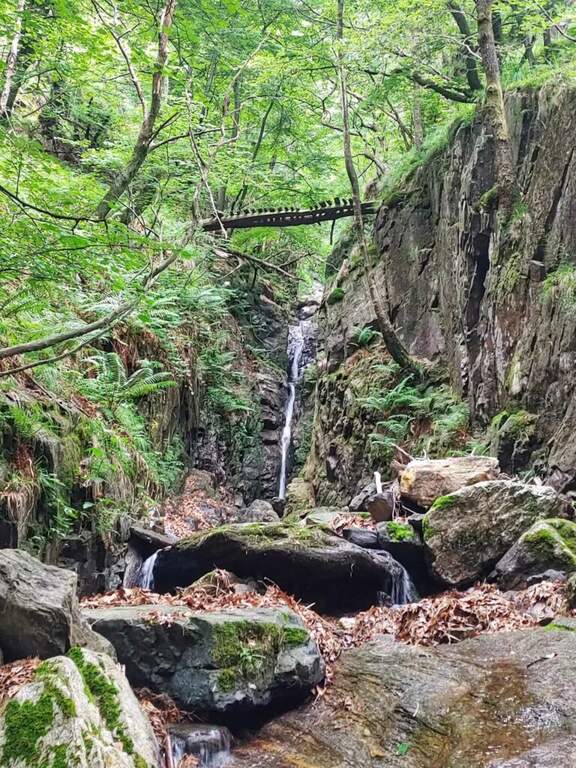
    Inaugurated in 2022, la Ferrata Selvaggio Verde along the long bore of the Rio Val Grande connecting with many stretches equipped «In the Piana» e «Ponte Velina». Non è né a modern né ferrata; a dolomitic way, but a long itinerary «selvaggio» in the heart of one of the più parks; beautiful in the Central Alps. Difficultly accessible on the day, it should be broken in two days using d' points; support along the route. The classification « always difficult to understand; is valid only for the equipped sections: to make it really challenging are the length and distance, for experienced and well trained hikers.

    ▲Approach

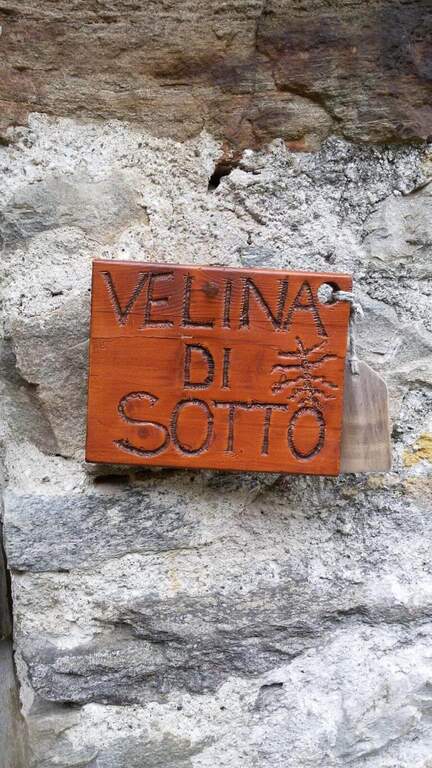
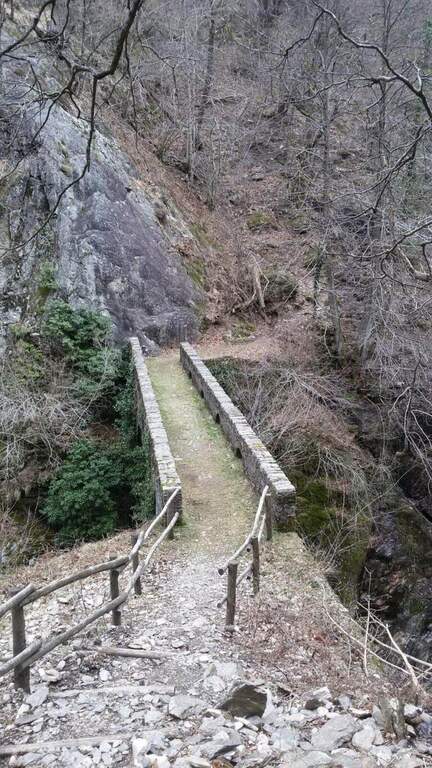
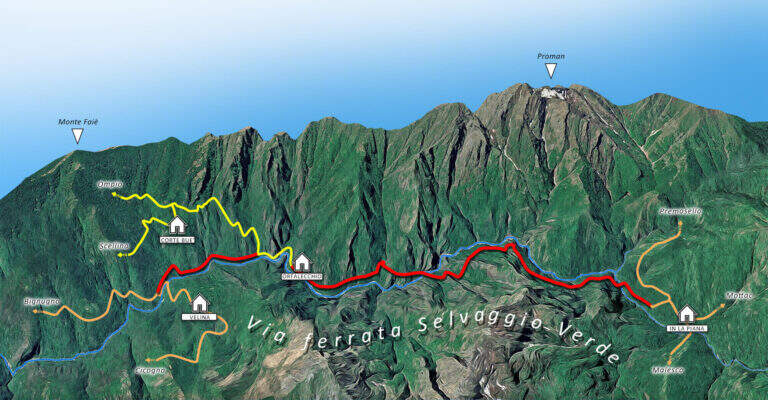
    L' itinerary can be arranged by più points; here we consider the departure from the village of Cicogna (VB) towards In La Piana and then down to the Loana Valley. Open road signs on Google Maps. The non è : l' ideal è have two cars. At the cemetery of Cicogna there is a dirt road for about fifteen minutes on a false plateau, over huts and alpine pastures, tillché it becomes a path that enters the park of the Val Grande with a series of uphills between ruins and old huts (some stretches già equipped for safety). Enjoy the Velina stream, you reach the ' Velina mountain pasture and then the Ponte Velina (about 3h from the parking lot), where the real route begins.

    ▲The path

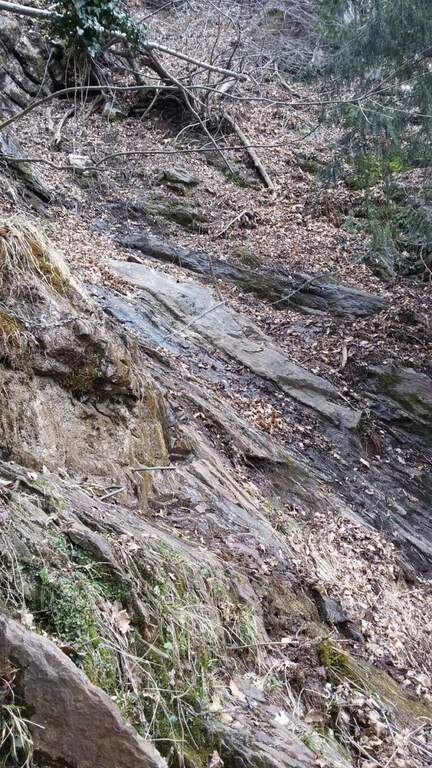
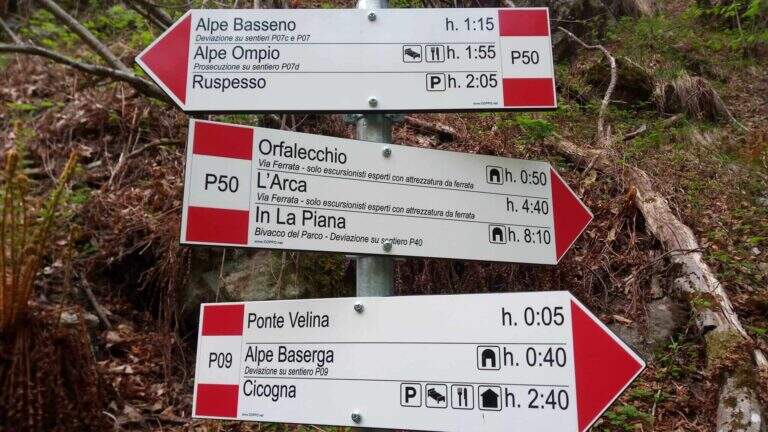
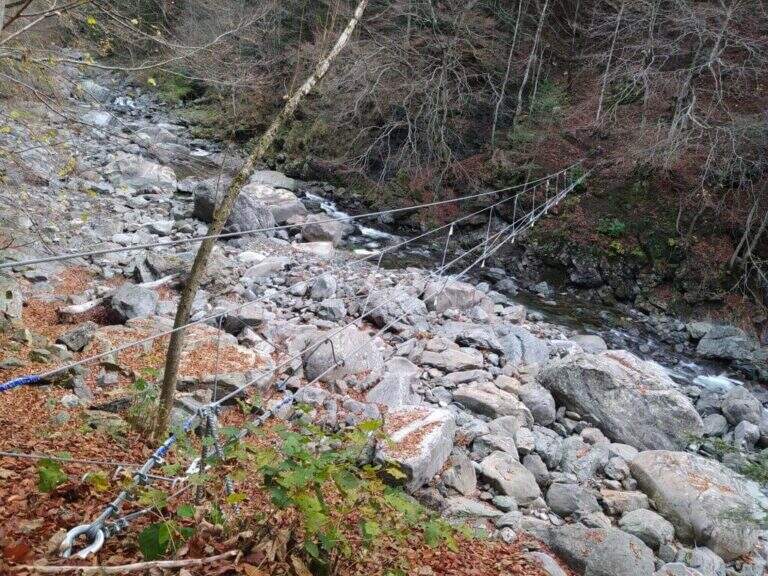
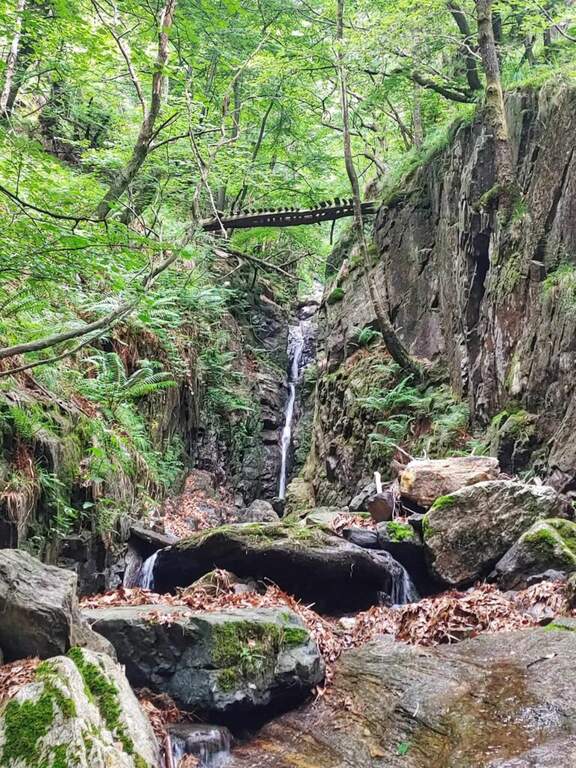
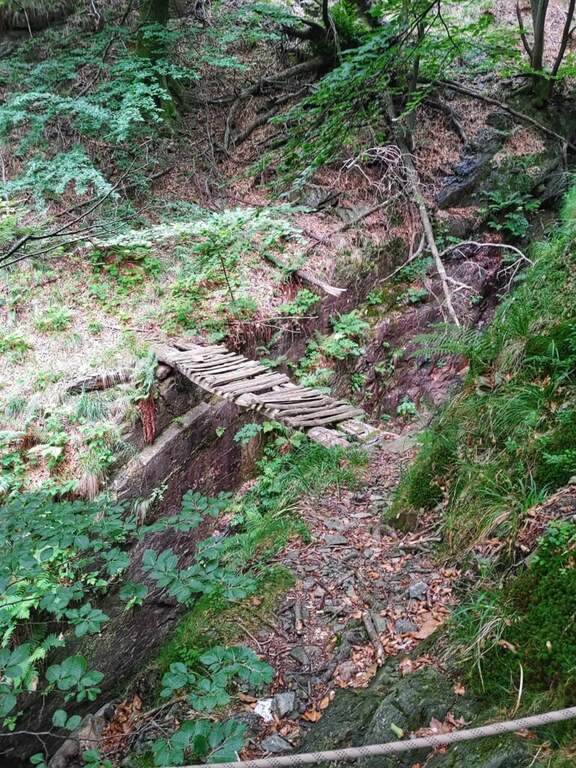
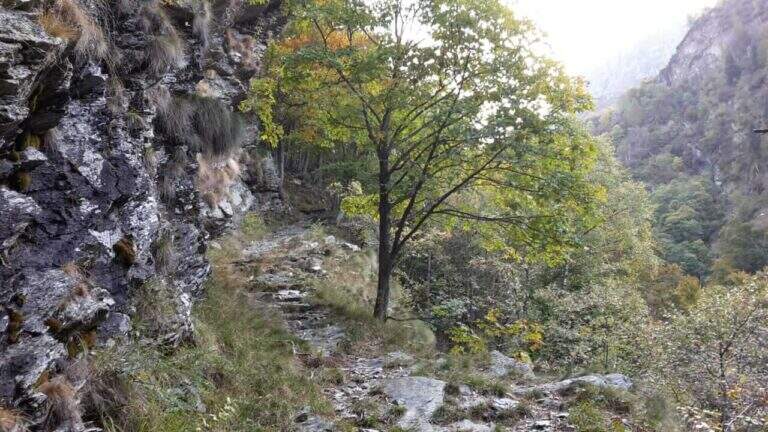
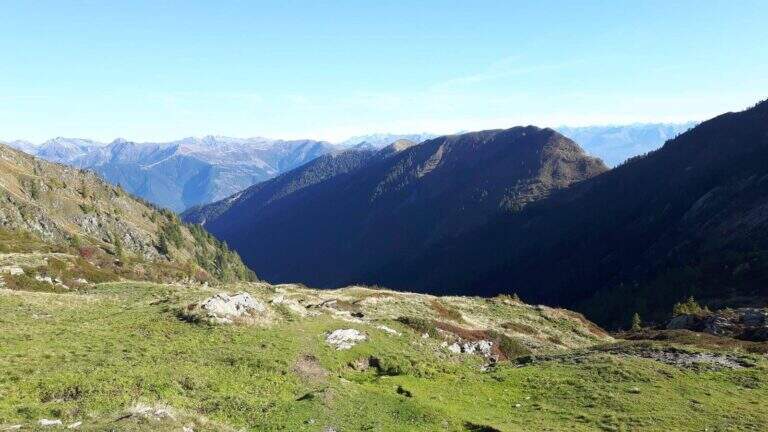
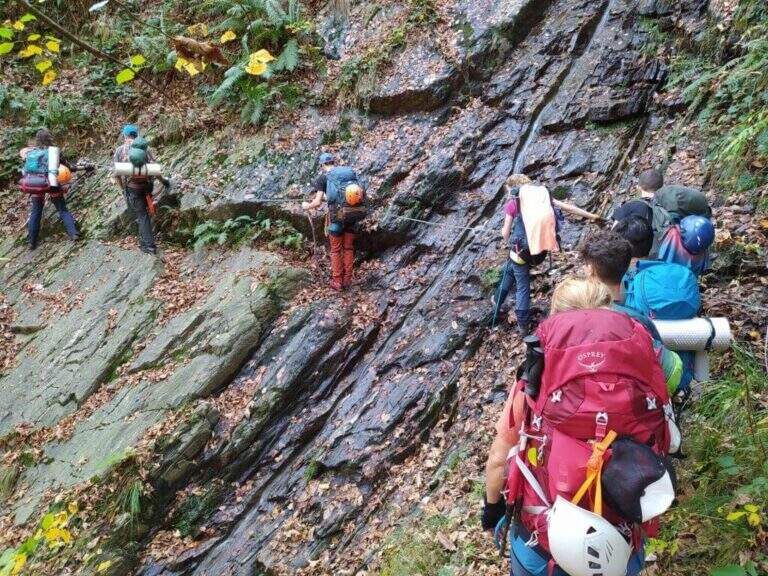
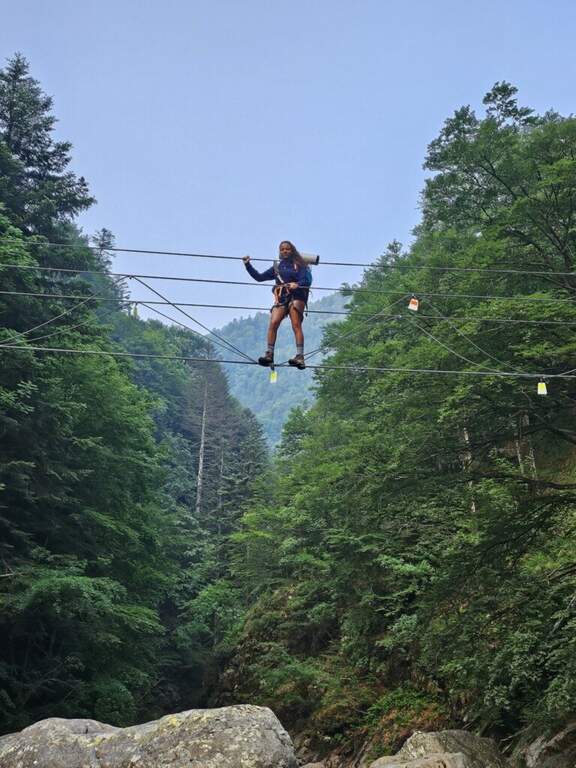
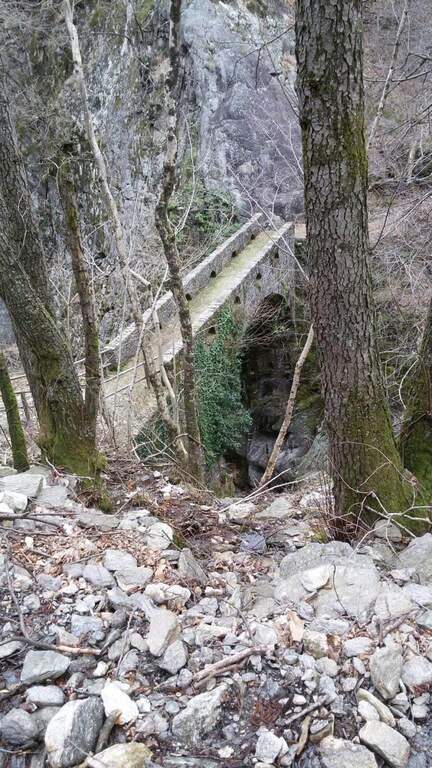
    The fully equipped stretch takes place between Ponte Velina (478 m) e Alpe In La Piana (895 m), faithfully following the Rio Val Grande in an isolated and wild environment. The distance is about 11 km for about 450 m of altitude difference, but among the continuous climbs the real difference is much greater. The equipped path is marked P50 and alternating stretches exposed to other exposed unprotected, with 2 suspension bridges, several wooden walkways rather old (to check its on-site hold), ladders and long stretches of path. About a third of the route, after 2h 30' from Ponte Velina, there is a stone bivouac in localities; Orphalecchio (590 m); just before a possible return route to Ompio and Sciellina, on the left, avoids the hole and the equipped sections. The road continues along the valley between very green walls, cliffs and exposed paths, with suspended bridges and a couple of cheeks; it is necessary to follow the red stamps and a trace at times hidden by the high grass. After about 7-8 hours from' start of the equipped section you reach Alpe In La Piana, where you can può bivacking (about 10h total).

    ▲Character and difficulty

    More than a ferrata, it is a long wild trekking with numerous stretches equipped, exposed and at times slippery.

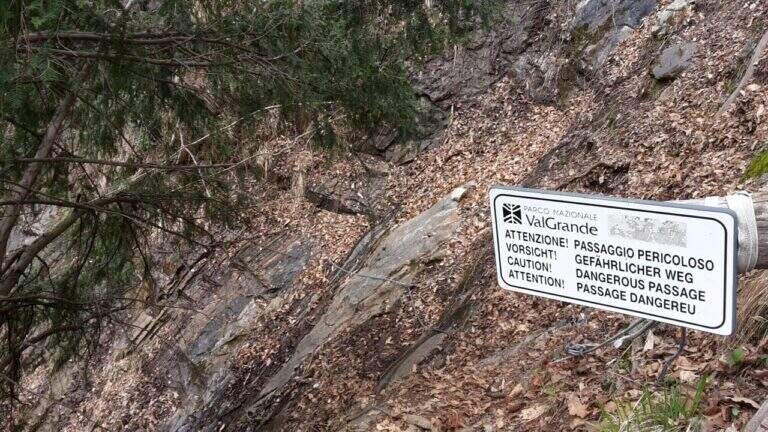
    ⚠ Itinerary long and isolated: the support points are not managed, so they serve food, sleeping bag and the necessary for the bivouac (the huts usually have stove, tables and tables). Cell phones have no cover on the whole route. Several wooden catwalks are old: check the seal on the spot. The area is a protected area (a section falls into the Monte Pedum Integral Reserve, in ZSC and ZPS of the Natura 2000 Network): do not leave waste.

    ▲Period and safety

    Given the absence of managed support points it is highly recommended to bring a map of the area to orientation (for cartography, map of Val Grande). Alternative starting points: Bignugno, Ruspesso or Sciellina; alternative return to Premosello or Mottac. The itinerary can also be routed in the opposite direction. An official GPS track is not available for this route.

    ▲Discipline

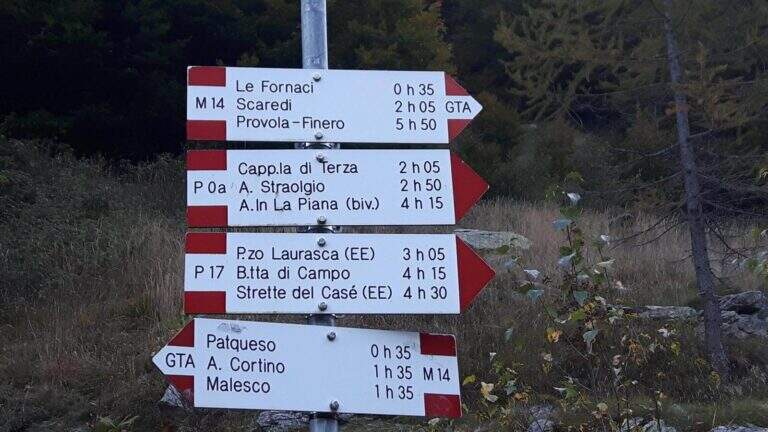
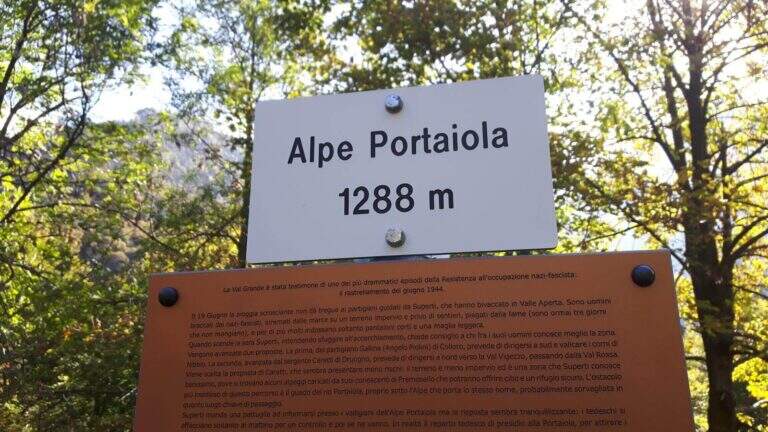
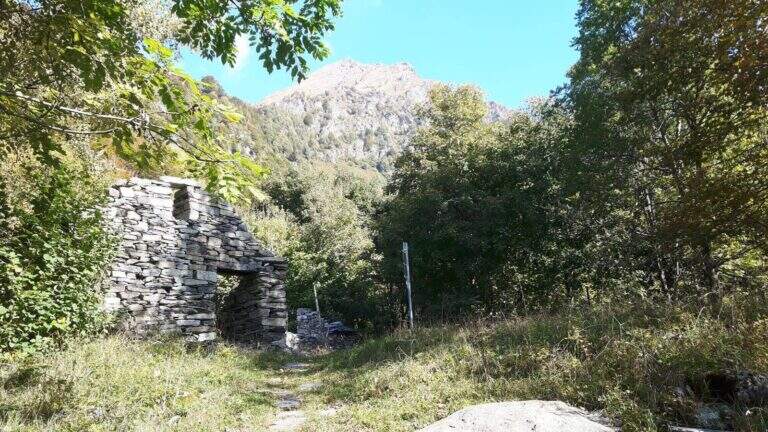
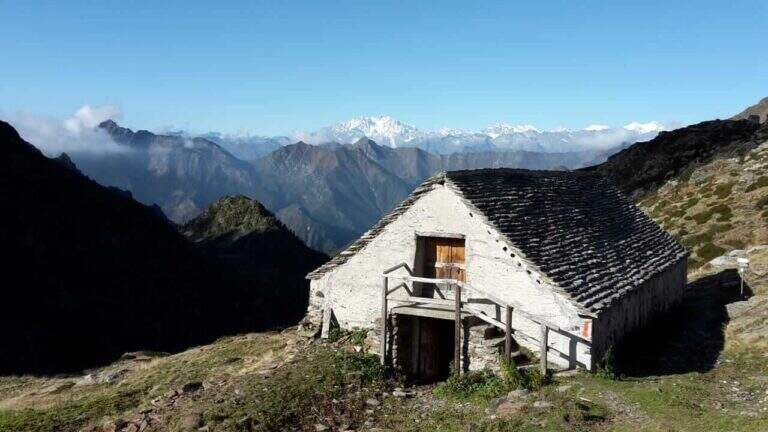
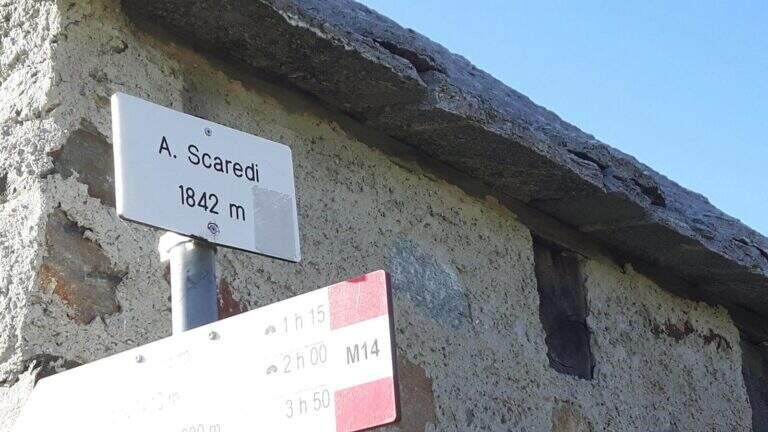
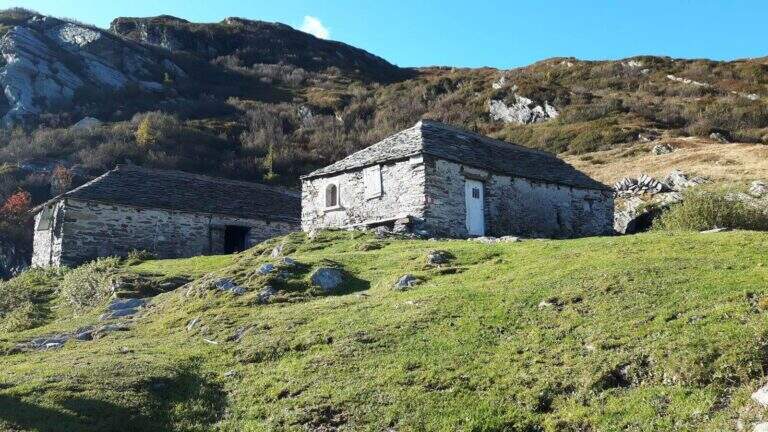
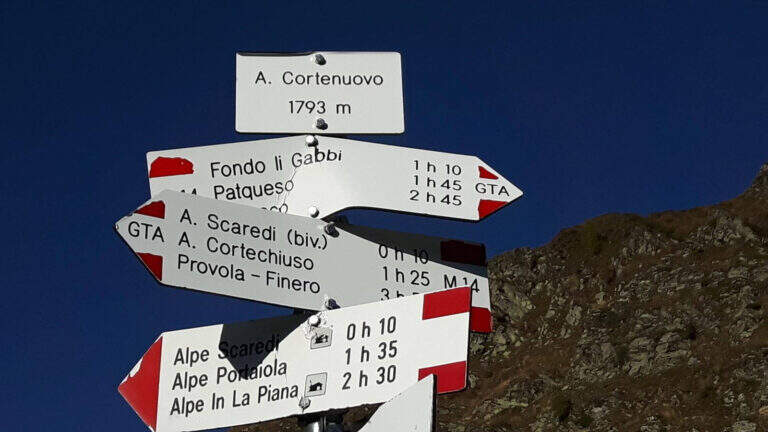
    Da Alpe In La Piana, per raggiungere il parcheggio in Valle Loana si calcolano circa 4h: si segue il sentiero P30 verso Alpe Scaredi e poi l'M14 verso Fondo Li Gabbi, dapprima in salita toccando Alpe Portaiola (1288 m, ruderi), Alpe Scaredi (1842 m) e Alpe Cortenuovo (1793 m), quindi in discesa (circa 14-15h complessive).

    ▲To match

    In Val Grande there are no real ferrates; wanting, between the streets of the Verbano and the Ossola signal the new Ferrata di Montorfano e la Ferrata Walserfall not far from Cicogna; further north the long climb of Ferrata at Pizzo d'Andolla; on Lake Maggiore Picasas e la Miccia near Baveno.

    ▲Gallery
    Technical data
    • DifficultyModerately Hard
    • RegionPiedmont
    • GroupVal Grande
    • Approach3:00 h
    • Ferrata8:00 h
    • Itinerary (a/r)15:30 h
    • Hardware level difference450 m
    • Route difference1500 m
    • Max1842 m
  • Ferrata Badde Pentumas

    Ferrata Badde Pentumas

    Vie Ferrate › Sardinia › Nuoro
    Ferrata Badde Pentumas

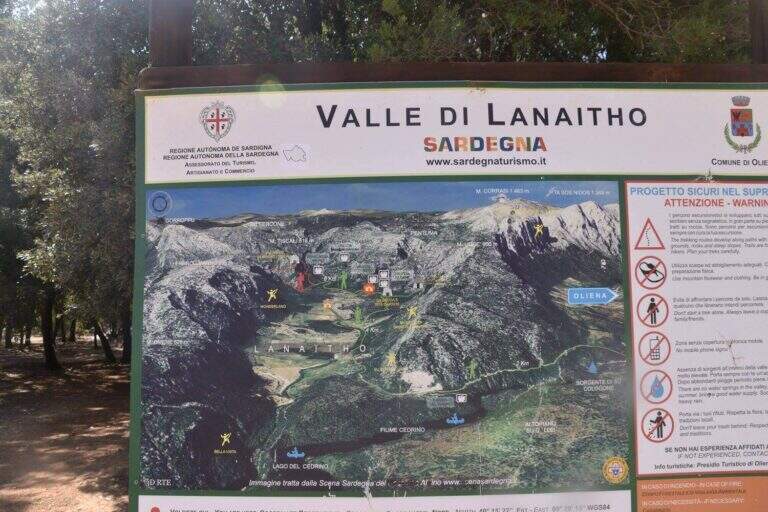
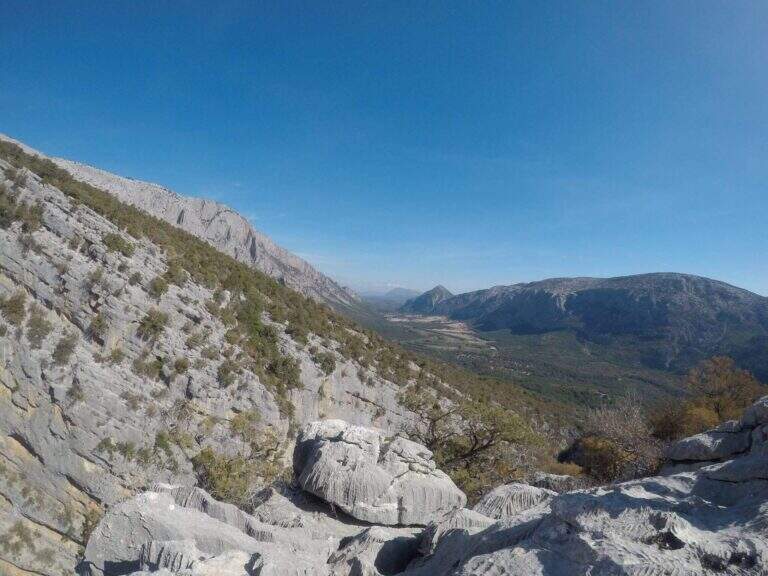
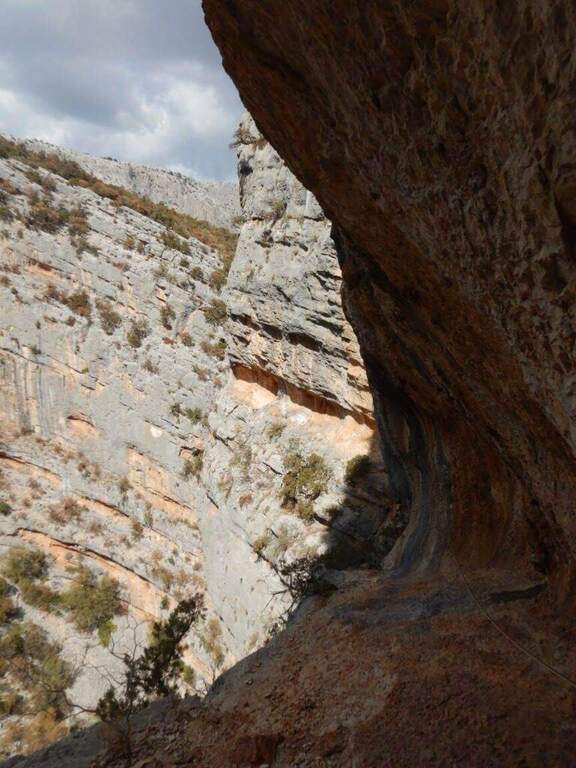
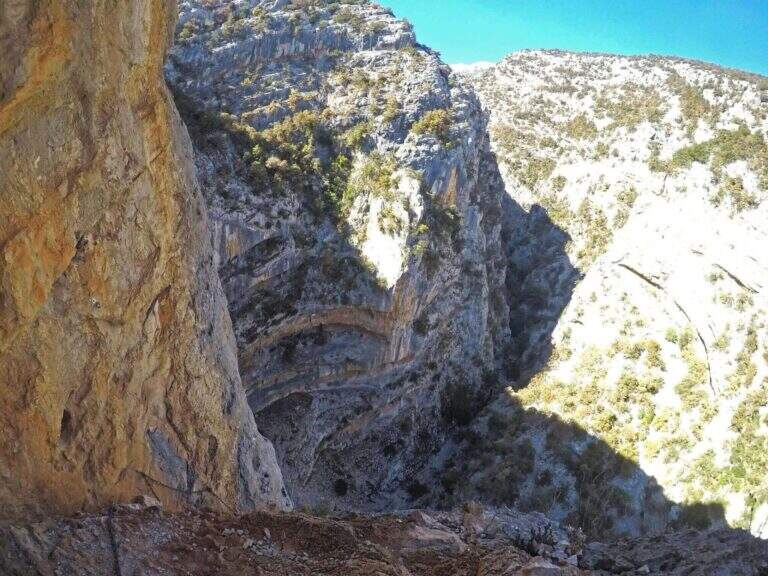
    Una ferrata che si snoda tra cenge e traversi sul lato destro del Canyon di Badde Pentumas, nel cuore selvaggio della Valle di Lanaittu. L’ambiente e maestoso e l’attrezzatura, sostituita di recente, e ora in ottimo stato; restano pero alcuni tratti non protetti e passaggi molto esposti che ne fanno una via impegnativa.

    ▲Approach

    Da Nuoro si procede verso Oliena e poi in direzione Dorgali; alle indicazioni per Su Cologne si svolta a destra e, poco prima del piazzale della fontana, si imbocca a destra una strada prima cementata e poi sterrata che entra nella Valle di Lanaittu. Lungo lo sterrato, raggiunta la seconda grande tabella di legno, NON si gira a destra verso il Rifugio Sa Oche ma si prosegue DIRITTO in direzione Su Ruvagliu / Tiscali (segnavia 409B) per circa 700 metri, fino a uno spiazzo di terra scura sulla destra con due grossi massi distanti una decina di metri, sormontati da ometti di pietra; tra i due c’e un albero con segnavia bianco-rosso. Si parcheggia qui e si segue l’ampio sentiero che entra nel bosco, costellato di ometti. Apri il punto di partenza su Google Maps.

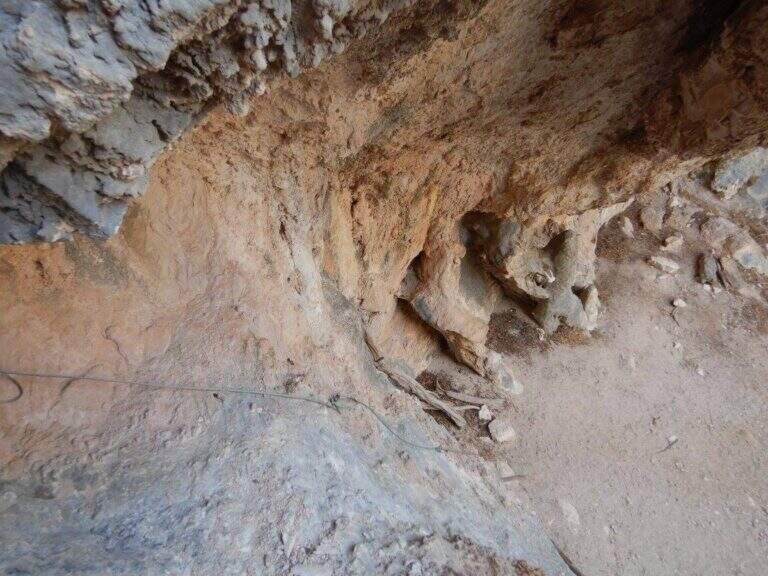
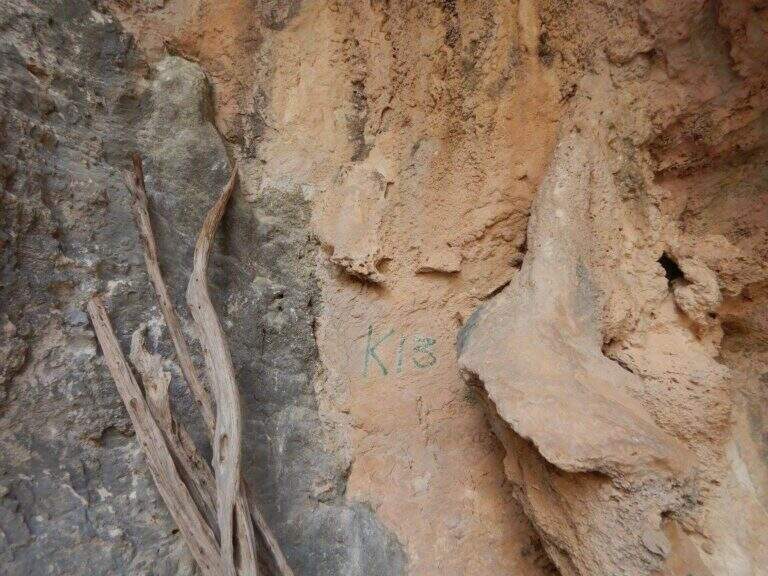
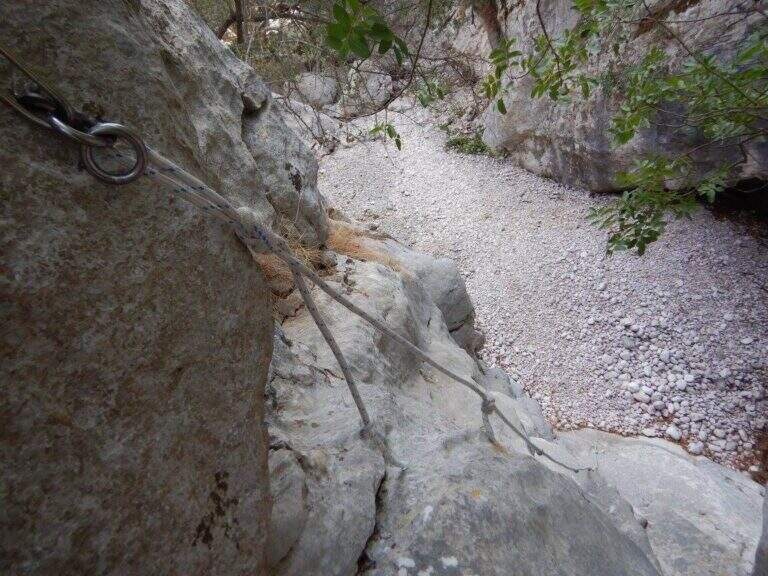
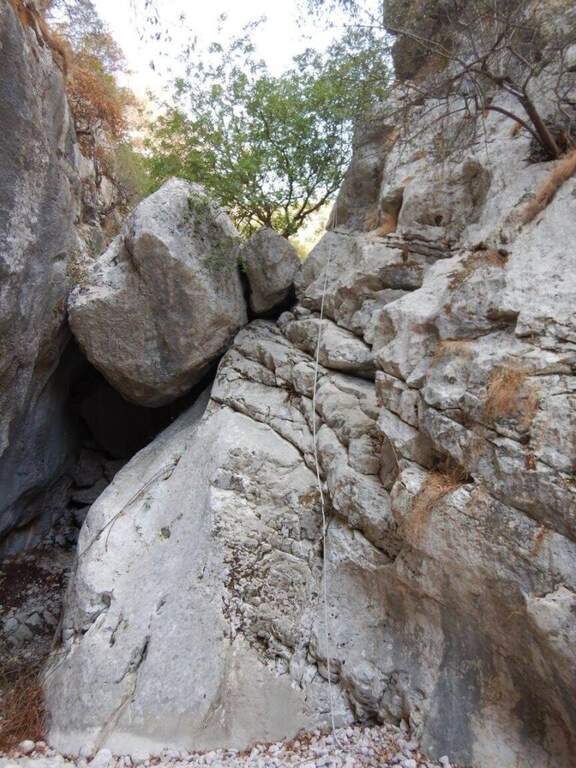
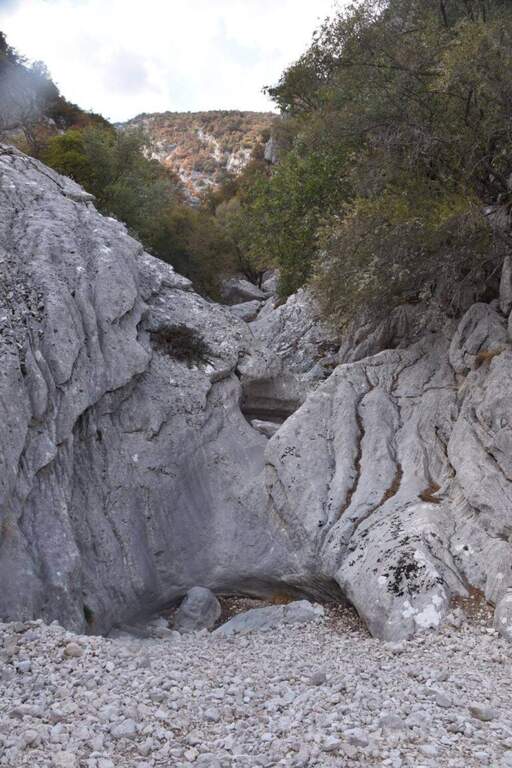
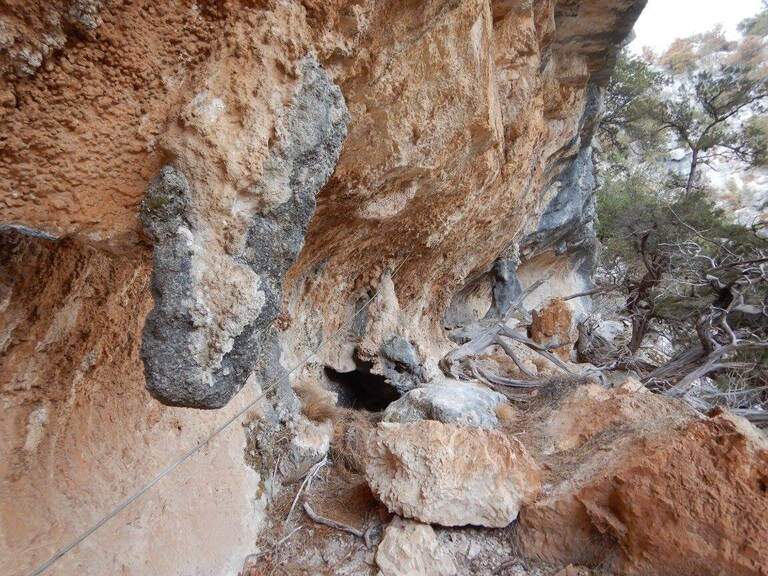
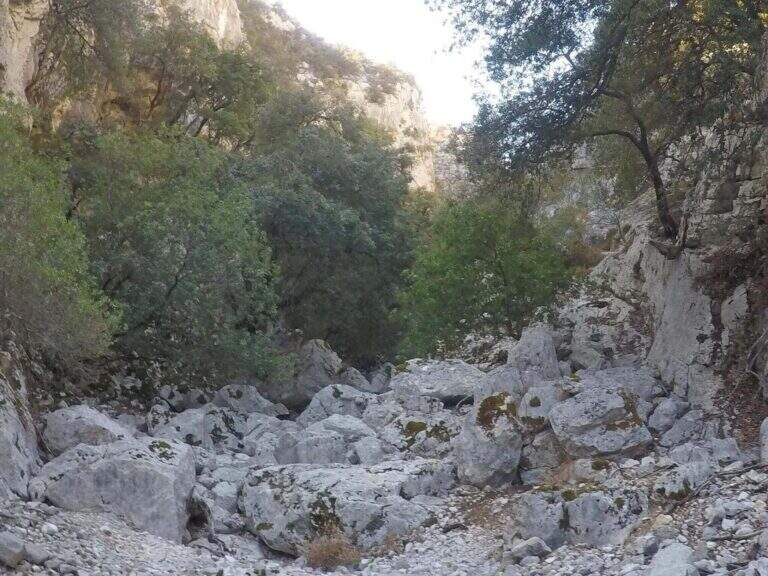
    L’avvicinamento prosegue scendendo verso un torrente, generalmente secco: dopo circa 10 minuti si cerca un bivio a destra non segnalato e man mano si seguono i segnavia 410. Dove il sentiero principale sale, si tiene la destra in discesa fino al letto del torrente; pochi minuti seguendo gli ometti e si entra nelle Gole di Pentumas. Inizia qui una lunga risalita nel canyon, 30-45 minuti tra roccette e brevi balzi, fino a un salto di una decina di metri oggi assicurato da una corda fissa. Si supera un primo anfiteatro roccioso con grotta (non e ancora la meta) e si raggiunge un secondo anfiteatro dominato da grandi pareti e tetti strapiombanti; una scritta verde indica l’attacco, vicino a un vecchio tronco dove un primo spezzone di corda segnala l’inizio della ferrata (circa 1 ora dall’auto).

    ▲The path

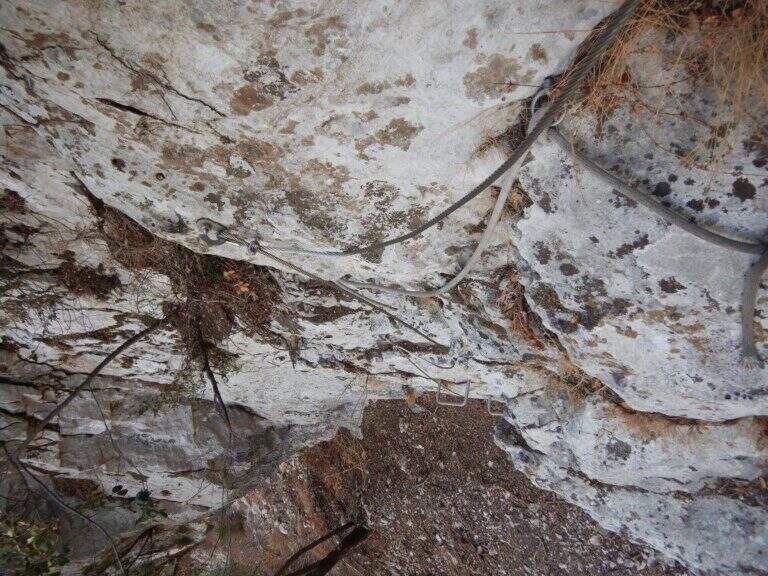
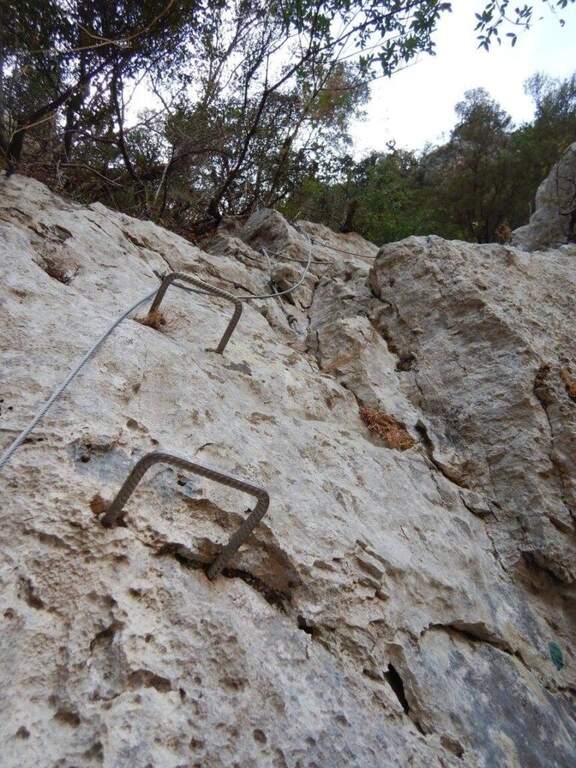
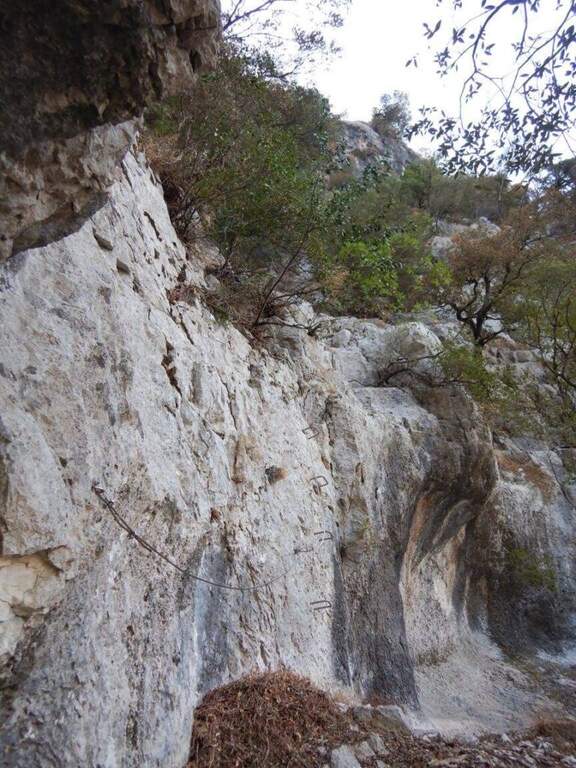
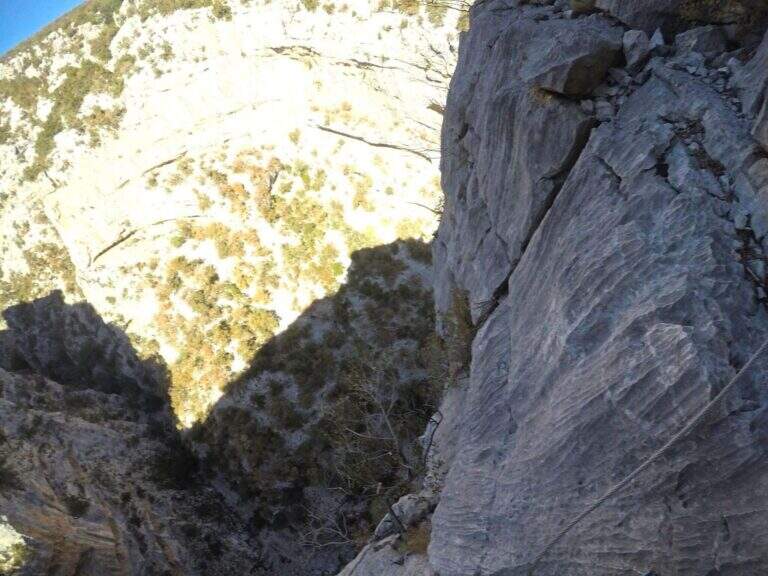
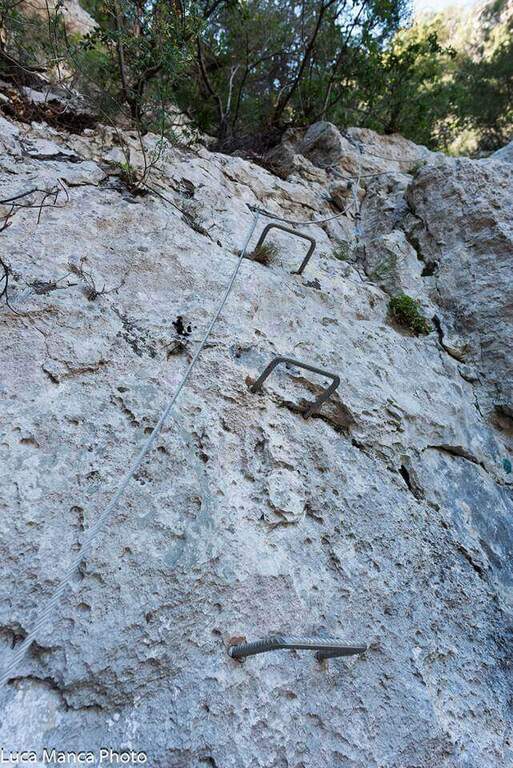
    Si parte subito con una placca verticale priva di infissi metallici: il fondo coperto di sabbiolina rende difficile arrampicare senza usare il cavo. Si sale a una prima serie di cenge non protette, con passaggi mai oltre il primo grado ma esposti, che richiedono piede fermo. Segue una nuova placca verticale, questa volta con alcune cambre, verticale nei primi metri e poi piu appoggiata. Dopo una cengia terrosa si affronta un breve ma impegnativo traverso a sinistra e un tratto di collegamento piuttosto esposto lungo le cenge; presso un albero con una pietra incastrata riprendono le attrezzature. La via prosegue su una lunga cengia attrezzata, molto esposta, che si restringe fino a diventare traverso. Dove la ferrata riprende, una grossa catena sostituisce il cavo nella sezione piu adrenalinica: un traverso orizzontale esposto verso sinistra porta a un diedro; dopo i primi metri verticali si supera uno strapiombo impegnativo, aiutati da una cambra, in forte esposizione, fino a un traverso a sinistra e a un esposto spigolo da aggirare. Una serie di traversi piu facili precede un tratto di cavo verticale, bello e arrampicabile, e un ultimo diedro impegnativo con alcune cambre che ne riducono le difficolta ma non l’esposizione. Gli ultimi metri aprono il panorama fuori dall’anfiteatro e chiudono la ferrata (circa 1 ora e 30 dall’attacco, 2 ore e 15 dal parcheggio).

    ▲Carattere e difficolta

    Tecnicamente non e durissima, se non in un paio di punti, ma alcuni traversi richiedono una discreta forza di braccia e assoluta assenza di vertigini, soprattutto nei tratti privi di protezione. In compenso il canyon offre un interesse paesaggistico di prim’ordine.

    ⚠ L’avvicinamento non e ben segnato e richiede spirito di orientamento; in via ci sono cenge non protette ed esposte. Portate la traccia GPS e affrontatela solo con buona forma fisica e nessun problema di vertigini.
    ▲Discipline

    Si risale completamente la parete fino alla sommita e si scende poi verso destra, seguendo un sentiero nel bosco che riporta sul letto del torrente percorso all’andata e quindi al punto di partenza (circa 30 minuti dal termine della ferrata, 2 ore e 45 in totale).

    ▲To match

    Sul versante tirrenico dell’isola; risalendo la costa, da Porto San Paolo si puo prendere il battello per Tavolara e percorrere la Ferrata degli Angeli. Verso la costa occidentale si scelgono la Ferrata del Castello di Medusa, la Ferrata Regina, la Ferrata di Giorre e la Ferrata Cabirol (tutte attorno a 1 ora e 45 – 2 ore e 15 di auto). Scendendo verso il Sulcis-Iglesiente ci sono la Ferrata di Gutturu Xeu e la Ferrata at the Pan di Zucchero.

    ▲Gallery
    Technical data
    • DifficoltaHard
    • RegionSardinia
    • GroupMonti Sardi
    • Approach1:00 h
    • Ferrata1:30 h
    • Itinerary (a/r)3:15 h
    • Hardware level difference170 m
    • Route difference500 m
    • Max726 m
    • Length8,5 Km
  • Ferrata Amalia al Jof Montasio

    Ferrata Amalia al Jof Montasio

    Vie Ferrate › Friuli-Venezia Giulia › Udine
    Ferrata Amalia al Jof Montasio

    ⚠ ATTENZIONE — VIA INAGIBILE. Dall’agosto 2020 la Società Alpina delle Giulie ha dichiarato la Ferrata Amalia inagibile per una frana sul traverso erboso dopo la Cresta dei Draghi: di fatto non è possibile proseguire fino al Bivacco Suringar e si deve rientrare ridiscendendo la ferrata. Verifica sempre lo stato aggiornato presso il CAI/Società Alpina delle Giulie prima di pianificare.

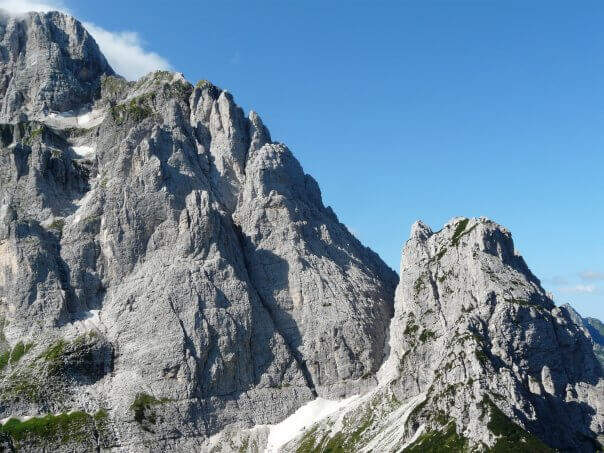
    La Ferrata Amalia (1957) è una storica e severa via di alta montagna sul Jof di Montasio (2754 m), la seconda cima delle Alpi Giulie. È un itinerario lungo e alpinistico, con tratti attrezzati alternati a lunghi passaggi su terreno esposto e instabile in un ambiente selvaggio e poco battuto.

    ▲Approach

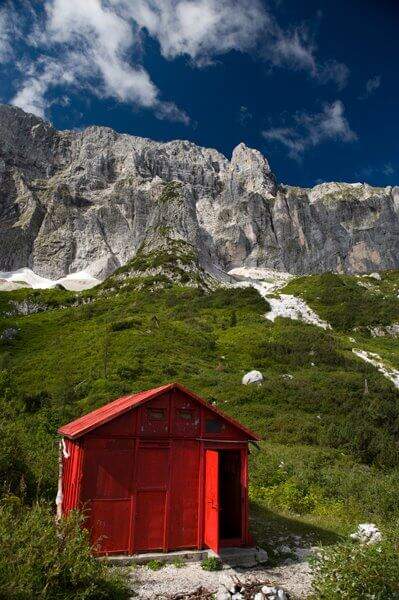
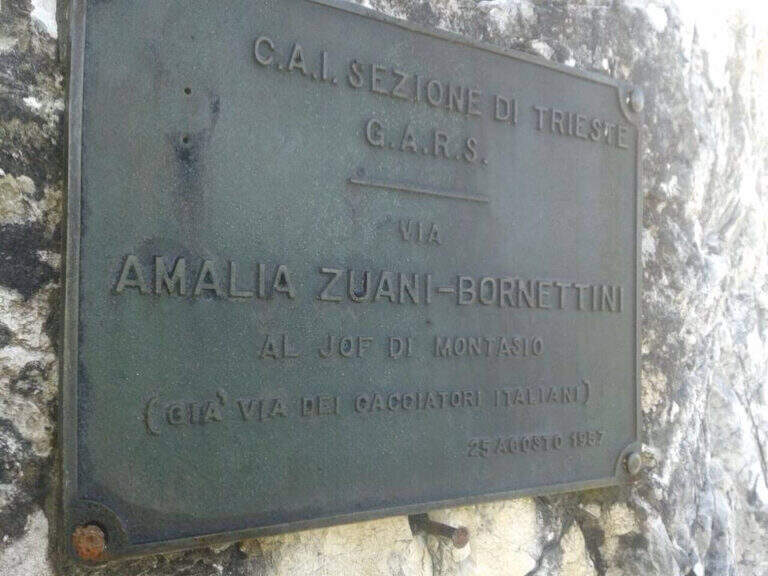
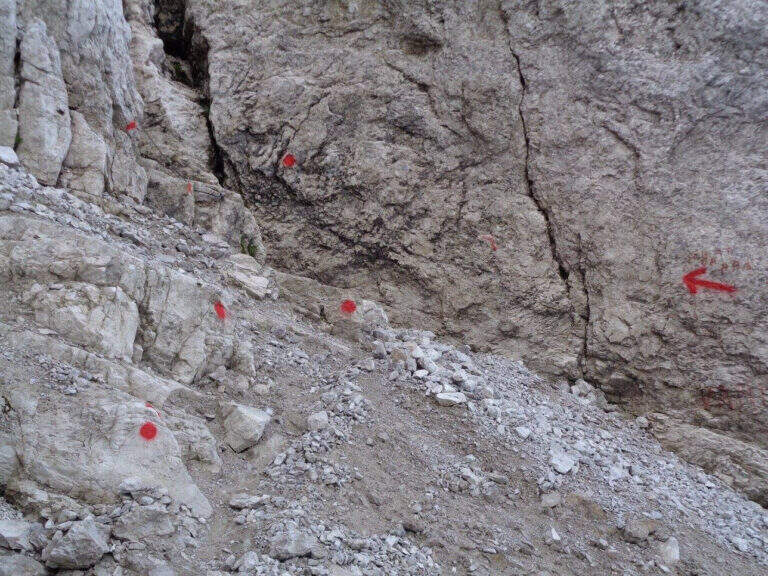
    Si parte dalla Sella di Sompdogna (1427 m): un breve saliscendi sulla carrareccia 611 porta al Rifugio Fratelli Grego, poi il sentiero sale tra mughi e rocce, con vista sul vallone dell’ex ghiacciaio del Montasio, fino alla targhetta metallica d’attacco (~1h30). Road signs →

    ▲The path

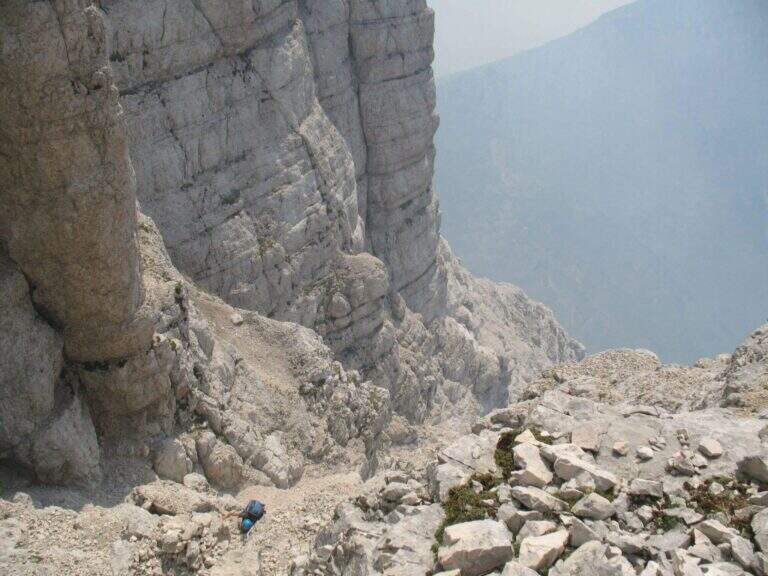
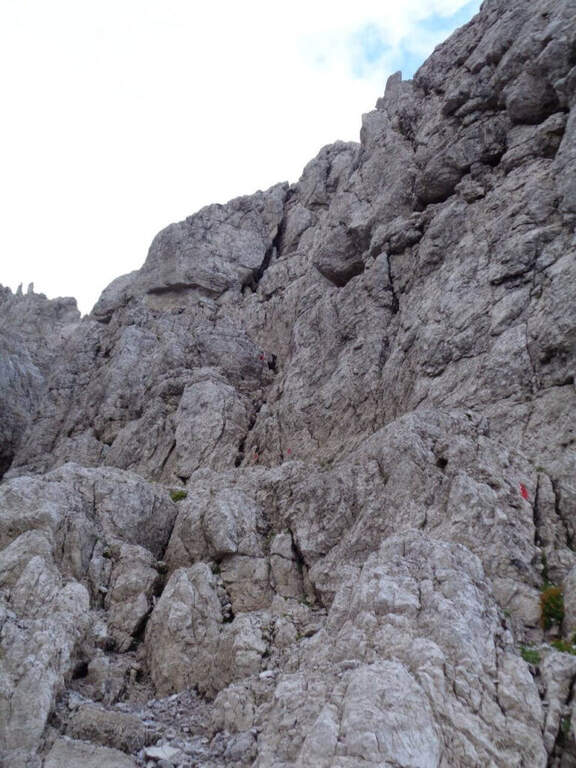
    Il primo tratto attrezzato alterna roccette verticali, balzi e brevi sezioni in libera, con traversi, fessure diagonali e due camini saliti con staffe; il passaggio chiave è una parete verticale superata con staffe e chiodi, seguita da un canalino esposto fino alla forcella che chiude la ferrata. Si risale poi il canalone sotto la Cresta dei Draghi e si percorre la stretta ed esposta cresta omonima, con un tratto in discesa, fino alla Grande Cengia e al Bivacco Suringar (2430 m) — è qui che la via è interrotta dalla frana. In condizioni di agibilità la via Findenegg, su ghiaino e roccette con un camino in libera, conduceva alla cresta finale e alla croce di vetta del Jof di Montasio (2753 m).

    ⚠ Anche al netto della frana, è un itinerario per esperti molto allenati: traversi a mezzacosta su terreno instabile non attrezzati, disarrampicata fino al II grado non protetta, nevai da attraversare, ambiente isolato. Consigliati bastoncini; il giro completo è lungo e può richiedere il pernottamento in bivacco.
    ▲Discipline

    In condizioni normali la discesa avveniva per la cresta nord verso Cima Verde e la Scala Pipan (~60 m di pioli su funi), poi alla Forca dei Disteis e all’Altopiano del Montasio verso il Rifugio Brazza. Allo stato attuale (via inagibile) si rientra ridiscendendo la ferrata.
    ▲To match

    Sul Montasio e nelle Giulie si trovano il Sentiero Attrezzato Ceria Merlone, la Ferrata Anita Goitan al Jof Fuart e la Ferrata della Vita.

    ▲Gallery
    Technical data
    • DifficultyHard
    • StatoInagibile (frana 2020)
    • RegionFriuli-Venezia Giulia
    • ProvinceUdine
    • GroupJof Montasio
    • Approach1:30 h
    • Ferrata2:30 h
    • Total itinerary11:00 h
    • Hardware level difference~530 m
    • Max Altitude2752 m
    • Length15 km
    • Opening1957
  • Ferrata al Canalone Belasa

    Ferrata al Canalone Belasa

    Vie Ferrate › Lombardia › Lecco
    Ferrata al Canalone Belasa

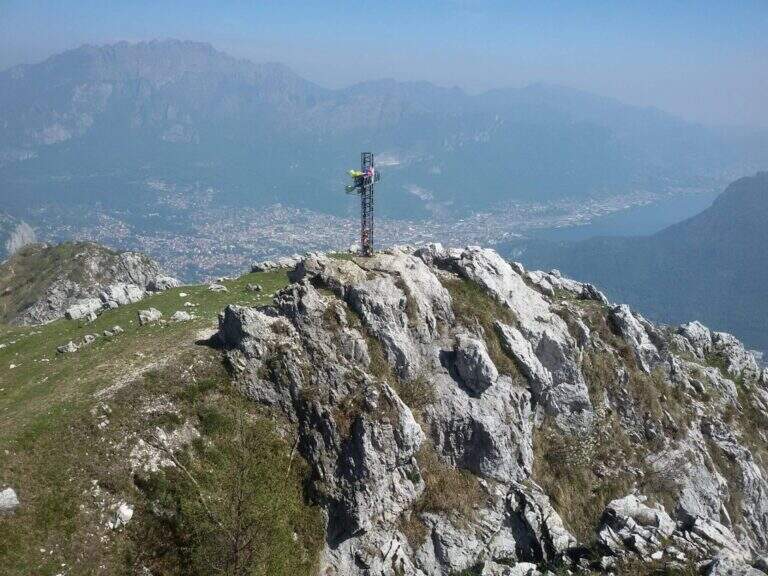
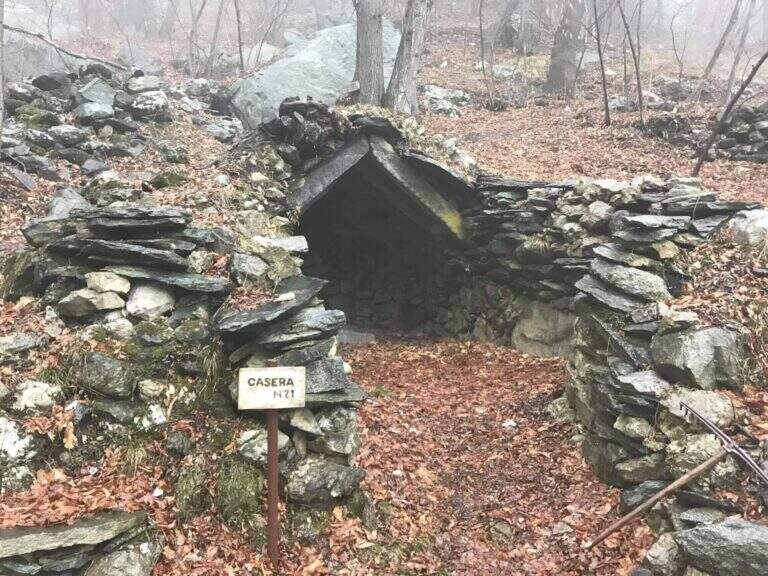
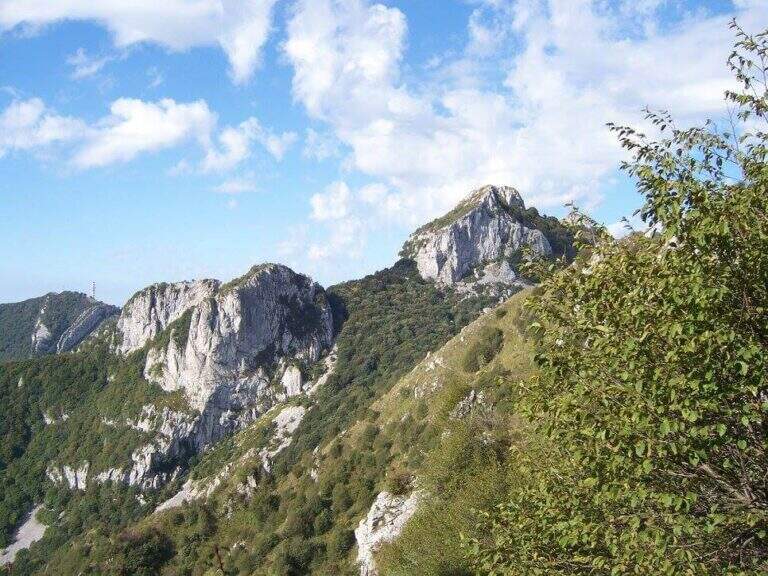
    Il Canalone Belasa è una via attrezzata dal carattere alpinistico che risale un canalone selvaggio del Monte Moregallo, sopra Valmadrera. Non è una ferrata a cavo continuo: alterna tratti attrezzati a passaggi di arrampicata in libera fino al III grado, in un ambiente isolato e poco turistico. Richiede dimestichezza con la roccia ed è riservata a ferratisti esperti.

    ▲Approach

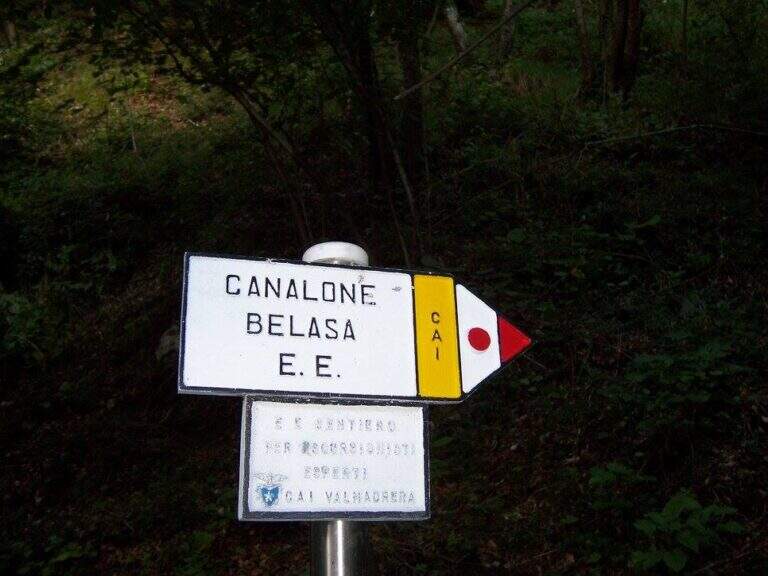
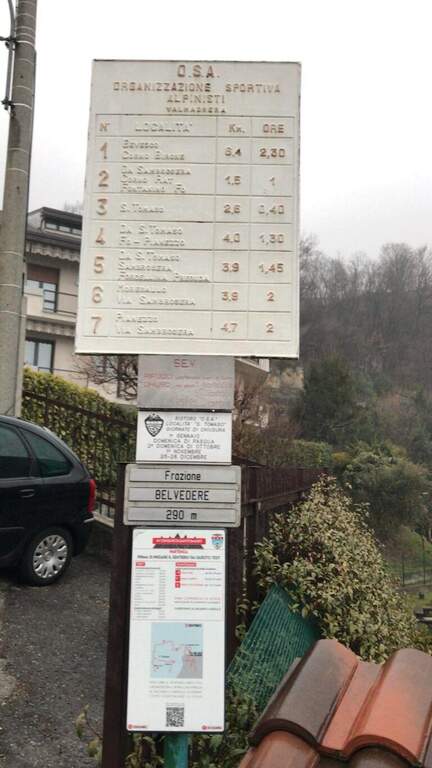
    Dalla frazione Belvedere di Valmadrera si parcheggia all’inizio di una strada chiusa al traffico; la si percorre fino a una cappella con palina, poi si segue il sentiero 7 verso la sorgente di Sambrosera e, ai cartelli, il Sentiero EE del Canalone Belasa (circa 1h15 dal parcheggio). Road signs →

    ▲The path

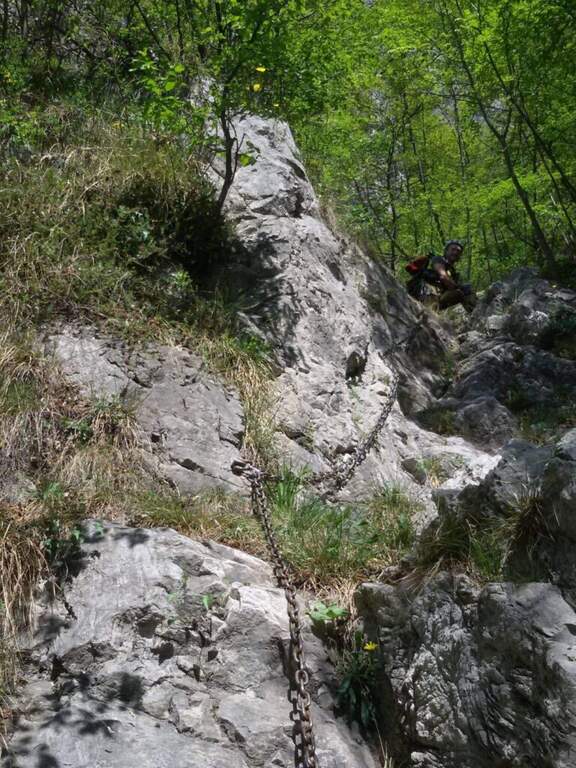
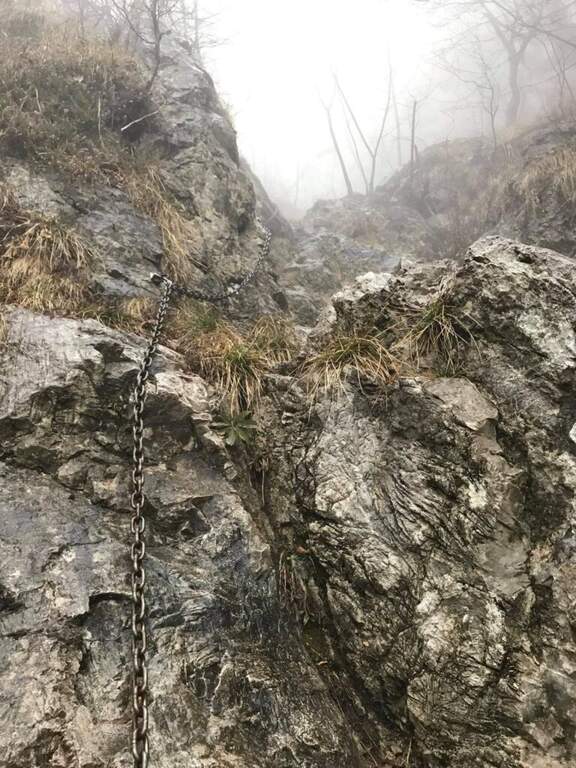
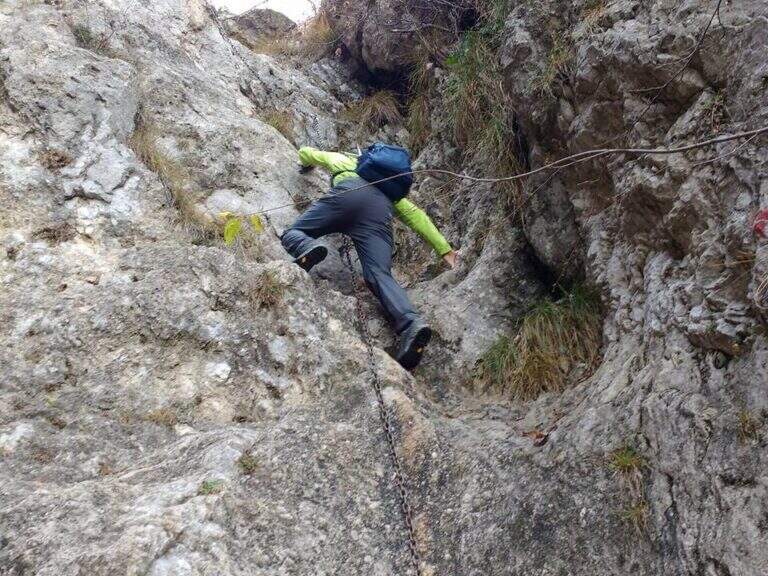
    L’inizio del canalone è segnato dalla prima catena su una placca coricata. Si sale alternando brevi tratti di sentiero a balzi rocciosi, alcuni attrezzati altri da arrampicare in libera. I due passaggi chiave sono una paretina verticale di circa 10 metri e un camino con catena e uscita leggermente strapiombante su roccia liscia. La parte terminale propone ancora due brevi passaggi verticali su appigli naturali, poi il canalone finisce e si raggiunge la vetta del Monte Moregallo (1276 m) per cresta.

    ⚠ Via per esperti: i passaggi in libera arrivano al III grado e l’ambiente è isolato. Il caschetto è fortemente consigliato per la caduta sassi nel canalone. Il prato sommitale e il canale erboso sono molto ripidi e pericolosi se l’erba è umida: da evitare dopo le piogge.
    ▲Discipline

    Dalla vetta si scende verso est (Bocchetta di Sambrosera / Sentiero Paolo ed Eliana) o verso ovest, rientrando poi per l’avvicinamento (circa 1h30 dalla vetta, 4h15 totali).

    ▲To match

    Sul Moregallo e dintorni si trovano il Sentiero Attrezzato al Moregallo e la Ferrata 30° OSA al Corno Rat.

    ▲Gallery
    Technical data
    • DifficultyHard
    • RegionLombardy
    • ProvinceLecco
    • GroupMonte Moregallo
    • Approach1:15 h
    • Ferrata1:30 h
    • Total itinerary4:15 h
    • Hardware level difference~400 m
    • Route difference1025 m
    • Max Altitude1276 m
    • Length9,8 km
Need help? Write to us!