Caratteristica: Breve

  • Sentiero Attrezzato delle Laste – Cima Capi

    Sentiero Attrezzato delle Laste – Cima Capi

    Vie Ferrate › Trentino-Alto Adige › Trento
    Sentiero Attrezzato delle Laste – Cima Capi

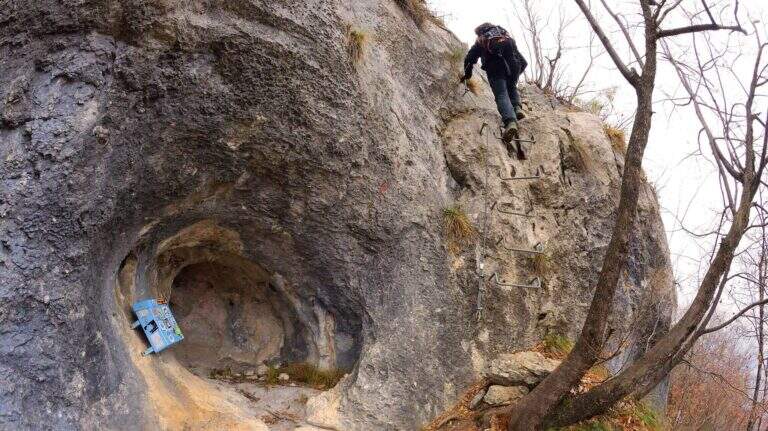
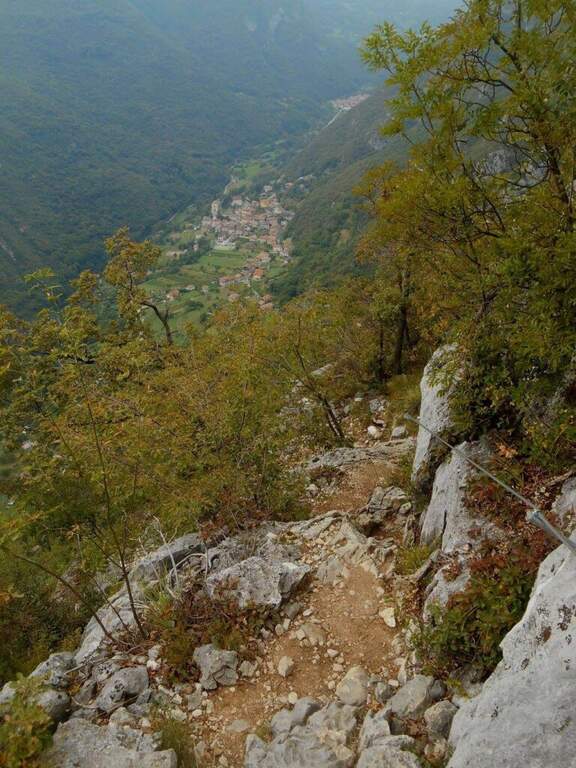
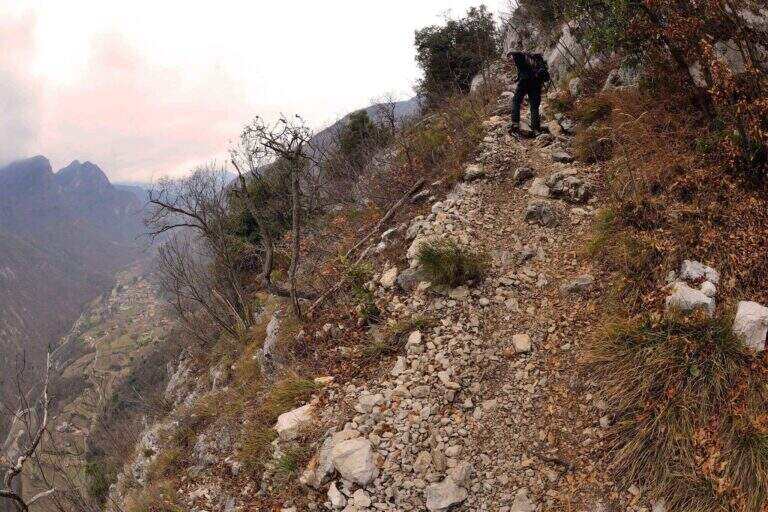
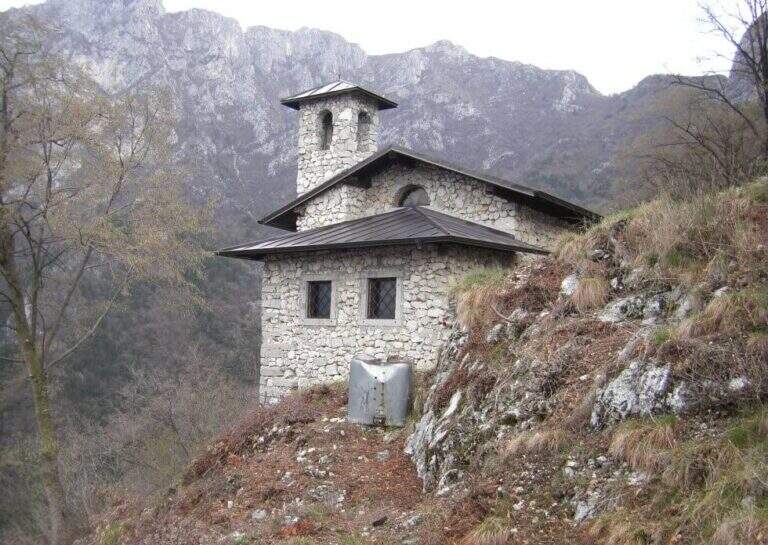
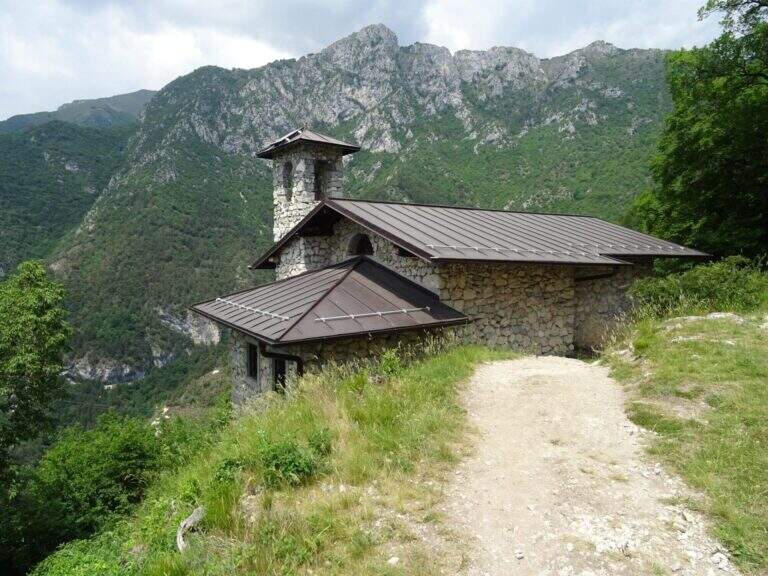
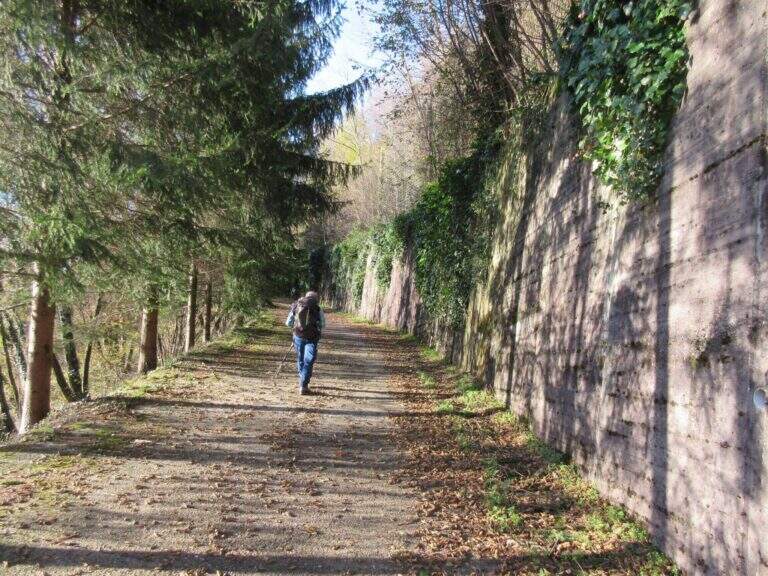
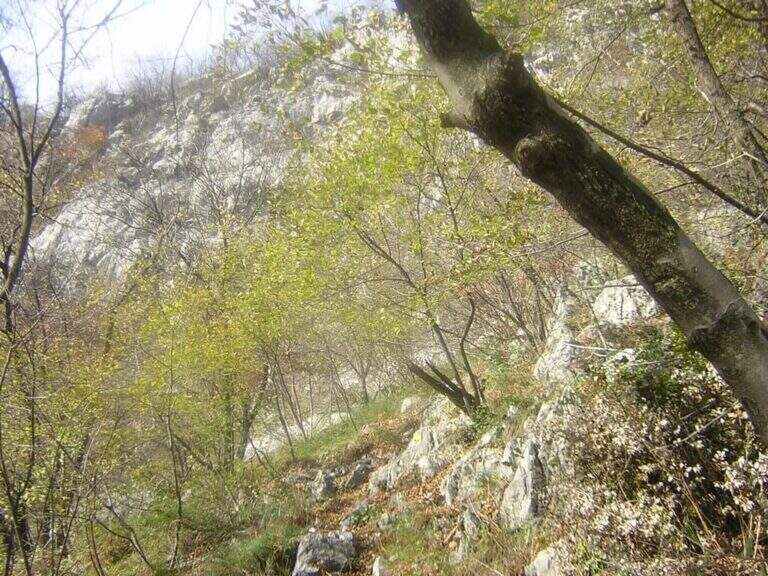
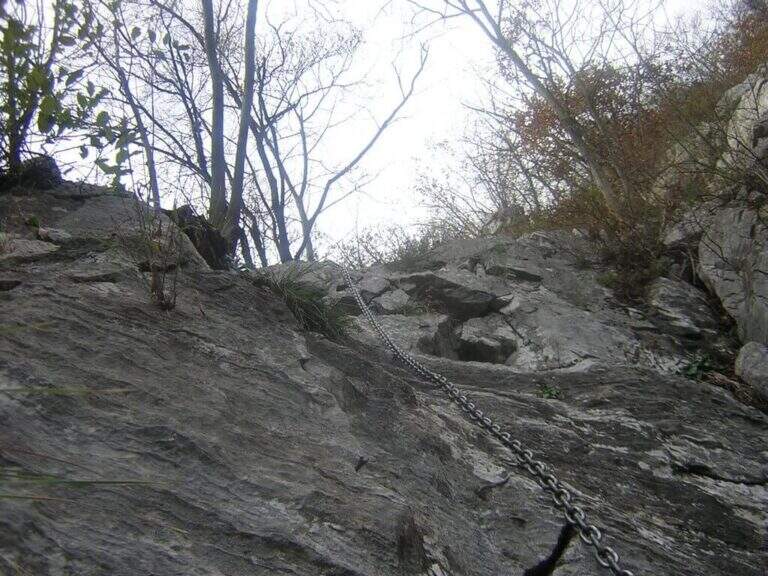
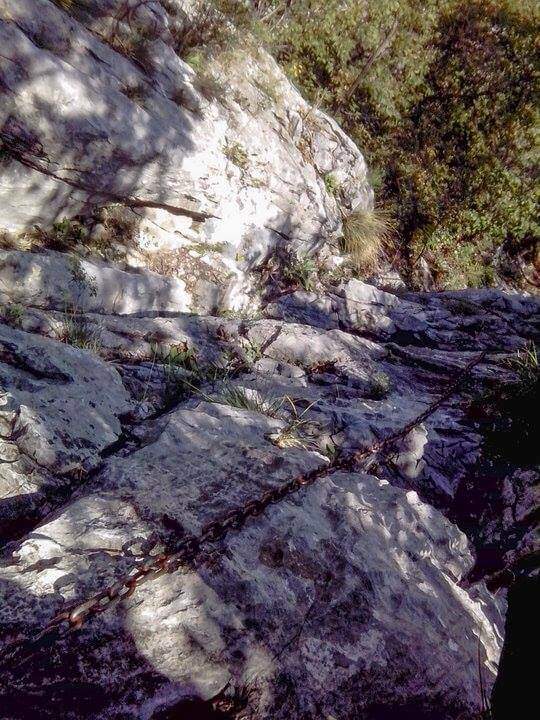
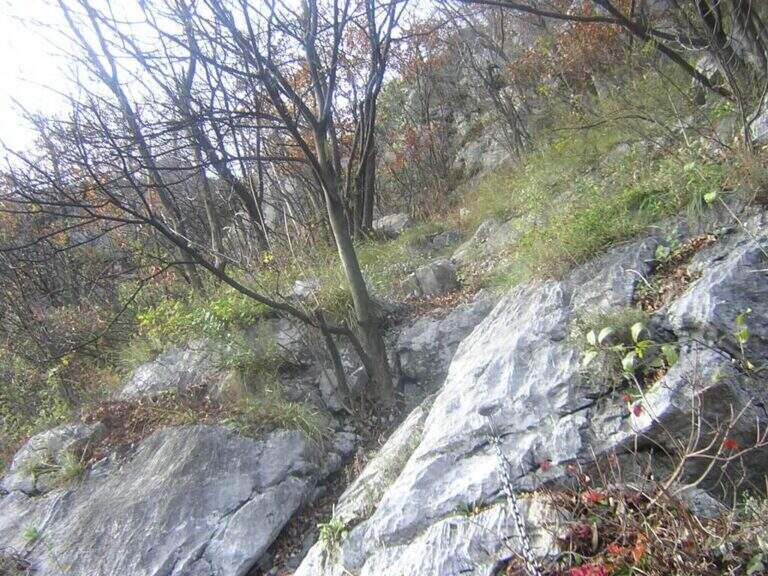
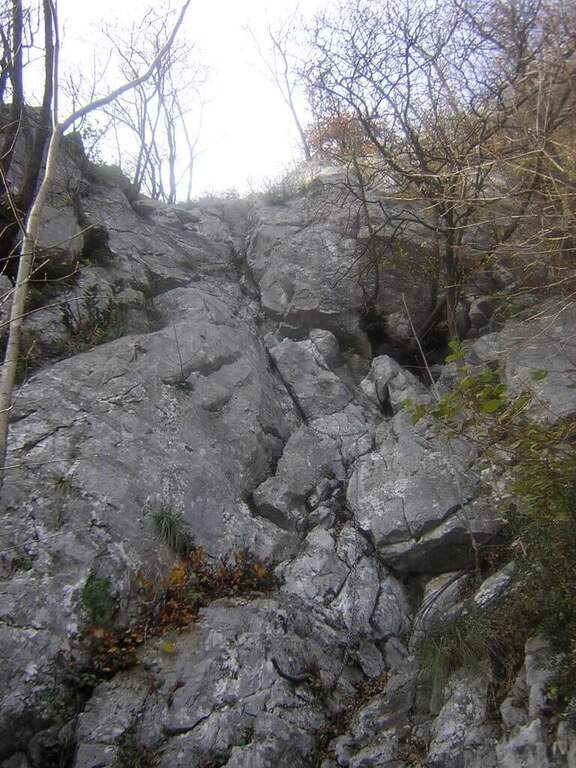
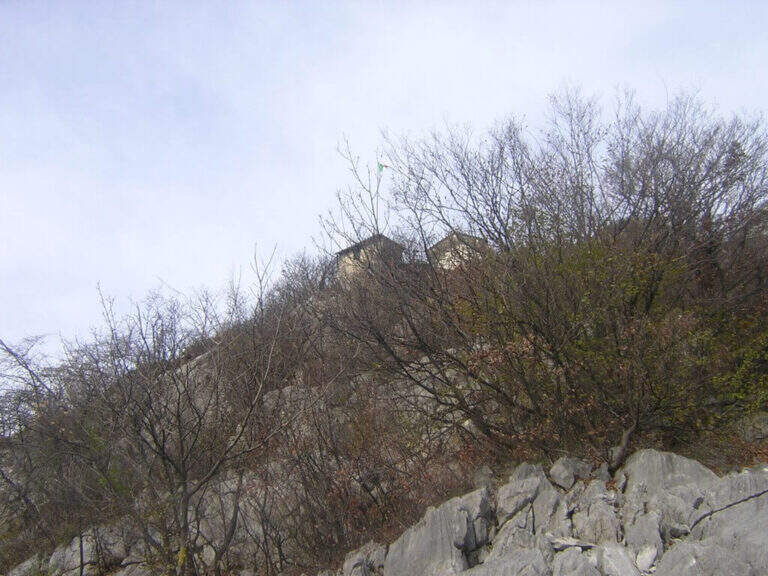
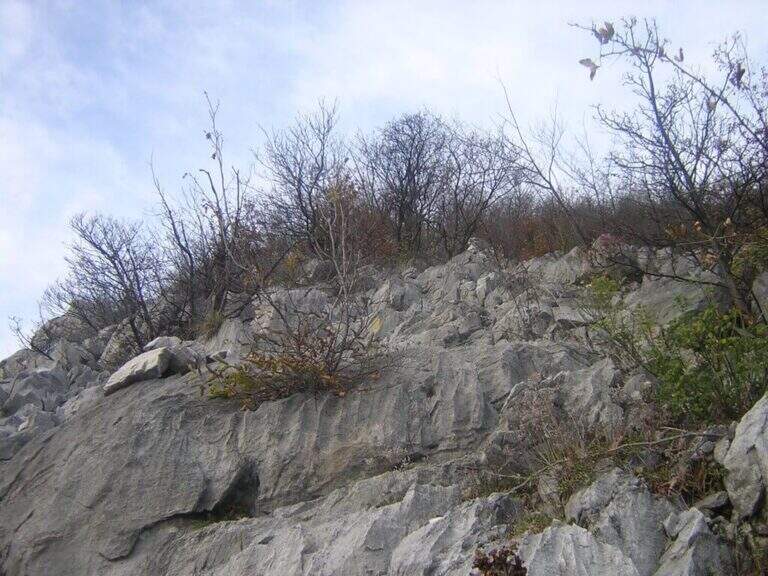
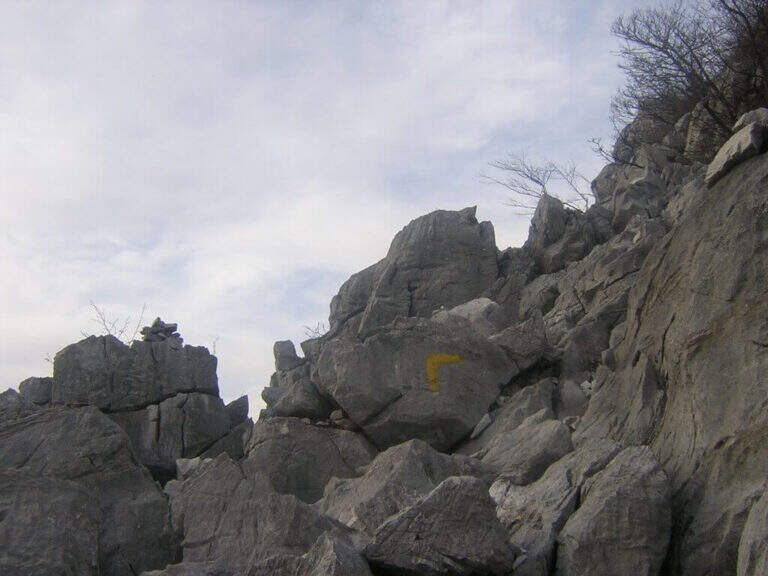
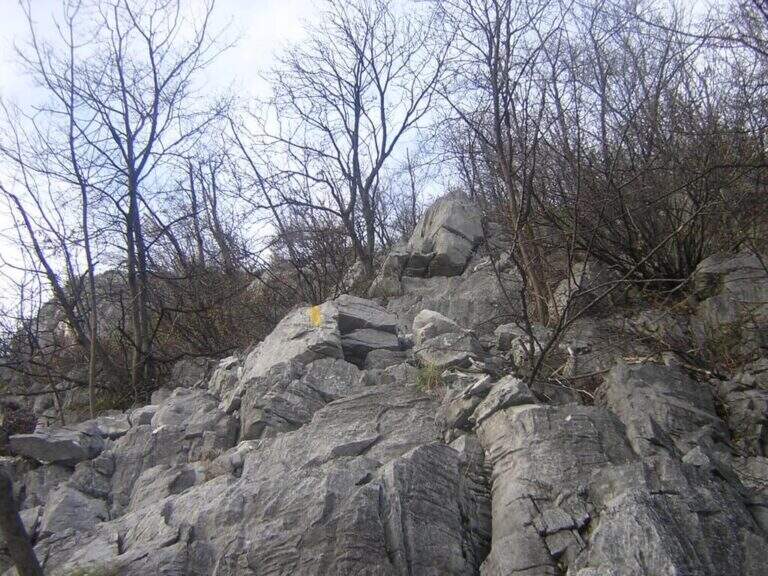
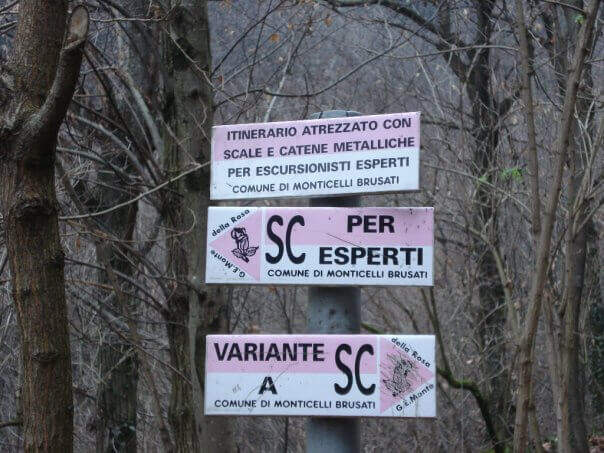
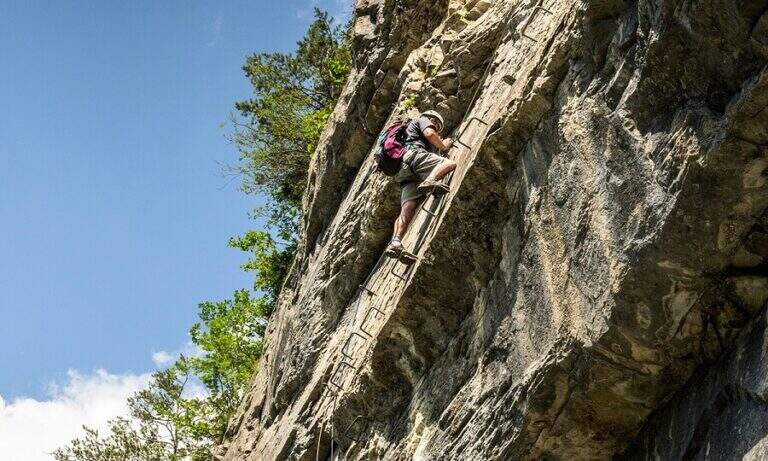
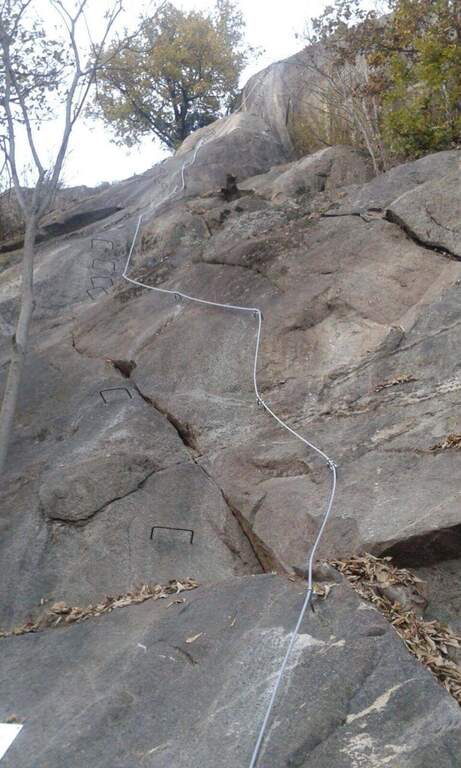
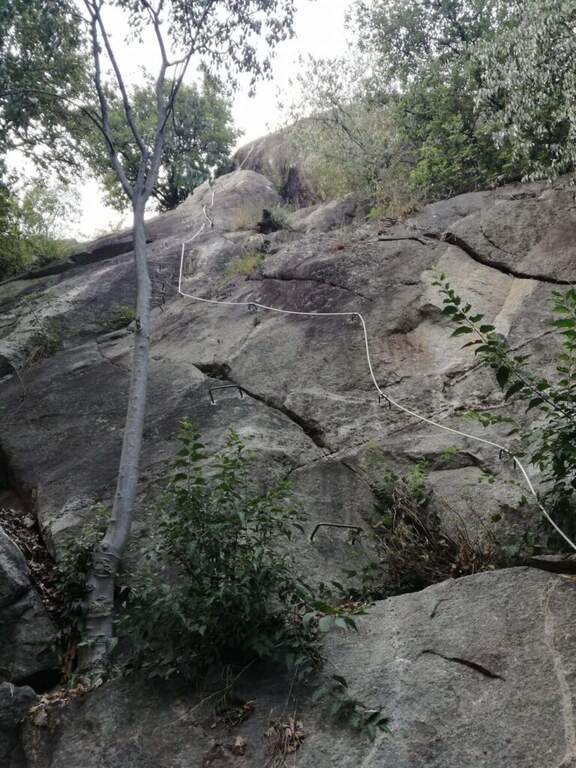
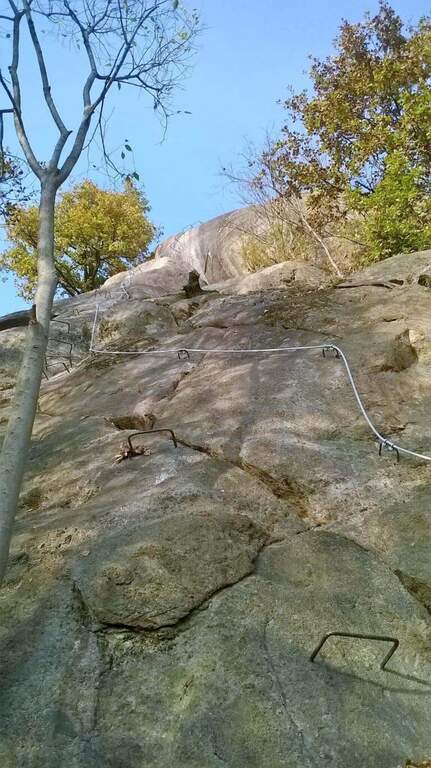
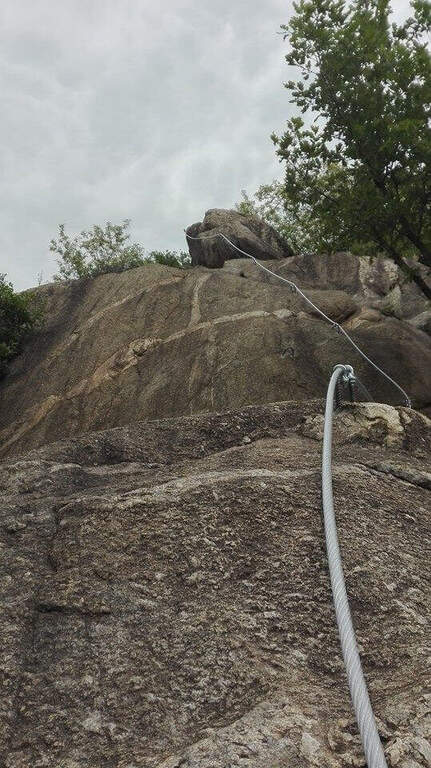
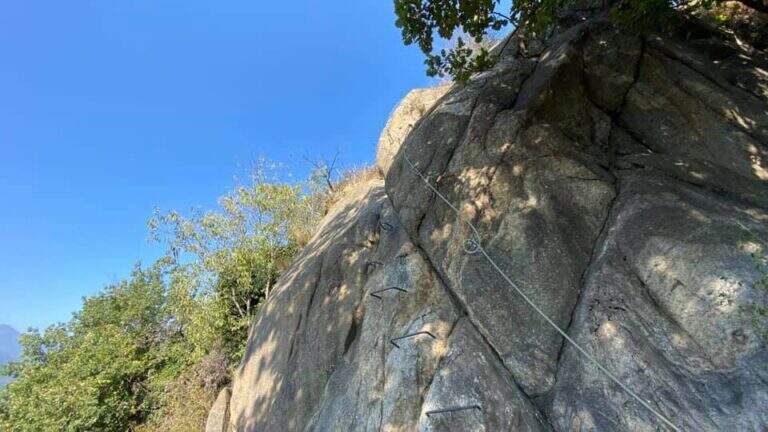
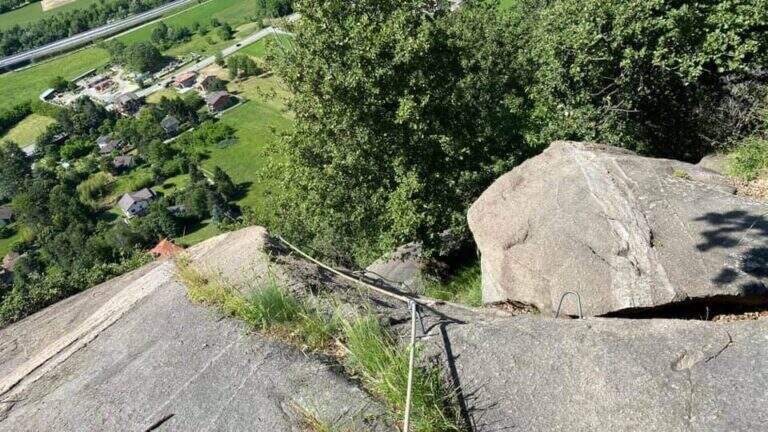
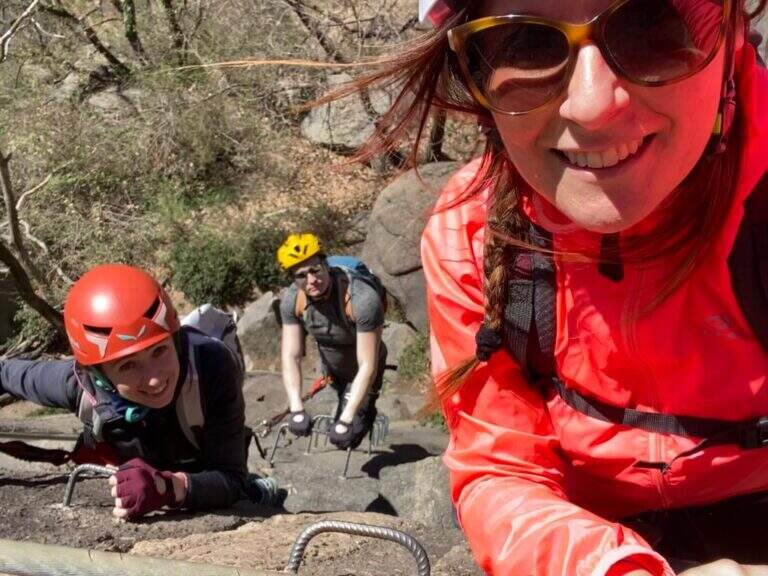
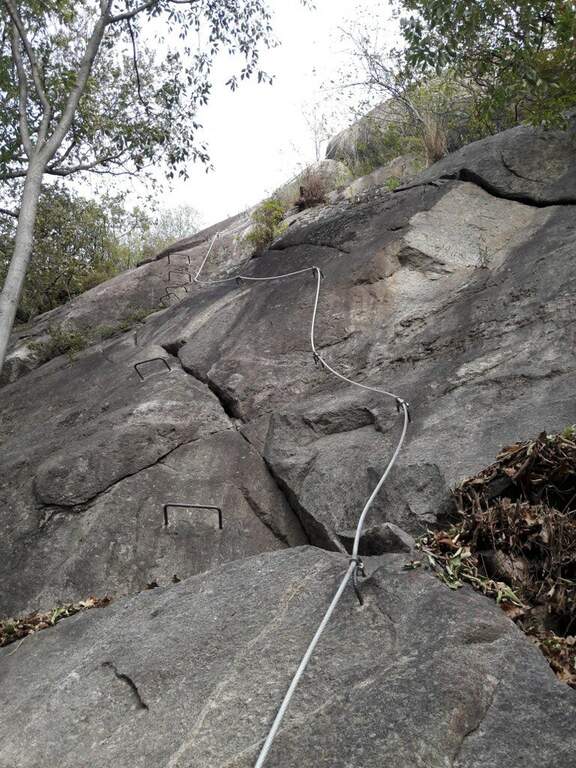
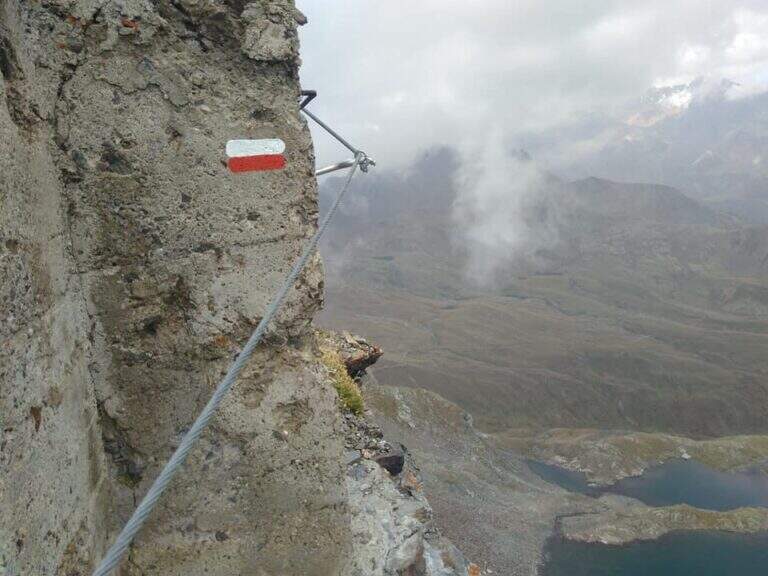
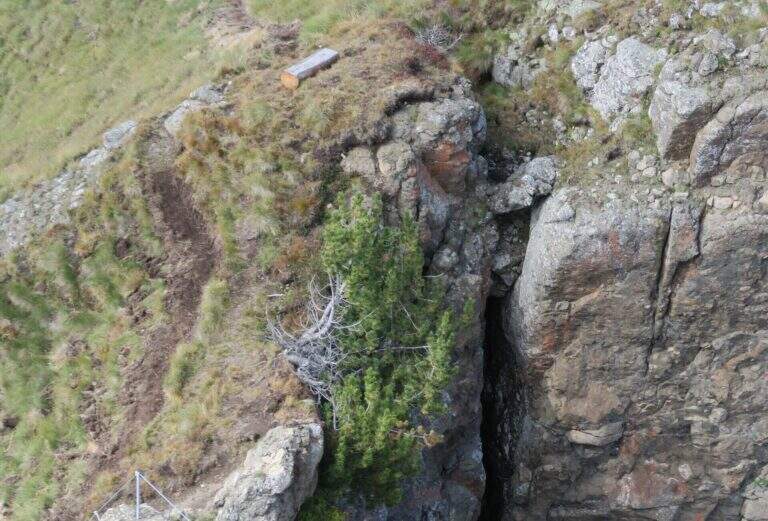
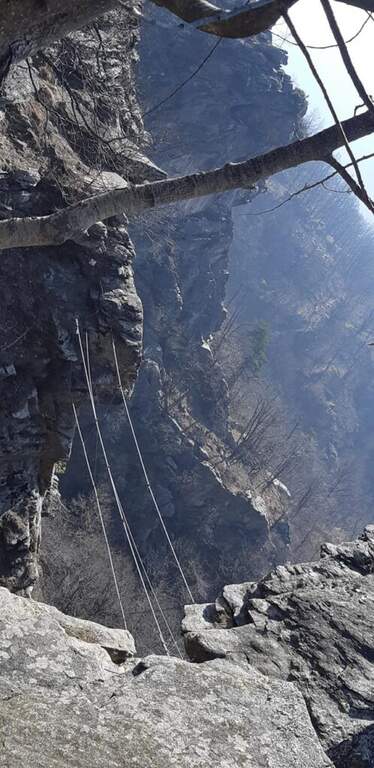
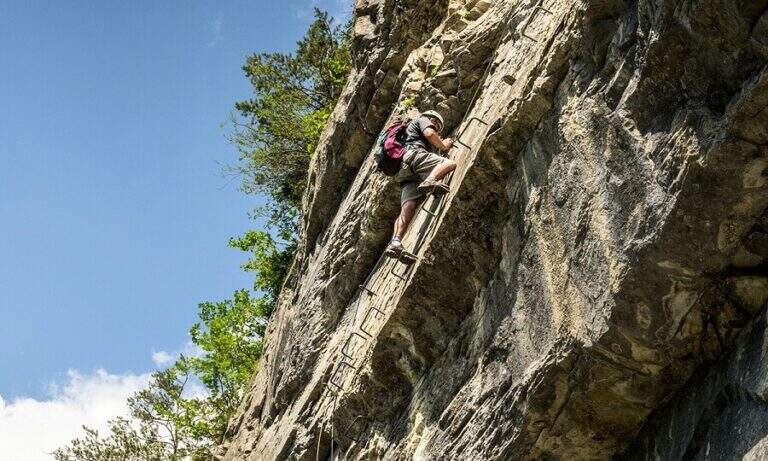
    The Sentiero Attrezzato delle Laste is the most direct way to climb from Biacesa to Bivacco Arcioni and the Church of San Giovanni, under Cima Capi and Cima Rocca. Short path, without marked exposure, suitable for those who move the first steps on the paths equipped in a lake context of great charm.

    ▲Approach

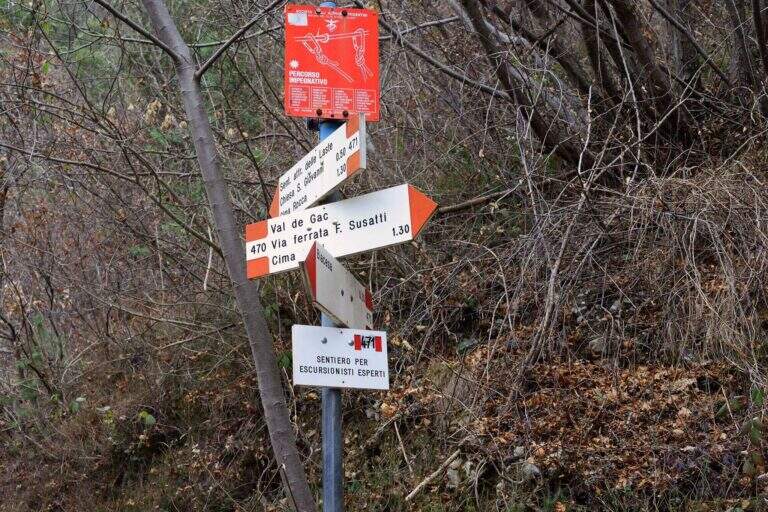
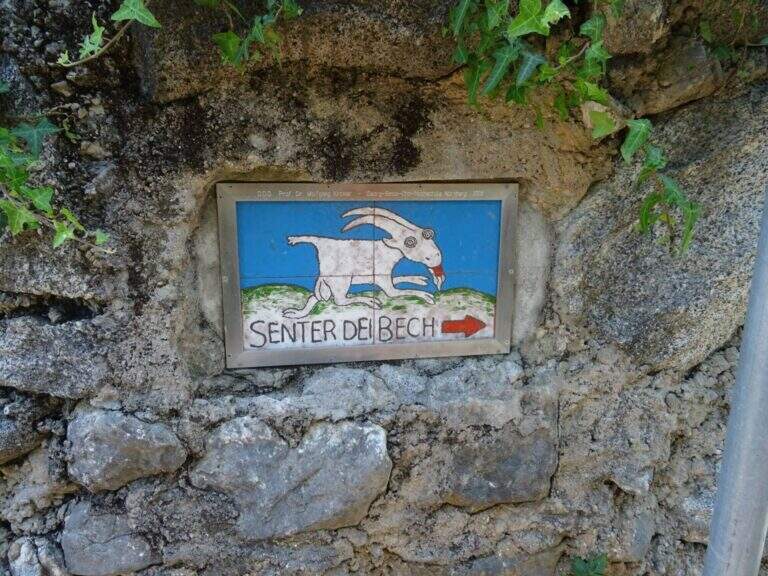
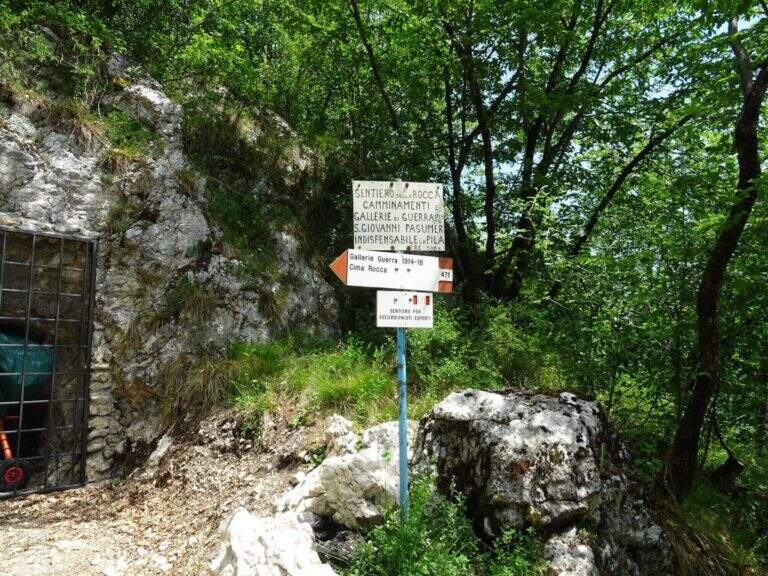
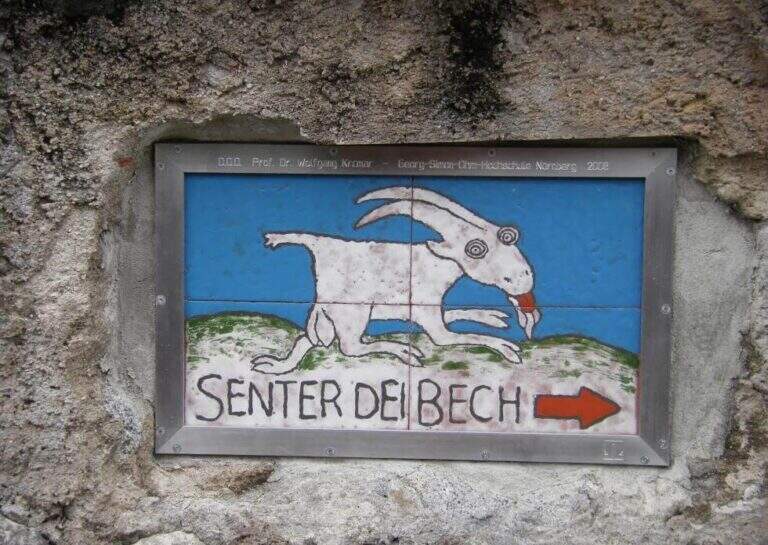
    You reach Biacesa, 4 Km from Riva del Garda along the tunnels towards Val di Ledro (directions road map). By taking Via dei Dazi and turning right you will reach a playground with large parking. Follow the CAI 470 trail (Sentiero dei Bech) east towards Cima Capi for about 15 minutes until the junction where the CAI 471 climbs left: it is the attack of the Laste Path.

    ▲The path

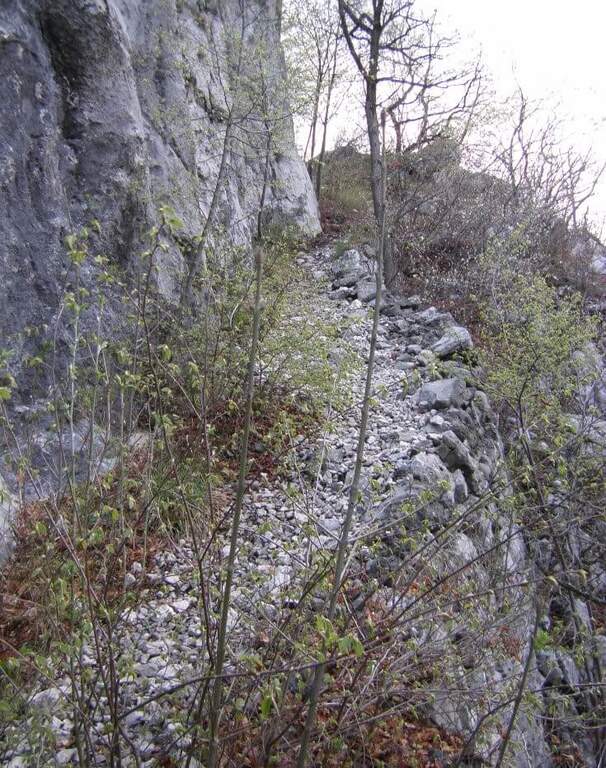
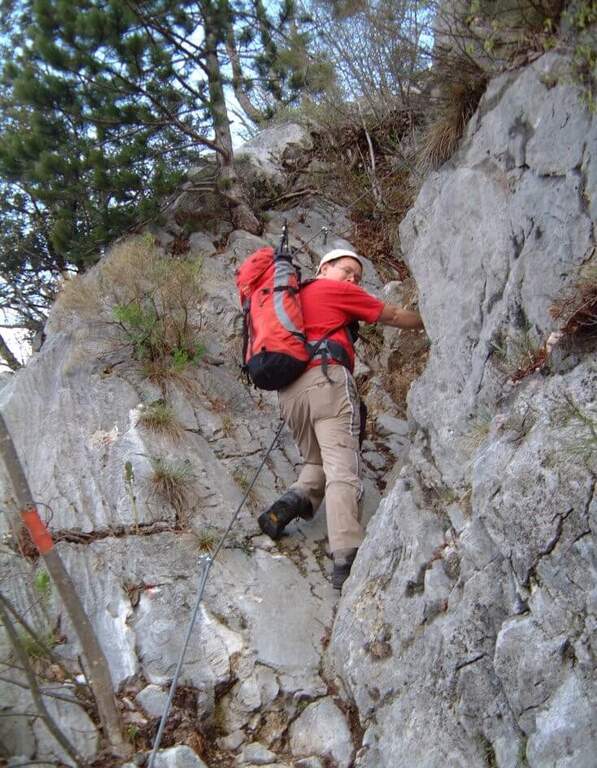
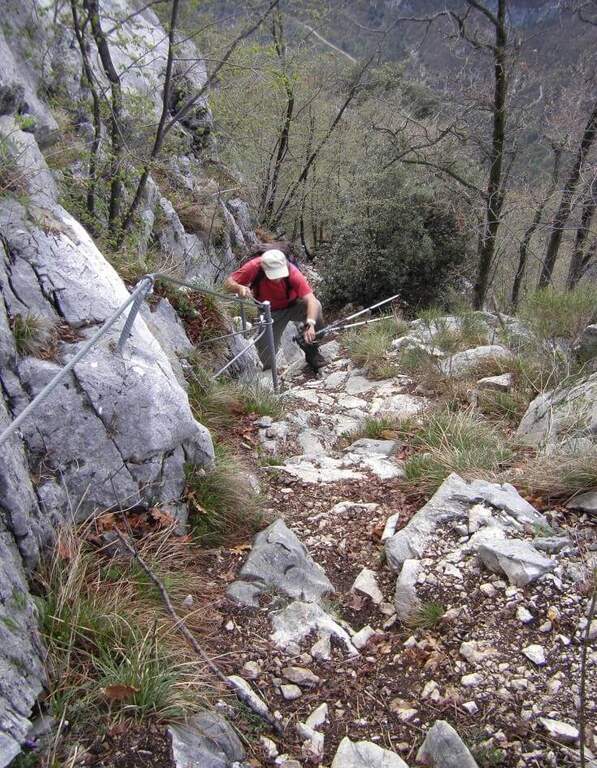
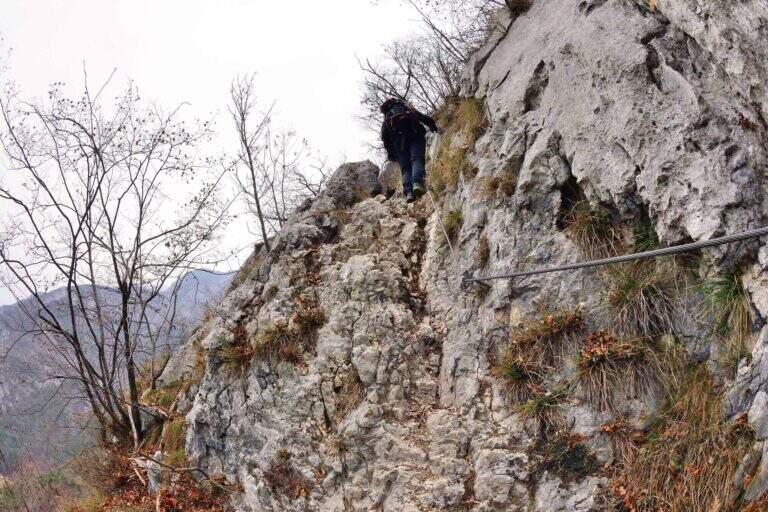
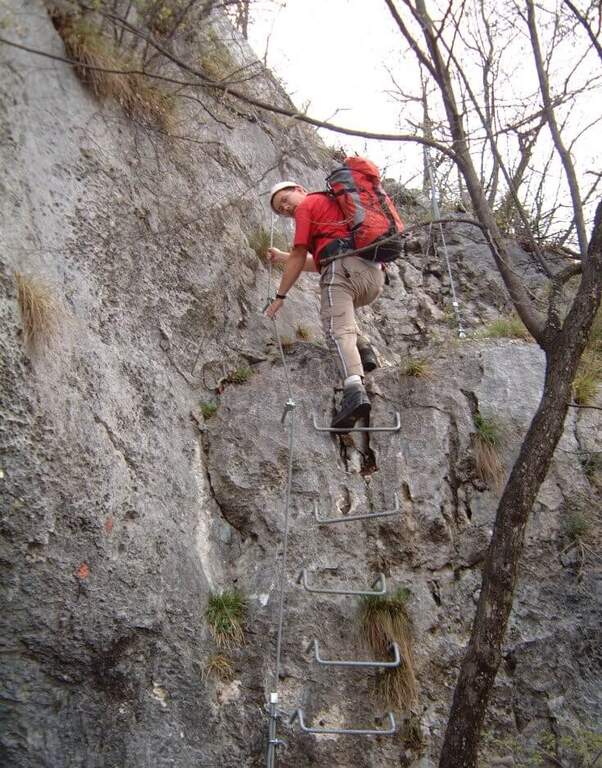
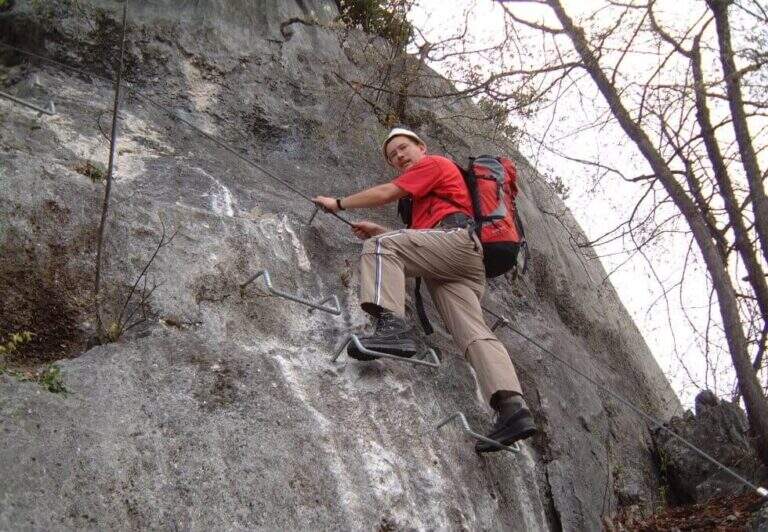
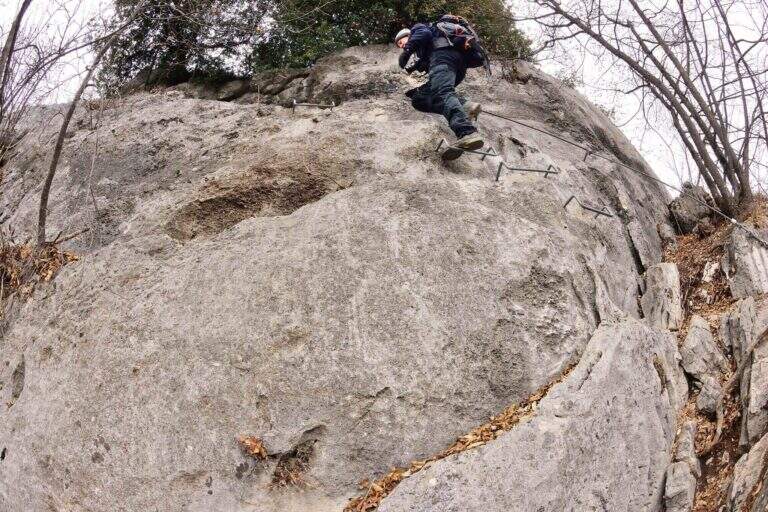
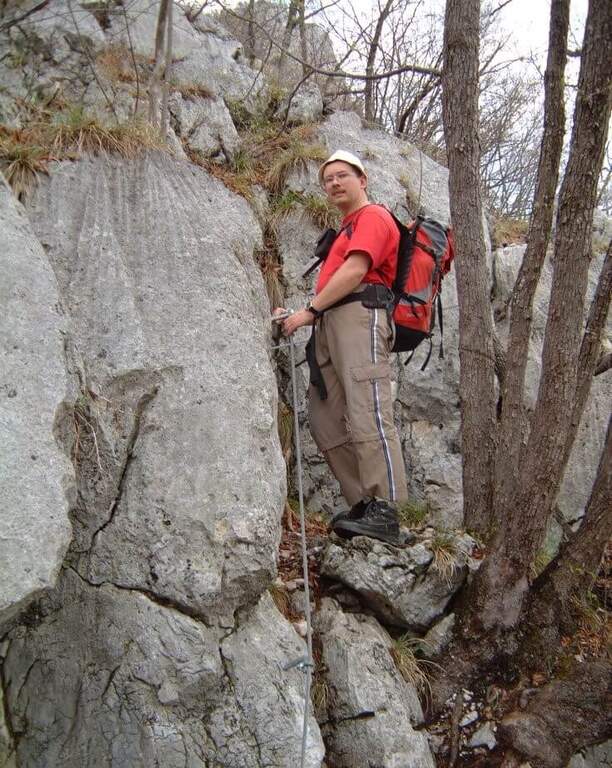
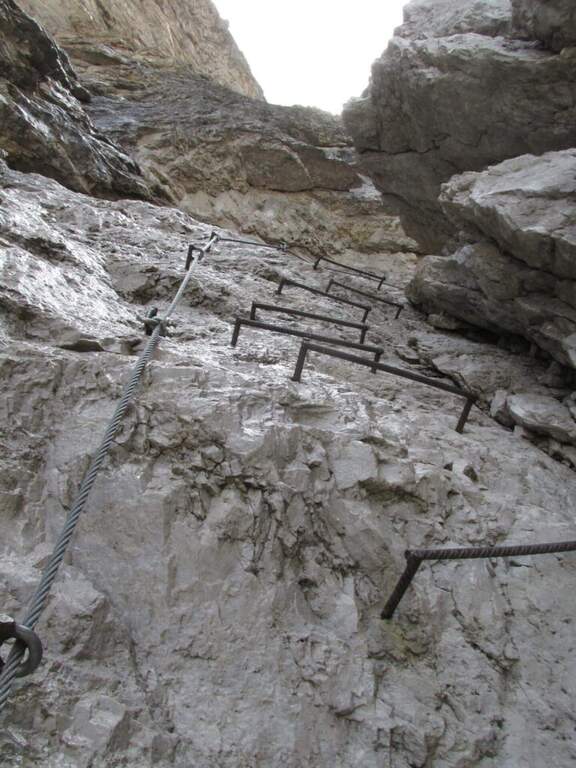
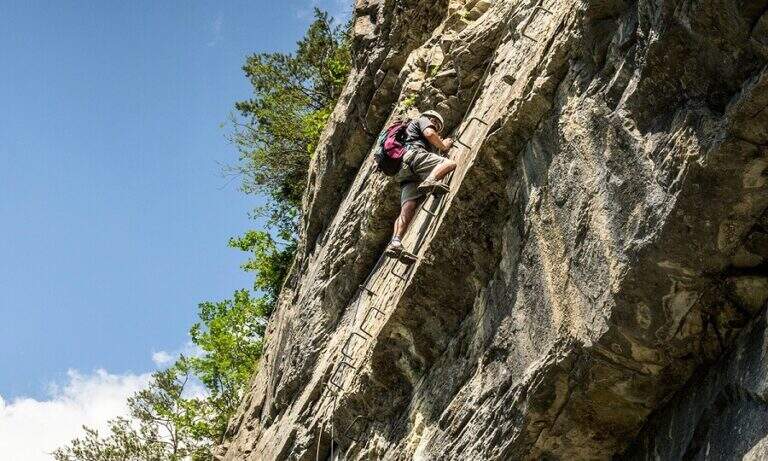
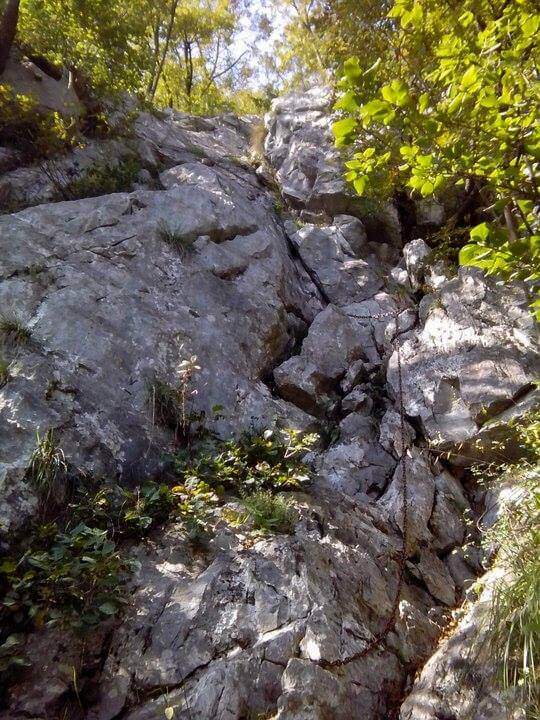
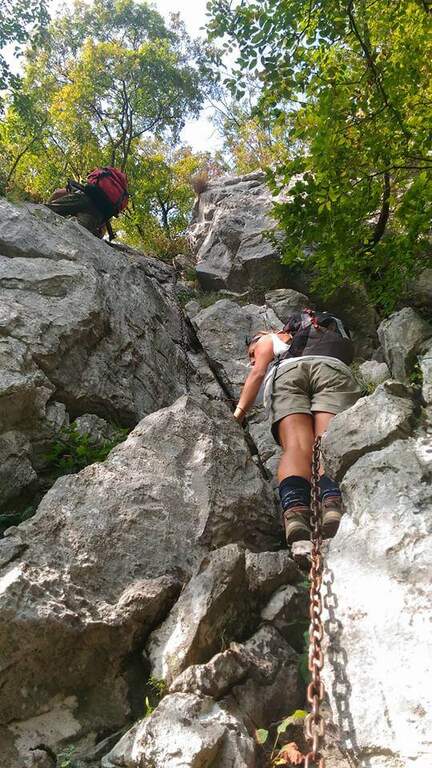
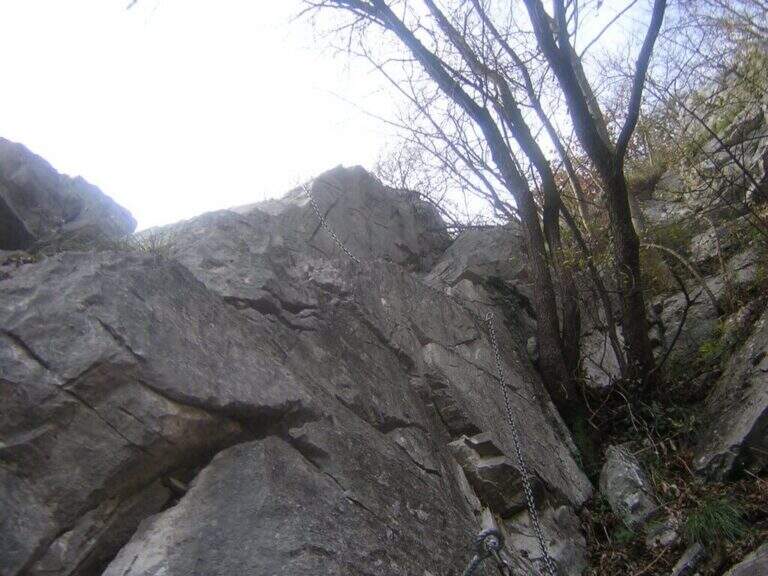
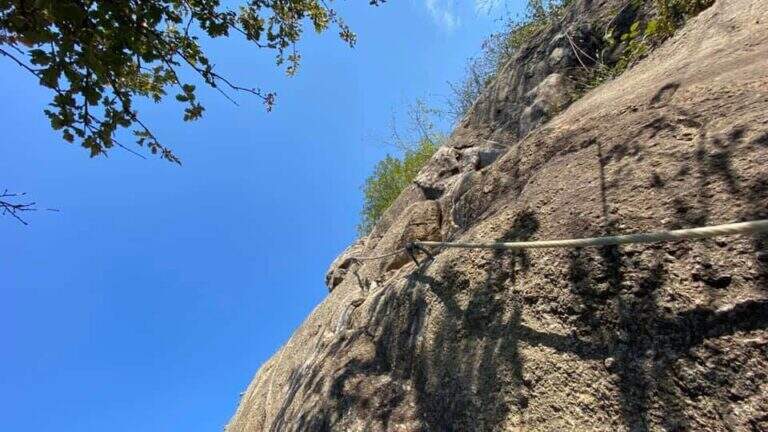
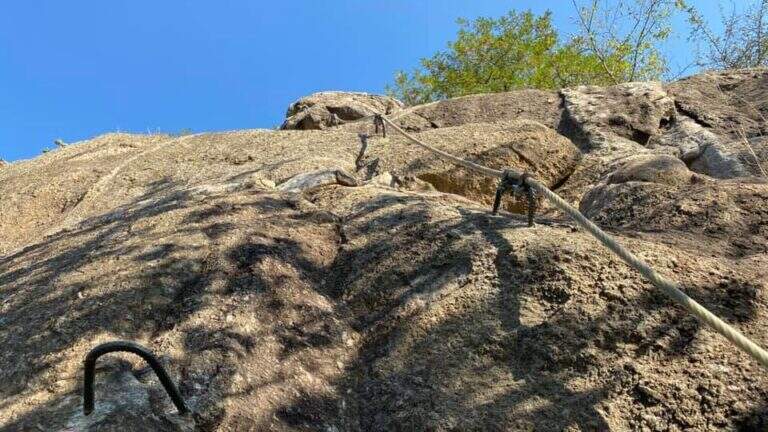
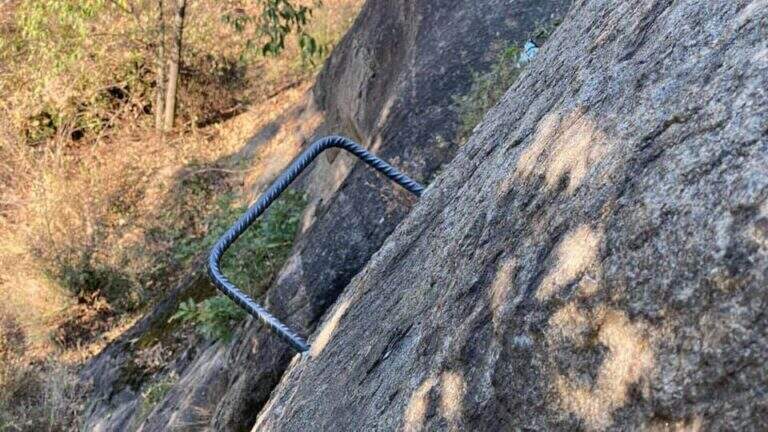
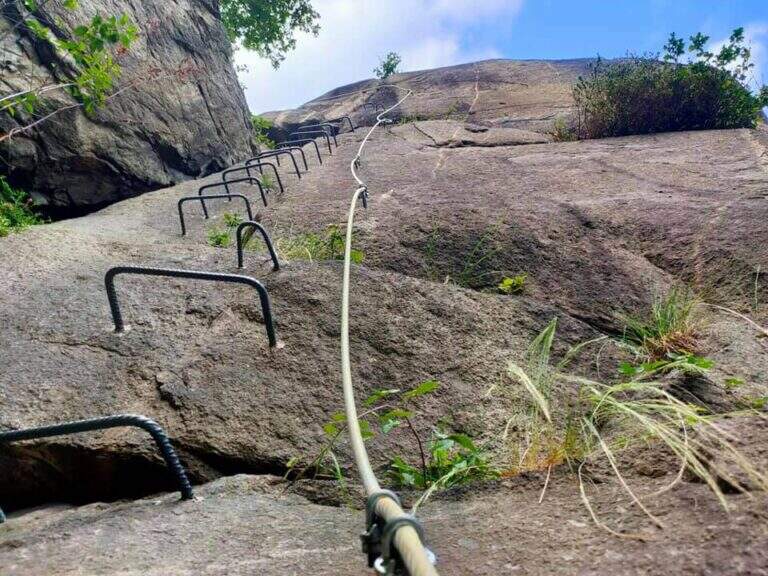
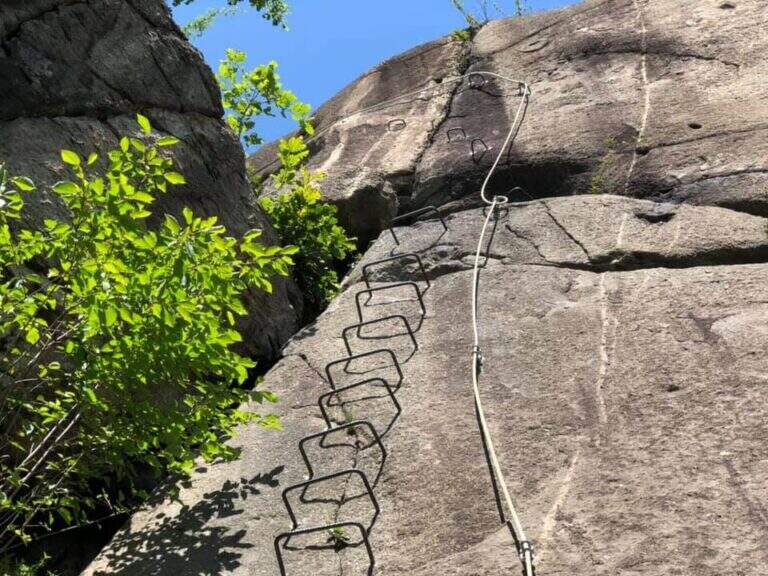
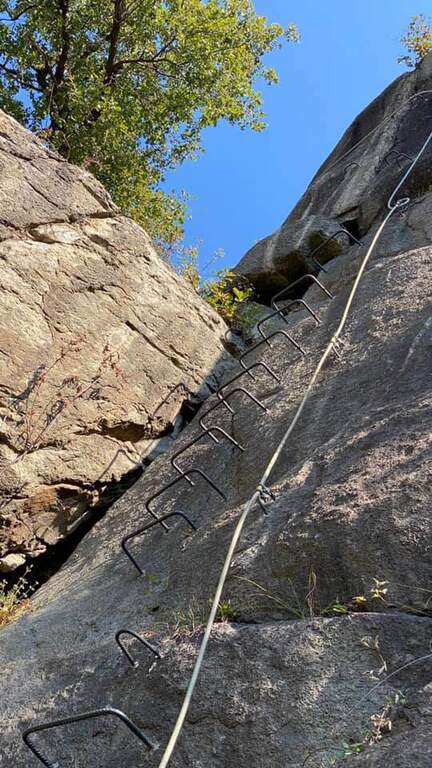
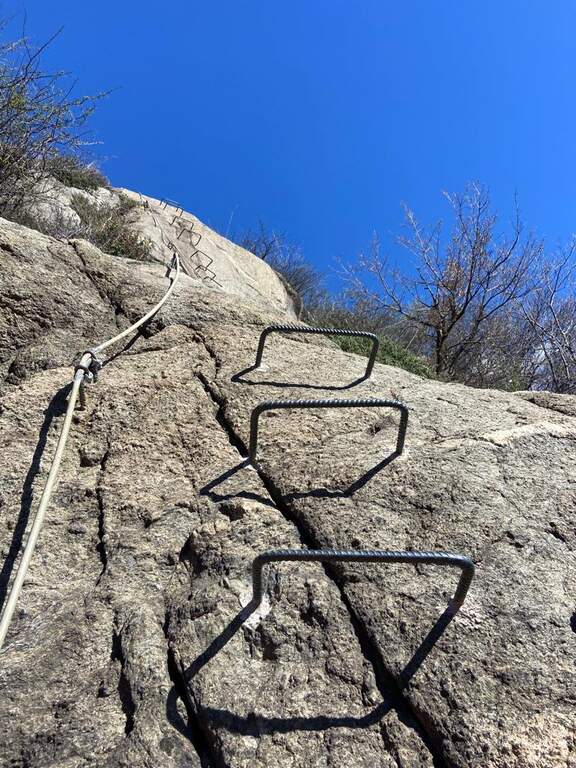
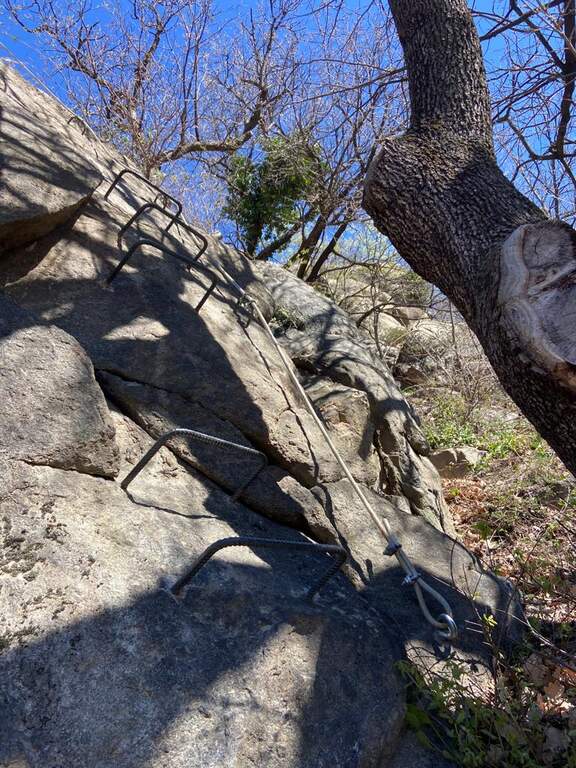
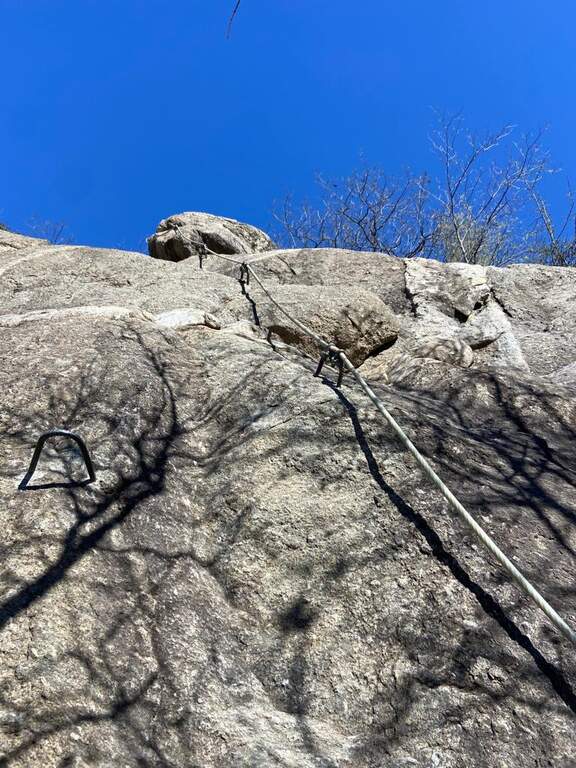
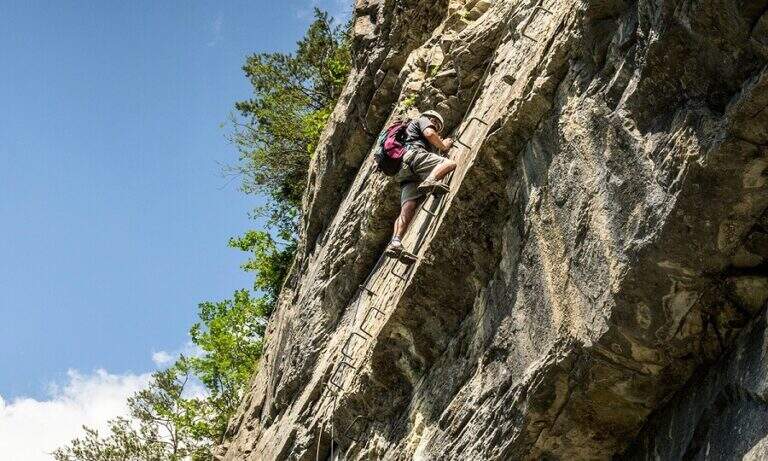
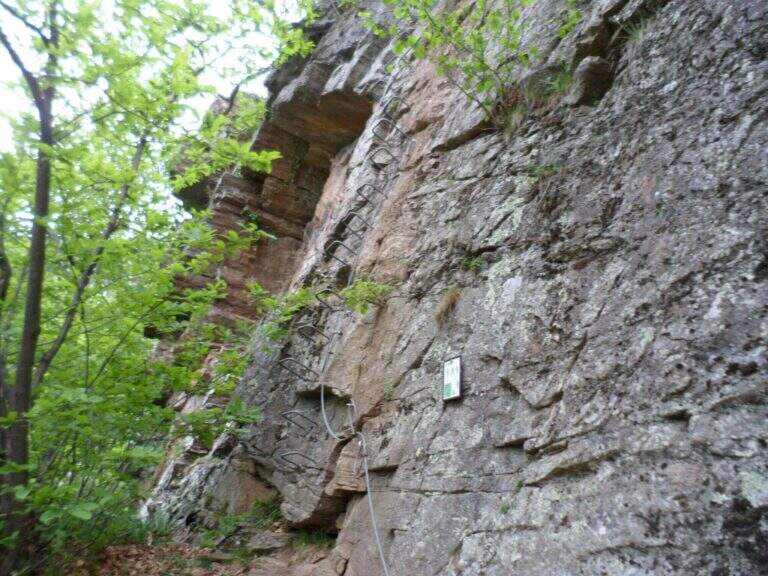
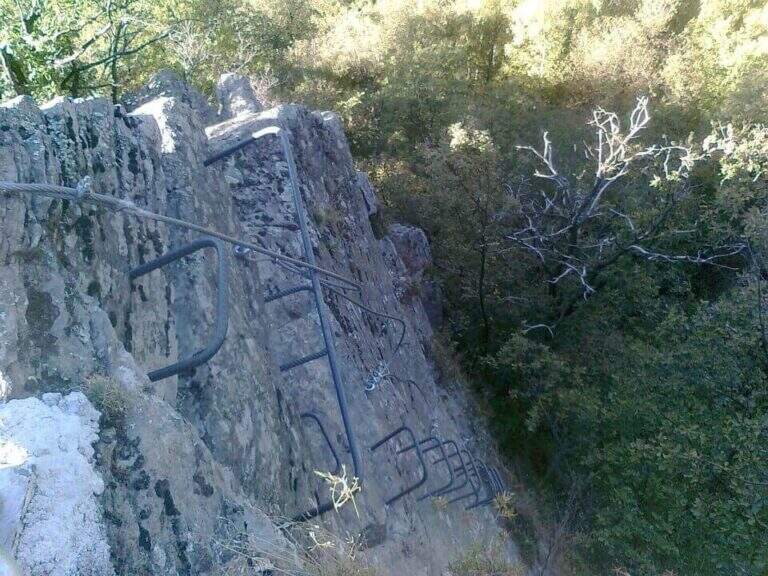
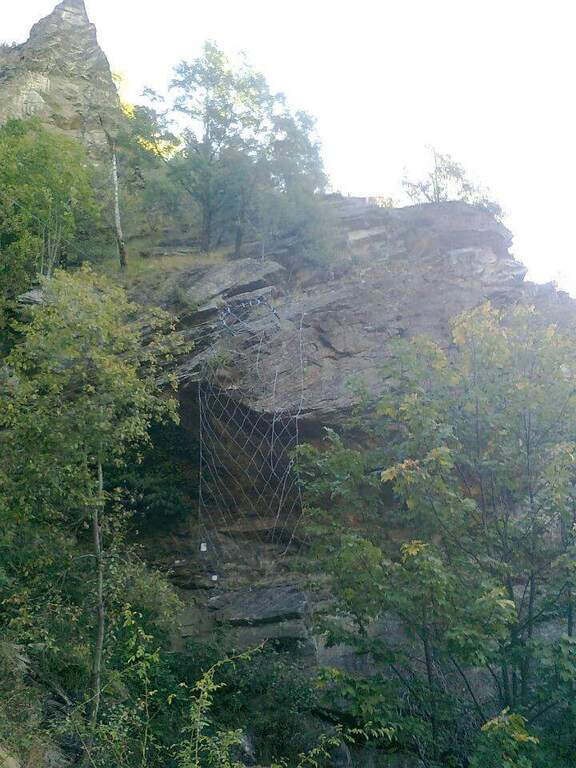
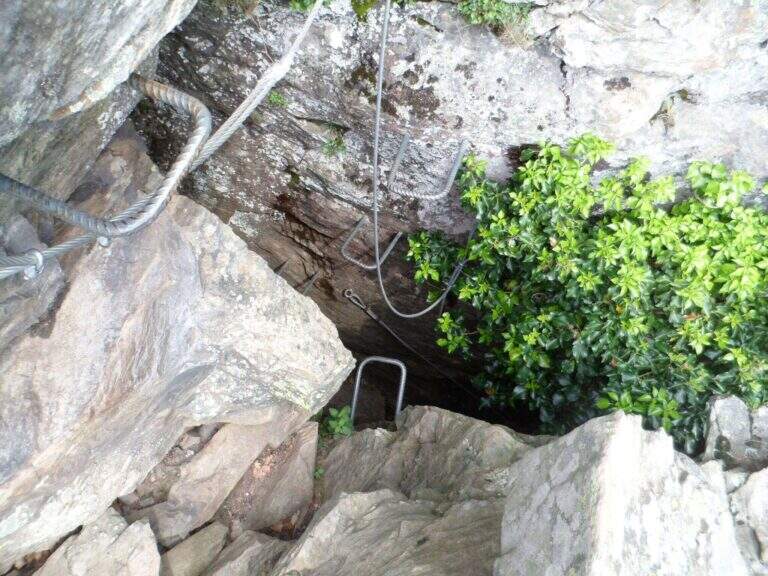
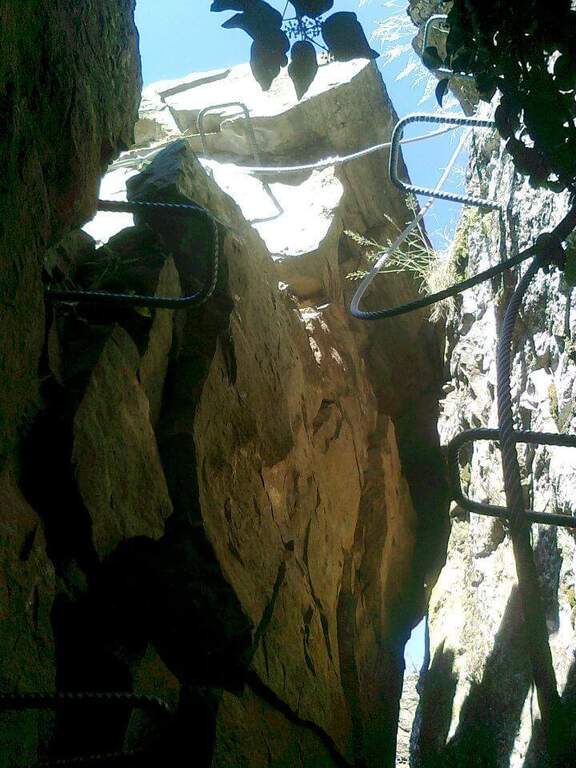
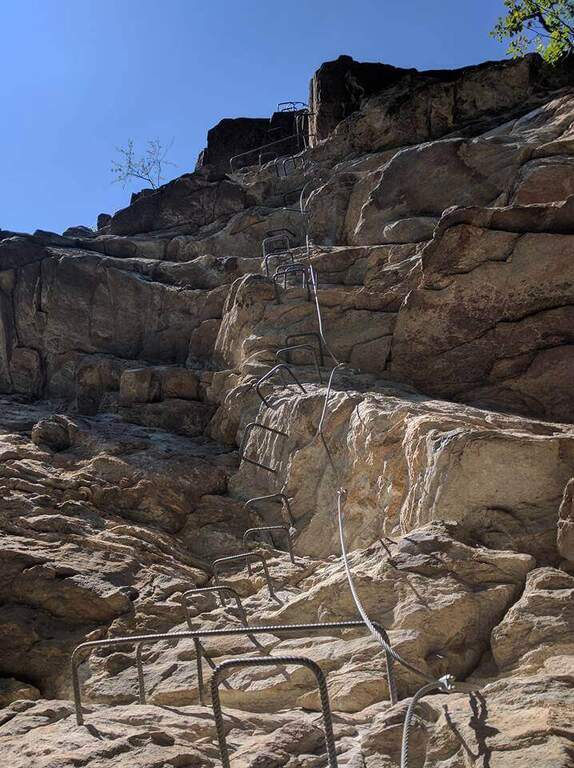
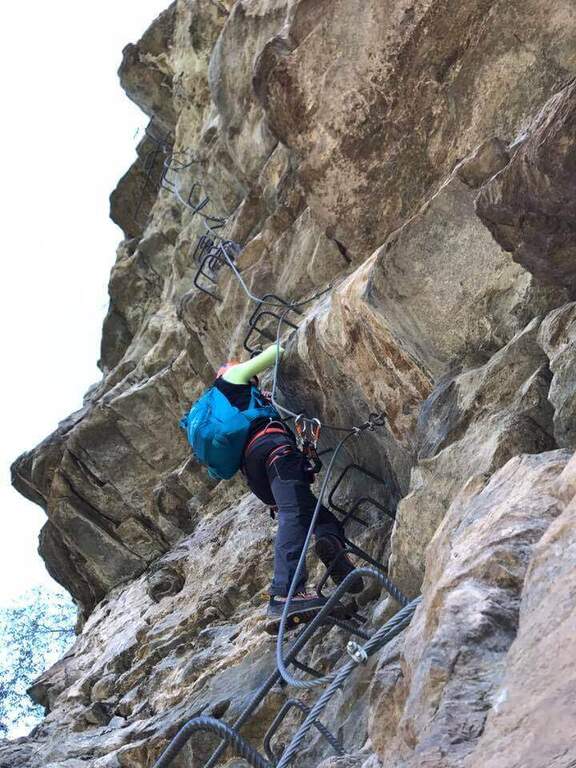
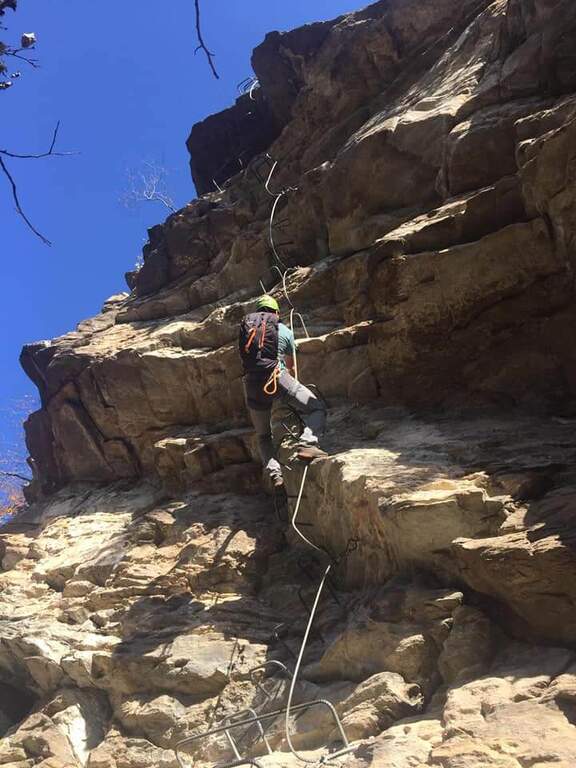
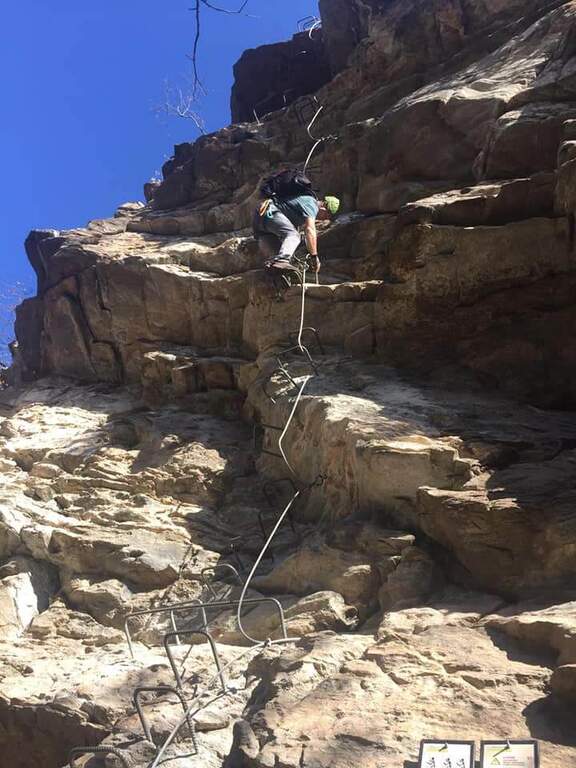
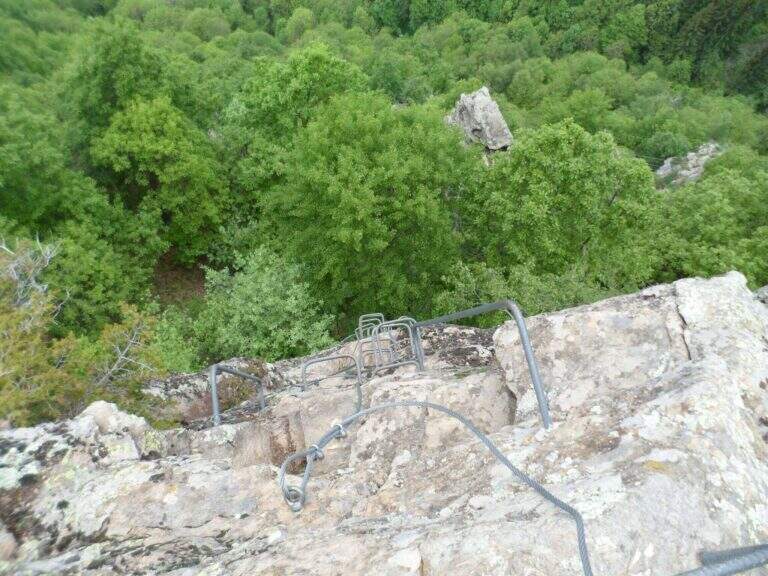
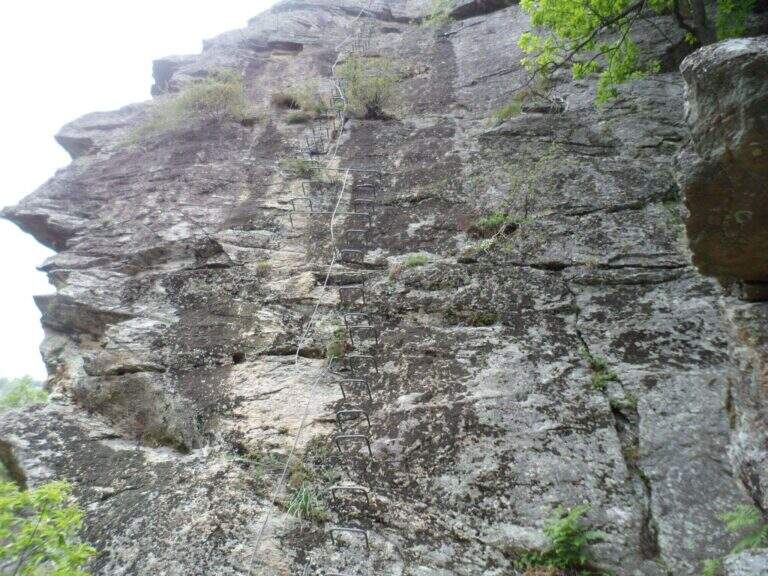
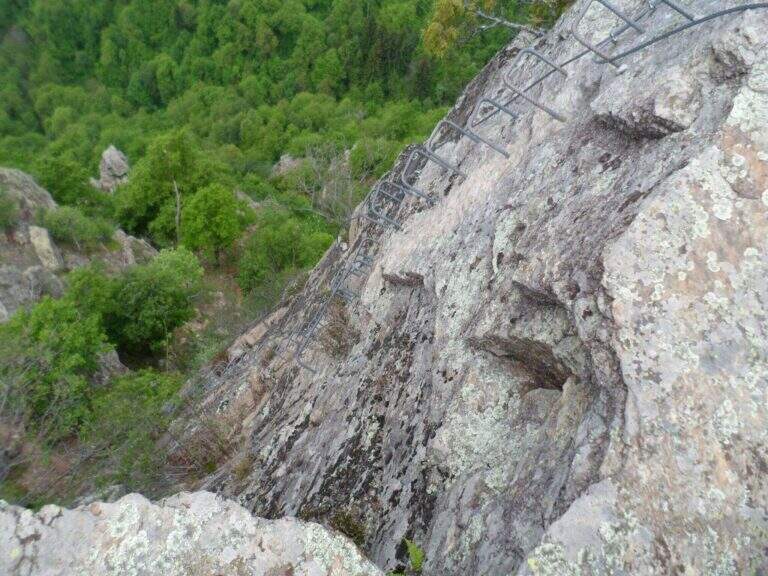
    The first obstacle is a dihedron of 6 meters with cable on the left side and good natural sticks on the right. They follow a grassy census in the woods and a well-groomed diagonal ramp. You get to a gallery with book of signatures — great stop point. Starting up a wall with large metal cambres, then a second section similar diagonally exhausts the equipment. The path continues on the most open ground to Bivacco Arcioni (45' from the attack), then to the Church of San Giovanni.

    ▲Character and difficulty

    Classified Easy: the equipped sections do not exceed the second degree and do not display. Complexity: technique 1/5, physics 2/5, exposure 1/5, environment 2/5. Suitable for children already accustomed to the use of helmet and harness with adult supervision.

    ▲Period and safety

    It can be traveled almost throughout the year thanks to the modest share. In case of rain the initial dihedron can be slippery.

    ▲Discipline

    From the Church of San Giovanni take the CAI 460 path west to the crossing with CAI 417, then left towards Biacesa (45' — 1h 45' total including the ascent).

    ▲To match

    In the same area of Garda: the Hiking trail Mora Pellegrini.
    ▲Gallery
    Technical data
    • DifficultyEasy
    • RegionTrentino-Alto Adige
    • GroupMonte Baldo and Garda
    • Approach0:15 h
    • Ferrata0:45 h
    • Itinerary (a/r)1:45 h
    • Hardware level difference231 m
    • Route difference440 m
    • Max858 m
    • Length4 Km
  • Sentiero Attrezzato della Vergella al Monte San Martino

    Sentiero Attrezzato della Vergella al Monte San Martino

    Vie Ferrate › Lombardia › Lecco
    Sentiero Attrezzato della Vergella al Monte San Martino

    The Sentiero Attrezzato della Vergella is a variant of ascent compared to the most beaten path that from Lecco leads to the Chapel of Madonna del Carmine, under Monte San Martino. It has no hardship and allows to trace back a couple of more challenging rocky laughter with the help of some chains. It is generally available throughout the year, paying attention to the warmest months.

    ▲Approach

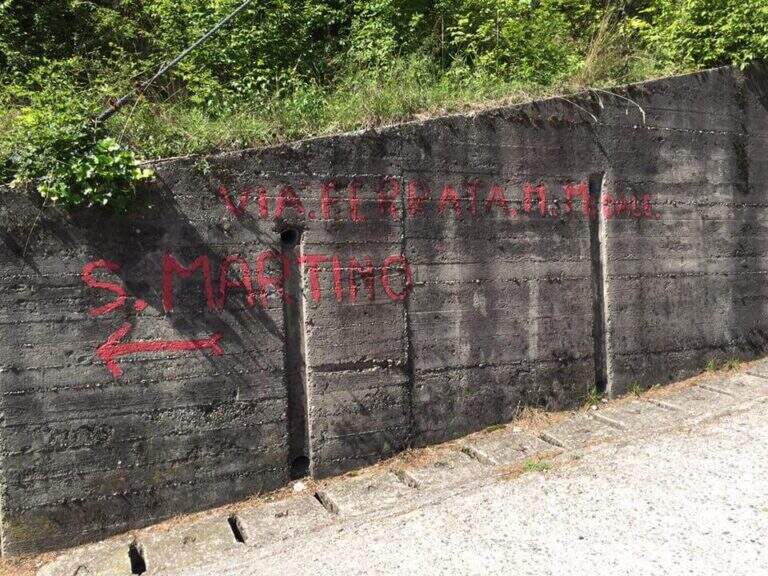
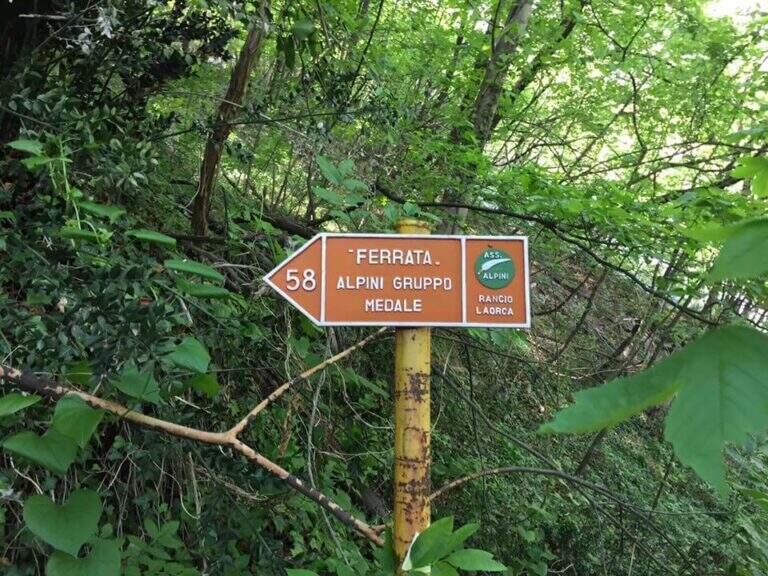
    It starts from the town of Rancio Alto, over Lecco. From Lecco take the road towards Ballabio up to a evident double hairpin bend in the middle of the houses: near the second bend, where on the left a road continues straight, take Via Quarto and walk about 200 meters until you notice, near a pedestal, an asphalted road on the right that goes steeply with an open rusty white bar. You go up this steep street, you turn a first bend on the left and, at a crossroad, you go right uphill for a couple of minutes until a bar where you park (open up Google Maps). From the parking lot continue on the cemented road to a bend, where you continue straight on a mule track (CAI 52); you ignore some bivores that detach to the right (including CAI 58 for Ferrata del Medale) and, under the walls of Monte San Martino, you go back some bends up to a crossroad where a white sign indicates left the Sentiero Attrezzato della Vergella (20′ from the parking lot).

    ▲The path

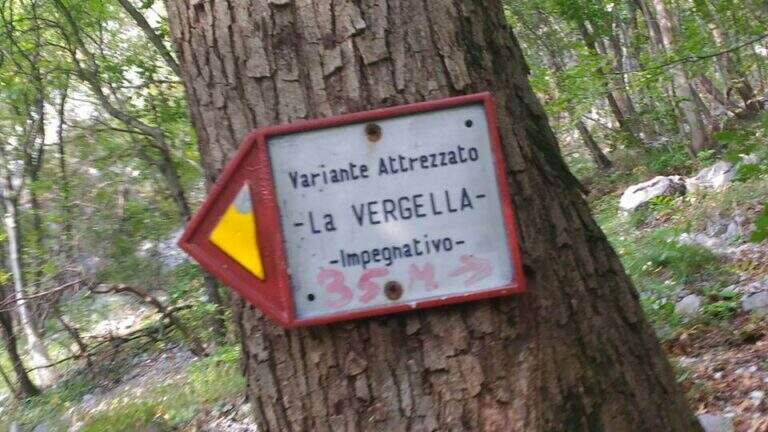
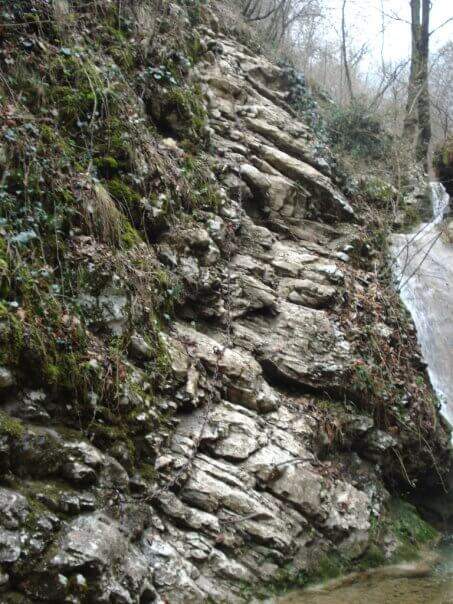
    From the deviation follow the yellow signs of the route; near the crag of the Placchette di San Martino you continue straight until the attack. The equipped path goes up a rocky channel in which the chain immediately develops vertically on a wall at first smoothed, then more entangled, climbs quite smoothly; in the upper part it crosses to the left leaving on a beautiful panoramic terrace. Continue up to a second vertical wall, from the appearance of an unmarked dihedron, which sticks following the chain on the left side; climb the wall and face a traverse to the left, exit and rise some rocky steps until the end of the equipment. Between rocky balconies and uncomplicated rocks, and a last steep stretch of path, ends the Path of the Vergella (1h from the attack, about 1h30 from the parking lot), with the Chapel of the Madonna del Carmine now in sight.

    ▲Character and difficulty

    The itinerary has no significant difficulty. The two more vertical sections are suitably equipped and give the necessary safety to less experienced hikers, while those who are more trained can try to trace them back without using the chain.

    ⚠ After abundant rains or in autumn months the foliage makes slippery some stretches, especially if the path is traveled downhill.
    ▲Period and safety

    Low altitude (maximum 742 m): it is a route almost all year round, with attention to the heat in the summer months and the slippery of the bottom in the humid seasons.

    ▲Discipline

    If the itinerary ends at the chapel, take the path to its right, which descends first into the woods, then between rocky steps and finally under the walls of Monte San Martino, until you reach the path of the way and then to the parking lot (45′ from the chapel, 2h15 total). Alternatively you can continue along other routes: on the right of the chapel take the Sentiero Attrezzato Silvia for the summit of Monte San Martino (45′), evaluating then if you continue towards the Corno del Medale and descend along the Path of the Medale, or towards the Coltiglione along the Sentiero del GER; another possibility is to climb up the summit for the normal route and, towards the Rifugio Piazza, descend along the most difficult Sentiero dei Pitti.

    ▲To match

    For experienced hikers an interesting alternative is to climb the challenging Ferrata del Medale and descend along the Sentiero Attrezzato Silvia and then this of the Vergella. In the surroundings there are also GER Path to the Coltiglione and the most difficult Sentiero Attrezzato dei Pizzetti.

    ▲Gallery
    Technical data
    • DifficultyEasy
    • RegionLombardy
    • GroupPrealpi Lecchesi – Monte San Martino
    • Approach0:20 h
    • Ferrata1:00 h
    • Itinerary (a/r)2:00 h
    • Hardware level difference150 m
    • Route difference372 m
    • Max742 m
    • Length7 Km
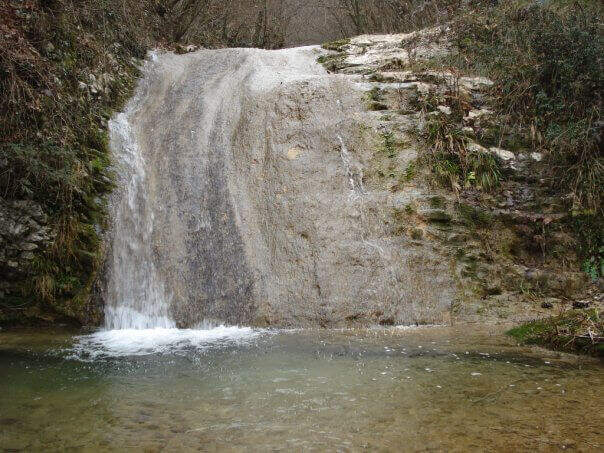
  • Sentiero Attrezzato delle Cascate di Monticelli Brusati

    Sentiero Attrezzato delle Cascate di Monticelli Brusati

    Vie Ferrate › Lombardy › Brescia
    Sentiero Attrezzato delle Cascate di Monticelli Brusati

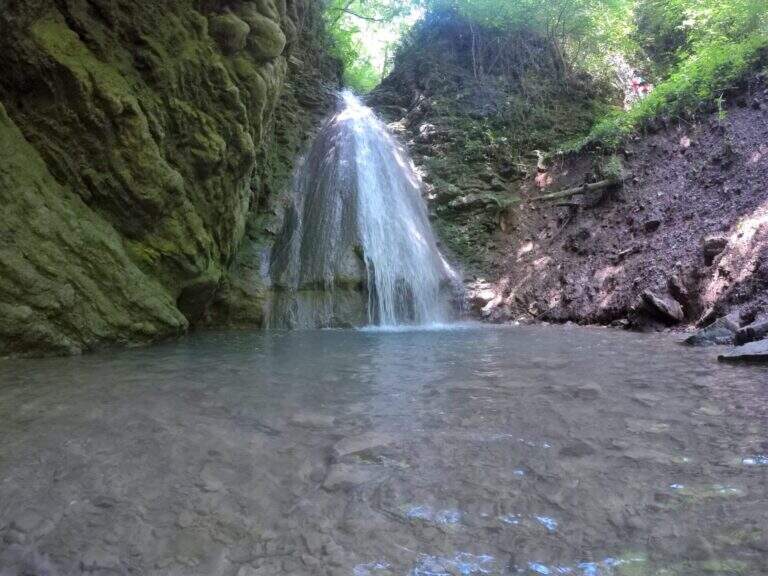
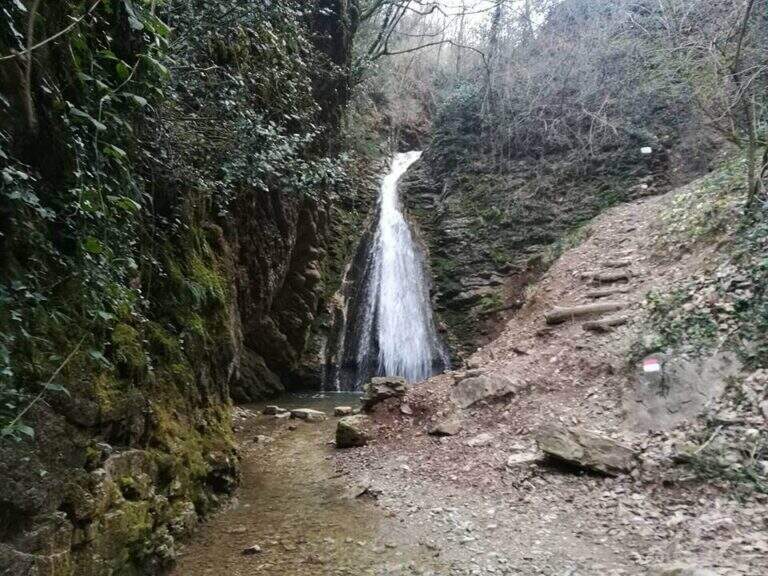
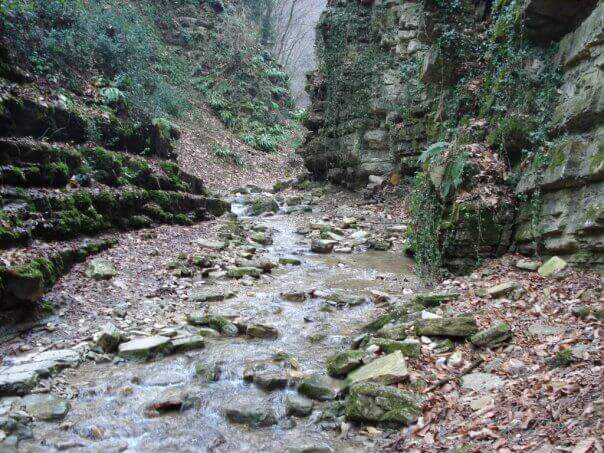
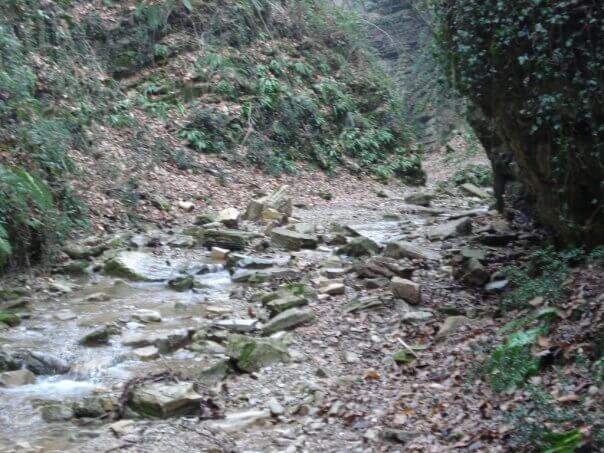
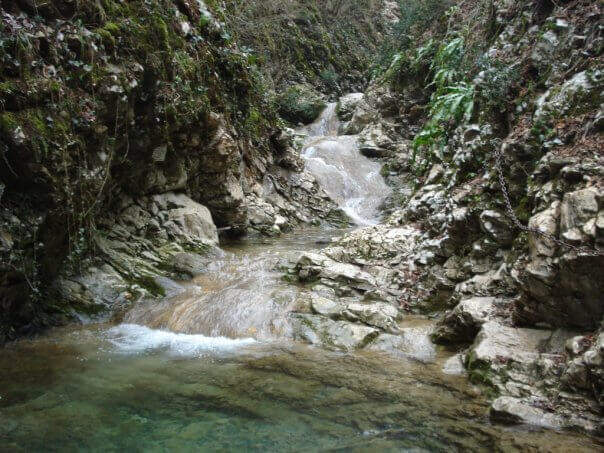
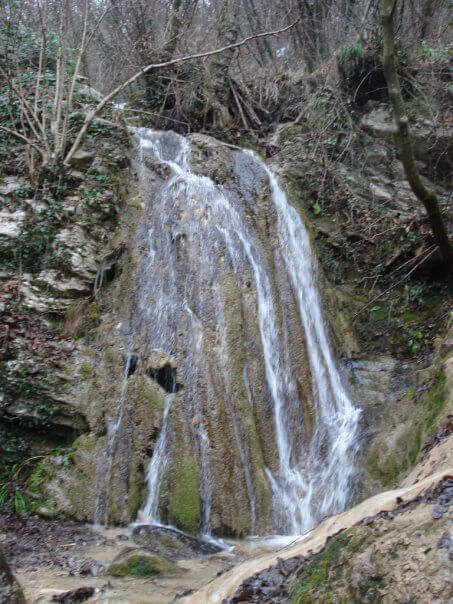
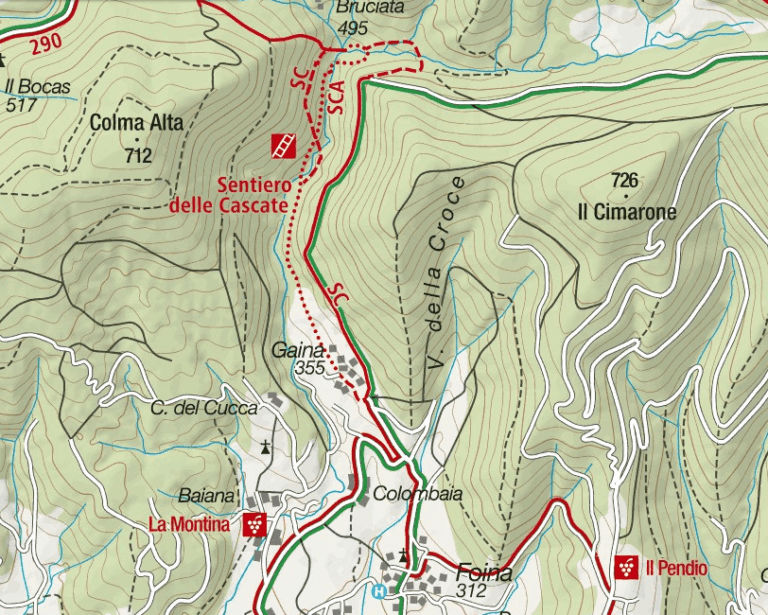
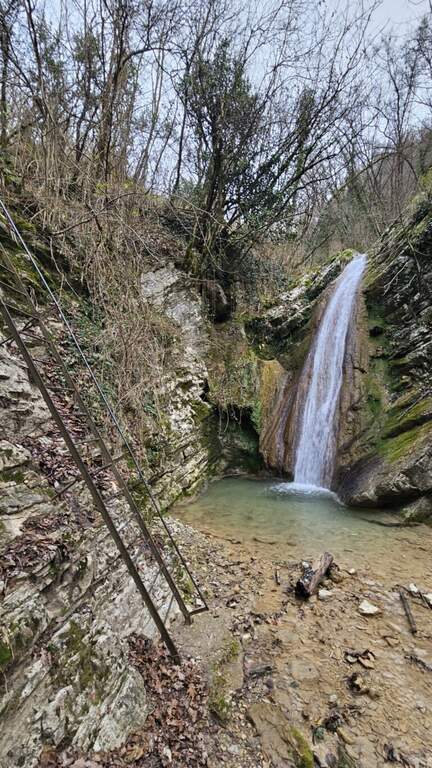
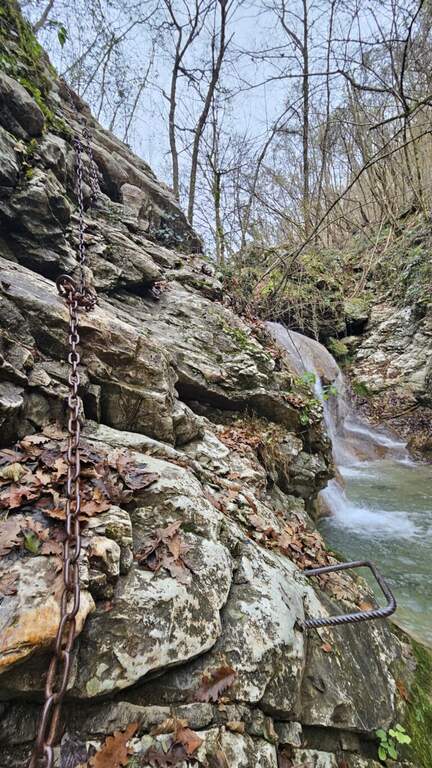
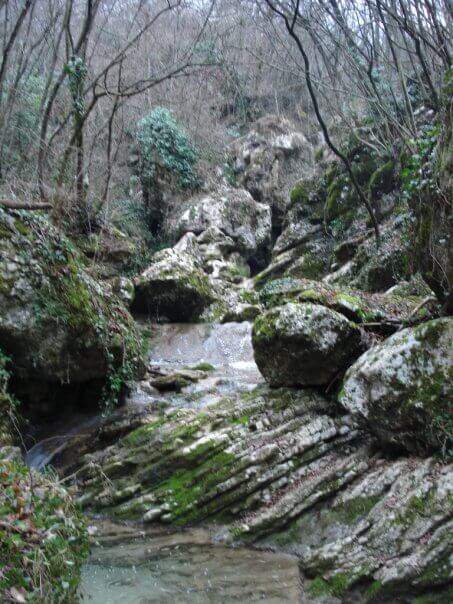
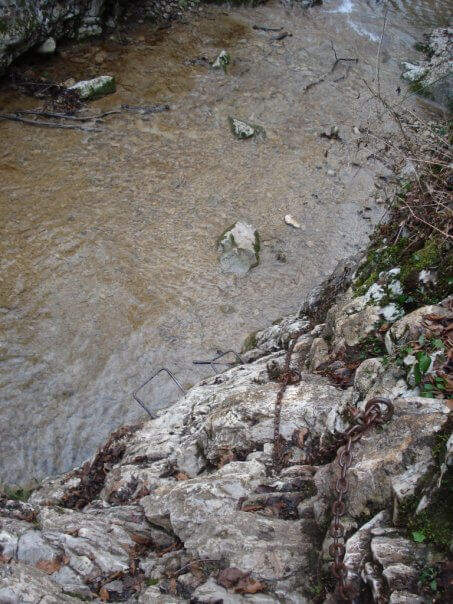
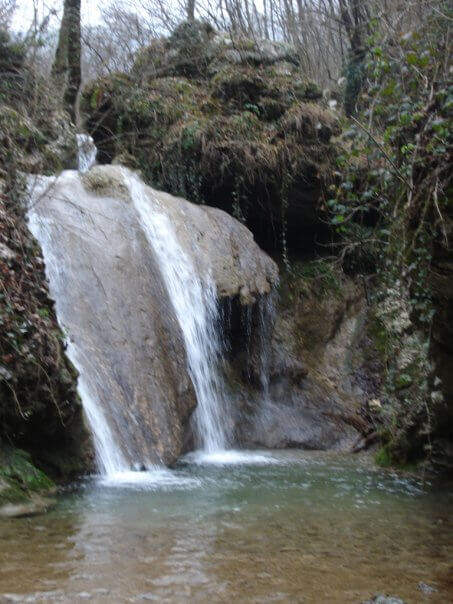
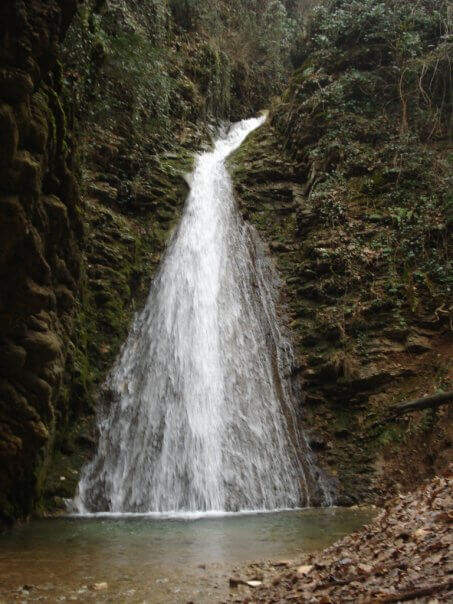
    In the gorge excavated by the Gaina stream, in the province of Brescia, this equipped path gives an easy and suggestive itinerary, without technical difficulties and with a landscape suitable also for families and children. It is the type of route that you play all about the environment: water, laminated rocks and waterfalls, with the equipment used only to accompany the progression along the stream.

    ▲Approach

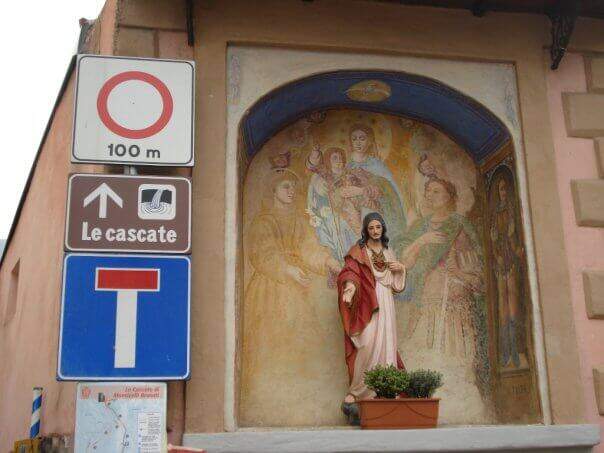
    It starts from the village of Gaina, fraction of Monticelli Brusati (BS). After passing the bus station of Monticelli Brusati, after a few minutes you can see on the left a white sign that indicates Gaina: take the road uphill, which soon narrows, until the village, where the road biforca. You hold the right and you will immediately find the parking place where you leave the car (open up Google Maps). From the parking lot, in front, a brown sign indicates “Cascate”: continue on the road, initially asphalted, up to a junction (10′ from the parking lot) where you choose between the easy route and that for experts. The most beautiful solution is to climb from the path for experts and return from the easy one.

    ▲The path

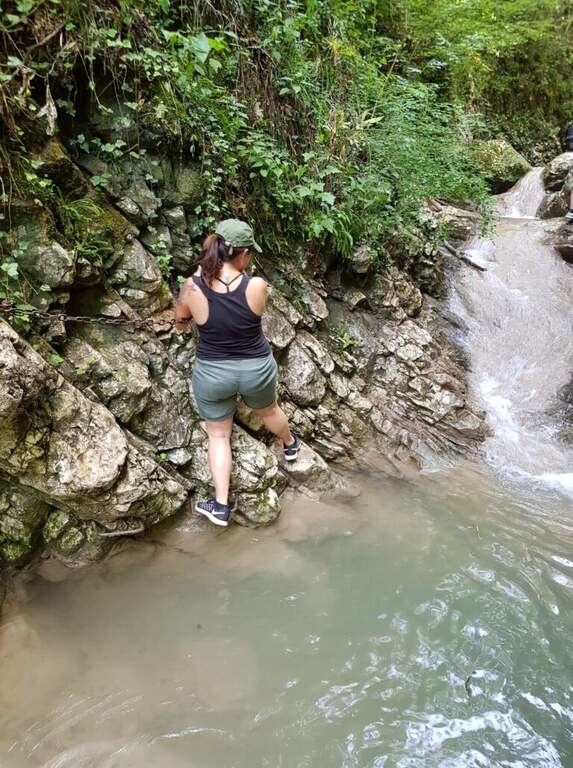
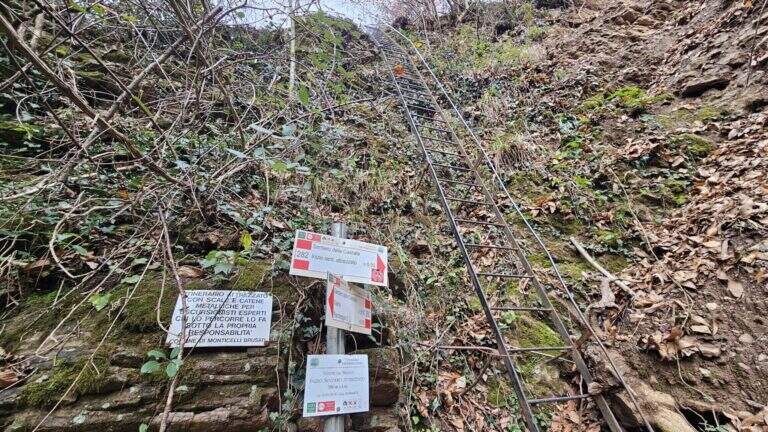
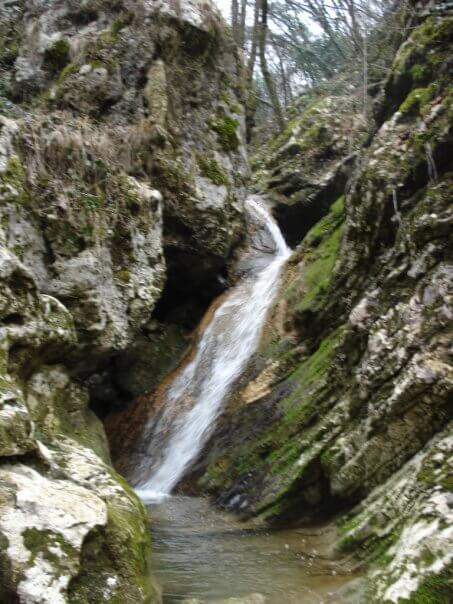
    You descend on the bed of the creek, now proceeding on the right now on the left horographic depending on where the bottom is dry, helping with the big rocks to cross it. You will encounter a crossroads that would bring you back to the easy path: you ignore it and head towards a waterfall, where the equipped section begins. It sticks up a metal staircase of about ten meters, then walks next to the stream between laminated rocks and wood. After a first curve the throat tightens and finally begins the equipped part: it starts on the left with some chains on sloping rocks, then it passes on the right horographic with a short traverse equipped with three brackets for the feet, which avoids entering the water. Continue on a slight diagonal and cross the stream, then go up a rocky slope diagonally next to the water (attention to the wet rock). A new crossing wets the feet, except in the summer months; on the other side you find the chain at a waterfall, in correspondence of the only vertical stretch equipped, a 6-8 meters wall to be overcome also with the help of the brackets. You cross the stream and enter the final stretch: in short, on the path, you reach the last beautiful waterfall, next to which a second staircase closes the route (1h15 from the attack, 1h30 total).

    ▲Character and difficulty

    Also in the variant for experts the path does not have significant technical difficulties: it is suitable for neophytes and keeps everywhere a contained exposure. The only real attention goes to the moisture brought from the stream, which can make more slippery some passages.

    ⚠ The rock at the creek is often wet: careful foot in the transverses and the cenges. Several crossings bathe the feet, except in summer when the flow is low or the bed is dry.
    ▲Period and safety

    The altitude is low (538 m), therefore the route is accessible in most of the year; in the warm months the stream can however show up with little water or dry, reducing the spectacularness of the falls.

    ▲Discipline

    From the end of the staircase you go up the track to a crossroads that indicates the easy return or that for experts. You can then go back to the equipped path or, more quickly, take the easy variant that runs higher than the stream. In both cases you reach the country and then parking (30′ from the end of the street, 2h overall).

    ▲To match

    Energies allowing, it is a route that lends itself to be combined with a more challenging route of the area, such as the Ferrata Corno del Bene o il Sentiero Attrezzato Trentapassi. Moving to Val Trompia you can reach Ferrata Caspai, la Ferrata Nasego e il Parco delle Fucine di Casto.

    ▲Gallery
    Technical data
    • DifficultyEasy
    • RegionLombardy
    • GroupPrealps Bresciane
    • Approach0:10 h
    • Ferrata1:15 h
    • Itinerary (a/r)2:00 h
    • Hardware level difference190 m
    • Route difference200 m
    • Max538 m
    • Length5 Km
  • Ferrata della Ruceia in Condove

    Ferrata della Ruceia in Condove

    Vie Ferrate › Piedmont › Turin
    Ferrata della Ruceia in Condove

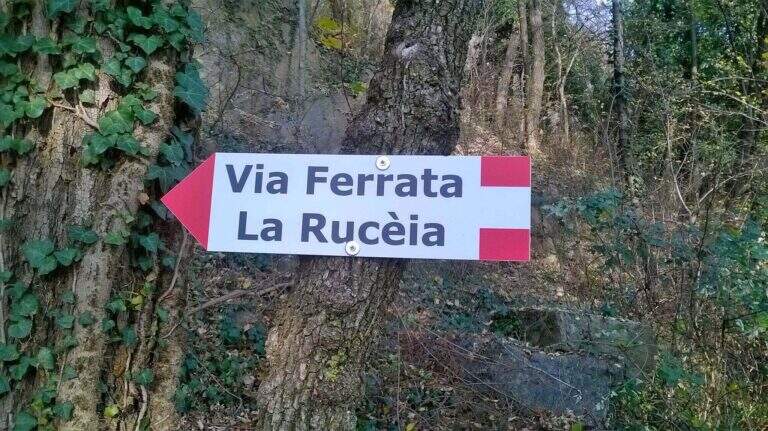
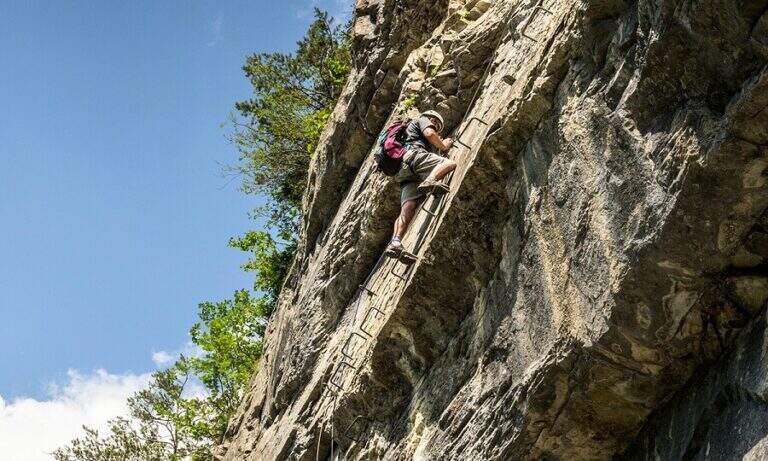
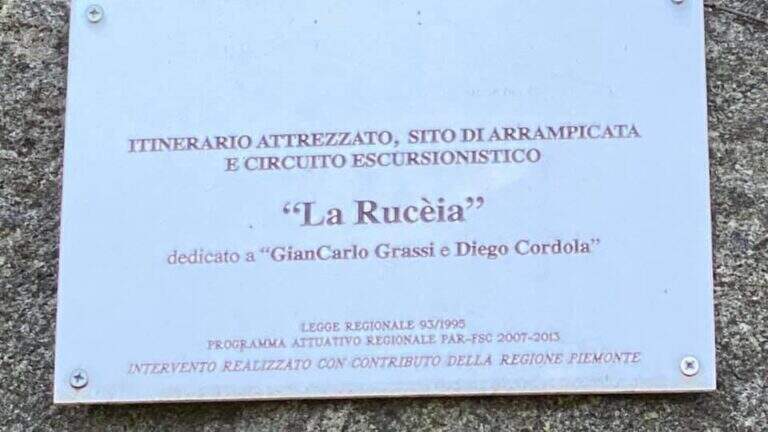
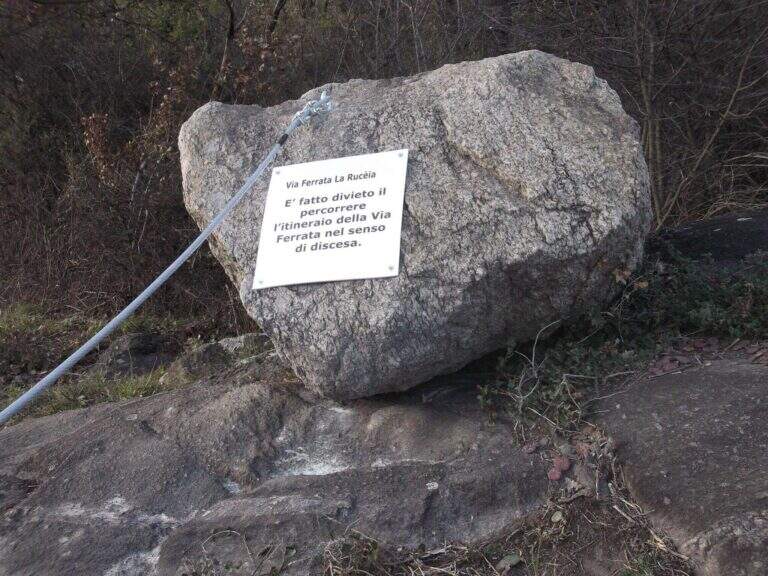
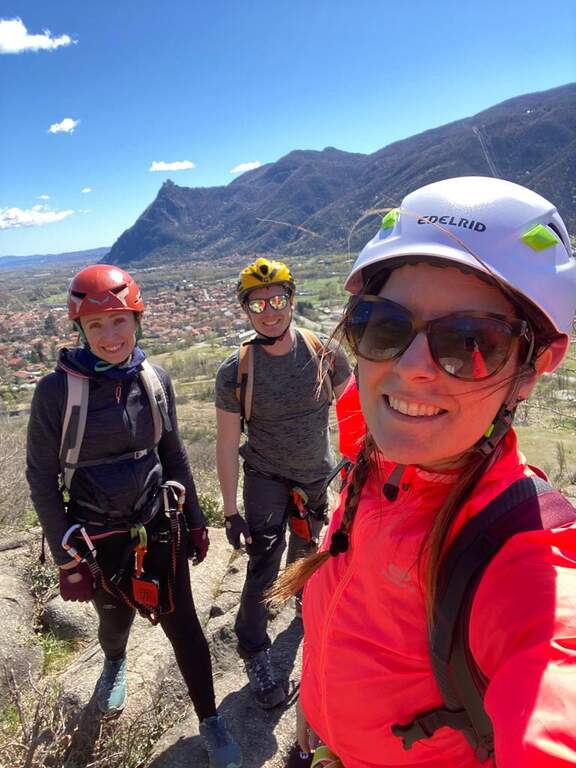
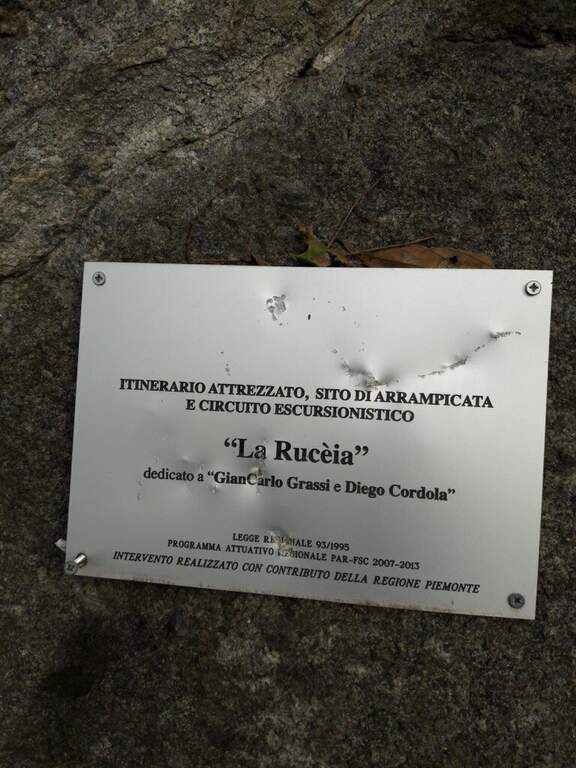
    The Ferrata della Ruceia è a recent street and facile, great to approach the neophytes to the equipped routes. It is divided into areas connected by path, no one with difficulty; of relief, è pleasant, short and accessible practically all l' year. È dedicated to alpinists Gian Carlo Grassi and Diego Cordola.

    ▲Approach

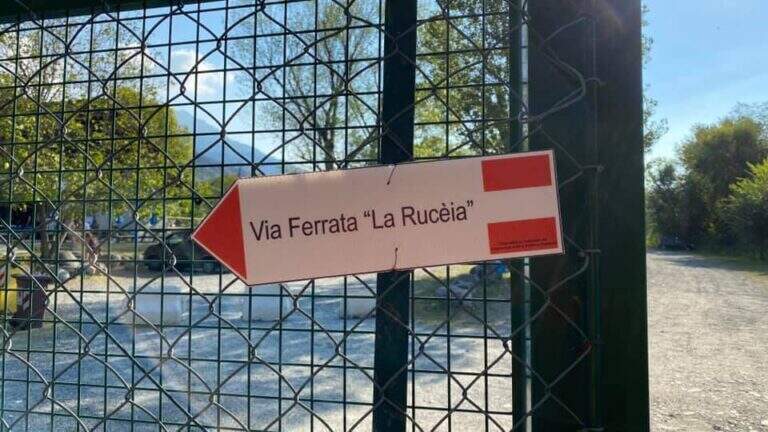
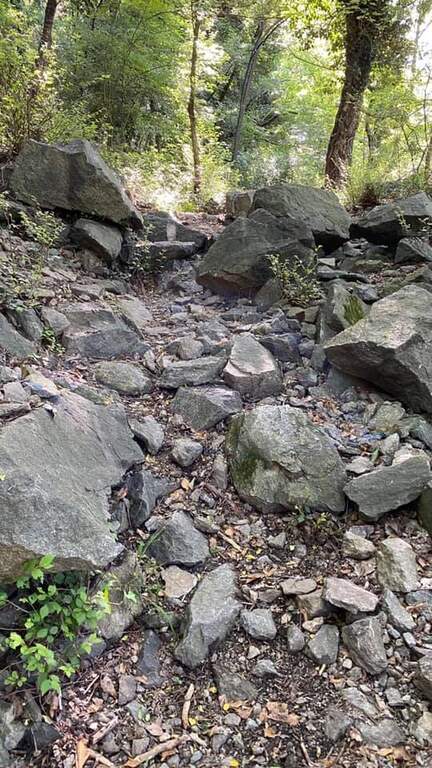
    Starting point the village of Condove (TO): cross the bridge over the creek Gravio and park immediately after, at l' equipped area and the adventure park on the creek. Open road signs on Google Maps. Follow the dirt road that runs along the adventure park and, in the woods, leads to l' attack (10' parking ).

    ▲The path

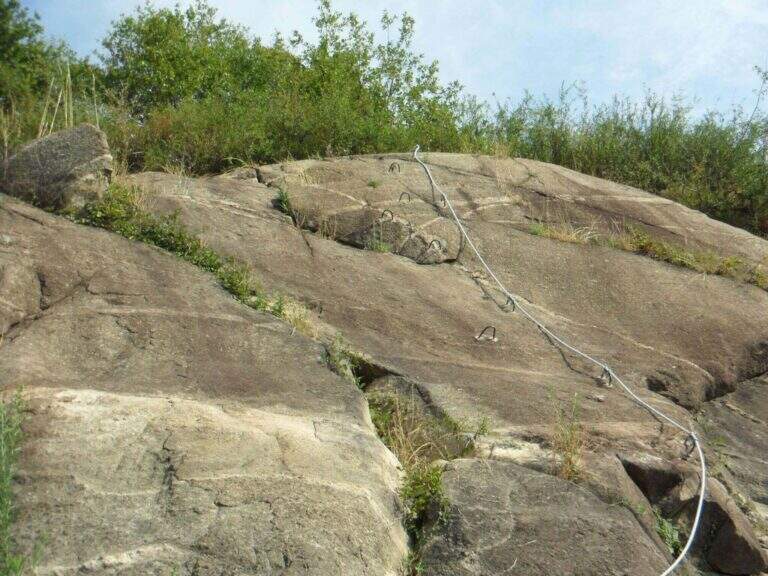
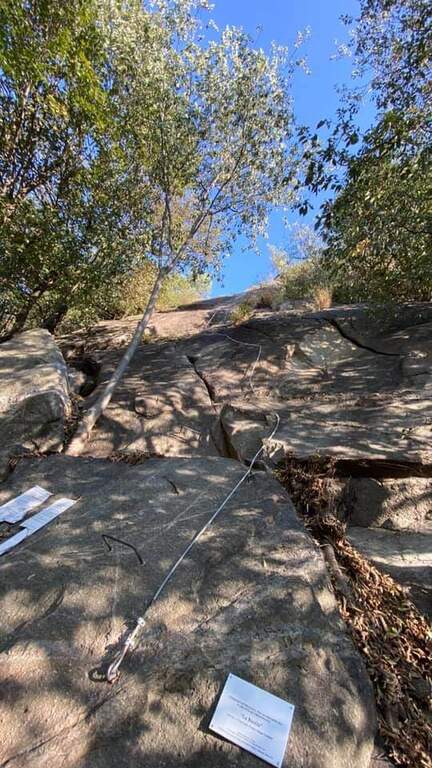
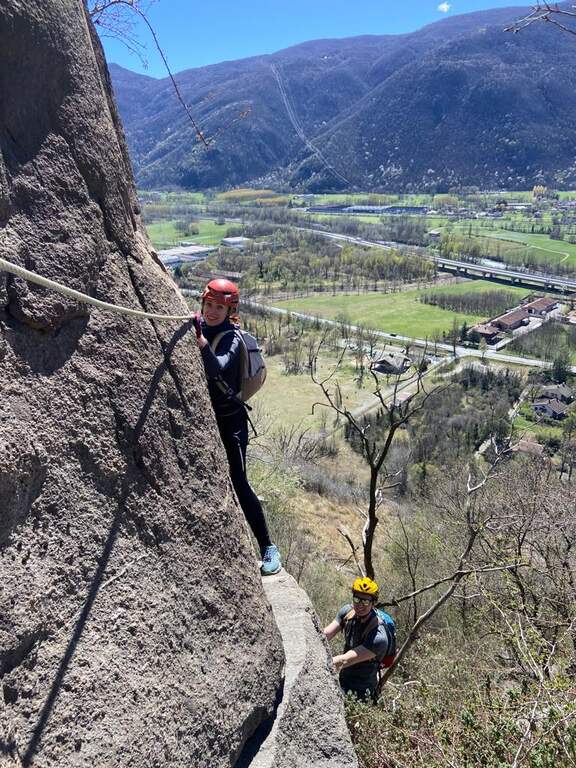
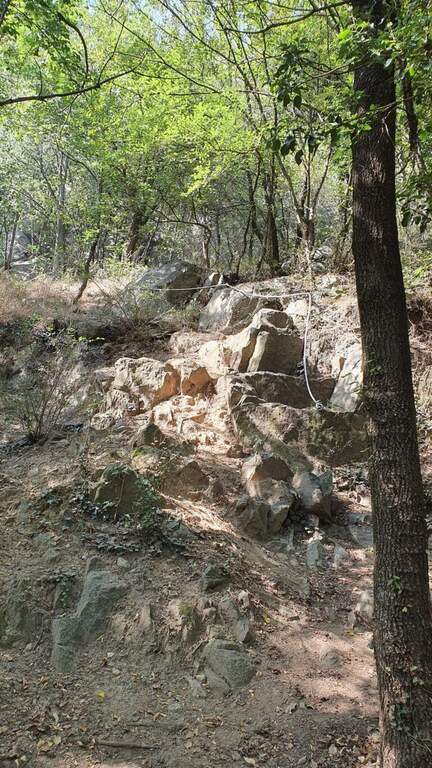
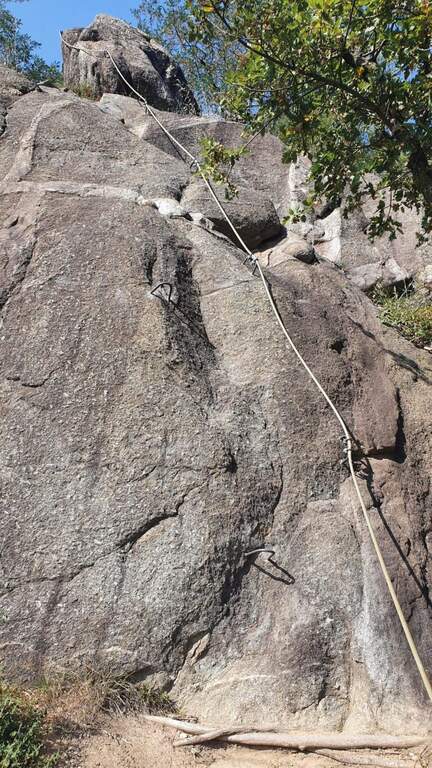
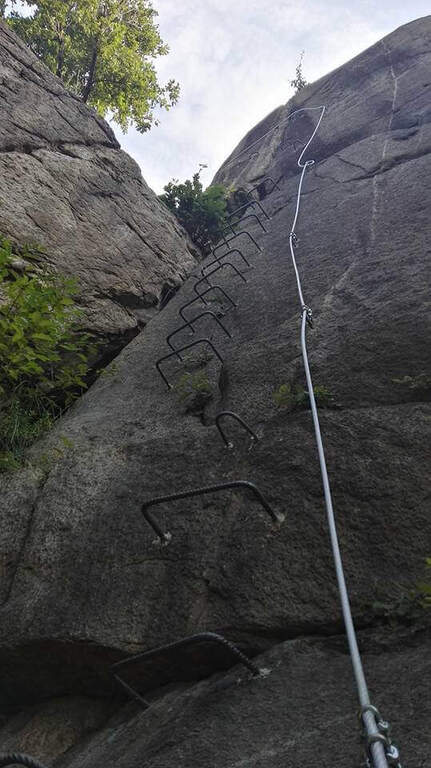
    The Via è made of più sections connected by pathways. The first section goes up a vertical wall on the plate, first straight then turning slightly left on some brackets; without the brackets it would be necessary to proceed in adherence. It overtakes a short stretch in slight overhanging (about 3 meters, easy with brackets) and closes with a first tilted plate then vertical. After the connecting path you go up a vertical stretch of 4 meters with brackets for the feet up to a small terrace; to the left a diagonal stretch with brackets, then a died supported più easy. The terza section è a vertical ridge, however circumventable on the right. The quarta and ultima, at the cliff of Roccabruna, goes on the left side a well-equipped vertical dihedron, then a left-hand traverse, a second similar dihedron and a vertical plate leading to the top (1h from' attack / 1h 15' totali).

    ▲Character and difficulty

    Adapted to beginners and also to the younger ones: abundantly equipped, without difficult passages; only the first stretch is a little more challenging than the others. Inaugurated in 2016 entitled Gian Carlo Grassi, a great mountaineer from Piedmont, originally from Condove, and Diego Cordola, author of the guide «Arrampicare a Caprie».

    ▲Period and safety

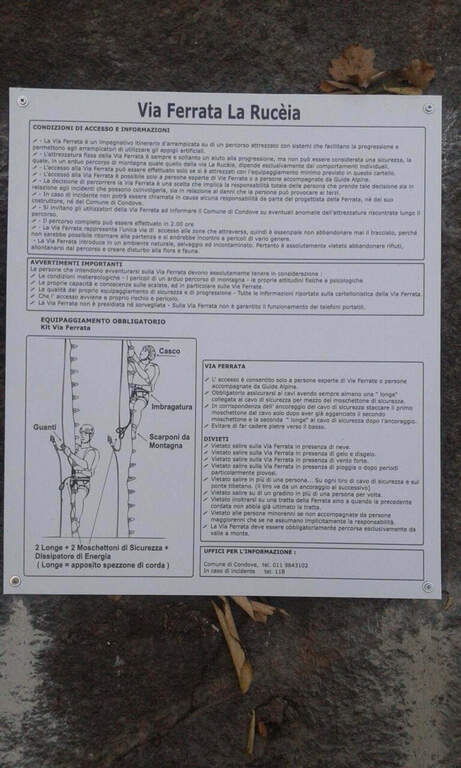
    Low altitude: accessible in most of the year with dry rock. However always necessary harness, helmet and hardware kit.

    ▲Discipline

    From the top you can può descend both from the left and from the right; & preferable the late right, less rough. In both cases you complete a ring tour and return to the parking lot (30' from the term / 1h 45' totali).

    ▲To match

    For brevity it easily connects with other routes of Val di Susa: la Ferrata Guido Rossa to Caprie and the Ferrata Carlo Giorda (to 10' by car), the Ferrata dell'Orrido di Chianocco, la Ferrata dell'Orrido di Foresto and, higher, the Ferrata del Rouas bardonecchia.

    ▲Gallery
    Technical data
    • DifficultyEasy
    • RegionPiedmont
    • GroupVal di Susa
    • Approach0:10 h
    • Ferrata1:00 h
    • Itinerary (a/r)1:45 h
    • Hardware level difference150 m
    • Route difference160 m
    • Max541 m
    • Length1,2 Km
  • Ferrata Poppele Knott in Laces (Val Venosta)

    Ferrata Poppele Knott in Laces (Val Venosta)

    Vie Ferrate › Trentino-Alto Adige › Bolzano
    Ferrata Poppele Knott in Laces (Val Venosta)

    The Ferrata Poppele Knott is a short equipped street just above Laces, in Val Venosta: short and uncomplicated itinerary, perfect for a half day or for those who move the first steps on the ferrates. The name comes from a big erratic rock, the Poppele Knott, which meets right near the attack.

    ▲Approach

    You leave l' car to the small parking lot of the church in locality; Tiss, near Laces (about fifteen places). Open road signs on Google Maps. From the parking lot take the road that descends towards sinistra among the apple groves; in about ten minutes you arrive almost to the state of Stelvio. Shortly before reaching it, on the sinistra, a pole clearly signals the ferrata («Tiss Klettersteig»); a last steep tear in the wood leads to all' attack (15' from parking ).

    ▲The path

    The street is short: about 60 m of height difference for 0,6 km of development, available in about twenty minutes, with a maximum quota around 750 m. At present the source does not publish the detailed description, step by step, of the equipped section: for correctness we do not bring it back and we stick to the only certain data (development, difference in level, times and degree). The overall character is easy, in a sunny setting between the apple trees of Val Venosta.

    ▲Character and difficulty

    Difficultà facile, also suitable for those who ` the first experiences on an equipped basis. The brevità makes it ideal as an introductory exit or as a complement of one' another in the area.

    ⚠ Although it is easy to use a rock-mounted road: imbrago, helmet and homologated ferrata kit are mandatory. It should be covered with dry rock.
    ▲Period and safety

    Low altitude: accessible in most of the season with dry rock. In summer the wall remains exposed to the sun.

    ▲Discipline

    After finishing the ferrata follow the sentiero 5A towards sinistra, which in about fifteen minutes reports all' attack; from here you return to the parking lot (circa 50' in total).

    ▲To match

    In the surroundings, in Naturno, the difficult Ferrata Hoachwool and varied Ferrata Knott; in Merano Ferrata Heini Holzer (deadly difficult), good next step to raise the degree. Recently inaugurated: the Ferrata Olberg near Vipiteno (2022) and the Ferrata Larix in Val Senales (2022). Along the state road of Stelvio you reach the Ferrata di Trafoi; to Trento, of medium difficulty, the Ferrata Mendola al Roen e la Ferrata di Favogna.

    ▲Gallery
    Technical data
    • DifficultyEasy
    • RegionTrentino-Alto Adige
    • GroupVal Venosta
    • Approach0:15 h
    • Ferrata0:20 h
    • Itinerary (a/r)0:20 h
    • Hardware level difference60 m
    • Route difference90 m
    • Max750 m
    • Length0,6 Km
  • Ferrata di Cima Rocca

    Ferrata di Cima Rocca

    Vie Ferrate › Trentino Alto Adige › Trento
    Ferrata di Cima Rocca

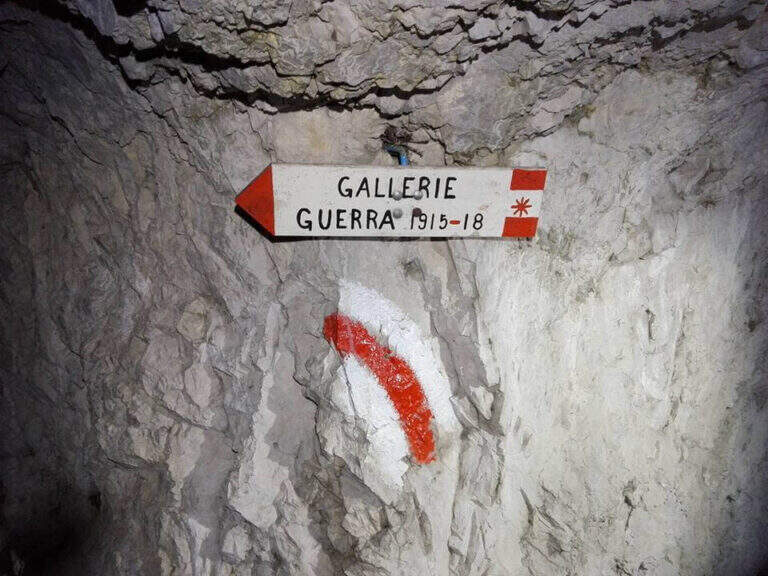
    La Ferrata di Cima Rocca è una breve via che ricalca un sentiero di guerra fino alla cima dell’omonimo monte, sopra l’Alto Garda. Si percorrono gallerie risalenti alla Prima Guerra Mondiale, ben segnalate al loro interno, per guadagnare quota e affacciarsi su un panorama splendido verso il Lago di Garda, il Monte Baldo e le Valli Giudicarie. Più che dalle difficoltà tecniche, la via è caratterizzata dal forte interesse storico.

    ▲Approach

    Punto di partenza il paese di Biacesa, a 4 km da Riva del Garda: da Riva si seguono le gallerie verso la Val di Ledro e, usciti dalla seconda, si raggiunge Biacesa; si imbocca via dei Dazi a destra e, a fine strada, si gira di nuovo a destra fino a un parco giochi con ampio parcheggio (starting point on Google Maps). Ci sono due avvicinamenti. Il più facile segue il CAI 417 verso nord e, dopo una decina di minuti, tiene la destra (CAI 460) verso la Chiesa di San Giovanni, sotto l’imponente parete di Cima Rocca (1h dal parcheggio); oltre la chiesa i segni bianco-rossi salgono a nord verso l’attacco (CAI 471). In alternativa si può salire per il CAI 470 (Sentiero dei Bech) fino al bivio col 417, poi a sinistra sul 471 — ben attrezzato nei tratti difficili — passando presso il Bivacco Accioni fino alla Chiesa di San Giovanni (1h 15′).

    ▲The path

    Dalla chiesa si salgono alcuni ripidi tornanti sul CAI 471 fino alla prima galleria, dove un cartello segna l’inizio del tratto attrezzato (10′ dalla chiesa). Si entra nella galleria, seguendo le indicazioni interne, e si esce sopra una scala metallica di 13 metri, nel bosco; si procede lungo ripidi canali terrosi e alcuni balzi rocciosi attrezzati fino alla seconda galleria, anch’essa ben segnalata all’interno. Usciti, si segue un sentiero a tratti attrezzato fino alla terza galleria, che per ora si ignora seguendo il CAI 471A che, lungo una trincea di guerra, conduce alla cima di Cima Rocca (1090 m, 45′ dalla Chiesa di San Giovanni, 2h totali).

    ▲Character and difficulty

    Via non difficile (Difficile come grado complessivo per via di alcuni tratti esposti), breve, con solo 70 m di dislivello attrezzato: il suo valore sta nelle gallerie e nelle trincee della Grande Guerra e nel panorama, più che nell’impegno tecnico.

    ⚠ È assolutamente necessario portare una torcia, idealmente frontale per avere le mani libere: si attraversano gallerie di guerra prive di illuminazione. Attenzione inoltre al caldo nei mesi estivi, vista la bassa quota e l’esposizione verso il Garda.
    ▲Period and safety

    Bassa quota dell’Alto Garda (massimo 1090 m): percorribile gran parte dell’anno, meglio nelle stagioni intermedie evitando il caldo estivo. Itinerario breve, 5,8 km e 672 m di dislivello, circa 3 ore complessive.

    ▲Discipline

    Da Cima Rocca si può scendere lungo l’itinerario di salita fino alla Chiesa di San Giovanni, oppure per il sentiero attrezzato che cala sulla parete nord verso Bocca Pasumer (attrezzato nei punti più esposti, non difficile); a un bivio, a sinistra, una lunga galleria di guerra di 300 m (torcia necessaria) porta all’imbocco della terza galleria non percorsa all’andata, mentre proseguendo dritti il CAI 460B riporta alla chiesa. Da qui si rientra in paese per uno dei due itinerari di avvicinamento (circa 1h 30′ dalla vetta, 3h totali).

    ▲To match

    Nell’Alto Garda, poco distante, si trovano la Ferrata di Cima Capi e la Ferrata di Colodri ad Arco.

    ▲Gallery
    Technical data
    • DifficultyHard
    • RegionTrentino Alto Adige
    • GroupAlto Garda – Val di Ledro
    • Approach1:15 h
    • Ferrata0:45 h
    • Itinerary (a/r)3:00 h
    • Hardware level difference70 m
    • Route difference672 m
    • Max1090 m
    • Length5,8 Km
  • Ferrata alla Crepa Neigra

    Ferrata alla Crepa Neigra

    Vie Ferrate › Trentino Alto Adige › Trento
    Ferrata alla Crepa Neigra
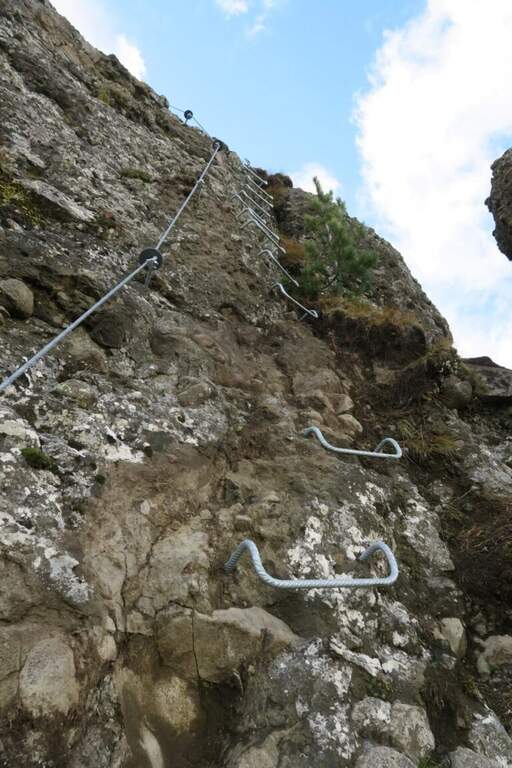
    Moderately Hard● OpenDescriptionComplexityMapsGallery

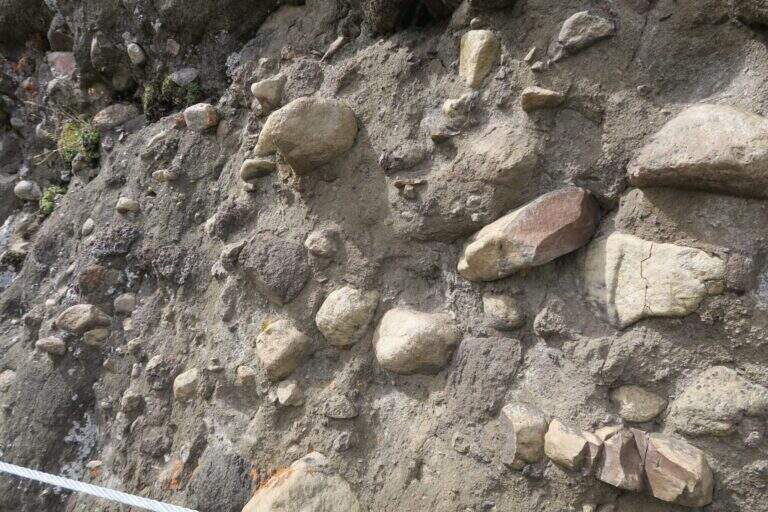
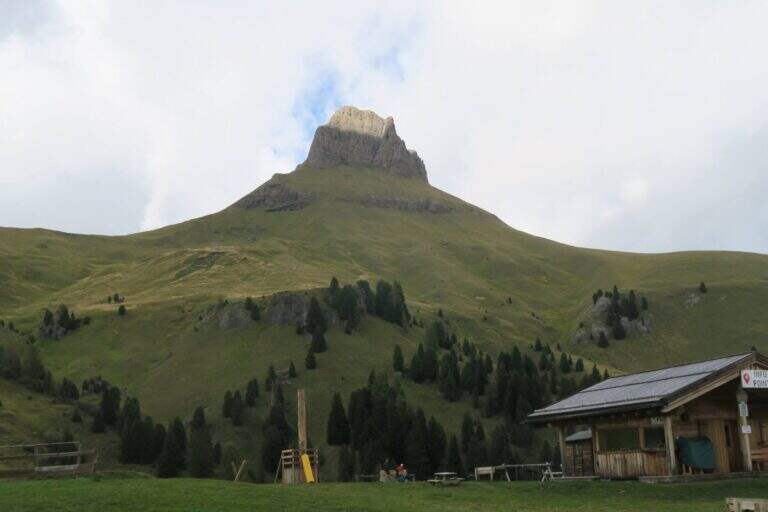
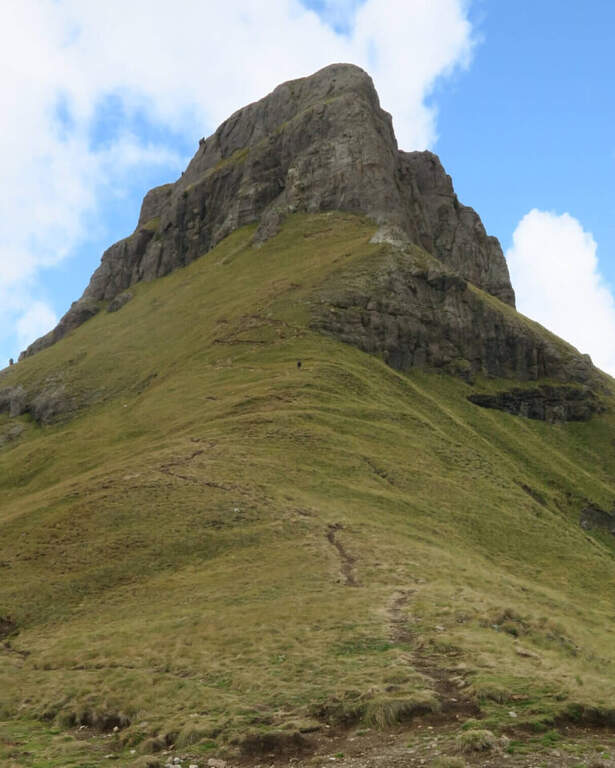
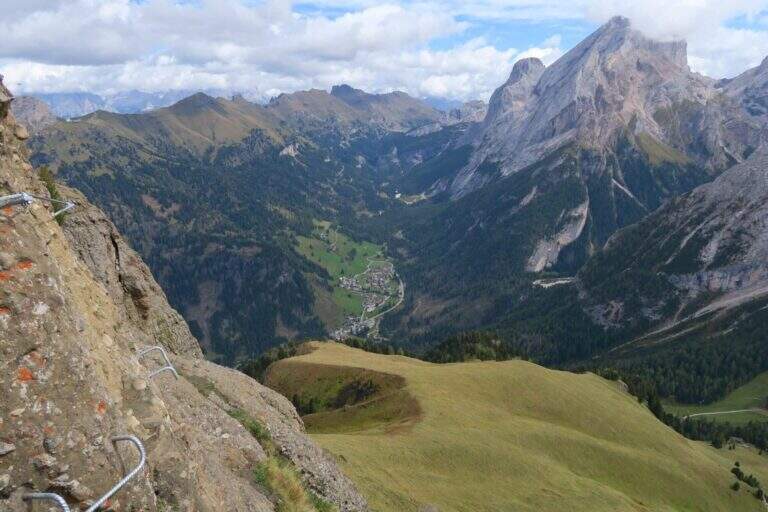
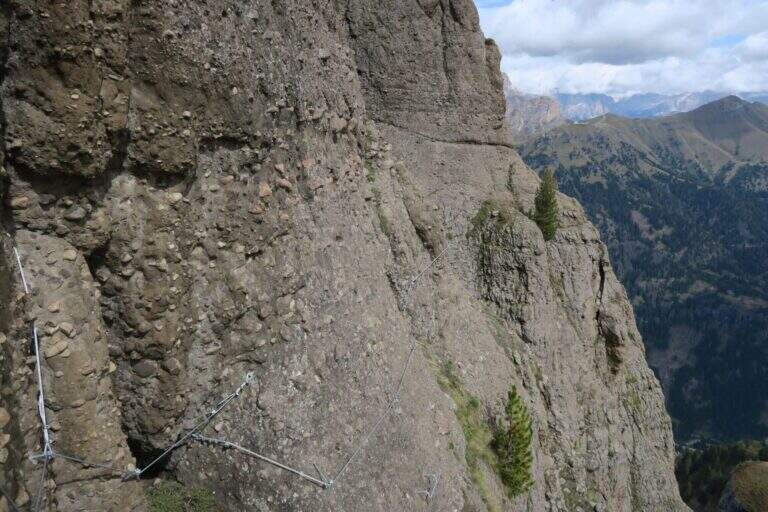
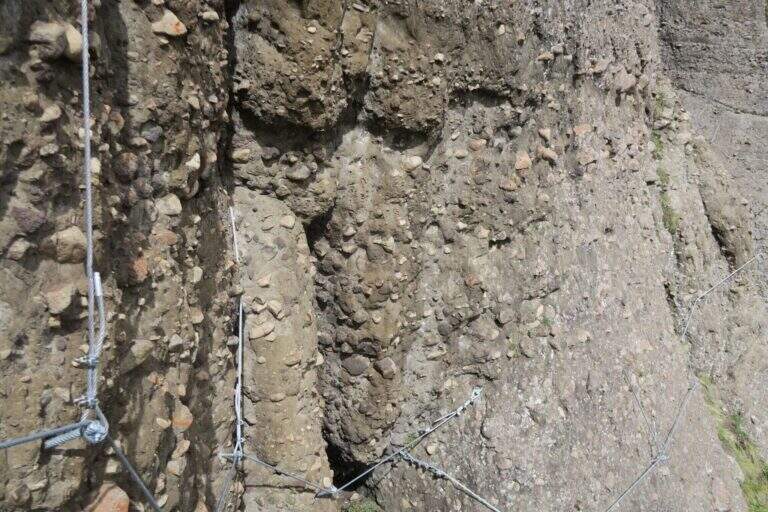
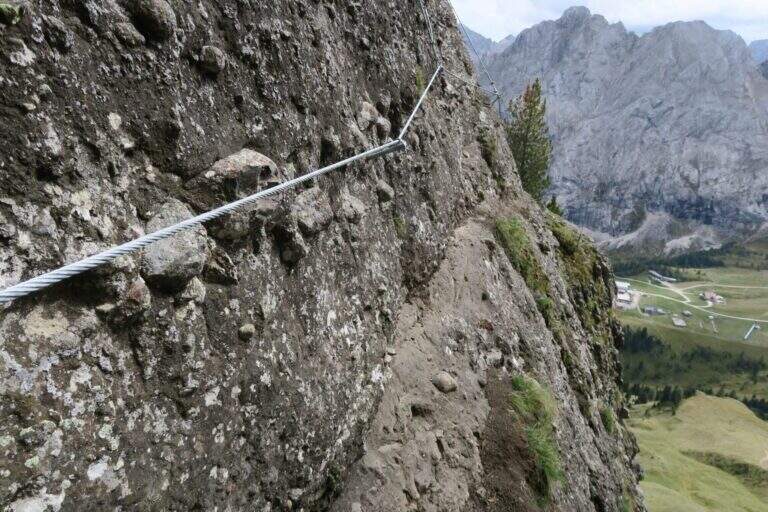
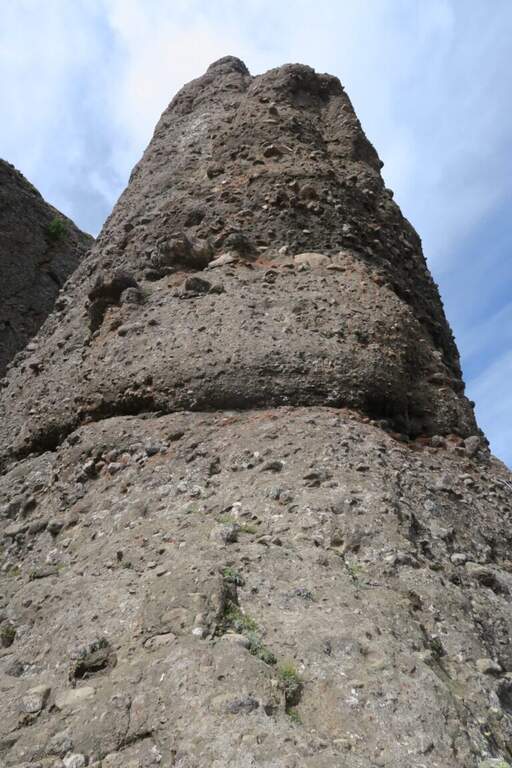
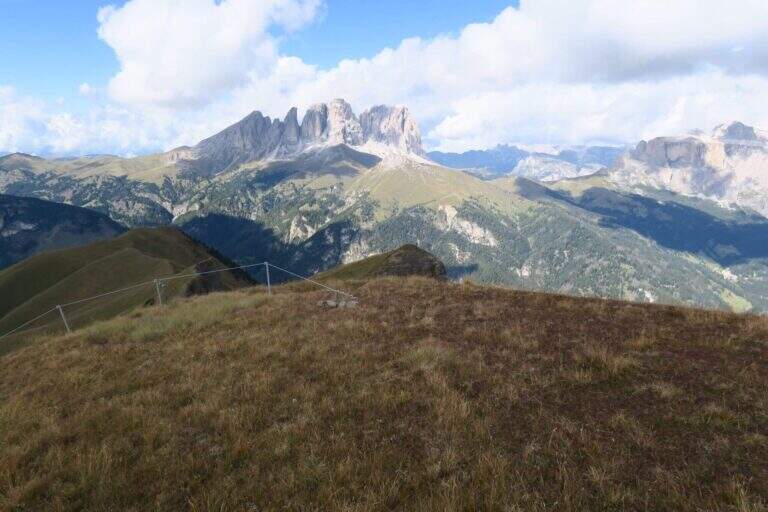
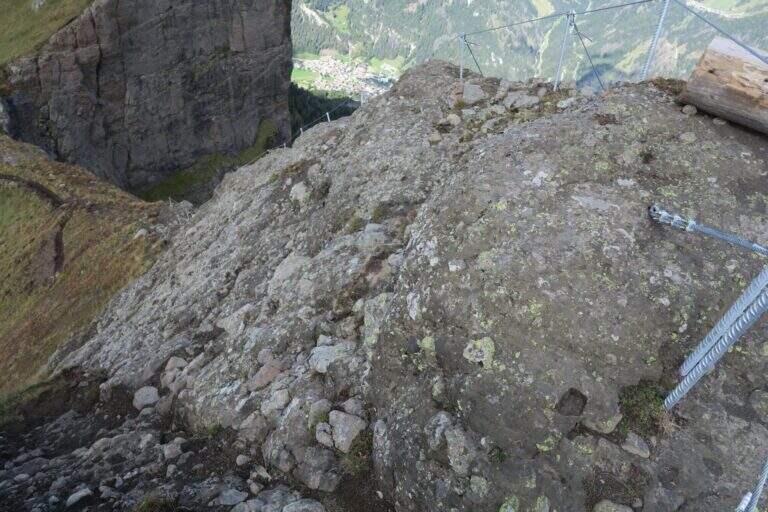
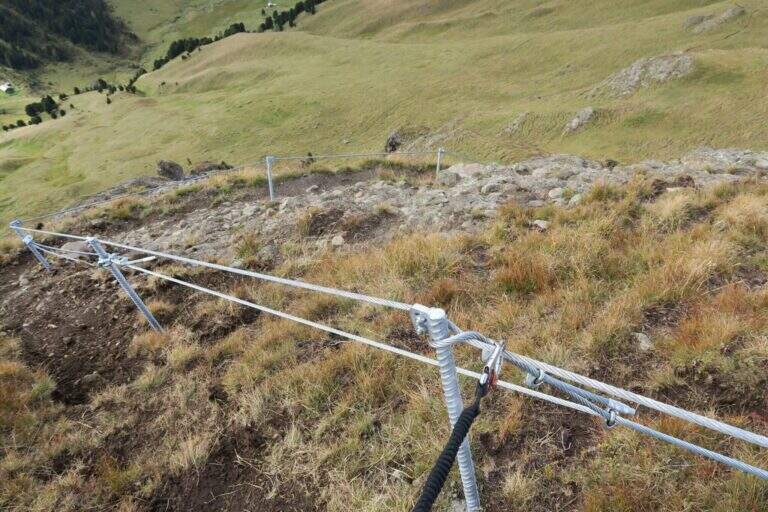
    La Ferrata alla Crepa Neigra è un itinerario di media difficoltà nella conca del Ciampac, in Val di Fassa. È breve (circa un’ora) e particolare: lo sviluppo verticale è di soli 80 metri, mentre il percorso è in prevalenza orizzontale, con tratti in forte esposizione. La via compie un anello passando dal versante sud a quello nord, restando sempre pochi metri sotto la sommità, su una roccia insolita di origine vulcanica, scura (da cui il nome «Neigra») e fittamente impastata di sassi incastonati.

    ▲Approach

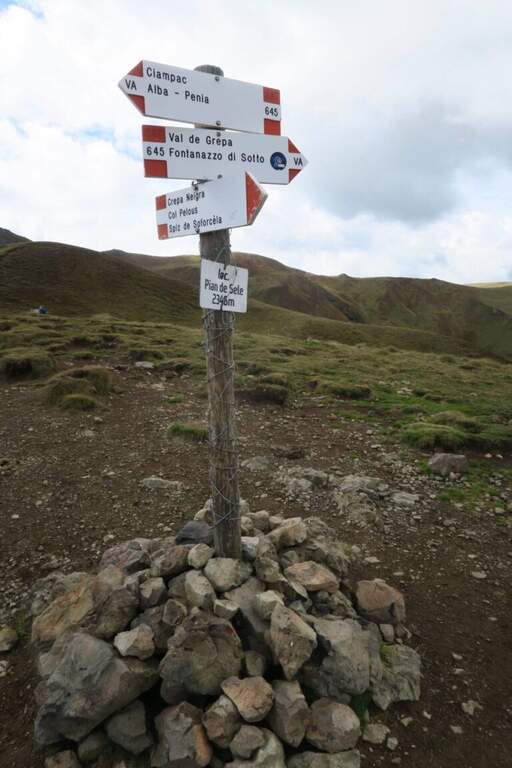
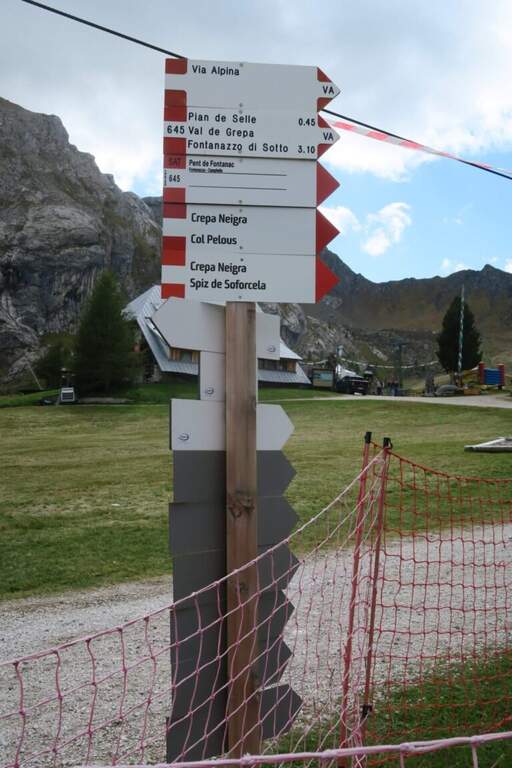
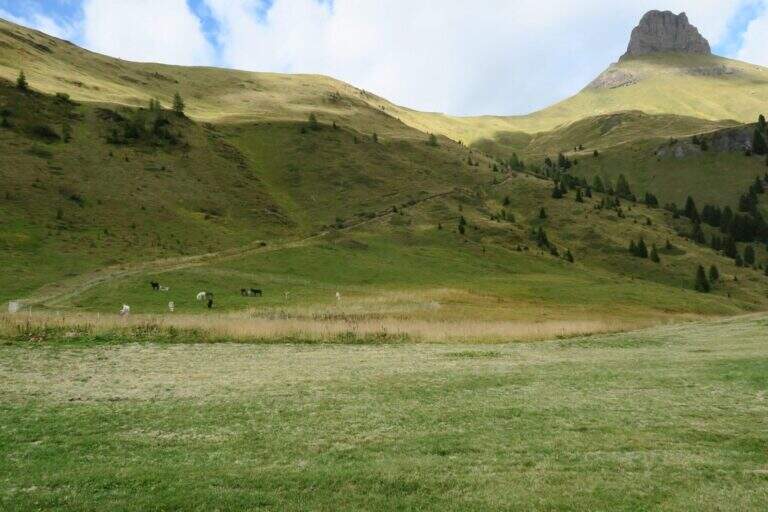
    Punto di partenza la stazione a monte della cabinovia Ciampac, che sale da Alba di Canazei in Val di Fassa (lo stesso della vicina Ferrata dei Finanzieri al Colac): raggiunto Canazei si segue per il Passo Fedaia e si parcheggia presso gli impianti sotto il massiccio del Colac (starting point on Google Maps). In alternativa si può salire al Rifugio Ciampac da Alba per il CAI 644 o la forestale 602 (circa 600 m di dislivello in 1h 30′). Uscendo dalla stazione a monte si vede a destra la cima; seguendo in piano i cartelli «Crepa Neigra» e poi il sentiero che sale in diagonale a mezzacosta verso destra si raggiunge in circa 30 minuti la selletta di Pian de Sele (2346 m), dove si tornerà a fine anello. Un breve sentiero a zigzag sul pendio erboso porta poi all’attacco in 10 minuti (40′ dalla stazione a monte).

    ▲The path

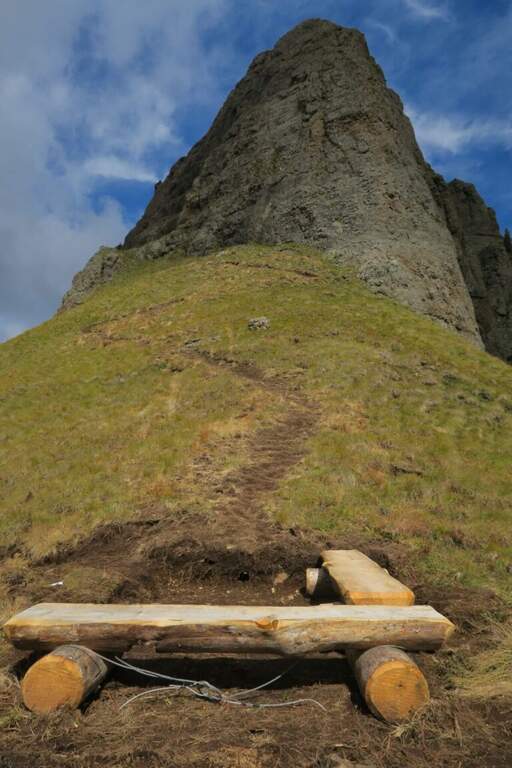
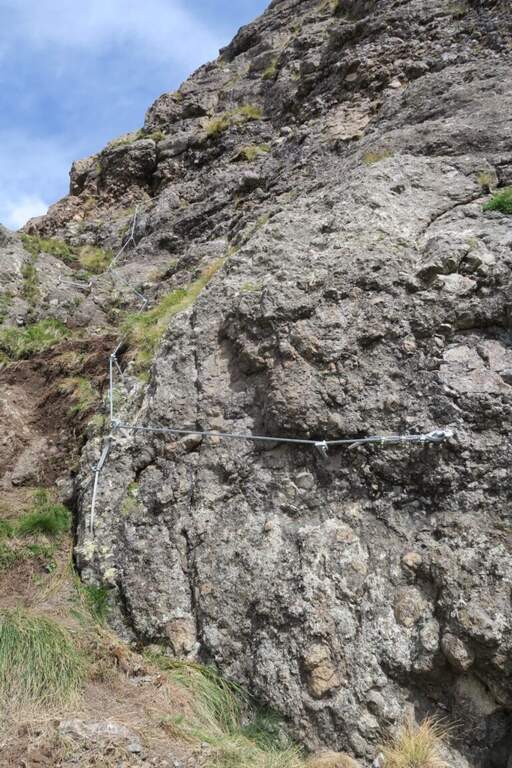
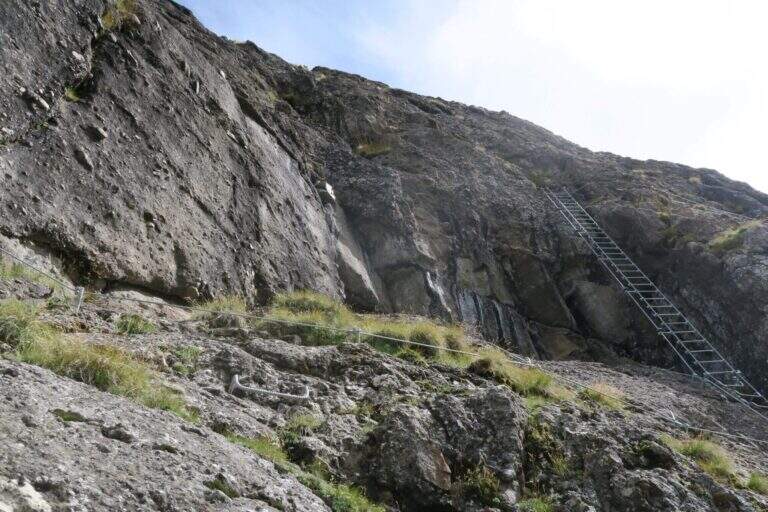
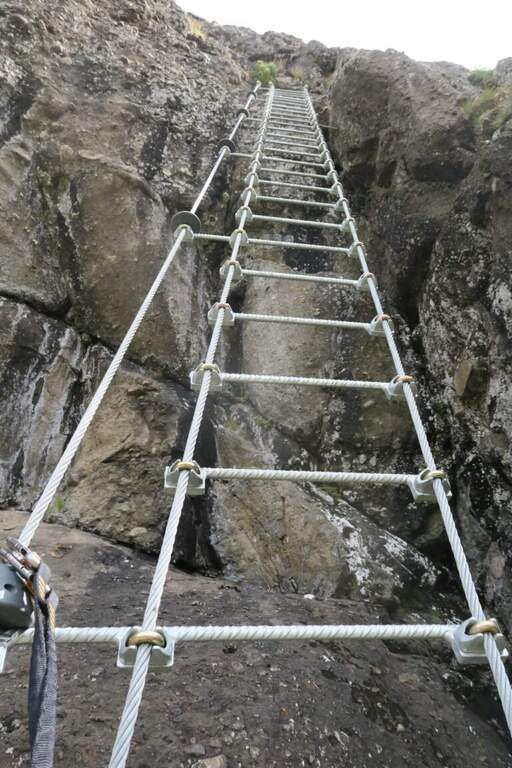
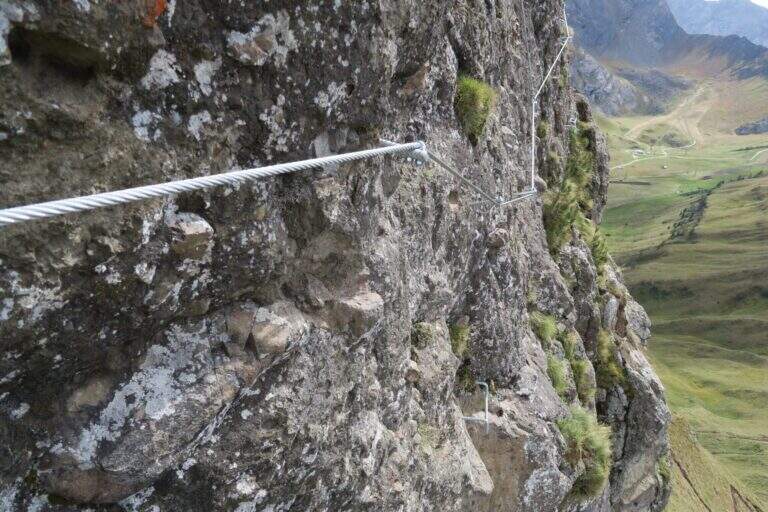
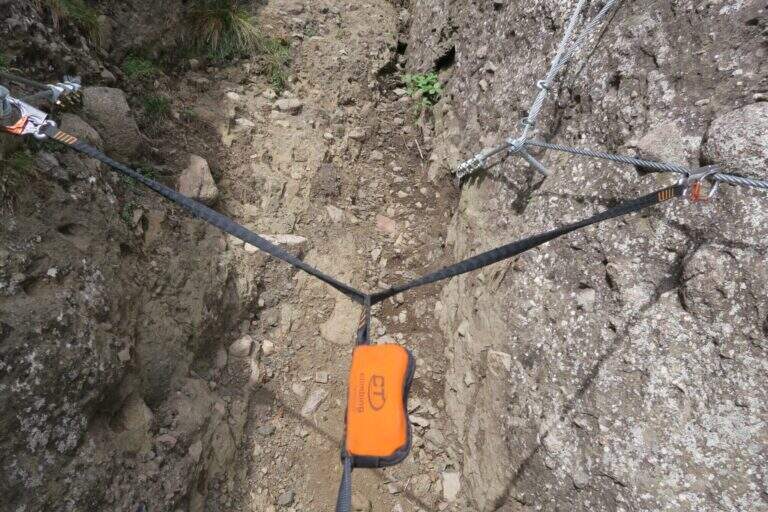
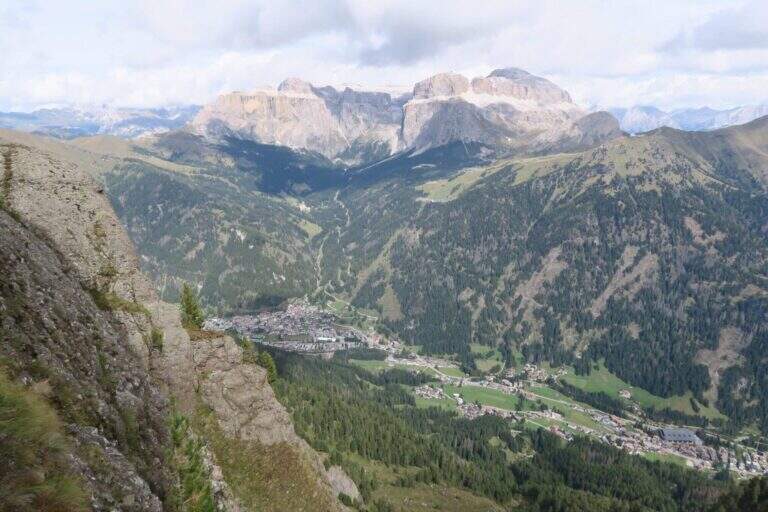
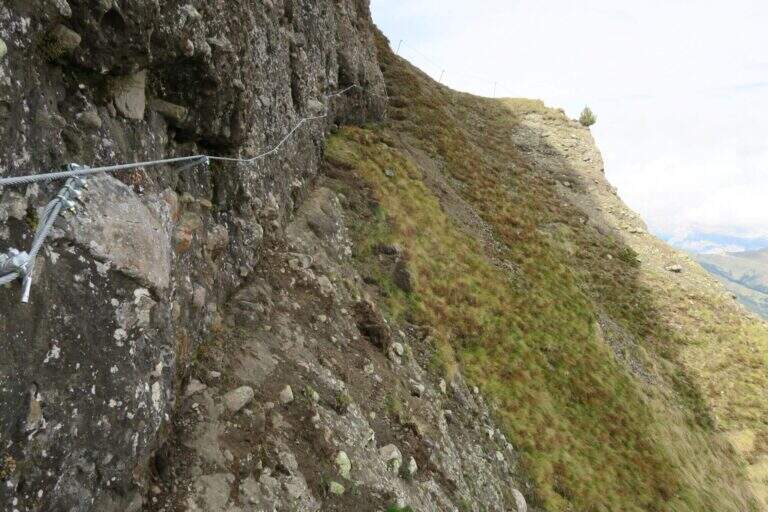
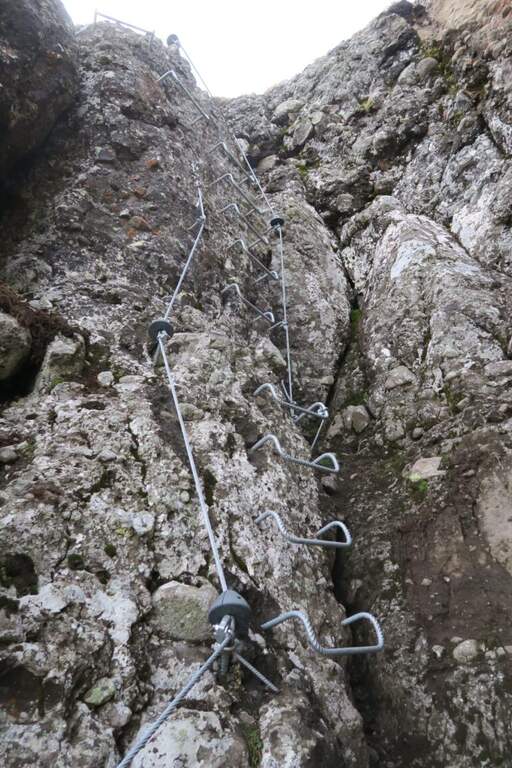
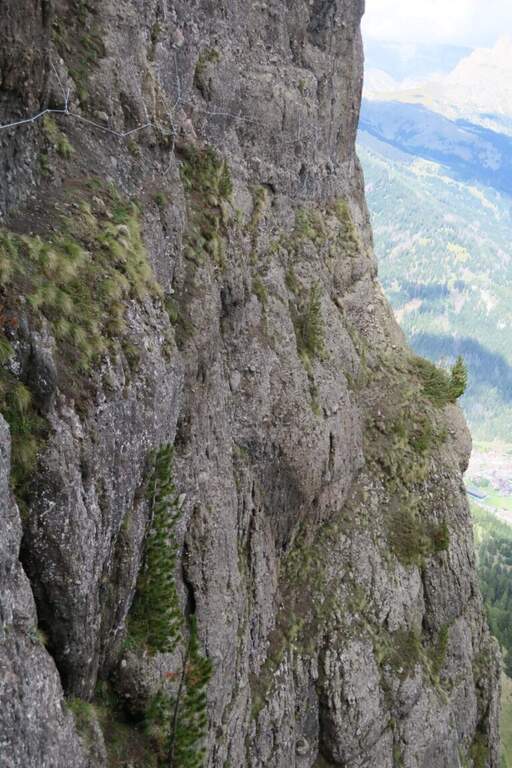
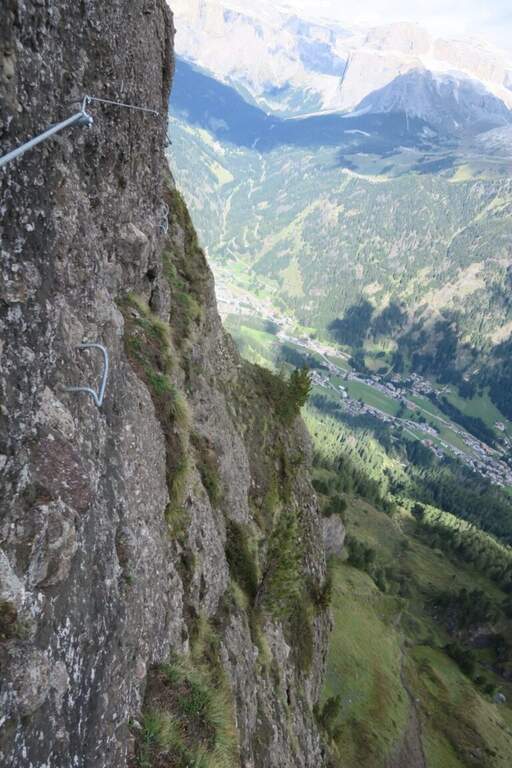
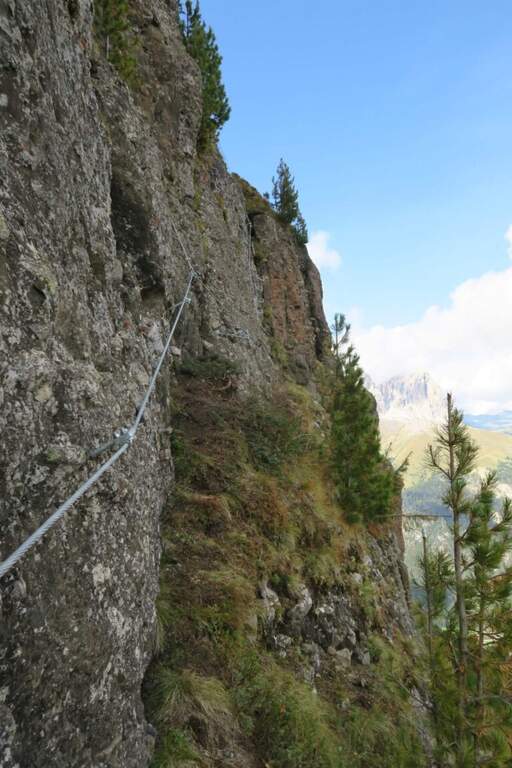
    Presso l’attacco una panchina di legno permette di indossare comodamente imbrago e casco. Si inizia senza difficoltà con un breve tratto verticale di una decina di metri, poi un breve sentiero e un tratto in diagonale conducono alla prima e unica scala sospesa, lunga una decina di metri e comoda grazie alla giusta inclinazione. Si aggira il massiccio verso destra, imboccando il senso antiorario dell’anello: l’uso delle staffe è limitato ai punti necessari, mentre la roccia irregolare offre molti appoggi naturali per i piedi. Si guadagnano alcuni metri su roccette verticali con l’aiuto delle cambre e inizia il lungo traverso verso est, con la vista che si apre sul Gran Vernel e sulla Marmolada; l’esposizione è elevata, ma in assenza di difficoltà tecniche il cordino, sempre ben tensionato, funge da passamano per quasi tutto il percorso. Si prosegue in traverso con qualche saliscendi, si supera un piccolo canalino (assicurandosi con le due longe) e si percorre una strettissima cengia molto esposta, con la parete verticale sotto i piedi, aggirando un caratteristico torrione tondeggiante «a birillo». Risaliti alcuni metri, con vista su Canazei, il Sella e il Pordoi, una cengia in leggera salita porta sul versante nord-est, fino a un piccolo camino dove si può proseguire in traverso oppure salire la breve variante della prima cima. Continuando l’anello si rientra restando pochi metri sotto la sommità (2534 m) fino a chiudere il giro.

    ▲Character and difficulty

    Via di media difficoltà (Moderatamente Difficile) ma con esposizione decisamente elevata, nonostante l’assenza di passaggi tecnici impegnativi: 80 m di dislivello attrezzato su un percorso quasi tutto orizzontale. La roccia vulcanica, ricca di sassi incastonati, offre buoni appoggi ai piedi ma appigli meno affidabili per le mani, dove subentra il cordino-passamano.

    ⚠ Il percorso è in gran parte un traverso su cenge strette e molto esposte, con la parete verticale sotto i piedi: pur senza difficoltà tecniche, richiede piede fermo e abitudine all’esposizione. Comodo avvicinamento con gli impianti: buona opzione di ripiego anche con meteo incerto, vista la brevità.
    ▲Period and safety

    Ambiente dolomitico d’alta quota (massimo 2510 m circa, sommità 2534 m): stagione estiva, con apertura degli impianti del Ciampac. Itinerario breve, 5,5 km e 420 m di dislivello, circa 2h 45′ complessive.

    ▲Discipline

    Completato l’anello si rientra alla selletta di Pian de Sele incontrata all’andata e, per lo stesso sentiero, alla stazione a monte della cabinovia Ciampac.

    ▲To match

    Dalla stessa stazione a monte, sul versante opposto della conca del Ciampac, si raggiunge in breve la Funds for the Colac, facilmente abbinabile in giornata.

    ▲Gallery
    Technical data
    • DifficultyModerately Hard
    • RegionTrentino Alto Adige
    • GroupVal di Fassa – Ciampac
    • Approach0:40 h
    • Ferrata1:00 h
    • Itinerary (a/r)2:45 h
    • Hardware level difference80 m
    • Route difference420 m
    • Max2.510 m
    • Length5,5 Km
  • Ferrata del Cinzanino

    Ferrata del Cinzanino

    Vie Ferrate › Lombardia › Varese
    Ferrata del Cinzanino

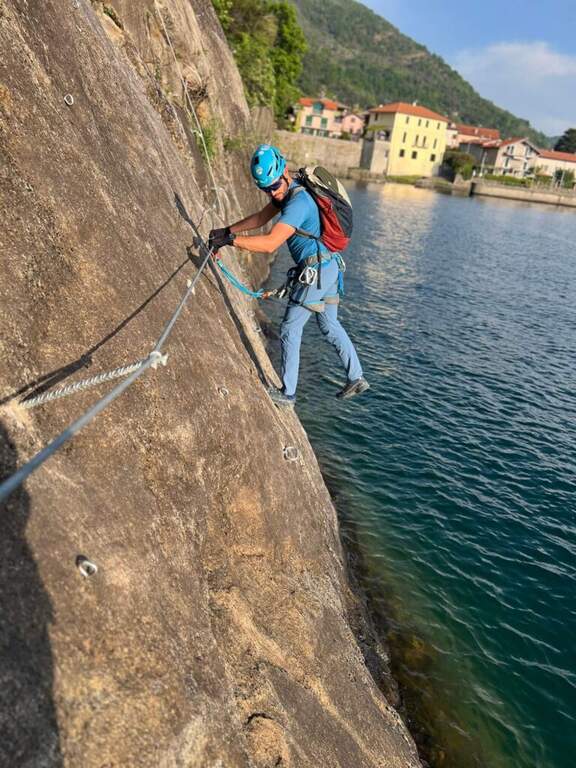
    ⚠ Via di recentissima costruzione: i lavori si sono conclusi nel novembre 2025 e l’itinerario è in attesa di inaugurazione ufficiale. Verificare lo stato di apertura e l’agibilità delle attrezzature prima di percorrerla.

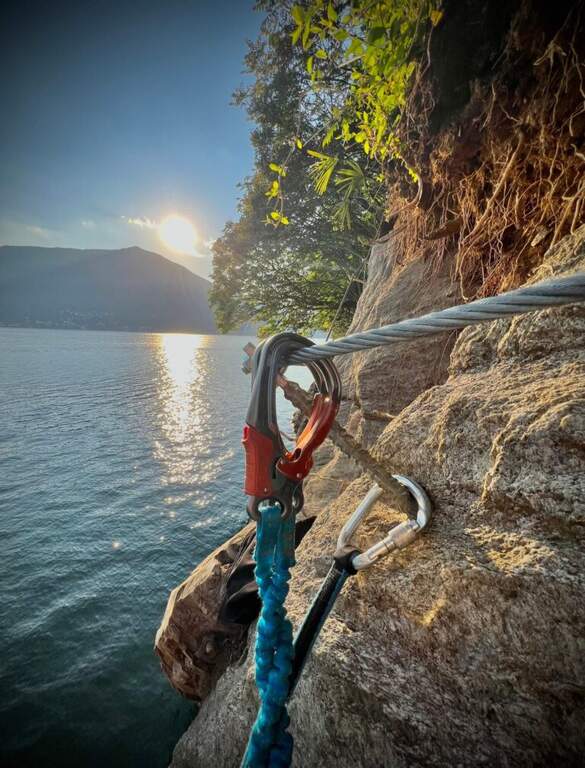
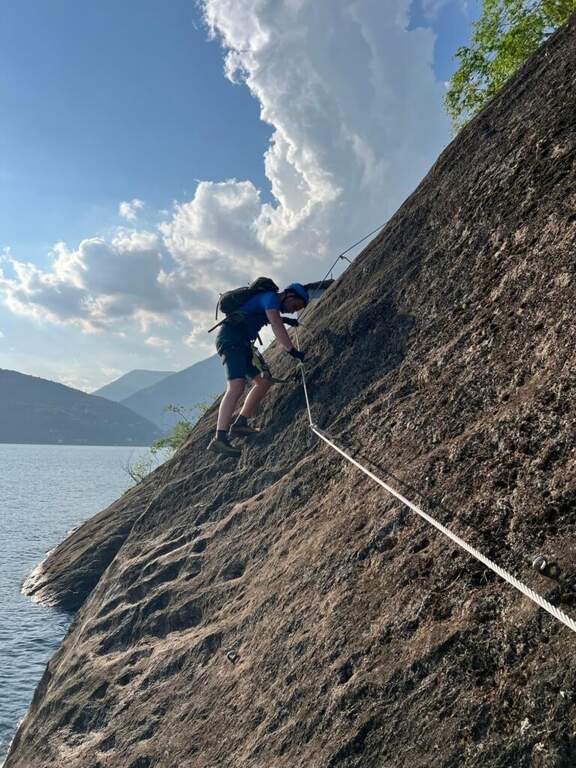
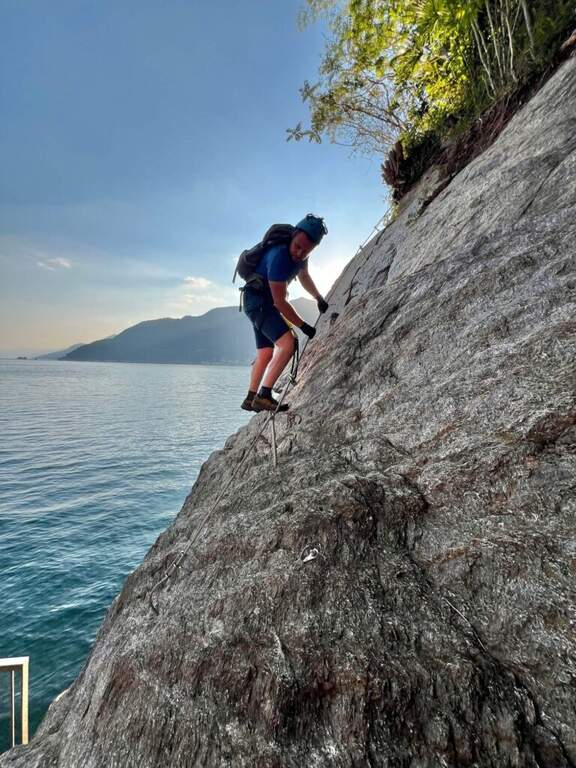
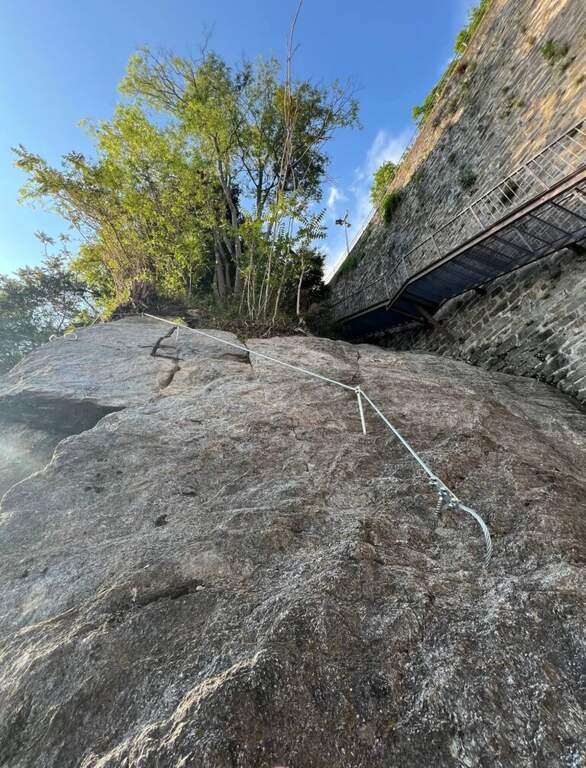
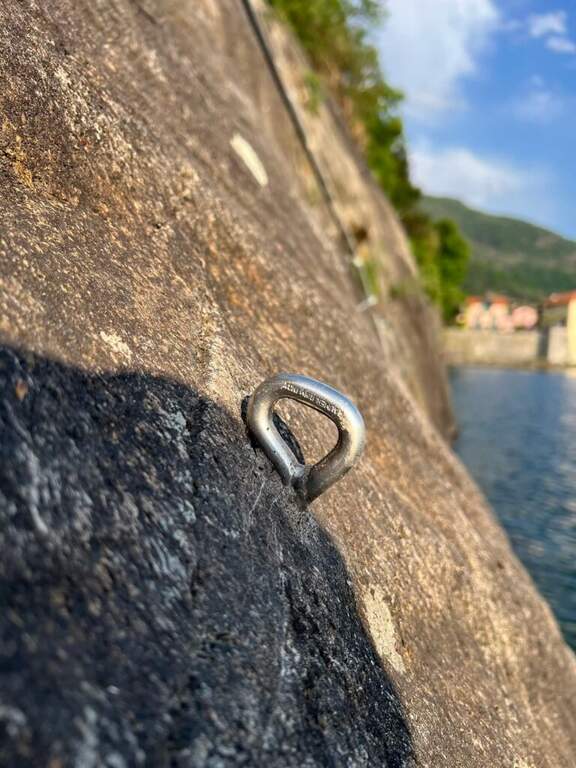
    La Ferrata del Cinzanino è una via breve e panoramica affacciata sul versante lombardo del Lago Maggiore, sopra Maccagno. Di livello facile, si sviluppa praticamente a filo d’acqua tra traversi e placchette, e si percorre in poco più di mezz’ora: ideale come prima esperienza o come gita rapida con vista sul lago.

    ▲Approach

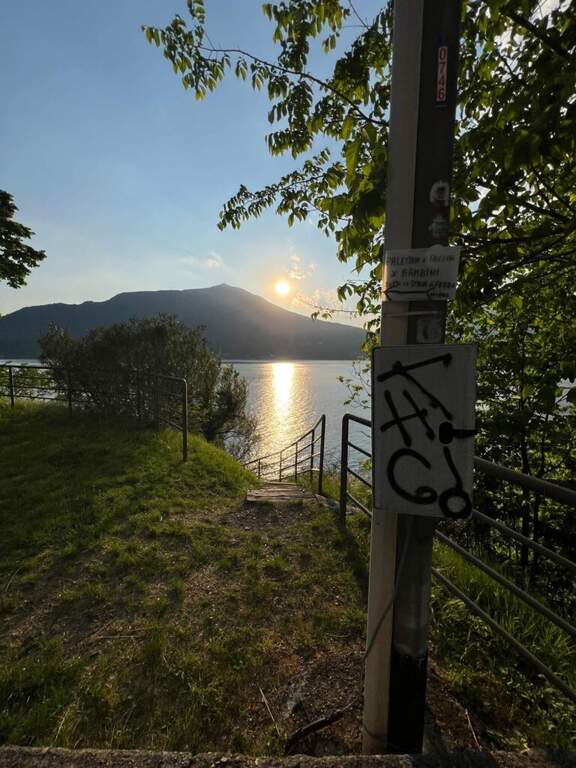
    Il punto di partenza è lungo la SS394 del Verbano Orientale, poco dopo Maccagno con Pino e Veddasca: uscendo dal paese verso nord si supera una galleria e subito dopo si svolta a sinistra in direzione del lago, parcheggiando in uno dei pochi posti disponibili (starting point on Google Maps). Si seguono le indicazioni per la falesia del Cinzanino, sulle pareti grigiastre; da lì una scalinata scende a una piccola cappella, da cui parte la ferrata (3′ dal parcheggio).

    ▲The path

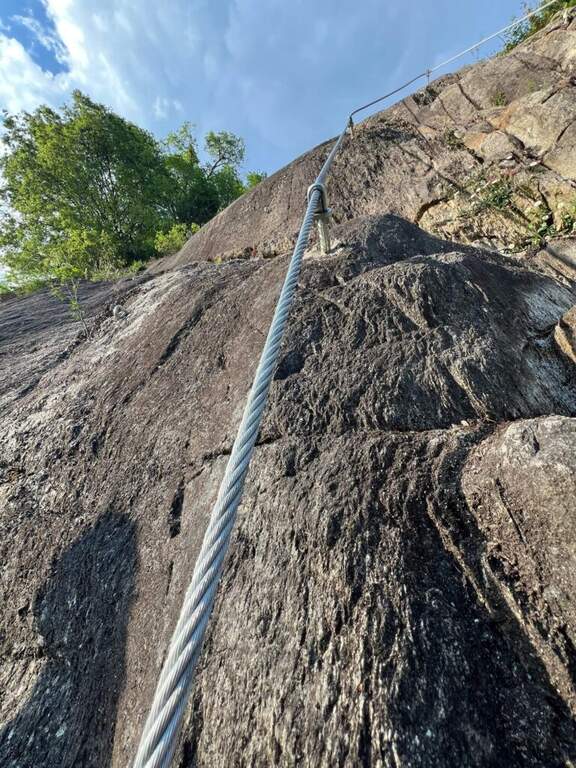
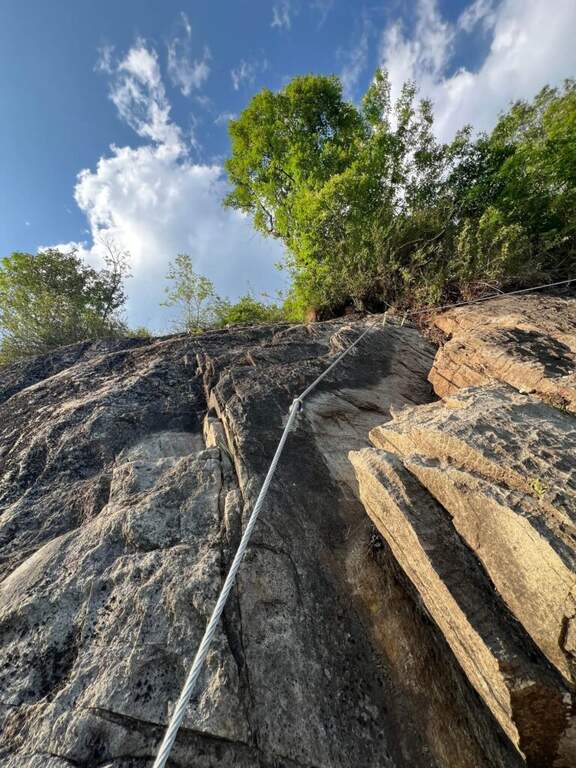
    Dall’attacco, dietro la cappelletta, si risale un breve traverso in diagonale aiutati da piccole cambre, per poi scendere quasi al livello del lago restando sempre in traverso. Terminato il traverso si sale una placchetta priva di cambre, sfruttando l’aderenza della roccia, e si prosegue con qualche saliscendi senza particolari difficoltà. L’ultimo tratto si percorre in discesa su una placca appoggiata, alla cui destra corrono alcune facili vie di arrampicata. In tutto circa mezz’ora di attrezzature.

    ▲Character and difficulty

    Via facile e divertente (20 m di dislivello attrezzato), giocata su traversi e placche a pochi metri dal lago. Difficoltà complessiva Facile: adatta anche a chi è alle prime armi, fermo restando l’uso di casco, imbrago e kit da ferrata.

    ▲Period and safety

    Quota molto bassa (massimo 180 m): percorribile tutto l’anno, scegliendo il momento della giornata più adatto alla stagione per via dell’esposizione sul lago. Itinerario brevissimo, 0,4 km e 30 m di dislivello, circa 35′ complessivi.

    ▲Discipline

    Terminate le attrezzature si è su uno slargo della passerella che contorna la roccia; da qui una normale scala metallica riporta in breve sulla strada dell’avvicinamento, dove si trova anche un bar (5′, 35′ totali).

    ▲To match

    Sempre in provincia di Varese si può percorrere la Ferrata Bellotti a Mesenzana. Spostandosi, le opzioni vanno verso il Lago di Como (Monte Grona, Venticinquennale, Sass Tavaràc sul ramo lariano) o verso la Val d’Ossola (Picasass, Montorfano, Walserfall).

    ▲Gallery
    Technical data
    • DifficultyEasy
    • RegionLombardy
    • GroupLago Maggiore – Verbano
    • Approach0:03 h
    • Ferrata0:25 h
    • Itinerary (a/r)0:35 h
    • Hardware level difference20 m
    • Route difference30 m
    • Max180 m
    • Length0,4 Km
  • Ferrata di Chiaronto

    Ferrata di Chiaronto

    Vie Ferrate › Piedmont › Cuneo
    Ferrata di Chiaronto

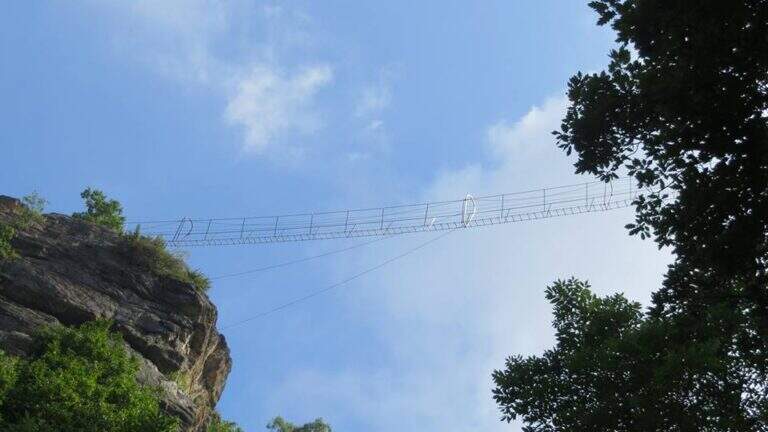
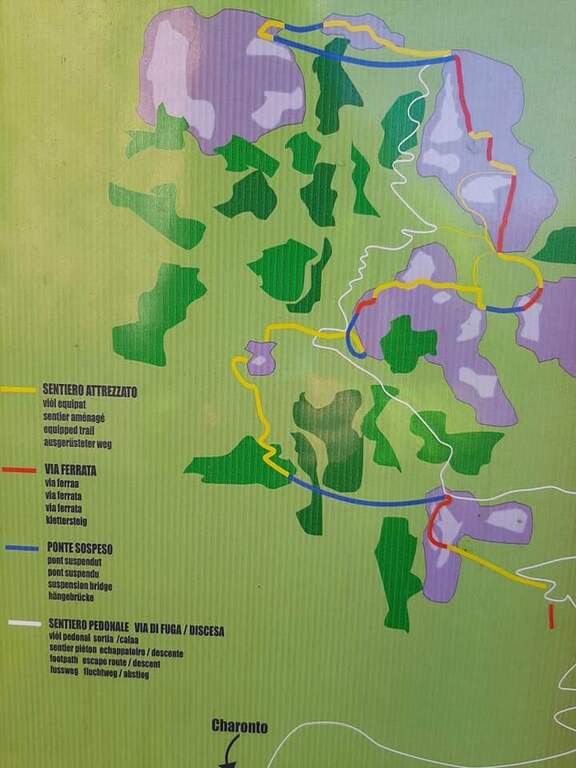
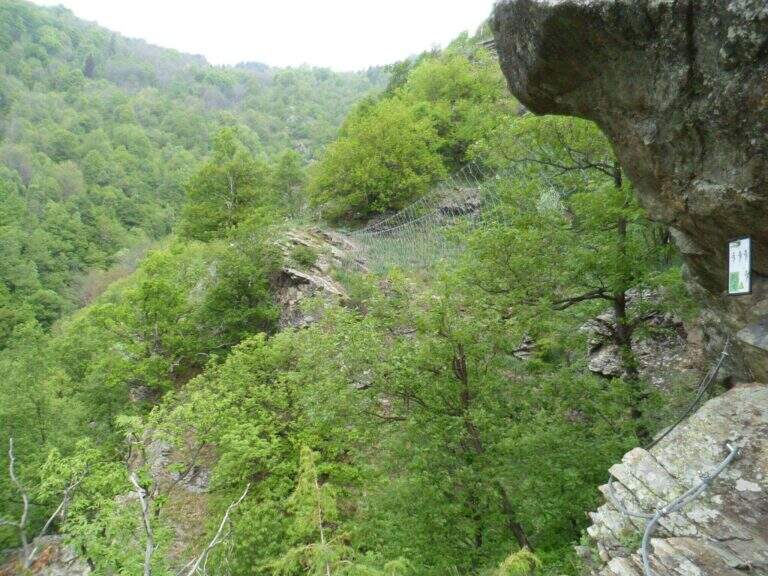
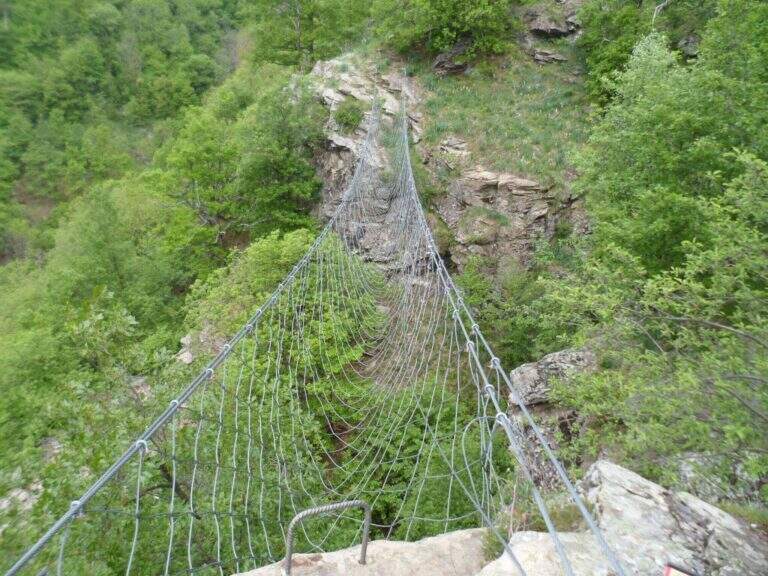
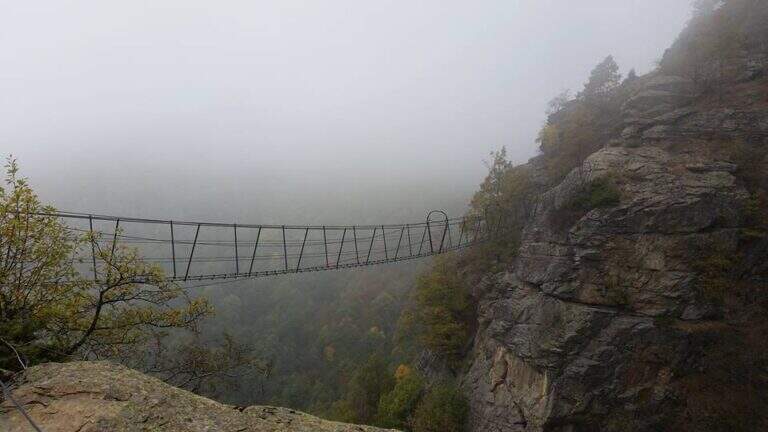
    La Ferrata di Chiaronto, sopra Frassino in Val Varaita, è un itinerario particolare, più vicino a un percorso avventura che a una ferrata classica: non raggiunge una vetta e si gioca tutto su quattro ponti sospesi (il più lungo di 70 metri) e su una parete strapiombante che è il vero passaggio chiave, breve ma molto fisica. Non ci sono tratti tecnici, ma serve buona forza di braccia.

    ▲Approach

    Punto di partenza la Borgata di Chiaronto, sopra Frassino (Cuneo): da Frassino, superato il bar La Spada Reale, si svolta a destra e subito a sinistra seguendo il cartello per Borgata Chiaronto, che si raggiunge in 3 km di asfalto; si parcheggia nei pressi della chiesa (starting point on Google Maps). Dal centro del paese si intravedono i risalti rocciosi della via; seguendo i segni bianco-rossi e i cartelli «Percorso Avventura di Chiaronto», ben segnato, si raggiunge il primo tratto in 15′.

    ▲The path

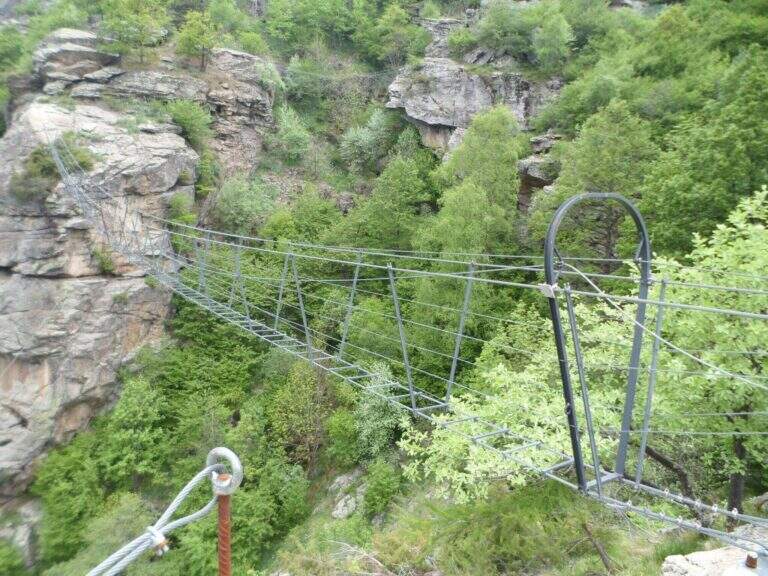
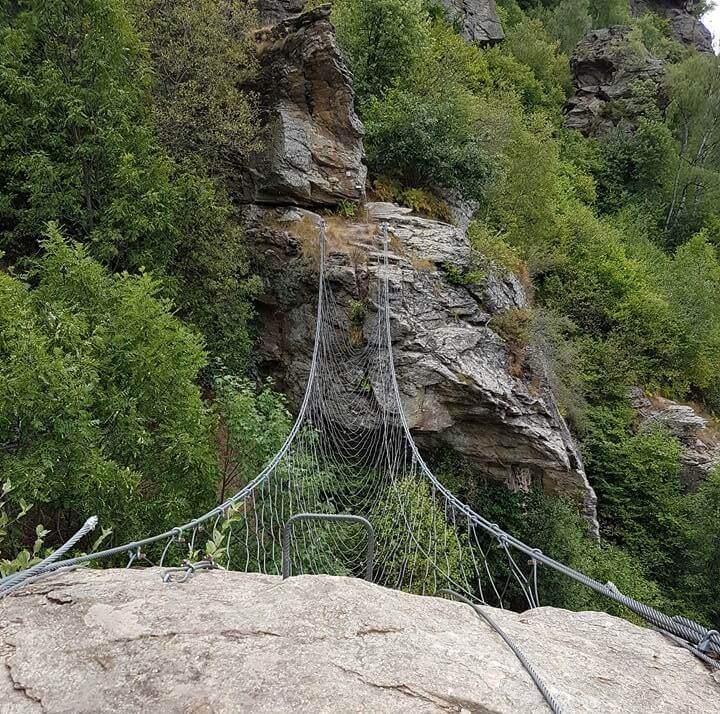
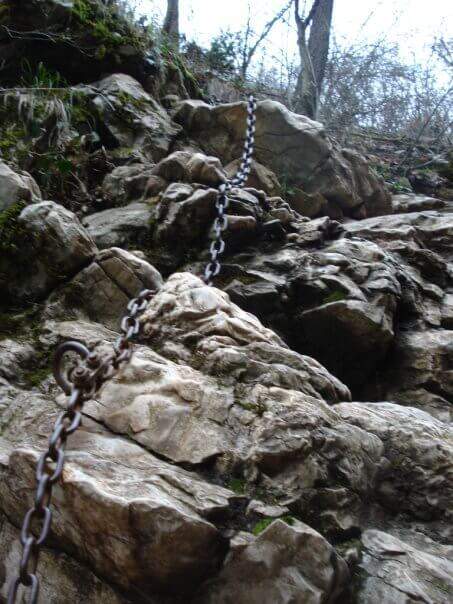
    Si risale un primo tratto verticale con abbondanti staffe fino a un terrazzino da cui parte il primo ponte, singolare perché contornato da una rete metallica: di fatto non si cammina su corde ma su un intreccio di cavi. Segue un tratto di sentiero e una breve discesa attrezzata con staffe, poi una rete di cavi intrecciati che questa volta va arrampicata al suo interno; se ne esce con l’aiuto di alcune staffe e si completa la parete. Si affronta quindi il secondo ponte, a tre corde e piuttosto ballerino, dopodiché si attacca il passaggio chiave: una parete strapiombante di una ventina di metri, impegnativa dal punto di vista fisico, con un paio di tratti che spanciano nettamente e richiedono di spingere bene con le gambe per non ritrovarsi a penzolare nel vuoto, nonostante le staffe. Superate le due pance la difficoltà cala e la parete termina; una lunga serie di staffe aiuta a salire un tratto verticale. Si arriva al terzo ponte, diverso dagli altri: ha pioli per i piedi, è più stabile ma più esposto e lungo (circa 60 metri). Si risale una rampa inclinata e si raggiunge il quarto ponte, simile al primo, con rete metallica, oltre il quale un terrazzino segna la fine di questa particolare via.

    ▲Character and difficulty

    Itinerario adrenalinico più che tecnico: 240 m di dislivello attrezzato, quattro ponti sospesi e una parete strapiombante che ne determina il grado. Difficoltà complessiva Difficile, ma il solo passaggio chiave, affrontato senza moschettone per riposare, sale al livello Estremamente Difficile.

    ⚠ La parete strapiombante è molto provante per le braccia: conviene avere con sé un rinvio corto per potersi riposare. Pur senza tratti tecnici, è una via che richiede buona forma fisica.
    ▲Period and safety

    Quota bassa (massimo 1277 m): percorribile gran parte dell’anno con roccia asciutta. Itinerario breve, 4 km e 458 m di dislivello complessivo, tempo totale circa 2h 30′. Cartografia consigliata: carta della Val Varaita.

    ▲Discipline

    Al termine della via si segue il sentiero di ritorno, ben segnato: inizialmente molto ripido e scosceso, diventa via via più facile e riporta al parcheggio nella borgata (30′ dal termine della ferrata, 2h 30′ totali).

    ▲To match

    Se ben allenati, si può combinare con la vicina e altrettanto atletica Ferrata di Camoglieres in Val Maira (circa 1h di auto). Tra le altre vie del Cuneese: la Ferrata del Bec Valletta a Limone Piemonte e, più a sud, la Ferrata degli Artisti.

    ▲Gallery
    Technical data
    • DifficultyHard
    • RegionPiedmont
    • GroupVal Varaita
    • Approach0:15 h
    • Ferrata1:45 h
    • Itinerary (a/r)2:30 h
    • Hardware level difference240 m
    • Route difference458 m
    • Max1277 m
    • Length4 Km
  • Ferrata Bergkristall

    Ferrata Bergkristall

    Vie Ferrate › Trentino Alto Adige › Bolzano
    Ferrata Bergkristall
    Moderately Hard● OpenDescriptionComplexityMapsGallery

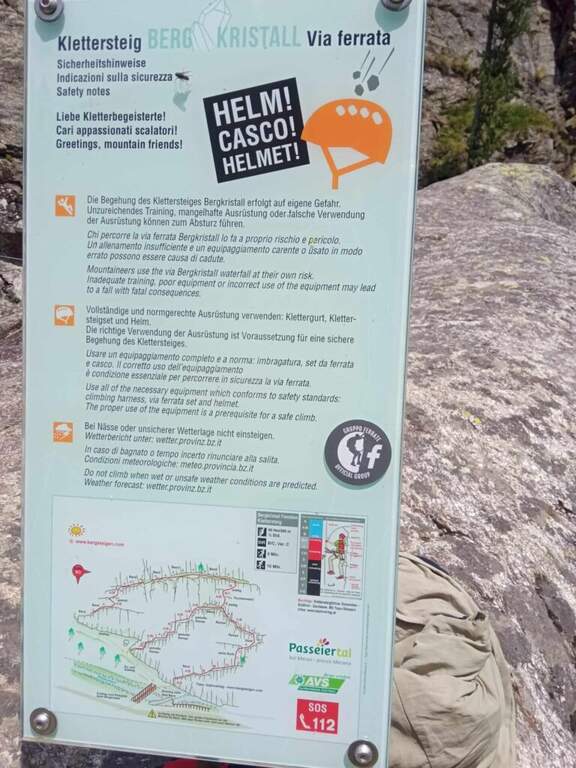
    La Ferrata Bergkristall e un itinerario breve e moderno (inaugurato nel 2024) che sale una parete vicino all’omonimo campeggio in alta Val Passiria, presso Plan. E composta da due brevi varianti che si riuniscono circa a meta parete, entrambe di difficolta contenuta.

    ▲Approach

    Il punto di partenza e nei pressi del campeggio Bergkristall, in alta Val Passiria: da Vipiteno si risale la valle verso Moso e si seguono le indicazioni per Plan, raggiungendo il campeggio in circa 15 minuti. La ferrata attacca sul versante opposto del torrente. L’avvicinamento e brevissimo: un sentierino porta alla parete gia visibile e, attraversato il ponte, si incontra il primo itinerario a destra e, pochi metri piu in alto a sinistra, il secondo (circa 5 minuti dall’auto). Apri il punto di partenza su Google Maps.

    ▲The path

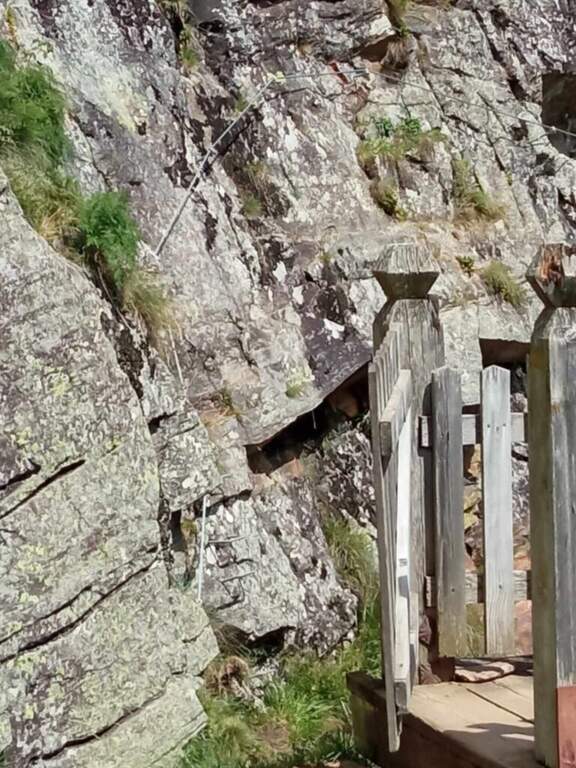
    Si puo scegliere tra due varianti. L’itinerario Moderatamente Difficile (il primo che si incontra) presenta un tratto verticale, un traverso a destra e una seconda parete a destra; si risalgono un paio di balzi rocciosi e si sale verso sinistra, incontrando in pochi minuti il secondo itinerario che arriva, in leggera discesa, da sinistra. L’itinerario Facile (il secondo) ha solo un paio di passi moderatamente difficili: inizia con una rampa a destra, seguita da una parete verticale e da un traverso a destra, poi una sezione in discesa dove si intercetta il primo itinerario in arrivo da destra. Da qui il percorso comune: si sale una placca verticale di una ventina di metri, segue un lungo traverso a sinistra sotto le incombenti pareti nero-giallastre e infine un tratto attrezzato in discesa che chiude la ferrata.

    ▲Carattere e difficolta

    Via breve con attrezzature in ottimo stato, ideale per chi vuole iniziare o per una mezza giornata leggera, con la possibilita di scegliere il grado in base alla variante.

    ▲Discipline

    Dall’uscita si segue il sentiero 14B e poi la sterrata verso destra che riporta al parcheggio (circa 40 minuti).

    ▲To match

    Nella parte settentrionale dell’Alto Adige si trovano la Ferrata delle Cascate di Stuller, la Ferrata Ibex, la Ferrata Lampskorf e la Ferrata Olberg; spostandosi a sud, le varie vie ferrate della Val Venosta.

    ▲Gallery
    Technical data
    • DifficoltaModerately Hard
    • RegionTrentino Alto Adige
    • GroupAlpi Breonie
    • Approach0:05 h
    • Ferrata0:30 h
    • Itinerary (a/r)0:45 h
    • Hardware level difference60 m
    • Route difference70 m
    • Max1.600 m
    • Length0,8 Km
Need help? Write to us!