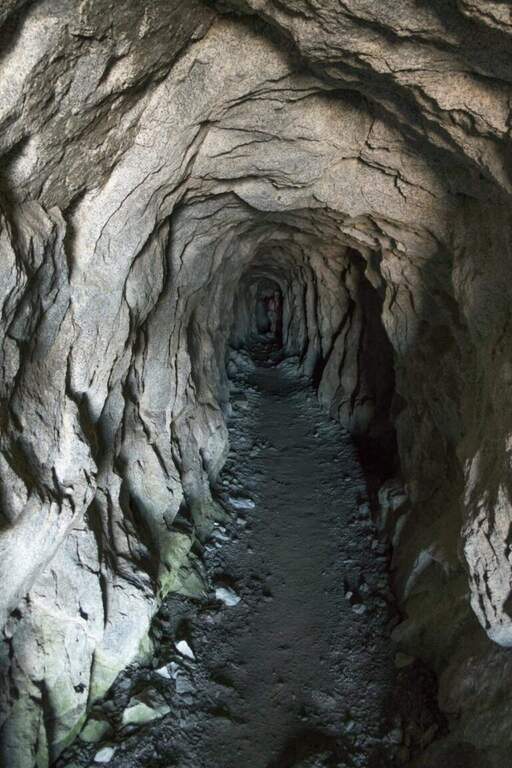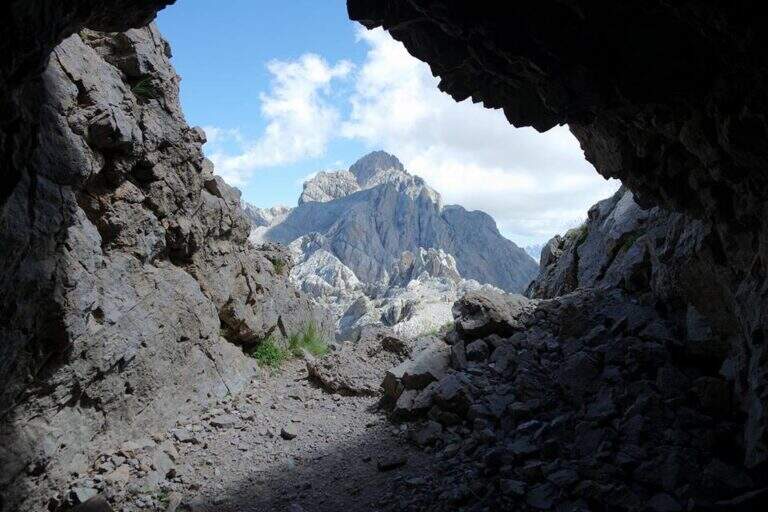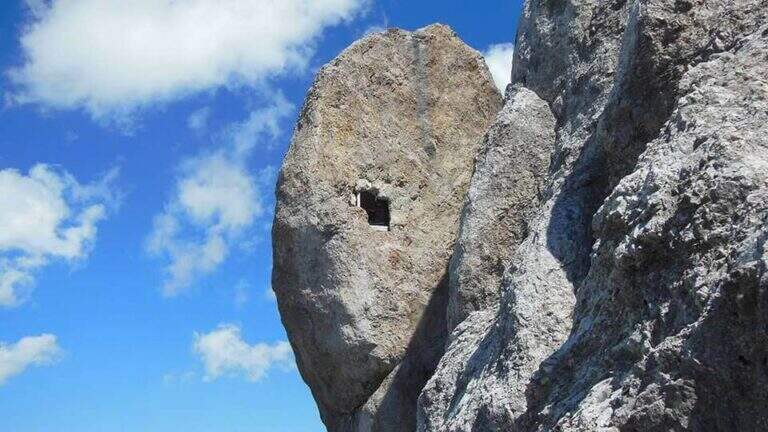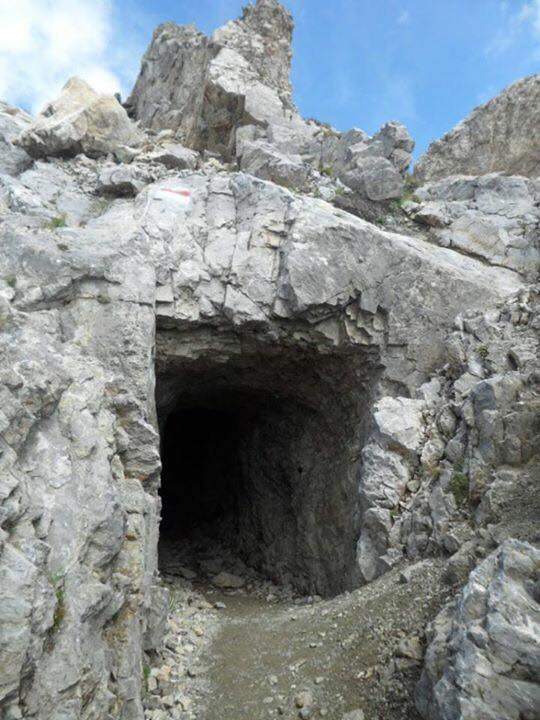
Caratteristica: Galleria

  • Ferrata di Rocca Senghi (Val Varaita)

    Ferrata di Rocca Senghi (Val Varaita)

    Vie Ferrate › Piedmont › Cuneo
    Ferrata di Rocca Senghi (Val Varaita)

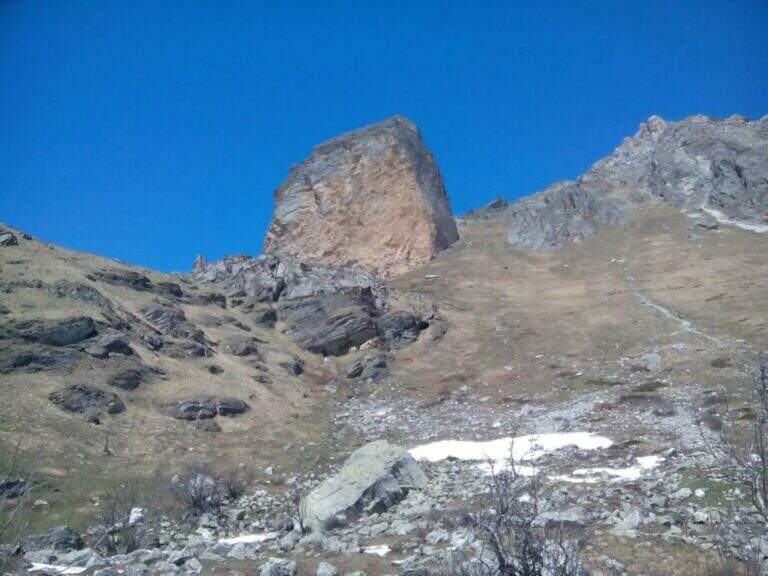
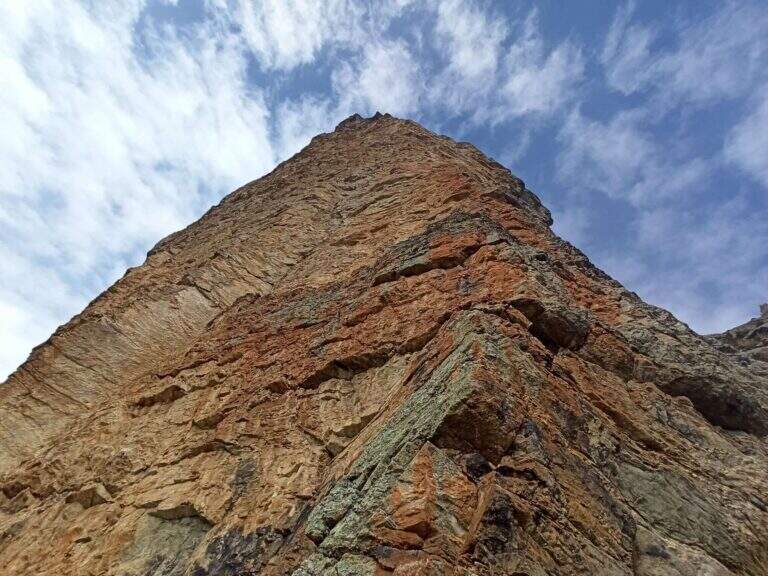
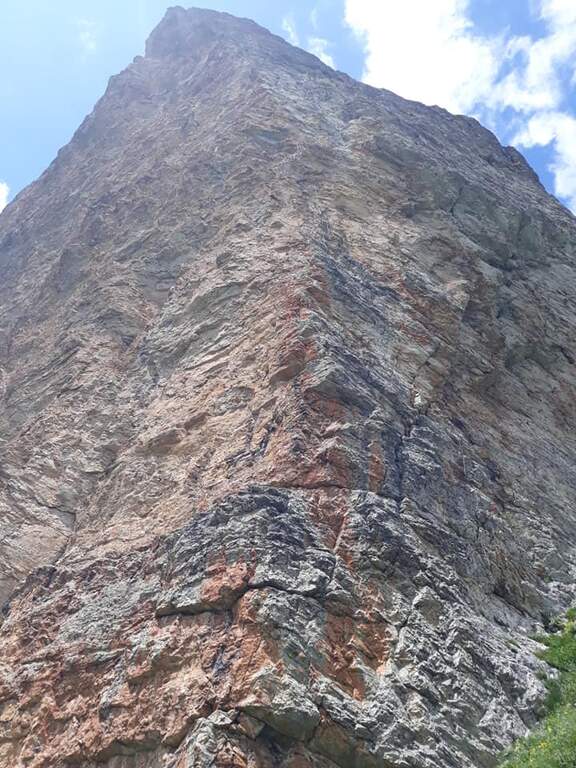
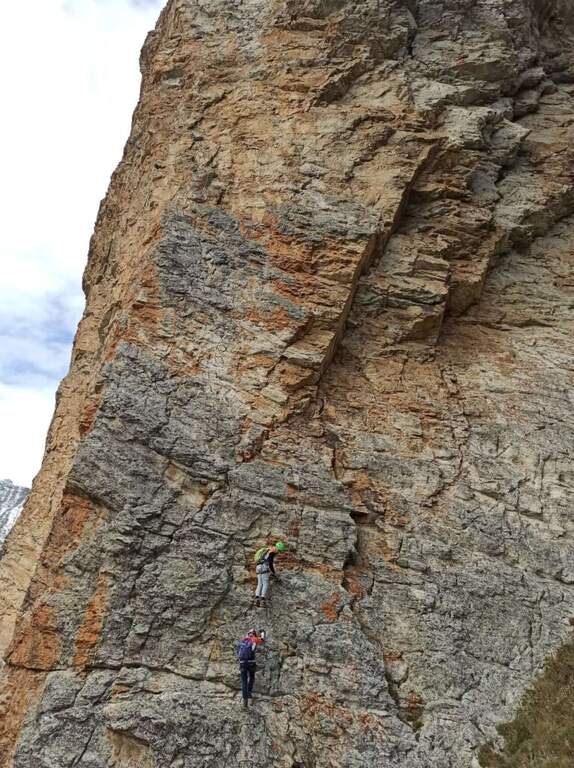
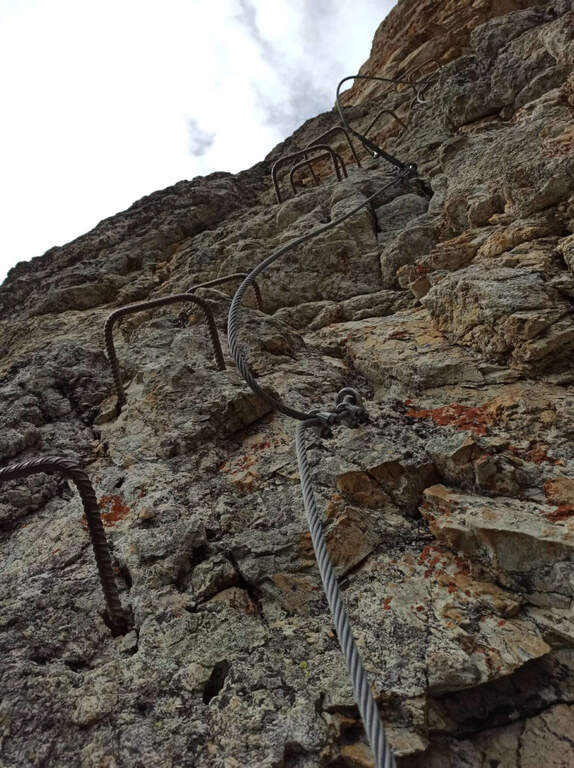
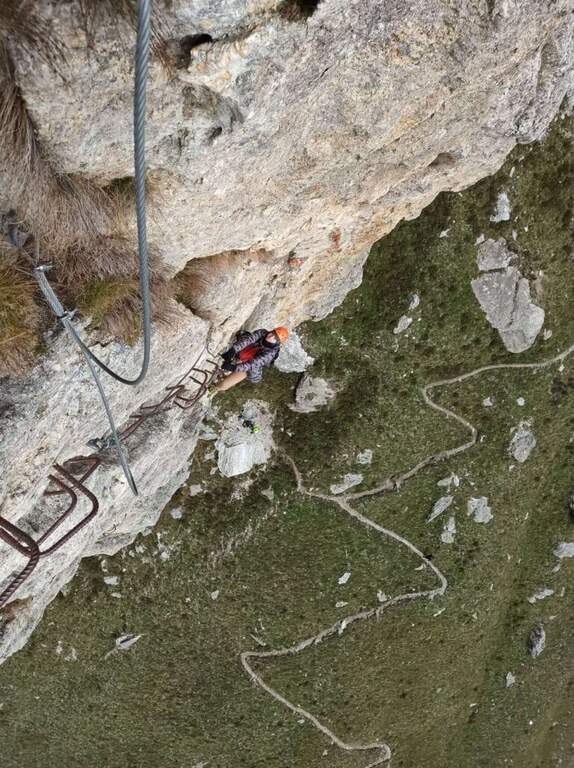
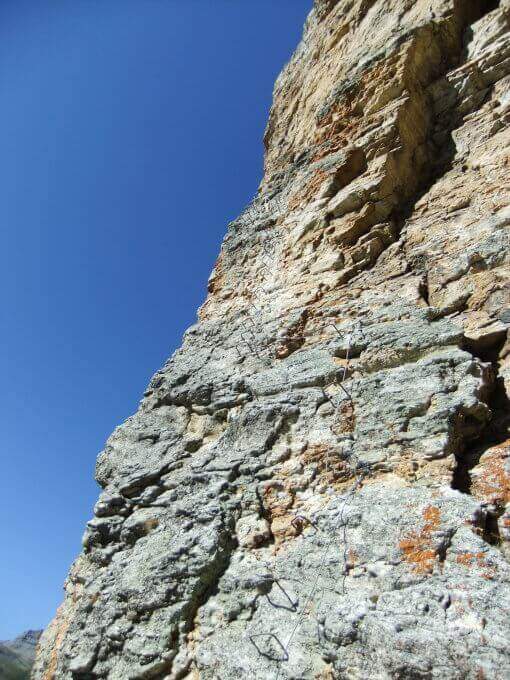
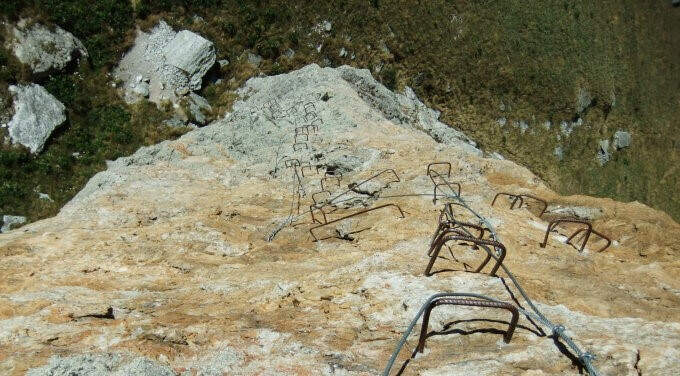
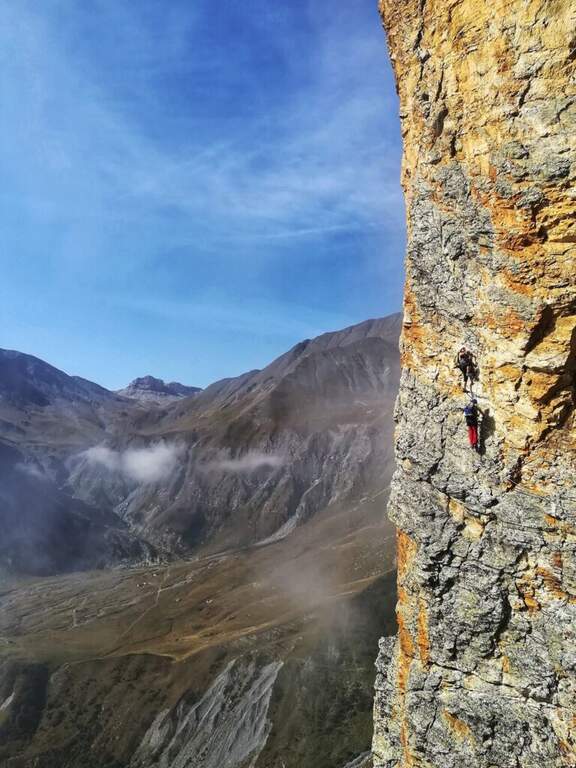
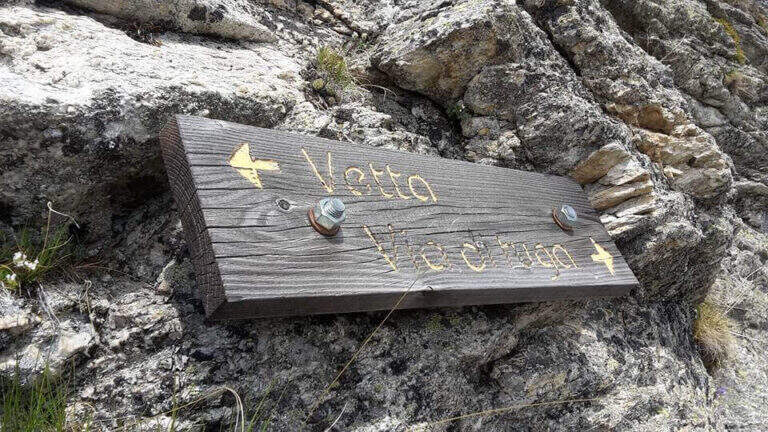
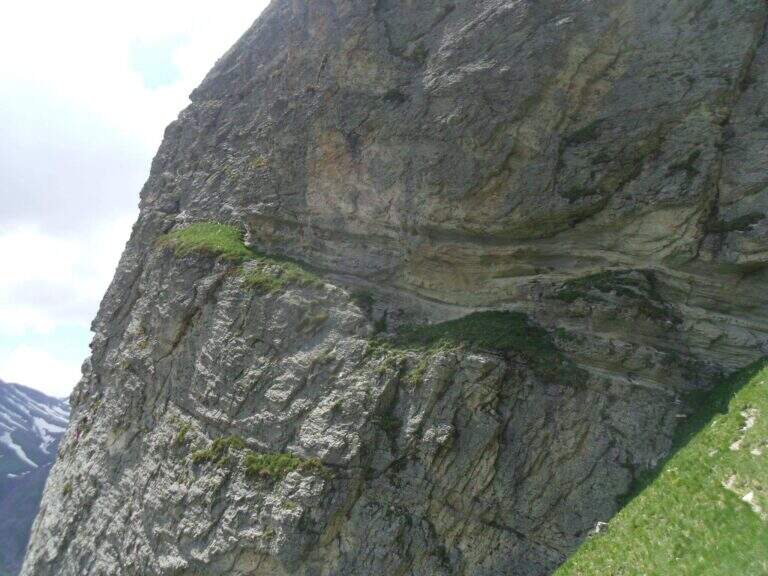
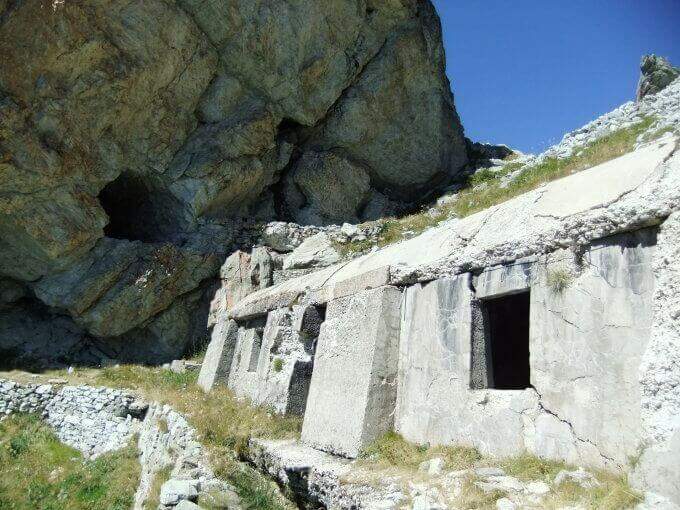
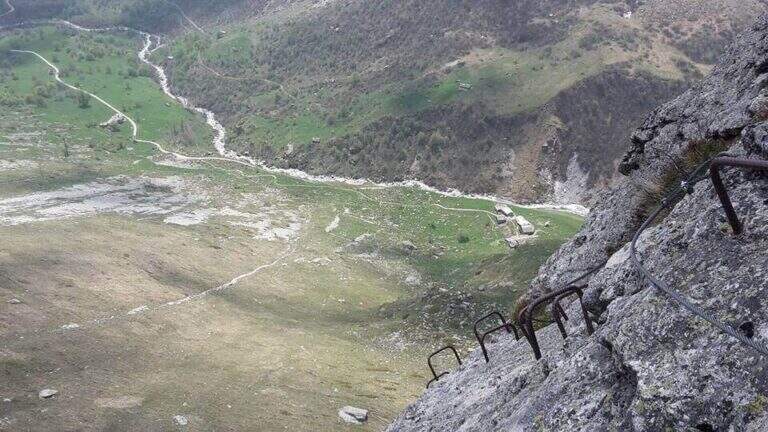
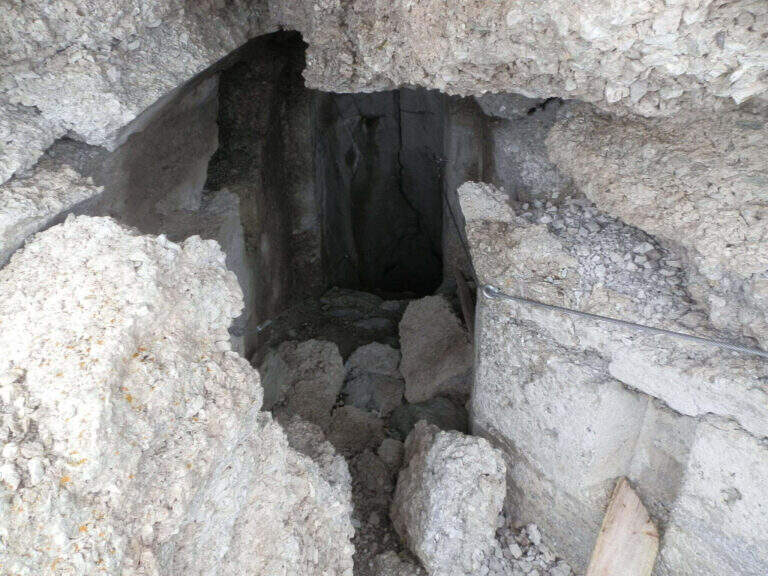
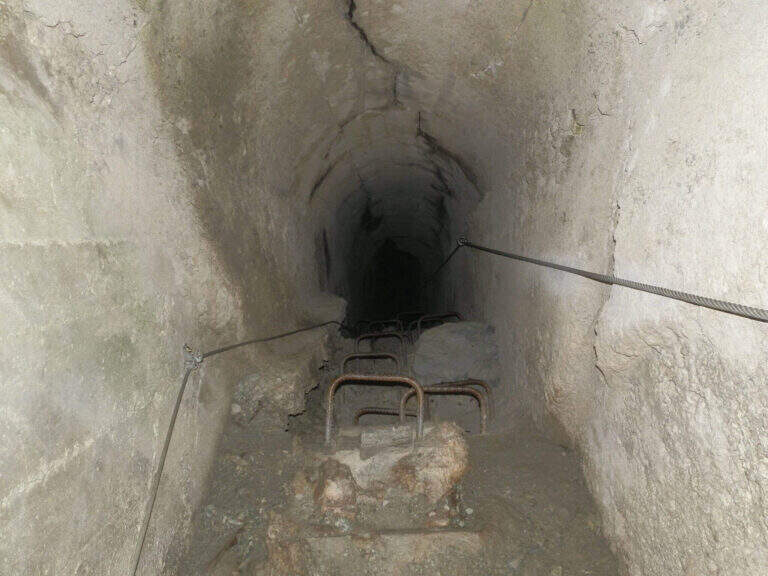
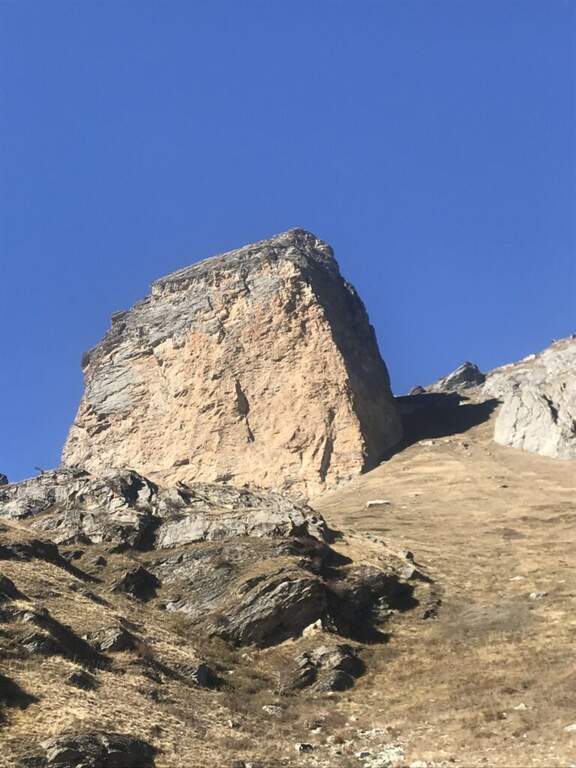
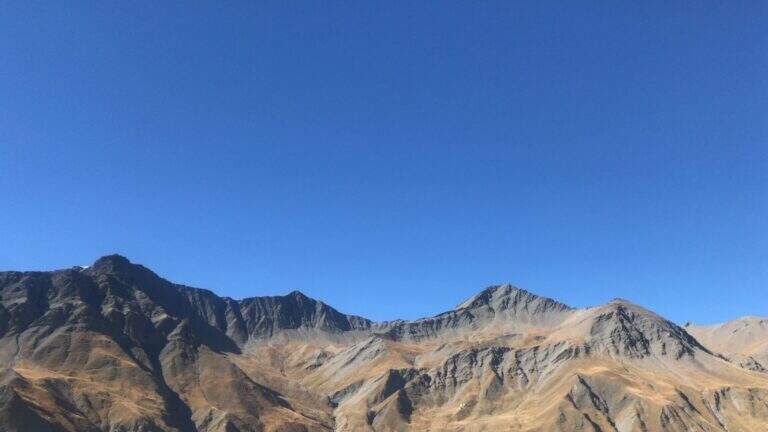
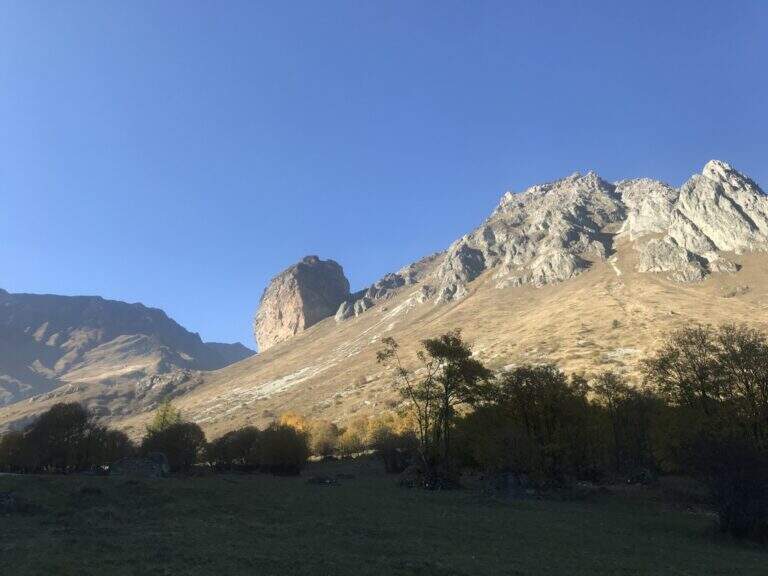
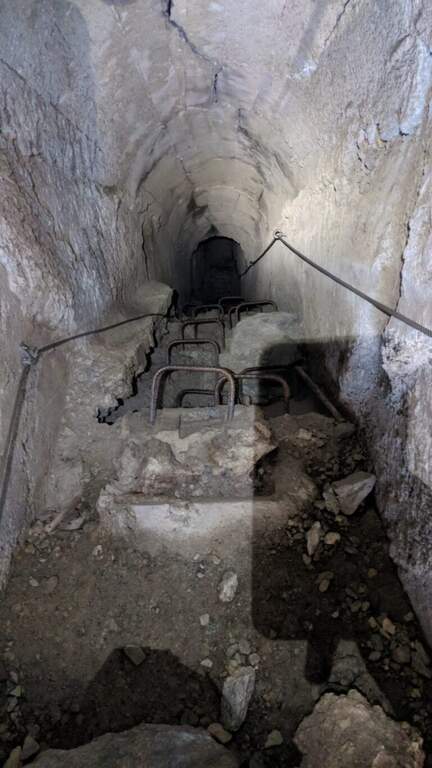
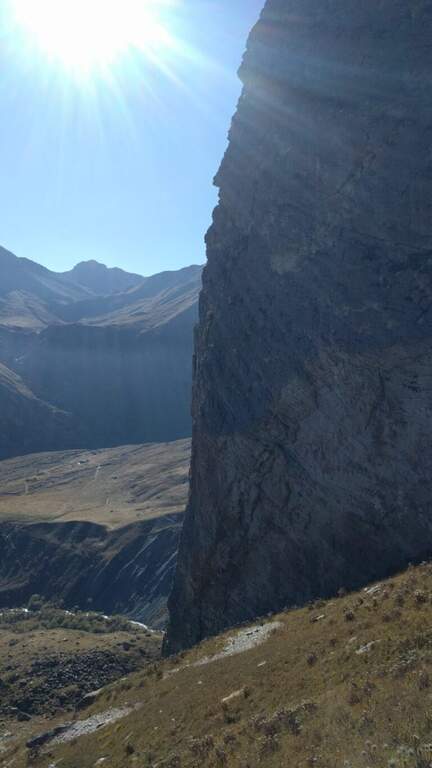
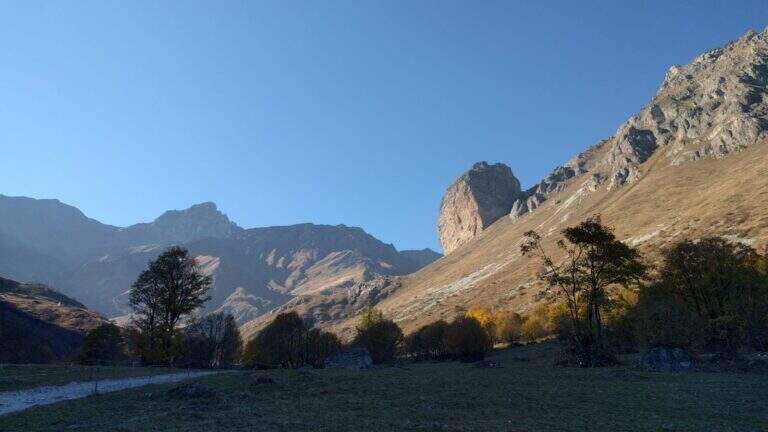
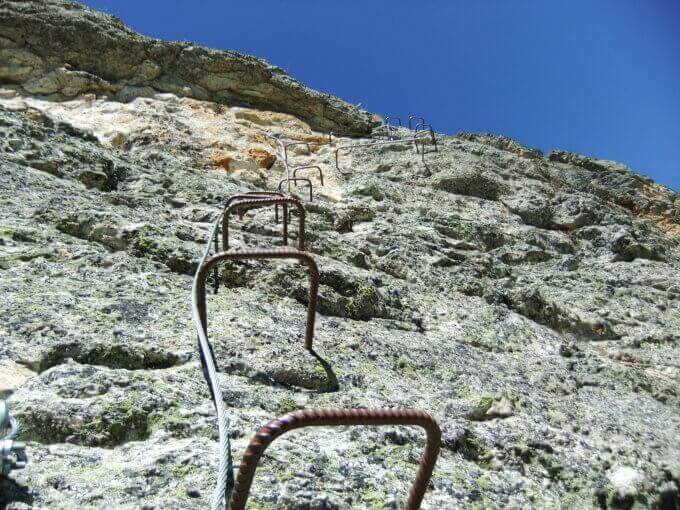
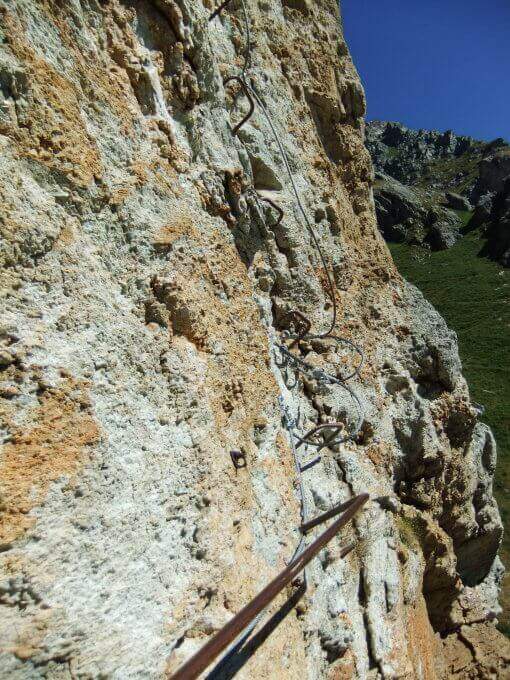
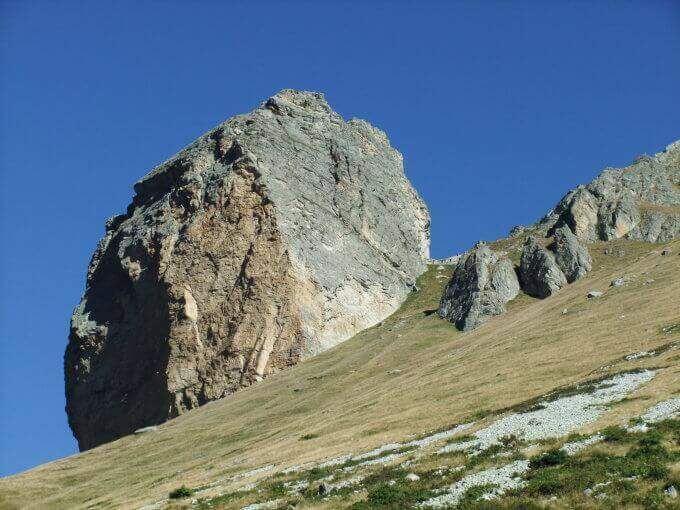
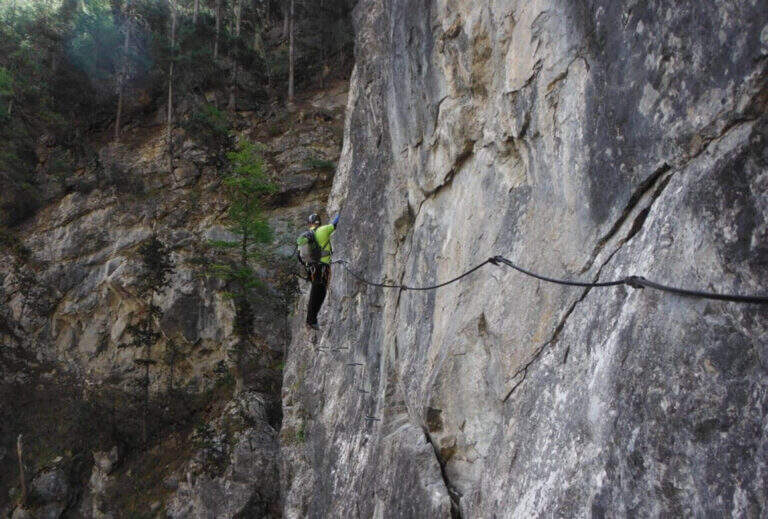
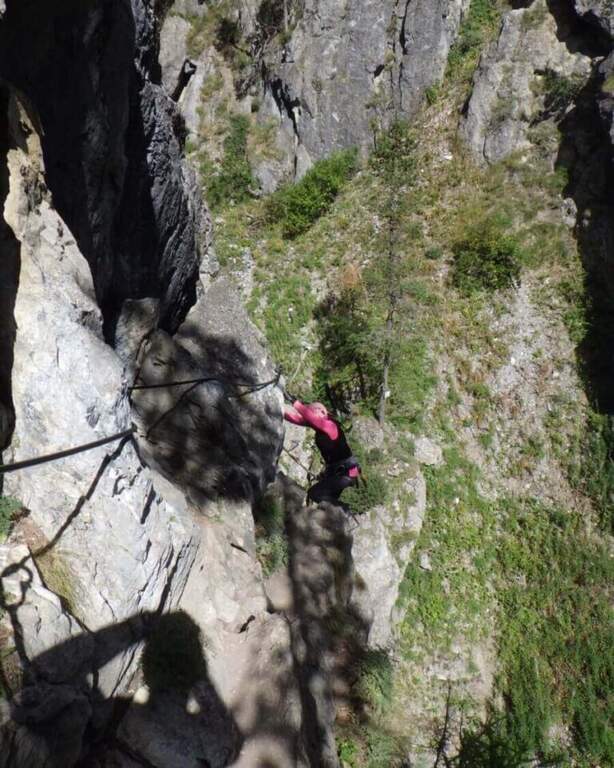
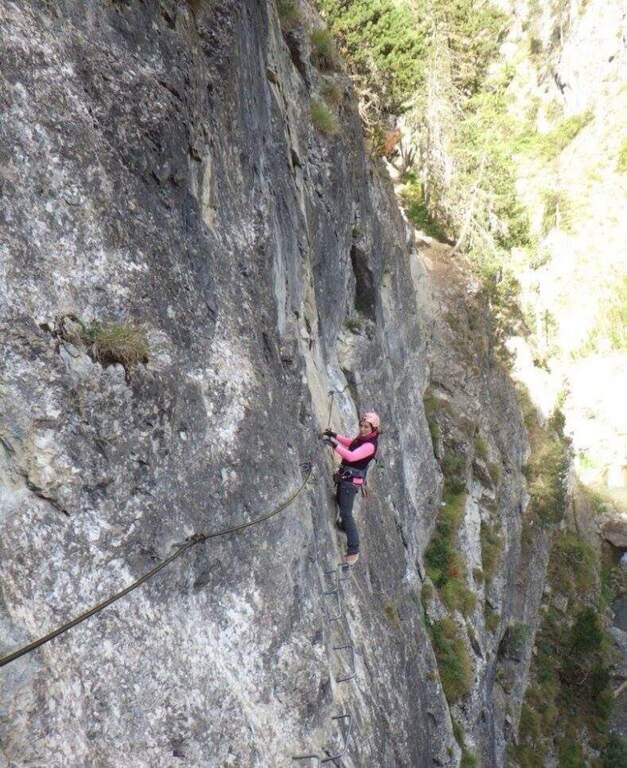
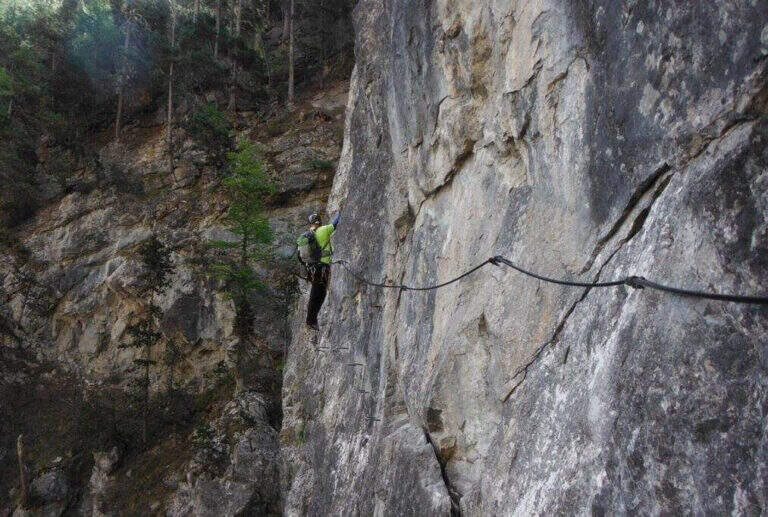
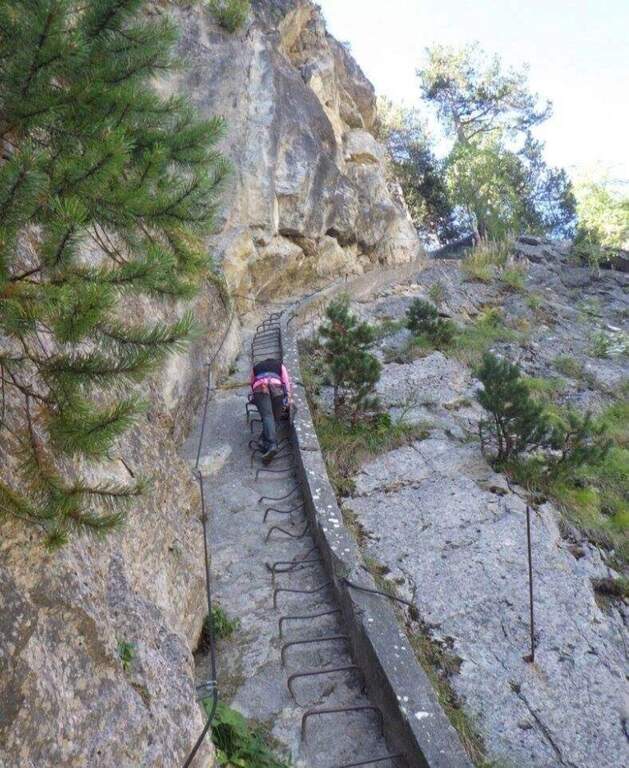
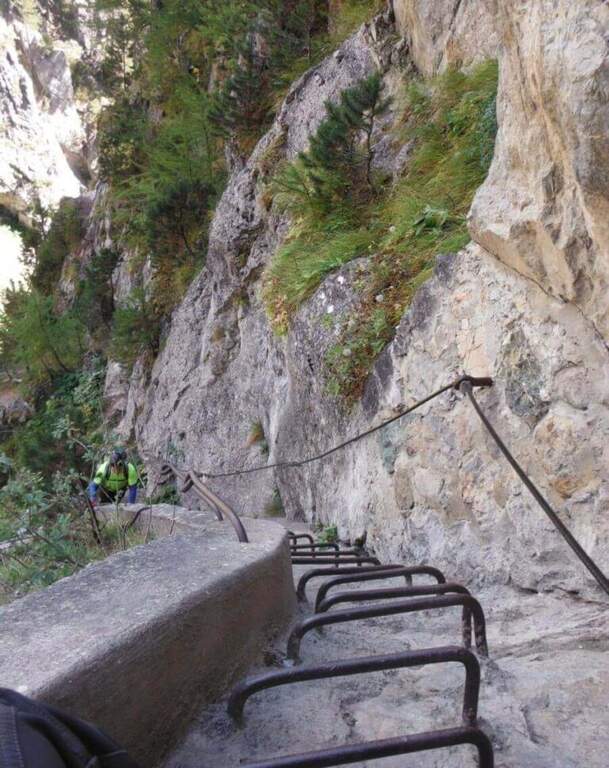
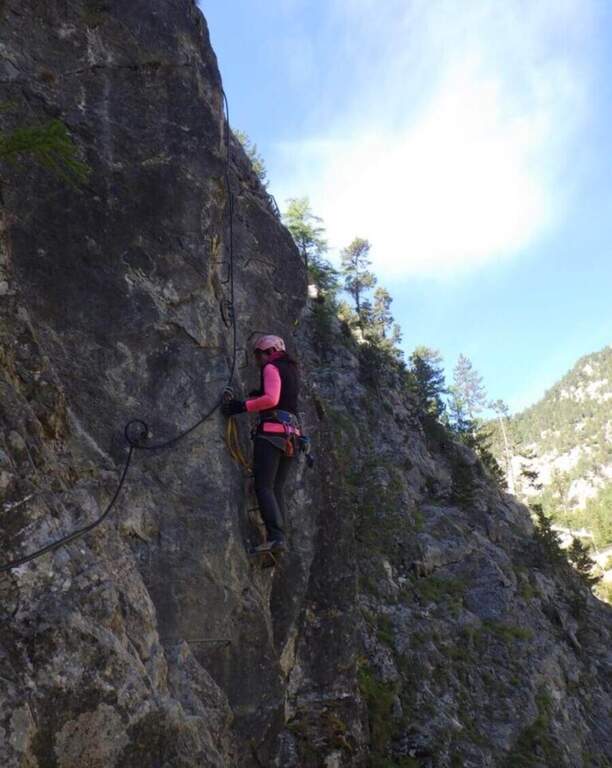
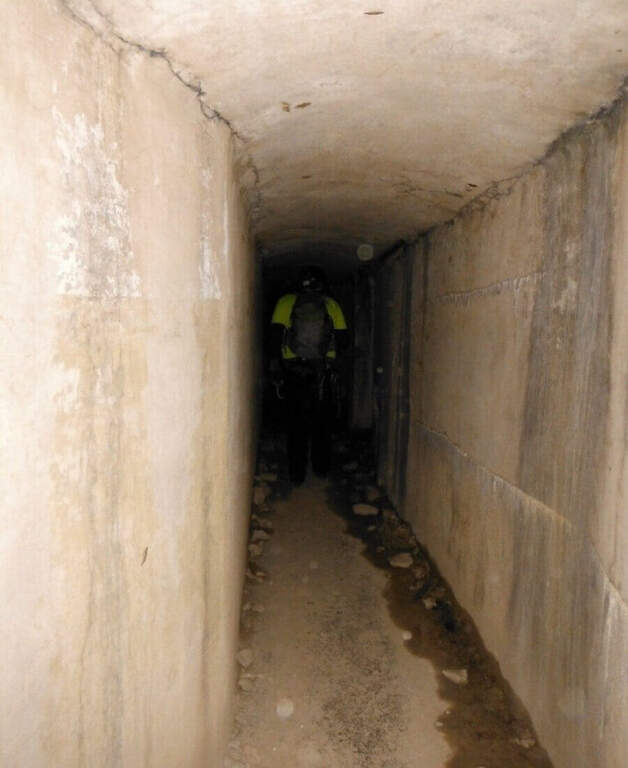
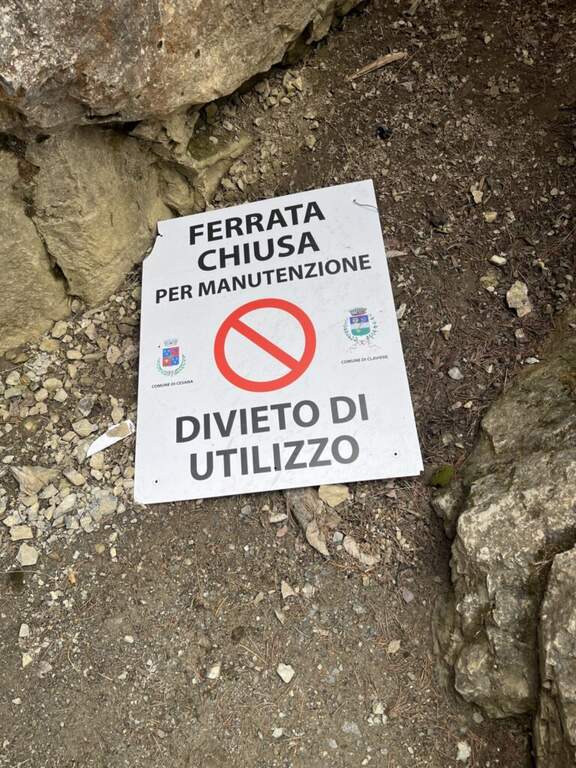
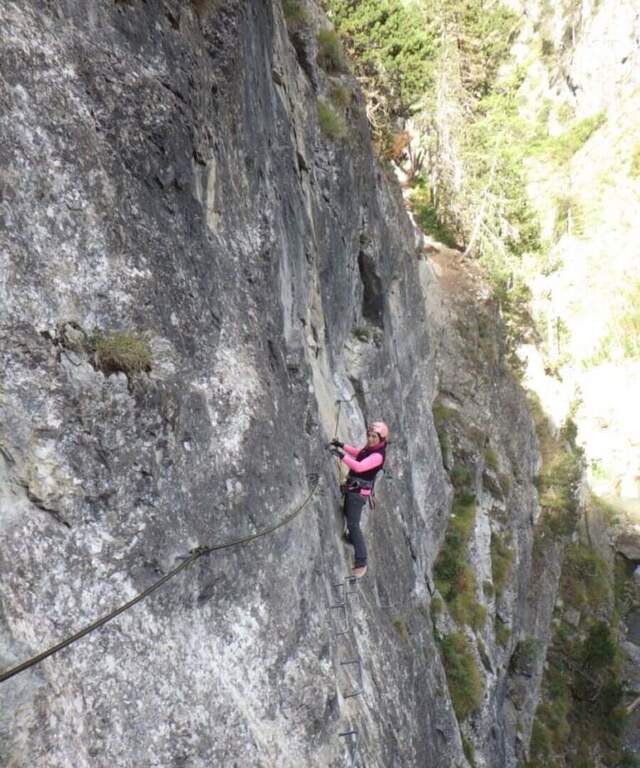
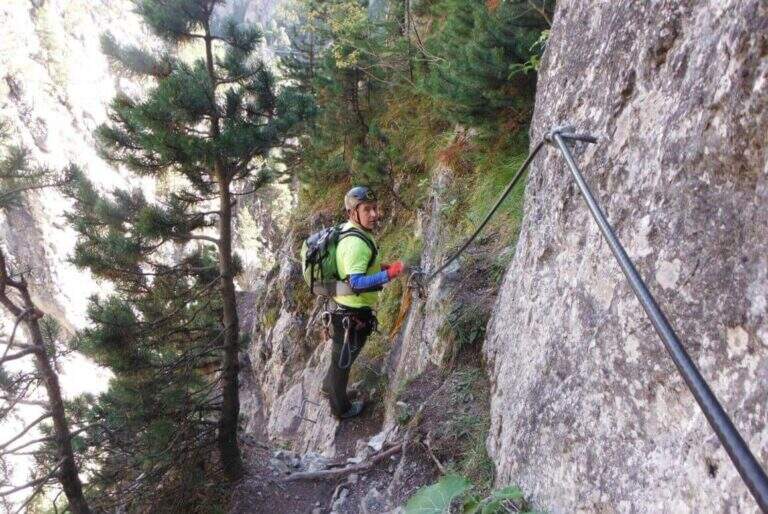
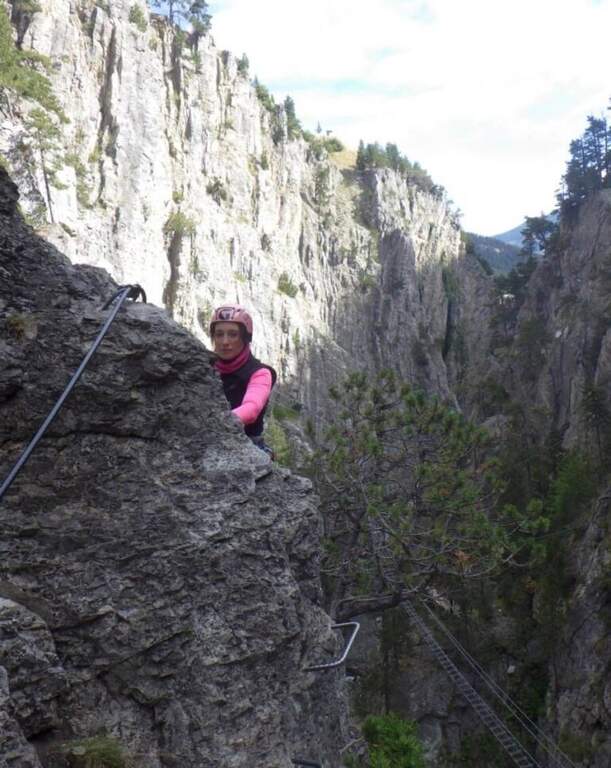
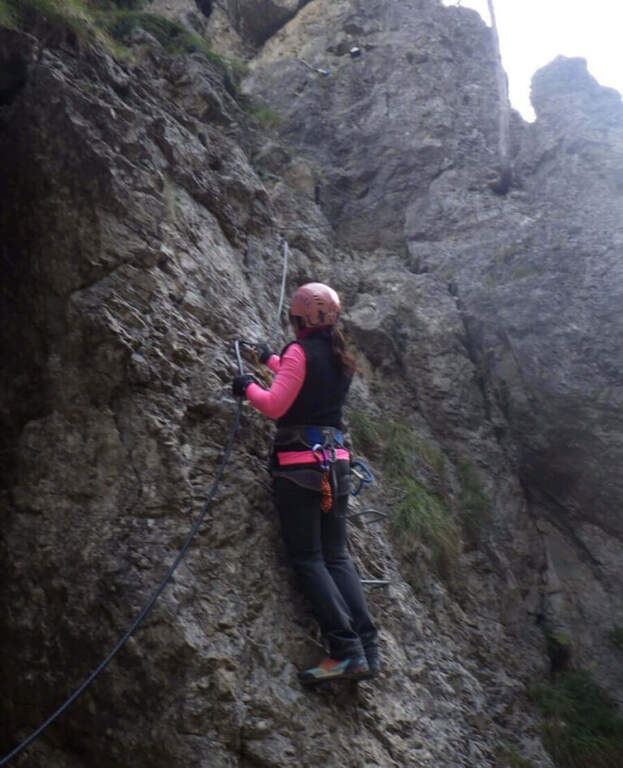
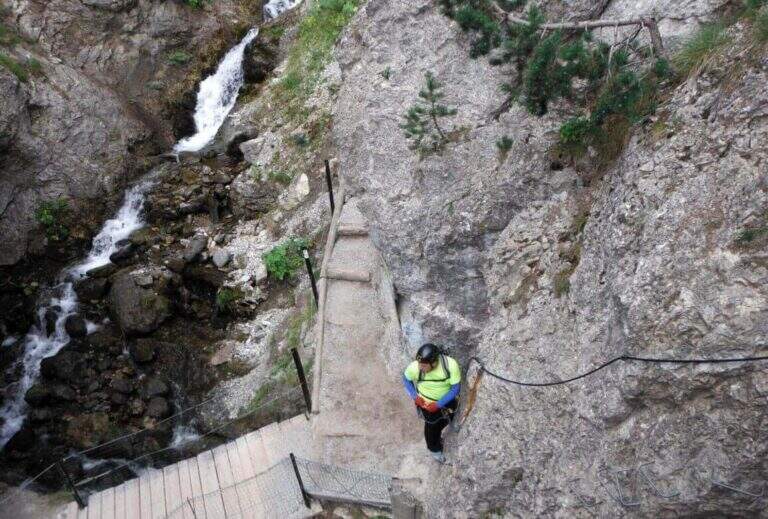
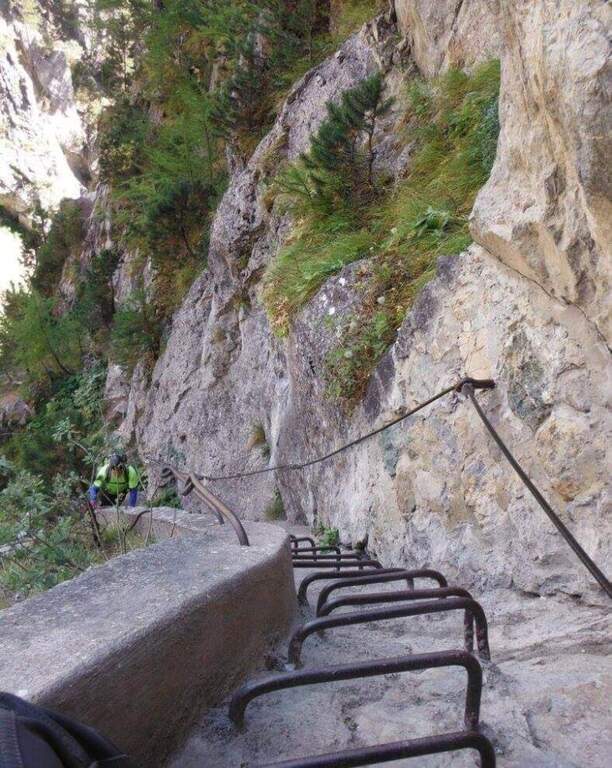
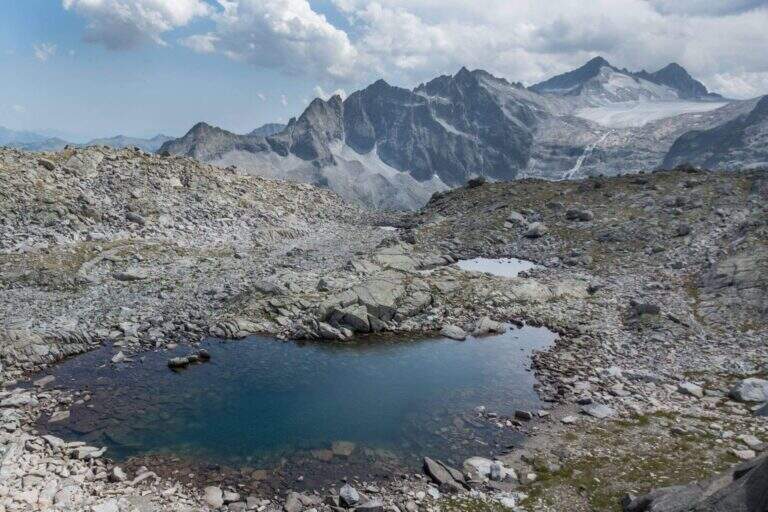
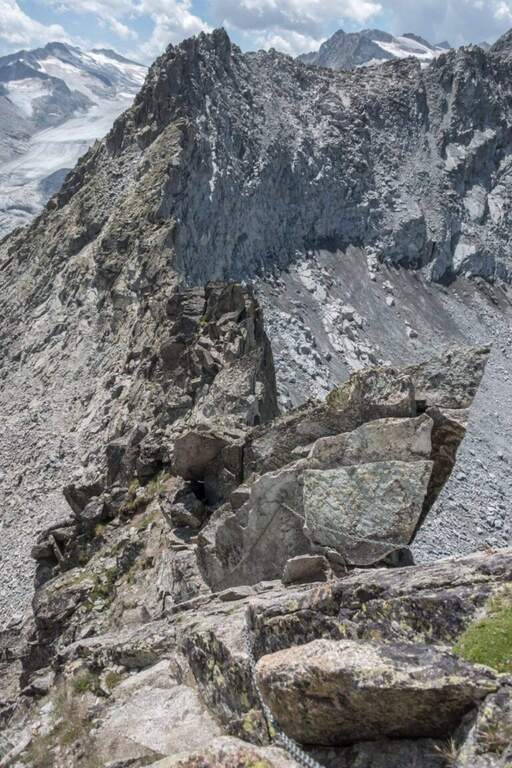
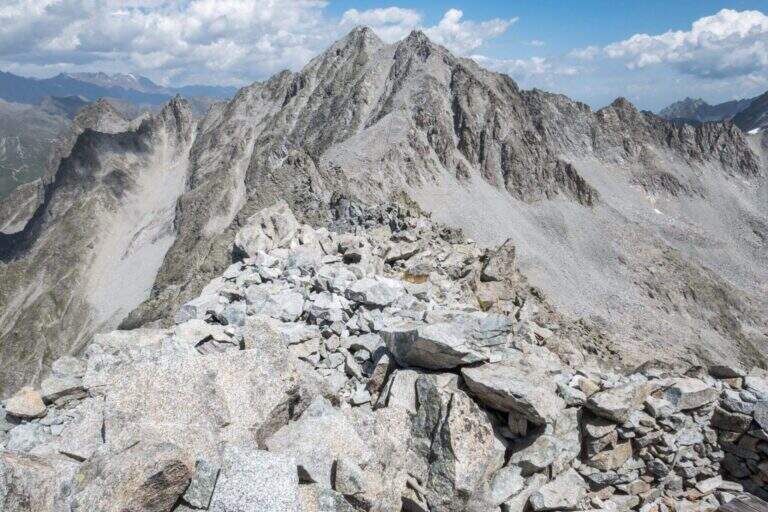
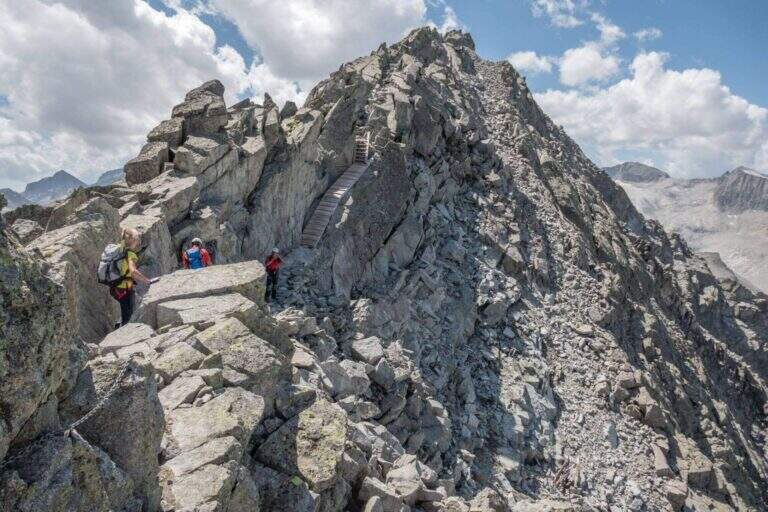
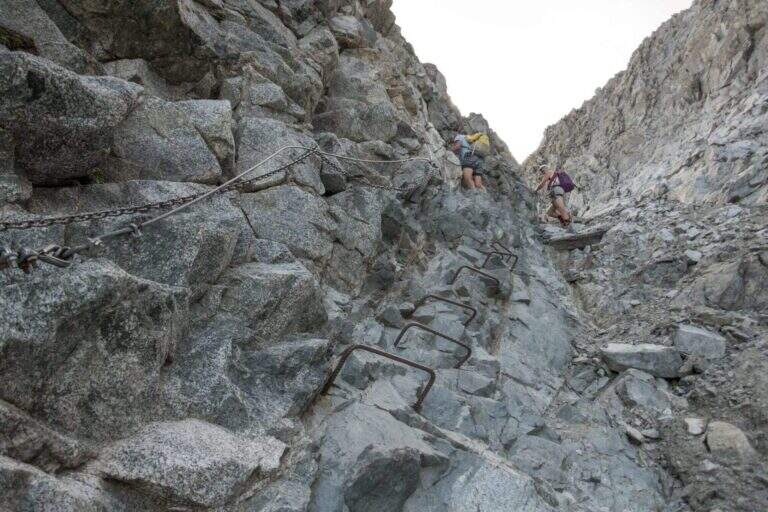
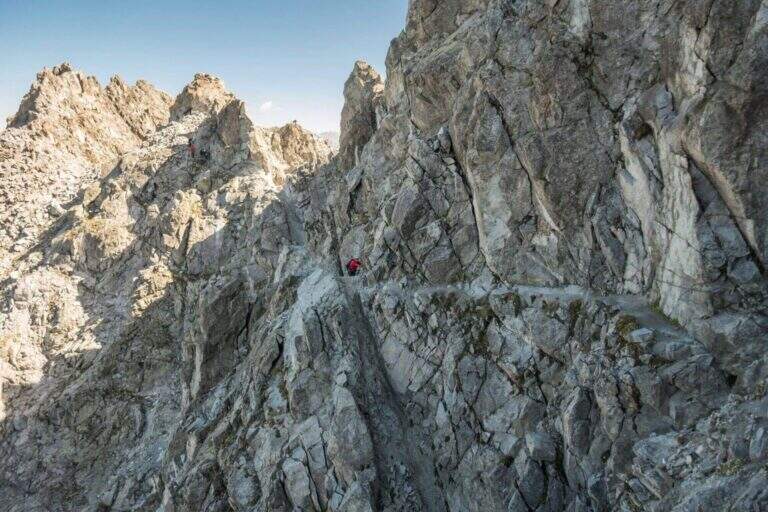
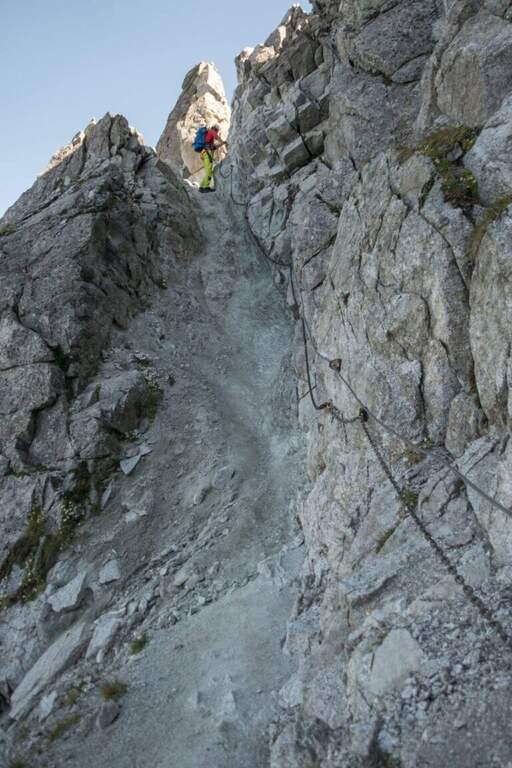
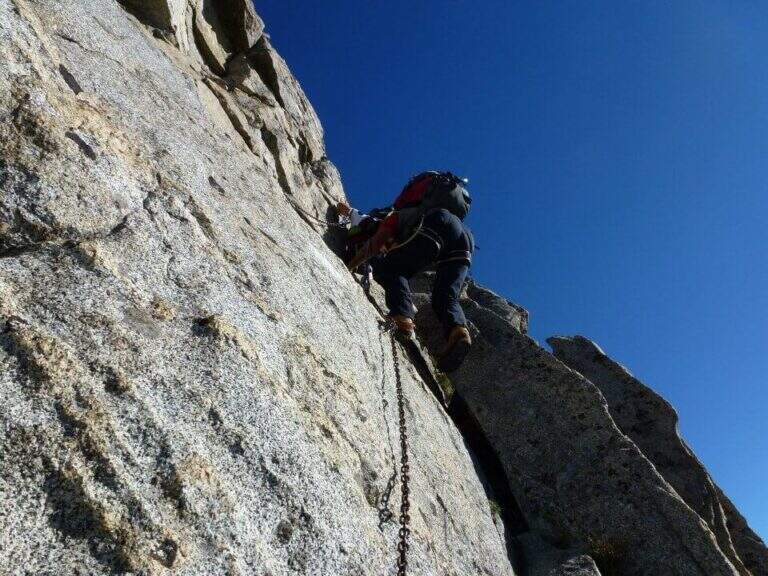
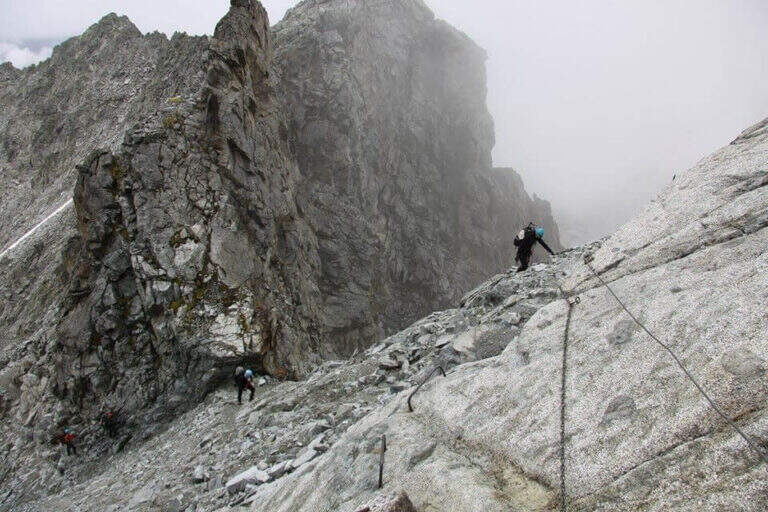
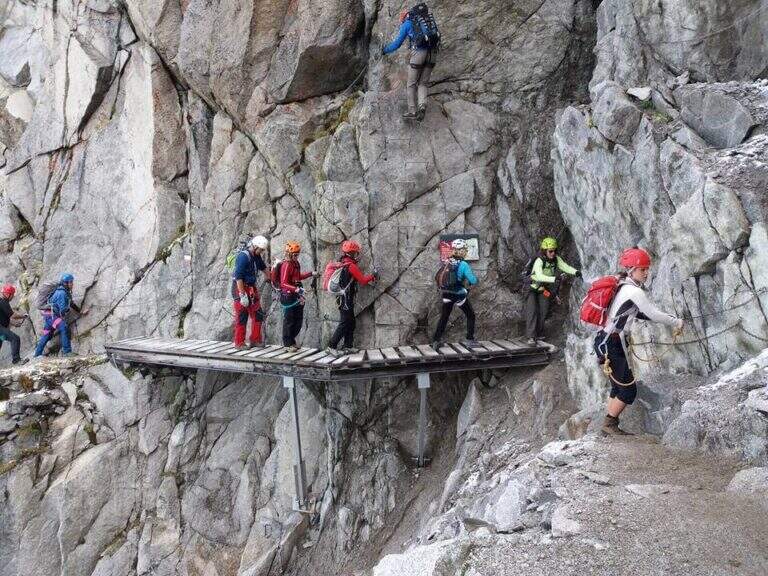
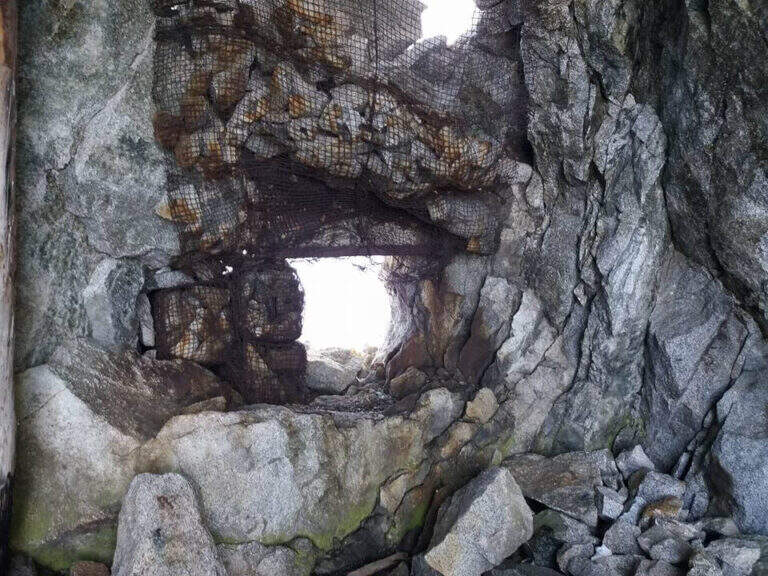
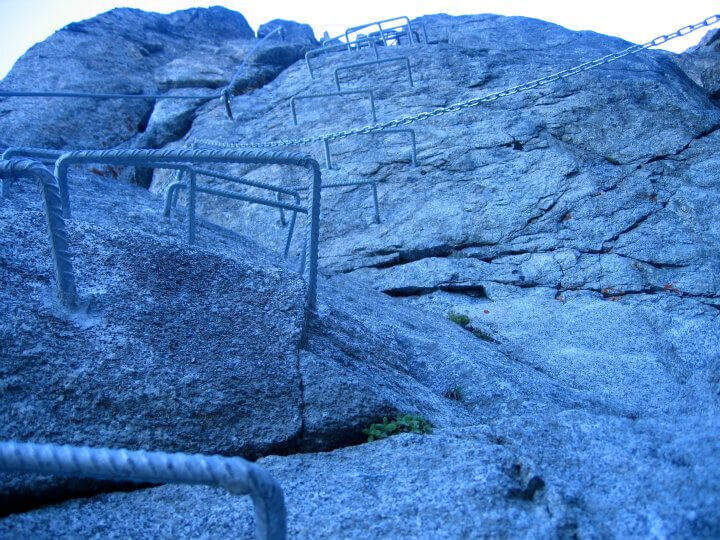
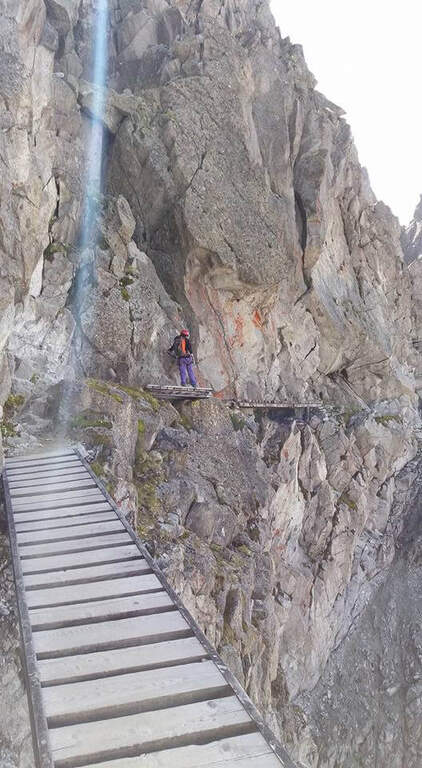
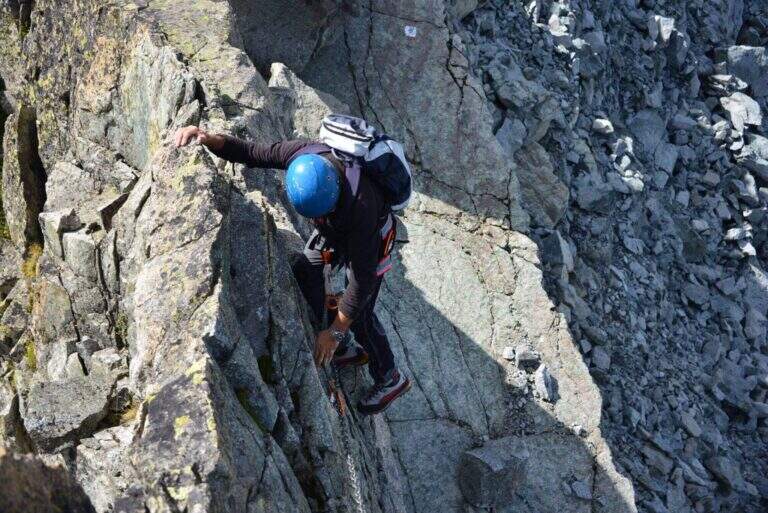
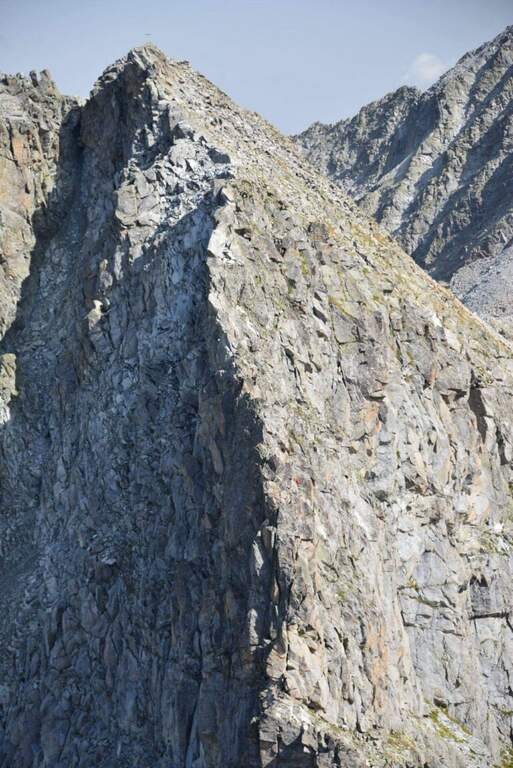
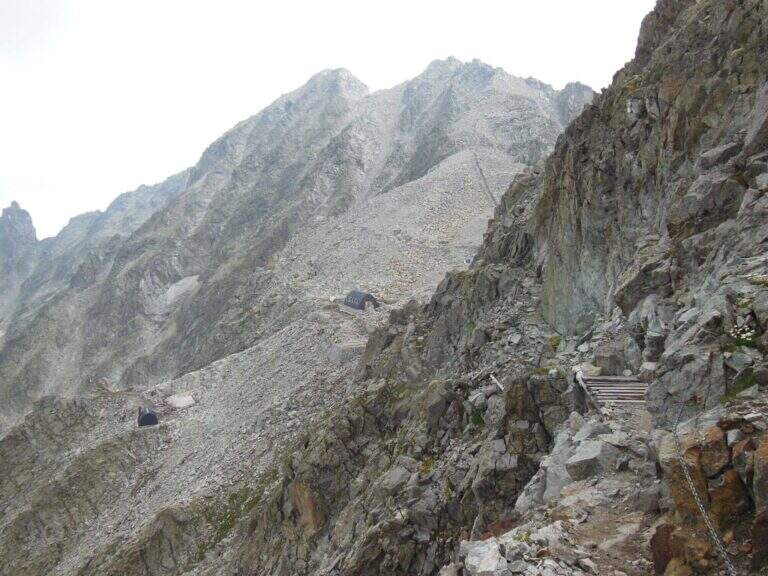
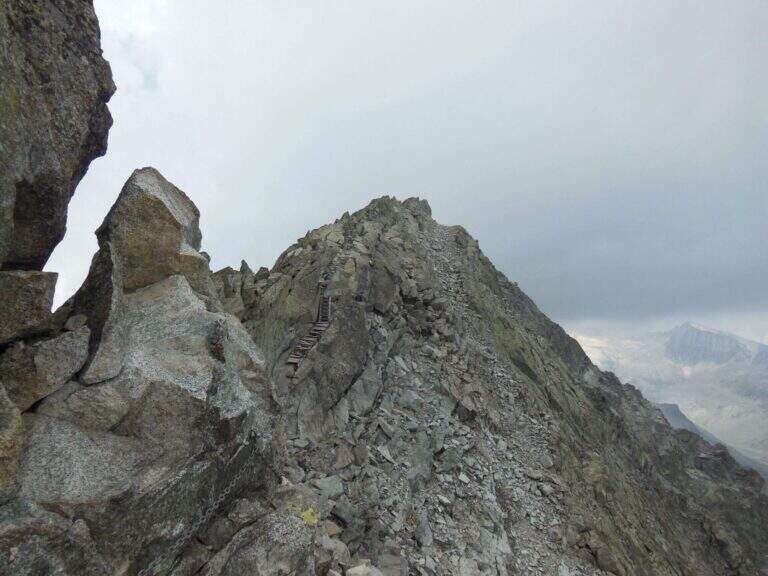
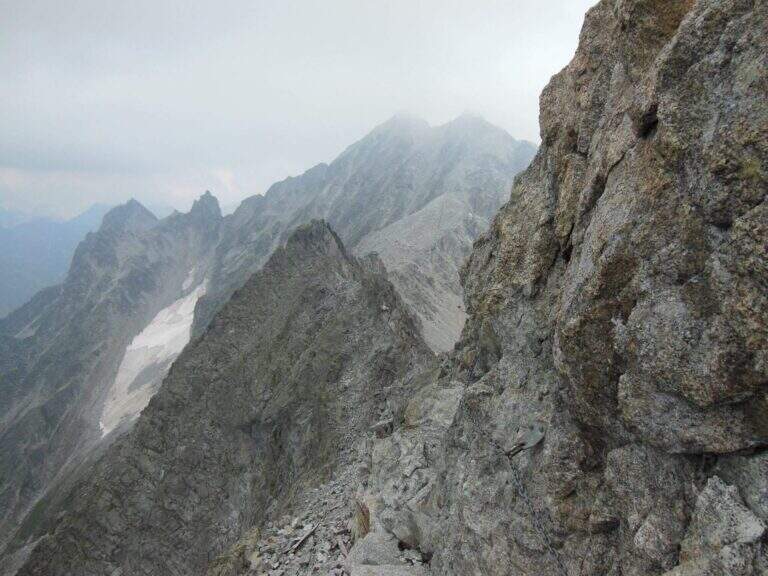
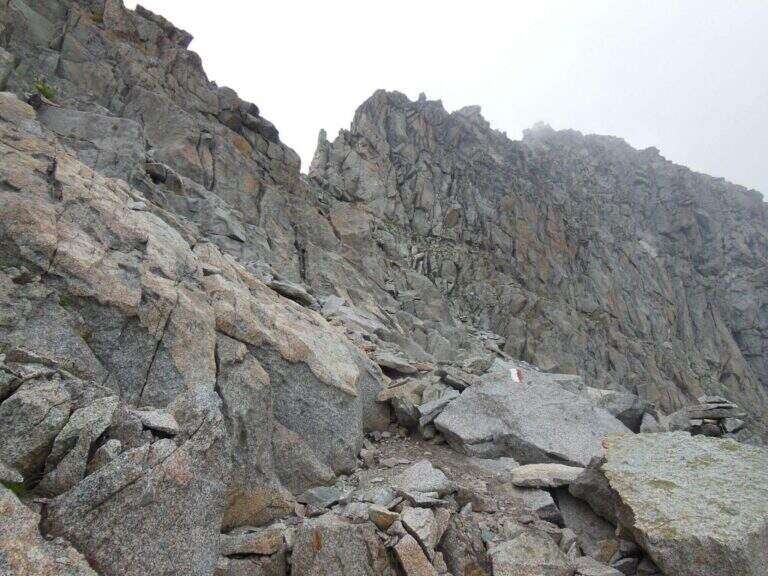
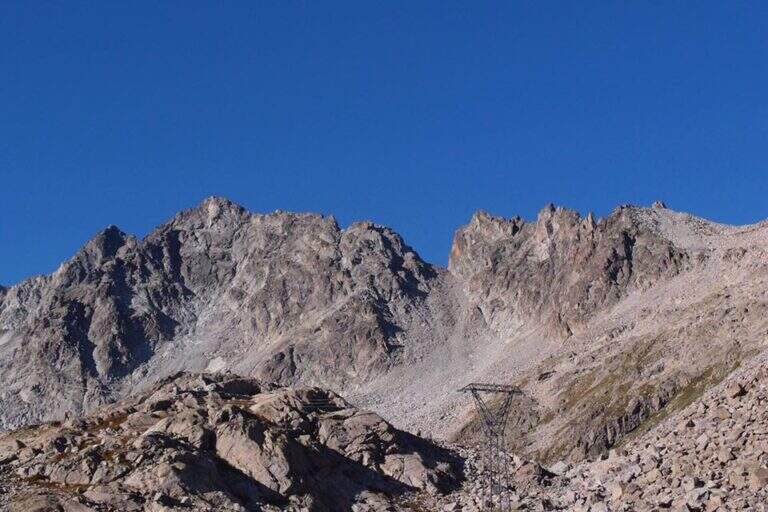
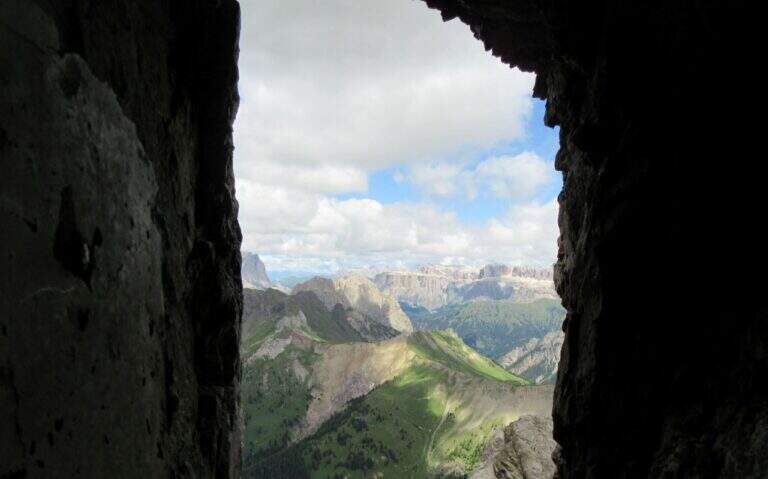
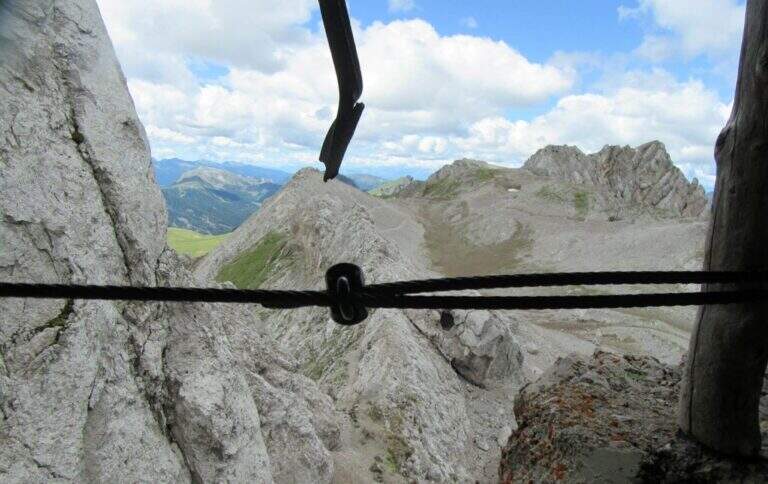
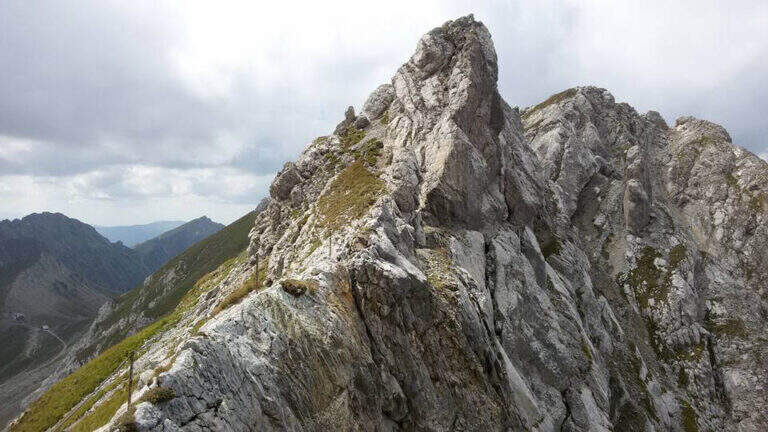
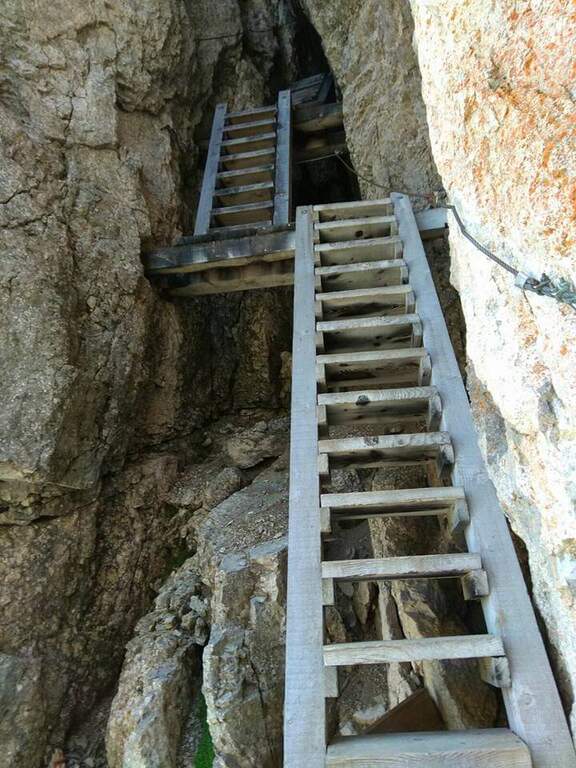
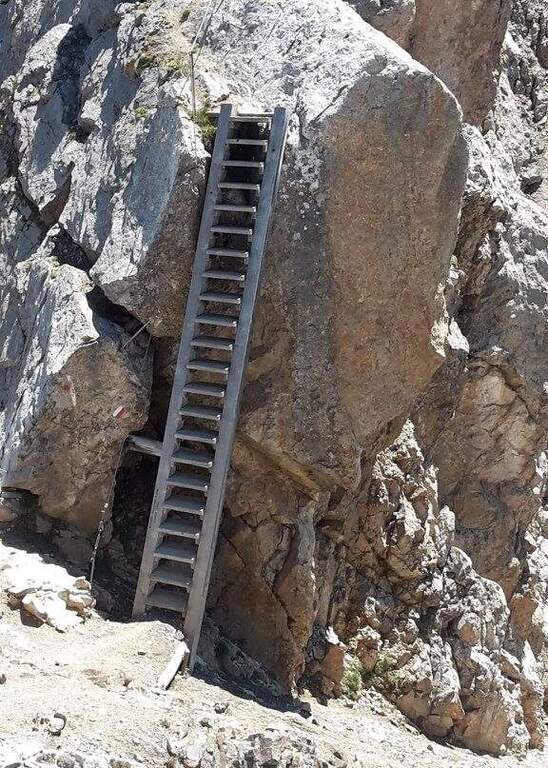
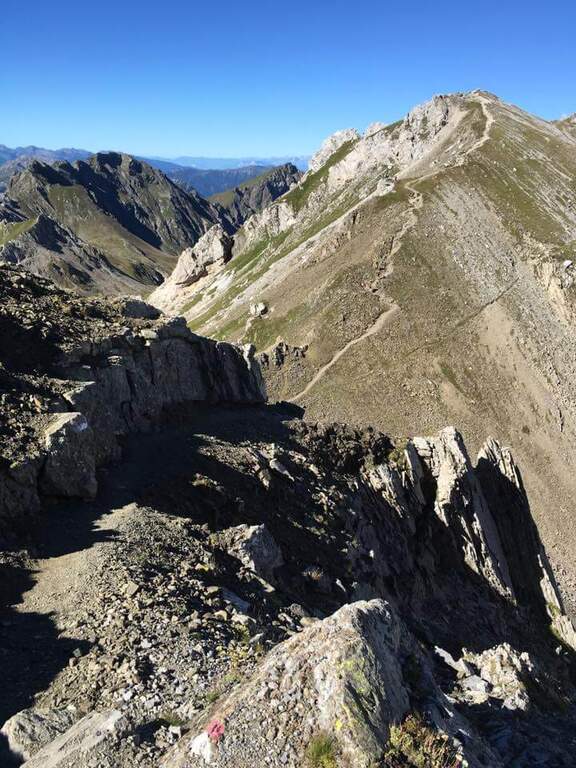
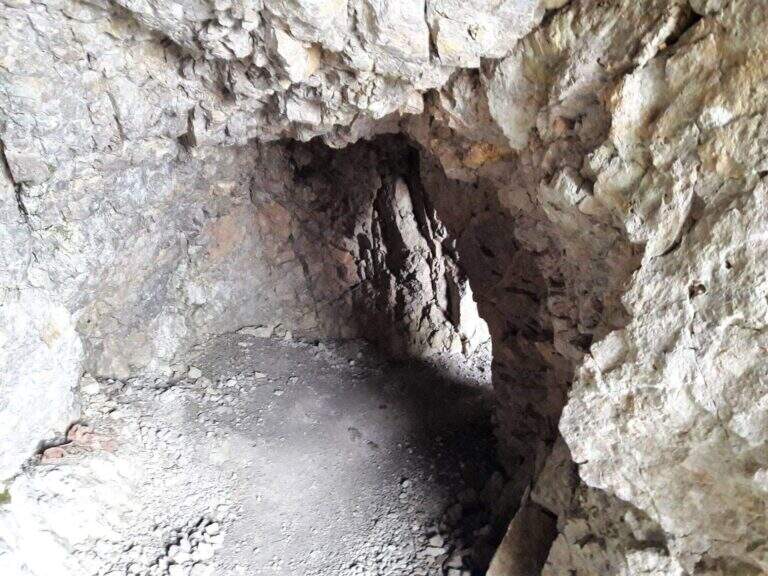
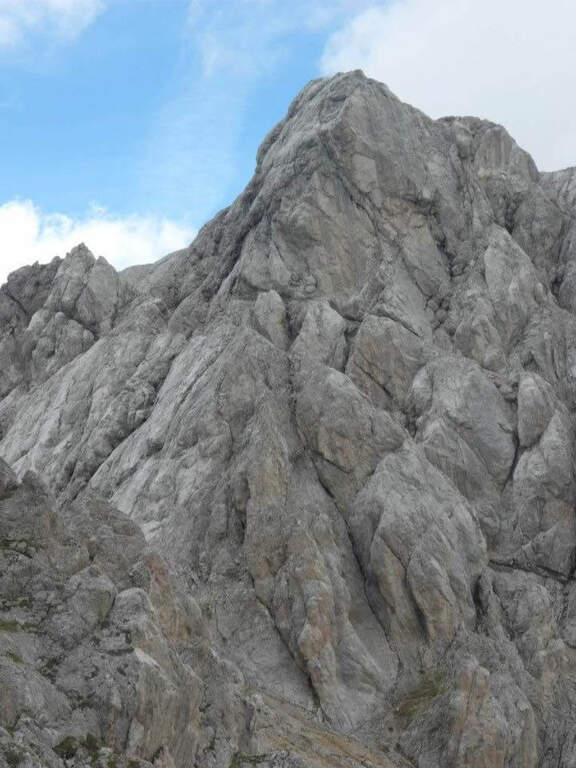
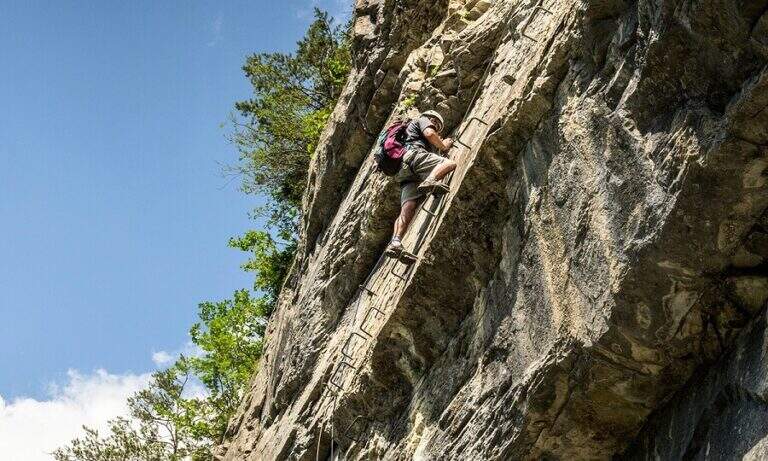
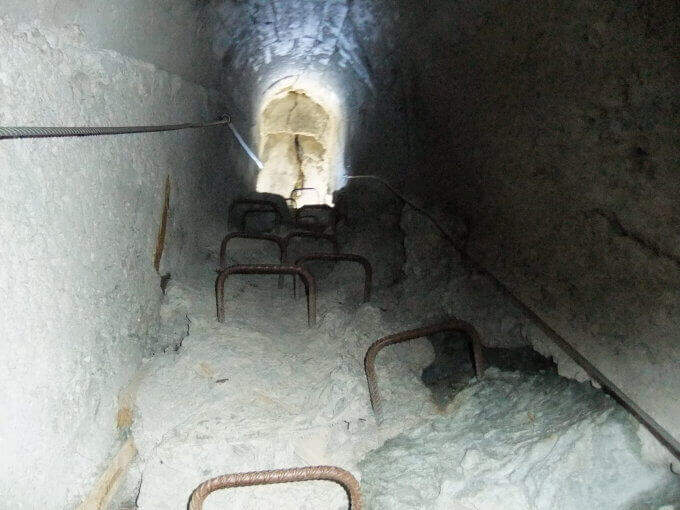
    The Ferrata di Rocca Senghi dates back to l' the homonymous torrione isolated in Val Varaita: a difficult, athletic and « French », with different stretches overhanging. Difficult & Agrave; techniques are not very high, given l' abundance of cambres and brackets, but it should be faced only if well trained. Downhill you can può cross a suggestive galleria militare.

    ▲Approach

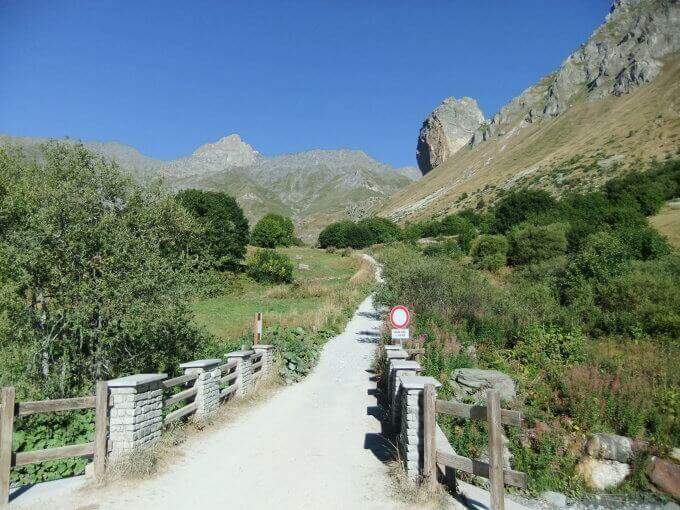
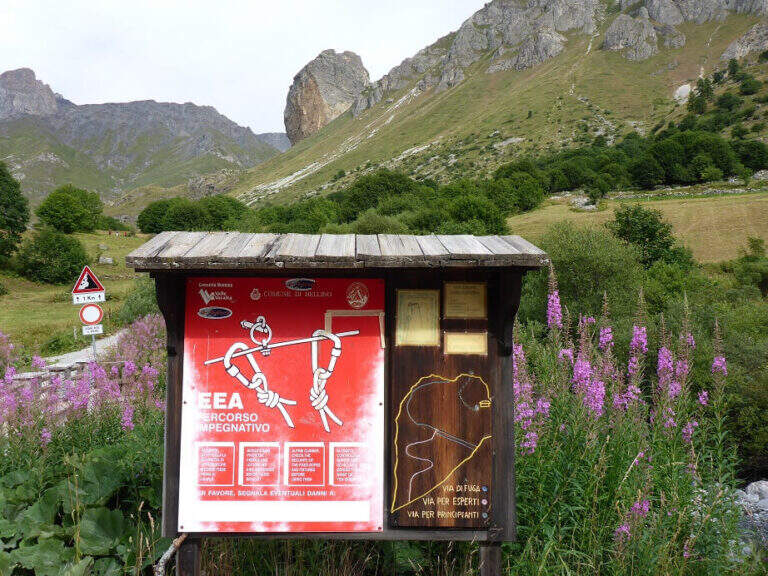
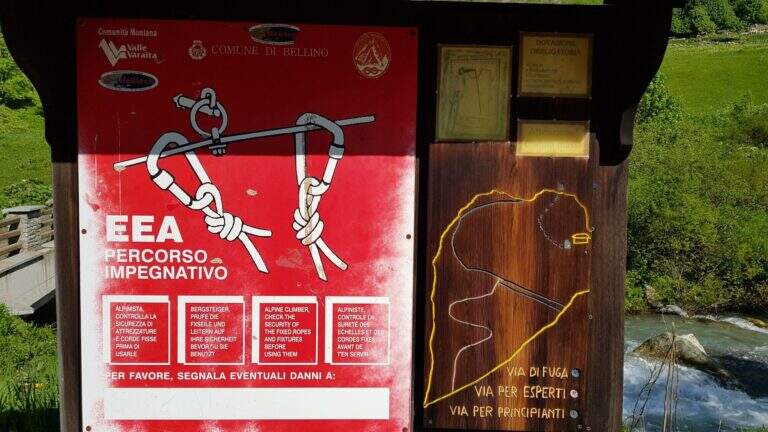
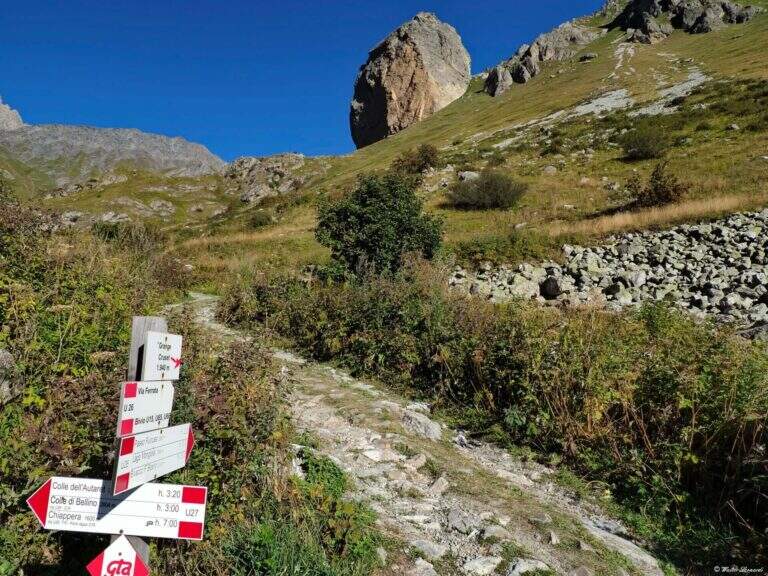
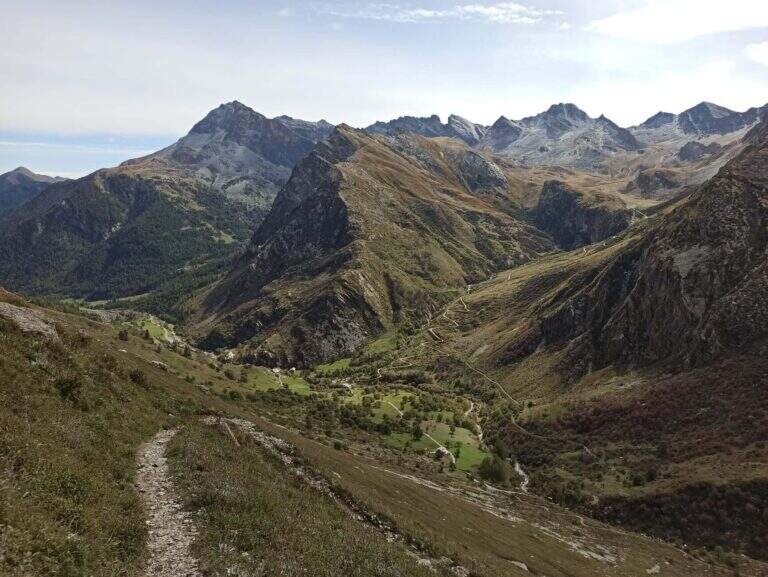
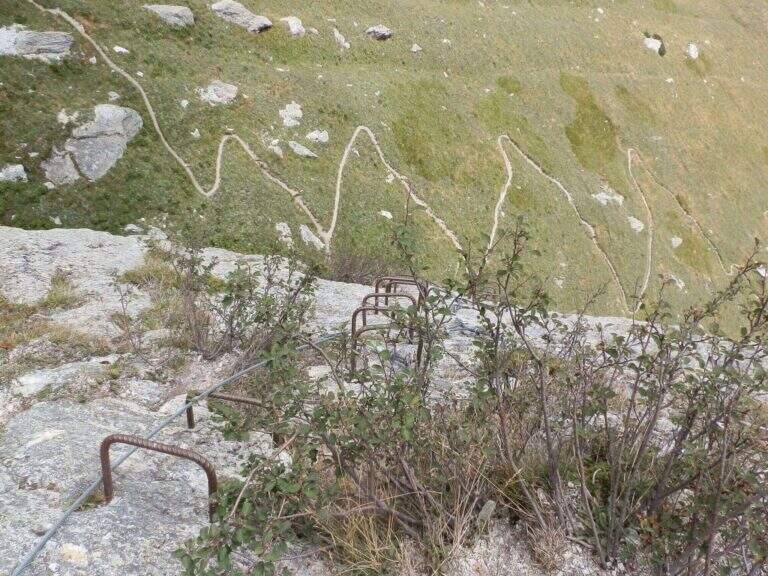
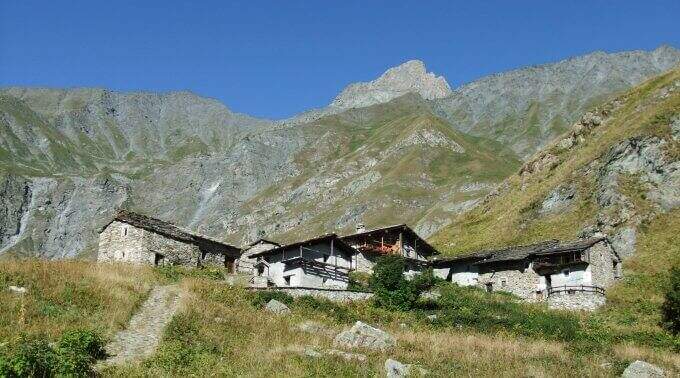
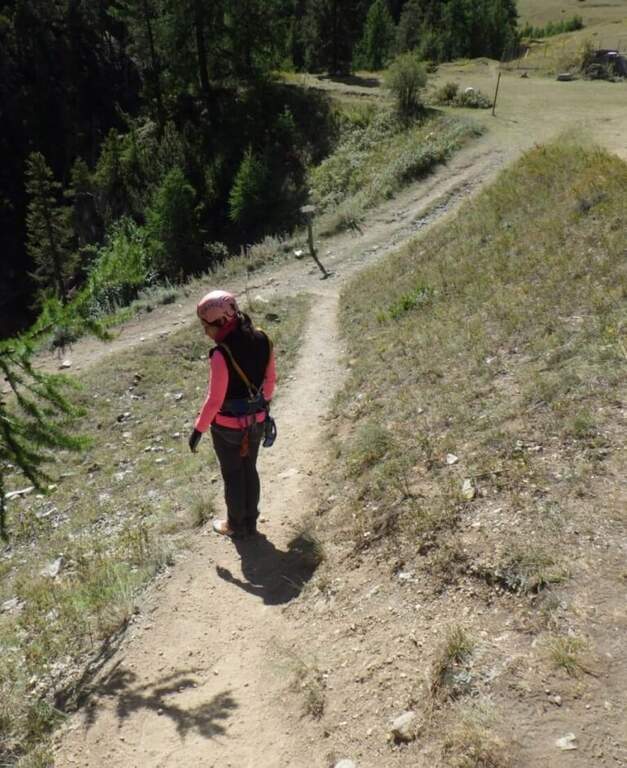
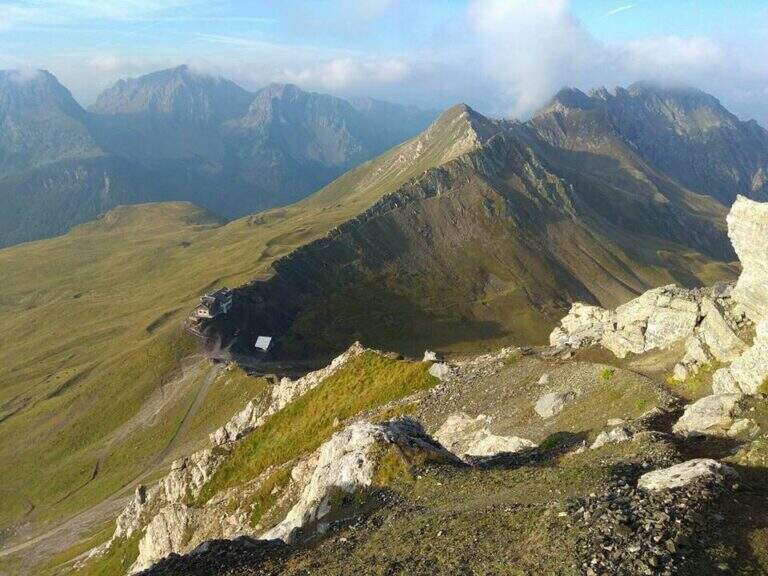
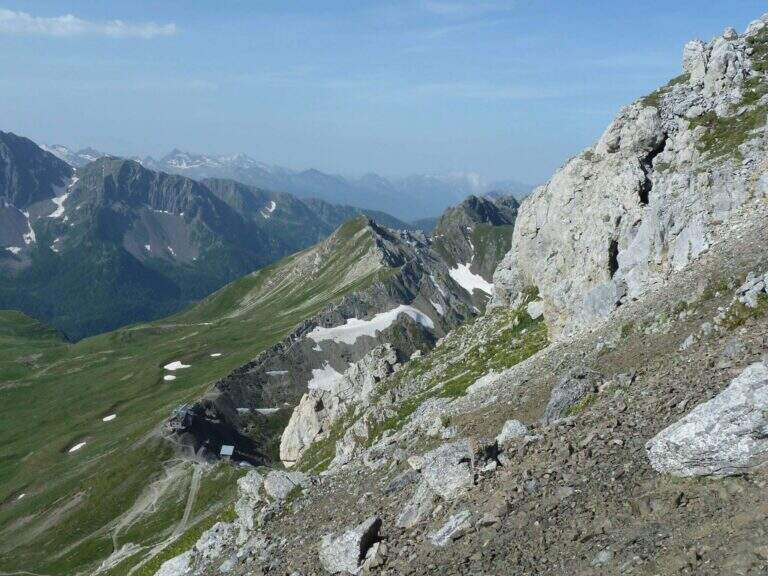
    Starting point the Sant'Anna of Bellino (CN): you pass the bridge over the Varaita stream and park in the bay. Open road signs on Google Maps. On foot you continue towards the next bridge (fontana on the left), you cross it and you take the path U26 towards the Grange Cruset, then at the crossroads right on the branch for Rocca Senghi (cartel). Passed a basin that shows the way and the escape routes, you go up the steep path to serpentine along a grassy canal up to the isolated rock; the attack is on 2190 m, on the left side, near a comfortable deck to equip itself (1h from the parking lot).

    ▲The path

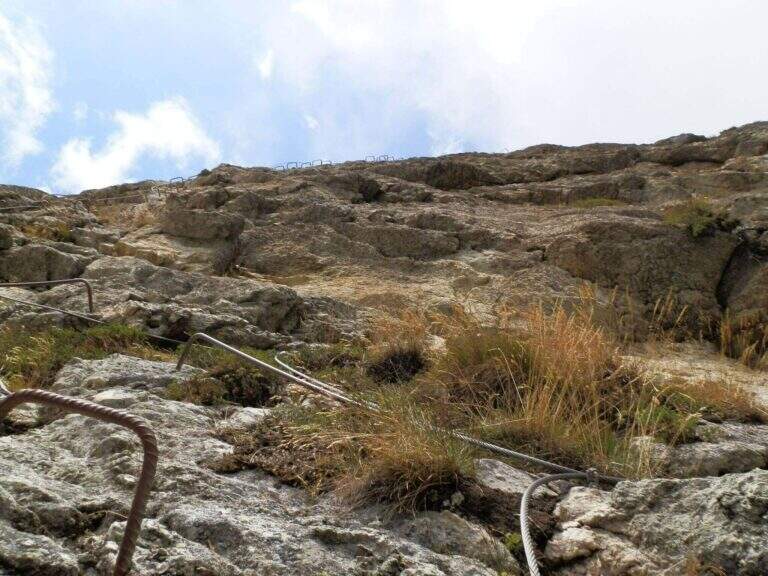
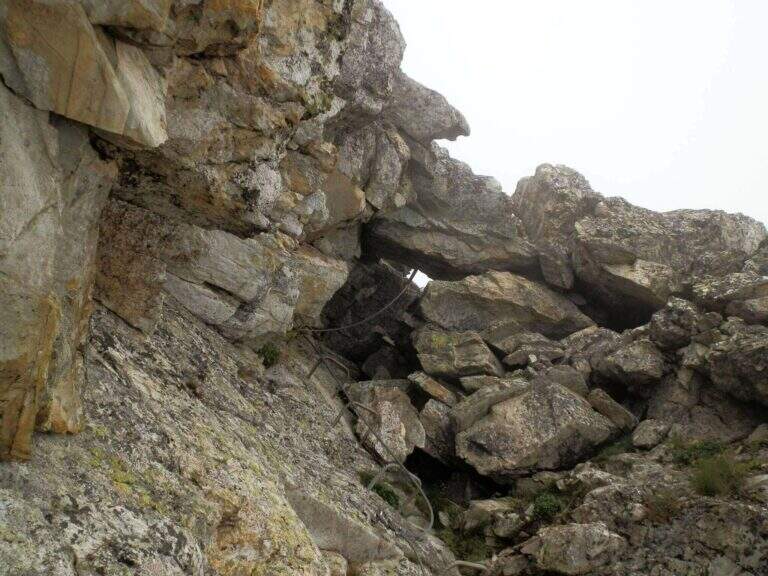
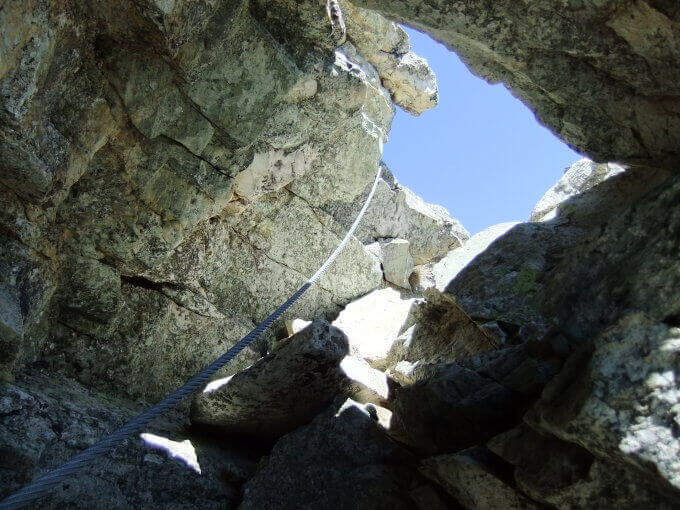
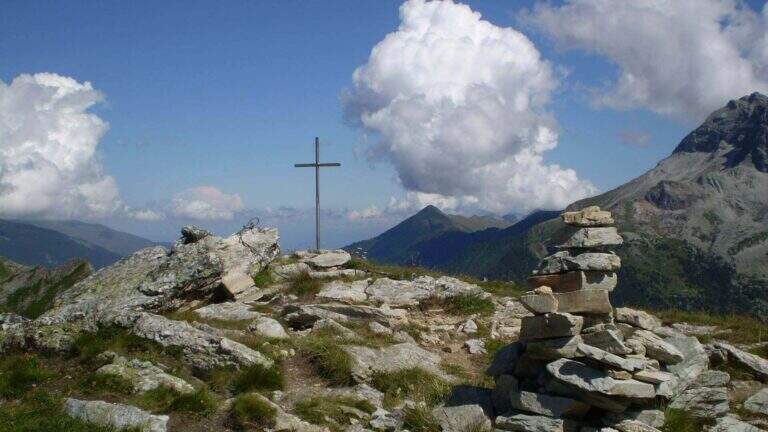
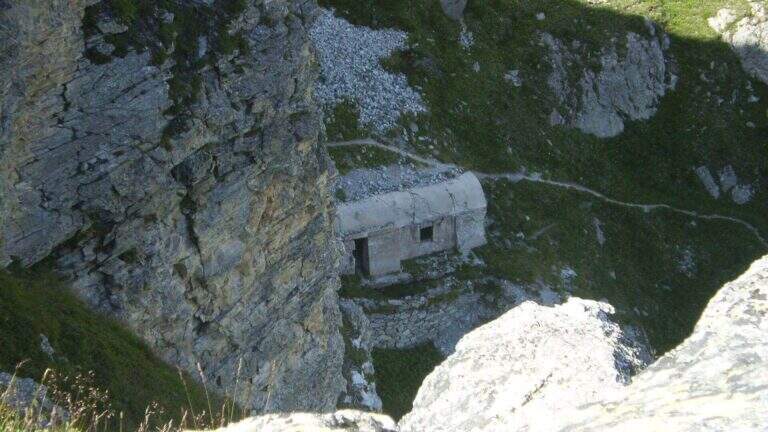
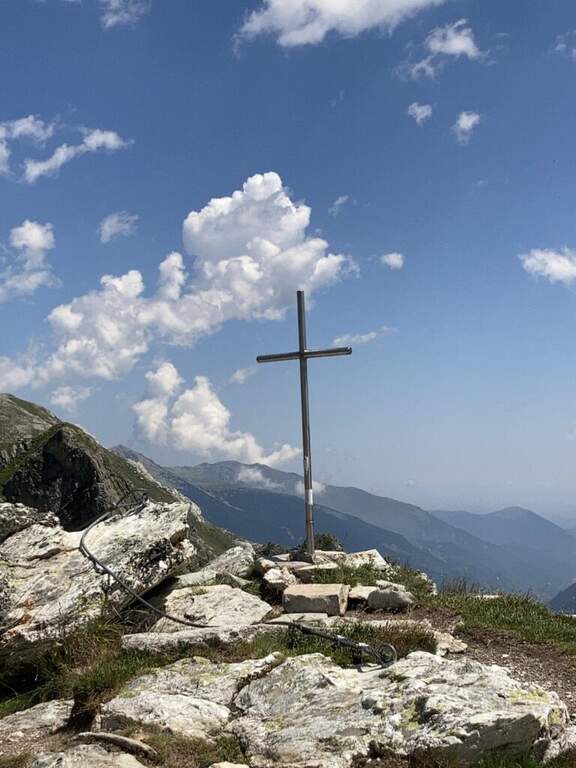
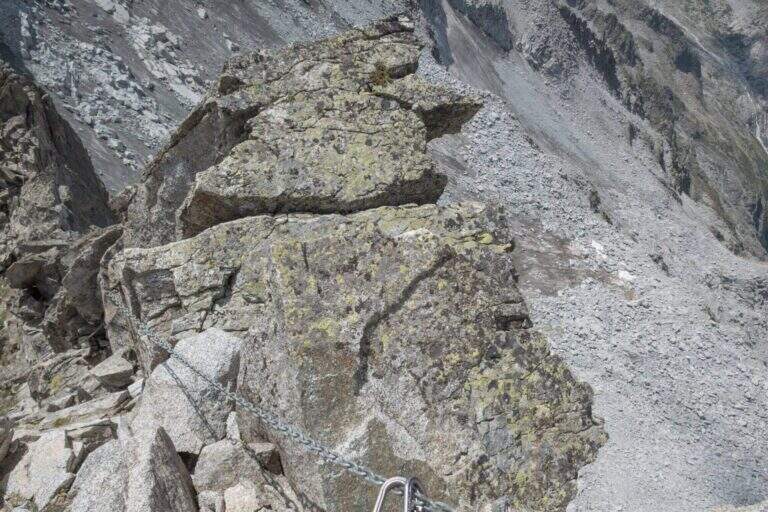
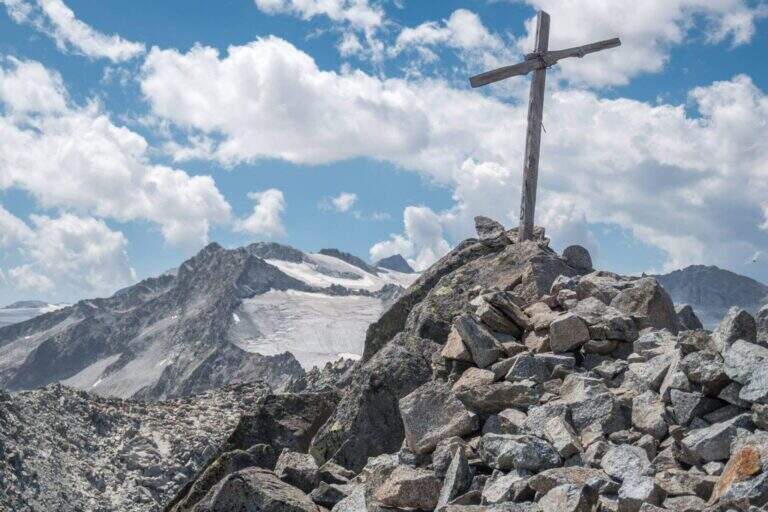
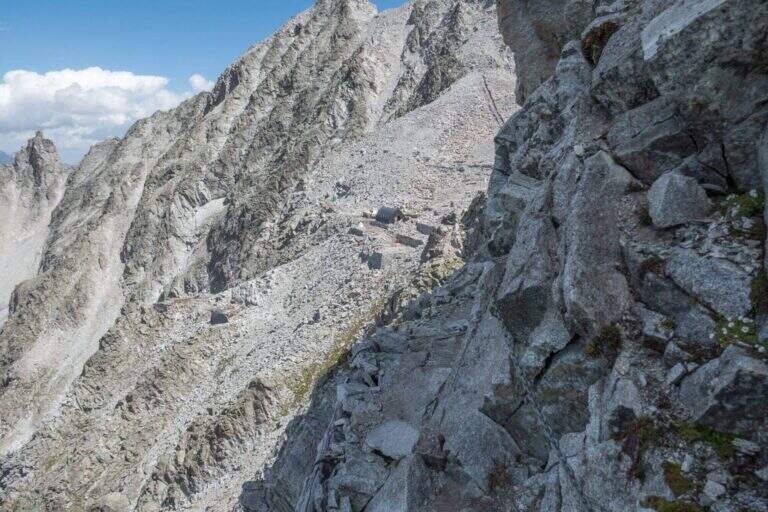
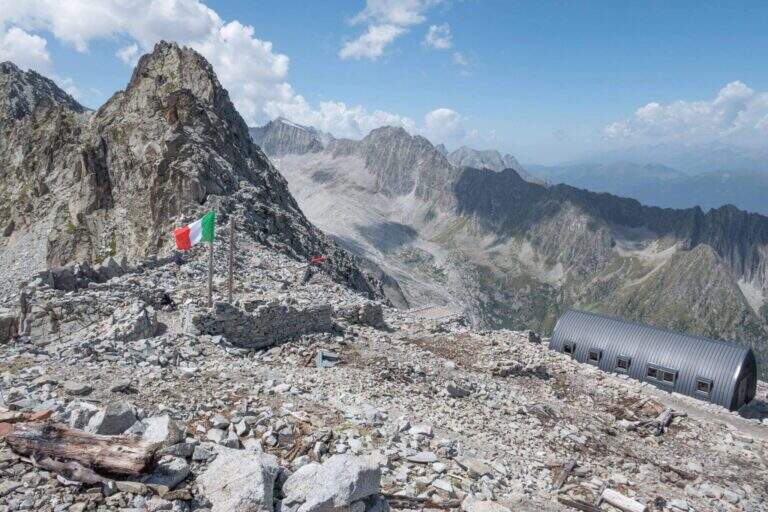
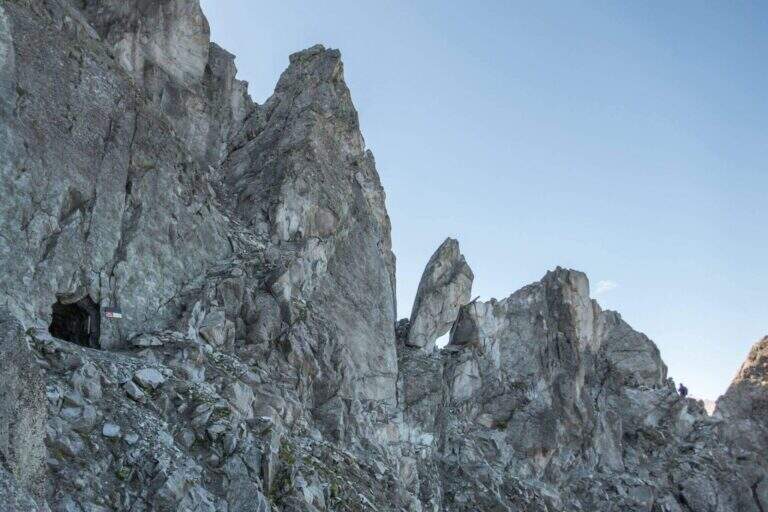
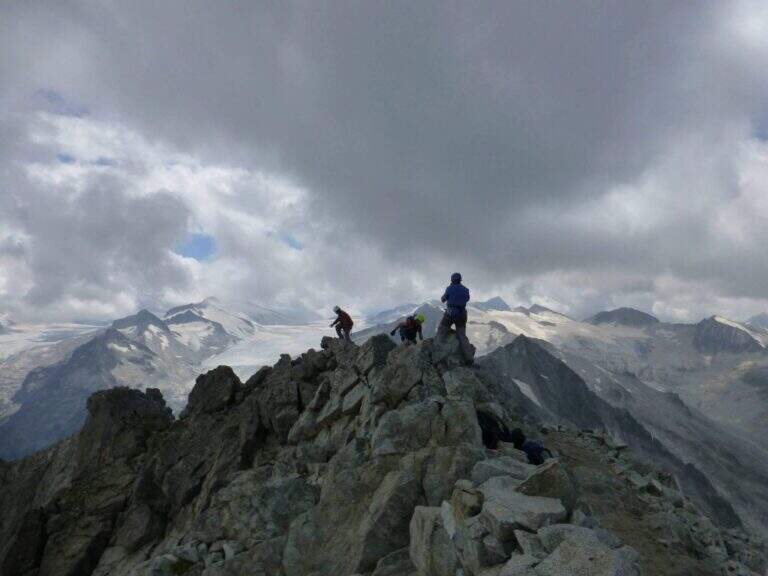
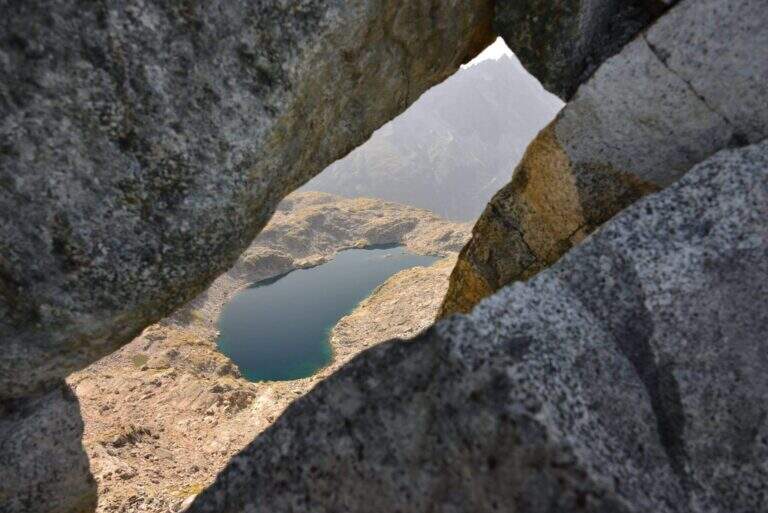
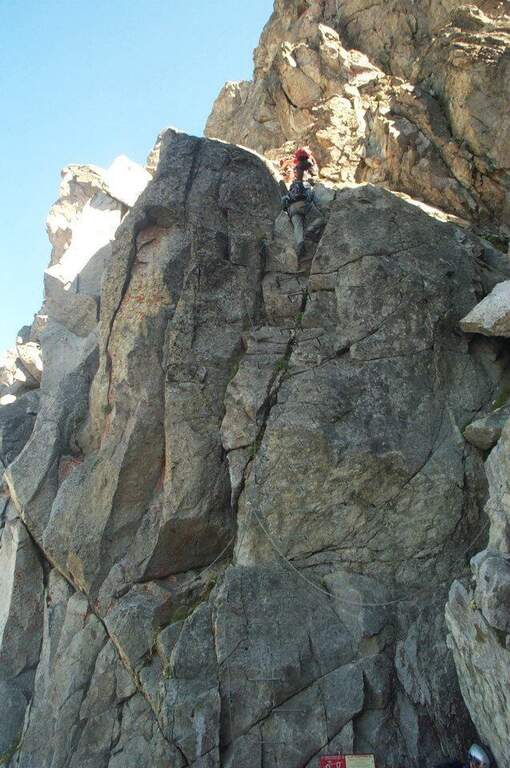
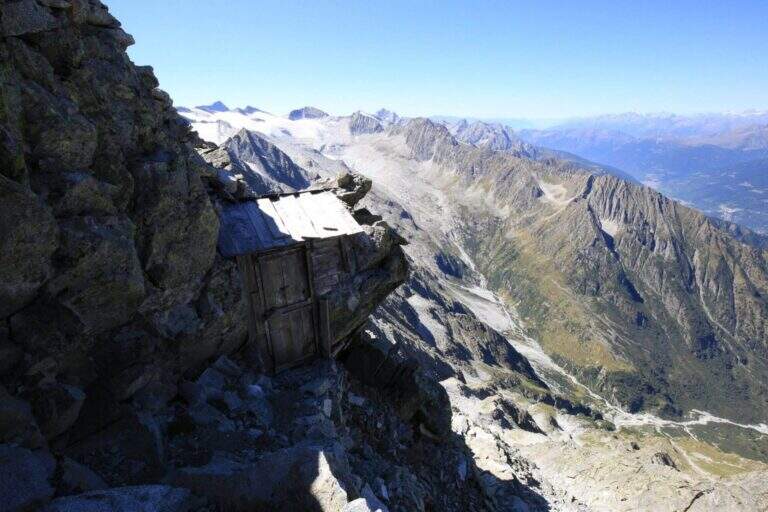
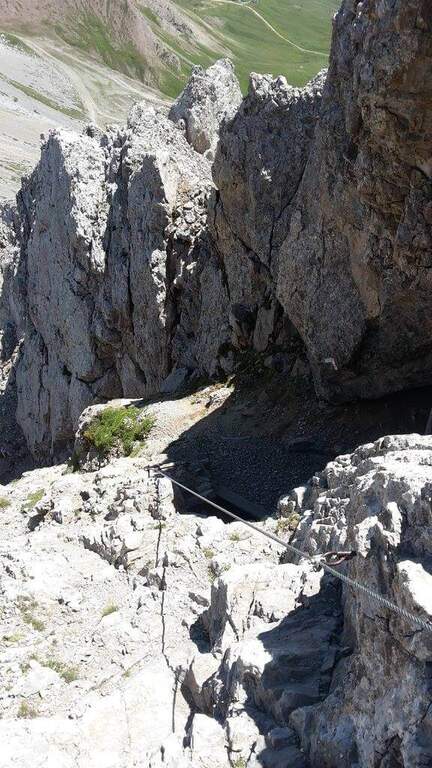
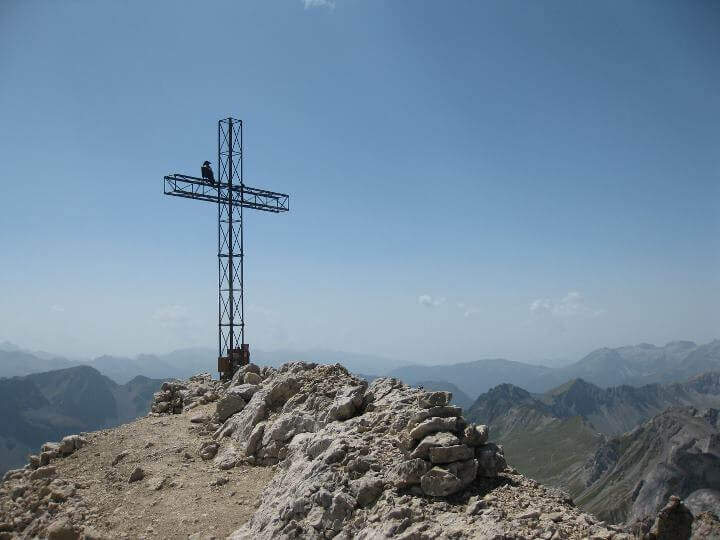
    Lo sviluppo è visibile dal basso: ci si sposta progressivamente lungo il filo dello spigolo in forte esposizione. Si attacca con un tratto orizzontale a sinistra scendendo un paio di metri dal sentiero, quindi si sale in verticale su parete a tratti leggermente strapiombante, con abbondanti staffe (talvolta distanti tra loro, scomode per chi è di bassa statura). Si guadagna quota rapidamente fino a un tratto orizzontale a sinistra con staffe per mani e piedi, e si raggiunge il caratteristico spigolo in forte esposizione. Si prosegue su una serie di pareti verticali alternate a brevi tratti orizzontali, decisamente impegnative; dopo circa 45' dall'attacco si arriva a una cengia diagonale dove rifiatare dopo la prima serie di pareti atletiche (qui, a destra, una via di fuga che, per una cengia, raggiunge un ricovero militare abbandonato e da lì la vetta per sentiero o per una galleria militare di 30 m). La seconda parte ha caratteristiche simili ma con meno strapiombi e qualche parete più appoggiata: dopo un tratto orizzontale a destra si passa dentro un caratteristico foro nella roccia; ancora pochi minuti in verticale e si raggiunge la croce metallica della vetta di Rocca Senghi (circa 1h 30' dall'inizio / 2h 30' totali).

    ▲Character and difficulty

    cut cable to French , therefore little tense: less useful to traction in difficult points, but the abundant brackets give much support for hands and feet.

    ⚠ Athletic route: not recommended to those who do not è well trained. For the downhill military tunnel è needs a front stack. Attention to the distance between the brackets for low-stage people.
    ▲Period and safety

    High valley summer itinerary; start early and with good physical conditions. Height of the attack 2190 m.

    ▲Discipline

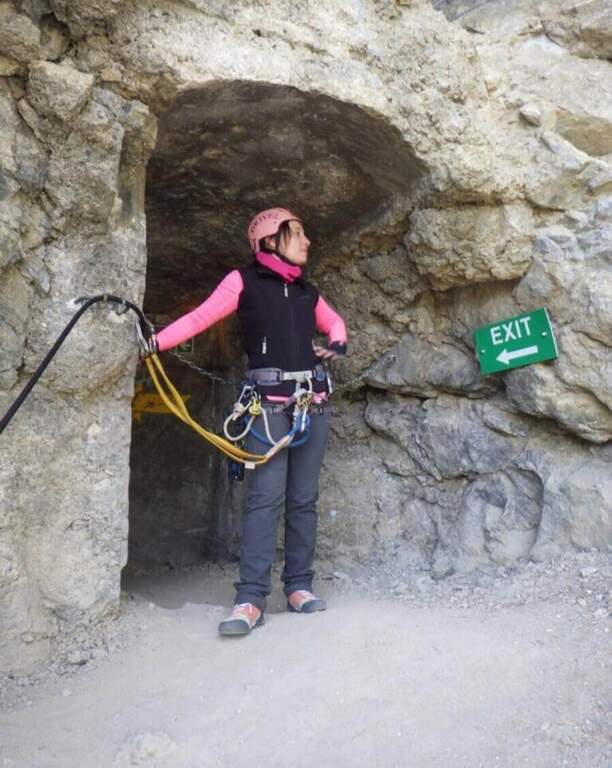
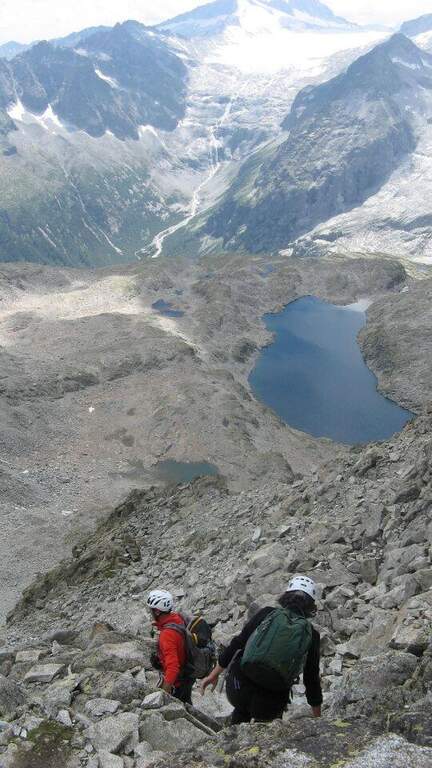
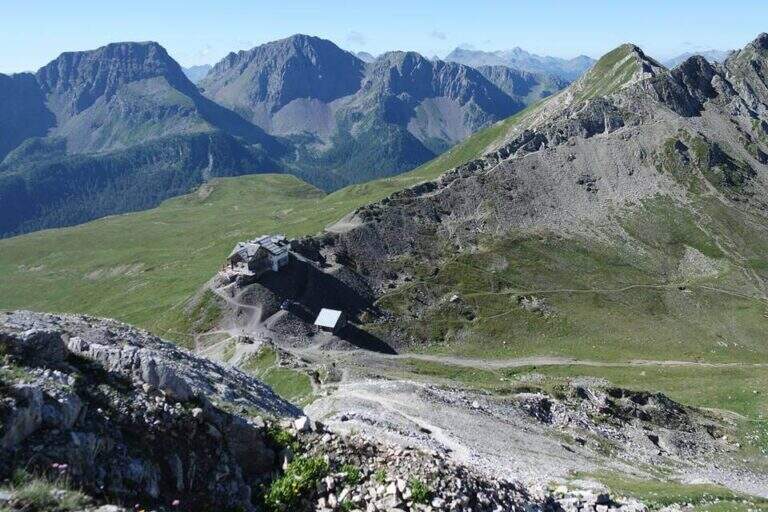
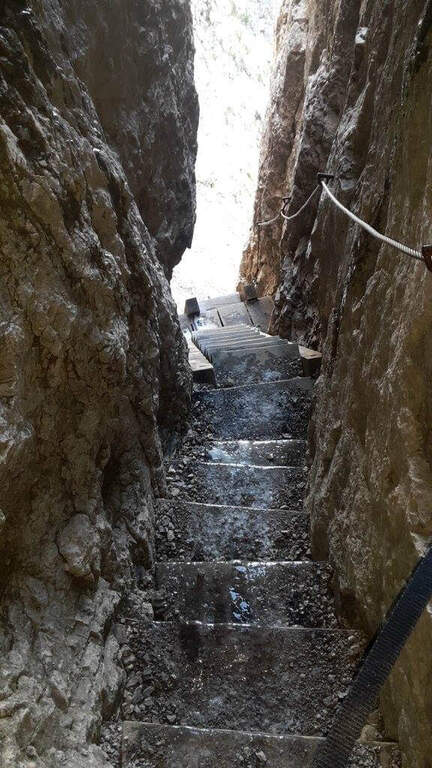
    From the top you go down to a saddle and at a crossroad: at destra a path leads to the remains of the military shelter; at sinistra you can può go downhill the galleria militare (about 30 m, initially equipped with metal steps and cable, indispensable frontal pile) that connects the two sides and deposits. From the shelter a path shows near the ' attack and then, backwards, to the parking lot (1h from the term / 3h 30' totali).

    ▲To match

    On day, in Val Varaita, la Ferrata di Chiaronto. Among the other routes of the Cuneese: the long Ferrata degli Alpini all'Oronaye, la Ferrata di Camoglieres, la Ferrata dei Funs e la Ferrata del Bec Valletta to Limone; further south, in the province of Savona, the Ferrata degli Artisti.
    ▲Gallery
    Technical data
    • DifficultyHard
    • RegionPiedmont
    • GroupVal Varaita
    • Approach1:00 h
    • Ferrata1:30 h
    • Itinerary (a/r)3:30 h
    • Hardware level difference230 m
    • Route difference320 m
    • Max2450 m
    • Length8,7 Km
  • Ferrata del Bunker (of the Military)

    Ferrata del Bunker (of the Military)

    Vie Ferrate › Piedmont › Turin
    Ferrata del Bunker (of the Military)
    Moderately Hard● OpenDescriptionComplexityMapsGallery

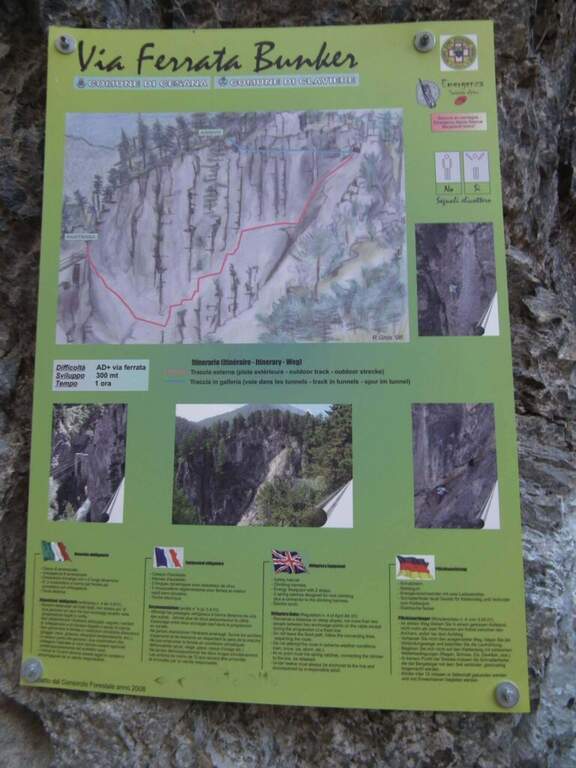
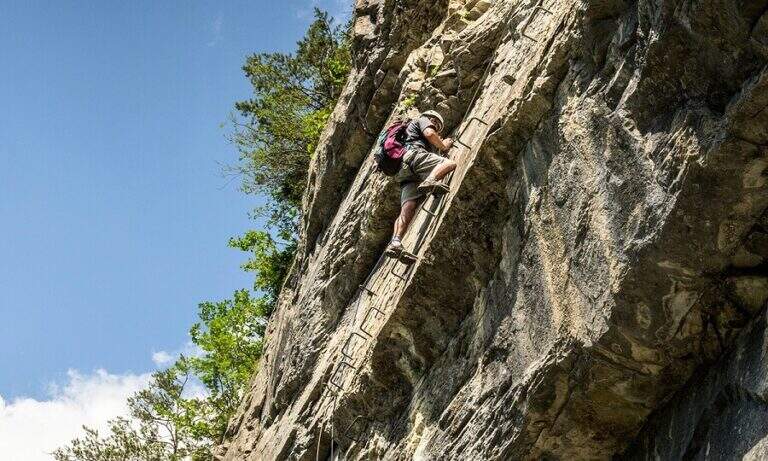
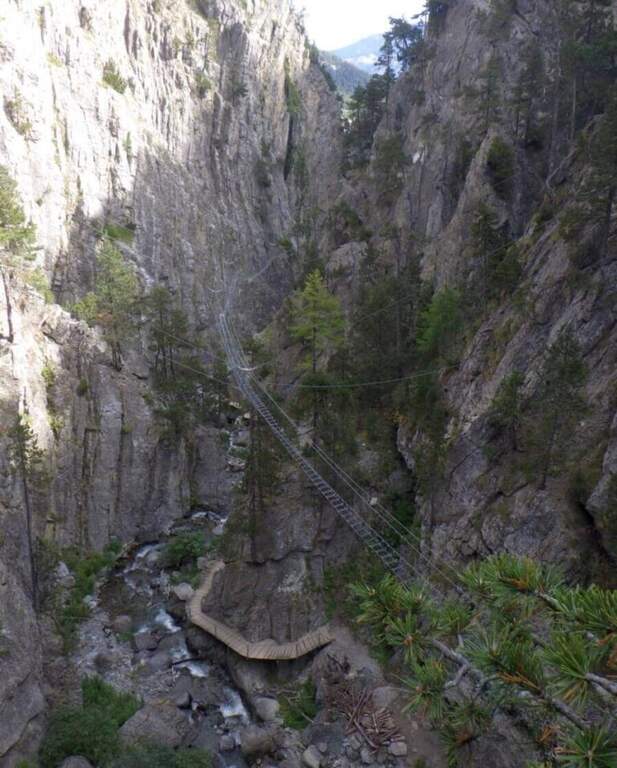
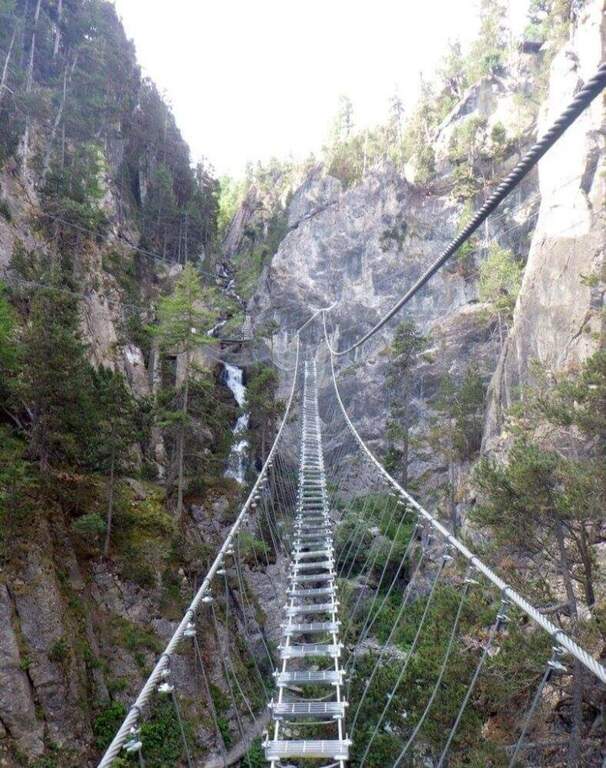
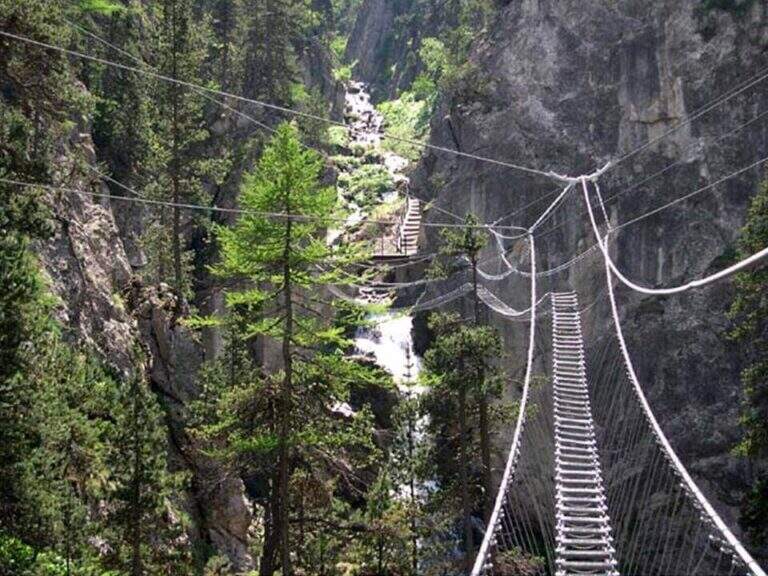
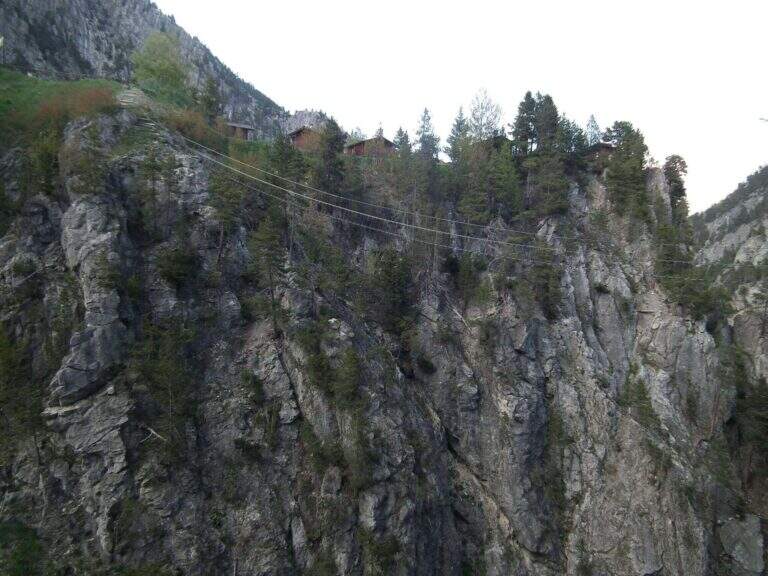
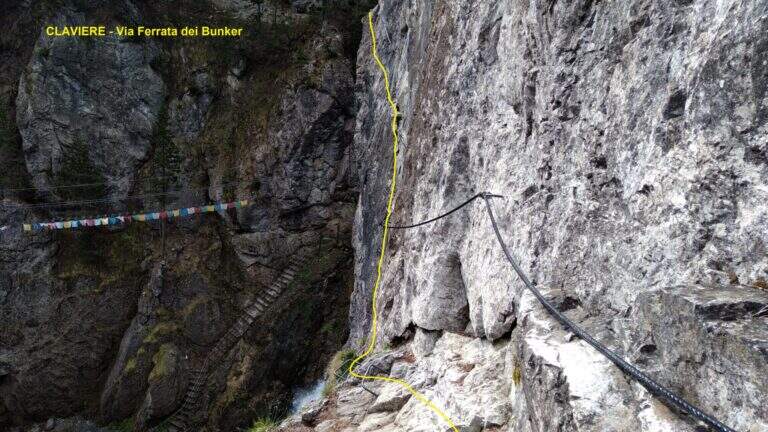
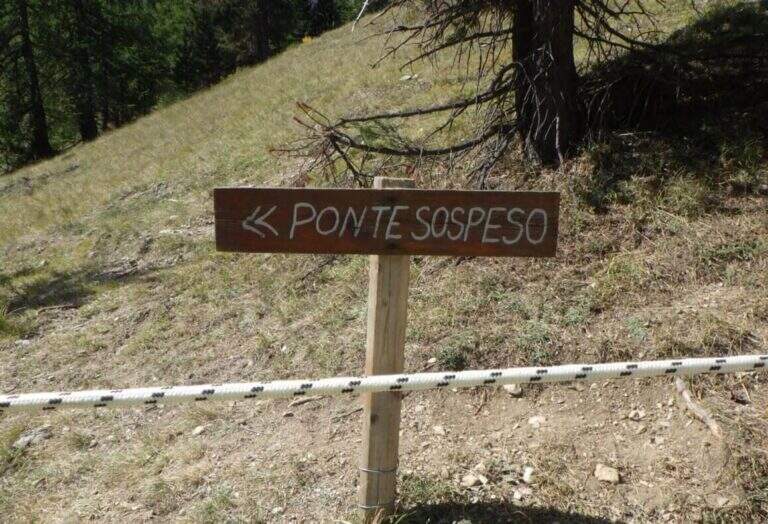
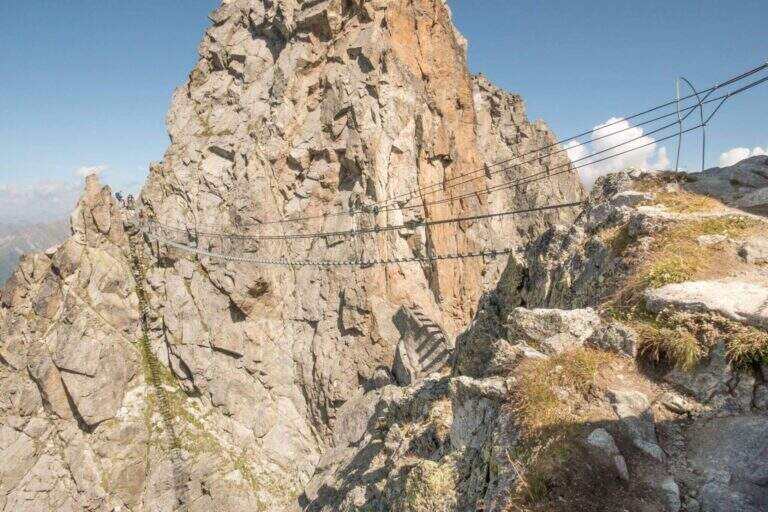
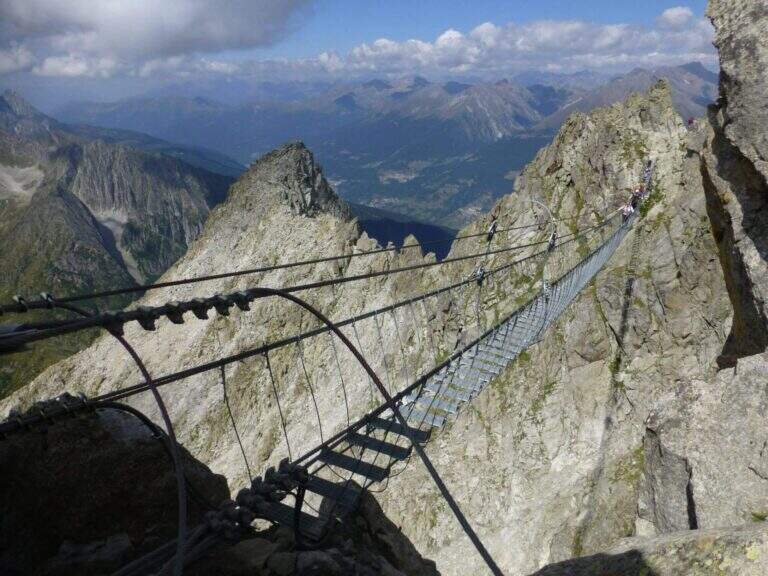
    The Ferrata del Bunker (or the Military) runs along the wall that divides the Gorges of San Gervasio, on the Dora Piccola, near Claviere. It's not difficult, but it's definitely aerial: it starts immediately after the world's longest suspended bridge and closes through a short bunker and two other Tibetan bridges.

    ▲Approach

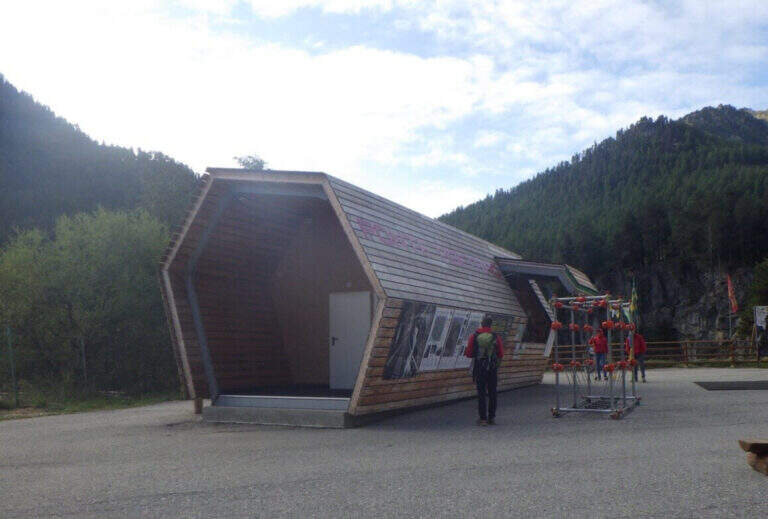
    The usual starting point is the ticket office of the Tibetan Bridge of Claviere (high Val di Susa, Turin), a wooden case well marked in the village. Open road signs on Google Maps. From the center you cross the suspension bridge «Sergio Bompard» (408 m), followed by an approach bridge of another 70 m: at the end it is at l' attack (30' from parking). Alternatively, park at the campsite after the roundabout before the gallery: go down to the ski lift for children, go up the opposite side and go left towards the gorge of the Tibetan bridge (25').

    ▲The path

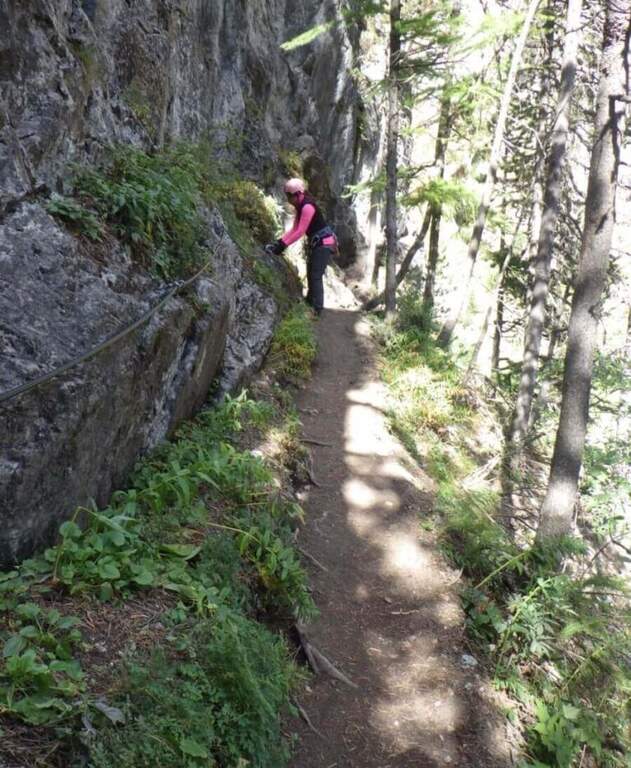
    The ferrata begins with a downhill stretch, then climbs right onto the wall that divides the Dora Piccola, earning immediately exposure. It proceeds on a horizontal across a lot of plane above the river, well assisted by brackets, up to a tilted ramp that becomes vertical ascent and ends on a nod. The nod leads to the bunker (usually illuminated in opening hours, but a torch is recommended); all' exit is at a third long Tibetan bridge that leads to the slope where the ferrata ends (1h from' attack, 1h 30' parking).

    ▲Character and difficulty

    Technically contained, but very exposed: the three Tibetan bridges require absolute absence of dizziness. Suitable for those with little experience but firm head.

    ⚠ Bring a flashlight to the bunker. At the ticket office of the Tibetan Bridge you can rent the equipment.
    ▲Period and safety

    Season from late spring to autumn. Check times and accessibility of bridges at the operator.

    ▲Discipline

    From the end of the final Tibetan bridge you descend in short to the ticket office (15', 2h total).

    ▲To match

    Often combined with the Ferrata di Rocca Clarì (difficile) and the Low-High and Chaberton Battery Hardware, which concatenates three ways. From 2024 we also signal the Ferrata delle Cascate di Novalesa.

    ▲Gallery
    Technical data
    • DifficultyModerately Hard
    • RegionPiedmont
    • GroupAlta Val di Susa
    • Approach0:30 h
    • Ferrata1:00 h
    • Itinerary (a/r)2:00 h
    • Hardware level difference90 m
    • Route difference100 m
    • Max1758 m
    • Length2 Km
  • Ferrata at the Sentiero dei Fiori

    Ferrata at the Sentiero dei Fiori

    Vie Ferrate › Lombardy › Brescia
    Ferrata at the Sentiero dei Fiori

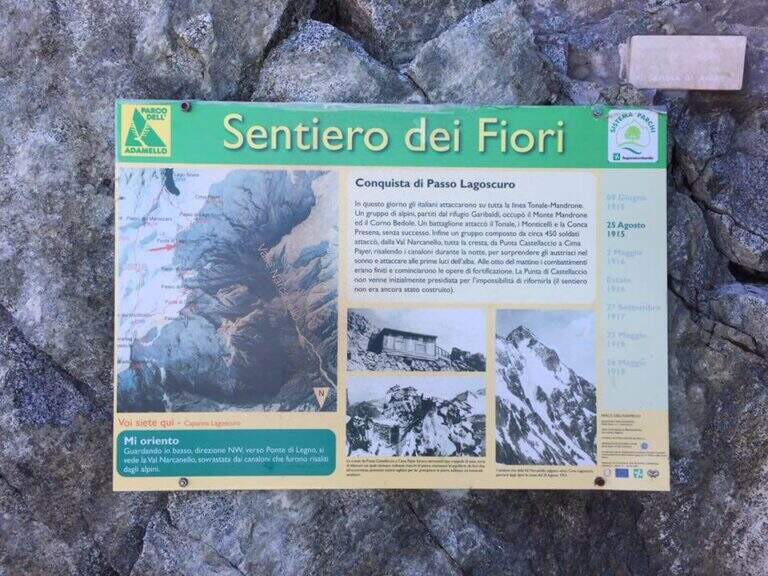
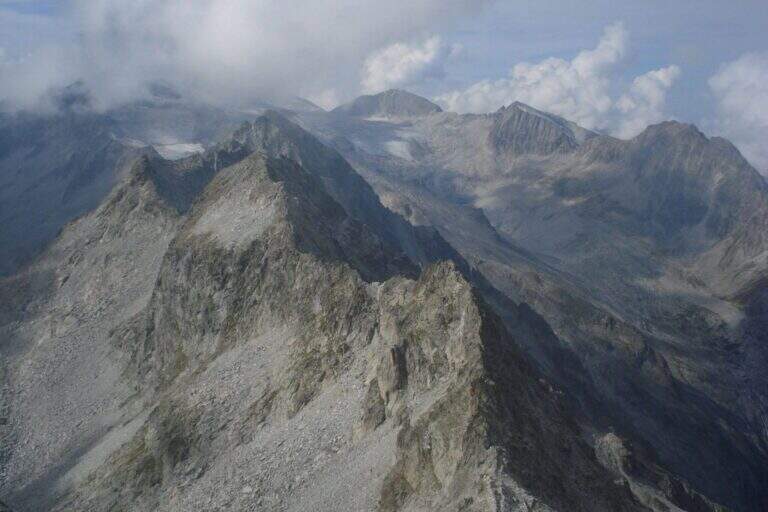
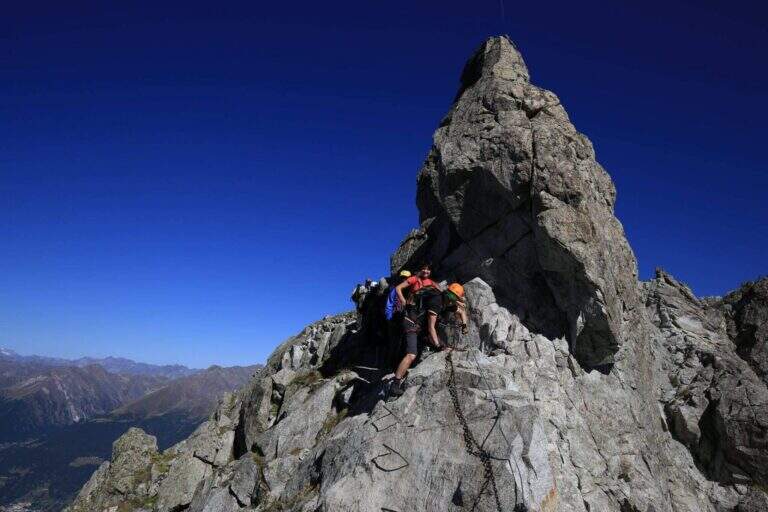
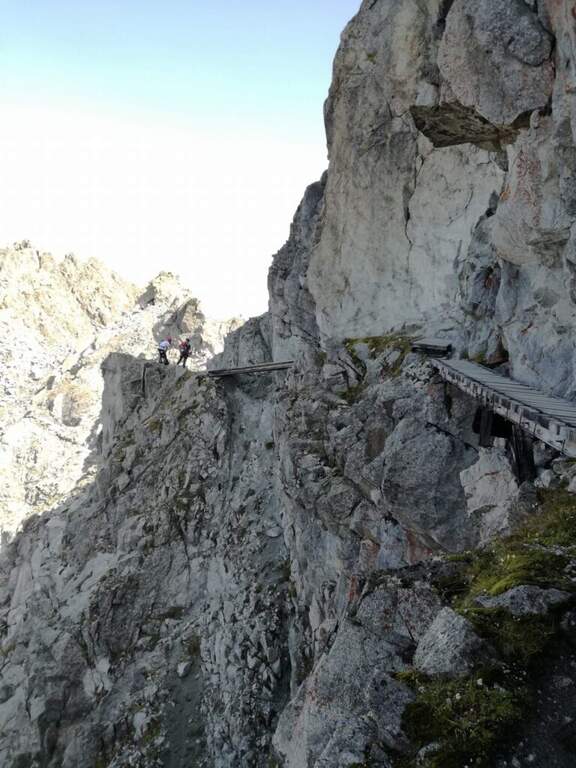
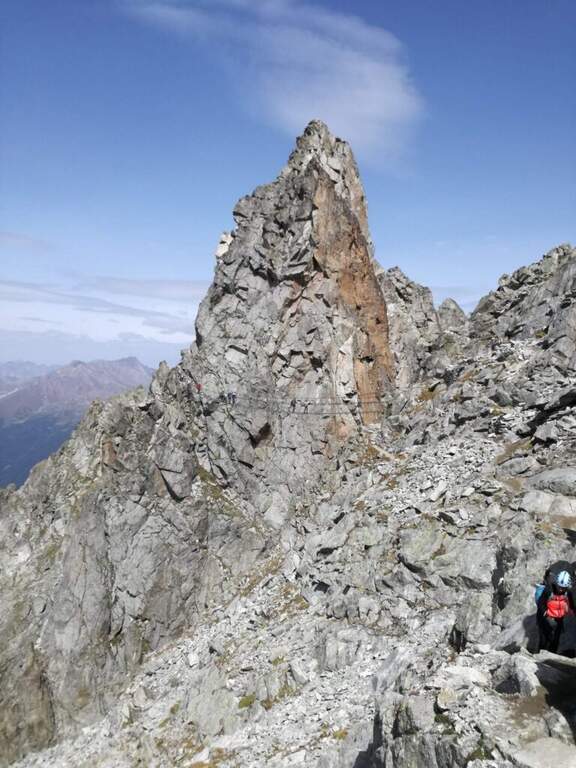
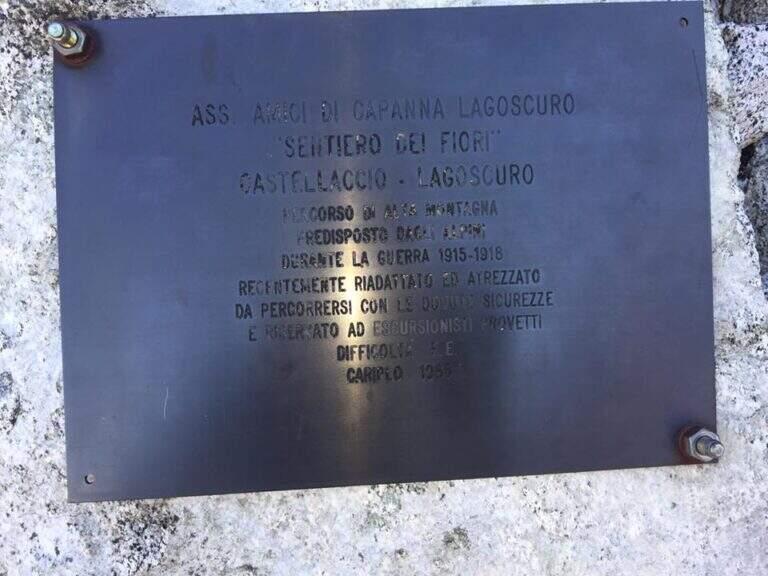
    The Ferrata al Sentiero dei Fiori is a splendid itinerary of high altitude ridge, around 3000 meters, on the group of Adamello: an equipped route where necessary, prepared by the Italian soldiers who had the front here during the First World War, with magnificent views on the glaciers of Presena and Pisgana. Technical difficulty is in a modest complex, with few exceptions in the final stretches, but the high mountain environment and snow can raise the real commitment very much; we classify it Difficult.

    ▲Approach

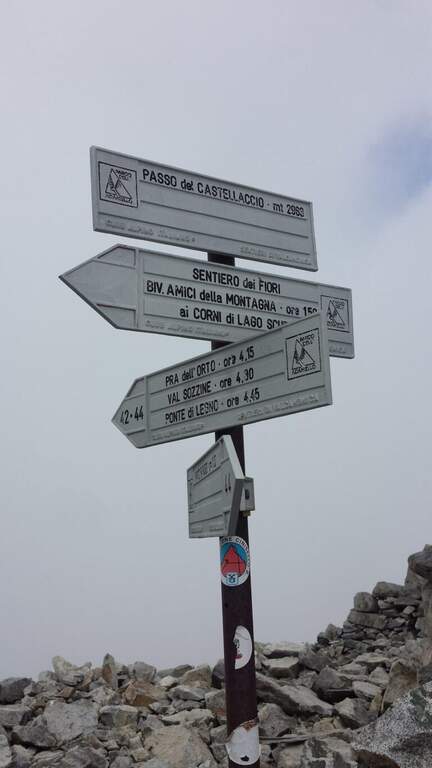
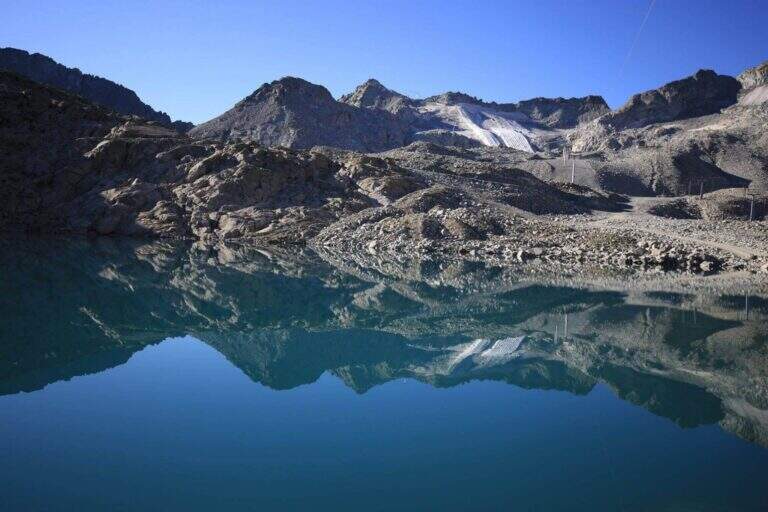
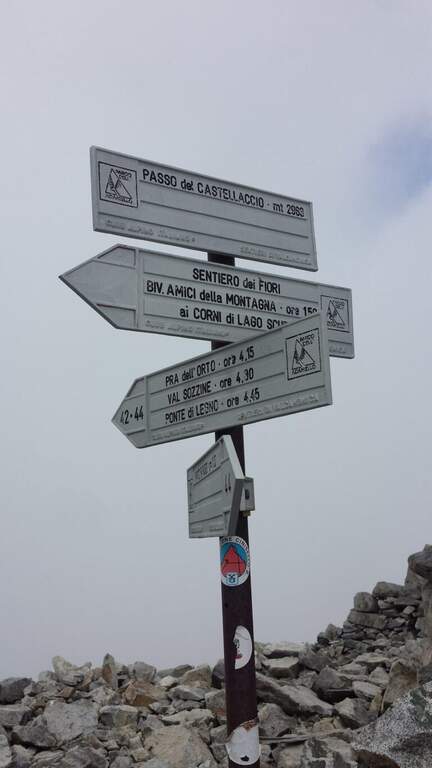
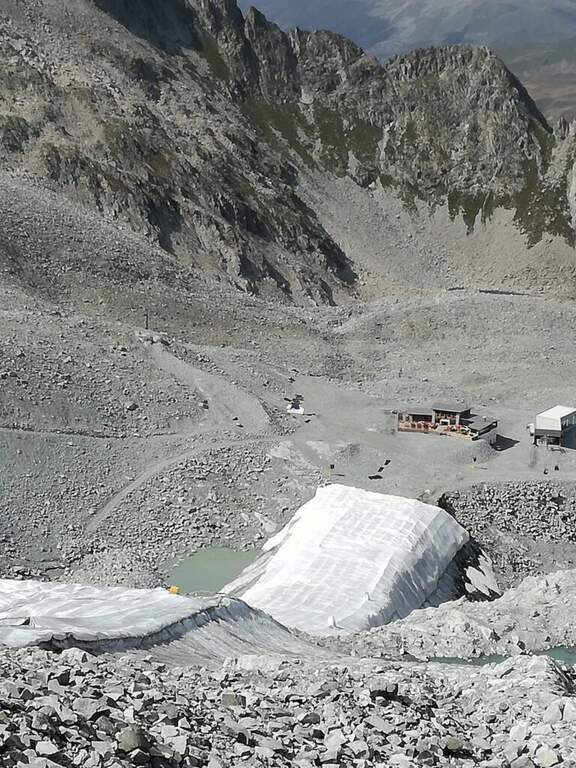
    From Passo del Tonale, on the border between the provinces of Trento and Brescia, reachable from Bolzano (2h) or Brescia (2h30′) on the SS42 or from Valtellina with the SS39 (1h45′ from Sondrio); park at the cable car at Passo Paradiso, on the Lombard side of the pass (starting point on Google Maps). Go up the cable car at Passo Paradiso (2585 m); go down, wander the small lake following the CAI 44 uphill towards Passo del Castellaccio. At an unmarked crossroads, where some CAI signs depart to the left, you go straight towards the pass along a well marked path, on high mountain terrain with some rocky not difficult, up to the Passo del Castellaccio (2963 m, 1h15′ from the mountain station of the cable car). Here you wear the harness, you leave the CAI 44 that goes down the opposite side (Value of Narcanello) and you start the ferrata.

    ▲The path

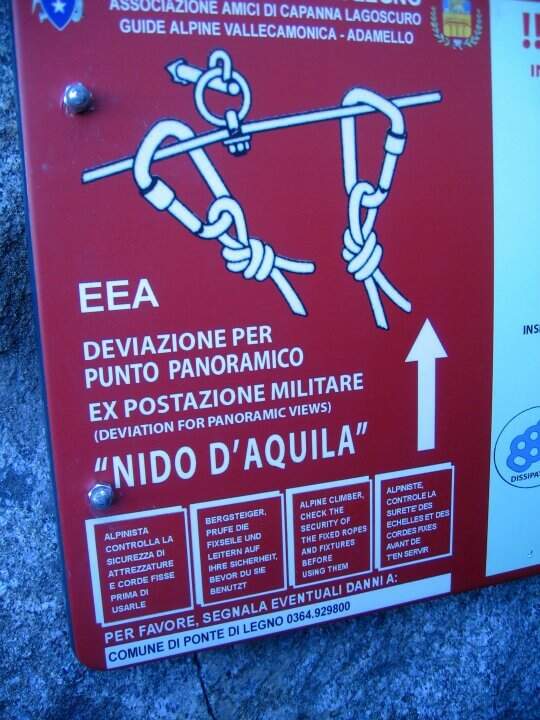
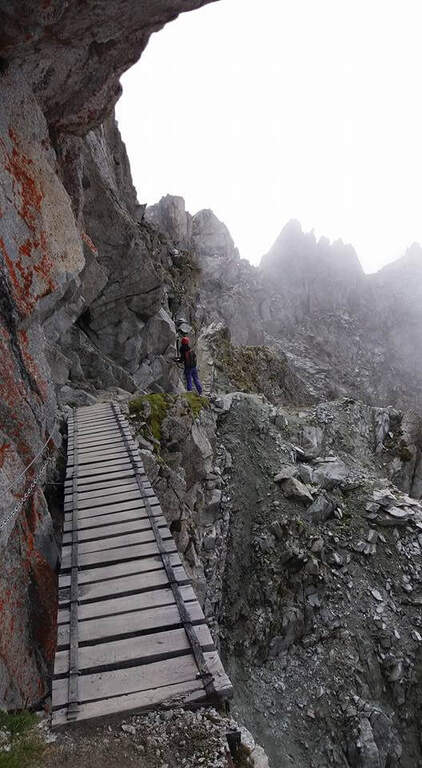
    From the pass we proceed south following signs and abundant traces. The first equipped section is a long mention with a series of ups and downs, without particular difficulties, which leads to a series of wooden walkways. On one of these, on the left, a row of brackets rises to a panoramic tip: it is a recommended deviation (about 10 minutes) that leads to the so-called eagle's nest, built for military purpose in the Great War; then it is returned to the street. This is how you reach the most iconic point of the route, the Gendarme di Casamadre, approached and surpassed by two long suspension bridges, stable and well constructed, with a connection between one and the other; those who did not want to walk the bridges can use a tunnel carved during the war that avoids them. Beyond the gendarme, a nod wanders a edge and descends a few meters, without any difficulty for the experienced hiker. Then there is a stretch where snow can be snow even in late season: if the cable is hidden from the snow the ice equipment becomes necessary (spring, peak, rope to preserve). Continue on a relatively easy path, marked by the war interventions that moderated the difficulties, until you find the equipment at a wall and some rocks; then, overcome some rocks sometimes unstable, you reach the Bivacco Amici della Montagna, usually open and managed in summer (3160 m, 1h15′ from the attack, 2h30′ total). Continuing you lose altitude to a first escape route: on the left you descend to Capanna Presena (1h, with equipped strokes) to take the second trunk of the cable car. Continuing on the path you face a half-coast stretch between rocks and descend along a war trench until the Lagoscuro Pass (2970 m, 30′ from the bivouac, 3h total), where a wooden chapel rises. From here those who want to continue south towards Cima Payer, on cenges and rocky balconies on the western side of the ridge wire, without great difficulty, until the cross of Cima Payer (3056 m). In addition, towards Passo Payer (2978 m), the difficulty really increases (it's the stretch that deserves the Difficile ranking): jumps and backward plates, the thread is thinned and you walk exposed downhill. The last part of the Sentiero dei Fiori, from Passo Payer to Passo del Lago di Pisgana (2933 m), rises on small rocks alternating with lean granitic plates, difficult to climb but supported by the chain, and runs a ridge equipped to not underestimate up to Punta Pisgana (3088 m), before descending to Passo del Lago di Pisgana.

    ▲Character and difficulty

    For most of the development the technical difficulties are modest: to make the difference are the quota, the exposure of some final traits and especially snowmaking. The stretch between Cima Payer and the Cima Lago Ghiacciato area is the most exposed and challenging and raises the overall commitment of the entire tour. In 2022 the path has been renewed after a maintenance period; signs have been installed that suggest to travel from the second station of the ovovia to the Passo Presena to the Passo del Castellaccio, that is in the opposite sense of this relationship: therefore, there are often hikers who proceed in the opposite direction and attention is needed to the crossings.

    ⚠ Itinerary around 3000 m: snow can cover the cables even in late season and in that case they serve ramps, peak and rope to proceed in preserved. Time and altitude can change quickly: bring adequate equipment to the high mountain. Beware of the crossings due to the sense of travel recommended by the signs and to the ridge equipped to Punta Pisgana, not to be underestimated.
    ▲Period and safety

    Useful season from late summer to early autumn, depending on snow. Complete hardware set (sharing, kit, helmet) and, when snow is present, ice equipment; high-altitude clothing and water and food supply for a long day. Organize the exit according to the hours of the cable car / cable car of Passo Paradiso and Passo Presena.

    ▲Discipline

    The Sentiero dei Fiori can be interrupted in several points, all returning to the Presena hut passing through the Maroccaro Pass. From the Lagoscuro Pass (approximately 2h from the beginning of the equipped stretch) you descend left towards the Scuro Lake, you go up to the Maroccaro Pass and go down to the snow of the Presena Glacier to the Presena hut (about 2h from the pass). From Passo Payer (1h from the Pass of Lagoscuro) you descend towards the Rifugio Citta’ di Trento al Mandrone and, just before the refuge, take the CAI 209 to the Passo di Maroccaro and then to the Capanna Presena (about 2h30′ from Passo Payer). From the Passo del Lago di Pisgana you descend left to the Rifugio Citta’ di Trento al Mandrone and then go up to the Passo di Maroccaro to get off at the Capanna Presena (about 3h15′ from the pass). From the Capanna Presena you return to the valley with the cable car. The entire round takes about 9h30′.

    ▲To match

    On the north side of Passo del Tonale there is the Alpine Path at Punta d’Albiolo. The Adamello group offers many equipped routes, including Ferrata Terzulli all’Adamello, the very difficult Ferrata al Corno del Grevo, Ferrata al Pizzo Badile Camuno and, on the Trentino side, the Ferrata Monte Nero alla Presanella.

    ▲Gallery
    Technical data
    • Approach1:15 h
    • Duration5:00 h
    • Total itinerary9:30 h
    • Hardware level difference150 m
    • Route difference490 m
    • Maximum altitude3088 m
    • Length15 Km
  • Alta via Bepi Zac

    Alta via Bepi Zac

    Vie Ferrate › Trentino-Alto Adige › Trento
    Alta via Bepi Zac

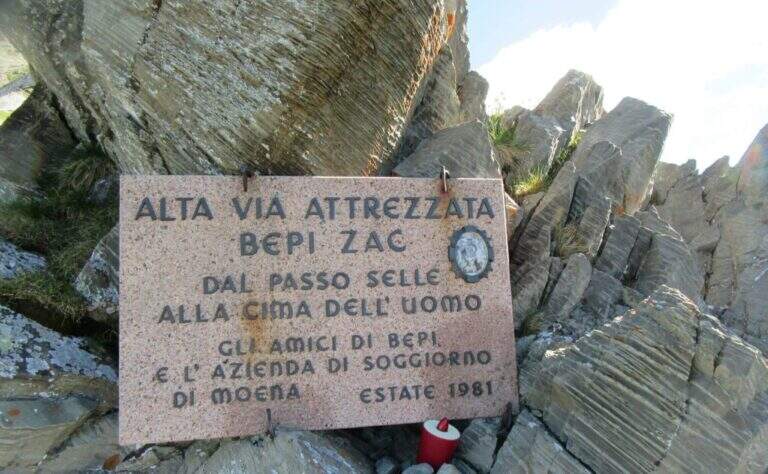
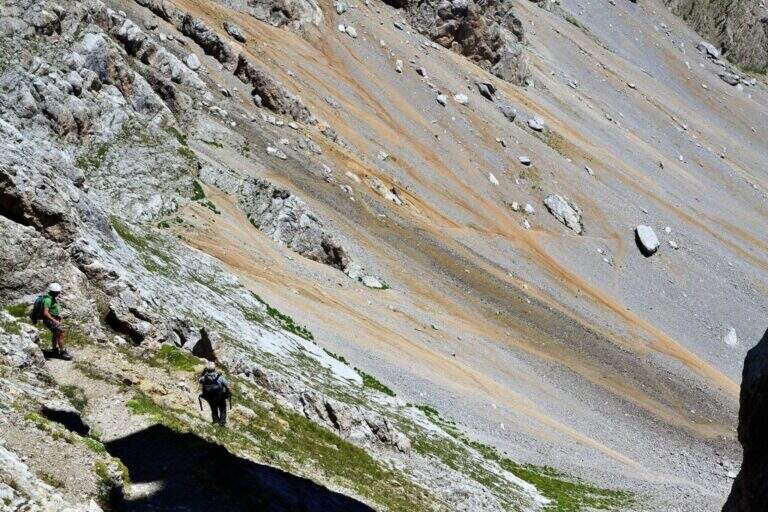
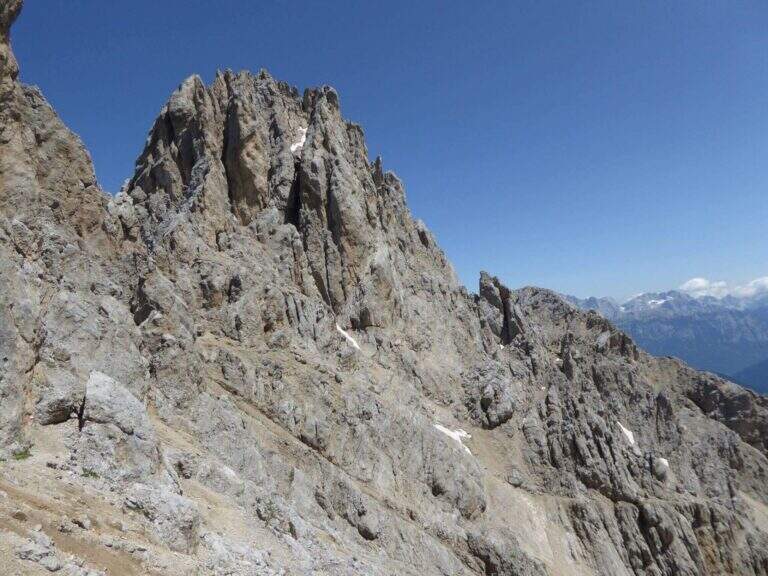
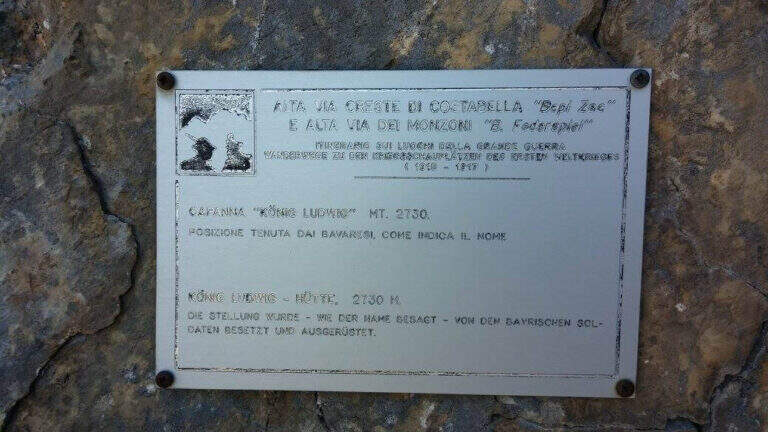
    L’Alta Via Bepi Zac percorre per intero la Cresta di Costabella, nel gruppo dei Monzoni sopra il Passo San Pellegrino: un lungo itinerario di guerra tra trincee, gallerie, camminamenti e passerelle della Grande Guerra, con tratti attrezzati e splendide vedute su Marmolada, Sella e Catinaccio. Più che una ferrata classica è una traversata d’alta quota, lunga e d’impegno, da affrontare con bel tempo.

    ▲Approach

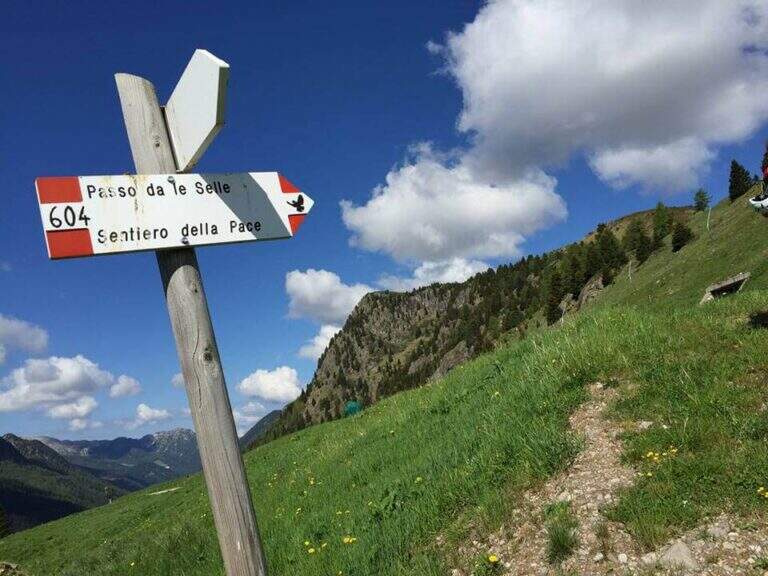
    Dal Passo San Pellegrino (1907 m) si può salire con la funivia verso il Passo delle Selle oppure a piedi sul CAI 604 fino al Rifugio al Passo delle Selle (2528 m), dove inizia il percorso. Road signs →

    ▲The path

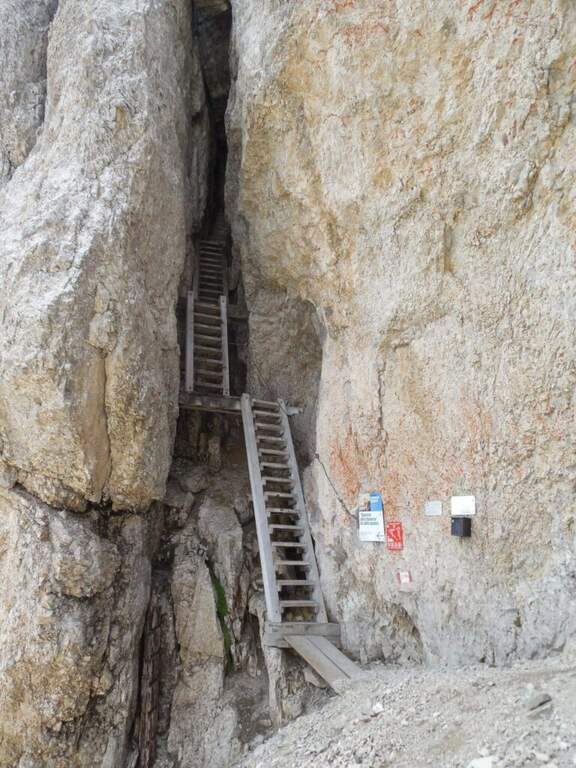
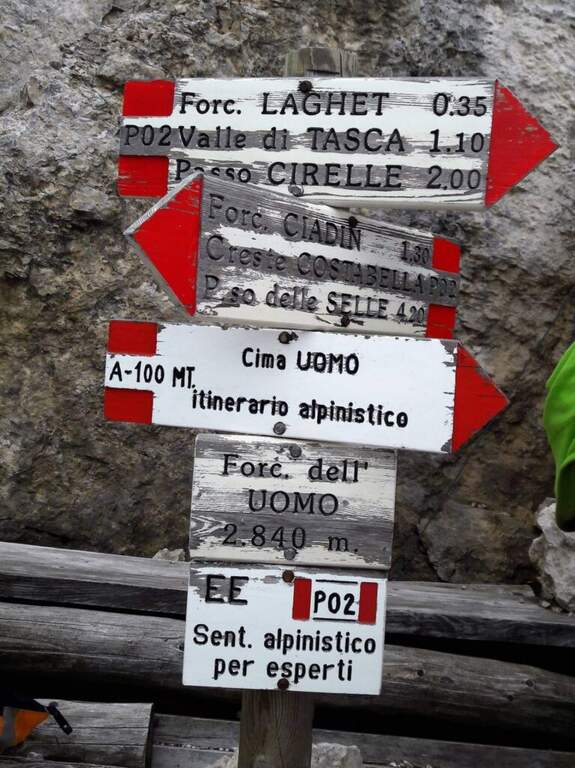
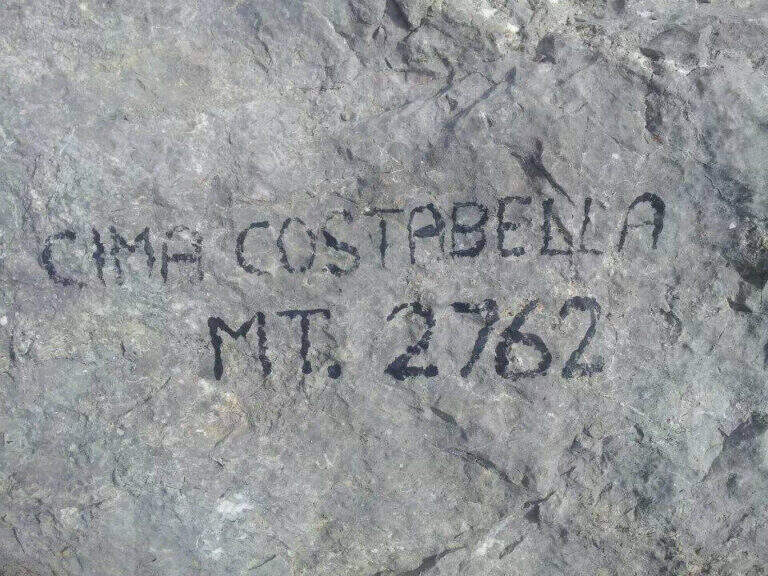
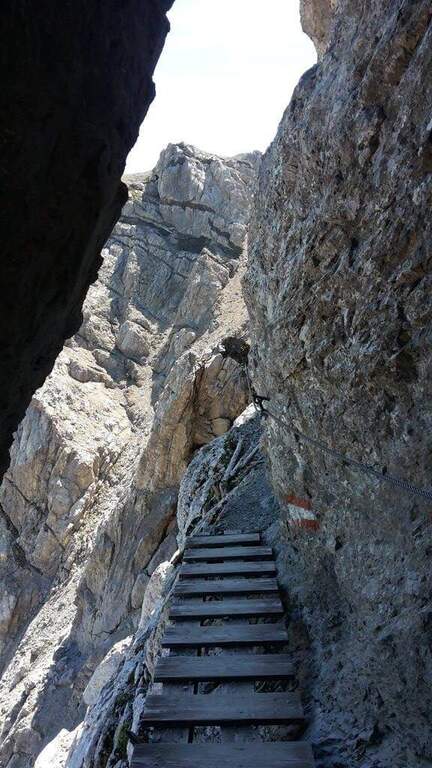
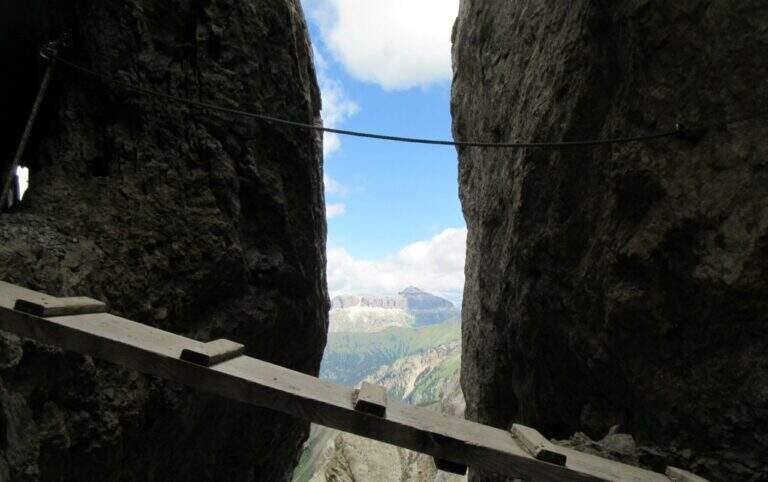
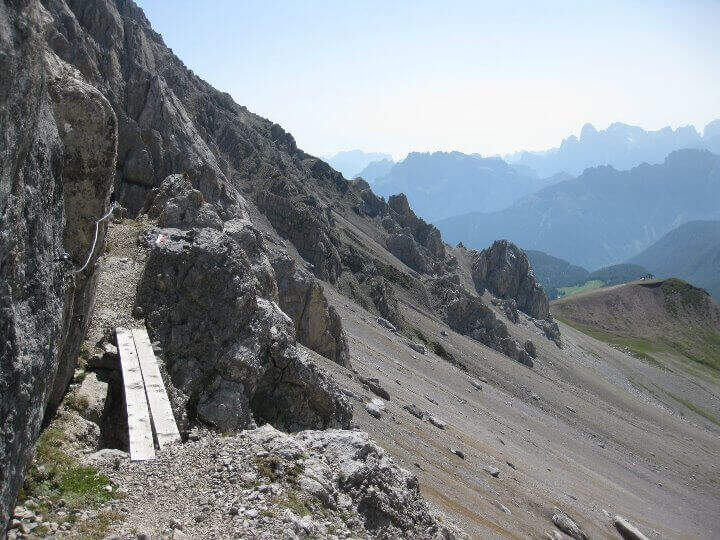
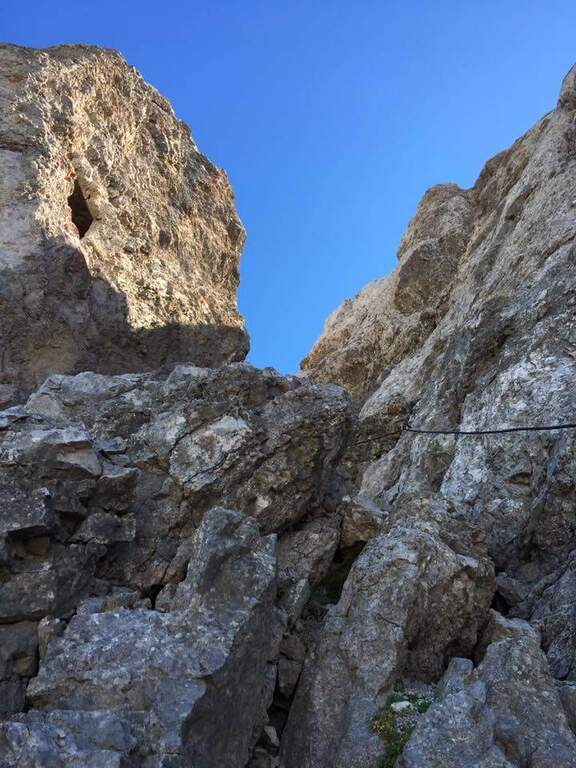
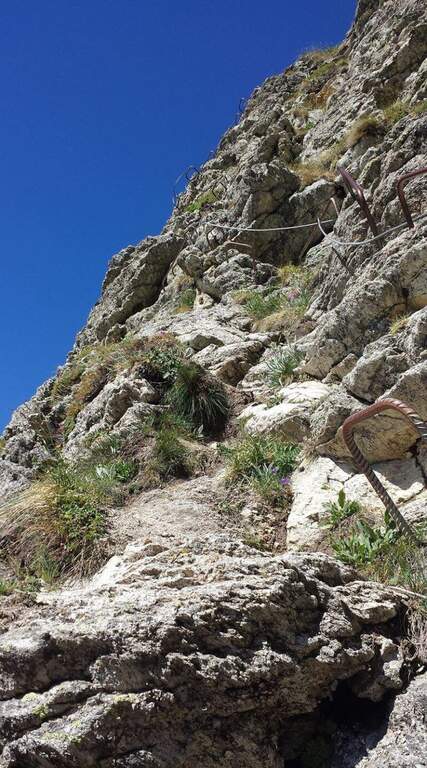
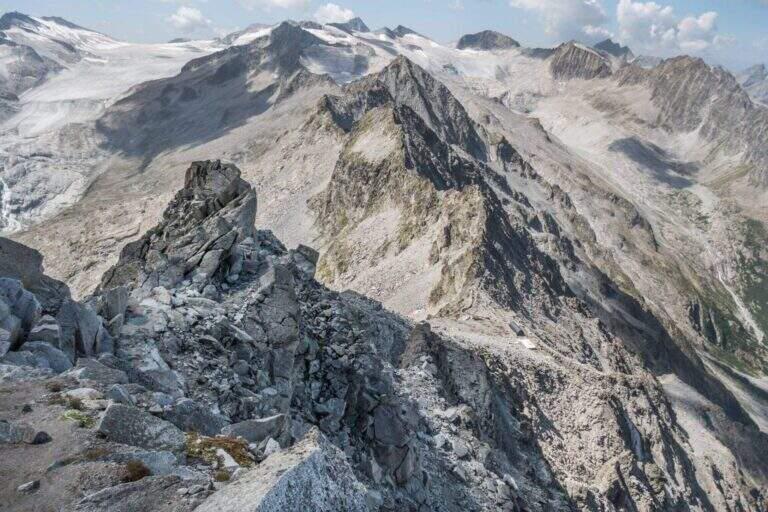
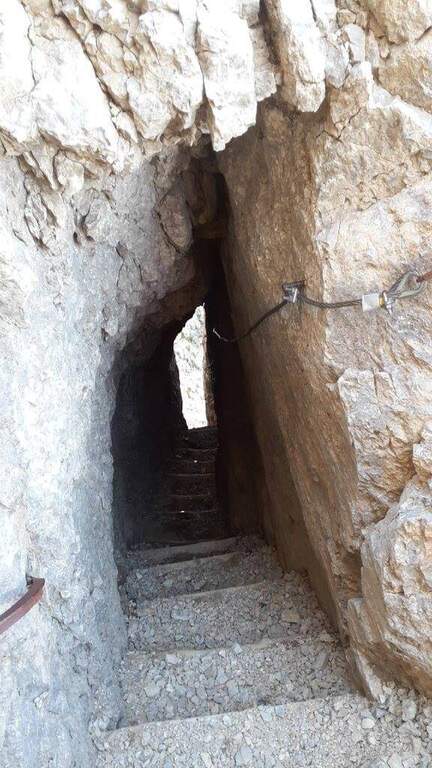
    Dal Passo delle Selle si segue il CAI 637 lungo la cresta, tra resti bellici e gallerie, con i primi tratti attrezzati su terreno a tratti franoso. Si toccano il Piccolo e il Grande Lastel, poi un susseguirsi di saliscendi tra camminamenti, passerelle e intagli porta alla Cima Campagnaccia e, più avanti, a Cima Costabella (2762 m). La seconda metà, più impegnativa, alterna cenge con passerelle in legno, traversi e placche attrezzate, diedri e fessure, fino al tratto di cresta esposto e non protetto che precede la Forcella dell’Uomo (2840 m), da cui parte la salita alpinistica facoltativa alla Cima Uomo (3010 m).

    ⚠ Itinerario quasi interamente in cresta: da evitare con tempo instabile. Numerosi tratti su terreno friabile e instabile non sono attrezzati, e alcuni passaggi di cresta sono esposti e non assicurati; porta una torcia per le gallerie. La salita alla Cima Uomo è di carattere alpinistico, su sentiero esposto e franabile, sconsigliata ai meno esperti. La discesa da Forcella Laghet è su massi instabili.
    ▲Discipline

    A metà percorso, alla Forcella Ciadin, è possibile rientrare. Completando l’alta via, dalla Forcella dell’Uomo si scende ripidamente fino alla Forcella Laghet e poi verso il Rifugio Fuciade e il Passo San Pellegrino.
    ▲To match

    Sulla stessa cresta e nei dintorni si trovano l’Alta Via Bruno Federspiel, la Ferrata Kaiserjager al Col Ombert e la Ferrata Santner al Catinaccio.

    ▲Gallery
    Technical data
    • DifficultyHard
    • RegionTrentino-Alto Adige
    • ProvinceTrento
    • GroupCresta di Costabella (Monzoni)
    • Approach0:45 h
    • Ferrata4:00 h
    • Total itinerary6:30 h
    • Hardware level difference~312 m
    • Route difference467 m
    • Max Altitude2840 m
    • Length12 km
    • Opening1981
Need help? Write to us!