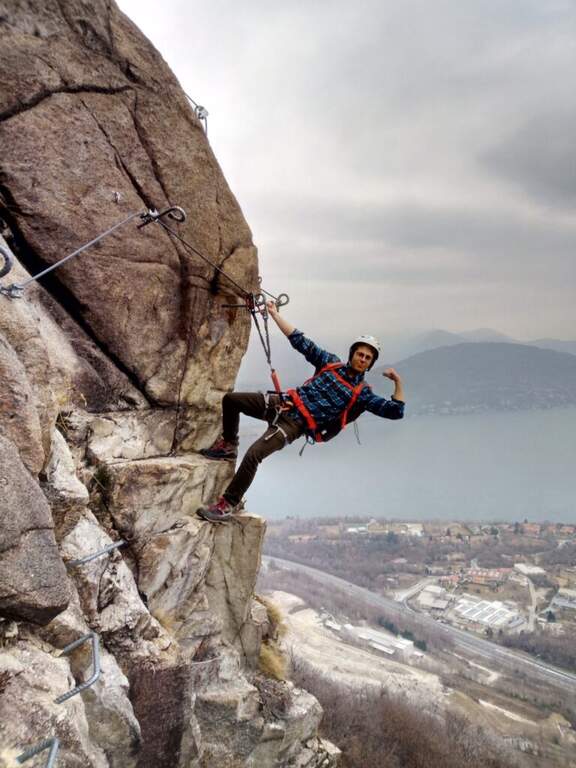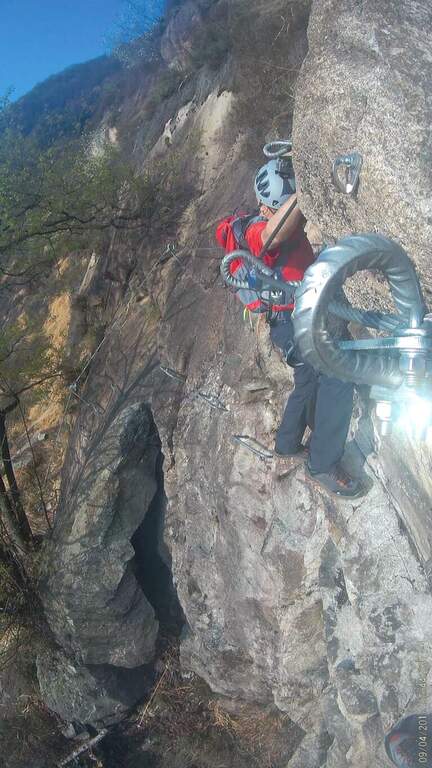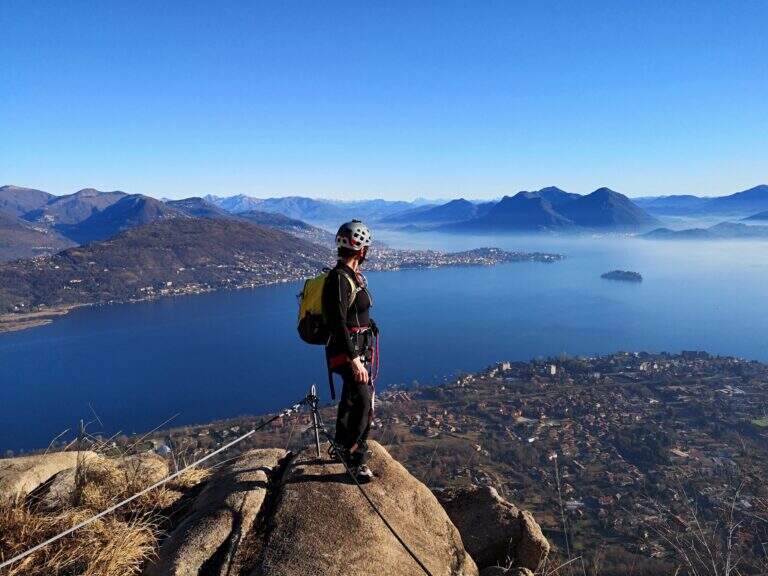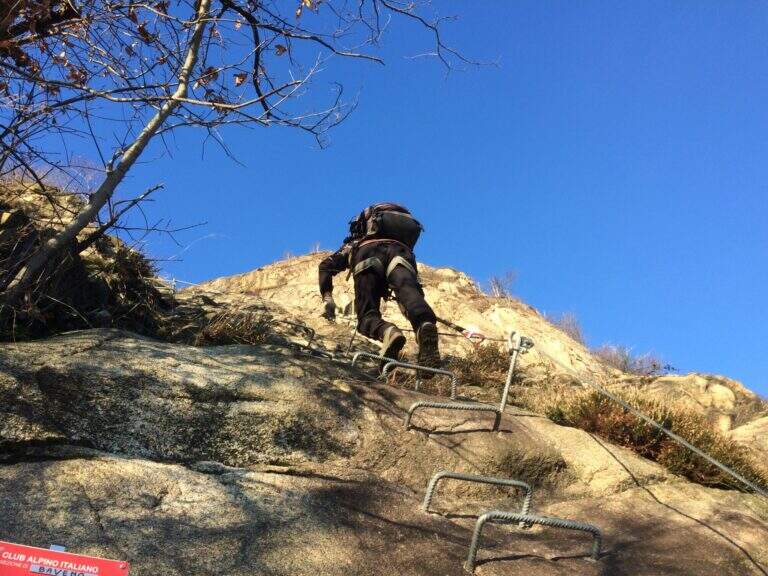
Regione: Piemonte

  • Ferrata di Pont Canavese

    Ferrata di Pont Canavese

    Vie Ferrate › Piedmont › Turin
    Ferrata di Pont Canavese

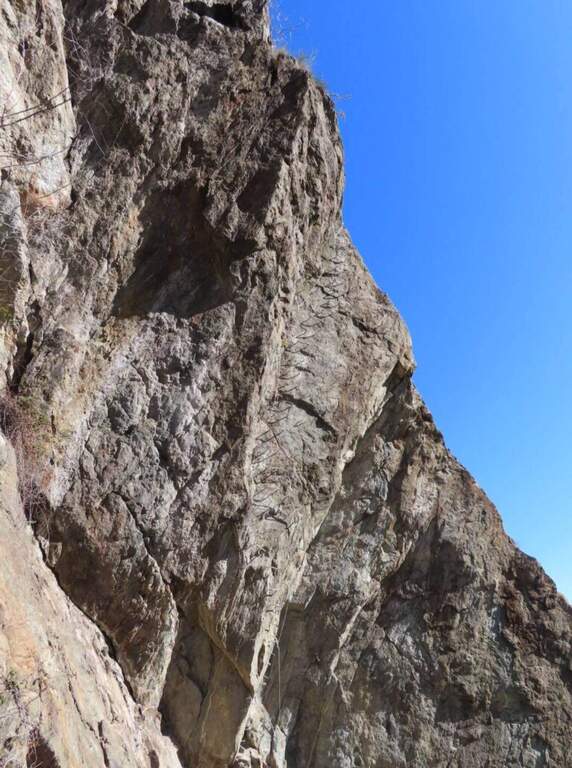
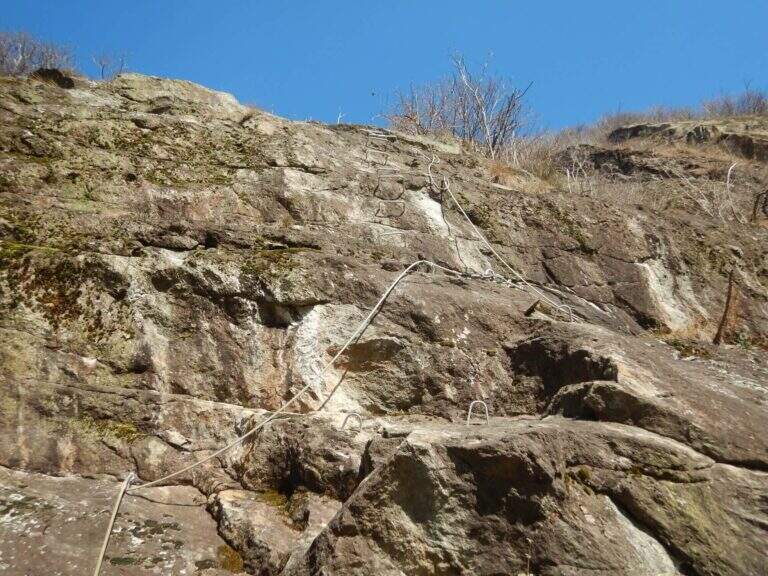
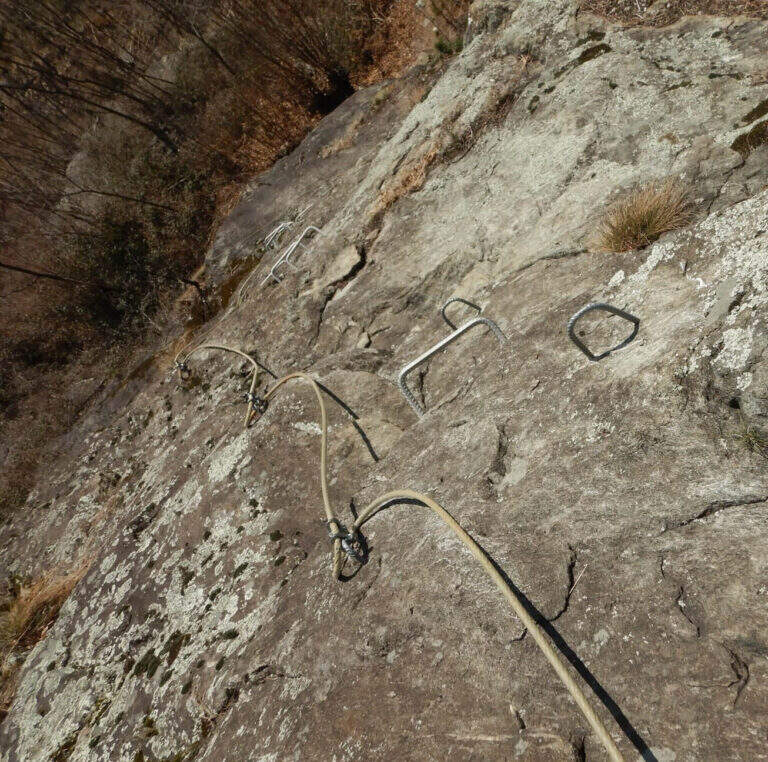
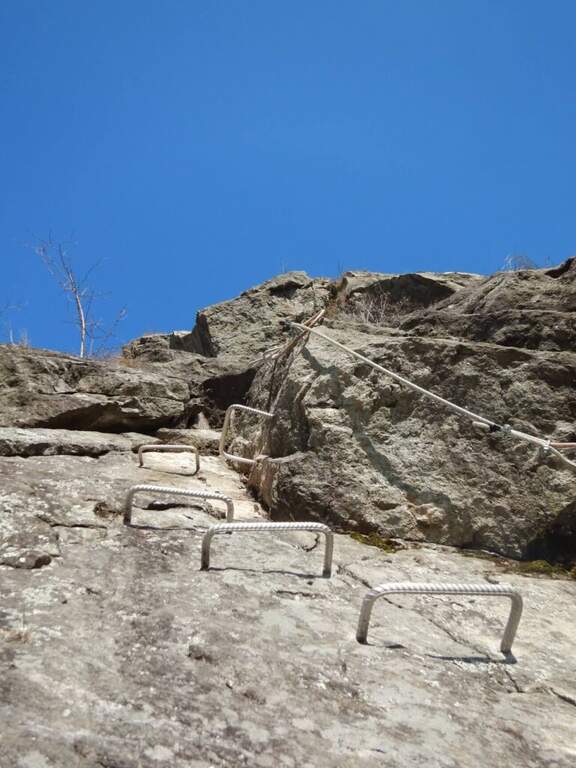
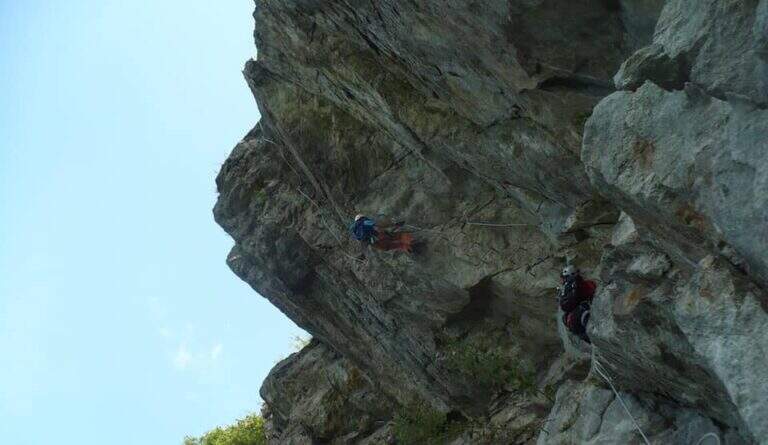
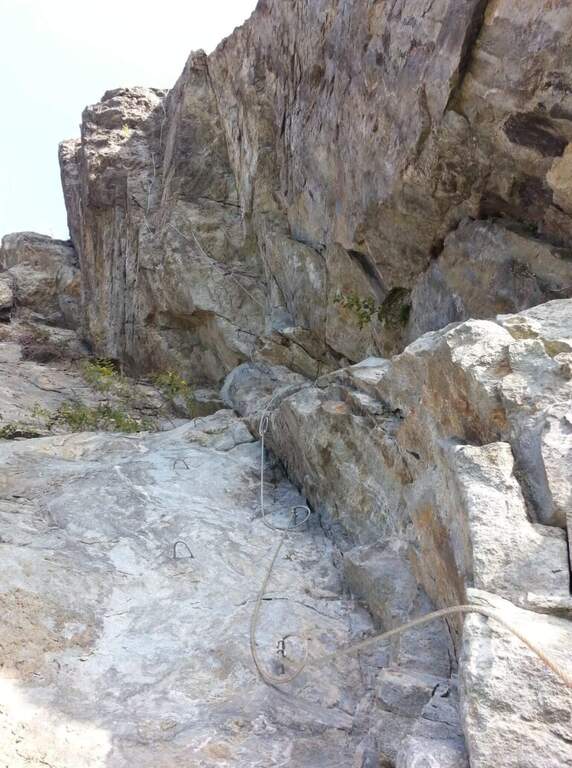
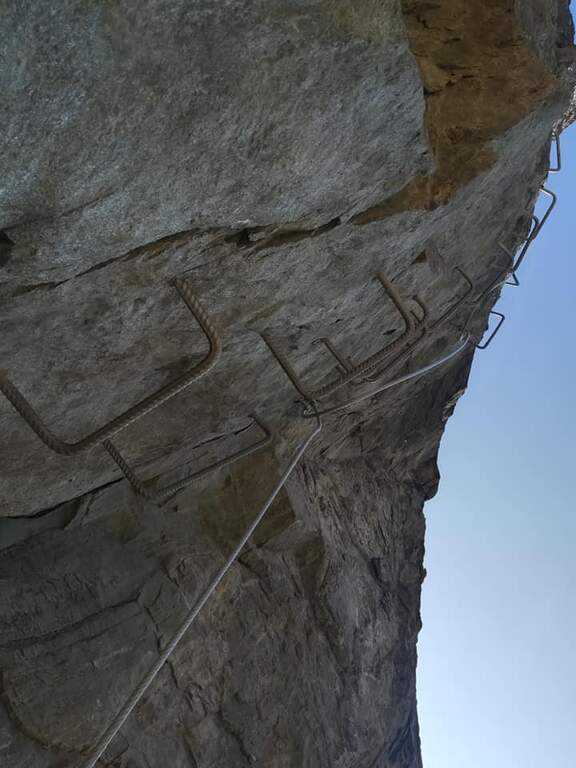
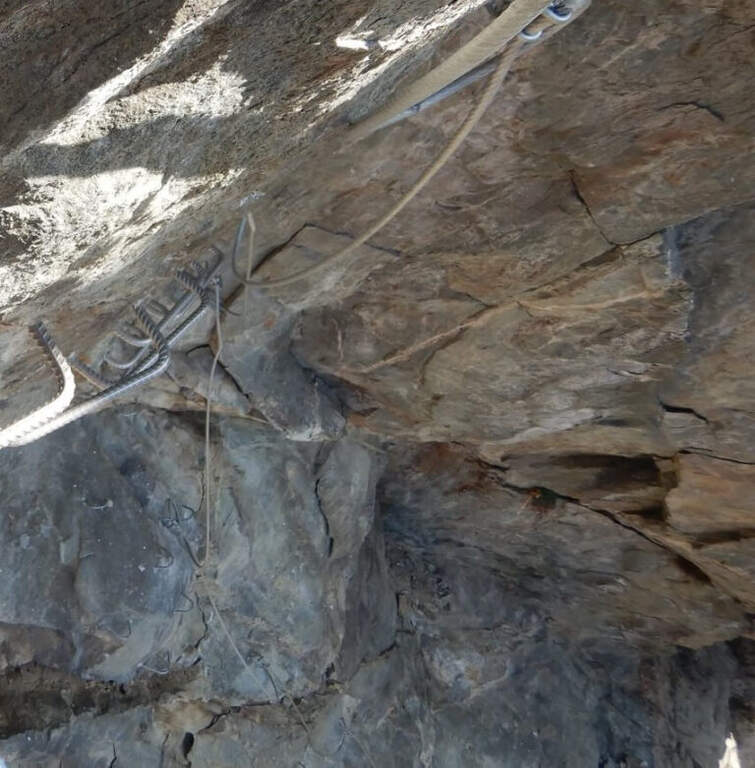
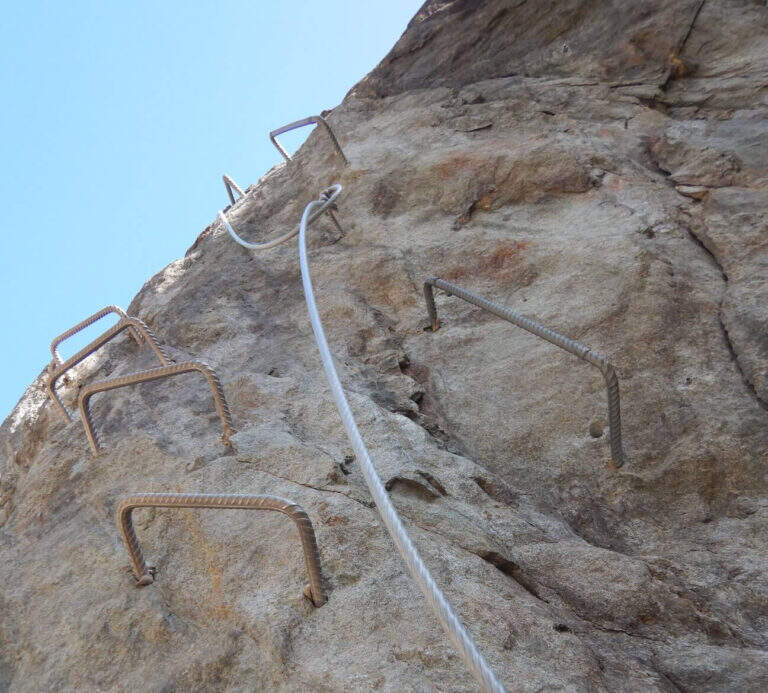
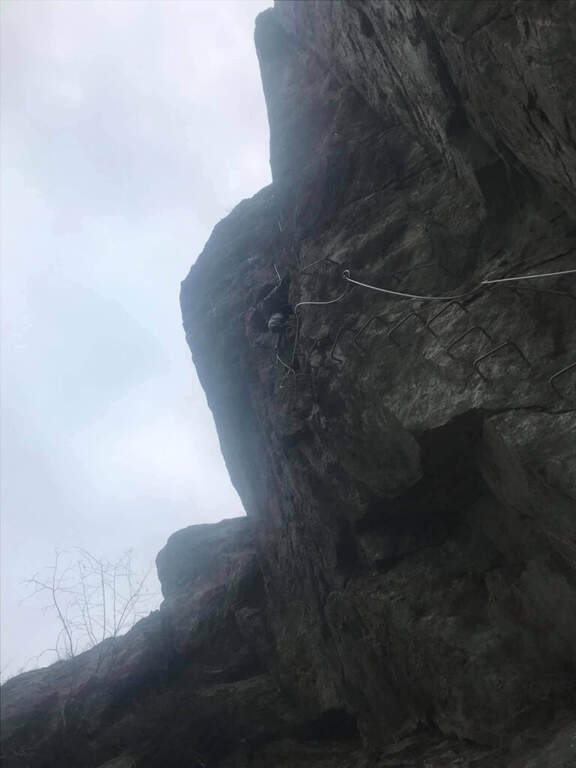
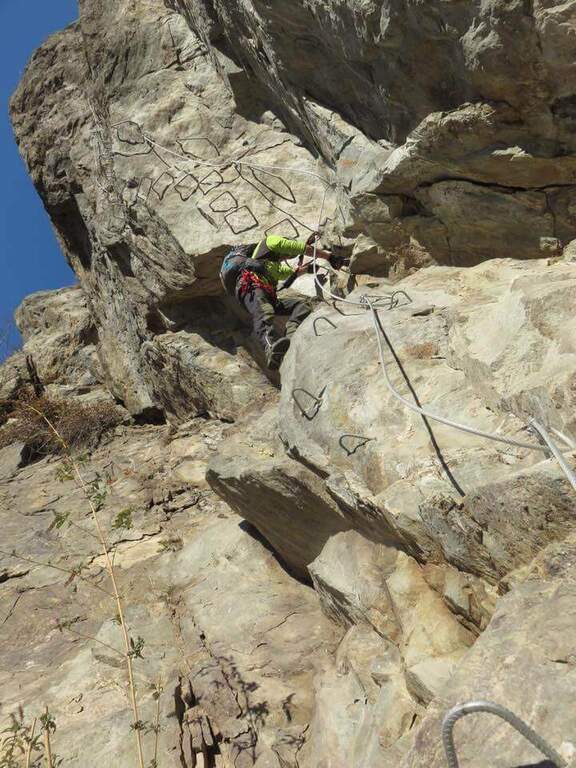
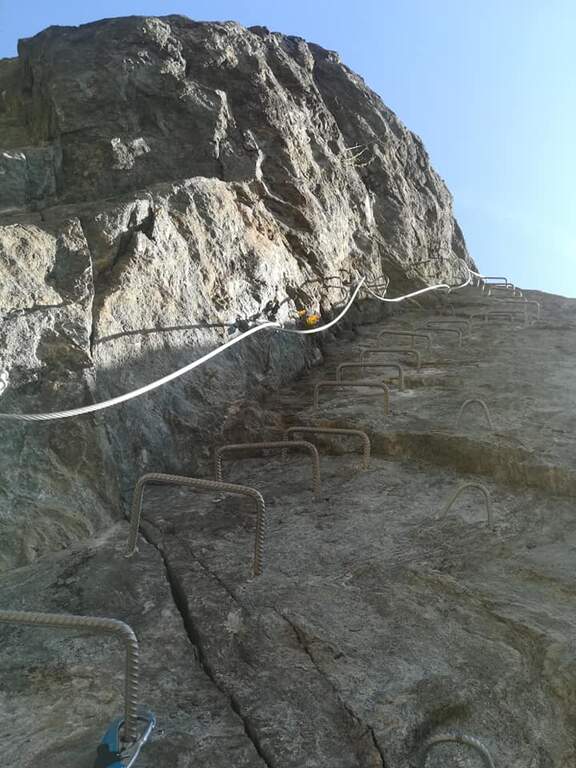
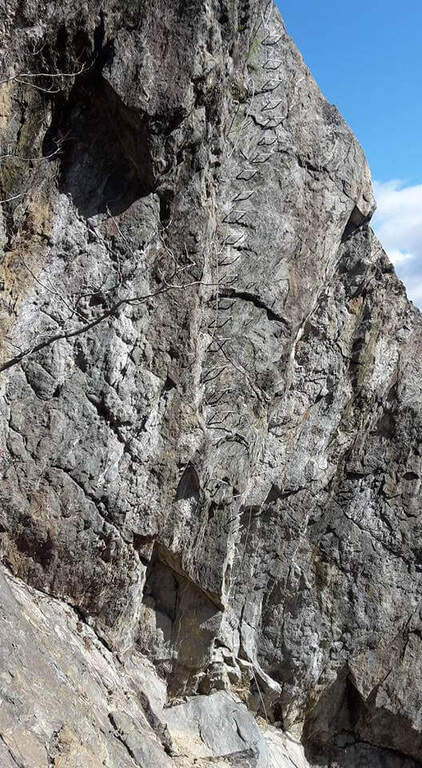
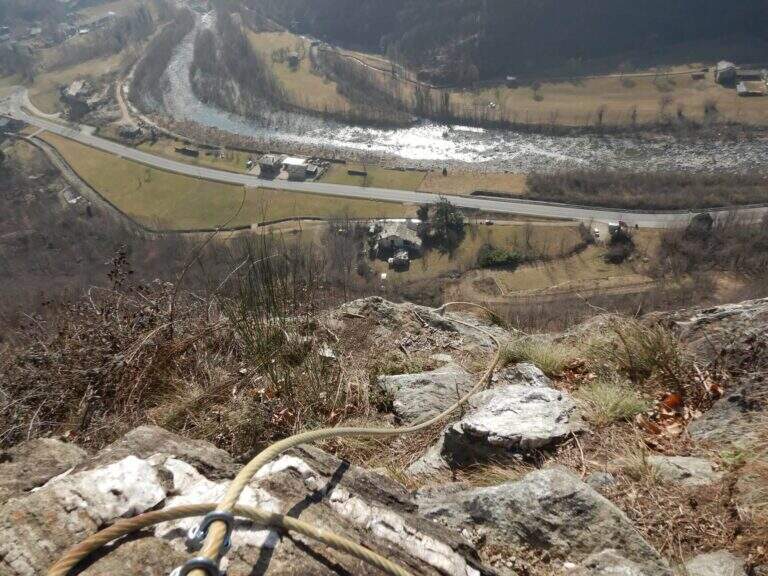
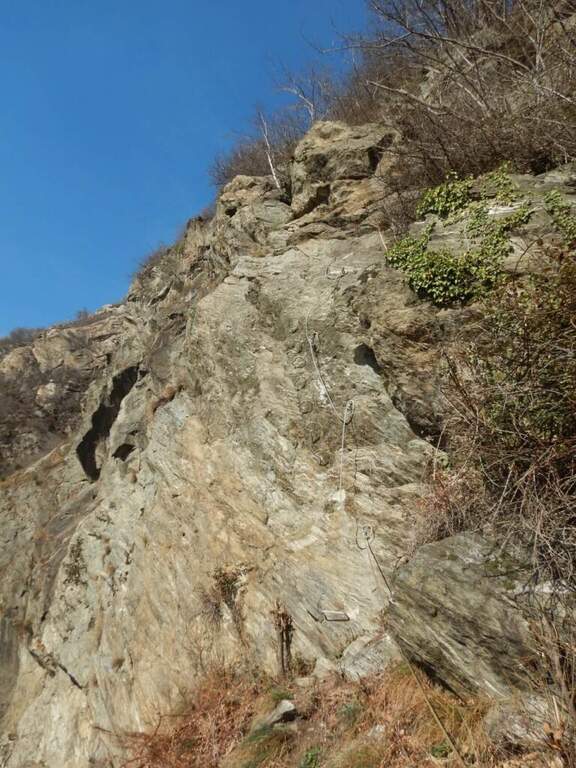
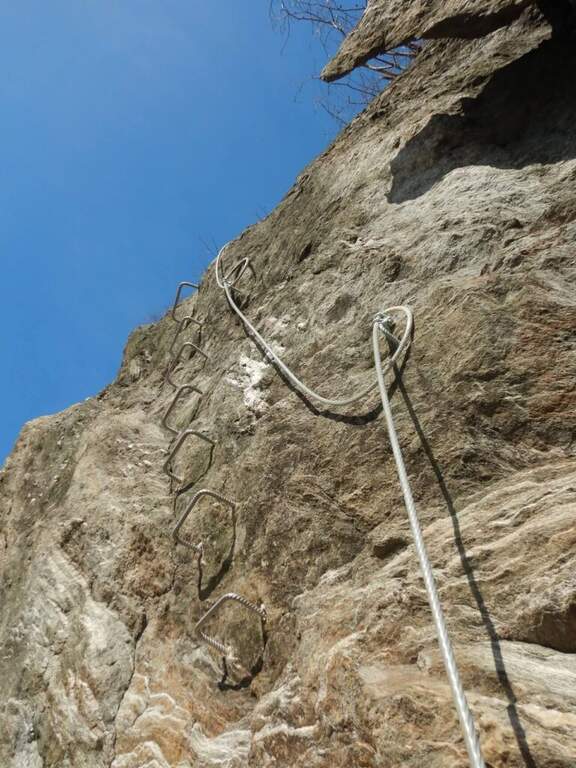
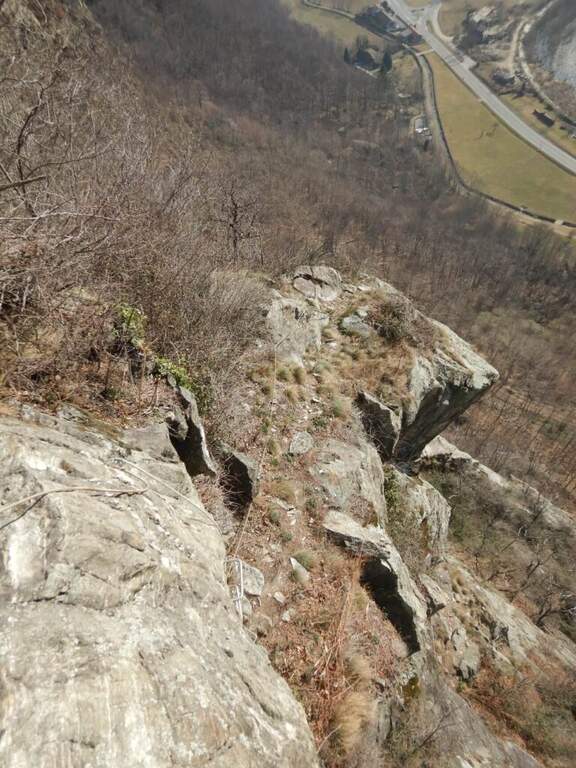
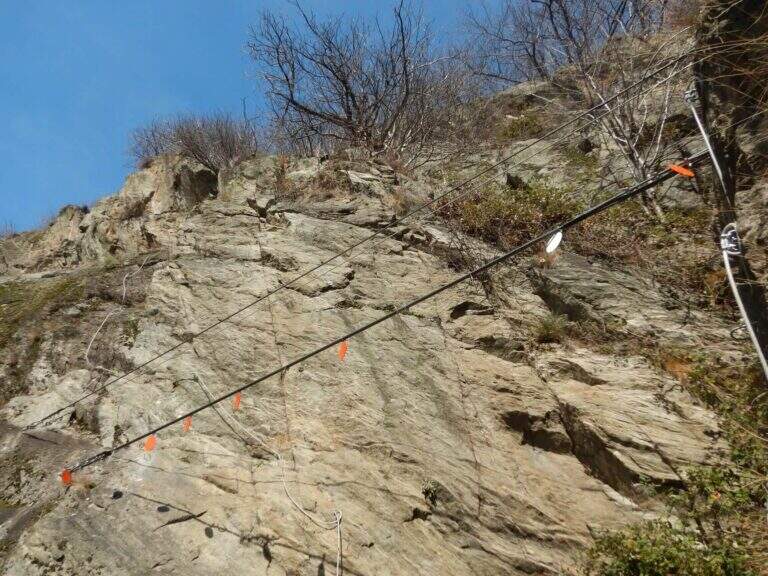
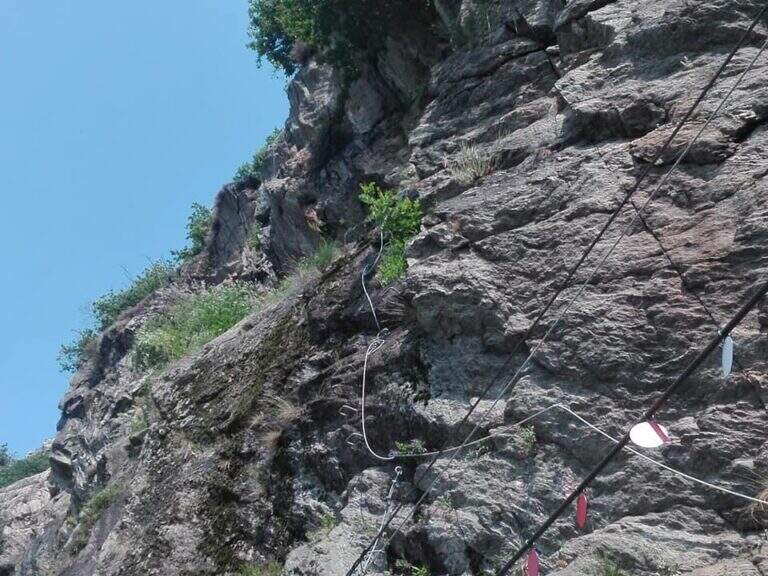
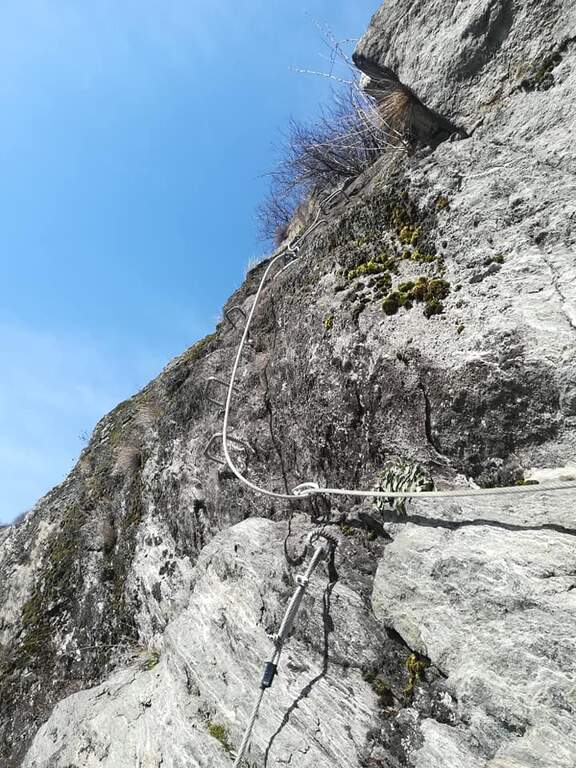
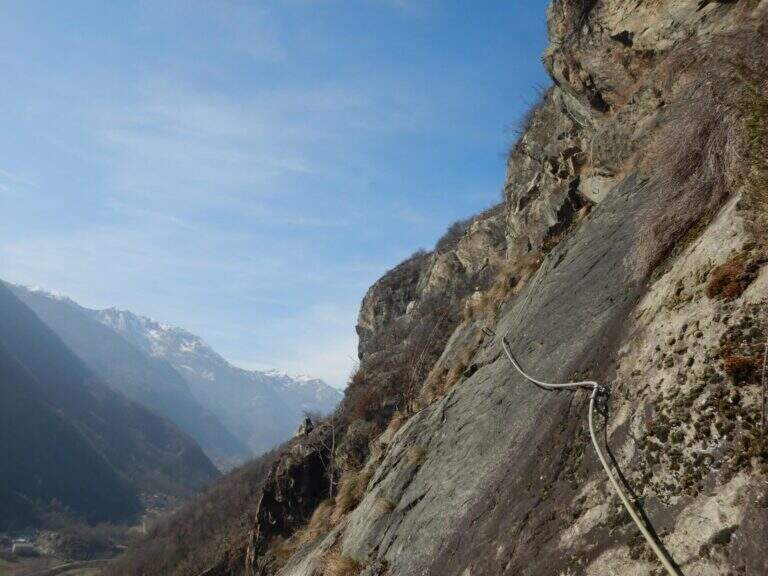
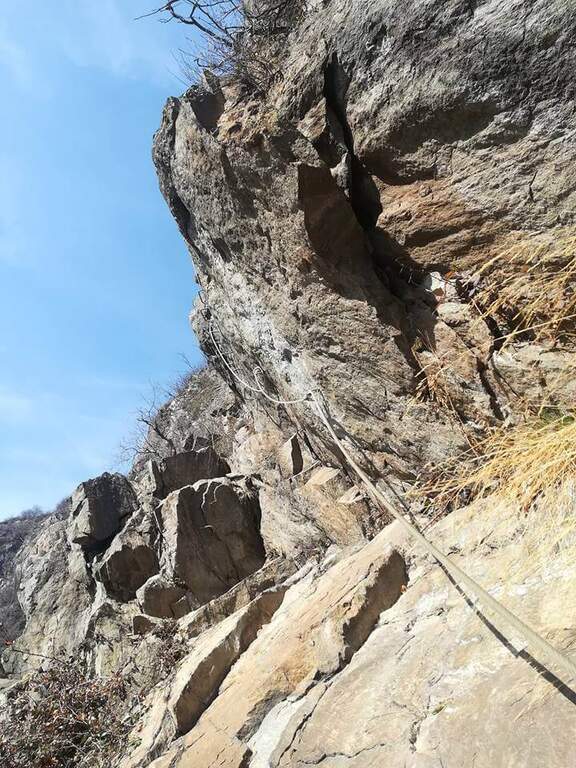
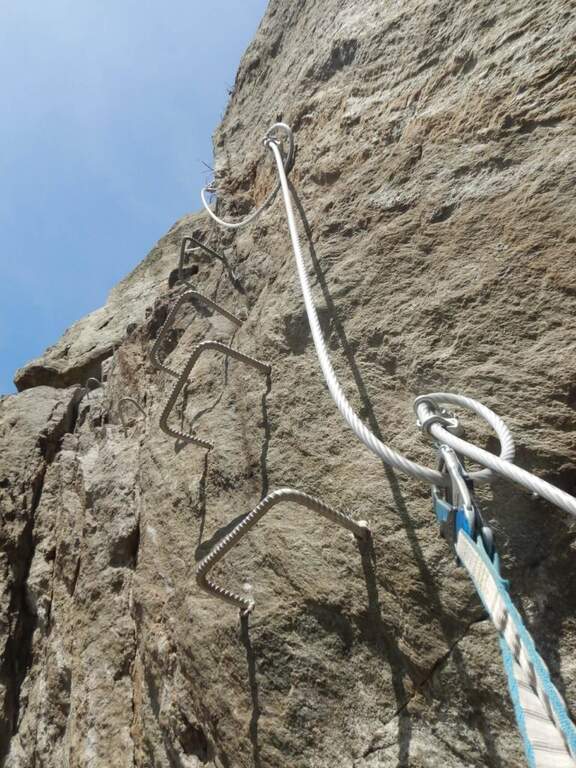
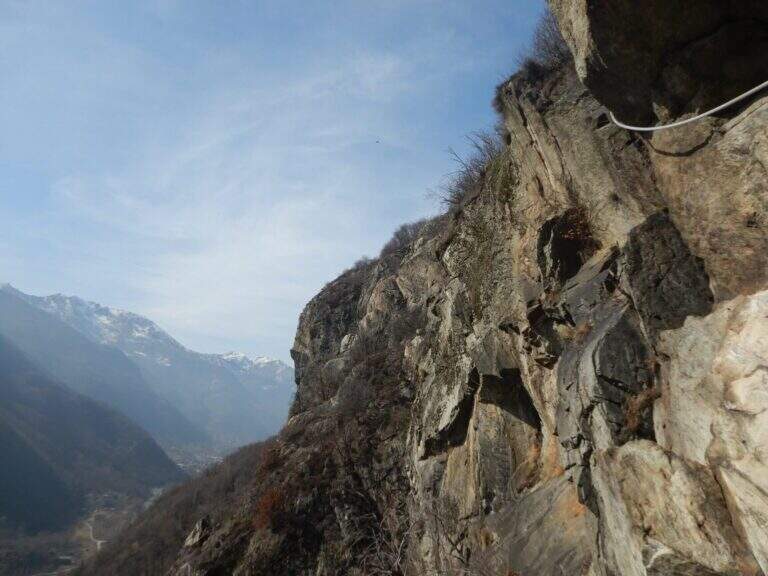
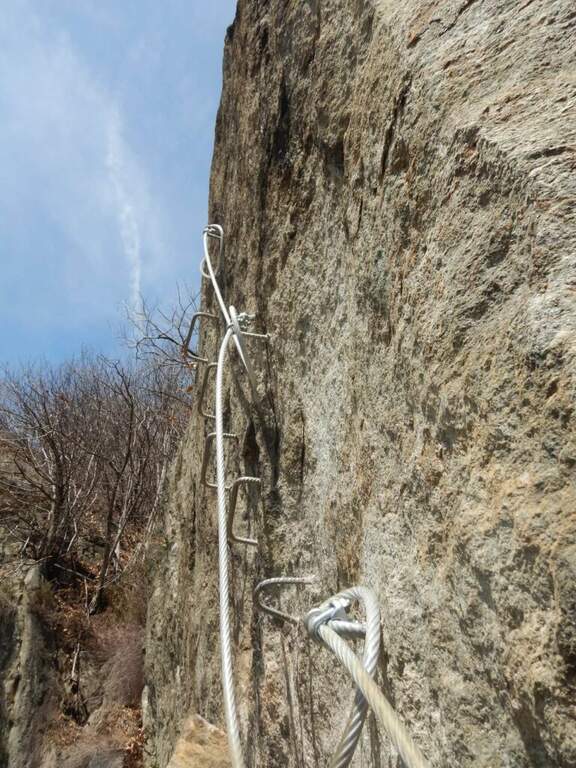
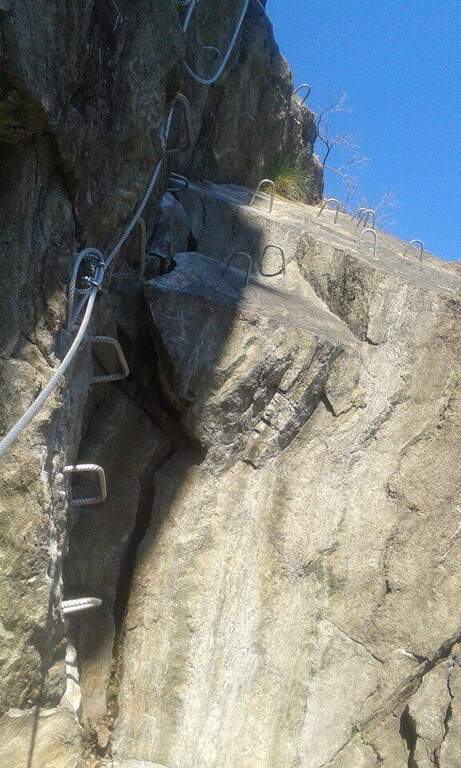
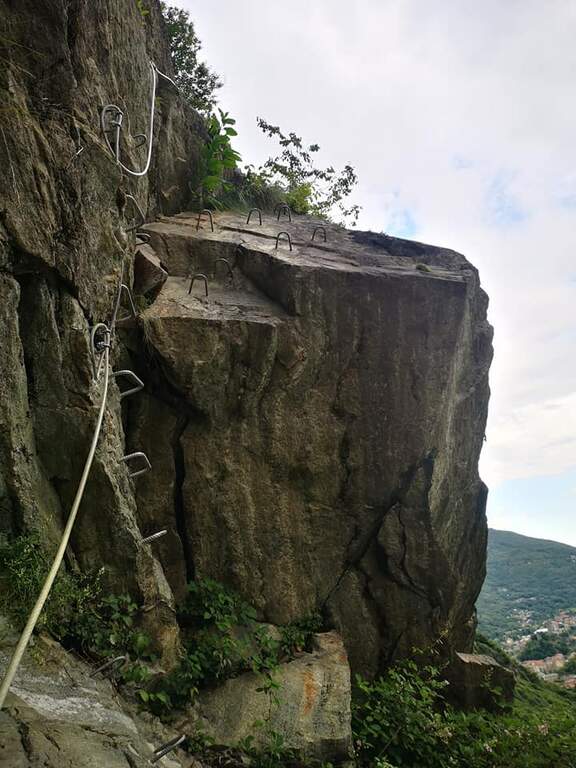
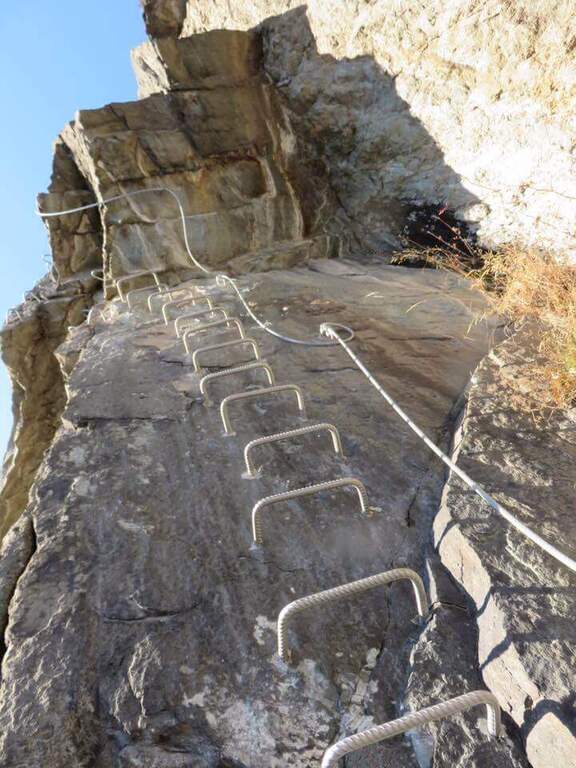
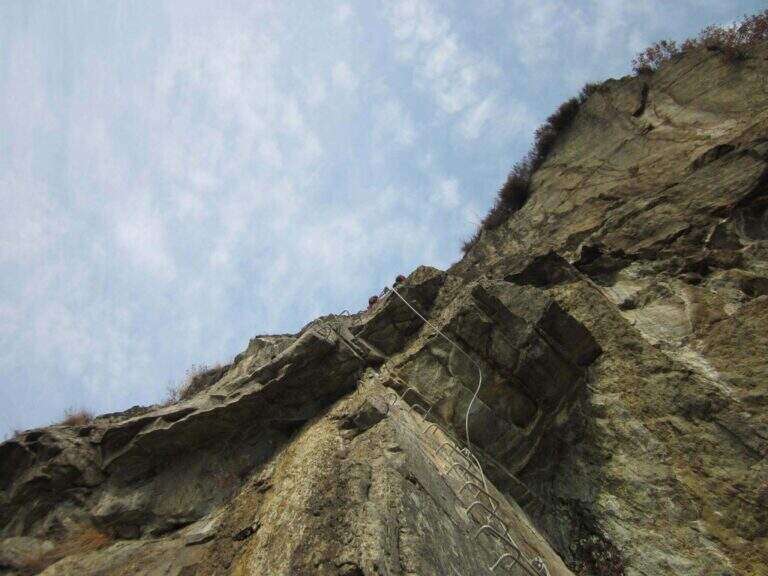
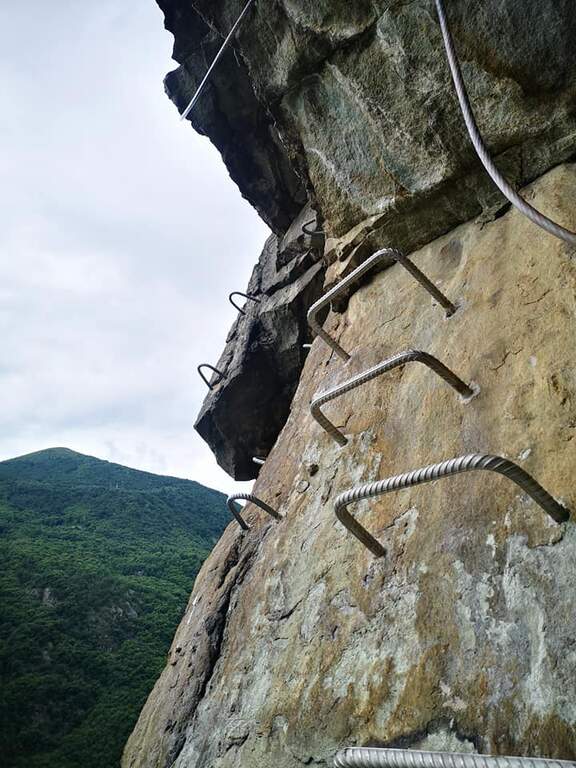
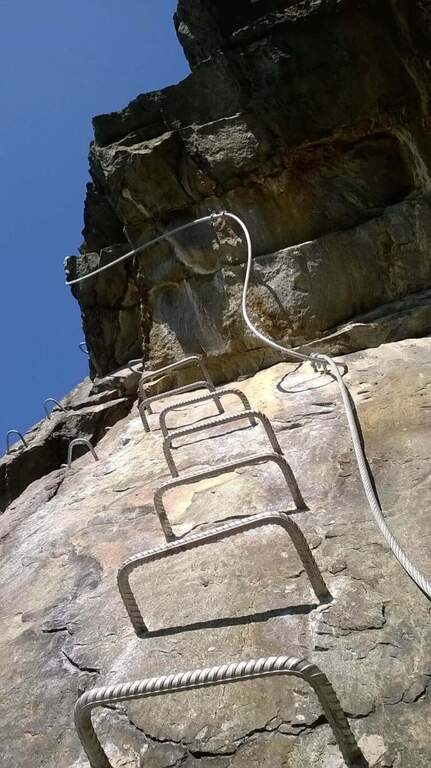
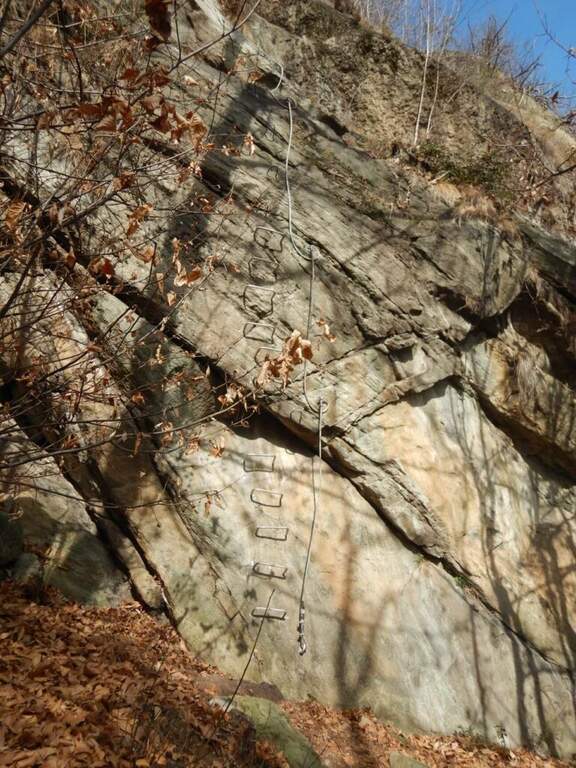
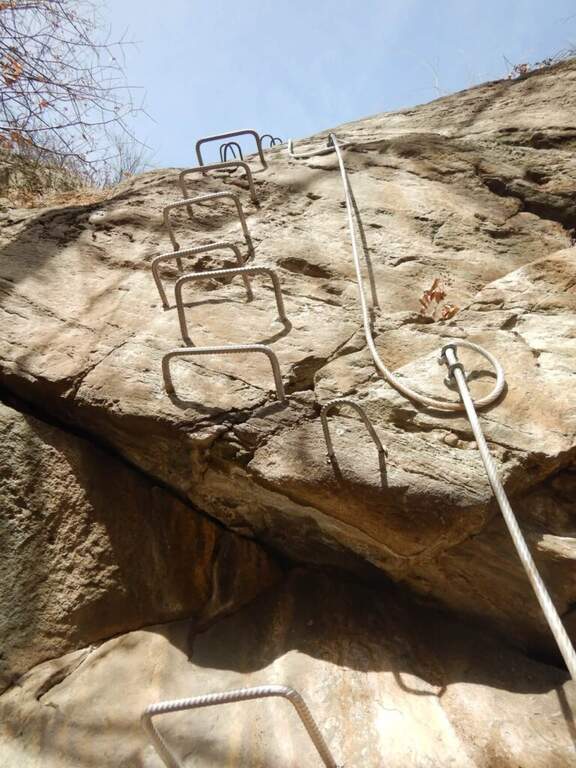
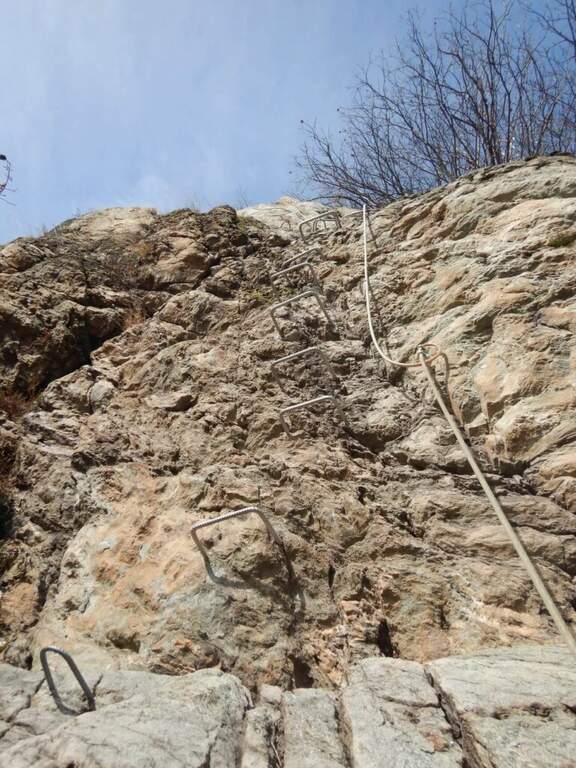
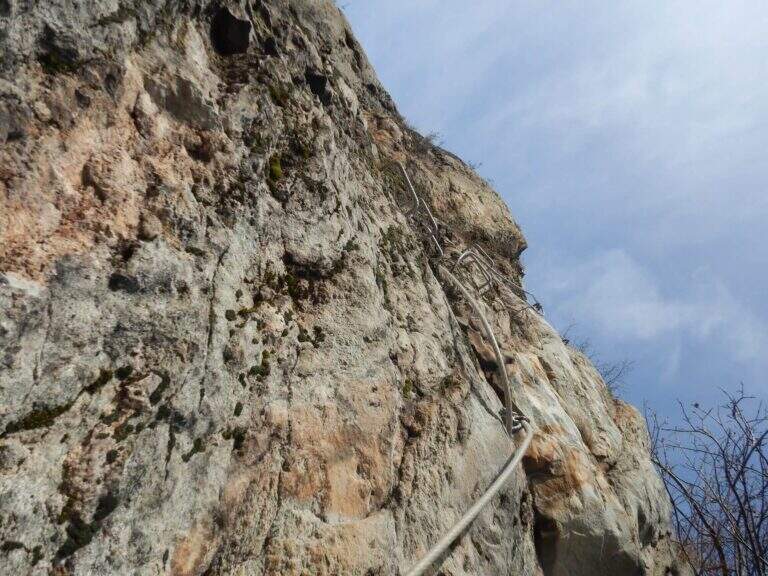
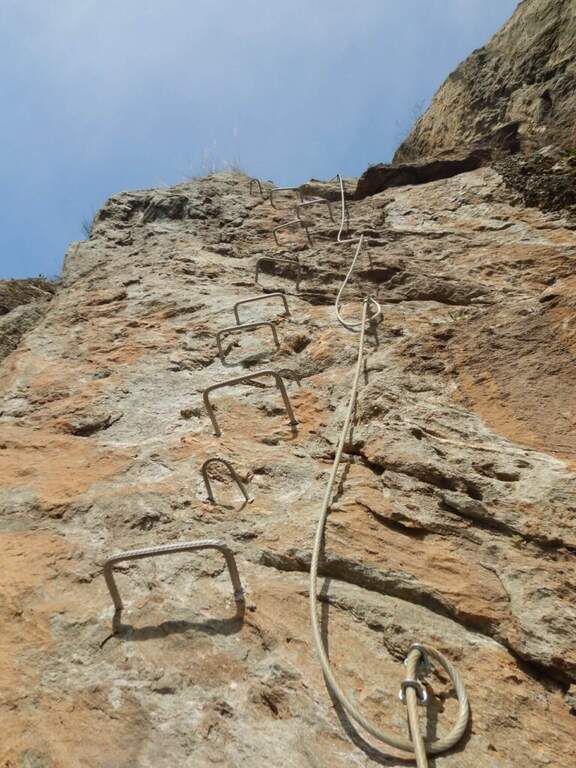
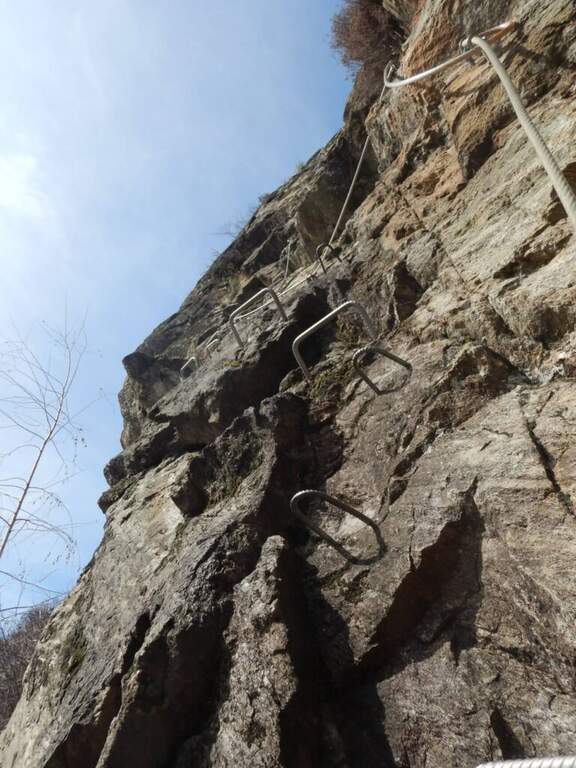
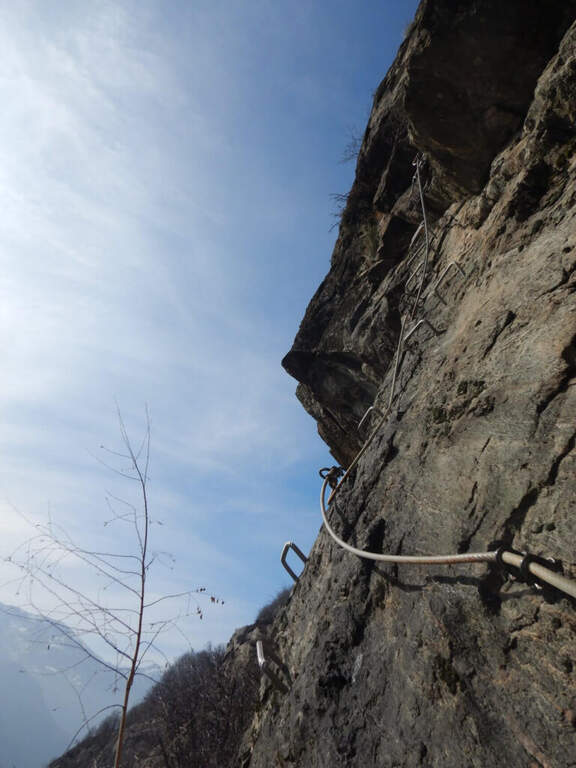
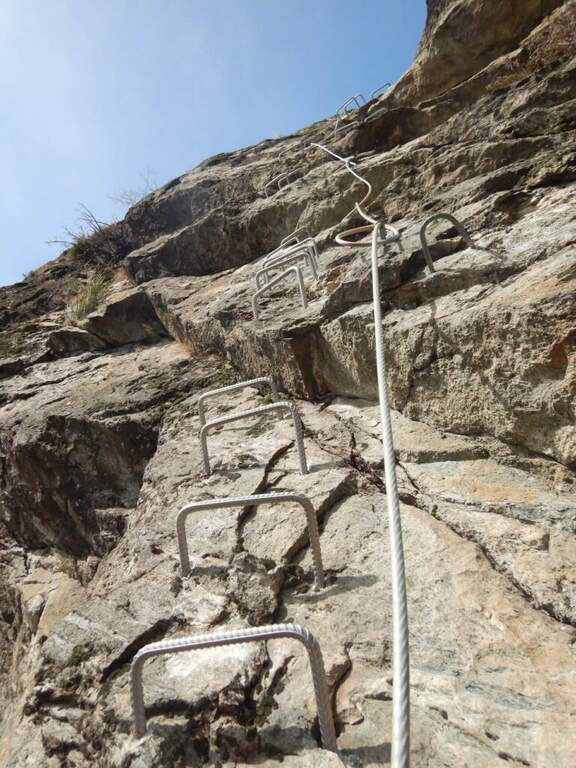
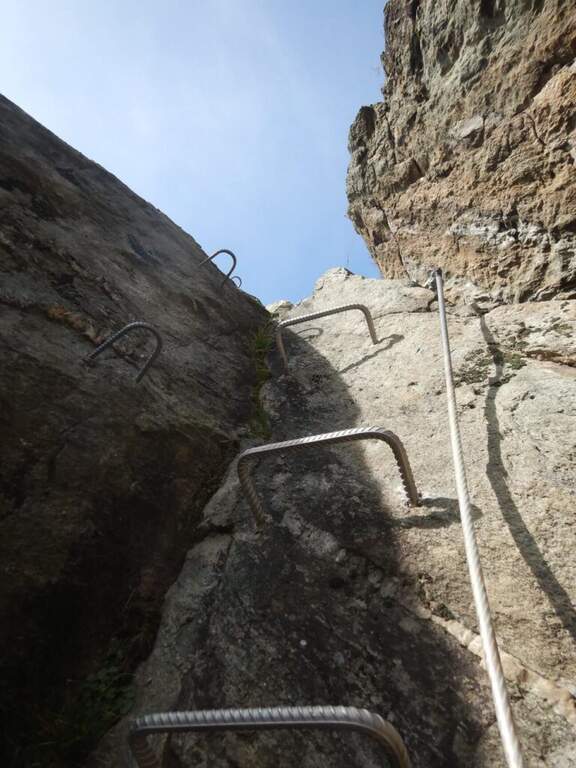
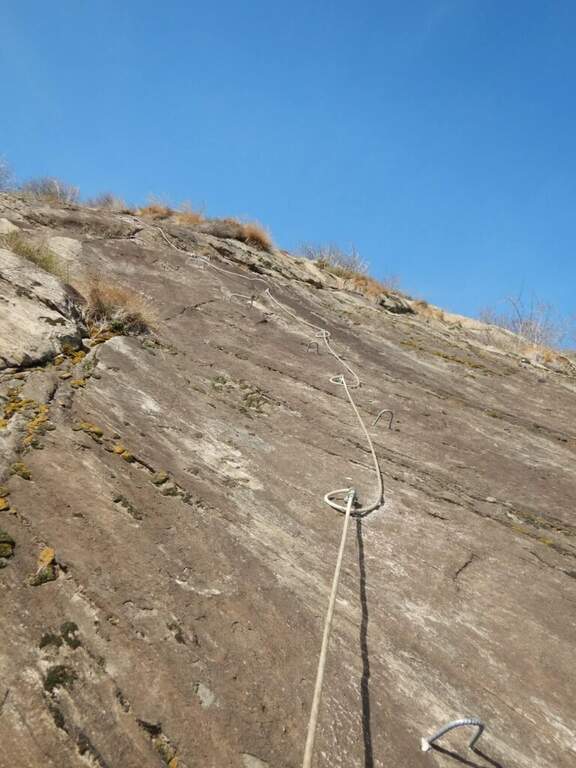
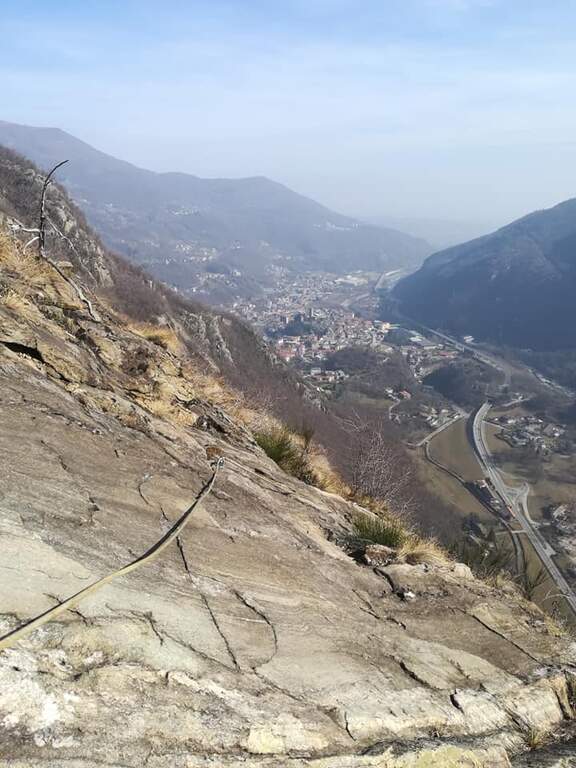
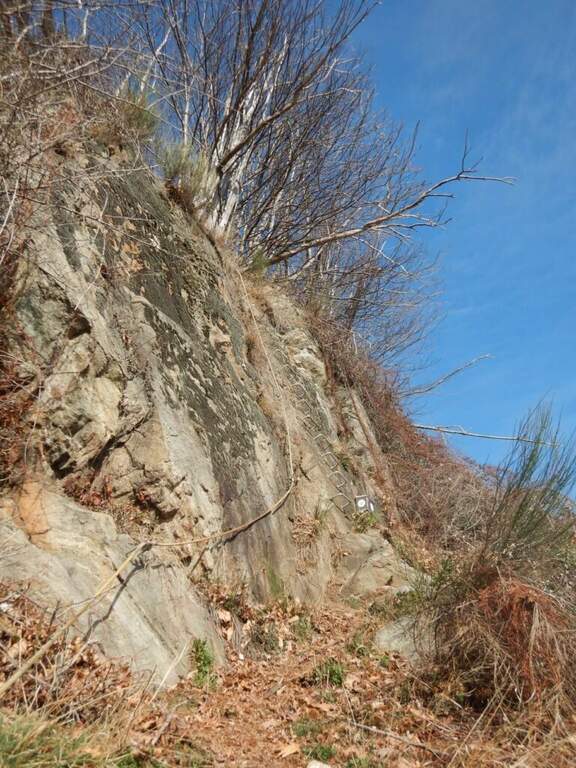
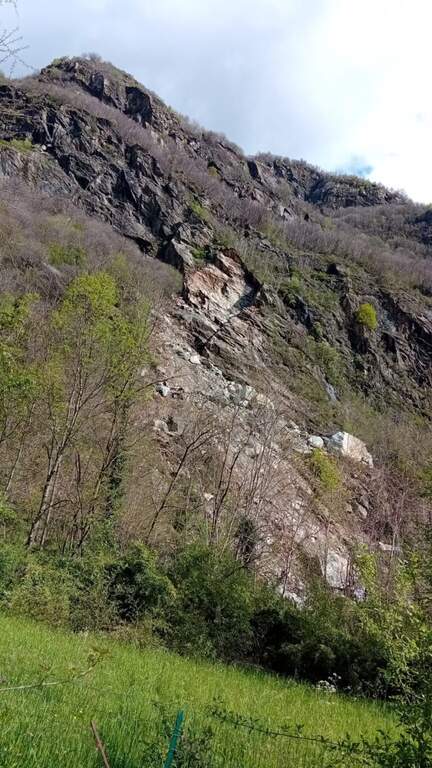
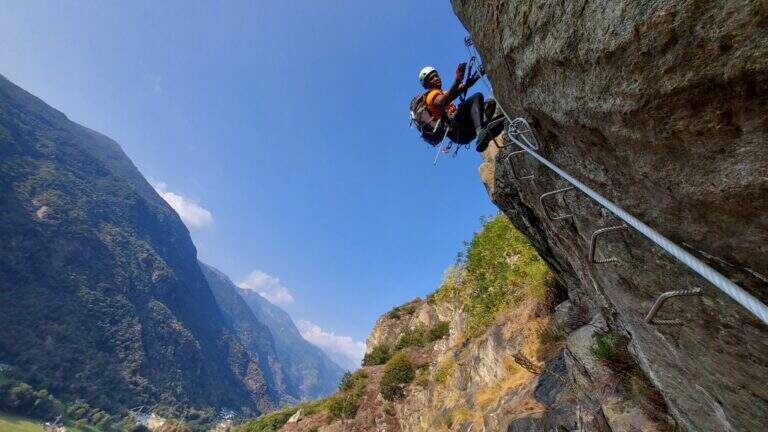
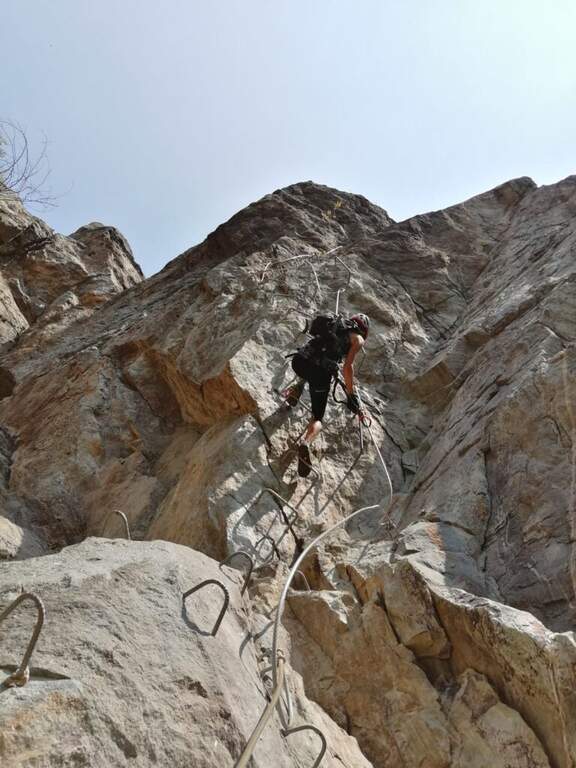
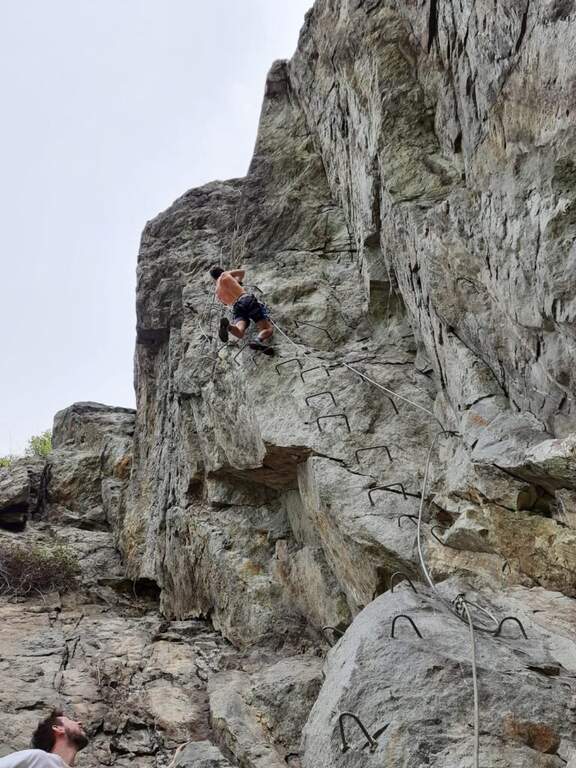
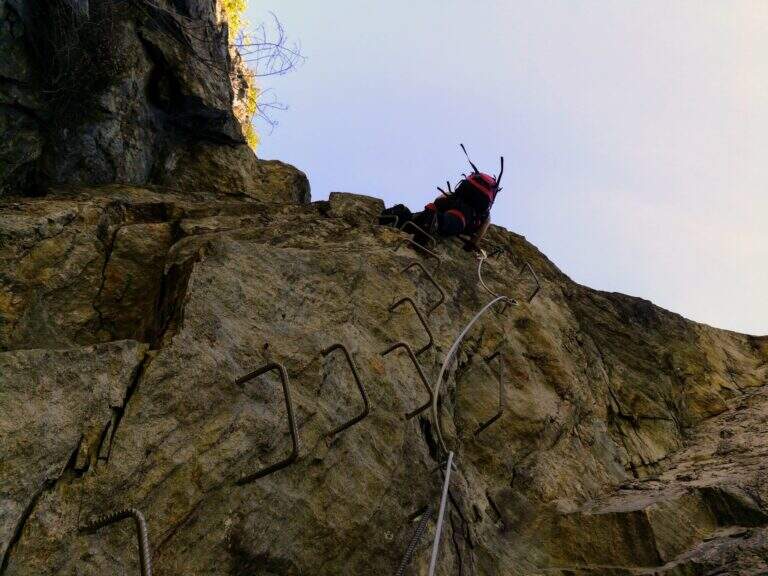
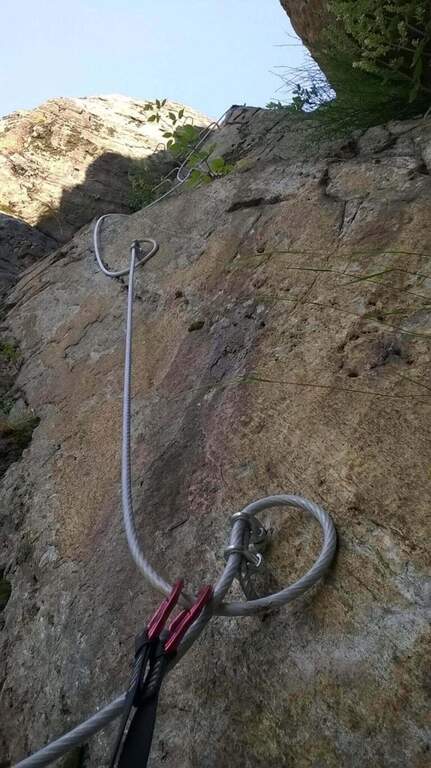
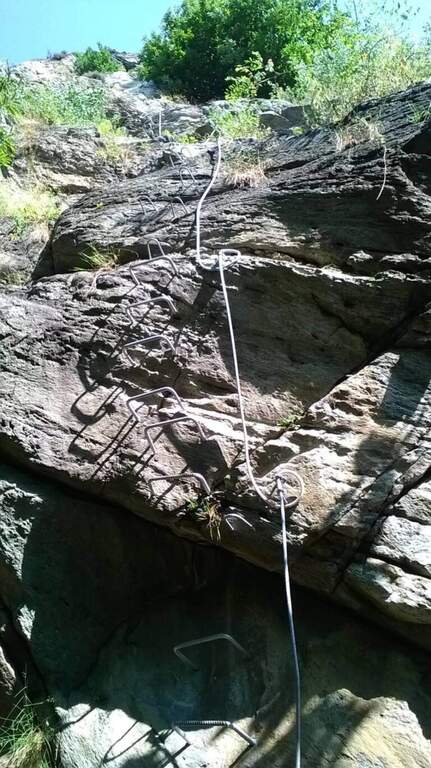
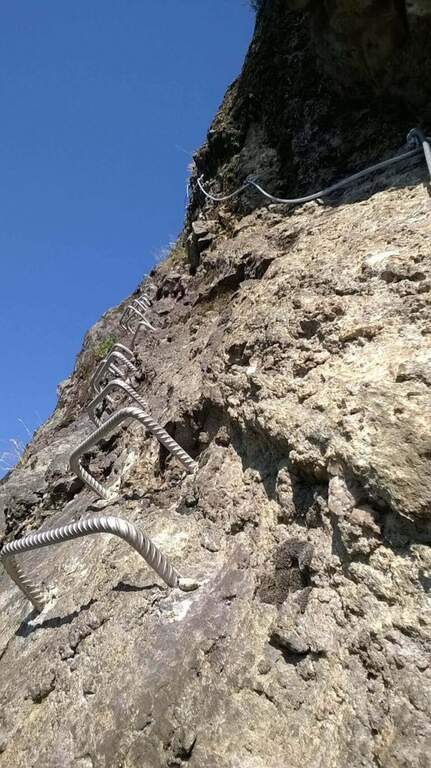
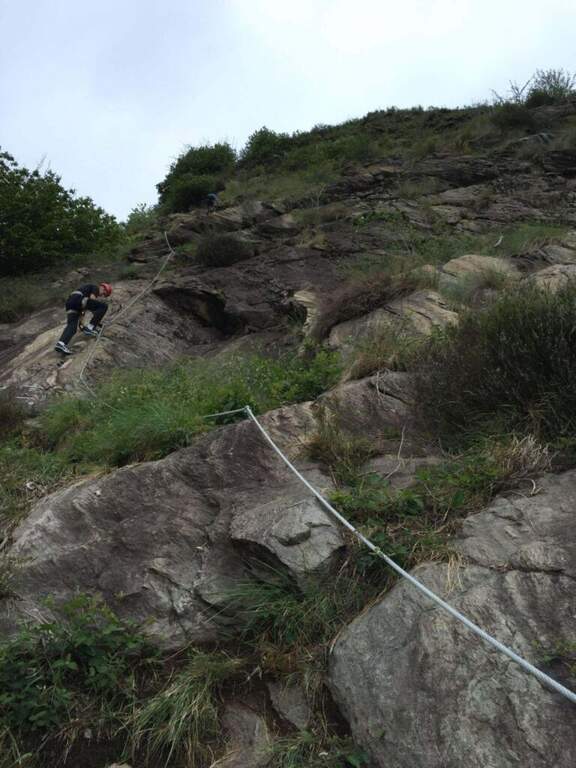
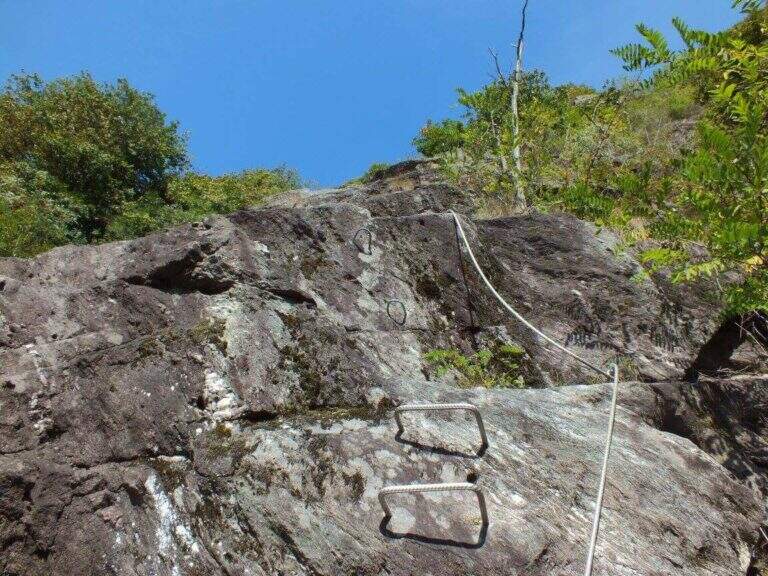
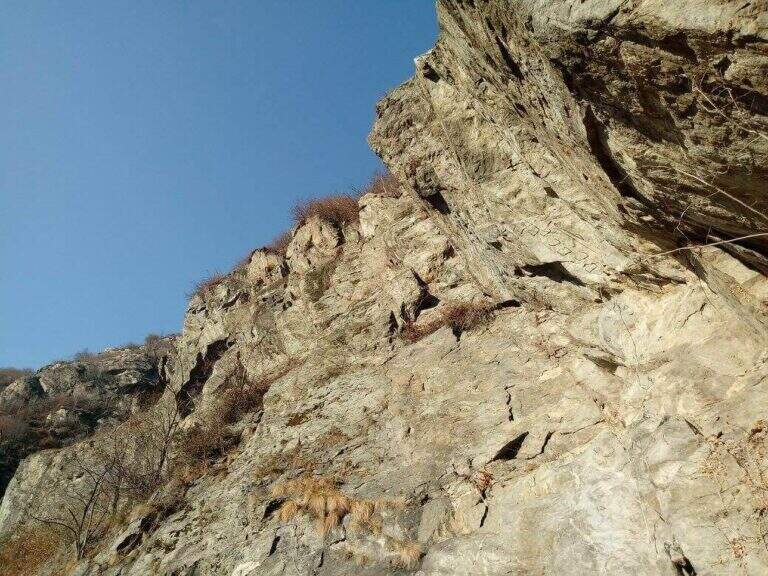
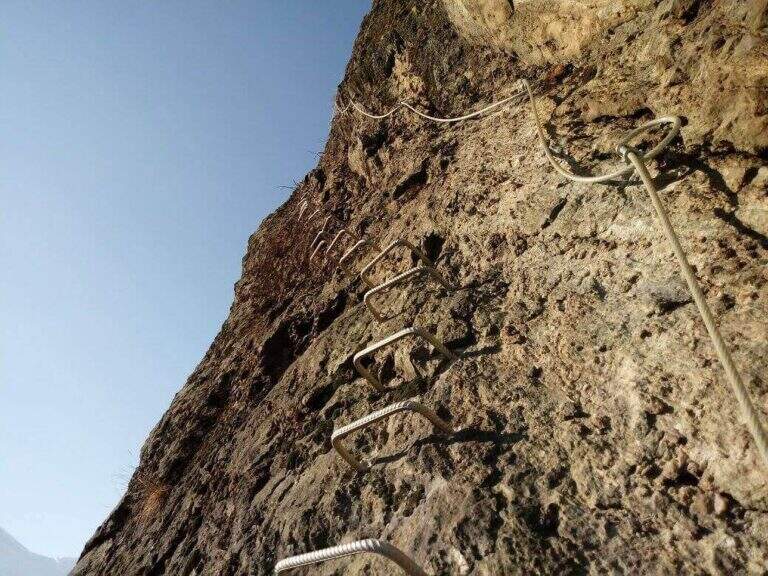
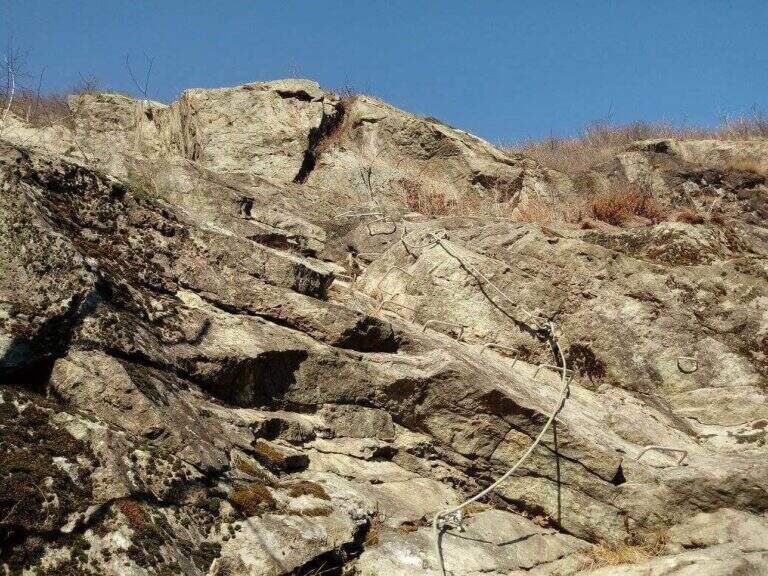
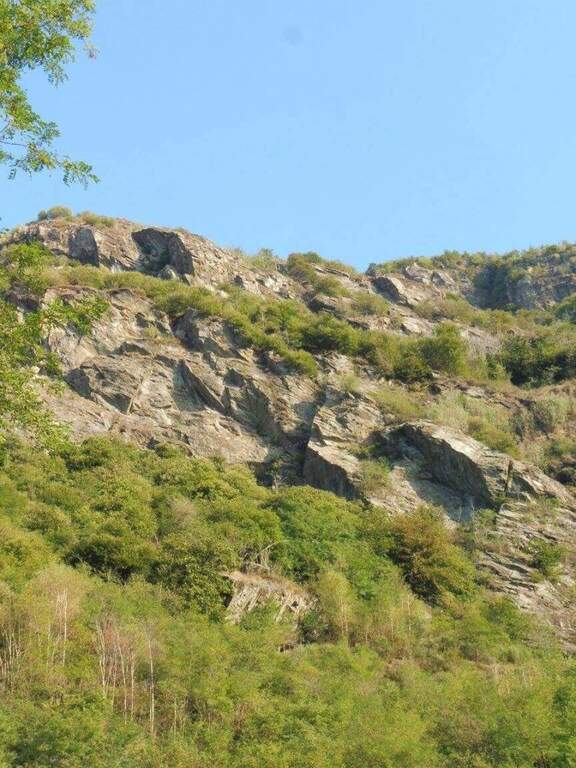
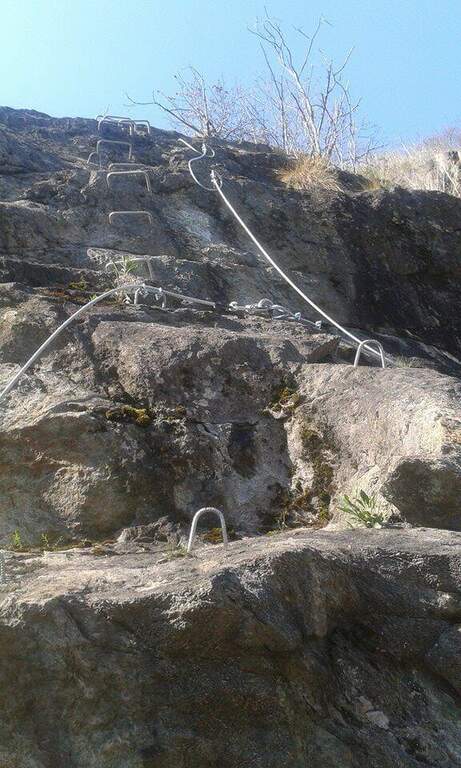
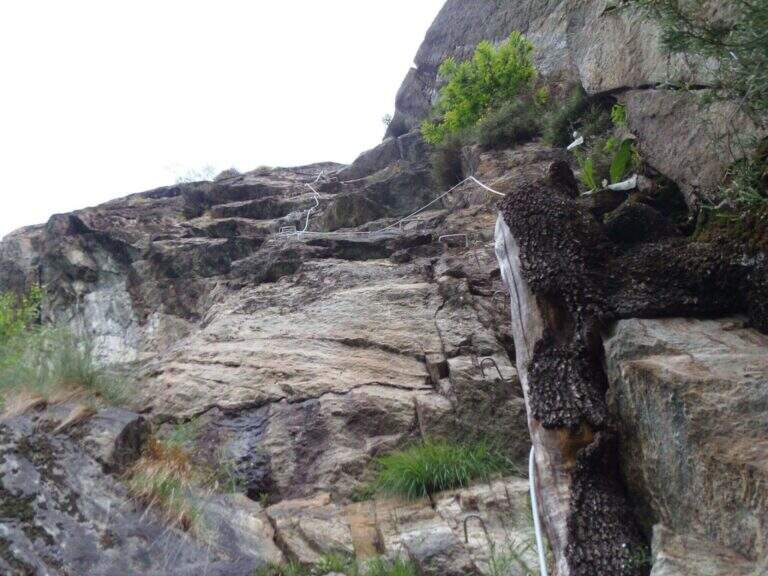
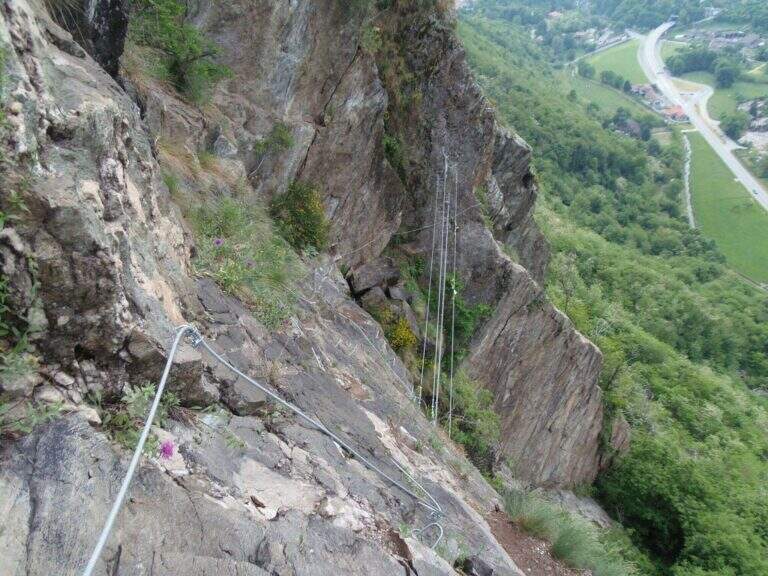
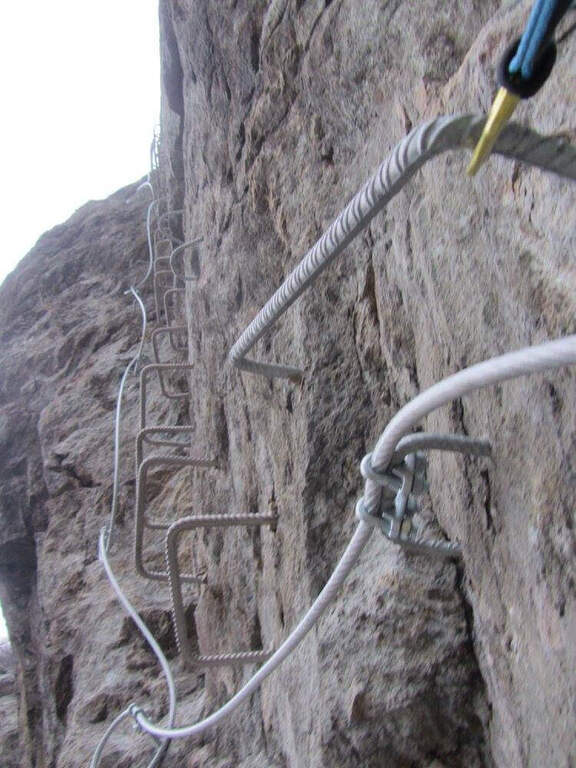
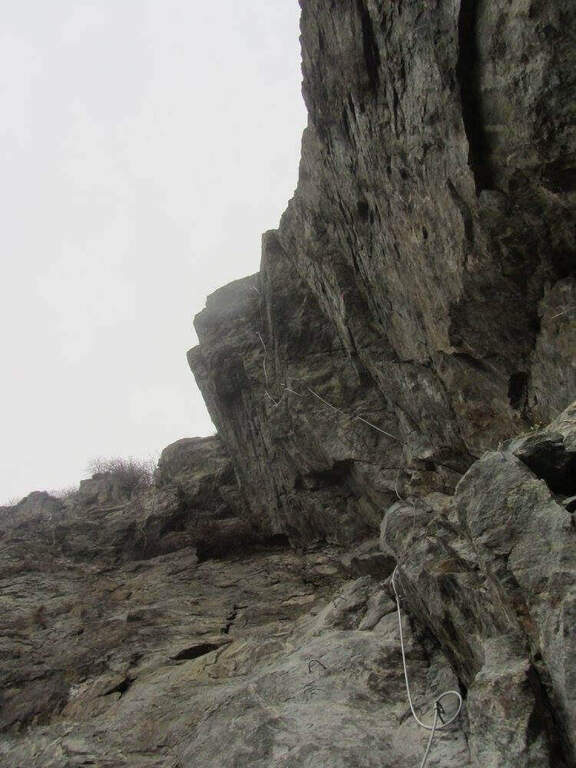
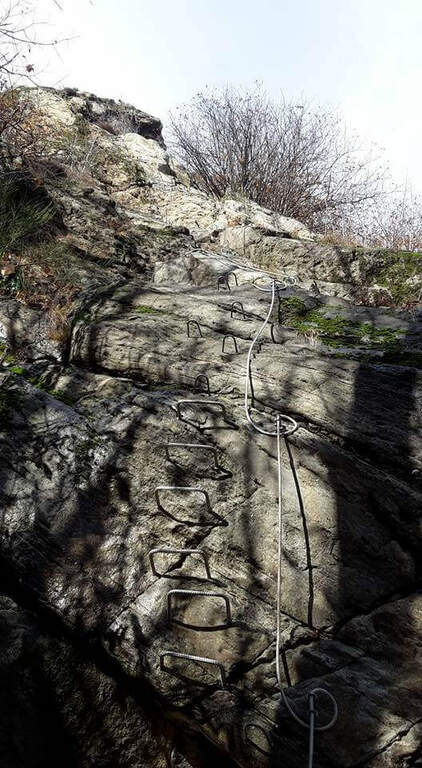
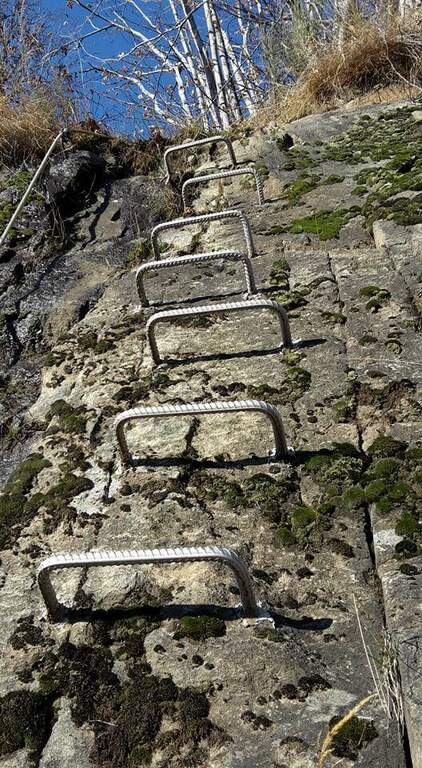
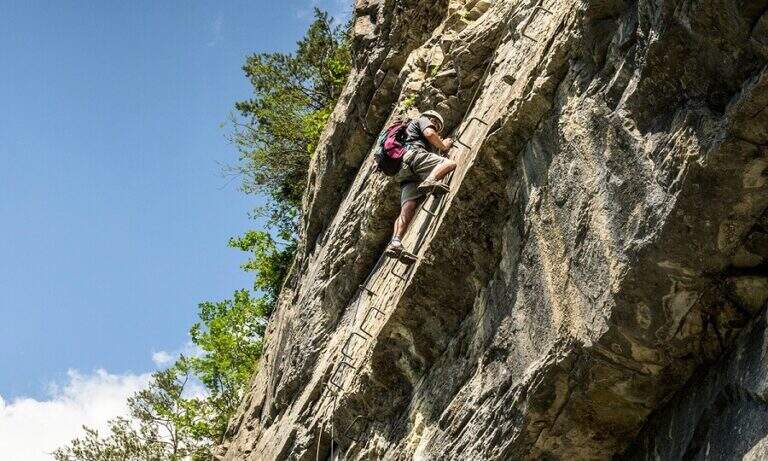
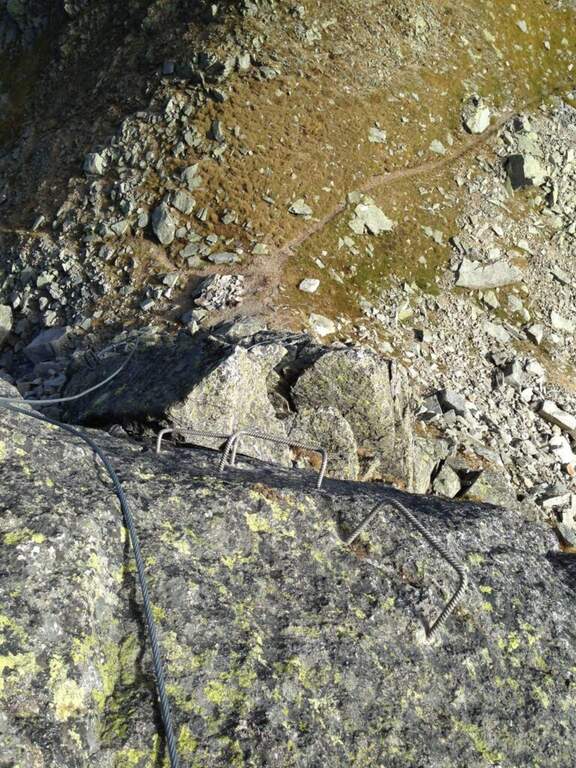
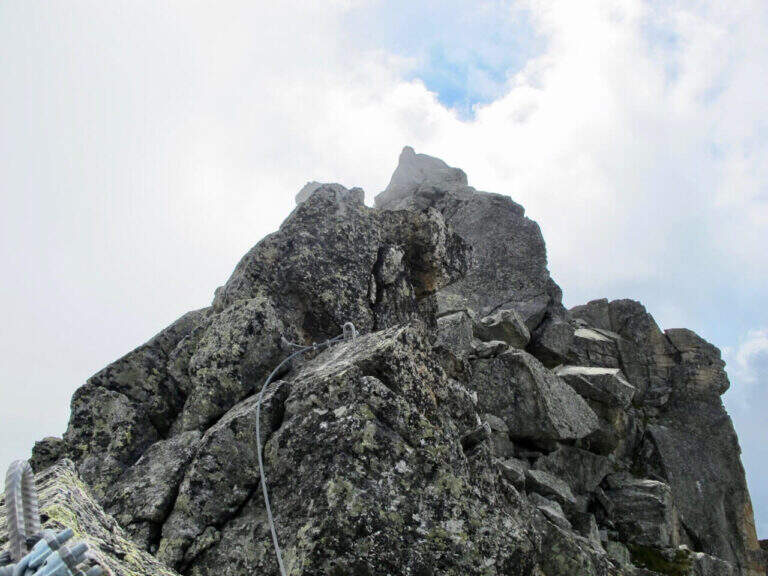
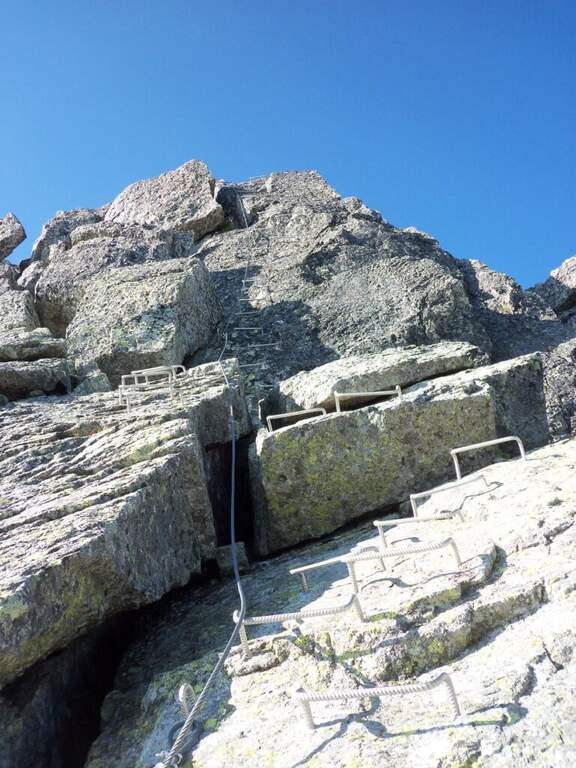
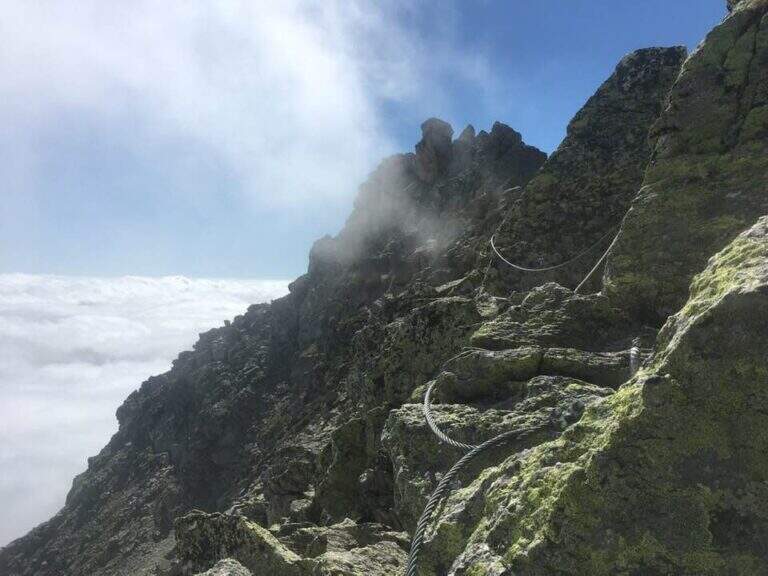
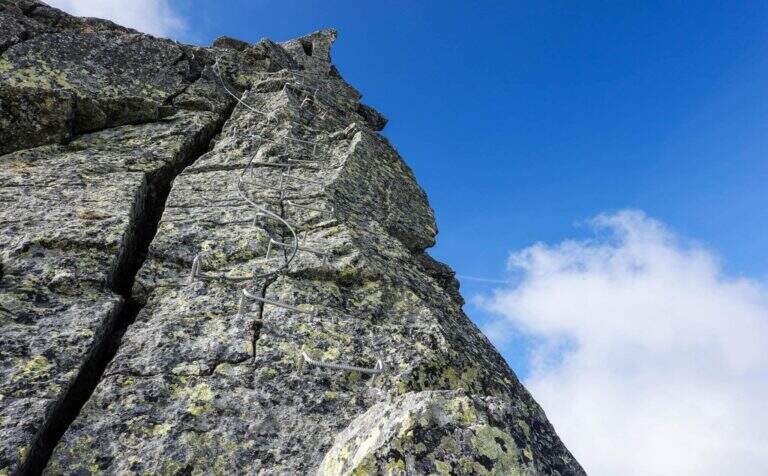
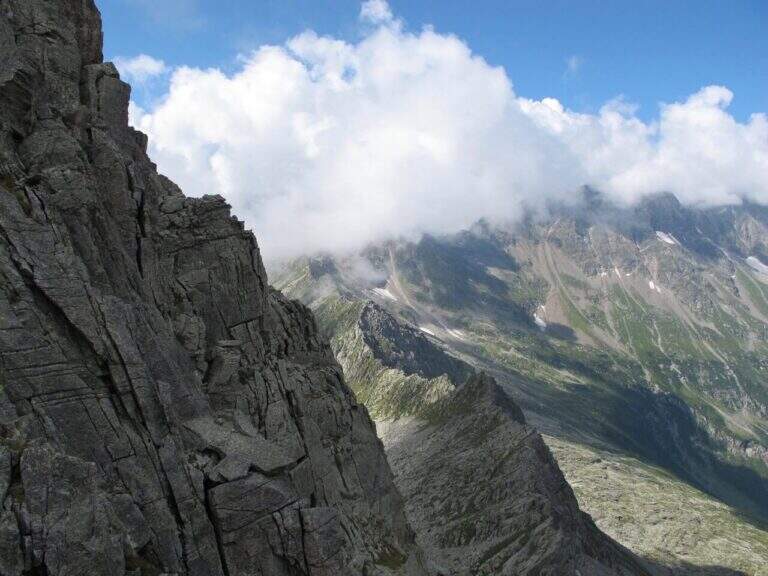
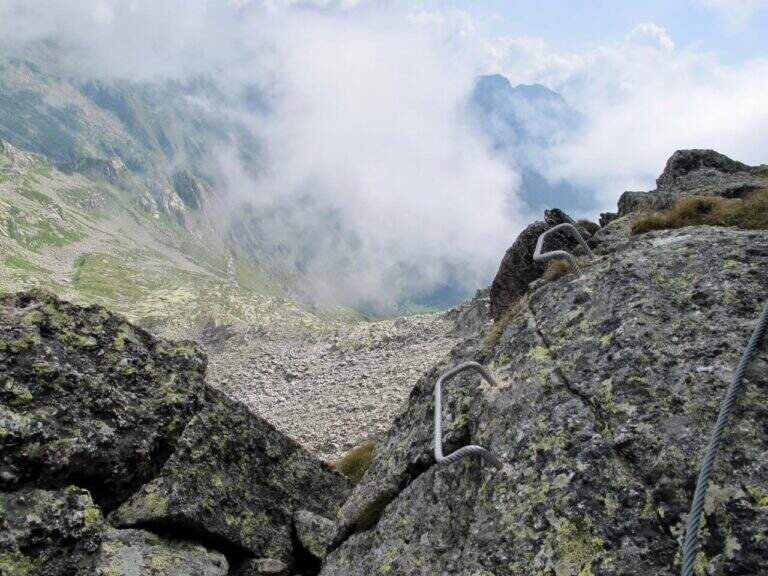
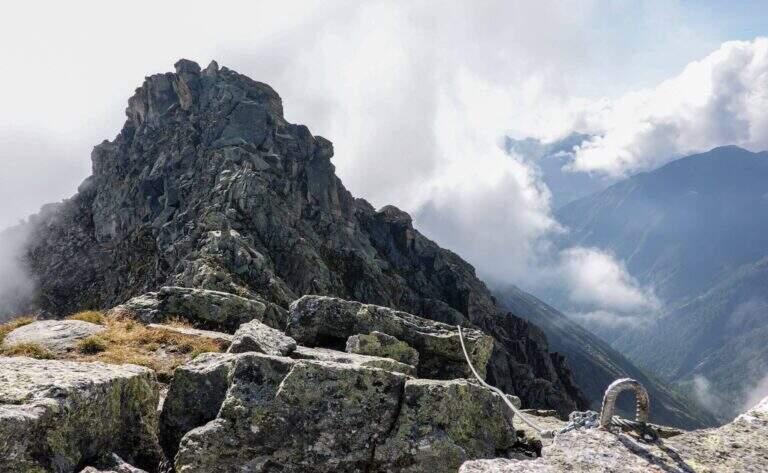
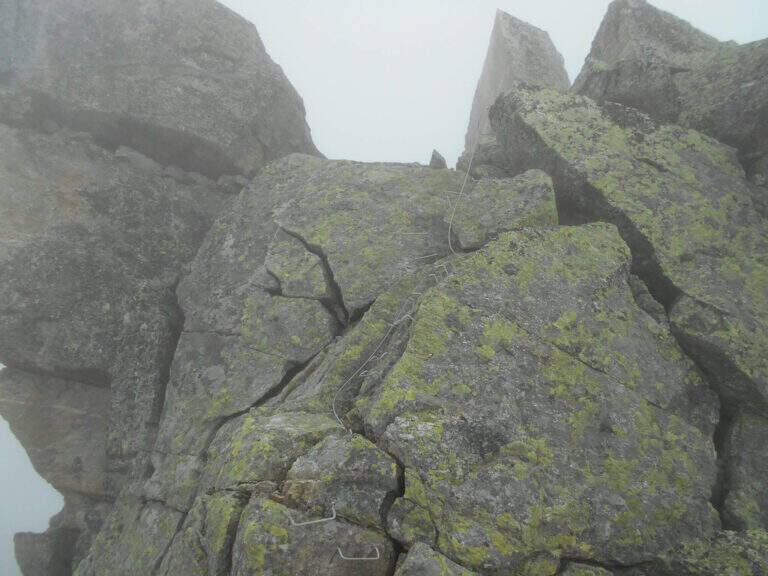
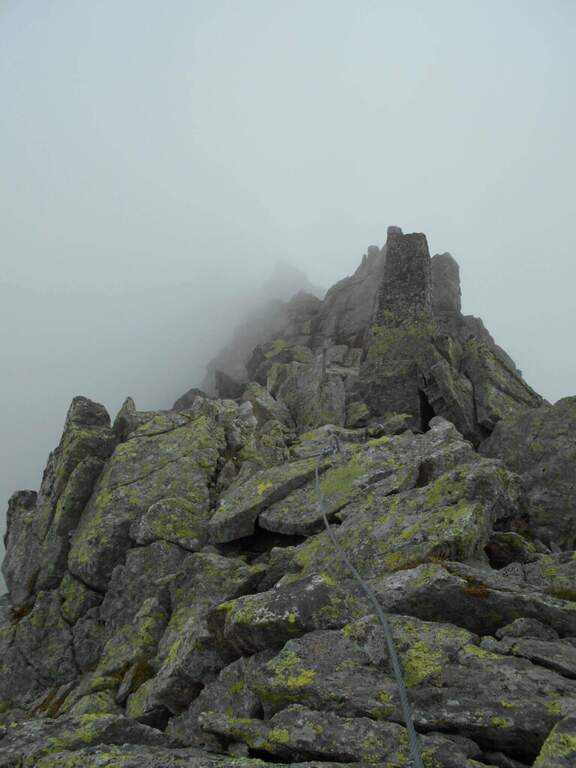
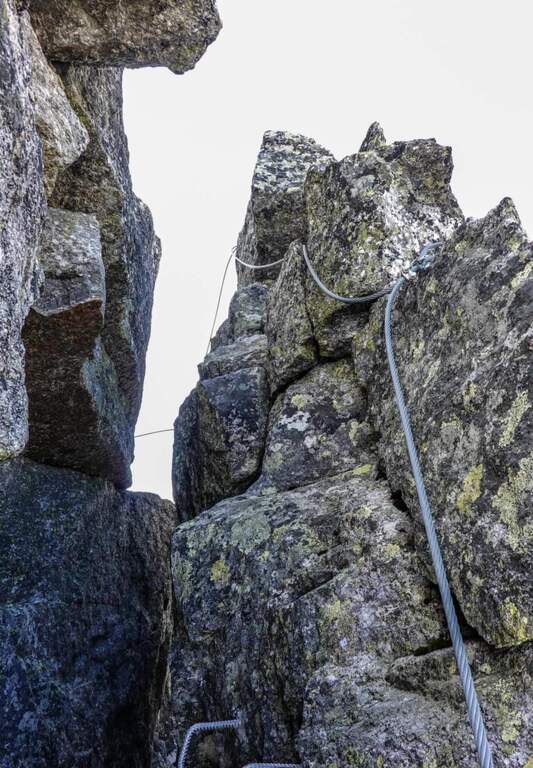
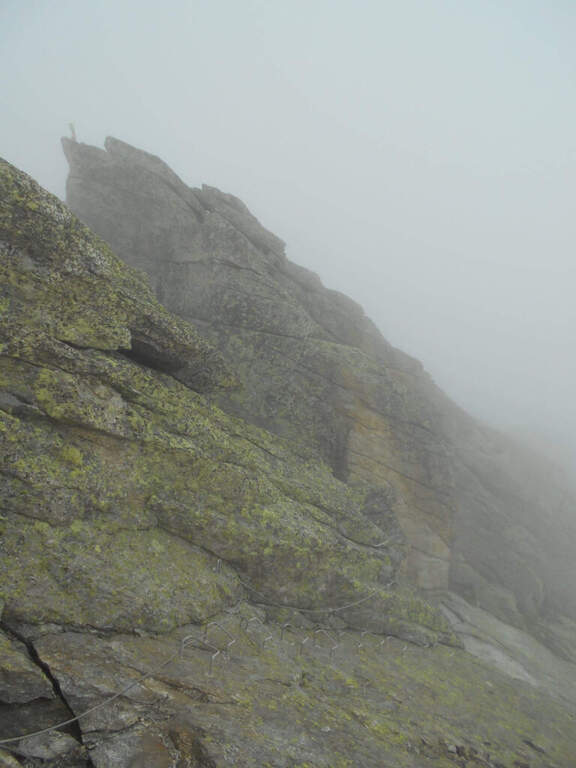
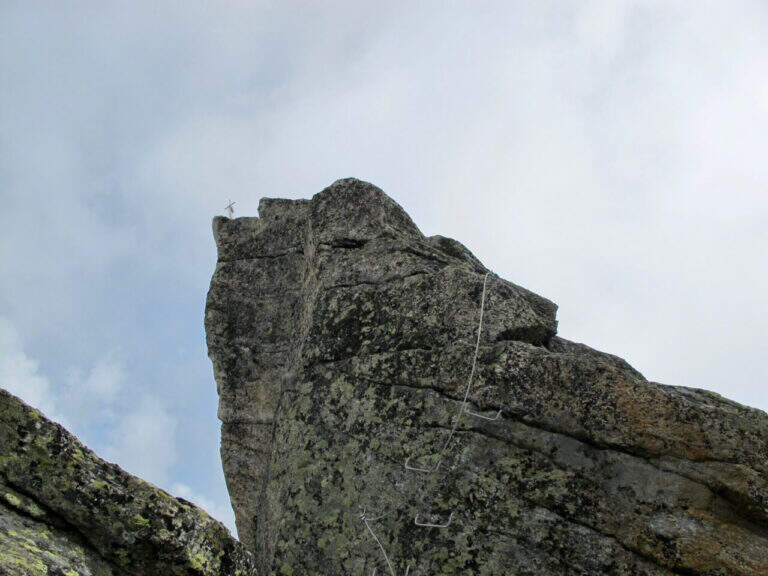
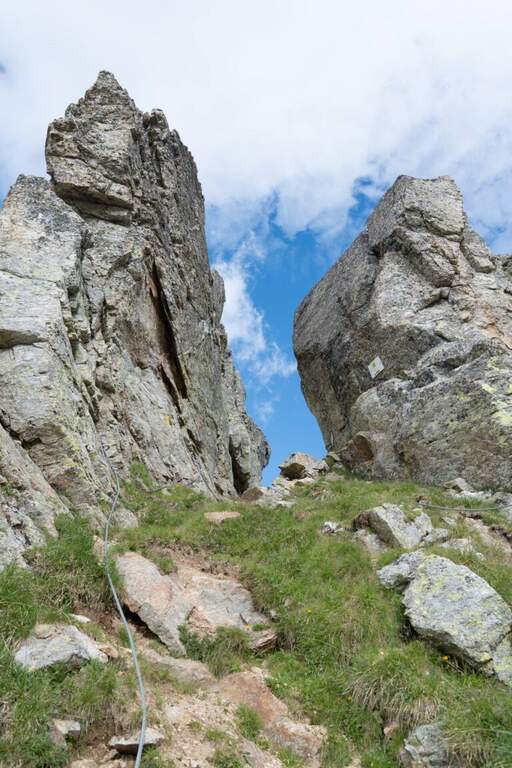
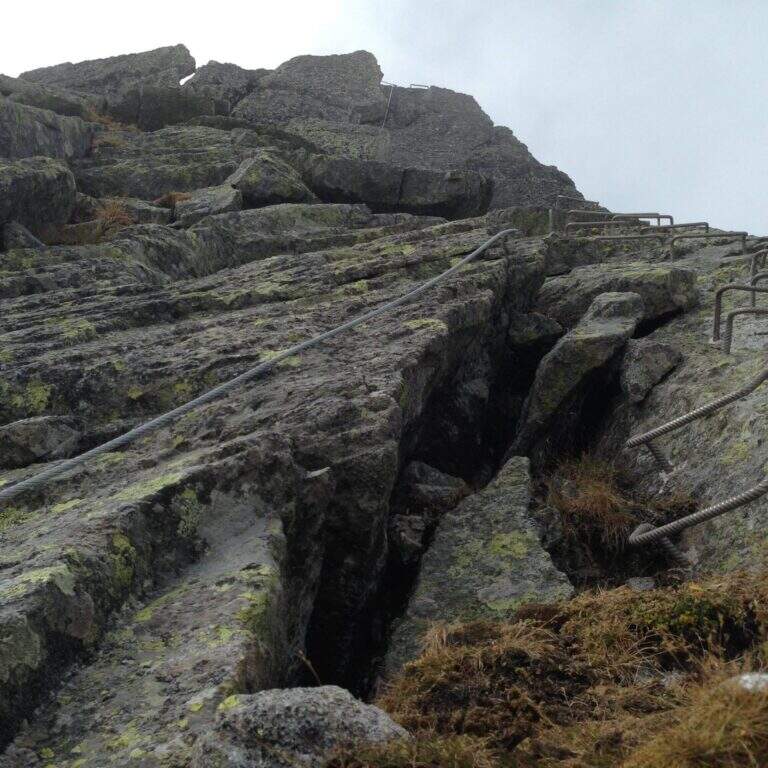
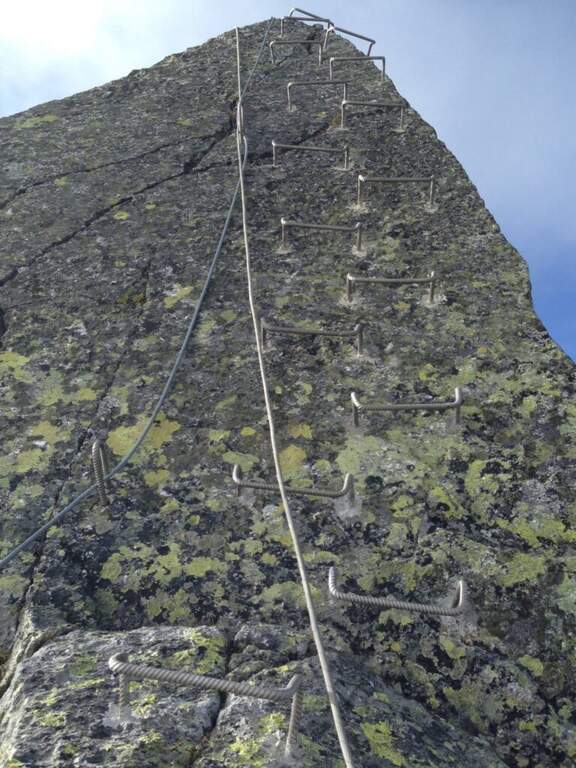
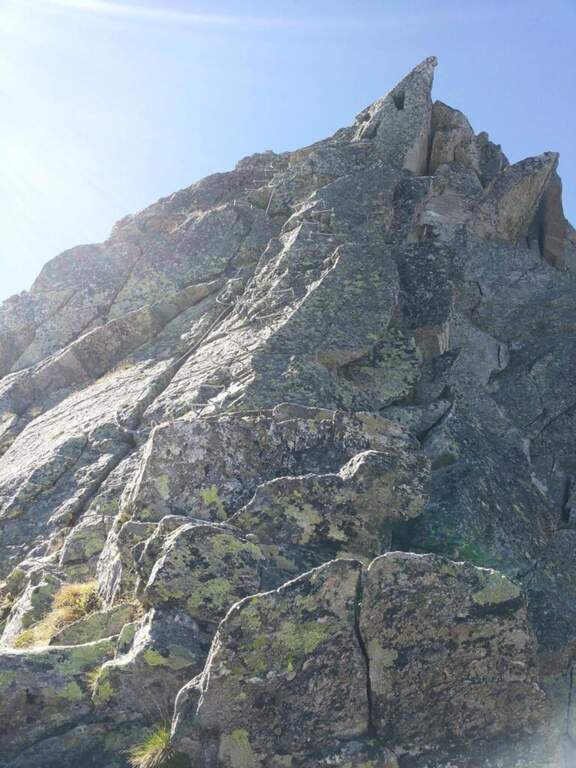
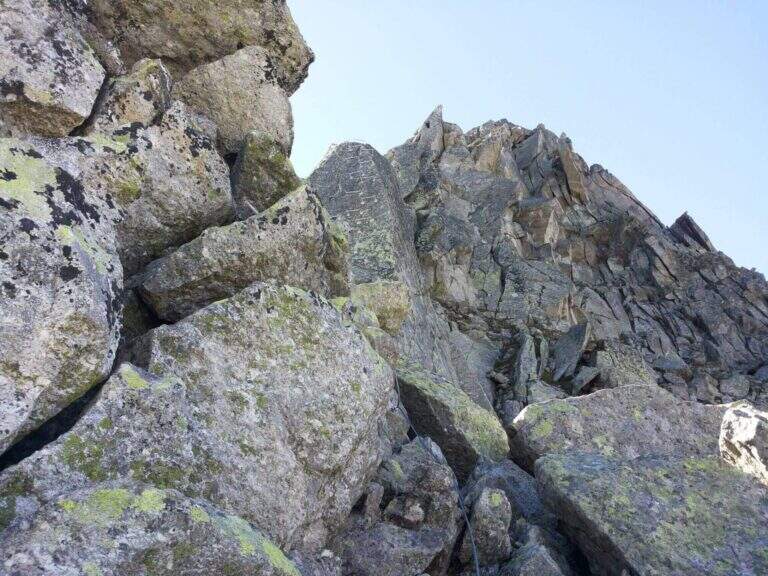
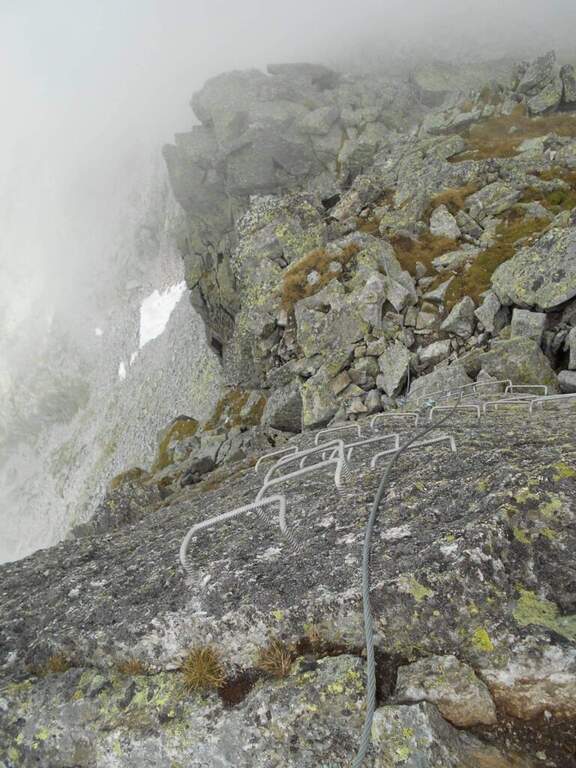
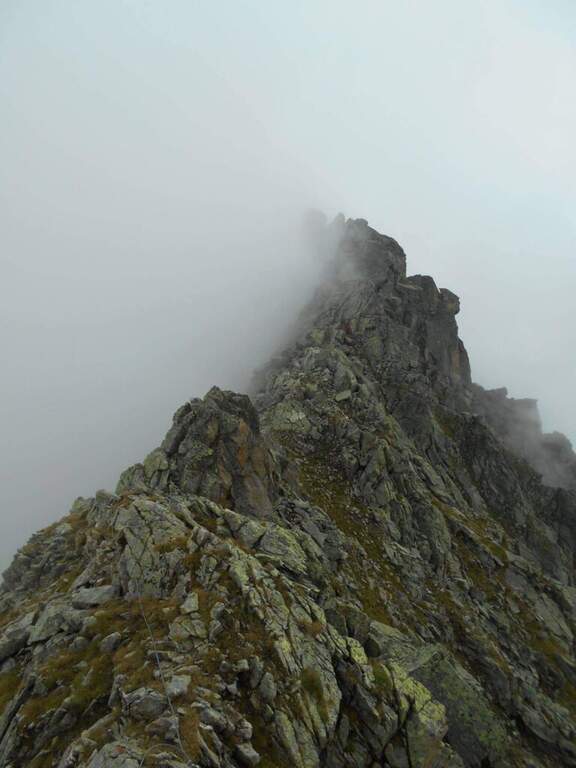
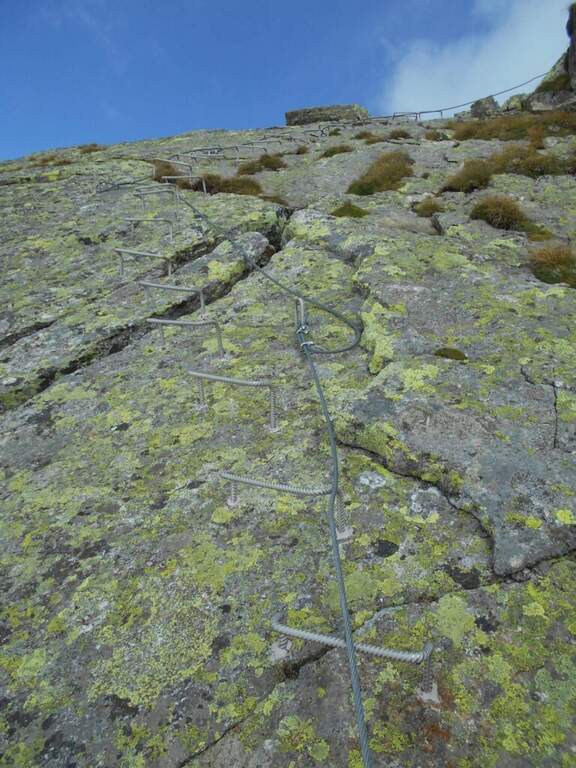
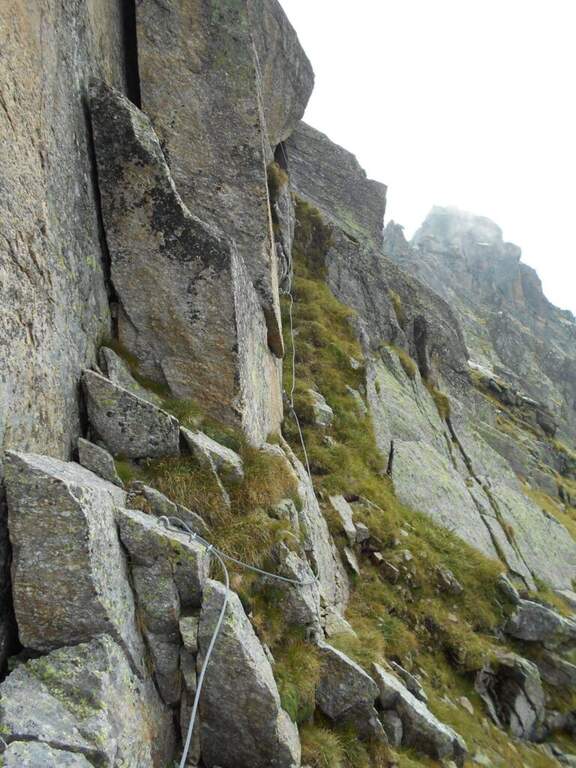
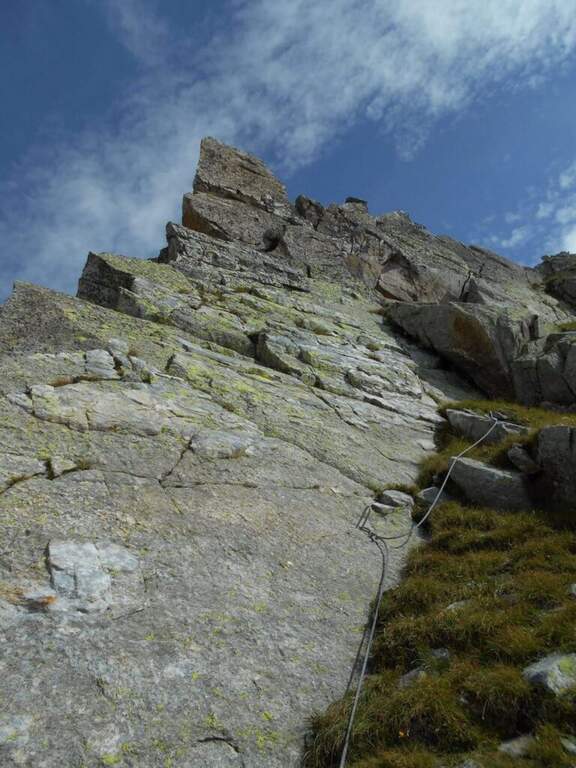
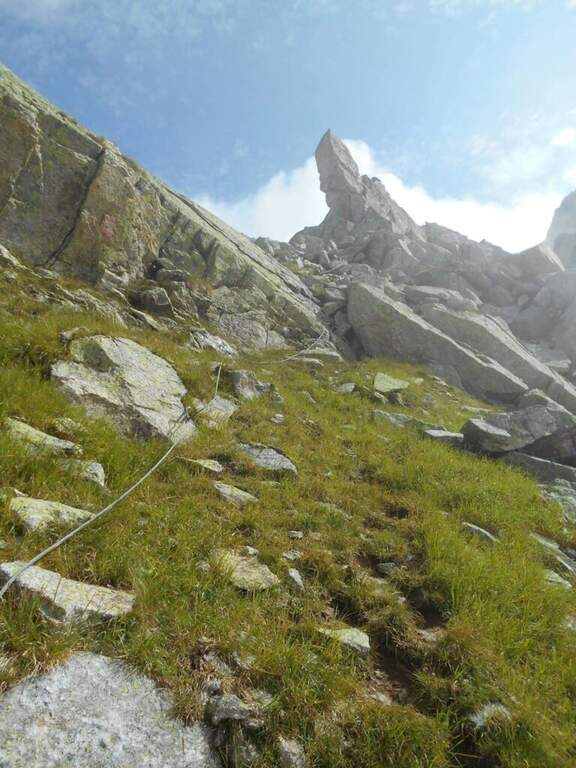
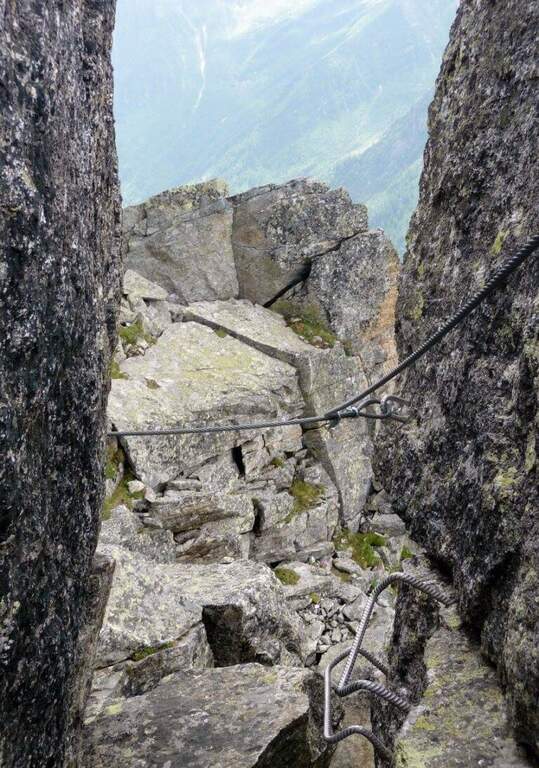
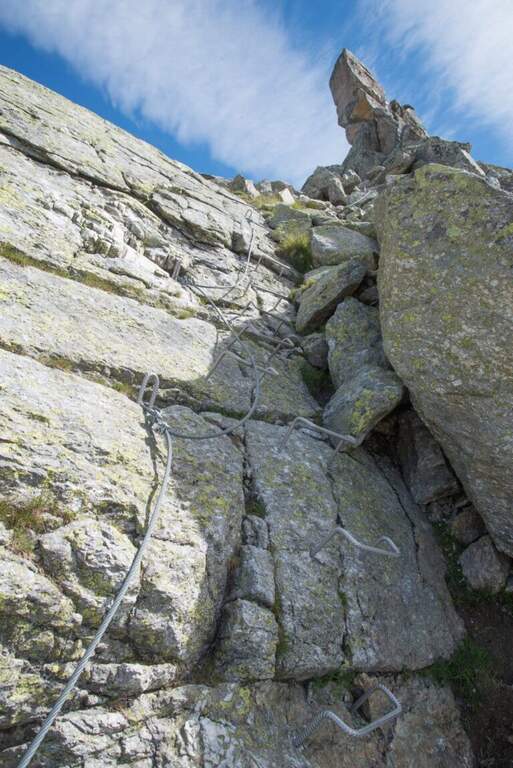
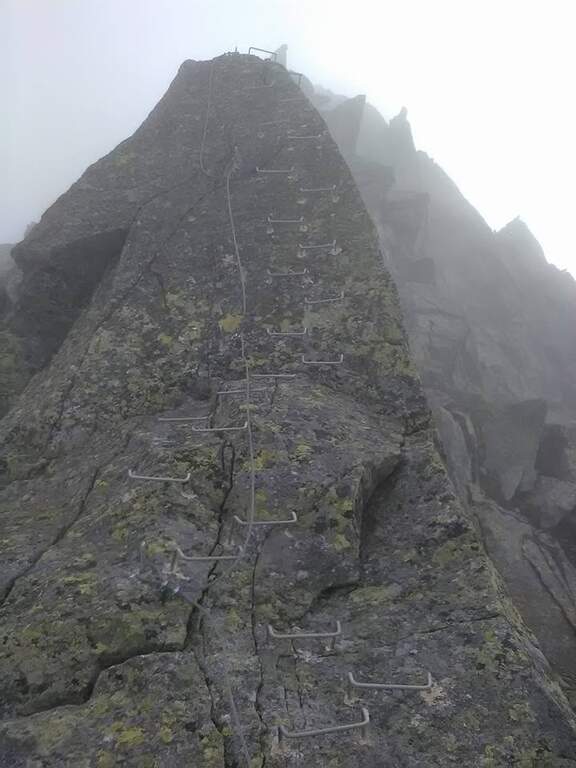
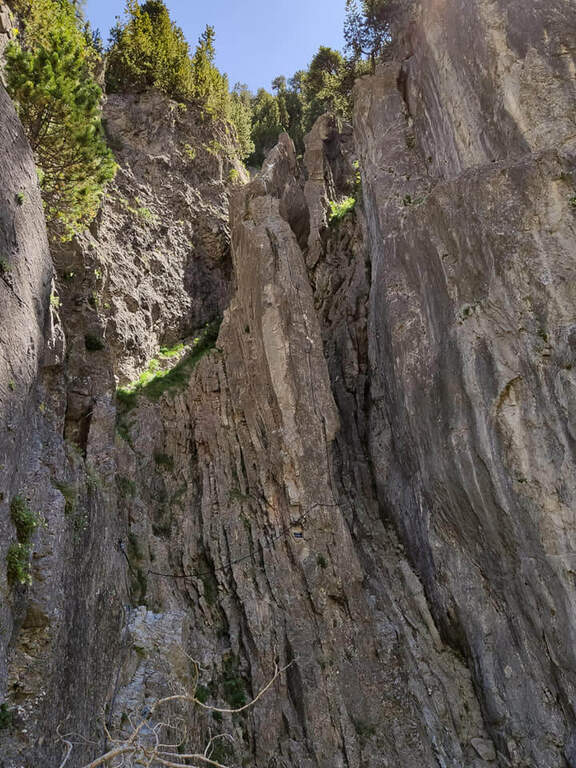
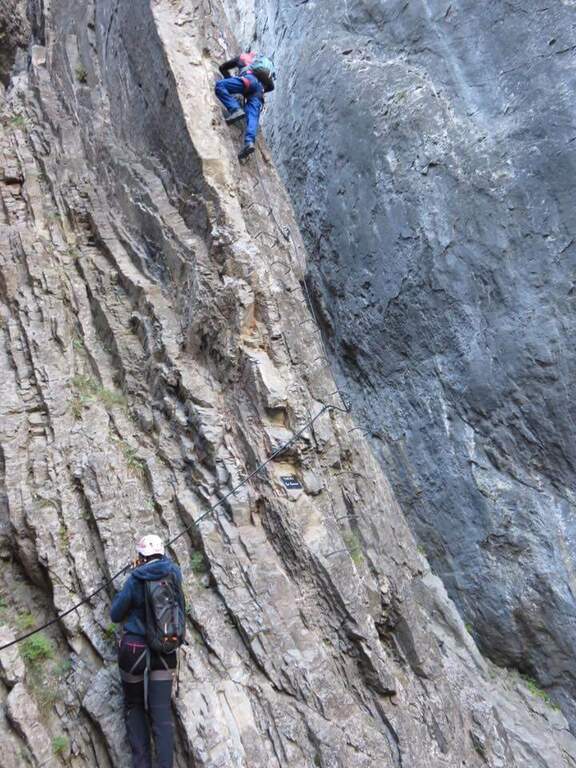
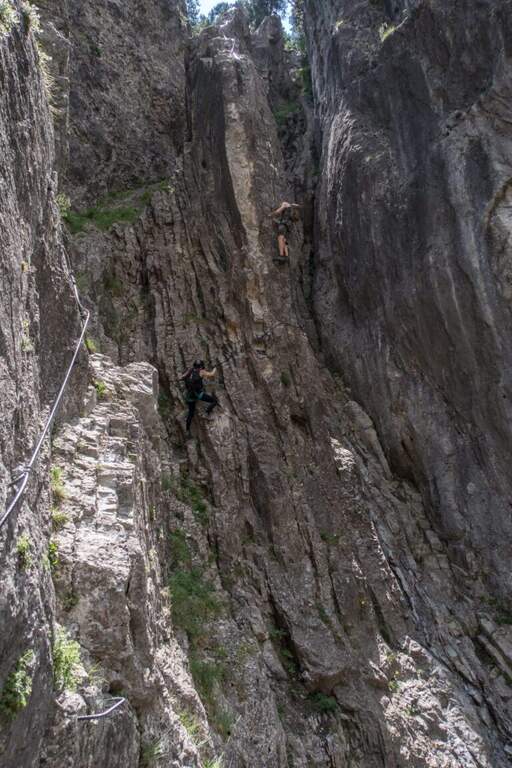
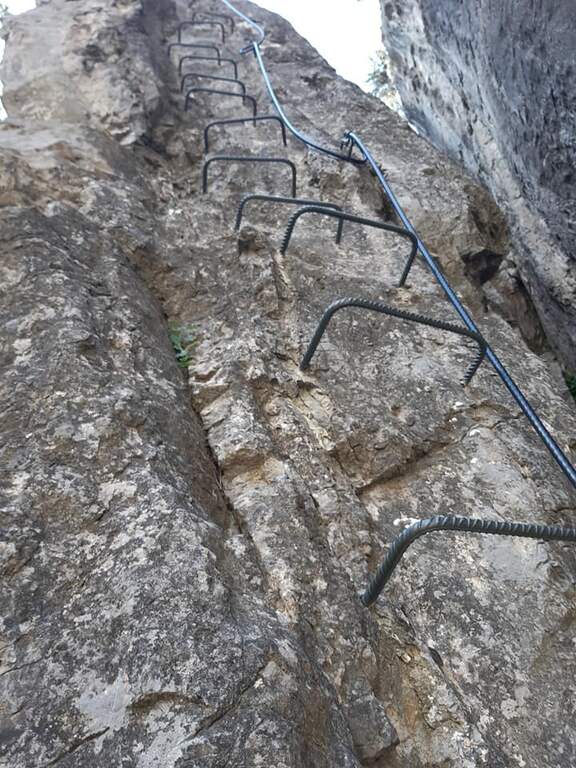
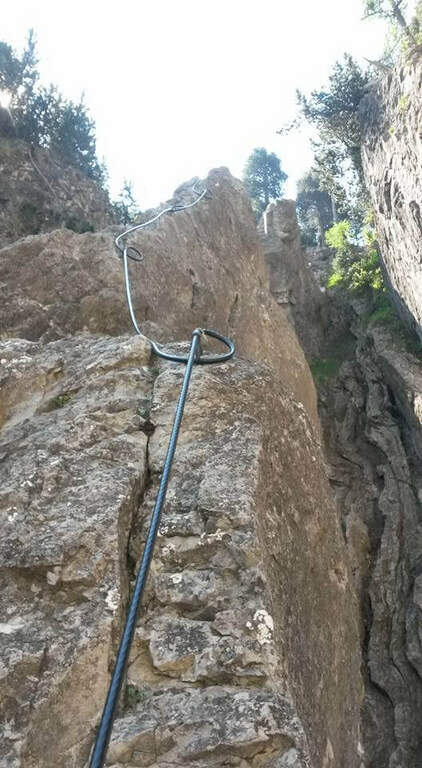
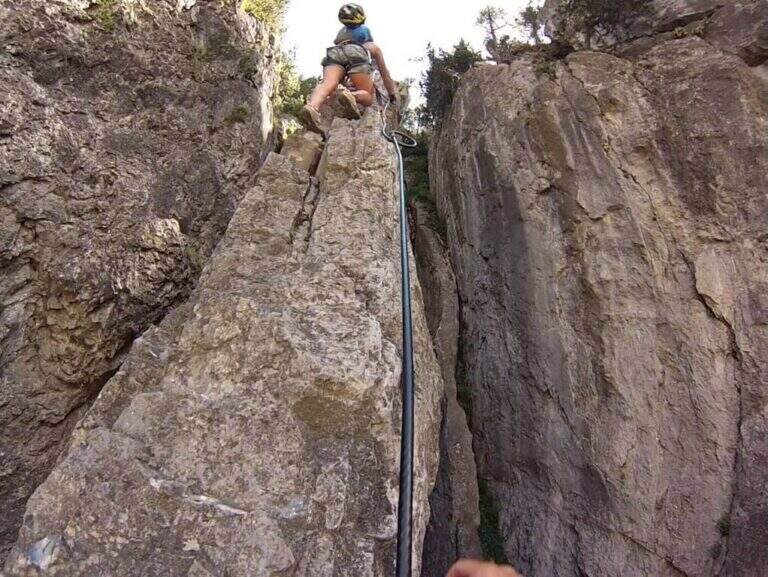
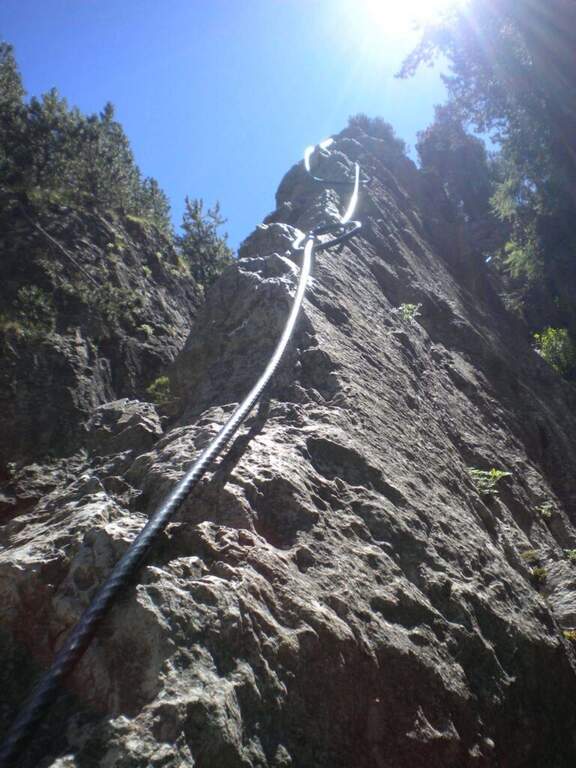
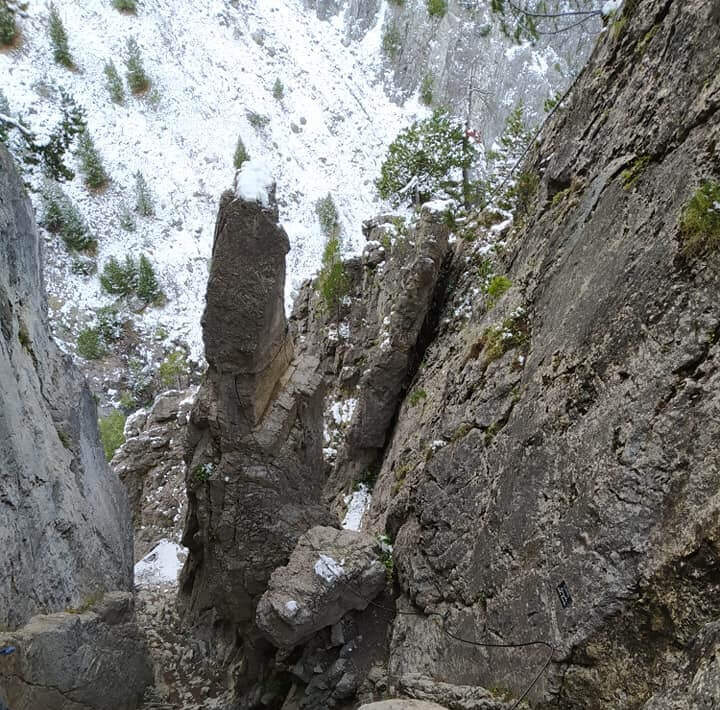
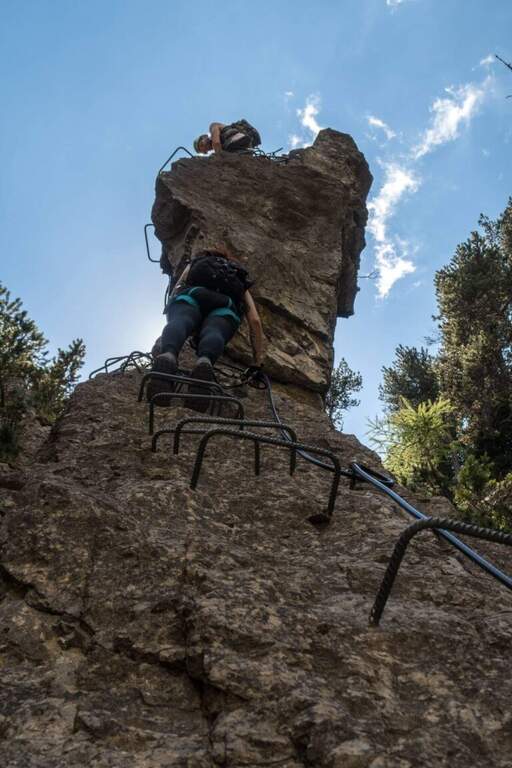
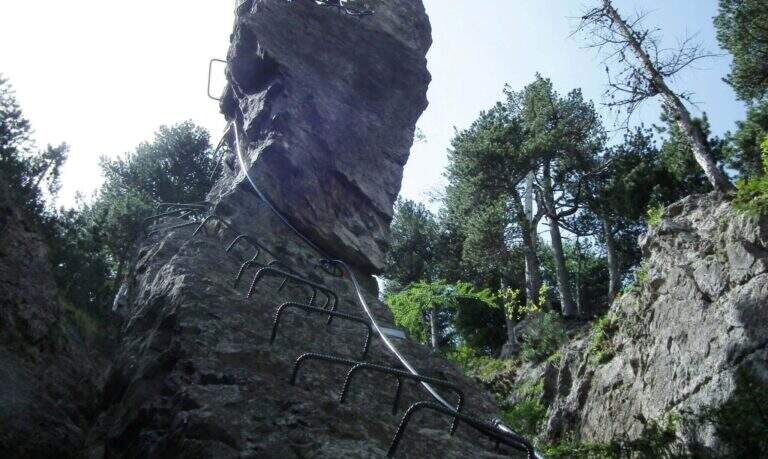
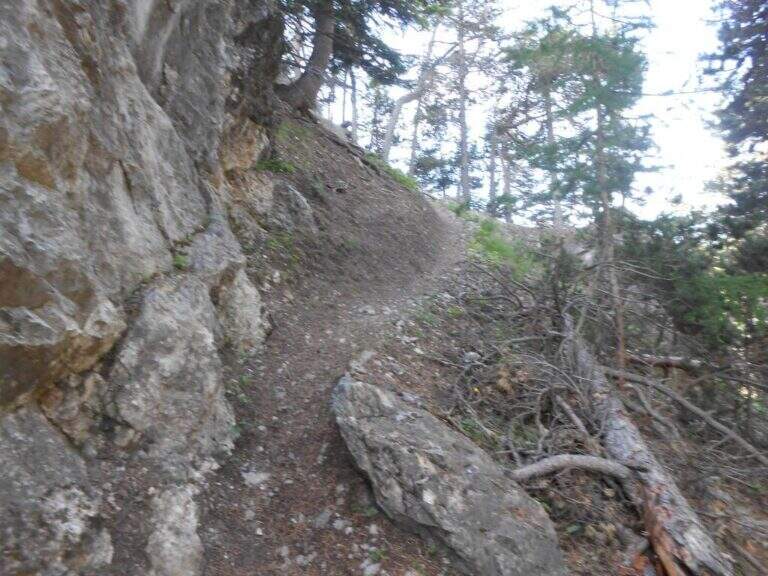
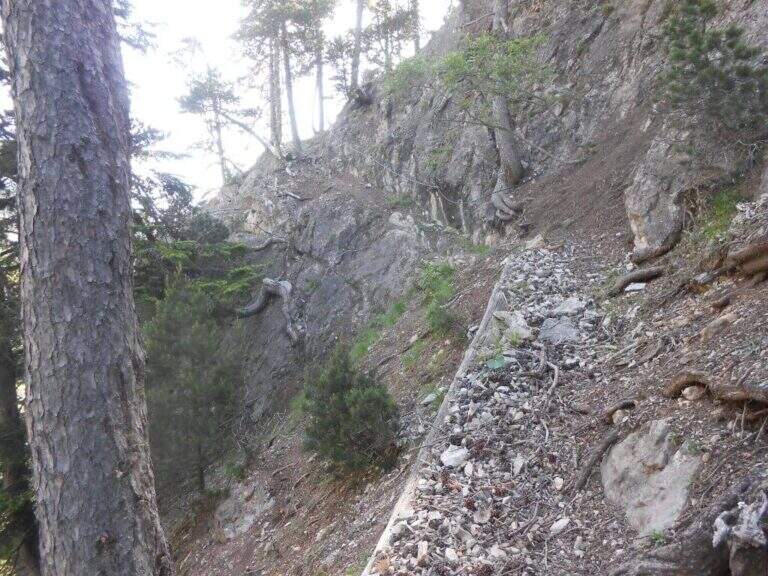
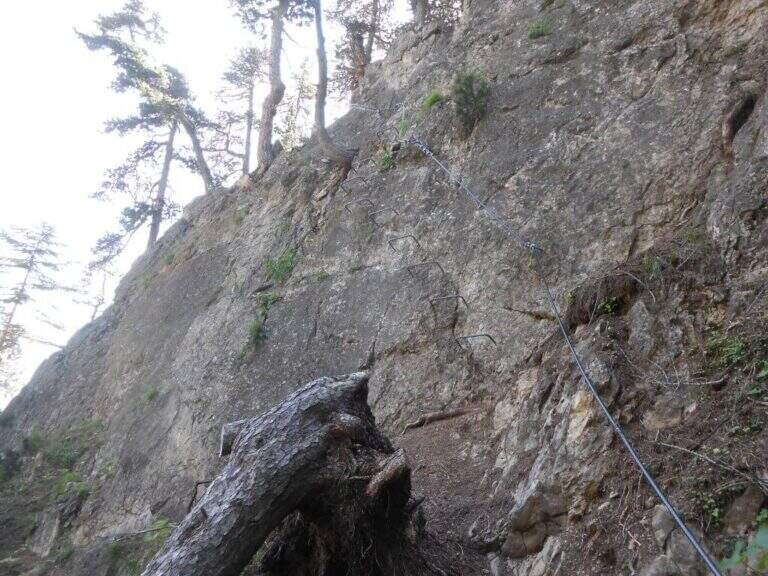
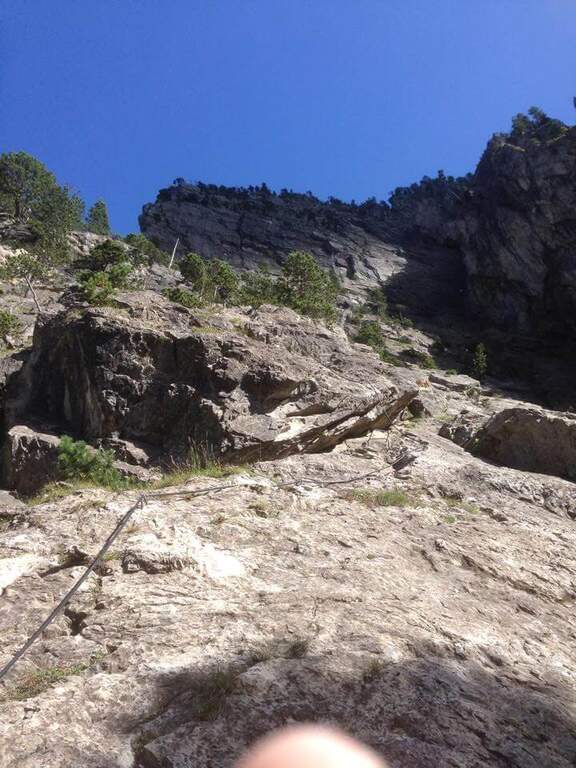
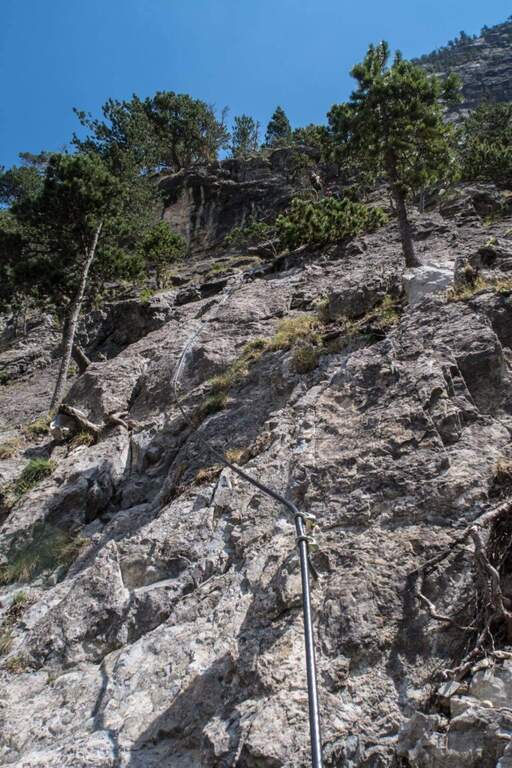
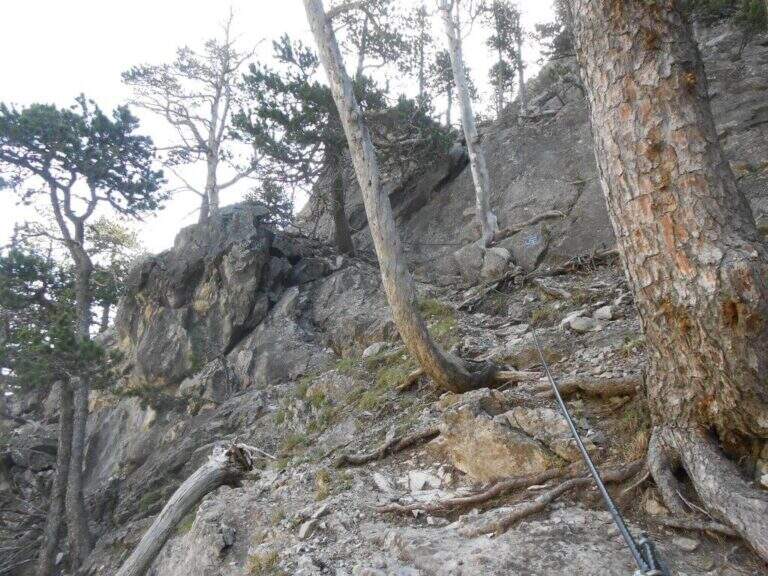
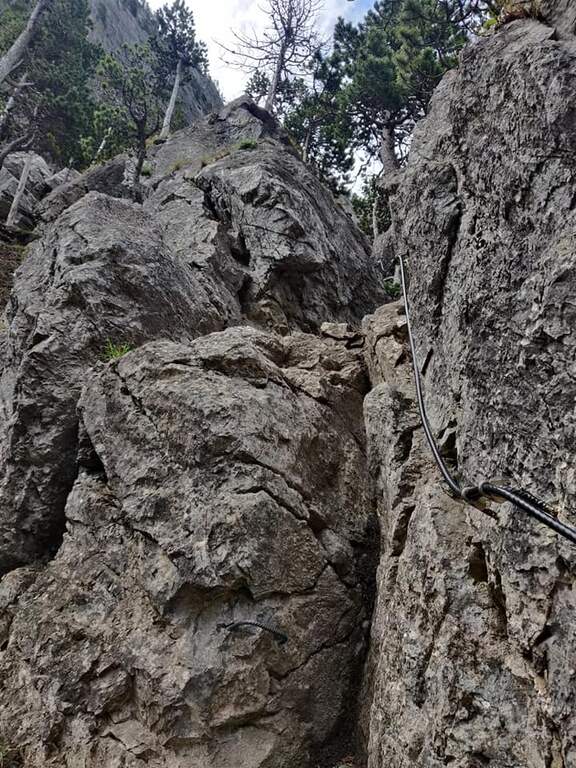
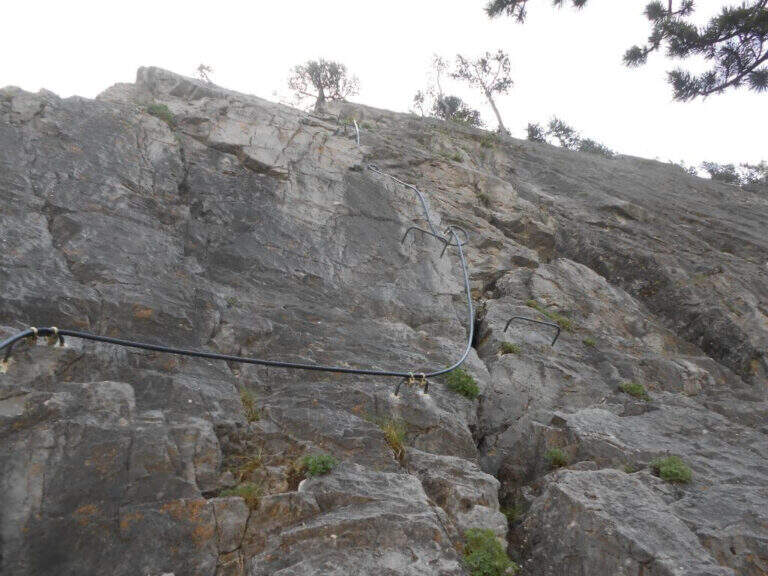
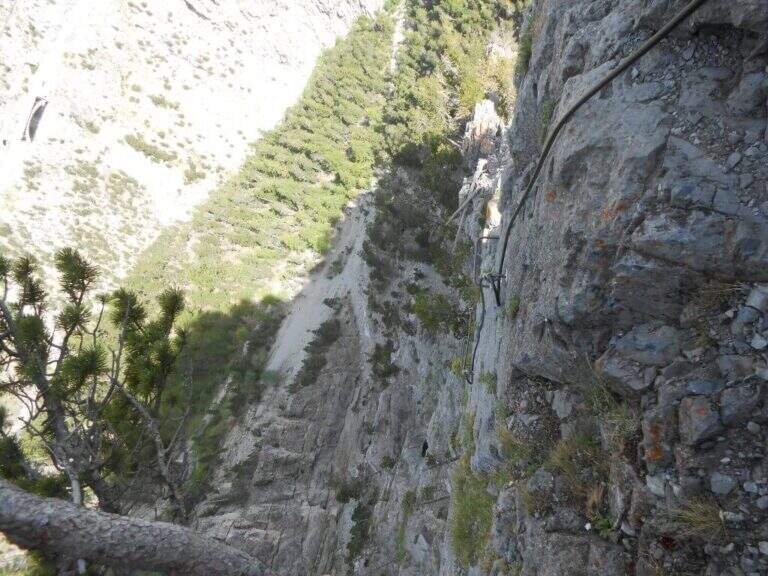
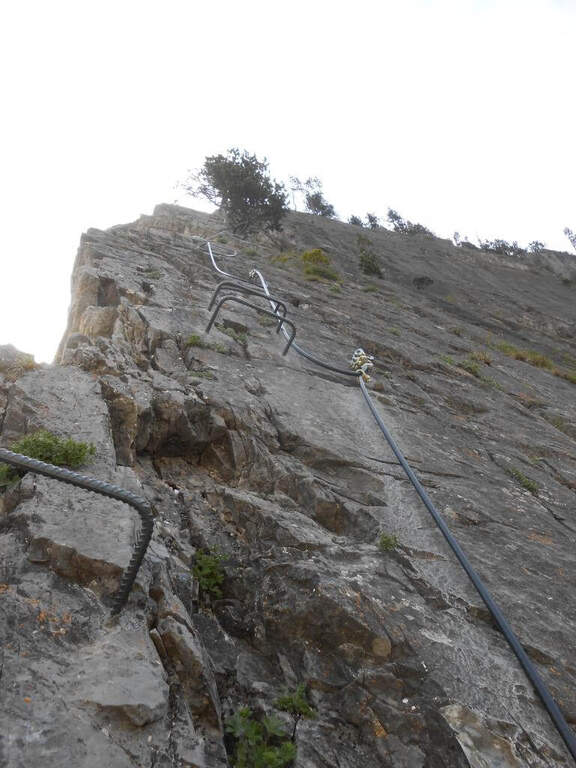
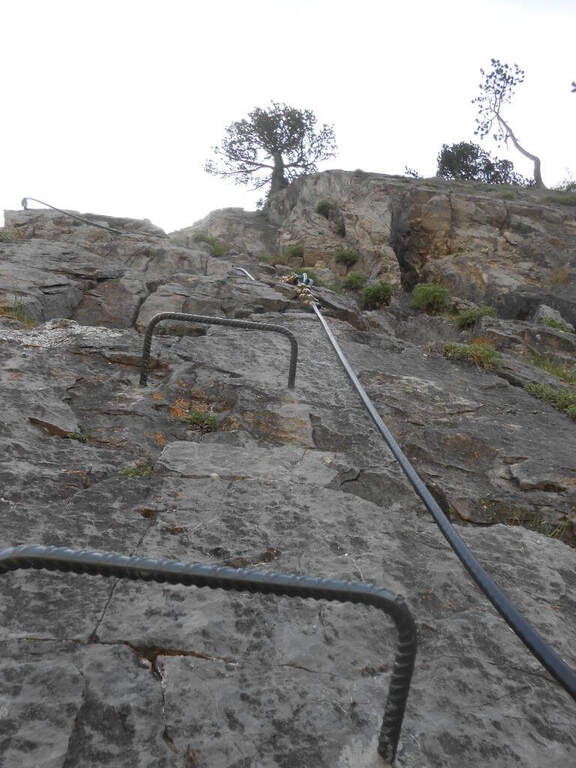
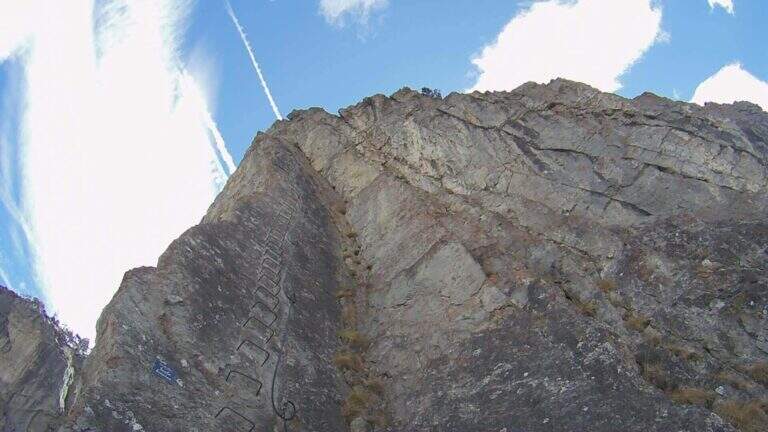
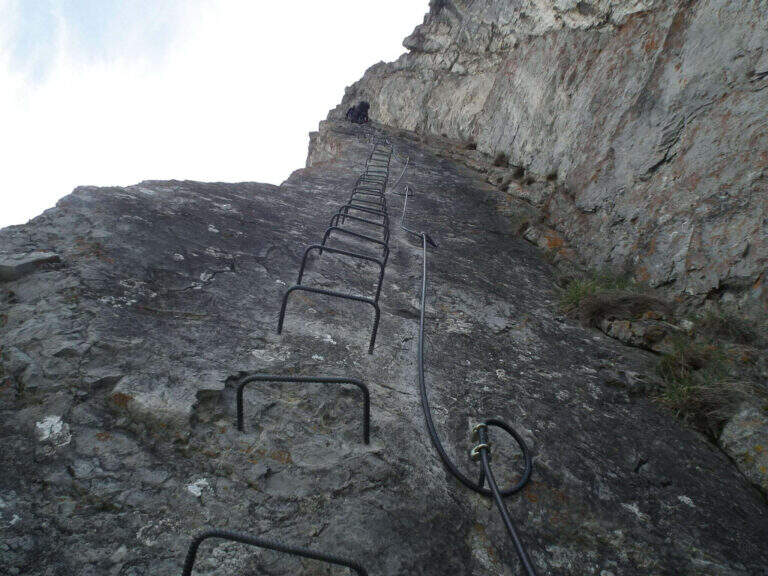
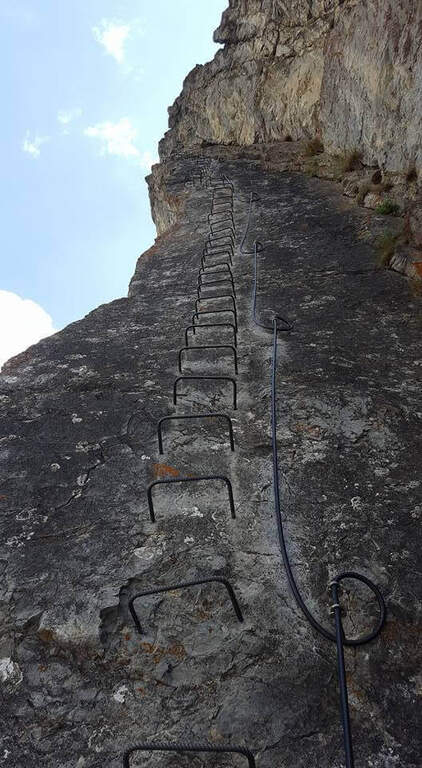
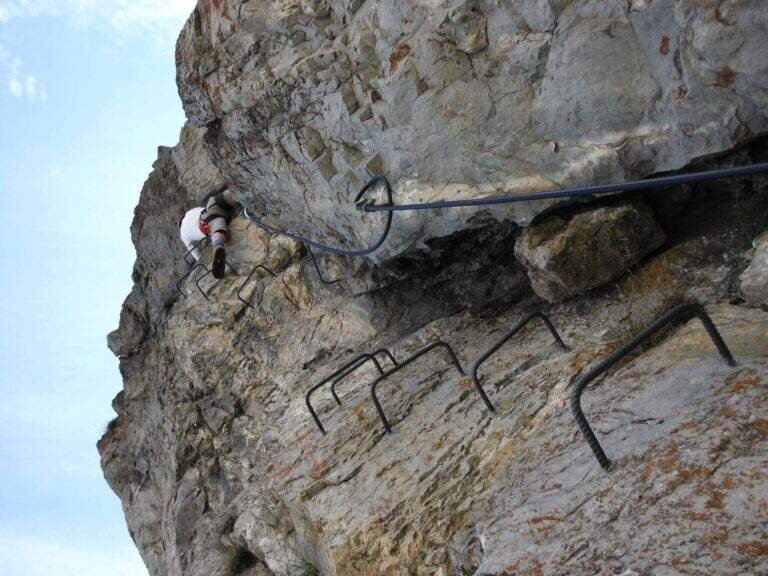
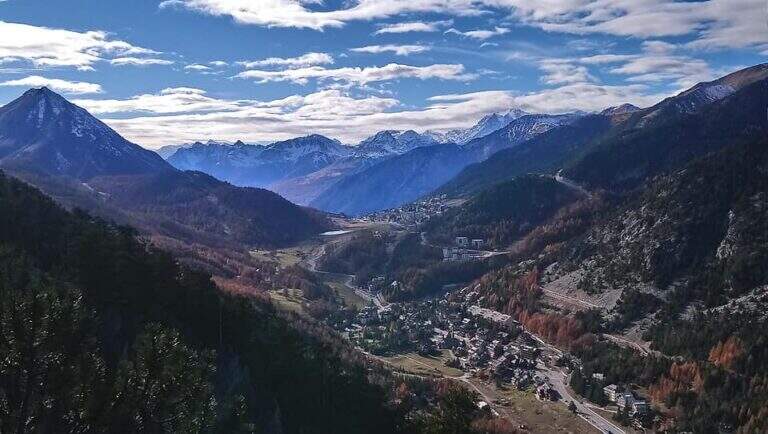
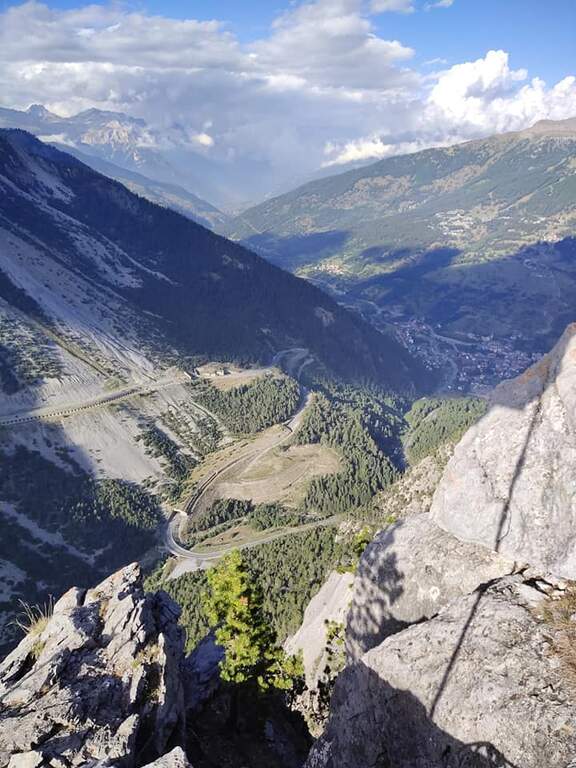
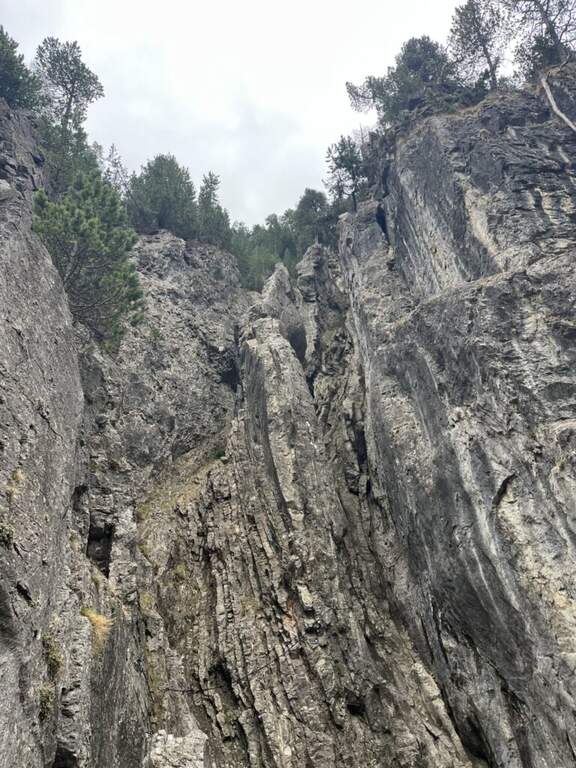
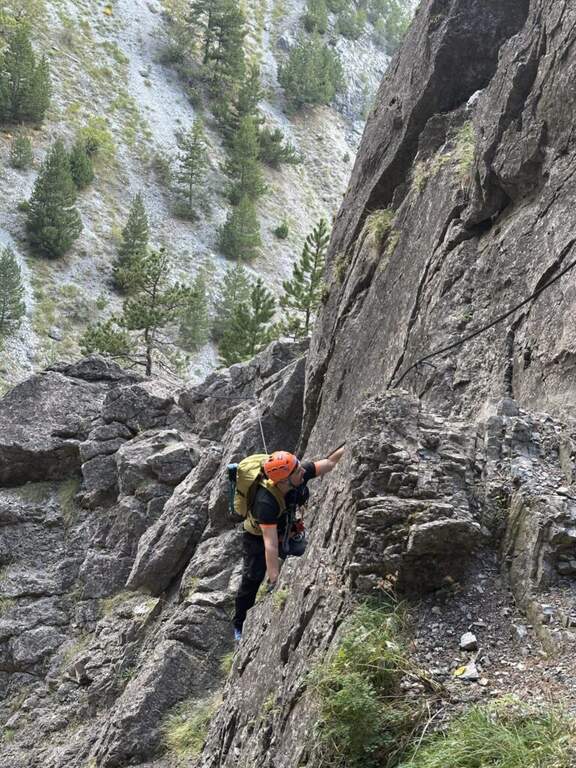
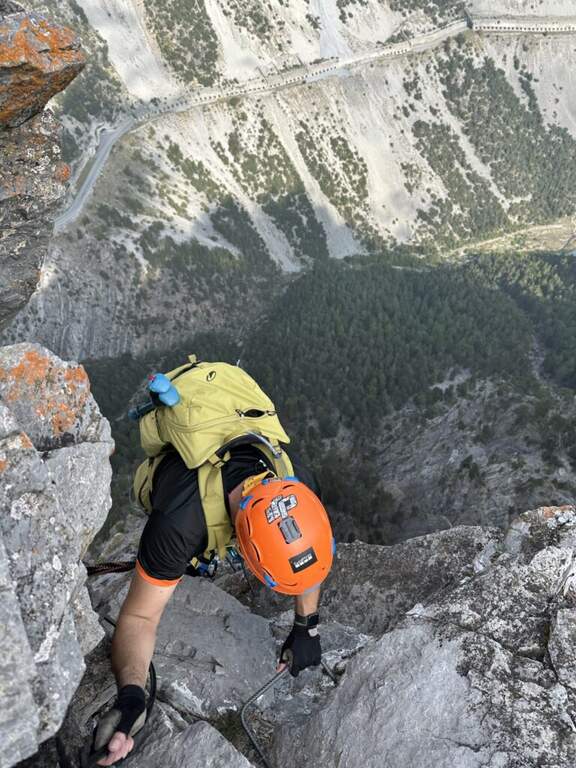
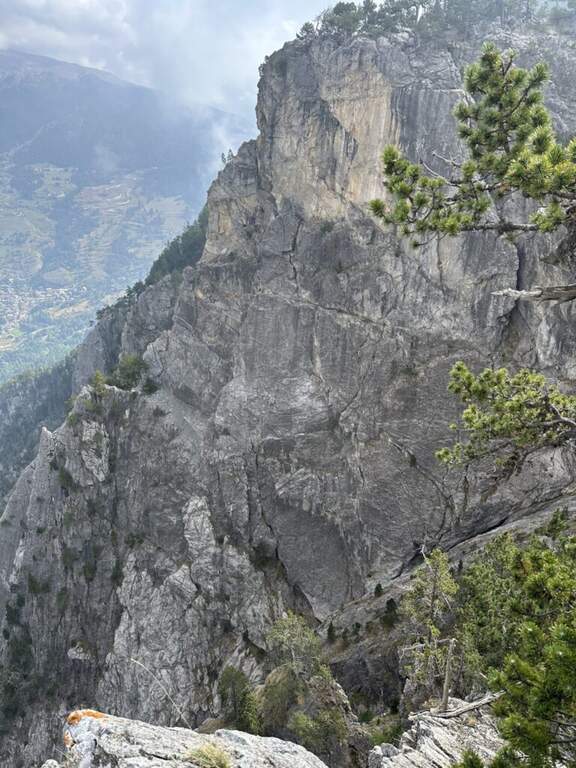
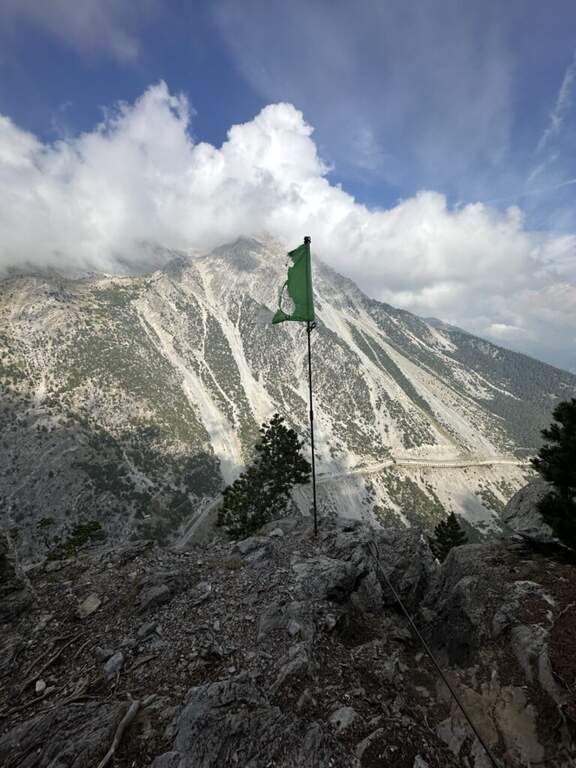
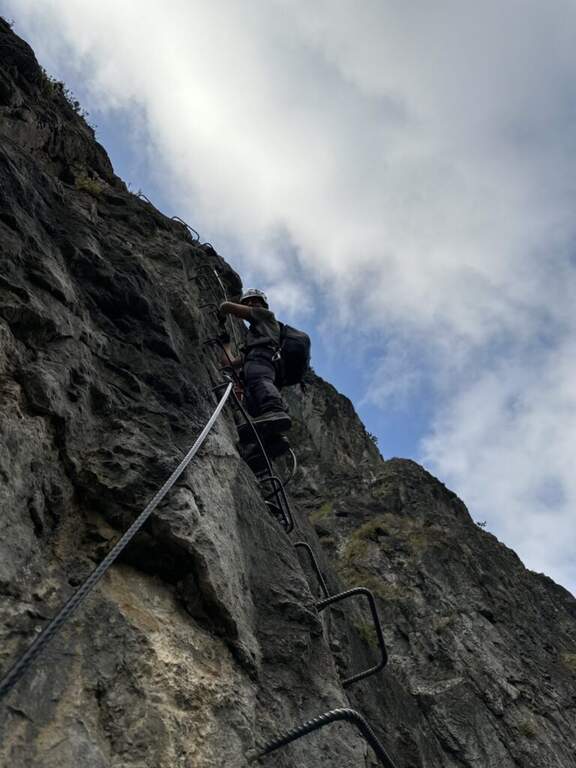
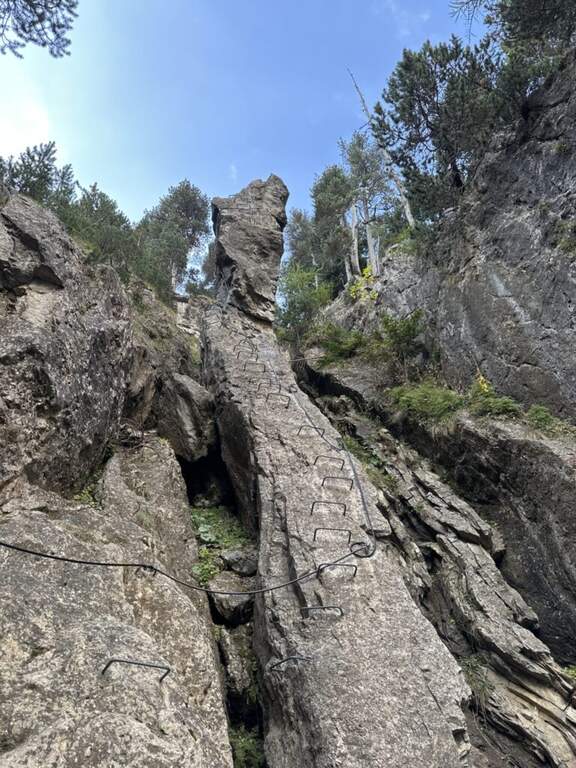
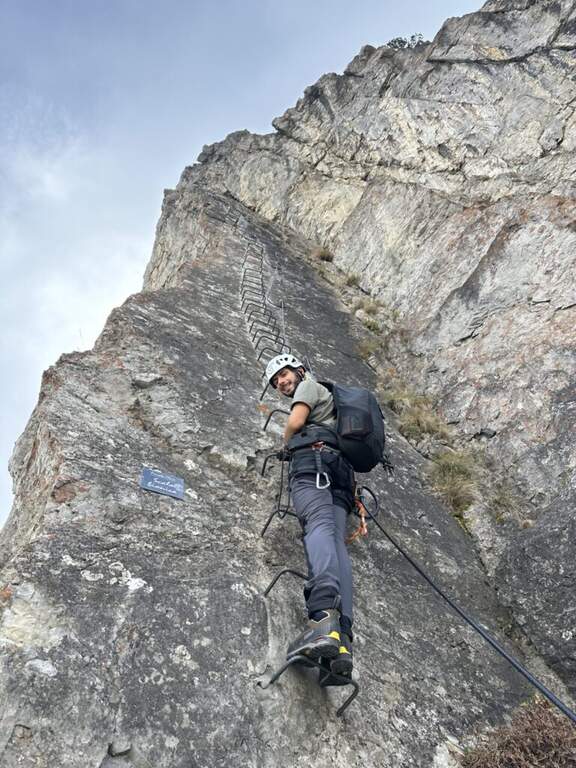
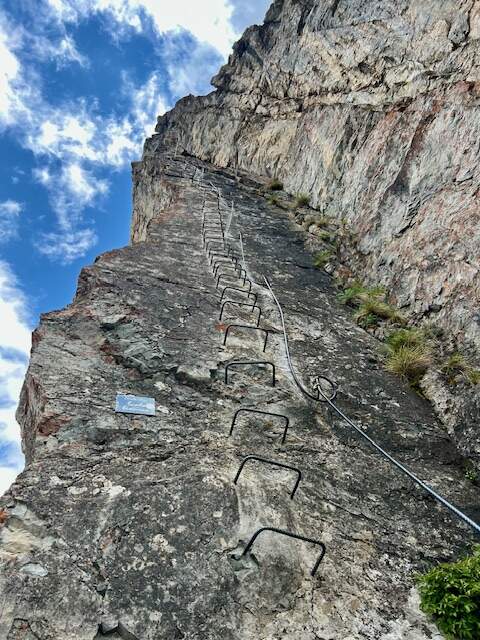
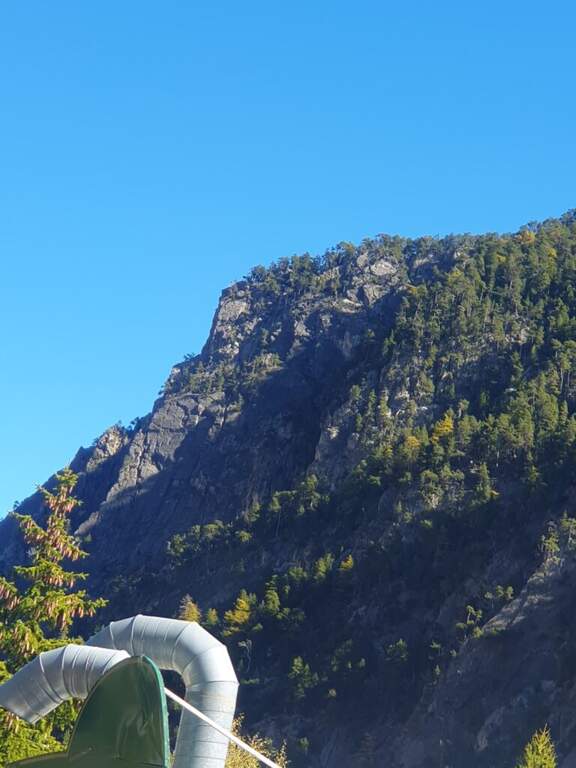
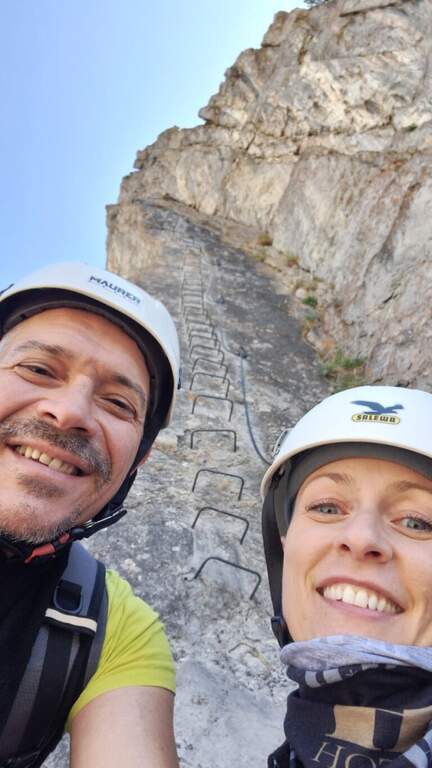
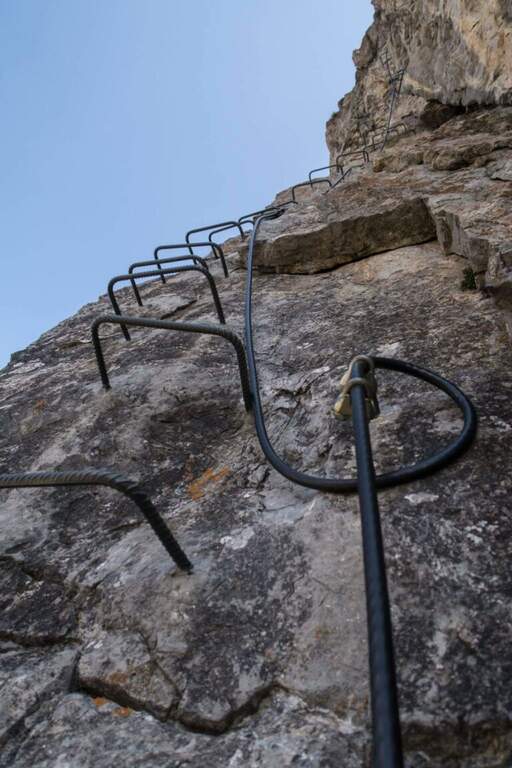
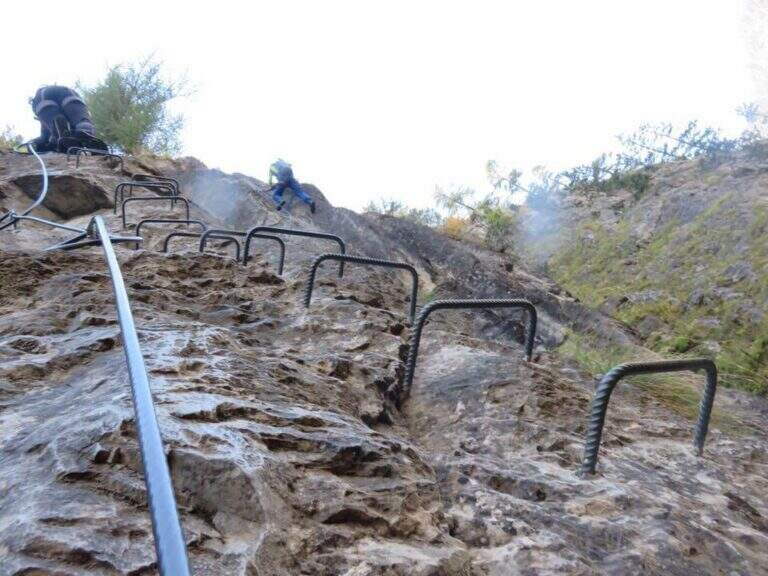
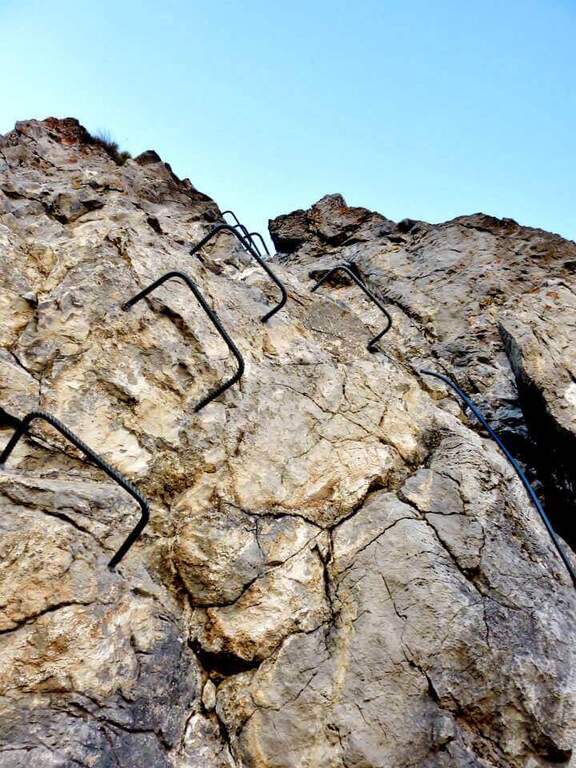
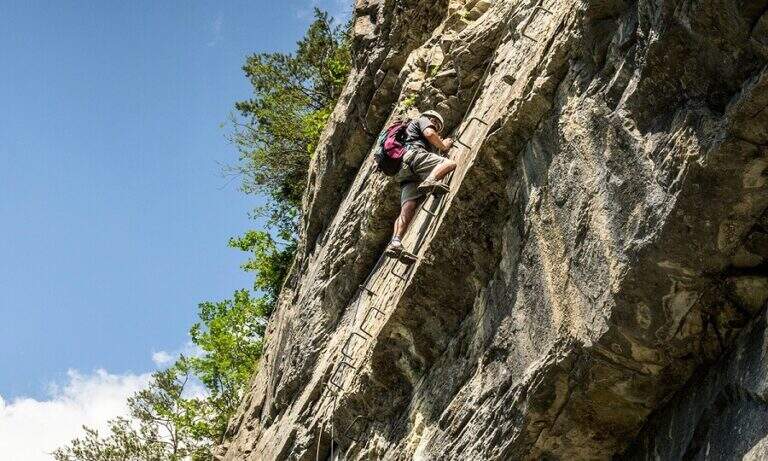
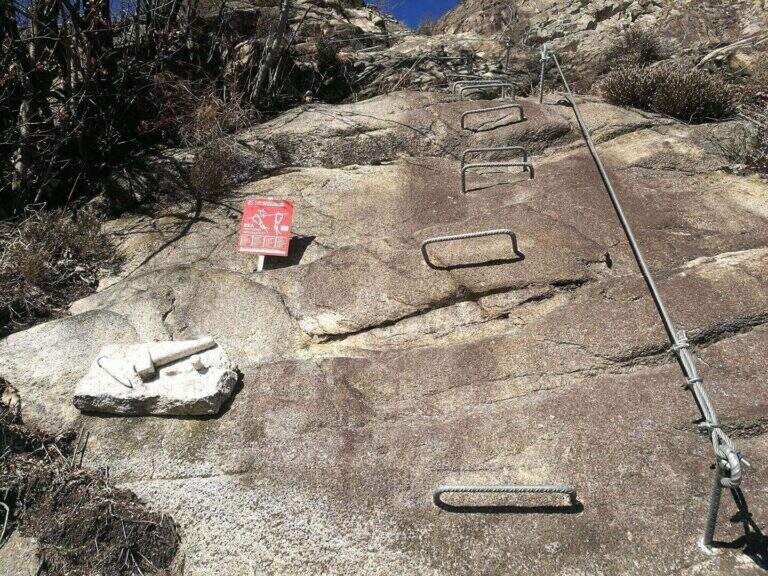
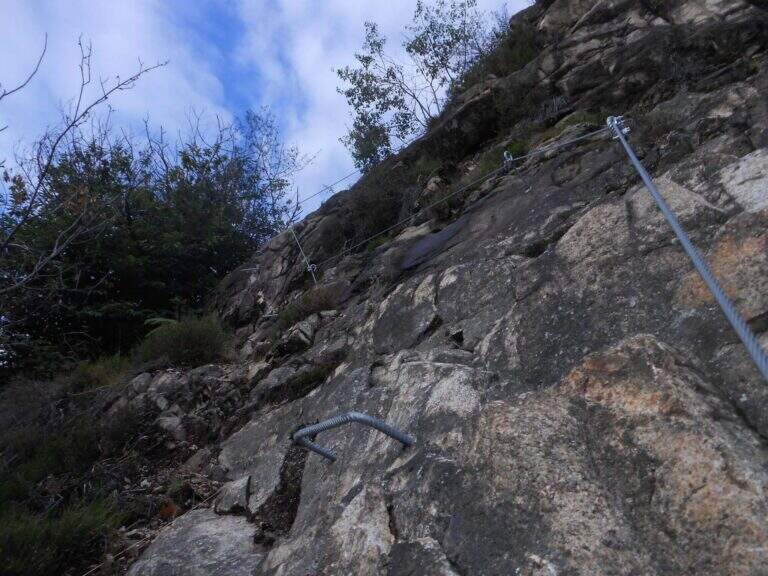
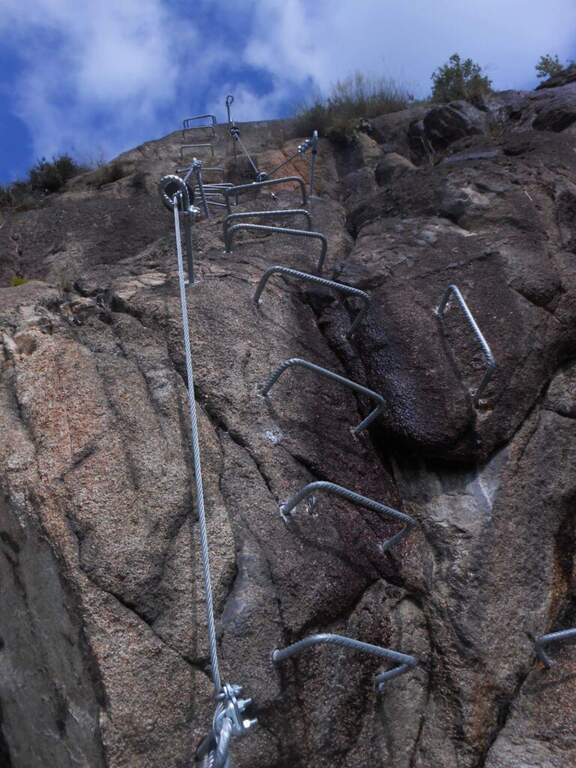
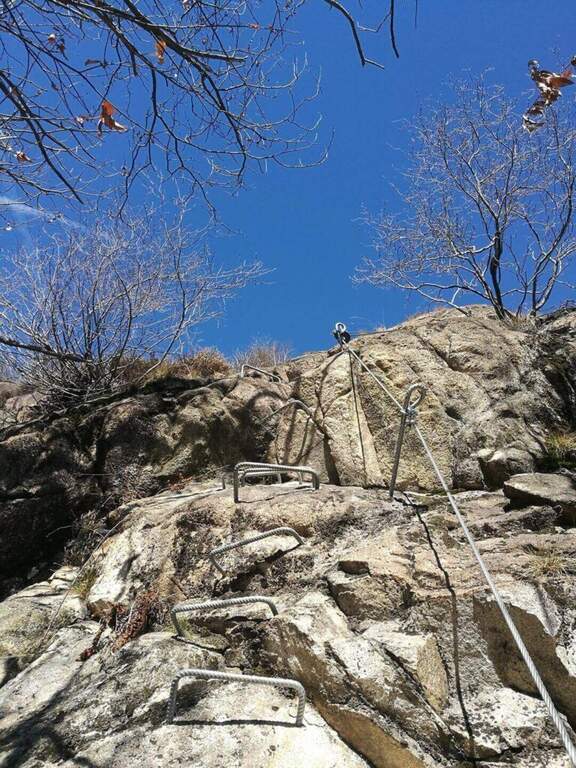
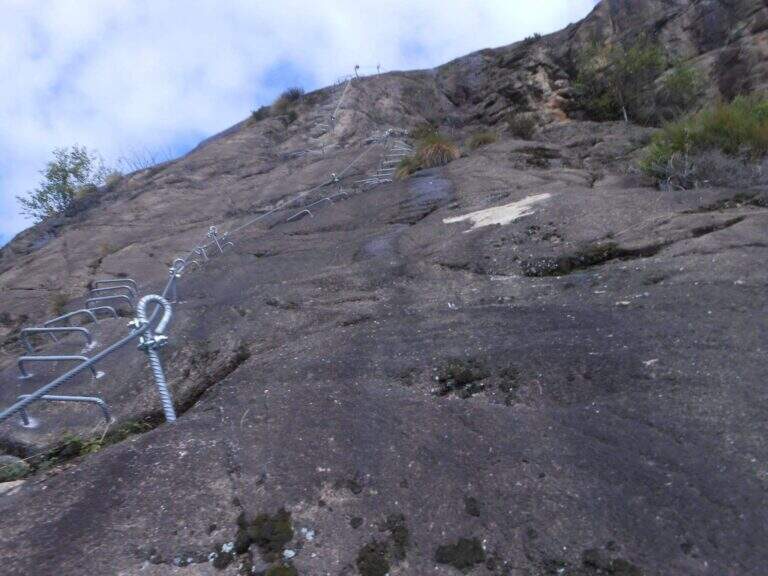
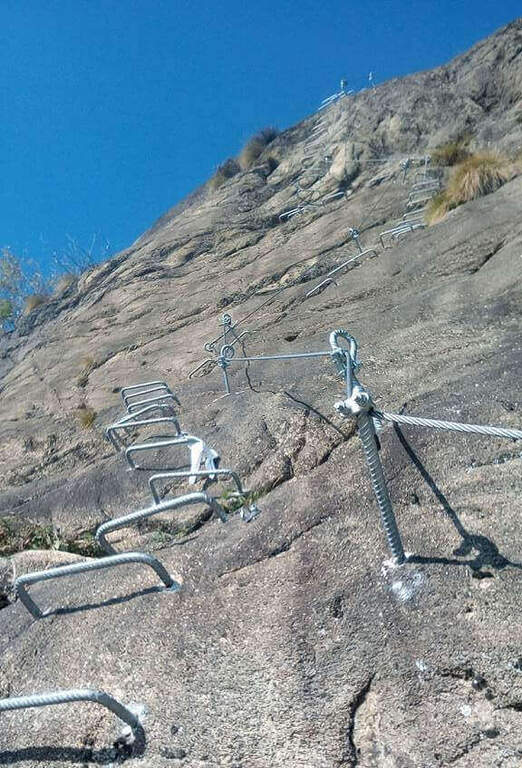
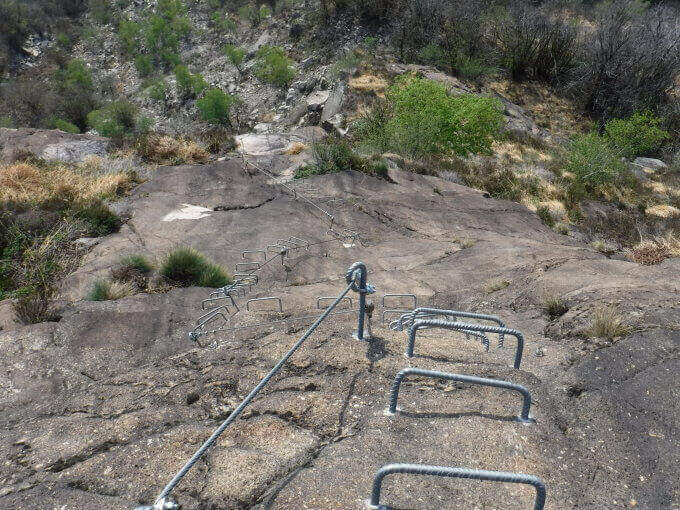
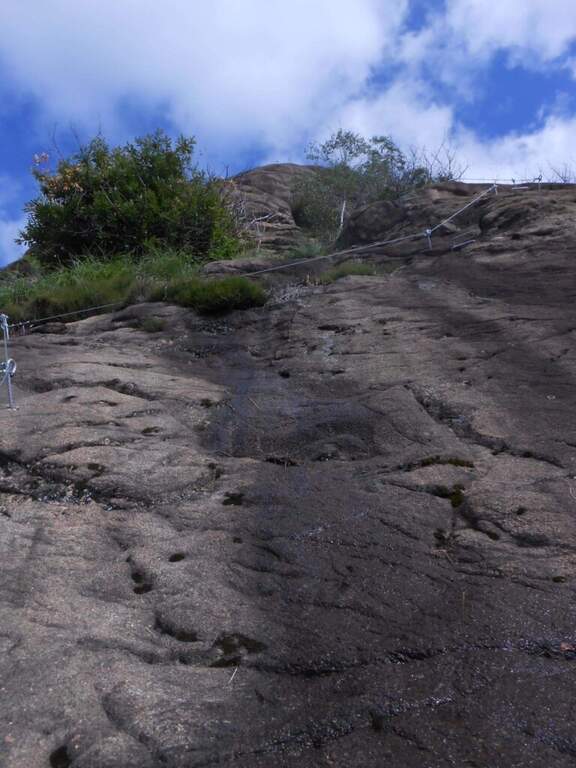
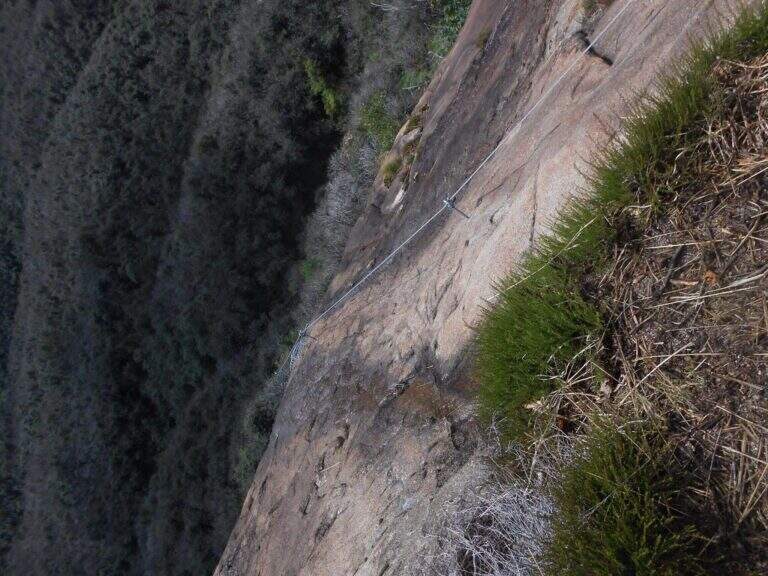
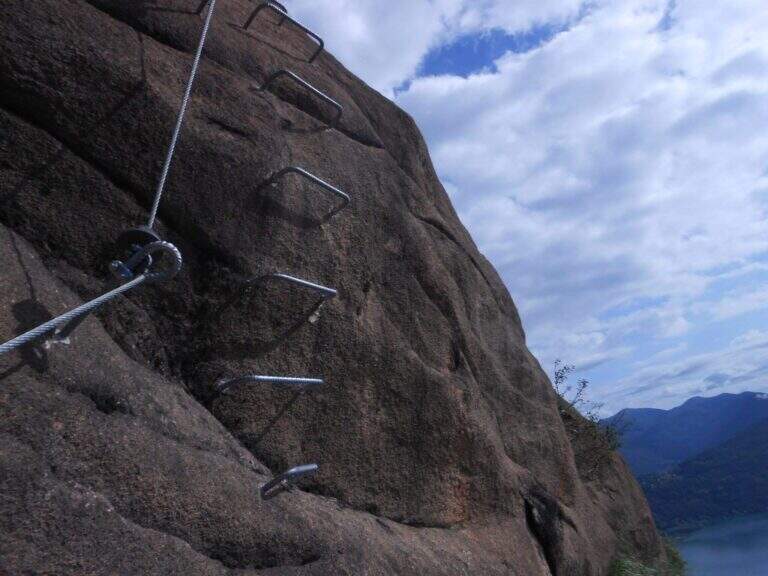
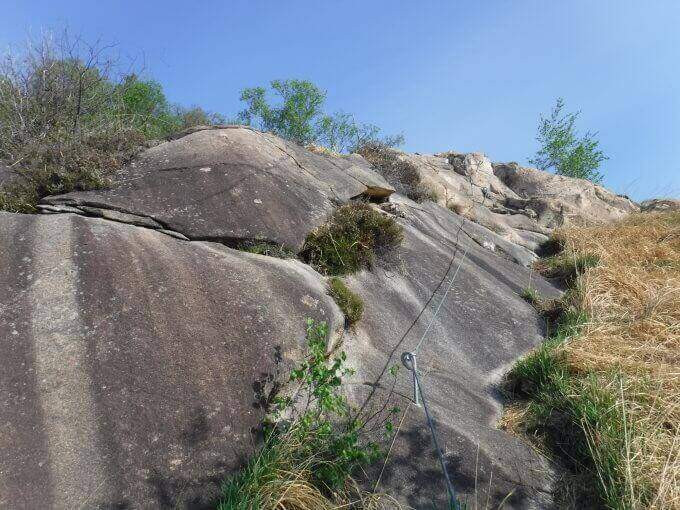
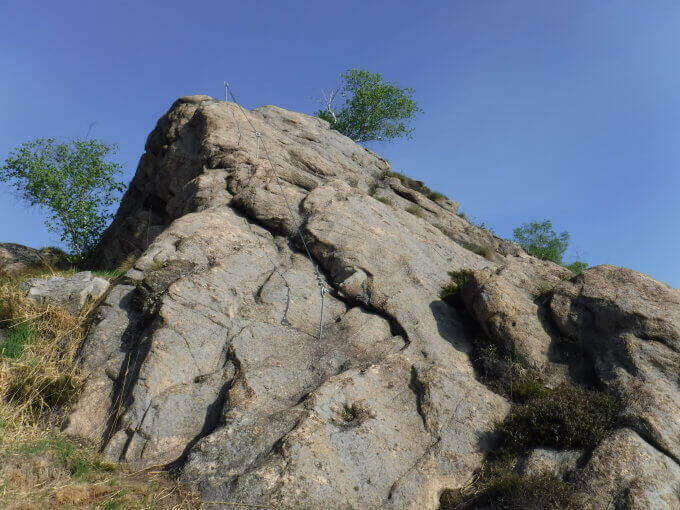
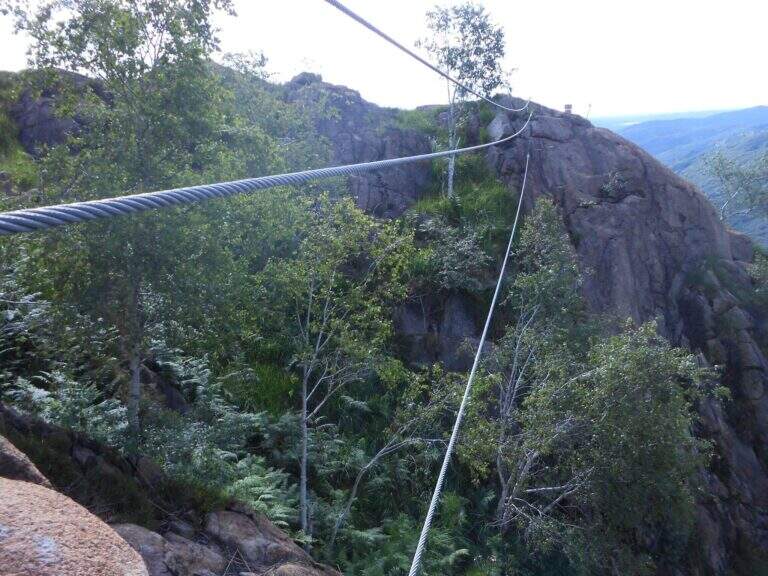
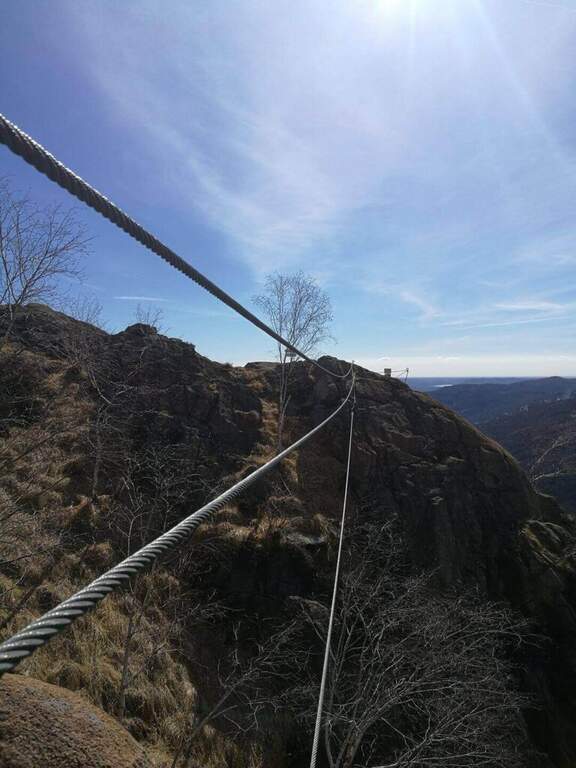
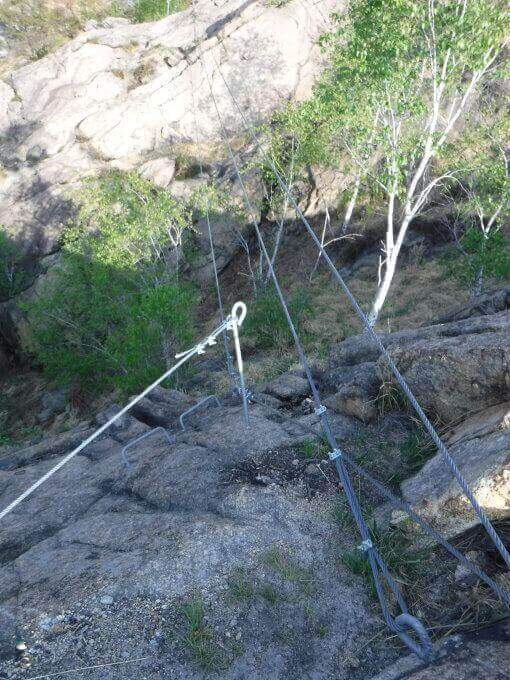
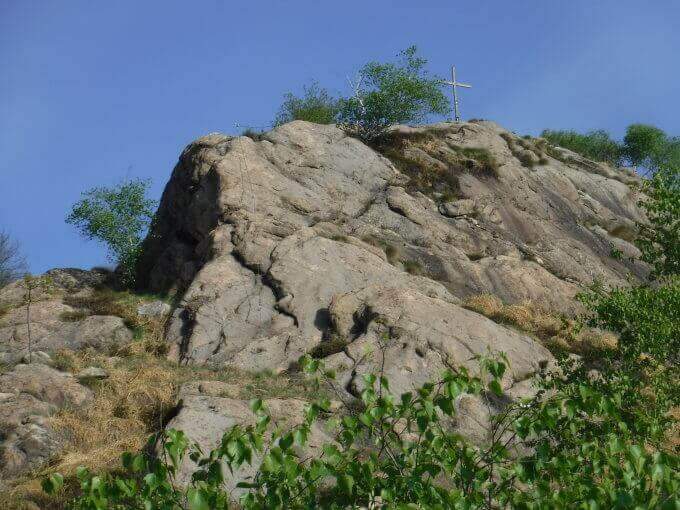
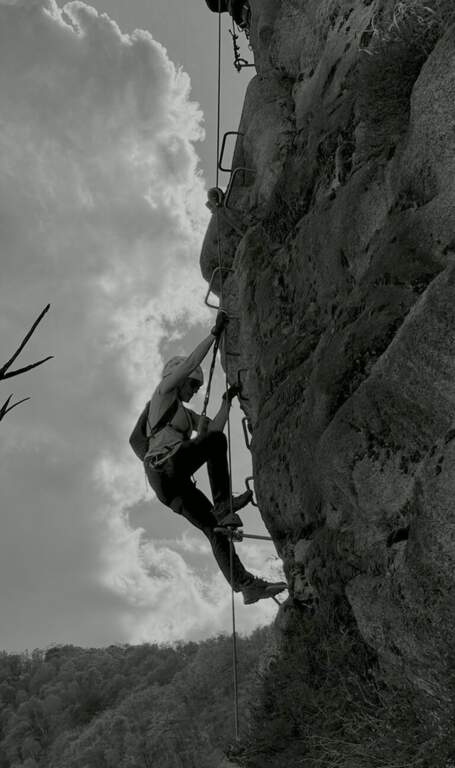
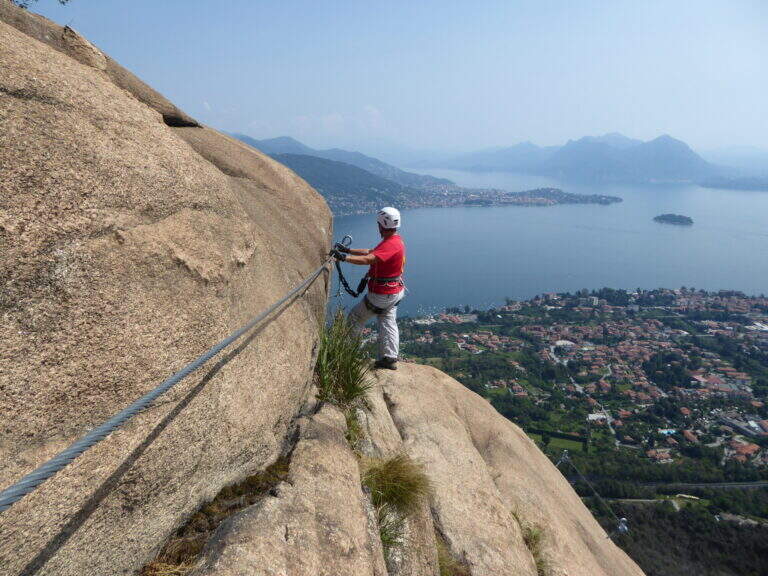
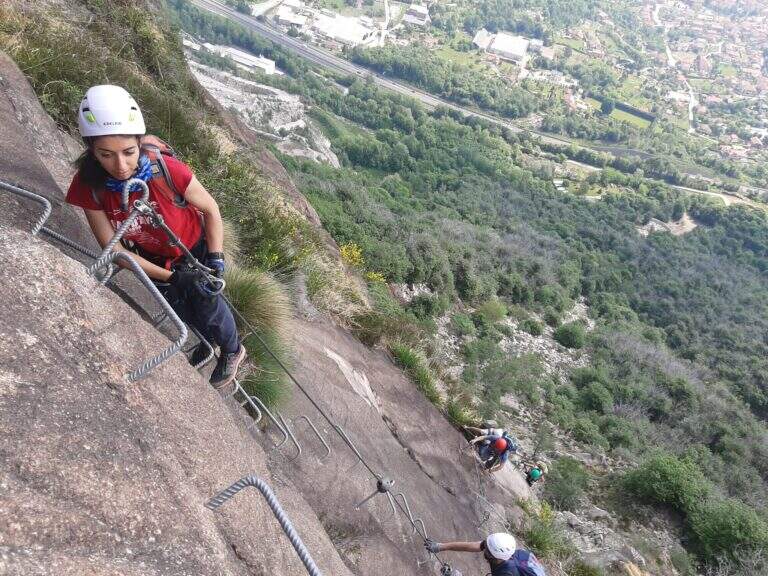
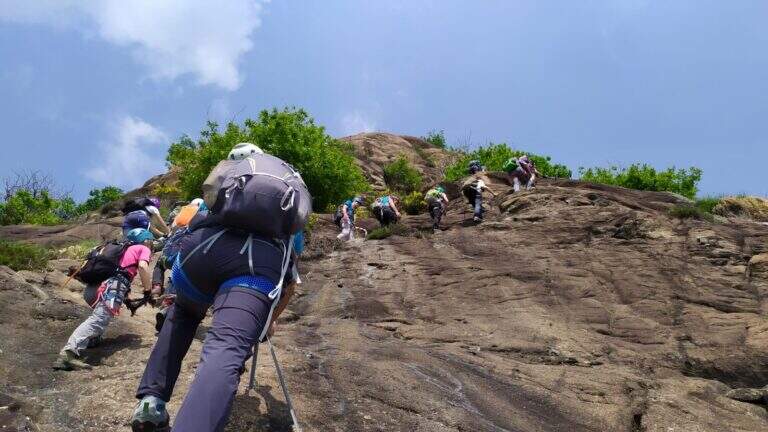
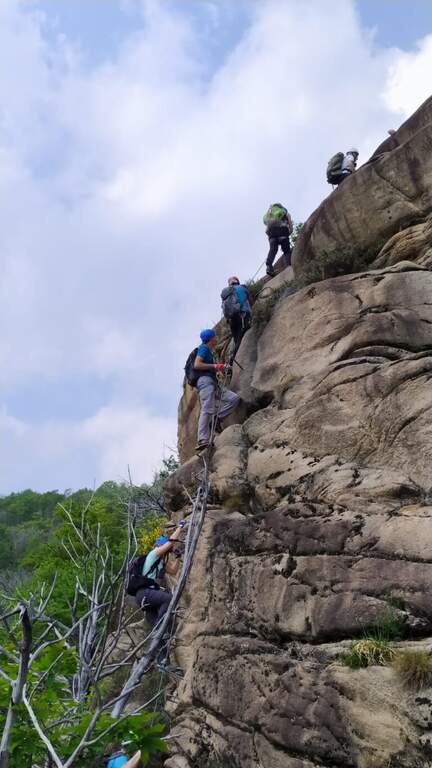
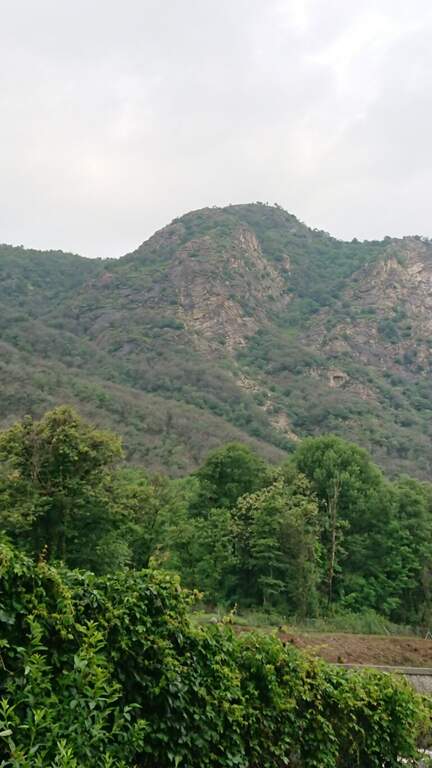
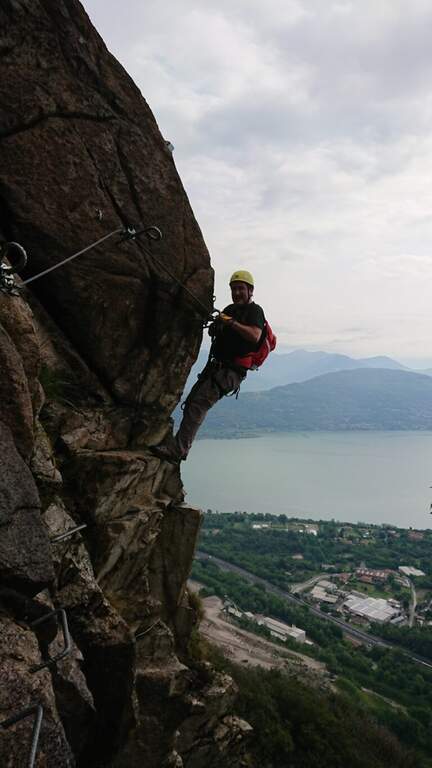
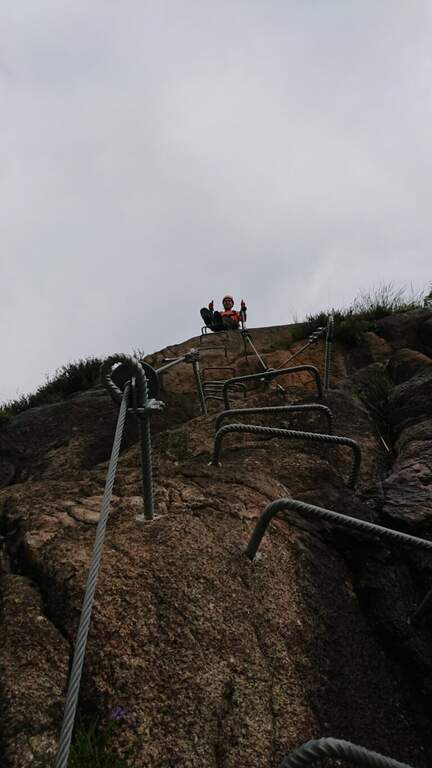
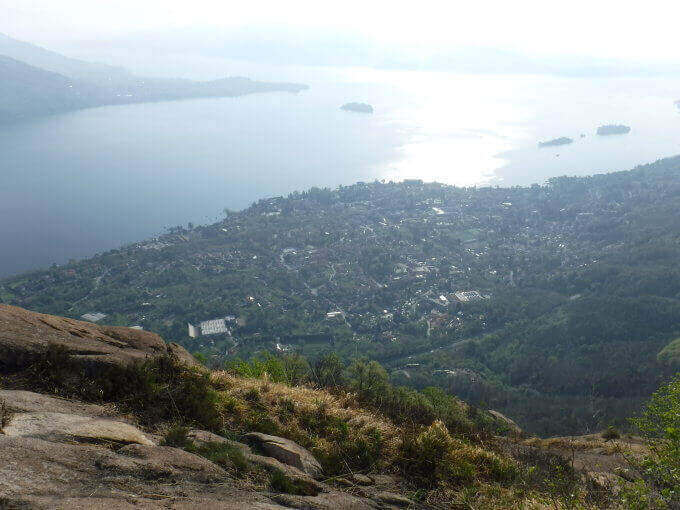
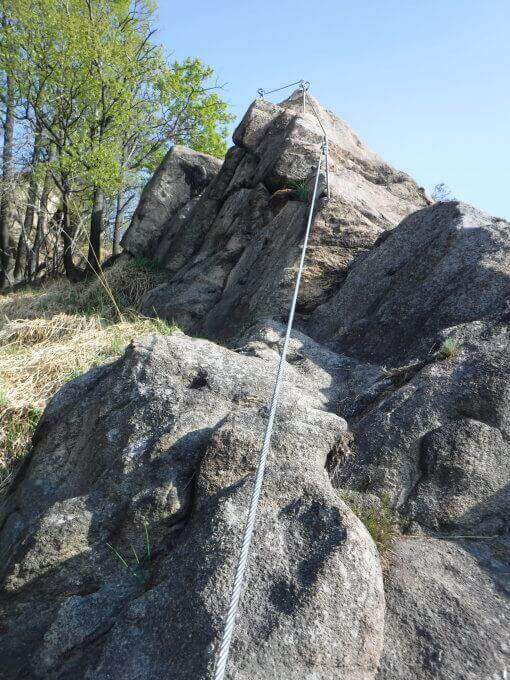
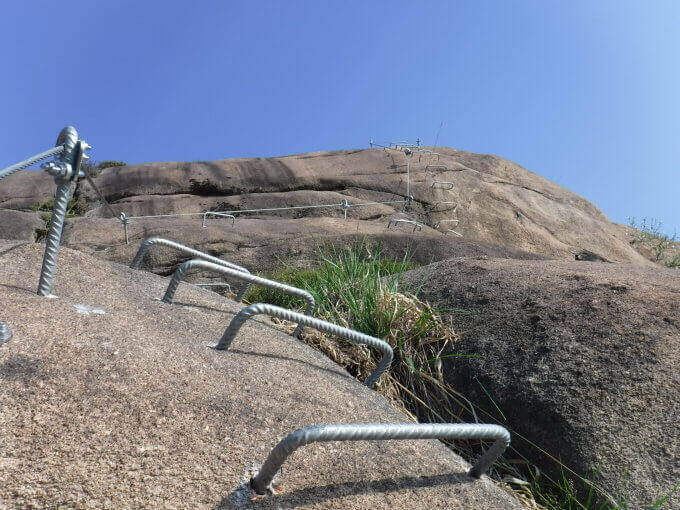
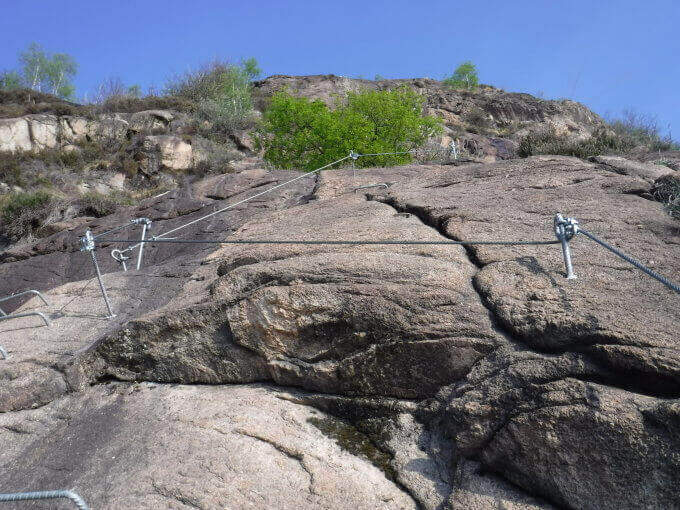
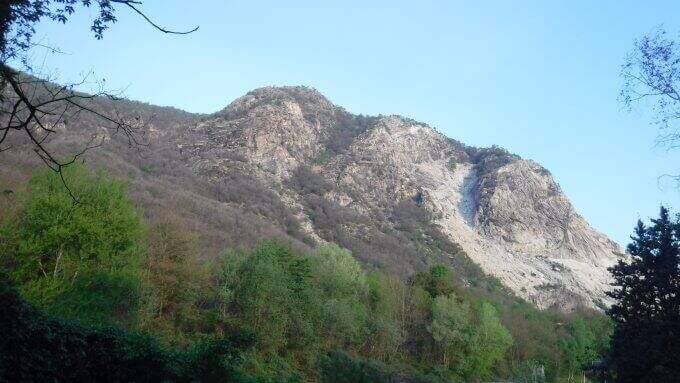
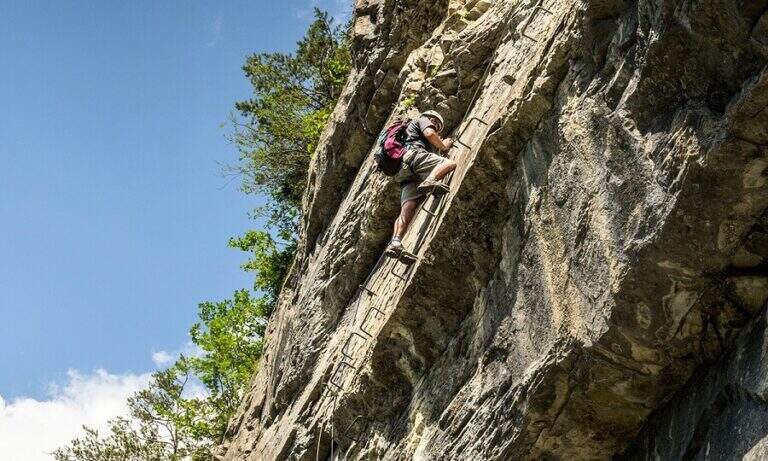
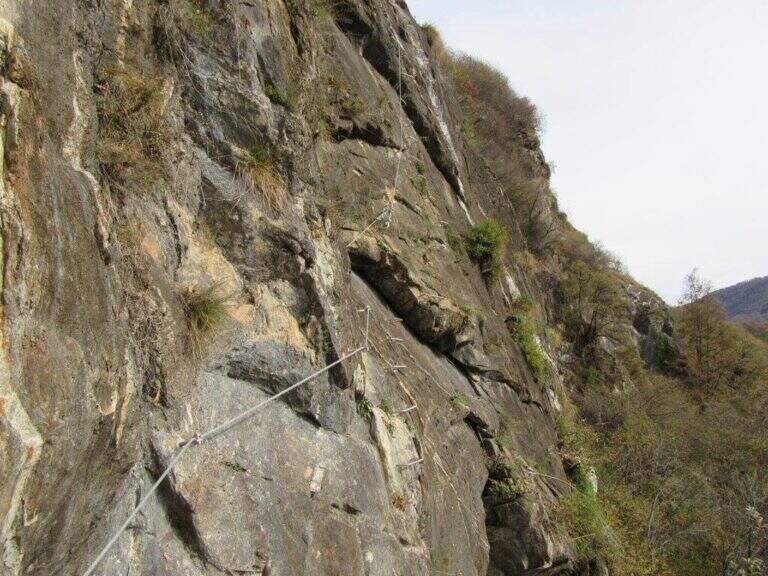
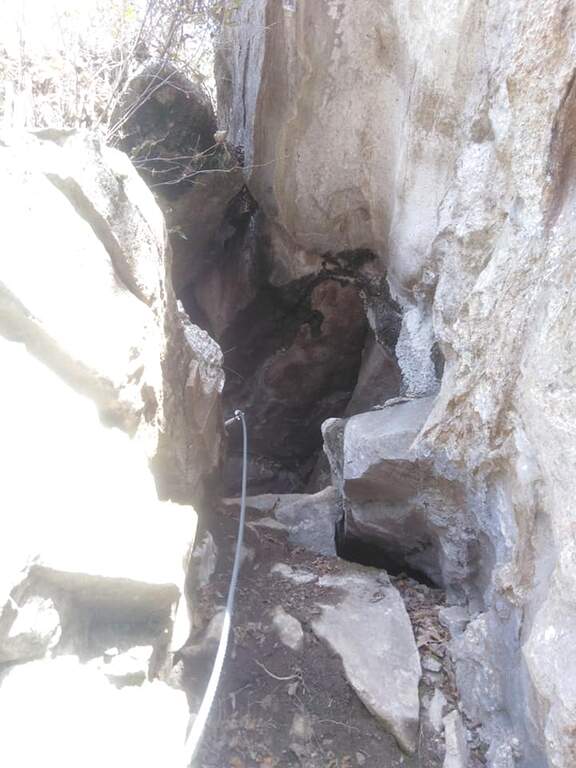
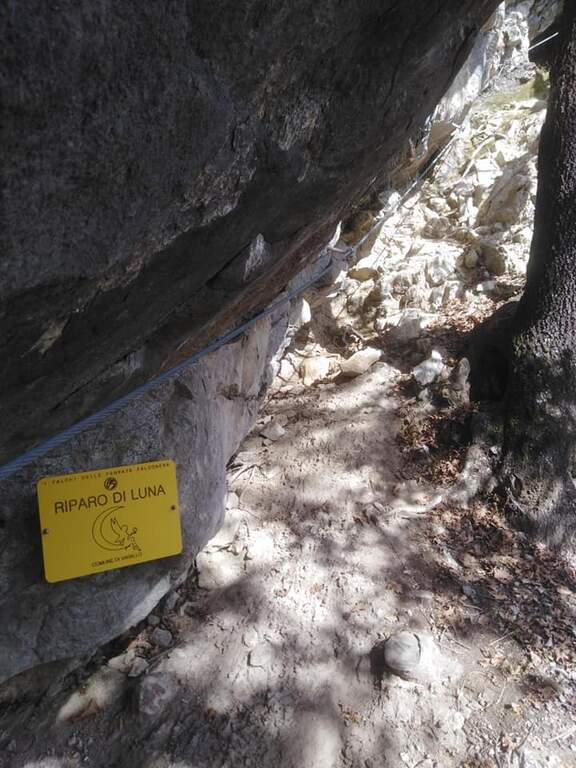
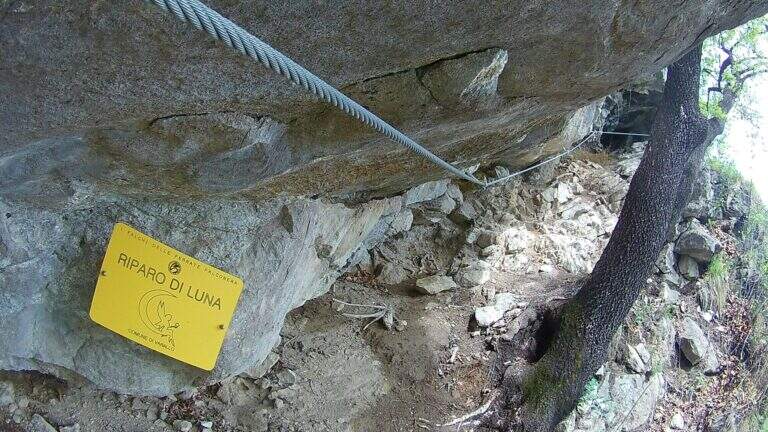
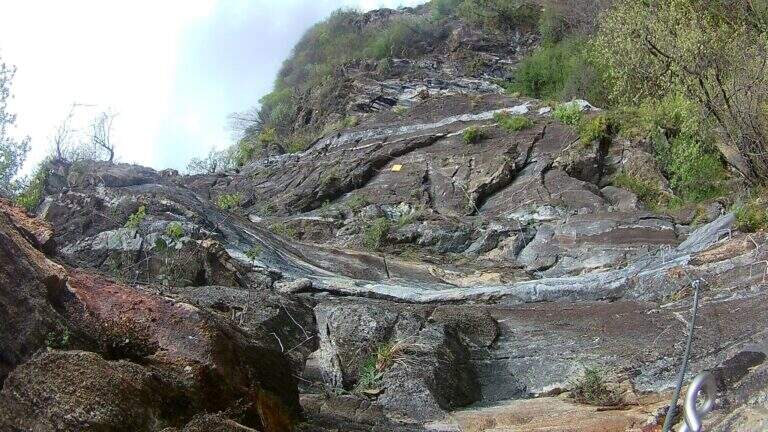
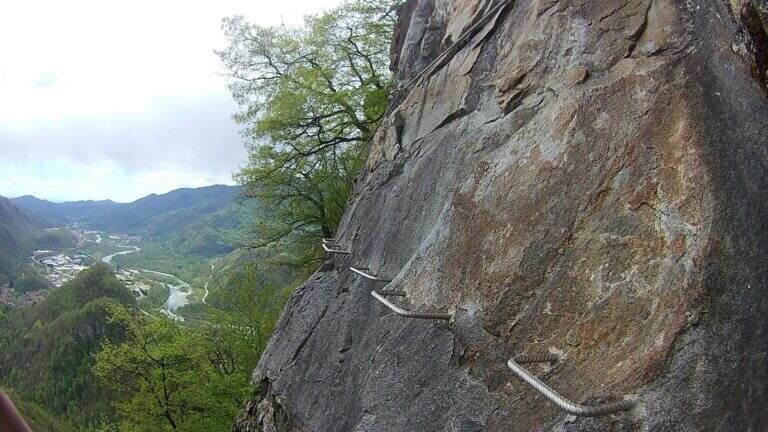
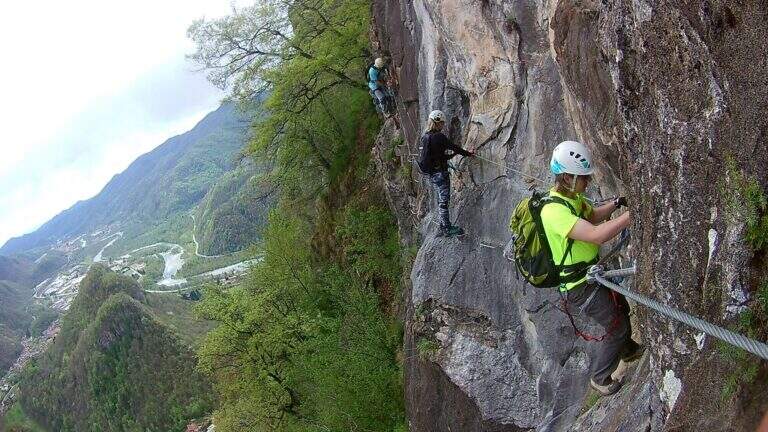
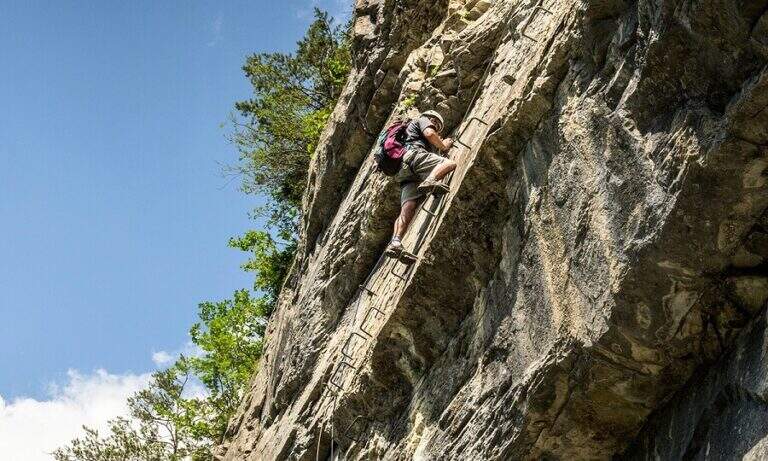
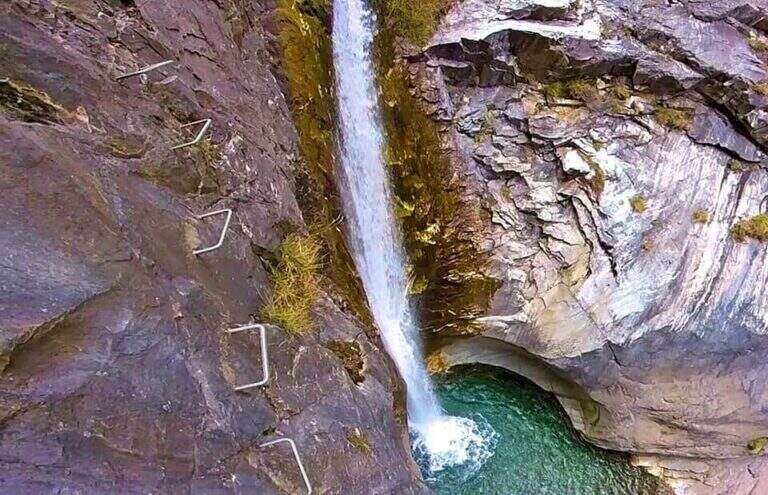
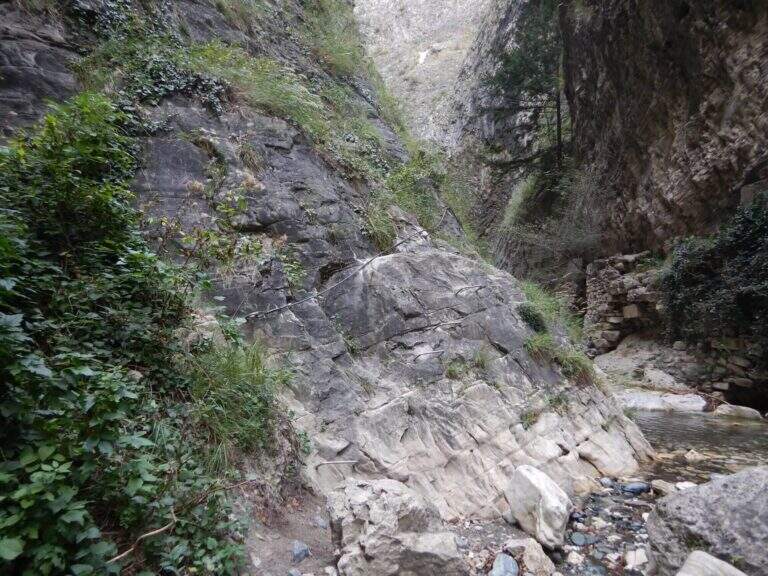
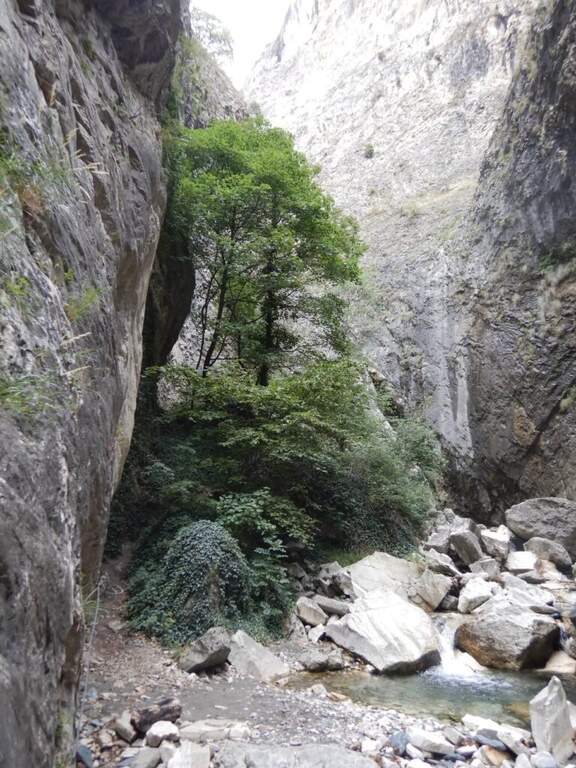
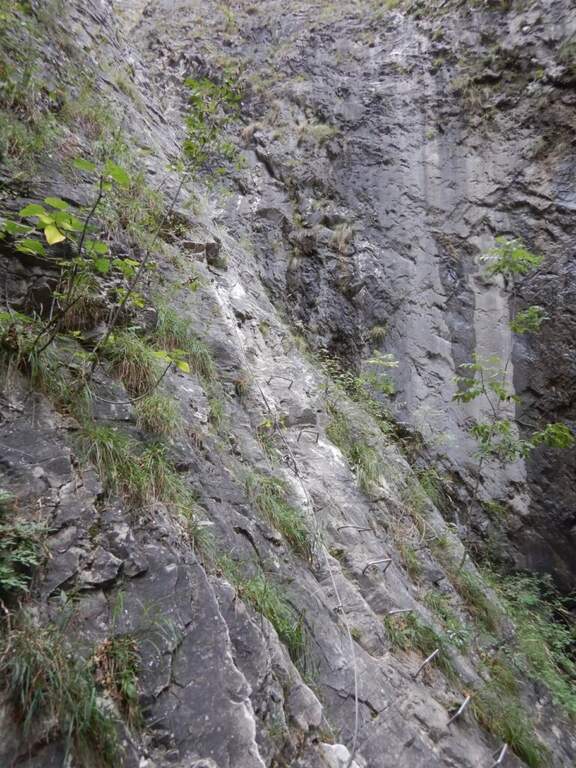
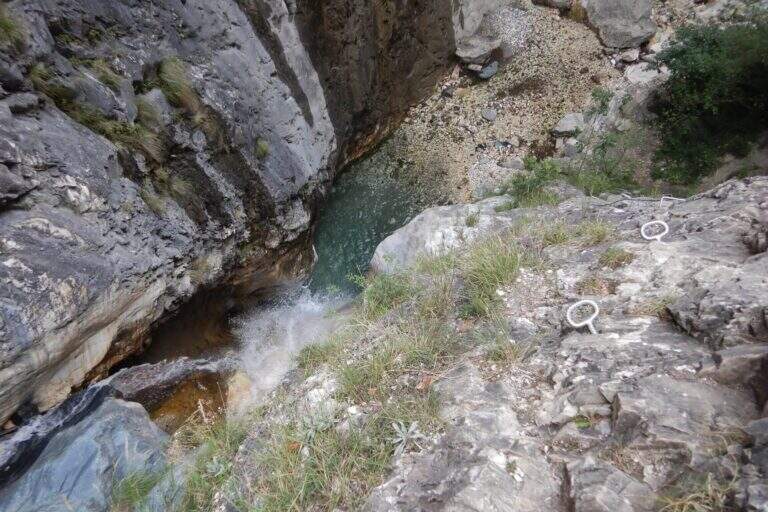
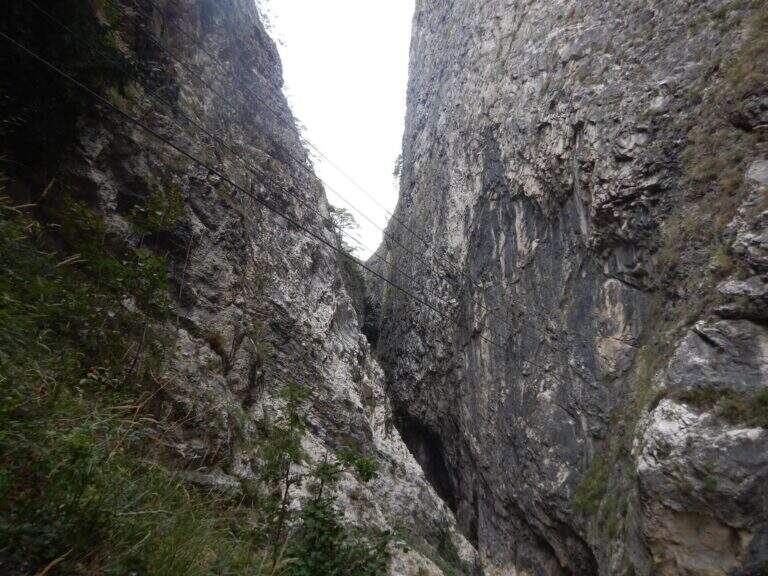
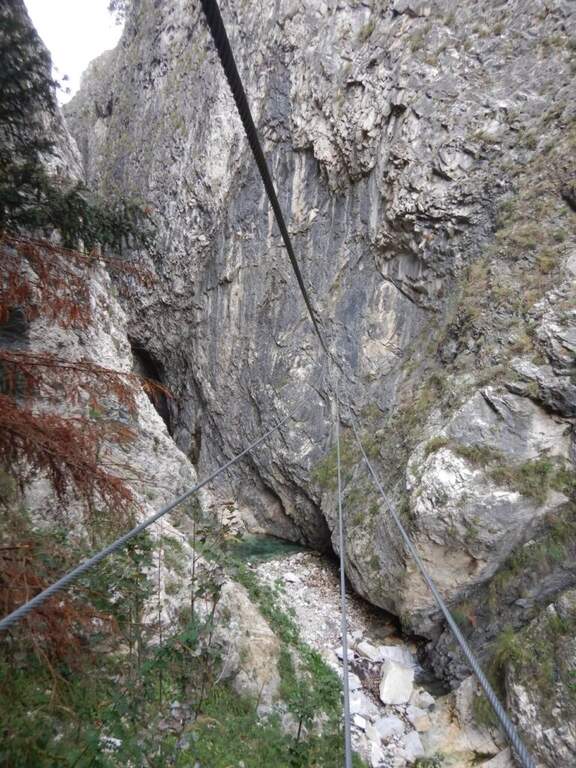
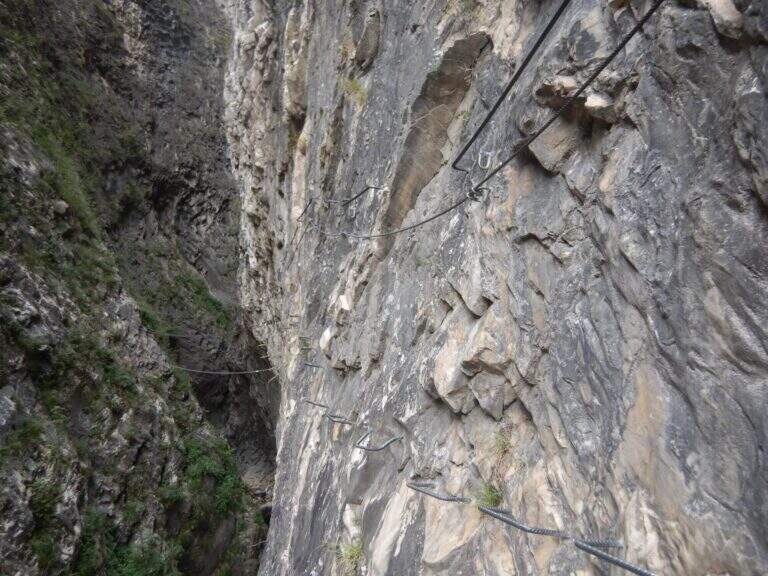
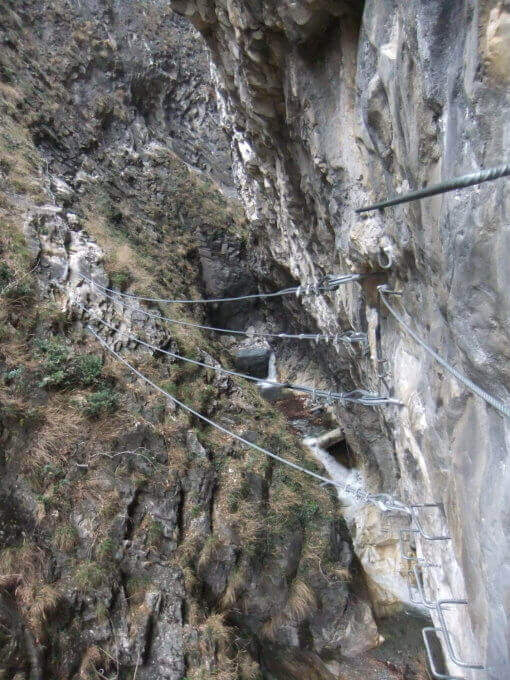
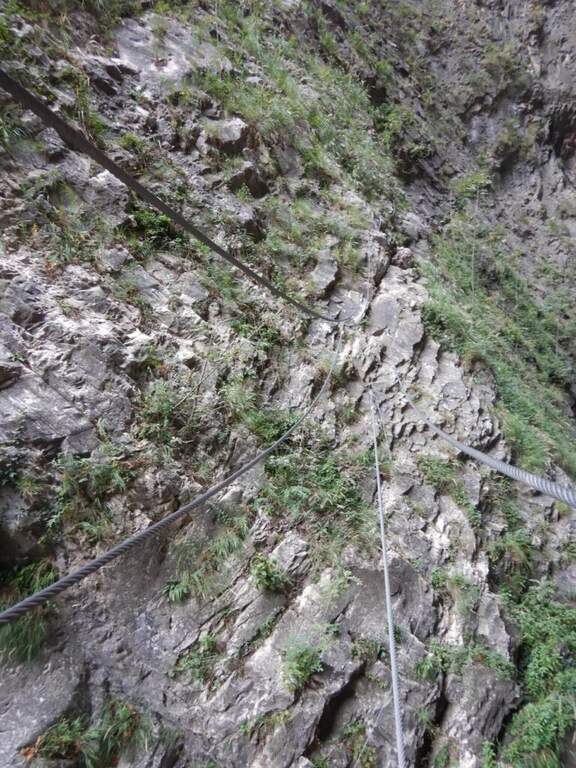
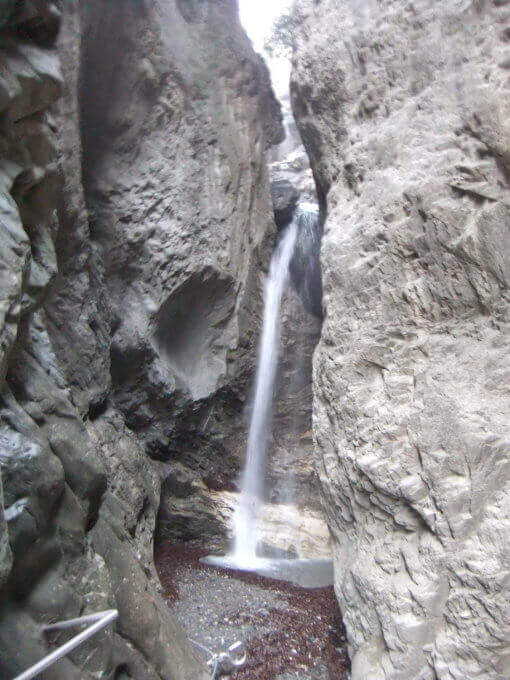
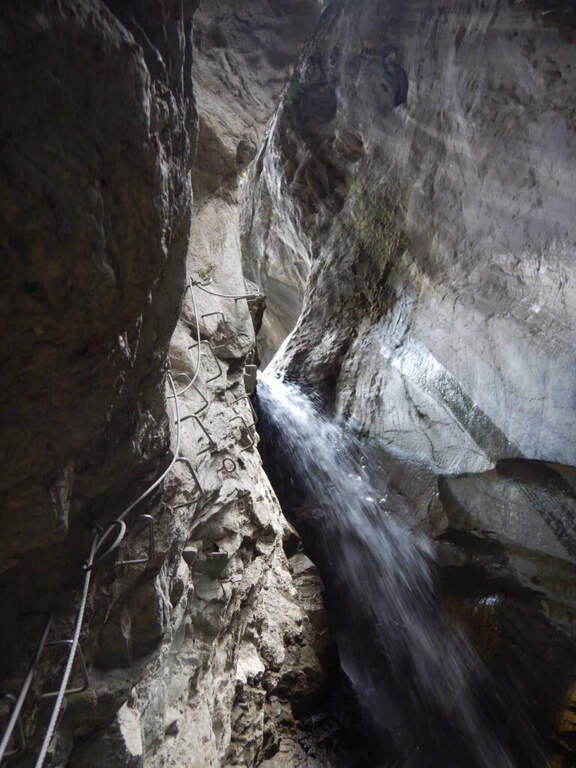
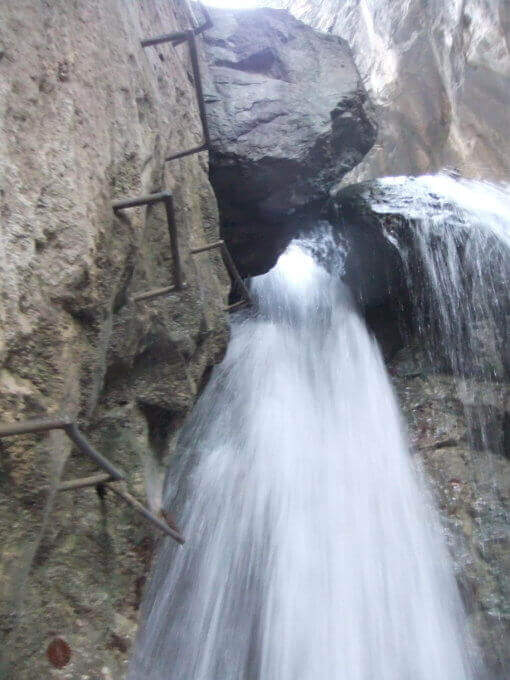
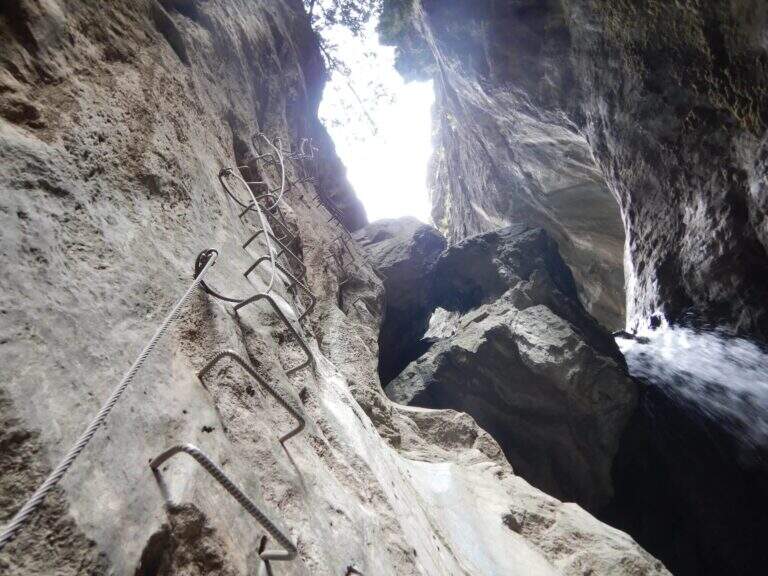
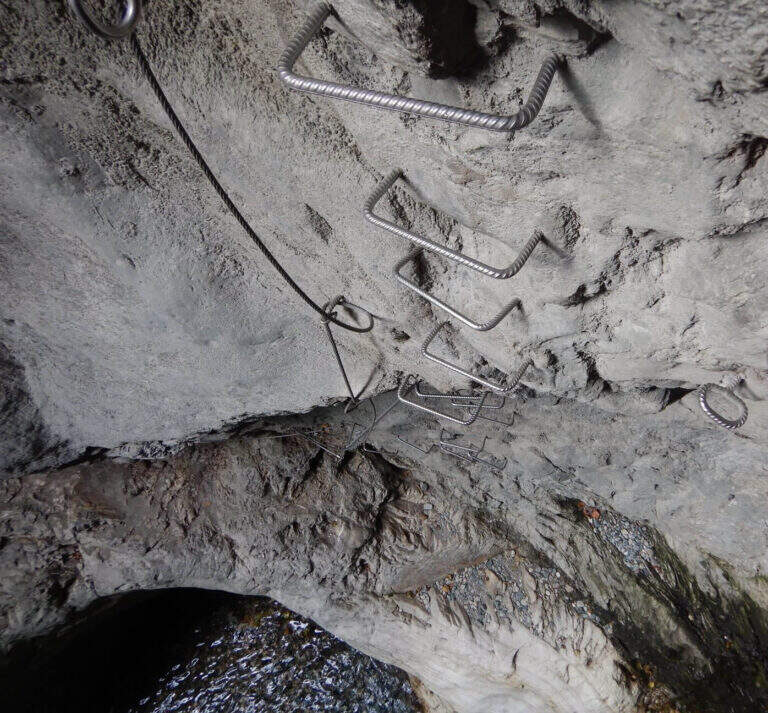
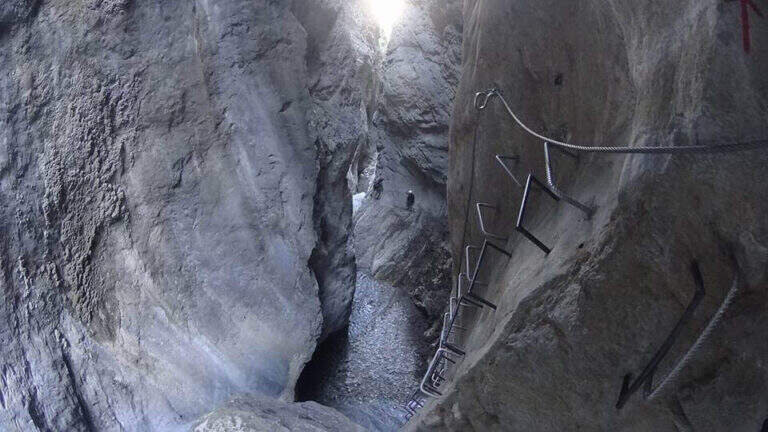
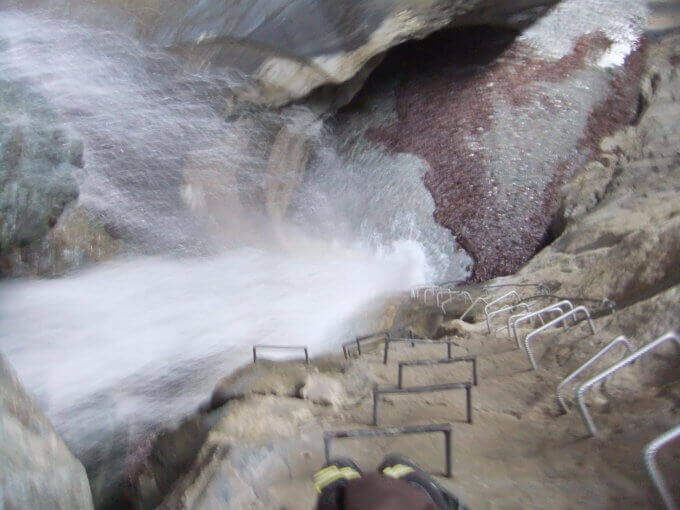
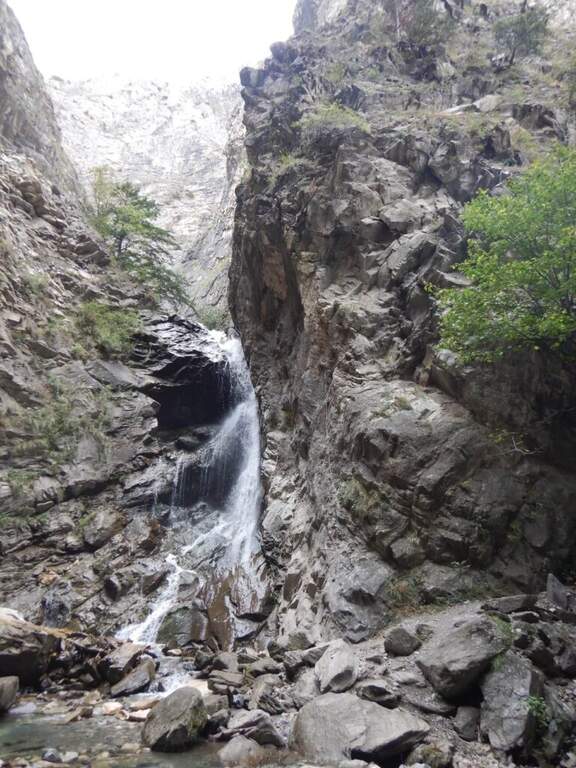
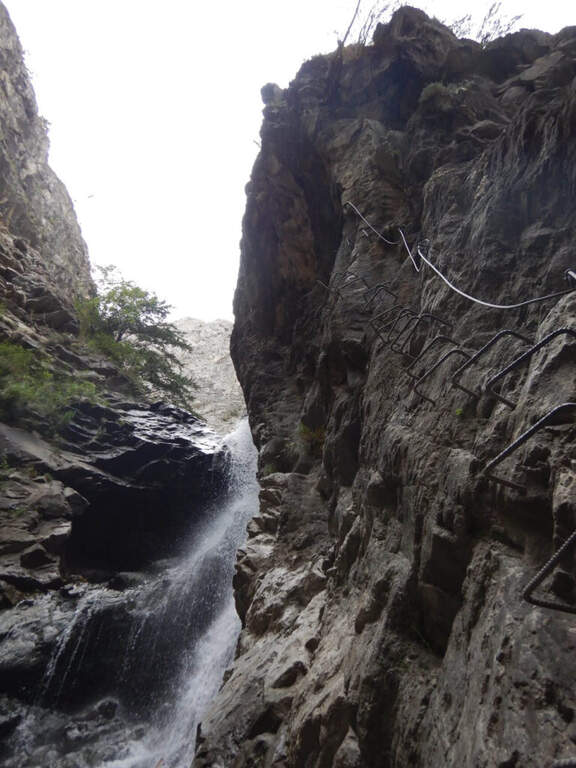
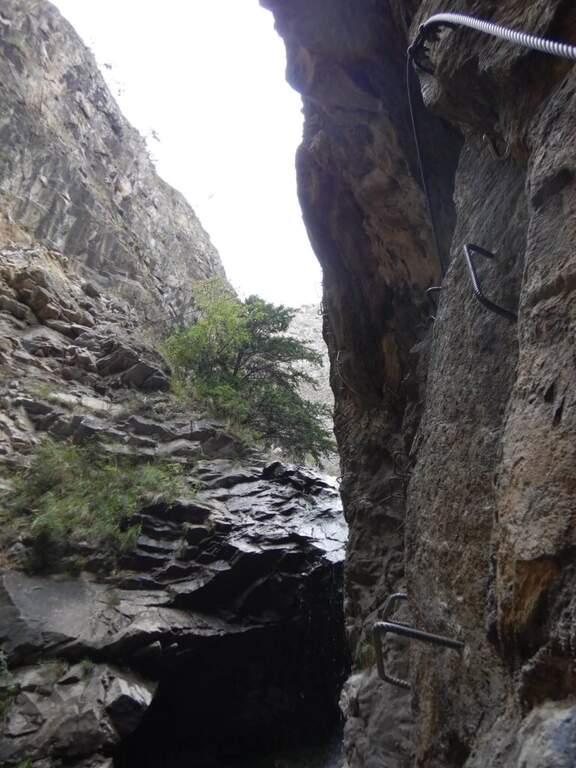
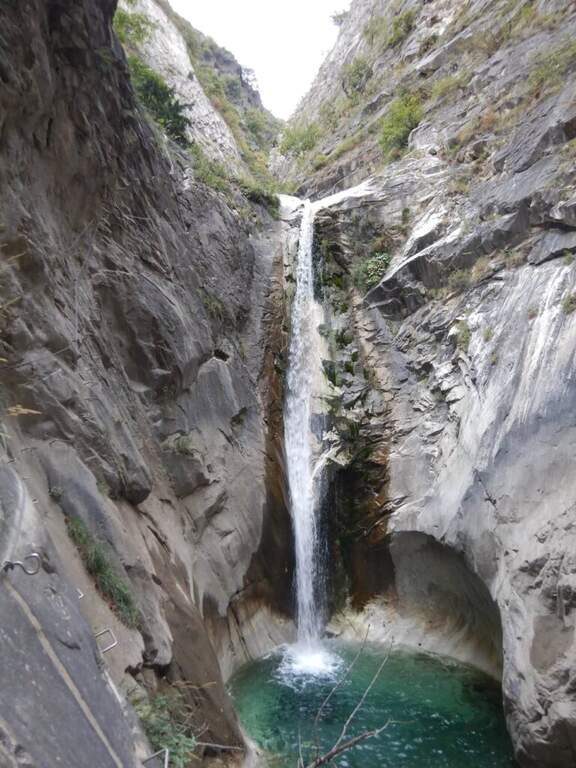
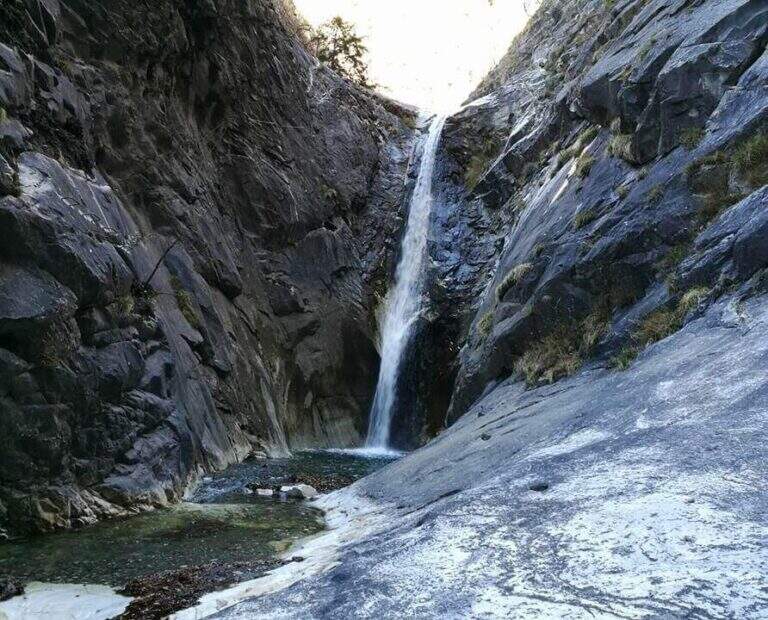
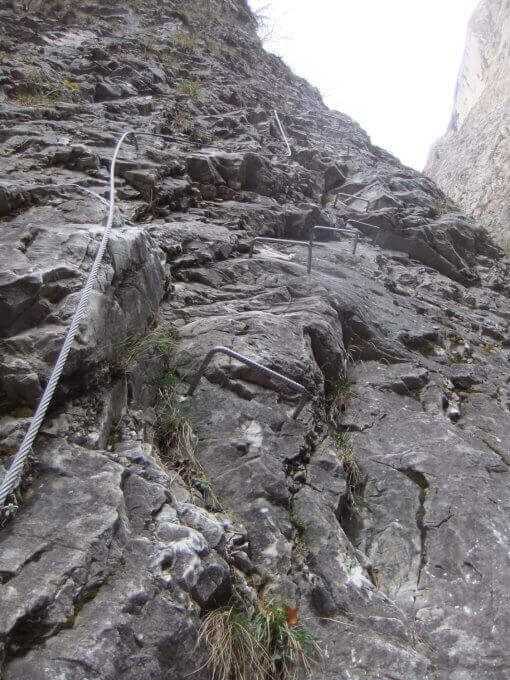
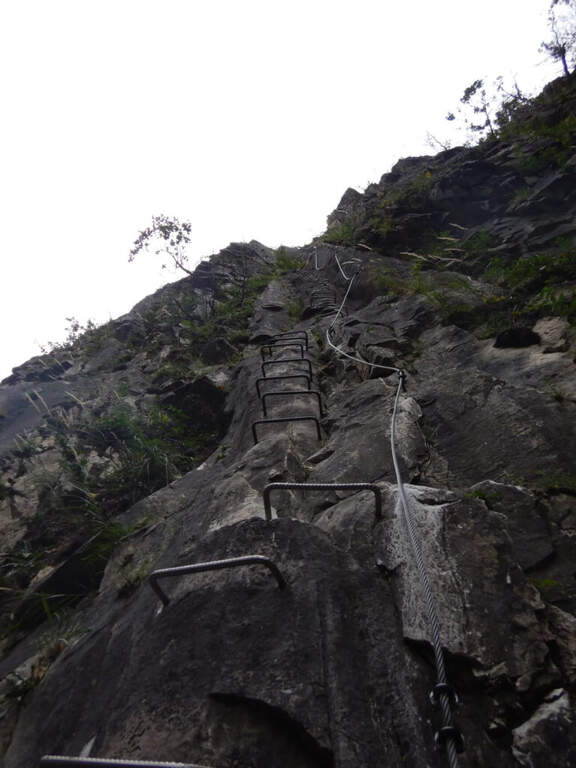
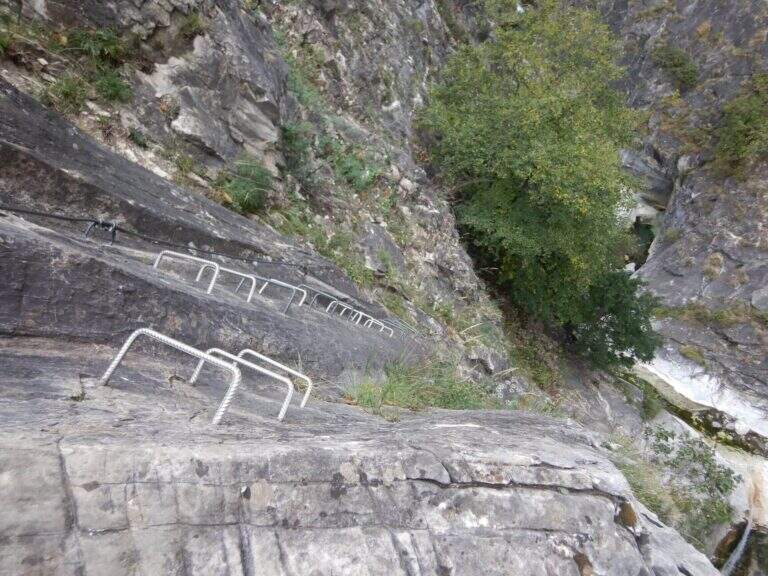
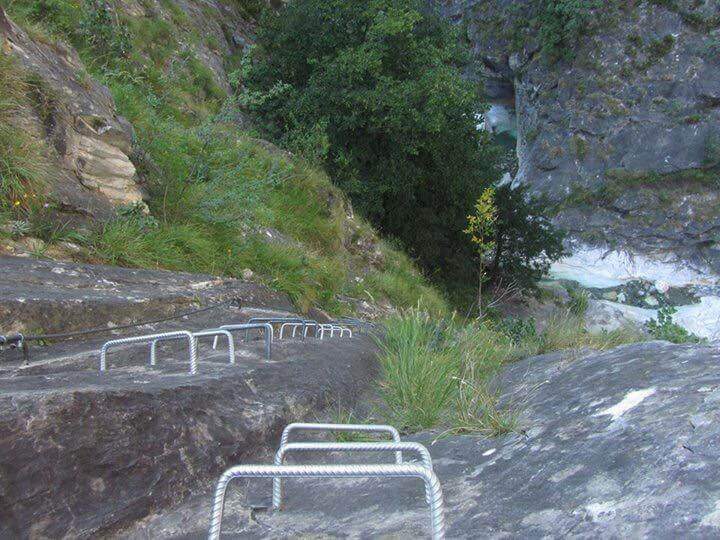
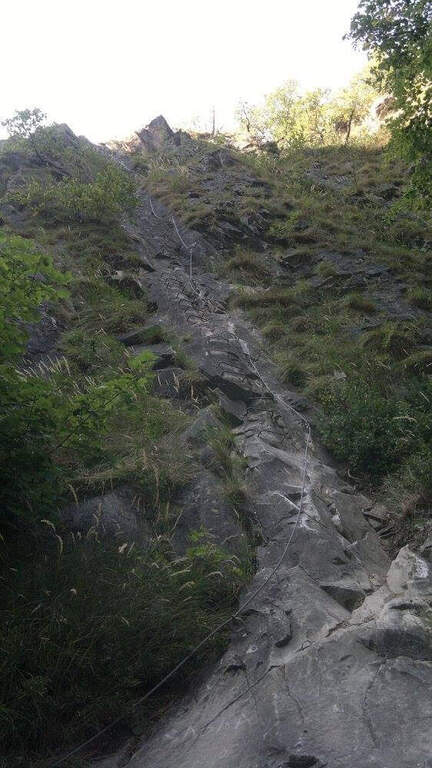
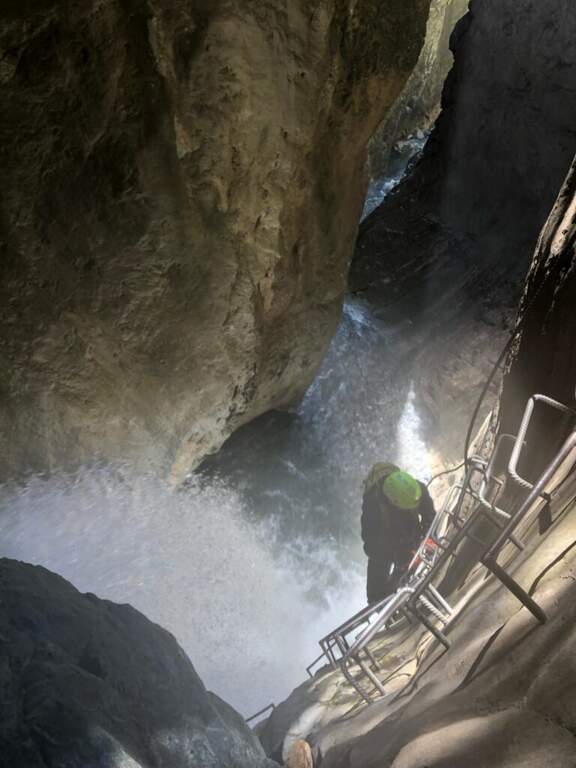
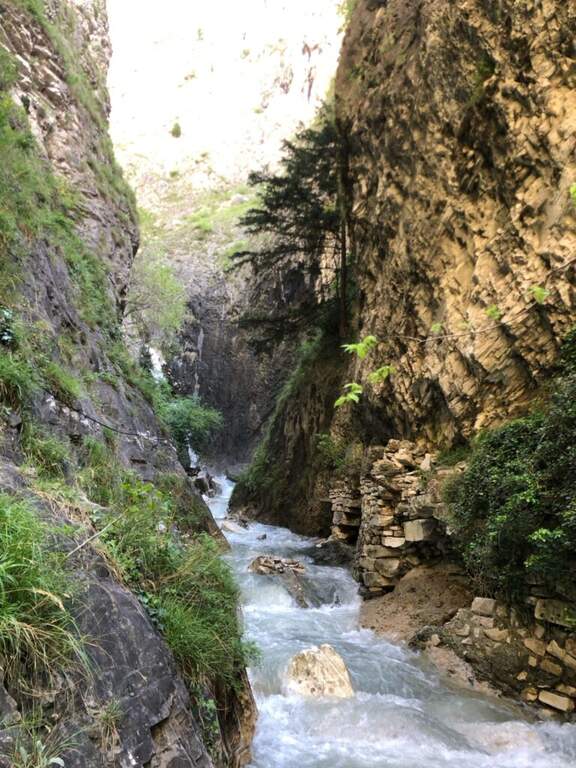
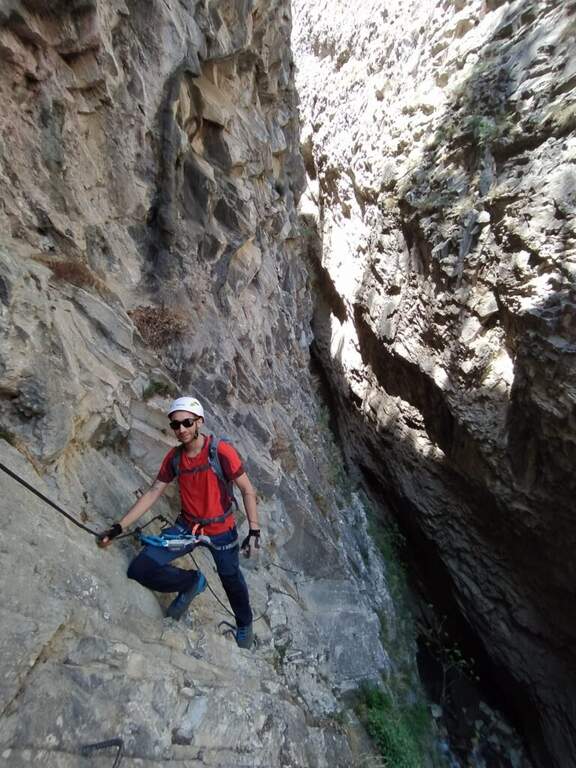
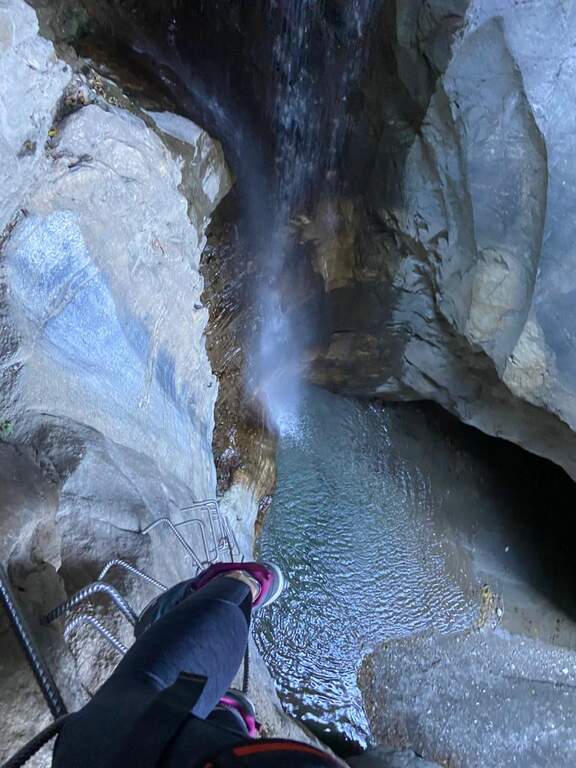
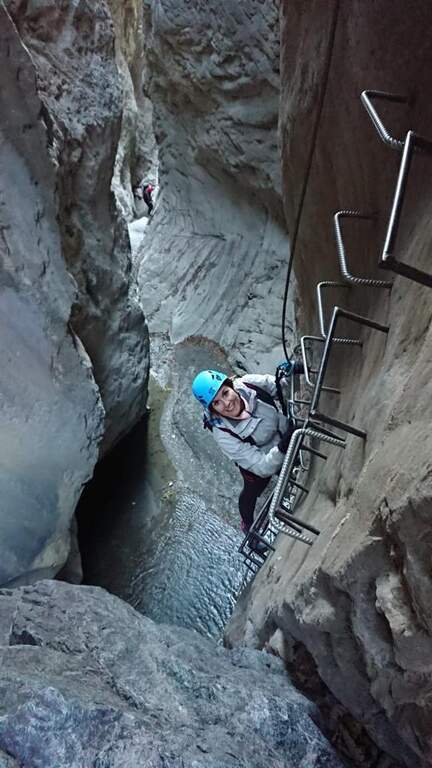
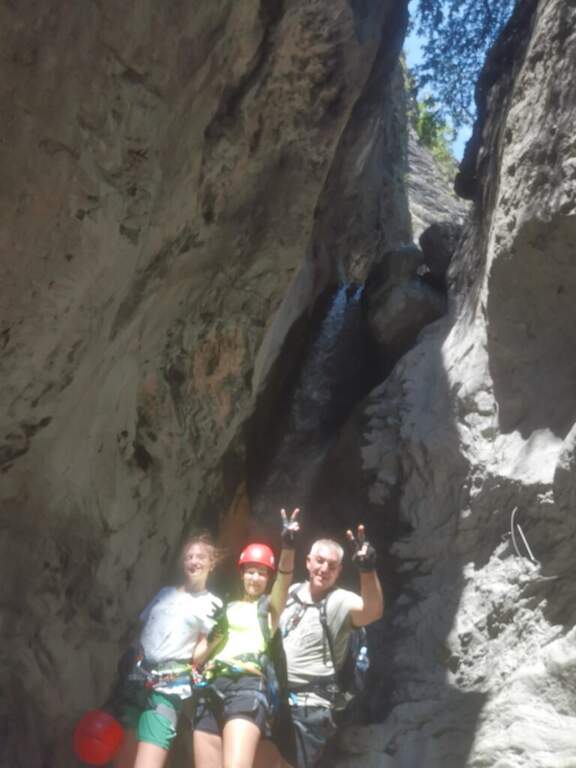
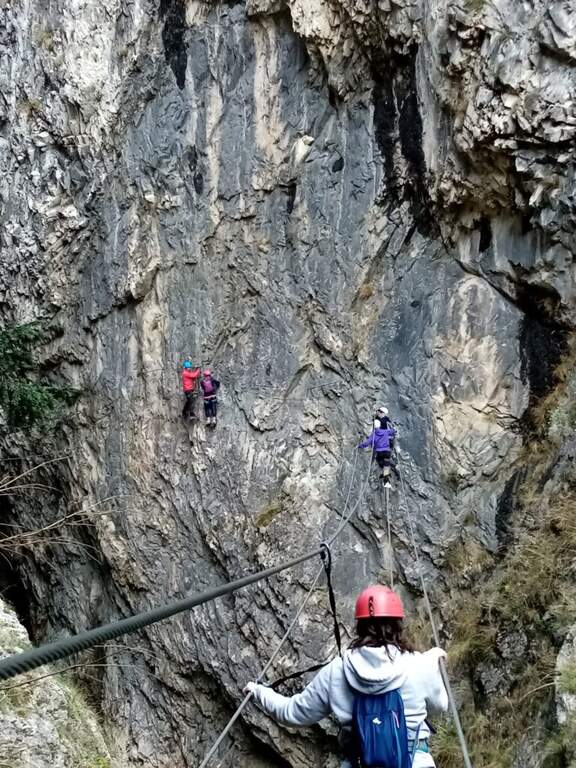
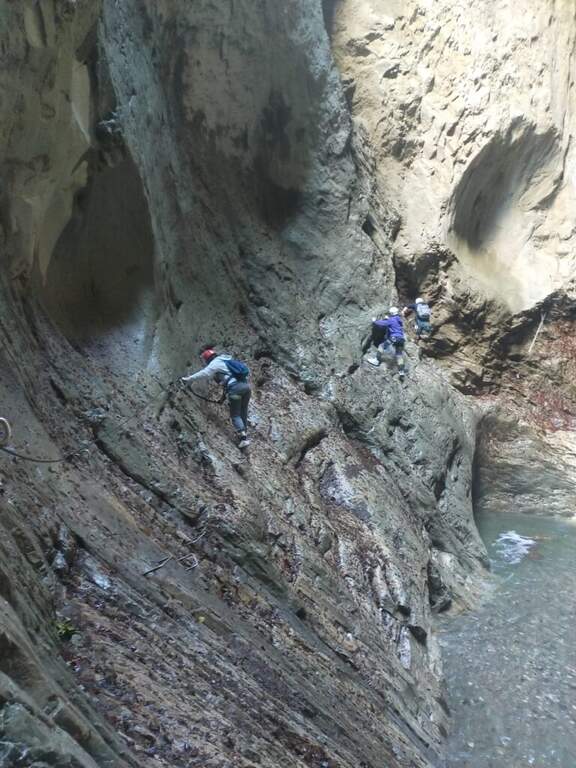
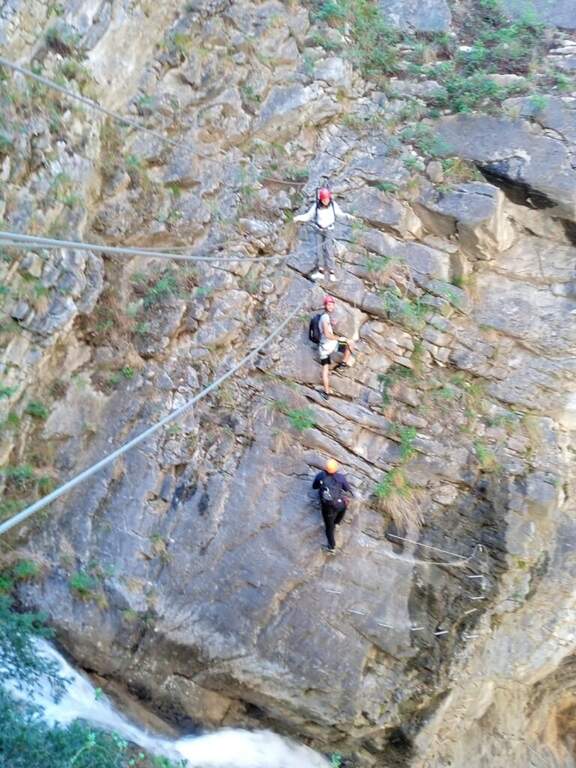
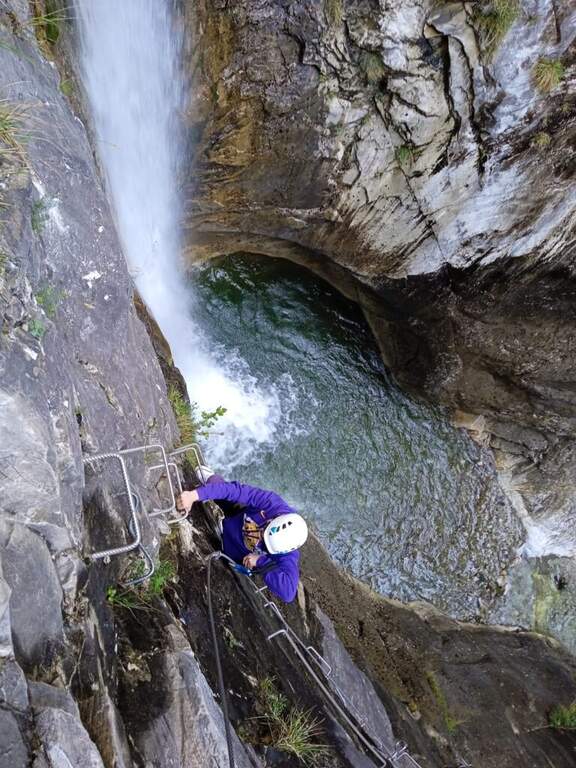
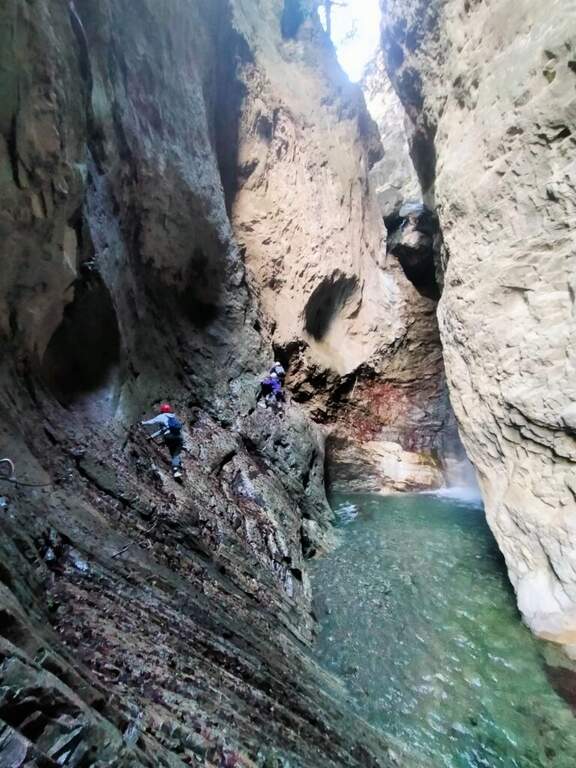
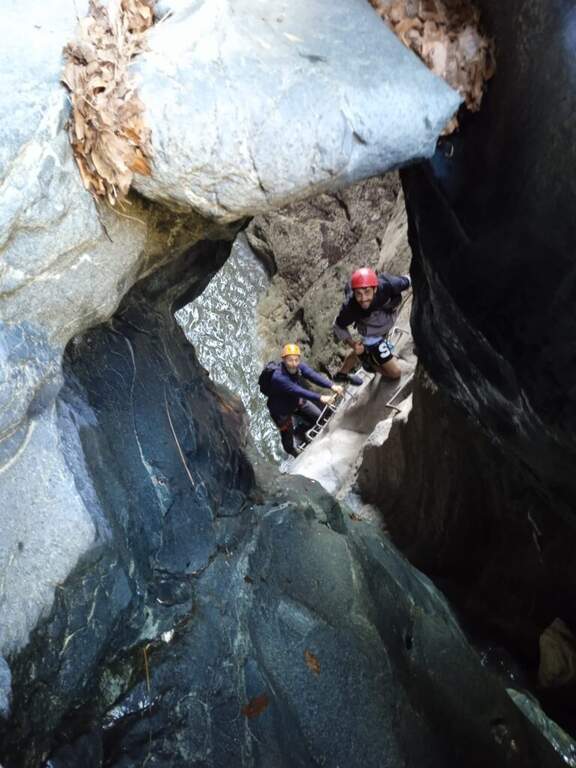
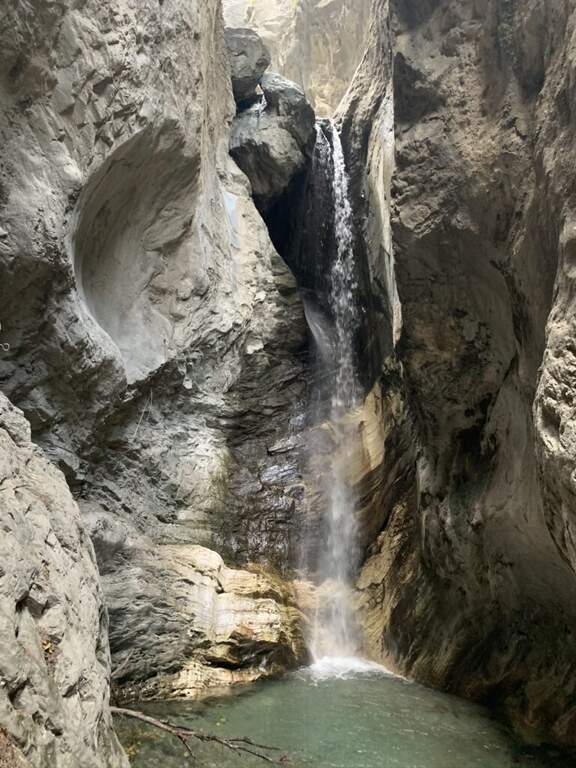
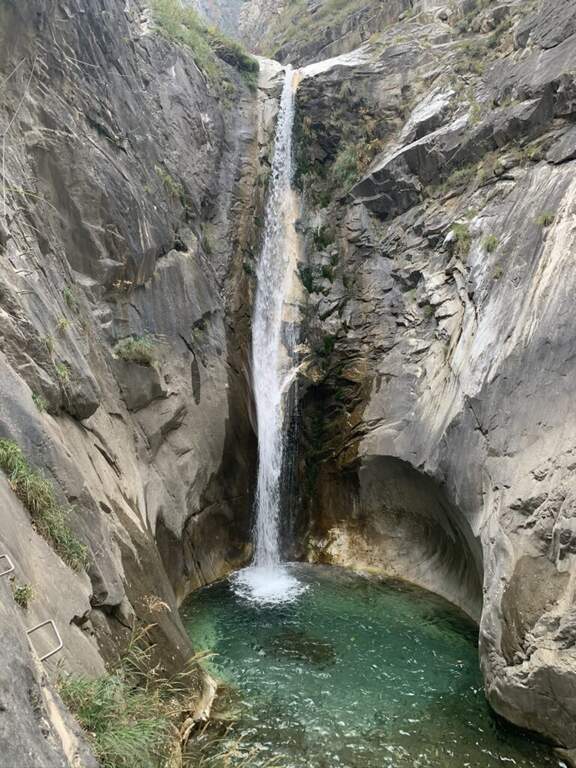
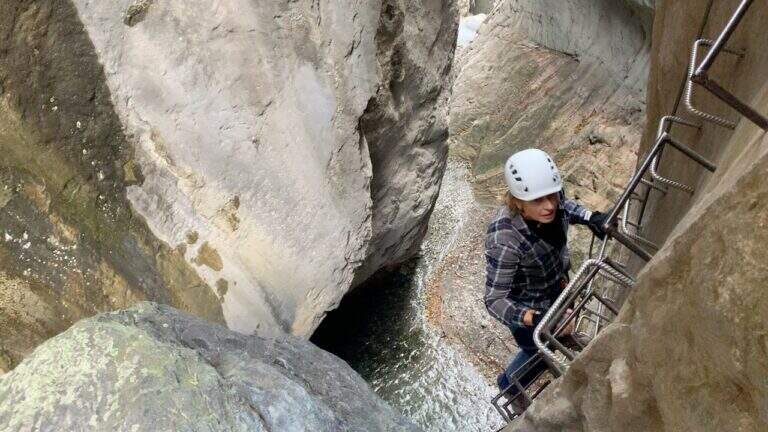
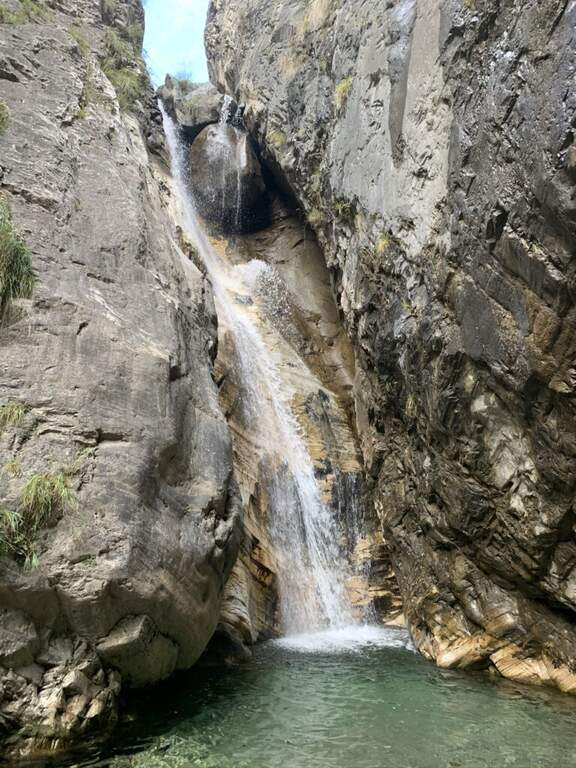
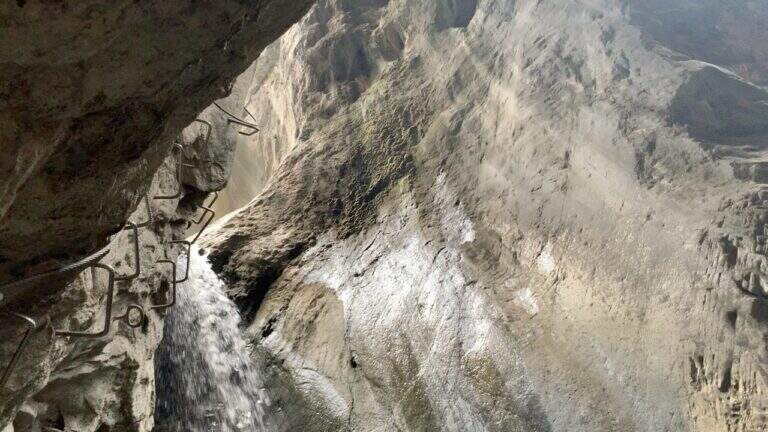
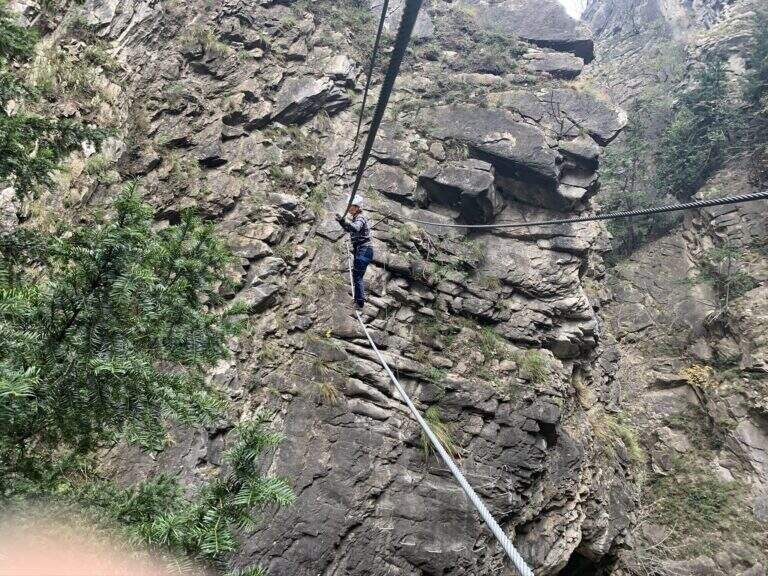
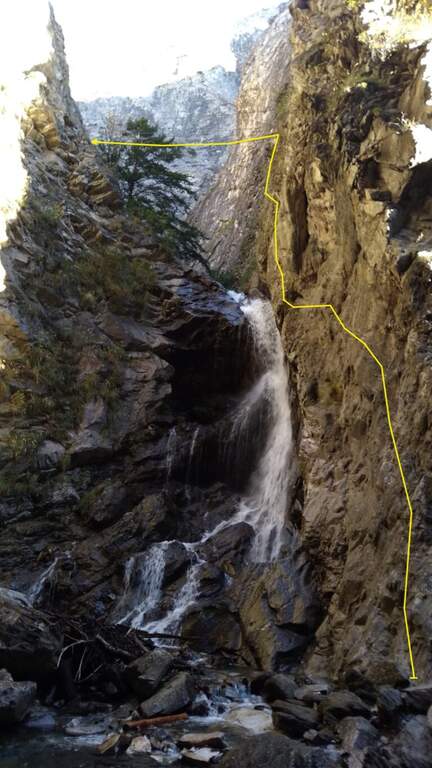
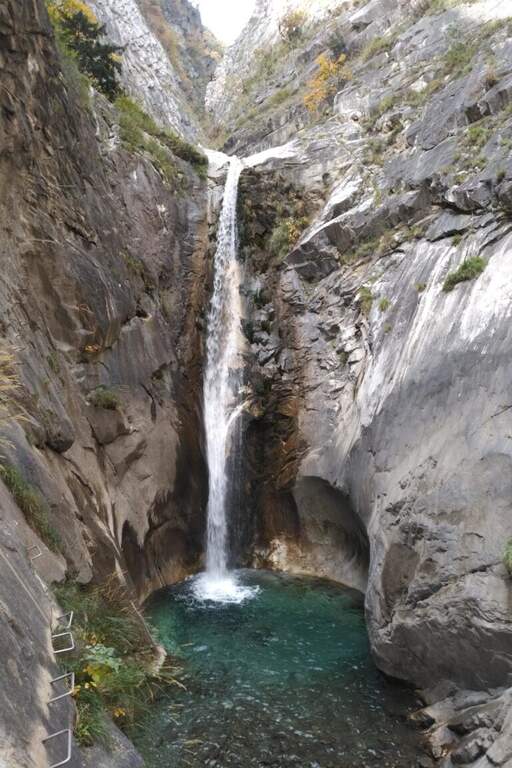
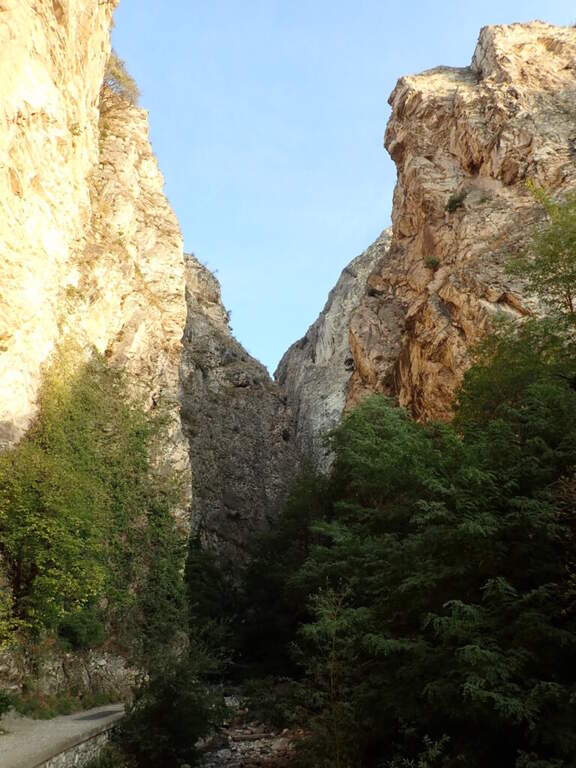
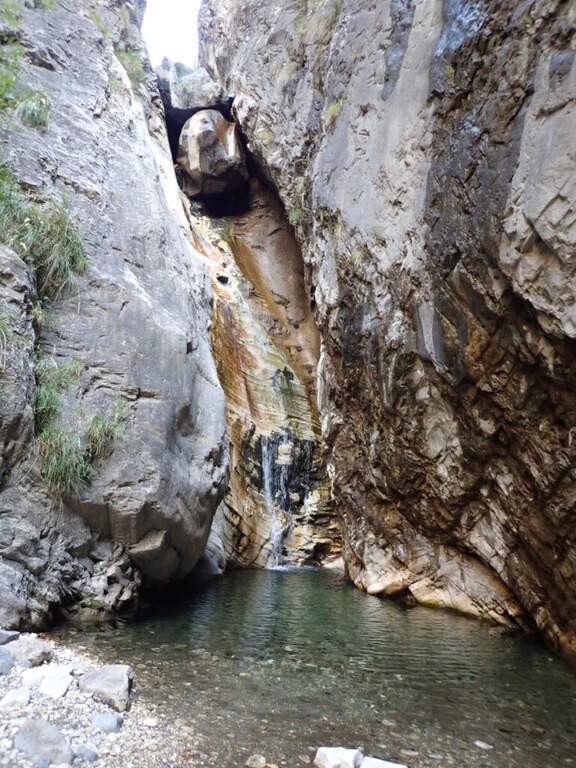
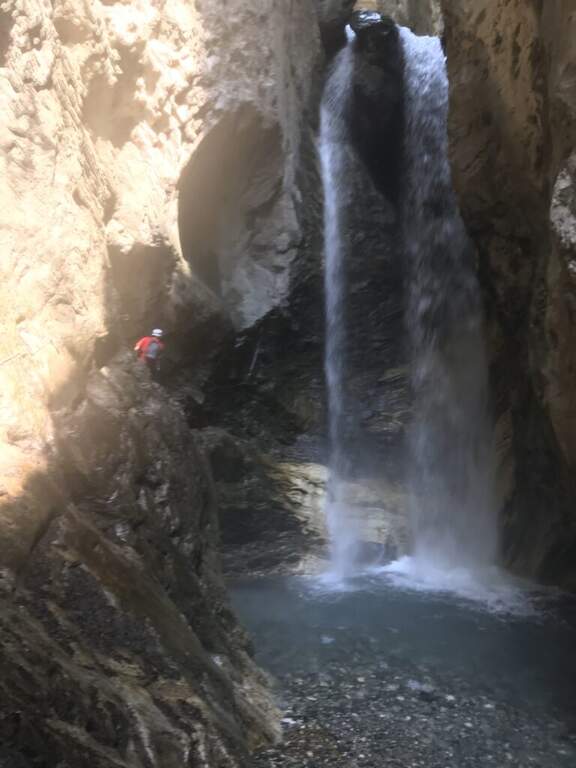
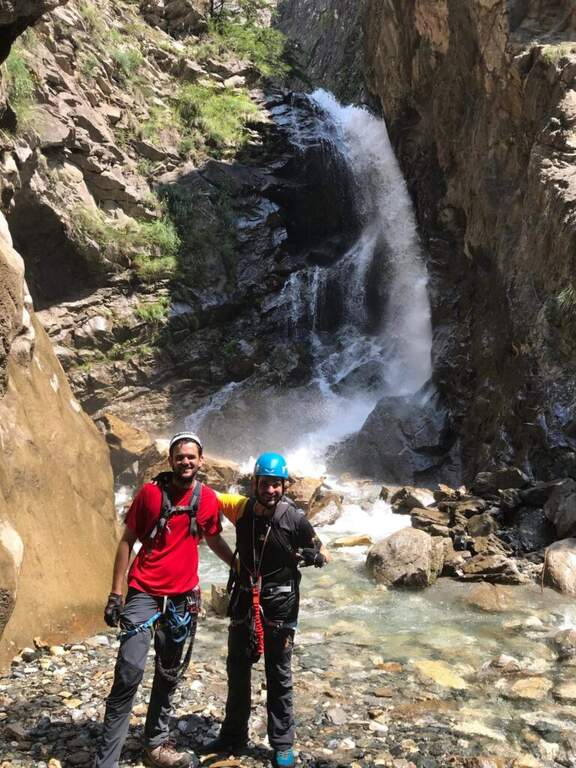
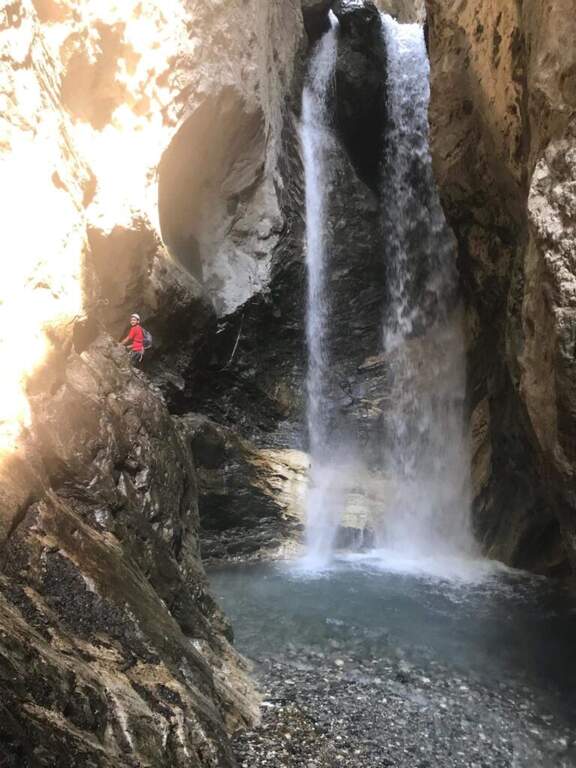
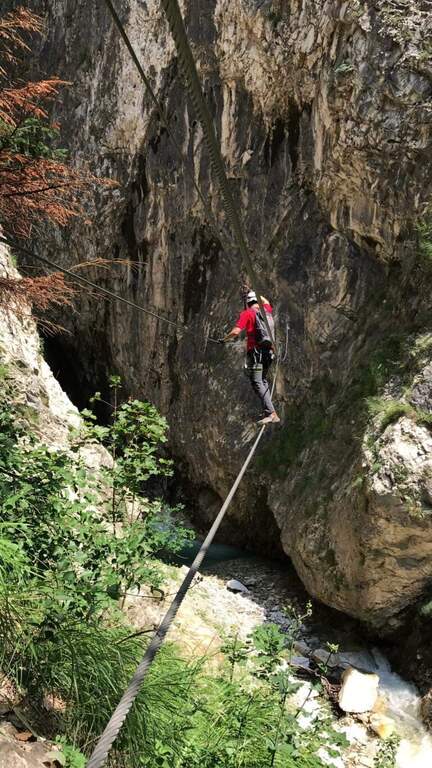
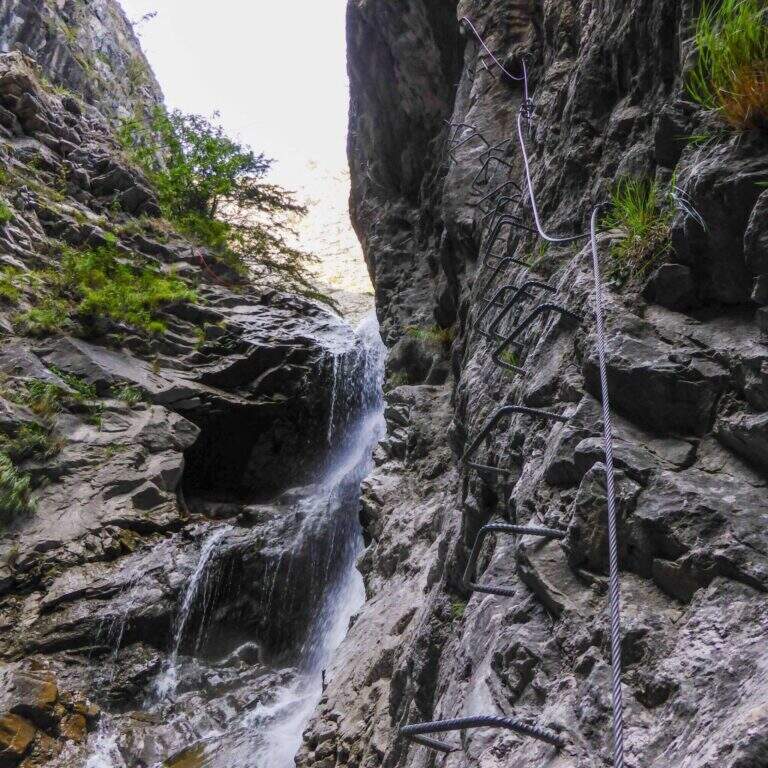
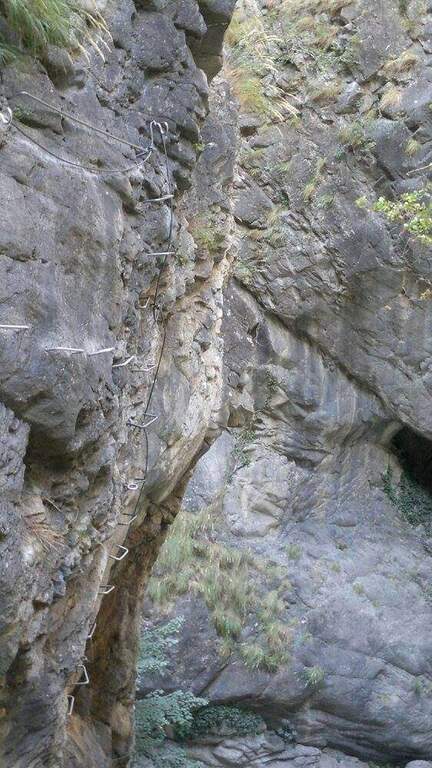
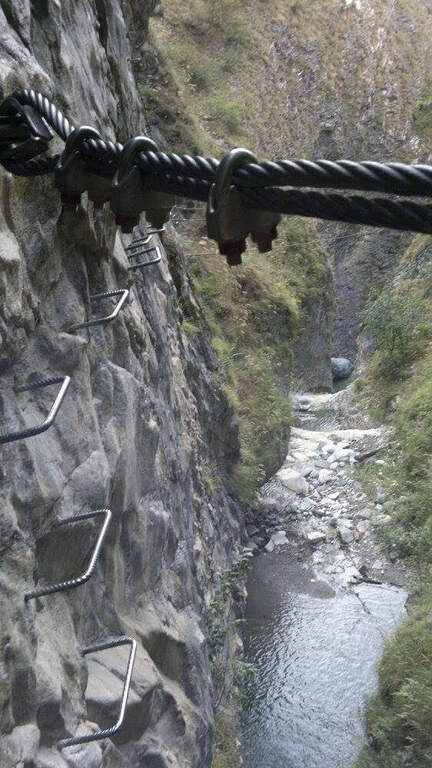
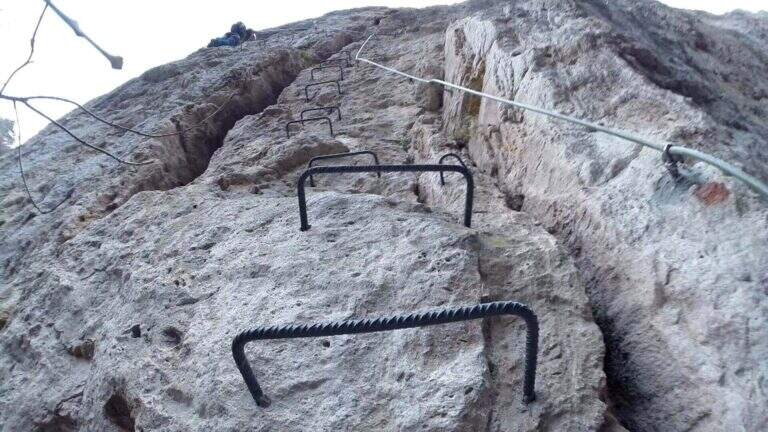
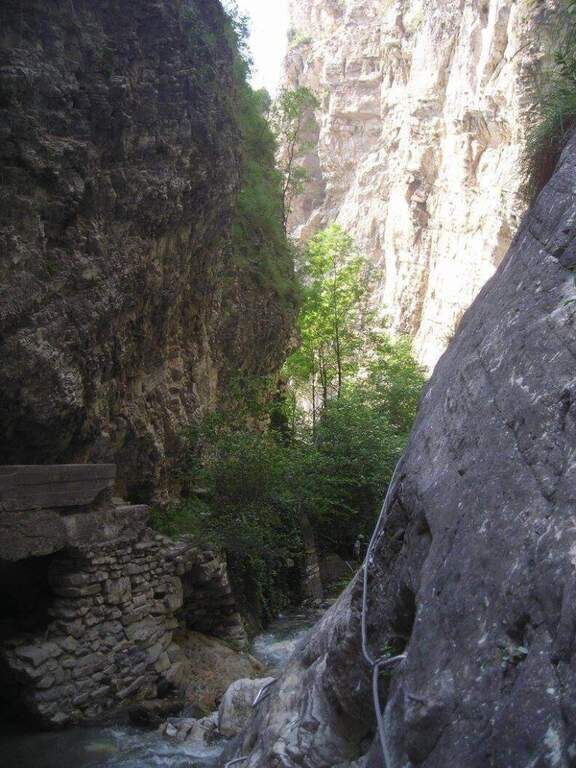
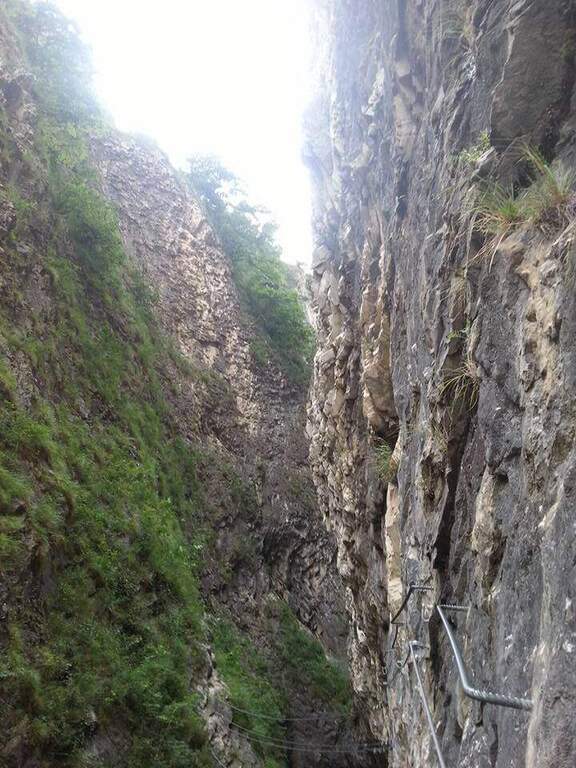
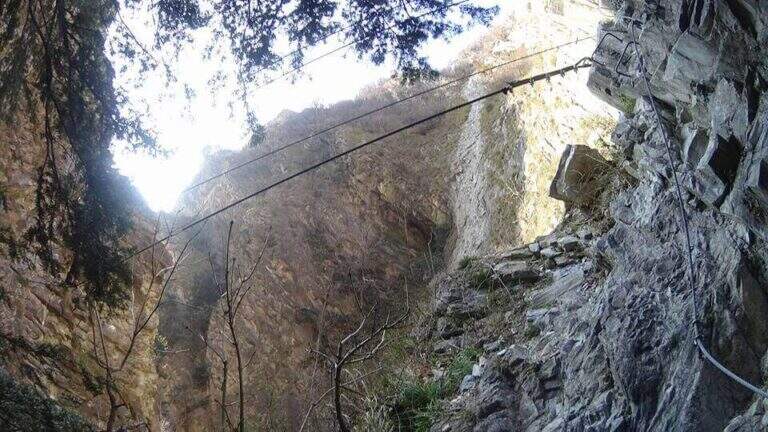
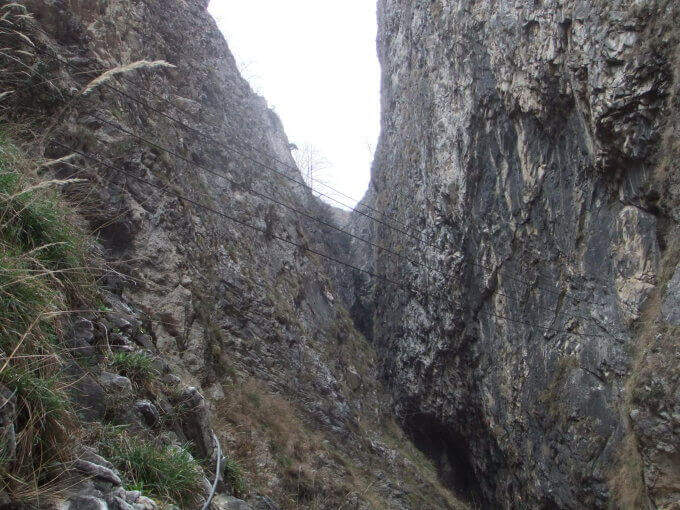
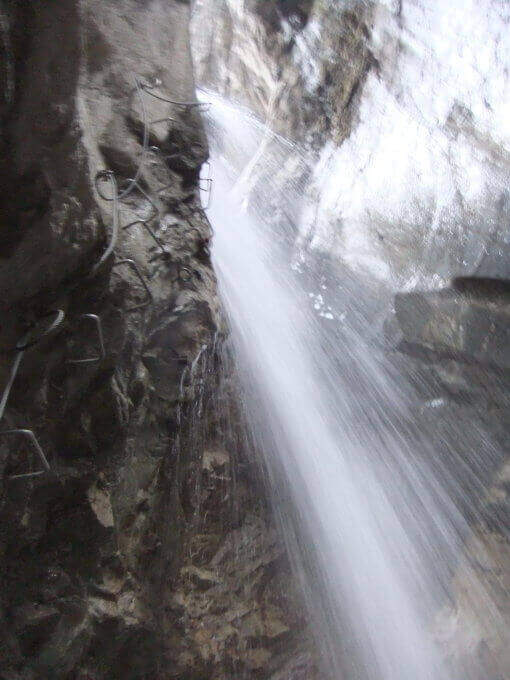
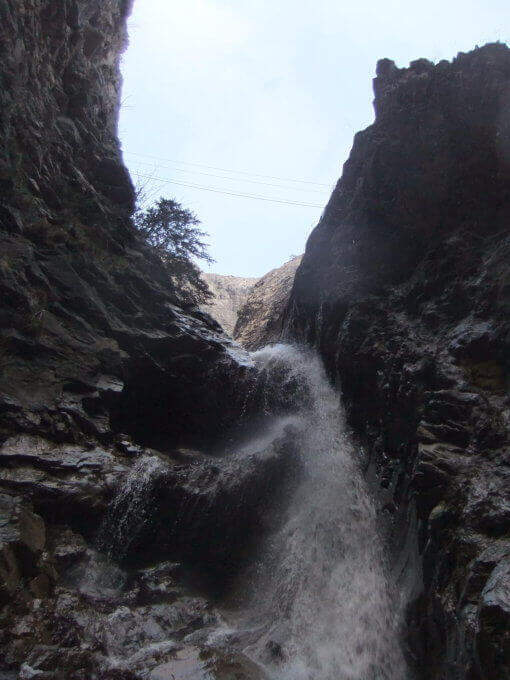
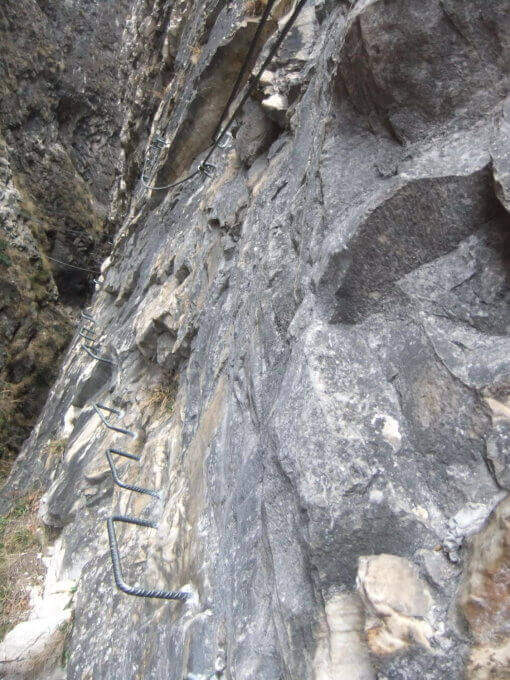
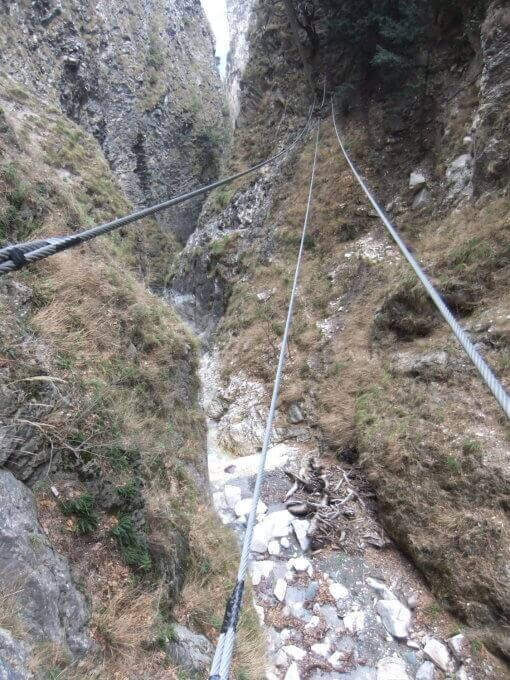
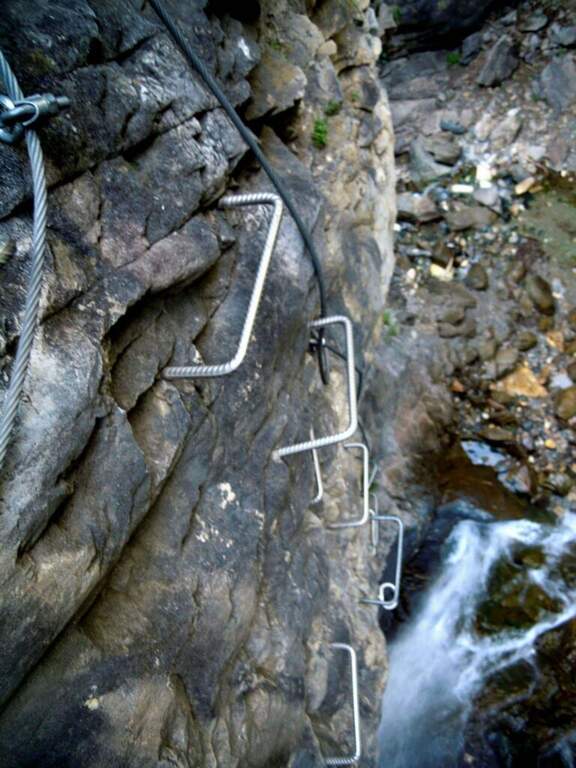
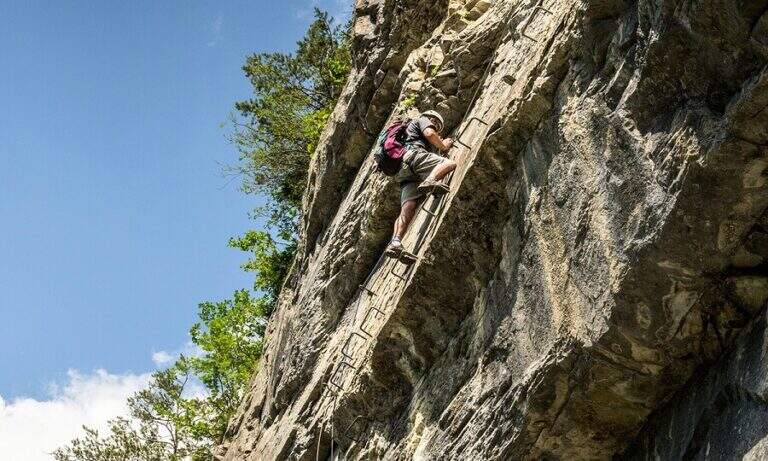
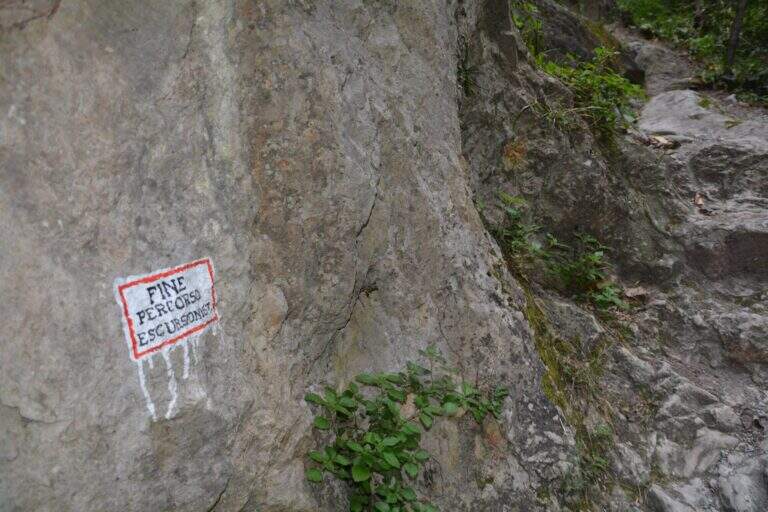
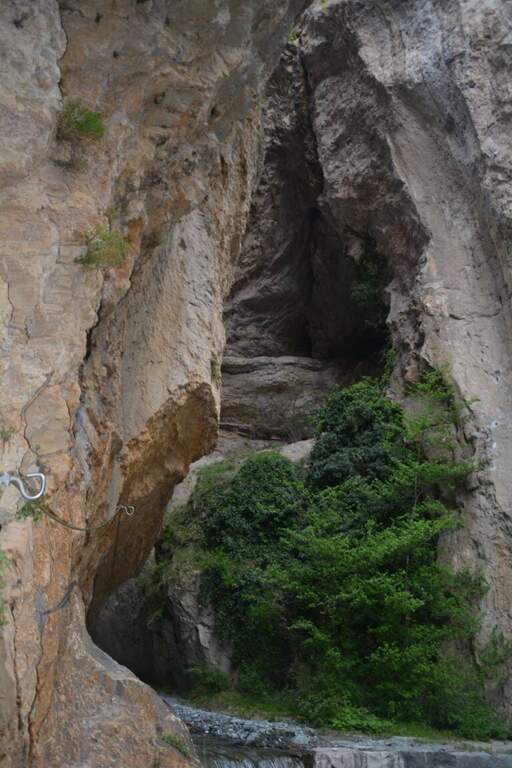
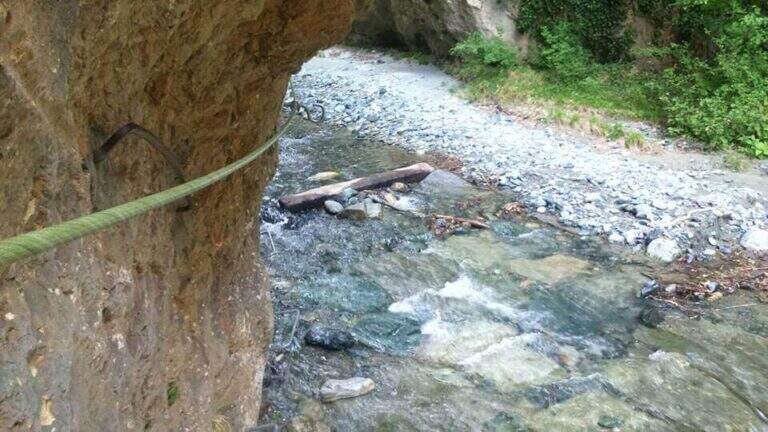
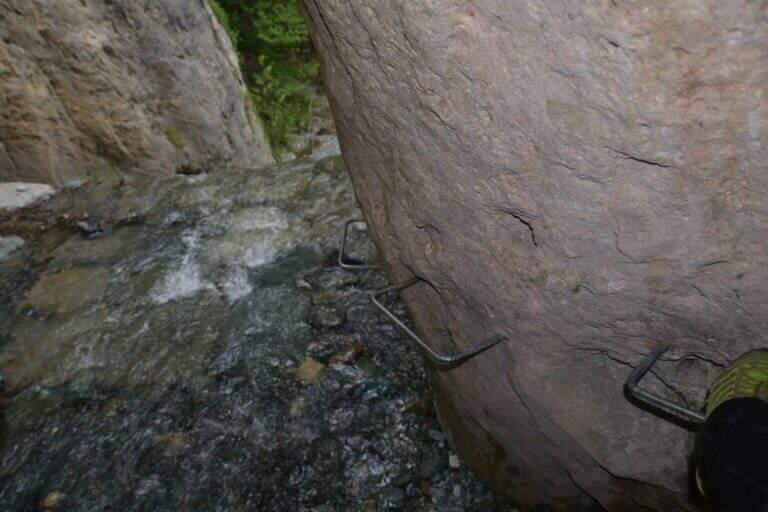
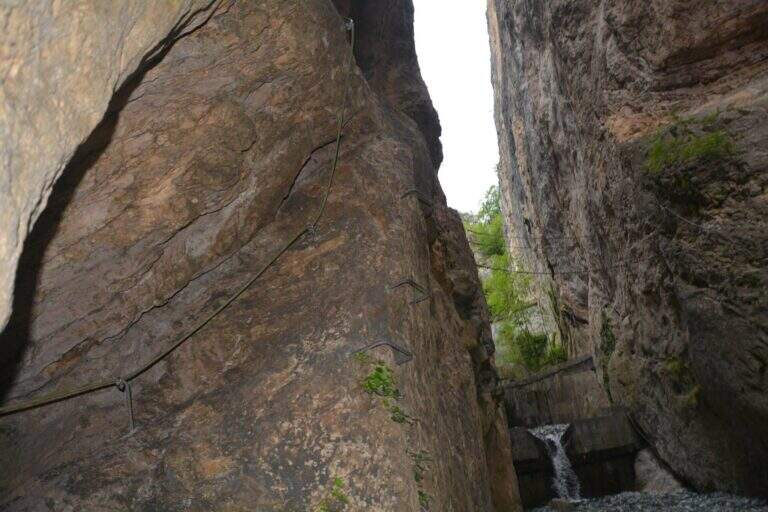
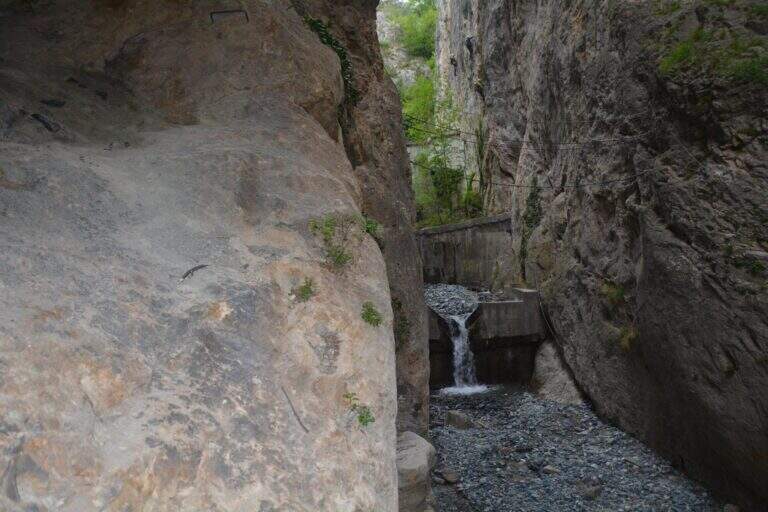
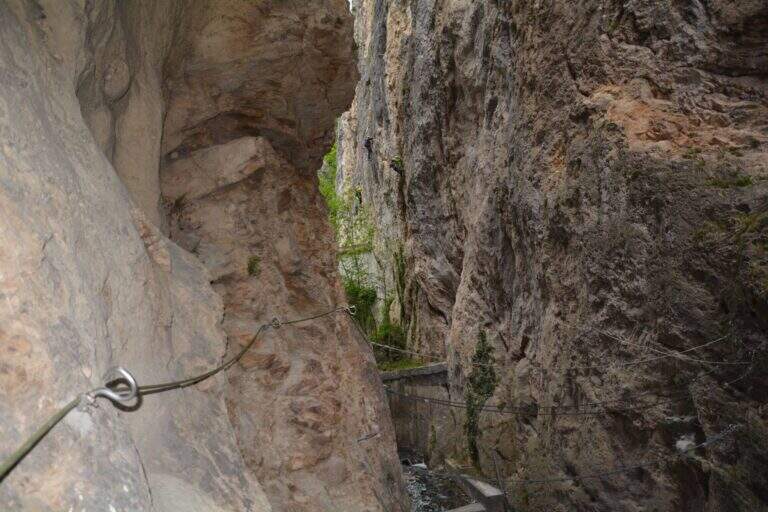
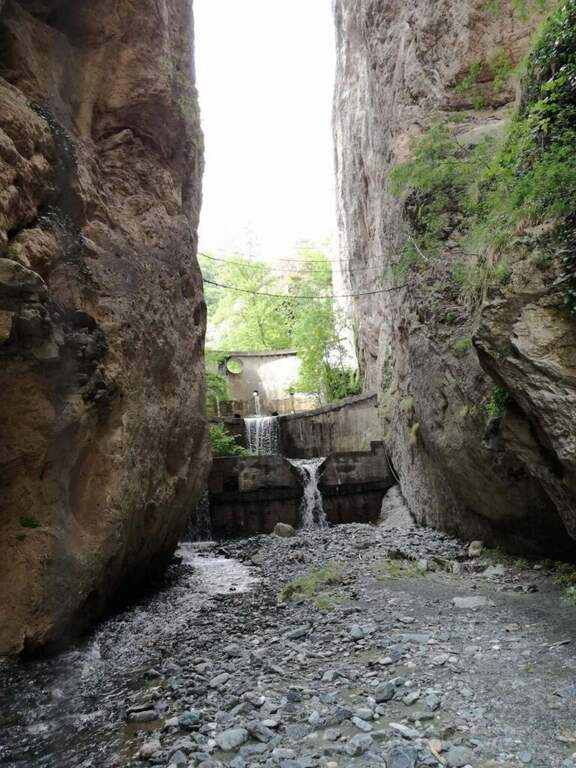
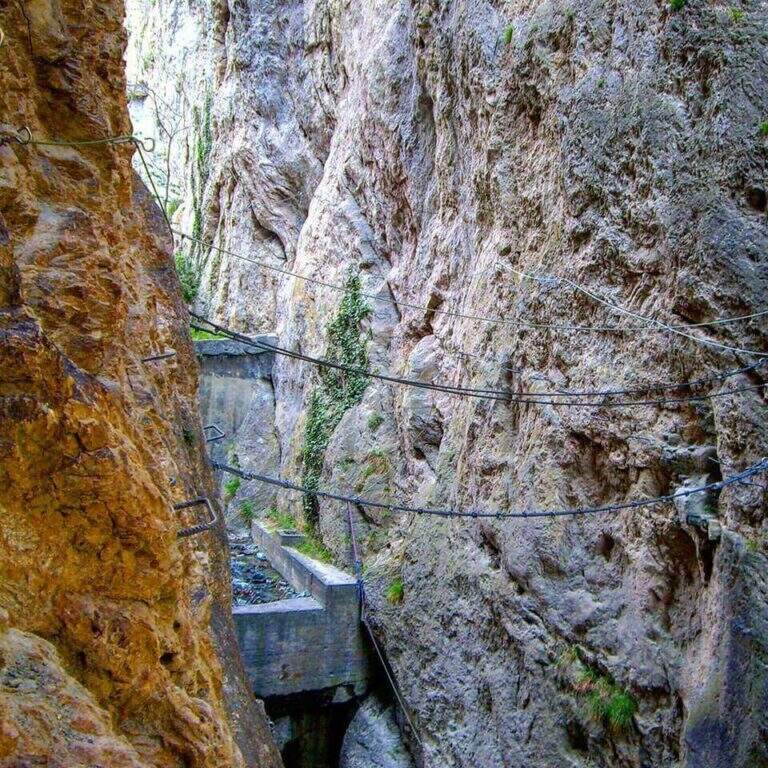
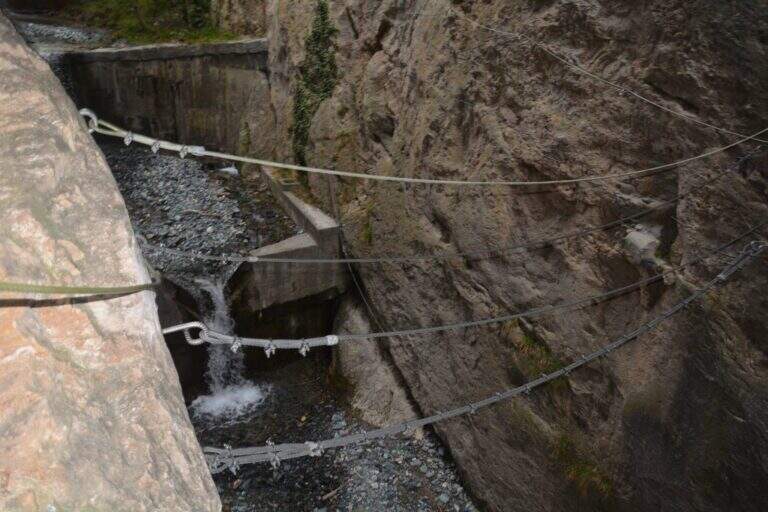
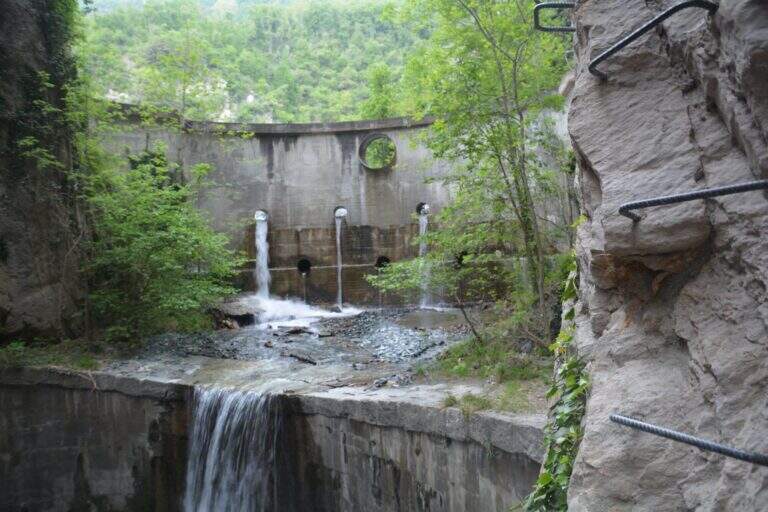
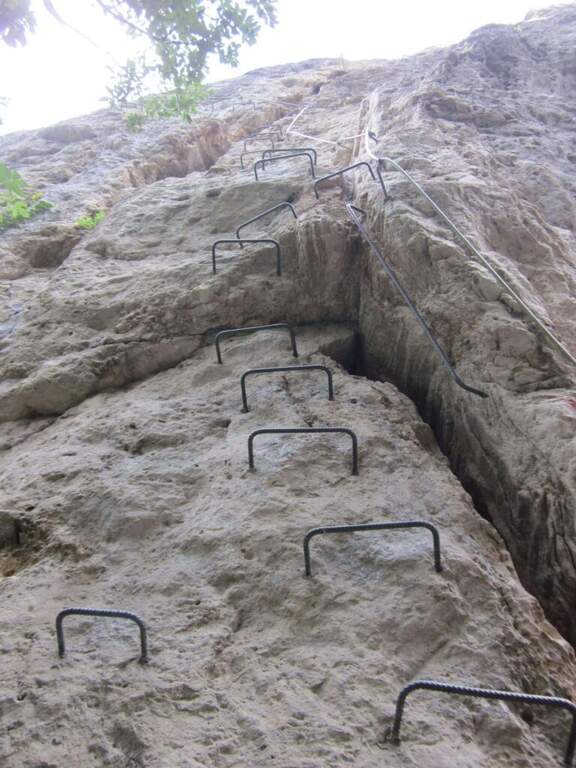
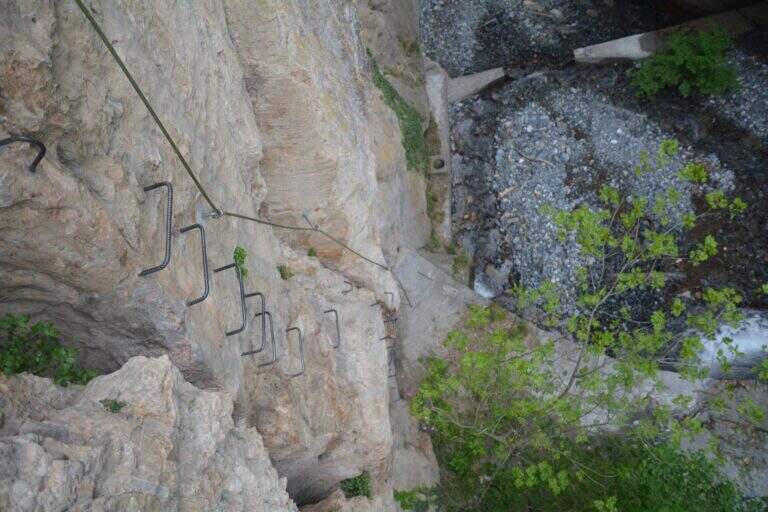
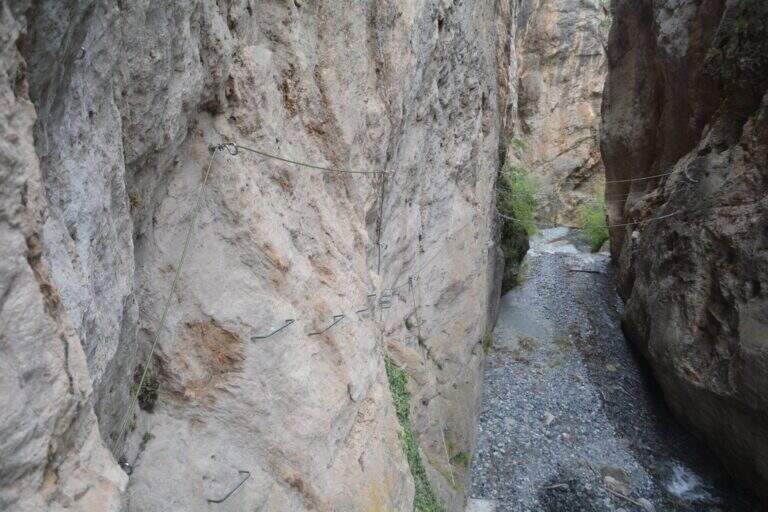
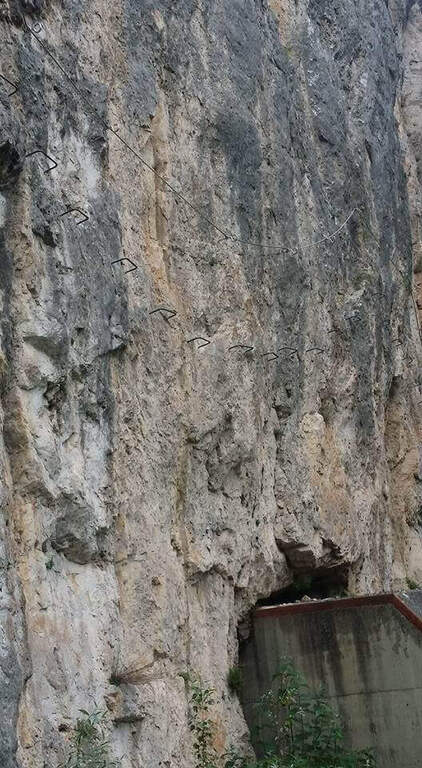
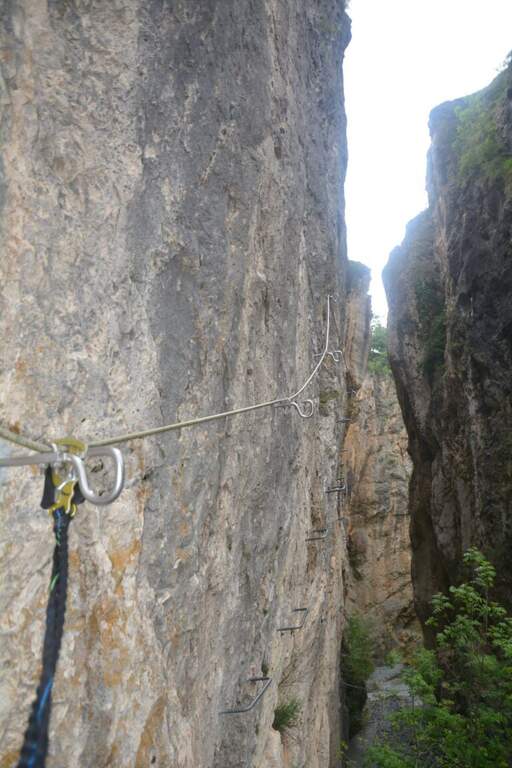
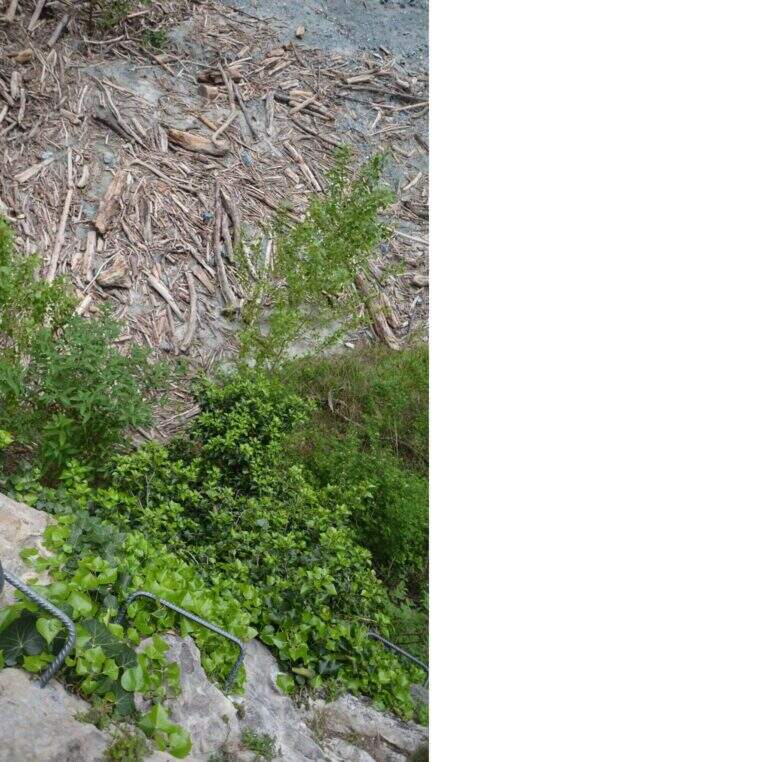
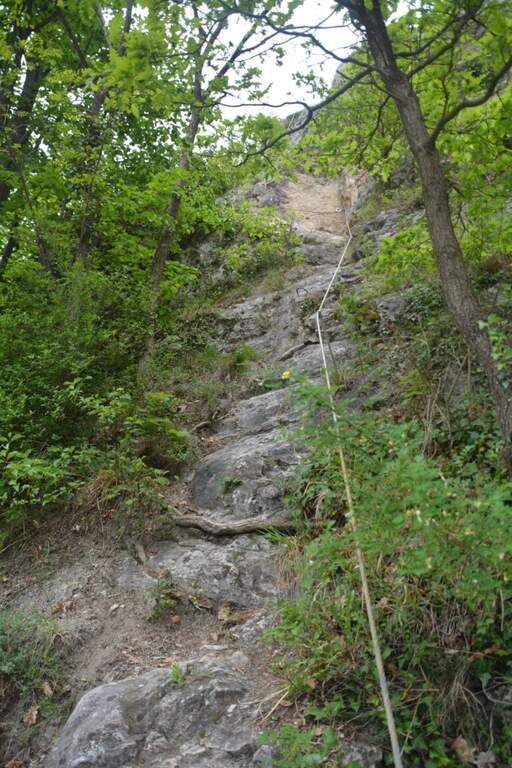
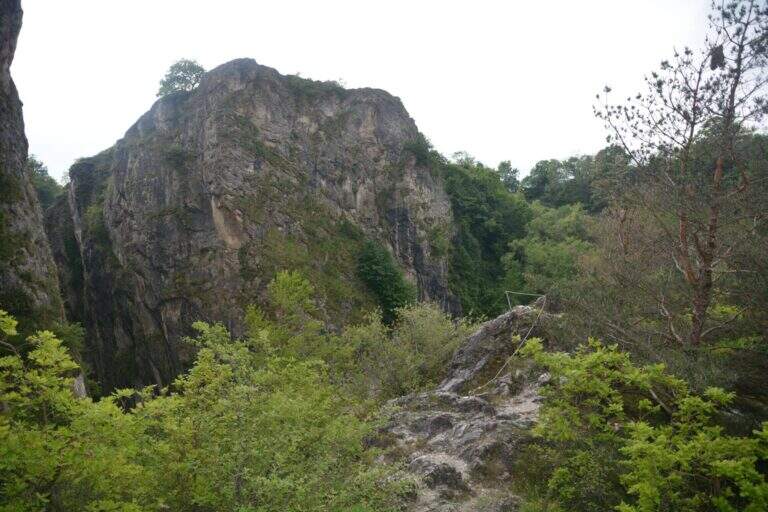
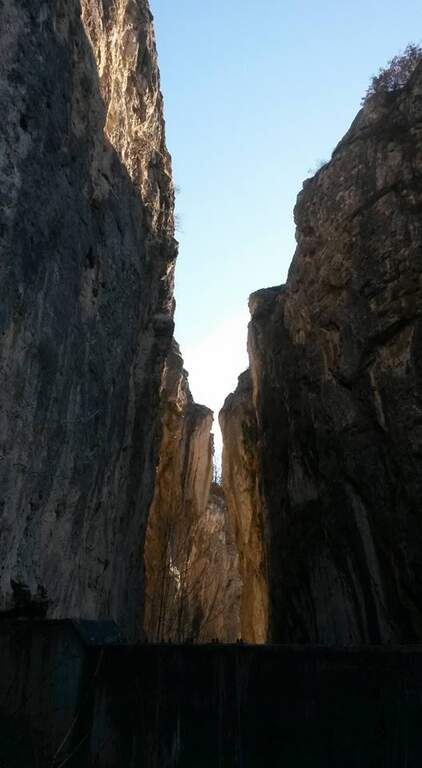
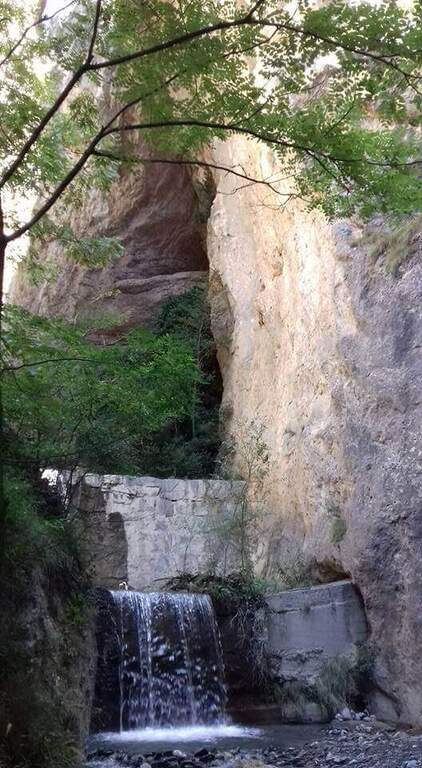
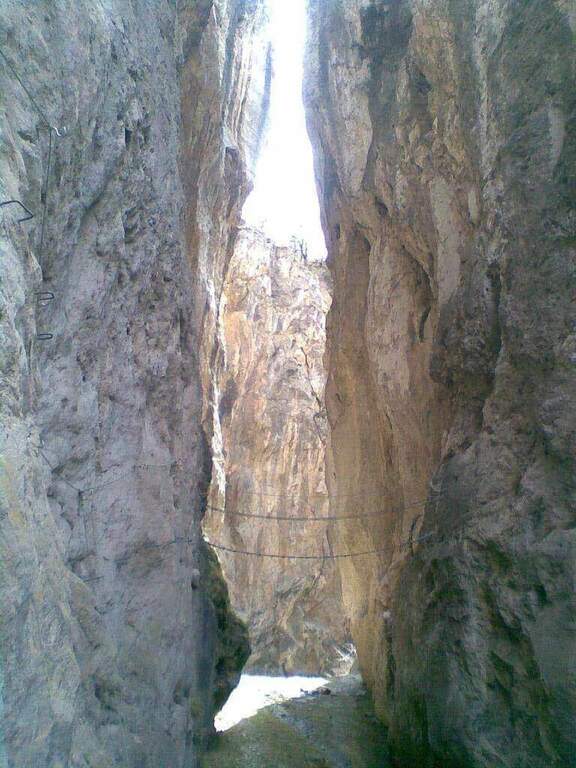
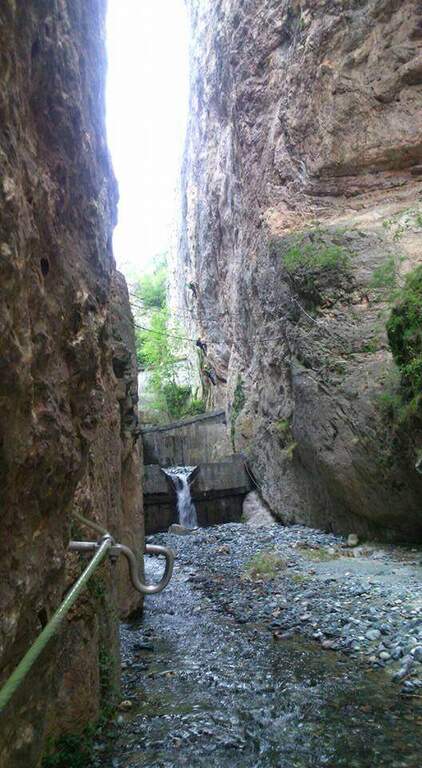
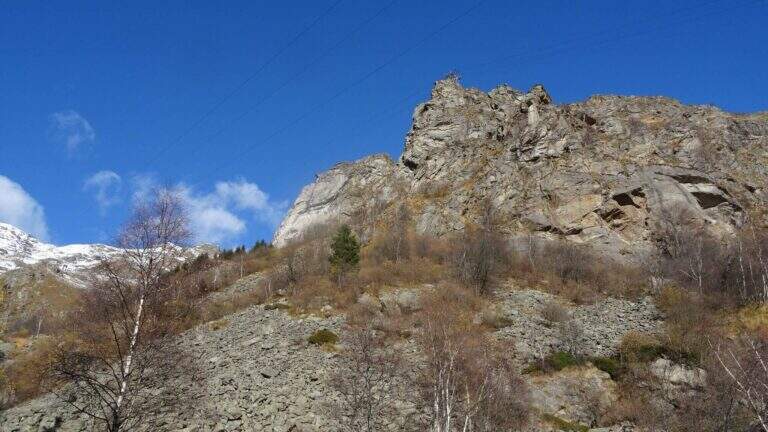
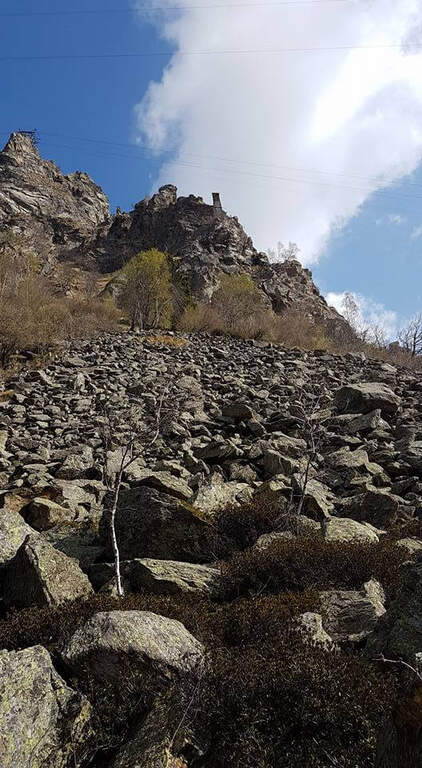
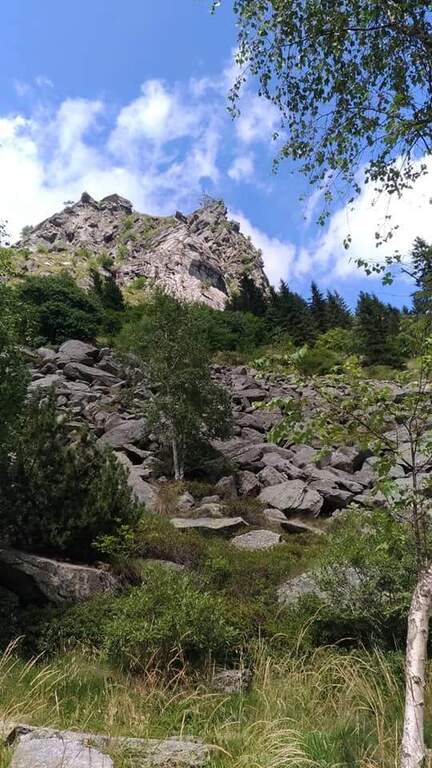
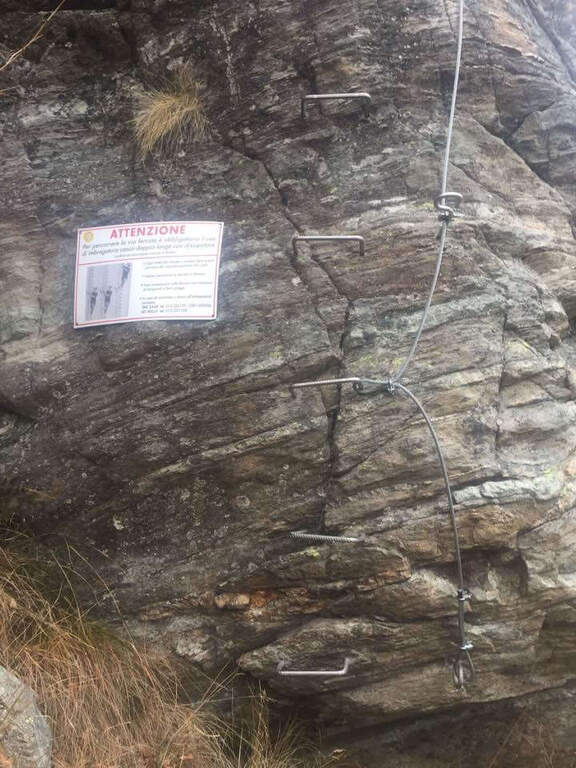
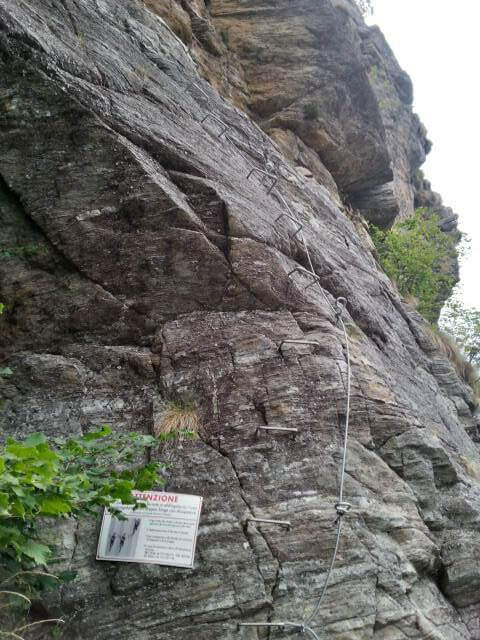
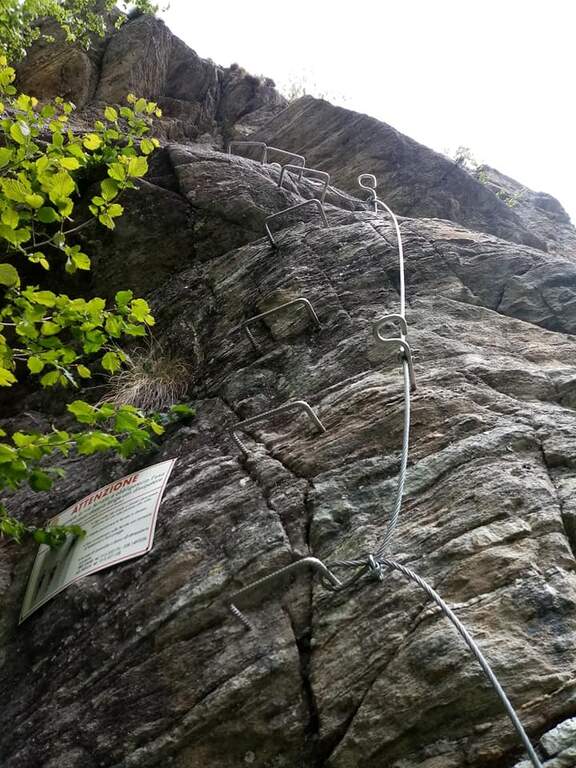
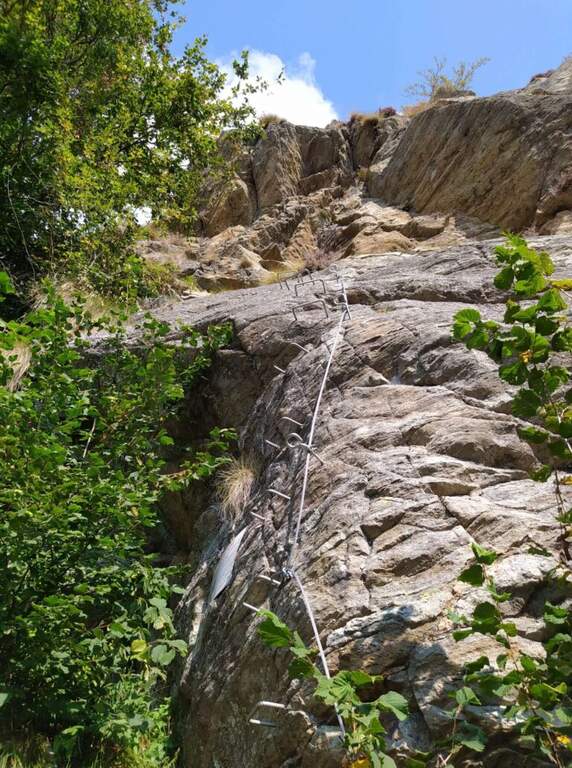
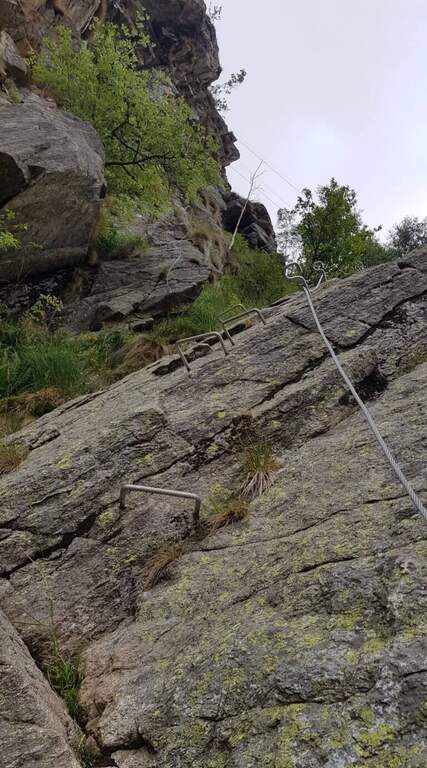
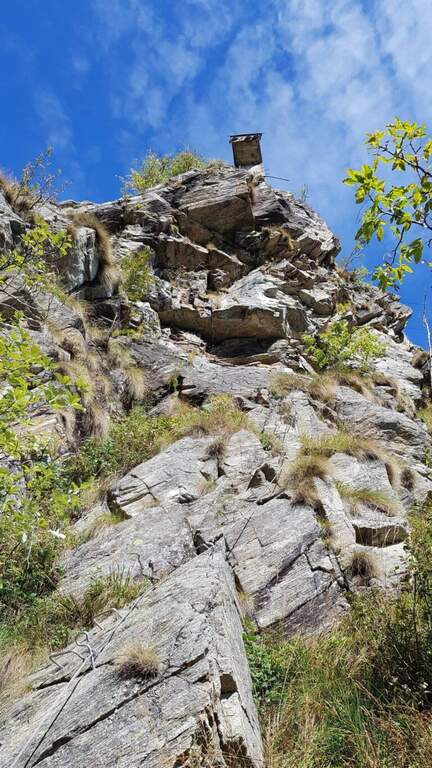
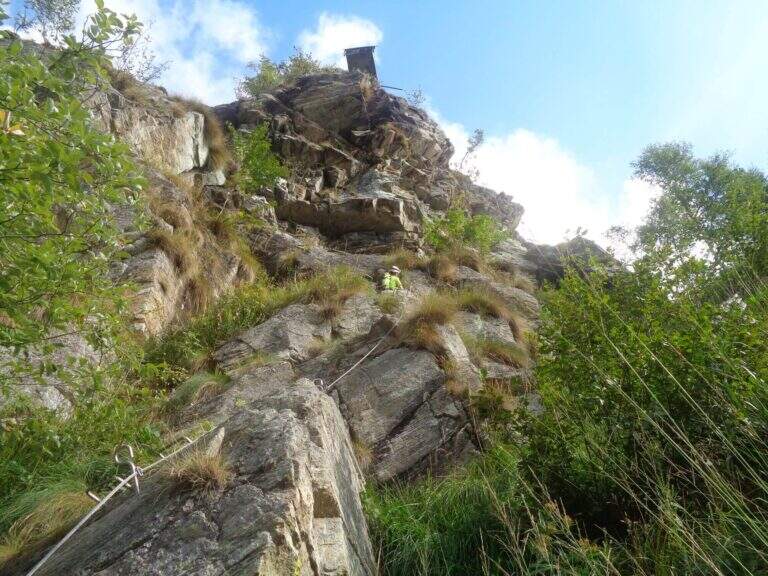
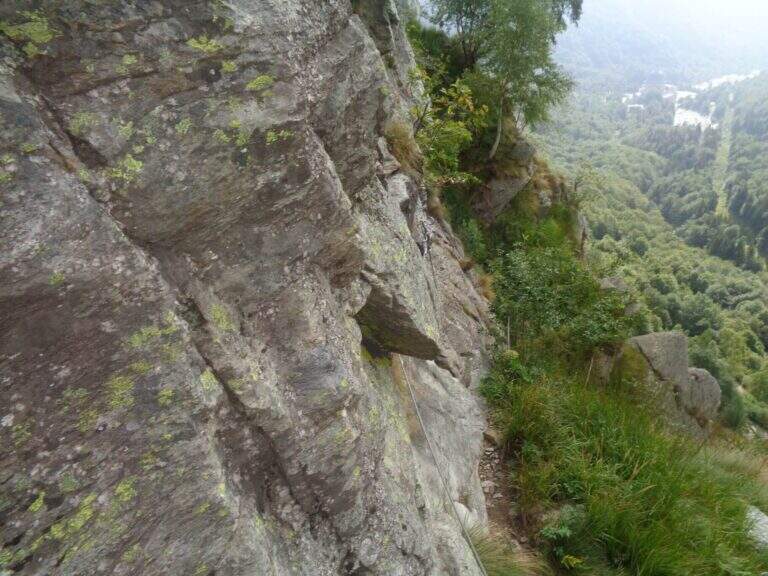
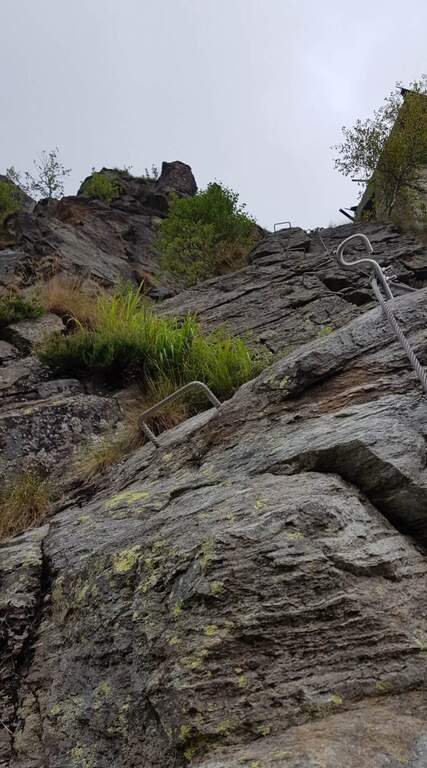
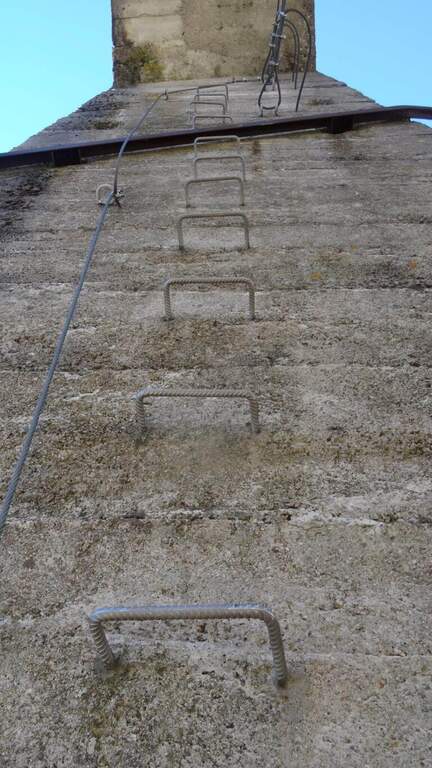
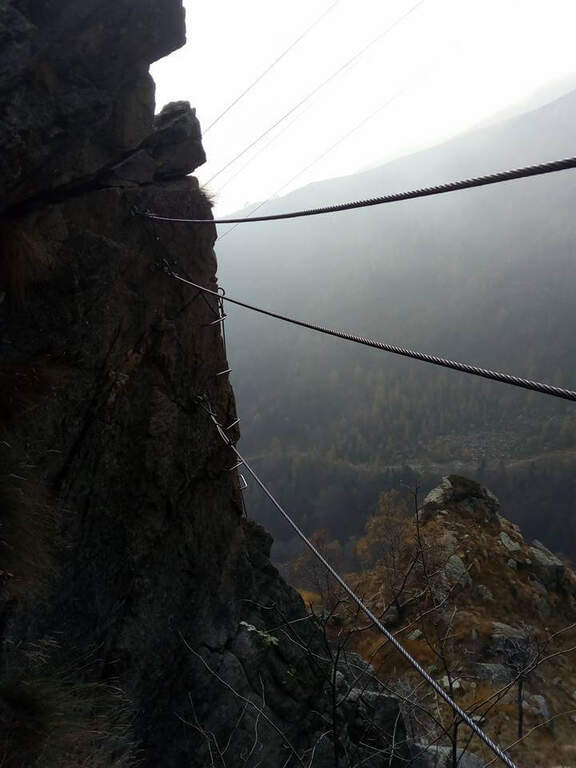
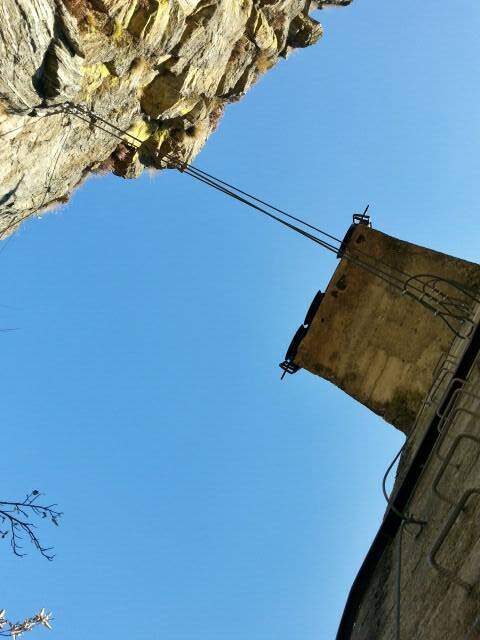
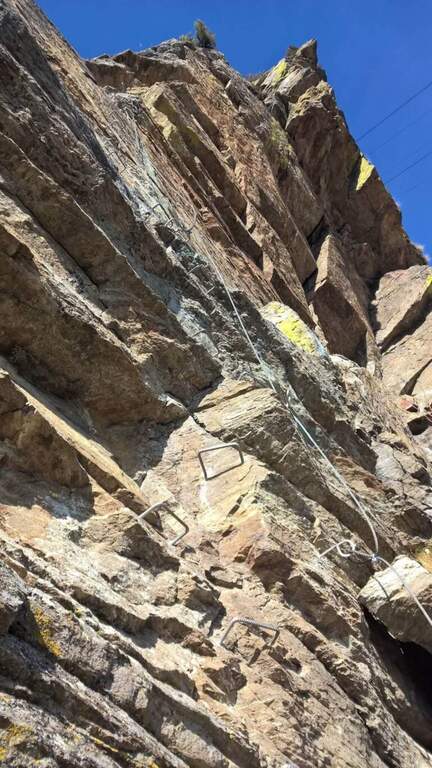
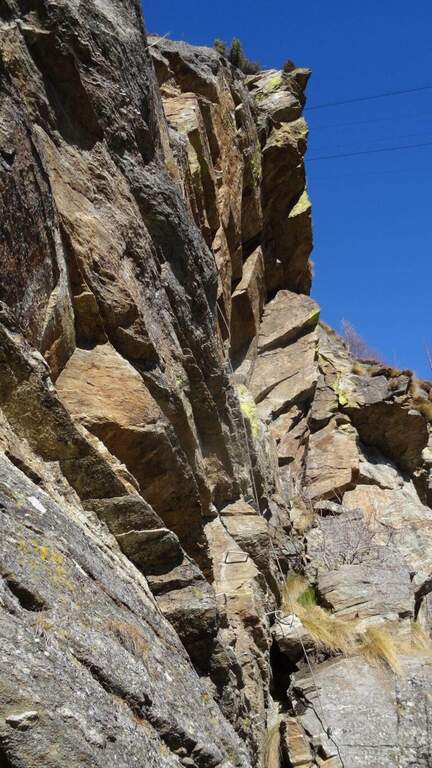
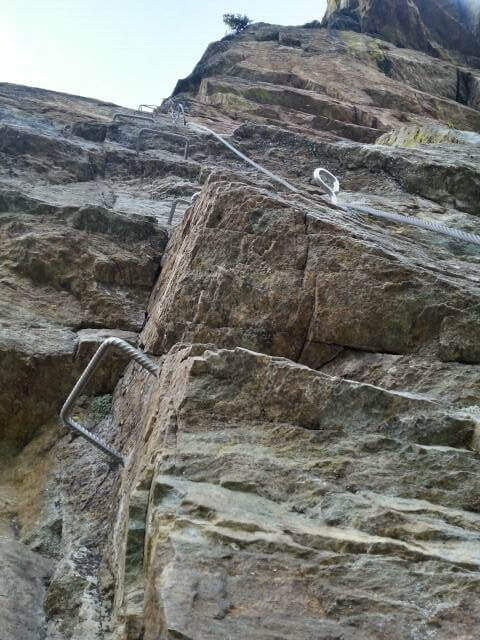
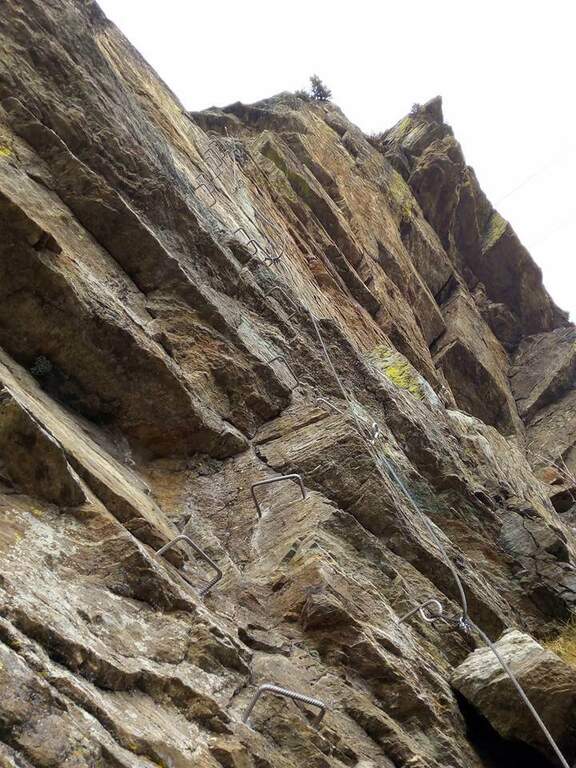
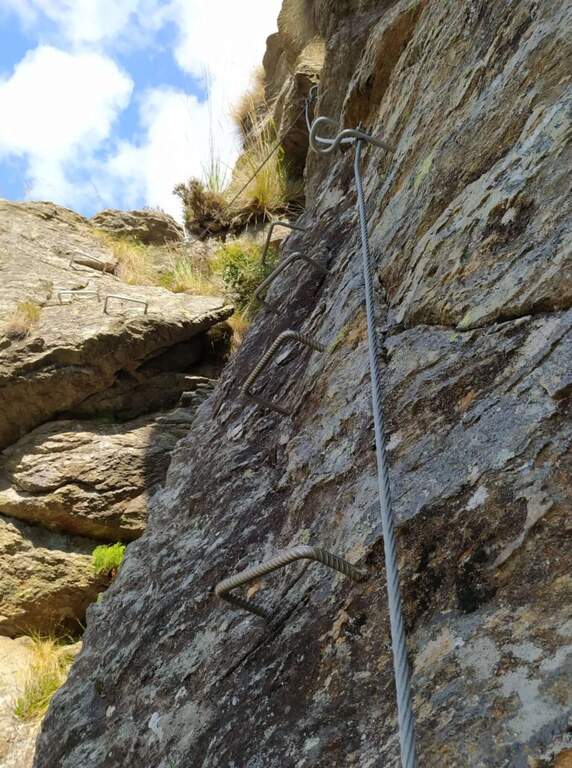
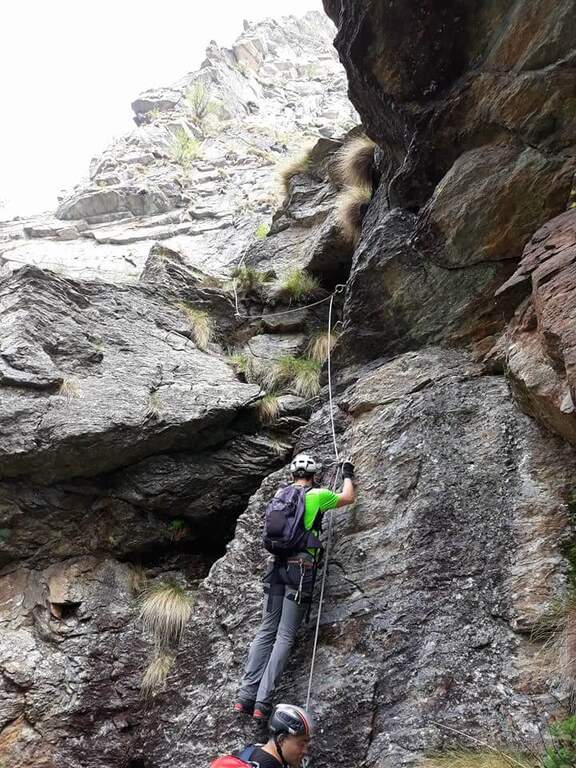
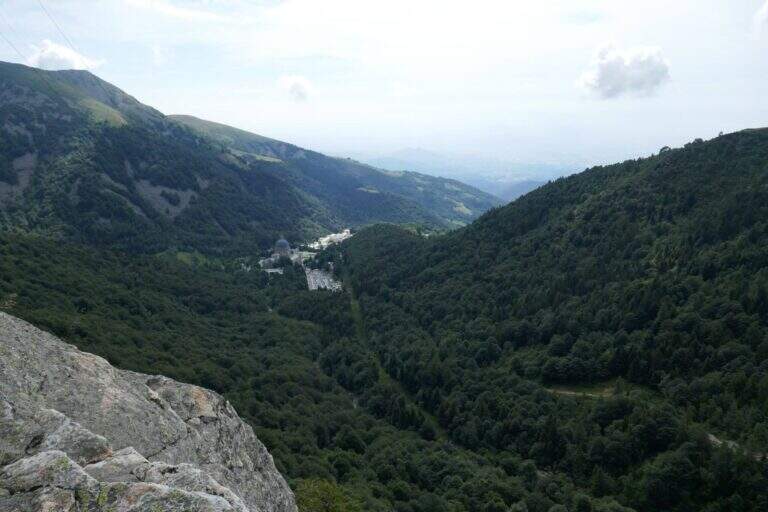
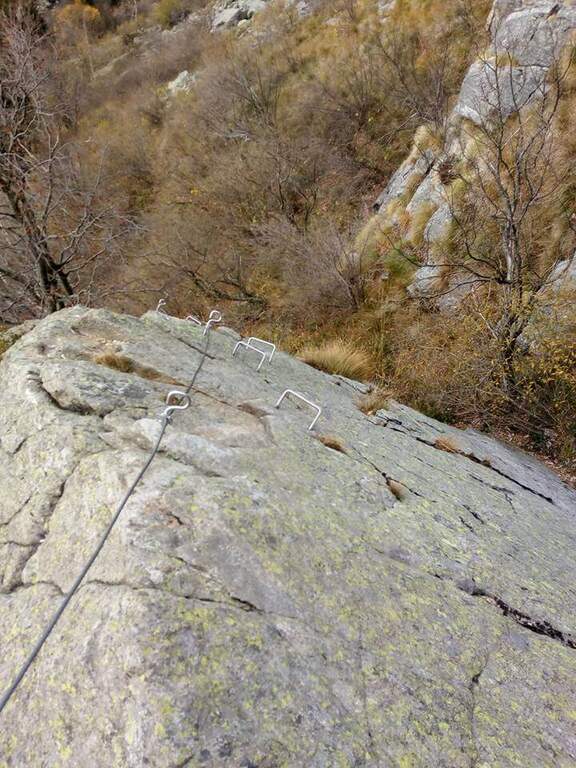
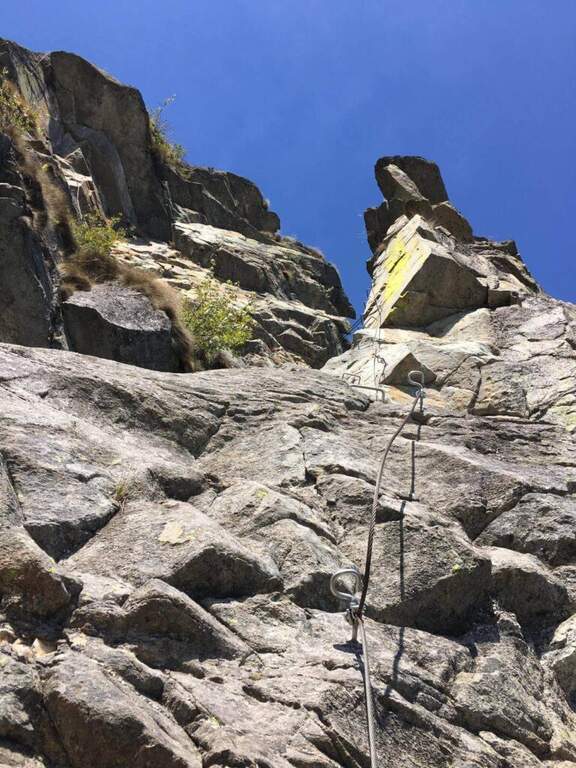
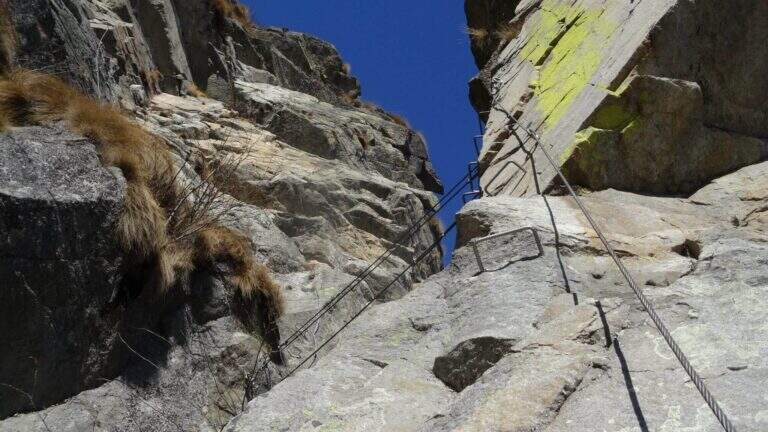
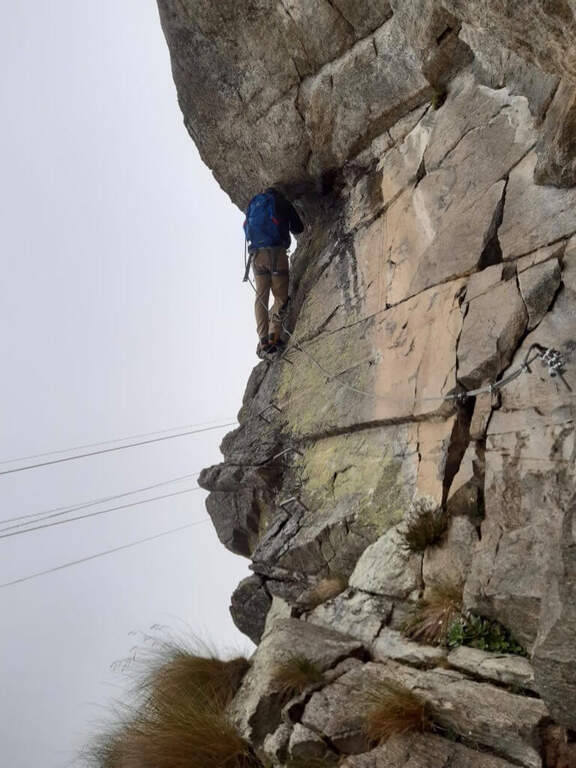
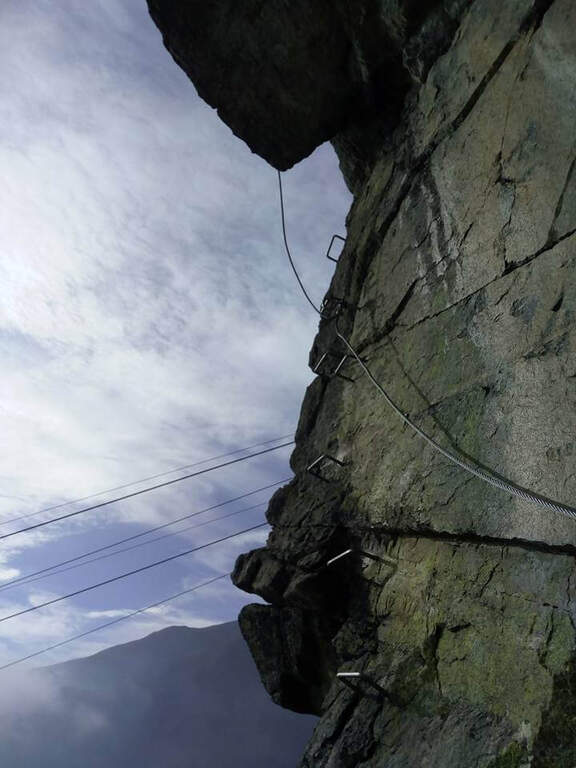
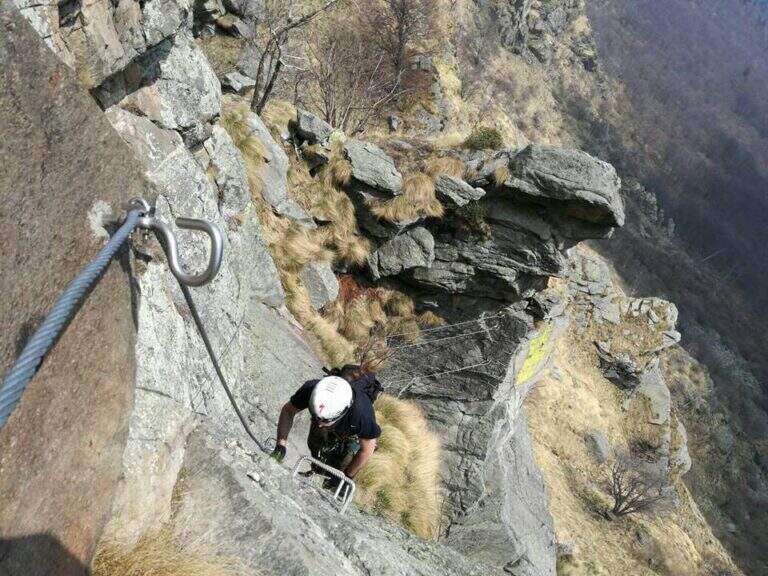
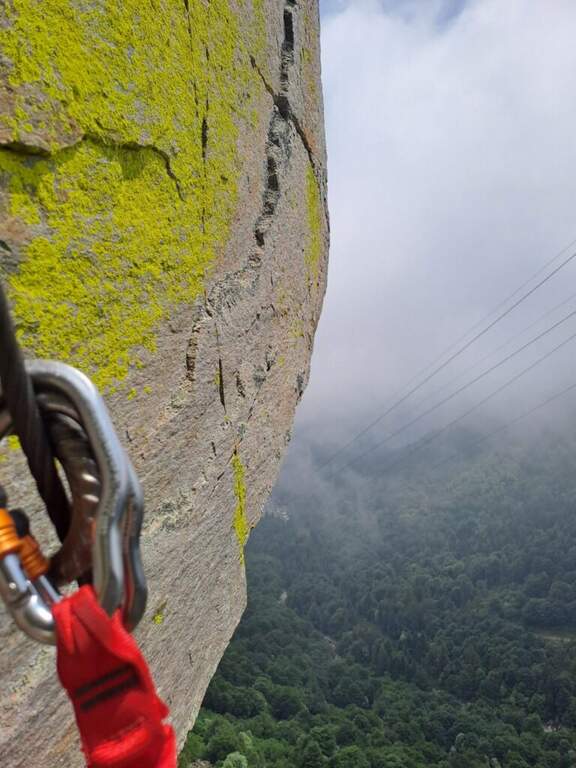
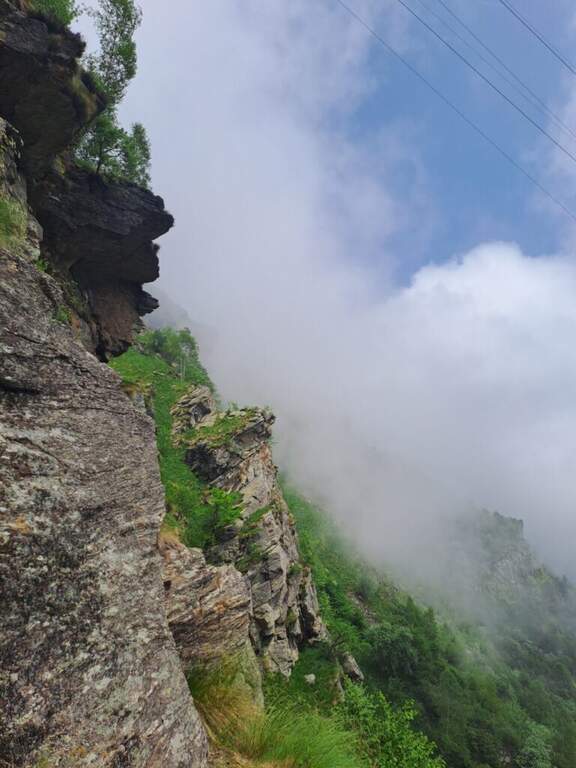
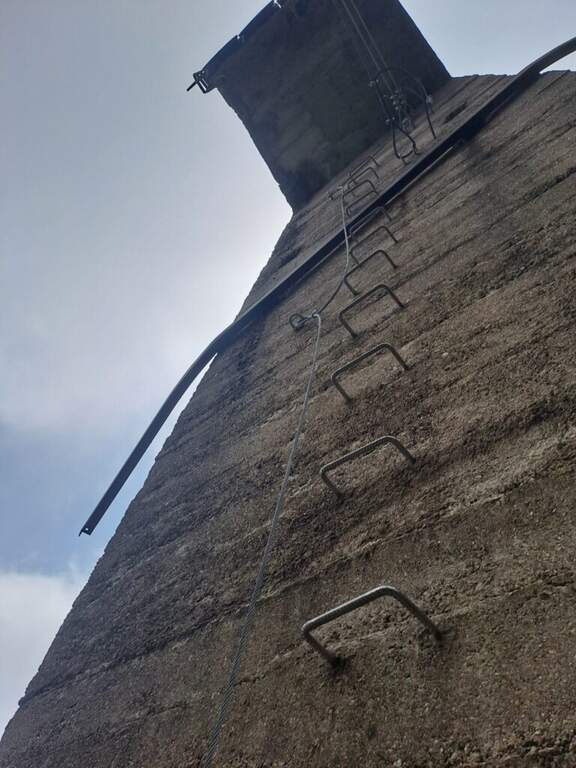
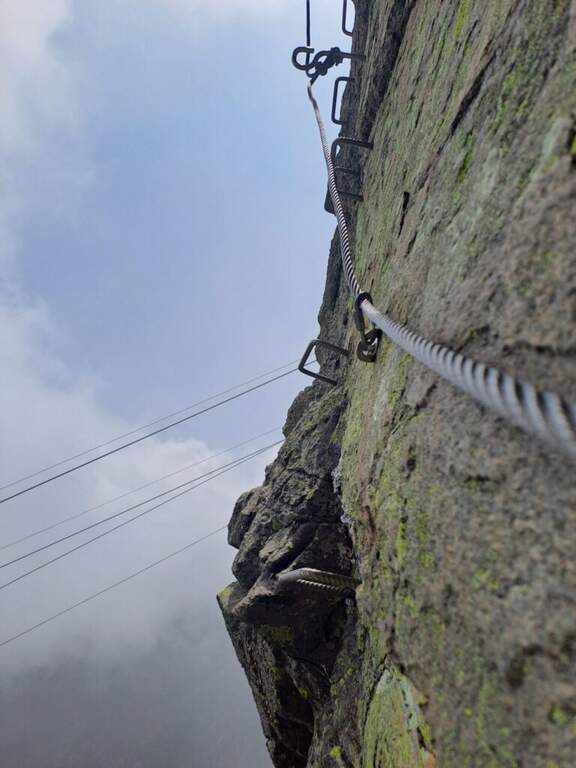
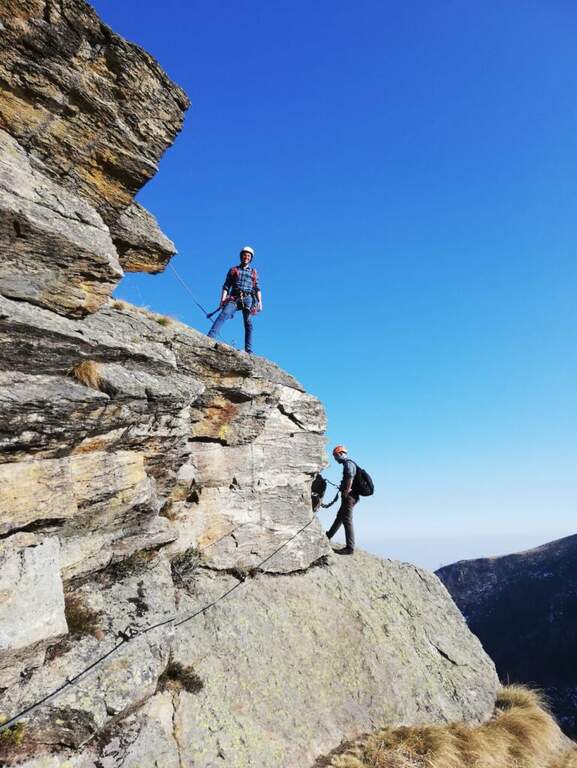
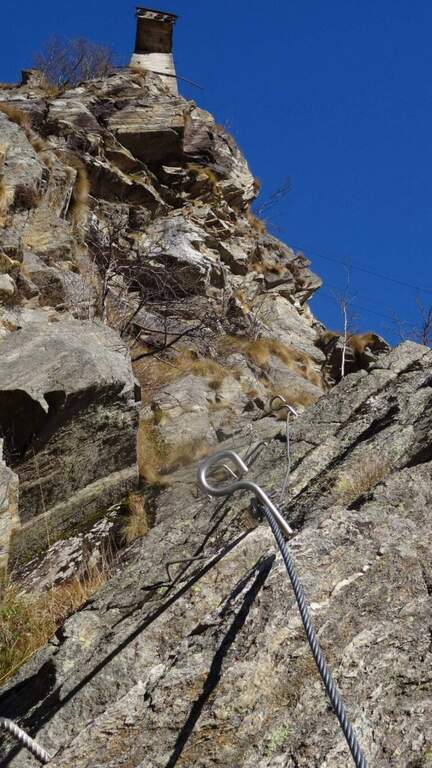
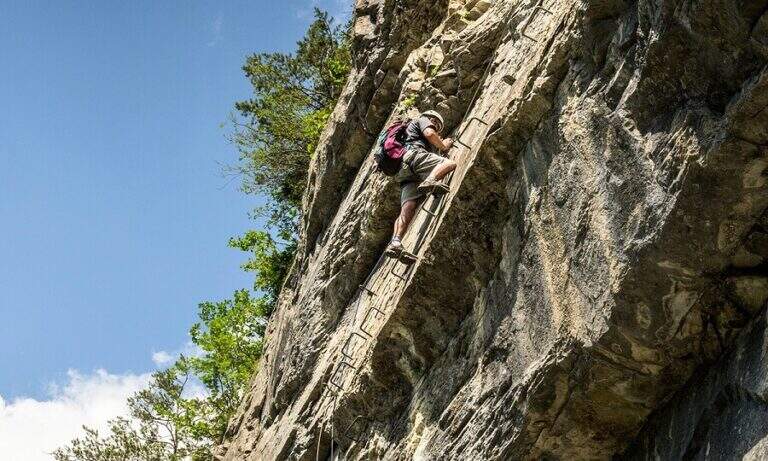
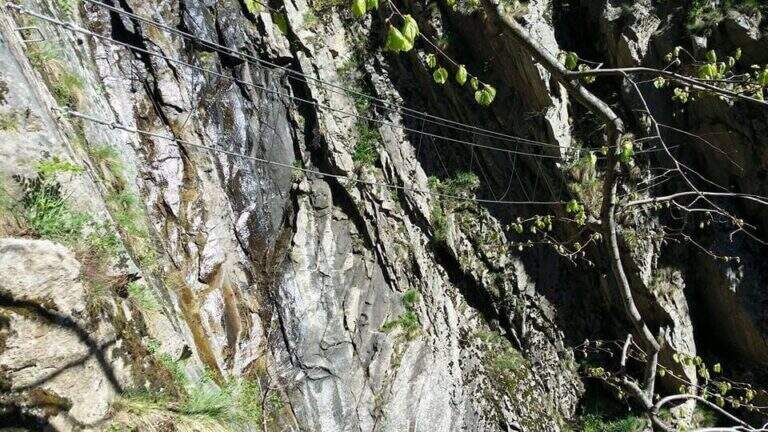
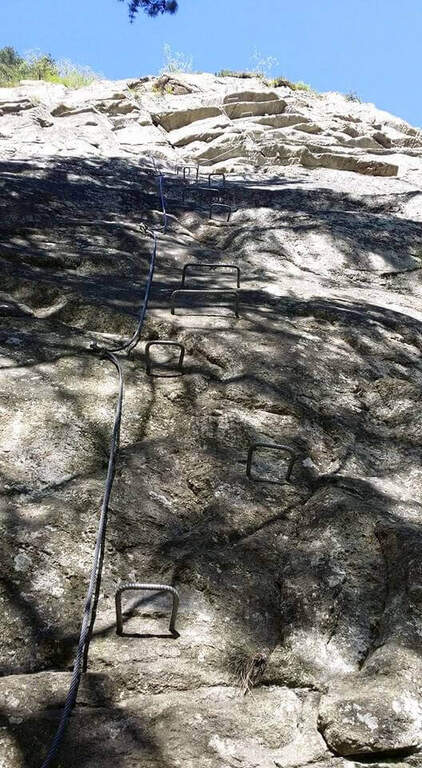
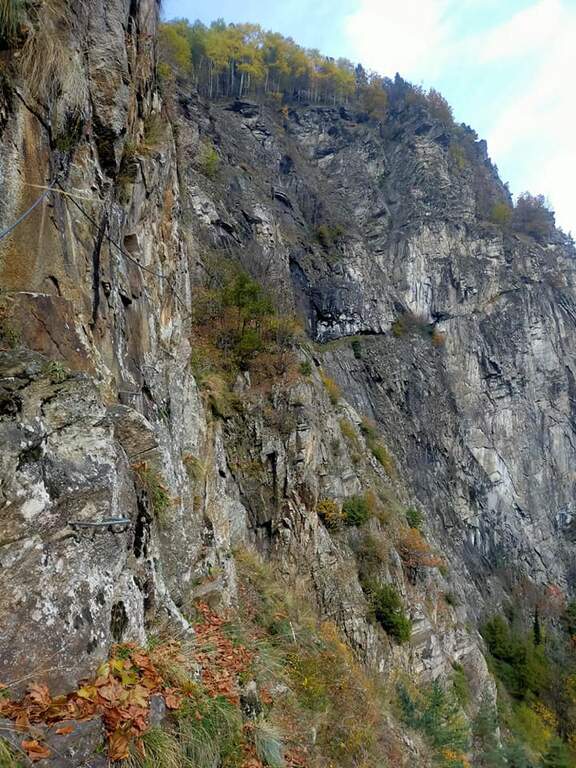
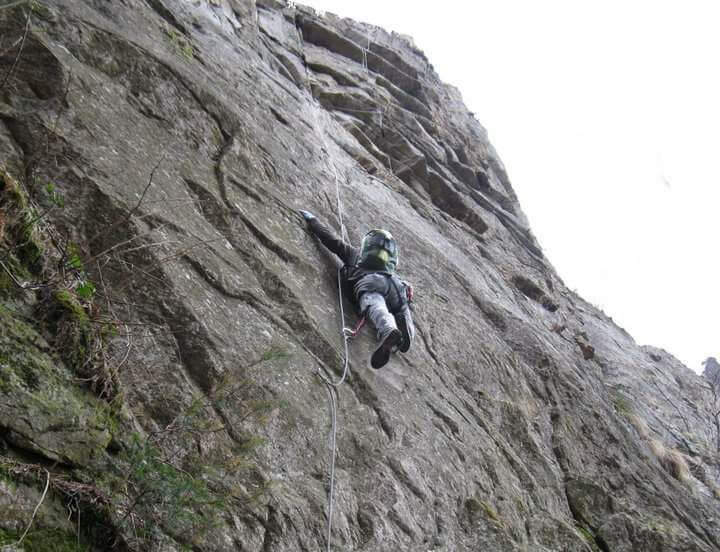
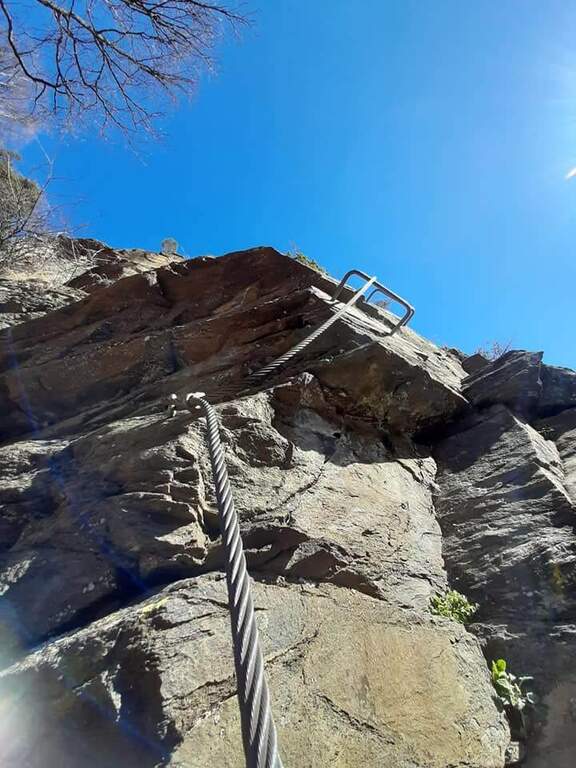
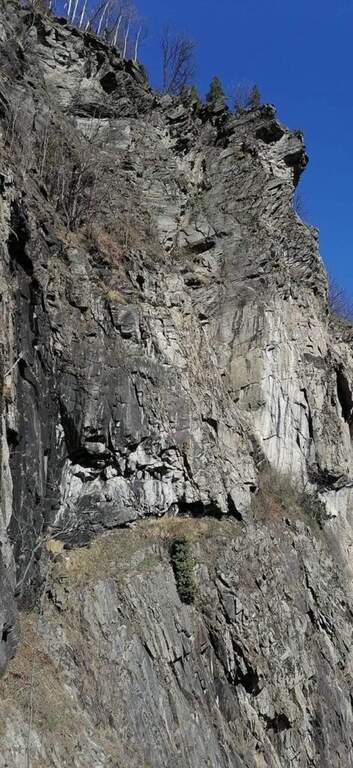
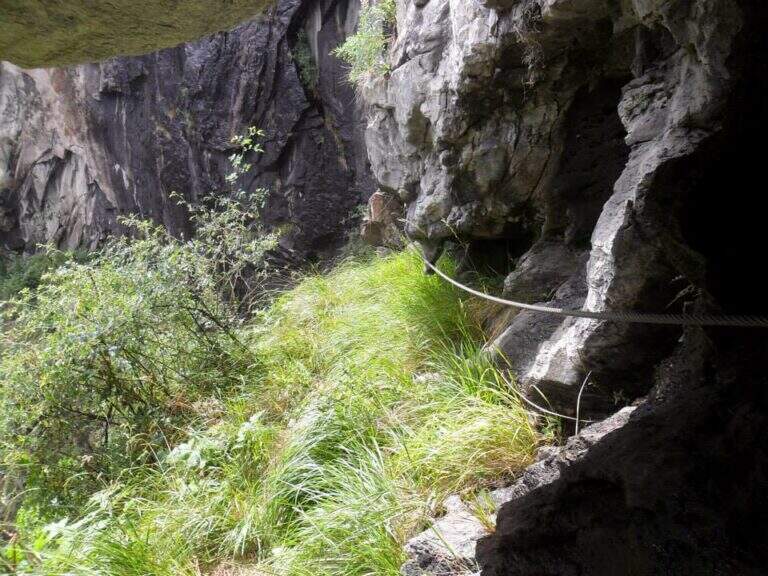
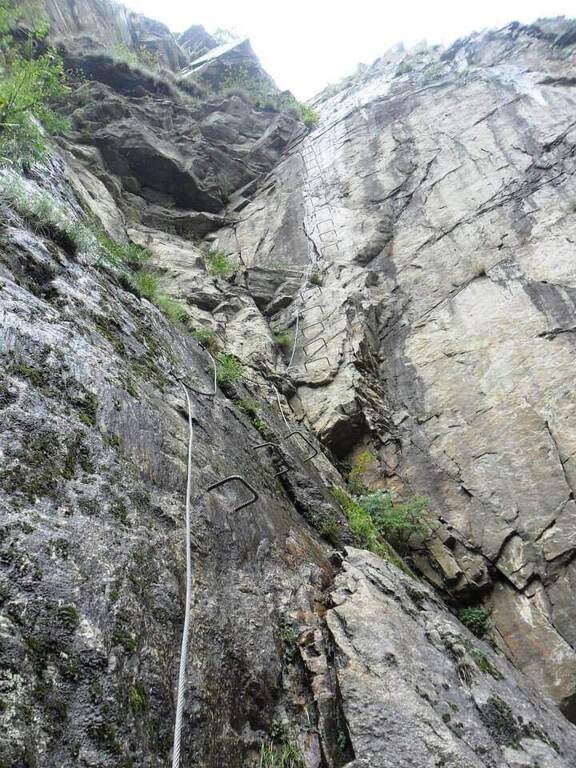
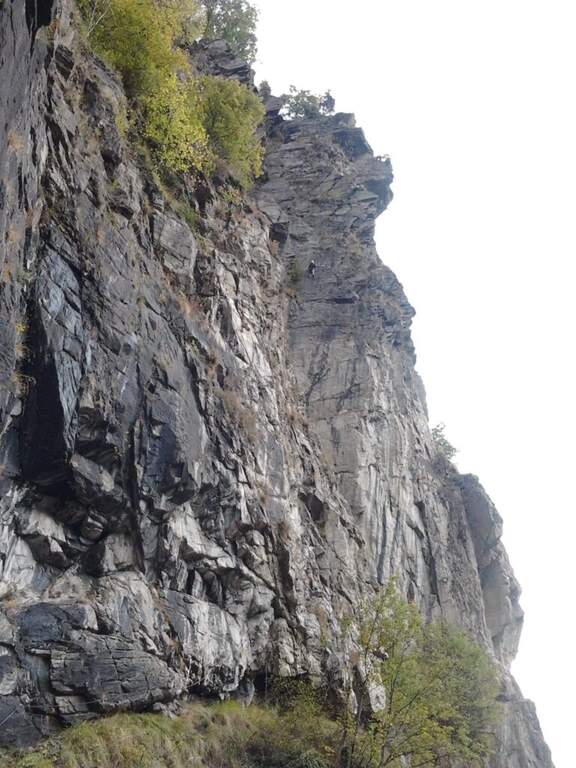
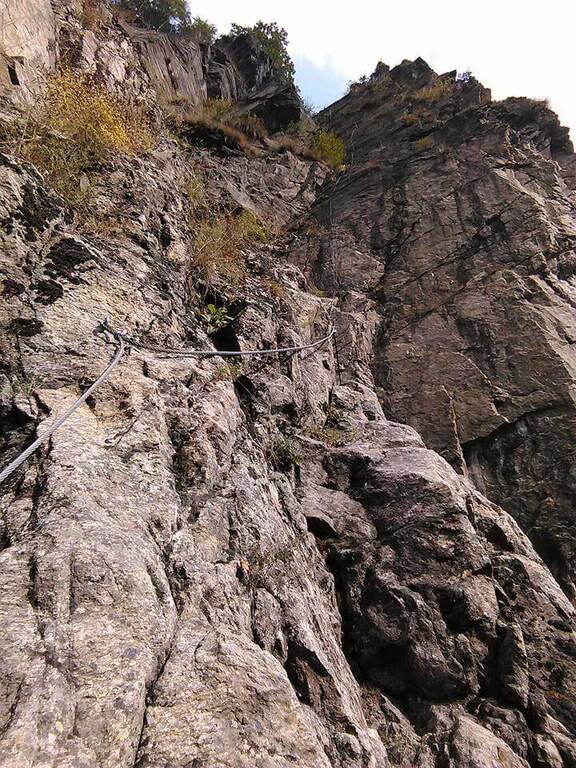
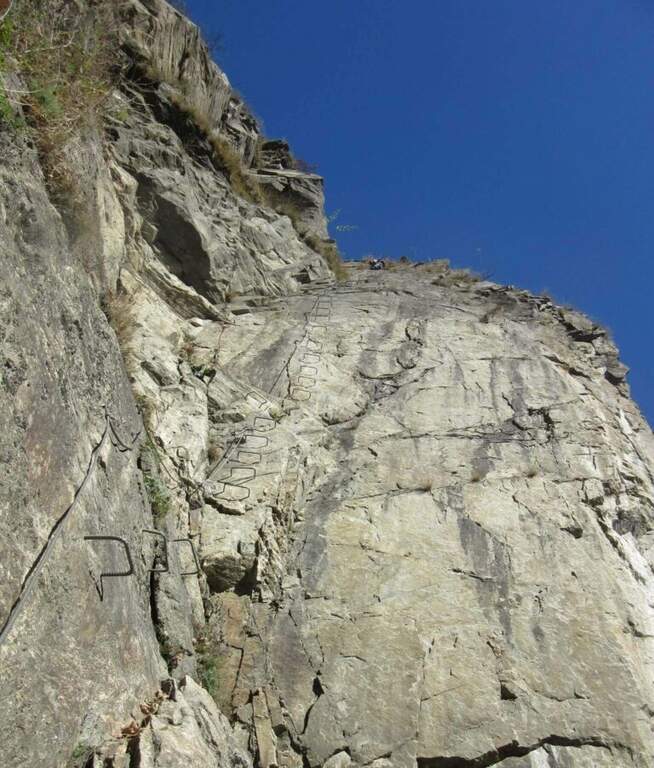
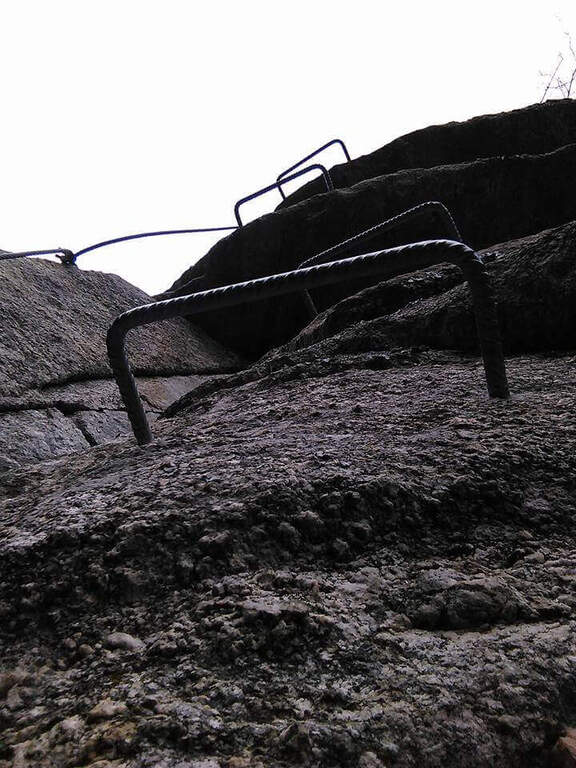
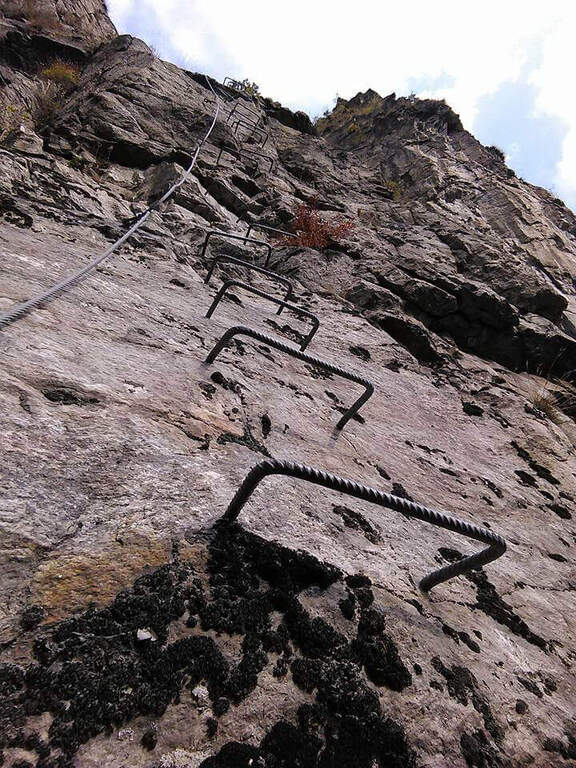
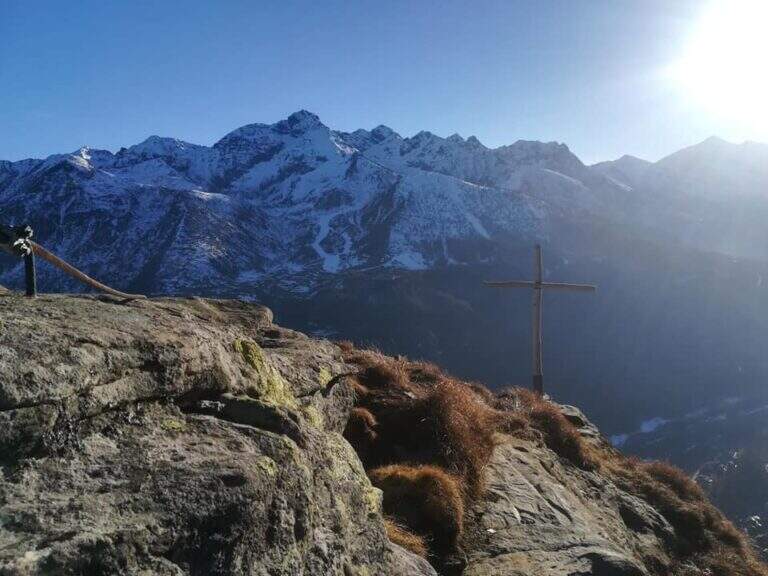
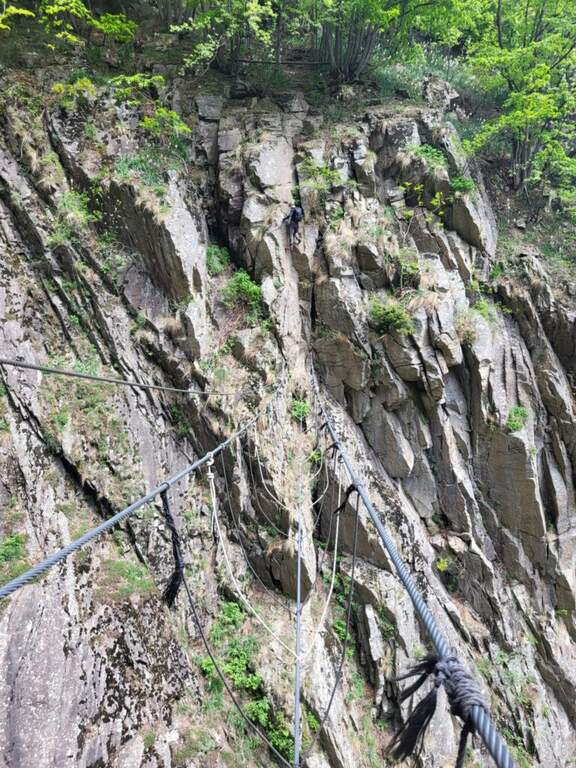
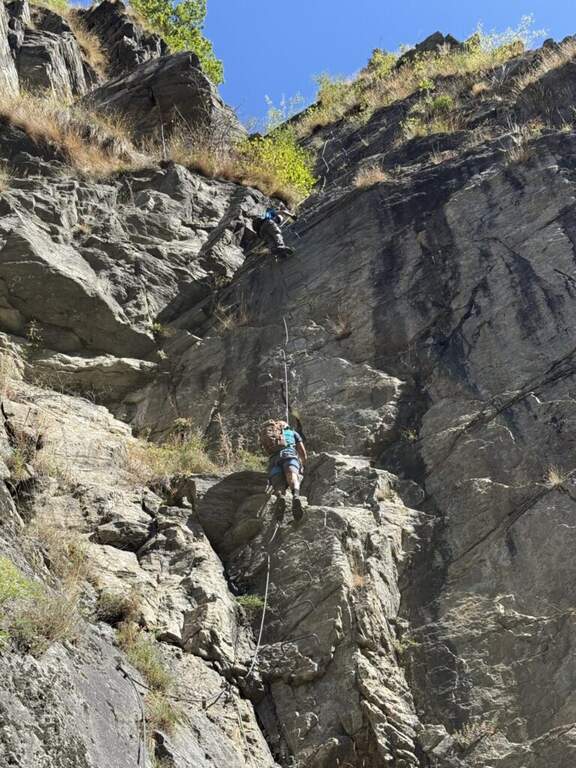
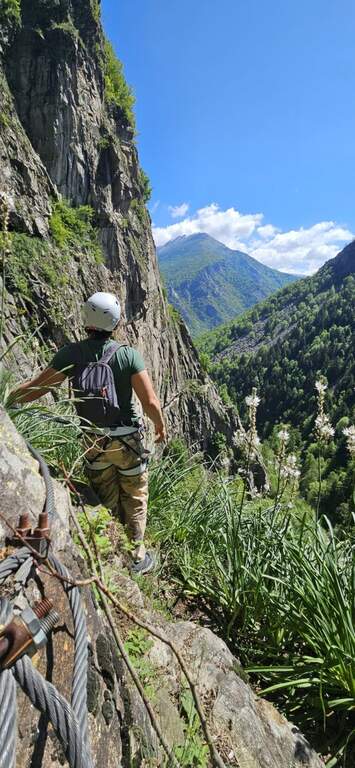
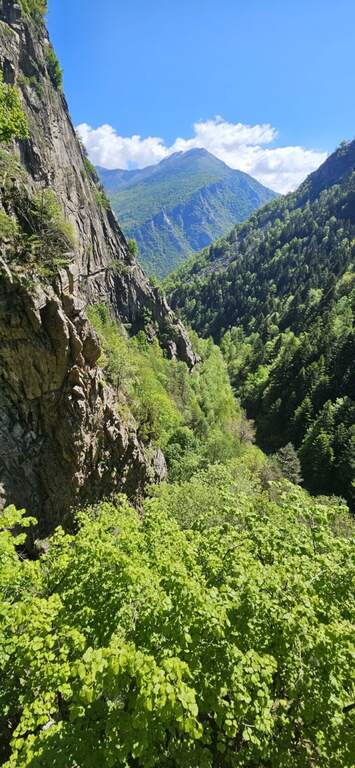
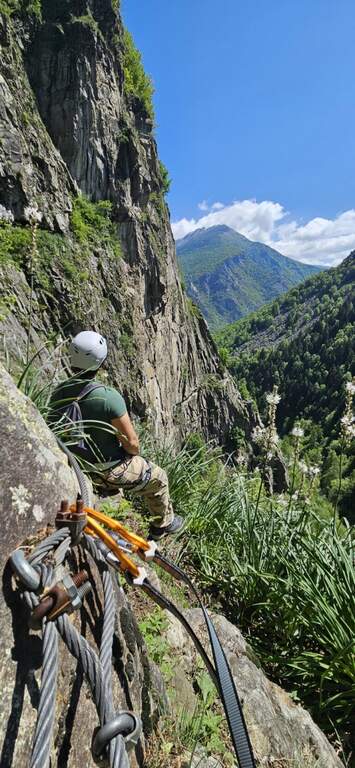
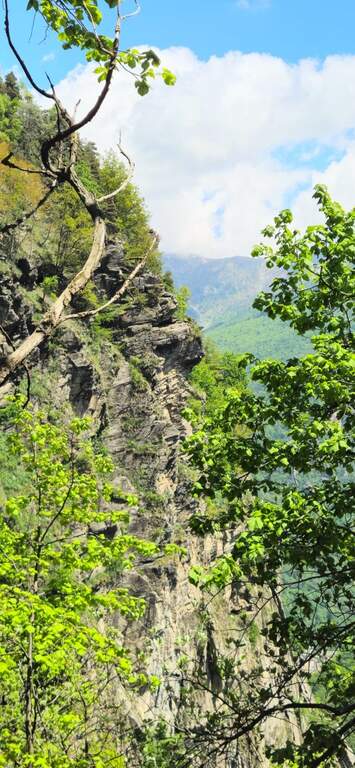
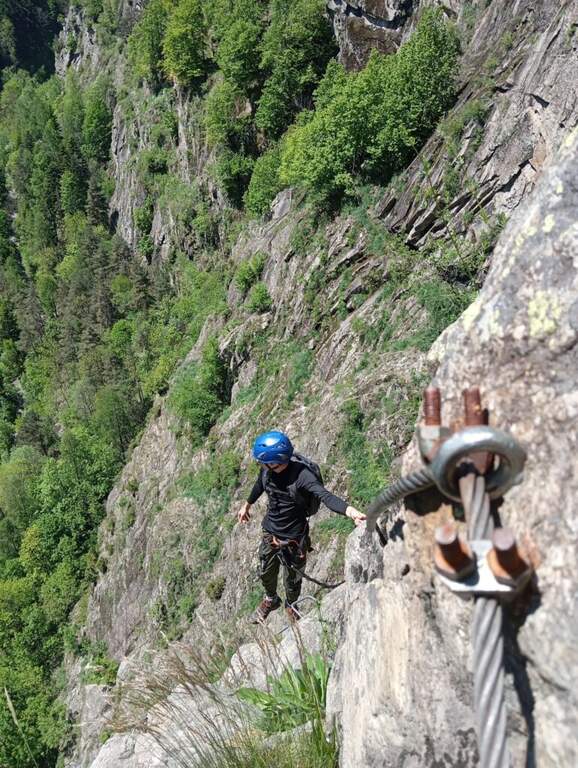
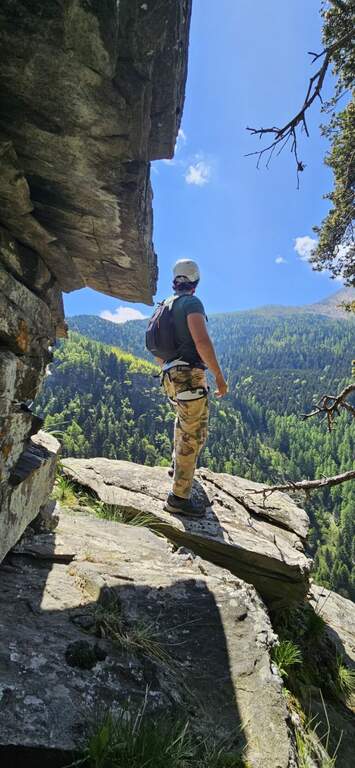
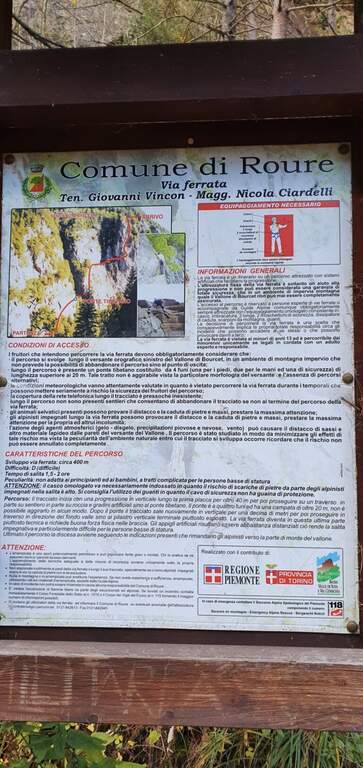
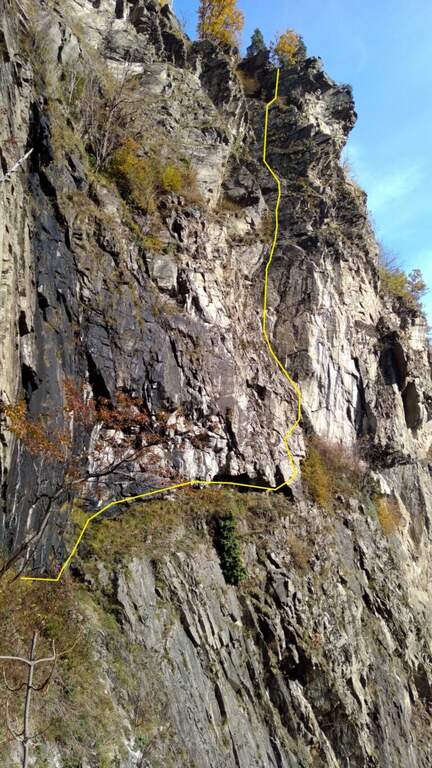
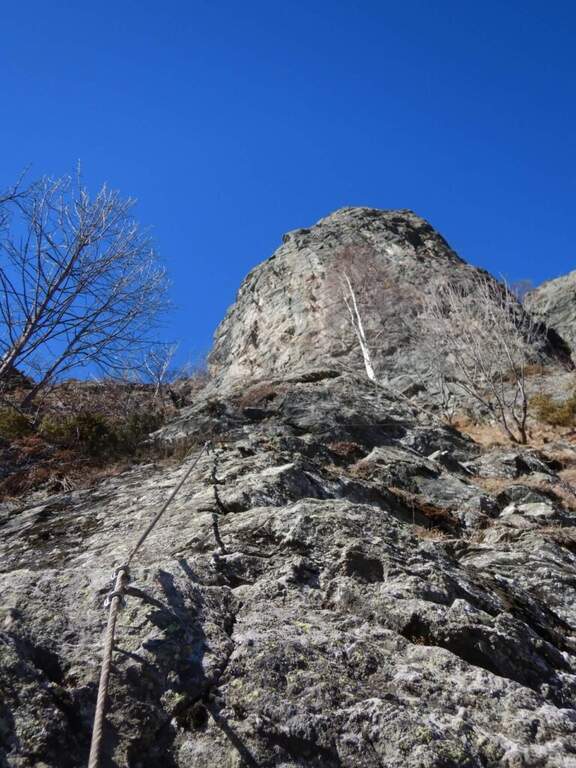
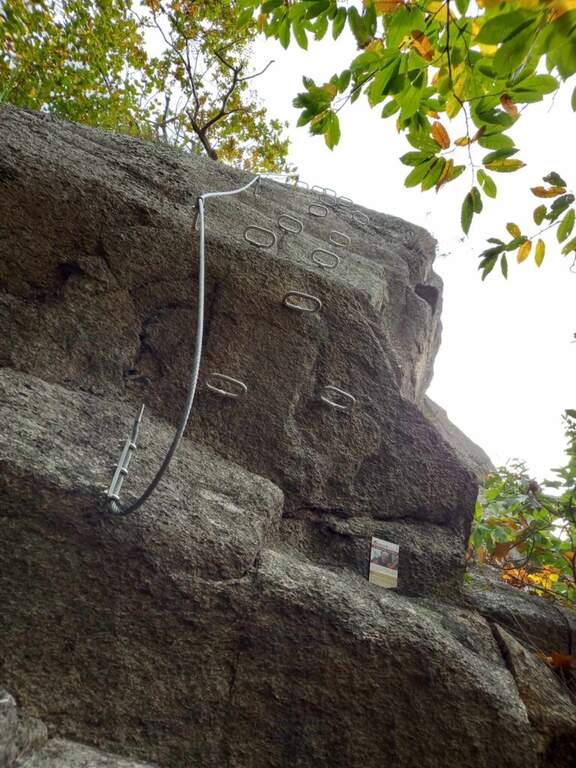
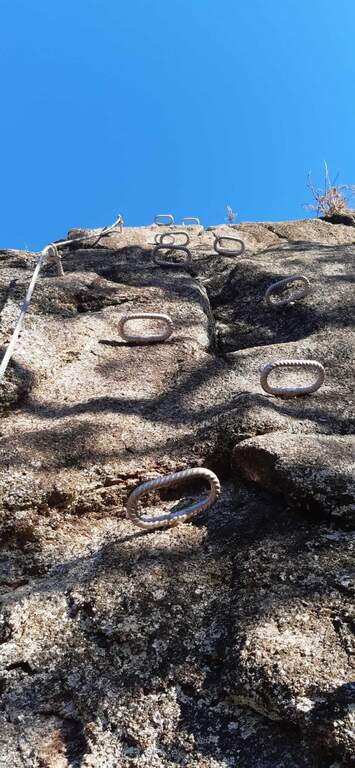
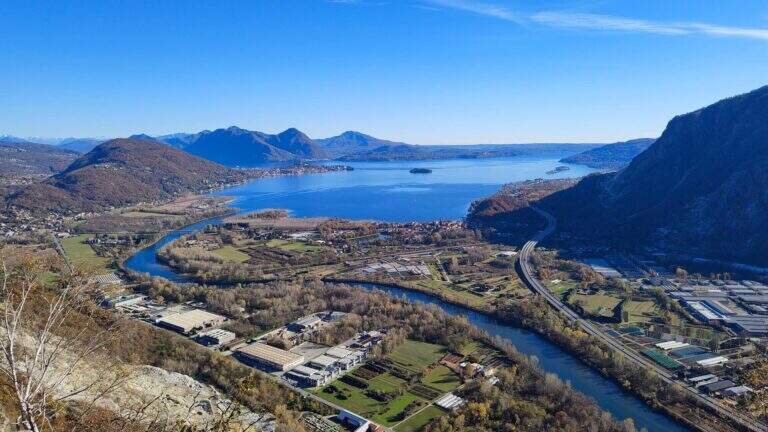
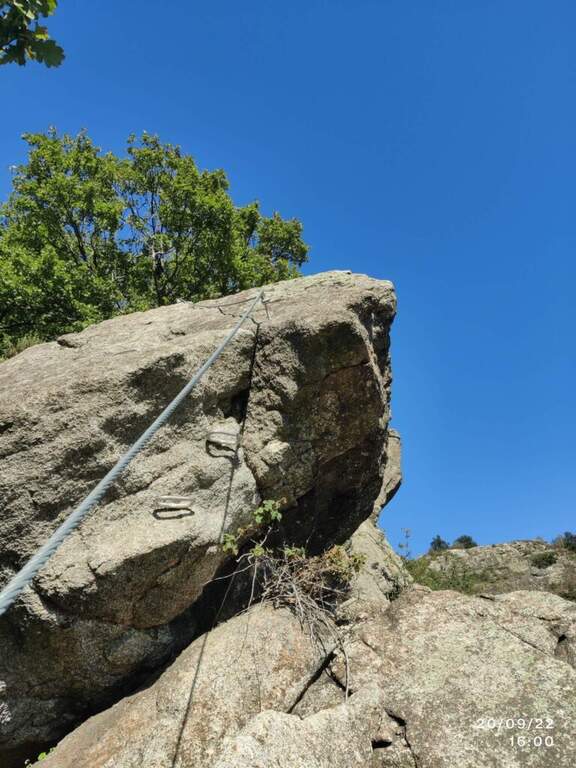
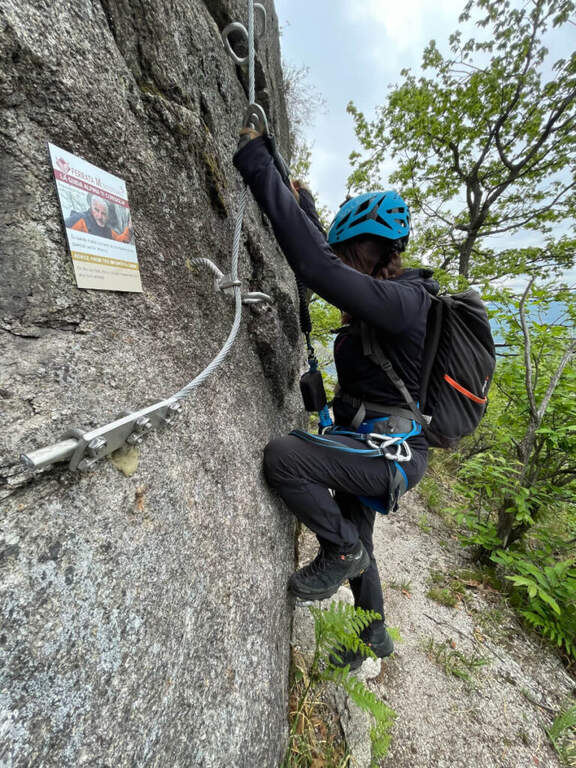
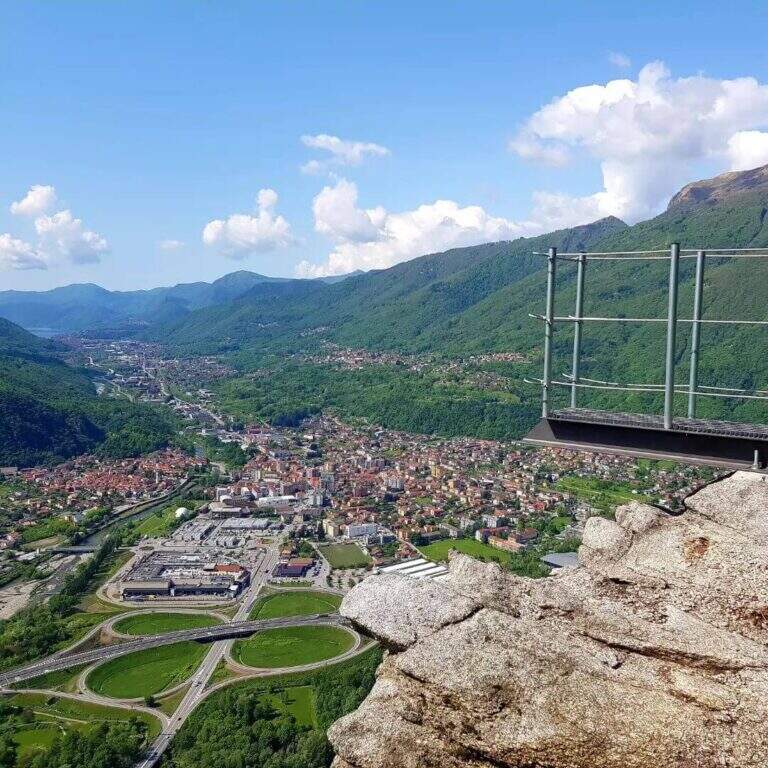
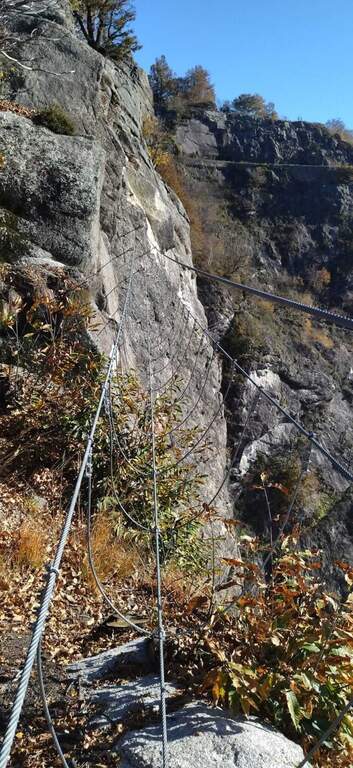
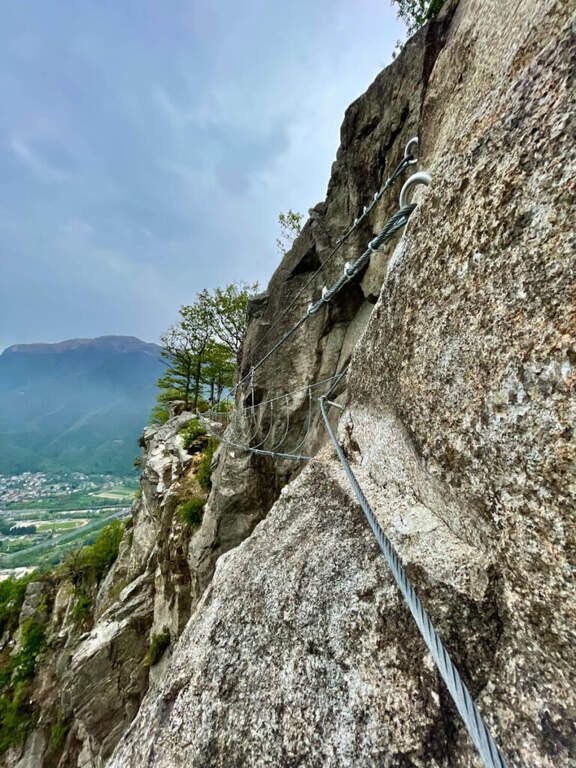
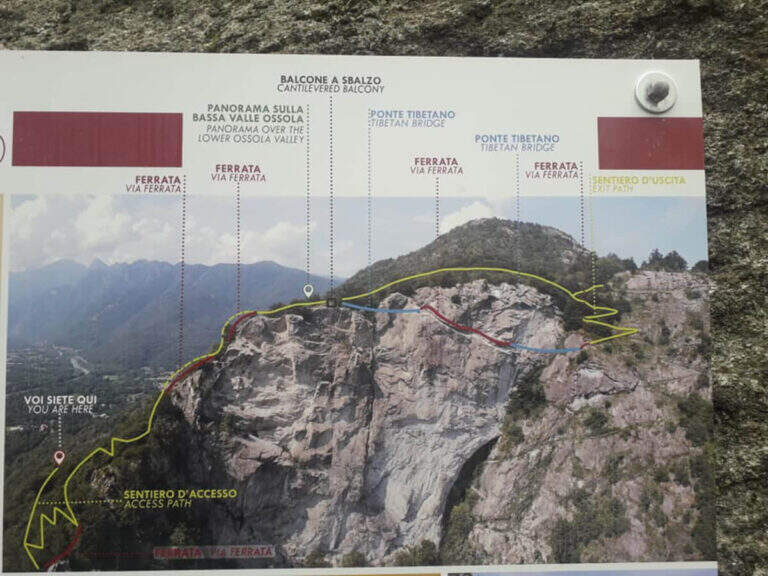
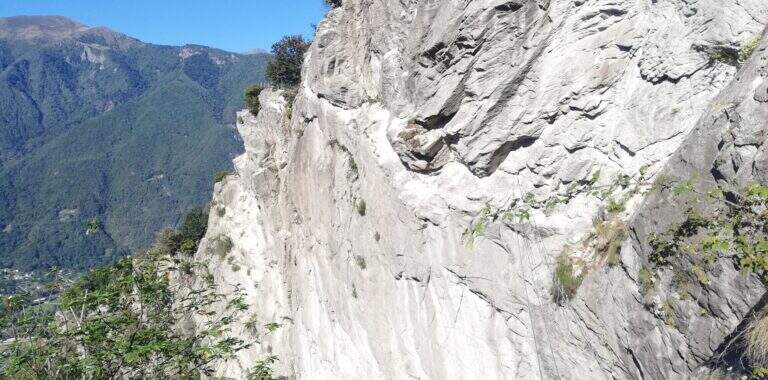
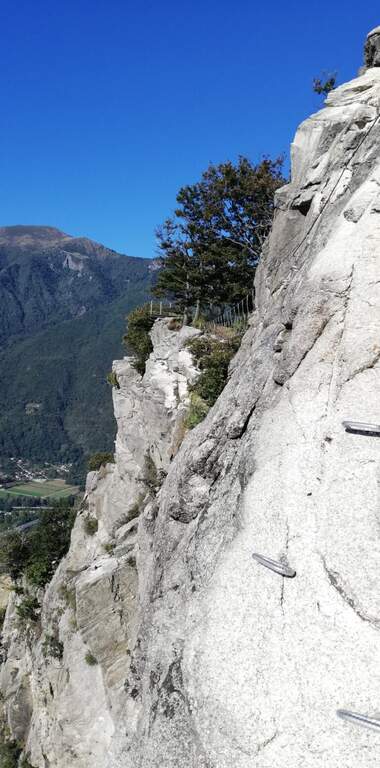
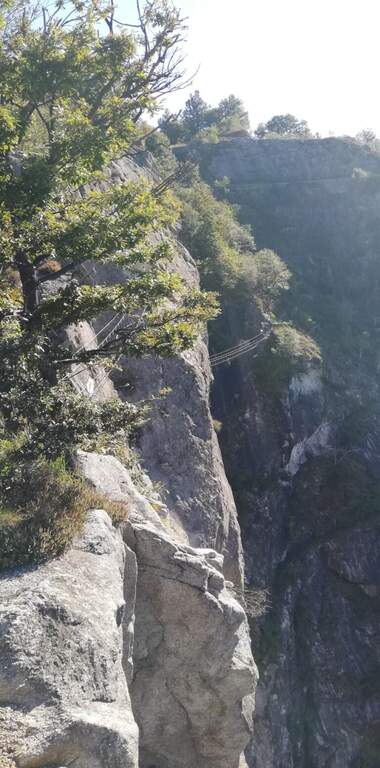
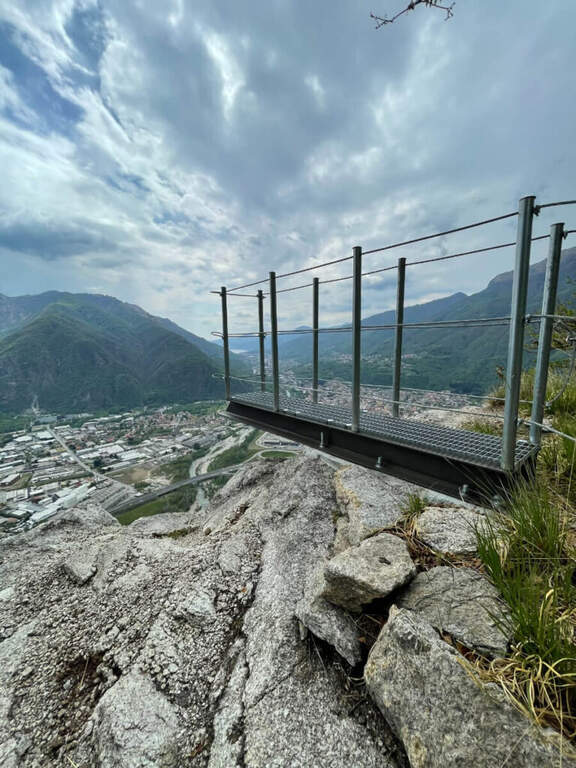
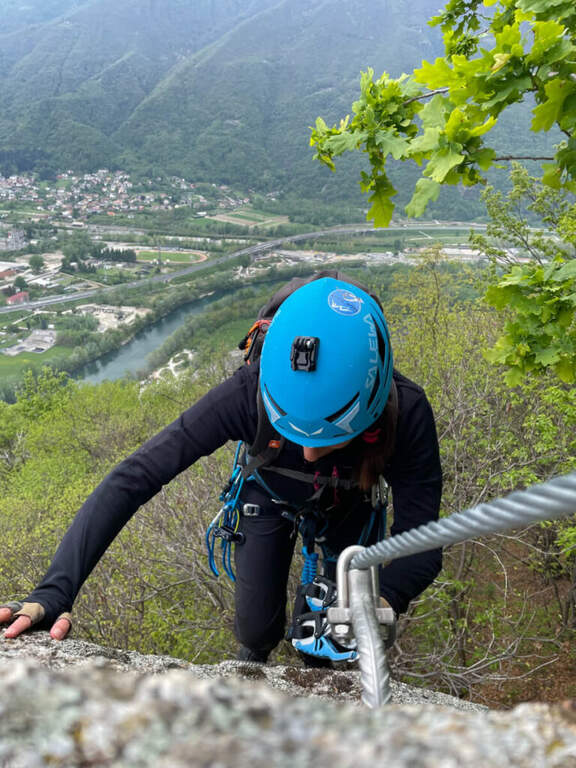
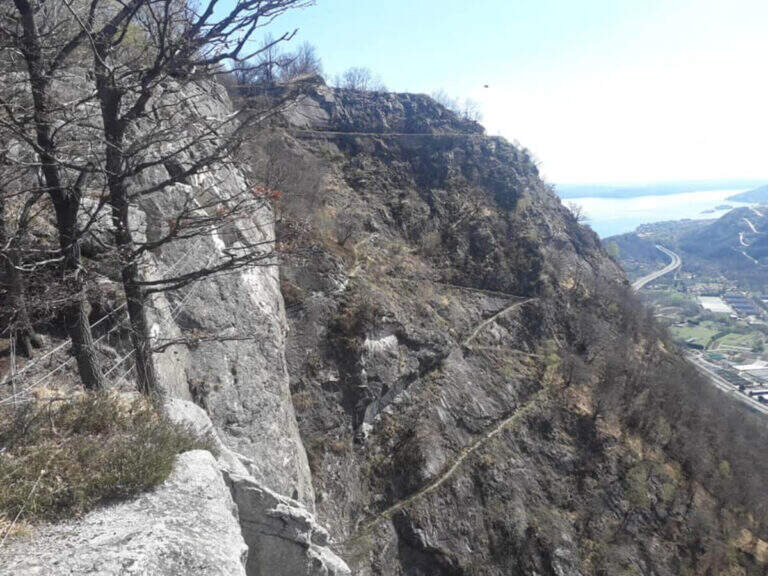
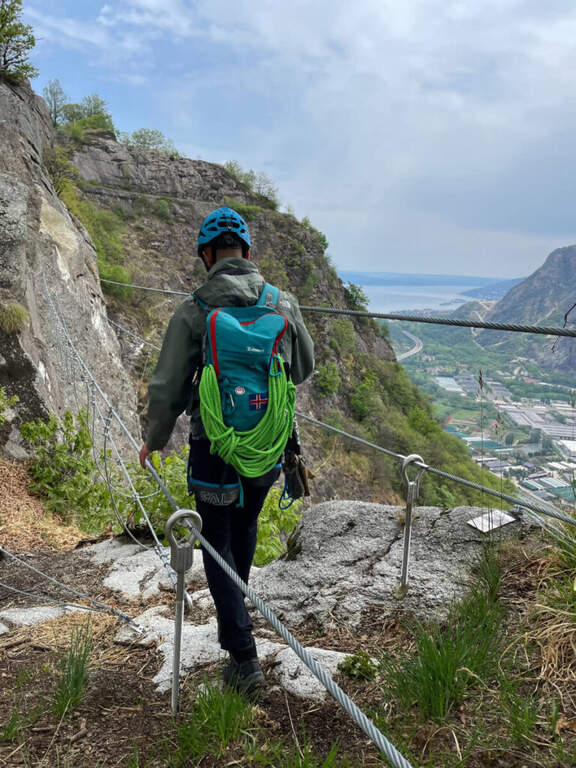
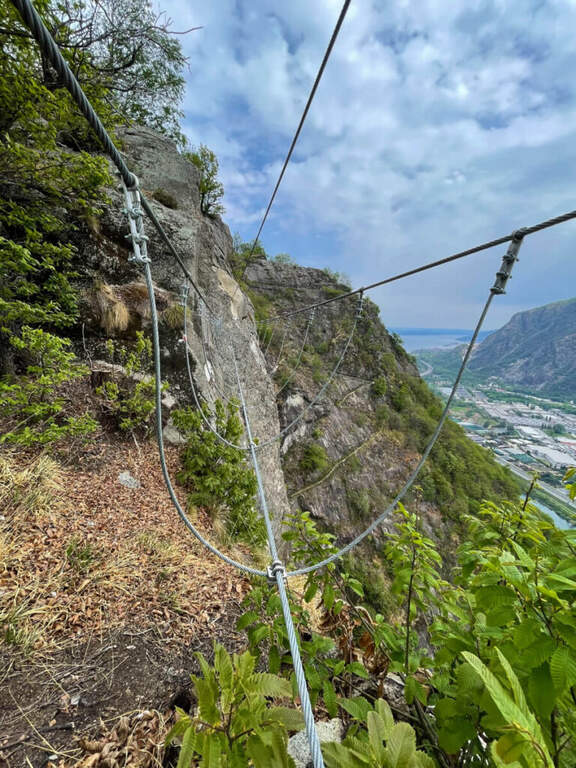
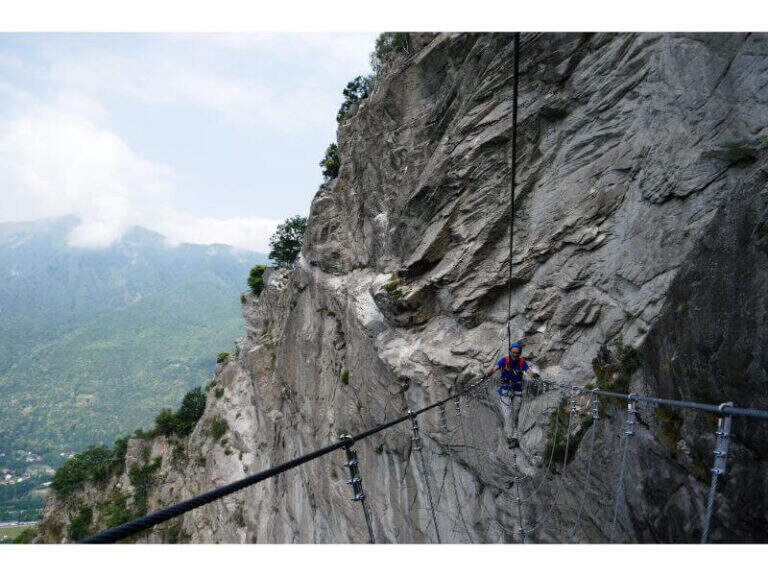
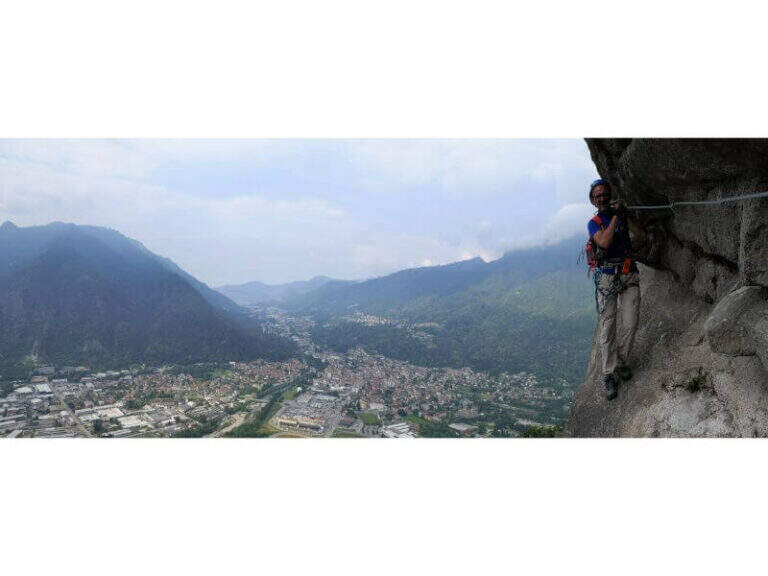
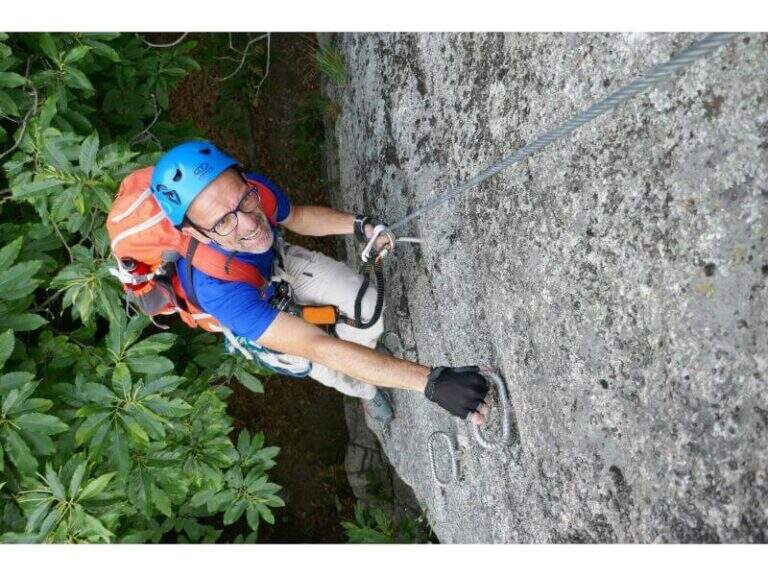
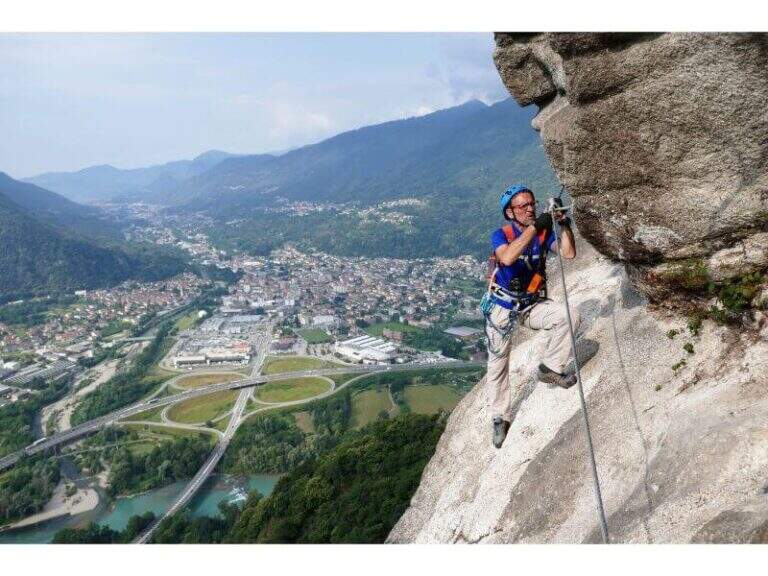
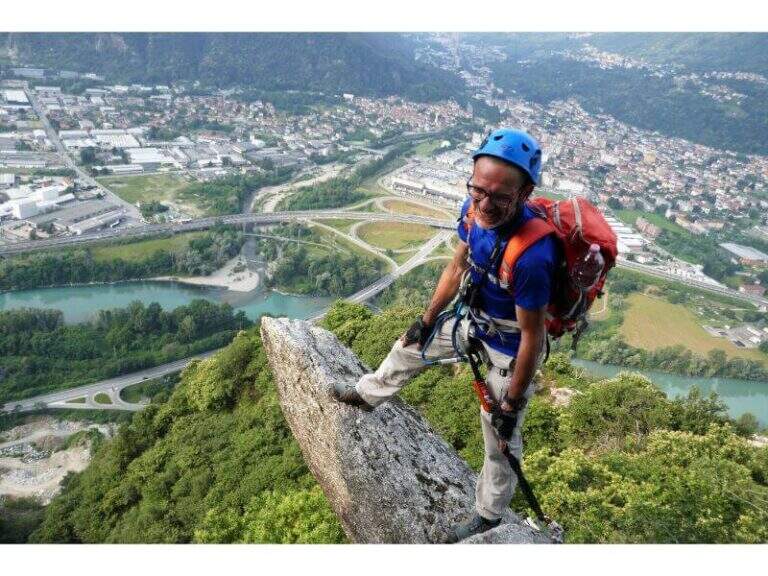
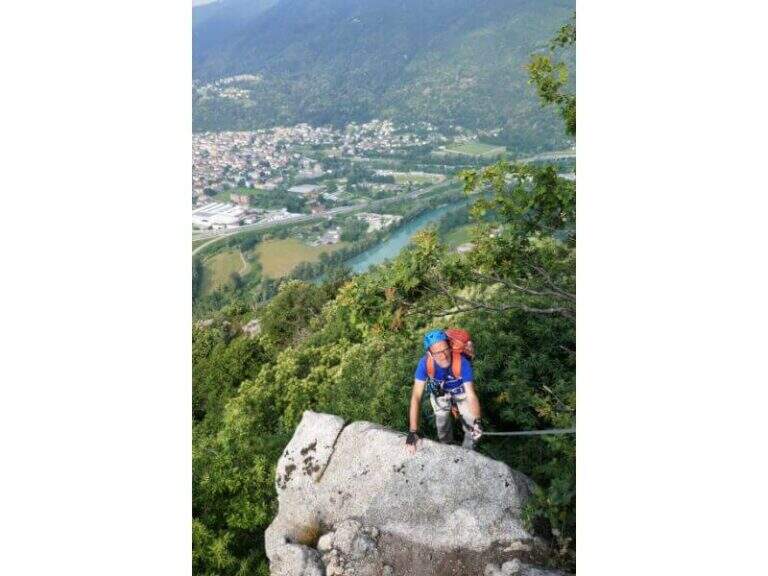
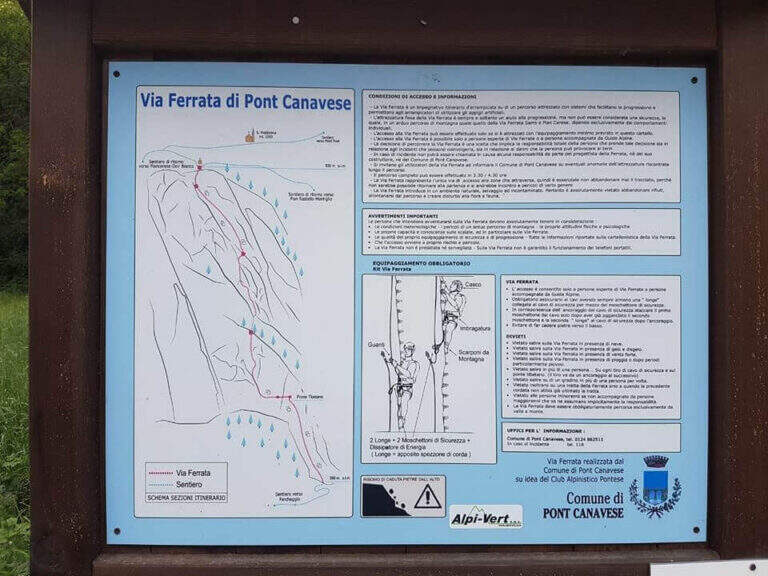
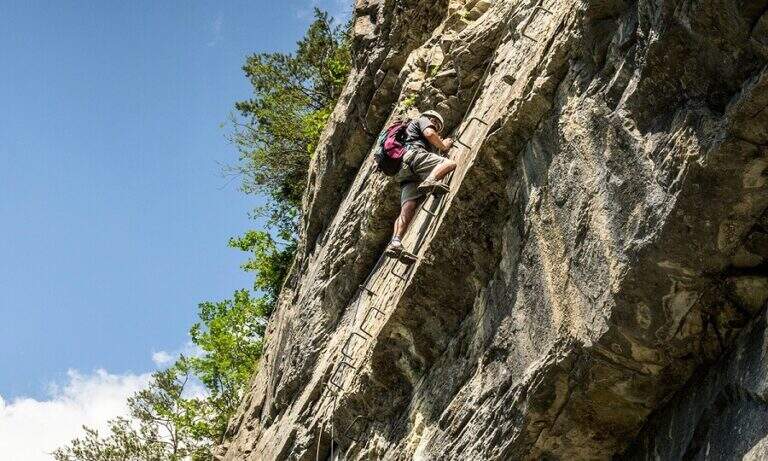
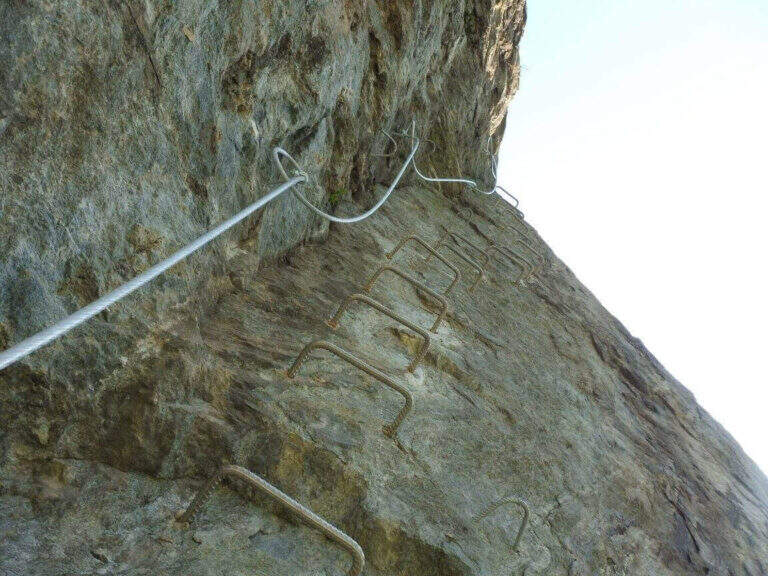
    The Ferrata of Pont Canavese is a very satisfying and complete itinerary, rich in different passages — plates, diedri, beams, overhanging walls, suspended bridges. The equipment is abundant and makes a line that would otherwise require excellent climbing skills; the athletic variant is extremely difficult and physically intense, among the hardest in Italy.

    ▲Approach

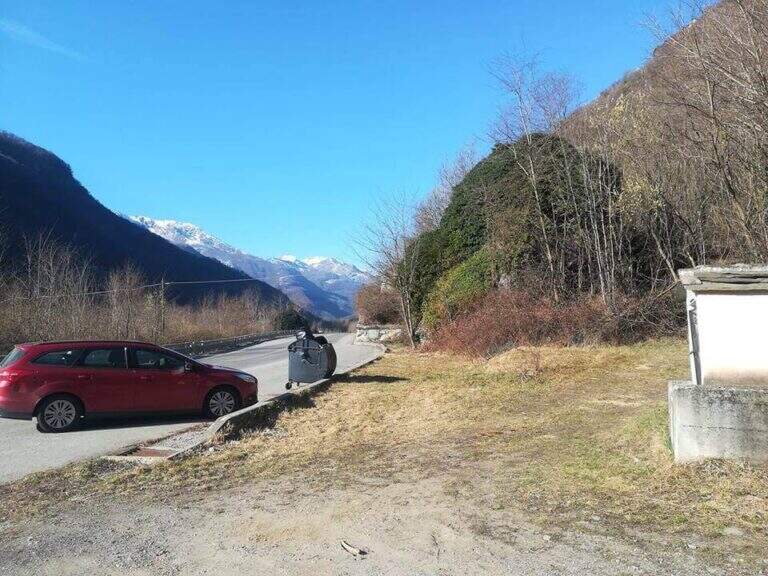
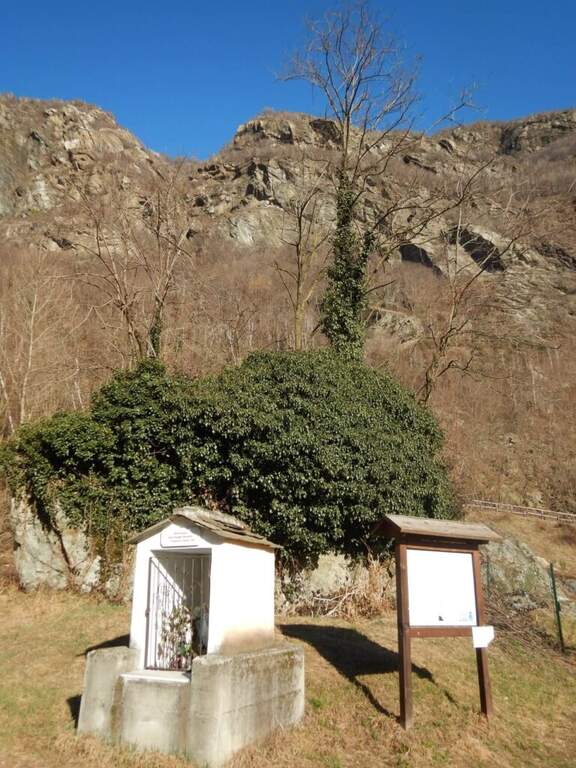
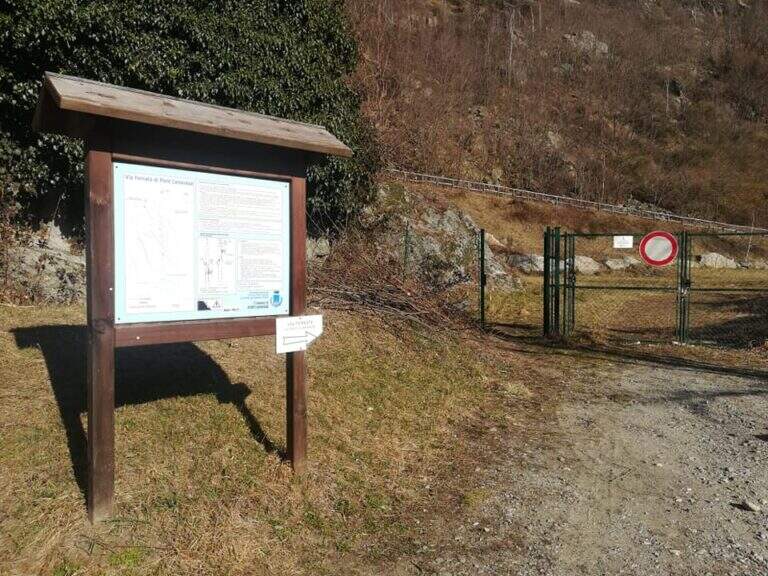
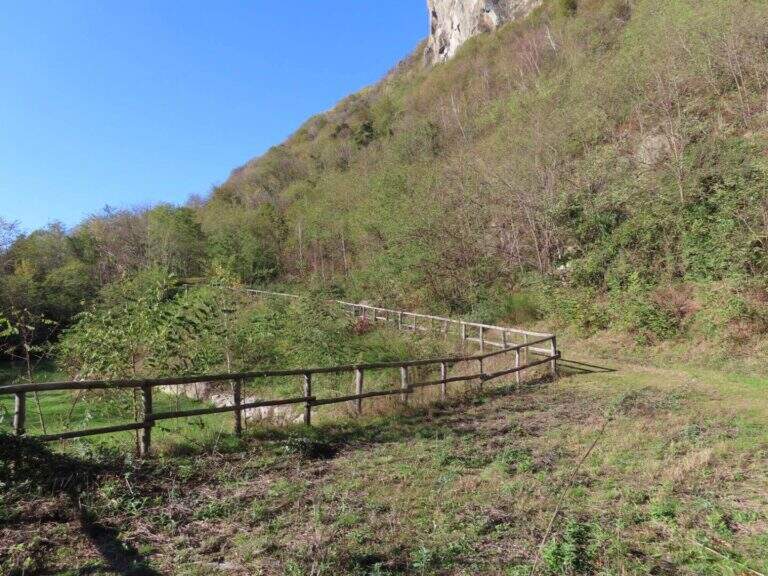
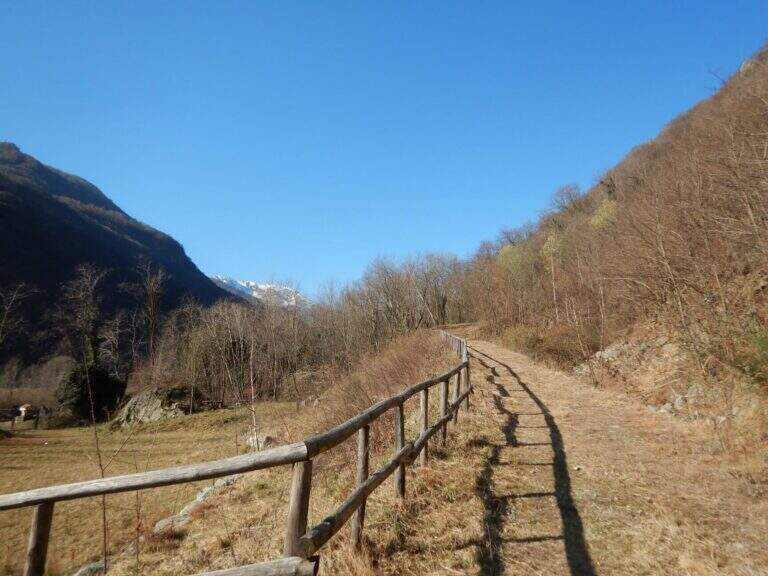
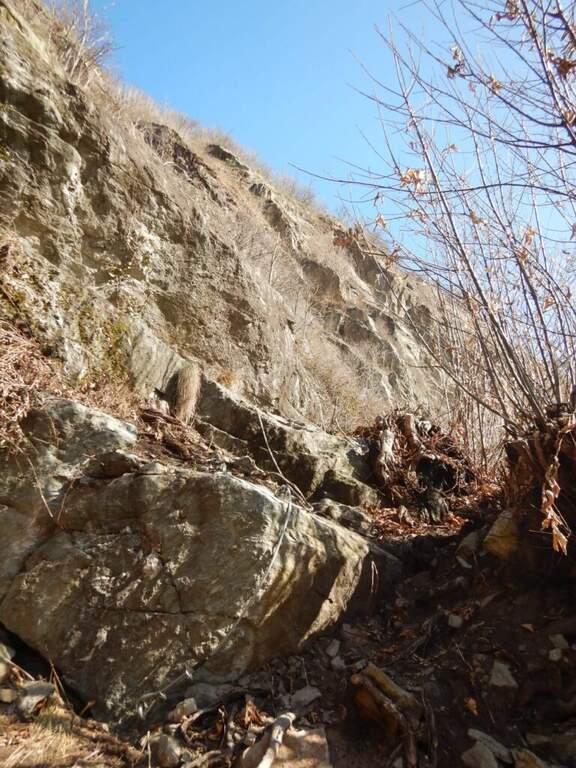
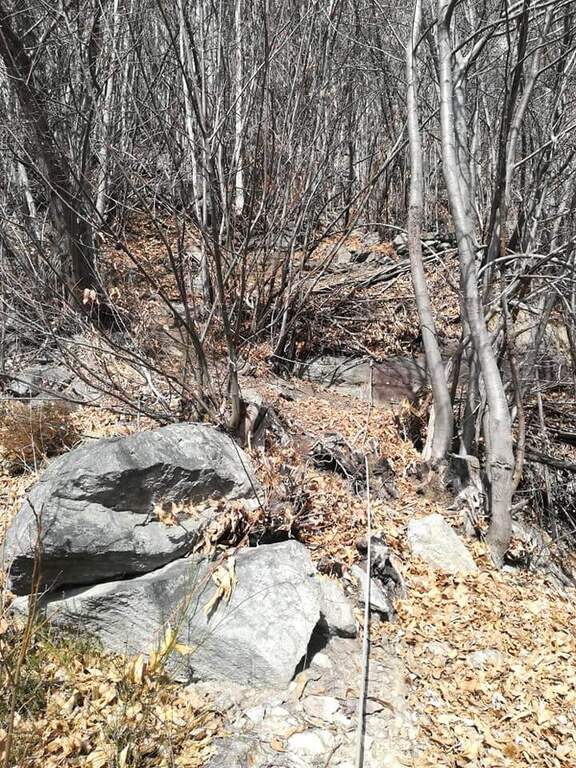
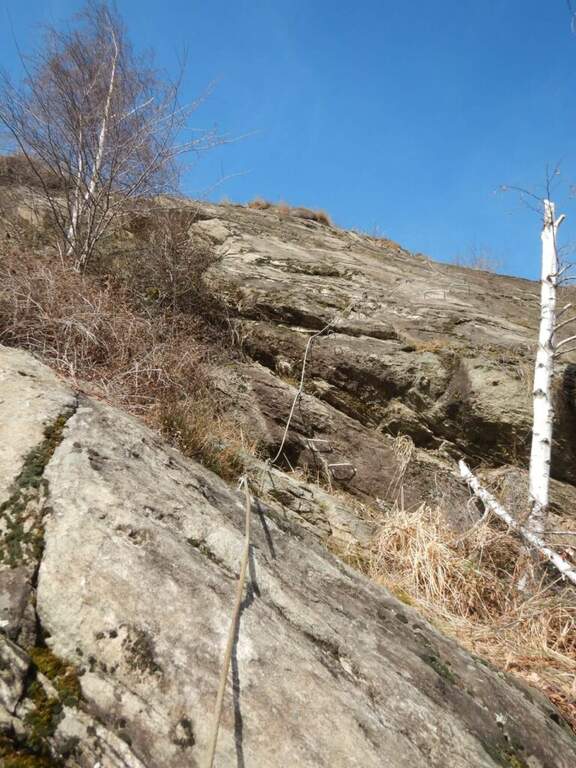
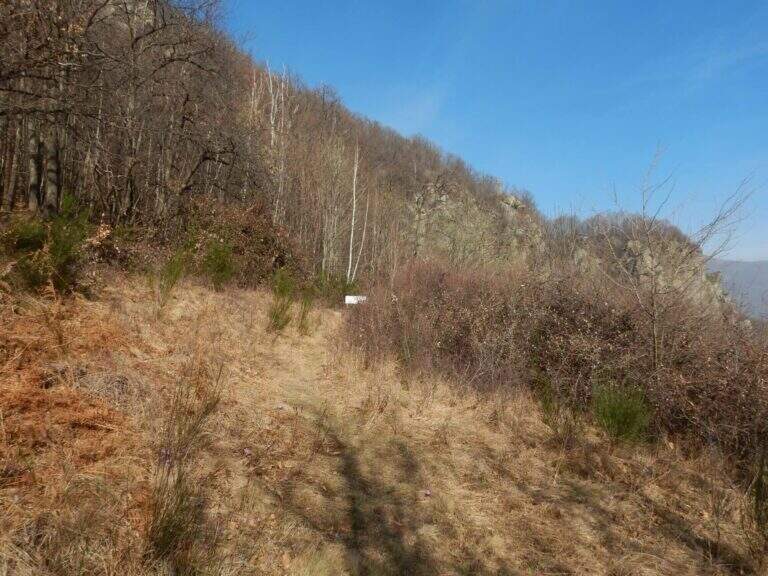
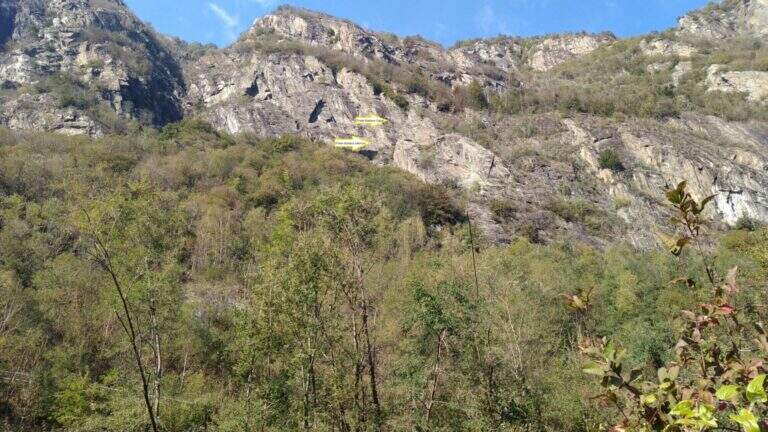
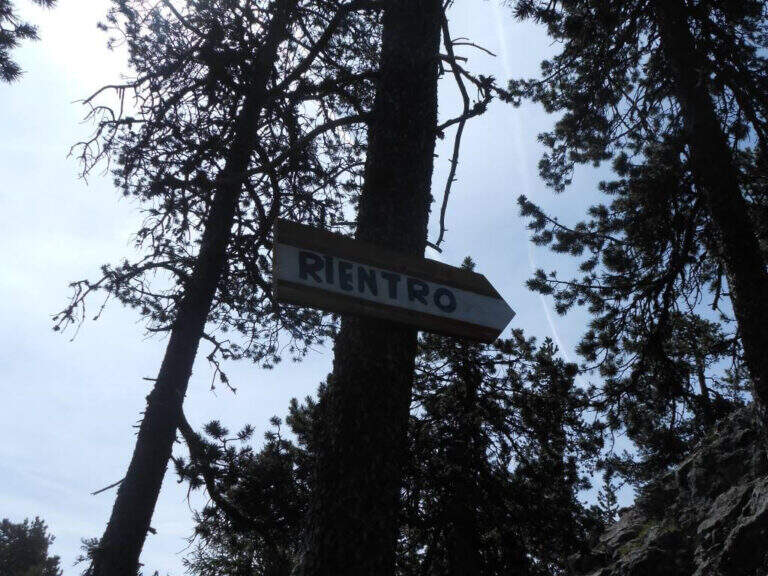
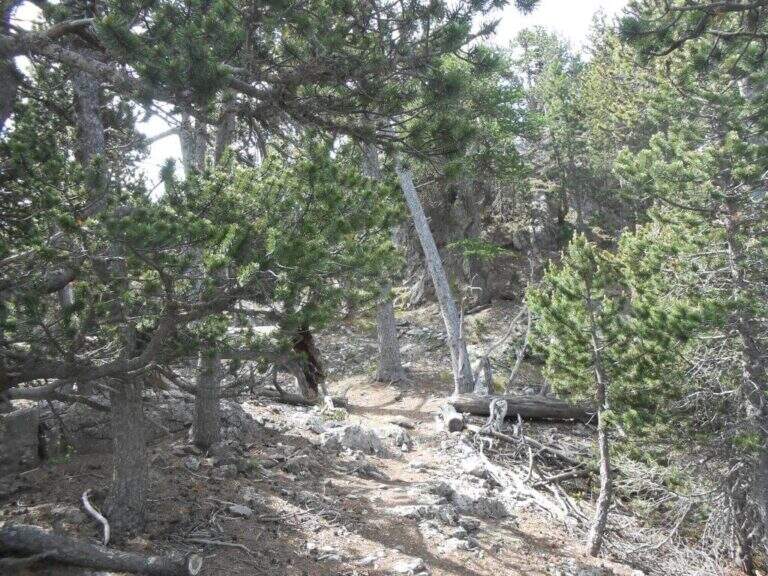
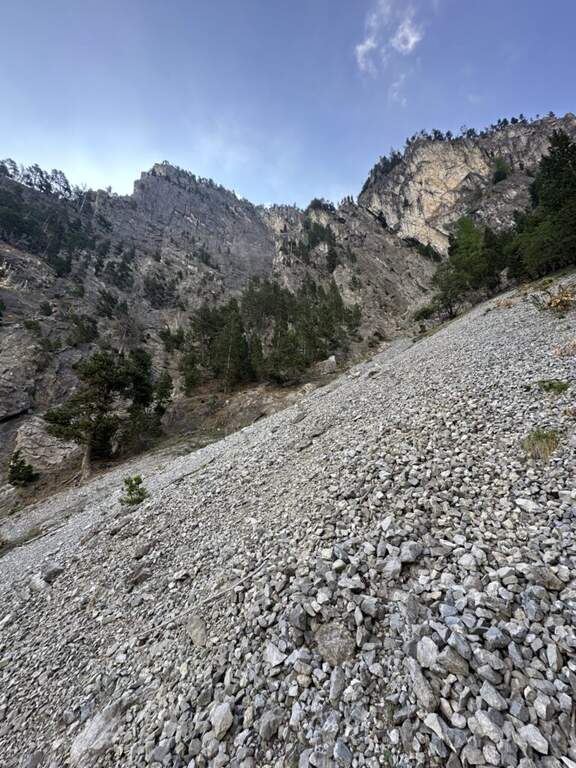
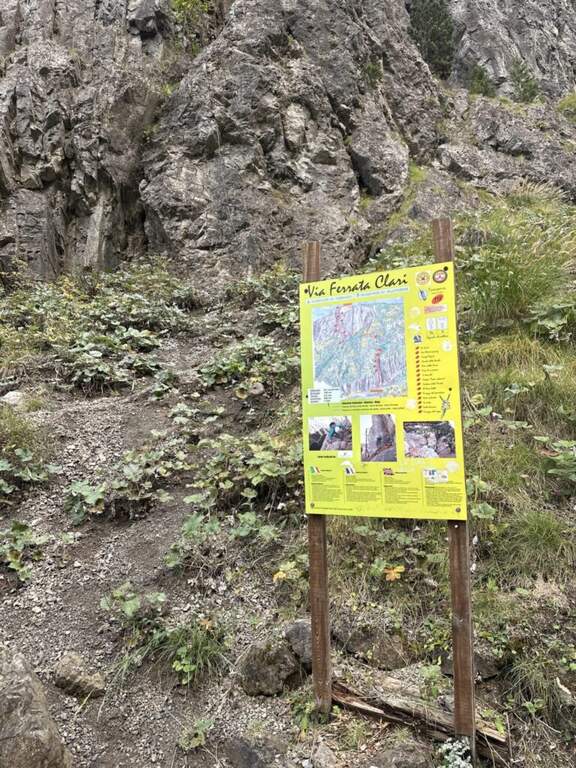
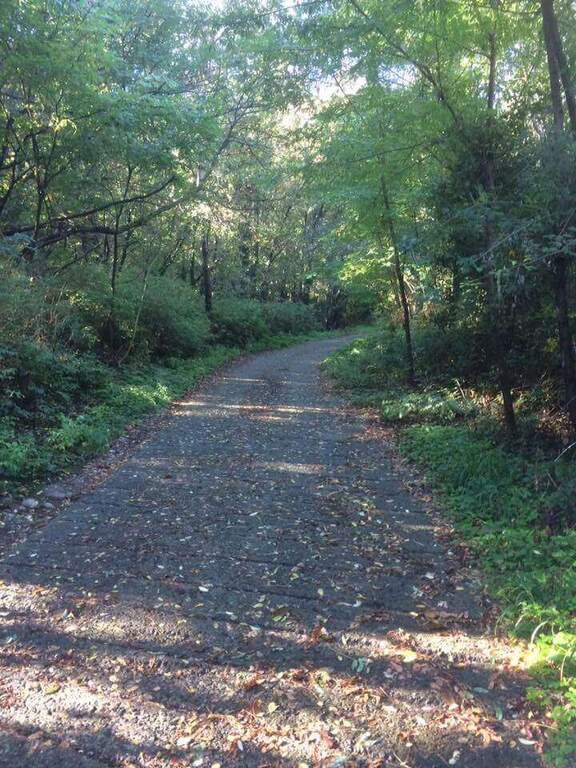
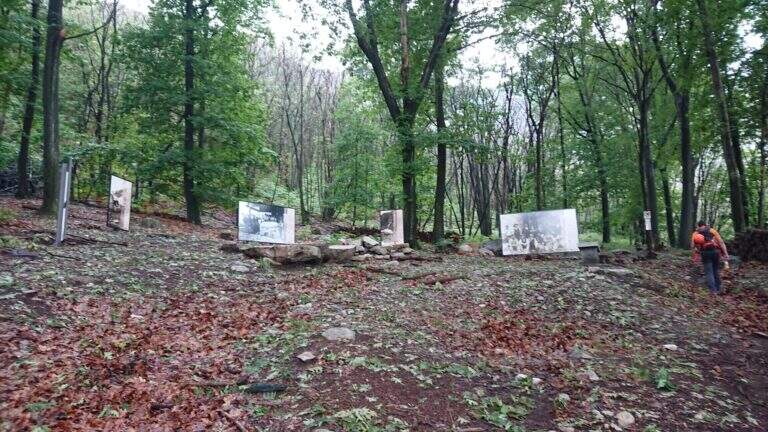
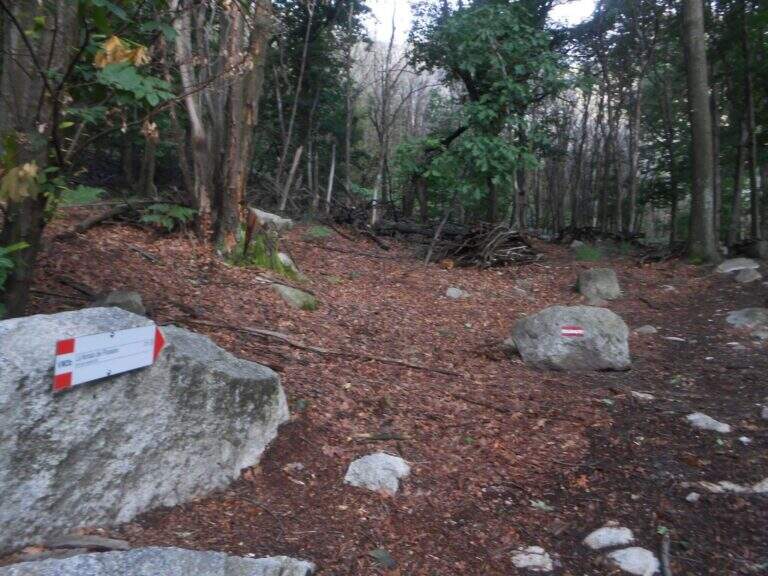
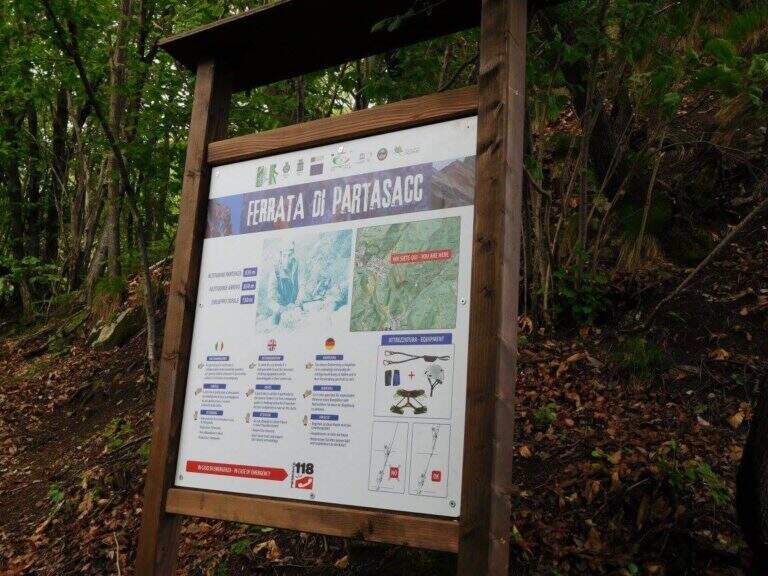
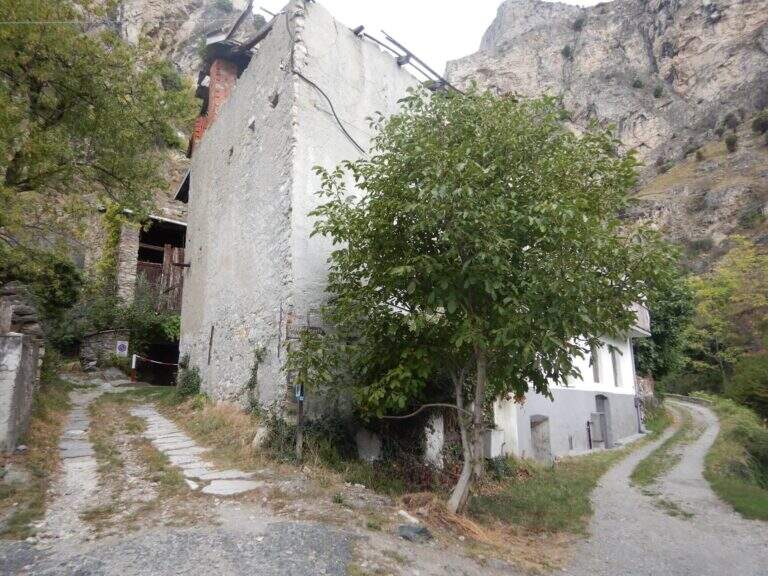
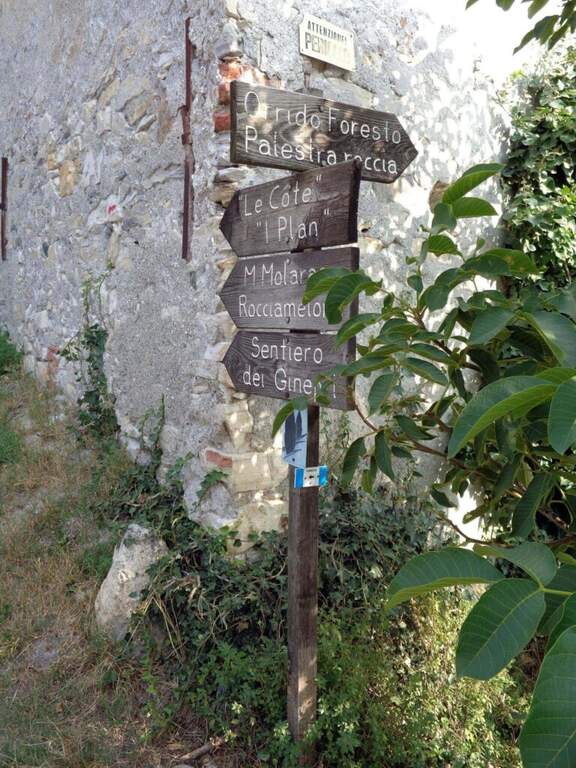
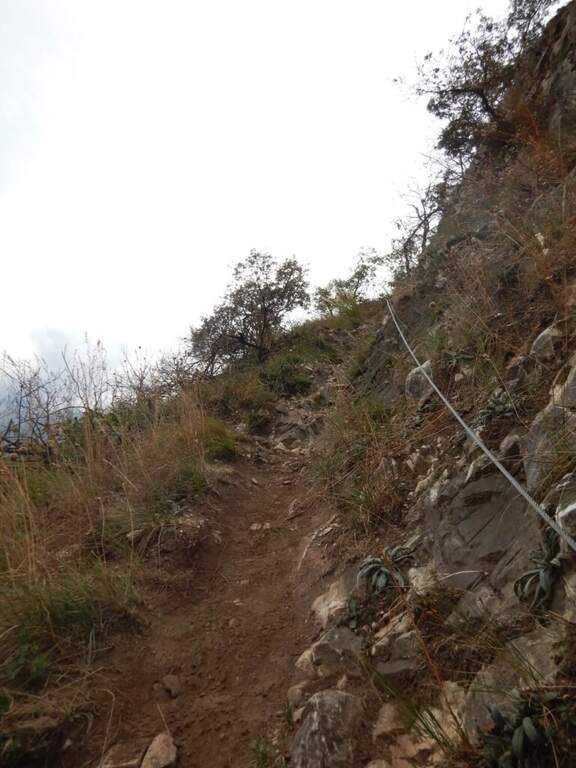
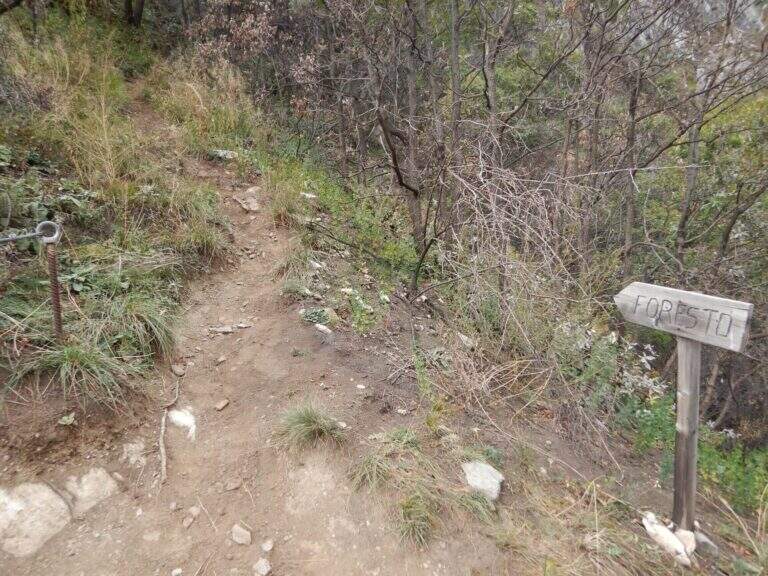
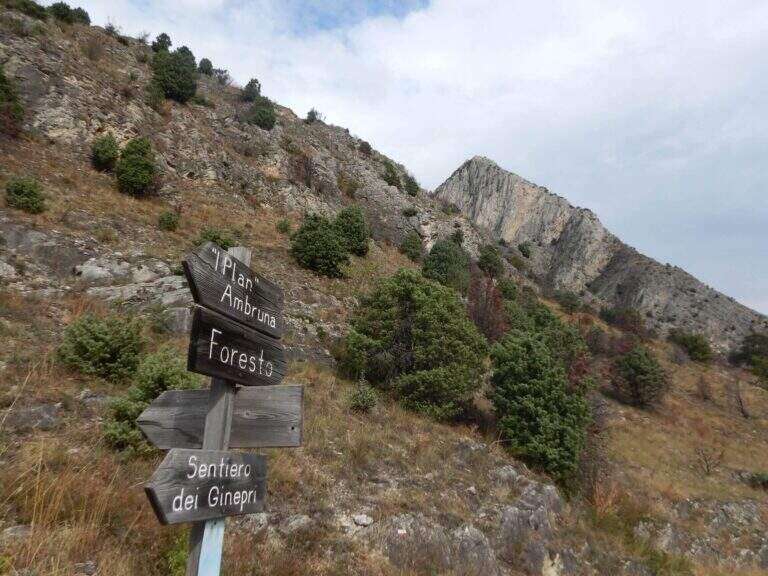
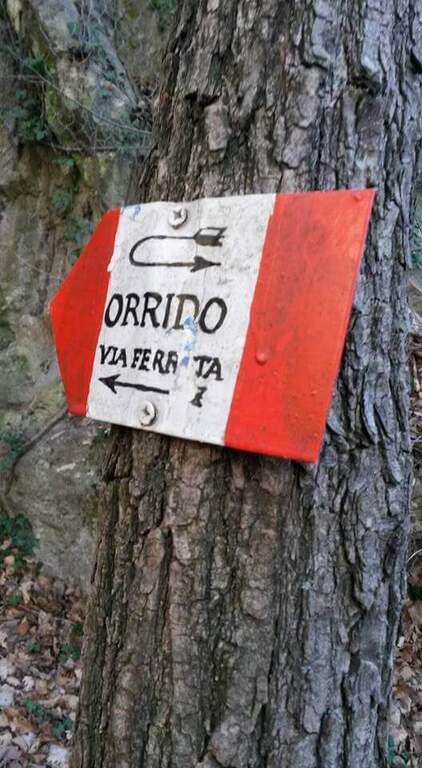
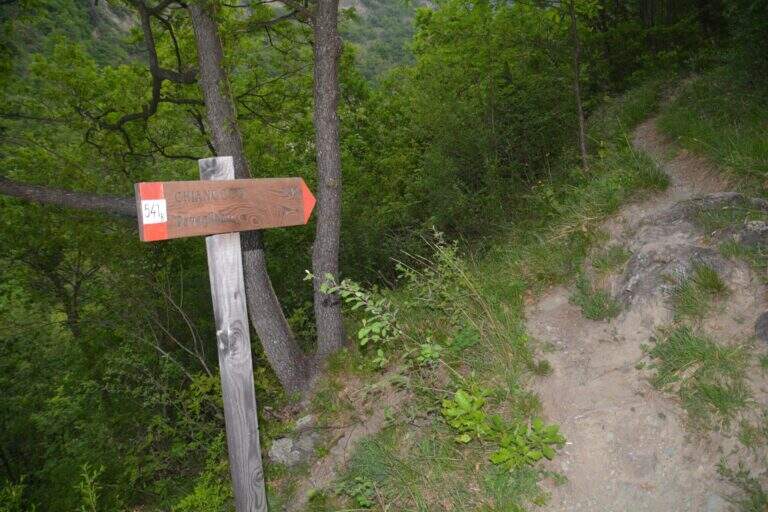
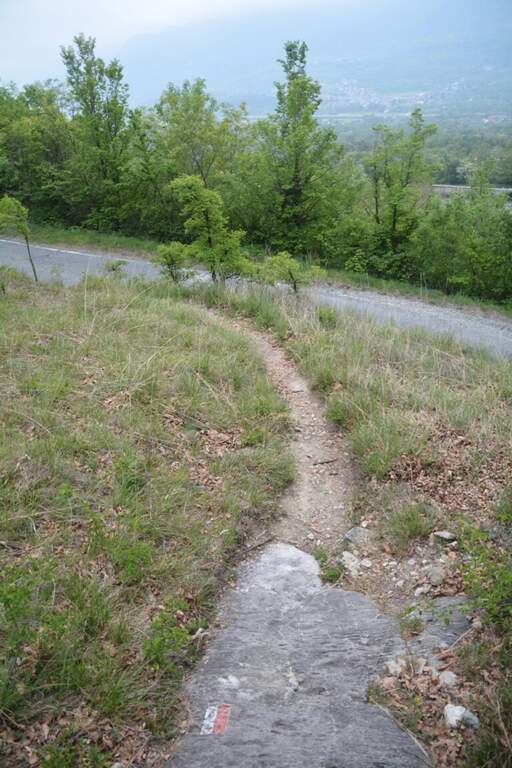
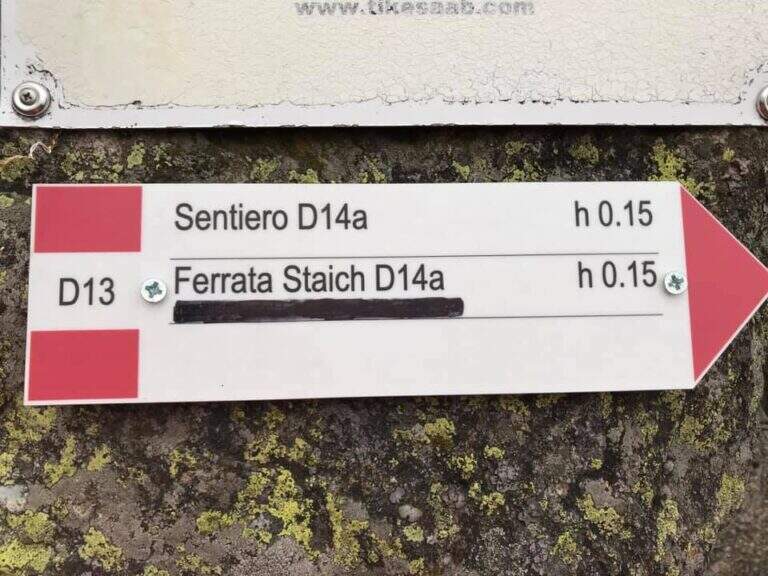
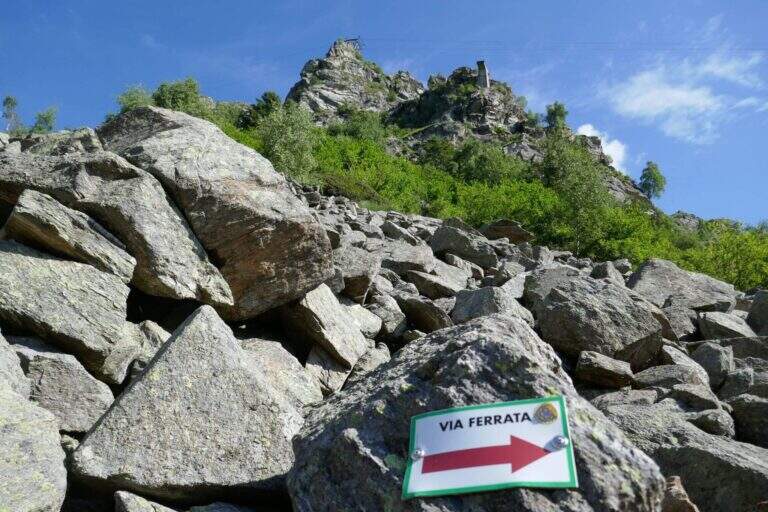
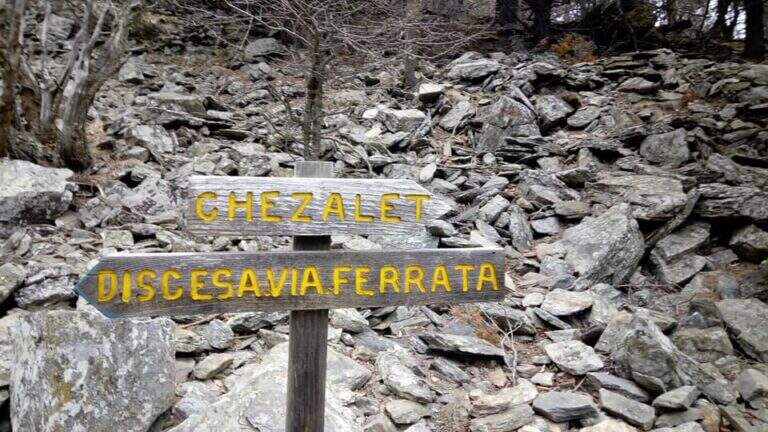
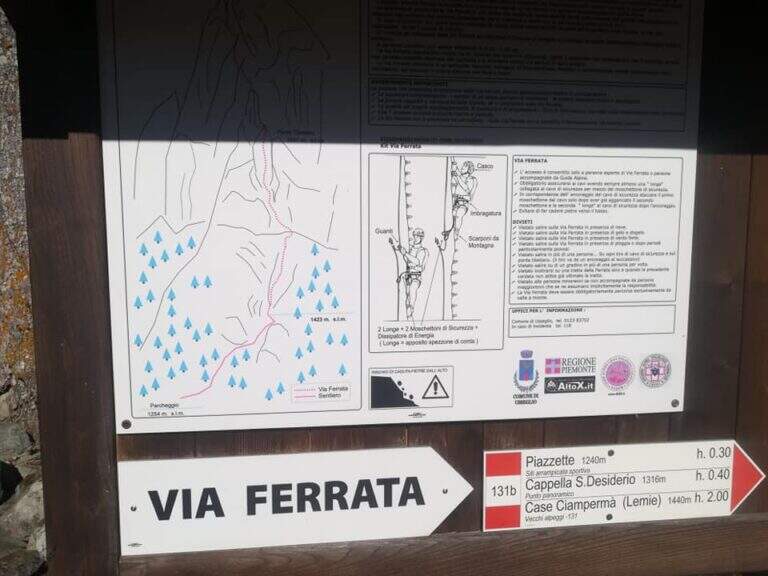
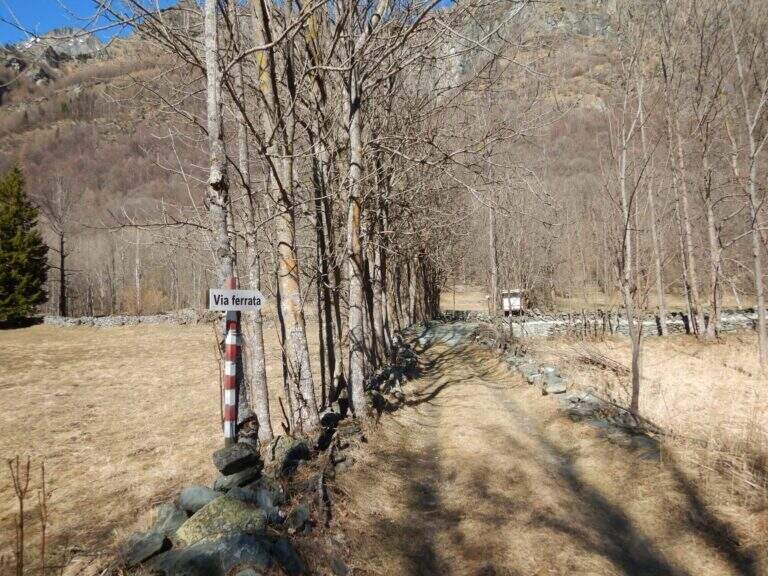
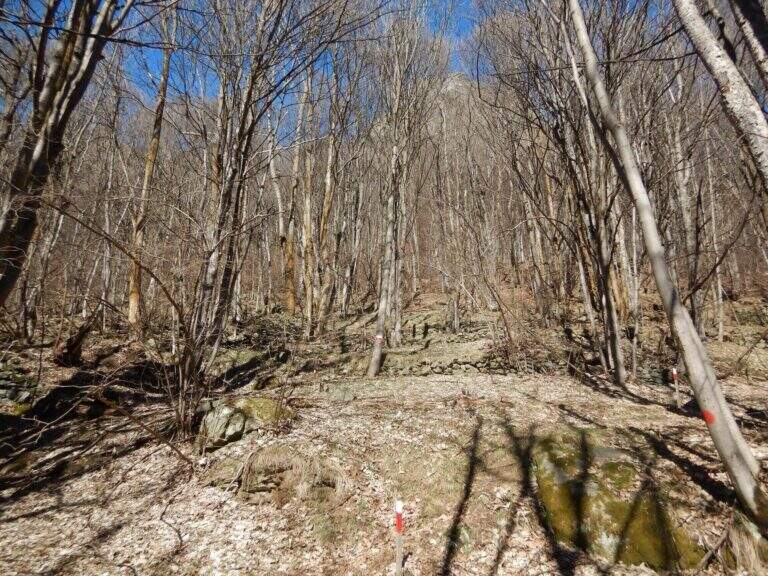
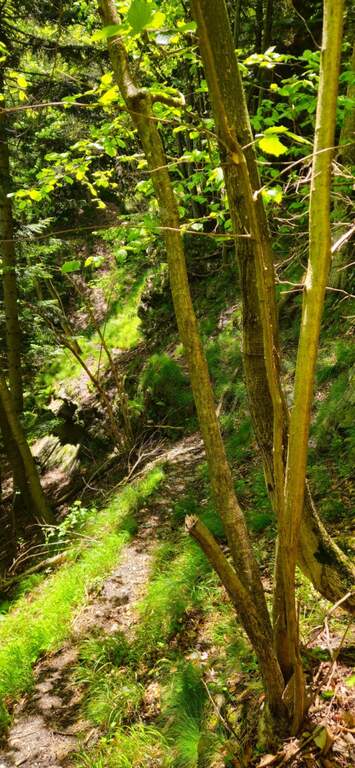
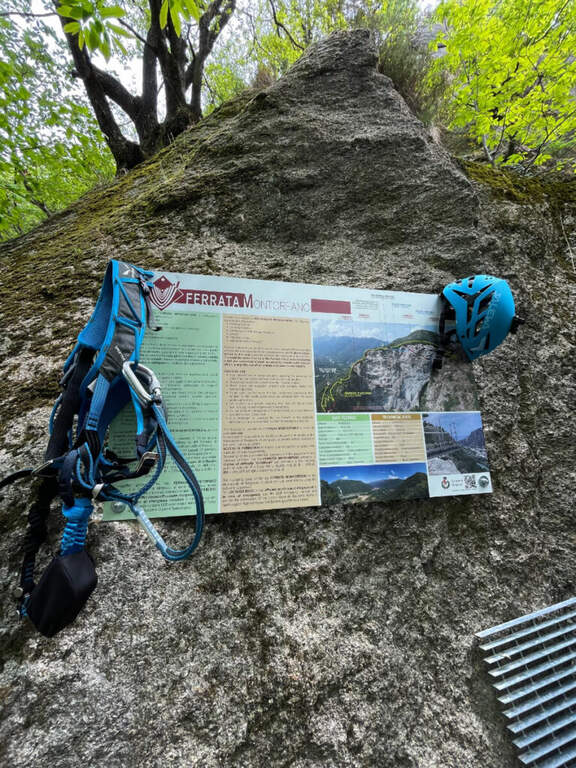
    You reach Pont Canavese (Turin) and you pass it along the SP460 circumvallation; in Sarrò, on the right, a large terrace with a green gate is a parking lot. Starting point on Google Maps. Next to an information board you pass the gate (not closed) and follow the signs for the ferrata: a dirt road uphill narrows soon on a path, which climbs steep until the attack (15' from the parking lot).

    ▲The path

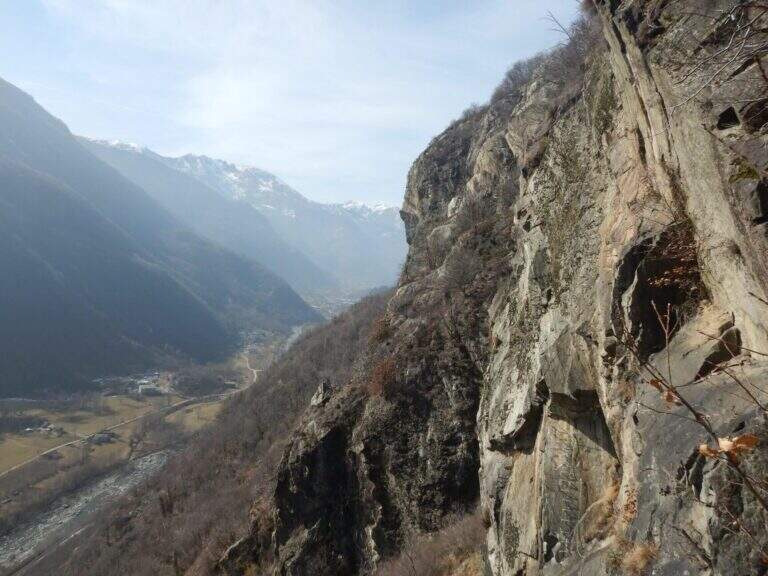
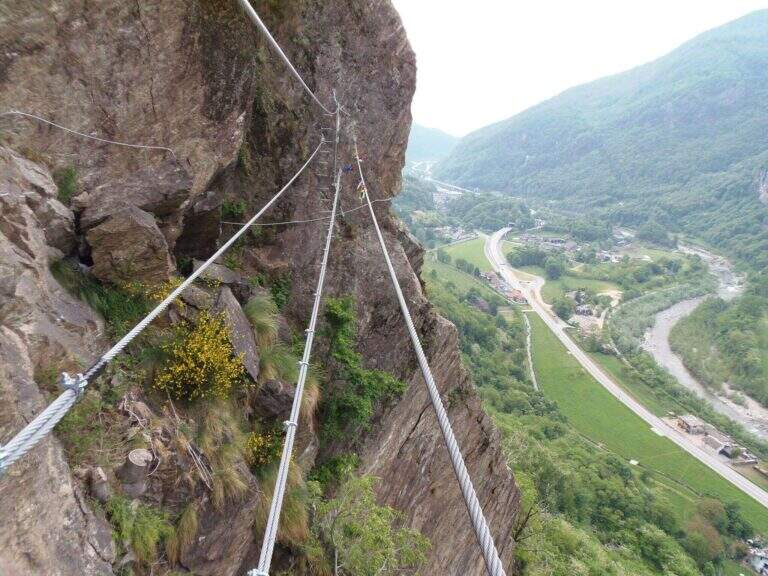
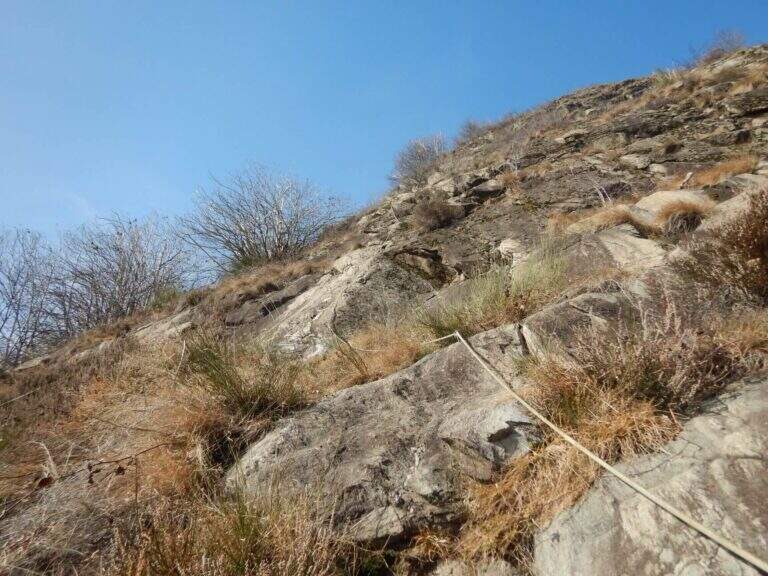
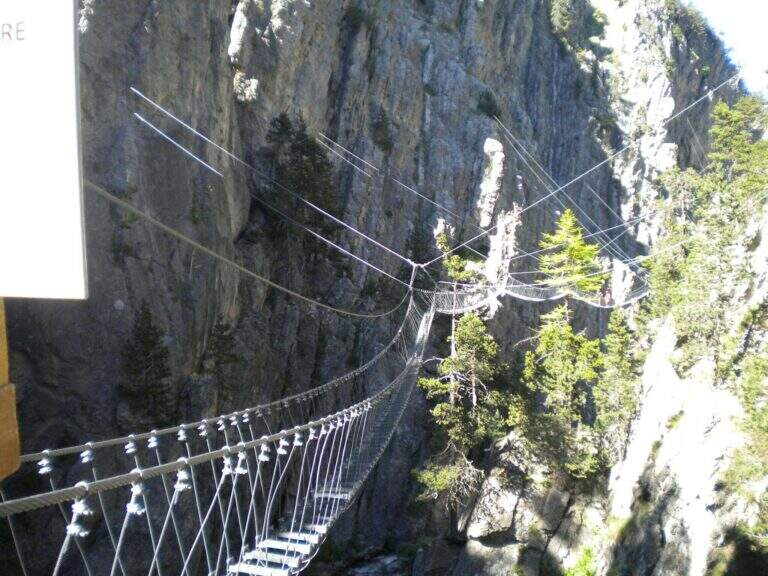
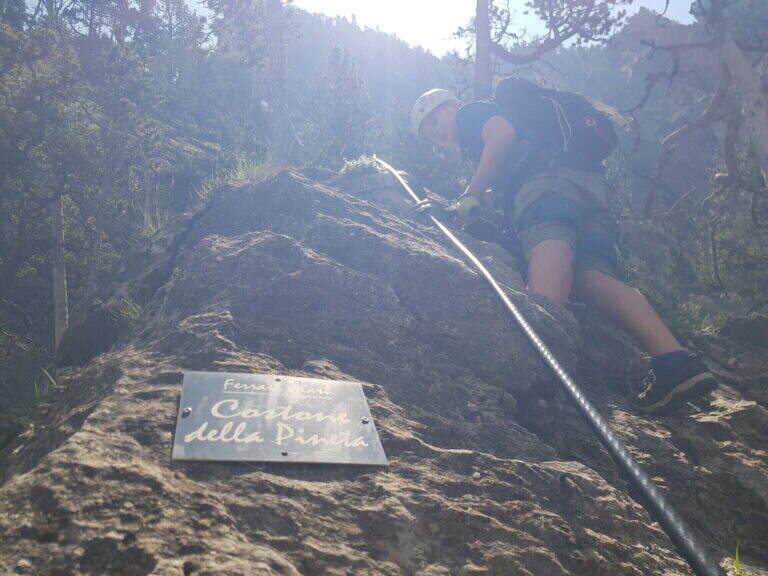
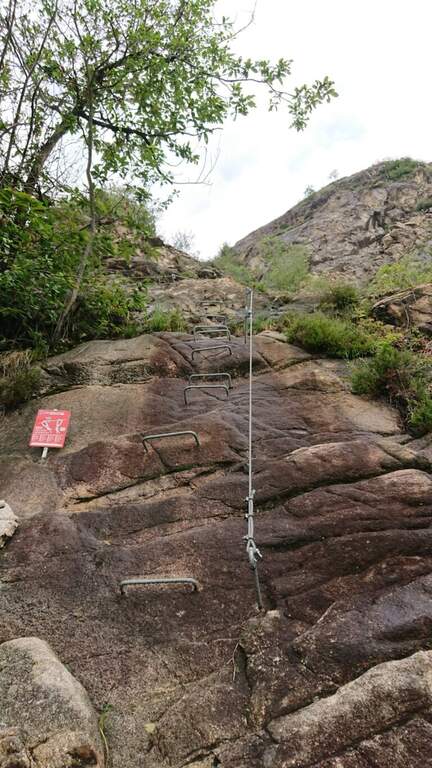
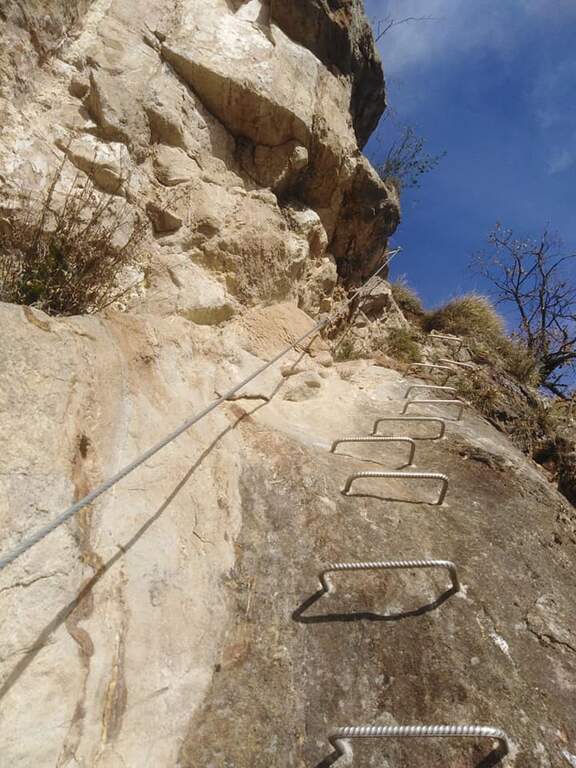
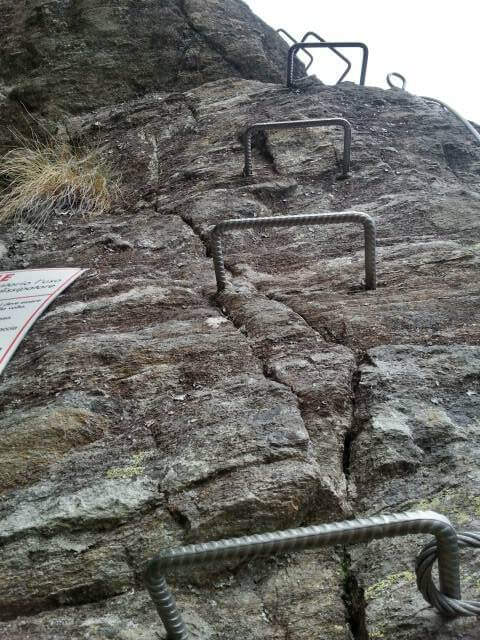
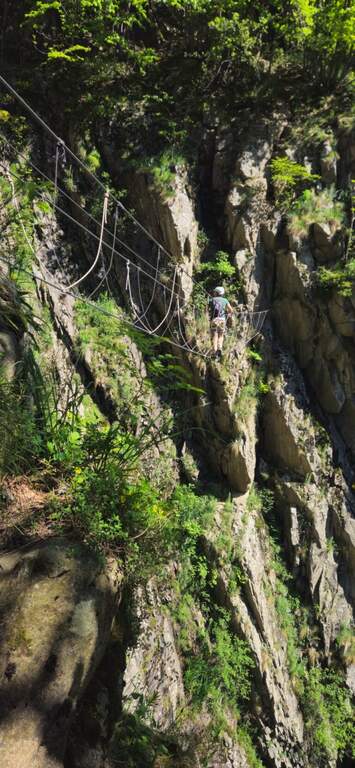
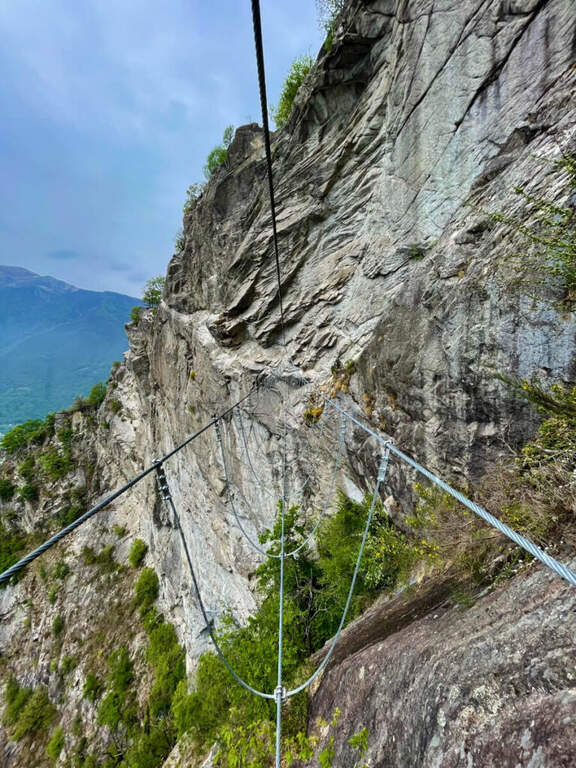
    The first and last section is easy and lean. The ferrata begins with a ramp in the woods, then a plaque full of brackets and handles leads to a crossroads: on the right the variant Efficile, athletic and overhanging; on the left the variant Editely Difficile, with a couple of exposed but not athletic passages. Both have a suspended bridge (stable and avoidable) and gather about metà itinerary, where on the right there is an escape route.

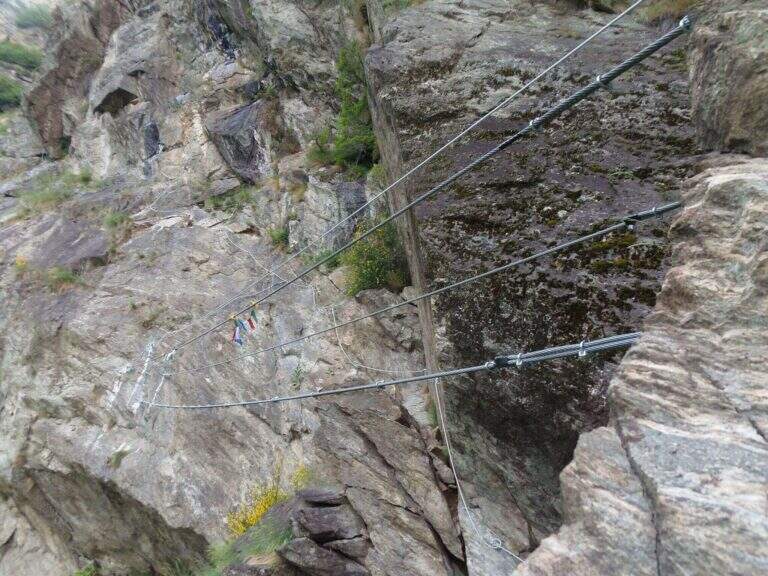
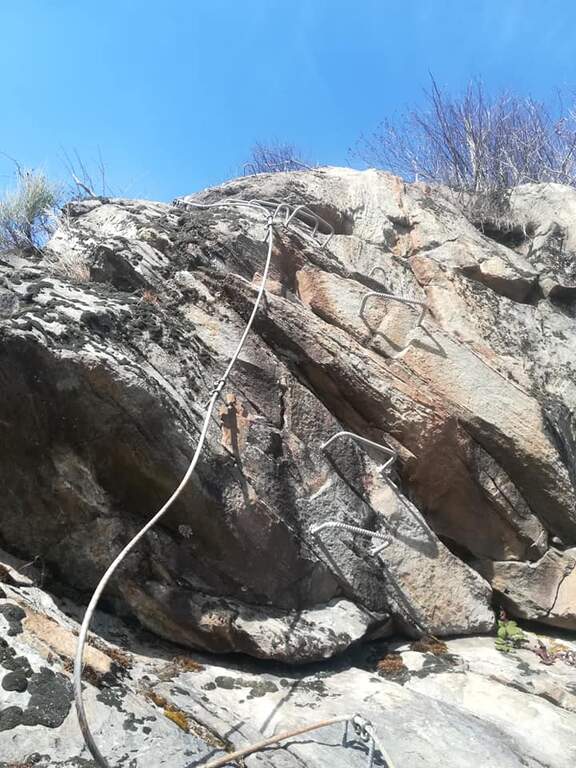
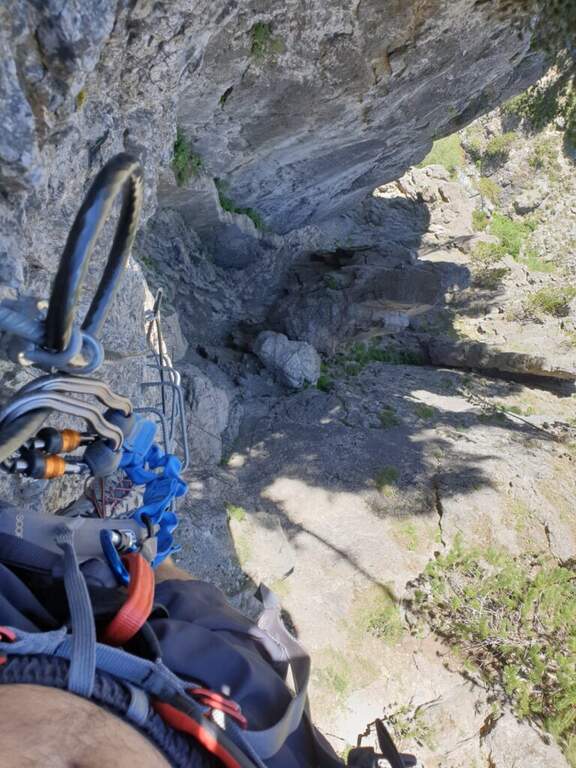
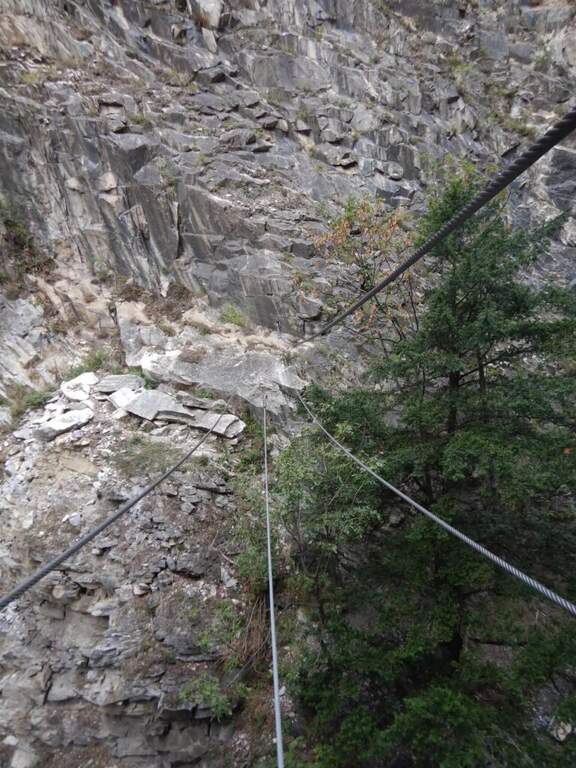
    Extremely Difficult Variant: the abundance of brackets deceives, because the required force is remarkable. After the first metres, you will arrive under a first imposing overhanging, which moves to the left (probable key passage); bypassing the edge you will climb a vertical placconata well supplied with cambre, not difficult, where it is refled. A short equipped path leads to a second overhanging wall, much easier; it goes up and moves right towards the suspended bridge. Beyond the bridge you pass a short overhanging with brackets, then a diagonal traverse on the left until a 4 meters overhanging but well equipped wall; you arrive under a rocky roof, wandering left with a delicate passage, and after a few steps you face a last wall first vertical and then overhanging, which closes the variant entering the wood.

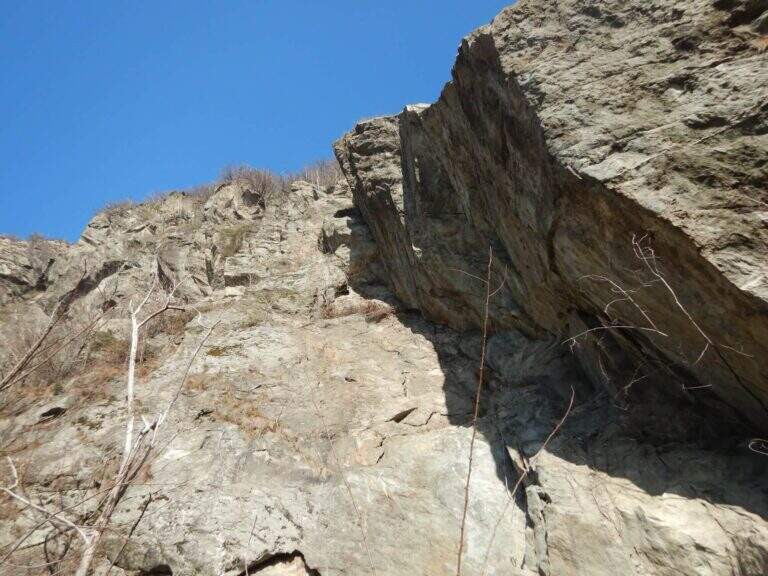
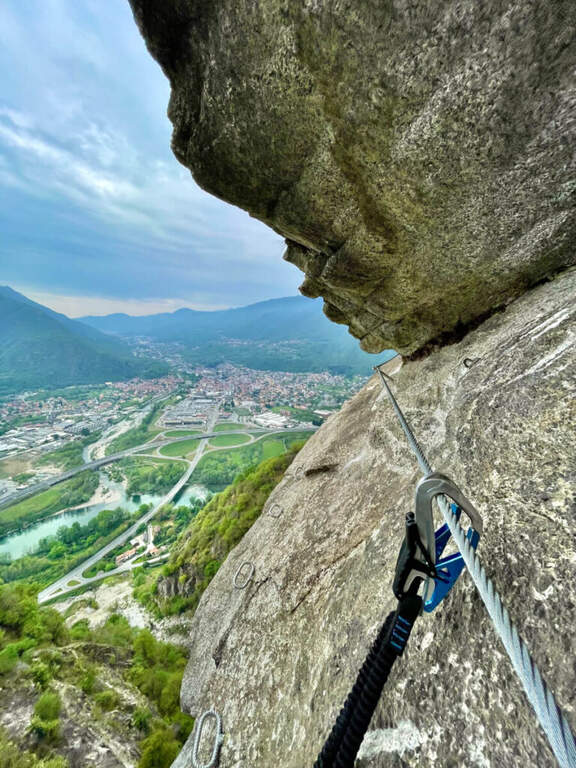
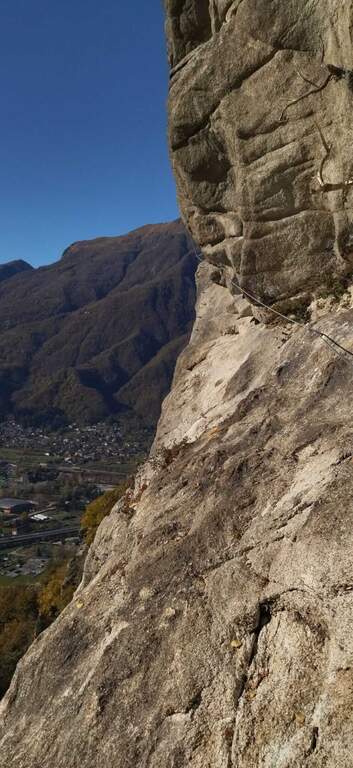
    Moderately Difficult: from the crossroads you move diagonally to the left on easy passages equipped to the suspended bridge (also avoidable with a stretch equipped below). Beyond the bridge, continue diagonally until you turn a corner and face a more challenging leap; then climb more vertically up to a long wall with the most exposed and adrenaline passage of the variant, where you get around in full exposure a edge under a rocky roof ( easier than you look on the ground) using the brackets, until you return to the wood and rejoin the difficult variant.

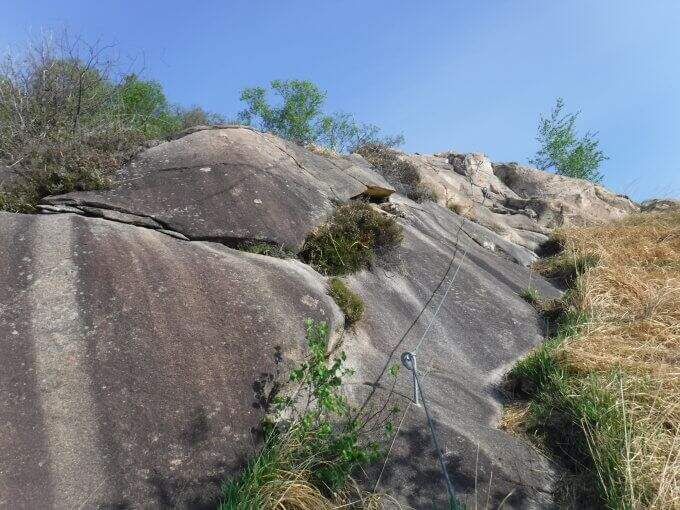
    Assemble the lines, climb a beautiful vertical wall with brackets that reduce the difficulties, then move to stretches in light overhanging but never hard; after a right turn you go up a vertical wall and move to the left on brackets to bypass a roof (the most challenging passage after the meeting), until a dih beyond which begins the last, easy section: granite plates rested with brackets and handles.

    ▲Character and difficulty

    The normal way is difficult, varied and exposed; the athletic variant is extremely difficult and physically very intense.

    ⚠ To deal with in good state of training and without problems of dizziness. For the athletic variant it is highly recommended to carry a longe in order to rest and rest the arms along the overhanging traits.
    ▲Period and safety

    Low altitude: practicable most of the year with dry rock.

    ▲Discipline

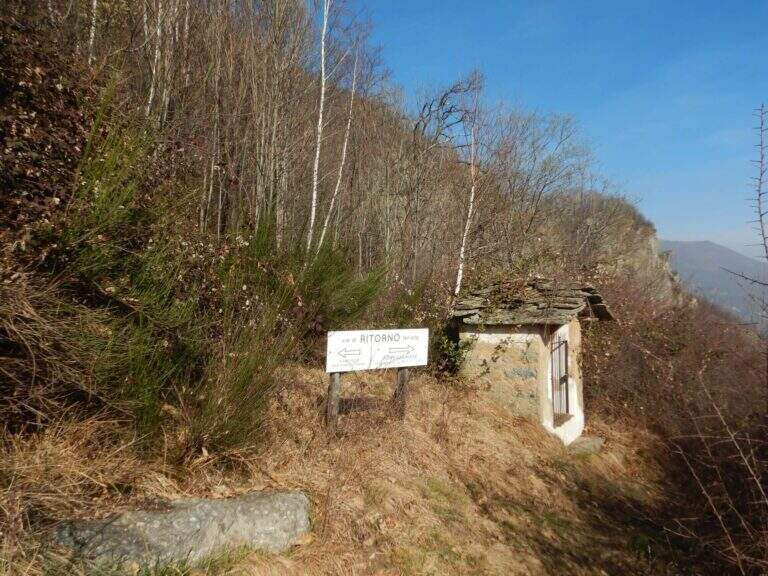
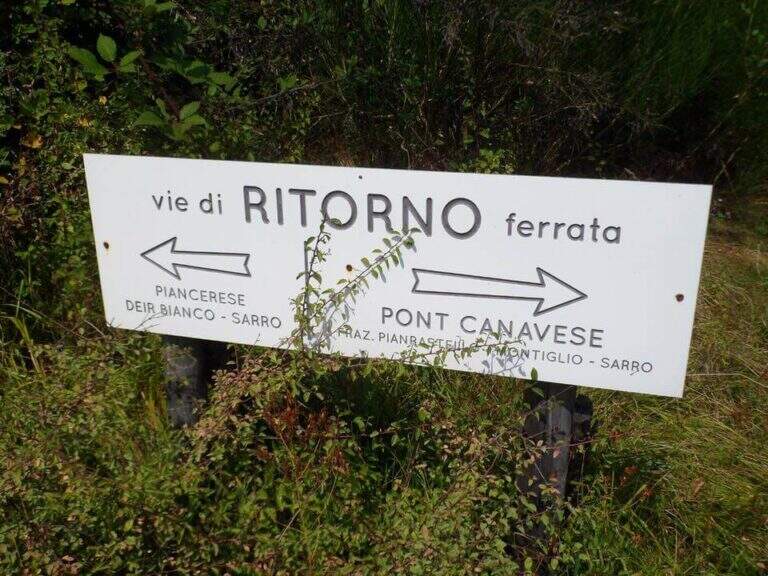
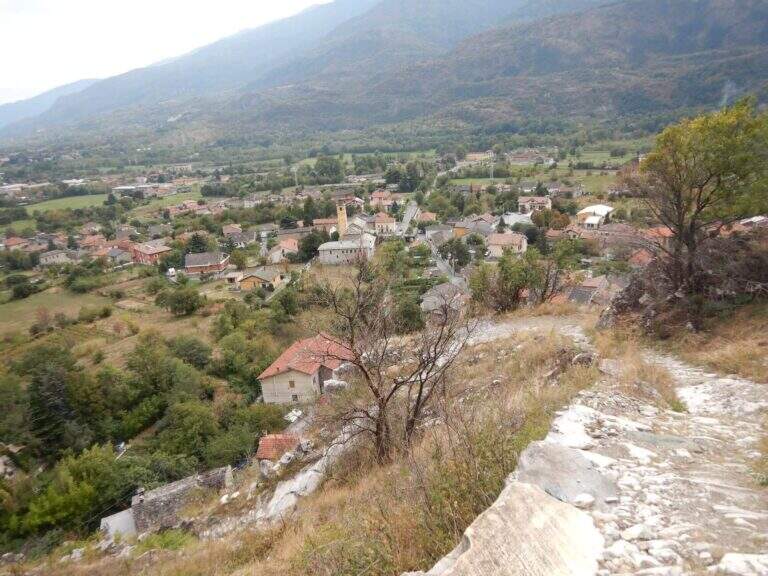
    From the end you reach a marked crossroads; both options report to the parking space in 30-40'. On the right you go down the trail in the woods, then steeper, until Pont Canavese, where you keep the right along the state road to the car. On the left you descend towards the hamlet of Piancerese and, following a sign in the village, you return to the valley at the parking lot (about 3h 30' total).

    ▲To match

    About an hour's drive: the Ferrata di Covarey, il Sentiero Attrezzato dell'Infernone, la Ferrata Nito Staich and, in the lower Val di Susa, the Ferrata Rocca Bianca e la Ferrata Carlo Giorda.
    ▲Gallery
    Technical data
    • DifficultyHard
    • RegionPiedmont
    • GroupCanavese
    • Approach0:20 h
    • Ferrata2:30 h
    • Itinerary (a/r)3:30 h
    • Hardware level difference400 m
    • Route difference483 m
    • Max1004 m
    • Length4,5 Km
  • Ferrata Montevecchio

    Ferrata Montevecchio

    Vie Ferrate › Piedmont › Vercelli
    Ferrata Montevecchio

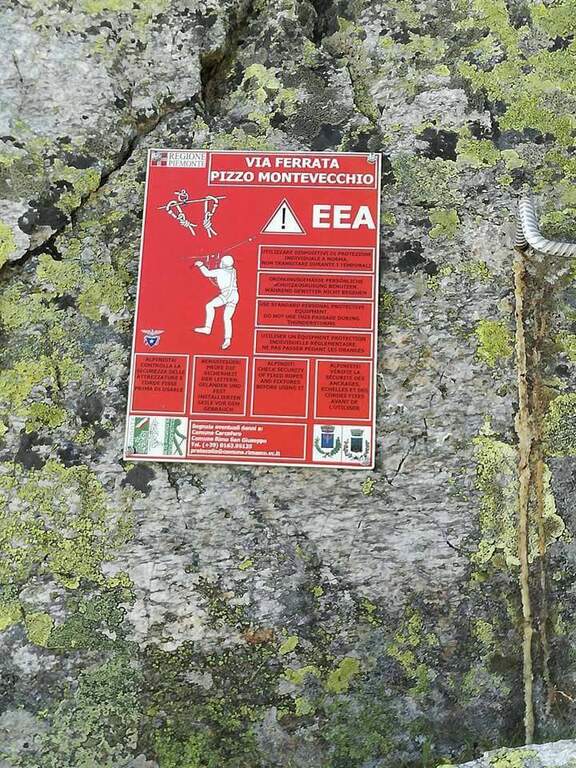
    Inaugurated in 2016, Ferrata Montevecchio dates back to an ardent ridge in the upper Valsesia. It never has too difficult traits, but it is very varied and exposed and it goes also on the return, facing numerous passages in un Discounted climbing: it requires good experience and training.

    ▲Approach

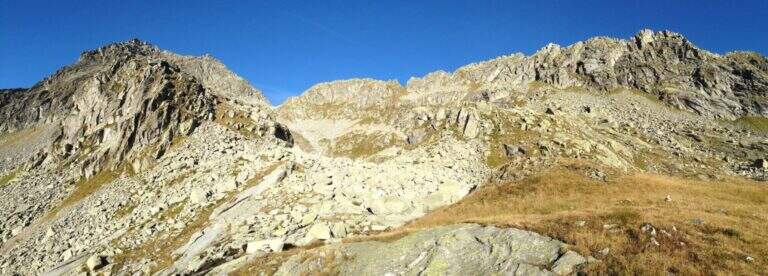
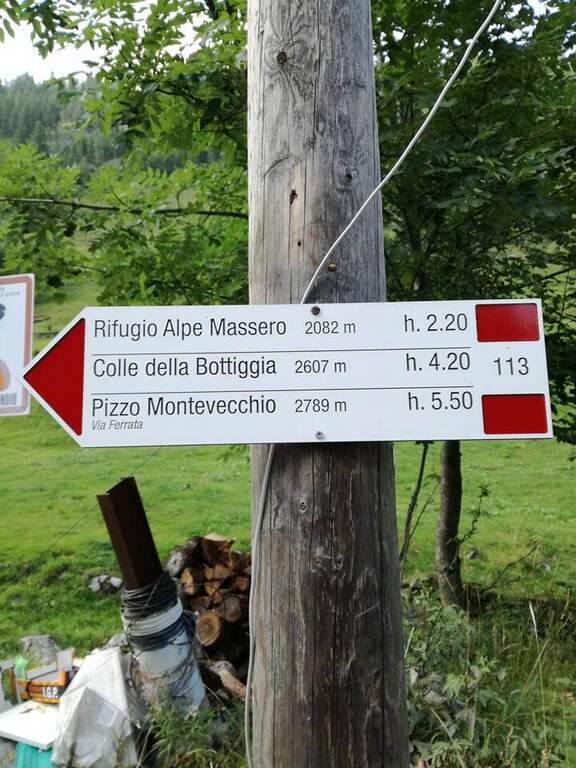
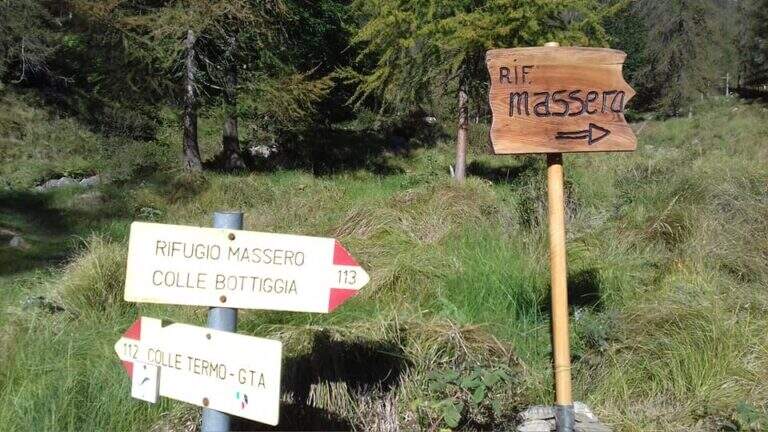
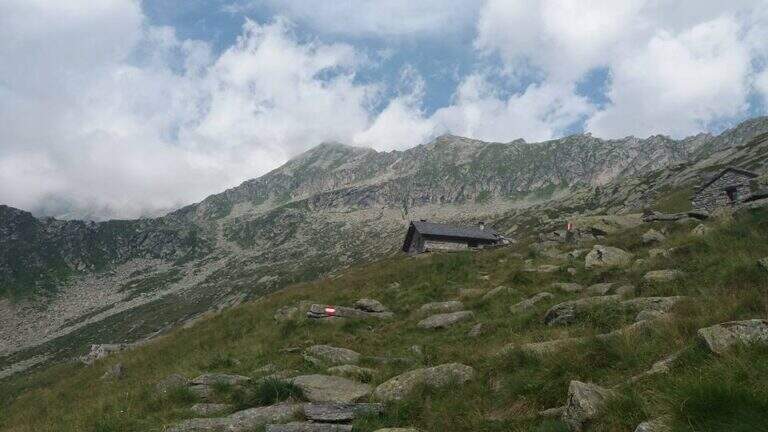
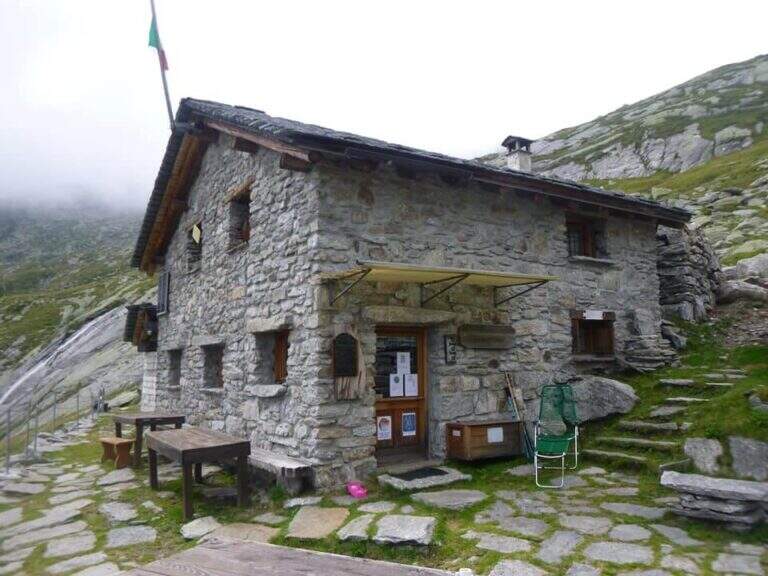
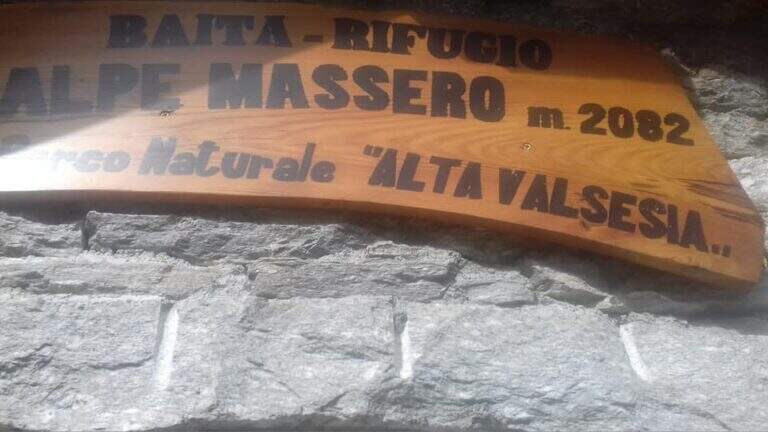
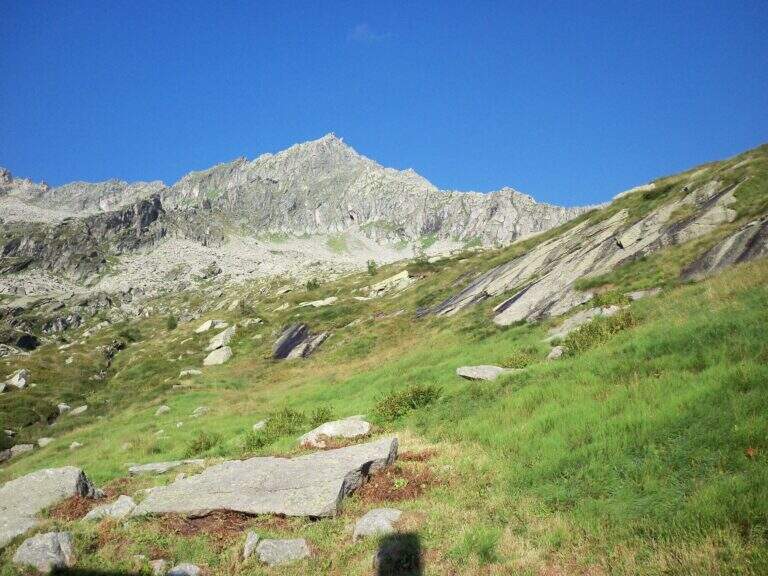
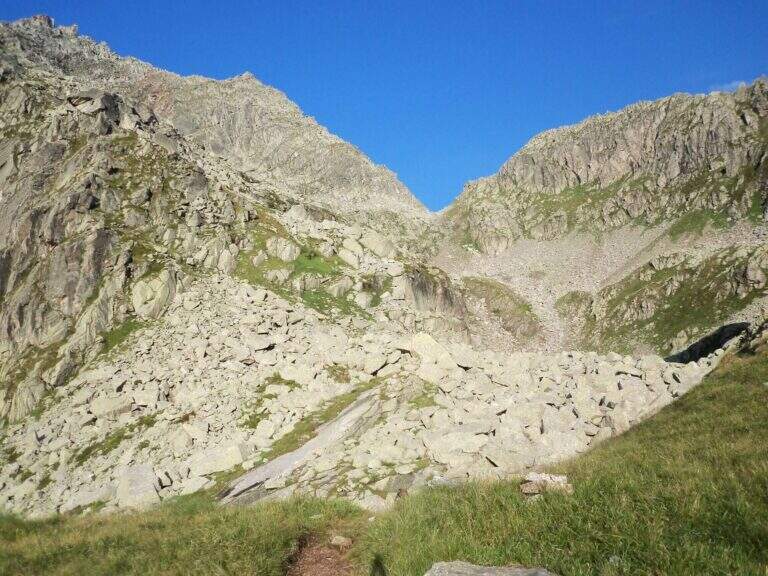
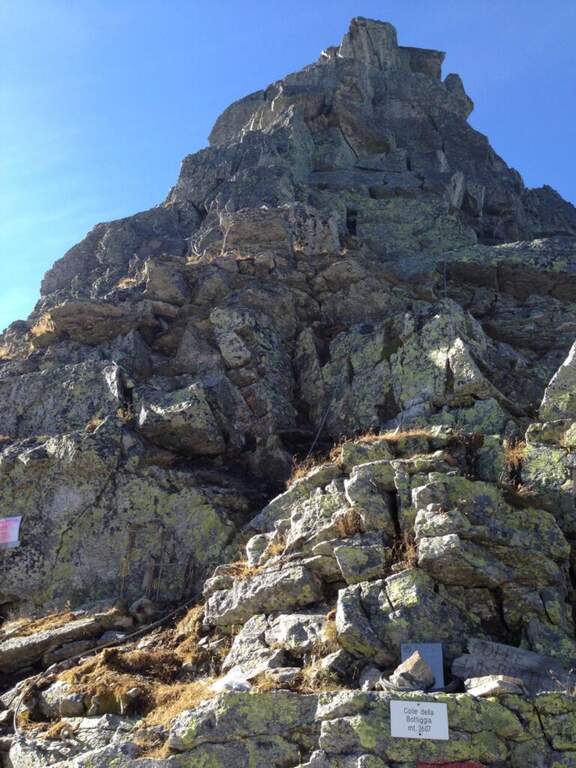
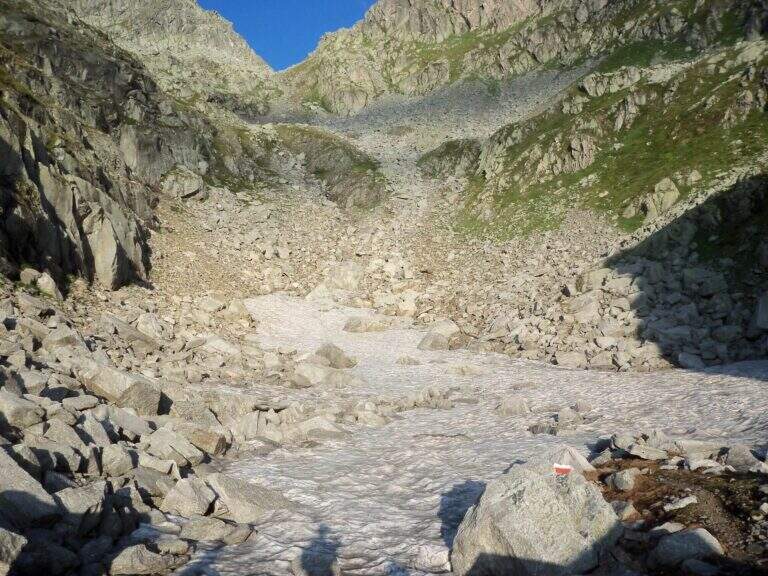
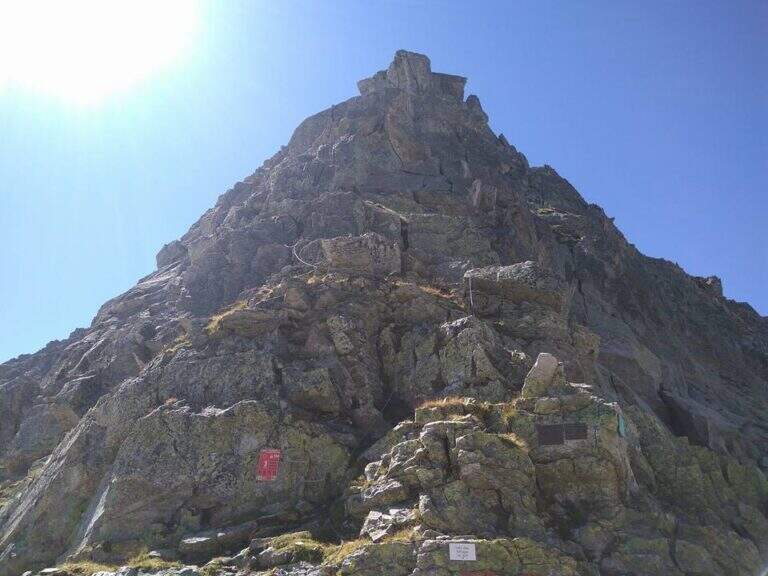
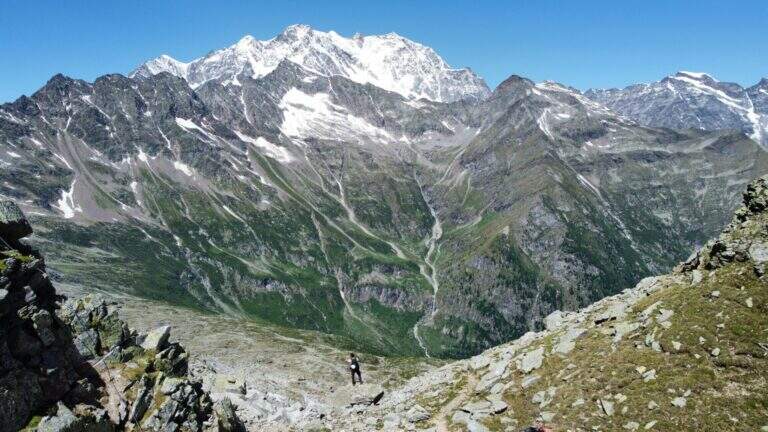
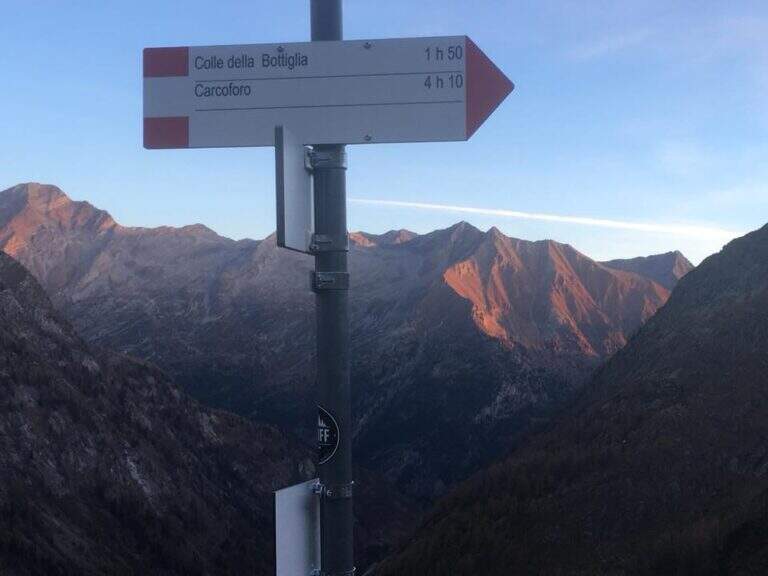
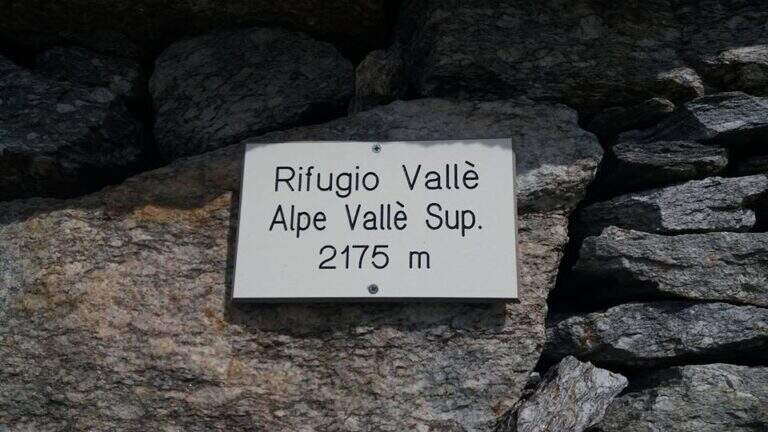
    The starting point is Carcoforo, in the upper Valsesia (Vercelli), which can be reached from Varallo, going up the valleys; it is parked in the wide beach in the center of the village. Starting point on Google Maps. Follow the path 113, first in falseland then steeper but always well marked, up to the Rifugio Massero (2082 m). Beyond the refuge you go up to a crossroads where you hold the left towards the Colle della Bottiggia, ignoring the right track; the track is reduced but omits and signs lead in the progression. There is a stony valley between the rocks up to the rocky carving of the Colle della Bottiggia (2607 m), where the ferrata begins (2h 45' from the parking lot); at the beginning of the season the last stretch can present snow. Alternatively you can climb from the Colle Vallè, on the north-east ridge, which leads to the anticyme for a easier line; however, the relationship considers the ascent from the Colle della Bottiggia, more challenging, and the ring return from Colle Vallè.

    ▲The path

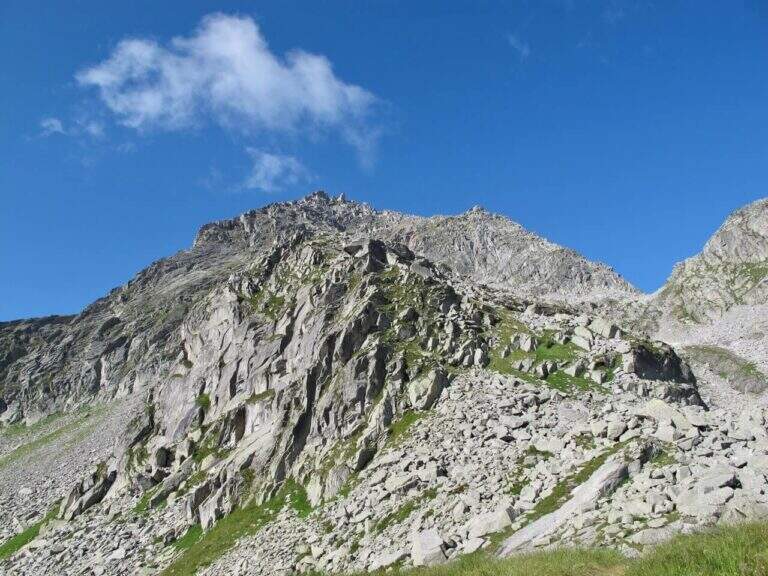
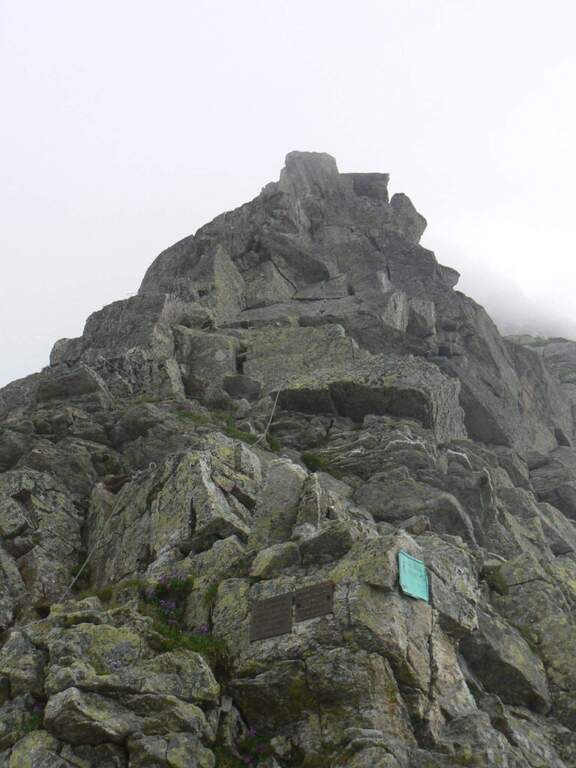
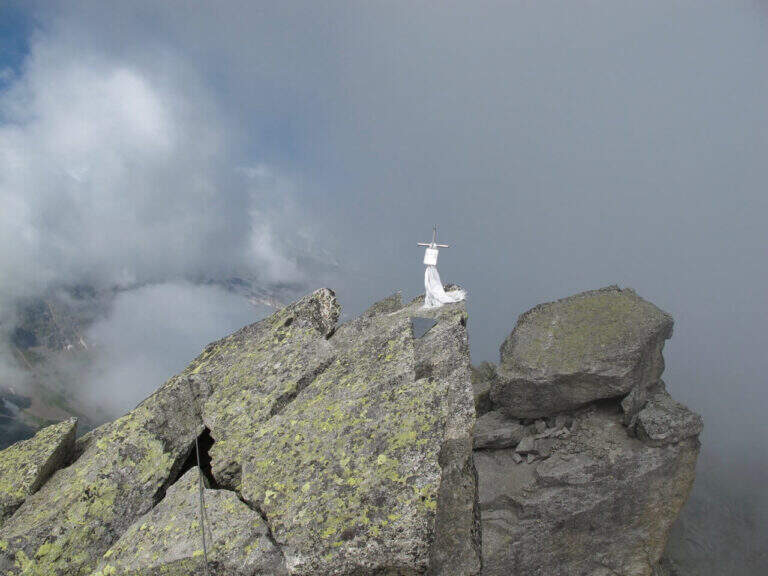
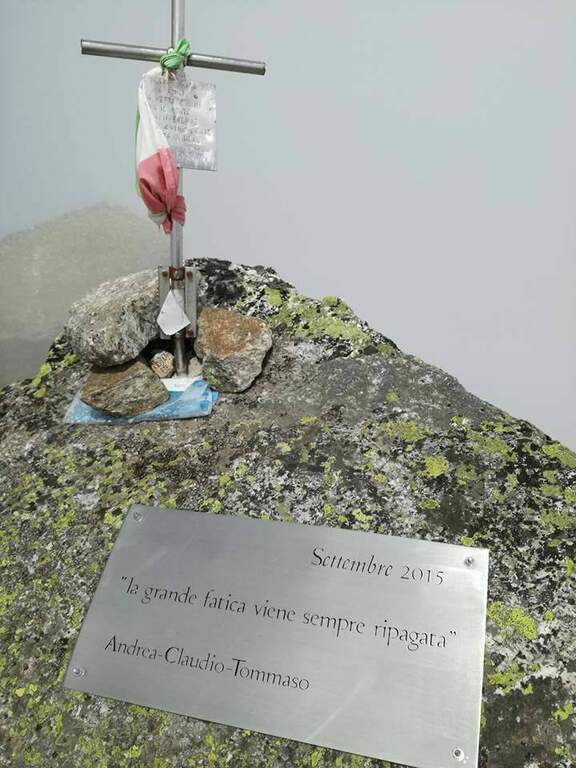
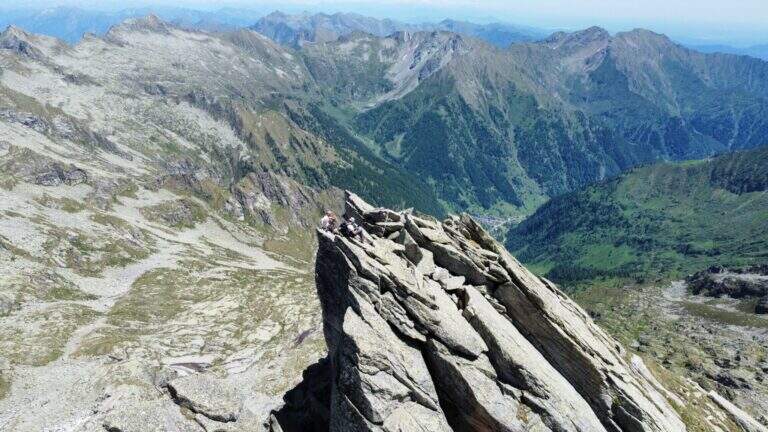
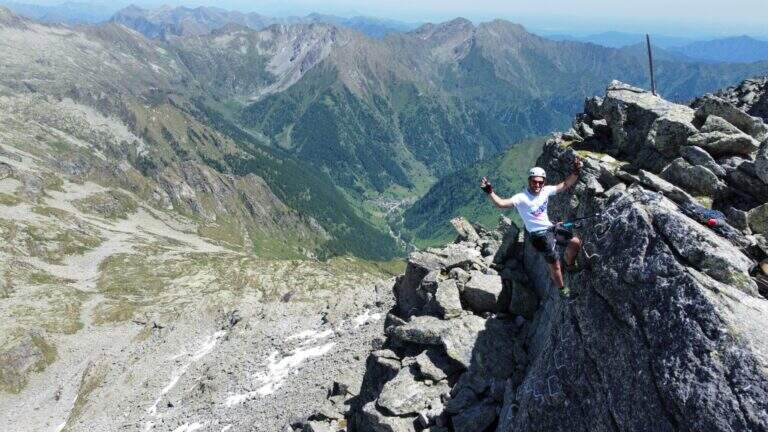
    From the hill the cable starts on a vertical wall where it is best to look calmly for the hooks, not immediately obvious: the first meters are vertical and the exposure grows quickly. Risalita the plaque follows the crest with short vertical sections, beams and blinds on both sides; the vertical steps are always assisted by abundant cambres, therefore little tiring and technical, but by hand the exposure increases and the passages are more varied, with climbs and short descents, up to the anticyme (2777 m). Here you can see the cable coming from the west ridge, uphill from the Colle Vallè (return option). From the anticyme we continue on coricated steps, then a short stretch of non-banal descent leads to the top: we face a vertical wall, a split in the rock and an exposed fireplace (the key passage), followed by a short vertical; a horizontal stretch, a descent and the last metres of uphill ridge lead to the metal cross of Pizzo Montevecchio (2789 m, 2h from the attack, 4h 45' total).

    ▲Back from the ferrata

    The road does not end up at the top: first return to the anticyme retracing the last stretch, then you choose between two options. The first is to retrace entirely backwards the ferrata of the way (1h 30' from the term, 6h 15' total). The second — recommended to close in part a ring — is the deviation that from the anticyme, where on the left a metal cable is known, descends along the western ridge to the Colle Vallè: simpler line because less vertical and exposed, but still not trivial, with some well equipped vertical points. From Colle Vallè a path on the slope of Val Quarazza, marked with green signs, leads to the Colle della Bottiggia crossing some lands (1h 30' from the end of the ferrata, 6h 15' total).

    ▲Character and difficulty

    Recent Ferrata alternating abundant equipment in the vertical sections with more exposed and varied passages left to the autonomy of the hiker, between jumps, beams, chimneys and slits. Very beautiful and wild environment.

    ⚠ The wide stretches of climbing, especially when returning, are not trivial. For altitude and exposure it is not rare to find verglas or ice traits on the north side of the ridge: necessary experience, training and reliable weather.
    ▲Discipline

    From the Colle della Bottiggia you return to the same route path (2h from the hill, 8h 15' total).

    ▲To match

    In the nearby valleys you can face the adjacent days Ferrata Detomasi in Alagna Valsesia and, more downstream, the Ferrata Falconera, la Ferrata Partusac e la Picasass Ferrata.

    ▲Gallery
    Technical data
    • DifficultyHard
    • RegionPiedmont
    • GroupPennine Alps – Valsesia
    • Approach2:45 h
    • Ferrata2:00 h
    • Itinerary (a/r)7:30 h
    • Hardware level difference180 m
    • Route difference1485 m
    • Max2789 m
    • Length12,6 Km
  • Ferrata Perona-Saglia alla Rocca di Clarì

    Ferrata Perona-Saglia alla Rocca di Clarì

    Vie Ferrate › Piedmont › Turin
    Ferrata Perona-Saglia alla Rocca di Clarì
    Very difficult● OpenDescriptionComplexityMapsGallery

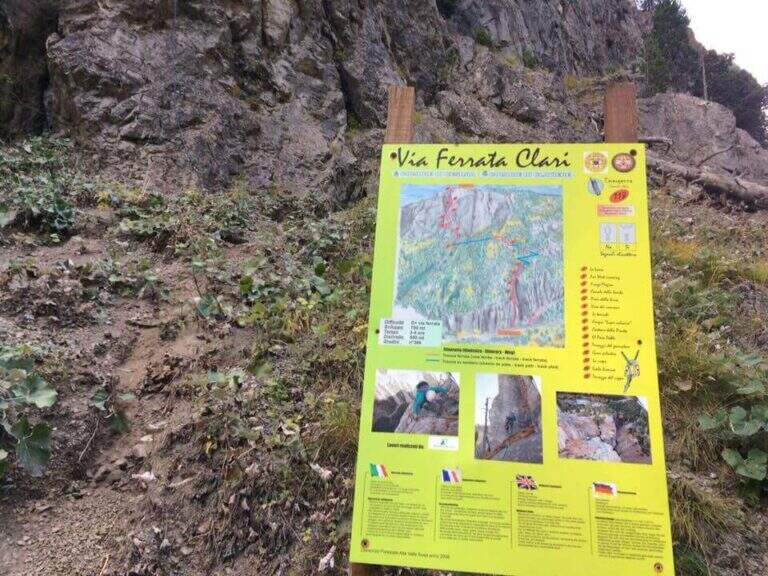
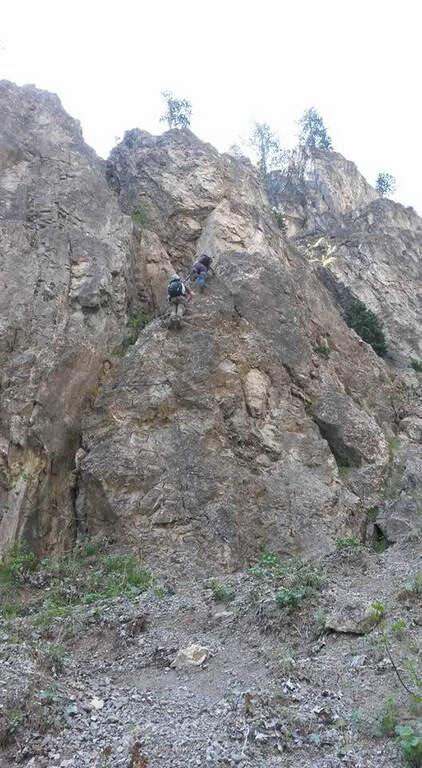
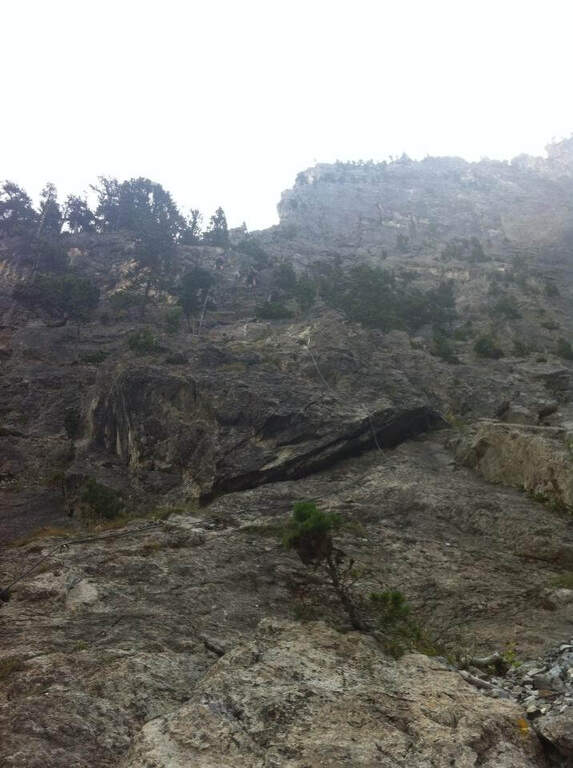
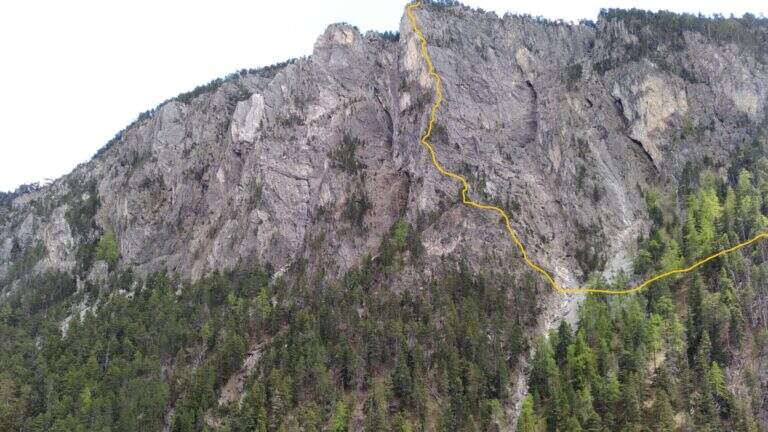
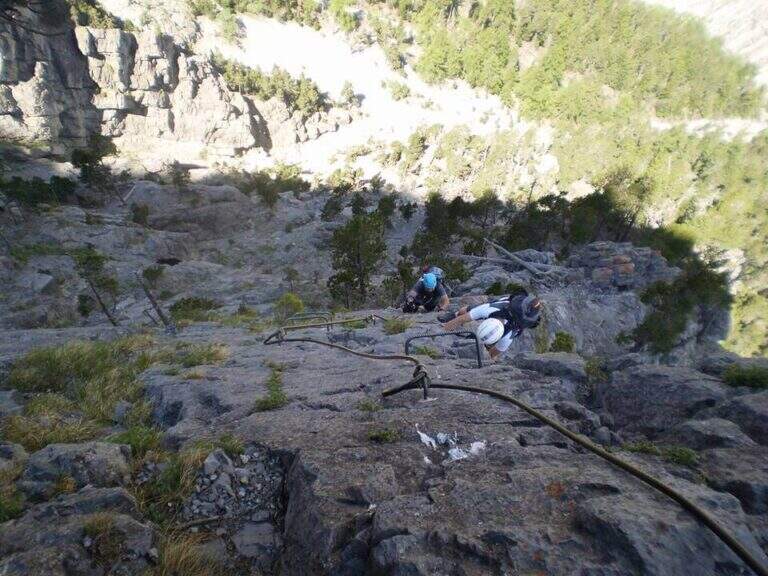
    The Ferrata Perona-Saglia alla Rocca di Clarì, in the upper Val di Susa, is one of the most demanding and beautiful in Piedmont. Athletic but also very varied, it alternates vertical walls (equipped and not), climbing traits, air passages, beams and short disarrampicate along the thread of an uphill edge. It is not suitable for neophytes and requires good training and absence of dizziness.

    ▲Approach

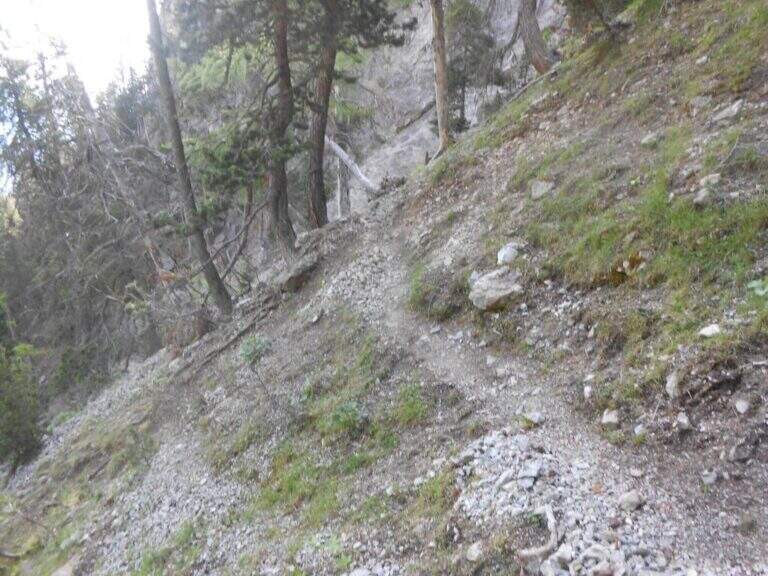
    Departure from Claviere (Turin). Two options: park along the straight between Claviere and Cesana Torinese, in a dirt square before the tunnel, or at the campsite of Claviere, where the path for the Tibetan bridge "Sergio Bompard". Starting point on Google Maps. From the first you descend a path towards the Gorge of San Gervasio, you go up the river and, cross it on a bridge, climb on the right horogram until the attack (15'); from the second you go down steeply to the creek, cross it and climb right up to the sign of the ferrata, which attacks a few meters above the path (15').

    ▲The path

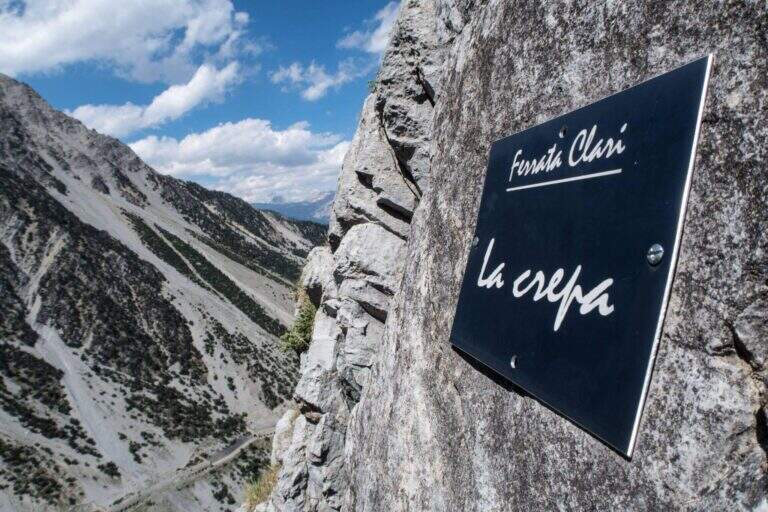
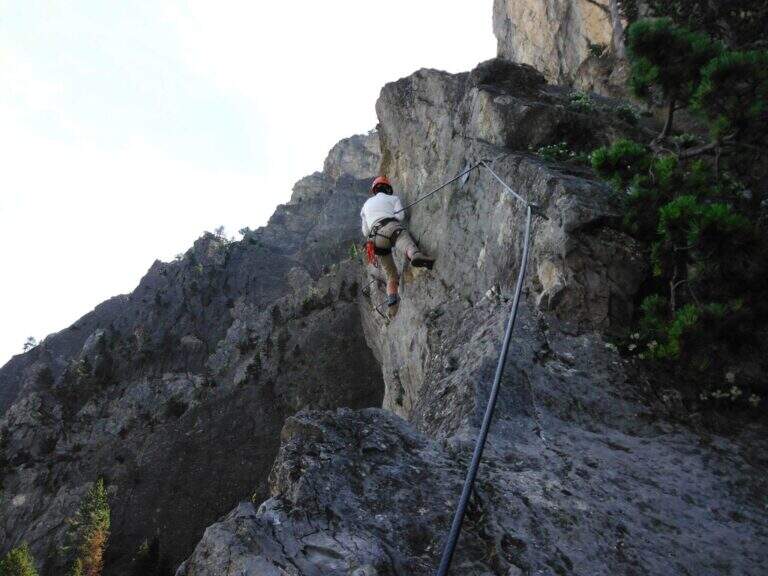
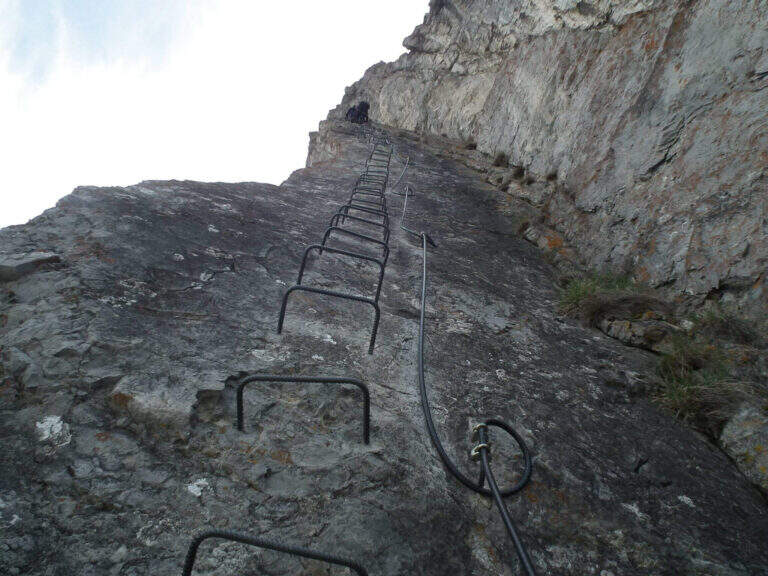
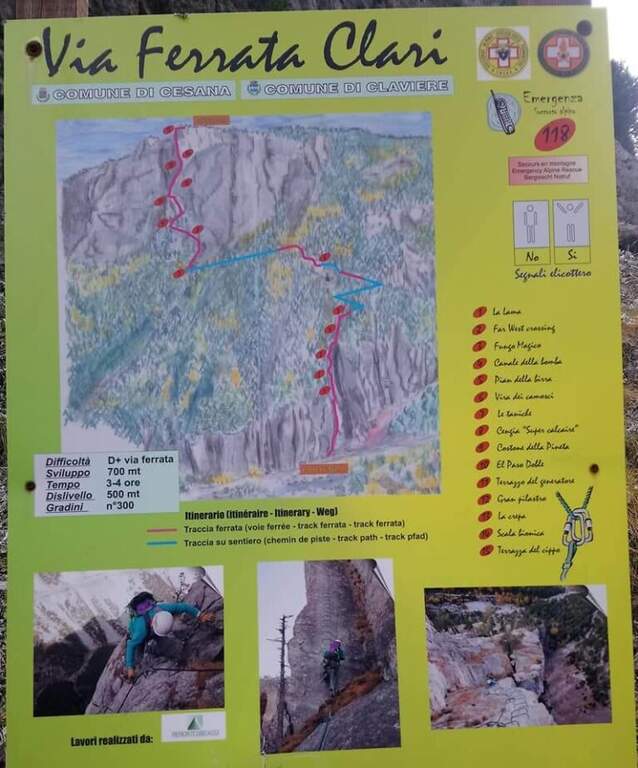
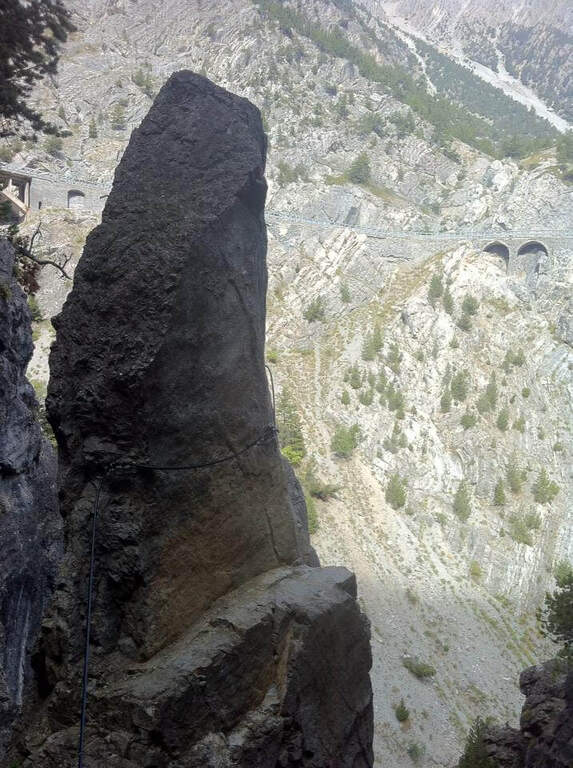
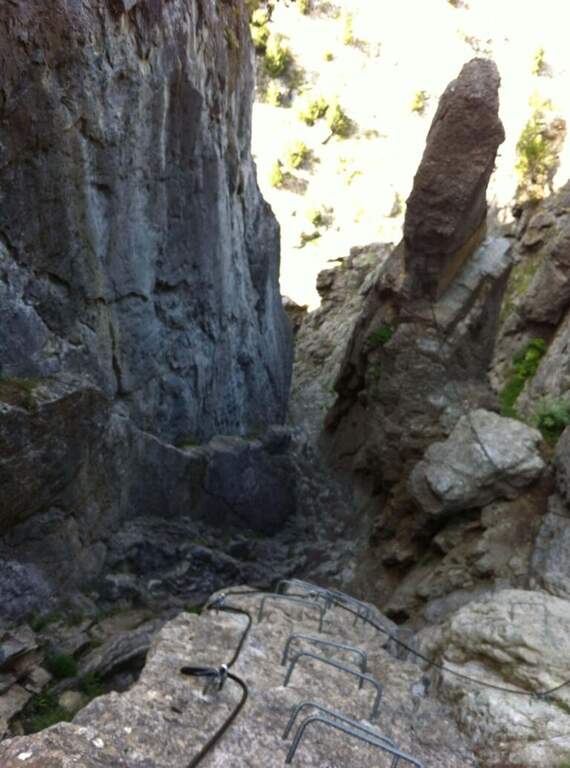
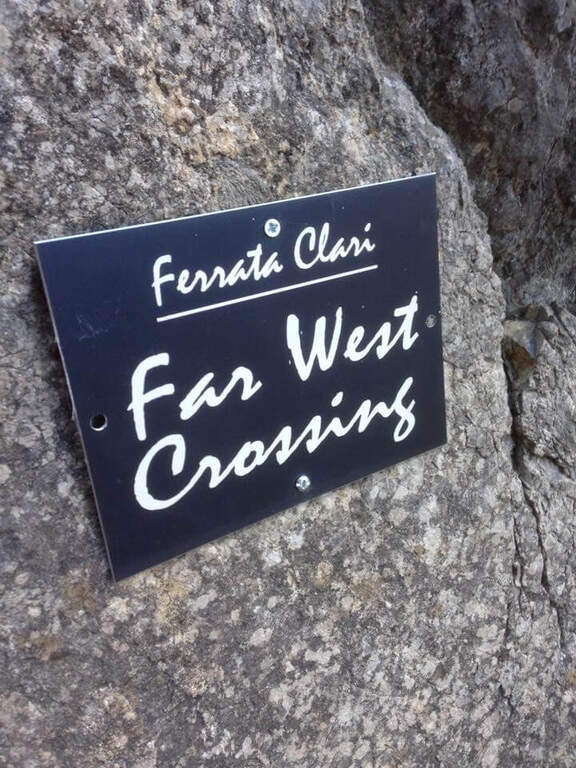
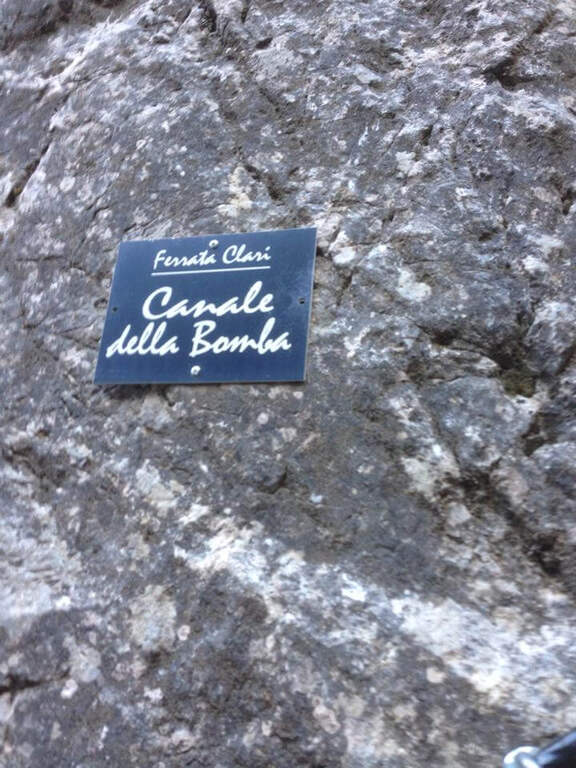
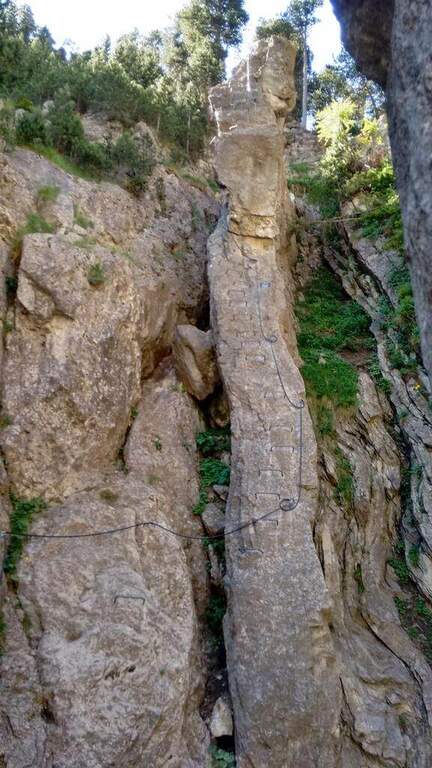
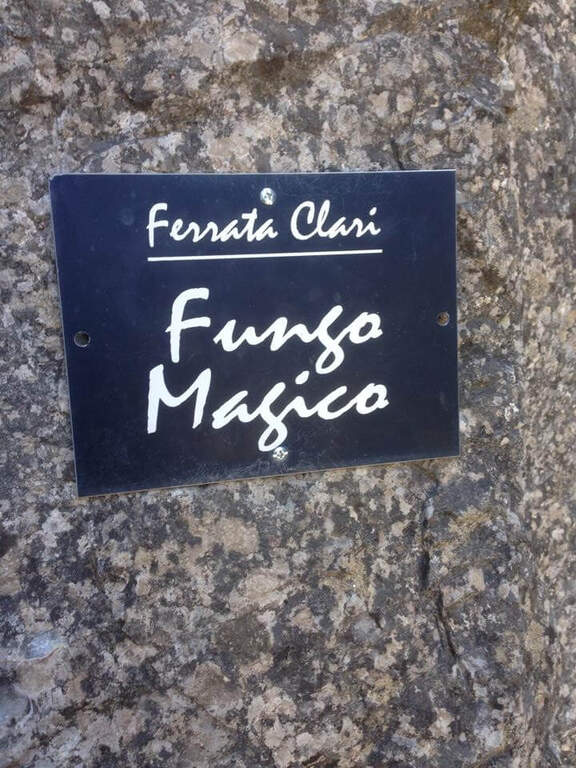
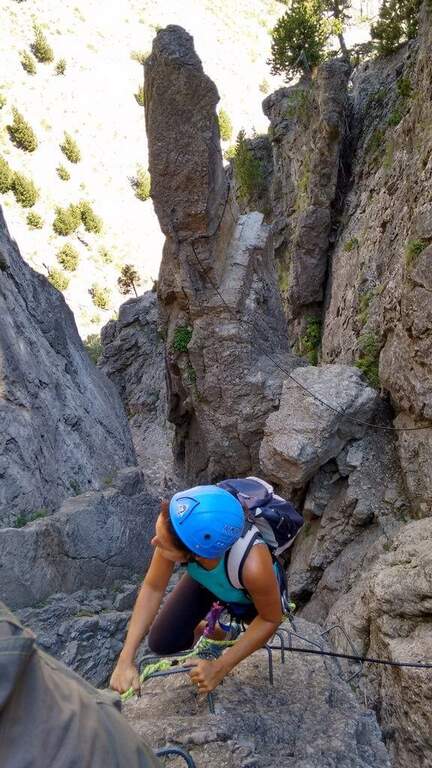
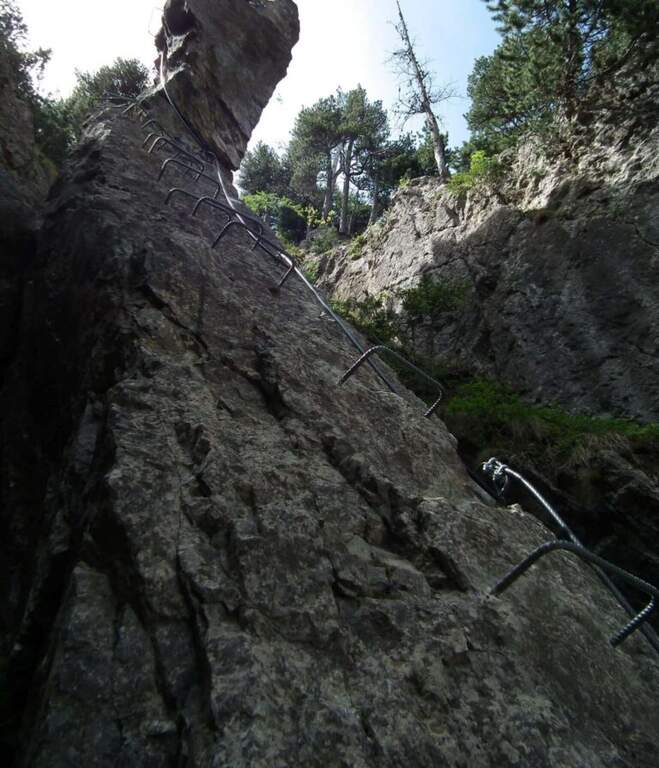
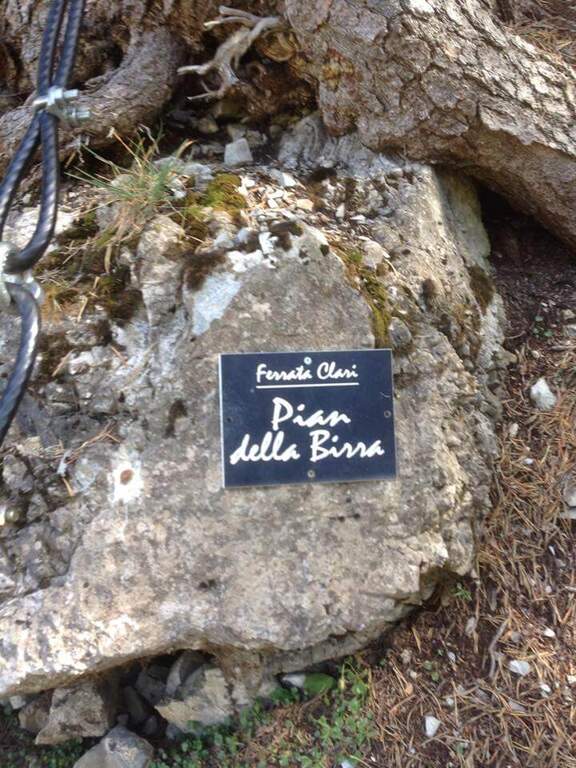
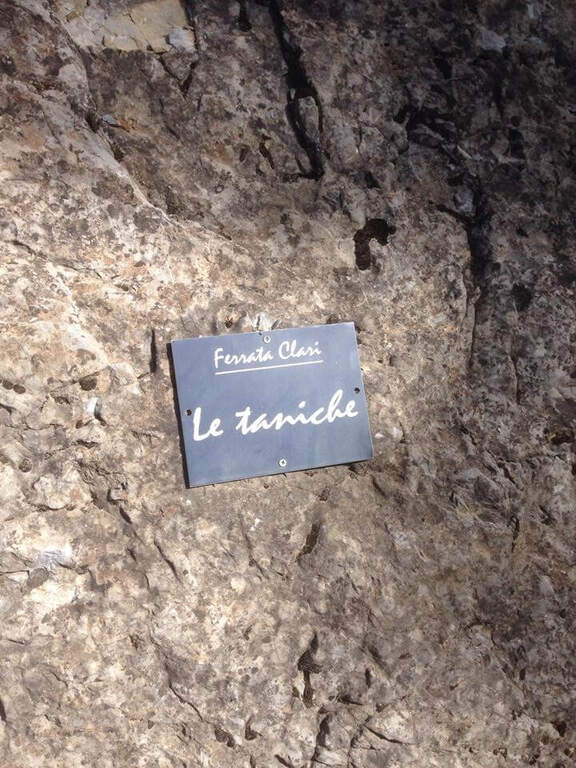
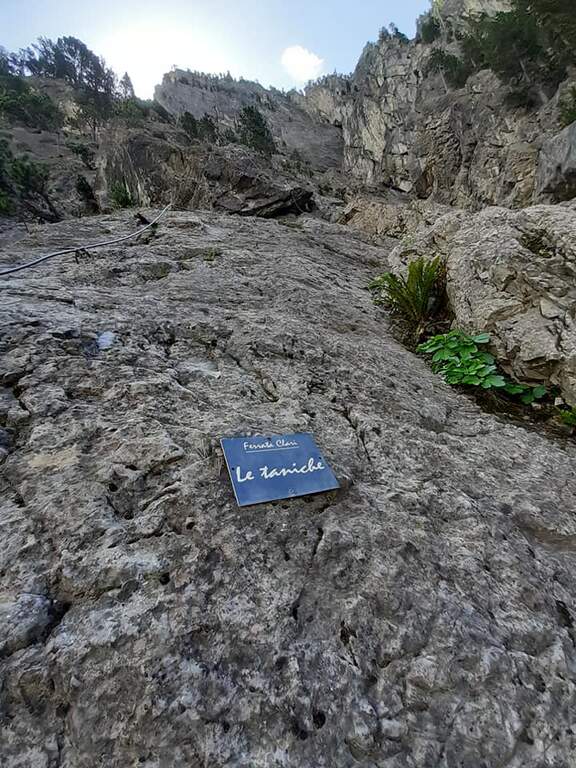
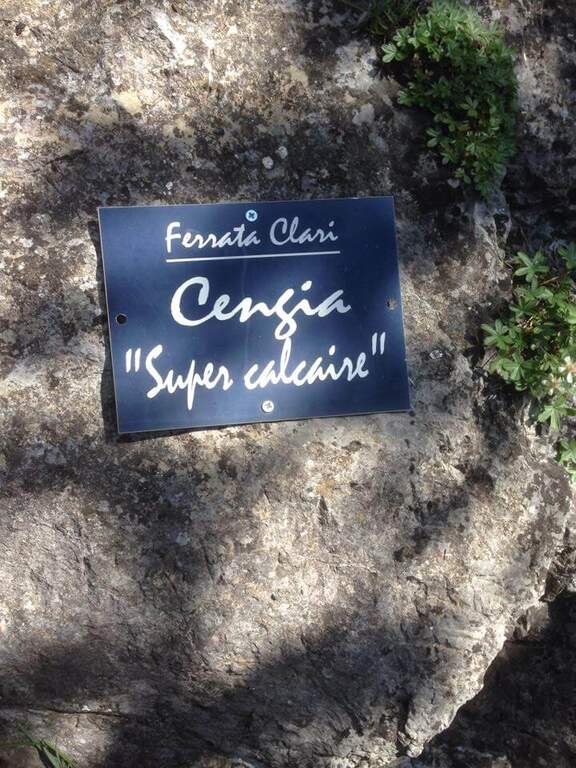
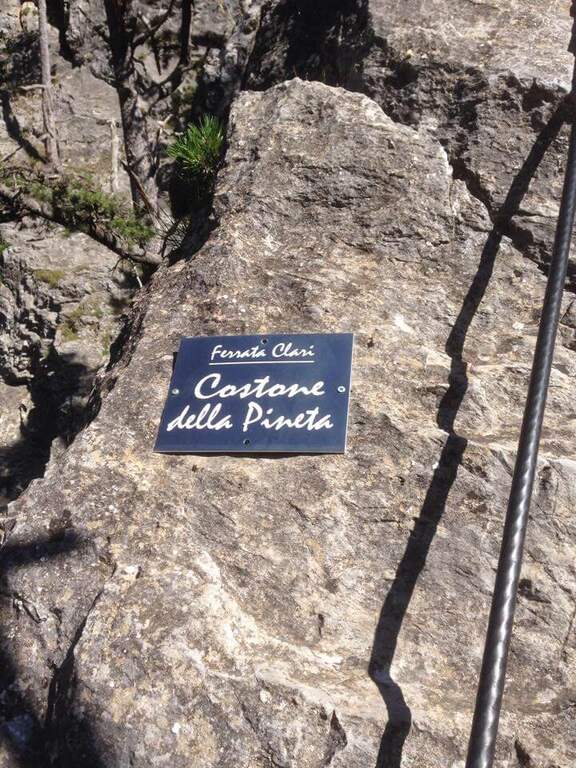
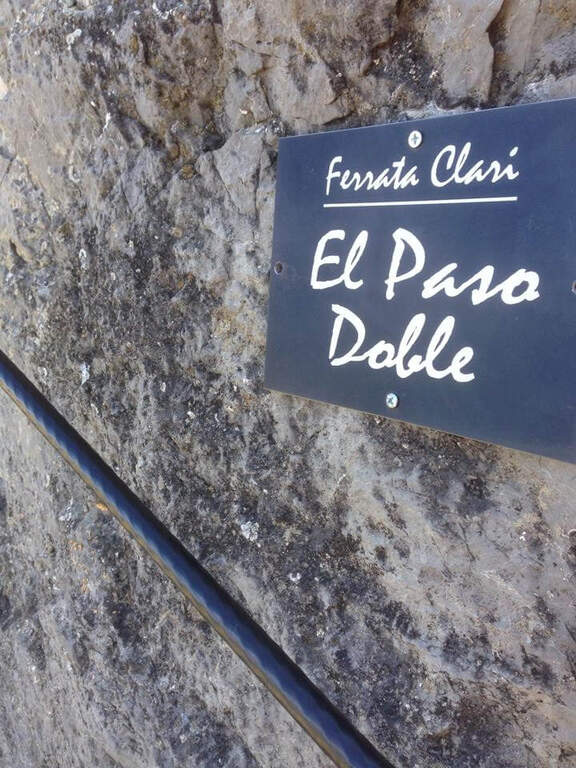
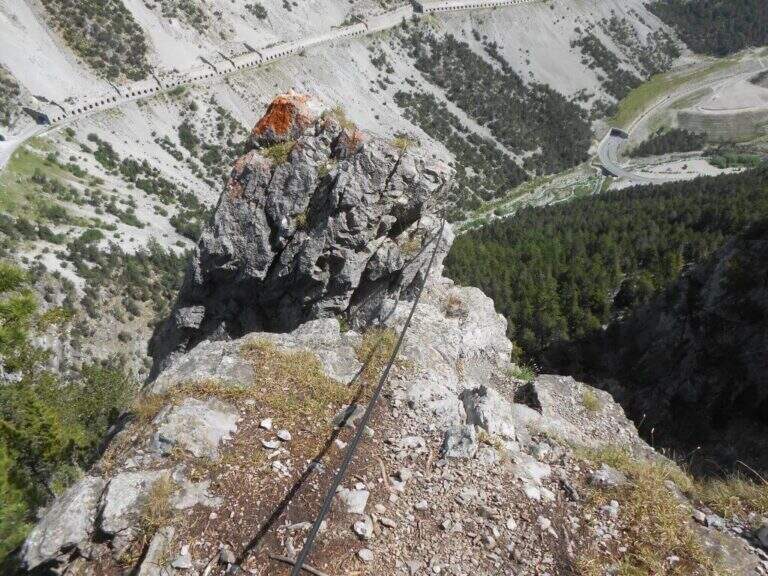
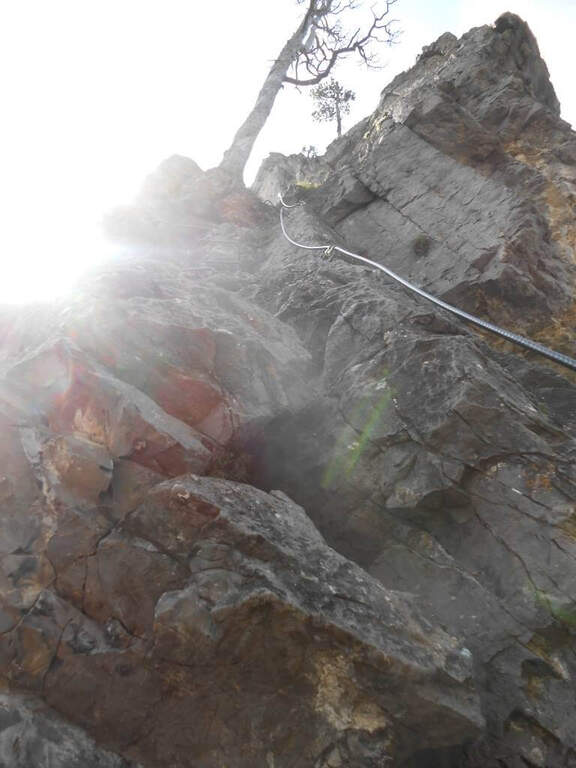
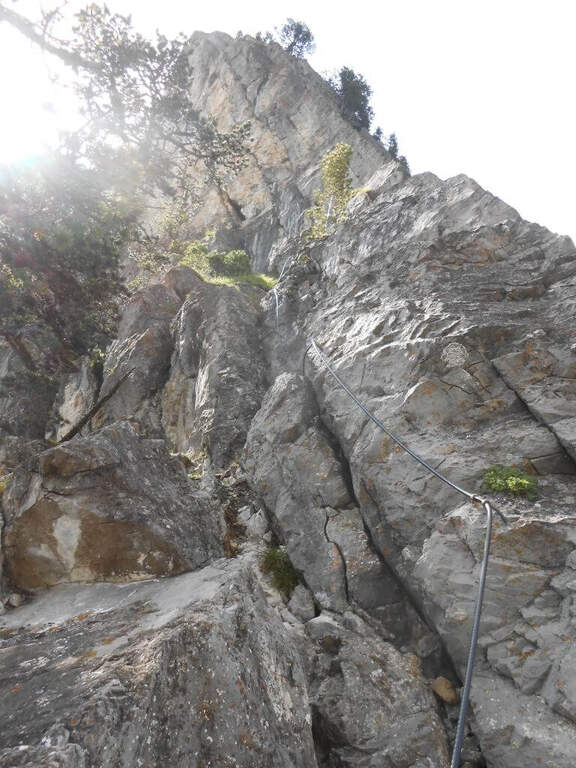
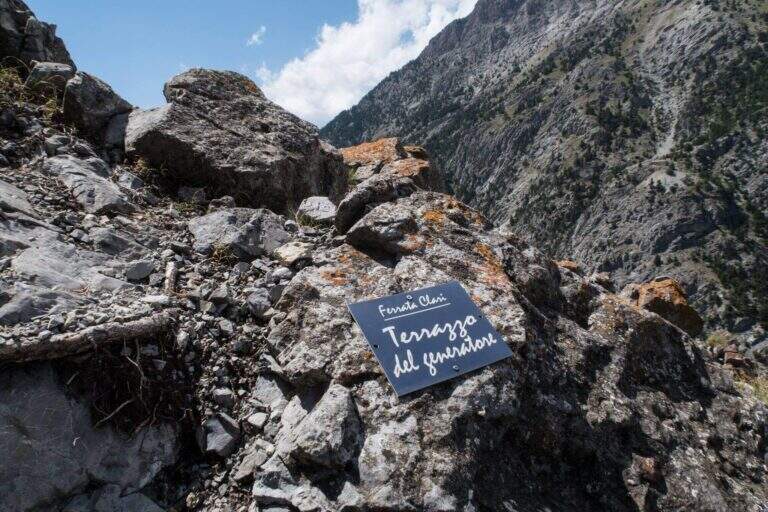
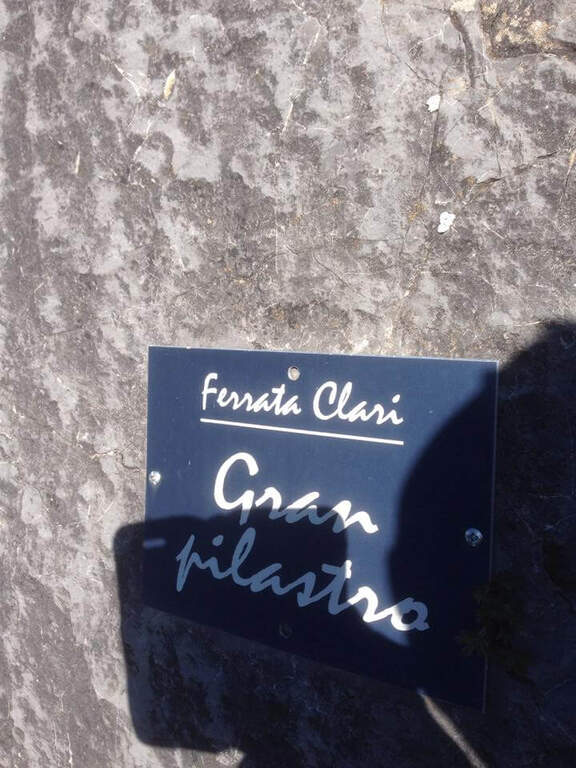
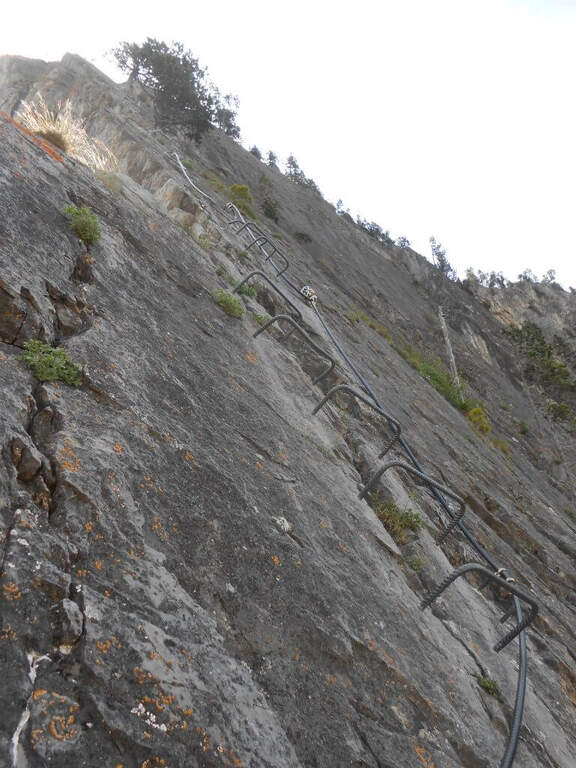
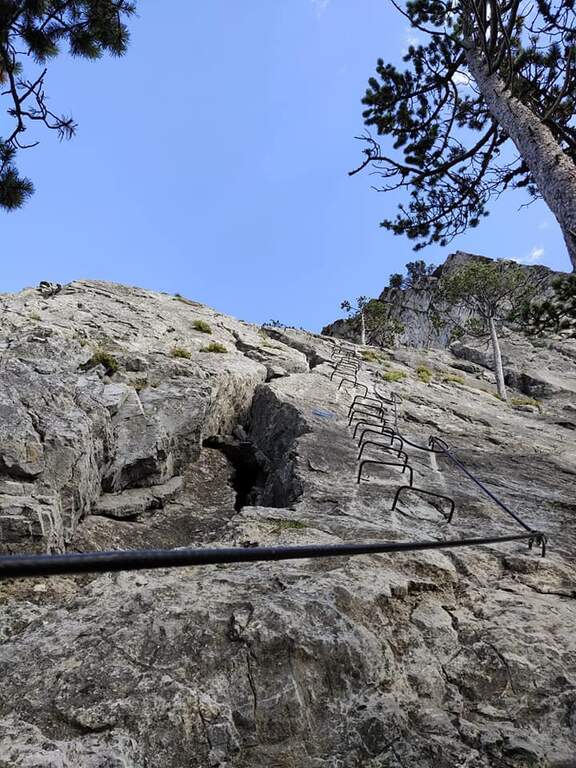
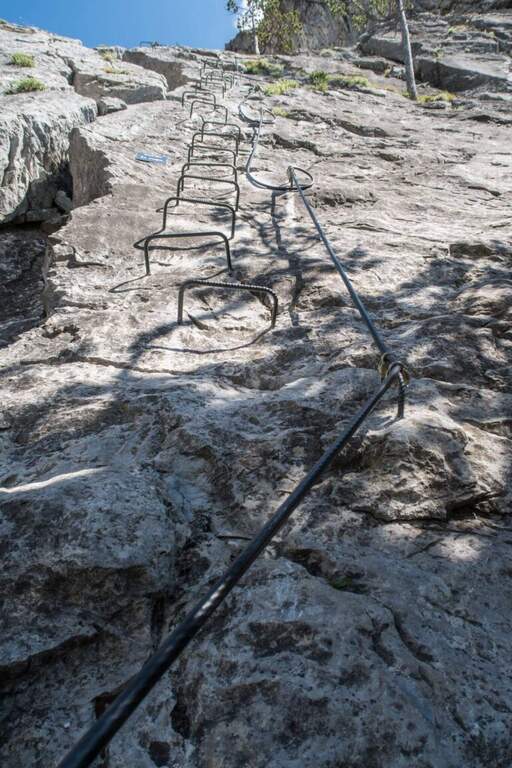
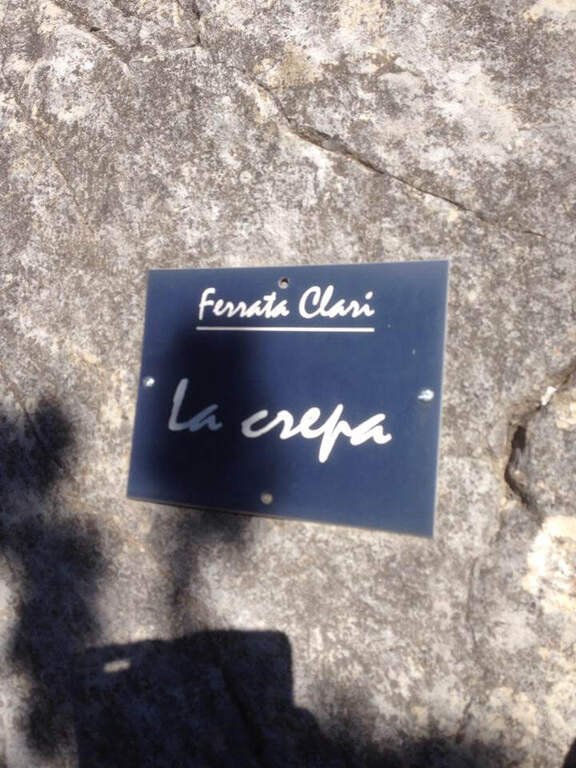
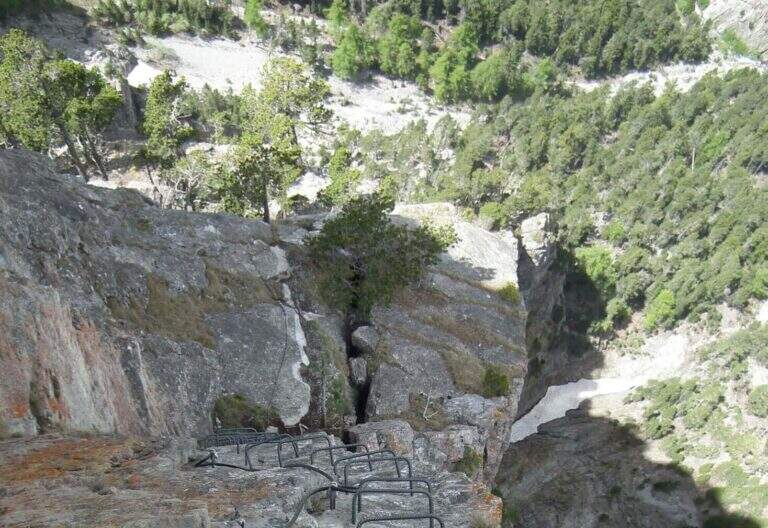
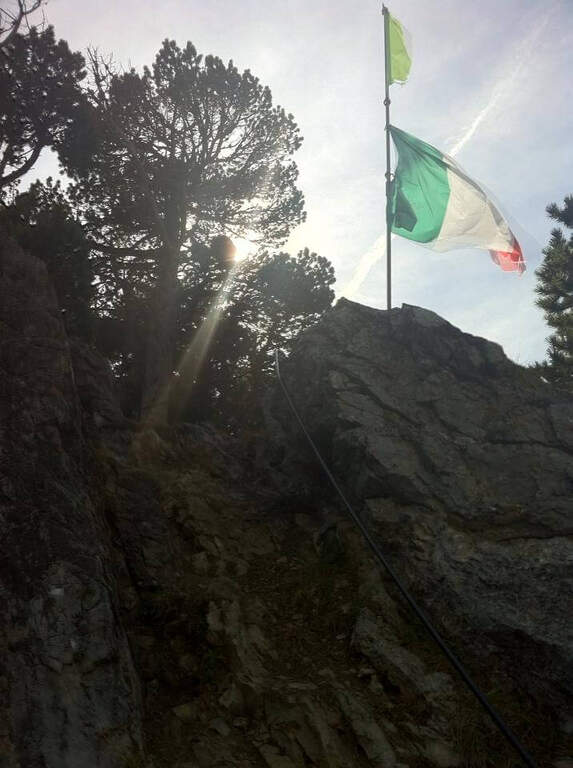
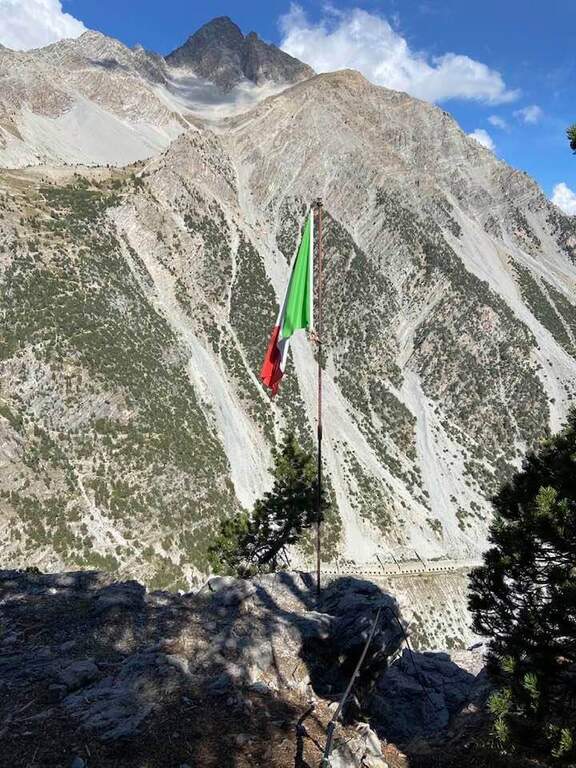
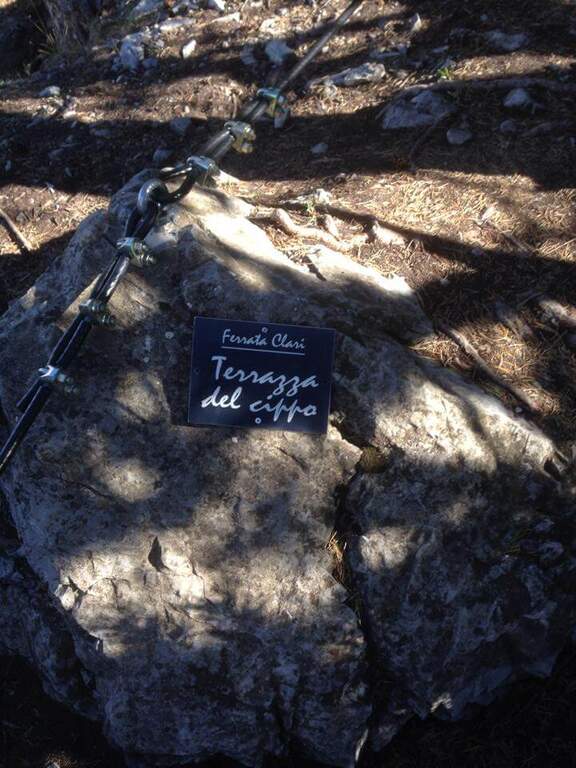
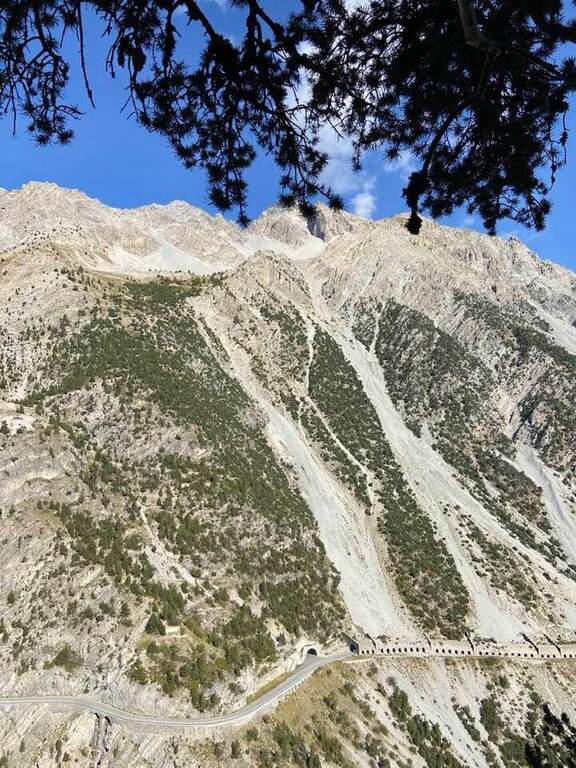
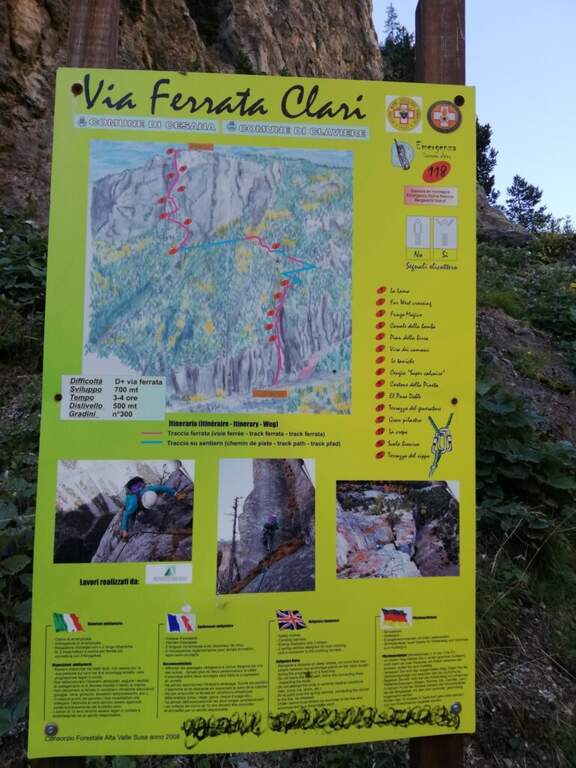
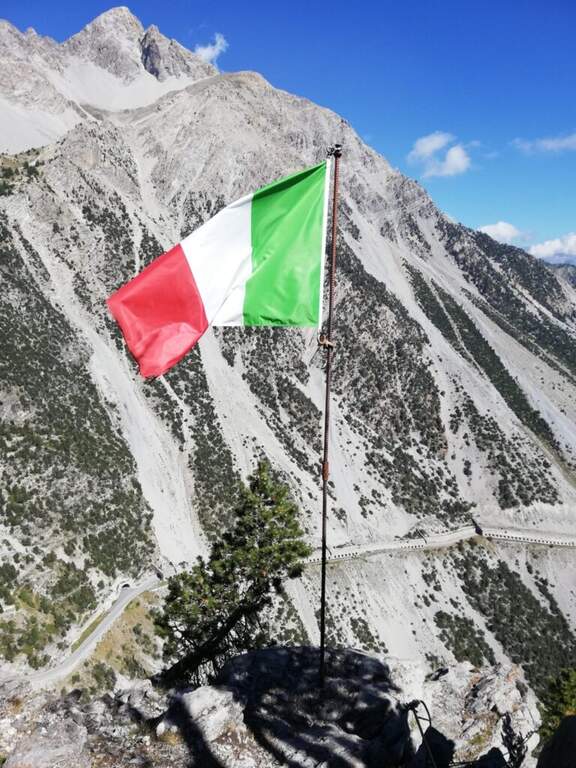
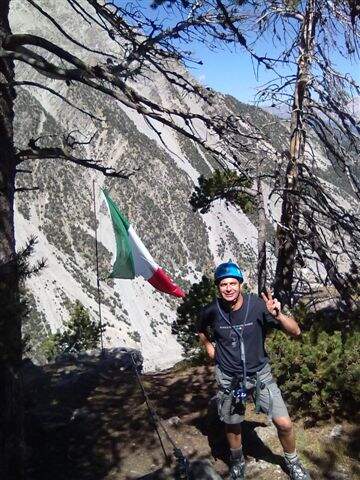
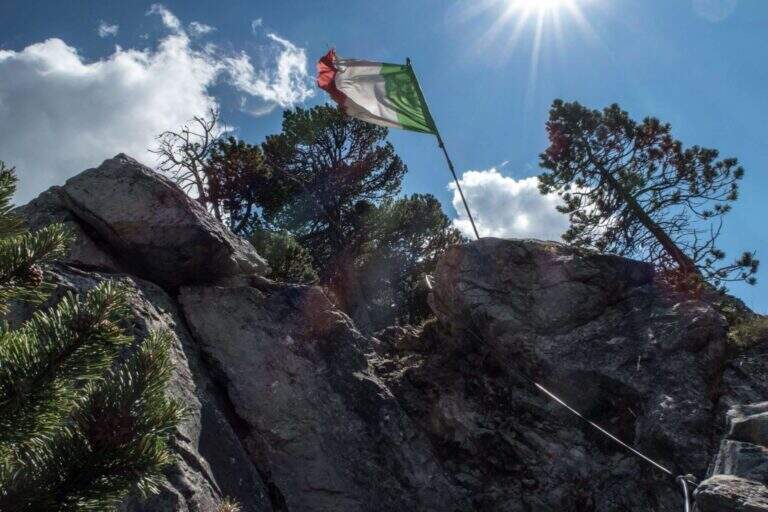
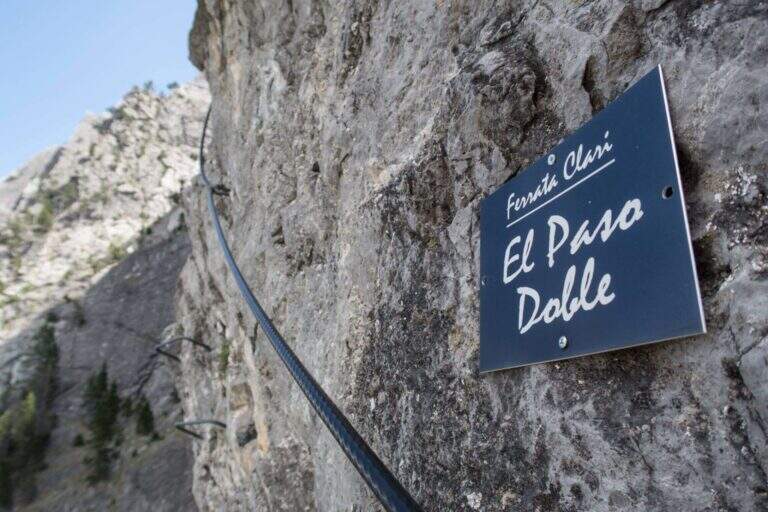
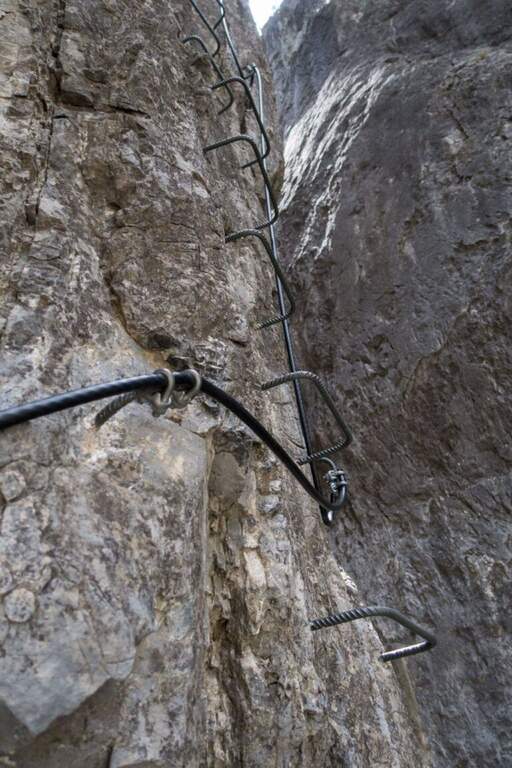
    The route is divided into 15 sectors, each with its own name. It is attached to the vertical wall («La Lama»), with brackets and climbing passages, immediately gaining altitude on the stream; inside a canalone and after a right turn a vertical blade is up on the brackets, then a rocky cres with natural hooks. The "Far West Crossing" crosses the "Canale della Bomba" and reaches the gendarme of the "Fungo Magico", climbed over the brackets, circled and crossed along a narrow and exposed blade. After the stop of the «Pian della Birra» you pass the franosa throat of the «Via dei Camosci» and you get to the most climbing section, «Le Taniche», on beautiful steps ranked. Follow the "Cengia Super Calcaire" and the "Costone della Pineta", then "El Paso Doble", a traverse on the left in light overhanging, short but very exposed. After the «Terrazzo del Generator» three beautiful sections remain: the «Gran Pilastro», with the cable on the edge and an exit at the center of the wall in strong exposure; «La Crepa», vertical and smooth wall made accessible by abundant brackets; and finally the «Scala Bionica», a steep vertical wall on brackets, aerial and exposed, with slightly overhanging athletic exit to the left. It exits at the top of the Rocca di Clari (2045 m), at the "Terrazza del Cippo" with the Italian flag (3h from the attack, 3h 15' total), with a view on Chaberton, Claviere and Cesana.

    ▲Character and difficulty

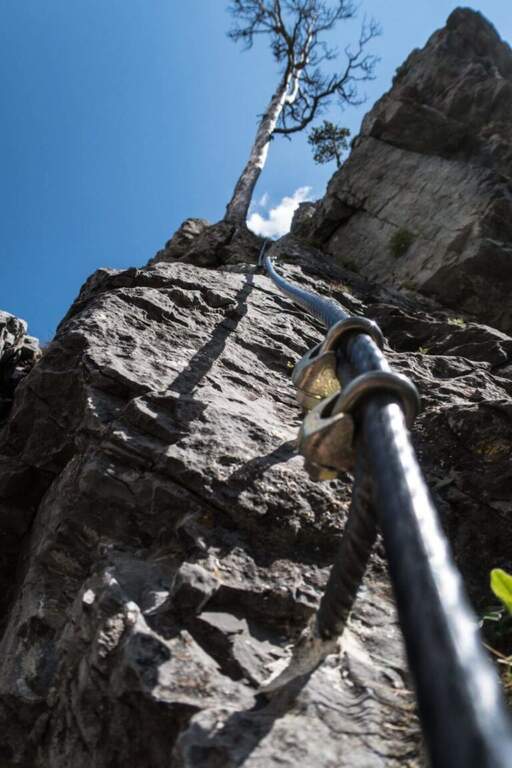
    Excellently equipped, with brackets positioned intelligently and not invasively. The inguainated black cable forms a ring at the tokens: excellent in case of fall (it avoids the musketet-fittone clash), but little tense, therefore it is better to climb by exploiting hooks and natural and artificial supports. It requires good form and experience.

    ⚠ Itinerary long, athletic and very exposed, not suitable for beginners: it serves specific training and absence of dizziness. You can rent the equipment at the ticket office of the Tibetan bridge.
    ▲History

    The route is dedicated to Mario Perona, Alpina Guide, and to Aldo Saglia, a helicopter pilot, very appreciated in Val di Susa, who died in Easter 2003 in a tragic helicopter accident. The idea of the ferrata was by Perona; the construction dates back to 2010.

    ▲Discipline

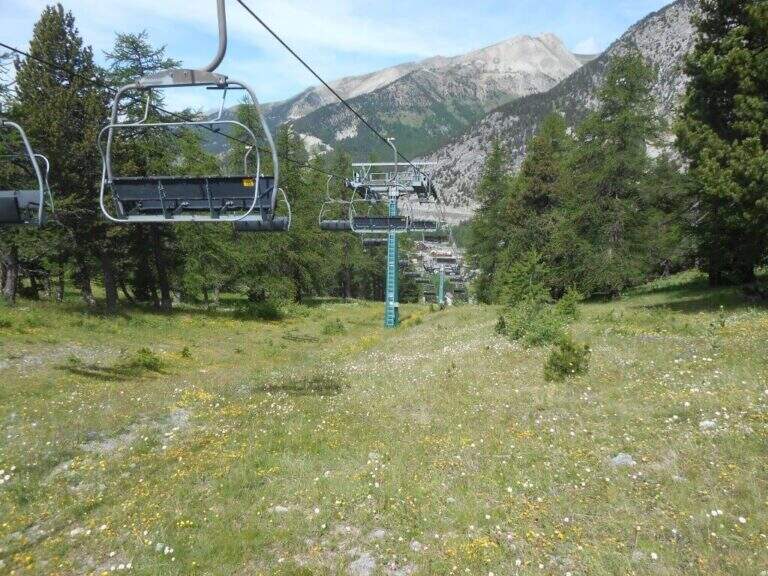
    You descend west on a clear track above the summit to some abandoned military stations, then on dirt road to La Coche (skiing plants) and still downhill to Claviere. Just before the village you turn right, cross a ski lift and take the path towards the Gorges of San Gervasio up under the Tibetan bridge; from the, depending on the parking lot, you return to the backward car (1h 30' from the downhill attack, 4h 45' total).

    ▲To match

    It combines with Ferrata del Bunker (of the Military) on the opposite side of the Tibetan bridge; always from Claviere the Low Battery Ferrata and the Chaberton Ferrata. The lower the valley offers the Ferrata dell'Orrido di Foresto e la Ferrata dell'Orrido di Chianocco.

    ▲Gallery
    Technical data
    • DifficultyVery difficult
    • RegionPiedmont
    • GroupVal di Susa
    • Approach0:15 h
    • Ferrata3:00 h
    • Itinerary (a/r)4:15 h
    • Hardware level difference315 m
    • Route difference550 m
    • Max2045 m
    • Length8 Km
  • Ferrata dei Picasass al Monte Camoscio

    Ferrata dei Picasass al Monte Camoscio

    Vie Ferrate › Piemonte › Verbano-Cusio-Ossola
    Ferrata dei Picasass al Monte Camoscio
    Moderately Hard● OpenDescriptionComplexityMapsGallery

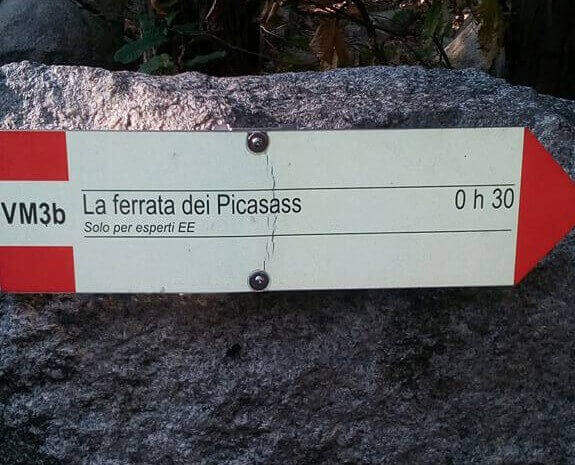
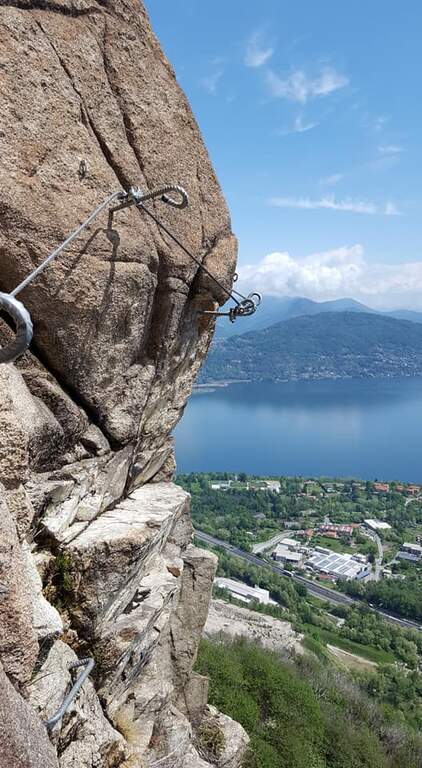
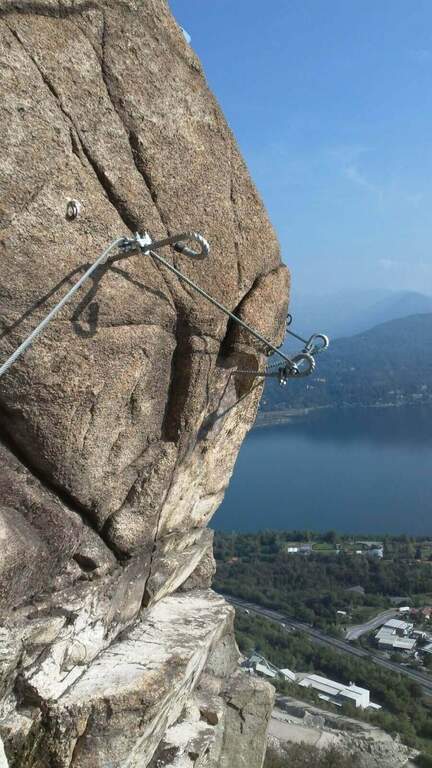
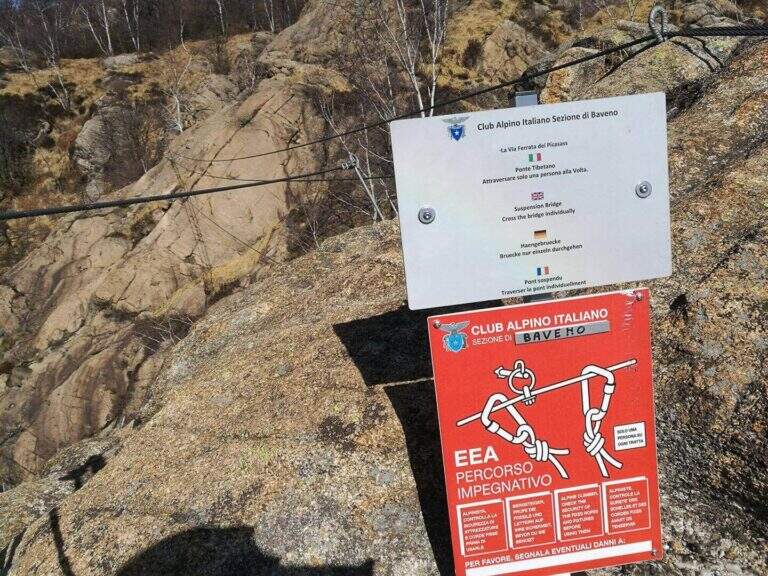
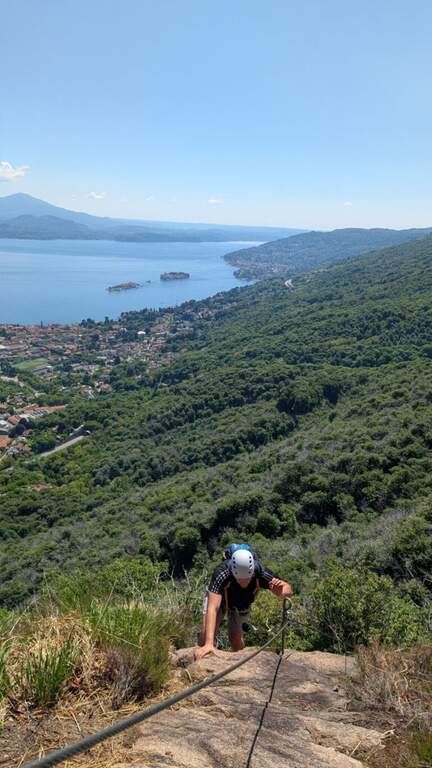
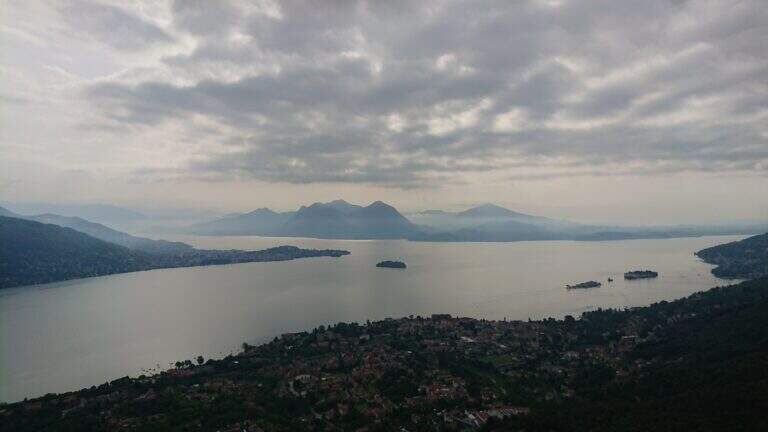
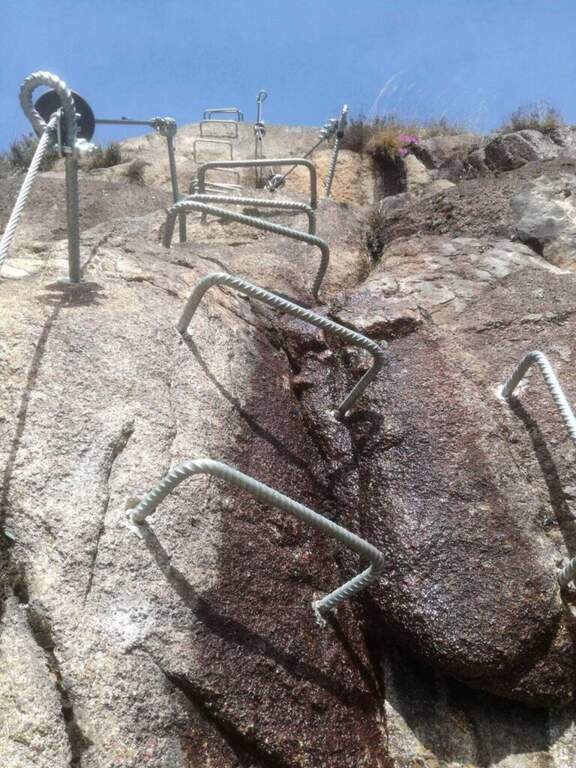
    The Ferrata dei Picasass is a recent and well-equipped street on the excellent Baveno granite, above Lake Maggiore. It is exposed uphill, with a challenging key passage — a overhanging horizontal traverse that bypasses a spy plane — and in the final offers a long and exciting bridge of the monkeys.

    ▲Approach

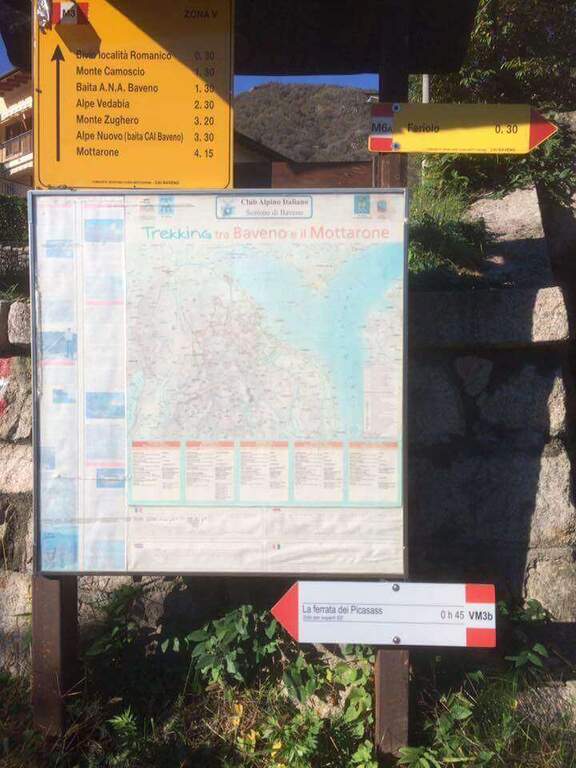
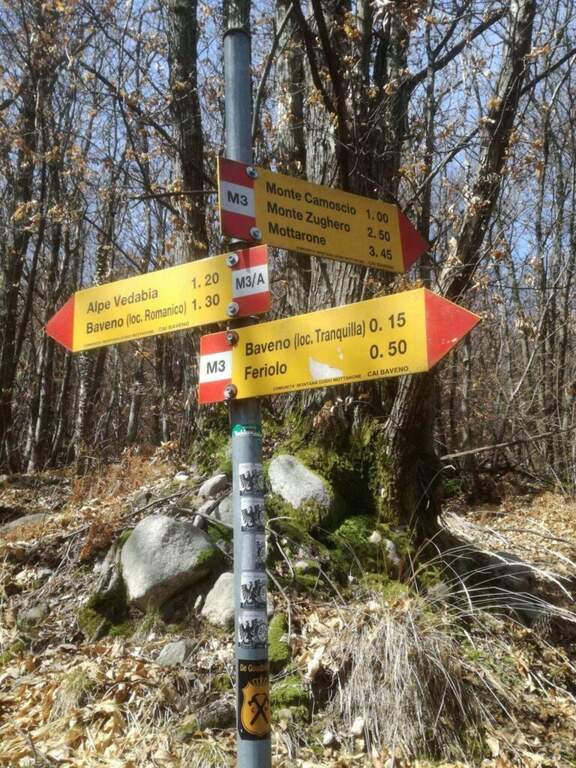
    Departure from Baveno (Verbano-Cusio-Ossola): follow the campsite La Tranquilla, behind which you will find via alle Cave, where you can search for parking (also in via Sesena). Starting point on Google Maps. From Via alle Cave you take a road uphill (white-red signs and a sign for the ferrata), first asphalt then dirt road; you cross the highway and, at a crossroad, you hold the right following the sign for the Picasass until the attack (45' from the parking lot).

    ▲The path

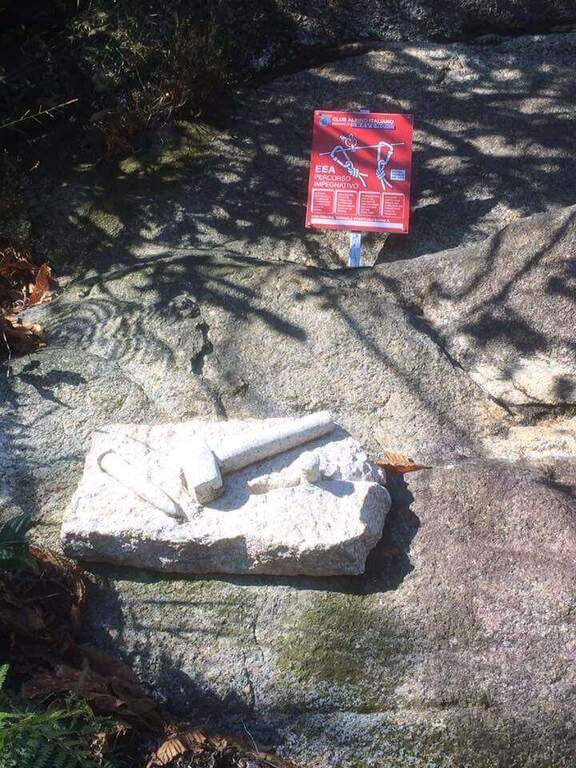
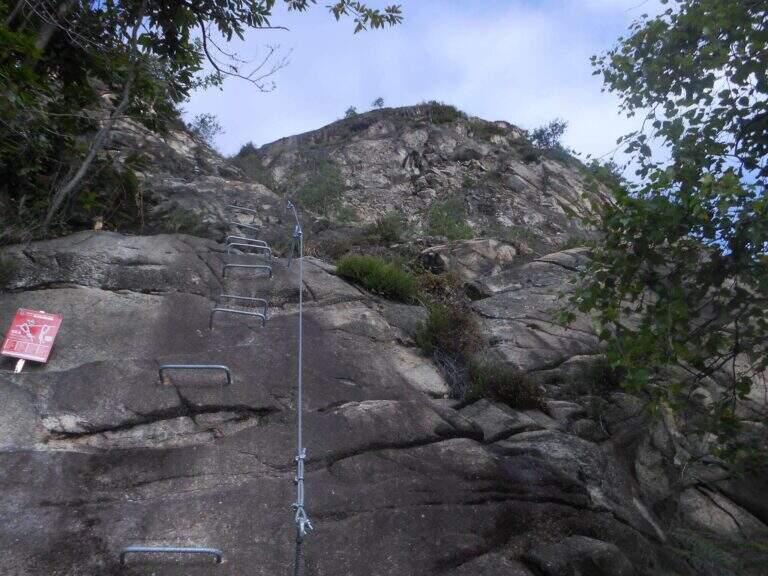
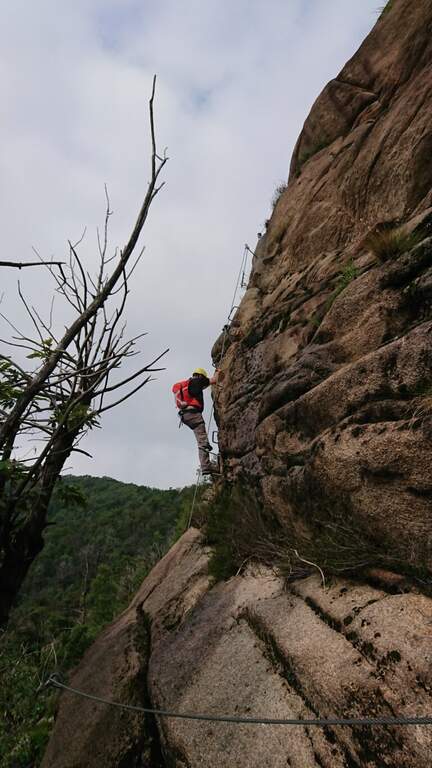
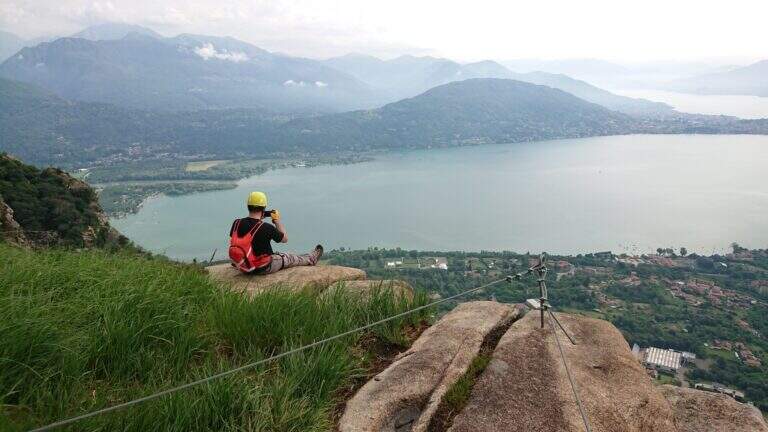
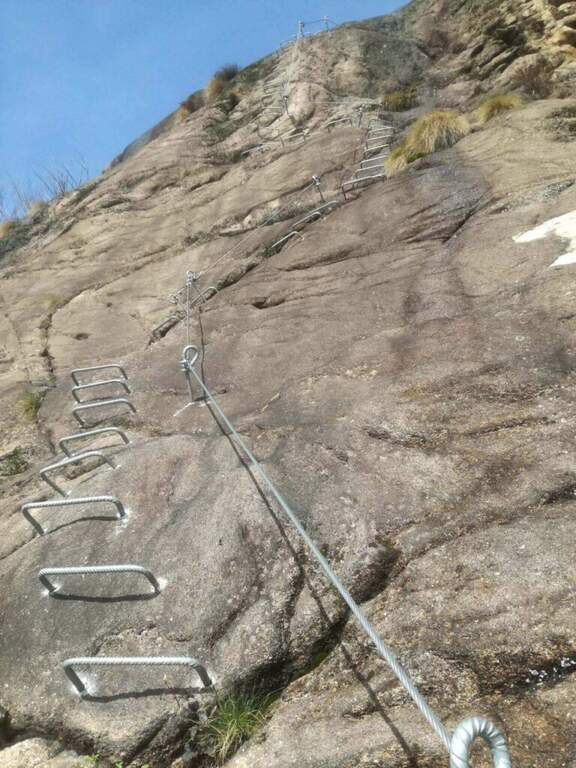
    It attaches a beautiful vertical wall, where brackets and excellent rock allow to proceed also in adherence; it bends left in an easy traverse and goes up a wall full of hooks, then another traverse to the left and a new vertical wall with abundant brackets. After a right nod and another wall you arrive at the key passage: a transverse overhanging exposure that bypasses a edge — not very difficult but with good demand of arms and clear exposure, short (three mosquitoes) and adrenaline; a low support helps not to pull too much on the cable. There is a boulder and a vertical wall with a short overhanging, then a long aerial wall but not difficult on brackets; a traverse on the right leads to another wall and therefore to more lean rock, climbed into adherence to the suspended bridge. The long bridge of the three-string monkeys is very exciting (adjustable on the path for those who prefer); beyond the bridge an easy wall leads to the summit cross, where the ferrata ends with beautiful view on Lake Maggiore (1h 30' from the attack, 2h 15' total).

    ▲Character and difficulty

    Pleasant, vertical and exposed but never too difficult, on excellent rock. The overhanging cross is the highlight; the bridge, long and adrenaline, is in a stable complex.

    ▲Discipline

    From the end follow the well marked path M3 to the junction of the approach and, backwards, to the car (45' from the end, 3h total).

    ▲To match

    For those looking for extreme difficulties, the Ferrata Miccia starts a few meters beyond the Picasass, on the same wall but much harder. In the day you can reach the ferrates of Varallo, the Falconera e il Partusac; in high Piedmont Macugnaga Guides.

    ▲Gallery
    Technical data
    • DifficultyModerately Hard
    • RegionPiedmont
    • GroupLake Maggiore
    • Approach0:45 h
    • Ferrata1:30 h
    • Itinerary (a/r)3:00 h
    • Hardware level difference320 m
    • Route difference530 m
    • Max890 m
    • Length5,1 Km
  • Ferrata del Partusac

    Ferrata del Partusac

    Vie Ferrate › Piedmont › Vercelli
    Ferrata del Partusac

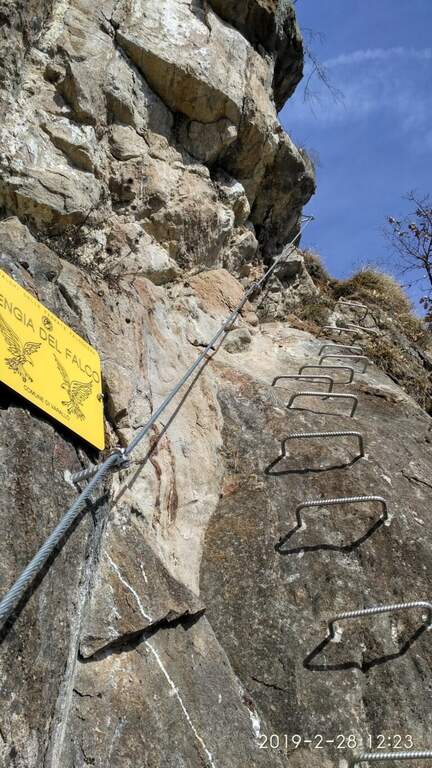
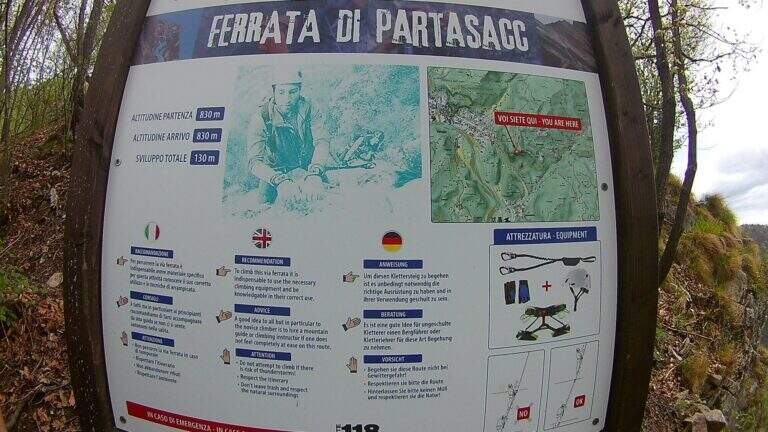
    The Ferrata del Partusac is an easy way to Civiasco, in Valsesia (Vercelli). It takes place above all in climbs, with a traverse and a vertical wall well equipped in the final, a little exposed but not difficult; interesting from the landscape point of view, is often traveled in succession to the nearby Ferrata Falconera.

    ▲Approach

    For the only partusac it is advisable to start from Civiasco: at the entrance of the village take the road Piandellavalle and park in the square on the right. Starting point on Google Maps. From the chapel of Pian della Valle you take the path 636B in the woods, you ignore the first two bivores and the third you go left on the 636C until the attack (20' from the parking lot). Starting from Varallo you climb on 636A until the junction with 636B at an artificial pond, then 636B and 636C until the attack (40'); who arrives from the end of Ferrata Falconera reaches the attack in 5'.

    ▲The path

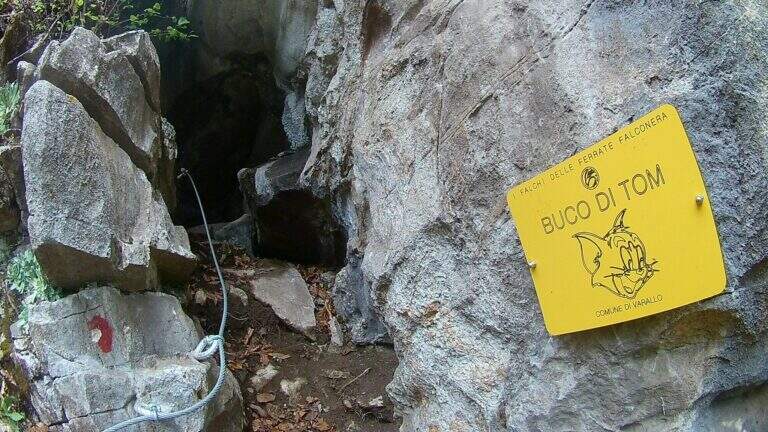
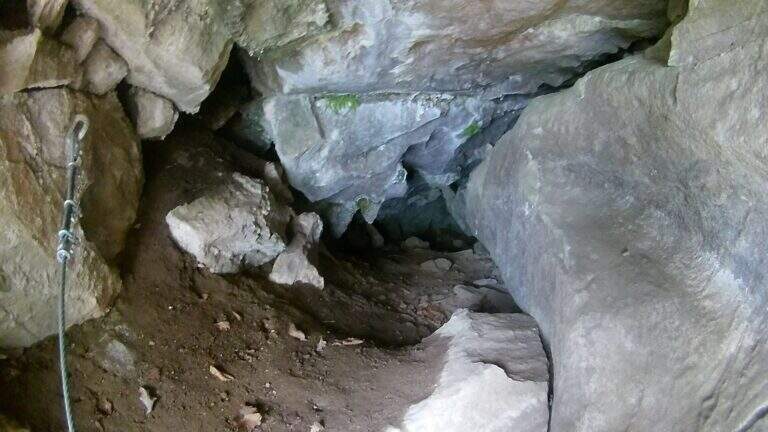
    The road begins with a downhill stretch on a steep path of mixed earth-rock; at the end you continue left in oblique until a first small cave, you descend again and on an easy nod you reach a second cave. It follows a transverse oblique exposure to the right up to an equipped vertical wall that climbs steep, gaining altitude and exposure; you arrive at a grassy terrace and a new vertical wall equipped, then a last floor leads to the end of the street (30' from the attack, about 1h from the parking lot).

    ▲Character and difficulty

    Easy Ferrata, from the modest difference in altitude, available in both ways: excellent as first experience for the neophyte or as a continuation of the Falconera for the experienced hiker.

    ▲Discipline

    You can go back to the street or follow the path to the forklifts: parking in Piandellavalle you go down 636B until the pond and then 636; for Varallo you follow the 636B until the junction with the 636A downhill.

    ▲To match

    Almost mandatory matching with the neighbor Ferrata Falconera. Alternatively Picasass Ferrata on Lake Maggiore or the Infernone Path in Biellese.

    ▲Gallery
    Technical data
    • DifficultyEasy
    • RegionPiedmont
    • GroupValsesia
    • Approach0:20 h
    • Ferrata0:30 h
    • Itinerary (a/r)1:15 h
    • Hardware level difference40 m
    • Route difference130 m
    • Max830 m
    • Length1,6 Km
  • Ferrata dell’Orrido di Foresto

    Ferrata dell'Orrido di Foresto

    Vie Ferrate › Piedmont › Turin
    Ferrata dell'Orrido di Foresto
    Moderately Hard● OpenDescriptionComplexityMapsGallery

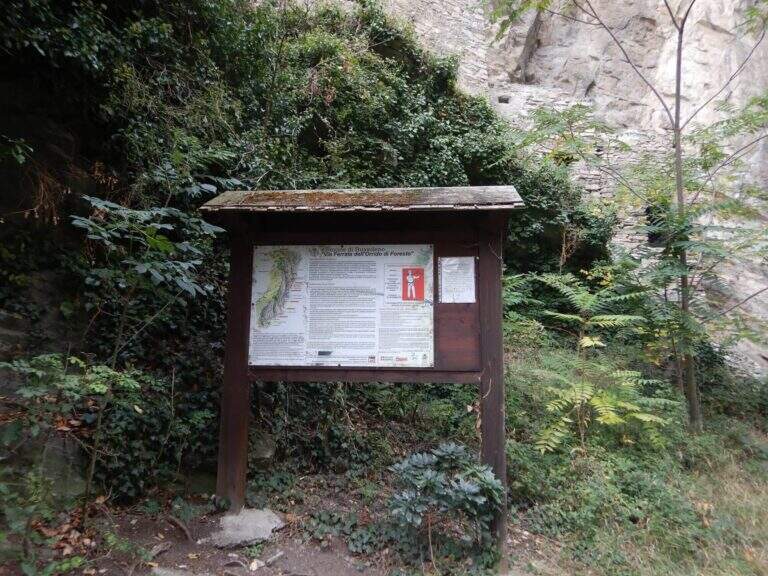
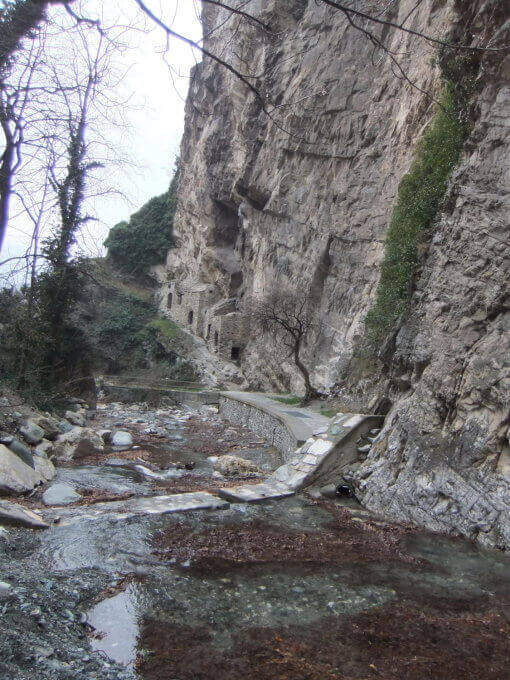
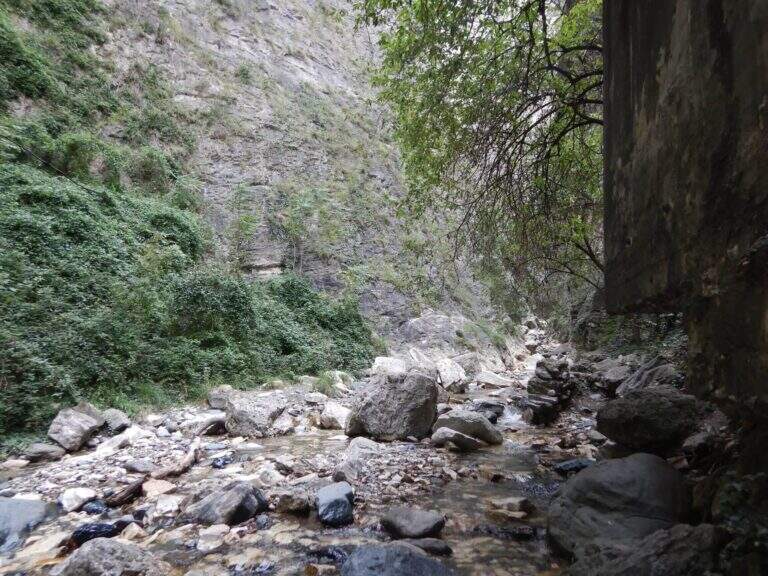
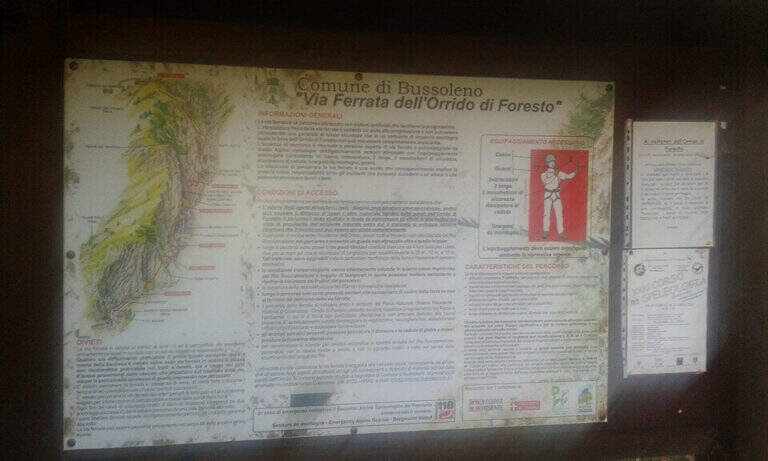
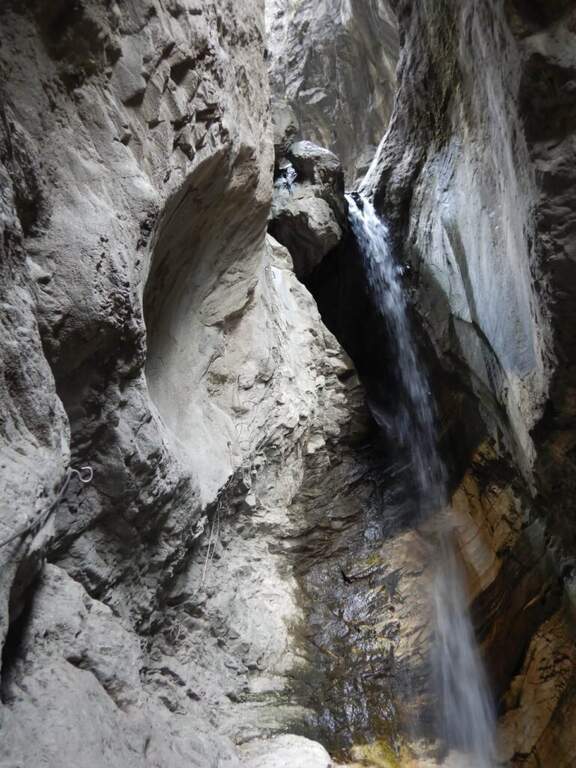
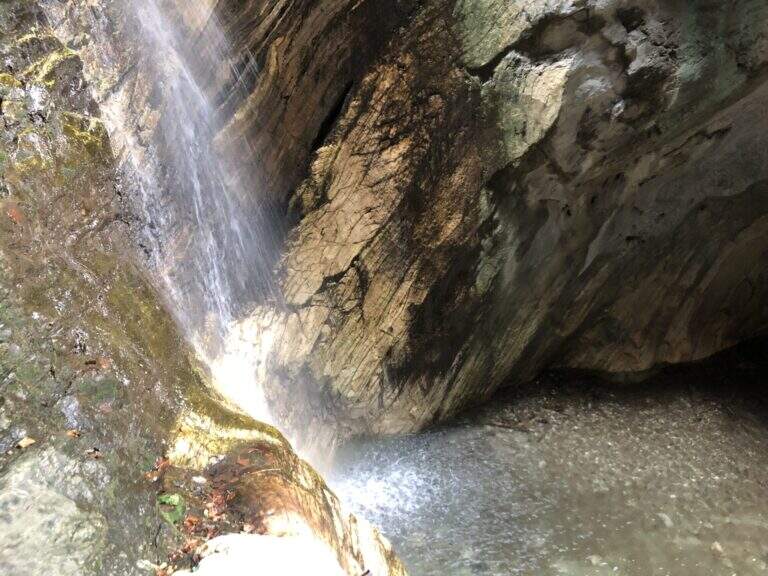
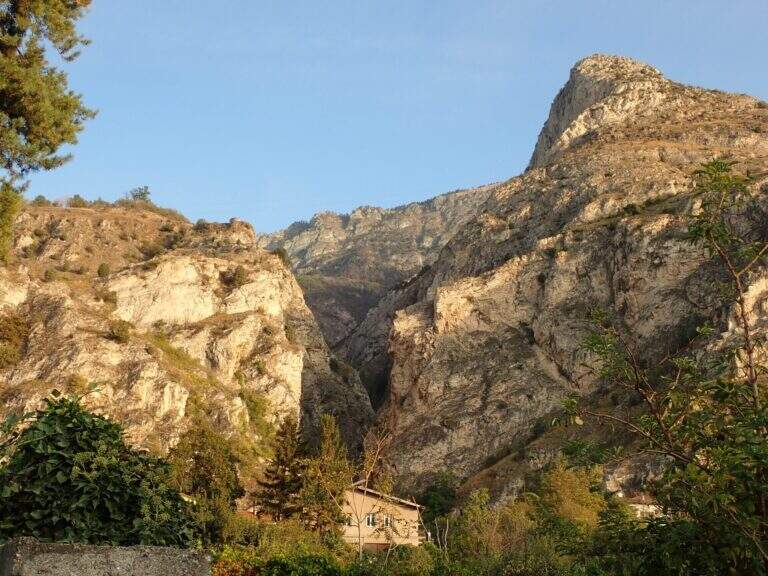
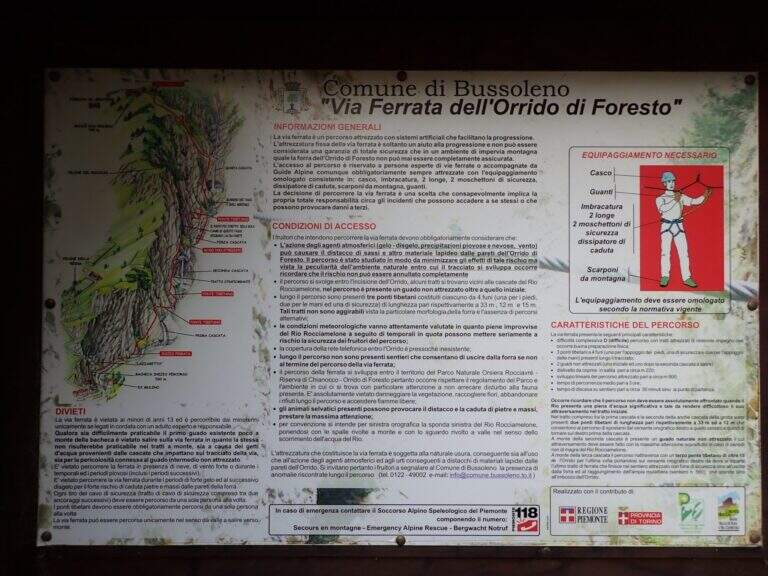
    La Ferrata dell'Orrido di Foresto si snoda in una gola naturale magnifica ed è tra le più spettacolari della Val di Susa: impegnativa al punto giusto su due pareti verticali con tratti strapiombanti e molto adrenalinica per i tre ponti sospesi, di cui due lunghi e oscillanti. La portata del torrente incide parecchio, sia nei guadi sia sulle pareti vicine alla seconda e alla terza cascata.

    ▲Approach

    Si parte dal paese di Foresto, in Val di Susa (Torino), parcheggiando nei pressi della chiesa. Starting point on Google Maps. Si segue la strada che sale verso destra (indicazioni anche per la storica palestra di roccia), prima asfaltata poi sterrata, fin dentro l'orrido; si attraversa una prima volta il torrente, si risale il fondo della gola e si guada nuovamente fino all'attacco (15' dal parcheggio).

    ▲The path

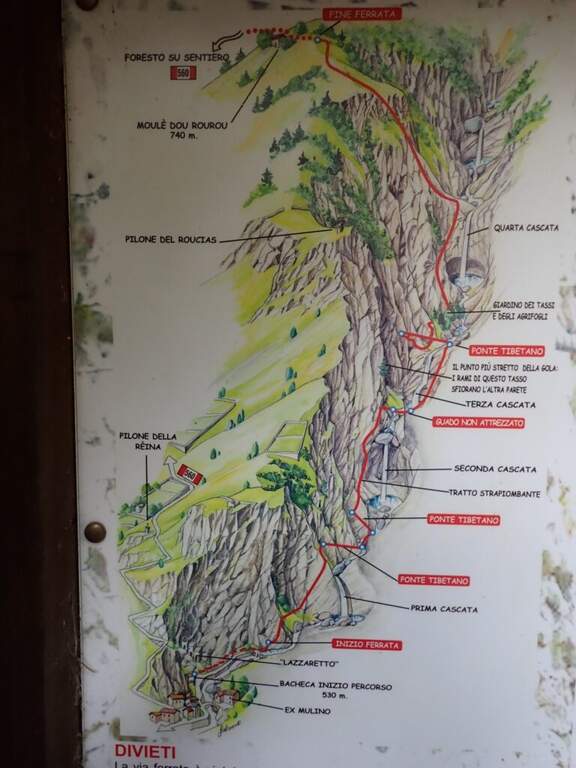
    Si attacca una corta placchetta in diagonale, seguita da un facile traverso; dopo un breve tratto di collegamento si sale una parete dapprima verticale poi verso destra, guadagnando esposizione sul torrente. In diagonale si raggiunge il primo ponte sospeso, il più lungo e il più dondolante: la corda di destra, piuttosto bassa, tende a sbilanciare nella parte centrale, ma con calma si passa. Oltre il ponte, un facile traverso orizzontale con staffe conduce al secondo ponte, più corto e stabile, che riporta sulla destra orografica. Segue un traverso prima orizzontale poi in lieve discesa fino al passaggio più bello e impegnativo: una parete di una trentina di metri a fianco di una cascata, con alcuni metri strapiombanti e, in alto, doppia fila di staffe a sostegno; in base alla portata ci si bagna. Dopo un guado (con piena, soprattutto in primavera, ci si bagna ancora) si sale con un traverso verso sinistra al terzo e ultimo ponte, preceduto da un tratto verticale e leggermente strapiombante. Attraversato il ponte, un traverso verso destra costeggia una nuova cascata; la via si chiude con una lunga parete verticale ben assistita da staffe e con alcuni bei passaggi arrampicabili su roccia, fino al termine delle difficoltà e ad alcuni minuti di tratti attrezzati conclusivi (2h dall'attacco, 2h 15' complessive).

    ▲Character and difficulty

    Via molto ben attrezzata e arrampicabile, dove l'ambiente di forra e i ponti fanno la differenza; le pareti strapiombanti vicine alle cascate sono il tratto più faticoso e suggestivo.

    ⚠ La ferrata fu chiusa nel 2016 per una frana presso il primo ponte e ripristinata nell'ottobre 2017: la roccia può essere instabile, quindi massima attenzione e casco indispensabile. Da evitare con portata del torrente elevata (almeno tre guadi): utile portare un paio di ciabatte per i guadi e un kway per i tratti vicini alle cascate.
    ▲History

    L'Orrido di Foresto è un pezzo di storia dell'arrampicata in Val di Susa. Un primo sentiero attrezzato fu tracciato da soci del CAI negli anni Sessanta e restò in funzione una ventina d'anni, fino alla chiusura e al parziale smantellamento per ragioni di sicurezza, mentre la falesia all'ingresso dell'orrido attirava forti arrampicatori sui suoi strapiombi. La via ferrata fu ricostruita nel 2003 e nel 2010 furono aggiunti i tre ponti sospesi che oggi la caratterizzano: rispetto all'originale è molto più attrezzata e accessibile.

    ▲Discipline

    Terminata la ferrata si rientra seguendo il sentiero ben indicato verso sinistra che, senza difficoltà, riporta in discesa al paese (30' dal termine, 2h 45' totali).

    ▲To match

    Si concatena facilmente con le altre ferrate della Val di Susa: la vicina Ferrata dell'Orrido di Chianocco, la Ferrata Carlo Giorda, le ferrate di Claviere come la Ferrata Rocca Clarì e la Ferrata delle Cascate di Novalesa, oltre alla Ferrata Gorge della Dora.

    ▲Gallery
    Technical data
    • DifficultyModerately Hard
    • RegionPiedmont
    • GroupVal di Susa
    • Approach0:15 h
    • Ferrata2:00 h
    • Itinerary (a/r)2:45 h
    • Hardware level difference230 m
    • Route difference240 m
    • Max740 m
    • Length4 Km
  • Ferrata dell’Orrido di Chianocco

    Ferrata dell'Orrido di Chianocco

    Vie Ferrate › Piedmont › Turin
    Ferrata dell'Orrido di Chianocco
    Moderately Hard● OpenDescriptionComplexityMapsGallery

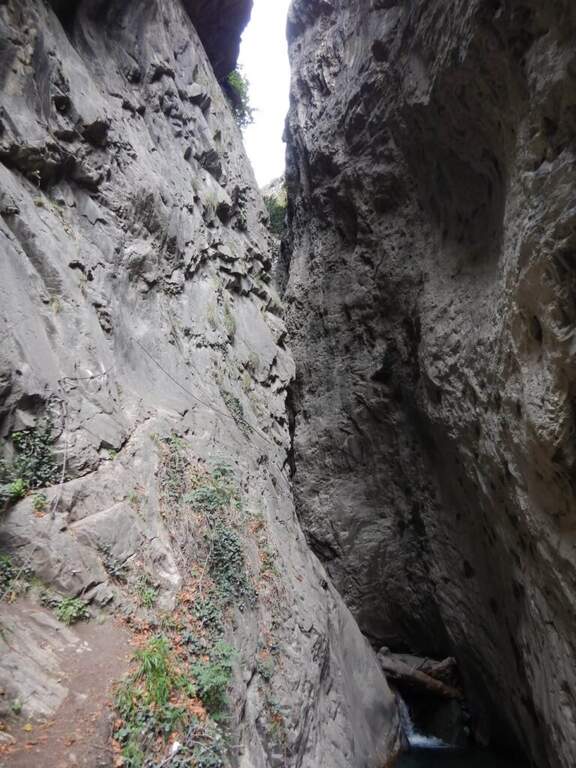
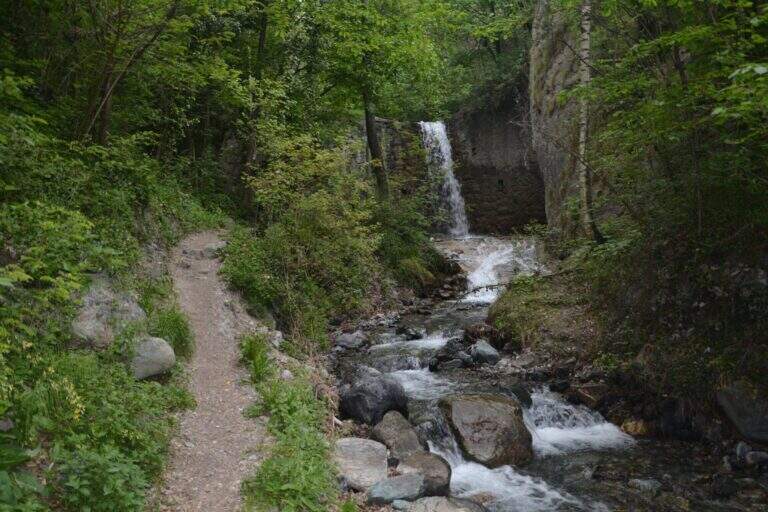
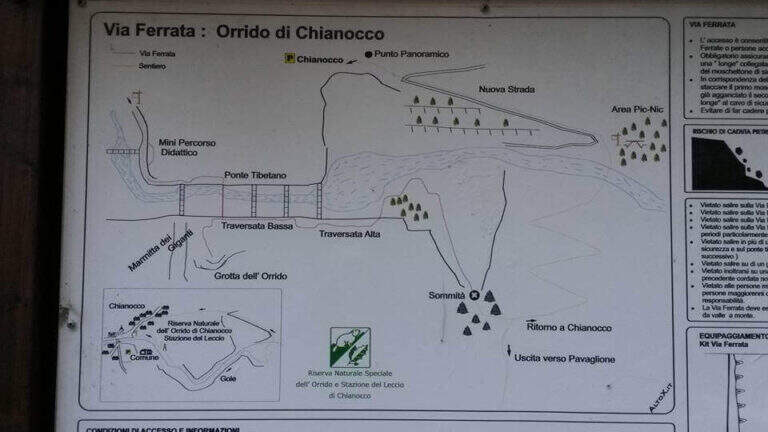
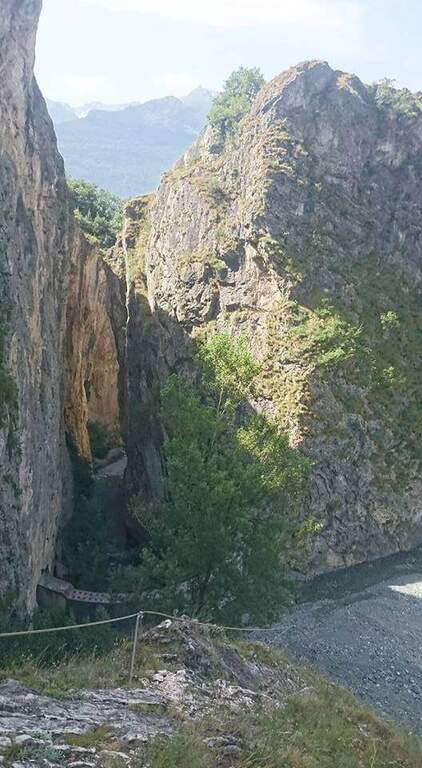
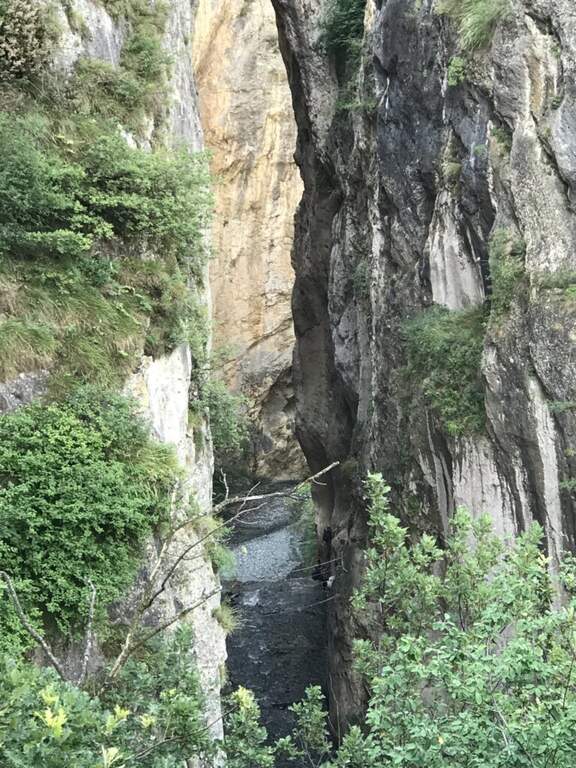
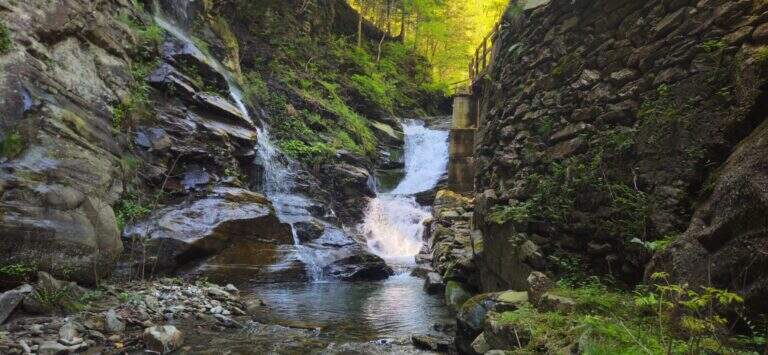
    La Ferrata dell'Orrido di Chianocco risale la gola scavata dal torrente Prebec, presso Chianocco in Val di Susa. Non è tecnicamente impegnativa, salvo un paio di pareti esposte e leggermente strapiombanti, ed è soprattutto un itinerario di grande valore paesaggistico dentro una caratteristica forra.

    ▲Approach

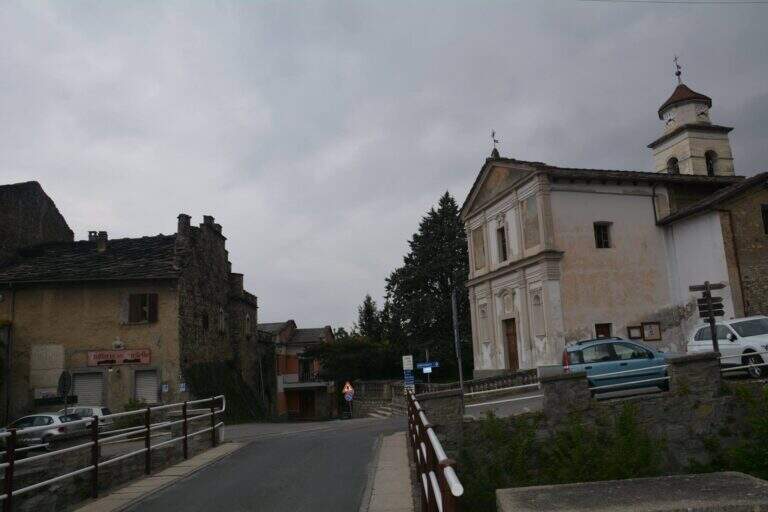
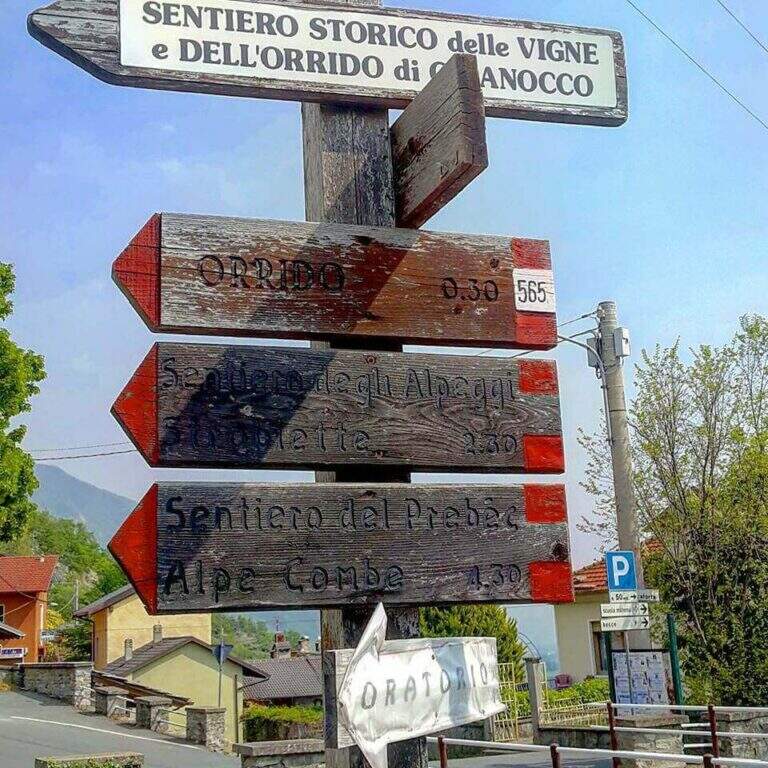
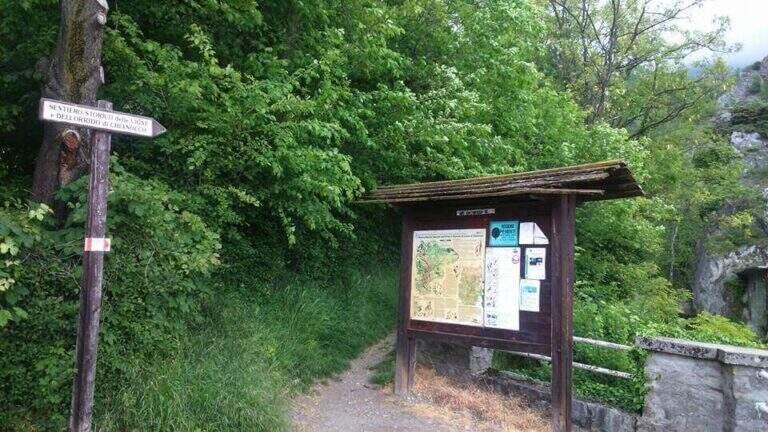
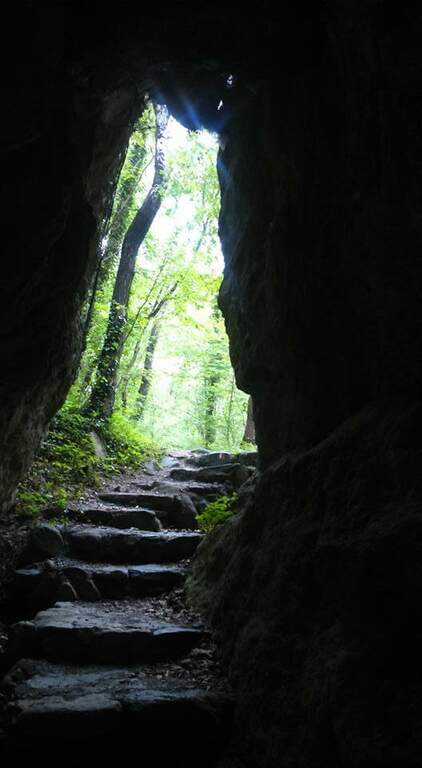
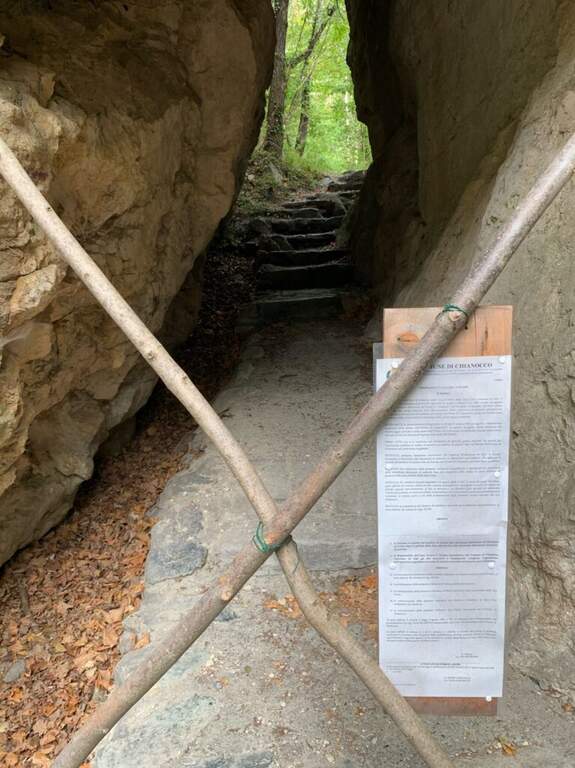
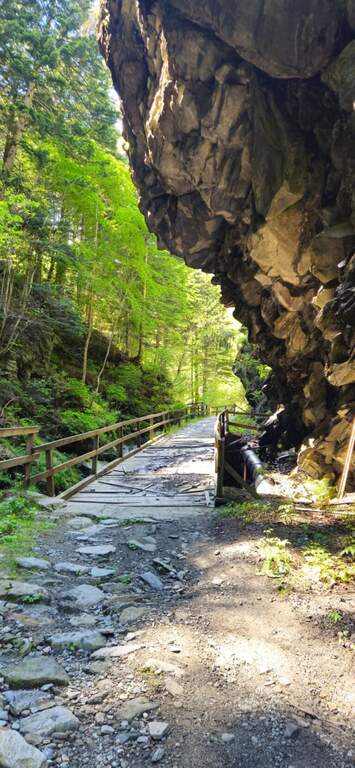
    Si parte dalla borgata di Chianocco, comune di Bussoleno (Torino), cercando parcheggio vicino alla chiesa. Starting point on Google Maps. Dal parcheggio si risale verso destra il sentiero a segni bianco-rossi, oltre una bacheca, in direzione della gola del Prebec: si attraversa un fitto bosco, si passa in una galleria naturale e si superano un paio di guadi non difficili fino ai primi tratti attrezzati, dove ha inizio la ferrata (15' dal parcheggio).

    ▲The path

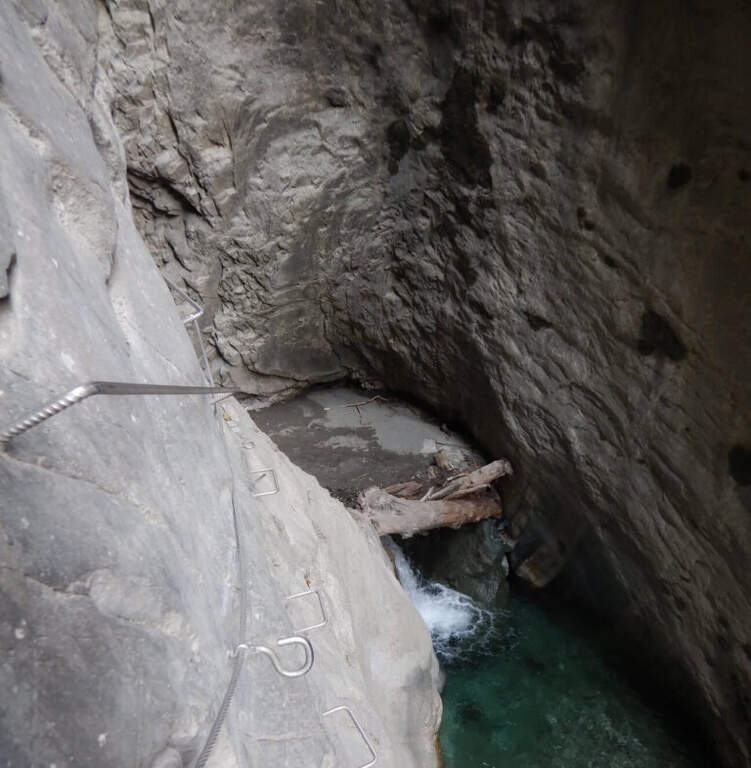
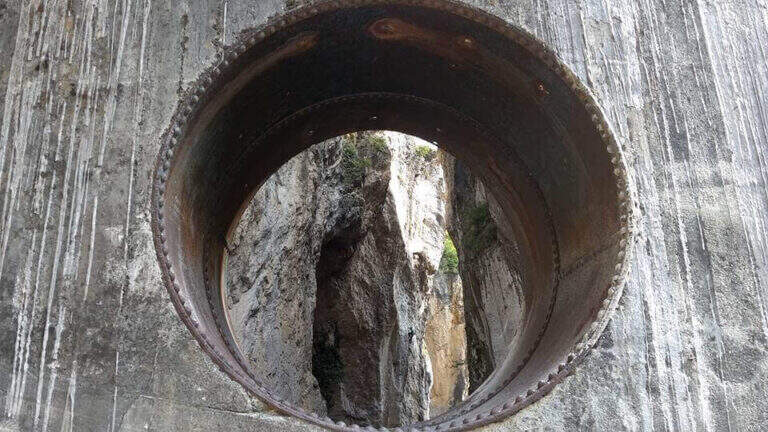
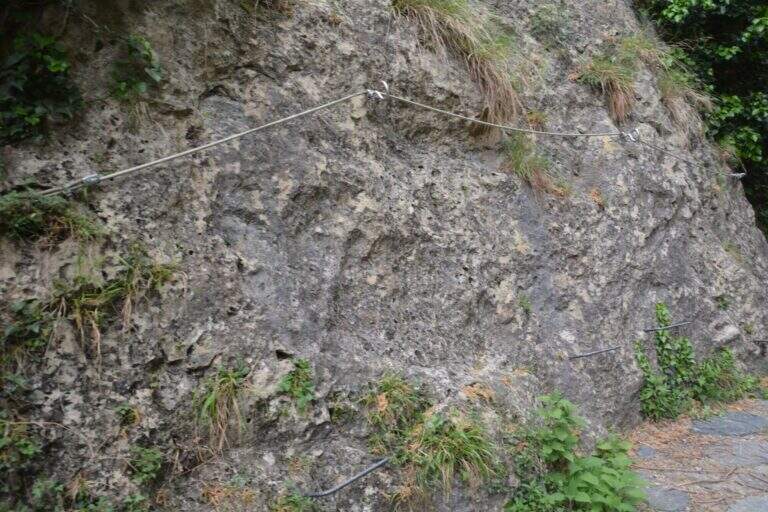
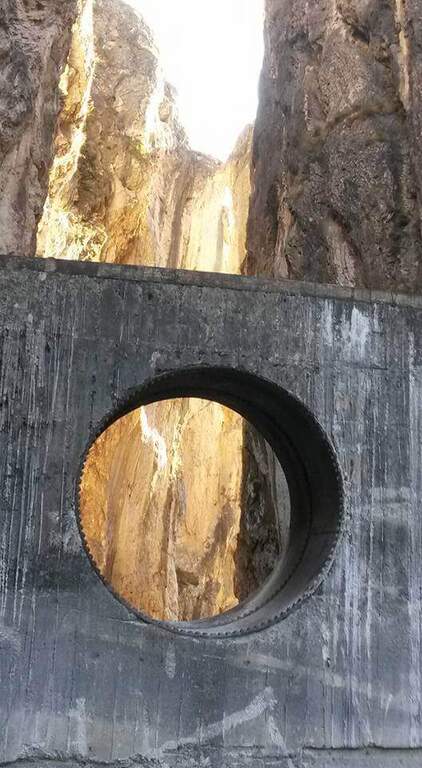
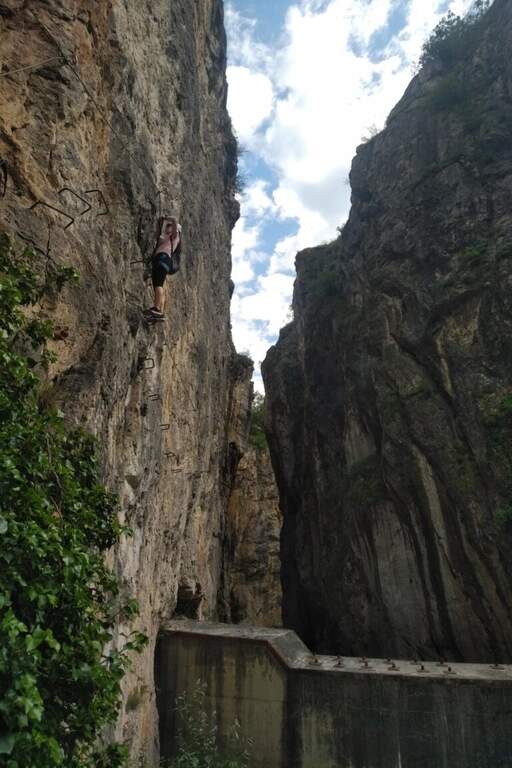
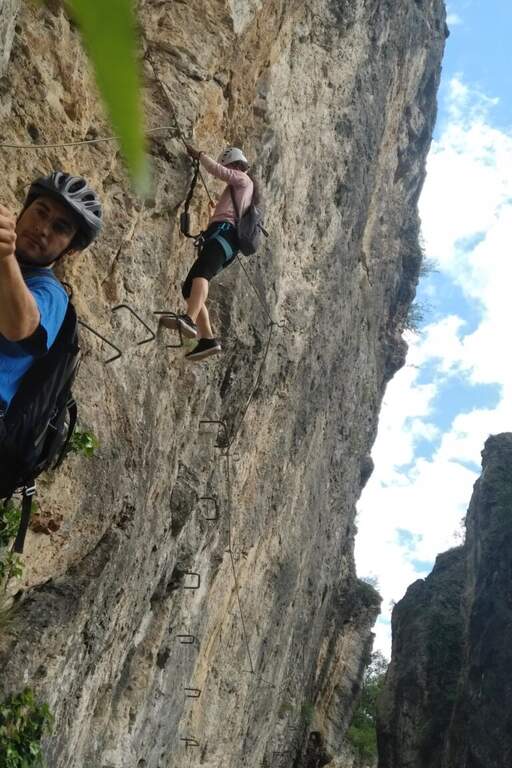
    I primi metri sono propedeutici: un breve balzo roccioso con fune e scalini porta al vero attacco. Si comincia con un traverso orizzontale, comodo per i piedi, a pochi metri dal letto del torrente, poi un traverso diagonale più impegnativo; si supera un anfratto, si risale uno spigolo e un ulteriore traverso conduce al ponte sospeso. Il ponte non è lungo e ha doppia corda per i piedi, quindi risulta abbastanza stabile. Dal lato opposto si affronta un traverso con alcune staffe, poi una parete verticale leggermente strapiombante presso una frattura, fittamente attrezzata di staffe, che fa guadagnare in fretta quota ed esposizione. Segue il passaggio chiave: un lungo traverso esposto e leggermente strapiombante di una ventina di metri, dopo il quale si scende, ora più facilmente, oltre uno sbarramento sul torrente. Aggirato un piccolo bosco, presso il caratteristico foro della diga, la via termina con una decina di minuti di roccette e un sentiero attrezzato (45' dall'attacco, 1h complessiva).

    ▲Character and difficulty

    La ferrata non è difficile, ma le pareti leggermente strapiombanti impegnano le braccia: l'esposizione è il dato più rilevante. Itinerario breve, ideale anche come uscita di mezza giornata.

    ⚠ Attenzione alla portata del torrente: pur restando quasi sempre staccati dall'acqua (tranne il tratto iniziale e i guadi), con piena elevata l'ambiente diventa più insidioso. Casco sempre obbligatorio.
    ▲Discipline

    Si seguono i sentieri ben segnalati (segni bianco-rossi) che in circa 20' riportano al paese e quindi al parcheggio (circa 2h totali comprese le soste).

    ▲To match

    La ferrata si concatena facilmente con le altre vie attrezzate della Val di Susa. Tra le più vicine: la Ferrata dell'Orrido di Foresto, la Ferrata Carlo Giorda e, risalendo la valle, le ferrate di Claviere come la Ferrata Rocca Clarì, oltre alla Ferrata Gorge della Dora and Ferrata delle Cascate di Novalesa.

    ▲Gallery
    Technical data
    • DifficultyModerately Hard
    • RegionPiedmont
    • GroupVal di Susa
    • Approach0:15 h
    • Ferrata0:45 h
    • Itinerary (a/r)1:30 h
    • Hardware level difference90 m
    • Route difference150 m
    • Max614 m
    • Length4 Km
  • Ferrata Nito Staich (Monte Tovo, Oropa)

    Ferrata Nito Staich (Monte Tovo, Oropa)

    Vie Ferrate › Piedmont › Biella
    Ferrata Nito Staich (Monte Tovo, Oropa)
    Moderately Hard● OpenDescriptionComplexityMapsGallery

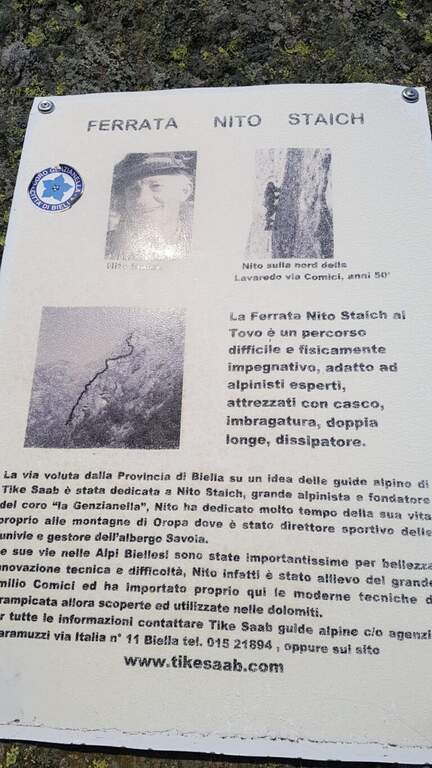
    La Ferrata Nito Staich risale le pareti del Monte Tovo, sopra Oropa (Biella): aerea e impegnativa fisicamente, percorre molti tratti verticali aggirando spigoli esposti e pareti con leggeri strapiombi, senza però risultare mai eccessivamente difficile. Itinerario corto, ideale in mezza giornata, da concatenare con un'altra ferrata del biellese.

    ▲Approach

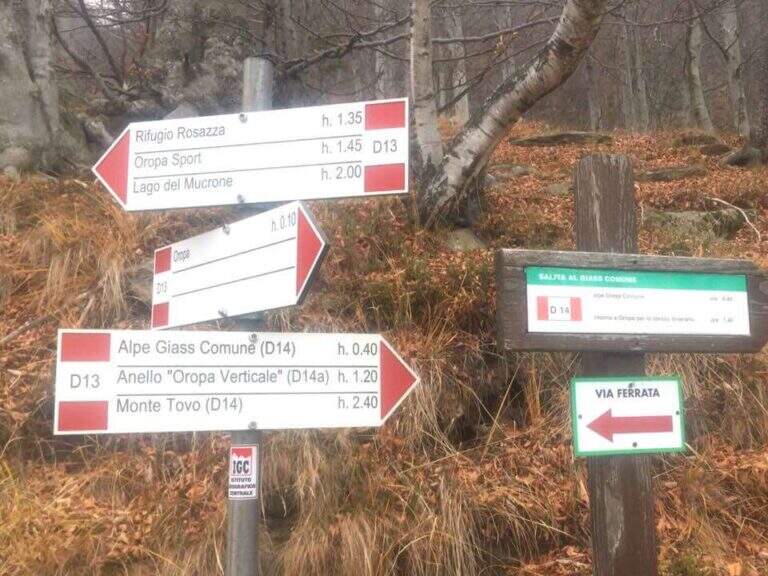
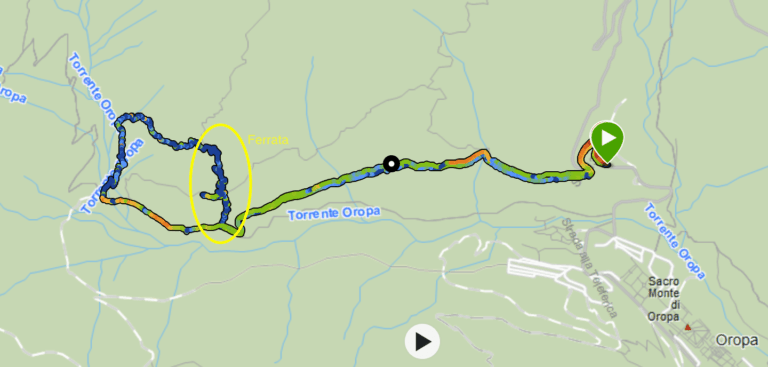
    Si parte da Oropa (Biella). Dal centro si prosegue verso Rosazza fino a un evidente tornante a fianco del quale sorge una costruzione religiosa diroccata; lì sale una sterrata e nei pressi del tornante si parcheggia a bordo strada. Open road signs on Google Maps. Si imbocca la sterrata poco dopo il tornante in direzione del Rifugio Rosazza; sull'ampio sentiero si giunge a una pietraia con i primi cartelli della ferrata, che si risale verso destra verso lo sperone roccioso seguendo segni rossi e cartelli fino all'attacco (20' dal parcheggio).
    ▲The path

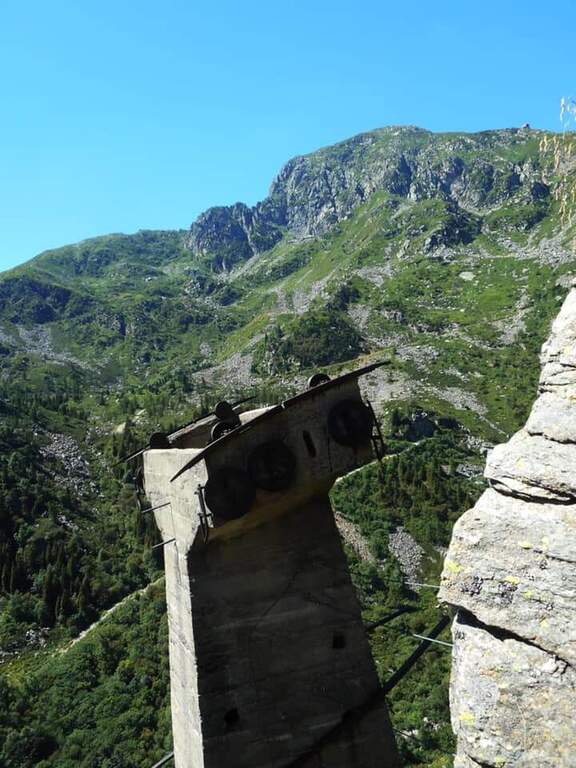
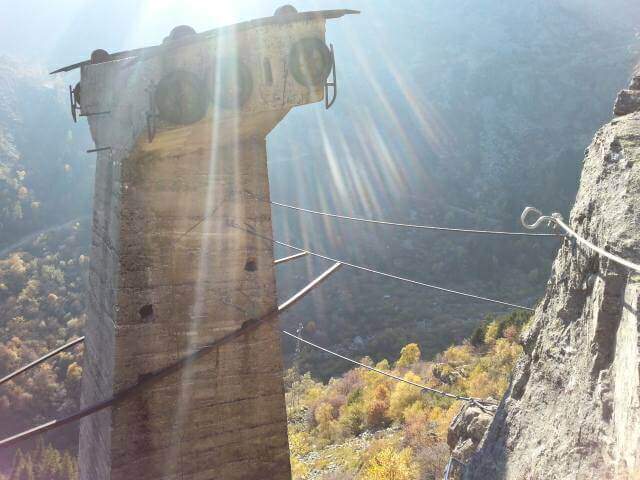
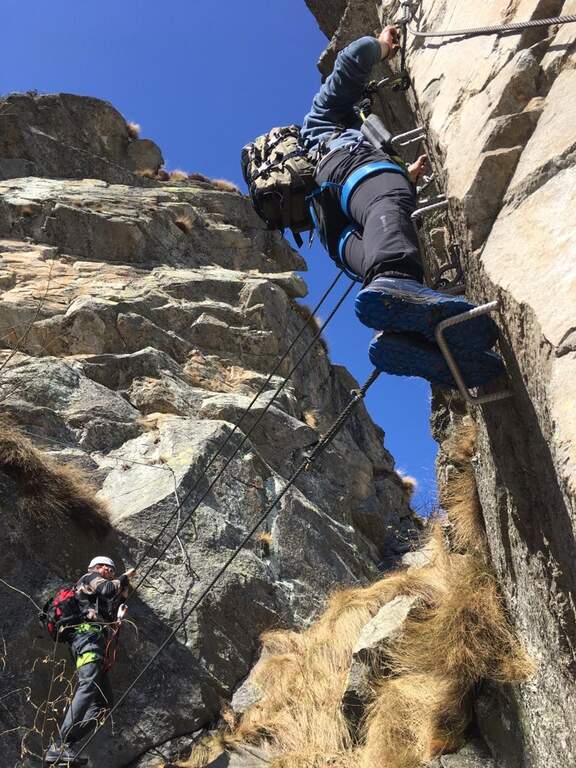
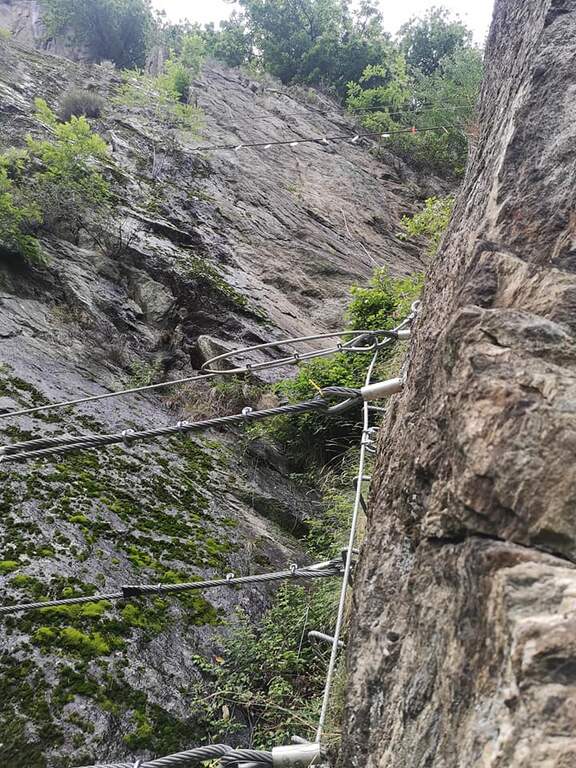
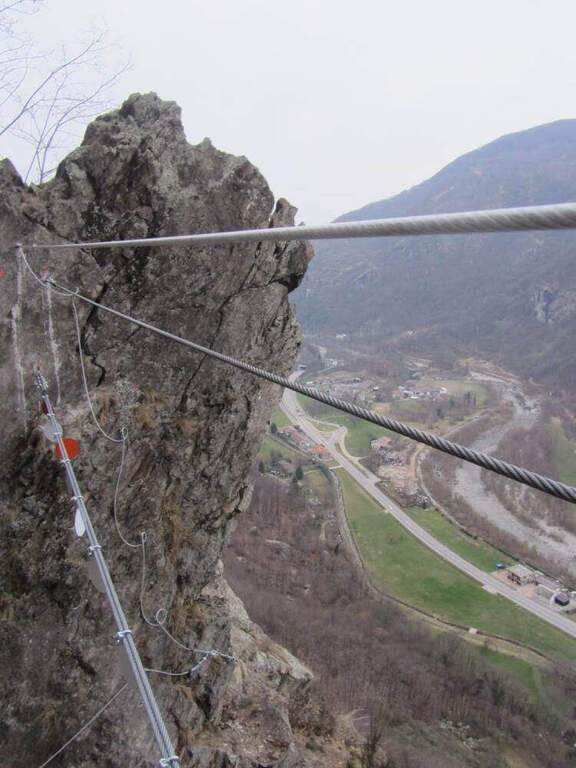
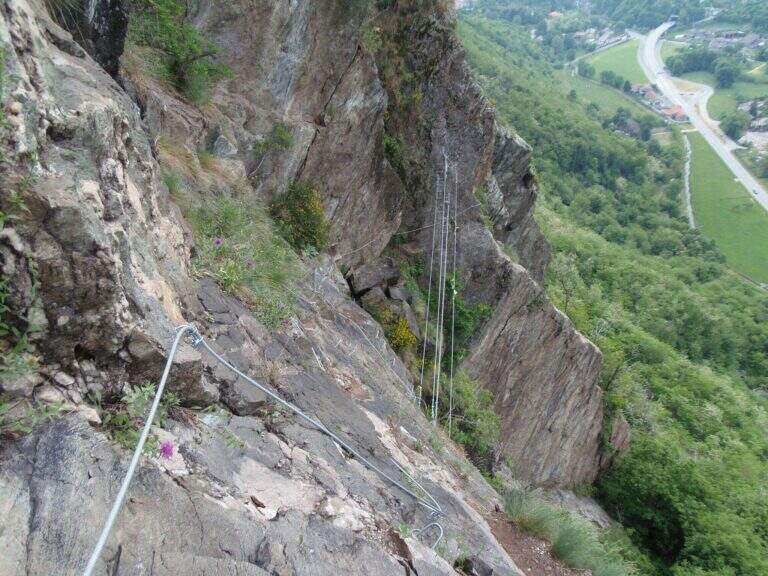
    Si attacca una parete che fa guadagnare subito quota lungo uno spigolo (tenendosi a sinistra); dopo un breve collegamento e un facile traverso si sale una seconda parete verticale più lunga, intravedendo sopra il pilastro della vecchia funivia. Per sentiero erboso e un paio di paretine appoggiate con staffe si raggiunge il primo pilone in cemento della vecchia funivia, che si risale in verticale con le staffe fino a un breve ponte delle scimmie (3 corde) che collega il pilone alla parete. Oltre il ponte si traversa a destra aggirando uno spigolo poco marcato fino a un pianoro erboso, quindi a un'imponente parete verticale: si attacca un diedro, se ne esce a destra superando un piccolo tetto strapiombante con infissi metallici, e si sale in verticale con esposizione crescente fino ad attraversare il diedro sul suo lato sinistro. Si raggiunge un terrazzo erboso (dove si stacca e riattacca poco sopra il moschettone), con vista sulla cupola del Santuario di Oropa; si attacca uno spigolo con leggero strapiombo verso sinistra, molto esposto, fino a un secondo breve ponte sospeso (3 corde). Si sale su cambre, poi un traverso a sinistra aggira in forte esposizione un tetto roccioso, ci si sposta a fianco della nuova funivia e si sale in verticale su ottime staffe fino al termine delle attrezzature (1h 20' dall'attacco, 1h 40' totali).
    ▲Character and difficulty

    Spigolo roccioso aereo e vario; i molti infissi la rendono mediamente difficile (sarebbe ben più impegnativa senza). L'esposizione la fa da padrona su ampi tratti; attrezzatura ottima.

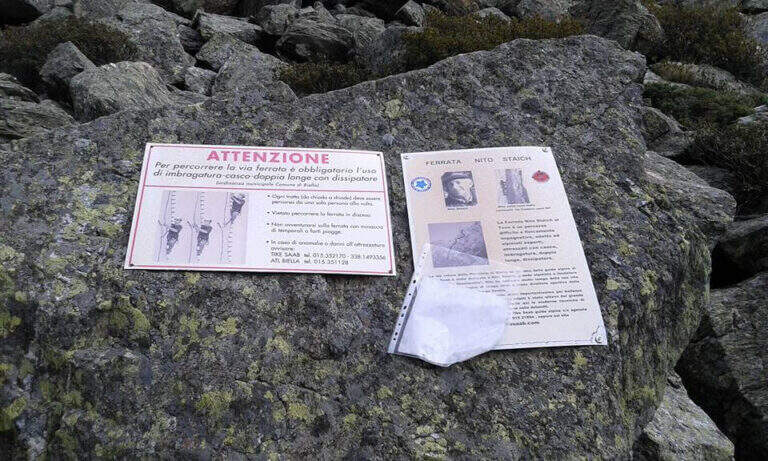
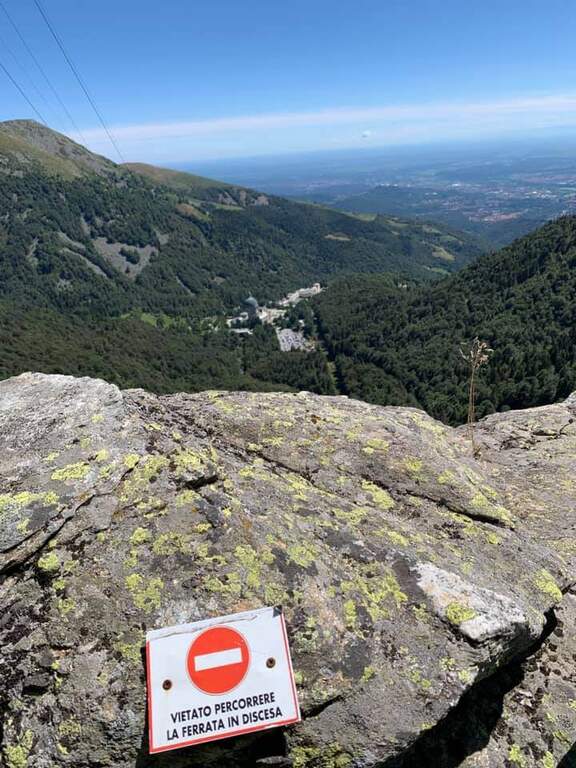
    ⚠ È esplicitamente vietato scendere la via ferrata. A circa 2/3 della salita è presente una via di fuga a sinistra.
    ▲Period and safety

    Stagione da primavera ad autunno. Progressione fisica: dosare le energie. La Provincia di Biella mette a disposizione mappe e tracce dei sentieri.

    ▲Discipline

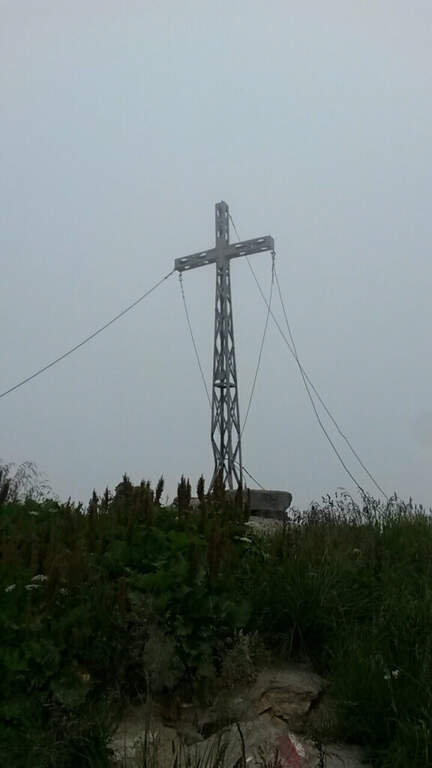
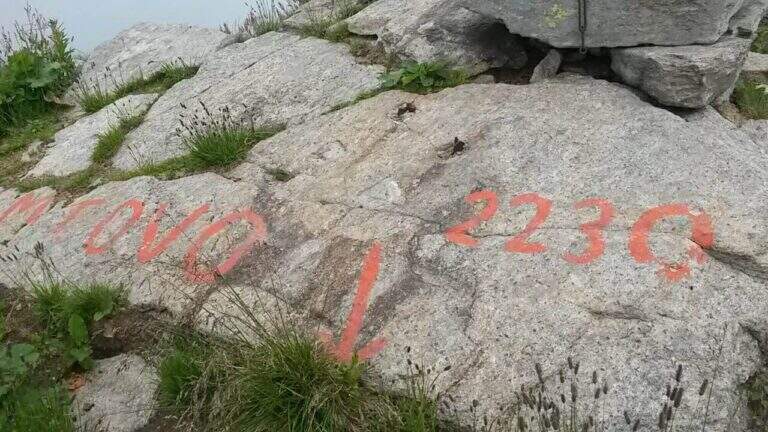
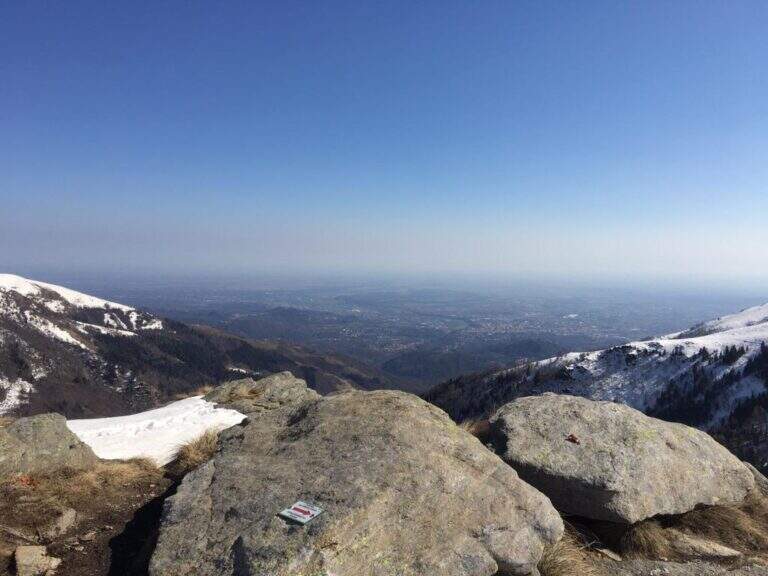
    Dal termine della ferrata si imbocca il sentiero D32 (segni bianco-rossi) sul versante opposto; a un bivio si tiene la sinistra su un'ampia mulattiera fino alla pietraia dell'avvicinamento e, a ritroso, all'auto (30' dal termine, 2h 10' totali). In alternativa si può risalire alla stazione a monte della funivia (Rifugio Rosazza) e scendere con la funivia a Oropa, oppure salire per il sentiero 14 alla vetta del Monte Tovo (2230 m).

    ▲To match

    Altre ferrate del biellese: il Sentiero Attrezzato dell'Infernone, la Ferrata del Limbo e la Ferrata Hi Miki.

    ▲Gallery
    Technical data
    • DifficultyModerately Hard
    • RegionPiedmont
    • GroupAlpi Biellesi
    • Approach0:20 h
    • Ferrata1:20 h
    • Itinerary (a/r)2:10 h
    • Hardware level difference200 m
    • Route difference350 m
    • Max1600 m
    • Length6,7 Km
  • Ferrata Ciardelli (Bourcet)

    Ferrata Ciardelli (Bourcet)

    Vie Ferrate › Piedmont › Turin
    Ferrata Ciardelli (Bourcet)
    Very difficult● OpenDescriptionComplexityMapsGallery

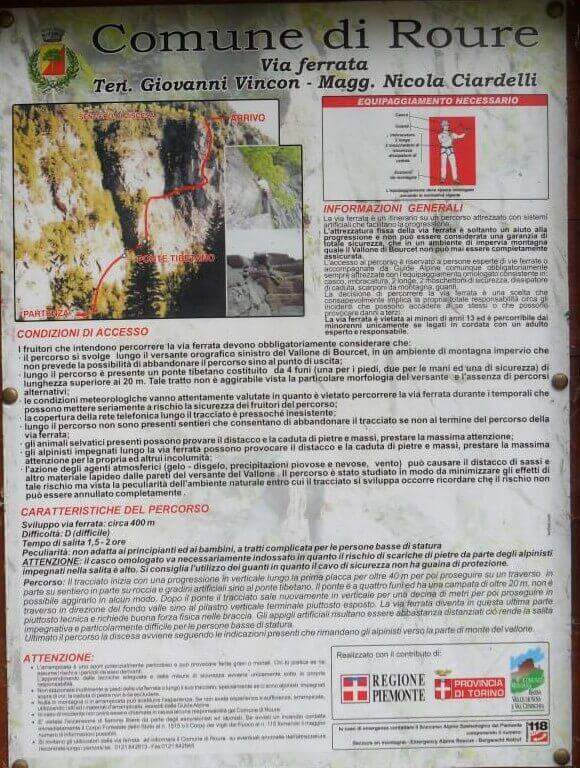
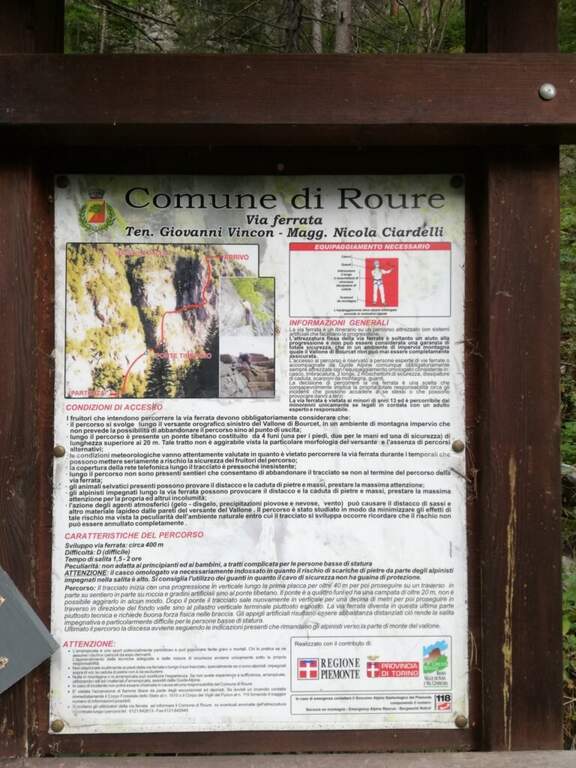
    La Ferrata Ciardelli sul Bourcet è molto atletica e fortemente esposta: tratti verticali, un ponte sospeso, traversi e infine un'imponente bastionata impegnativa ed emozionante. Si raccomanda un buon allenamento prima di percorrerla.

    ▲Approach

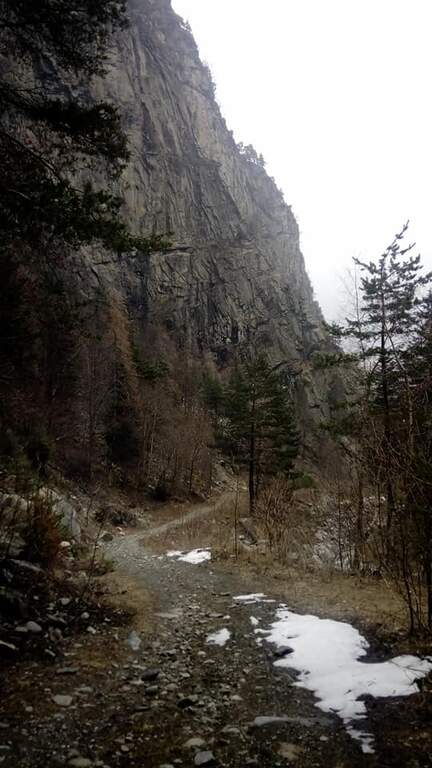
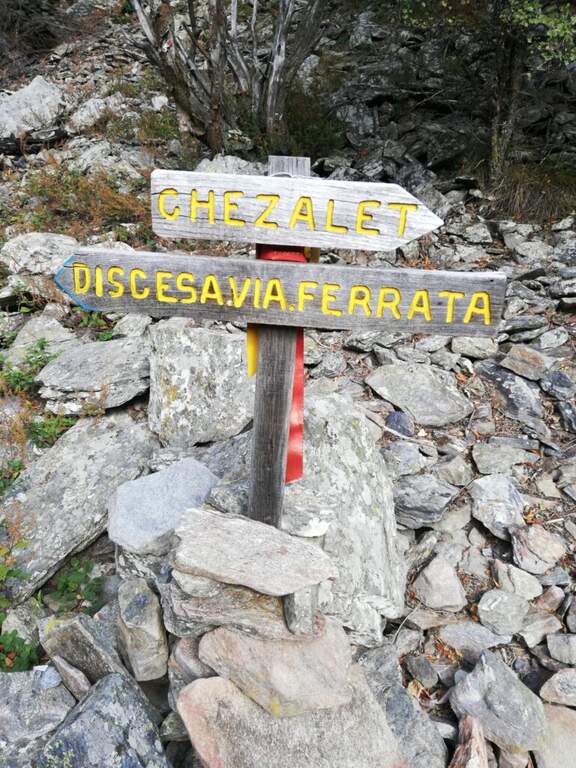
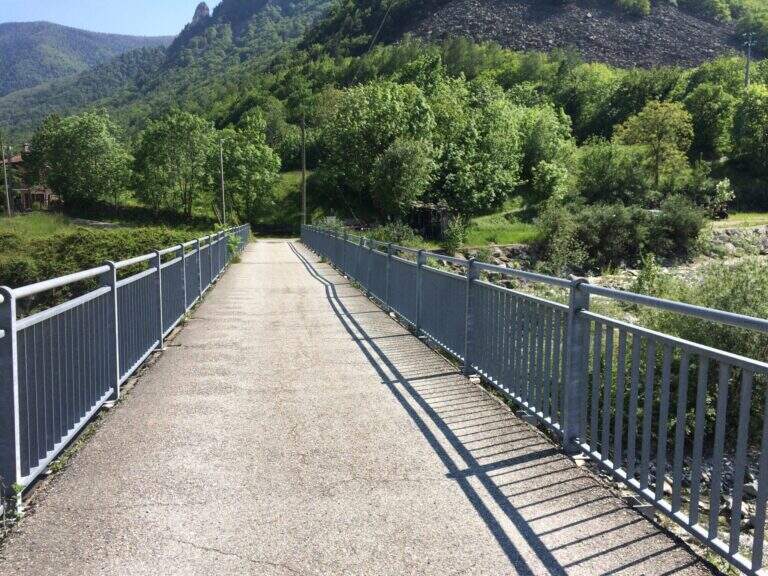
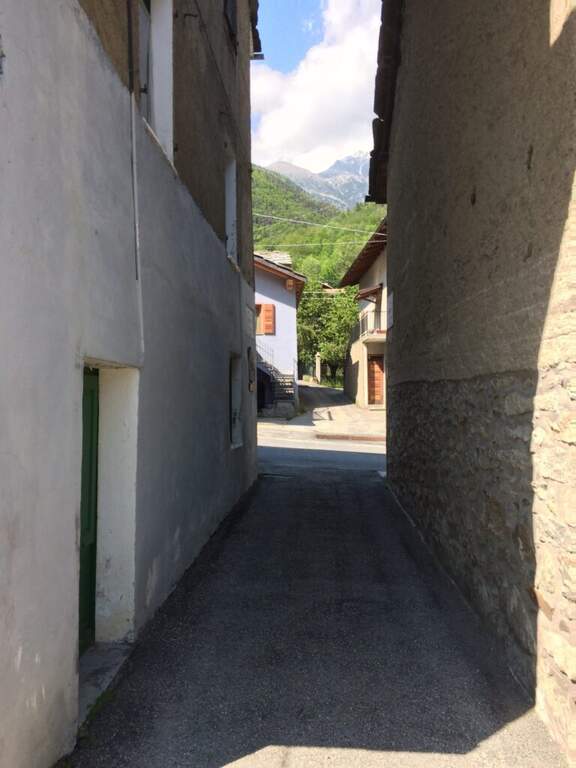
    Si parte dalla frazione di Roreto, comune di Roure (Val Chisone, Torino), parcheggiando nella piazza del paese. Open road signs on Google Maps. Dalla piazza si segue la provinciale verso nord-est per circa 250 m, poi a sinistra un vicolo che conduce verso Bourcet; superato il ponte si arriva a una fontana in legno e si segue il sentiero di avvicinamento, ottimamente segnalato, che passa vicino alle falesie della zona e in breve porta all'attacco (30' dal parcheggio).

    ▲The path

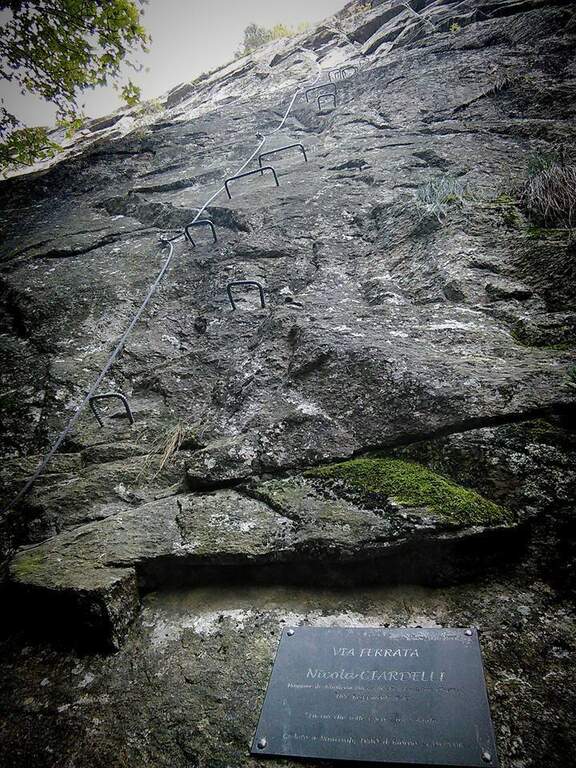
    Si attacca una parete verticale, con attrezzature dove necessario e comunque ben distanziate, che dà subito il tono atletico della via. In cima a questo tratto un traverso orizzontale verso destra porta al ponte tibetano (25 m) su tre corde, molto esposto e piuttosto ballerino. Oltre il ponte si risale una corta parete verticale senza staffe che immette in un singolare anfratto roccioso: qui termina la prima sezione, dopo una serie di passaggi belli e impegnativi, a tratti in strapiombo, con esposizione crescente. Si attraversa un boschetto e si raggiunge una cengia, di fronte all'ultima imponente parete: una placca verticale di circa 150 metri, la parte più difficile e impegnativa. Si sale sfruttando le staffe in un crescendo di sollecitazioni per braccia e schiena; le difficoltà tecniche non sono elevate, ma servono forza di braccia e assoluta assenza di vertigini per l'esposizione sempre maggiore. Terminata la bastionata, un breve collegamento porta in cima e conclude la ferrata (2h dall'attacco, 2h 20' totali).

    ▲Character and difficulty

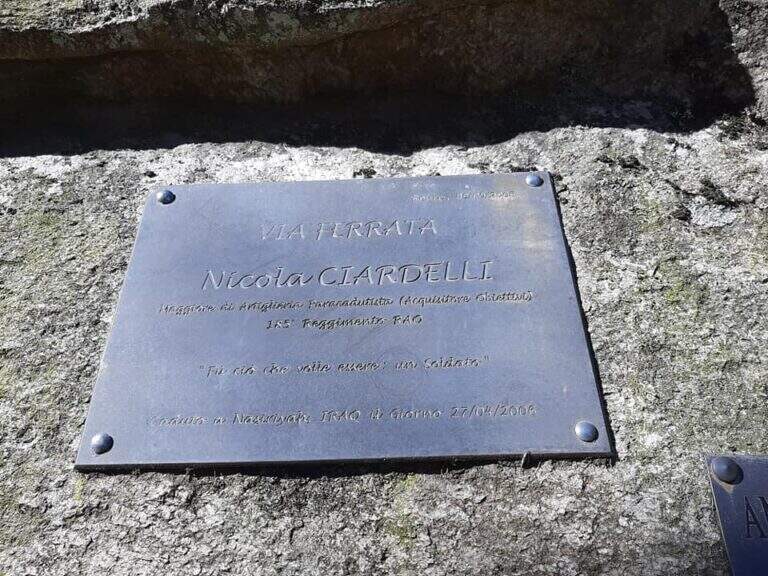
    Ferrata atletica da non sottovalutare. L'attrezzatura di sostegno non è abbondante e abbastanza distanziata, cosa che può mettere in difficoltà chi è di bassa statura. È dedicata al capitano Nicola Ciardelli, morto nell'attentato di Nassiriya (2006); la via è stata inaugurata nel 2009.

    ⚠ Nel traverso e nell'ultima bastionata attenzione alla caduta di detriti dall'alto (alcune staffe risultano piegate). Il ponte è strutturato in modo non ottimale, con il cavo della longe esterno: in caso di caduta sarebbe difficile risalire sul ponte.
    ▲Period and safety

    Stagione da primavera ad autunno. Buon allenamento richiesto per l'impegno fisico continuo.

    ▲Discipline

    Due opzioni: i bollini blu o quelli rossi (verso sinistra). Il sentiero blu è molto scivoloso e in alcuni tratti franoso, quindi massima attenzione; il sentiero rosso è una carrareccia che riporta al fondovalle (45' dal termine della ferrata, circa 3h 15' totali).

    ▲To match

    Nelle vicinanze la recente Ferrata Pra Catinat (circa 20' d'auto). Risalendo la valle, le ferrate di Claviere: la Ferrata del Bunker e la Low-High and Chaberton Battery Hardware.

    ▲Gallery
    Technical data
    • DifficultyVery difficult
    • RegionPiedmont
    • GroupAlpi Cozie
    • Approach0:30 h
    • Ferrata2:00 h
    • Itinerary (a/r)3:15 h
    • Hardware level difference350 m
    • Route difference470 m
    • Max1278 m
    • Length4 Km
  • Ferrata di Montorfano

    Ferrata di Montorfano

    Vie Ferrate › Piemonte › Verbano-Cusio-Ossola
    Ferrata di Montorfano
    Moderately Hard● OpenDescriptionComplexityMapsGallery

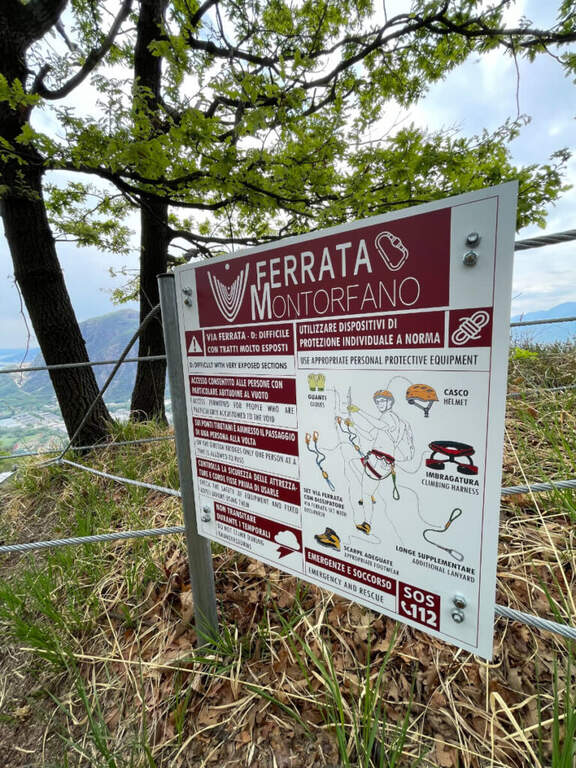
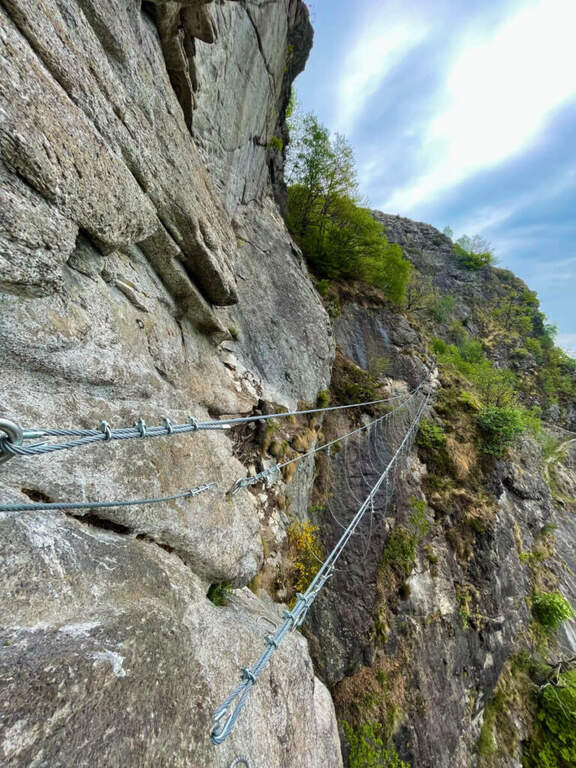
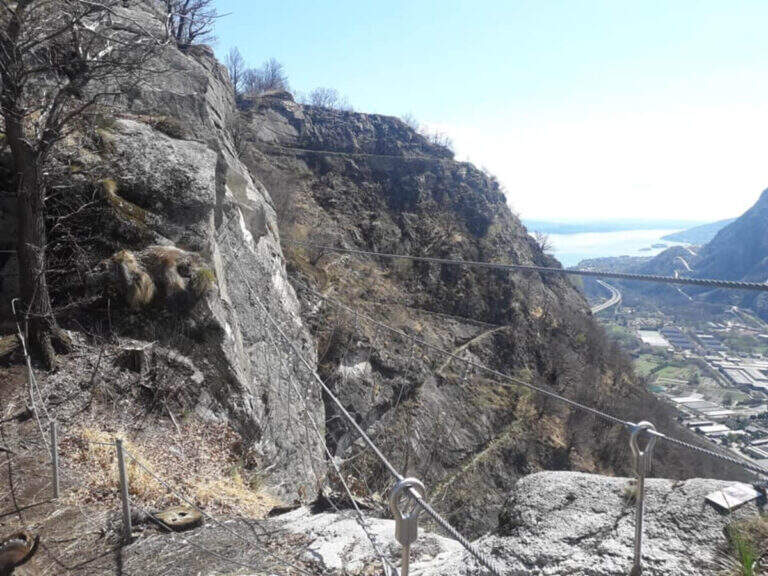
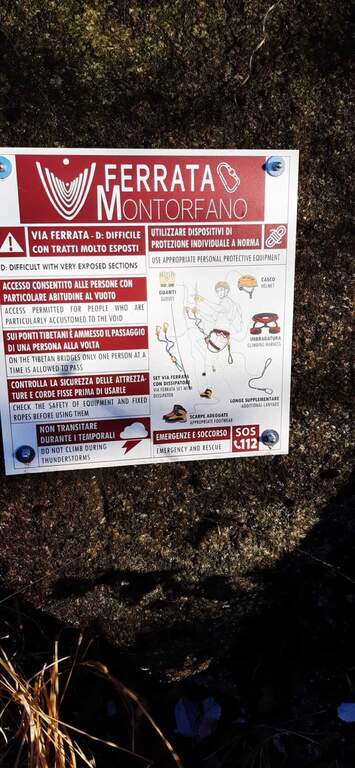
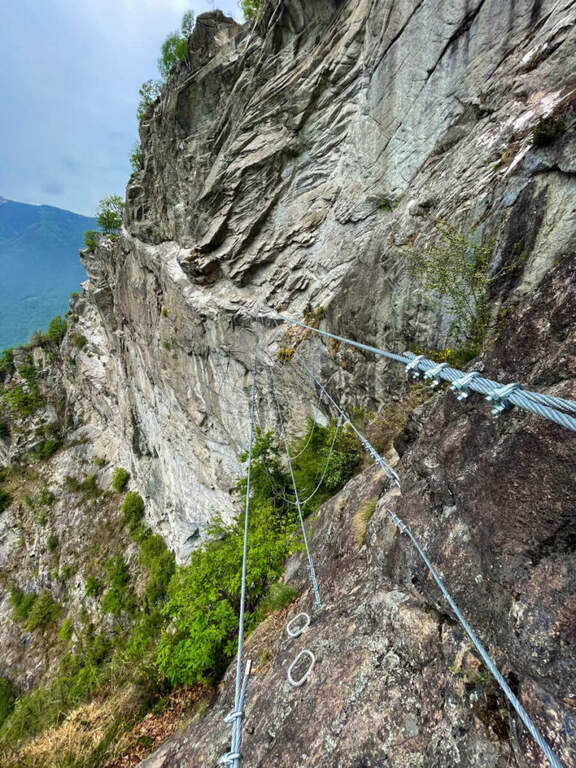
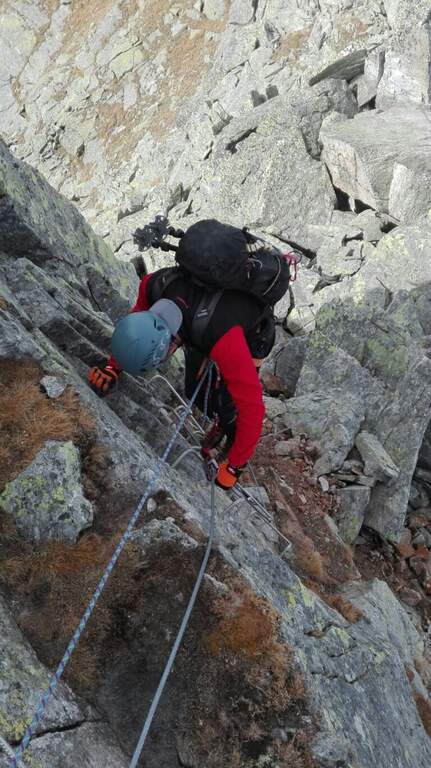
    Modern and equipped in an impeccable way, the Ferrata di Montorfano dates back to bastions of vertical and unspoilt gneiss, therefore rich in artificial fixtures. It is airy and exposed, with two suspended bridges, but the difficult passages are limited: overall it is short and medium commitment, which can be reached most of the year due to the modest share.
    ▲Approach

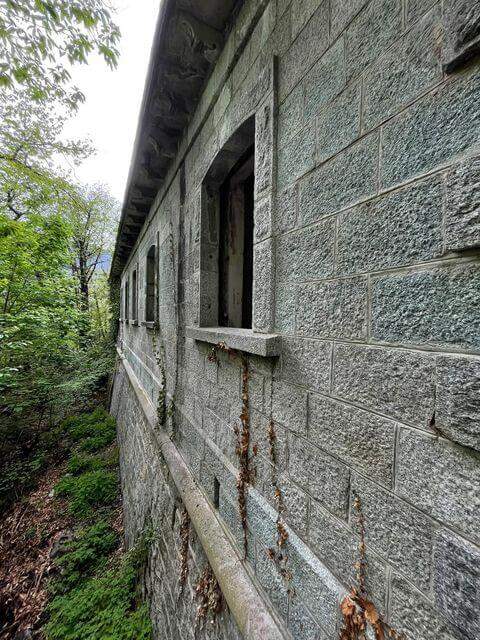
    It starts from the municipality of Mergozzo (Verbano-Cusio-Ossola), Piedmontese side of Lake Maggiore. From the south, take the 'A26 to Gravellona Toce, exit Verbania, then to the left for Mergozzo; after a minute d' car, on the left, a street with place for 4-5 cars. Open road signs on Google Maps. On foot you will continue about 150 m towards Mergozzo to an asphalted road that climbs on the opposite side: it is the military road of the Montorfano, that to bends in the forest climbs for about 3 km passing next to an old abandoned barracks; the on-site signs bring in short all ' attack (about 1h from the parking lot).

    ▲The path

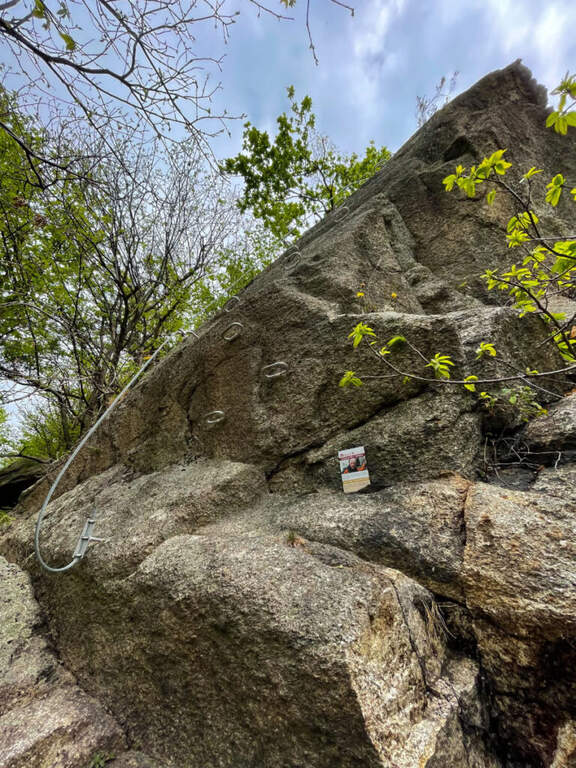
    The ferrata begins in the woods, next to a bench where to wear l'imbraco. It sticks with a couple of steps and a vertical wall very bracketed up to a panoramic terrace on the Toce valley and Lake Maggiore. It follows the strand of the edge up a slightly overhanging leap with excellent cambre, then a horizontal stretch of connection and an unequipped stretch. The road starts vertically on a beautiful wall, followed by an easy traverse to the left; after a panoramic pulpit you cross a very stable primo suspended bridge. It exits right on cambre for an easy but exposed traverse that begins to descend, always exposed but not difficult, until the second and longer suspension bridge, beyond which the ferrata ends (45' from the' attack, about 2h total).

    ▲Character and difficulty

    By air with marked exposure but technical difficulties contained. Impeccable equipment.

    ⚠ On both bridges the upper rope to which to connect the set from ferrata is quite high: keep it in mind if you are not of high stature.
    ▲Period and safety

    Travelling most of the year, including winter, given the low altitude.

    ▲Discipline

    From the end of the ferrata continue on military mule track until a marked crossing (15'). Two options: go up to the peak of Montorfano (1h from the term, about 4h 30' total) or go down to the parking lot, retracing the approach path (1h 15' from the term, about 3h total).

    ▲To match

    On the Piedmontese shore of Lake Maggiore: easy Ferrata Picasass and the impegnative Ferrata La Miccia; to the north recent Ferrata Walserfall; to the west Ferrata della Falconera.

    ▲Gallery
    Technical data
    • DifficultyModerately Hard
    • RegionPiedmont
    • GroupAlps Lepontine
    • Approach1:00 h
    • Ferrata0:45 h
    • Itinerary (a/r)3:00 h
    • Hardware level differenceca 250 m
    • Route differenceca 550 m
    • Max794 m
    • Lengthca 10 Km
Need help? Write to us!