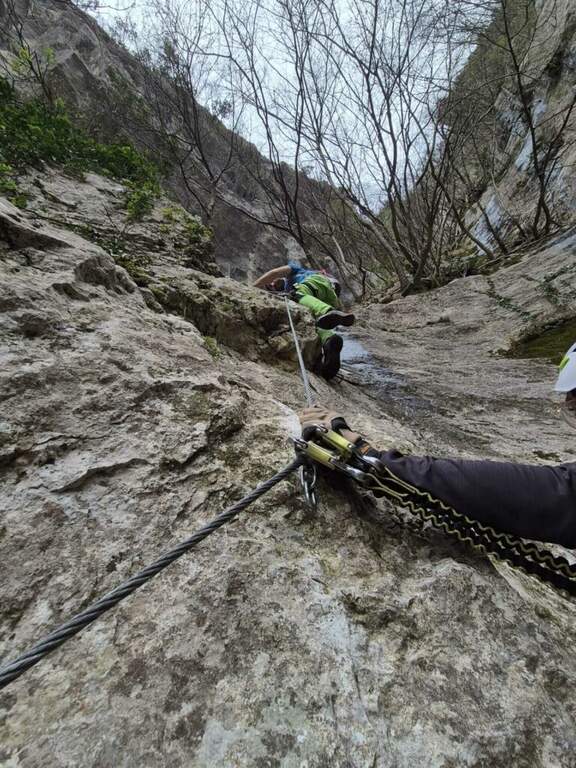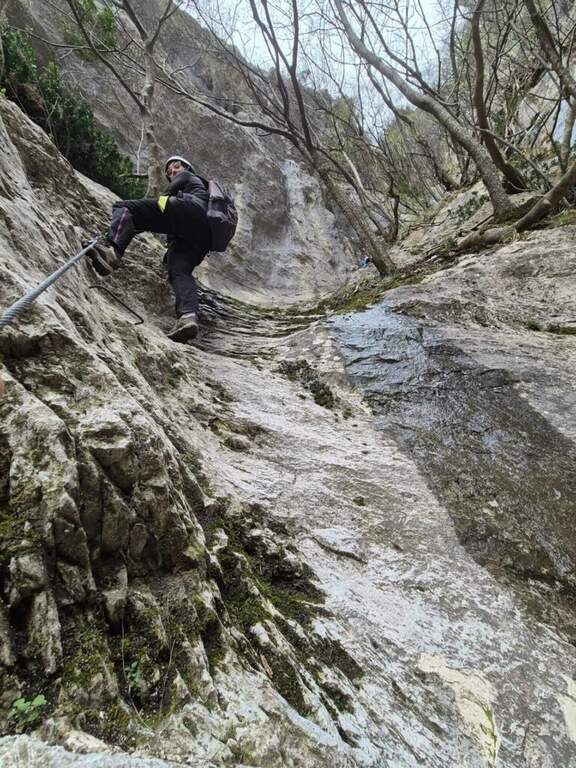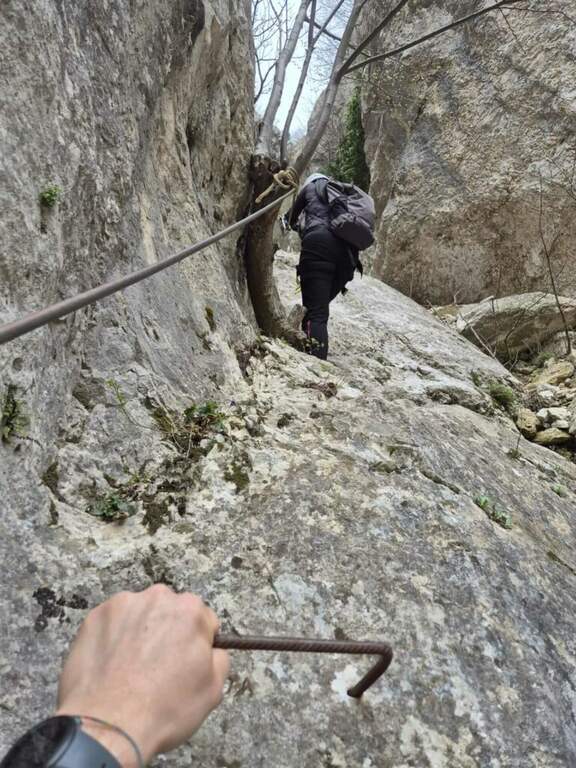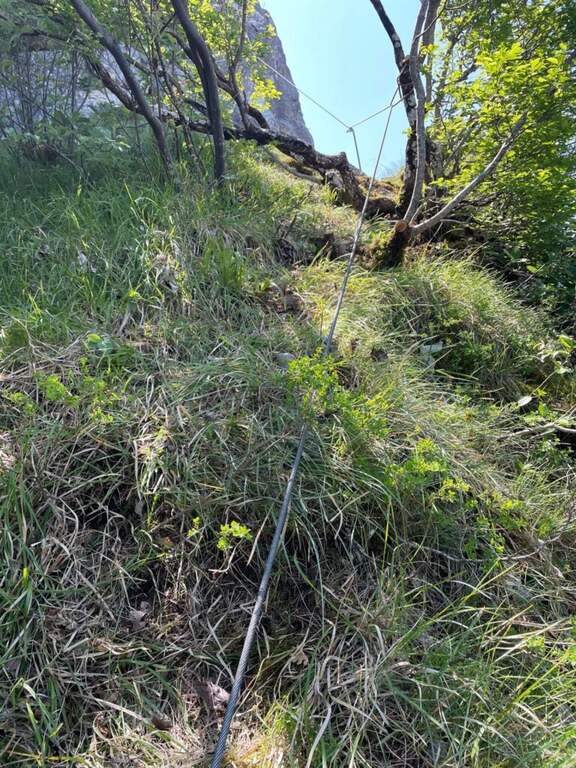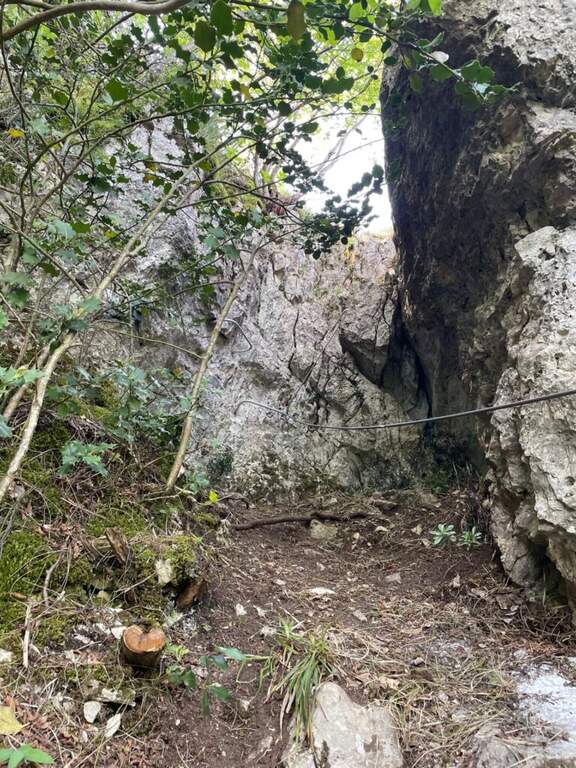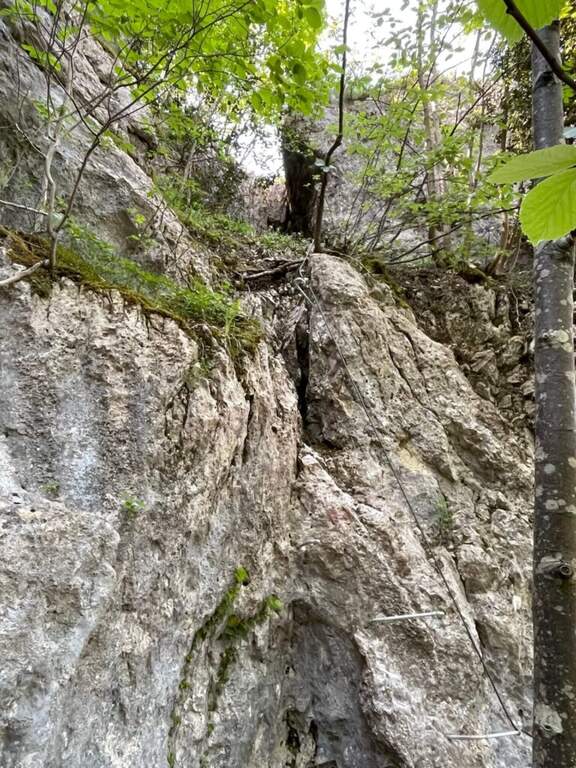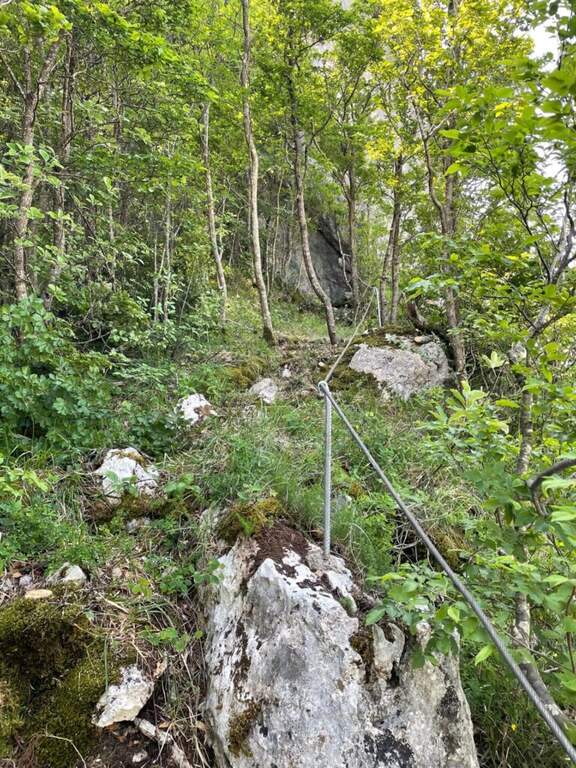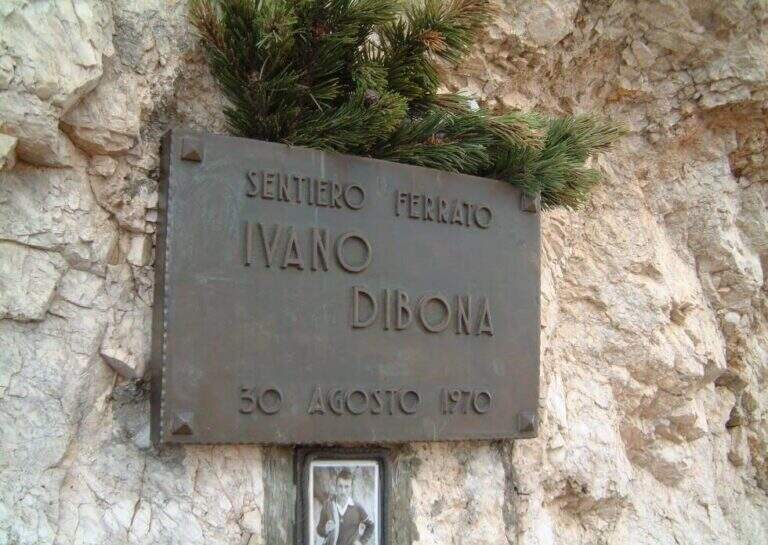
Caratteristica: Itinerario alpinistico

  • Ferrata Ivano Dibona al Cristallo

    Ferrata Ivano Dibona al Cristallo

    Vie Ferrate › Veneto › Belluno
    Ferrata Ivano Dibona al Cristallo
    Moderately Hard● OpenDescriptionComplexityMapsGallery

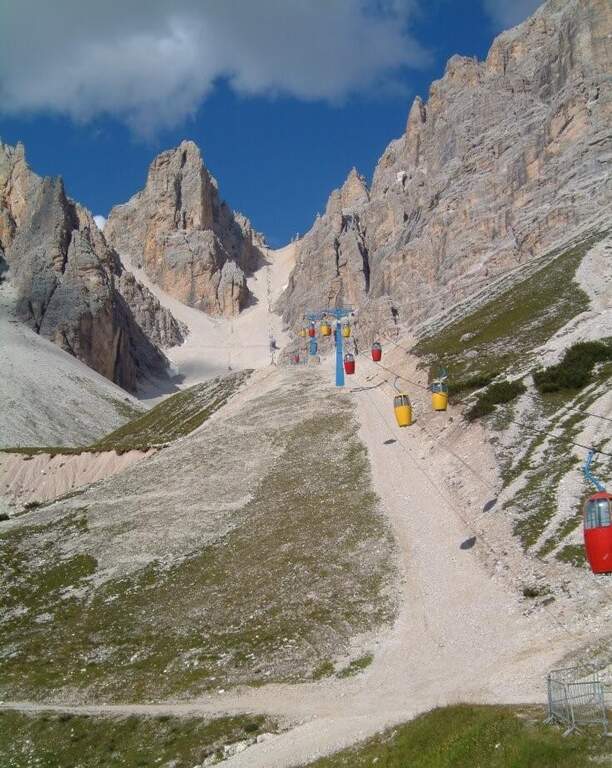
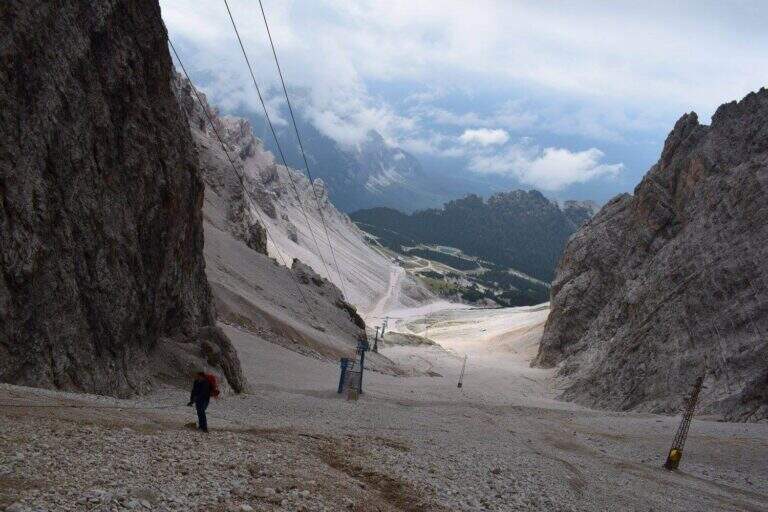
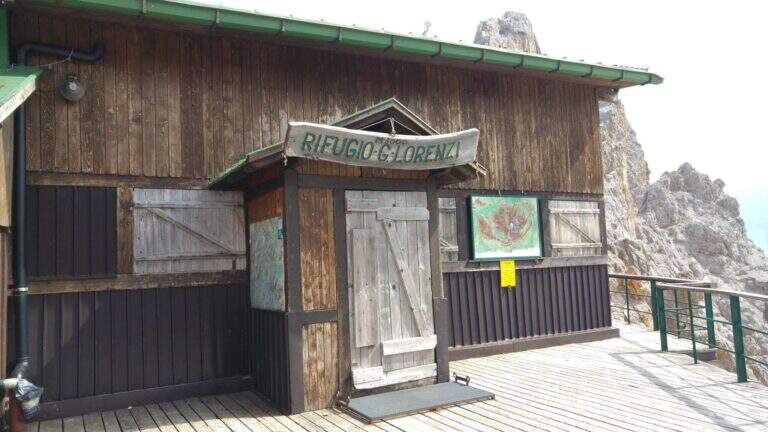
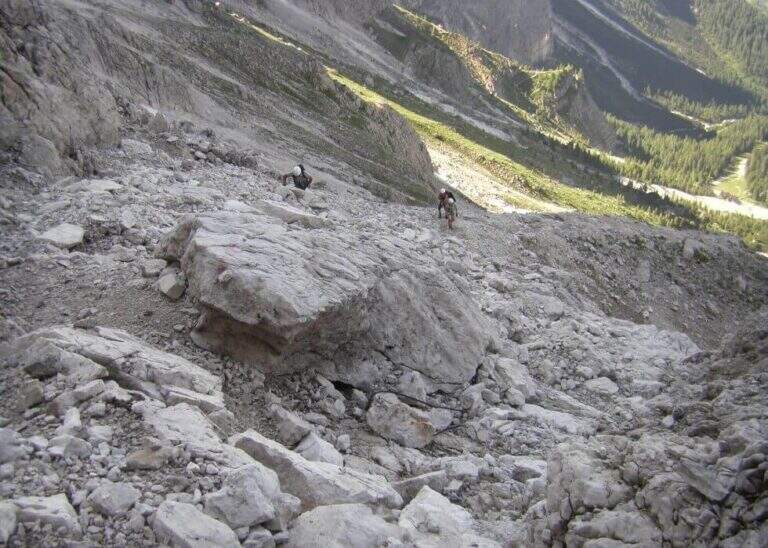
    viso Notice — The bidonvia that climbed to Forcella Staunies has been dismantled (July 2017) and is waiting for reconstruction to date to be allocated; the only way to reach the attack is today to trace the steep detritic valley of the Gran Staunies, on an unstable gravel bottom (at least 2h from the end of the chairlift). The Lorenzi refuge, at the beginning of the ferrata, is also closed. It is a long and challenging itinerary regardless: plan time and weather carefully.

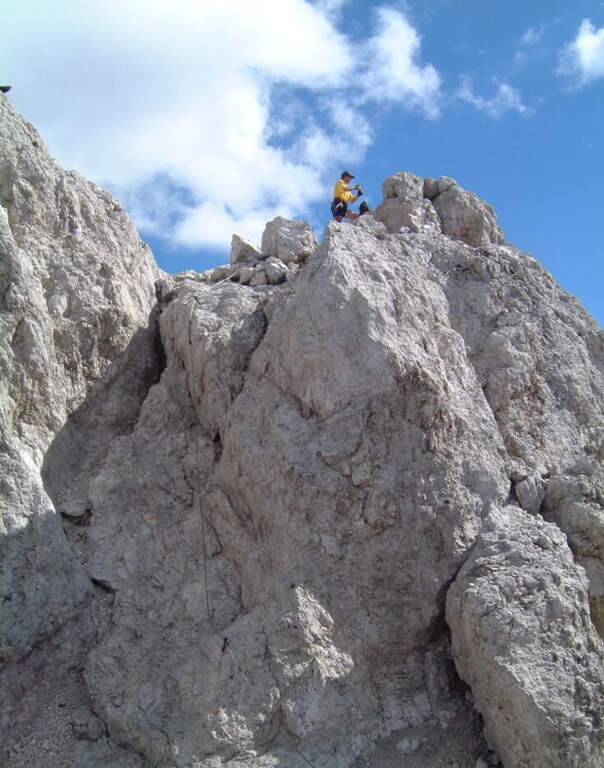
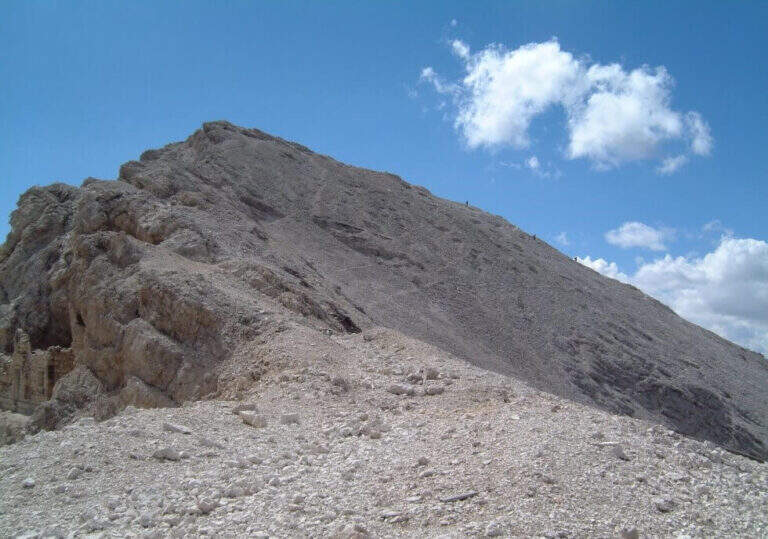
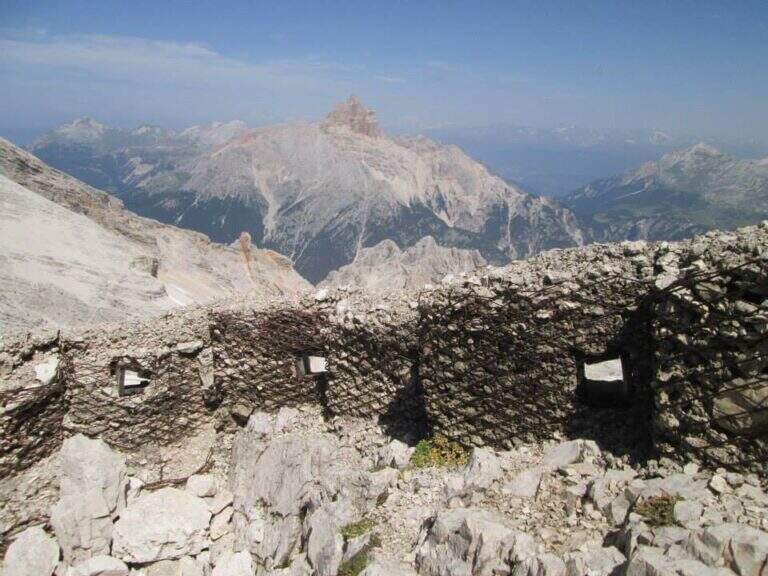
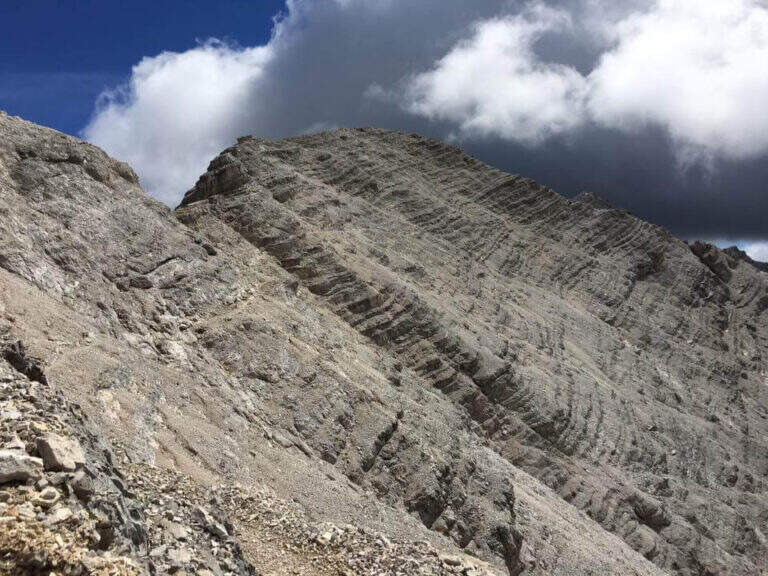
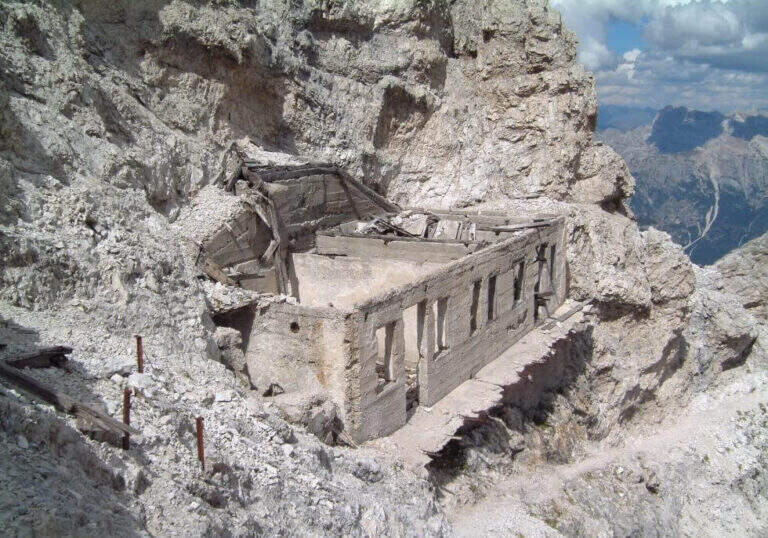
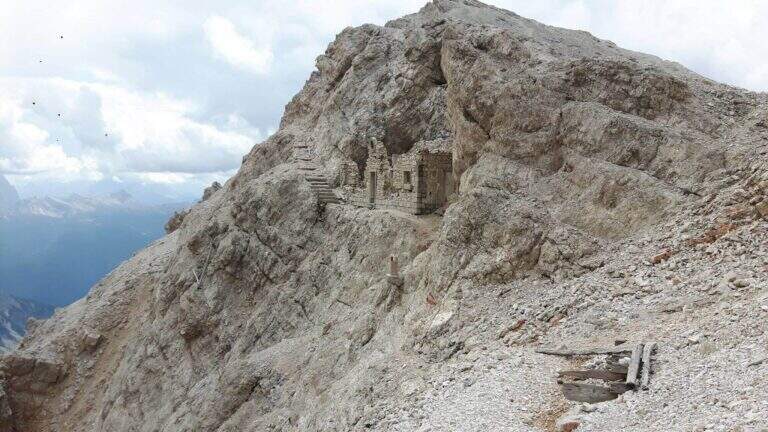
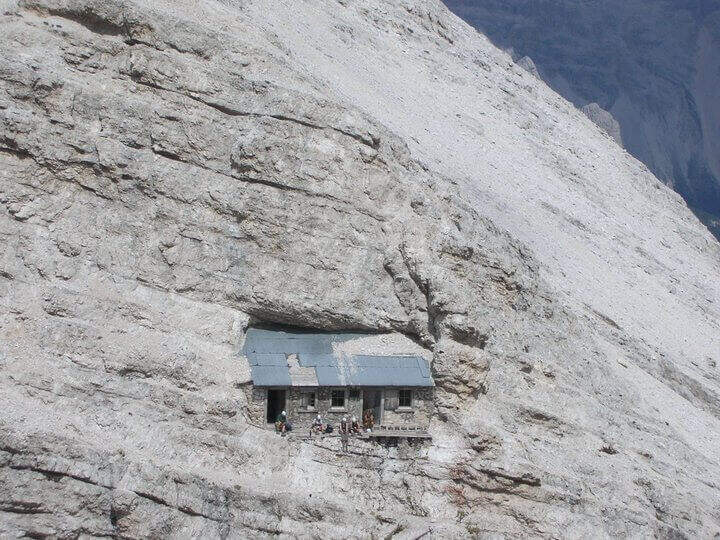
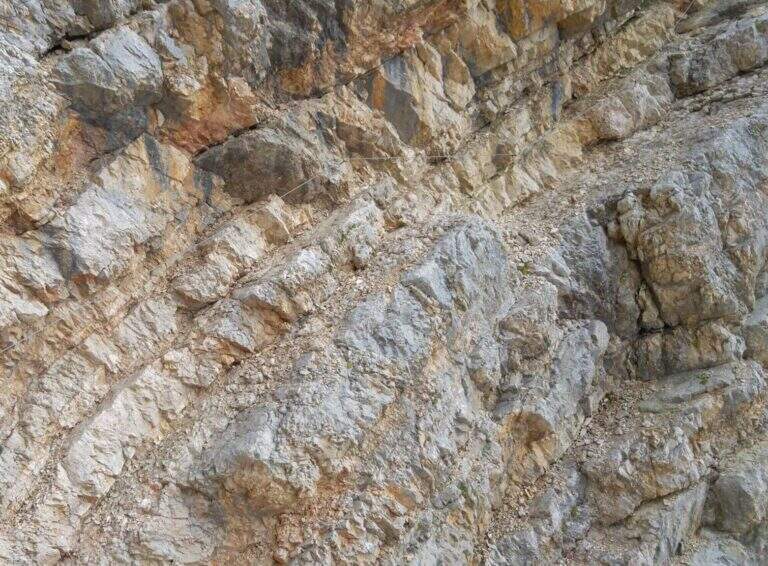
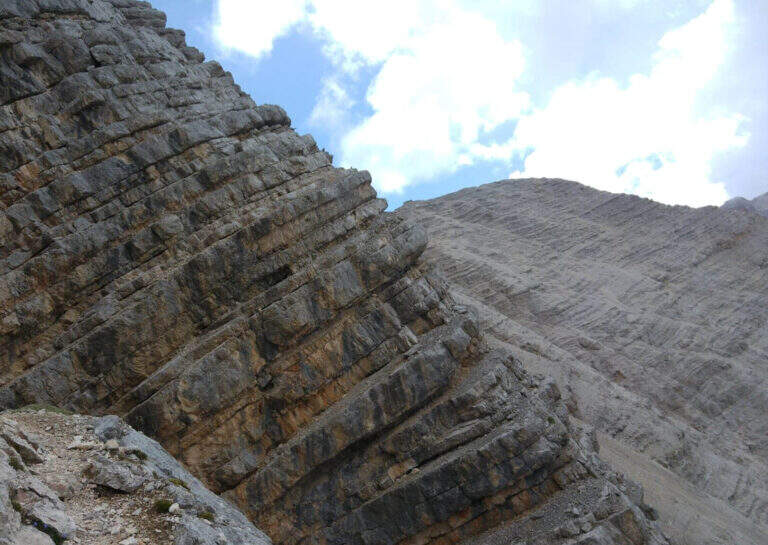
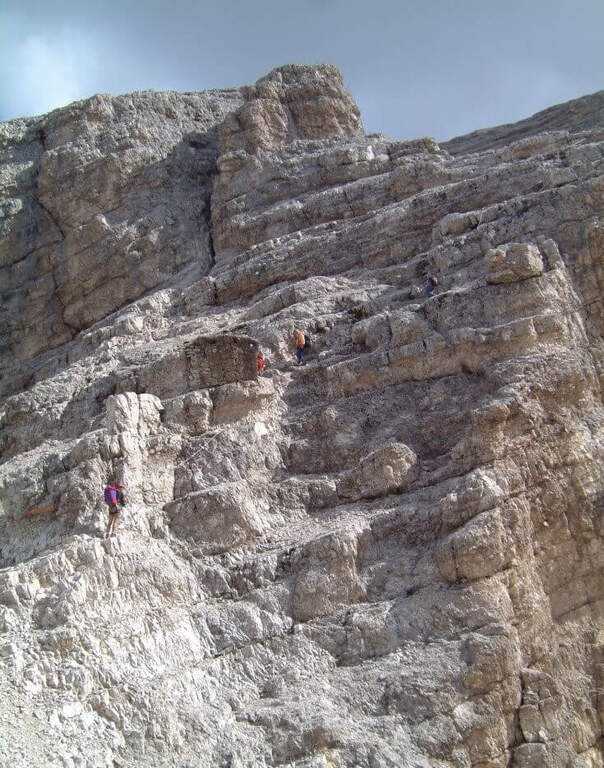
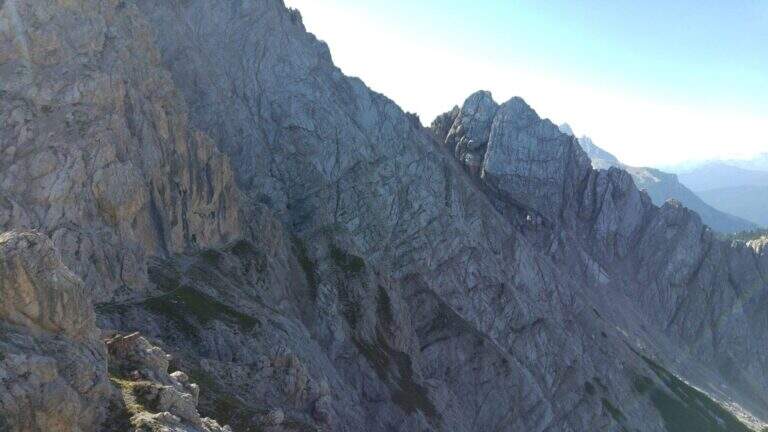
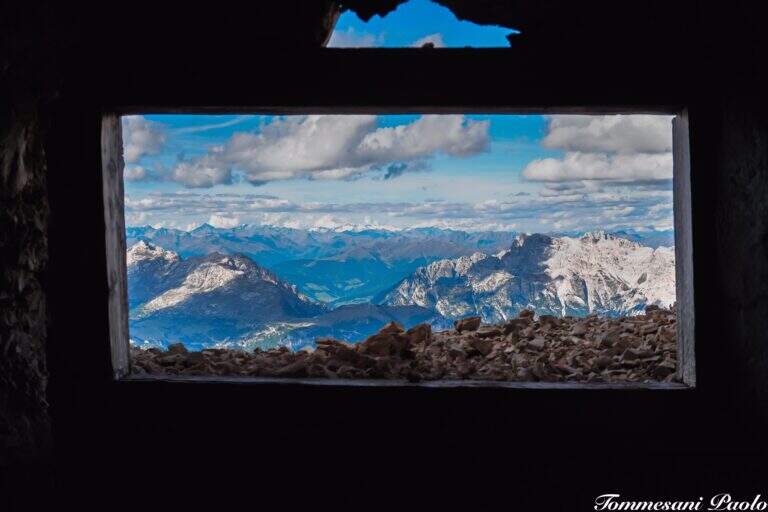
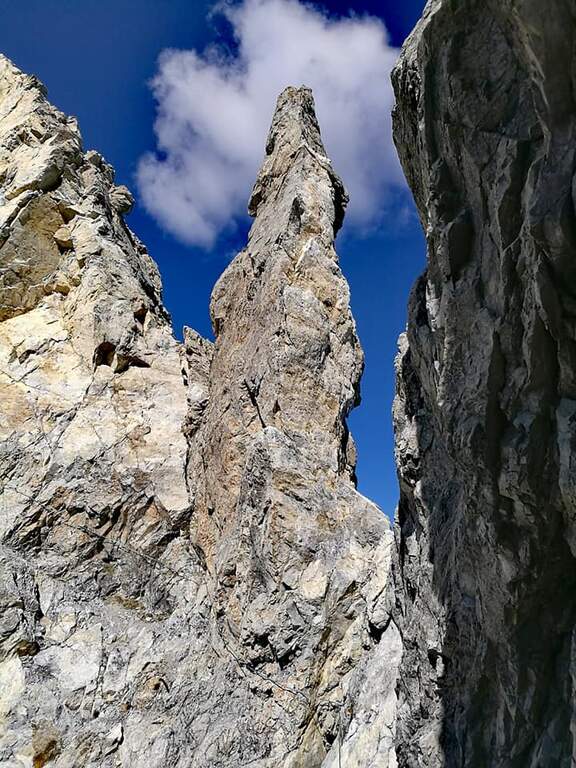
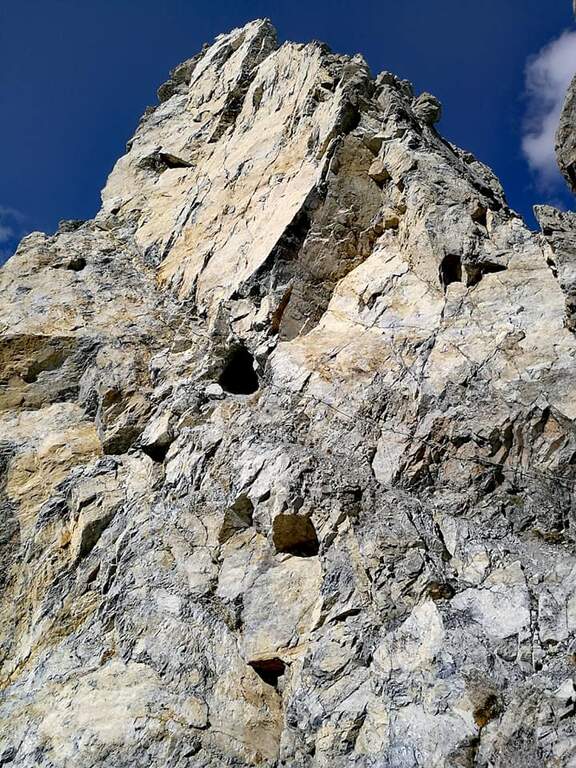
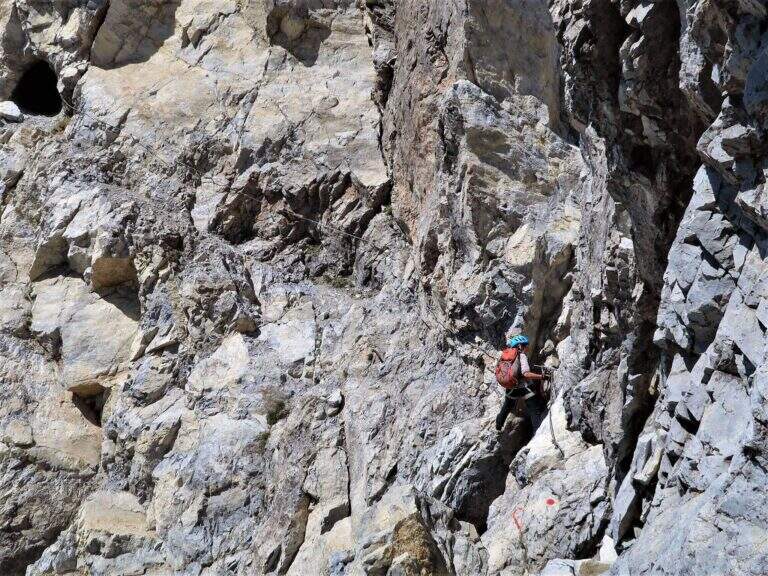
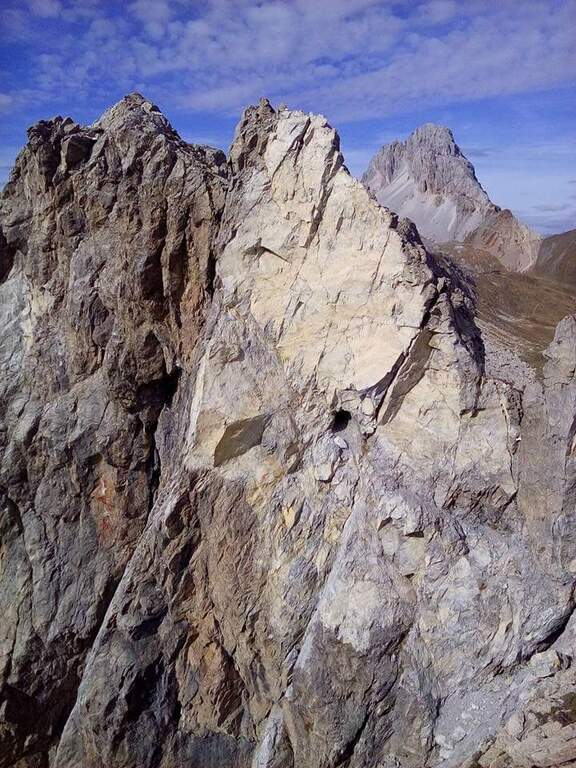
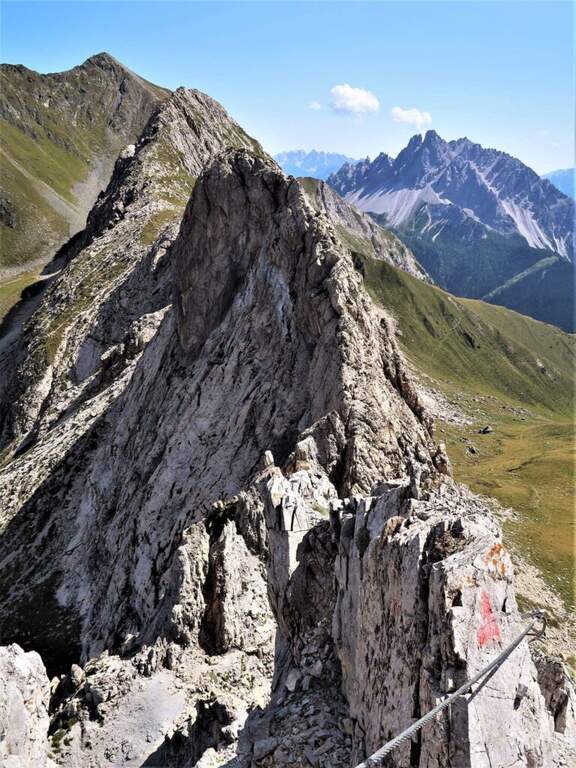
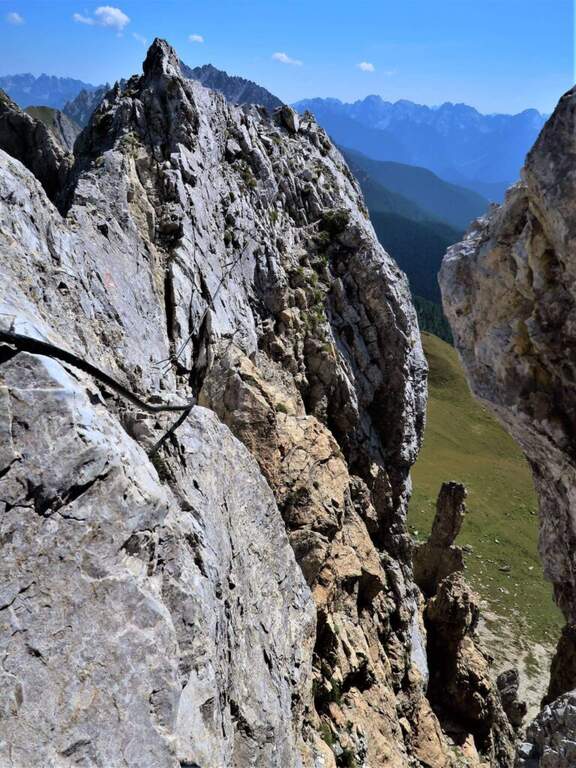
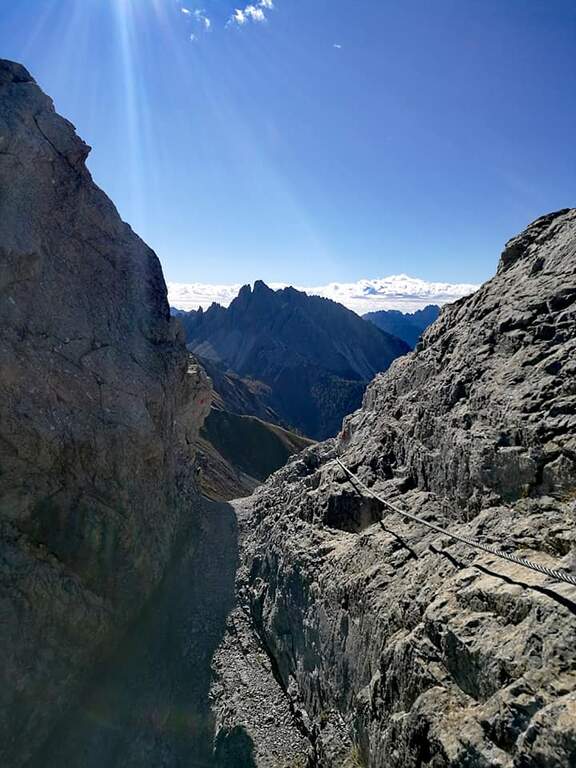
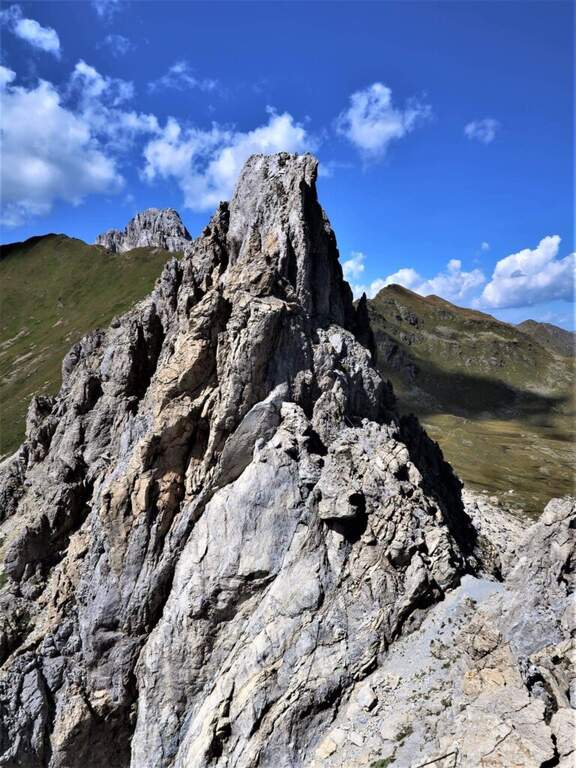
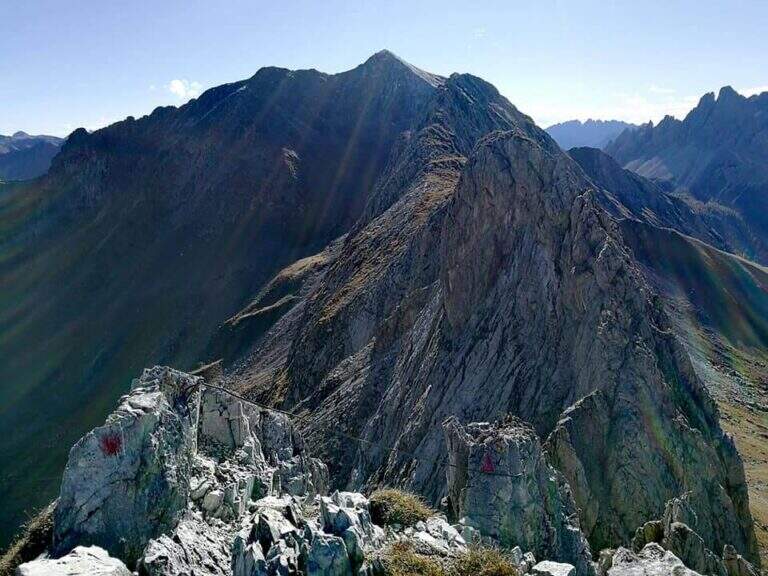
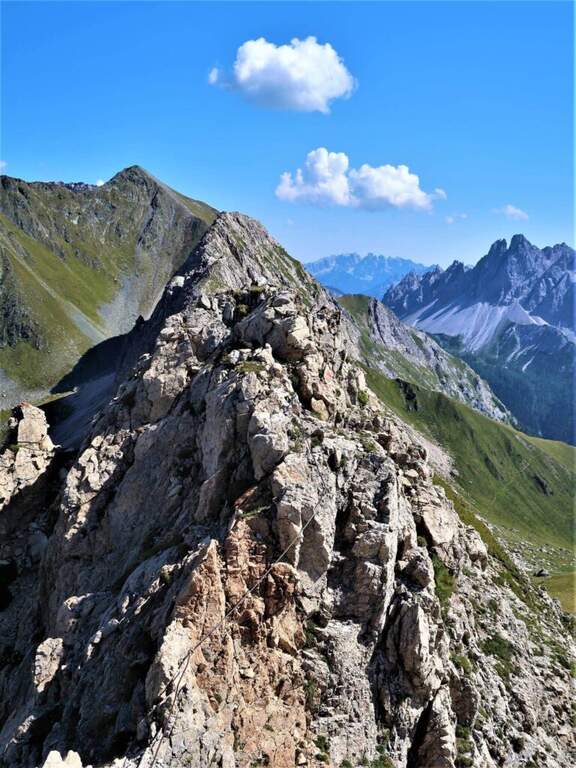
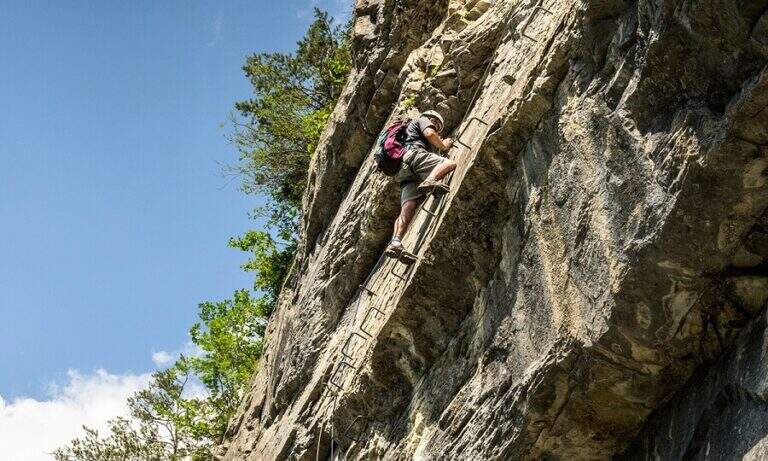
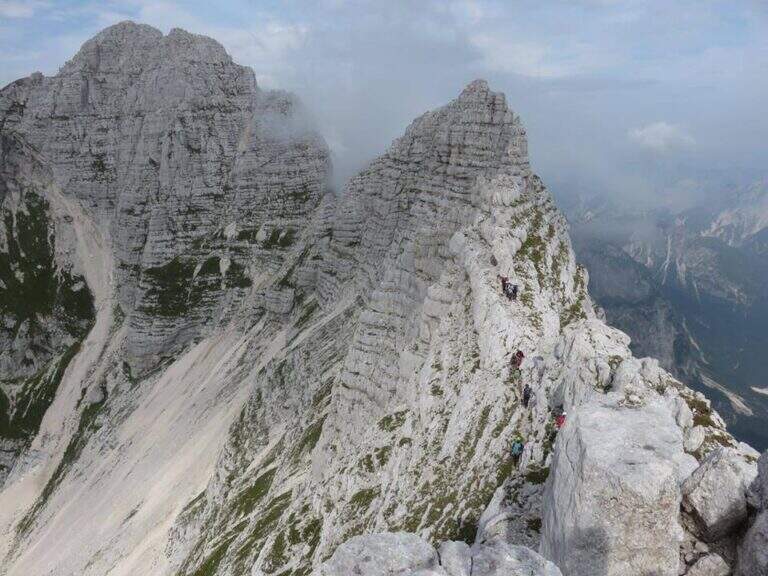
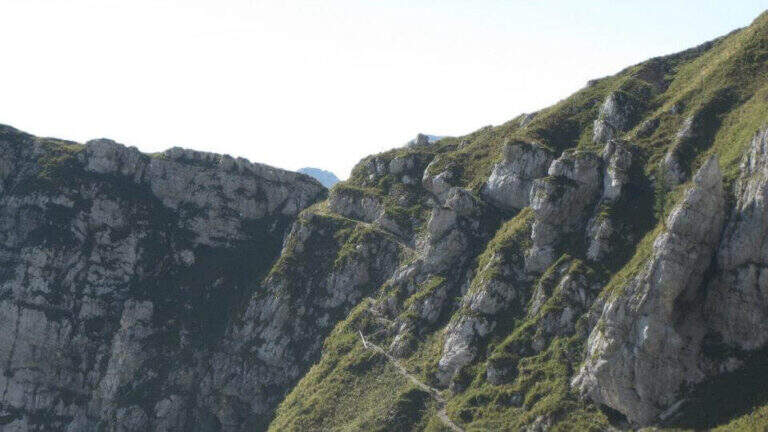
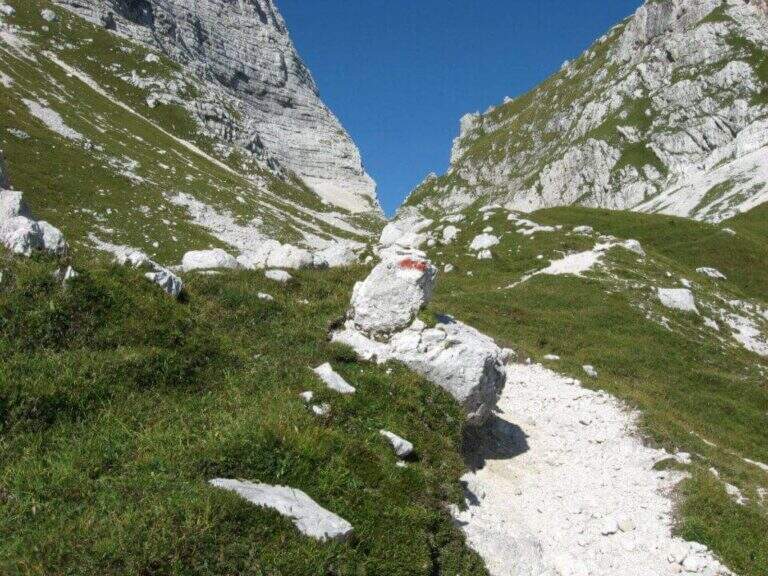
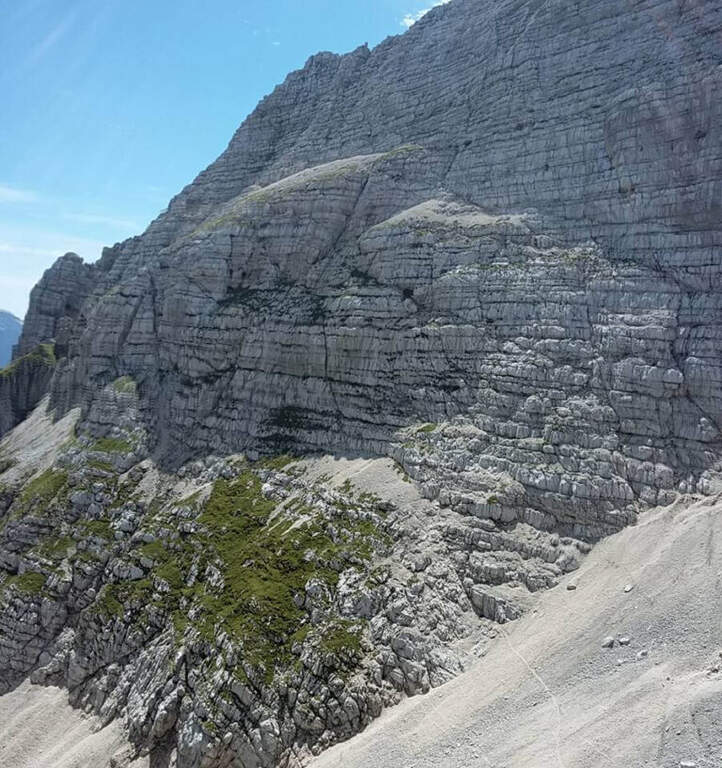
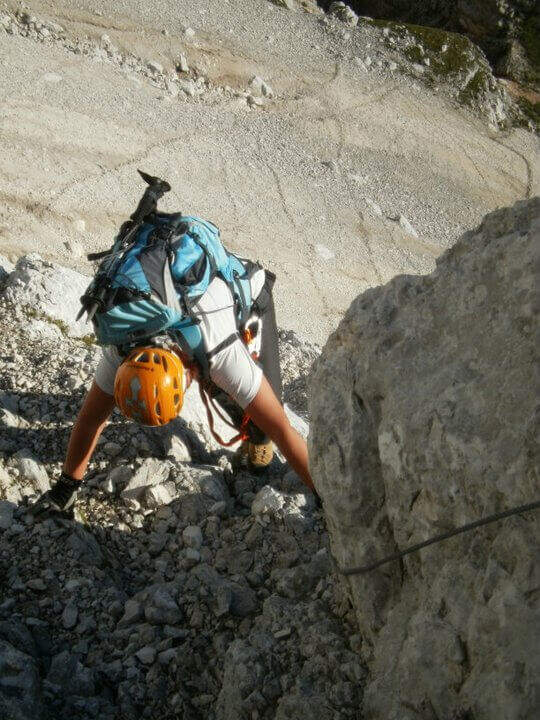
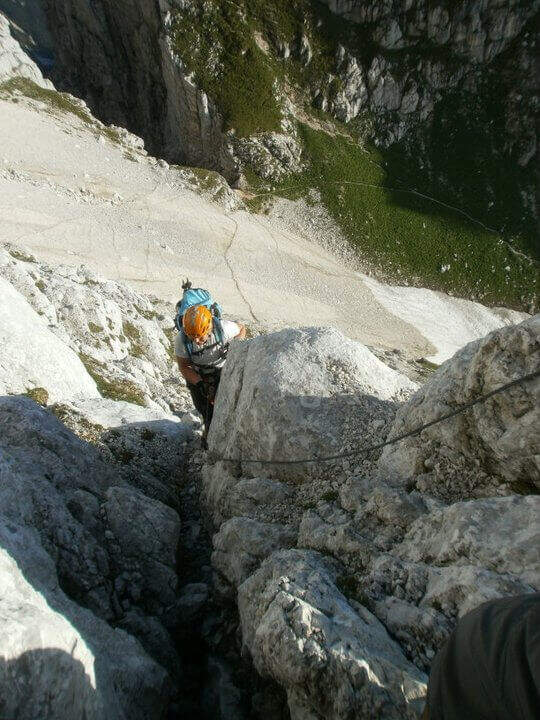
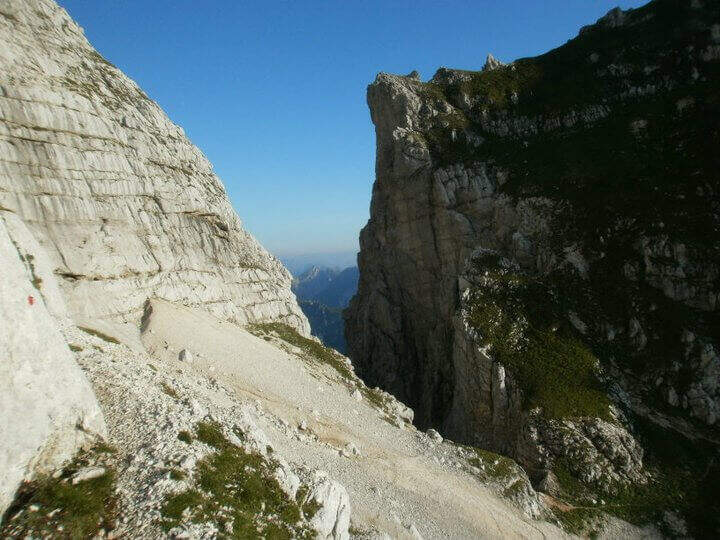
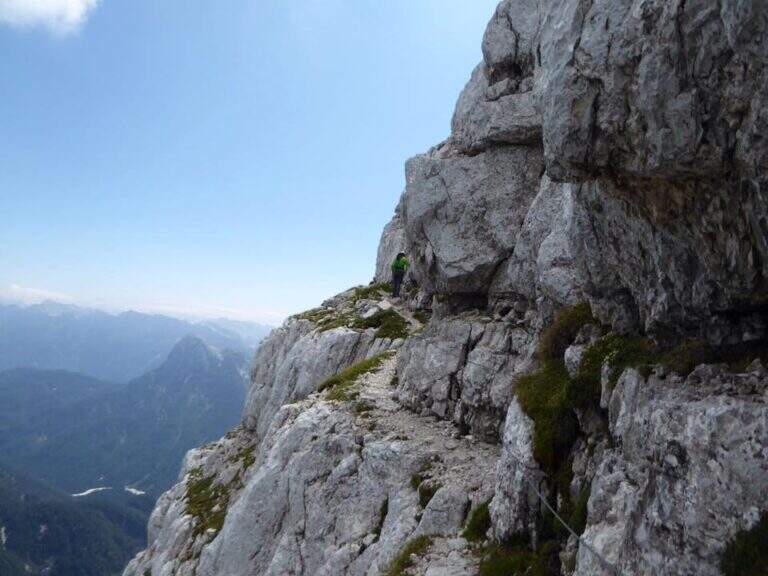
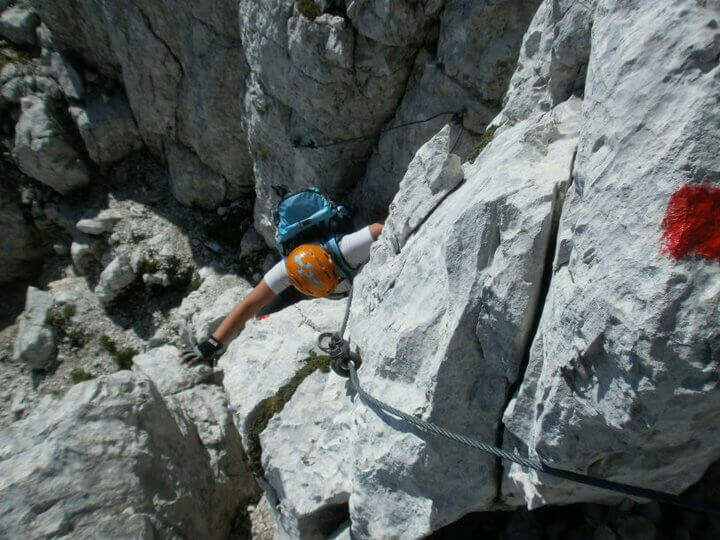
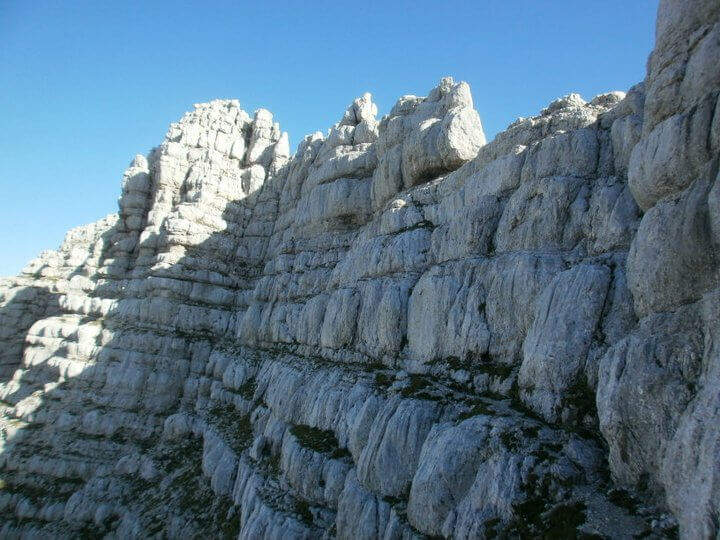
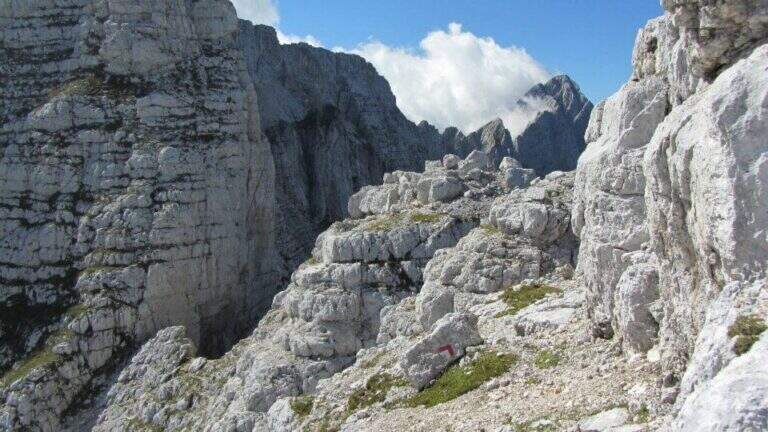
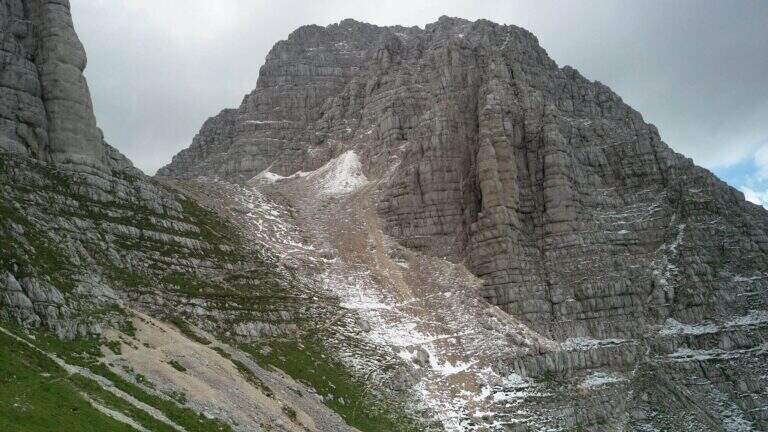
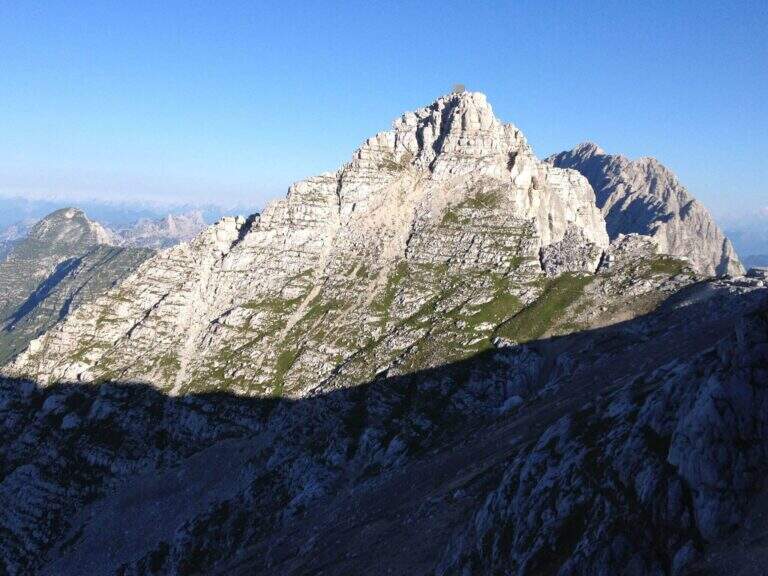
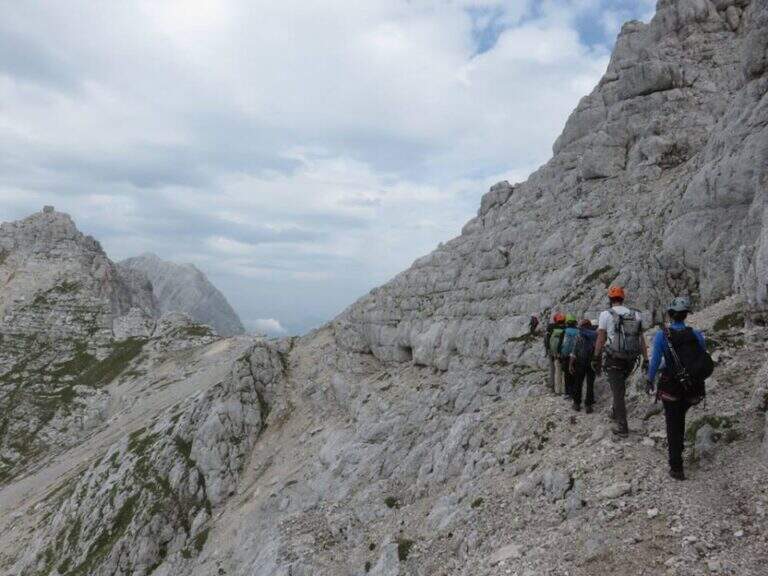
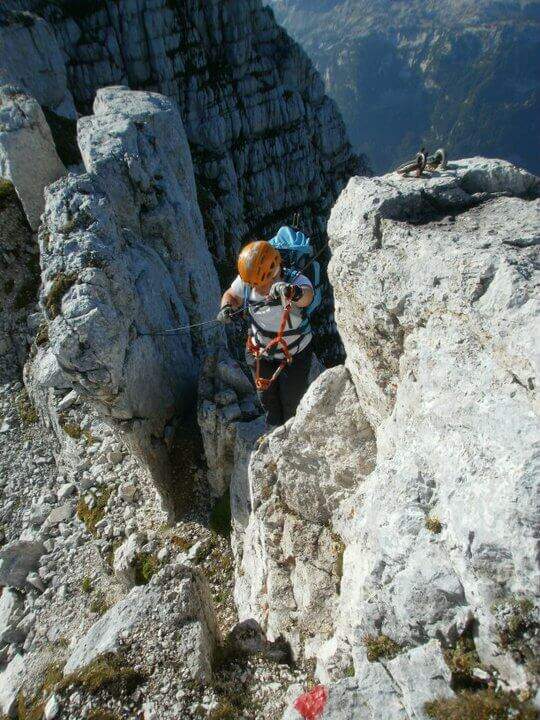
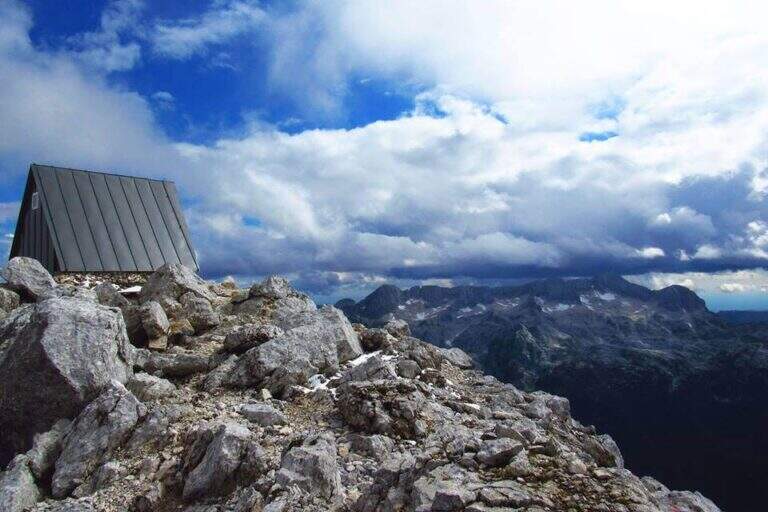
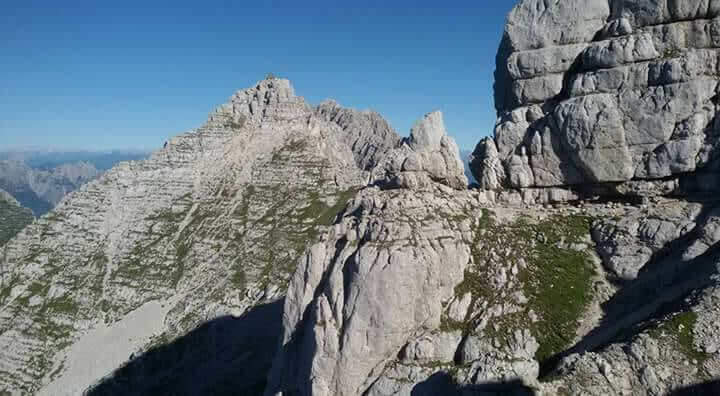
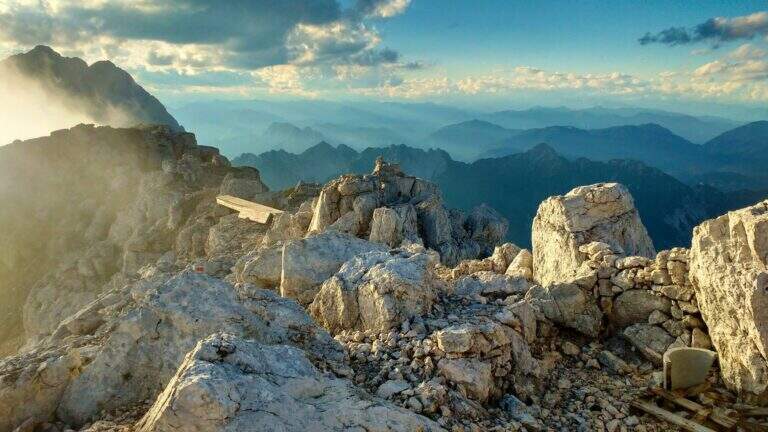
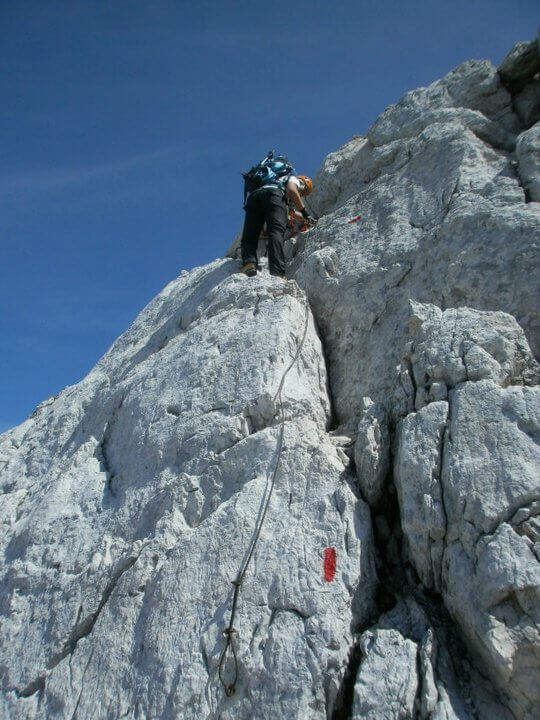
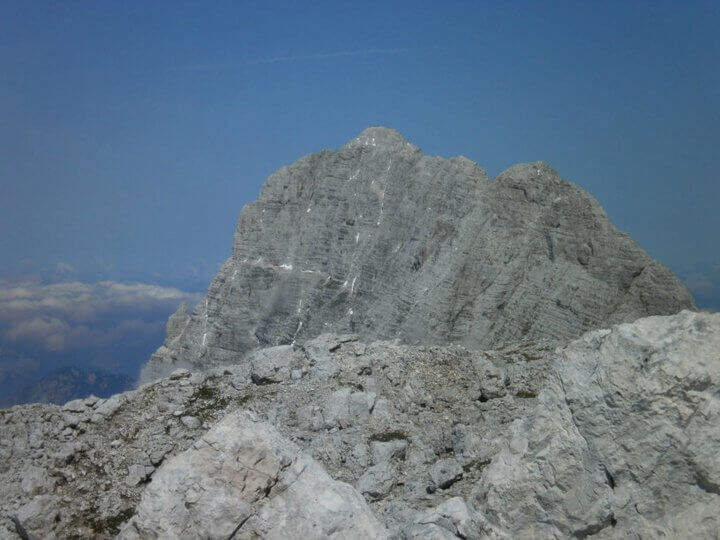
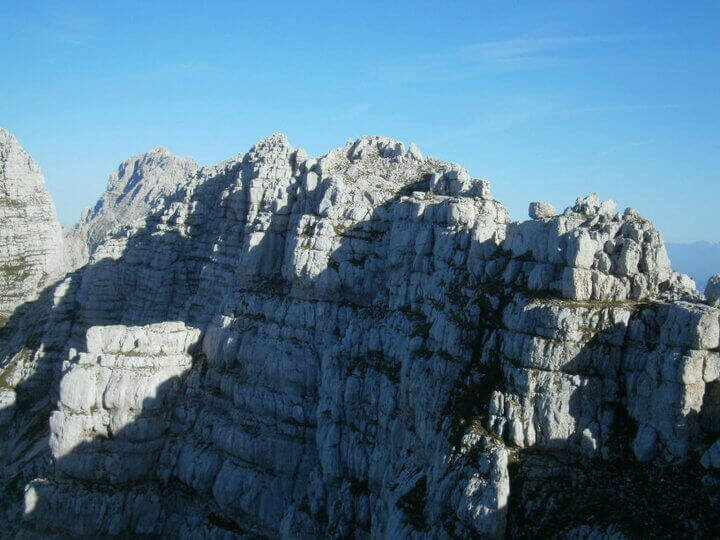
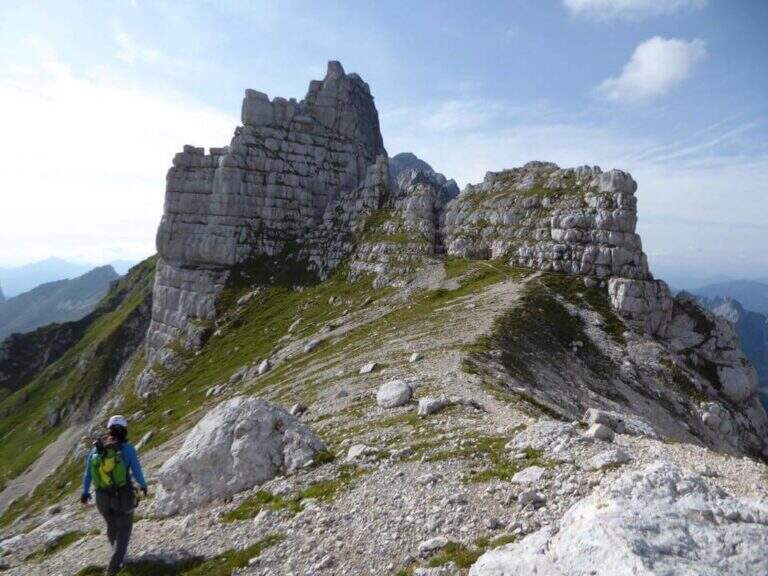
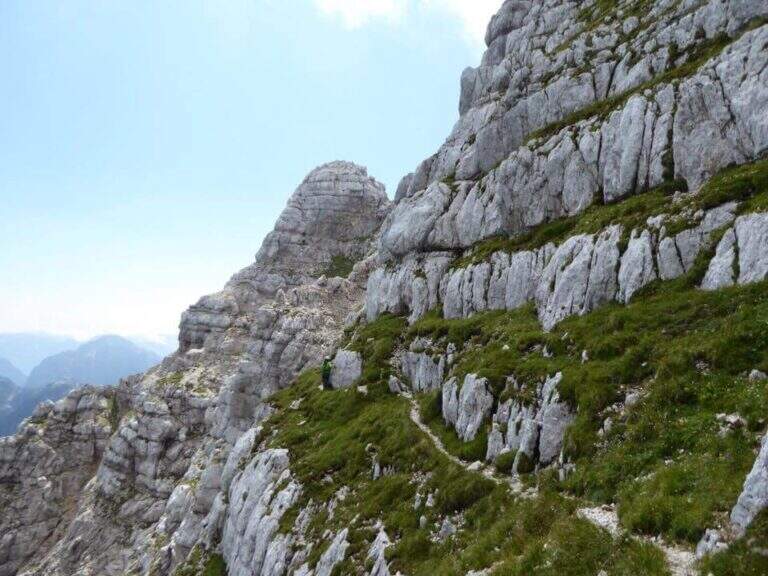
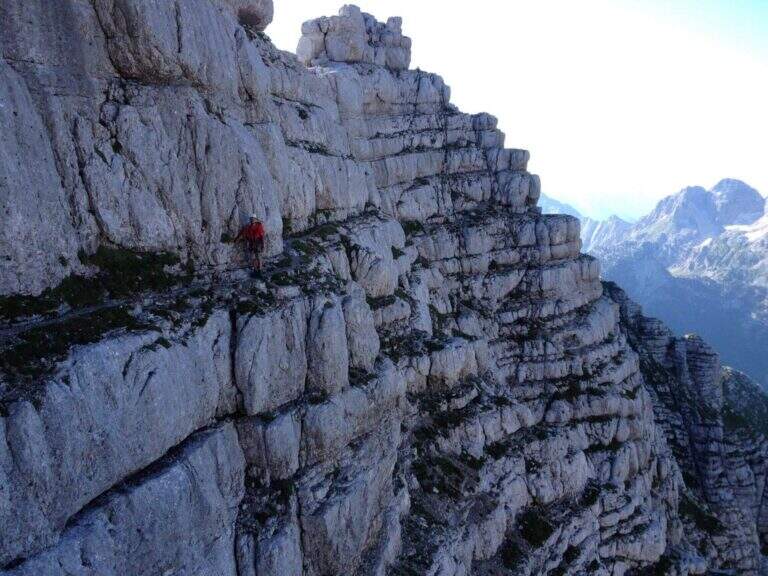
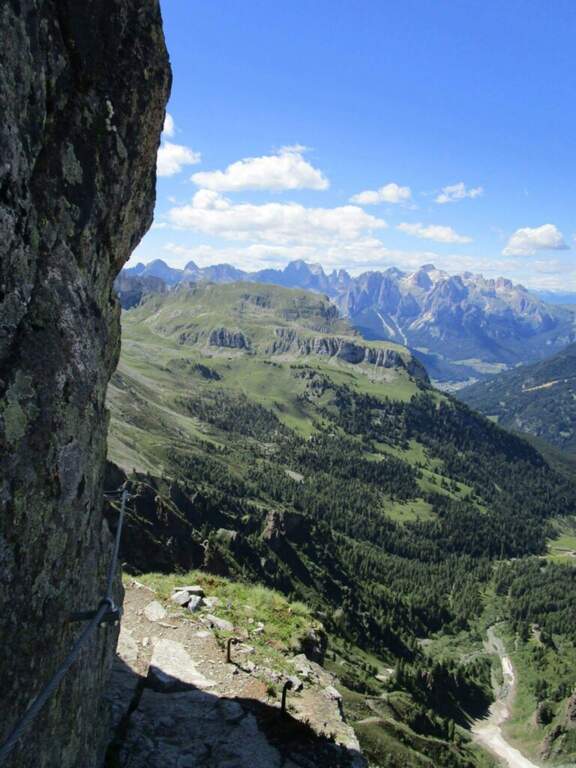
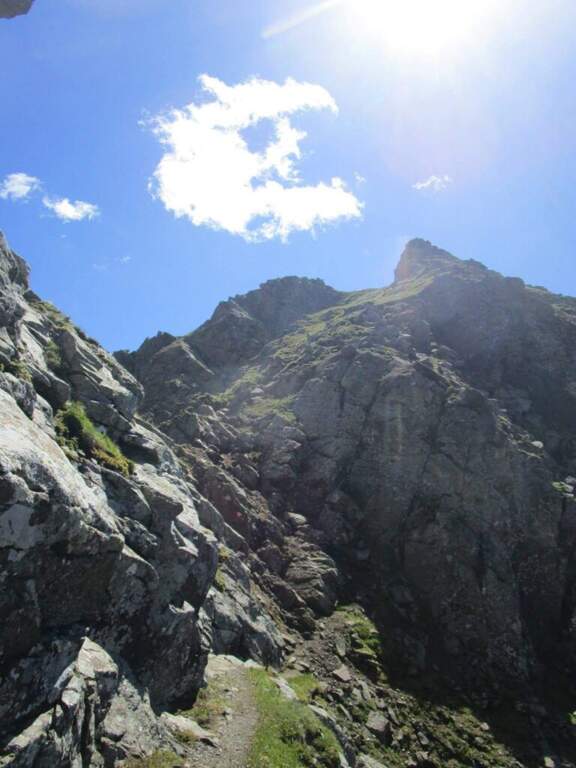
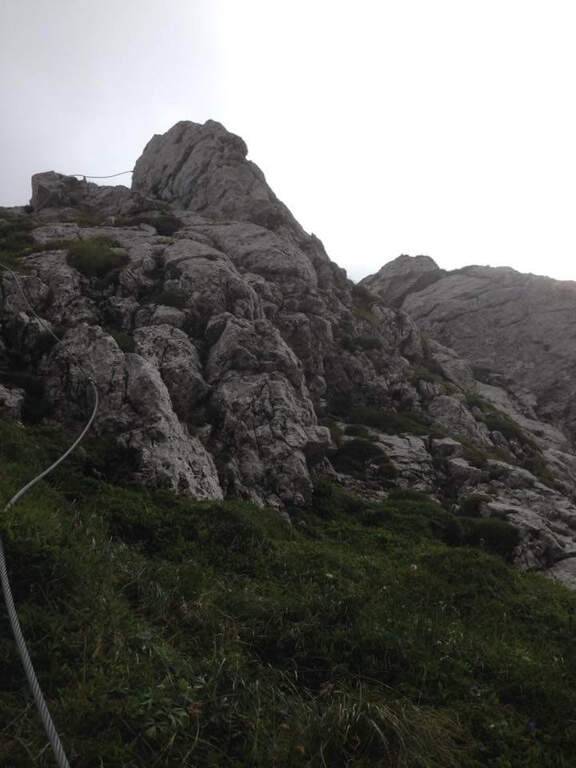
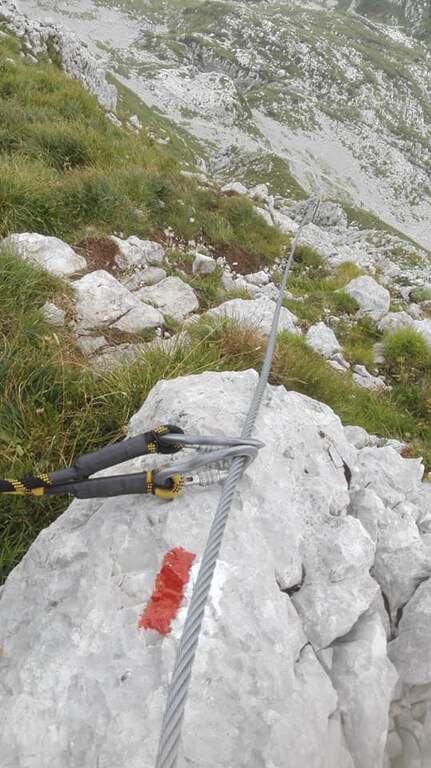
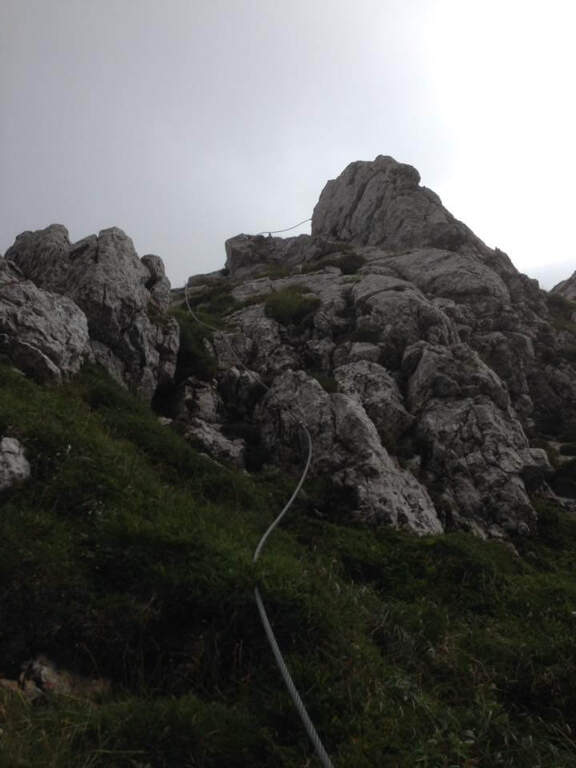
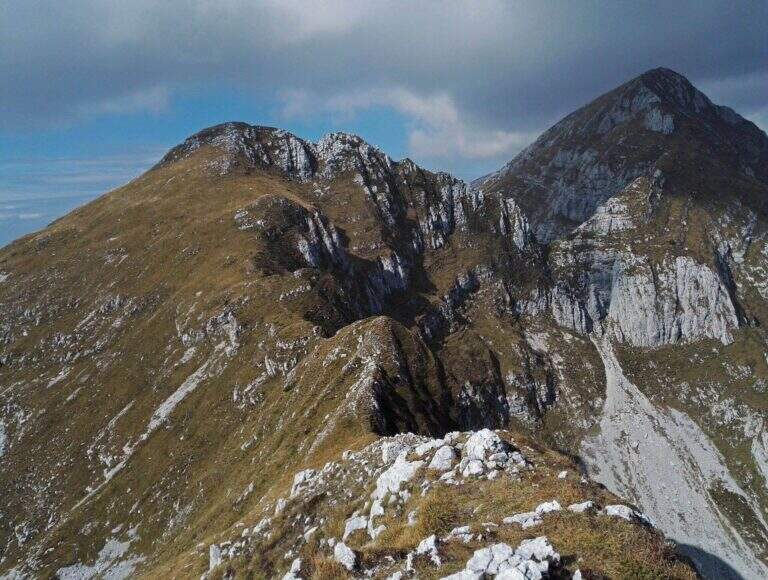
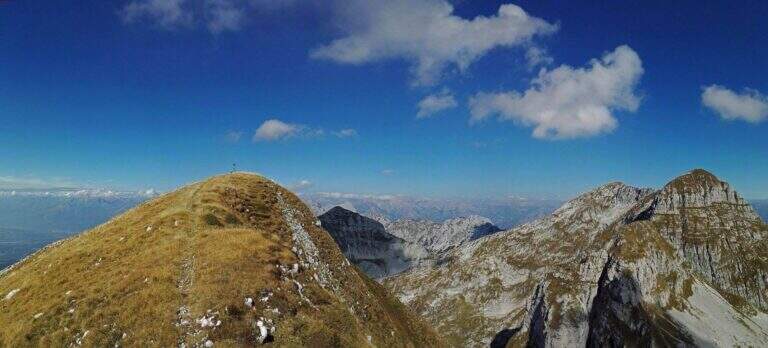
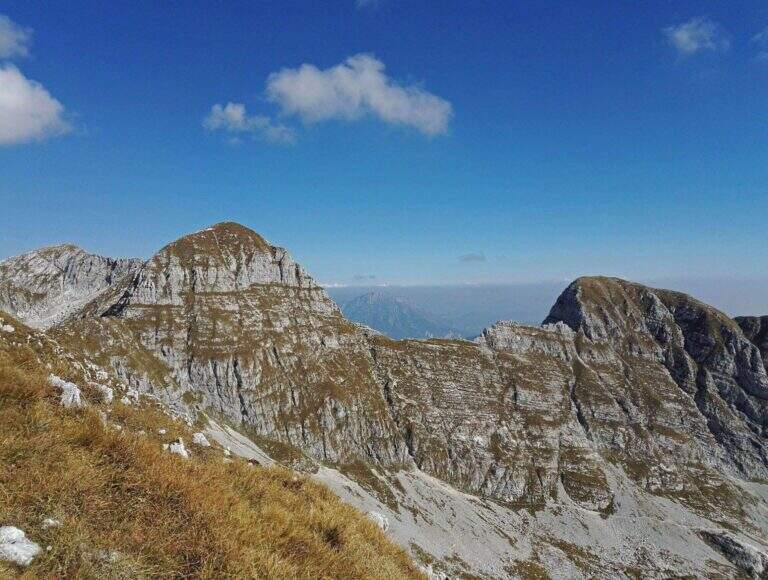
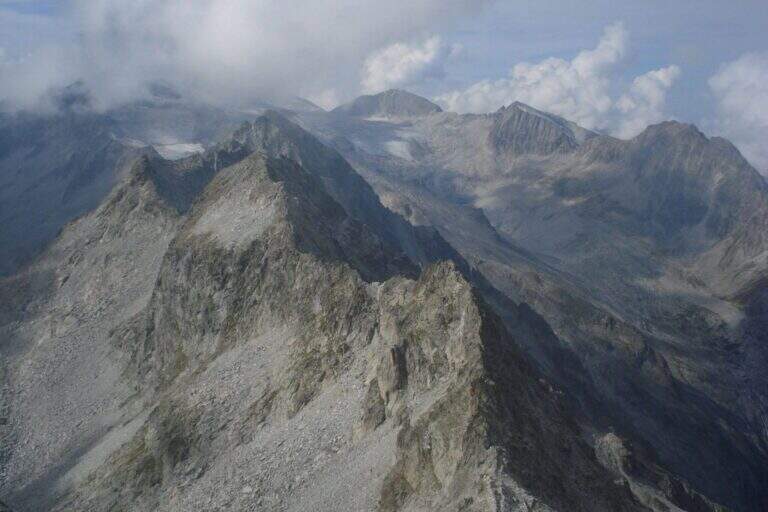
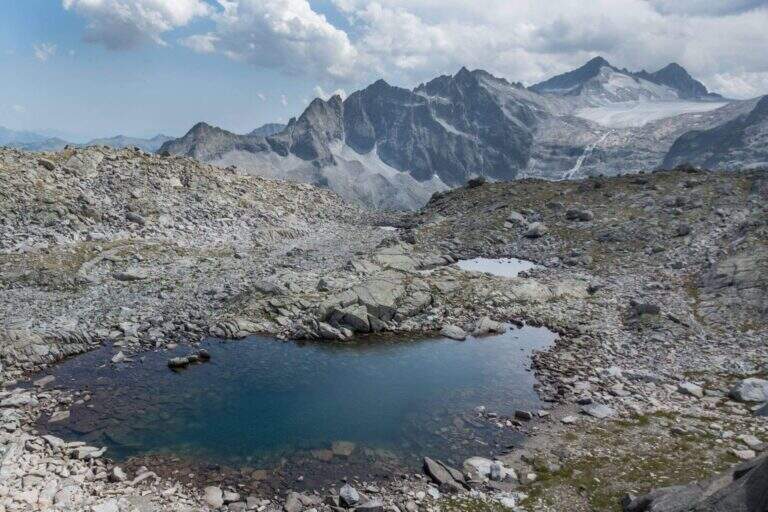
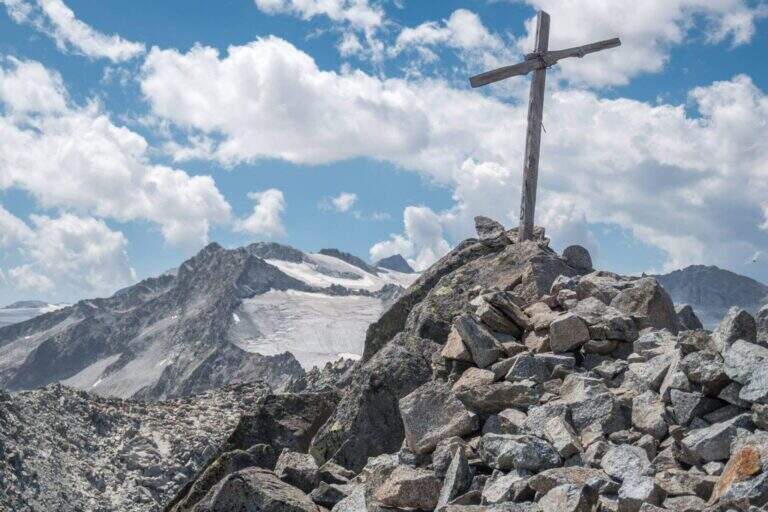
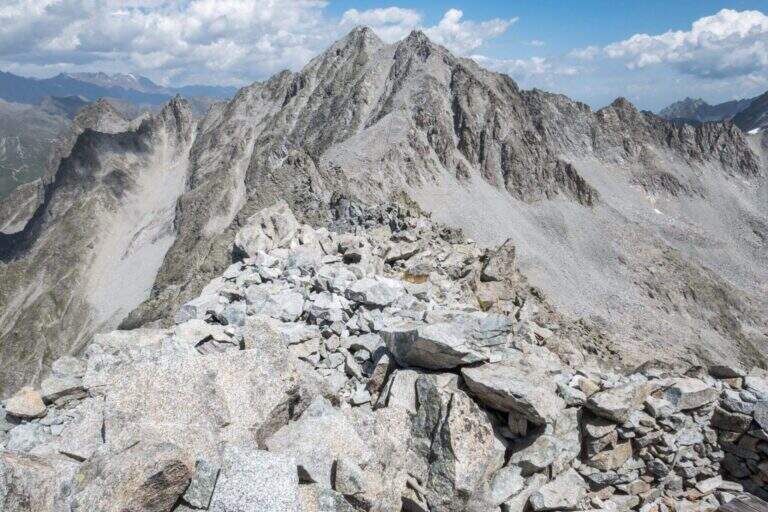
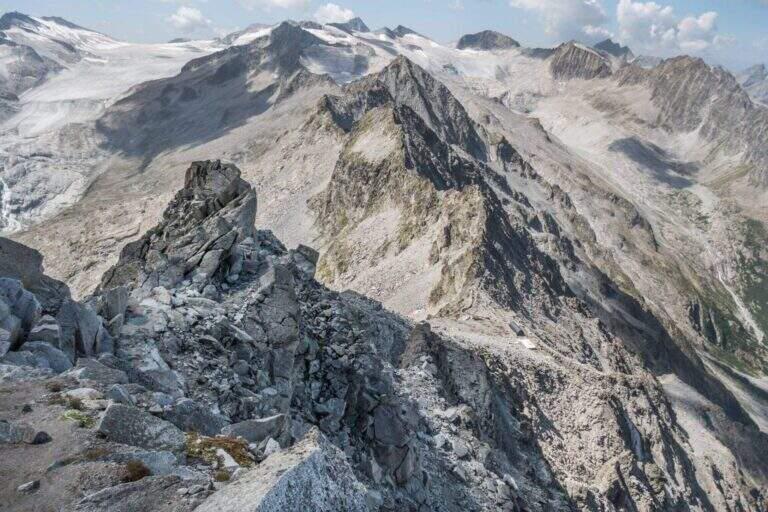
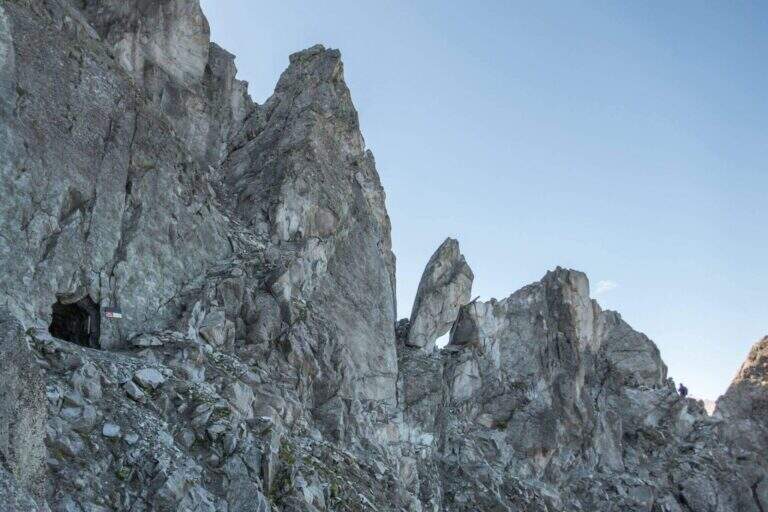
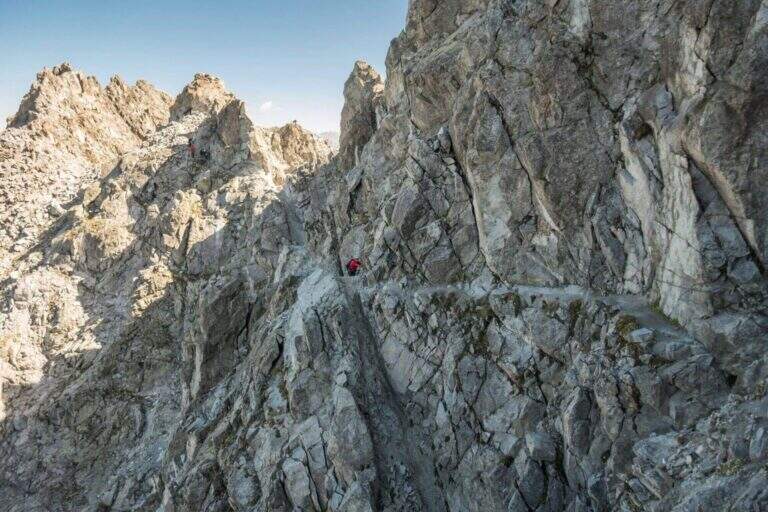
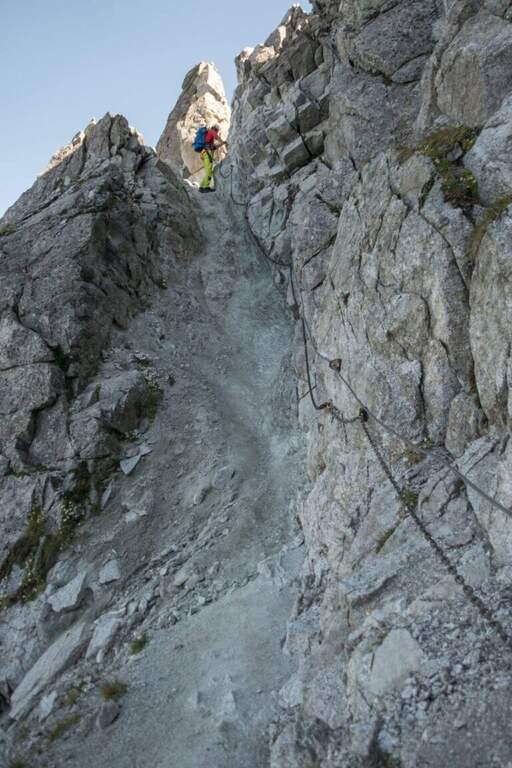
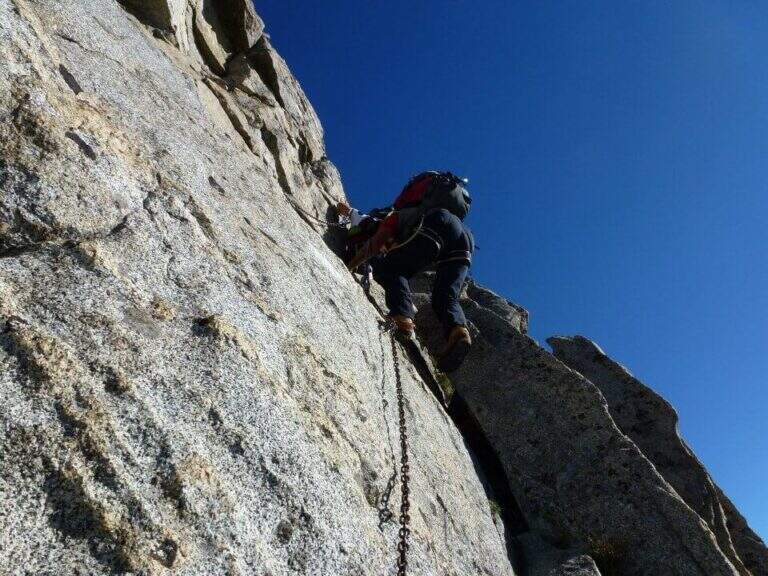
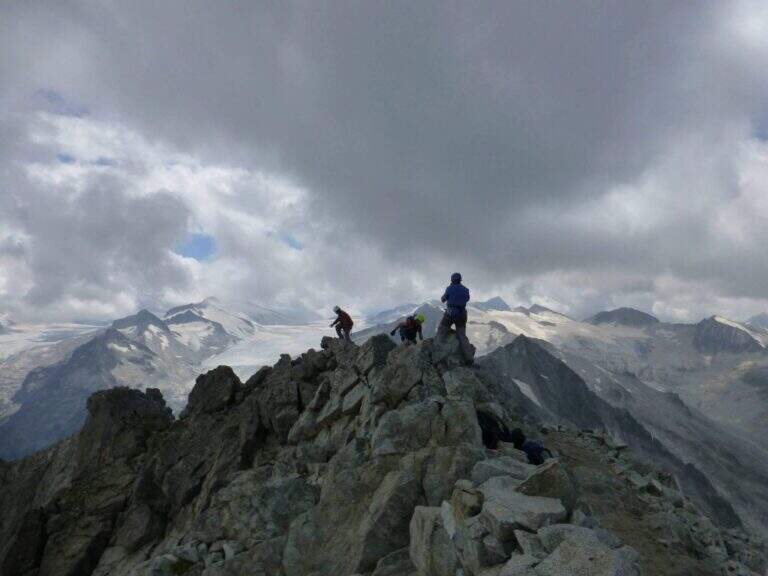
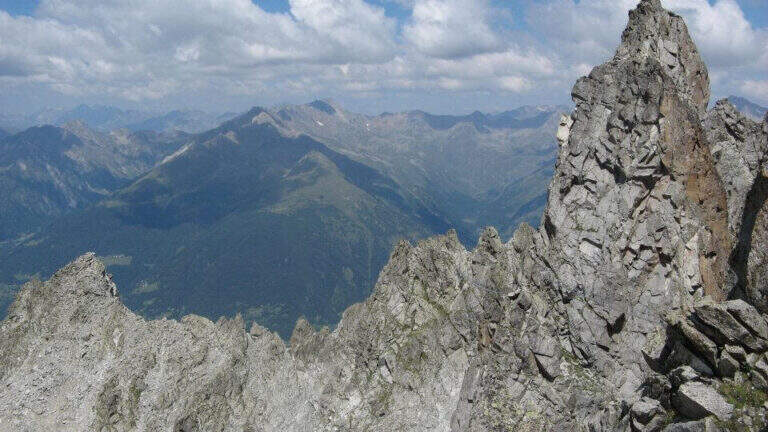
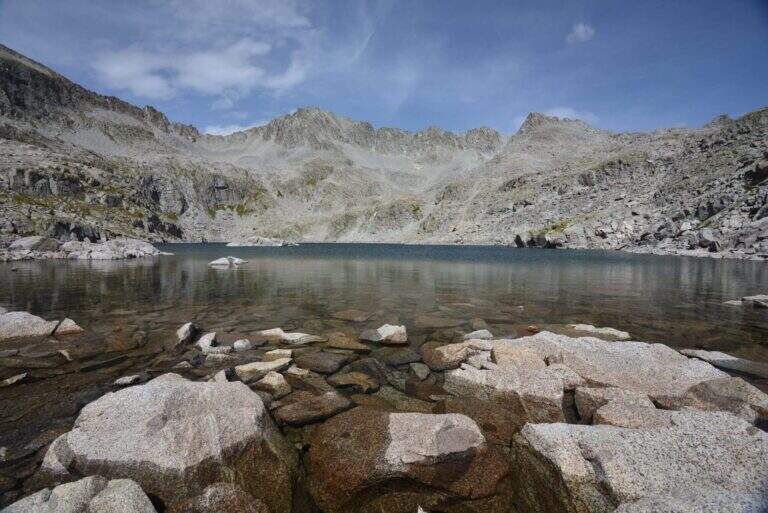
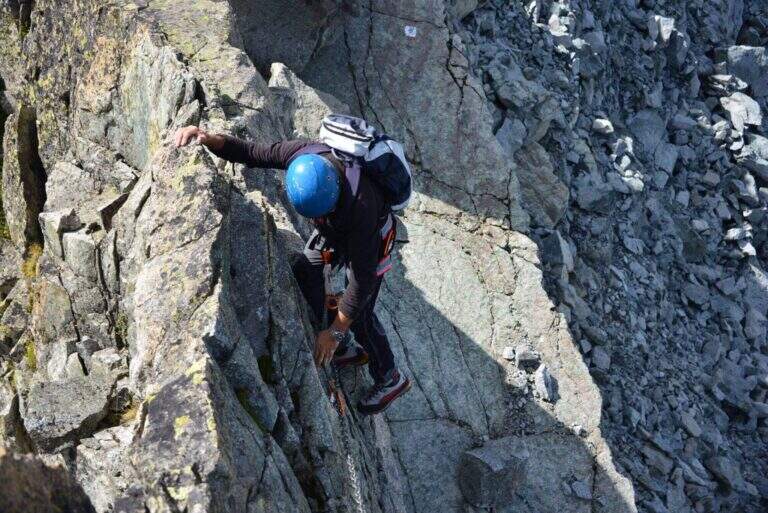
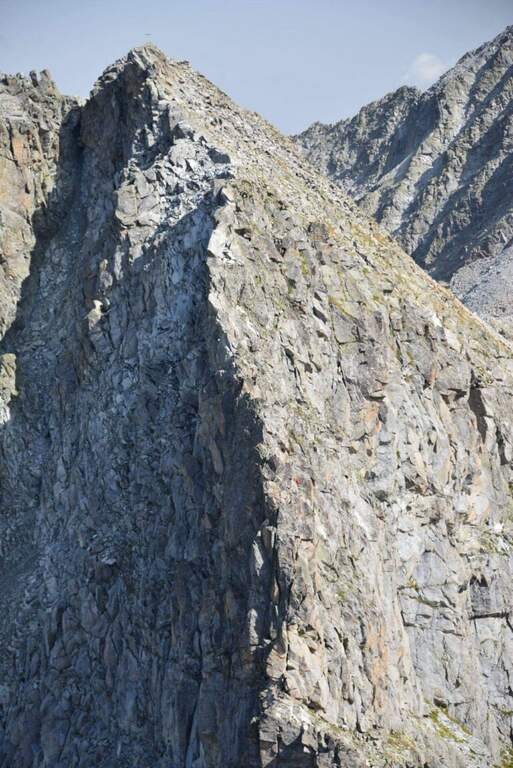
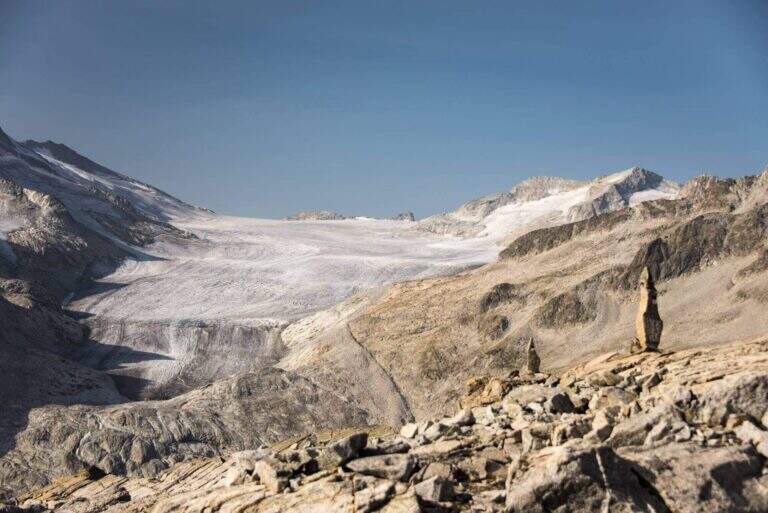
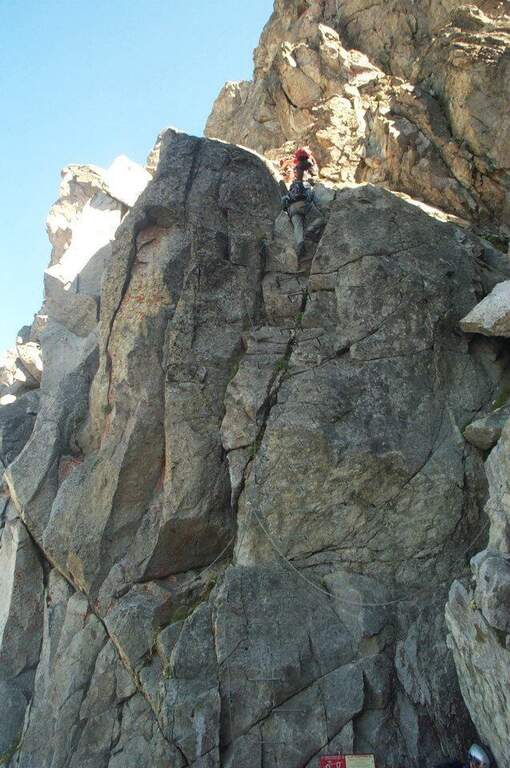
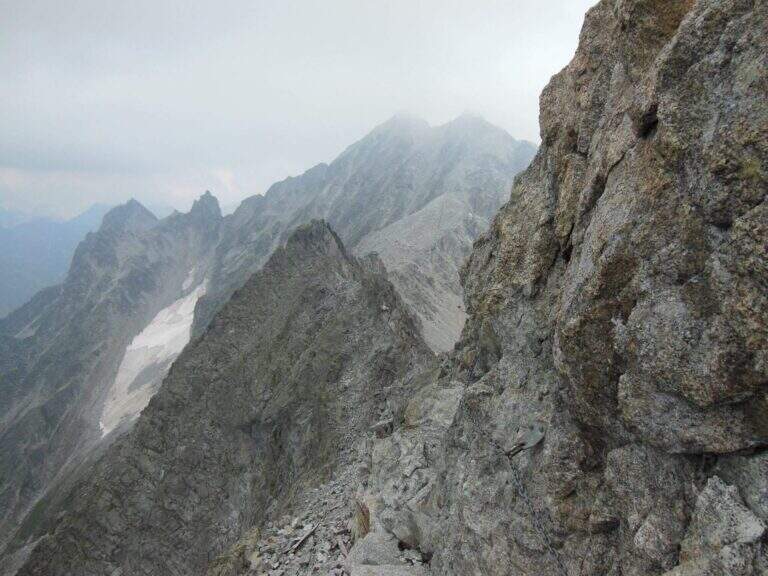
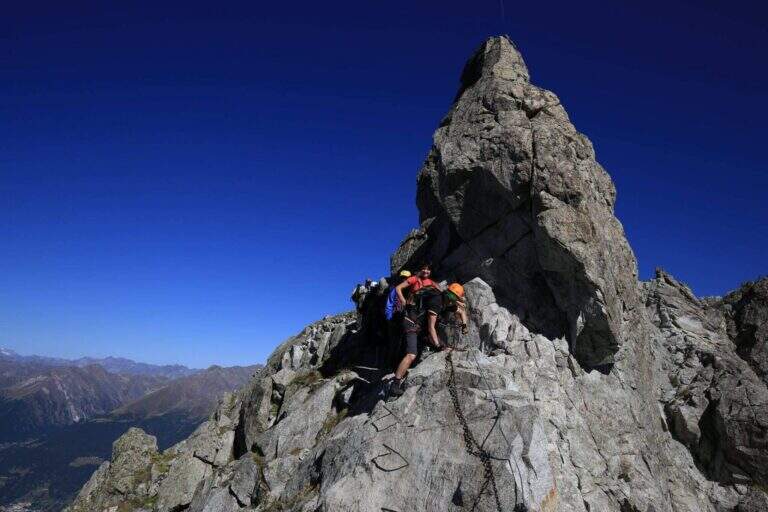
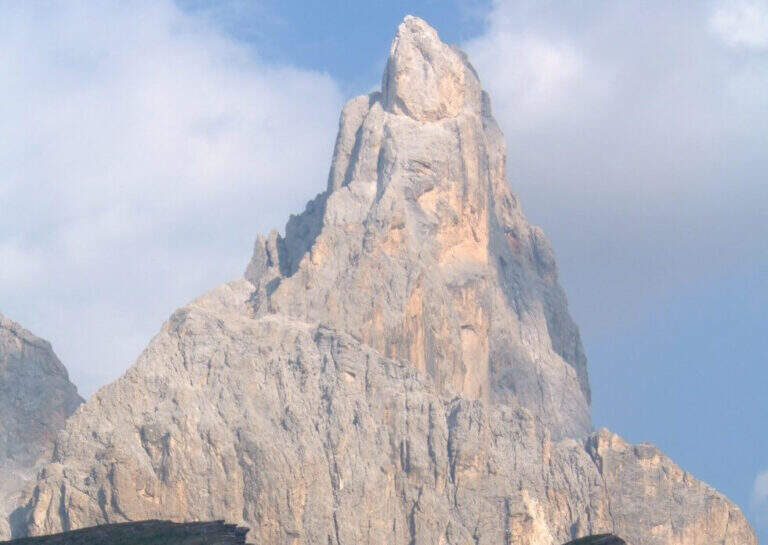
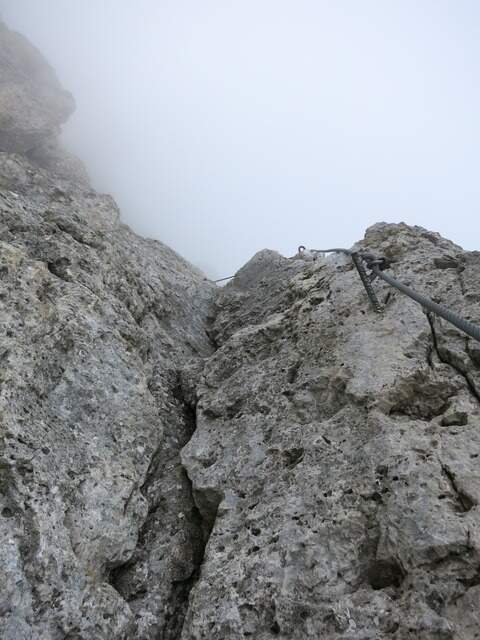
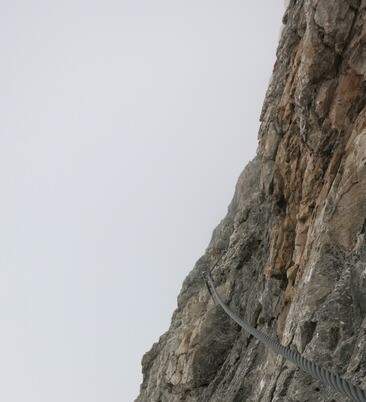
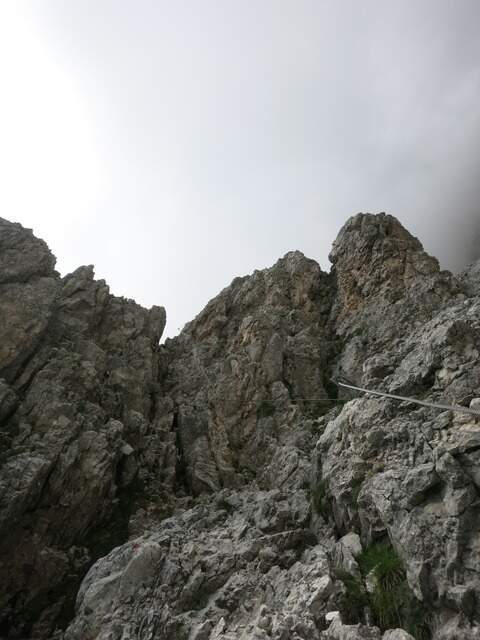
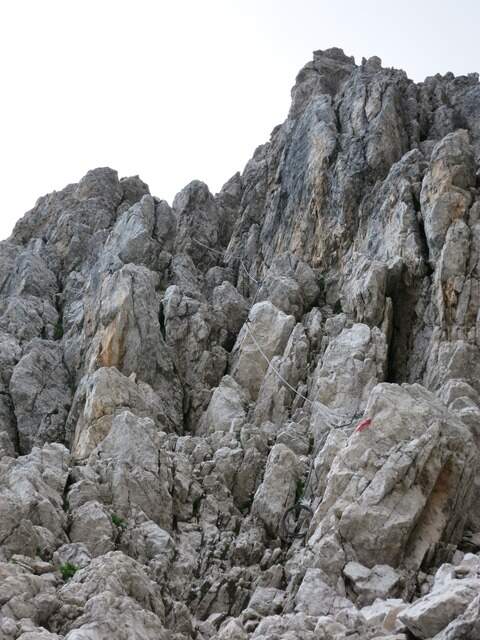
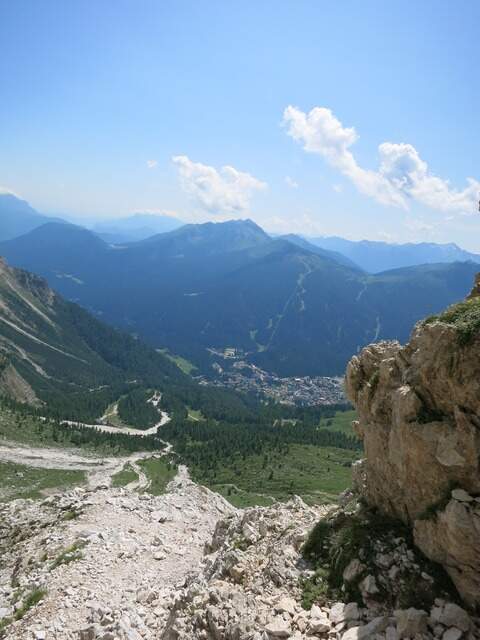
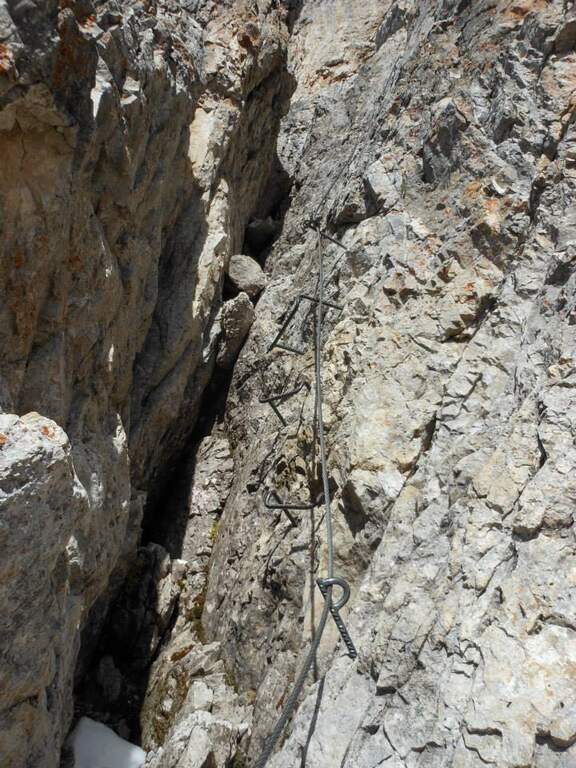
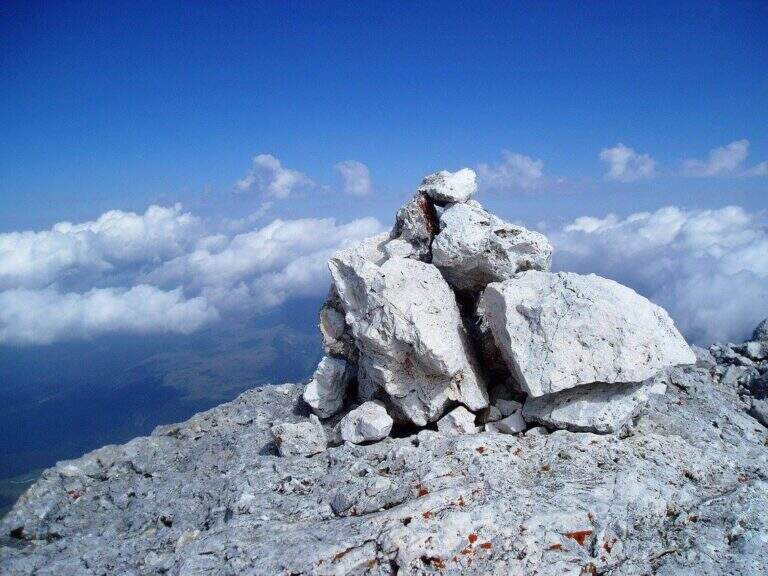
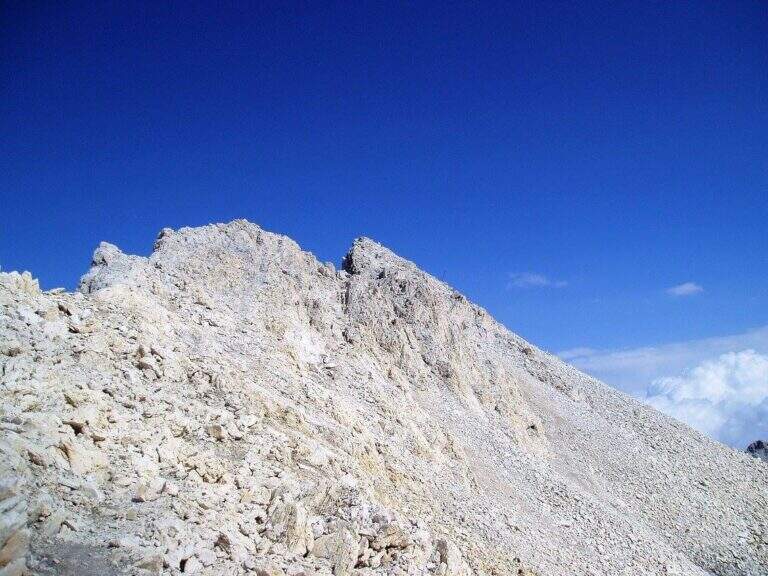
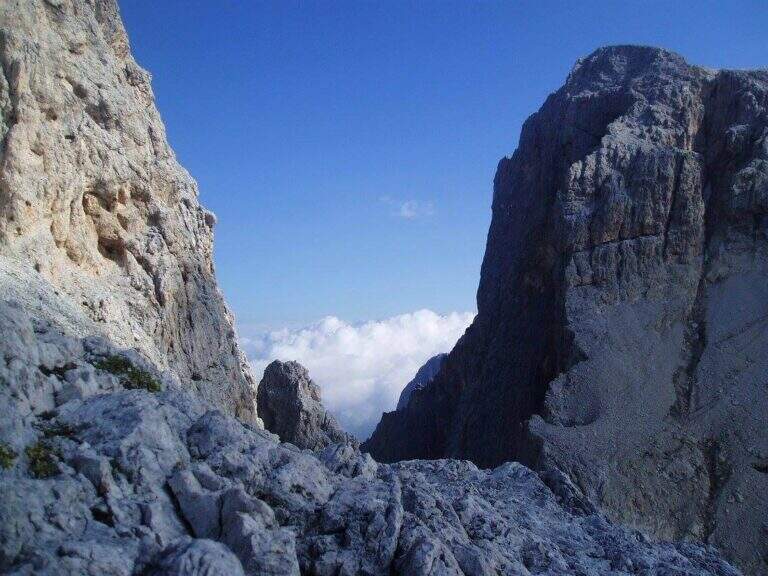
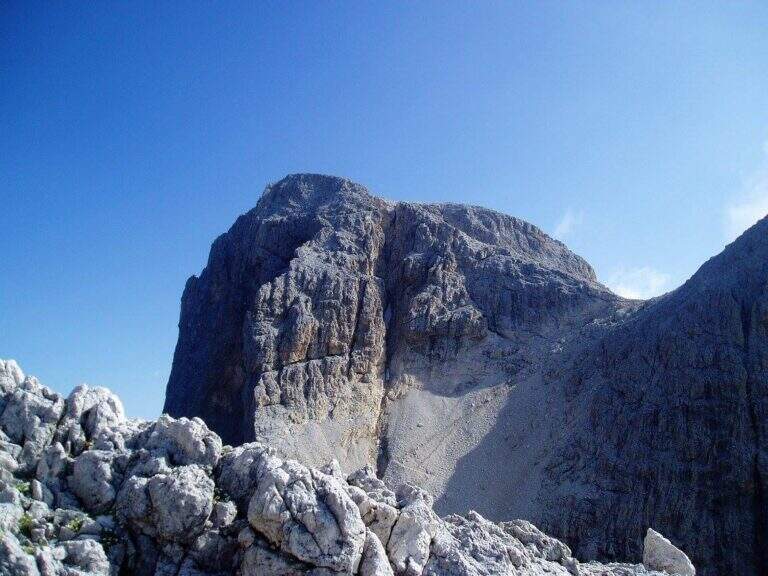
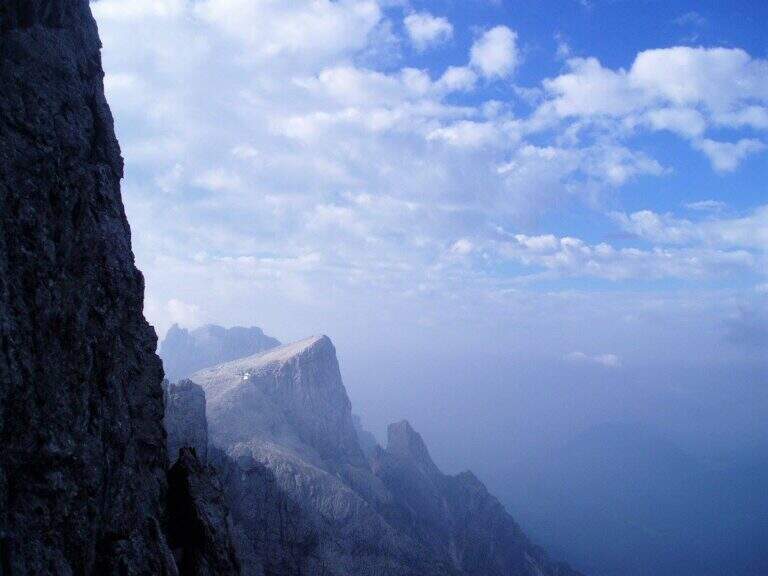
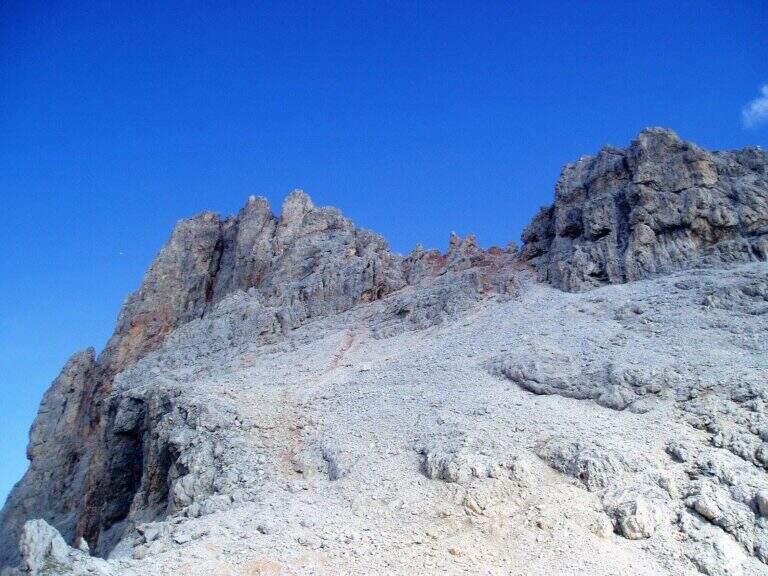
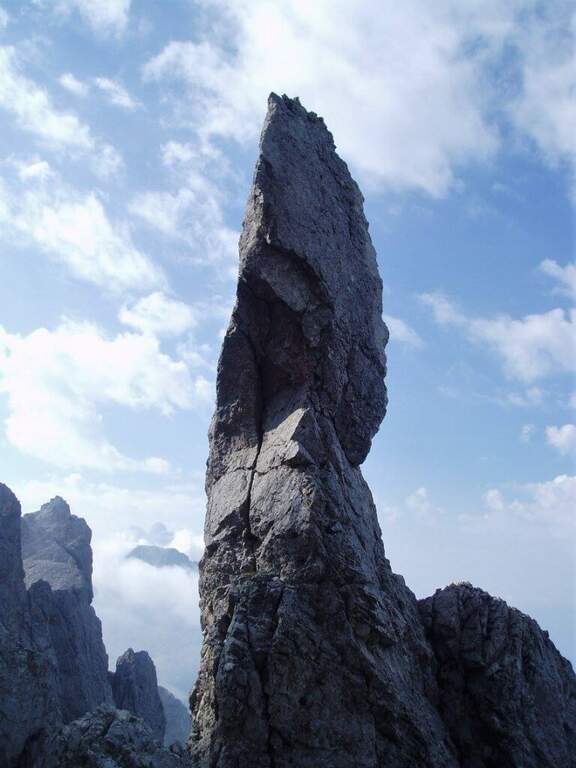
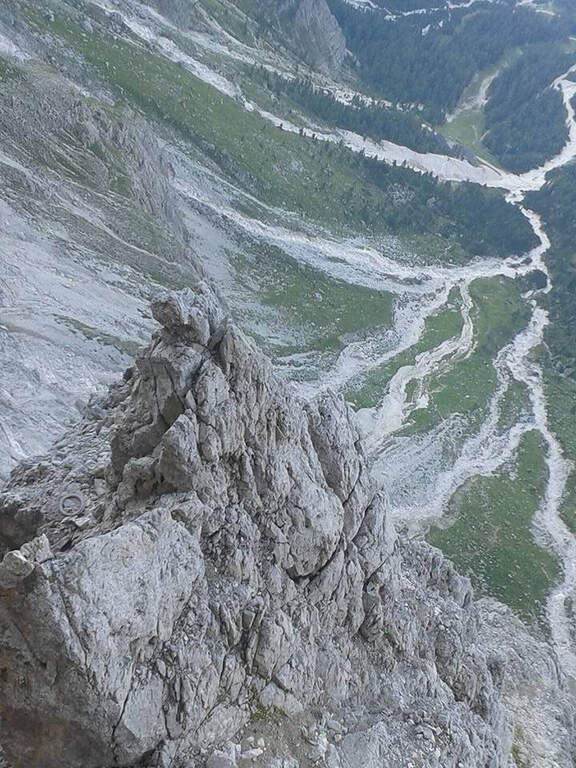
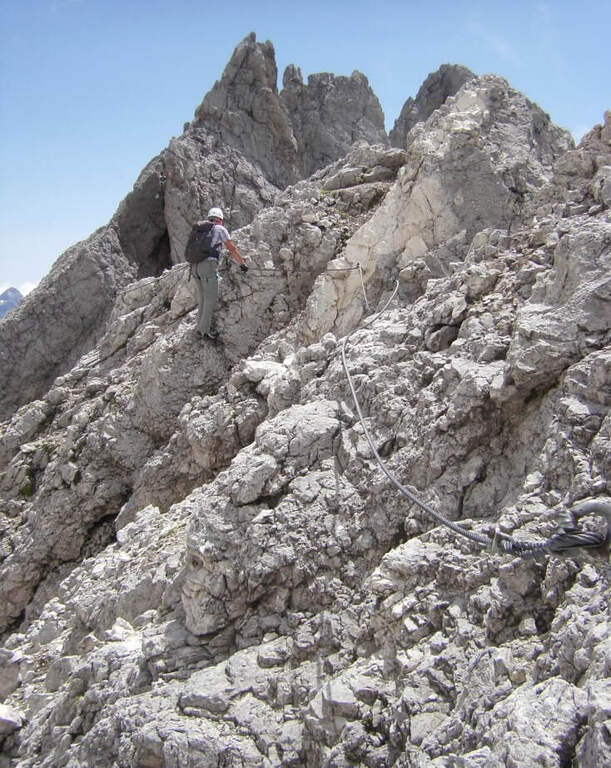
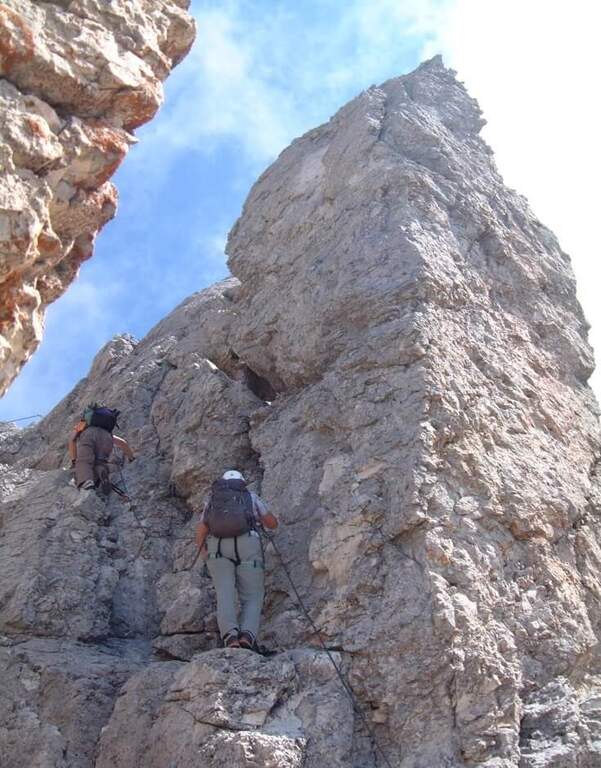
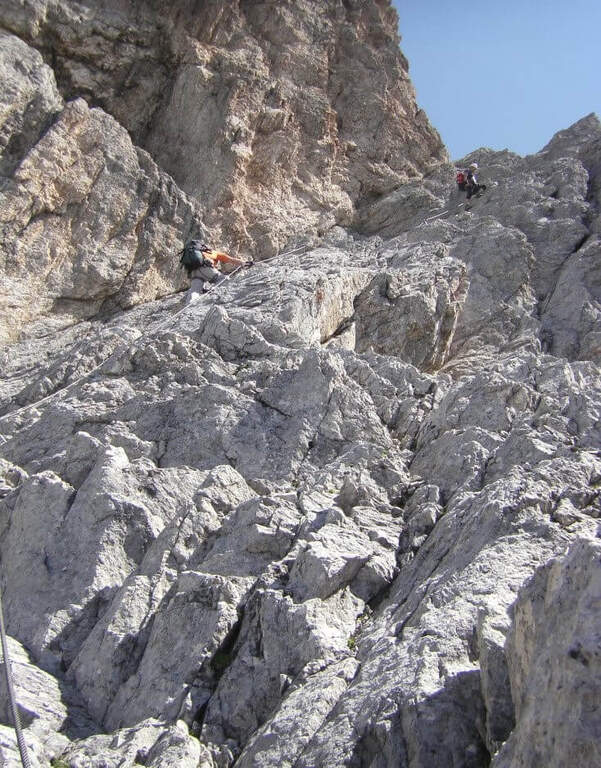
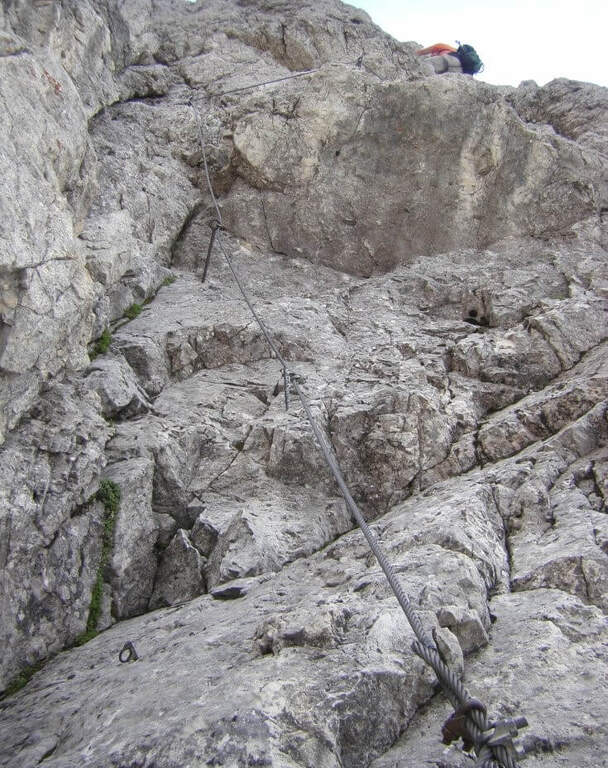
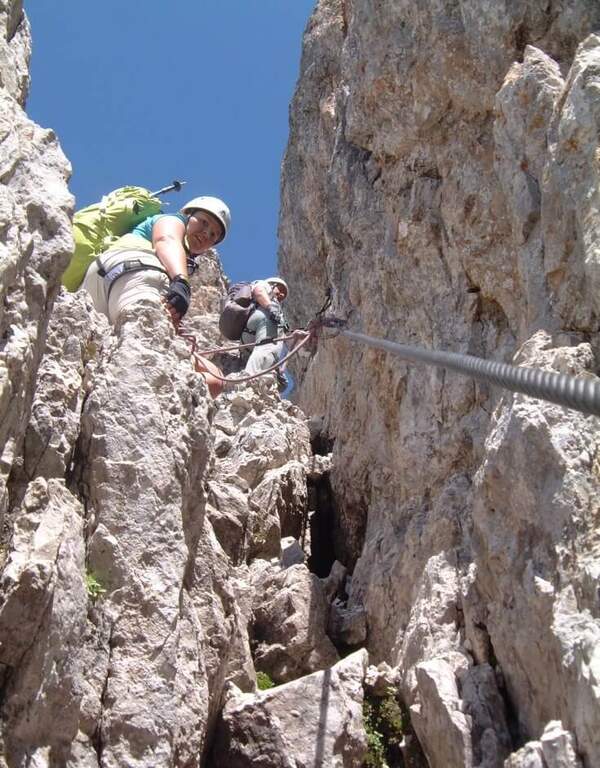
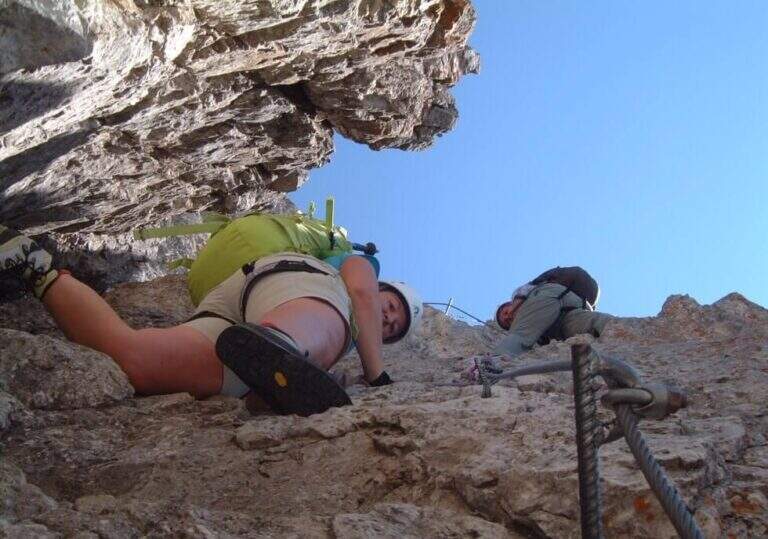
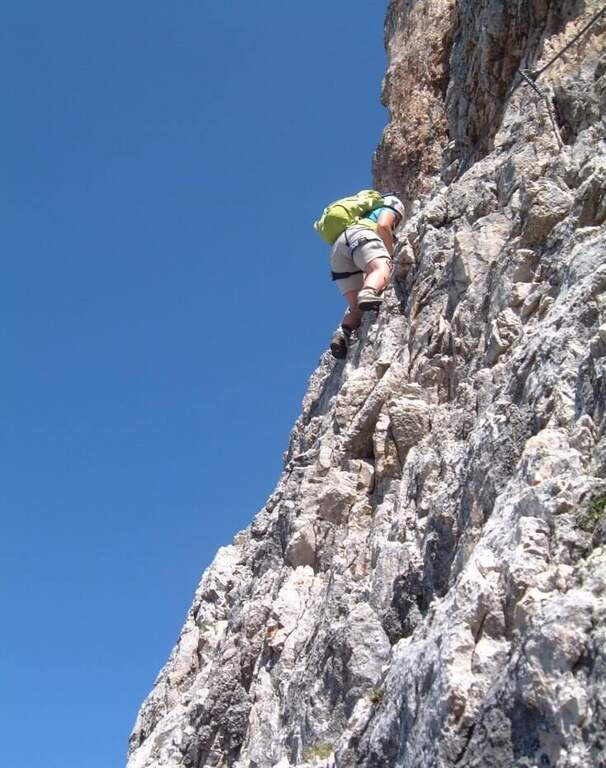
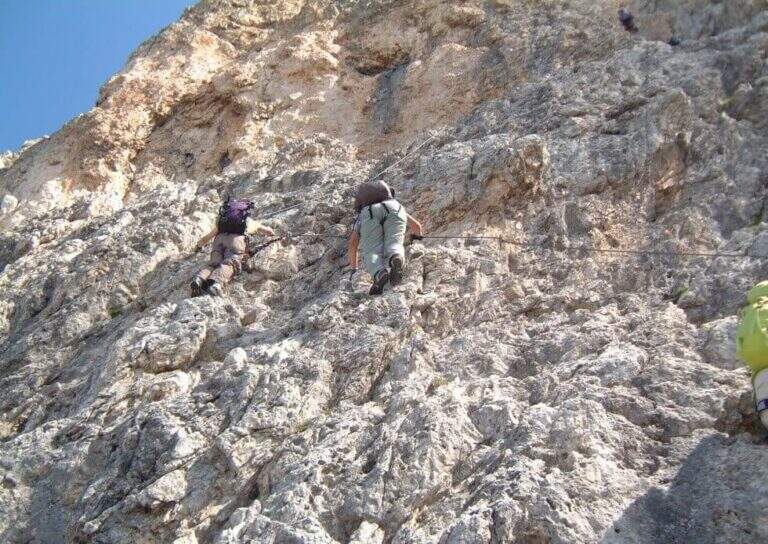
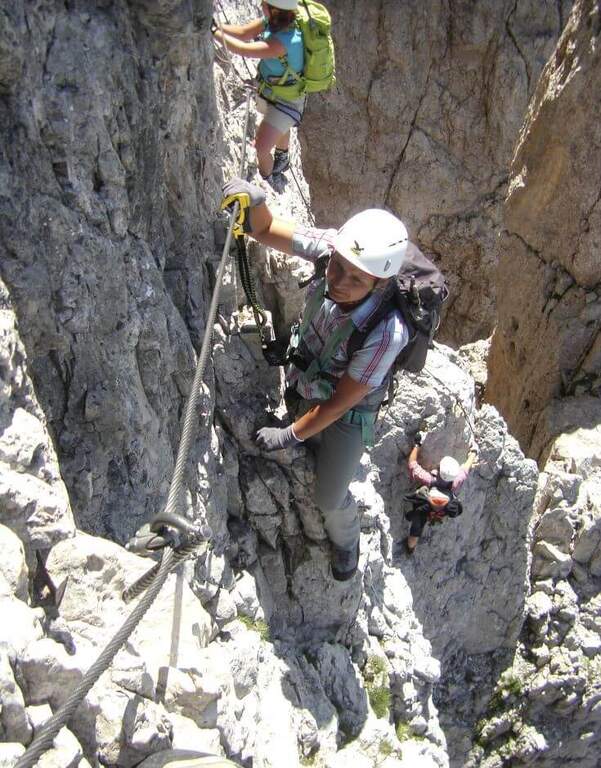
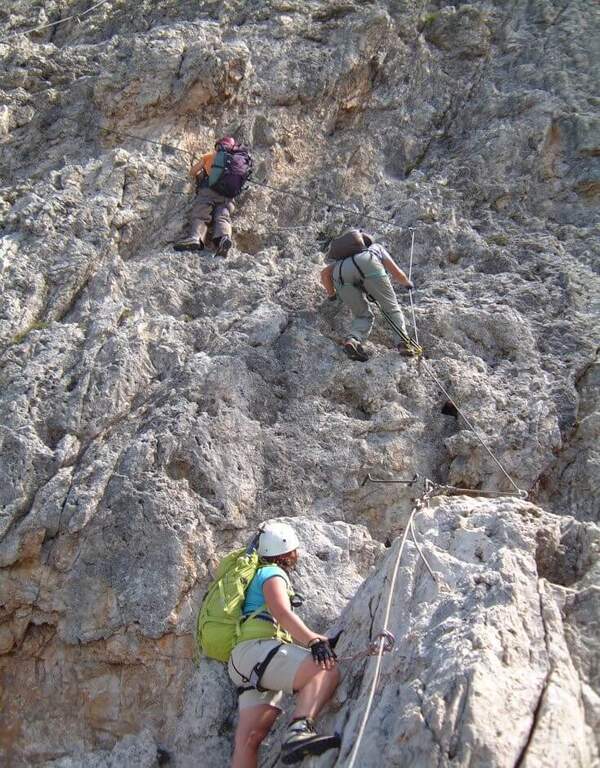
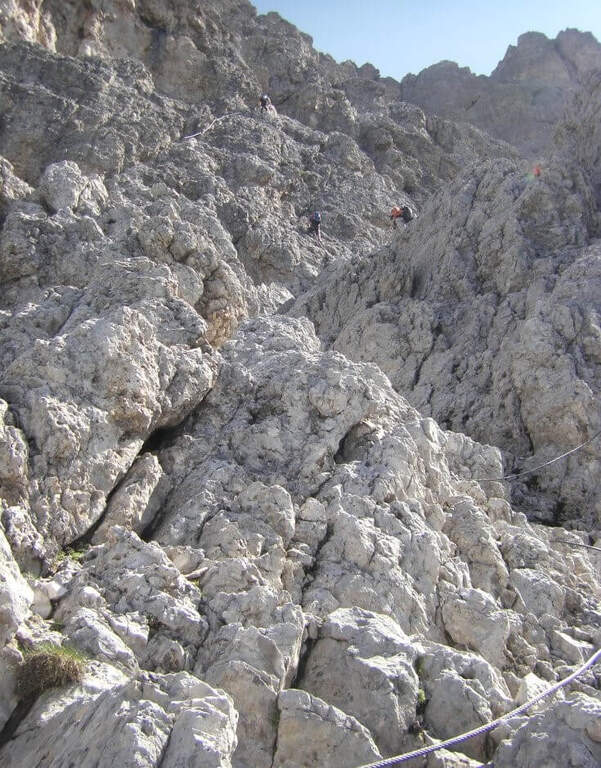
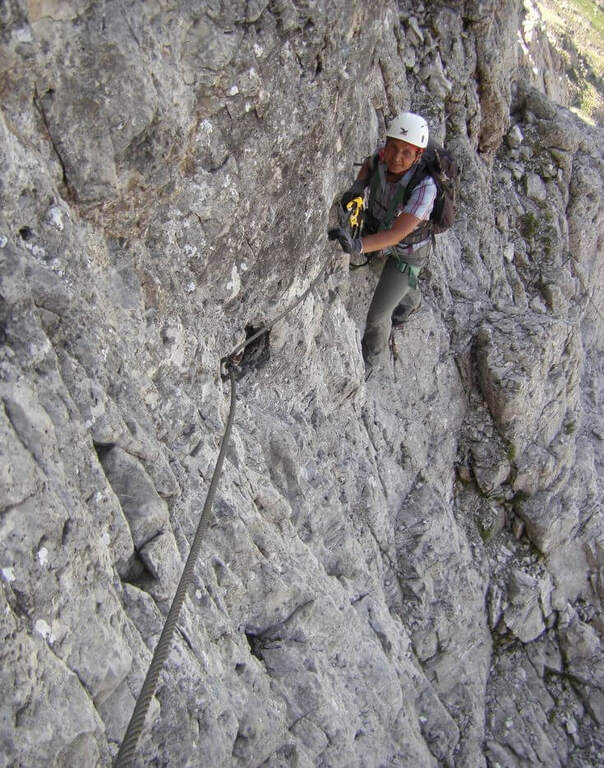
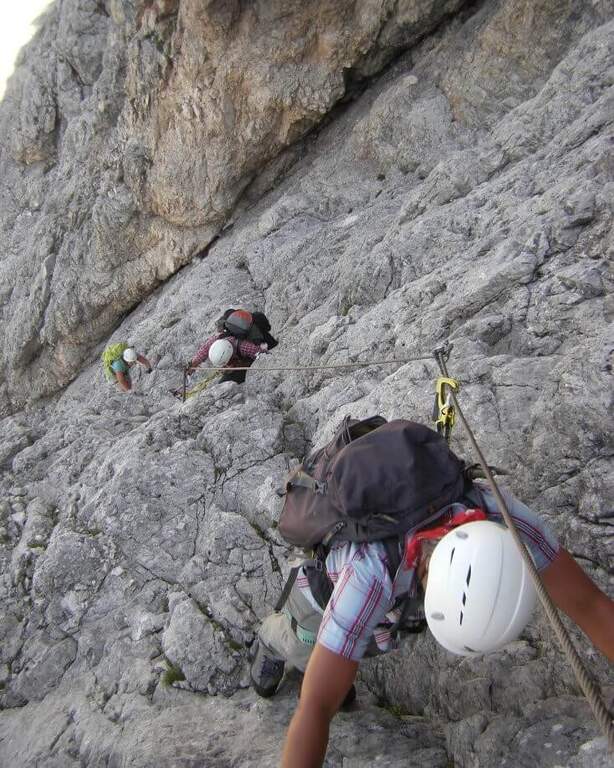
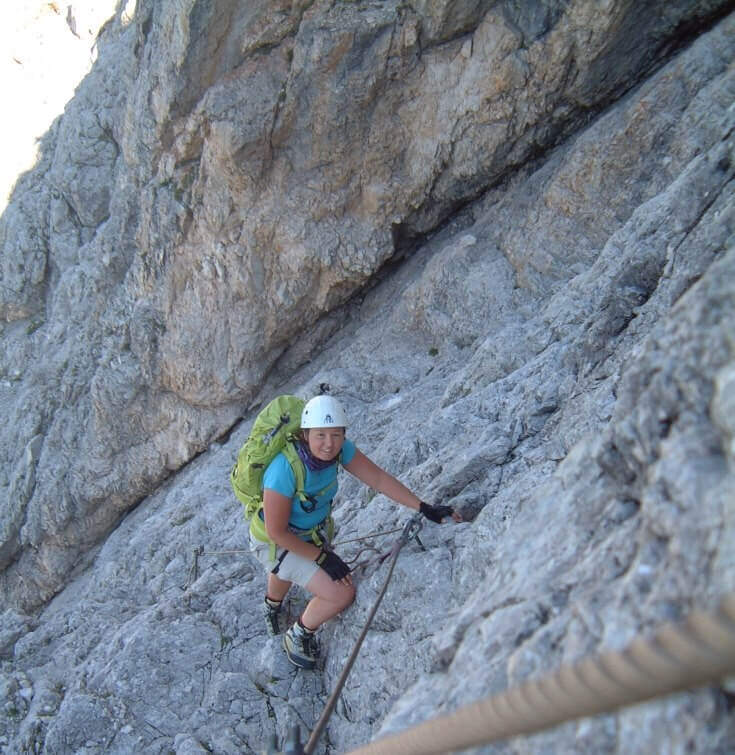
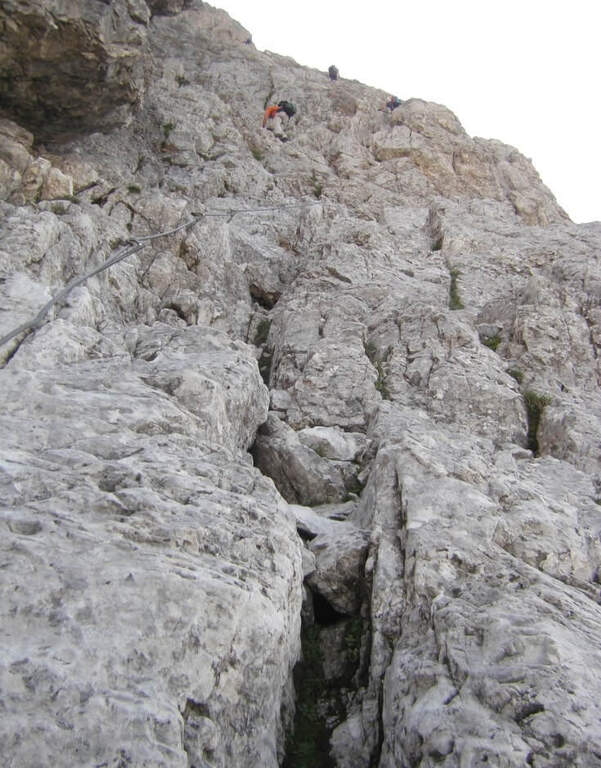
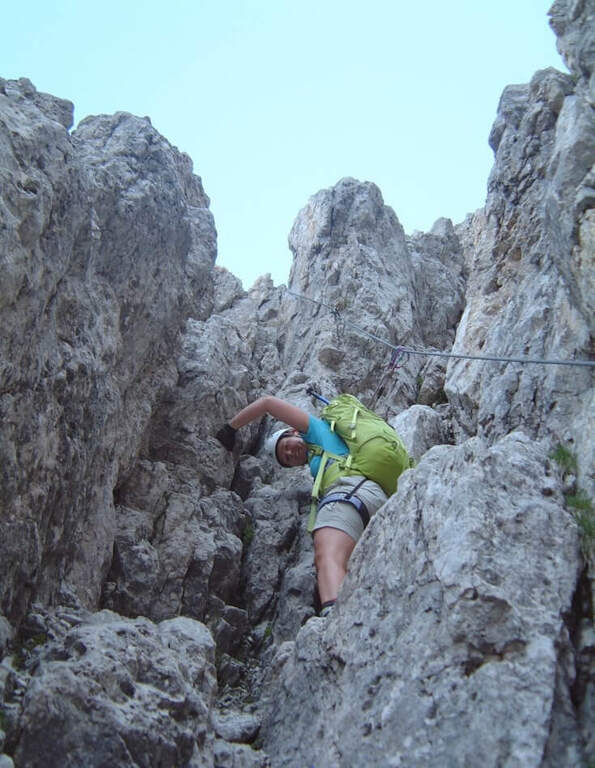
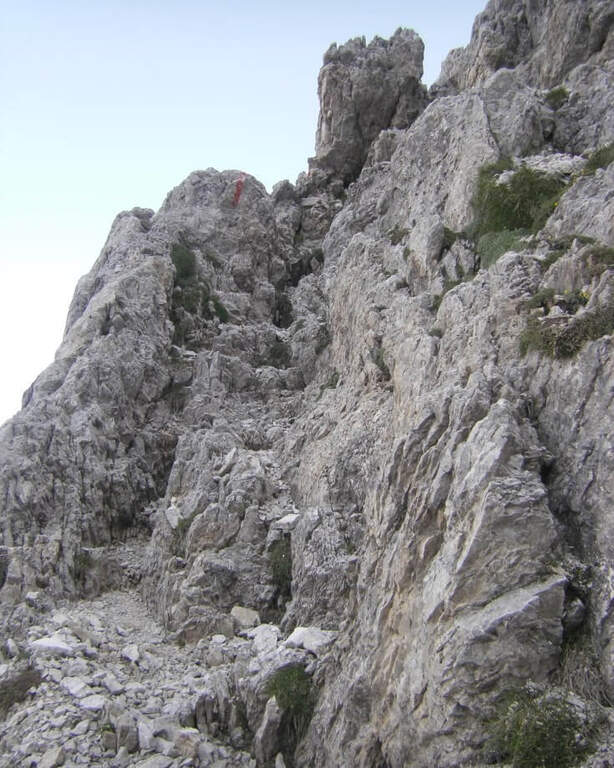
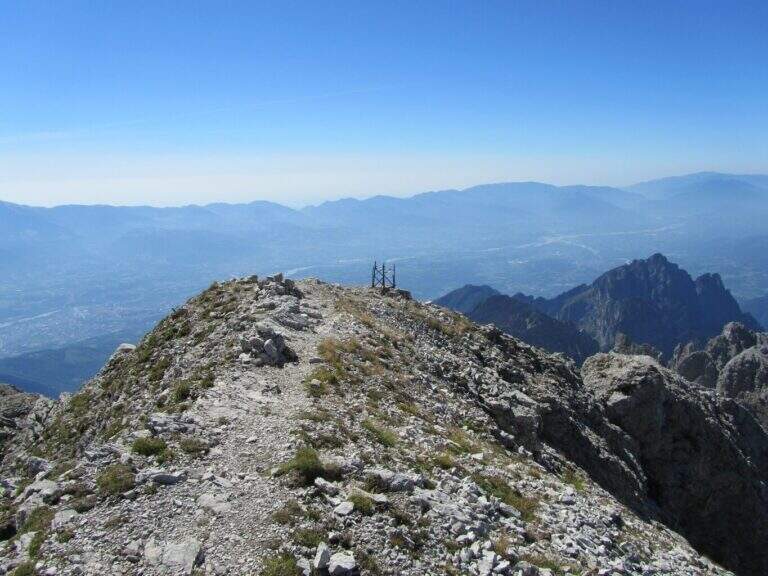
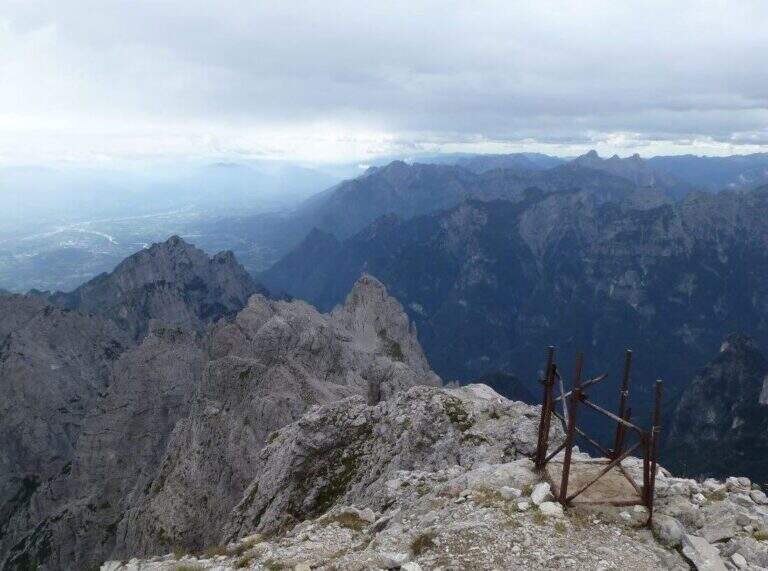
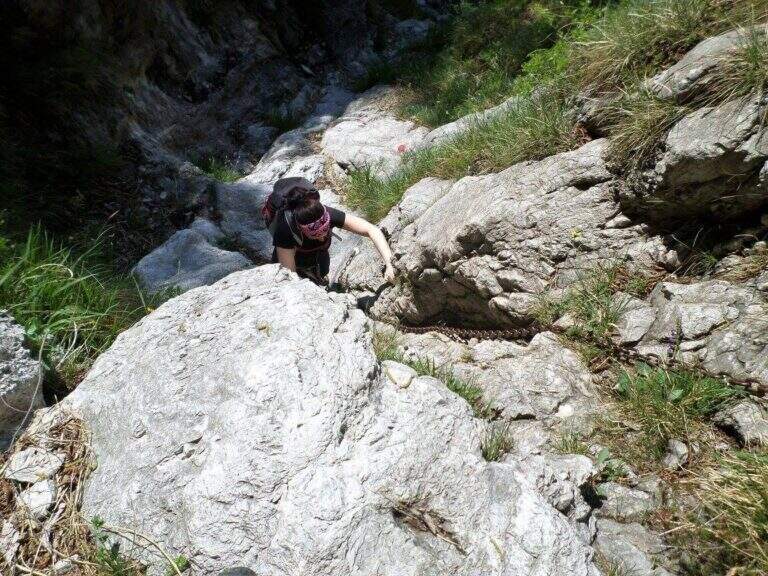
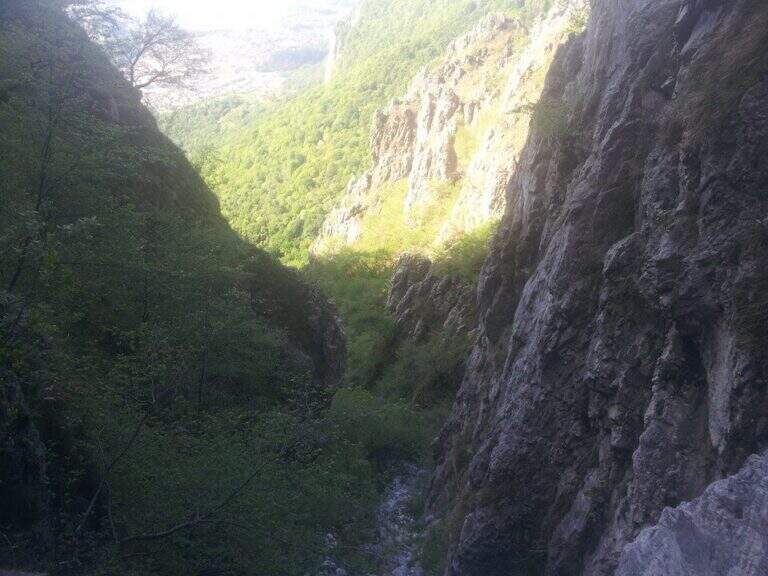
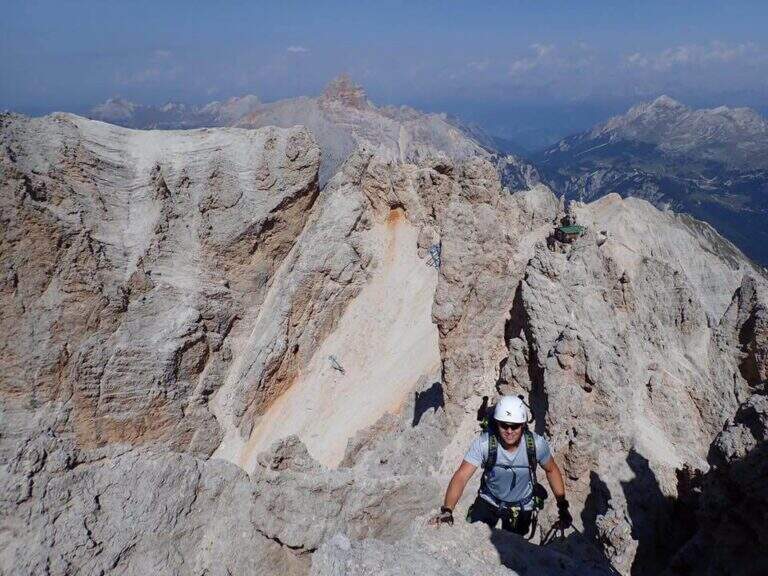
    The Ferrata Ivano Dibona is a wonderful ridge route on the Crystal Group. From Forcella Staunies runs through the entire ridge that descends to the Col dei Stombi, in a path of great landscape interest and rich in in indelible traces of the fighting of the Great War. The technical difficulties are not high, but some traits are exposed and above all the overall difference requires an excellent training.

    ▲Approach

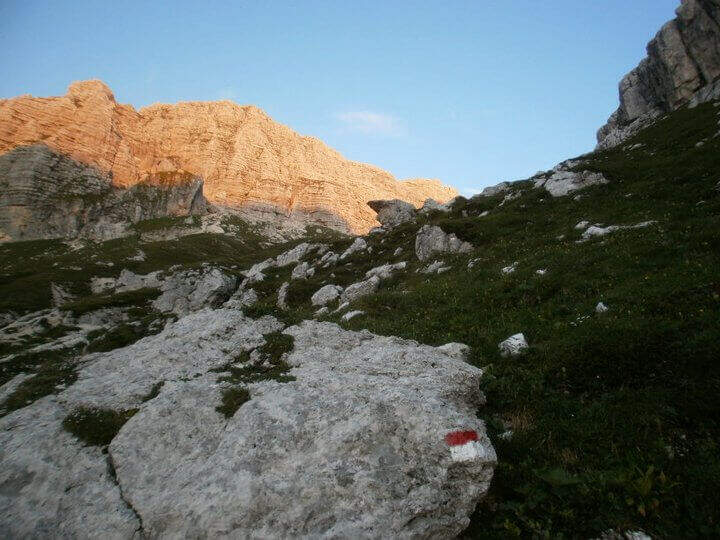
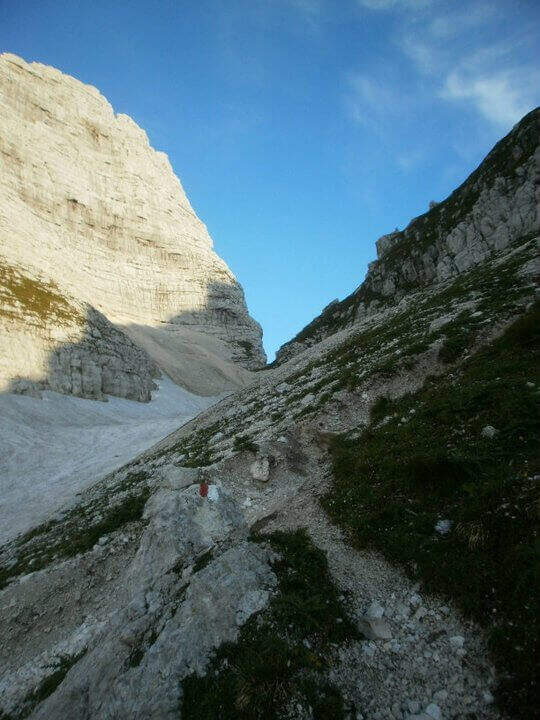
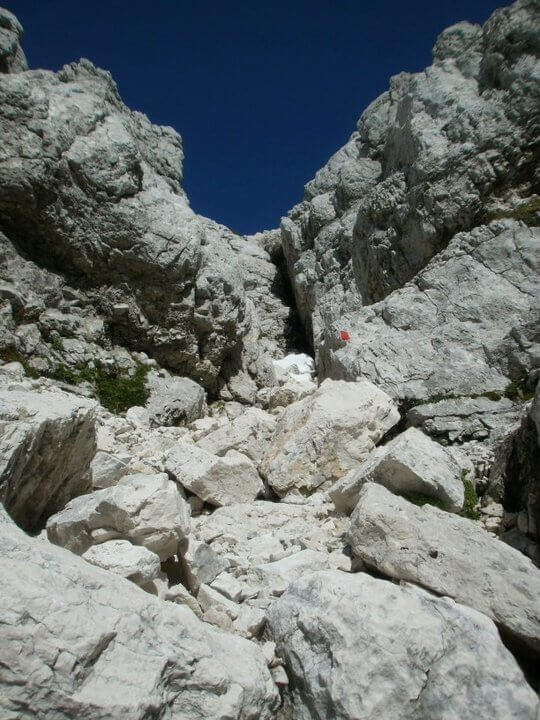
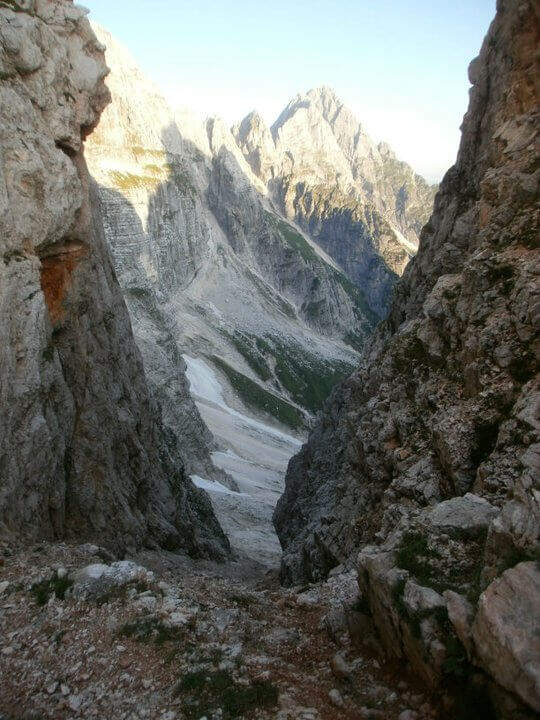
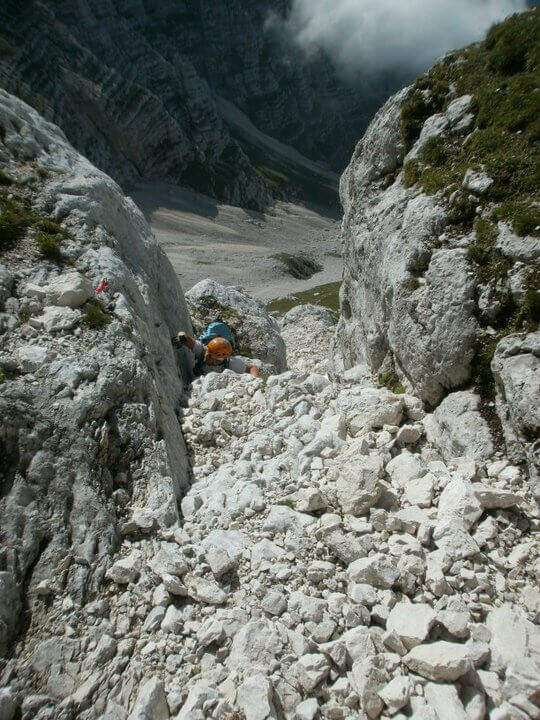
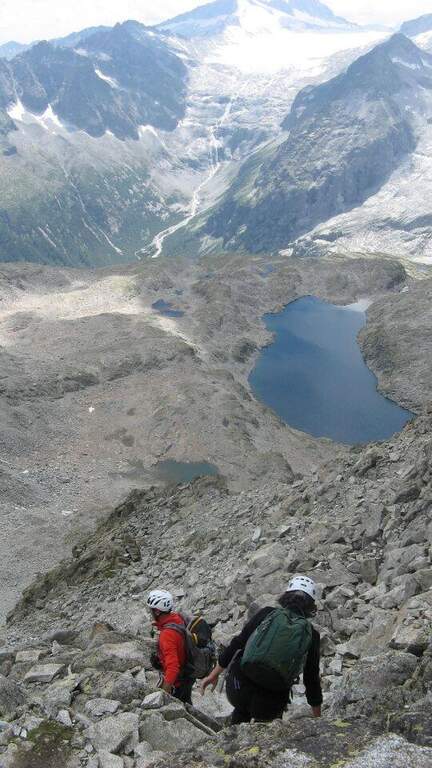
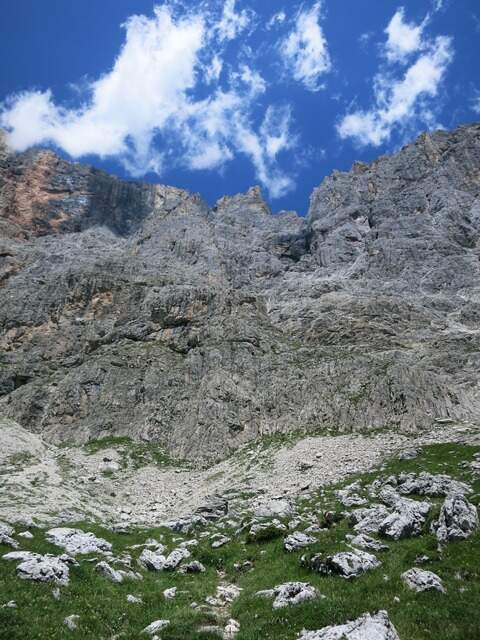
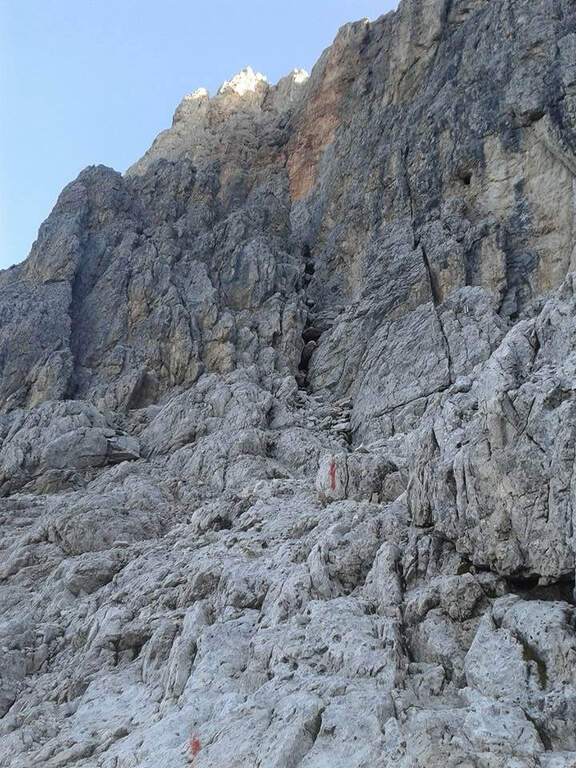
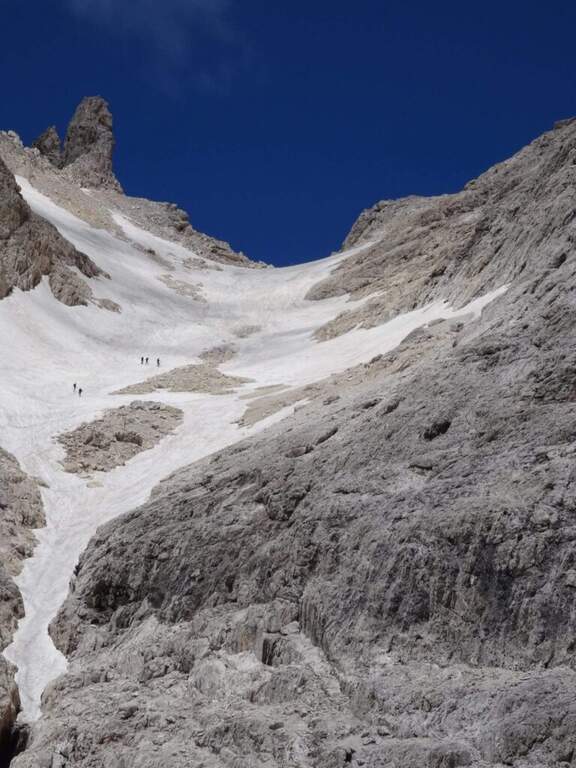
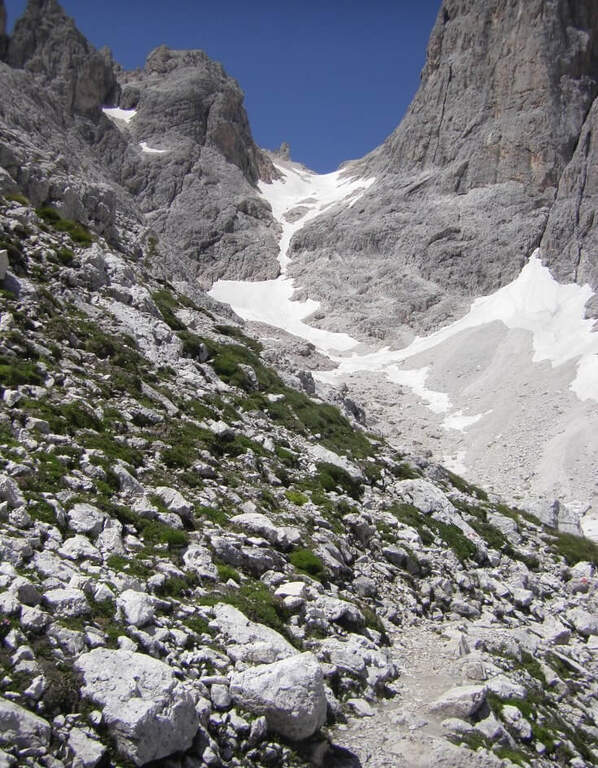
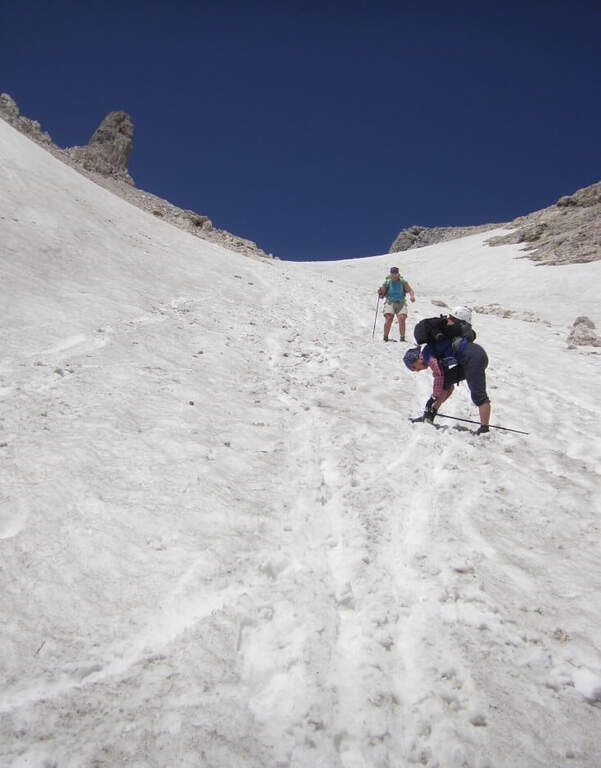
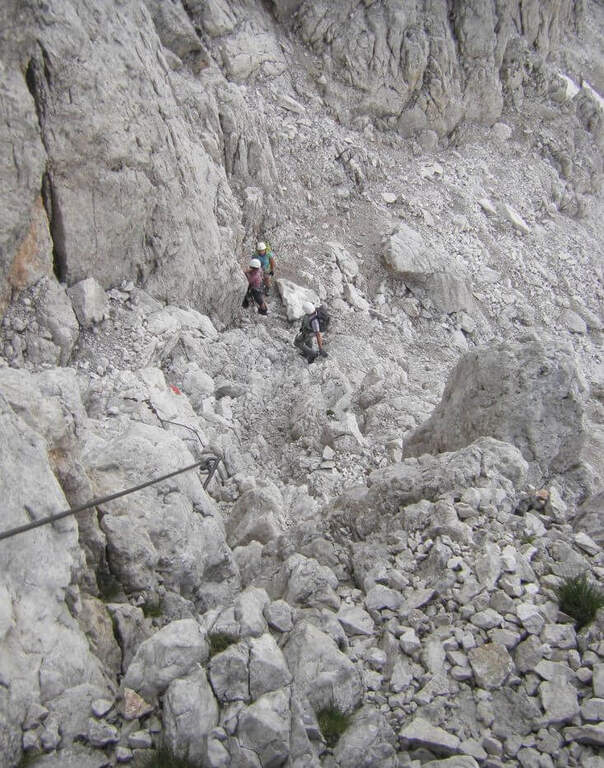
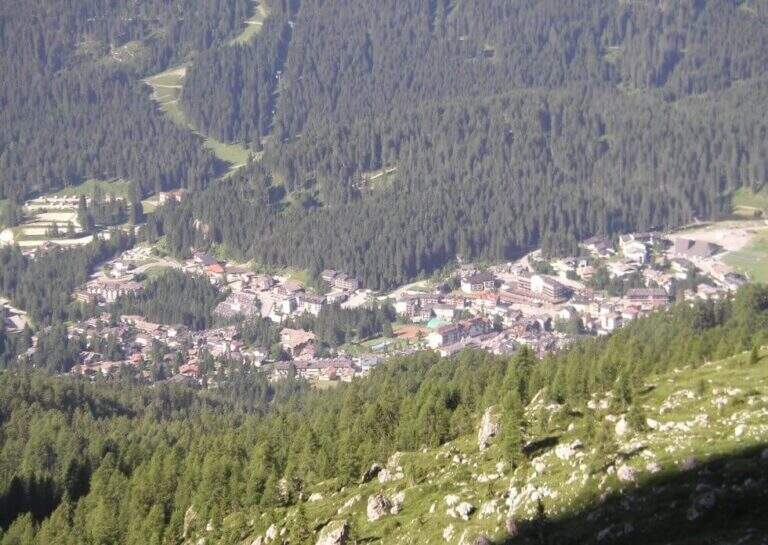
    Starting from the parking lot at the Restaurant Rio Gere, from which rises the chairlift that connects Rio Gere (1700 m) with the Son Forca Refuge (2215 m), along the road of the Passo delle Tre Croci that joins Cortina d’Ampezzo to Auronzo di Cadore, on the ampezzano slope (open up Google Maps). The attack is in Forcella Staunies (2932 m): from Rio Gere there are almost 1250 m of altitude, so it is highly recommended to use the chairlift up to the Son Forca Refuge. From here, dismantling the old bidonvia that climbed to the fork, the only solution is to climb up the detritic valley of the Gran Staunies, a steep channel and on unstable gravel bottom to deal with carefully, taking into account at least 2 hours from the end of the chairlift.

    ▲The path

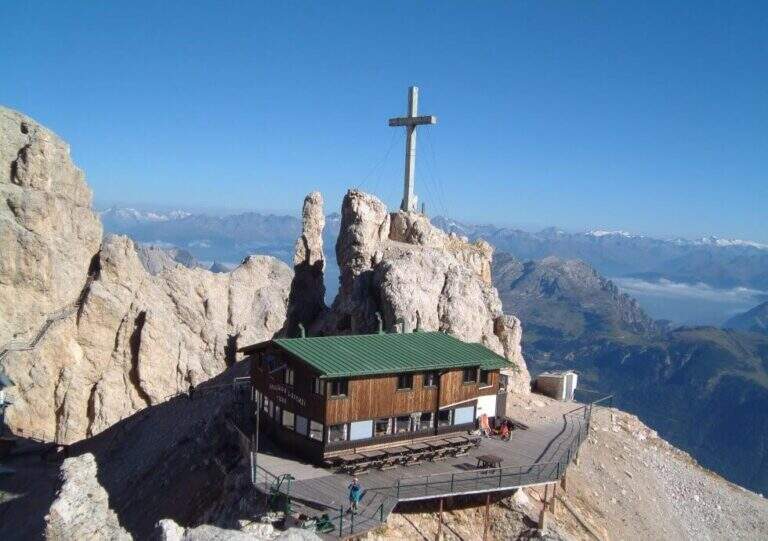
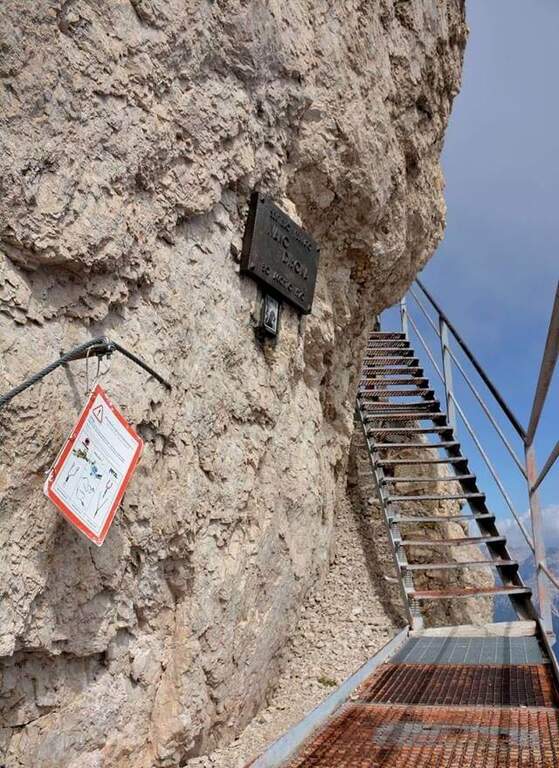
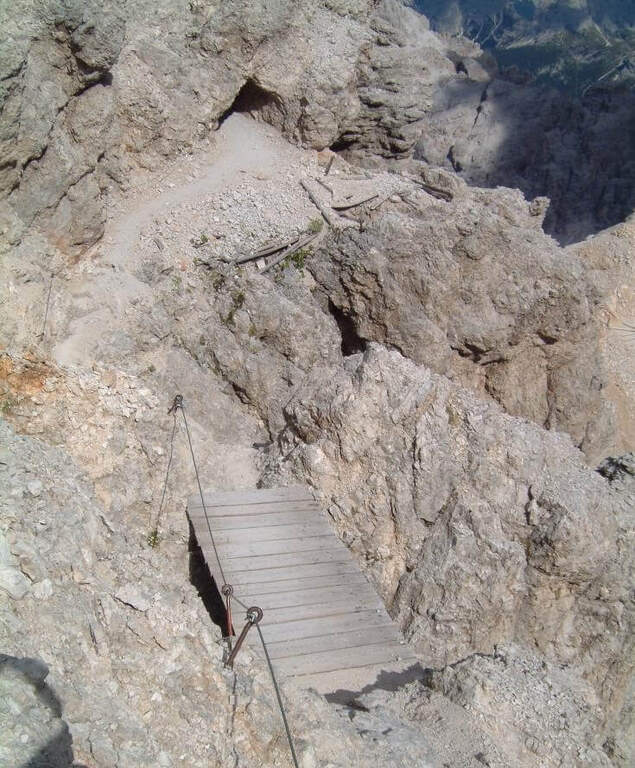
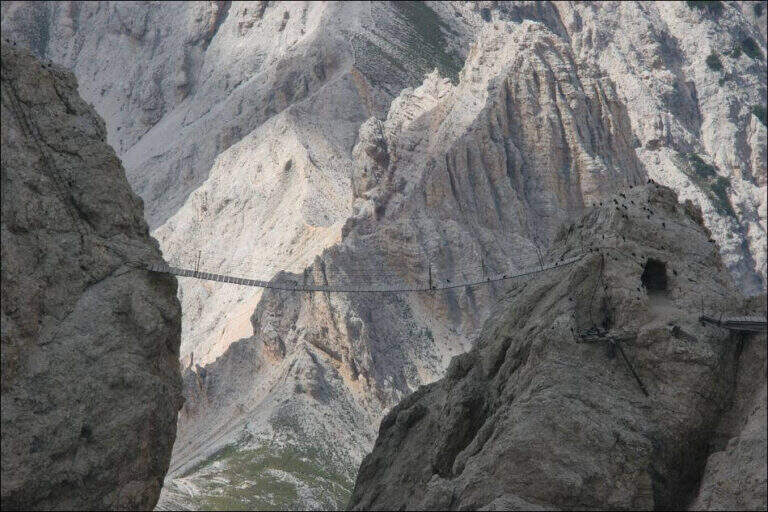
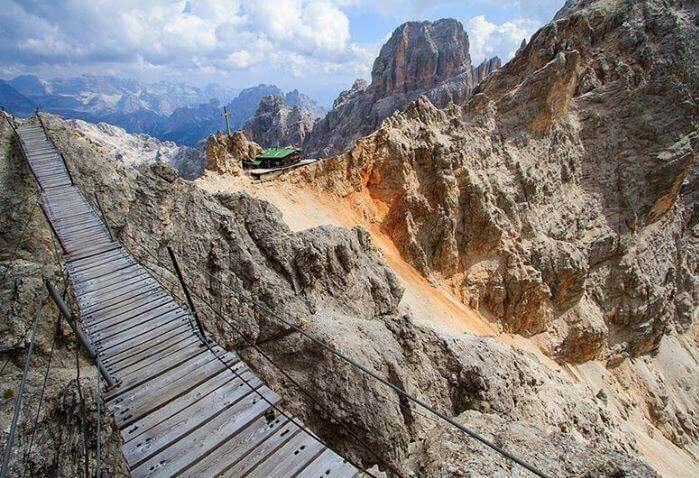
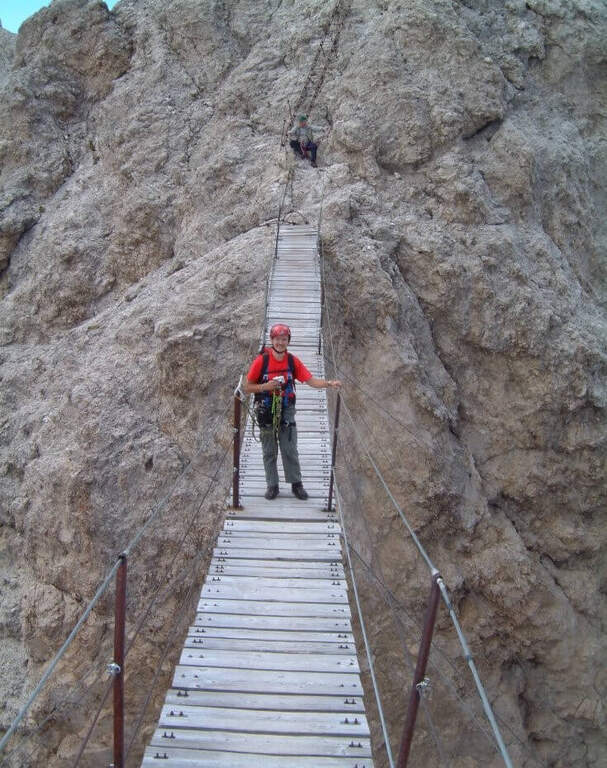
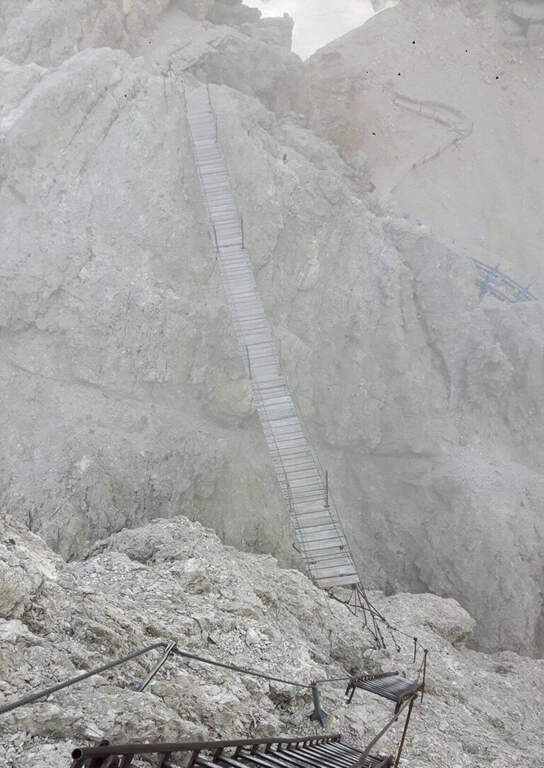
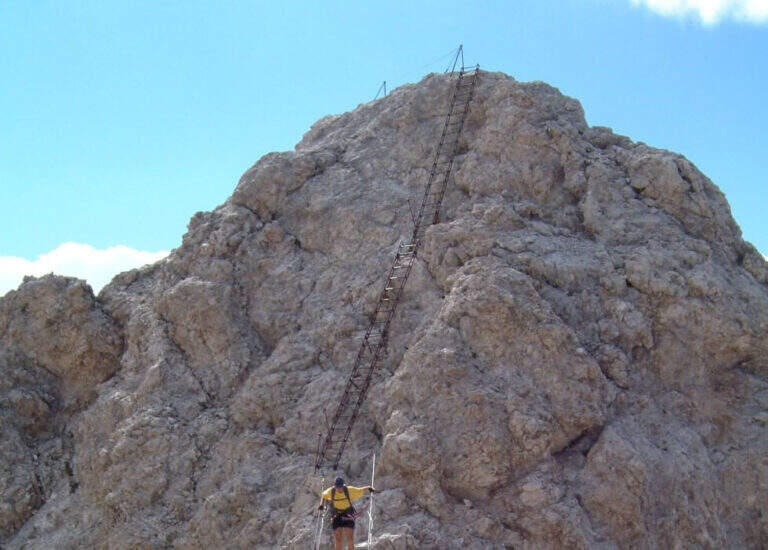
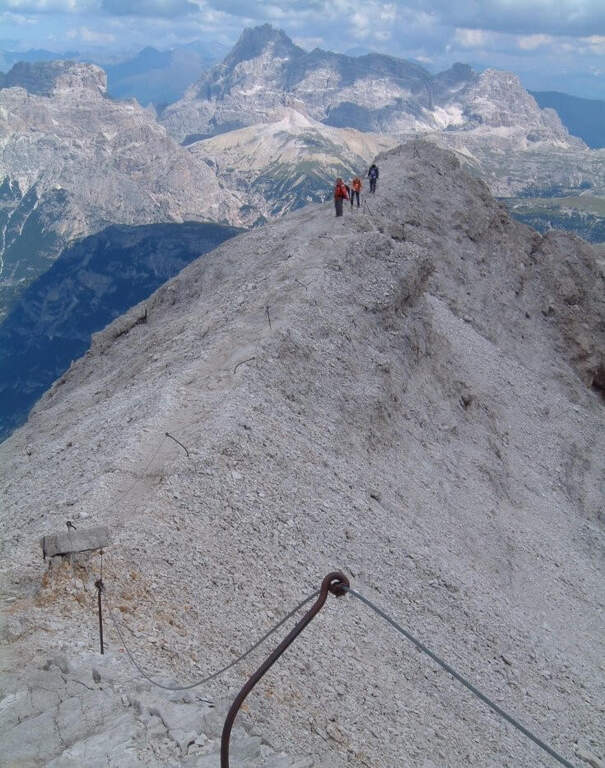
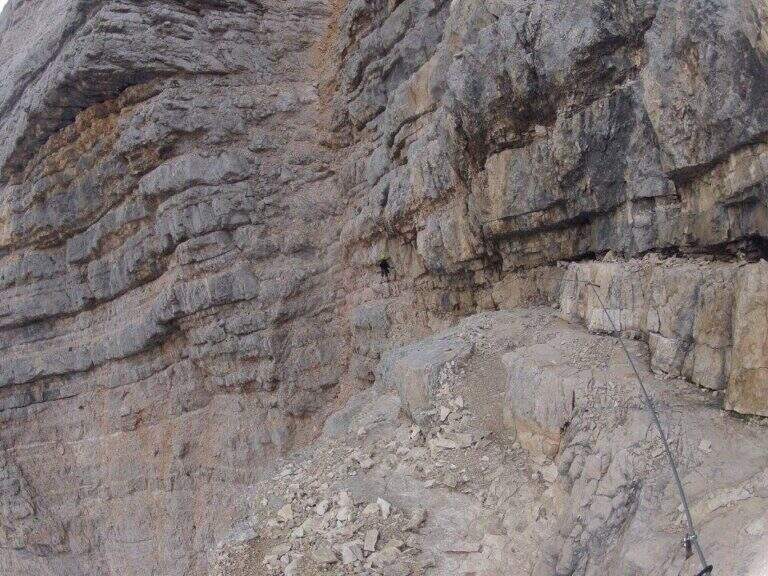
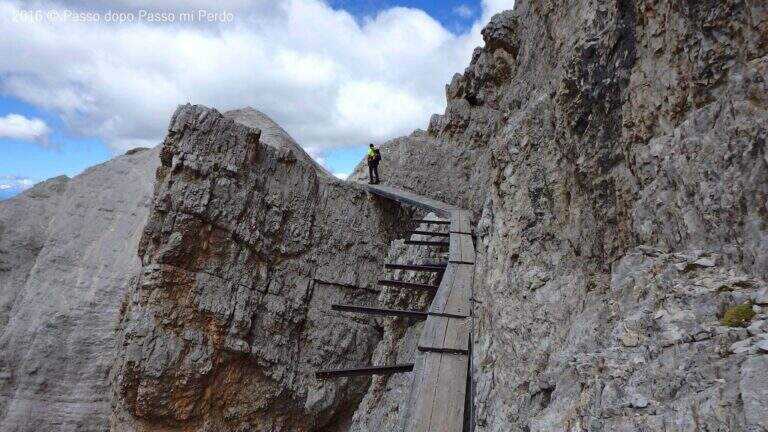
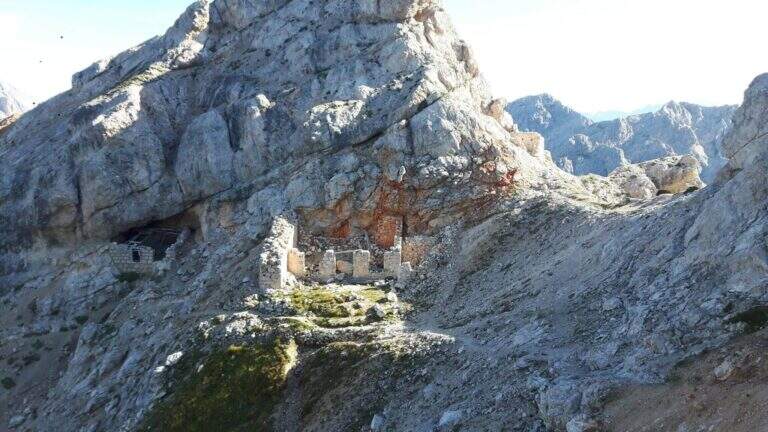
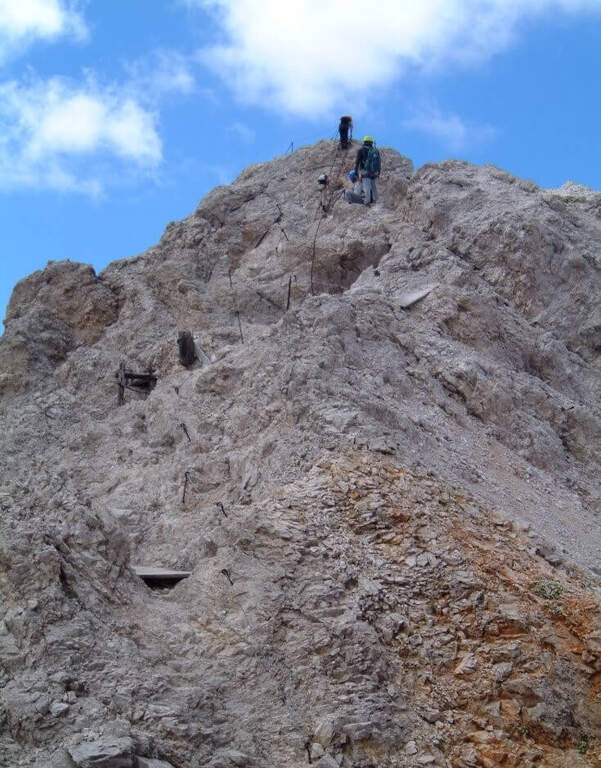
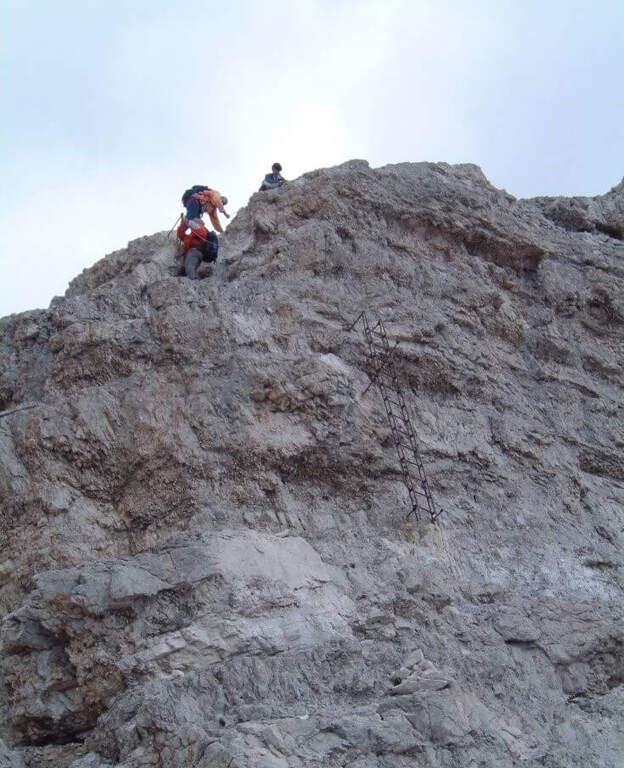
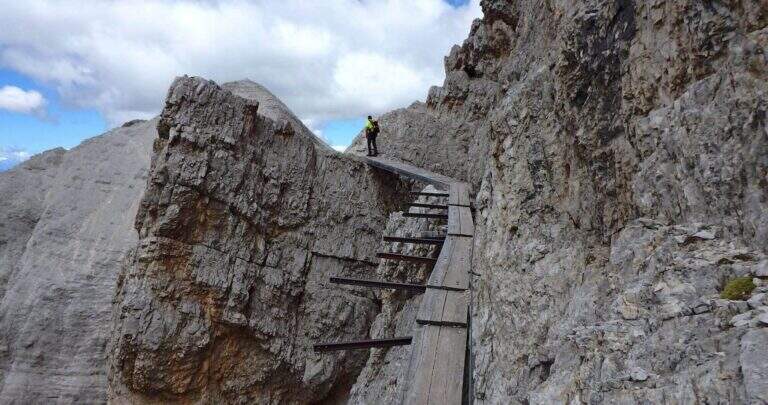
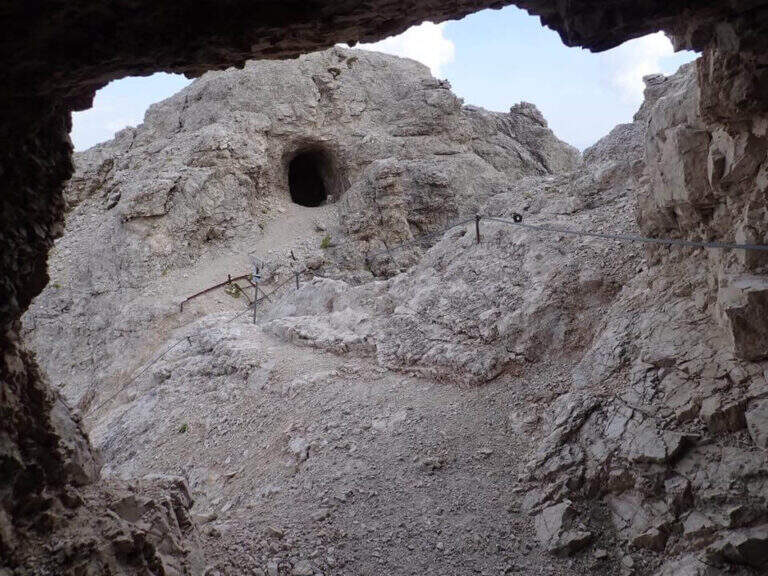
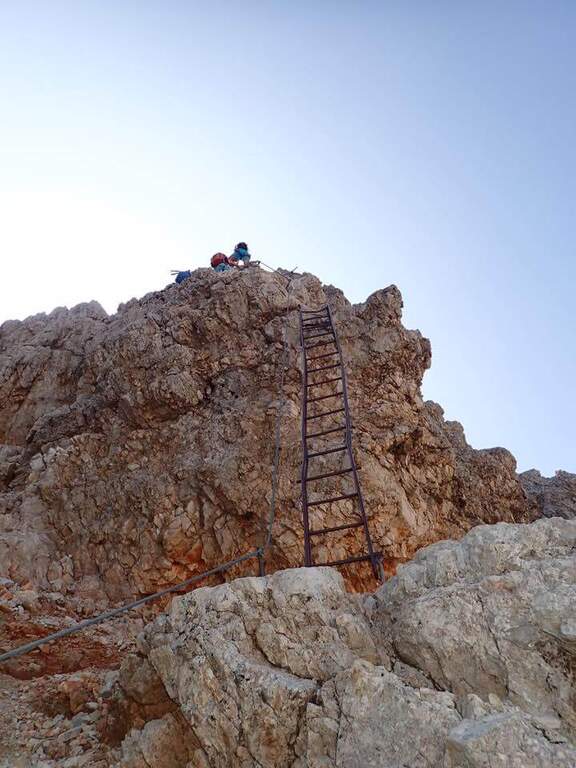
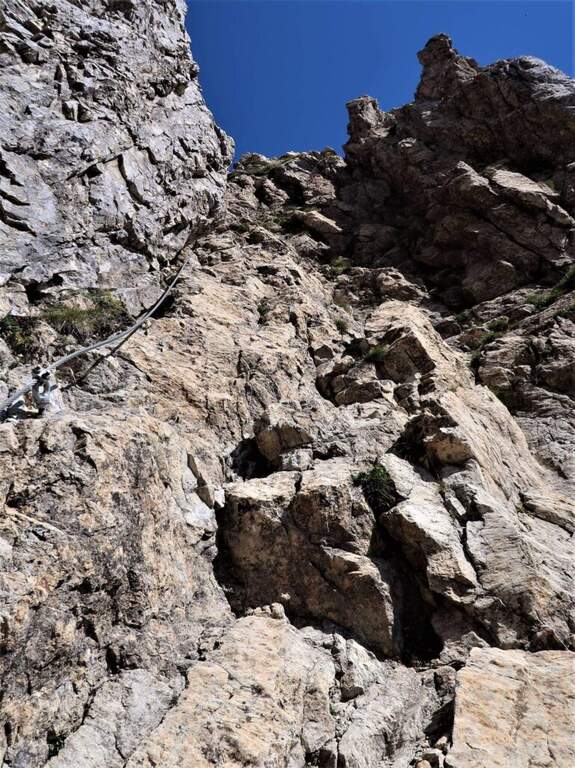
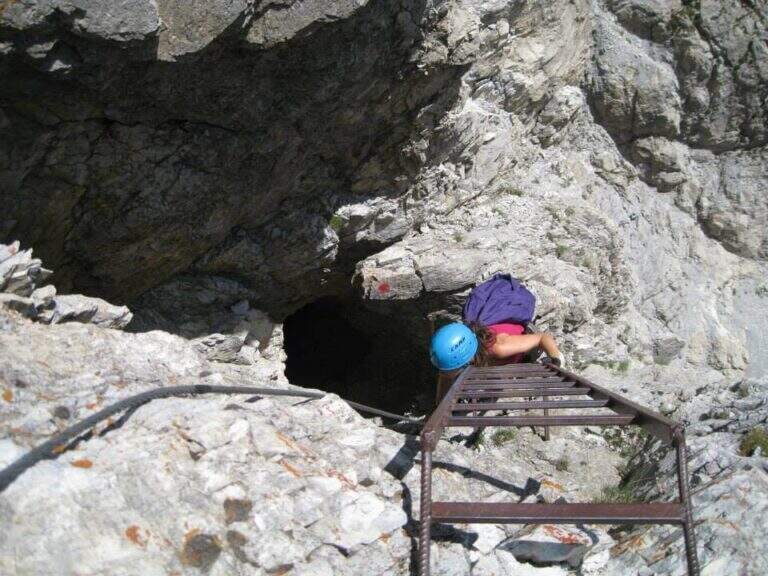
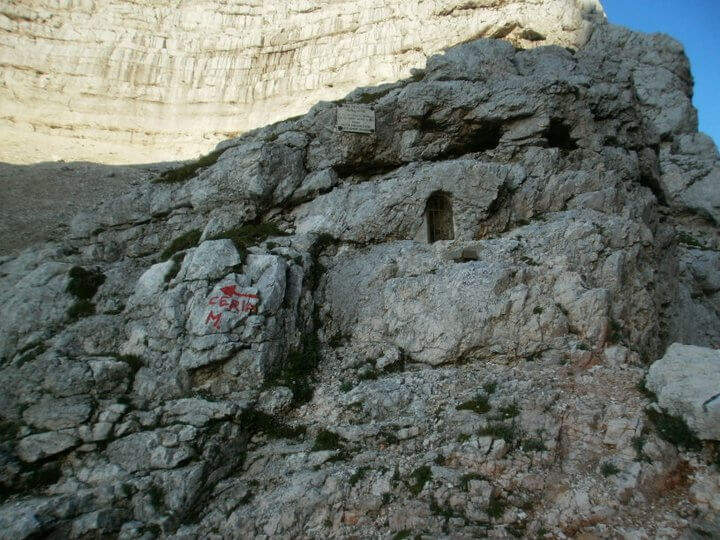
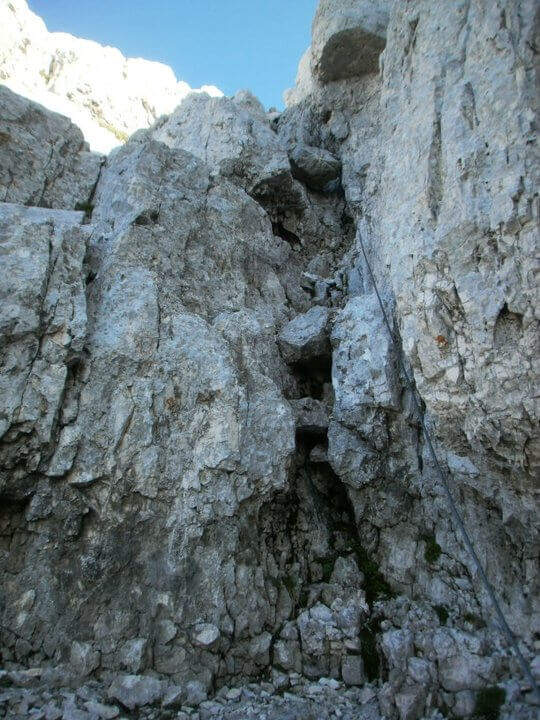
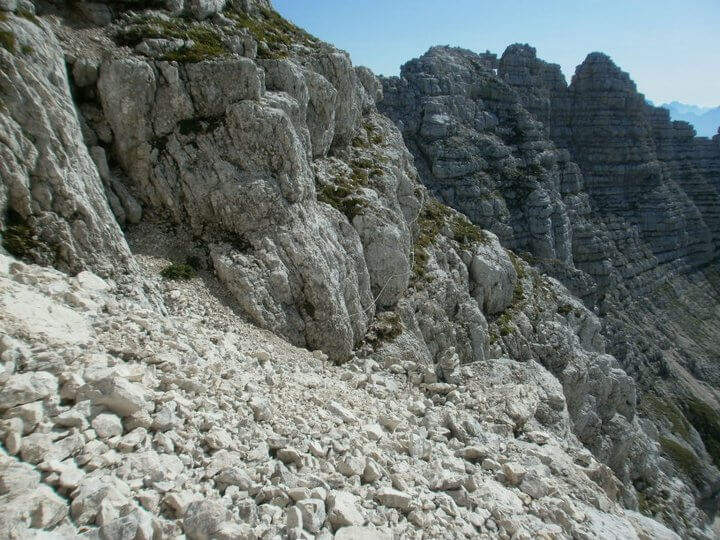
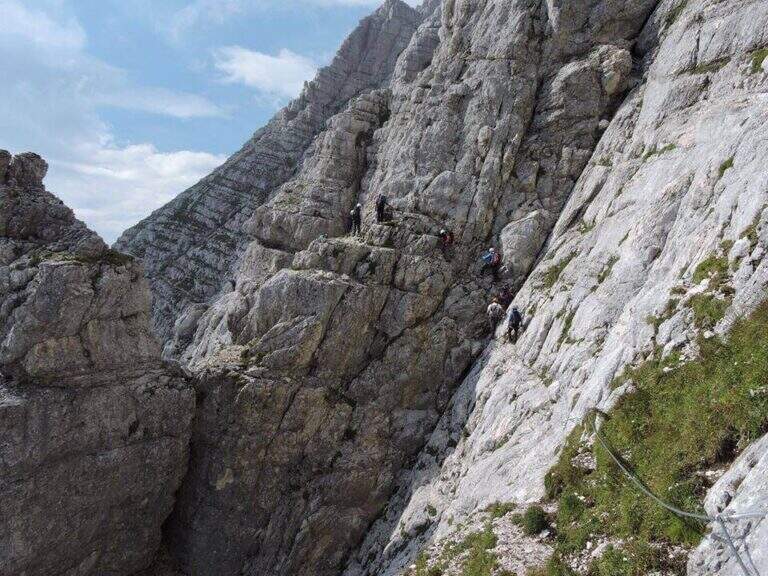
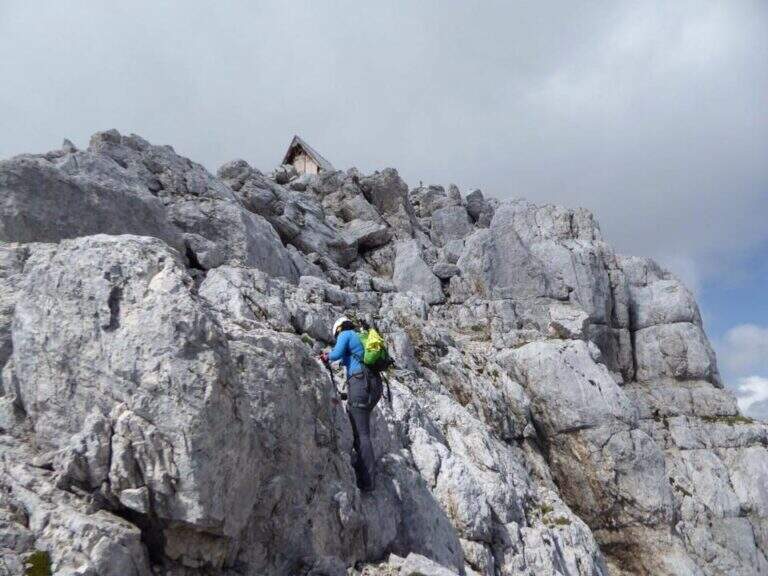
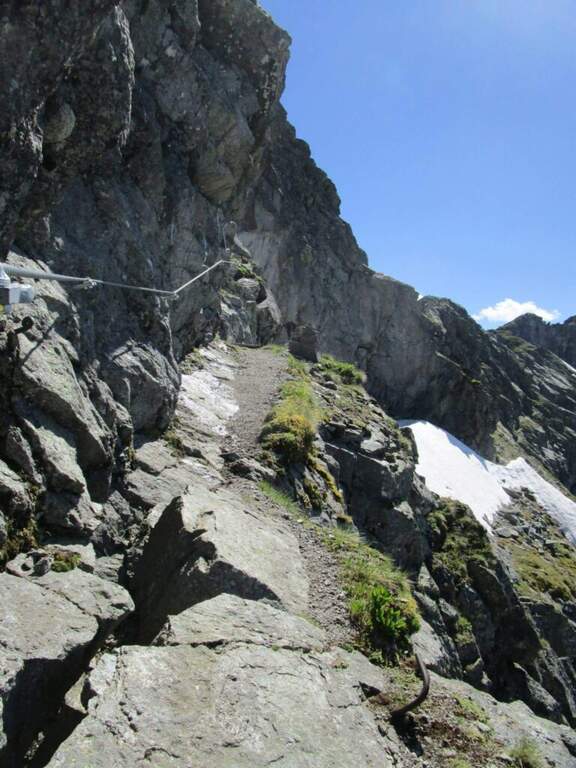
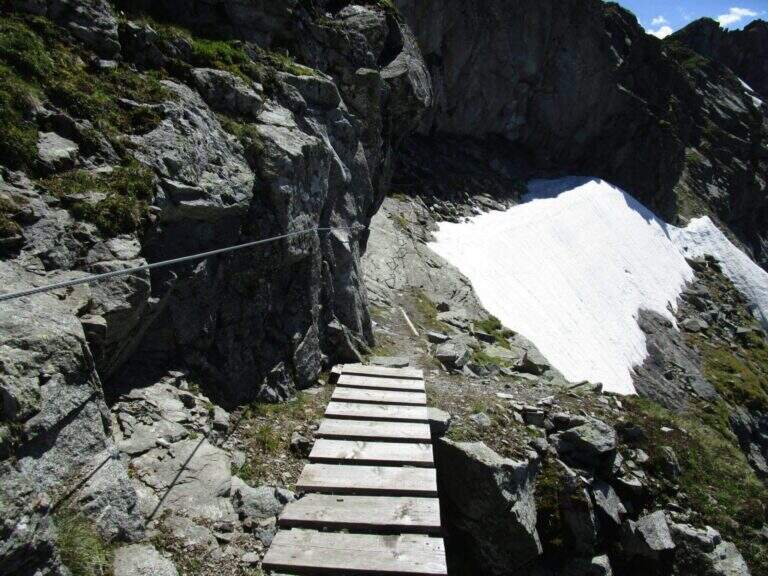
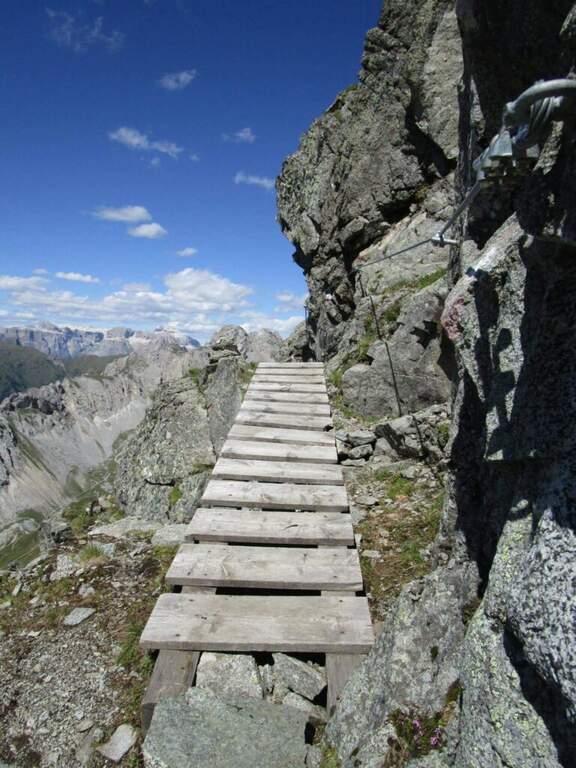
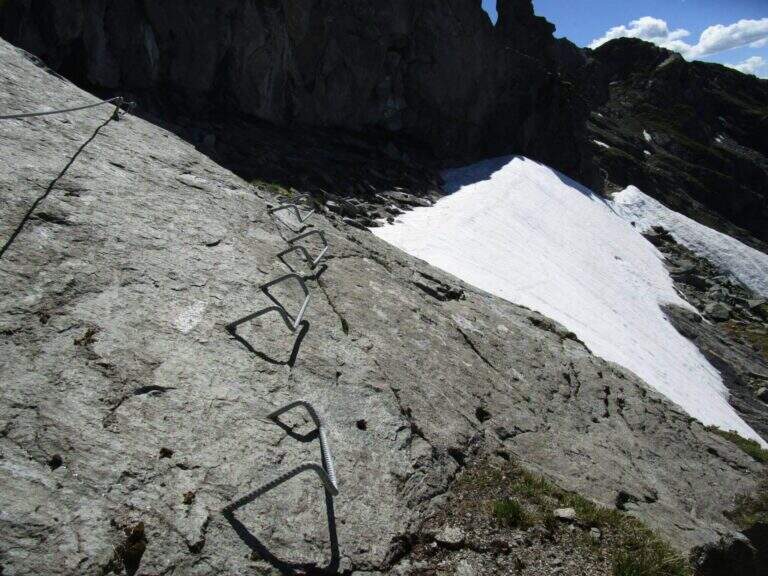
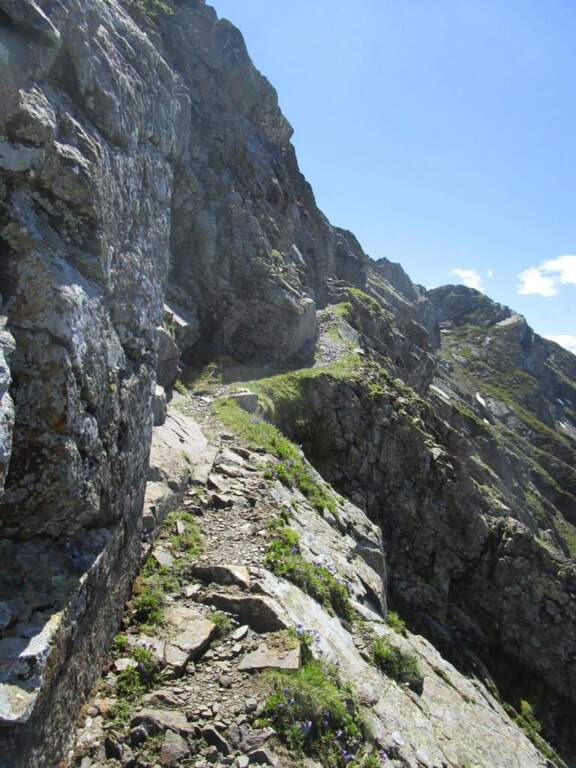
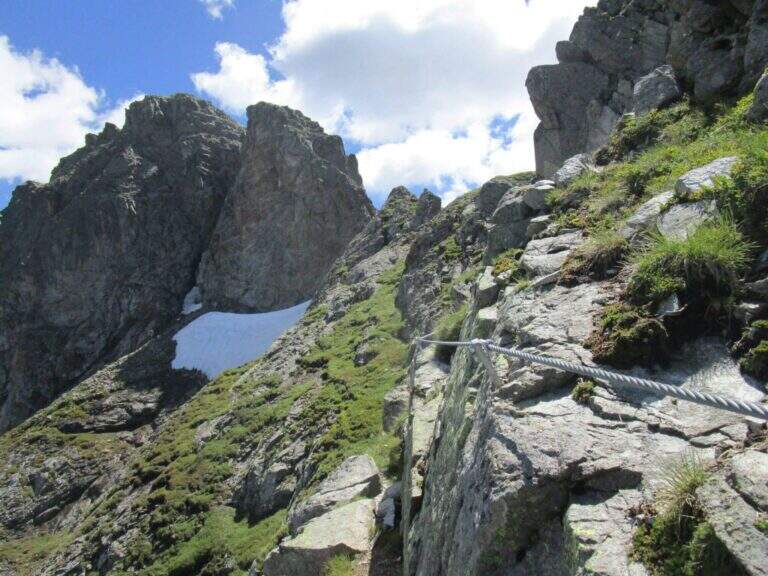
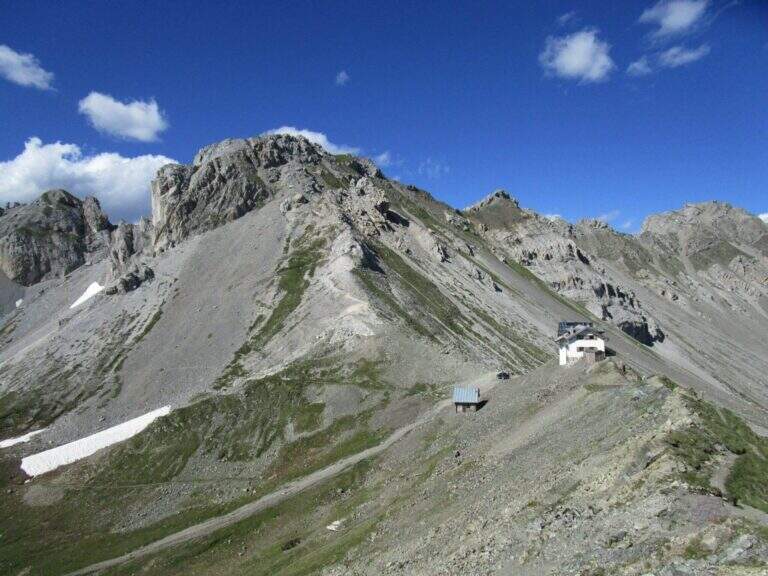
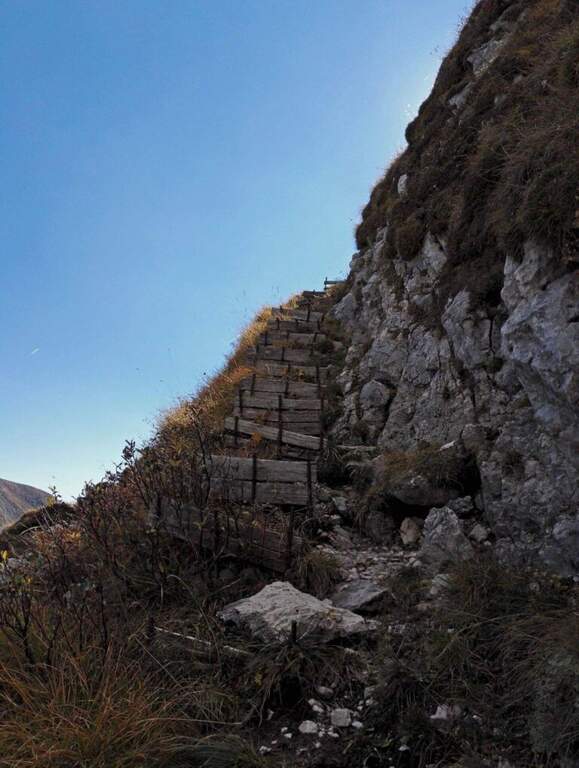
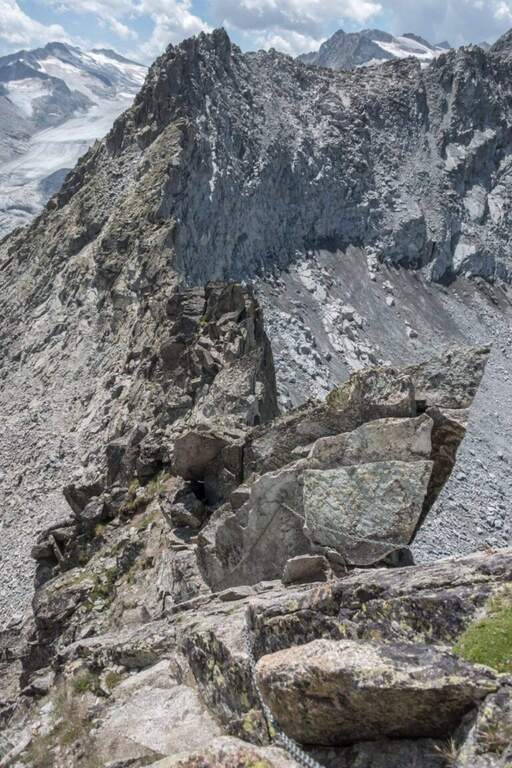
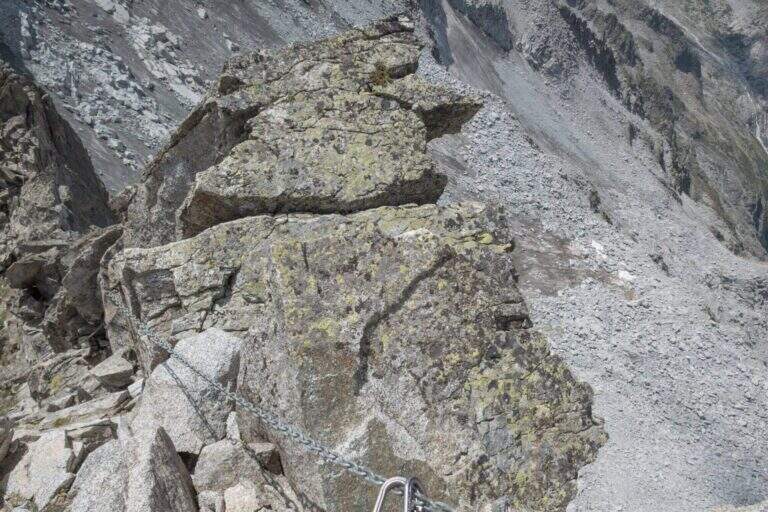
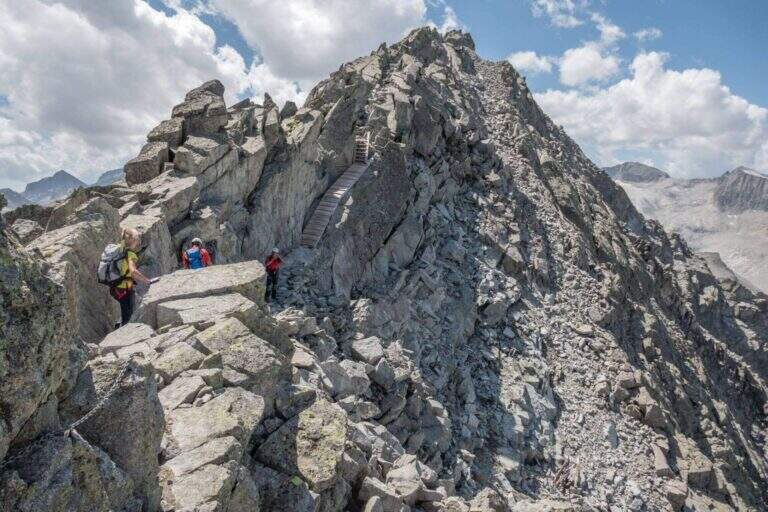
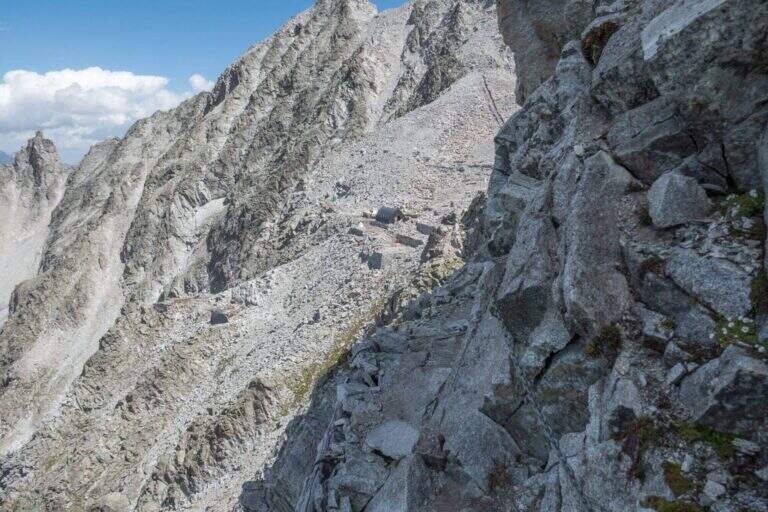
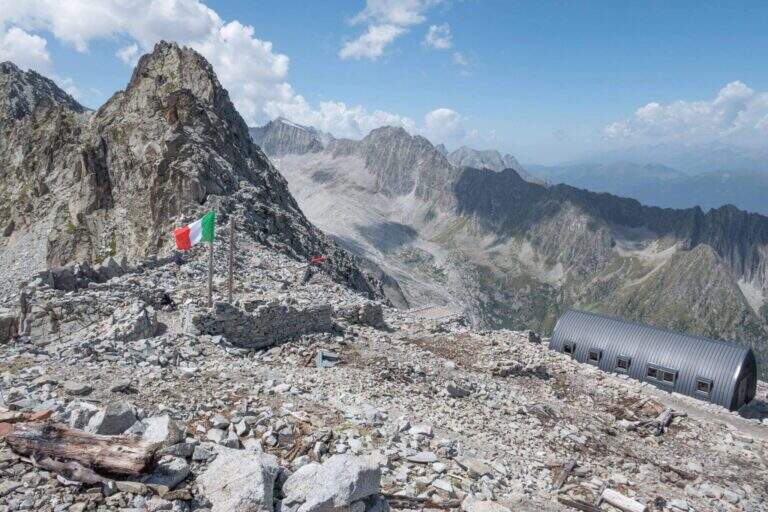
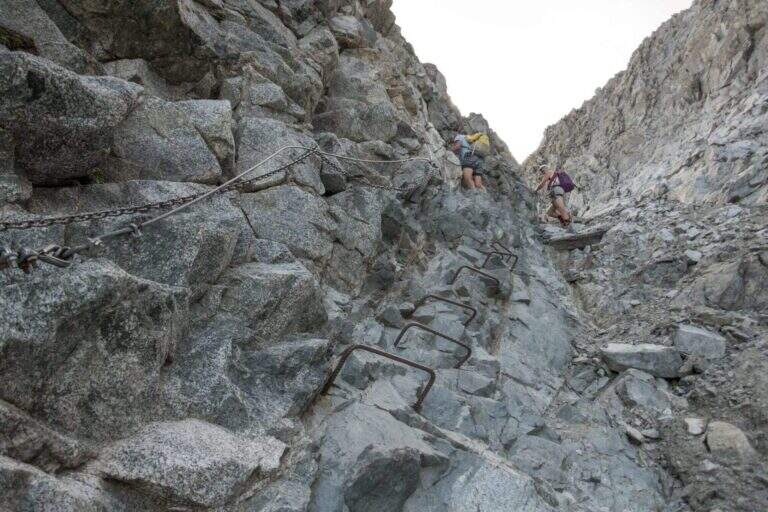
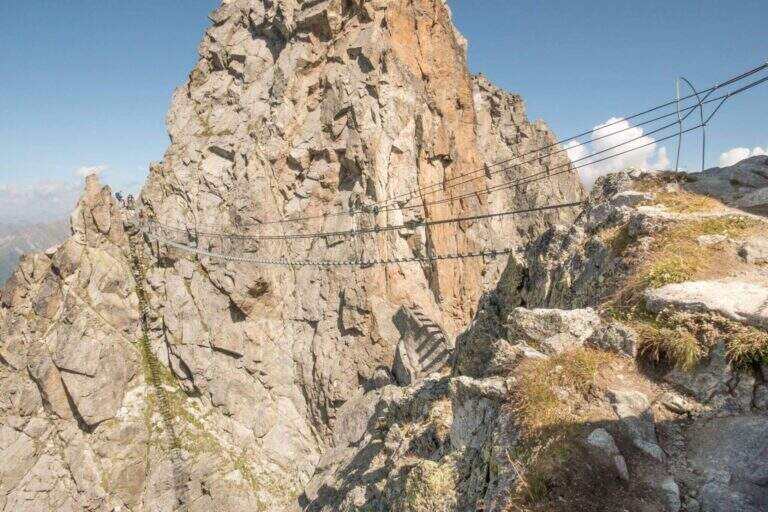
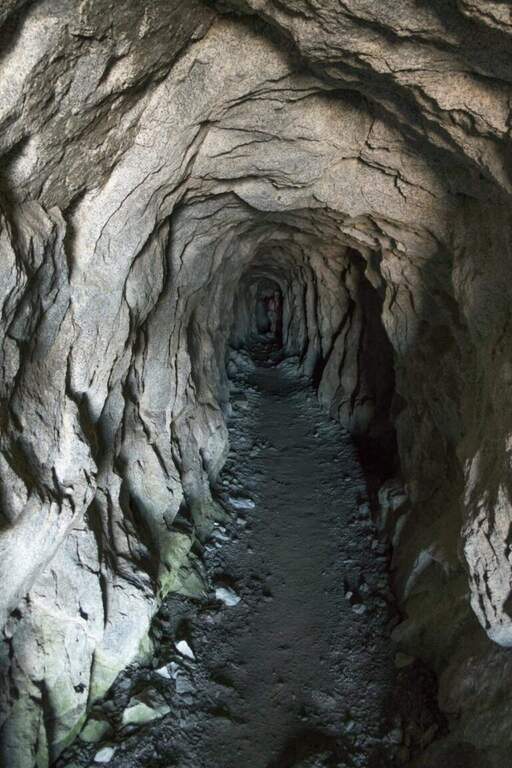
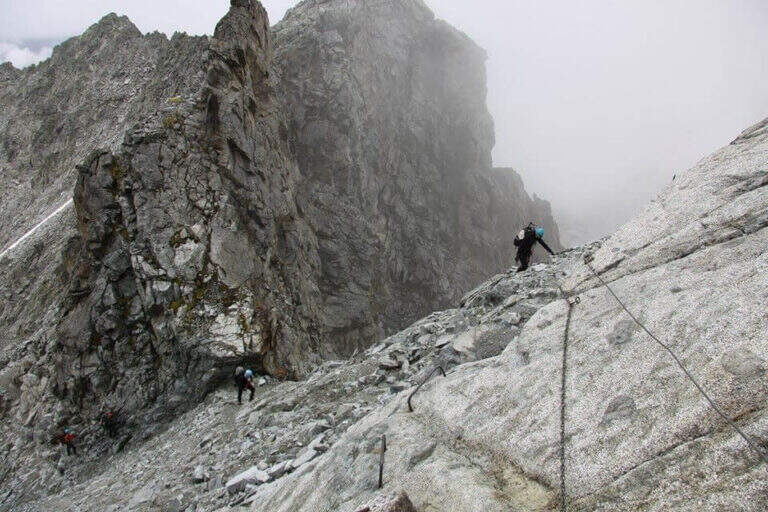
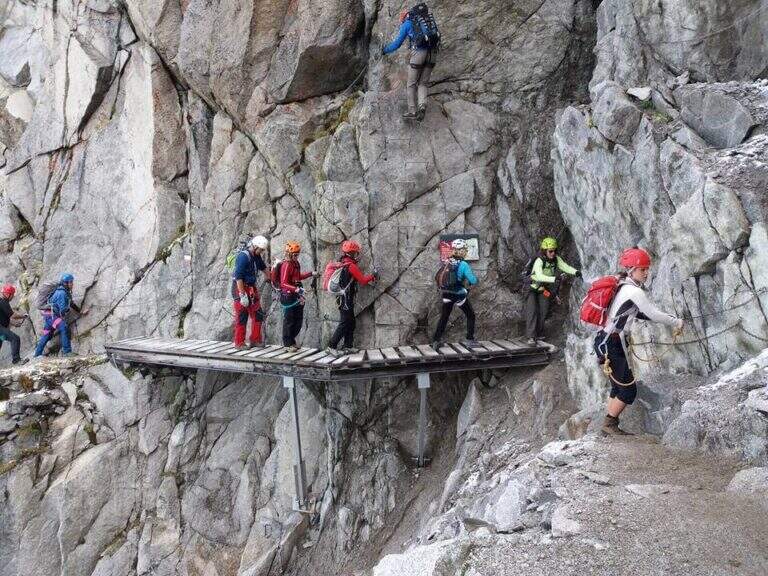
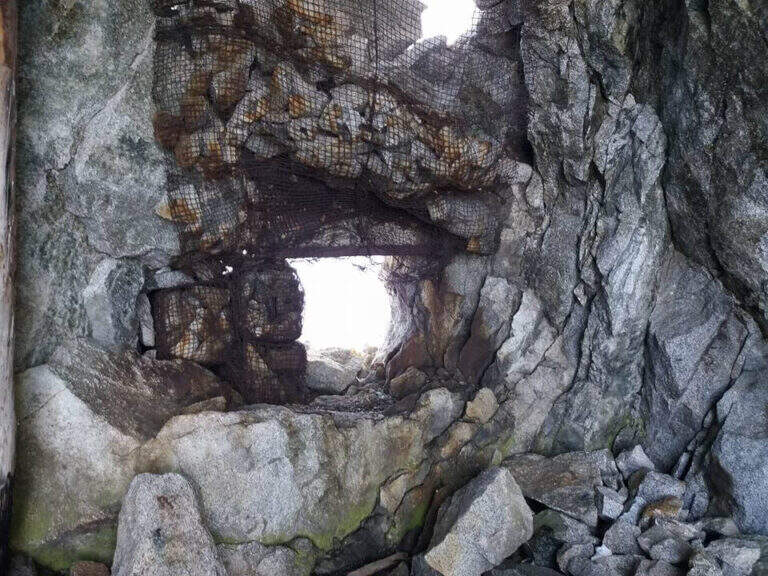
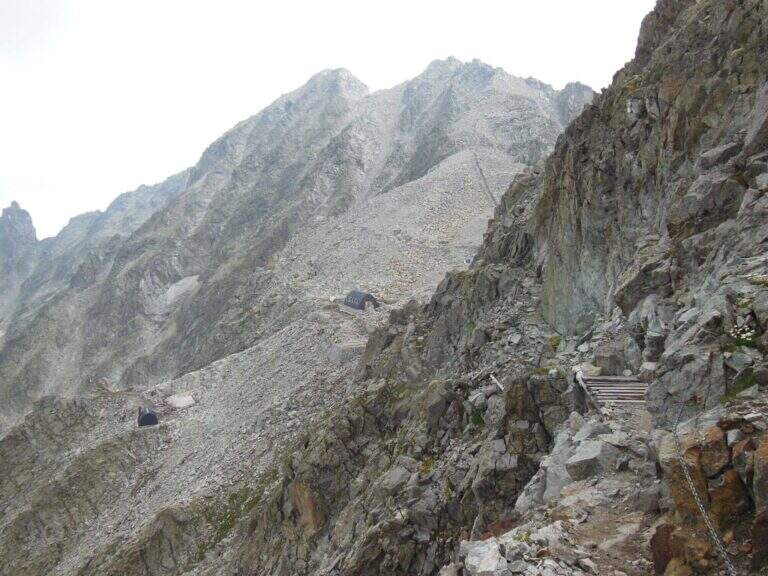
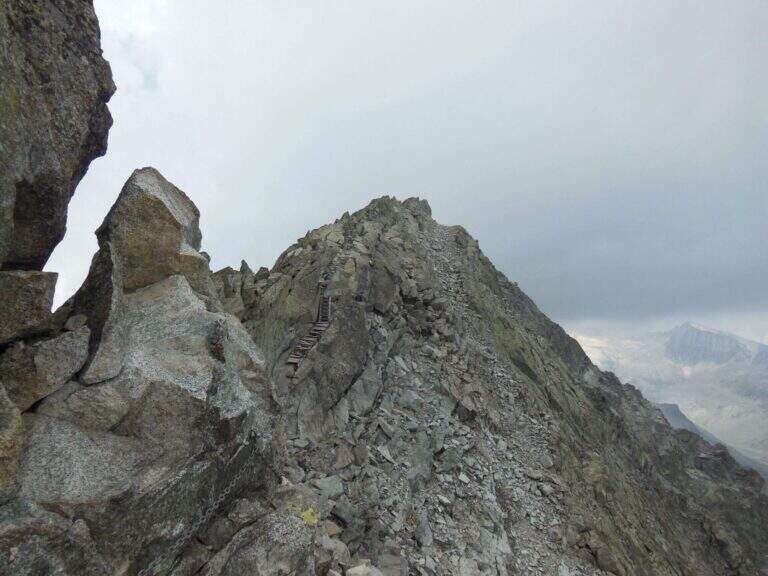
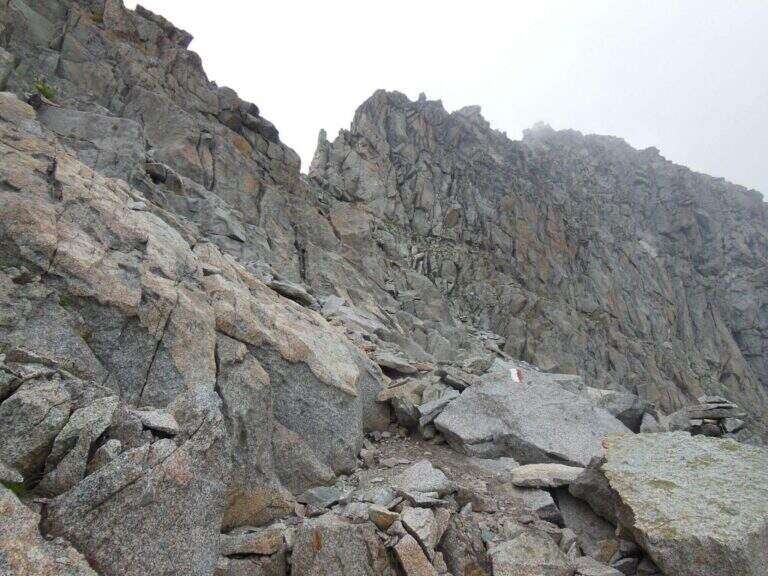
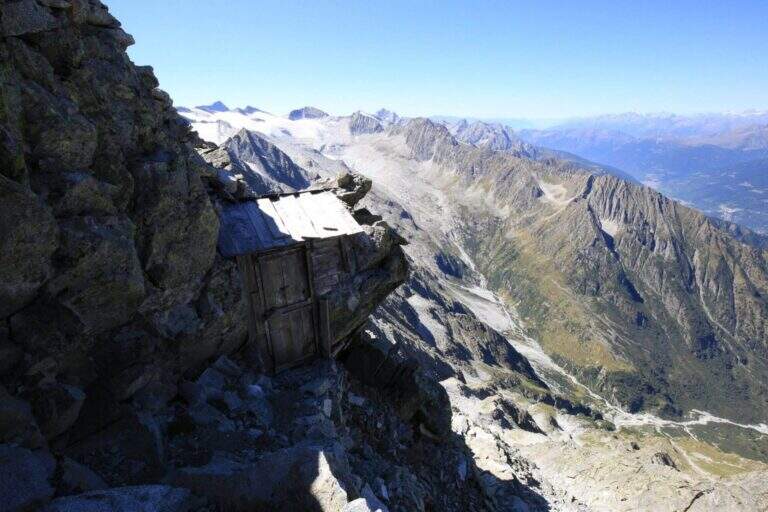
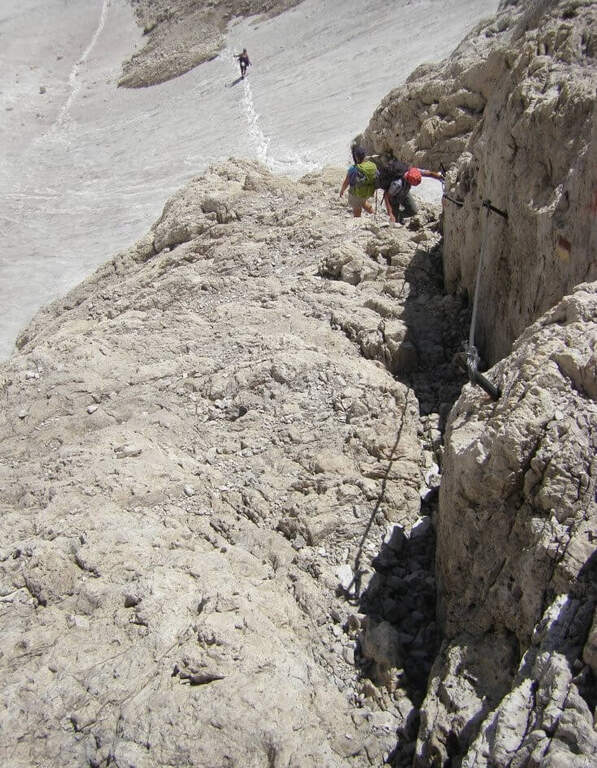
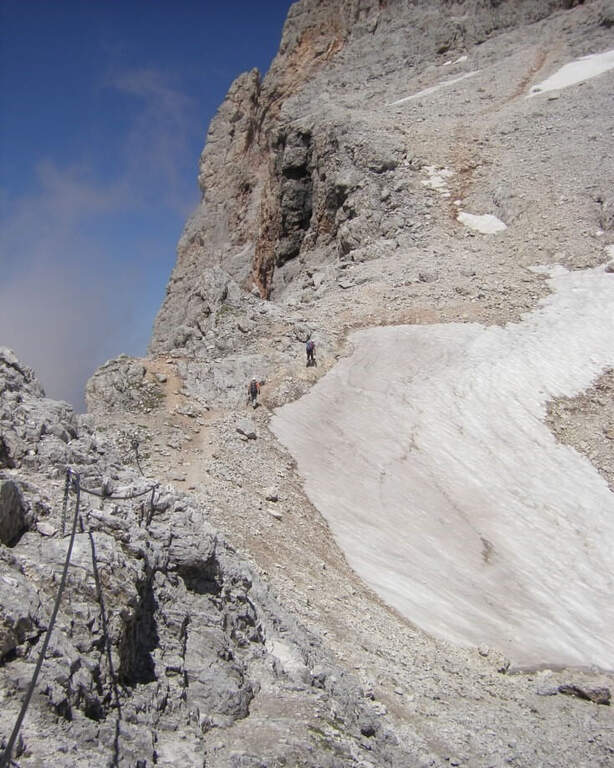
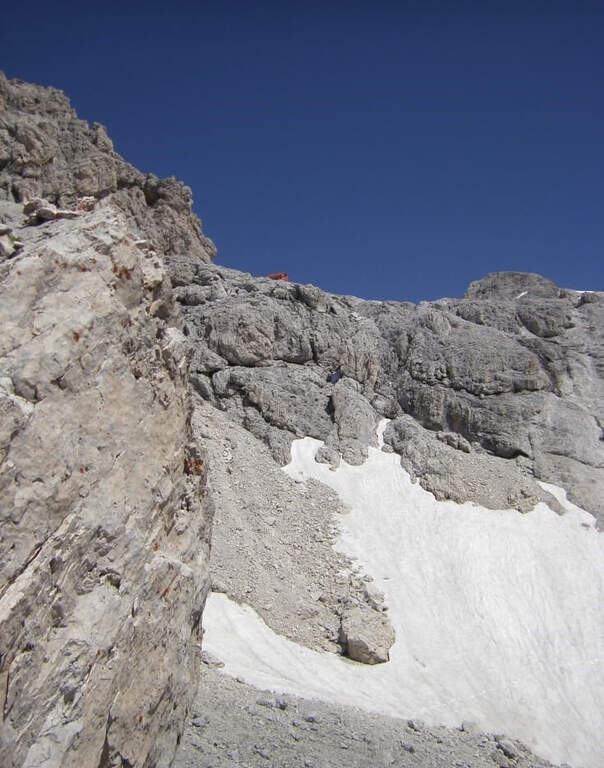
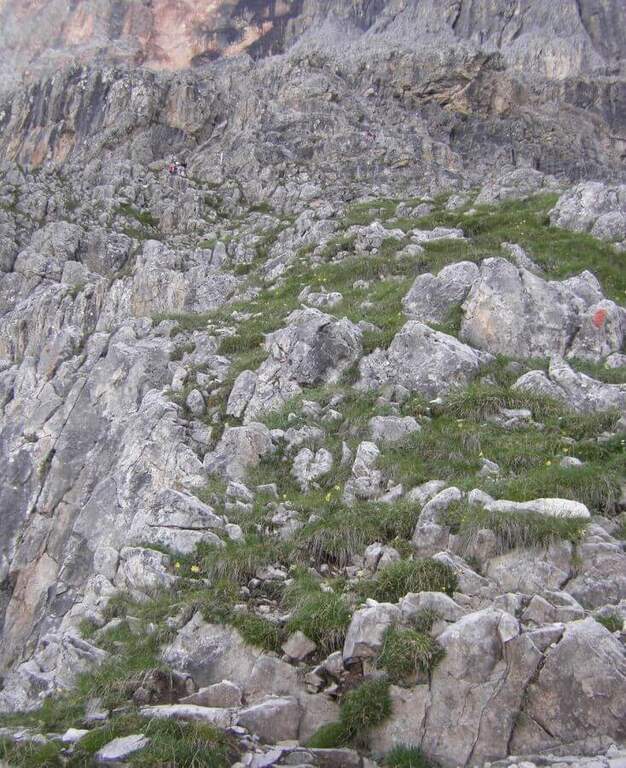
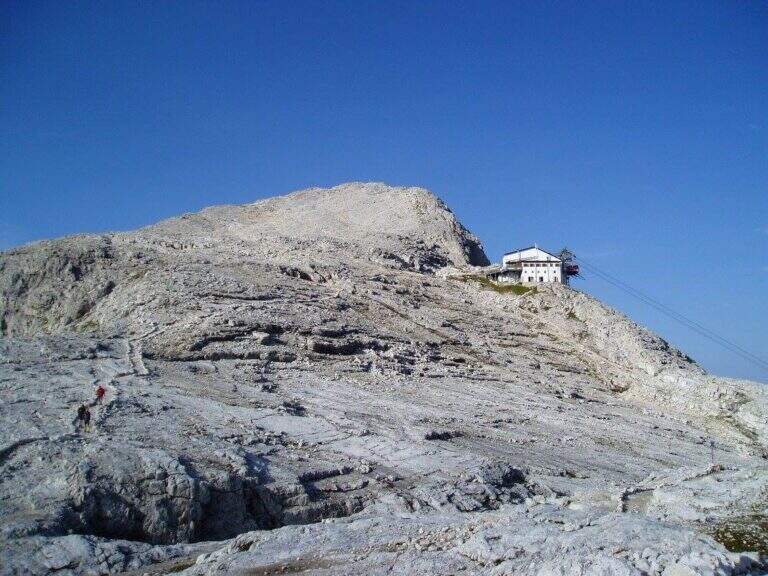
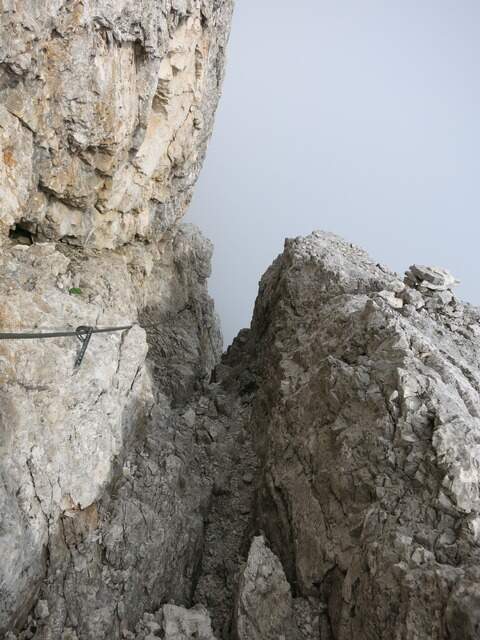
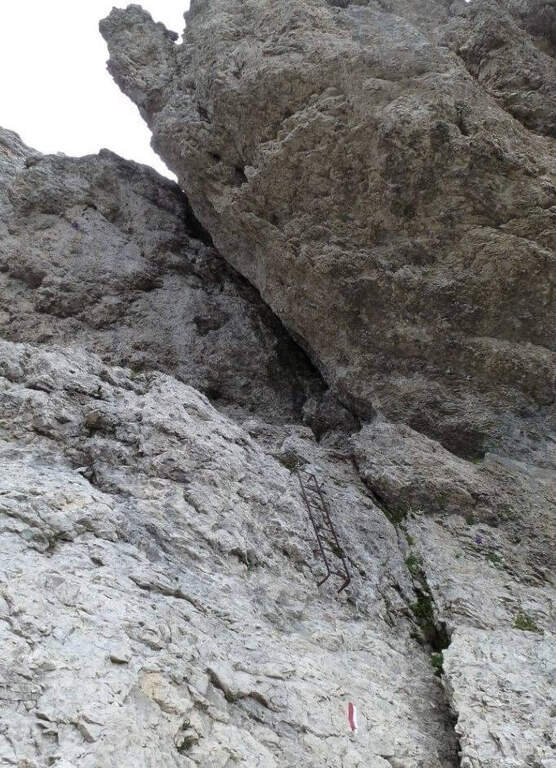
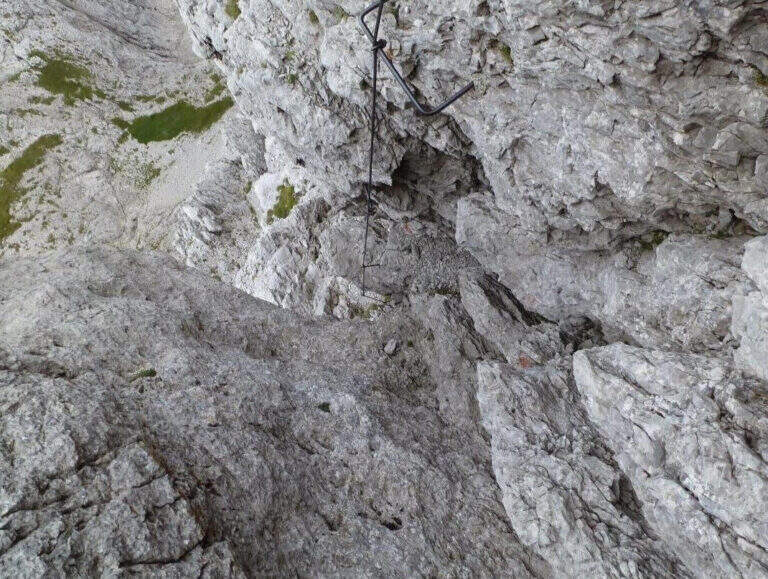
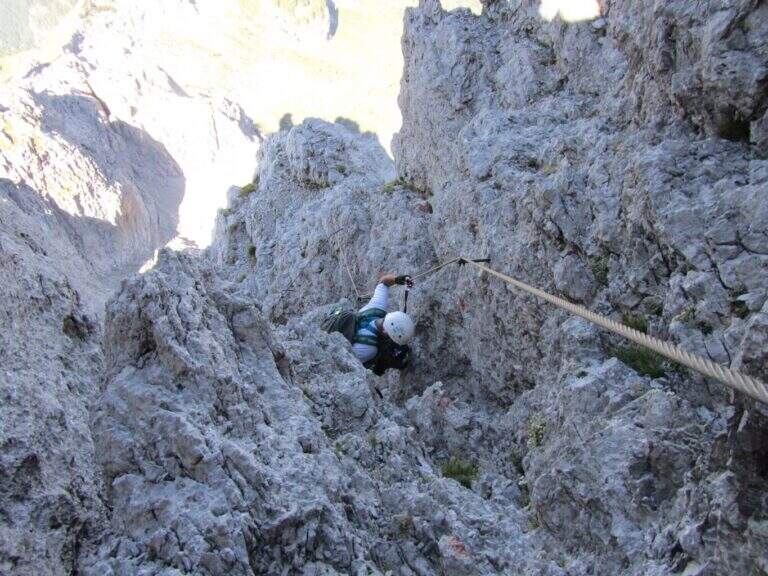
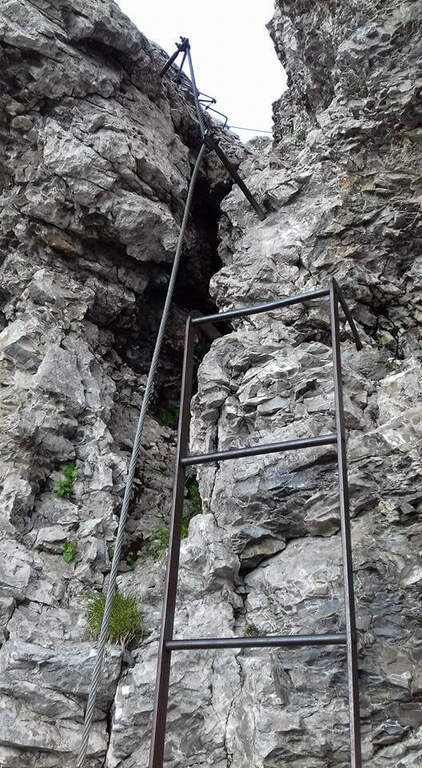
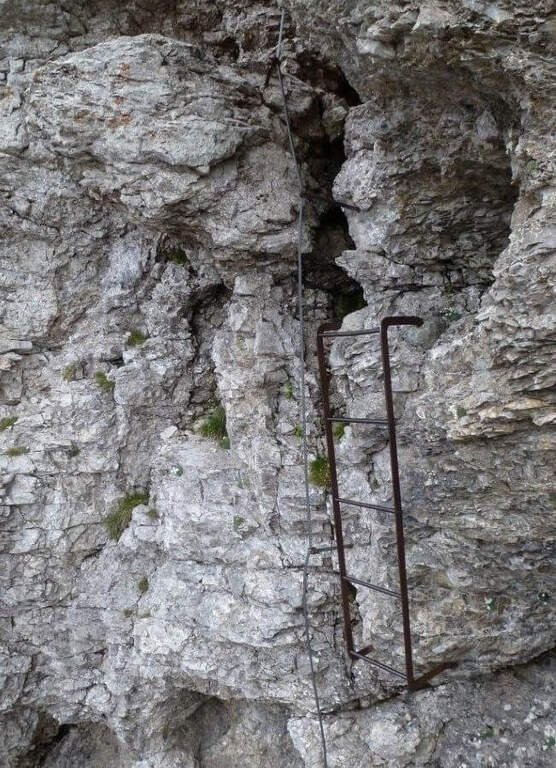
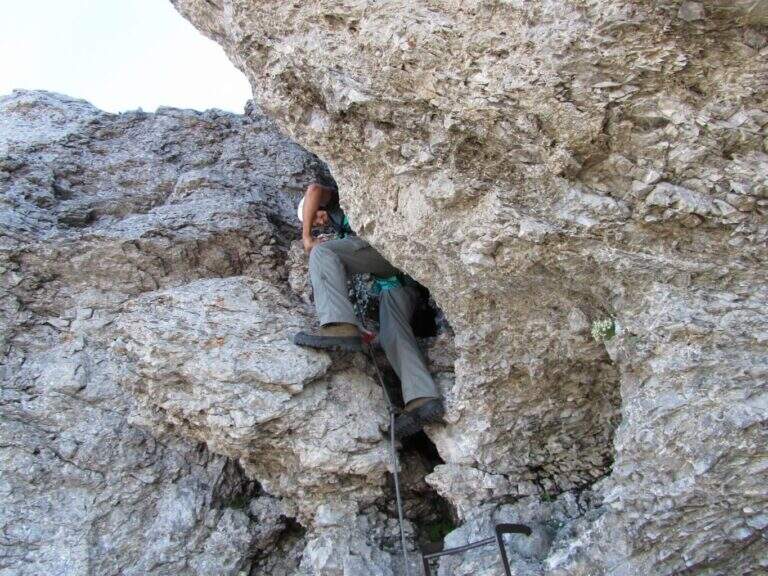
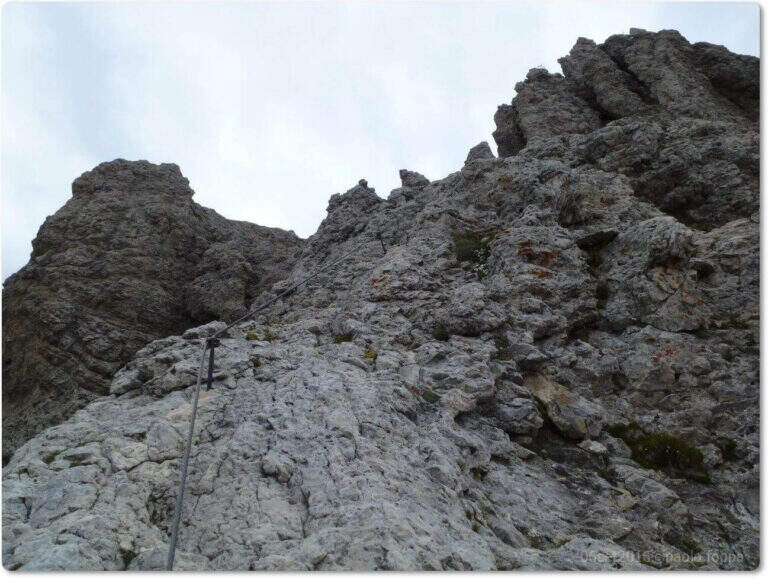
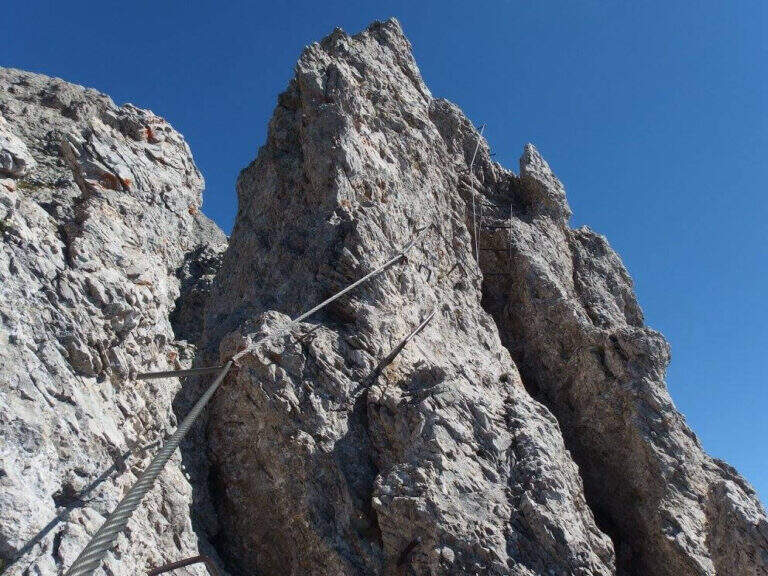
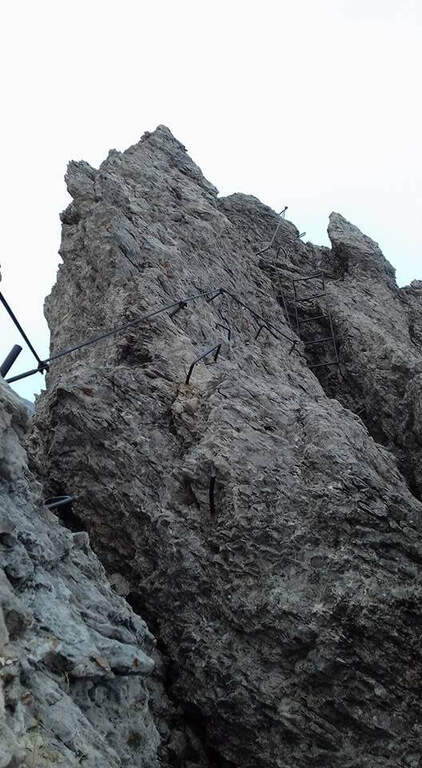
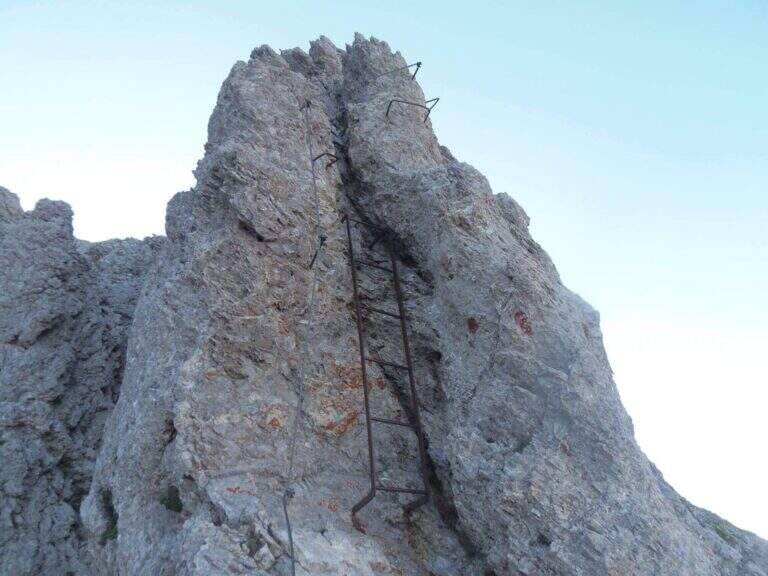
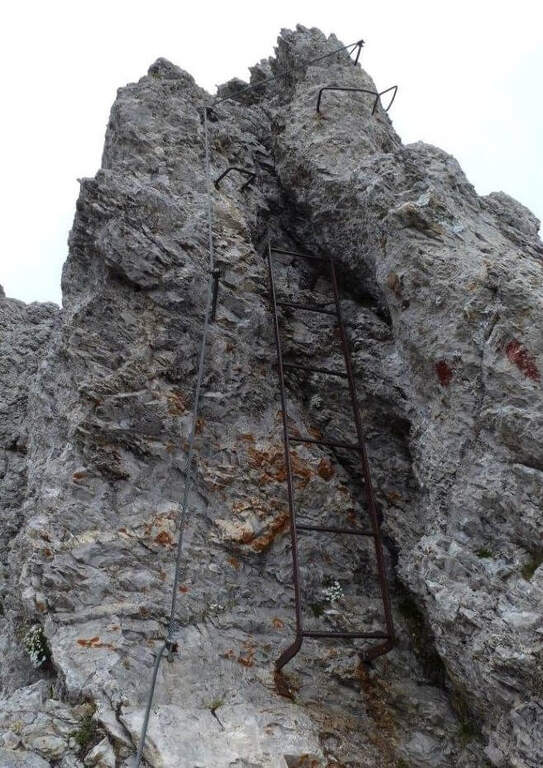
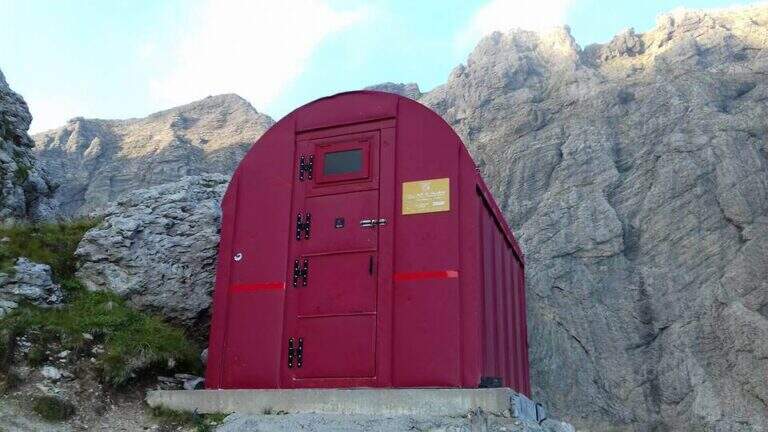
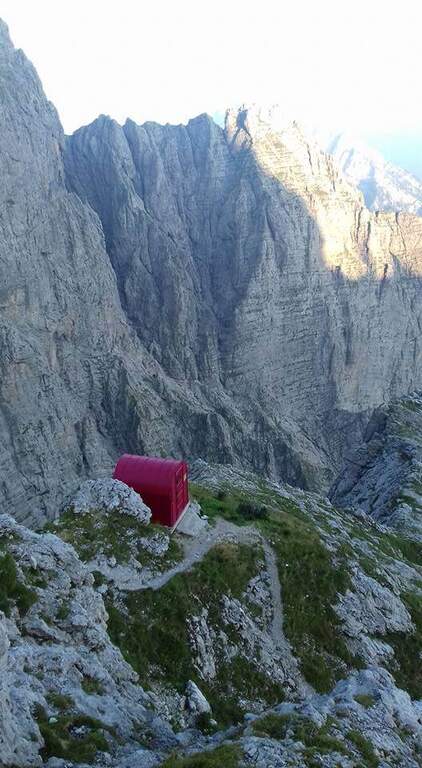
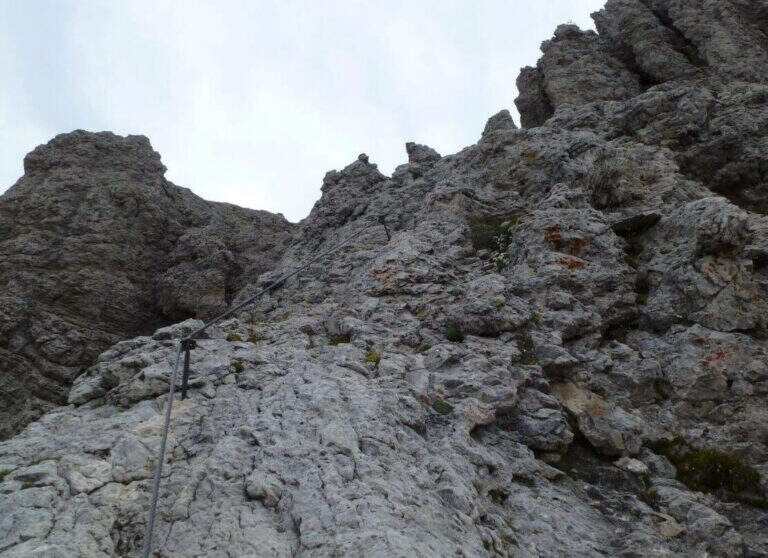
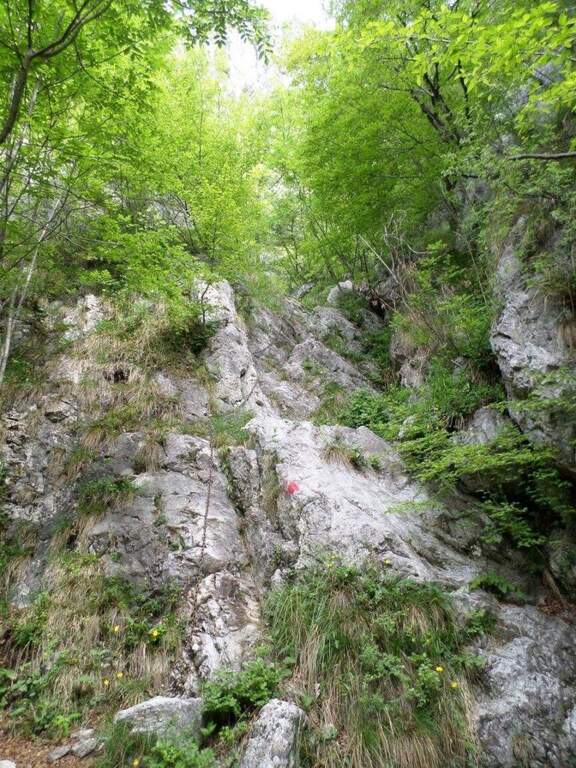
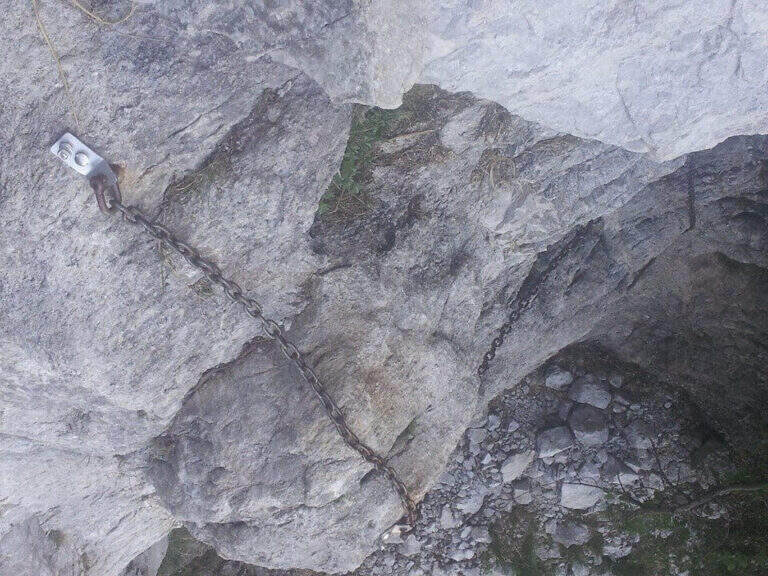
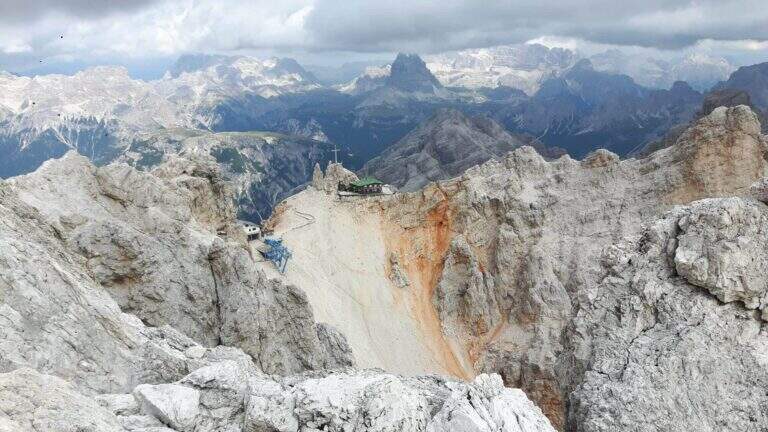
    Adding the Forcella Staunies you can see the silhouette of the Lorenzi Refuge, in a beautiful but closed position; behind it a metal staircase set in the rock gives start to the ferrata. After finishing the metal walkway, a ladder starts the first section, the most “ferrate” of the entire itinerary: a nod with a passage on a wooden walkway, a short passage that circumvents a rocky highlight with a couple of climbs without difficulty, some small rocks towards a rather short arcade that bends immediately to the left (not necessary twist) and a comfortable nod with wooden walkway. There are other small rocks and you will continue just below the ridge, with large passages and wooden walkways where the ground narrows, up to the suspended bridge of about 30 meters, one of the most iconic points of the route: turning you see the Lorenzi Refuge just left and the beginning of Ferrata Bianchi, which proceeded in reverse direction (15′ from the attack to the refuge, 2h30 total). The bridge is very large, built with wooden beams (a pair not fixed). Beyond the bridge a long metal staircase, divided into two sections, earns altitude and leads on the long ridge that characterizes this part of the route, well equipped with rope despite it is almost everywhere wide. After a slight descent to the Forcella Grande you will find a crossroads (2980 m, 15′ from the bridge, 30′ from the attack): you can go straight on the Dibona or take the optional turn left for Cima Cristallino, going up halfway to an insellatura and then on a corner not difficult to the base of the summit (2997 m, 10′ from the junction); you will climb preferably from the west side, Resumption downhill the Dibona, descends towards the Forcella Grande (2874 m), where on the right is the path to the Ferrata Renè de Pol at the Punta del Forame and you will meet some remains of snipers of the Great War; on the fork is held the left remaining on the Dibona. On the left side you pass next to the ruins of a former Italian military shelter and follow, under the Cresta Bianca, a section where you alternate paths, cenges, easy walks and walks equipped with a modest difference in altitude, up to the Forcella Padeon (2762 m, 2h from the attack included the deviation to the Cristallino, 4h15 total), where stands the Bivacco Buffa di Perre Guerra Continue on a half-coast on the south side of Vecio del Forame, with some exposed cenges at unprotected strokes, up to a detritic canalone that descends on the left with a long stretch, reaching first the Forcella Alta (2650 m) and then a fork (2490 m, 1h from the Bivacco Buffa di Perrero, 5h15 total). Here, while on the left the steep franous canal of Val Padeon is a difficult and little advisable escape route, continue straight on the path Dibona up to the Forcella Bassa (2450 m); then walk halfway without equipment along the Cresta dello Zurlon, climb a ladder that leads to some military ruins (2360 m, 40′ from Forcella Bassa, 6h total) and, after a short climb From Col dei Stombi you descend steeply, between bends and serpentine, up to the graft on the forest (CAI 203, 1700 m, 30′ from the hill, 7h15 total).

    ▲Character and difficulty

    The technical difficulties are not high, but the itinerary is long and contracting, with exposed traits and some unprotected cenges; the difference in level to be faced is remarkable and requires excellent training. Historically it is one of the most fascinating routes in the Dolomites, scattered with traces of the Great War.

    ⚠ Itinerary very long (23 km, up to 10h) and challenging, with exposed traits and blinds at unprotected strokes: start early, with stable weather, and take into account the now more tiring access (risalita del Gran Staunies).
    ▲Period and safety

    High mountain summer itinerary (max. 3008 m at Cristallino). The length, exposure and demanding access make it suitable for well-trained and autonomous hikers.

    ▲Discipline

    Adding the forest is left on path 203, ignoring all deviations, up to Passo Son Forcia (2109 m, 1h45 from graft on the forest, 8h total). From here you can go up to the Son Forca refuge to take the chairlift that goes down to the Rio Gere (attention to the opening hours of the lifts), or keep the right on 203 until you turn left for the CAI 206 (1948 m, 20′ from the Son Forcia Pass), in the direction of Malga Lareto; go down on 206 until you find an exotic unmarked track that goes down to the Rio Gere (30′ from the end of the inn.

    ▲To match

    From the Forcella Grande the Ferrata Renè de Pol to the Punta del Forame, natural continuation for those who still have energies.
    ▲Gallery
    Technical data
    • DifficultyModerately Hard
    • RegionVeneto
    • GroupCrystal
    • Approach2:15 h
    • Ferrata5:00 h
    • Itinerary (a/r)10:00 h
    • Hardware level difference1300 m
    • Route difference1300 m
    • Max3008 m
    • Length23 Km
  • Sentiero Attrezzato d’Ambros sulla Cresta Pitturina

    Sentiero Attrezzato d'Ambros sul Cresta Pitturina

    Vie Ferrate › Veneto › Belluno
    Sentiero Attrezzato d'Ambros sul Cresta Pitturina
    Moderately Hard● OpenDescriptionComplexityMapsGallery

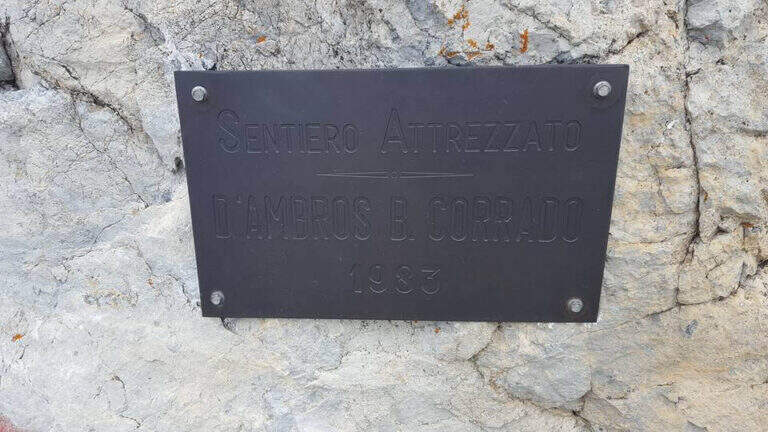
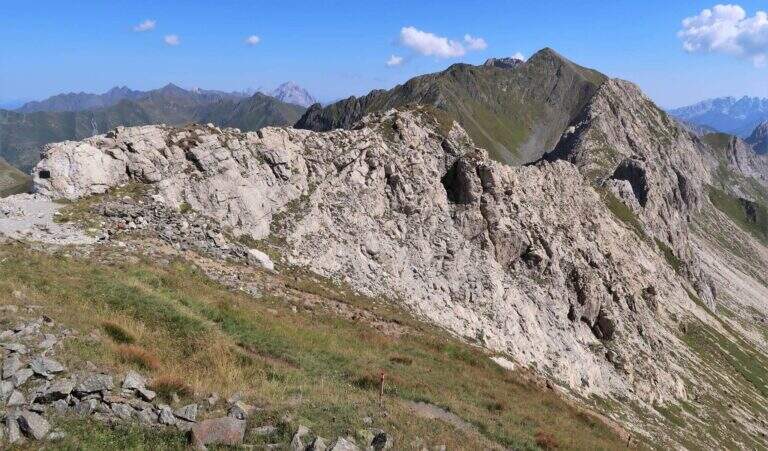
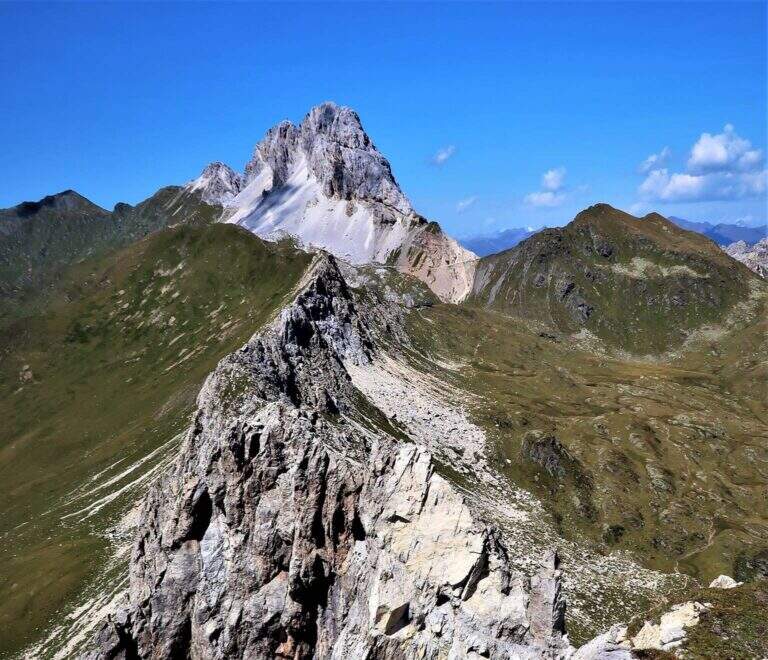
    The Path Atrezzato d’Ambros runs along the well-known Cresta Pitturina, on the border between Italy and Austria, between Monte Cavallino and Cima Vallona. It is a very exposed but never too difficult ridge itinerary, with very beautiful views of the Carnic Alps and the nearby Sesto Dolomites.

    ▲Approach

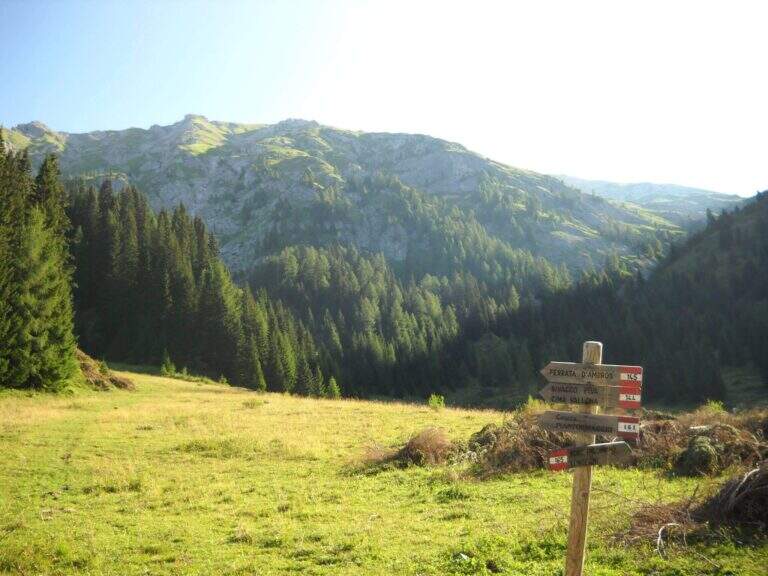
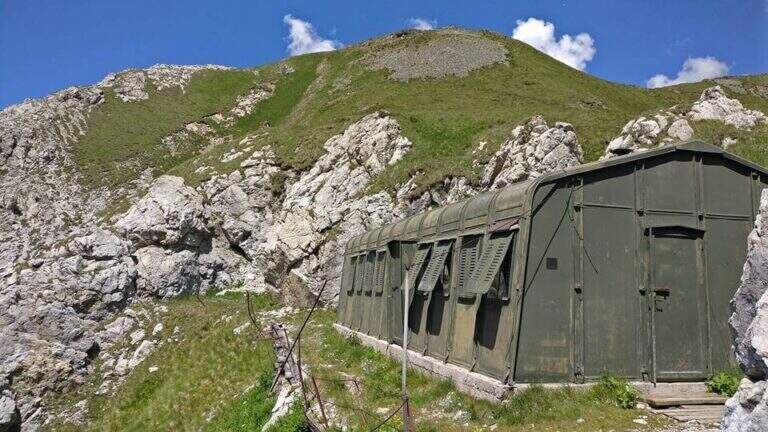
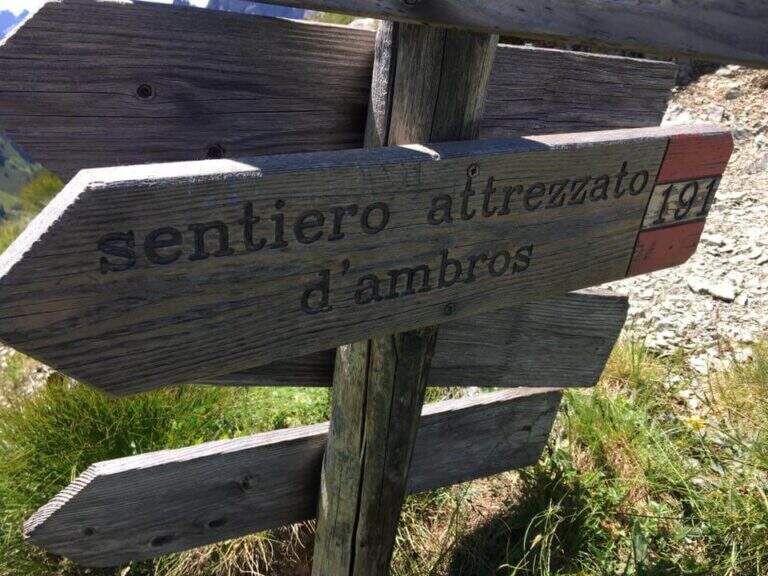
    Starting from Malga Melin, in the municipality of San Nicolò di Comelico (BL), reachable on a narrow road but asphalted by the town of Sega Digon, along the SS 52 Carnica that connects San Candido (BZ) with Venzone (UD) (open up Google Maps). From Casera Melin (1673 m) follow the signs to the north for the path 144, directed to Bivacco Piva and the Path of Ambros: climb steep first on 161, then holding the right on 144, going up a long series of hairpin bends up to Bivacco Piva (2250 m, 1h15 from the parking lot), from the unusual form that recalls a military tent. Just before the bivouac you follow the signs to the right to Cima Vallona, on the path 191; climb steeply towards Cima Vallona until you find a track that detaches to the left and leads to a fork. Near the fork, on the Italian-Austrian border, there is the attack of the Ambros Path (30′ from the Piva Bivacco, 1h45 from the parking lot).

    ▲The path

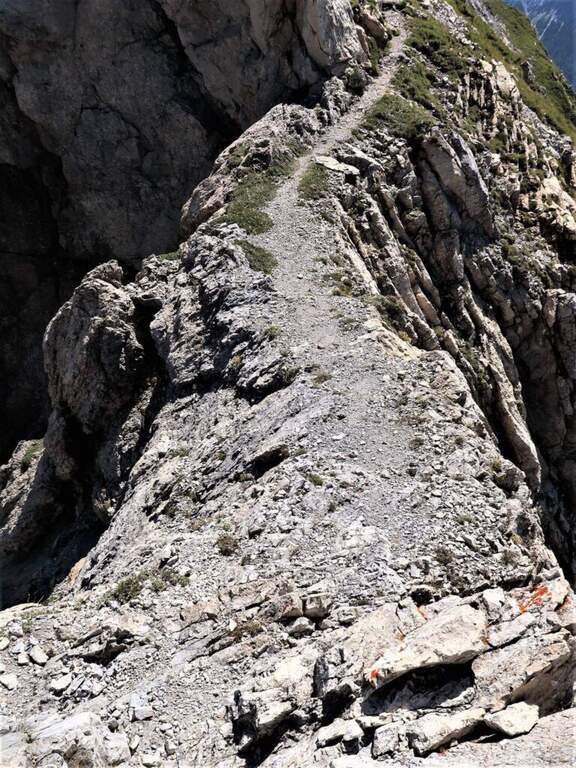
    The road develops along the sharp border ridge that ends at Monte Cavallino. It rises for about fifteen meters, mainly diagonally and with easy transverses, up to a stretch not protected of crest, decidedly exposed but without difficulty. A second equipped section goes on the left side of the wire, on the Italian side; it descends a few meters towards a rocky point and you walk through cenges and beams, exposed but never challenging, up to a cave already visible from the crest. You climb on some small rocks and you reach a second and a third gallery, where a front torch is useful because of the rather unstable background; exit, a staircase leads to the ridge. Continue on the sharp crest up to a wide grassy saddle, where you ignore a way of escape, and continue little below the thread, first on the Italian side, then on the Austrian side and finally in more marked descent on the Italian side; at the end of the descent you face carefully a fireplace. You will then reach an equipped fork, besides which you will find the key passage: a short traverse but on plate, above the average of the street — not difficult, but to deal with carefully. Continue along with a stretch of descent on the wall of 8-10 meters, well attached, then a stretch of connection up to a canal equipped with ridge; return on the crest, in good exposure, alternate stretches not equipped to a stretch equipped up to the highest point of the crest. The path leads finally to the end of the street, at a marble block that marks the border between Italy and Austria (2h from the attack, about 4h overall).

    ▲Character and difficulty

    Although it is called a well-equipped path, it has some vertical climbs that approach it more to a ferrata: there are no particular technical difficulties, except for 3-4 more challenging points, but — as often happens in the ridge paths — the exhibition is strong along almost all the way.

    ⚠ Strong exposure on almost all ridge path. For tunnels, a front torch (unsteady background). Attention to return, not marked in an impeccable way: useful orientation experience.
    ▲Period and safety

    High mountain summer itinerary (max. 2486 m). Constant exposure and presence of unprotected traits require steady pace, experience and stable time.

    ▲Discipline

    From the end of the road it is possible to reach the nearby peak of Cavallino (1h gone, 1h45 gone and back) continuing on the crest and following the traces on the gland up to some small rocks and on the summit cross. The return to Casera Melin takes place on the left, on the Italian side, taking the path 160, parallel to the crest just crossed, up to Bivacco Piva and then back along the path (2h from the end of the ferrata, about 6h overall). There are some shorter reentry routes that avoid bivouac, but are more impervious.

    ▲Gallery
    Technical data
    • DifficultyModerately Hard
    • RegionVeneto
    • GroupCarnic Alps – Comelico
    • Approach1:45 h
    • Ferrata2:00 h
    • Itinerary (a/r)6:00 h
    • Hardware level difference100 m
    • Route difference813 m
    • Max2486 m
    • Length12 Km
  • Path Ceria Merlone at Modeon del Buinz

    Path Ceria Merlone at Modeon del Buinz

    Vie Ferrate › Friuli-Venezia Giulia › Udine
    Path Ceria Merlone at Modeon del Buinz
    Moderately Hard● OpenDescriptionComplexityMapsGallery

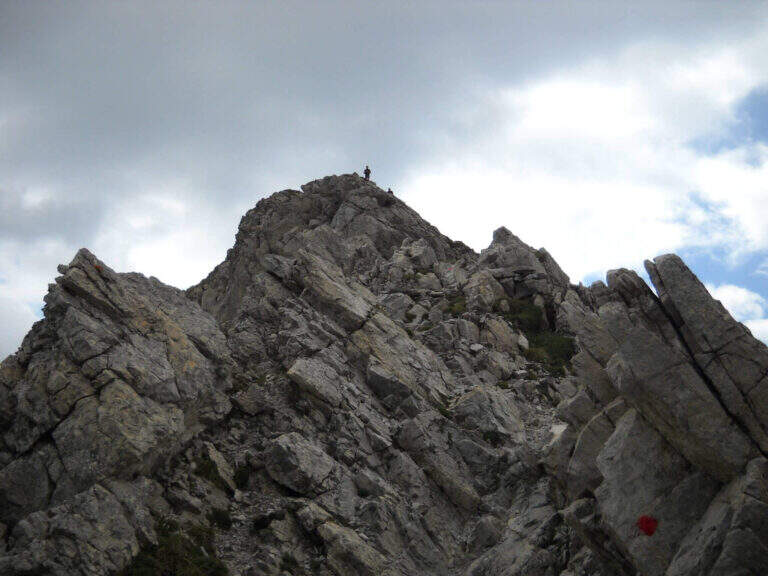
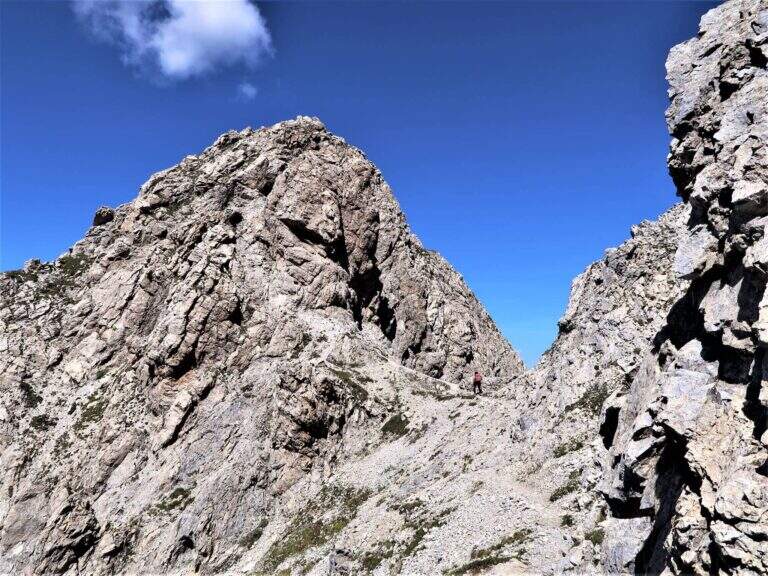
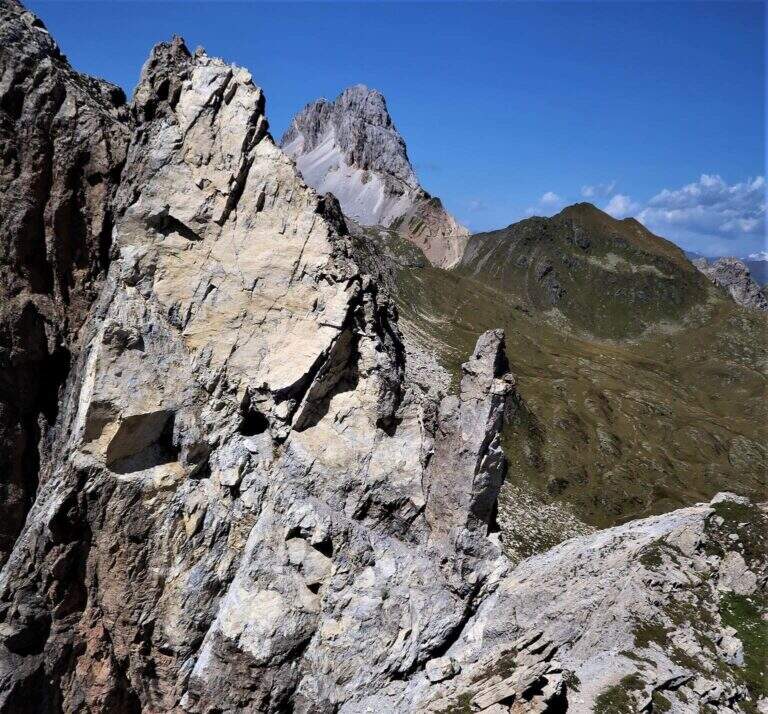
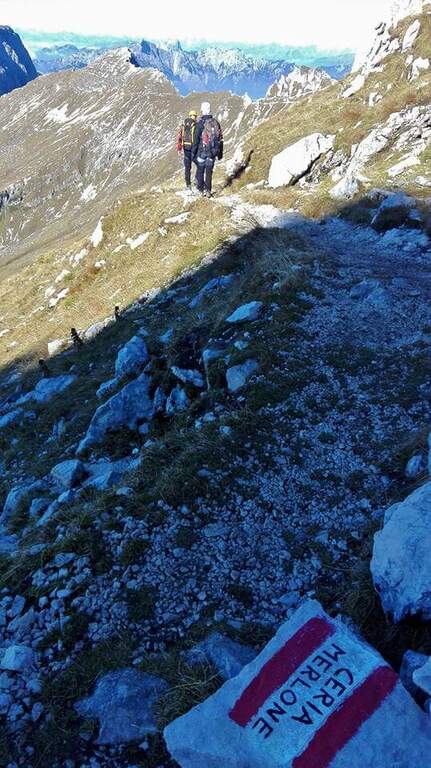
    The Ceria Merlone Trail is a long and panoramic route of the Julian Alps, starting from the Montasio plateau. After a long approach to the Forcella Lavinal dell’Orso, follow a magnificent ridge path that closes a large downhill ring to the Rifugio Brazzà. Numerous traits are not protected, and in some cases require short climbing passes: a superb path but to be experienced. The route is dedicated to the mountaineers Celestino Ceria and Ruggero Merlone, and was inaugurated in 1971 by the Cividale Alpine Battalion, in memory of the line held by the Alpini on this ridge during the Great War.

    ▲Approach

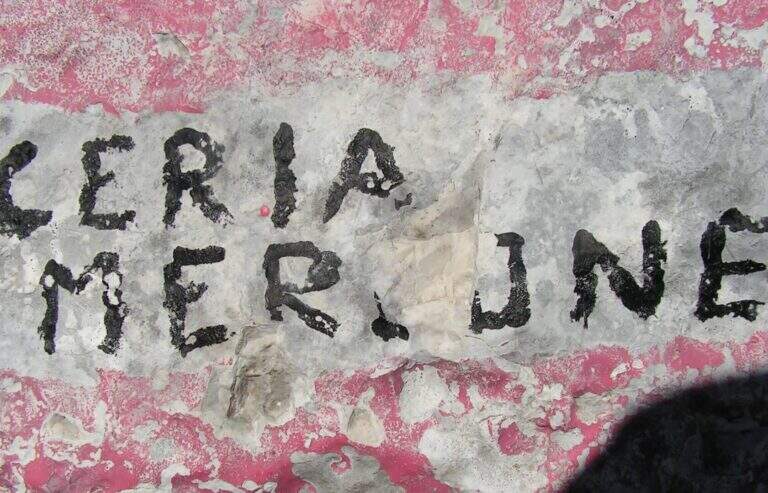
    It starts from a large parking lot along the road that connects Malga Montasio with Sella Nevea, on the Montasio plateau (UD). To get to Sella Nevea you reach Chiusaforte, 20 minutes from the Carnia-Tolmezzo exit of A23; from there follow the signs to Sella Nevea towards the east, you pass the bridge and you drive for 20 km to the village, where a hairpin a brown sign indicates the plateau of Montasio, to follow until the end of the road (open up Google Maps). The route is proposed here from the east (Forcella Lavinal dell’Orso) to the west (Cima Terrarossa), towards which many equipped sections run uphill. From the parking lot (about 1500 m) you climb on dirt road towards the Rifugio Brazzà; after a few minutes you cross a dirt road with 624 signpost that cuts right into a false plateau. Losing a little bit of altitude you pass the Casere Parte di Mezzo and then the Casere Larice (1479 m, 30′ from the parking lot); ignored a track to the right that goes down to Sella Nevea, you reach the Casere Cregnedul Refuge above (1515 m, 1h from the parking lot). It is snowed on the path 625 that climbs from Sella Nevea, it is held the left uphill, first in the forest and then pointing to the north; the south wall of the Cregnedul to Passo degli Scalini (2022 m, 1h from Casere Cregnedul Refuge, 2h totals). Passed the pass opens a valley: on the left you can see the Lavinal Forcella dell’Orso and the ridge of Ferrata Goitan. You cut the valley following the track and, on the opposite side, the white-red signs, going up with a certain affanno towards the fork; just before you follow a writing on rock and a trace that detaches to the left: here begins the Path Ceria Merlone (30′ from the Passo degli Scalini, about 2h30 total).

    ▲The path

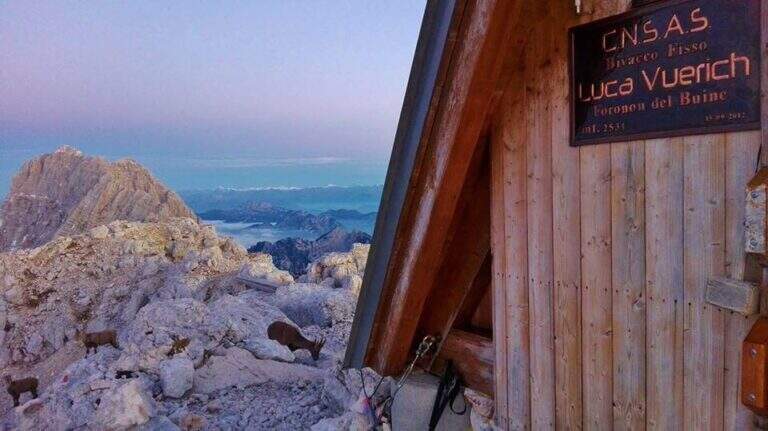
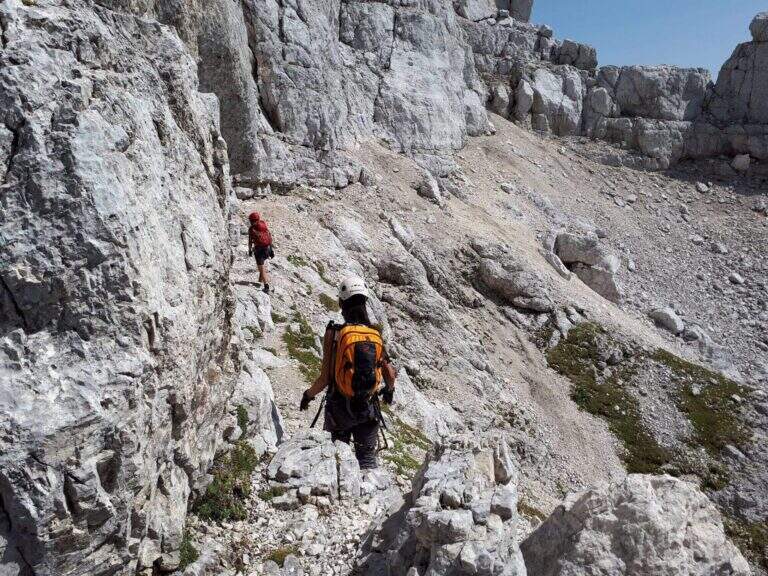
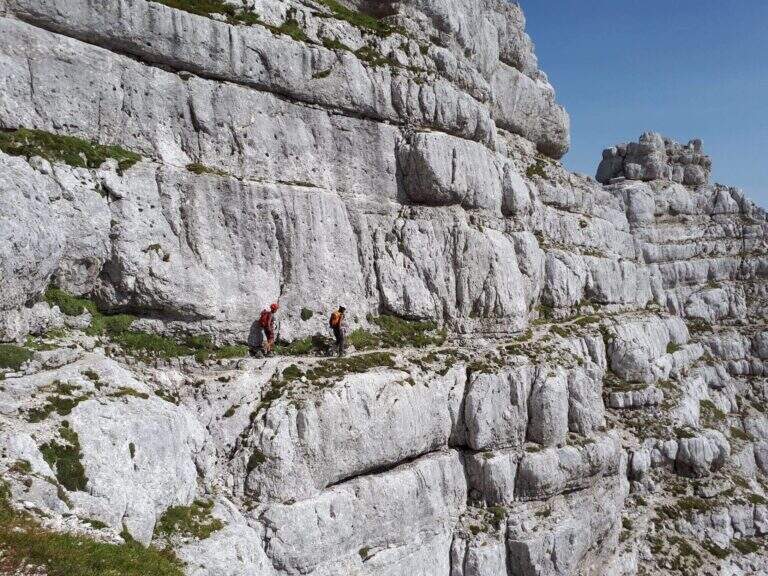
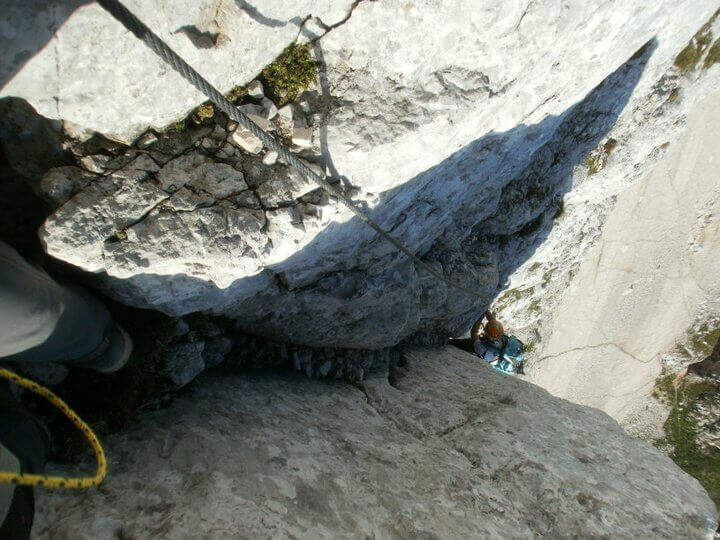
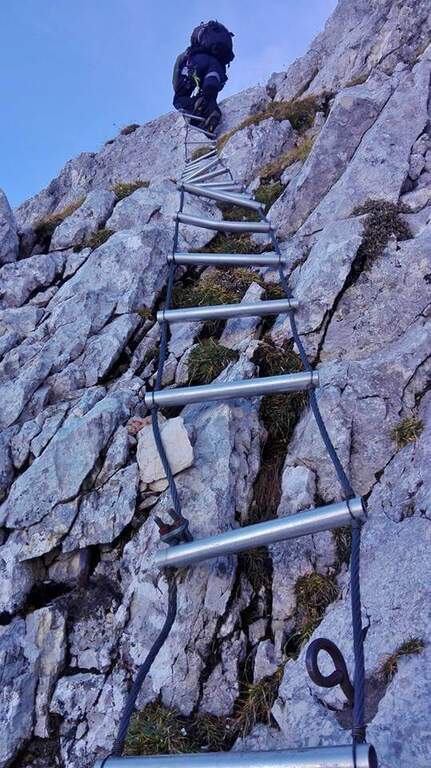
    The first goal is the Forcella Cregnedul, reached by gaining around 200 meters around the imposing walls of Punta Plagnis. It climbs on a pebble bottom up to a first stretch equipped that exceeds some rocks, a vertical wall and a tilted plaque; left behind the Lavinal Forcella dell'Orso, proceeds diagonally up to a fireplace equipped and a metal ladder resting on the rock, and in an alternation of passages on the right and on the left closes the first tiring section to the Forcella Cregnedul (2340 m). Now follow the trail on a wide unprotected nod that wanders the southern walls of Punta Plagnis, passing from the east to the west side: the passages are exposed but generally wide, except for a couple of forks and rocks on the west side where the path tightens; the most exposed sections have a handrail. With a stretch equipped downhill you descend a few meters, then walk on wide and comfortable cenges to the Forca de la Val (2352 m, 1h15 from Forcella Cregnedul), which separates the Modeon del Buinz from the Cima de la Puartate. You can climb equipped canals interspersed by detritic gland, holding to the south to avoid to the north the steep wall, in a stretch rich of exposed protected cenges; you reach a fork nestled and you begin to wander the southern wall of the Modeon del Buinz towards the Sella di Buinz, with in front of the Foronon del Buinz and its bivouac just below the summit. There is an exposed nod equipped, you climb a short stretch sprotetto on an unstable background, you walk a census and you take on the west wall of Modeon; along a wide ridge on the south side, on a slight ascent, you pass stretches equipped with rocks and easy rocky balconies up to the new and functional Bivacco Vuerich (2531 m, 1h15 from Forca de la Val, 3h45 from the attack). From the top of the Foronon del Buinz follow the wide ridge, walk through a walkway and start to lose altitude with easy passages of climbing, equipped in the most demanding cases; holding on the south side you walk exposed cenges usually not protected and you reach a new vertical stretch, with a well-equipped canal but well-dressed, followed by some rocks, up to the Forca de Lis Siens From the wide saddle the path runs on a false plateau between modest climbs on the south side to the crossroads marked with stone writing (2285 m, 15′ from Forca de Lis Siens, 5h from the attack) between the climb to Cima Terrarossa and the Path Ceria Merlone, where the equipped road ends.

    ▲Character and difficulty

    It has no particular technical difficulties, neither in the equipped or unprotected traits; however, it deserves great attention to the numerous passages exposed along the canals and canals. It develops entirely at altitude, with the Bivacco Vuerich halfway in excellent conditions, but with only two escape routes, both unmarked.

    ⚠ Itinerary very long (9h, 16 km) in high mountain environment, with many exposed and unprotected features and short climbing passes. The only two escape routes — in Forca de la Val towards the Conca di Casera Cregnedul and in Punta Plagnis for Plagnota — are steep and unmarked, to be used only in emergency. Start soon, with stable weather and good autonomy.
    ▲Period and safety

    High mountain summer itinerary in the Julian Alps (max. 2531 m). The equipment and signs are in good condition, but the development, exposure and scarcity of escape routes require experience, training and attention to the weather.

    ▲Discipline

    From the final crossroads (2285 m) the quickest descent is to the left, towards the plateau of Montasio; if you want you can climb to the nearby Cima Terrarossa (2420 m, 45′ return). Keeping the right and descending towards the plateau you reach the Rifugio Brazzà (1660 m, 1h15 from the end of the ferrata) and then parking (about 1h30 from the end, 9h overall).

    ▲To match

    The environment is suitable for several days: you can climb to the Jof in Montasio for the Ferrata Amalia and use the Ceria Merlone to return to the north side, or match it to Sentiero Attrezzato Leva overnight in a refuge or bivouac. From the Lavinal Fork of the Bear you can take the Ferrata Goitan towards the Jof Fuart. Staying in the Julian Alps we also signal Ferrata Julia at Canin e la Ferrata della Vita al Mangart.

    ▲Gallery
    Technical data
    • DifficultyModerately Hard
    • RegionFriuli-Venezia Giulia
    • GroupJulian Alps
    • Approach2:30 h
    • Ferrata5:00 h
    • Itinerary (a/r)9:00 h
    • Hardware level difference257 m
    • Route difference1031 m
    • Max2531 m
    • Length16 Km
  • Alta Via Bruno Federspiel

    Alta Via Bruno Federspiel

    Vie Ferrate › Trentino Alto Adige › Trento
    Alta Via Bruno Federspiel

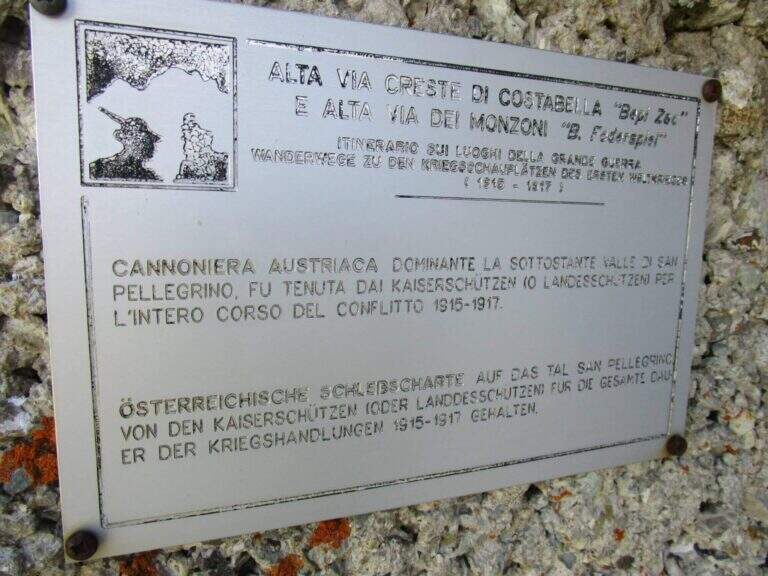
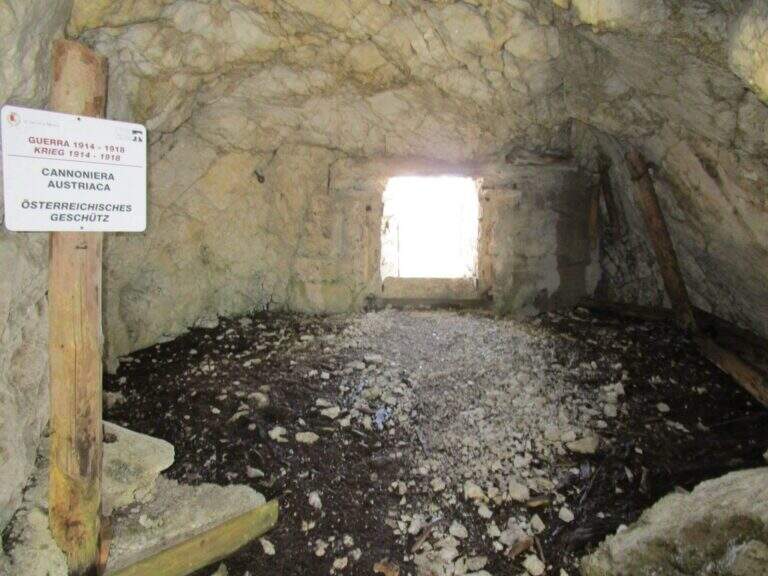
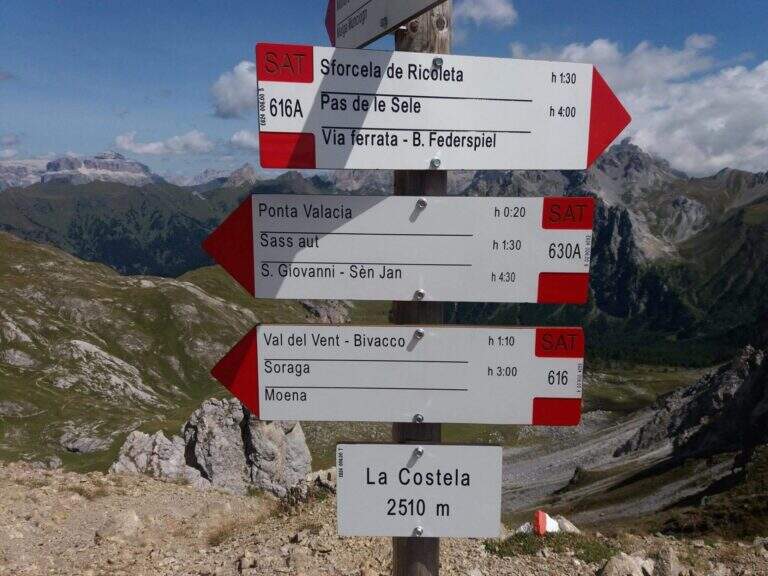
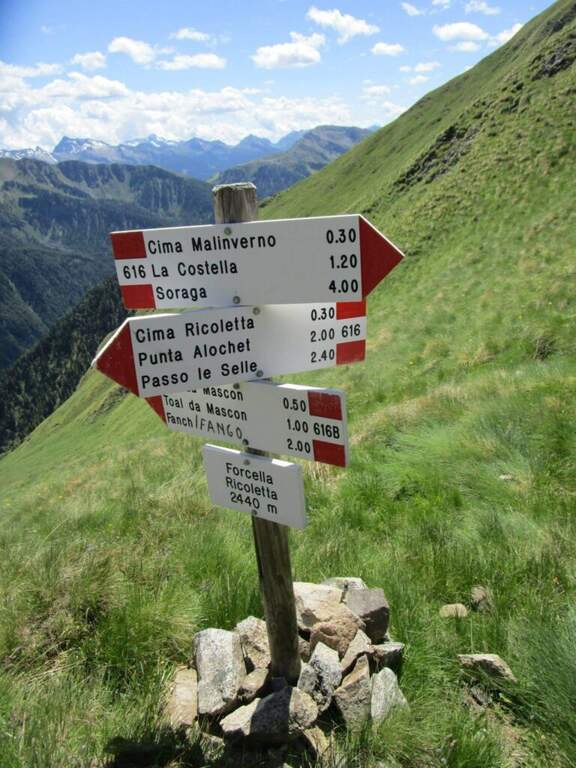
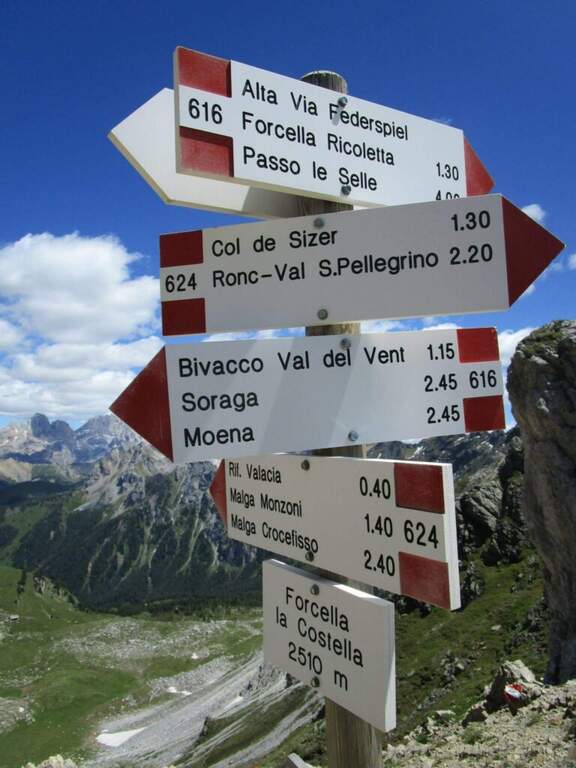
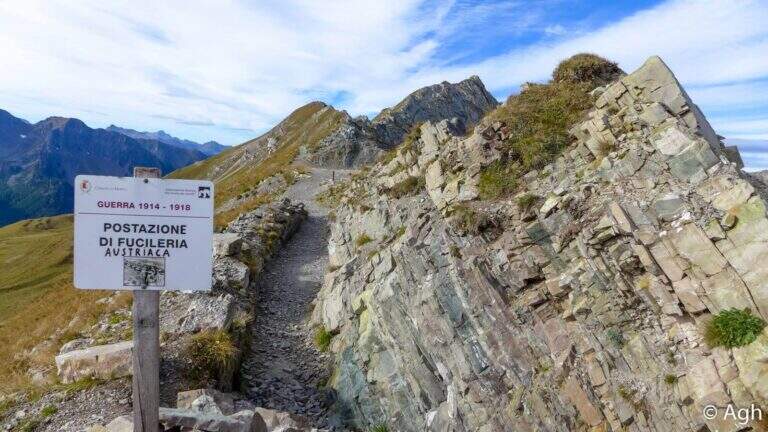
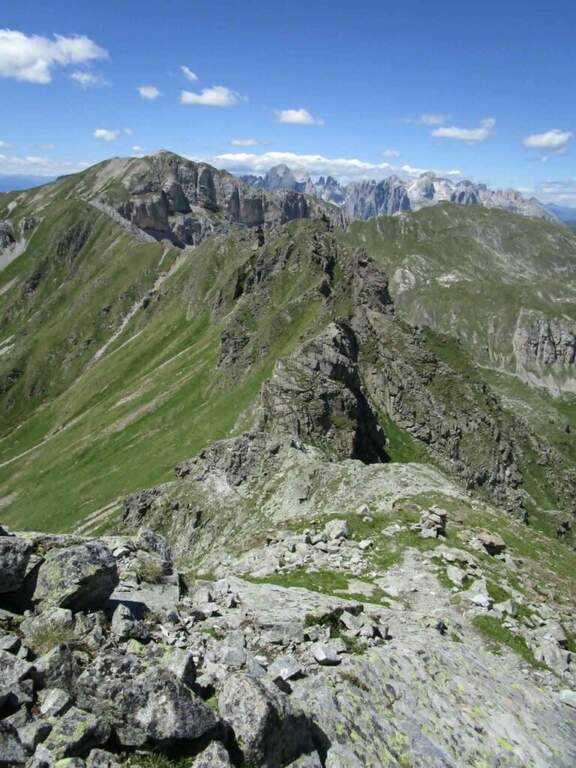
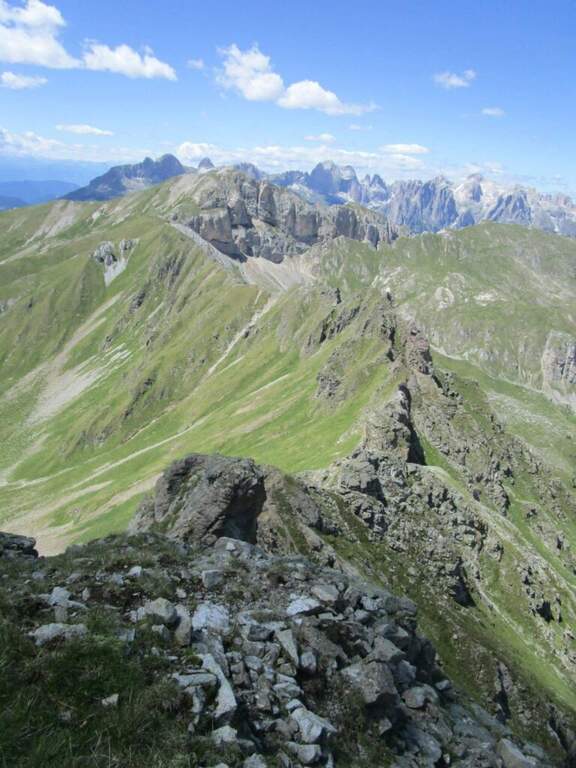
    L’Alta Via Bruno Federspiel e’ un impegnativo itinerario di cresta nei Monzoni, in provincia di Trento, che collega la Forcella de la Costela con il Passo delle Selle. I tratti attrezzati non sono di difficolta’ elevata, ma l’ambiente e’ esposto e fatto di continui saliscendi, e il percorso ha un forte valore storico: attraversa tratti dove erano posizionate le artiglierie austriache durante la Grande Guerra. La classifichiamo Moderatamente Difficile, con l’avvertenza che il dislivello reale e’ molto superiore a quello tra partenza e cima.

    ▲Approach

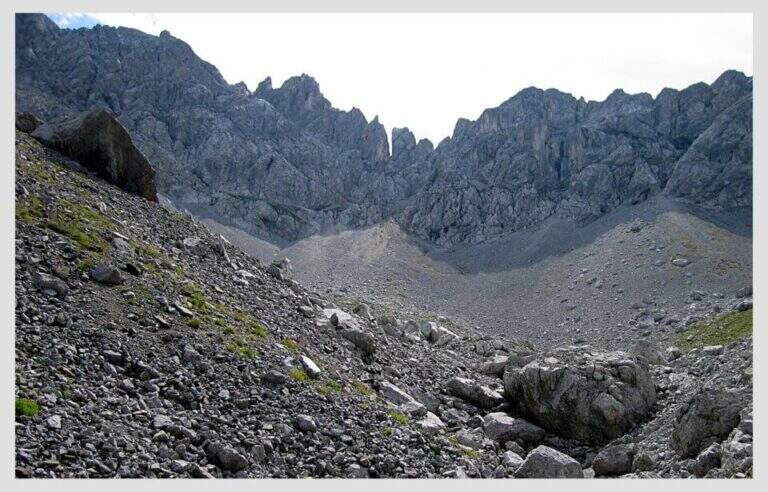
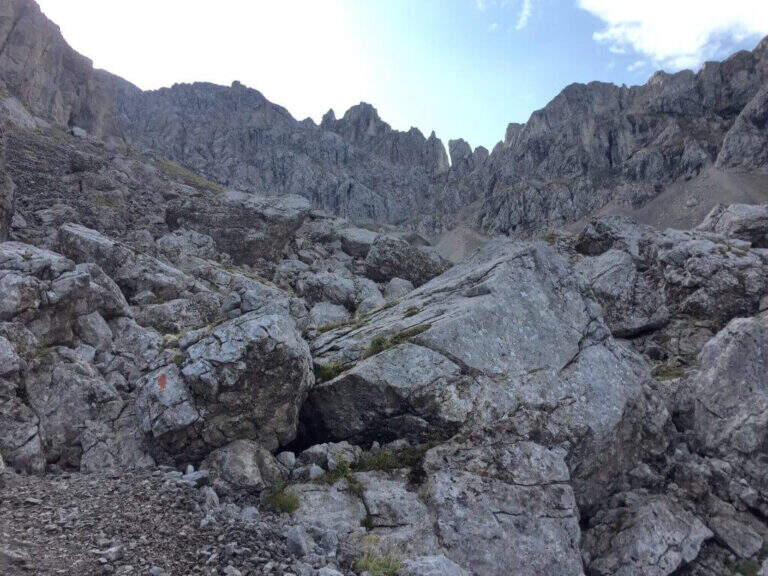
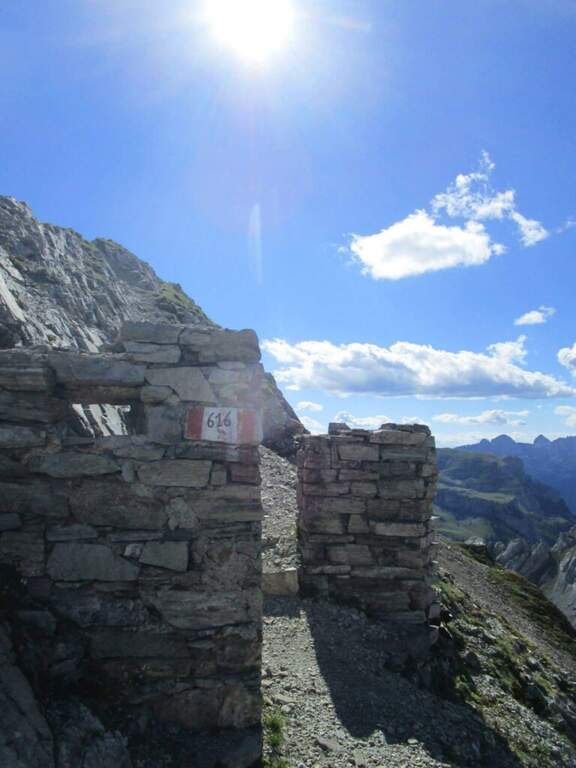
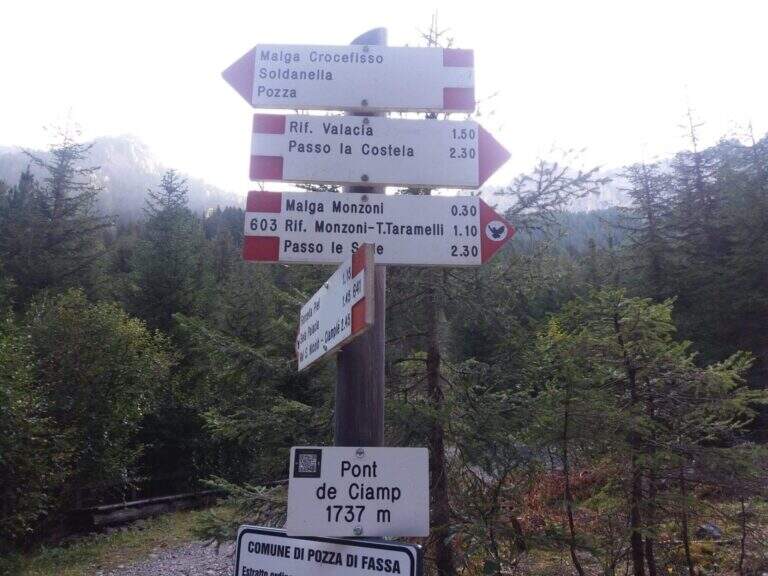
    Il punto di partenza e’ Malga Crocefisso, in Val San Nicolo’, valle perpendicolare alla Val di Fassa all’altezza di Pozza di Fassa (starting point on Google Maps). Se la strada non e’ chiusa si puo’ salire in Val Monzoni e parcheggiare nei pressi del primo tornante, altrimenti si lascia l’auto a Malga Crocefisso. Dal parcheggio si risale la strada della Val Monzoni, che coincide con il sentiero CAI 603, fino alla Baita Monzoni (1792 m, 45′ da Malga Crocefisso); si prosegue sul 603 fino a un bivio dove lo si lascia per imboccare a destra il CAI 624 in direzione di Punta Valacia e dell’omonimo rifugio (2275 m, 1h30′ totali). Poco oltre il rifugio si sale per ripido sentiero fino alla Forcella de la Costela (2529 m, 2h30′ totali), dove a sinistra, con segnavia CAI 616, ha inizio l’Alta Via Bruno Federspiel.

    ▲The path

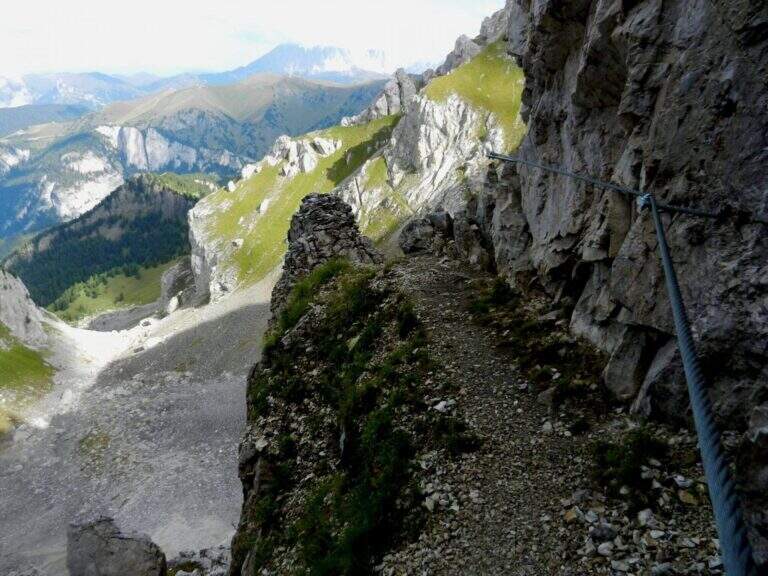
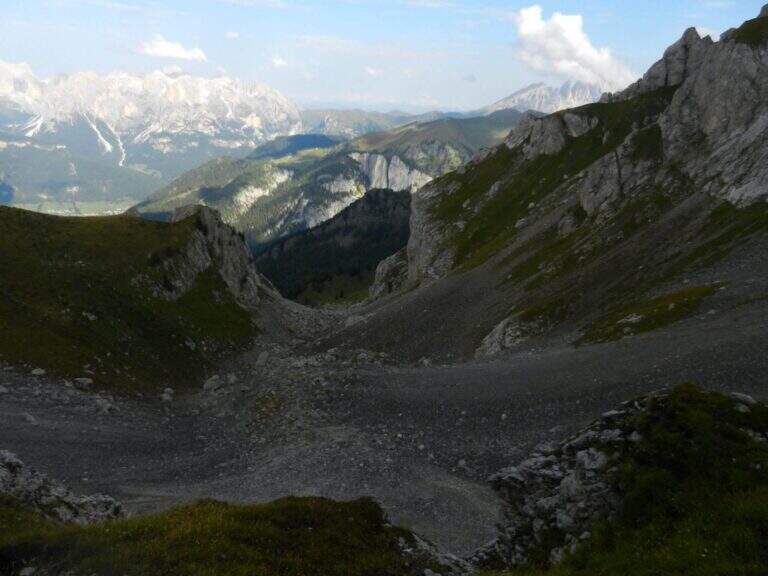
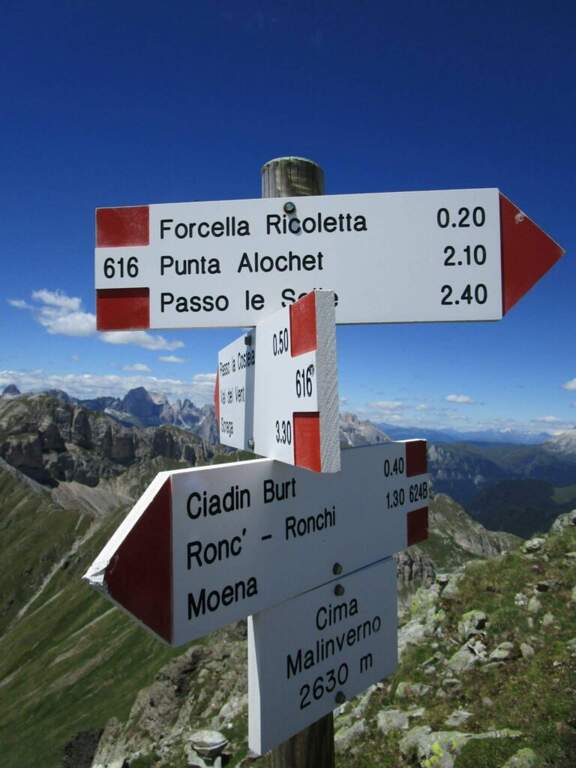
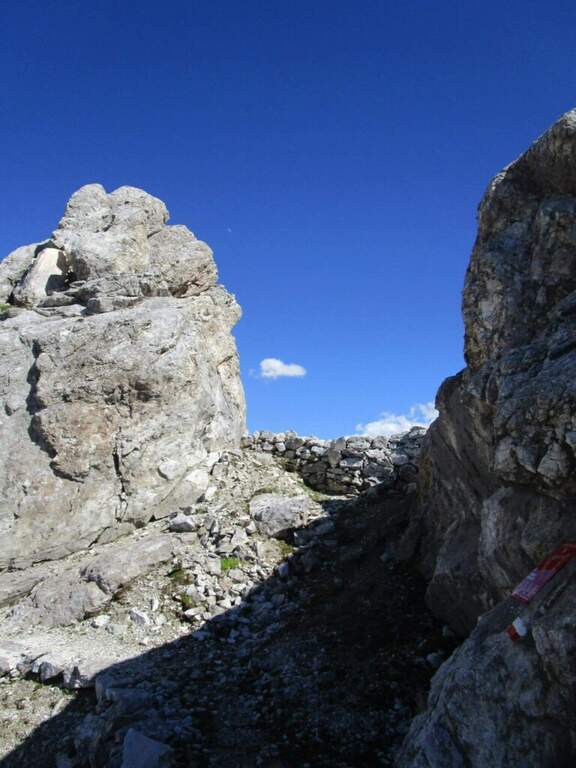
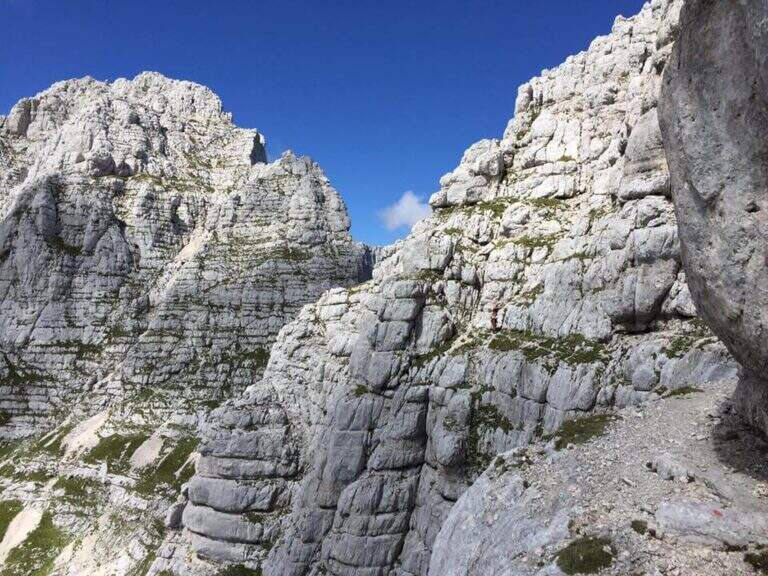
    Dalla Forcella de la Costela si ha davanti la lunga cresta da percorrere. Si parte su un sentiero inizialmente ampio che, salendo vicino alla cresta, si restringe e richiede piede fermo; si procede a mezzacosta accanto al filo per un buon tratto, mantenendo alta l’attenzione, fino a una forcella e poi a un tratto di cresta che porta allo Spiz del Malinvern (2630 m, 1h15′ dall’attacco, 3h45′ totali), dove si incontrano i primi tratti attrezzati. Da qui si potrebbe interrompere l’alta via scendendo a destra per il sentiero 624B verso Ronchi. Proseguendo, si scende verso est lungo una cresta erbosa fino alla Forcella Ricoletta (2431 m, 20′ dallo Spiz del Malinvern). Si continua in direzione dello Spiz de Tariciogn, che non si tocca lungo la via ma solo con una deviazione facoltativa, e si scende a una forcella dove riprendono i tratti attrezzati: si percorrono un paio di cenge esposte con passerelle in legno e alcuni tratti attrezzati non difficili vicino a uno spigolo, quindi un breve diedro da scendere e un facile traverso attrezzato. Si attraversa poi un tratto ricco di postazioni della Grande Guerra, raggiungibili con numerose deviazioni, e tra continui saliscendi si arriva al Passo delle Selle (3h dall’attacco, 5h30′ totali).

    ▲Character and difficulty

    L’impegno maggiore deriva dal dislivello complessivo: i continui saliscendi lungo la cresta sommano molto piu’ dislivello di quanto suggerisca la differenza tra partenza e punto piu’ alto. L’itinerario e’ meno frequentato del vicino Bepi Zac perche’ nel complesso piu’ esposto, soprattutto rispetto alla prima parte del Bepi Zac. Chi vuole risparmiare energie puo’ percorrerlo in senso inverso dal Passo San Pellegrino, usando gli impianti di risalita per raggiungere il Passo delle Selle.

    ⚠ Itinerario lungo ed esposto con molti saliscendi su cresta: serve buon allenamento e piede fermo, soprattutto nei tratti di mezzacosta stretti vicino al filo. Le cenge esposte con passerelle e i ghiaioni in discesa richiedono attenzione. Valutare meteo e residui di neve nei passaggi a nord a inizio stagione.
    ▲Period and safety

    Stagione utile dall’estate all’inizio autunno. Set da ferrata (imbracatura, kit, casco) per i tratti attrezzati, scarponi con buona aderenza per cresta ed erba, acqua e cibo per una giornata di 7-8 ore. Verificare se la strada della Val Monzoni e’ aperta e controllare il meteo: la cresta e’ esposta e poco riparata.

    ▲Discipline

    Dal Passo delle Selle (2528 m) ci sono due rientri a Malga Crocefisso. L’opzione piu’ semplice imbocca a sinistra, verso nord, il CAI 604 fino al Rifugio Taramelli (2040 m, 1h dal Passo delle Selle); si scende poi piegando a destra fino al bivio dell’andata verso il Rifugio Valacia e, passando accanto alla Baita Monzoni, si raggiunge Malga Crocefisso (1h45′ dal Passo delle Selle, 7h30′ totali). L’opzione piu’ impegnativa, che richiede ancora buona gamba, percorre il Sentiero Attrezzato Gino Badia (segnavia 640A) dal Passo delle Selle alla Forcella dell’Ort (2504 m, 1h), con alcuni tratti attrezzati e una delicata discesa su ripido ghiaione, fino al CAI 641 dove, tenendo la sinistra, si rientra sul sentiero 603 dell’andata e quindi a Malga Crocefisso (2h30′ dal Passo delle Selle, 8h15′ totali).

    ▲To match

    La cresta termina al Passo delle Selle e puo’ proseguire fino a Forcella Uomo lungo l’altra alta via della Grande Guerra, la Ferrata Bepi Zac. In alternativa la Federspiel si abbina alla Ferrata Gadotti al Sass Aut, in entrambi i casi con pernottamento in quota. Scendendo in Val San Nicolo’ si incontrano la difficile Ferrata Magnifici 4 e la Ferrata Kaiserjager al Col Ombert; spostandosi verso il Catinaccio si possono percorrere la Ferrata Santner, la Ferrata al Catinaccio d’Antermoia, la Ferrata Masare’ e la Ferrata Roda di Vael.

    ▲Gallery
    Technical data
    • Approach2:30 h
    • Duration3:00 h
    • Total itinerary7:30 h
    • Hardware level difference150 m
    • Route difference1037 m
    • Maximum altitude2647 m
    • Length17 Km
  • Alta Via dei Rondoi

    Alta Via dei Rondoi

    Vie Ferrate › Friuli Venezia Giulia › Pordenone
    Alta Via dei Rondoi

    L’Alta Via dei Rondoi e’ un bell’anello sul massiccio del Monte Cavallo, nelle Prealpi Friulane, in provincia di Pordenone: un itinerario di crinale che nella versione completa tocca cinque cime (Monte Tremol, Monte Colombera, Cimon della Palantina, Cimon del Cavallo e Cimon dei Furlani), alternando tratti attrezzati, roccette e passaggi di I grado in libera. Tecnicamente e’ Moderatamente Difficile: la parte propriamente attrezzata e’ breve, ma l’ambiente di crinale e i passaggi esposti richiedono attenzione.

    ▲Approach

    Si parte dalla stazione a monte del primo troncone della funivia che sale da Piancavallo (Pordenone): si raggiunge Tremol, a 1 km da Piancavallo con abbondante segnaletica, e si parcheggia dopo il Palasport (starting point on Google Maps). Dalla stazione, presso la Baita Arneri, ci si porta dietro la funivia ignorando i segni del Sentiero Gerometta e di Casera Palatina e si seguono i chiari cartelli del CAI 918 per l’Alta Via dei Rondoi. Si sale passando sotto il secondo troncone della funivia, restando sempre sul 918 e ignorando i sentieri laterali; dopo un primo facile tratto attrezzato si arriva a un ripetitore e, lungo il crinale, al Monte Tremol (2007 m, 1h15′ dall’arrivo della funivia).

    ▲The path

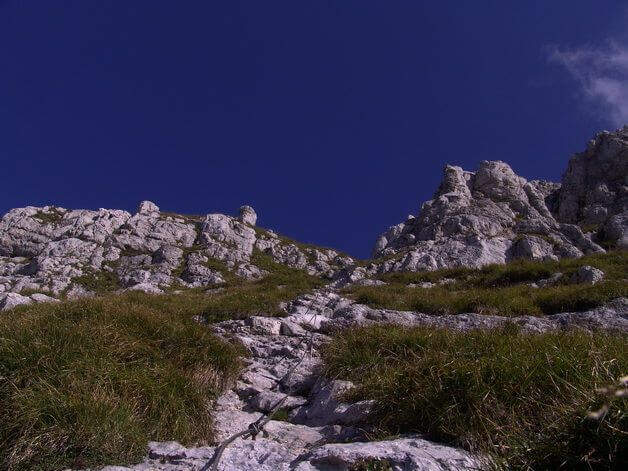
    Dal Monte Tremol si scende alla Forcella del Tremol (1974 m), ben visibile sul crinale, e si risale verso il Monte Colombera; in salita una traccia a destra permette di bypassare sia la vetta sia la parte attrezzata della discesa successiva, ma qui si prosegue fino al Monte Colombera (2066 m, 40′ dal Monte Tremol), da cui inizia il tratto attrezzato. Si scende verso la Forcella Colombera lungo un affilato crinale a tratti attrezzato: su tracce d’erba e calcare si incontrano un paio di salti pronunciati di una quindicina di metri da disarrampicare aiutati dal cavo, intervallati da traversi attrezzati; seguendo i bolli rossi si raggiunge la Forcella Colombera (1974 m, circa 30′ dal Monte Colombera, circa 2h30′ totali), dove da destra rientra il sentiero che bypassava la ferrata. Si prosegue verso il Cimon della Palantina su crinale non difficile fino a un bivio, dove si ignora il sentiero che scende ripido a sinistra verso Casera Palantina: da qui si puo’ salire alla vetta del Cimon della Palantina (2190 m, andata e ritorno circa 30′) oppure proseguire direttamente. Tenendo la destra lungo l’Alta Via 7 si raggiunge in una decina di minuti la Forcella Palantina, da cui si sale al Cimon del Cavallo lungo un crinale a tratti attrezzato con passaggi di I grado sprotetti, che richiedono attenzione ma non sono difficili: in circa 30 minuti si tocca la cima piu’ alta dell’escursione, il Cimon del Cavallo (2251 m, circa 4h totali). Si scende a ritroso pochi minuti fino a una traccia che, a sinistra, scende in un canalone attrezzato tra sassi ed erba fino a una cengia in parte attrezzata, circa 100 metri sotto la vetta, che aggira il Cimon del Cavallo e porta alla Forcella dei Furlani (2135 m); l’ultima cima si raggiunge su sentiero senza problemi, il Cimon dei Furlani (2183 m, 5h totali), dove termina la parte in salita.

    ▲Character and difficulty

    E’ un itinerario logico e panoramico, che con un solo anello collega cinque cime in una zona molto bella delle Prealpi Friulane. La parte attrezzata e’ breve e di difficolta’ contenuta; gli aspetti a cui prestare attenzione sono il fondo, in buona parte erboso, che se umido diventa insidioso, e alcuni passaggi esposti sul versante nord. La segnaletica e’ buona lungo tutto il percorso in quota.

    ⚠ Con fondo umido l’erba puo’ rendere scivolosi crinali e traversi: meglio percorrerlo con tempo asciutto. Alcuni passaggi esposti a nord possono presentare nevai a inizio stagione. Se si intende usare la seggiovia, verificare gli orari di apertura, soprattutto in bassa stagione.
    ▲Period and safety

    Stagione utile dalla tarda primavera all’autunno, evitando i periodi con neve residua sui passaggi a nord. Set da ferrata (imbracatura, kit, casco) per i tratti attrezzati, calzature con buona aderenza per i tratti erbosi, acqua e cibo per una giornata di circa 6h30′. Verificare meteo e orari degli impianti prima di partire.

    ▲Discipline

    Dal Cimon dei Furlani si scende sull’ampio crinale fino a una forcella, si risale un tratto un po’ piu’ esposto e si prosegue in costante discesa fino a un importante crocevia di sentieri (1h dal Cimon dei Furlani). Qui si tiene la sinistra per scendere verso Piancavallo, ignorando i segnavia che riportano all’arrivo della funivia (chi preferisce scendere con la funivia prosegue invece dritto). Si entra quindi nel bosco e si scende fino alla base degli impianti di risalita (2h dal Cimon dei Furlani, 6h30′ totali).

    ▲To match

    In provincia di Pordenone l’altra via attrezzata della zona e’ la Ferrata Tramuntin, che sale al Monte Rest sopra Tramonti di Sopra. Nel vicino bellunese, in Alpago, si trova la lunga escursione che comprende la Ferrata Costacurta; nei pressi di Soverzene ci sono la Ferrata Parete dei Falchi, la Palestra di Roccia della Val Gallina e la Ferrata della Memoria al Vajont.

    ▲Gallery
    Technical data
    • Approach1:30 h
    • Duration0:30 h
    • Total itinerary6:30 h
    • Hardware level difference88 m
    • Route difference953 m
    • Maximum altitude2251 m
    • Length10 Km
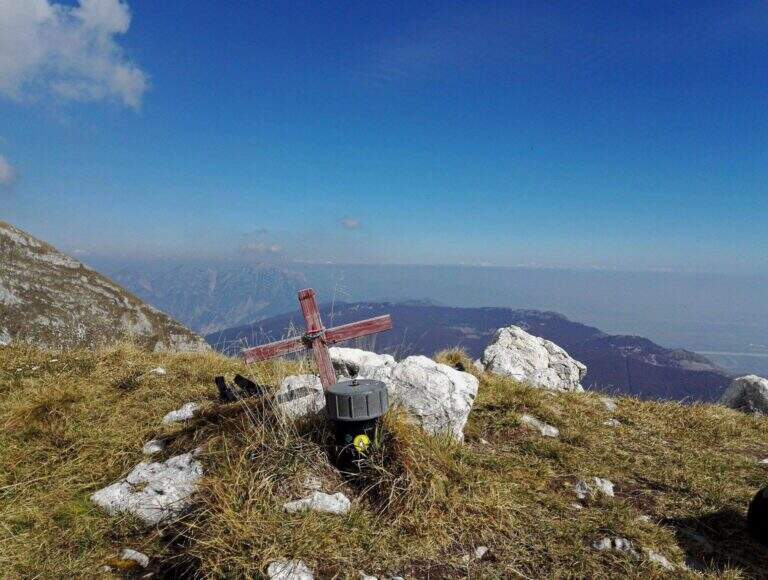
  • Ferrata at the Sentiero dei Fiori

    Ferrata at the Sentiero dei Fiori

    Vie Ferrate › Lombardy › Brescia
    Ferrata at the Sentiero dei Fiori

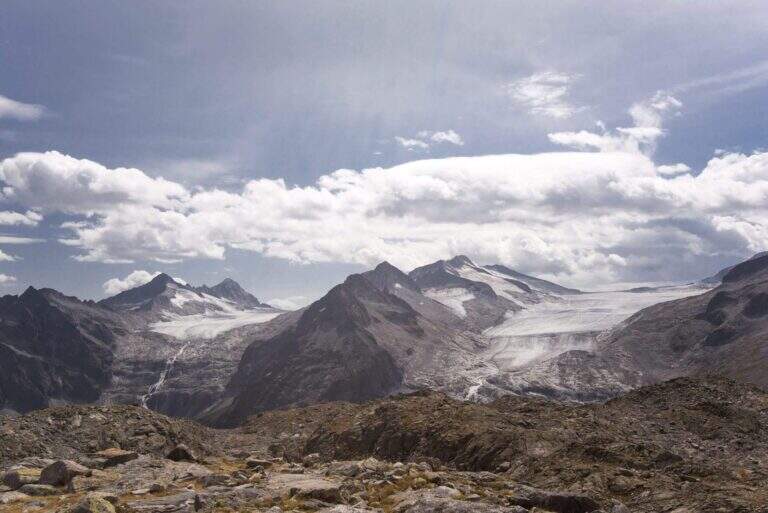
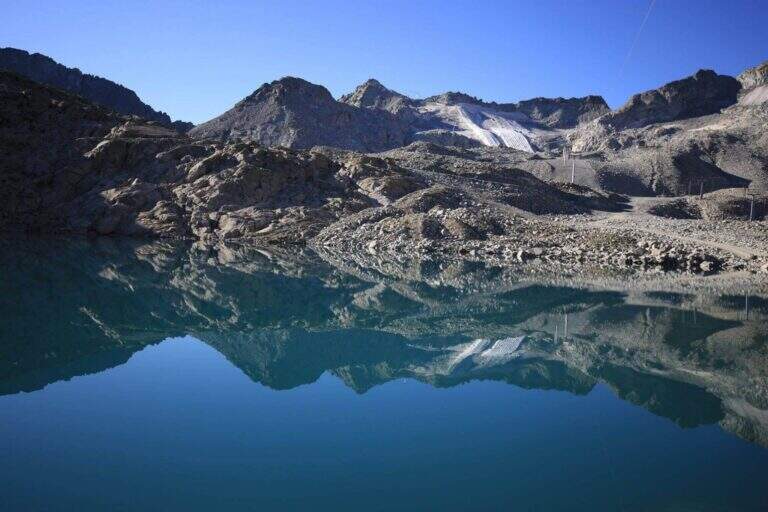
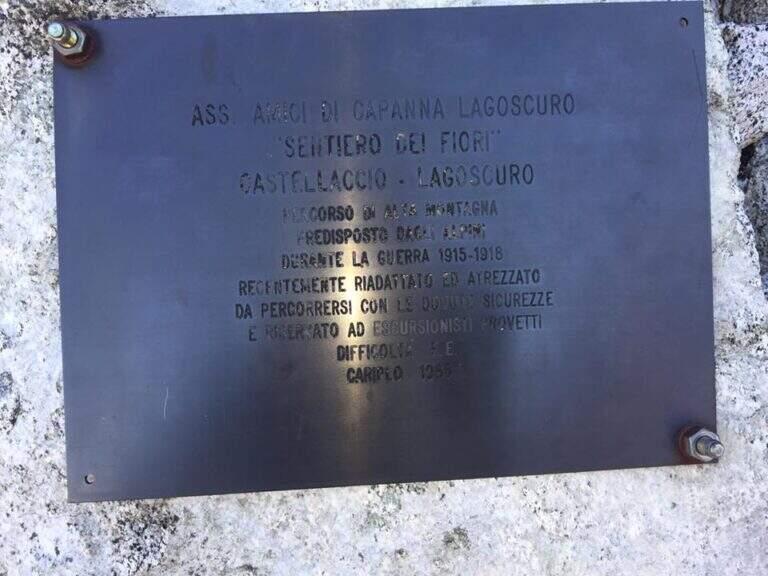
    The Ferrata al Sentiero dei Fiori is a splendid itinerary of high altitude ridge, around 3000 meters, on the group of Adamello: an equipped route where necessary, prepared by the Italian soldiers who had the front here during the First World War, with magnificent views on the glaciers of Presena and Pisgana. Technical difficulty is in a modest complex, with few exceptions in the final stretches, but the high mountain environment and snow can raise the real commitment very much; we classify it Difficult.

    ▲Approach

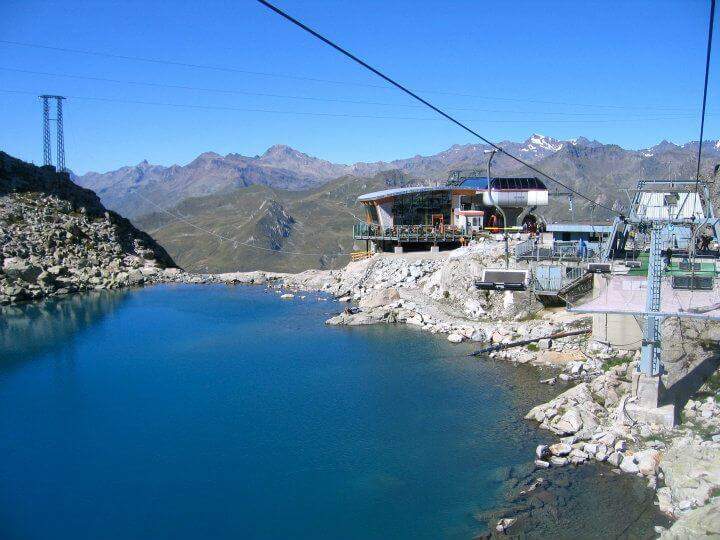
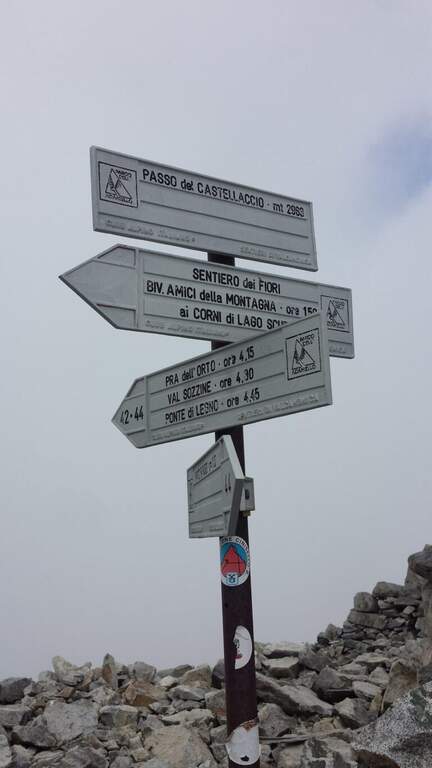
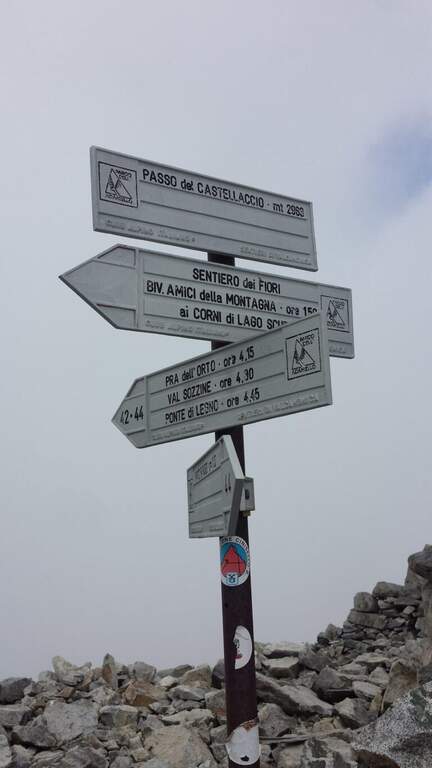
    From Passo del Tonale, on the border between the provinces of Trento and Brescia, reachable from Bolzano (2h) or Brescia (2h30′) on the SS42 or from Valtellina with the SS39 (1h45′ from Sondrio); park at the cable car at Passo Paradiso, on the Lombard side of the pass (starting point on Google Maps). Go up the cable car at Passo Paradiso (2585 m); go down, wander the small lake following the CAI 44 uphill towards Passo del Castellaccio. At an unmarked crossroads, where some CAI signs depart to the left, you go straight towards the pass along a well marked path, on high mountain terrain with some rocky not difficult, up to the Passo del Castellaccio (2963 m, 1h15′ from the mountain station of the cable car). Here you wear the harness, you leave the CAI 44 that goes down the opposite side (Value of Narcanello) and you start the ferrata.
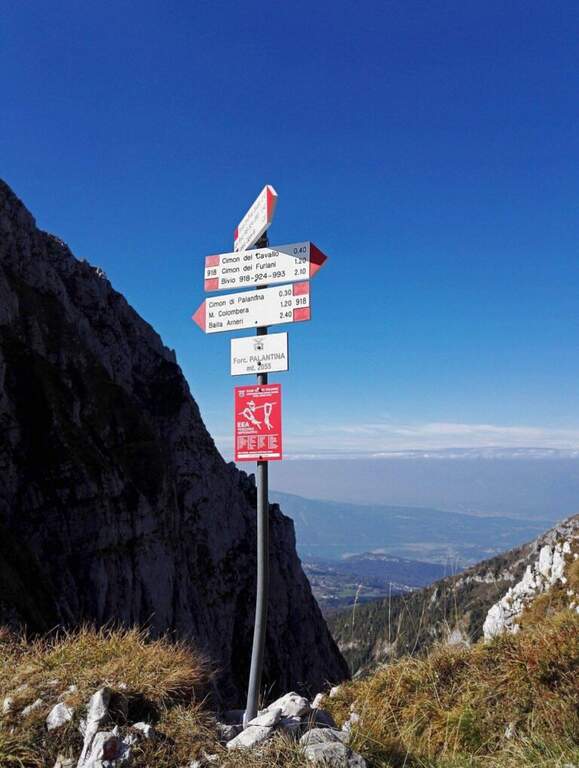
    ▲The path

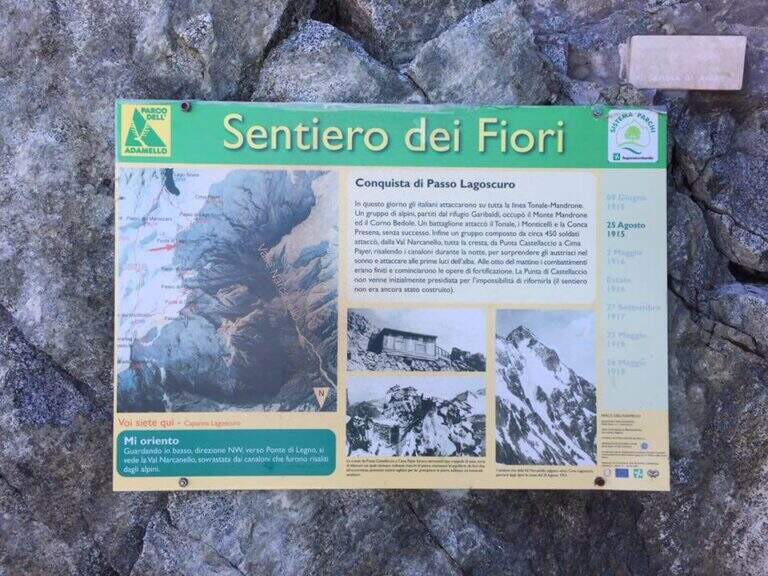
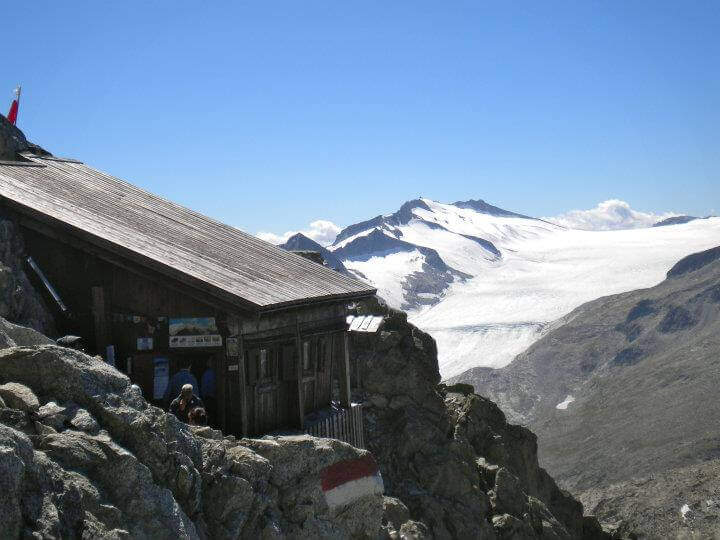
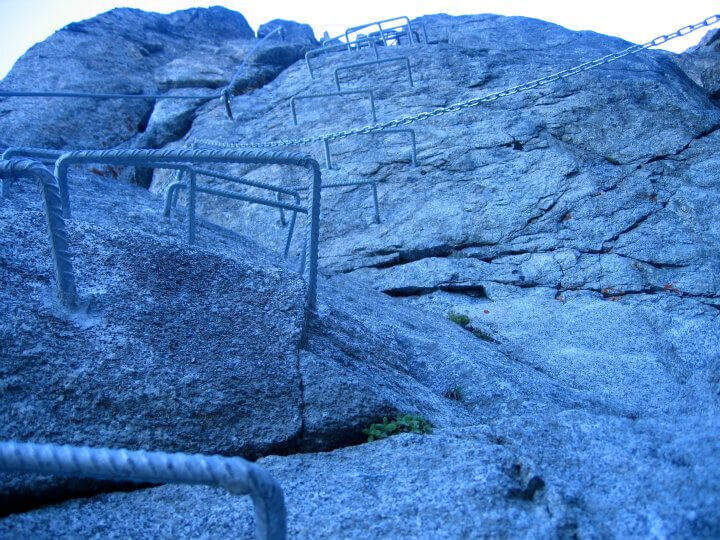
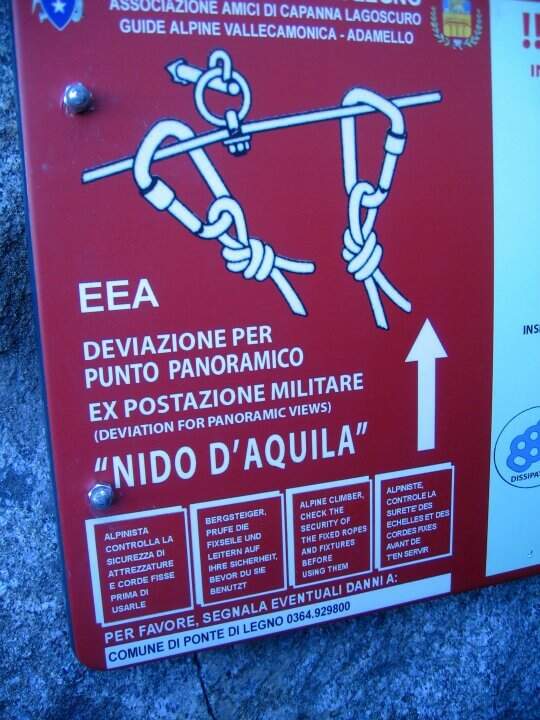
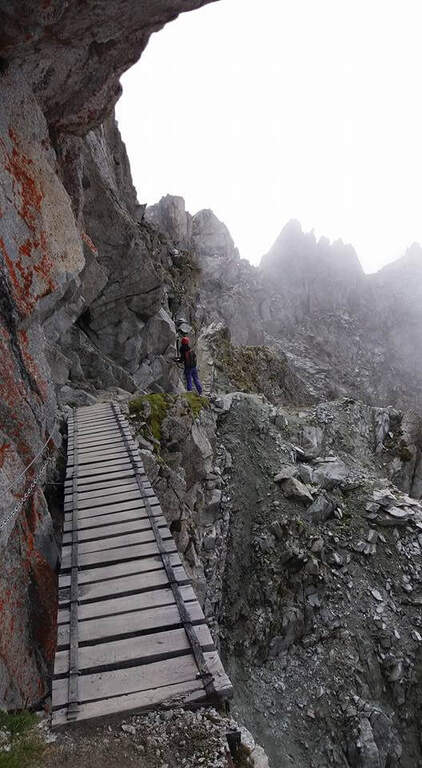
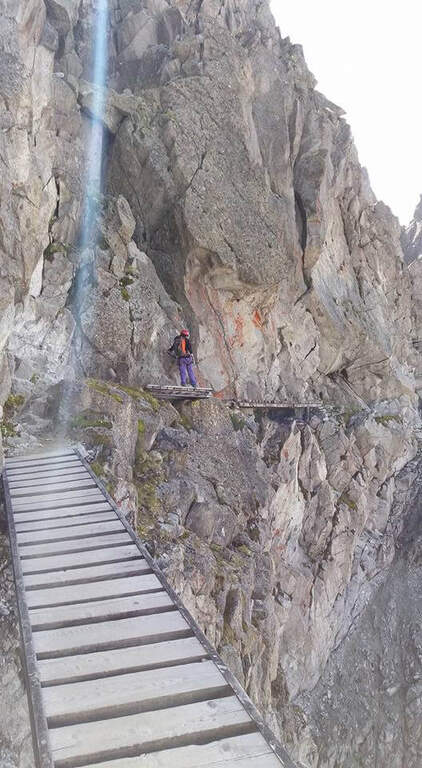
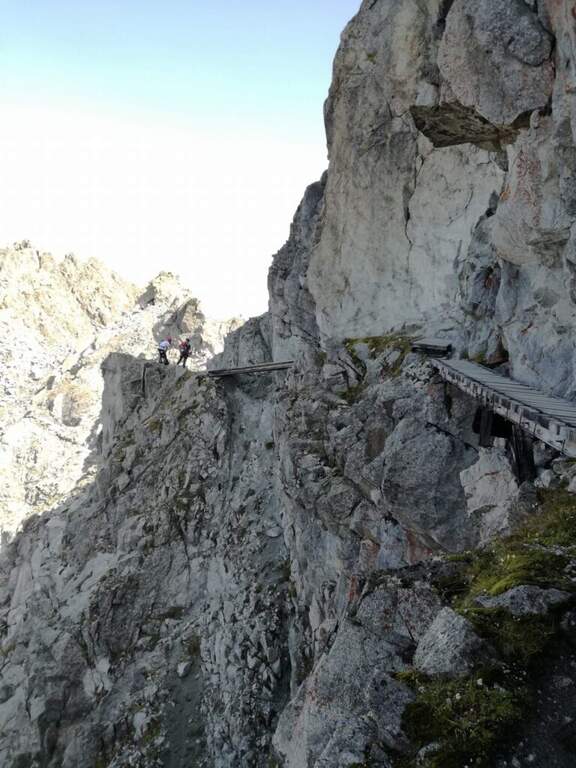
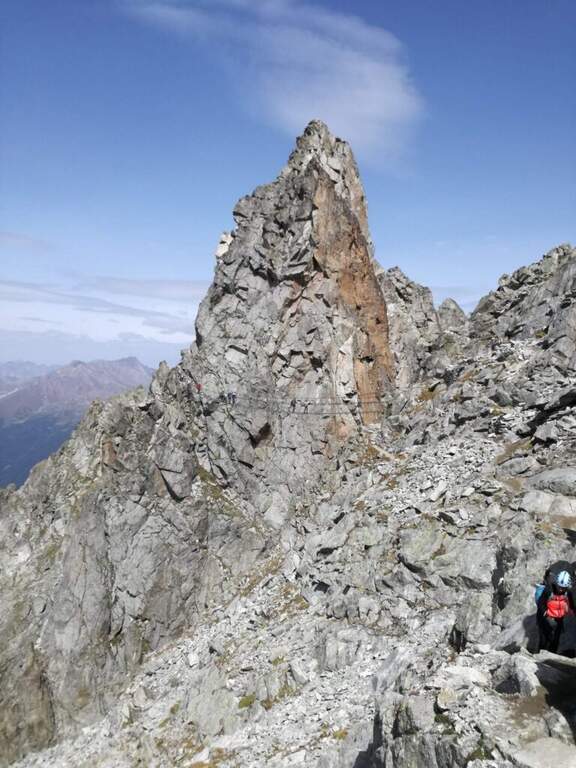
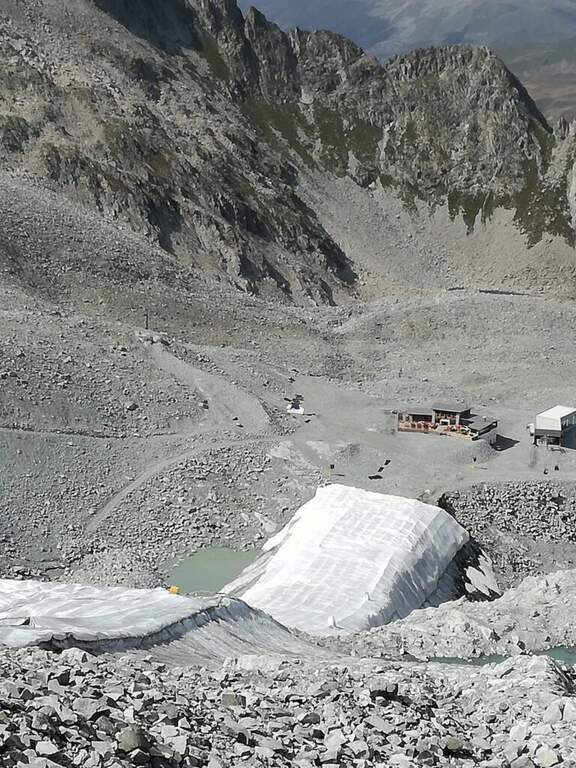
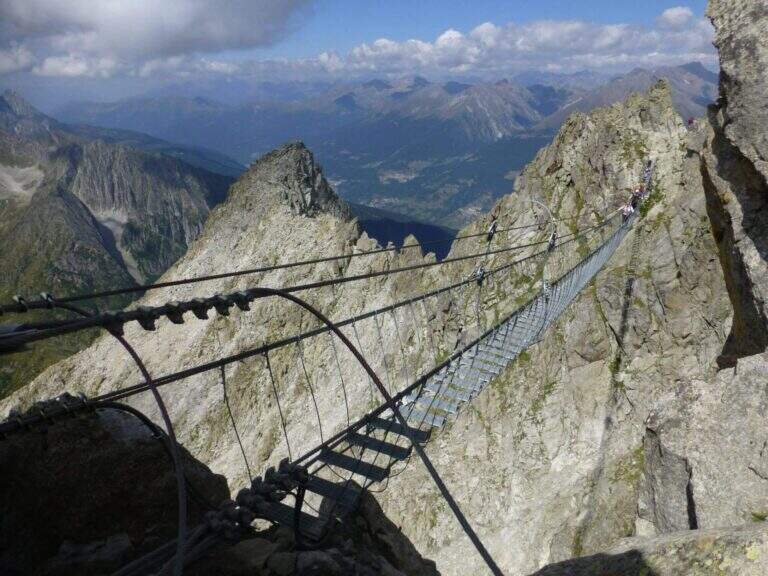
    From the pass we proceed south following signs and abundant traces. The first equipped section is a long mention with a series of ups and downs, without particular difficulties, which leads to a series of wooden walkways. On one of these, on the left, a row of brackets rises to a panoramic tip: it is a recommended deviation (about 10 minutes) that leads to the so-called eagle's nest, built for military purpose in the Great War; then it is returned to the street. This is how you reach the most iconic point of the route, the Gendarme di Casamadre, approached and surpassed by two long suspension bridges, stable and well constructed, with a connection between one and the other; those who did not want to walk the bridges can use a tunnel carved during the war that avoids them. Beyond the gendarme, a nod wanders a edge and descends a few meters, without any difficulty for the experienced hiker. Then there is a stretch where snow can be snow even in late season: if the cable is hidden from the snow the ice equipment becomes necessary (spring, peak, rope to preserve). Continue on a relatively easy path, marked by the war interventions that moderated the difficulties, until you find the equipment at a wall and some rocks; then, overcome some rocks sometimes unstable, you reach the Bivacco Amici della Montagna, usually open and managed in summer (3160 m, 1h15′ from the attack, 2h30′ total). Continuing you lose altitude to a first escape route: on the left you descend to Capanna Presena (1h, with equipped strokes) to take the second trunk of the cable car. Continuing on the path you face a half-coast stretch between rocks and descend along a war trench until the Lagoscuro Pass (2970 m, 30′ from the bivouac, 3h total), where a wooden chapel rises. From here those who want to continue south towards Cima Payer, on cenges and rocky balconies on the western side of the ridge wire, without great difficulty, until the cross of Cima Payer (3056 m). In addition, towards Passo Payer (2978 m), the difficulty really increases (it's the stretch that deserves the Difficile ranking): jumps and backward plates, the thread is thinned and you walk exposed downhill. The last part of the Sentiero dei Fiori, from Passo Payer to Passo del Lago di Pisgana (2933 m), rises on small rocks alternating with lean granitic plates, difficult to climb but supported by the chain, and runs a ridge equipped to not underestimate up to Punta Pisgana (3088 m), before descending to Passo del Lago di Pisgana.

    ▲Character and difficulty

    For most of the development the technical difficulties are modest: to make the difference are the quota, the exposure of some final traits and especially snowmaking. The stretch between Cima Payer and the Cima Lago Ghiacciato area is the most exposed and challenging and raises the overall commitment of the entire tour. In 2022 the path has been renewed after a maintenance period; signs have been installed that suggest to travel from the second station of the ovovia to the Passo Presena to the Passo del Castellaccio, that is in the opposite sense of this relationship: therefore, there are often hikers who proceed in the opposite direction and attention is needed to the crossings.

    ⚠ Itinerary around 3000 m: snow can cover the cables even in late season and in that case they serve ramps, peak and rope to proceed in preserved. Time and altitude can change quickly: bring adequate equipment to the high mountain. Beware of the crossings due to the sense of travel recommended by the signs and to the ridge equipped to Punta Pisgana, not to be underestimated.
    ▲Period and safety

    Useful season from late summer to early autumn, depending on snow. Complete hardware set (sharing, kit, helmet) and, when snow is present, ice equipment; high-altitude clothing and water and food supply for a long day. Organize the exit according to the hours of the cable car / cable car of Passo Paradiso and Passo Presena.

    ▲Discipline

    The Sentiero dei Fiori can be interrupted in several points, all returning to the Presena hut passing through the Maroccaro Pass. From the Lagoscuro Pass (approximately 2h from the beginning of the equipped stretch) you descend left towards the Scuro Lake, you go up to the Maroccaro Pass and go down to the snow of the Presena Glacier to the Presena hut (about 2h from the pass). From Passo Payer (1h from the Pass of Lagoscuro) you descend towards the Rifugio Citta’ di Trento al Mandrone and, just before the refuge, take the CAI 209 to the Passo di Maroccaro and then to the Capanna Presena (about 2h30′ from Passo Payer). From the Passo del Lago di Pisgana you descend left to the Rifugio Citta’ di Trento al Mandrone and then go up to the Passo di Maroccaro to get off at the Capanna Presena (about 3h15′ from the pass). From the Capanna Presena you return to the valley with the cable car. The entire round takes about 9h30′.

    ▲To match

    On the north side of Passo del Tonale there is the Alpine Path at Punta d’Albiolo. The Adamello group offers many equipped routes, including Ferrata Terzulli all’Adamello, the very difficult Ferrata al Corno del Grevo, Ferrata al Pizzo Badile Camuno and, on the Trentino side, the Ferrata Monte Nero alla Presanella.

    ▲Gallery
    Technical data
    • Approach1:15 h
    • Duration5:00 h
    • Total itinerary9:30 h
    • Hardware level difference150 m
    • Route difference490 m
    • Maximum altitude3088 m
    • Length15 Km
  • Ferrata Bolver Lugli

    Ferrata Bolver Lugli

    Vie Ferrate › Trentino Alto Adige › Trento
    Ferrata Bolver Lugli

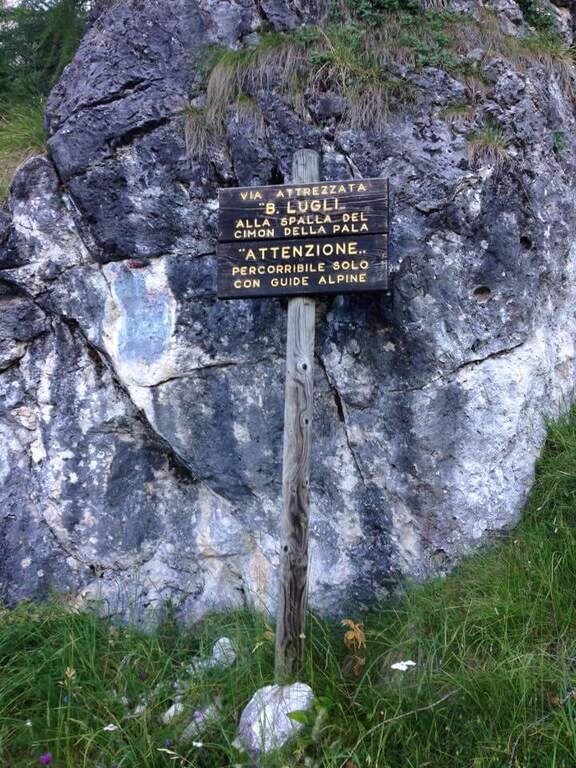
    La Ferrata Bolver Lugli sale lo Spallone del Cimon della Pala, nelle Pale di San Martino: una via di media difficolta’ con alcuni passaggi impegnativi, ma soprattutto una grande escursione di alta montagna, con avvicinamento lungo e rientro altrettanto impegnativo verso la funivia. La ferrata e’ solo una parte della giornata: a fare la differenza sono il dislivello, l’ambiente alpino e i nevai. Va pianificata con attenzione al meteo e agli orari degli impianti.

    ▲Approach

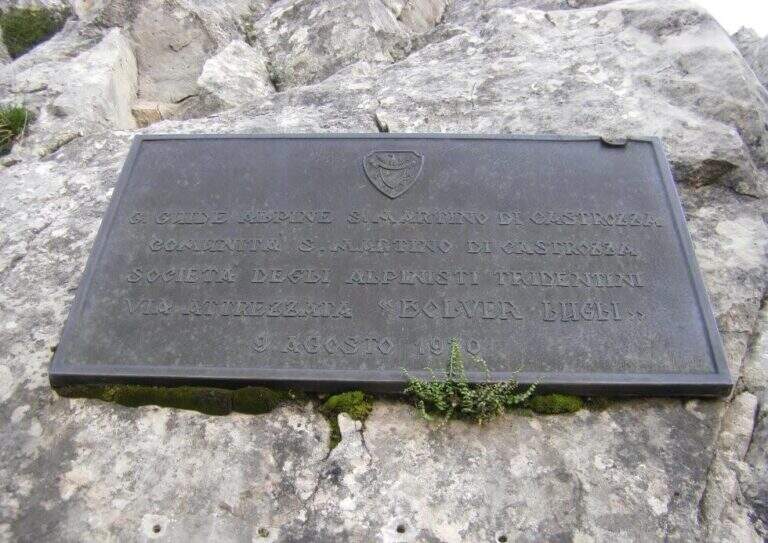
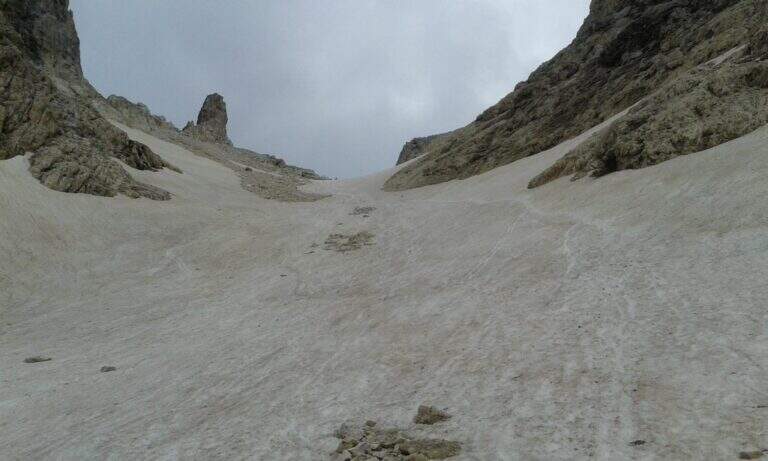
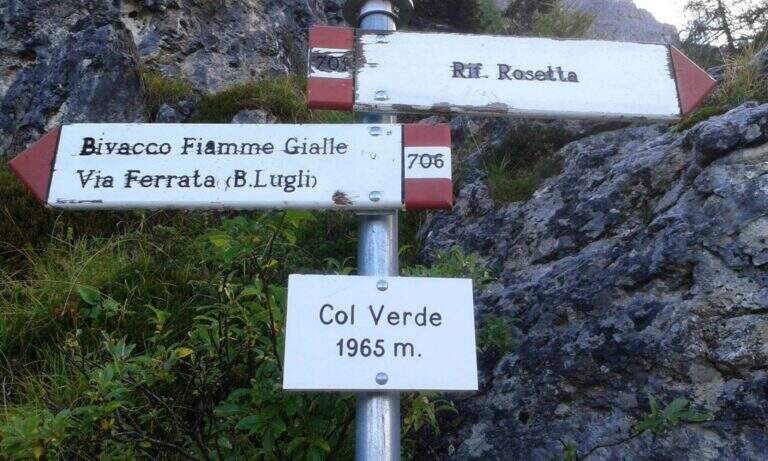
    Il punto di partenza e’ la stazione della funivia Col Verde a San Martino di Castrozza (TN), raggiungibile dalla Val di Fiemme via Passo Rolle o dalla SS50 Bassano del Grappa-Passo Rolle; gli impianti si trovano poco prima di uscire dal paese verso il Passo Rolle, presso un tornante con ampio piazzale (starting point on Google Maps). Se gli impianti sono chiusi si puo’ parcheggiare a un tornante successivo, da cui un sentiero sale a Malga Pala e poi alla stazione a monte. Vista la lunghezza dell’itinerario conviene salire con la funivia, risparmiando circa 500 m di dislivello. Dalla stazione a monte di Col Verde si prosegue in salita pochi minuti fino a una palina con la prima indicazione per la ferrata; si tiene la sinistra in salita seguendo il segnavia 706. La salita inizia gradevole nel bosco, dove si incontra un singolare cartello, poi attraversa pietraie esposte a sud che si scaldano in fretta. Si sale costantemente fino a incrociare il sentiero 712: ignorato il bivio, si prosegue verso nord verso le alte pareti sud-est del Cimon della Pala, raggiungendo la targhetta metallica della Bolver Lugli (circa 2300 m, 1h dalla stazione a monte), che pero’ e’ solo il preludio: l’attacco vero e’ 300 metri di dislivello piu’ in alto. Da qui, seguendo i segni rossi, si sale su roccette (massimo II-), tracce su sassi e tratti attrezzati, in ripida progressione su fondo detritico talvolta infido, fino all’attacco appoggiato della ferrata (1h dalla targa, 2h dalla stazione a monte).

    ▲The path

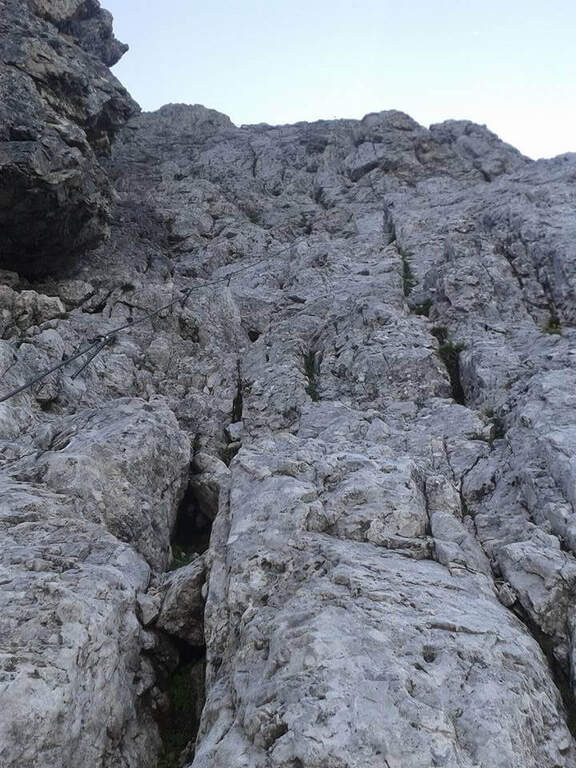
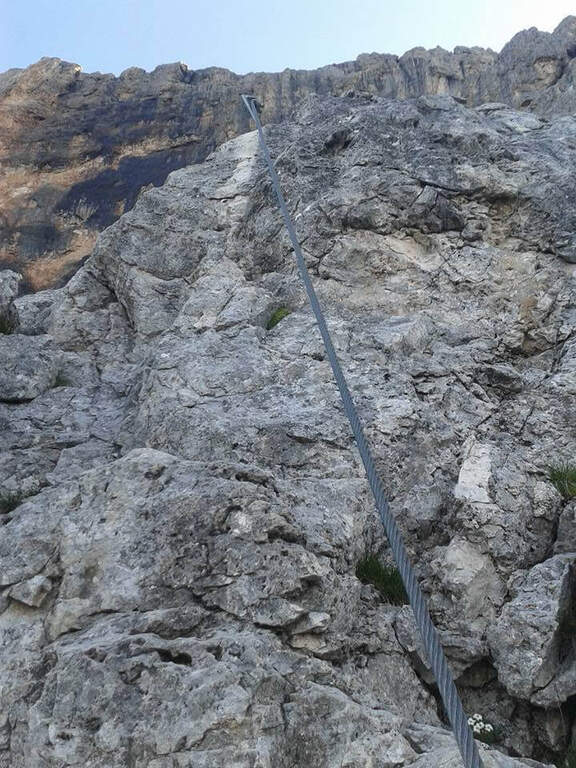
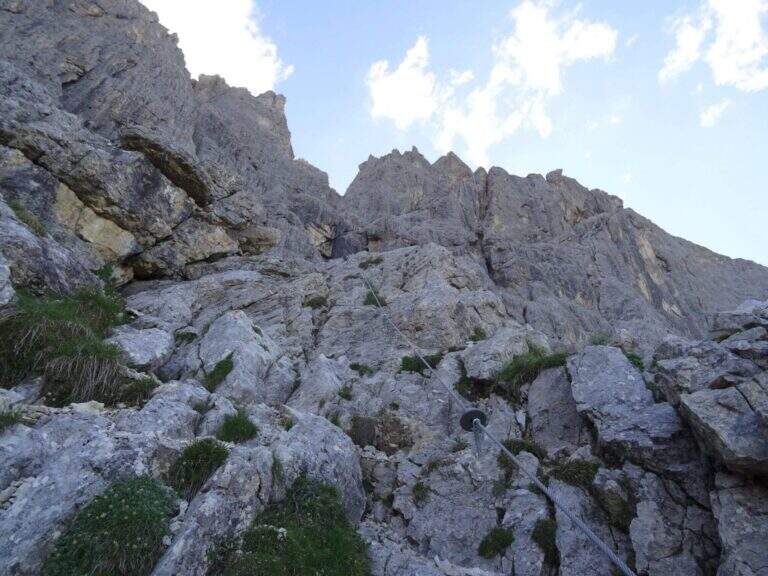
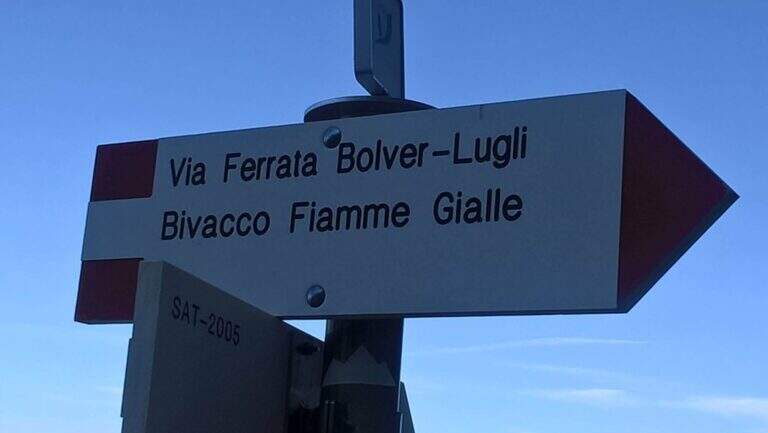
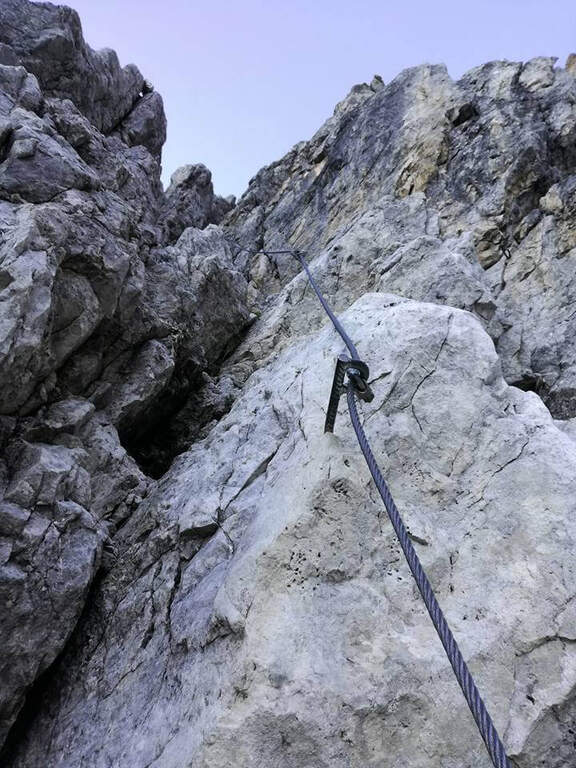
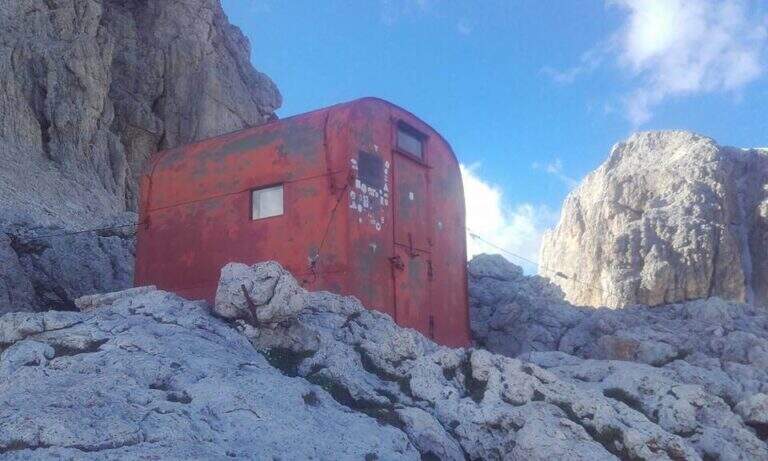
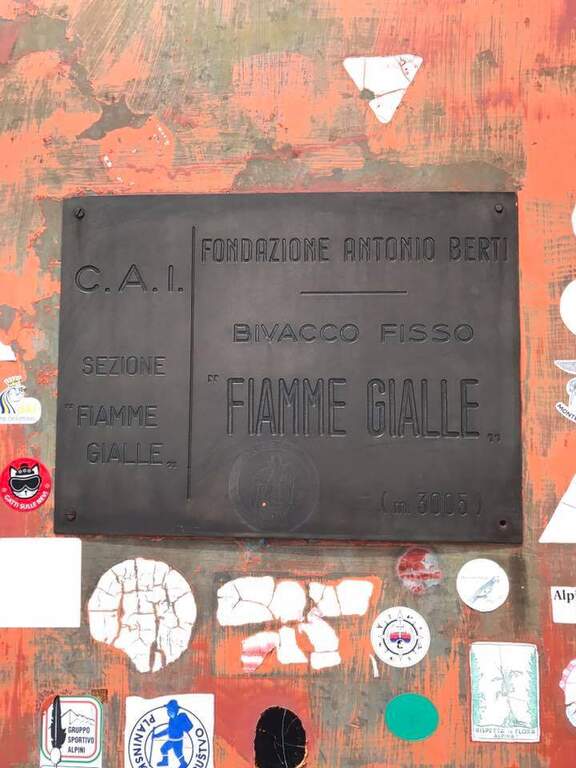
    Si parte spostandosi in diagonale verso sinistra su roccette dentro un canalino, fino a uno spigolo che si aggira, poi altre roccette e facili balzi. Si raggiunge un camino non troppo impegnativo, risalito con la fune sul lato destro e buoni appigli al centro; usciti dal camino, dopo un breve tratto verticale attrezzato, si percorre un tratto di collegamento (segnato con bolli rossi) da cui, a sinistra, si scorge in lontananza la meta finale dell’escursione, la stazione a monte della funivia del Col Rosetta. Ripreso il cavo, si sale in diagonale aggirando un paio di sassi prima a destra poi a sinistra, fino a una bella parete verticale ben appigliata che si arrampica sfruttando le naturali debolezze della roccia; segue un traverso orizzontale esposto ma ricco di appoggi e poi una seconda parete verticale, piu’ impegnativa. Si affronta quindi un tratto vario: a destra su gradoni, poi un tratto verticale fino a un pulpito panoramico; si sale una placchetta sul lato sinistro di uno speroncino e ci si porta sotto una parete dove si incontra la prima staffa della via, prima di una salita a zigzag. La parte alta porta a sinistra su un traverso orizzontale, da cui si riparte verticali in forte esposizione verso sinistra. Si sale in diagonale e poi su brevi tratti verticali fino a una parete che parte sul lato destro di una fessura, attrezzata con solide staffe metalliche, seguita da un tratto verticale su roccia piu’ povera di appigli. La sezione resta impegnativa: un diedro con la fune a destra, poi uno stretto canalino (fune a destra, buoni appigli) da cui si esce senza eccessive difficolta’; si aggira un aereo spigolo e si supera un passaggio piuttosto impegnativo e leggermente strapiombante, poi un diedro appoggiato dove conviene cercare appoggi anche sul lato opposto alla fune, e infine una placca appoggiata. Nell’ultima sezione, intorno ai 3000 m, la fatica e l’altitudine si fanno sentire, ma il panorama sulle slanciate Beppine accompagna gli ultimi metri. Si prosegue su un tratto gradonato verso un’evidente forcellina che si oltrepassa: sul versante opposto appaiono il Bivacco Fiamme Gialle e un panorama del tutto nuovo. Un breve tratto di cresta attrezzata verso sinistra, poi a destra, e una traccia evidente conduce al Bivacco Fiamme Gialle (3005 m, 2h dall’attacco, 4h totali).

    ▲Character and difficulty

    La via fu costruita dalle Aquile di San Martino e inaugurata nel 1970, lungo la storica Via Higusi del 1921 (aperta dagli alpinisti Hilde, Sigur e Langes); e’ intitolata a Bolver Lugli, notaio di Mestre, e l’ultima ristrutturazione risale al 2016. Tecnicamente e’ Difficile, con passaggi verticali ed esposti e una sezione centrale sostenuta, ma l’impegno maggiore e’ dato dall’insieme: lungo avvicinamento, alta quota e un rientro articolato tra nevai. E’ un itinerario per chi ha gia’ buona esperienza di vie ferrate e di ambiente alpino.

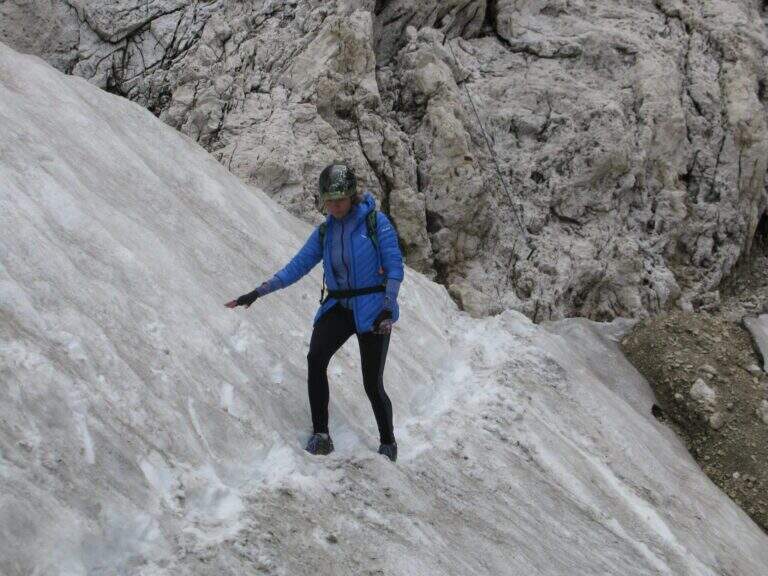
    ⚠ A inizio stagione si attraversano molti nevai: uno ripido sotto l’attacco, uno prima del bivacco e uno decisamente ripido tra il bivacco e il Passo del Travignolo, oltre ad altri verso il Passo Bettega. Portare sempre ramponi e bastoncini, valutandone l’uso in loco. Attenzione a non perdere i bolli rossi, soprattutto tra la targhetta e l’attacco e nella salita a Cima Vezzana. Partire presto per fare l’avvicinamento all’ombra e rientrare prima della chiusura degli impianti.
    ▲Period and safety

    Itinerario d’alta quota oltre i 3000 m: la stagione utile va dall’estate inoltrata, quando i nevai si riducono, all’inizio autunno. Oltre al set da ferrata (imbracatura, kit, casco) sono necessari ramponi e bastoncini, abbigliamento da alta montagna e scorta d’acqua e cibo per una giornata che puo’ arrivare a 9 ore. Verificare meteo e condizioni dei nevai, e organizzare l’uscita in base agli orari della funivia.

    ▲Discipline

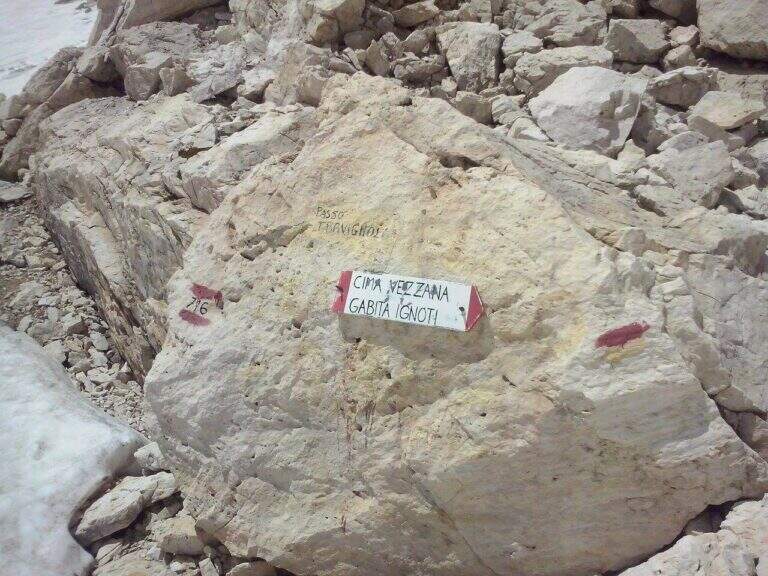
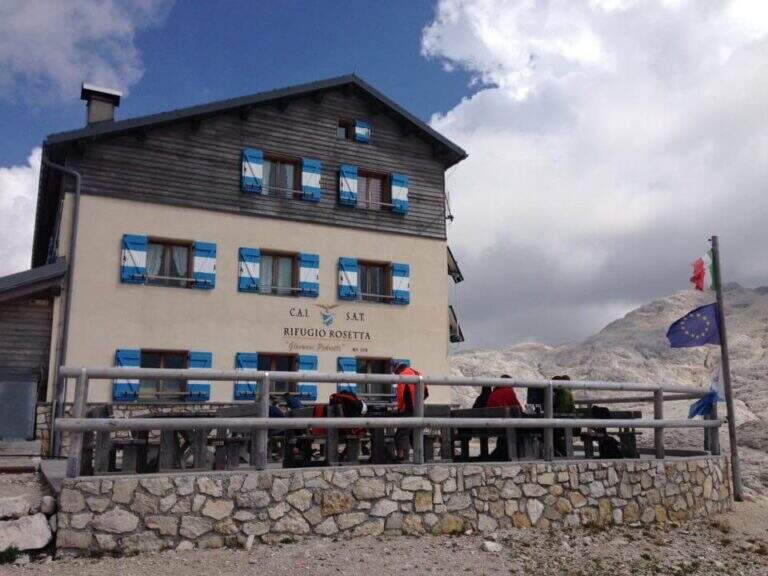
    Dal Bivacco Fiamme Gialle inizia il lungo rientro. Si raggiunge prima il Passo del Travignolo (2985 m), che divide il Cimon della Pala a sud e la Cima Vezzana a nord, tagliando a mezzacosta in discesa dal bivacco (15′, attenzione a tratti innevati). Al passo si sceglie se salire a Cima Vezzana o scendere subito per la Val dei Cantoni. Per la vetta si segue il sentiero 716 verso nord fino alla forcella tra Cima Vezzana e Cima Nuvolo, poi un tratto di cresta e una conca spesso innevata anche in stagione inoltrata, fino all’anticima e alla cima di Cima Vezzana (3192 m, 1h dal bivacco). Da qui si puo’ tornare al Passo del Travignolo (40′) e scendere la Val dei Cantoni, oppure percorrere in discesa la Ferrata Gabitta Ignoti e scendere la Val Strutt; entrambe sono impegnative e attraversano nevai (la seconda e’ piu’ lunga, con il Sentiero delle Farangole e il solo Bivacco Brunner come appoggio). Seguendo la prima opzione, dal Passo del Travignolo si scende ripidi nel vallone generalmente innevato (i crepacci sono di solito nella parte inferiore): dopo circa 20 minuti, presso un grosso sasso al centro della valle, una freccia indica di spostarsi sul lato destro verso la roccia per evitare un tratto molto ripido, con alcuni passaggi attrezzati. Si prosegue nel vallone, affrontando con attenzione un paio di attraversamenti su neve esposti; terminato il vallone (circa 1h dal bivacco) si segue a destra il sentiero 716 che taglia a mezzacosta in salita verso il Passo Bettega (2658 m). Al passo si ignora la traccia a sinistra e si scende fino a un bivio: a destra si scende ripidi su roccette verso Col Verde, a sinistra si va senza difficolta’ verso il Rifugio Pedrotti-Rosetta (2581 m) e si risale alla stazione a monte presso il Rifugio Rosetta (2678 m; 2h dal termine del vallone, 3h dal bivacco, circa 7h totali senza la salita a Cima Vezzana, 9h con la vetta). La discesa a destra verso Col Verde lungo il 716 presenta tratti esposti con attrezzature non in buone condizioni: meglio salire al rifugio e usare la cabinovia.

    ▲To match

    L’abbinamento classico e’ Bolver Lugli in salita, vetta di Cima Vezzana e discesa con la Ferrata Gabitta Ignoti. Facendo tappa al Rifugio Pedrotti si possono concatenare il Sentiero Attrezzato Gusella, la Ferrata del Porton e la Ferrata Velo, oltre alla Ferrata della Vecia in discesa; verso est si raggiungono il Sentiero Attrezzato del Cacciatore e la difficile Ferrata Dino Buzzati al Cimerlo. Sul versante orientale delle Pale ci sono la Ferrata del Canalone e la Ferrata Fiamme Gialle (versante trentino), la Ferrata Stella Alpina e la Ferrata dell’Orsa (versante veneto). Abbinando la Gabitta Ignoti si puo’ infine proseguire verso il Passo delle Farangole e il Rifugio Mulaz, da cui scendere la Ferrata del Mulaz.

    ▲Gallery
    Technical data
    • Approach2:00 h
    • Duration2:00 h
    • Total itinerary9:00 h
    • Hardware level difference455 m
    • Route difference1222 m
    • Maximum altitude3192 m
    • Length8,4 Km
    • Year opening1970
  • Sentiero Attrezzato del Canalino della Balza Forata

    Sentiero Attrezzato del Canalino della Balza Forata

    Vie Ferrate › Marche › Pesaro-Urbino
    Sentiero Attrezzato del Canalino della Balza Forata
    Moderately Hard● OpenDescriptionComplexityMapsGallery

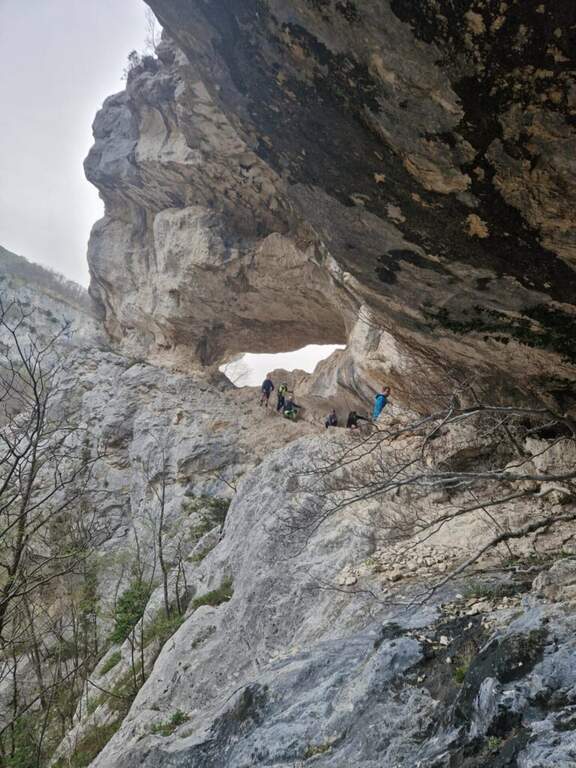
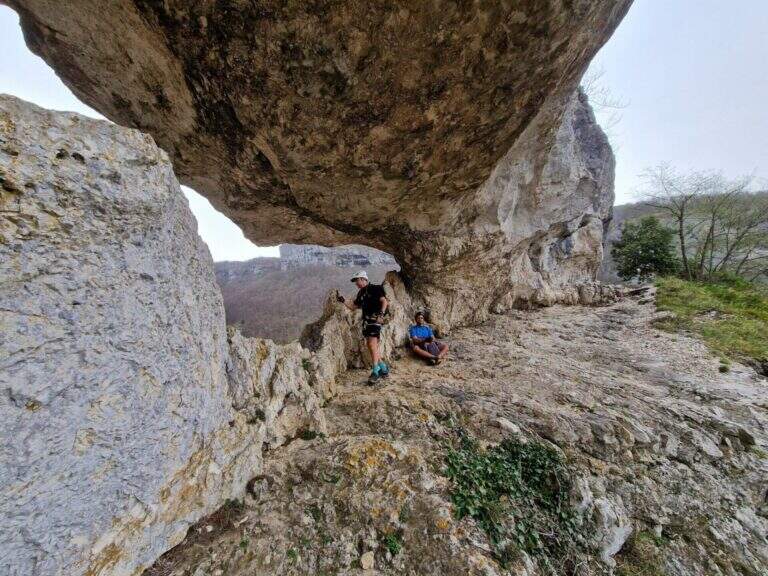
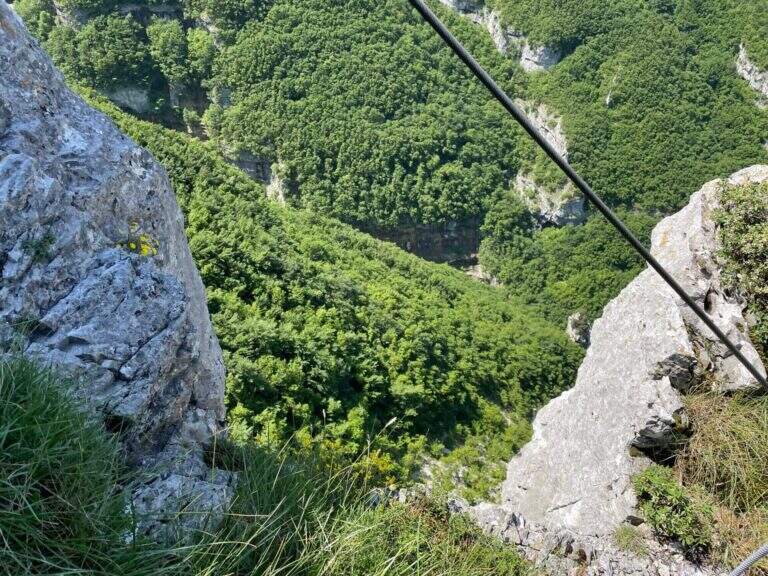
    Il Sentiero Attrezzato del Canalino della Balza Forata sale, tra cenge e tratti verticali, fino alla spettacolare apertura naturale a forma di finestra che da il nome alla parete, nella suggestiva cornice della Valle dell’Abisso e dell’Infernaccio del Monte Nerone. Non e una ferrata in senso stretto ma un itinerario alpinistico reso piu accessibile da corde fisse: difficolta tecniche moderate, ma ambiente serio con tratti sprotetti. Consigliato a chi ha gia esperienza.

    ▲Approach

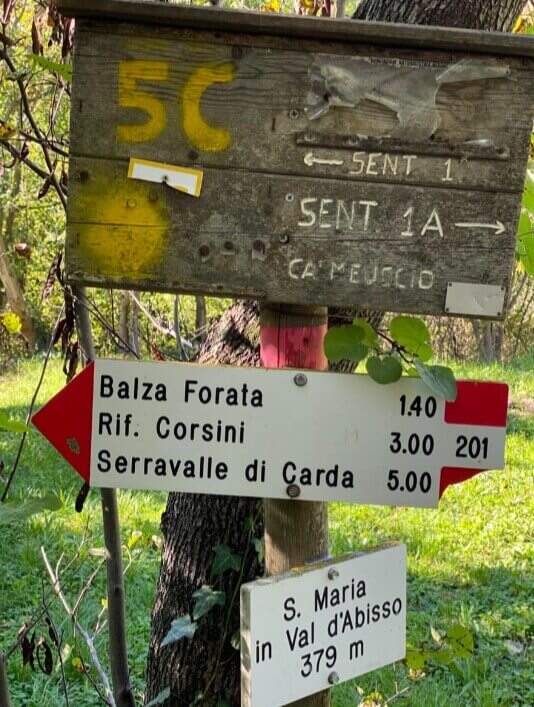
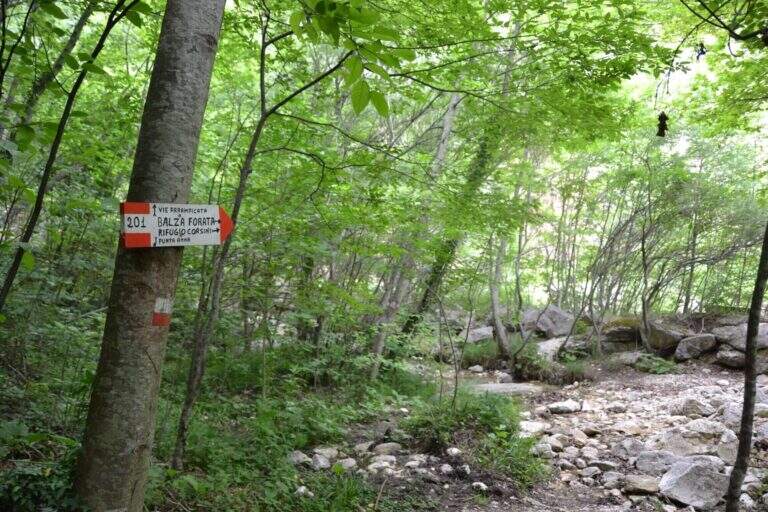
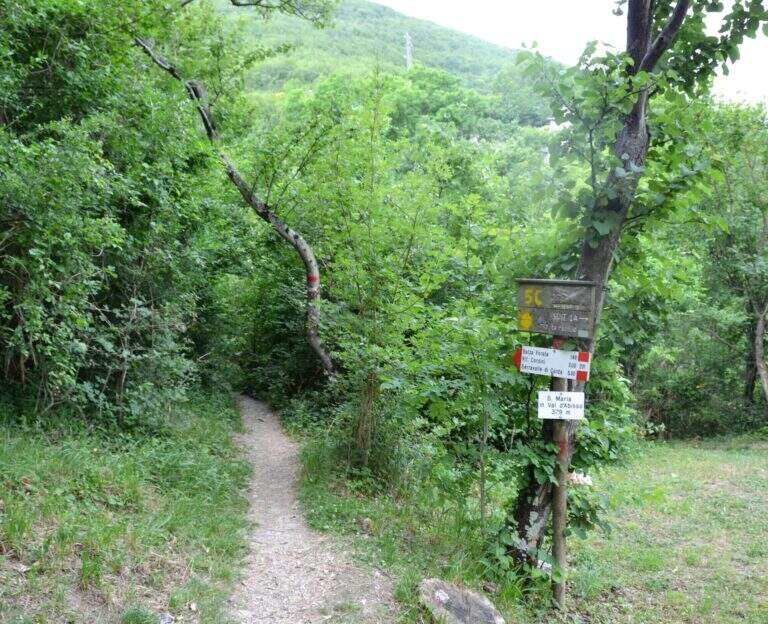
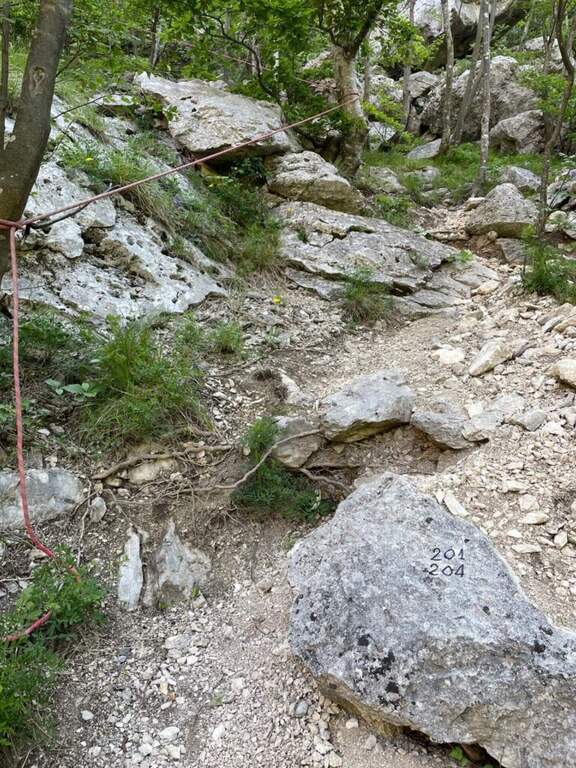
    Sono possibili due avvicinamenti. Avvicinamento 1 (consigliato per l’anello con la sola Balza Forata): si parte dal Santuario di Santa Maria in Val d’Abisso (380 m), dove si parcheggia. Oltrepassata la chiesa tenendola a sinistra, si imbocca il sentiero 201 che attraversa la Val d’Abisso per circa 40 minuti, supera un vecchio mulino dove si tiene la sinistra restando sul 201; si oltrepassa il torrente, poco dopo si tiene la destra in salita e a un bivio successivo ancora a destra (ignorando il sentiero a mezzacosta). Raggiunta la cava di travertino, con un ampio piazzale e una panchina sotto le pareti bianche di Punta Anna, si segue a sinistra il sentiero a bolli rossi fino a superare l’acquedotto col pannello solare; sulla sinistra un grosso masso segna l’attacco (cavetto metallico e corda gialla), circa 1 ora dal parcheggio. Avvicinamento 2 (consigliato in discesa se si vogliono fare entrambi gli itinerari): si raggiunge in auto il secondo tornante che si affaccia sulla valle dell’Infernaccio (1101 m) e si parcheggia; si scende per il sentiero 204 seguendo ometti e segni rossi fino al sentiero 201, poi a un bivio si scende a destra alla base della parete della Balza Forata, la si aggira a destra fino alla ferrata e si scende a sinistra fino al grosso masso dell’attacco (678 m), circa 1 ora. Apri il punto di partenza su Google Maps.

    ▲The path

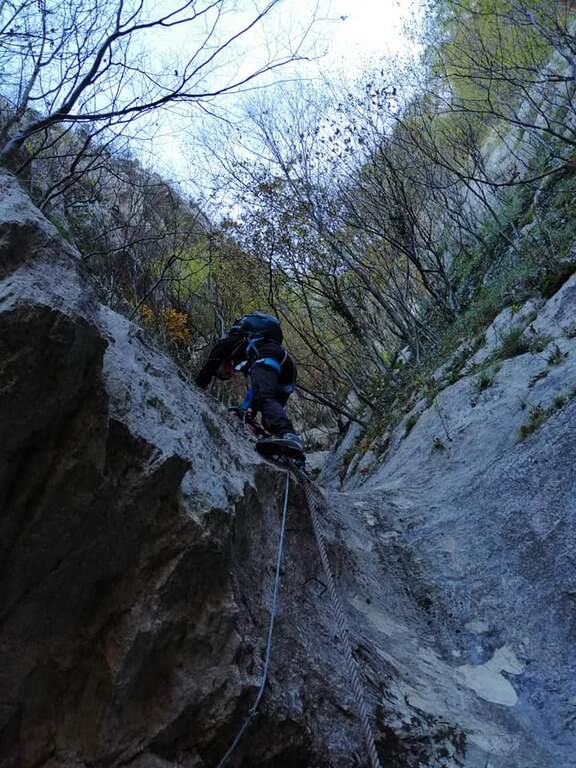
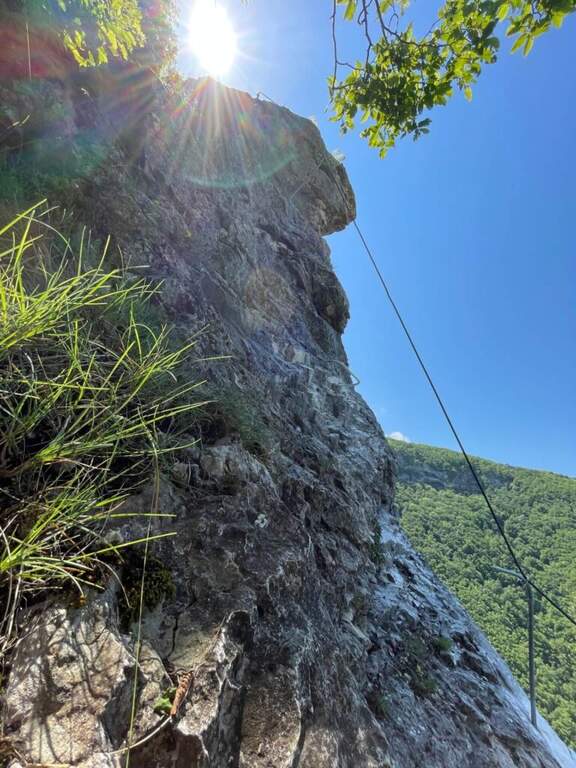
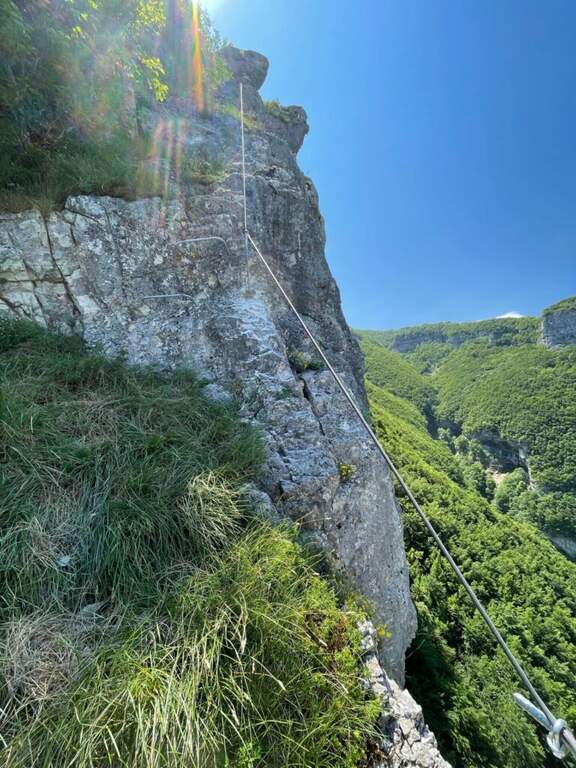
    Dall’attacco la via attrezzata alterna sezioni verticali a tratti piu agevoli, con alcuni passaggi impegnativi dove alcune cambre metalliche aiutano pur richiedendo passi di forza. Seguendo la parete fino all’entrata del canalino sulla sinistra (alcuni vecchi chiodi indicano la via), si risale il canalino detritico con catene e corde fisse fino a un primo tratto verticale piu attrezzato. Superato il muretto con gli scalini in ferro, si segue il cavo a sinistra lungo il canalone alternando fondo terroso e tratti verticali fino in cima a Punta Anna. Si arriva a un “grottino”: un tratto scivoloso attrezzato con gradini in ferro e fune d’acciaio, da affrontare con la massima attenzione perche il terreno e pieno di sassi. Raggiunto il “Grottone”, si prende una bella cengia leggermente esposta; svoltando a sinistra si supera un breve tratto con scalini e corda, si percorre un’altra cengia e infine l’ultimo tratto attrezzato che conduce all’interno della Balza Forata, dove la via termina (circa 1 ora dall’attacco, 2 ore dal parcheggio). Volendo, oltre la finestra si puo proseguire sul nuovo Canalino Vampa (circa 40 minuti), itinerario verticale ed esposto che costeggia lo strapiombo dell’Infernaccio.

    ▲Carattere e difficolta

    Le difficolta tecniche restano moderate, ma vanno distinte dall’impegno complessivo: l’itinerario presenta tratti sprotetti e si svolge in un ambiente che richiede attenzione ed esperienza. Il cavo e nel complesso in ottimo stato; qualche gradino in ferro e meno saldo ma non pericoloso, e in alcuni punti il cavo non e molto teso.

    ⚠ Forte rischio di caduta sassi: caschetto obbligatorio e, se si va in compagnia, mantenere ampia distanza. Dove il cavo e poco teso non restare vicini. Usate le corde fisse come corrimano e sicurezza, evitando di appendervisi: e un itinerario per escursionisti gia esperti.
    ▲Discipline

    Con l’avvicinamento 1 si oltrepassa la Balza Forata tenendo la sinistra fino a un ghiaione in discesa che si attraversa per immettersi nel sentiero 201, chiudendo l’anello fino alla cava di travertino e quindi a ritroso fino al Santuario. Con l’avvicinamento 2, dopo l’eventuale Canalino Vampa si rientra risalendo il sentiero 204 (e poi il 201), circa dieci minuti fino al tornante.

    ▲Storia e dintorni

    Il canalino fu percorso da alpinisti marchigiani a fine anni Sessanta; il progetto di attrezzarlo a sentiero attrezzato e iniziato nel 2015 e completato nel 2020, mentre il Canalino Vampa e stato trasformato in via attrezzata da alcuni volontari nel maggio 2026. La Balza Forata, con il sole che filtra dalla finestra naturale, regala un colpo d’occhio davvero scenografico (relazione a cura di Cristian Manduchi). In zona si possono abbinare il trekking dell’Orrido dei Cupi di Fiamma e le cascate di Pian dell’Acqua. Per quanto riguarda le vie ferrate, nelle Marche l’unica altra opzione al momento e la Ferrata dei Piceni a Pioraco, piuttosto lontana.

    ▲Gallery
    Technical data
    • DifficoltaModerately Hard
    • RegionMarche
    • GroupAppennino Marchigiano
    • Approach1:00 h
    • Ferrata1:00 h
    • Itinerary (a/r)3:00 h
    • Hardware level difference200 m
    • Route difference560 m
    • Max880 m
    • Length6,2 Km
  • Ferrata Antonio Berti allo Schiara

    Ferrata Antonio Berti allo Schiara

    Vie Ferrate › Veneto › Belluno
    Ferrata Antonio Berti allo Schiara

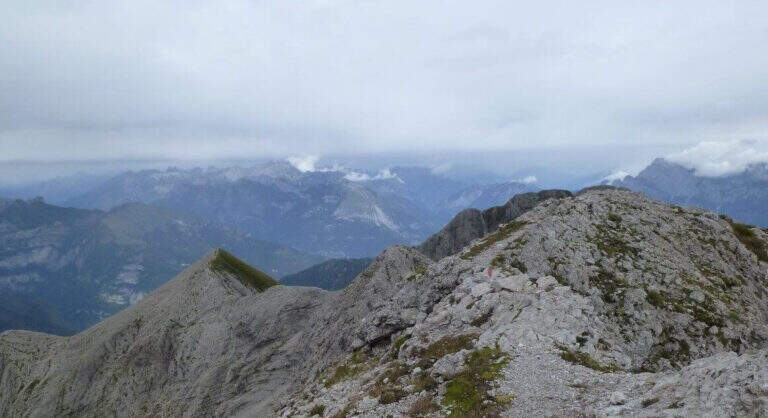
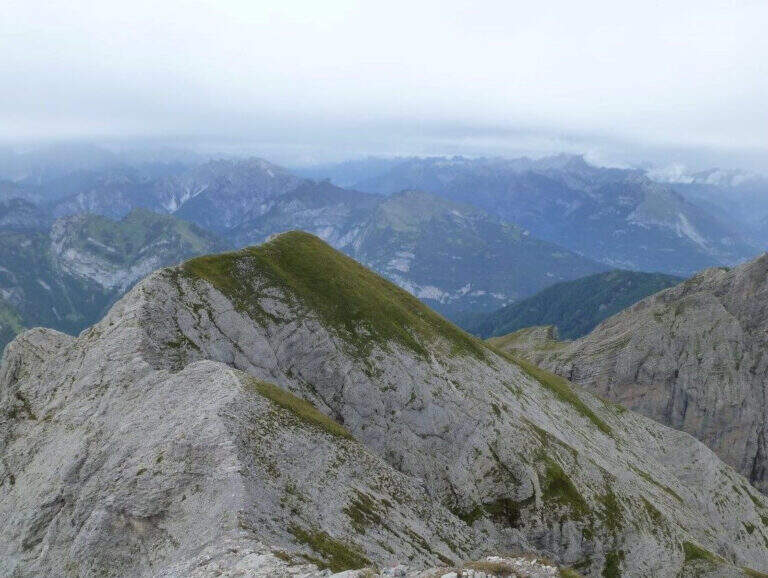
    La Ferrata Antonio Berti allo Schiara è una via attrezzata d’alta quota che, in prosecuzione della Ferrata Zacchi (o Sperti), porta in vetta al Monte Schiara (2565 m) dal versante occidentale, nel cuore delle Dolomiti Bellunesi (provincia di Belluno). La ferrata in sé è breve, ma si inserisce in un lungo e impegnativo itinerario ad anello che comprende almeno un’altra ferrata in salita e la Ferrata Piero Rossi in discesa: un percorso da affrontare solo se ben allenati, con buona esperienza e, idealmente, spezzandolo in due giorni.

    ⚠ Itinerario lungo, alpinistico e impegnativo. Lo sviluppo complessivo è di circa 20 km e 1865 m di dislivello, con un impegno fisico massimo (5/5) ed esposizione molto elevata (4/5). La Berti vera e propria dura circa un’ora, ma vi si arriva già con molto dislivello sulle gambe. Numerosi tratti non protetti ed esposti si trovano sia oltre la fine della Zacchi sia lungo tutta la cresta est in discesa. La nebbia è frequente e rende difficile individuare la traccia verso Forcella Marmol. Sono state segnalate alcune attrezzature un po’ usurate (qualche chiodo saltato, corde lente), non pericolose ma da tenere presente. Affrontare solo con tempo stabile, buona programmazione e adeguata esperienza alpinistica.
    ▲Approach

    Il punto di partenza è Case Bortot (695 m), in provincia di Belluno: da Belluno si segue la regionale del Col di Lana, a una rotonda si tiene la destra per Bolzano Bellunese e il Parco delle Dolomiti Bellunesi; oltrepassati Bolzano Bellunese e Gioz si seguono le indicazioni per il Rifugio Case Bortot, fino al parcheggio dove la strada termina (open the starting point on Google Maps). Dal parcheggio si segue il sentiero CAI 501 verso il Rifugio VII Alpini: dopo un tratto piacevole nel bosco si scende al Ponte del Mariano (30′), si ignora a destra il CAI 507 e si sale decisi lungo il torrente Ardo, spesso al sole e faticosamente, fino alla radura del Rifugio VII Alpini (1502 m, 2h 45′ dal parcheggio). Dal rifugio l’attacco della Berti si raggiunge salendo la Ferrata Zacchi (2h 45′, più diretta ed esposta) o la Ferrata Sperti (3h 45′). Seguendo la Zacchi, al bivio con la Piero Rossi si tiene la sinistra e si conclude la salita al Bivacco Ugo Dalla Bernardina (2320 m, 2h dall’attacco, 5h 30′ complessive).

    ▲The path

    Poco prima del Bivacco Dalla Bernardina si segue una traccia verso destra, su sassi, fino all’attacco della Ferrata Berti. Si sale subito una prima scaletta metallica seguita da una cengia che porta a un canalino gradonato, da risalire prima sul lato destro poi spostandosi a sinistra; una scaletta in leggero strapiombo costituisce il passo chiave (il cambio dei moschettoni va fatto in posizione scomoda). Rimontato il canalino si entra in un camino stretto verso sinistra, molto bello e arrampicabile; usciti, un breve sentiero di collegamento tra guglie rocciose porta, verso sinistra, sotto una parete appoggiata di una ventina di metri con buoni appigli. Si raggiunge quindi un tratto aereo di cresta con alcuni passaggi emozionanti e impegnativi: si sale una scaletta, poi una serie di staffe e si aggira uno spigolo in forte esposizione. Seguendo la cresta attrezzata e poi gli ometti, oltre il termine delle attrezzature, si arriva in vetta allo Schiara (2565 m, 1 ora dall’attacco, 6h 30′ complessive). La croce di vetta, segata da vandali alcuni anni fa, è stata sostituita da un cartello con il libro delle firme, unico per tutte le ferrate dello Schiara.

    ▲Character and difficulty

    Classificata Difficile (D): la ferrata presenta due o tre passaggi impegnativi (la scaletta strapiombante e lo spigolo esposto) intervallati da tratti più facili, con difficoltà tecniche e ambientali sul 3/5. La classificazione difficile deriva soprattutto dall’inserimento in un itinerario molto lungo e faticoso, con esposizione elevata e ambiente isolato. Obbligatori imbracatura, kit da ferrata e casco; consigliata esperienza alpinistica.

    ▲Period and safety

    Via estiva d’alta quota, da percorrere con tempo stabile e buona visibilità. Vista la lunghezza (fino a 12 ore complessive) conviene spezzare l’itinerario dormendo al Rifugio VII Alpini o in uno dei bivacchi sempre aperti in quota (Dalla Bernardina, Bocco Zago). Un cenno di storia: la ferrata fu inaugurata nel 1959 come prosecuzione della Zacchi ed è dedicata ad Antonio Berti, accademico del CAI, alpino nella Grande Guerra e autore della classica guida “Dolomiti Orientali”.

    ▲Discipline

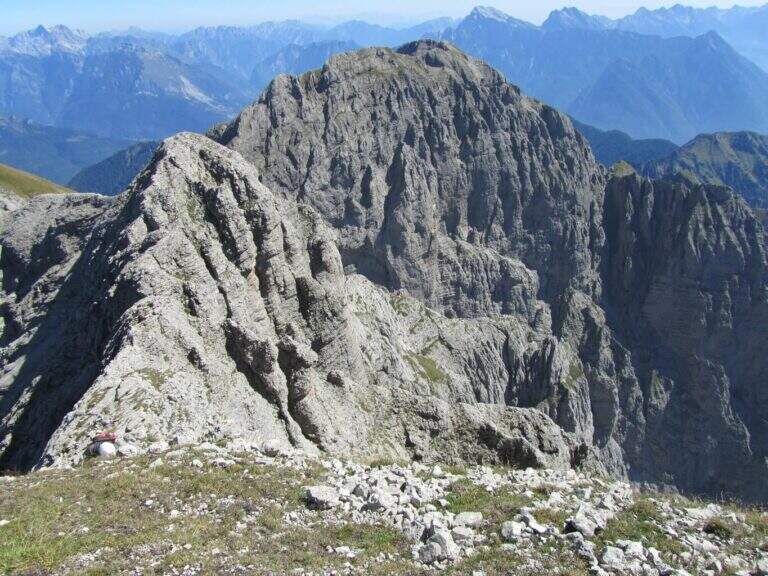
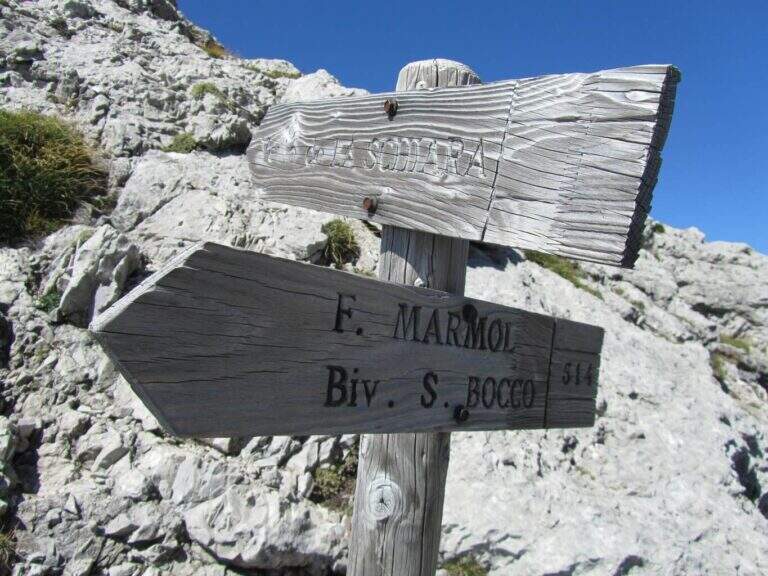
    Dalla vetta si scende lungo la cresta verso le anticime est: prima sezione esposta, emozionante e solo in parte attrezzata, dove serve molta attenzione — soprattutto con la nebbia — per individuare la traccia verso la Forcella Marmol. Scendendo si nota il Bivacco Bocco Zago presso la forcella; a un bivio con palina si tiene la destra verso sud fino al bivacco e da qui si scende al Rifugio VII Alpini percorrendo la Ferrata Piero Rossi (che condivide un primo tratto con la Zacchi fino a un bivio). Dal Rifugio VII Alpini (3h 30′ dalla vetta) si rientra a Case Bortot per il sentiero dell’andata (2h dal rifugio, 12 ore complessive). In alternativa, dalla Forcella Marmol si può salire al Pelf con il Sentiero Attrezzato Guardiano per un lungo anello.

    ▲To match

    La Berti è parte del classico anello dello Schiara con una ferrata in salita (Ferrata Zacchi o Ferrata Sperti) e la Ferrata Piero Rossi in discesa; un’alternativa è il Sentiero Attrezzato Guardiano al Pelf. Nella zona di Belluno, con avvicinamenti più brevi: la Ferrata Parete dei Falchi, la Ferrata della Val Gallina e l’esposta Ferrata del Vajont.

    ▲Gallery
    Technical data
    • Approach5:30 h
    • Duration1:00 h
    • Total itinerary12:00 h
    • Hardware level difference245 m
    • Route difference1865 m
    • Maximum altitude2565 m
    • Length20 Km
    • Year opening1959
  • Ferrata al Canalone Belasa

    Ferrata al Canalone Belasa

    Vie Ferrate › Lombardia › Lecco
    Ferrata al Canalone Belasa

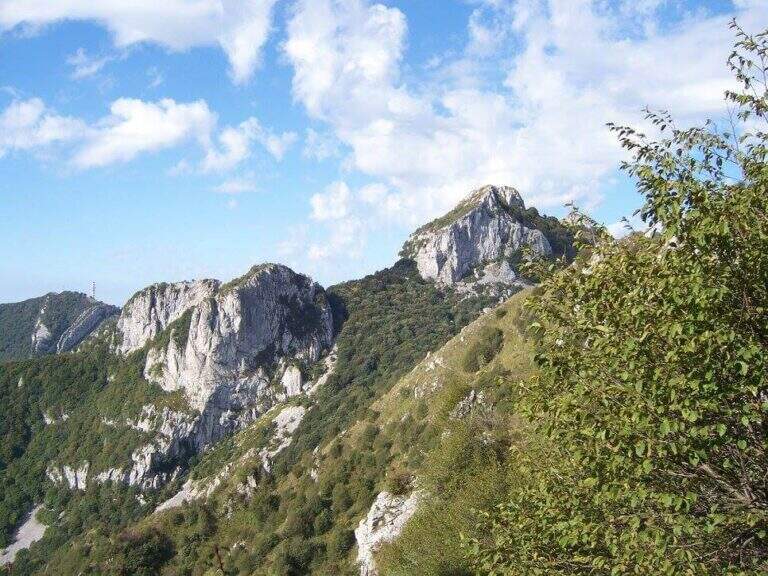
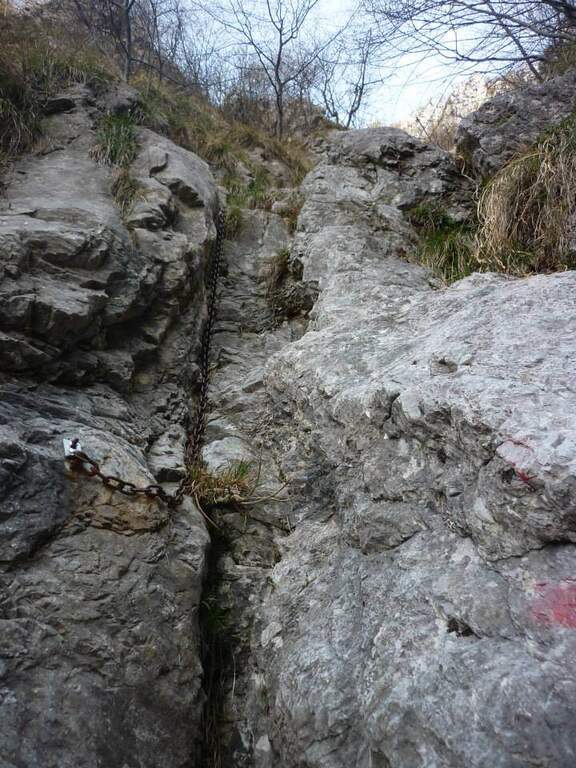
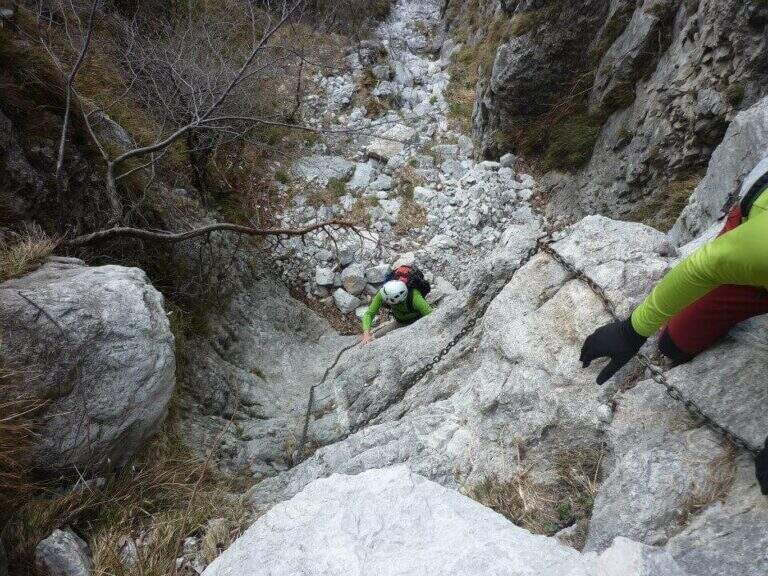
    Il Canalone Belasa è una via attrezzata dal carattere alpinistico che risale un canalone selvaggio del Monte Moregallo, sopra Valmadrera. Non è una ferrata a cavo continuo: alterna tratti attrezzati a passaggi di arrampicata in libera fino al III grado, in un ambiente isolato e poco turistico. Richiede dimestichezza con la roccia ed è riservata a ferratisti esperti.

    ▲Approach

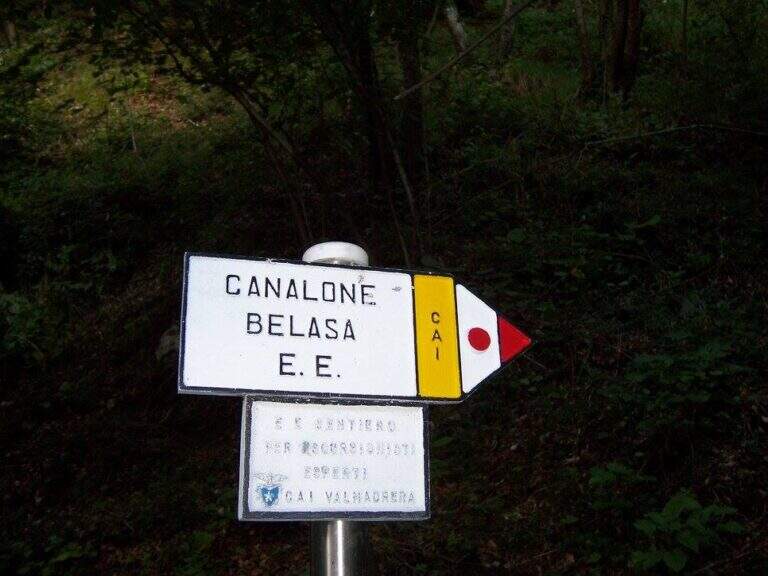
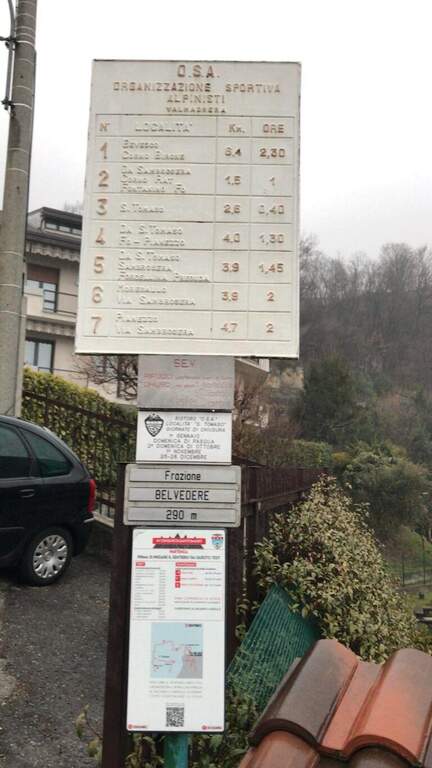
    Dalla frazione Belvedere di Valmadrera si parcheggia all’inizio di una strada chiusa al traffico; la si percorre fino a una cappella con palina, poi si segue il sentiero 7 verso la sorgente di Sambrosera e, ai cartelli, il Sentiero EE del Canalone Belasa (circa 1h15 dal parcheggio). Road signs →

    ▲The path

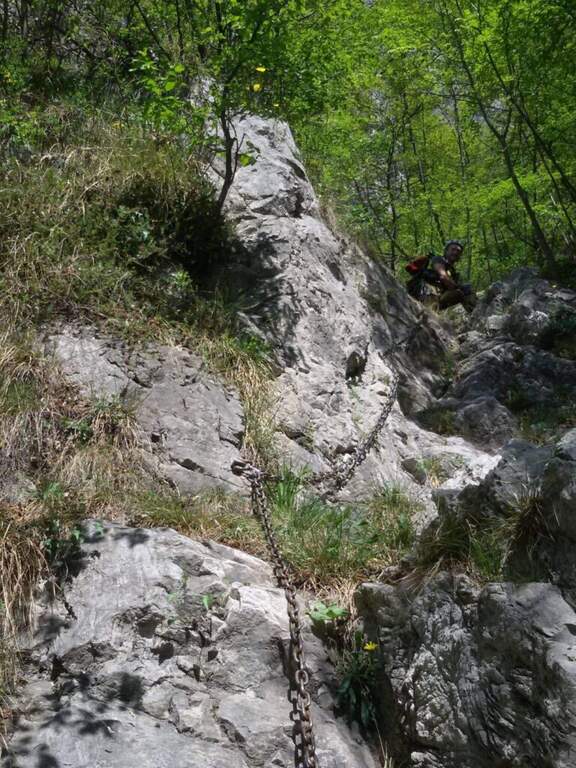
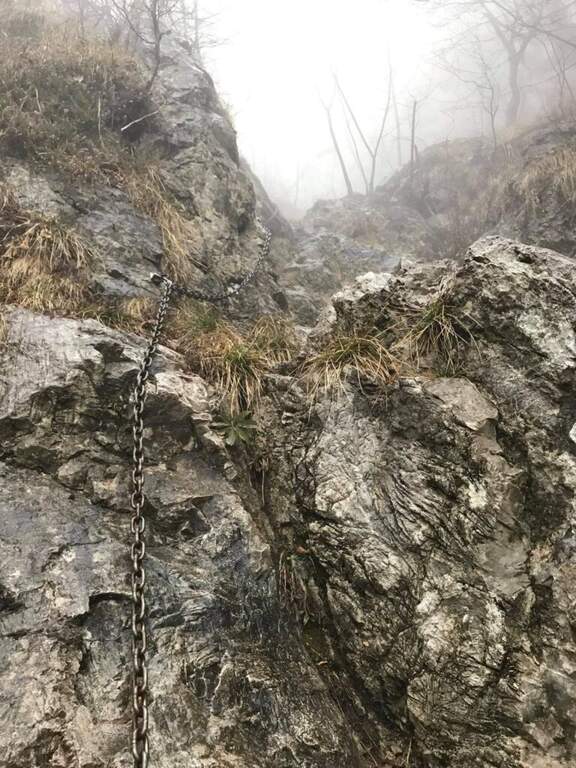
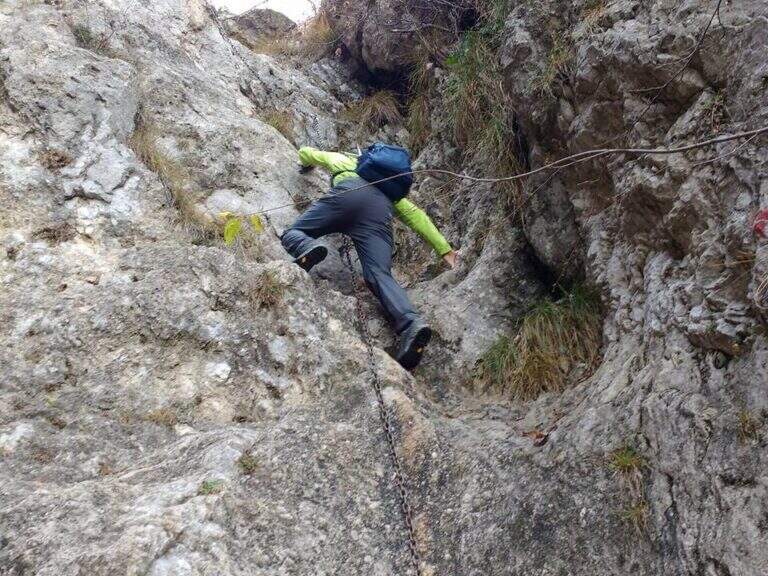
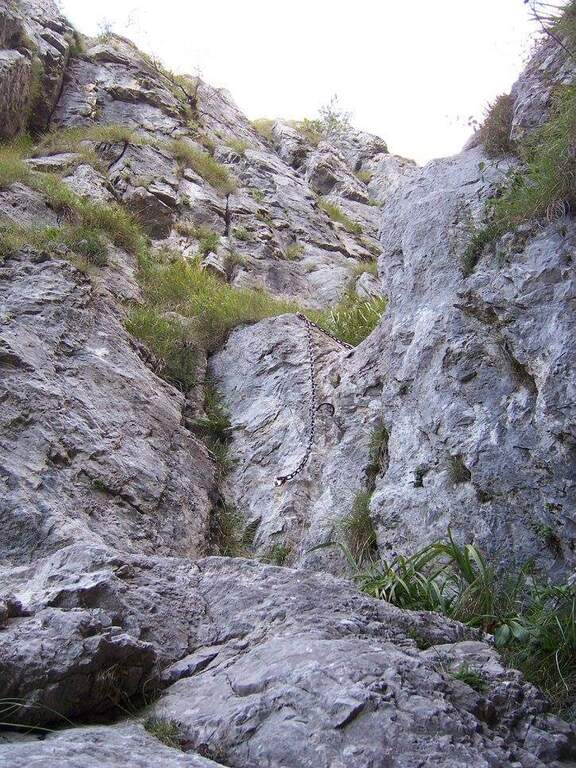
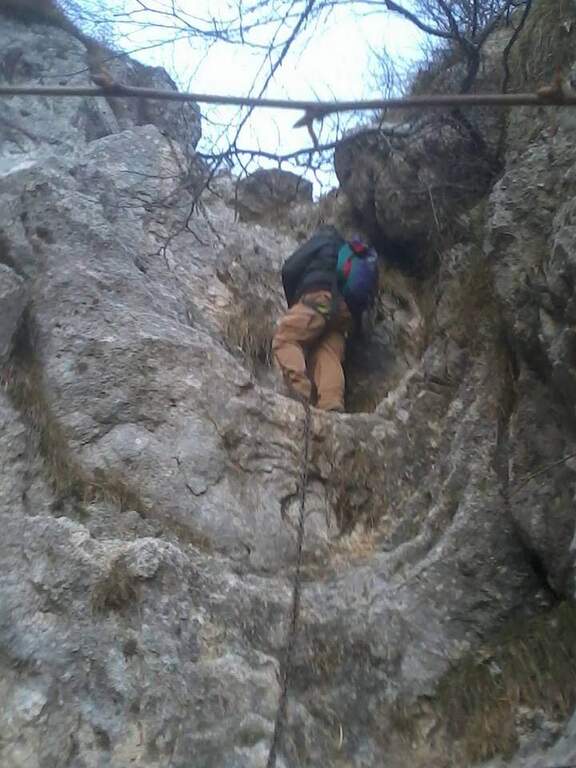
    L’inizio del canalone è segnato dalla prima catena su una placca coricata. Si sale alternando brevi tratti di sentiero a balzi rocciosi, alcuni attrezzati altri da arrampicare in libera. I due passaggi chiave sono una paretina verticale di circa 10 metri e un camino con catena e uscita leggermente strapiombante su roccia liscia. La parte terminale propone ancora due brevi passaggi verticali su appigli naturali, poi il canalone finisce e si raggiunge la vetta del Monte Moregallo (1276 m) per cresta.

    ⚠ Via per esperti: i passaggi in libera arrivano al III grado e l’ambiente è isolato. Il caschetto è fortemente consigliato per la caduta sassi nel canalone. Il prato sommitale e il canale erboso sono molto ripidi e pericolosi se l’erba è umida: da evitare dopo le piogge.
    ▲Discipline

    Dalla vetta si scende verso est (Bocchetta di Sambrosera / Sentiero Paolo ed Eliana) o verso ovest, rientrando poi per l’avvicinamento (circa 1h30 dalla vetta, 4h15 totali).

    ▲To match

    Sul Moregallo e dintorni si trovano il Sentiero Attrezzato al Moregallo e la Ferrata 30° OSA al Corno Rat.

    ▲Gallery
    Technical data
    • DifficultyHard
    • RegionLombardy
    • ProvinceLecco
    • GroupMonte Moregallo
    • Approach1:15 h
    • Ferrata1:30 h
    • Total itinerary4:15 h
    • Hardware level difference~400 m
    • Route difference1025 m
    • Max Altitude1276 m
    • Length9,8 km
Need help? Write to us!