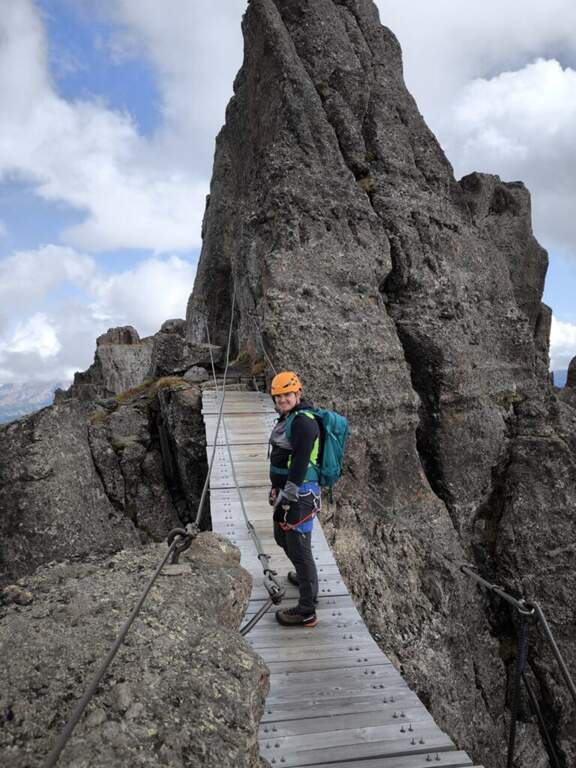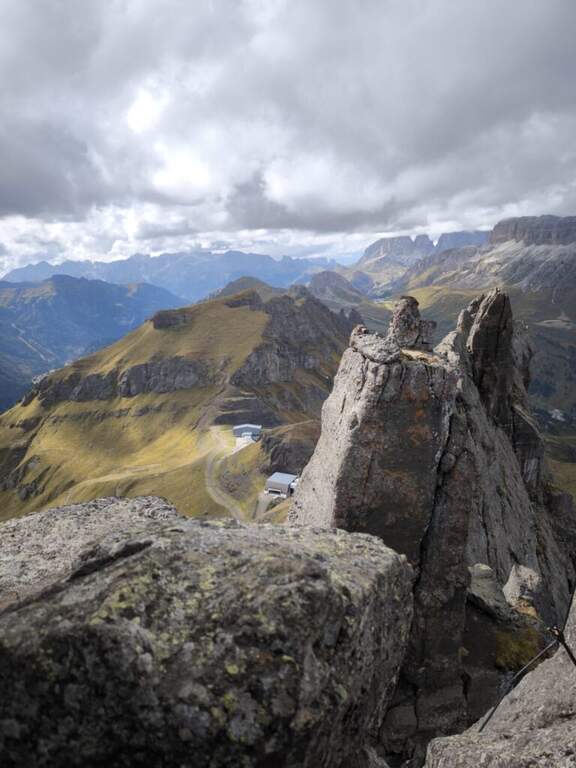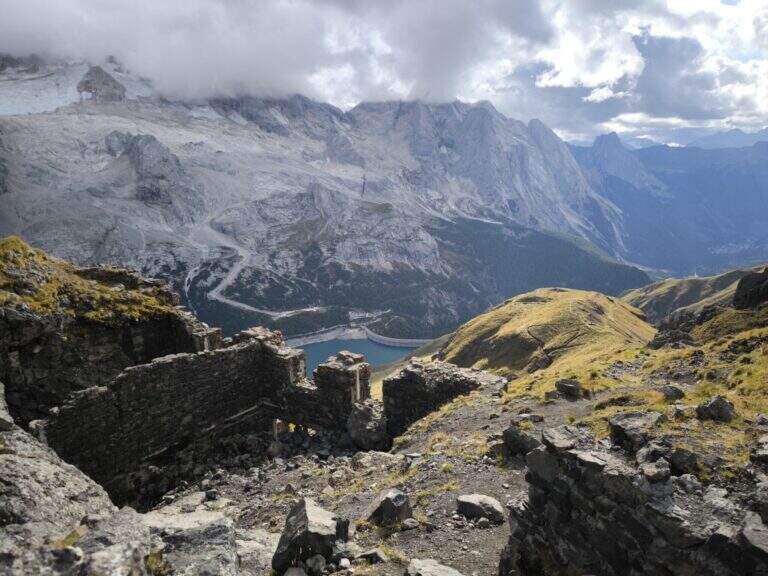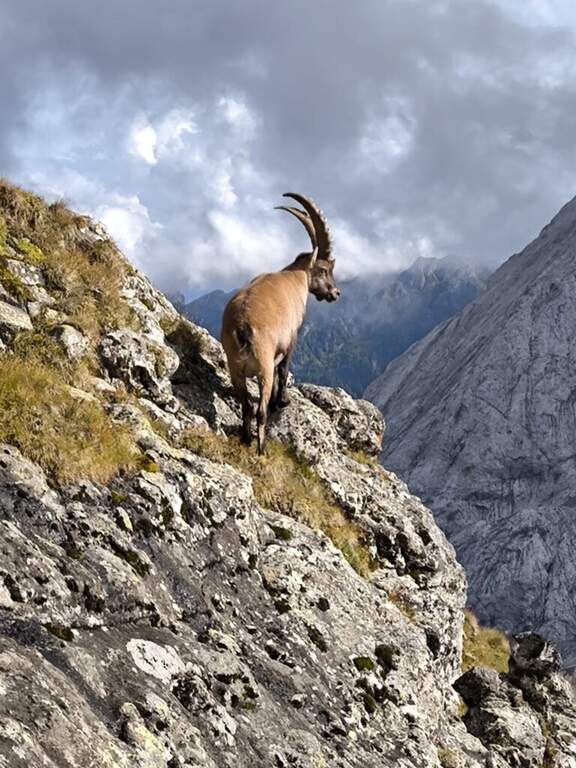
Caratteristica: Storica

  • Sentiero Attrezzato delle Cavre (Scaloni e Anglone)

    Sentiero Attrezzato delle Cavre (Scaloni e Anglone)

    Vie Ferrate › Trentino-Alto Adige › Trento
    Sentiero Attrezzato delle Cavre (Scaloni e Anglone)

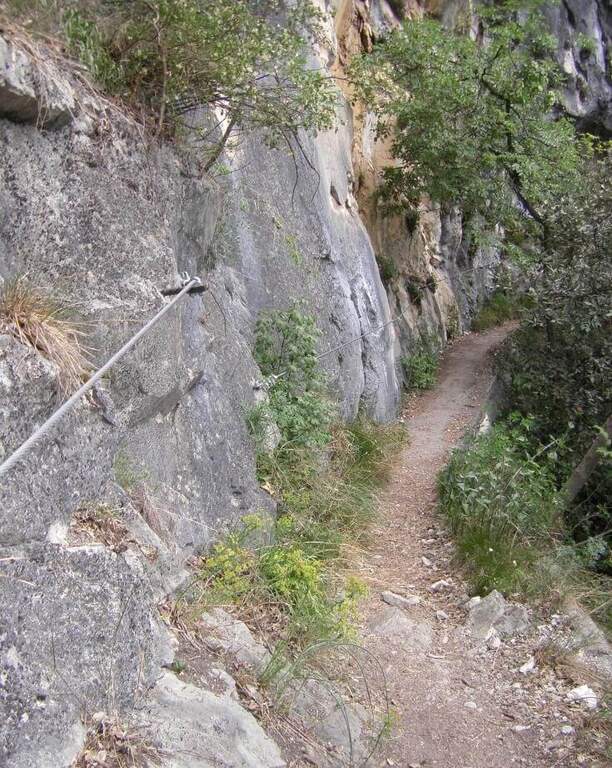
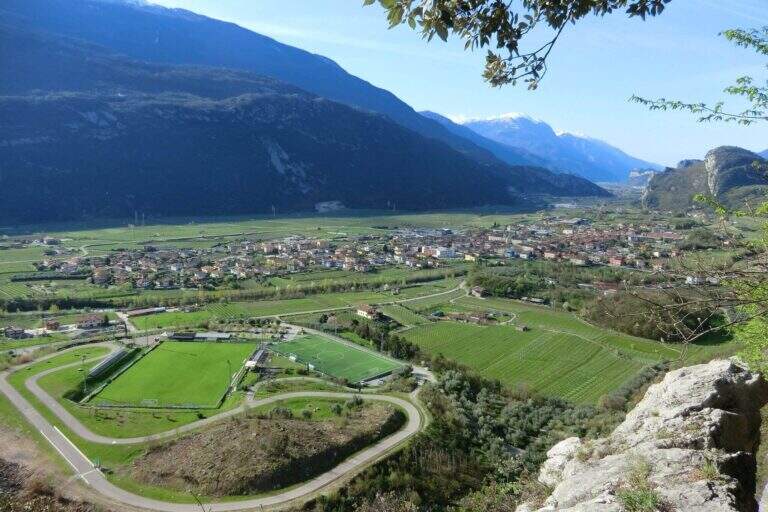
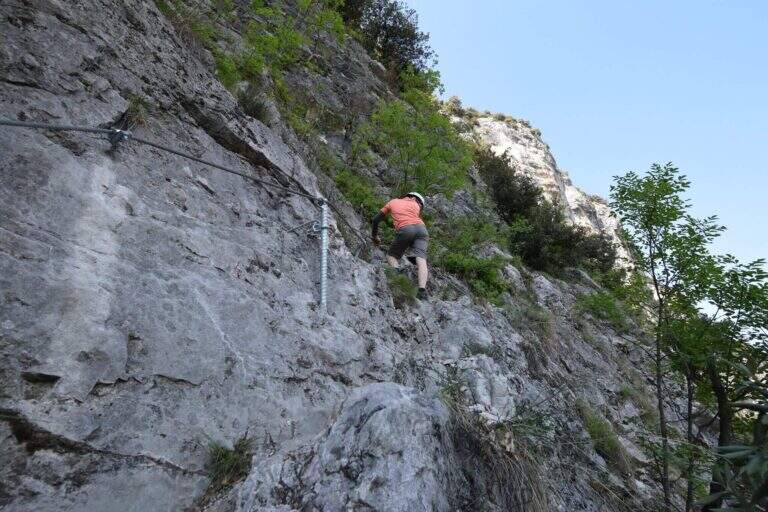
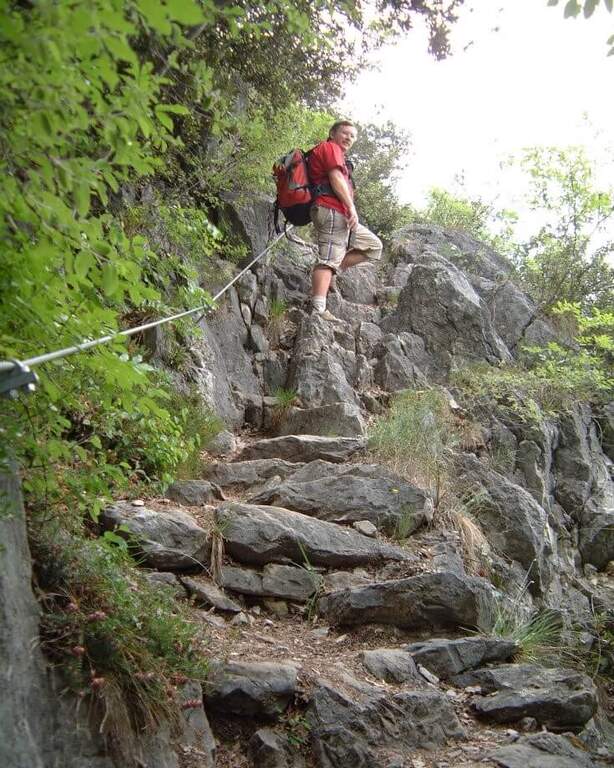
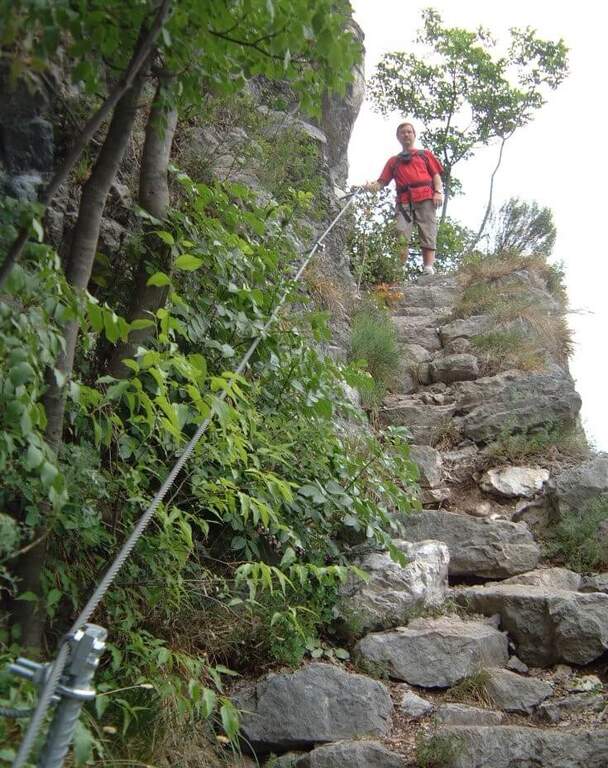
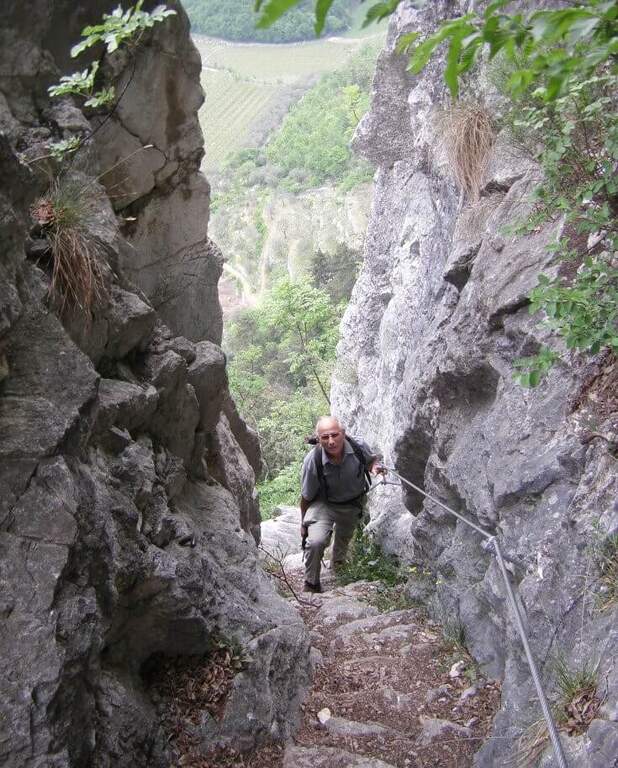
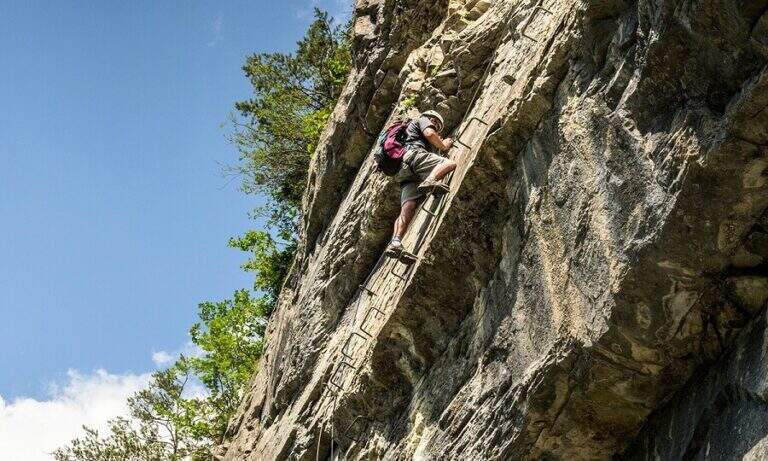
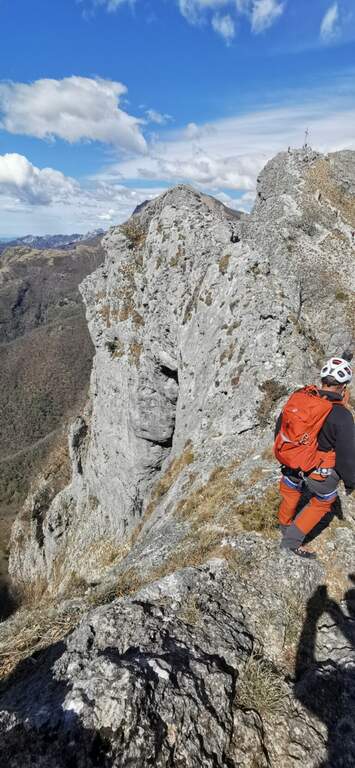
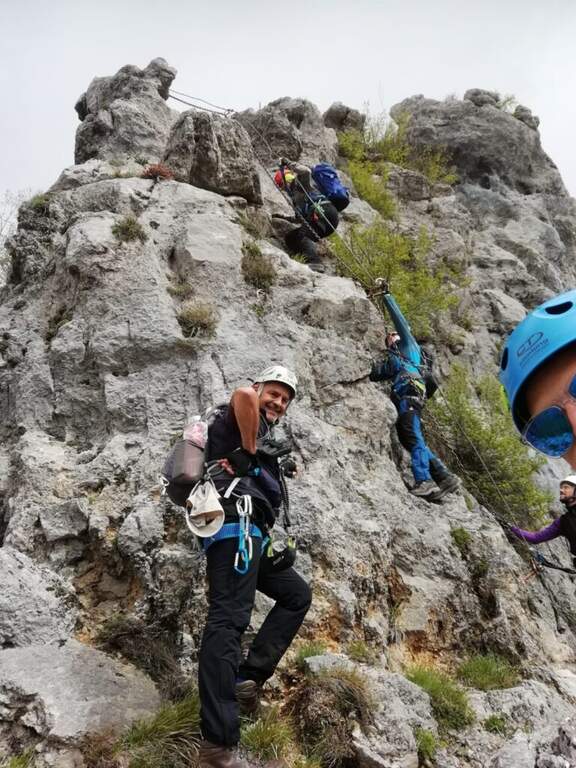
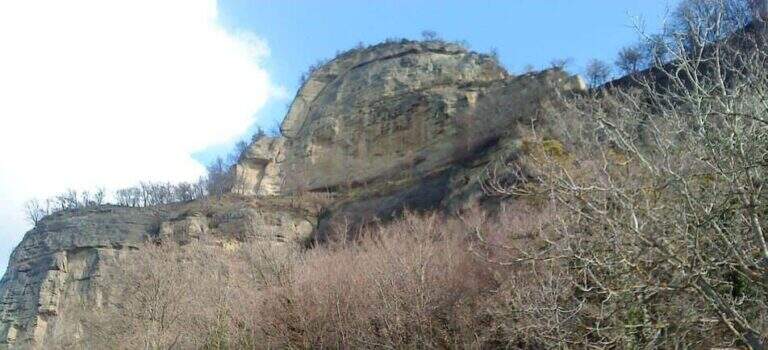
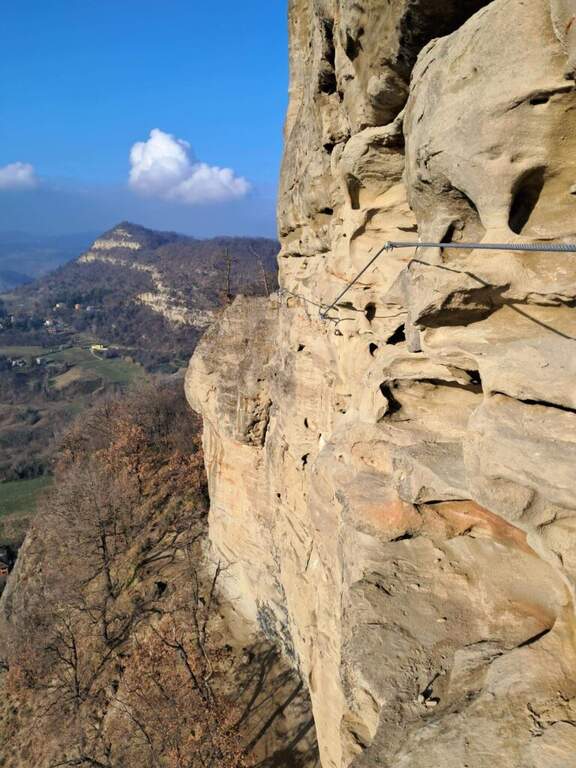
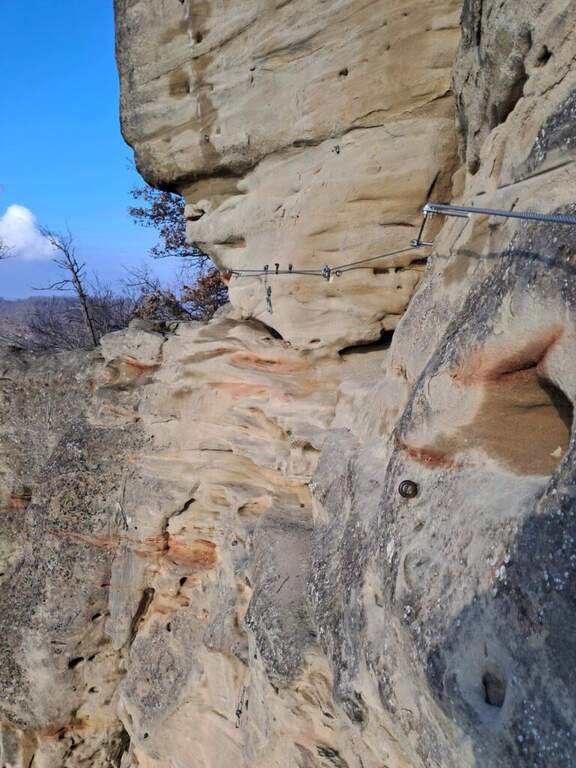
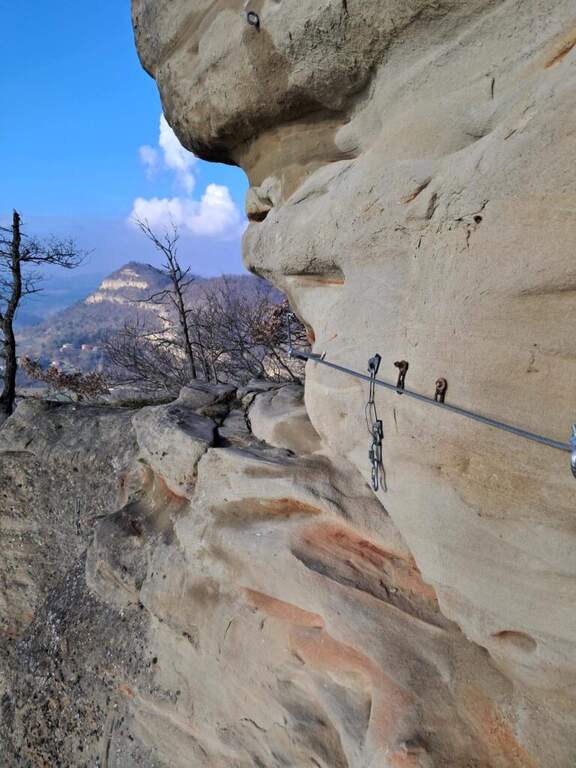
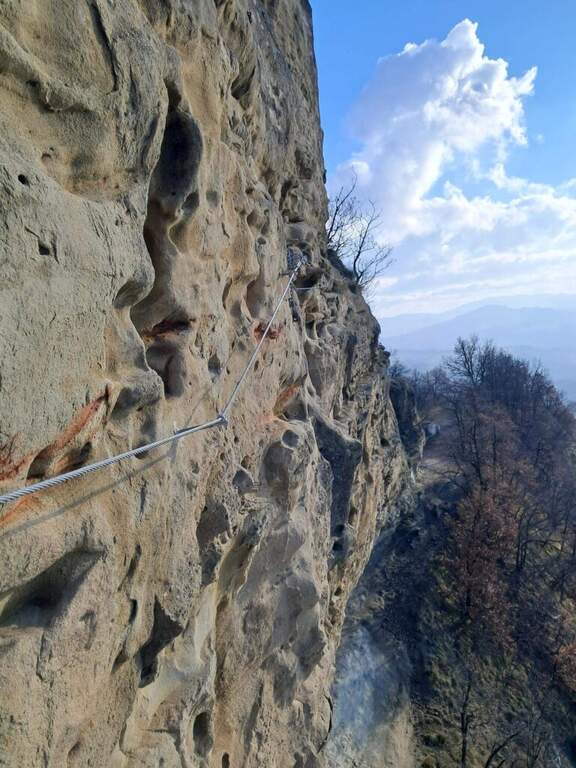
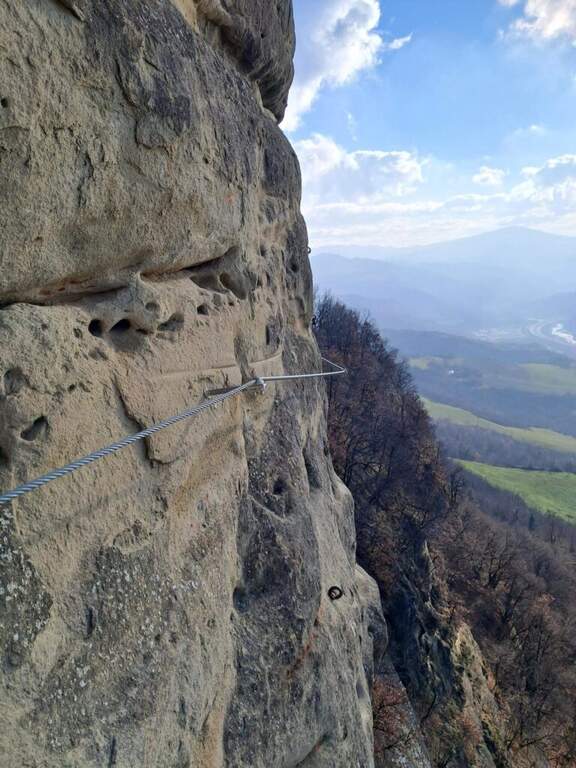
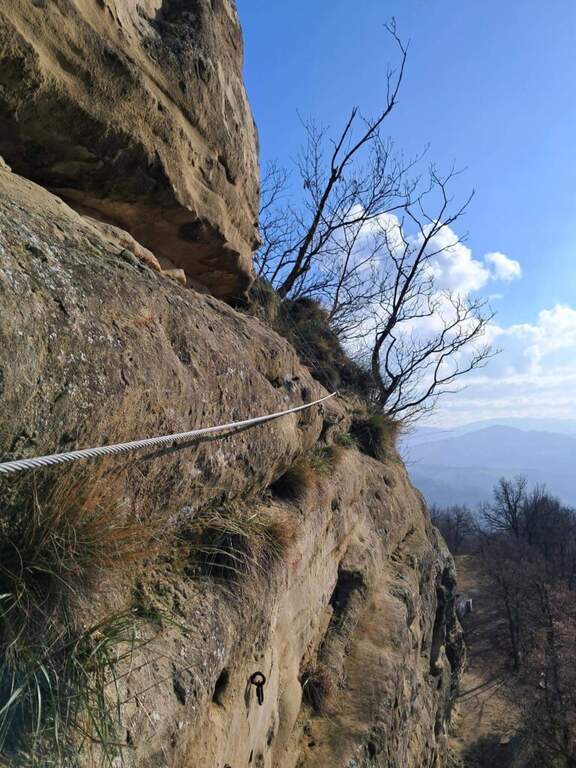
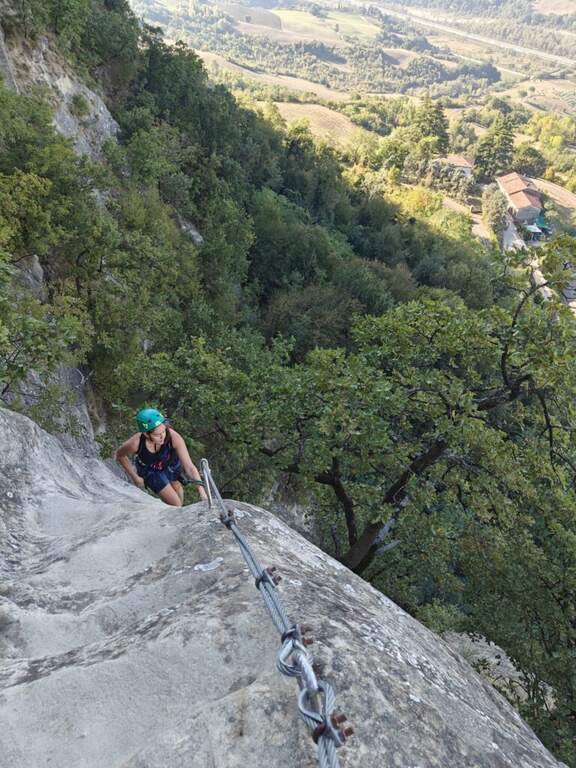
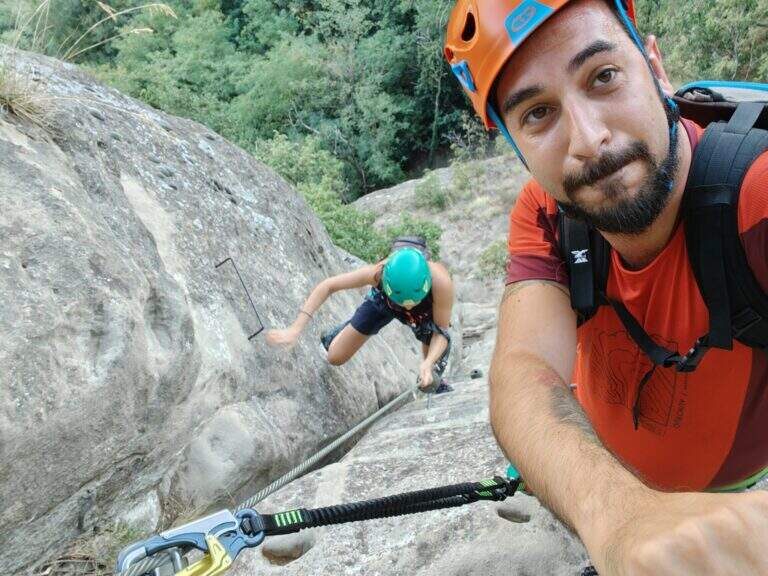
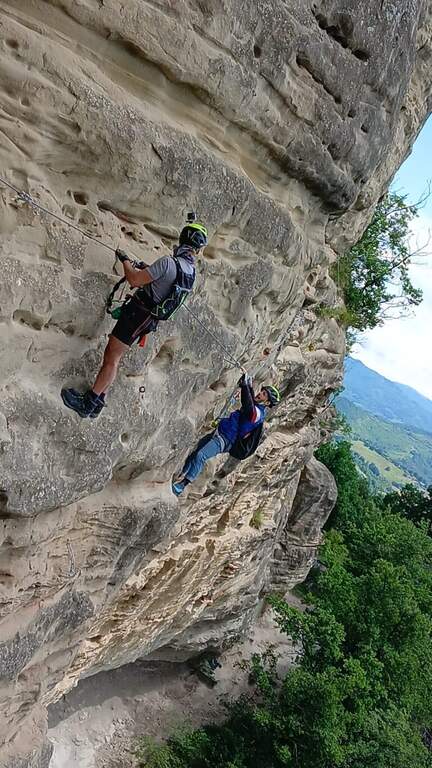
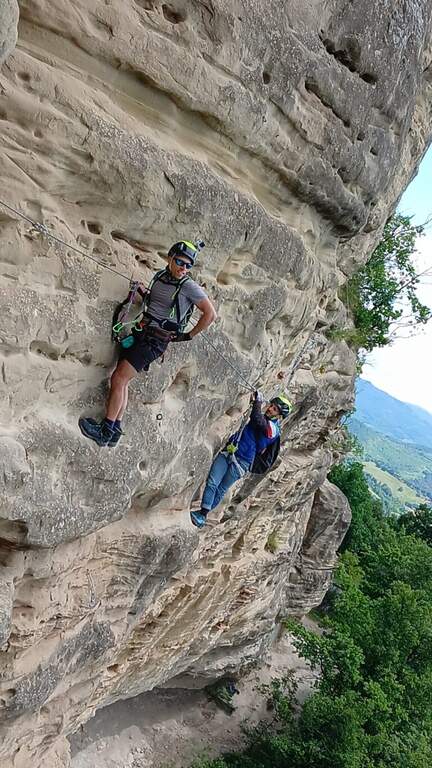
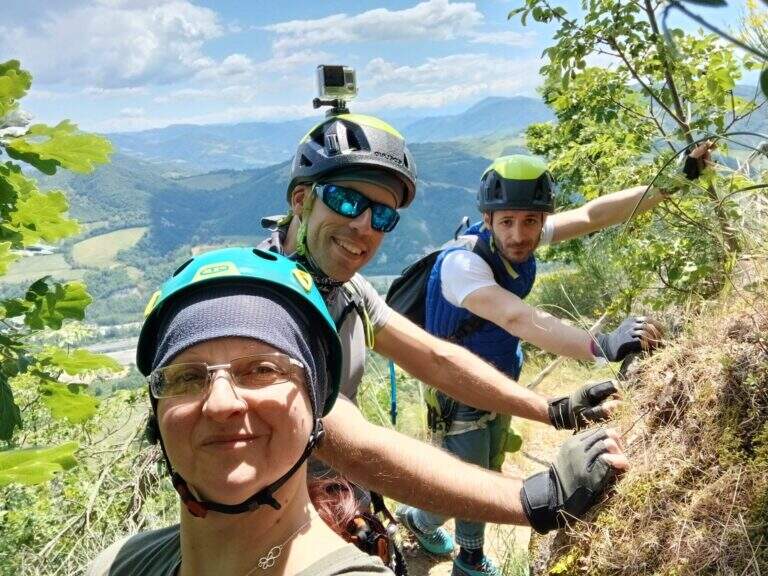
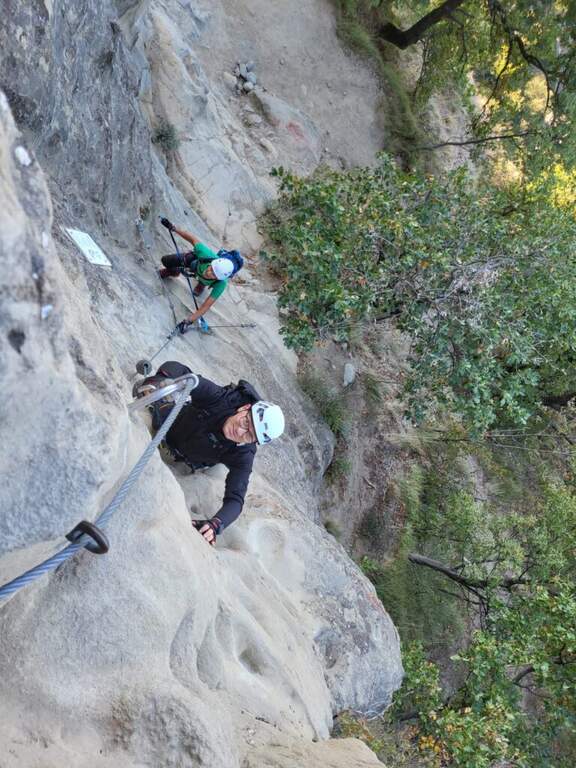
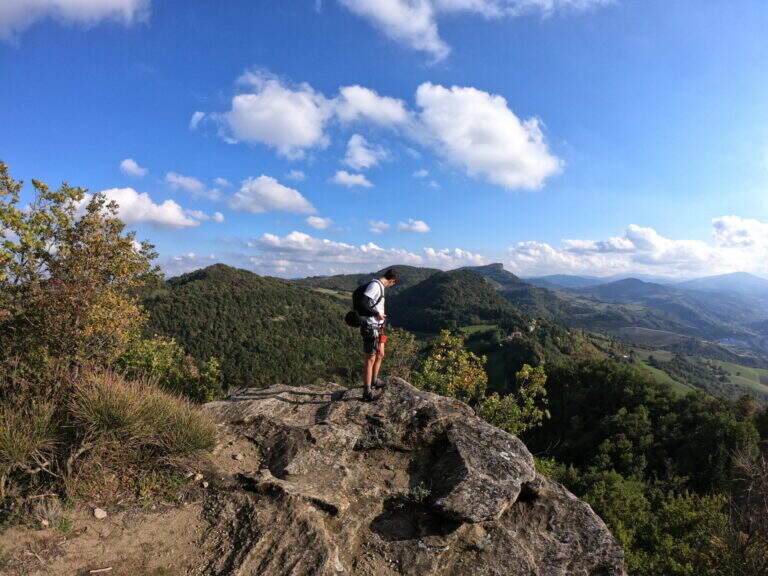
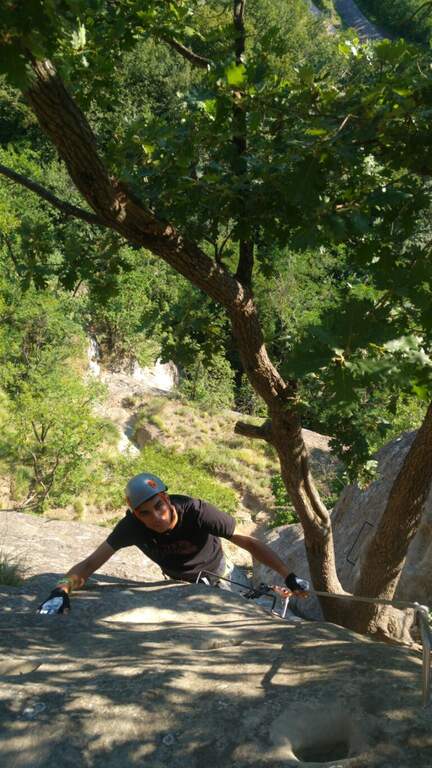
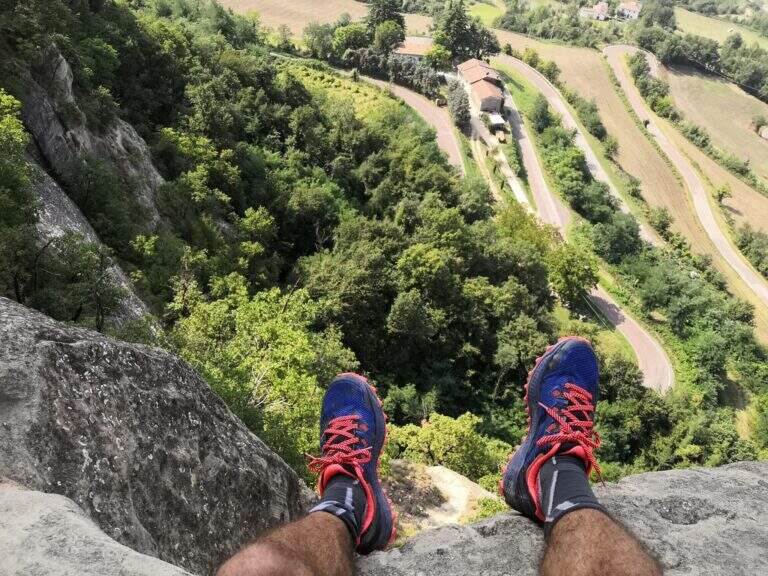
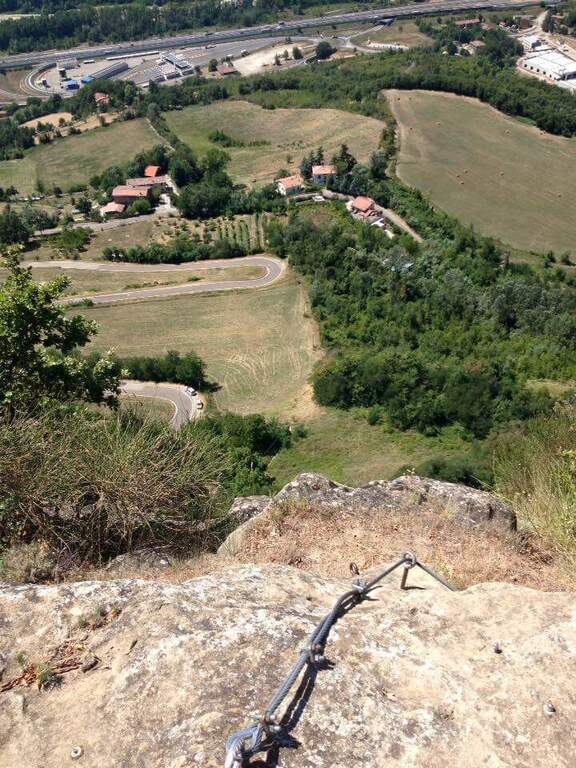
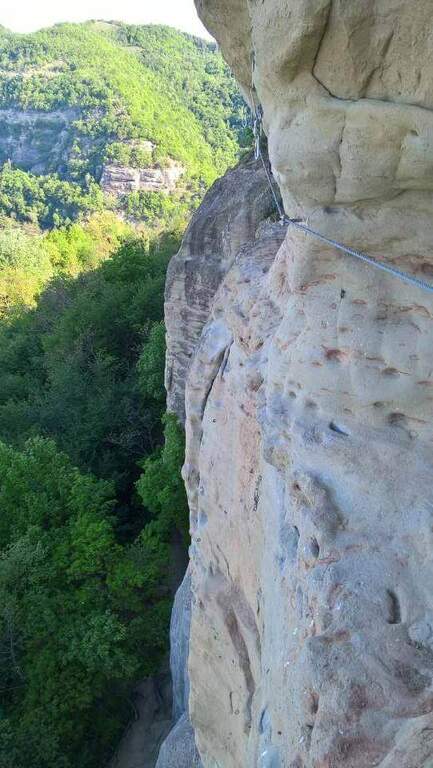
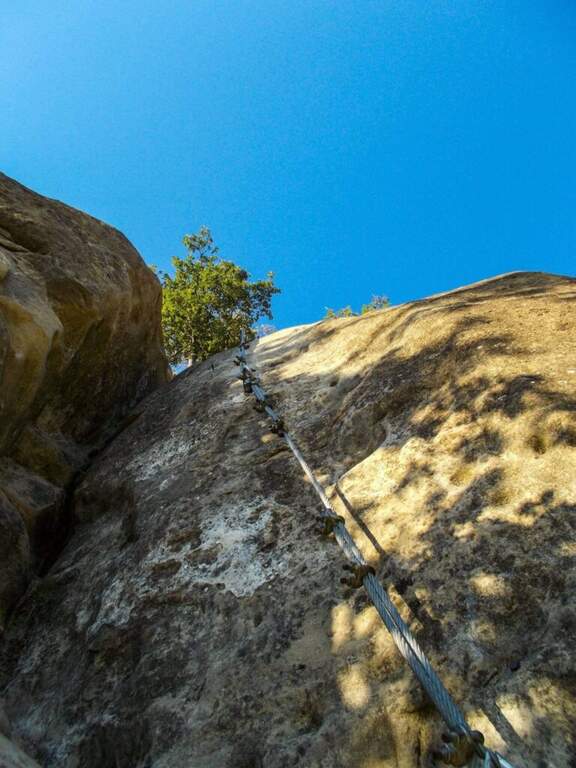
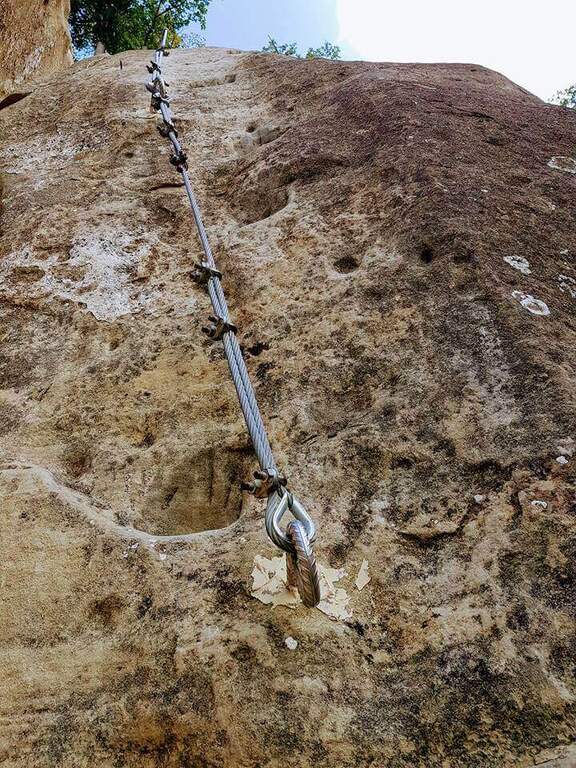
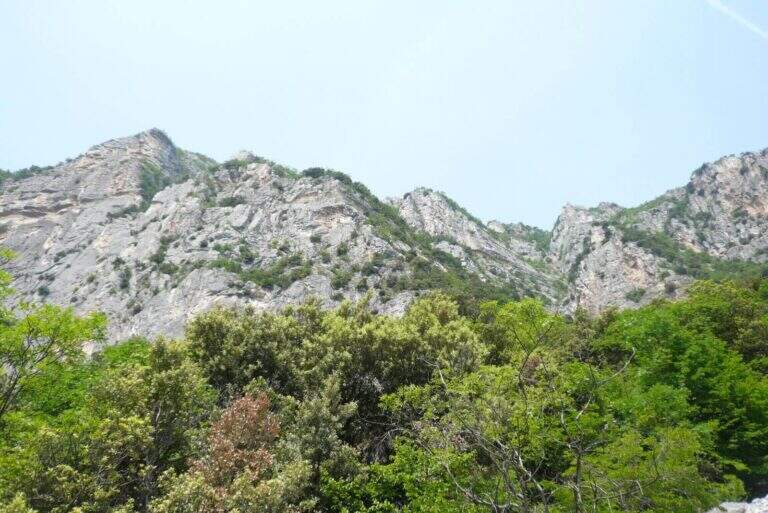
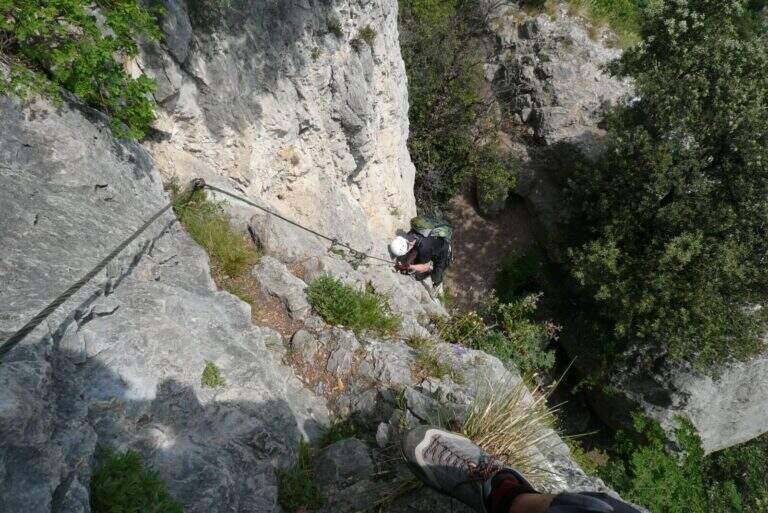
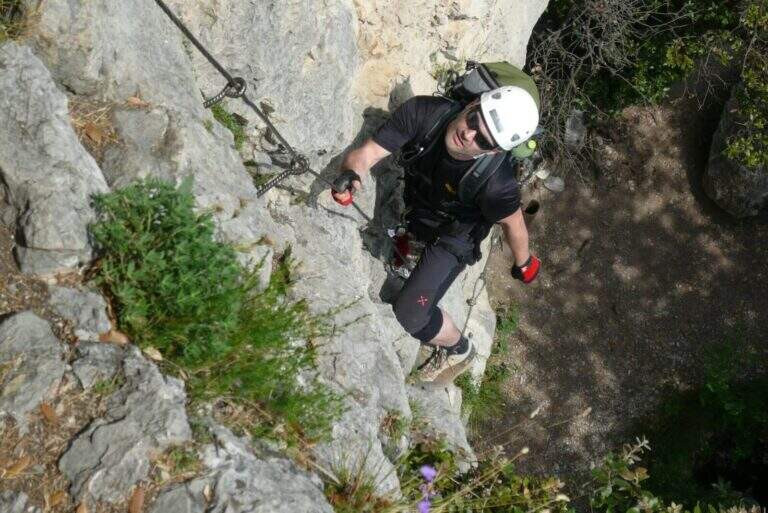
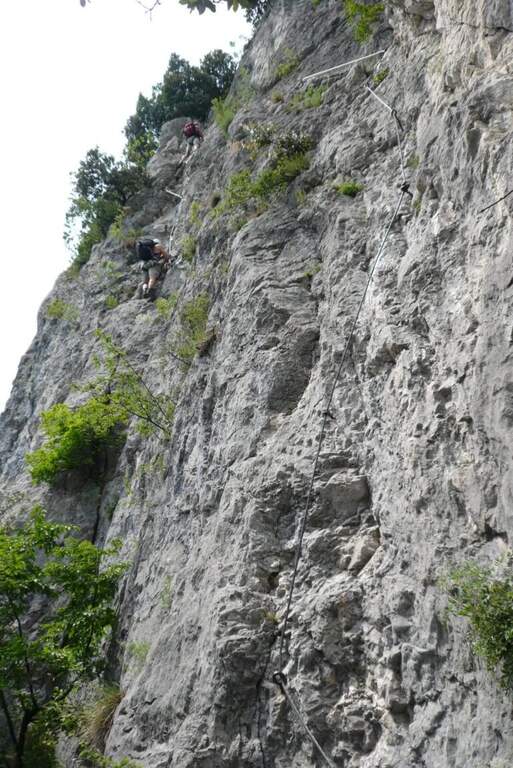
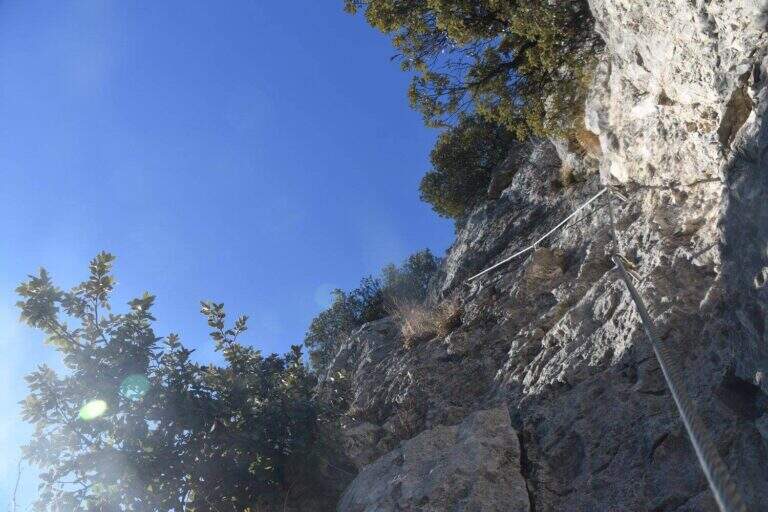
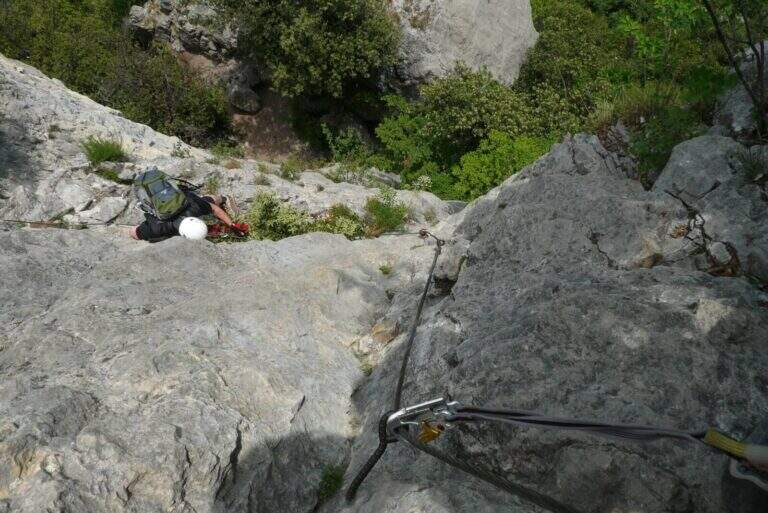
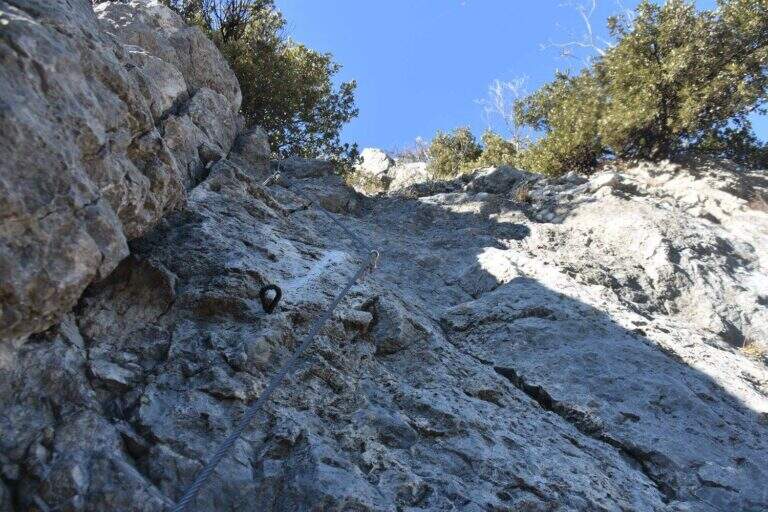
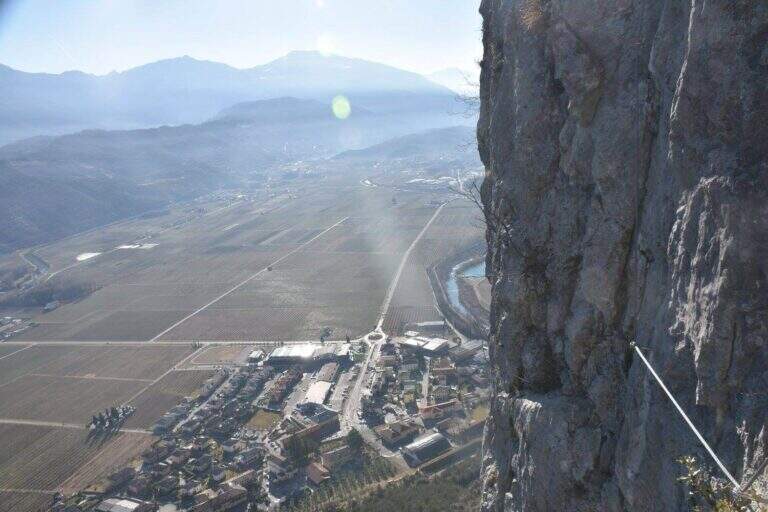
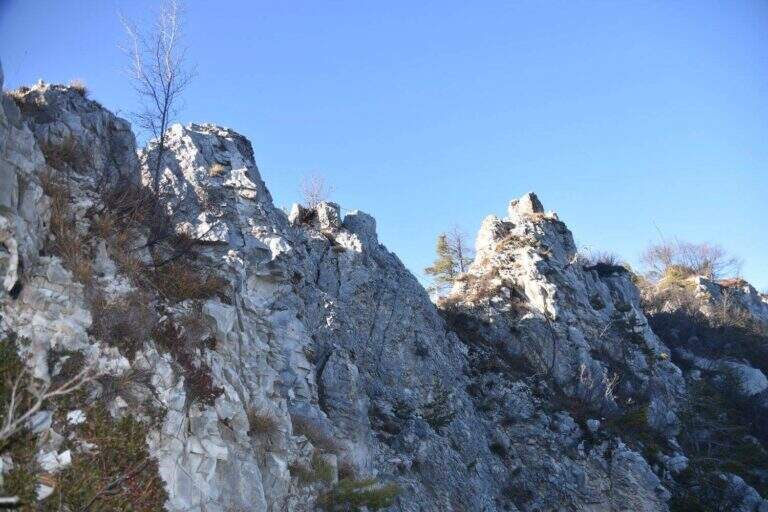
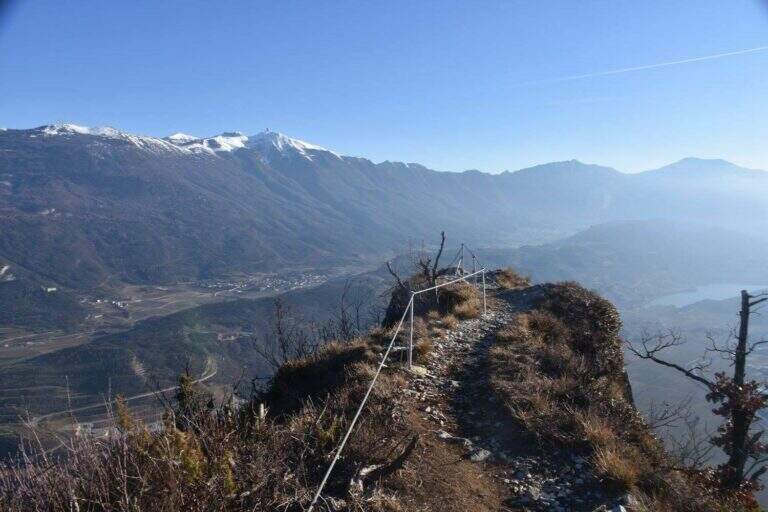
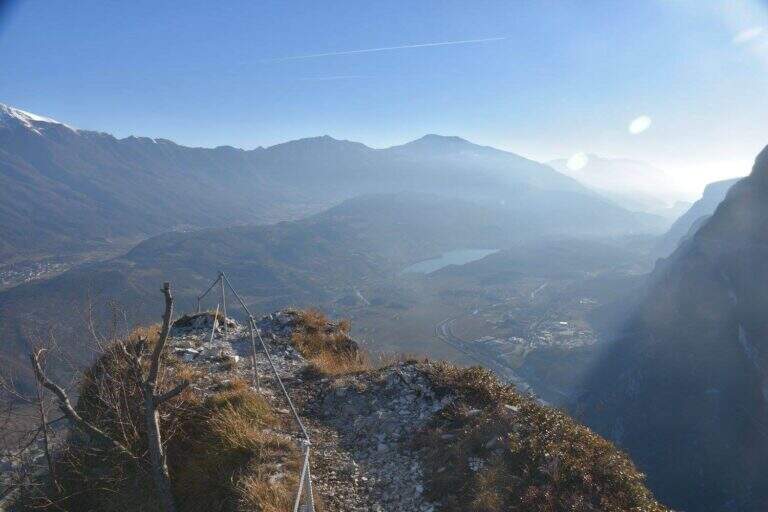
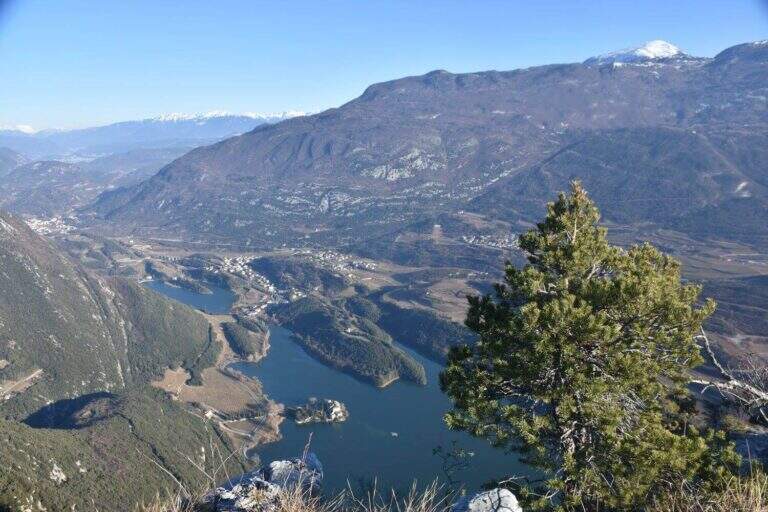
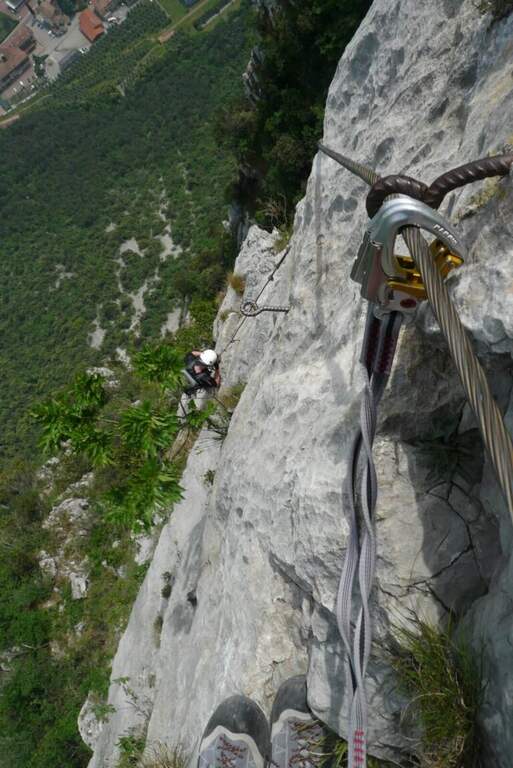
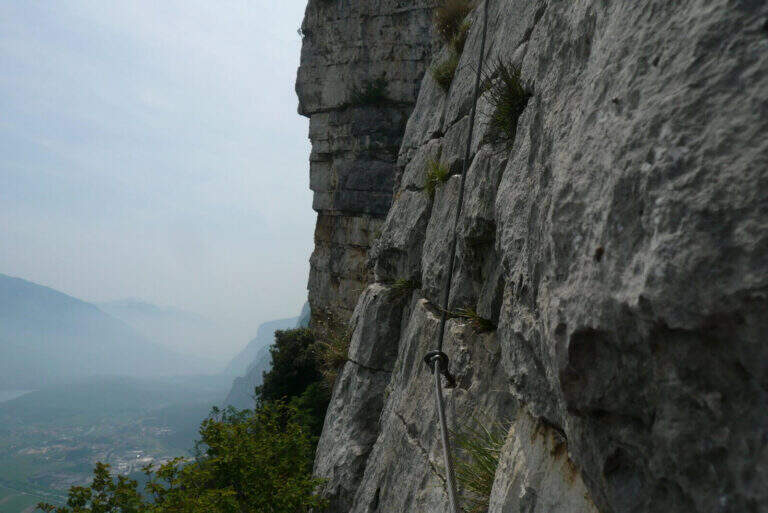
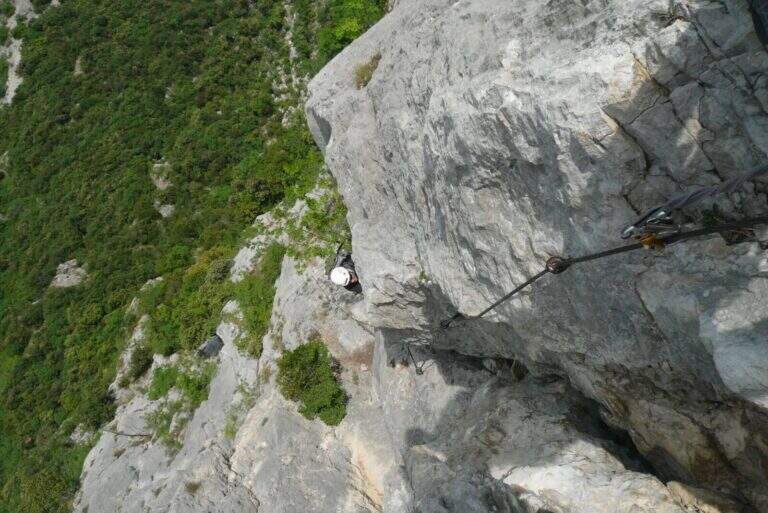
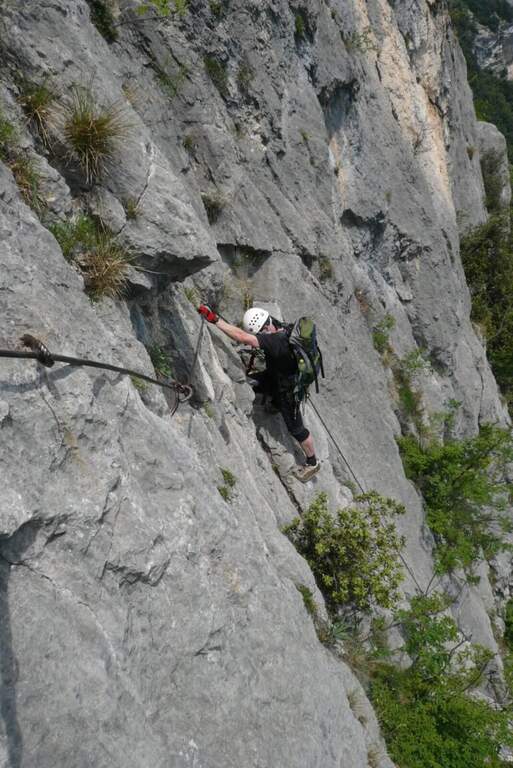
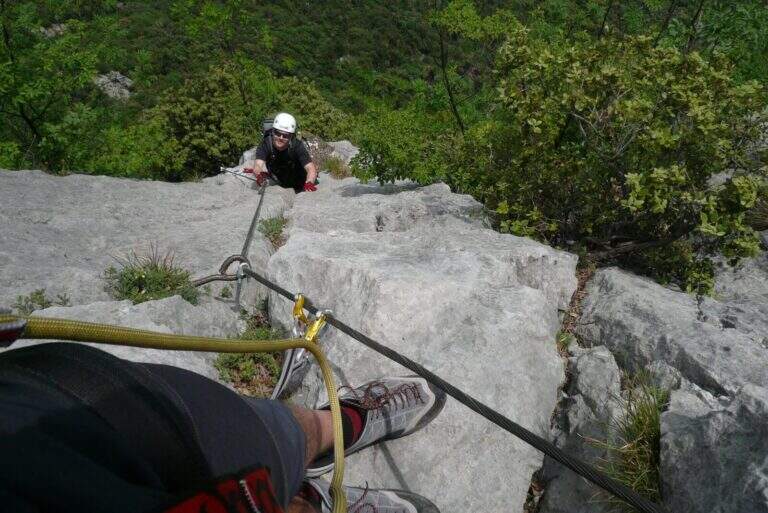
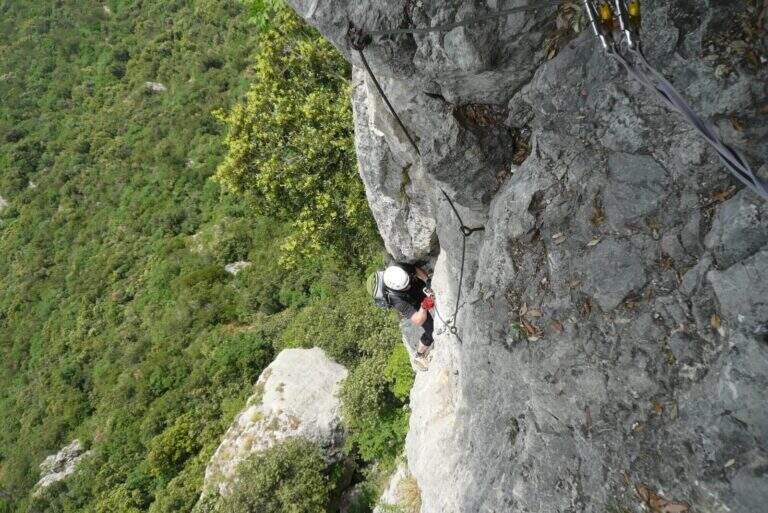
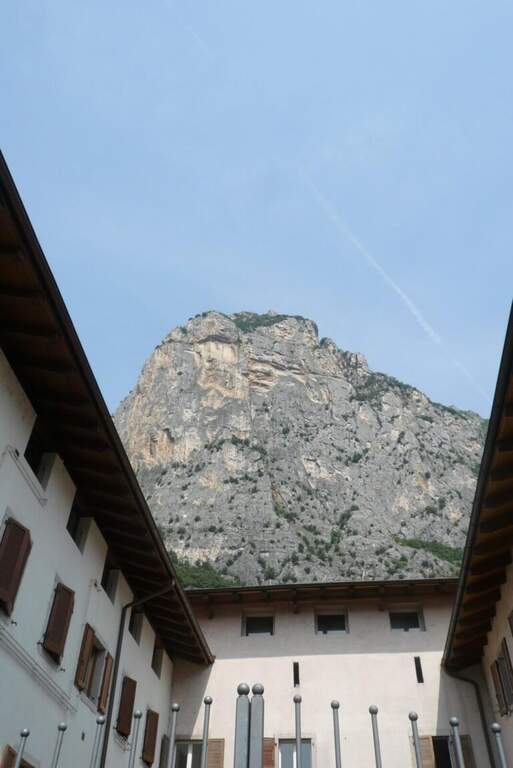
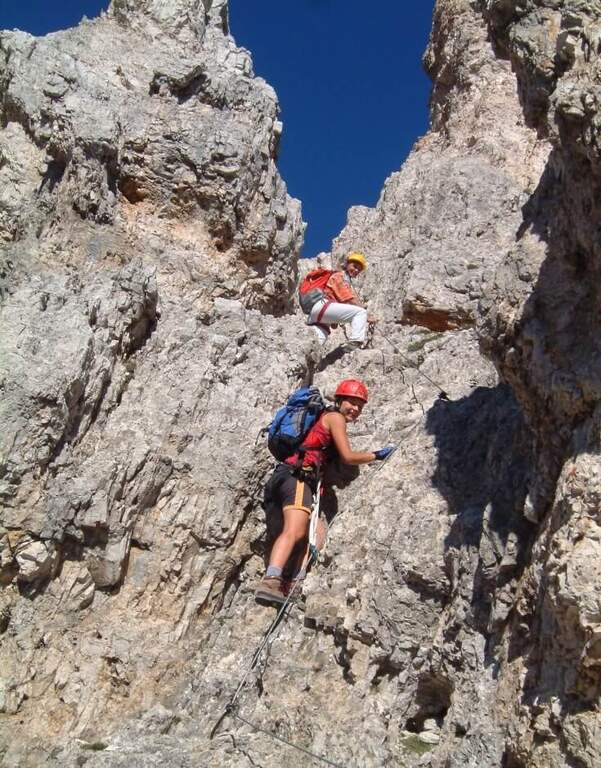
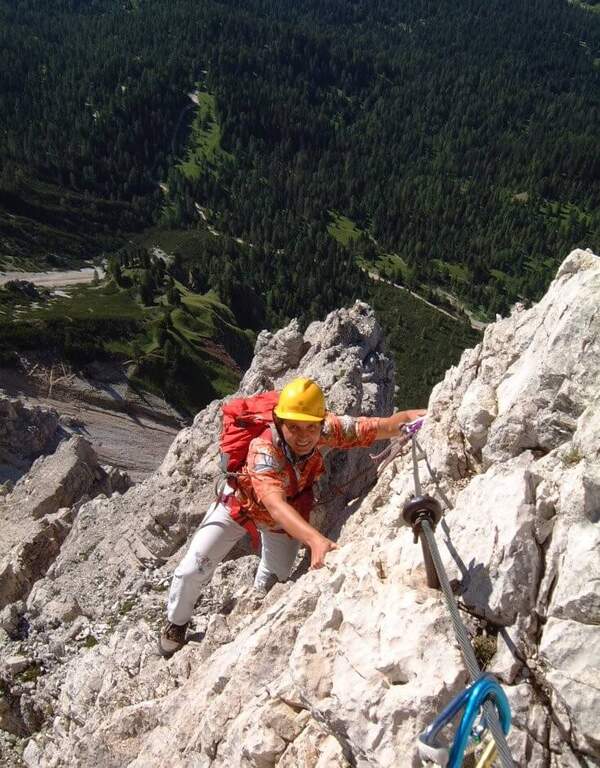
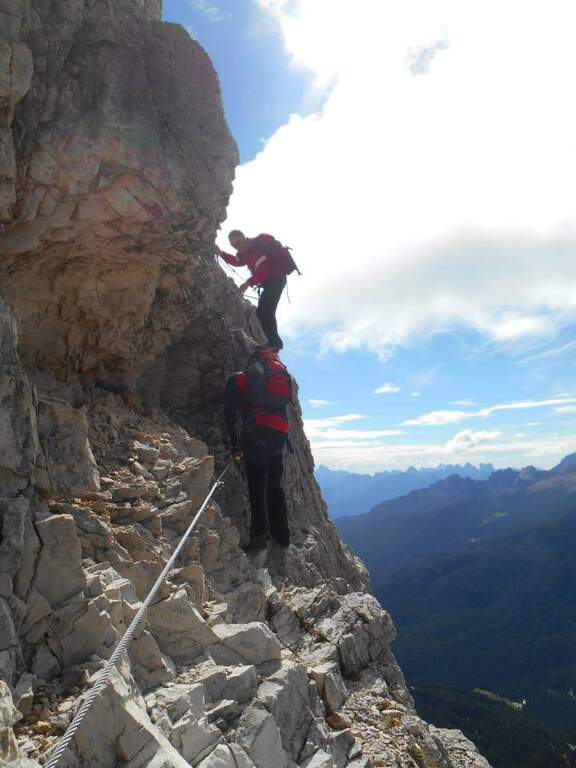
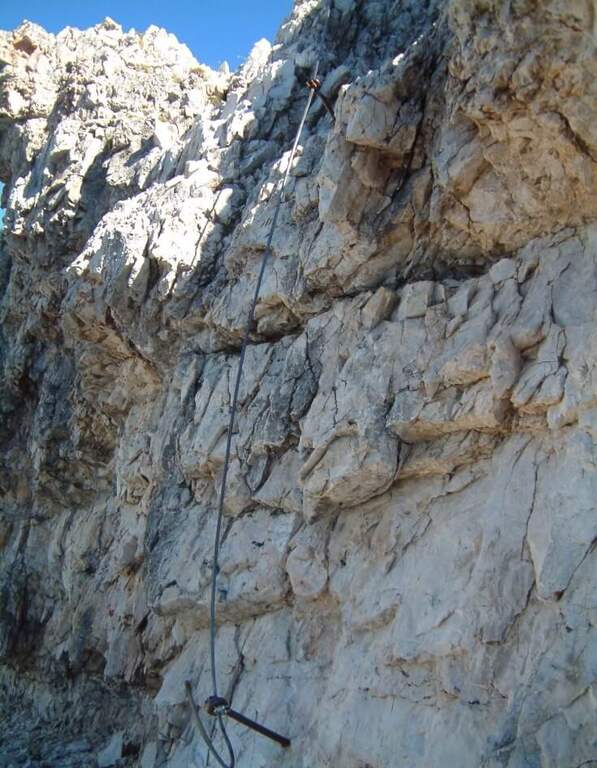
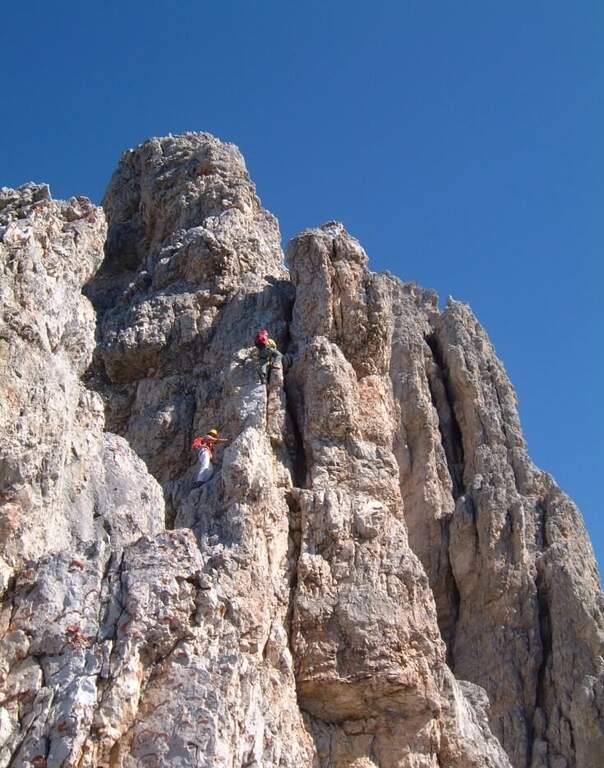
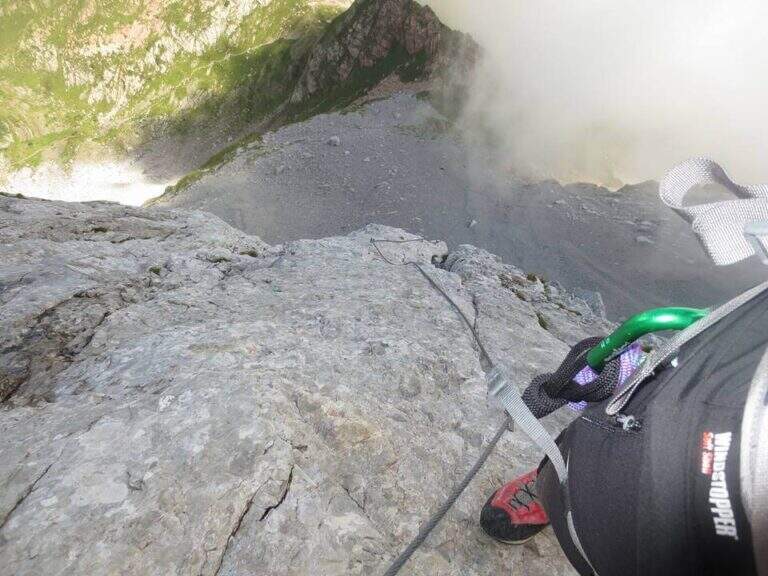
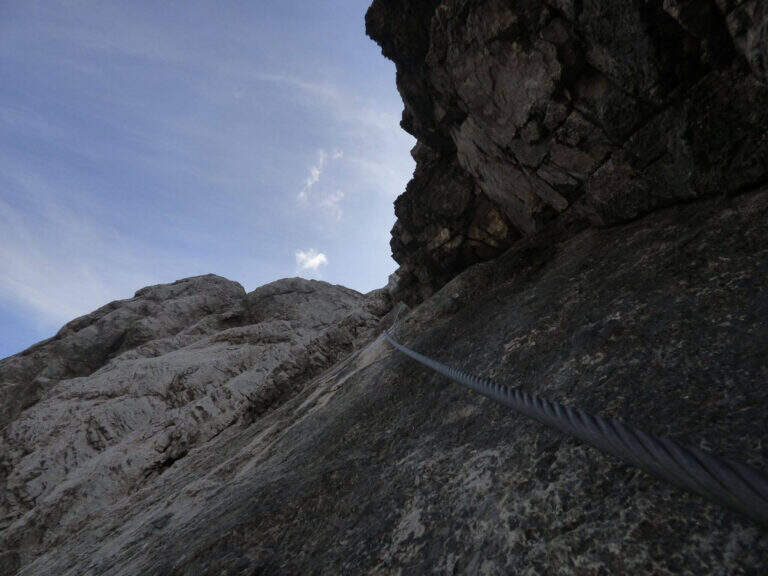
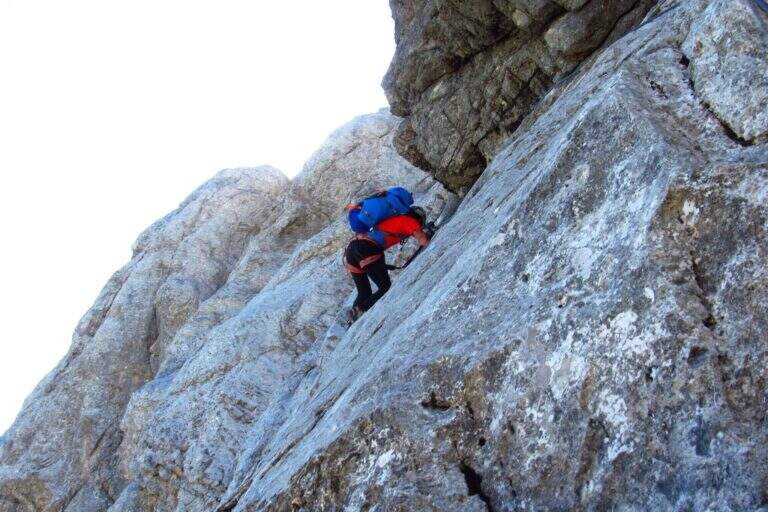
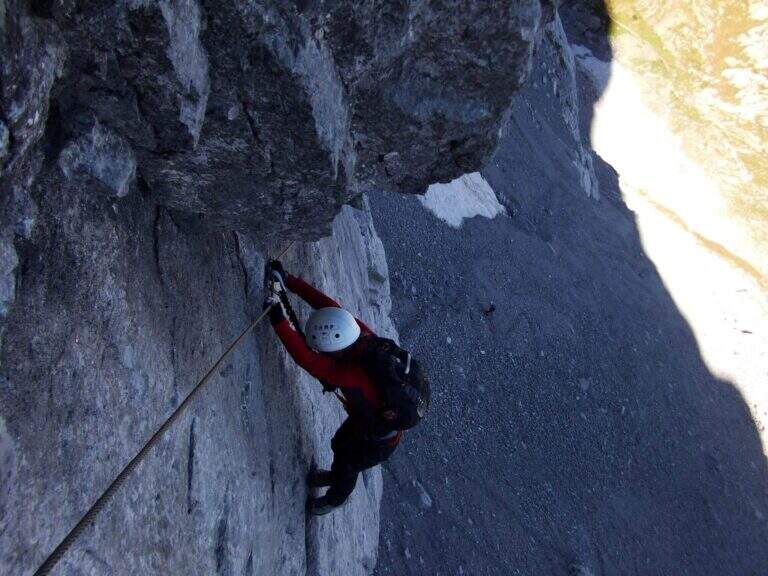
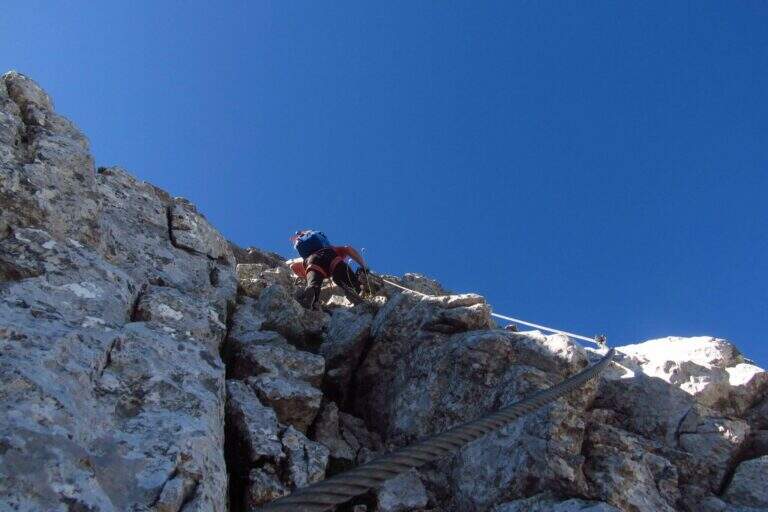
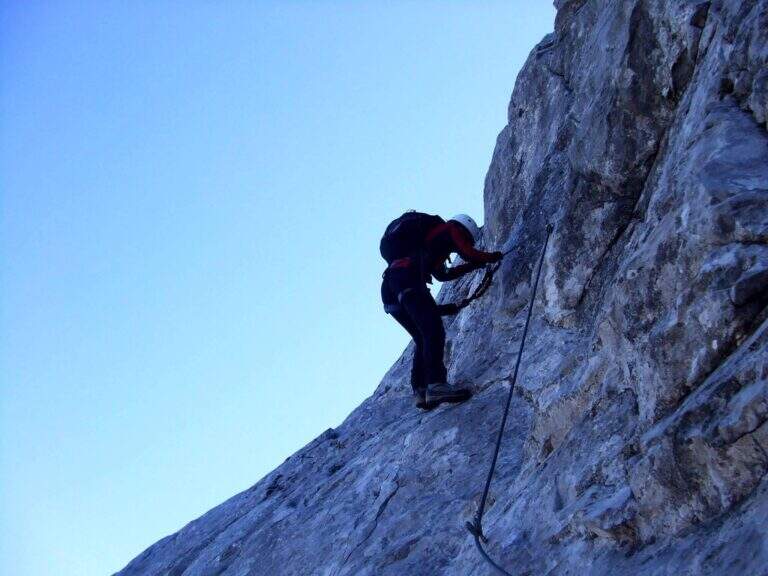
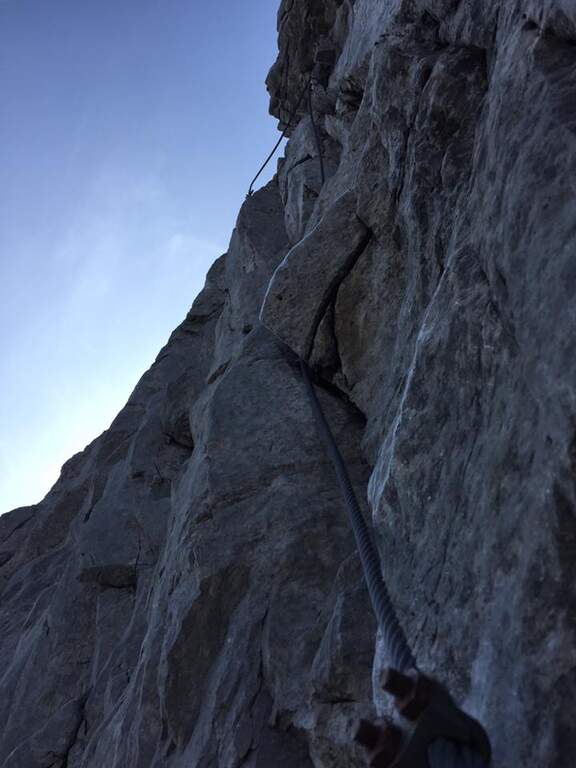
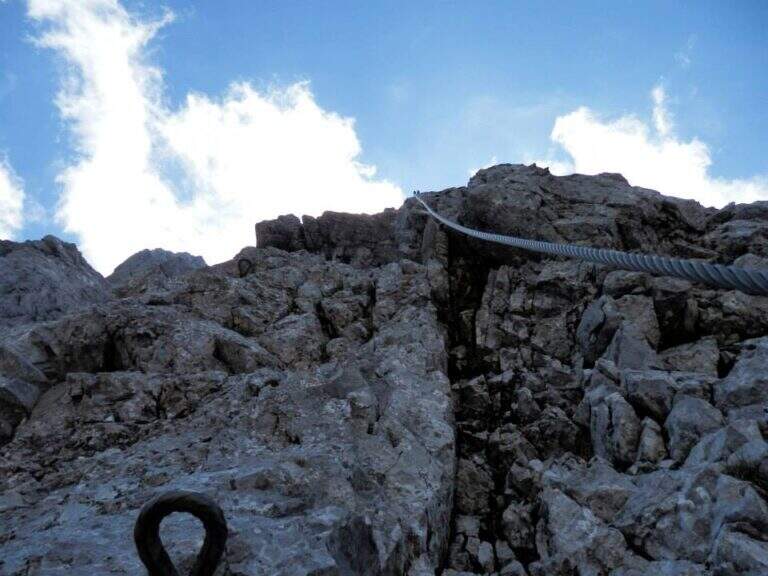
    The Path Attrezzato delle Cavre is a ring that cooks together two equipped sections — the Path of the Scaloni and the Path of the Anglon — connected up from a panoramic stretch. Easy, exposed and very well equipped, it is one of the ideal itineraries for those who are at first experiences. The low altitude, near Arco, makes it accessible all year round, with the only shortness to avoid it in the hottest hours.

    ▲Approach

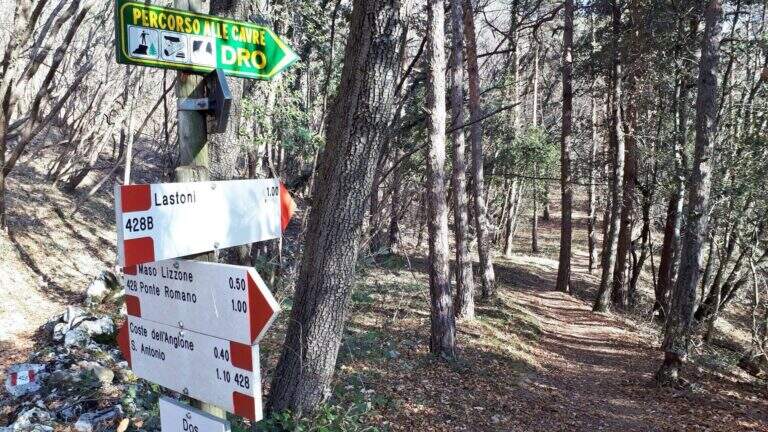
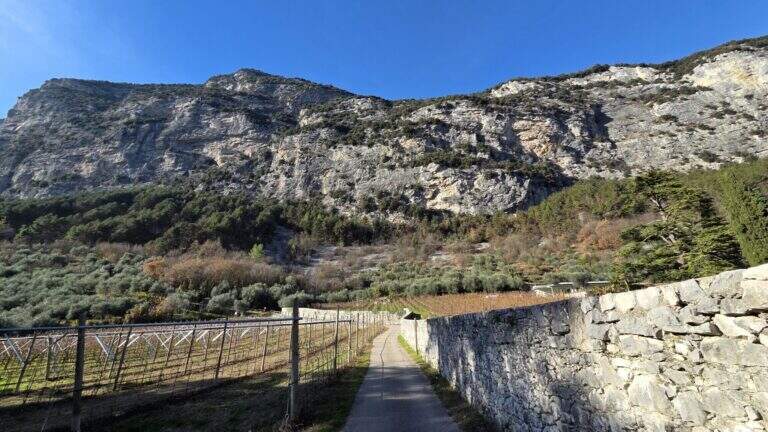
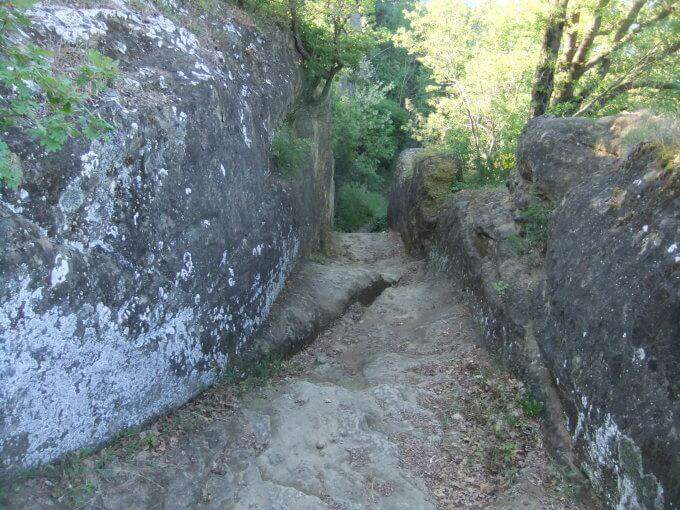
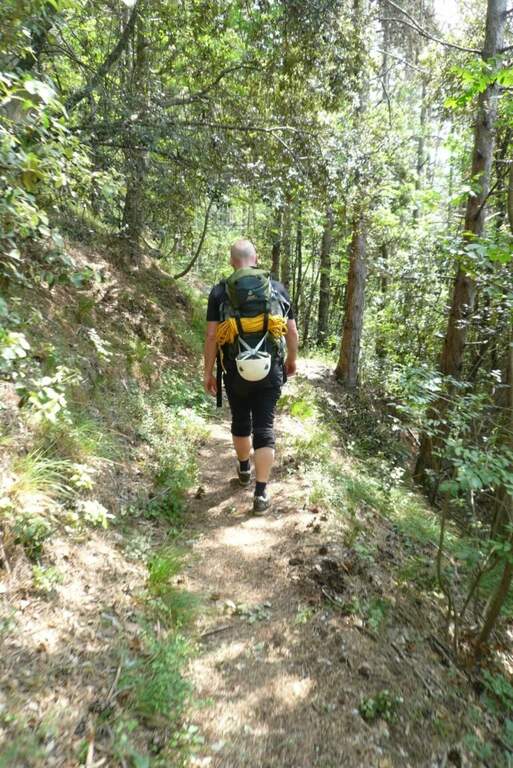
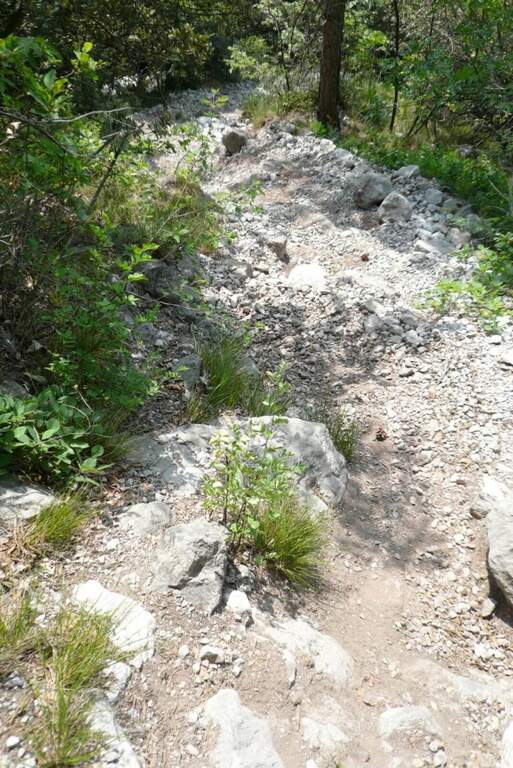
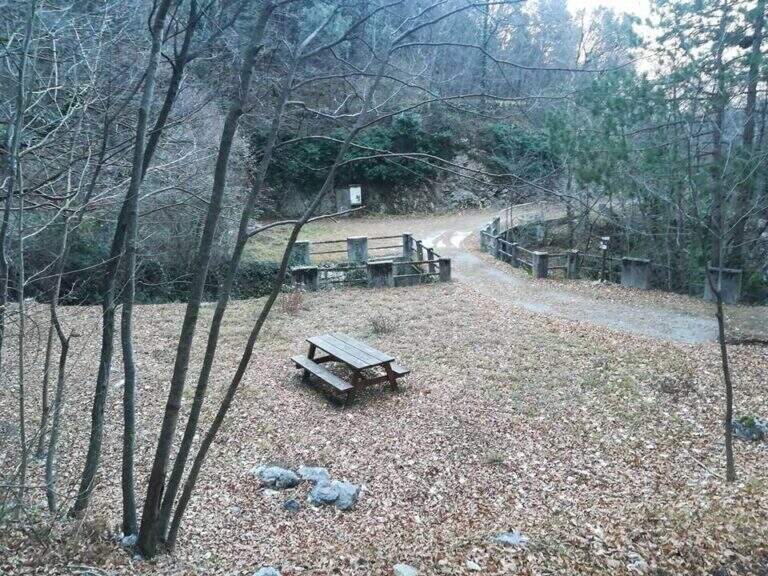
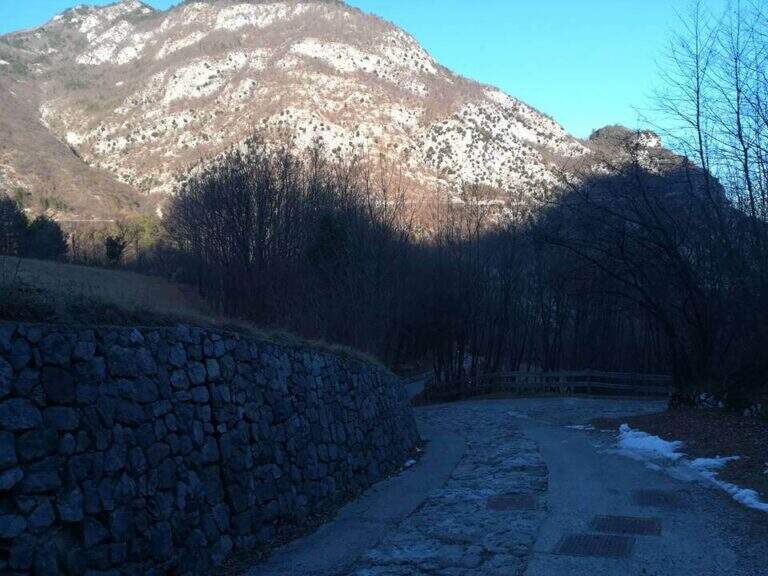
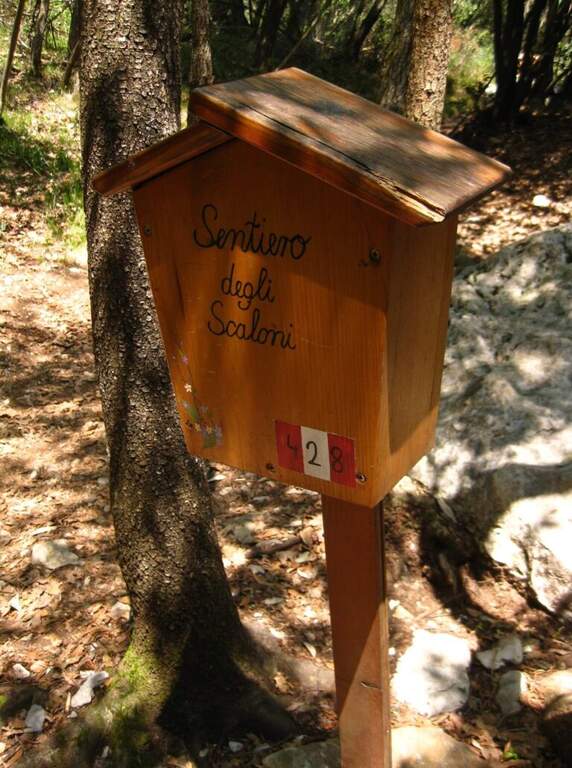
    From the village of Ceniga, near Arco (TN). Coming from Arco, turn left from the state towards the center of the village; at the height of Via del Ponte, on the right, there is a large parking lot where to leave the car (open up Google Maps). From the parking lot you go up Via del Ponte on the opposite side of the road towards the Roman Bridge and, crossing it, you pass on the opposite bank of the Sarca River. The right is held and you will soon meet a CAI pole with the indication of the Attrezzato Path of the Scaloni; following the paline you climb on a rocky bottom until the attack of the first stretch (30′ from the parking lot).

    ▲The path

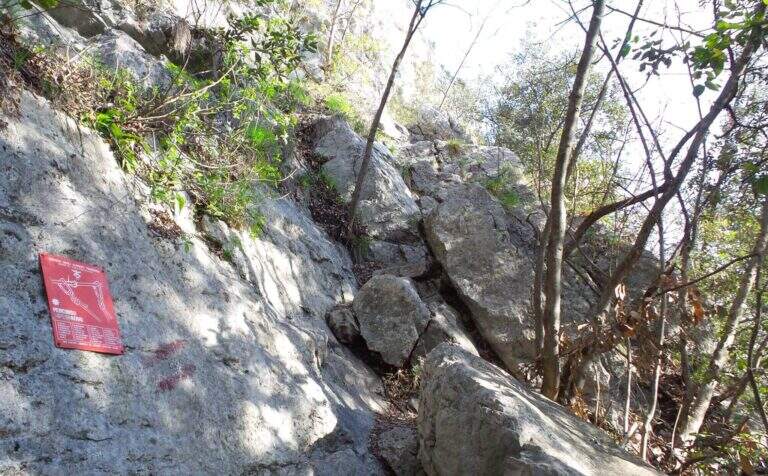
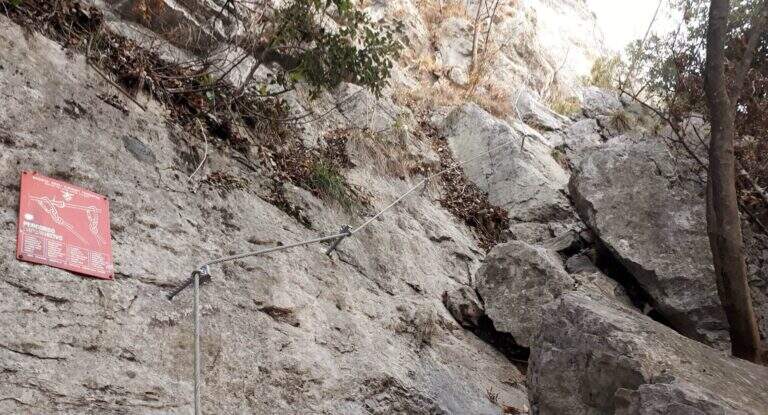
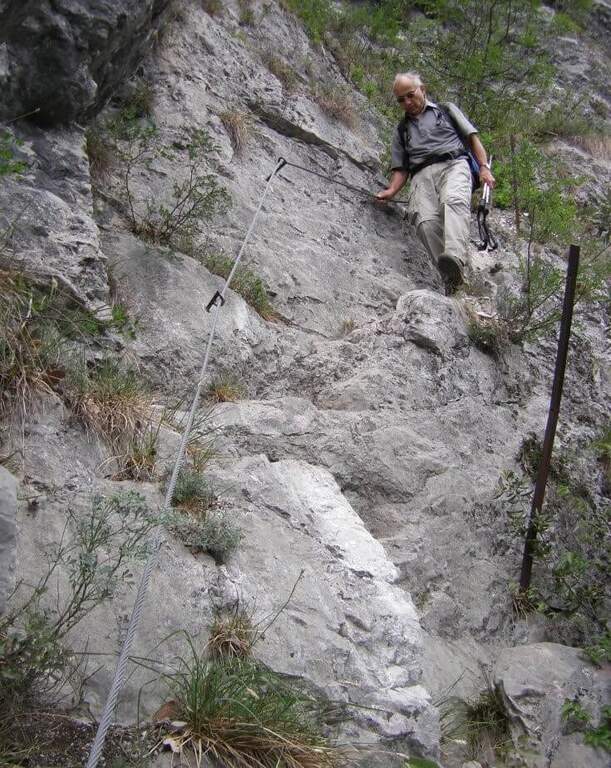
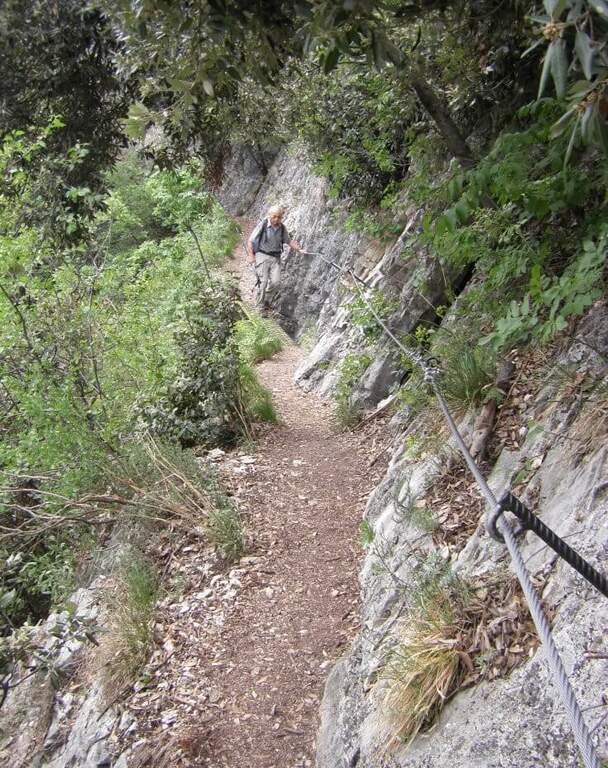
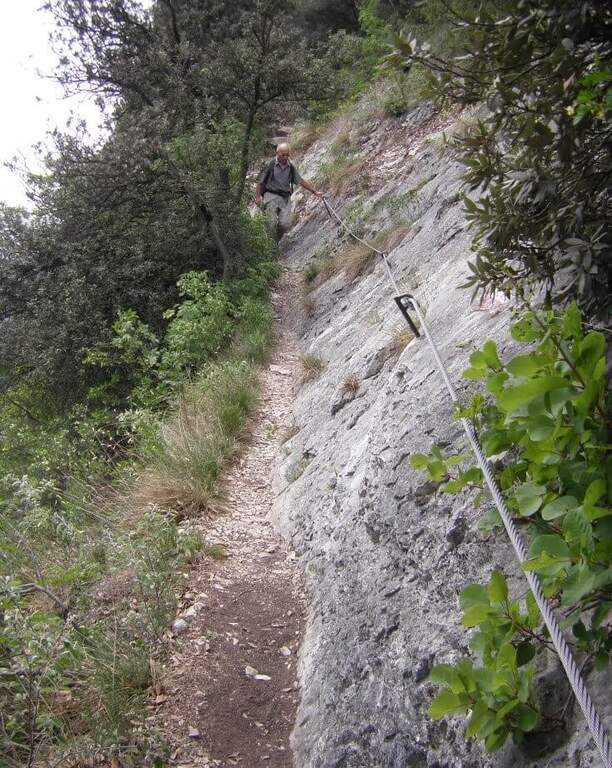
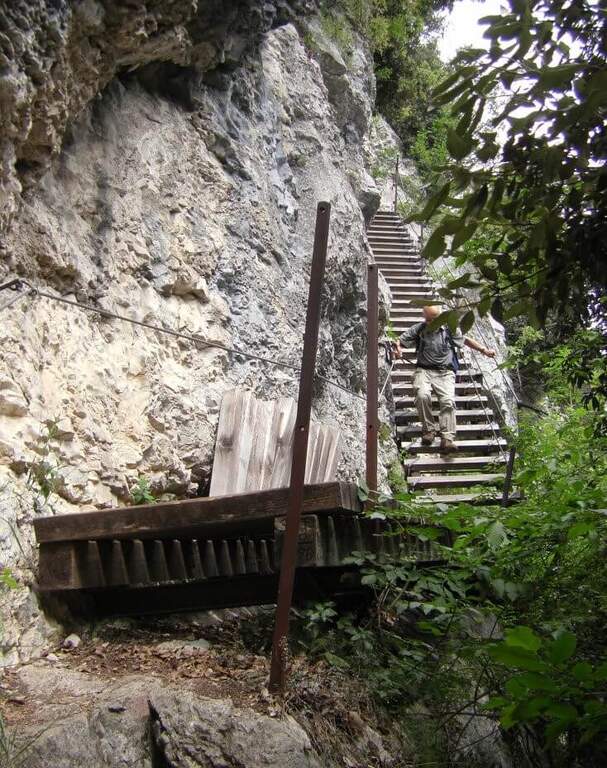
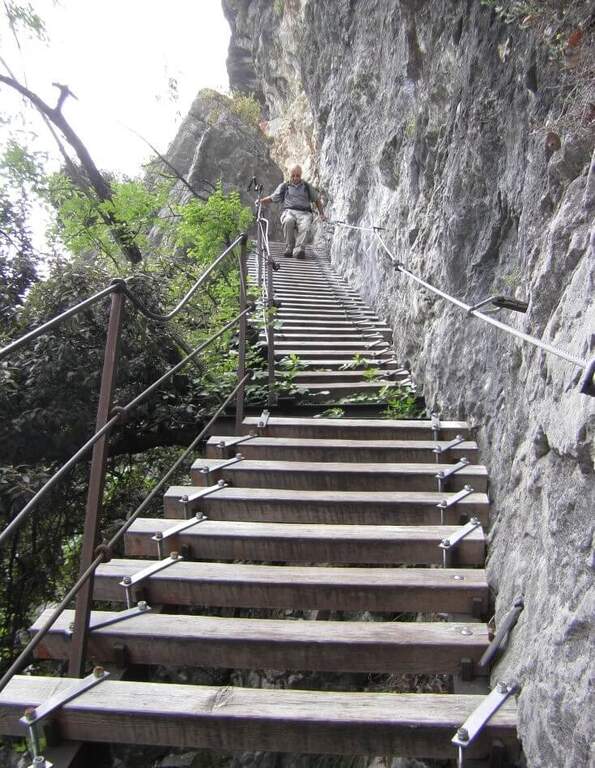
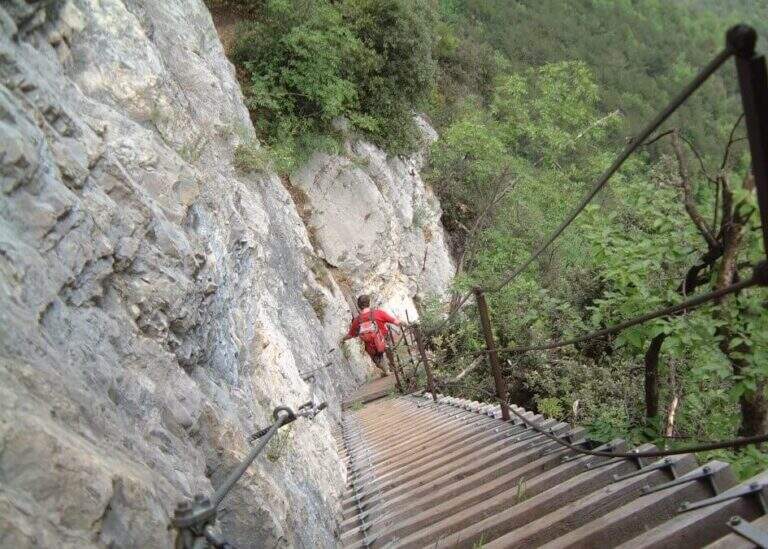
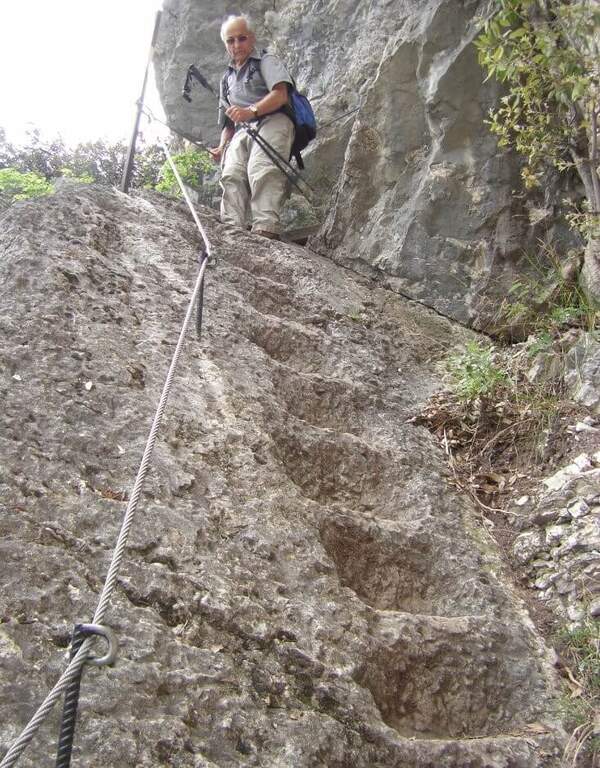
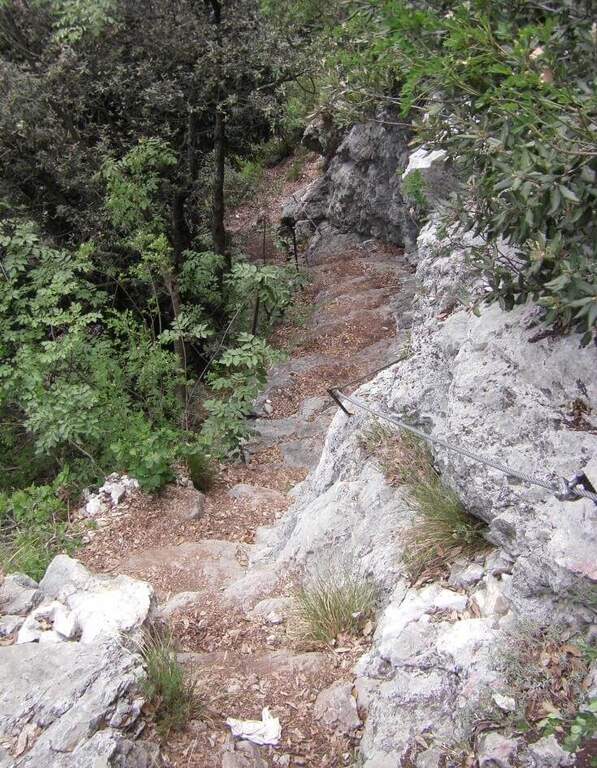
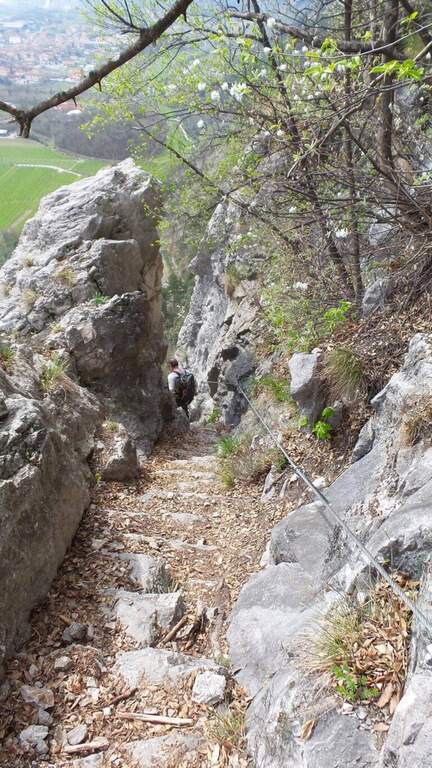
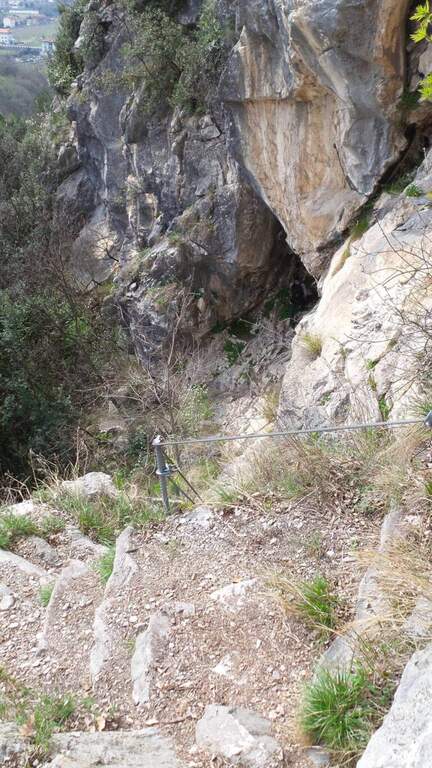
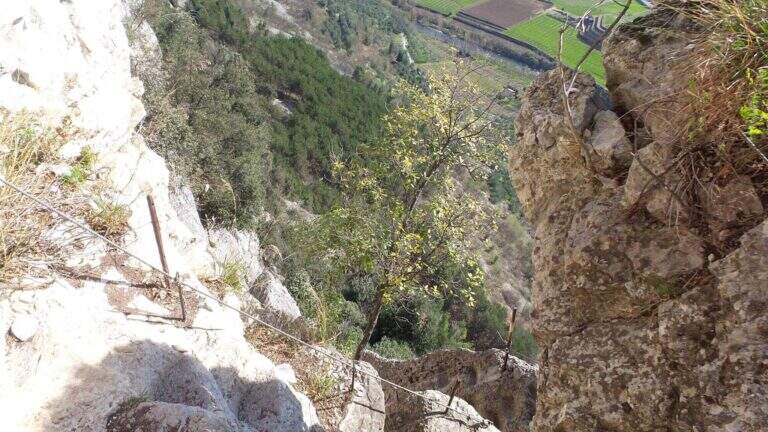
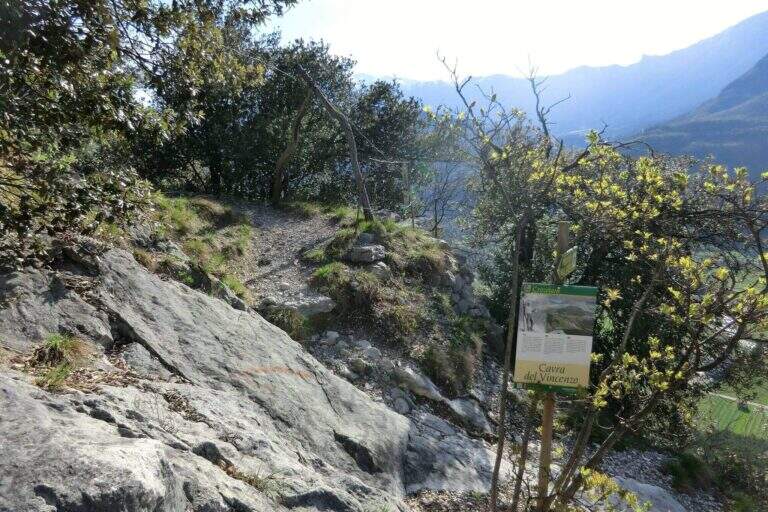
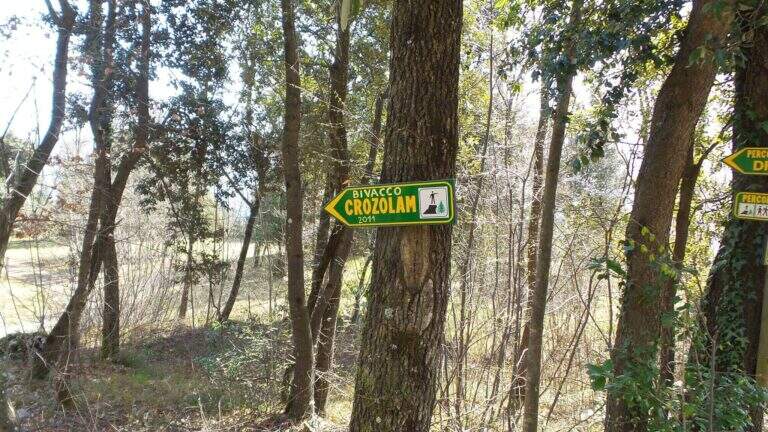
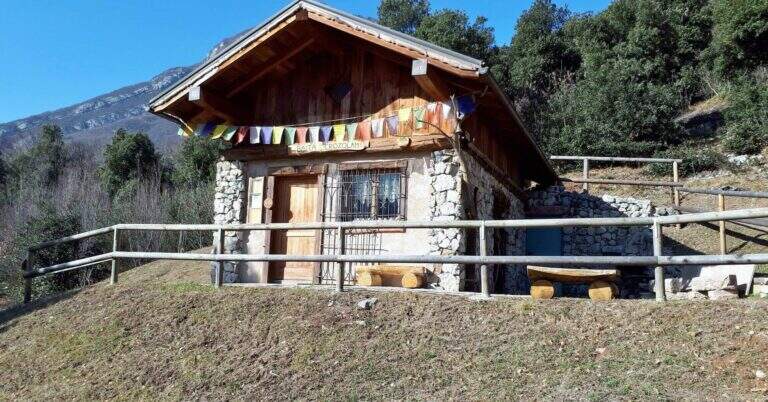
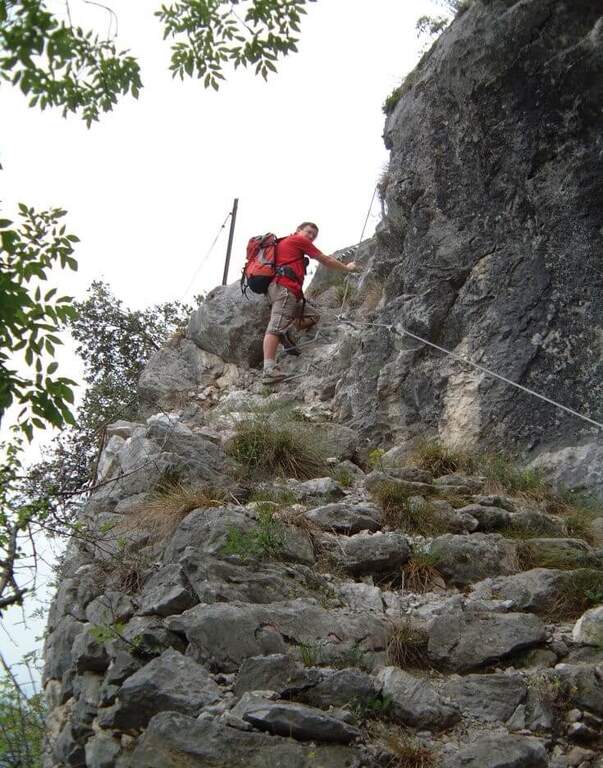
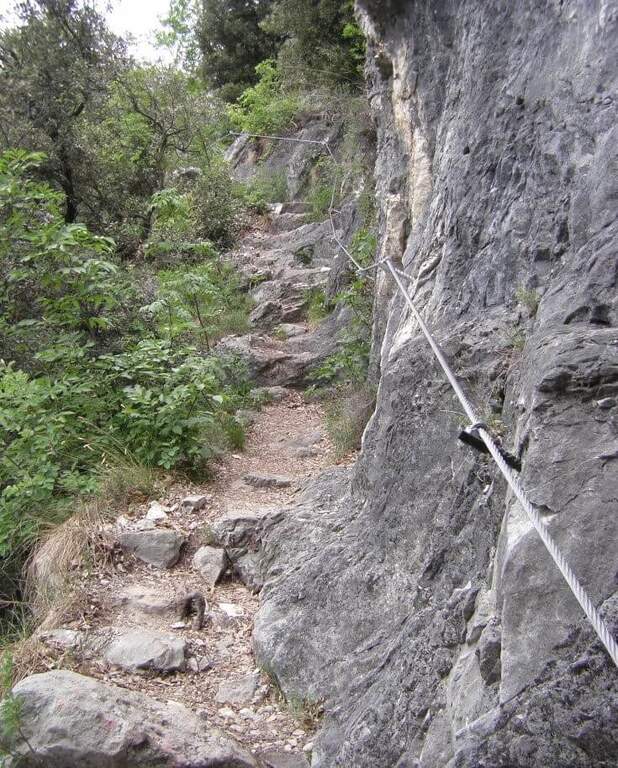
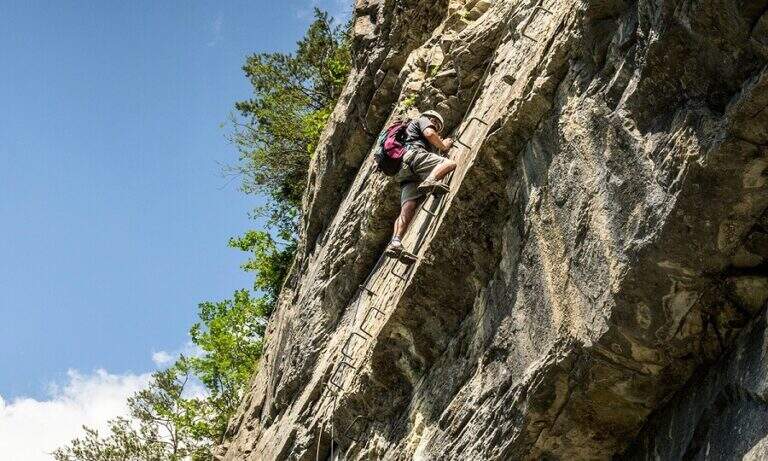
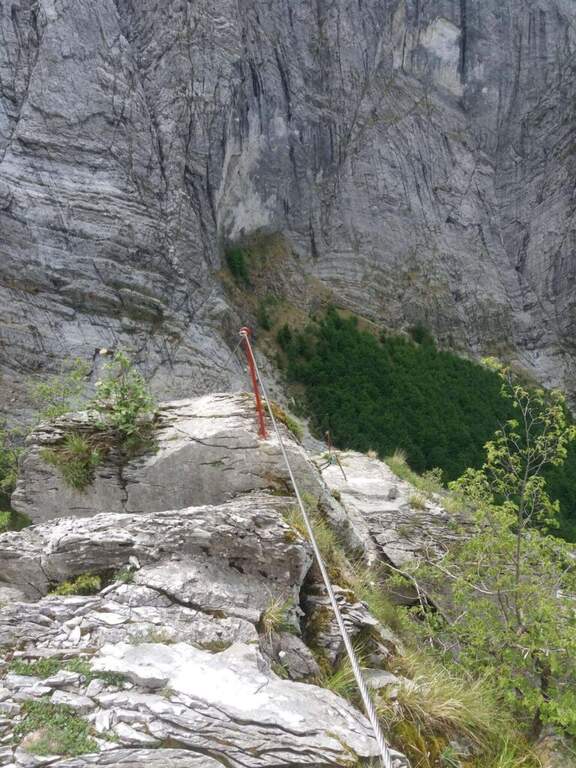
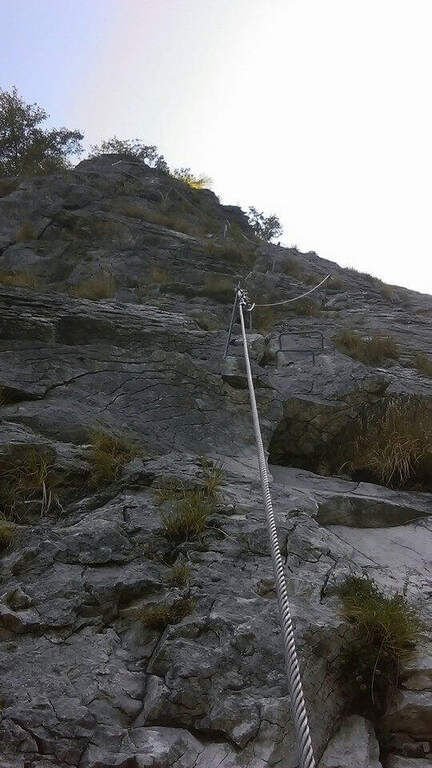
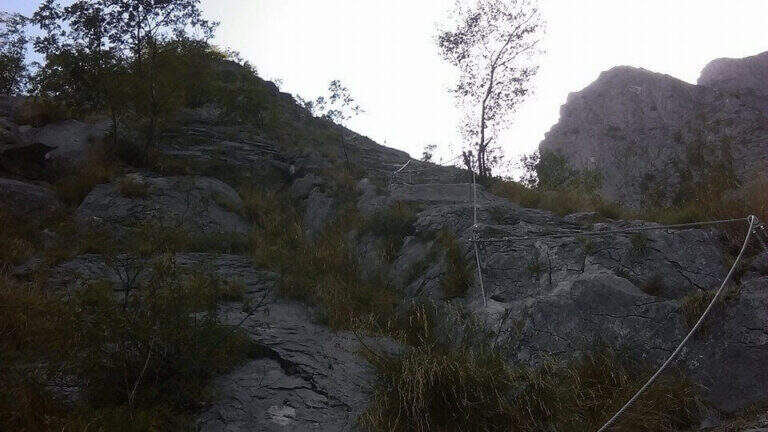
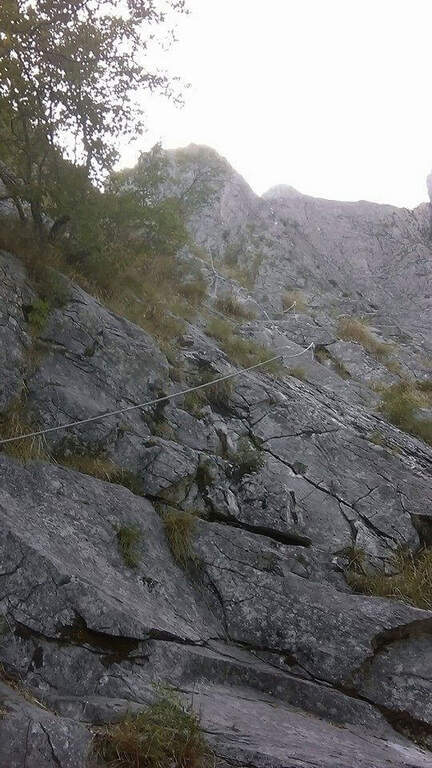
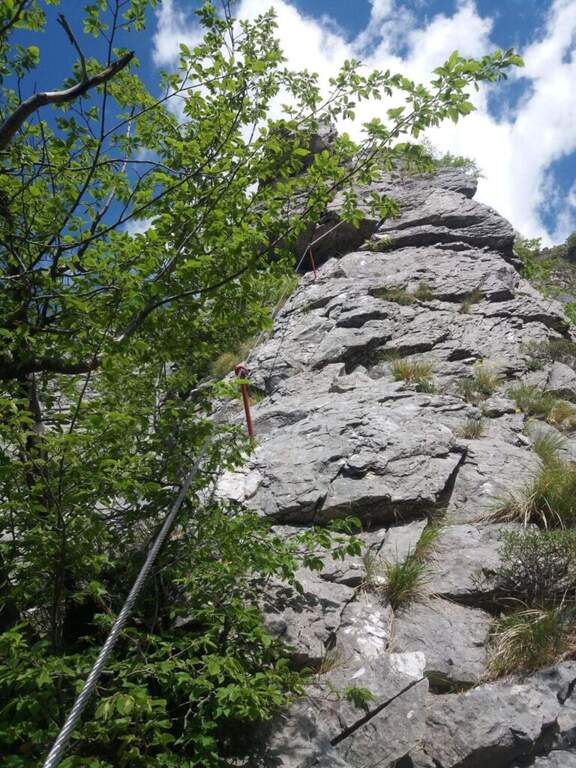
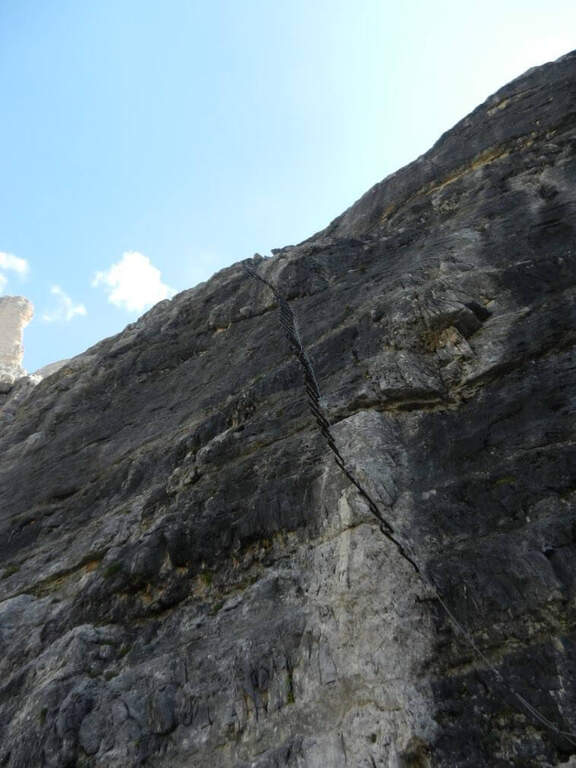
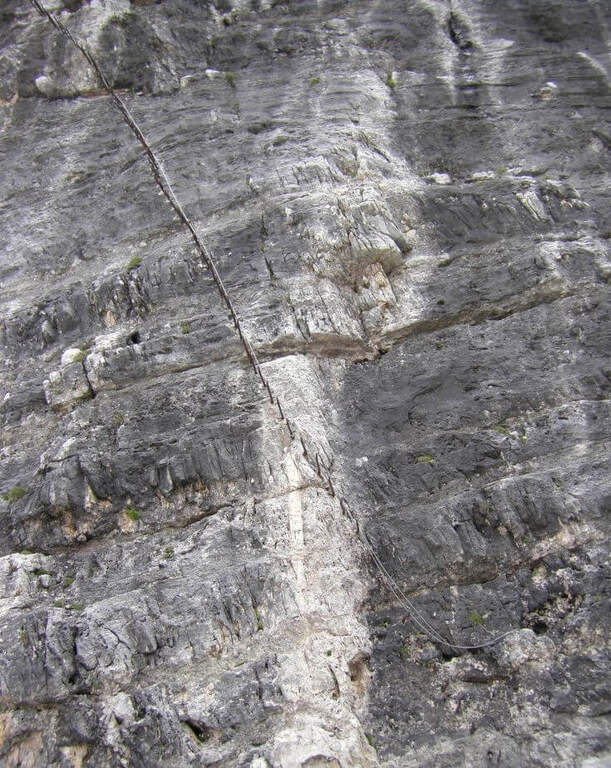
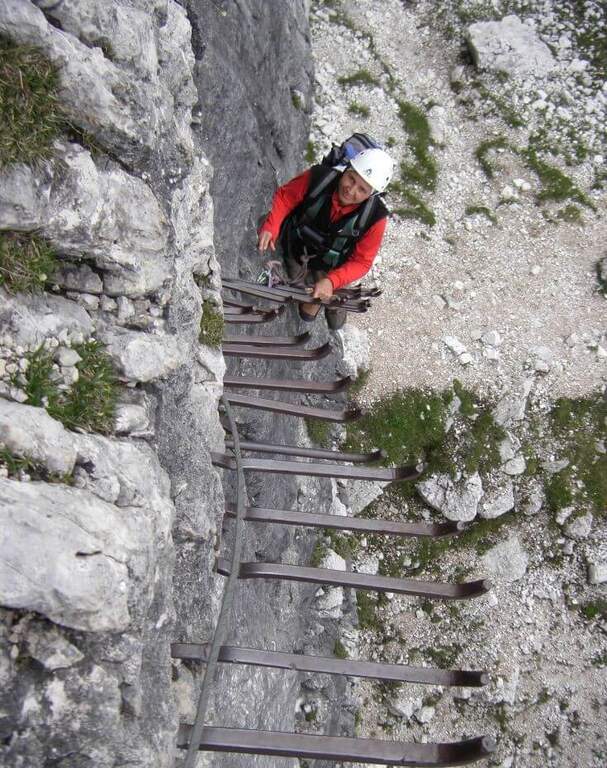
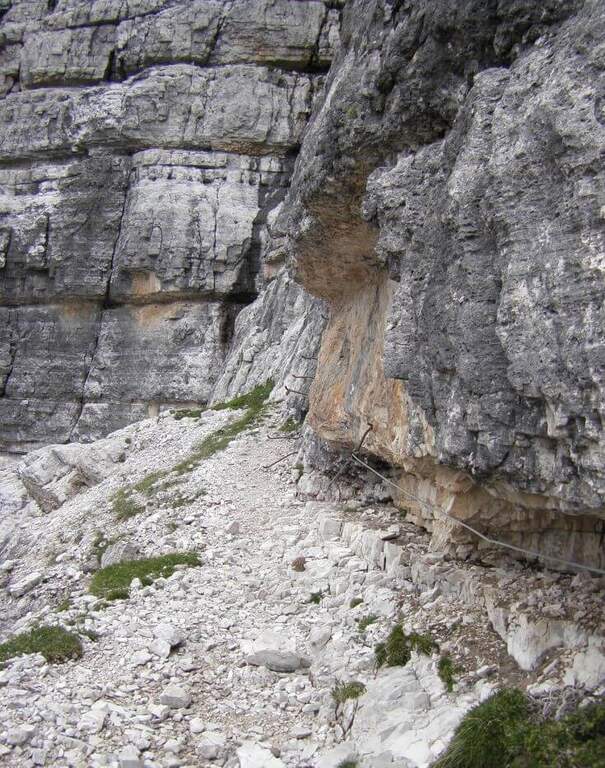
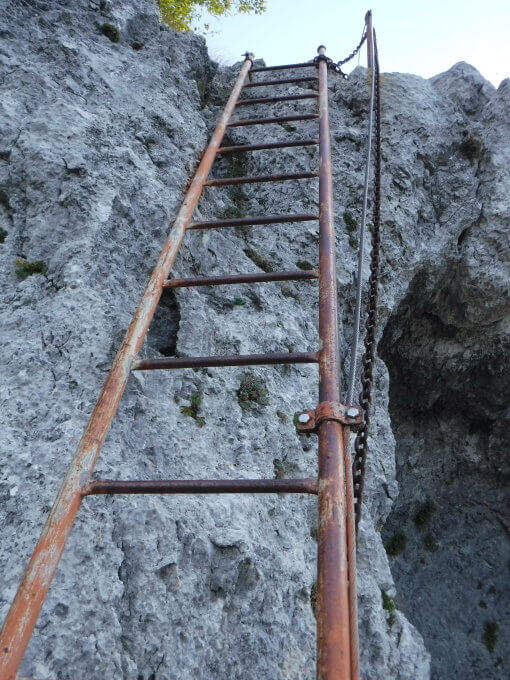
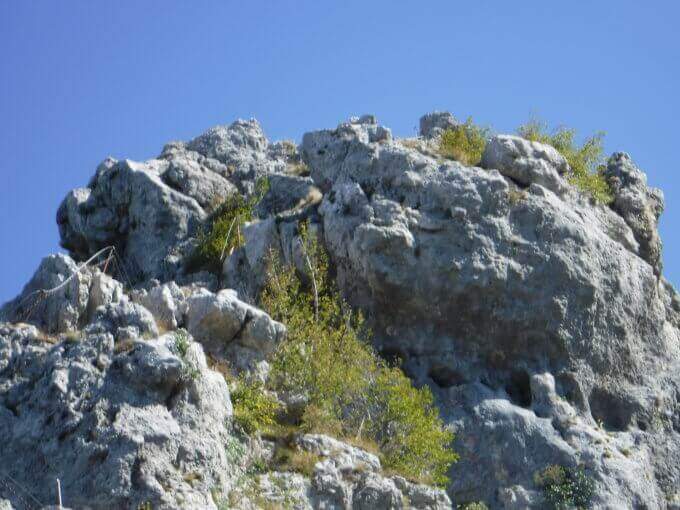
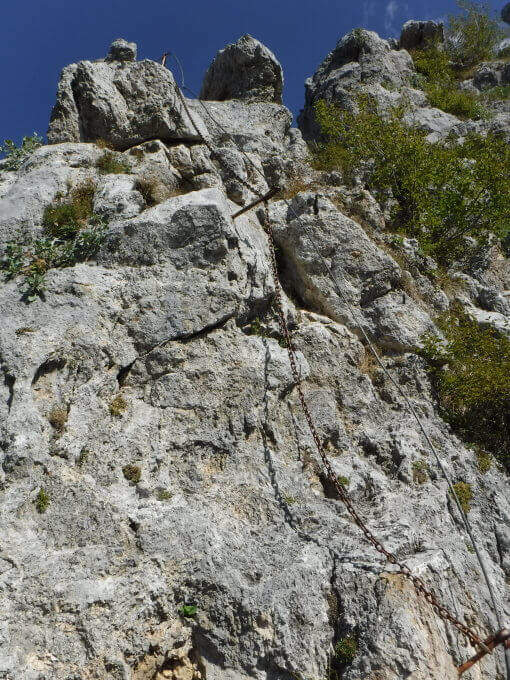
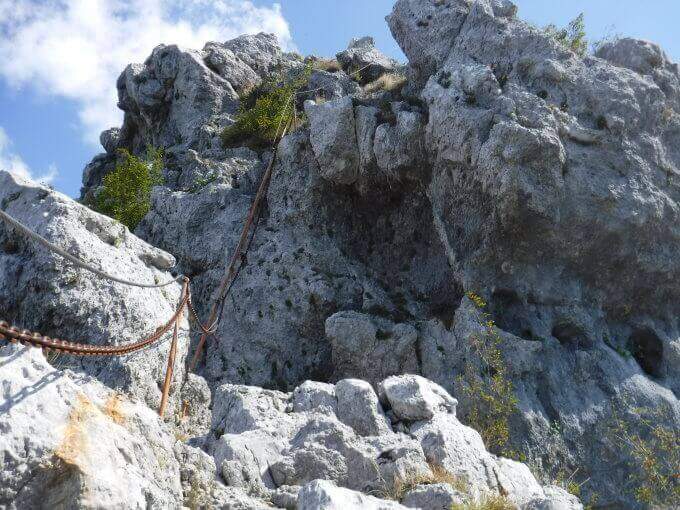
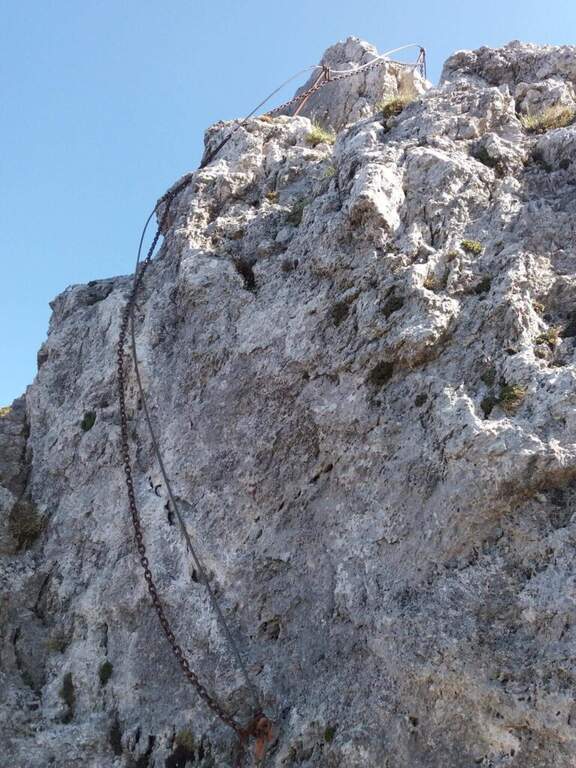
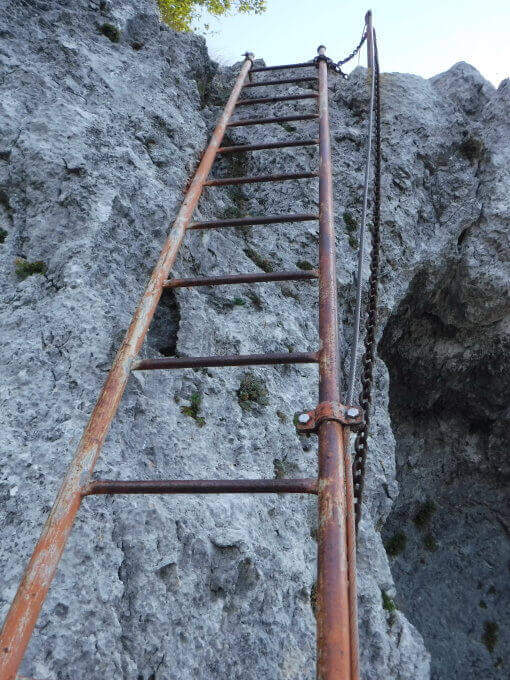
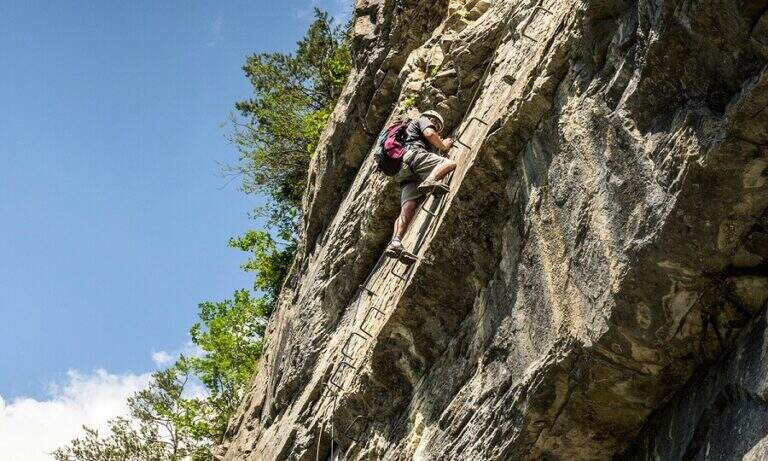
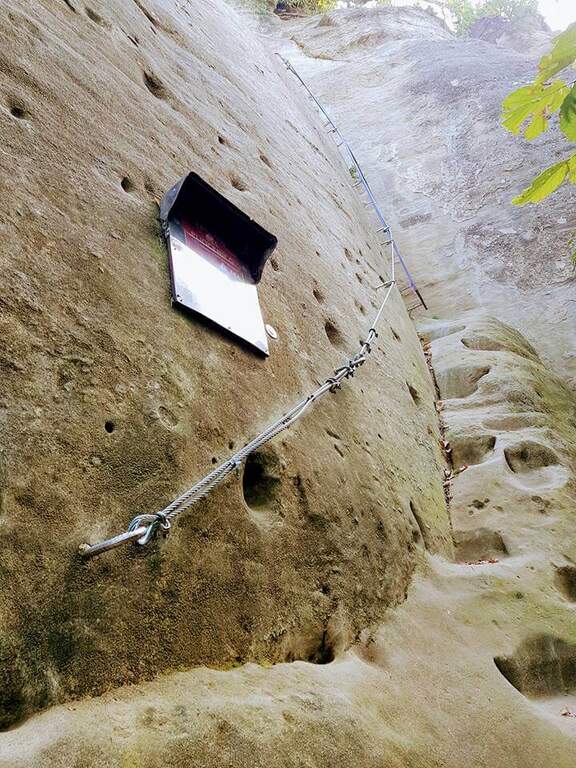
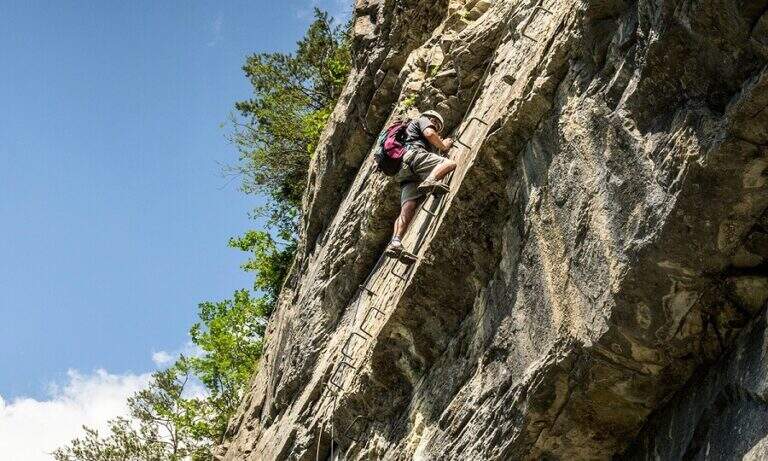
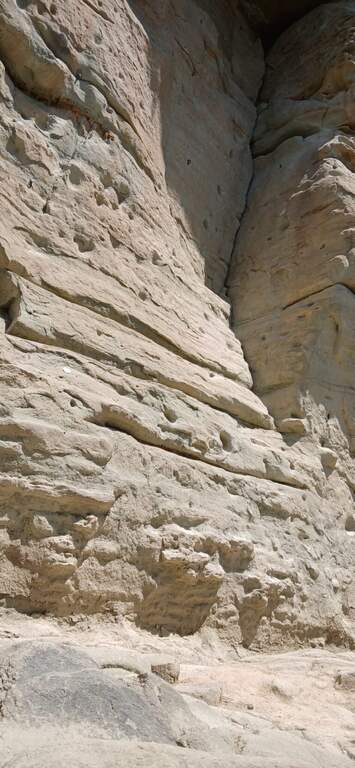
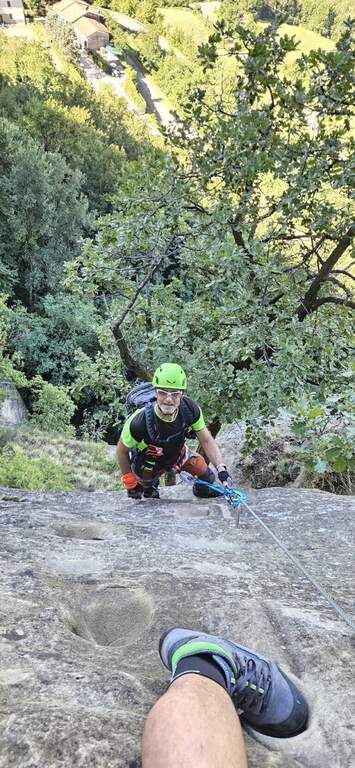
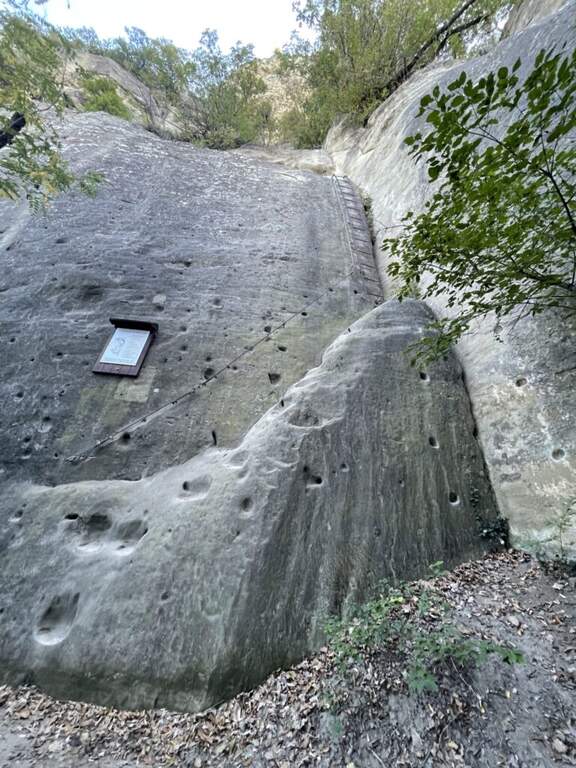
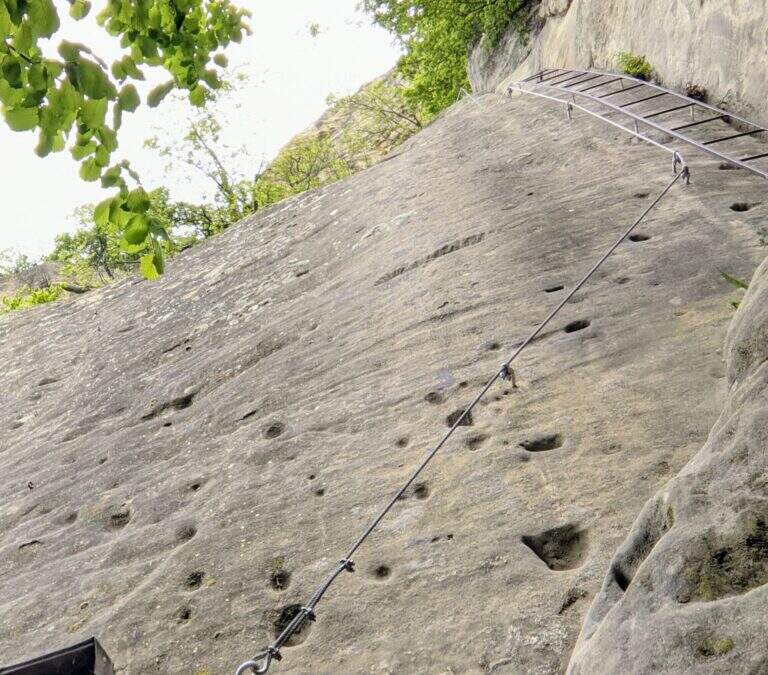
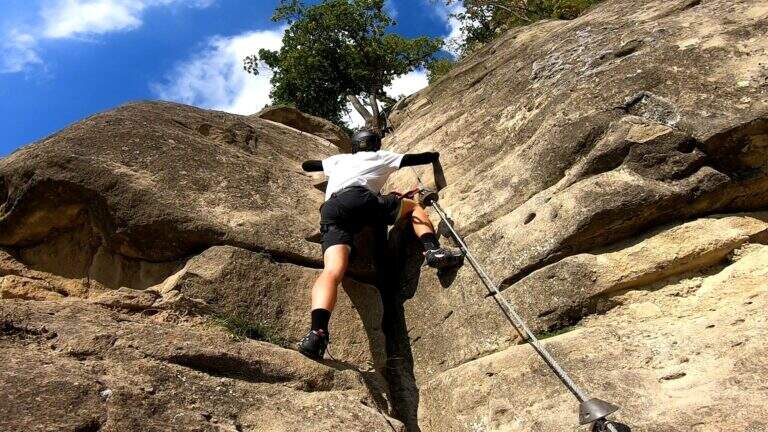
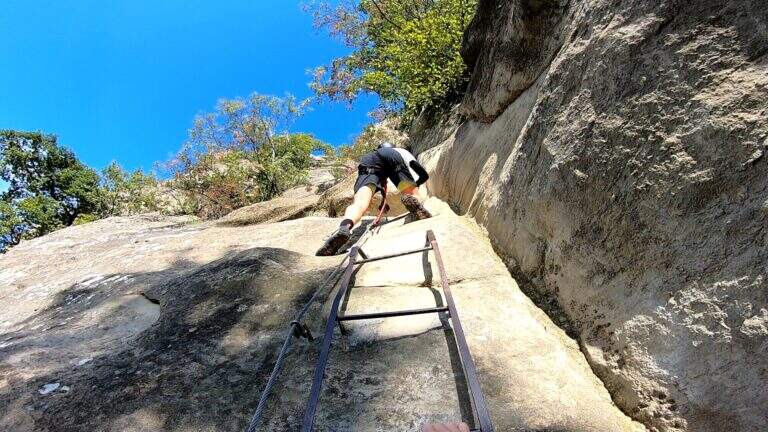
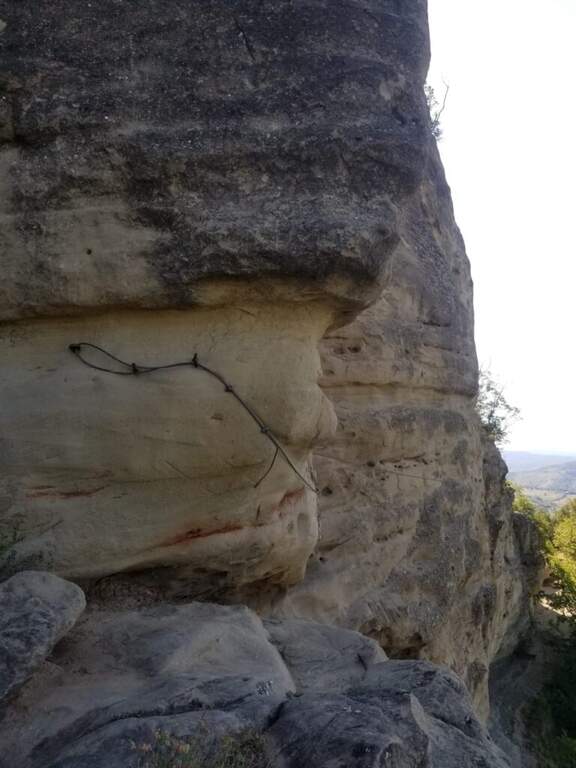
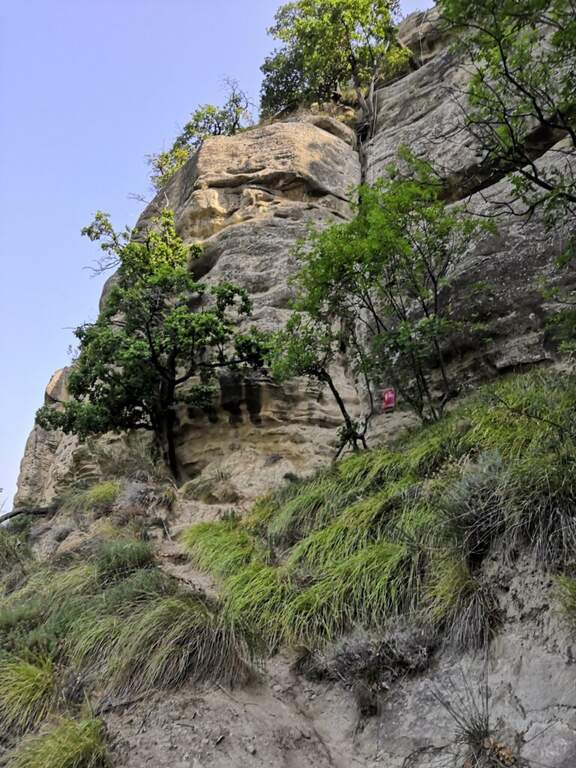
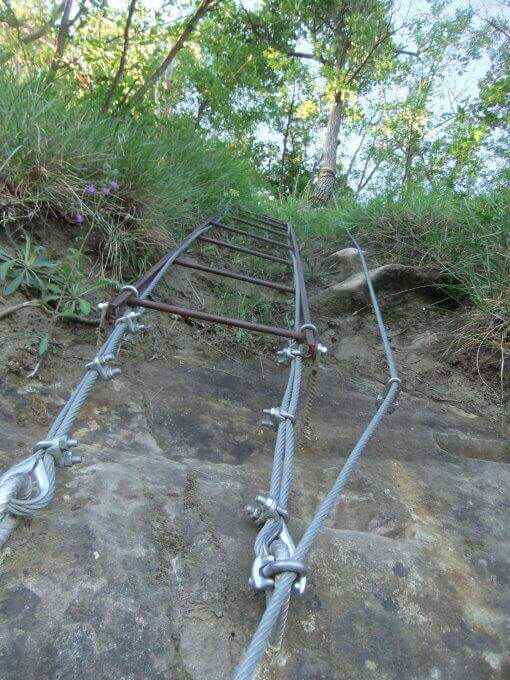
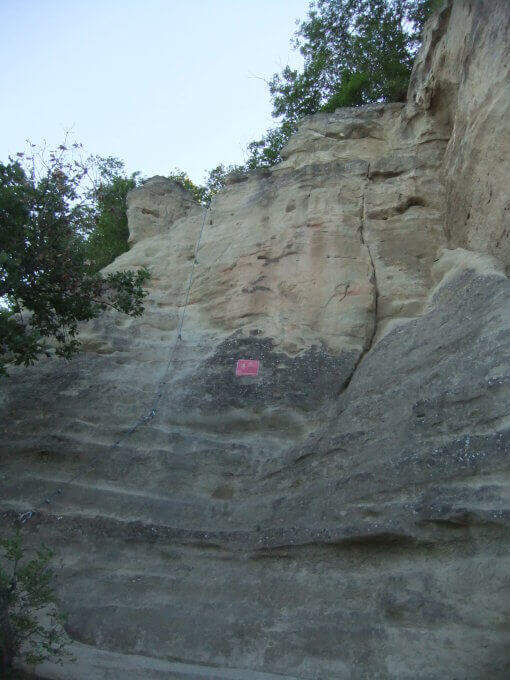
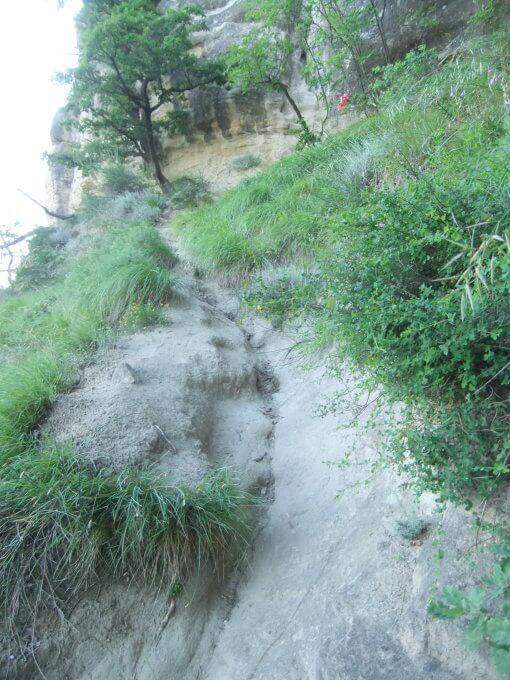
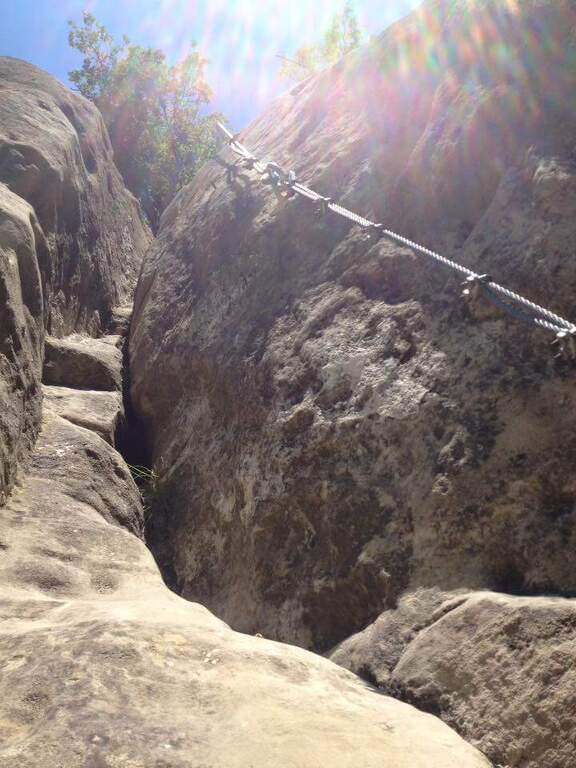
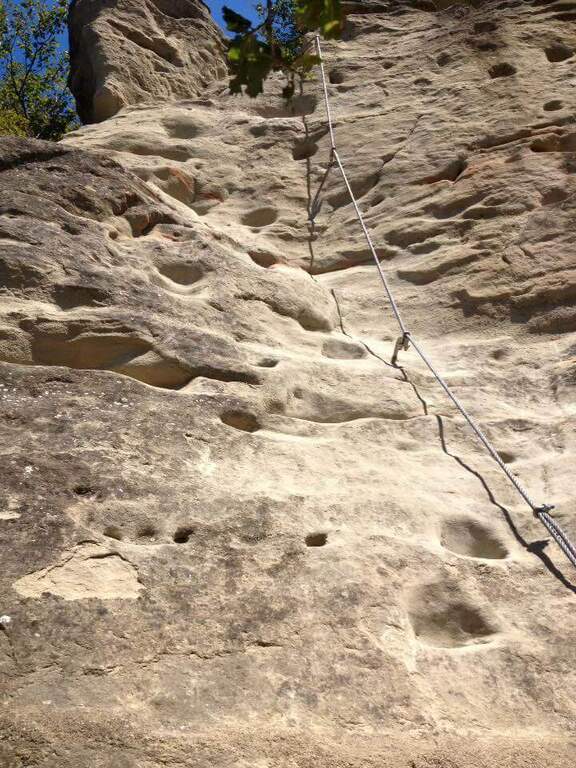
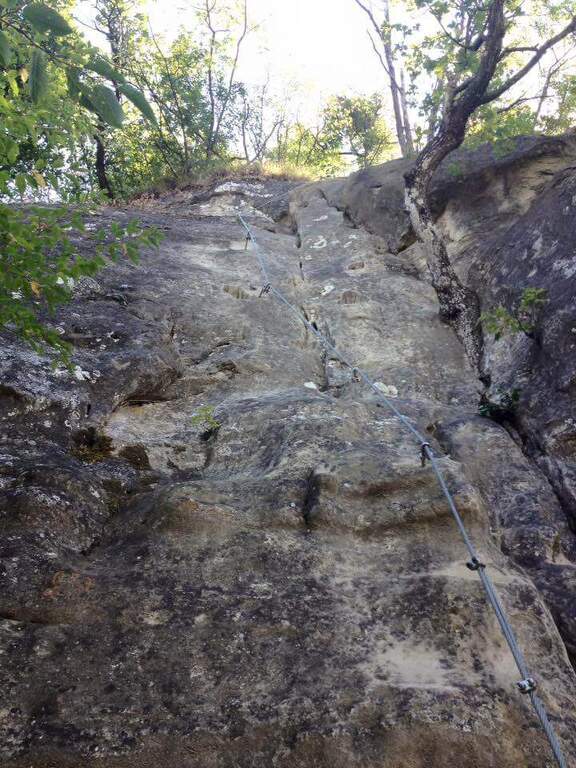
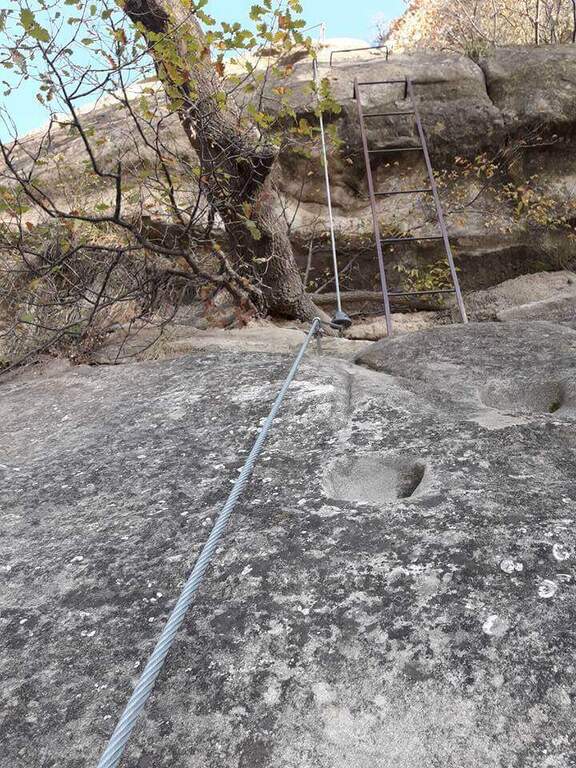
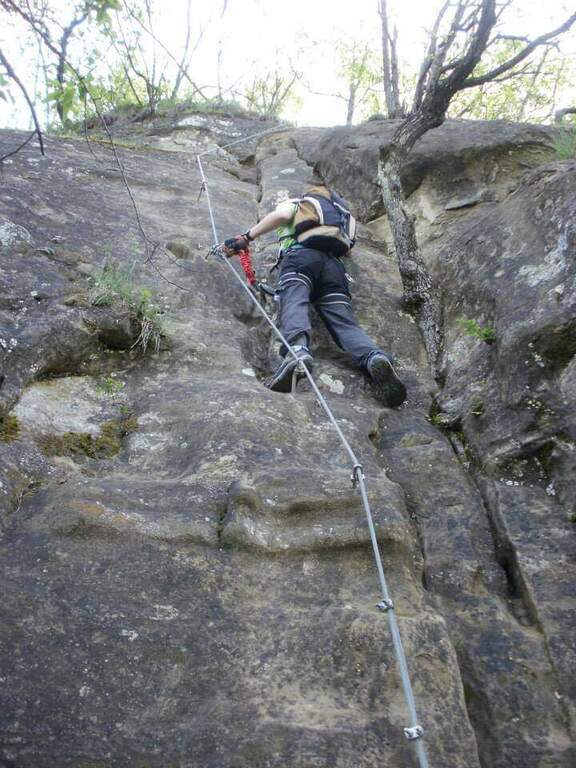
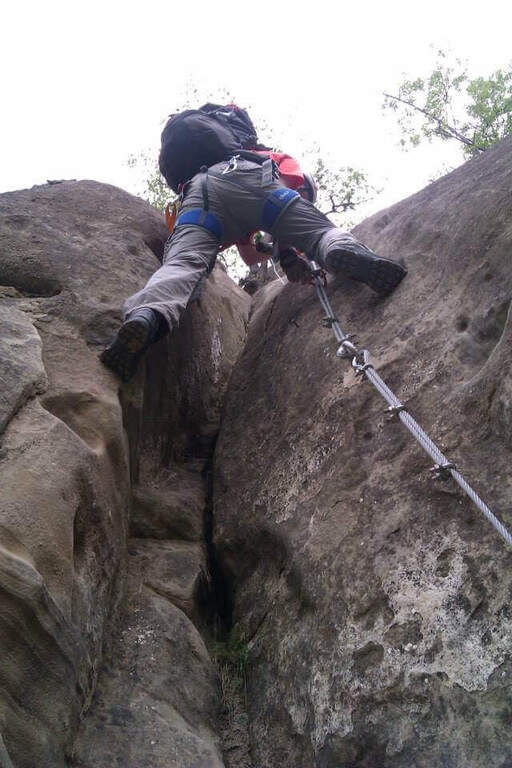
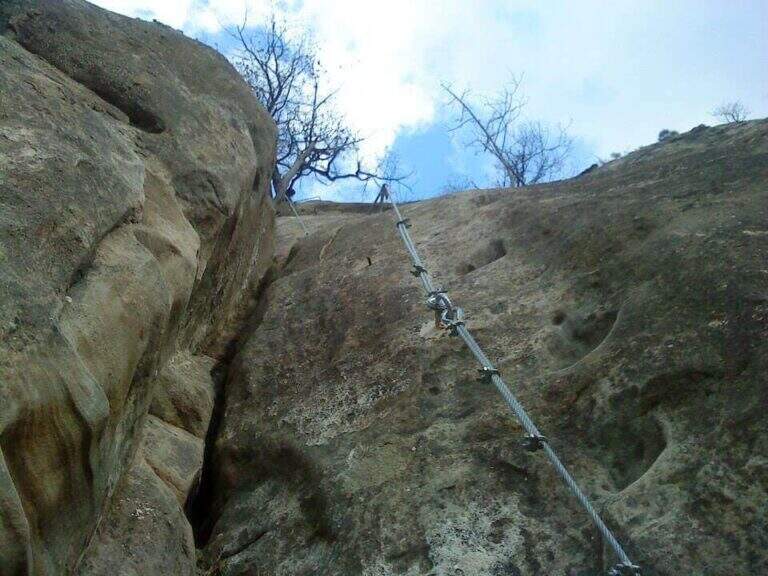
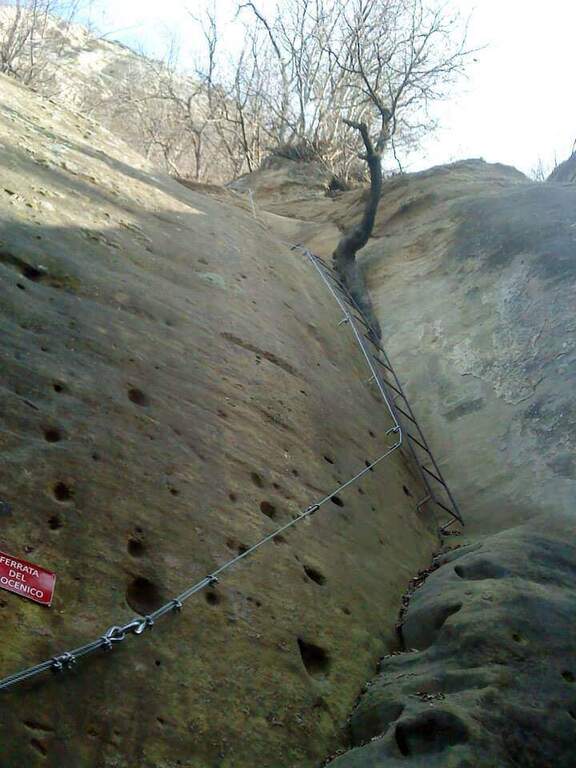
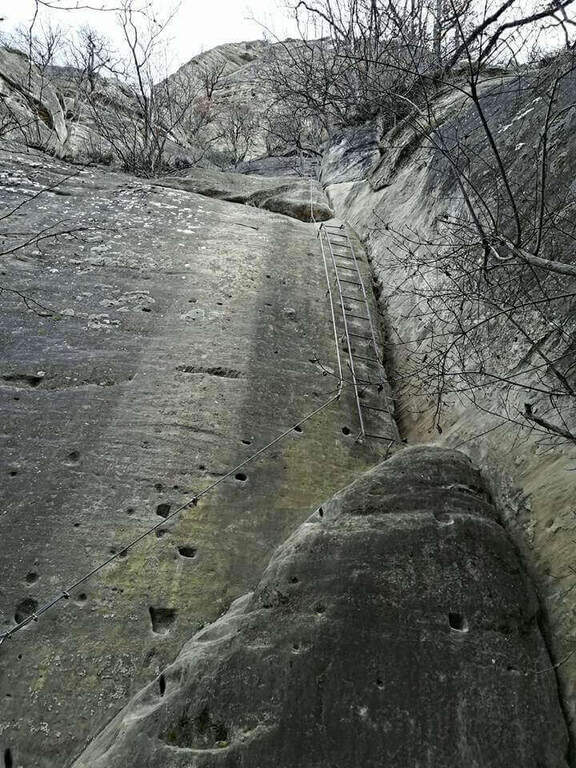
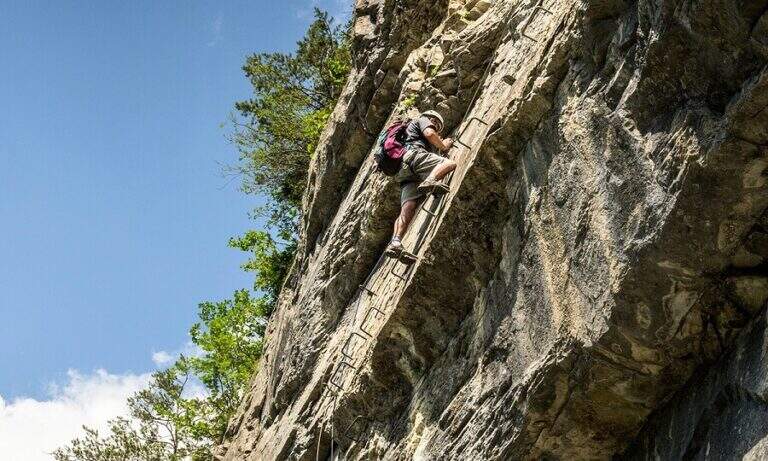
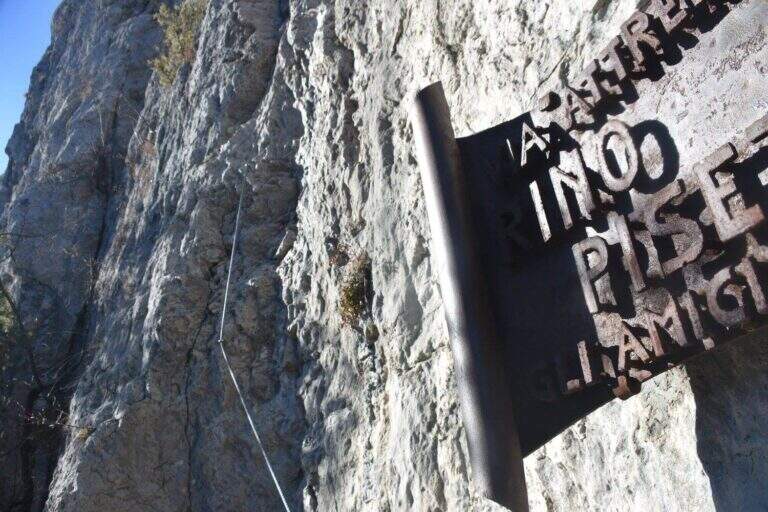
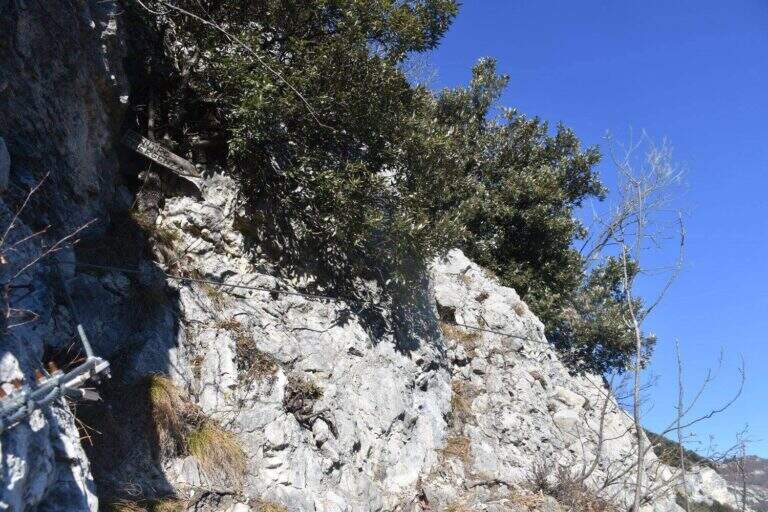
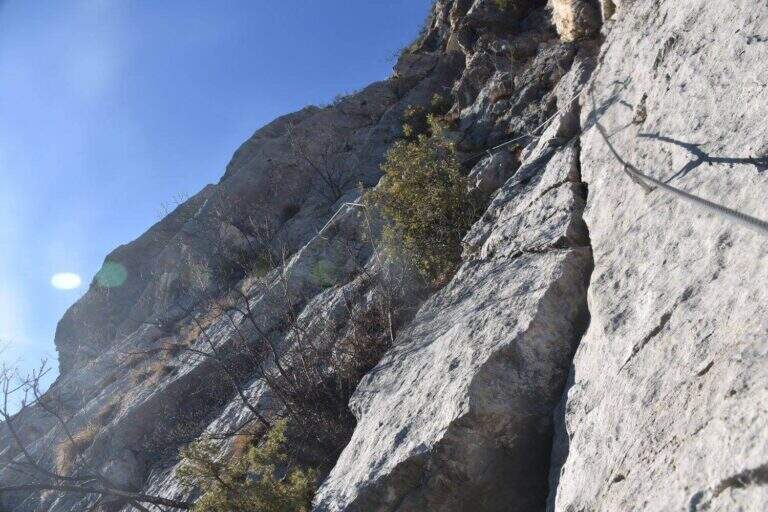
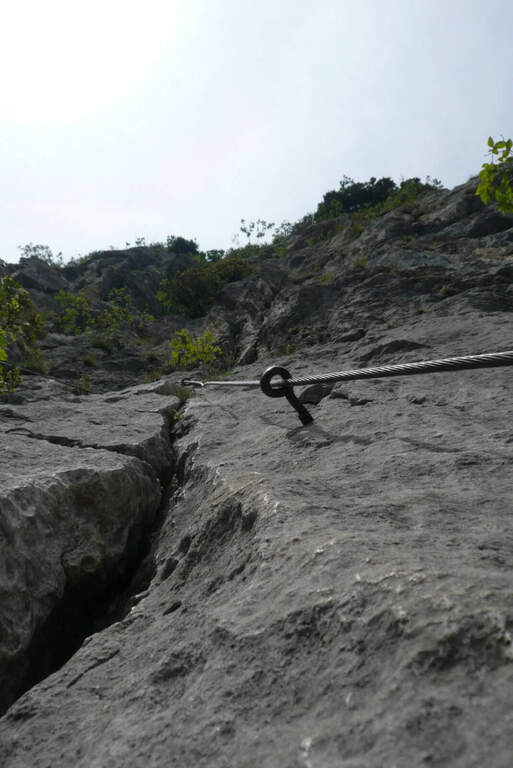
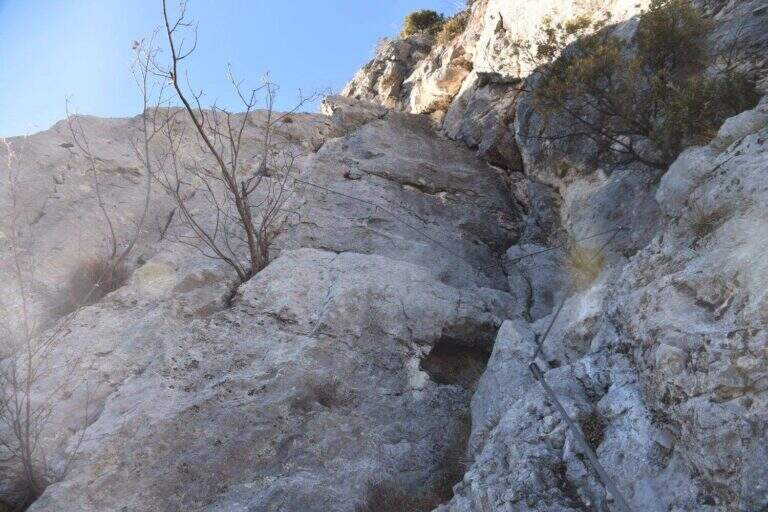
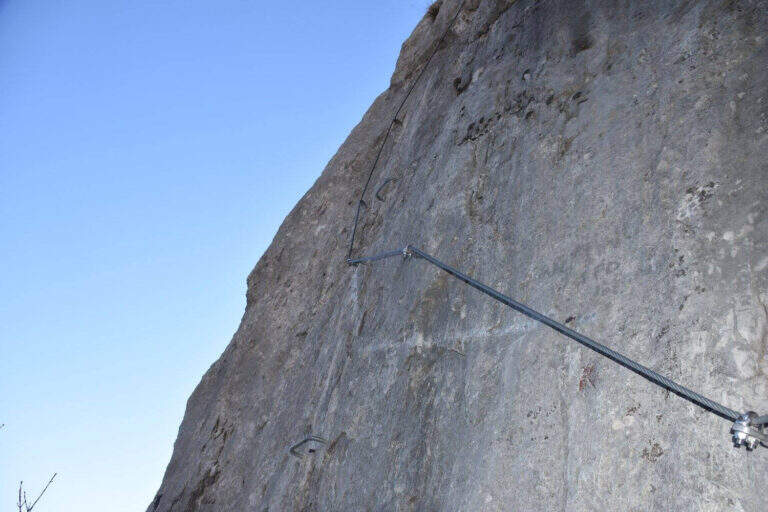
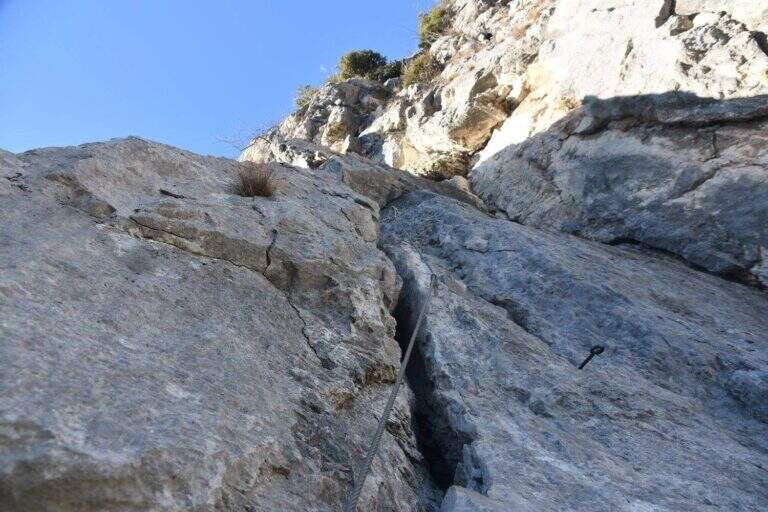
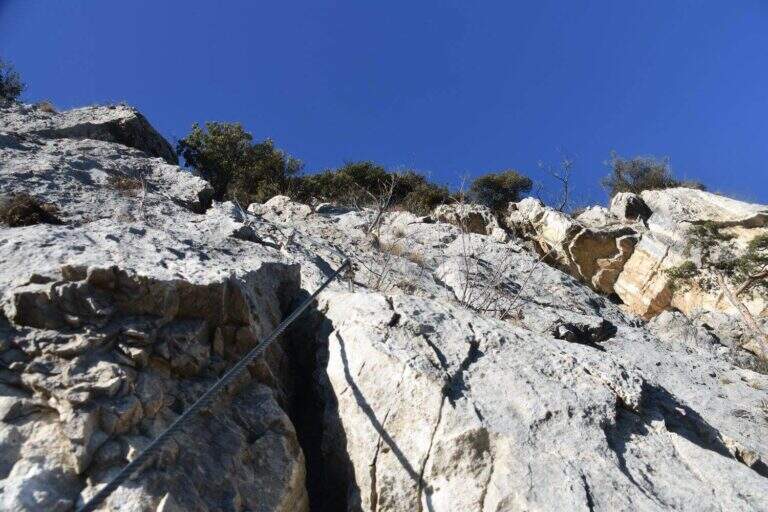
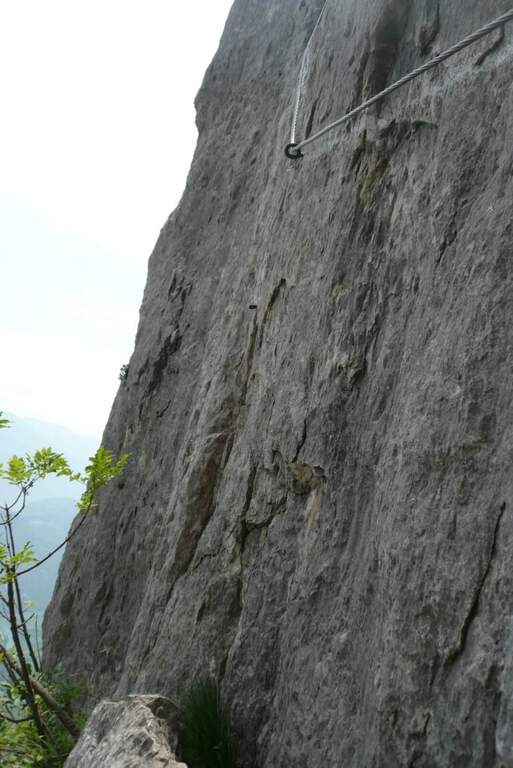
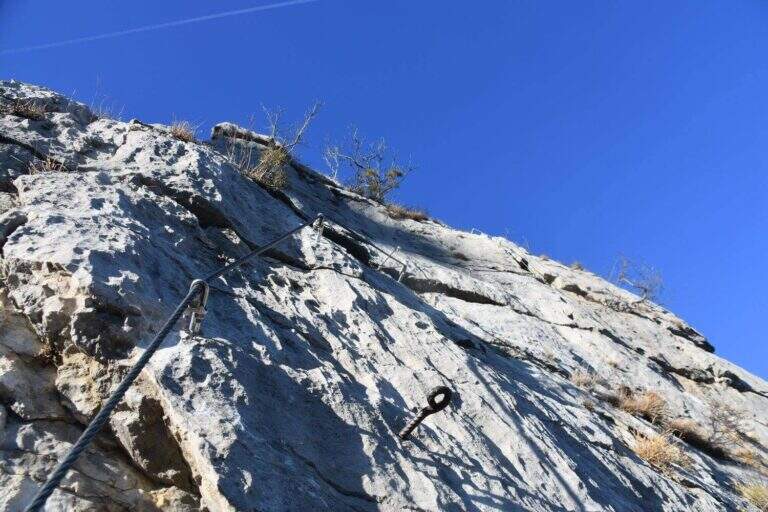
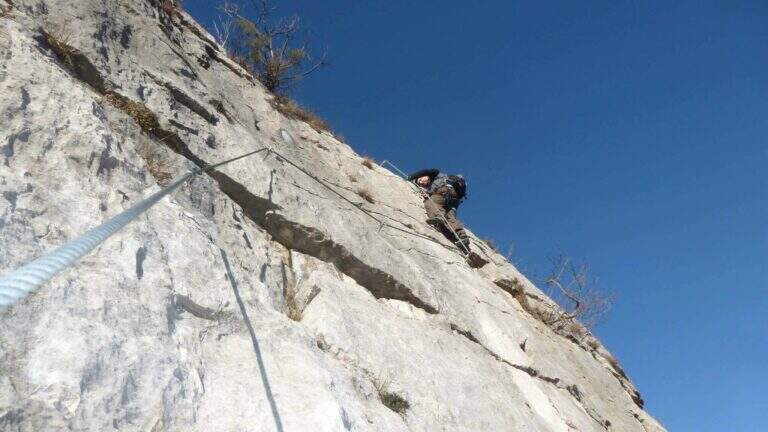
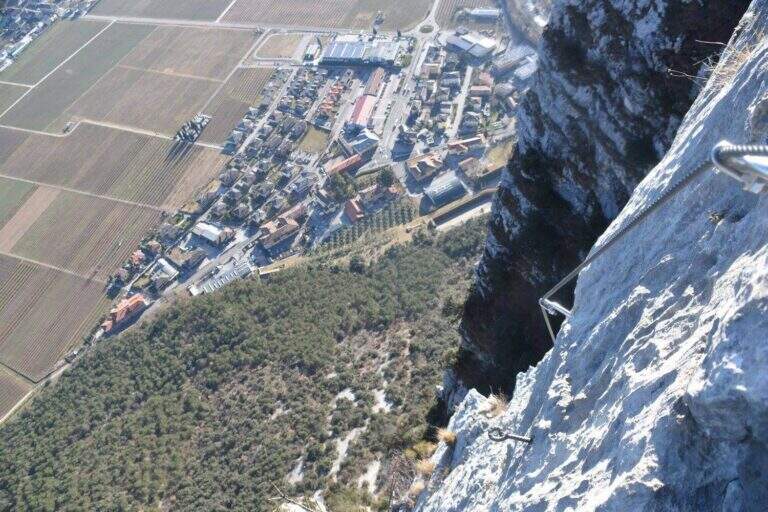
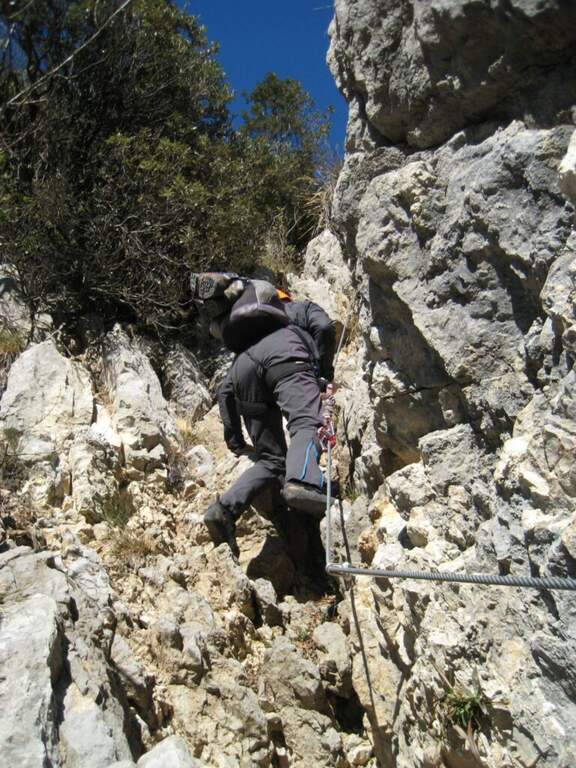
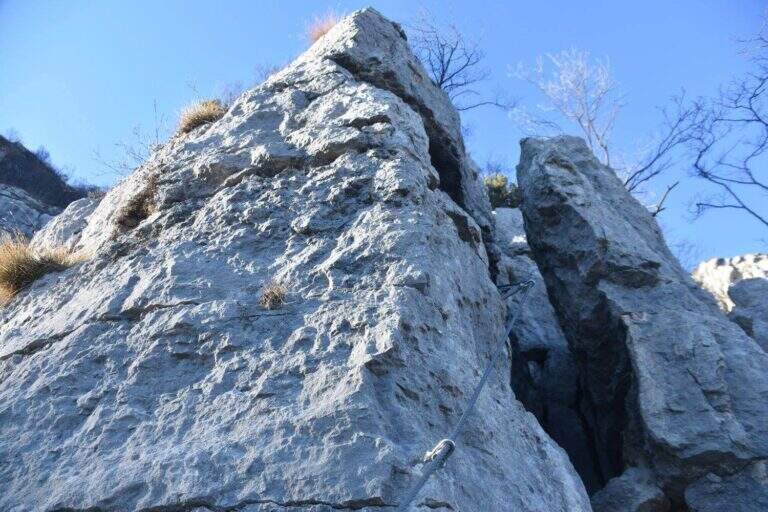
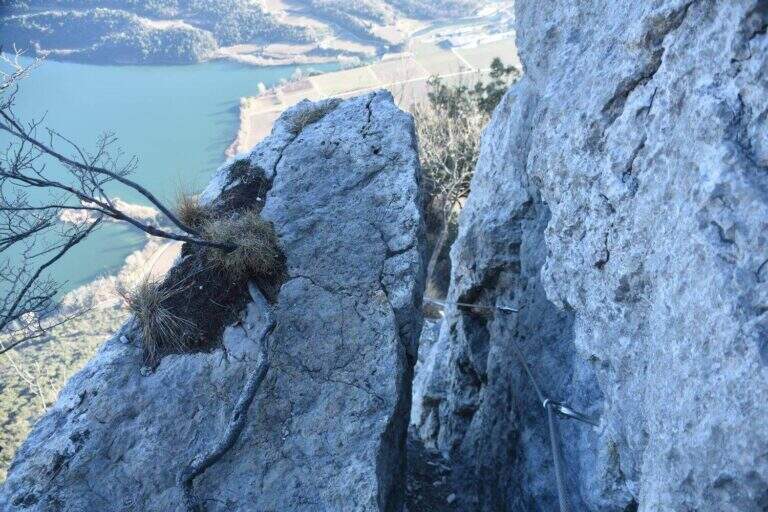
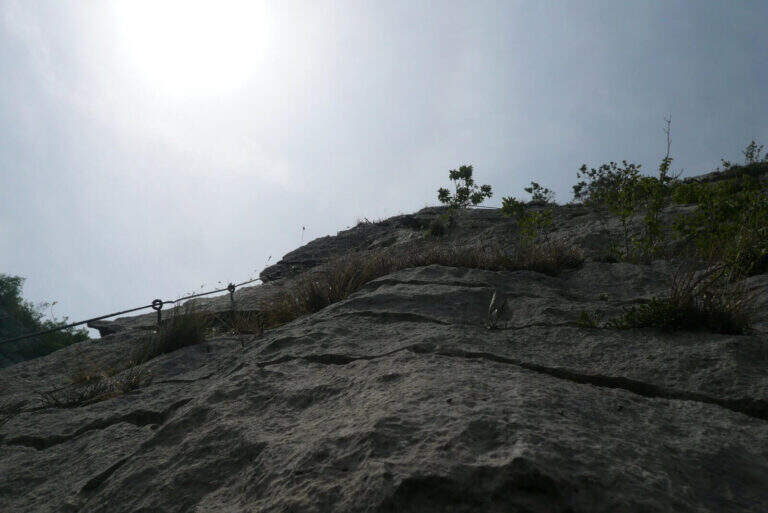
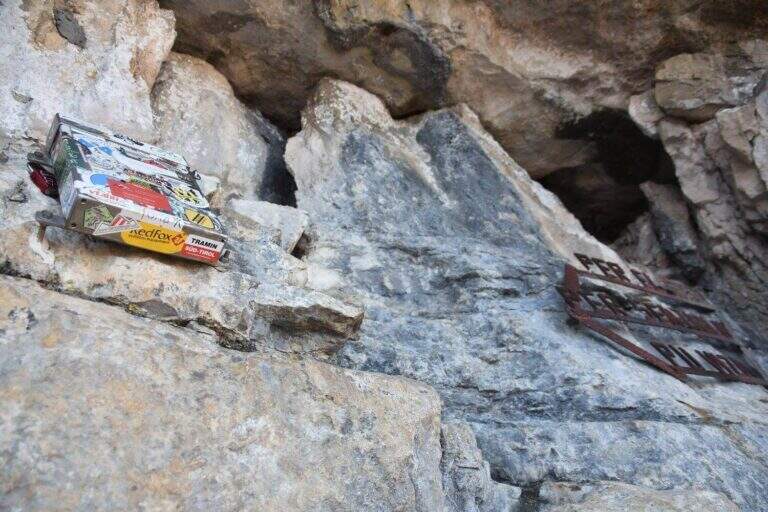
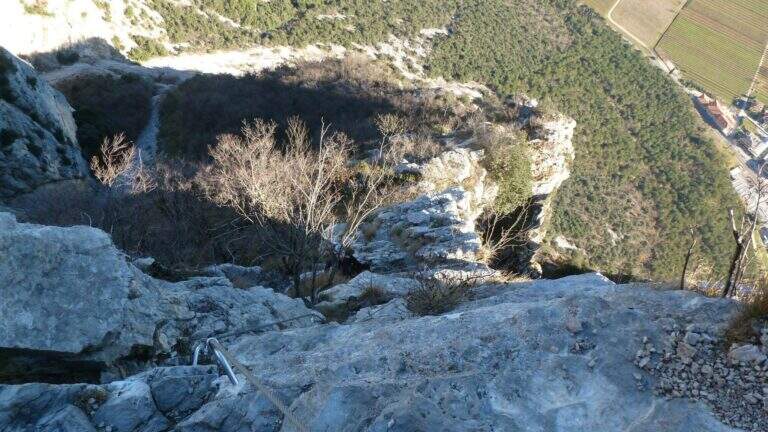
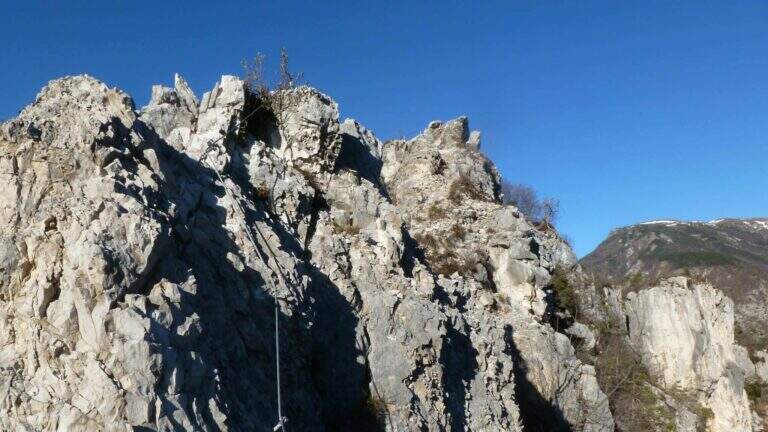
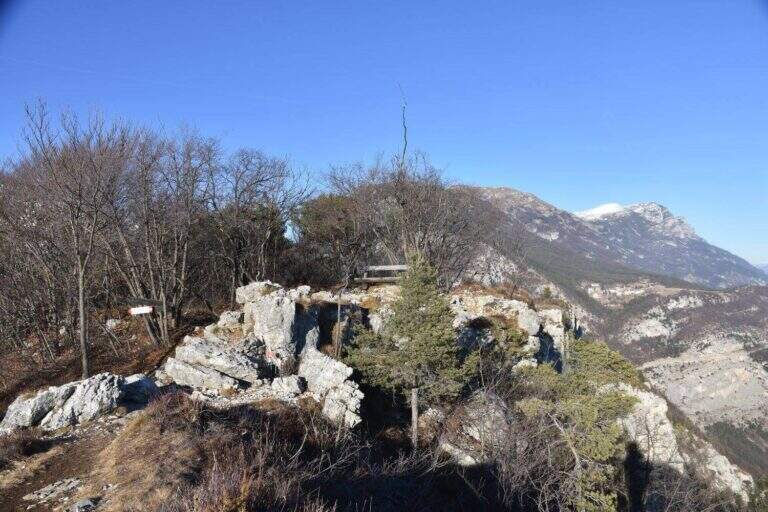
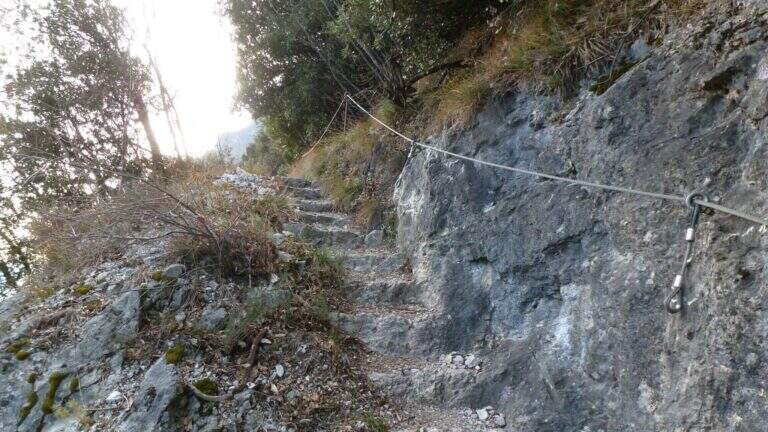
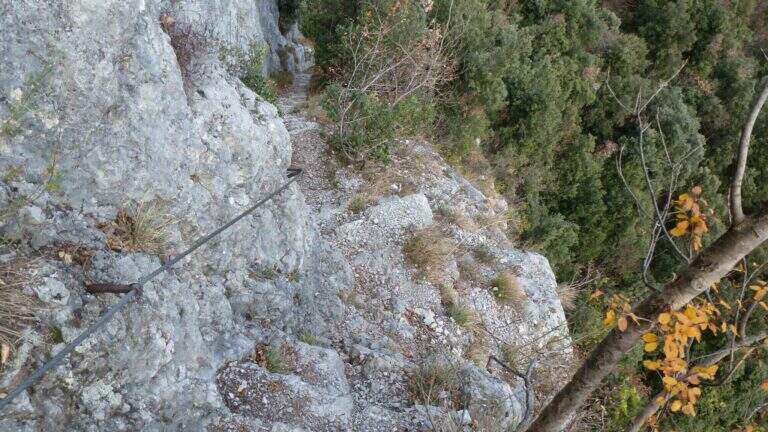
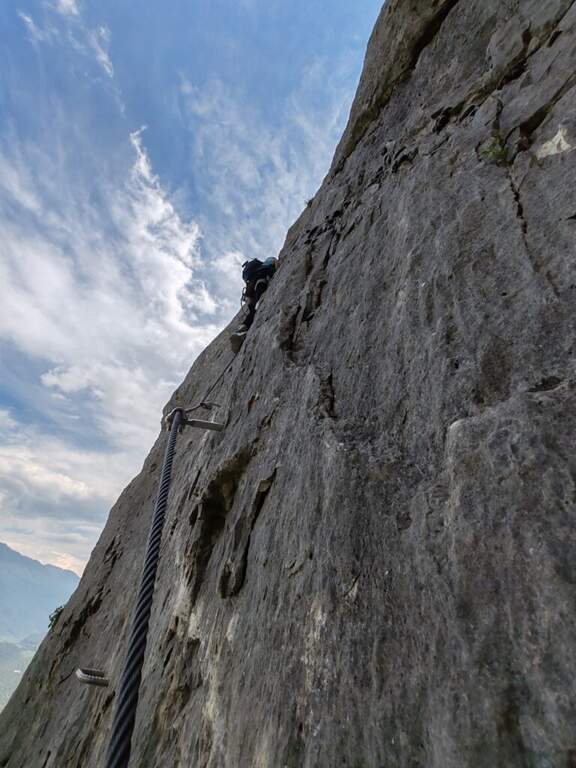
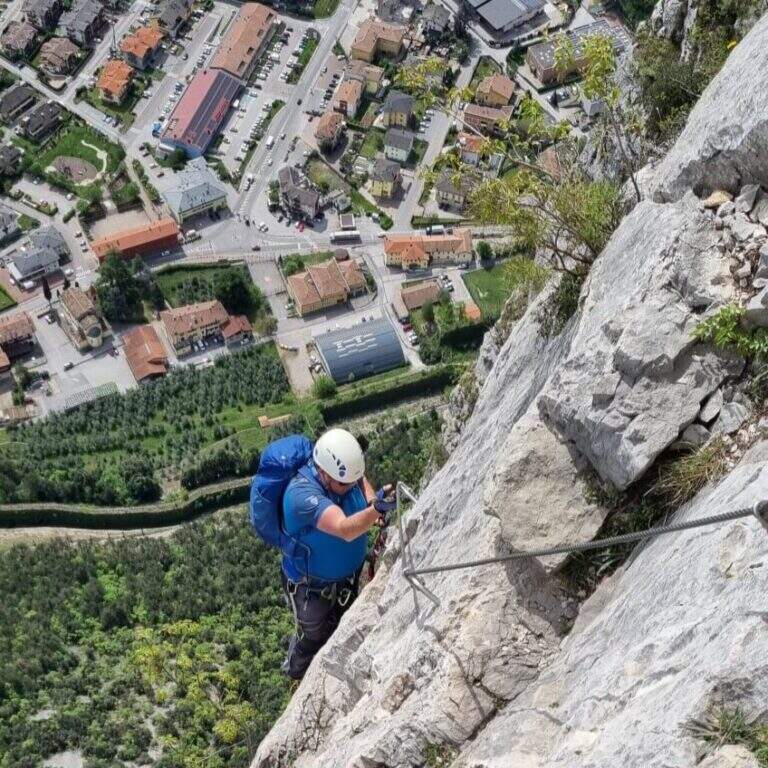
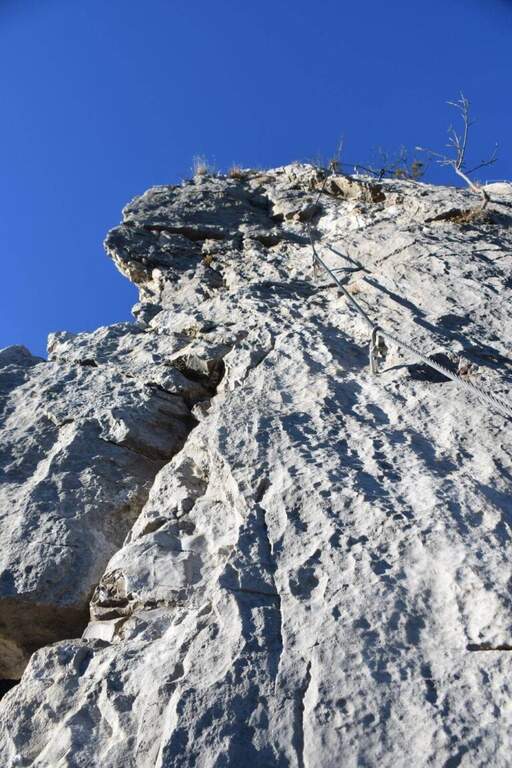
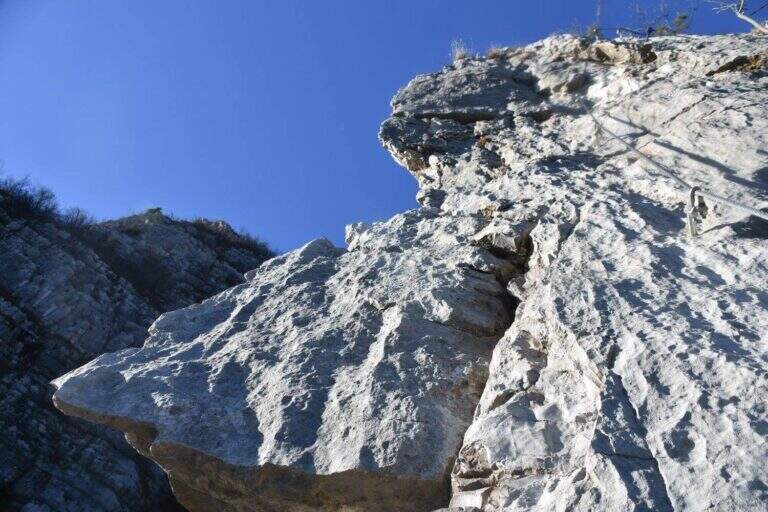
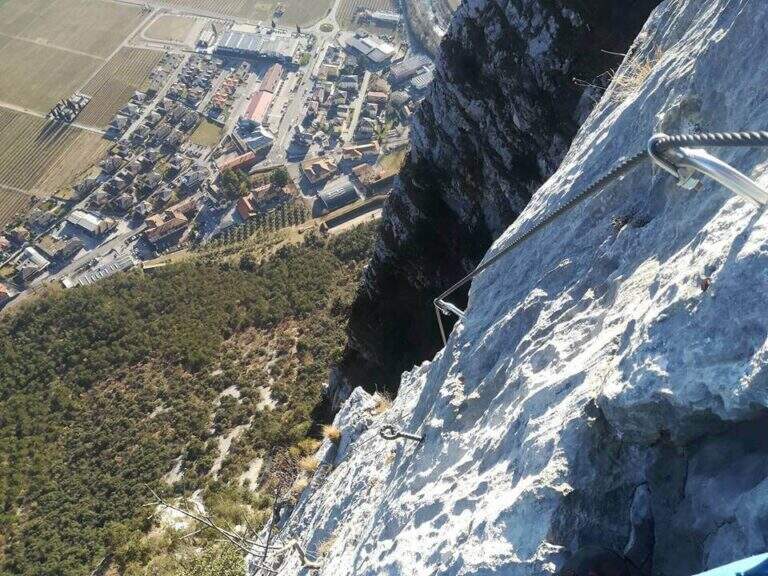
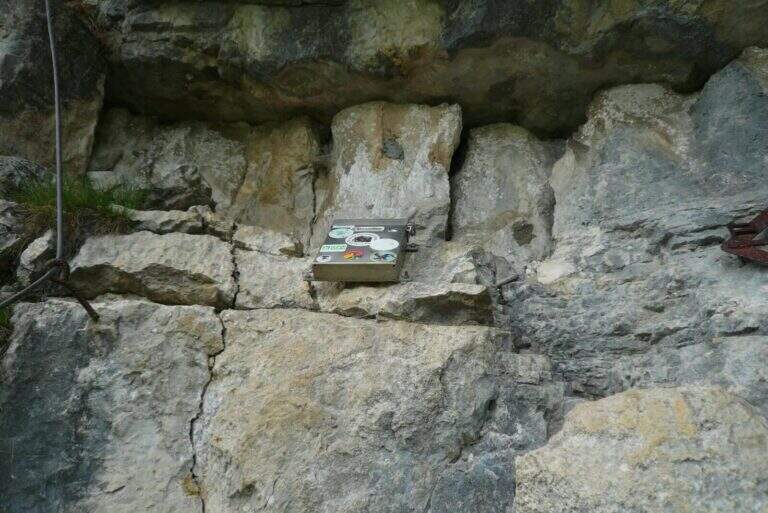
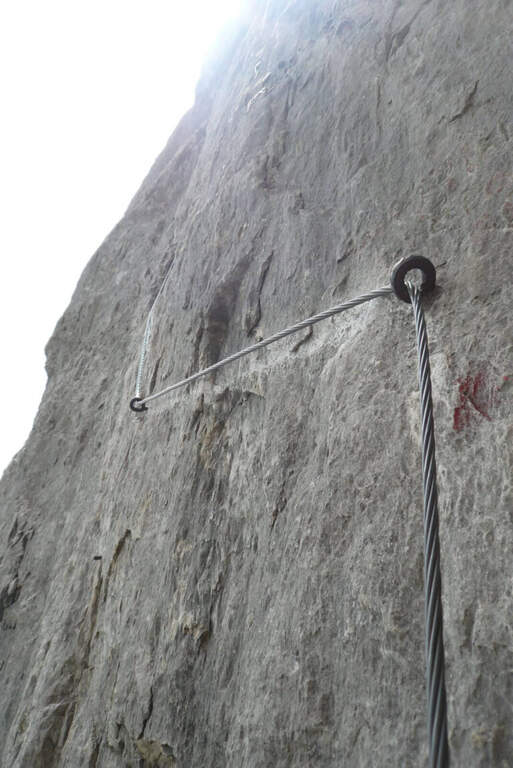
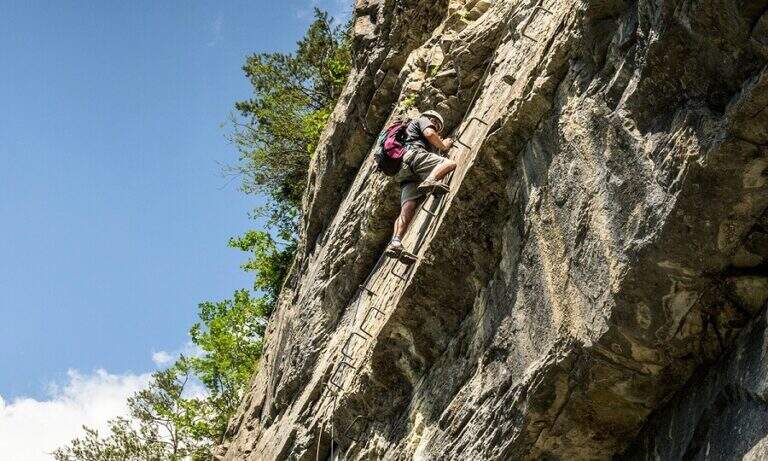
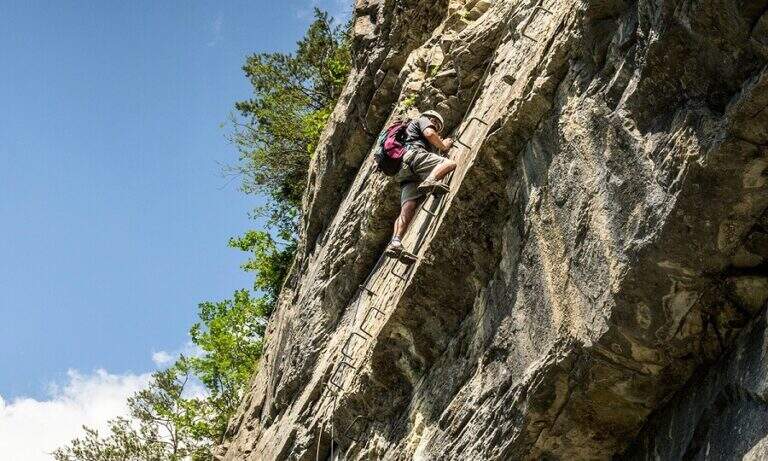
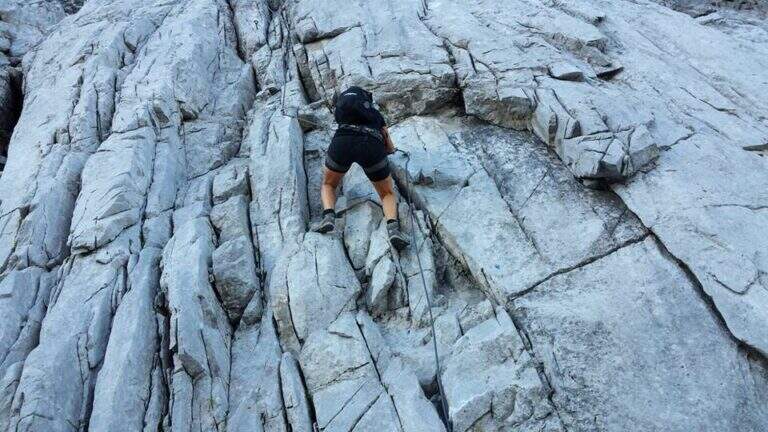
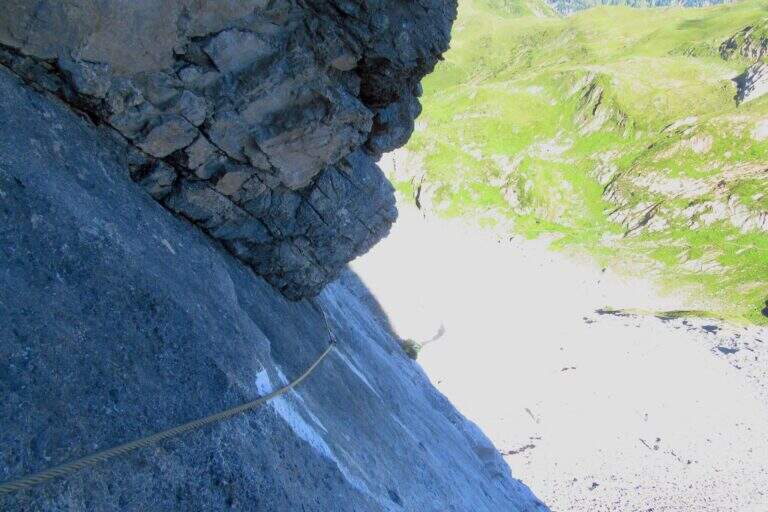
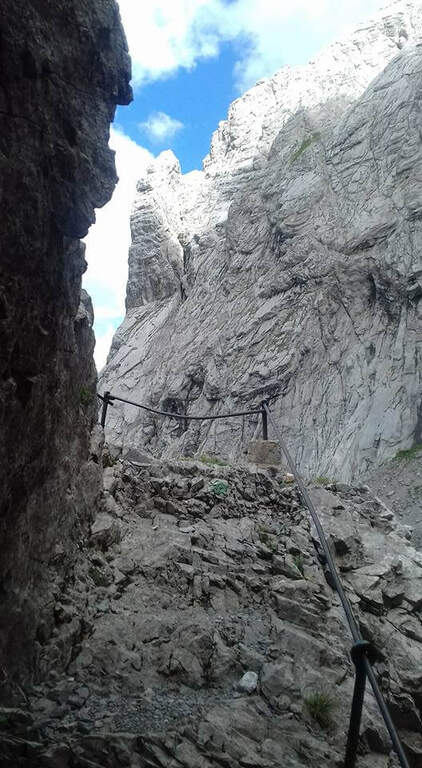
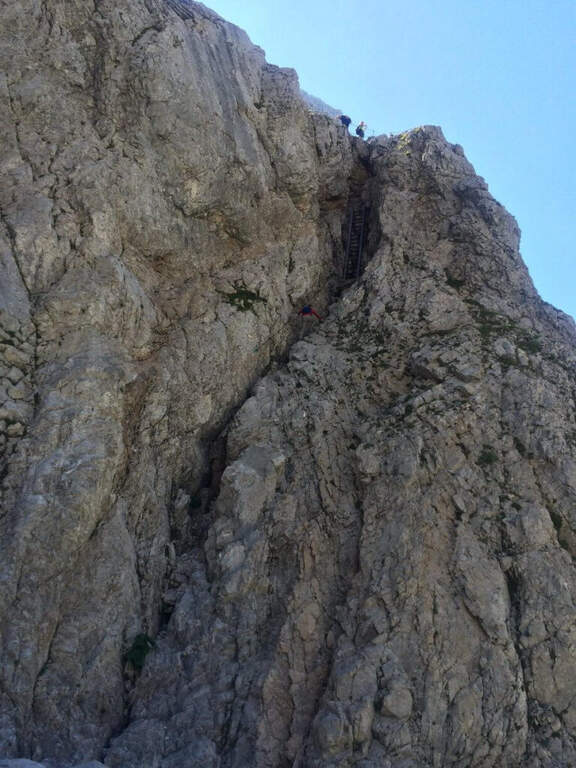
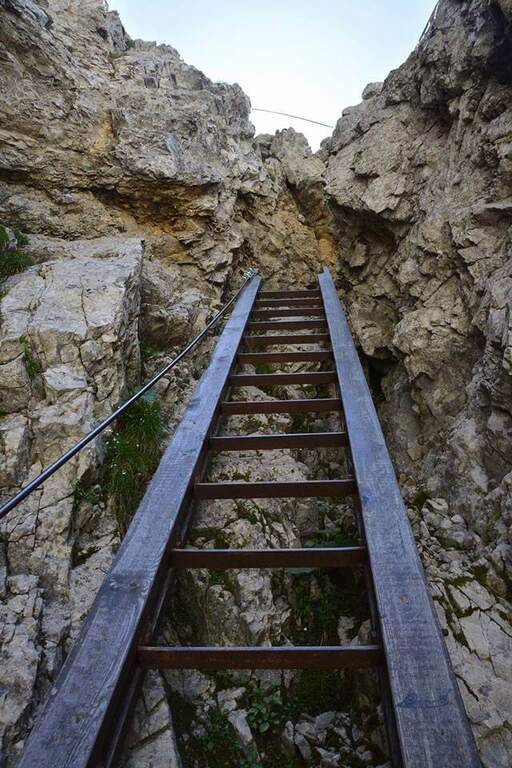
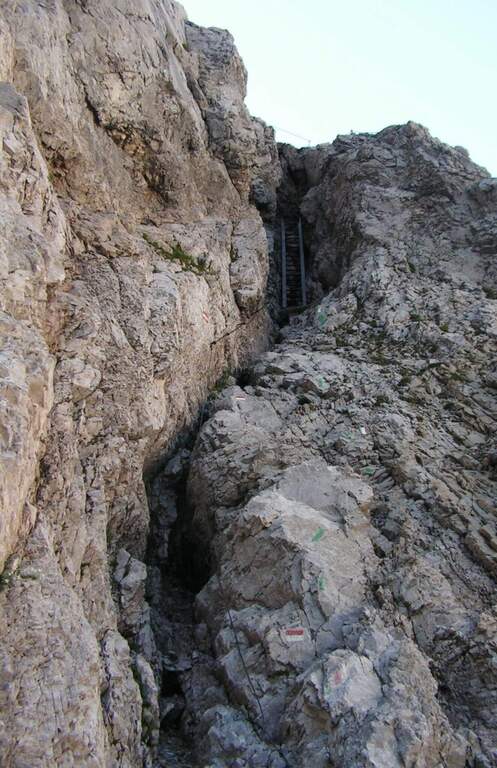
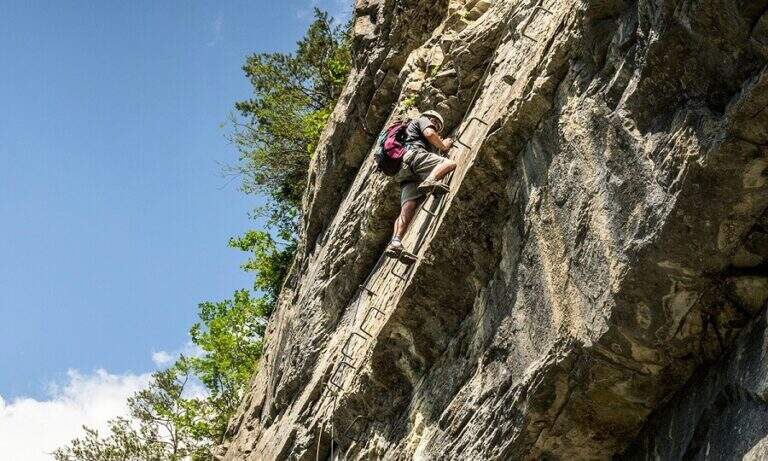
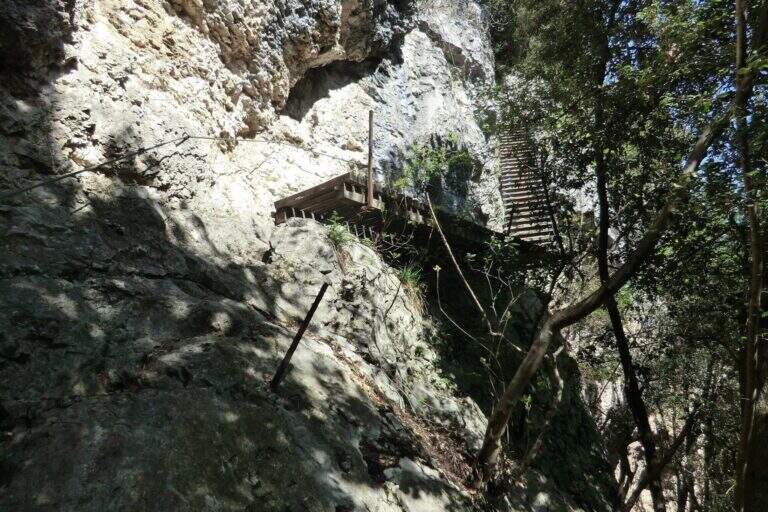
    The Path of the Scaloni rises diagonally on easy rocks and leads to a terrosa nod that continues to the left, equipped, with exposed traits and more steep; a short bridge over a gap and you get to the most characteristic section, from which the path takes the name. Under an imposing wall a staircase with metal base and wooden steps rises diagonally, first to the right and then to the left, earning altitude and exposure without any real difficulty. At the top of the staircase you face a sloped plaque with artificial steps made in the rock and rope on the left; you continue on a stretch of path equipped up to a sloped ramp with stone steps, exposed but easy. You go uphill to the left some small rocks and end the Scaloni at the wooden box with the signature book and the red sign (30′ from the attack, 1h from the parking lot). From here we go north/north-west to the Dos Tondo, where the path 428B begins; we ignore the crossroads on the left for the church of Sant’Antonio (CAI 408). The 428B, a true Cavre path, runs halfway towards the Bivacco Crozolam; from the bivouac it continues to the north ignoring the forest and follows for Dro up to a crossroads where, while the CAI 425 continues to the left, you go down to the right to intercept the Anglone Path (1h from the end of the Scaloni, 2h overall). The Anglone has exposed hinges equipped and stretches put in safety especially for bad weather: the upper part is definitely easy, while the second one is steeper and includes a tilted plate to be dropped with caution using the equipment to make adherence. You get to a canal with rock steps and equipped rocks — the most exposed point, which requires only a firm foot — and finally to a last nod dug in the rock that slopes steeply in the meadows, up to the houses of Dro and an asphalt road (45′ from the attack of the Anglo, 2h45 overall).

    ▲Character and difficulty

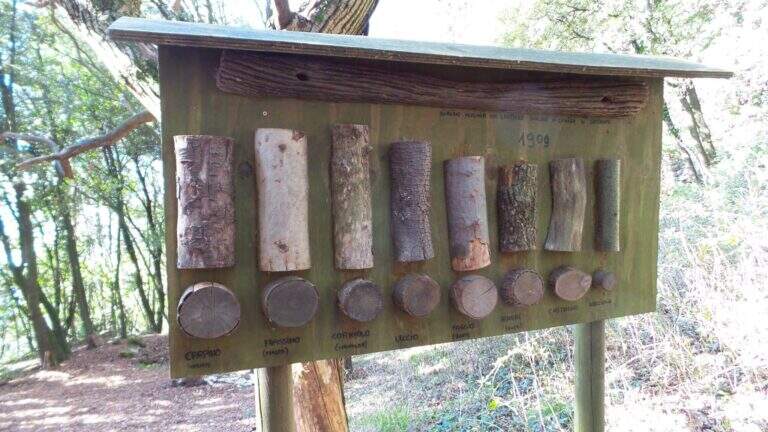
    The ring consists of two equipped sections, one uphill route and one downhill, but nothing prohibits facing them in both directions. It is suitable for neophytes, without particular technical difficulties, with abundant equipment and in good state of maintenance. Historical curiosity: the Path of the Scaloni dates back to 1909 as a military route of the Austrian soldiers.

    ⚠ Low altitude: in warm months it should be avoided in the central hours of the day. The sloped plate downhill on the Anglone requires attention, especially if wet.
    ▲Period and safety

    Throughout the year thanks to the quota (514 m). Although without technical difficulties, some sections on census are exposed: it serves steady step and constant attention.

    ▲Discipline

    From the end of the Anglone follow the CAI 425 path southwards, which runs on a little busy paved road, to the Roman Bridge and back to the parking lot (30′ from the end of the Anglone, 3h15 total).

    ▲To match

    Starting early in the morning, time and energy remain to concatenate a second itinerary of the area: easy Ferrata Colodri to Arco or Ferrata di Rio Sallagoni in Castel Drena. Moving to Fiavè you will find Ferrata di Ballino to the falls and, stretching a little, the Ferrata di Preore.
    ▲Gallery
    Technical data
    • DifficultyEasy
    • RegionTrentino-Alto Adige
    • GroupValle del Sarca
    • Approach0:30 h
    • Ferrata2:15 h
    • Itinerary (a/r)3:15 h
    • Hardware level difference390 m
    • Route difference400 m
    • Max514 m
    • Length6 Km
  • Sentiero Attrezzato degli Alpini in Punta Charrà

    Sentiero Attrezzato degli Alpini in Punta Charrà

    Vie Ferrate › Piedmont › Turin
    Sentiero Attrezzato degli Alpini in Punta Charrà
    Moderately Hard● OpenDescriptionComplexityMapsGallery

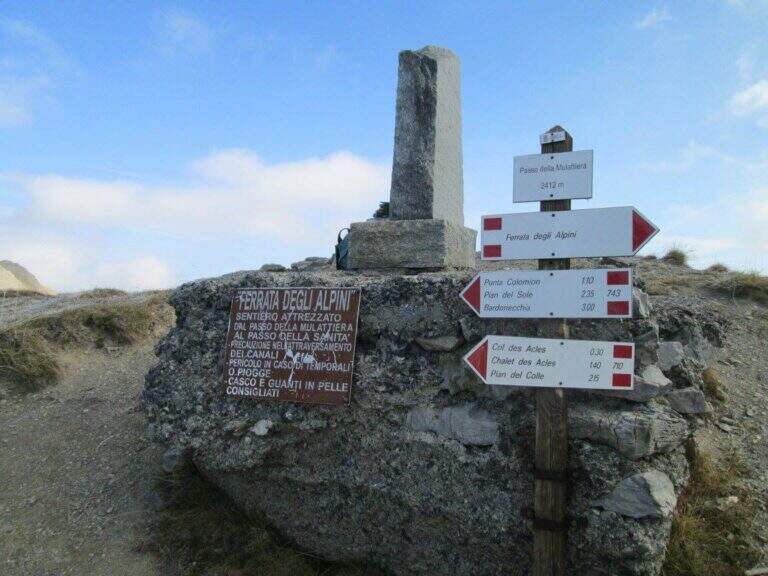
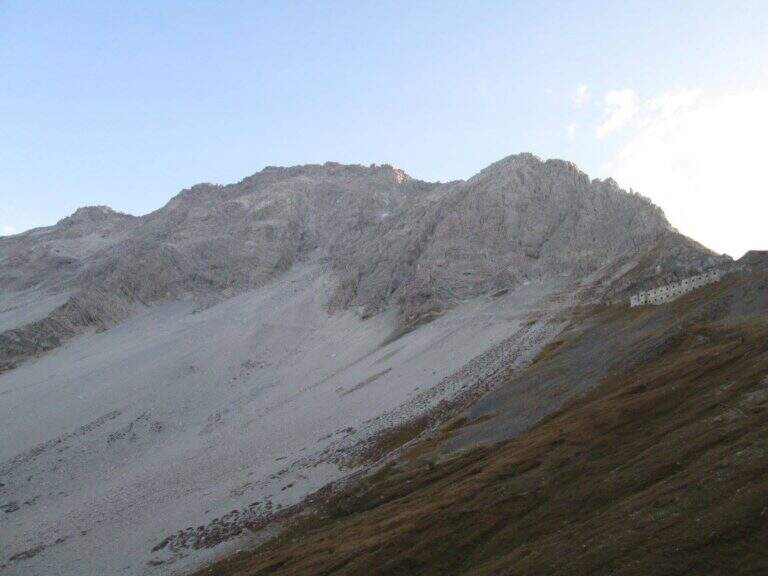
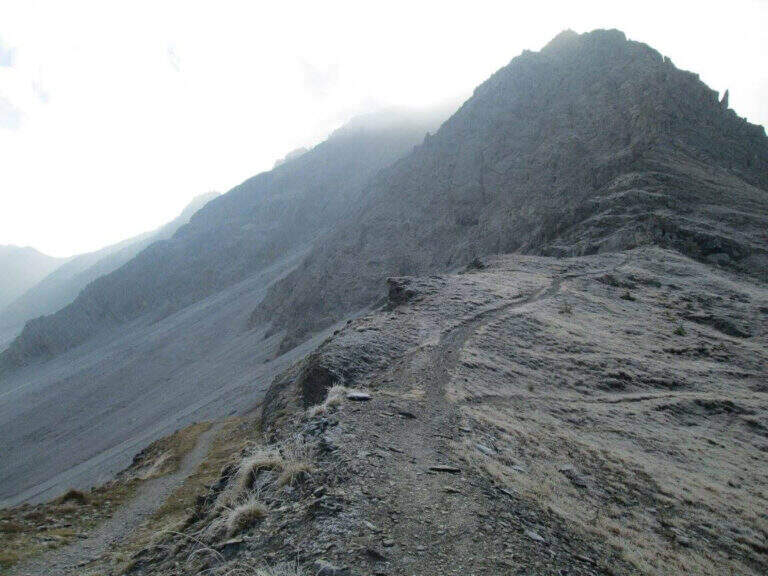
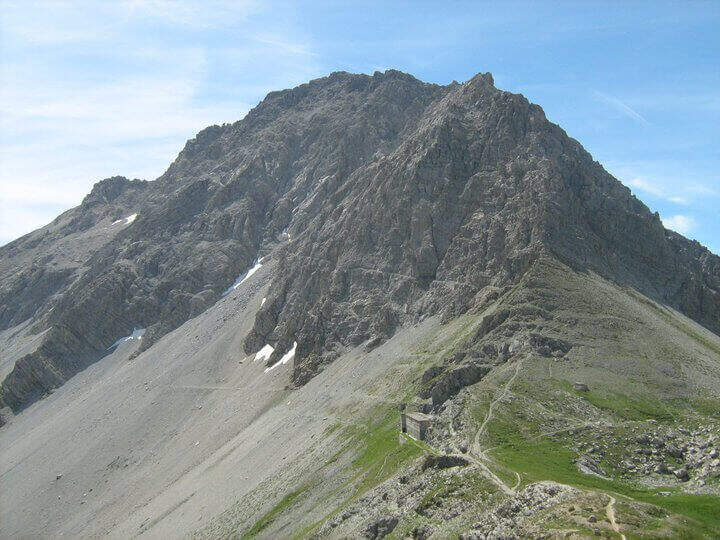
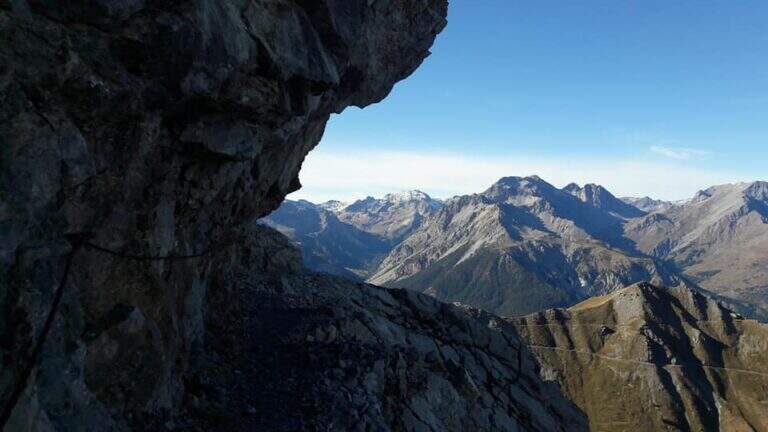
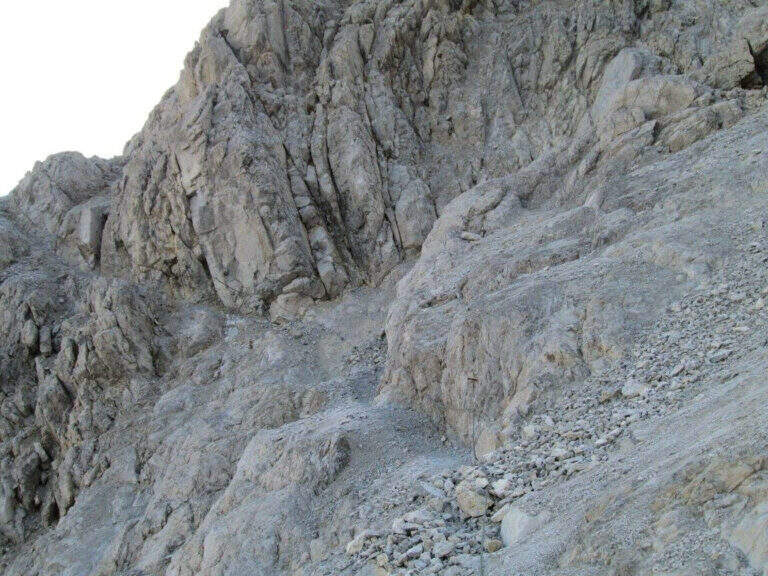
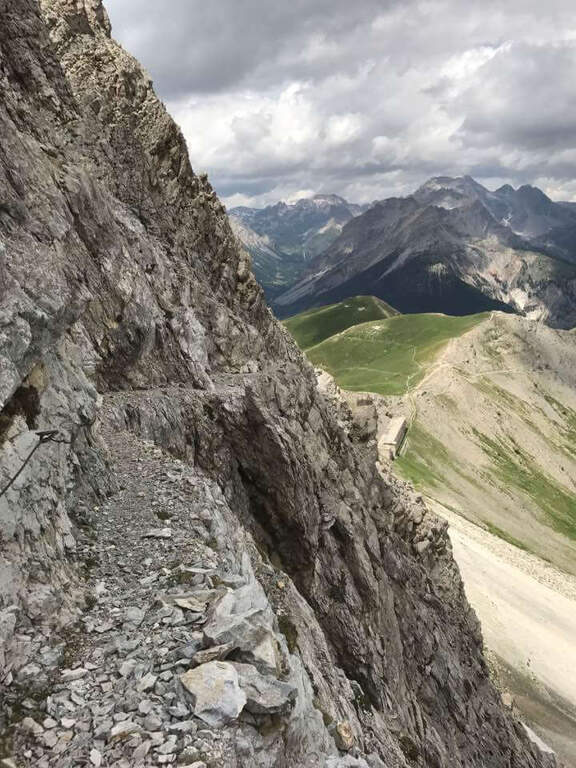
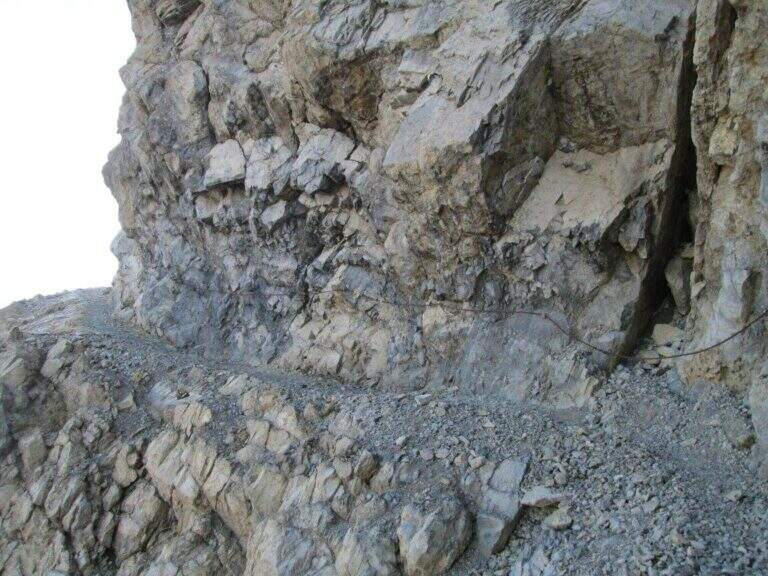
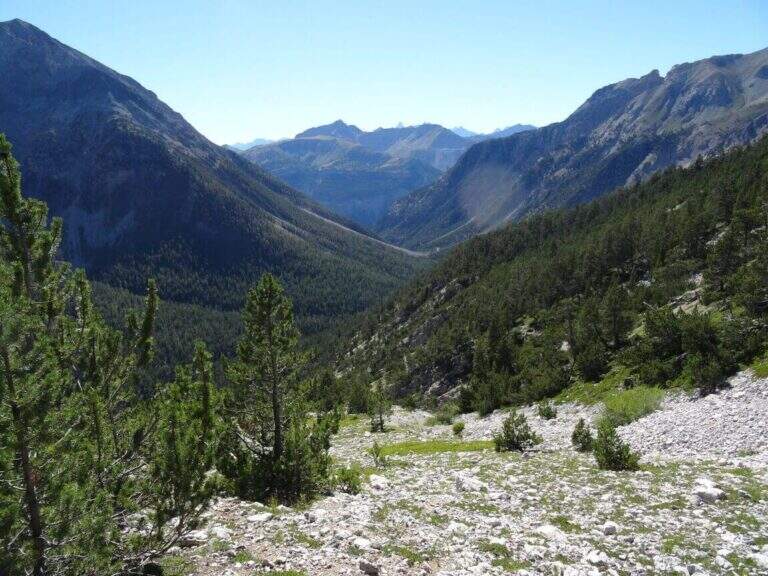
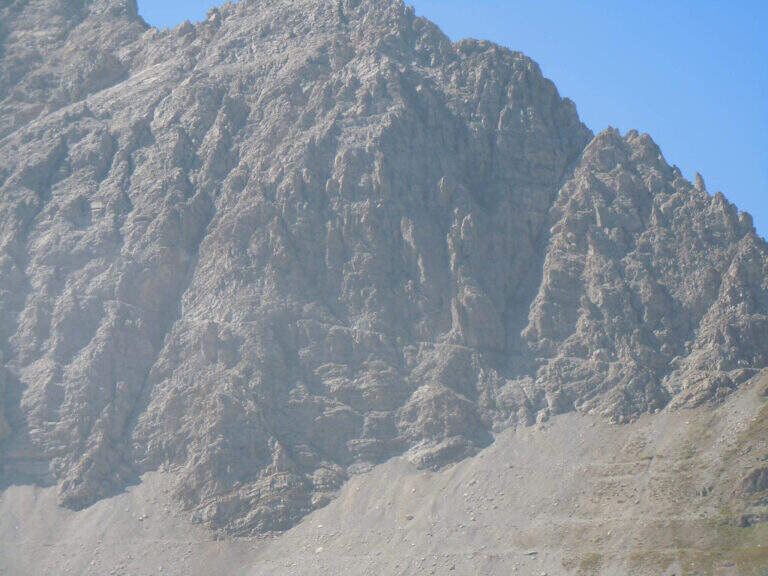
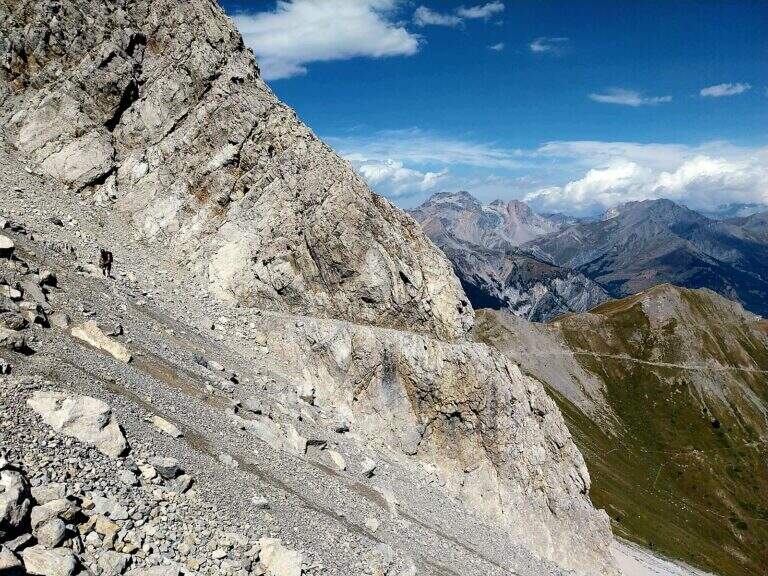
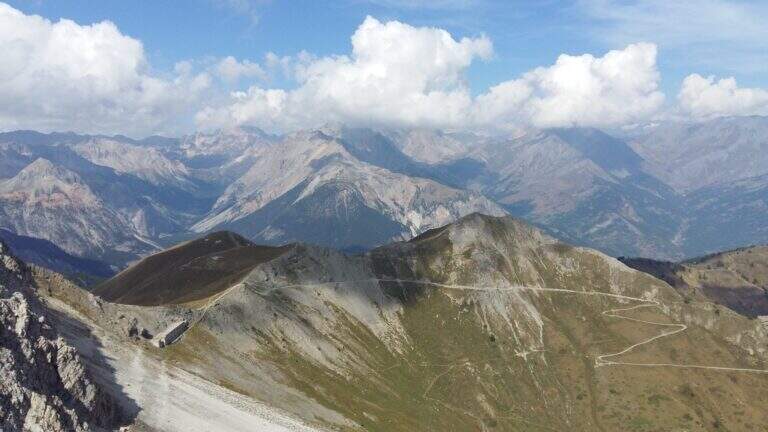
    On the ridge that divides Italy and France over Bardonecchia, this equipped path connects the Passo della Mulattiera to Passo della Sanità, at the foot of Punta Charrà. The development is almost entirely horizontal: the equipment is mainly used to secure the progression on soil at times unstable and on thin waxes, while the vertical passages are practically absent. There is a long itinerary and great hiking breath, but to be faced with stable time because along the path there are no support points.

    ▲Approach

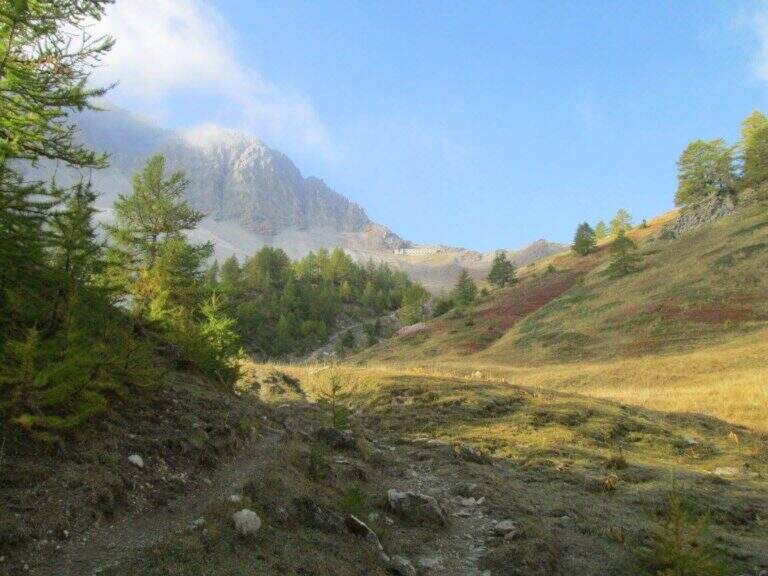
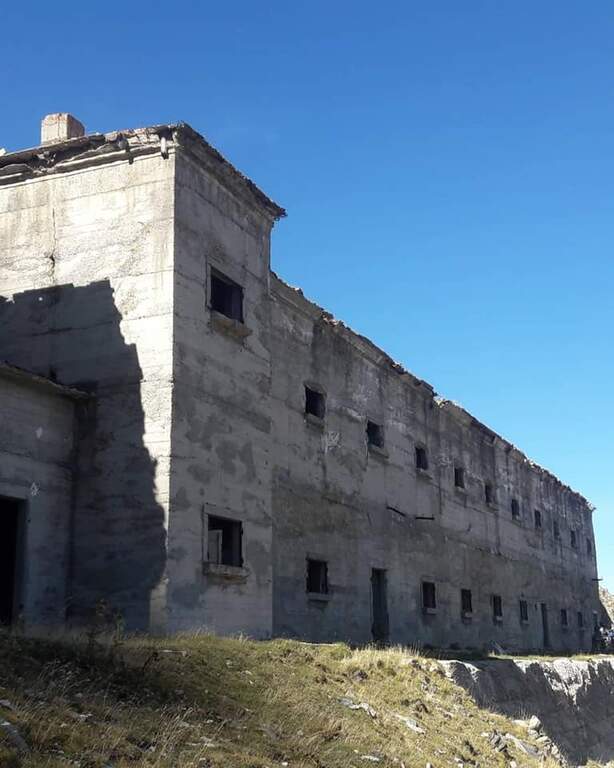
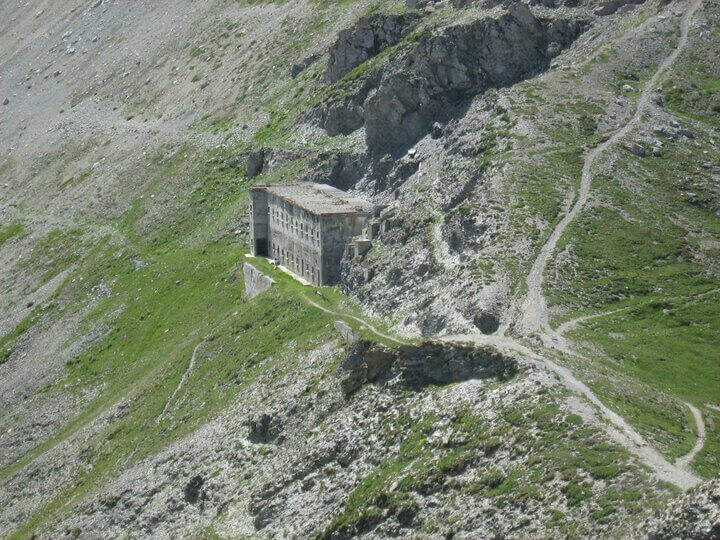
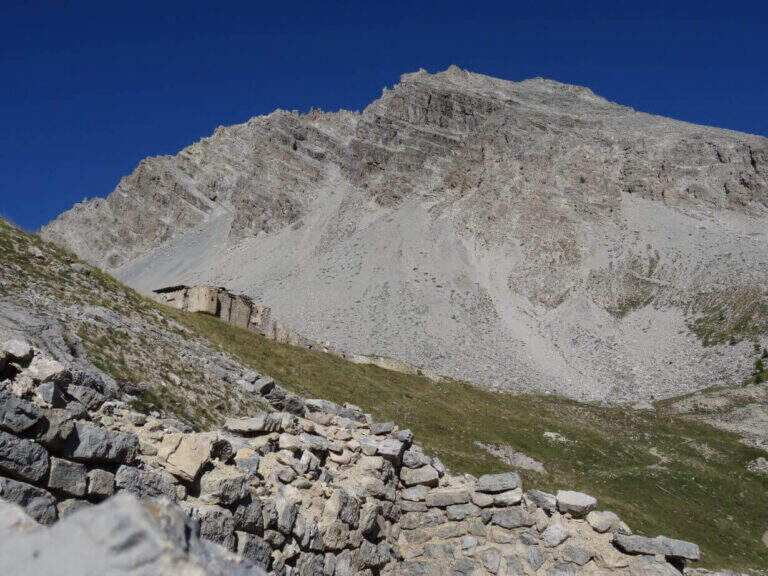
    The recommended base is the Colletto del Colomion, which can be reached by cable car from Bardonecchia (Pian del Sole) and by car. Who climbs by car points to the small town of Puys: you arrive first to Beaulard, in Val di Susa, and — going up from the valley — just before leaving the village you cross the railway to the left taking Via San Giusto; you follow it up to a blue sign that indicates Puys at 3 km, on narrow but asphalted road. From Puys you continue on dirt until the Colletto del Colomion, where you should leave the car because beyond the bottom becomes difficult (open up Google Maps). From the parking lot you walk on the dirt road towards the Passo della Mulattiera: the path climbs first to the edge of the forest in a beautiful valley, then cuts halfway up to the pass (2412 m, 1h15 from the parking lot), where rises the barracks of the Alpini XVI, abandoned but visitable. The Passo della Mulattiera is a well-marked crossroads: it is held the left towards Punta Charrà, which faces the obvious carving in the rock. It avoids the steep direct ridge and cuts diagonally the north slope, on a blue track and radi signs, until the beginning of the equipment (15′ from the step, 1h30 from the parking lot).

    ▲The path

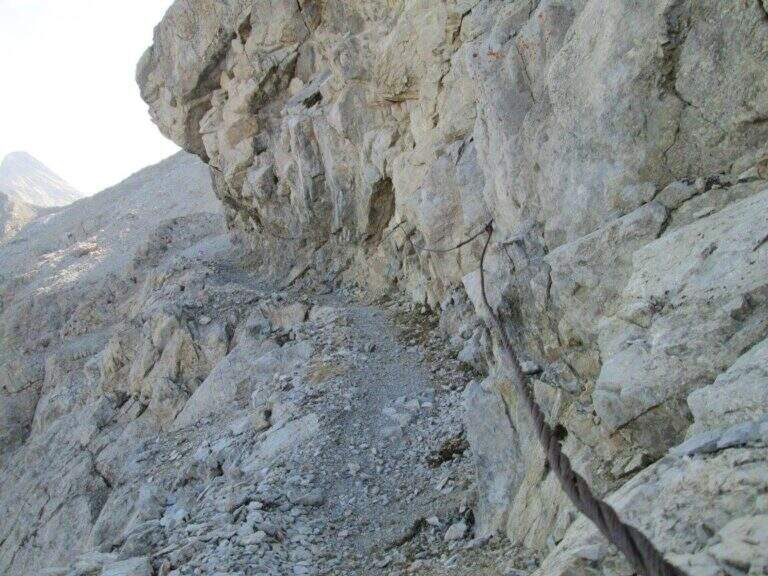
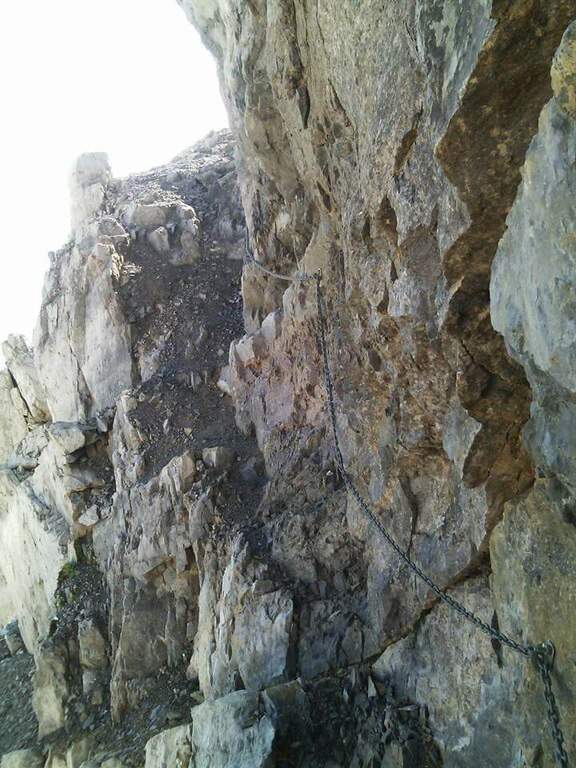
    The cable starts along a nod, first flat and then more marked. At first the rope is dated and lasca, but the ease of the soil does not create problems; later the nod shrinks and the bottom, made of guinea pig, gives little safety, so the cable acts as a precious handrail. We proceed between carvings and canals to be overcome with cable or chains, always to your right, with exposure that grows but technical difficulties almost null, except some point for the infido fund. The equipment ends at Passo della Sanità (2629 m, about 1h from Passo della Mulattiera). The optional climb — but recommended — to the summit follows the obvious ridge: you first gain a grassy slope on easy track up to a first natural carving, then you climb with caution between smossi rocks, transverses, spikes and rocks, following the numerous omits and red signs; where you do not follow the dorsal remains on the south side. After a couple of ups and downs you touch the top of Punta Charrà (2843 m, 1h from Passo della Sanità, 2h from Passo della Mulattiera, about 3h30 overall).

    ▲Character and difficulty

    Taken to itself, the equipped part is easy and without real technical difficulties, developing mainly horizontally. What is committed is the high mountain environment: the excursion is long and requires preparation, experience and orientation, especially in case of uncertain weather. The equipment was modernized and in good condition at 2021.

    ⚠ Itinerary not recommended with unstable weather: the route lacks support points. Also at the beginning of the summer season it is not rare to find snowy canals in rather exposed traits: recommended peak.
    ▲Period and safety

    Summer season, with a maximum altitude of 2843 m in the Alpine border. For the length of the ring and the exposure of some traits serve steady pace, training for the total 6h45 and attention to the snow conditions remaining in the canalons.

    ▲Discipline

    From the top you return to the Passo della Sanità (about 45′). From here two possibilities. The first is to retrace the Alpine Path to the Mulattiera Pass and then return to the parking lot on the ascent route. The second is to close a ring around Punta Charrà descending into French territory in the valley des Acles: it falls steeply to zig-zag on debris to the wood, where the path is almost flat, then cuts the south side up to a rocky shoulder beyond which appear the barracks of the French army under the Col des Acles; from there follow the signs that bring back to the ascent 30 From the pass you return to the parking lot (about 6h45 total).

    ▲Gallery
    Technical data
    • DifficultyModerately Hard
    • RegionPiedmont
    • GroupCozie Alps – Val di Susa
    • Approach1:30 h
    • Ferrata2:00 h
    • Itinerary (a/r)6:45 h
    • Hardware level difference217 m
    • Route difference850 m
    • Max2843 m
    • Length14 Km
  • Ferrata Tordini Galligani

    Ferrata Tordini Galligani

    Vie Ferrate › Tuscany › Massa-Carrara
    Ferrata Tordini Galligani
    Moderately Hard● OpenDescriptionComplexityMapsGallery

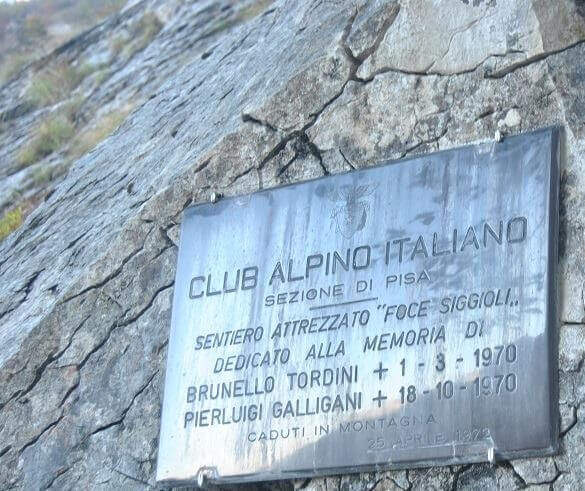
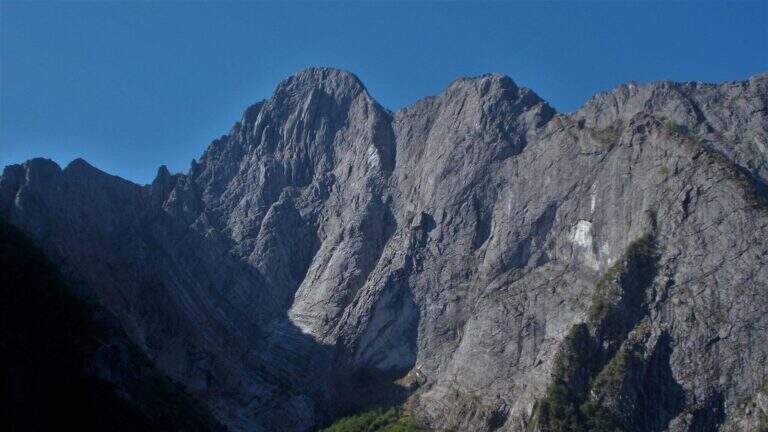
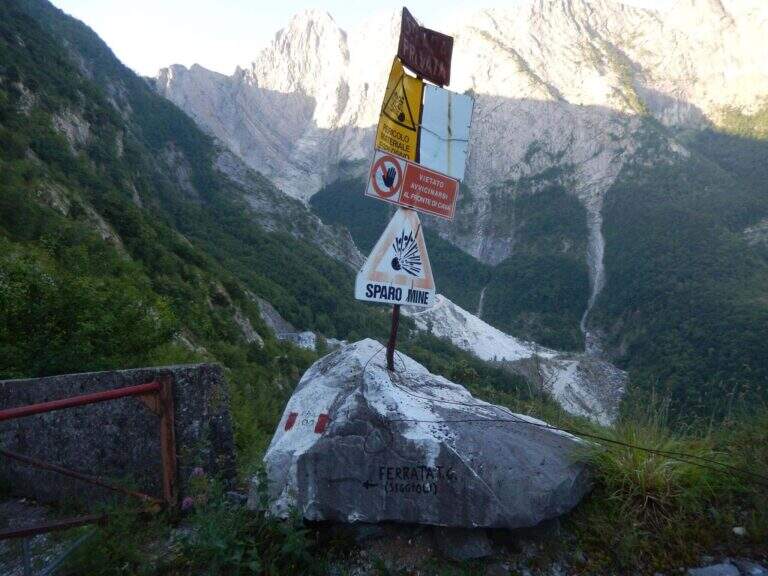
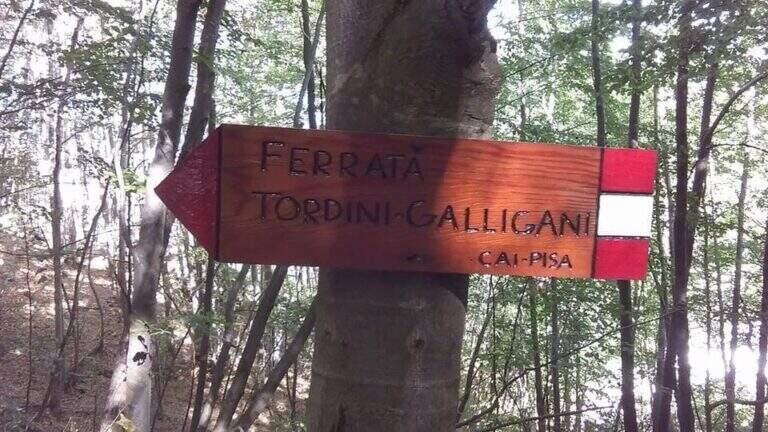
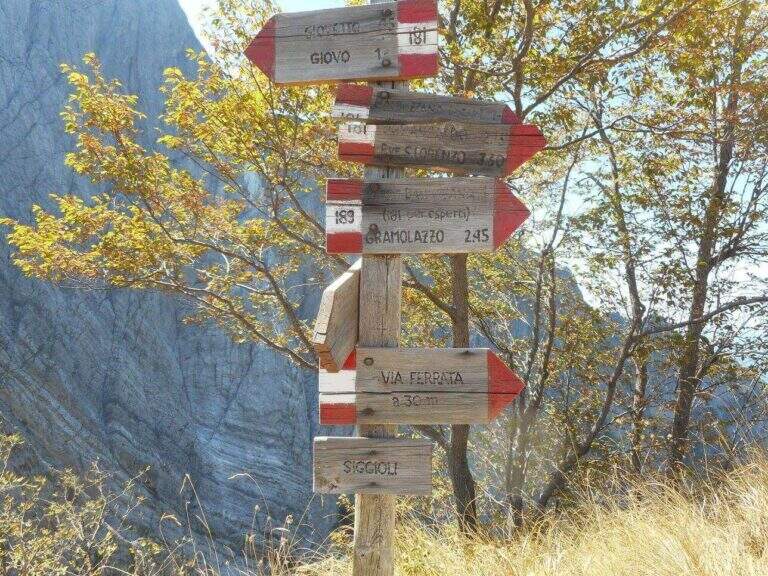
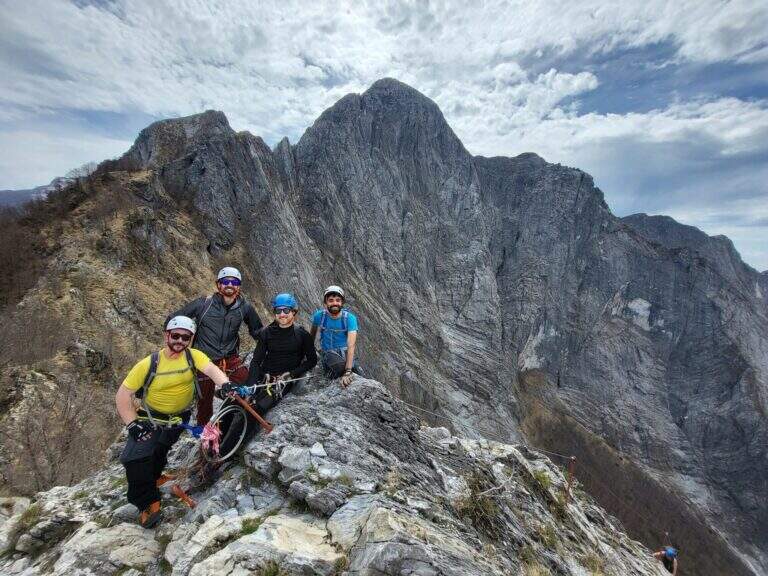
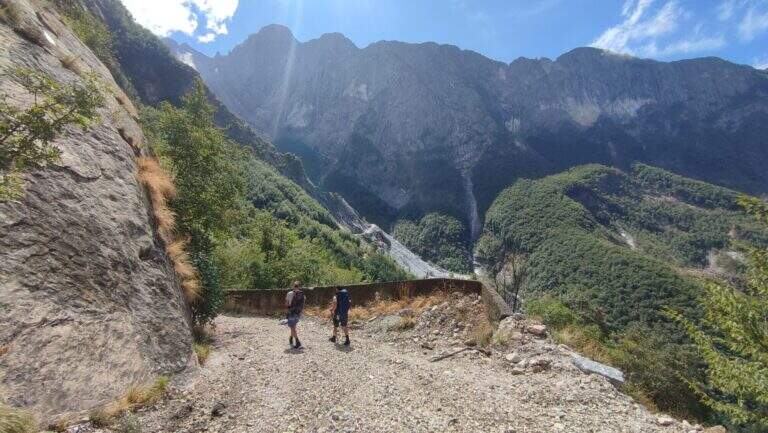
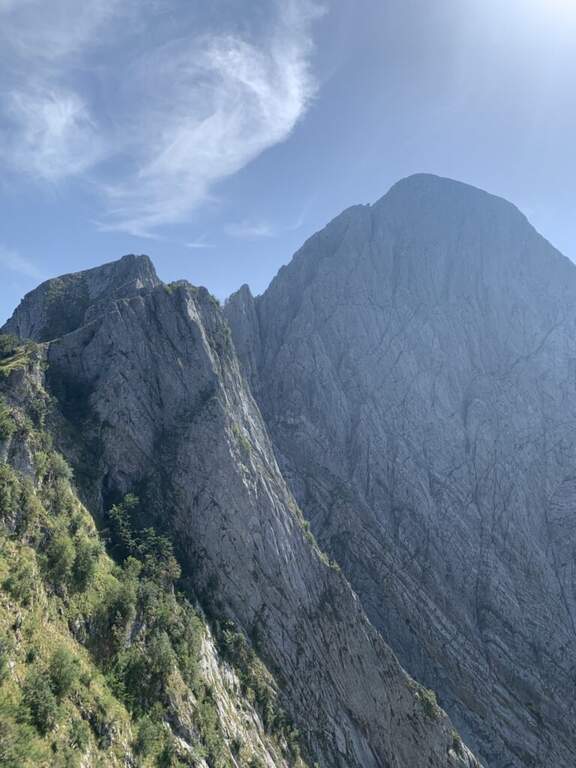
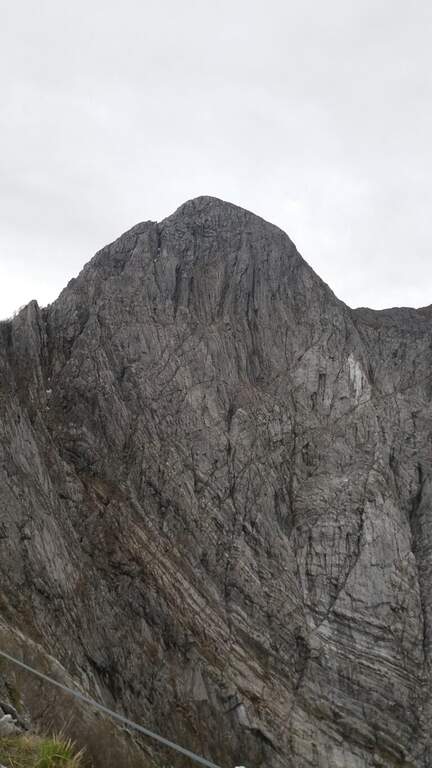
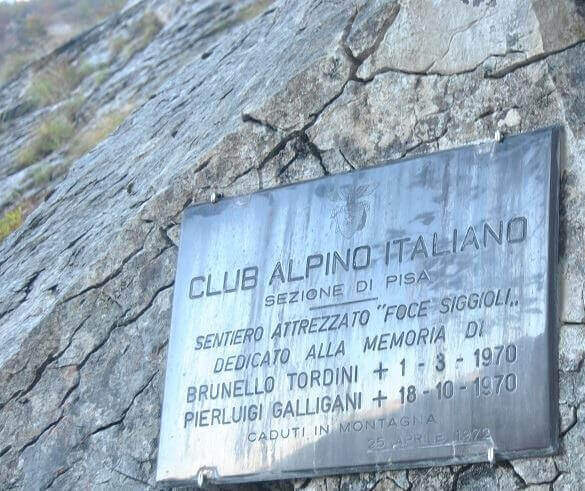
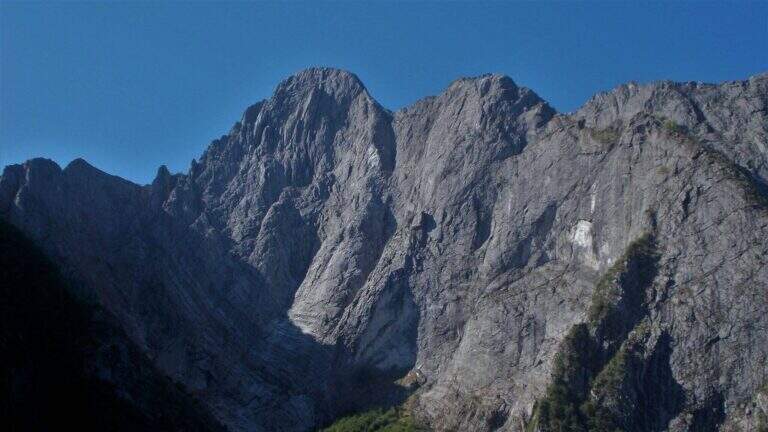
    La Ferrata Tordini – Galligani (also known as Ferrata di Foce Siggioli) è a historic street of the Apuan Alps, next to the north wall of the Pizzo d'Uccello. È of medium difficulty and agrave; and allows you to continue on path from experts to the top of the Pizzo, or to return with a più ring; simple.

    ▲Approach

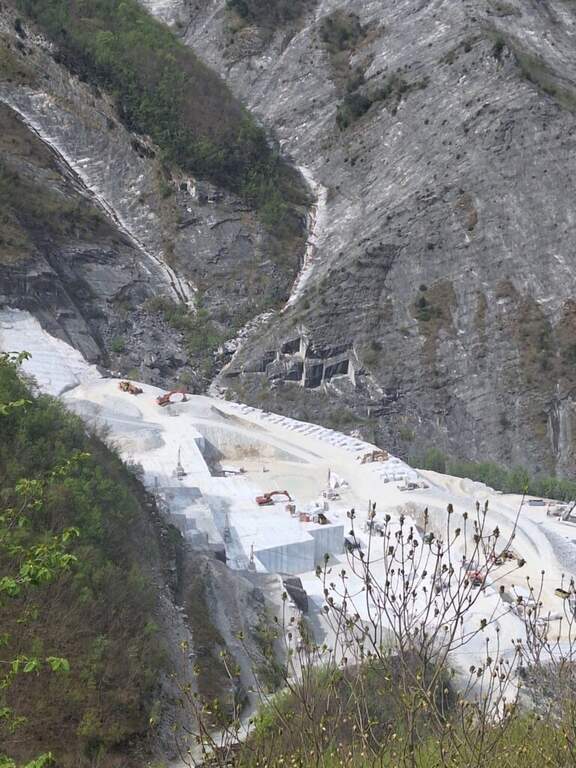
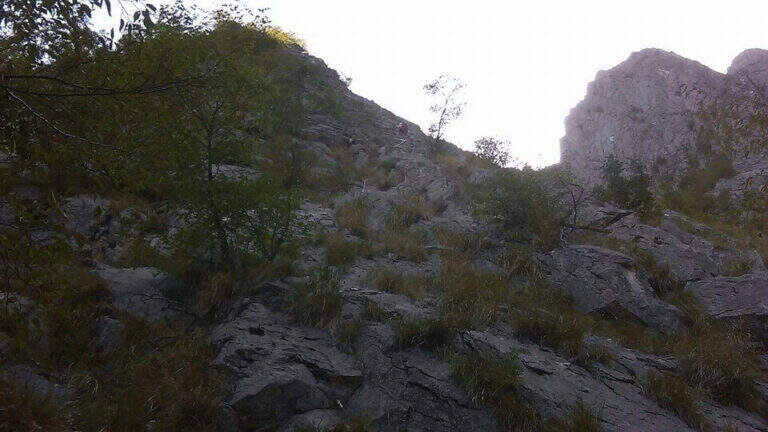
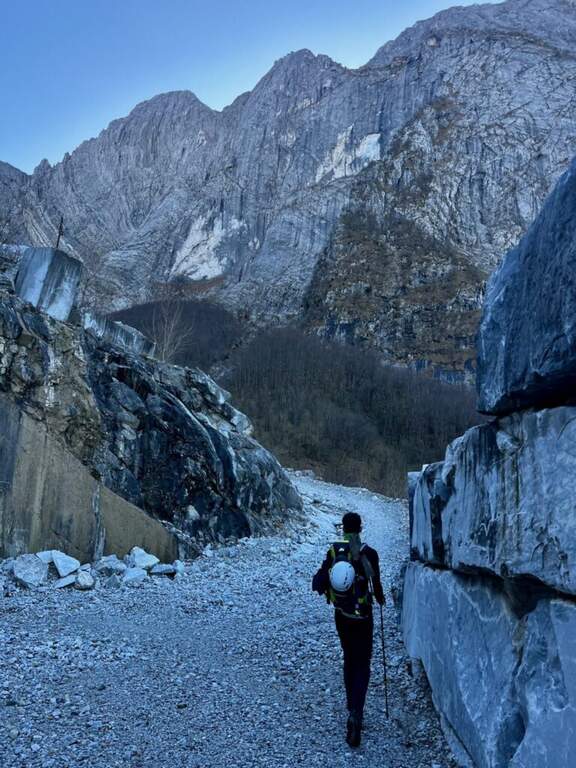
    The ideal starting point is the Cave Cantonaccio at Ugliancaldo. Open road signs on Google Maps. You park in Ugliancaldo and walk along the dirt road for about 1 km; past the bar you go up with some bends, you pass the buildings and the caves, then you enter the woods. Attention to the crossroads just entered the forest: on the right side the Path Attrezzato Zaccagna towards Vinca ( currently interdetto); on the way uphill then bending left towards the east, following the abundant CAI signs up to ' attack at the foot of the wall (circa 1h 30' from the parking ).

    ▲The path

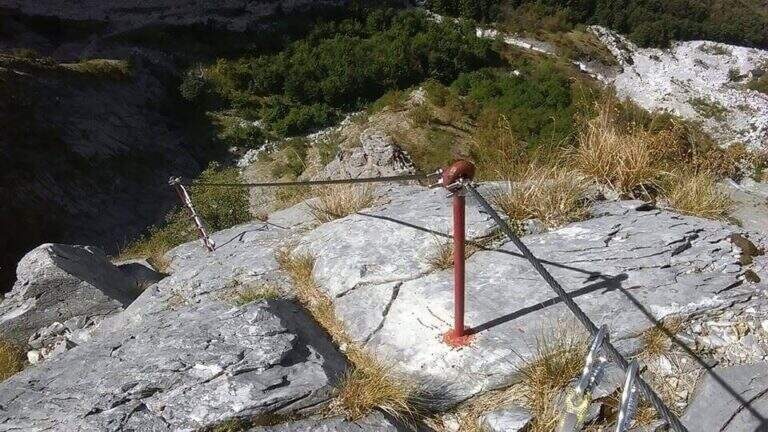
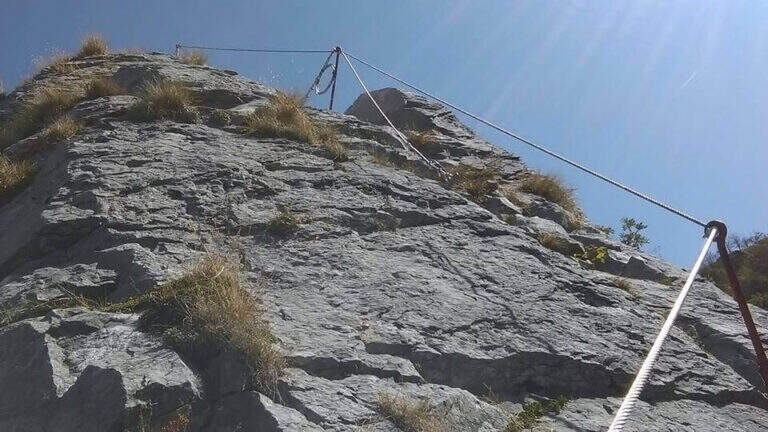
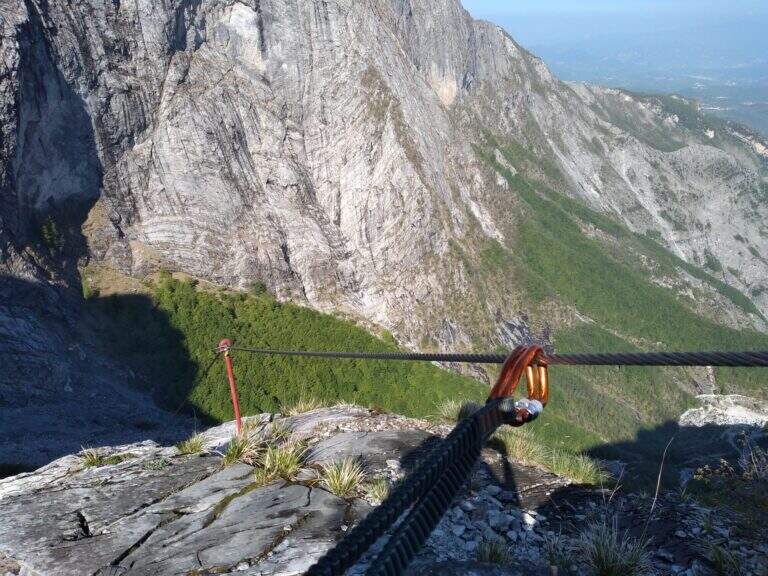
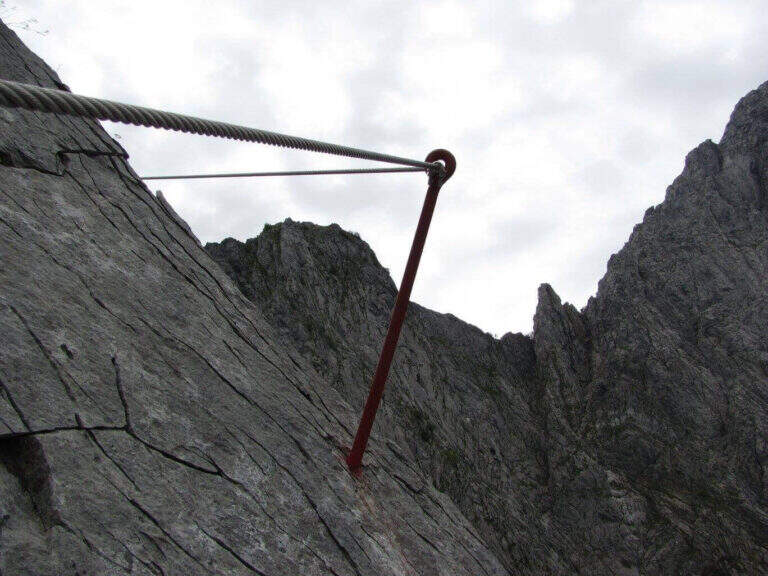
    La via ha lungo sviluppo e due settori. Il primo è una lunga placca inclinata percorsa prevalentemente in aderenza, senza sforzi rilevanti salvo alcuni balzi arrampicabili anche senza cavo; la roccia è il marmo tipico della zona, con ottima aderenza e numerosi fori che fungono da appoggi per i piedi. Raggiunto il filo di cresta, il secondo settore lo segue quasi interamente per quasi 400 metri fino a Foce Siggioli. Il passaggio chiave è il famoso «Naso», uno spigolo esposto che a prima vista pare difficile ma offre ottimi appigli scavati. La pendenza è sempre presente ma mai del tutto verticale; l'ultimo tratto è il più esposto, con pendenza che decresce fino a Foce Siggioli (1390 m), dove la ferrata termina (2h dall'attacco, 3h 30' dal parcheggio).

    ▲Character and difficulty

    Itinerary of medium difficulty, with the charm of marble rock and a long crest progression. difference in level in ferrata 400 m, total 680 m, maximum altitude 1386 m, development 8 km.

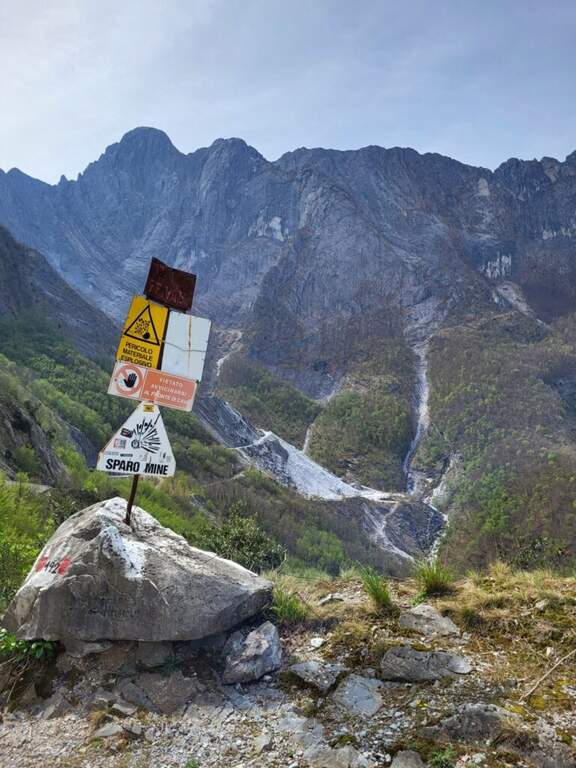
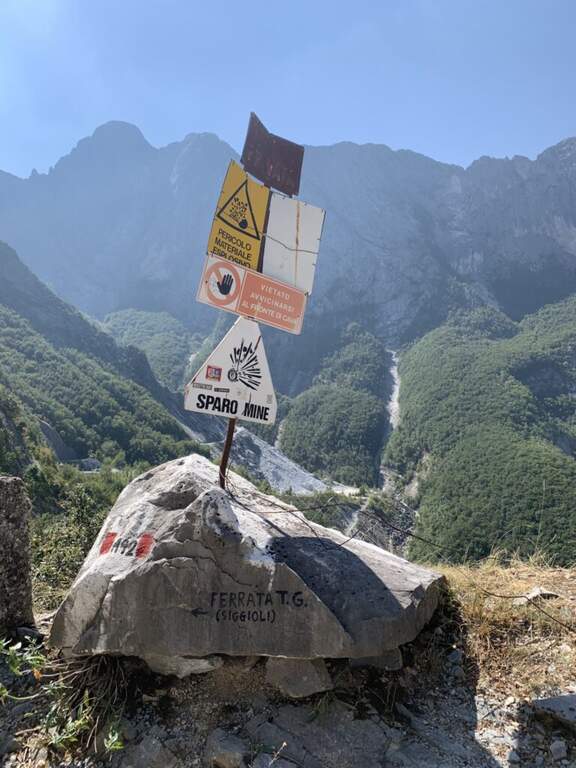
    ⚠ The path from the quarries would take to the parking lot is in bad state of maintenance (2026) and we do not recommend the use: better to park in Ugliancaldo. The nearby Path Attrezzato Zaccagna is interrupted.
    ▲Discipline

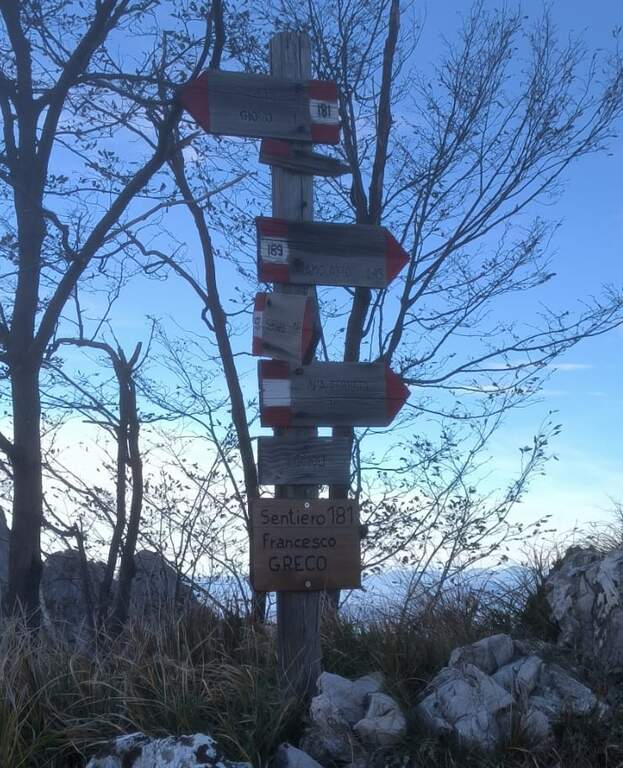
    From Foce Siggioli you can rejoin; continue towards Pizzo d' Bird (EEE trail with rocks and strokes of I degree, not described here) or return along the Cresta of Capradossa ( CAI 181), aerial and recently equipped, up to Poggio Baldozzana. From here the destra is held on the CAI 181 returning to Ugliancaldo (1h 30' from the end of the ferrata, 5h total); è not recommended the CAI 192 on the left, difficult to follow for lack of signage.

    ▲Gallery
    Technical data
    • DifficultyModerately Hard
    • RegionTuscany
    • GroupApuan Alps
    • Approach1:30 h
    • Ferrata2:00 h
    • Itinerary (a/r)5:30 h
    • Hardware level difference400 m
    • Route difference680 m
    • Max1386 m
    • Length8 Km
  • Ferrata La Scala del Menighel

    Ferrata La Scala del Menighel

    Vie Ferrate › Veneto › Belluno
    Ferrata La Scala del Menighel
    Moderately Hard● OpenDescriptionComplexityMapsGallery

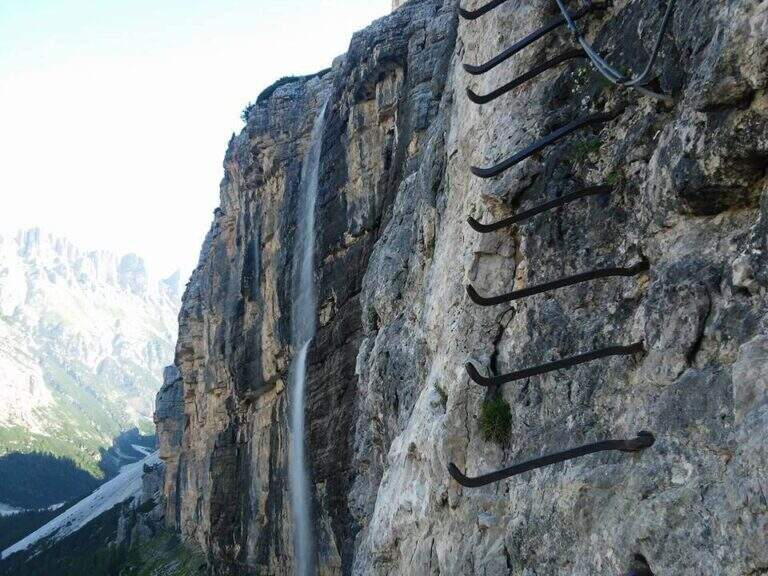
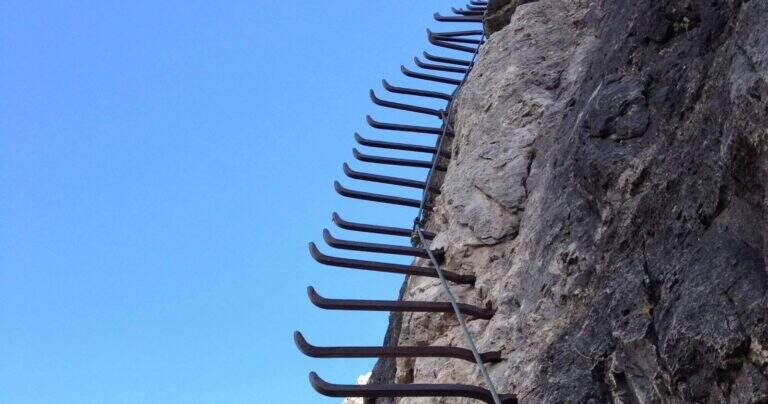
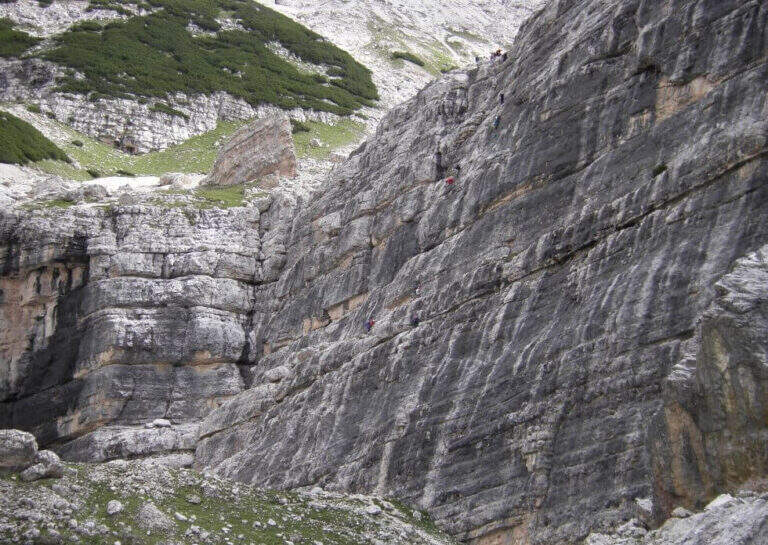
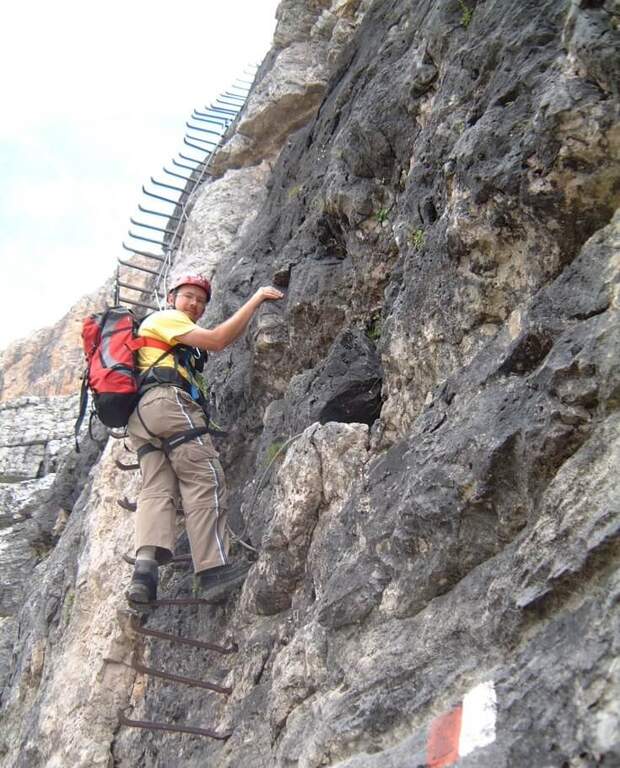
    La Ferrata Scala del Menighel è a short and unique stretch that, as the name says, è a true scala: a long series of metal frames that dates back to a bastion of about 100 meters on the north side of the Tofana of Rozes, cutting the valley of the Masarè. It is usually used to complete the tour at the base of the Tofana di Rozes by leaning to the Giussani Refuge. There is no difficulty; techniques of relief, but è exposta and the structure of the fixtures, dating back to the early twentieth century, requires concentration.

    ▲Approach

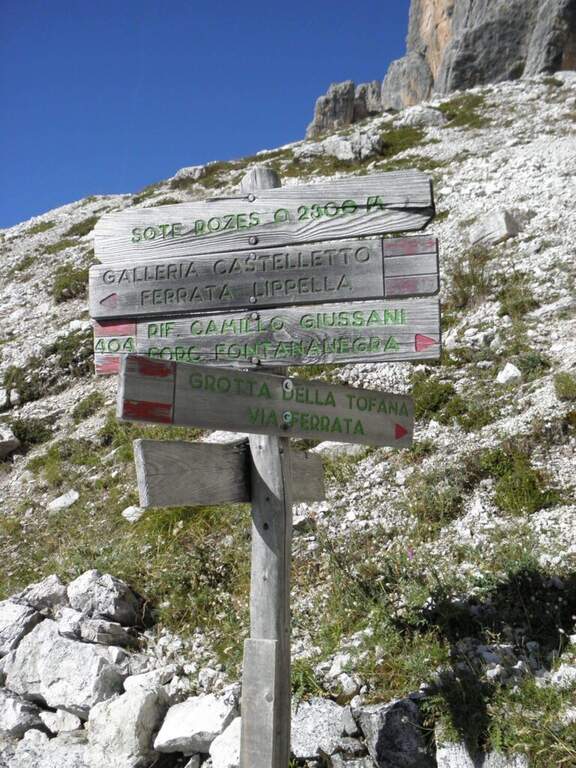
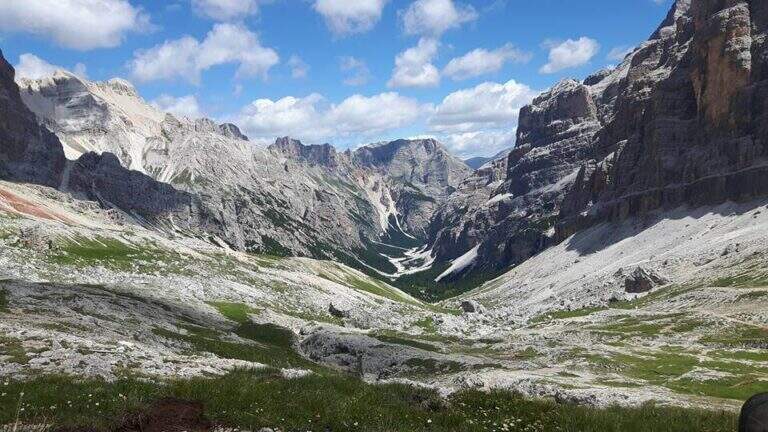
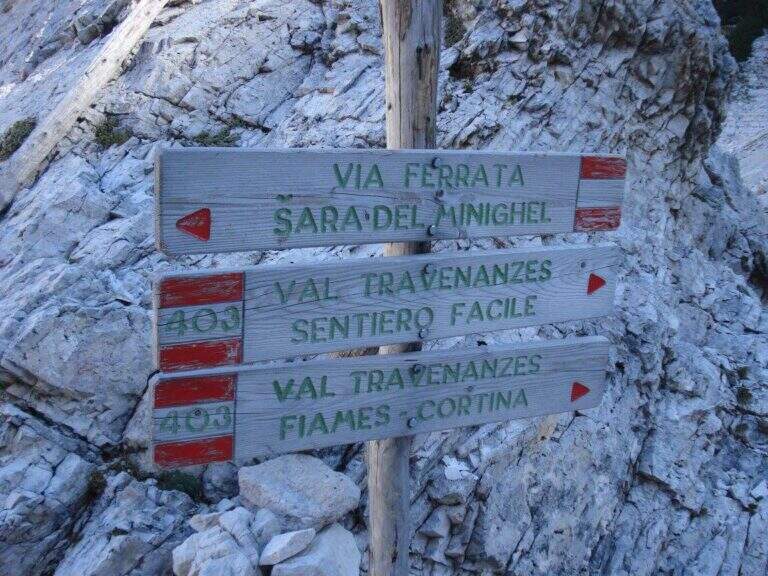
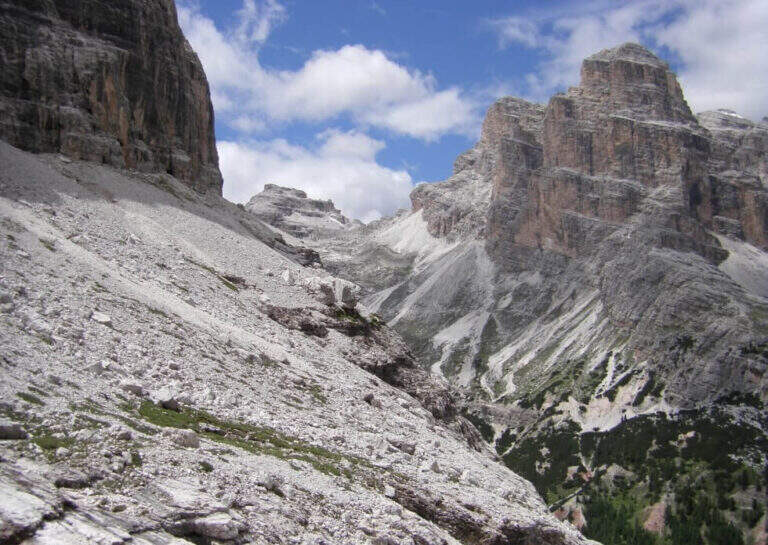
    Starting point the Rifugio Dibona, on the ampezzano slope south of the Tofana di Rozes, reachable by asphalted road that departs from the state Cortina– Passo Falzarego (follow the indications for the Rifugio Dibona, avoiding the junction for the Rifugio Duca d'Aosta). Open road signs on Google Maps. From Dibona take the path 403 on road, with modest slope, towards the south wall of Tofana; at a crossroad the 403 goes right towards the Giussani Refuge, but continue straight towards the south wall on the path 404, ignoring the bivi for the Ferrata of the Tofana Cave and for the Lipella/Gallerie del Castelletto. You reach the Forcella Col dei Bos and turn north into the Val Travenanzes, up to a fork on the right that leads to all' evident bastion of the Scala del Menighel (2h 30' from the Rifugio Dibona).
    ▲The path

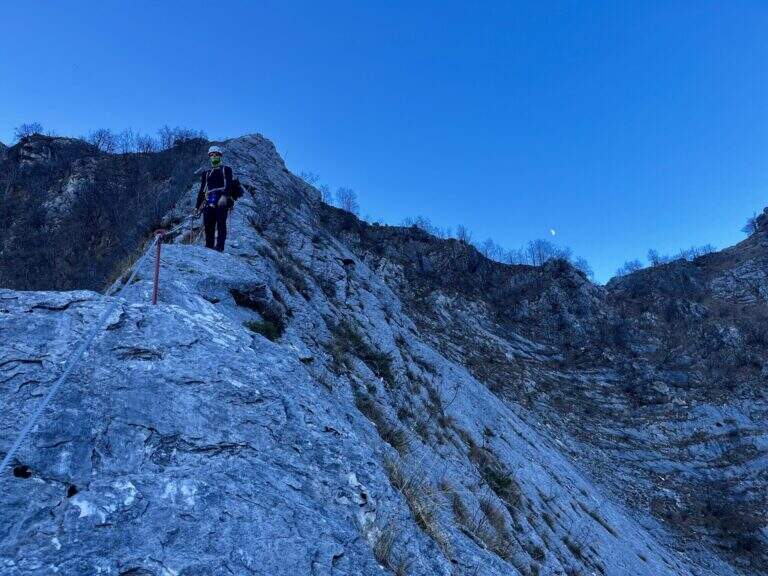
    The ferrata è divided into two sections very similar. The first begins with a long series of fixtures, curves in the terminal tract, which rise diagonally to the left on a moderate gradient first then più vertical: the ascent has no difficulty; techniques, being a sequence of steps, but l' exposure quickly becomes evident. You can reach a census from which you can può admire calmly the waterfall that drops a hundred meters più to the left. The second section continues with the same fixtures, now bending to the right and with greater verticalità, until the end of the equipment (20' from' attack, about 3h totali).

    ▲Character and difficulty

    Due to the modest technical difficulties, it is also possible to hikers with moderate experience, but very exposed.

    ⚠ The fixtures date back to the early twentieth century: the ascent, although easy, requires concentration for their structure and exposure. The approach and return are long and tiring, and alone they would almost pass on the second floor the brevity of the equipped section.

    ▲Period and safety

    GPS tracks (GPX and KMZ) are available; the map of Cortina and the Dolomites of Ampezzo or the Val Badia of 4Land is useful for the area.

    ▲History

    The Scale of Menighel is first via ferrata of the area of Cortina d'Ampezzo. Luigi Gilarduzzi, called "Minighèl", blacksmith and manager of the Wolf von Glanvell Refuge in Val Travenanzes (drawn by the Italian artillery in 1915). To connect his refuge to the Giussani Refuge (then Cantor), Gilarduzzi forged 200 robust metal pioli that in 1907 they became the "Scala del Menighel".

    ▲Discipline

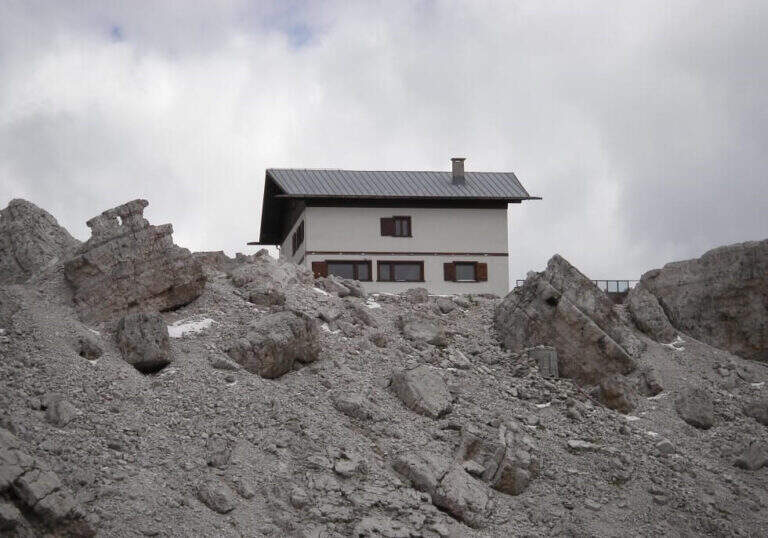
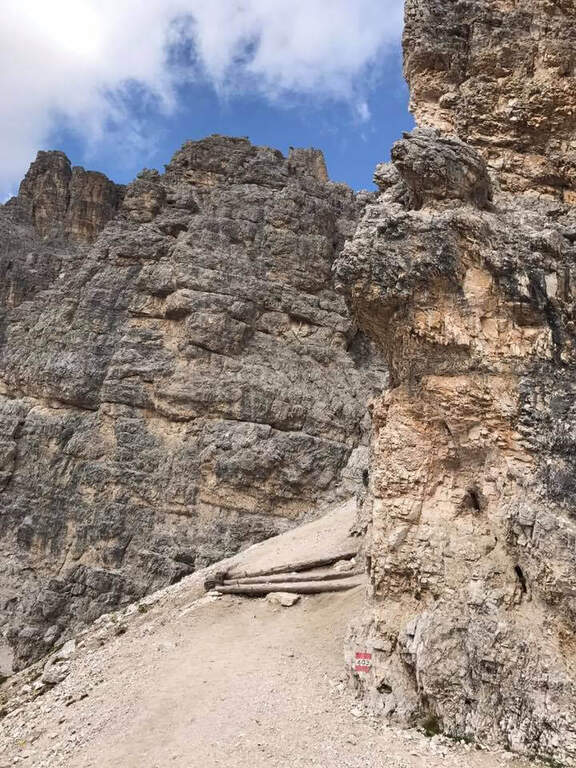
    The return is ringing around the Tofana of Rozes. From the end of the ferrata, under the north wall, climb steeply on the path 403 with a series of hairpin bends up to the Giussani Refuge (2580 m, 1h from the end of the ferrata); from here, always for the 403 narrow between the Tofana of Rozes and Punta Anna, you descend to the Rifugio Dibona (1h from Giussani, 2h from the end of the ferrata, 5h totali).

    ▲To match

    Often it matches downhill to Ferrata Lipella that goes up to the Tofana of Rozes. From the Giussani refuge you can reach Ferrata Formenton at Tofana di Dentro e il Sentiero Attrezzato Olivieri; by Dibona Path equipped Astaldi. To the Falzarego Pass Tomaselli, la Fuses at Sas de Stria e l'Averau.

    ▲Gallery
    Technical data
    • DifficultyModerately Hard
    • RegionVeneto
    • GroupTofa
    • Approach2:30 h
    • Ferrata0:20 h
    • Itinerary (a/r)5:00 h
    • Hardware level difference75 m
    • Route difference830 m
    • Max2573 m
    • Length11,4 Km
  • Ferrata Salvatori alla Pania Forata (Monte Forato)

    Ferrata Salvatori alla Pania Forata (Monte Forato)

    Vie Ferrate › Tuscany › Lucca
    Ferrata Salvatori alla Pania Forata (Monte Forato)

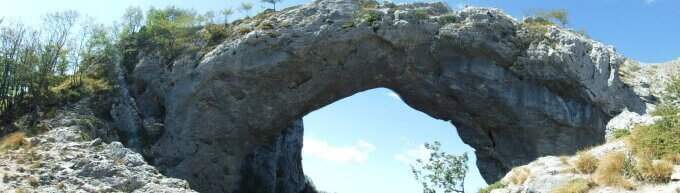
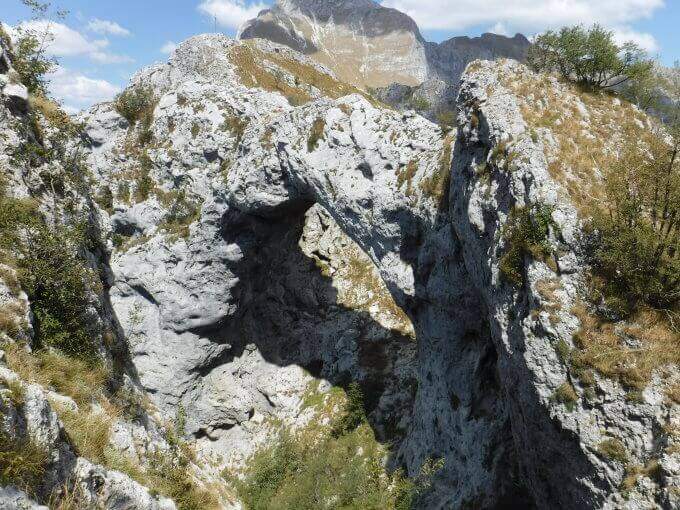
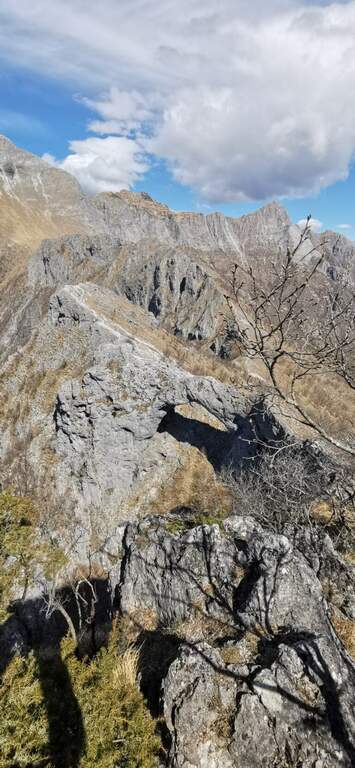
    The Ferrata Salvatori è a facile but aerial way, which faithfully follows the ridge from the Foce Petrosciana al Monte Forato (or Pania Forata), in the Apuan Alps. The low altitude makes it accessible most of the year; the famous natural arch of Monte Forato is worth the whole excursion alone.

    ▲Approach

    Starting point l'Albergo Alto Matanna, in Garfagnana: from Lucca follow the SS 12, then Tenth and Pescaglia, cross the village of Pascoso and, at the indications for l' hotel, turn left on an asphalted road. Open road signs on Google Maps. From ', the hotel rises and soon after takes you to destra il CAI 109, remaining on the north wall of Mount Nona; you reach the Foce delle Porchette and, ignoring the deviations, continue straight on 109 until Foce di Petrosciana (1h 20' from parking).

    ▲The path

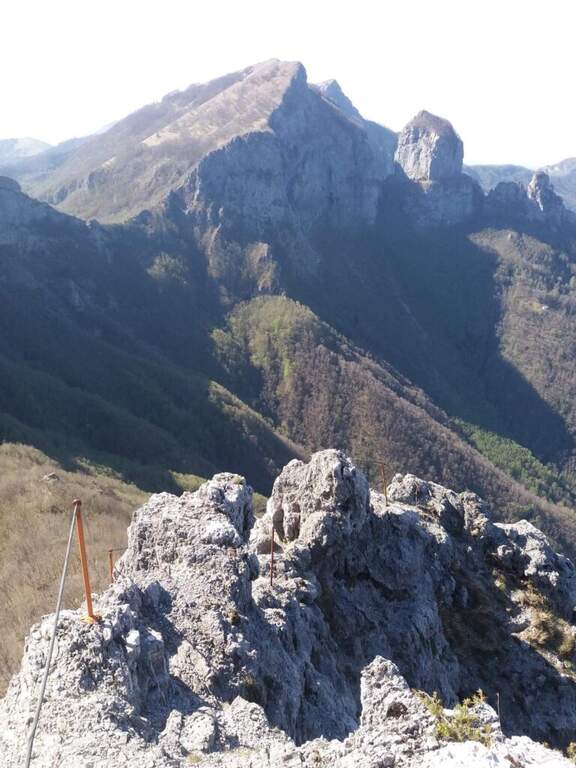
    Alla Foce di Petrosciana una targa in marmo indica il ripido accesso alla ferrata (si ignora il sentiero che costeggia in basso il crinale, percorso al ritorno). Si salgono facili roccette fino al primo cavo, che costeggia un traverso e porta a una via di fuga; proseguendo si raggiunge un gendarme roccioso da risalire su un esposto diedro attrezzato di 15 metri, che deposita su un piccolo piano da cui si riparte su una parete ripida con pochi appigli (passaggio chiave). Una scaletta di 5 metri chiude le difficoltà tecniche; da qui la via segue il filo di cresta, esposto ma mai difficile, fino al termine delle attrezzature. Per un'esile traccia si raggiunge la cima del Monte Forato / Pania Forata (50' dall'attacco / 2h 15' dal parcheggio).

    ▲Character and difficulty

    Overall facile, with only a few più passes; technicians in the initial part (the dihedron and the wall of the key passage); the rest è aerial crest. From the ' arc of the Forata Pania è it is possible to make a double rope descent. Named Renato Salvatori, vice-president of the CAI of Forte dei Marmi; installed in' autumn 1977, inaugurated in 1978 and renewed in 1998.

    ⚠ Although easy, the route takes place on exposed ridge: indispensable harness, helmet and ferrata kits; attention with wet rock or strong wind.
    ▲Period and safety

    Low altitude (maximum 1150 m): large part of the year with dry rock.

    ▲Discipline

    Si scende dal lato garfagnino per circa 40 metri fino al marcato CAI 110, che si percorre a ritroso verso l'attacco della ferrata (20' dal termine); da qui si segue a ritroso il sentiero dell'andata fino all'auto (3h 45' totali). In alternativa si può salire da Fornovolasco (Grotta del Vento) per il CAI 6, che risale il torrente Caraglione passando per la grotta «La tana che urla» fino alla Foce di Petrosciana.

    ▲To match

    Concatenate well with the neighbor Ferrata del Procinto (the combined route is described in the report of the Procinto).

    ▲Gallery
    Technical data
    • DifficultyEasy
    • RegionTuscany
    • GroupApuan Alps
    • Approach1:20 h
    • Ferrata0:50 h
    • Itinerary (a/r)3:45 h
    • Hardware level difference400 m
    • Route difference420 m
    • Max1150 m
    • Length9,4 Km
  • Ferrata Roda di Vael (Catinaccio)

    Ferrata Roda di Vael (Catinaccio)

    Vie Ferrate › Trentino-Alto Adige › Trento
    Ferrata Roda di Vael (Catinaccio)
    Moderately Hard● OpenDescriptionComplexityMapsGallery

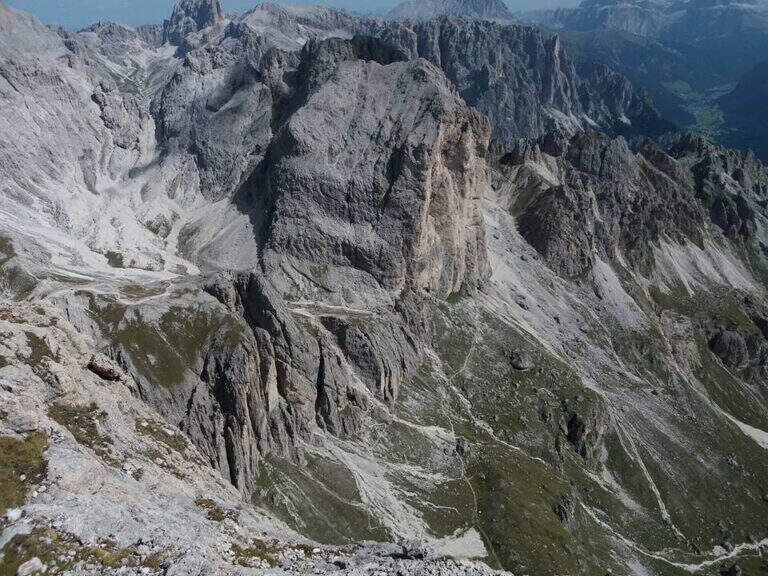
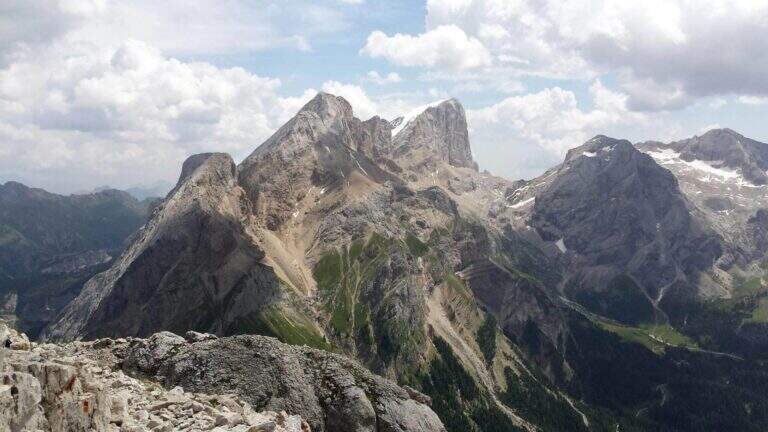
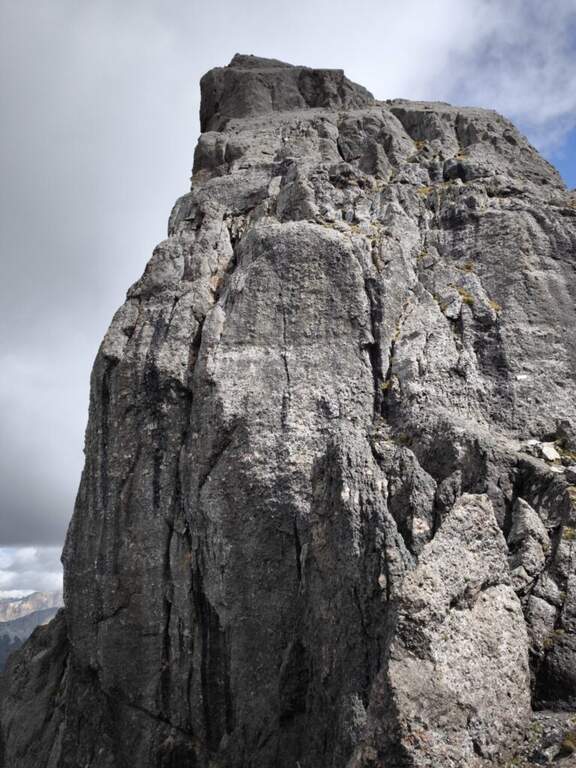
    The Ferrata Roda of Vael brings all' imposing peak of the same name (2806 m) to the Gruppo del Catinaccio, with an itinerary of difficult and difficult averages;. The climb from the Vajolon Pass è easy; the descent to the Window Tower presents individual più passages; challenging. It can be combined with the Ferrata Masarè for a satisfying ring tour.
    ▲Approach

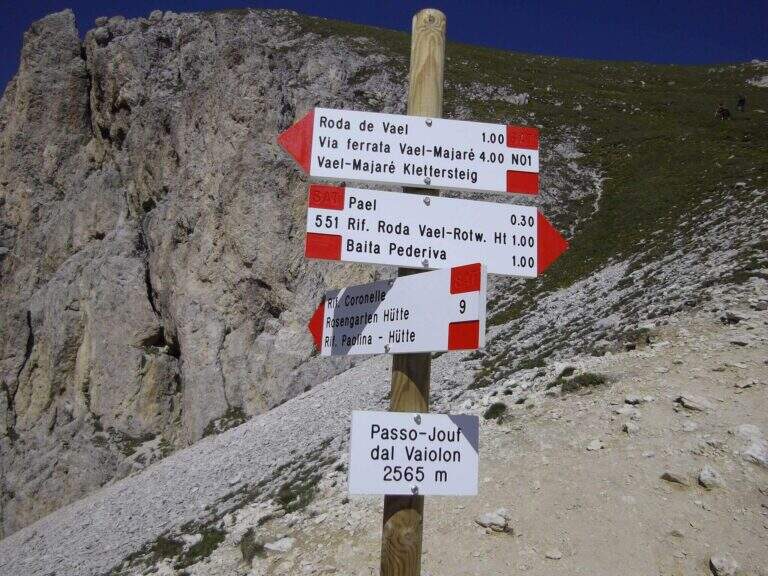
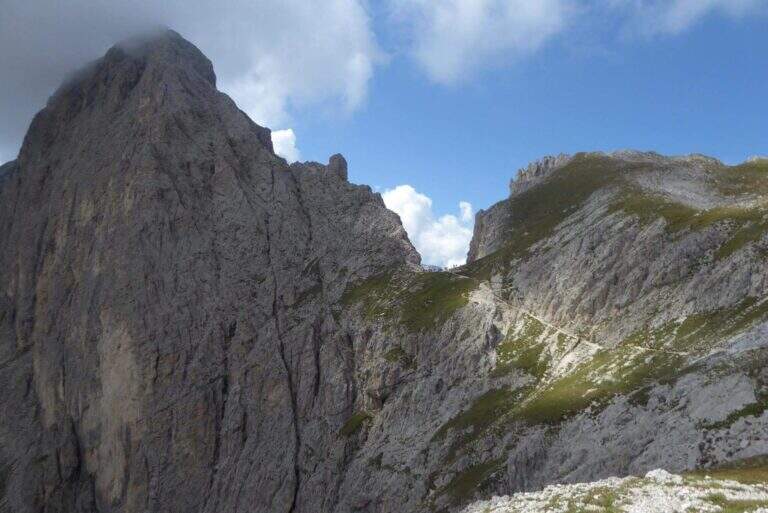
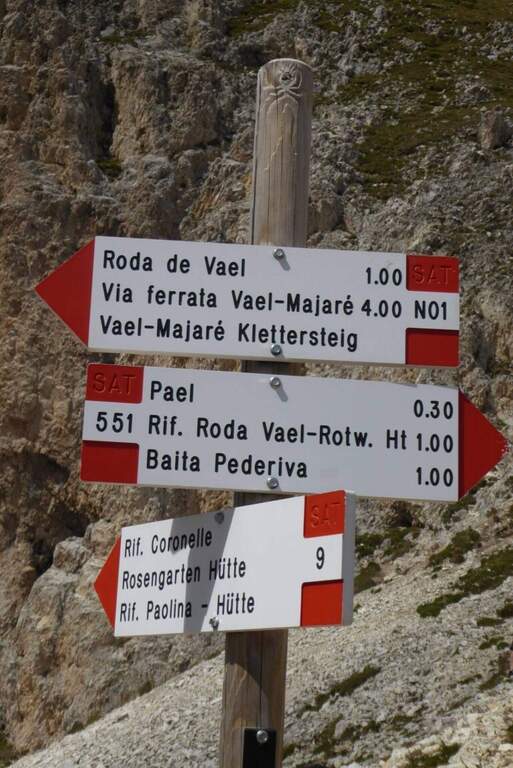
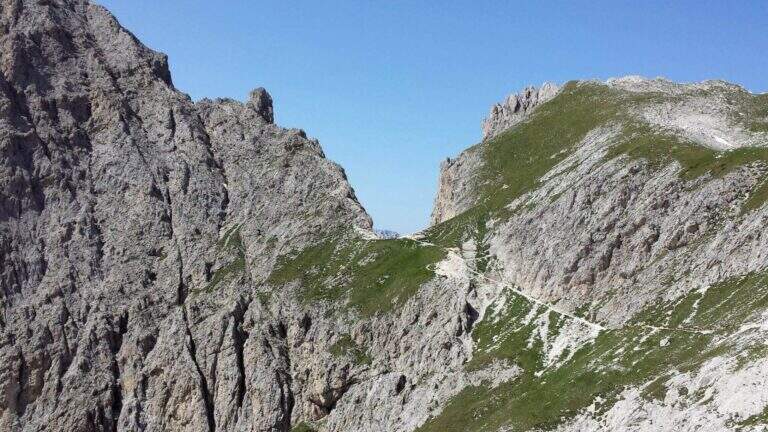
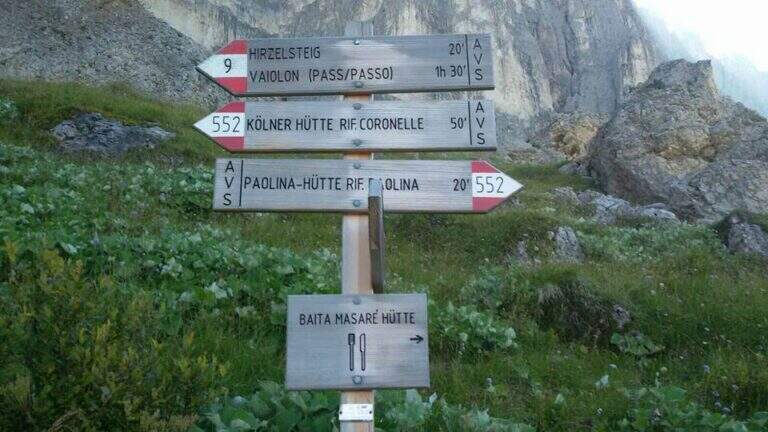
    Base the Rifugio Paolina (2125 m), reachable with the Paolina cable car from Carezza, at the Costalunga Pass; large parking to the plants. Open road signs on Google Maps. Dal Paolina si va verso nord/sinistra sul CAI 552, in leggera salita verso la parete ovest della Roda di Vael, poi sul CAI 549 e in direzione del Passo del Vajolon; superato un primo tratto attrezzato con fune e scaletta, lungo la traccia detritica si raggiunge il Passo del Vajolon (2565 m, 1h dal Rifugio Paolina). In alternativa si parte dalla Val di Fassa: da Vigo, funivia al Rifugio Ciampedie e sentieri CAI 541 poi 551 al Passo Vajolon (2h dalla stazione a monte).

    ▲The path

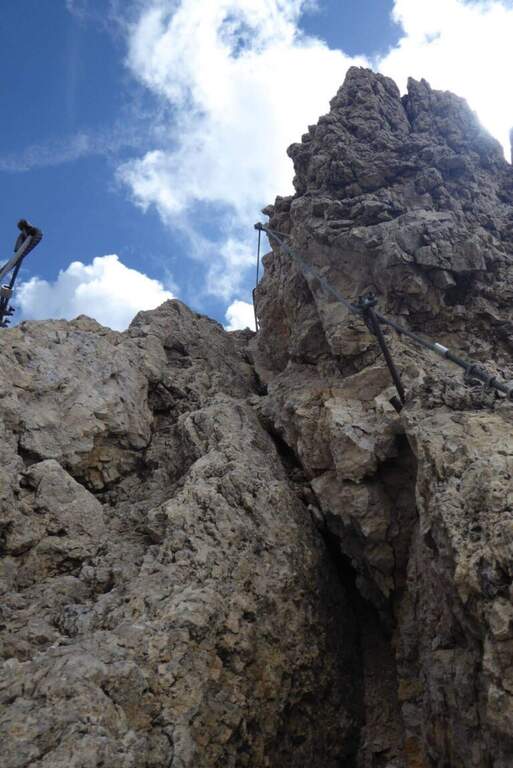
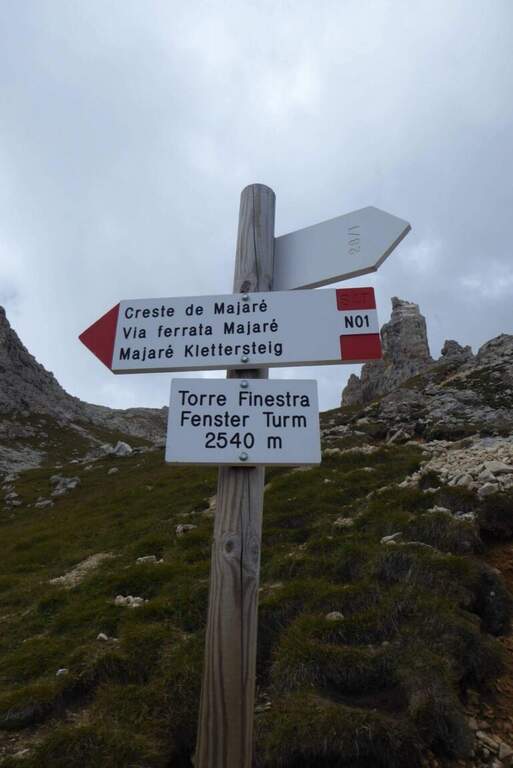
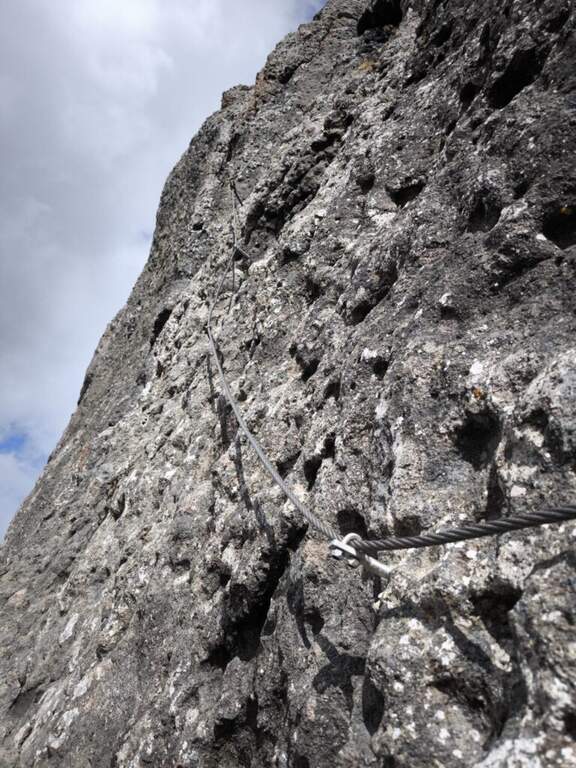
    Dal passo si risale in linea logica il filo di cresta dello spigolo della Roda di Vael seguendo le attrezzature: la salita non presenta particolari difficoltà e alterna tratti attrezzati medio-facili a roccette non attrezzate, con bella vista sulla valle detritica dietro il Catinaccio. Per sentiero di cresta attrezzato e qualche facile balzo si arriva in vetta alla Roda di Vael (2806 m), con la croce metallica (45' dal Passo del Vajolon / 1h 45' totali). Si scende quindi sul versante opposto su ampio sentiero, attrezzato nei tratti più ripidi: alcune roccette e una scala portano verso la Forcella delle Rode (si ignorano le funi che scendono ripide nel canalino e si prosegue in quota). Raggiunta la forcella si affronta il passaggio chiave: una parete verticale e molto esposta, con pochi appigli naturali, da risalire in diagonale verso sinistra; le numerose staffe sostengono la progressione e si esce al Pian del Diaol (2625 m, 1h 15' dall'attacco / 2h 15' totali). Si passa sotto la Torre Finestra (la fessura con la croce al centro) fino a un bivio: a destra sale la Ferrata Masarè (2h), a left you descend for a narrow stretch with a staircase in a rocky anfract and a couple of other equipped sections that close the ferrata (45' from the junction / 3h 15' totali). In both cases you descend to the Rifugio Roda di Vael (2283 m).

    ▲Character and difficulty

    Average difficulty in high altitude environment. The most challenging point is the diagonal wall of Pian del Diaol, exposed and able to put in difficulty the less experienced, although without any difficulty relevant techniques thanks to the excellent equipment.

    ⚠ Possible presence of neve also in late season in the stretch towards the Vajolon Pass. Beware of the detritic material that moves into the downhill section.
    ▲Period and safety

    Summer season, dry rock and no residue. Maximum altitude 2806 m.

    ▲Discipline

    From the Rifugio Roda di Vael you return to the Rifugio Paolina for a comfortable half-coast path CAI 549 and then 539, passing through the Monumento to Christomannos, up to the cable car station (1h from the Roda Refuge of Vael; without Ferrata Masarè 4h 15' total, with the Masarè 6h 15' total).

    ▲To match

    Natural continuation is the Ferrata Masarè. In the Catinaccio also the easy Ferrata Santner, la Ferrata Bepo de Medil, la Ferrata at the Catinaccio d'Antermoia, la Ferrata Laurenzi and the answer Ferrata Maximilian.

    ▲Gallery
    Technical data
    • DifficultyModerately Hard
    • RegionTrentino-Alto Adige
    • GroupCatering
    • Approach1:00 h
    • Ferrata1:00 h
    • Itinerary (a/r)4:15 h
    • Hardware level difference246 m
    • Route difference681 m
    • Max2806 m
    • Length13,1 Km
  • Ferrata di Rocca di Badolo (Contrafforte Pliocenico)

    Ferrata di Rocca di Badolo (Contrafforte Pliocenico)

    Vie Ferrate › Emilia-Romagna › Bologna
    Ferrata di Rocca di Badolo (Contrafforte Pliocenico)
    Moderately Hard● OpenDescriptionComplexityMapsGallery

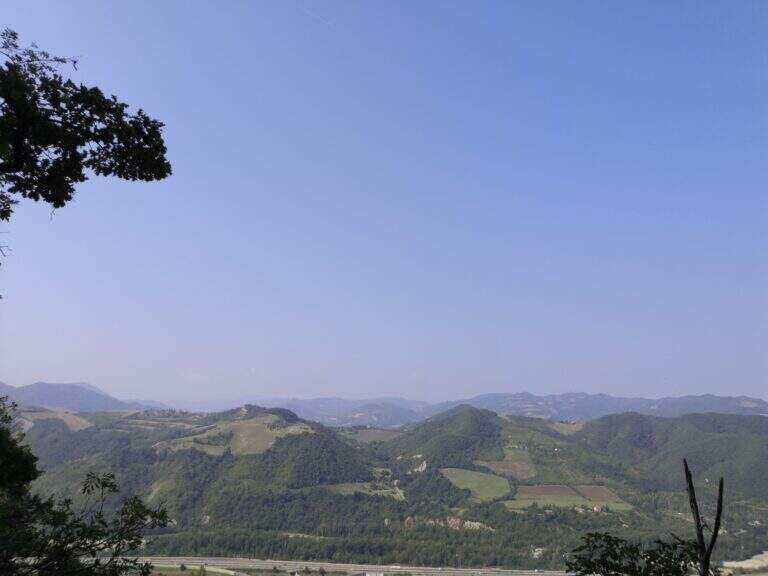
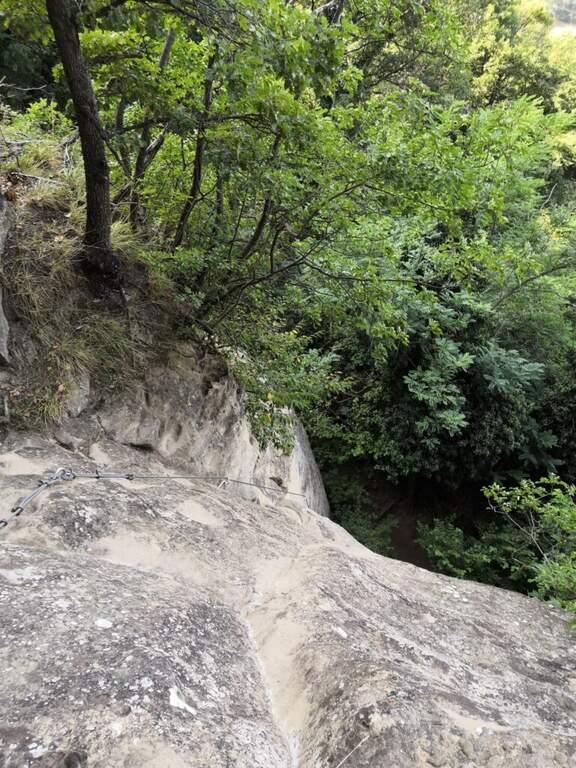
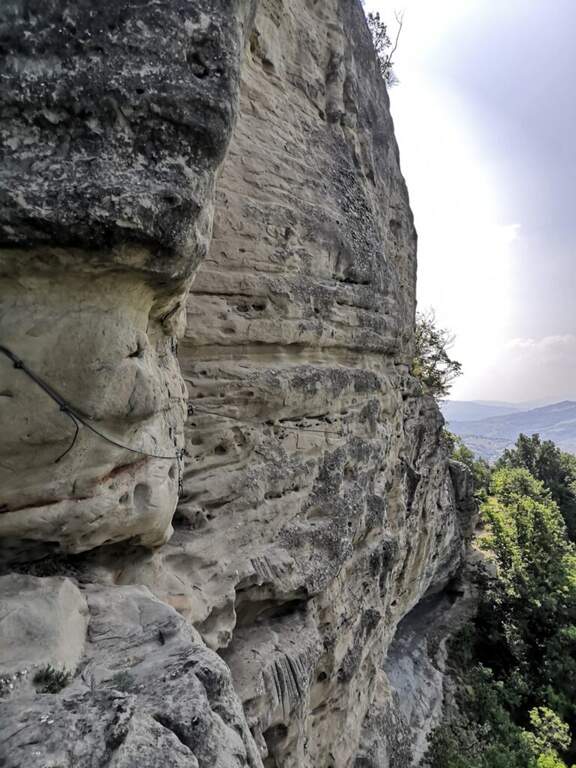
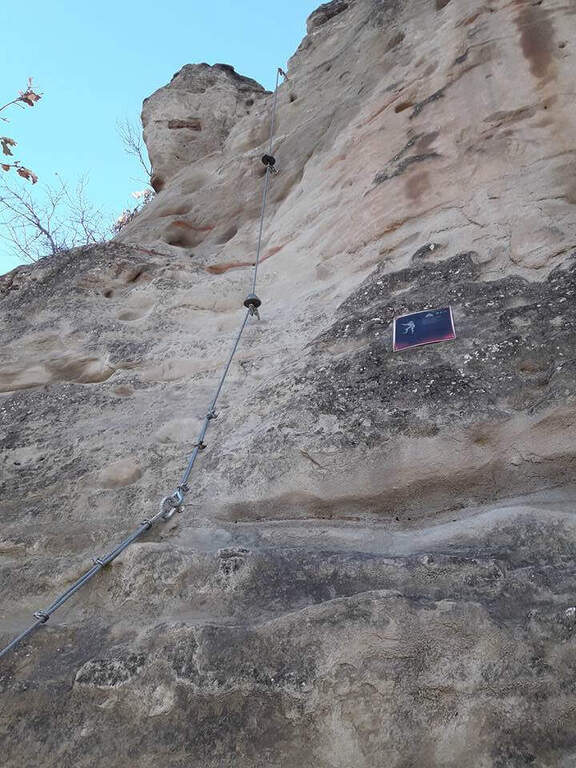
    The Ferrata di Rocca di Badolo dates back to the Contrafforte Pliocenico above Badolo, in'Appennino bolognese. The characteristic sandstone rock, covered by a thin layer of sand and sé rather smooth, è the dominant note: short but with some passage not to be underestimated, è un' excellent gym to improve climbing technique.

    ▲Approach

    Exit from the 'A1 to Sasso Marconi, turn left on the SS 325 and then right towards Badolo; go up the provincial road for 9 hairpin bends and park on the road (at the ninth round an illustrative table; the wall è già well visible). Open road signs on Google Maps. On the way uphill a cultivated field up to the wood, continue straight towards the wall and, reaching it, is held the sinistra: in a few meters there is l' attack (10' from parking ).

    ▲The path

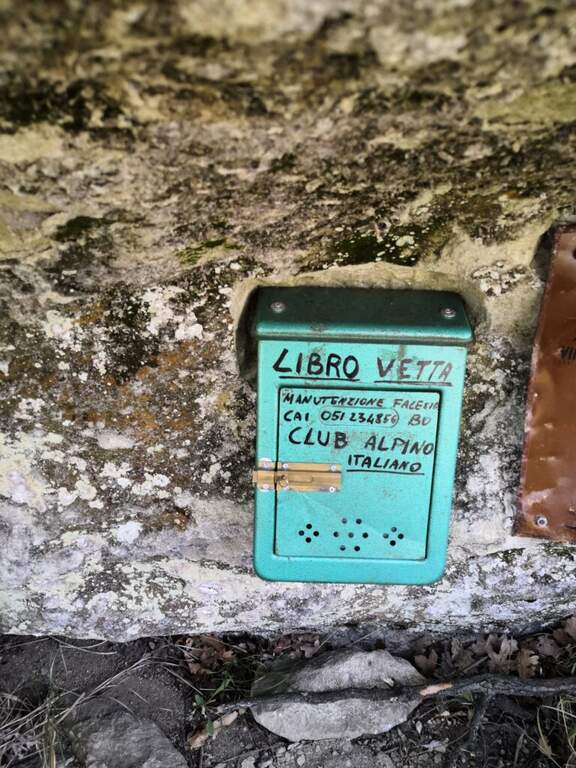
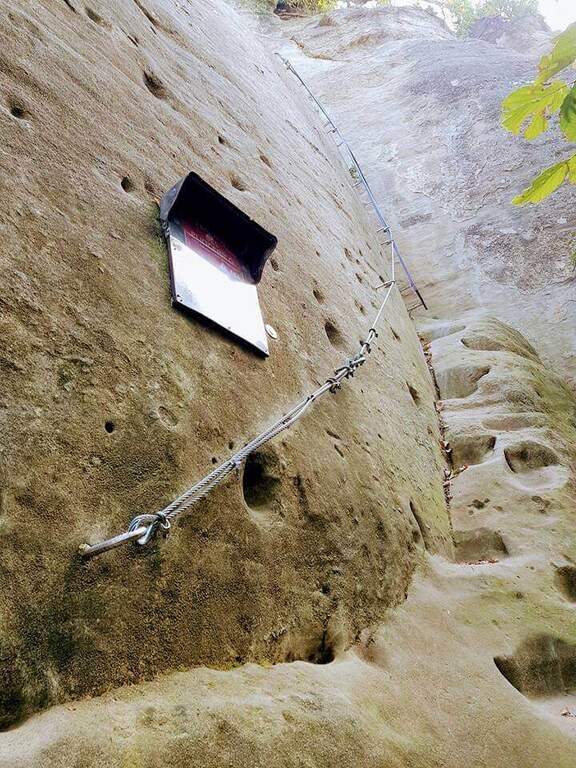
    The route is divided into tre parts. (1) A first sloped wall goes up to a dihedron with a pioli scale; at the end a slightly overhanging wall requires attention (10' from the attack / 20' from the parking lot). (2) It climbs vertically on a smooth wall with carved cracks, then with the help of artificial brackets and holes; a short overhanging staircase throws out but, given the brevity, does not create athletic difficulties. You reach a large terrace (on the right the stops of the climbing routes, on the left continues the third part). (3) A wall of 6 meters (adjustable to the left) throws slightly out: without rope it serves attention, because in case of fall you risk to beat below. A short steep stretch of path leads to all' last wall, the diedro finale, the technically più point; challenging: the cable position and hooks pushes towards l' outside and requires climbing; è tight in some points and requires firm step and a minimum of technique, but è short (8 meters) and little tiring. It ends with a ladder that leads to the top of the summit plateau (30' from' attack / 40' from parking ).

    Since 2022 there is a più variant; challenging, the « Traverso dei Magnifici 4» (dedicated to Oscar Belotti, Nando Stagni, Augusto Righi and Otello Olivini): a horizontal traverse in strong exposure that cuts the paretone of Badolo Alto. It breaks down to methylagrave; of the third section, avoids the final dihedron and does not take to the top in Rocca Badolo; può be also routed in reverse direction at the end of the itinerary, descending from the top to the streets of Badolo Altissimo (south) and following the sign at the monotiri, clockwise, then trace the final dihron. È classified «Difficile» and travel in about 5 minutes.

    ▲Character and difficulty

    Itinerary not complex but with passages not to be underestimated for the nature of the arenary, smooth and sandy. Built in 1976 to facilitate access to the climbing sectors of Badolo Medio and Alto, modernized by CAI in Bologna 2015, with the Magnificent Cross 4 added in 2022.

    ⚠ On the Via dei Magnifici 4 it is a longe for the scarcity of supports. Absolute care not to move stones, especially if there are climbers in the cliff below.
    ▲Period and safety

    Low altitude (maximum 476 m): practicable almost all year round, excellent as training. Route difference 100 m, development of the route about 2.5 km.

    ▲Discipline

    From the top floor you descend from the opposite side following the steep tracks in the forest to a half-coast path, which takes you to destra; in a few minutes you reach a small church and, for mule track, in 10 minutes the provincial. It goes down again for a couple of hairpin bends up to' car (20' from the term / 1h from ' beginning of the ' itinerary).

    ▲To match

    For those arriving from the northwest on the A1, it combines well with the Ferrata Pietra Nera (exit Salsomaggiore-Fidenza). In the Emilian Apennines, the Stone of Bismantova, the Alpine Ferrata and the recent West Ferrata; towards Tuscany the Ferrata Sant'Antone (Pisa) and the Ferrata Romana Nesi (Arezzo).

    ▲Gallery
    Technical data
    • DifficultyModerately Hard
    • RegionEmilia-Romagna
    • GroupPliocenic counterfeit
    • Approach0:10 h
    • Ferrata0:30 h
    • Itinerary (a/r)1:00 h
    • Hardware level difference100 m
    • Route difference225 m
    • Max476 m
    • Length2,5 Km
  • Ferrata Rino Pisetta at Cima Garzolet (Sarche)

    Ferrata Rino Pisetta at Cima Garzolet (Sarche)

    Vie Ferrate › Trentino-Alto Adige › Trento
    Ferrata Rino Pisetta at Cima Garzolet (Sarche)
    Extremely Hard● To checkDescriptionComplexityMapsGallery

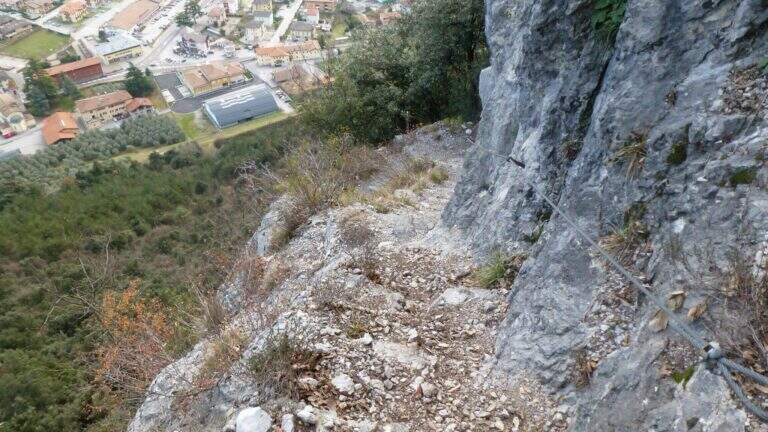
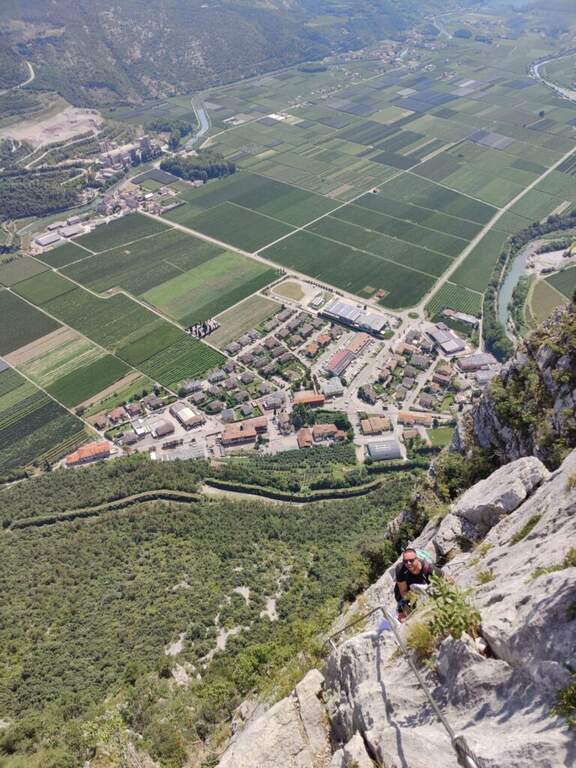
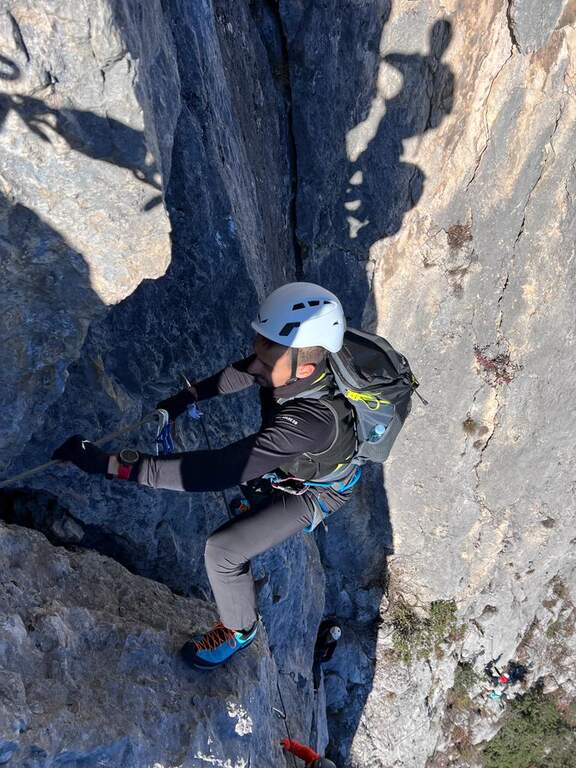
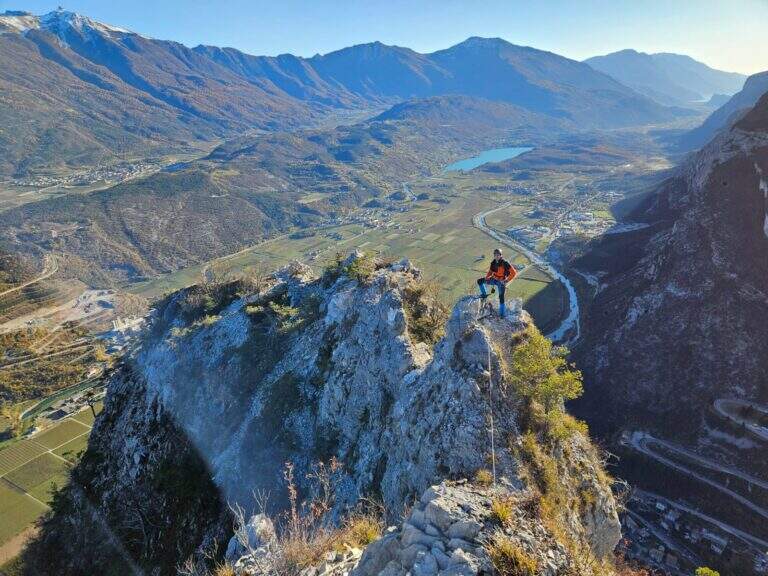
    The Ferrata Rino Pisetta climbs l' impressive wall of the Cima Garzolet, above Sarche: a historic street, among the pi` hard and athletics d' Italy, strongly vertical and exposed, alternating overhanging walls, challenging beams and chimneys with slot. It should be faced only in good physical conditions and with solid experience of equipped routes.

    ▲Approach

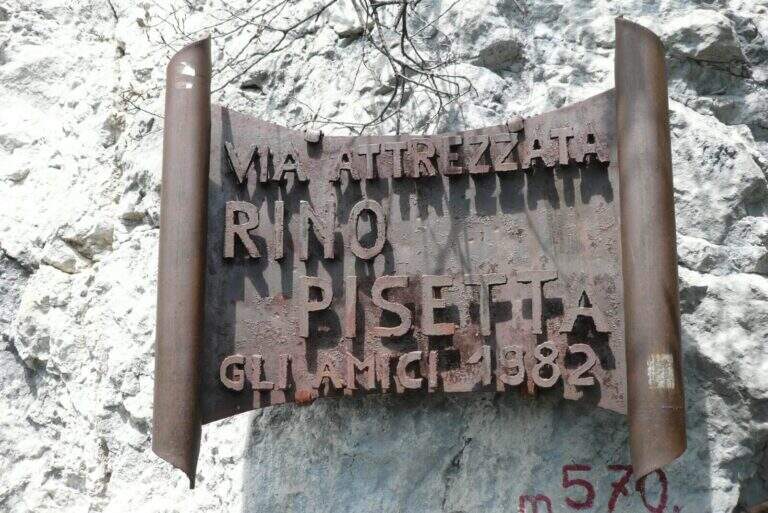
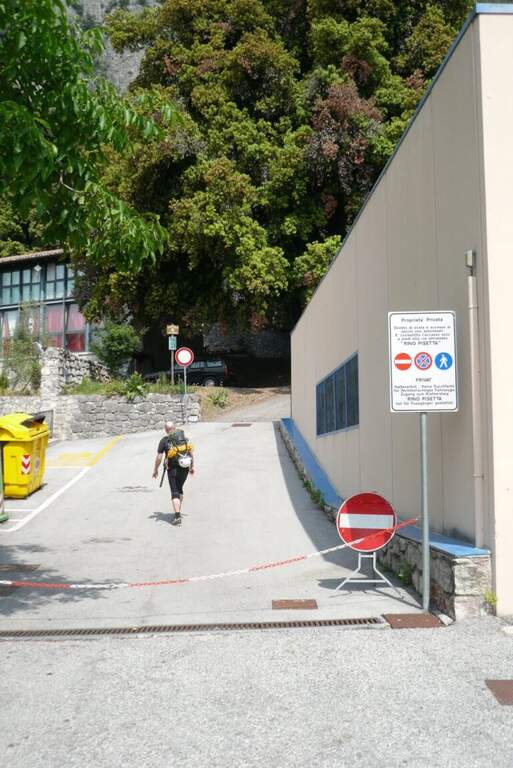
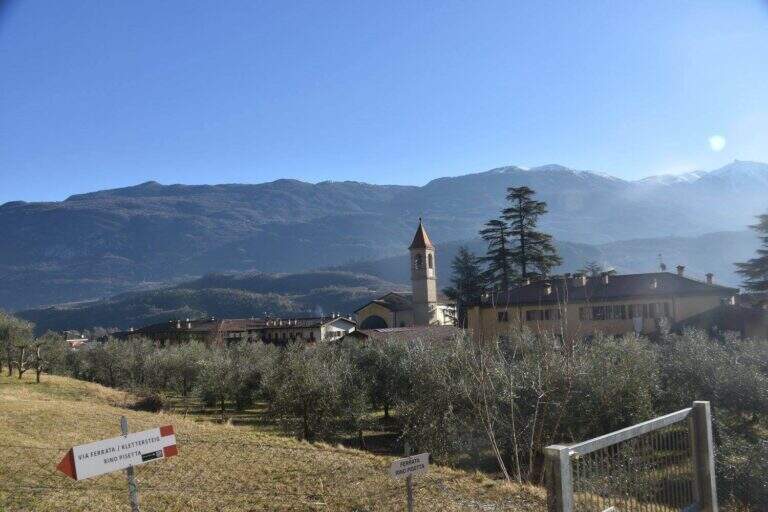
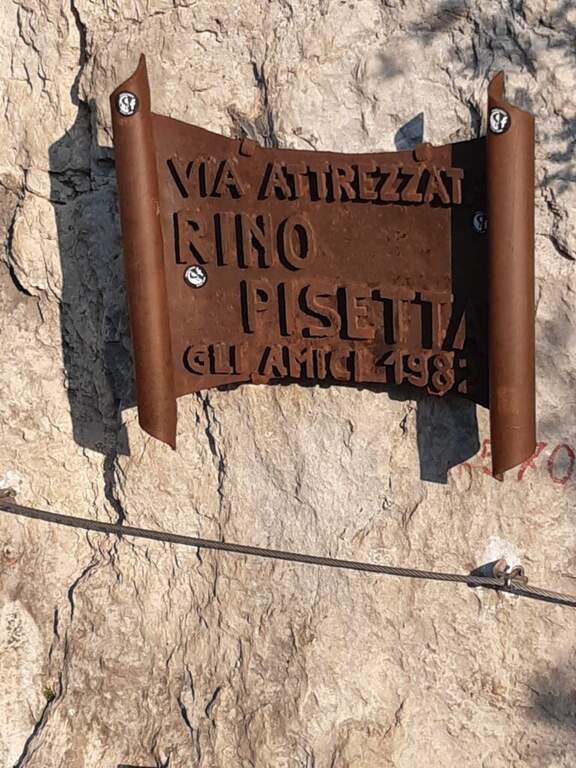
    Starting from the 'inhabited of Sarche (TN): from the roundabout you proceed towards Madonna di Campiglio, you pass a distributor on the left and take the road to destra for the parking space of Ferrata Rino Pisetta, at the elementary school and the bocciofila. Open road signs on Google Maps. Along the bocciodromo and, behind l' building, a white sign indicates the path. You enter the forest, at the first crossroads you will keep the destra and the next sinistra, going up steep until the red-white signs of the street; a tiring climb leads all' attack, with the metal plate of the ' year of construction (45' from the parking ).

    ▲The path

    Si comincia subito con una parete verticale di una ventina di metri, uno dei passaggi più impegnativi dell'intera via: appigli scarsi per mani e piedi, spesso necessario tirarsi sulle braccia; conviene cercare gli appigli naturali meno evidenti per risparmiare forze. In alto il cavo piega a sinistra su un esposto traverso in leggera discesa, poi riparte verticale dentro un camino; superato un albero si guadagna una cengia a sinistra dove conviene rifiatare (qui una via di fuga a destra). Dopo pochi metri in piano la via riparte verticale su roccia più frastagliata e appigliata, con un traverso a sinistra e alcuni balzi rocciosi, fino a un tratto verticale con una caratteristica fessura utile per piedi e mani. Segue un impegnativo, esposto e faticoso traverso a sinistra, con un paio di passaggi in piena aderenza: bisogna arrivarci con ancora molta forza nelle braccia. Il traverso aggira uno spigolo esposto e sale in diagonale fino a un piccolo balcone. Si entra nel tratto più atletico: si continua in traverso sfruttando un paio di appigli artificiali, poi il cavo riparte verticale in forte esposizione, con maniglie, staffe e una fessura sul lato sinistro; si sale cercando i pochi appigli naturali (anche a destra della fessura), a tratti tirando sul cavo. Al termine della placca il cavo piega a sinistra su una cengia rocciosa (sosta e panorama). Ci si sposta a sinistra e si riparte verticali: come prima, una fessura e qualche piolo aiutano la progressione e offrono brevi soste. Questa seconda parete verticale è molto esposta e aerea; la fessura si allarga in un camino poco profondo, da cui si esce presso un alberello con buoni appigli. Un traverso a sinistra porta a risalire un'altra parete verticale con un basso tetto roccioso (non utile come sosta); si prosegue verticali in un tratto povero di appigli, dove arrampicare diventa molto difficile e si procede in buona parte tirando sul cavo, fino a uno stretto balconcino dove riposare le braccia. Ancora verticale su roccia liscia, un breve traverso a destra e si riparte con una nuova fessura sulla destra: qui terminano le difficoltà sostenute. Restano un paio di passaggi impegnativi ma assai più abbordabili; gli ultimi 30-45 minuti sono fatti di canalini, brevi pareti e balzi di media difficoltà, con roccia più facile da arrampicare. Si guadagna l'ultimo sperone con il libro delle firme (2h dall'attacco / 2h 45' dal parcheggio) e quindi la crestina sommitale, non difficile ma esposta e faticosa, attrezzata con cavo come corrimano, fino alla panchina di legno affacciata sulla valle dove la via termina (2h 15' dall'attacco / 3h totali).

    ▲Character and difficulty

    Via extremely difficult, technique, athletics and exposed: often smooth rock, long vertical and overhanging traits where it serves strength in the arms and ability to climb. Built in 1982, it has been for years the Ferrata-banco test par excellence and has inaugurated the season of sports ferrates. The equipment is in good condition, with very tense rope.

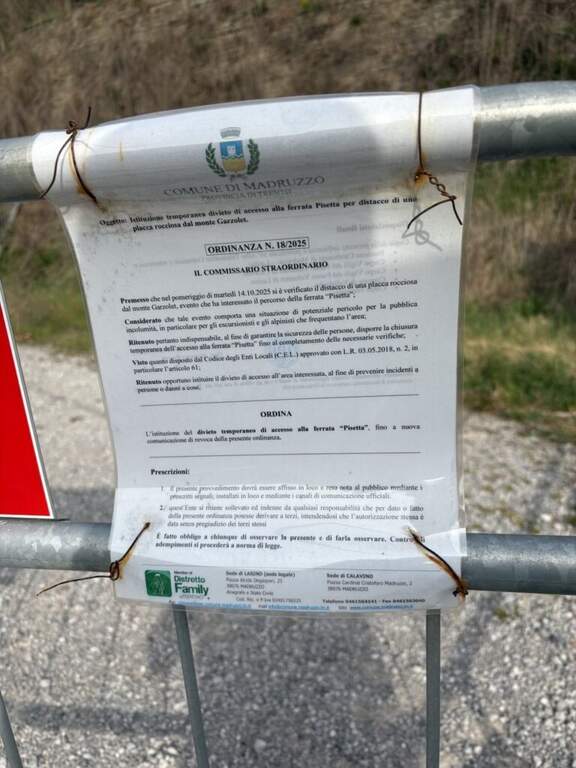
    ⚠ Only for very trained and experienced drivers. In summer the wall è completely in the sun in the morning: better fresh hours and days not torrid. Useful climbing shoes (adhesion) and gloves (cuts and shots on the cable). The source reports the state as « To check »: check the conditions of the route before leaving.
    ▲Period and safety

    Typical season from spring to autumn with dry rock; to avoid the full summer sun of the morning. Maximum altitude 971 m, difference in level of the ferrata 406 m, total development of the itinerary about 8 km.

    ▲Discipline

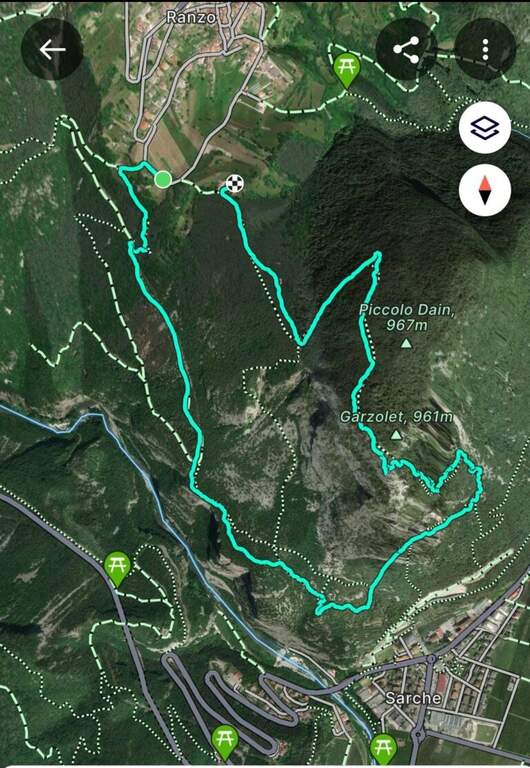
    Dalla Cima Garzolet (961 m) si scende verso ovest in direzione di Ranzo: si raggiunge un'area picnic e si prosegue in discesa fino a una mulattiera. La si percorre interamente e, in vista di Ranzo, a un bivio si tiene la sinistra sulla strada fino a una palina CAI; si segue a sinistra in discesa fino a un piccolo edificio religioso, dove un cartello poco visibile a sinistra indica «Sarche» e l'attacco est della Pisetta. Si scende una ventina di minuti su mulattiera e poi sentiero fino a un bivio: si tiene la sinistra seguendo «Via Attrezzata». Dopo un faticoso saliscendi si scende con alcuni tratti attrezzati su cenge esposte ma non difficili, quindi per ripidi tornanti nel bosco si ritrova il sentiero dell'avvicinamento e si torna al parcheggio (1h 30' dalla vetta / 4h 30' totali). In alternativa, dalla cima si può scendere a destra verso la Val Dossel sul CAI 613 fino al CAI 01 ST per Castel Toblino (segni azzurri nel bosco), poi in discesa verso Sarche percorrendo l'esposta cengia attrezzata della Costa di Monte Oliveto, fino a ritrovare il sentiero dell'andata (2h dalla vetta / 4h 45' totali).

    ▲To match

    In Valle dei Laghi and low Val di Sarca, on the same sports front, the Ferrata Che Guevara at Monte Casale, la Ferrata del Rio Sallagoni in Castel Drena and the Ferrata di Preore; not far from the historical Ferrata Marangoni to Mori.

    ▲Gallery
    Technical data
    • DifficultyExtremely Hard
    • RegionTrentino-Alto Adige
    • GroupValley of Lakes
    • Approach0:45 h
    • Ferrata2:15 h
    • Itinerary (a/r)4:45 h
    • Hardware level difference406 m
    • Route difference713 m
    • Max971 m
    • Length8 Km
  • Ferrata Olivieri a Punta Anna (Tofane)

    Ferrata Olivieri a Punta Anna (Tofane)

    Vie Ferrate › Veneto › Belluno
    Ferrata Olivieri a Punta Anna (Tofane)

    La Ferrata Olivieri sale a Punta Anna nelle Tofane, sopra Cortina d'Ampezzo: bella e impegnativa, si svolge su ottima roccia con passaggi esposti molto arrampicabili e appaganti. Si parte dal Rifugio Pomedes lungo lo spigolo-cresta fino al Dos de Tofana.

    ▲Approach

    Punto di partenza la Baita Pie Tofana (1675 m) sopra Cortina, da cui salire al Rifugio Pomedes (2303 m): comodo in seggiovia (via Rifugio Duca d'Aosta), oppure a piedi col sentiero 405 al Duca d'Aosta (2098 m) e poi per carrareccia al Pomedes (2h). Open road signs on Google Maps. In alternativa, partendo dal Rifugio Dibona si raggiunge il Pomedes col sentiero 421 (45'). Dal Rifugio Pomedes, dietro la stazione di arrivo della seggiovia, le indicazioni portano su un ripido sentierino (prati poi ghiaione) verso una forcella dove si trova la targa d'attacco (2440 m, 30' dal Pomedes).

    ▲The path

    Fin dall'attacco la via mostra il suo carattere: roccia verticale, poche staffe e attrezzature di sostegno ma ottima roccia. Si sale una prima parete di una ventina di metri, ben appigliata, che piega a destra in alto; segue un tratto in leggera discesa, un traverso con buoni appoggi per i piedi e roccette verso destra, poi una comoda cengia a sinistra. Si aggira uno spigolo e si sale un balzo verticale fino a un terrazzino con vista sulla Tofana di Rozes; su roccette facili si raggiunge una forcella dove le attrezzature si interrompono. Si attacca poi un esposto spigolo, arrampicabile e ben appigliato: nella prima parte si resta sul lato destro del filo guadagnando quota, con un paio di punti angusti dove sostare, fino a un balconcino panoramico su Averau e Nuvolau. Si sale una parete di 4 metri leggermente strapiombante con pochi appigli (necessario il cavo), quindi il tratto conclusivo dello spigolo, affilato e molto esposto, che piega a sinistra verso un evidente pulpito. Si traversa a sinistra (passaggio non banale) e si sale una parete dove la fune zigzaga, sempre molto esposti ma su roccia ben appigliata; un canalino con traverso a sinistra, roccette in diagonale e una parete verticale frastagliata portano oltre i 2700 m, dove il cavo termina su un punto panoramico affacciato su Cortina. Segue un tratto di sentiero in quota con alcuni passaggi attrezzati e un bivio da cui a sinistra si scende al Rifugio Giussani (opzione 3); tenendo la destra (segnavia rossi verso il Dos de Tofana) si supera una placca verticale levigata in aderenza e un breve diedro angusto, quindi una cengia che porta al Dos de Tofana (2850 m, 1h 30' dall'attacco, 2h dal Pomedes), dove la ferrata termina.

    ▲Character and difficulty

    Ferrata esposta e intensa, di media difficoltà; alcuni passaggi più impegnativi, sommati all'ambiente di alta montagna, la rendono difficile ma non proibitiva. Roccia molto buona, frastagliata e ben arrampicabile; cavo generalmente ben teso e d'aiuto. È intitolata a Giuseppe Olivieri, alpinista veneziano; costruita e inaugurata nel 1972 dalla guida alpina Luigi Ghedina.

    ⚠ Ambiente di alta montagna esposto: valutare meteo e condizioni. Diverse opzioni di rientro impongono di pianificare in anticipo dove lasciare l'auto (Baita Pie Tofana o Rifugio Dibona).
    ▲Period and safety

    Piena estate, con roccia asciutta e meteo stabile. Quota fino a 2850 m.

    ▲Discipline

    Tre opzioni: (1) dal Dos de Tofana si scende verso il Rifugio Ra Vales fino a un bivio (2580 m), dove a destra si prende il Sentiero Attrezzato Olivieri che riporta al Rifugio Pomedes (2h 15' dal termine, 4h 30' dal Pomedes); (2) a sinistra del bivio, la Ferrata Aglio porta alla Tofana di Mezzo e alla stazione a monte della funivia, con cui scendere a Col Druscè e poi al parcheggio col sentiero 413 (3h dal termine, 5h 30' totali); (3) dal bivio per il Rifugio Giussani, prima dell'ultimo tratto, si scende per un sentiero a tratti attrezzato ed esposto ma non difficile fino al Giussani e, col sentiero 403, al Rifugio Dibona (preferibile lasciare qui l'auto per questa opzione).

    ▲To match

    Spesso abbinata alla Ferrata Aglio alla Tofana di Mezzo o al Sentiero Attrezzato Olivieri; dal Pomedes si raggiungono anche le ferrate Ra Bujela e Ra Pegna. Verso il Passo Falzarego: Ferrata Tomaselli, Ferrata Fusetti at Sas de Stria e Ferrata at Col dei Bos; to the south Ferrata dei Caprioli san Vito di Cadore.

    ▲Gallery
    Technical data
    • DifficultyHard
    • RegionVeneto
    • GroupTofa
    • Approach0:30 h
    • Ferrata1:30 h
    • Itinerary (a/r)4:30 h
    • Hardware level difference312 m
    • Route difference514 m
    • Max2850 m
    • Length5,1 Km
  • Ferrata Nord del Coglians (Weg der 26er)

    Ferrata Nord del Coglians (Weg der 26er)

    Vie Ferrate › Friuli-Venezia Giulia › Udine
    Ferrata Nord del Coglians (Weg der 26er)

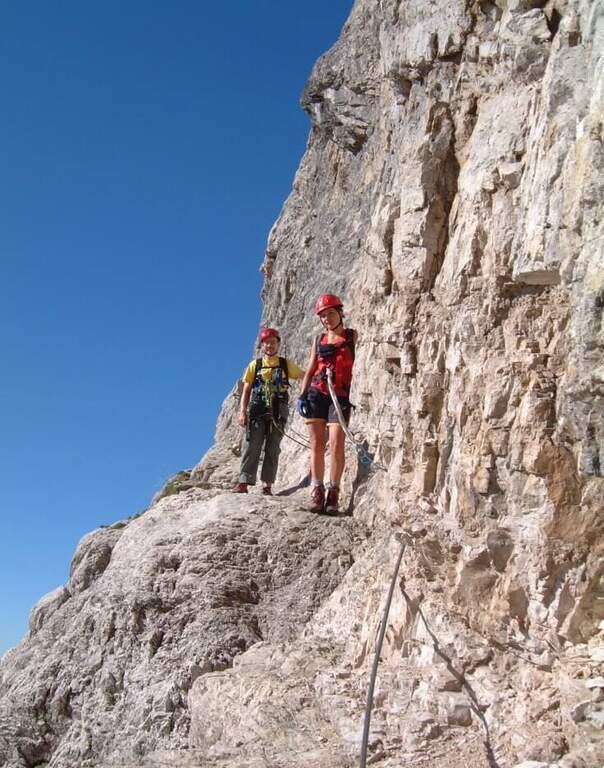
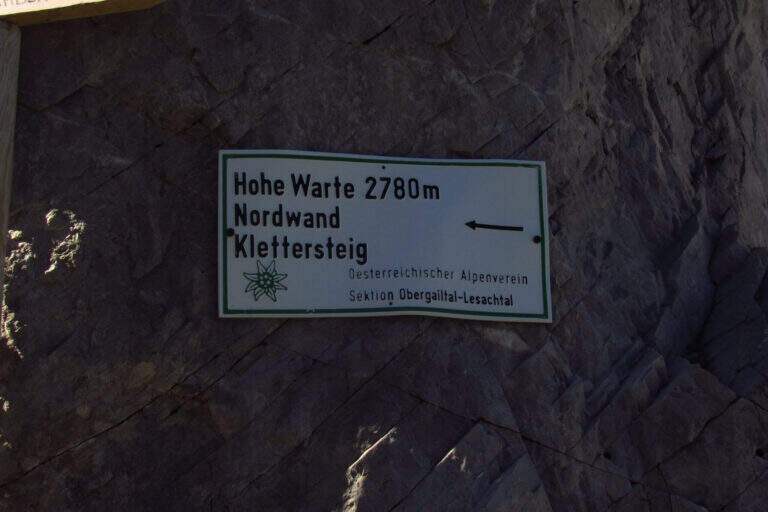
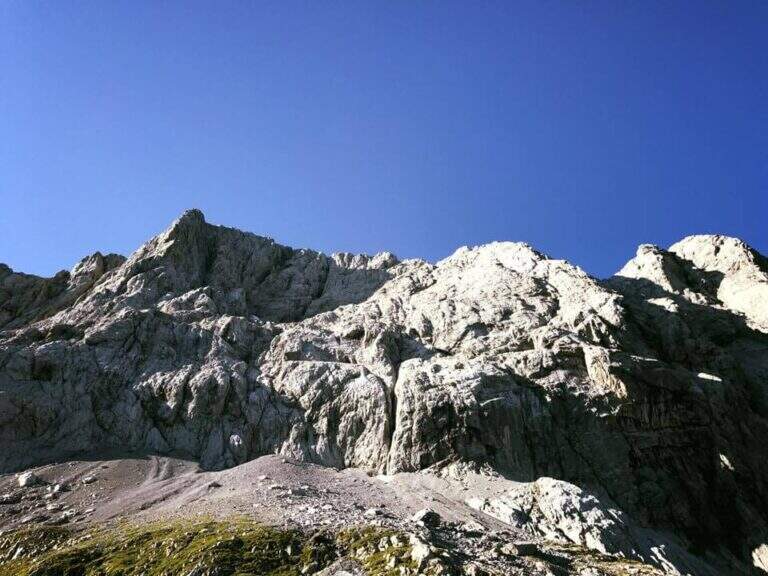
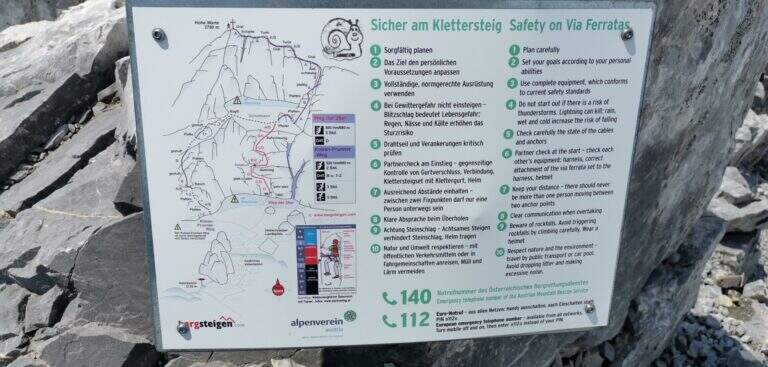
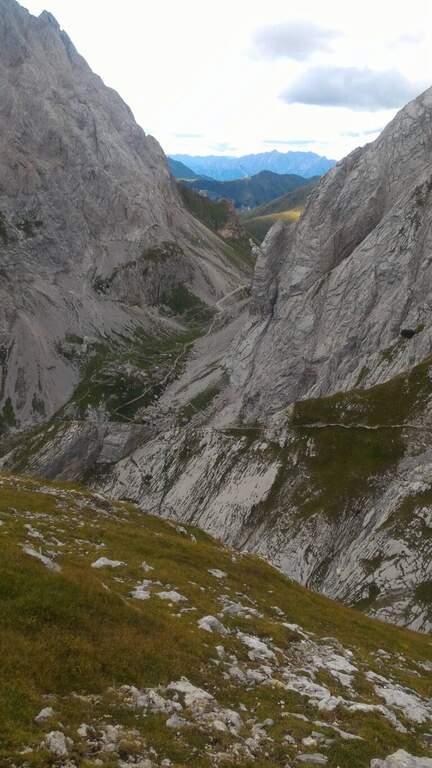
    La Ferrata sulla parete nord del Coglians (in tedesco Hohe Warte), recentemente ristrutturata, è difficile e si svolge in un bellissimo e severo ambiente di alta montagna al confine tra Italia e Austria. Itinerario lungo, con oltre 2 ore di avvicinamento e rientro per sentiero attrezzato: ideale da dividere in due giornate.

    ▲Approach

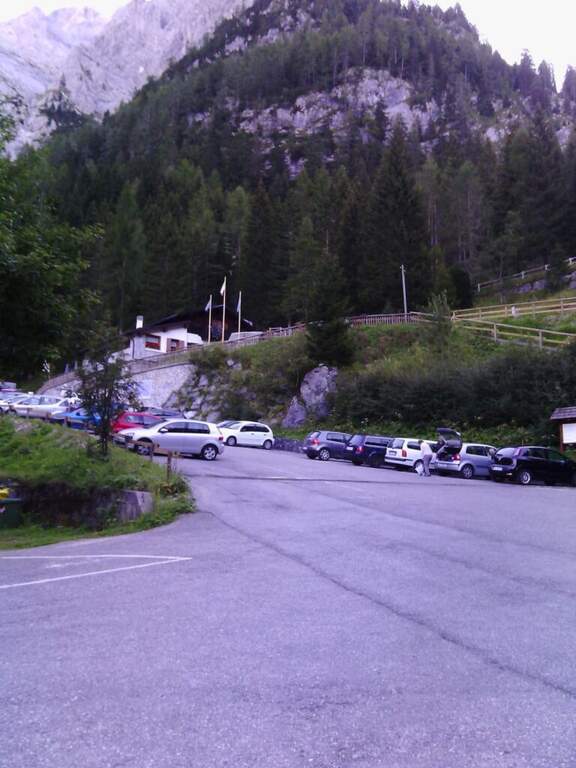
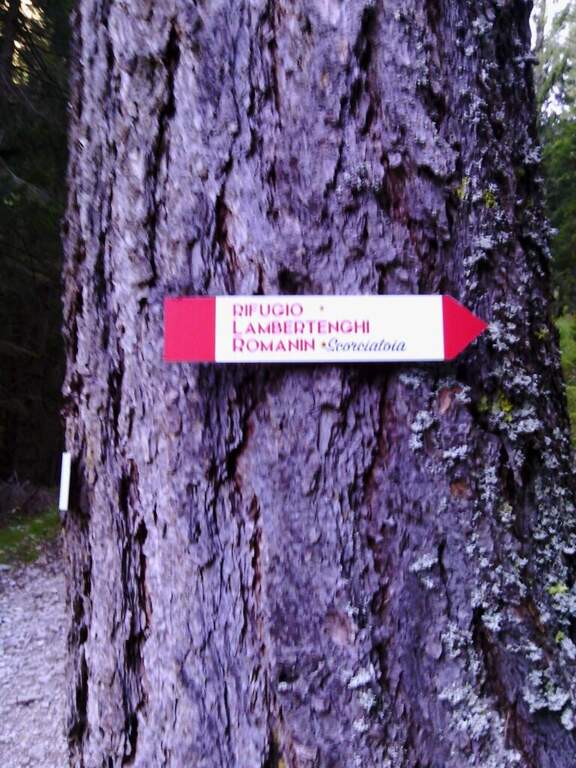
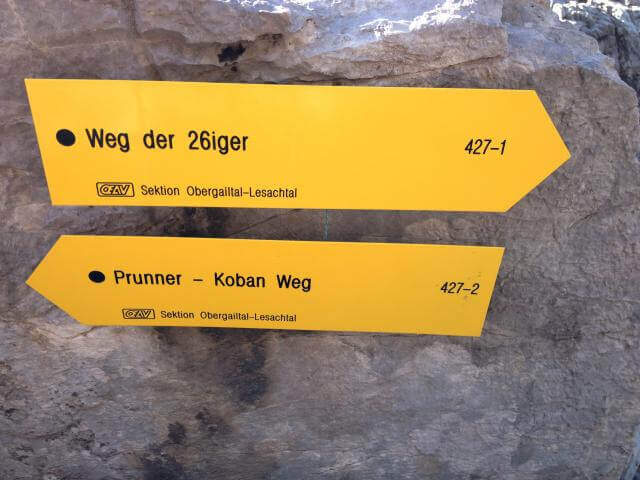
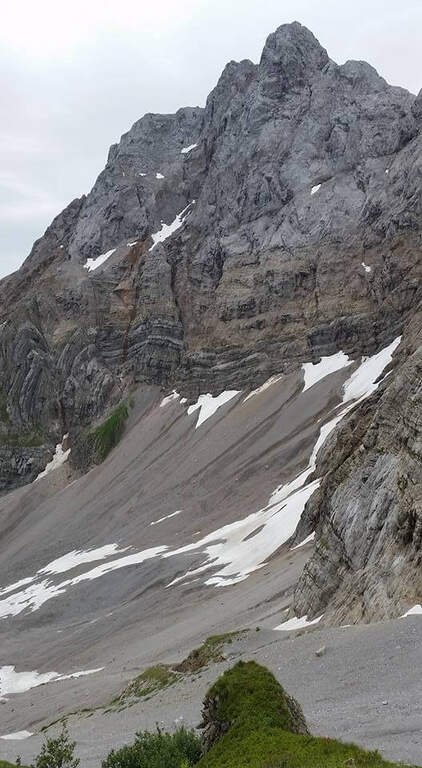
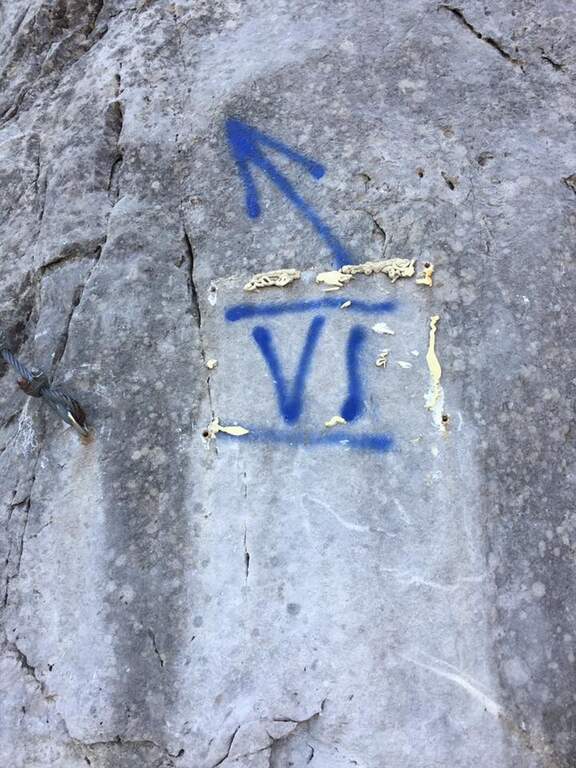
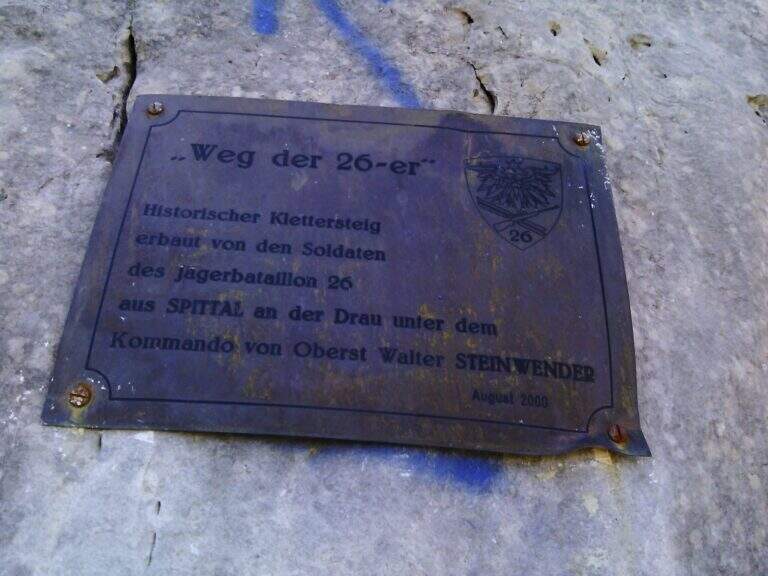
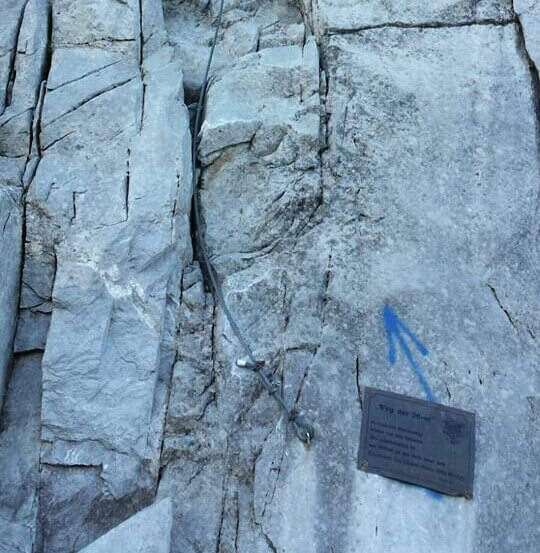
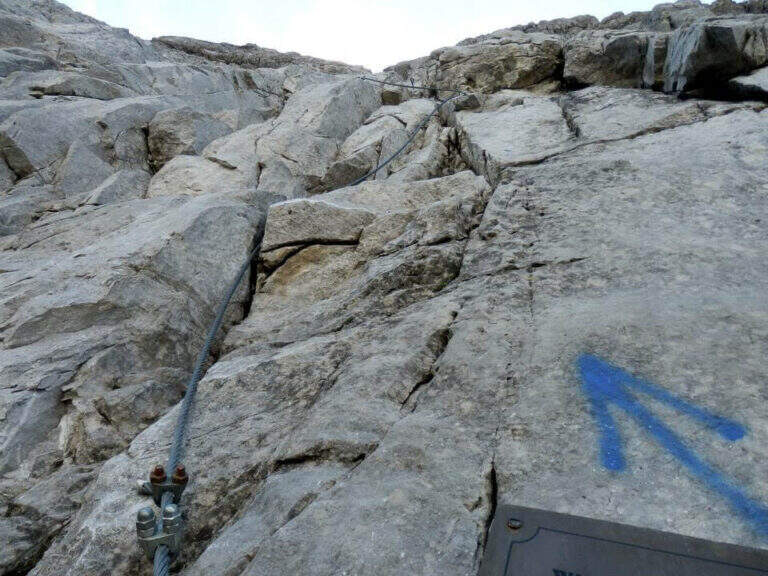
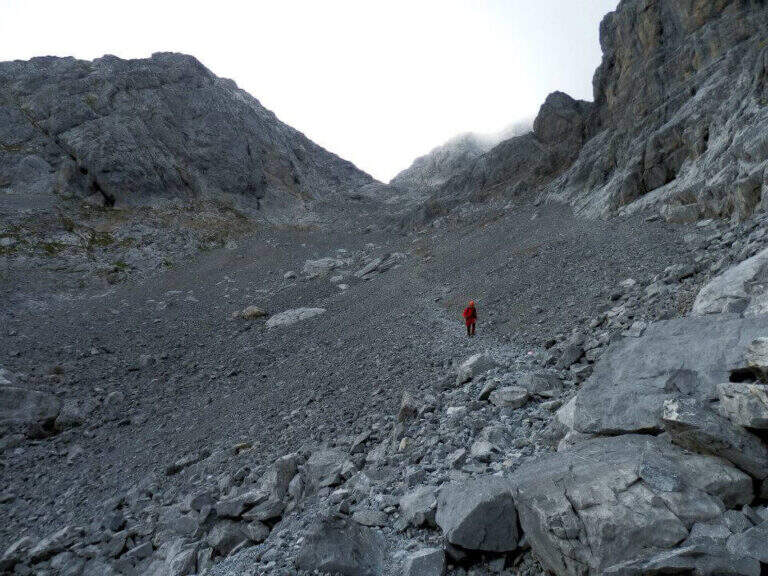
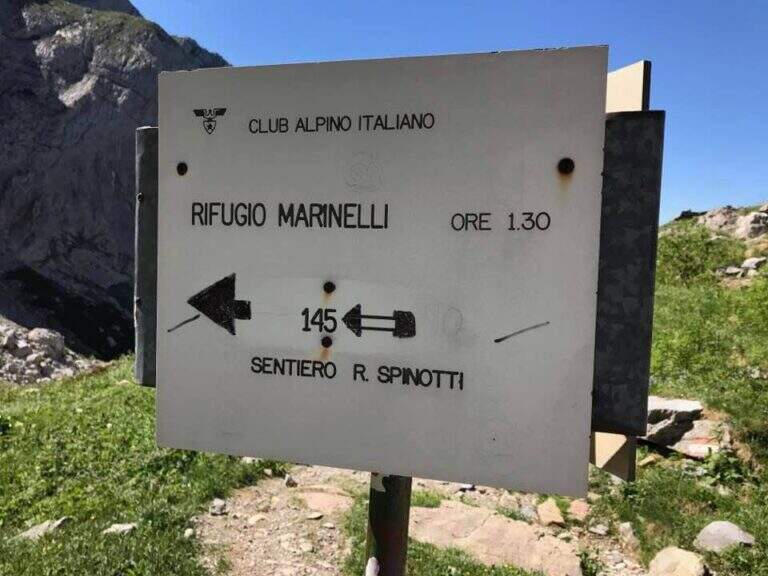
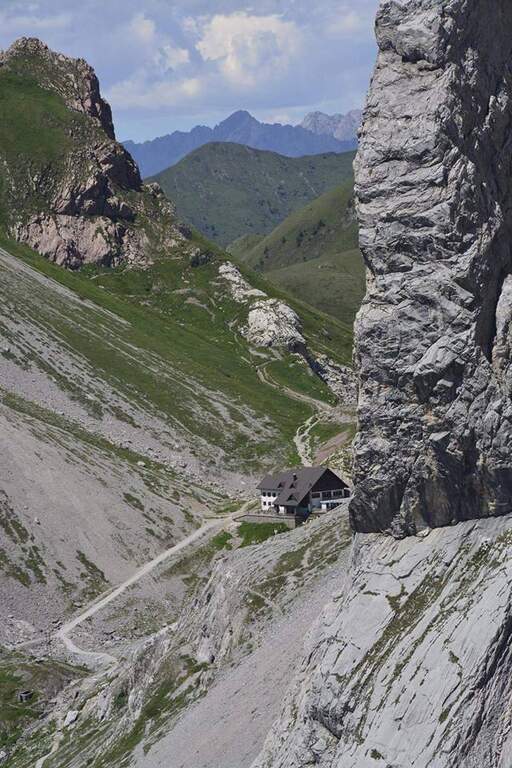
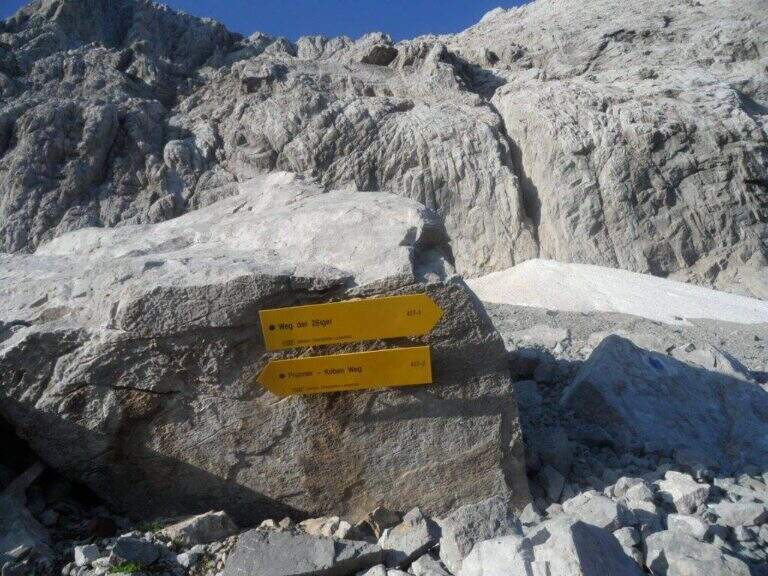
    Si parte dal Rifugio Tolazzi (1350 m), a Collina di Forni Avoltri (Udine), vicinissimo al confine austriaco. Open road signs on Google Maps. Si sale per il Sentiero dei Cramars (segnavia 144) verso il Rifugio Lambertenghi Romanin (1955 m): forestale poi sentiero, ignorando la deviazione a destra per il Sentiero Spinotti (145), usata al rientro (1h 30' dal parcheggio). Dal rifugio si sale al Passo Volaia (1974 m), confine di stato affacciato sul Lago Volaia; si scende leggermente e, tenendo la traccia a destra del lago, ci si immette sul sentiero 403 in salita verso est. Su pietraia si punta alla forcella del Valentintörl seguendo i segnavia austriaci «Weg der 26er» (427): attenzione al bivio poco segnalato, dove si taglia a destra verso una sella (2147 m) lasciando la forcella sulla sinistra. Si piega a sud (427-1, radi bolli blu) fino a una parete di una cinquantina di metri — non la ferrata vera e propria, ma il preludio — che si sale e si scende sul versante opposto, sul ghiaione (eventualmente innevato) sotto la parete nord. A un bivio segnalato si ignora la traccia a sinistra (nuova ferrata 427-2) e si raggiunge l'attacco, indicato da una freccia blu e una targhetta (2276 m, 2h 30' totali).

    ▲The path

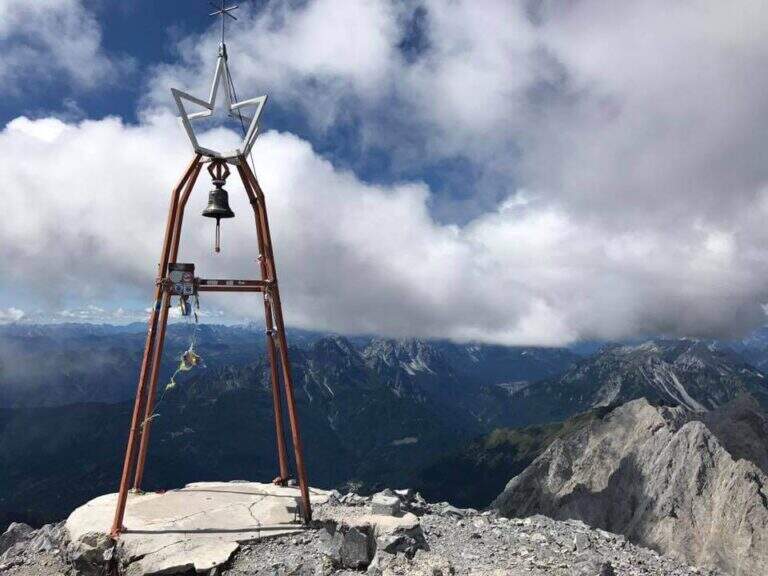
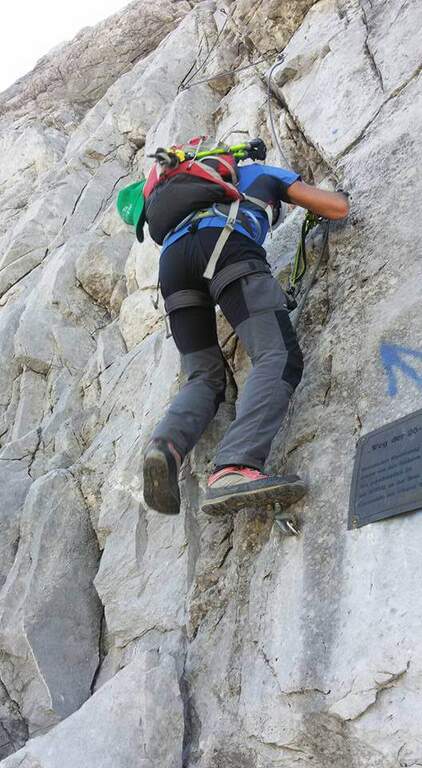
    La via è particolarmente impegnativa nei primi 150 metri: verticale, varia e atletica, con infissi presenti ma non eccessivi. L'attacco su alta parete con canalini dà subito il tono; si guadagnano i primi metri verticali piegando a sinistra in un canalino (utile un primo piolo in un passaggio strapiombante), poi si aggira a sinistra un primo tetto con traverso diagonale impegnativo fino a un terrazzino. La parete prosegue verticale fino a un secondo tetto, aggirato con un traverso orizzontale su pioli, molto aereo. Si entra in un canalino e si arriva al passaggio probabilmente più impegnativo: un terzo tetto aggirato con un lungo traverso a sinistra su placca levigata e spesso umida, in aderenza, con un paio di trazioni per uscirne. Si sale ancora verticali fino a un terrazzino, poi passaggi di media difficoltà e un ulteriore traverso simile ai precedenti, fino al termine momentaneo delle attrezzature e della prima difficile sezione. Su ghiaia si raggiunge la seconda parte attrezzata: roccette verticali ma gradonate e passaggi appoggiati arrampicabili (roccia meno levigata, più appigli, ma ghiaino da non smuovere), fino a un ultimo canalino esposto che porta alla cresta spartiacque e confine di stato (circa 2700 m, 2h dall'attacco). Si percorre la cresta, prima larga poi sul filo, con passaggi esposti ma non difficili, e una sezione finale gradonata e arrampicabile fino alla vetta del Coglians (2780 m, 3h dall'attacco, 5h 30' totali), con croce e campana.

    ▲Character and difficulty

    Storica ferrata costruita nel 2000 dal 26° battaglione austriaco di Spittal (da cui «Weg der 26er»). Ambiente severo, prima sezione molto esposta. Fondamentale dosare le energie per arrivare lucidi ai passaggi chiave, che richiedono forte trazione sul cavo.

    ⚠ La prima sezione è difficile e almeno un paio di passaggi sono da considerarsi «Molto Difficili», soprattutto con roccia bagnata (frequente). Facile imbattersi in nevai nel canalone del Valentintörl e nel ghiaione sotto l'attacco. Oltre il confine si seguono i cartelli austriaci: ricordare i nomi locali (Weg der 26er, Hohe Warte).
    ▲Period and safety

    Piena estate con meteo stabile. Alta montagna di confine: valutare neve nei canaloni e condizioni della roccia. Consigliato spezzare in due giorni con pernottamento in rifugio.

    ▲Discipline

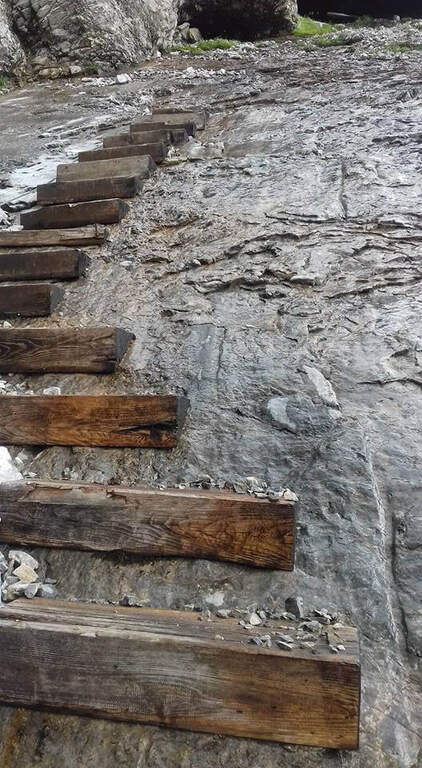
    Dalla campana di vetta si scende per la via normale (segnavia 143), su roccette ben segnate poi ghiaione, fino a un bivio (2330 m, circa 45' dalla vetta) dove si tiene la destra verso il Sentiero Attrezzato Spinotti (145). Lo Spinotti ha tratti attrezzati: un curioso tratto su placca con gradini di legno, una cengia e un camino che si scende su scala metallica e poi su fune lungo l'esposta parete esterna, fino a rientrare al Rifugio Lambertenghi Romanin (2h 30' dalla vetta). Si riprende il sentiero dell'avvicinamento fino al Rifugio Tolazzi (3h 30' dalla vetta, 9h totali).

    ▲To match

    Sulle Alpi Carniche: a est la Ferrata Chiadenis; più a sud la Ferrata 50 del Clap, la Ferrata Cassiopea e, verso Tolmezzo, la Ferrata Farina del Diavolo.

    ▲Gallery
    Technical data
    • DifficultyHard
    • RegionFriuli-Venezia Giulia
    • GroupAlps Carnia
    • Approach2:30 h
    • Ferrata50
    • Itinerary (a/r)9:00 h
    • Hardware level difference530 m
    • Route difference1430 m
    • Max2780 m
    • Length10,3 Km
Need help? Write to us!