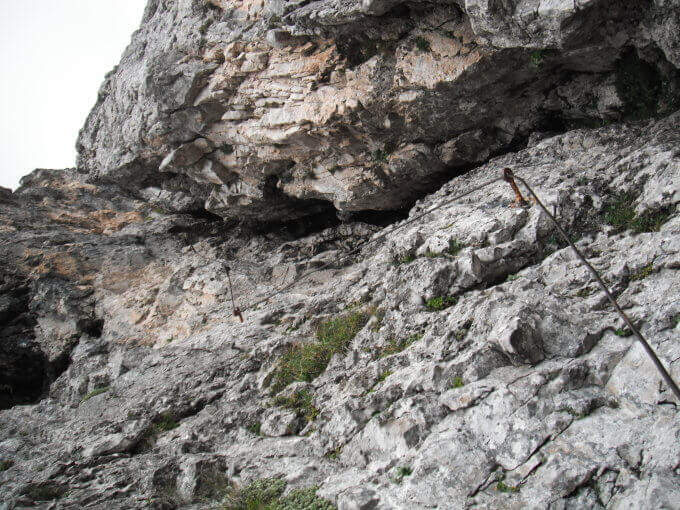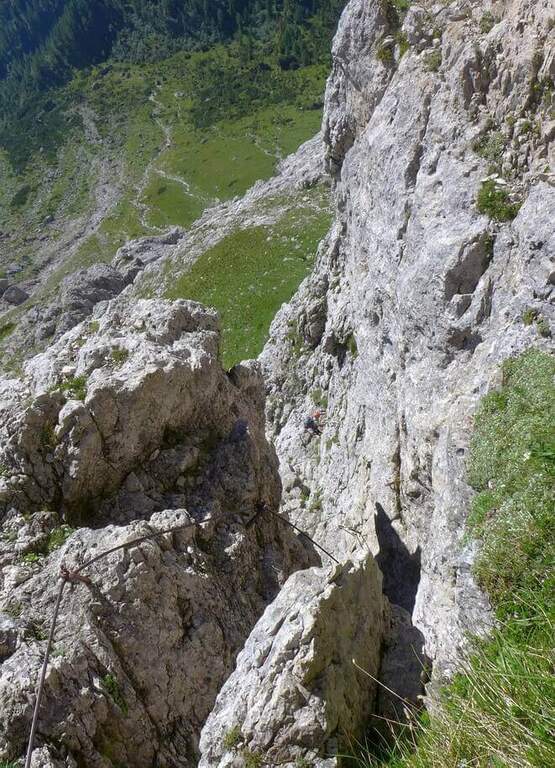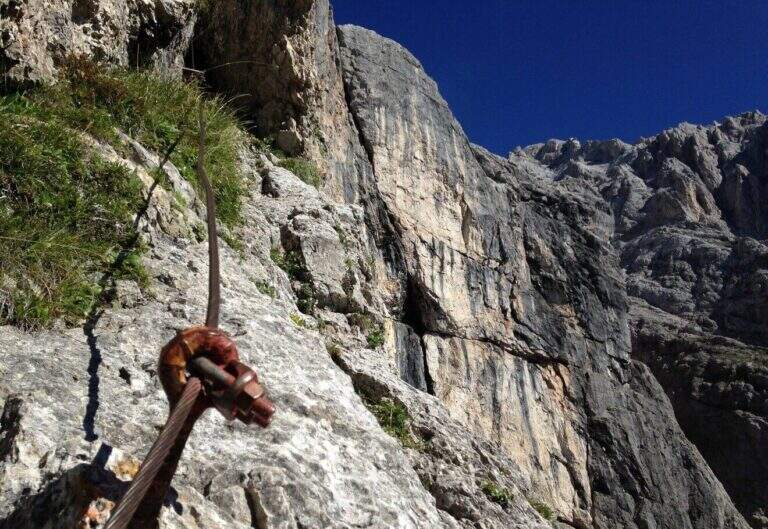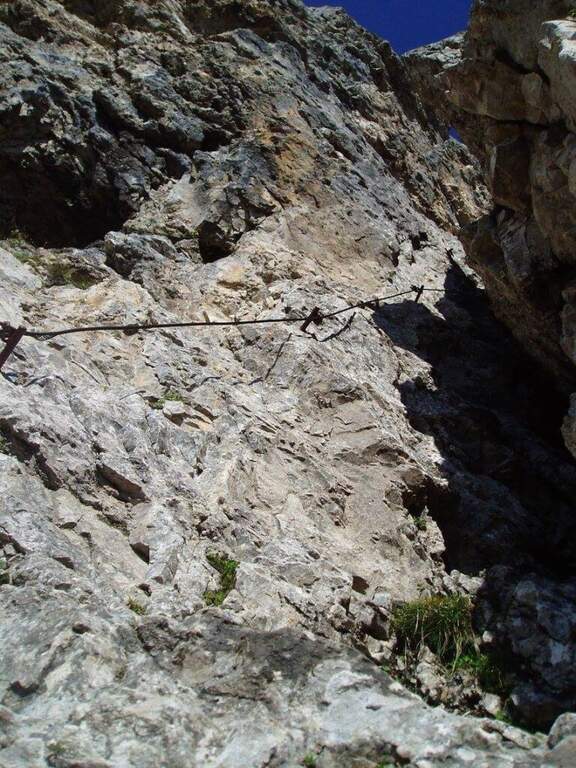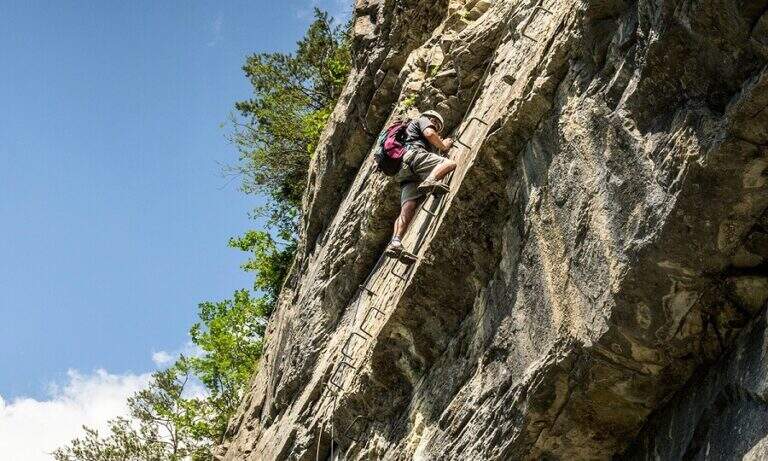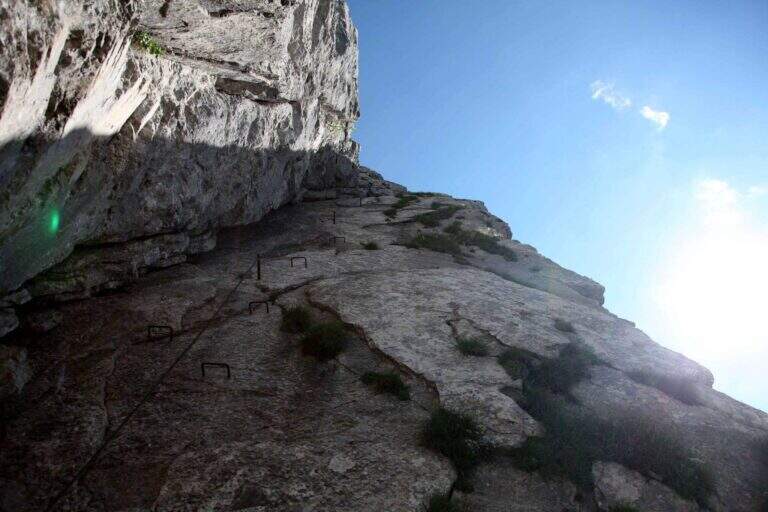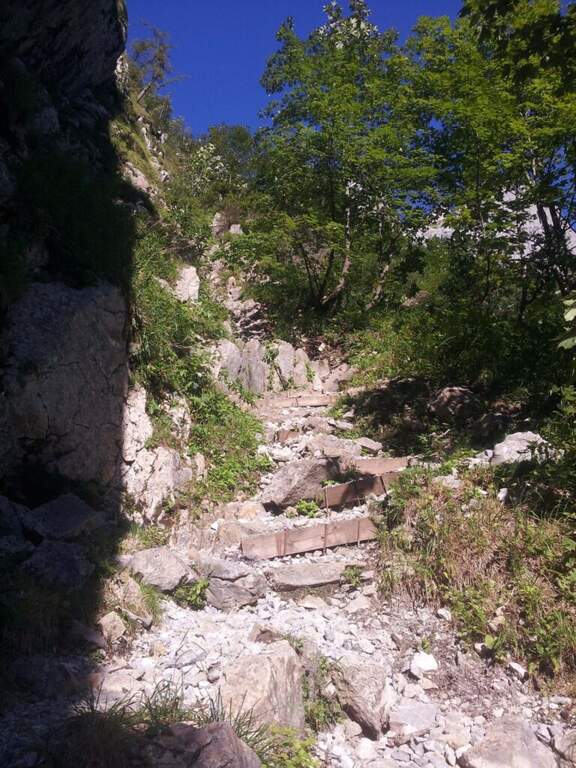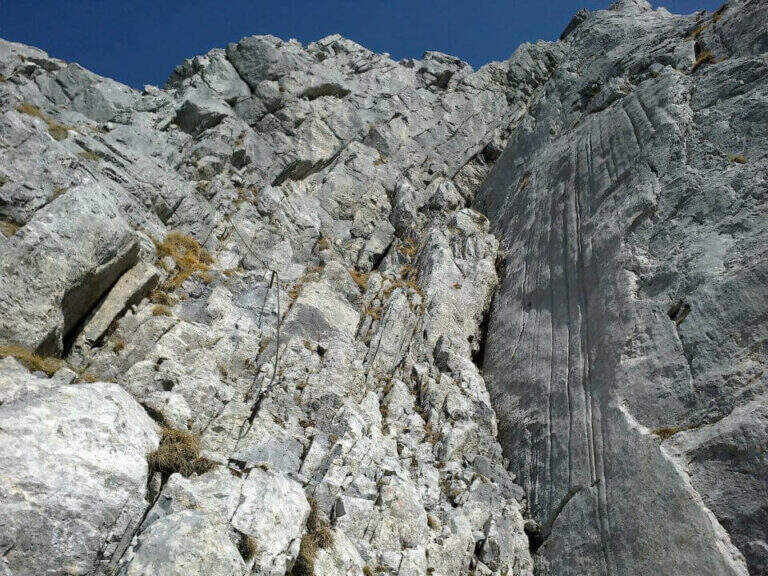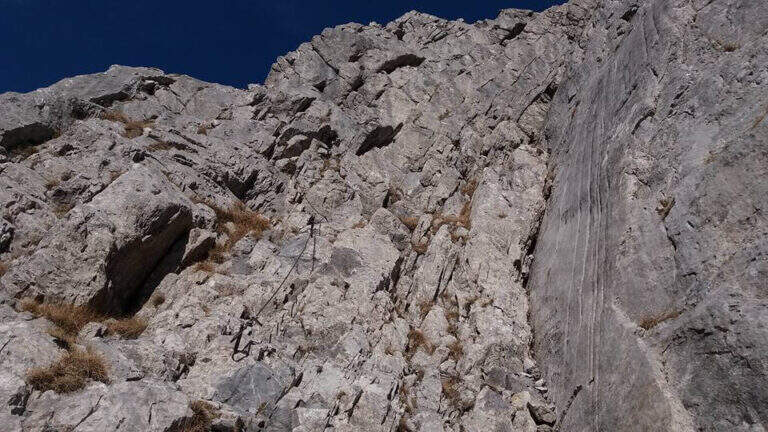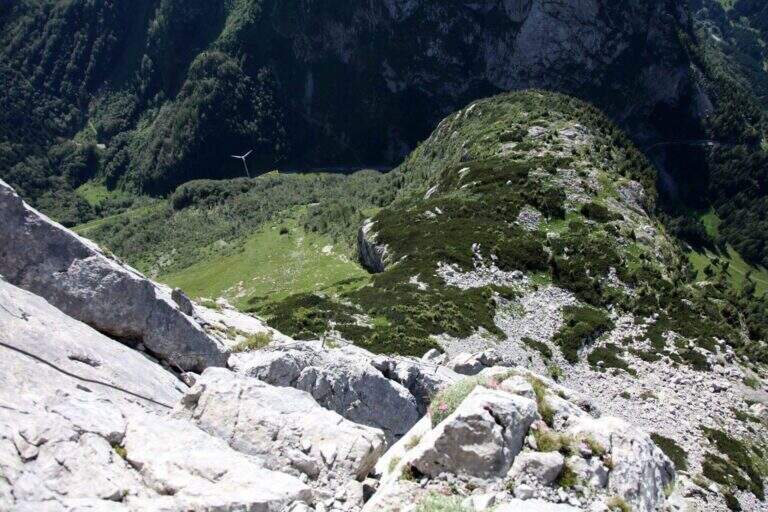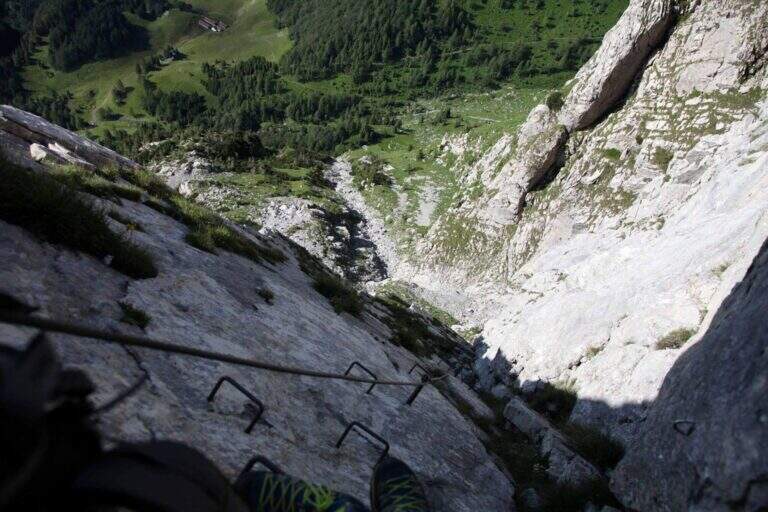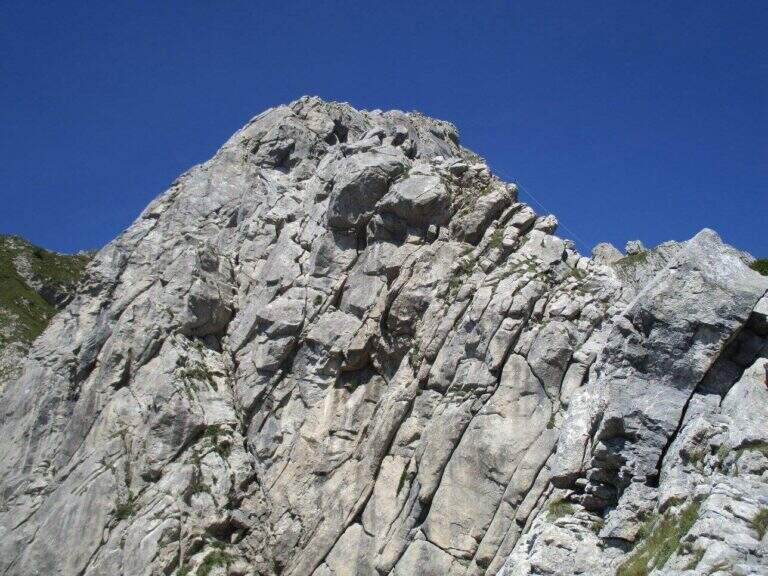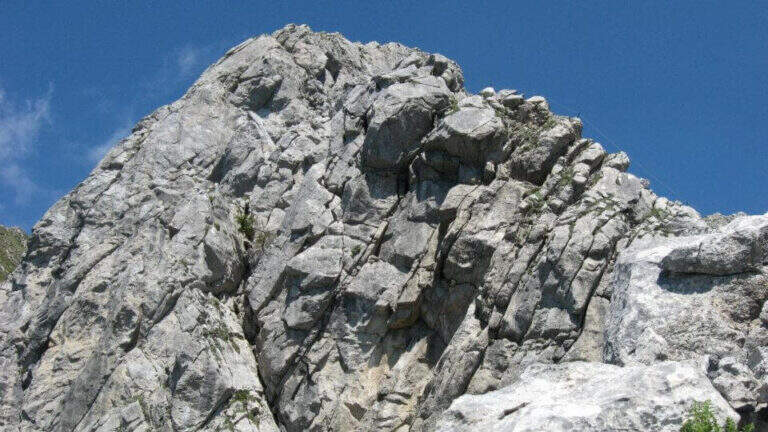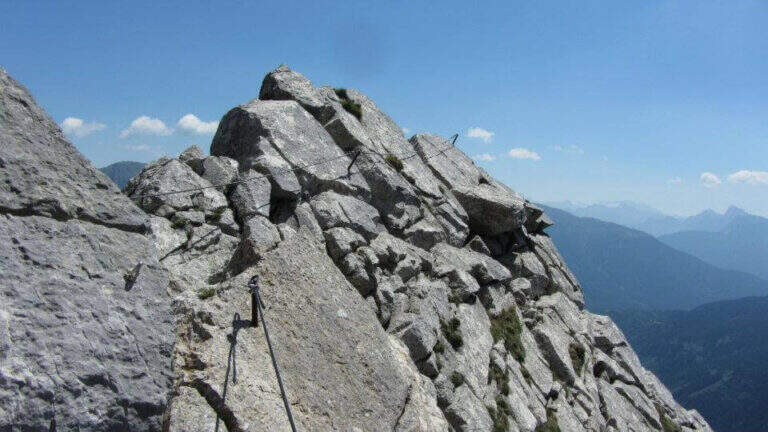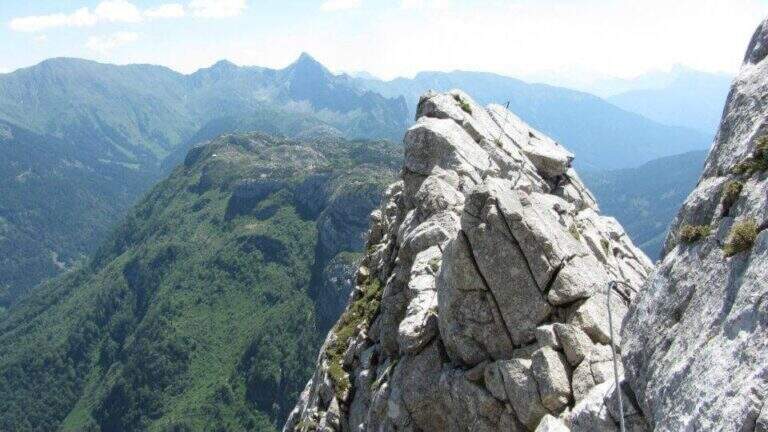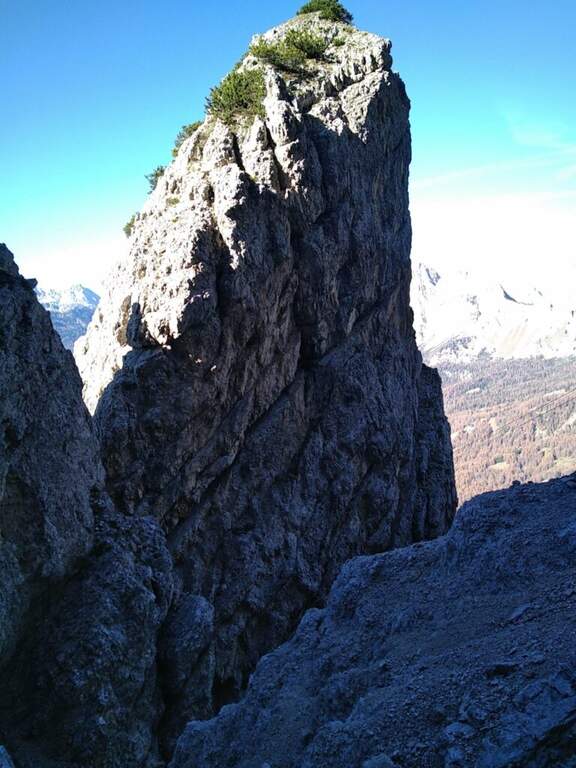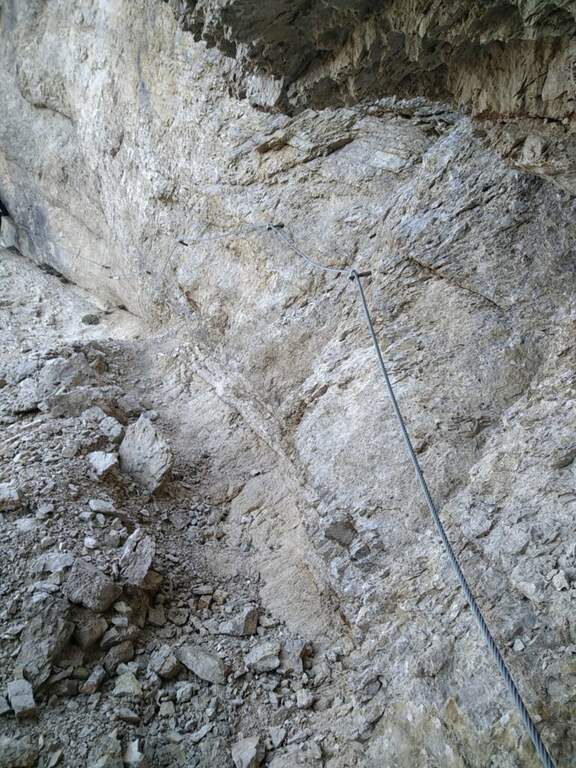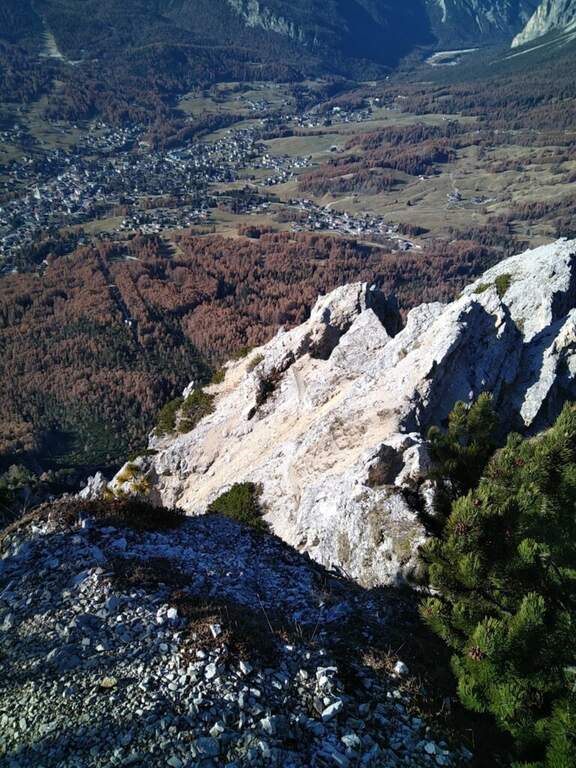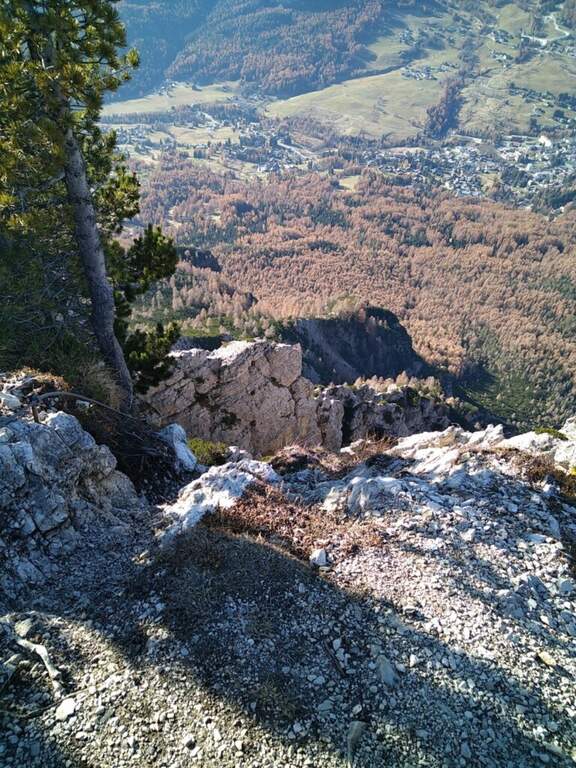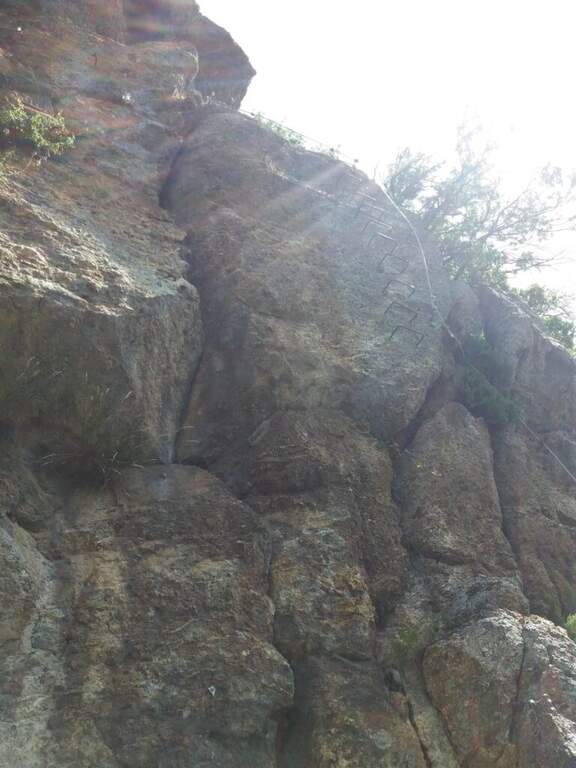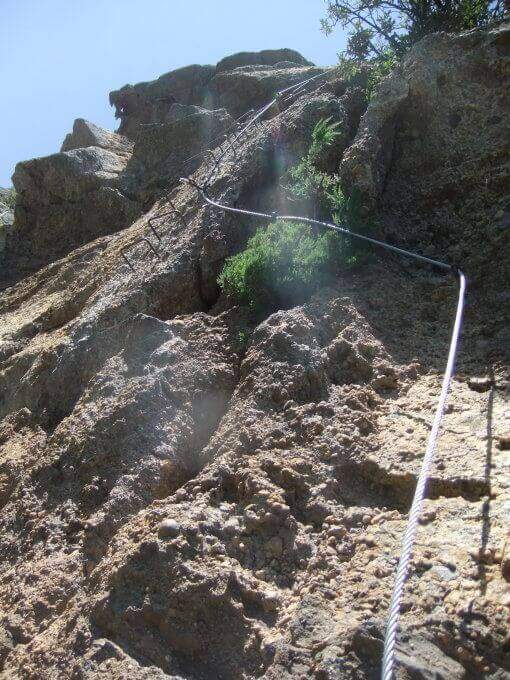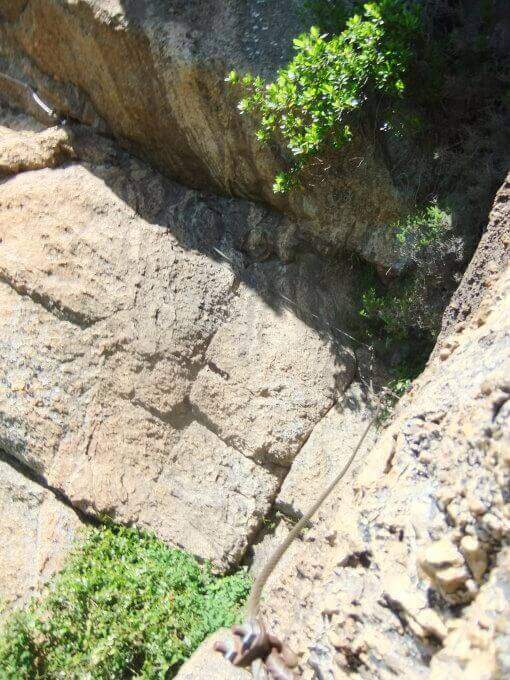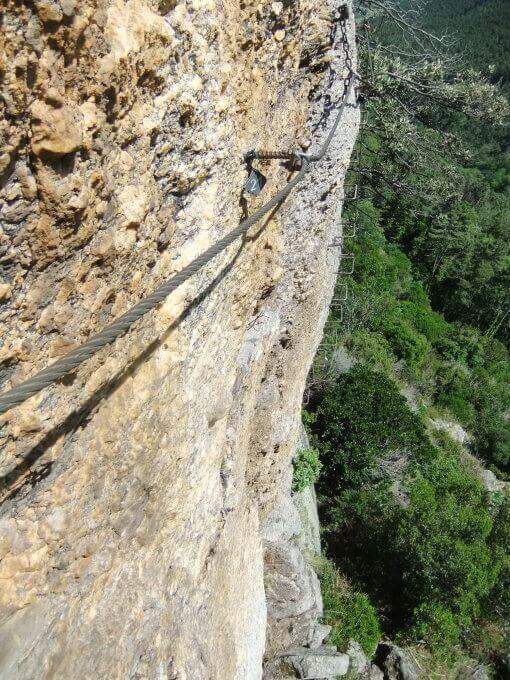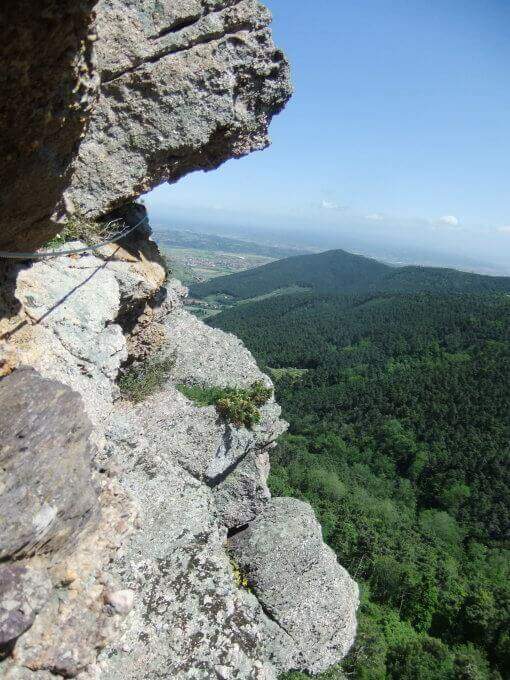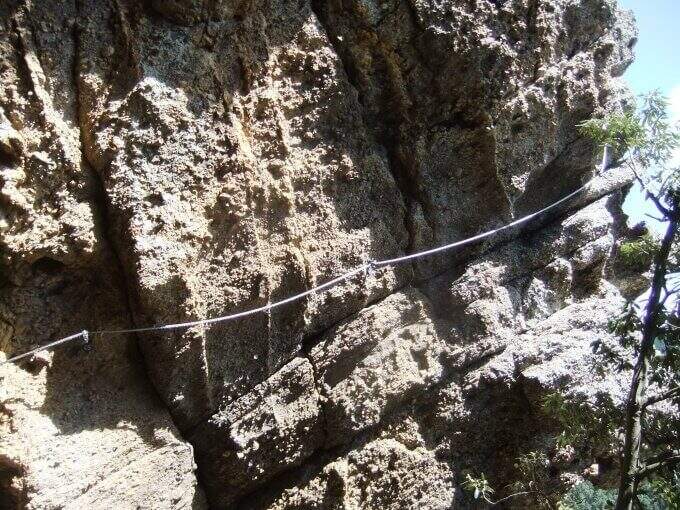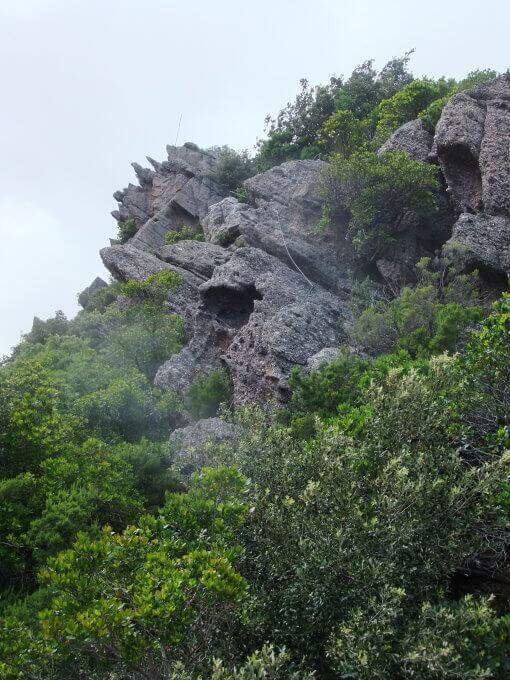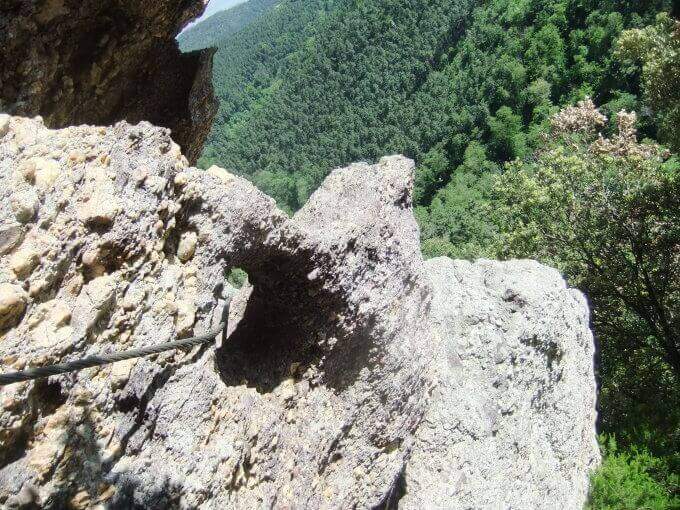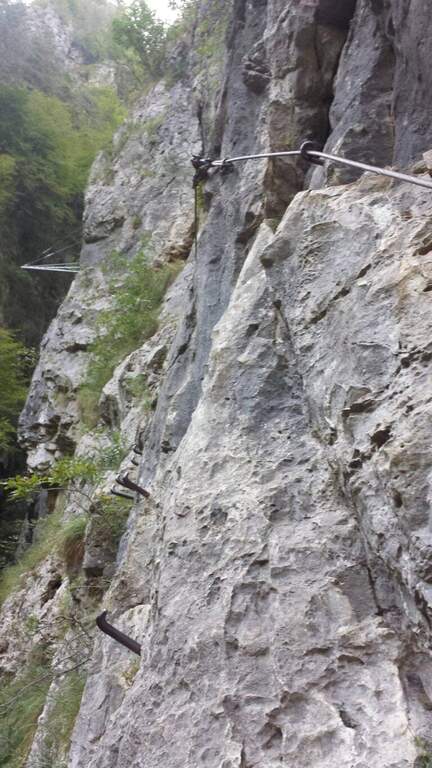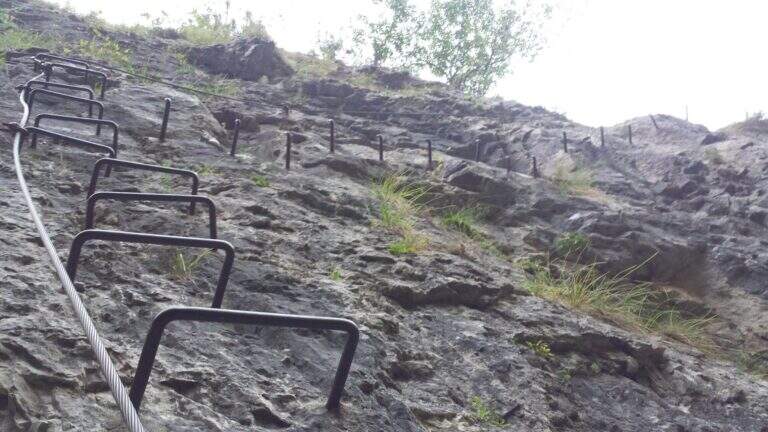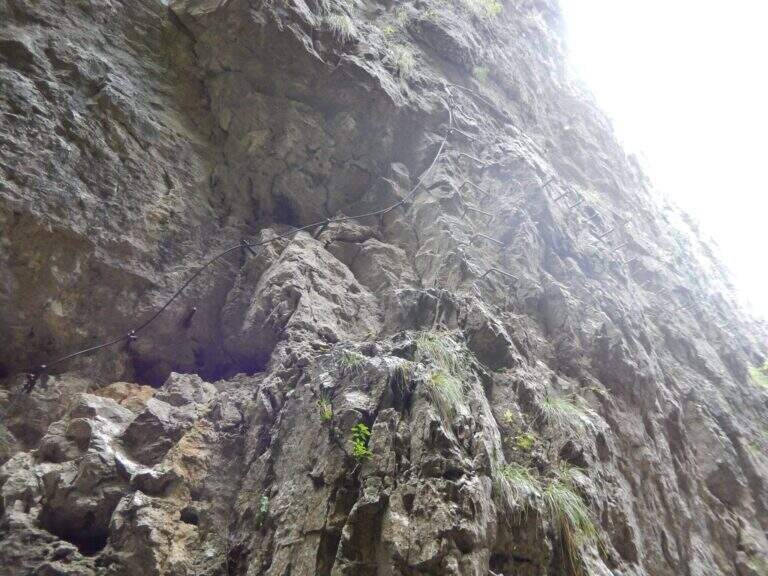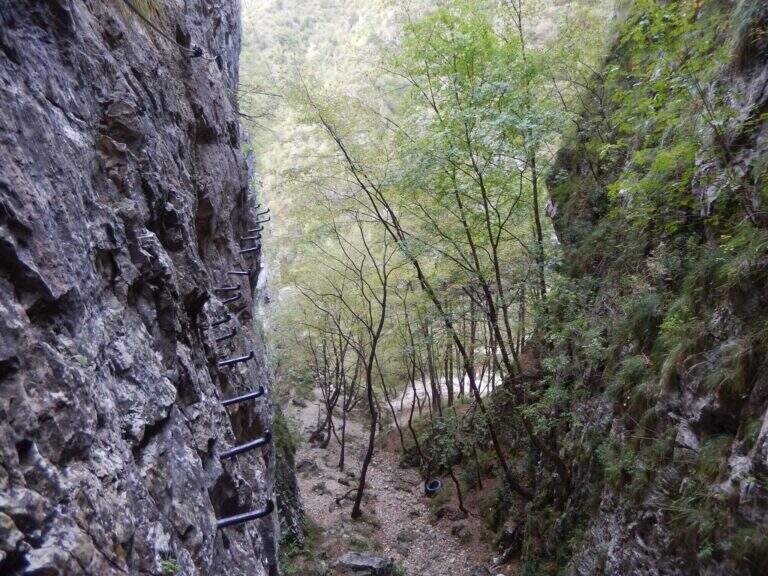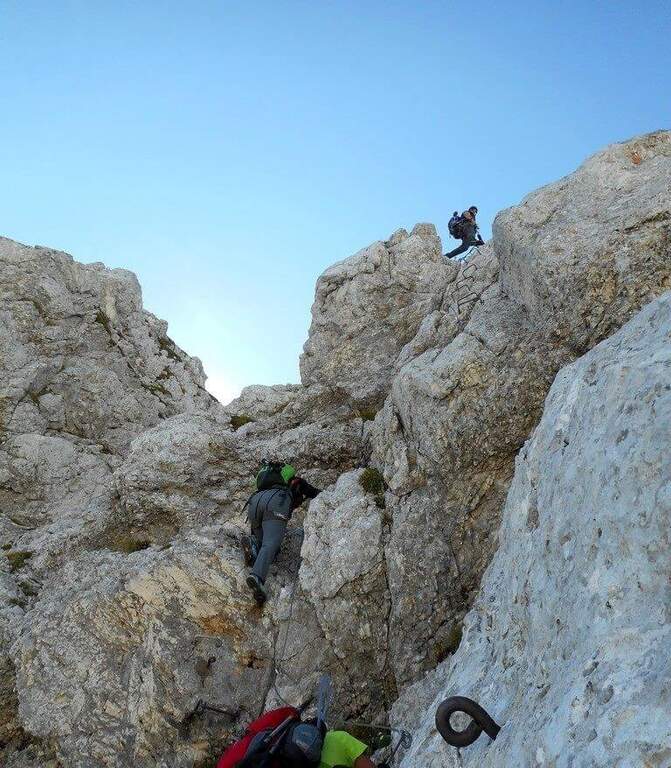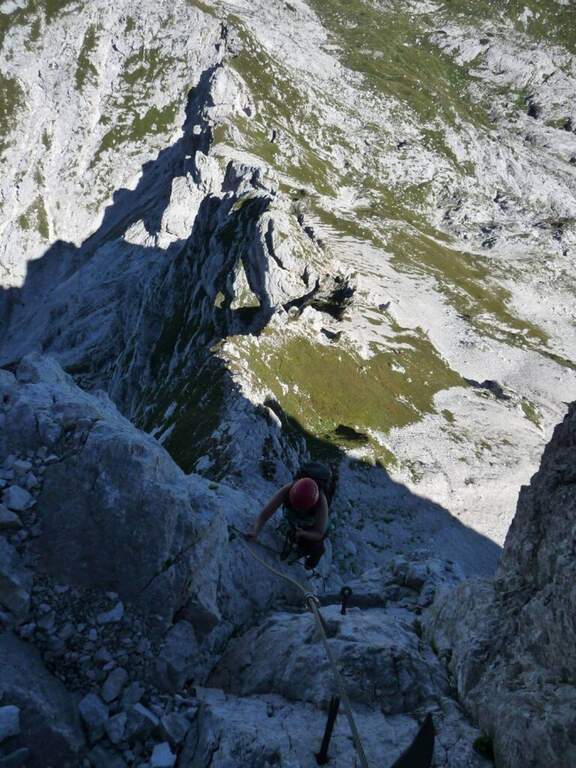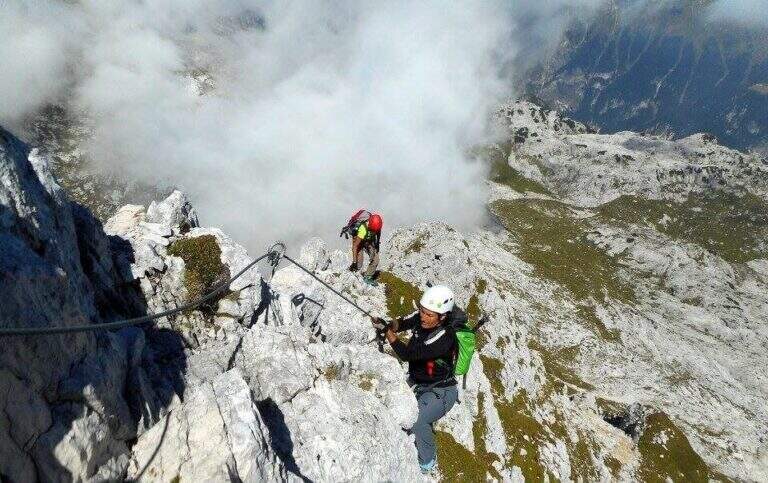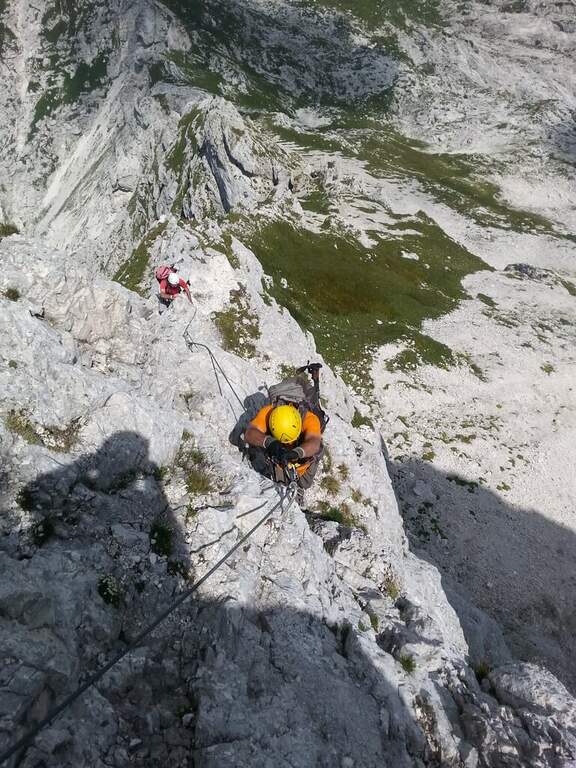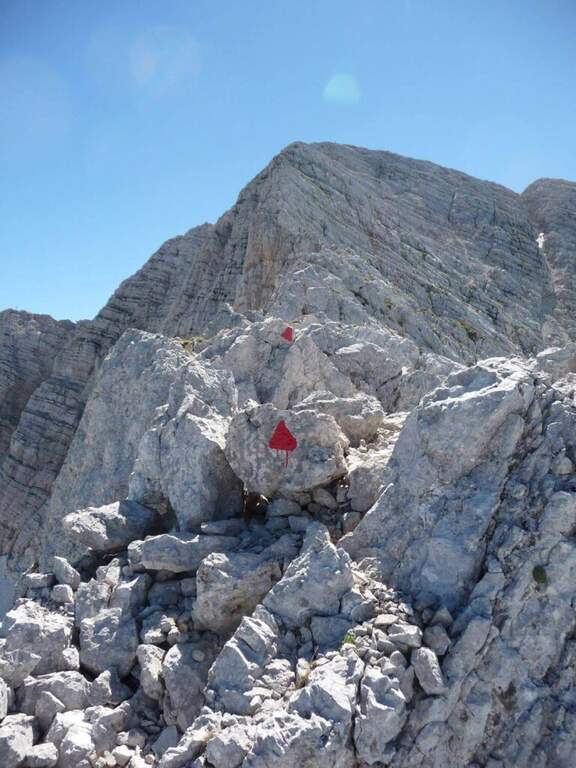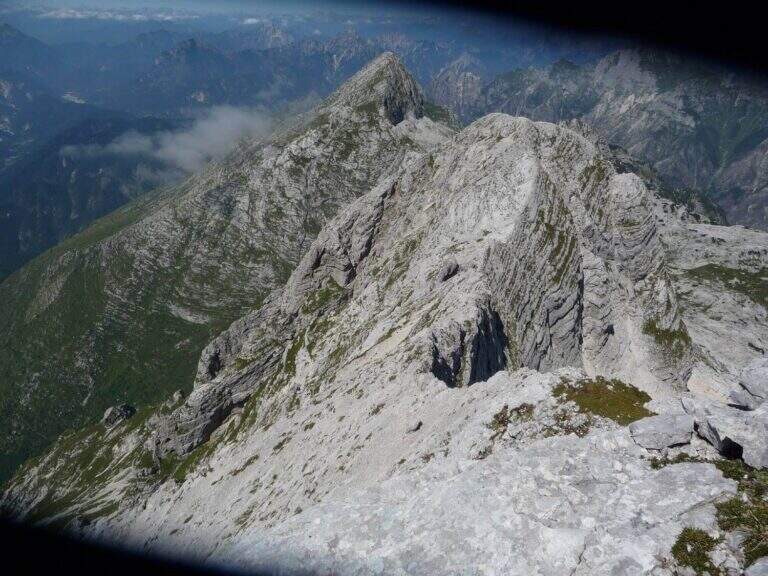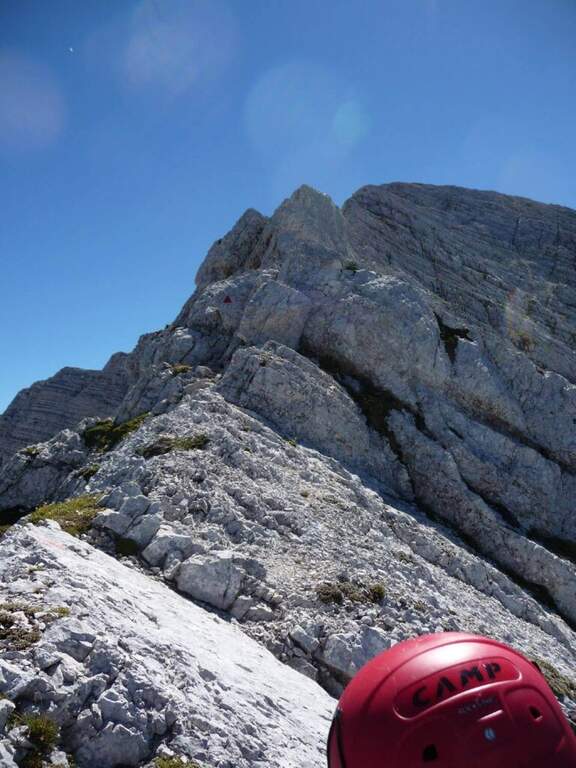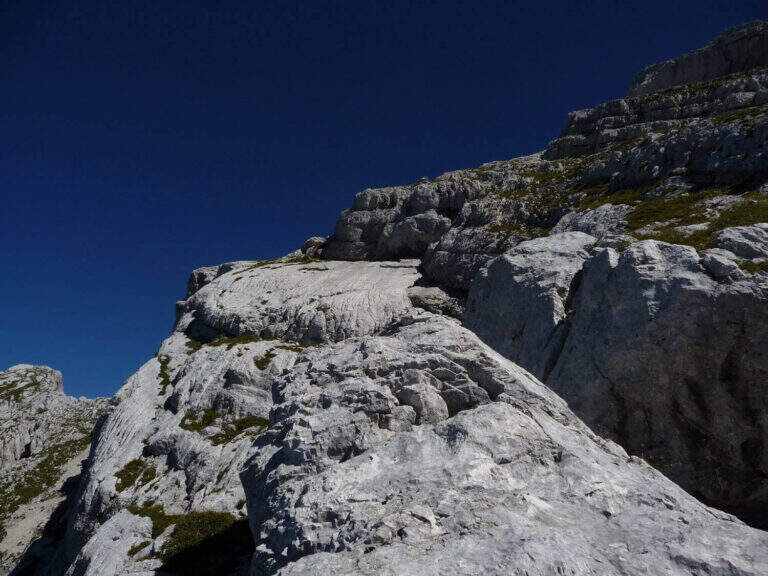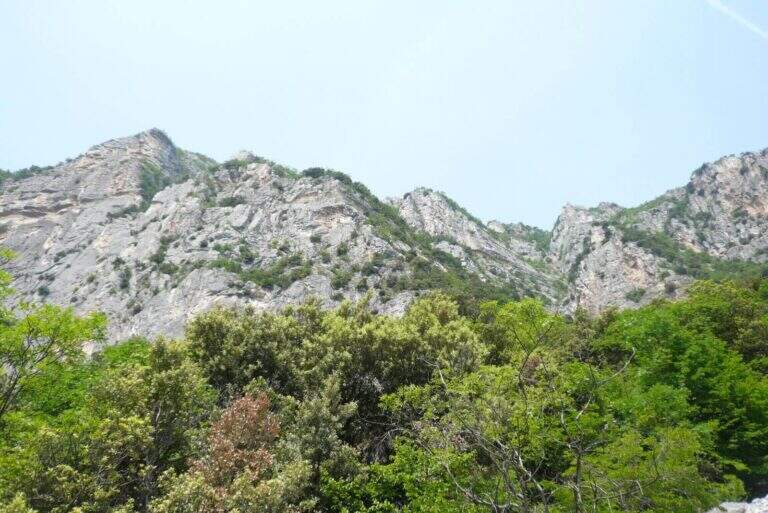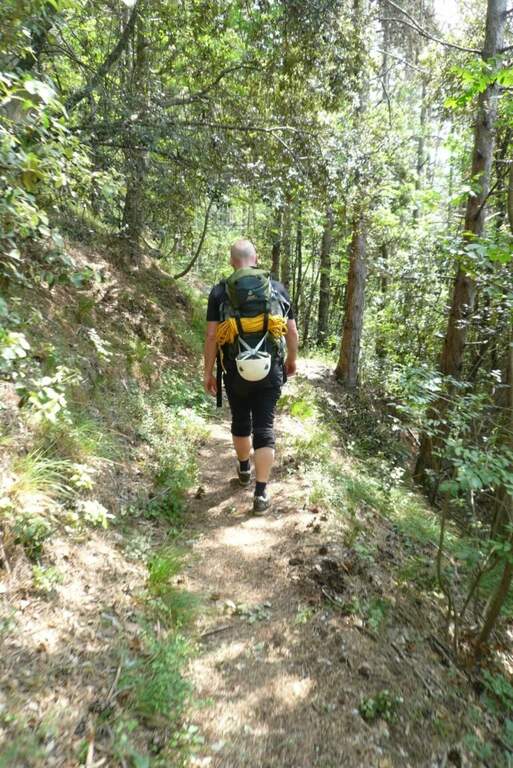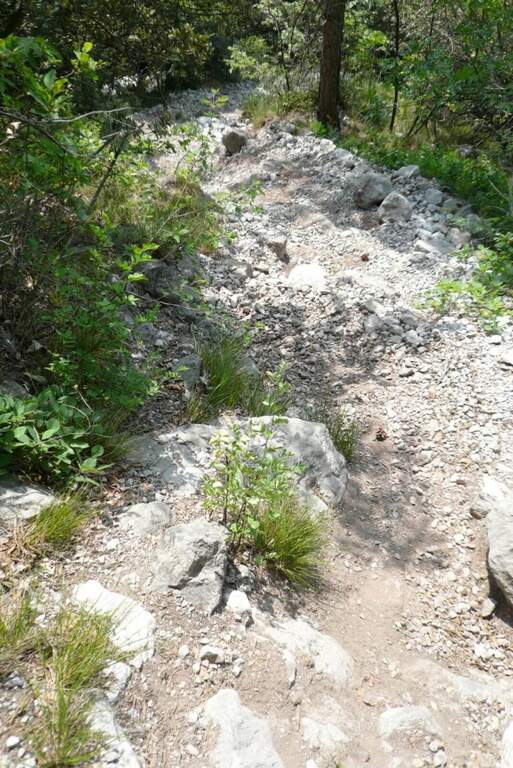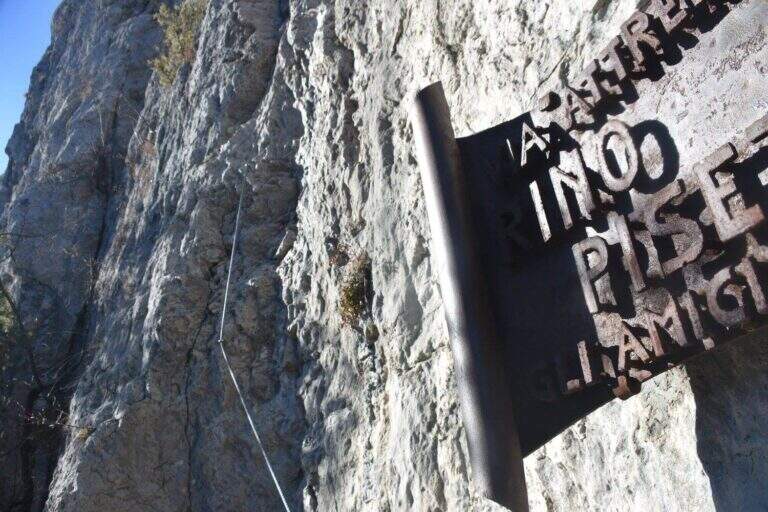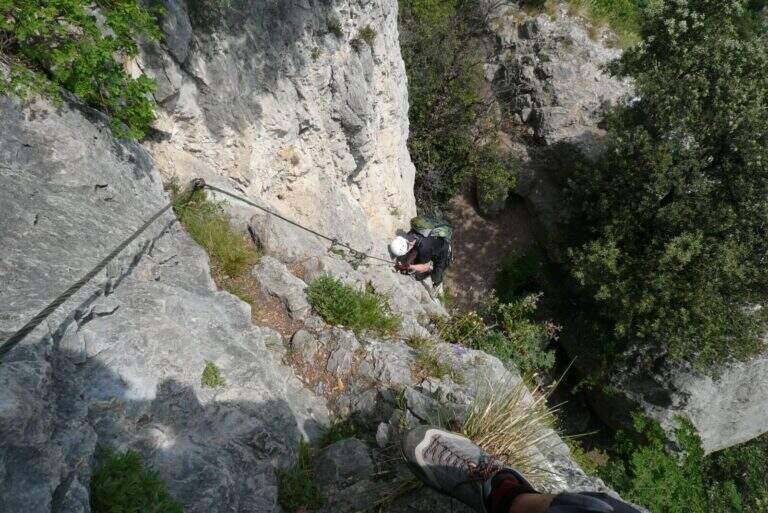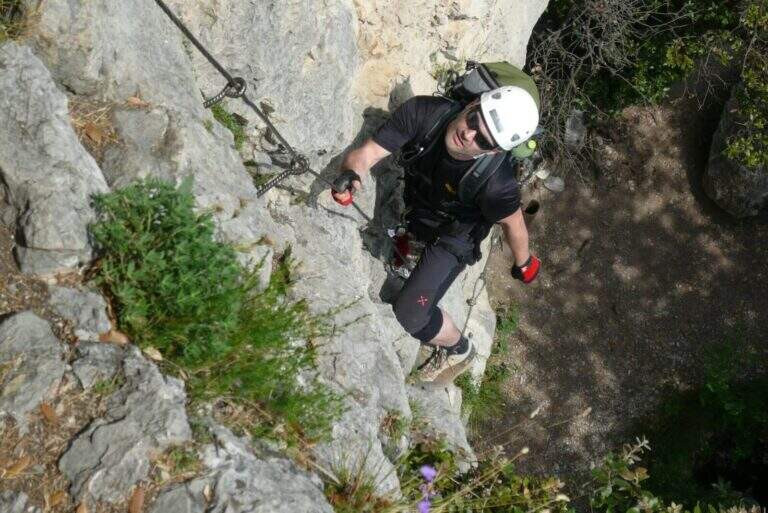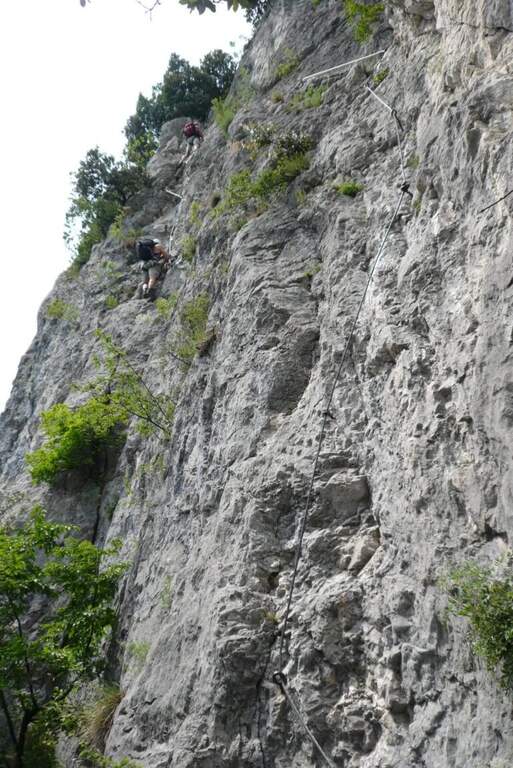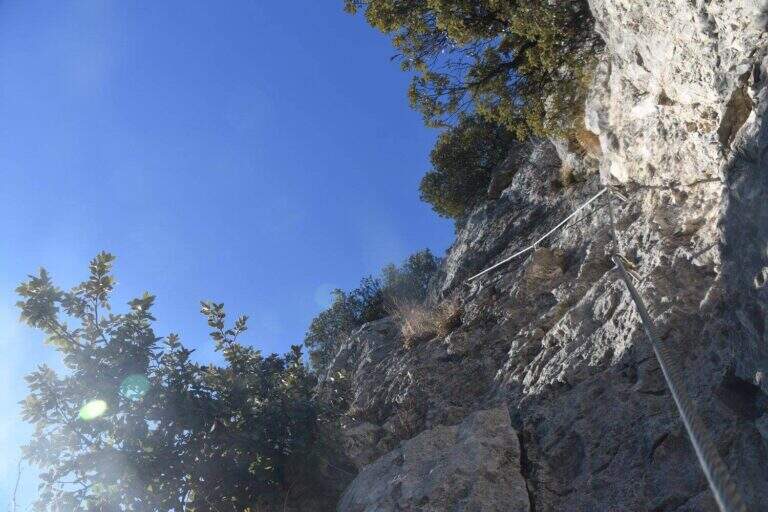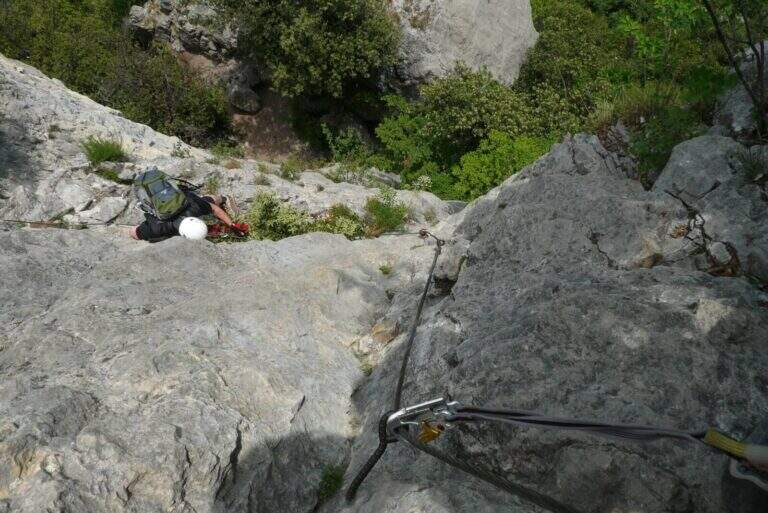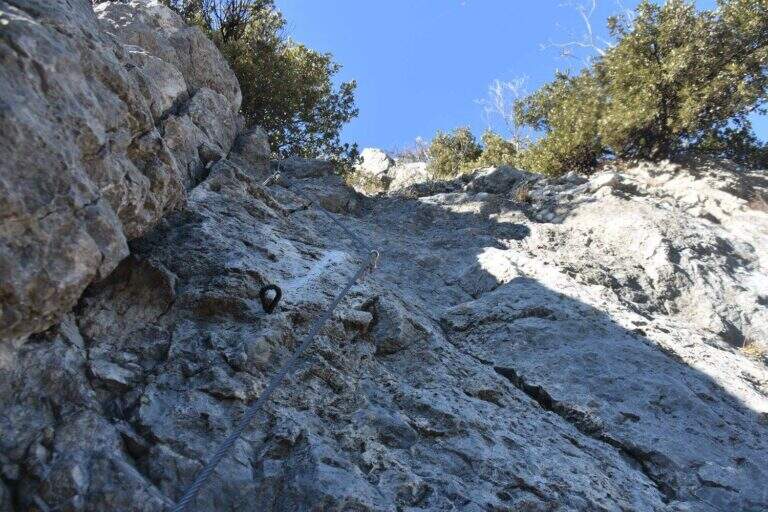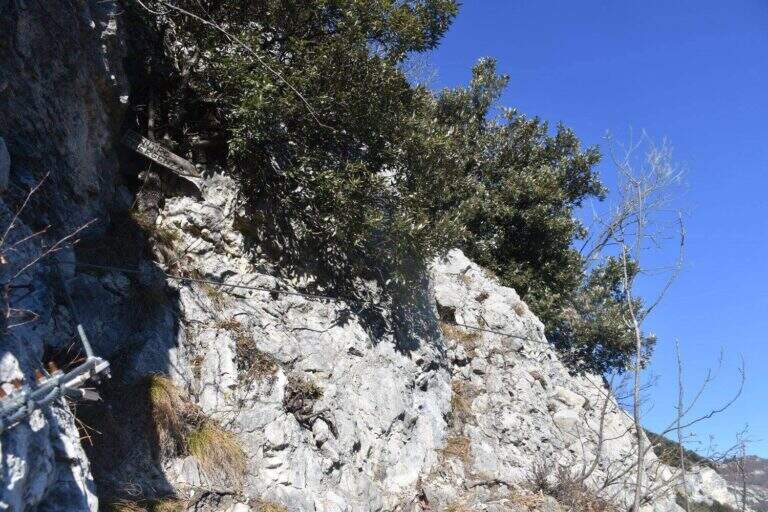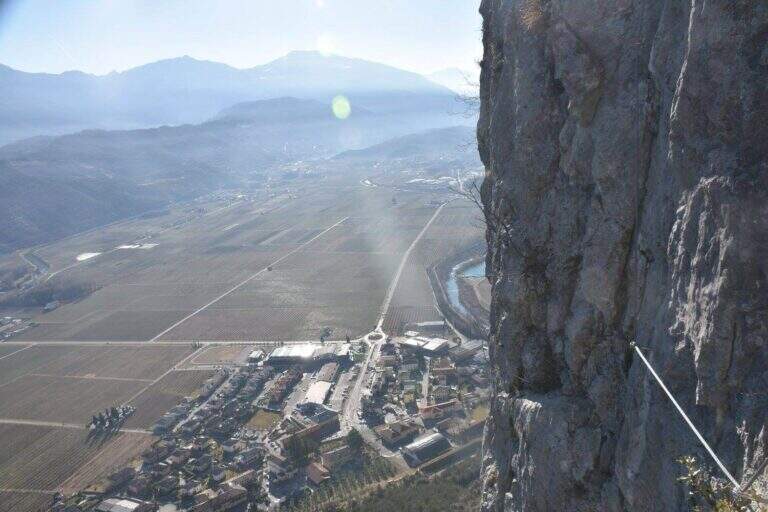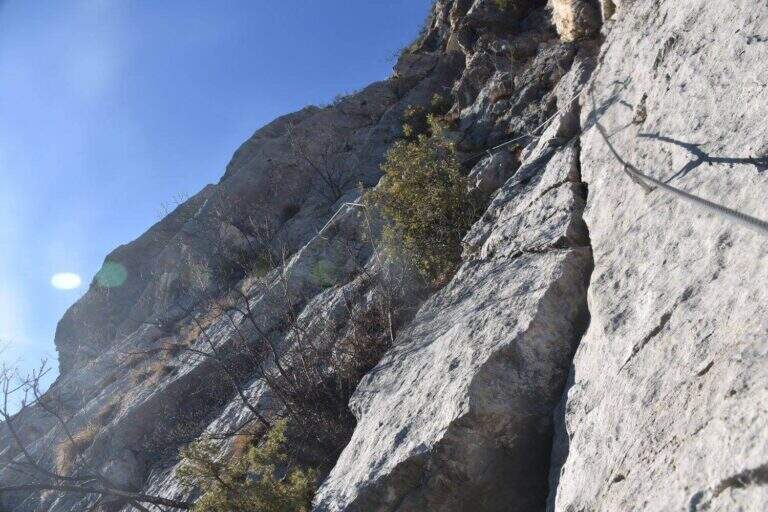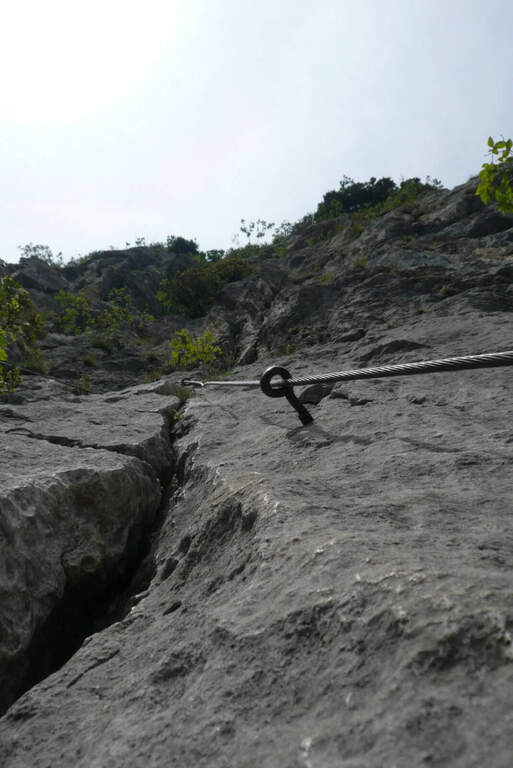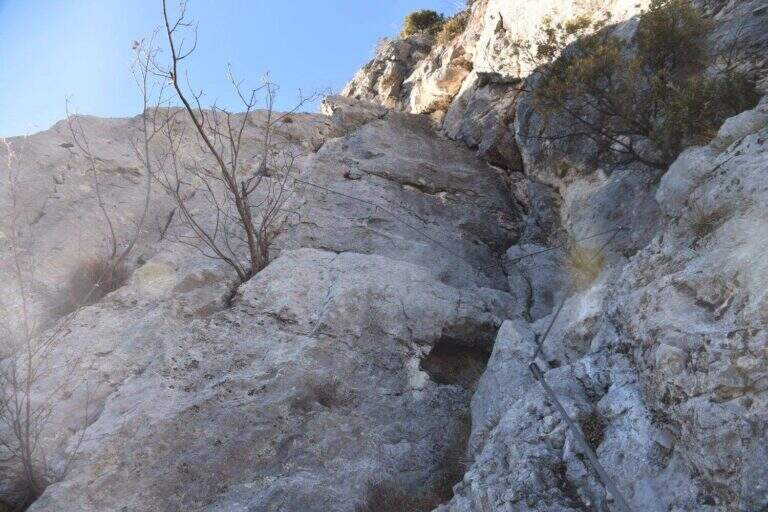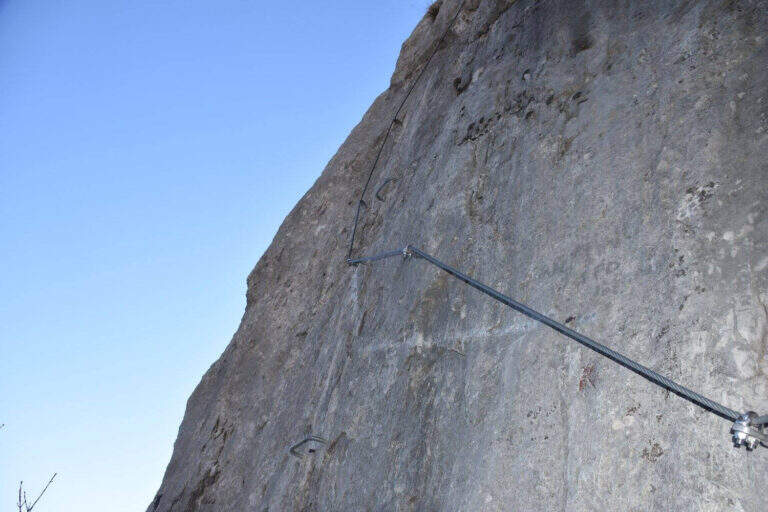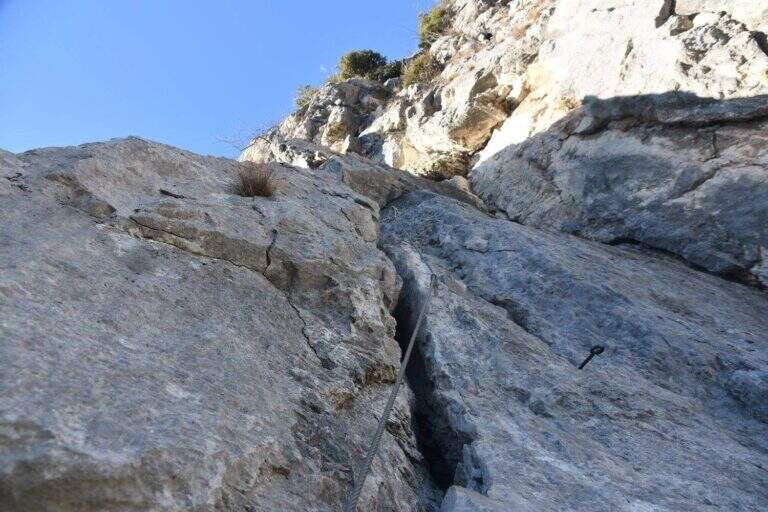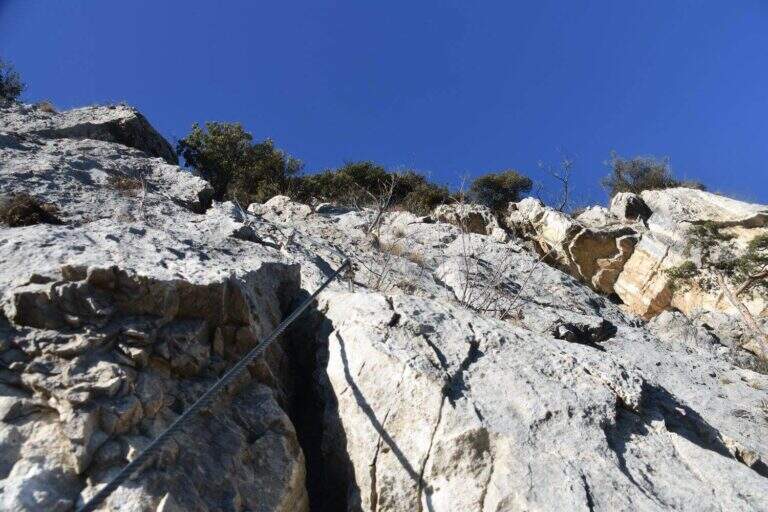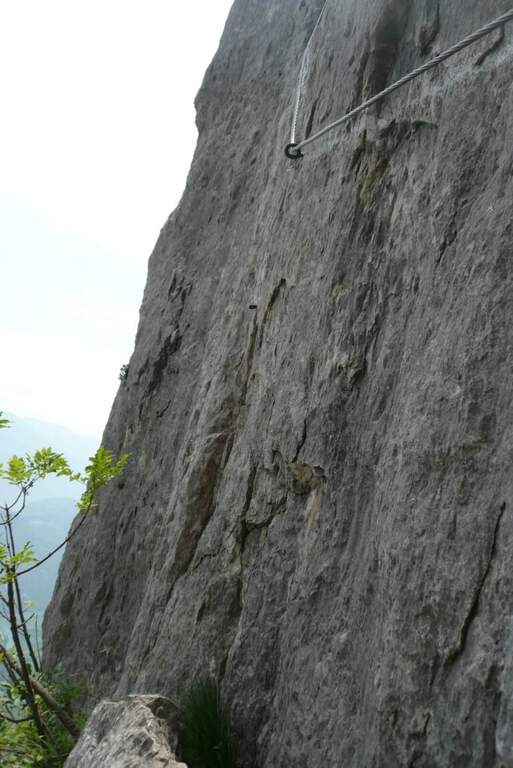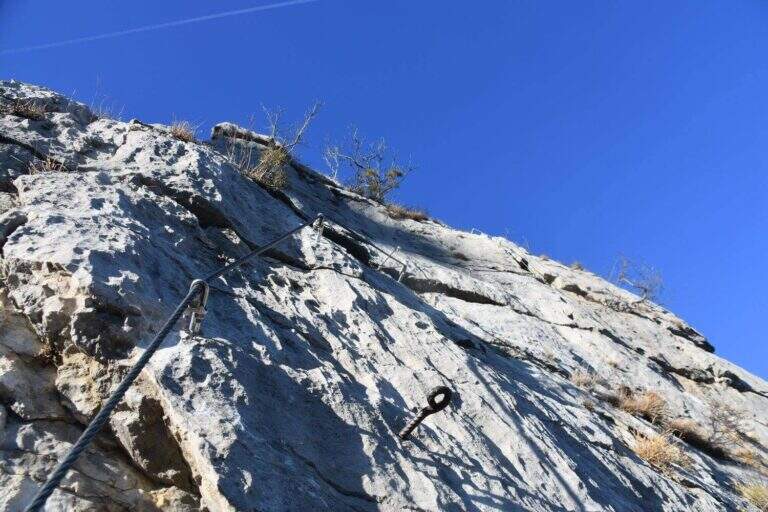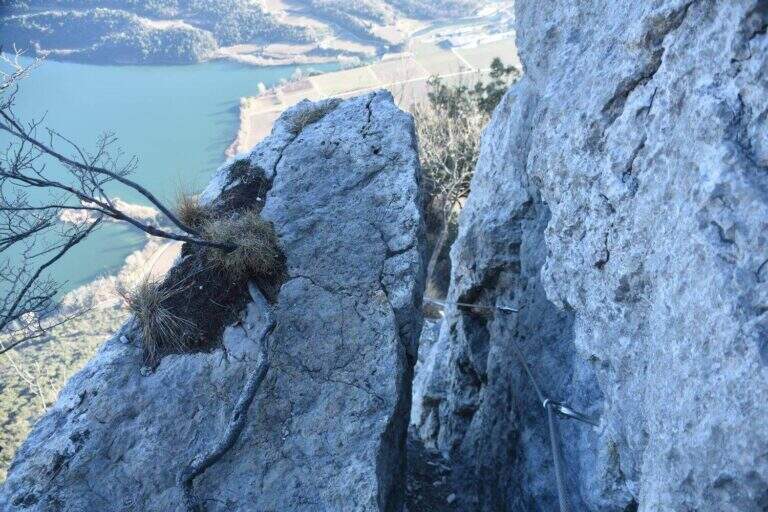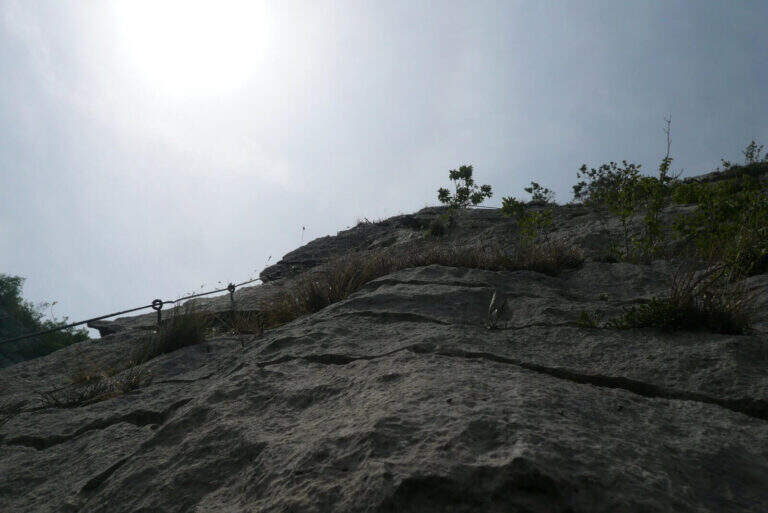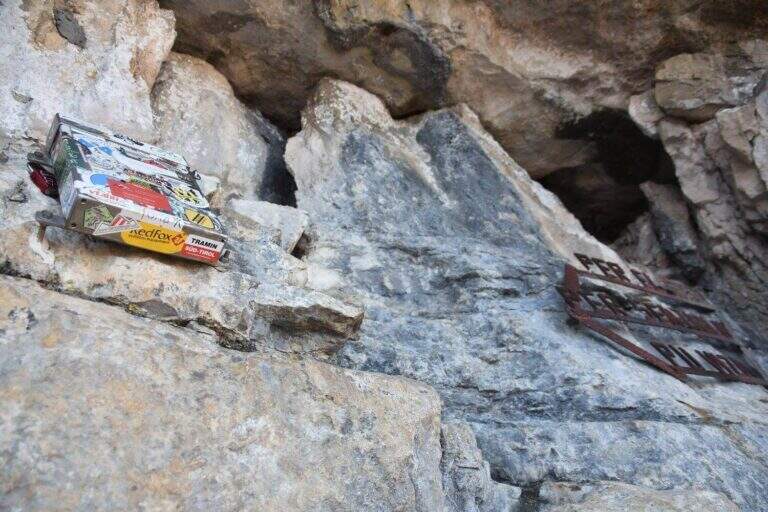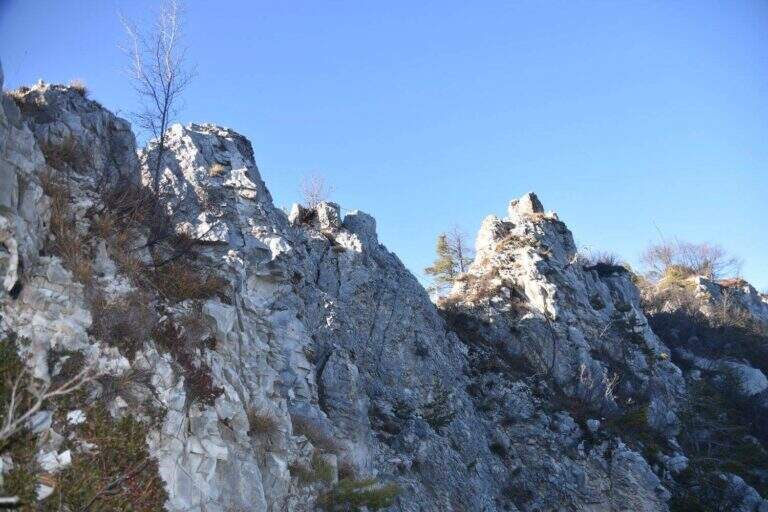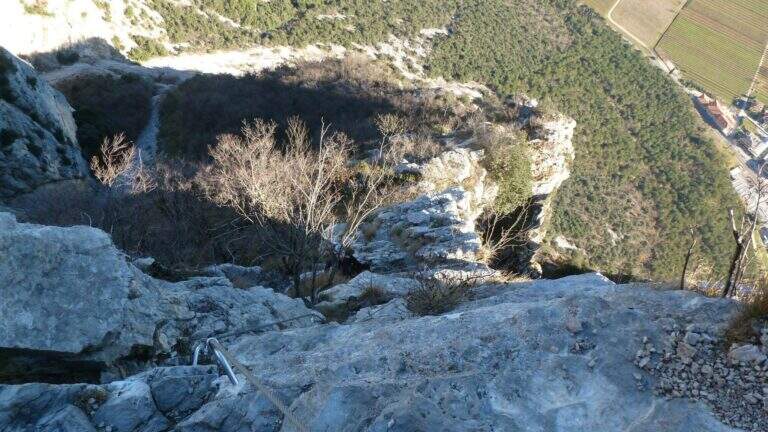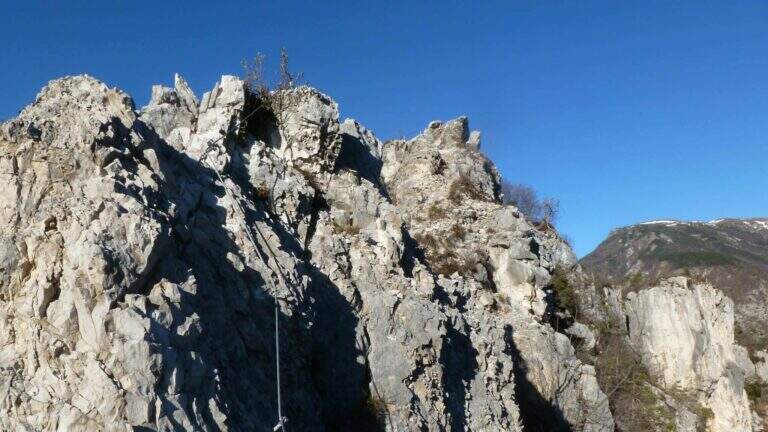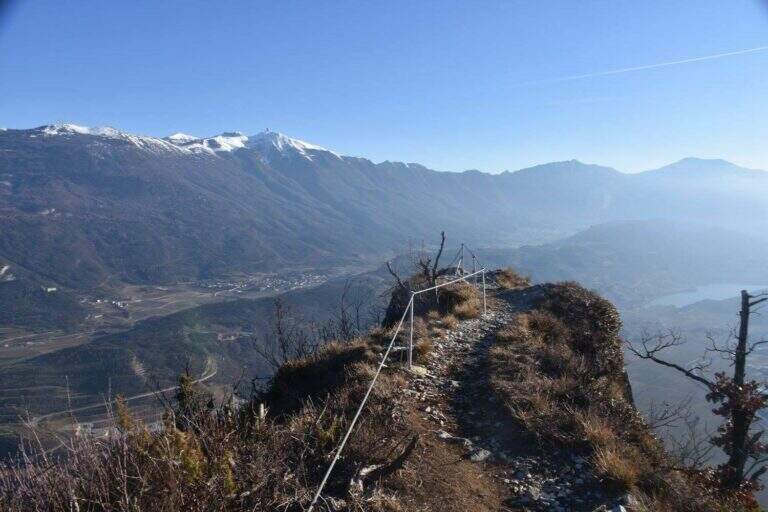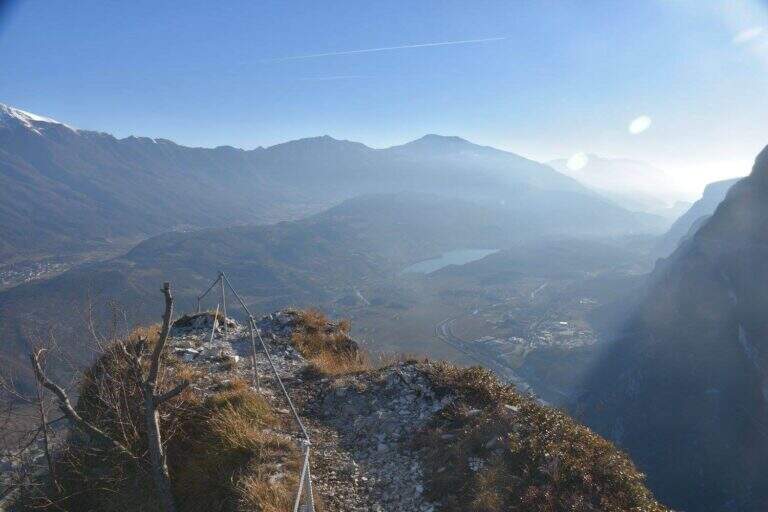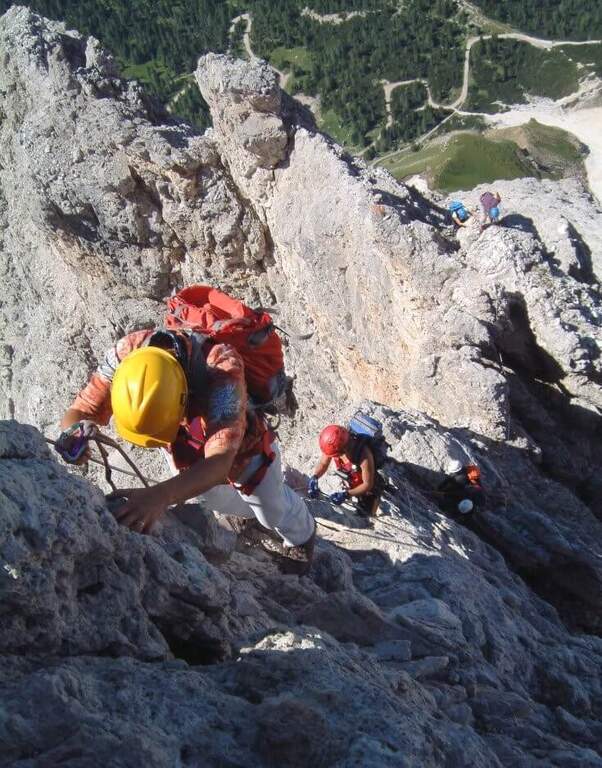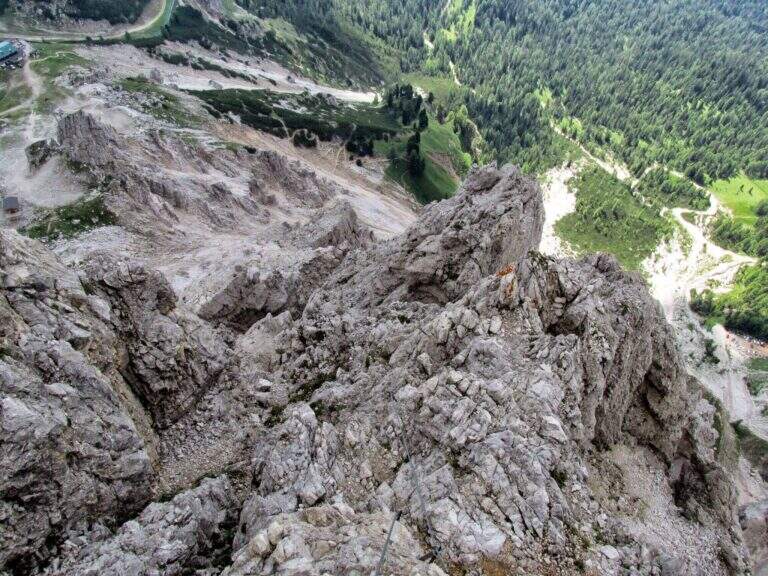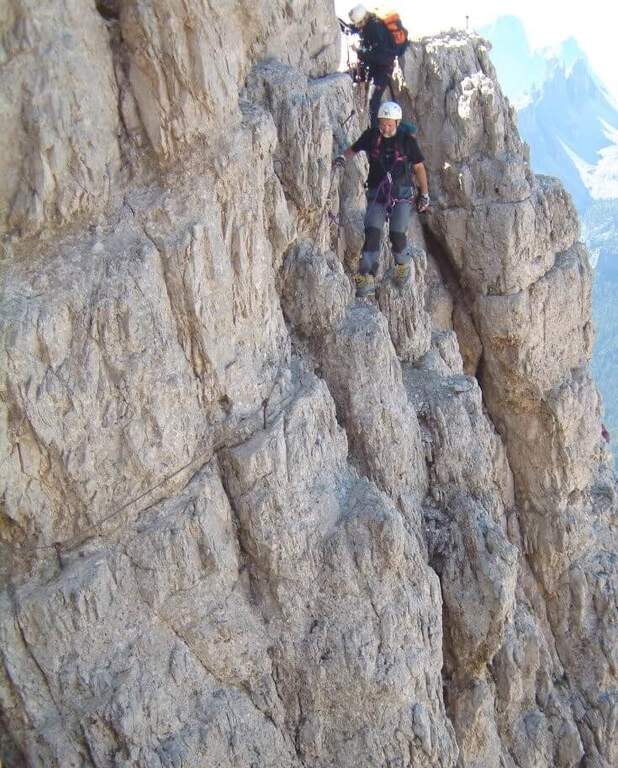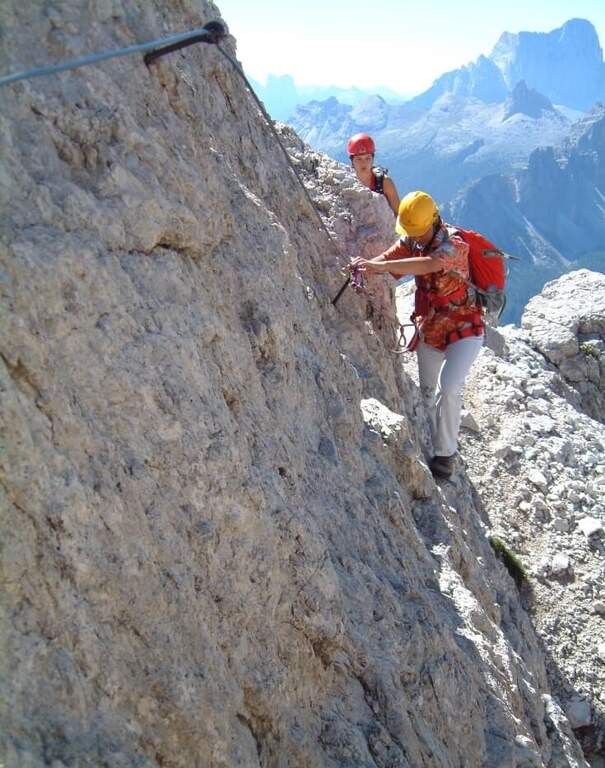
Caratteristica: Molto esposta

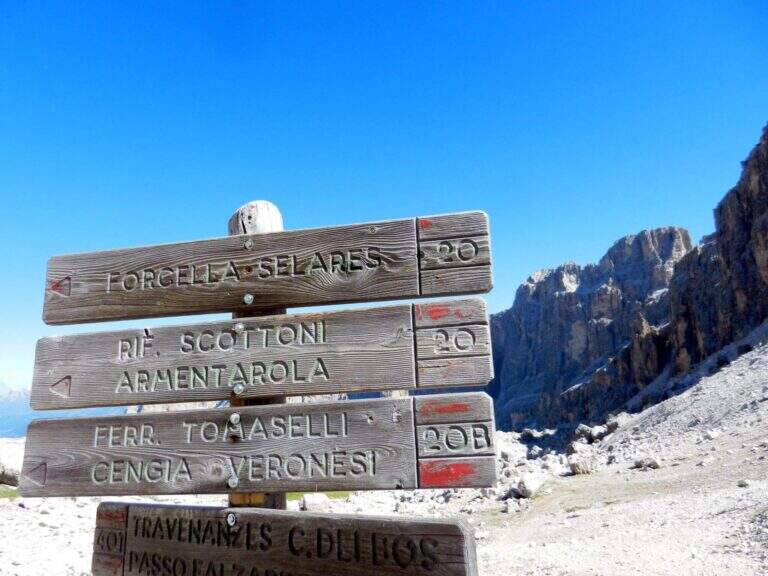
  • Sentiero Attrezzato della Cengia Veronesi

    Sentiero Attrezzato della Cengia Veronesi

    Vie Ferrate › Veneto › Belluno
    Sentiero Attrezzato della Cengia Veronesi
    Moderately Hard● OpenDescriptionComplexityMapsGallery

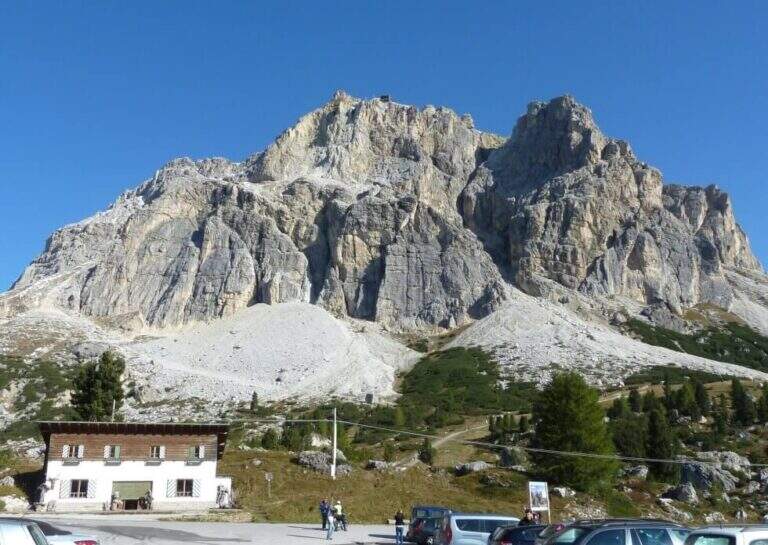
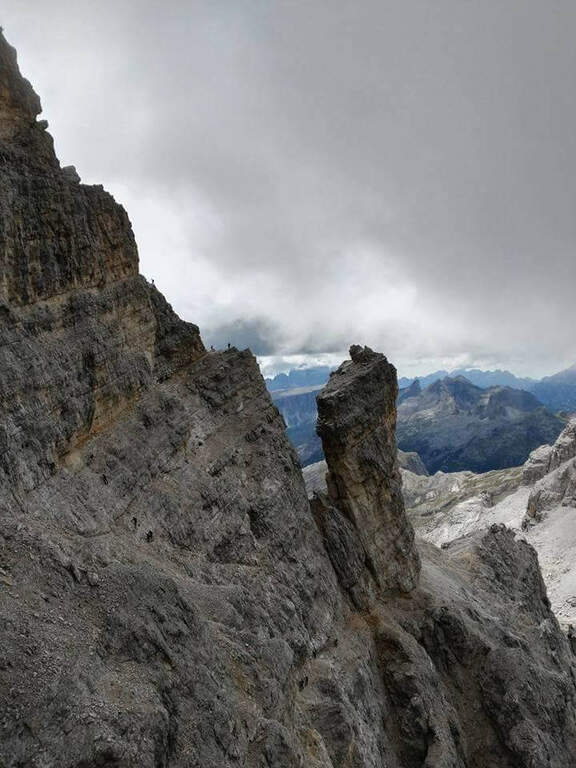
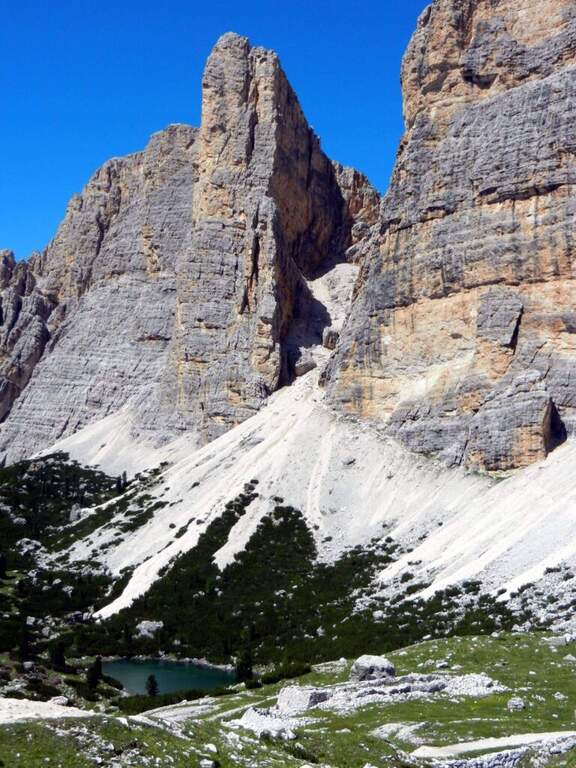
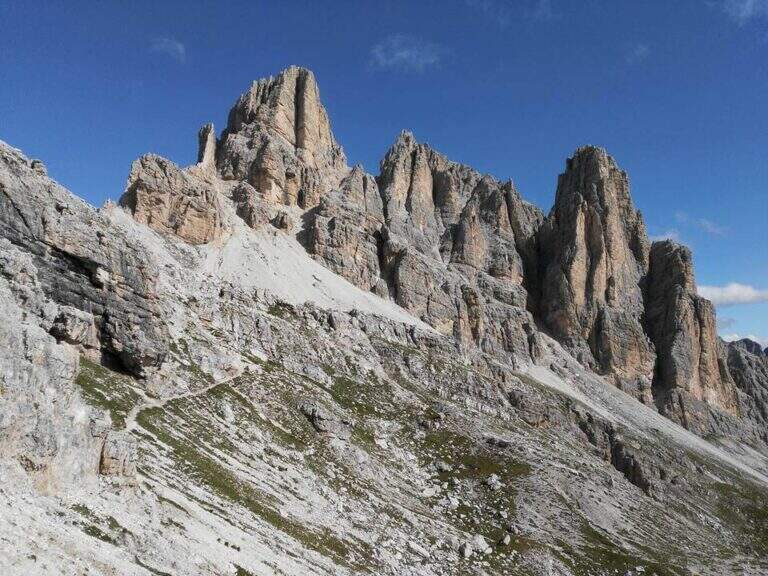
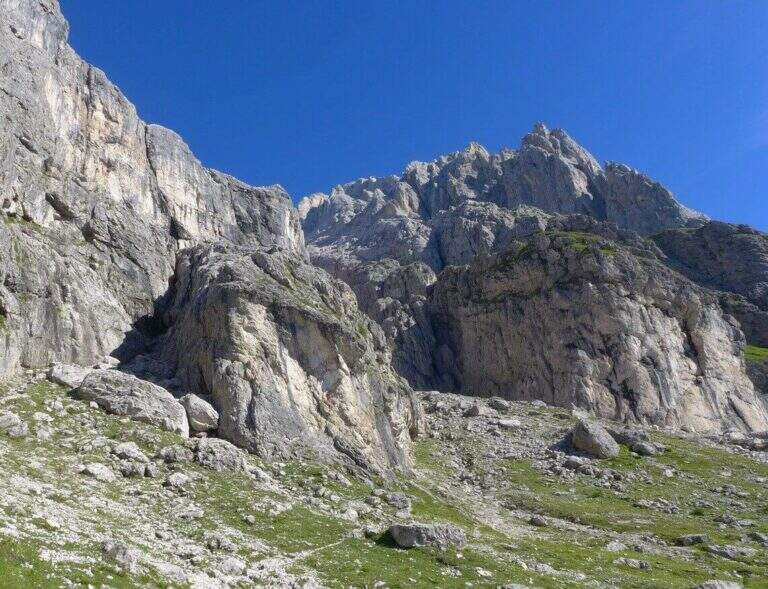
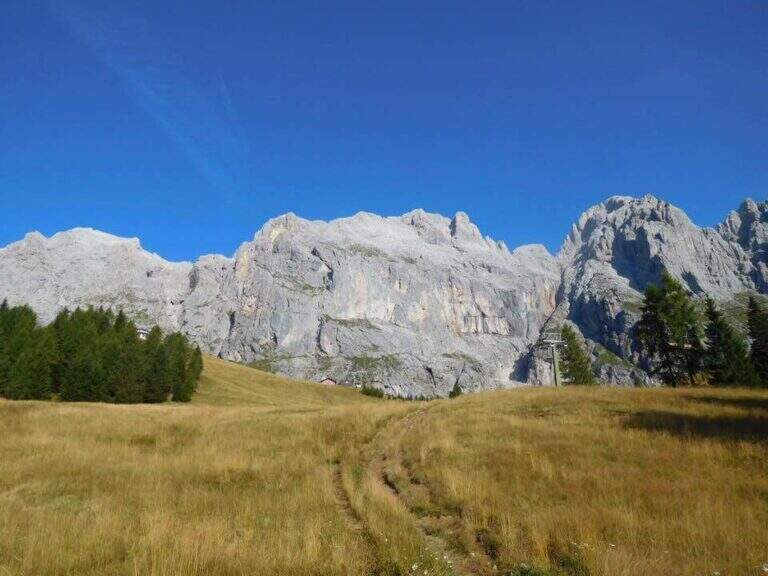
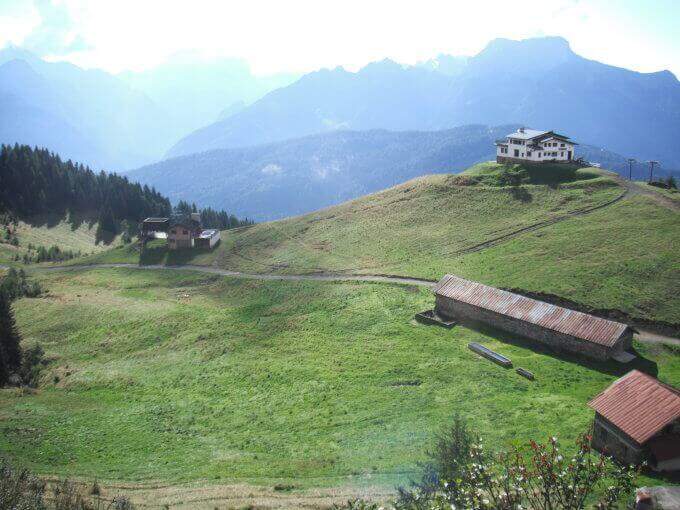
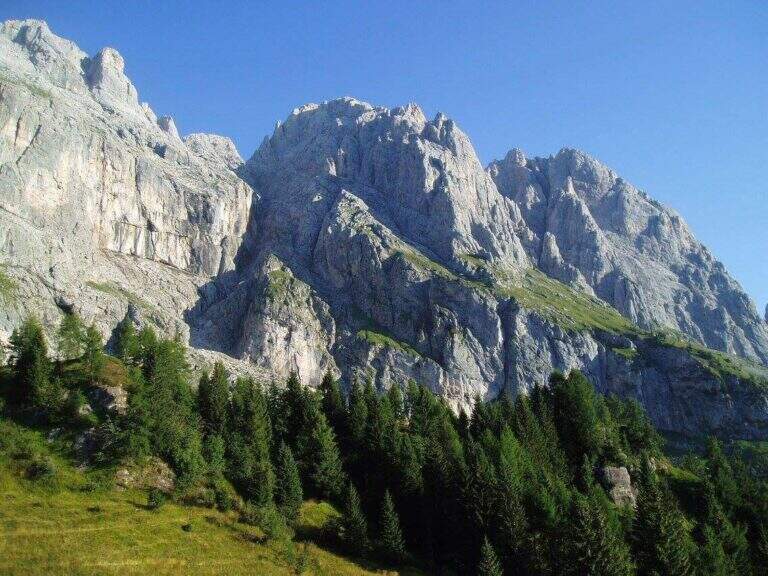
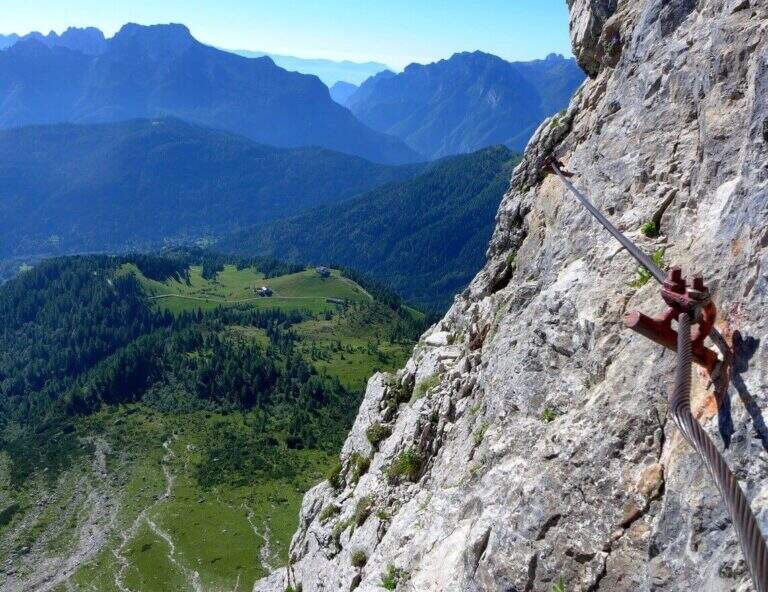
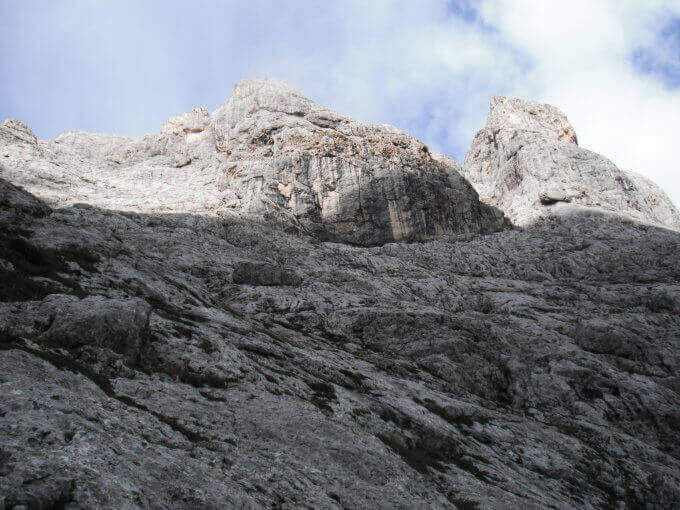
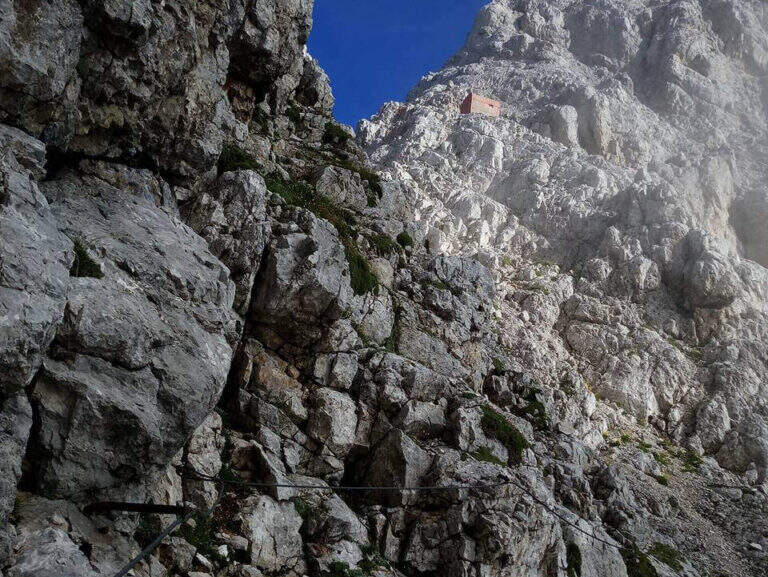
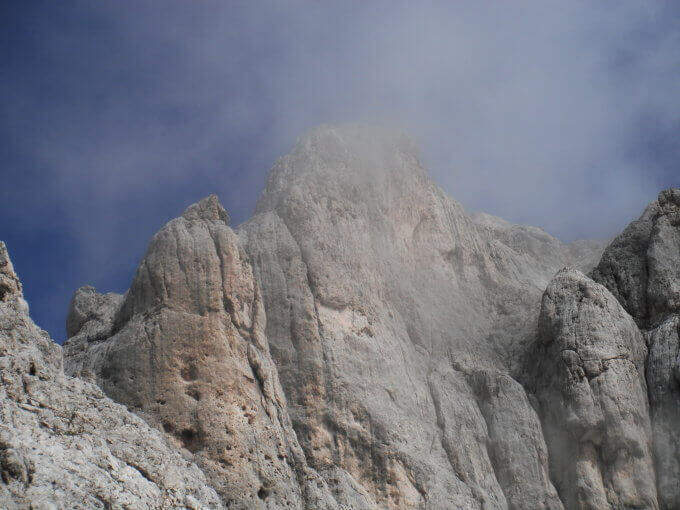
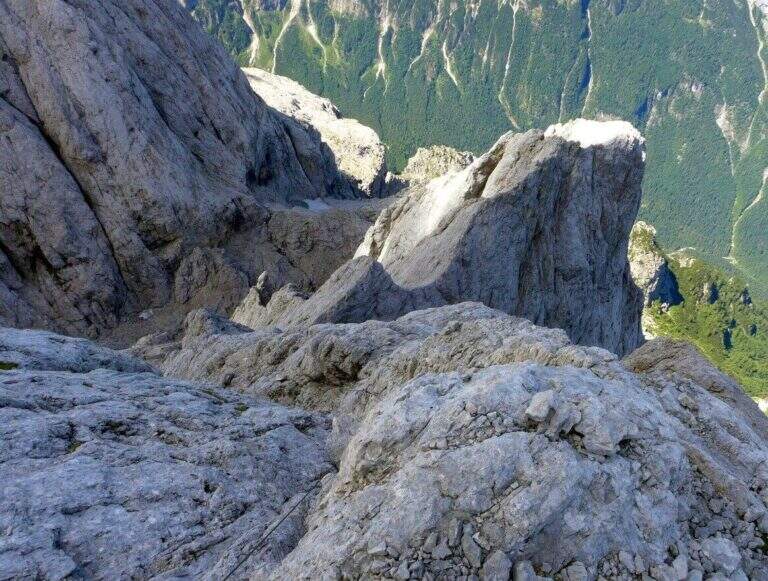
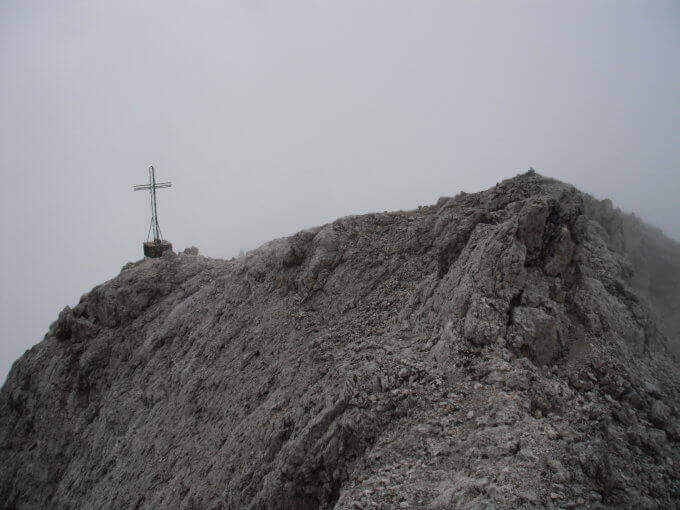
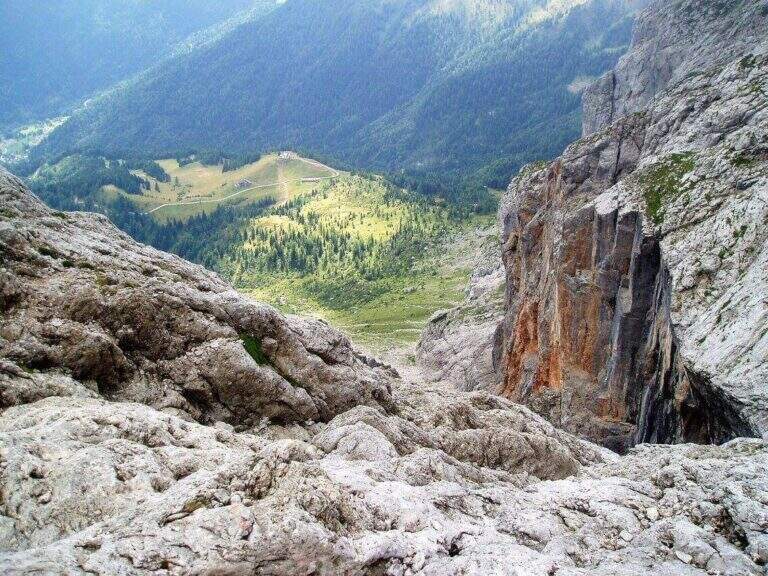
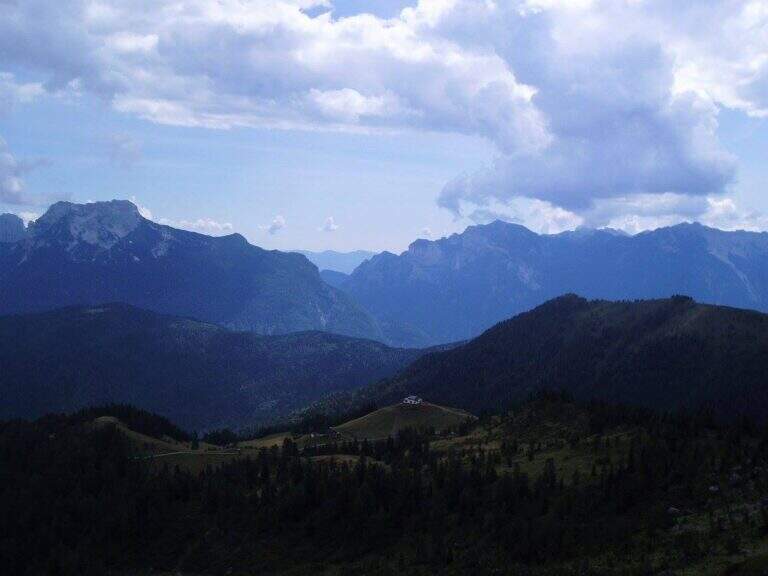
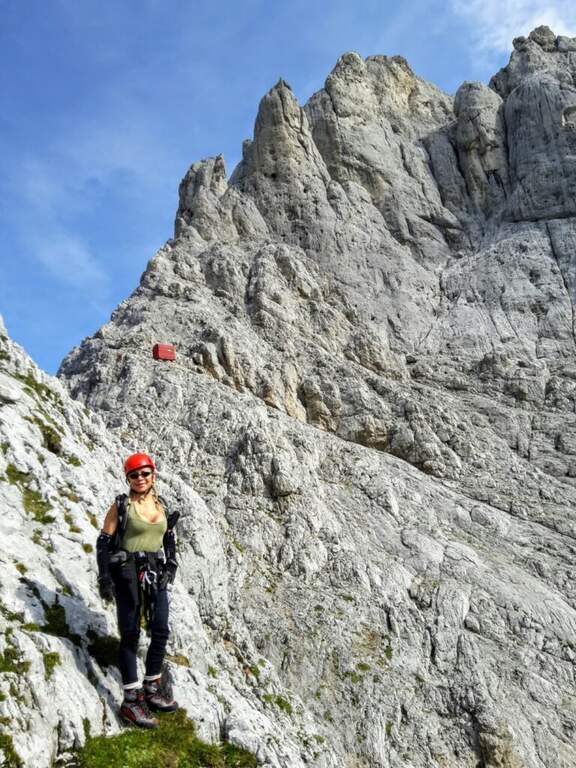
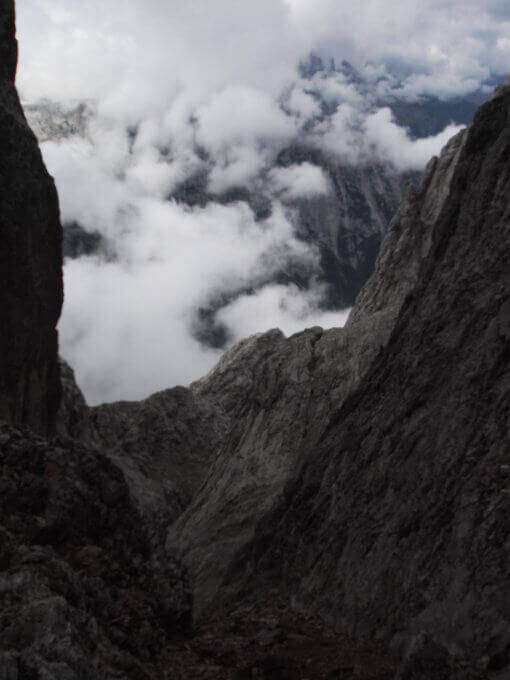
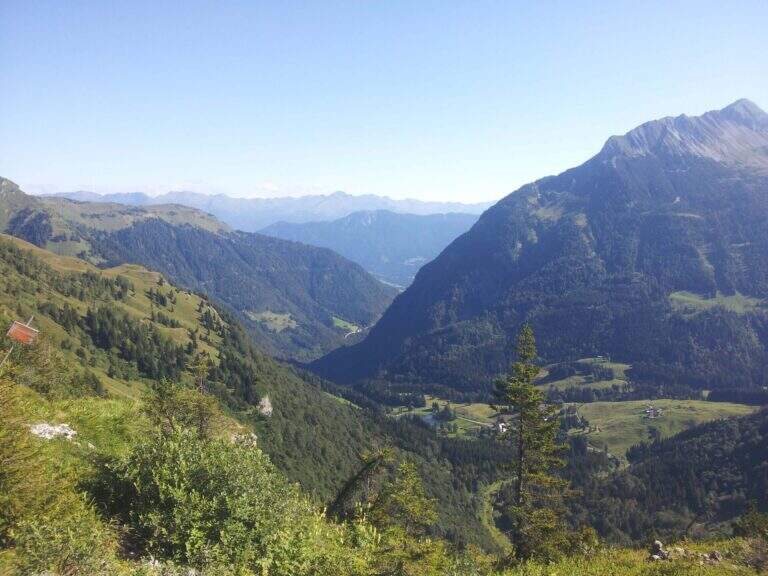
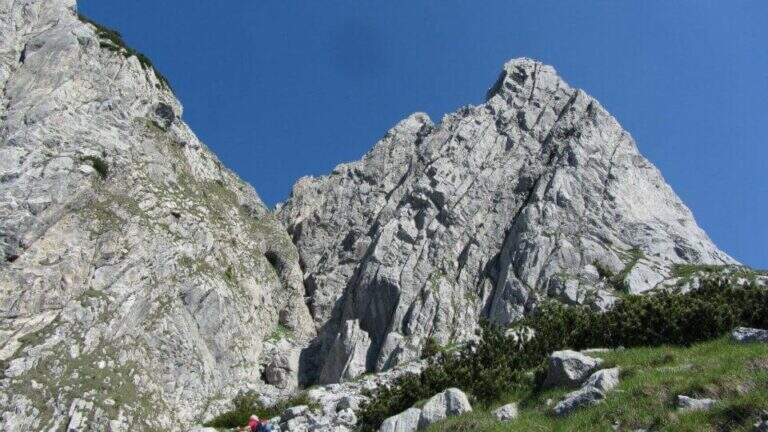
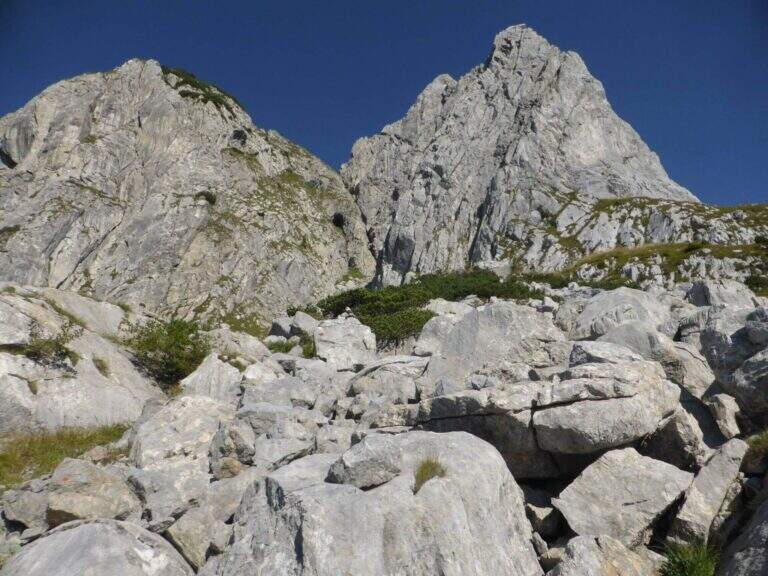
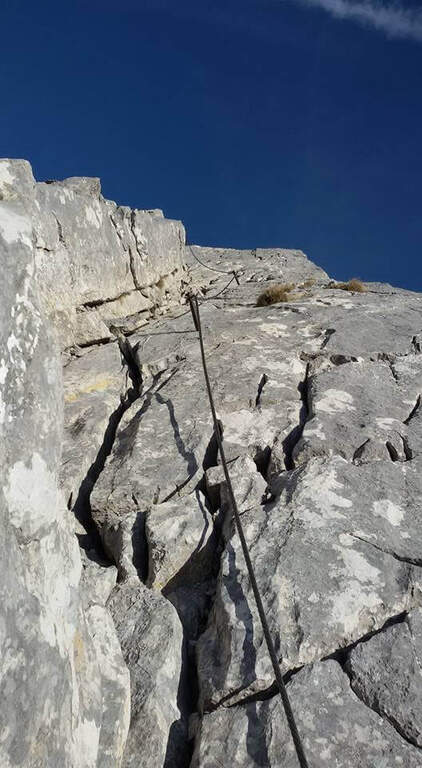
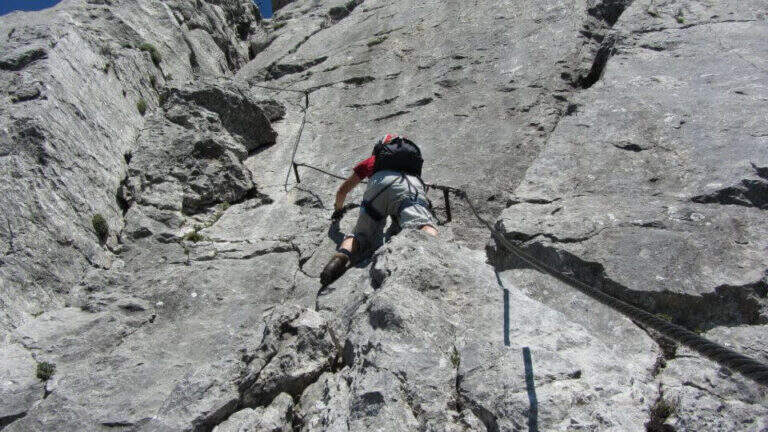
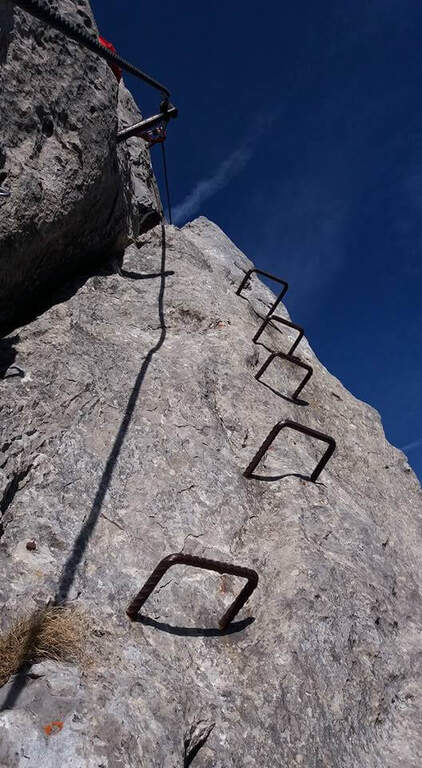
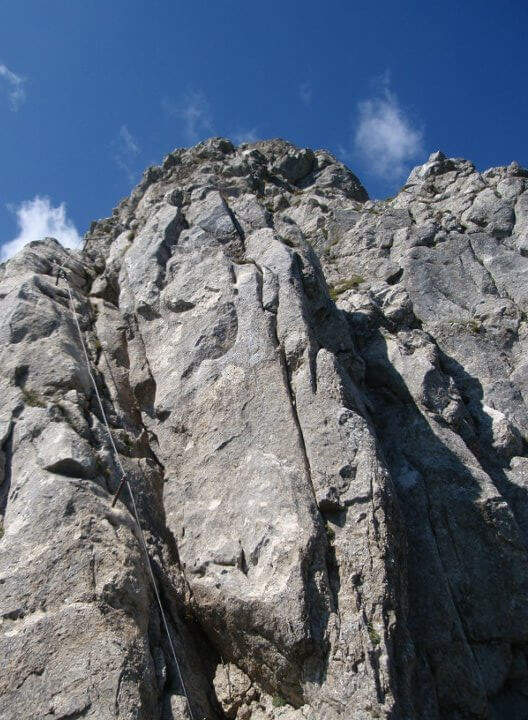
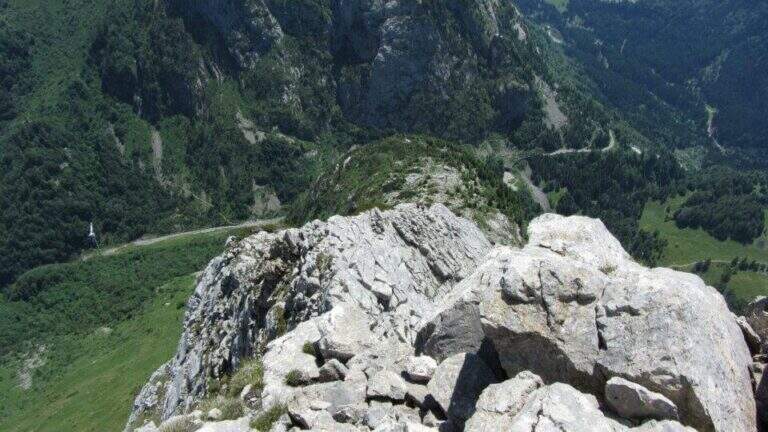
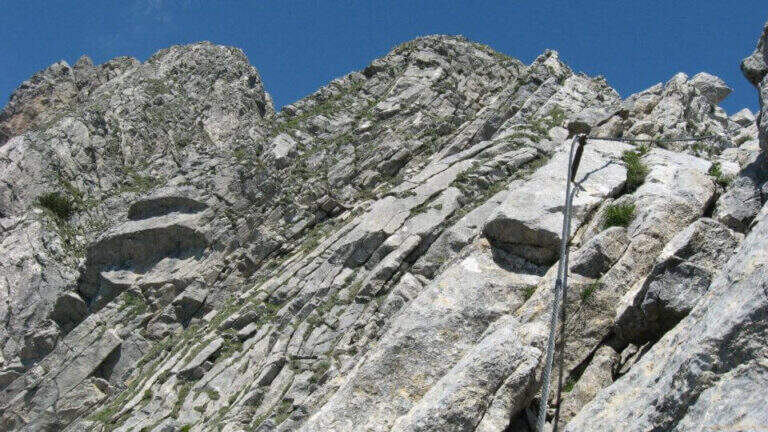
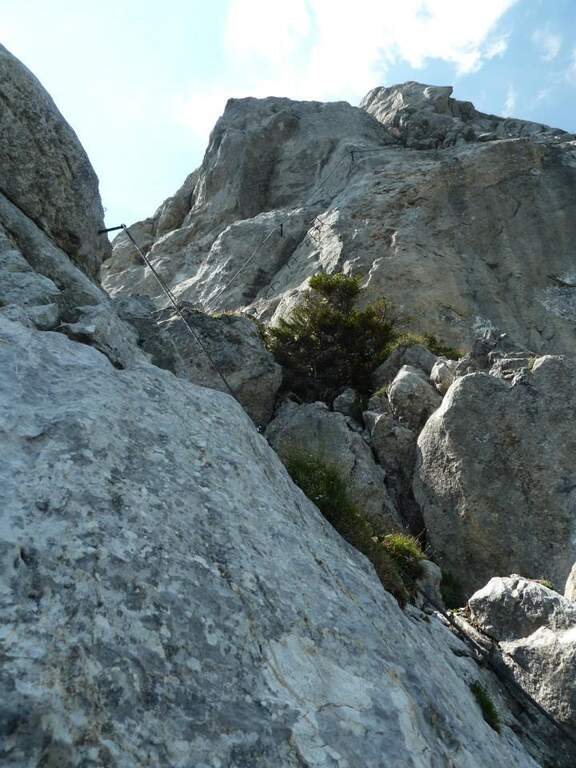
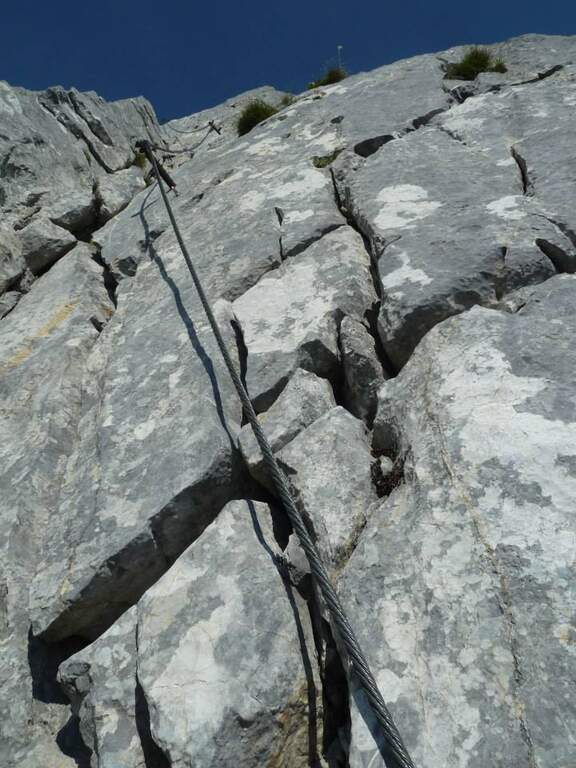
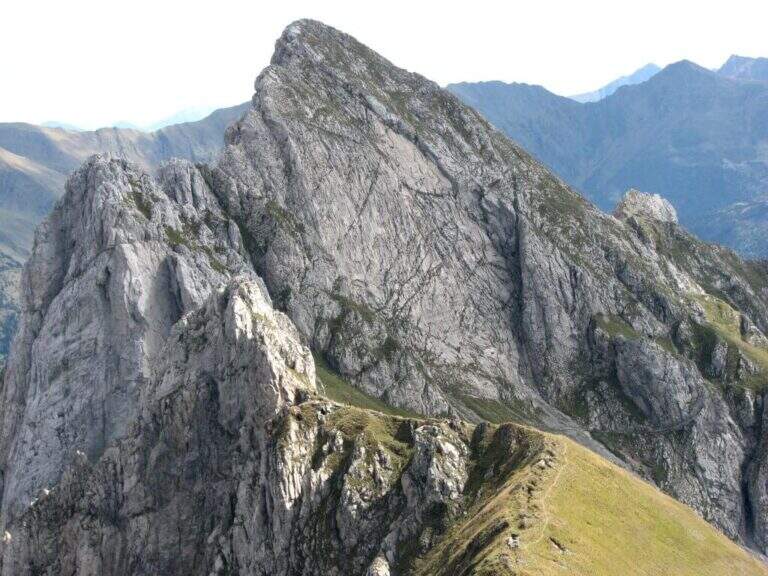
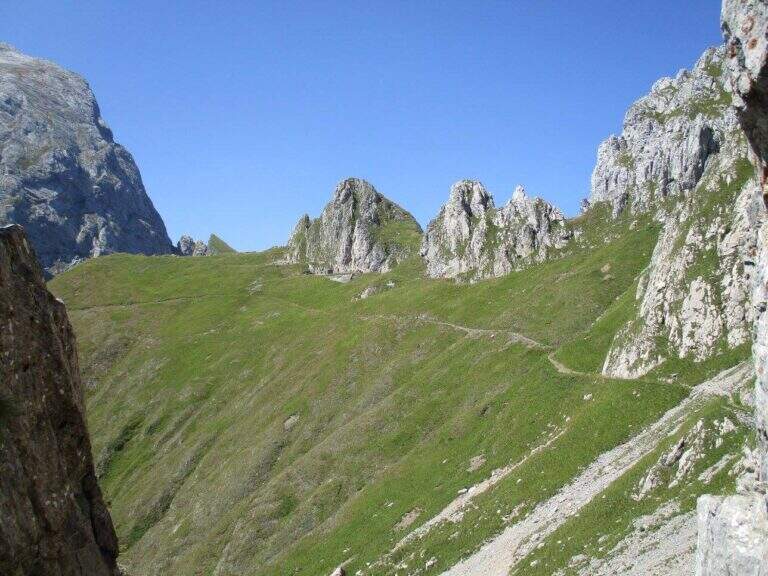
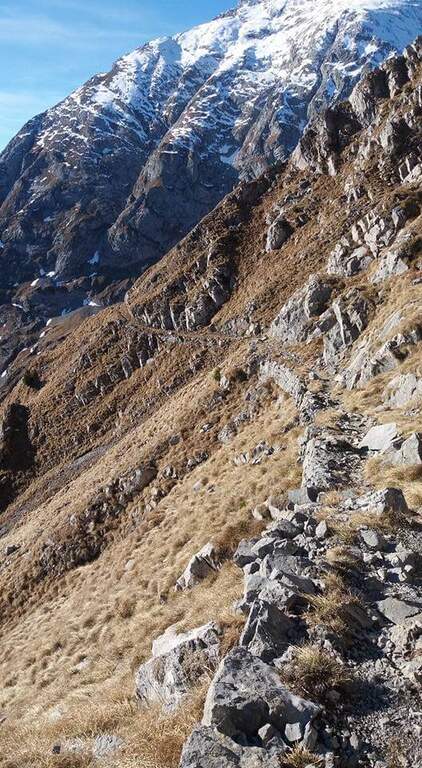
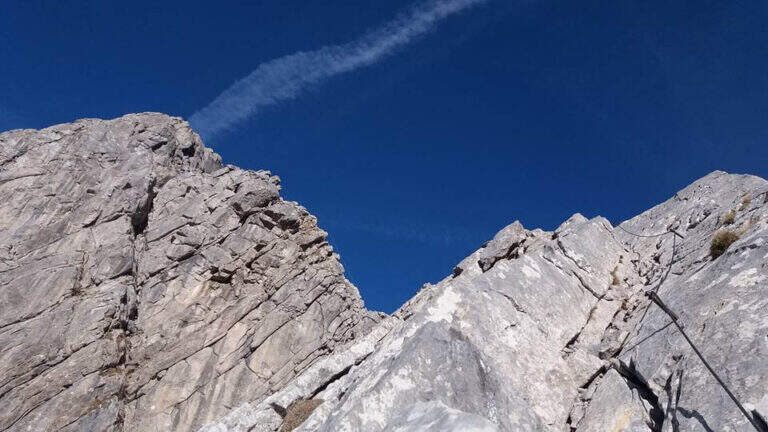
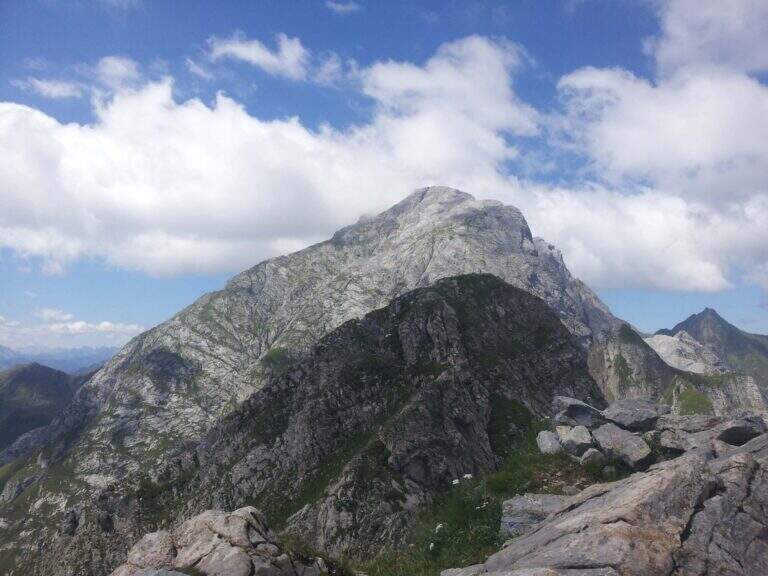
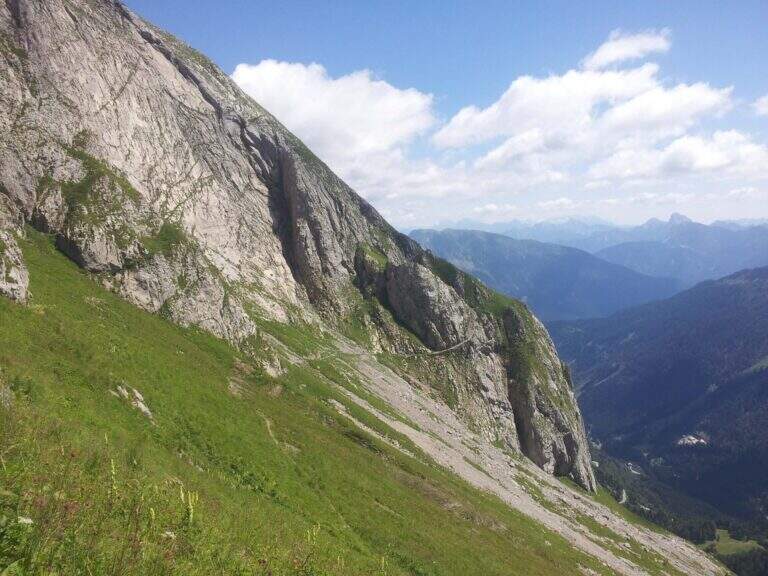
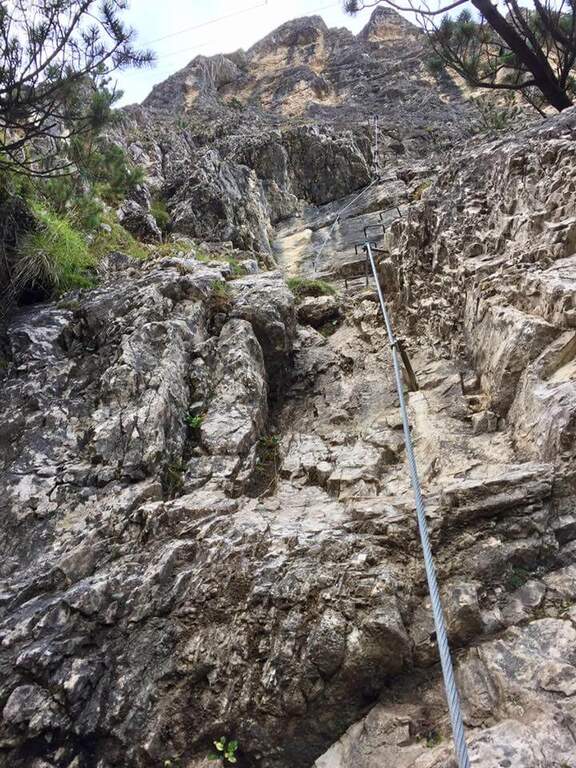
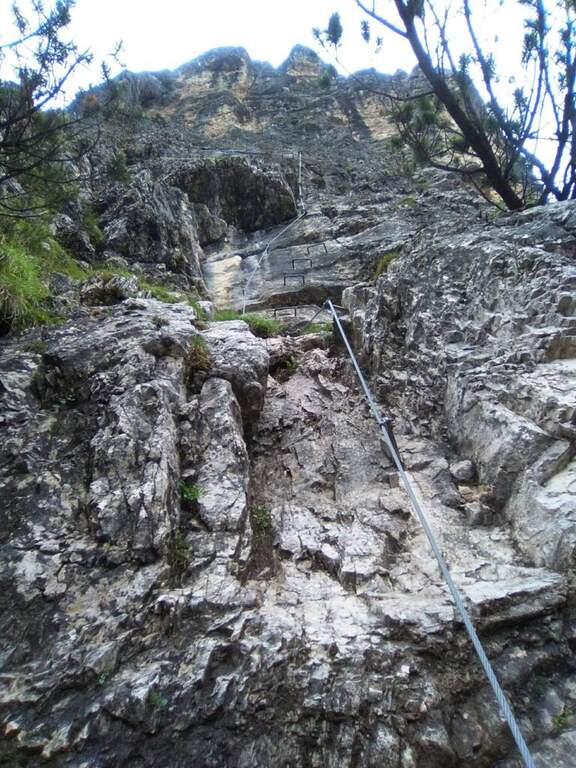
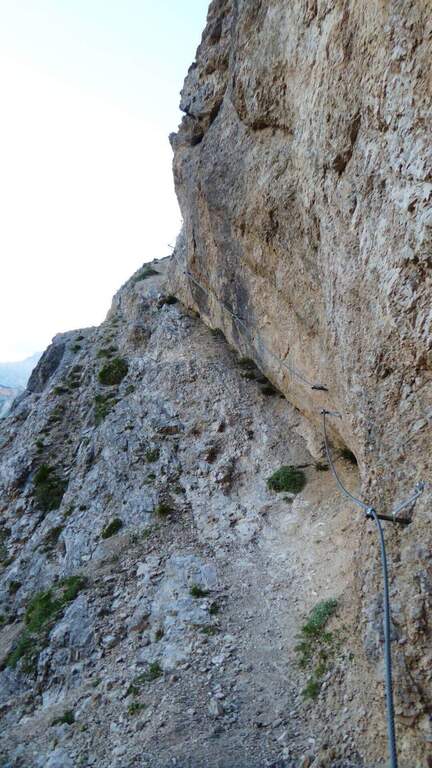
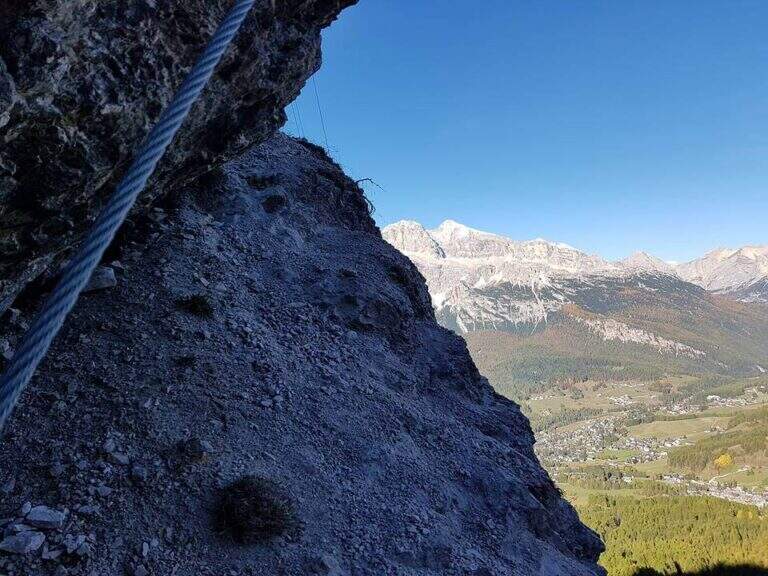
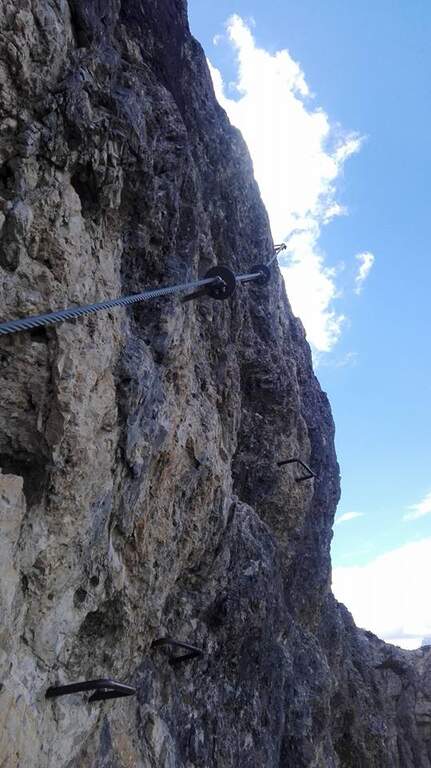
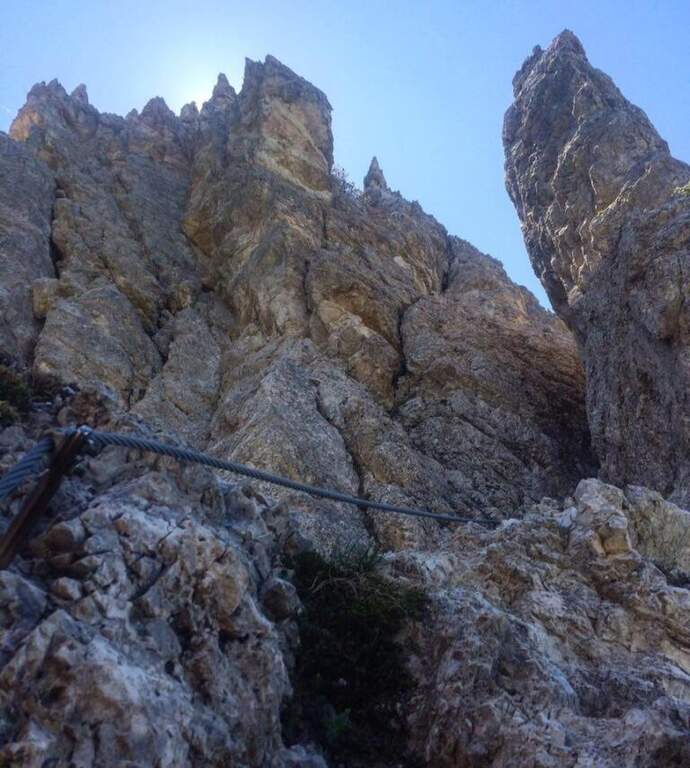
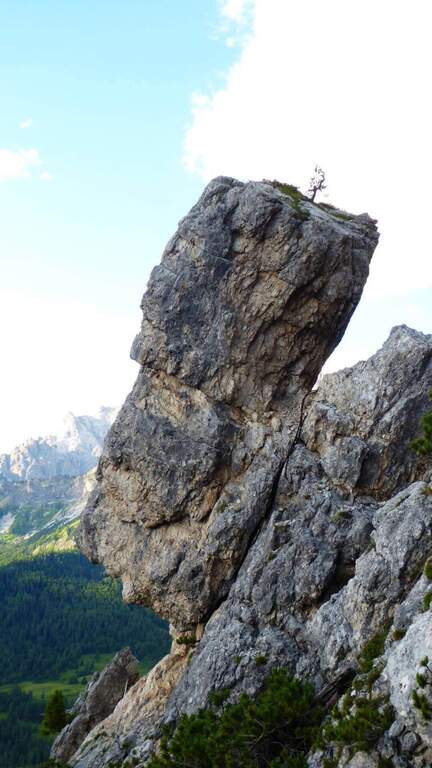
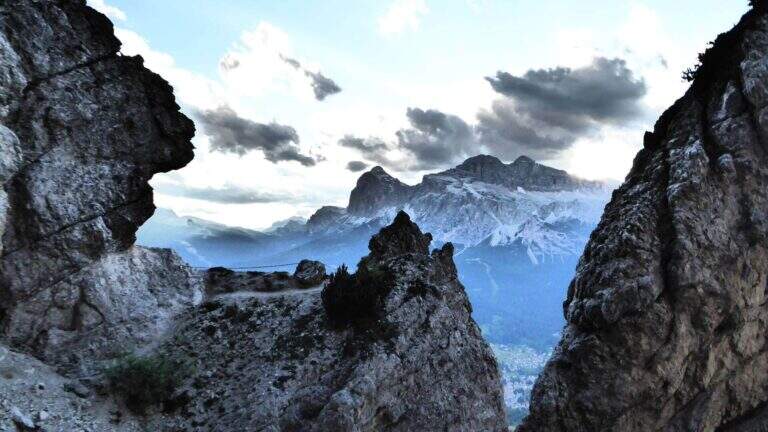
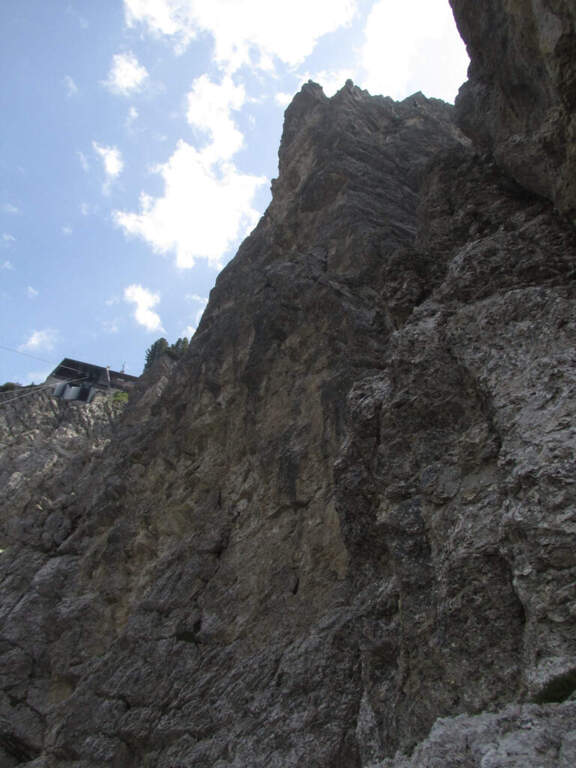
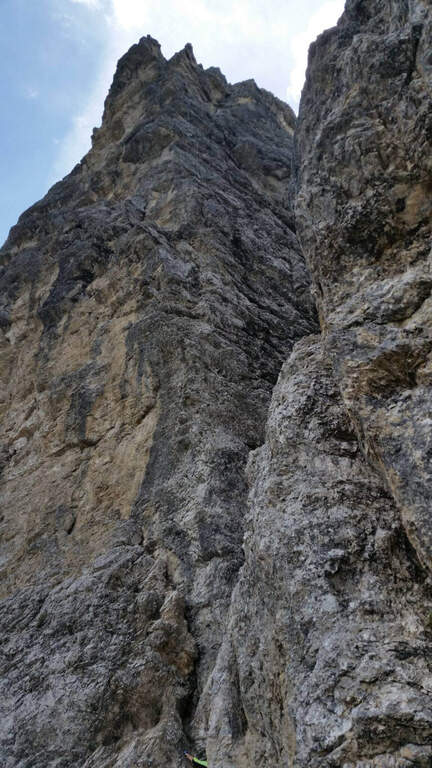
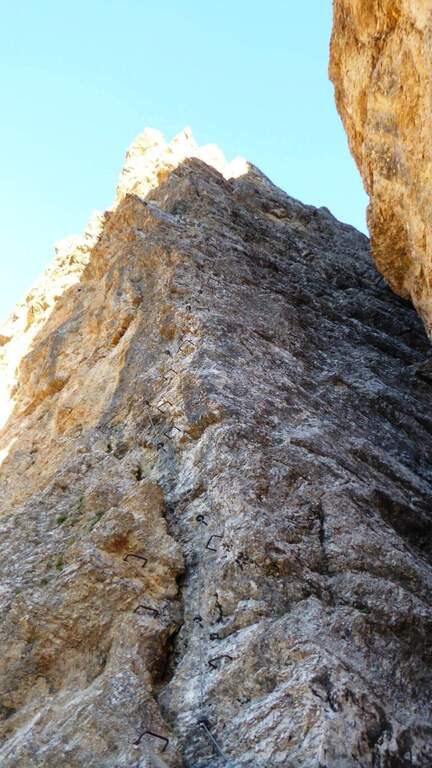
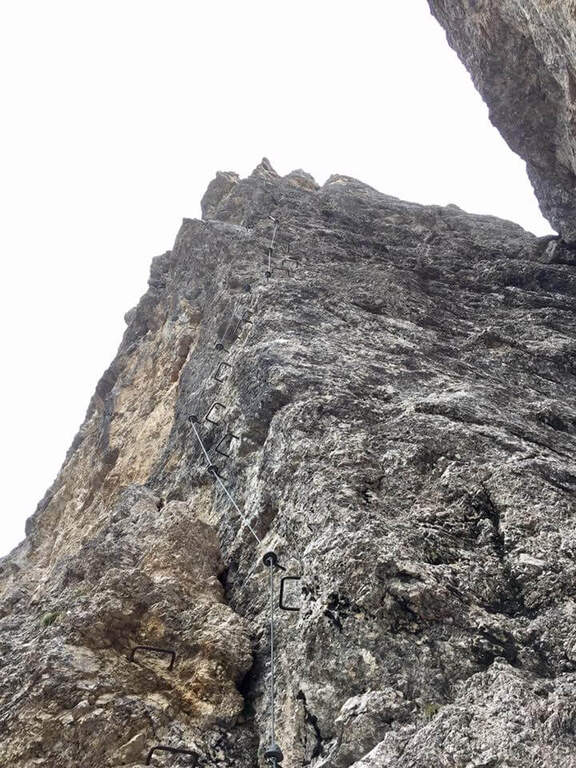
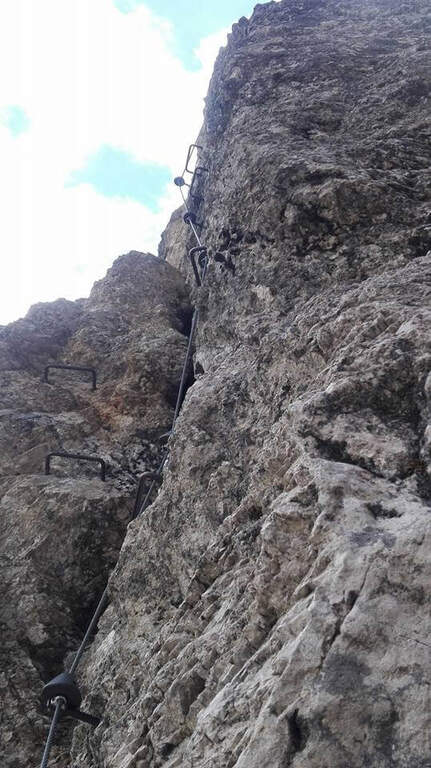
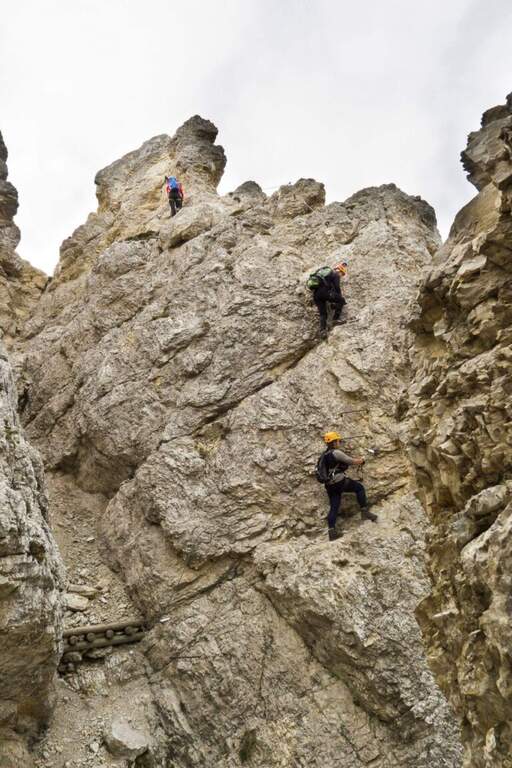
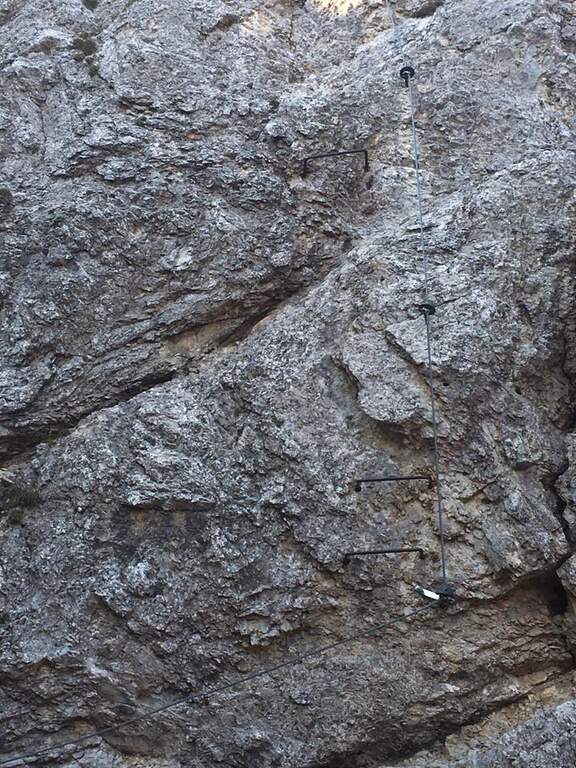
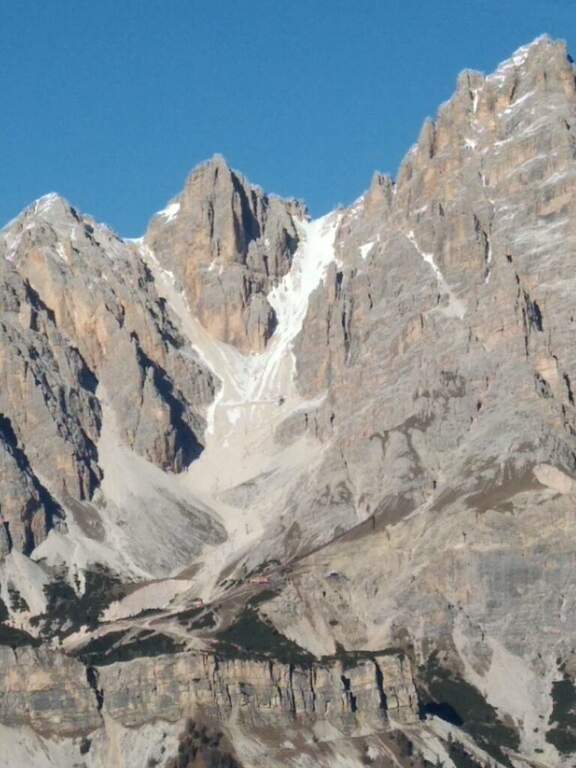
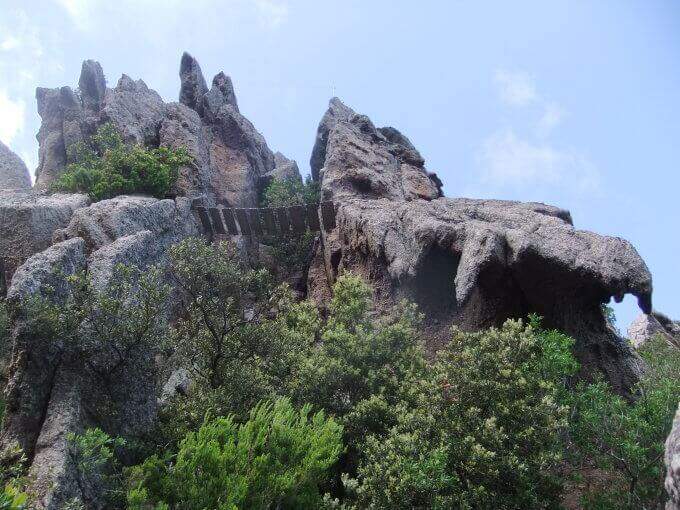
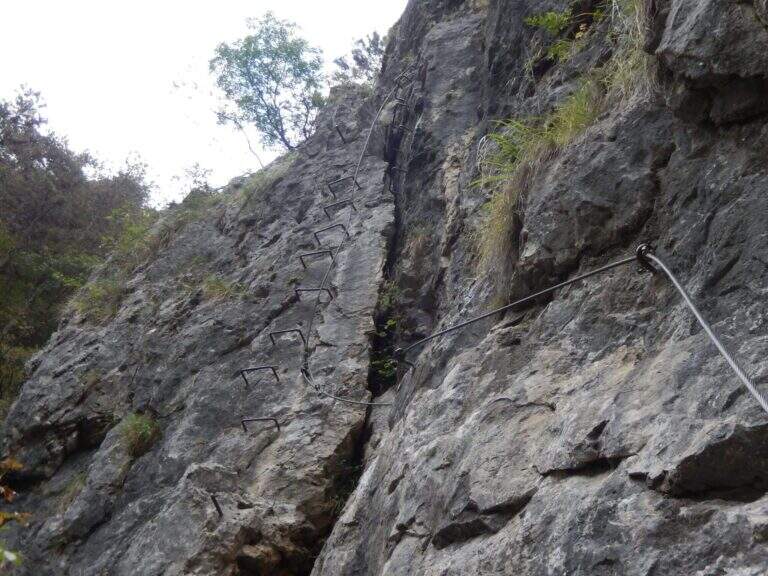
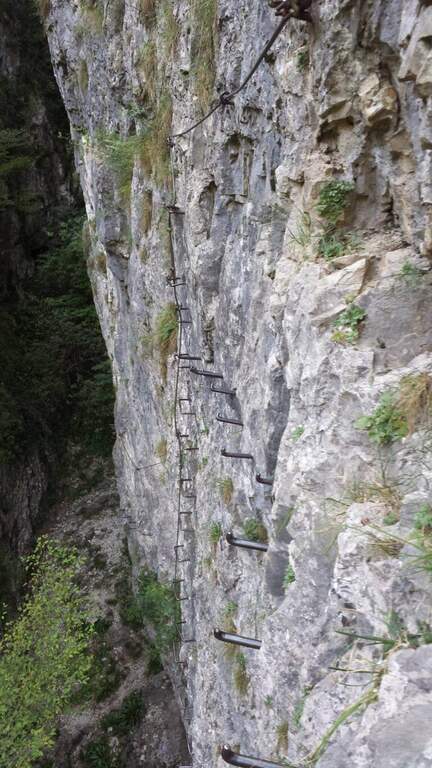
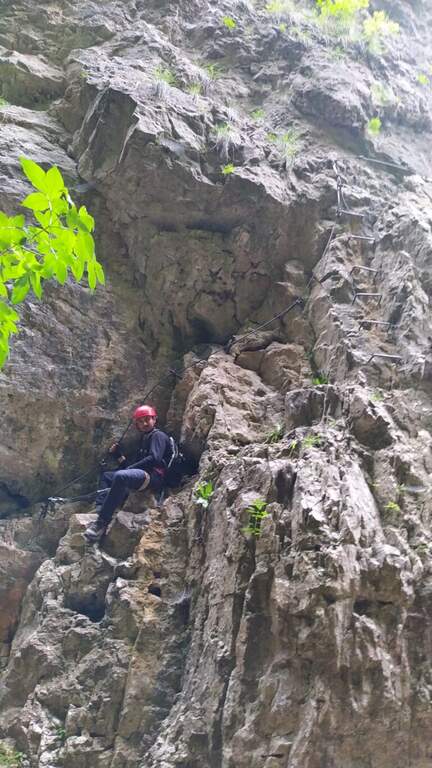
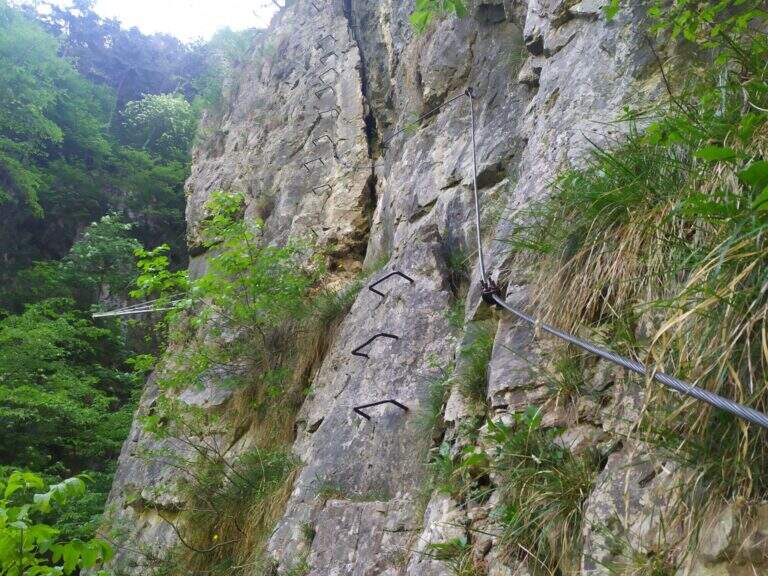
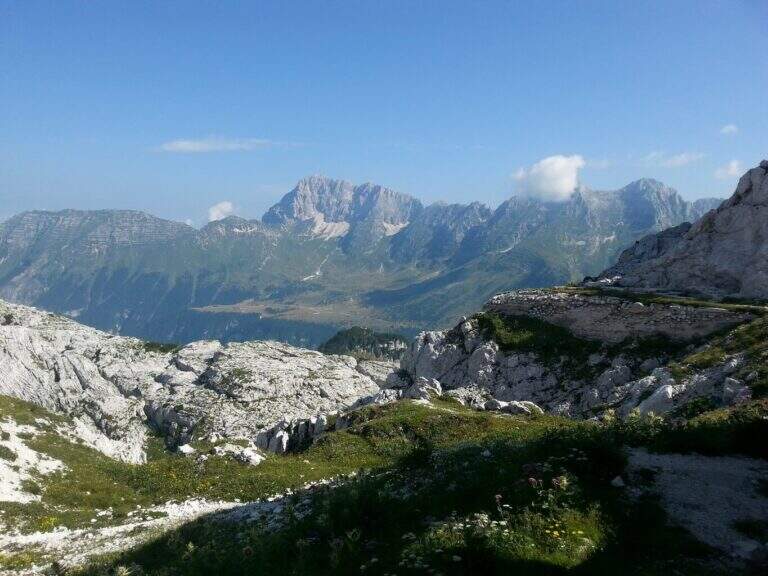
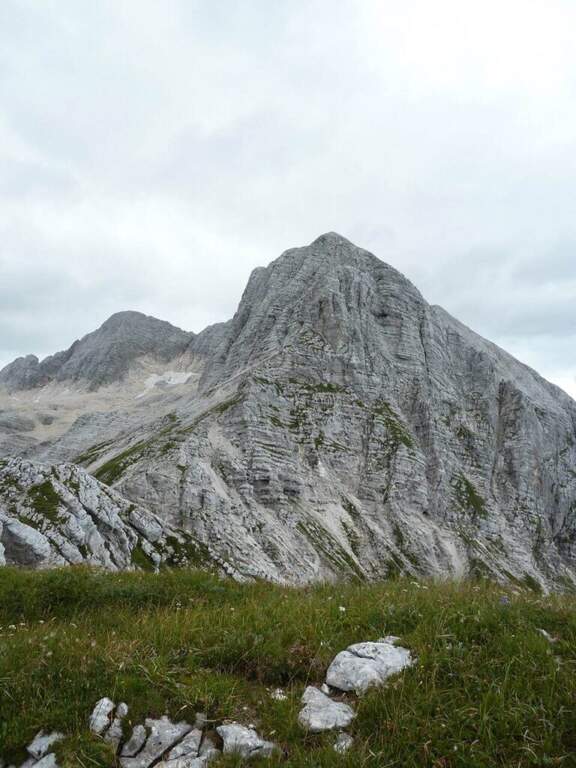
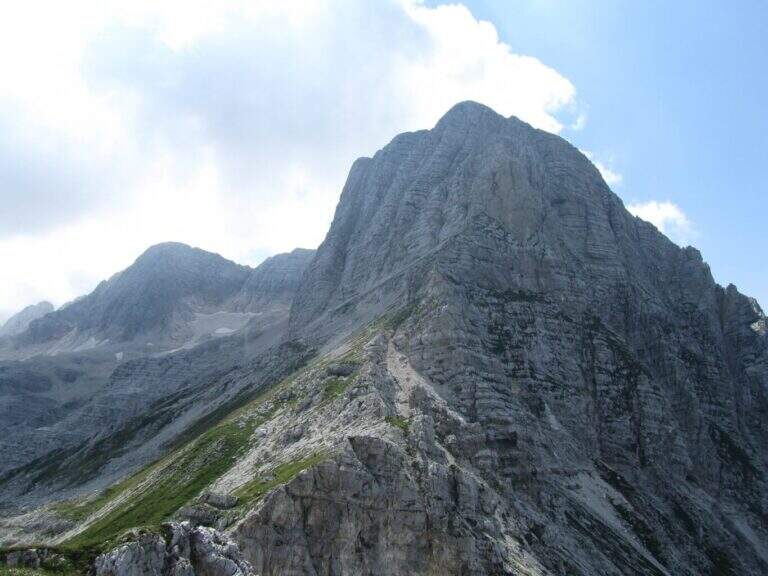
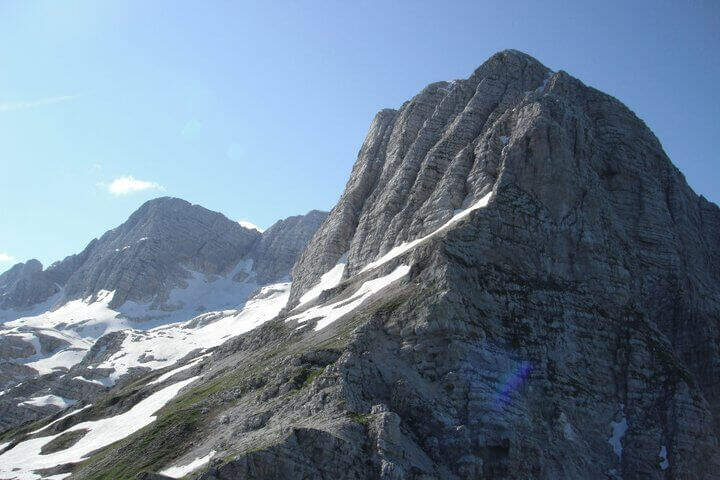
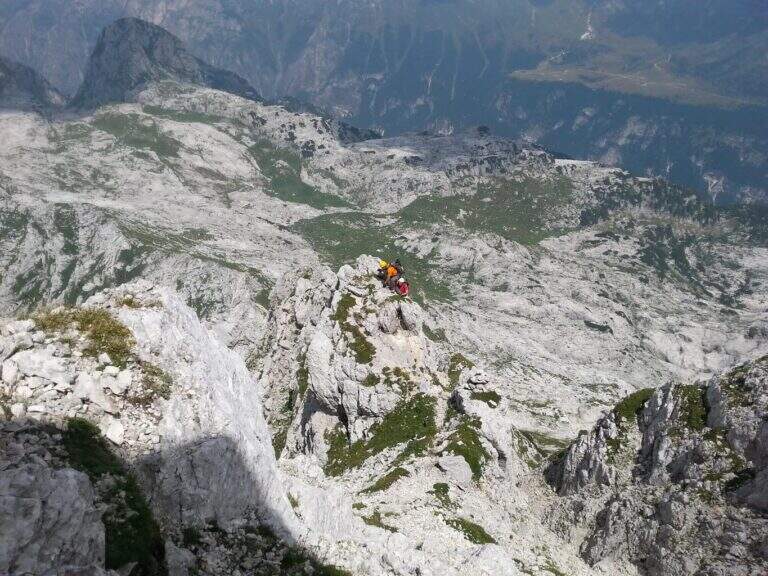
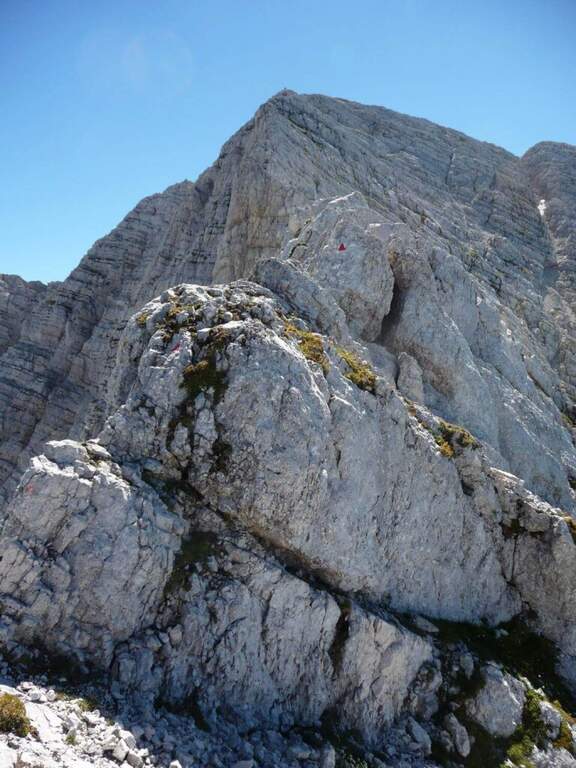
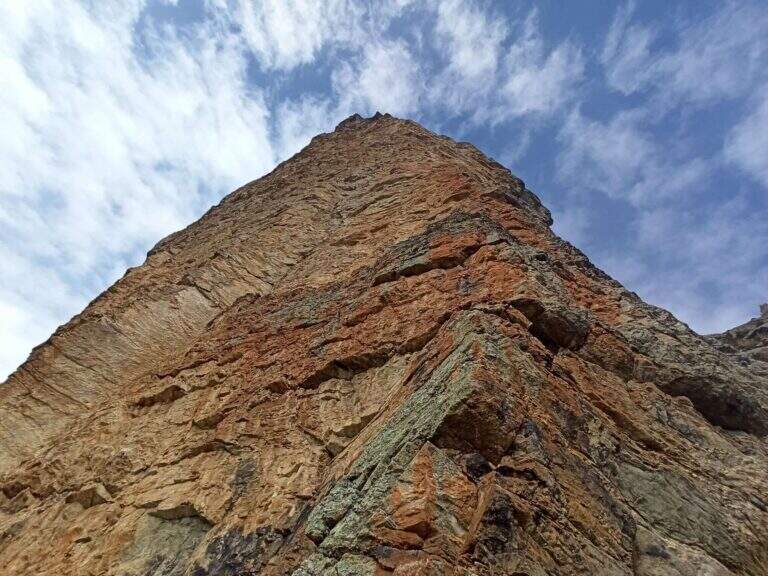
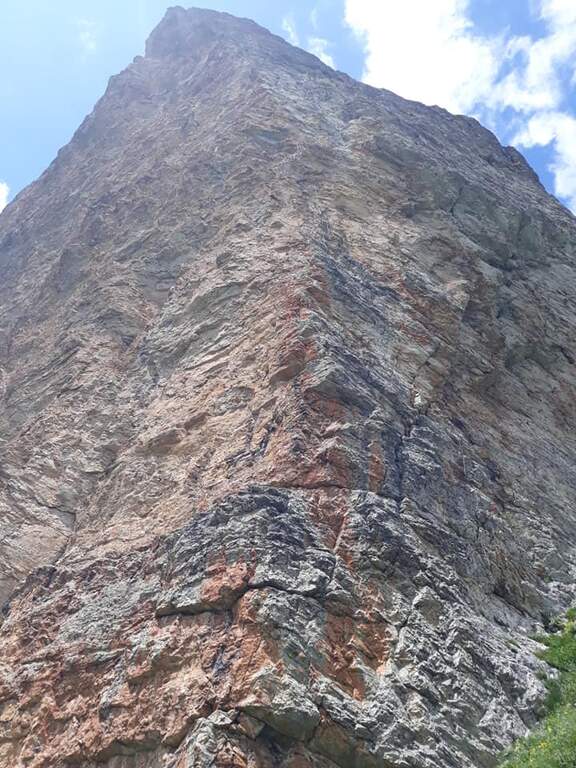
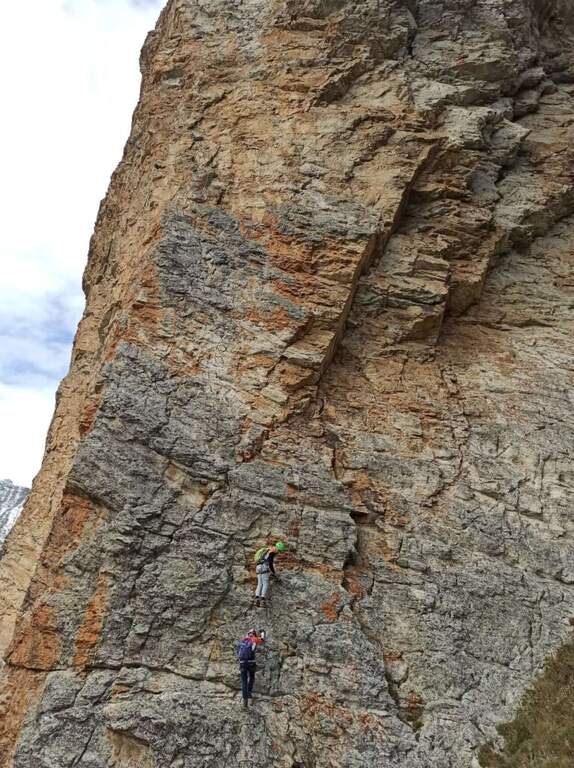
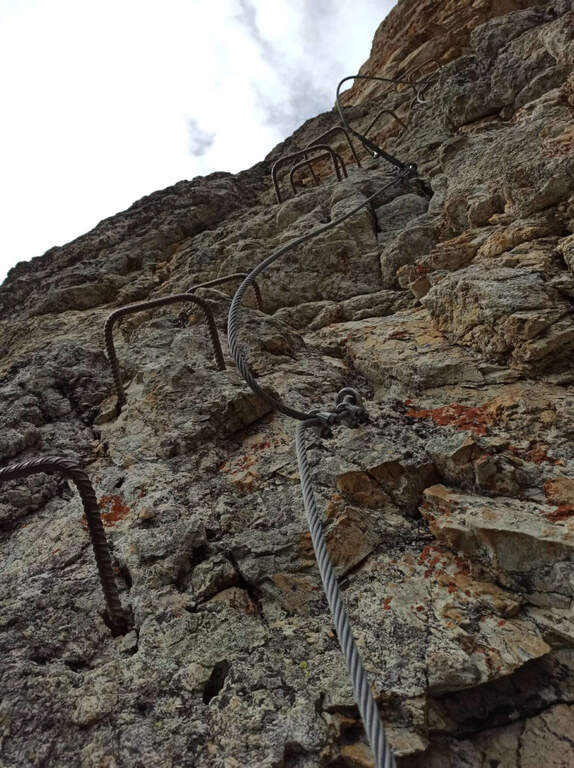
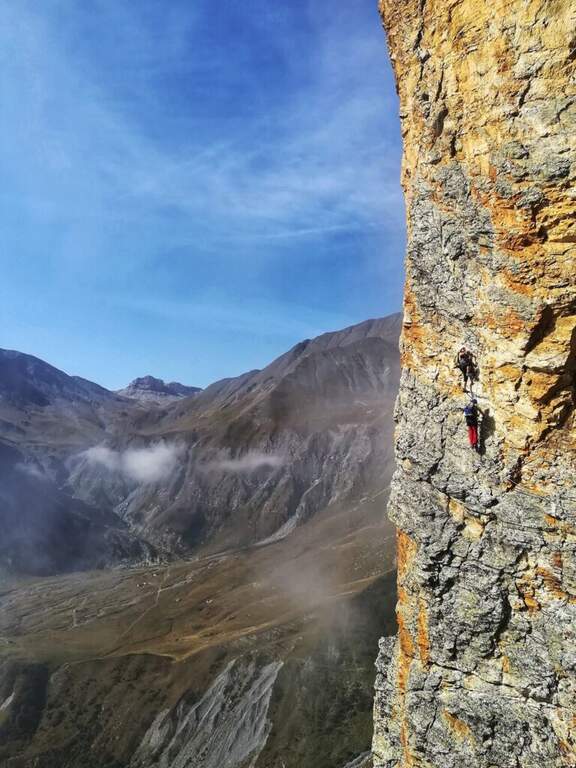
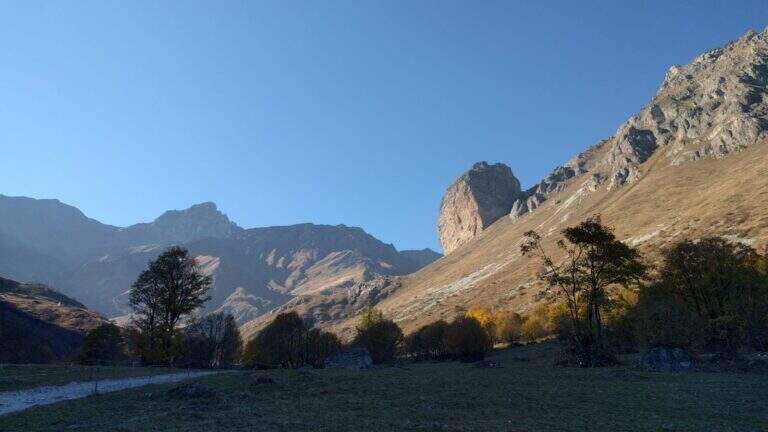
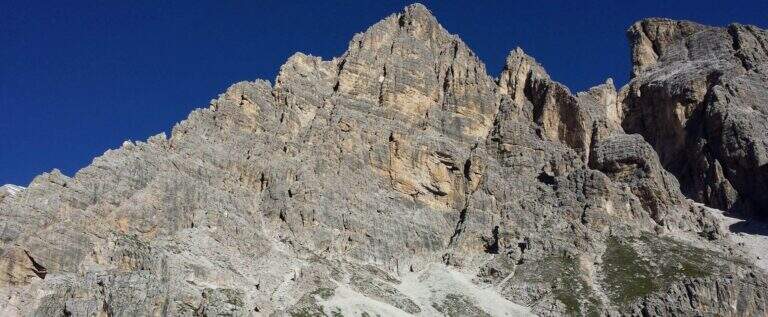
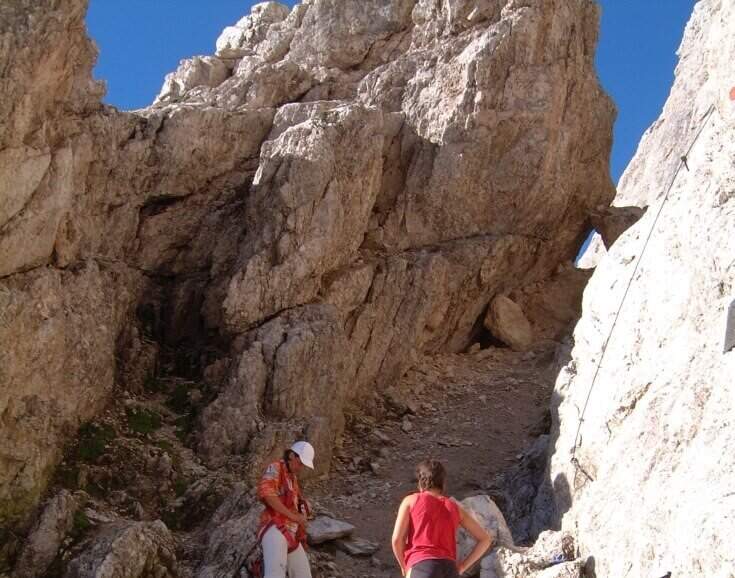
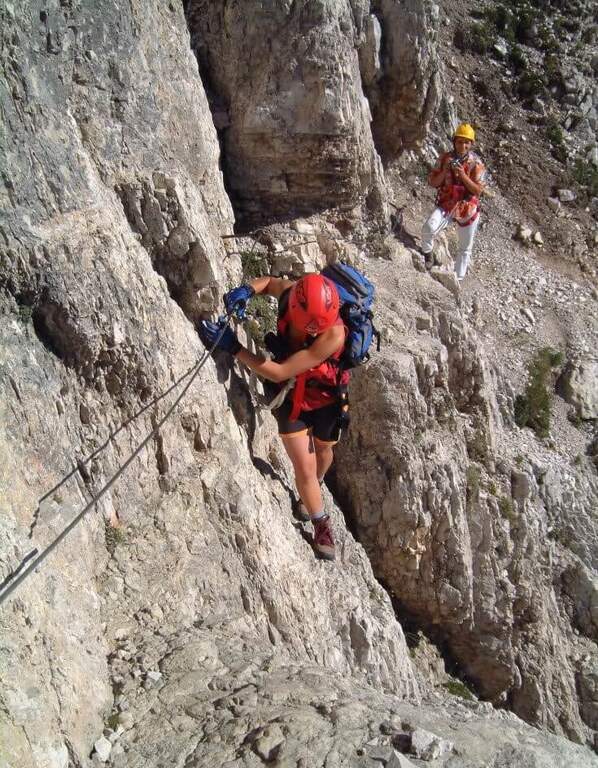
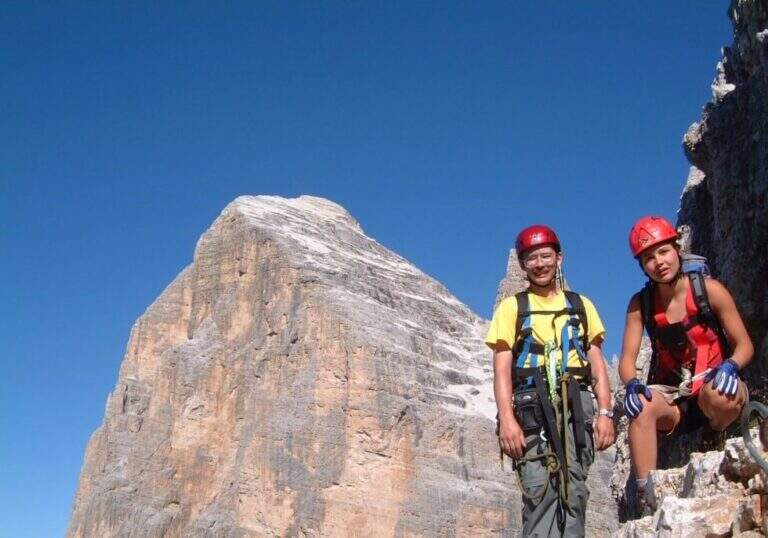
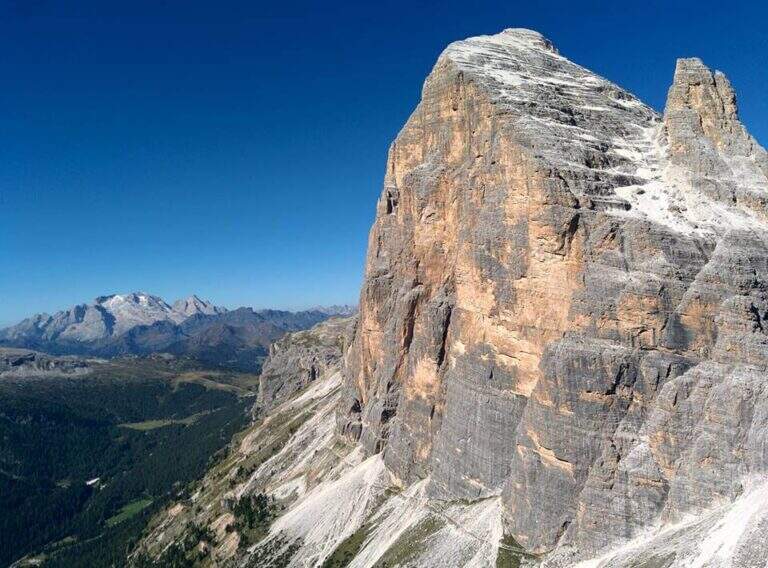
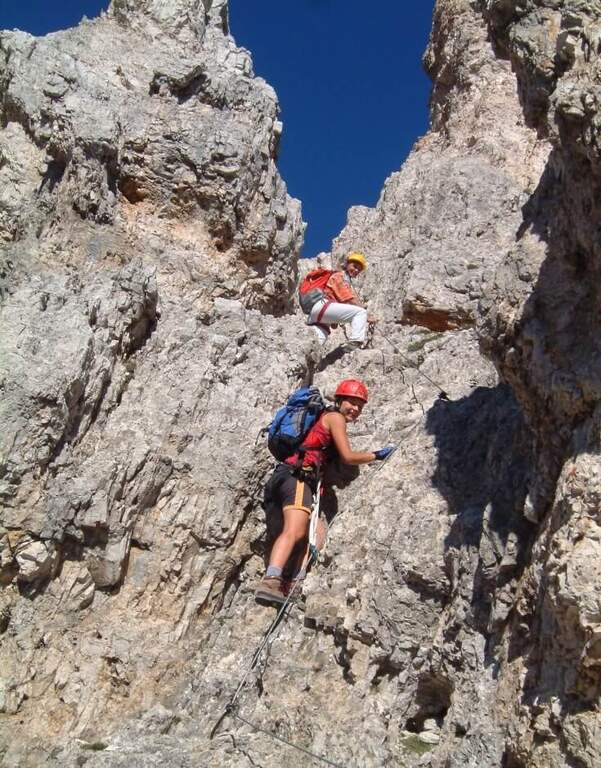
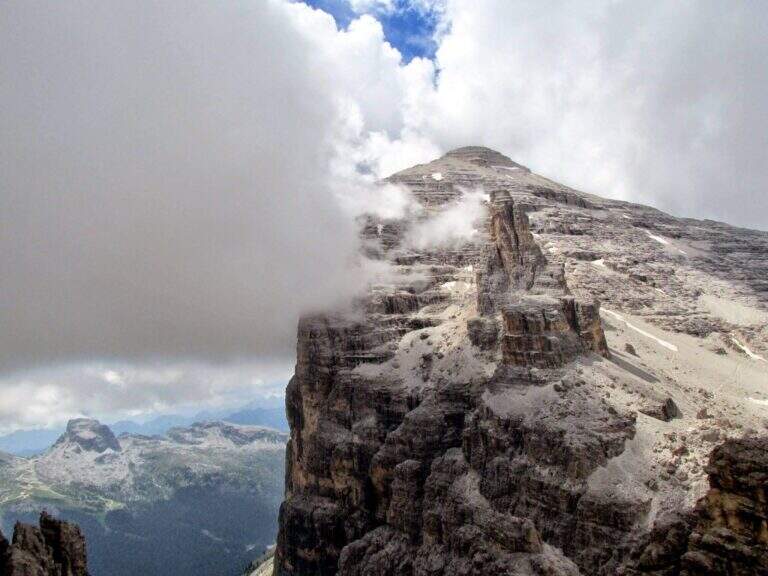
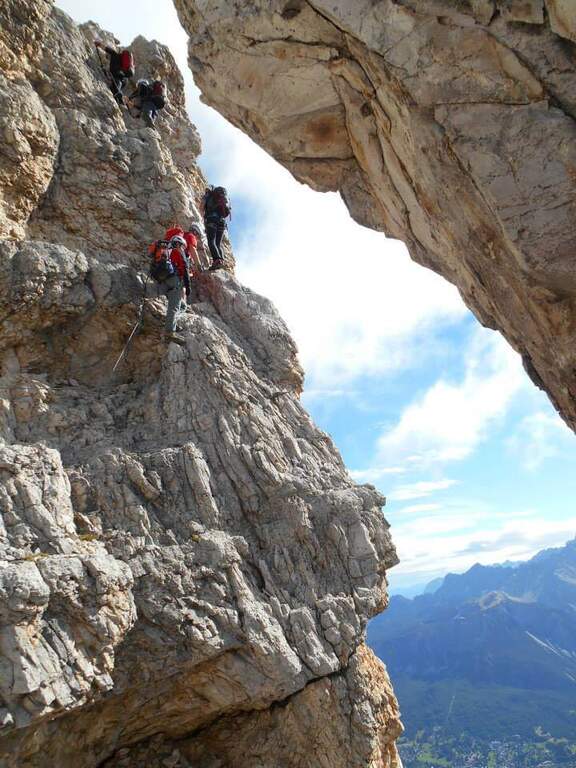
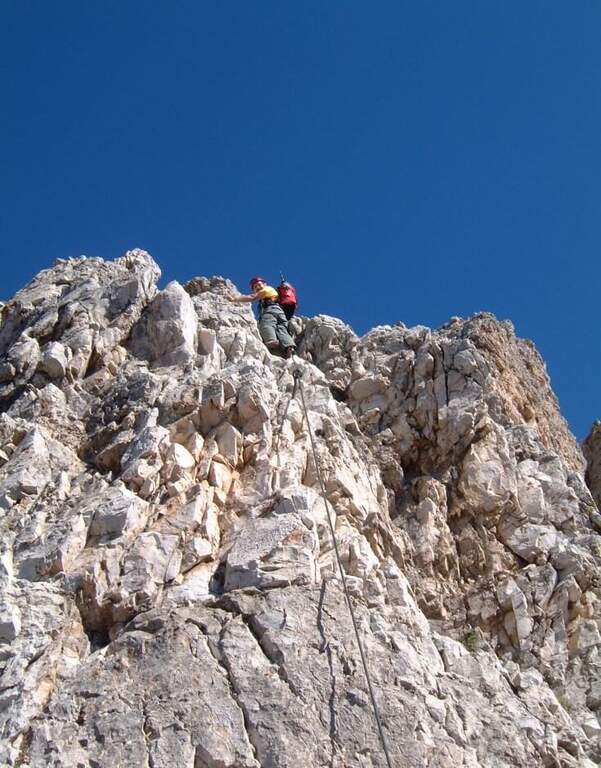
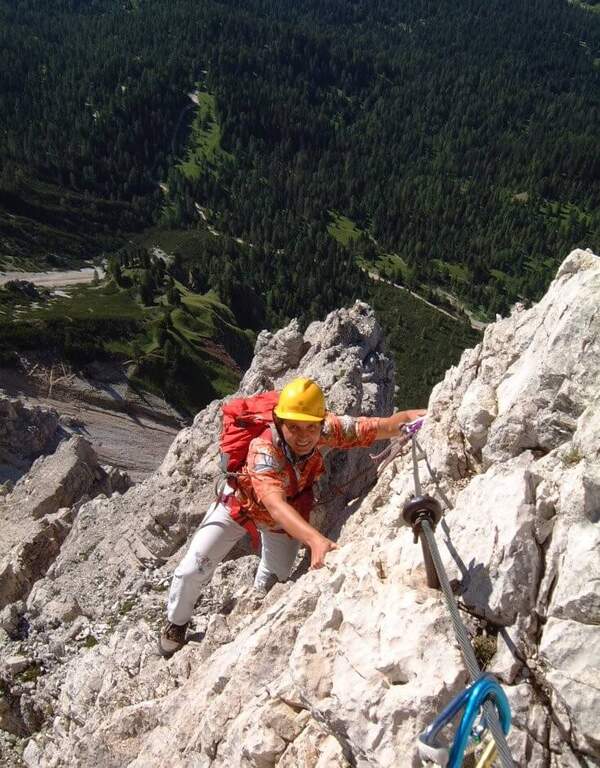
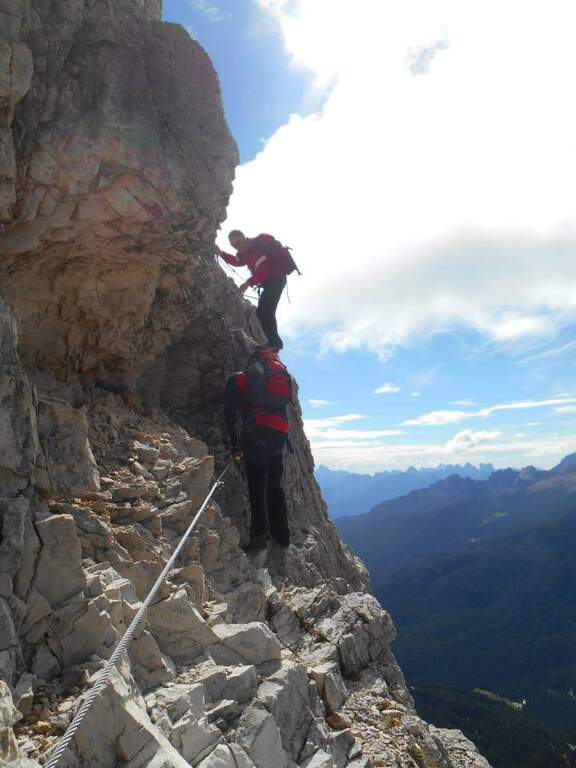
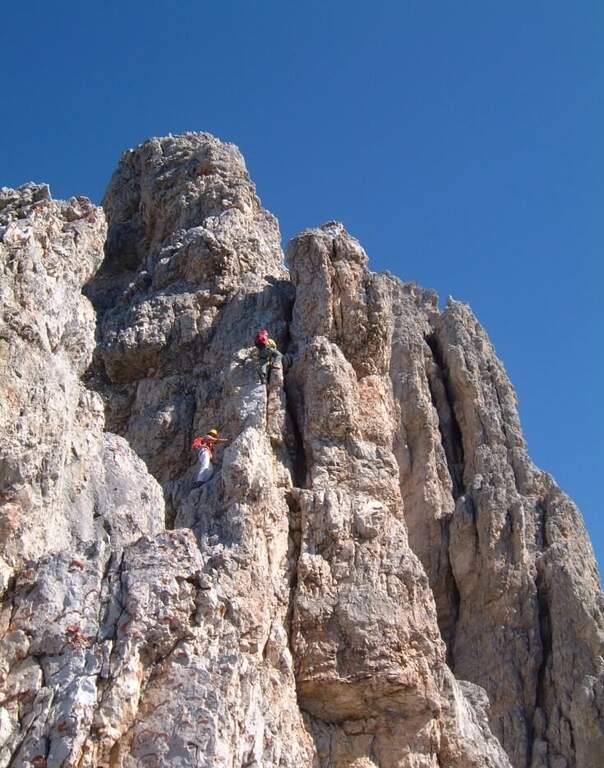
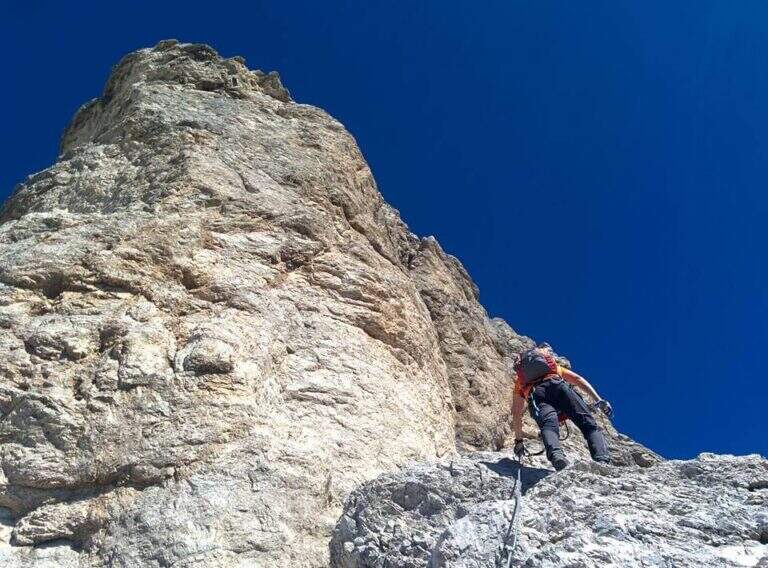
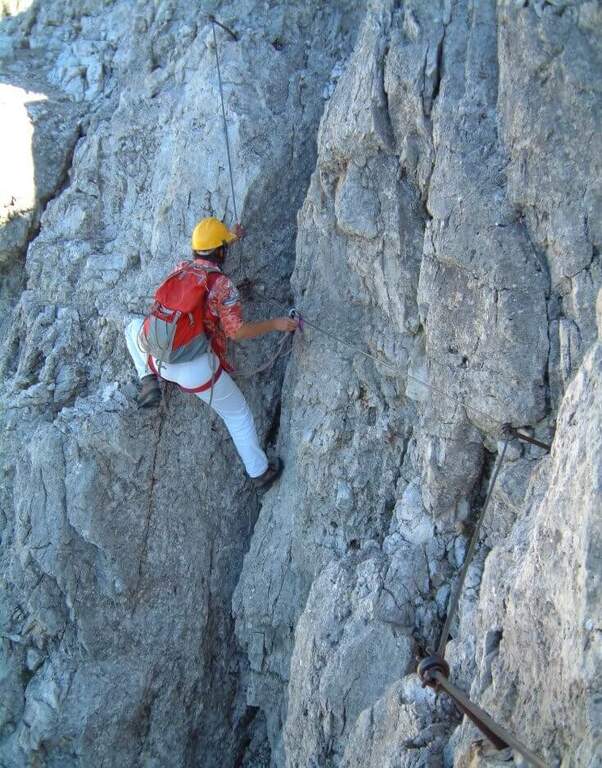
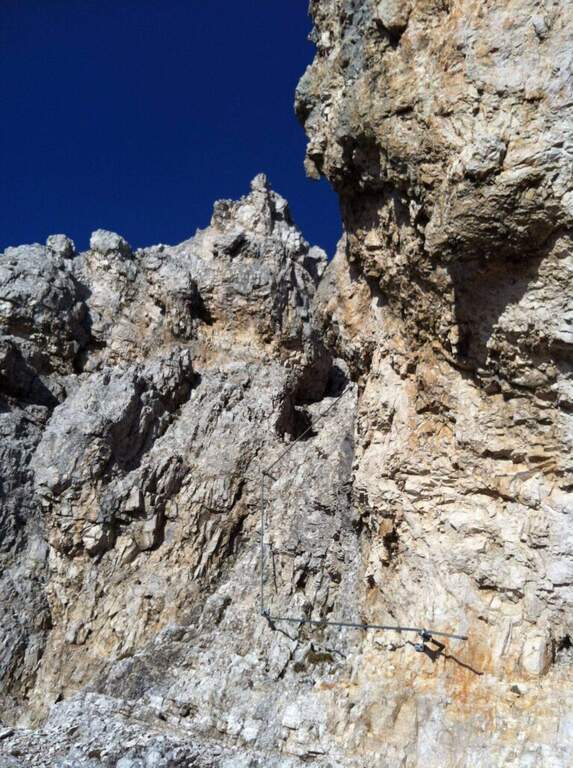
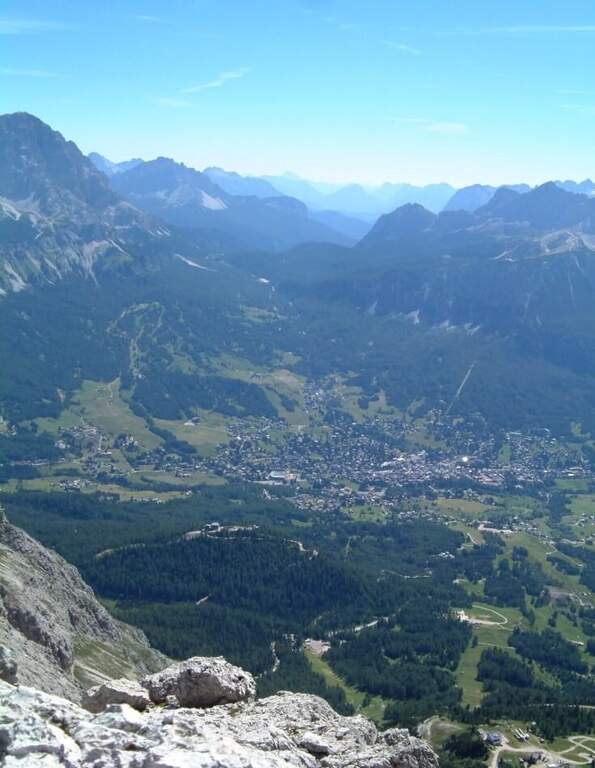
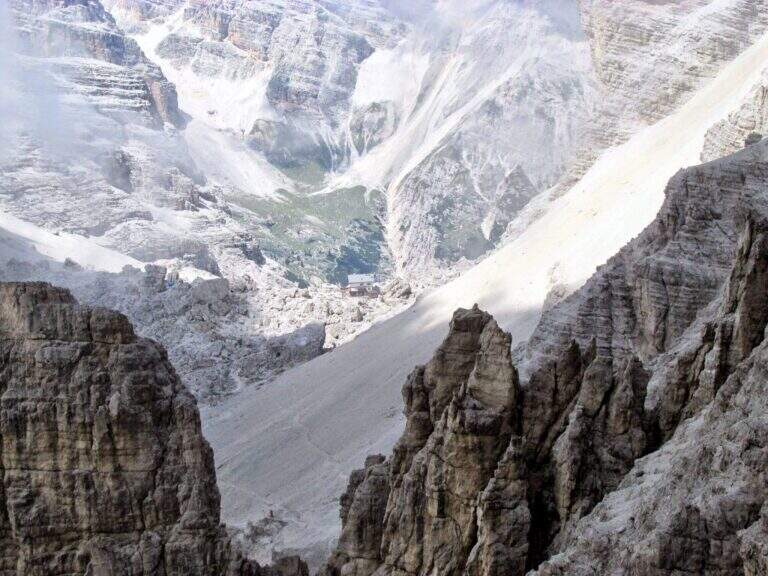
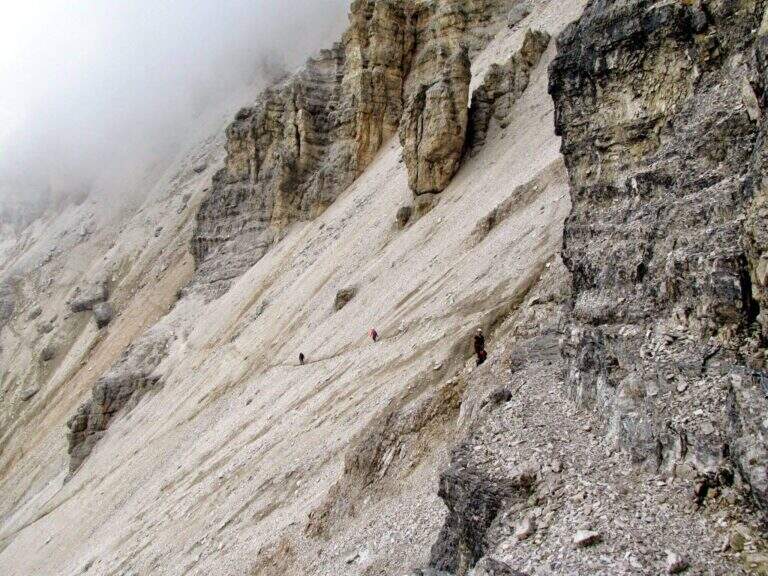
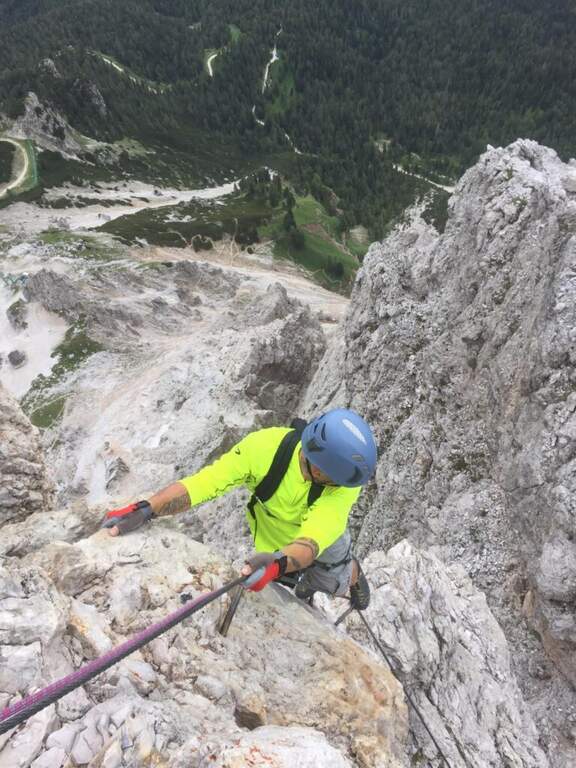
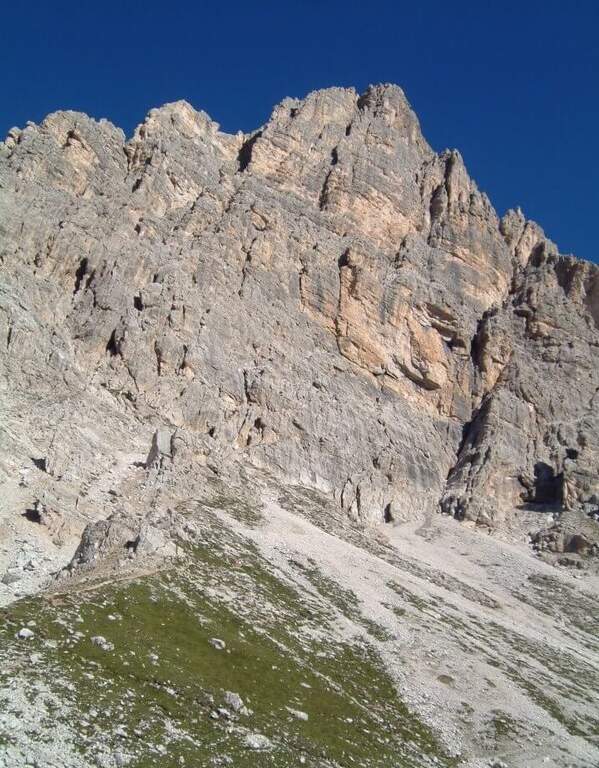
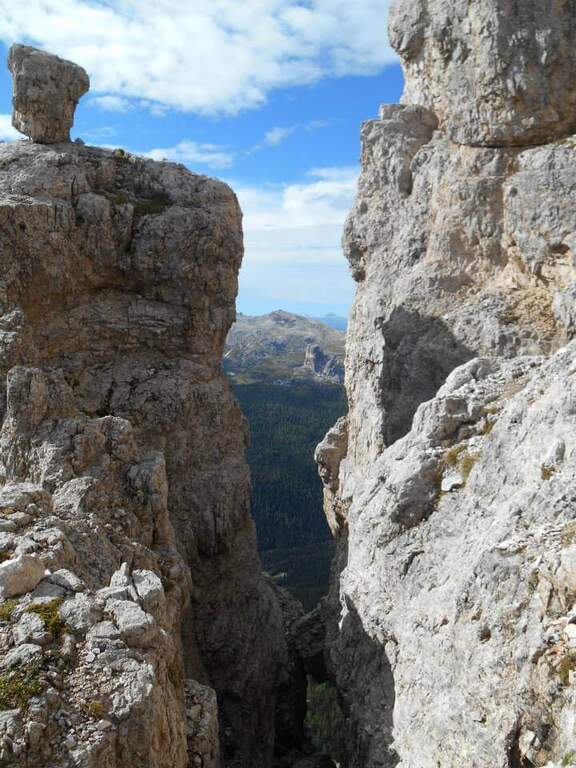
    The Cengia Veronesi is a technically not difficult but very exposed itinerary, not to be taken lightly already for the approach: in order to reach it, in fact, you have to follow a section of the difficult Ferrata Tomaselli. In return, it offers magnificent landscapes in the heart of the Fanis group. Here we describe it in the direction of Cima Fanis – Forcella Lech, but nothing forbids it in reverse direction, uphill.

    ▲Approach

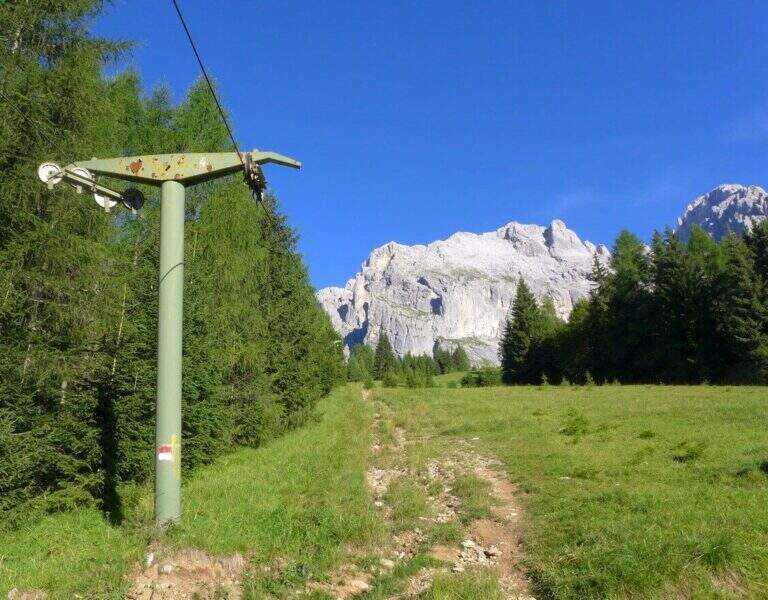
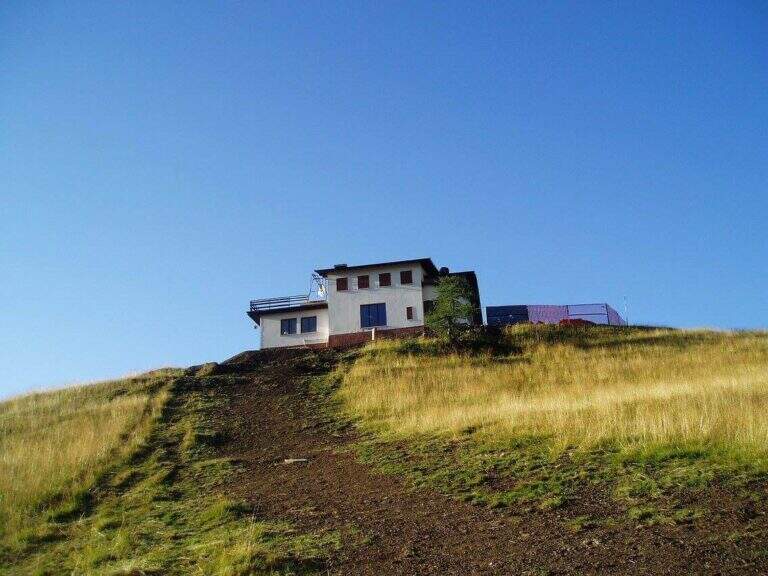
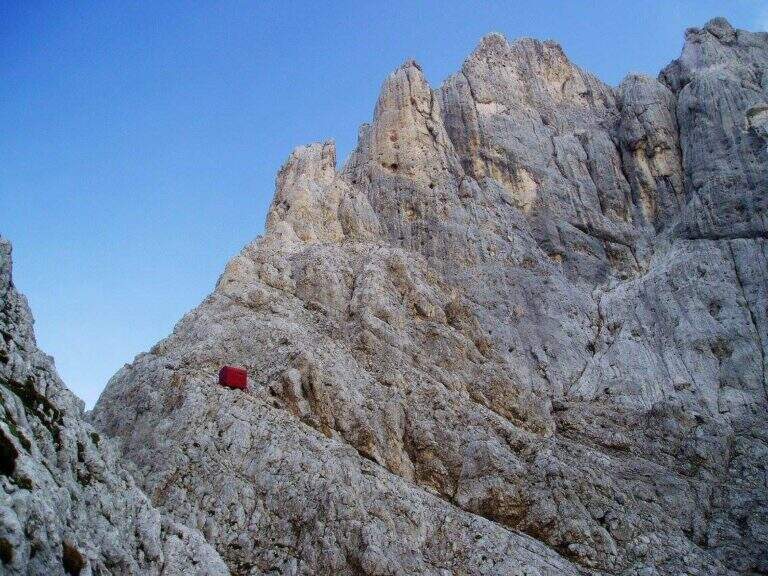
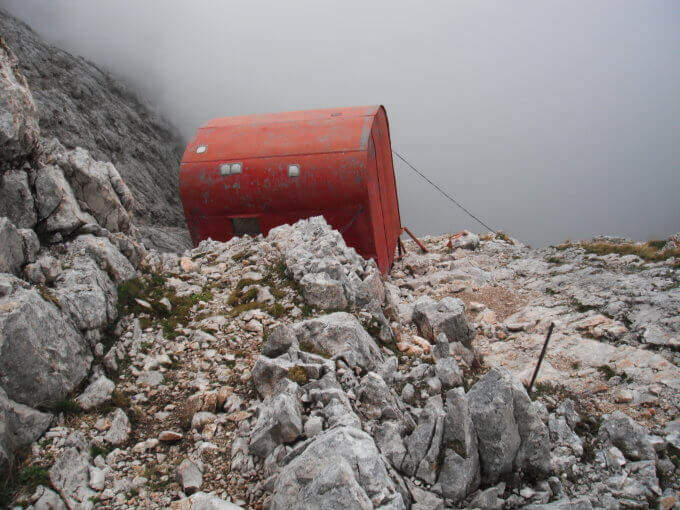
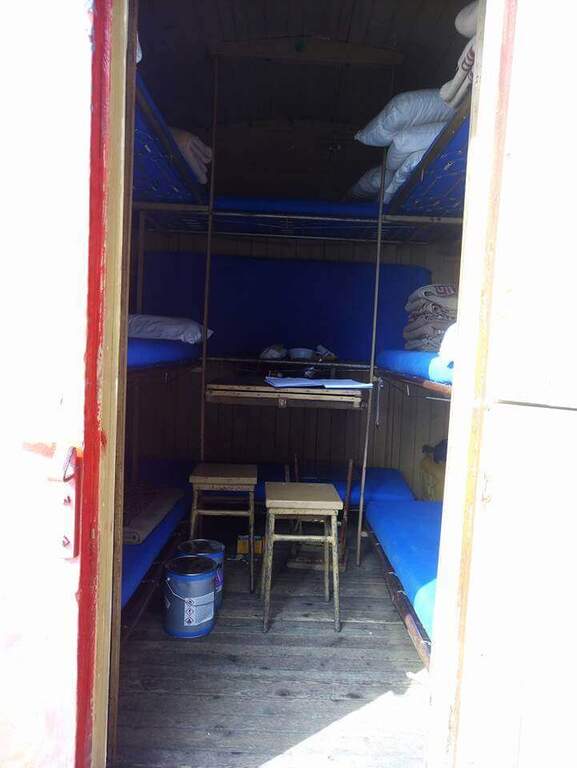
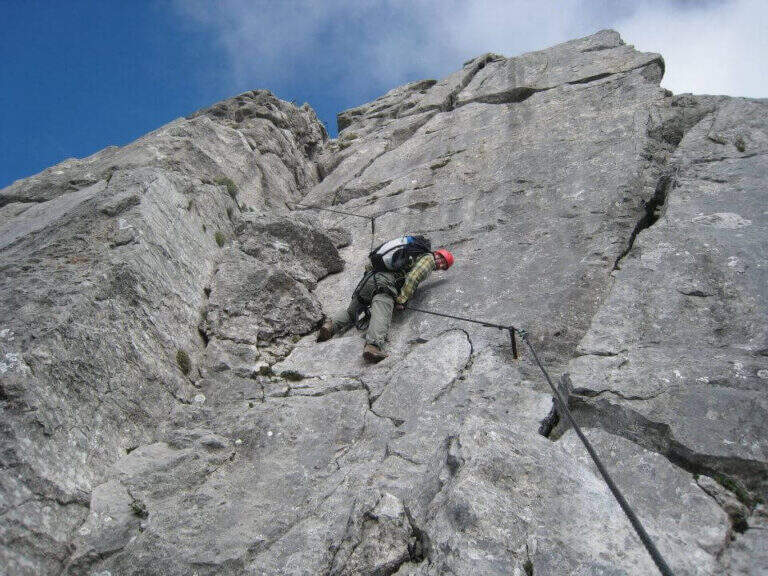
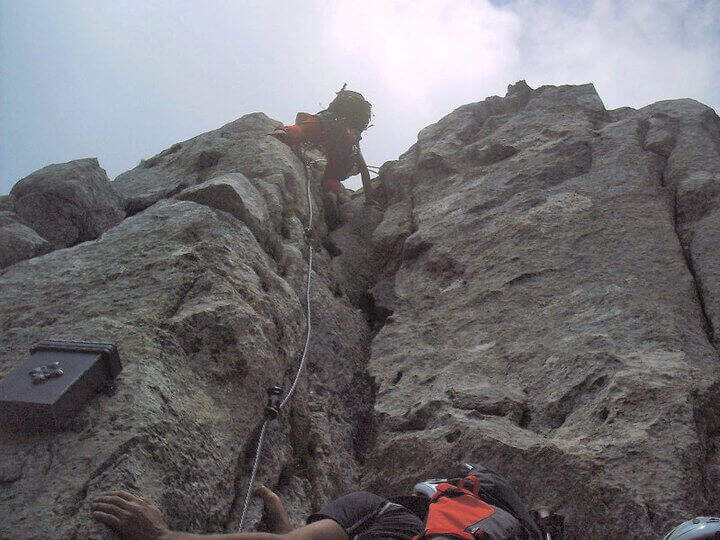
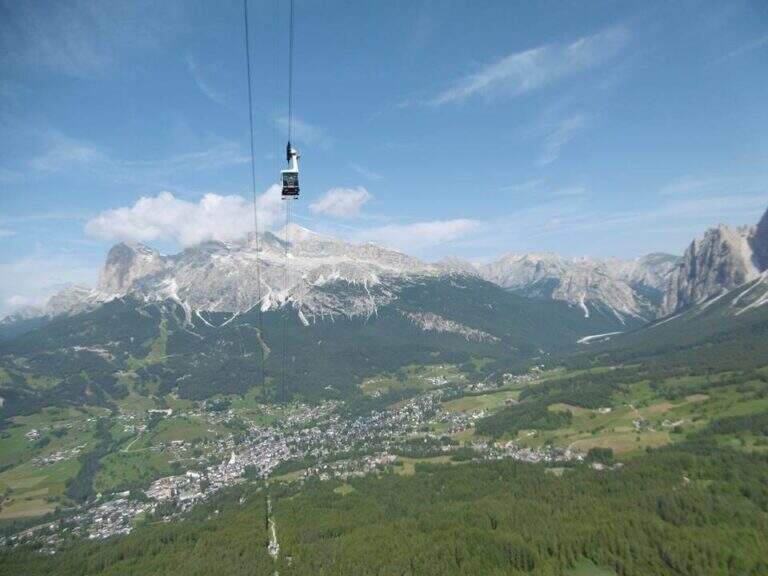
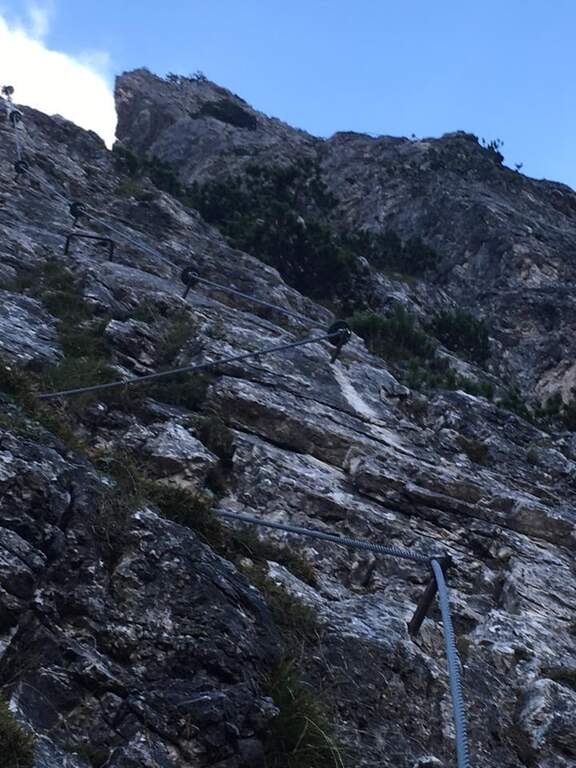
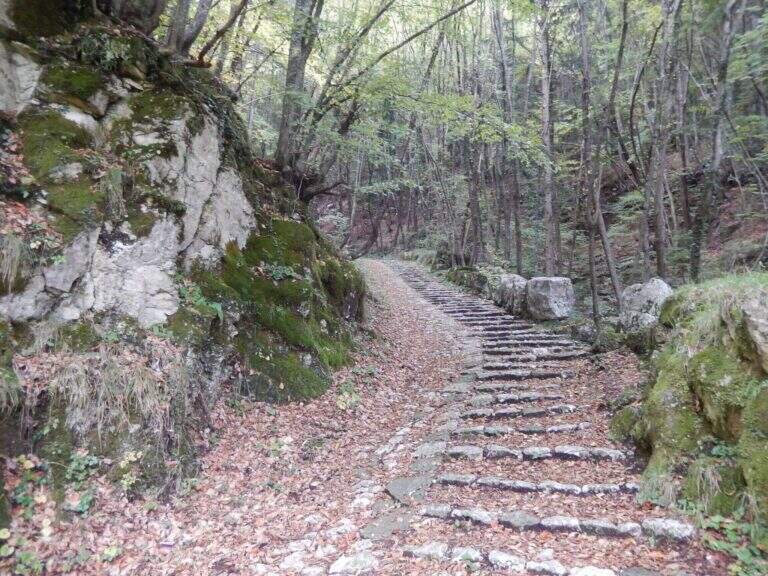
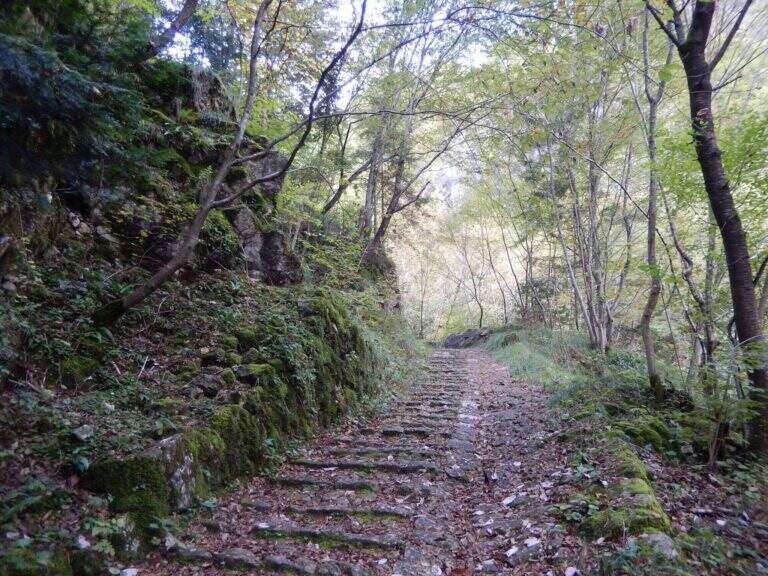
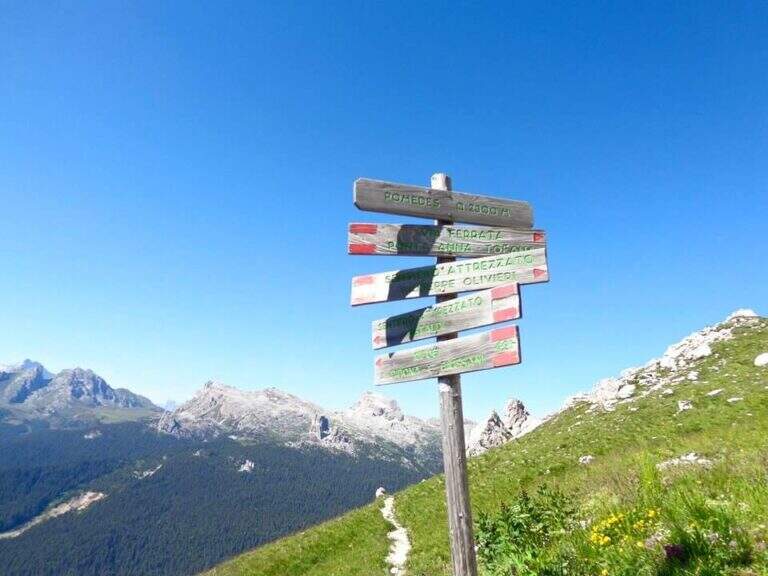
    You have to get under Cima Fanis Sud. The quickest way coincides with the approach of Ferrata Tomaselli: you reach the Falzarego Pass (2105 m) — from Cortina d’Ampezzo, from San Cassiano in Val Badia or from Alleghe (Belluno) — you park in the large square at the valley station and climb with the cable car to the Lagazuoi Refuge (open up Google Maps). From here there are three options, in increasing order of engagement. The first follows the approach of the Tomaselli on the eastern side of the Grande Lagazuoi, from Forcella Travenazes to Forcella Gasser Depot, then up to saddle Fanes; then the maximum attention is paid to a census that detaches on the left (omit), you walk it and you get to the nod from which the road (2h from the mountain station). The second reaches the Bivacco Chiesa always along the Tomaselli, it follows the first difficult stretch — including the famous traverse — and flows into the starting census (1h45 from the mountain station): it is the option described here for the times. The third walks through the difficult Ferrata Tomaselli (3h), descends the downhill ferrata and identifies a half-coast path that, with a first equipped section, leads to the tunnel for Cengia Veronesi (4h from the mountain station).

    ▲The path

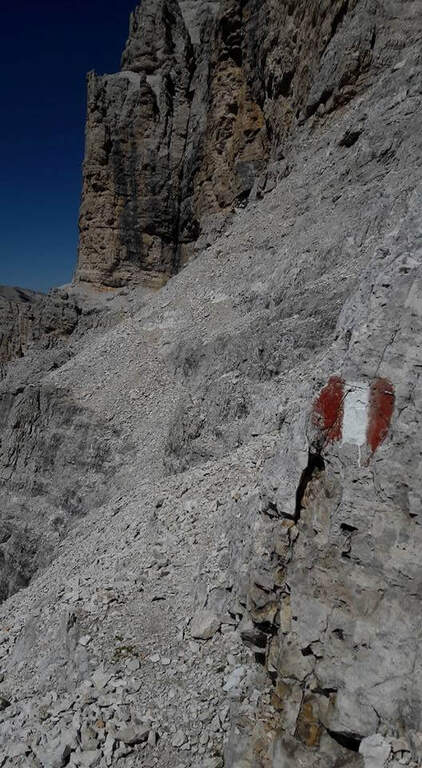
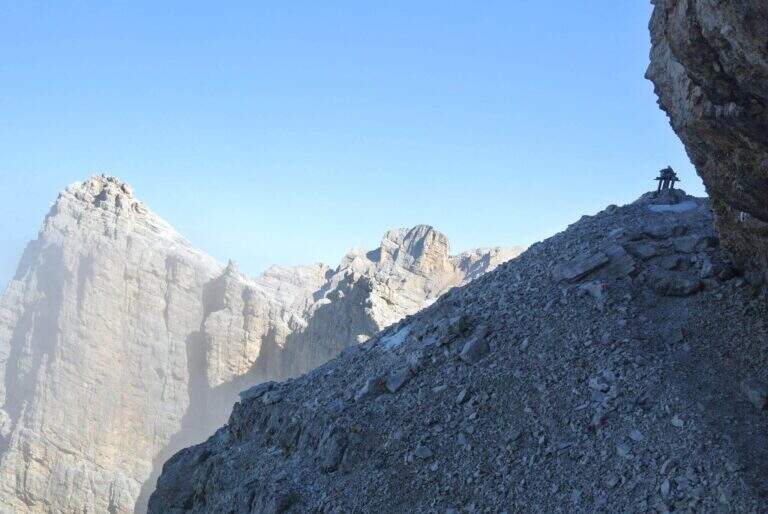
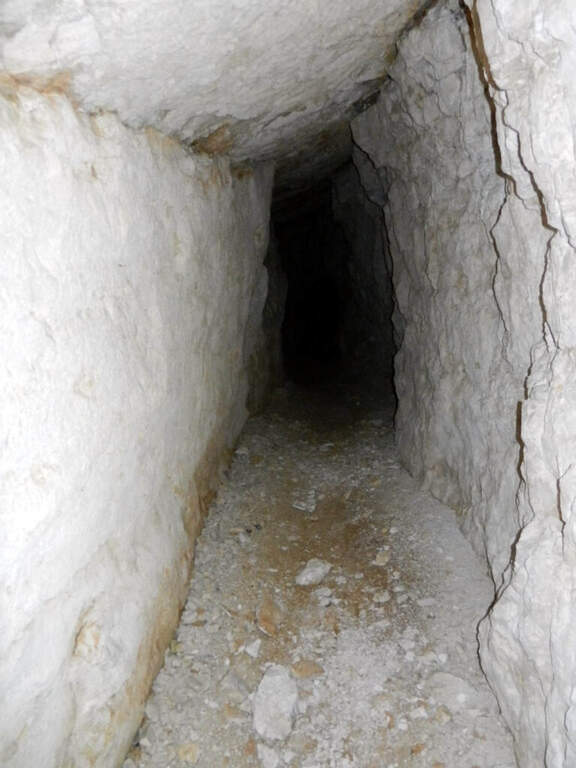
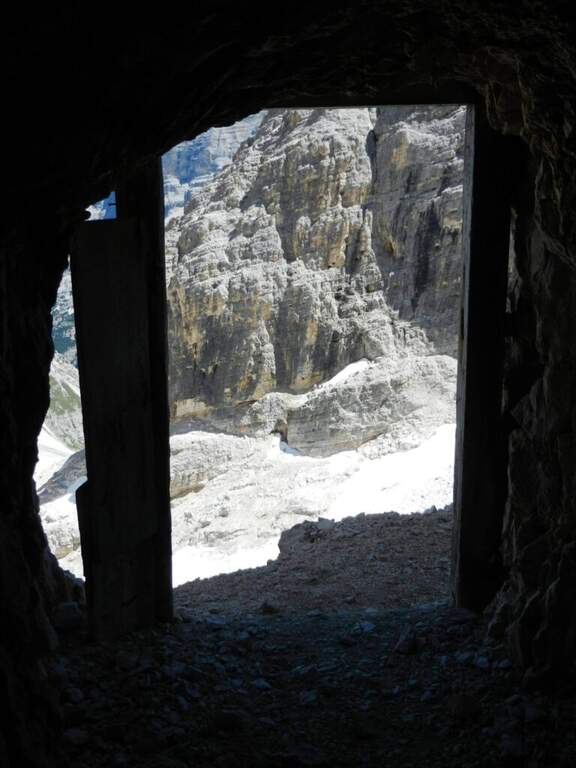
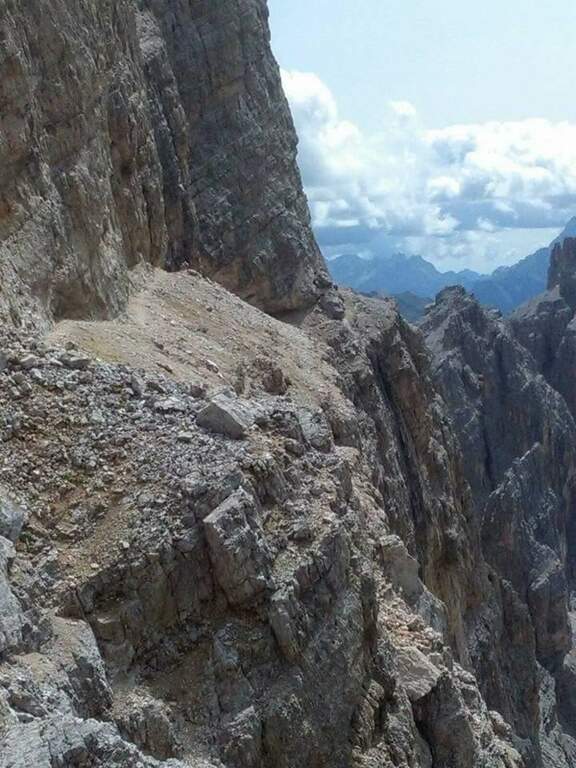
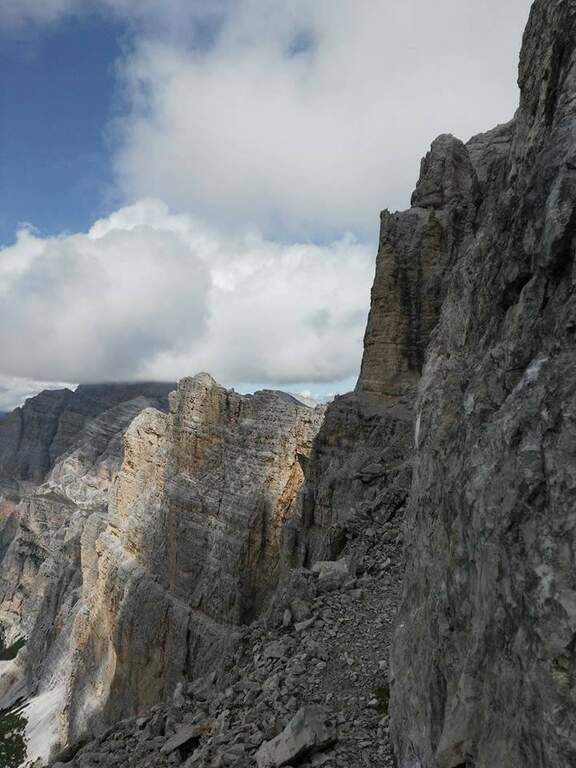
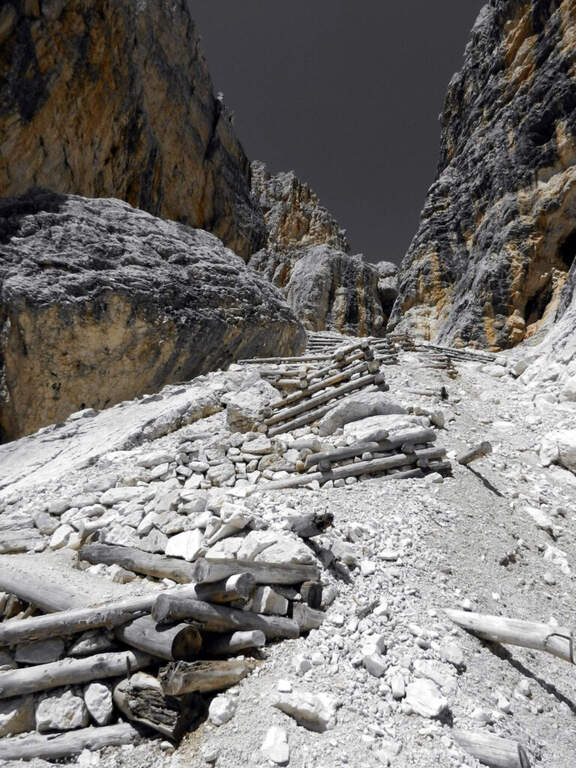
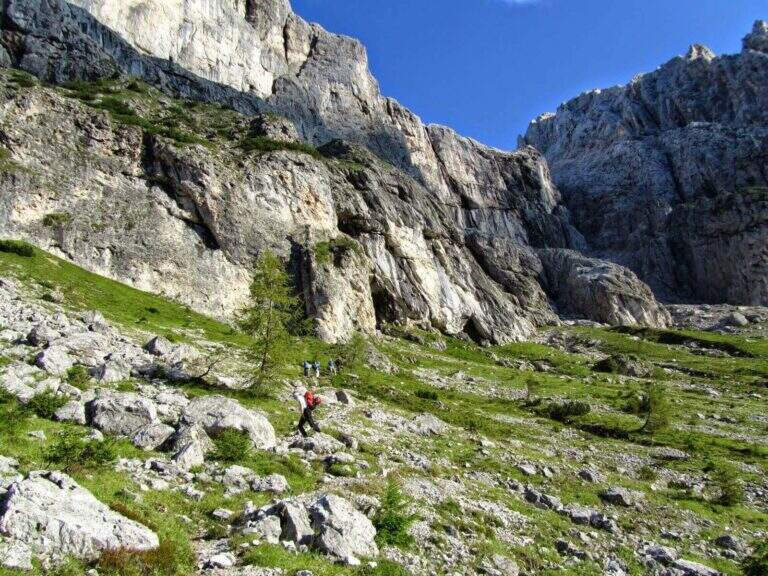
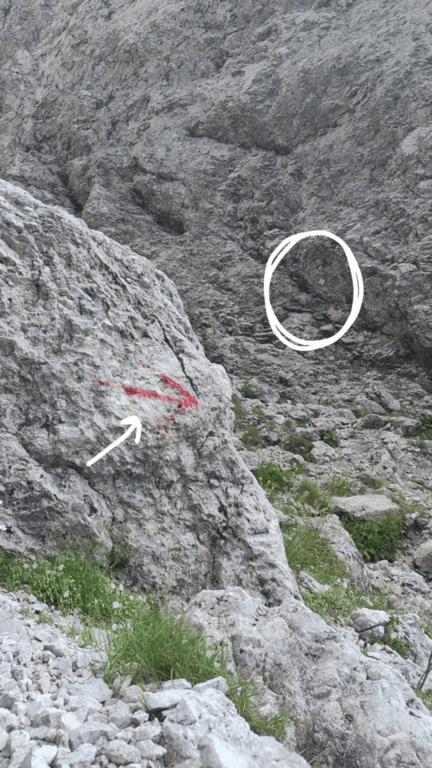
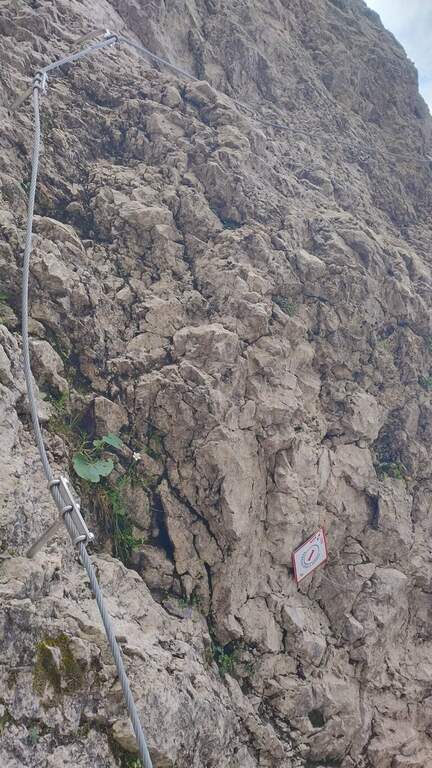
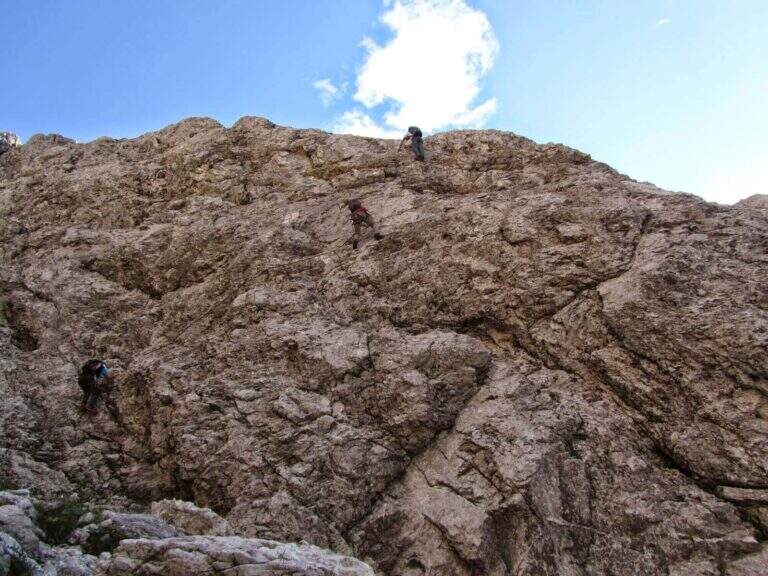
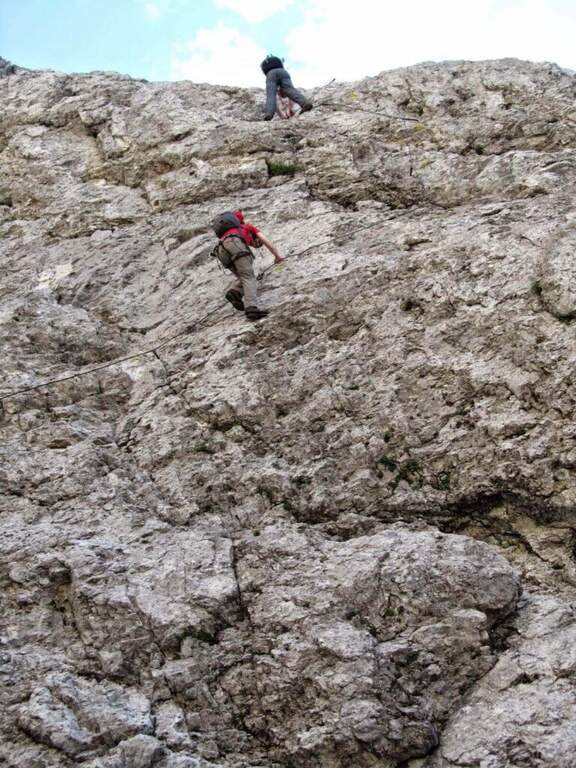
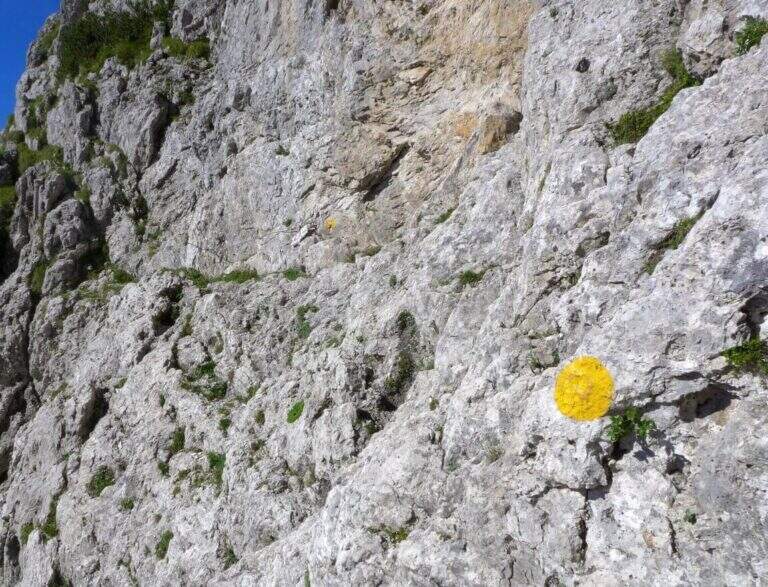
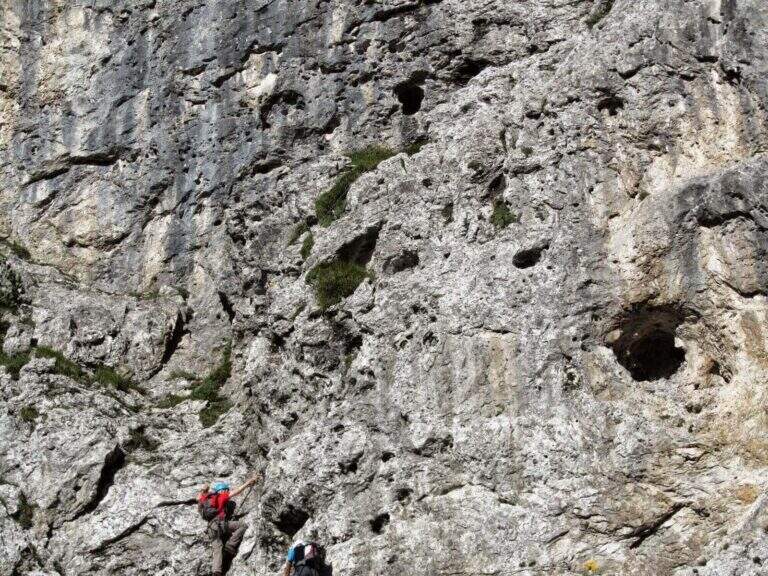
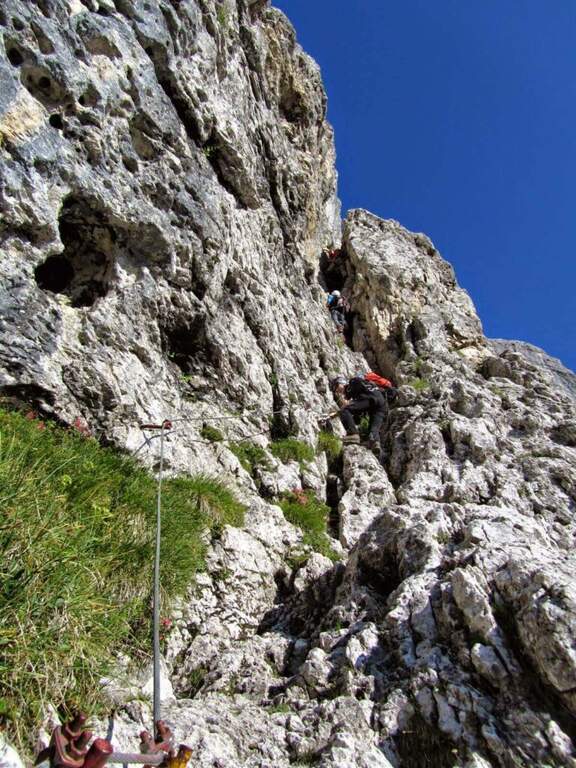
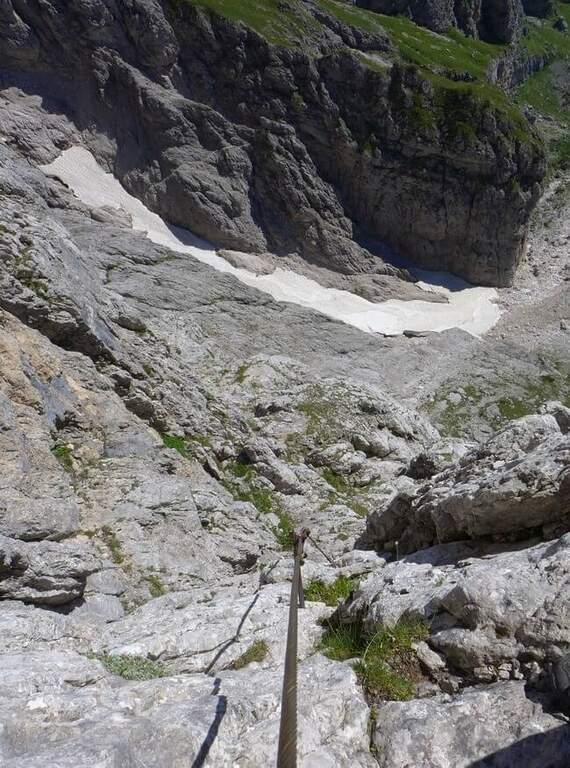
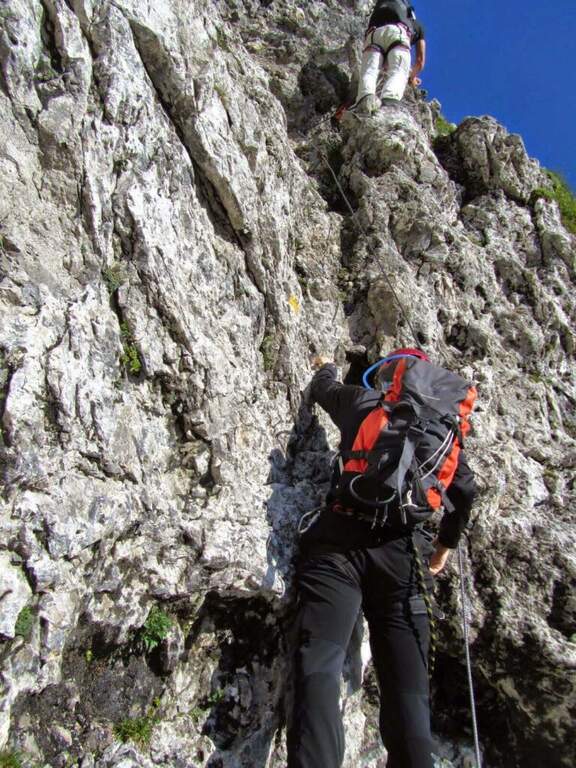
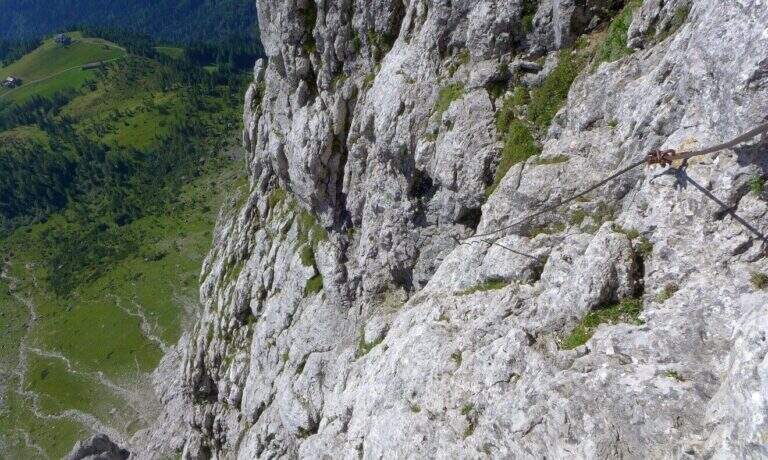
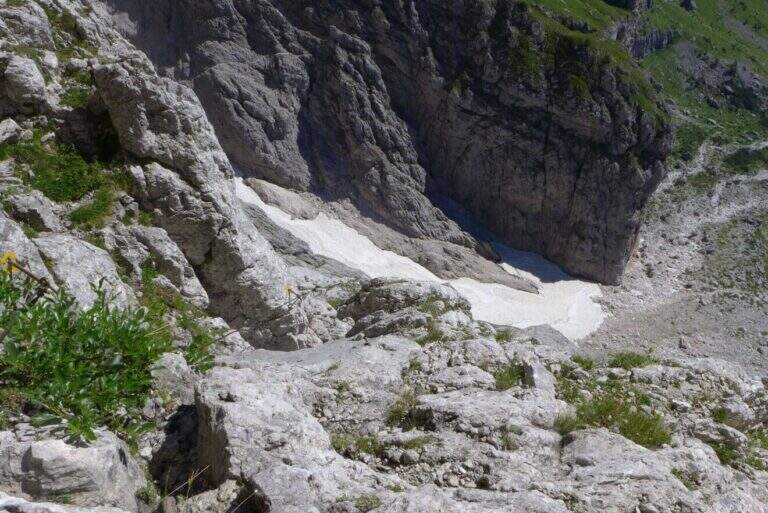
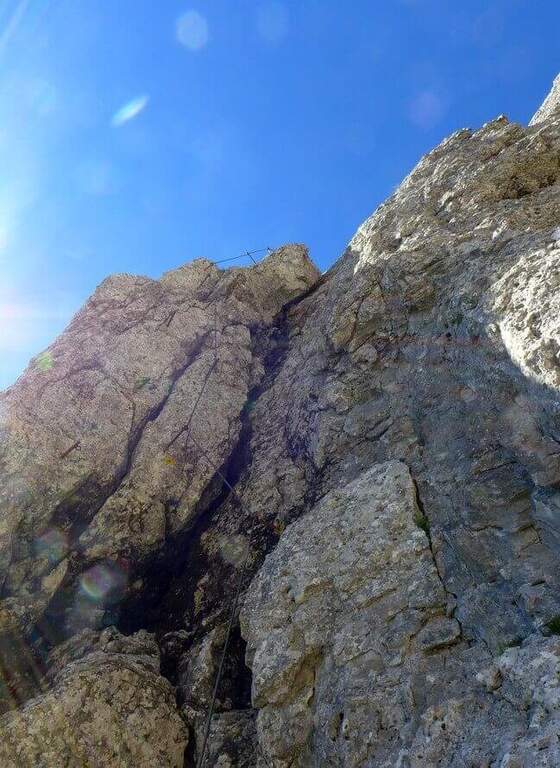
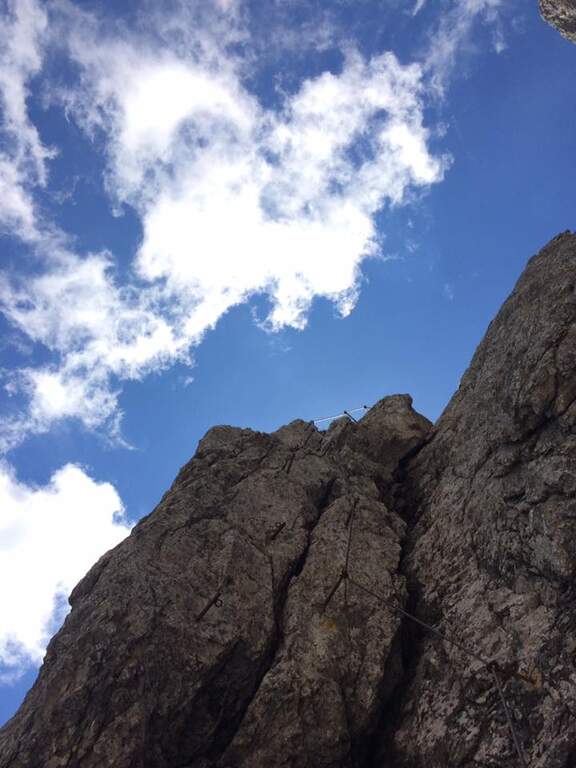
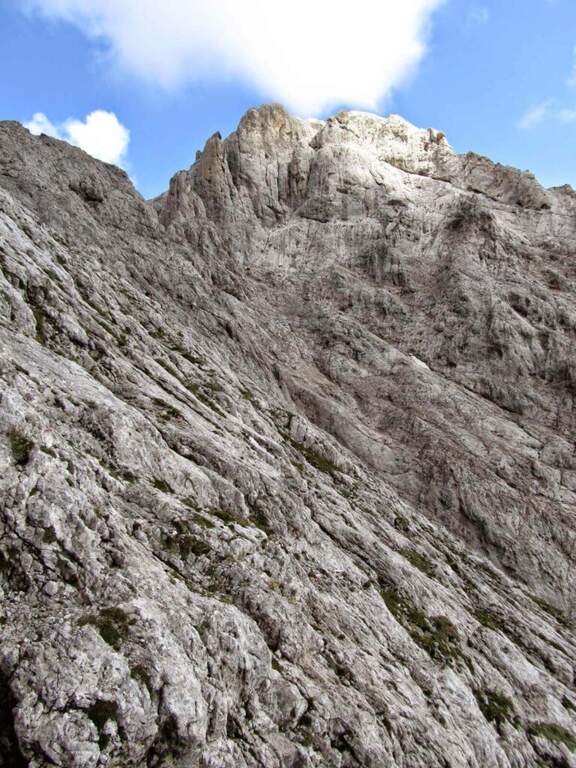
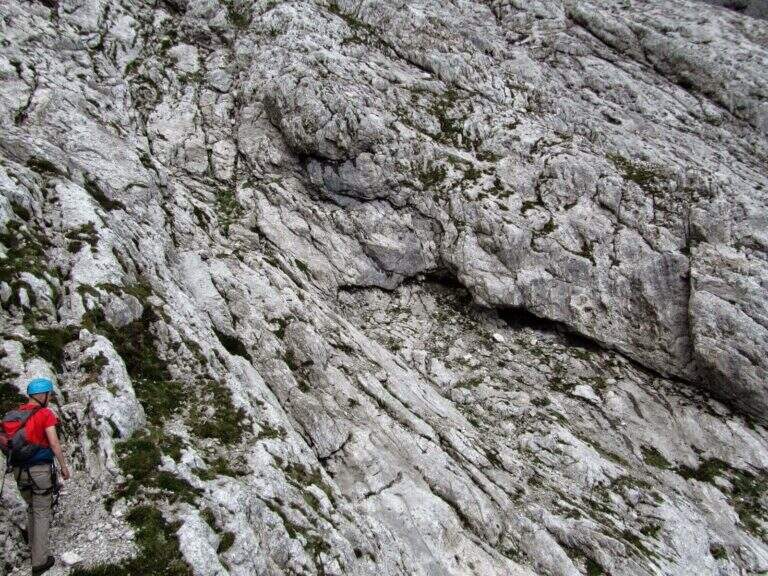
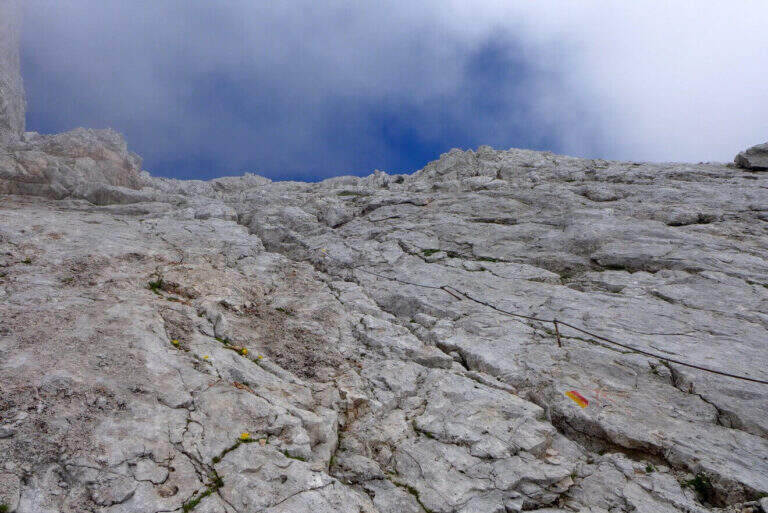
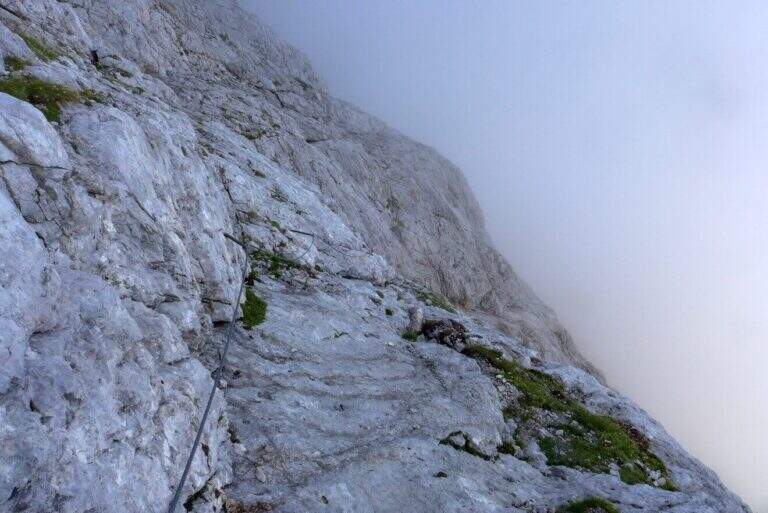
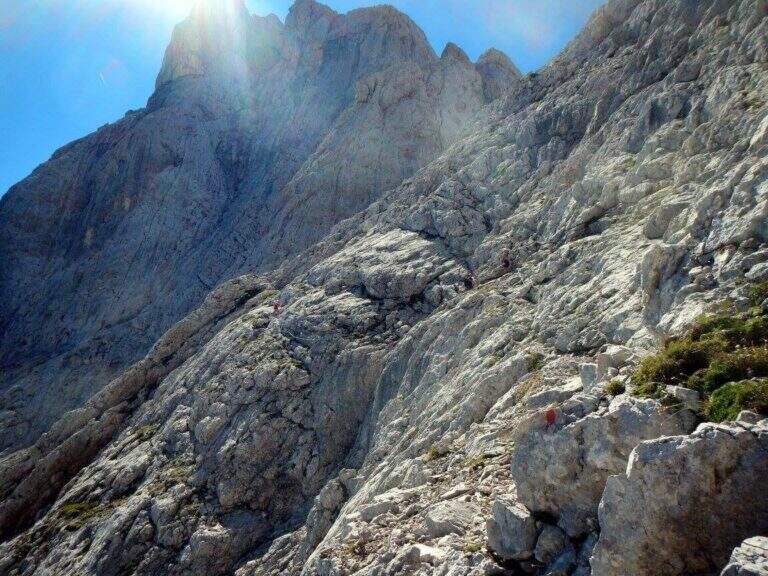
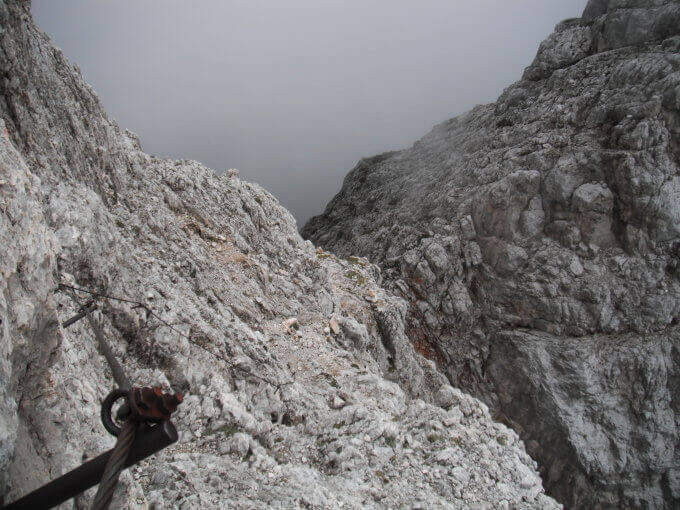
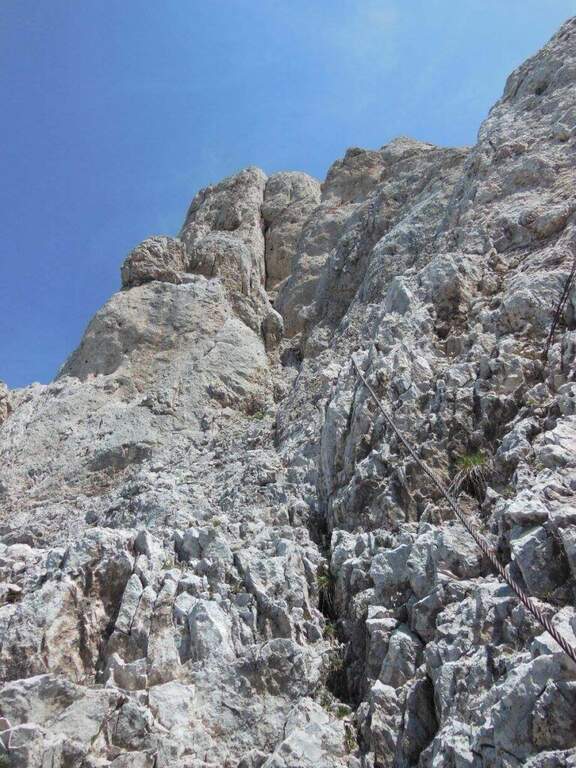
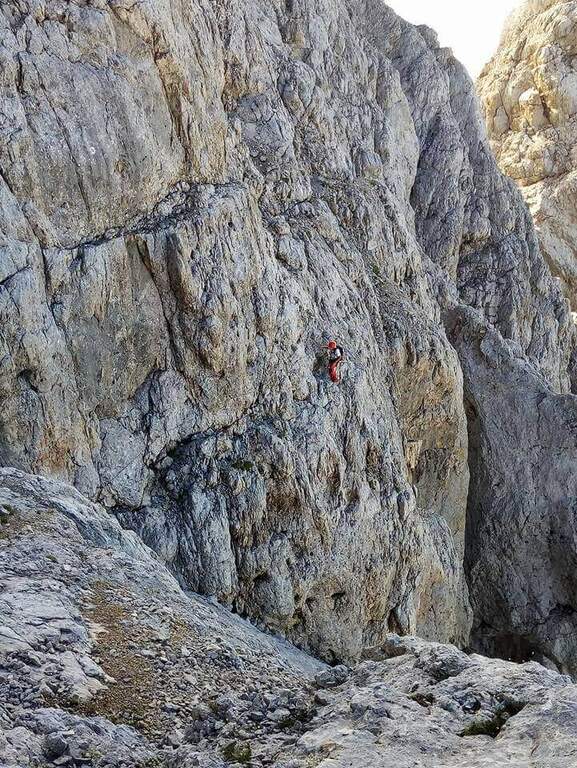
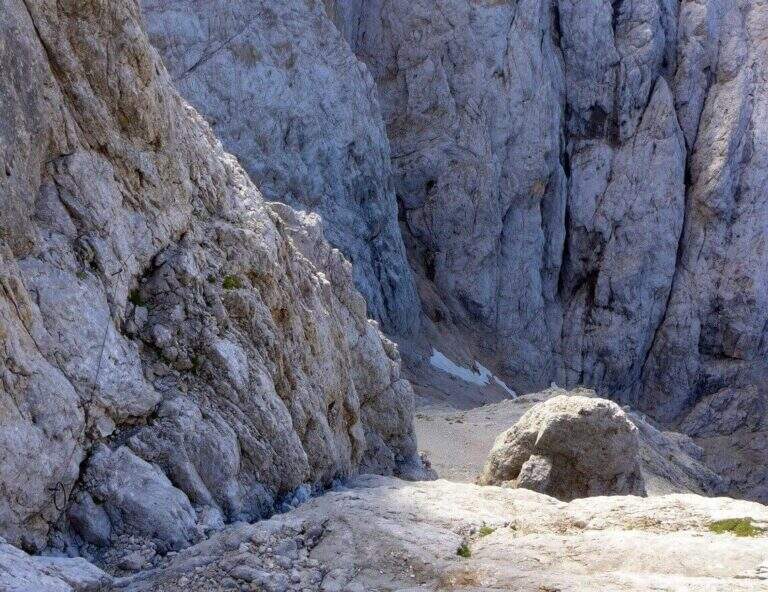
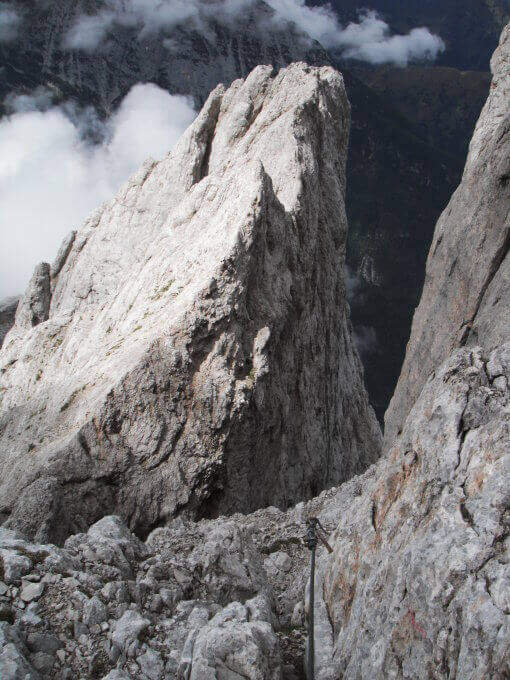
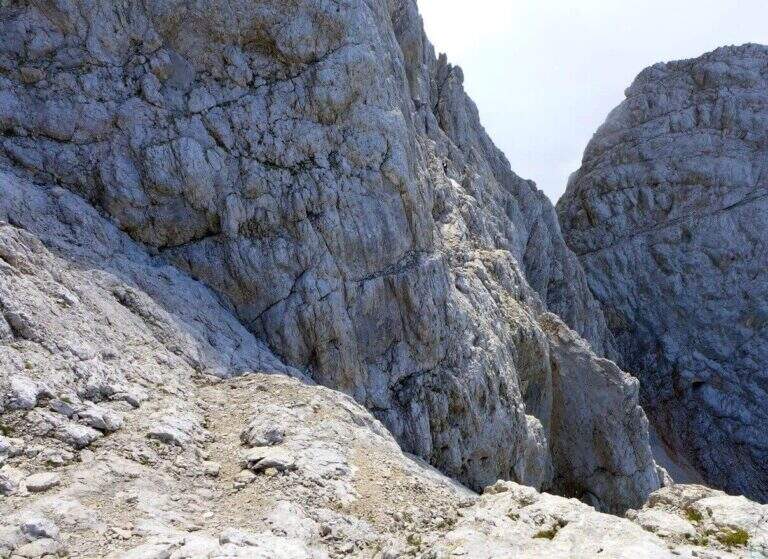
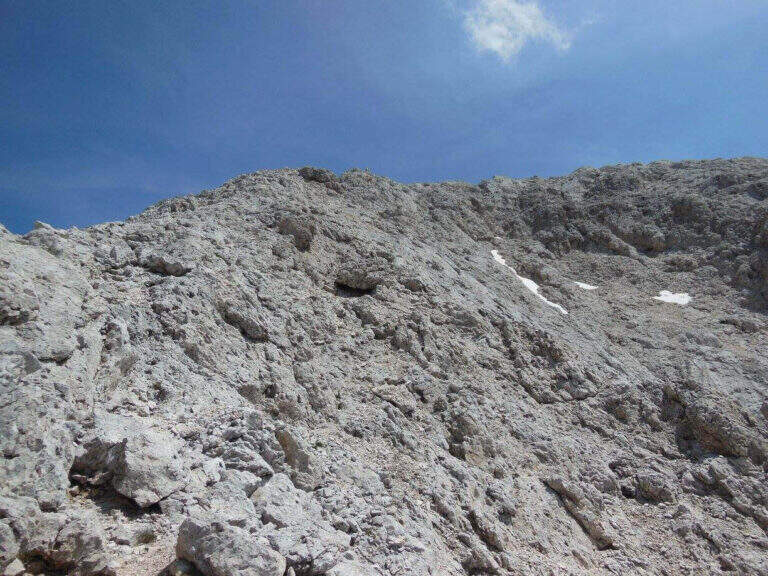
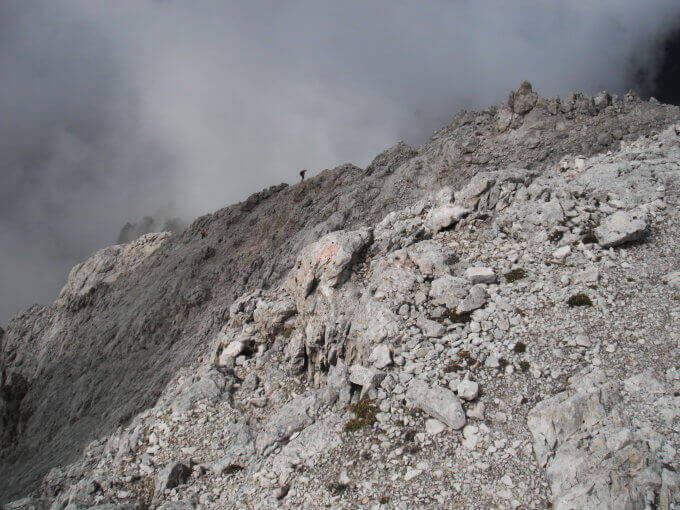
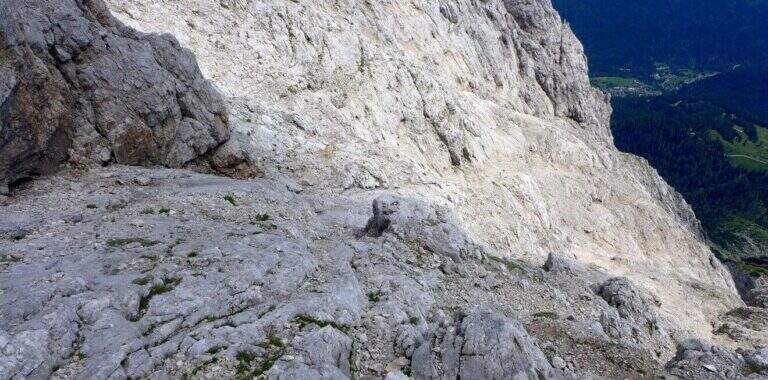
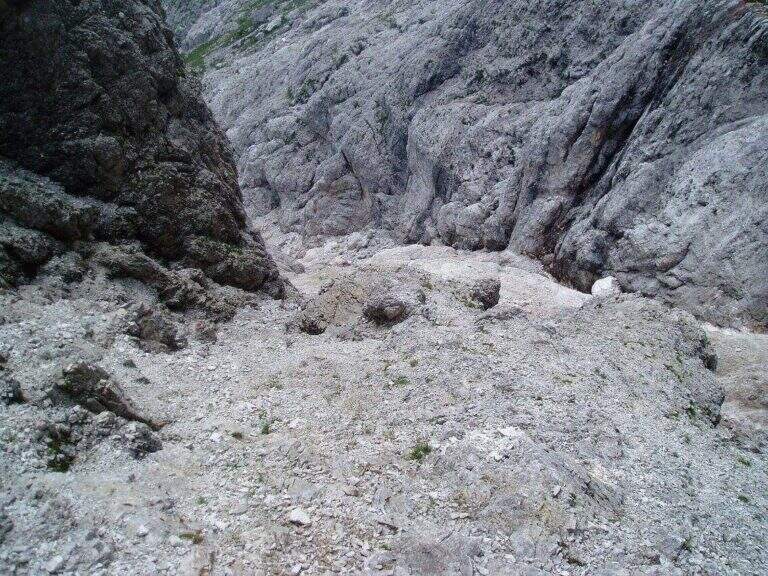
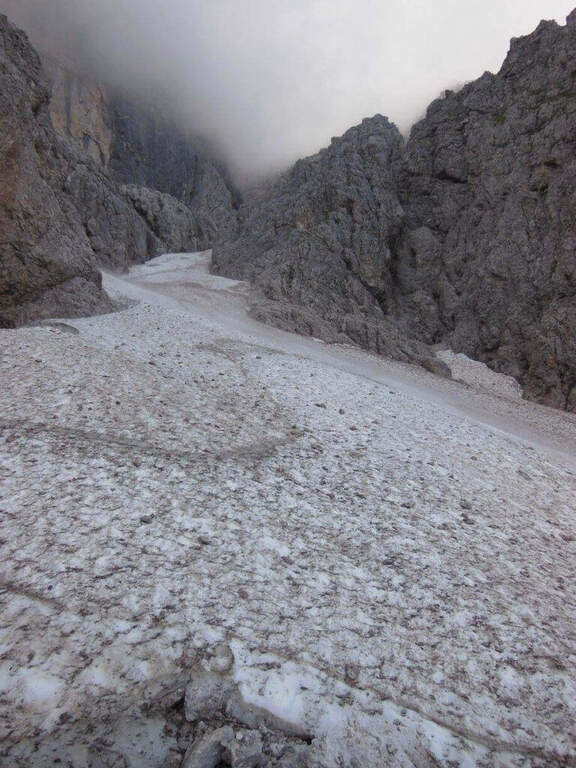
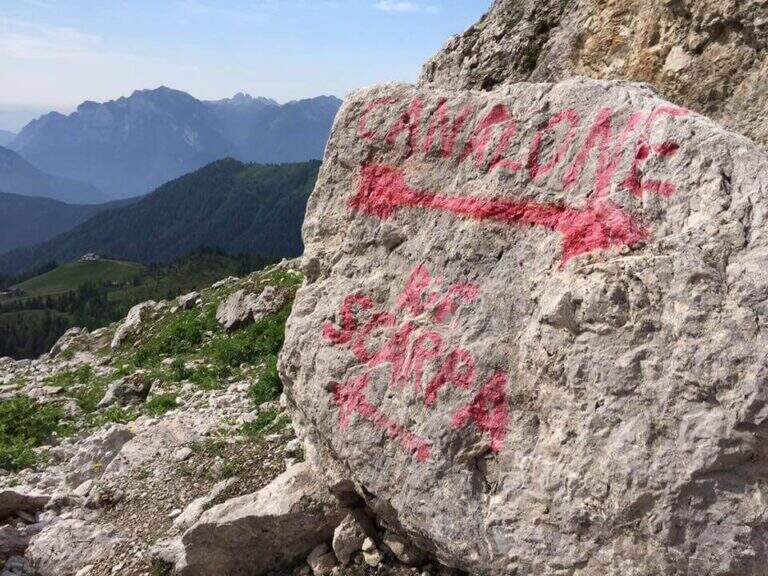
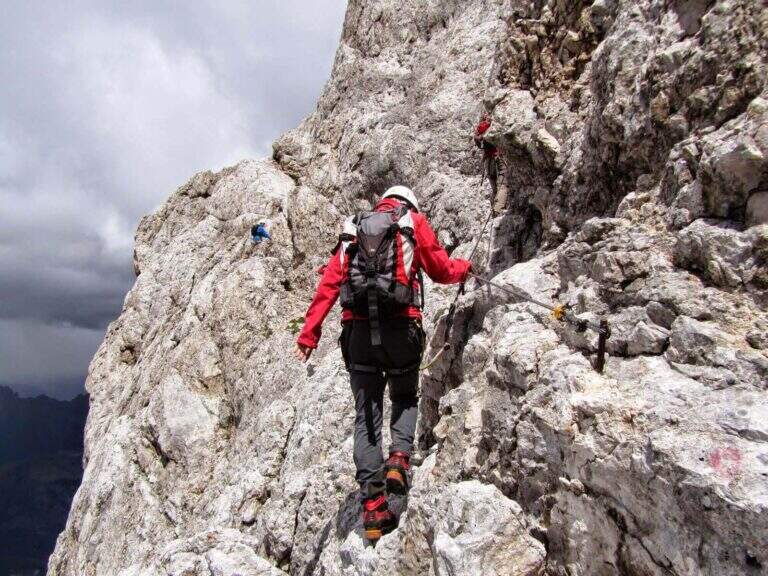
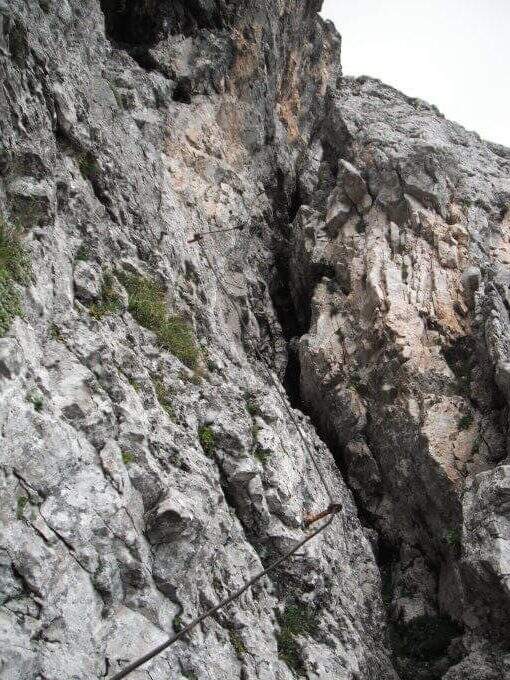
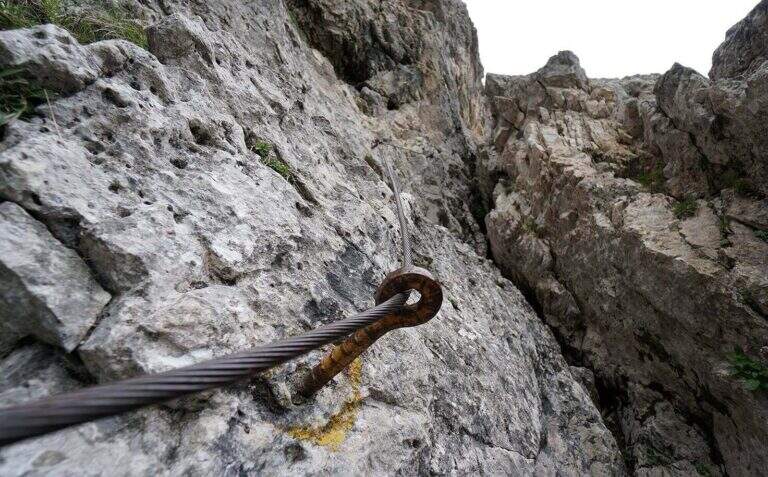
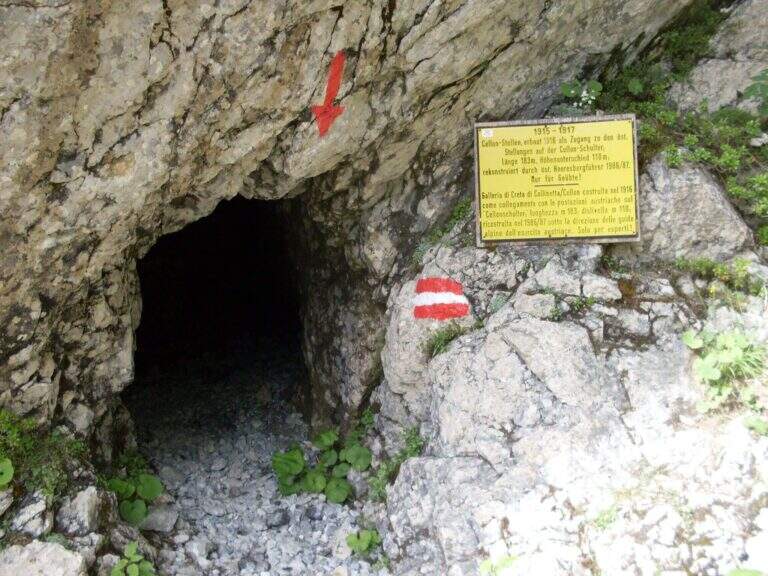
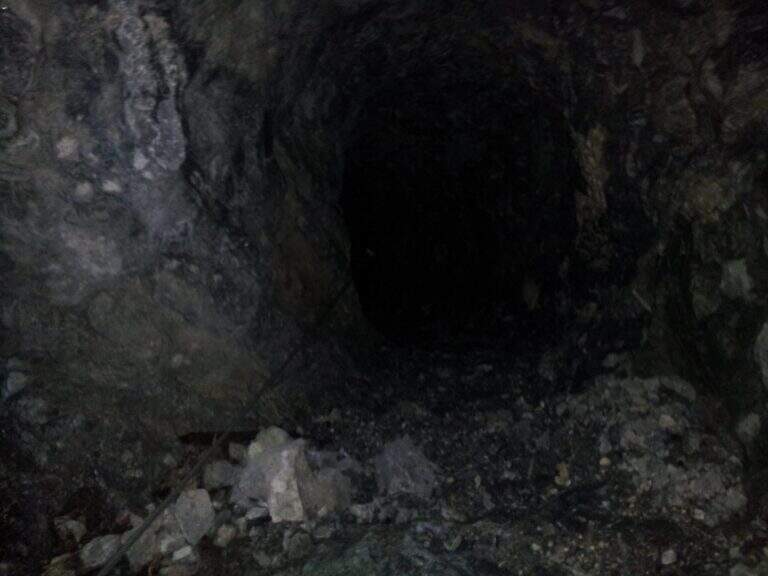
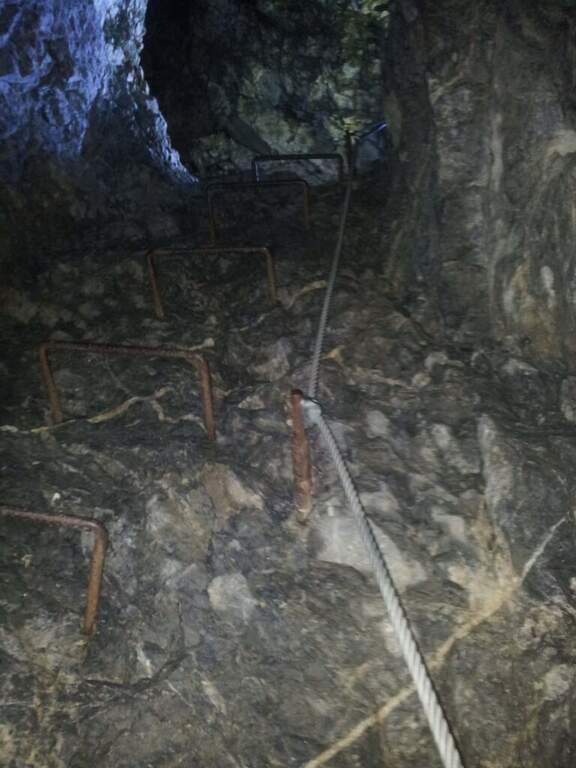
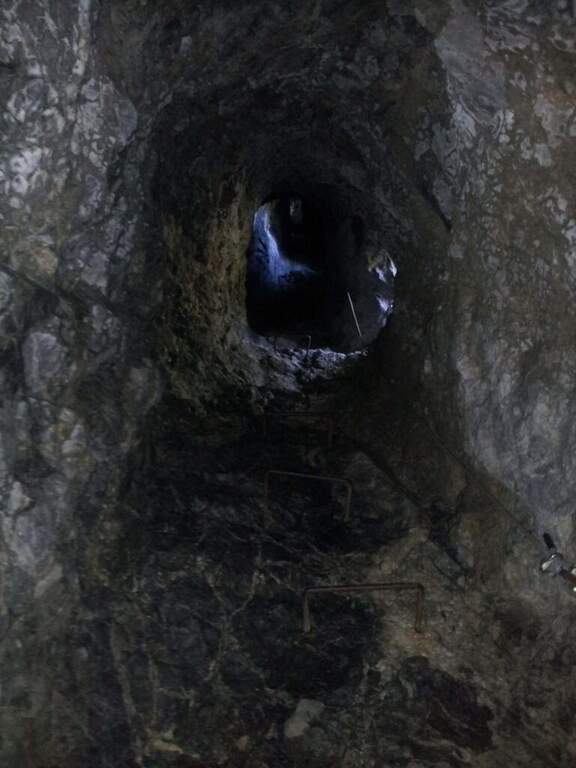
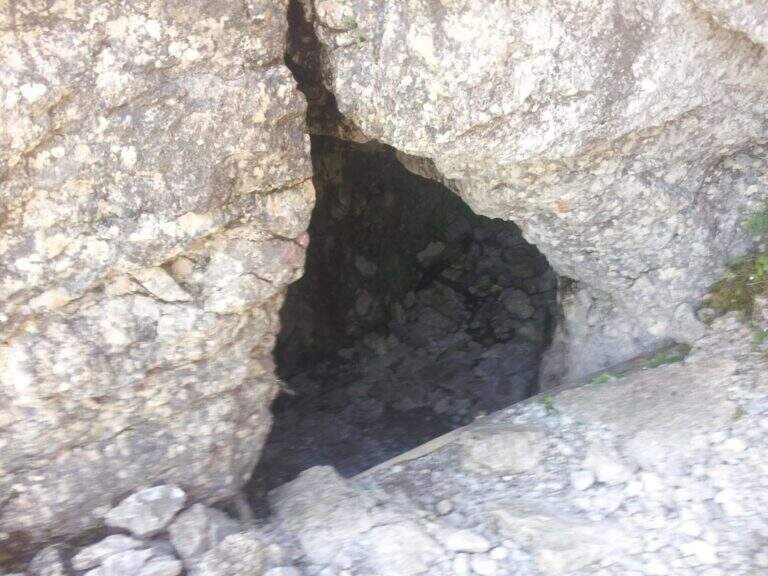
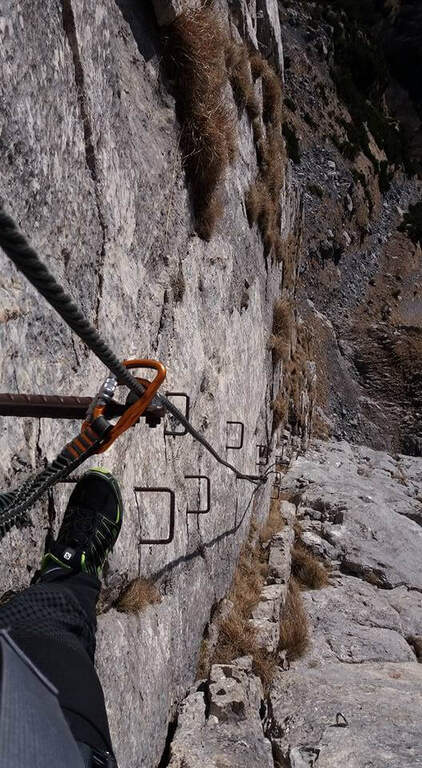
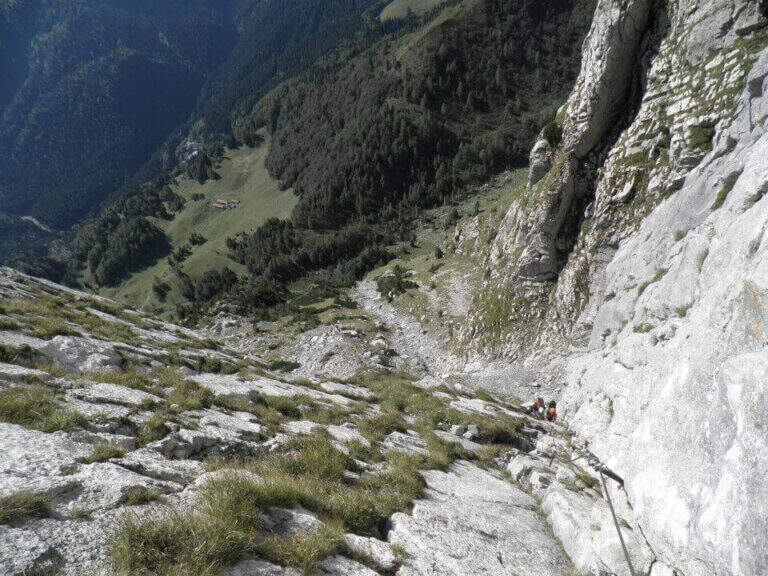
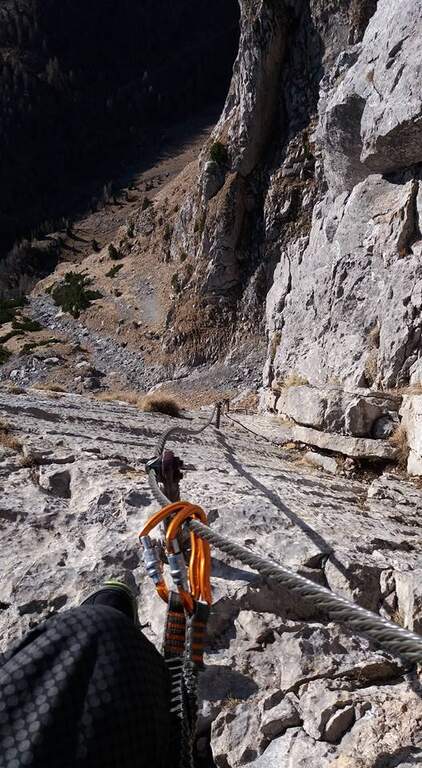
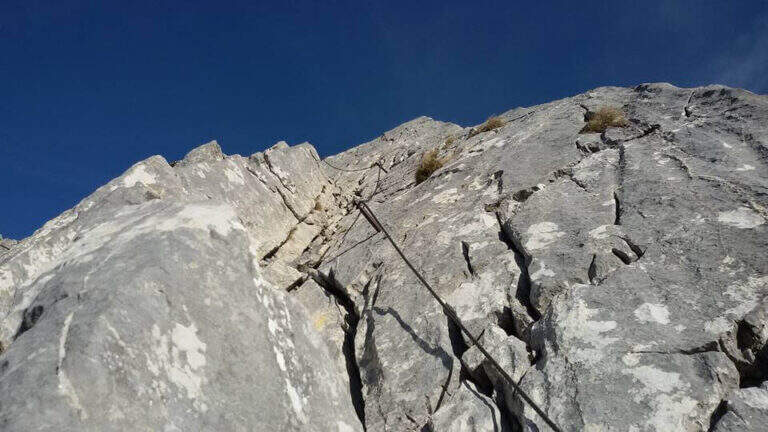
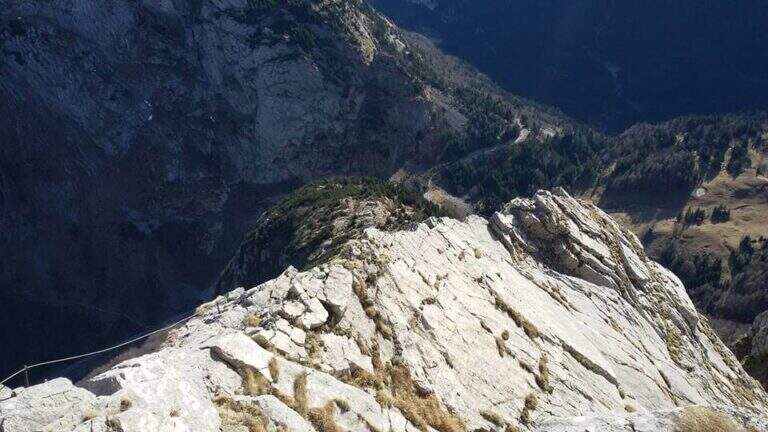
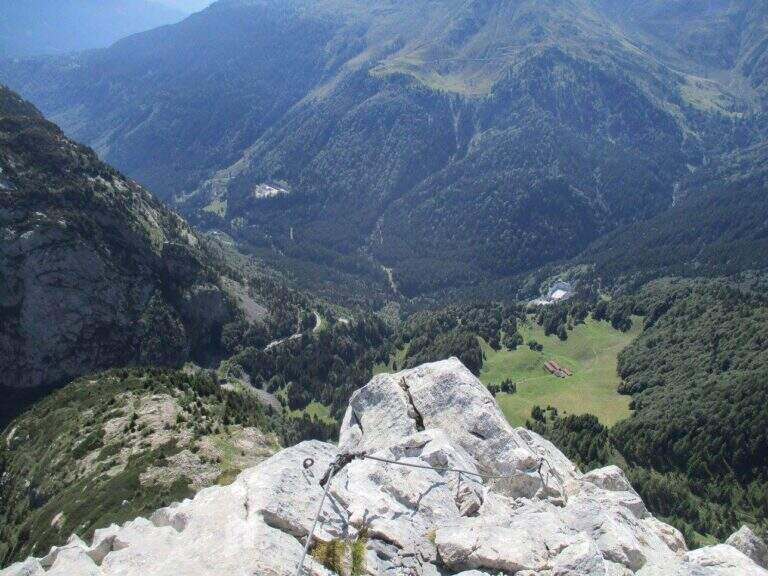
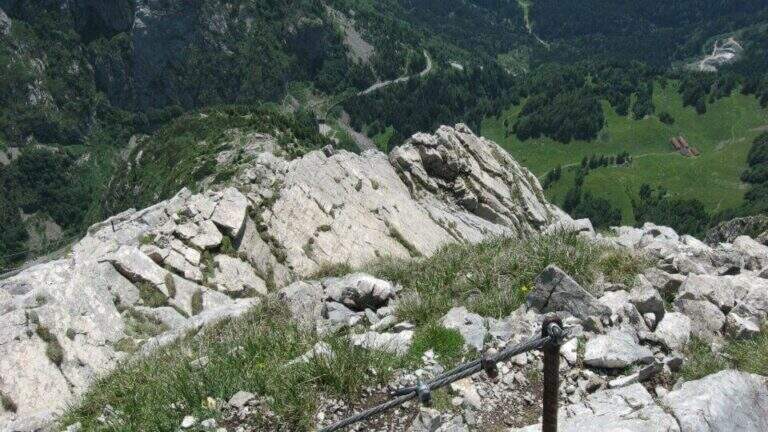
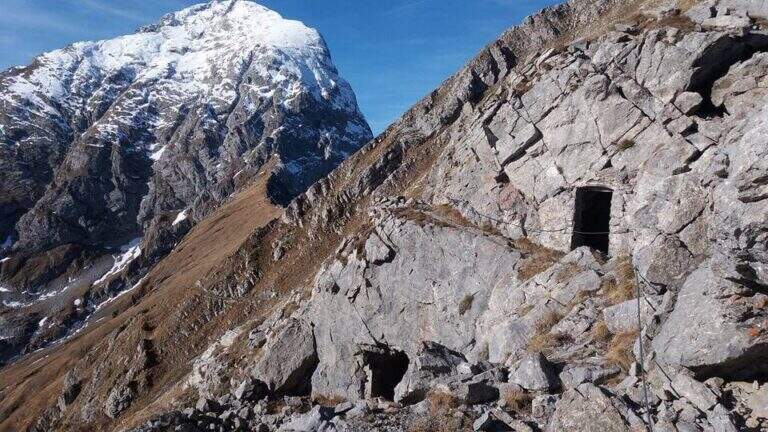
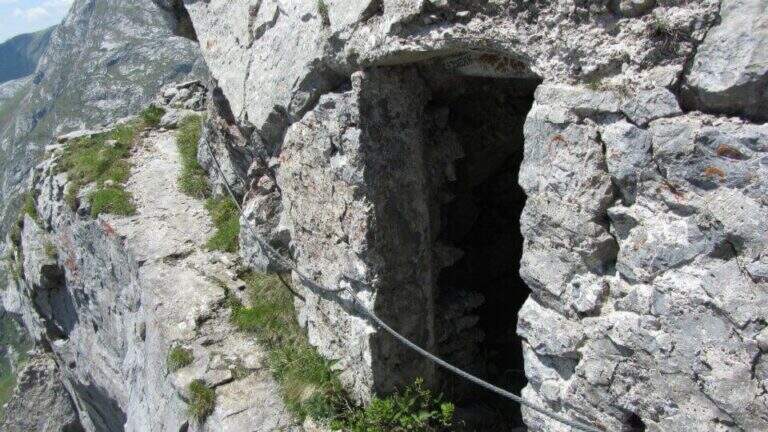
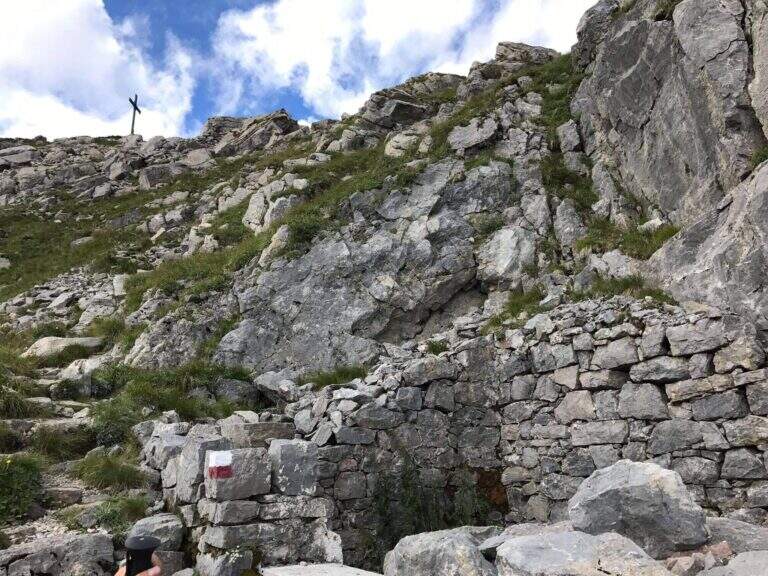
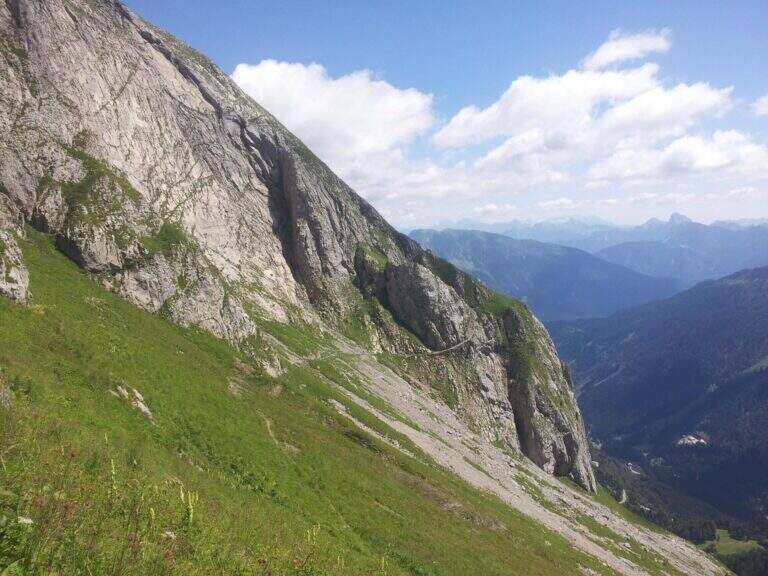
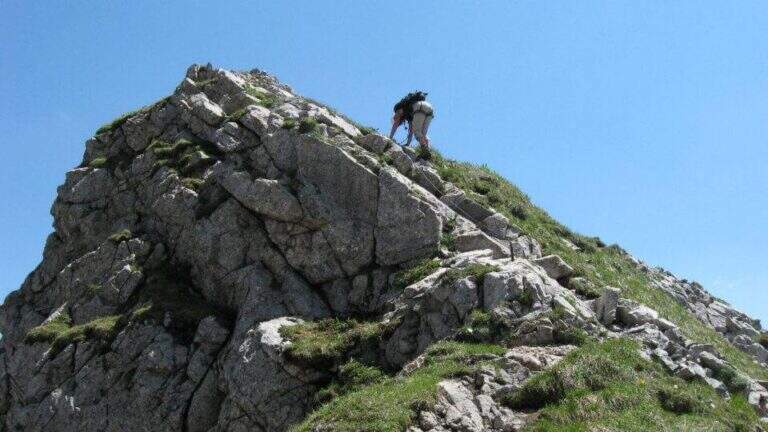
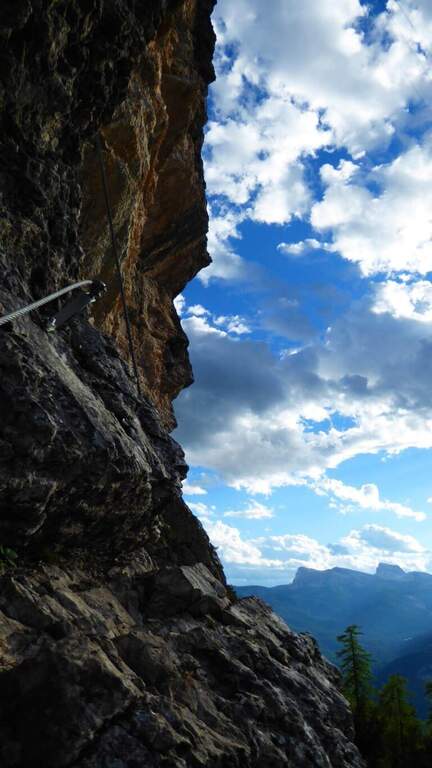
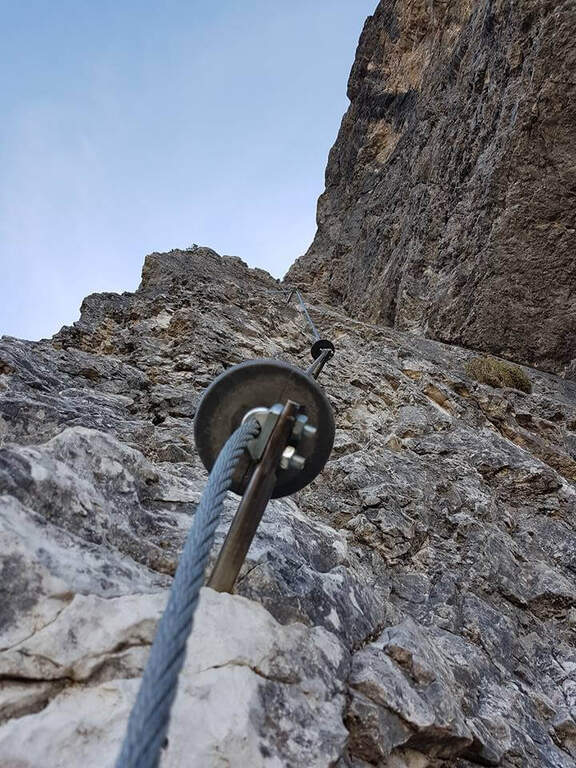
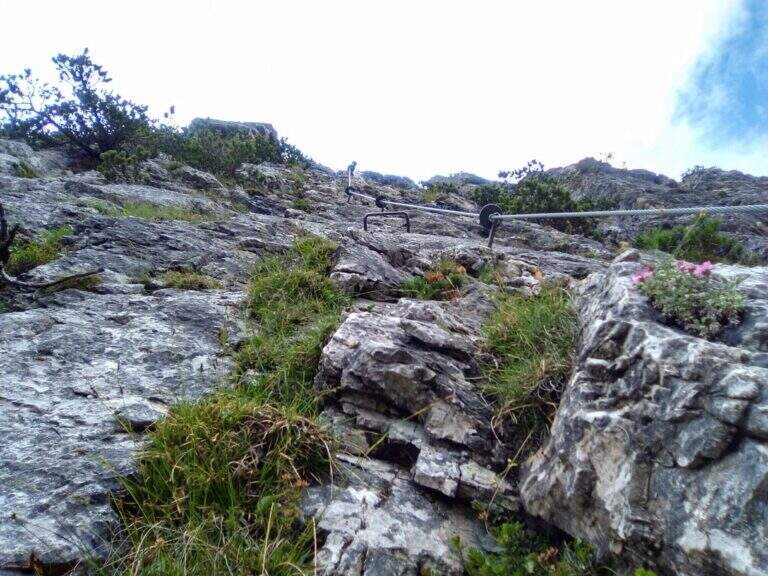
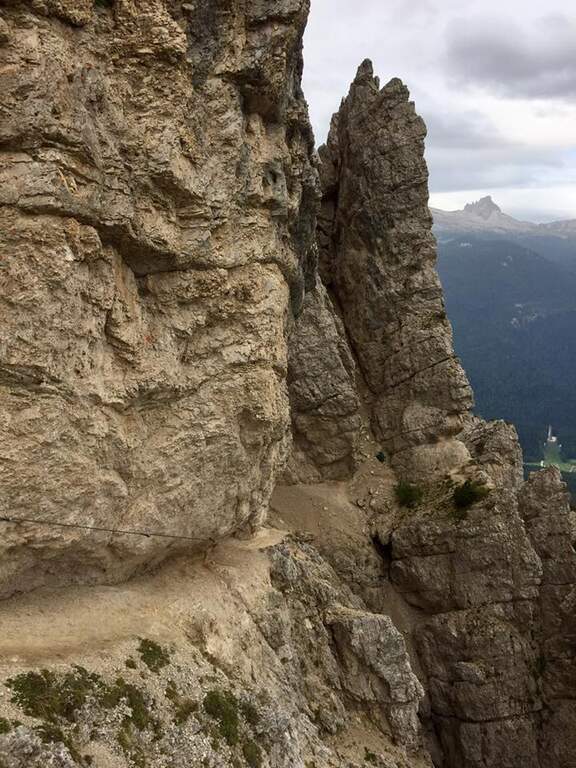
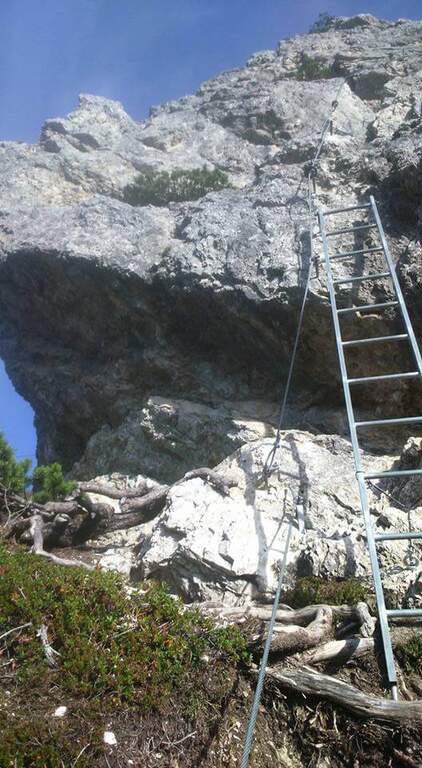
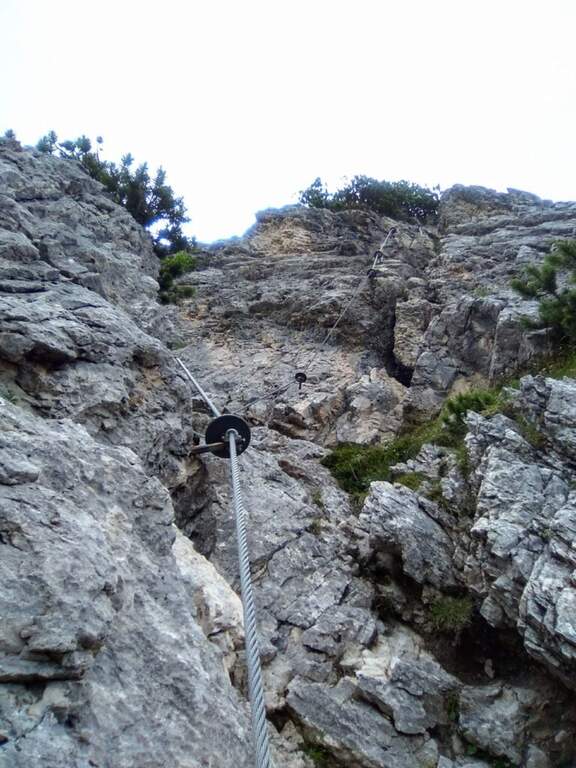
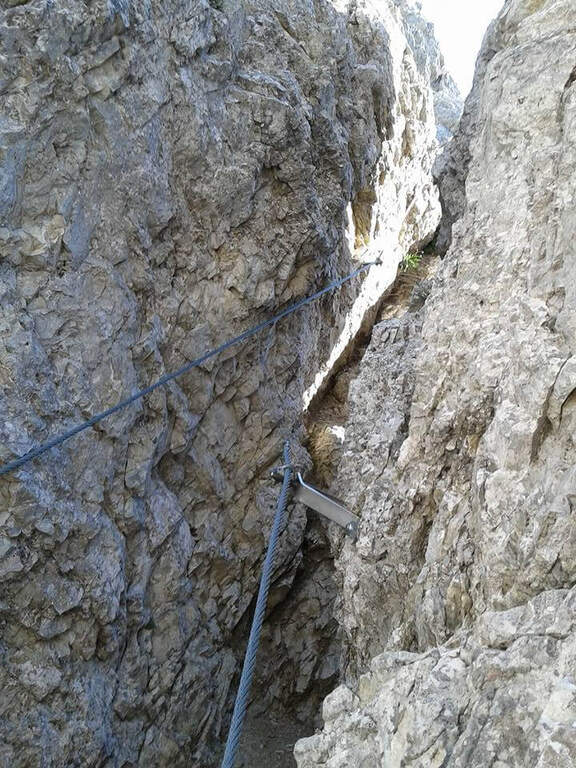
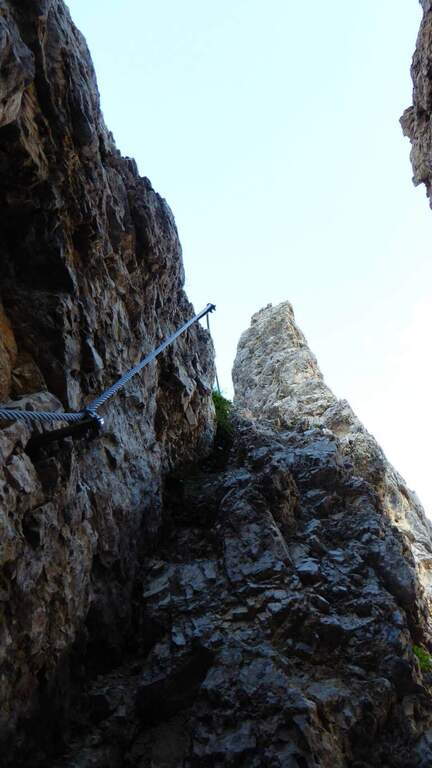
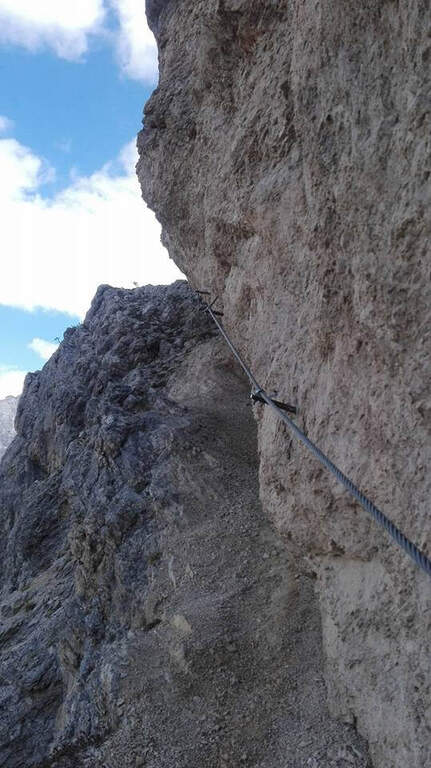
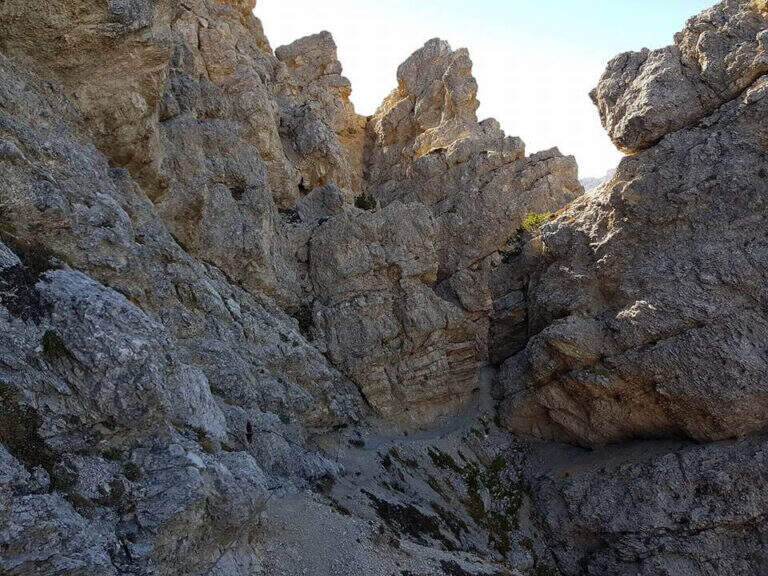
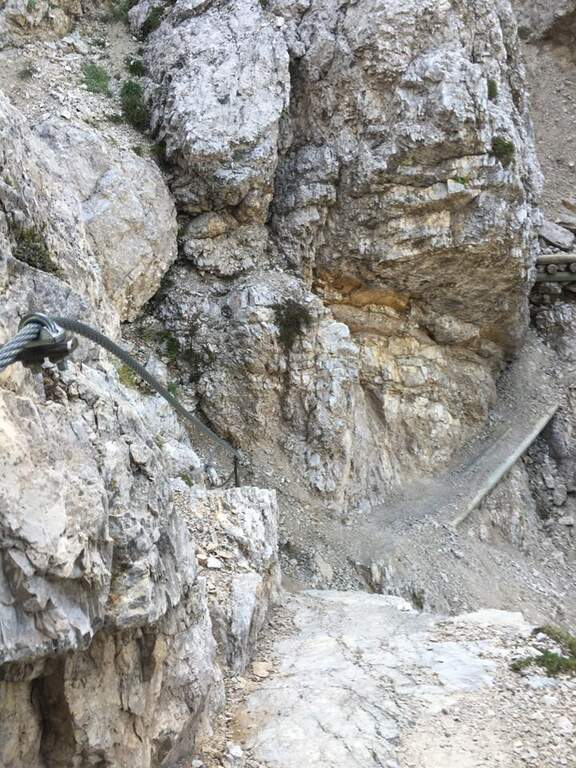
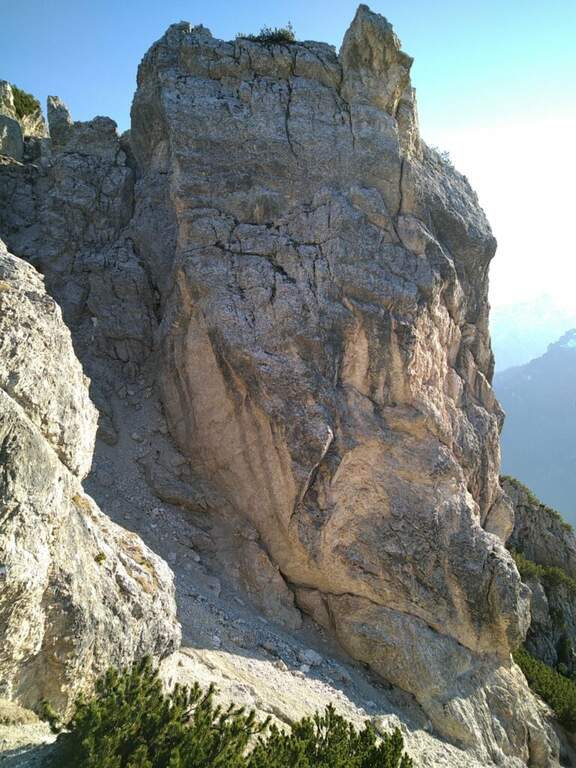
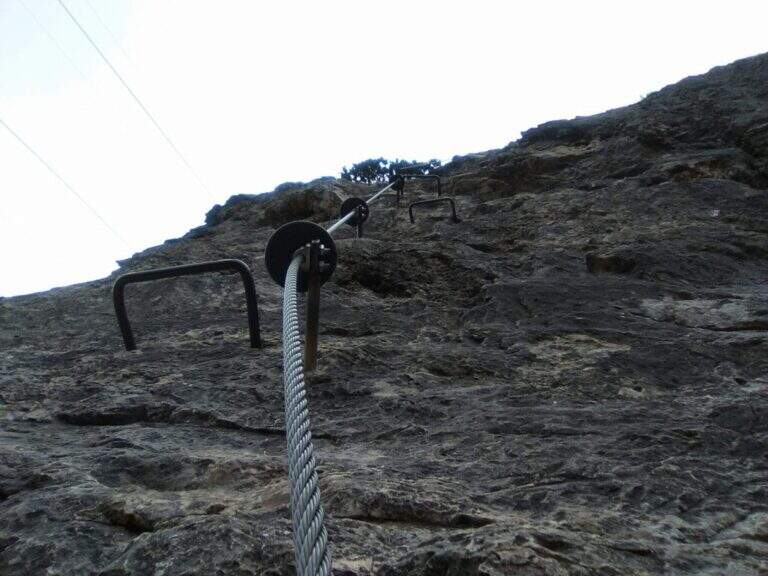
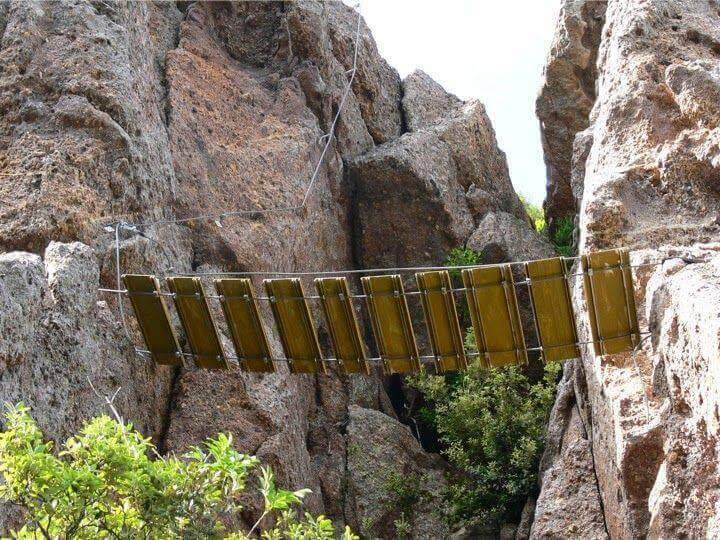
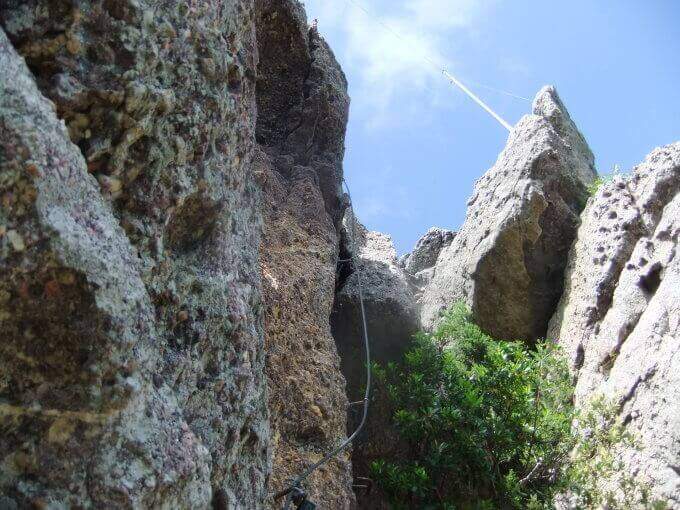
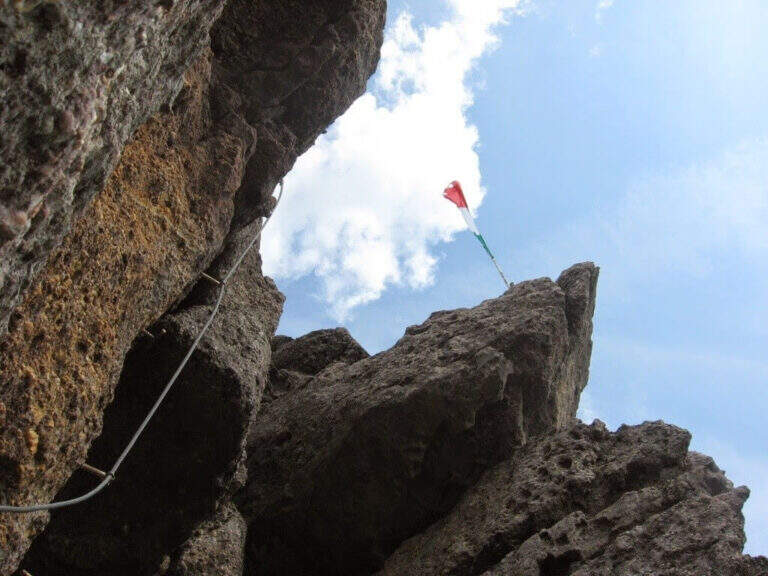
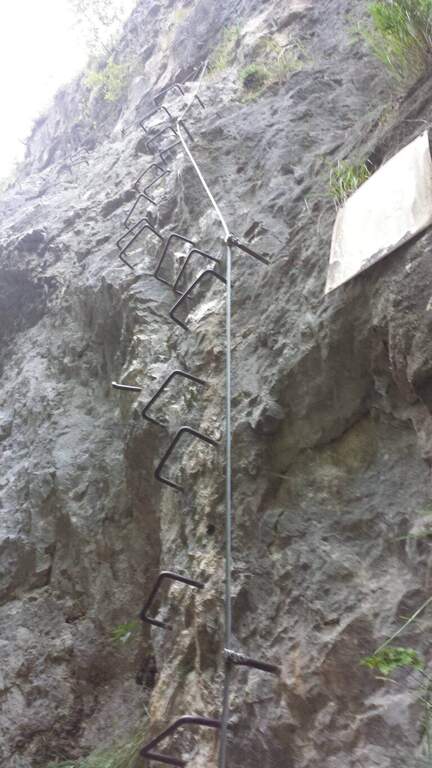
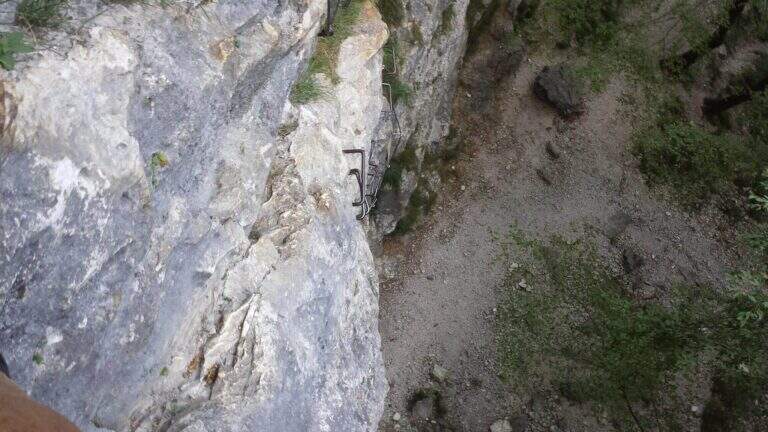
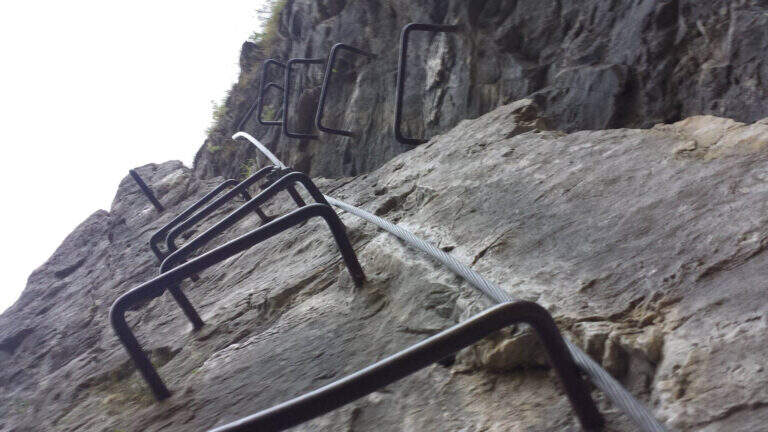
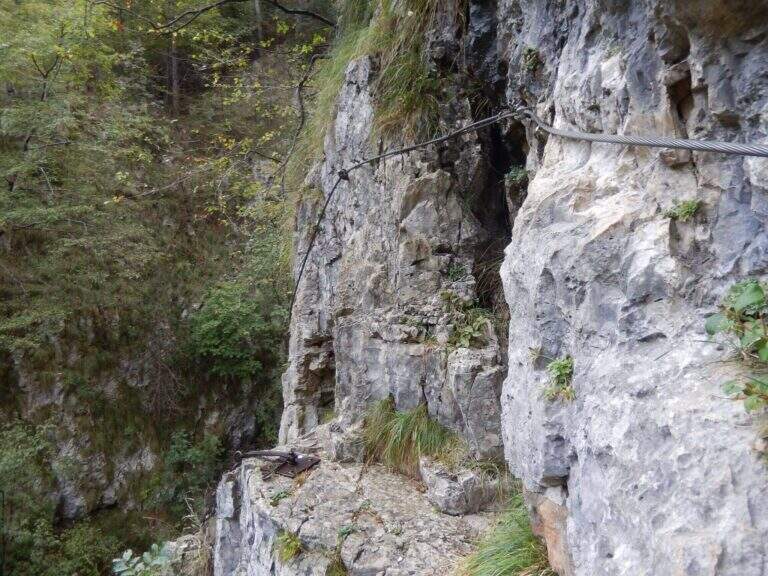
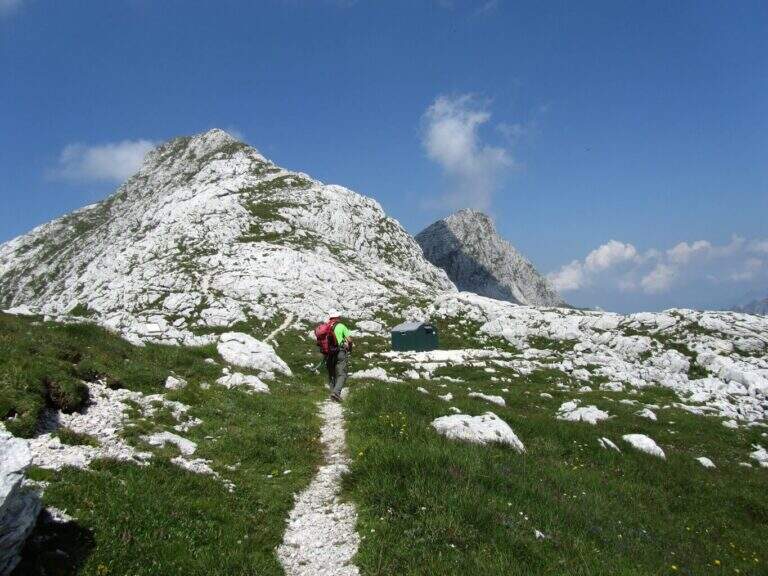
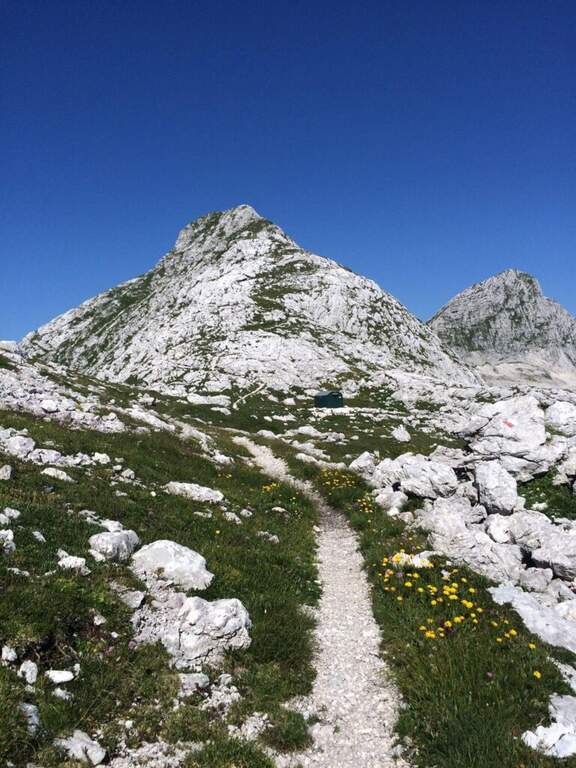
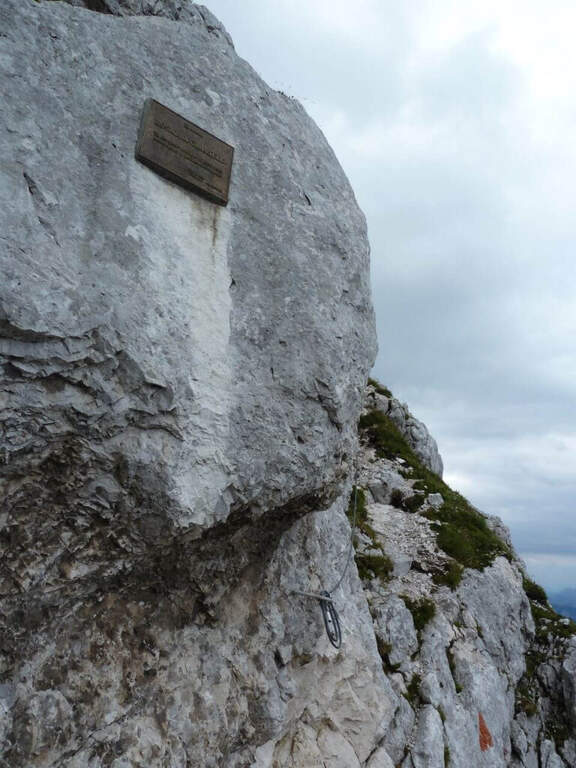
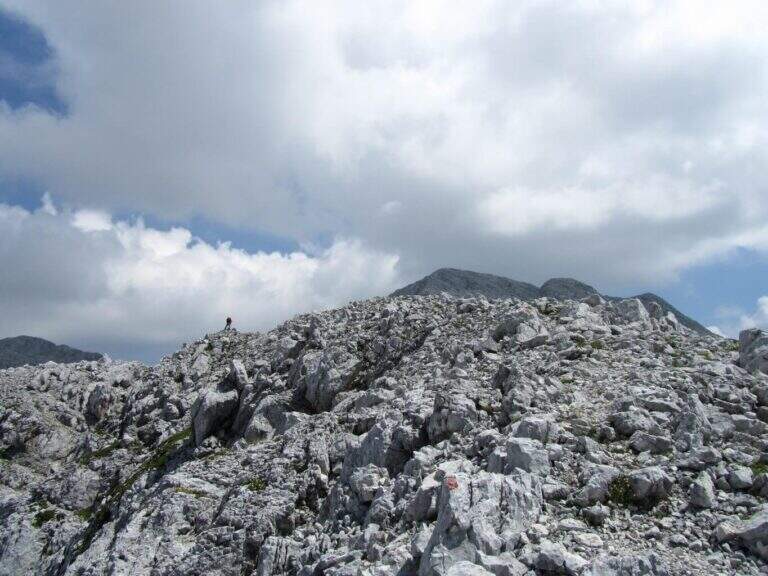
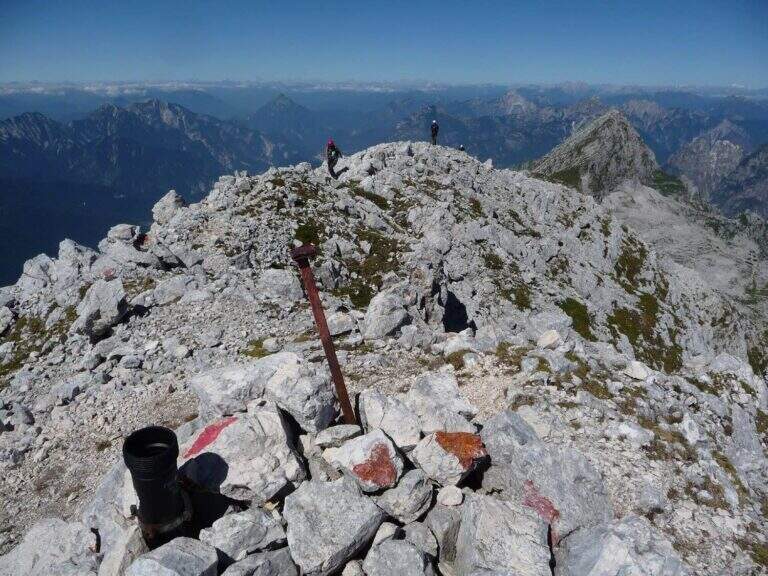
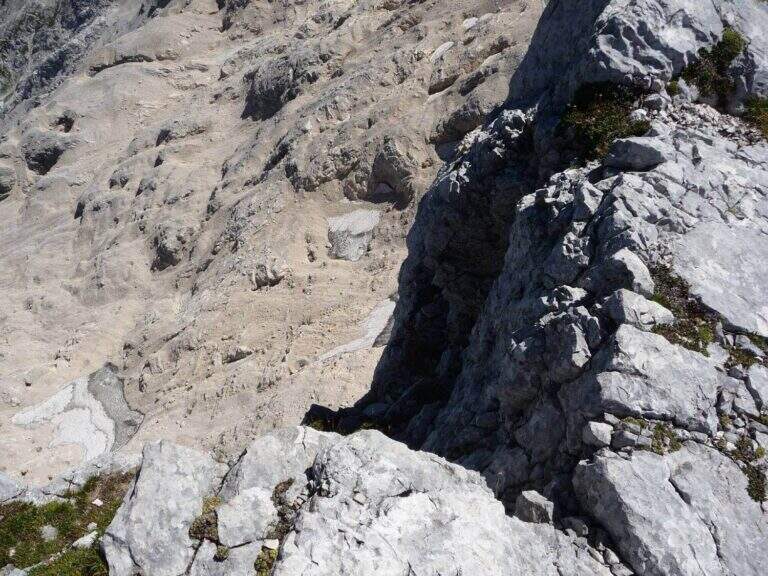
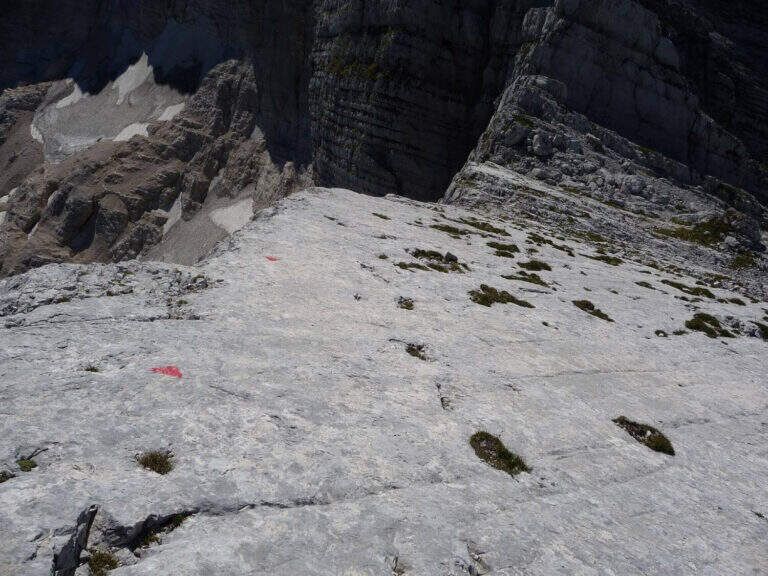
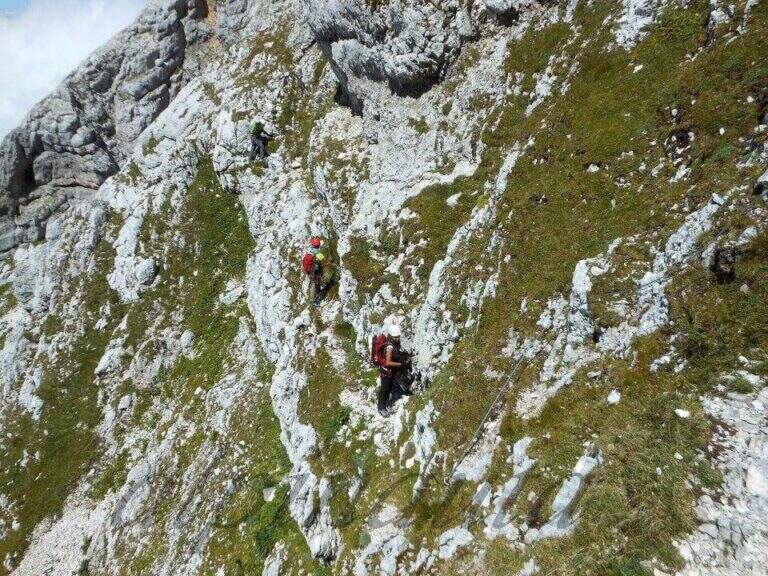
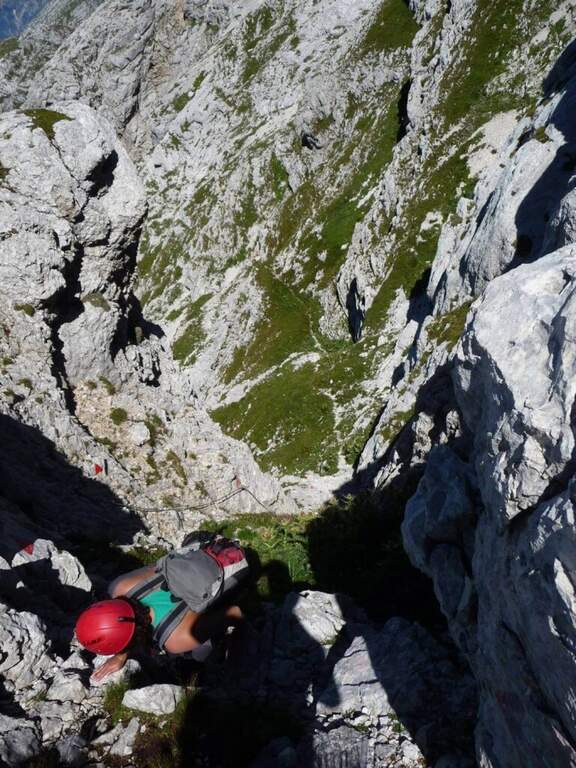
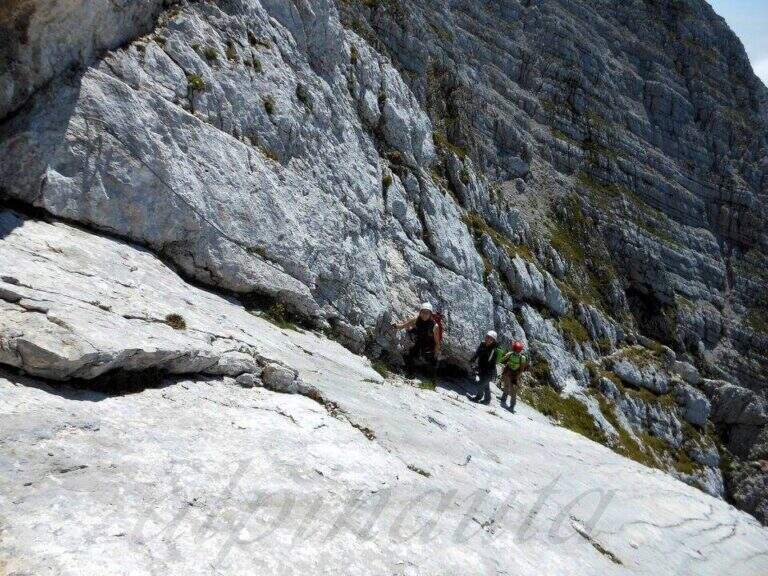
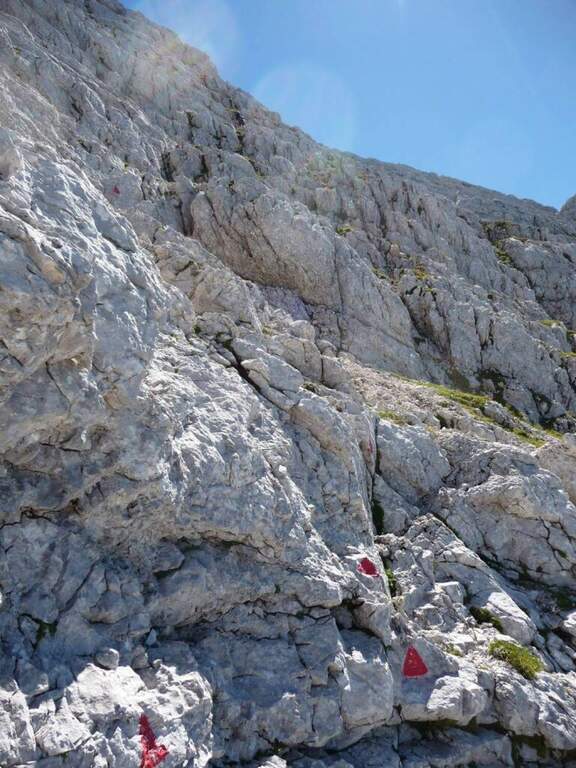
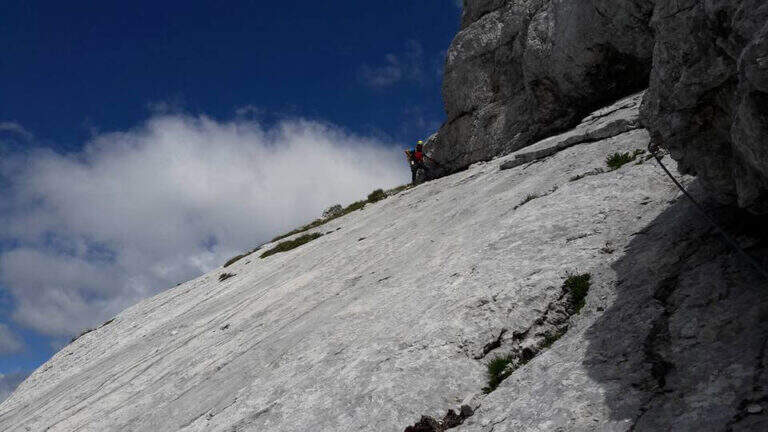
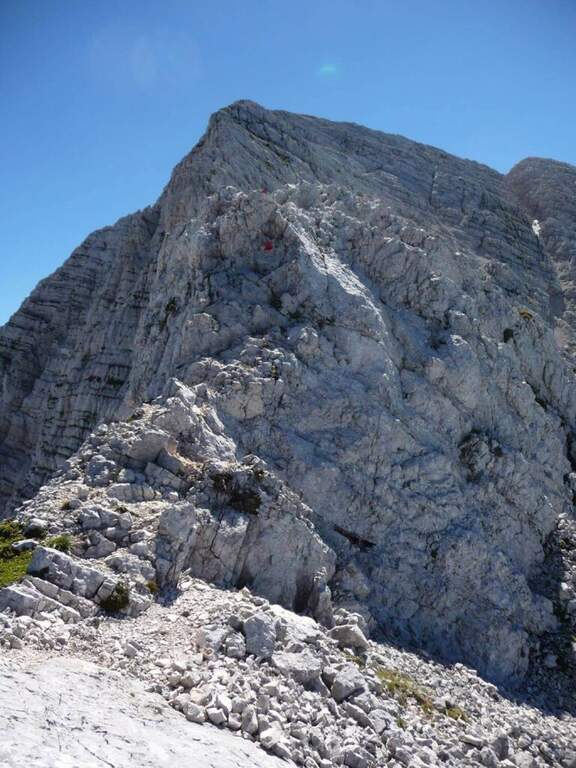
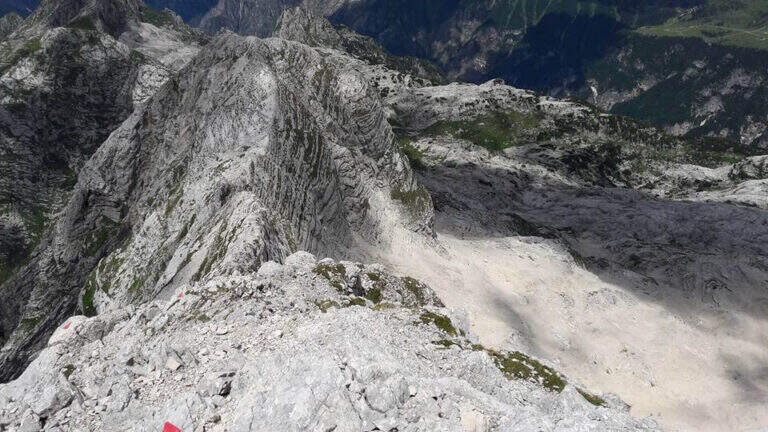
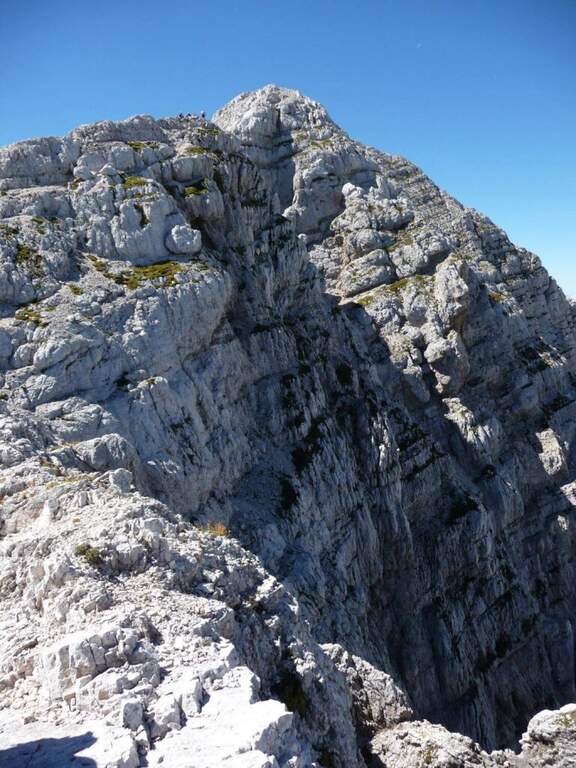
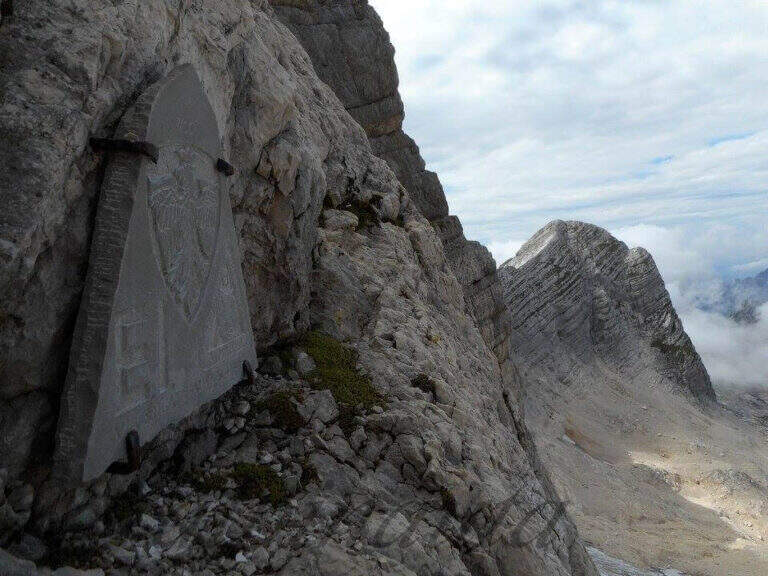
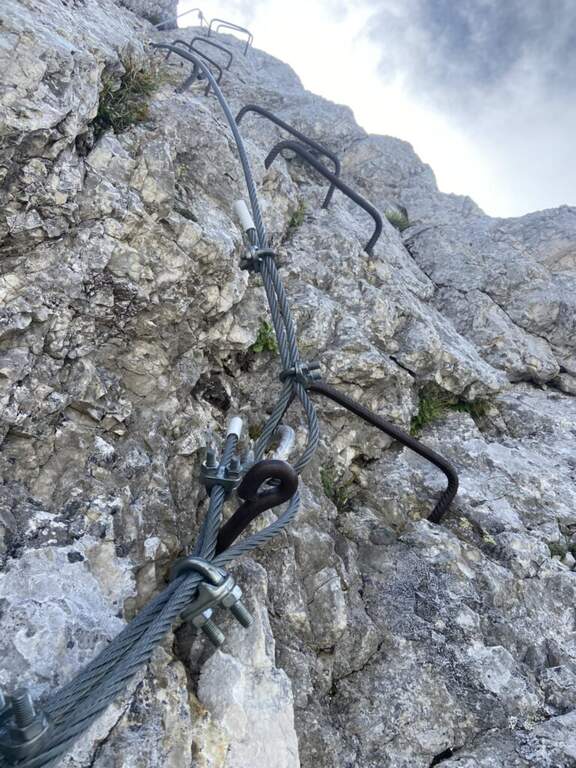
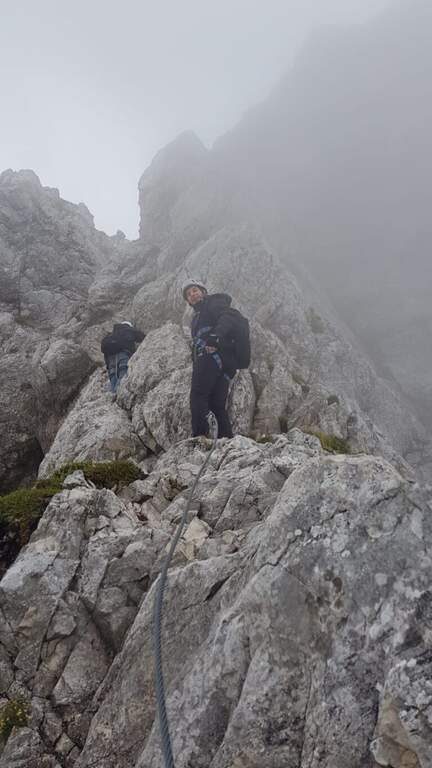
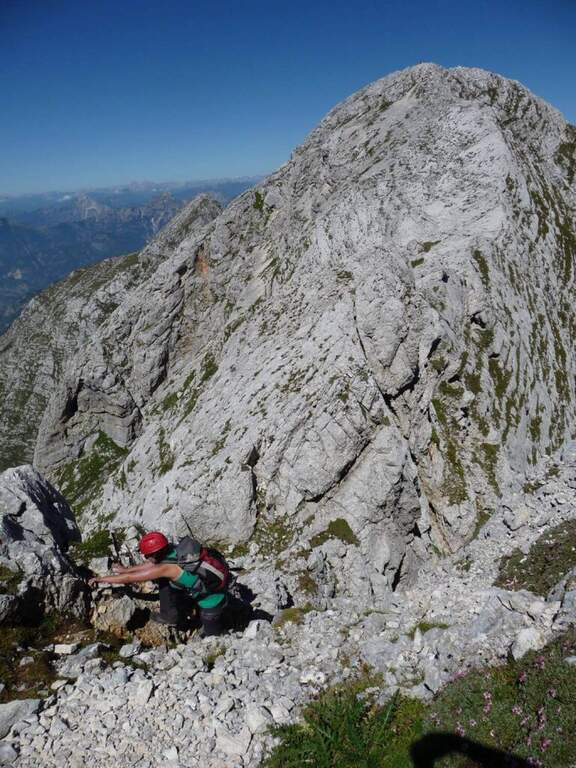
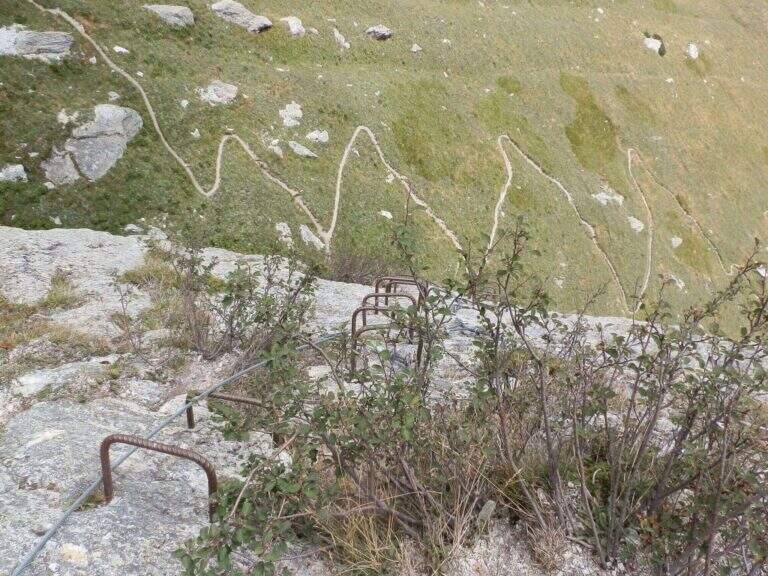
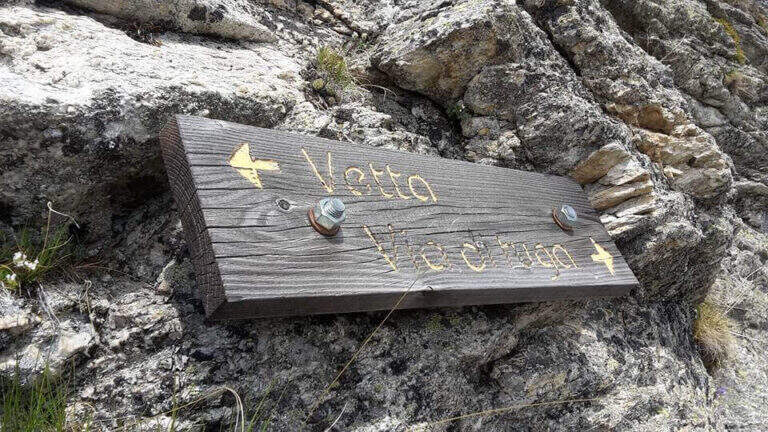
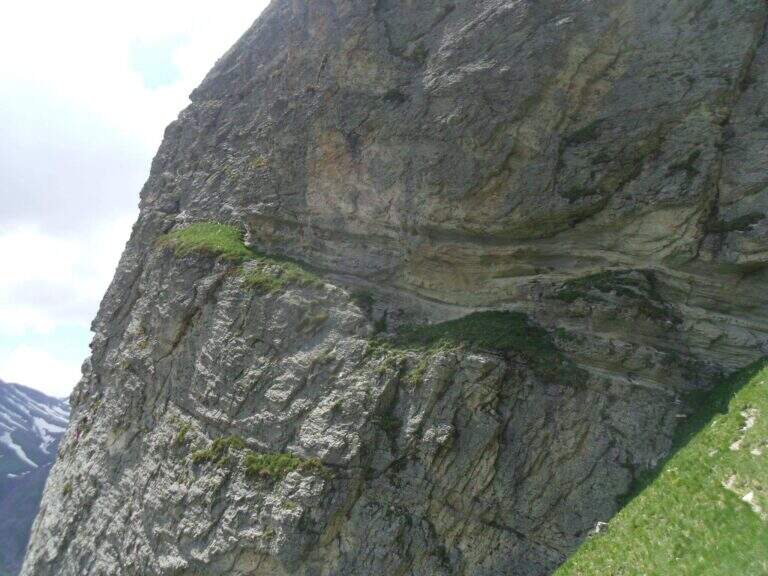
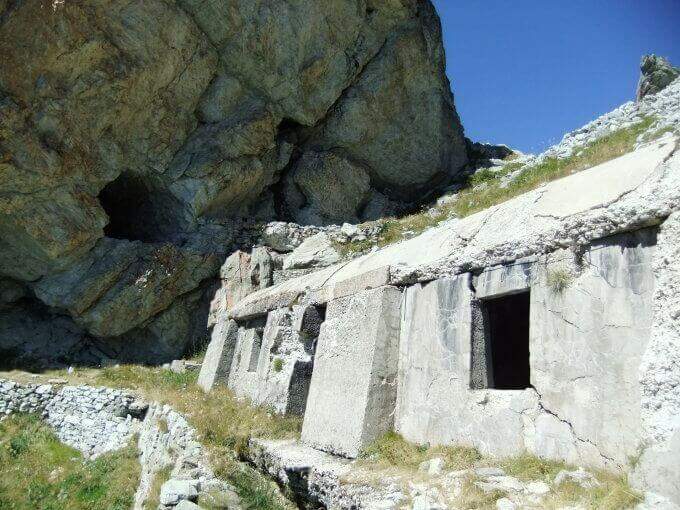
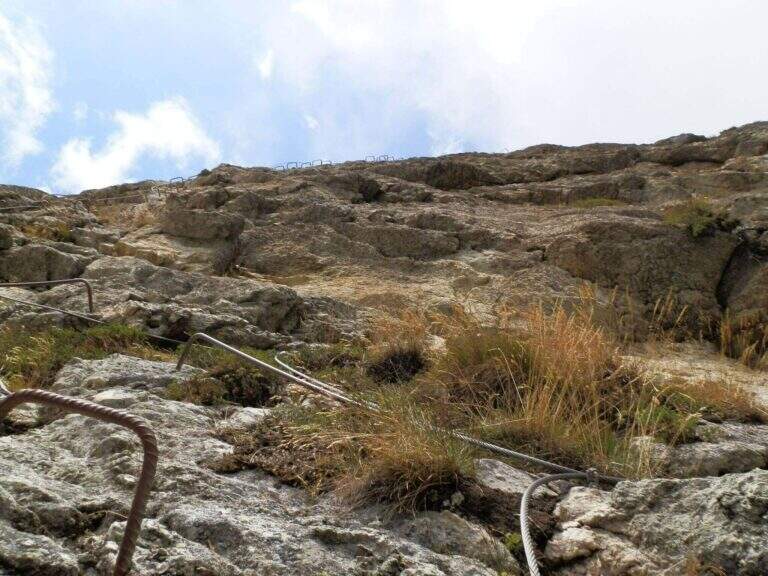
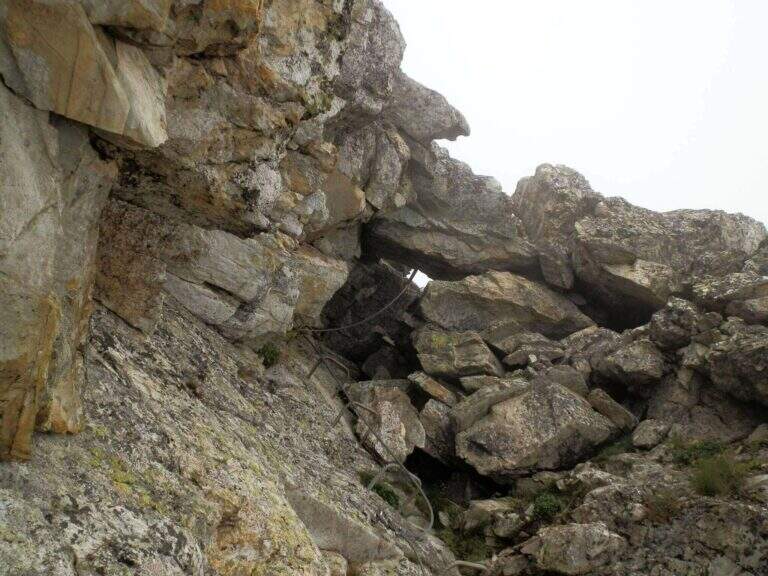
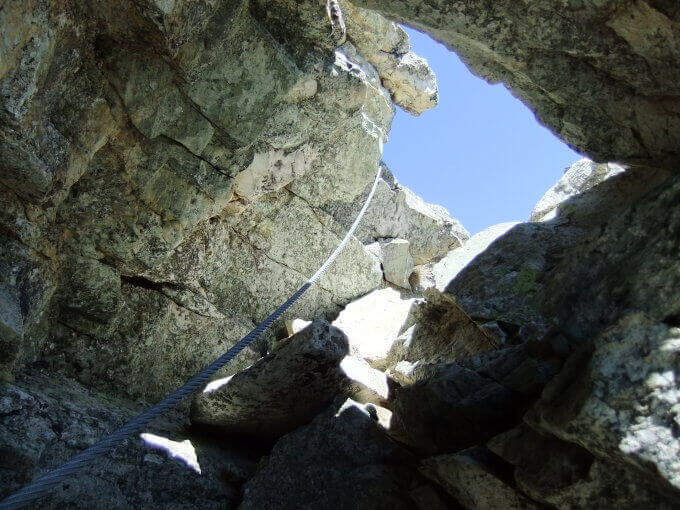
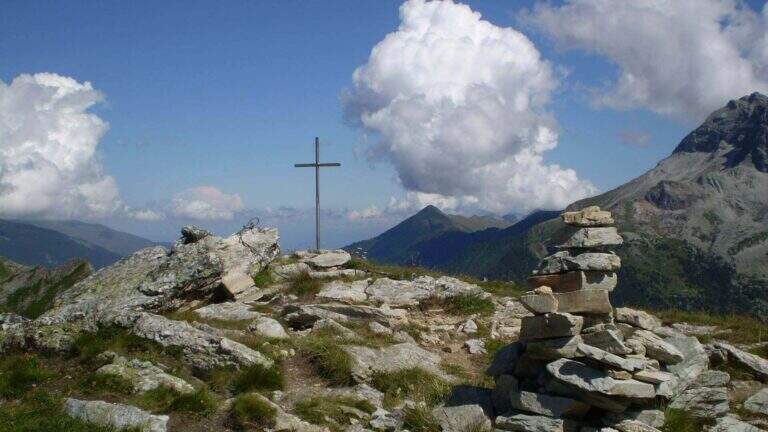
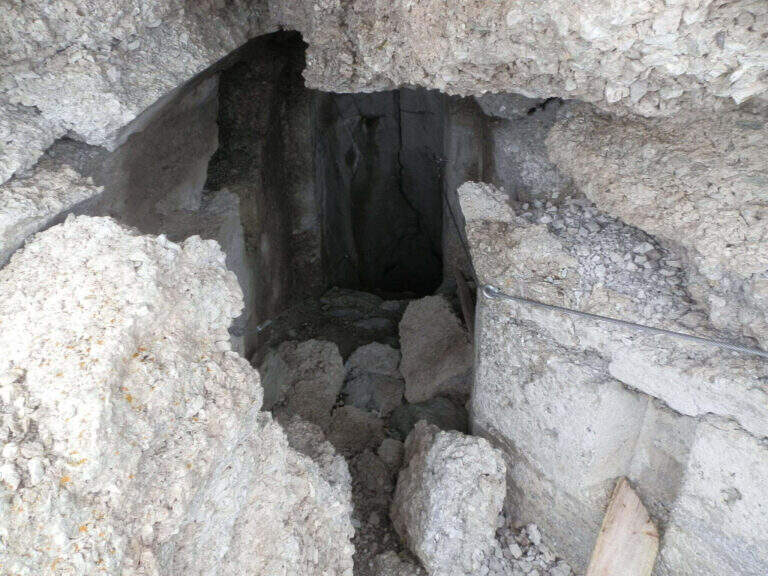
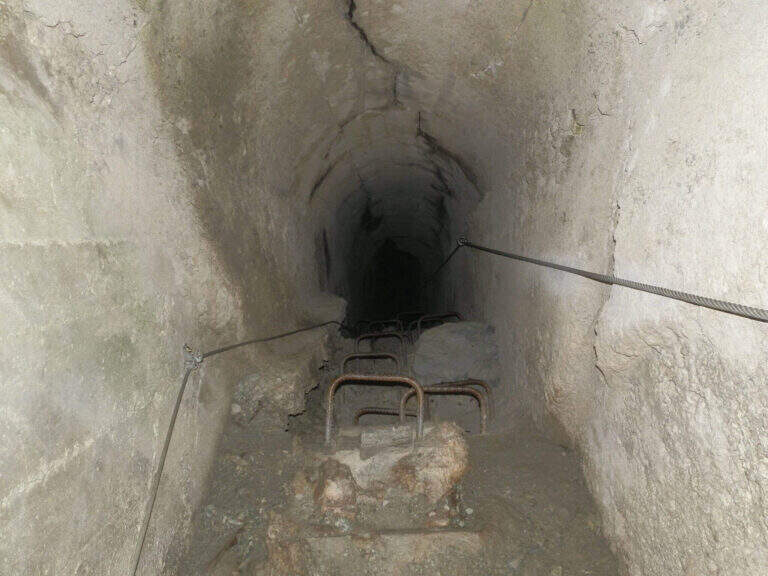
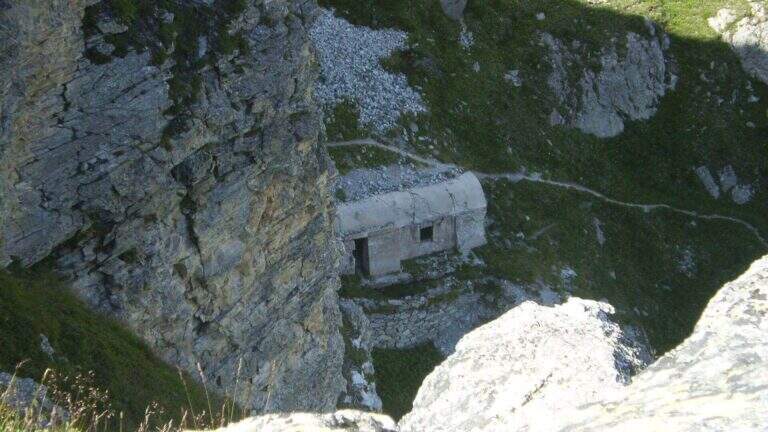
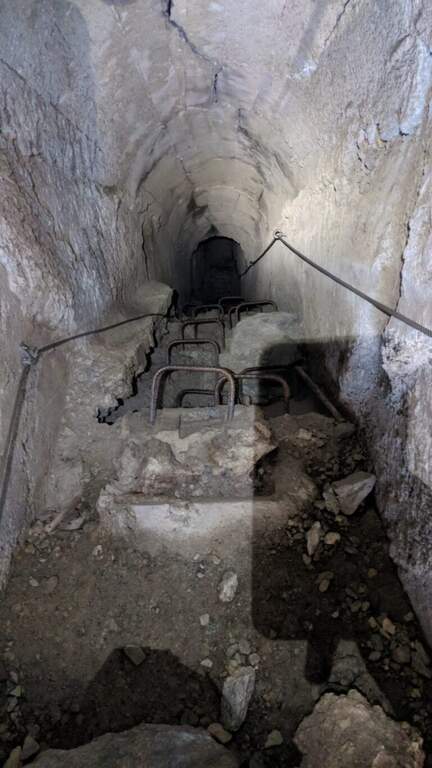
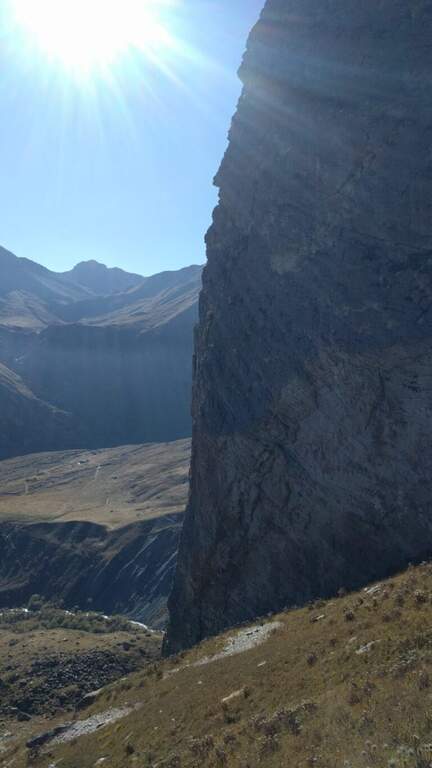
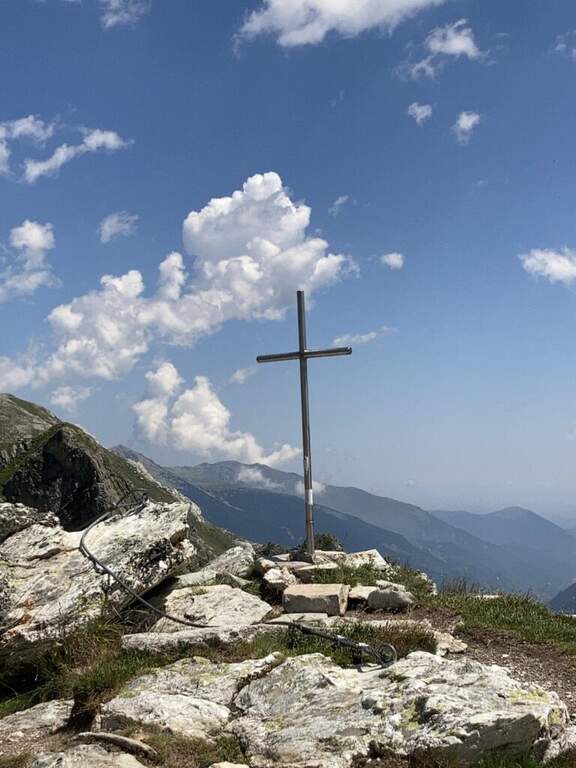
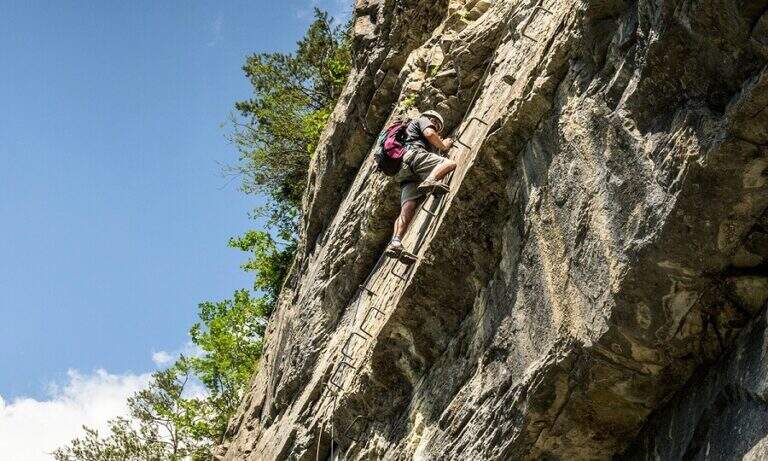
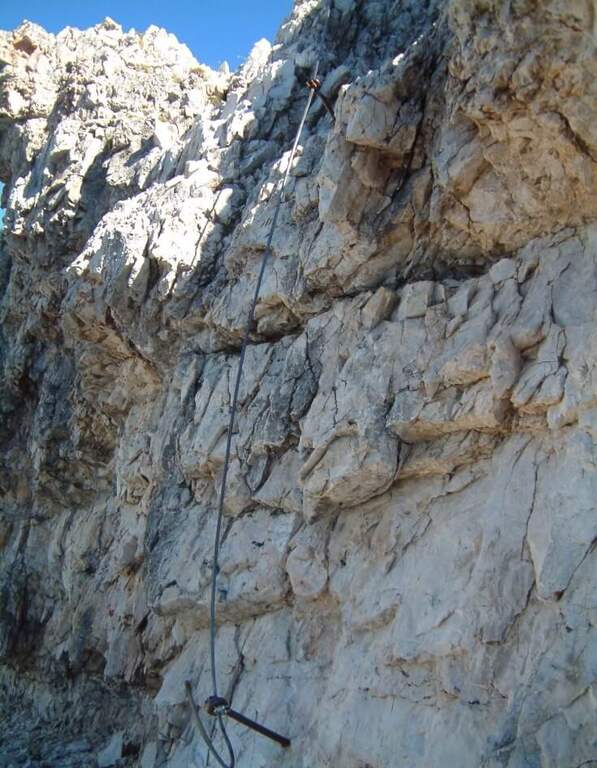
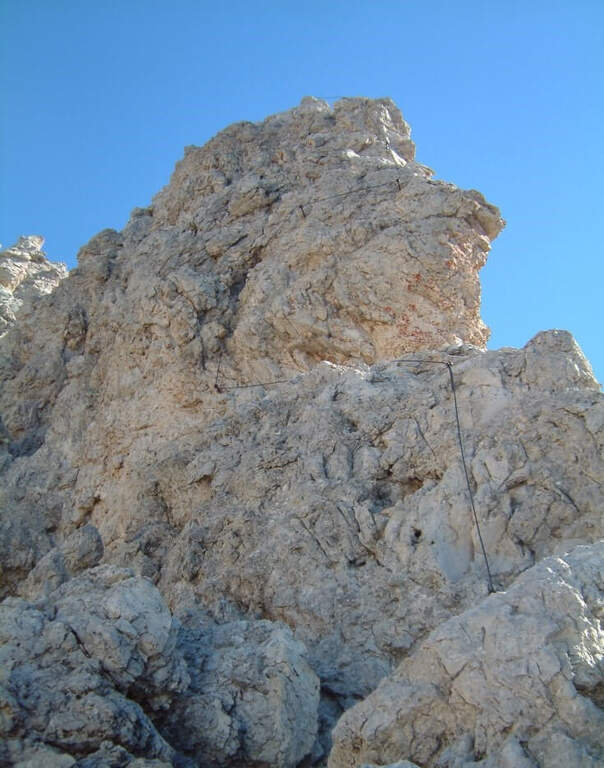
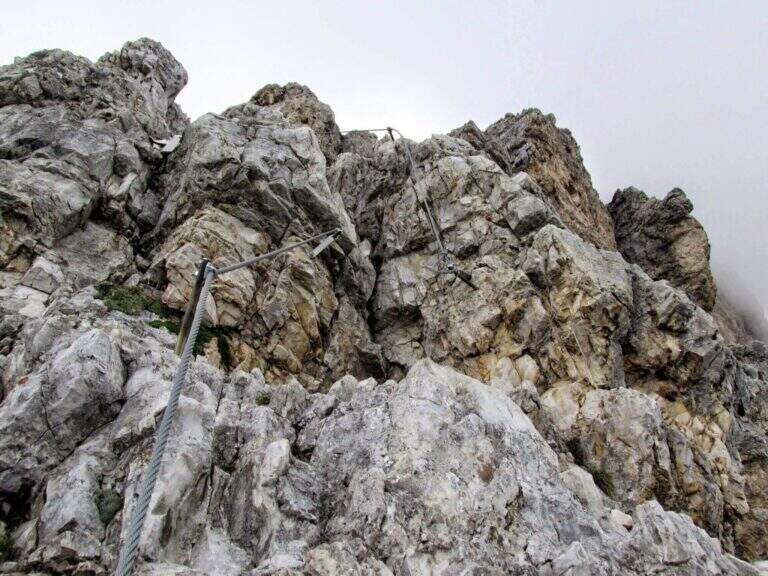
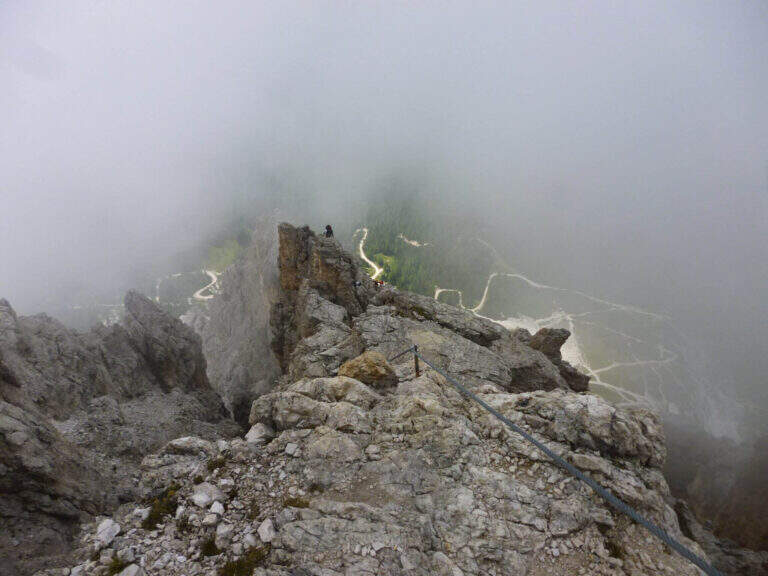
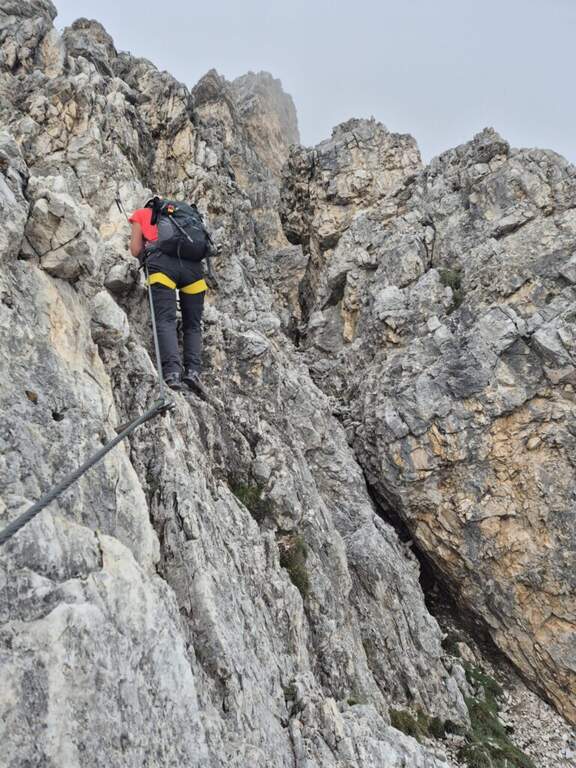
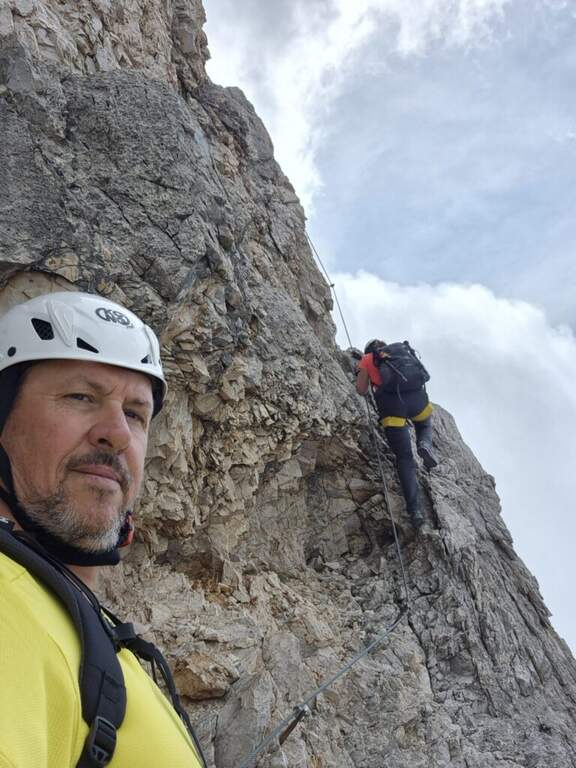
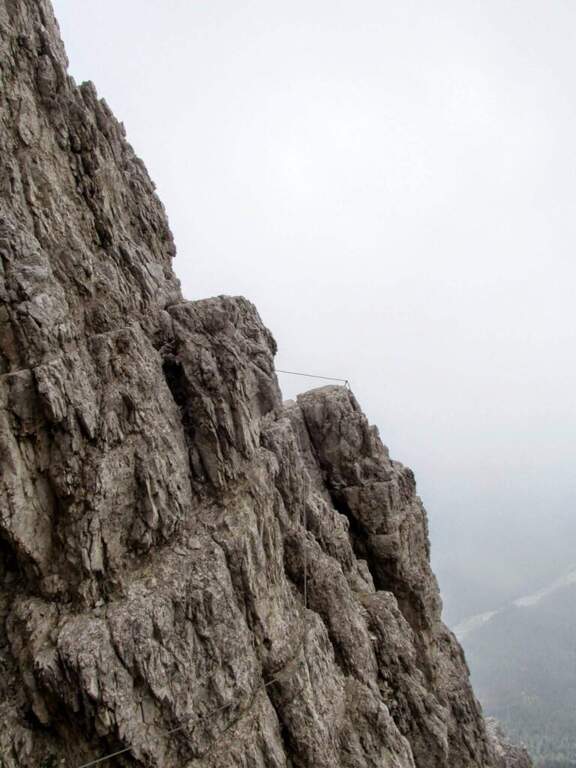
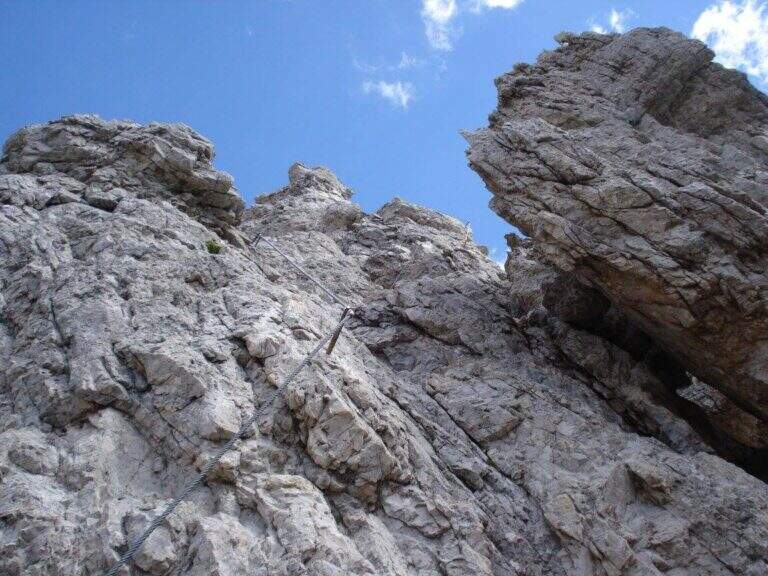
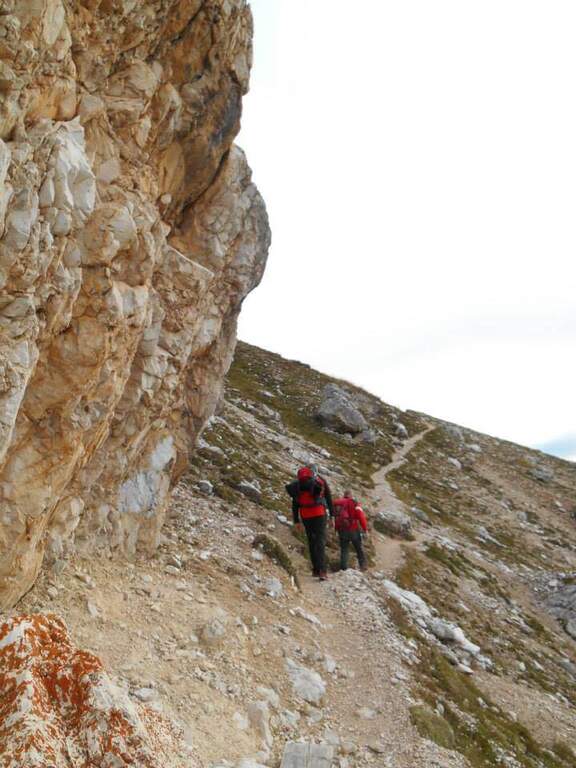
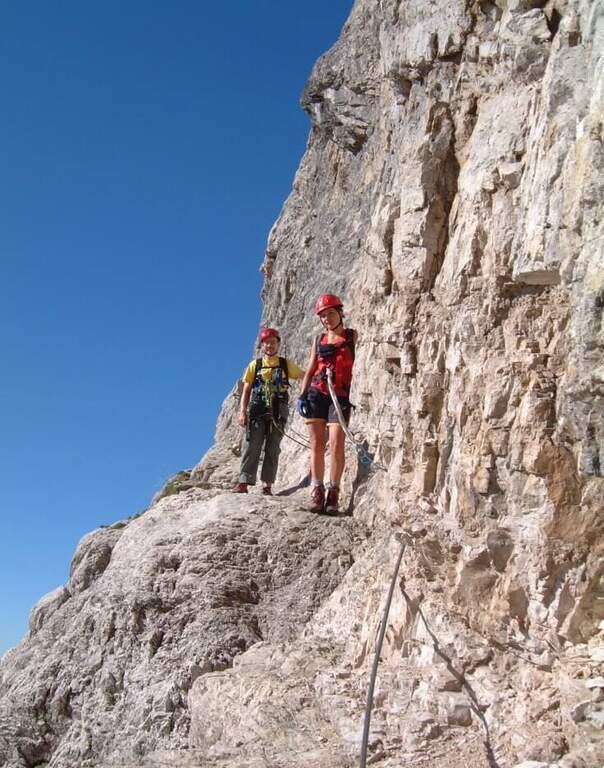
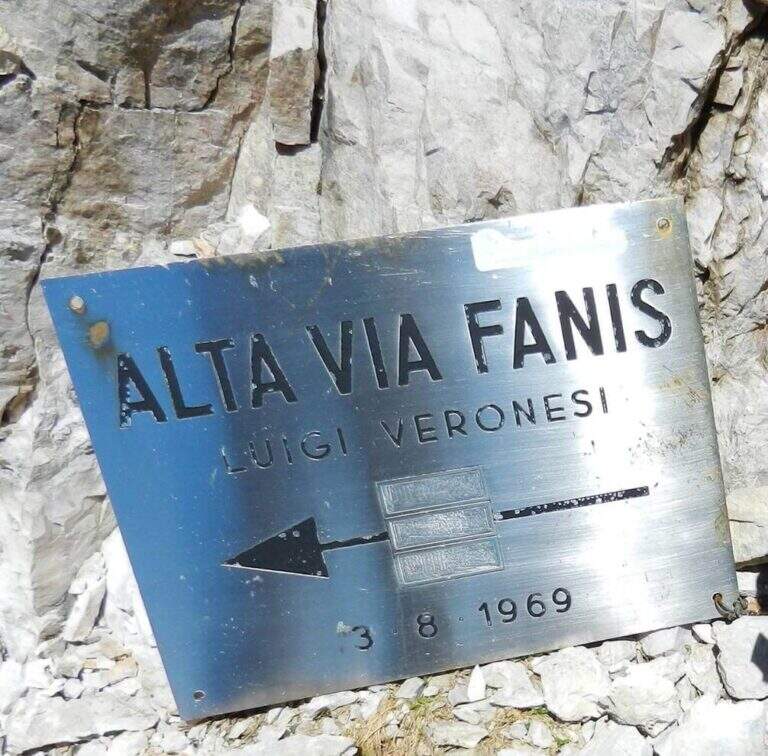
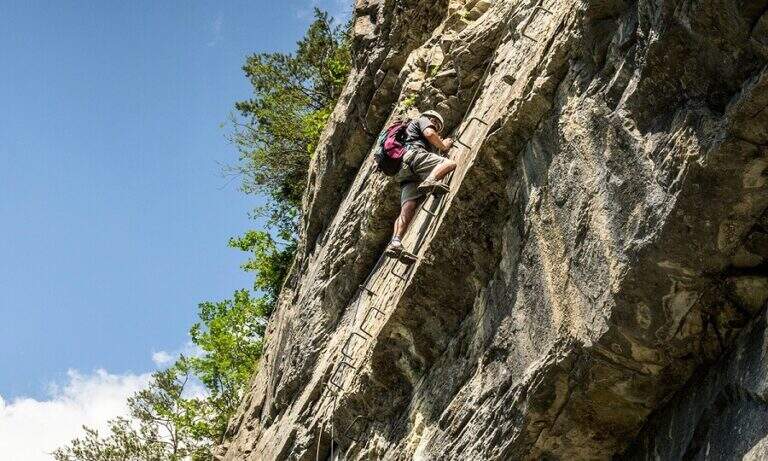
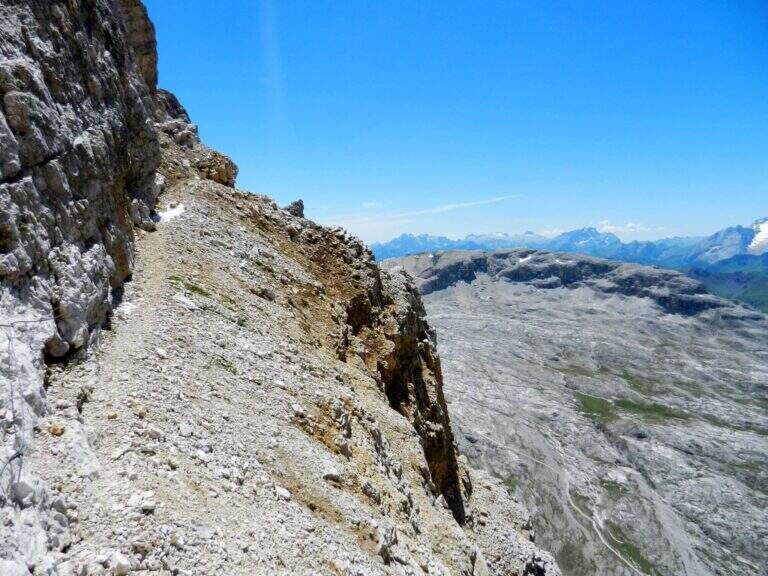
    From the second nod after the attack of Tomaselli we pay attention to a crossroads where Tomaselli continues to the right while the Cengia Veronesi goes left, with unfortunately faded signs. It starts immediately with an exposed and uninsured nod, followed by an even more exposed and narrow passage, in light descent but protected. After this, you go up a canal up to a saddle and continue to the left to a cave (a meeting point with approach 3): you can cross it for about 100 meters with a frontal stack, pouring on the opposite side of Cima Fanis. On the other hand, the long nod follows the track that, between modest climbs on exposed traits, leads to a edge that alternates short stretches equipped with long stretches, even very exposed, completely without protection. The nod runs with a remarkable precipice on the left and requires firm foot, even without any technical difficulties. We proceed up to a first fork between Cima Fanis and Piz Scottoni and then, with minor exposure, towards the Forcella Lech, where the route ends (1h15 from the deviation from Tomaselli, 3h overall).

    ▲Character and difficulty

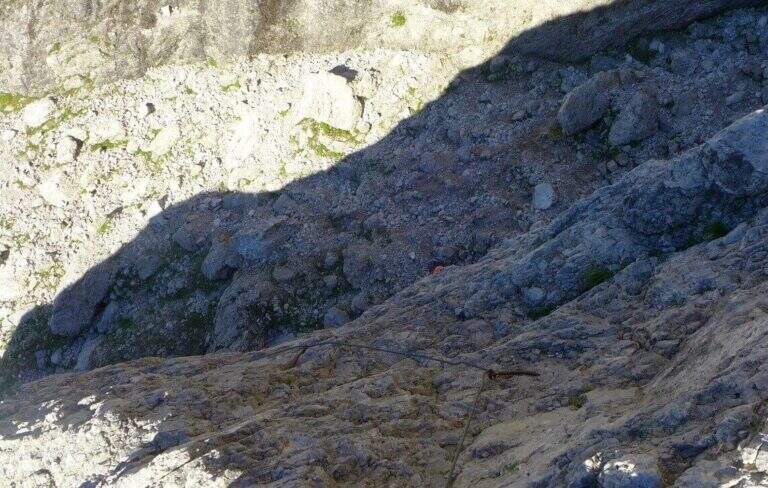
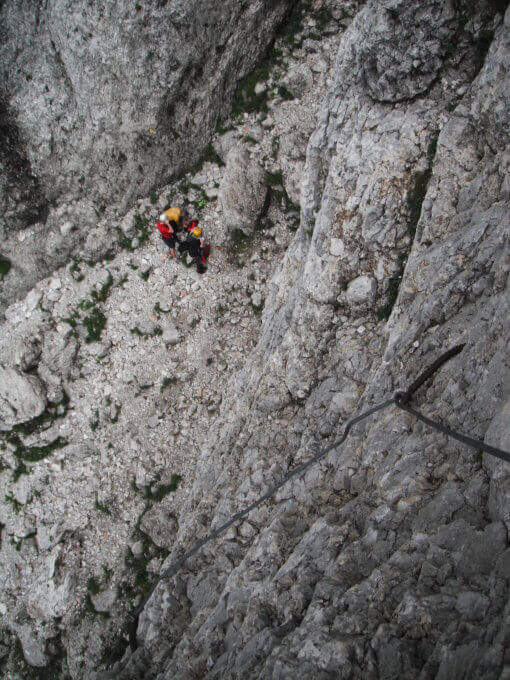
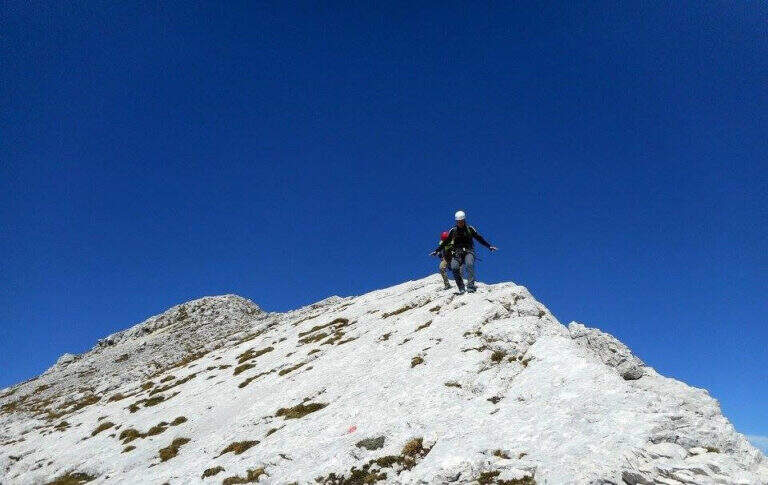
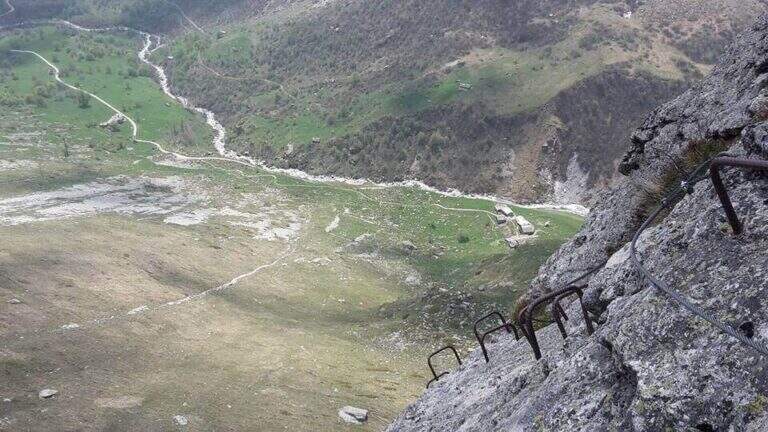
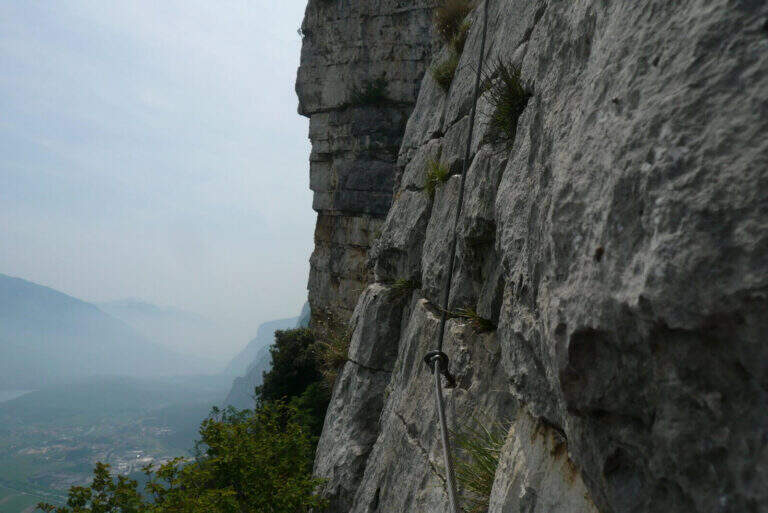
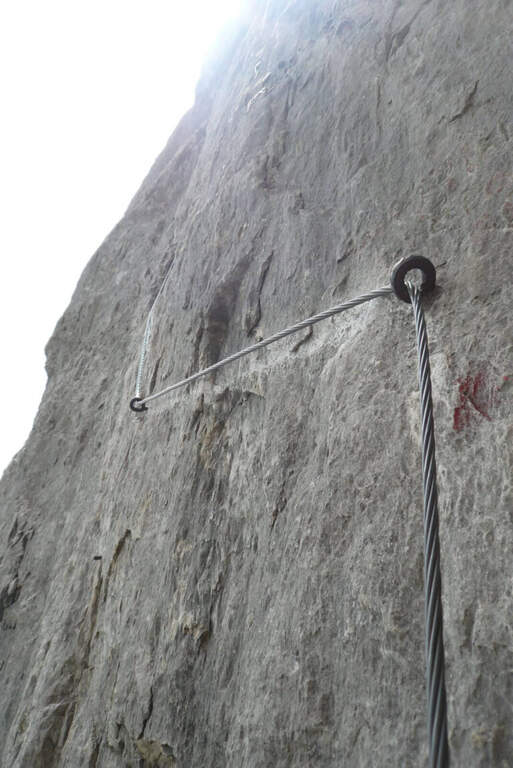
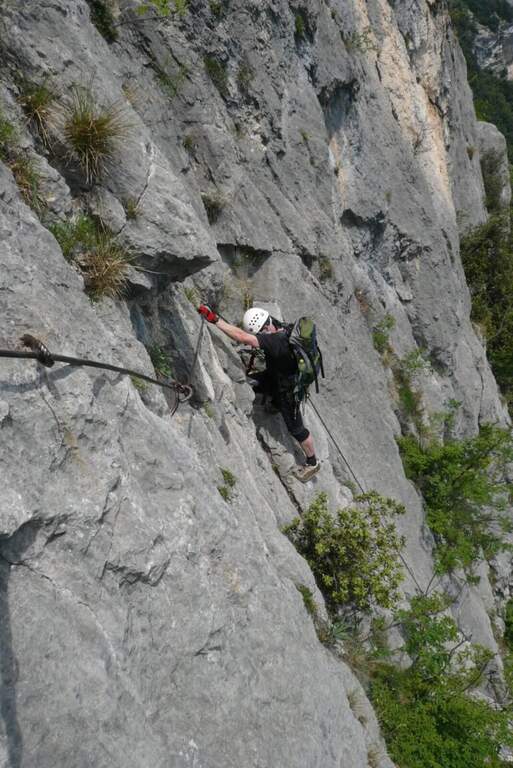
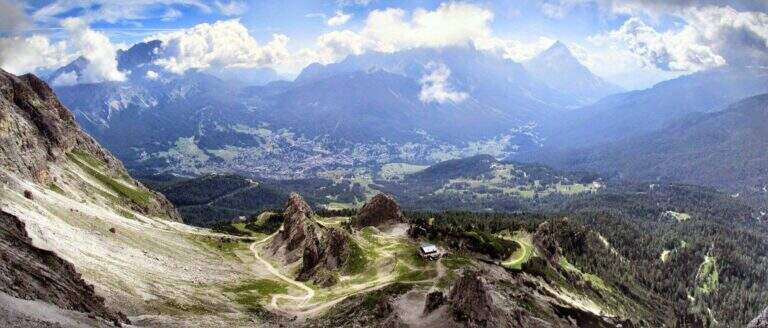
    It is a difficult path to classify: the census in itself is very exposed and at times not equipped, but for the experienced hiker with a firm foot does not pose problems, indeed it becomes a very pleasant experience for the views. It is the constant exposure, more than the technique, to be able to trouble those who lack experience.

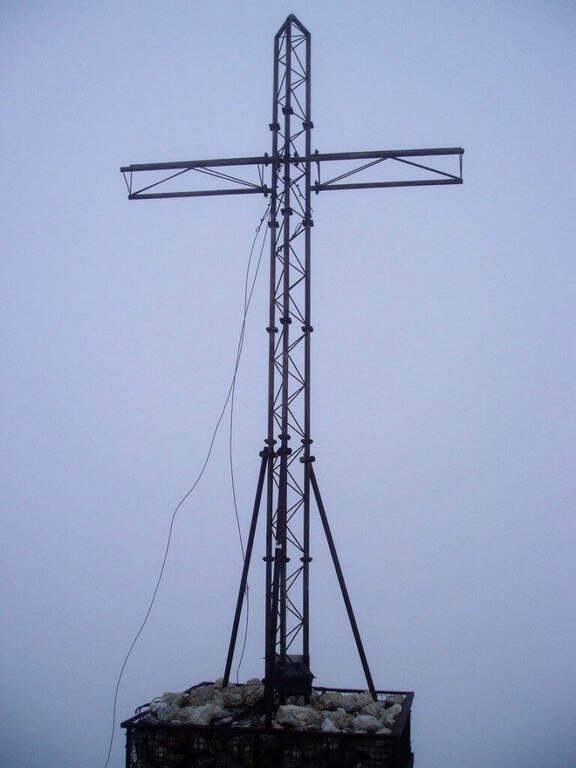
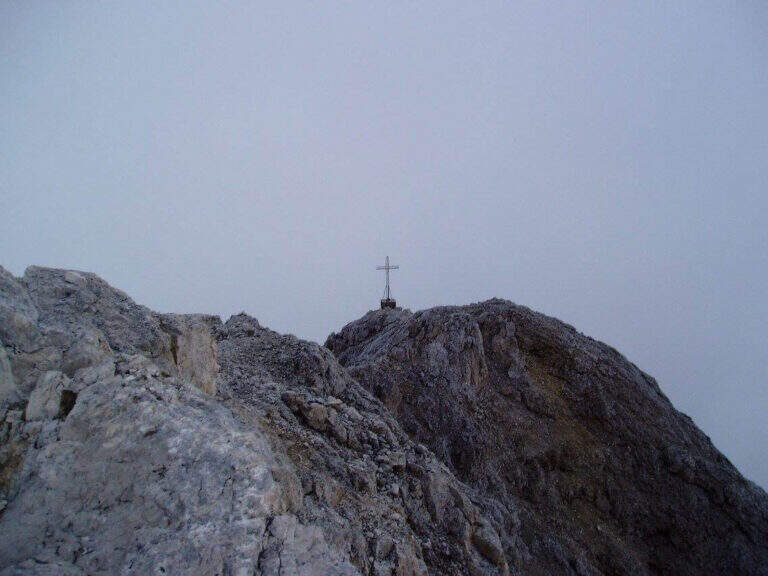
    ⚠ In each variant, access requires a stretch of the difficult Ferrata Tomaselli (including the famous cross): it must be evaluated honestly and not underestimated. The path is not marked and difficult to find. The census is very exposed and in several places without protection, with precipice at the side: it serves absolute firm foot. For the cave (100 m) a frontal stack is required.
    ▲Period and safety

    Itinerary of high mountain (max. 2843 m), to be faced in the summer season with stable weather. Reserved for experienced hikers, accustomed to exposure and autonomy on unprotected terrain.

    ▲Discipline

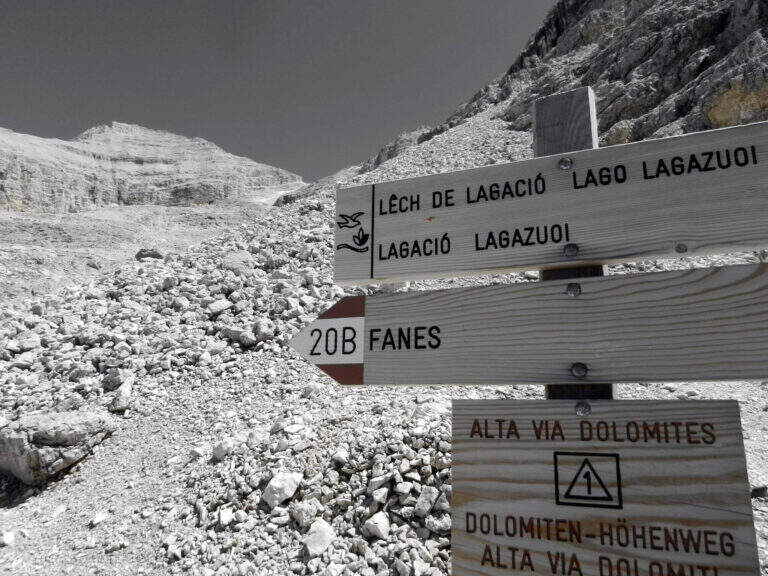
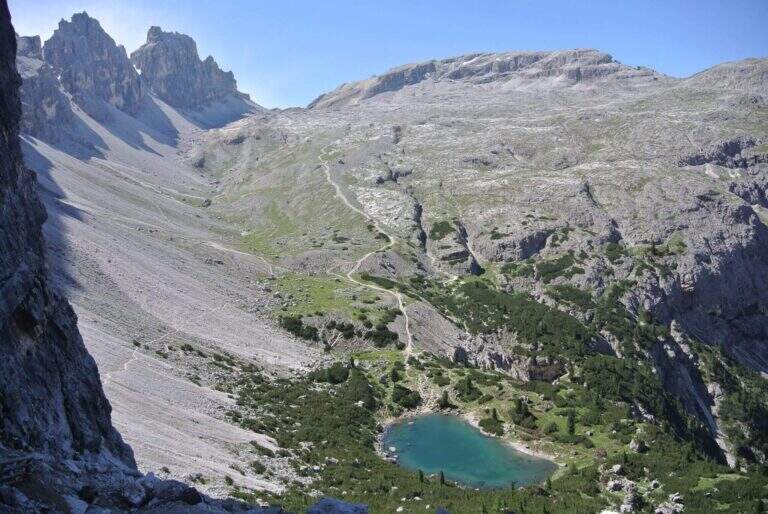
    From Forcella Lech (2486 m) you descend a steep detritic canyon that quickly loses altitude in the direction of Lake Lagazuoi. Before reaching the lake, at a crossroads, it is advisable to keep the left without going too far, to start further on the path 20 that climbs to Forcella Lagazuoi; from here, to backwards, you return to the mountain station of the cable car and then to the parking (2h from Forcella Lech, 5h overall).

    ▲To match

    Natural matching is precisely with Ferrata TomaselliThe Cengia Veronesi is often a variant or extension.
    ▲Gallery
    Technical data
    • DifficultyModerately Hard
    • RegionVeneto
    • GroupDolomiti d'Ampezzo – Fanis
    • Approach1:45 h
    • Ferrata1:15 h
    • Itinerary (a/r)5:00 h
    • Hardware level difference100 m
    • Route difference370 m
    • Max2843 m
    • Length7,8 Km
  • Ferrata Stella Alpina all’Agner

    Ferrata Stella Alpina at Agner

    Vie Ferrate › Veneto › Belluno
    Ferrata Stella Alpina at Agner
    Very difficult● OpenDescriptionComplexityMapsGallery

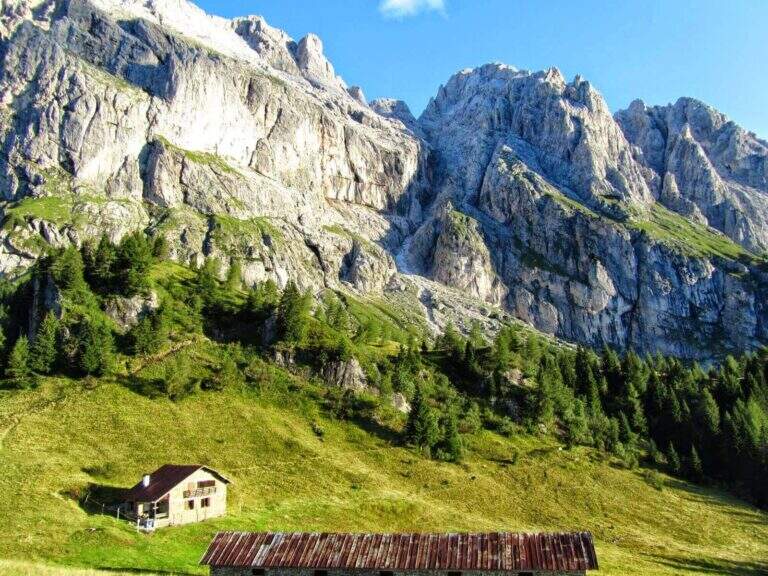
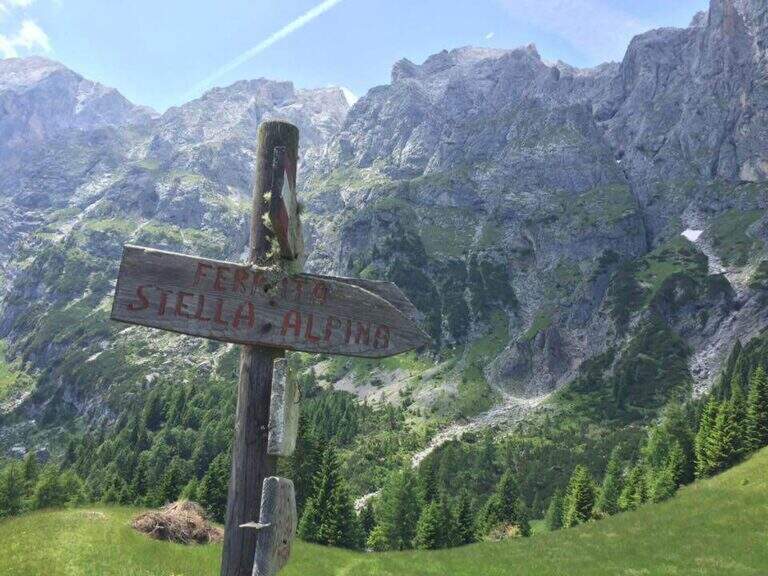
    La Ferrata Stella Alpina ` the equipped road that leads to Monte Agner, in the Pale di San Martino. The complete è tra i più challenging Italian landscape: more than 10 hours, reserved for very experienced hikers not only of ferrate but also of high mountain. At the difficulty and the stretch is added the long crossing of the Laste, the ascent all'Agner and the difficult descent along the Canalone.

    ⚠ Itinerary very long (more than 10 hours, altitude difference almost 1700 m, peak 2872 m) and extremely serious. The crossing of the Laste è exposed, with signs often faded, and becomes prohibitive with fog; with wet è rocks; not recommended. The discesa along the Canalone è steep, on unstable gravel bottom, often with snow in the lower part: useful ramps and telescopic sticks. Face it only in good state of training and with stable weather; it is recommended to break it in two days (Bivacco Biasin in Forcella Pizzon).
    ▲Approach

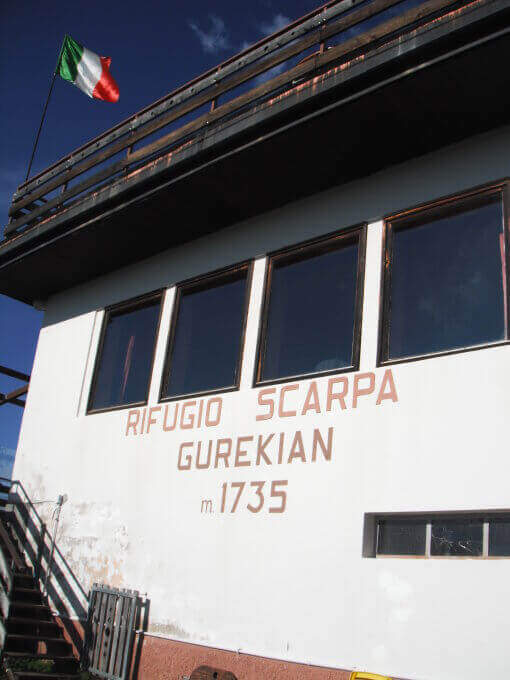
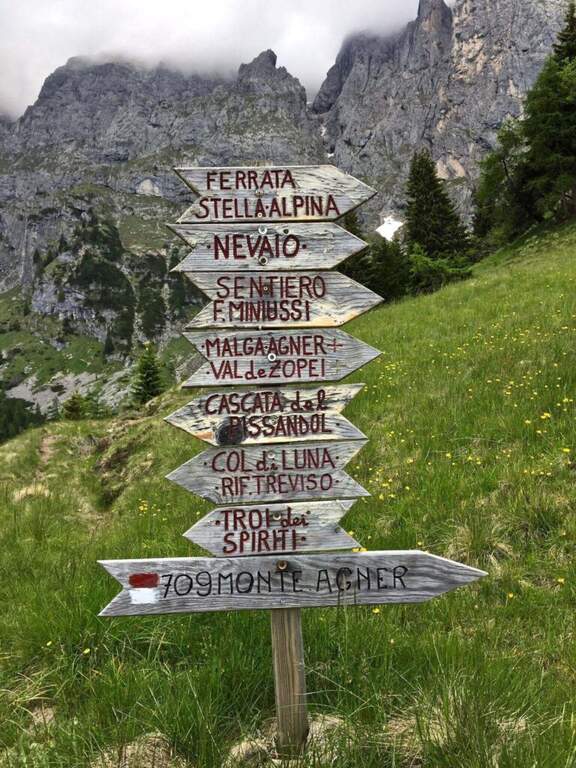
    The starting point is Frassanè (Belluno), at the foot of the Agner, reachable from Agordo or from Fiera di Primiero. Open road signs on Google Maps. In the village, from Via della Vittoria take via Domadore to a biforcation with CAI signposts (right on 771, left on 772) and park in a deck (1182 m). It goes up with 771 lungo la forestale, poi per prati lungo le piste da sci fino al Rifugio Scarpa (1735 m, 1h dal parcheggio). Dal rifugio, seguendo le indicazioni per la Ferrata e il Sentiero Miniussi, si raggiunge Malga Losch e si tiene la sinistra uscendo dal bosco; avvicinandosi alle bastionate dell'Agner, a un bivio (dove davanti si vede il nevaio del canalone di rientro) si segue a sinistra per l'attacco, al termine di una gola senza uscita, su roccette con bolli giallo-rossi e l'attraversamento di un canale fino al cartello romboidale (1955 m, 1h 45' dal parcheggio).

    ▲The path

    La prima sezione supera un risalto roccioso, verticale ma appigliato, poi piega a destra su roccette e a sinistra; segue un tratto di collegamento su ghiaia, prato e roccia con vistosi bolli gialli. Si ritrovano le attrezzature presso un cartello che invita a non smuovere sassi: inizia la seconda e più impegnativa sezione. Dopo un tratto diagonale, il cavo sale verticale su una parete dagli appigli poco evidenti, poi traversa a destra verso il primo di una serie di camini, risalito in spaccata con l'aiuto di alcuni pioli. Si traversa a destra verso una stretta gola (attenzione agli zaini ingombranti), che si risale sul versante sinistro; seguono passaggi verticali in esposizione crescente, con il canalone innevato del rientro alle spalle. L'ultima sezione traversa a sinistra fino a un aereo spigolo con vista sul Rifugio Scarpa; si sale una parete verticale fino a un passaggio delicato e leggermente strapiombante lungo una fessura, da affrontare con agilità, poi il cavo piega a destra sotto il passaggio chiave: una placca verticale e liscia da risalire cercando i pochi appigli naturali e i pioli metallici. Gli ultimi metri esposti portano a «Le Laste» (2320 m, 1h 45' dall'attacco, 3h 30' totali). Inizia qui il lungo attraversamento delle Laste dell'Agner, su sentiero dapprima su sassi e prato poi su fondo roccioso, tutt'altro che banale (proibitivo con la nebbia): si seguono segni sbiaditi e ometti, fra roccette da arrampicare in libera e tratti attrezzati su placca e cengia, generalmente esposti e sconsigliati con roccia bagnata, fino al Bivacco Biasin a Forcella Pizzon (2645 m, 1h 45' dal termine della ferrata, 5h 15' totali). Per chi prosegue verso la vetta, si aggira la parete sud-occidentale dell'Agner su tratti attrezzati e un'esposta e aerea cengia, poi una rampa esposta ma non difficile e una traccia ripida fino alla croce sull'anticima dell'Agner (2872 m, 1h dal Bivacco Biasin, 6h 15' totali).

    ▲Character and difficulty

    The technical difficulties of the single stretch are "very difficult"; to these are added the objective difficulties of the Laste, the climb to the Agner and the difficult descent along the Canalone, in addition to a long approach and return. Overall it is one of the most demanding excursions in Italy.

    ▲Period and safety

    GPS tracks (GPX and KMZ) are available. From Forcella Pizzon you can go back avoiding the climb to the summit. Bivacco Biasin is in good condition for overnight stays.

    ▲Discipline

    Dalla vetta si torna a Forcella Pizzon e al Bivacco Biasin (45' dalla vetta), prestando attenzione al tratto tra cima e cengia per i pochi segni sbiaditi. Dal bivacco si scende ripidamente sul lato sinistro del canalone, su fondo sdrucciolevole con tratti attrezzati, fino a un bivio (segni sbiaditi su roccia): a destra il sentiero lungo il Canalone (qui descritto), a sinistra la via normale con segni gialli. Il Canalone scende a ripidi tornanti su ghiaione instabile, con nevaio nella parte bassa, fino in vista del Rifugio Scarpa e al bivio dell'attacco (1820 m, 1h 30' dal bivacco, 8h 30' totali); poi a ritroso fino al Rifugio Scarpa e, per il 771, al parcheggio (circa 10h totali).

    ▲To match

    Itinerary that alone engages comfortably two days. Staying in the Pale di San Martino you can reach Ferrata dell'Orsa in Val San Lucano or, in Val Canali, la Ferrata Buzzati, il Hunter's Path e la Ferrata del Canalone; towards Civetta la Yellow Flames, the extenuating Constantine, la Titus e l'Alleghesi.

    ▲Gallery
    Technical data
    • DifficultyVery difficult
    • RegionVeneto
    • GroupPale di San Martino
    • Approach1:45 h
    • Ferrata1:45 h
    • Itinerary (a/r)10:00 h
    • Hardware level difference346 m
    • Route difference1692 m
    • Max2872 m
    • Length14,4 Km
  • Ferrata Senza Confini (Cellon)

    Ferrata Senza Confini (Cellon)

    Vie Ferrate › Friuli-Venezia Giulia › Udine
    Ferrata Senza Confini (Cellon)
    Very difficult● OpenDescriptionComplexityMapsGallery

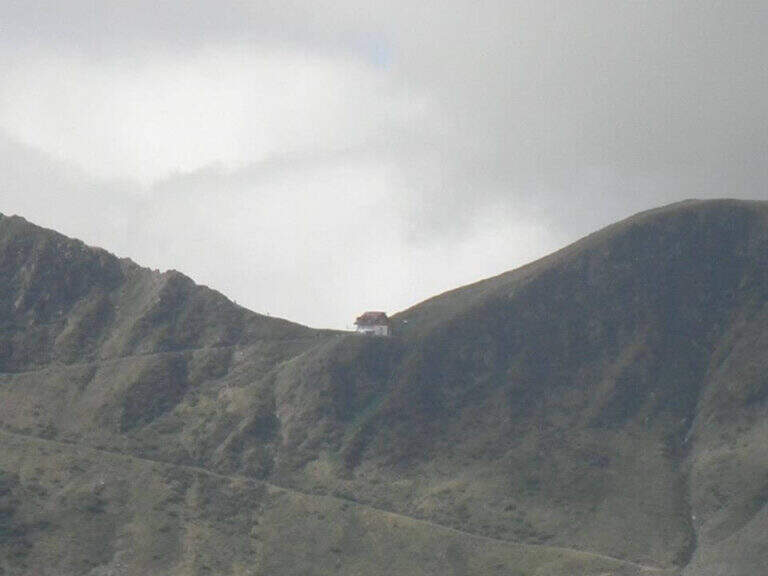
    La Ferrata Senza Confini sale al Cellon (Creta di Collinetta), al Passo di Monte Croce Carnico, sul confine tra Italia e Austria. È una via molto impegnativa, verticale, esposta e fisica, da evitare se non ben allenati e abituati all'esposizione, ma di forte interesse storico: l'itinerario consente di percorrere anche una lunga galleria bellica della Prima Guerra Mondiale. La vetta della Creta di Collinetta tocca i 2241 m.

    ▲Approach

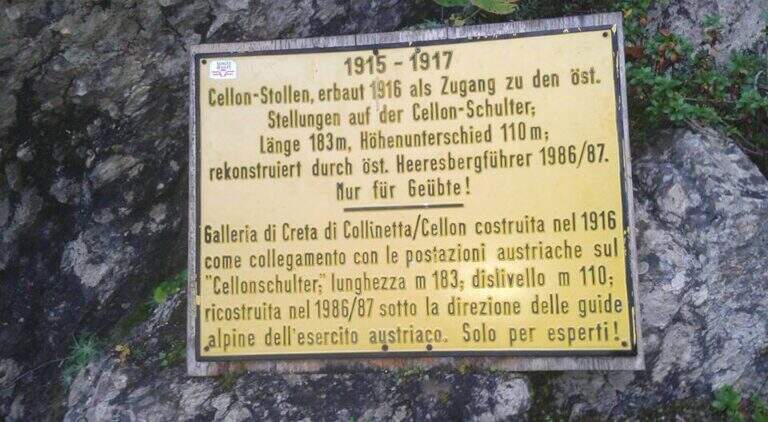
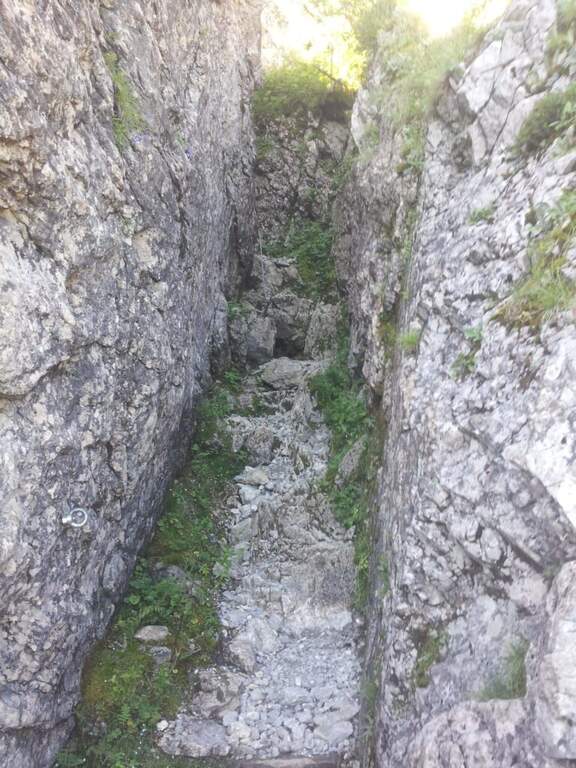
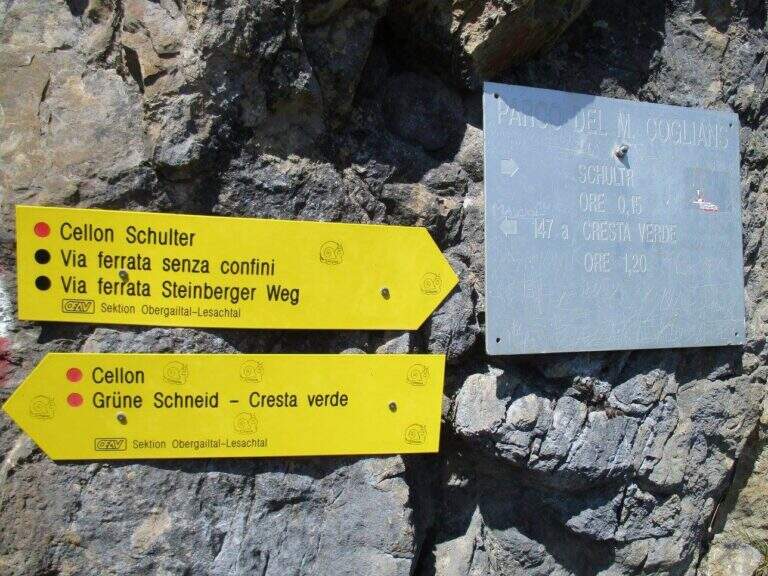
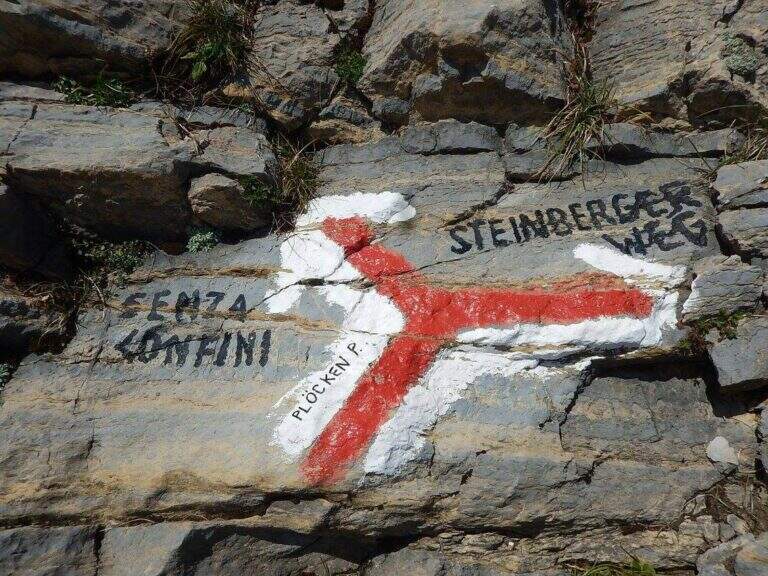
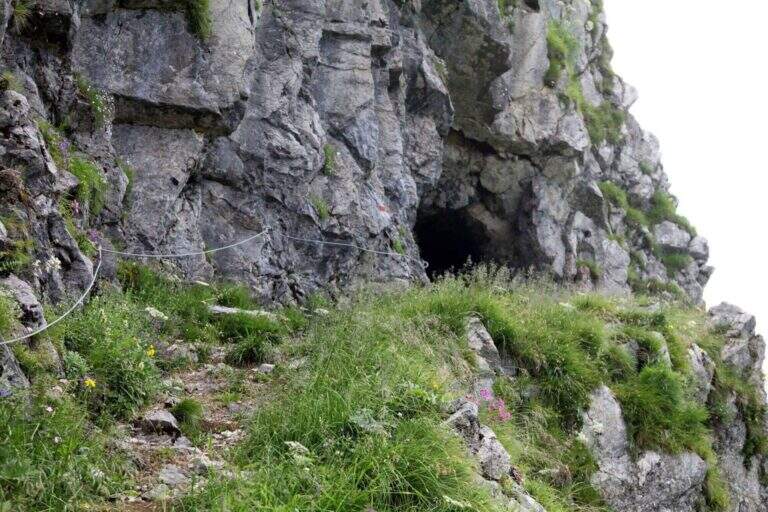
    Starting point the Passo di Monte Croce Carnico (1360 m), reachable in about 40' from Tolmezzo (Udine) to the SS 52b. Open road signs on Google Maps. L' itinerary begins in Austrian territory and falls from Italian territory. After passing the customs, on the western side of the pass, the CAI path towards the Crete of Collinetta; one ignores a first sign for the Without Confini on the left continuing straight towards the Gallery and the Canalone Steinbergerweg. After about 15' at a crossroads the sinistra is held steeply uphill towards the Schulter Gallery; a first steep stretch equipped with rope leads to war settlements and all' entrance of the Gallery of the Cellon (1541 m, about 30'). The gallery rises about 110 m of altitude difference on almost 200 m of development: steep interior, wet and slippery rock, equipped with rope for the whole length and with some brackets in the più traits; I'm sorry. It comes out in a little less than 30' from a narrow slit, you go through a stretch equipped and you reach a counterfeit war (1h from the parking lot). Keeping the right towards the top and, at a second crossroads marked on rock, still the left (on the right goes to the Steinbergerweg), continue between grass, mooring and stone up to a evident dihedron/fenditure diagonal where the ferrata begins, without tags (1h 30' from the parking lot).

    ▲The path

    L' attack è about 4 meters from the ground and must be reached climbing free on passages supported with good hooks. I took the cable, climb rocks leaning with some easy leap, then bend right into a channel at whose end the cable turns abruptly vertically at the base of a lungo, challenging and diedro plane: the plate è poor of natural hooks and equipped with distant brackets among themselves, which oblige a certain traction on the cable; ldisplay&39; Exit from the dihedron and move left on a challenging passage, you arrive on the ridge, plane, with view on the step. They follow più passages; easy that soon return on medium-difficult levels: tilted plates first to the left then to the right of the crest, an exposed edge and some diagonal plates to face in adherence and with good force of arms. At a c' framed rock; ` a first overhanging pass equipped only with rope, requiring agilità and strength; più forward a second strapiombo, initially with metal steps, then a diedron and a well-graded fireplace, both climbed on the left side. A stretch of crest supported with mughi invites you to rest; faithfully resumes the ridge, air, up to the book of signatures and a last dihedron, beyond which the equipment ends. A ridge path leads to some barracks of the Great War and a crossroads (2103 m, 1h 30' ); from here it rises to the summit of the Crete of Collinetta (2241 m, 20' from the end of the ferrata, about 3h totali), with metal cross and memorial plaque.

    ▲Character and difficulty

    Athletic and difficult to test: little climbing for long stretches, with individual high-level passages leading to a strong traction on the cable. It runs in part parallel to a historic Friulian climbing route (Mazzilis and De Infanti).

    ⚠ Suitable only for trained hikers, with force of arms and who do not suffer from dizziness: a couple of steps are very exposed. For the Cellon tunnel è indispensable a frontal stack, forché the first section è completely dark; the inner rock è wet and slippery.

    ▲Period and safety

    GPS tracks (GPX and KMZ); the map of the Central Carnic Alps is useful for the area. The words "Creta di Collinetta" and "Cellon" are used indistinctly.

    ▲Discipline

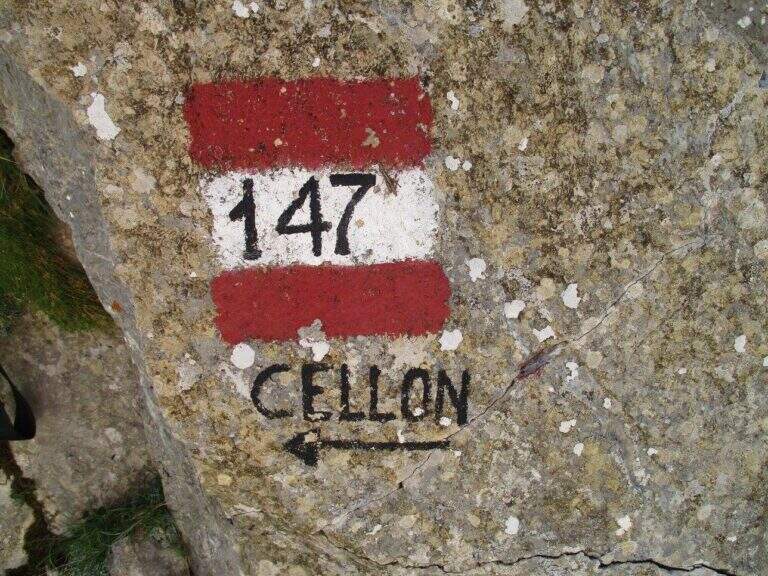
    You return to the crossroads reached at the end of the ferrata and you go right on the path 147, Italian side, cutting horizontally; then along the mule track you rejoin the path dell' approach and return to the parking lot (1h 30' from the summit, 4h 30' totali).

    ▲To match

    The itinerary shares approach and return with the neighbor Ferrata Steinbergerweg, assessable as a downhill option for experienced hikers. In Carnia, more south of the pass, the Path equipped Cuestalta and, reachable via Rifugio Romanin, la Ferrata del Coglians; further south, in the province of Udine, the Cassiopea al Torrione Comici, la 50° of the Clap e la Ferrata at the Clap Varmost.

    ▲Gallery
    Technical data
    • DifficultyVery difficult
    • RegionFriuli-Venezia Giulia
    • GroupAlps Carnia
    • Approach1:30 h
    • Ferrata50
    • Itinerary (a/r)5:30 h
    • Hardware level difference408 m
    • Route difference868 m
    • Max2228 m
    • Length6,8 Km
  • Ferrata Sci Club 18 (Monte Faloria)

    Ferrata Sci Club 18 (Monte Faloria)

    Vie Ferrate › Veneto › Belluno
    Ferrata Sci Club 18 (Monte Faloria)
    Very difficult● OpenDescriptionComplexityMapsGallery

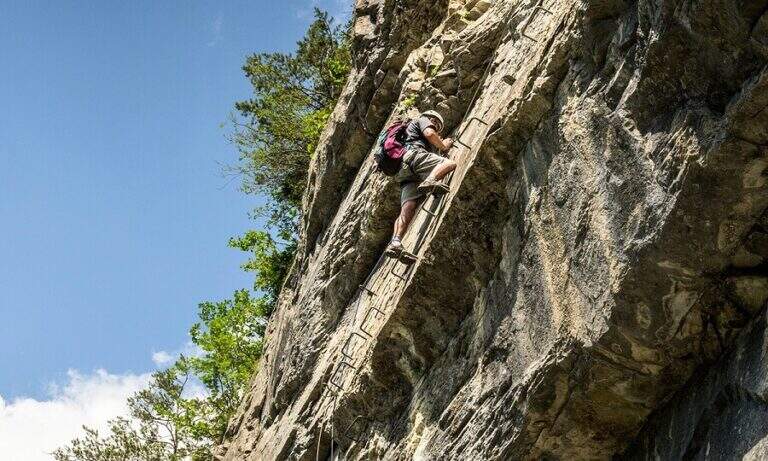
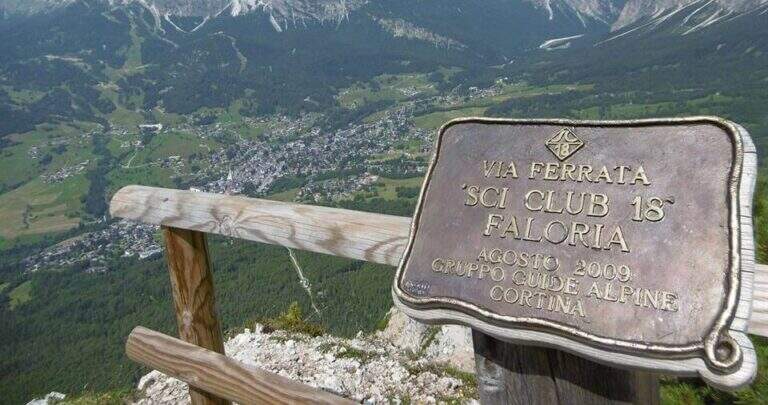
    La Ferrata Sci Club 18 climbs from Monte Faloria, above Cortina d'Ampezzo, with an itinerary ripido, athletic and very difficult. The via è vertical, exposed throughout the track and with challenging passages that often force to traction on the cable: & free; reserved for trained and experienced hikers. The return is also possible with the cable car.

    ▲Approach

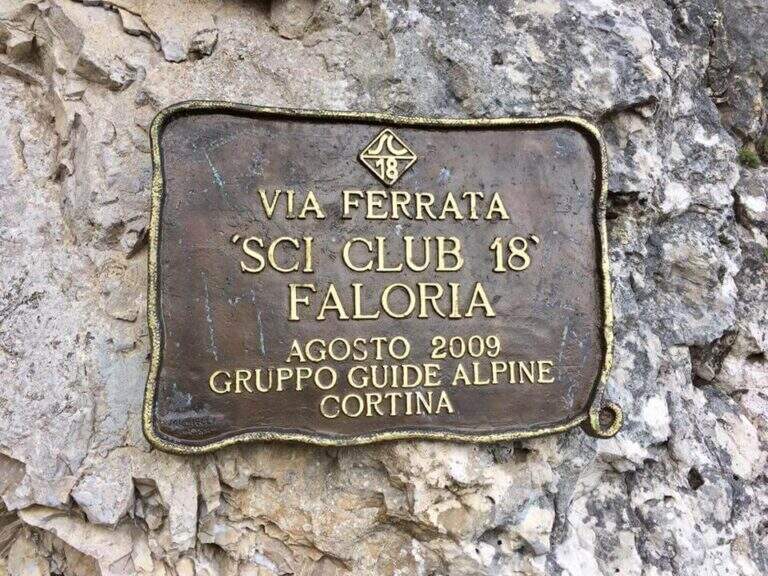
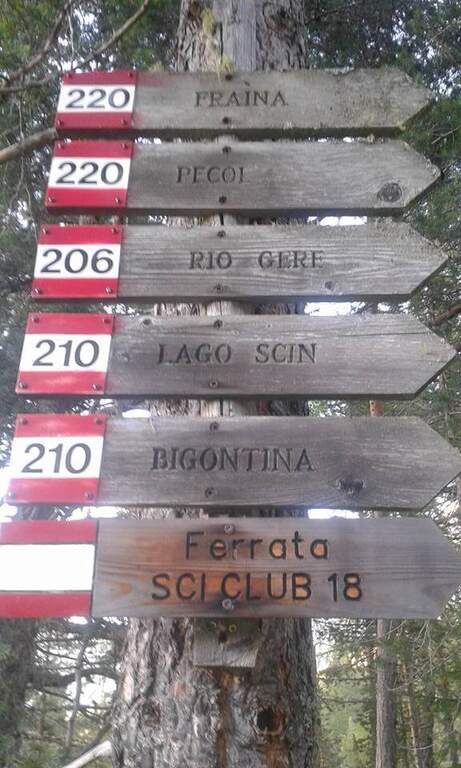
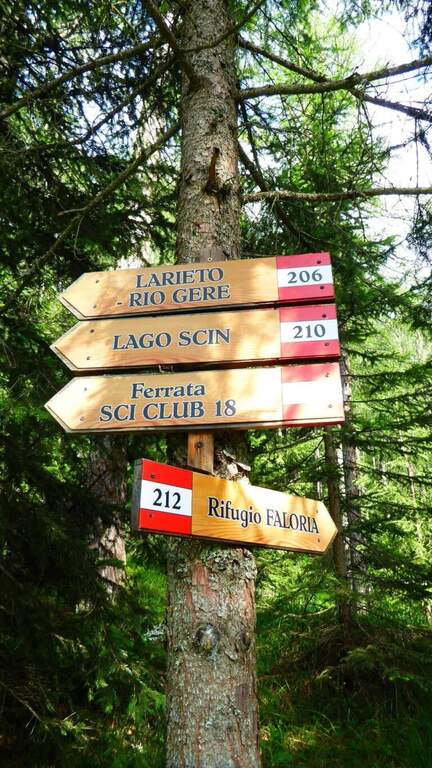
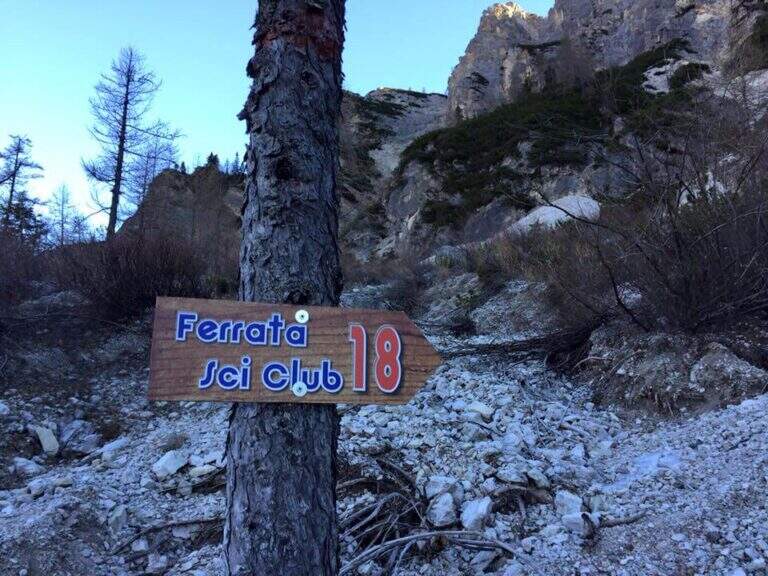
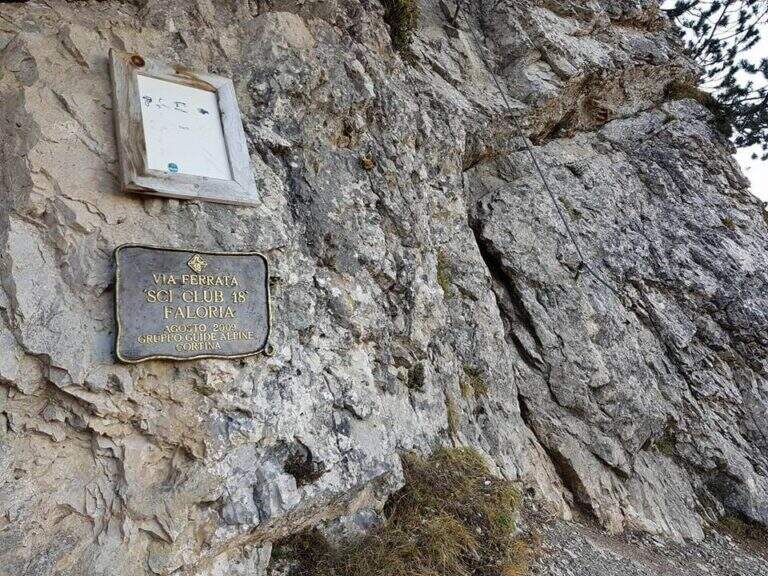
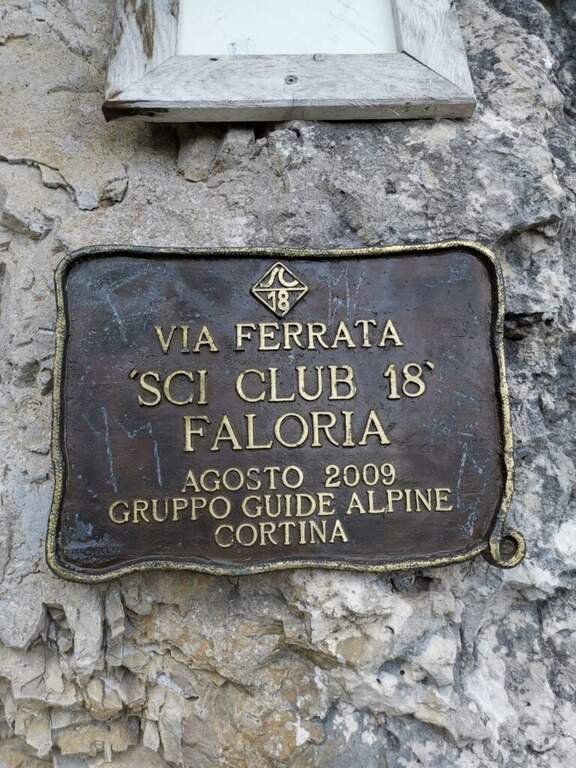
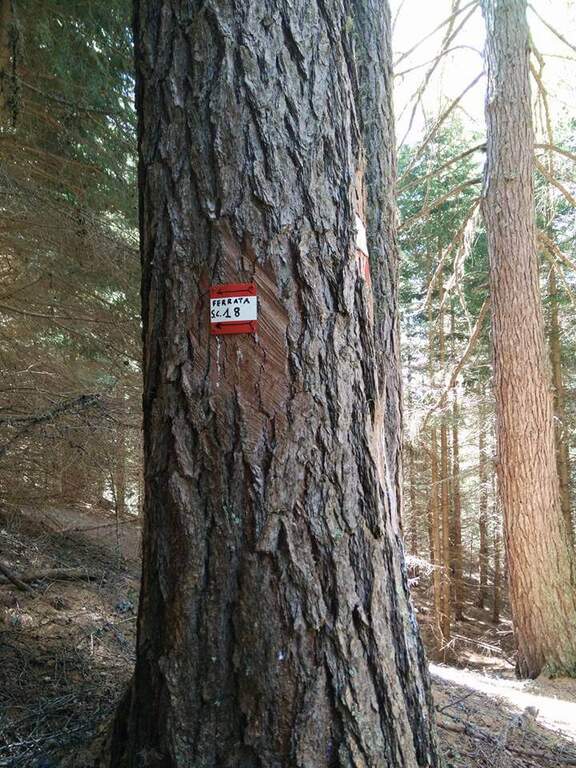
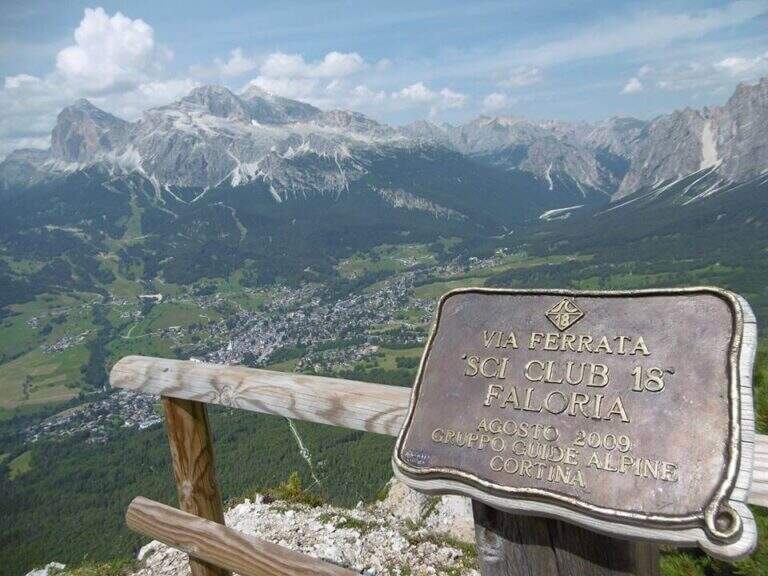
    It starts from the locality; Sompiei, above Cortina: from the center take the Regional Road of the Dolomites towards Misurina/Auronzo and, after less than a kilometre, before the sign «Alverà», a road on the right; just before the cable car a dirt road takes off to the left and leads to the parking lot (attention to the private areas). Open road signs on Google Maps. From the parking lot you go east towards the mountain station of the cable car to the intermediate station Mandres; from here the path 206, on a slight ascent, comes out from the wood and climbs steeply towards the wall of the Faloria. Following the abundant signs you leave the 206 holding the right until all' attack of the Ski Club 18, signaled by a metal plate with the date of construction (1h from the parking lot).

    ▲The path

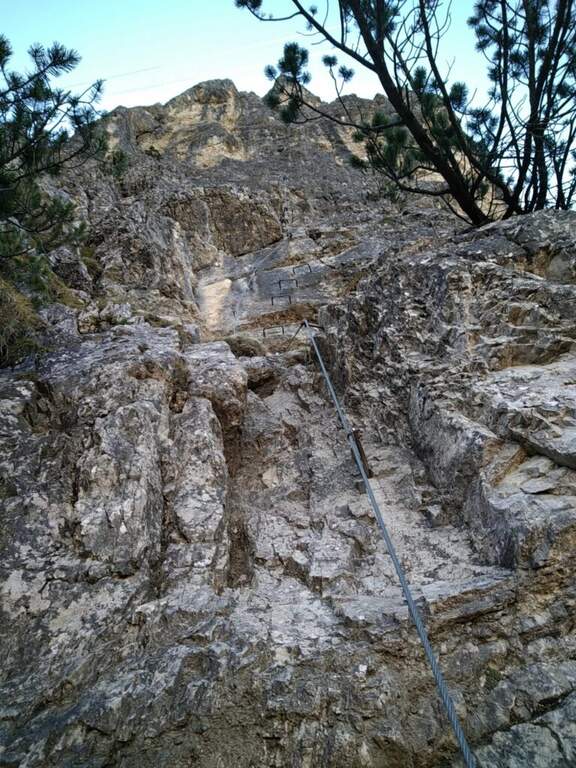
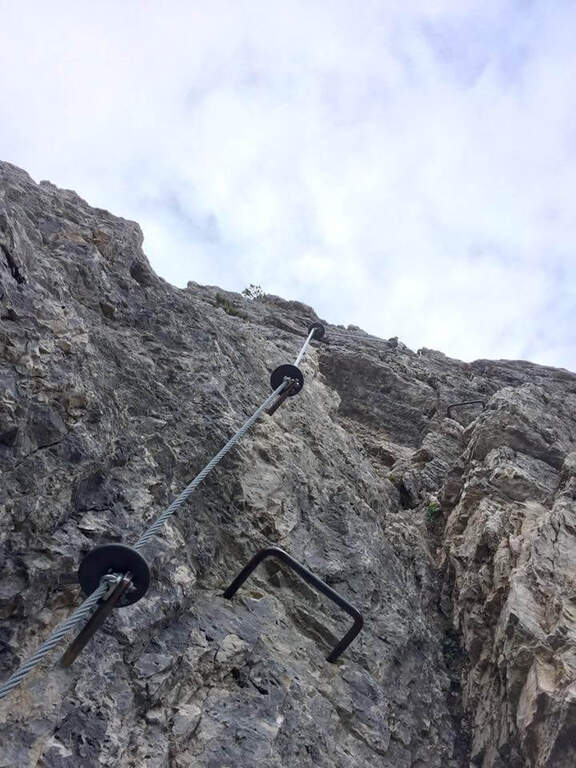
    L'attacco è subito verticale: i primi due metri richiedono una trazione, poi compaiono appoggi per i piedi. Superato il primo balzo, ci si trova sotto una parete liscia sbarrata da un tetto roccioso, che si aggira piegando a destra con solide staffe; si continua a guadagnare quota alternando staffe e appoggi su un tratto leggermente strapiombante, poi si piega a destra in una cengia fino a uno spigolo. Aggirato lo spigolo si risale una lunga parete liscia dove in più punti, mancando appigli, si sale trazionando sul cavo (circa 20 m di placca) fino a un terrazzino di sosta. Seguono un breve tratto appoggiato e un traverso ascendente verso destra su roccia levigata, un nuovo spigolo dopo un'esile cengia, e un tratto verticale; in alto la fune piega a destra su un traverso esposto sostenuto da staffe, fino a una cengia panoramica proprio sotto la funivia del Faloria. Si affronta poi un tratto verticale più appigliato, si scende a un canalino dal fondo instabile e, oltre una cengia, si risale uno spigolo che porta a una placca verticale decisamente impegnativa: le staffe sono distanti e la roccia molto levigata, rendendo i passaggi atletici. Si supera un tetto con una breve scaletta, un terrazzino, altri metri verticali impegnativi, poi un camino arrampicabile in spaccata e una fessura da risalire in spaccata fino a un ampio balcone panoramico sulle Tofane. L'ultima sezione percorre una cengia in salita verso sinistra fino a un imponente spigolo a forma di diedro, fittamente attrezzato di staffe su entrambi i lati; si esce sul lato destro in forte esposizione, si supera un tetto roccioso più atletico con una staffa, poi cenge, un salto verticale attrezzato, un canalino detritico non protetto e una forcellina; dalla forcellina un tratto verticale con staffe porta alla cresta, che si percorre fra brevi tratti attrezzati fino al termine della via (2h dall'attacco, 3h totali).

    ▲Character and difficulty

    Atypical Ferrata for the Dolomites: it does not carry on a real summit, has recent equipment with well-drawn cable and abundant but not excessive brackets, and cones on the tokens that increase safety — important on such a vertical way, where a possible fall factor can have serious consequences. It is sometimes criticized for the difficulty that solicits the arms, forcing them to pull on the cable.

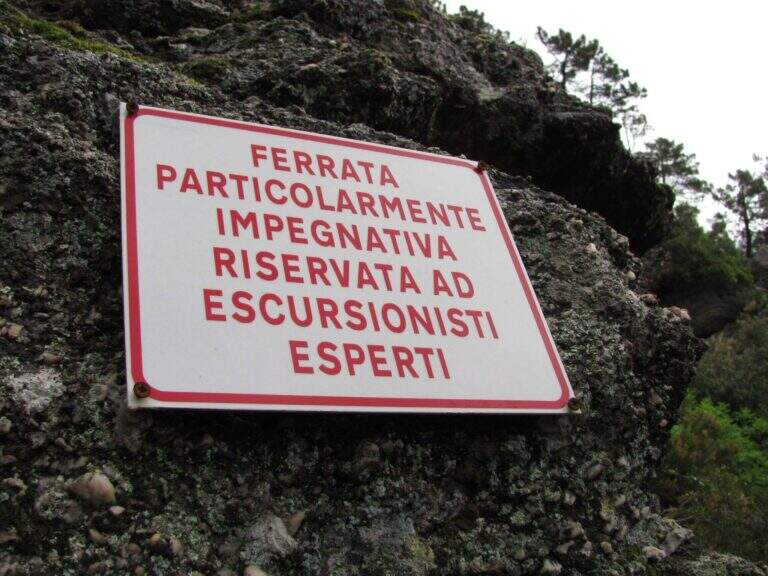
    ⚠ Via molto difficile, verticale ed esposta lungo tutto il tracciato, atletica e faticosa per le braccia: solo per ferratisti esperti e allenati. Non è percorribile in discesa.

    ▲Period and safety

    GPS tracks (GPX and KMZ) are available; the map of Cortina and the 4Land Dolomites is useful for the area.

    ▲Discipline

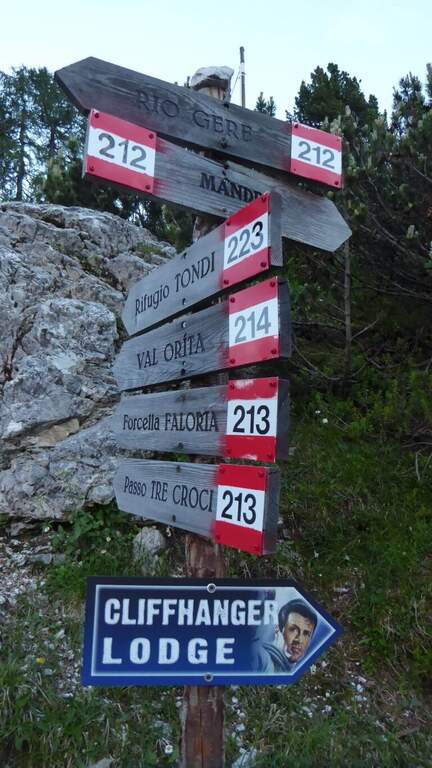
    From the end you are in sight of the refuge Faloria, where the cable car from Cortina arrives. Two options: walk down the trail at the crossroads 212 verso destra in direzione Mandres (dapprima ripido poi più dolce) fino al bivio dell'andata presso la stazione intermedia, quindi a ritroso (1h 30' dal termine, 4h 30' totali); oppure prendere la funivia e scendere alla stazione intermedia, poi a ritroso per il sentiero di avvicinamento (20' dalla stazione intermedia).

    ▲To match

    A challenging itinerary that hardly leaves energy for a second route in the day. From Cortina there are many routes: towards Auronzo la White e la Dibona al Cristallo; towards Dobbiaco the Third Cengia del Pomagagnon, la Bo, la Bullshit, il Path to the Fanes Falls e la Renè de Pol; to the south Ferrata dei Caprioli san Vito di Cadore.

    ▲Gallery
    Technical data
    • DifficultyVery difficult
    • RegionVeneto
    • GroupHeadquarters
    • Approach1:00 h
    • Ferrata2:00 h
    • Itinerary (a/r)4:30 h
    • Hardware level difference340 m
    • Route difference673 m
    • Max2123 m
    • Length6,5 Km
  • Ferrata Sant’Antone al Monte Serra (Buti)

    Ferrata Sant'Antone al Monte Serra (Buti)

    Vie Ferrate › Tuscany › Pisa
    Ferrata Sant'Antone al Monte Serra (Buti)

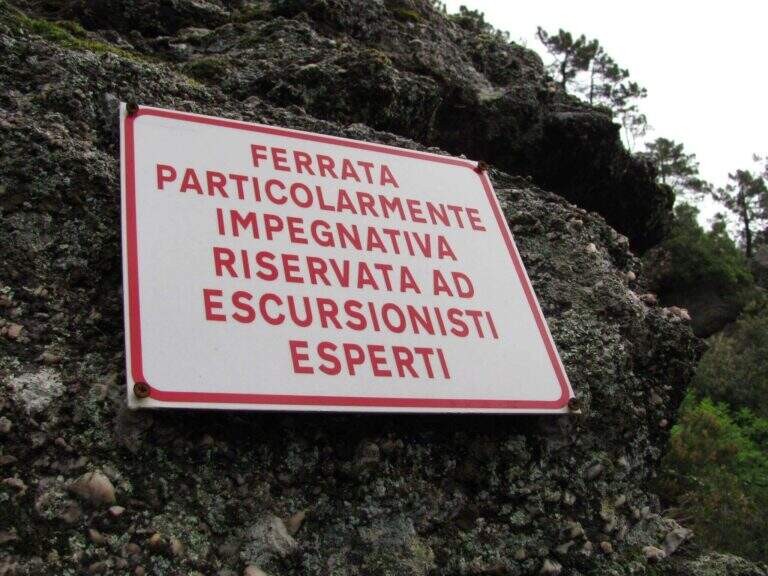
    ⚠ Reported as a CHIUSA. The source shows the status of this ferrata as chiusa: check agibilità and conditions at the CAI section of Pontedera (which manages it) or the authorities; local, and do not travel untilché it is not reopened.

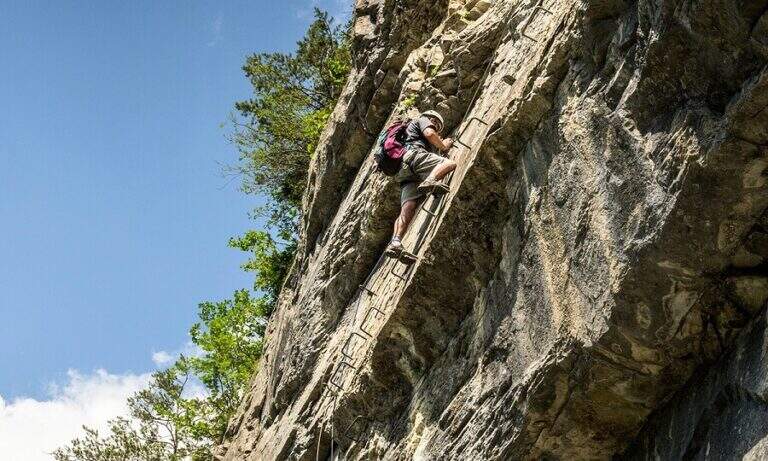
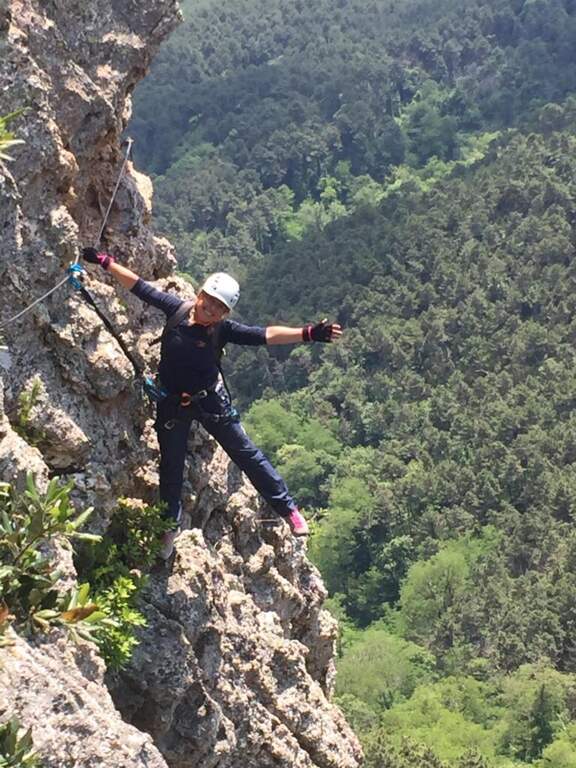
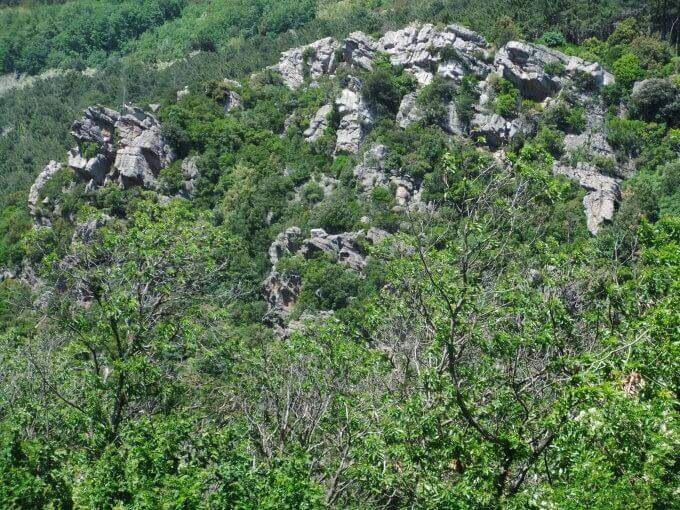
    The Ferrata Sant'Antone è a difficile street on the Pisani Mountains, between 500 and 600 meters of altitude. It has no great difference in altitude, but & made of numerous traversi exposed and overhanging that test arms and technique.

    ▲Approach

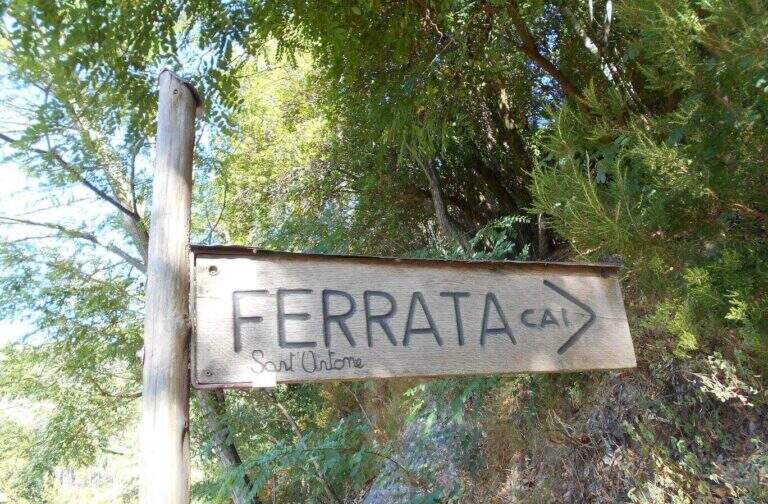
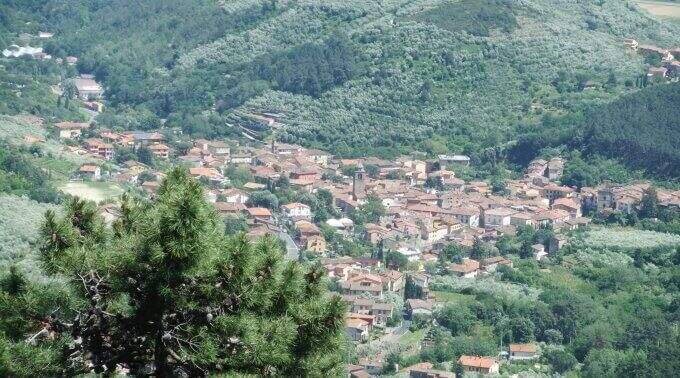
    Starting point a well visible pitch along the SP 56 that from Buti (PI) climbs to Monte Serra, recognizable for the fontana and the canton house on the opposite side. Open road signs on Google Maps. You go up the paved road for about 200 m up to the ferrata sign, you take 5' an uphill path with white-red signs and at the crossroad you will take the destra towards l' attack (10' parking ).

    ▲The path

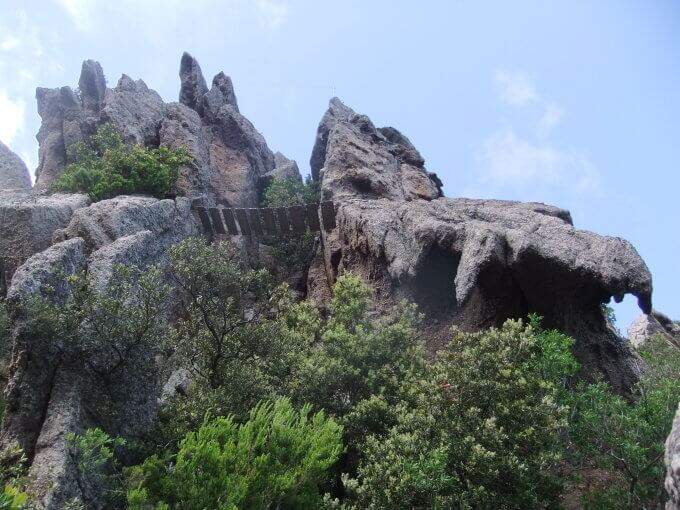
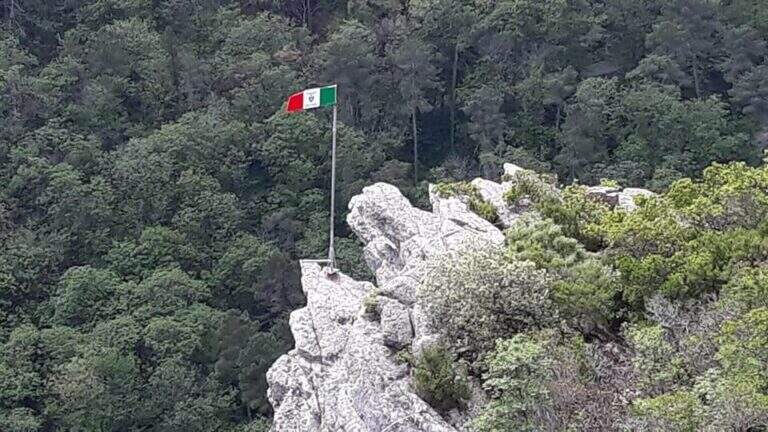
    Si parte subito con un obliquo traverso che supera uno spigolo in esposizione, in trazione sul cavo e con gli scarponi in aderenza — il tema dominante della via. Si risale una parete verticale con attacco leggermente strapiombante (aiutano le cambre), poi un esposto traverso orizzontale in aderenza, attenti alla roccia sporgente sopra la testa; un passaggio in discesa non banale (bisogna buttarsi in fuori per cercare gli appoggi) precede un impegnativo traverso a sinistra leggermente strapiombante che entra e aggira una gola. Si sale in diagonale dove un tetto obbliga ad abbassarsi, si supera un'ultima parete verticale di media difficoltà e si raggiunge una via di fuga (in salita conduce alla fine della via in 5', in discesa all'attacco in 10'). Proseguendo a sinistra, dopo un traverso obliquo e l'aggiramento di un altro spigolo esposto, si scende un passaggio in cui studiare bene la posizione per non essere sbalzati contro la roccia; seguono saliscendi, camini e traversi generalmente difficili e atletici. L'ultima sezione, più verticale, ha due passaggi più duri: un camino decisamente strapiombante (tecnico nei primi metri) e, dopo una breve interruzione delle attrezzature, un sasso da risalire in spaccata con pochi appigli e un leggero strapiombo. Alcuni traversi esposti ma non difficili portano all'ultimo bivio: a destra si conclude la via; a sinistra, dopo un traverso, un breve ed esposto ponte sospeso introduce al passaggio chiave, un tratto verticale tecnico e fisico (5 fittoni fino alla bandiera italiana), reso difficile dalla mancanza di appigli e dalla stanchezza: l'ostacolo maggiore è staccarsi dal ponte, soprattutto per chi è di bassa statura, aiutandosi poi con due singolari staffe a Y sul lato destro. Così si conclude la ferrata (1h 15' dall'attacco / 1h 25' dal parcheggio).

    ▲Character and difficulty

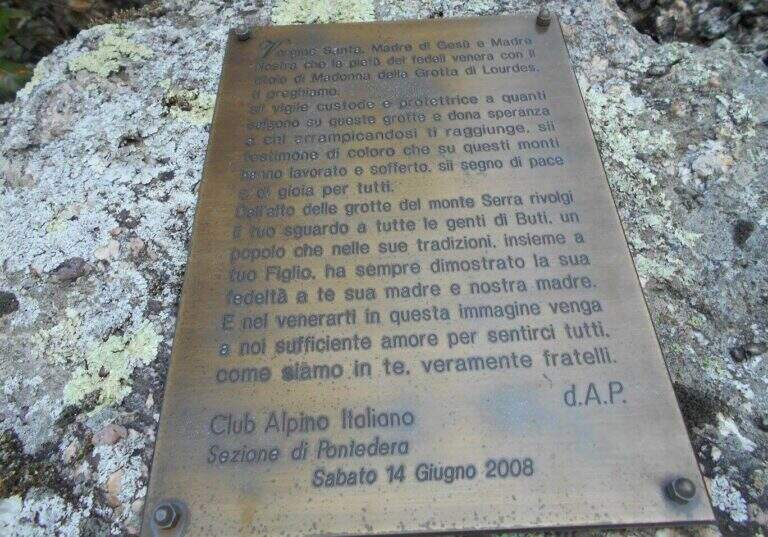
    Very varied and athletes: plenty of transverses, challenging downhill stretches, walls and fireplaces, with many overhanging steps that require good force of arms. Each stick is numbered (about 170 in everything). Inaugurated on the 14 June 2008 and managed by the CAI section of Pontedera; very exciting the descent into the ridge.

    ▲Period and safety

    Low altitude, in theory all l' year with good grip of rock; at the moment, però, the route turns out chiusa (see notice in the head). For the many transverses it lends itself to be chased back by experts.

    ▲Discipline

    From the term, a labile trace to sinistra is followed to a series of stones to be traced back and to the «Ghiaccietto» ; cross right towards the parking lot following the CAI path to the first escape route, then giù until all' attack and, backwards, all' car. After l' crossing with the escape route the signs ` poor: the road & however a few tens of più meters; below and, between shrubs and franosis traits, it is reached by holding the left (25' from the term / 1h 45' from the parking ).

    ▲To match

    In Tuscany, towards Arezzo la Ferrata Romana Nesi at Pratomagno; on the Apuans the Ferrata Salvatori e la Ferrata del Procinto.

    ▲Gallery
    Technical data
    • DifficultyHard
    • RegionTuscany
    • GroupMonti Pisani
    • Approach0:10 h
    • Ferrata1:10 h
    • Itinerary (a/r)1:50 h
    • Hardware level difference120 m
    • Route difference200 m
    • Max540 m
    • Length3,3 Km
  • Ferrata Santa Felicita (Bassano del Grappa)

    Ferrata Santa Felicita (Bassano del Grappa)

    Vie Ferrate › Veneto › Vicenza
    Ferrata Santa Felicita (Bassano del Grappa)

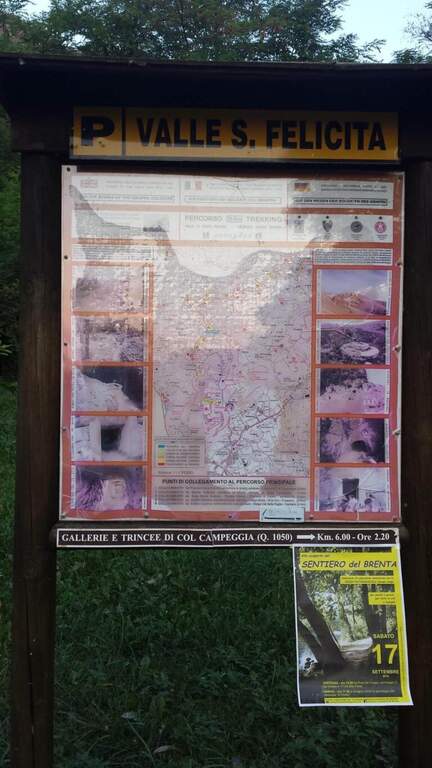
    The Ferrata Santa Felicita è a short route and atletica in' the homonymous valley near Bassano del Grappa: short but varied and intense itinerary, which requires good force of arms. It takes place in an area famous for l' sports and & leisure climbing; ideal for training in cold months.

    ▲Approach

    Starting point the parking d' access to the Valle Santa Felicita, in Romano d'Ezzelino (VI): following the directions to via Santa Felicita you leave l' car in the ' wide parking at the end of the road. Open road signs on Google Maps. You walk north along the path that leads to the wall; part of the path is tiring, on a series of steps in rock, up to the rock gym where you find the indications for the ferrata.

    ▲The path

    It attaches a beautiful vertical wall well equipped with abundant brackets, on excellent granite that, where not replaced by fixtures, offers solid hooks. The brackets move gradually to sinistra with a slight overhanging (first difficult & agrave;); after about ten vertical meters a short horizontal section on the left precedes a second vertical section, always on brackets, with which you quickly gain altitude and exposure. Take a left-hand side, using the pins for the feet, up to a vertical wall of about fifteen meters which above takes the form of a diedro along a crack: climb on brackets, move from the left to the right side of the dihedron, pass a slightly overhanging passage and exit on a left side where to rest. From the census you move left in a stretch of descent, you get around a edge and you get to the più tract; characteristic: a plane across horizontal with nails as foot support. A wall of about 6 meters is down and diagonally on the left begins l' last section, with a slight descent (again on nails); it loses altitude until the end of the crossing, a vertical wall is descended on brackets and a diagonal ramp equipped until the end (30' from' attack / 1h 15' from parking ).

    ▲Character and difficulty

    Short but intense and challenging, with strong exposure throughout the route. Difficult & Agrave; they are mainly athletic: the possibility to climb ` limited by ' abundant use of brackets and piles, and serves good force of arms.

    ⚠ Strong exposure and athletic steps: not recommended to those who are not trained in arms. Excellent in winter for low altitude, but always with dry rock.
    ▲Period and safety

    Low altitude (maximum 350 m): most of the year can be traveled, indicated as training in cold months.

    ▲Discipline

    From the end, a path returns in short to the' the return to the car park takes place on the backward approach path (30' from the term / 1h 45' totali).

    ▲To match

    Near the Grappa massif, it is combined in the day with one of the two itineraries that go up: the Ferrata Sass Brusai e la Ferrata Guzzella. To the north Ferrata Gabrielli to the Cima d'Asta; in Val d'Astico the recent Ferrata Anelli delle Anguane.

    ▲Gallery
    Technical data
    • DifficultyHard
    • RegionVeneto
    • GroupGrappa Massif
    • Approach0:45 h
    • Ferrata0:30 h
    • Itinerary (a/r)1:45 h
    • Hardware level difference40 m
    • Route difference140 m
    • Max350 m
    • Length3 Km
  • Ferrata Grasselli at Picco di Carnizza and Monte Canin

    Ferrata Grasselli at Picco di Carnizza and Monte Canin

    Vie Ferrate › Friuli-Venezia Giulia › Udine
    Ferrata Grasselli at Picco di Carnizza and Monte Canin

    A challenging and mountaineering itinerary in the Alpi Giulie: the Ferrata Grasselli climbs the Picco di Carnizza, then a long ridge connects to the Monte Canin (2587 m) and the descent takes place from Ferrata Julia to the Glacier del Canin. Very varied route, with exposed stretches both on the crest and downhill, to be faced only with experience and stable time.

    ▲Approach

    From the cable car upstream station that from Sella Nevea rises to the Gilberti-Soravito Refuge. From Chiusaforte (20' from ' exit Carnia-Tolmezzo on'A23) follow the signs for Sella Nevea to the east, you pass the bridge and drive for about 20 km until the plants. Open road signs on Google Maps. From the refuge (1850 m) you take to right the path 632 towards the Sella Bila Pec (ruders of a barracks), then halfway towards the Sella Grubia and Bivacco Marussich, going up to the west with the Montasio behind, up to the Bivacco Marussich (2040 m, 1h 30' from the mountain station).

    ▲The path

    Dal bivacco si sale su traccia per prati e rocce verso l'evidente spigolo dove la targa segna l'inizio della Ferrata Grasselli (20' dal bivacco). Spostandosi un paio di metri a destra della targa e seguendo i triangoli rossi, si risale una prima parete verticale ben appigliata ma impegnativa (qualche piolo aiuta); si guadagna quota ed esposizione fino a una parete con fessura, che si supera restando a destra su staffe metalliche. Un breve tratto di collegamento e una traccia esposta a sinistra portano su un tratto di cresta attrezzata: roccette esposte ma senza difficoltà sostanziali e alcuni canalini concludono il primo tratto ferrato. Per sentiero ripido tra sfasciumi si raggiunge l'ampia cresta che porta al Picco di Carnizza (2441 m, 1h dall'attacco / circa 3h totali). Inizia la seconda parte verso il Canin: si perde quota e si percorre una cresta che alterna sentiero e placche inclinate (attenzione col bagnato), con notevole precipizio a nord verso il Ghiacciaio del Canin. Seguendo i bolli rossi (triangoli dell'Alta Via Resiniana) si aggira una cengia erbosa, si risalgono balzi attrezzati lungo un canalino e si raggiunge lo spigolo ovest del Canin; alternando tratti su sentiero, placche e roccette si sale fino ai resti della croce del Monte Canin (2587 m, 2h 30' dall'attacco / circa 4h 30' totali).

    ▲Character and difficulty

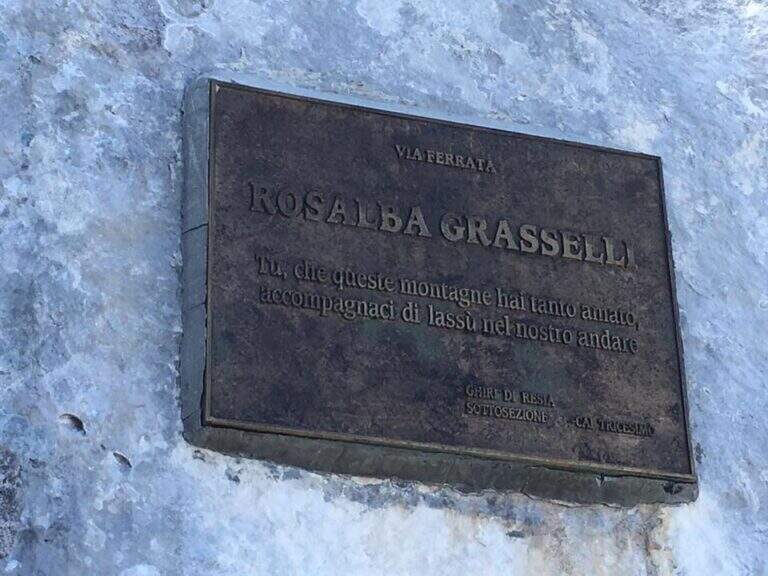
    Beautiful and fulfilling itinerary but challenging, exposed and more difficult traits: both Grasselli and Julia downhill require good experience, discreet technique and no problem with exposure. Installed in 1995 from the CAI of Tricesimo, is named after Rosalba Grasselli.

    ⚠ Da avoid with unstable weather: between the peak of Carnizza, the Canin and the descent from Julia there are no escape routes. Beware of snow at the beginning of the season on the north side of the Picco di Carnizza.
    ▲Period and safety

    Itinerary d' high altitude (2587 m): full summer with stable conditions. For the descent on the glacier are recommended the crampons.

    ▲Discipline

    From the peak of the Canin you descend on the normal road (east side) and in 10-15' you reach the crossroads on the left for the Ferrata Julia (difficultà medium;, downhill requires attention; rock well attached except l' last plaque, più tiring for arms but a few meters). The ferrata ends on the Ghiste of the Canin (1h 30' from the peak / 6h total). The descent of the glacier requires a lot of attention and the ramponi are definitely recommended (usually without big cracks); the track continues south, Sella Bila Pec and the upstream station of the cable car (1h 15' from the end of Julia / about 7h 30' totali).

    ▲To match

    In the Julian Alps: on the Jof Montasio la Via Amalia; towards Val Dogna the long Ferrata Norina at Monte Cavallo; on Jof Fuart the Ferrata Anita Goitan; towards Mangart la Ferrata della Vita.

    ▲Gallery
    Technical data
    • DifficultyHard
    • RegionFriuli-Venezia Giulia
    • GroupJulian Alps
    • Approach1:30 h
    • Ferrata2:30 h
    • Itinerary (a/r)7:30 h
    • Hardware level difference547 m
    • Route difference737 m
    • Max2587 m
    • Length11 Km
  • Ferrata di Rocca Senghi (Val Varaita)

    Ferrata di Rocca Senghi (Val Varaita)

    Vie Ferrate › Piedmont › Cuneo
    Ferrata di Rocca Senghi (Val Varaita)

    The Ferrata di Rocca Senghi dates back to l' the homonymous torrione isolated in Val Varaita: a difficult, athletic and « French », with different stretches overhanging. Difficult & Agrave; techniques are not very high, given l' abundance of cambres and brackets, but it should be faced only if well trained. Downhill you can può cross a suggestive galleria militare.

    ▲Approach

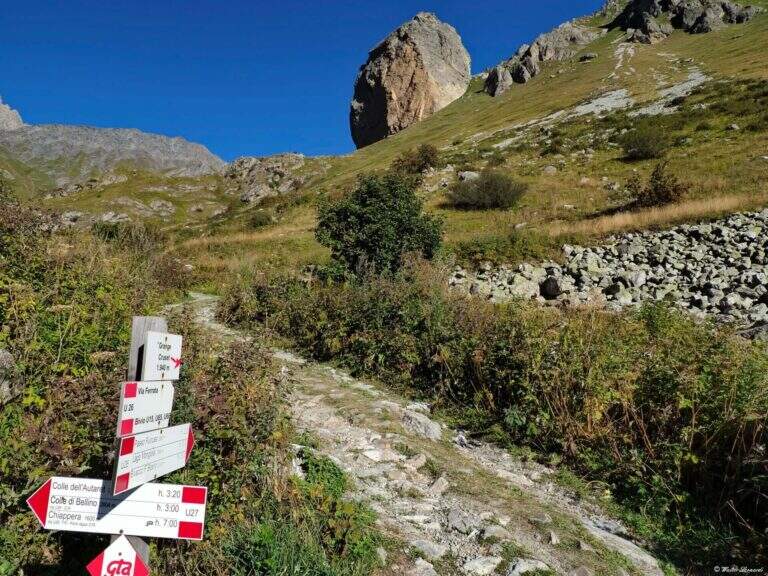
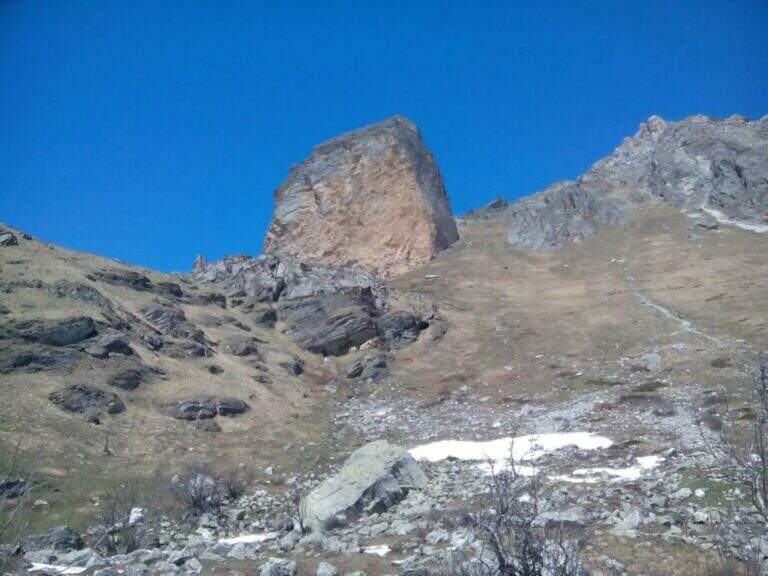
    Starting point the Sant'Anna of Bellino (CN): you pass the bridge over the Varaita stream and park in the bay. Open road signs on Google Maps. On foot you continue towards the next bridge (fontana on the left), you cross it and you take the path U26 towards the Grange Cruset, then at the crossroads right on the branch for Rocca Senghi (cartel). Passed a basin that shows the way and the escape routes, you go up the steep path to serpentine along a grassy canal up to the isolated rock; the attack is on 2190 m, on the left side, near a comfortable deck to equip itself (1h from the parking lot).

    ▲The path

    Lo sviluppo è visibile dal basso: ci si sposta progressivamente lungo il filo dello spigolo in forte esposizione. Si attacca con un tratto orizzontale a sinistra scendendo un paio di metri dal sentiero, quindi si sale in verticale su parete a tratti leggermente strapiombante, con abbondanti staffe (talvolta distanti tra loro, scomode per chi è di bassa statura). Si guadagna quota rapidamente fino a un tratto orizzontale a sinistra con staffe per mani e piedi, e si raggiunge il caratteristico spigolo in forte esposizione. Si prosegue su una serie di pareti verticali alternate a brevi tratti orizzontali, decisamente impegnative; dopo circa 45' dall'attacco si arriva a una cengia diagonale dove rifiatare dopo la prima serie di pareti atletiche (qui, a destra, una via di fuga che, per una cengia, raggiunge un ricovero militare abbandonato e da lì la vetta per sentiero o per una galleria militare di 30 m). La seconda parte ha caratteristiche simili ma con meno strapiombi e qualche parete più appoggiata: dopo un tratto orizzontale a destra si passa dentro un caratteristico foro nella roccia; ancora pochi minuti in verticale e si raggiunge la croce metallica della vetta di Rocca Senghi (circa 1h 30' dall'inizio / 2h 30' totali).

    ▲Character and difficulty

    cut cable to French , therefore little tense: less useful to traction in difficult points, but the abundant brackets give much support for hands and feet.

    ⚠ Athletic route: not recommended to those who do not è well trained. For the downhill military tunnel è needs a front stack. Attention to the distance between the brackets for low-stage people.
    ▲Period and safety

    High valley summer itinerary; start early and with good physical conditions. Height of the attack 2190 m.

    ▲Discipline

    From the top you go down to a saddle and at a crossroad: at destra a path leads to the remains of the military shelter; at sinistra you can può go downhill the galleria militare (about 30 m, initially equipped with metal steps and cable, indispensable frontal pile) that connects the two sides and deposits. From the shelter a path shows near the ' attack and then, backwards, to the parking lot (1h from the term / 3h 30' totali).

    ▲To match

    On day, in Val Varaita, la Ferrata di Chiaronto. Among the other routes of the Cuneese: the long Ferrata degli Alpini all'Oronaye, la Ferrata di Camoglieres, la Ferrata dei Funs e la Ferrata del Bec Valletta to Limone; further south, in the province of Savona, the Ferrata degli Artisti.

    ▲Gallery
    Technical data
    • DifficultyHard
    • RegionPiedmont
    • GroupVal Varaita
    • Approach1:00 h
    • Ferrata1:30 h
    • Itinerary (a/r)3:30 h
    • Hardware level difference230 m
    • Route difference320 m
    • Max2450 m
    • Length8,7 Km
  • Ferrata Rino Pisetta at Cima Garzolet (Sarche)

    Ferrata Rino Pisetta at Cima Garzolet (Sarche)

    Vie Ferrate › Trentino-Alto Adige › Trento
    Ferrata Rino Pisetta at Cima Garzolet (Sarche)
    Extremely Hard● To checkDescriptionComplexityMapsGallery

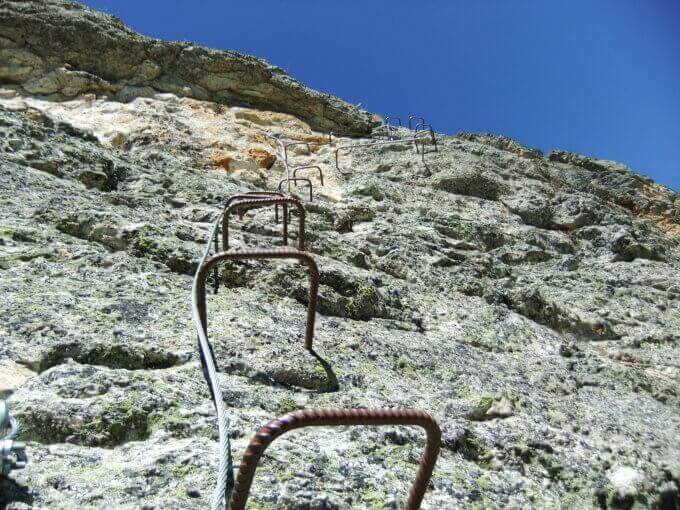
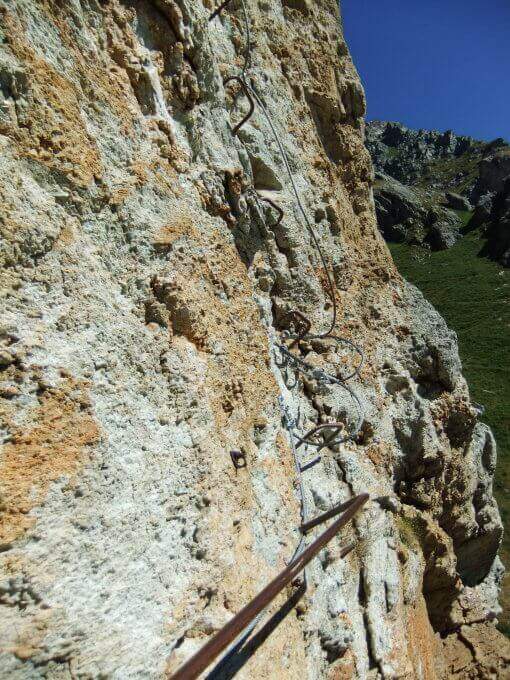
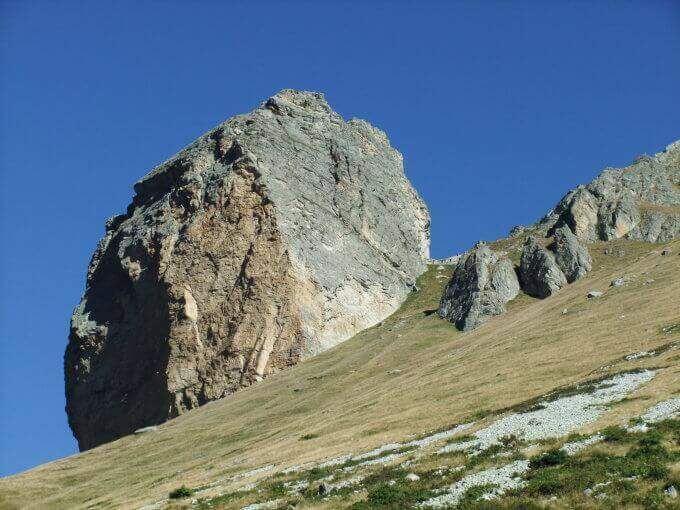
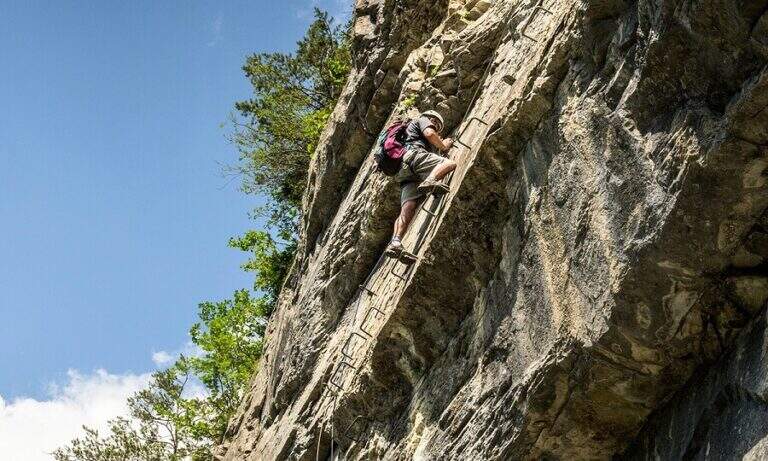
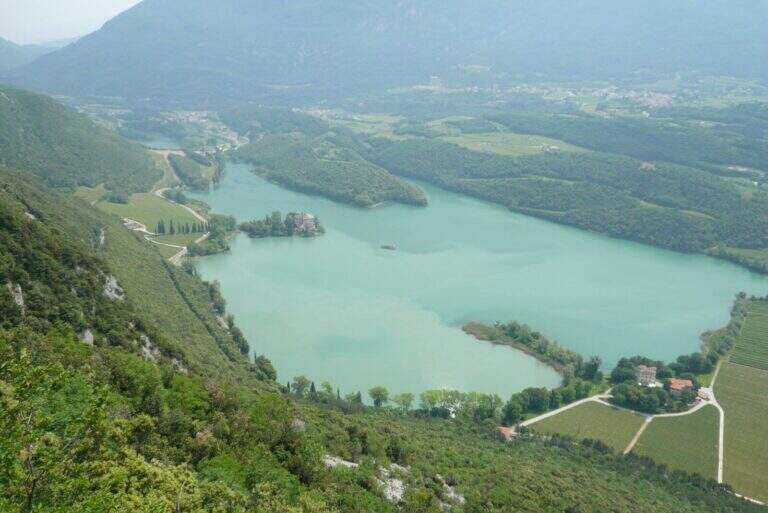
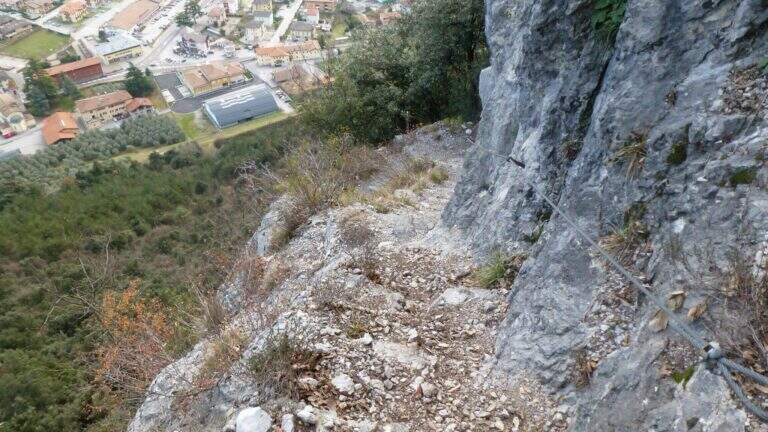
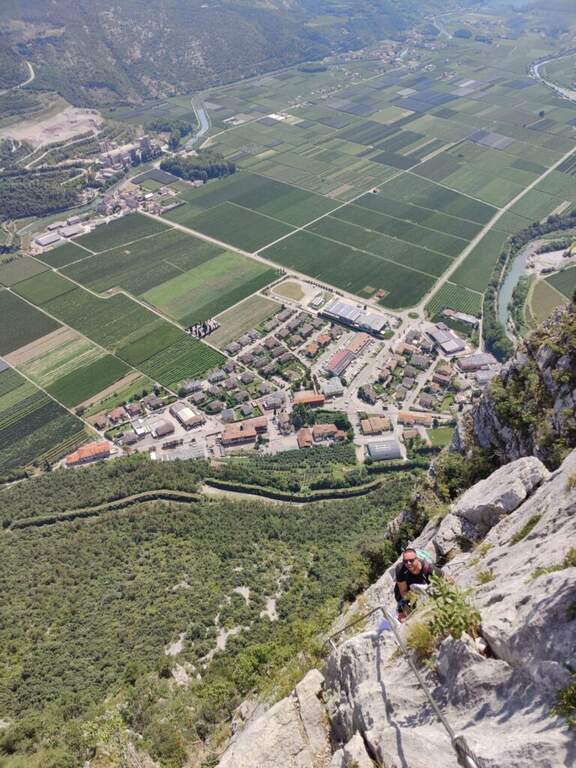
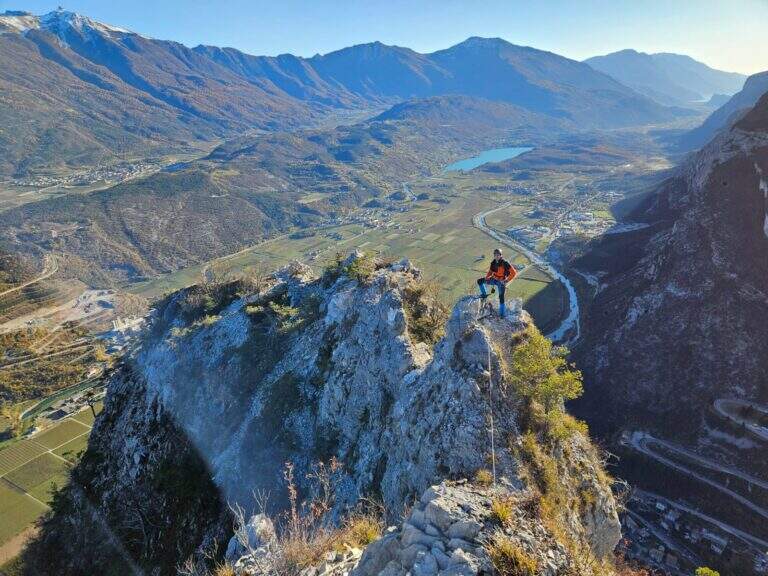
    The Ferrata Rino Pisetta climbs l' impressive wall of the Cima Garzolet, above Sarche: a historic street, among the pi` hard and athletics d' Italy, strongly vertical and exposed, alternating overhanging walls, challenging beams and chimneys with slot. It should be faced only in good physical conditions and with solid experience of equipped routes.

    ▲Approach

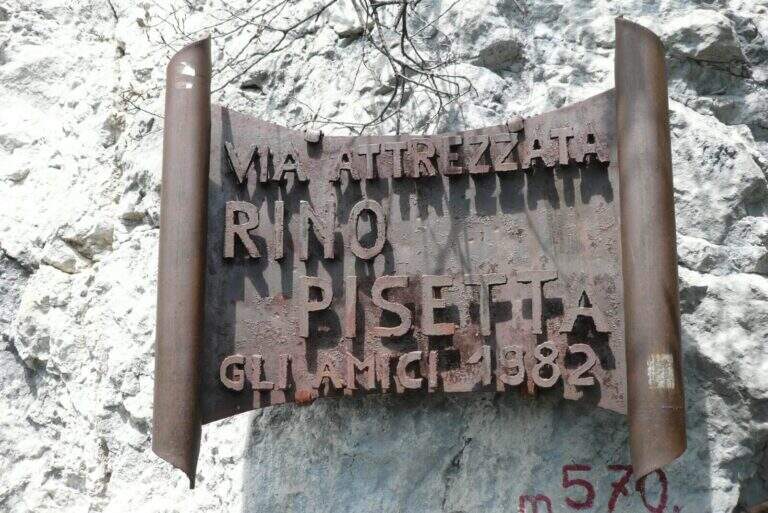
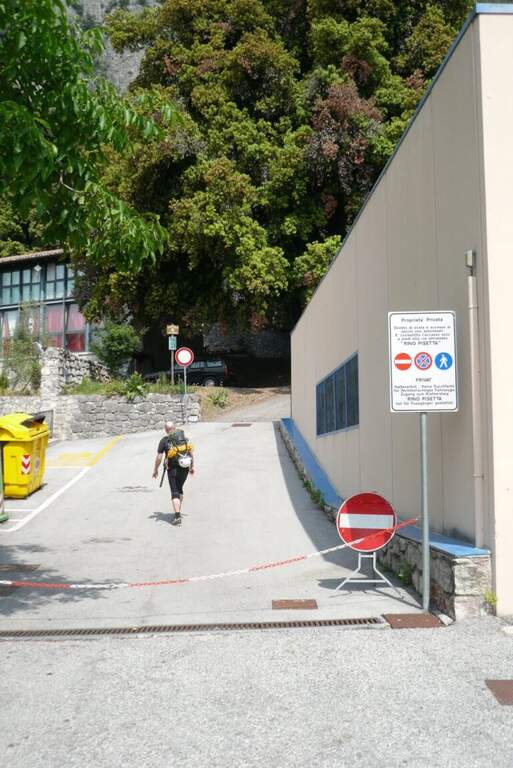
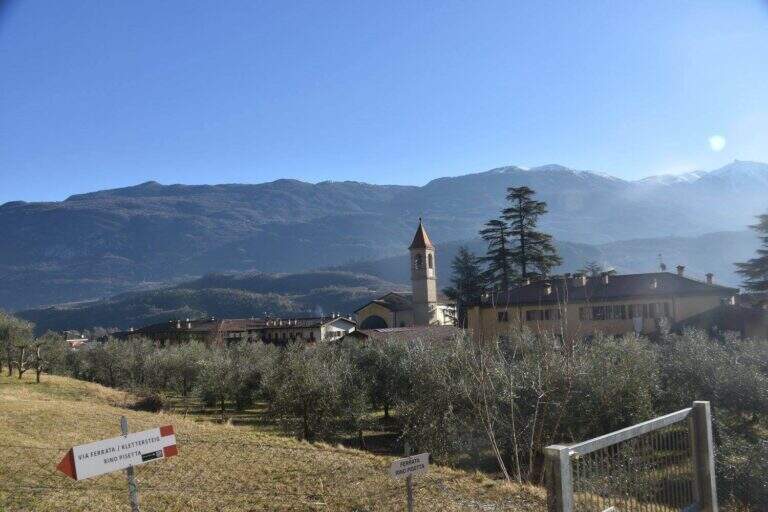
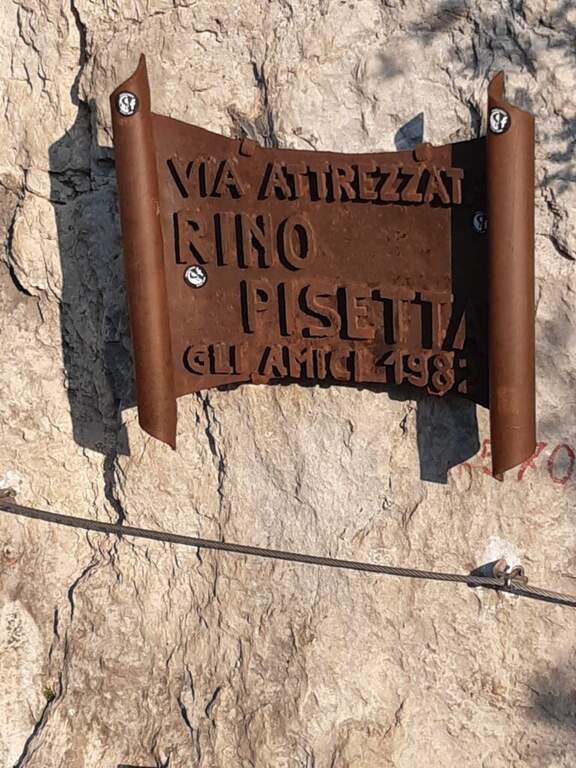
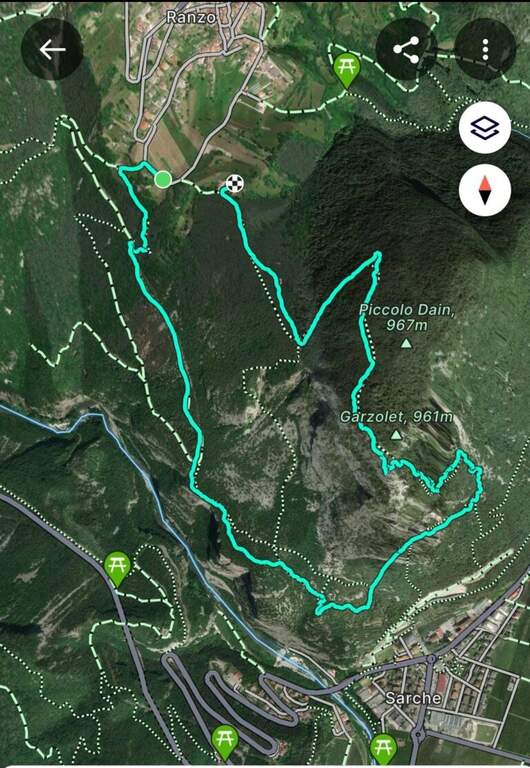
    Starting from the 'inhabited of Sarche (TN): from the roundabout you proceed towards Madonna di Campiglio, you pass a distributor on the left and take the road to destra for the parking space of Ferrata Rino Pisetta, at the elementary school and the bocciofila. Open road signs on Google Maps. Along the bocciodromo and, behind l' building, a white sign indicates the path. You enter the forest, at the first crossroads you will keep the destra and the next sinistra, going up steep until the red-white signs of the street; a tiring climb leads all' attack, with the metal plate of the ' year of construction (45' from the parking ).

    ▲The path

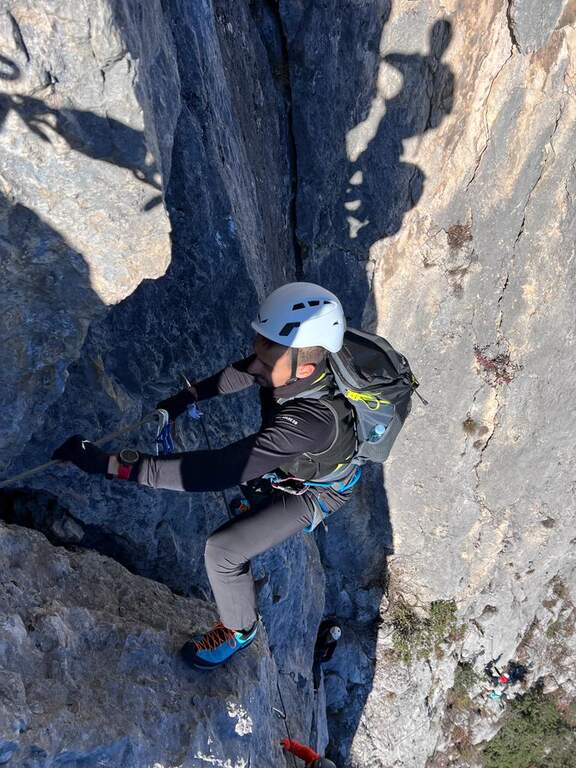
    Si comincia subito con una parete verticale di una ventina di metri, uno dei passaggi più impegnativi dell'intera via: appigli scarsi per mani e piedi, spesso necessario tirarsi sulle braccia; conviene cercare gli appigli naturali meno evidenti per risparmiare forze. In alto il cavo piega a sinistra su un esposto traverso in leggera discesa, poi riparte verticale dentro un camino; superato un albero si guadagna una cengia a sinistra dove conviene rifiatare (qui una via di fuga a destra). Dopo pochi metri in piano la via riparte verticale su roccia più frastagliata e appigliata, con un traverso a sinistra e alcuni balzi rocciosi, fino a un tratto verticale con una caratteristica fessura utile per piedi e mani. Segue un impegnativo, esposto e faticoso traverso a sinistra, con un paio di passaggi in piena aderenza: bisogna arrivarci con ancora molta forza nelle braccia. Il traverso aggira uno spigolo esposto e sale in diagonale fino a un piccolo balcone. Si entra nel tratto più atletico: si continua in traverso sfruttando un paio di appigli artificiali, poi il cavo riparte verticale in forte esposizione, con maniglie, staffe e una fessura sul lato sinistro; si sale cercando i pochi appigli naturali (anche a destra della fessura), a tratti tirando sul cavo. Al termine della placca il cavo piega a sinistra su una cengia rocciosa (sosta e panorama). Ci si sposta a sinistra e si riparte verticali: come prima, una fessura e qualche piolo aiutano la progressione e offrono brevi soste. Questa seconda parete verticale è molto esposta e aerea; la fessura si allarga in un camino poco profondo, da cui si esce presso un alberello con buoni appigli. Un traverso a sinistra porta a risalire un'altra parete verticale con un basso tetto roccioso (non utile come sosta); si prosegue verticali in un tratto povero di appigli, dove arrampicare diventa molto difficile e si procede in buona parte tirando sul cavo, fino a uno stretto balconcino dove riposare le braccia. Ancora verticale su roccia liscia, un breve traverso a destra e si riparte con una nuova fessura sulla destra: qui terminano le difficoltà sostenute. Restano un paio di passaggi impegnativi ma assai più abbordabili; gli ultimi 30-45 minuti sono fatti di canalini, brevi pareti e balzi di media difficoltà, con roccia più facile da arrampicare. Si guadagna l'ultimo sperone con il libro delle firme (2h dall'attacco / 2h 45' dal parcheggio) e quindi la crestina sommitale, non difficile ma esposta e faticosa, attrezzata con cavo come corrimano, fino alla panchina di legno affacciata sulla valle dove la via termina (2h 15' dall'attacco / 3h totali).

    ▲Character and difficulty

    Via extremely difficult, technique, athletics and exposed: often smooth rock, long vertical and overhanging traits where it serves strength in the arms and ability to climb. Built in 1982, it has been for years the Ferrata-banco test par excellence and has inaugurated the season of sports ferrates. The equipment is in good condition, with very tense rope.

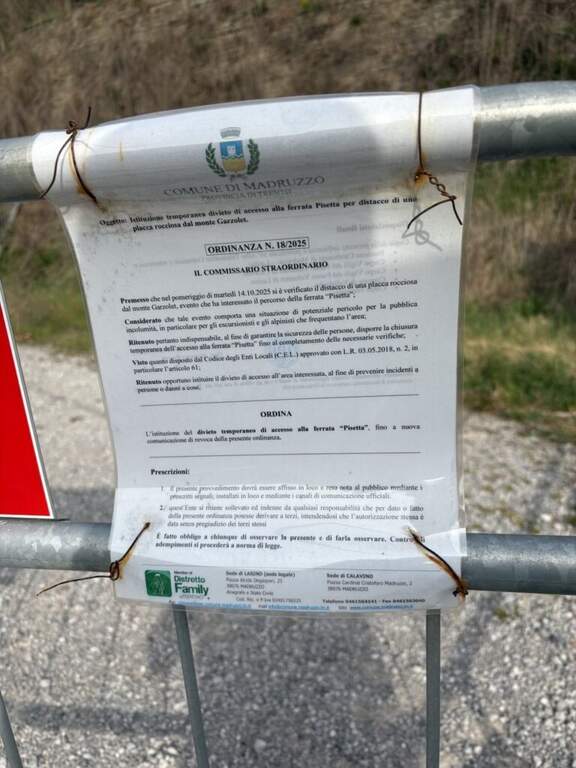
    ⚠ Only for very trained and experienced drivers. In summer the wall è completely in the sun in the morning: better fresh hours and days not torrid. Useful climbing shoes (adhesion) and gloves (cuts and shots on the cable). The source reports the state as « To check »: check the conditions of the route before leaving.
    ▲Period and safety

    Typical season from spring to autumn with dry rock; to avoid the full summer sun of the morning. Maximum altitude 971 m, difference in level of the ferrata 406 m, total development of the itinerary about 8 km.

    ▲Discipline

    Dalla Cima Garzolet (961 m) si scende verso ovest in direzione di Ranzo: si raggiunge un'area picnic e si prosegue in discesa fino a una mulattiera. La si percorre interamente e, in vista di Ranzo, a un bivio si tiene la sinistra sulla strada fino a una palina CAI; si segue a sinistra in discesa fino a un piccolo edificio religioso, dove un cartello poco visibile a sinistra indica «Sarche» e l'attacco est della Pisetta. Si scende una ventina di minuti su mulattiera e poi sentiero fino a un bivio: si tiene la sinistra seguendo «Via Attrezzata». Dopo un faticoso saliscendi si scende con alcuni tratti attrezzati su cenge esposte ma non difficili, quindi per ripidi tornanti nel bosco si ritrova il sentiero dell'avvicinamento e si torna al parcheggio (1h 30' dalla vetta / 4h 30' totali). In alternativa, dalla cima si può scendere a destra verso la Val Dossel sul CAI 613 fino al CAI 01 ST per Castel Toblino (segni azzurri nel bosco), poi in discesa verso Sarche percorrendo l'esposta cengia attrezzata della Costa di Monte Oliveto, fino a ritrovare il sentiero dell'andata (2h dalla vetta / 4h 45' totali).

    ▲To match

    In Valle dei Laghi and low Val di Sarca, on the same sports front, the Ferrata Che Guevara at Monte Casale, la Ferrata del Rio Sallagoni in Castel Drena and the Ferrata di Preore; not far from the historical Ferrata Marangoni to Mori.

    ▲Gallery
    Technical data
    • DifficultyExtremely Hard
    • RegionTrentino-Alto Adige
    • GroupValley of Lakes
    • Approach0:45 h
    • Ferrata2:15 h
    • Itinerary (a/r)4:45 h
    • Hardware level difference406 m
    • Route difference713 m
    • Max971 m
    • Length8 Km
  • Ferrata Olivieri a Punta Anna (Tofane)

    Ferrata Olivieri a Punta Anna (Tofane)

    Vie Ferrate › Veneto › Belluno
    Ferrata Olivieri a Punta Anna (Tofane)

    La Ferrata Olivieri sale a Punta Anna nelle Tofane, sopra Cortina d'Ampezzo: bella e impegnativa, si svolge su ottima roccia con passaggi esposti molto arrampicabili e appaganti. Si parte dal Rifugio Pomedes lungo lo spigolo-cresta fino al Dos de Tofana.

    ▲Approach

    Punto di partenza la Baita Pie Tofana (1675 m) sopra Cortina, da cui salire al Rifugio Pomedes (2303 m): comodo in seggiovia (via Rifugio Duca d'Aosta), oppure a piedi col sentiero 405 al Duca d'Aosta (2098 m) e poi per carrareccia al Pomedes (2h). Open road signs on Google Maps. In alternativa, partendo dal Rifugio Dibona si raggiunge il Pomedes col sentiero 421 (45'). Dal Rifugio Pomedes, dietro la stazione di arrivo della seggiovia, le indicazioni portano su un ripido sentierino (prati poi ghiaione) verso una forcella dove si trova la targa d'attacco (2440 m, 30' dal Pomedes).

    ▲The path

    Fin dall'attacco la via mostra il suo carattere: roccia verticale, poche staffe e attrezzature di sostegno ma ottima roccia. Si sale una prima parete di una ventina di metri, ben appigliata, che piega a destra in alto; segue un tratto in leggera discesa, un traverso con buoni appoggi per i piedi e roccette verso destra, poi una comoda cengia a sinistra. Si aggira uno spigolo e si sale un balzo verticale fino a un terrazzino con vista sulla Tofana di Rozes; su roccette facili si raggiunge una forcella dove le attrezzature si interrompono. Si attacca poi un esposto spigolo, arrampicabile e ben appigliato: nella prima parte si resta sul lato destro del filo guadagnando quota, con un paio di punti angusti dove sostare, fino a un balconcino panoramico su Averau e Nuvolau. Si sale una parete di 4 metri leggermente strapiombante con pochi appigli (necessario il cavo), quindi il tratto conclusivo dello spigolo, affilato e molto esposto, che piega a sinistra verso un evidente pulpito. Si traversa a sinistra (passaggio non banale) e si sale una parete dove la fune zigzaga, sempre molto esposti ma su roccia ben appigliata; un canalino con traverso a sinistra, roccette in diagonale e una parete verticale frastagliata portano oltre i 2700 m, dove il cavo termina su un punto panoramico affacciato su Cortina. Segue un tratto di sentiero in quota con alcuni passaggi attrezzati e un bivio da cui a sinistra si scende al Rifugio Giussani (opzione 3); tenendo la destra (segnavia rossi verso il Dos de Tofana) si supera una placca verticale levigata in aderenza e un breve diedro angusto, quindi una cengia che porta al Dos de Tofana (2850 m, 1h 30' dall'attacco, 2h dal Pomedes), dove la ferrata termina.

    ▲Character and difficulty

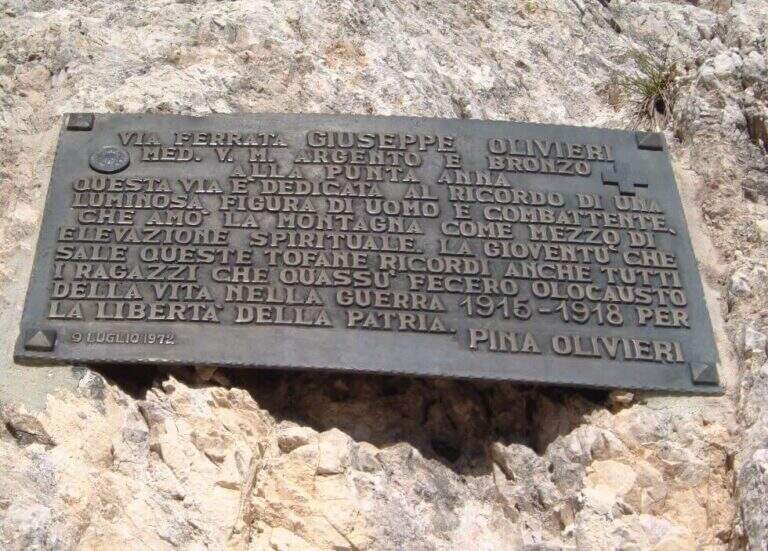
    Ferrata esposta e intensa, di media difficoltà; alcuni passaggi più impegnativi, sommati all'ambiente di alta montagna, la rendono difficile ma non proibitiva. Roccia molto buona, frastagliata e ben arrampicabile; cavo generalmente ben teso e d'aiuto. È intitolata a Giuseppe Olivieri, alpinista veneziano; costruita e inaugurata nel 1972 dalla guida alpina Luigi Ghedina.

    ⚠ Ambiente di alta montagna esposto: valutare meteo e condizioni. Diverse opzioni di rientro impongono di pianificare in anticipo dove lasciare l'auto (Baita Pie Tofana o Rifugio Dibona).
    ▲Period and safety

    Piena estate, con roccia asciutta e meteo stabile. Quota fino a 2850 m.

    ▲Discipline

    Tre opzioni: (1) dal Dos de Tofana si scende verso il Rifugio Ra Vales fino a un bivio (2580 m), dove a destra si prende il Sentiero Attrezzato Olivieri che riporta al Rifugio Pomedes (2h 15' dal termine, 4h 30' dal Pomedes); (2) a sinistra del bivio, la Ferrata Aglio porta alla Tofana di Mezzo e alla stazione a monte della funivia, con cui scendere a Col Druscè e poi al parcheggio col sentiero 413 (3h dal termine, 5h 30' totali); (3) dal bivio per il Rifugio Giussani, prima dell'ultimo tratto, si scende per un sentiero a tratti attrezzato ed esposto ma non difficile fino al Giussani e, col sentiero 403, al Rifugio Dibona (preferibile lasciare qui l'auto per questa opzione).

    ▲To match

    Spesso abbinata alla Ferrata Aglio alla Tofana di Mezzo o al Sentiero Attrezzato Olivieri; dal Pomedes si raggiungono anche le ferrate Ra Bujela e Ra Pegna. Verso il Passo Falzarego: Ferrata Tomaselli, Ferrata Fusetti at Sas de Stria e Ferrata at Col dei Bos; to the south Ferrata dei Caprioli san Vito di Cadore.

    ▲Gallery
    Technical data
    • DifficultyHard
    • RegionVeneto
    • GroupTofa
    • Approach0:30 h
    • Ferrata1:30 h
    • Itinerary (a/r)4:30 h
    • Hardware level difference312 m
    • Route difference514 m
    • Max2850 m
    • Length5,1 Km
Need help? Write to us!