Difficoltà: Facile

  • Ferrata di Pra Catinat

    Ferrata di Pra Catinat

    Vie Ferrate › Piedmont › Turin
    Ferrata di Pra Catinat

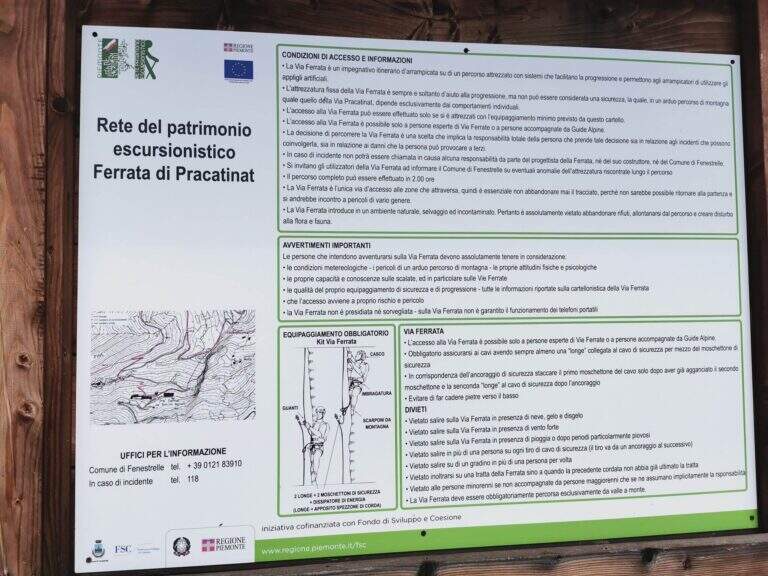
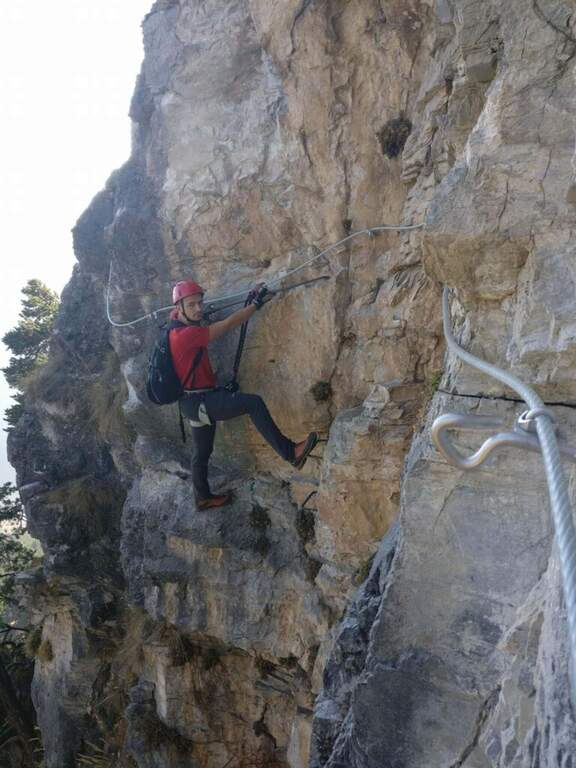
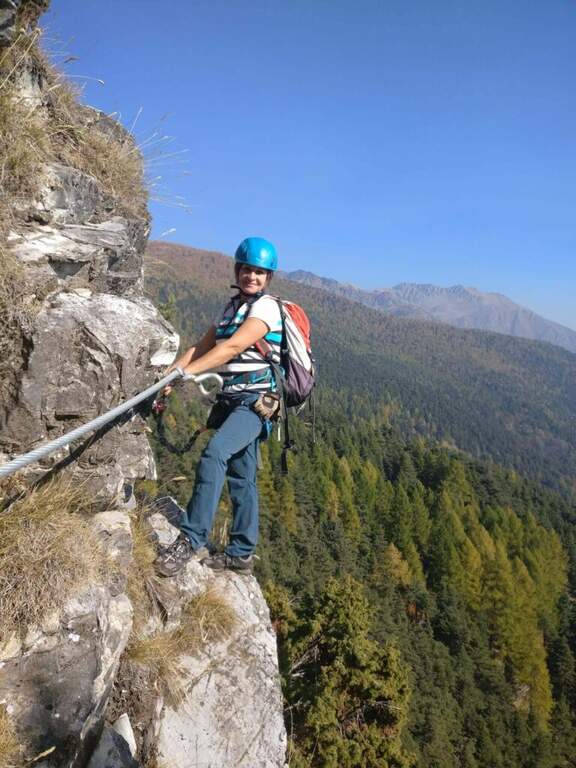
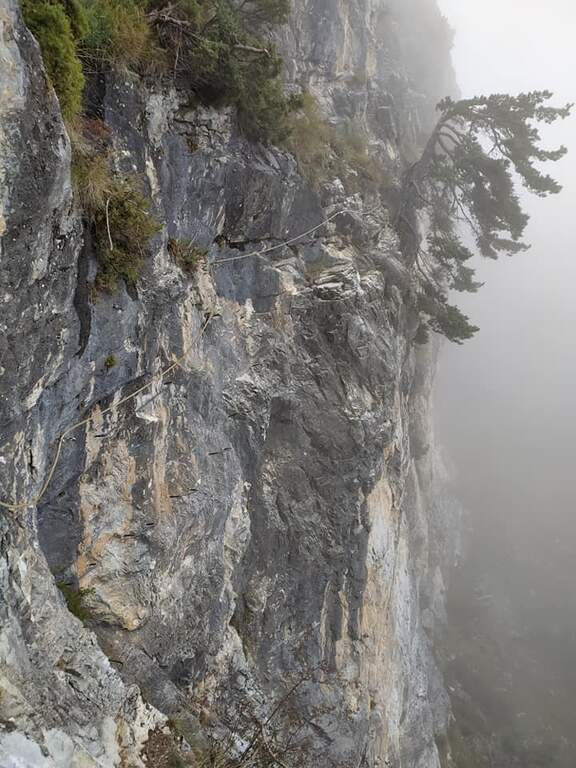
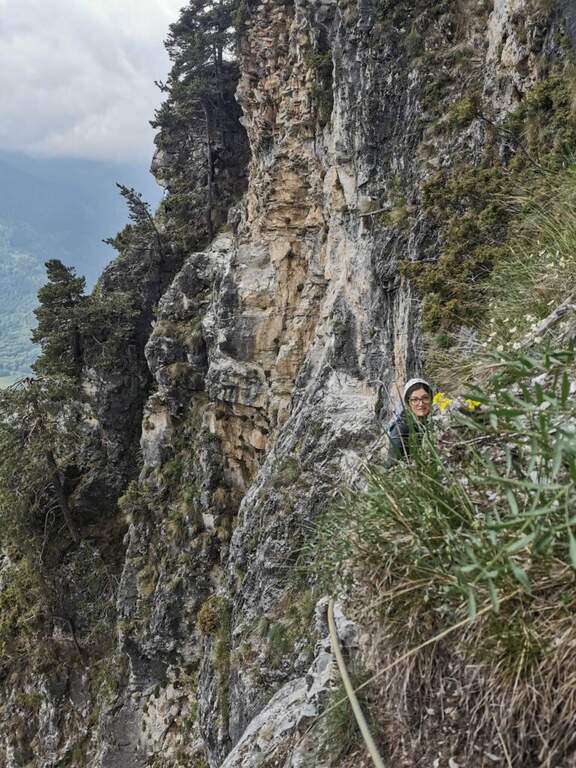
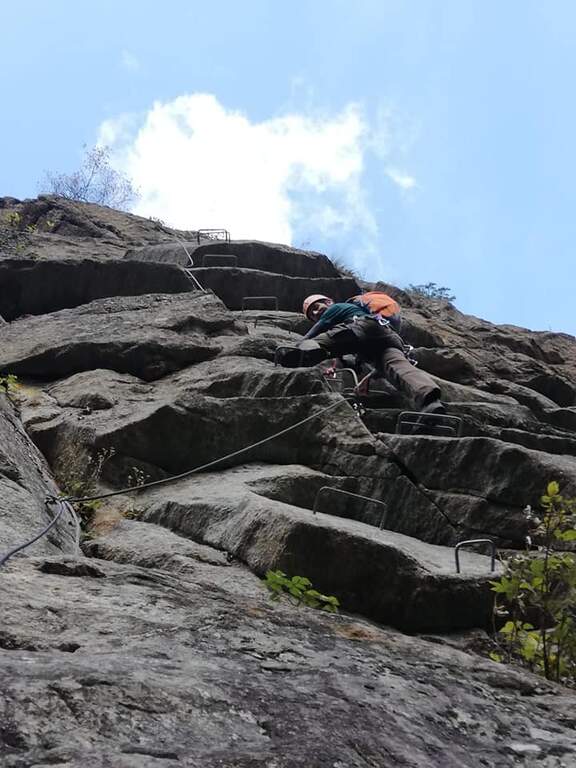
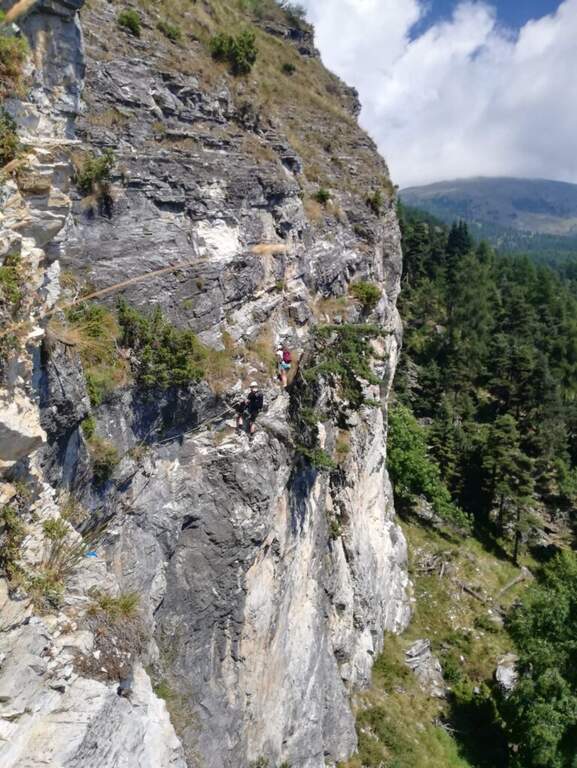
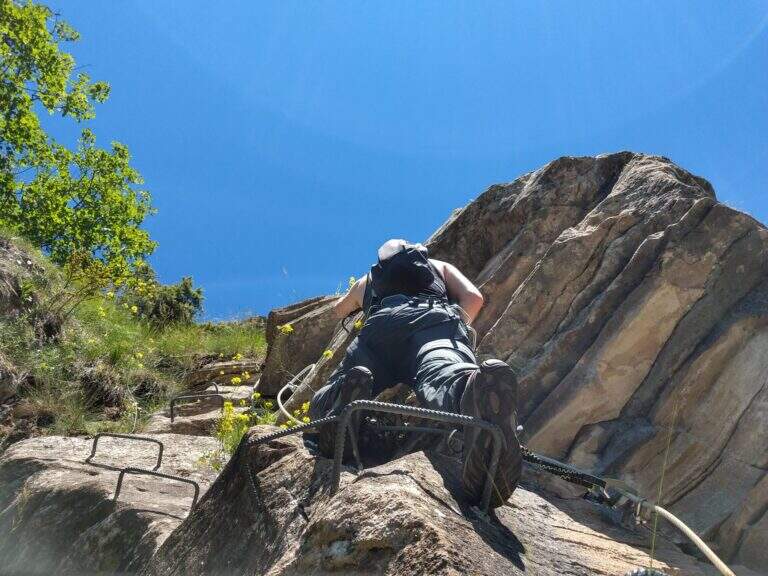
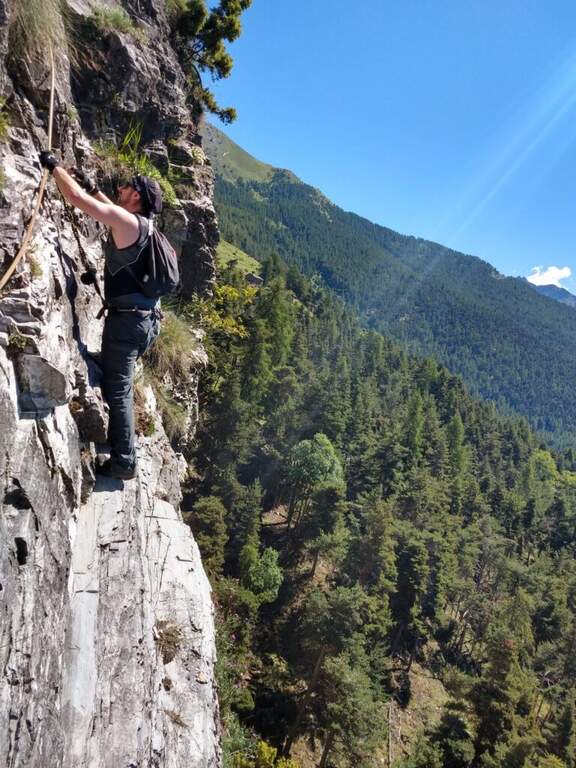
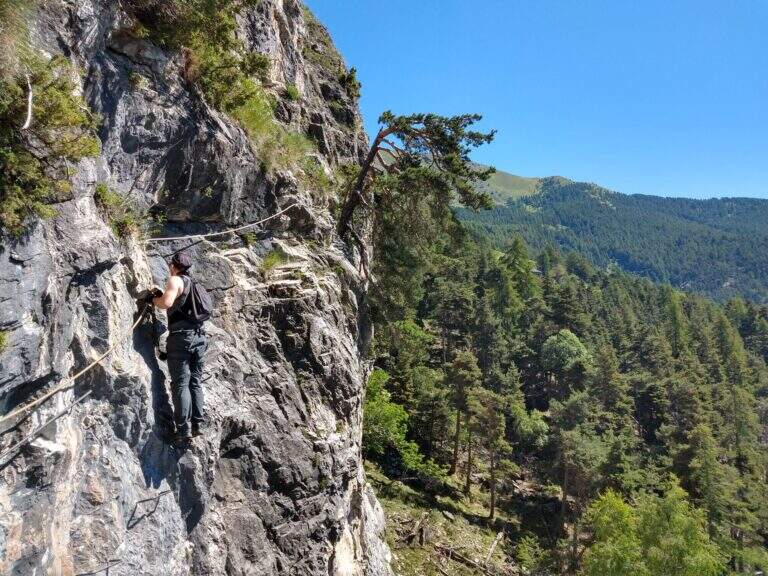
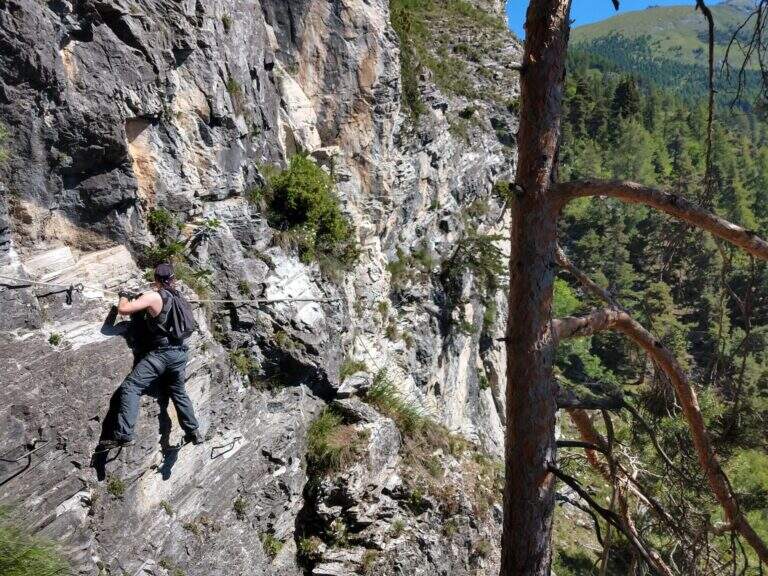
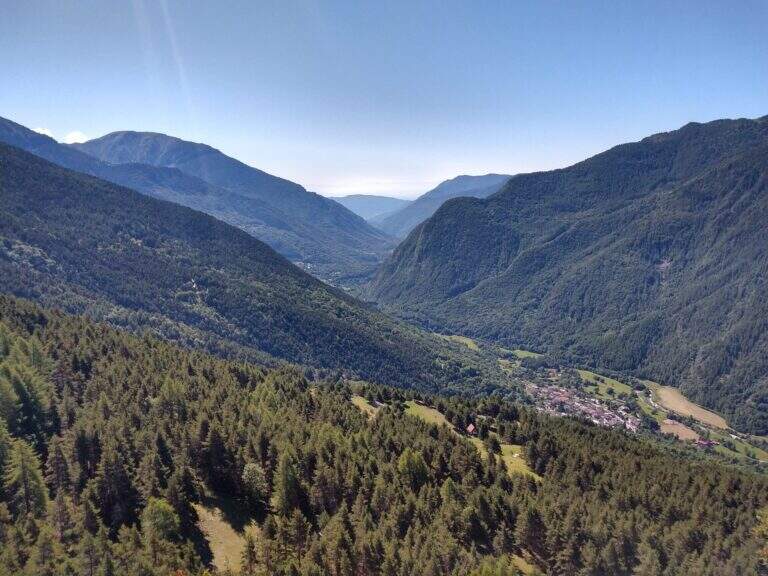
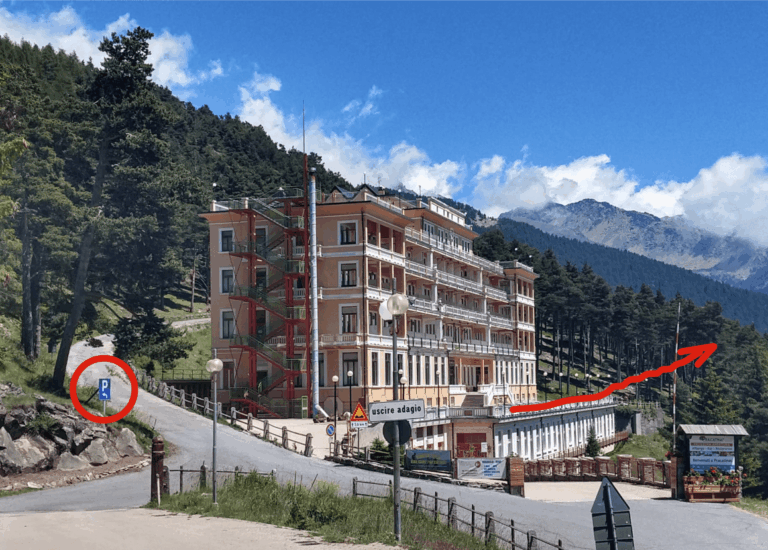
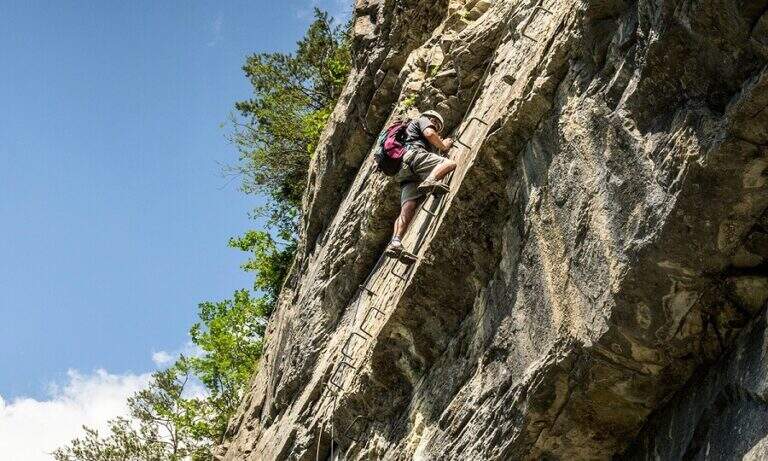
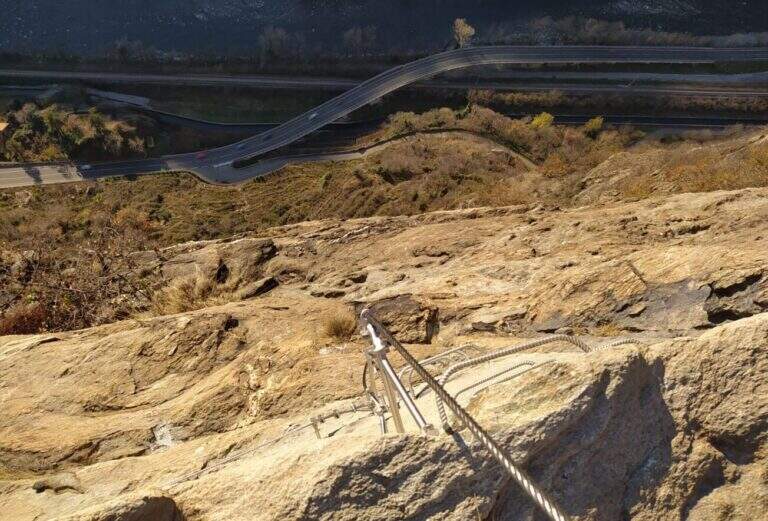
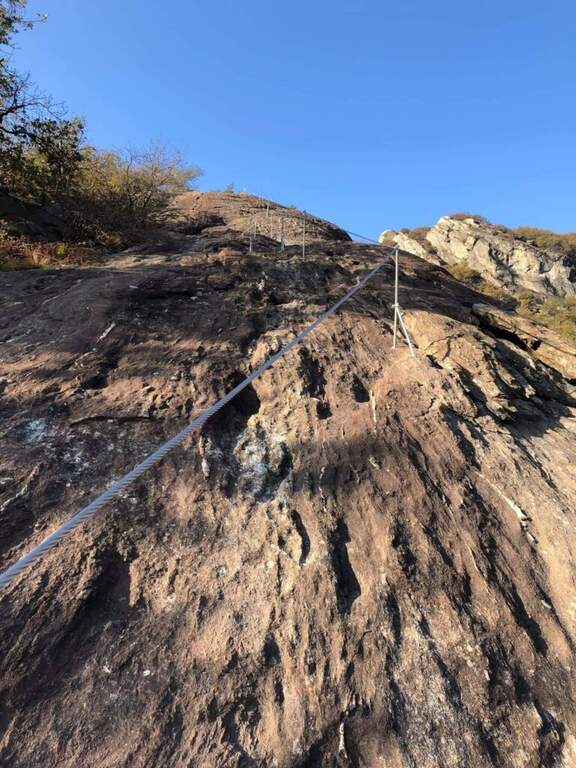
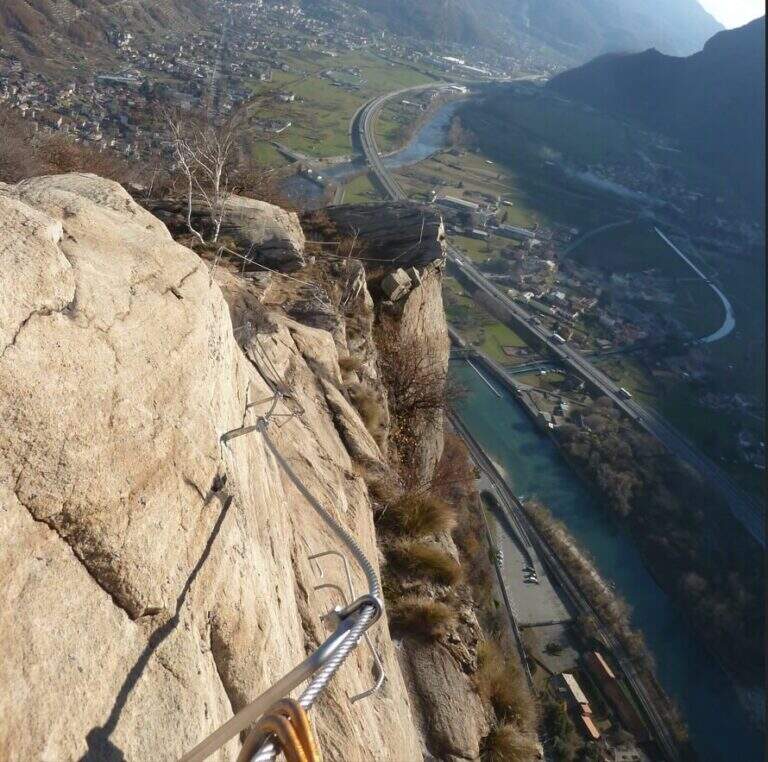
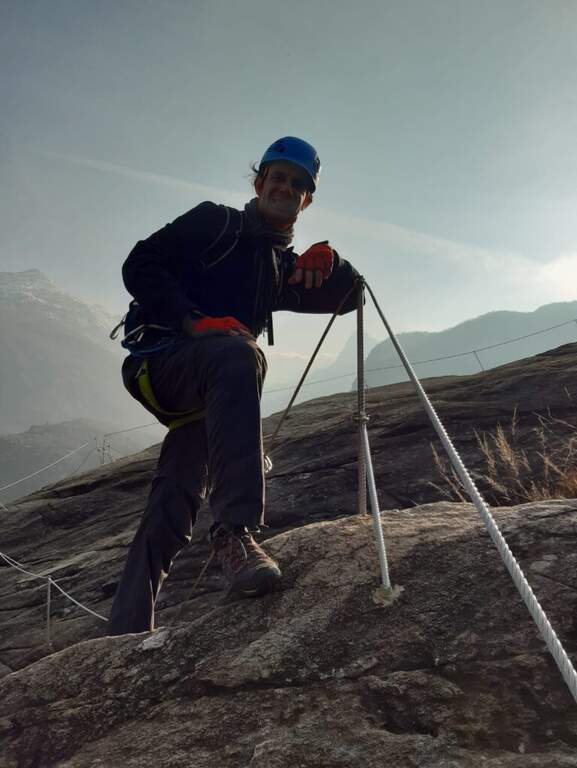
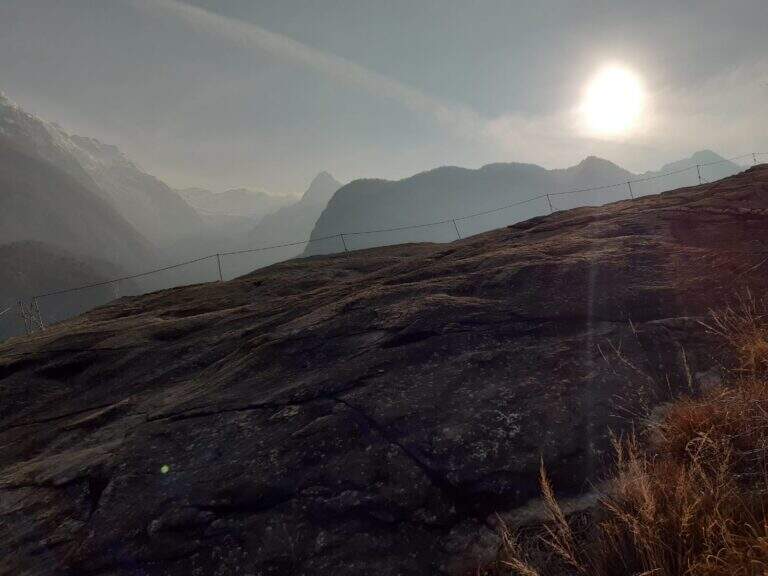
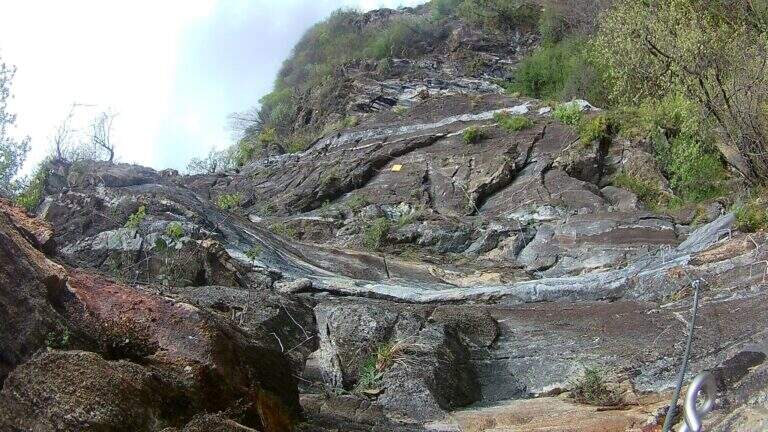
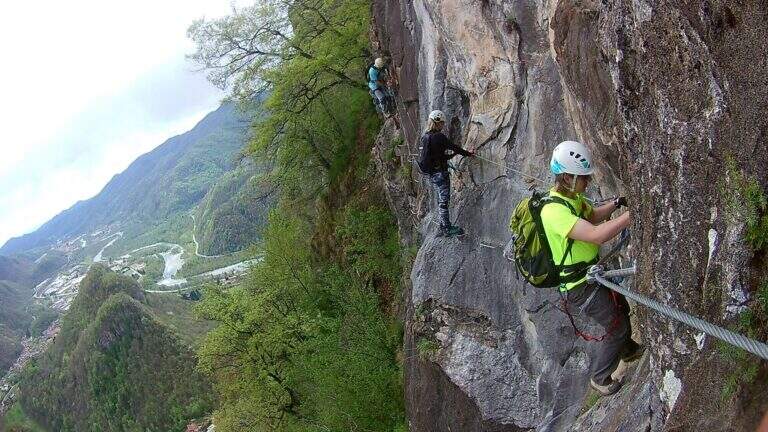
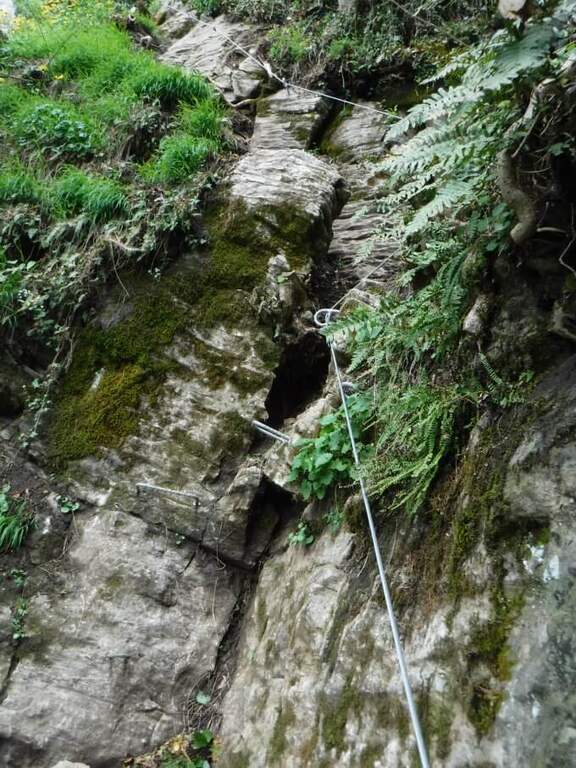
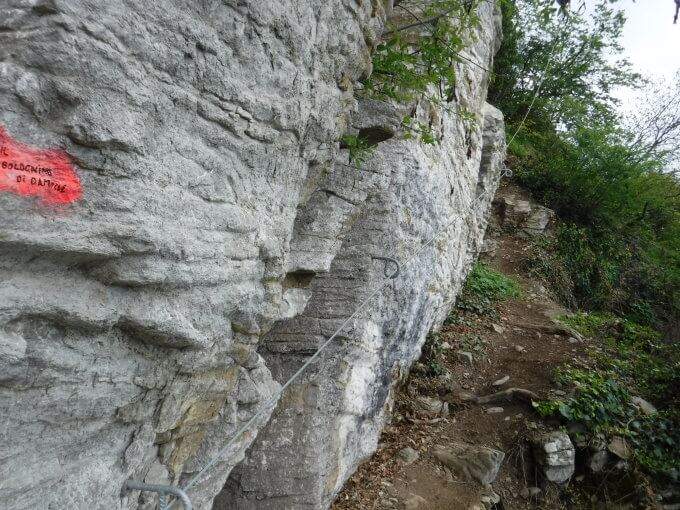
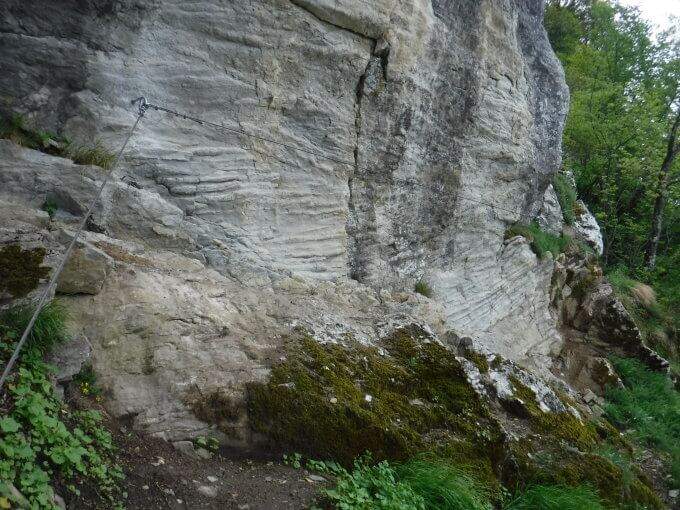
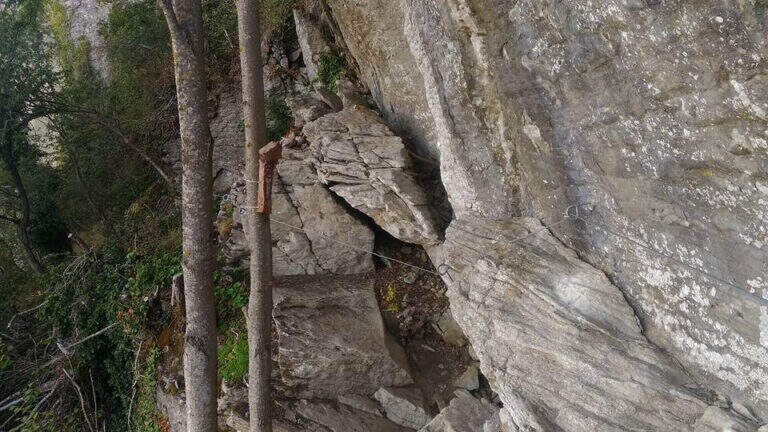
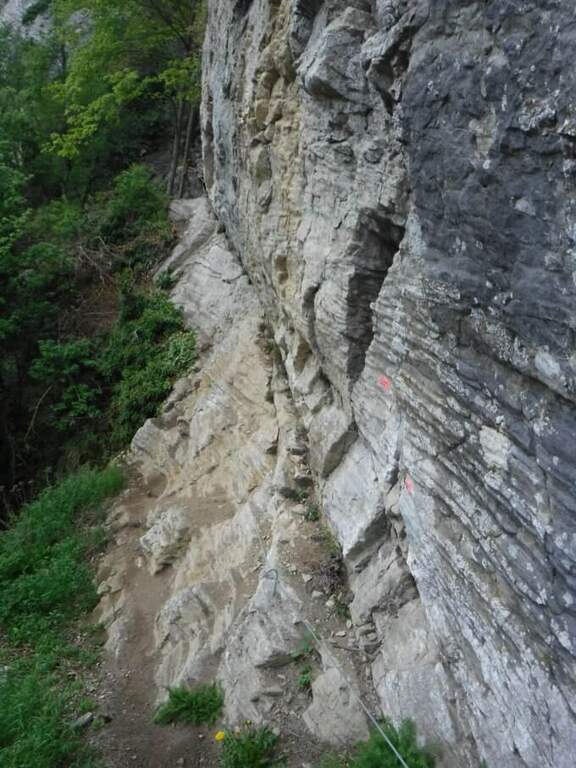
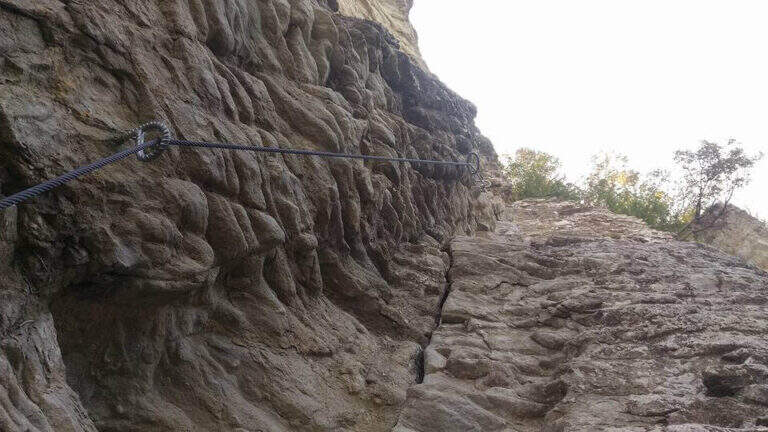
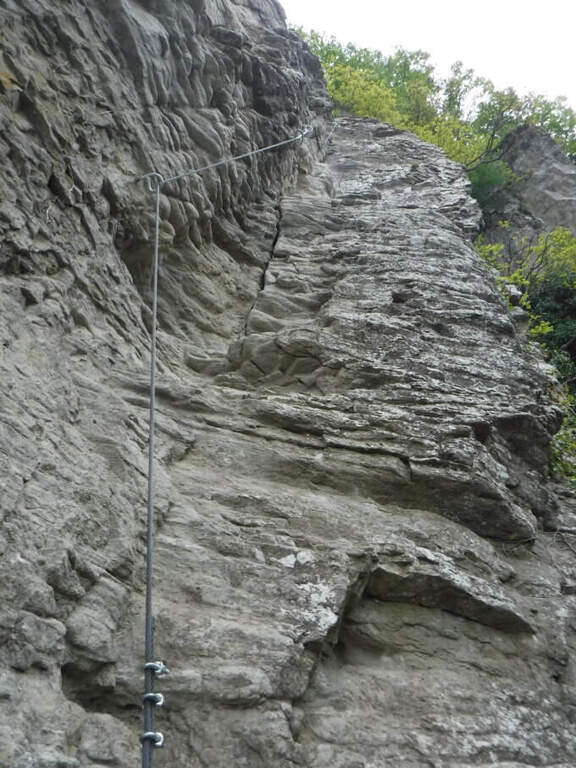
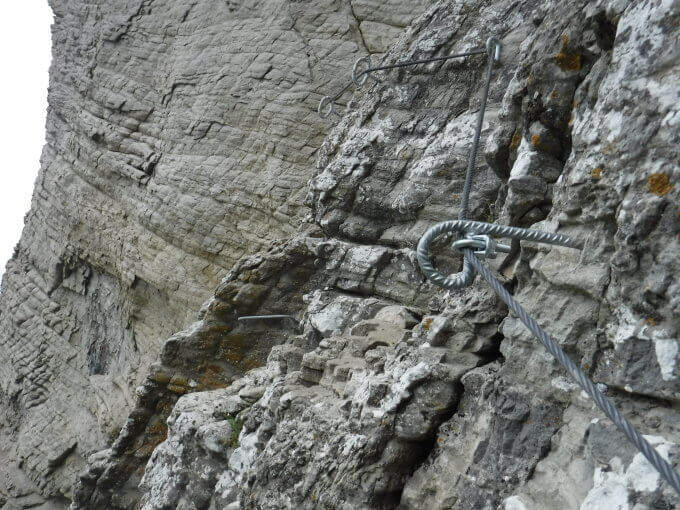
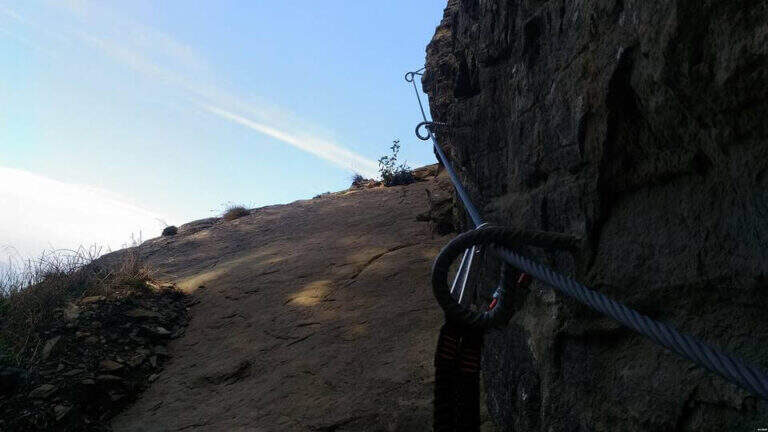
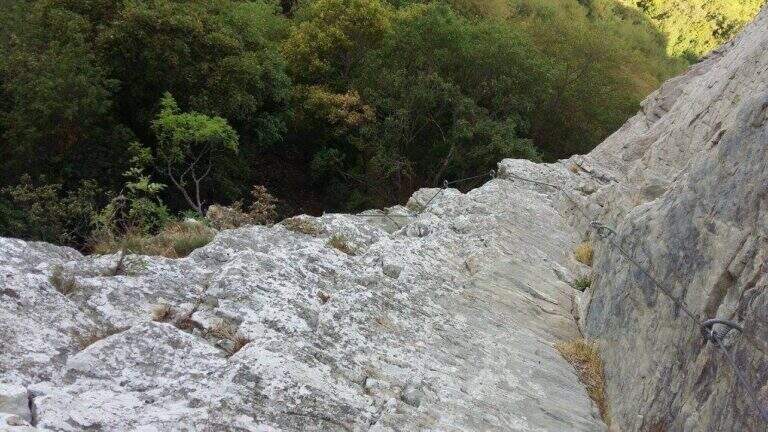
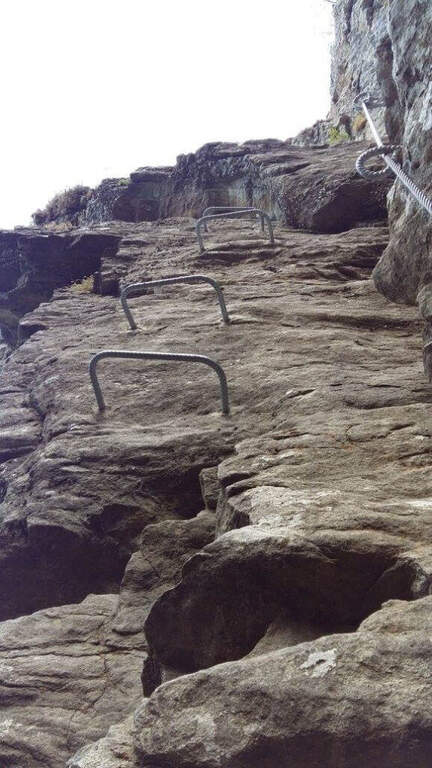
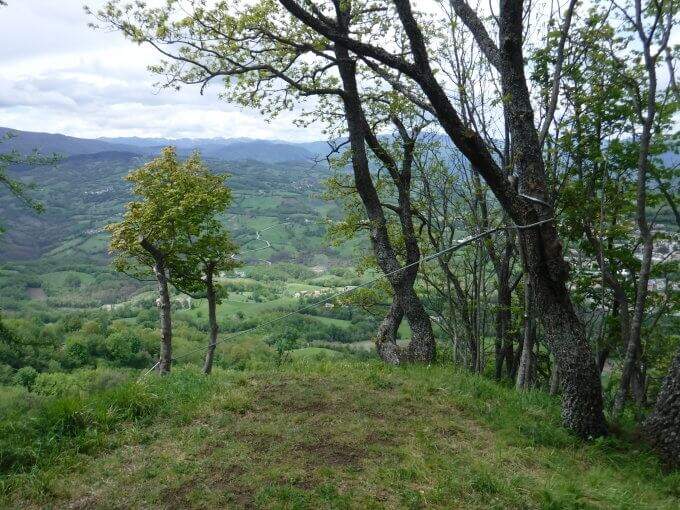
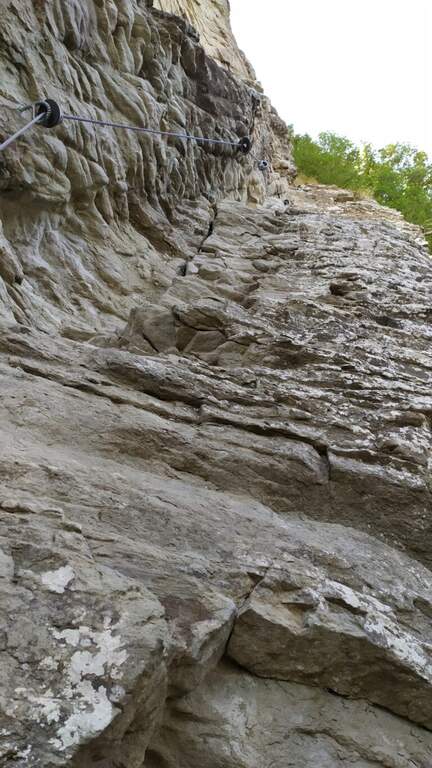
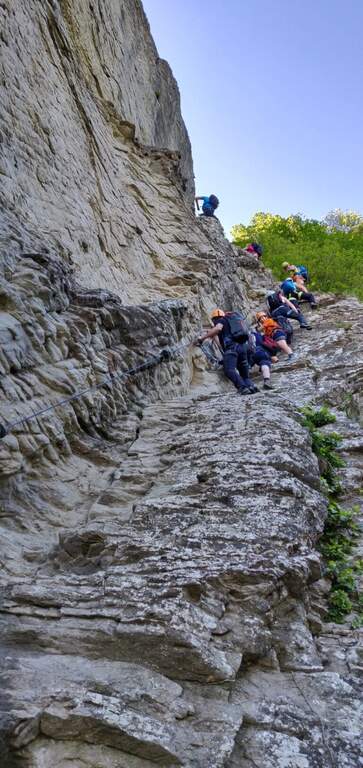
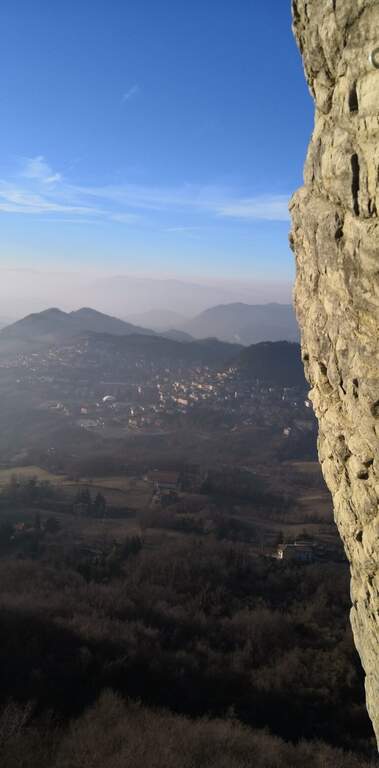
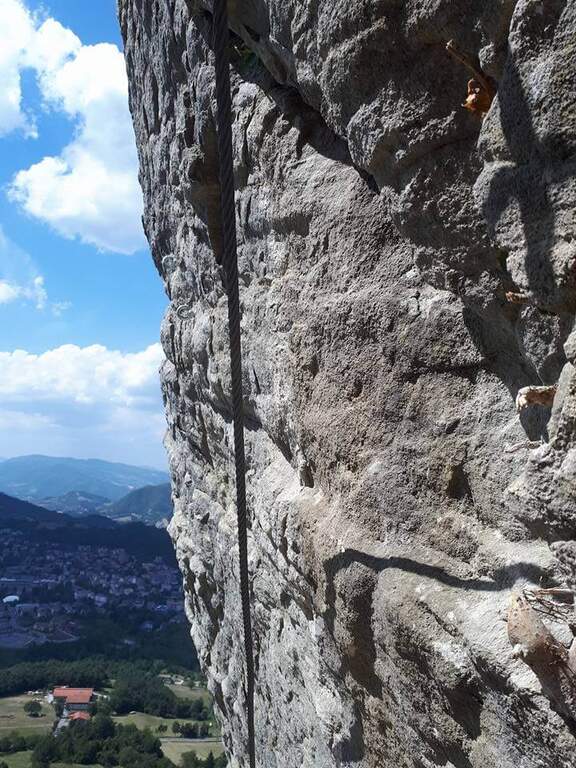
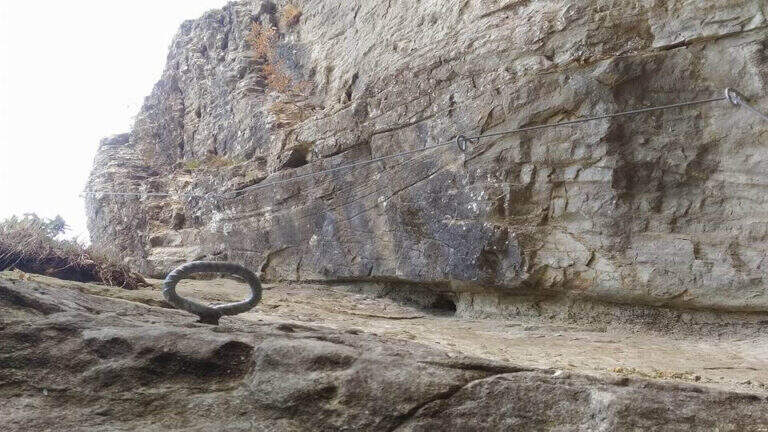
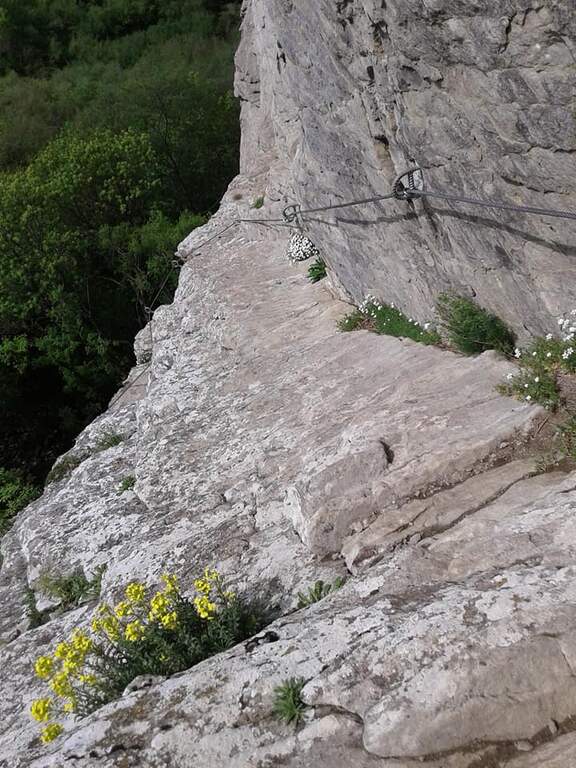
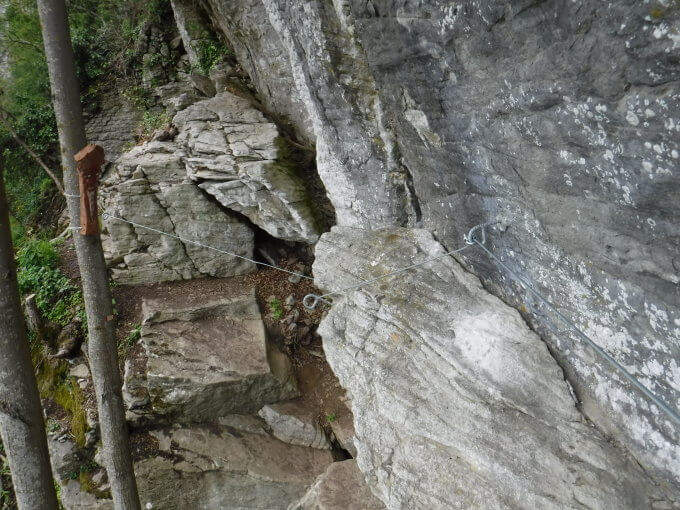
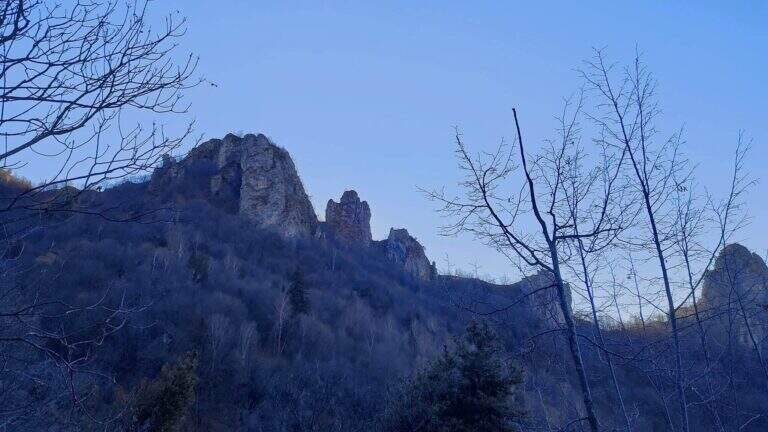
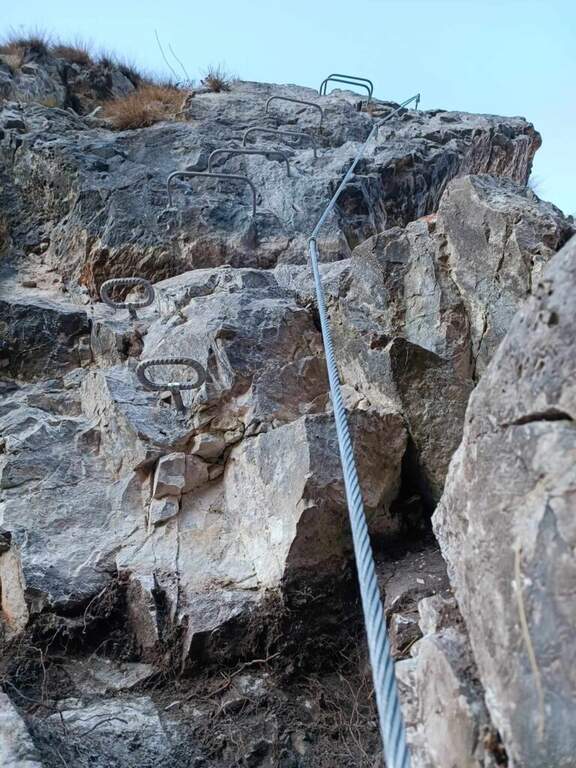
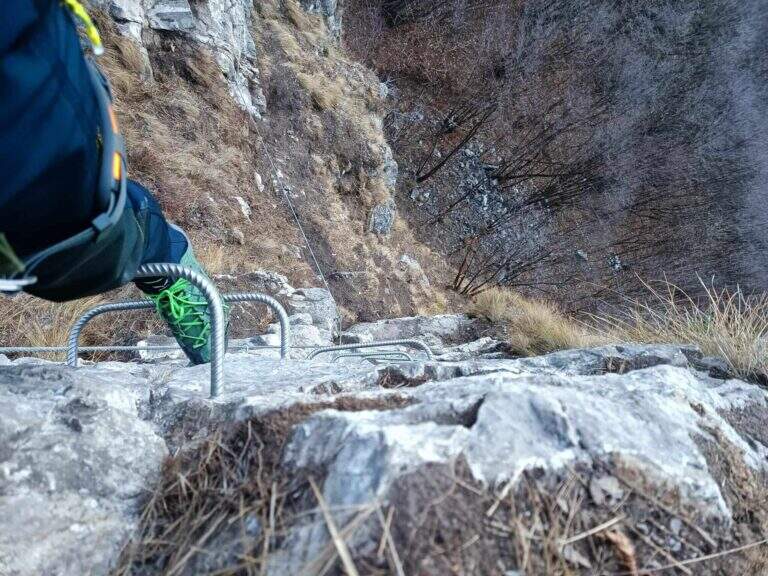
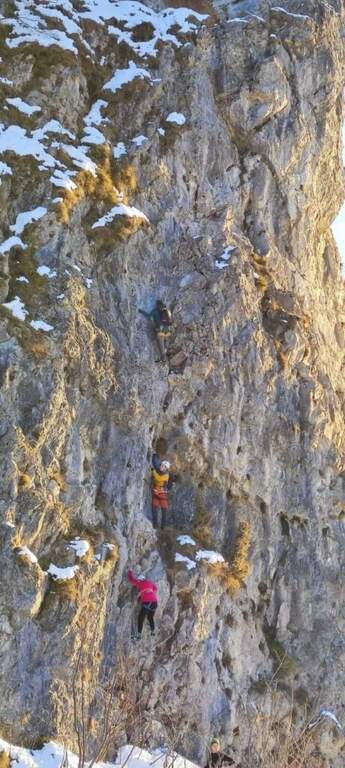
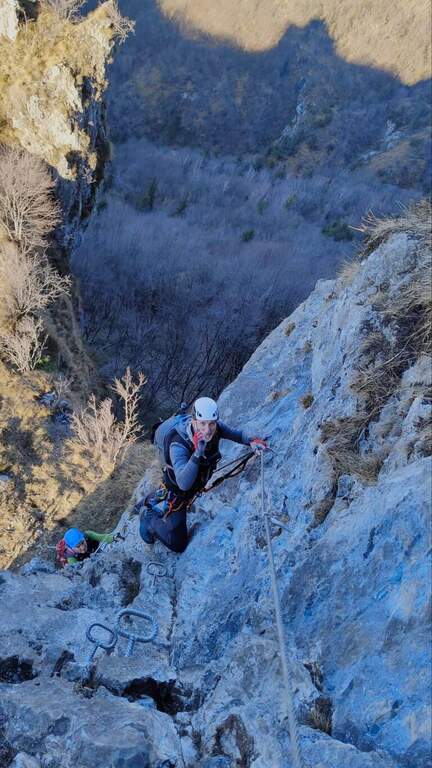
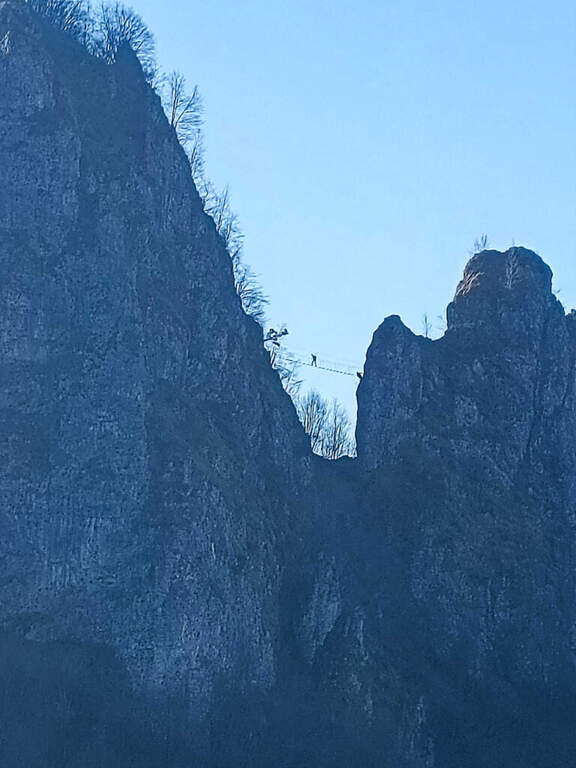
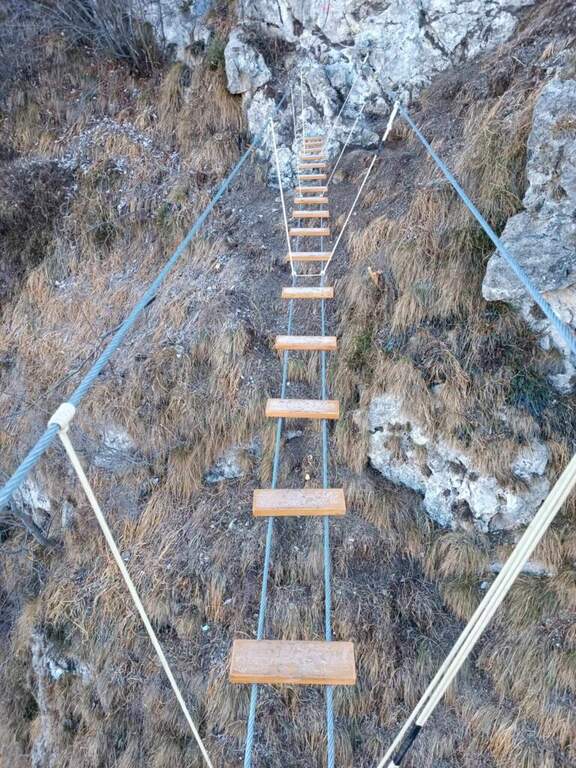
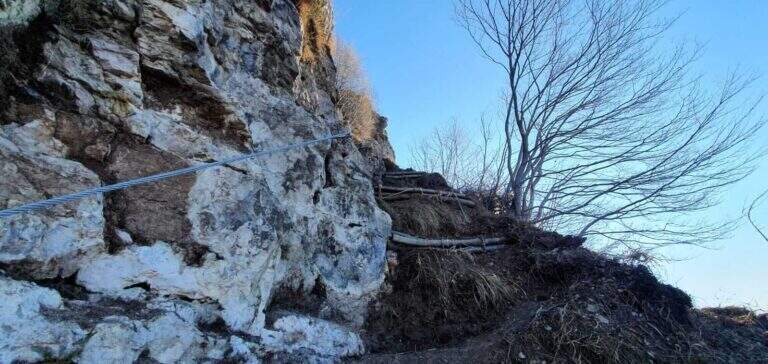
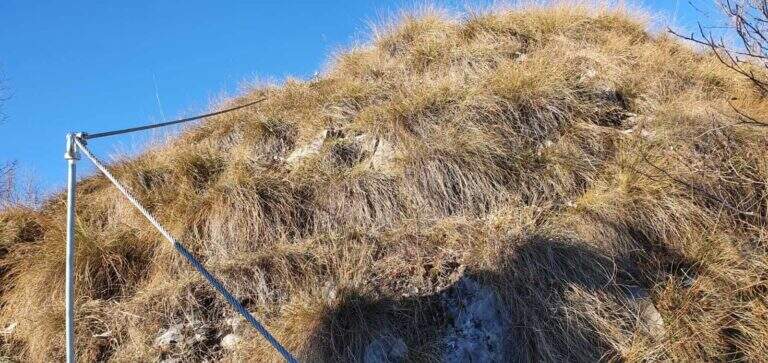
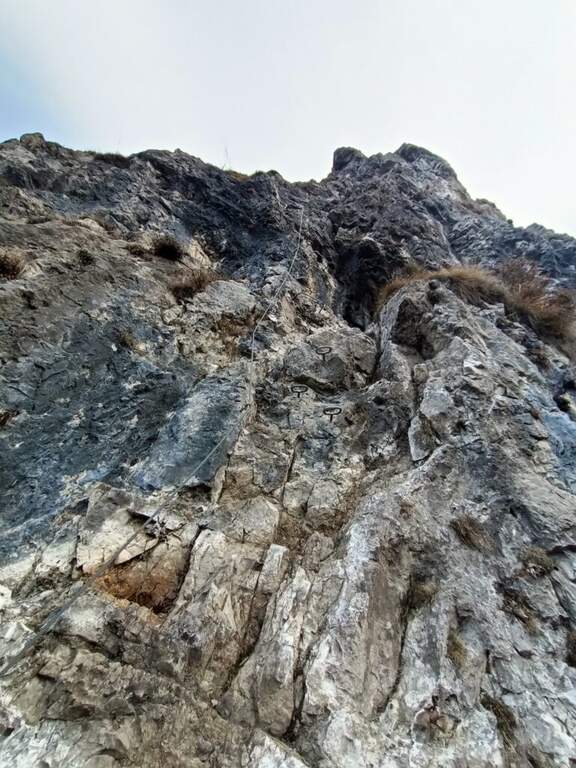
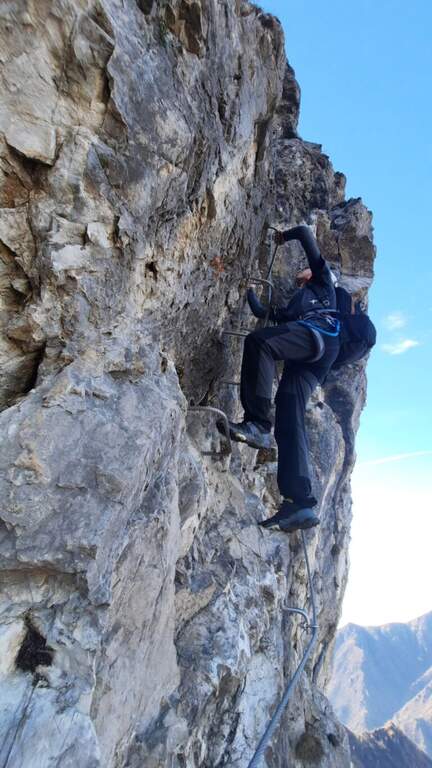
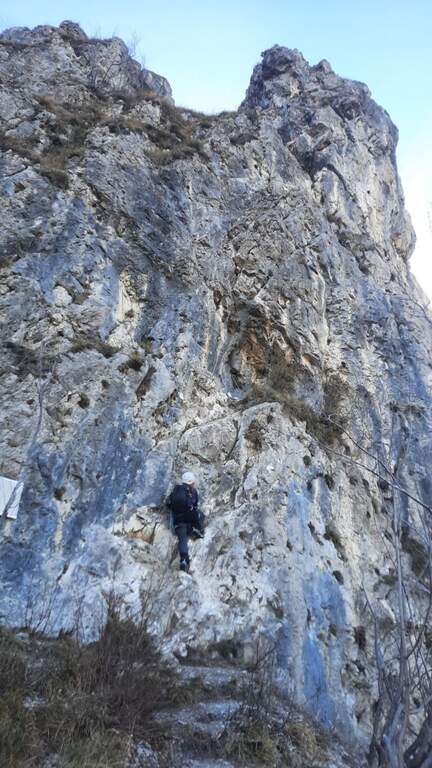
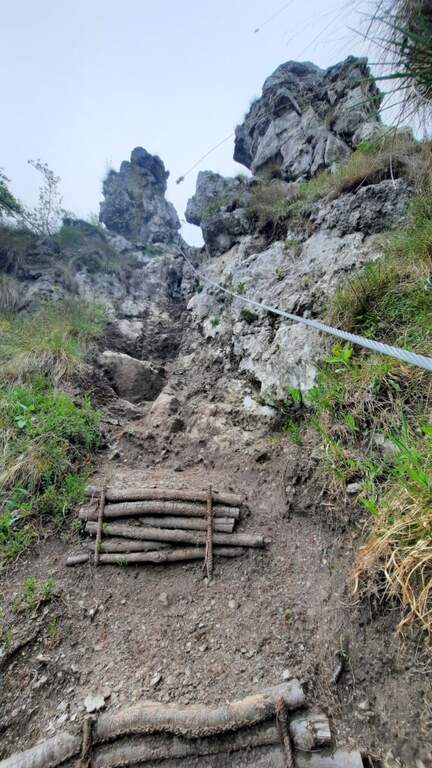
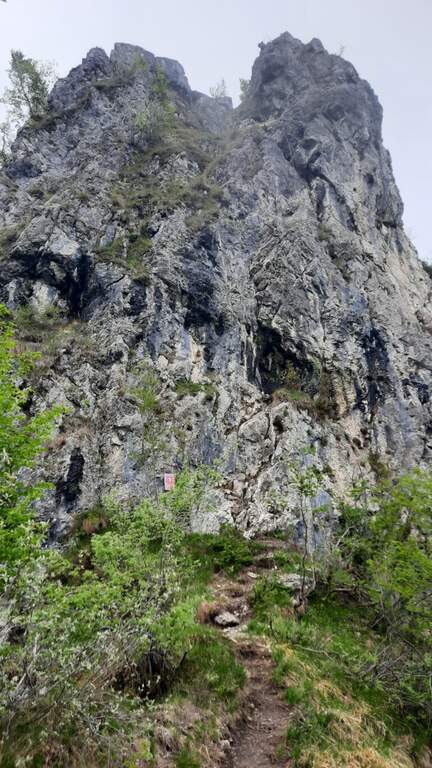
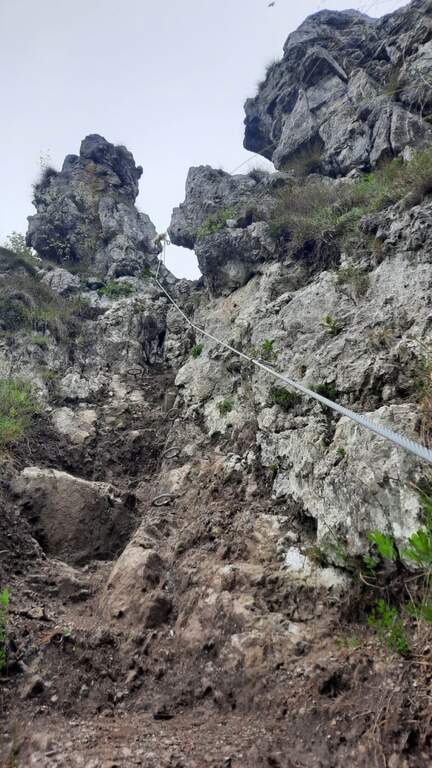
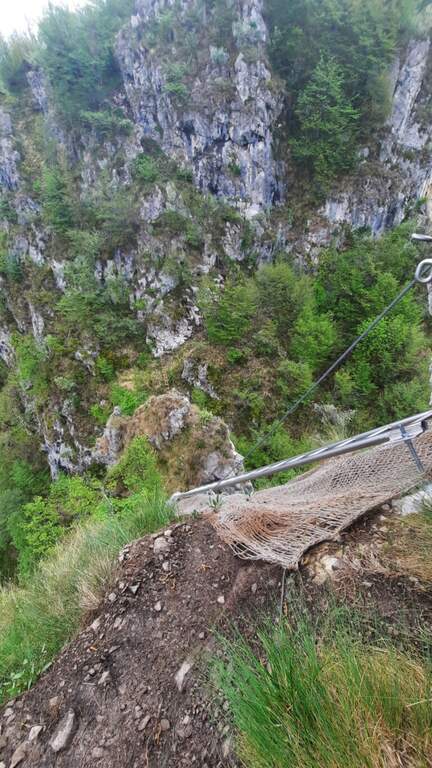
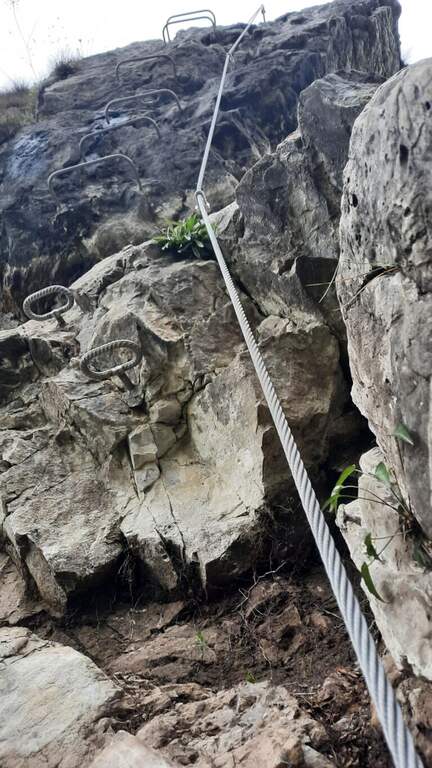
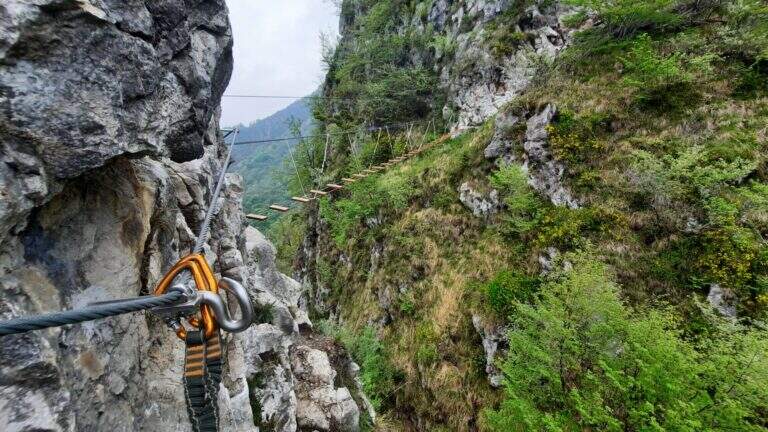
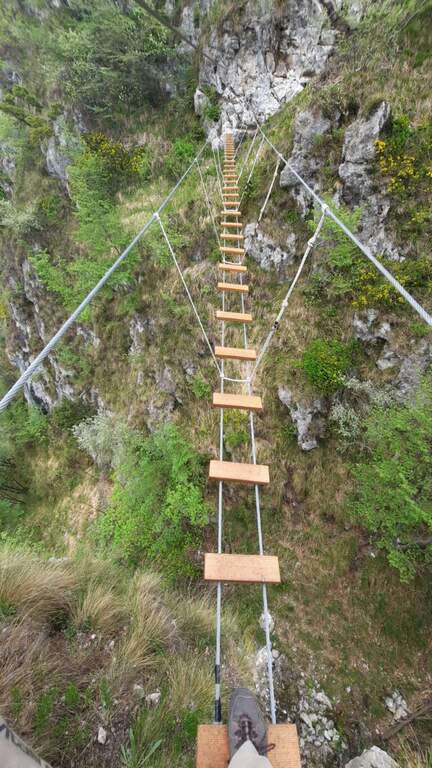
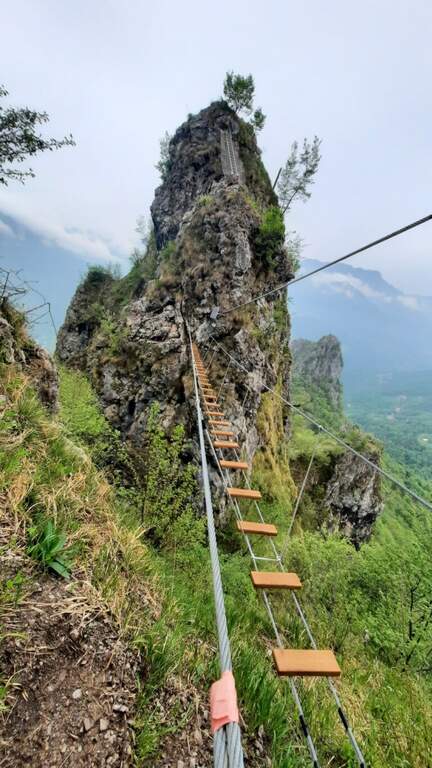
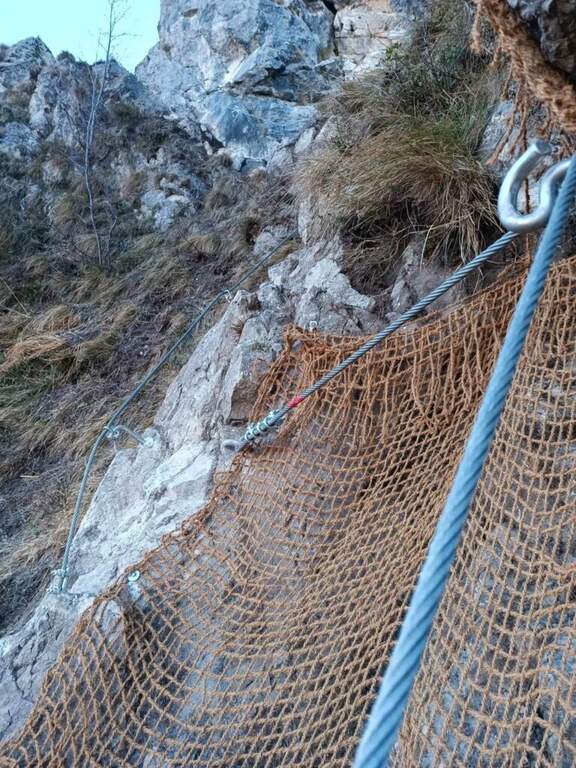
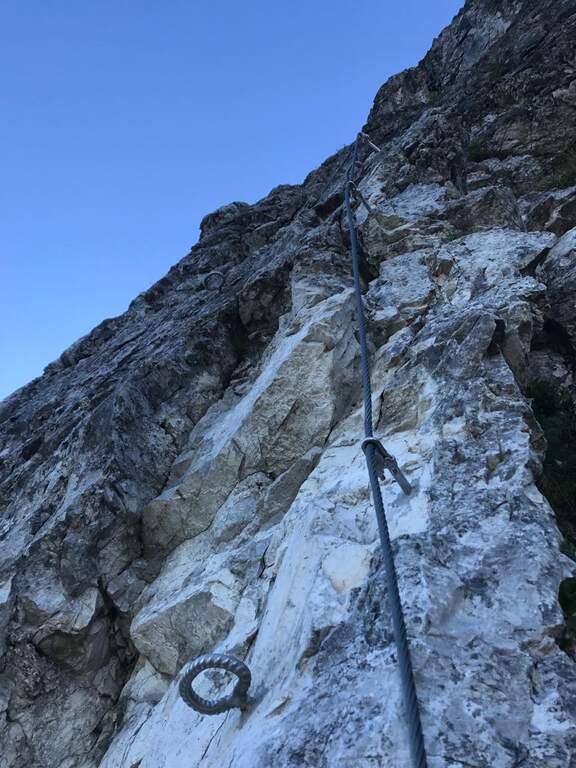
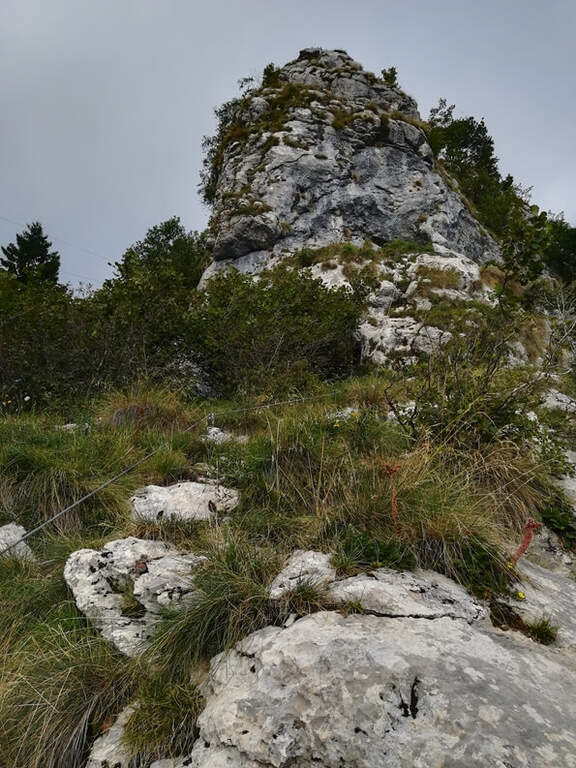
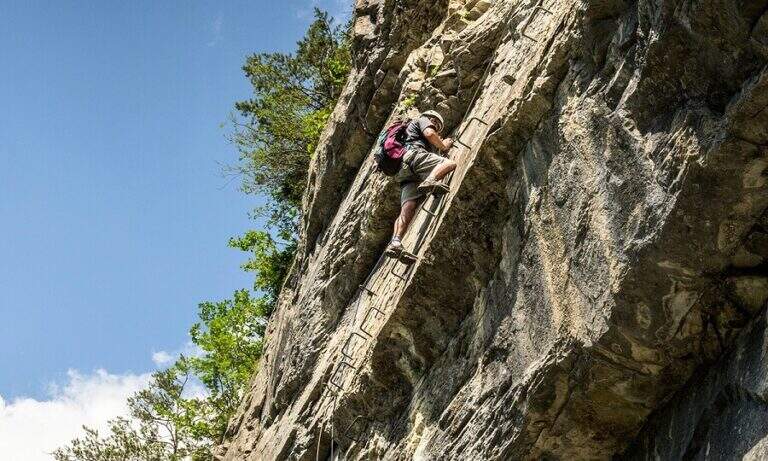
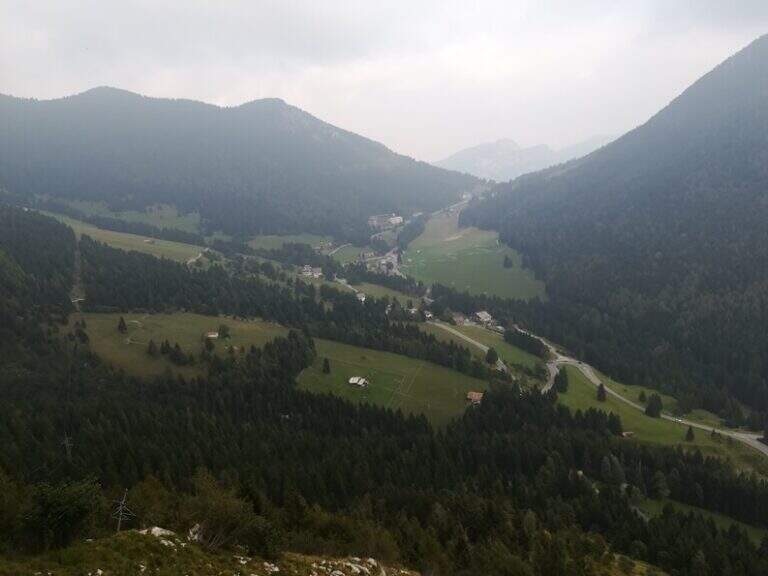
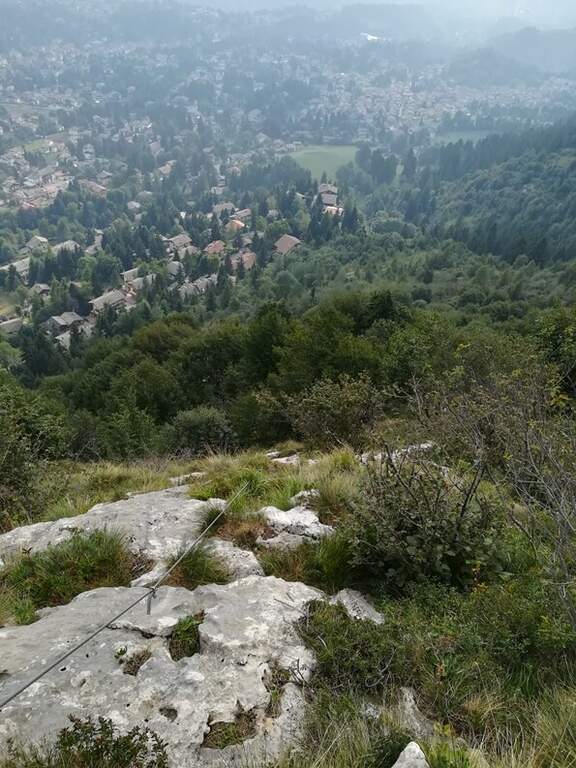
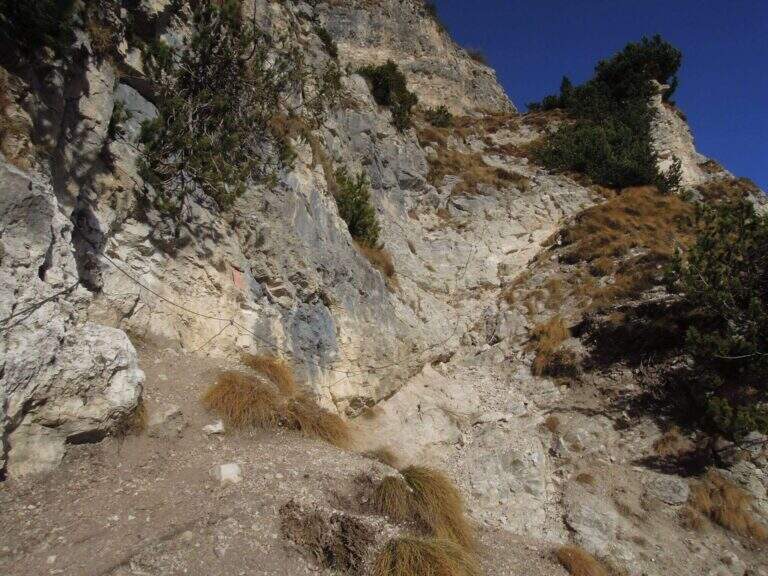
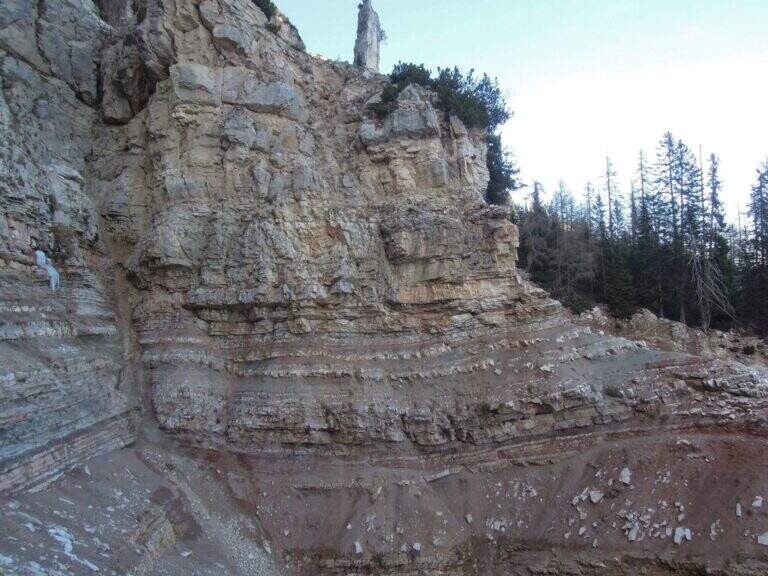
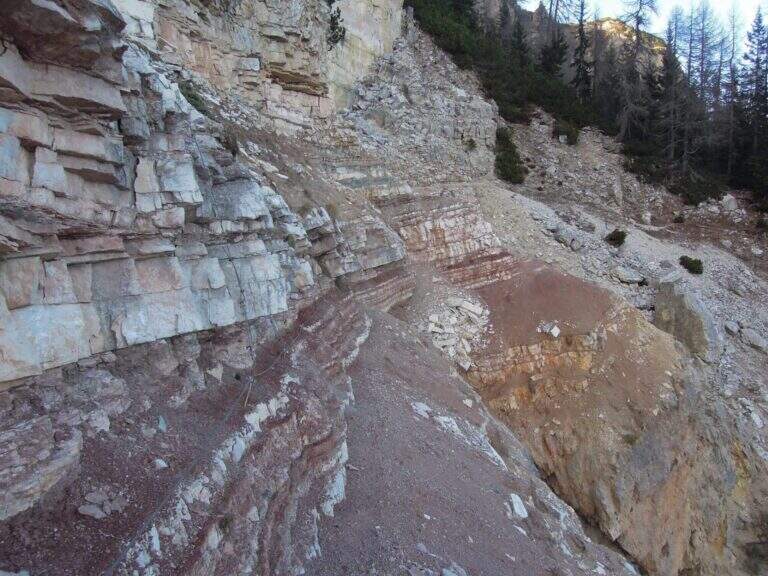
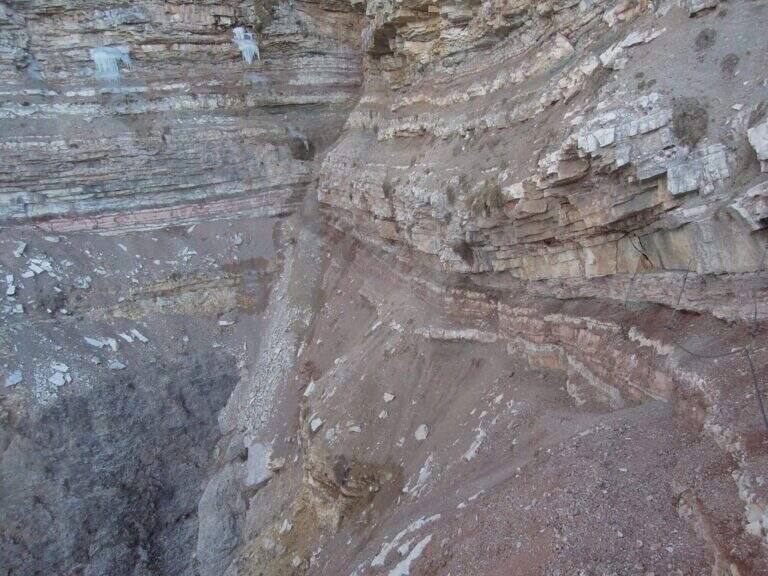
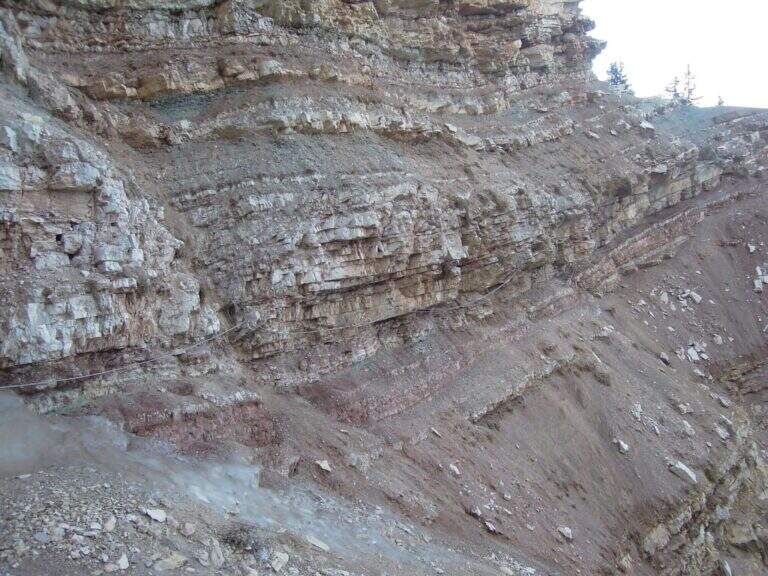
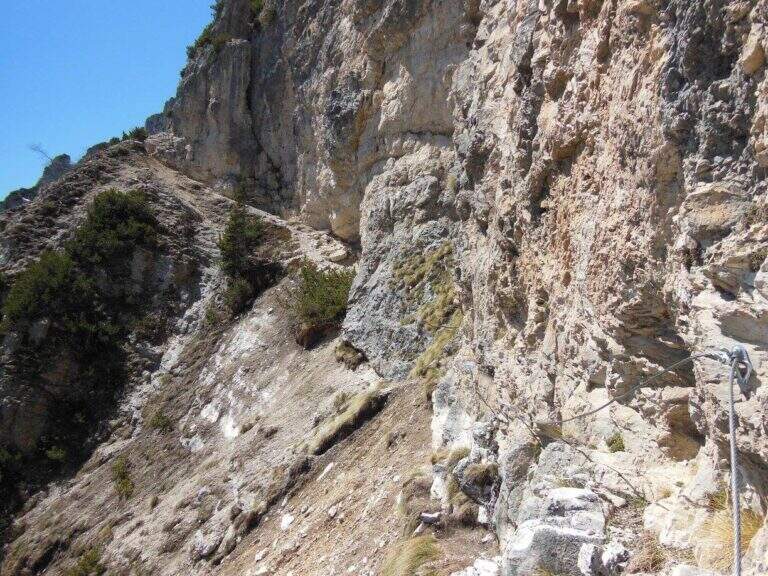
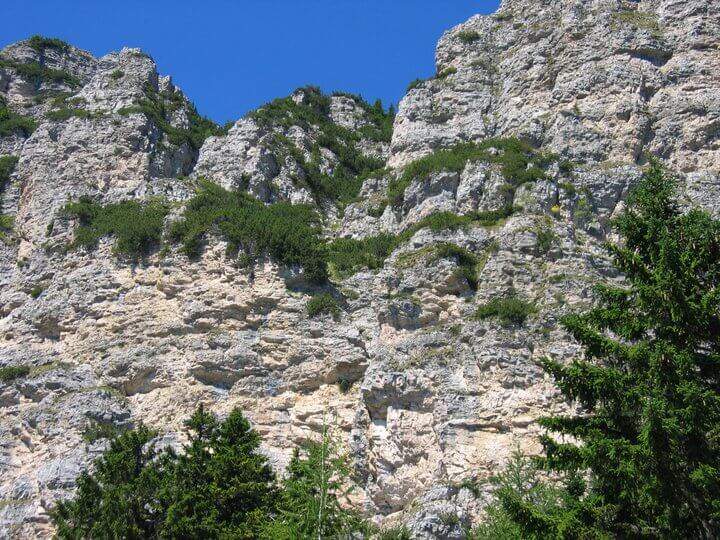
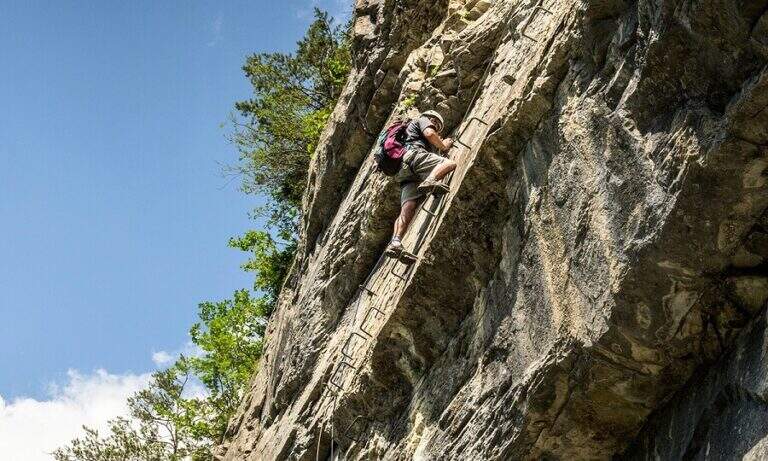
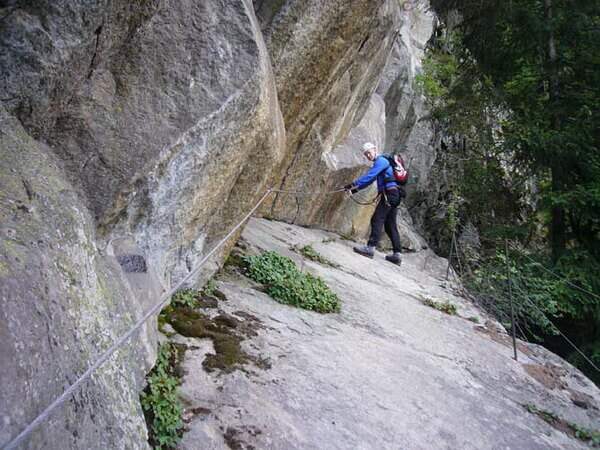
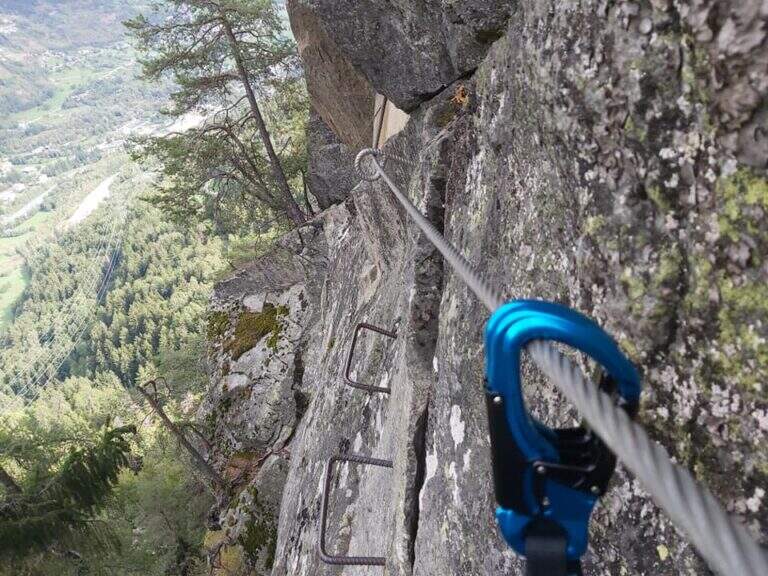
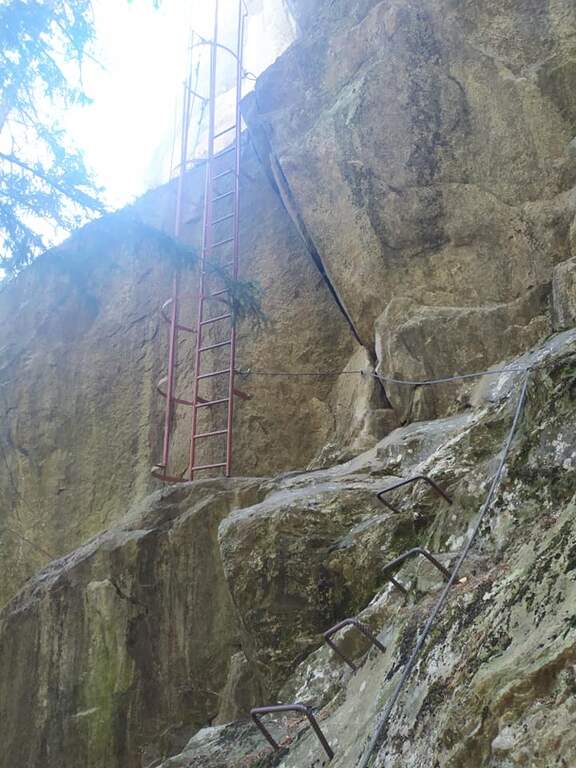
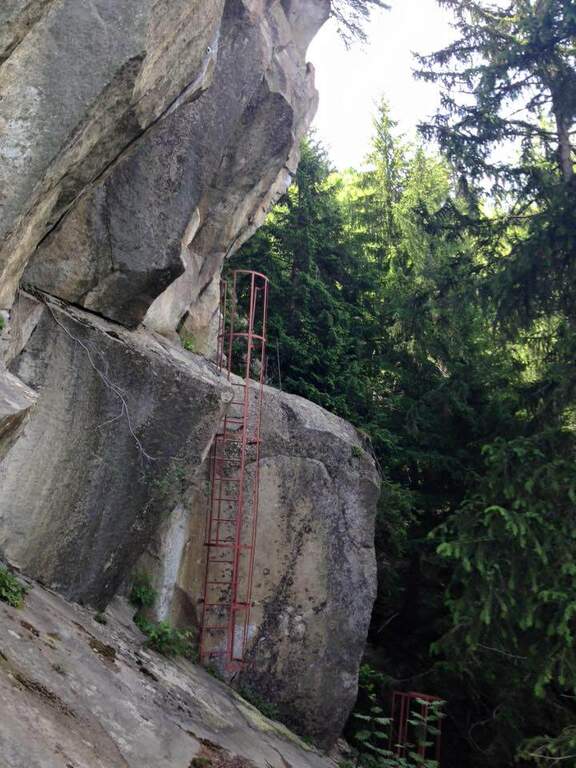
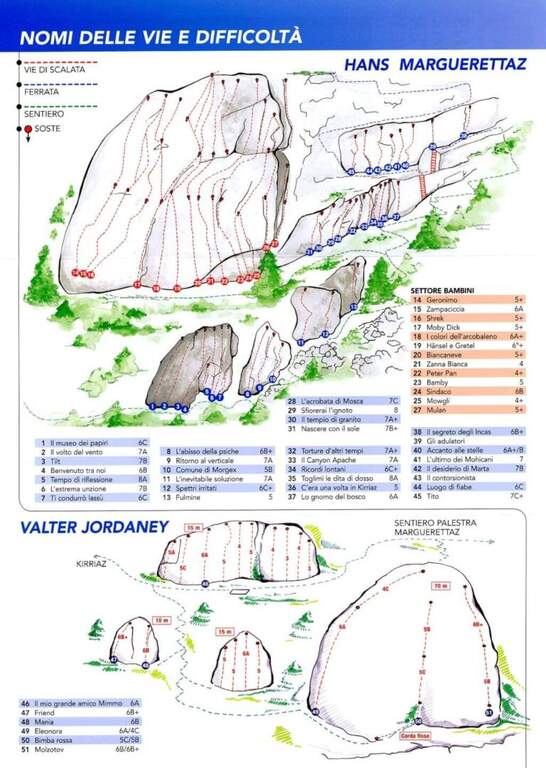
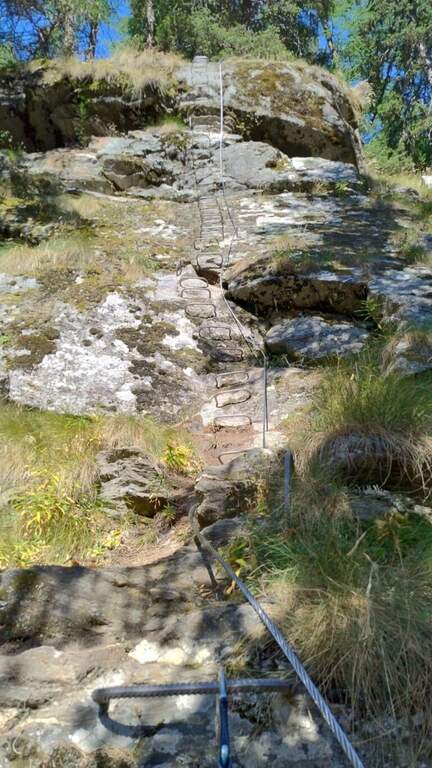
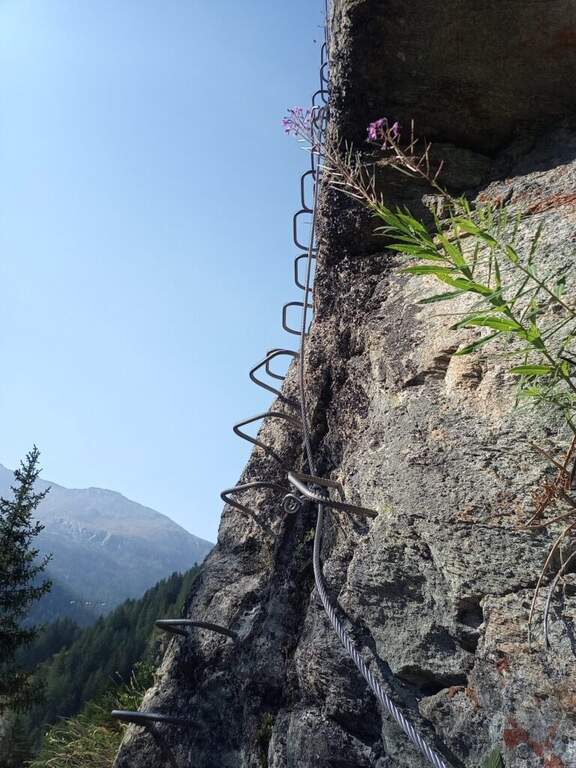
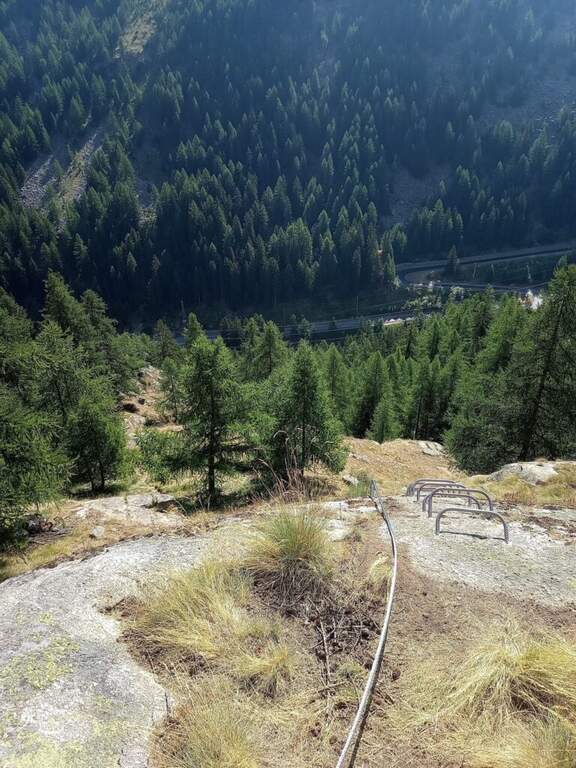
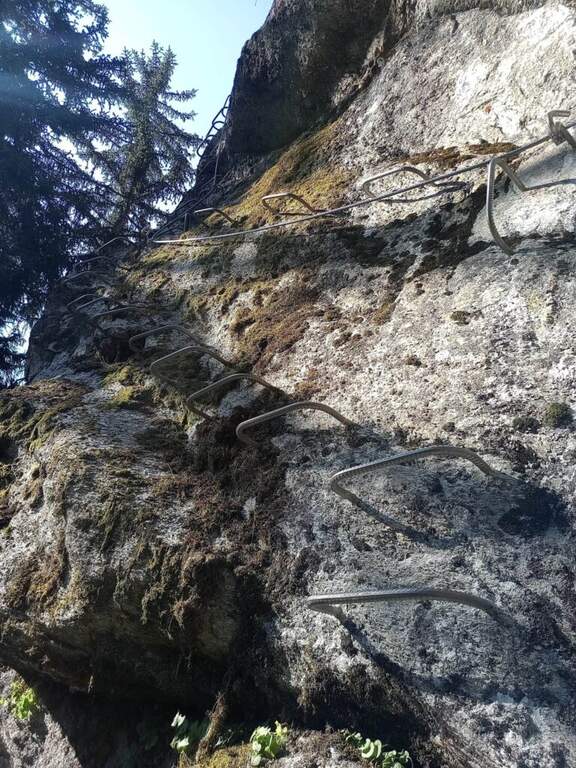
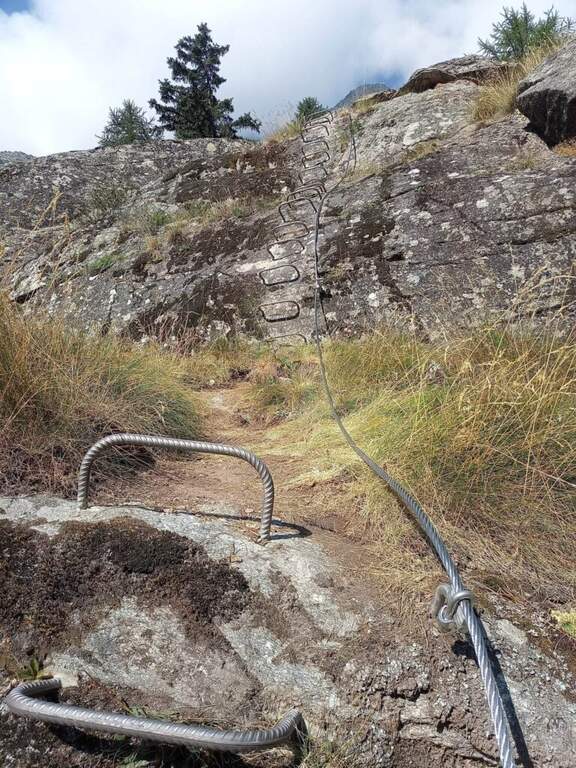
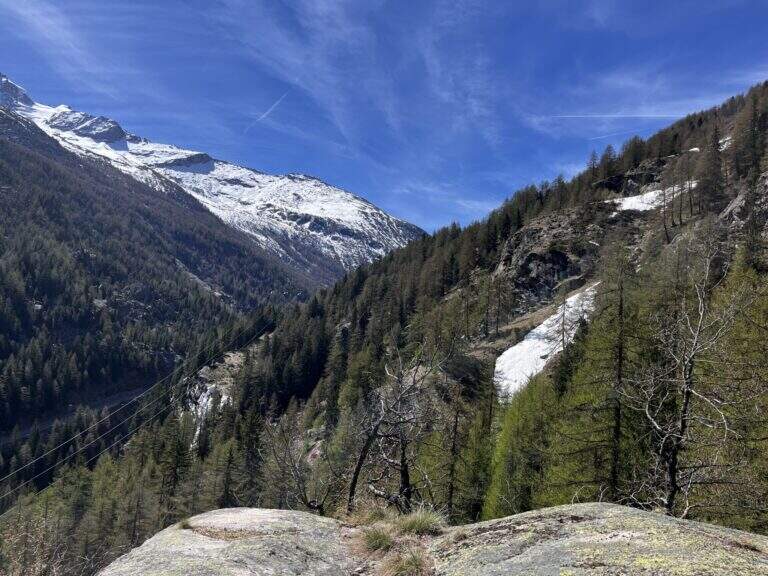
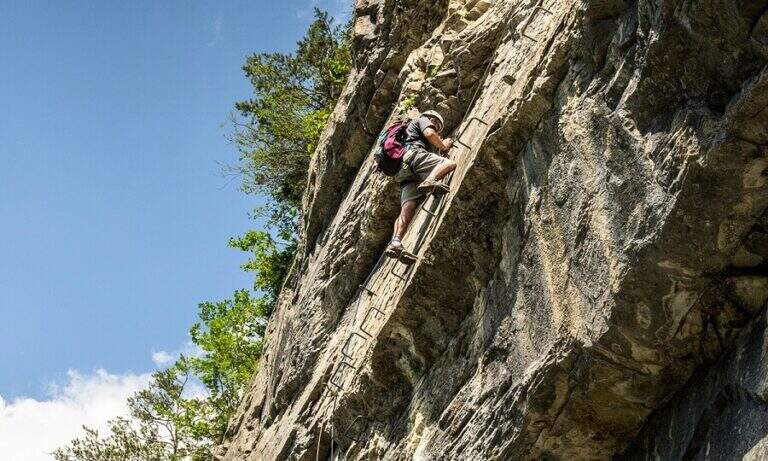
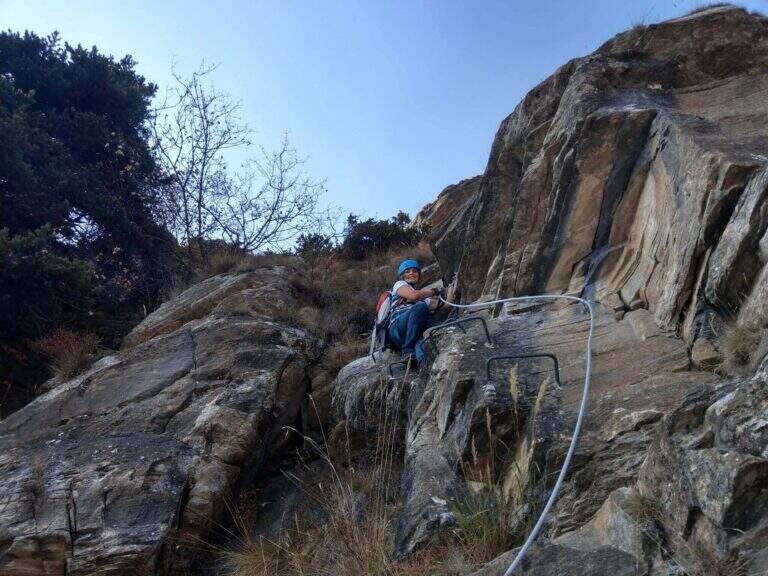
    The Ferrata di Pra Catinat has been designed for those who do not have mountaineering preparation and is also accessible by disabled users if accompanied. Exposed in full south-east slope, about 1600 m of departure, it is practicable throughout the year; it develops for three quarters on beams, with very low altitude difference.

    ▲Approach

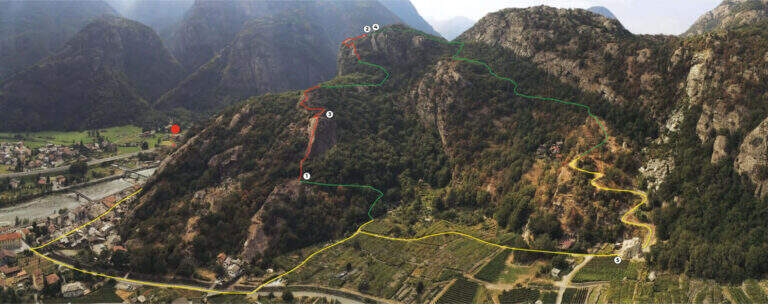
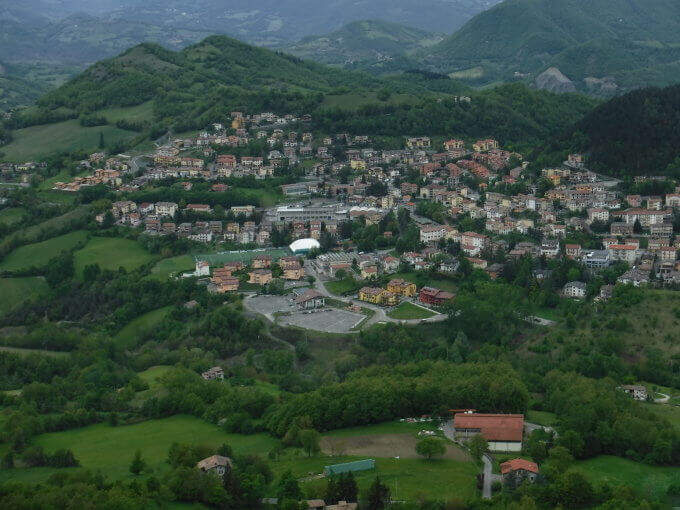
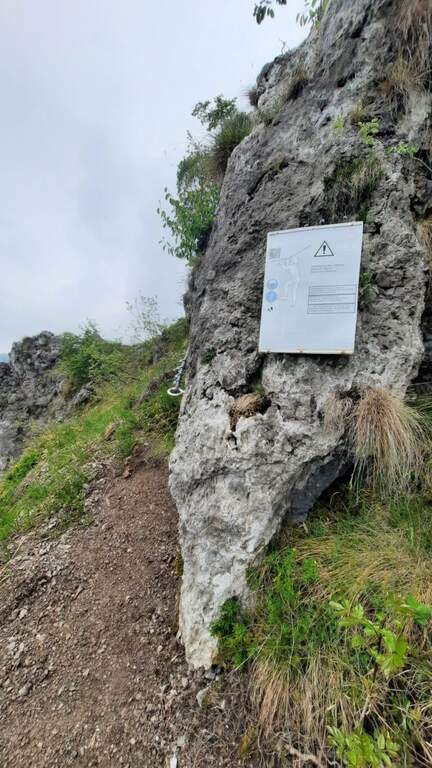
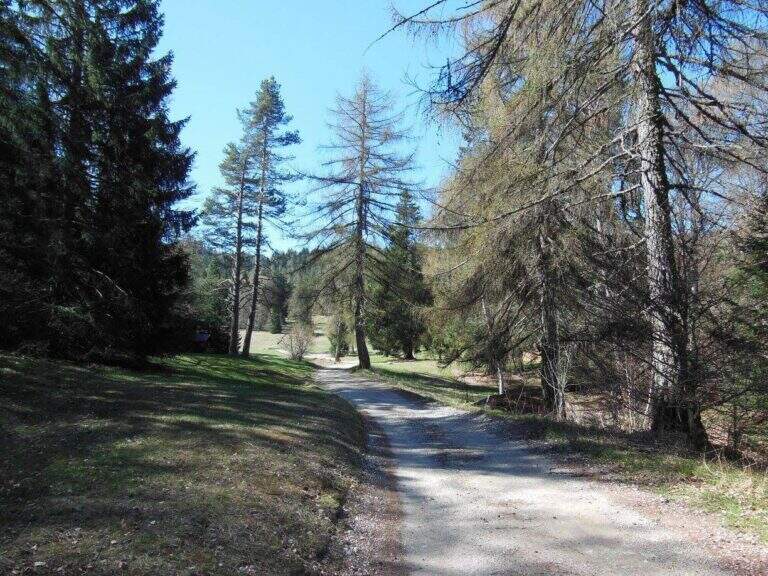
    The starting point is the Pracatinat hotel, above the hamlet of Depot (Turin): at Depot turn right uphill on the provincial road 172 towards Agnelli, Pequerel and Puy. Starting point on Google Maps. From the hotel follow the path that leads to the orrido, to the left of the structure; at the bottom, at a basin, there is the beginning of the ferrata (15' from the parking lot).

    ▲The path

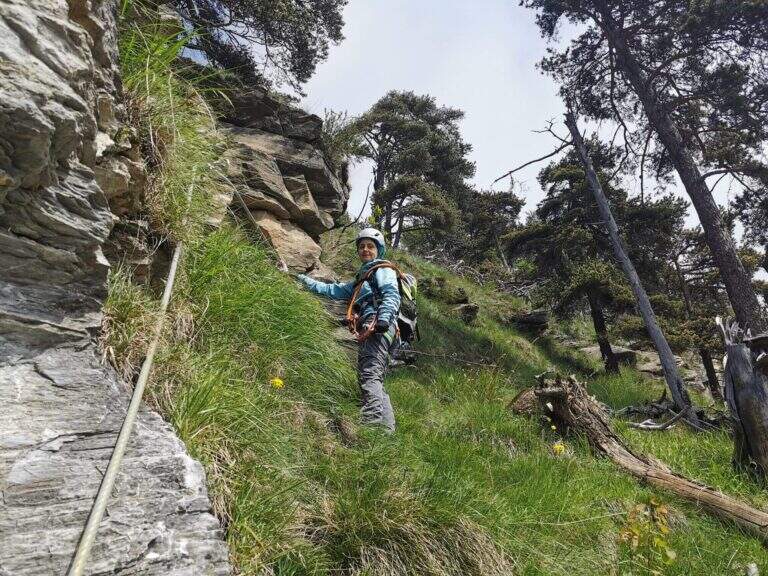
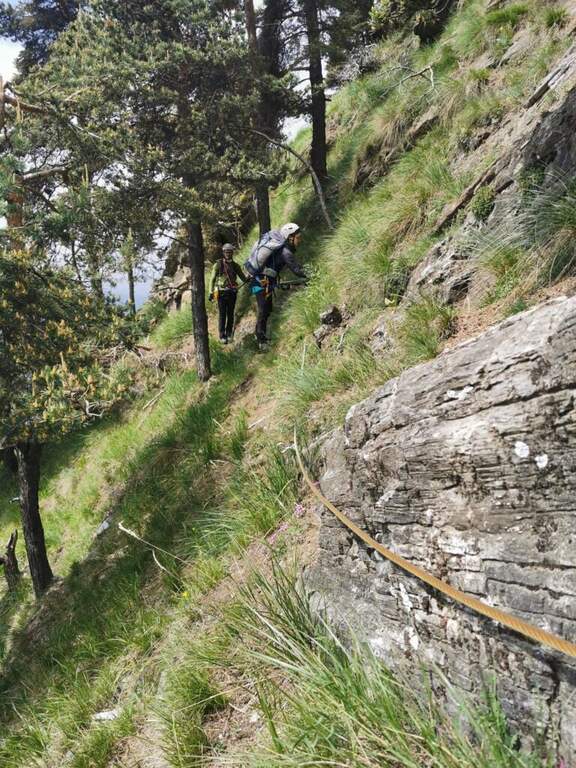
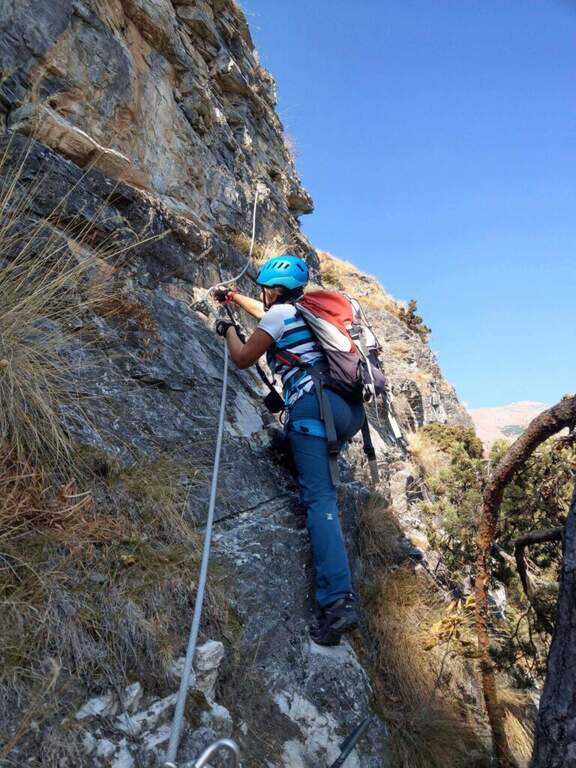
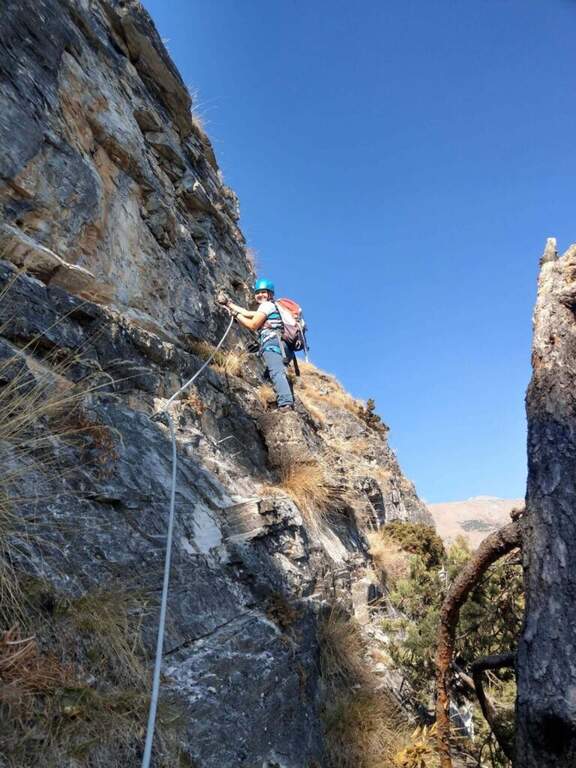
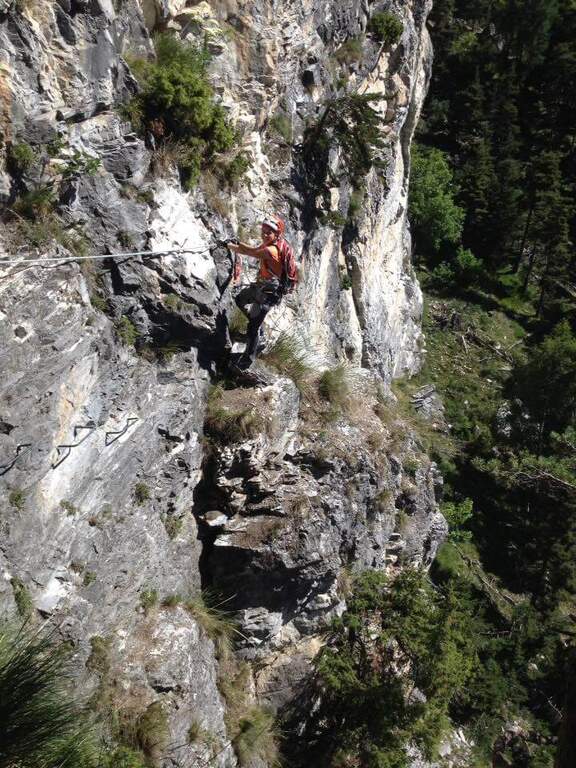
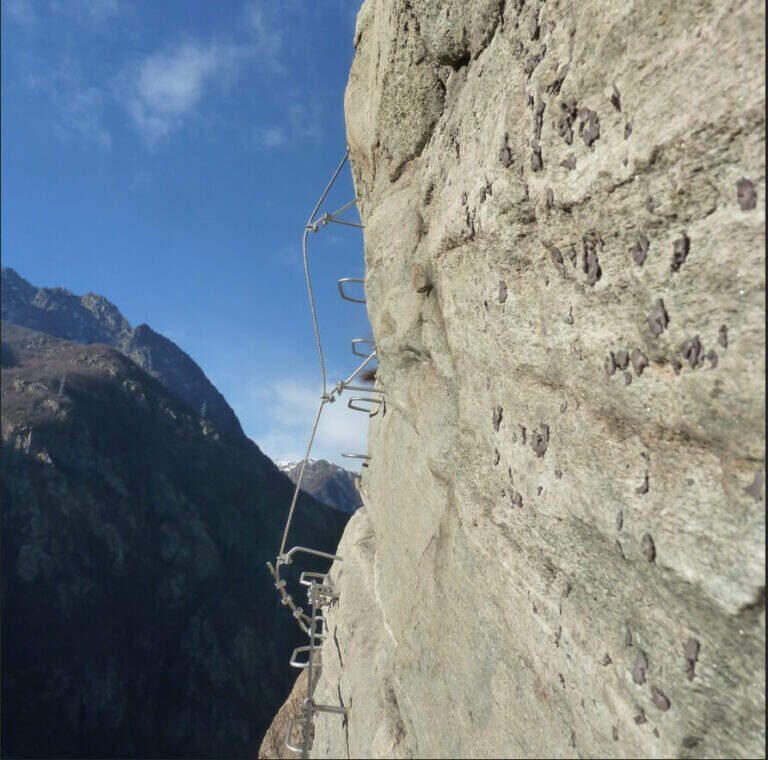
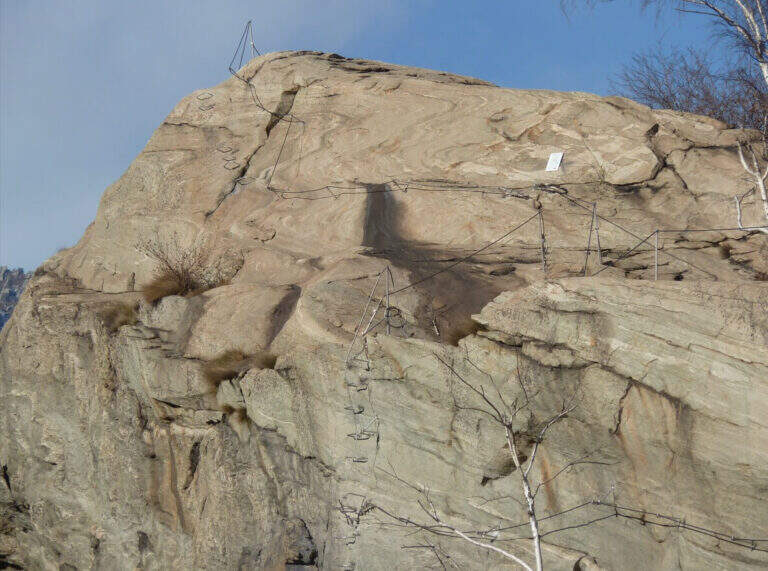
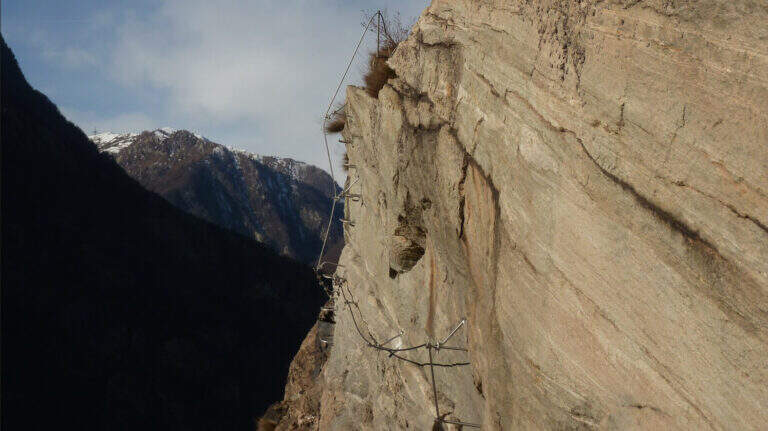
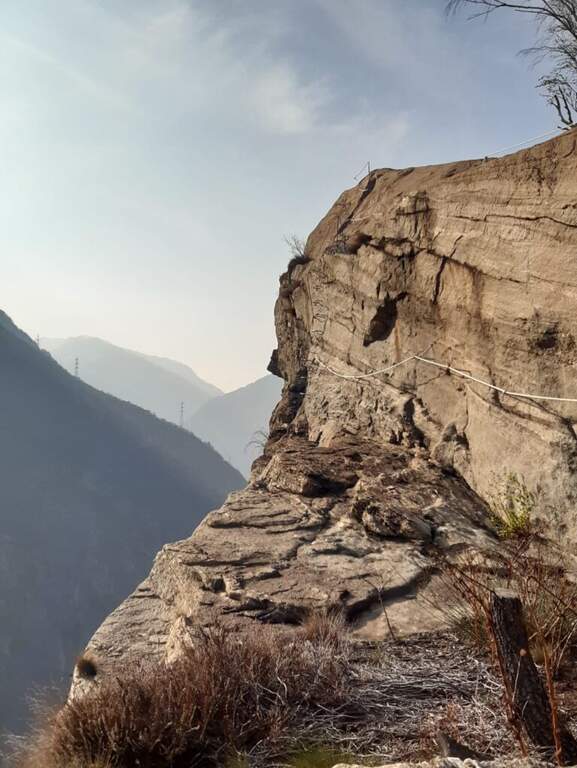
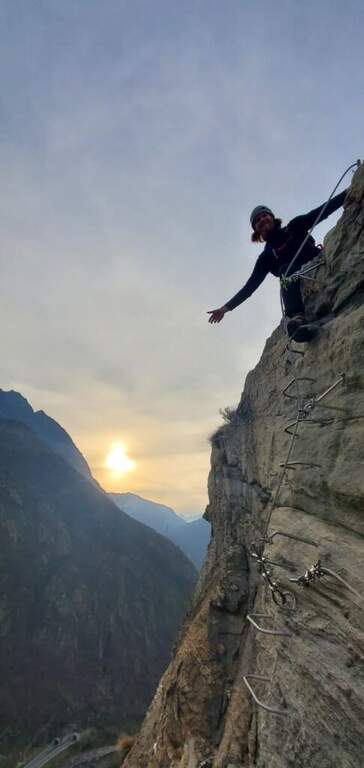
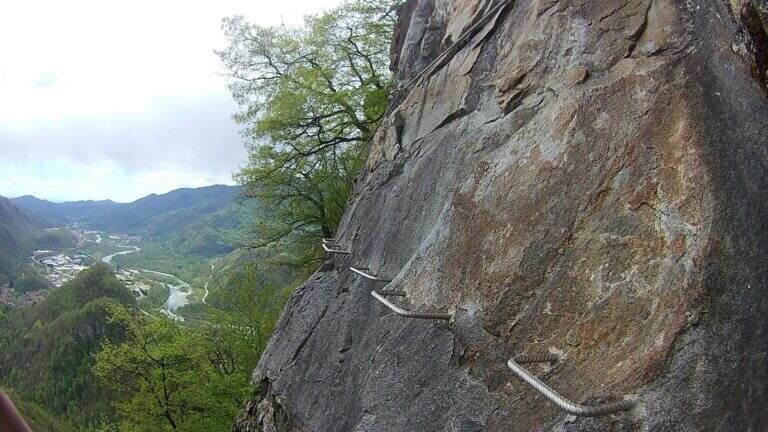
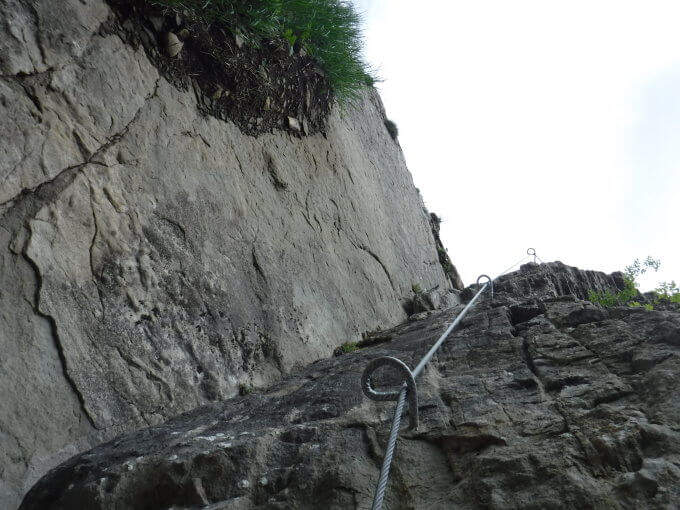
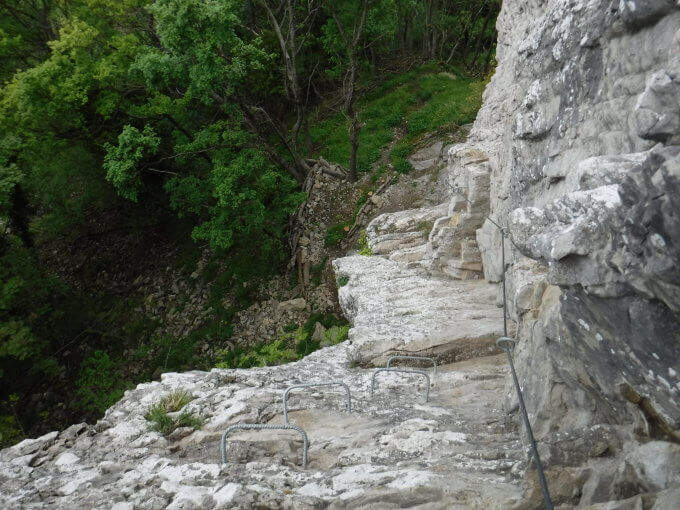
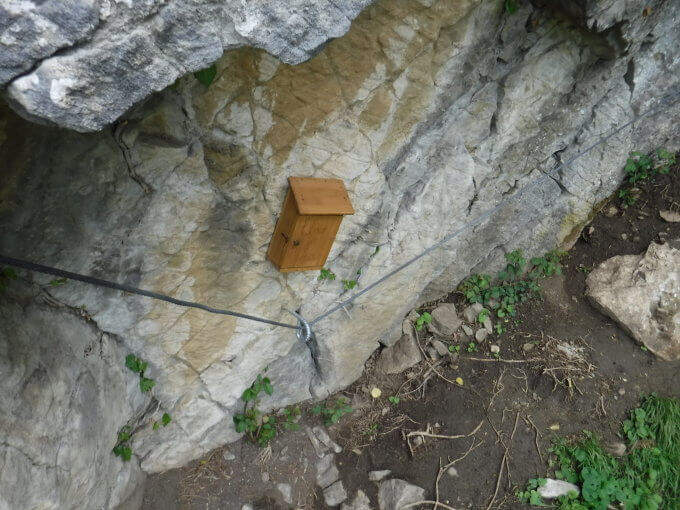
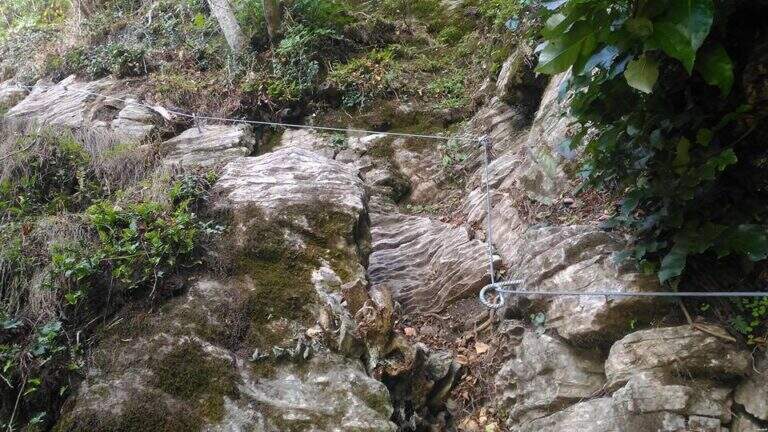
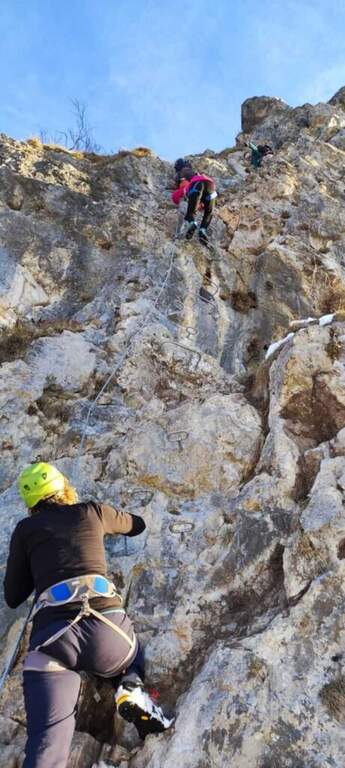
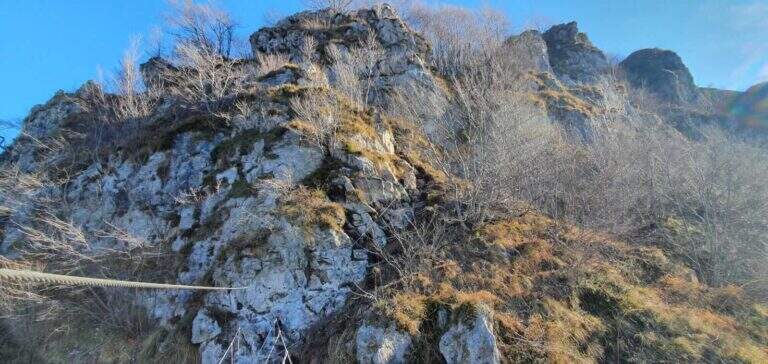
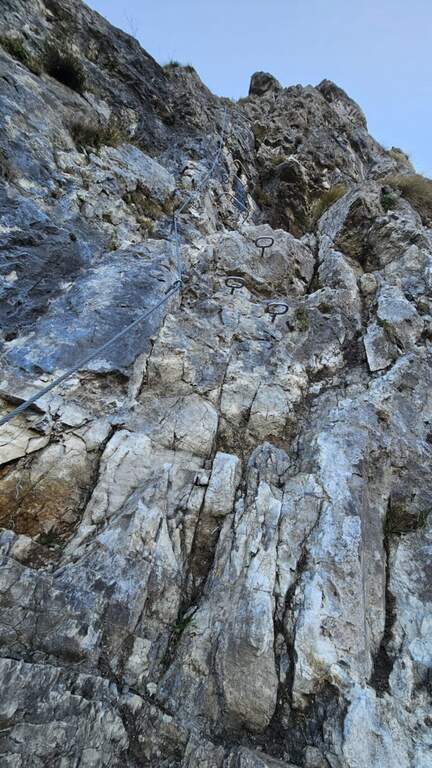
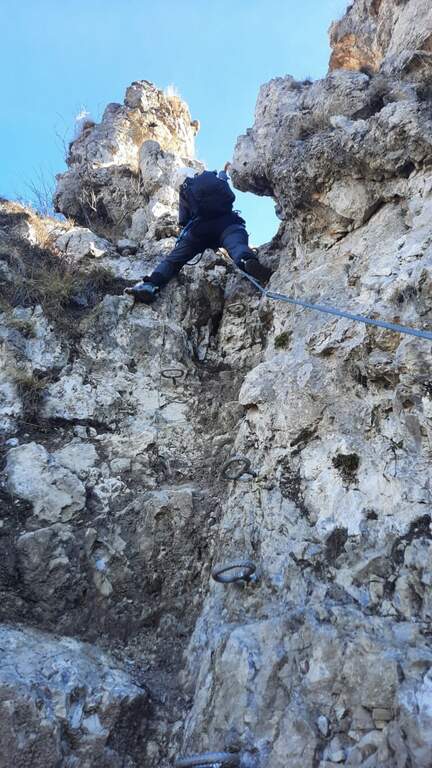
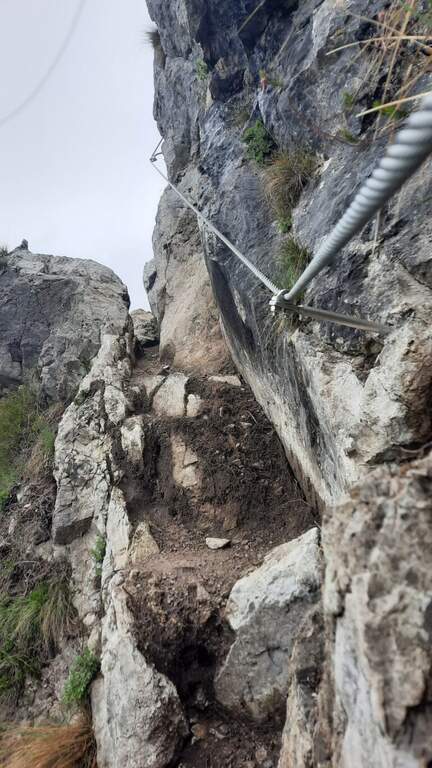
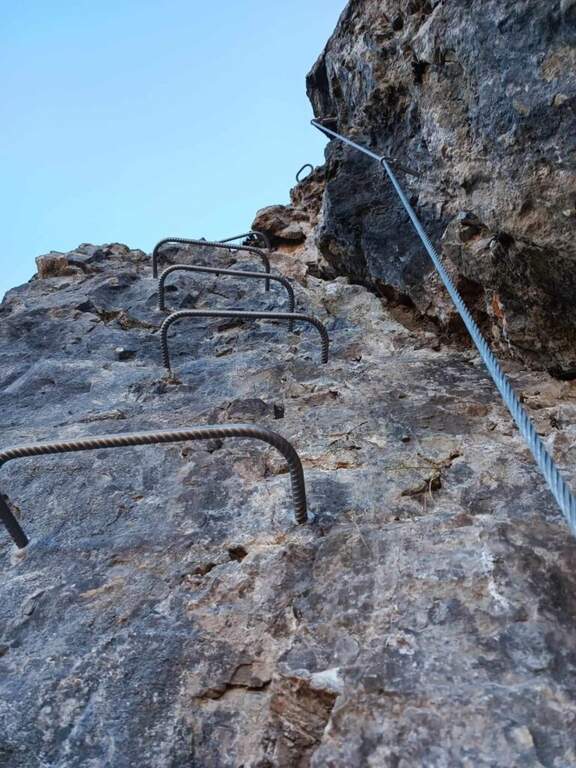
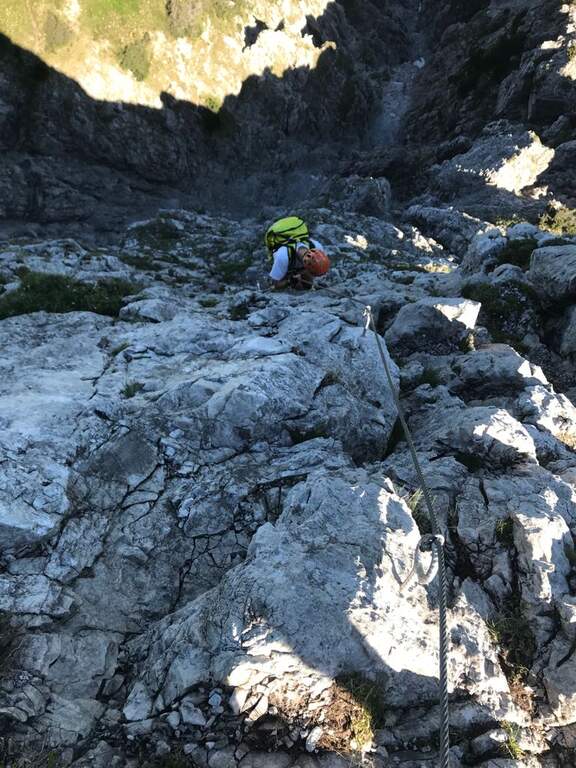
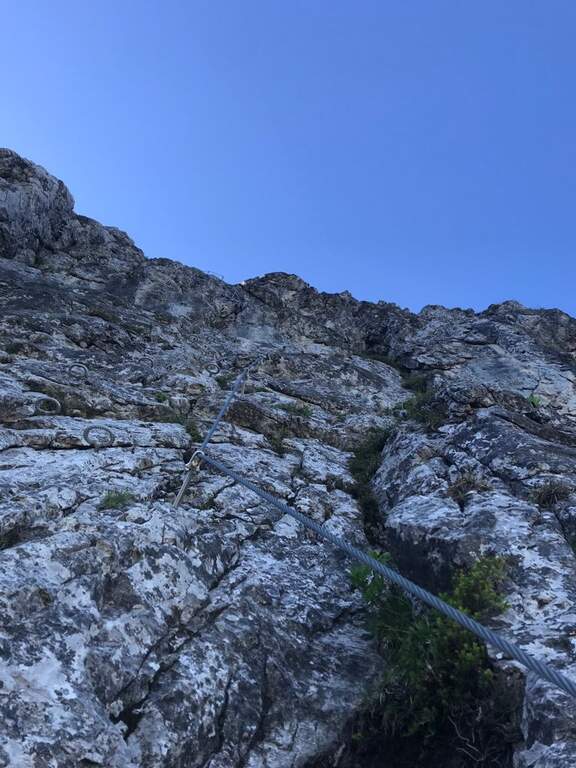
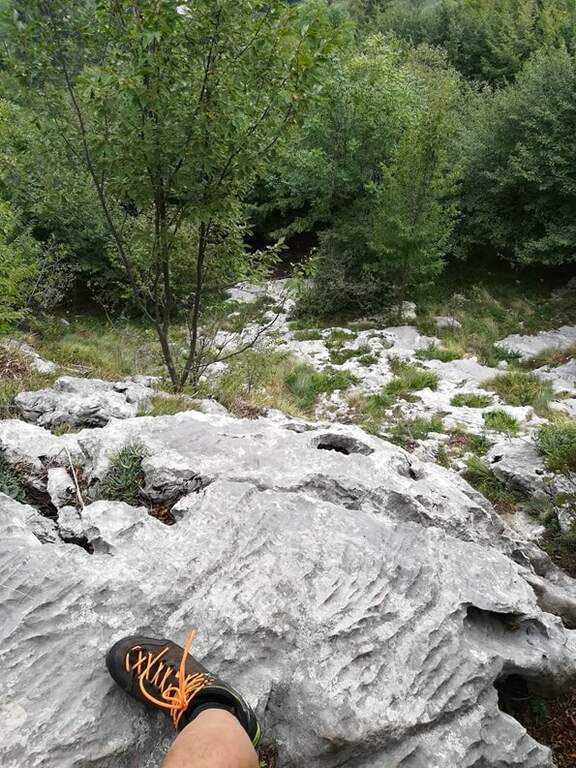
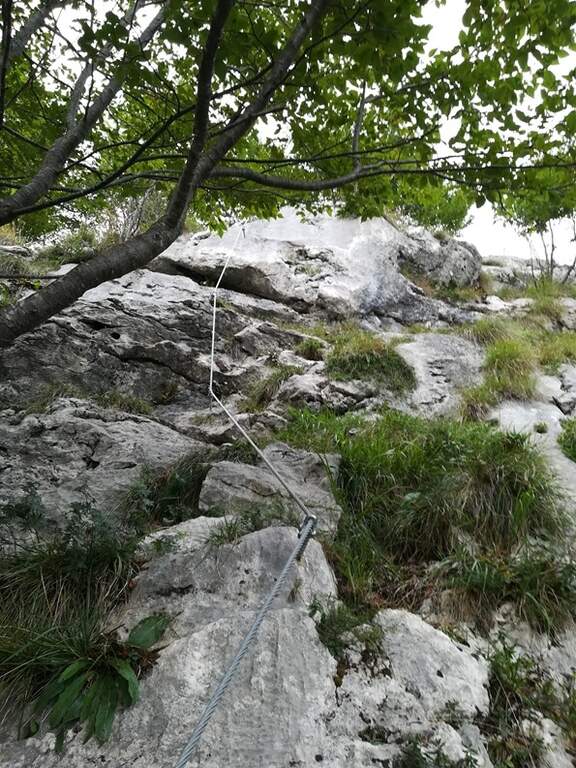
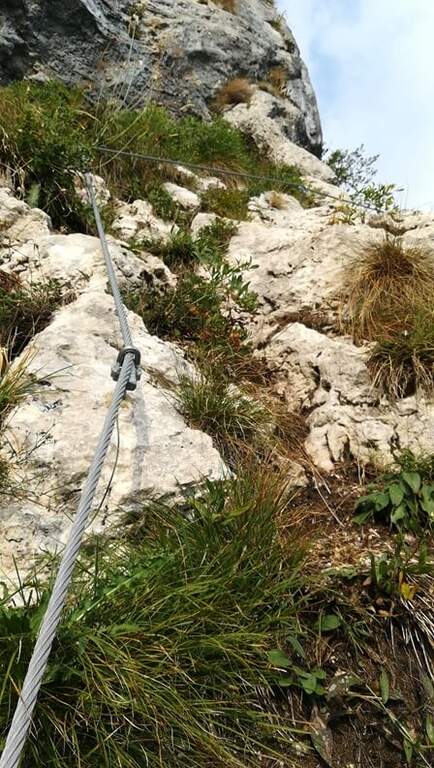
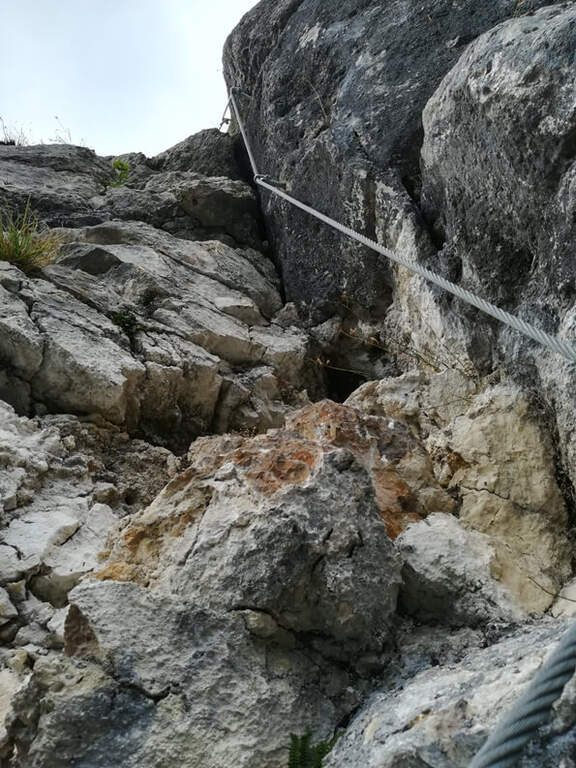
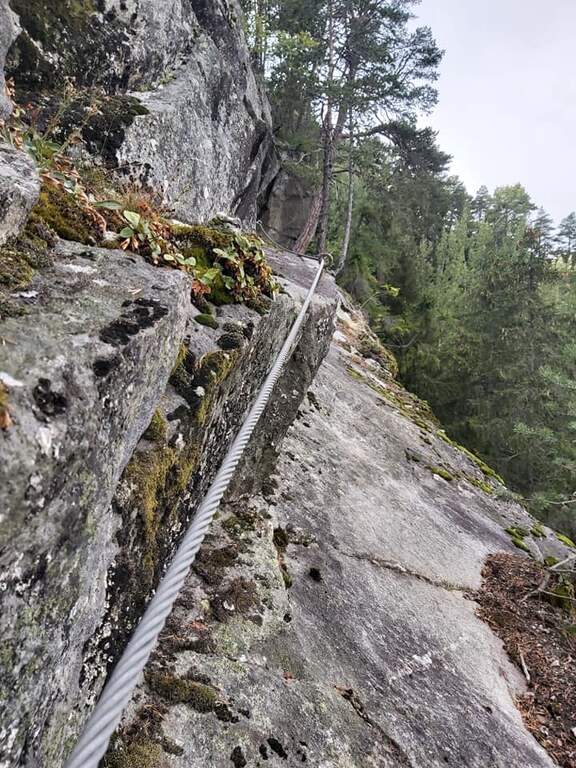
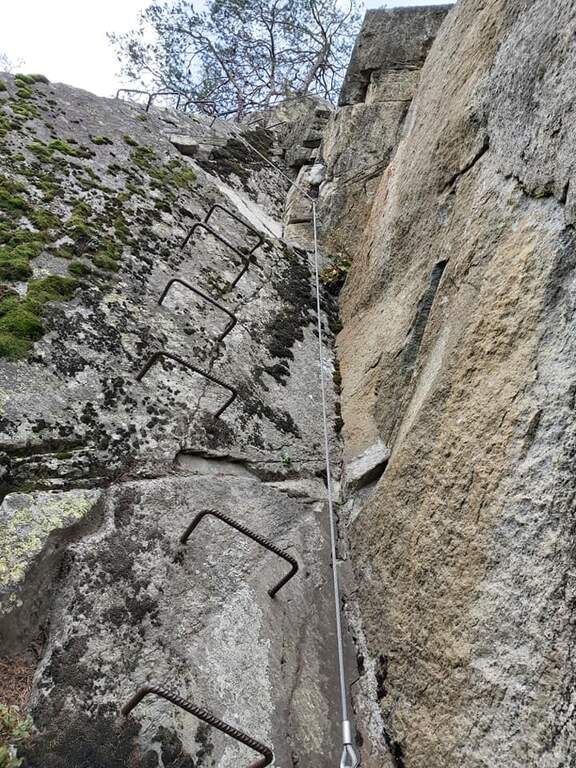
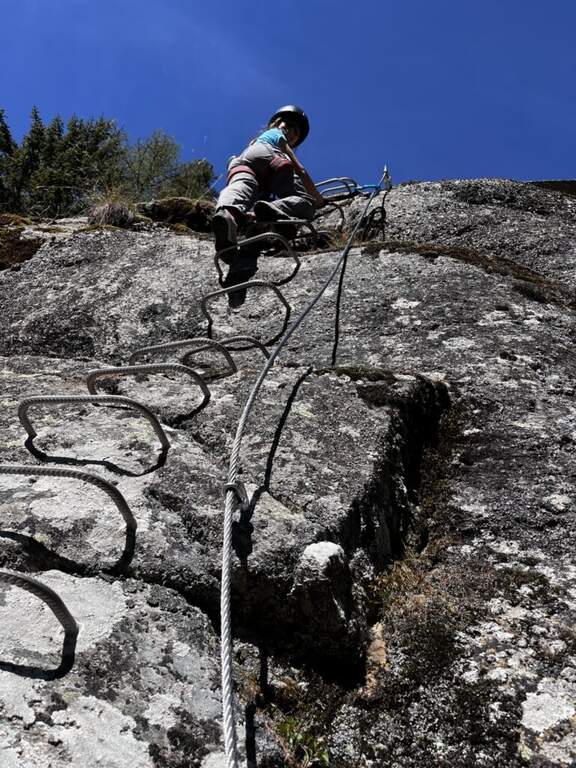
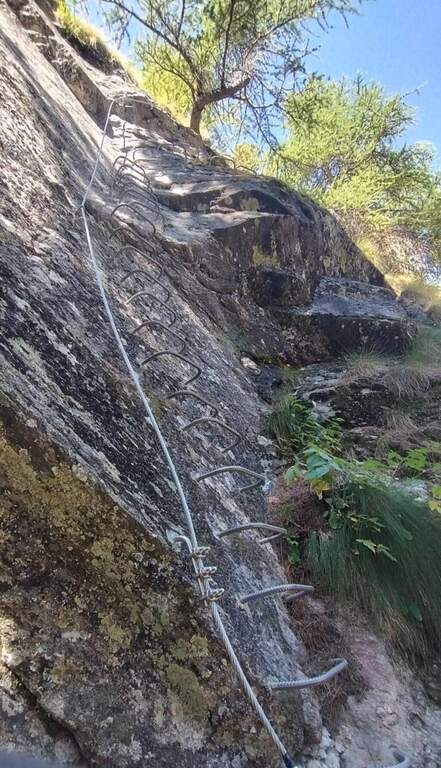
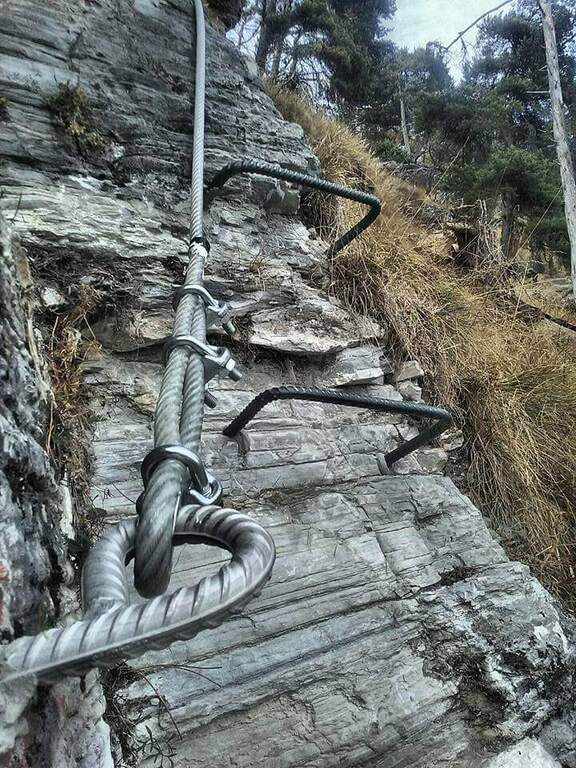
    We attach a short rocky leap and take a long traverse to the right on grass; we continue in climbs of low difficulty up to a wall where the traverse is exposed, with handles for the hands and brackets for the feet in some sections. At the end of the cross you climb for a few meters (a couple of brackets help your feet), you reach a rocky terrace and you walk a second horizontal passage similar to the first; finally a vertical stretch, in pleasant climbing, leads to the summit plateau where the short route ends (1h from the attack, 1h 15' total).

    ▲Character and difficulty

    It is an easy ferrata, ideal for those who want to approach this type of excursions; the development mainly on crossroads and the reduced elevation difference make it accessible.

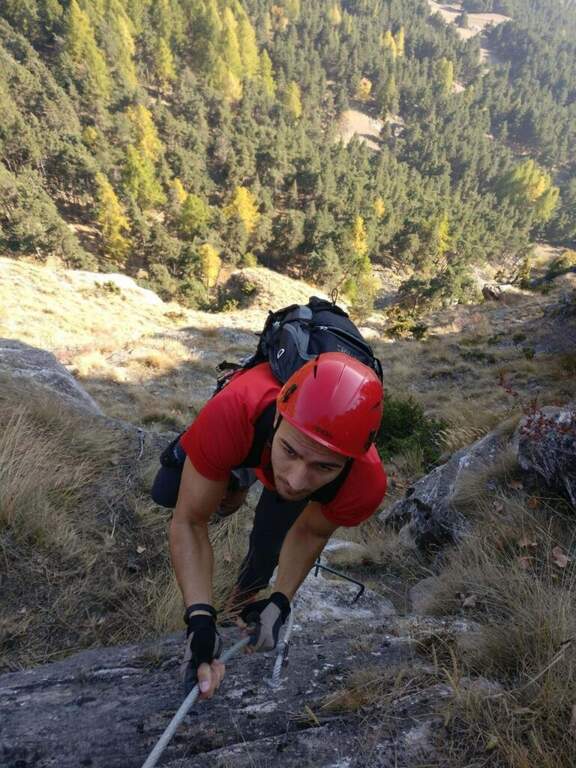
    ⚠ Although easy, it remains an equipped way: helmet and ferrata sets are however necessary, and exposed beams require attention.
    ▲Period and safety

    The south-east exposure makes it available in every season, even on beautiful winter days; with snow or ice on the slopes it is best to postpone.

    ▲Discipline

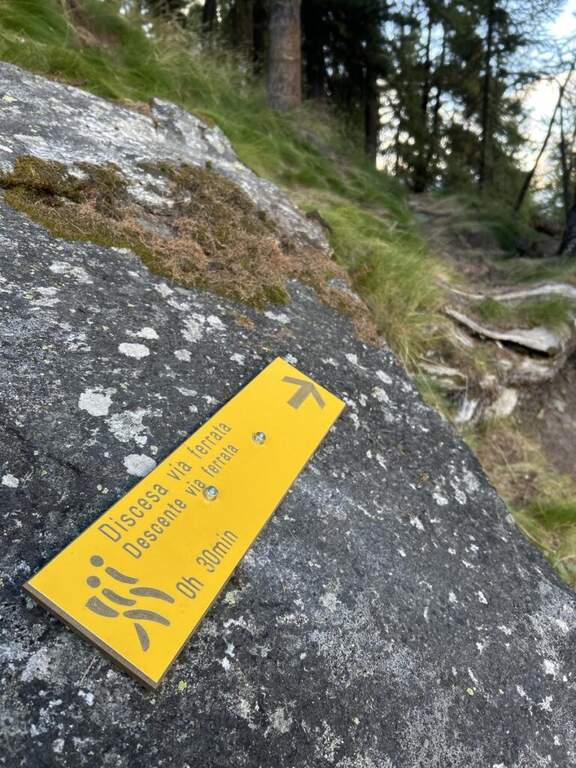
    Follow the obvious path that leads back to the hotel and then to the parking (20' from the end of the ferrata, 1h 40' total).

    ▲To match

    To clearly raise the degree: the Ferrata Ciardelli 20' by car, or towards Claviere la Ferrata Rocca Clarì, la Ferrata dei Militari e la Low Battery Hardware.
    ▲Gallery
    Technical data
    • DifficultyEasy
    • RegionPiedmont
    • GroupCozie Alps – Val Chisone
    • Approach0:15 h
    • Ferrata1:00 h
    • Itinerary (a/r)2:00 h
    • Hardware level difference280 m
    • Route difference350 m
    • Max2000 m
    • Length1,5 Km
  • Ferrata delle Peredrette in Donnas

    Ferrata delle Peredrette in Donnas

    Vie Ferrate › Aosta Valley › Aosta
    Ferrata delle Peredrette in Donnas

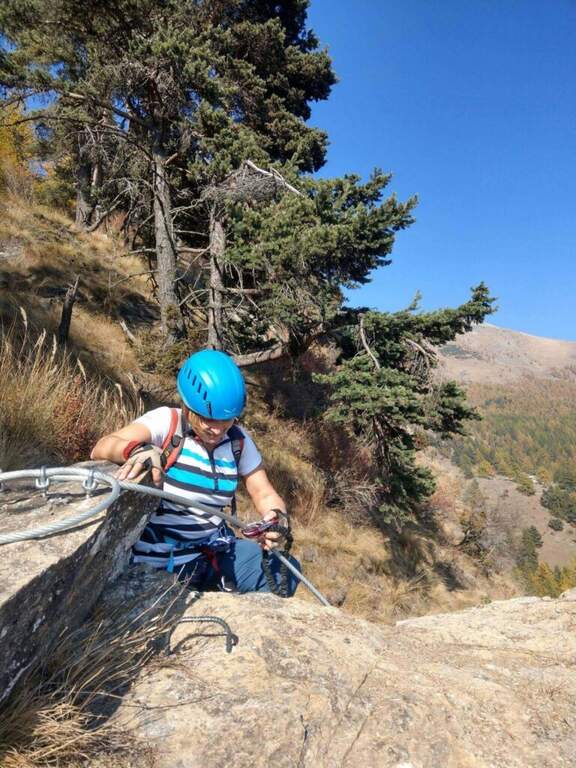
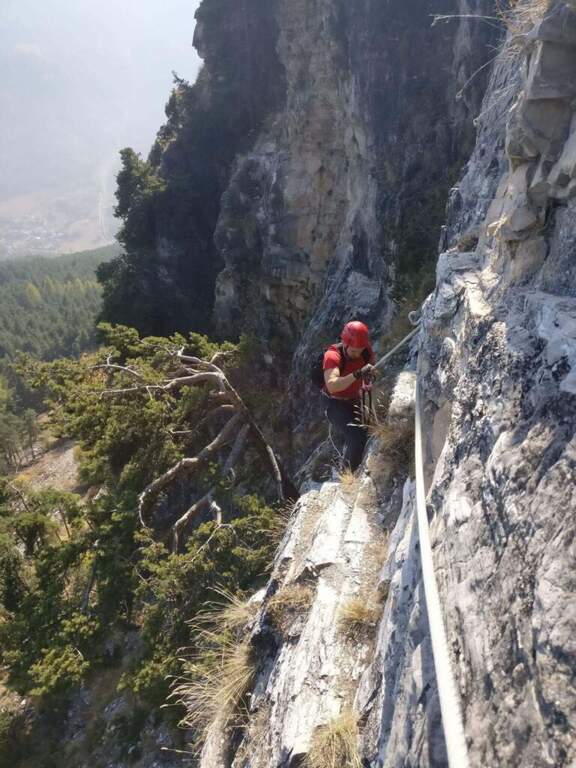
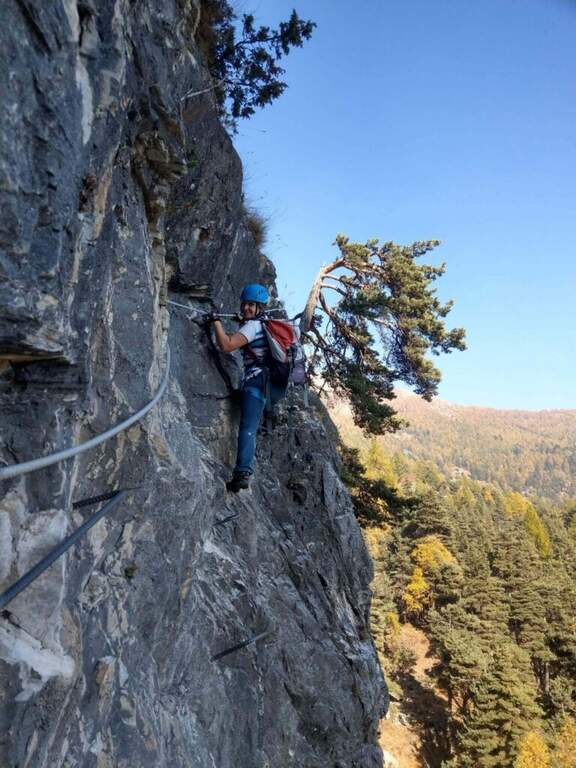
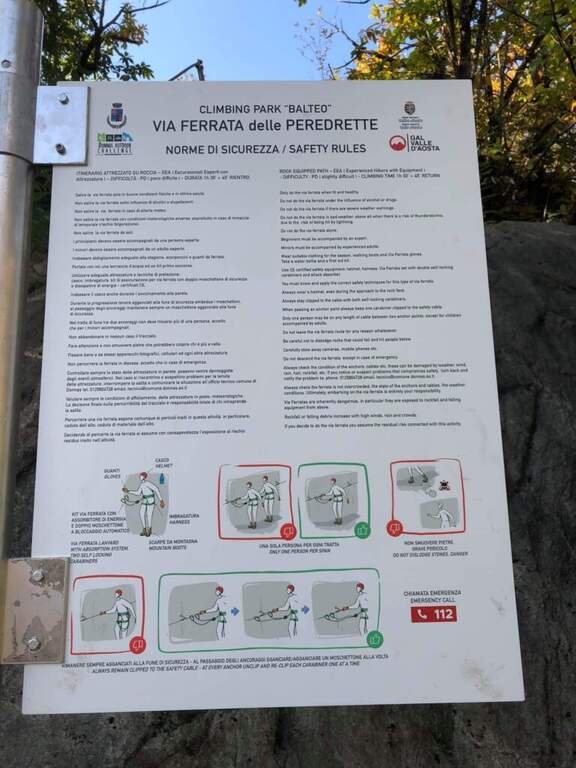
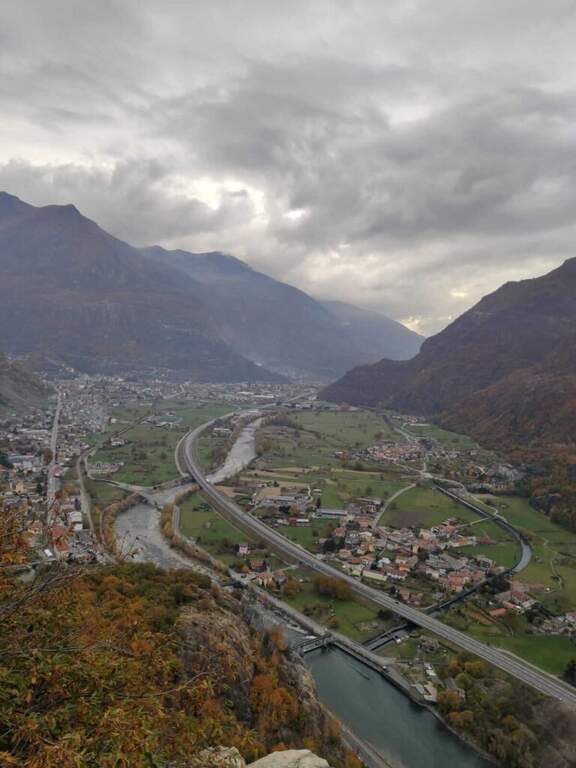
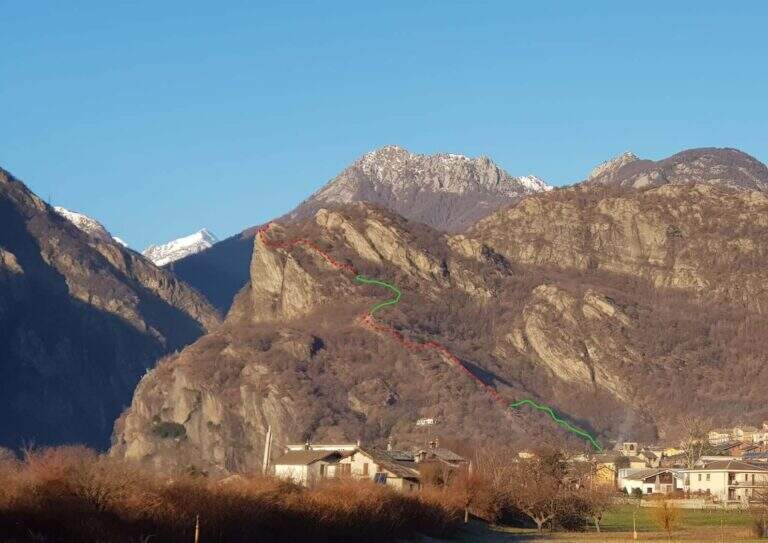
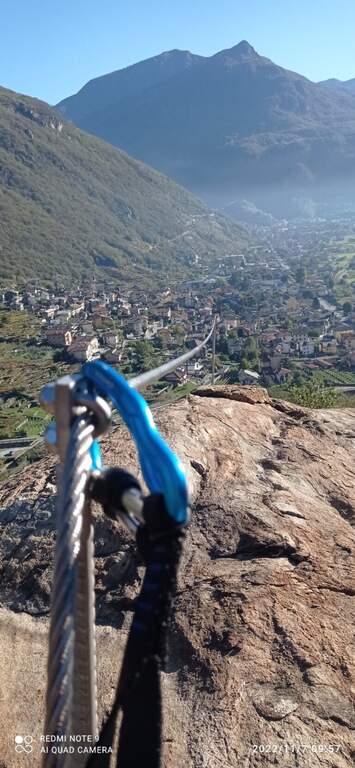
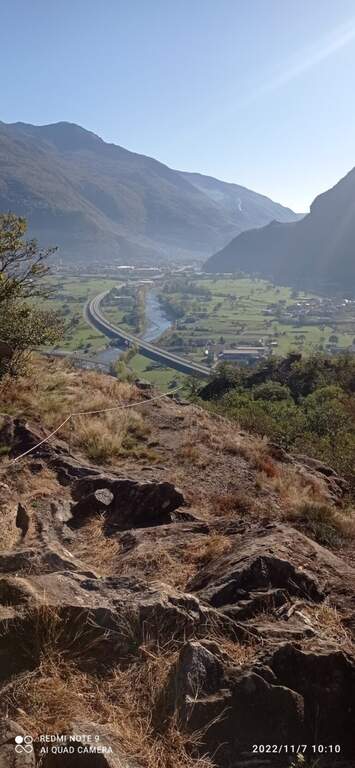
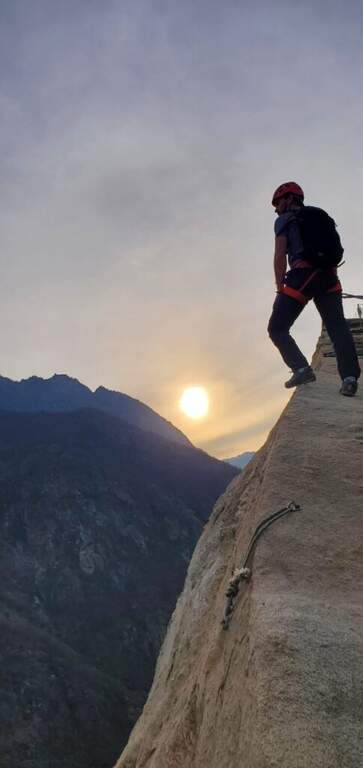
    The Ferrata delle Peredrette is a recent route that dates back to a rocky coast near Donnas, in the lower Aosta Valley. It is easy and suitable for beginners and, for altitude and exposure, it lends itself well to the half seasons and the beautiful winter days.

    ▲Approach

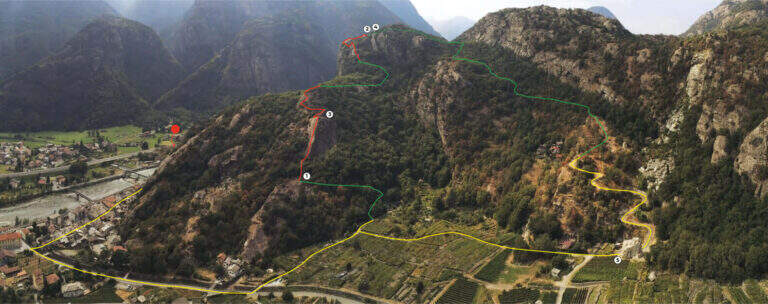
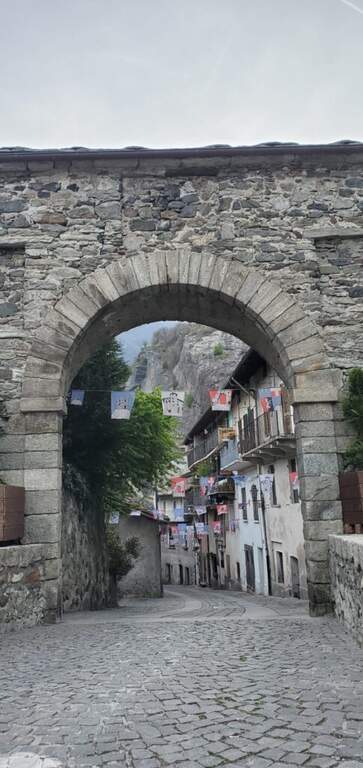
    You reach Donnas; the most convenient option is to park in an old industrial area along the Dora Baltea: shortly after the village, at a roundabout where the state road continues straight, you descend to the left until a large parking lot. Starting point on Google Maps. You pass under the state road, continue north-east in a street of the village up to a stone arch; you cross it and climb left for about 300 meters. After a first bridge (indications for Pomeroud) you reach a second bridge, where you turn left following the signs: about 300 meters, a turn left and you reach the first equipment in the wood (about 20' from the parking lot).

    ▲The path

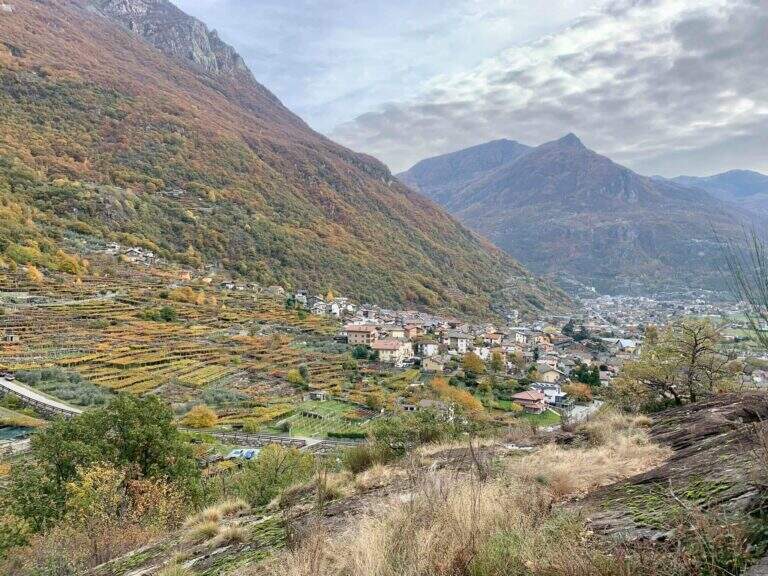
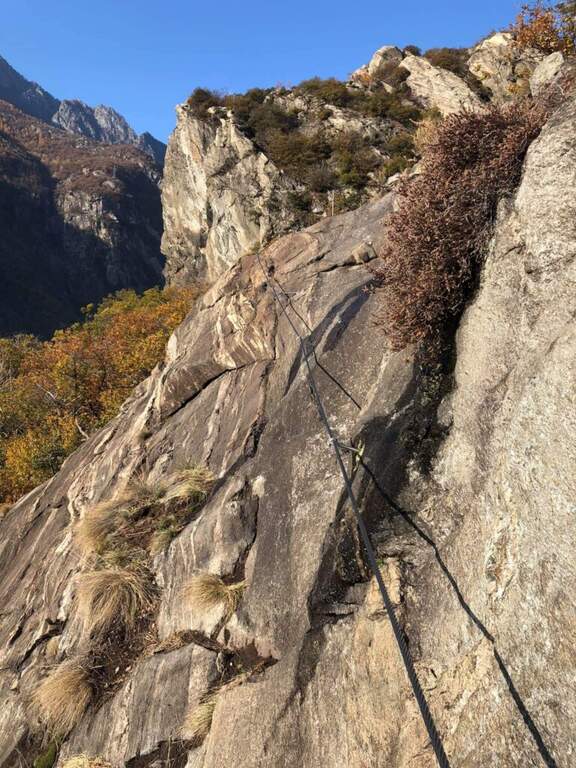
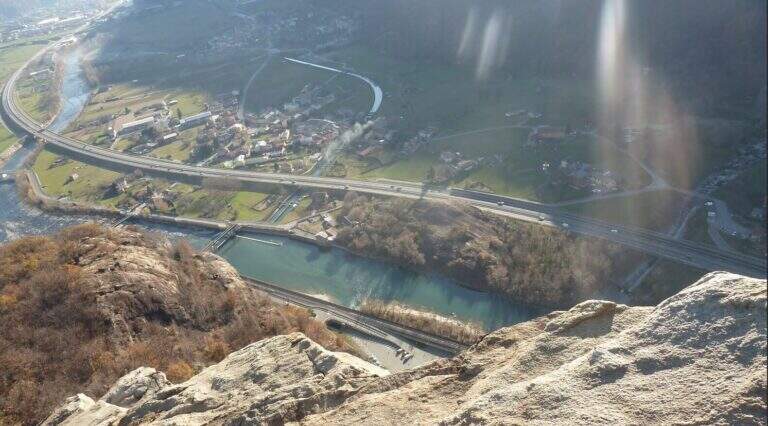
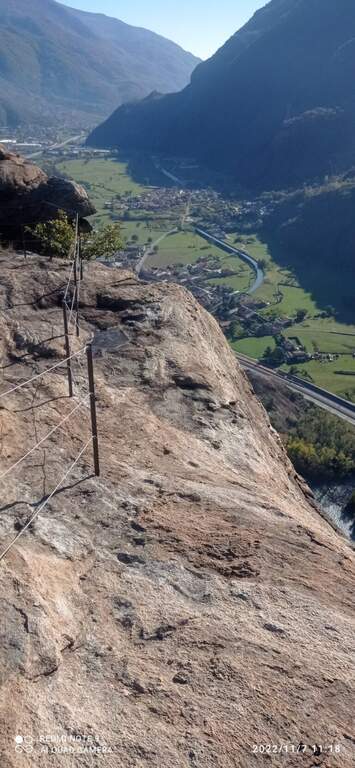
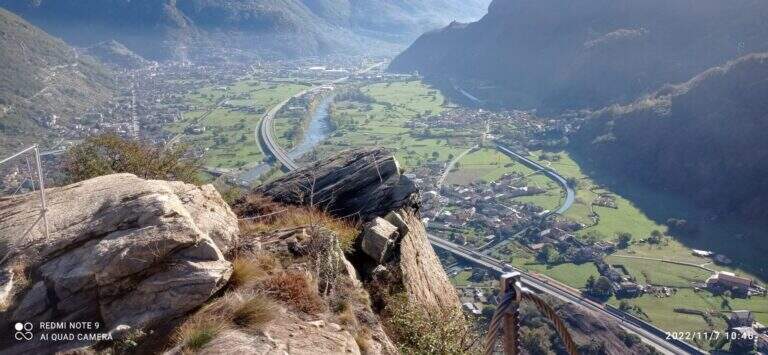
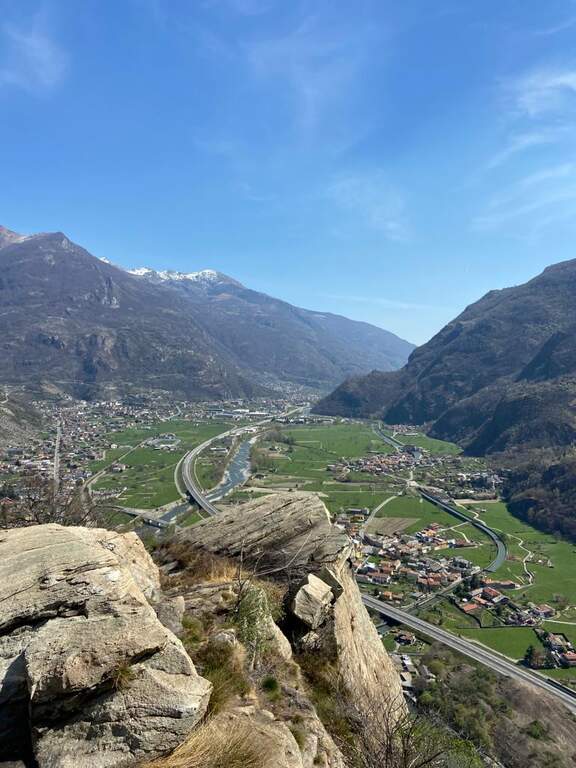
    The first part is a path equipped with low difficulty that climbs ramps and pitches in the woods, with beautiful views of the valley and the vineyards; it has more the characteristics of an equipped path than a real ferrata, missing with verticality. After a short stretch downhill and other easy passages ends the first part; it follows a stretch of connection in the forest (about ten minutes, yellow pollen) until the second part, more vertical and fun. The cable resumes on plates supported up to a first prominence with abundant cambre; it exits right in view of the valley, you pass another short stretch downhill and you reach the most characteristic passage, on the edge of the wall overlooking the valley (without difficulty, but very panoramic). At a crossroads you can choose on the right the easy street or on the left a moderately difficult variant, which after a short crossing rises a small wall slightly adjective of about ten meters, rich of cambre. The two routes gather for the final meters: a few horizontal steps and an easy diagonal crossing up to the end (about 1h 15' from the beginning of the equipment, about 1h 45' total).

    ▲Character and difficulty

    Itinerary short and easy, ideal for neophytes and accessible most of the year; the left variant adds a pinch of commitment for those who want something more vertical.

    ▲History

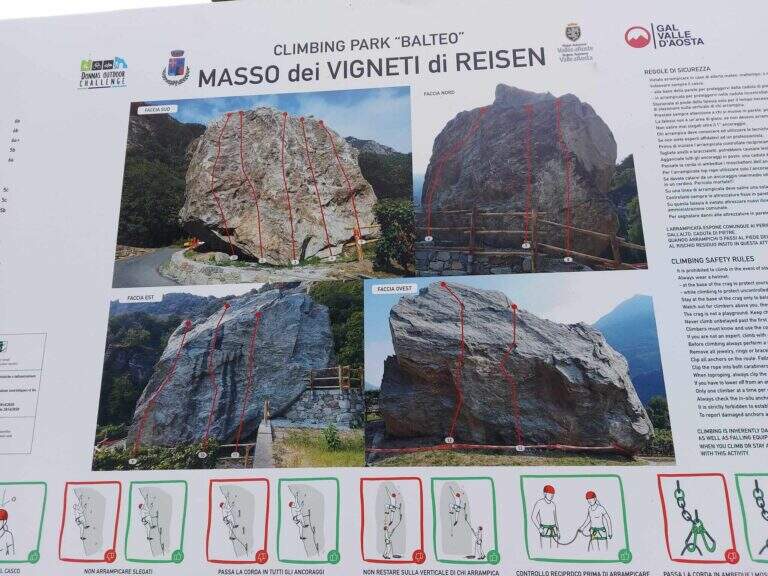
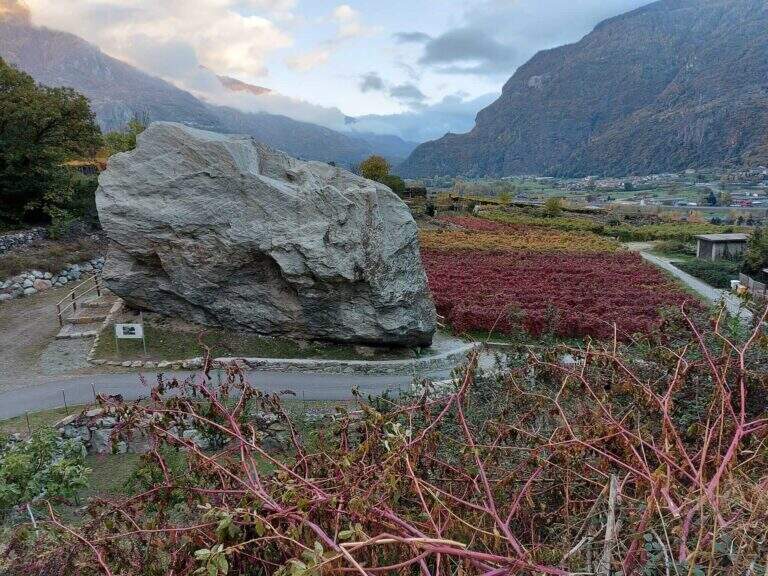
    The ferrata was inaugurated on 6 November 2021, within a larger project that also includes new equipped cliffs (Piramide di Pomerou, Falesia delle Ciliegie, Masso Vigneti di Reisen).

    ▲Discipline

    The return path is well marked and develops in the woods, rejoining with the final part of the approach; you return to the car backwards (about 40' from the term, about 2h 30' total).

    ▲To match

    Short and easy, leave time for a second way in the day: the most difficult Ferrata del Gorbeillon towards Cervinia, the Ferrata Casimiro o la Ferrata José Angster; staying in the lower valley Ferrata di Covarey.

    ▲Gallery
    Technical data
    • DifficultyEasy
    • RegionAosta Valley
    • GroupLower Aosta Valley
    • Approach0:20 h
    • Ferrata1:15 h
    • Itinerary (a/r)2:30 h
    • Hardware level difference200 m
    • Route difference300 m
    • Max639 m
    • Length4 Km
  • Ferrata del Partusac

    Ferrata del Partusac

    Vie Ferrate › Piedmont › Vercelli
    Ferrata del Partusac

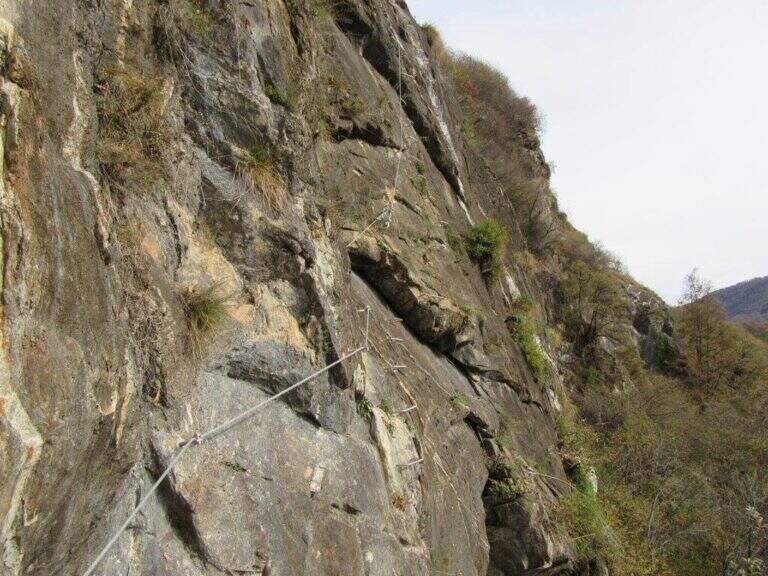
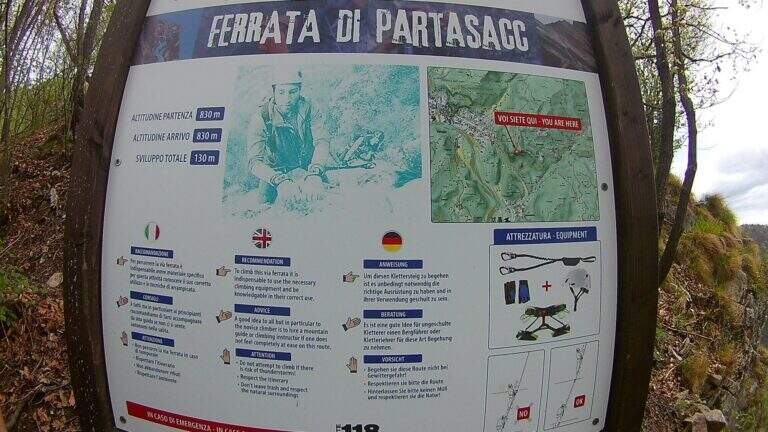
    The Ferrata del Partusac is an easy way to Civiasco, in Valsesia (Vercelli). It takes place above all in climbs, with a traverse and a vertical wall well equipped in the final, a little exposed but not difficult; interesting from the landscape point of view, is often traveled in succession to the nearby Ferrata Falconera.

    ▲Approach

    For the only partusac it is advisable to start from Civiasco: at the entrance of the village take the road Piandellavalle and park in the square on the right. Starting point on Google Maps. From the chapel of Pian della Valle you take the path 636B in the woods, you ignore the first two bivores and the third you go left on the 636C until the attack (20' from the parking lot). Starting from Varallo you climb on 636A until the junction with 636B at an artificial pond, then 636B and 636C until the attack (40'); who arrives from the end of Ferrata Falconera reaches the attack in 5'.

    ▲The path

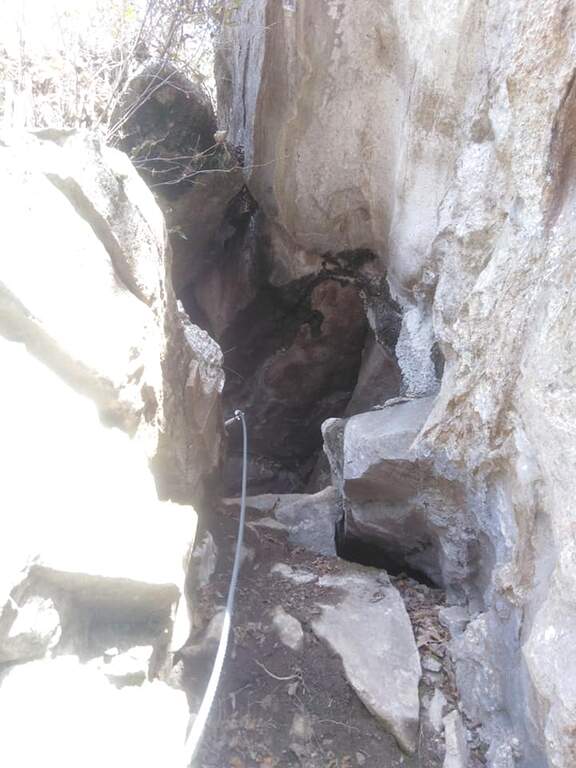
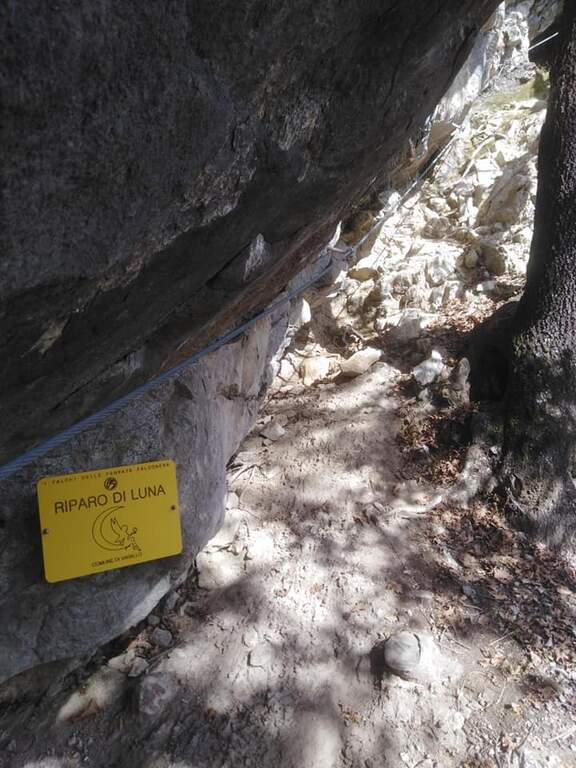
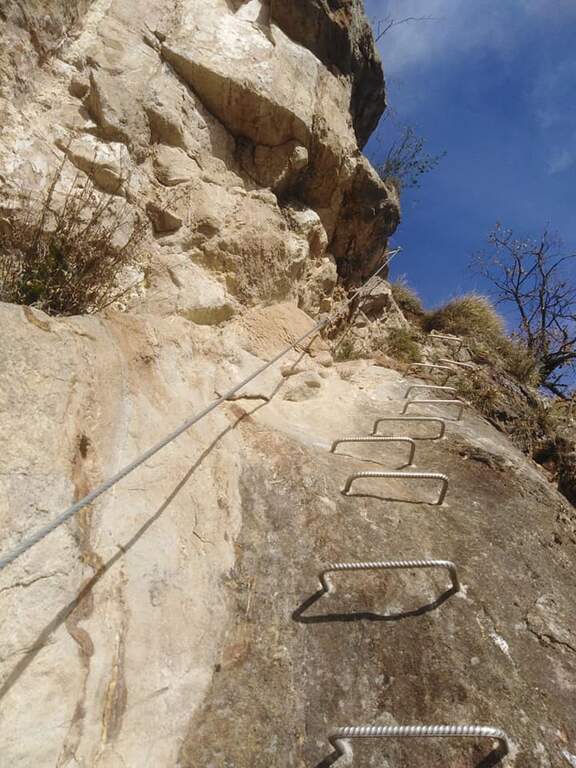
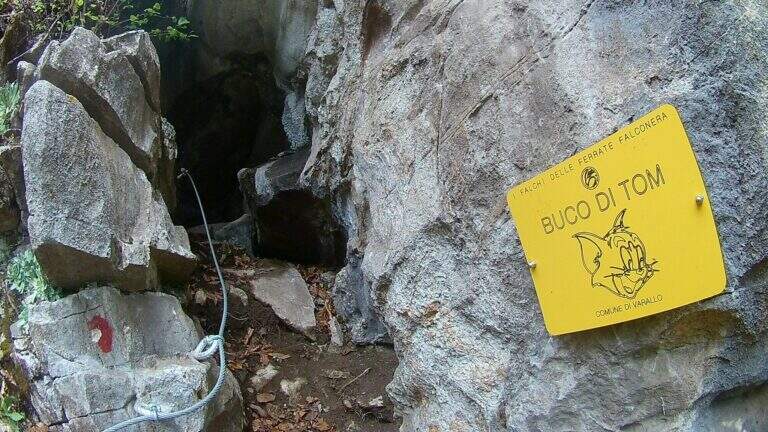
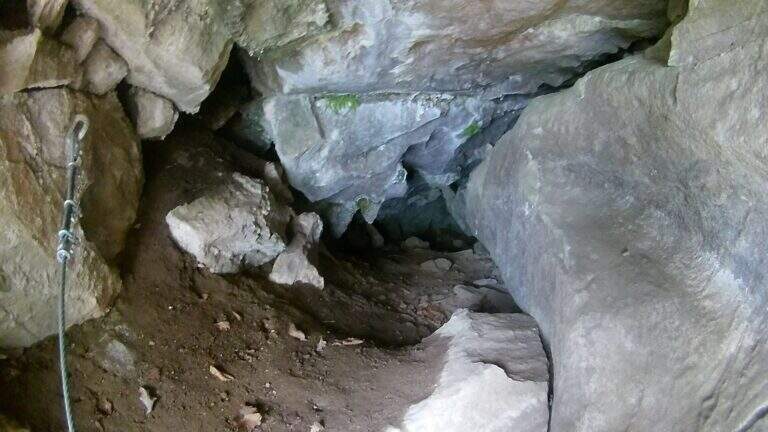
    The road begins with a downhill stretch on a steep path of mixed earth-rock; at the end you continue left in oblique until a first small cave, you descend again and on an easy nod you reach a second cave. It follows a transverse oblique exposure to the right up to an equipped vertical wall that climbs steep, gaining altitude and exposure; you arrive at a grassy terrace and a new vertical wall equipped, then a last floor leads to the end of the street (30' from the attack, about 1h from the parking lot).

    ▲Character and difficulty

    Easy Ferrata, from the modest difference in altitude, available in both ways: excellent as first experience for the neophyte or as a continuation of the Falconera for the experienced hiker.

    ▲Discipline

    You can go back to the street or follow the path to the forklifts: parking in Piandellavalle you go down 636B until the pond and then 636; for Varallo you follow the 636B until the junction with the 636A downhill.

    ▲To match

    Almost mandatory matching with the neighbor Ferrata Falconera. Alternatively Picasass Ferrata on Lake Maggiore or the Infernone Path in Biellese.

    ▲Gallery
    Technical data
    • DifficultyEasy
    • RegionPiedmont
    • GroupValsesia
    • Approach0:20 h
    • Ferrata0:30 h
    • Itinerary (a/r)1:15 h
    • Hardware level difference40 m
    • Route difference130 m
    • Max830 m
    • Length1,6 Km
  • Ferrata Ovest o dell’Ultimo Sole (Pietra di Bismantova)

    Ferrata Ovest o dell'Ultimo Sole (Pietra di Bismantova)

    Vie Ferrate › Emilia-Romagna › Reggio Emilia
    Ferrata Ovest o dell'Ultimo Sole (Pietra di Bismantova)

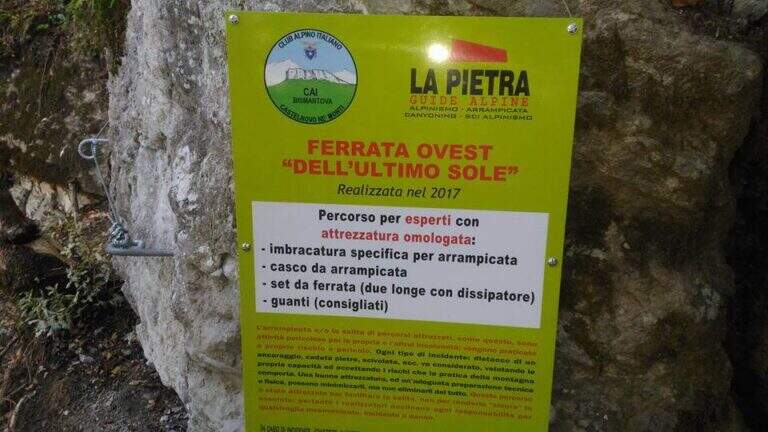
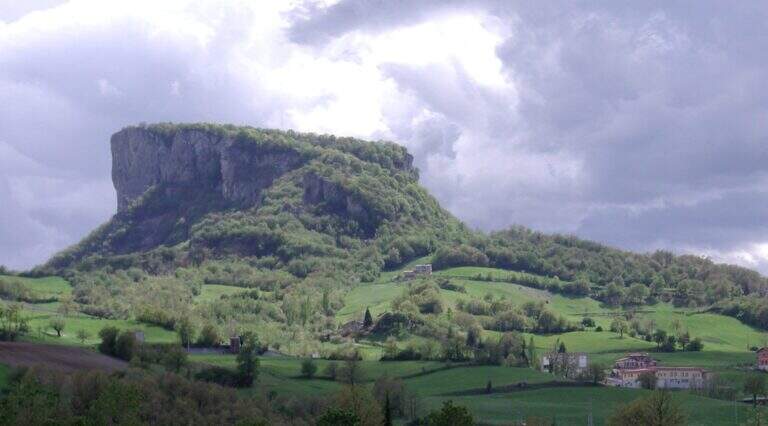
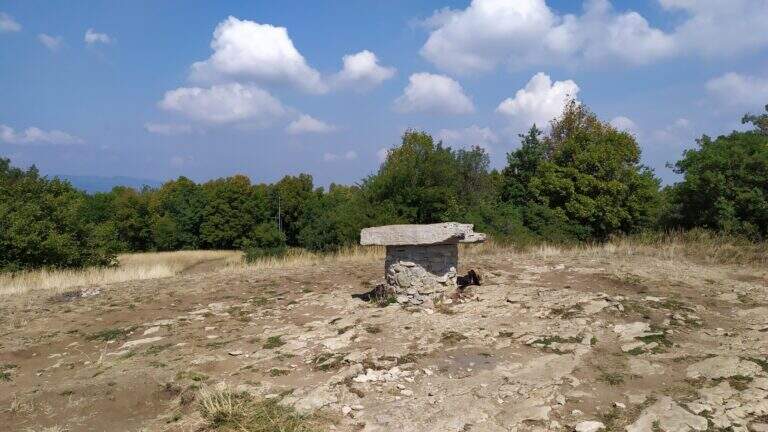
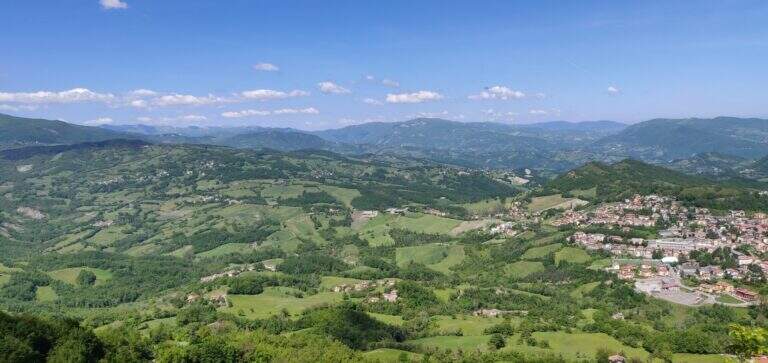
    La Pietra di Bismantova è una singolare formazione rocciosa dell'Appennino reggiano, nota agli arrampicatori per oltre 80 vie. Dal 2017 la parete Ovest ospita questa facile ferrata, ideale per chi vuole approcciarsi alle vie attrezzate.

    ▲Approach

    Partenza dal Piazzale Dante a Castelnuovo ne' Monti (Reggio Emilia), raggiungibile dalla SS 63 del Cerreto seguendo le indicazioni per la Pietra di Bismantova. Starting point on Google Maps. Dal piazzale si risale la scalinata, si raggiunge e si costeggia il Rifugio della Pietra e si segue il sentiero principale CAI 697 verso il pianoro sommitale, lungo imponenti pareti d'arrampicata; dopo circa 20' un cartello indica a sinistra l'imbocco della ferrata, raggiunta in pochi metri di discesa.

    ▲The path

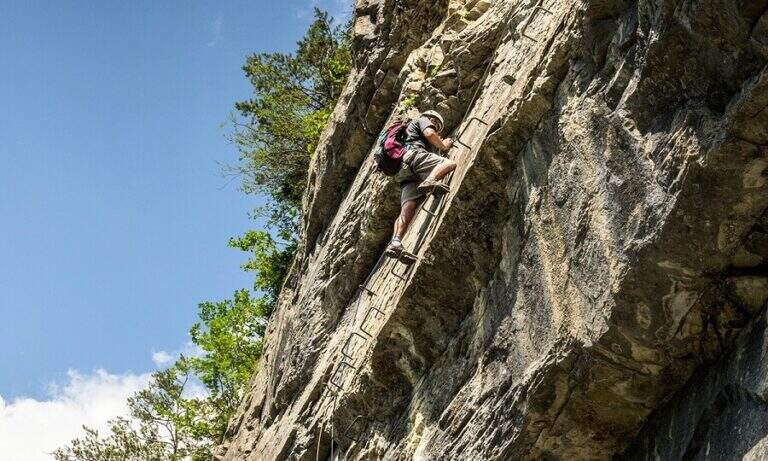
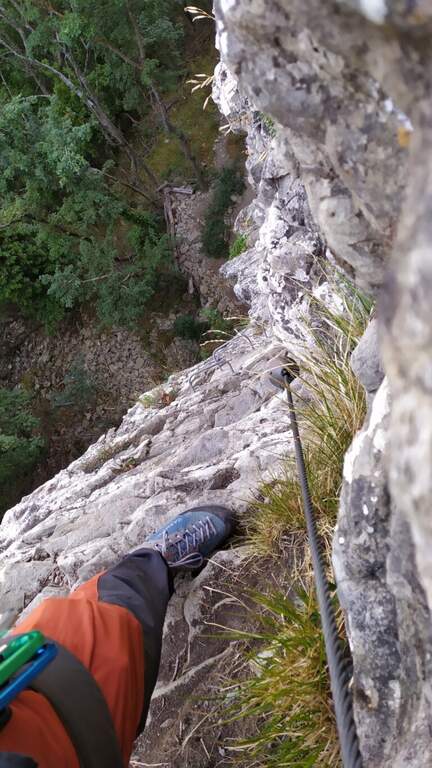
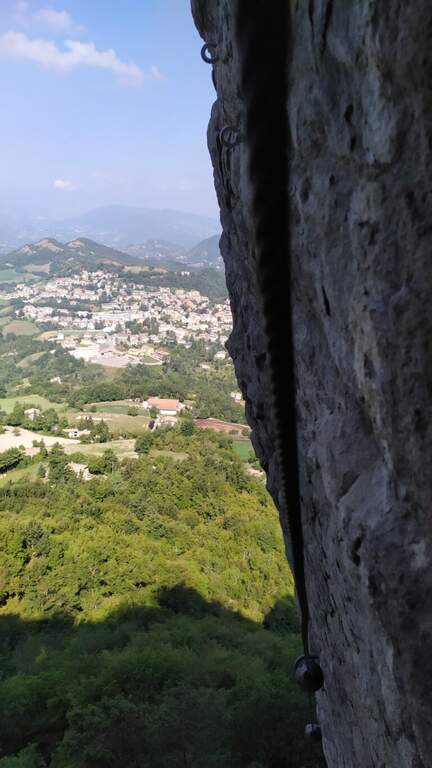
    La via è divisa in due parti. La prima è una lunga cengia con facili sali-scendi, dove spesso il cavo funge da corrimano: ideale per prendere dimestichezza con la progressione; al suo termine (15' dall'attacco) si può eventualmente tornare indietro. La seconda parte è più verticale e divertente: si attacca una placca abbastanza verticale, con passaggi che richiedono più attenzione ma ben attrezzati con maniglie e cambre; segue un facile traverso e una rampa, al termine della quale si scende un paio di metri fino al libro delle firme. La salita si chiude con una cengia inclinata e un ultimo salto, reso facile da maniglie e cambre, fino al termine delle attrezzature (30' dall'attacco).

    ▲Character and difficulty

    Ferrata facile, perfetta come prima esperienza; chi ha buona esperienza può percorrerla anche in discesa, magari dopo aver salito la più complessa Ferrata degli Alpini sulla parete Est.

    ⚠ Durante il rientro è bene non togliere il casco fino al Rifugio della Pietra: non è raro vedere cadere sassi dalle pareti.
    ▲History

    La Ferrata dell'Ultimo Sole è stata inaugurata nel 2017 dal CAI di Castelnovo ne' Monti e installata dalle Guide La Pietra.

    ▲Discipline

    Si prosegue dritto sui prati sommitali innestandosi sul CAI 697, che verso destra scende a Piazzale Dante (20' dal termine). In alternativa, a sinistra, si può raggiungere la parete Est per osservare la parte finale della Ferrata degli Alpini (10' dal termine della Ferrata Ovest).

    ▲To match

    Si concatena con le altre vie di Bismantova: la Ferrata degli Alpini e la Ferrata Orto del Mandorlo (con cui forma un classico anello). Nei dintorni, in giornata: Ferrata Balze del Malpasso (~24 km), Ferrata Monte Penna (~42 km) e Ferrata Barranco del Dolo (~38 km).

    ▲Gallery
    Technical data
    • DifficultyEasy
    • RegionEmilia-Romagna
    • GroupStone of Bismantova
    • Approach0:20 h
    • Ferrata0:45 h
    • Itinerary (a/r)1:30 h
    • Hardware level difference70 m
    • Route difference180 m
    • Max1046 m
    • Length3 Km
  • Ferrata il Nido dei Santa Croce (Corna Maria)

    Ferrata il Nido dei Santa Croce (Corna Maria)

    Vie Ferrate › Lombardia › Bergamo
    Ferrata il Nido dei Santa Croce (Corna Maria)

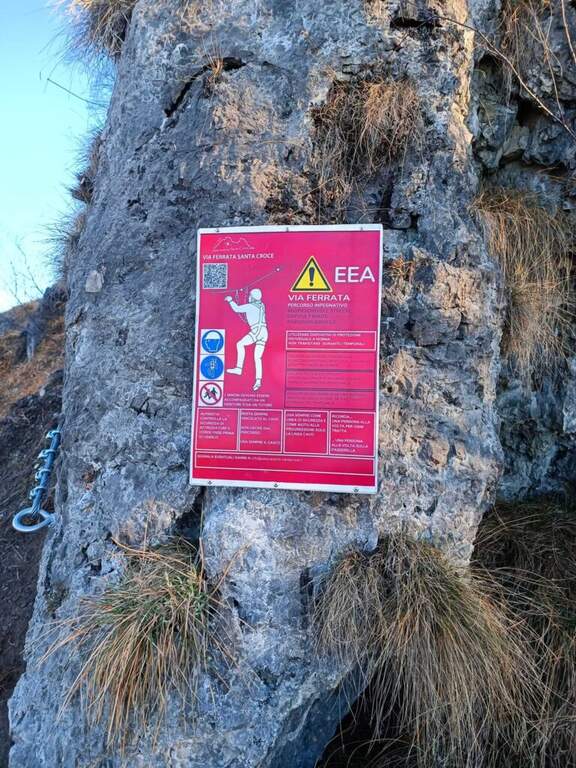
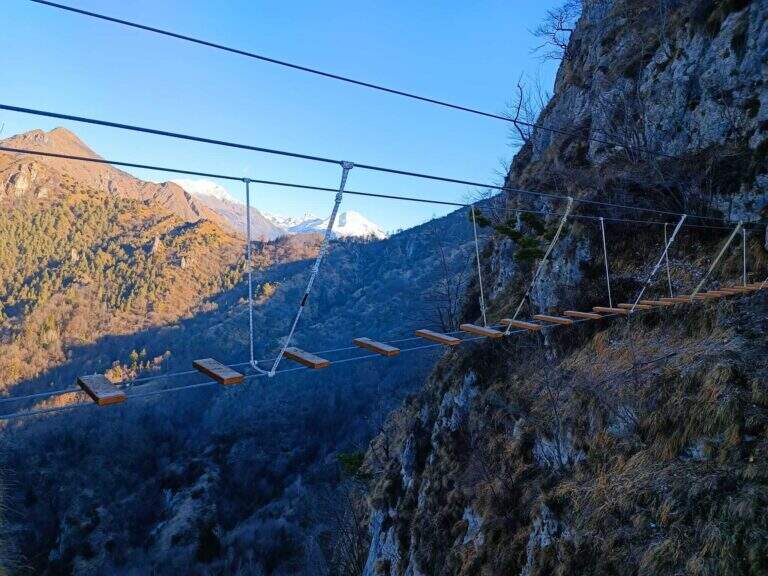
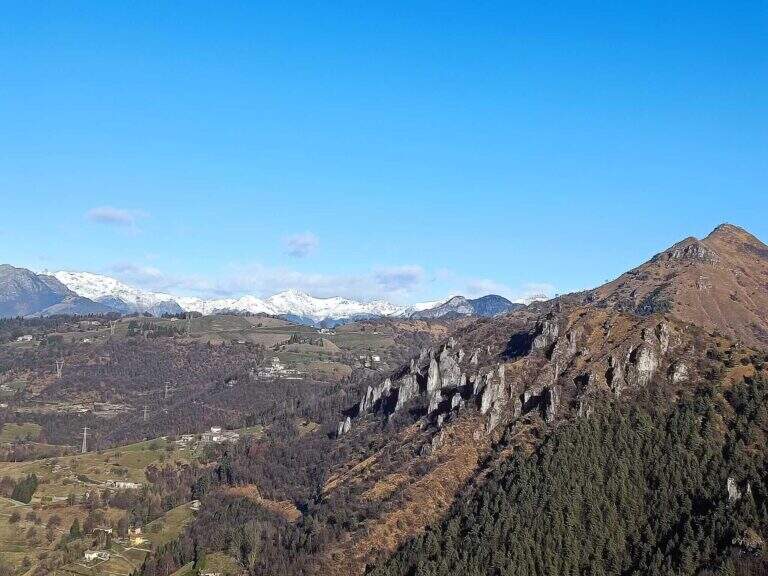
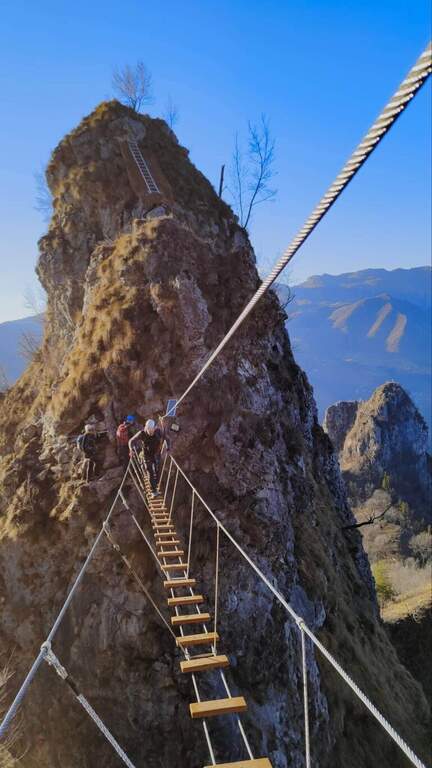
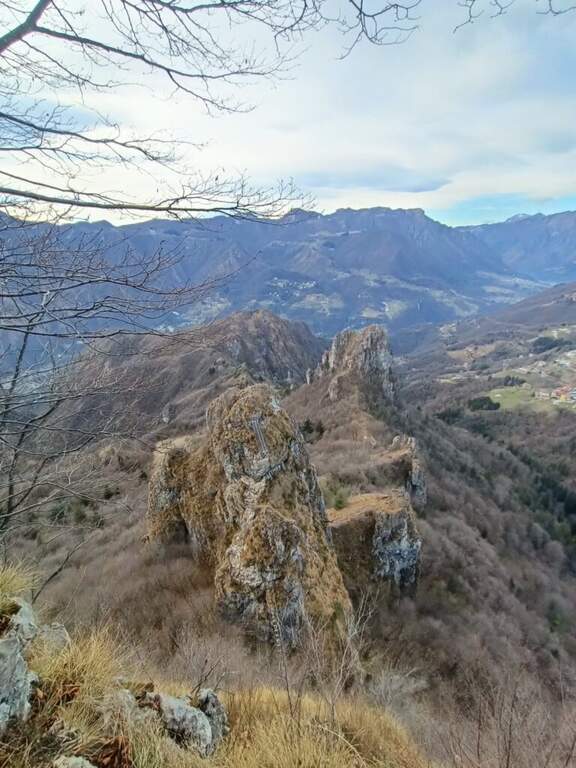
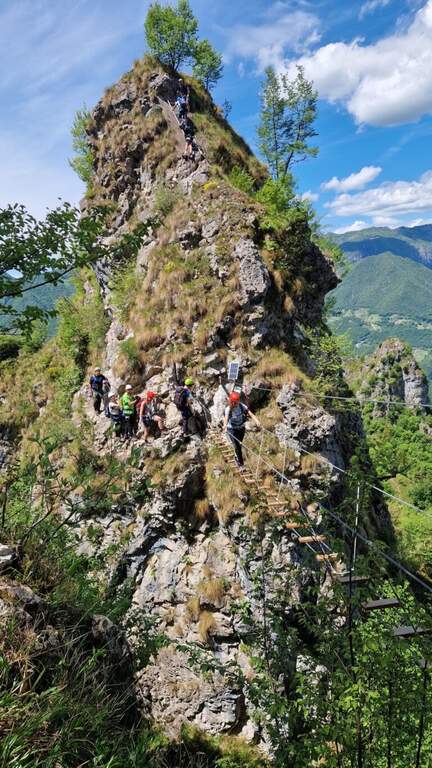
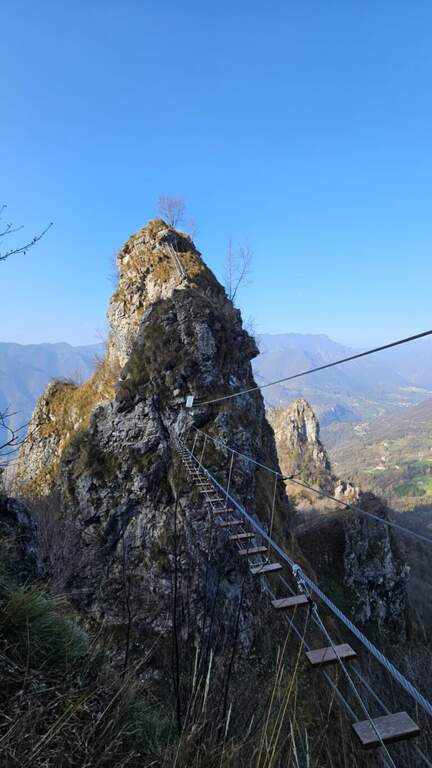
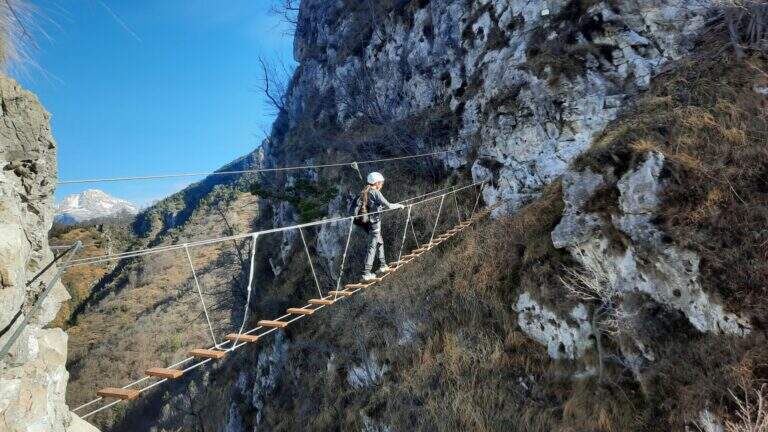
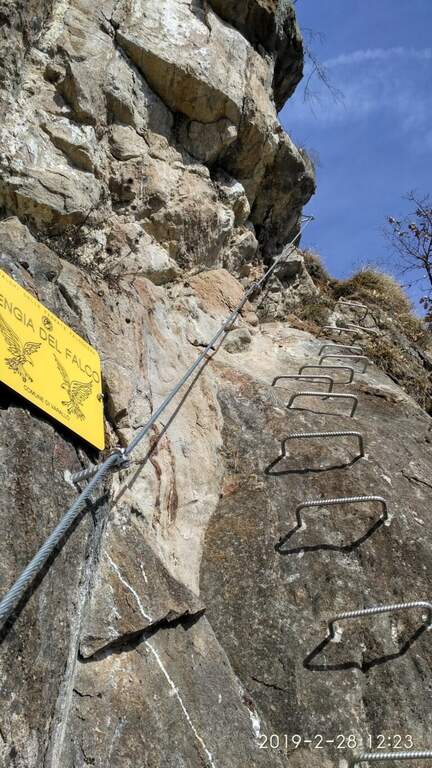
    La Ferrata del Nido dei Santa Croce è una via recente in Val Brembana (Bergamo) che sale la Corna Maria, presso San Pellegrino Terme. Nel complesso è facile — con la sola eccezione di una paretina «moderatamente difficile» — e regala passaggi interessanti e un bel ponte sospeso; è percorribile tutto l'anno.

    ▲Approach

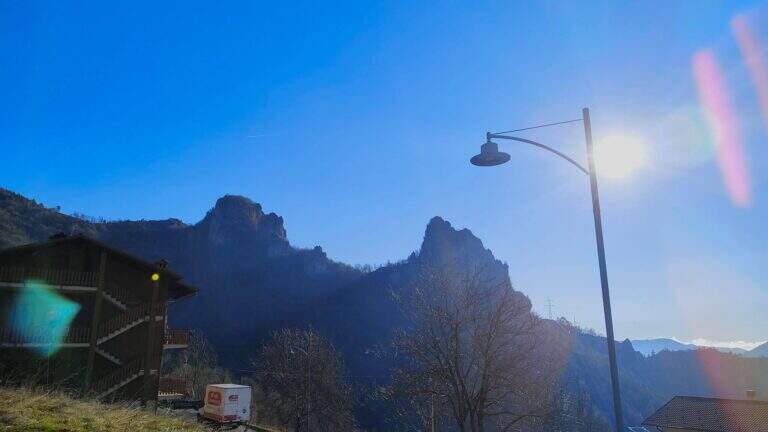
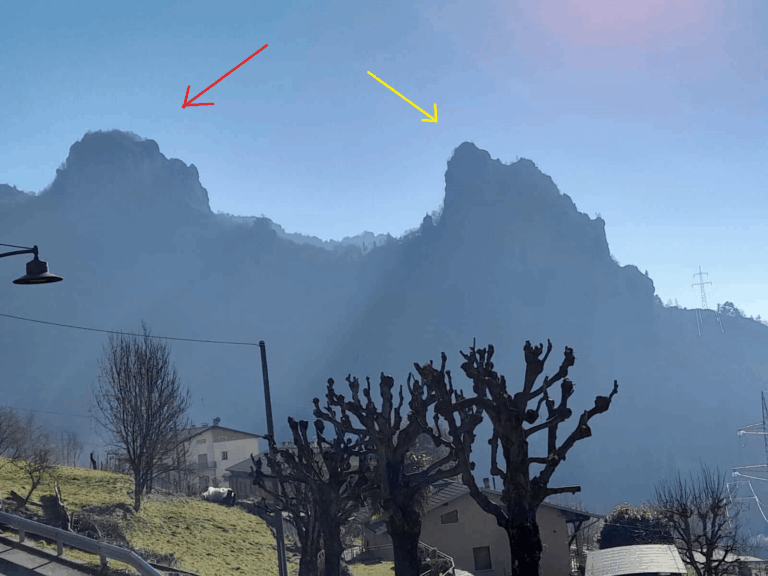
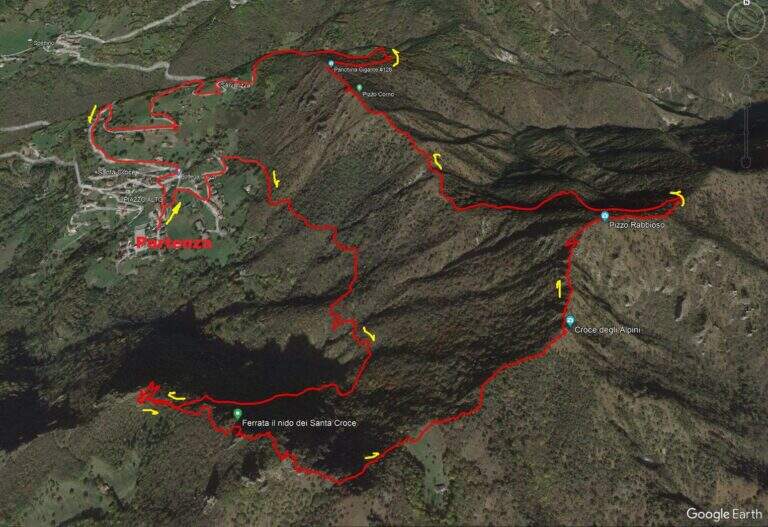
    Si parte dalla frazione di Santa Croce (San Pellegrino Terme). Si risale la Val Brembana fino a San Pellegrino; da sud si supera il paese e si esce a destra dove indicato «Dossena / San Pellegrino Terme», poi si segue per Antea e quindi a destra per Santa Croce, parcheggiando ad esempio nell'ampio spazio vicino alla chiesa. Open road signs on Google Maps. Dal paese sono ben visibili le due mete: a sinistra la Corna Maria, a destra la Corna Pedezzina. Si segue il sentiero CAI 561 verso la Corna Maria; al punto di congiunzione dell'anello si prosegue dritti verso il Monte Rabbioso, incontrando un paio di segnavia per la ferrata, fino a una sella con un capanno di caccia verde dove si svolta a sinistra; sulla destra il cartello d'attacco (30' dal parcheggio).

    ▲The path

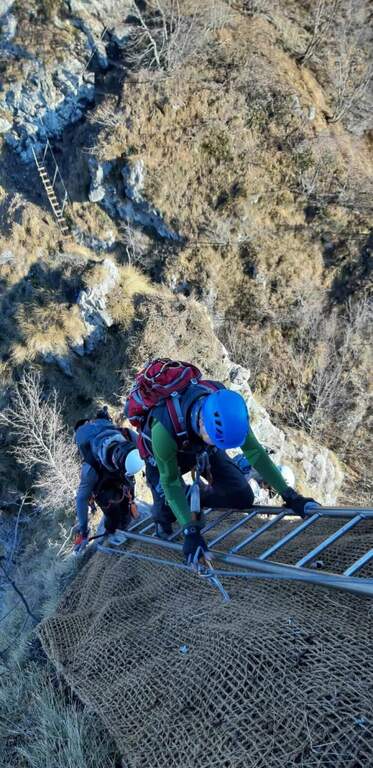
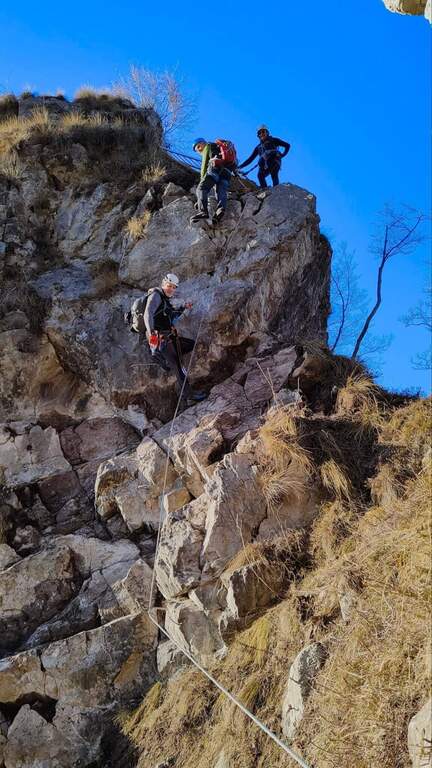
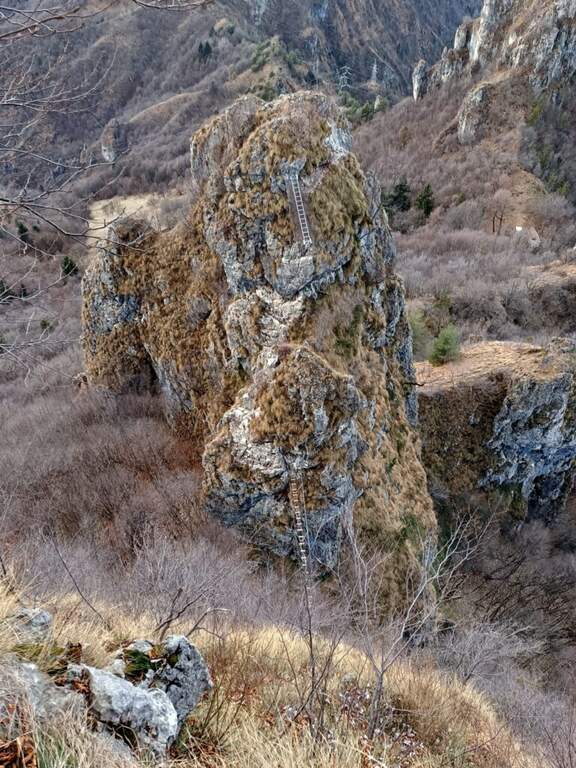
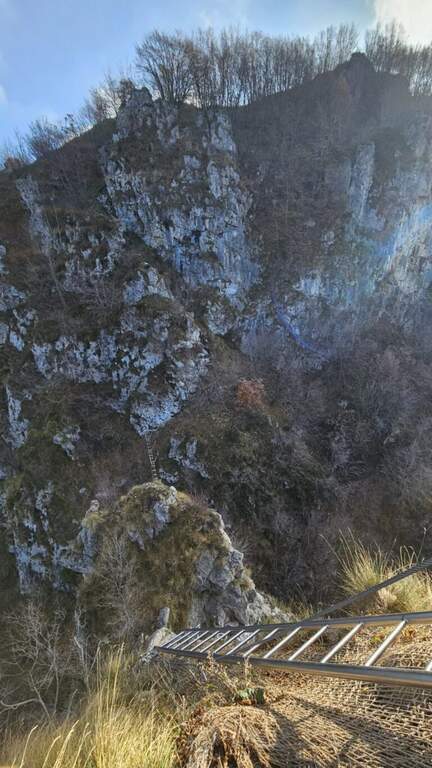
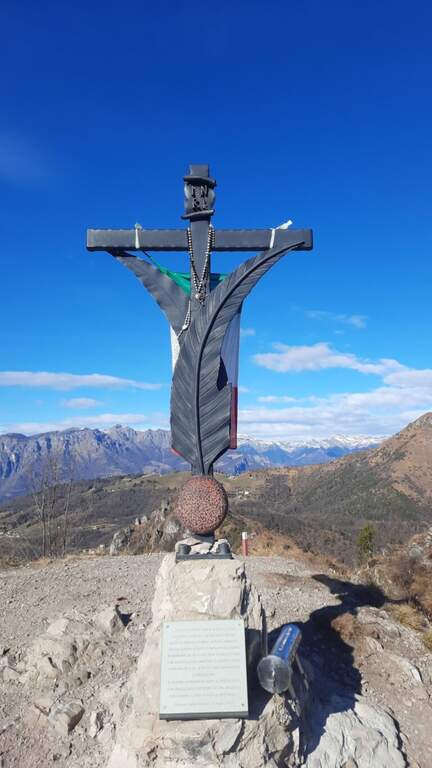
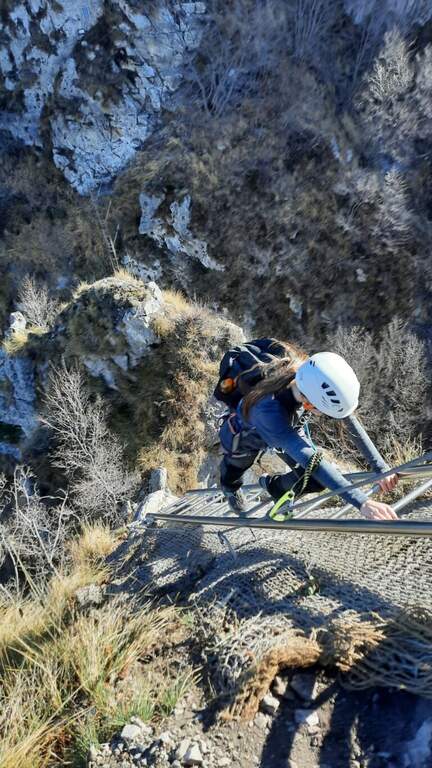
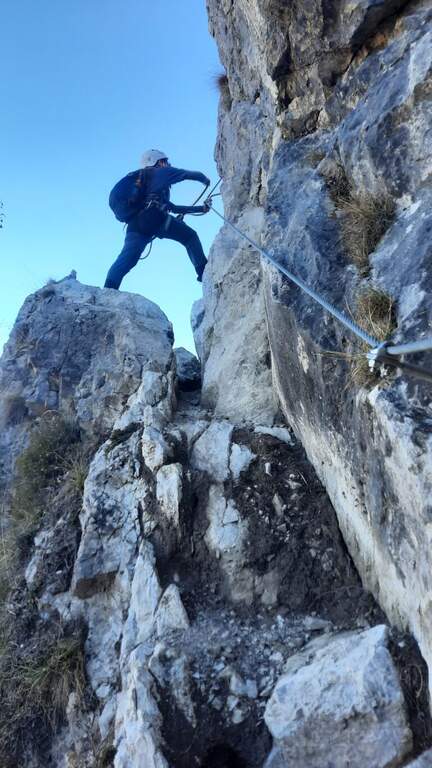
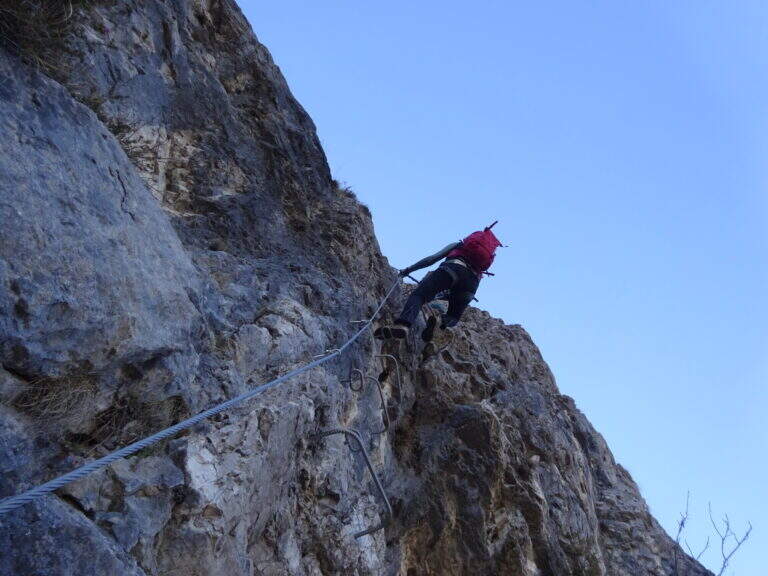
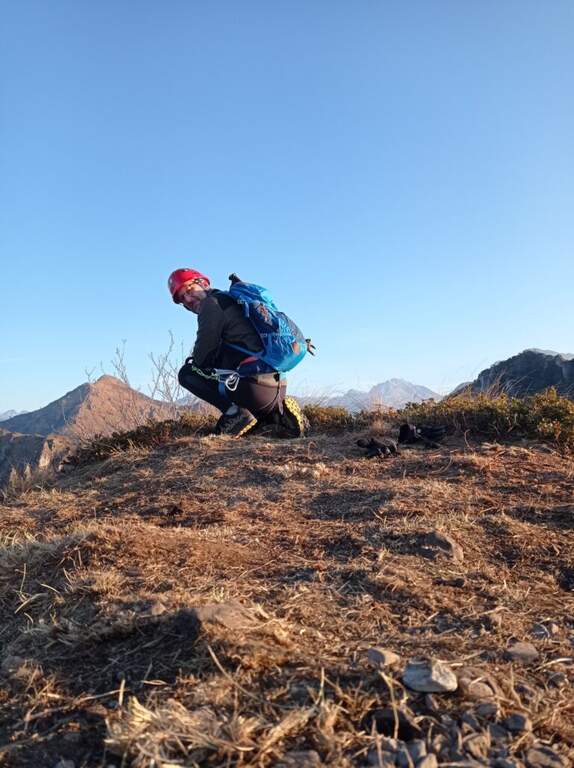
    I primi metri sono sentiero attrezzato con un breve balzo roccioso e un tratto di collegamento. Si sale poi una bella parete verticale di calcare, ben frastagliata e dotata di cambre e maniglie: è il tratto «moderatamente difficile». Si prosegue in salita per una trentina di metri piegando a destra fino a un terrazzino terroso panoramico sulla Val Brembana; ci si sposta a sinistra e si sale uno spigolo ben gradonato, poi un facile traverso orizzontale a destra conduce a una scaletta metallica da percorrere in discesa. Sotto si vede il ponte sospeso, raggiunto dopo una quindicina di metri di disarrampicata facilitata dalle cambre (attenzione a un paio di passaggi in cui per individuare gli appoggi serve sporgersi). Si traversa a sinistra e si raggiunge il ponte sospeso (17 m), con assi di legno. Oltre il ponte si sale verso destra su passaggi di modesta difficoltà fino a un terrazzino, poi su risalti rocciosi arrampicabili fino al termine dei tratti verticali (le attrezzature fungono solo da corrimano). Si segue infine la traccia fino alla cima della Corna Maria (1057 m, circa 40' dall'attacco, circa 1h 15' dal parcheggio).

    ▲Character and difficulty

    Via recente, con attrezzature abbondanti e in ottimo stato, adatta a principianti con un minimo di esperienza (in particolare per un paio di passaggi nella prima parte e per il tratto in discesa prima del ponte). Aperta al pubblico da inizio 2022; fa parte di un progetto più ampio che include la vicina Corna Pedezzina (completata nel 2023).

    ⚠ Essendo una via di costruzione recente, prestare attenzione al terreno e a eventuali detriti lungo il percorso.
    ▲Period and safety

    Bassa quota: percorribile quasi tutto l'anno, eventualmente evitando i mesi più caldi.

    ▲Discipline

    Dalla Corna Maria si segue il cavo che, verso est, scende e aggira la cima in direzione del Pizzo Rabbioso; si prosegue in cresta per circa 70 m fino a deviare a destra in discesa, raggiungendo il sentiero CAI 561. Si tiene la destra per tornare a Santa Croce (circa 2h totali); a sinistra si completa invece il giro ad anello. Lungo la discesa è possibile abbinare, seguendo la segnaletica, la vicina Ferrata alla Corna Pedezzina.

    ▲To match

    In zona: la Ferrata alla Corna Pedezzina, la difficile Ferrata del Monte Ocone in Valle Imagna, la Ferrata Maurizio all'Alben e, nelle Orobie, la Ferrata del Pizzo del Becco.

    ▲Gallery
    Technical data
    • DifficultyEasy
    • RegionLombardy
    • GroupPrealps Bergamasche
    • Approach0:30 h
    • Ferrata0:40 h
    • Itinerary (a/r)0:45 h
    • Max1057 m
    • Length3,5 Km
  • Ferrata del Monte Sarrandone

    Ferrata del Monte Sarrandone

    Vie Ferrate › Lombardia › Bergamo
    Ferrata del Monte Sarrandone

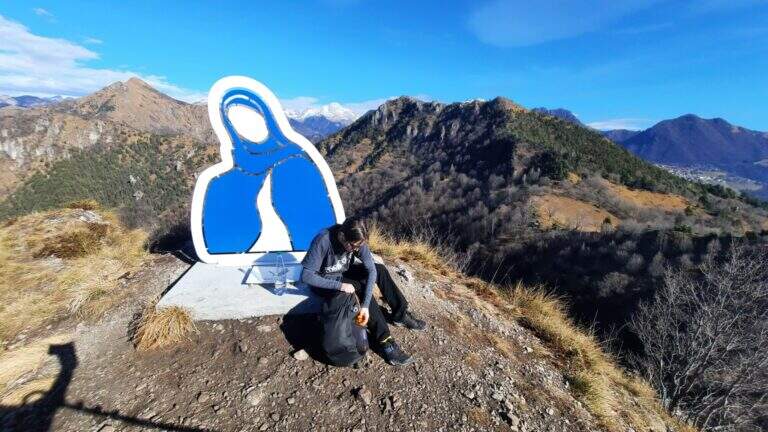
    The Ferrata del Monte Sarrandone is short and without significant difficulties, just above Castione della Presolana: an ideal itinerary as the first approach to the ferrates, which can be reached most of the year. It is probably, along with the Madonnina del Coren, the easiest piece of the province of Bergamo.

    ▲Approach

    It starts from the hamlet of Bratto-Dorga (Castione della Presolana). Coming from the valley you pass Bratto towards Passo della Presolana; after a hairpin bend, uphill on the left, a sign signals the end of the hamlet and, a few meters later, an asphalted cobble closed by a bar. Open road signs on Google Maps. You park just before the cobble (un' car) or about 100 m above (3 cars). You walk up the cobble, you ignore a first track on the left and continue until you intercept the sentiero CAI 28, which you take left: in short you reach the limestone plate where the ferrata begins, unmarked (1260 m, about 20' from the parking lot).

    ▲The path

    The rock is mostly calcareous and, towards the end, dolomitic. The way is divided into two trunks. The primo climbs on rock with moderate slope, in support, accessible either by climbing or by holding the cable; despite the vegetation (grass, bushes) there is no lap for hands and feet, with some more steep but simple traits. It follows a stretch of connection uphill in the forest until the second plaque. The secondo is mainly on calcareous plates in support, then more fun with l' slope rise, up to a nice passage to the right and a vertical section with hooks to climb in pleasant climbing. After about twenty meters you reach the top, with a view of the valley (1460 m, about 40' from' attack, about 1h total).

    ▲Character and difficulty

    Fully equipped with stretch galvanized steel cable, fixed with L. simple and pleasant, is used by alpine guides as a preparatory course and by CAI schools for youth mountaineering.

    ⚠ Also on an easy way, helmet and ferrata sets remain obligatory. The attack is not reported: follow CAI 28 until the plaque.
    ▲Period and safety

    Most of the year can be traveled, given the quota. Check the absence of snow/ice on the plates.

    ▲Discipline

    Go down backwards. Interesting alternative: a double rope descent from the summit (about 30 m) to a small natural amphitheatre, then in the forest to resume the ferrata for the descent (total time about 1h 45').

    ▲Gallery
    Technical data
    • DifficultyEasy
    • RegionLombardy
    • GroupPrealps Orobie
    • Approach0:20 h
    • Ferrata0:40 h
    • Itinerary (a/r)1:45 h
    • Hardware level difference180 m
    • Route difference400 m
    • Max1446 m
  • Ferrata del Monte Amariana

    Ferrata del Monte Amariana

    Vie Ferrate › Friuli-Venezia Giulia › Udine
    Ferrata del Monte Amariana

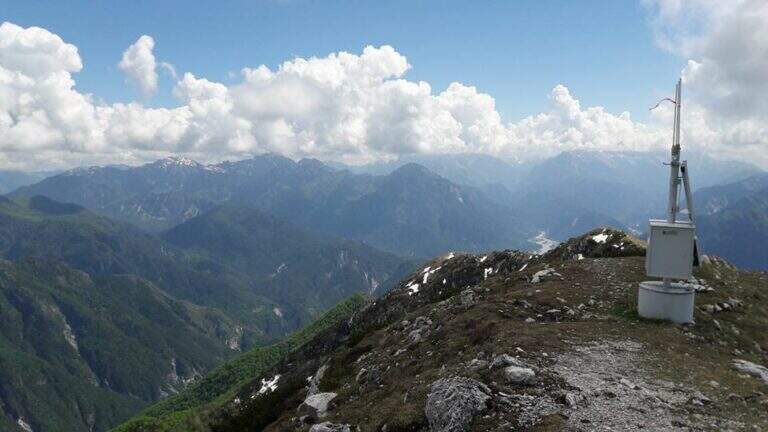
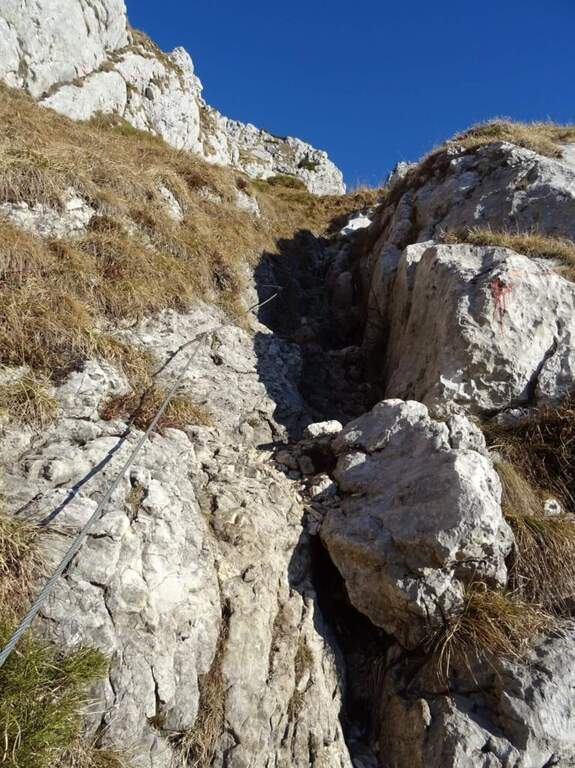
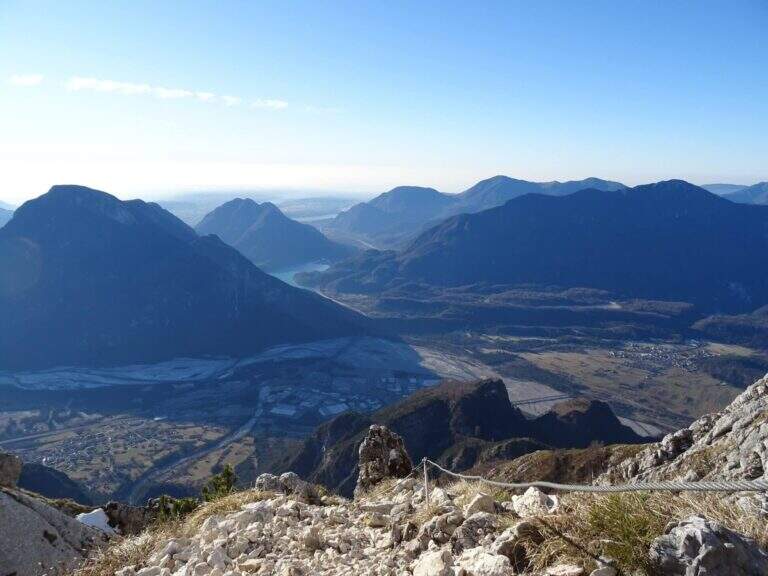
    Mount Amariana (in Friulian "La Mariane"), in the Carniche Prealps, rises at the confluence between Fella and Tagliamento and gives from the summit (1905 m) a 360-degree panorama, much higher than all nearby peaks. The ferrata on the south side is an easy and medium length itinerary (about 7 km between climb and descent) that goes up a canalone up to the saddle below the top.

    ▲Approach

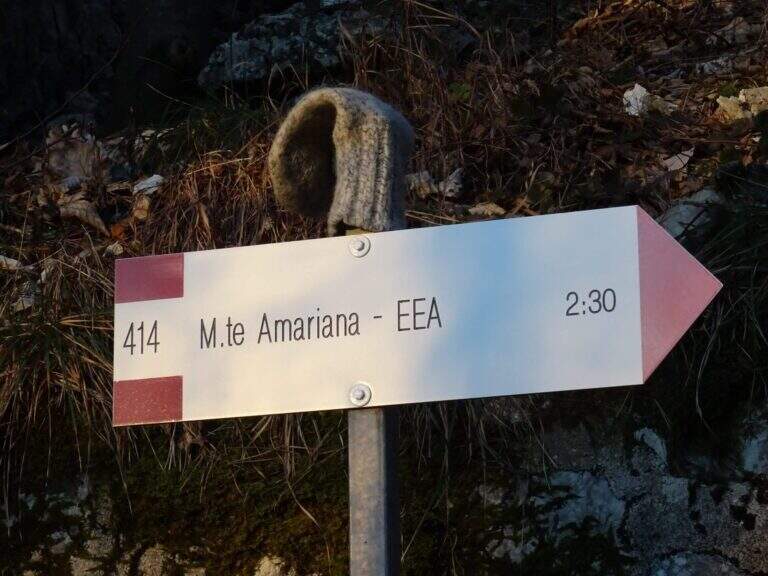
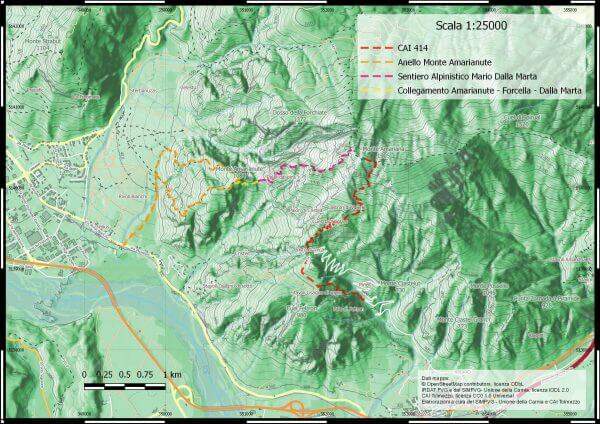
    Exit from the motorway exit of Amaro turn right towards the village; at l', turn left and cross it towards the slopes of the mountain. To the last houses continue along the military road to the Forca del Cristo (980 m). Open road signs on Google Maps. From the Forca del Cristo take the signpost CAI 414, pass by the cuel from the noglars and, out of the woods, you will see the view on Mount San Simeone and the valley. After about 2,6 km you reach the ' attack, about 1700 m; the path is well tracked and free of crossings (except one at the end of the ferrata), so it is practically impossible to miss the road.

    ▲The path

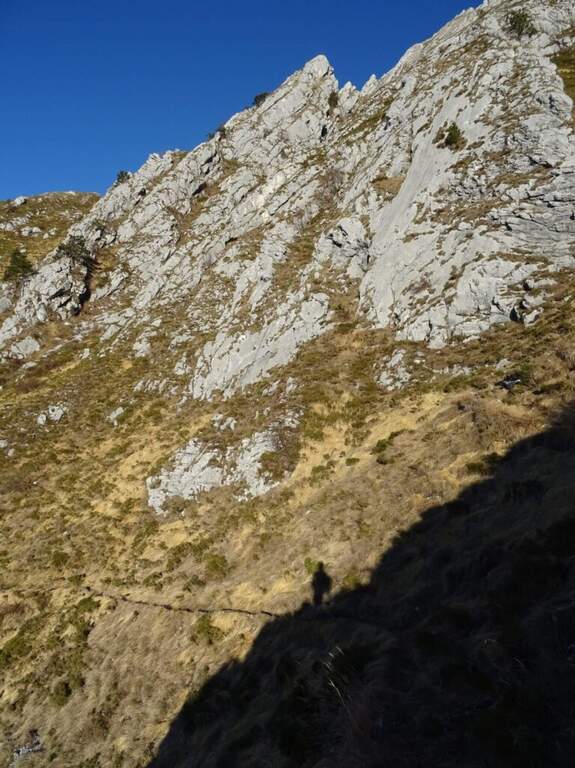
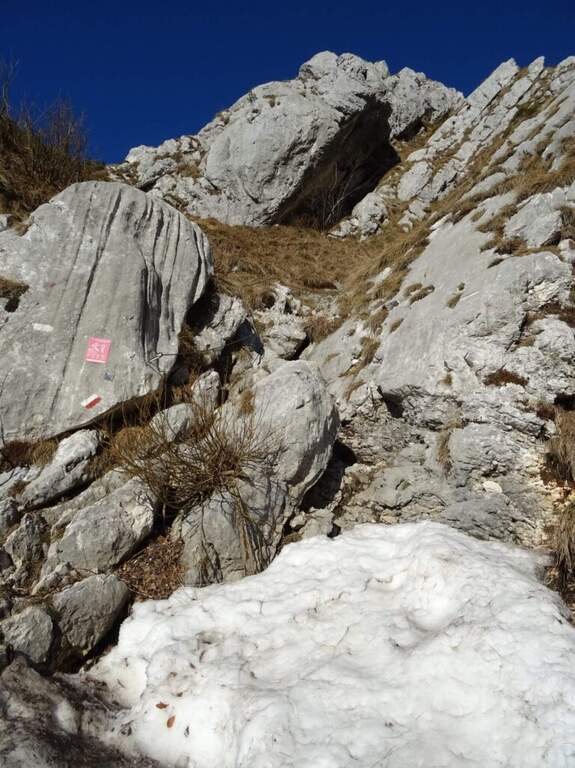
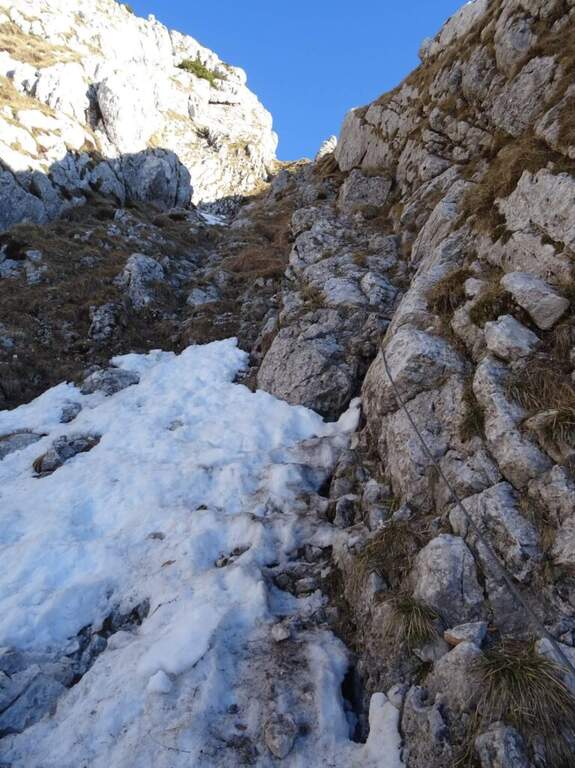
    From ' attack, reported by the CAI red folder (posted after the renovation of the structure in 2016), continues for about 500 m with practical cables grafted into the canalone d' ascent to the saddle under the top. The ferrata is easy; the canalone has quite unstable background, so the helmet is indispensable and should be paid attention not to move debris, which would slide towards the following. After the canal, the equipped sections continue on easy oblique ramps until their end; then you reach the peak (1905 m) in short, on path (2h 30' from ' start).

    ▲Character and difficulty

    Itinerary easy, in fact an equipped path: the ascent could be done even without the cables, but it remains recommended at least for those who have a minimum of experience.

    ⚠ However strongly recommended case: the falls of rocks moved by the weather or other hikers are not infrequent. For low altitude and exposure, address it in spring or autumn: in summer temperatures are very high.
    ▲Period and safety

    Spring and autumn are the best times. Case always worn for the risk of discharges in the tank.

    ▲Discipline

    The quickest option is the return to the uphill route, again to the Forca del Cristo (around 4h 45'). Alternatively, having two cars, you can descend on the north side with the other ferrata up to the Pradut saddle, with possible stop to the newly renovated Bivacco Cimenti-Floreanini (1067 m), continuing up to Illeggio (607 m); or descend the east ridge passing through the shelter Pian d'Aiars (1475 m) and the rec. M. Forcella (1098 m) until the "Ponte".

    ▲To match

    In Carnia: the recent Ferrata Farina del Diavolo in Villa Santina, la Ferrata Cassiopea al Torrione Comici e la Ferrata Cinquanta del Clap.

    ▲Gallery
    Technical data
    • DifficultyEasy
    • RegionFriuli-Venezia Giulia
    • GroupCarnic prealps
    • Approach1:15 h
    • Ferrata1:00 h
    • Itinerary (a/r)4:45 h
    • Hardware level difference300 m
    • Route difference870 m
    • Max1905 m
  • Ferrata Mendola al Roèn

    Ferrata Mendola al Roèn

    Vie Ferrate › Trentino-Alto Adige › Bolzano
    Ferrata Mendola al Roèn

    La facile Ferrata Mendola al Roen è un itinerario piacevole, percorribile per gran parte dell'anno, che non presenta particolari difficoltà tecniche ed è perfetto per avvicinarsi a vie più complesse. L'anello può includere l'interessante Via dei Camosci, sotto il Monte Testa Nera.

    ▲Approach

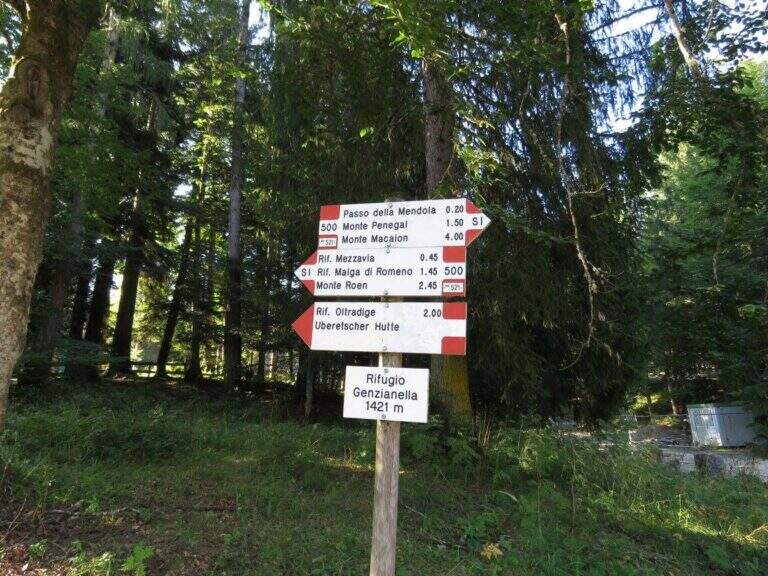
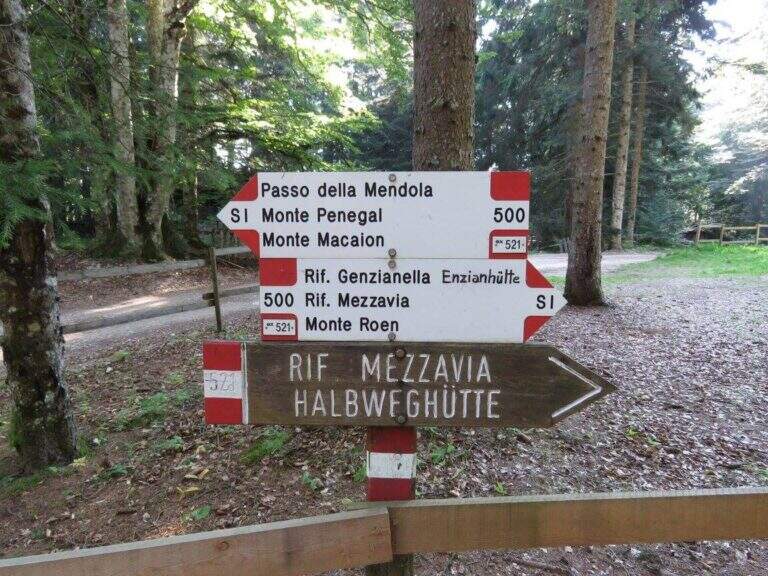
    Si parte dalla stazione a monte della seggiovia che collega il Passo Mendola con il Rifugio Mezzavia: dal Passo Mendola (uscita Bolzano Sud, superstrada per Merano, uscita Appiano) si svolta a sinistra seguendo i cartelli gialli per la seggiovia. Starting point on Google Maps.

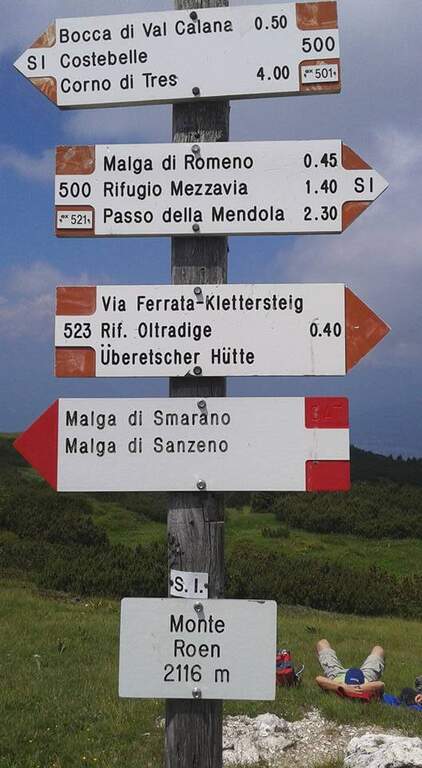
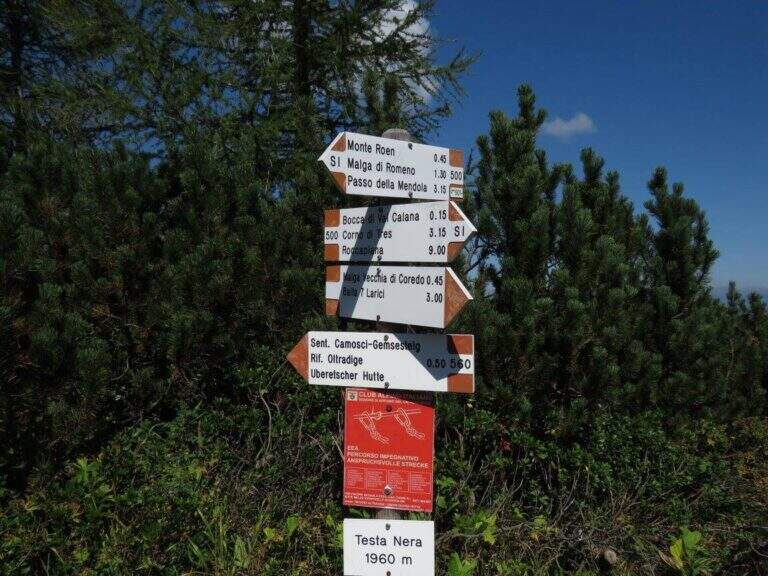
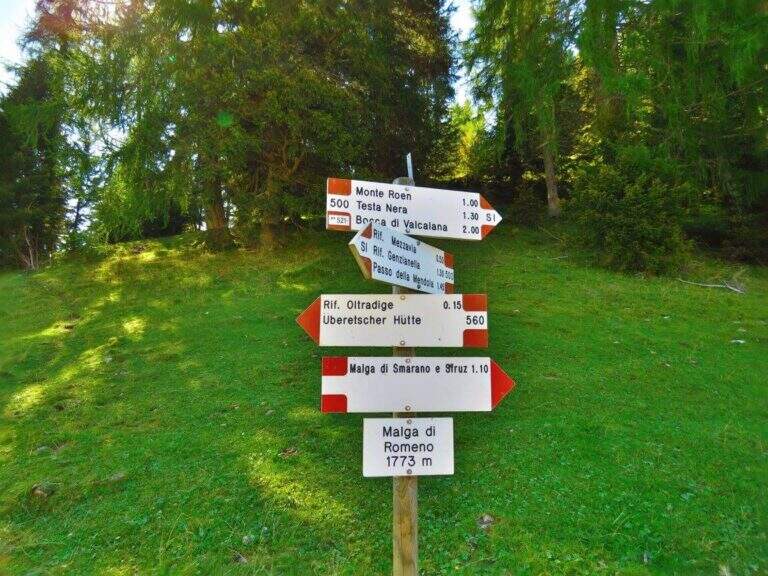
    Dalla stazione a monte si raggiunge il Rifugio Mezzavia (1585 m) e si prosegue dritti sulla forestale CAI 500 fino a Malga Romeno (1773 m, 45'), ignorando i bivi per Monte Lira, Crosara e Caldaro. A Malga Romeno si lascia il CAI 537 e il CAI 500 (via normale al Roen) e si prende il CAI 560, che in falsopiano porta al Rifugio Oltradige (1773 m, 1h dalla stazione a monte), dove inizia la ferrata.

    ▲The path

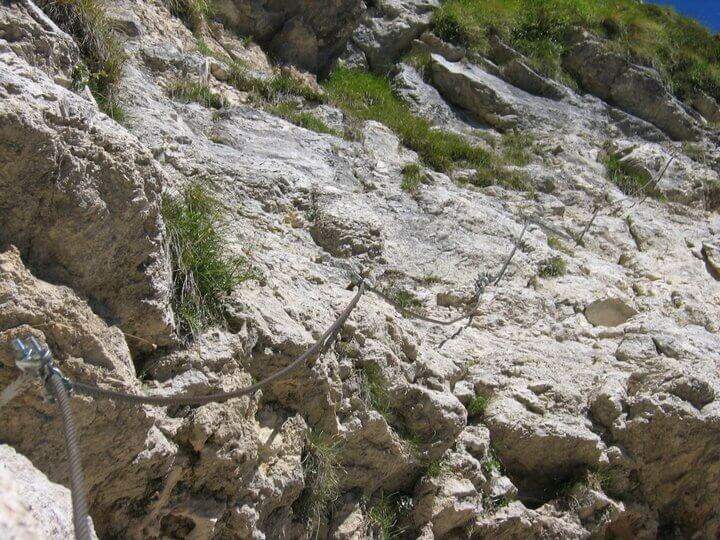
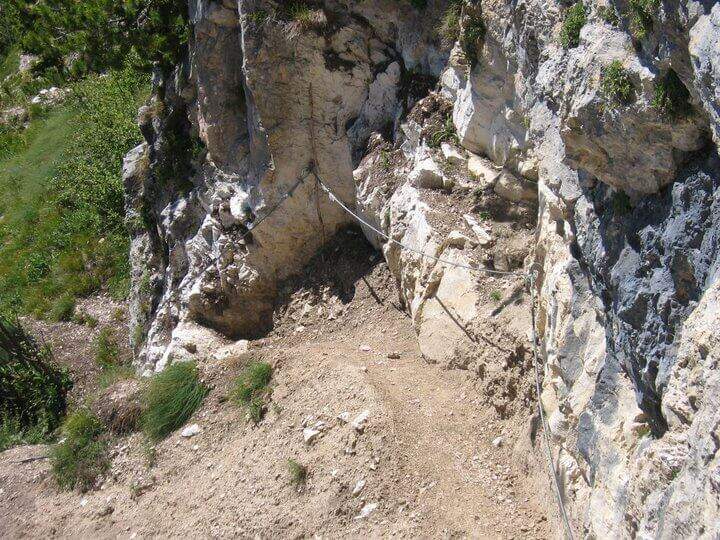
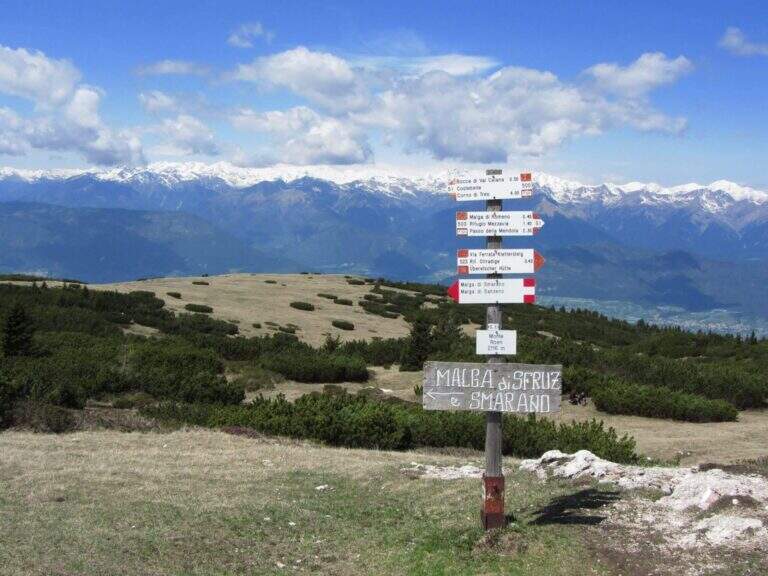
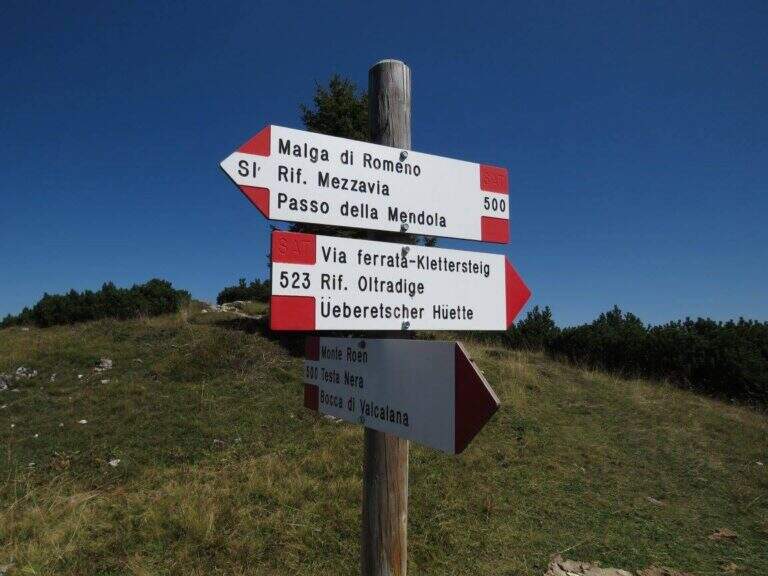
    Dal Rifugio Oltradige, a un bivio, si lascia dritto il CAI 560 (Via dei Camosci, valida per il rientro) e si prende a sinistra il CAI 523 della ferrata. Si sale ripidi fino alla prima fune e si percorre una cengia ascendente a destra su fondo sabbioso; alcuni balzi ben appigliati, arrampicabili senza tirare sul cavo, e una seconda cengia ghiaiosa portano a un breve salto verticale, superato con una staffa e ottimi appoggi. Si raggiunge il canalone e lo si risale a destra con passaggi facili e assicurati; una paretina più esposta e sottile (una staffa aiuta) immette su balzi ben appigliati. In alto le attrezzature piegano a destra su una cengia agevole e, dopo una piega a sinistra, si arriva al termine della ferrata (2050 m, 45' dal Rifugio Oltradige, 1h 45' totali). Proseguendo fra pini e mughi si incrocia la via normale e si sale alla croce e alla vetta del Monte Roen (2116 m, 2h totali), affacciata sulla Val d'Adige e sulle Dolomiti.

    ▲Character and difficulty

    Ferrata adatta ai neofiti: nessuna difficoltà tecnica né esposizione marcata, passaggi ben gradinati e qualche staffa dove la verticalità aumenta. Aiuta a imparare le tecniche di base dentro un piacevole itinerario.

    ⚠ Pur facile, è un percorso mediamente lungo (anello fino a 5h con la Via dei Camosci): valutare tempi ed energie.
    ▲Period and safety

    Quota fino a 2116 m ma esposizione contenuta: percorribile gran parte dell'anno. Per la cartografia si consiglia la carta della Val di Non o della Strada del Vino e Monte Corno.

    ▲Discipline

    Dal Monte Roen, rientro più corto: a nord per il CAI 500 a Malga Romeno (45') e poi a ritroso (1h 30' dalla vetta, 3h 30' totali). Anello più lungo: a sud sul CAI 500 fino al Monte Testa Nera (2030 m), poi a sinistra il CAI 560 (Via dei Camosci), con una bella cengia aerea attrezzata sotto il Testa Nera, fino al Rifugio Oltradige e all'avvicinamento (4-5h totali).

    ▲To match

    Itinerario adatto a neofiti che lascia tempo per una seconda via in giornata: verso Merano la Ferrata Heini Holzer, la facile Ferrata Knott and the difficult Ferrata Hoachwool a Naturno.

    ▲Gallery
    Technical data
    • DifficultyEasy
    • RegionTrentino-Alto Adige
    • GroupMonte Roen
    • Approach1:00 h
    • Ferrata0:45 h
    • Itinerary (a/r)3:30 h
    • Hardware level difference195 m
    • Route difference531 m
    • Max2116 m
    • Length10 Km
  • Ferrata Marguerettaz

    Ferrata Marguerettaz

    Vie Ferrate › Aosta Valley › Aosta
    Ferrata Marguerettaz

    La Ferrata Marguerettaz è la classica via ideale per far provare a un neofita un percorso attrezzato. Tecnicamente non presenta alcuna difficoltà e si svolge in un ambiente protetto, senza avversità ambientali, dopo un semplice avvicinamento.

    ▲Approach

    Si parte presso Morgex (Aosta): da Morgex si imbocca la SR39 verso Arpy; al nono tornante c'è uno spiazzo dove parcheggiare (poi 200 m a piedi in salita), oppure si prosegue circa 200 m oltre il tornante cercando posto in due piccoli spiazzi. Starting point on Google Maps.

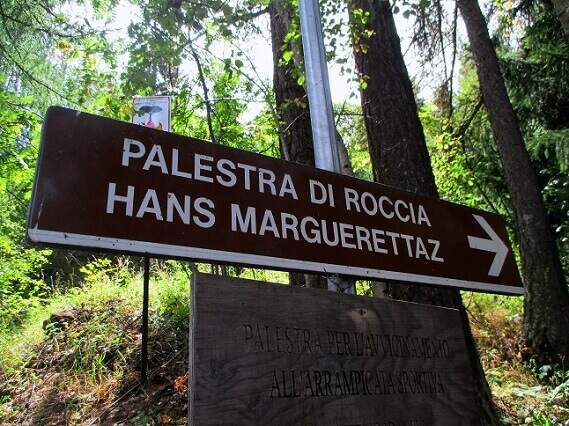
    Dal parcheggio una sterrata (vietata alle auto) entra nel bosco a destra: si seguono i segni giallo-neri per la palestra di roccia «Hans Marguerettaz». A un bivio si tiene la destra in falsopiano, si attraversa un ruscello su un ponticello di tronchi e si raggiungono le prime falesie; superata la zona di arrampicata per bambini, alcuni tornanti portano all'inizio delle attrezzature (30' dal parcheggio).

    ▲The path

    La facile ferrata sale una parete verticale attrezzata con staffe, con una breve deviazione a sinistra fino a una lunga cengia da cui partono alcune vie di arrampicata; segue un diedro attrezzato con ampie staffe e un facile traverso orizzontale a destra. Si salgono alcuni facili balzi fino a una scala rossa protetta, la si risale spostandosi a sinistra; una seconda scala rossa conduce a un tiro di arrampicata, mentre la ferrata termina a sinistra (20' dall'attacco, 50' totali).

    ▲Character and difficulty

    Via senza difficoltà tecniche né esposizione eccessiva: perfetta come prima esperienza. Accanto, una falesia con molti tiri di grado basso permette di arrampicare a chi è alle prime armi.

    ⚠ Per consolidare l'esperienza, conviene percorrere la facile via anche in discesa (disarrampicata), in un contesto privo di complicazioni ambientali.
    ▲Period and safety

    Bassa quota (1390 m) e ambiente protetto: percorribile per gran parte della stagione con le normali cautele.

    ▲Discipline

    Si consiglia di ripercorrere a ritroso la ferrata in disarrampicata; in alternativa si aggira lo sperone roccioso sulla sinistra, si scende dalle vie di arrampicata e si torna all'auto per il sentiero d'avvicinamento (circa 30', 1h 30' totali).

    ▲To match

    Risalendo la valle, la Ferrata del Bicentenario al Mont Chetif; per chi ha bambini e vuole proseguire l'avvicinamento alle ferrate, in valle di Gressoney la Ferrata Harry Potter e la Ferrata dei Bambini.

    ▲Gallery
    Technical data
    • DifficultyEasy
    • RegionAosta Valley
    • GroupMorgex
    • Approach0:30 h
    • Ferrata0:20 h
    • Itinerary (a/r)1:00 h
    • Hardware level difference90 m
    • Route difference250 m
    • Max1390 m
    • Length4 Km
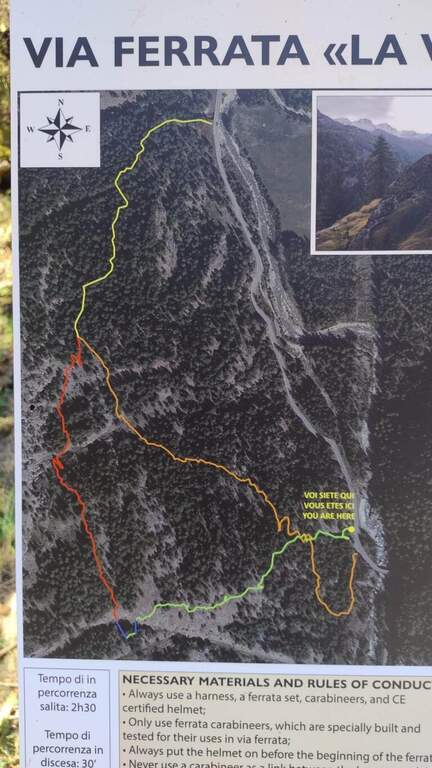
  • Ferrata La Voie du Paradis

    Ferrata La Voie du Paradis

    Vie Ferrate › Aosta Valley › Aosta
    Ferrata La Voie du Paradis

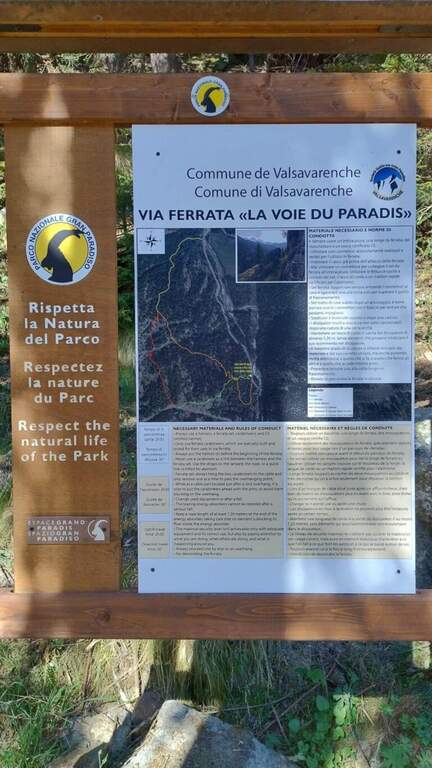
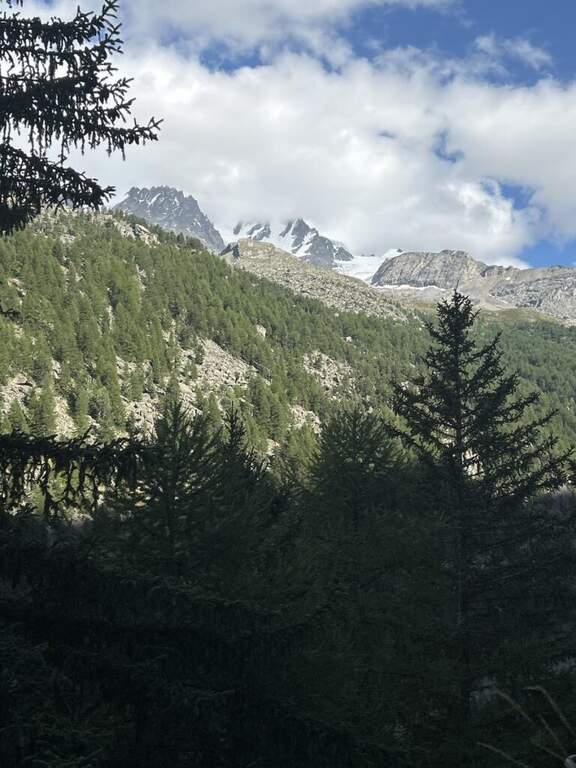
    La Ferrata La Voie du Paradis è una via recente nel Parco Nazionale del Gran Paradiso, presso il torrente Savara in Valsavarenche. È di livello facile, con avvicinamento brevissimo e rientro agevole; le attrezzature sono abbondanti e in stile francese (cavo lasco e numerose cambre).

    ▲Approach

    Il parcheggio (5-6 posti) si trova lungo la SR23 della Valsavarenche (Aosta), dopo l'abitato di Bien. Starting point on Google Maps.

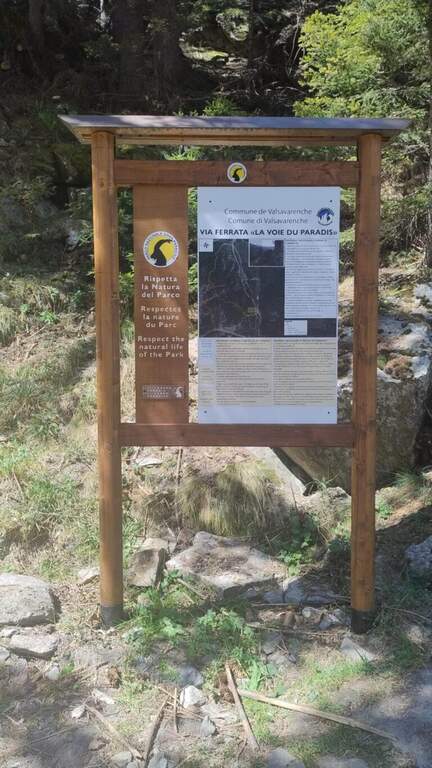
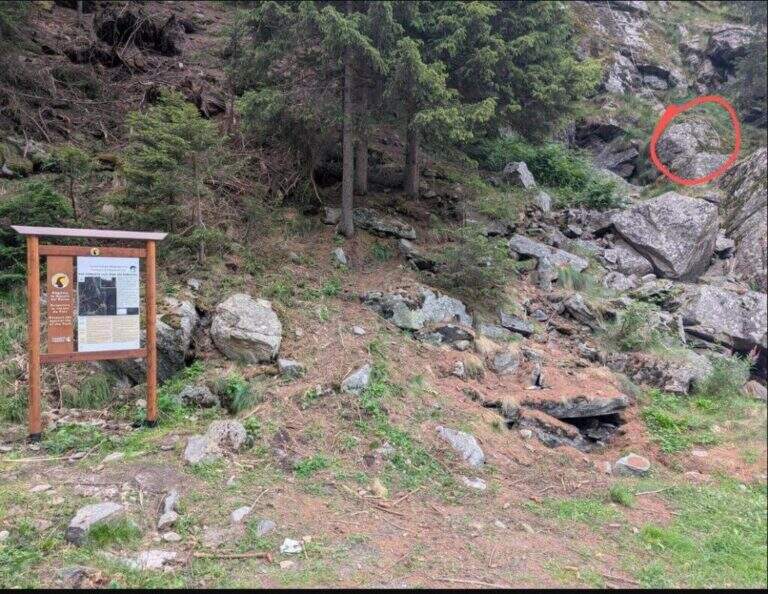
    Dal cartello che descrive la ferrata si segue il sentiero sulla destra e in meno di un minuto si è all'attacco.

    ▲The path

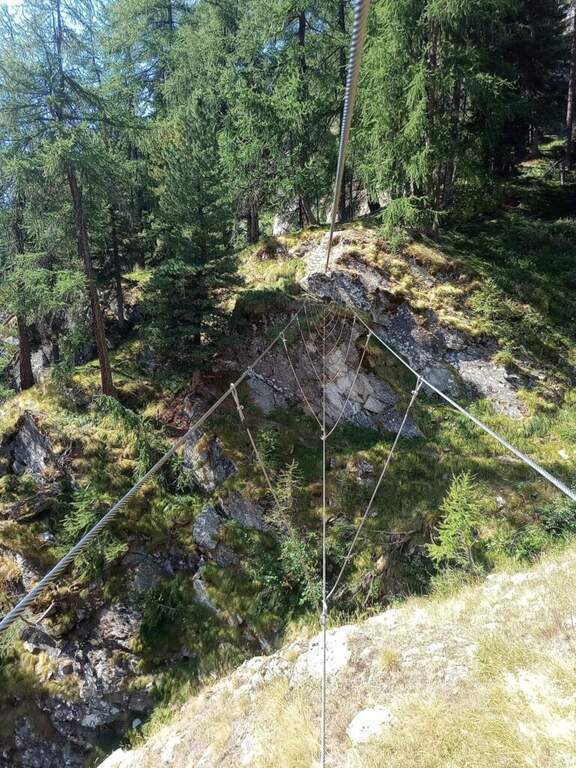
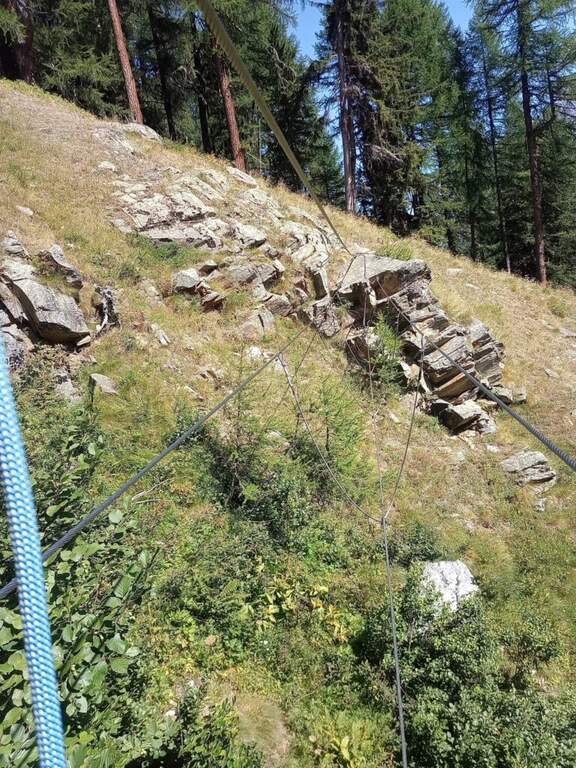
    La via è divisa in 9 sezioni intervallate da brevi sentieri ben segnalati con frecce gialle. In ciascuna sezione si salgono pareti verticali fra loro simili, non particolarmente esposte e generosamente staffate, con qualche breve traverso di collegamento. Nell'8° settore si incontra il primo ponte tibetano (circa 15 m); subito dopo la 9° sezione attacca con una parete verticale e porta al secondo ponte tibetano (circa 10 m). Entrambi i ponti sono molto stabili ma non aggirabili. La parte attrezzata si percorre in circa 1h 15'.

    ▲Character and difficulty

    Le abbondanti staffe rendono la progressione semplice e costante, tanto da fare di questa via un'ottima prima esperienza su ferrata.

    ⚠ Attenzione: i due ponti sospesi non sono aggirabili, quindi va valutato in anticipo se chi sale se la sente di attraversarli. La via è al sole nelle ore mattutine.
    ▲Period and safety

    Ferrata di bassa quota (attorno ai 2000 m), percorribile per gran parte della stagione escursionistica con le normali cautele. Per la cartografia si consiglia la carta del Gran Paradiso.

    ▲Discipline

    Superato il secondo ponte si segue il sentiero che chiude la ferrata; all'indicazione di discesa si prosegue sulla destra e, in circa 30', si rientra al parcheggio.

    ▲To match

    Poco distante si trova la Ferrata Casimiro; nella Valle d'Aosta occidentale segnaliamo anche la Ferrata Marguerettaz, la Ferrata Bethaz Bovard e la Ferrata al Bivacco Borelli.

    ▲Gallery
    Technical data
    • DifficultyEasy
    • RegionAosta Valley
    • GroupGran Paradiso
    • Approach0:02 h
    • Ferrata1:15 h
    • Itinerary (a/r)1:45 h
    • Hardware level difference280 m
    • Route difference280 m
    • Max2.000 m
    • Length2,5 Km
Need help? Write to us!