Difficoltà: Moderatamente Difficile

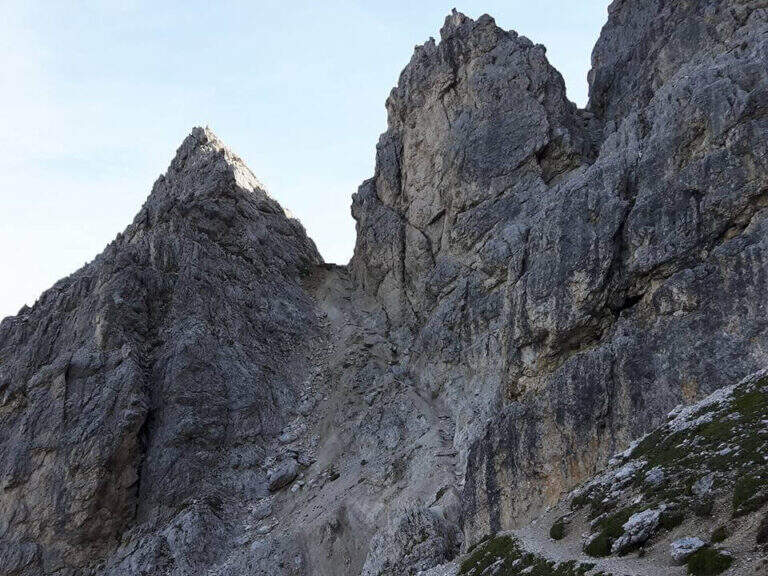
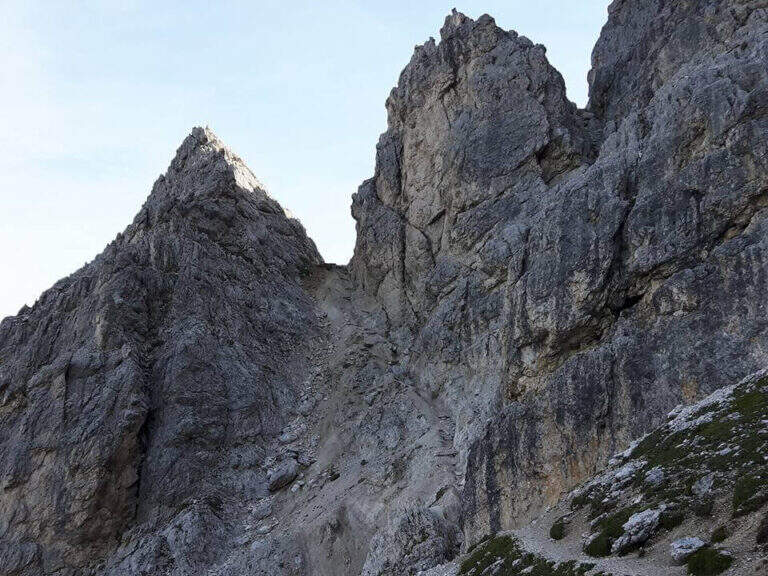
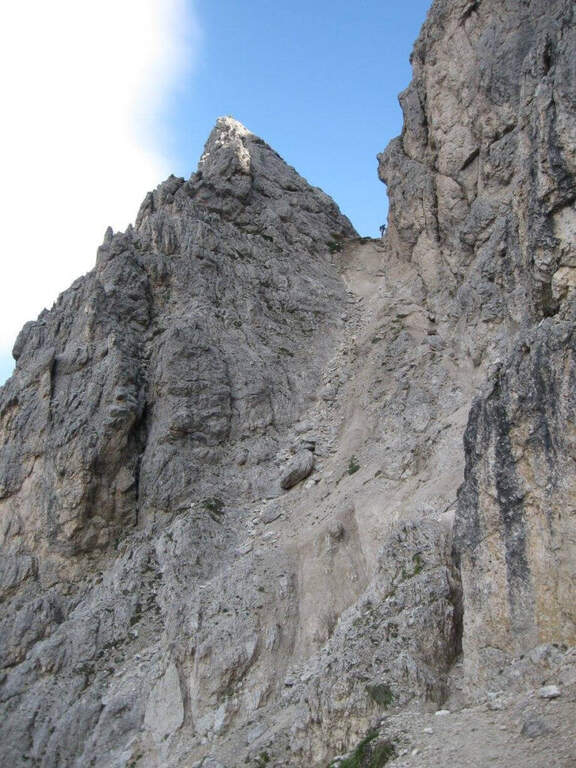
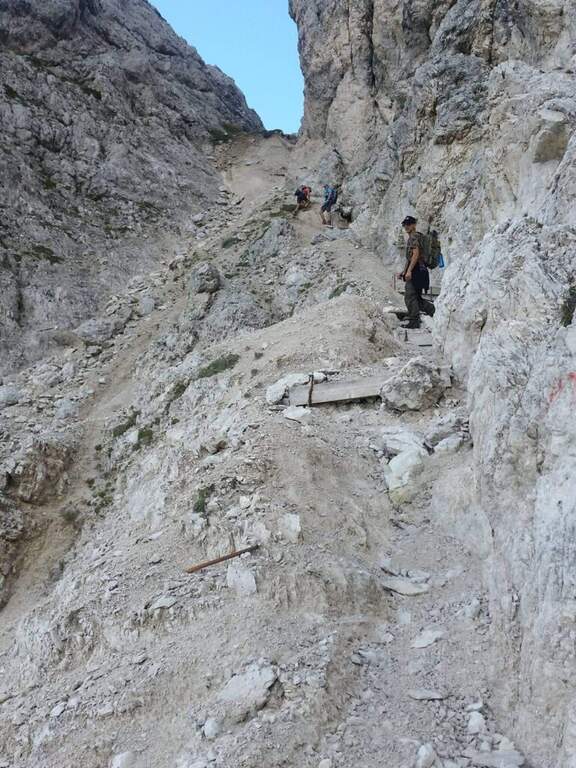
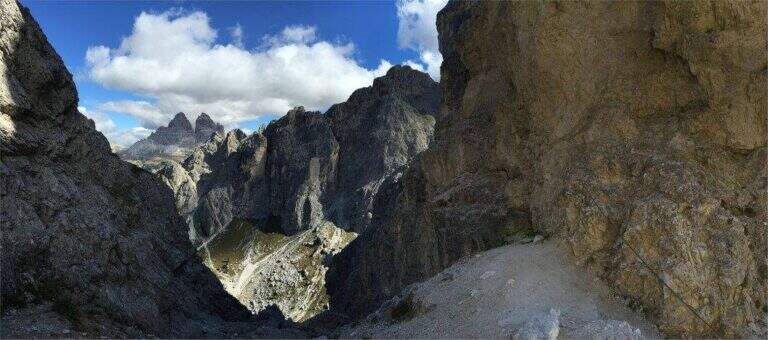
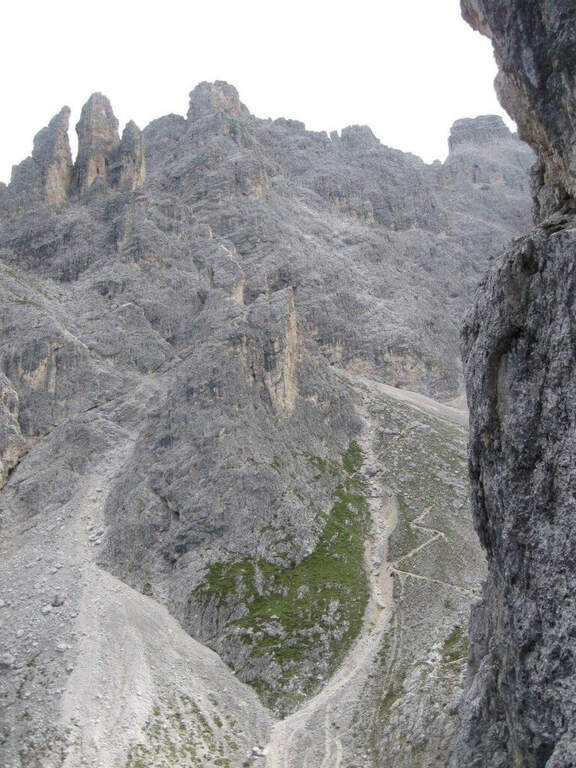
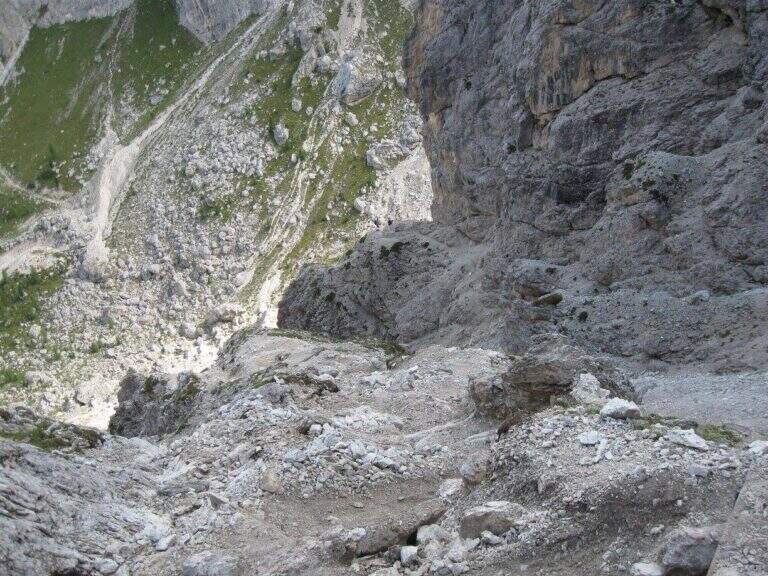
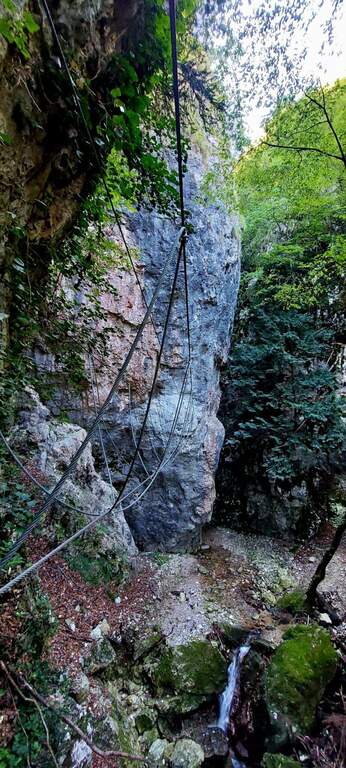
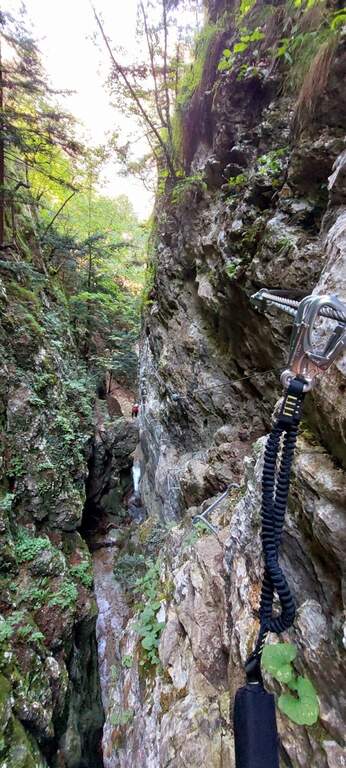
  • Sentiero Attrezzato Francesco e Giuditta Gatti al Mont de la Brenva

    Sentiero Attrezzato Francesco e Giuditta Gatti al Mont de la Brenva

    Vie Ferrate › Aosta Valley › Aosta
    Sentiero Attrezzato Francesco e Giuditta Gatti al Mont de la Brenva
    Moderately Hard● OpenDescriptionComplexityMapsGallery

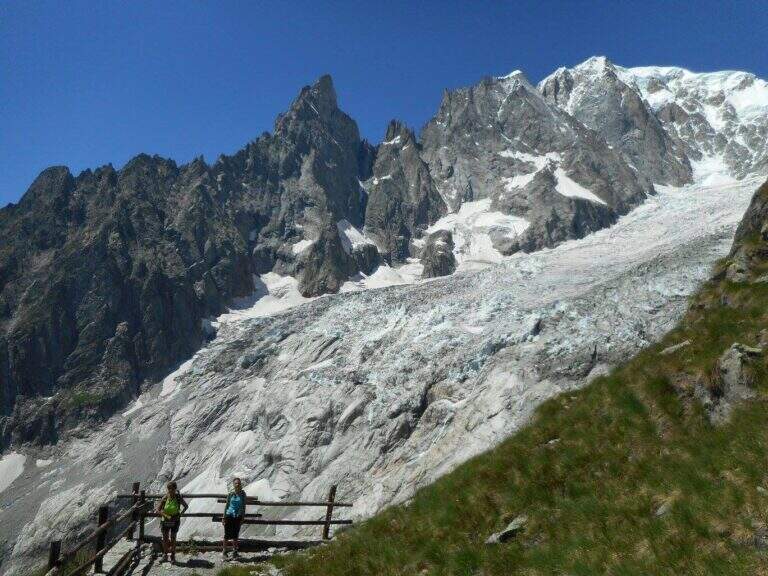
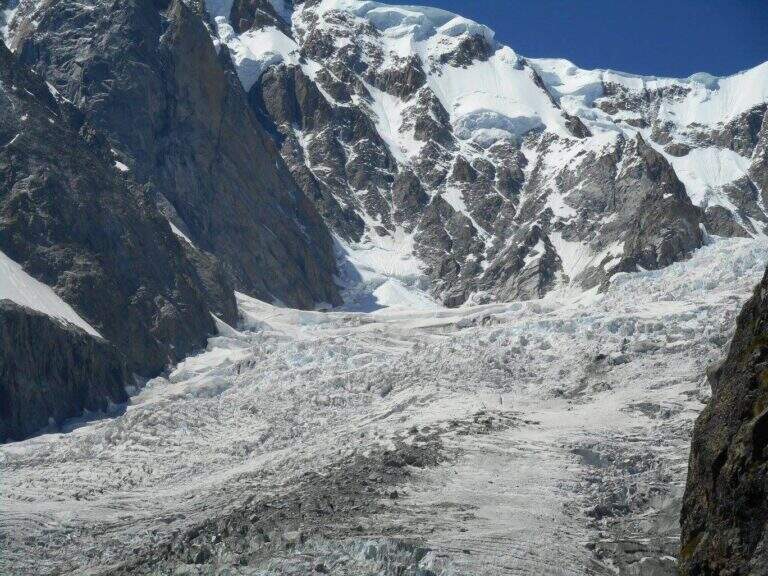
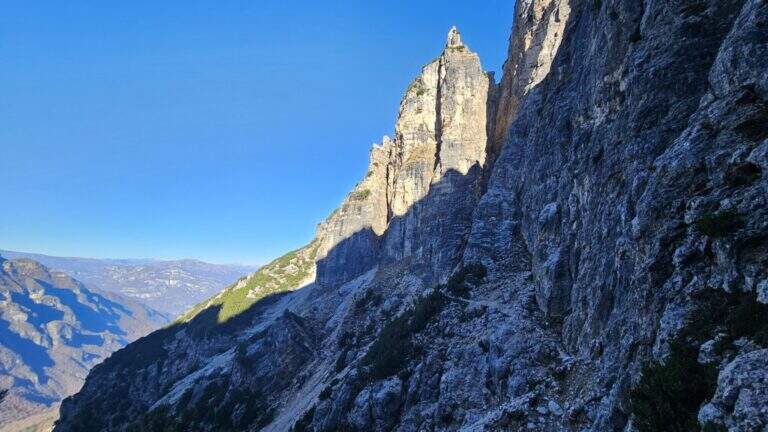
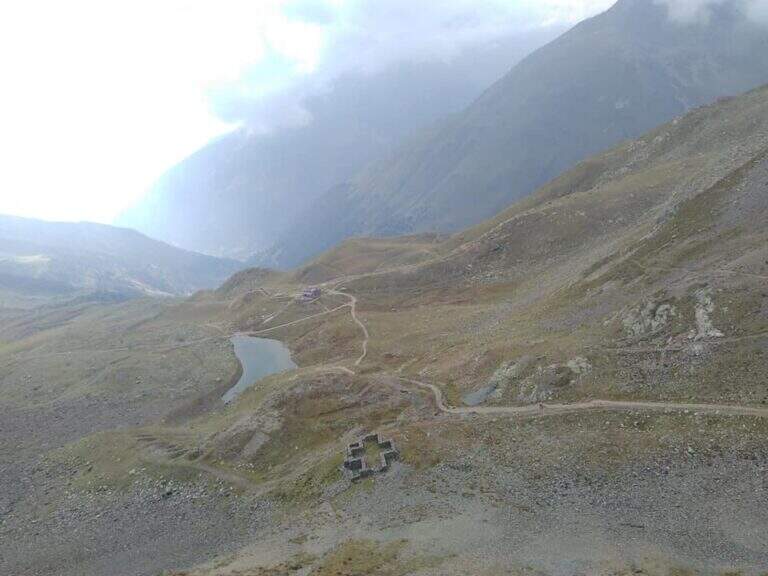
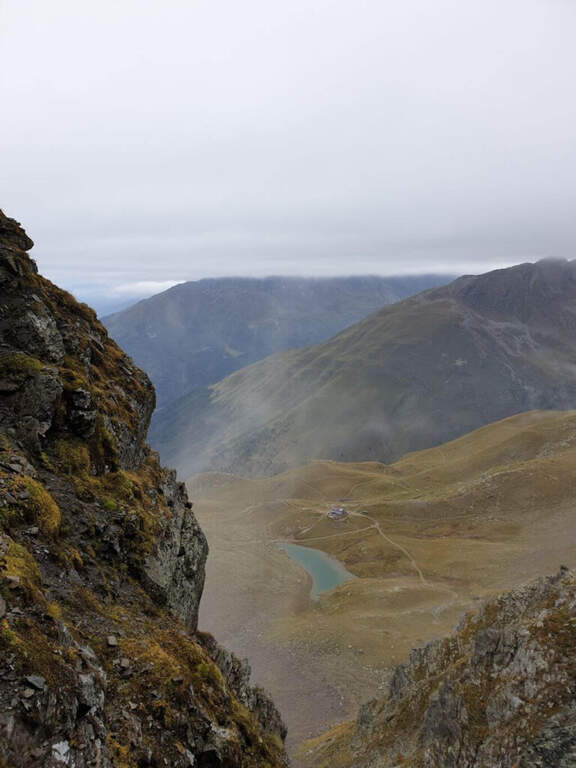
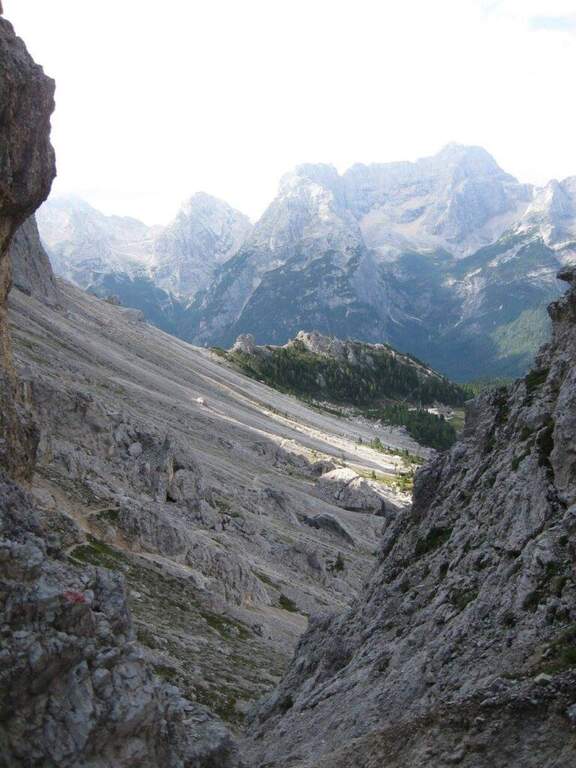
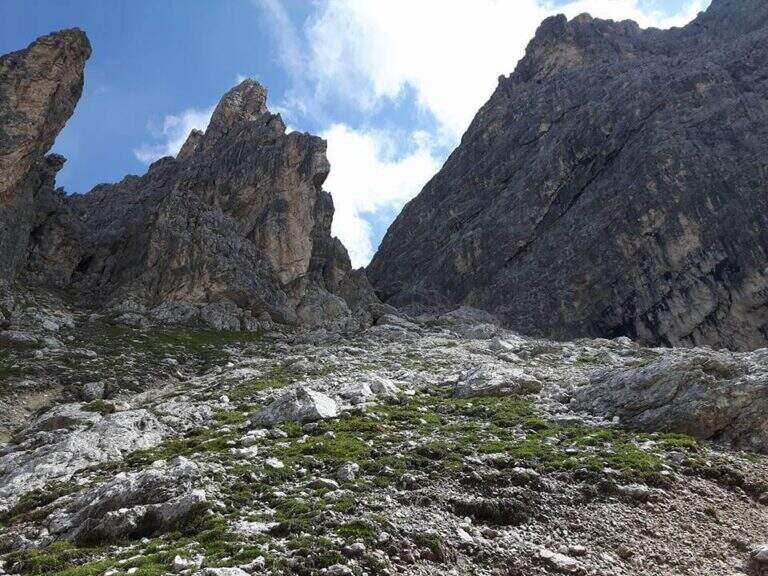
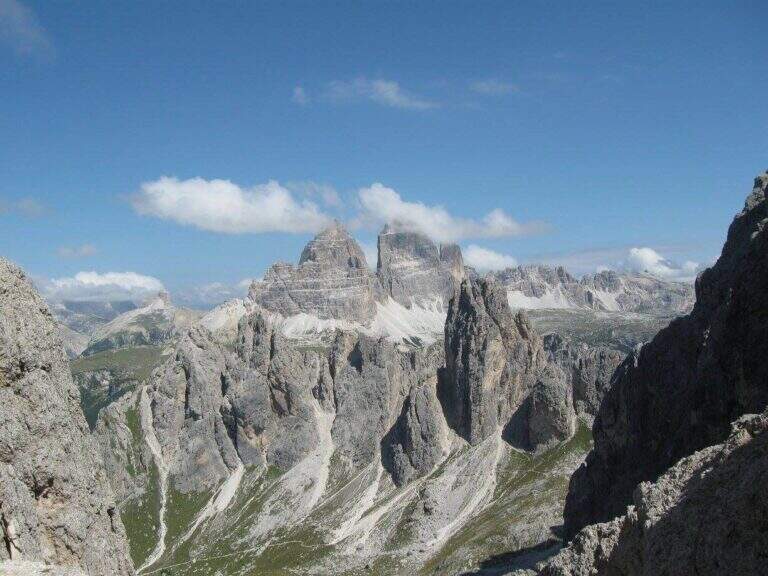
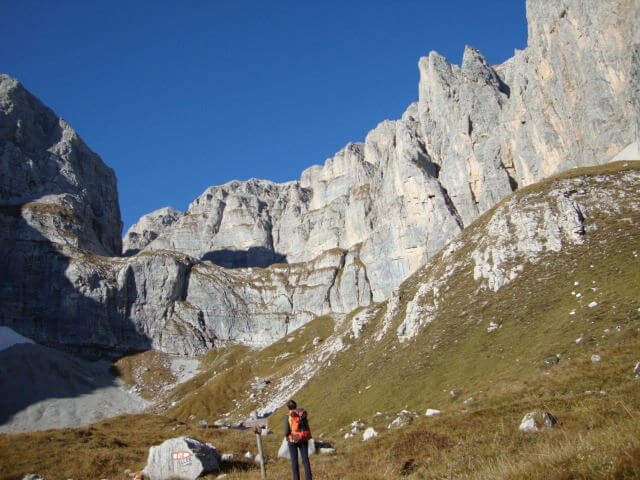
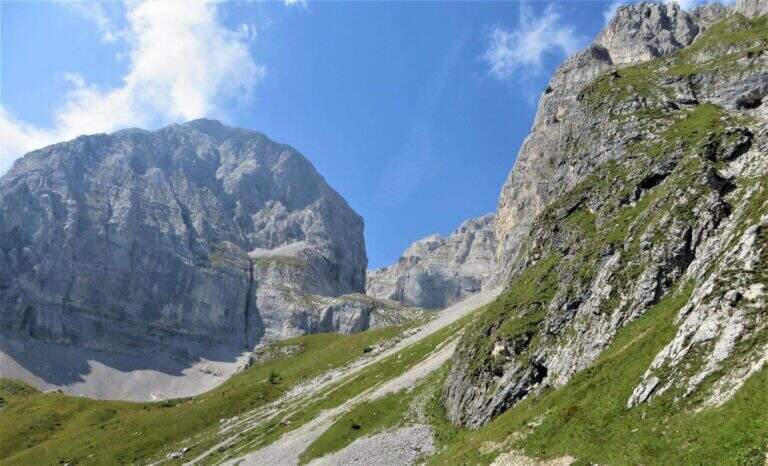
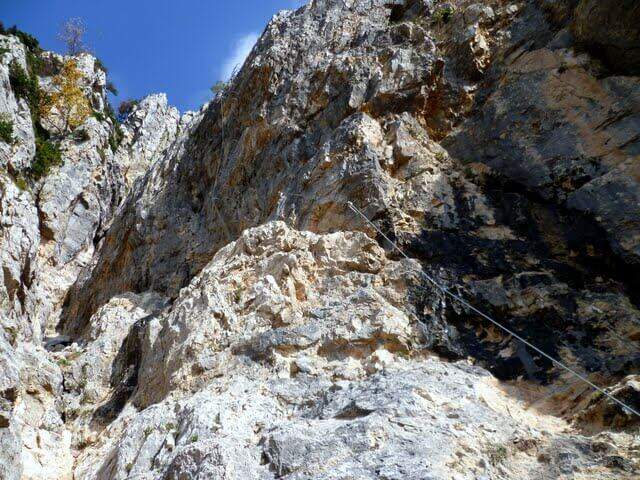
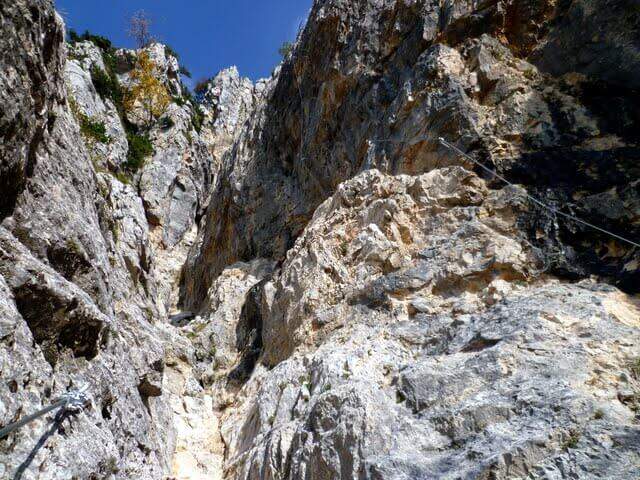
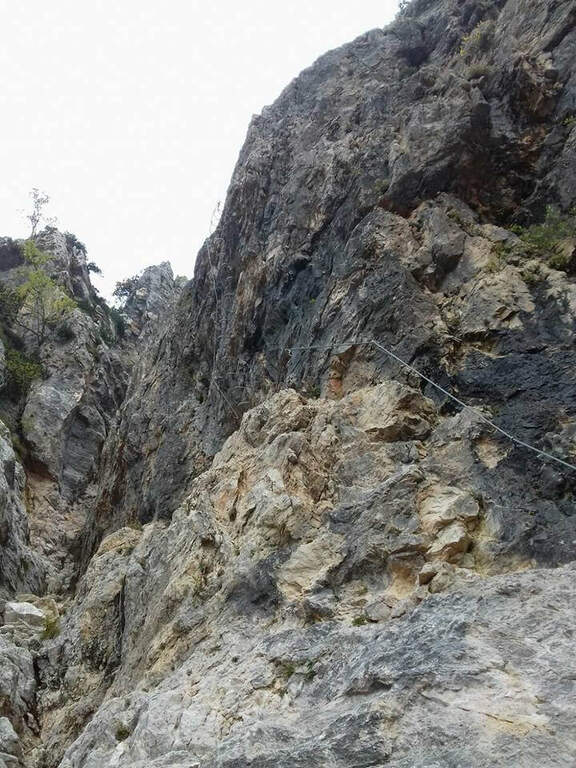
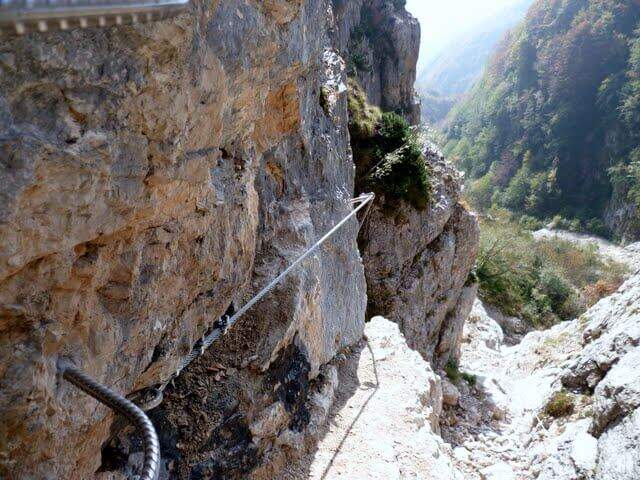
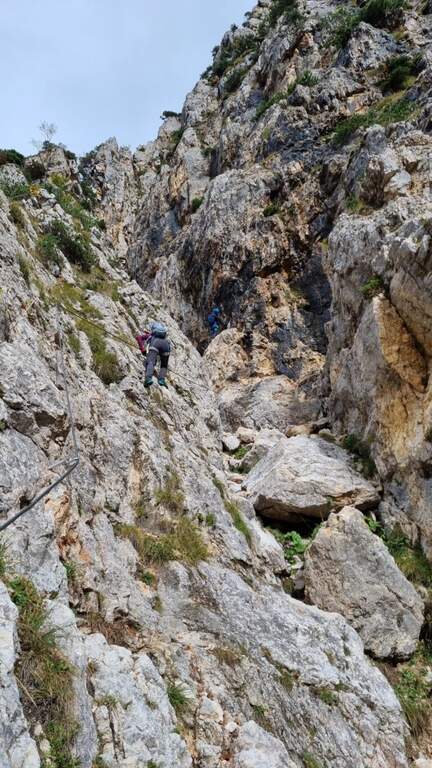
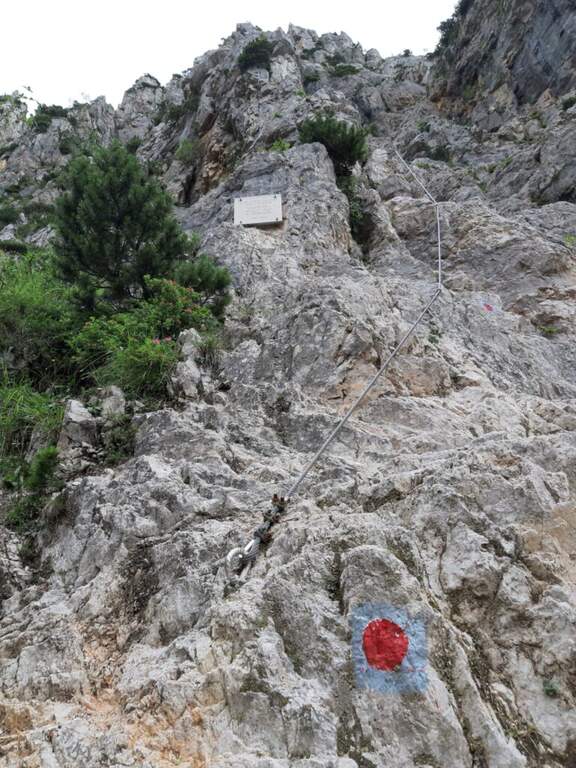
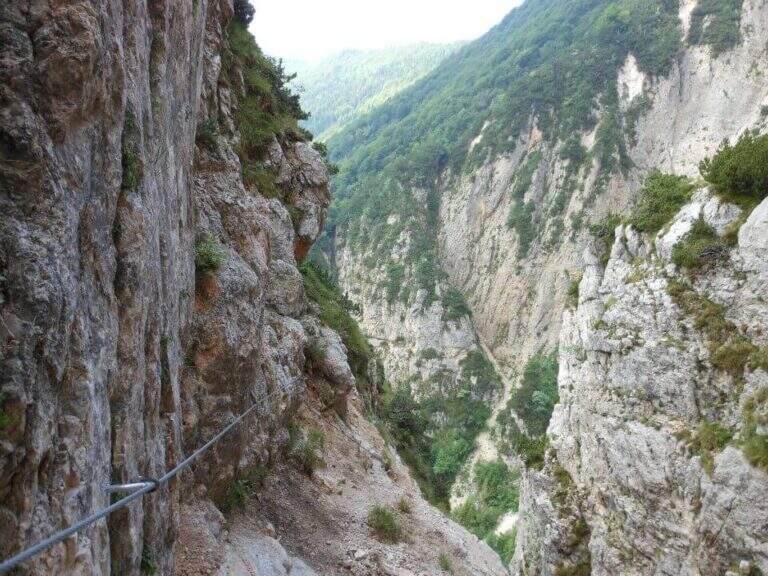
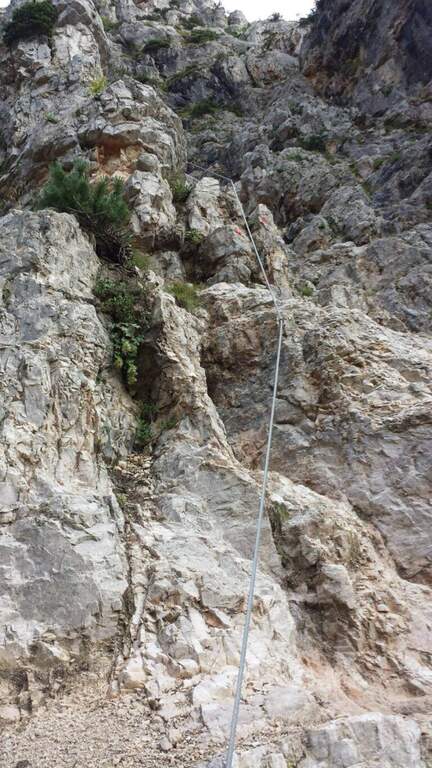
    Il Sentiero Attrezzato Francesco e Giuditta Gatti at Mont de la Brenva è an equipped route of difficult and difficult media; in the alpine environment, at the slopes of the Mont Blanc group. It leads to a panoramic plateau – the Belvedere – with a view between the pi` beautiful of all the Western Alps.

    ▲Approach

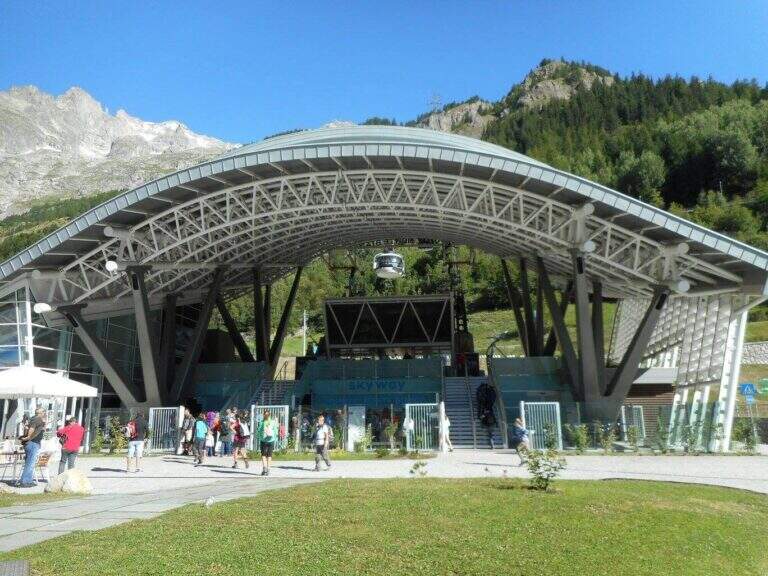
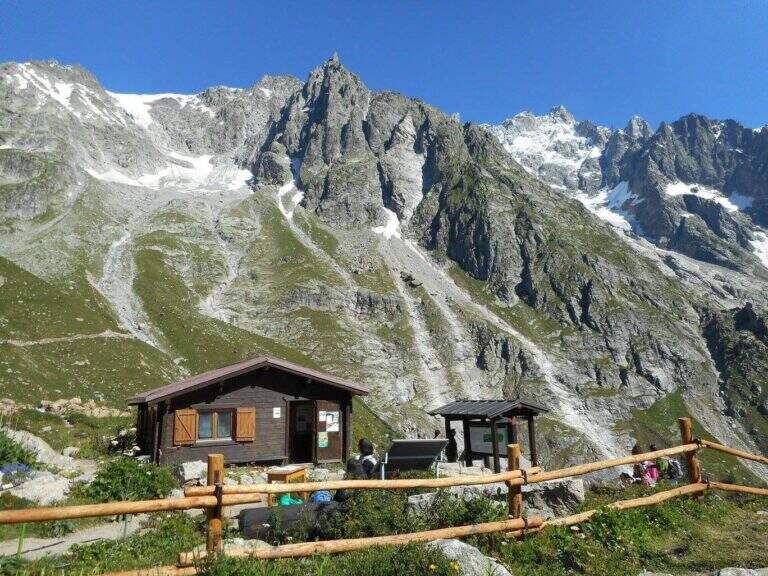
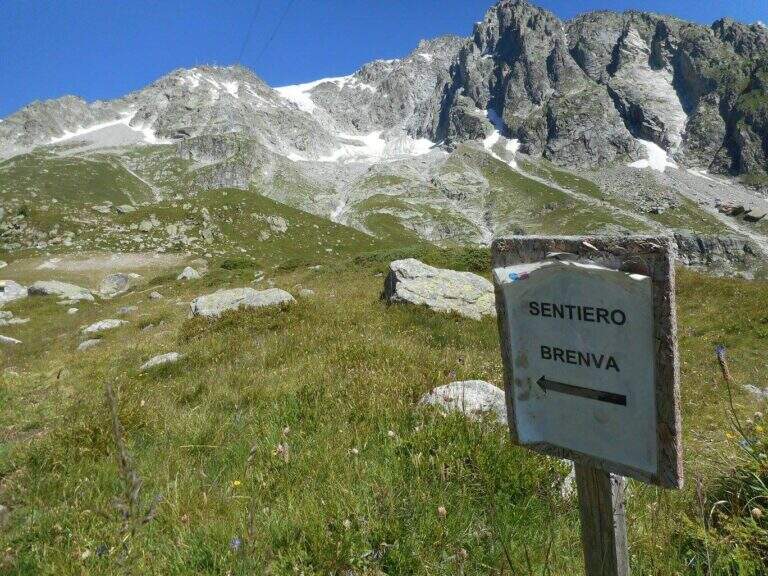
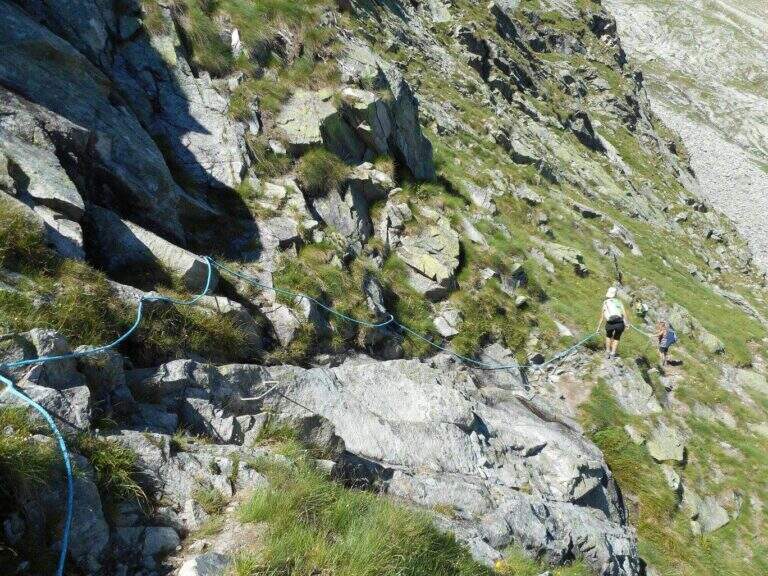
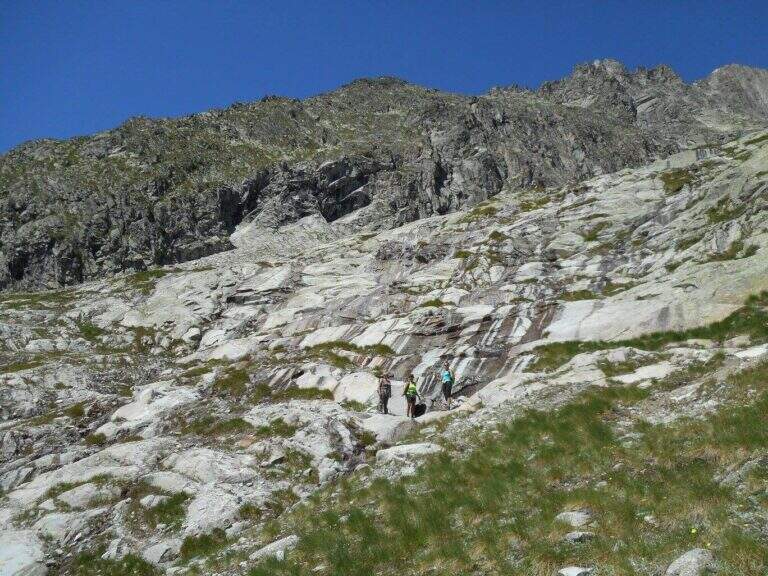
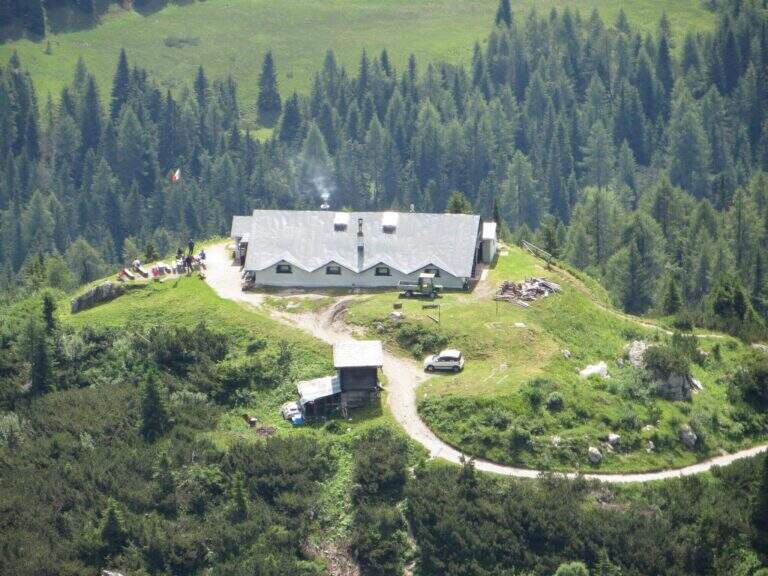
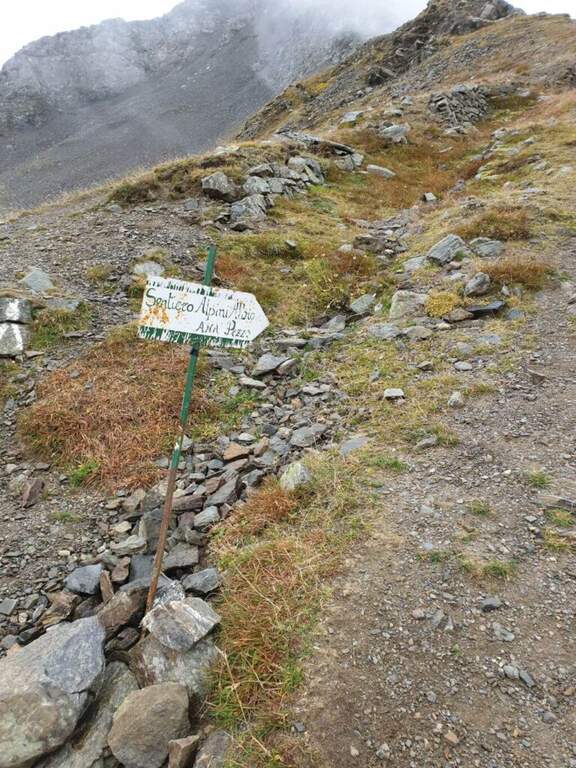
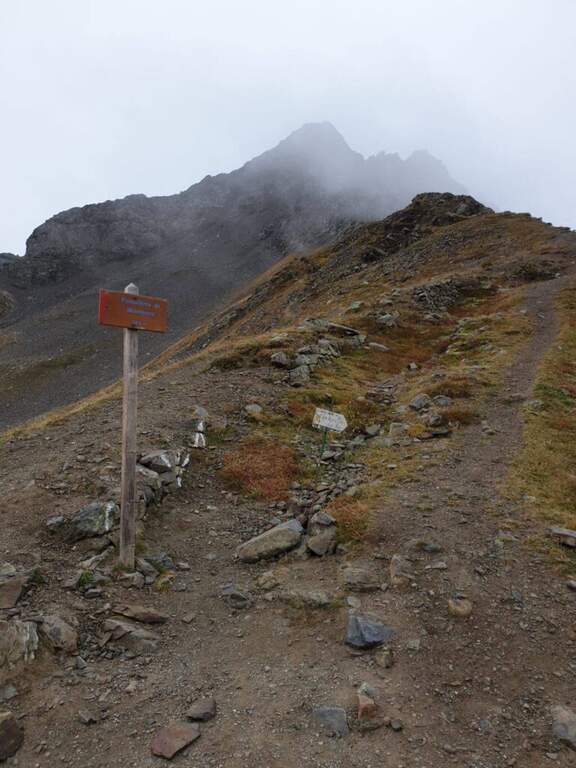
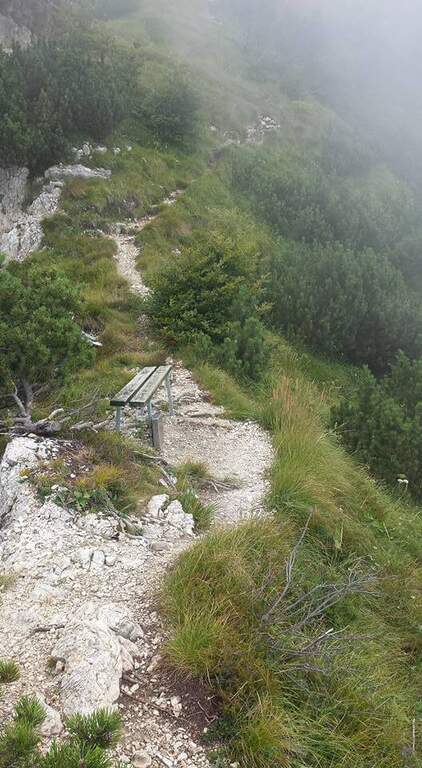
    From the mountain station of the cable car of La Palud (Courmayeur, Aosta). Open road signs on Google Maps. We descend to the first stop of the route « The Palud–Punta Helbronner» and follow the path in a slight ascent next to the botanical garden Saussurea; at the first crossroad you will keep the left on a well-marked path that crosses the grassy slopes towards the moraine of the Toula glacier. A short stretch equipped with a chain exceeds some rocks and reaches a ' panoramic area with bench, where the equipped stretch begins (30' from the mountain station).

    ▲The path

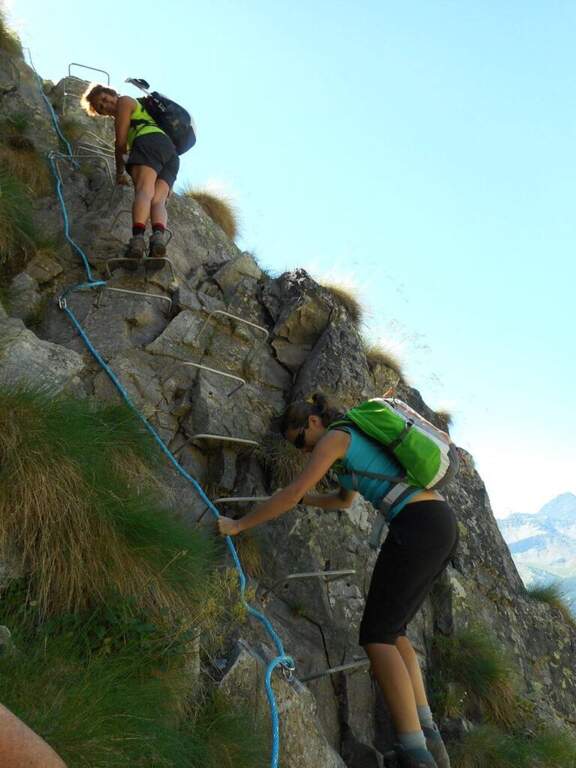
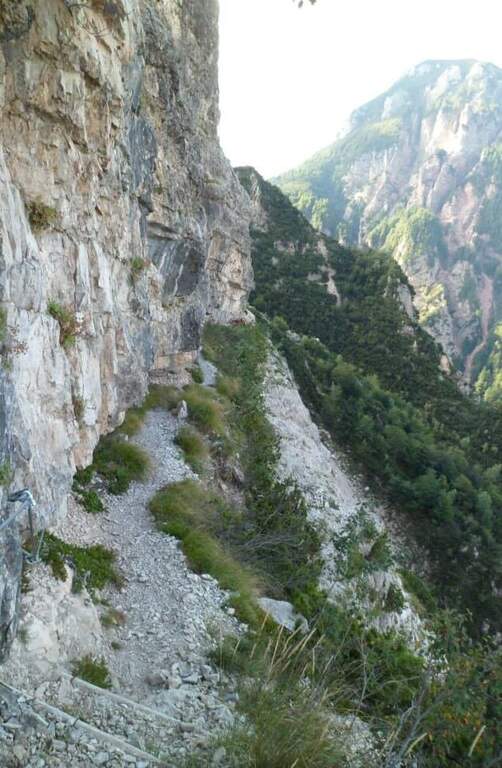
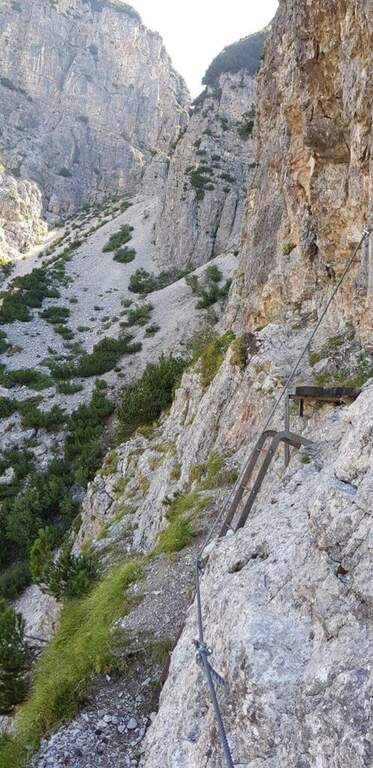
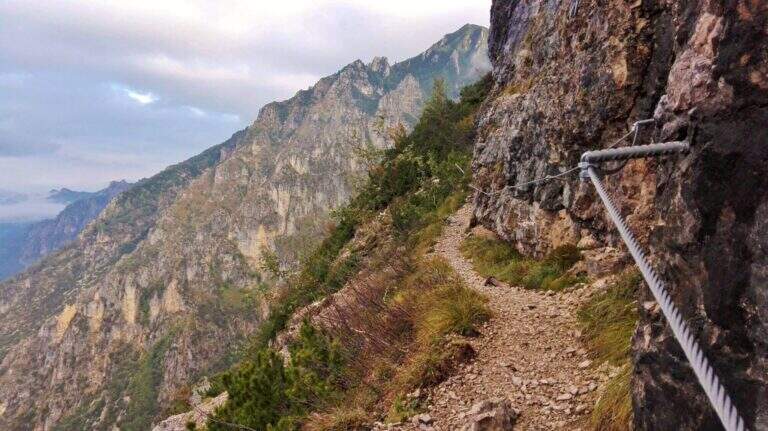
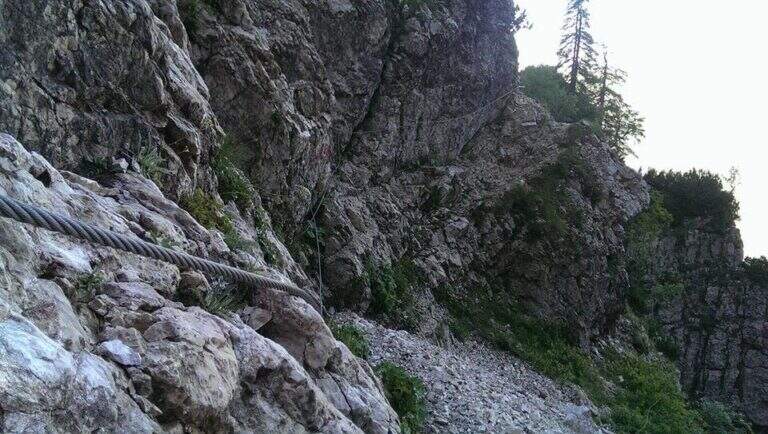
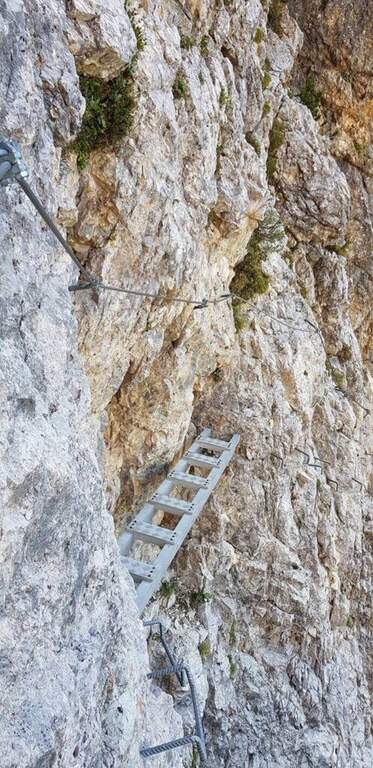
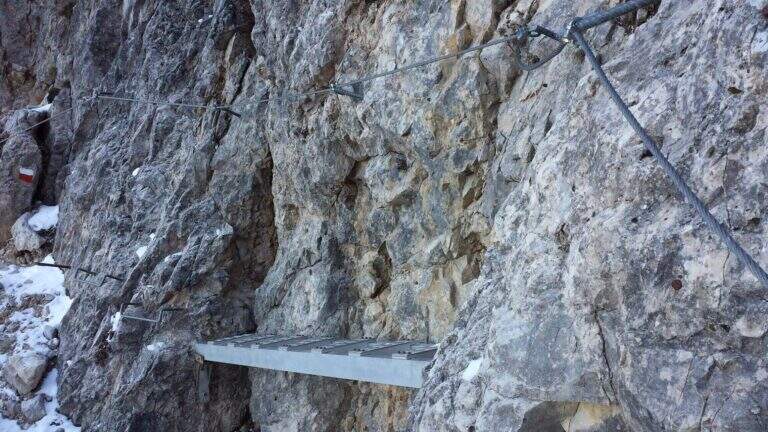
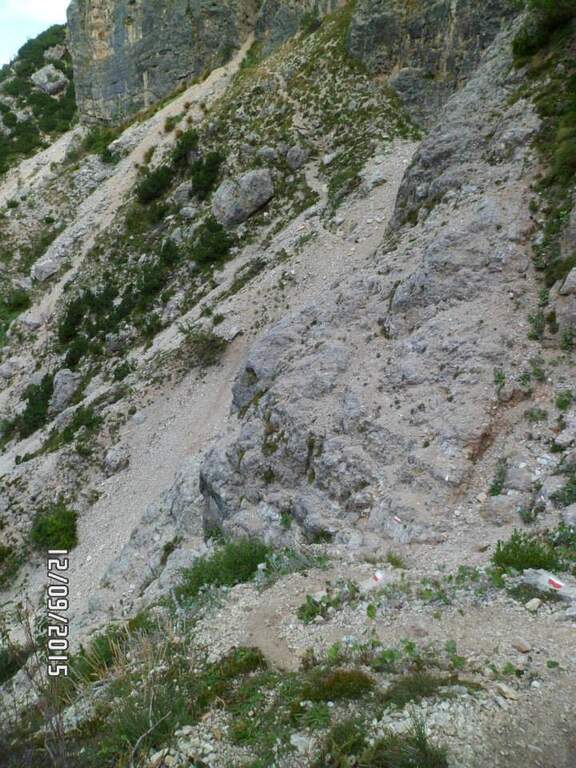
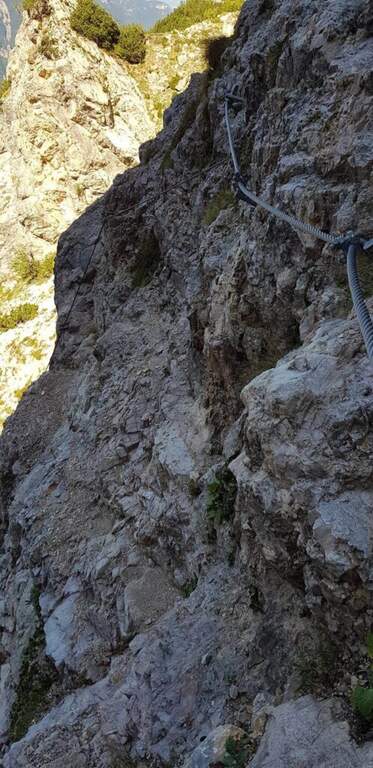
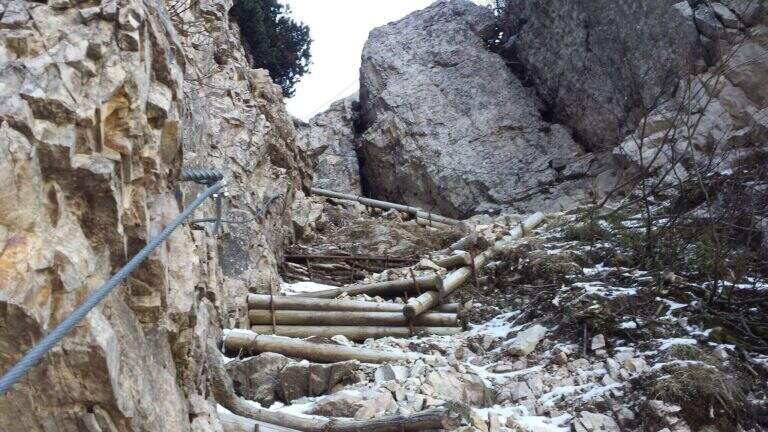
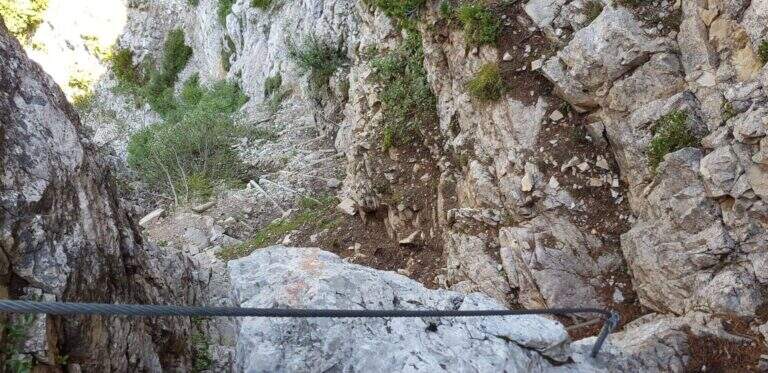
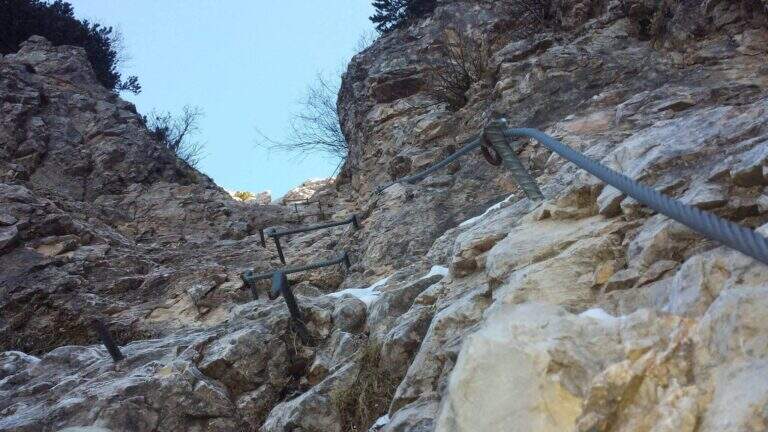
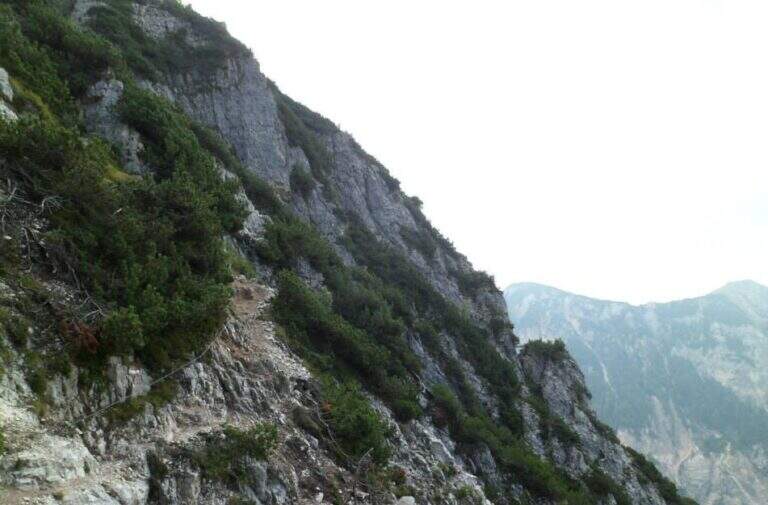
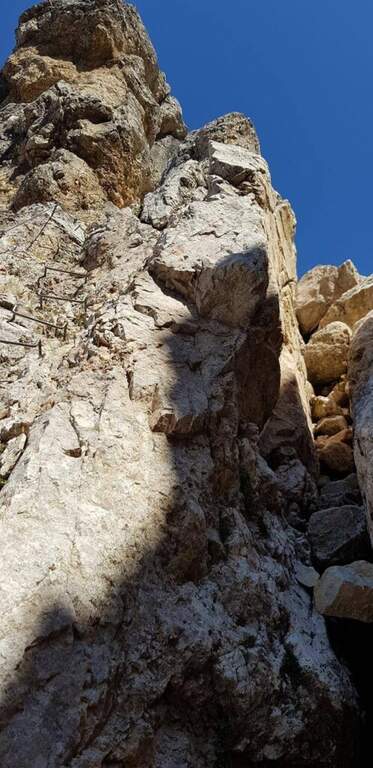
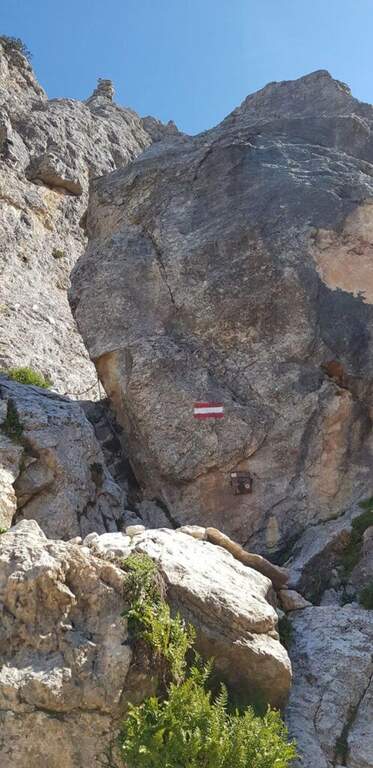
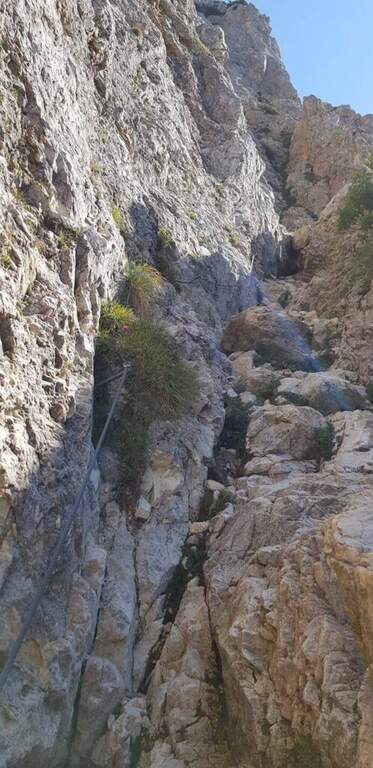
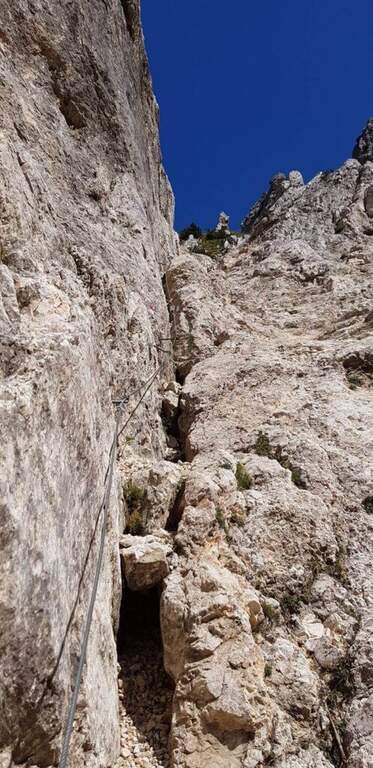
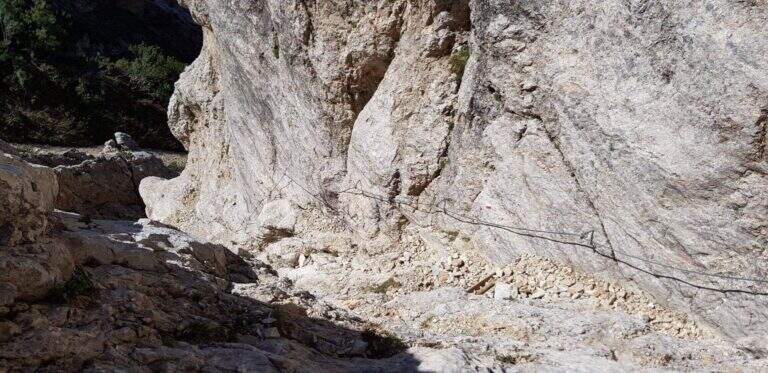
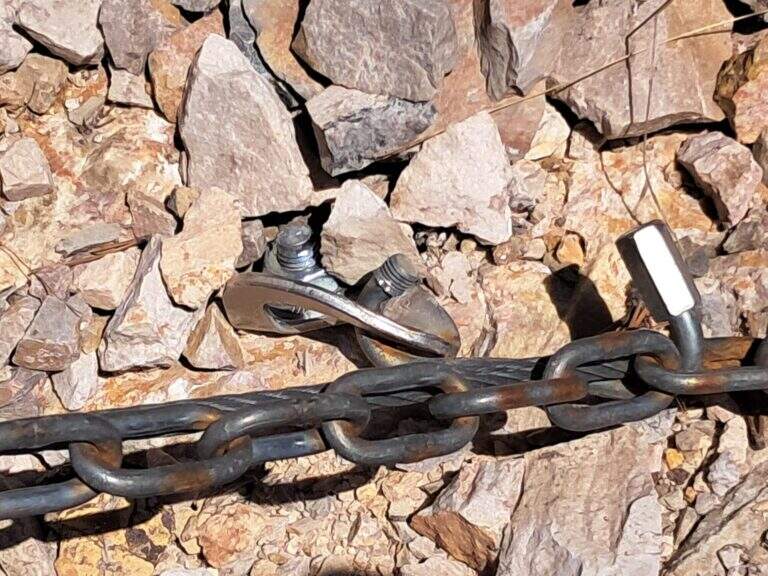
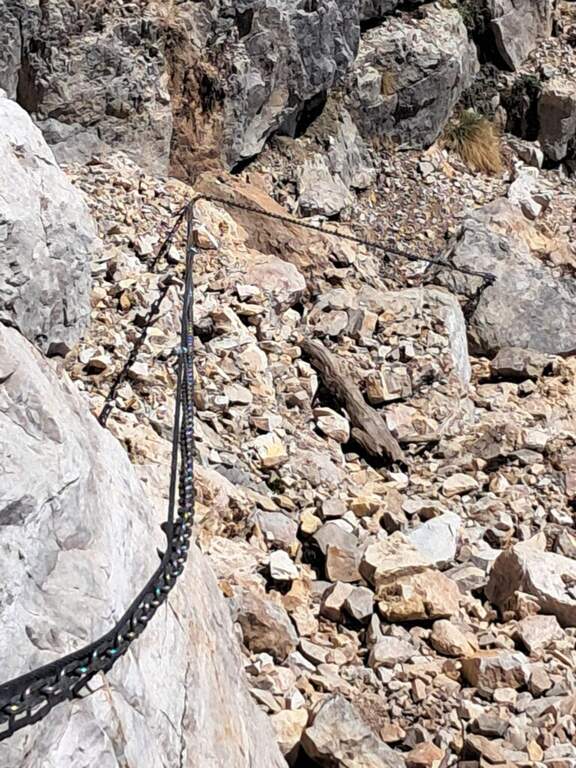
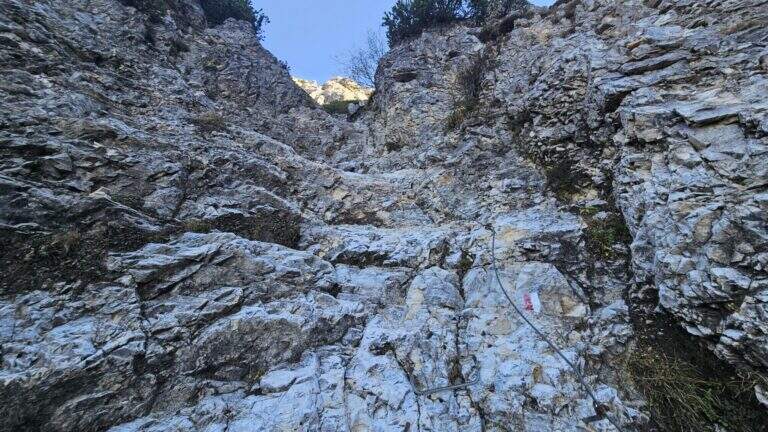
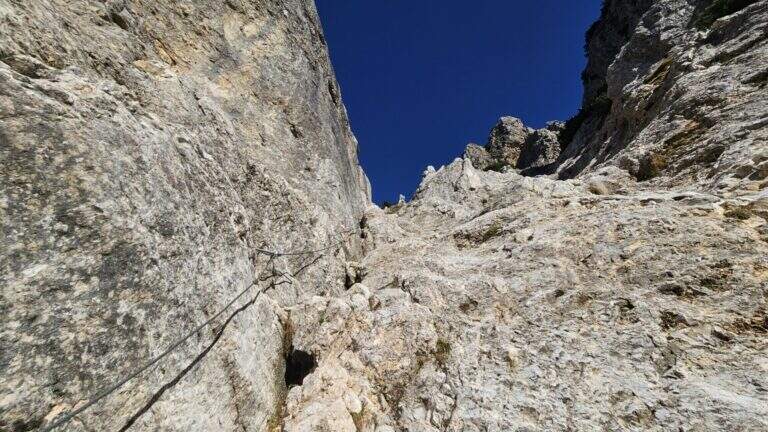
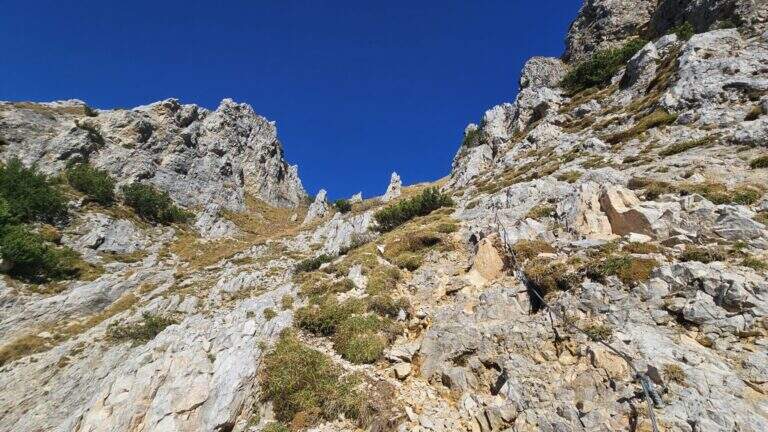
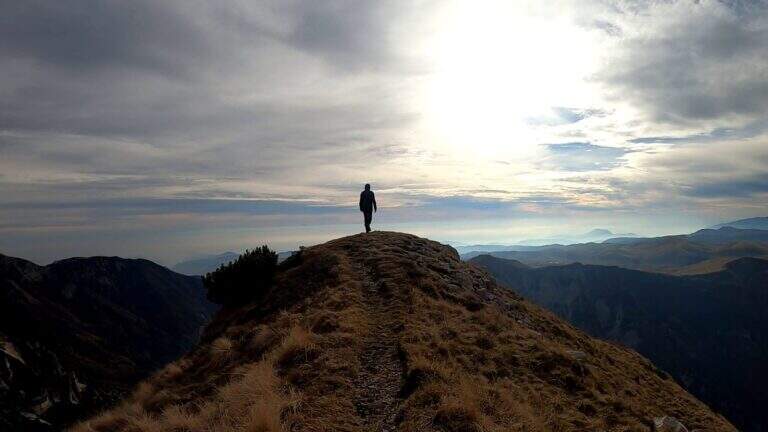
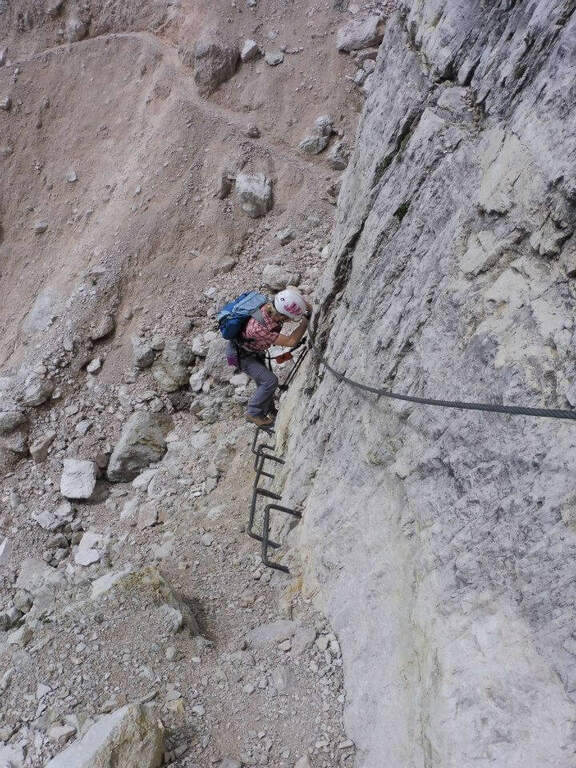
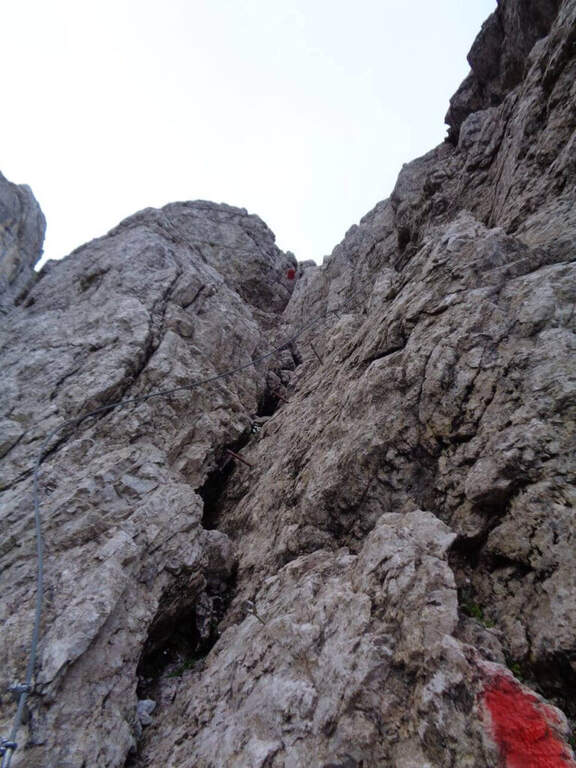
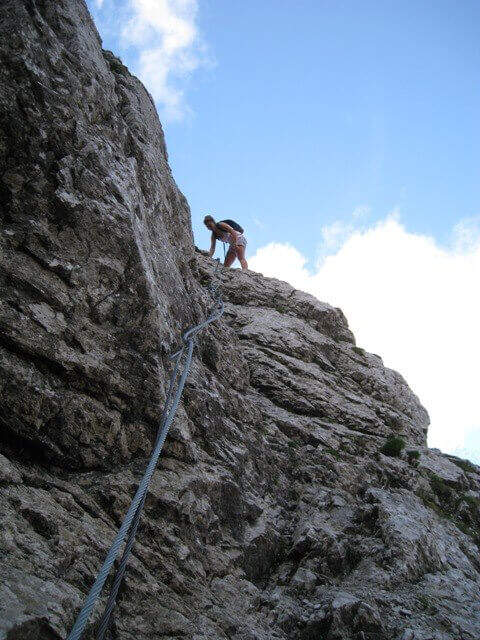
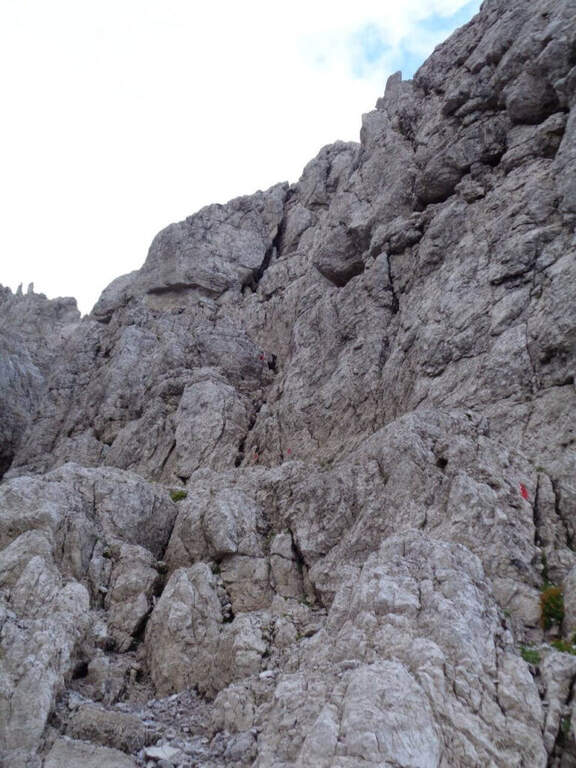
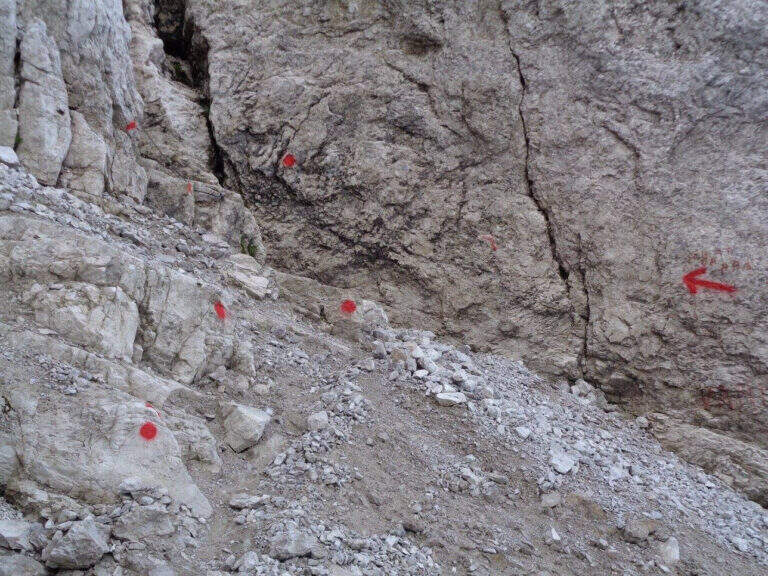
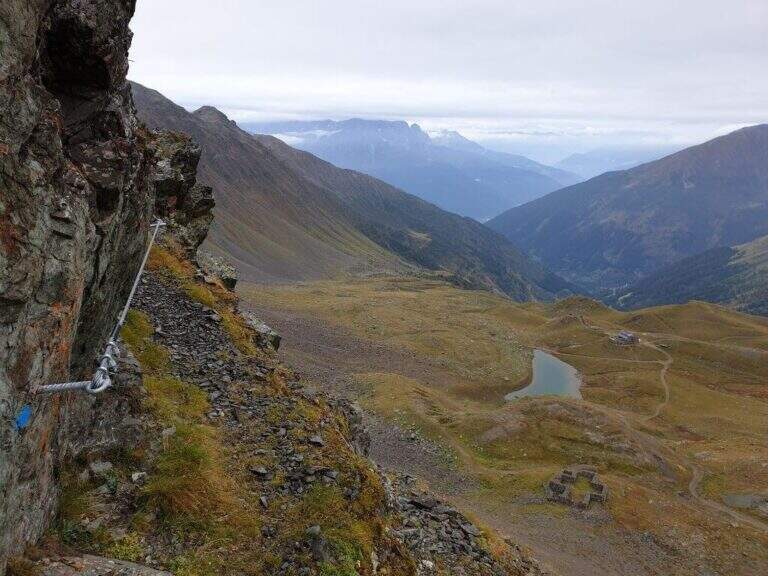
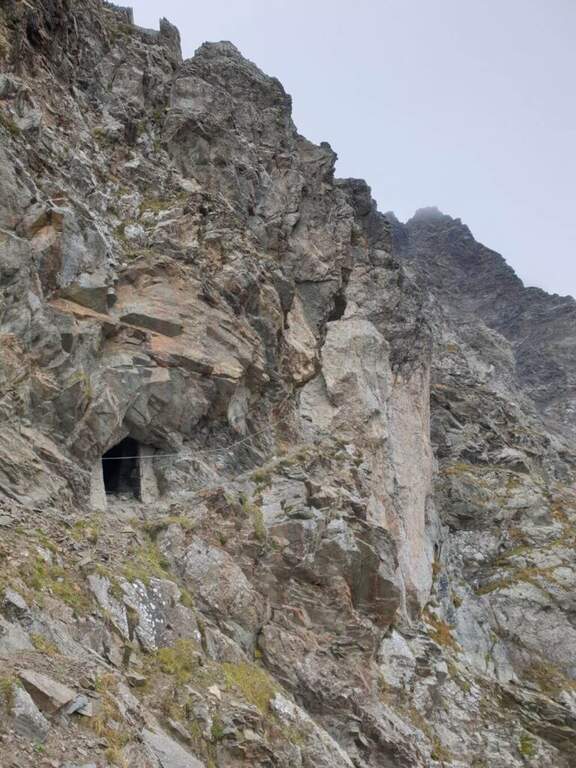
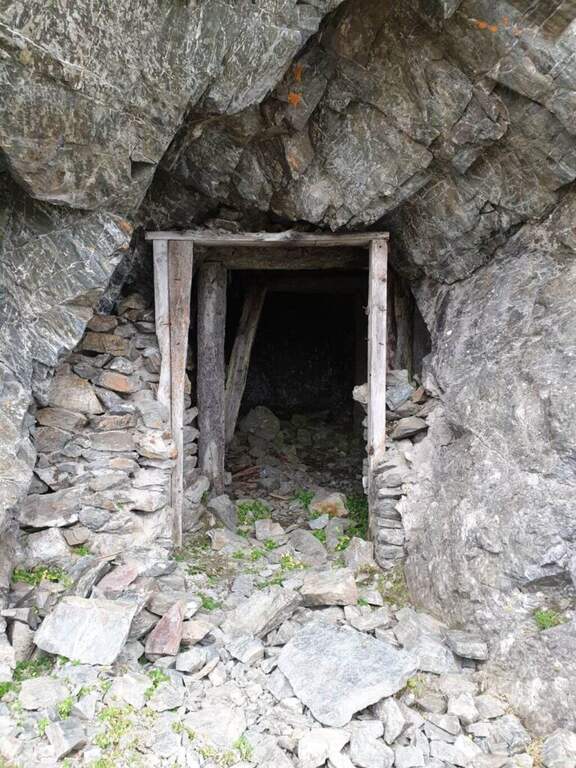
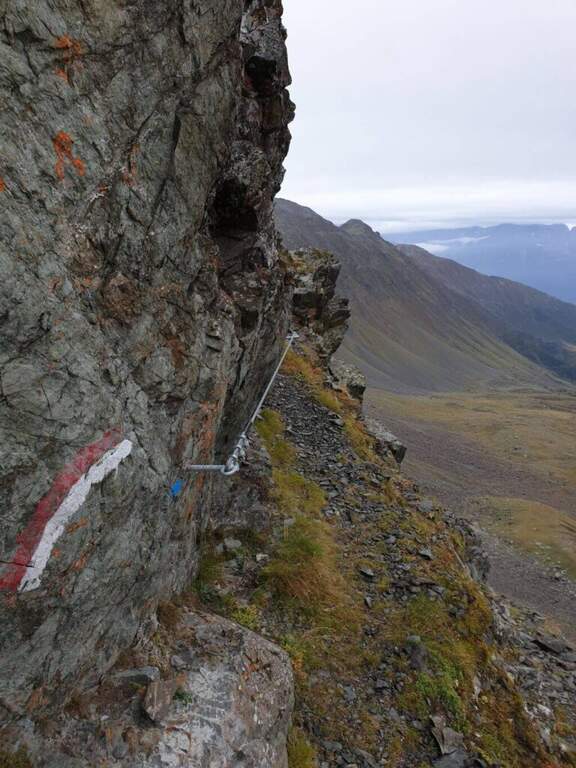
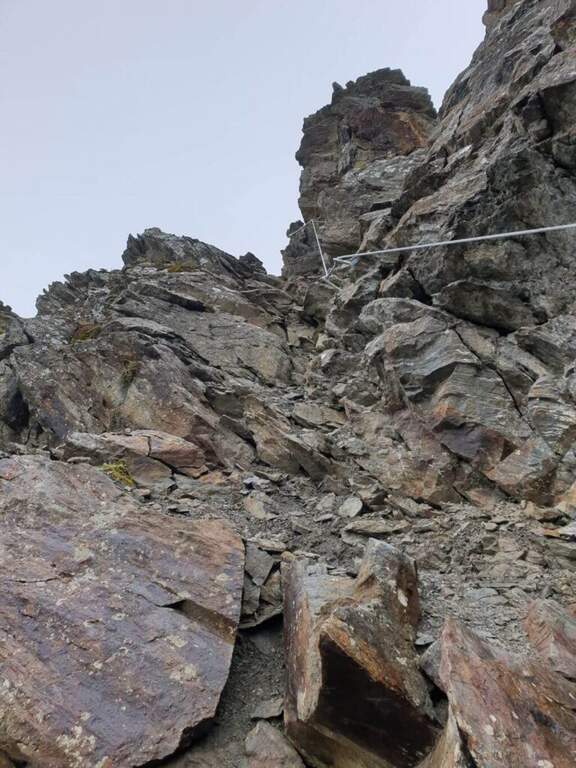
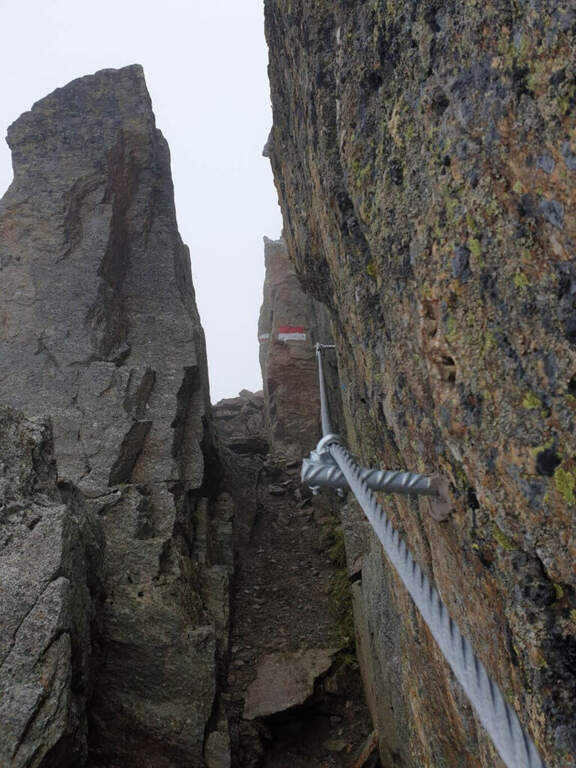
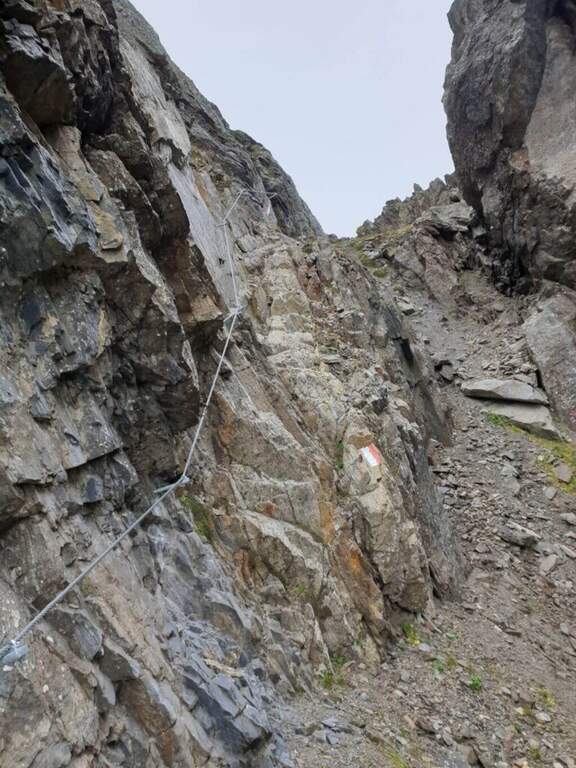
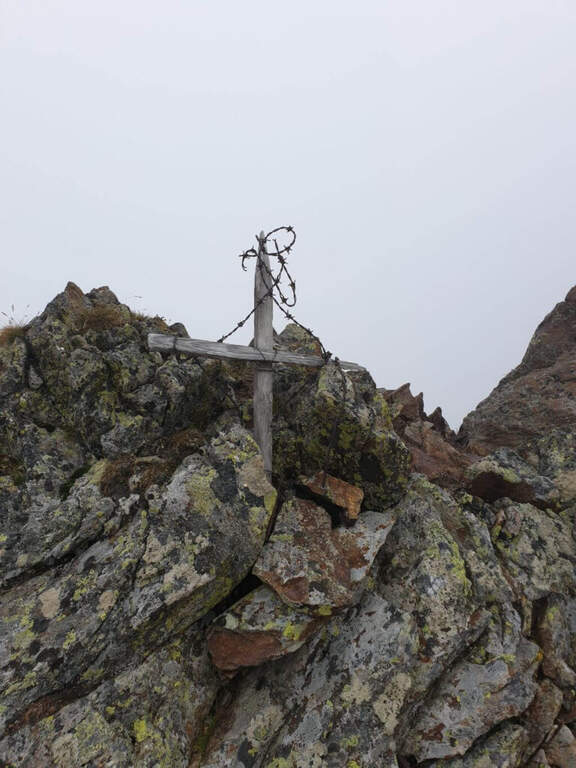
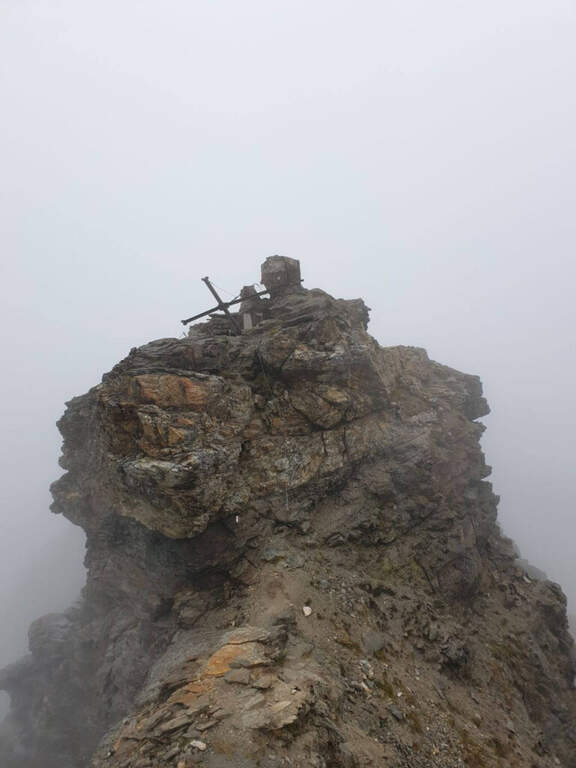
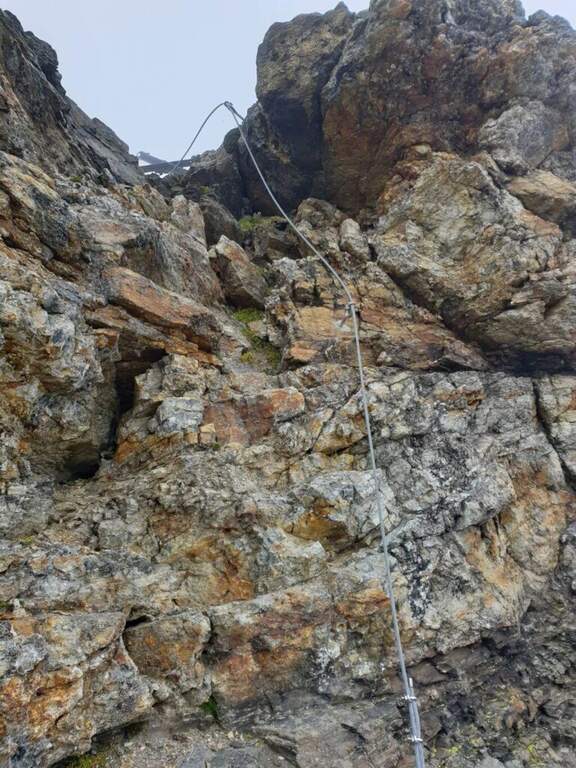
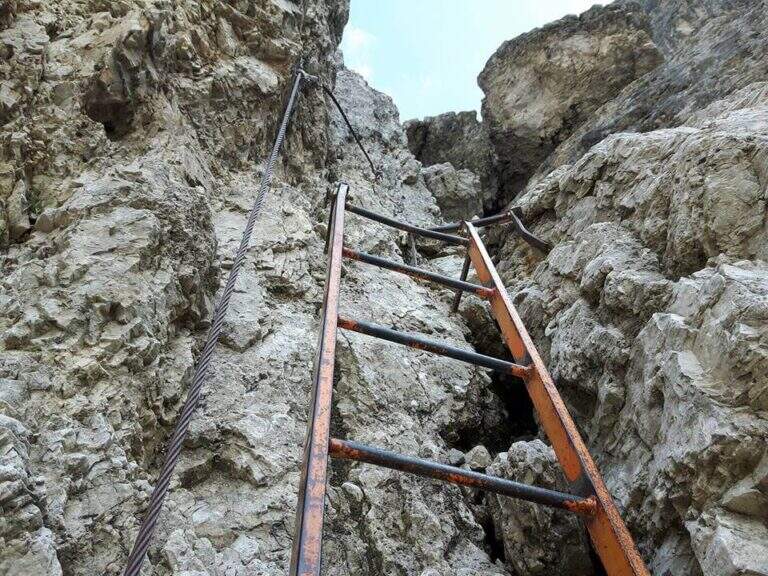
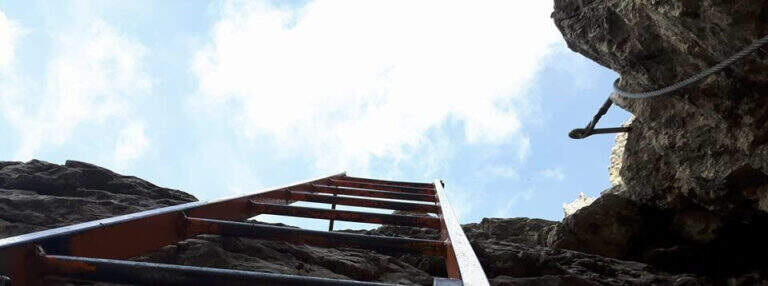
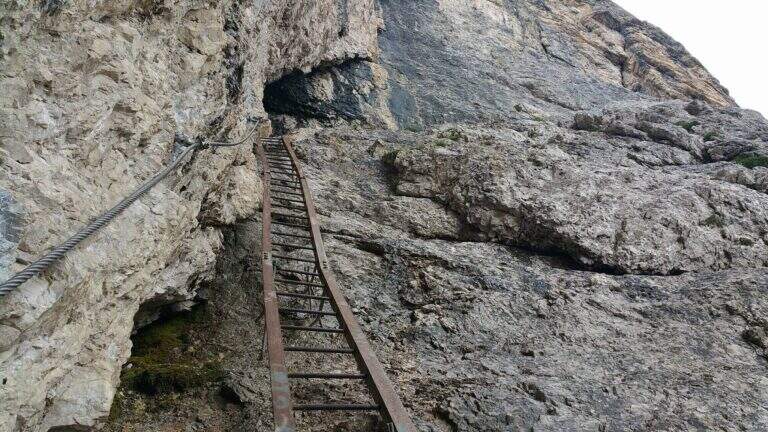
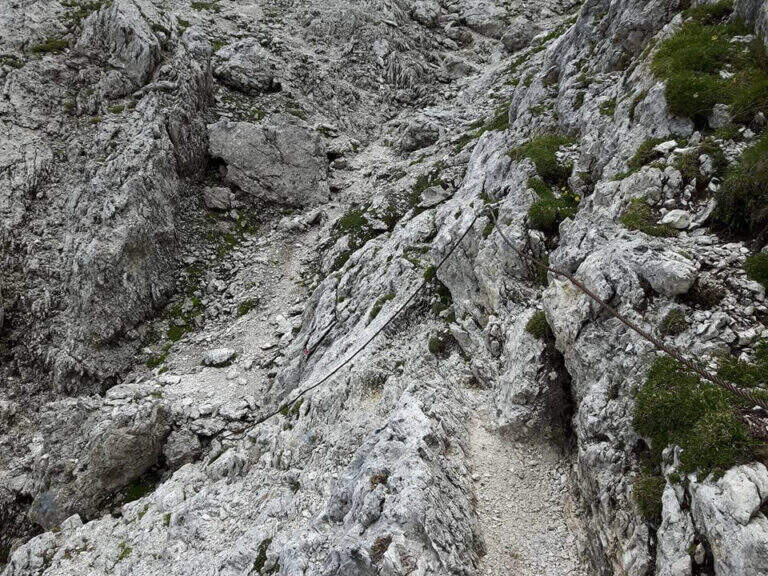
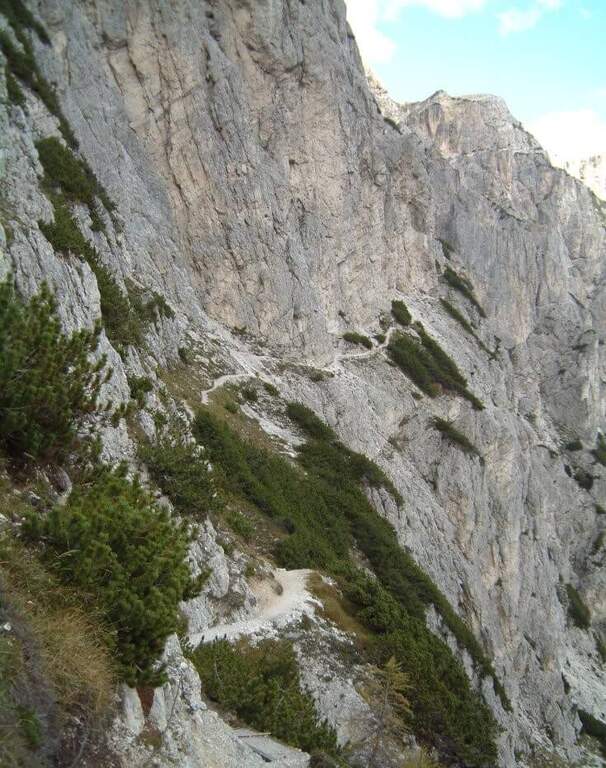
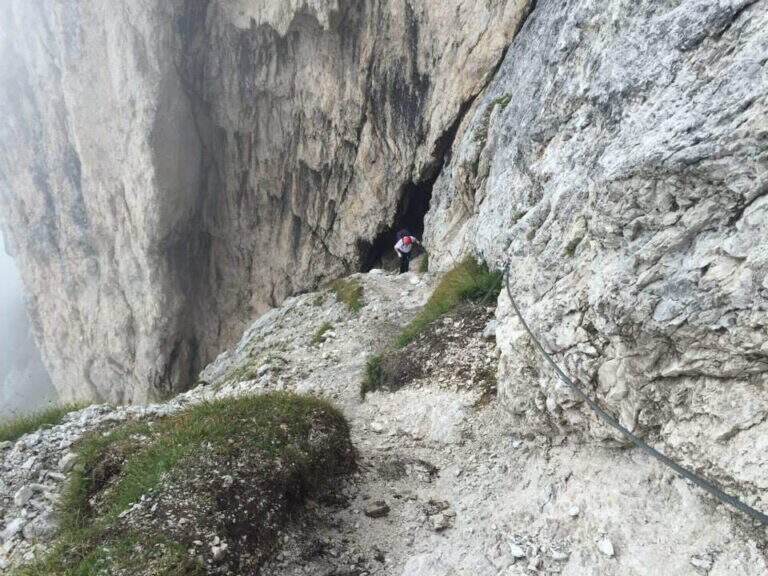
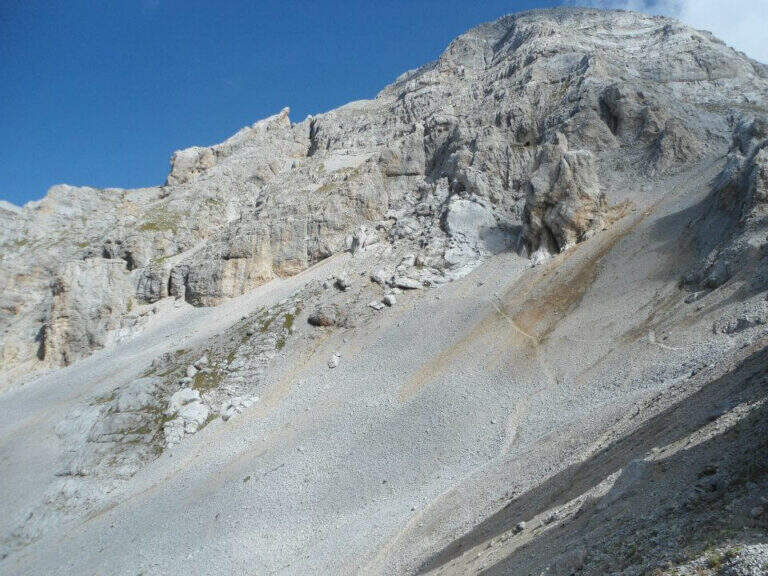
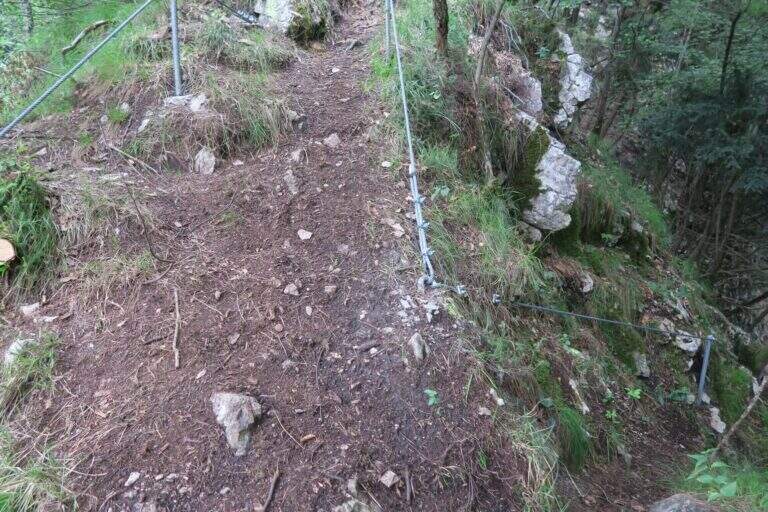
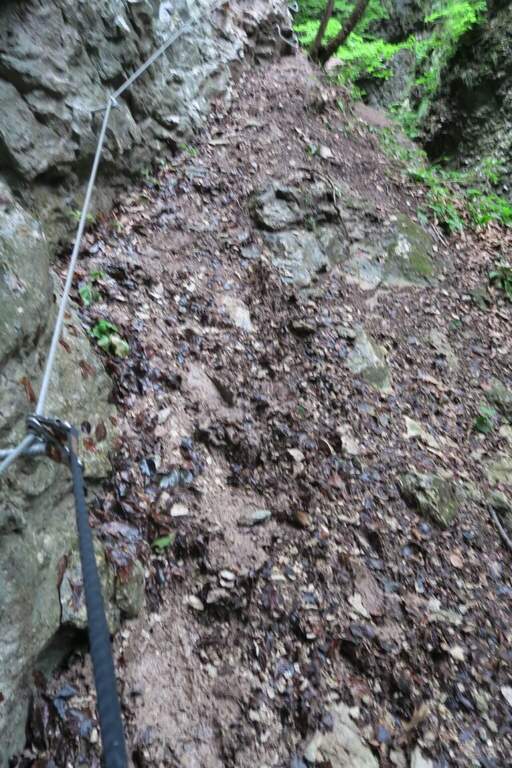
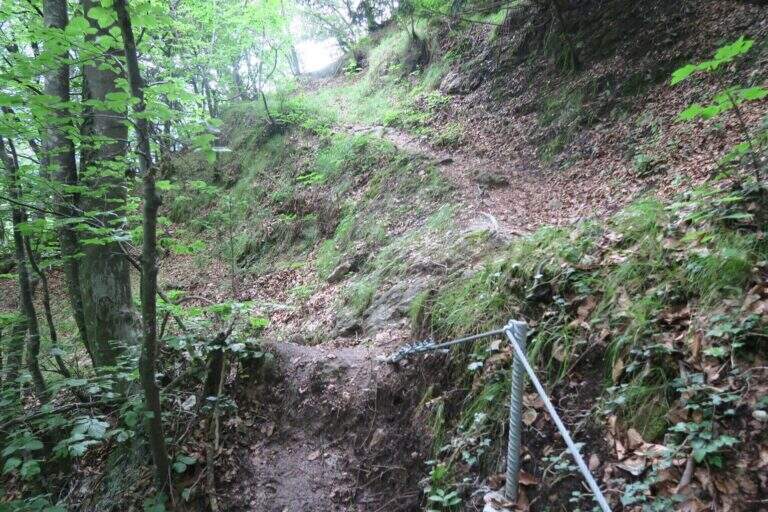
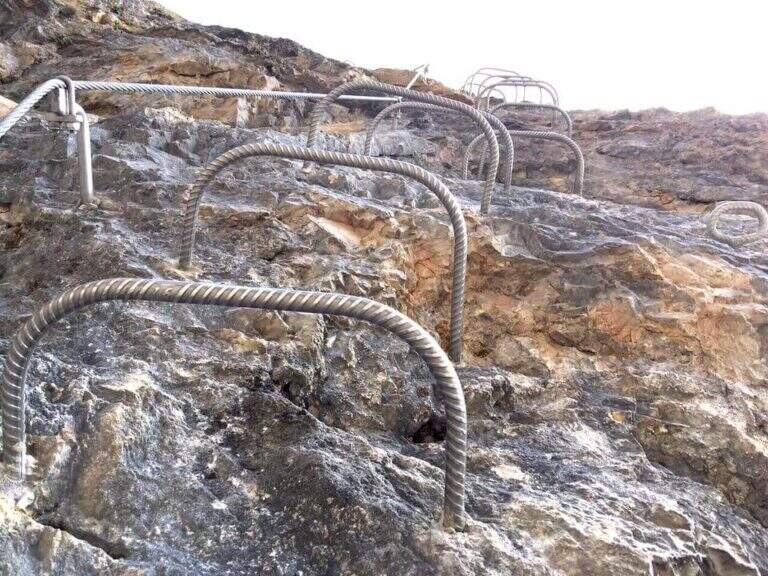
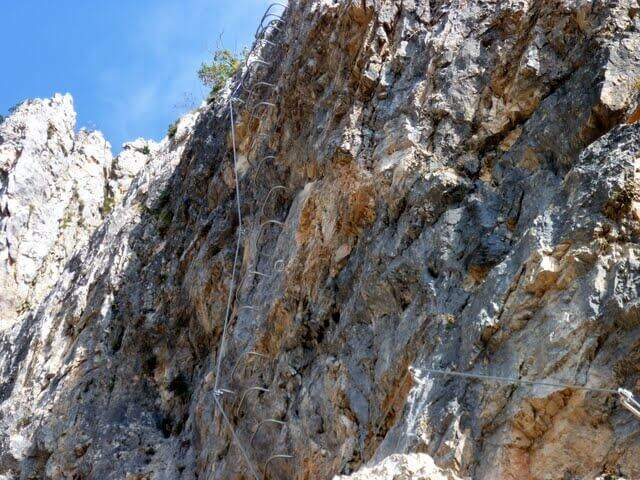
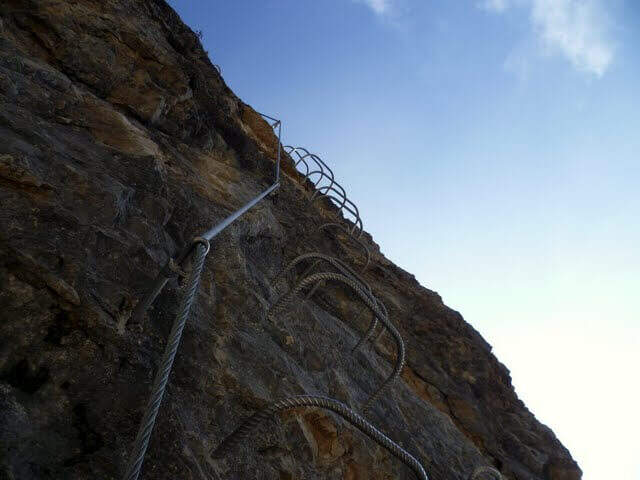
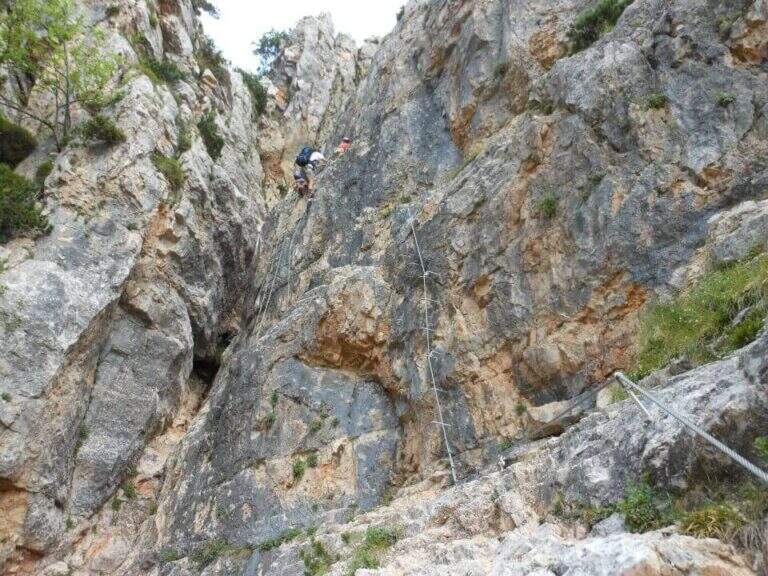
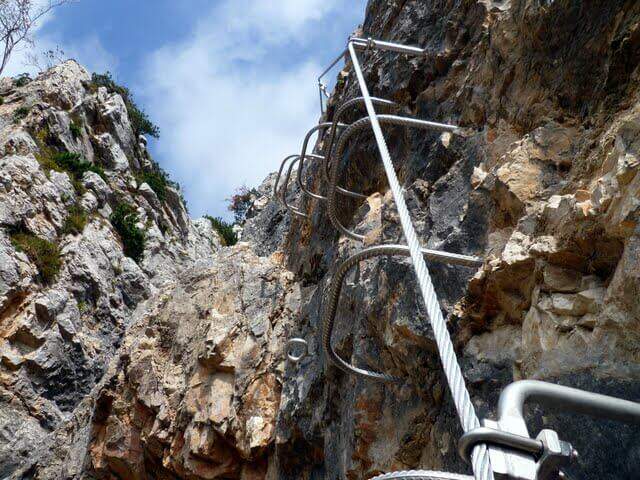
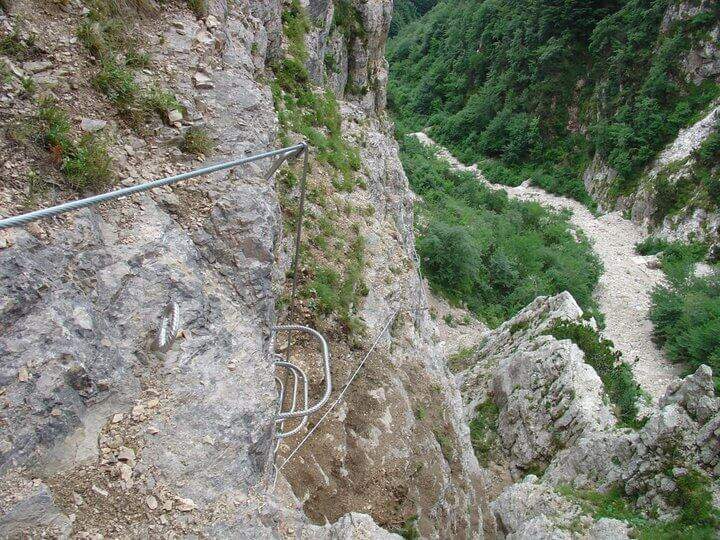
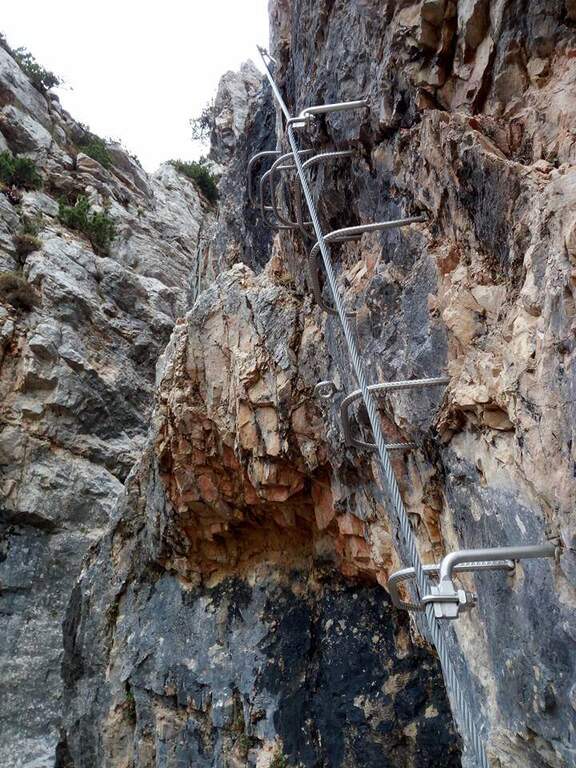
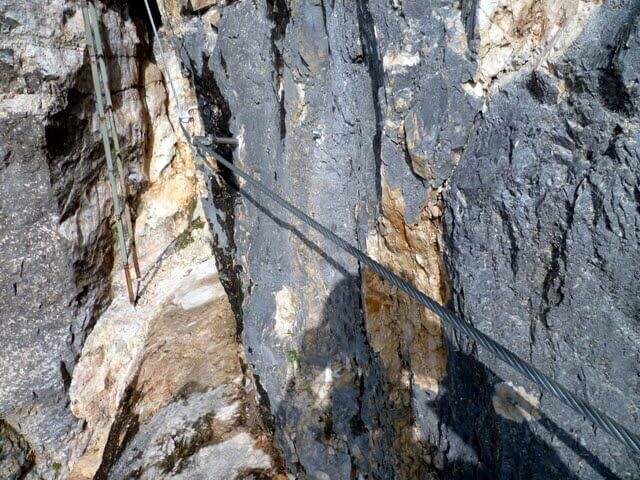
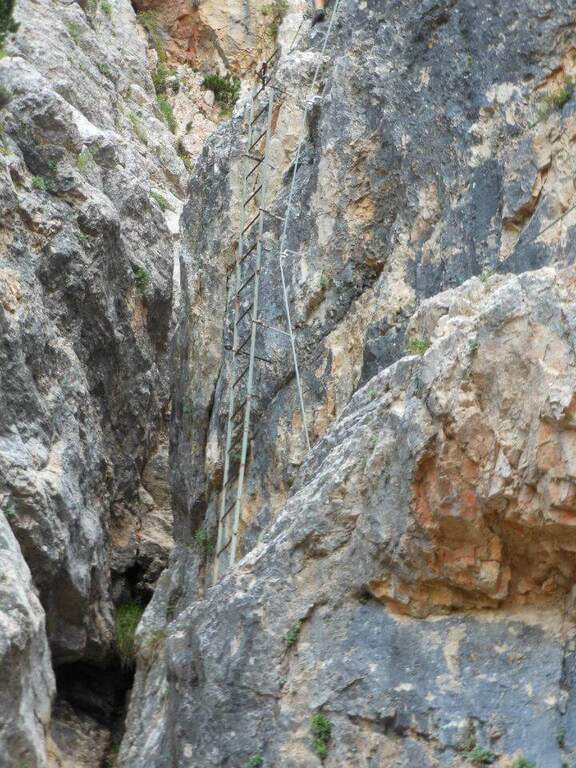
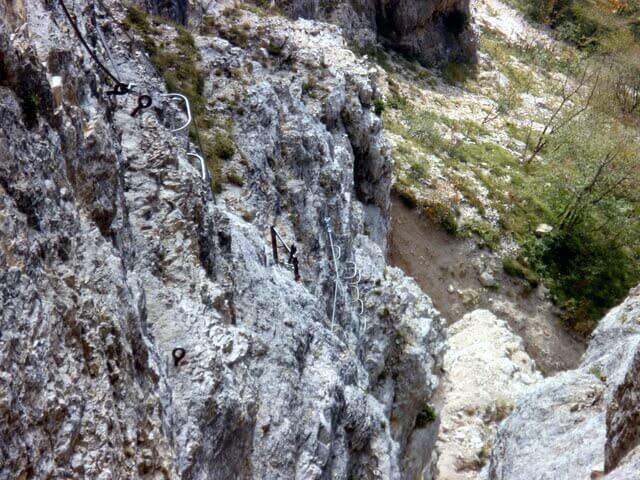
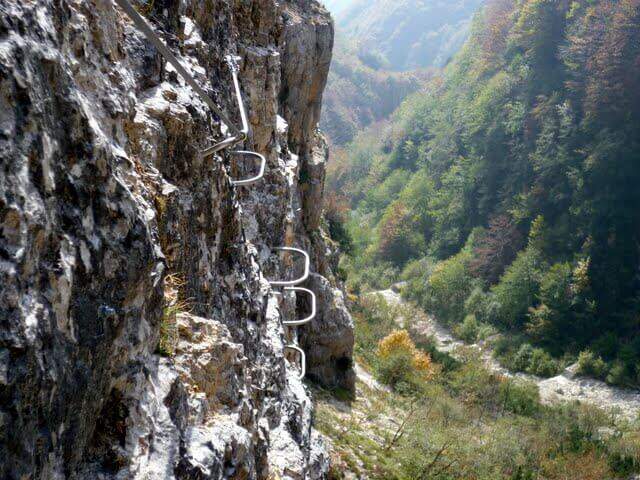
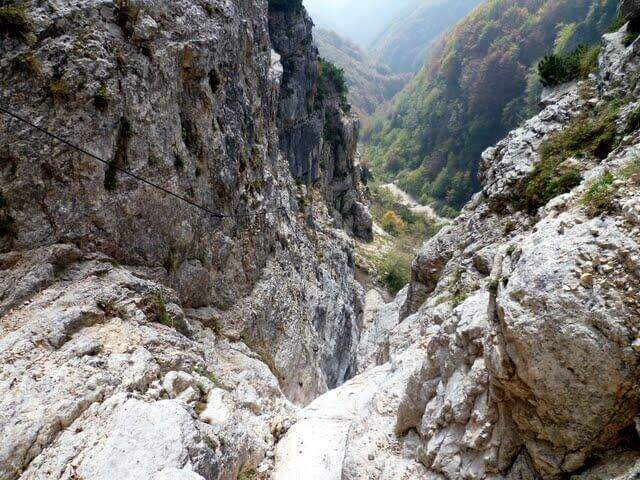
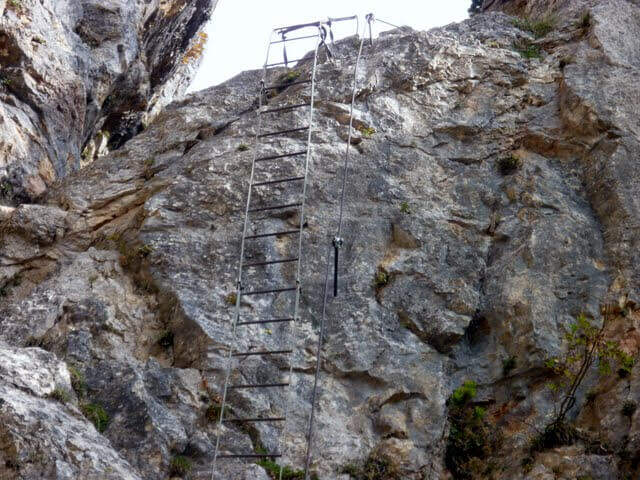
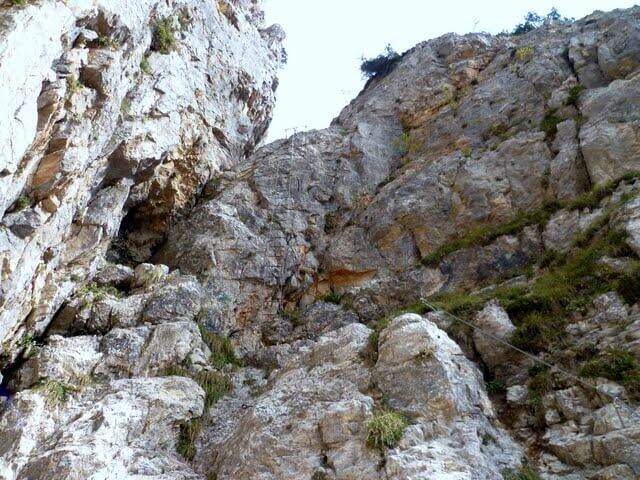
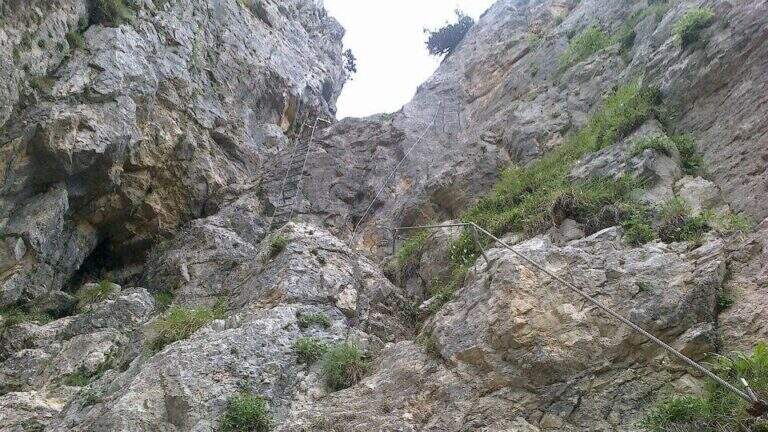
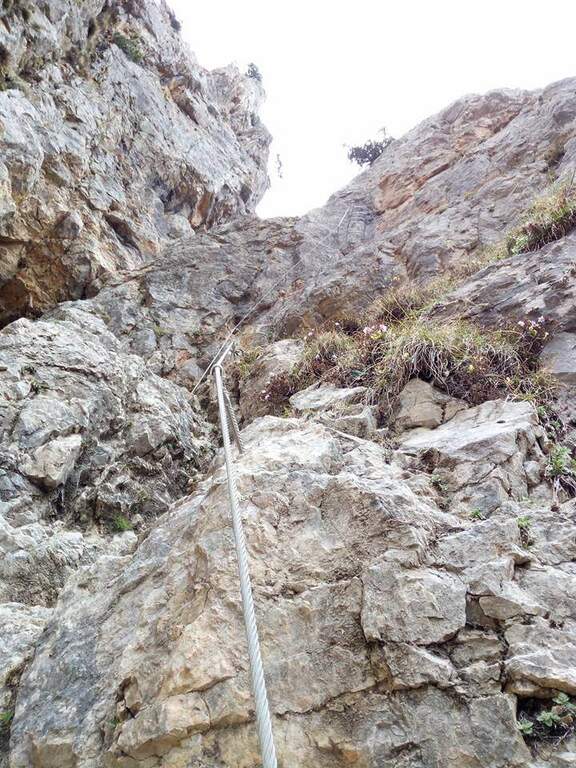
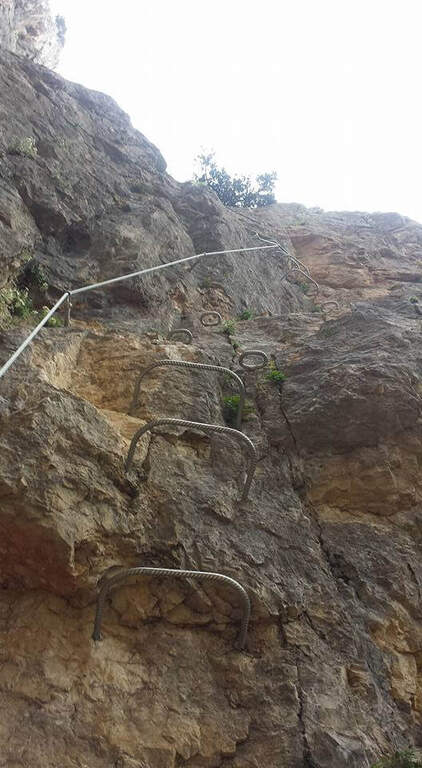
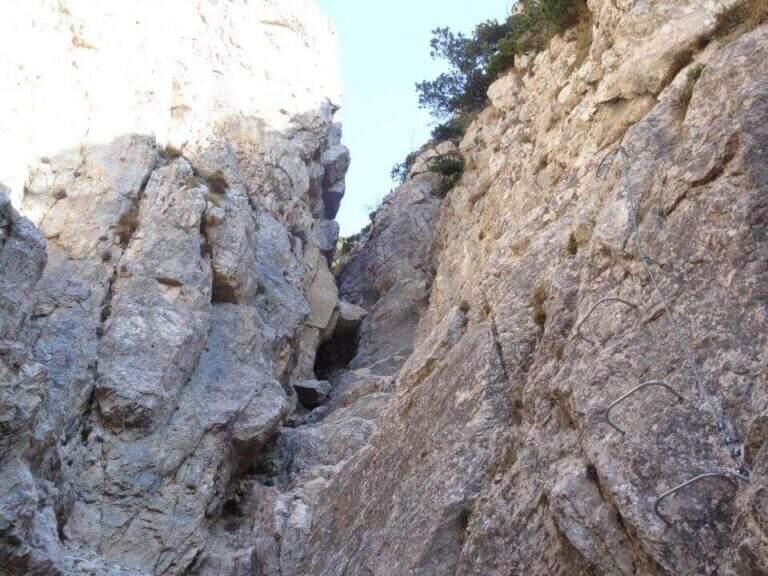
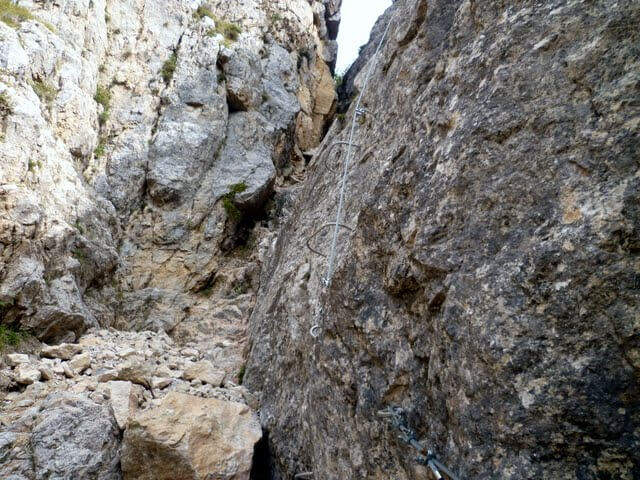
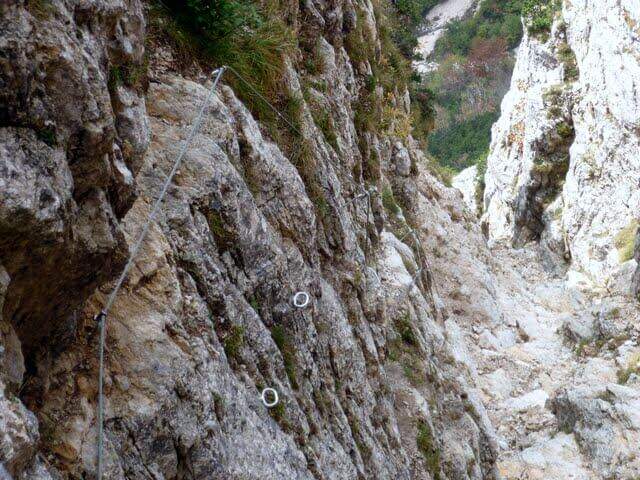
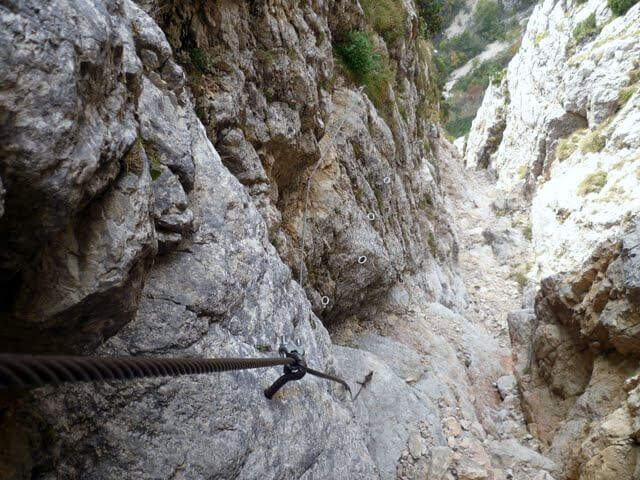
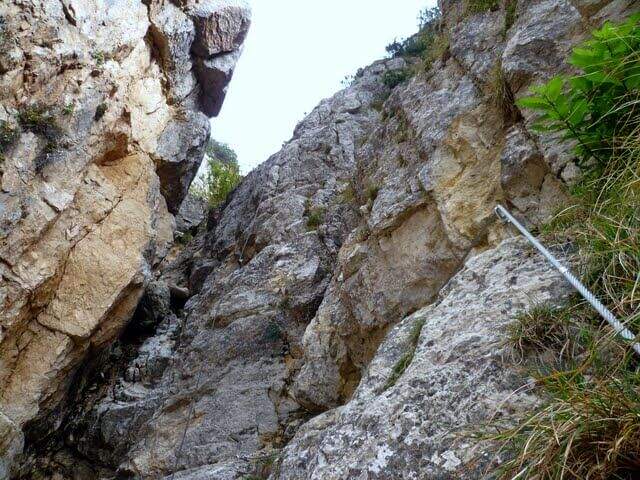
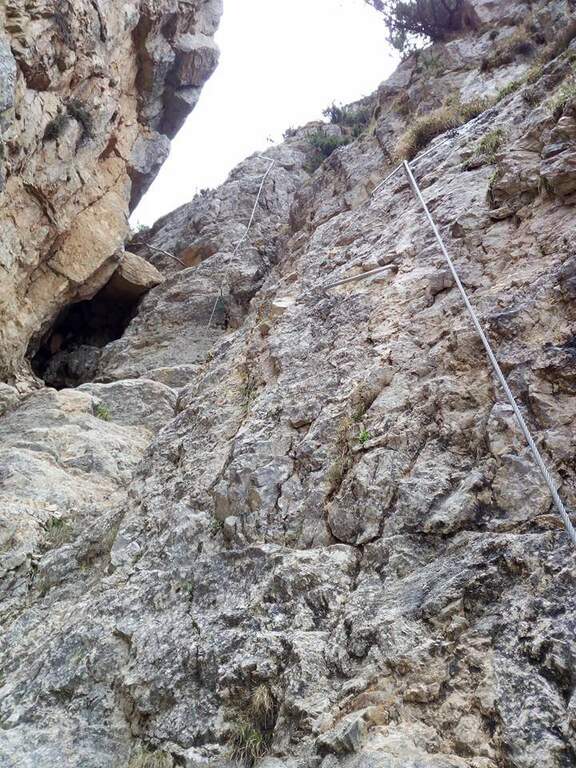
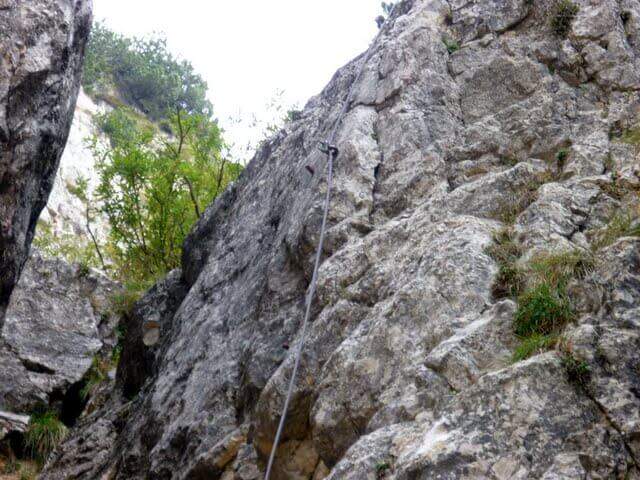
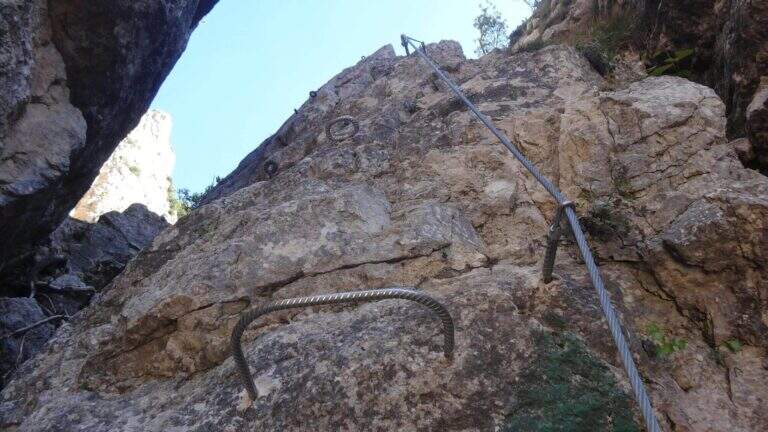
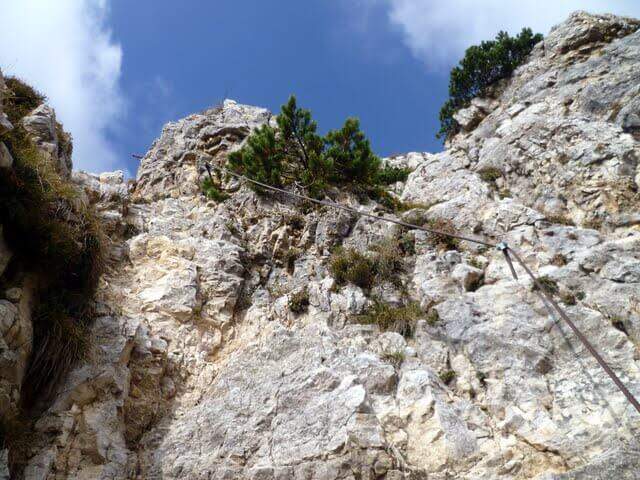
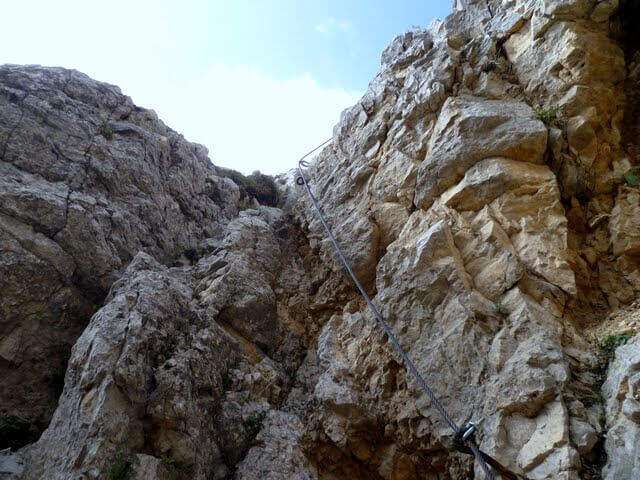
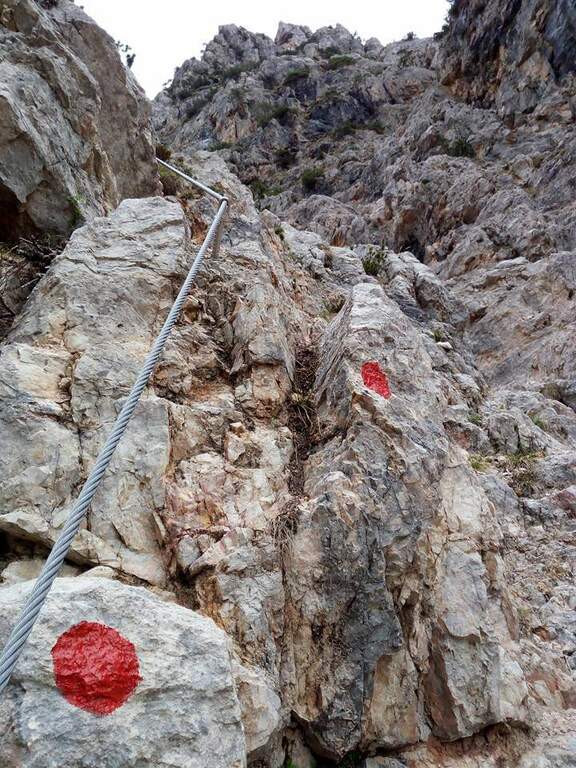
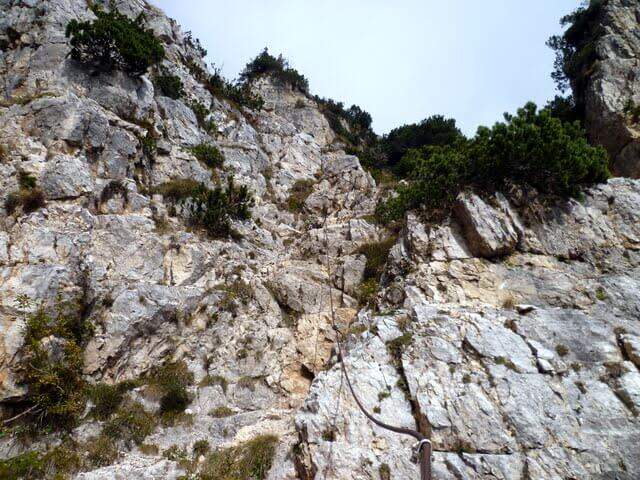
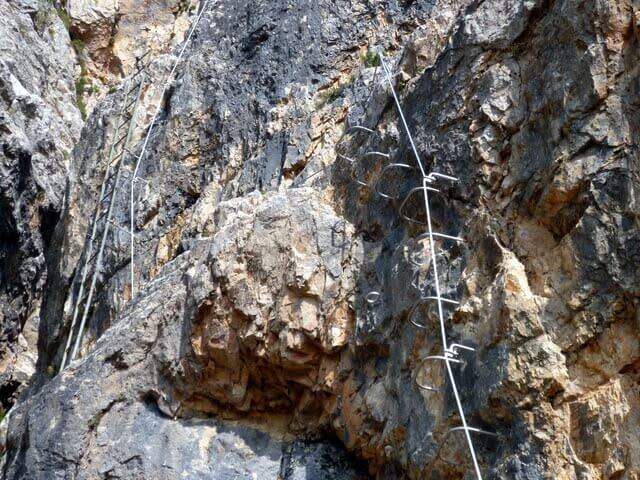
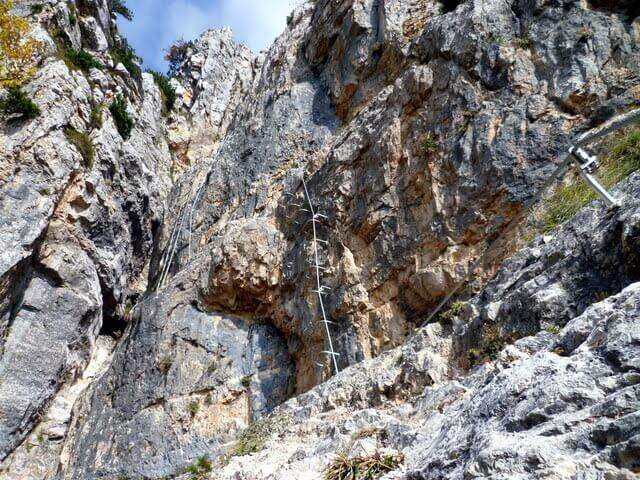
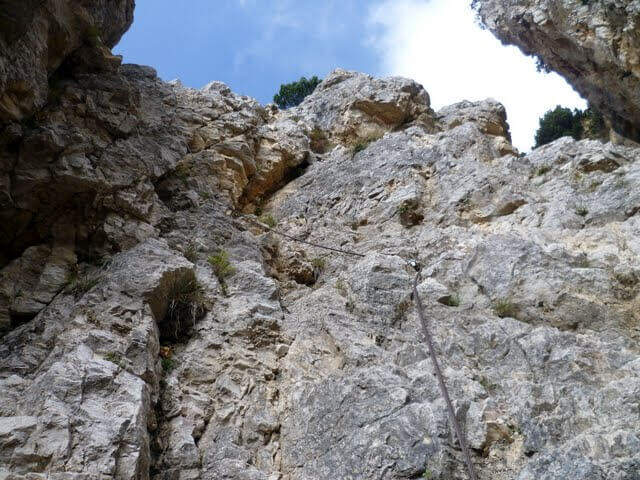
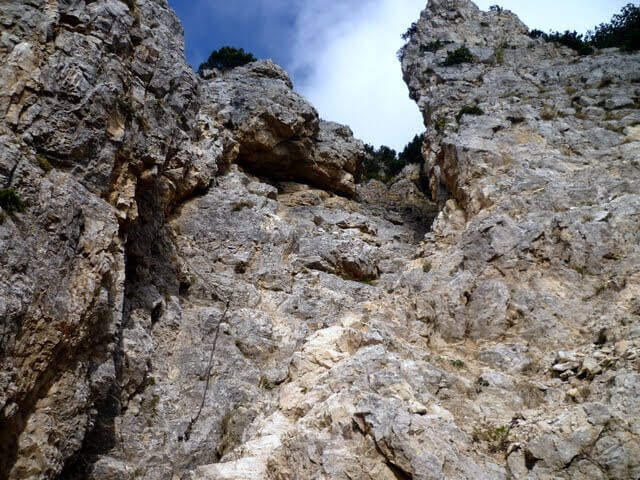
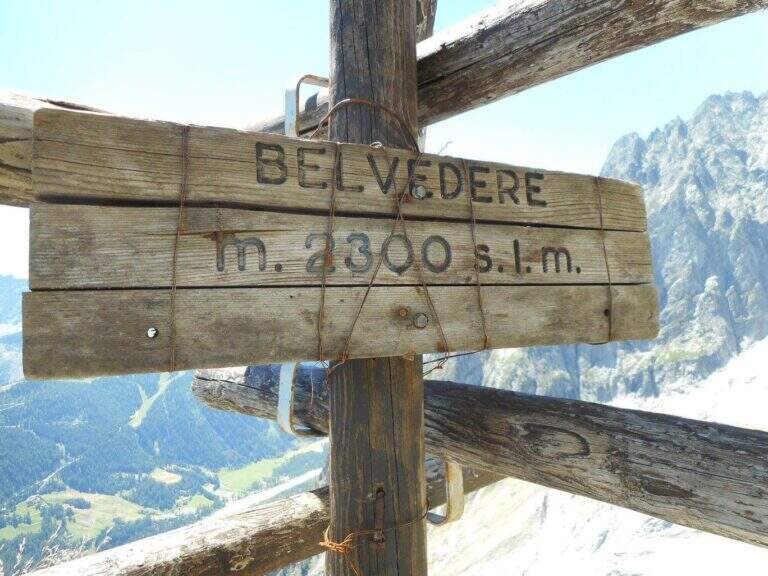
    The equipped part starts going down the eastern shoe of Mont de la Brenva, with steep stretches in which the rope dà safety; a downhill section of III degree, not difficult, è supported by the chain. Continue on half-coast with climbs and descents, assisted by chain and brackets on the right side, and cross a pietraia (yellow signs); at the end a path goes steeply towards the rocks of Brenva to the Belvedere (2300 m, 1h 30' from' start of the stretch), with views of the Bremayn.

    ▲Character and difficulty

    Path equipped not long and not difficult, but in the alpine environment and with exposed sections where the protections are essential; the view from the Belvedere is only a great reason to travel it.

    ⚠ High mountain environment on blackberry and stone: recommended helmet and attention to the bottom. Evaluate the time and time of the cable car for the return.

    ▲Discipline

    The descent takes place on the same climb route (1h 30' from Belvedere, 3h 45' overall).

    ▲To match

    Starting soon, you can connect to Ferrata Casimiro (about 1h by car). In the area Sentiero al Rifugio Dalmazzi, il Sentiero al Bivacco Boccalatte e la Ferrata at Monzino Refuge.

    ▲Gallery
    Technical data
    • DifficultyModerately Hard
    • RegionAosta Valley
    • ProvinceAosta
    • GroupMont Blanc
    • Approach30 min
    • Fully equipped1h 30'
    • Complete itinerary (a/r)3h 45'
    • Level difference130 m
    • Route difference322 m
    • Maximum2300 m
  • Pojesi Path at Carega

    Pojesi Path at Carega

    Vie Ferrate › Veneto › Verona
    Pojesi Path at Carega
    Moderately Hard● OpenDescriptionComplexityMapsGallery

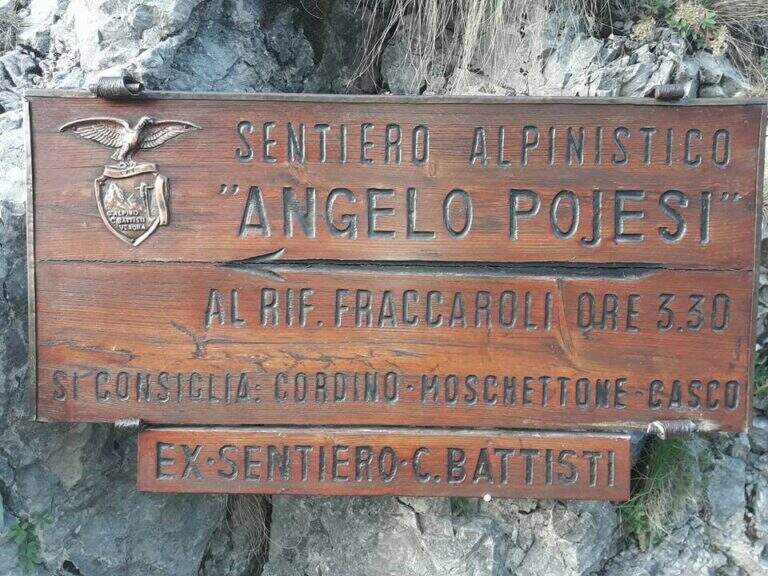
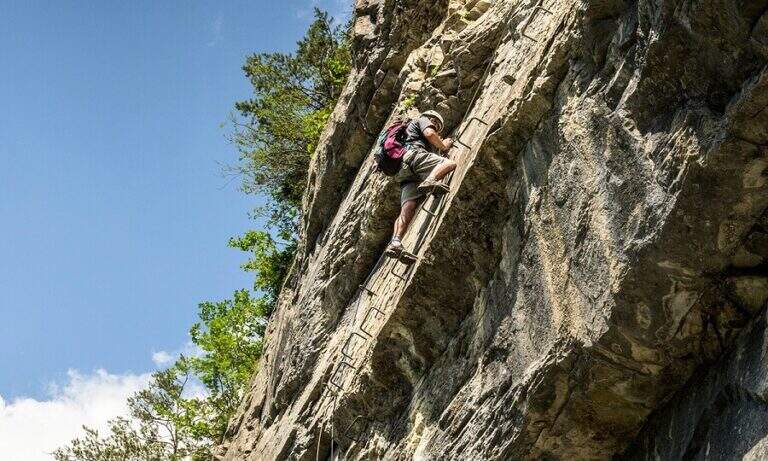
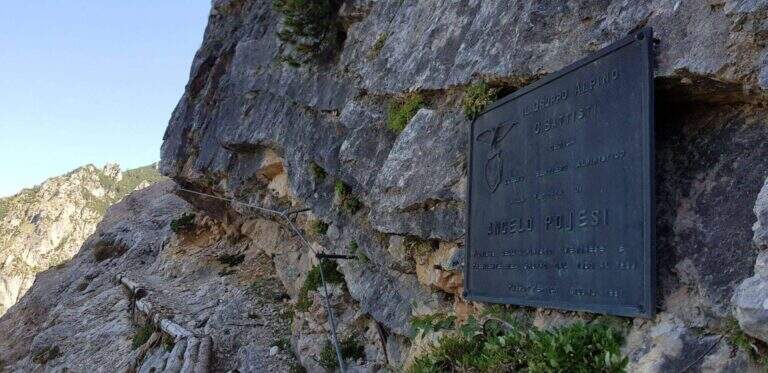
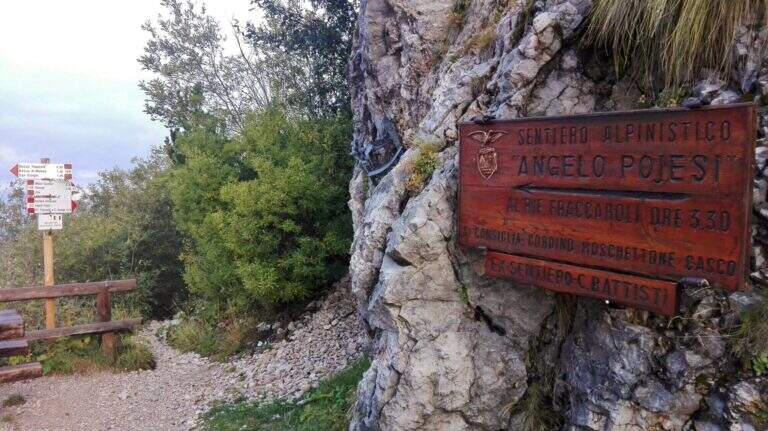
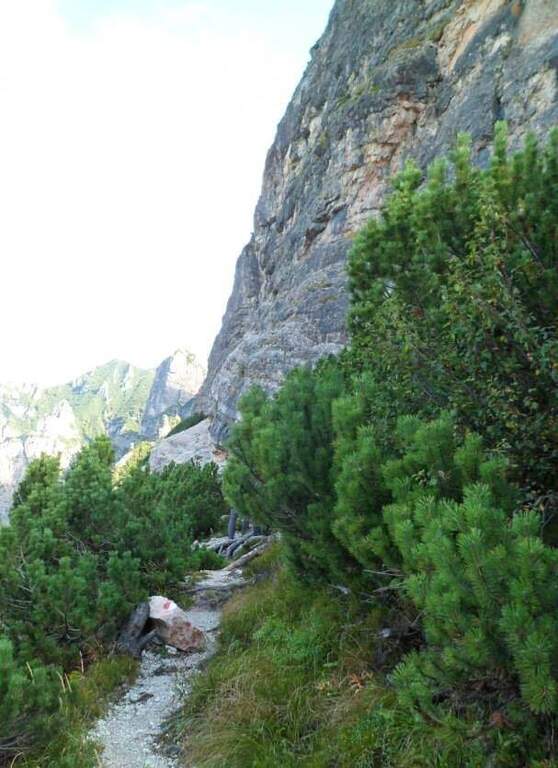
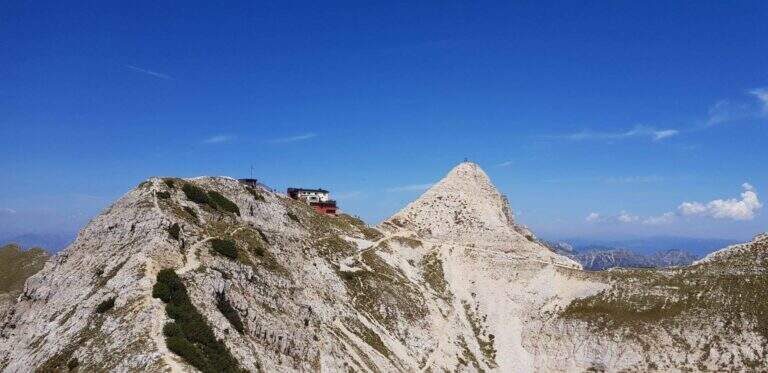
    Il Path equipped Pojesi salt at the Carega in the small Dolomites of Verona. Recently refurbished, it offers a varied and satisfying excursion with a total difficulty: few steps of average difficulty, but at times unstable background on which to pay attention. It is long if you include the climb to Carega.

    ▲Approach

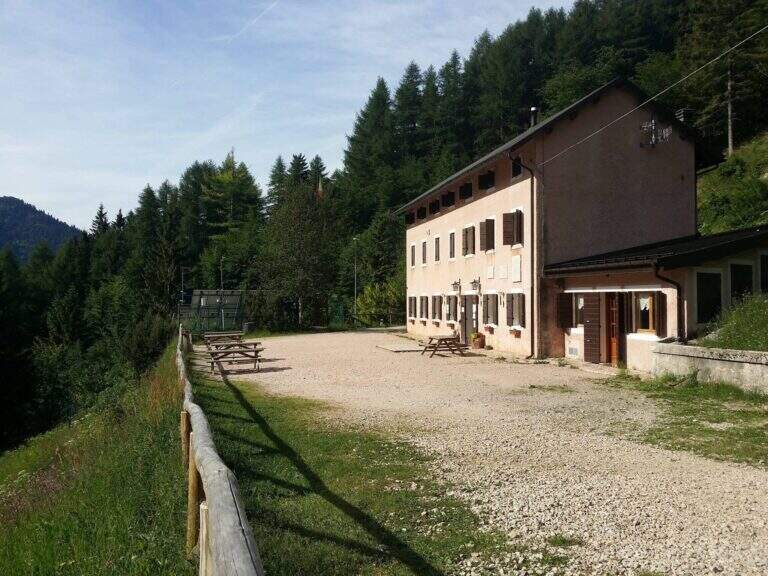
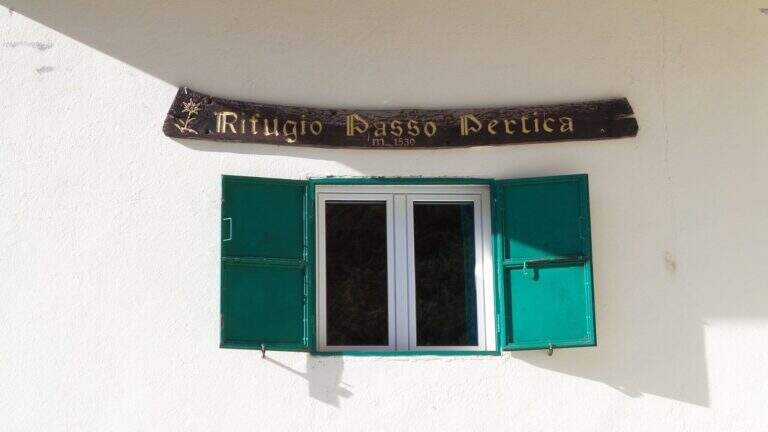
    Starting from the Rifugio Revolto (1355 m), go up the Val d'Illasi: from the south you leave from the 'A4 to Verona East or Soave, you reach Selva di Progno and then Giazza, from which you continue about 7 km on narrow but paved road to the refuge. Open road signs on Google Maps. From the Revolto you go up to the Rifugio Passo Pertica (1530 m), for the forest (30') or for the path in the wood that the size (20'); from here follow the plates to the north-west to the ' start of the path equipped, at a nod (about 30' from the parking lot).

    ▲The path

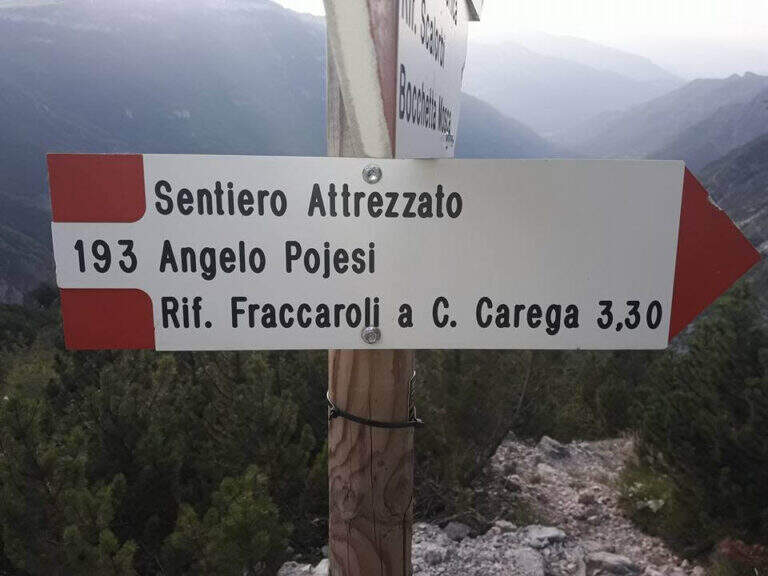
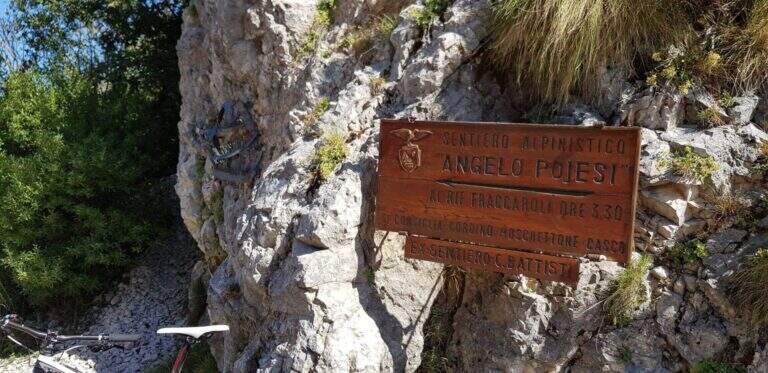
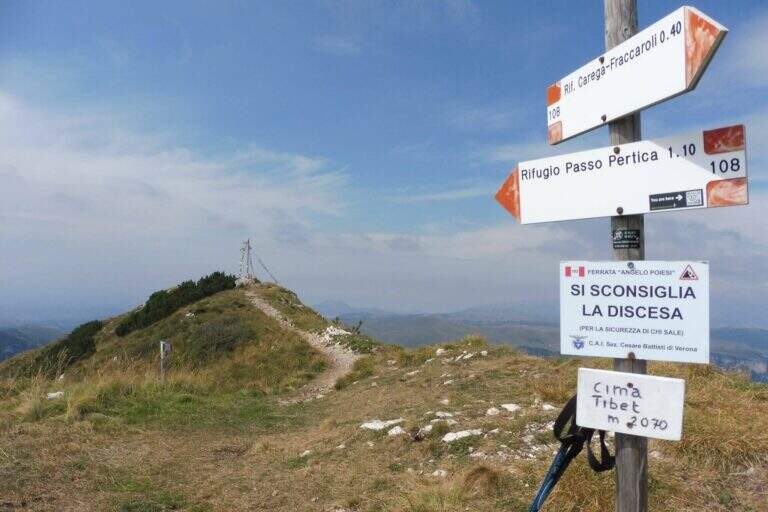
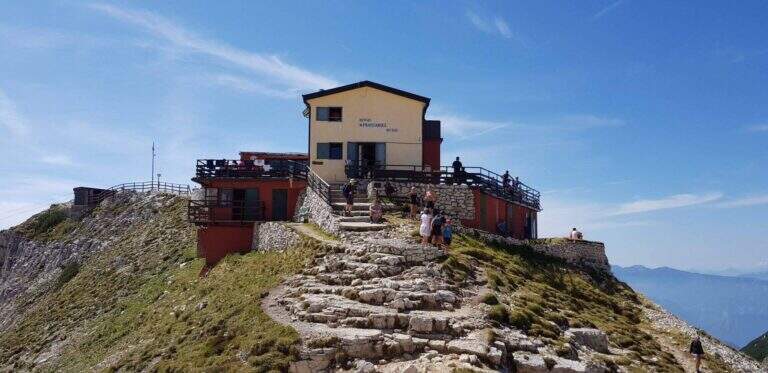
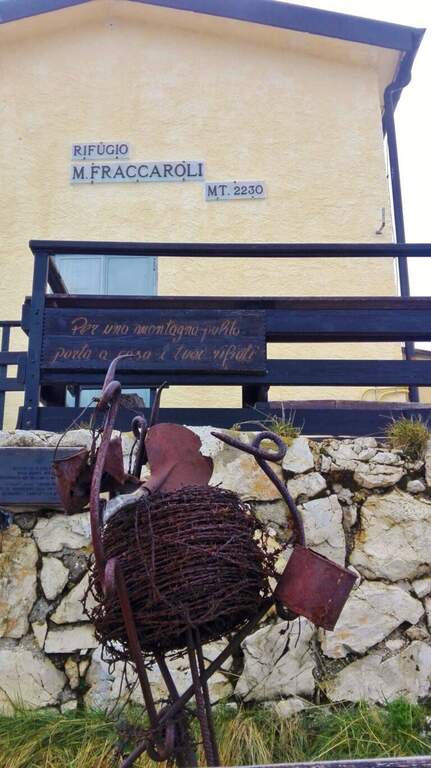
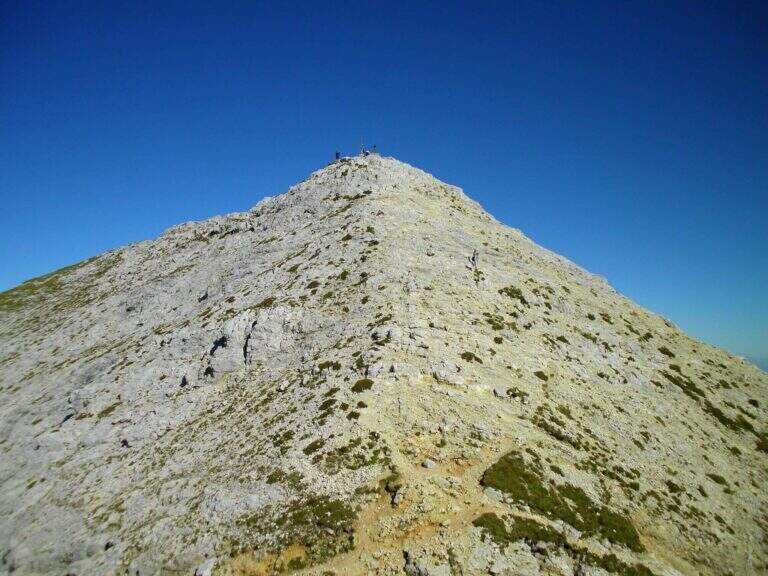
    Il Pojesi inizia con un'esposta ma comoda cengia attrezzata verso sinistra, con passerelle, brevi balzi e scalini; una scaletta metallica e un tratto su fondo ghiaioso portano a un breve e aereo traverso da percorrere su cambre e pioli. Aggirato uno spigolo, una passerella riporta sulla cengia; in lieve discesa su fondo instabile si raggiunge un traverso più corto e facile, poi un tratto di discesa attrezzata, e si piega a destra in salita chiudendo il primo tratto di cengia. Inizia il secondo tratto: un balzo verticale di 4 metri e una serie di balzi e massi attrezzati – il primo realmente arrampicabile – poi un camino con cavo a sinistra e solide cambre a destra. Si prosegue in salita fino a un tratto di discesa attrezzata di circa 15 metri (paretina con cambre, roccette, canalino) e a ripidi gradoni di legno; segue un breve tratto attrezzato e una disarrampicata verticale su roccia molto appigliata. Si scende ancora tra mughi e ghiaioni, con brevi tratti attrezzati, fino sotto una bella parete verticale che si risale per una ventina di metri (cambre e appigli naturali), uscendo su una rampa gradonata; si raggiunge il libro delle firme. La salita però non è finita: si entra in un canalone attrezzato e arrampicabile (conviene restare sul lato destro in spaccata anche se la fune corre a sinistra), poi si risale una parete verticale di una trentina di metri su cambre e appigli. Con alcune roccette e brevi tratti attrezzati il Pojesi termina innestandosi sul sentiero 108 (2h 30' dall'attacco, 3h dal parcheggio). Dal bivio si può rientrare a destra al Rifugio Pertica (circa 1h 15') oppure proseguire a sinistra verso il Rifugio Fraccaroli (2230 m, 45' dal termine) su un bel sentiero di cresta panoramico, salendo infine alla vetta del Carega (2259 m, 4h complessive).

    ▲Character and difficulty

    The renovation has modernized the road and added artificial hooks: apart from three steps (the initial traverse and the two final channels) the route can be considered easy. Functions, fixtures and walkways are in very good condition.

    ⚠ The Piccole Dolomiti often wind up of nebbia in the afternoon, especially in the warm months: better start soon. Attention to stones and unstable background; in the area there are many chamois, therefore always indispensable helmet.

    ▲Discipline

    From the top of the Carega you return to the crossroads between the Pojesi and the path 108 and descend on the 108, without difficulty, first at the Rifugio Pertica and then, on the path of approach, at the Revolto Refuge (2h from the summit, 6h overall).

    ▲To match

    From the Rifugio Pertica part the vertical and exposed Ferrata Biasin and the excursion to Ferrata Campalani. Towards the Gramolon there are Ferrata Viali e la Ferrata Ferrari; towards the Pasubio the Dark Vajo e il Vajo Strait.

    ▲Gallery
    Technical data
    • DifficultyModerately Hard
    • RegionVeneto
    • ProvinceVerona
    • GroupSmall Dolomites – Carega
    • Approach30 min
    • Fully equipped3h 30'
    • Complete itinerary6h
    • Level difference700 m
    • Route difference908 m
    • Maximum2260 m
    • Length15 km
  • Path equipped Astaldi

    Path equipped Astaldi

    Vie Ferrate › Veneto › Belluno
    Path equipped Astaldi
    Moderately Hard● OpenDescriptionComplexityMapsGallery

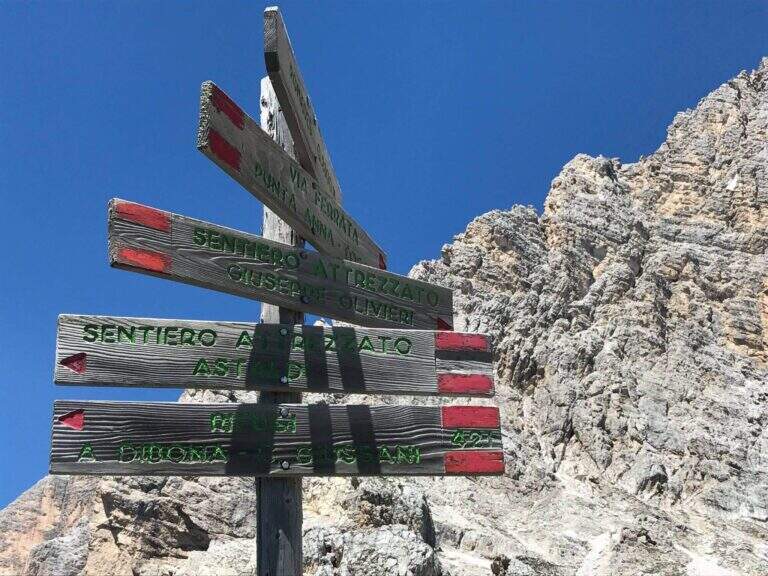
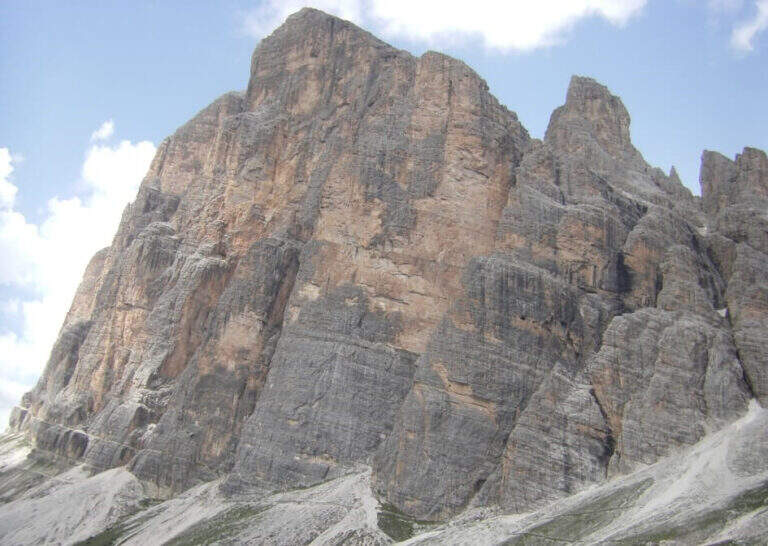
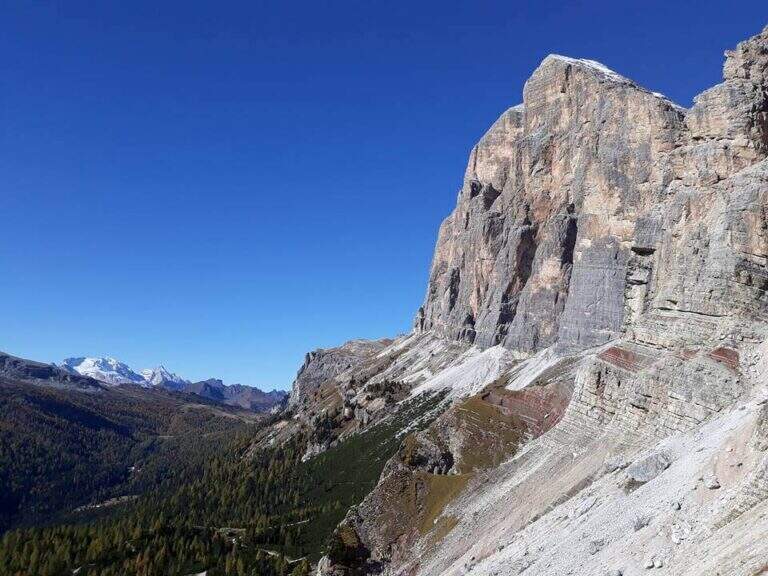
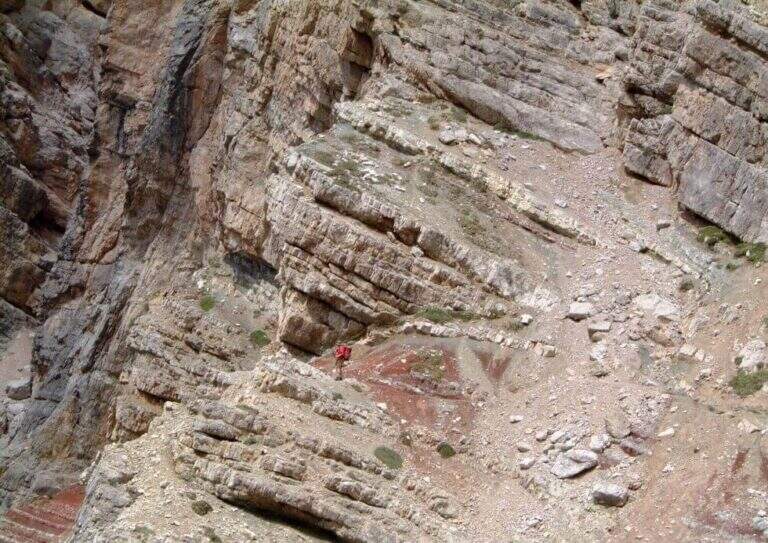
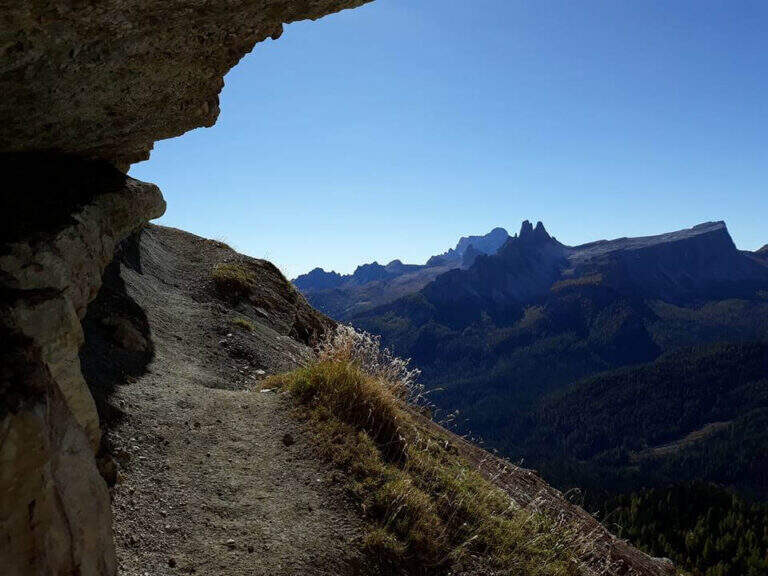
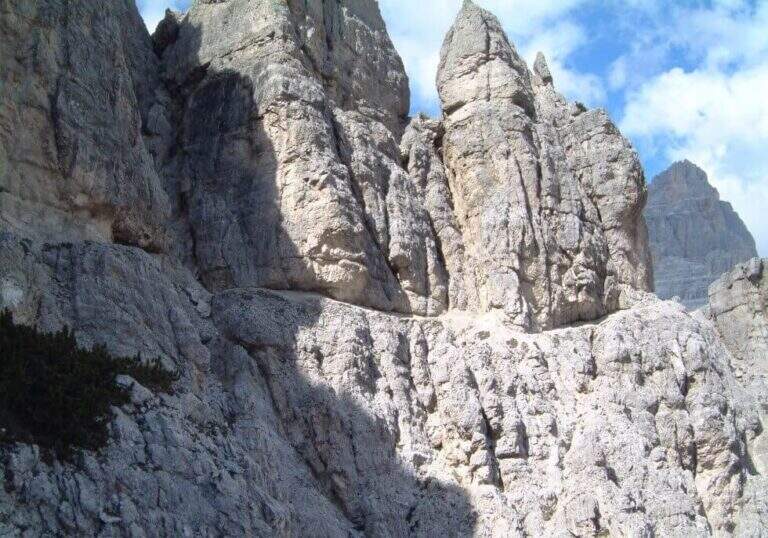
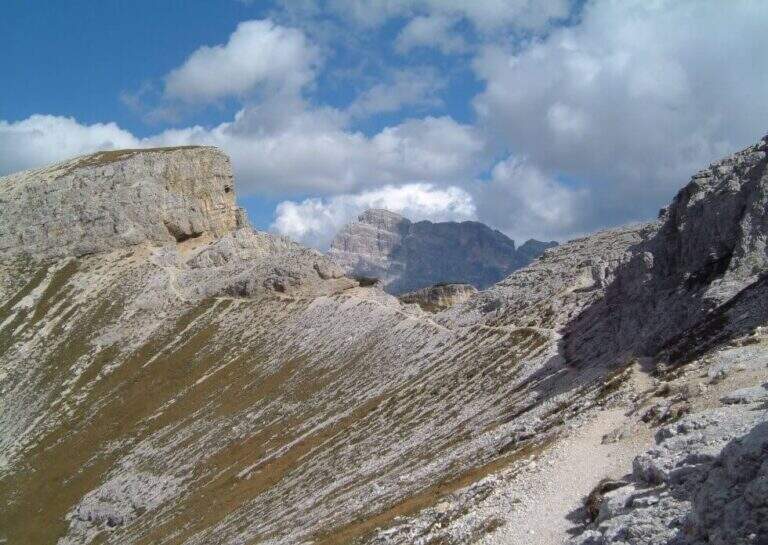
    Il Path equipped Astaldi walks through the base of the southern slope of Punta Anna, in the Tofane above Cortina d'Ampezzo. It is scenically remarkable, with modest technical difficulties and contained physical commitment, ideal for a half day; however, it should be carefully addressed for a couple of unprotected detritic canals.

    ▲Approach

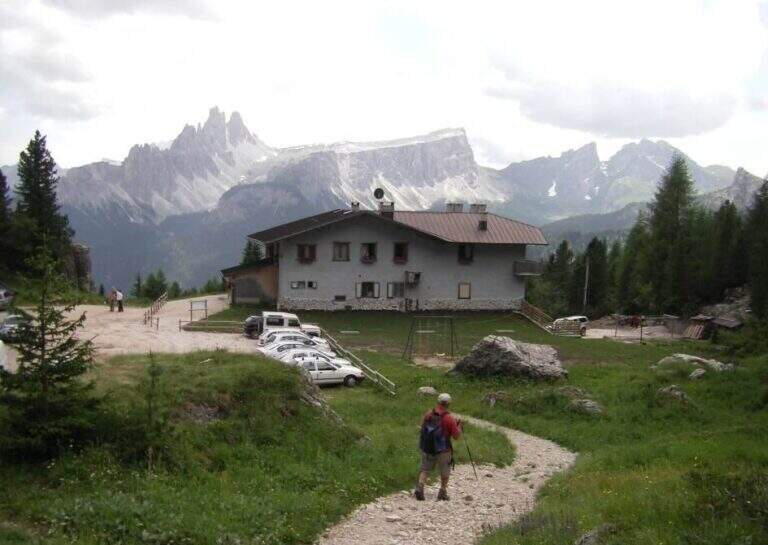
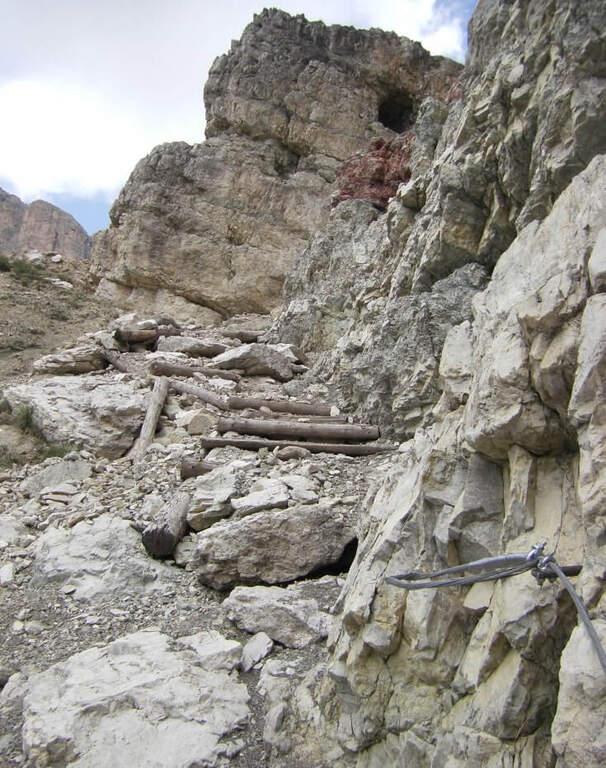
    Starting from the Rifugio Dibona (2083 m), reachable by road paved by the state road Cortina– Passo Falzarego (follow the signs for the Dibona, avoiding the junction for the Rifugio Duca d'Aosta). Open road signs on Google Maps. From the parking lot follow eastwards the sentiero 403 (towards the Giussani Refuge) along the valley between the south face of the Tofana of Rozes to the left and Punta Anna to the right; on the ascent there is a trail that leaves the mule track at a decisive turn left. Go up on detritic slope to a drainage and follow the trail towards the rocky bastion, where – to the right of an artificial foro in the rock – start the path equipped (45' from the Rifugio Dibona).

    ▲The path

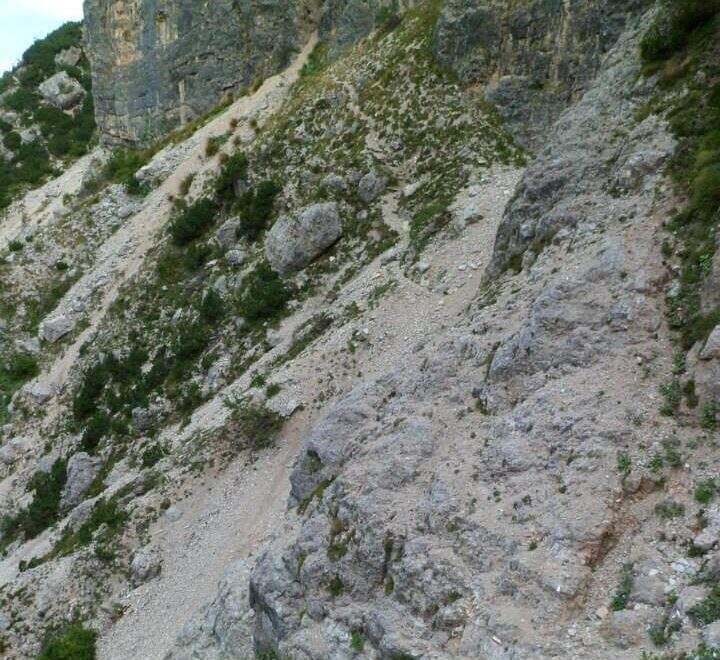
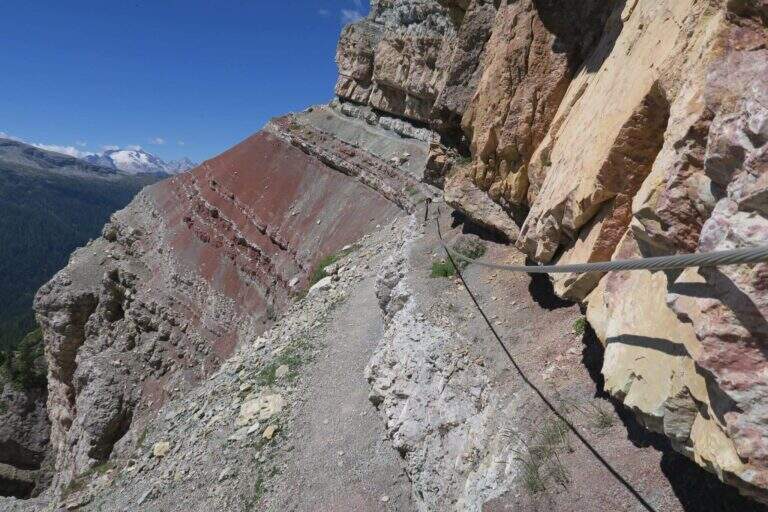
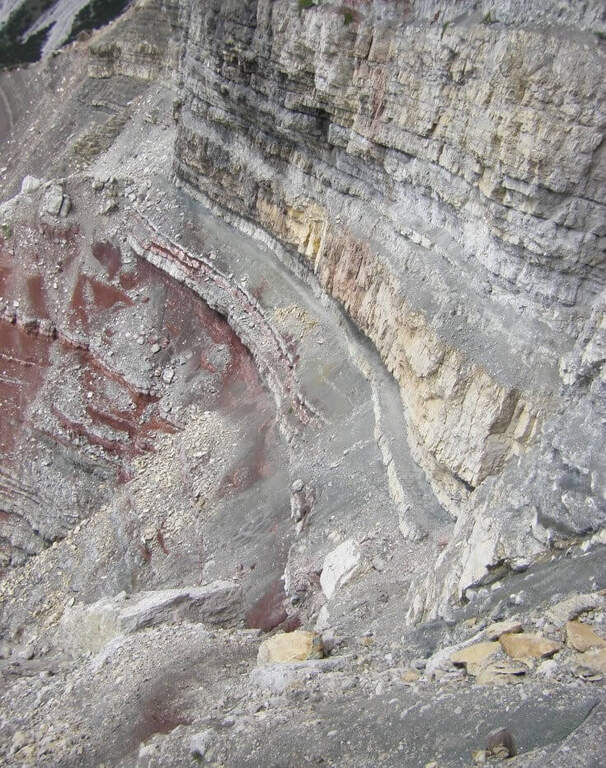
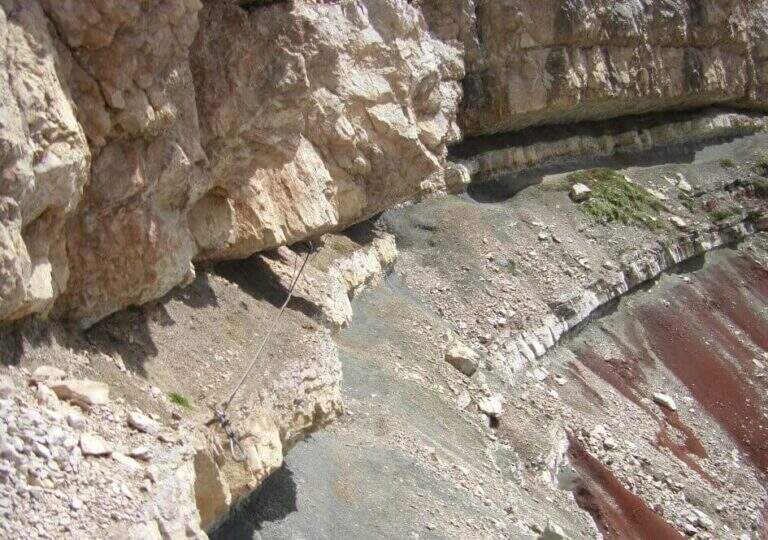
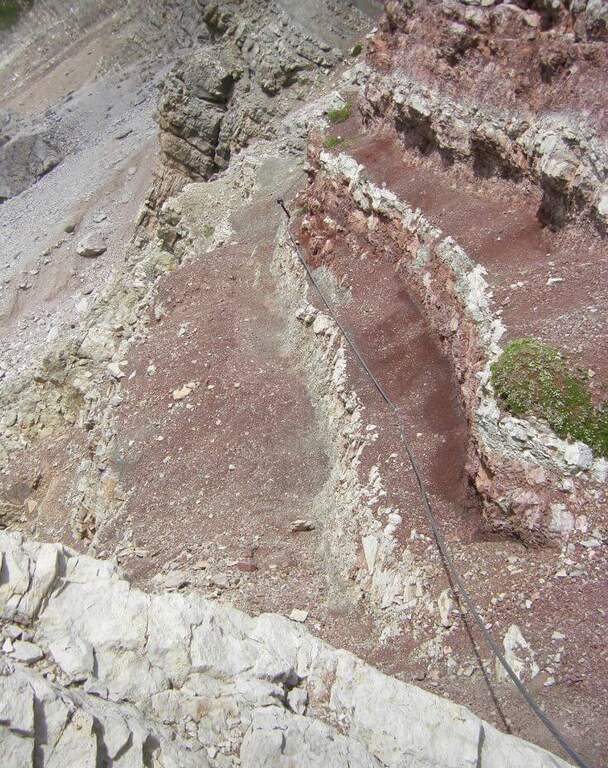
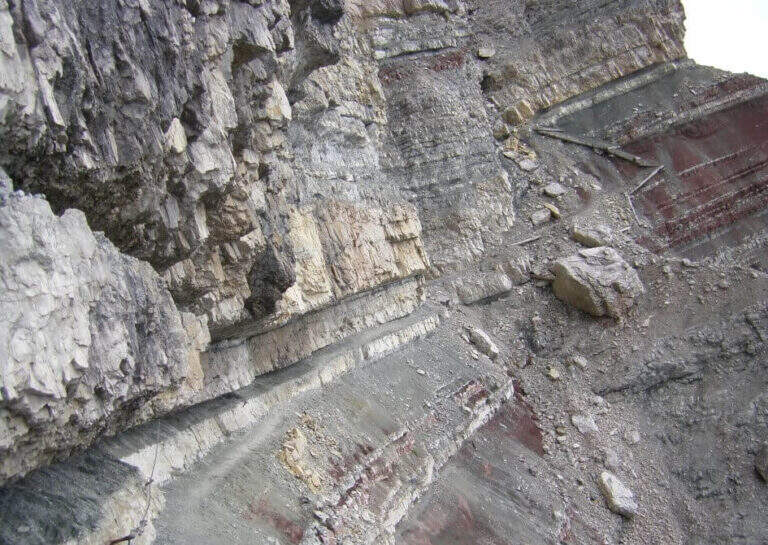
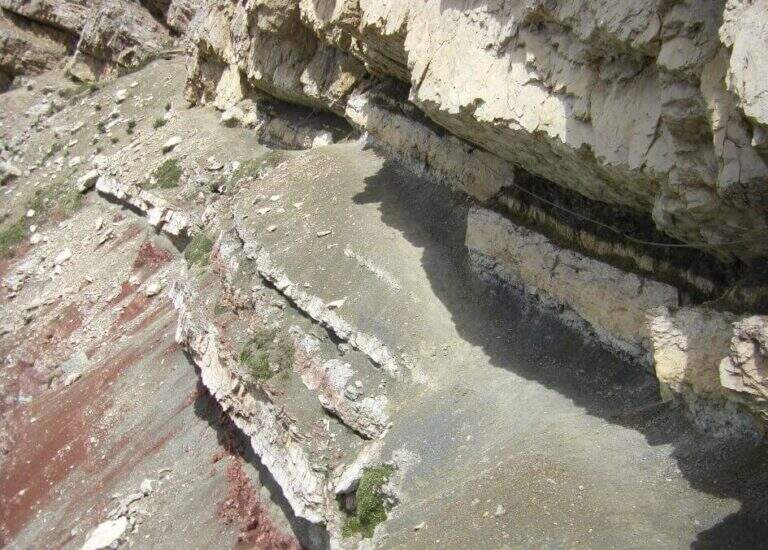
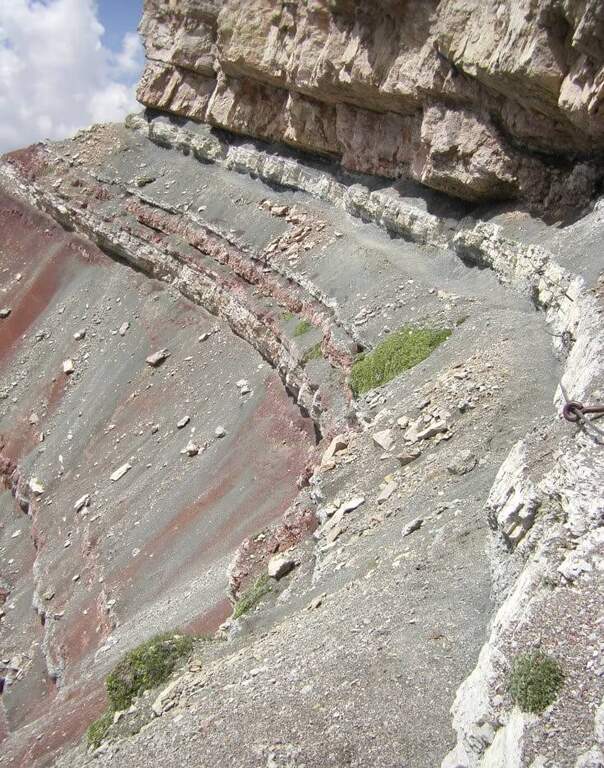
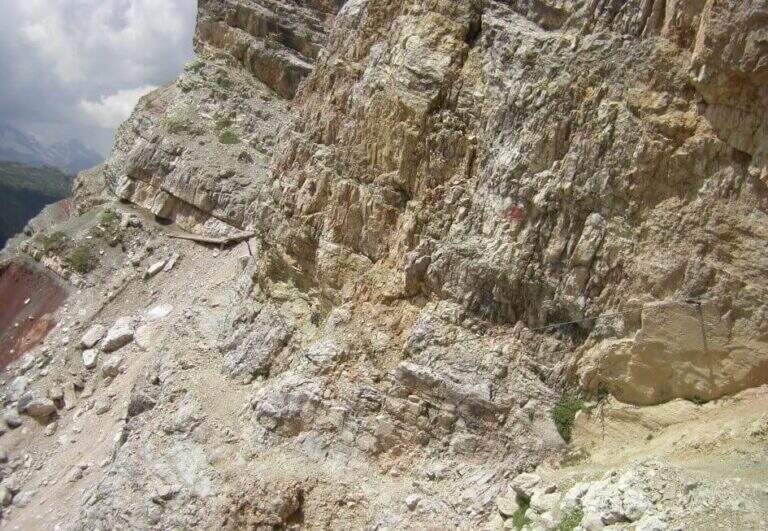
    The trail crosses the colorful Formation of Raibl. You descend a few meters in a canal up to the first rope, which assists on the exposed nod; you continue alternating stretches wide and not protected at più points; tight. At a rocky roof the nod shrinks and in some places it is necessary to lower to pass below. You reach a canale which interrupts the path and goes up using the crossroads placed to make the bottom less slippery; it follows a più nod; exposed above the red stratifications. The passage più is attached to the edge; insidioso: a canal with an unstable, short and unequipped bottom, where è absolutely to avoid a slip. After a short traverse on brackets and another detritic canal, one enters the ' last section, on a più nod; large and largely unprotected; one descends one last stretch and reaches l' last stretch equipped, ending at the sentiero 421 Dibona–Pomedes (1h 15' from the shelter, attack).

    ▲Character and difficulty

    Itinerary mainly in census, of difficultà modest; the critical points are the two non-protected detritic , from the bottom not entirely stable.

    ⚠ Il helmet is indispensable, both for the possible fall of detritic material and for rocky roofs at times low. Maximum caution in unequipped canals: a slip is to be avoided absolutely.

    ▲Discipline

    You return immediately to the parking lot along the sentiero 421 holding the right: between rocks and conifers, in a little più 30 minutes you return to the Rifugio Dibona (2h 15' overall). From the junction è you can climb in 10' to the Pomedes Refuge.

    ▲To match

    The Astaldi connects the two sides of Punta Anna. From the Giussani refuge you can reach Ferrata Lipella to the Tofana of Rozes; on the eastern side the Ferrata Olivieri, la Ferrata Aglio e la Ferrata Formenton.

    ▲Gallery
    Technical data
    • DifficultyModerately Hard
    • RegionVeneto
    • ProvinceBelluno
    • GroupTofa
    • Approach45 min
    • Fully equipped1h
    • Complete itinerary2h 15'
    • Level difference50 m
    • Route difference240 m
    • Maximum2283 m
    • Length3,3 km
  • Sentiero Attrezzato Amalio da Prà al Monte Ciareido

    Sentiero Attrezzato Amalio da Prà al Monte Ciareido

    Vie Ferrate › Veneto › Belluno
    Sentiero Attrezzato Amalio da Prà al Monte Ciareido
    Moderately Hard● OpenDescriptionComplexityMapsGallery

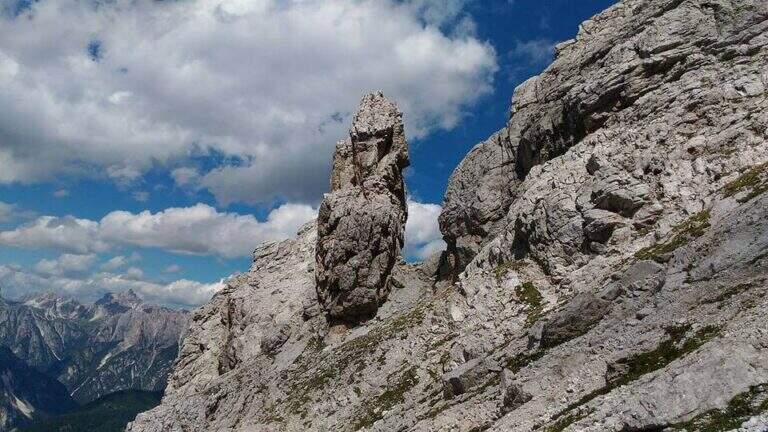
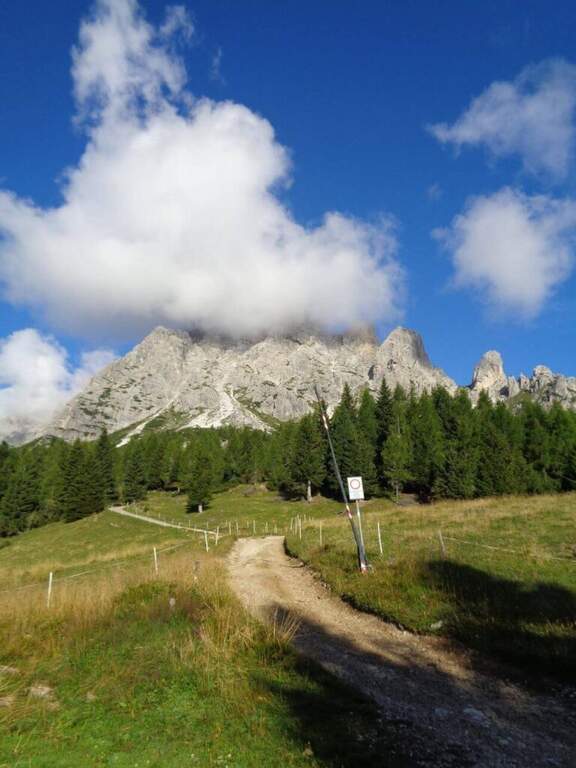
    Il Sentiero Attrezzato Amalio da Prà circumvents Monte Ciareido in the Marmarole, a much less popular dolomitic group of neighbors and for this wild and surprising. It is a medium difficulty ring: a couple of challenging equipped steps and, above all, exposed and unprotected traits that raise the overall commitment.

    ▲Approach

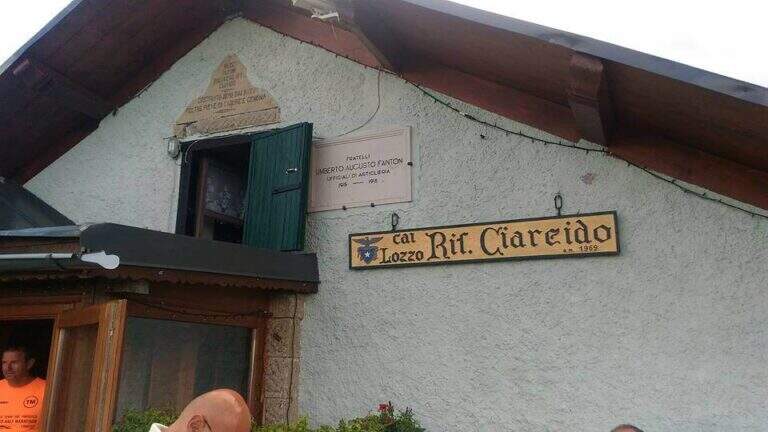
    It starts from the Parco to the Memory of Pian dei Buoi, above Lozzo di Cadore. Just before the' intersection between the SS52 and the SS51 a road on the left, with indications for the Ciareido and the Marmarole, rises for several kilometers and è narrow: in high season there is the senso unico alternating at times (verify on the site of the Municipality). You get to' last parking (100 places), not far from the Ciareido Refuge. Open road signs on Google Maps. Continue on the dirt road until the Rifugio Ciareido (1969 m, 15' from the parking lot); just beyond, at a crossroad, the destra is held on the CAI 272 towards the north, remaining on the floor until a crossroad where on the left a path with red signs climbs rapidly towards l' obvious fork between the Ciareido and a.

    ▲The path

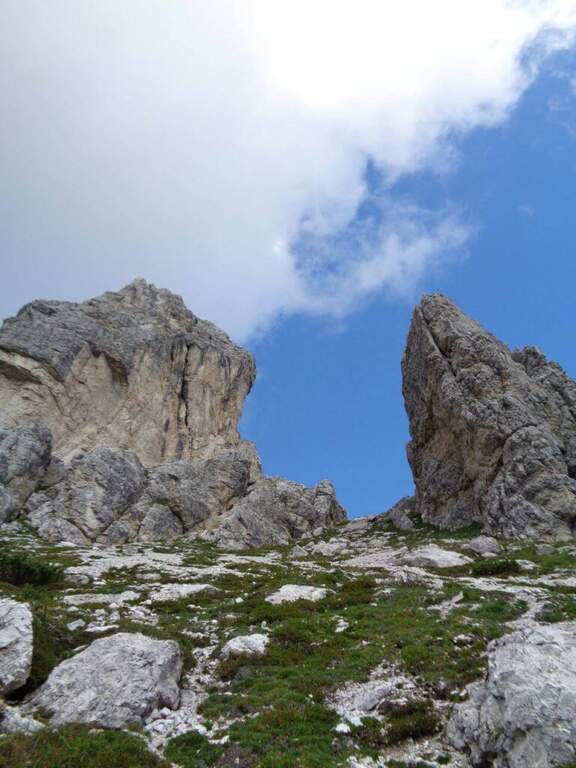
    From the fork you go down to the left and quickly meet the equipment: the cable acts as the runner downhill to bypass the Pian dei Buoi Tower first and then the east side of the Ciareido; characteristic a passage where the cable runs along a channel carved diagonally into the wall. The path descends steeply and bends to the left with some cenge almost always protected. Start the più tract; interesting: you descend a few meters in dis climbing on the east walls of the Ciareido, you walk a stretch of exposed and equipped path and you go up a vertical parete equipped – the più point; difficult of the track, however on moderate levels. A last canal with a few leaps closes the equipment; we continue halfway following the abundant signs to the fork on the south side of the Ciareido, where the equipped path ends (1h 30' from' attack, 2h 30' from parking).

    ▲Character and difficulty

    The equipped parts are quite easy, except for the downhill section and the vertical wall to rise, not trivial. L' greater commitment lies in the unprotected tracts and exposed, where they serve firm foot and attention: no excessively difficult passage, but not to underestimate.

    ⚠ Some sections remain often snow-covered even in late season: è prudent to bring peak and ramps. Maximum attention in exposed and unequipped steps.

    ▲Discipline

    From the end the parete south of the Ciareido (leaving behind the spire called « Il Pupo») in a very beautiful environment, descending towards the refuge. At a crossroads, you can go right to the Rifugio Baion-Boni (1828 m, 45' from the end), or continue bypassing the Ciareido to the Rifugio Ciareido dell' then go back to the parking lot (1h 15' from the end, 3h 45' overall).

    ▲To match

    Nearby, challenging, the Sentiero Attrezzato degli Alpini that climbs to Forcella Jau Tana: easy in the equipped but of strong character in those not protected, to reserve to experienced hikers.

    ▲Gallery
    Technical data
    • DifficultyModerately Hard
    • RegionVeneto
    • ProvinceBelluno
    • GroupMarmarole
    • Approach1h
    • Fully equipped1h 30'
    • Ring itinerary4h
    • Level difference100 m
    • Route difference550 m
    • Maximum2298 m
    • Length8,7 km
  • Sentiero Attrezzato degli Alpini a Punta d’Albiolo

    Sentiero Attrezzato degli Alpini in Punta d'Albiolo

    Vie Ferrate › Lombardy › Brescia
    Sentiero Attrezzato degli Alpini in Punta d'Albiolo
    Moderately Hard● OpenDescriptionComplexityMapsGallery

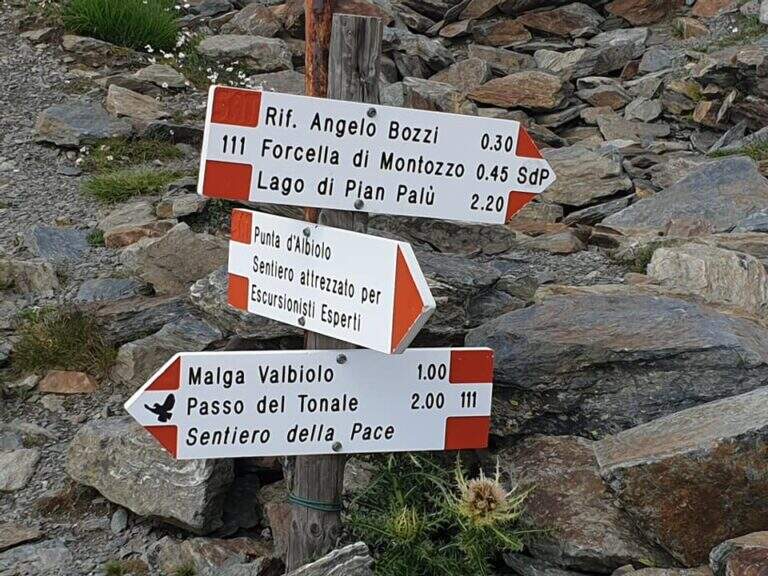
    Il Sentiero Attrezzato degli Alpini connects the Forcella del Montozzo to Passo dei Contrabbandieri, near Passo del Tonale (Brescia). More than a via ferrata is an exposed path equipped with modest difficulty: the cable is useful especially with wet bottom and in a couple of exposed beams. The report is described by the Forcella del Montozzo at Passo dei Contrabbandieri, but the route is commonly done on the contrary; the optional climb to Punta d'Albiolo is recommended.

    ▲Approach

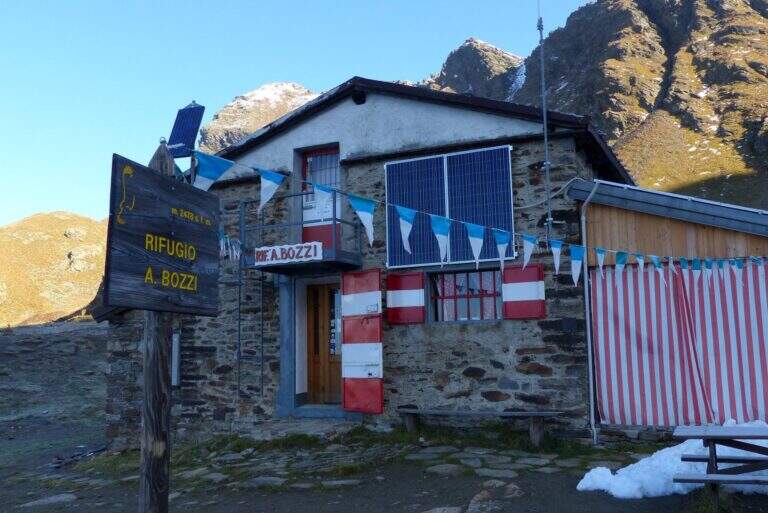
    It starts from Case of Viso (1754 m), in the province of Brescia at Passo del Tonale. Open road signs on Google Maps. Take the sentiero n. 52 which in a ' hour and a half leads to the Rifugio Bozzi (2478 m); stretching about twenty minutes you will reach steeply the Forcella del Montozzo (2613 m, 1h 45'), beginning of the path equipped. Alternatively, you can può climb from Trentino to Pejo (loc. Fontanino, paths 111/111b, about 3h 50') or from Passo del Tonale (Hospizio di San Bartolomeo, path 111 for Malga Valbiolo, about 2h 30' at Passo dei Contrabbandieri, along così l' route on the contrary).

    ▲The path

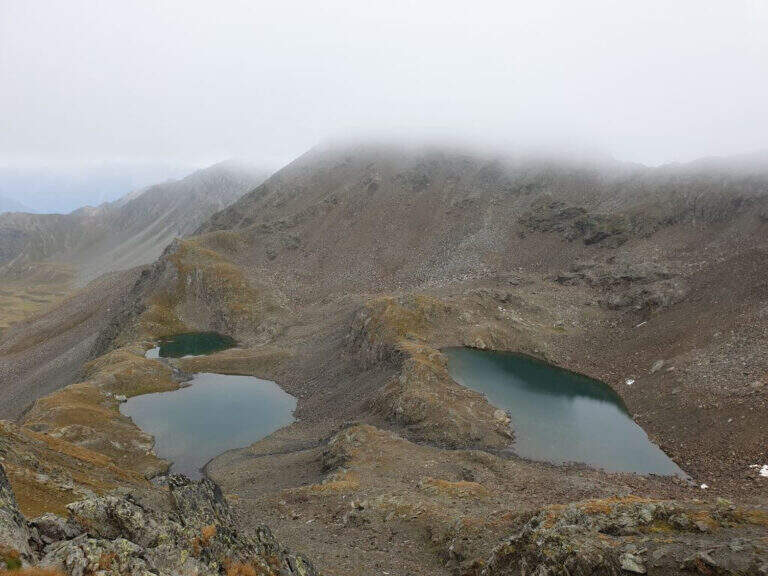
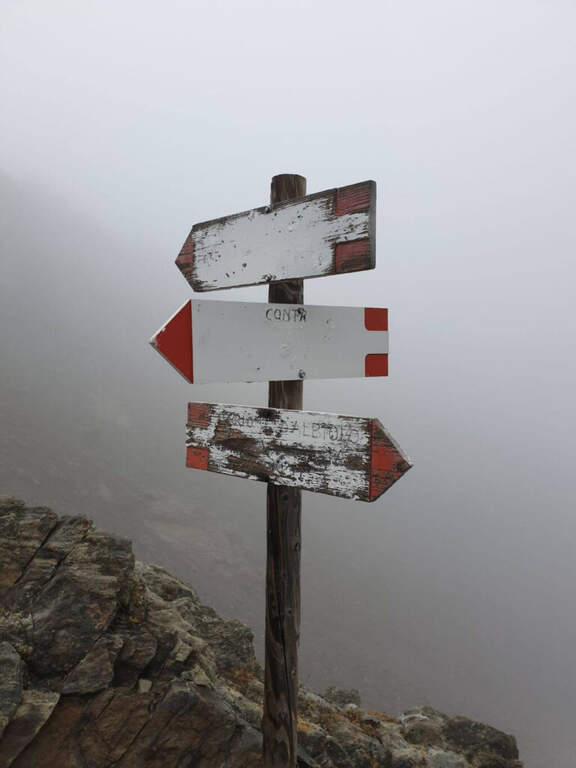
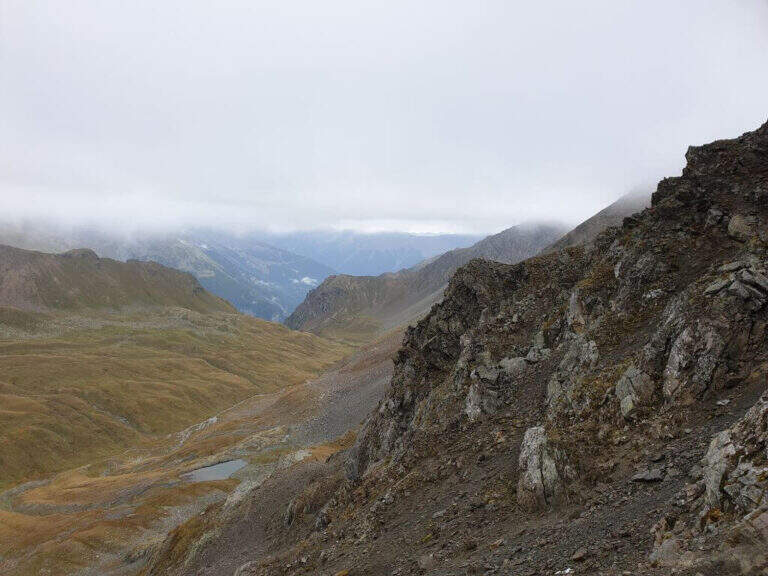
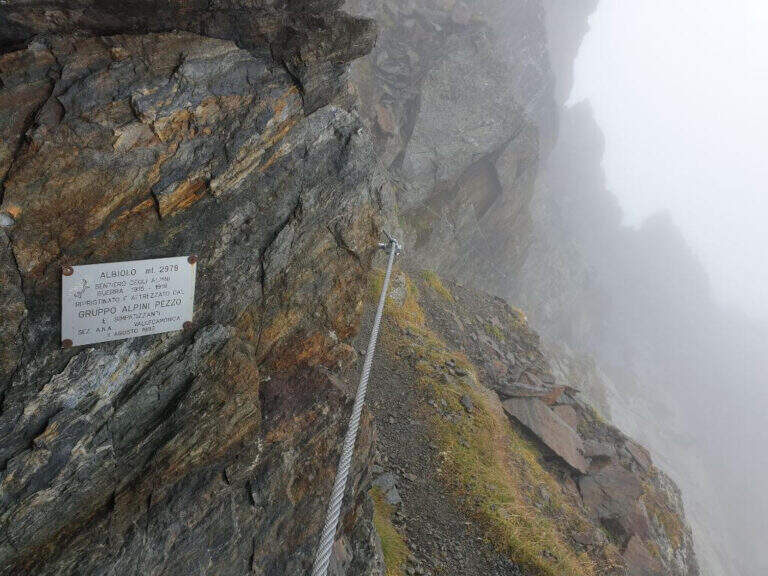
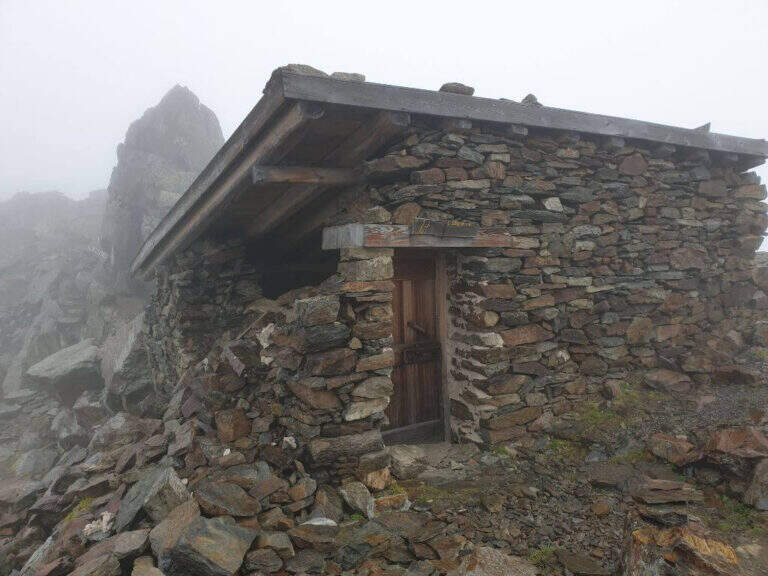
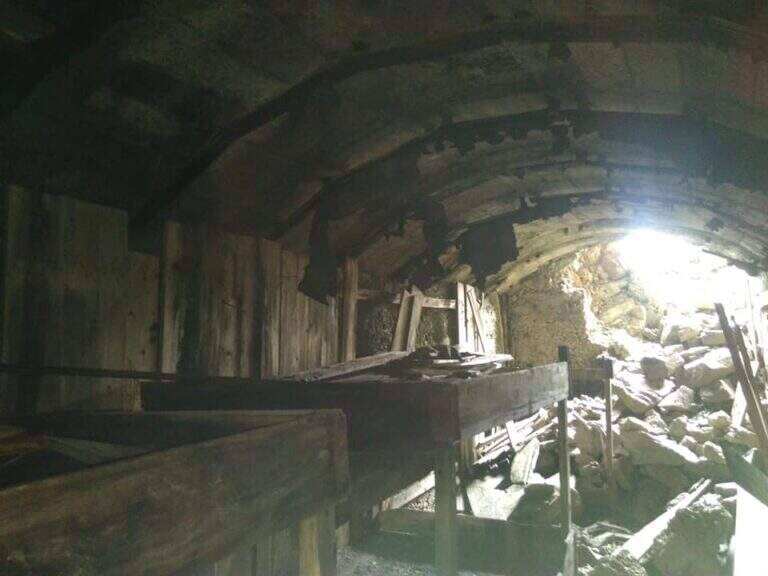
    Dalla Forcella del Montozzo (2613 m) il sentiero parte sul versante che domina la valle del Montozzo e il Rifugio Bozzi, incontrando subito diverse gallerie e tunnel usati dagli Alpini nella Prima Guerra Mondiale. Il tracciato è molto ripido e a tratti esposto; dopo alcuni passaggi attrezzati si supera una piccola forcella che apre la vista sui laghetti di Albiolo. Seguono altre cenge e passaggi esposti fino a un cartello: a destra prosegue il Sentiero degli Alpini verso il Passo dei Contrabbandieri, a sinistra la deviazione per il Torrione di Albiolo. Prendendo la deviazione, in pochi minuti e semplici passaggi si arriva sotto l'Albiolino (piccola croce di vetta); proseguendo a sinistra si trova il Torrione di Albiolo (2976 m), con un cavo metallico che aiuta la salita alla croce (attenzione: tratto con pericolo di caduta). Tornati al cartello, si riprende il Sentiero degli Alpini che in circa mezz'ora porta al Passo dei Contrabbandieri (2679 m), dove sorge una capanna in totale abbandono (1h 30' dall'inizio del sentiero, circa 3h 30' complessive). Chi vuole può allungare in meno di mezz'ora alla Cima Casaiole (2779 m), splendido balcone panoramico con altri camminamenti e trincee della Grande Guerra.

    ▲Character and difficulty

    Nice path of mention on the war walks, of technical commitment contained but with exposed traits where the cable instills safety. The equipped part has been completely renovated in August 2019 and is in excellent condition, except for a couple of loose but not dangerous thickets.

    ⚠ To face only in the absence of snow (ideally from June to September): wet soil è insidious, especially in chain-free passages. Helmet and iron set recommended.

    ▲Discipline

    From the Contrabbandieri Pass the più return; quick descends north to the Rifugio Bozzi (20-30') and from here to Case di Viso (about 1h 15'), for a total of almost 5h.

    ▲To match

    The natural ridge ` the Ferrata of Austriaci, which from Punta d'Albiolo leads to the Eastern Tonal (a similar, difficult and slightly higher environment). In the area of Ponte di Legno è very recommended the Path of Flowers; going down in Val Camonica there are the Ferrata at Corno del Grevo, la Ferrata at Pizzo Badile Camuno e il Parco delle Fucine di Casto.

    ▲Gallery
    Technical data
    • DifficultyModerately Hard
    • RegionLombardy
    • ProvinceBrescia
    • GroupAdamello-Presanella
    • Approach1h 45'
    • Fully equipped1h 30'
    • Complete itinerary4h 45'
    • Route difference1250 m
    • Maximum2970 m
    • Length11 km
  • Path equipped Bonacossa

    Path equipped Bonacossa

    Vie Ferrate › Veneto › Belluno
    Path equipped Bonacossa
    Moderately Hard● To checkDescriptionComplexityMapsGallery

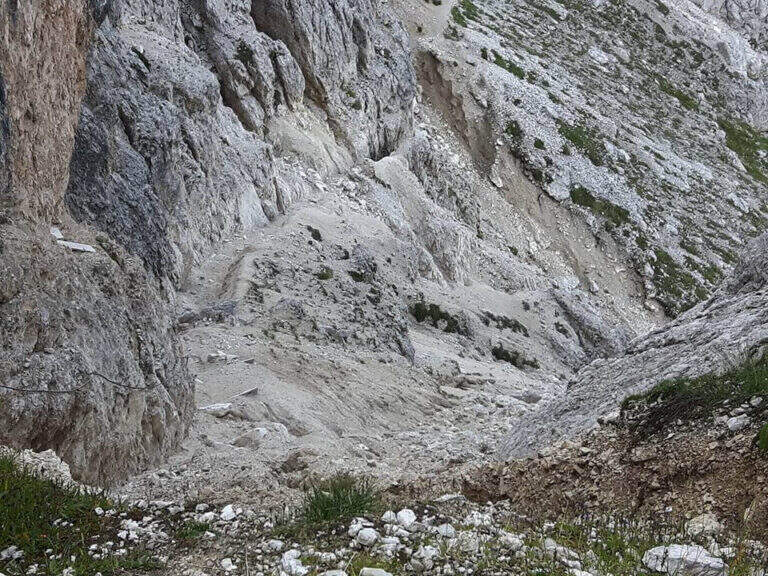
    viso Notice — Since 2017 the Forcella di Misurina è affected by a landslide that has made it impossible to reach the point of the path is still closed. È it is possible to travel on the route from the Ciadin de la Neve. Always check the current conditions at the refuges in the area before leaving.

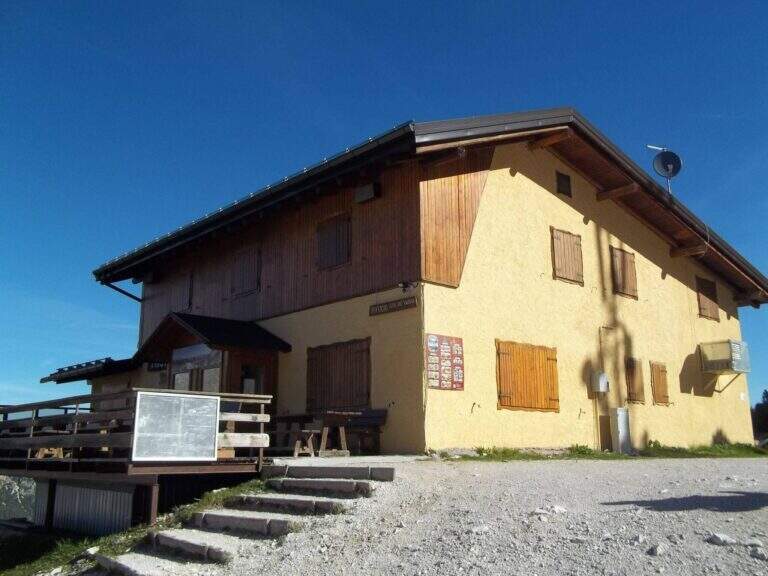
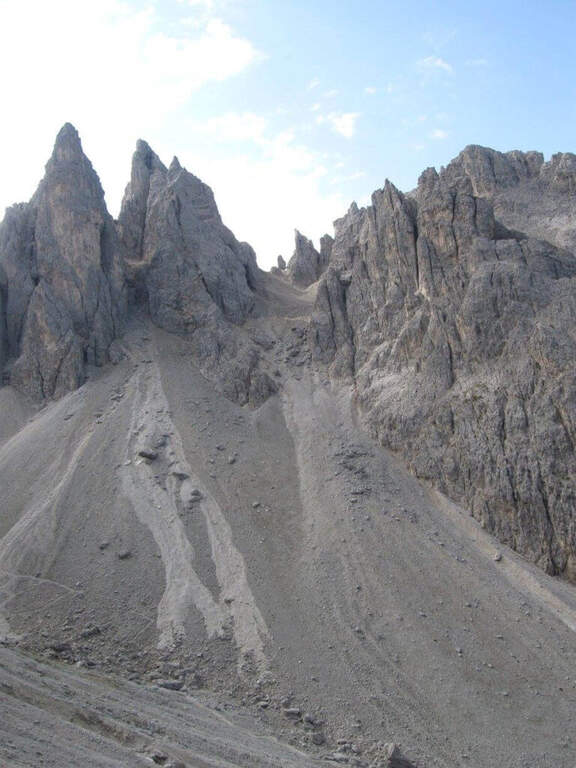
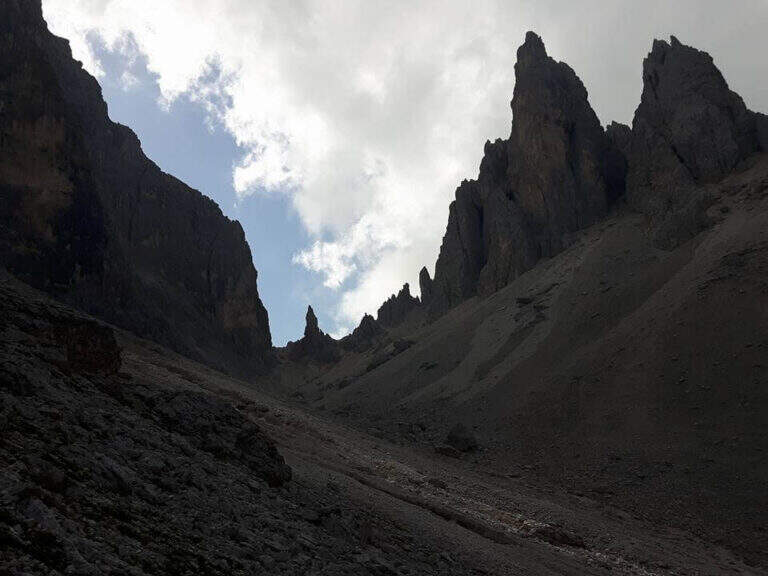
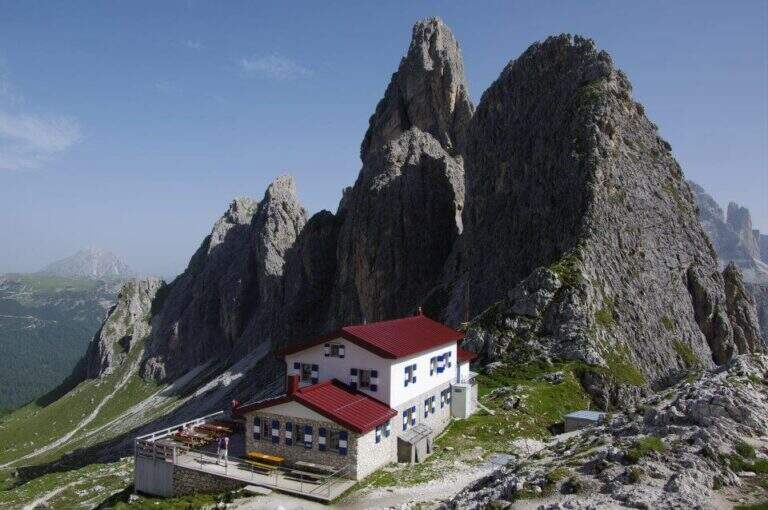
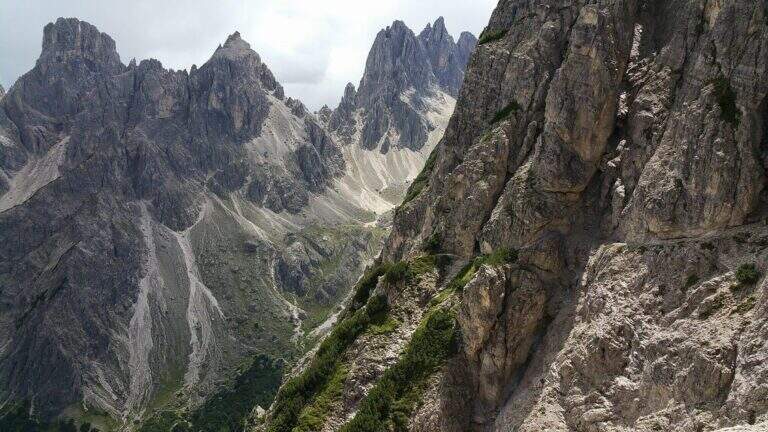
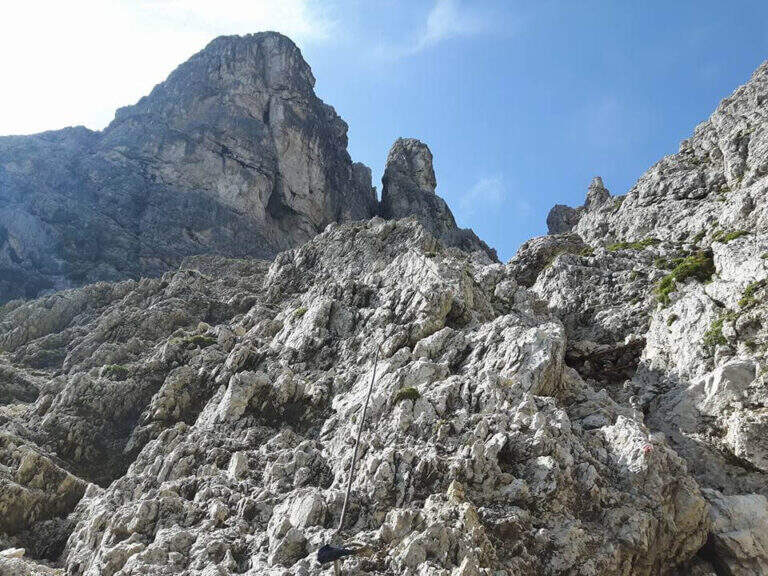
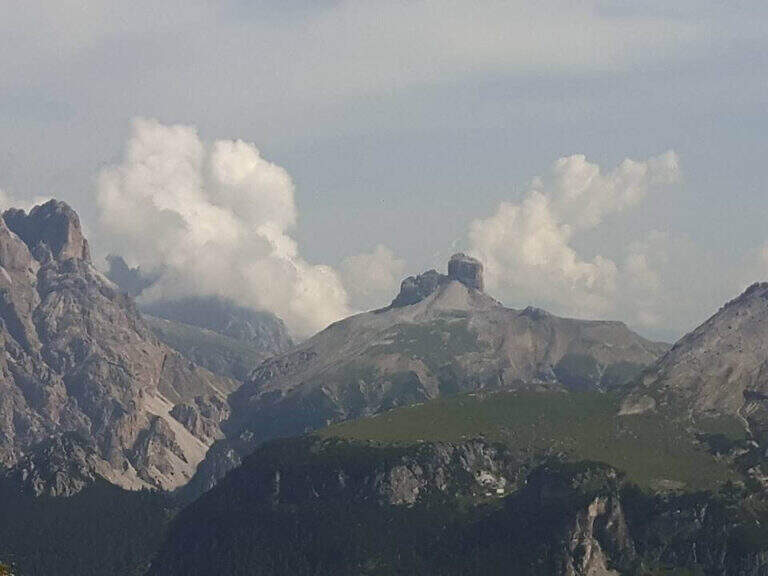
    Il Path equipped Bonacossa is a long and beautiful itinerary, partly equipped, which cuts in south-north direction the Group of the Cadini di Misurina (Dolomiti di Sesto). Different room forks, with a total difference of height much greater than the absolute for the continuous climbs. The equipped stretches are not difficult, but the excursion requires good training and steady foot, especially from Forcella de Rinbianco onwards.

    ▲Approach

    The starting point & the mountain station of the Col de Varda, on the eastern side of Lake Misurina. You park at the south side of the lake, near the ' Hotel Alpenrose, and you reach the facilities. Open road signs on Google Maps. With the seggiovia not c' & ` approaching; alternatively, it rises in 45' from Lake Misurina (1756 m) to the Col de Varda Refuge (2115 m) for the steep 120 signpost.

    ▲The path

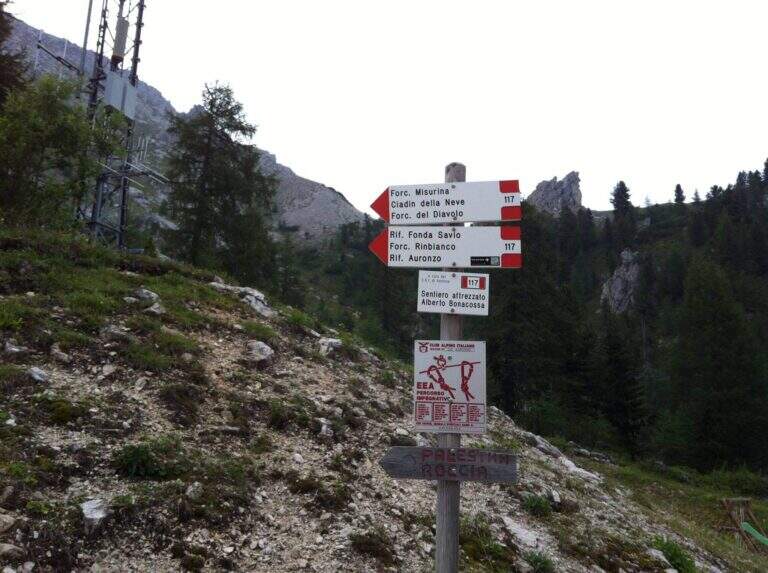
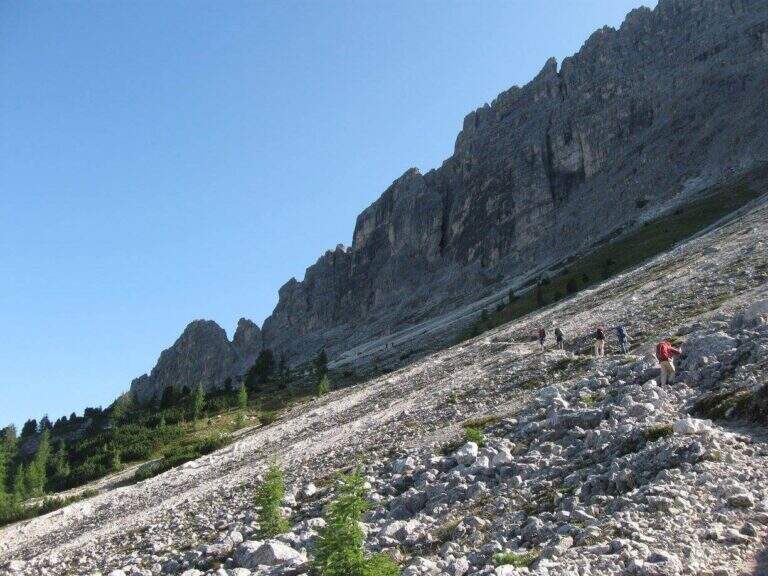
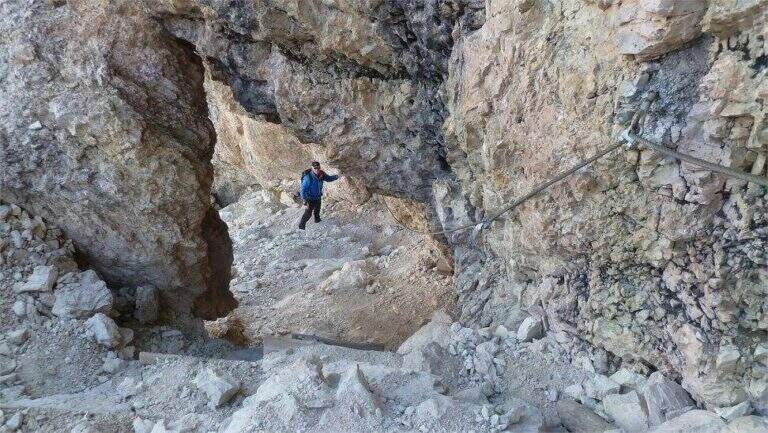
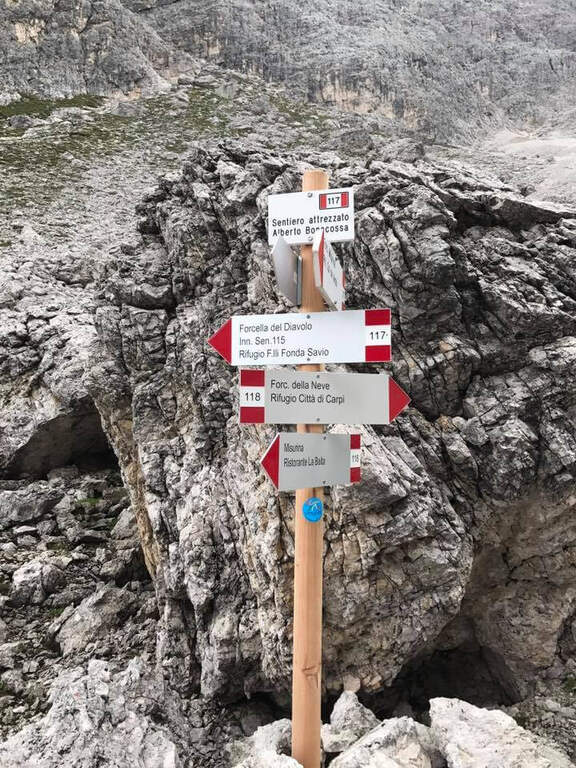
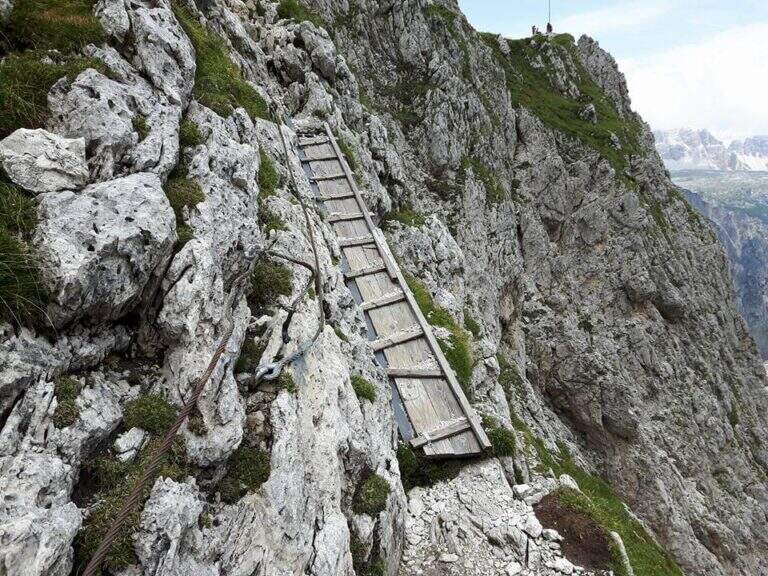
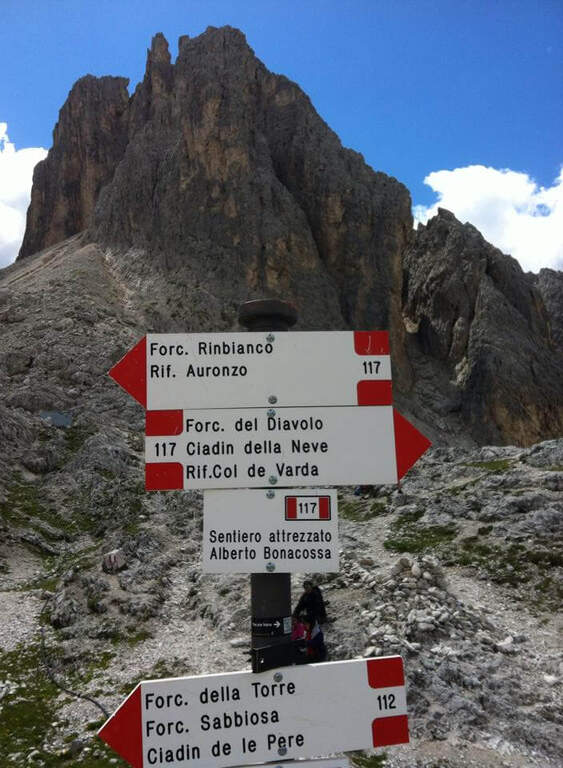
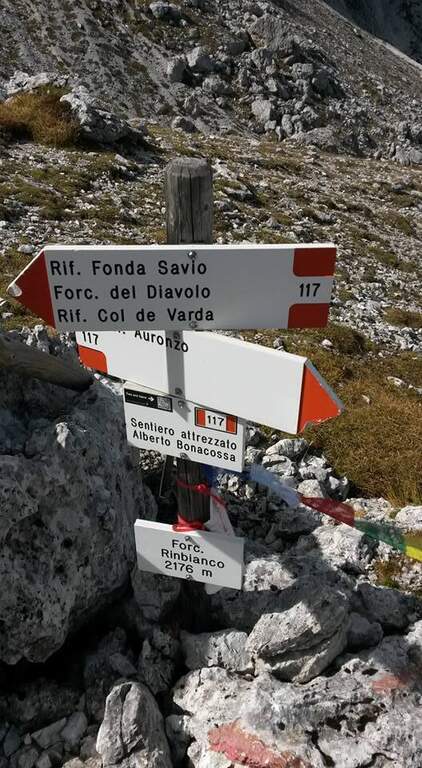
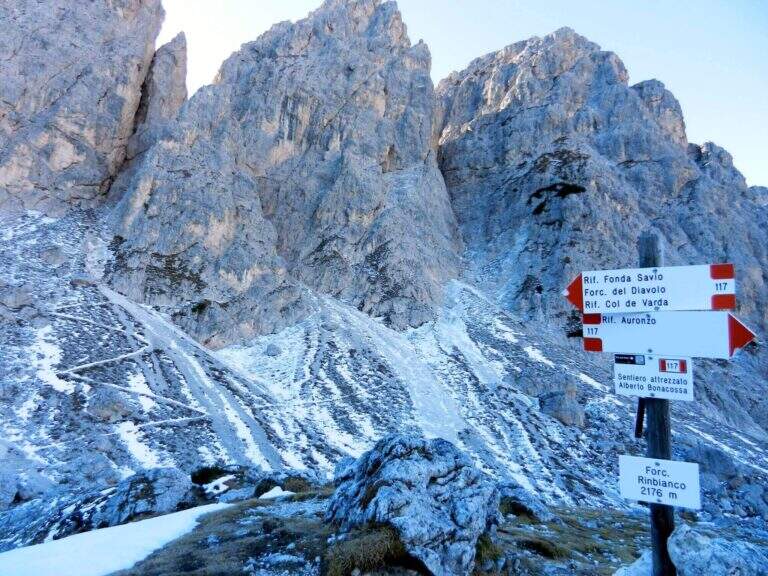
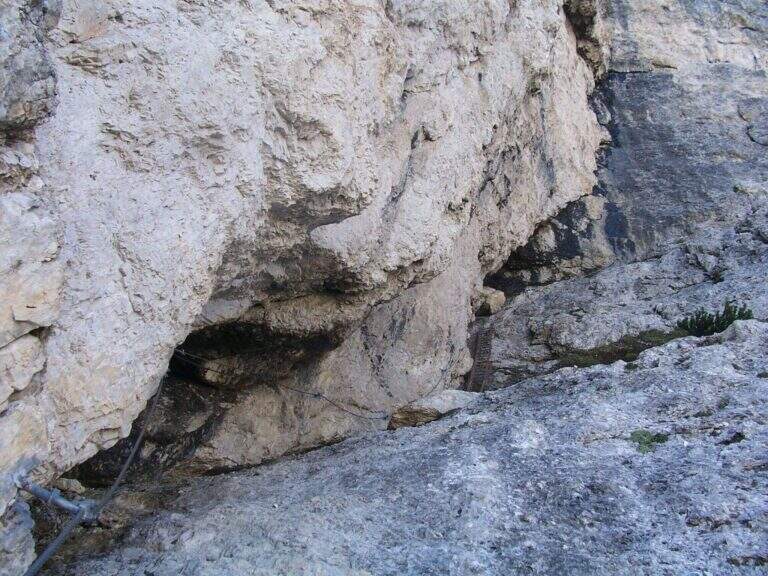
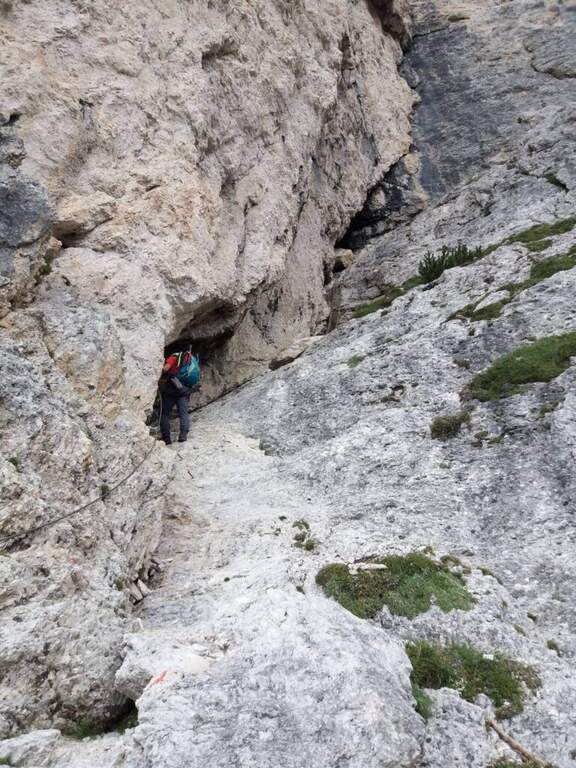
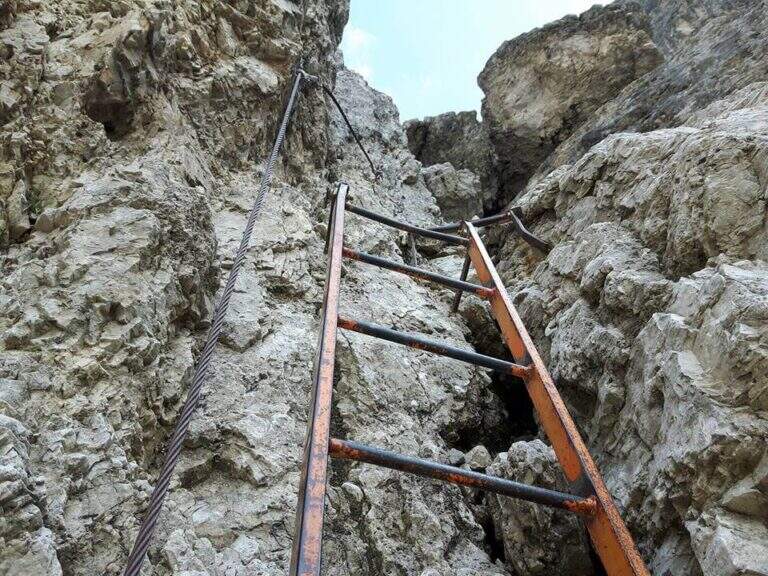
    From the upstream station (Rifugio Col de Varda) the metal plate marks the beginning of the mark 117 north. Following radi red boils rises, first half-coast then steeper, towards the Misurina Fork (2395 m, 45' from the station), going up a detritic canal on the right side to stretches equipped with rope ( steep and tiring, with wooden frames in support of the bottom). NB: questo tratto è quello interessato dalla frana del 2017 (vedi avviso). Dalla forcella si scende ripidamente lo stretto intaglio in un canalino detritico, aiutati da corde metalliche su un paio di balzi verticali e un traverso a destra, e si attraversa un foro nella roccia attrezzato con fune e gradini artificiali, fino al Ciadin della Neve (2250 m, 1h 30' dalla stazione), dove si incrocia il sentiero 118. Restando sul 117 si risale ripidi verso nord-est: due scalette metalliche superano due salti rocciosi, poi si piega a destra salendo la parte alta del canalino, instabile negli ultimi metri, fino alla Forcella del Diavolo (2380 m, circa 2h 15'). Si scende ripidi sulla destra di un ghiaione (possibile neve a stagione inoltrata) fino al Rifugio Fonda Savio (2367 m, circa 3h), crocevia dei Cadini da cui parte verso sud l'attacco dell'aerea Ferrata Merlone. Dal rifugio il 117 prosegue a nord: un tratto ripido con passaggi attrezzati, un canalino attrezzato e una cengia con passerella in legno riportano verso il Ciadin della Neve; ignorata la deviazione per Forcella Sabbiosa (sentiero 112) si raggiunge Forcella de Rinbianco (2176 m, 3h 30'), dove si tiene la destra verso il Rifugio Auronzo. Segue una cengia panoramica, a tratti esposta e attrezzata ma non difficile, sopra la Val de le Cianpedele; superata una passerella e alcuni resti della Grande Guerra, a un bivio si lascia il Sentiero Durissini e si resta sul 117 a sinistra in salita. Si aggira la parete orientale del Ciadin delle Bisse con roccette, una rampa diagonale (cavo a sinistra) e una scaletta appoggiata; i passaggi non sono difficili ma il fondo è spesso umido, quindi conviene assicurarsi. Una serie di cenge e brevi canalini franosi, sempre attrezzati nei punti più esposti, costituisce il tratto più adrenalinico fino a una forcella (2300 m, 4h 30') che scavalca dal versante est a quello ovest, con le Tre Cime di Lavaredo di fronte. Dopo l'ingresso di una galleria (facoltativa, aggirabile per sentiero) si raggiunge il Rifugio Auronzo (2320 m, 5h 15').

    ▲Character and difficulty

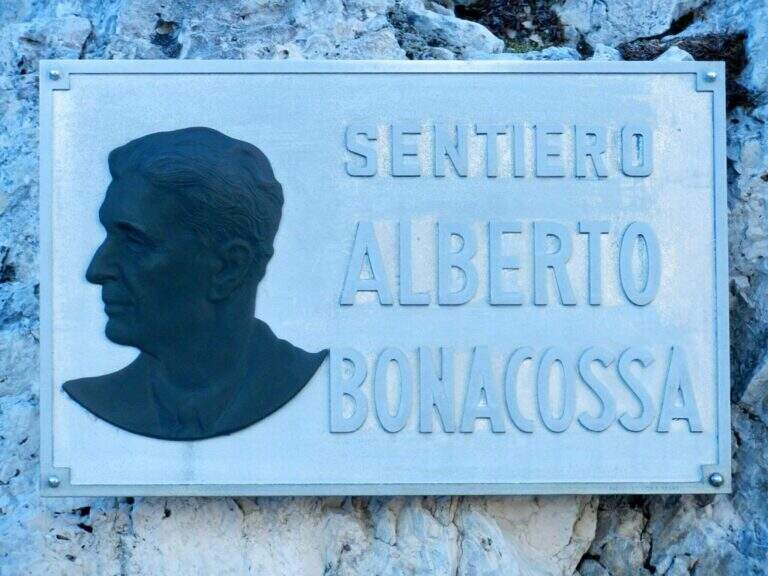
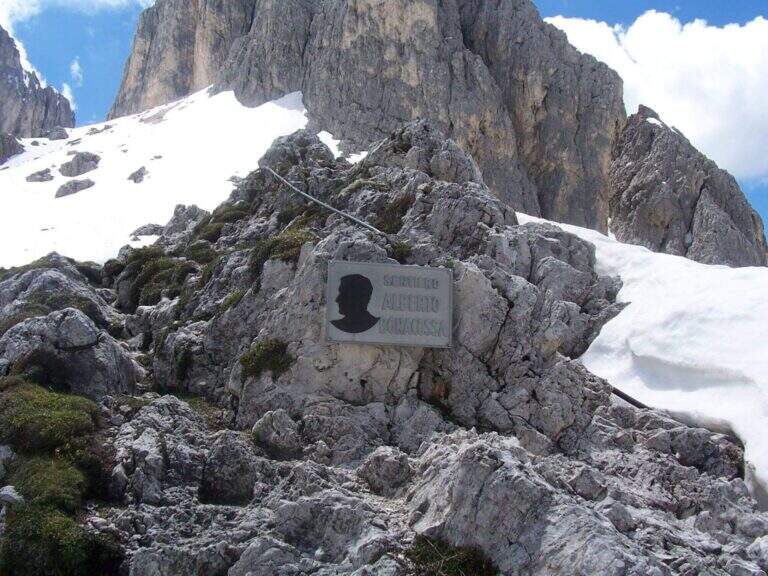
    The equipped sections are without technical difficulties and most useful as handrail; the pitfalls are the length, the numerous ups and some sections exposed (especially by Forcella de Rinbianco), however always well equipped. Itinerary dedicated to Alberto Bonacossa, a multifaceted sports and military figure of the first half of the twentieth century.

    ⚠ Attention to nevai also present in late season, especially in the valleys; the wet bottom of the cenges requires caution. Remember the closure of the stretch of Forcella di Misurina (frana 2017).

    ▲Discipline

    From the refuge Auronzo, the return to Misurina takes place by bus or following the tourist trail 101, in constant and never excessive slope, up to Lake Misurina in 1h 30' (about 7h overall).

    ▲To match

    From the Rifugio Fonda Savio you can turn south to Ferrata Merlone. From the refuge Auronzo you climb to Monte Paterno for the Ferrata Innerkofler-De Luca, or Toblin Tower for Ferrata delle Scalette e la Ferrata Hosp. From Lake Misurina you can reach the itineraries of Cristallo, including the Ferrata René De Pol e la Ferrata Capitano Bilgeri monte Piano.

    ▲Gallery
    Technical data
    • DifficultyModerately Hard
    • RegionVeneto
    • ProvinceBelluno
    • GroupCadini di Misurina
    • Approach5 min (with chairlift)
    • Equipment5h 15'
    • Complete itinerary7h
    • Level difference100 m
    • Route difference624 m
    • Maximum2495 m
    • Length17,5 km
  • Ferrata di Valimpach

    Ferrata di Valimpach

    Vie Ferrate › Trentino-Alto Adige › Trento
    Ferrata di Valimpach
    Moderately Hard● OpenDescriptionComplexityMapsGallery

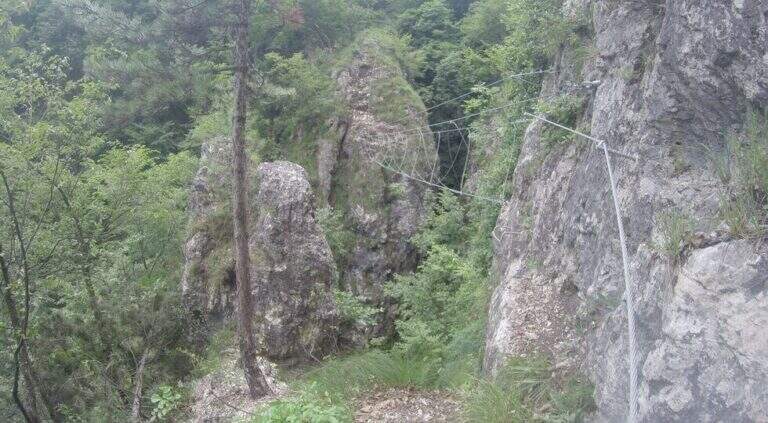
    Il Valimpach equipped trail over Caldonazzo in Valsugana (Trento). It is not very tiring, but it requires attention to the exposure of some sections, some more challenging points and a thick wet and mossed rock for much of the route.

    ▲Approach

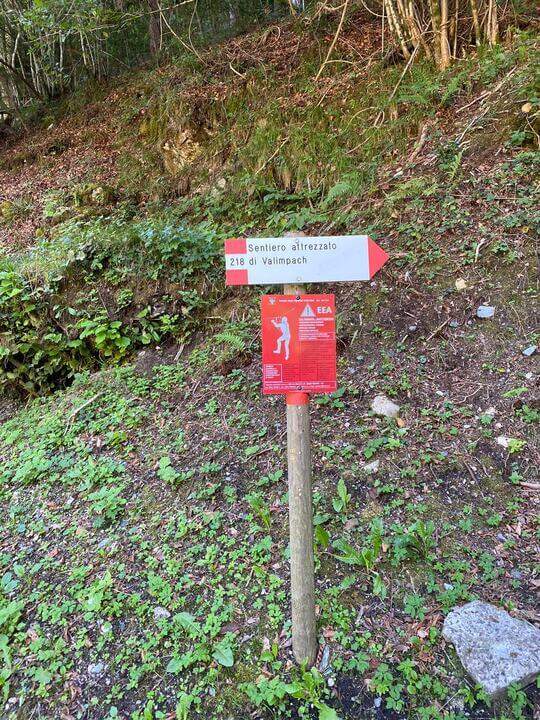
    Joints Caldon take the SP108, you pass the restaurant Speckstube on the left and you reach the park n. 3, just under the hamlet of Valle in the direction of Centa San Nicolò, always on the left. Open road signs on Google Maps. Who wants può starting from parking spaces n. 1 or n. 2 (always on the SP108) to stretch the route and admire landscape and waterfalls on the Centa. From the parking lot you go down the road or for the dirt a po' steep that flanks it, on the path that runs along the river Centa towards the south, up to a bridge that crosses it, to the side of which you see the ruins of the ' ex mill Polentoni. Immediately behind the equipped trail sign marks l' start of the steep short bend path, at times exposed, which leads to all' attack of the ferrata (about 20-30' from the parking lot).

    ▲The path

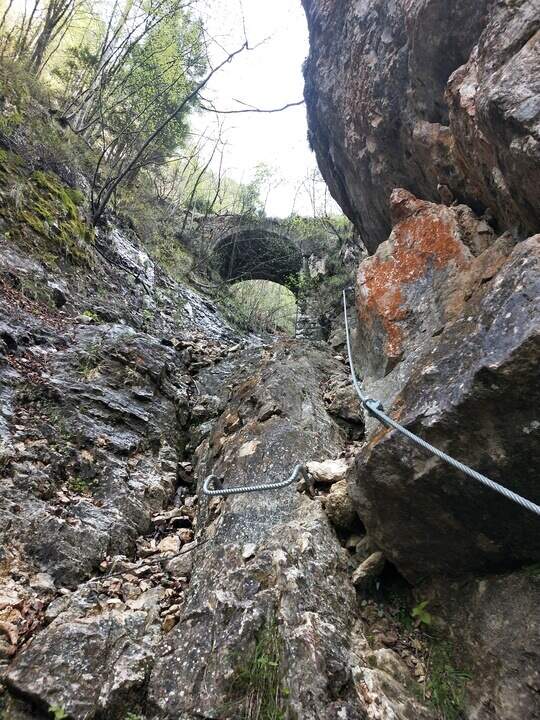
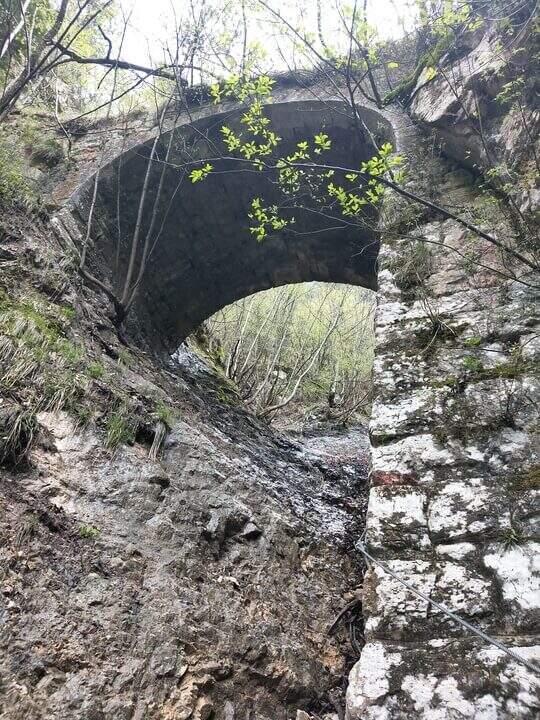
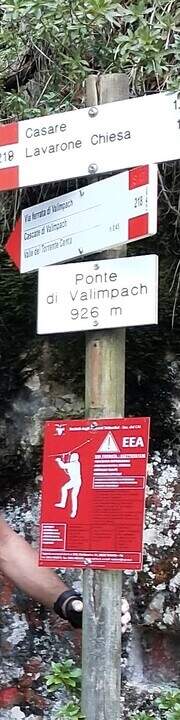
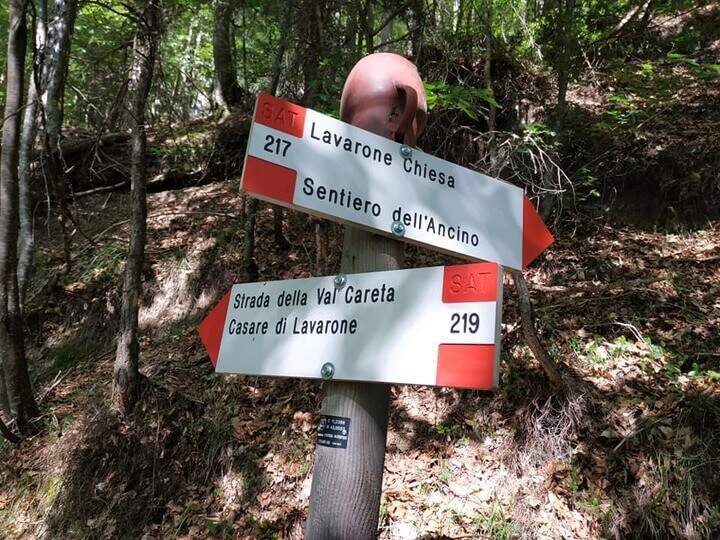
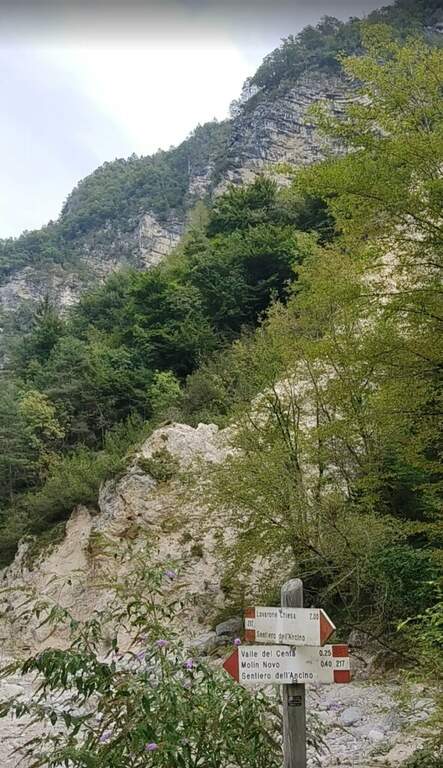
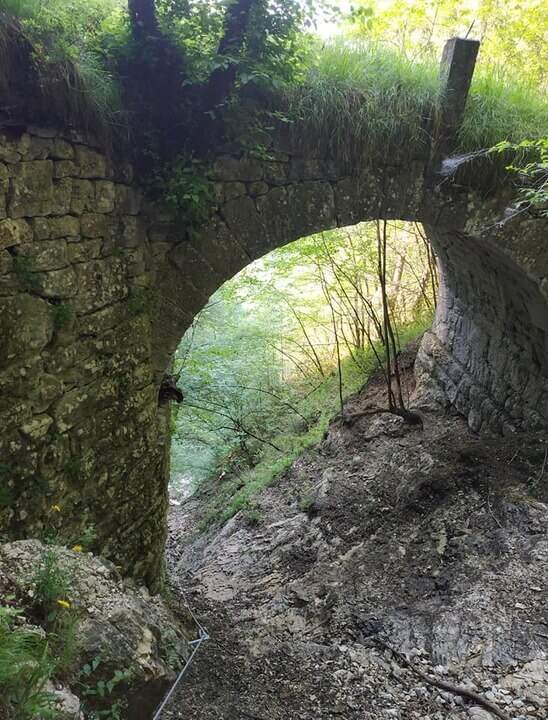
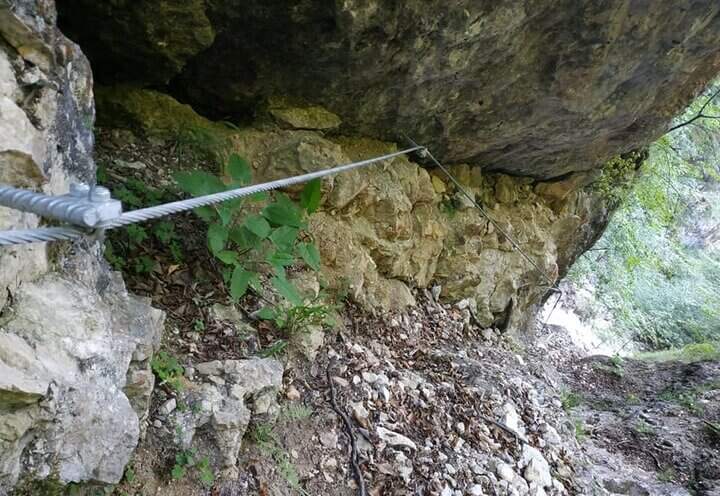
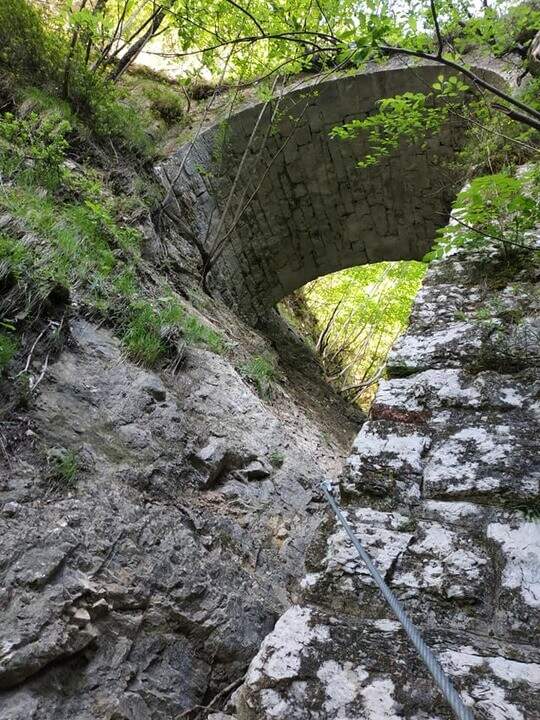
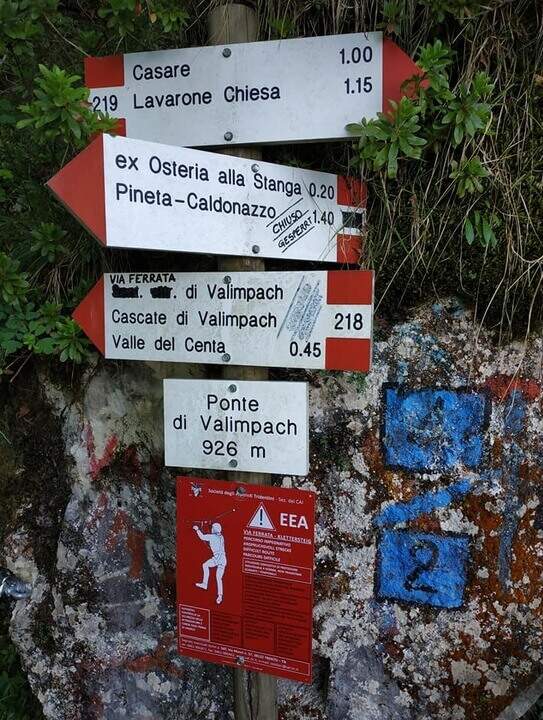
    The first section è the più exposed: a scaletta followed by the cable under a census, from which is seen on the ' other side of the village of Centa San Nicolò. Continue on several rocky cliffs with metal cambres, surrounded by mug pines; as you climb you start to see the cascade of Valimpach and the valley below. After passing these easy leaps, a stretch in the forest without difficulty and agrave;, in a slight descent, runs along the waterfalls to their springs. Continue in the valley following the track on the boulders and enters the gola rocky, where from time to time cables and cambre facilitate progression: è a humid environment, with thick slippery rocks and mosss, where pay attention also all' possible fall of stones from the side walls. Following the tracks you will arrive below the ponte of Valimpach (926 m); cross it from below turn right and in a few meters you will reach the ex «Strada della Val Caréta» (former 219), where the ferrata ends (about 1h 15' from' start of the equipment, 1h 45' from the parking lot).

    ▲Character and difficulty

    Itinerary varied but of limited commitment, with a first exposed section and passages on equipped balconies. The quality of the rock is not always excellent and the humidity of the nearby waterfall requires caution.

    ⚠ In the final stretches, just before the bridge, some metal equipment turns out a little soft: attention especially for the neophytes. Infident rocks for moss and humidity; possible fall stones in the throat.

    ▲Discipline

    From the bridge we continue on the ' ancient road towards the Church of Lavarone; after about 15 minutes, at the junction with the Sentiero del Lanzino ( itinerary 217), we descend into the Valley of the Centa. You pass the votive capital of Sant' Antonio and you get to some ruins surrounded by a screech; carefully you get the stream and you reach the valley bottom path that, along the Centa on the left, brings back to the starting parking lot (about 3h total).

    ▲To match

    The nearest equipped route is the Sentiero Attrezzato Church in Val Scura. Towards the Val d'Astico is the Ferrata degli Aguane; in Val d'Adige the Sentiero Attrezzato Bertotti e il Sentiero Attrezzato de le Stel. Not far from Trento, the commitment Ferrata Segata bondone.

    ▲Gallery
    Technical data
    • DifficultyModerately Hard
    • RegionTrentino-Alto Adige
    • ProvinceTrento
    • GroupValsugana
    • Approach25 min
    • Ferrata1h 15'
    • Complete itinerary (a/r)3h
    • Hardware level difference350 m
    • Route difference415 m
    • Maximum1003 m
    • Length5 km
  • Ferrata della Val Gelada

    Ferrata della Val Gelada

    Vie Ferrate › Trentino-Alto Adige › Trento
    Ferrata della Val Gelada
    Moderately Hard● OpenDescriptionComplexityMapsGallery

    La Ferrata della Val Gelada it is part of an itinerary that dates back to the steep valley under the Horn of Flavona, in the northern Brenta Dolomites (Trento). The equipped sections do not have particular technical difficulties, but the harsh environment, the high altitude difference and several exposed passages reserve it to trained and experienced hikers.

    ▲Approach

    L' ring described here è the più way; short and simple to travel the ferrata and starts from the Lago of Tovel. You reach Tuenno, on the eastern side of the Brenta, and at a crossroads on the left follow the signs for Lake Tovel along about 11 km asphalt road; at the end, on the right, c'è a first parking, then continue on the dirt road in front following the indications for the Chalet (about 2 km). Open road signs on Google Maps. From Lake Tovel, take the sentiero CAI 314 towards Malga Tuenna; go up comfortably on track until you cross the CAI 312 (Sentiero della Dena), steep west. Ignored a first crossroads on the right, follow the signs to Malga Tuenna and then to Passo della Val Gelada (CAI 380), passing a first equipped section. Exit from the wood you can reach l' crossroads with the CAI 306 (Sentiero Attrezzato delle Palete): you ignore it and you drive west to the crossroads of the Val Gelada Pass (2171 m, about 2h from the parking lot).

    ▲The path

    The CAI 380 that goes up the Val Gelada: the stretch è definitely tiring and earns almost 500 m of altitude difference. As you enter the inner part of the valley you can see a rocky bastion where some ports are equipped in a canal allow you to overcome it without excessive difficulty. A last equipped section leads to the Passo di Val Gelada (2686 m, about 4h from the parking lot), crossroads with the Costanzi Mountain Trail (CAI 336). Here the sinistra is held towards the Three Sassi's Bocchetta: some vertical sections equipped with ropes and stairs, then a stretch of path not particularly difficult, lead to the Three Sassi (2613 m, 45' from the Pass, 4h 45' overall).

    ▲Character and difficulty

    The two iron sections help to overcome jumps that pass the first degree, but the major pitfalls are the alpine character of the excursion, length and exposure. There are also a couple of unprotected grade I climbing routes. The Val Gelada is among the wildest and least frequented corners of the Brenta.

    ⚠ Both Val Gelada and Val delle Giare can present snow-covered extracts even at the advanced season: bring ramps and peaks to avoid dangerous situations. L' route è long and with strong altitude difference: very recommended telescopic sticks. The few equipped sections must not lower the guard on the alpine character of the' exit.

    ▲Discipline

    Dalla Bocchetta dei Tre Sassi si prende il CAI 334, dapprima in falso piano verso sud e poi in discesa nella Val delle Giare lungo un vallone detritico, fino a incrociare il CAI 306 (Sentiero delle Palete) con un paio di tratti attrezzati e una scaletta da scendere; lo si ignora e si continua a scendere fino al CAI 314, che si prende a sinistra verso il Rio Tresenga riportando comodamente al Lago di Tovel e al parcheggio (2h 30' dalla Bocchetta, 7h 30' complessive).

    ▲To match

    L' può ring; be composed in different ways: often it matches the Sentiero Attrezzato delle Palete o al Alpine trail Costanzi (both very difficult, for experts), perhaps continuing towards Sentiero Attrezzato Vidi. Going to the Grostè Pass for the overnight stay you can then continue south towards the Ferrata Benini e le Bocchette Alte.

    ▲Gallery
    Technical data
    • DifficultyModerately Hard
    • RegionTrentino-Alto Adige
    • ProvinceTrento
    • GroupDolomiti di Brenta
    • Approach2h
    • Equipment3h
    • Ring itinerary7h 30'
    • Level difference100 m
    • Route difference1508 m
    • Maximum2686 m
    • Length21 km
  • Ferrata Val del Rì

    Ferrata Val del Rì

    Vie Ferrate › Trentino-Alto Adige › Trento
    Ferrata Val del Rì
    Moderately Hard● OpenDescriptionComplexityMapsGallery

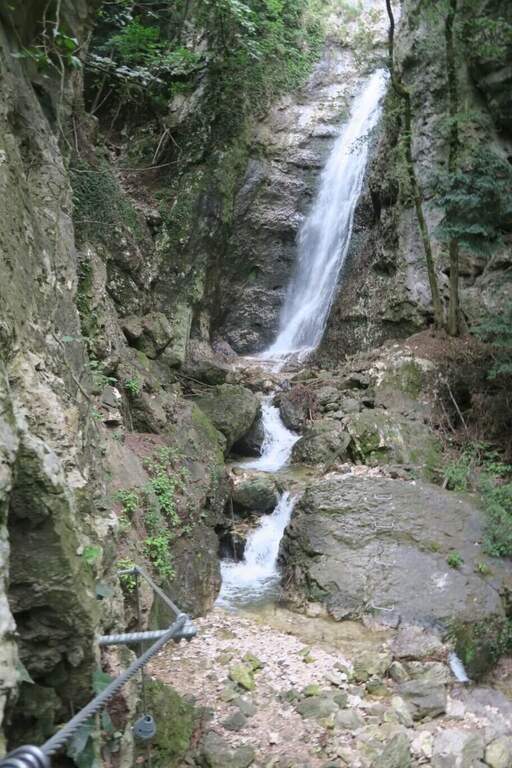
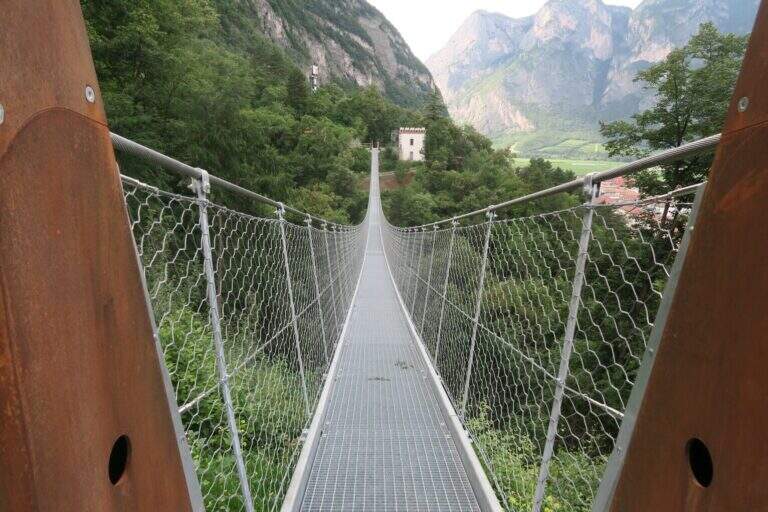
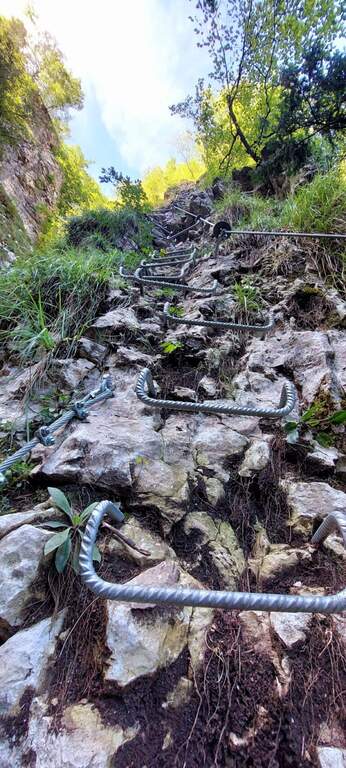
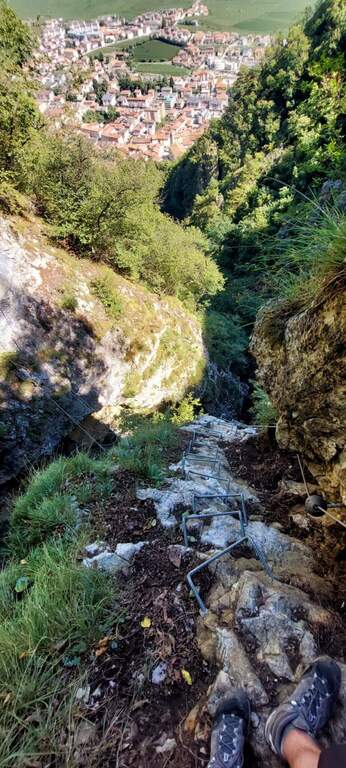
    La Ferrata Val del Rì is a modern and suggestive street that creeps into the narrow hole dug by the Rio Fai, above the village of Mezzolombardo, in the Piana Rotaliana north of Trento. It does not lead to a top but inside the throat, with vertical difference: the progression is almost continuous on metal steps and cambre, interspersed by four Tibetan bridges and the scenery of numerous waterfalls. Inaugurated in July 2024.

    ▲Approach

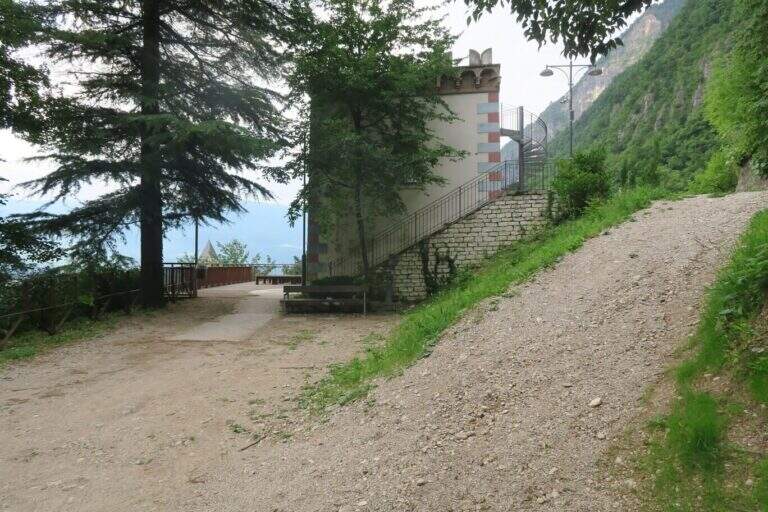
    The reference è the locality; Toresela (a small tower building), just above the Parish Church of the historical center of Mezzolombardo. Behind the church the space for l' car & car; poor; it is advisable to follow the indications for the Cimitero / Camposanto (road uphill to the left from Via San Pietro) and use l' wide attached parking, then walk to the long Ponte Sospeso, cross it with the Toresela in view below. Alternatively, you can climb the road with an indication «Toresela» and after about 150 m you park on the right, then walk for another 200 m until the small building of the ' aqueduct and the panoramic deck (panchine, useful for wearing l'imbrago). Open road signs on Google Maps.

    ▲The path

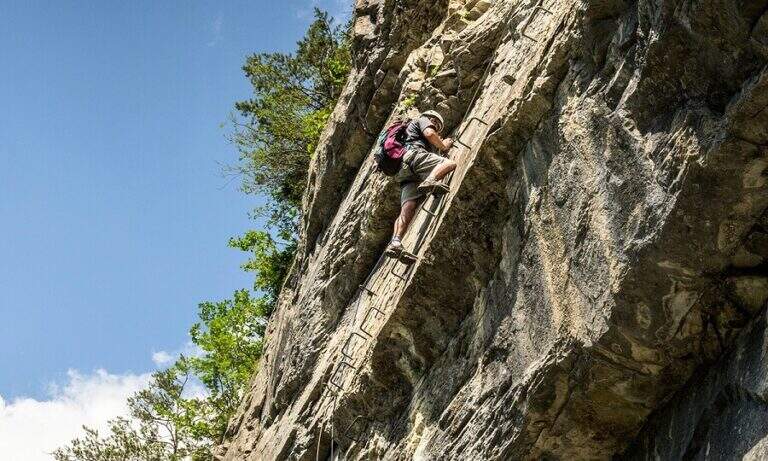
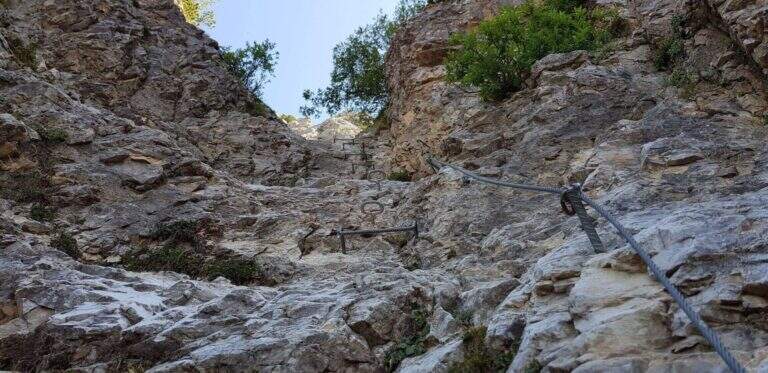
    Dal terrazzo si scendono alcuni scalini e si imbocca il sentiero che passa sotto il ponte sospeso; tenendosi sempre sulla destra si procede in piano o in lieve discesa, protetti da staccionate in legno e cordino, per 3-4 minuti fino a guadare il Rio Fai sui sassi. Si è ora nella forra, davanti al cartello e ai primi scalini dell'attacco. Si sale una prima serie di scalini su parete verticale, poi brevi passaggi a zig-zag su terra ripida e pietre e una lunga scalinata verticale; dopo un breve traverso esposto a destra si affronta il primo ponte tibetano (corto e ben teso) presso una prima bella cascata, raggiungendo uno sperone roccioso. Altri scalini, un tratto aereo sullo sperone e si arriva al secondo ponte tibetano, più lungo ed esposto, che riporta sulla destra orografica. Si percorre una crestina, poi il bosco, scendendo verso la forra: un lungo traverso su staffe radente all'acqua include un passaggio più impegnativo, con appoggi rientranti rispetto al cavo che obbligano a un po' di lavoro di braccia. Si risale di qualche metro, un traversino obliquo a destra, e aggirata la curvatura della parete si incontra il punto con appoggi più scarsi e distanziati, tra i più impegnativi della via. Seguono un traverso e una breve alternanza discesa-salita su staffe fino al terzo ponte, basso e vicino all'alveo. Ci si addentra nella gola con un traverso ascendente, in vista di due cascate (una di una quindicina di metri) e di un grande masso incastrato fra le pareti: lo si risale, si traversa e si guadagna quota con scalini leggermente strapiombanti. Si è circa a metà via. Alcuni tratti di ripido sentiero bagnato e fangoso si superano aiutandosi con alberi e cordino; una paretina strapiombante con gradini porta a un terrazzino e a una stretta fenditura panoramica di una decina di metri, ventilata, da percorrere in leggera discesa. Si scende fra terra e roccette riavvicinandosi all'acqua, si supera una breve cengia e un traverso a destra che aggira un blocco, fino a tornare al livello del torrente presso un'altra cascata. Guadato il ruscello sui grandi sassi, una lunga serie di scalini verticali leggermente strapiombanti costituisce il terzo passaggio prudentemente «difficile» per la maggior esposizione; ci si sposta a sinistra a fianco della cascata e si risale fino al quarto e ultimo ponte tibetano, il più corto. Attraversato, con scalini in traverso a sinistra si entra in un sentiero attrezzato e si raggiunge un bivio: tenendo il cordino di sinistra si arriva subito al sentiero 602B per il rientro (versione parziale, 1h 20' dall'attacco); tenendo il cordino di destra, meno evidente e in discesa, si prosegue nella versione completa, consigliata perché le difficoltà sono uguali o inferiori. Si supera lo spallone roccioso a sinistra, una ventina di metri di scalini, terreno misto umido, cascatine risalite su staffe, un breve traverso atletico e un tratto fangoso; con un paio di zig-zag su costone si raggiunge lo storico sentiero 602B: la ferrata è finita (20' dal bivio, 1h 40' dall'attacco). In 4-5 minuti di salita si può raggiungere il comodo spiazzo «Loc. Giuel», sopra il piccolo ponte di cemento dove l'itinerario termina.

    ▲Character and difficulty

    Modern design, with prevalence of steps and cambre: the polished rock, often wet and mosquito, offers few natural hooks and induces to proceed on the equipment. Three passages which can be prudently considered 'difficult', especially for exposure, and four Tibetan bridges; the vertical difference still remains contained.

    ⚠ Rock and bottom are often wet and in some muddy traits: it is likely to get wet feet, it is best to keep spare shoes in the car. After heavy rains the flow of the stream can be abundant. While developing in the shadows and with the cool of the falls, it is not recommended in the middle hours in the middle of the summer.
    ▲Period and safety

    Being of low altitude, in a cool and largely shaded environment, it is possible to travel almost all year round and combined with other short ferrates of the area.

    ▲Discipline

    From the beach «Loc. Giuel» (panchine and fountain) goes back backwards following the indications «Mezzolombardo senti. 602B»: the path descends comfortable to the cemetery, wanders left along the perimeter wall on cemented road and returns to the parking lot (35' from the deck, 2h 20' from the attack for the complete lap). Those who left the car at Toresela follow the indications for the "Suspended Bridge".
    ▲To match

    Staying in the area and continuing towards Fai della Paganella you can walk Ferrata Croce di Fai. With another half day are close (10-15 minutes by car) the Ferrata Rio Secco to Cadino di Faedo and the Ferrata del Burrone Giovannelli in Mezzocorona; just beyond Ferrata di Favogna e la Ferrata delle Aquile in Paganella.
    ▲Gallery
    Technical data
    • DifficultyModerately Hard
    • RegionTrentino-Alto Adige
    • ProvinceTrento
    • GroupPayment
    • Approach5 min
    • Ferrata2h 30'
    • Complete itinerary (a/r)3h 15'
    • Maximum630 m
    • Length5,8 km
    • Year2024
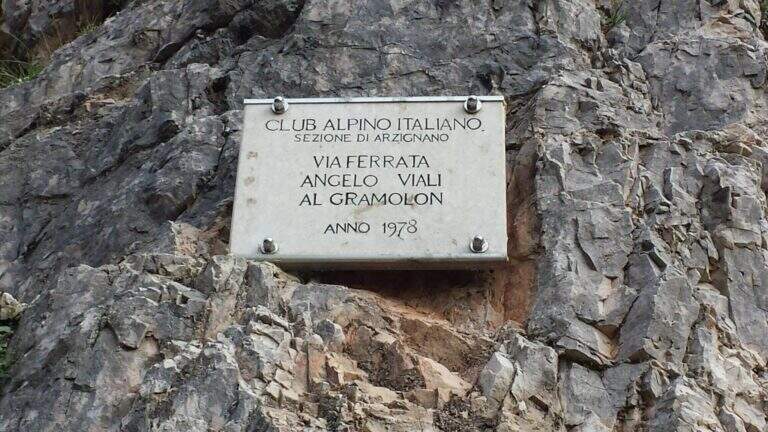
  • Ferrata Viali at Monte Gramolon

    Ferrata Viali at Monte Gramolon

    Vie Ferrate › Veneto › Vicenza
    Ferrata Viali at Monte Gramolon
    Moderately Hard● OpenDescriptionComplexityMapsGallery

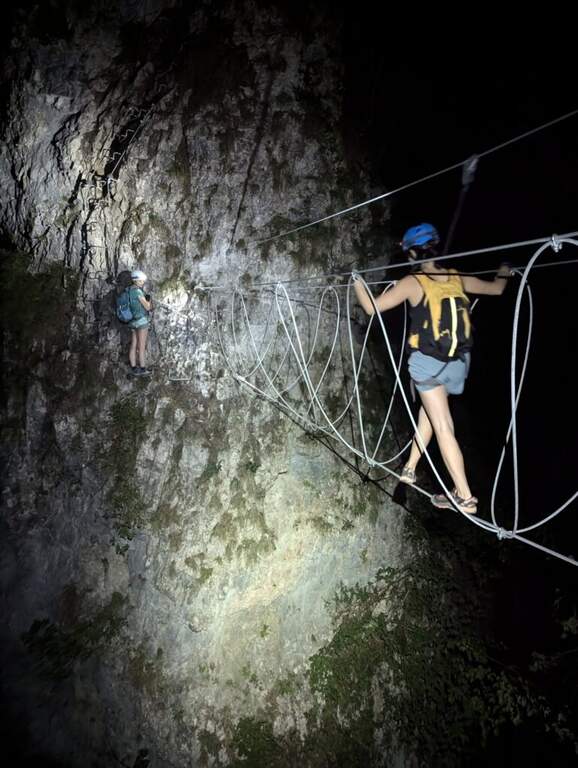
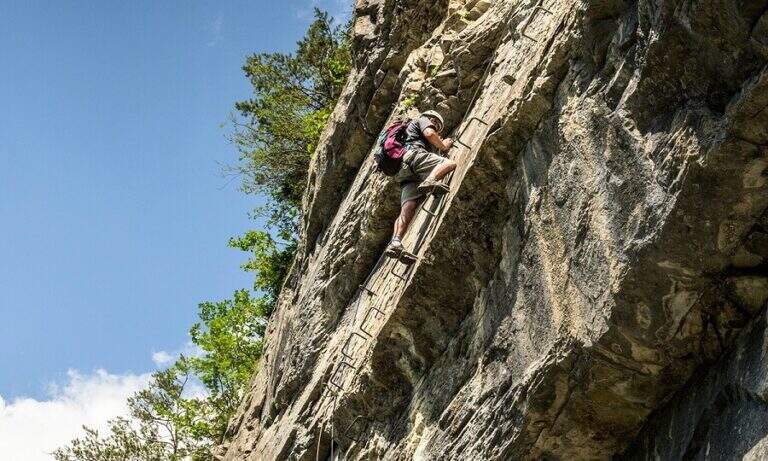
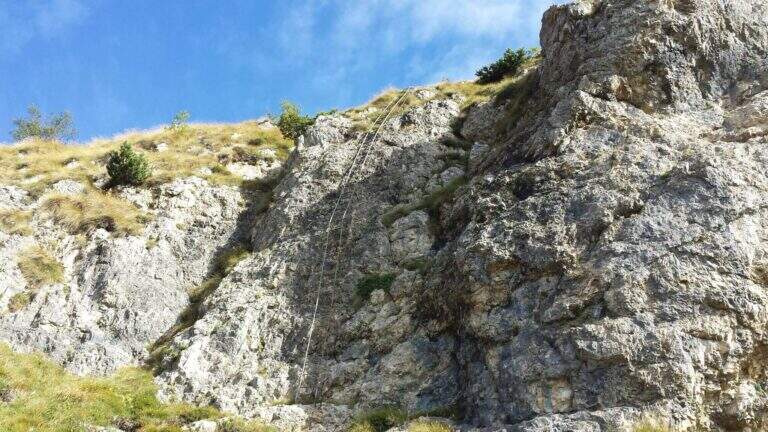
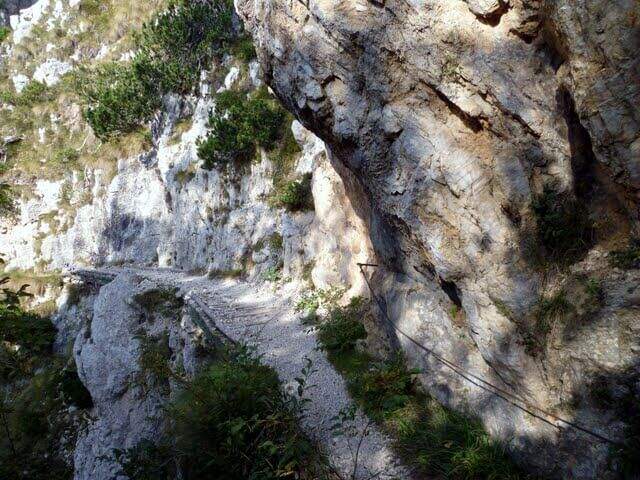
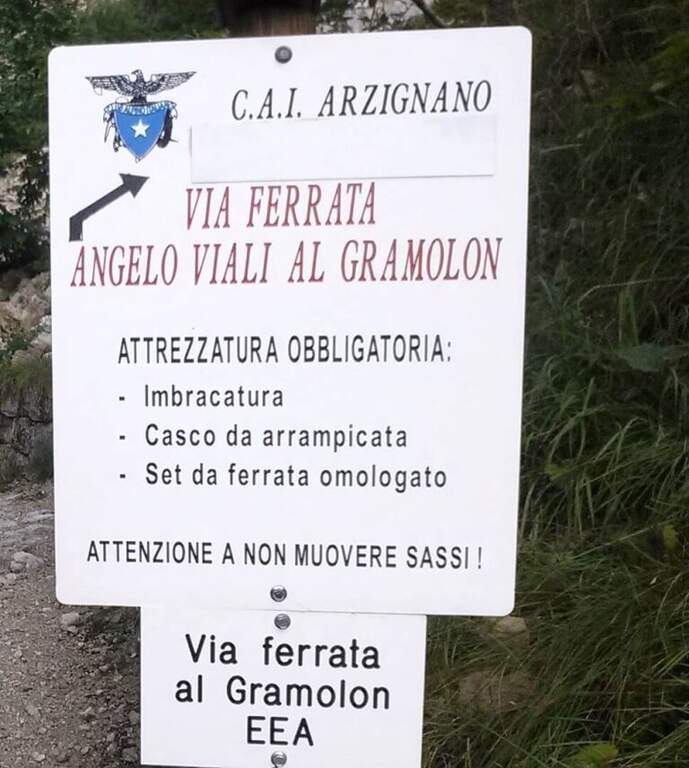
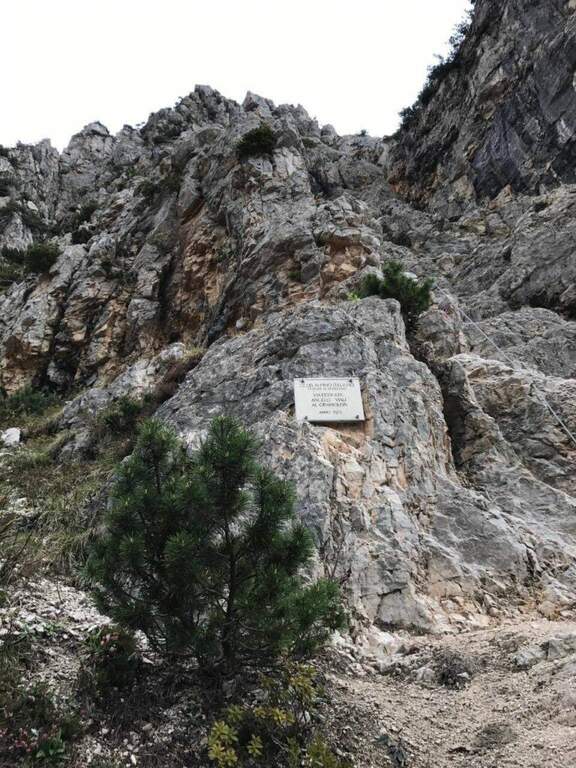
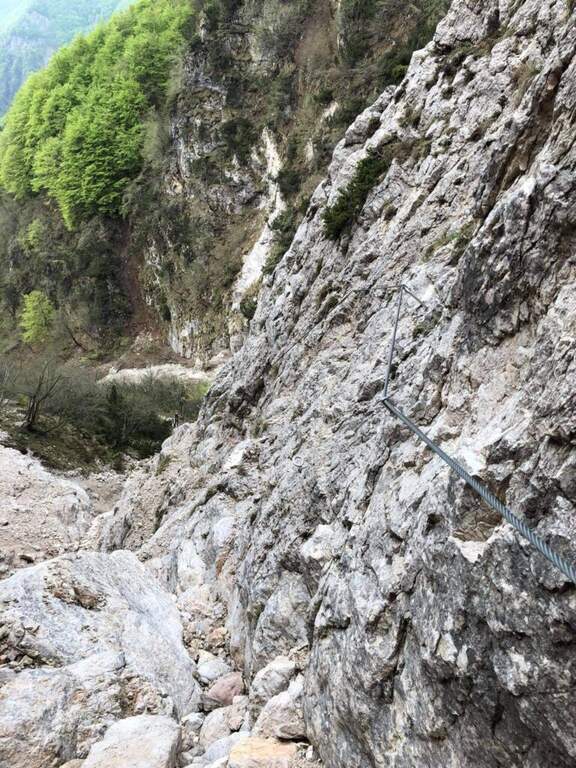
    La Ferrata Viali salt a canon under the Monte Gramolon, in the vicentino. È varied, of medium difficulty and with some pi&grave passages; challenging and athletic (in particular two overhanging walls equipped with brackets), with short approach and return and development at low altitude.

    ▲Approach

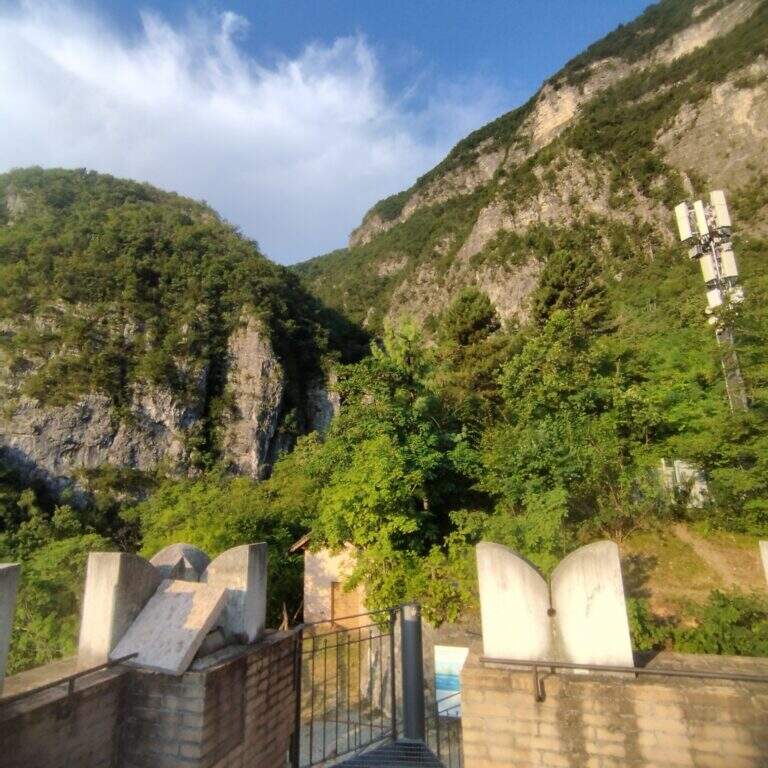
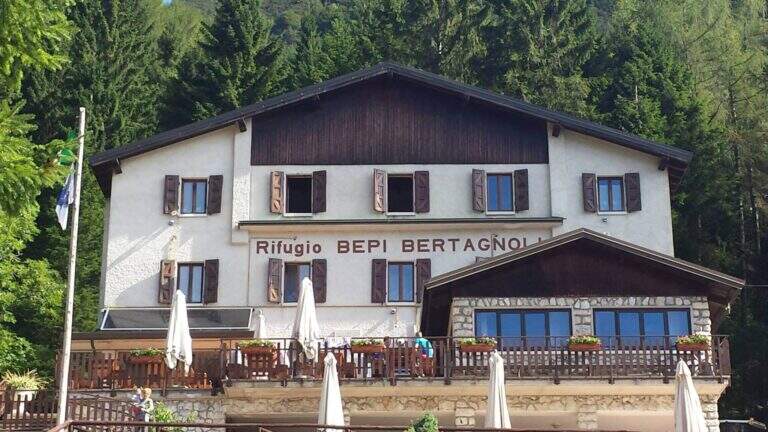
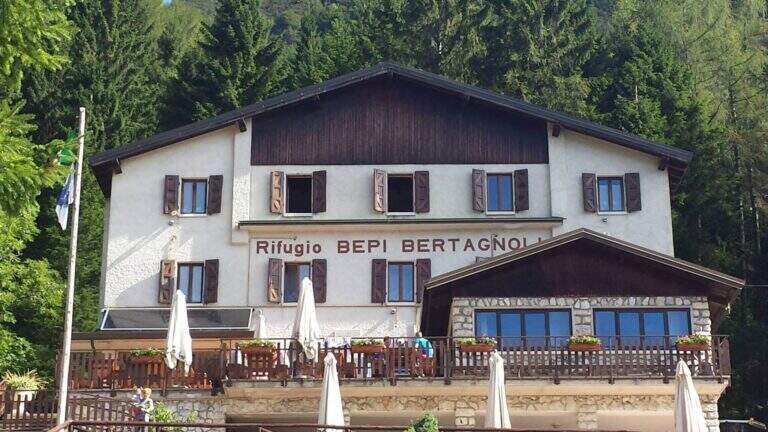
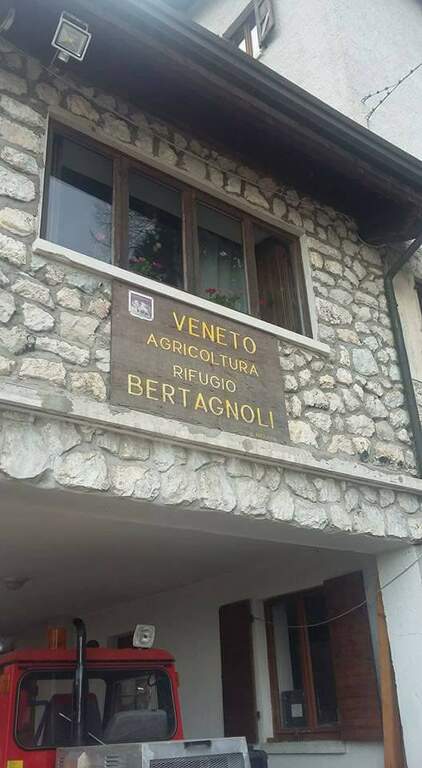
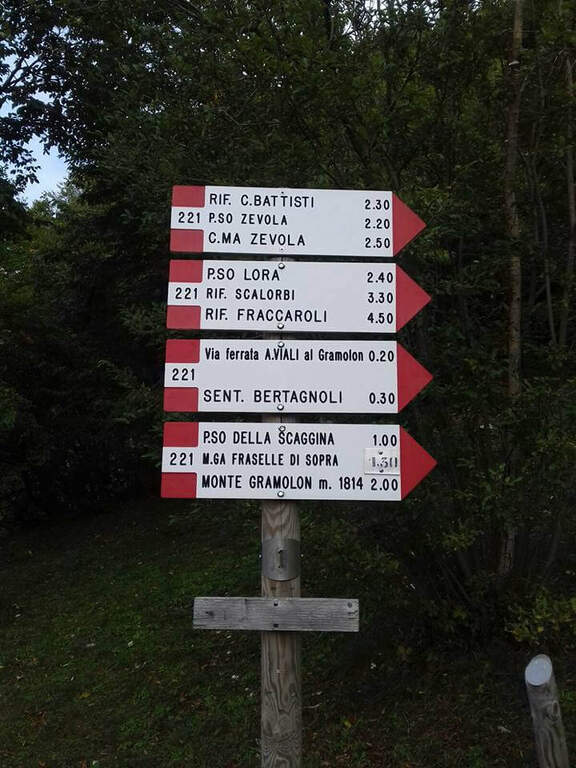
    Starting from the Rifugio Bepi Bertagnoli (1225 m), where ends the road of the valley of Campodalbero (from Arzignano to Chiampo, then right to Campodalbero). Open road signs on Google Maps. Oltre il rifugio, presso una chiesetta, una palina CAI indica a destra il sentiero 221; tra salita e discesa, con alcuni passaggi attrezzati esposti su fondo un po' franoso, si scende alla base del canalone fino al primo cartello della Ferrata Viali e all'attacco poco più in alto (20' dal parcheggio).

    ▲The path

    You climb diagonally on a corner to the left of the canalone, on rock, then a traverse to the right of difficult-and-grave media; it leads to the right side of the canal. After a brief mention, the key pass is facing: a overhanging wall of about fifteen meters equipped with a long series of wide brackets (strapillating all' start, vertical in the center, again overhanging at the top). An exposed cross leads to a second wall equipped , challenging but più short, ending with diagonal brackets on a nod. There is a vertical staircase of about twenty pioli, traverses and vertical traits on poles and brackets in the canalone, a long stretch on slightly overhanging edge and a climb on the opposite side, exposed and graded. A path equipped with a bench connects to the final section: a long metal staircase of about 25 meters and a stretch of equipped path leads to the path 202, where the Ferrata Viali ends (2h from' attack).

    ▲Character and difficulty

    Fun and athletic way in the overhanging stretches, on rock not always solid. Level difference in ferrata 370 m, total 550 m, maximum altitude 1700 m, development 3.5 km. Being low altitude, to avoid on summer days too hot.

    ⚠ The bottom è composed of pebbles and unstable traits and are not rare the scariche di sassi: the helmet è absolutely mandatory and you need not to move rocks on the canal to the following.
    ▲Discipline

    Per rientrare al Rifugio Bertagnoli si segue il sentiero 202 a sinistra, si attraversa una galleria militare (non serve la torcia) fino a un ripido sentiero prima del Passo di Scagina che scende nel bosco, passando accanto al monumento a Bepi Bertagnoli, fino all'attacco della ferrata (40' dal termine) e quindi a ritroso al parcheggio (circa 1h dal termine, 3h 30' totali). In alternativa si può proseguire verso la vetta del Gramolon.

    ▲To match

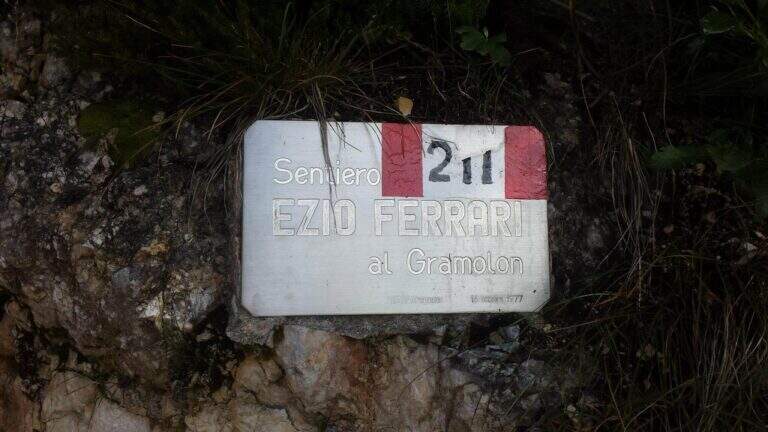
    On the same Gramolon Ferrata Ezio Ferrari; not far, towards the Carega, the Ferrata Campalani.

    ▲Gallery
    Technical data
    • DifficultyModerately Hard
    • RegionVeneto
    • GroupSmall Dolomites
    • Approach0:20 h
    • Ferrata2:00 h
    • Itinerary (a/r)3:30 h
    • Hardware level difference370 m
    • Route difference550 m
    • Max1700 m
    • Length3,5 Km
Need help? Write to us!