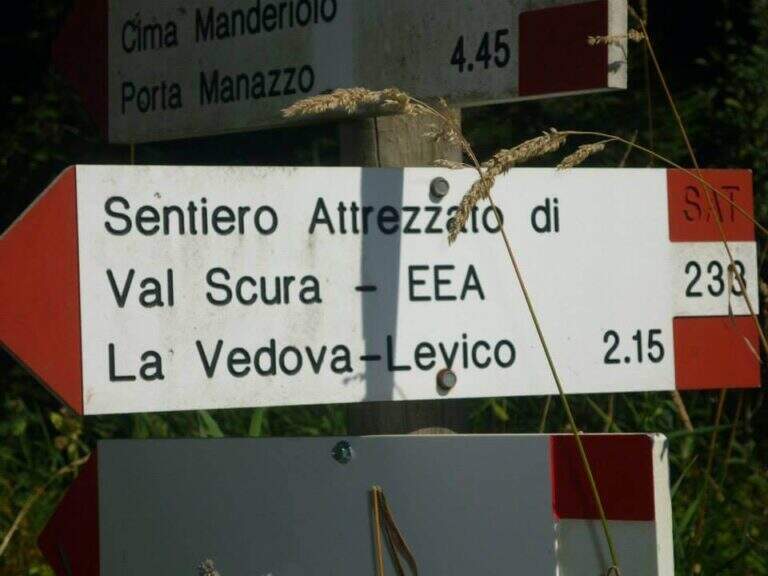
Caratteristica: Panoramica

  • Sentiero Attrezzato Church in Val Scura

    Sentiero Attrezzato Church in Val Scura

    Vie Ferrate › Trentino-Alto Adige › Trento
    Sentiero Attrezzato Church in Val Scura
    Moderately Hard● To checkDescriptionComplexityMapsGallery

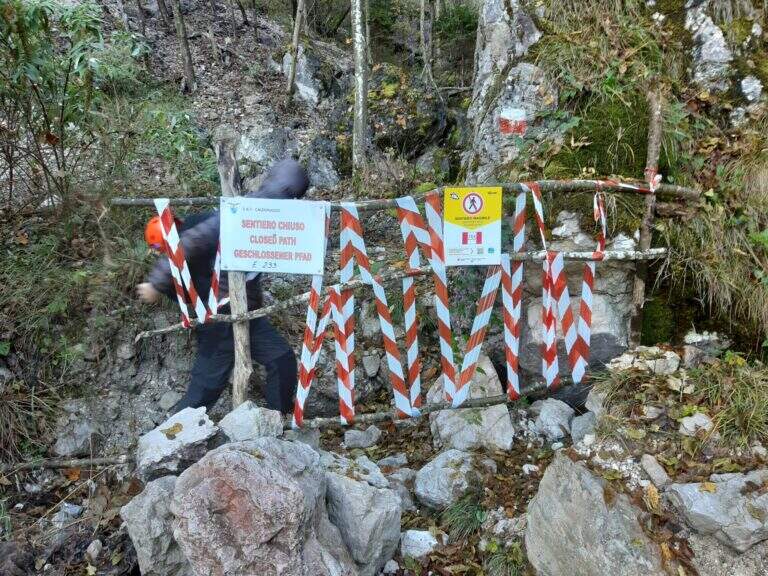
    viso Notice — In 2017 the ferrata was closed for maintenance and is not confirmed by official reopening. Two traits can present missing equipment or maintenance, which greatly increases the degree of difficulty. Check the updated conditions before leaving: to proceed safely, you need a steady foot and a rope to ensure the climbing companion.

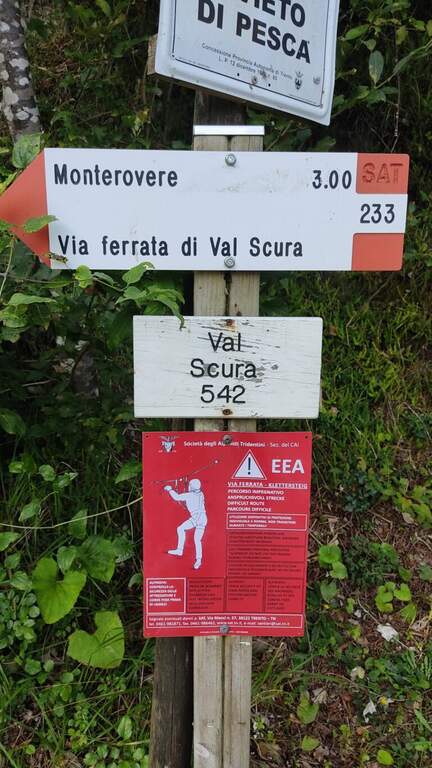
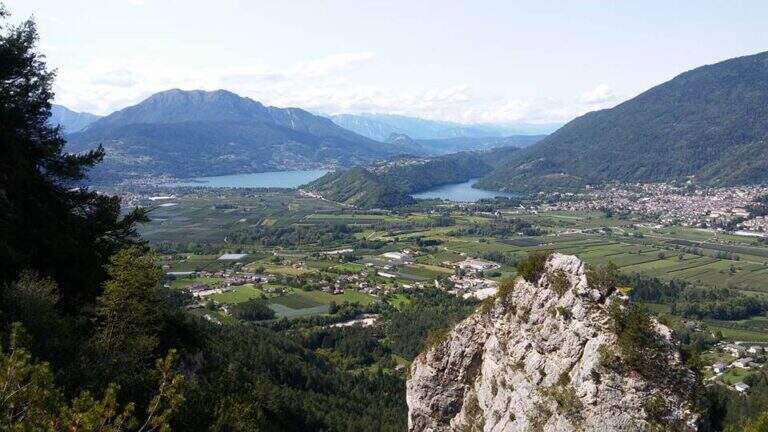
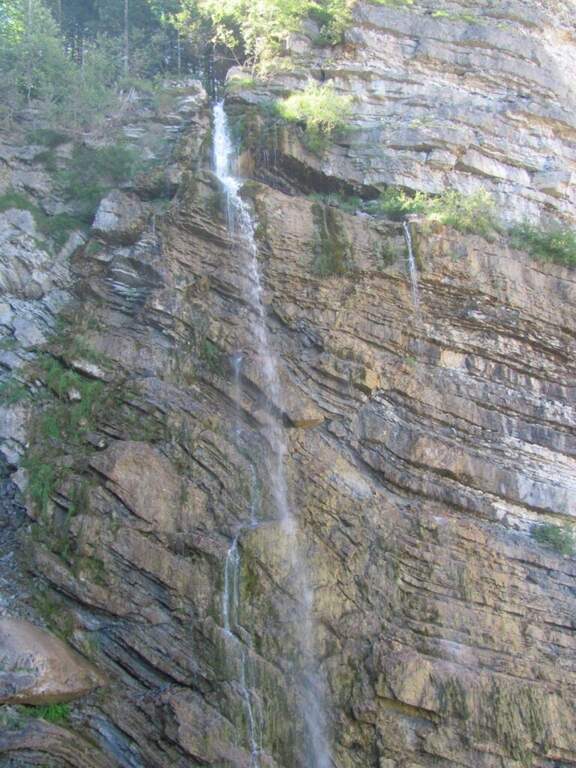
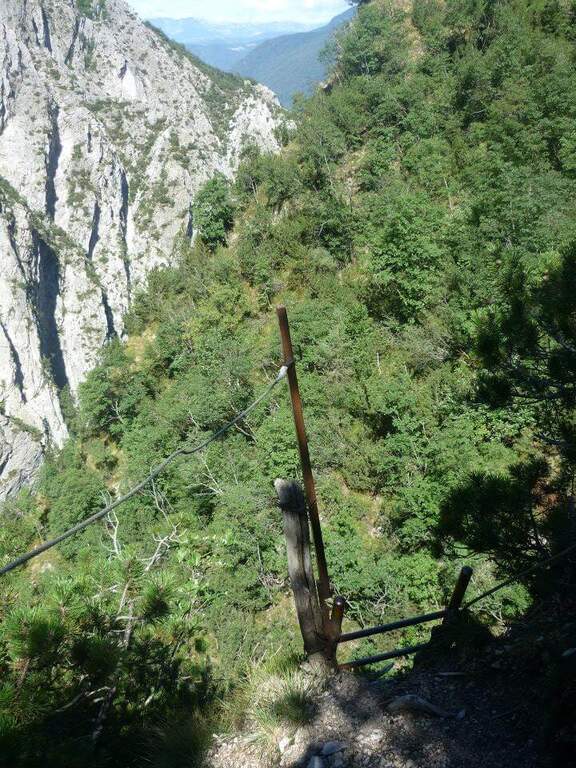
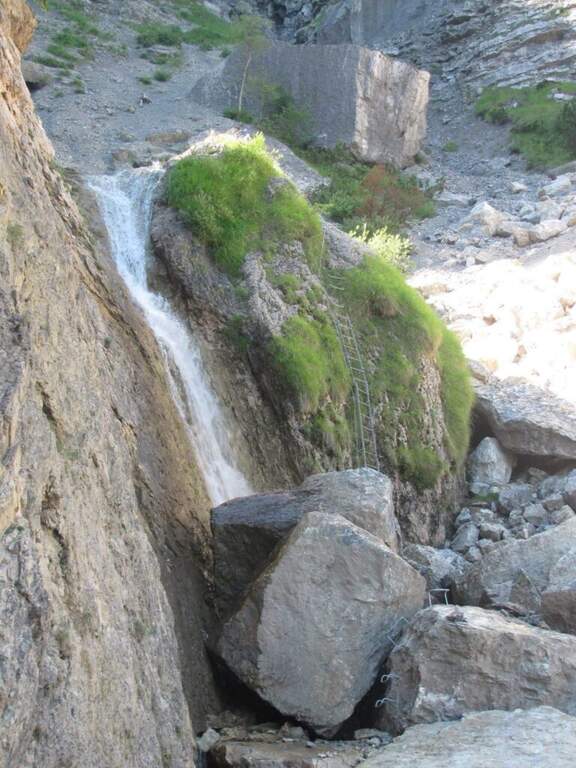
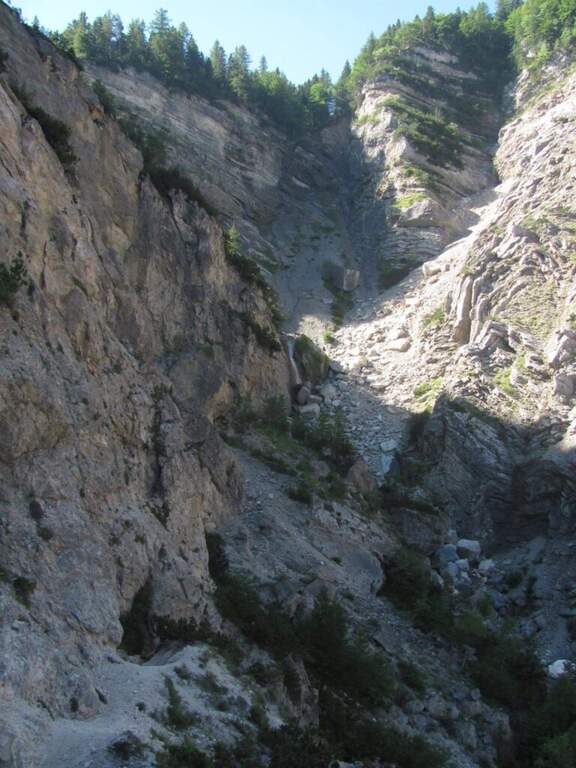
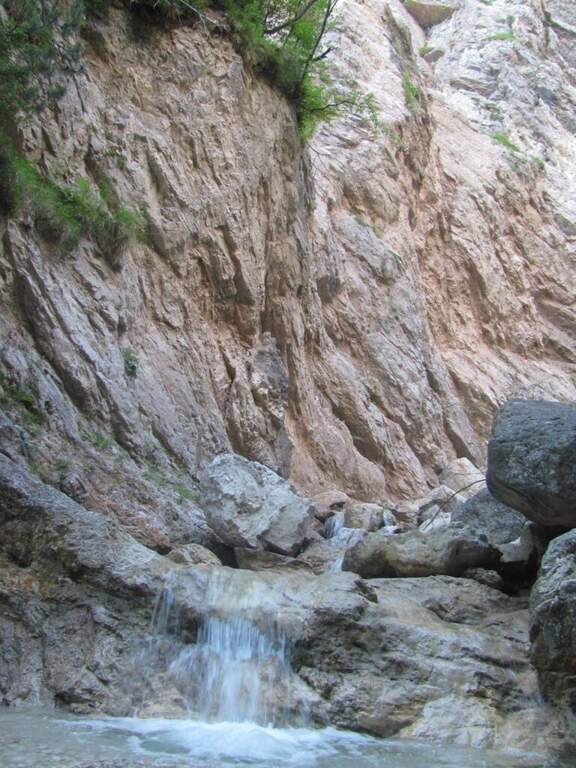
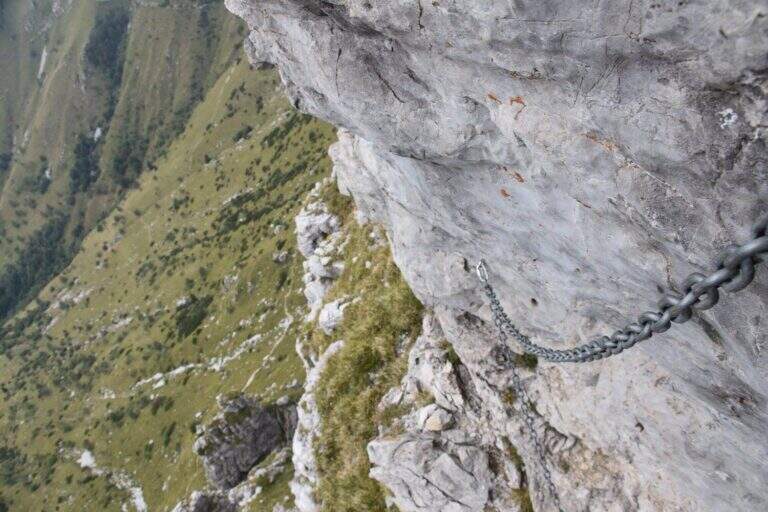
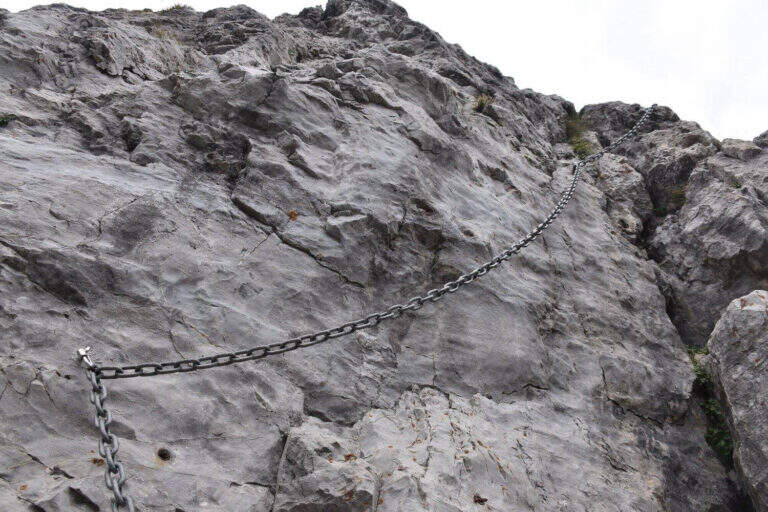
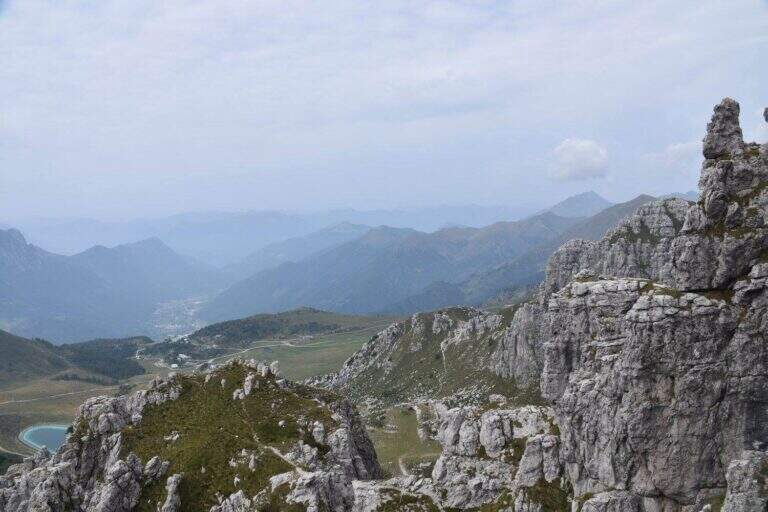
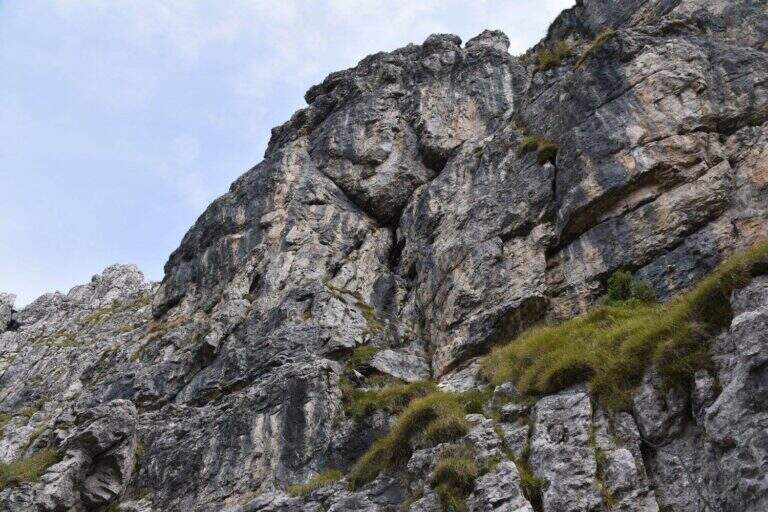
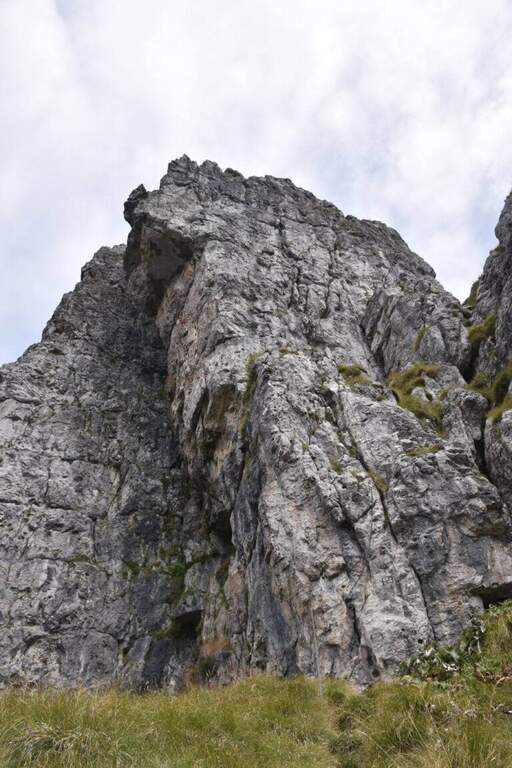
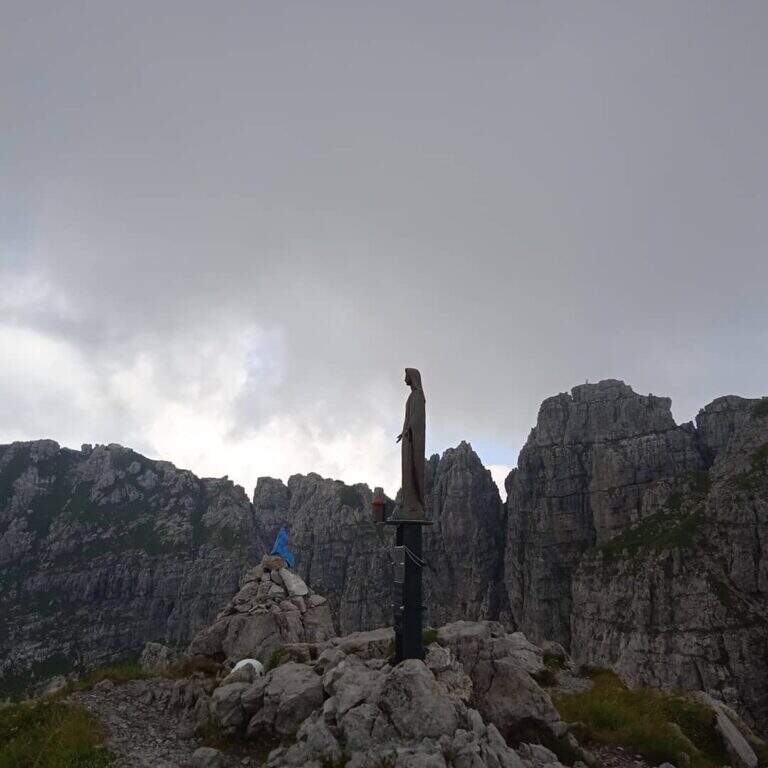
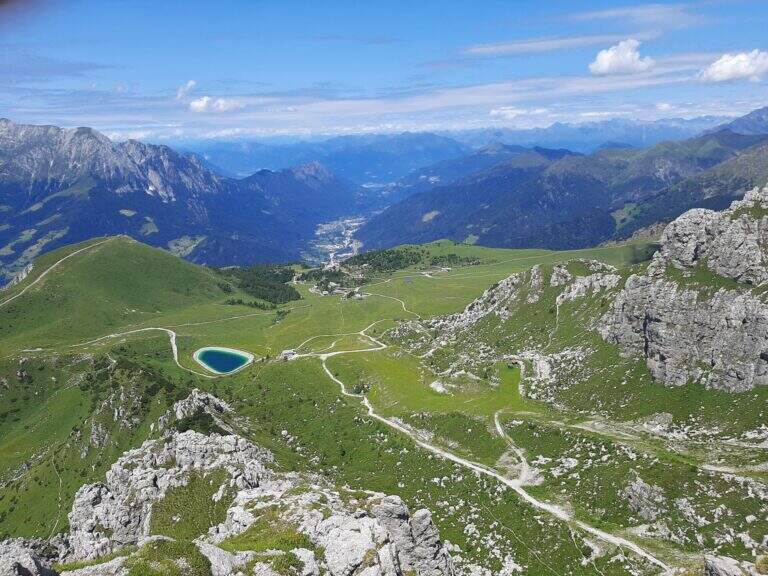
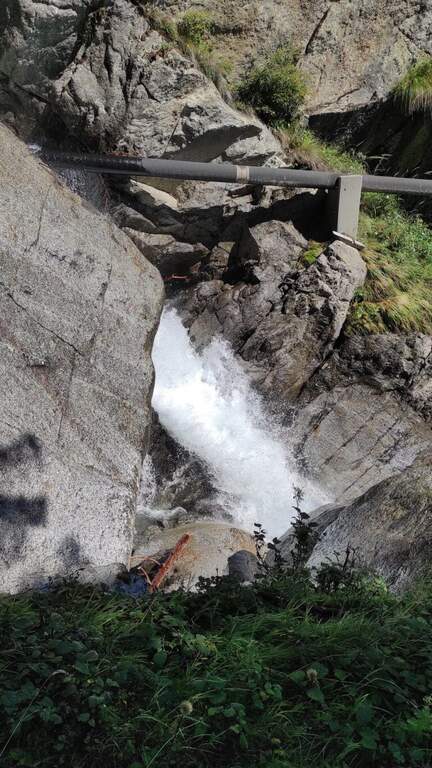
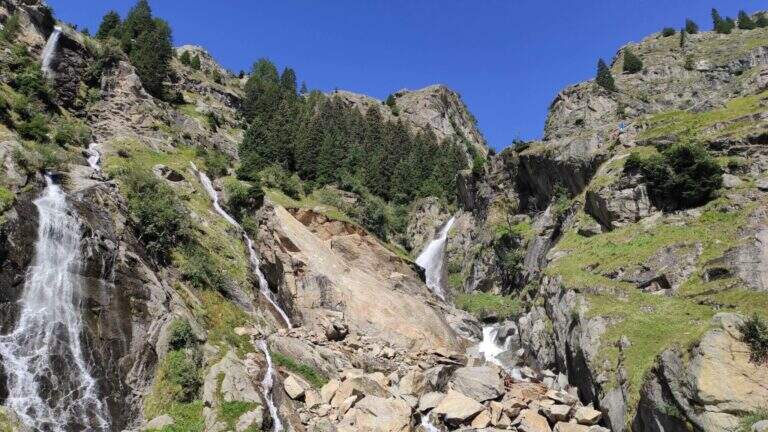
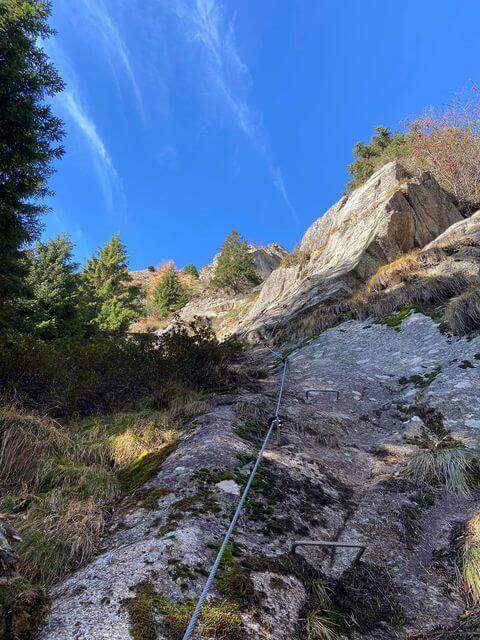
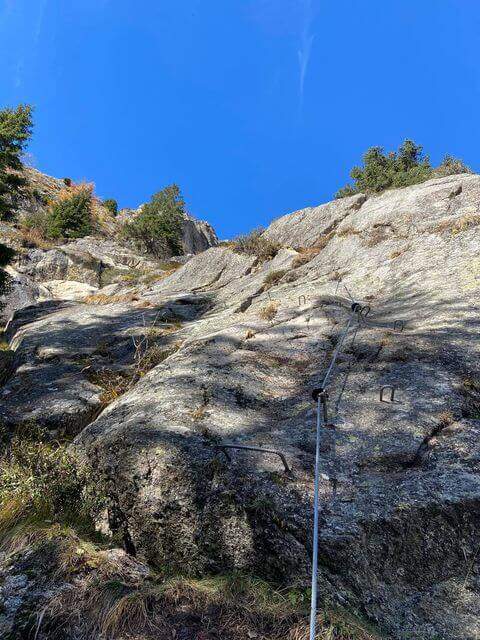
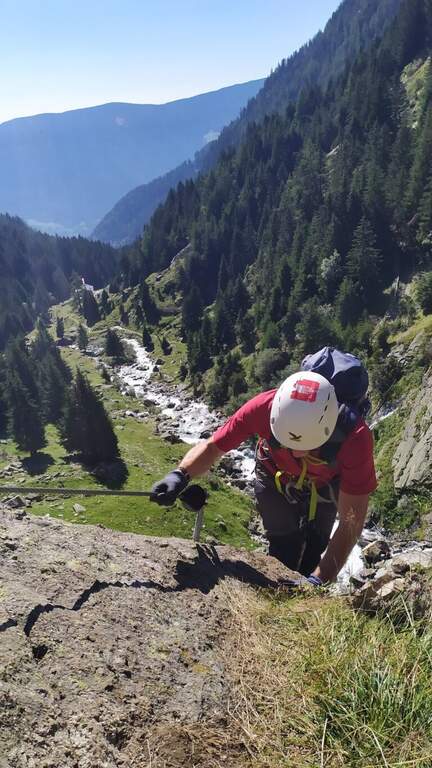
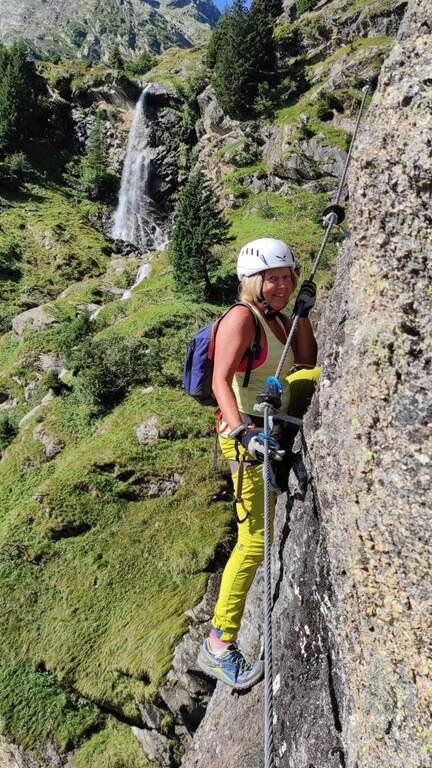
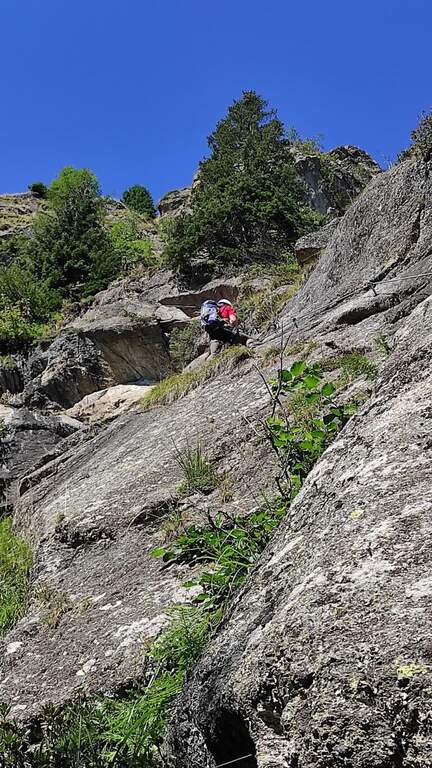
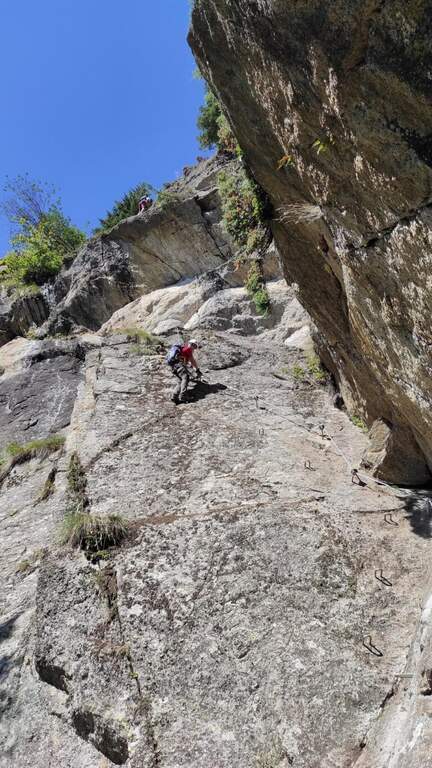
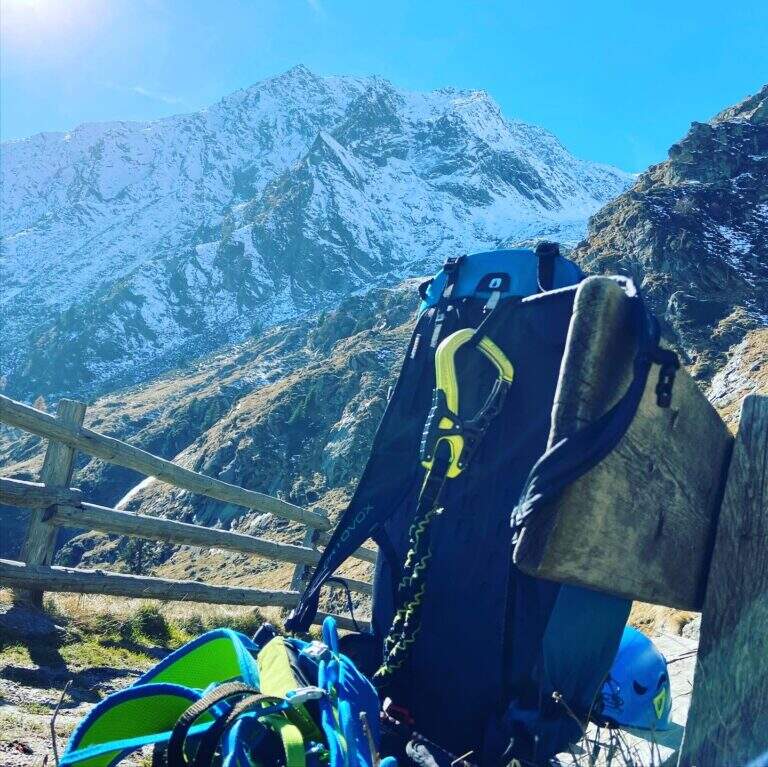
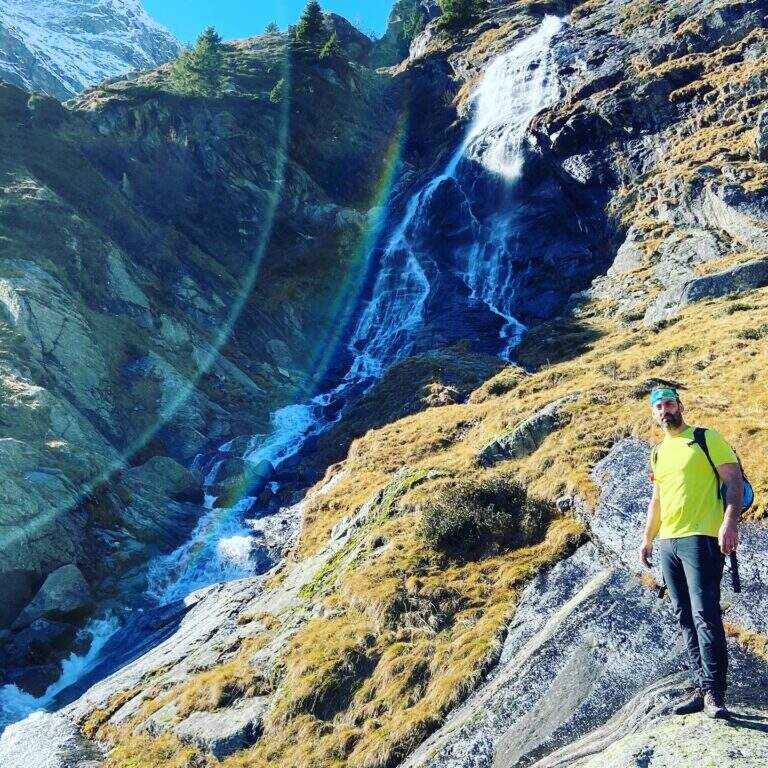
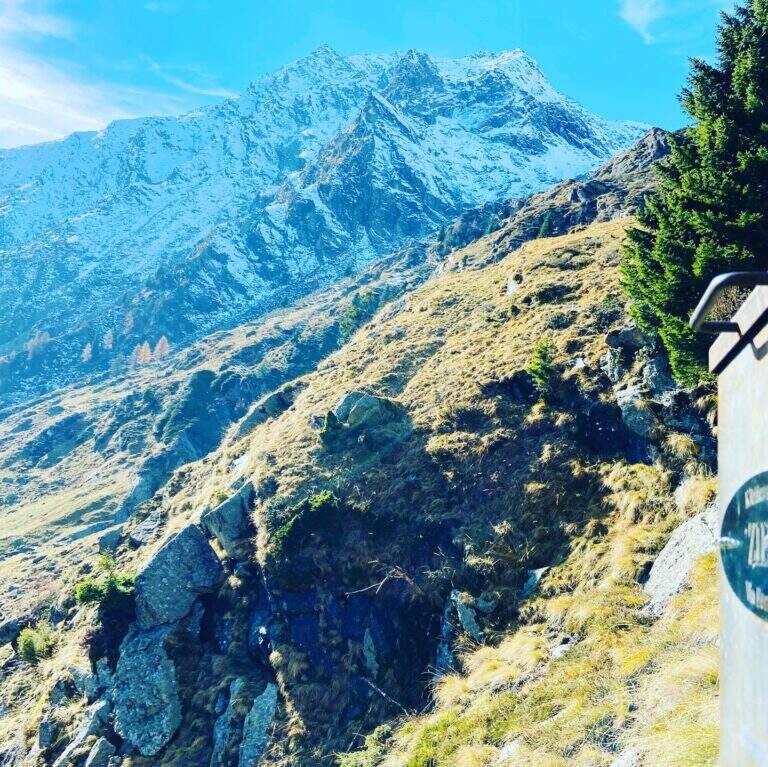
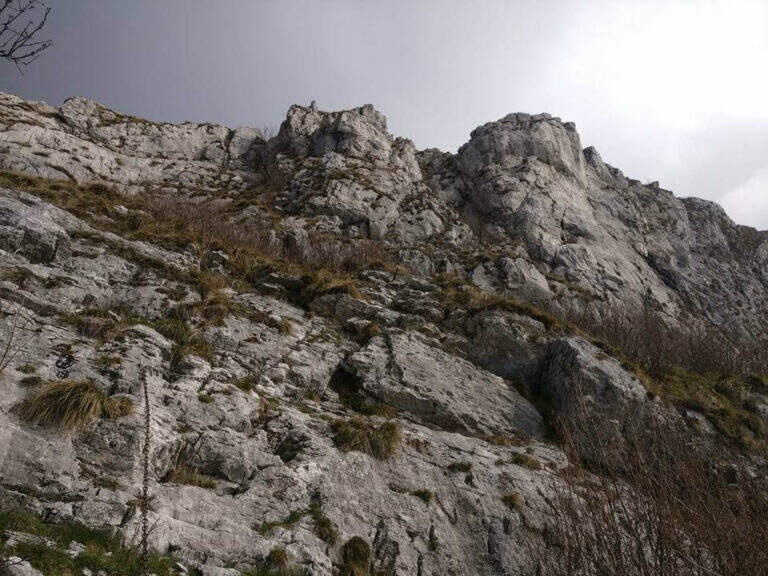
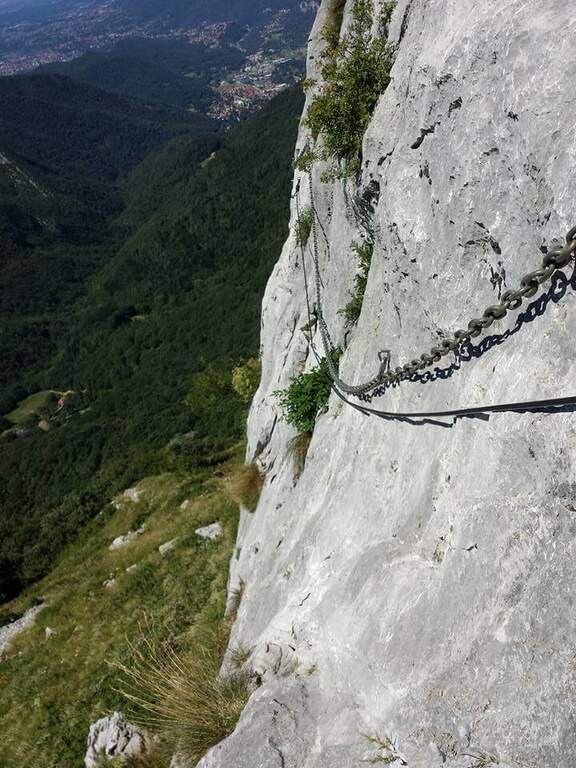
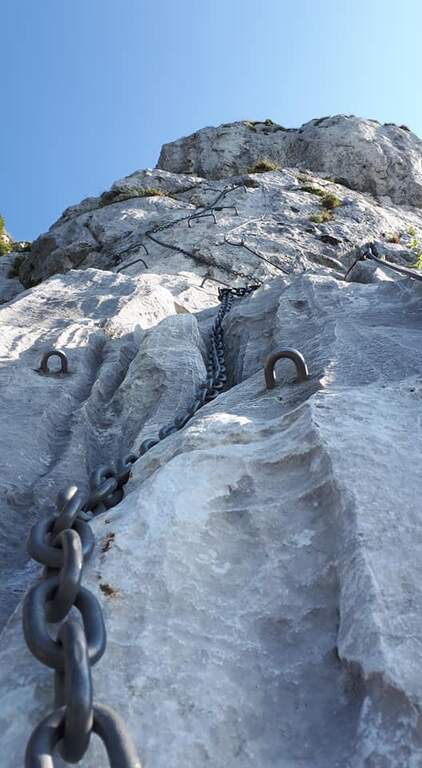
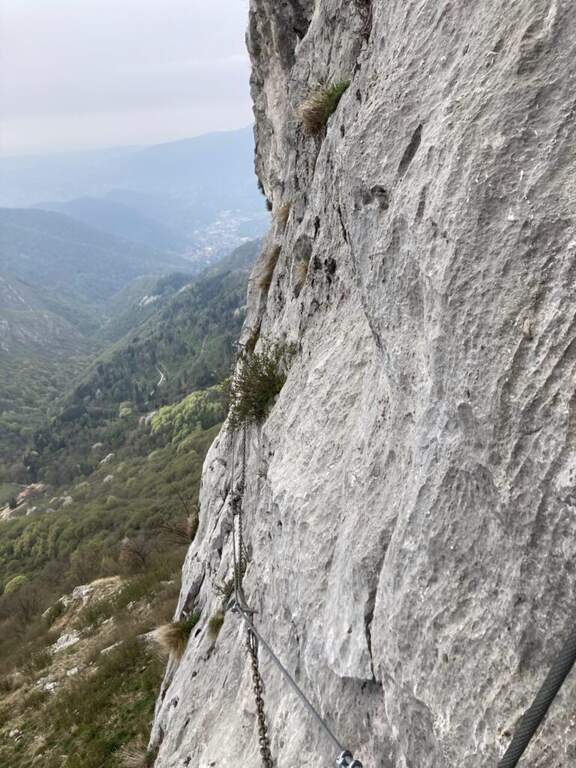
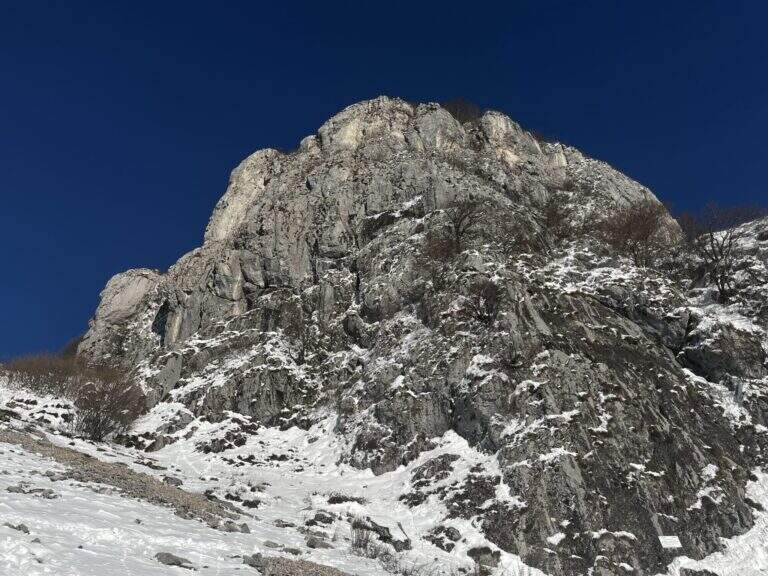
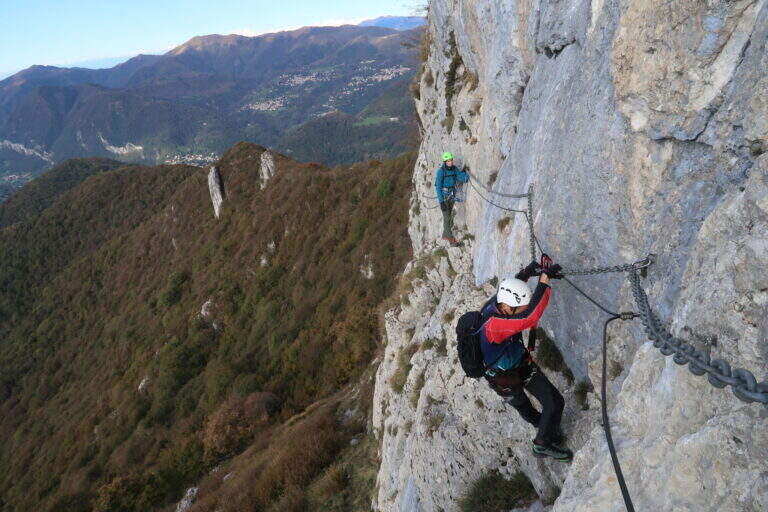
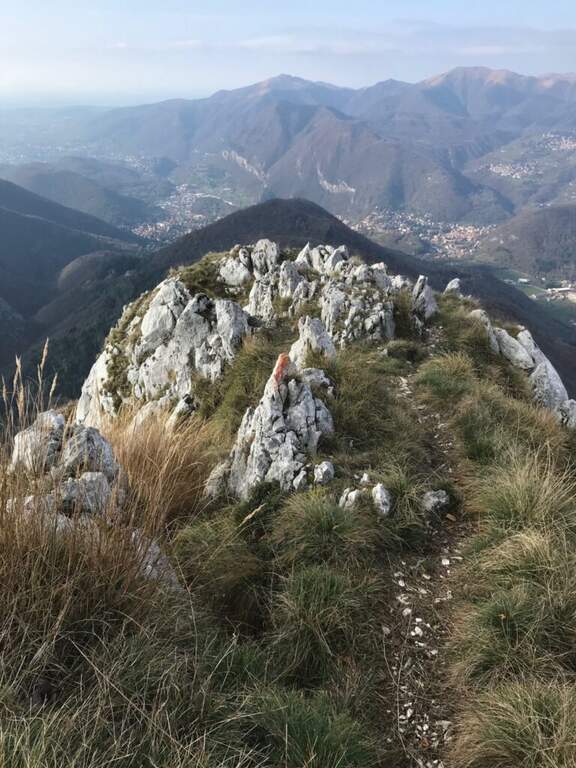
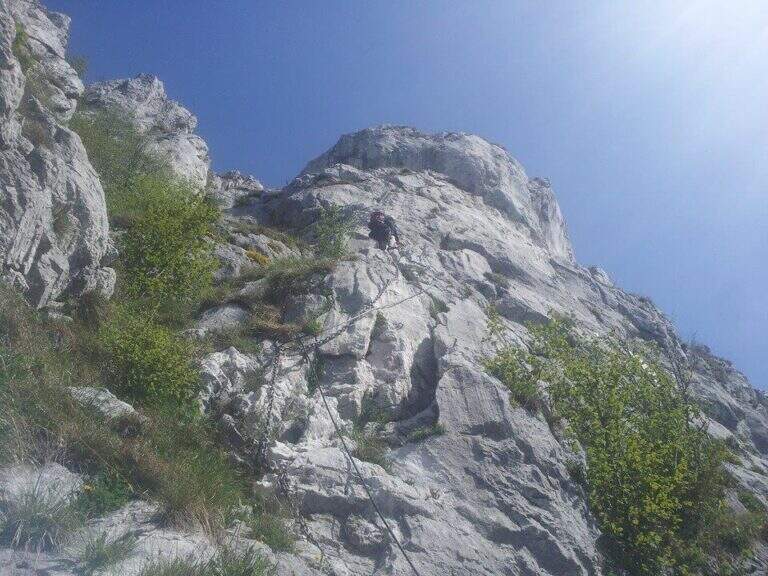
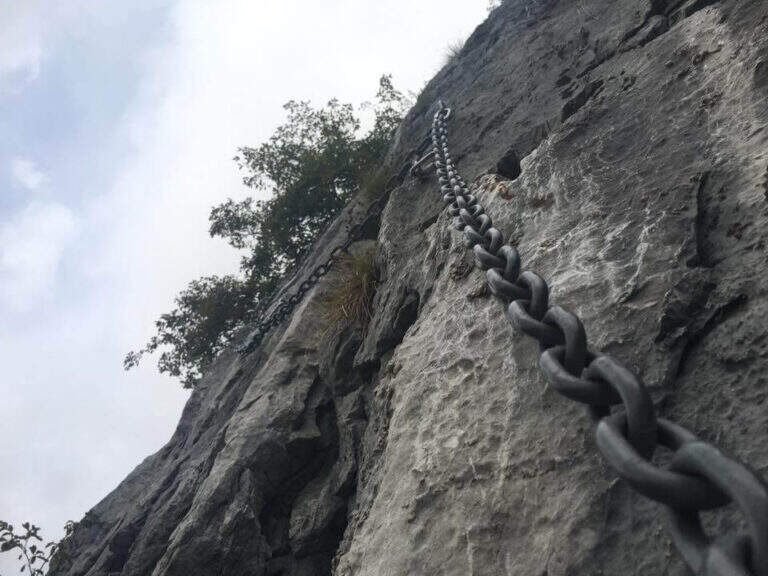
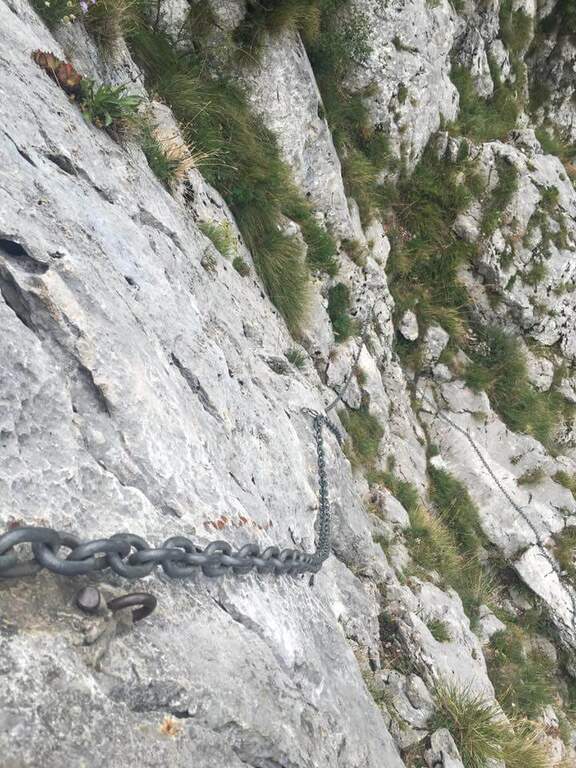
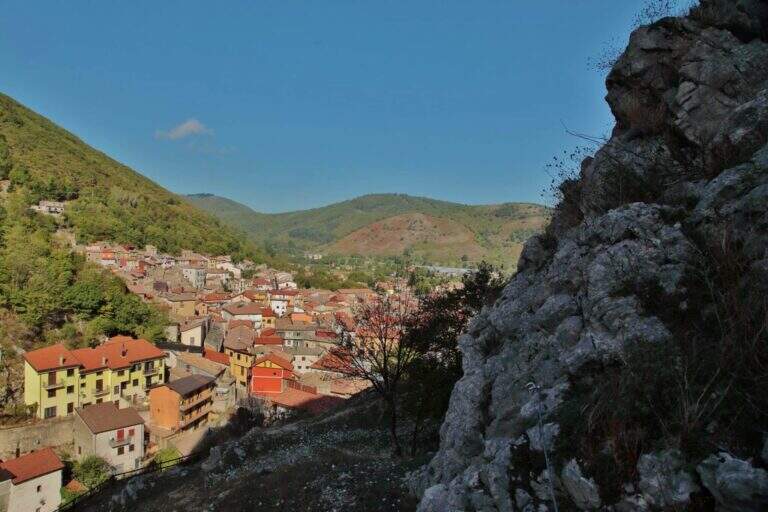
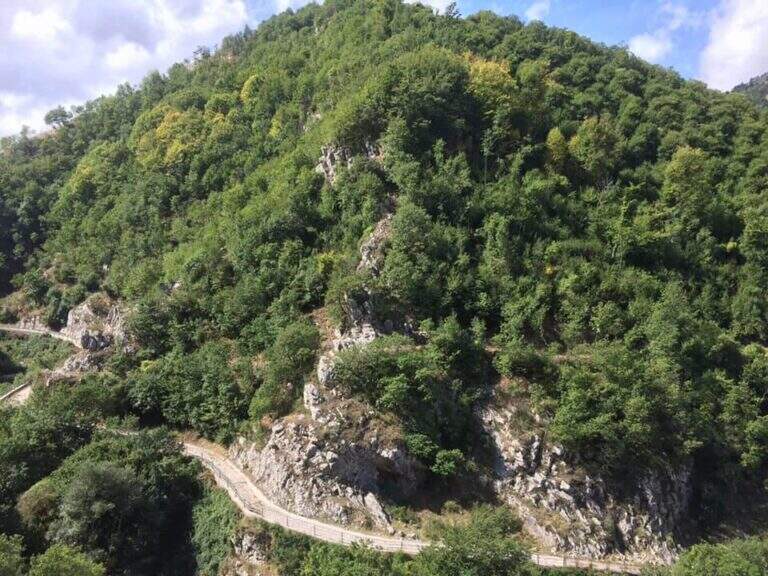
    The Sentiero Attrezzato Chiesa is a pleasant excursion that goes up the Val Scura, near Levico Terme, in the province of Trento. The difficulty is moderate and the bottom, at times unstable, requires a minimum of experience of equipped excursions. It is a perfect itinerary for half seasons, when the Rio Bianco has good flow and you can admire the many waterfalls along the way; we offer it as a ring with return from the Menador Path.

    ▲Approach

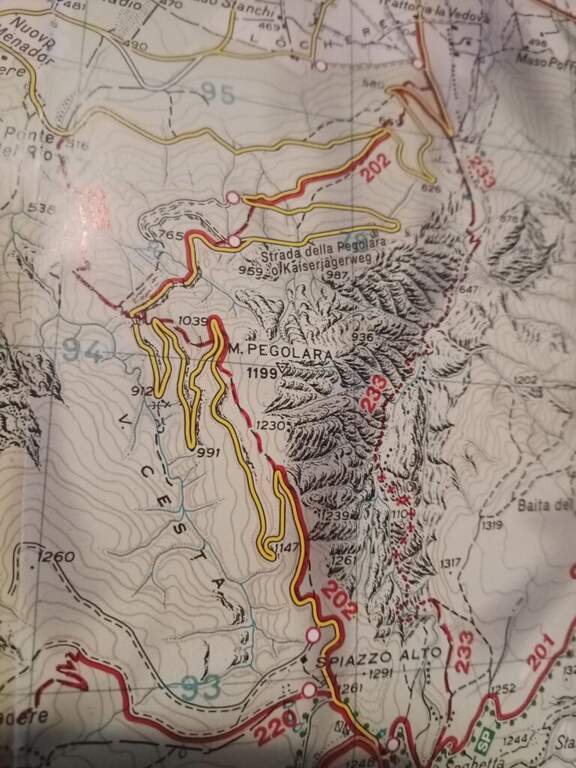
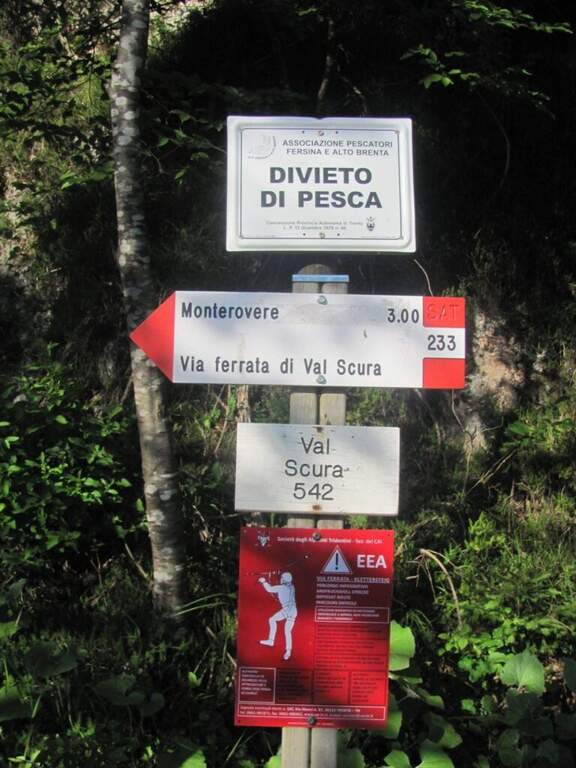
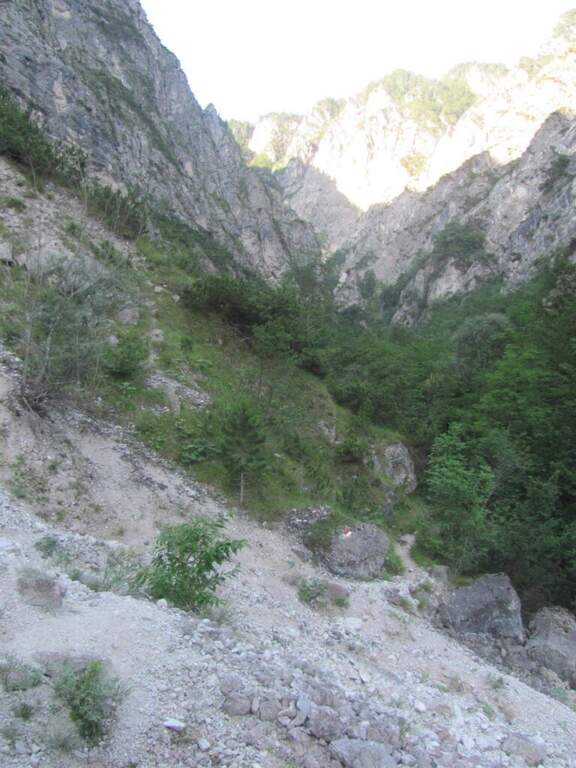
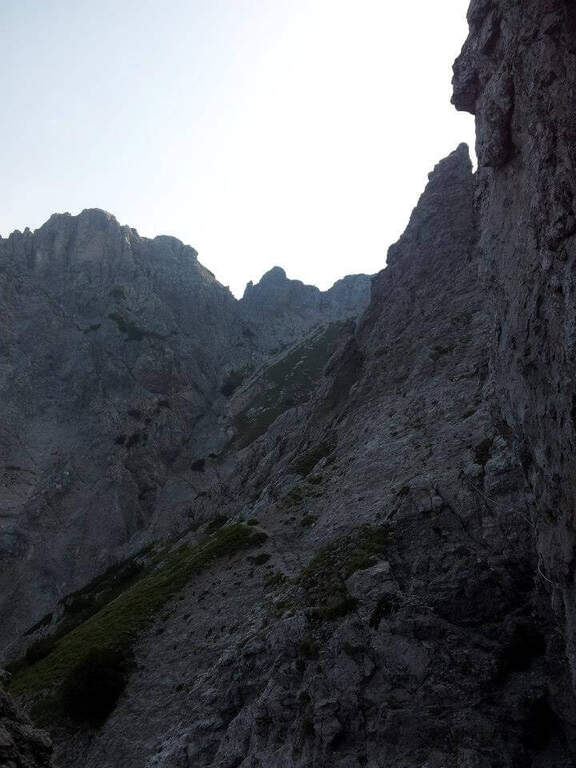
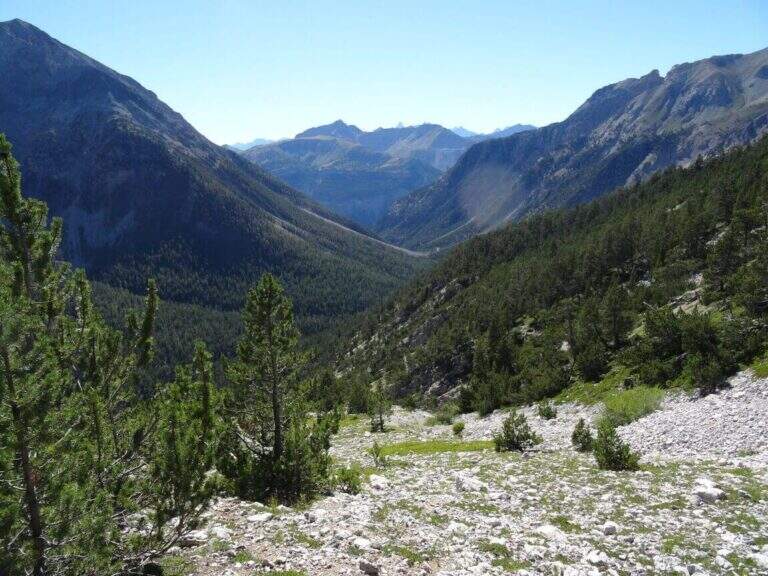
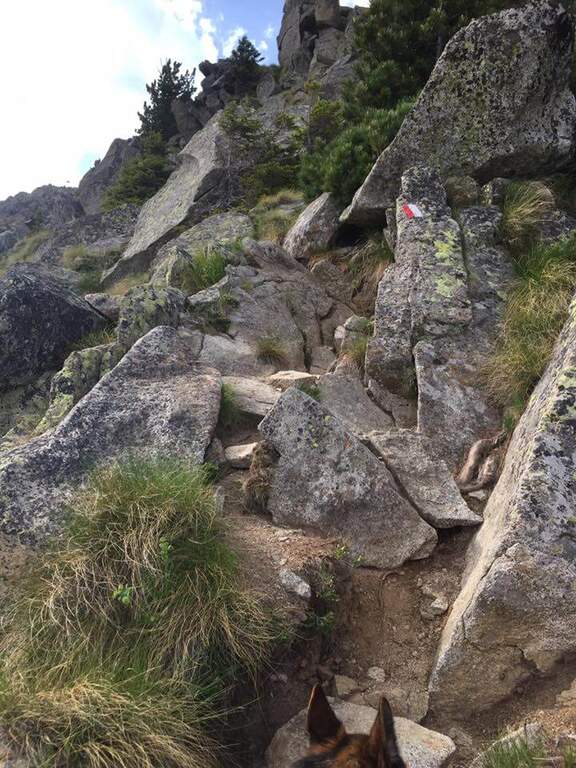
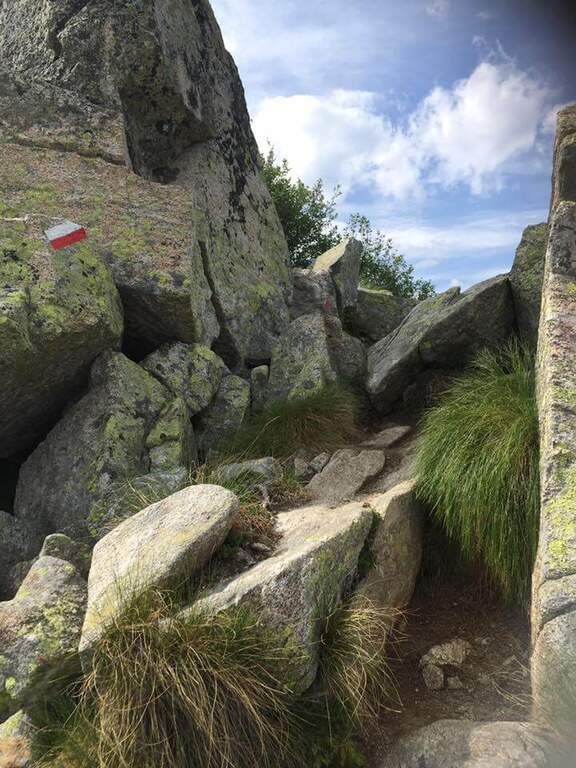
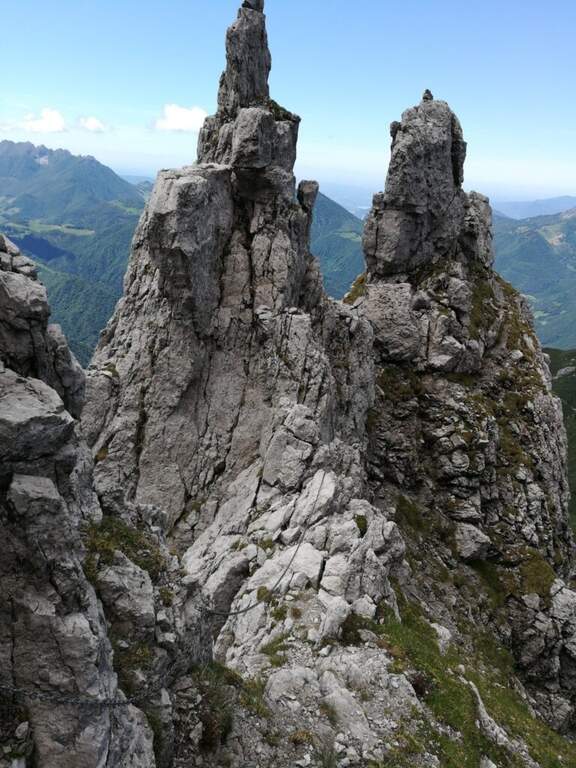
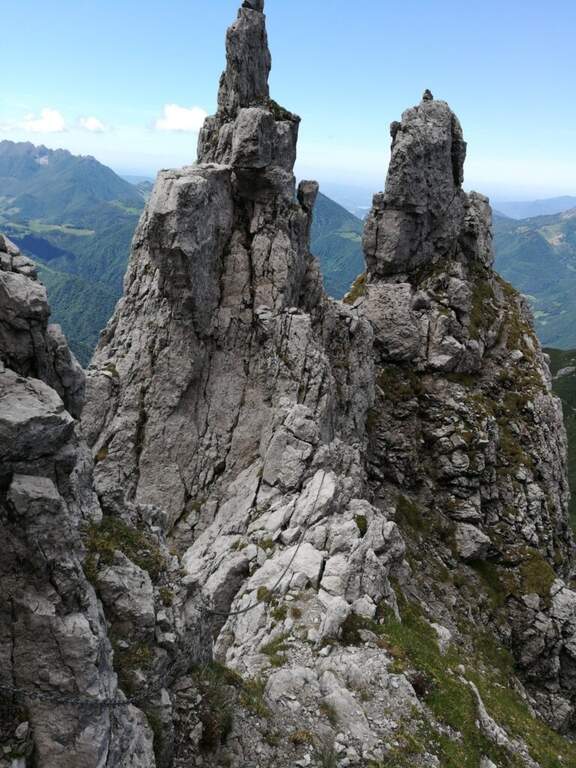
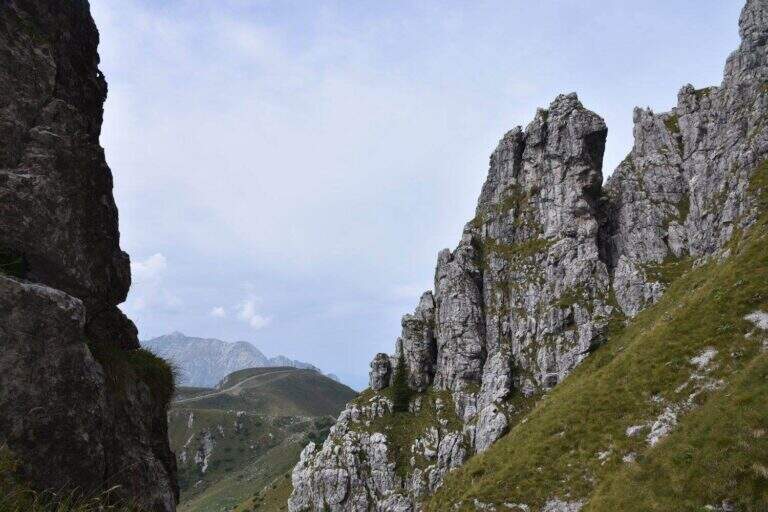
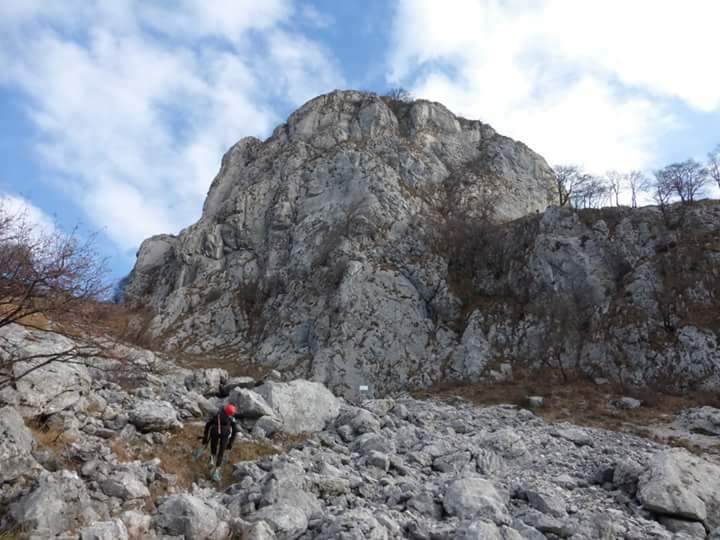
    The starting point is in the municipality of Levico (TN). From Levico Terme you go south towards Lochere until you reach the Hotel Paoli, where you park (a large street on the left), ideal for the ring with return from the Menador Path (open up Google Maps). The asphalted road goes up to the first bend: where it continues to the right uphill, a sign and a red plate indicate the entrance into the wood. You climb on an easy path, keeping the left on the southern side, with Mount Pegolara on the right and Mount Calmo on the left. Hand as you climb you face different cheeks of the White Rio — you are all before the start of the ferrata — while the environment becomes increasingly beautiful, with pronounced rocky spires on the sides. In short you will find the first equipped stretch (850 m, 1h from the parking lot).

    ▲The path

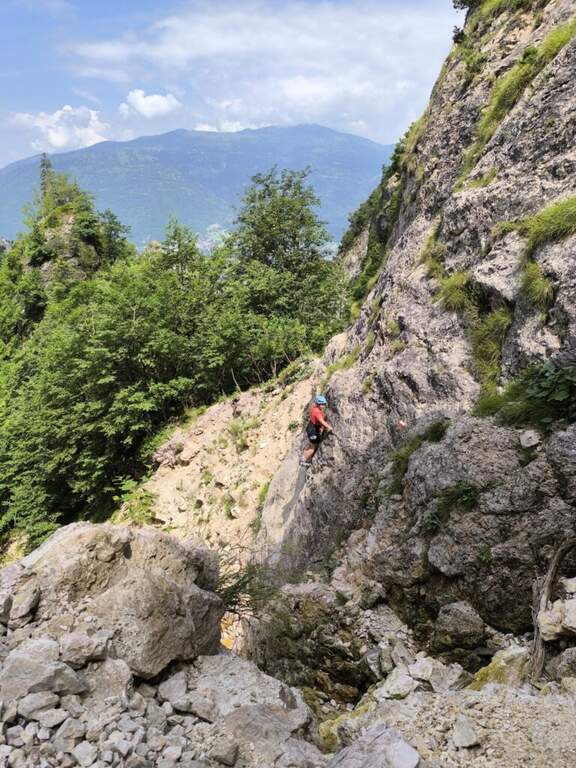
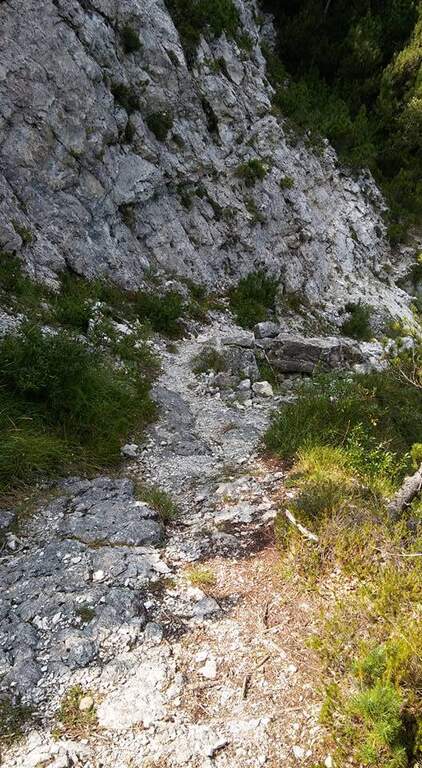
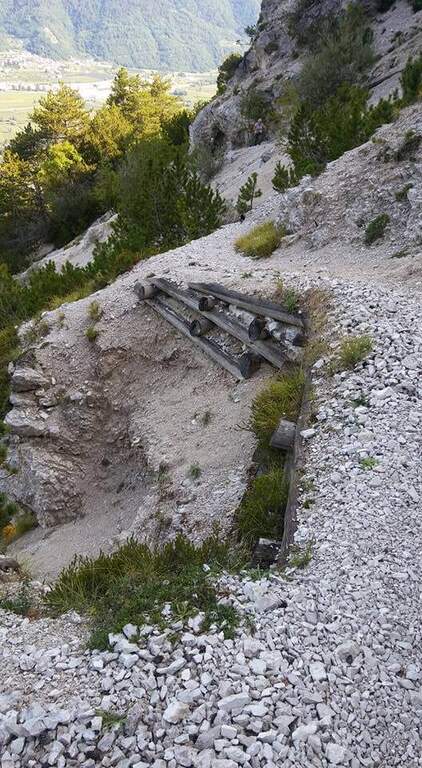
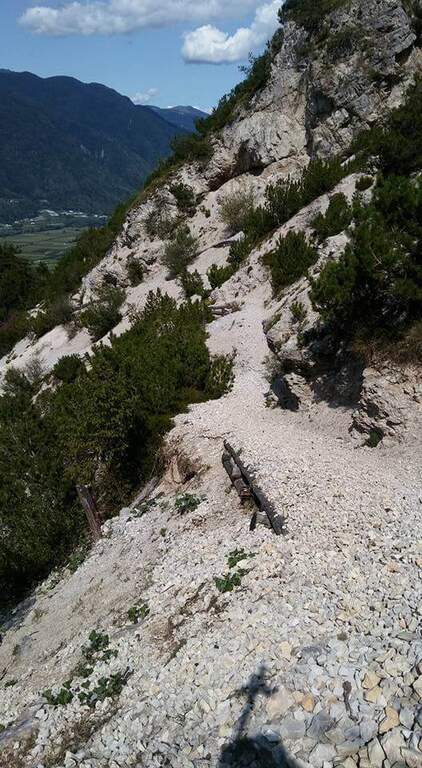
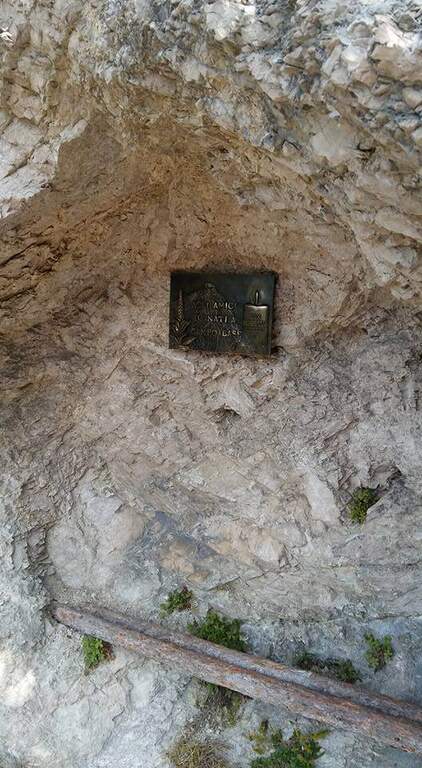
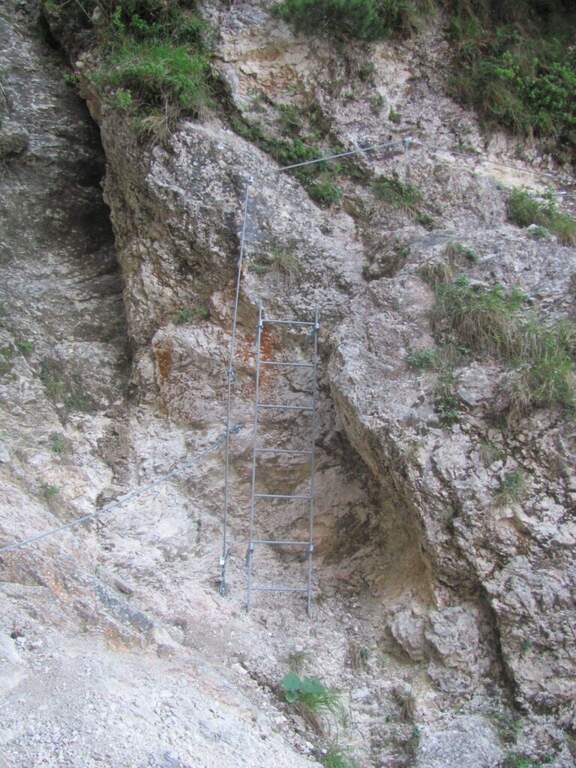
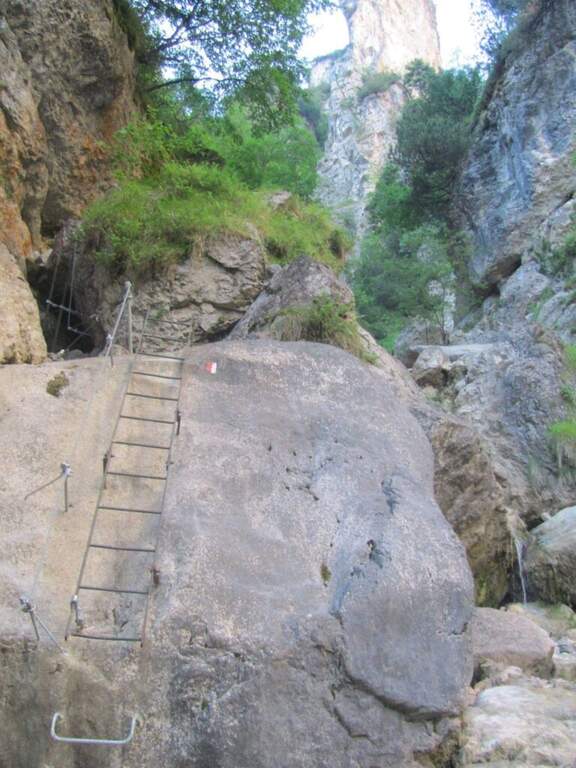
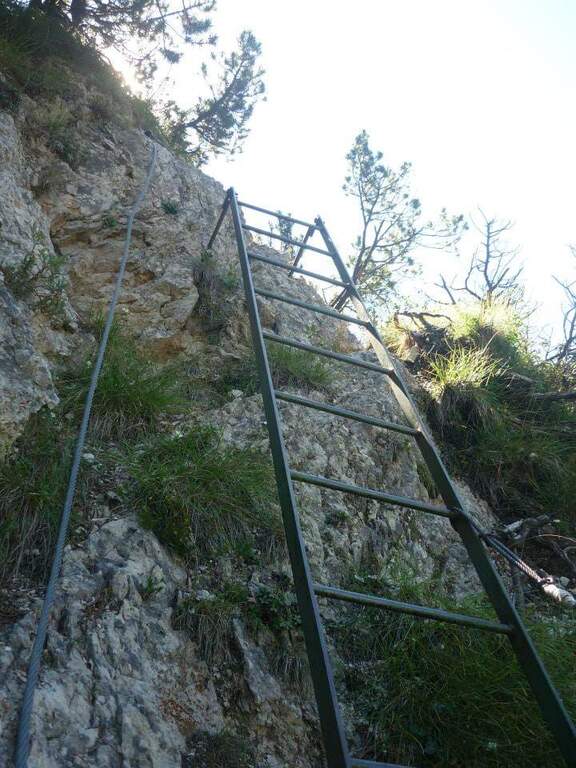
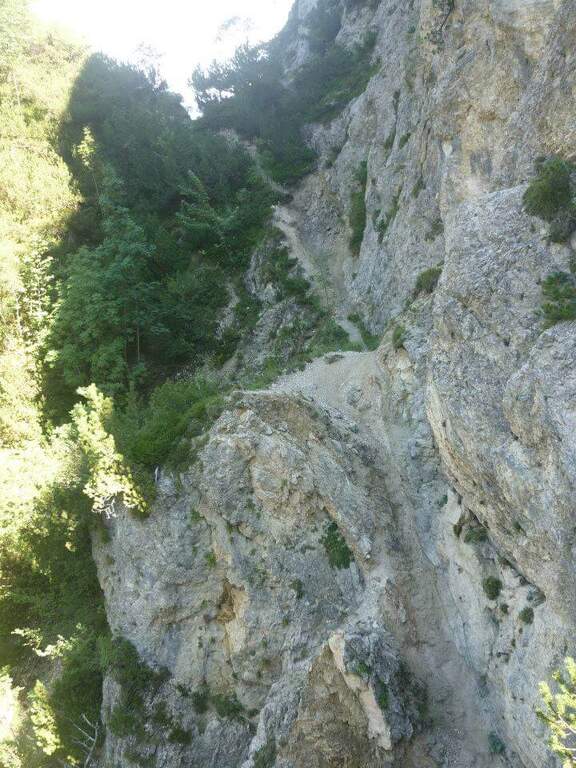
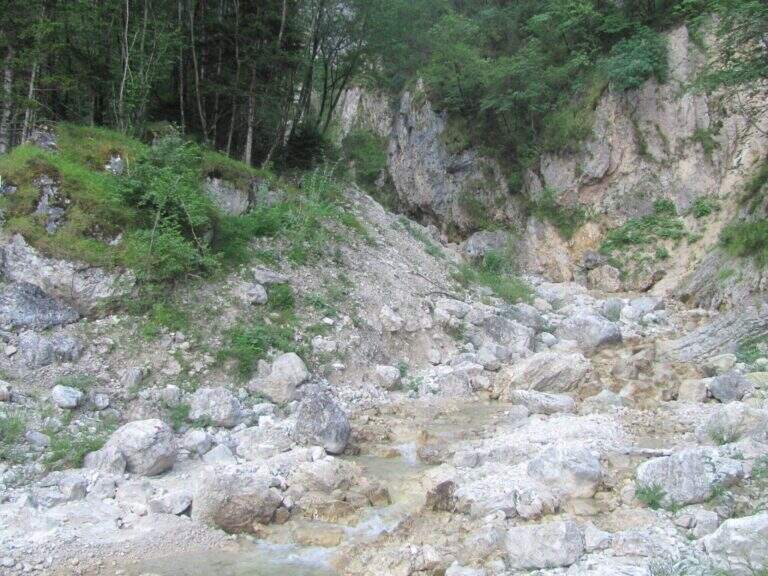
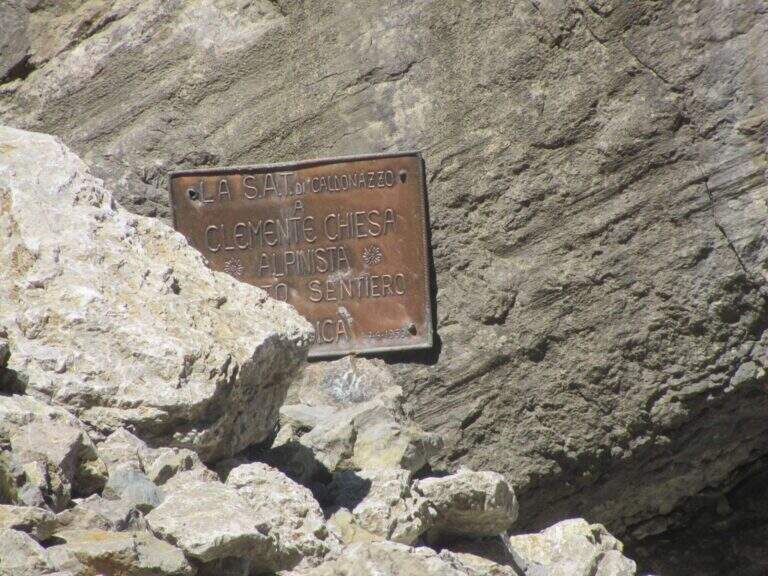
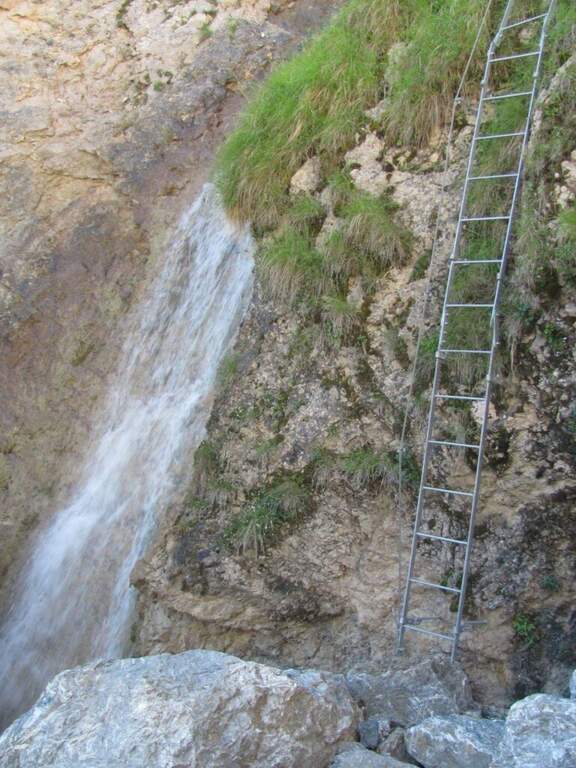
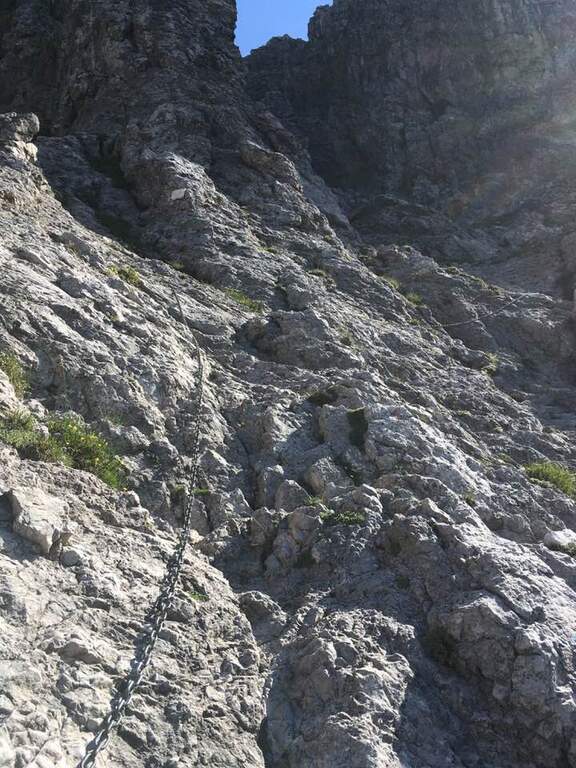
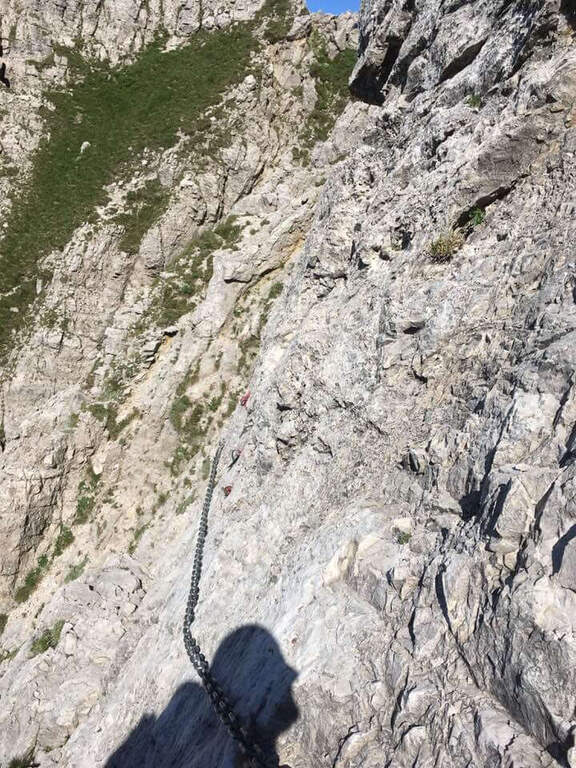
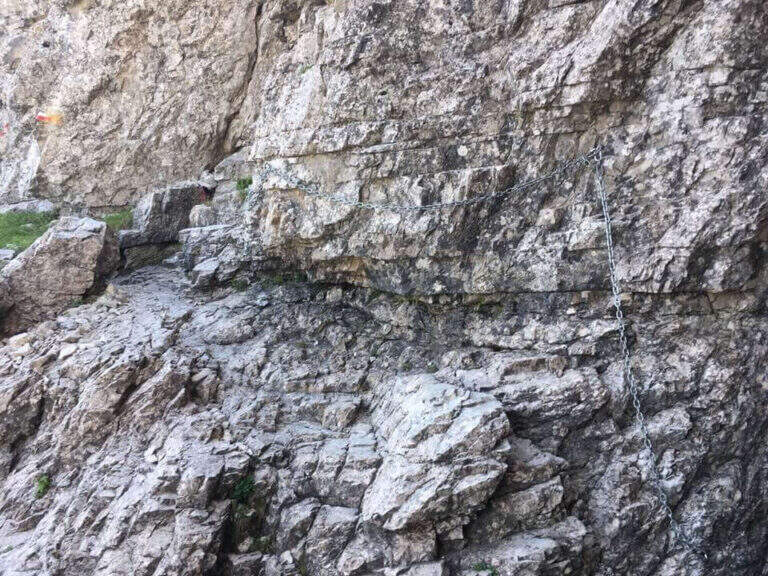
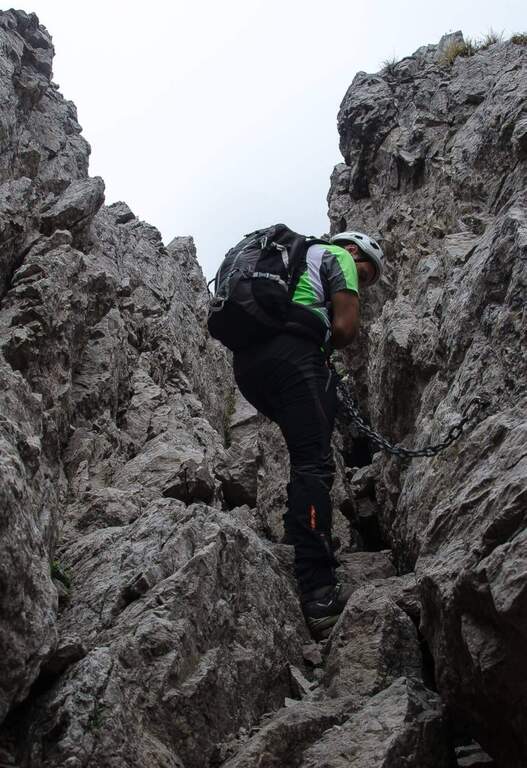
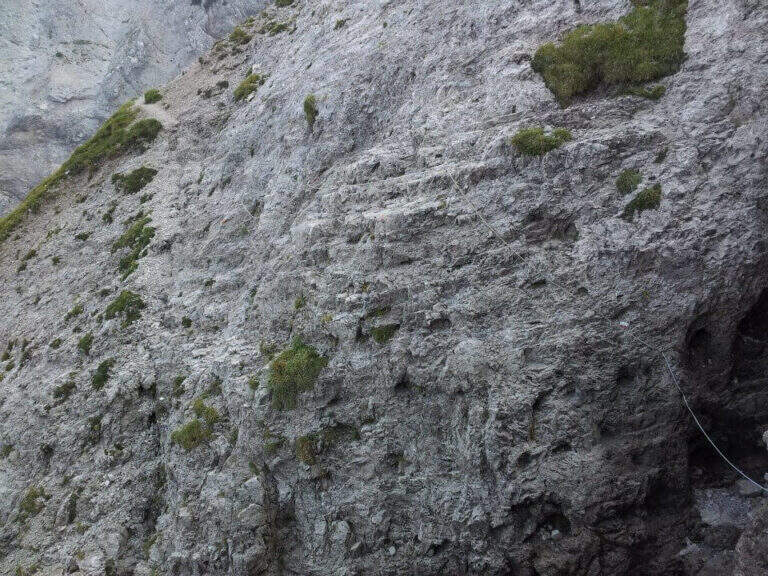
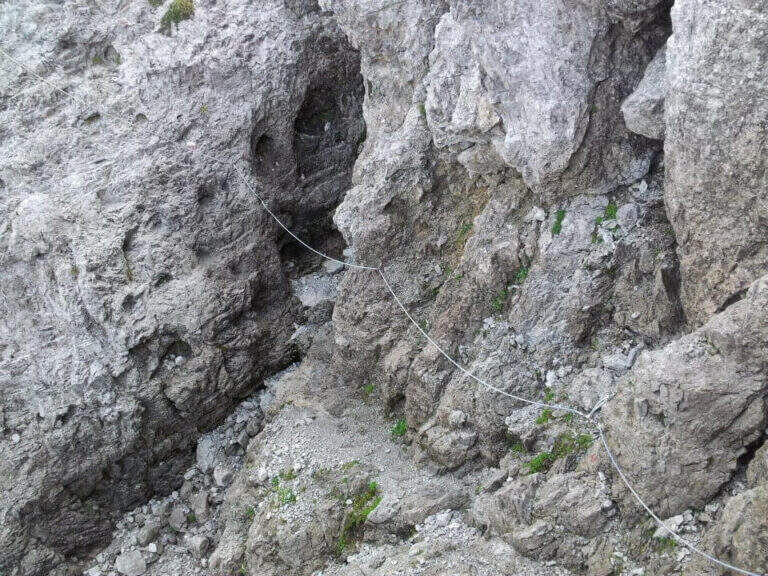
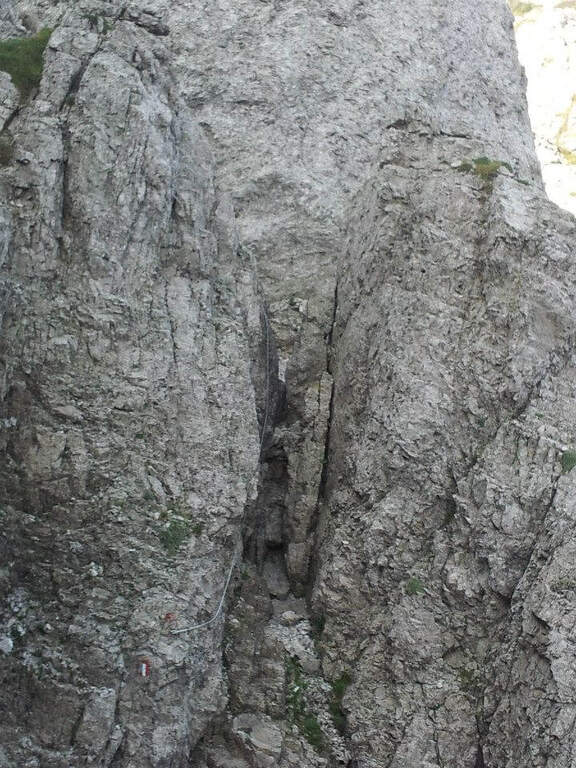
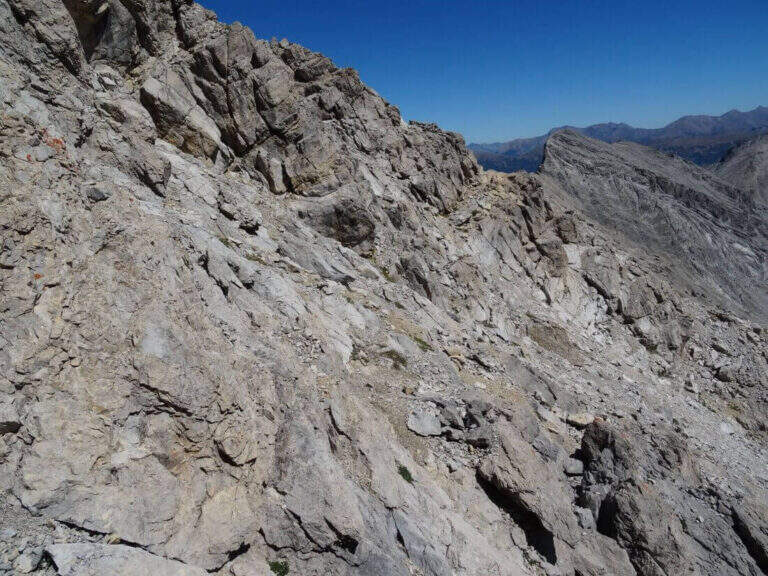
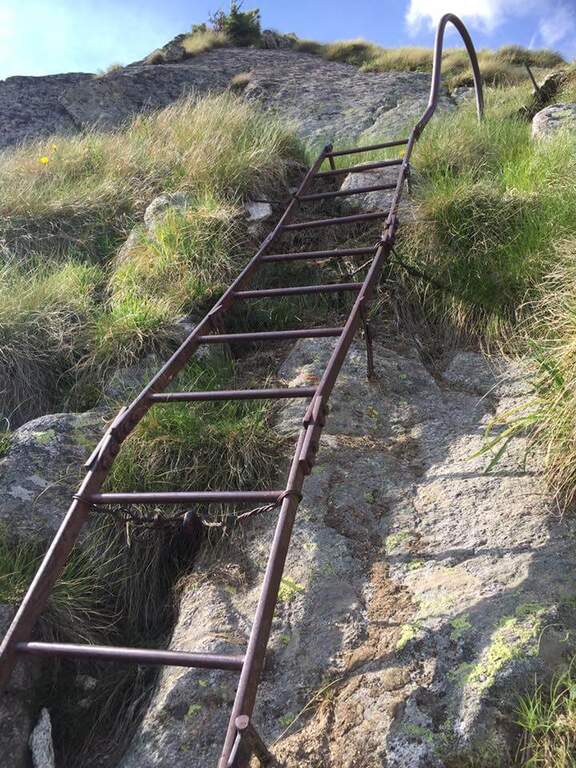
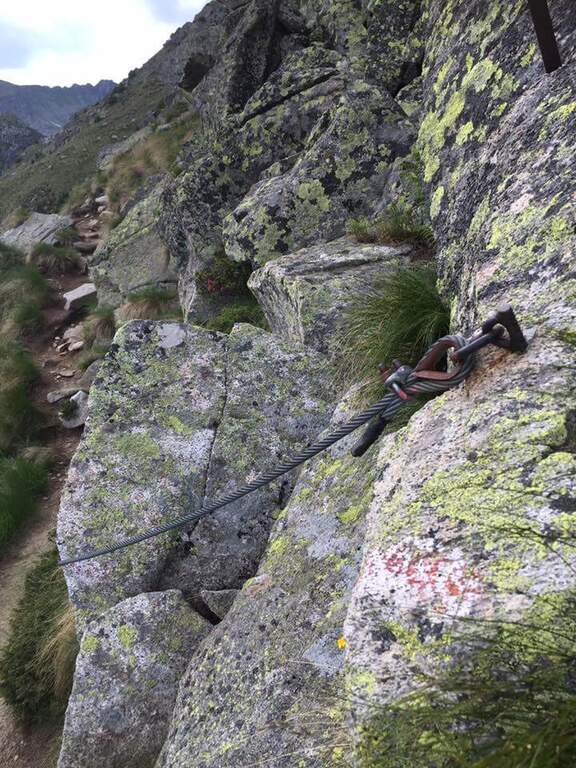
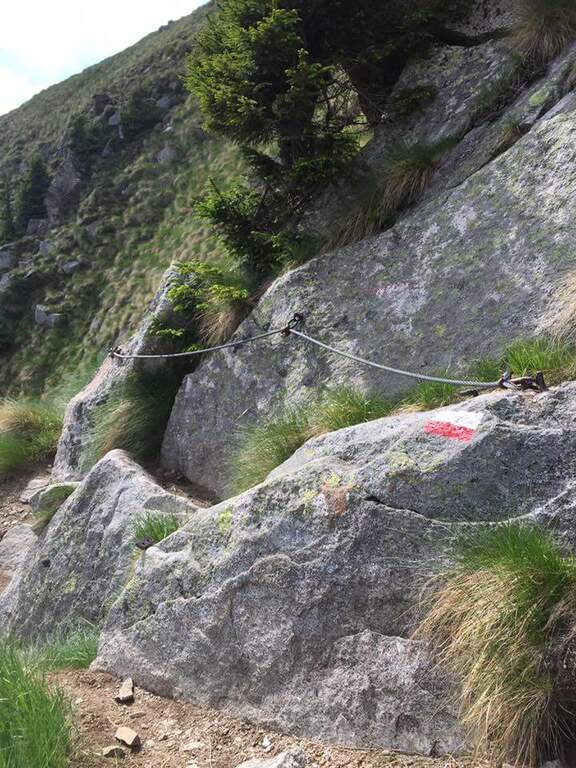
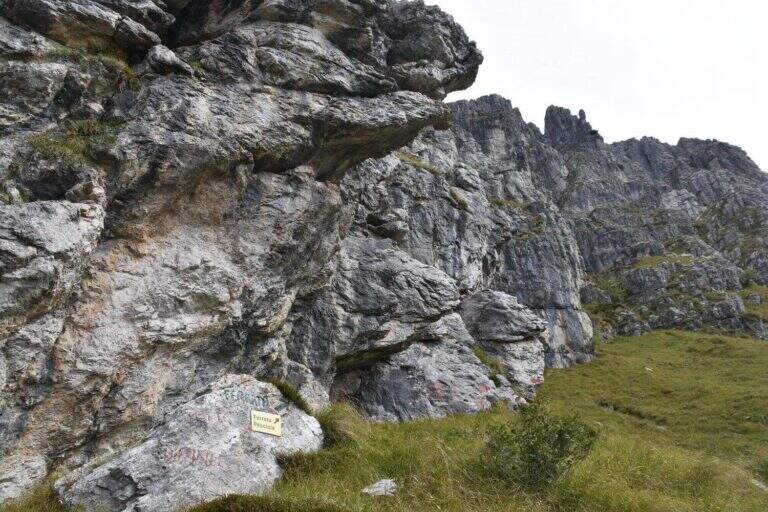
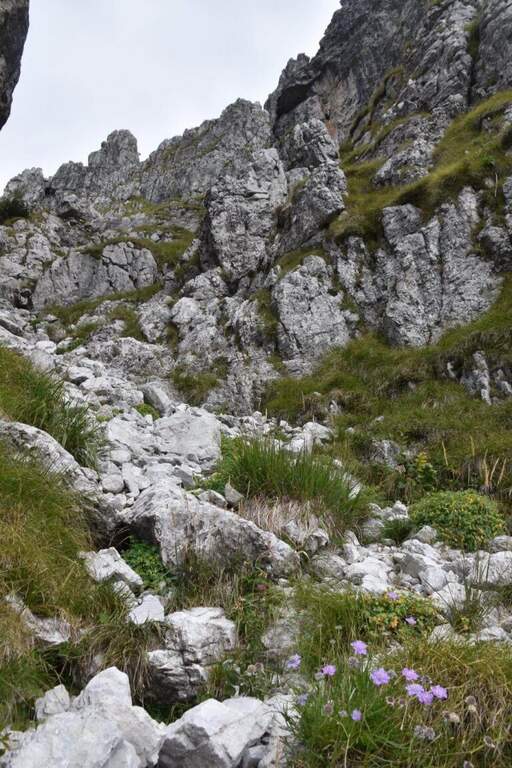
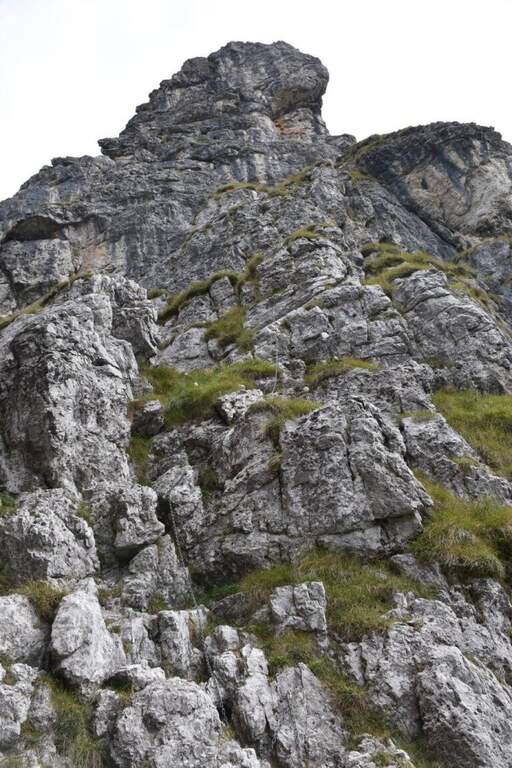
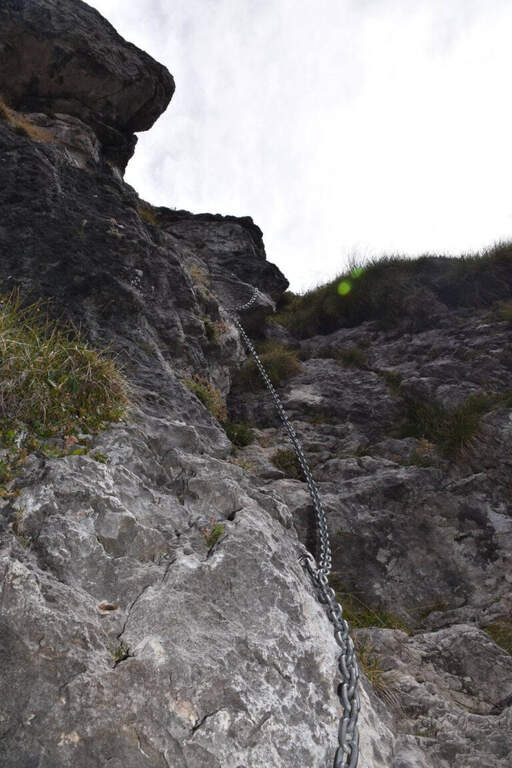
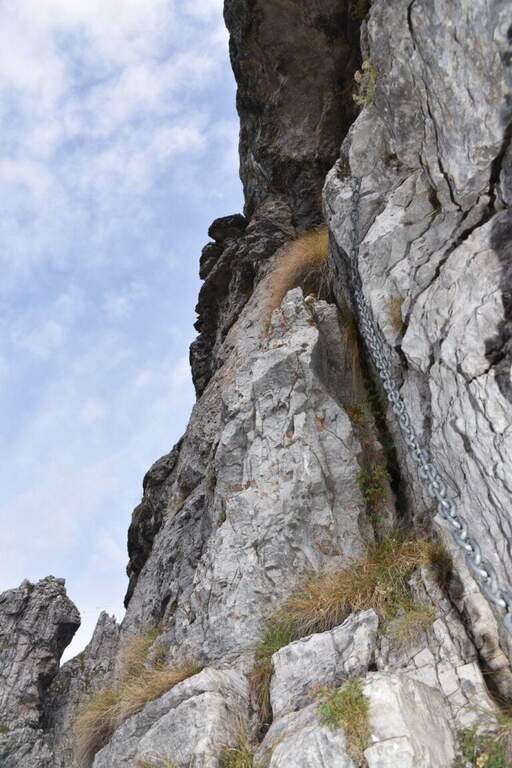
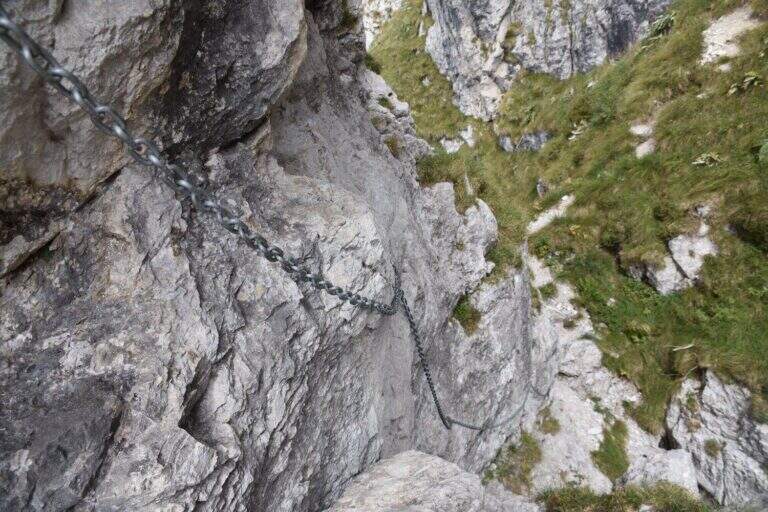
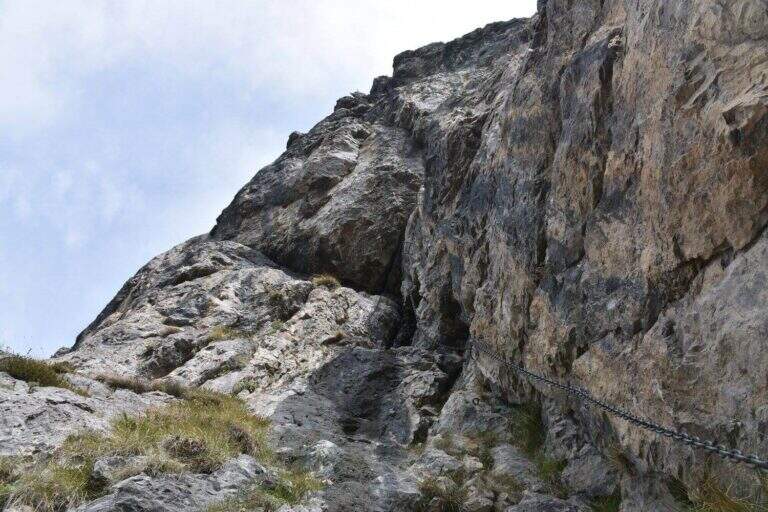
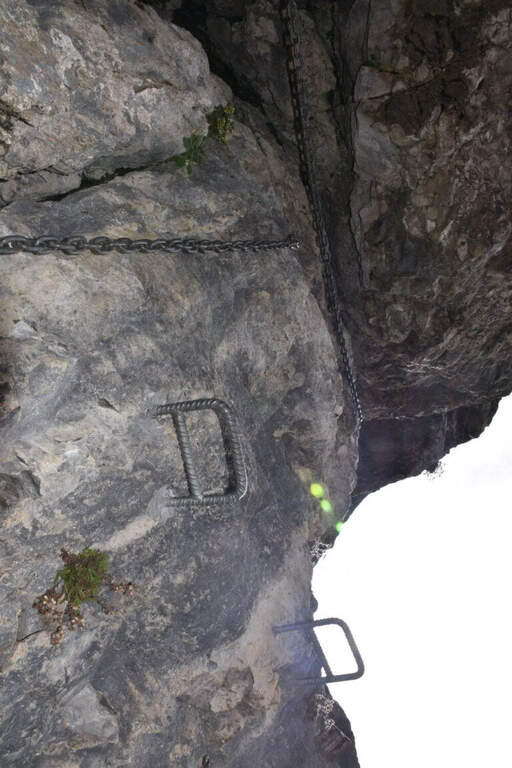
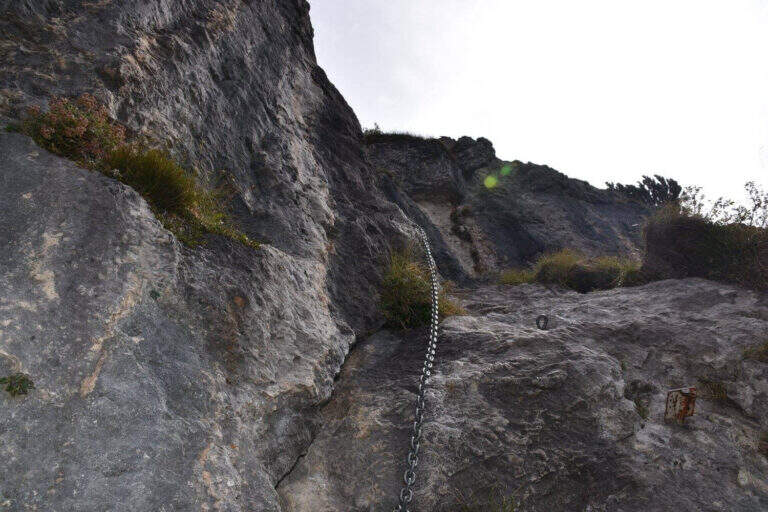
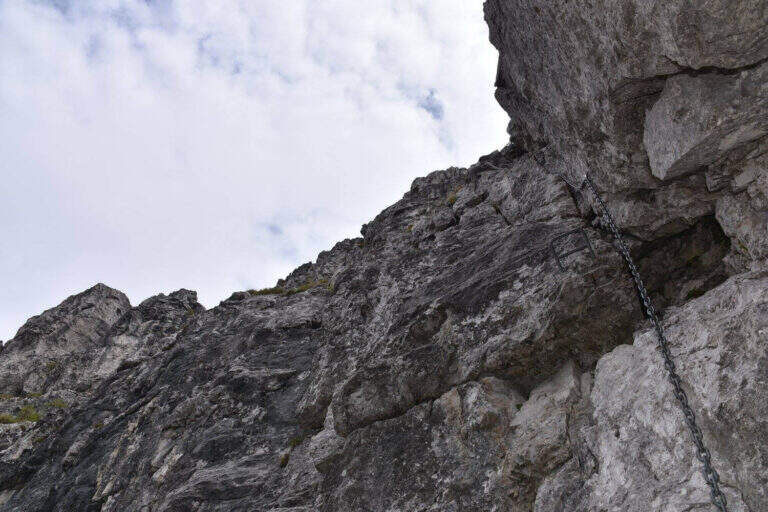
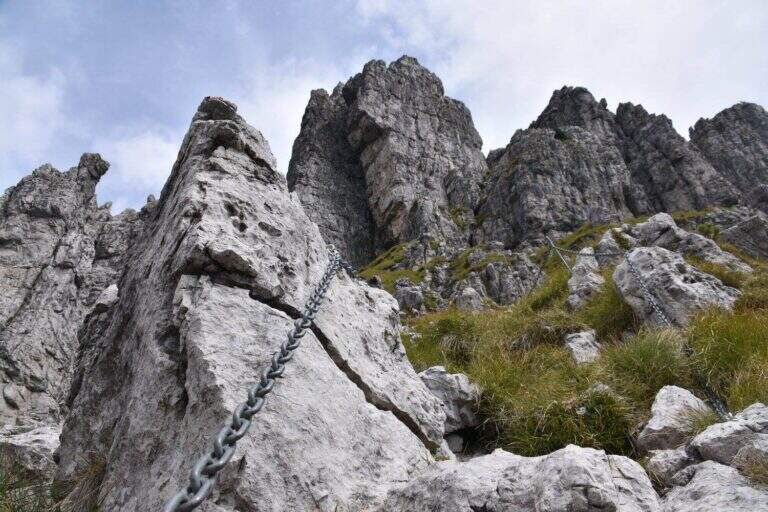
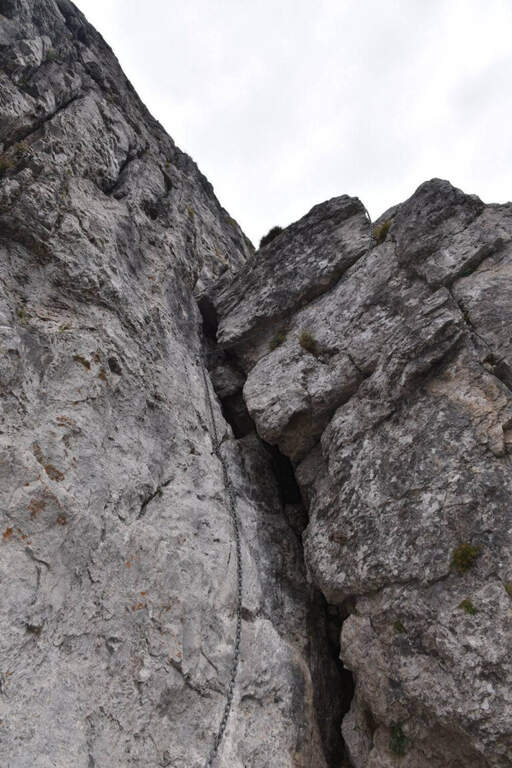
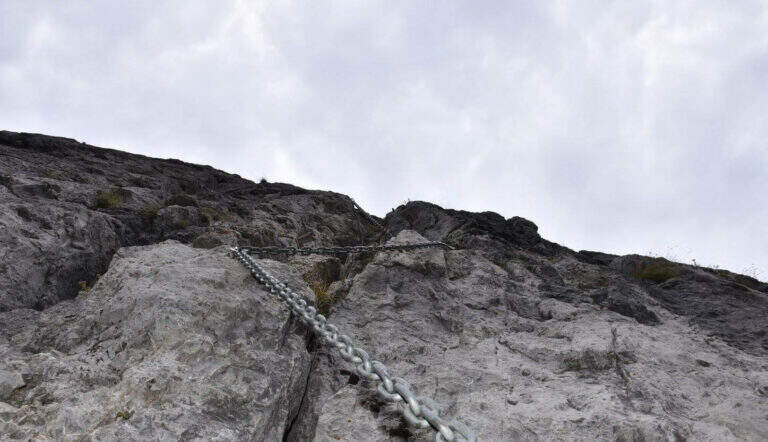
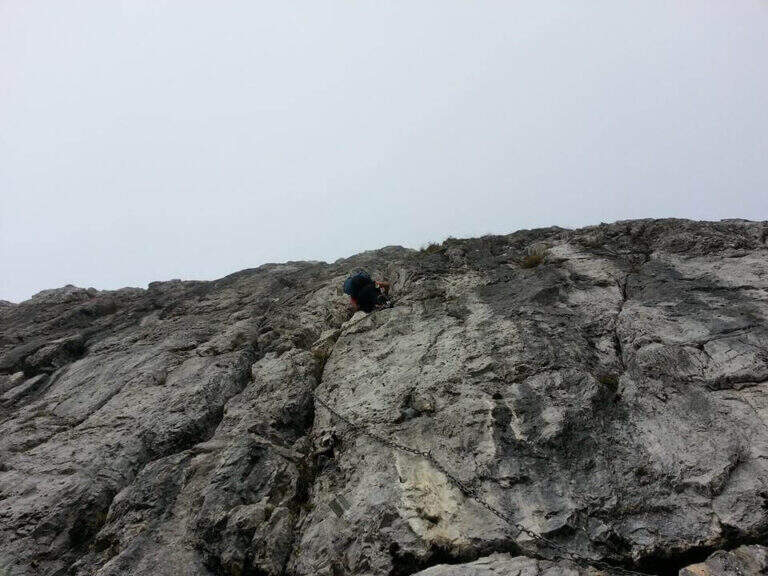
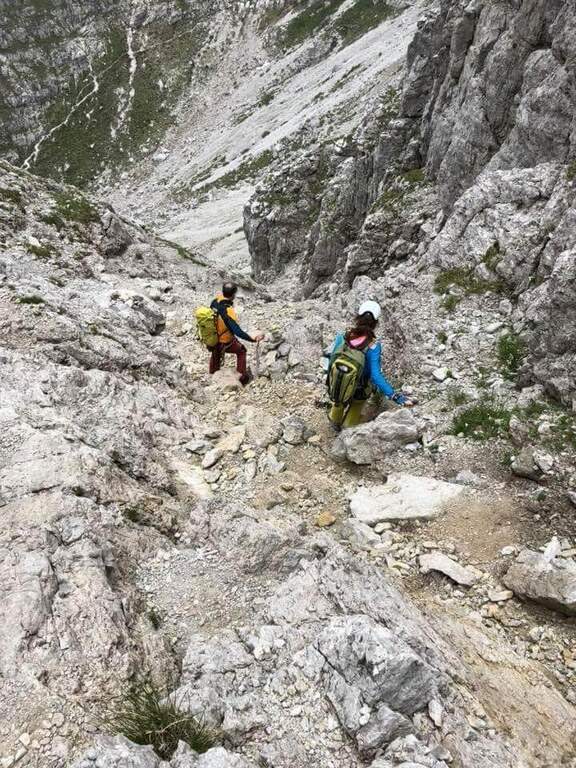
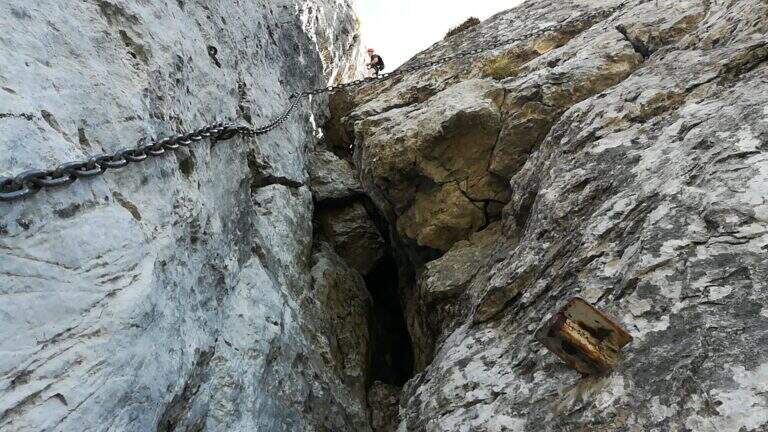
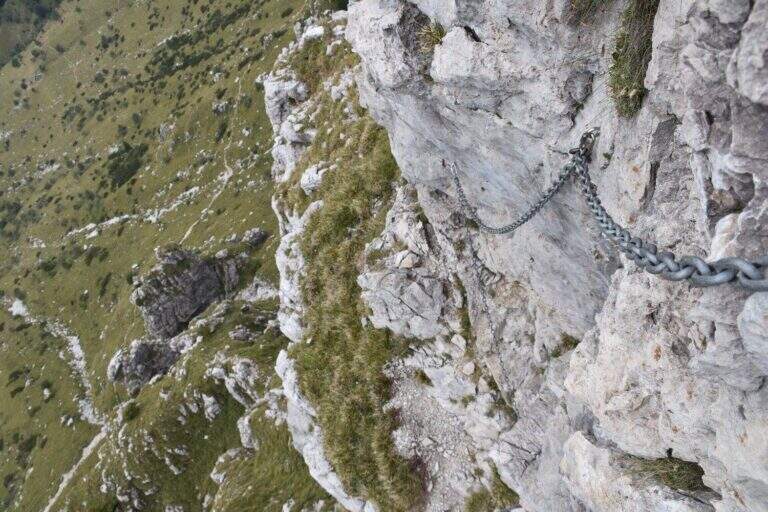
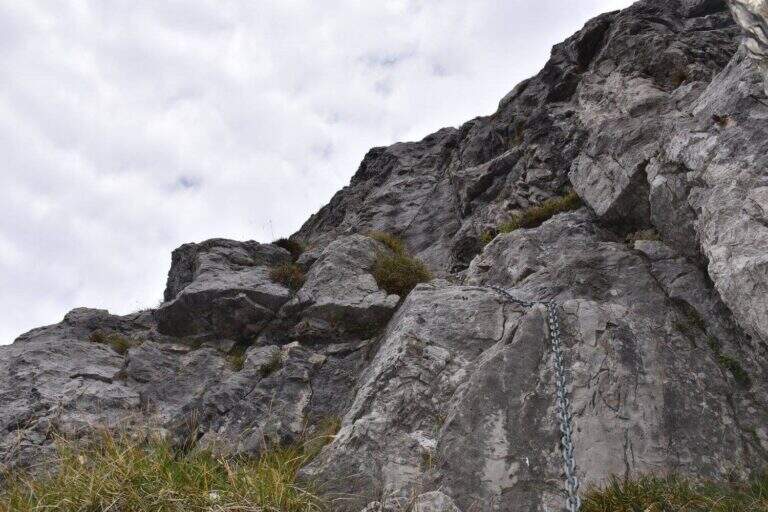
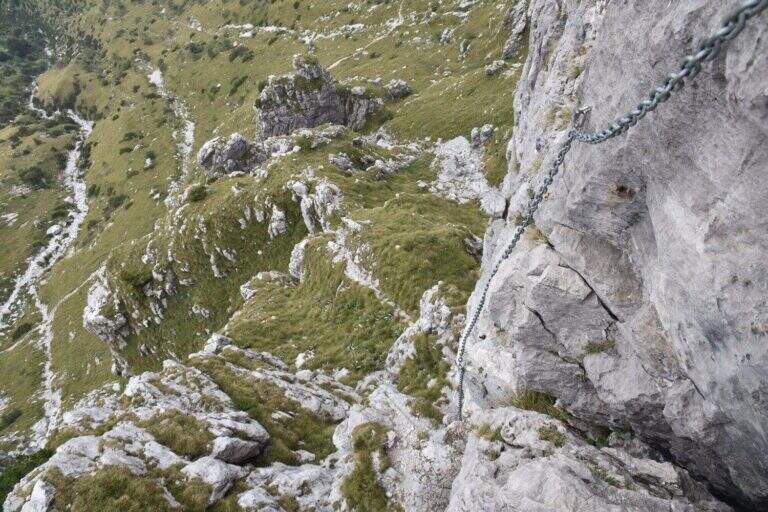
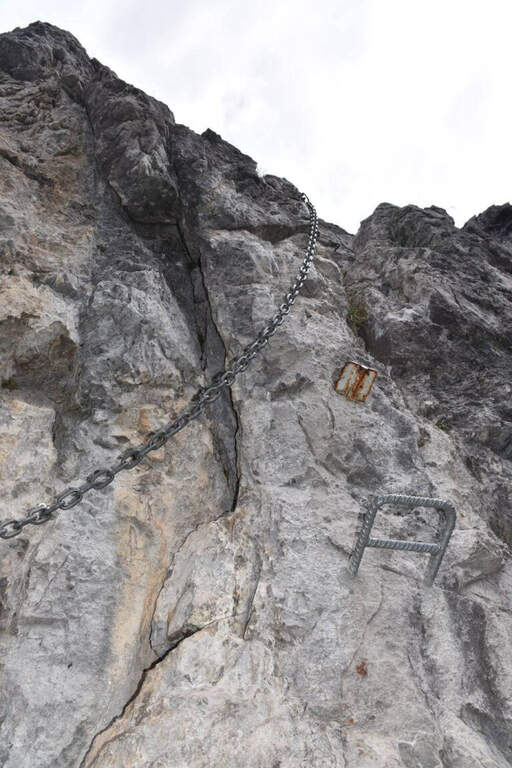
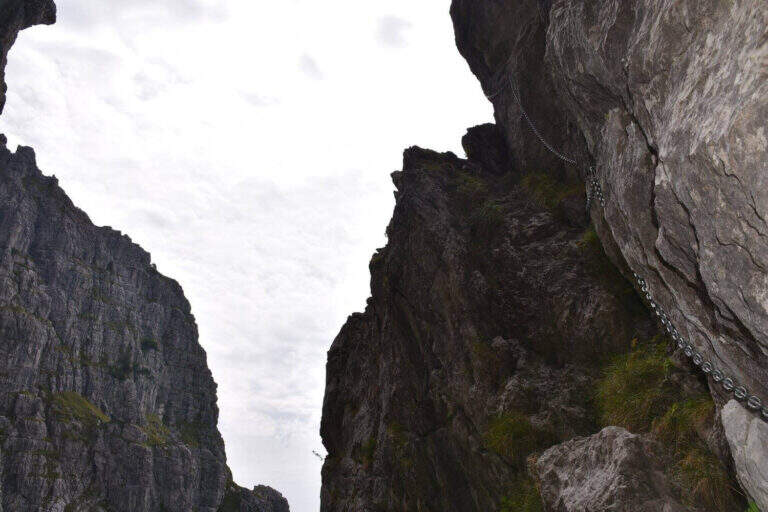
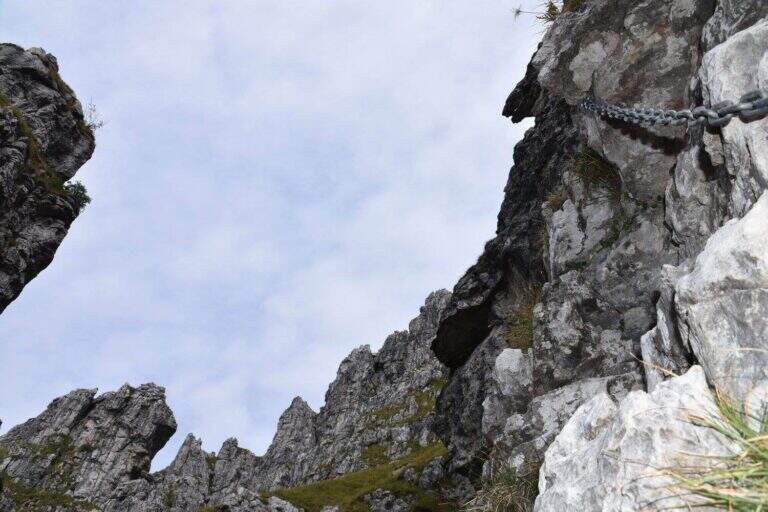
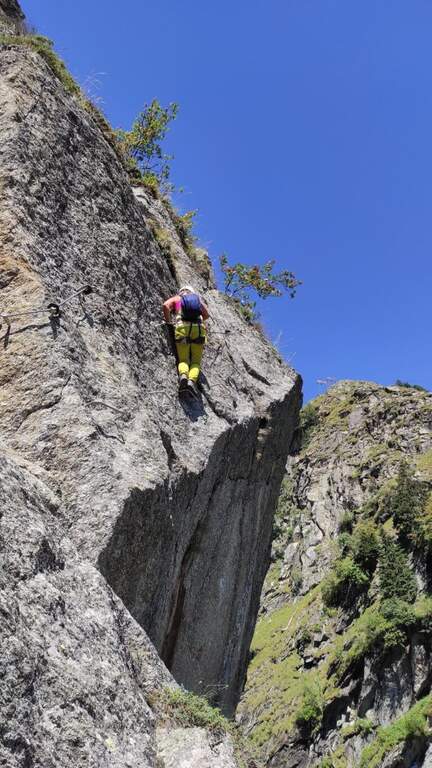
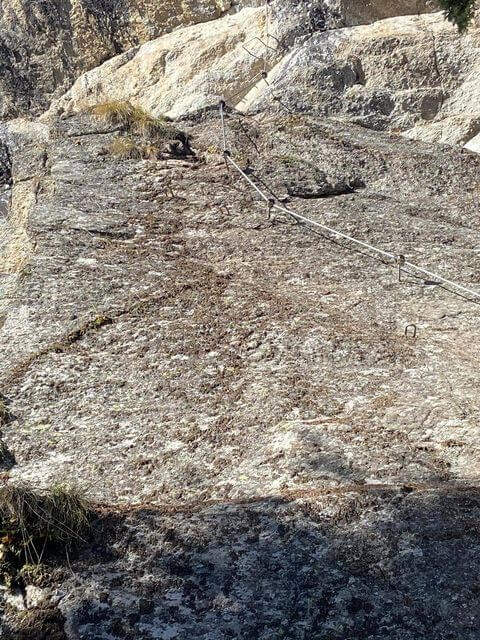
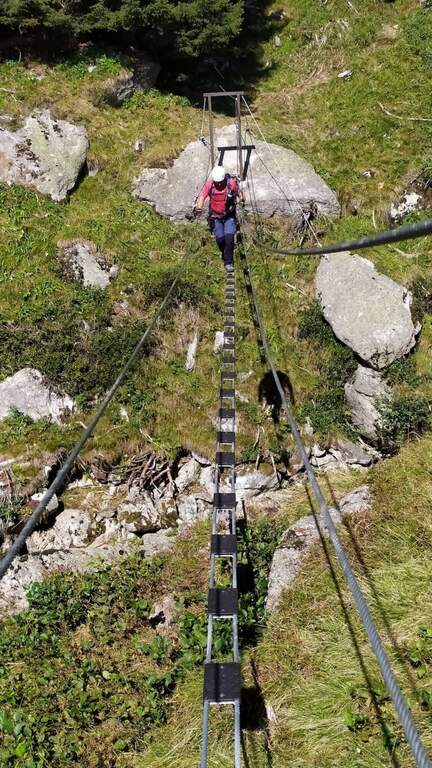
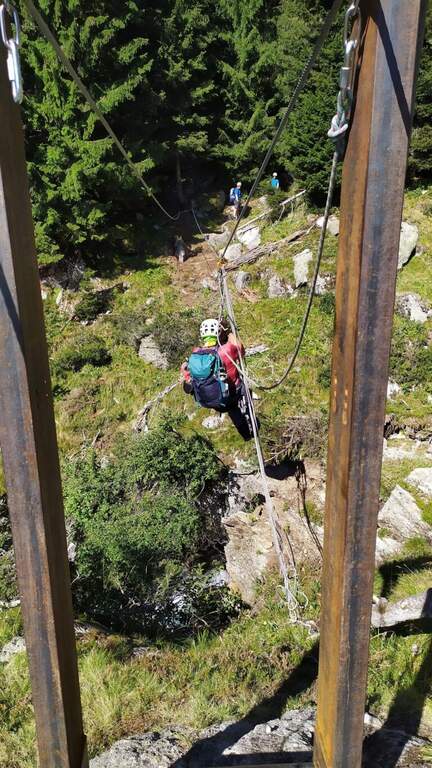
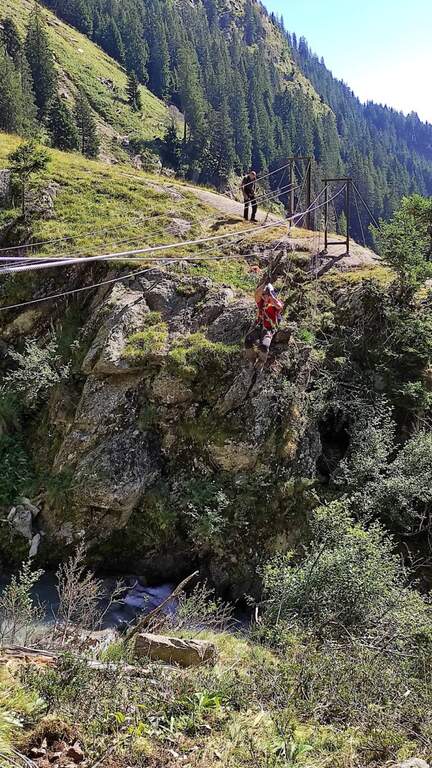
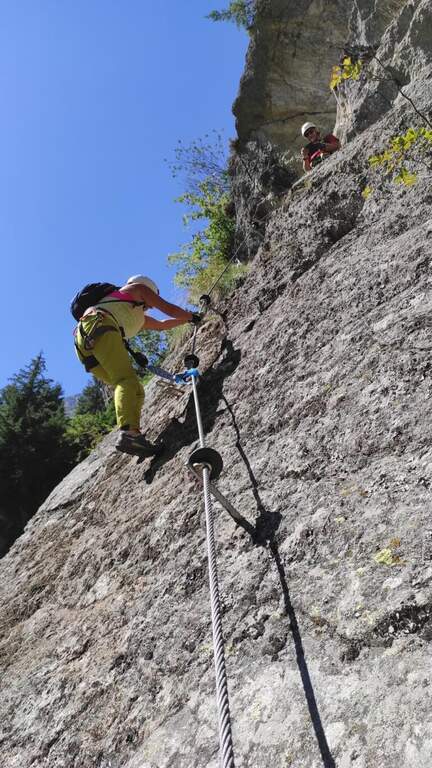
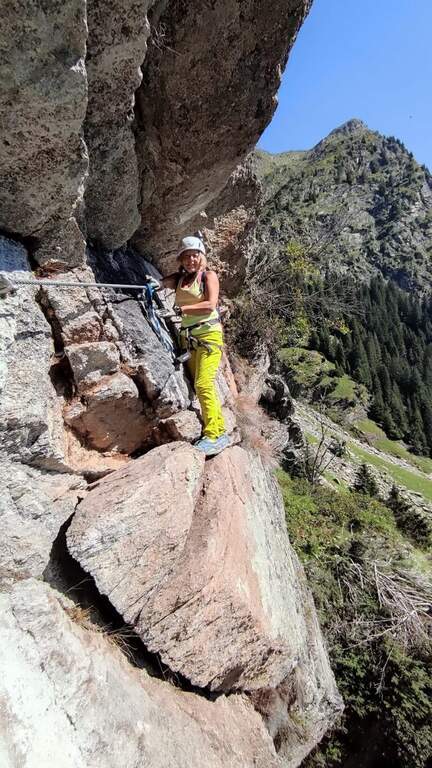
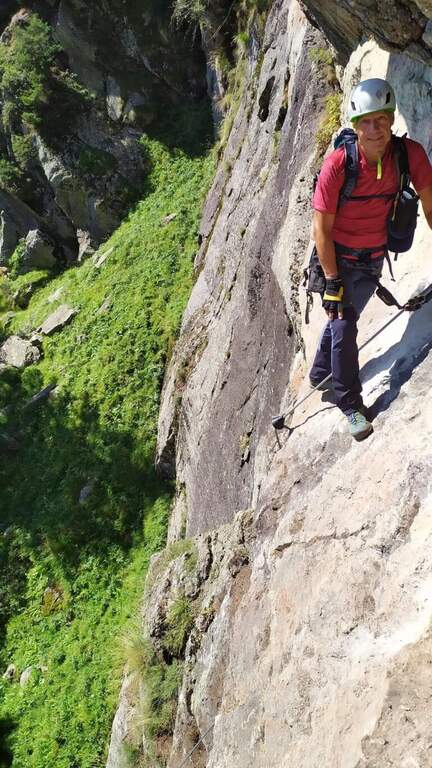
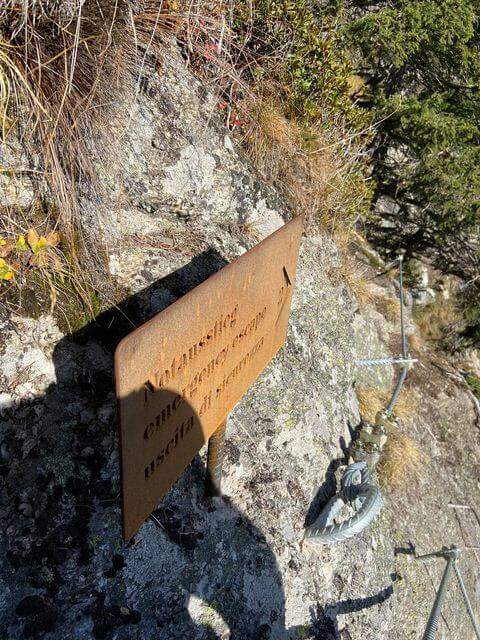
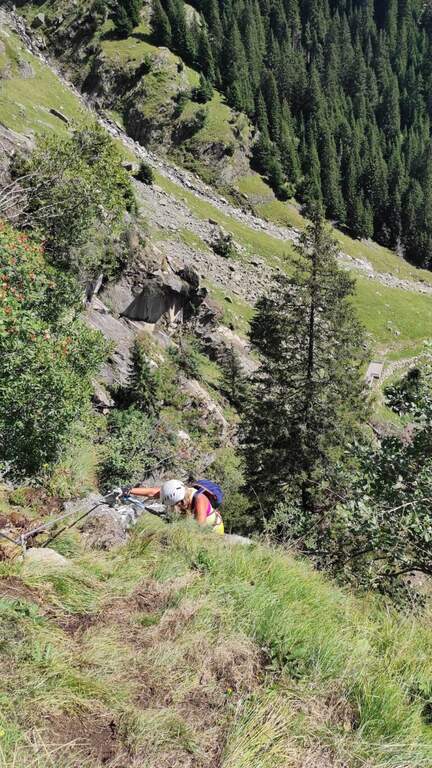
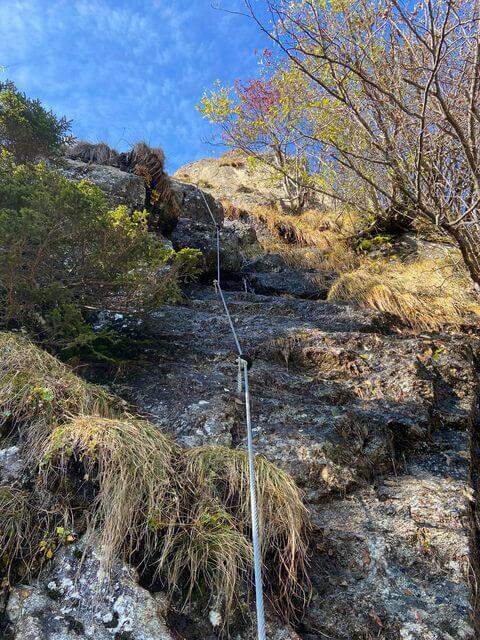
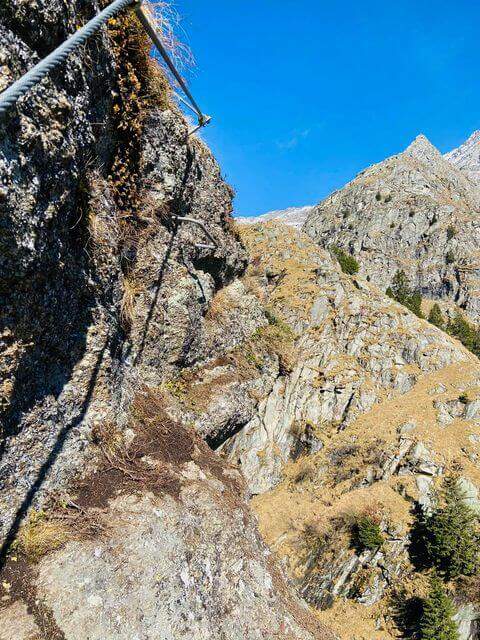
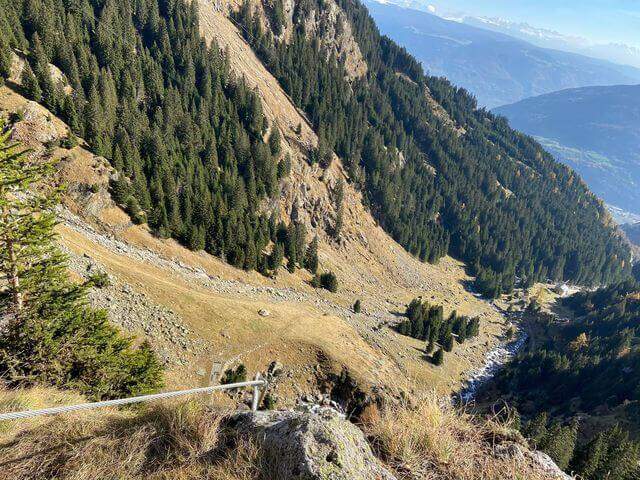
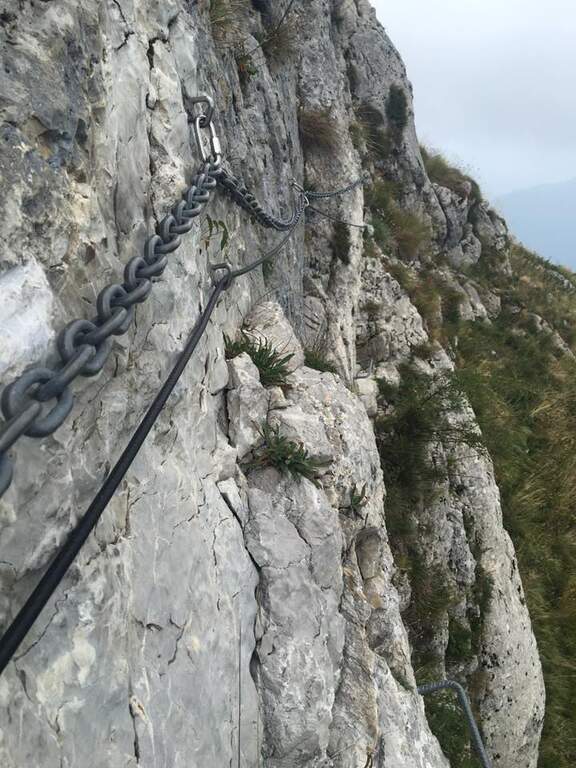
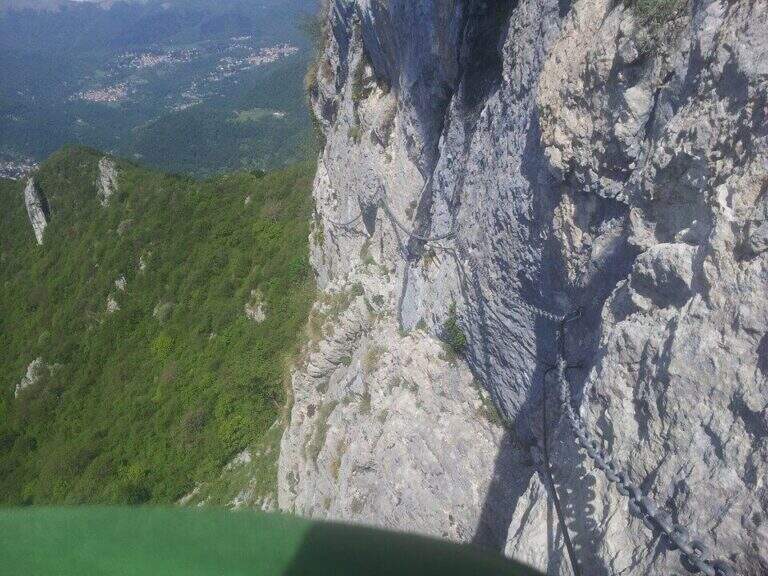
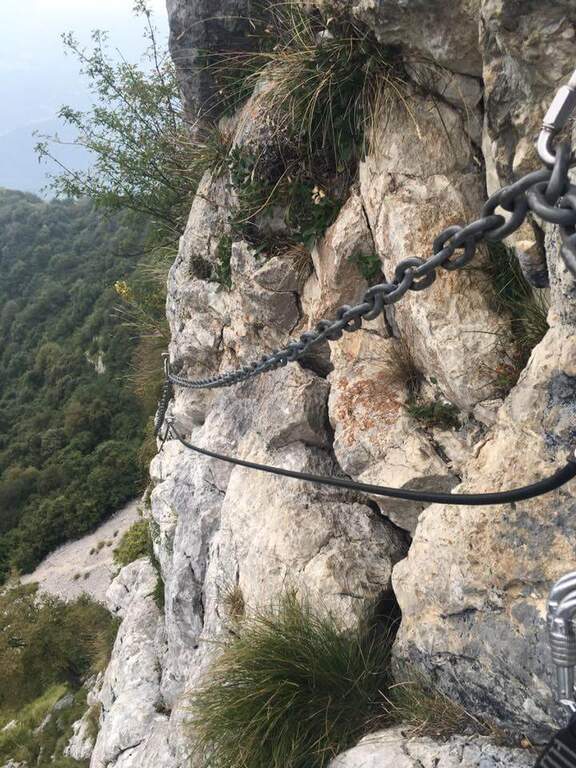
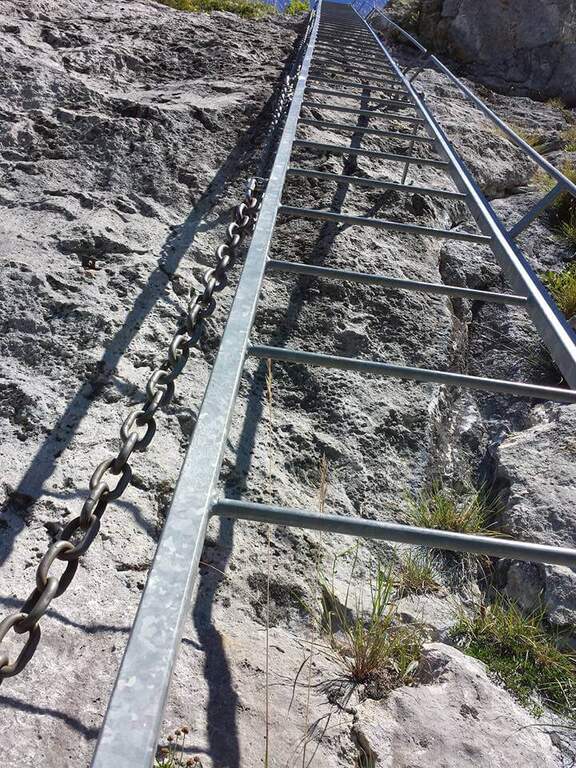
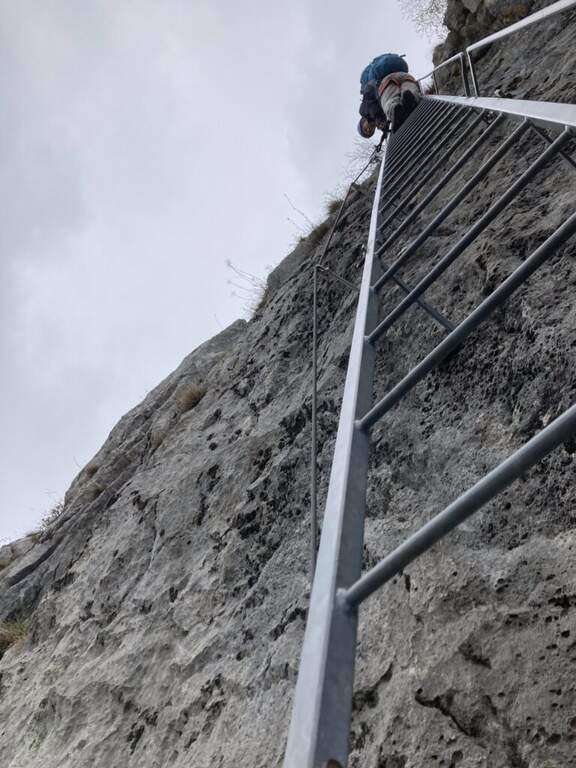
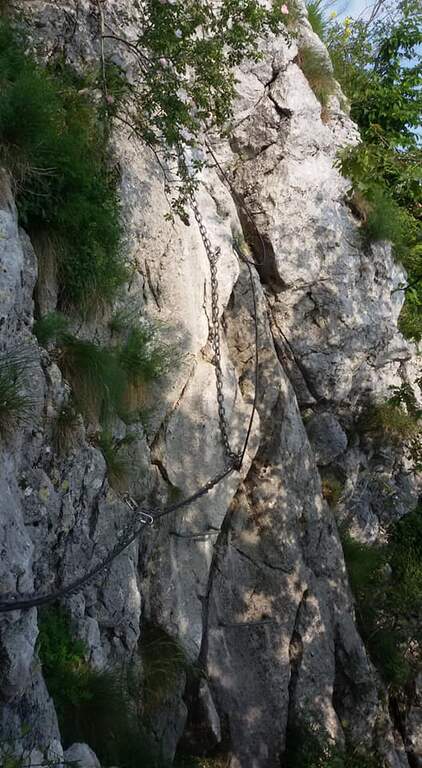
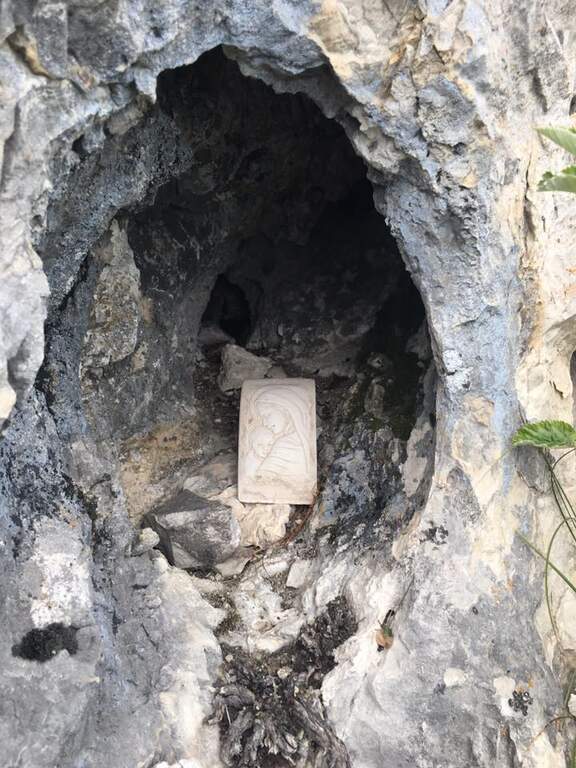
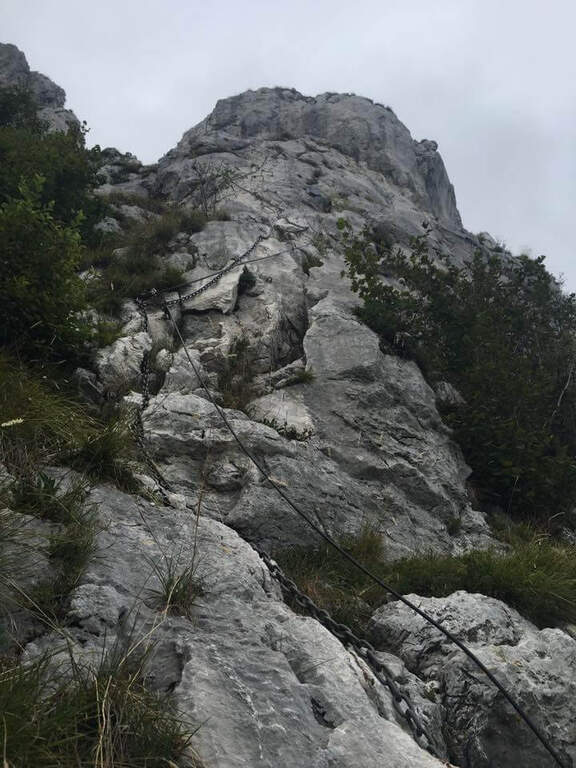
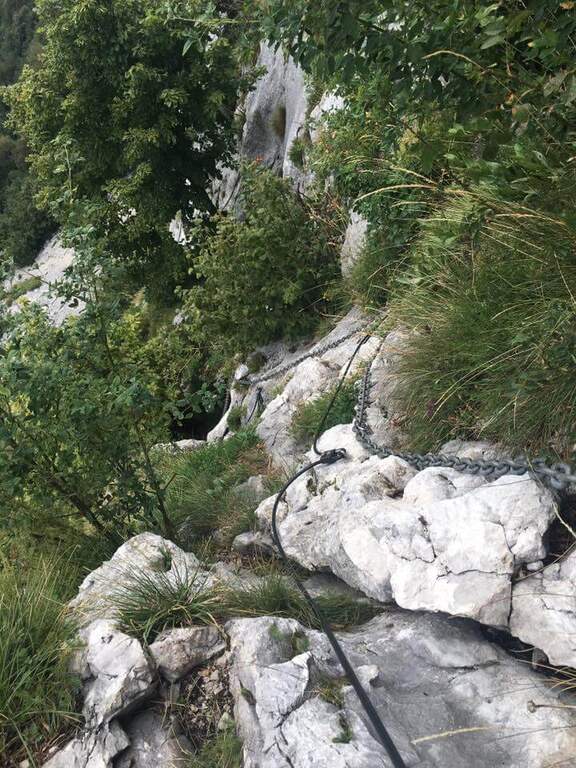
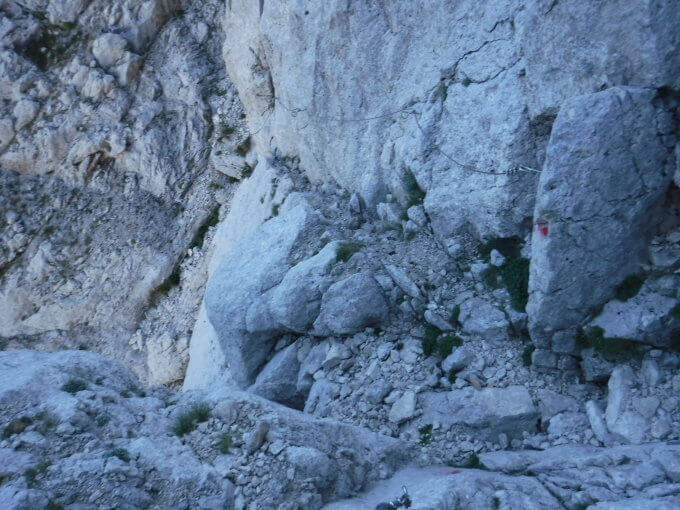
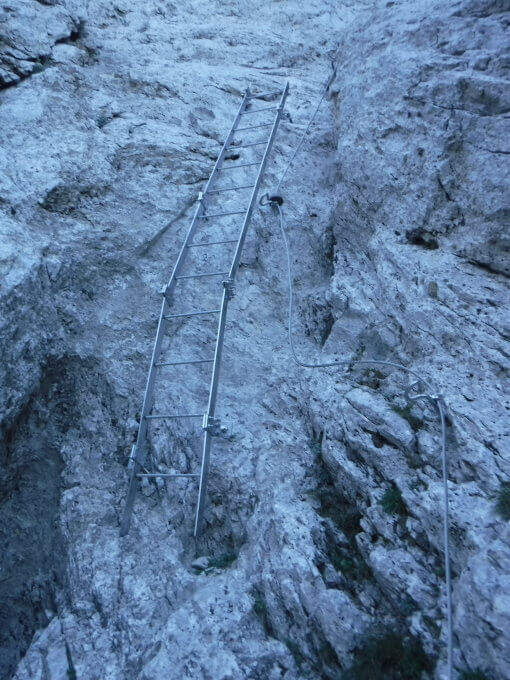
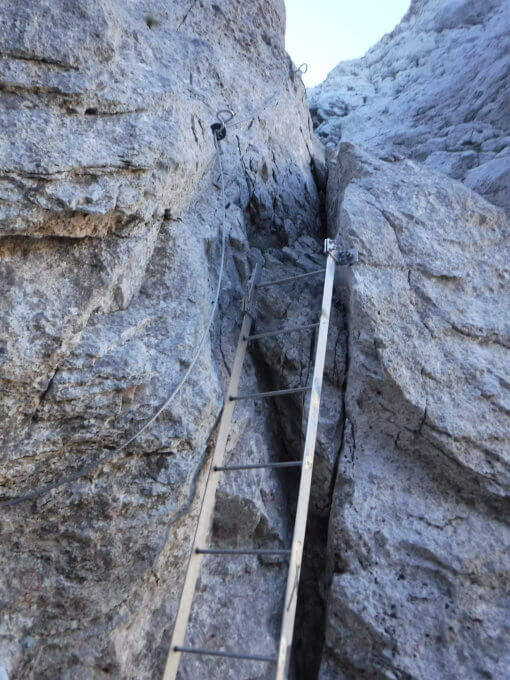
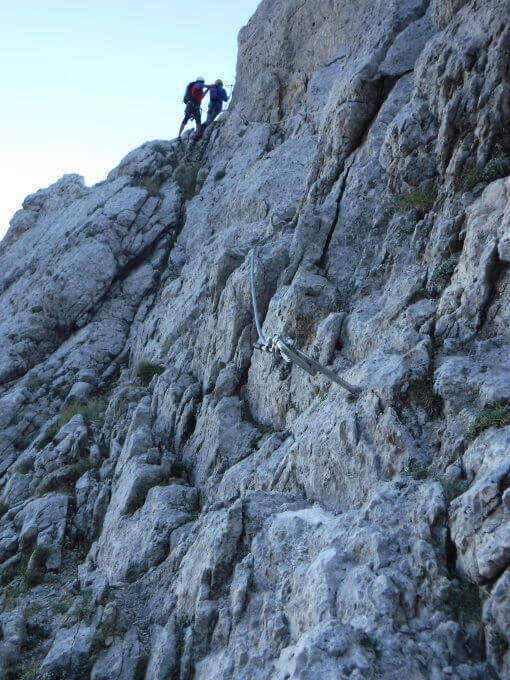
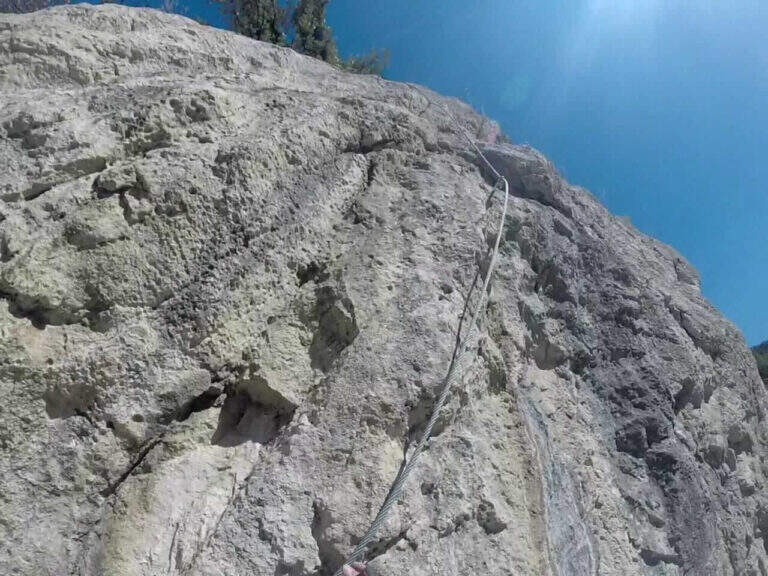
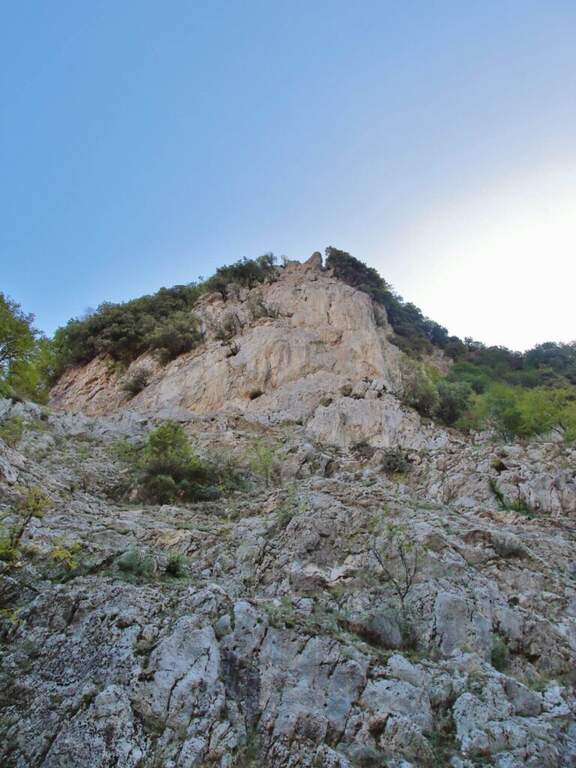
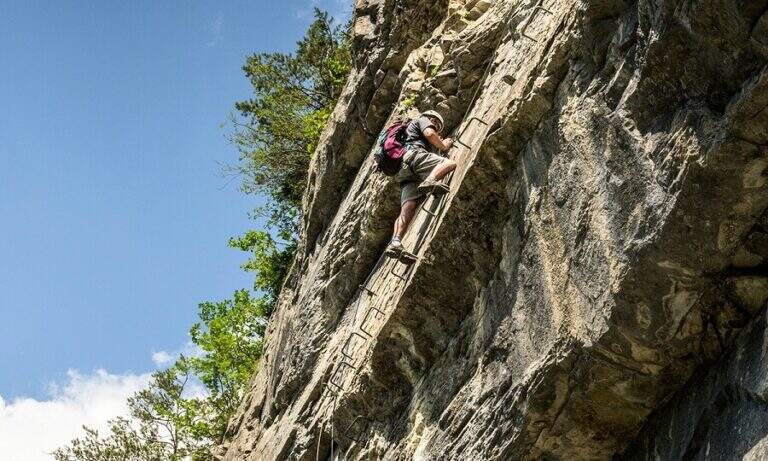
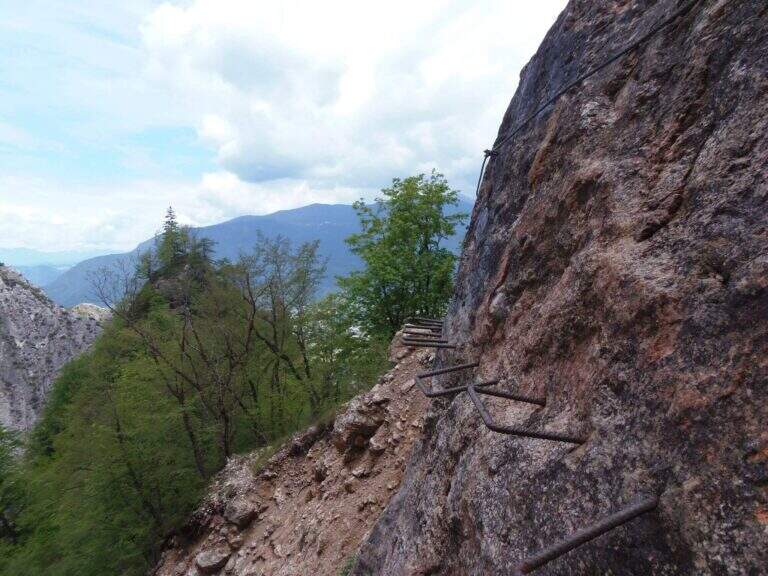
    You go up a first stretch of wire rope to overcome a saddle; besides, after an easy but slippery debris, you descend a metal ladder losing a little bit of altitude towards the stream and a spire that seems to land the valley. Cross the stream and climb the second metal staircase, which helps to overcome a swan, followed shortly after by a third staircase. There is a nod on the creek, where it serves attention because the cable tends to push out and the bottom is slippery for moisture. You go up a new staircase and continue on a comfortable path with a splendid view of mountains, waterfalls and streams; you pass this easy stretch, you face a steeper climb on a rough, unspoilt bottom up to a panoramic point on the Valsugana. The second part begins: the first equipped section is an exposed but not difficult traverse, with support brackets; they follow a comfortable nod and a new ladder. Then you go through an unequipped section, descend into a detritic groove and go up what is probably the most difficult passage of the road, a sloped wall composed of natural steps on which you need attention. There are two metal ladders and you continue to descend a detritic trait quite challenging; then go up on a little stable but not difficult, you pass the plate dedicated to Clement Church and you complete the detritic tract. Passing next to a beautiful waterfall you reach a new rocky nod, which takes you to the right; the complete one, you climb a ladder leaning on a rock and you cross the stream near some rocky rocks. With a last ladder the equipped part ends, near a plateau (1247 m, 1h45 from the attack, 2h45 overall).

    ▲Character and difficulty

    For technical difficulties the way would be to be cataloged as easy, but the state of the equipment has raised the degree: with two sections without protection or maintenance, they serve steady foot and a rope to ensure the companion. The environment is really suggestive and, for the low altitude, the itinerary is absolutely to visit, especially in the half seasons.

    ⚠ Along the way there are numerous guades of the Rio Bianco and several cenges on the creek with slippery bottom for moisture: attention to the step and tendency of the cable to push out.
    ▲Period and safety

    Low altitude (maximum 1370 m): the itinerary lends itself well to the half seasons, when the Rio Bianco has good flow and the waterfalls are at best. In addition to checking the state of the equipment, it is good to evaluate the flow of the stream for the numerous guades.

    ▲Discipline

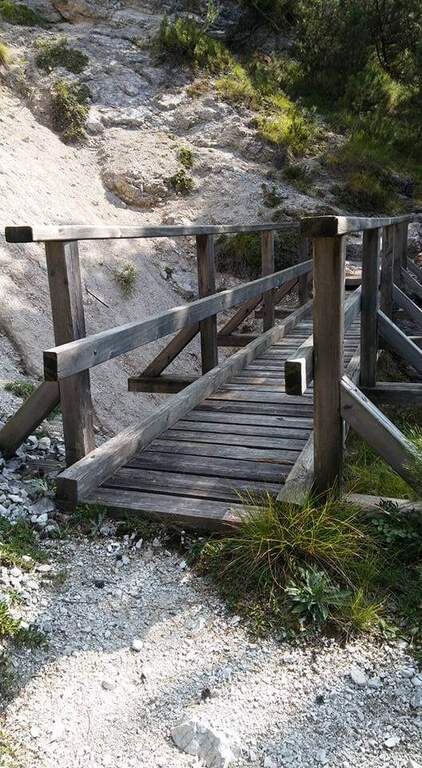
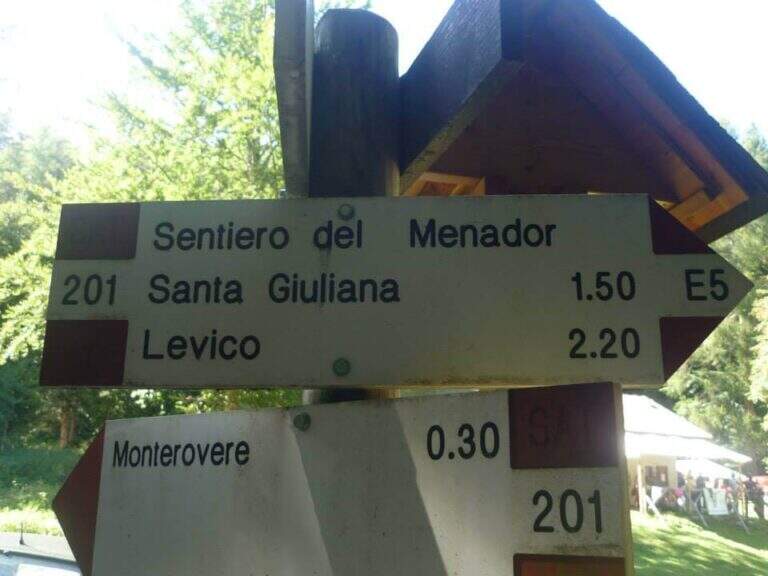
    After finishing the ferrata continue along the path in the wood that, southward, points to the locality Seghetta. At the first crossroads you will take the left towards Baita Cangi, on the 201 marker. Although not the fastest route, we offer the return to the Path of Menador in the Val Pisciavacca: at the second crossroads you still keep the left and you walk a pleasant path between uphills, take a little slippery on debris, bridges and gudes, until you return to the car. At the end of the Path of Menador (2h30 from the end of the ferrata) you keep the left along Via delle Valli until you resume the provincial road of the way; again on the left you reach in short the parking lot in front of the hotel (5h30 total).
    ▲Gallery
    Technical data
    • DifficultyModerately Hard
    • RegionTrentino-Alto Adige
    • GroupValsugana – Vigolana
    • Approach1:00 h
    • Ferrata1:45 h
    • Itinerary (a/r)5:30 h
    • Hardware level difference390 m
    • Route difference828 m
    • Max1370 m
    • Length11,7 Km
  • Sentiero Attrezzato della Cengia Veronesi

    Sentiero Attrezzato della Cengia Veronesi

    Vie Ferrate › Veneto › Belluno
    Sentiero Attrezzato della Cengia Veronesi
    Moderately Hard● OpenDescriptionComplexityMapsGallery

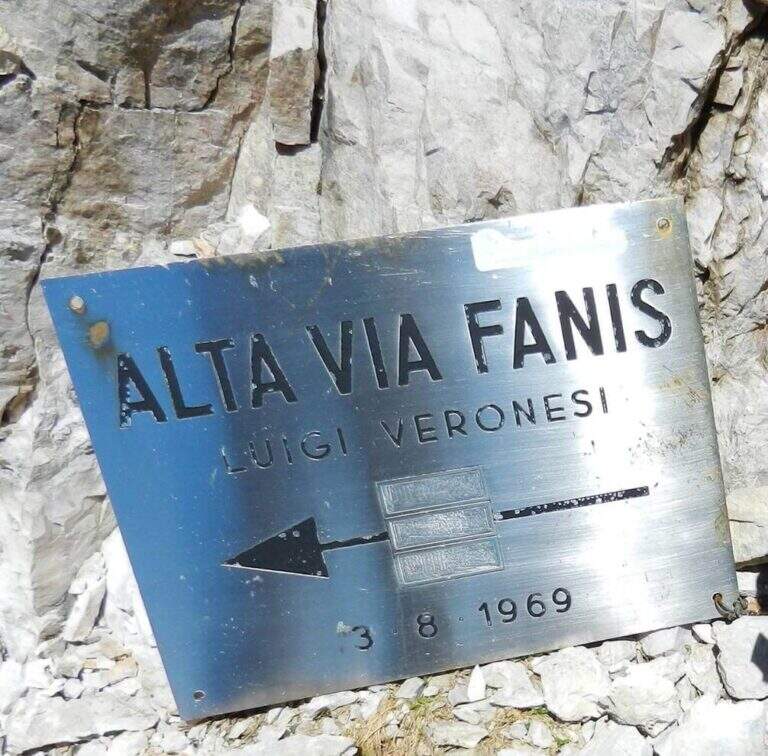
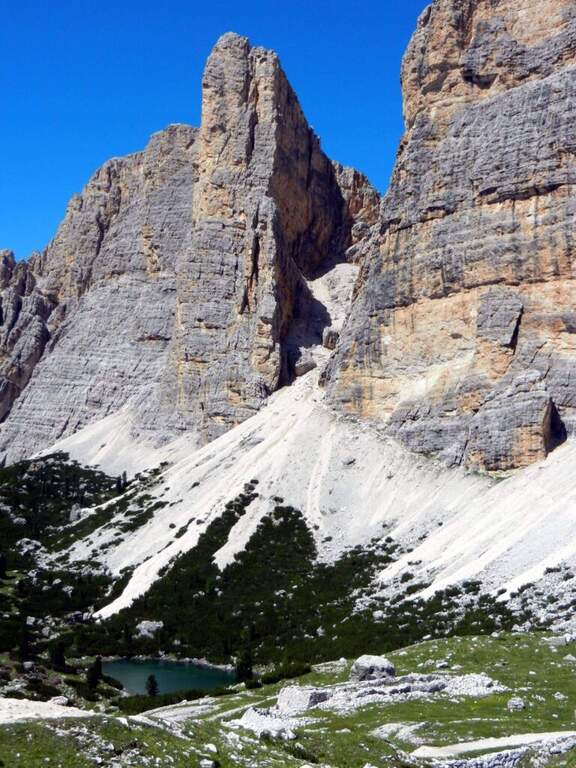
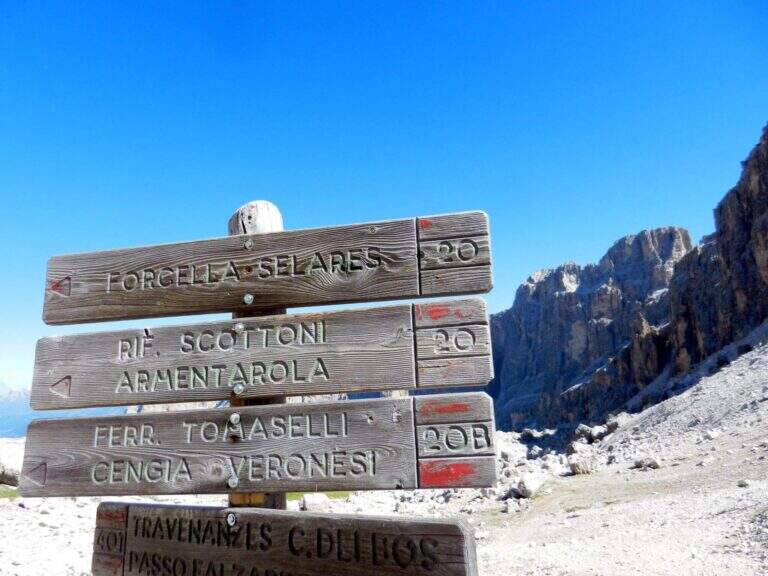
    The Cengia Veronesi is a technically not difficult but very exposed itinerary, not to be taken lightly already for the approach: in order to reach it, in fact, you have to follow a section of the difficult Ferrata Tomaselli. In return, it offers magnificent landscapes in the heart of the Fanis group. Here we describe it in the direction of Cima Fanis – Forcella Lech, but nothing forbids it in reverse direction, uphill.

    ▲Approach

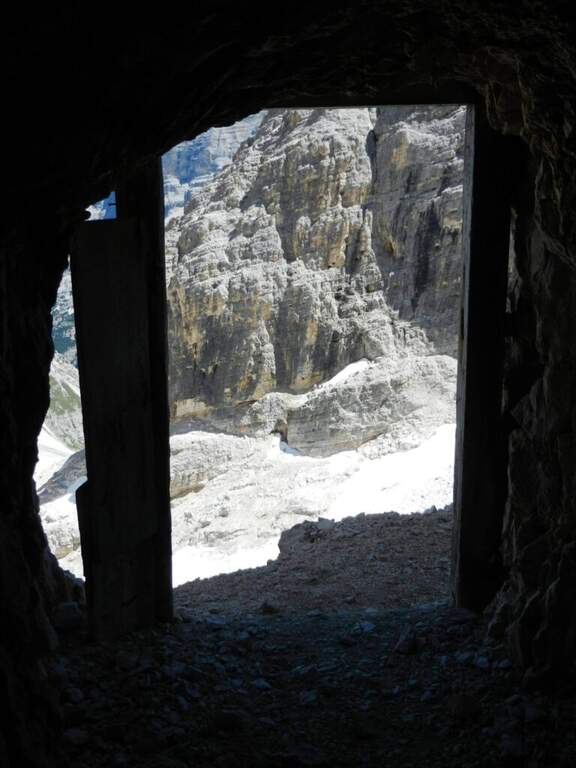
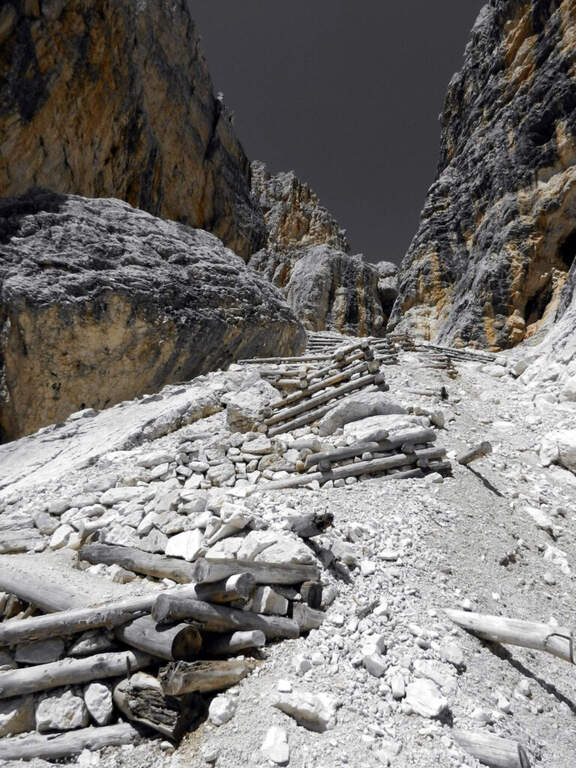
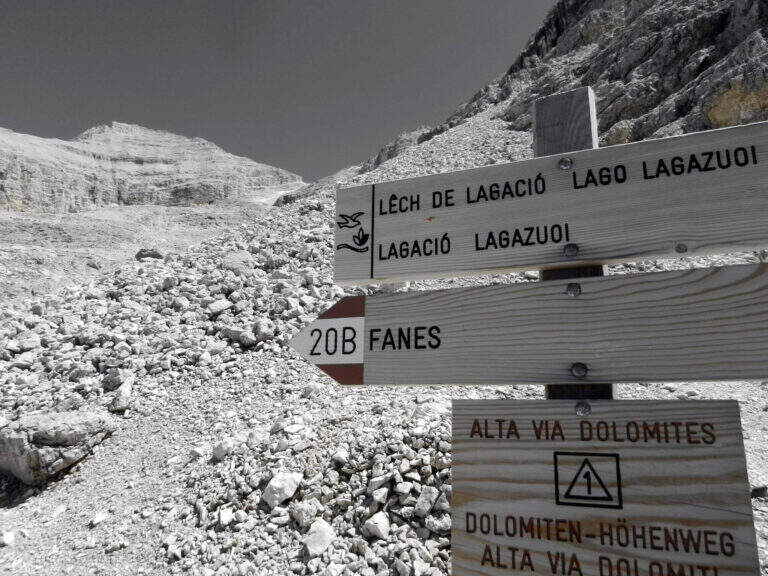
    You have to get under Cima Fanis Sud. The quickest way coincides with the approach of Ferrata Tomaselli: you reach the Falzarego Pass (2105 m) — from Cortina d’Ampezzo, from San Cassiano in Val Badia or from Alleghe (Belluno) — you park in the large square at the valley station and climb with the cable car to the Lagazuoi Refuge (open up Google Maps). From here there are three options, in increasing order of engagement. The first follows the approach of the Tomaselli on the eastern side of the Grande Lagazuoi, from Forcella Travenazes to Forcella Gasser Depot, then up to saddle Fanes; then the maximum attention is paid to a census that detaches on the left (omit), you walk it and you get to the nod from which the road (2h from the mountain station). The second reaches the Bivacco Chiesa always along the Tomaselli, it follows the first difficult stretch — including the famous traverse — and flows into the starting census (1h45 from the mountain station): it is the option described here for the times. The third walks through the difficult Ferrata Tomaselli (3h), descends the downhill ferrata and identifies a half-coast path that, with a first equipped section, leads to the tunnel for Cengia Veronesi (4h from the mountain station).

    ▲The path

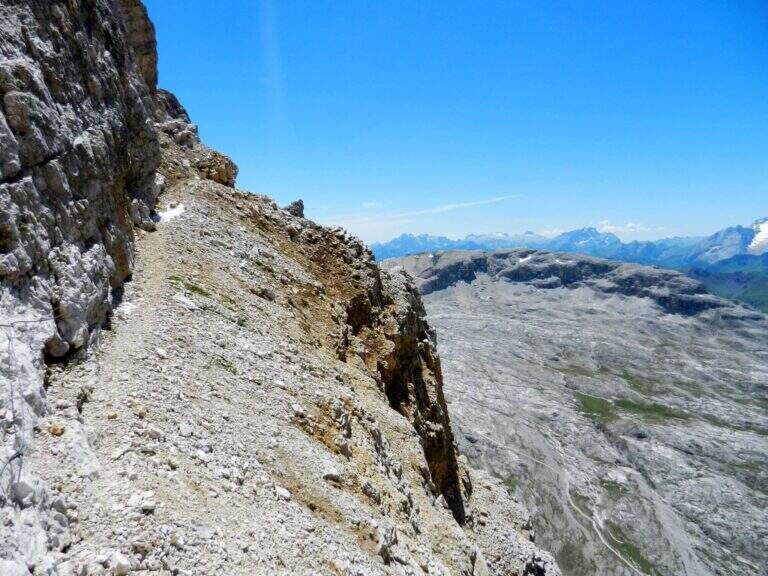
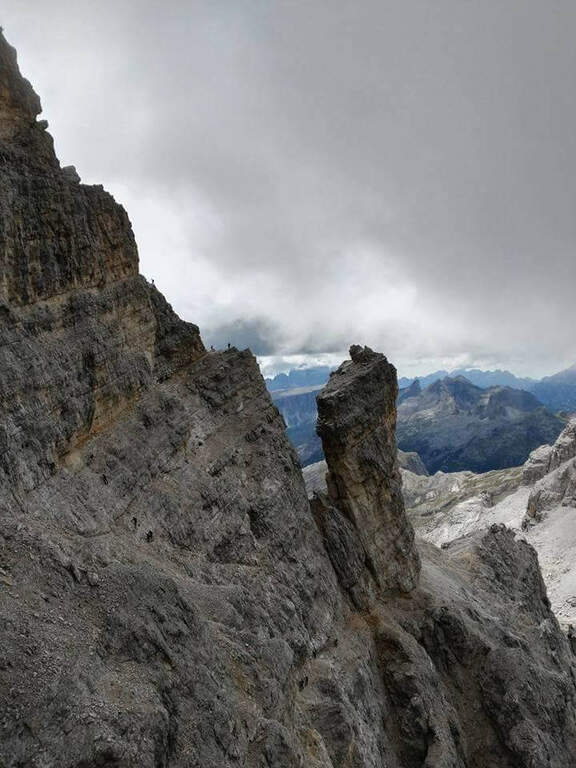
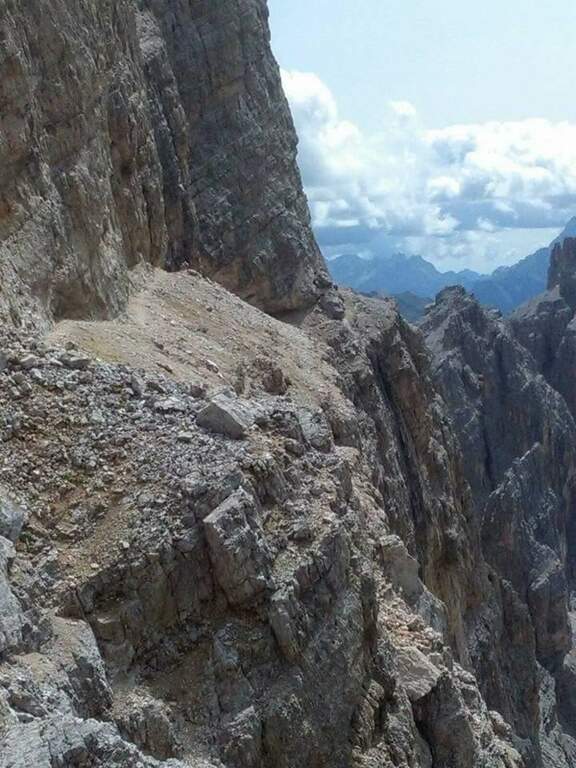
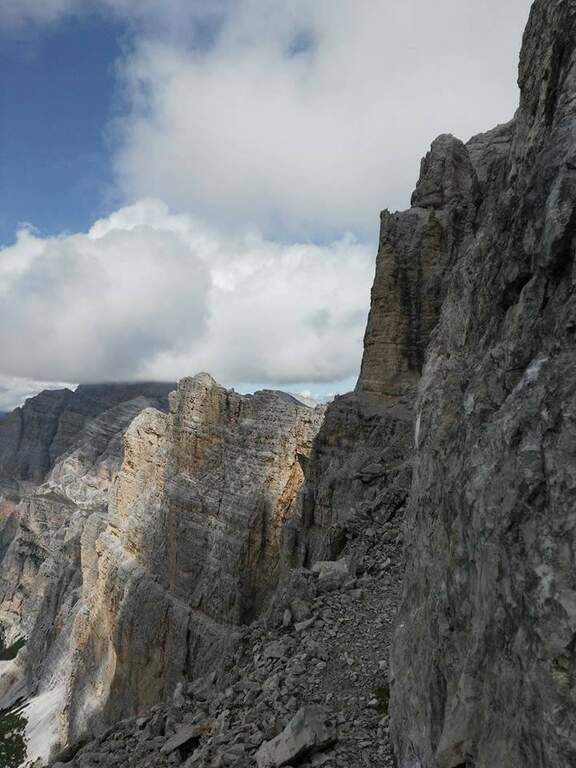
    From the second nod after the attack of Tomaselli we pay attention to a crossroads where Tomaselli continues to the right while the Cengia Veronesi goes left, with unfortunately faded signs. It starts immediately with an exposed and uninsured nod, followed by an even more exposed and narrow passage, in light descent but protected. After this, you go up a canal up to a saddle and continue to the left to a cave (a meeting point with approach 3): you can cross it for about 100 meters with a frontal stack, pouring on the opposite side of Cima Fanis. On the other hand, the long nod follows the track that, between modest climbs on exposed traits, leads to a edge that alternates short stretches equipped with long stretches, even very exposed, completely without protection. The nod runs with a remarkable precipice on the left and requires firm foot, even without any technical difficulties. We proceed up to a first fork between Cima Fanis and Piz Scottoni and then, with minor exposure, towards the Forcella Lech, where the route ends (1h15 from the deviation from Tomaselli, 3h overall).

    ▲Character and difficulty

    It is a difficult path to classify: the census in itself is very exposed and at times not equipped, but for the experienced hiker with a firm foot does not pose problems, indeed it becomes a very pleasant experience for the views. It is the constant exposure, more than the technique, to be able to trouble those who lack experience.

    ⚠ In each variant, access requires a stretch of the difficult Ferrata Tomaselli (including the famous cross): it must be evaluated honestly and not underestimated. The path is not marked and difficult to find. The census is very exposed and in several places without protection, with precipice at the side: it serves absolute firm foot. For the cave (100 m) a frontal stack is required.
    ▲Period and safety

    Itinerary of high mountain (max. 2843 m), to be faced in the summer season with stable weather. Reserved for experienced hikers, accustomed to exposure and autonomy on unprotected terrain.

    ▲Discipline

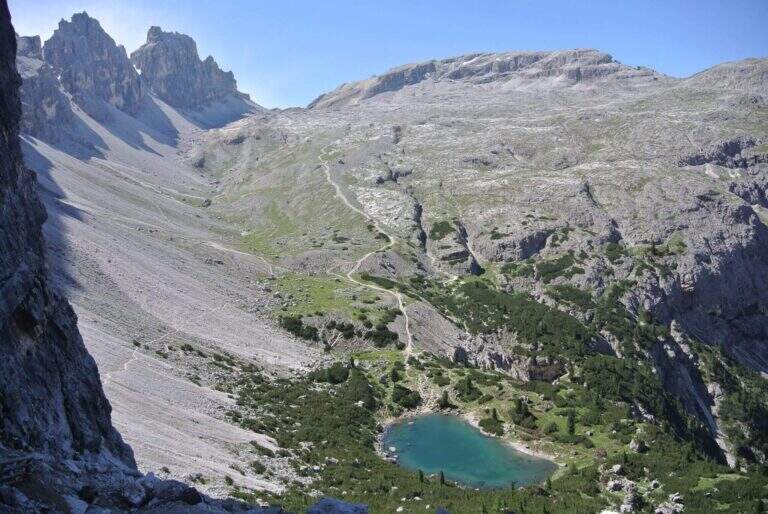
    From Forcella Lech (2486 m) you descend a steep detritic canyon that quickly loses altitude in the direction of Lake Lagazuoi. Before reaching the lake, at a crossroads, it is advisable to keep the left without going too far, to start further on the path 20 that climbs to Forcella Lagazuoi; from here, to backwards, you return to the mountain station of the cable car and then to the parking (2h from Forcella Lech, 5h overall).

    ▲To match

    Natural matching is precisely with Ferrata TomaselliThe Cengia Veronesi is often a variant or extension.

    ▲Gallery
    Technical data
    • DifficultyModerately Hard
    • RegionVeneto
    • GroupDolomiti d'Ampezzo – Fanis
    • Approach1:45 h
    • Ferrata1:15 h
    • Itinerary (a/r)5:00 h
    • Hardware level difference100 m
    • Route difference370 m
    • Max2843 m
    • Length7,8 Km
  • Sentiero Attrezzato Cecilia alla Grigna Meridio

    Sentiero Attrezzato Cecilia alla Grigna Meridio

    Vie Ferrate › Lombardia › Lecco
    Sentiero Attrezzato Cecilia alla Grigna Meridio
    Moderately Hard● OpenDescriptionComplexityMapsGallery

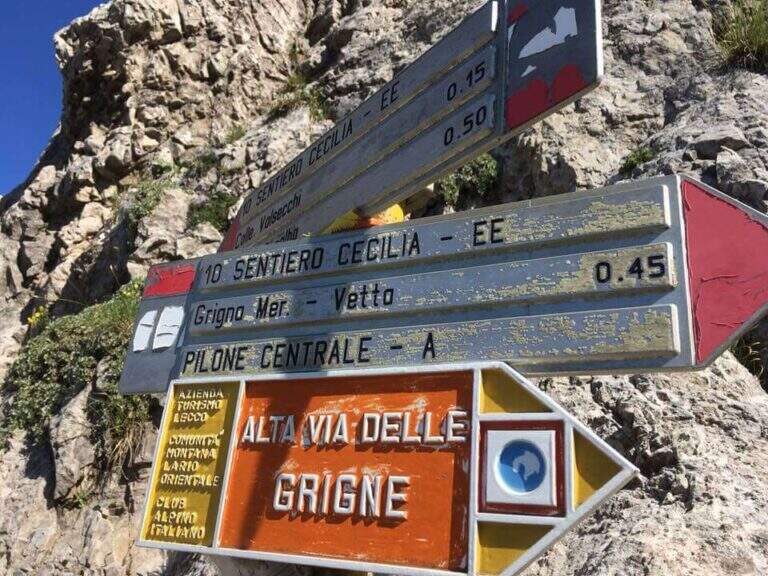
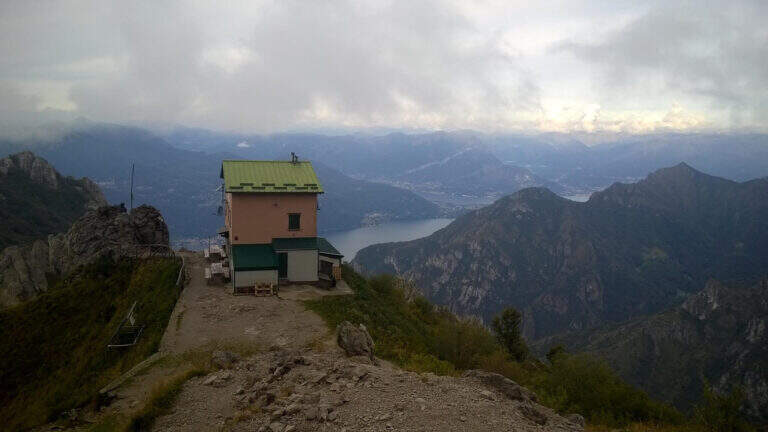
    The Path Attrezzato Cecilia connects the Rosalba Refuge to the path of the Cresta Cermenati, which climbs to the summit of the Grigna Meridionale (Grignetta). It is not a purely vertical path: it is useful to cut, among continuous climbs, the rocky wall that runs under the Cresta Segantini. A long and challenging itinerary in the legs, in one of the most beloved corners of the Grigne.

    ▲Approach

    Starting from Piani dei Resinelli, in the province of Lecco, reached by Ballabio climbing the hairpin bends. When you arrive at the hamlet you will find parking near the former Alippi refuge (open up Google Maps). From here you go up to the Rosalba Refuge following the path 9, known as Sentiero Attrezzato delle Foppe (1h45 from the parking lot). Alternatively, along the ascent you can choose the variant of the Attrezza dei Morti Path, steeper, which saves about fifteen minutes and still leads to the refuge (1h30 from the parking lot).

    ▲The path

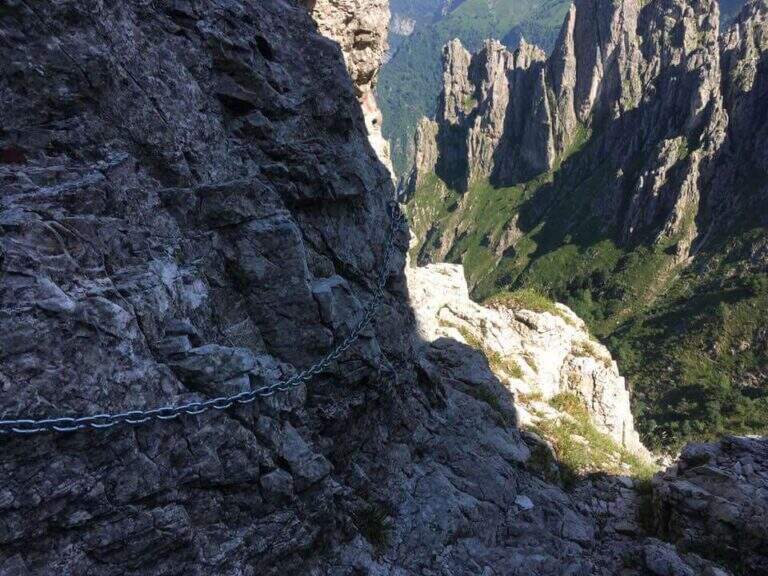
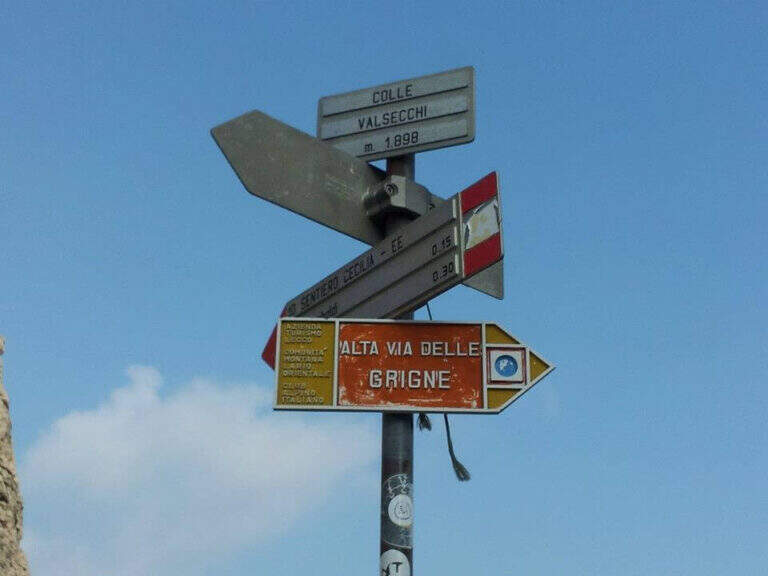
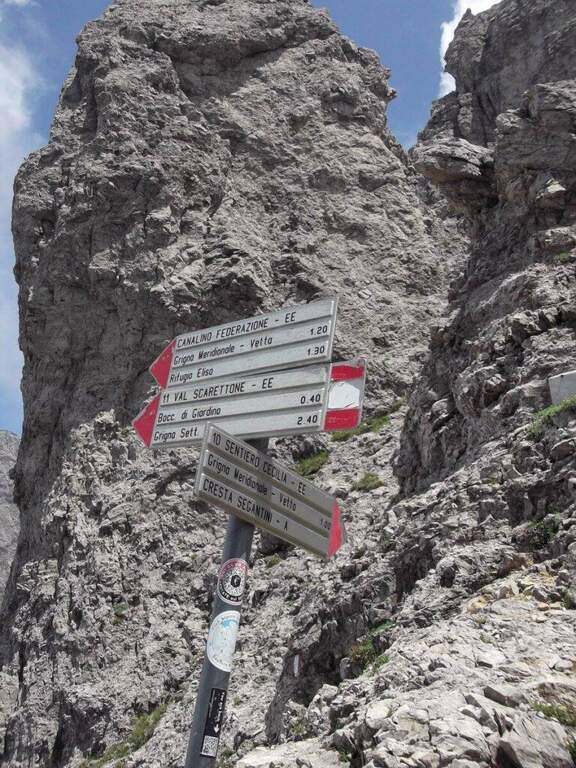
    From the Rifugio Rosalba take the path 10, which enters a rocky amphitheatre and in about ten minutes, with the first metal equipment, leads to the Colle Garibaldi (1824 m). Continue now on the slope of the Val Scarettone, meeting some equipped sections, up to the Colle Valsecchi (1898 m), where the Sentiero della Direttissima is set in Cecilia. Shortly after you ignore the left deviation for the Path of the Val Scarettone and continue between climbs under the Cresta Segantini. It faces a long diagonal crossing with chains under the Central Pilone, alternating stretches of convenient path to rocks, transverses and cenges, sometimes equipped with chains sometimes not. There are some exposed but well-painted walls up to the path 7 of the Cresta Cermenati: from here the difficulties fall clearly and, with still few steps equipped with chain, you gain the summit of the South Grigna (1h30 from the Rosalba Refuge, 3h15 overall).

    ▲Character and difficulty

    Technically it is not an extreme itinerary, but it demands constant attention for the numerous traits exposed on cenges and transverses, some of which are not protected, and for long and tiring development. Along the way it is necessary to follow carefully the signs (blue-red circles), which in some part is not immediate.

    ⚠ For most of the route you walk along traverses placed under the high Cresta Segantini, a mountaineering itinerary: the helmet is highly recommended for the whole route, for the risk of rocks from above.
    ▲Period and safety

    High mountain summer itinerary in the Grigne (max. 2184 m). The development of 14 km and the exposed sections require good physical preparation, steady pace and attention to orientation.

    ▲Discipline

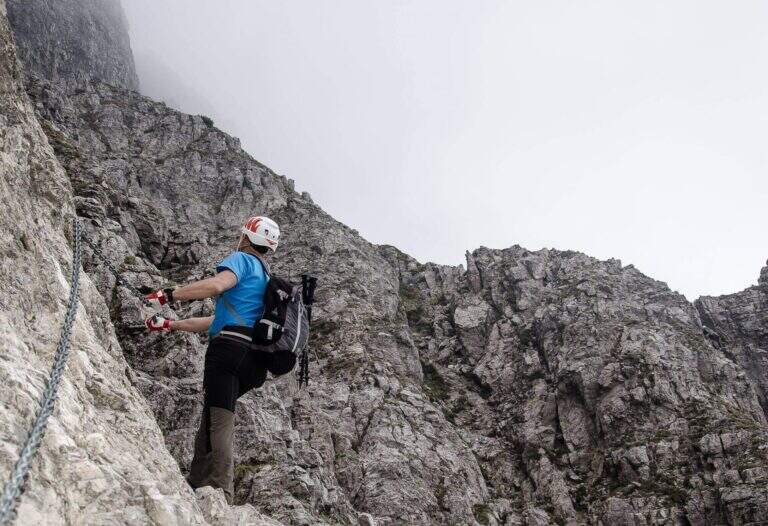
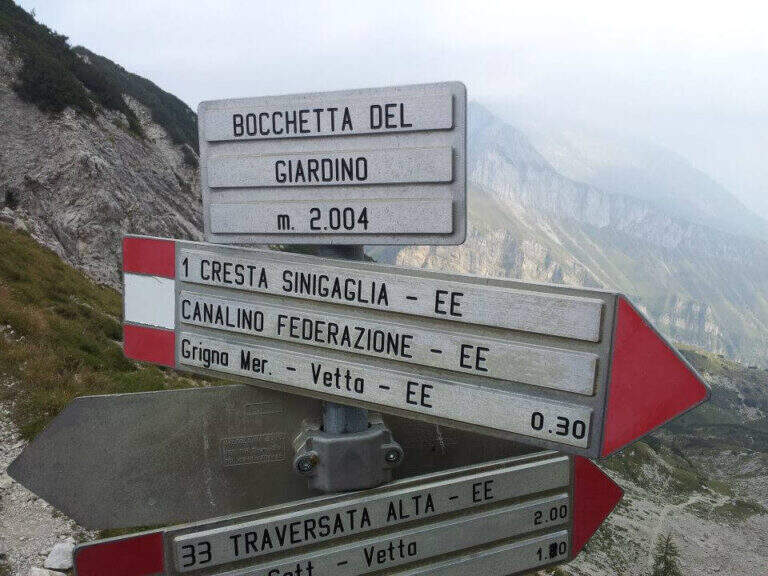
    From the top of the Grignetta you can descend in several ways. Returning back, you can walk through the Path Attrezzato Cecilia or the Sentiero Attrezzato della Val Scarettone (an imperative downhill) to the Rifugio Rosalba, and then the Sentiero delle Foppe or the variant of the Morti (about 2h30 from the top, 5h30 total). Alternatively, go down the south side along the Cresta Cermenati up to the Rifugio Carlo Porta and then to the parking lot, or face the most complicated Cresta Sinigaglia, with its equipped path, always towards the Rifugio Carlo Porta: in the latter case a long and beautiful ring of about 7 hours total.

    ▲To match

    Cecilia is often faced after Sentiero Attrezzato delle Foppe. Staying in Grigne area you can think of a multi-day itinerary that includes the Ferrata del CAI Mandello al Sasso Carbonari on the Grignone; on the way down to the lake there is the Hiking Trail e il Route of the River.

    ▲Gallery
    Technical data
    • DifficultyModerately Hard
    • RegionLombardy
    • GroupGrims
    • Approach1:45 h
    • Ferrata1:30 h
    • Itinerary (a/r)5:30 h
    • Hardware level difference259 m
    • Route difference850 m
    • Max2184 m
    • Length14 Km
  • Sentiero Attrezzato degli Alpini in Punta Charrà

    Sentiero Attrezzato degli Alpini in Punta Charrà

    Vie Ferrate › Piedmont › Turin
    Sentiero Attrezzato degli Alpini in Punta Charrà
    Moderately Hard● OpenDescriptionComplexityMapsGallery

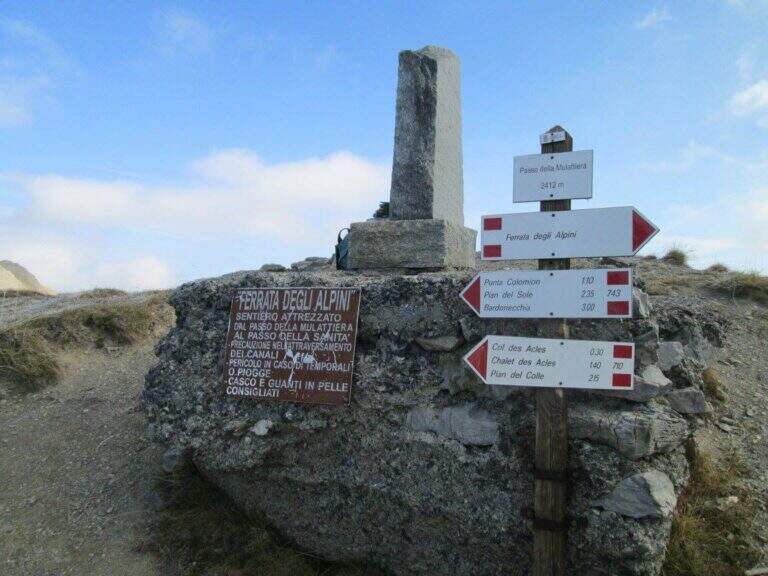
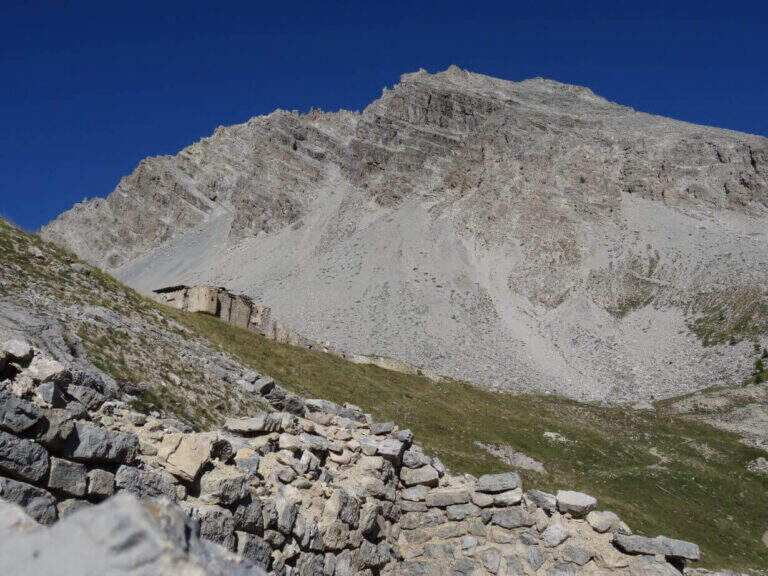
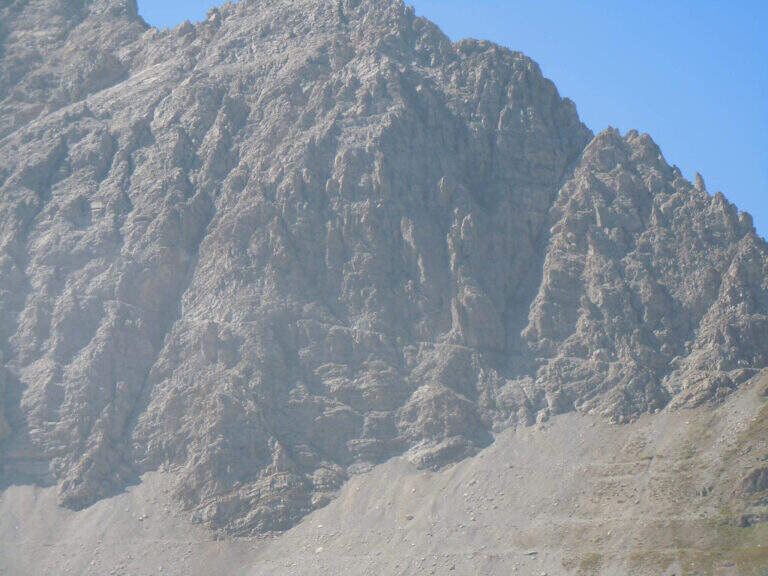
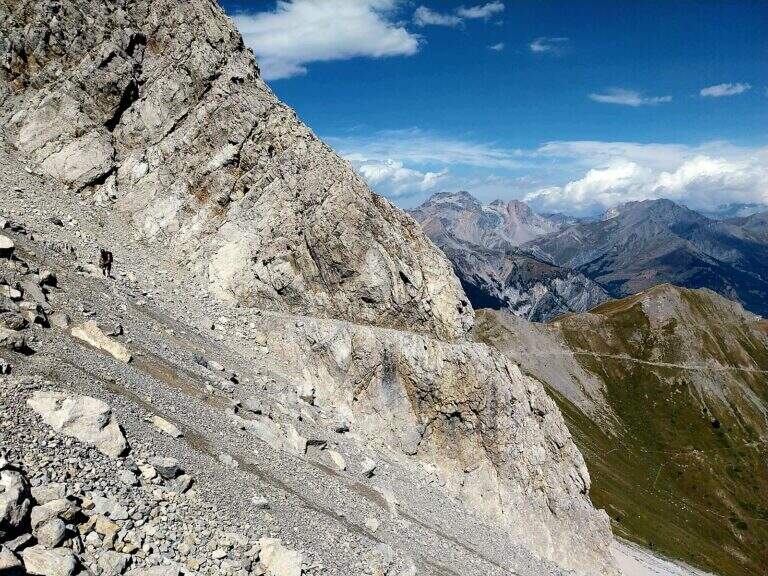
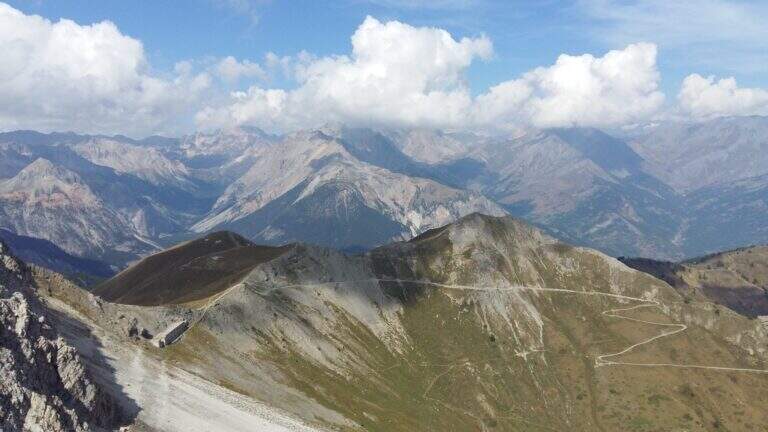
    On the ridge that divides Italy and France over Bardonecchia, this equipped path connects the Passo della Mulattiera to Passo della Sanità, at the foot of Punta Charrà. The development is almost entirely horizontal: the equipment is mainly used to secure the progression on soil at times unstable and on thin waxes, while the vertical passages are practically absent. There is a long itinerary and great hiking breath, but to be faced with stable time because along the path there are no support points.

    ▲Approach

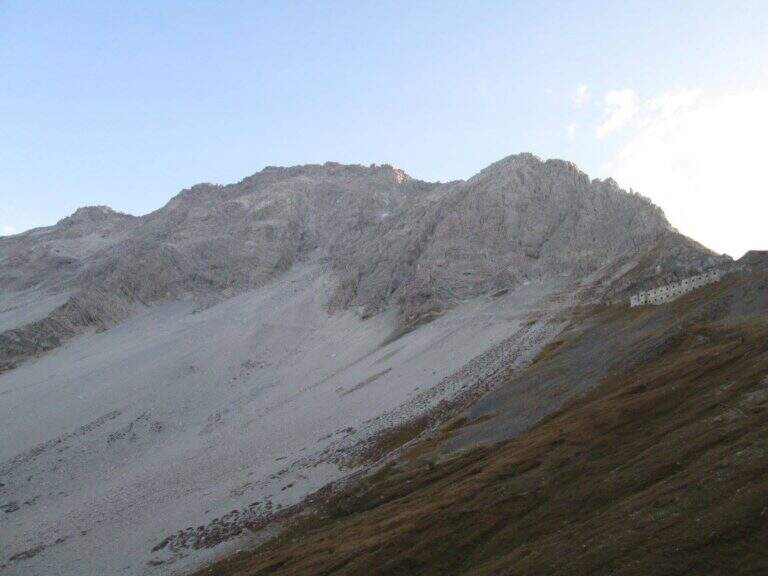
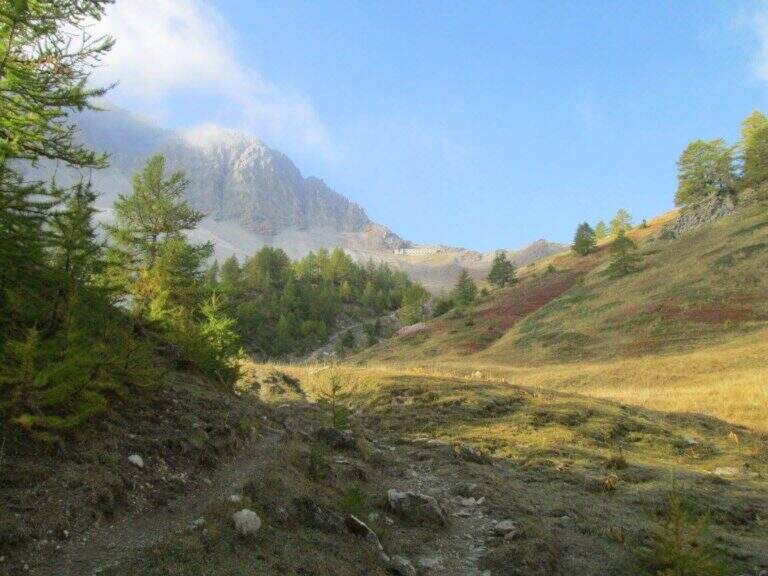
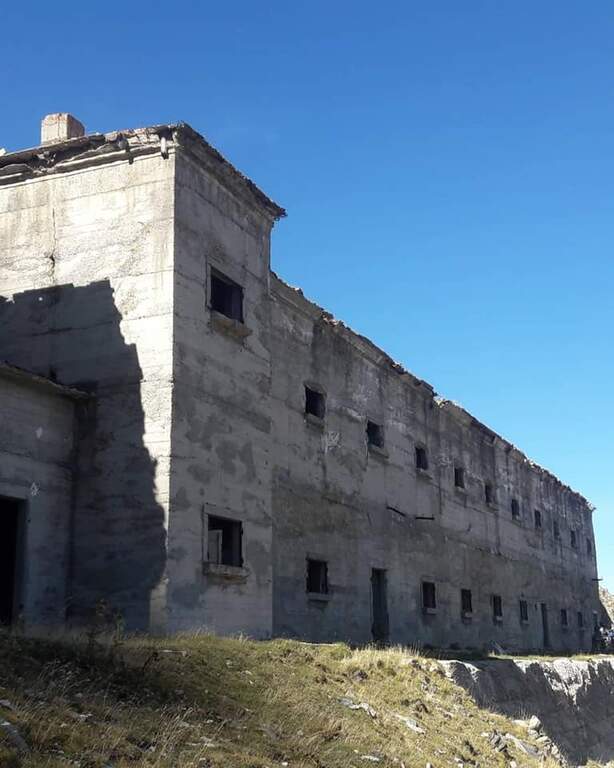
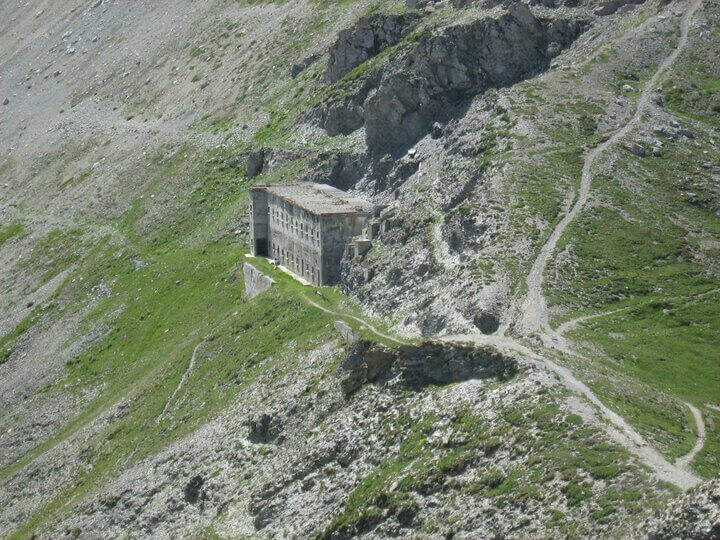
    The recommended base is the Colletto del Colomion, which can be reached by cable car from Bardonecchia (Pian del Sole) and by car. Who climbs by car points to the small town of Puys: you arrive first to Beaulard, in Val di Susa, and — going up from the valley — just before leaving the village you cross the railway to the left taking Via San Giusto; you follow it up to a blue sign that indicates Puys at 3 km, on narrow but asphalted road. From Puys you continue on dirt until the Colletto del Colomion, where you should leave the car because beyond the bottom becomes difficult (open up Google Maps). From the parking lot you walk on the dirt road towards the Passo della Mulattiera: the path climbs first to the edge of the forest in a beautiful valley, then cuts halfway up to the pass (2412 m, 1h15 from the parking lot), where rises the barracks of the Alpini XVI, abandoned but visitable. The Passo della Mulattiera is a well-marked crossroads: it is held the left towards Punta Charrà, which faces the obvious carving in the rock. It avoids the steep direct ridge and cuts diagonally the north slope, on a blue track and radi signs, until the beginning of the equipment (15′ from the step, 1h30 from the parking lot).

    ▲The path

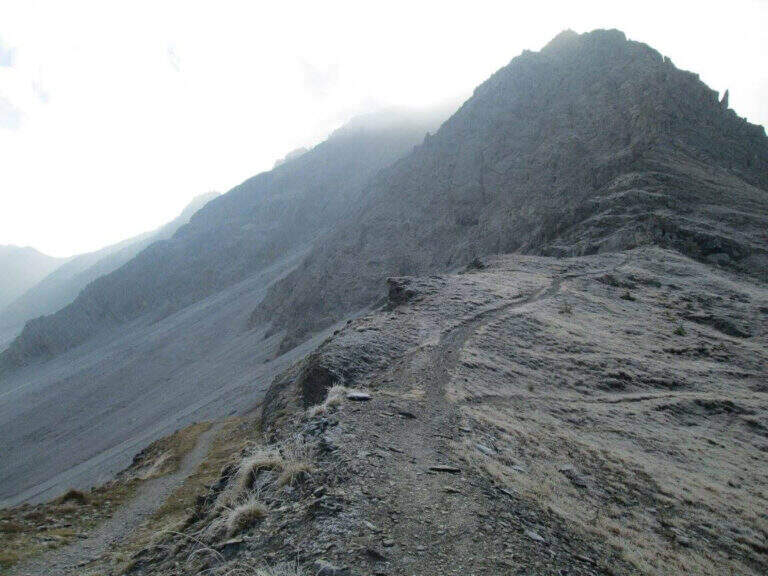
    The cable starts along a nod, first flat and then more marked. At first the rope is dated and lasca, but the ease of the soil does not create problems; later the nod shrinks and the bottom, made of guinea pig, gives little safety, so the cable acts as a precious handrail. We proceed between carvings and canals to be overcome with cable or chains, always to your right, with exposure that grows but technical difficulties almost null, except some point for the infido fund. The equipment ends at Passo della Sanità (2629 m, about 1h from Passo della Mulattiera). The optional climb — but recommended — to the summit follows the obvious ridge: you first gain a grassy slope on easy track up to a first natural carving, then you climb with caution between smossi rocks, transverses, spikes and rocks, following the numerous omits and red signs; where you do not follow the dorsal remains on the south side. After a couple of ups and downs you touch the top of Punta Charrà (2843 m, 1h from Passo della Sanità, 2h from Passo della Mulattiera, about 3h30 overall).

    ▲Character and difficulty

    Taken to itself, the equipped part is easy and without real technical difficulties, developing mainly horizontally. What is committed is the high mountain environment: the excursion is long and requires preparation, experience and orientation, especially in case of uncertain weather. The equipment was modernized and in good condition at 2021.

    ⚠ Itinerary not recommended with unstable weather: the route lacks support points. Also at the beginning of the summer season it is not rare to find snowy canals in rather exposed traits: recommended peak.
    ▲Period and safety

    Summer season, with a maximum altitude of 2843 m in the Alpine border. For the length of the ring and the exposure of some traits serve steady pace, training for the total 6h45 and attention to the snow conditions remaining in the canalons.

    ▲Discipline

    From the top you return to the Passo della Sanità (about 45′). From here two possibilities. The first is to retrace the Alpine Path to the Mulattiera Pass and then return to the parking lot on the ascent route. The second is to close a ring around Punta Charrà descending into French territory in the valley des Acles: it falls steeply to zig-zag on debris to the wood, where the path is almost flat, then cuts the south side up to a rocky shoulder beyond which appear the barracks of the French army under the Col des Acles; from there follow the signs that bring back to the ascent 30 From the pass you return to the parking lot (about 6h45 total).

    ▲Gallery
    Technical data
    • DifficultyModerately Hard
    • RegionPiedmont
    • GroupCozie Alps – Val di Susa
    • Approach1:30 h
    • Ferrata2:00 h
    • Itinerary (a/r)6:45 h
    • Hardware level difference217 m
    • Route difference850 m
    • Max2843 m
    • Length14 Km
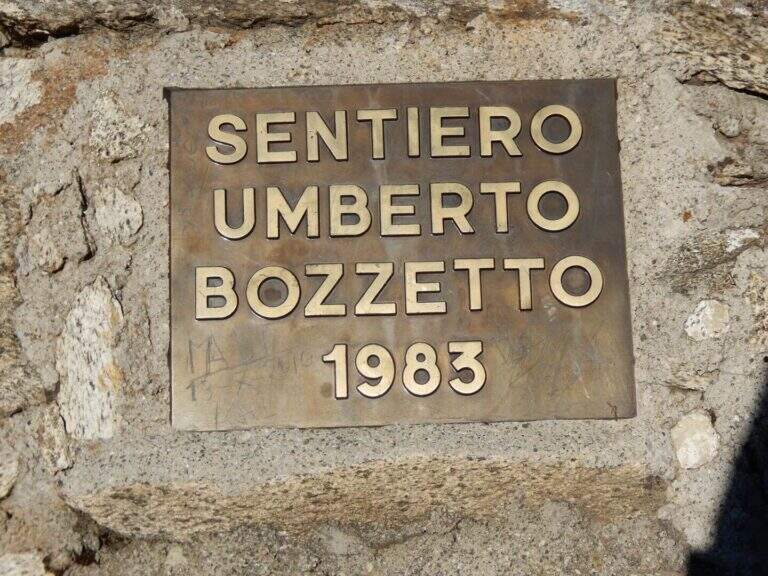
  • Sentiero Attrezzato Bozzetti al Monte Zeledria

    Sentiero Attrezzato Bozzetti al Monte Zeledria

    Vie Ferrate › Trentino-Alto Adige › Trento
    Sentiero Attrezzato Bozzetti al Monte Zeledria

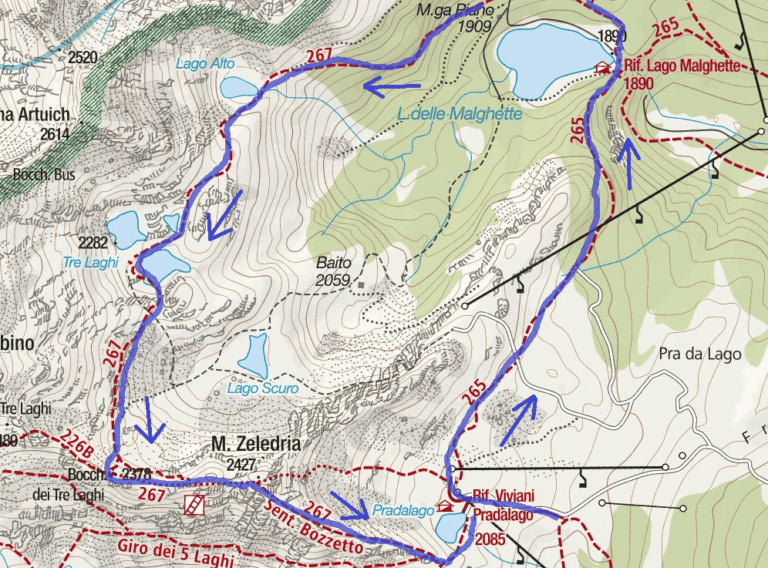
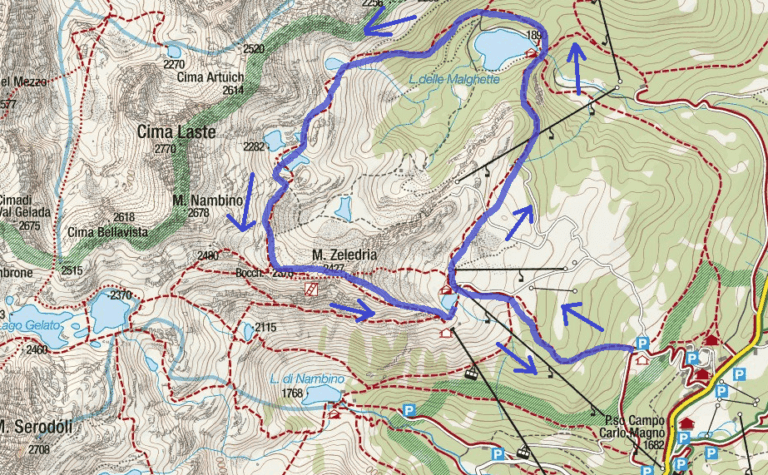
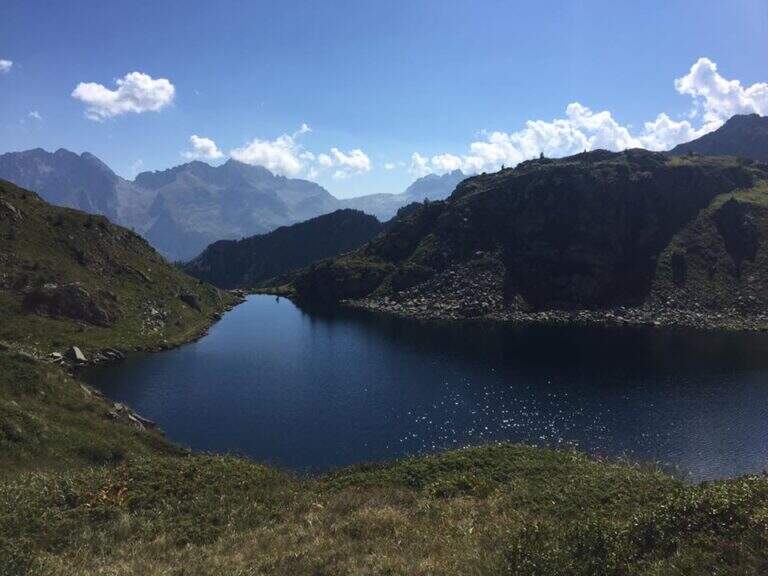
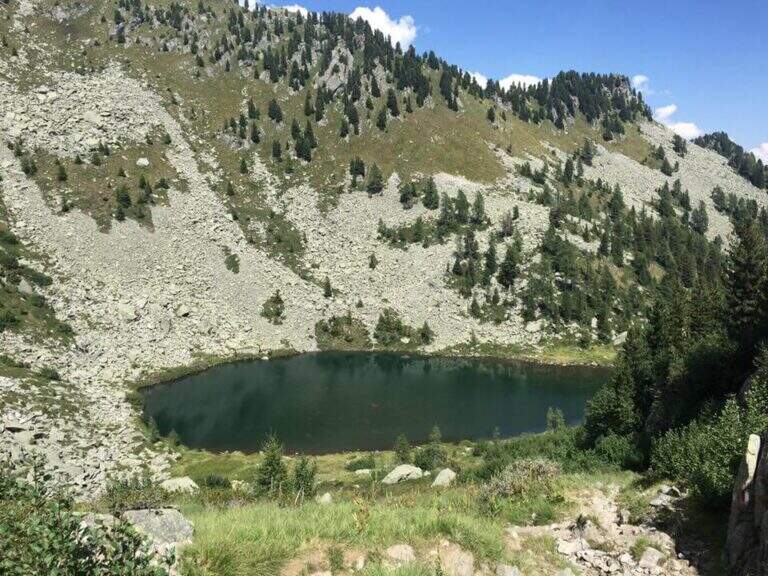
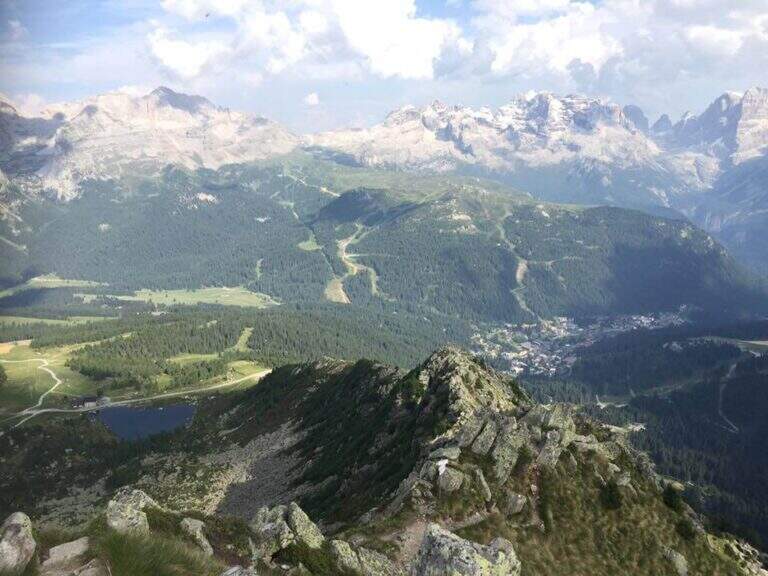
    Il Sentiero Attrezzato Bozzetti climb to Mount Zeledria above Madonna di Campiglio. It is an easy equipped itinerary, also suitable for beginners, in an area of great landscape: the view of the Brenta Dolomites and the lakes below pays off the ascent. It lends itself to a nice ring between the lakes in the area.

    ▲Approach

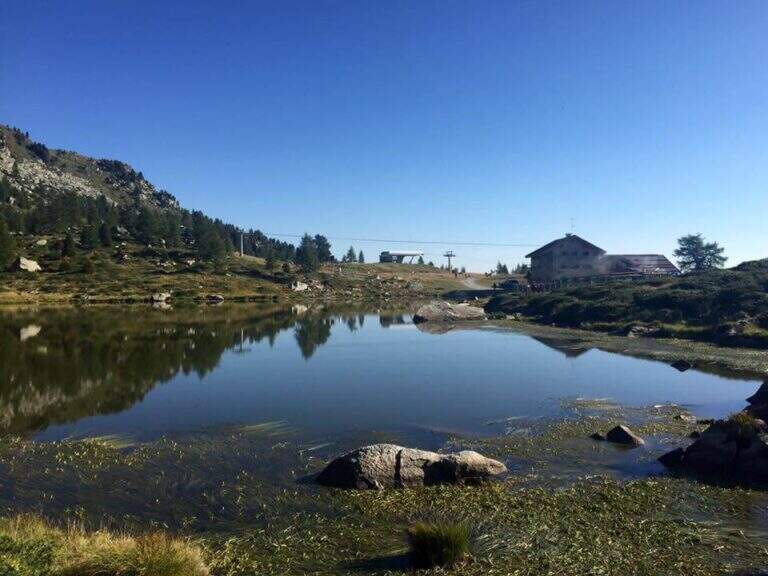
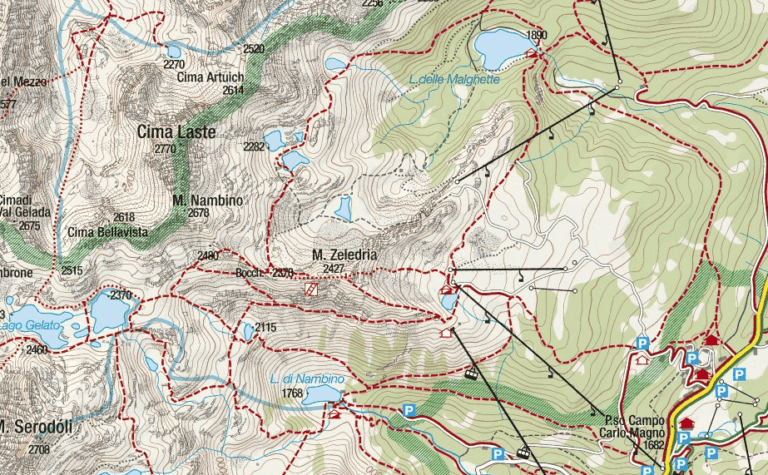
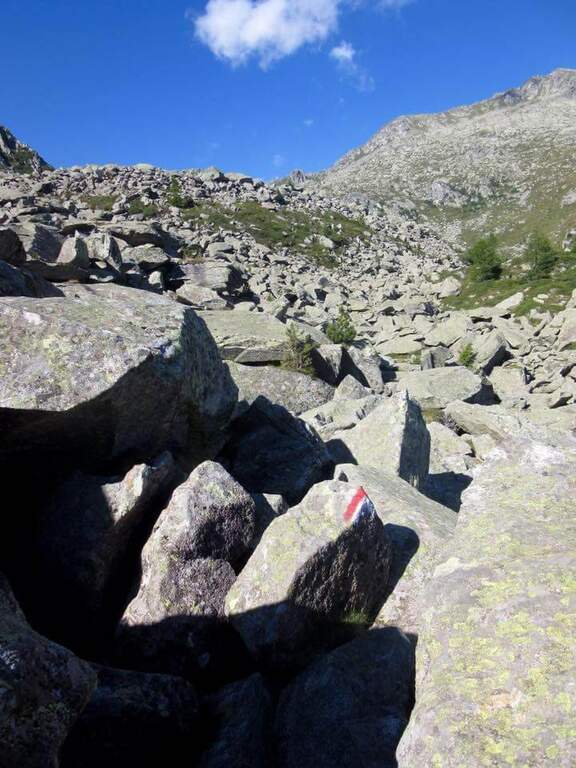
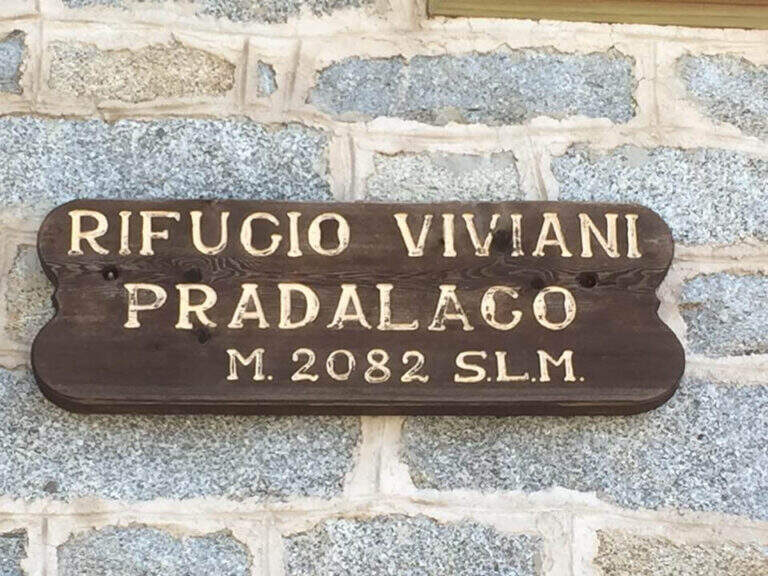
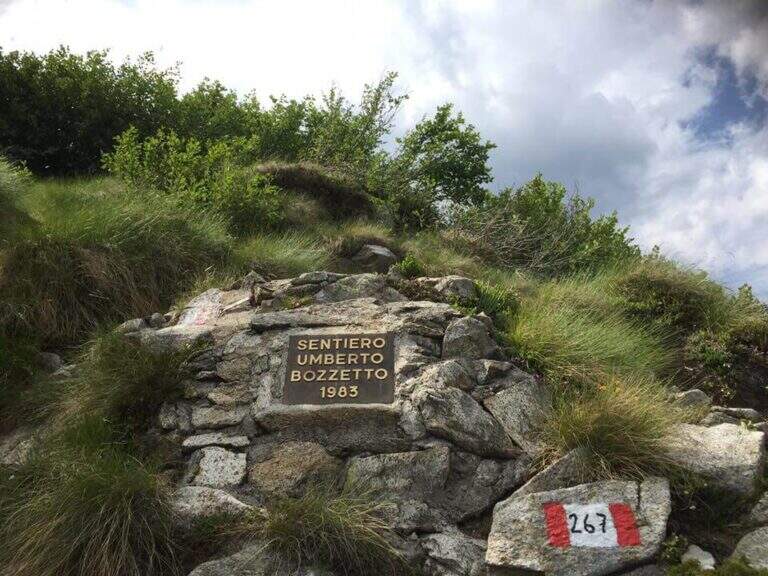
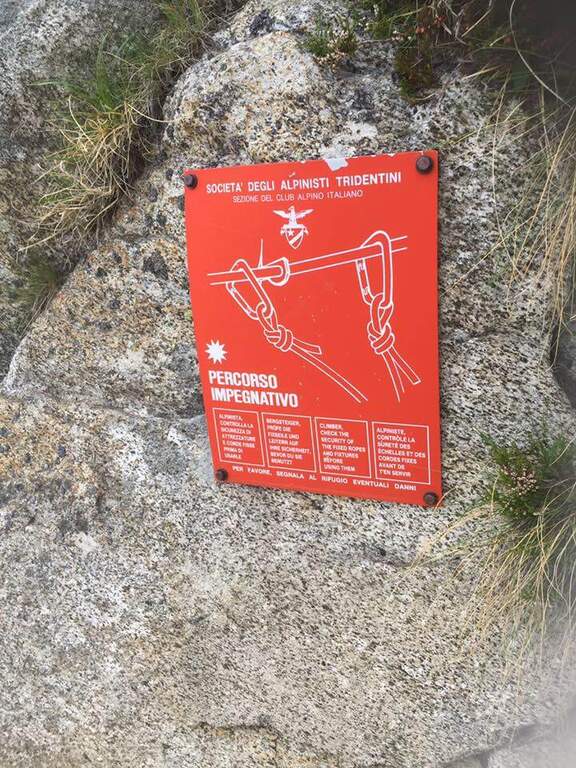
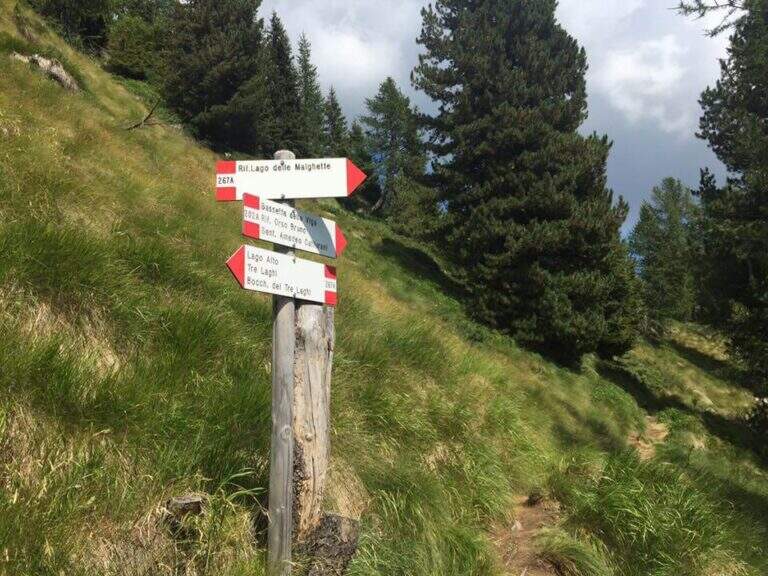
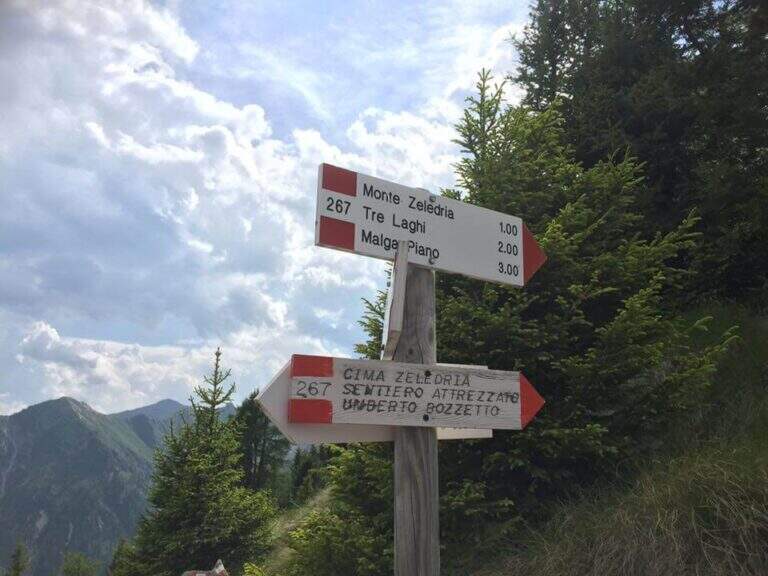
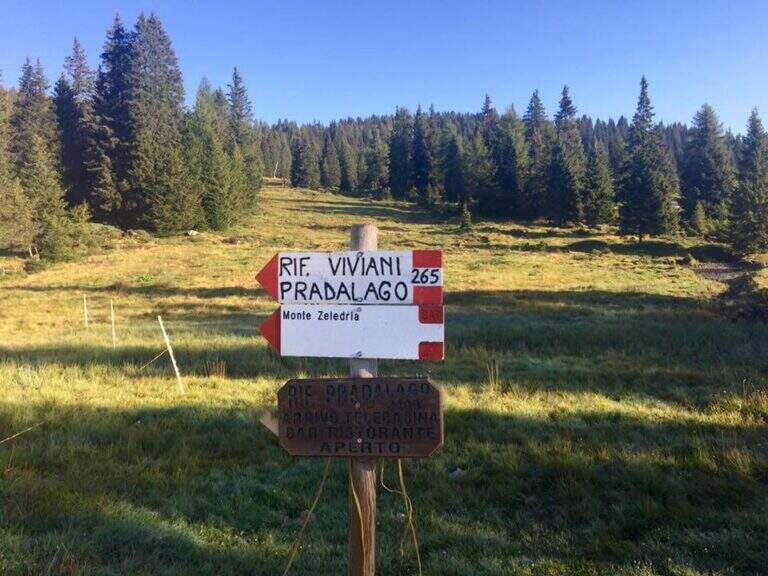
    From Cascina (Malga) Zeledria, in the municipality of Madonna di Campiglio: in the direction of Folgarida, all' height of the Campo Carlo Magno Pass (1682 m), take the left Via Zeledria going up to the hut. Open road signs on Google Maps. From the parking lot you climb to the CAI 265 towards the Viviani Refuge at the Lago Pradalago (40'); staying on 265 you descend slightly towards the Lago delle Malghette and l' the same refuge (1890 m, 1h 30'). Conveyed the lake and around it from the north, follow the CAI 201 to the left and then the CAI 267 to the 3 Lakes: first the Lake Alto, then the 3 Lakes (2282 m) with Lake Medio and Lake Inferiore (1h from Lake Malghette, 2h 30'). On a stretch of ridge, ignored the path that descends towards the Dark Lake, you reach l' attack, signaled by a metal plate (2h 45' from the parking lot).

    ▲The path

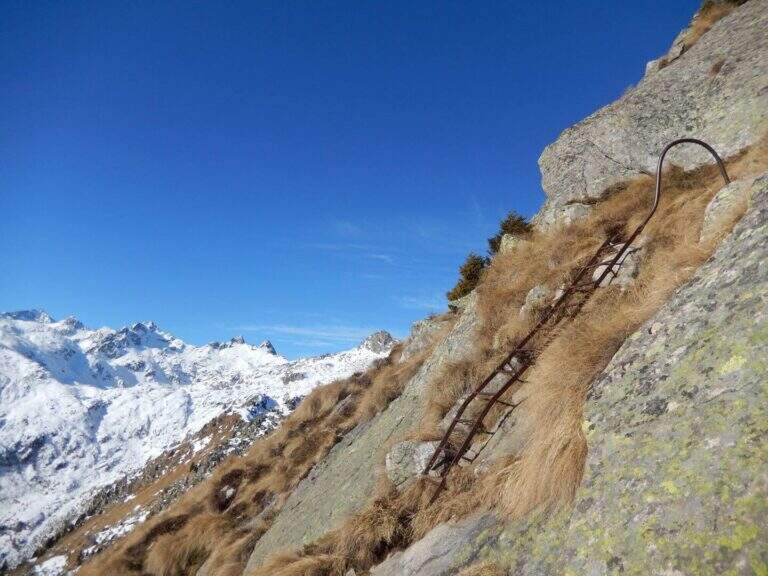
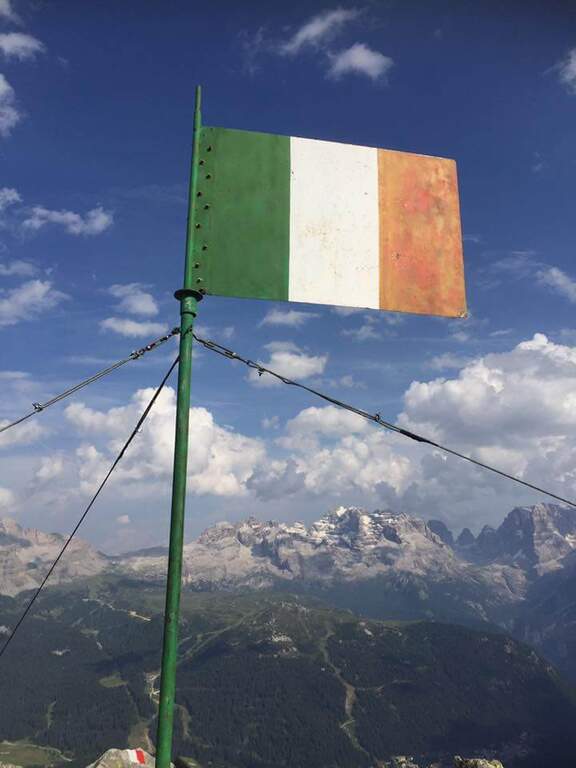
    Continue south to some left flakes; on the right c' ` the junction for CAI 226/B towards Lake Seredoli, but the right is held and the cresta connects Mount Zeledria to Mount Nambino, gaining 150 meters of altitude difference. The stretch è a po' tiring and in some points helped by metal strings and a staircase, up to the vetta (marked by an Italian flag), with magnificent views of the Brenta and the lakes. Then begins the downhill part of Bozzetti, on the eastern side: some stretches equipped with scale and rope protect the steep southern rib that descends towards Lake Nambino. Finish the equipment (red card for those who climb in the opposite direction), go right on easy rocks to Lake Pradalago, where the path ends (1h 30' from the plate, 4h 15' overall).

    ▲Character and difficulty

    Itinerary without particular difficulties: the few exposed points are well protected. Great for approaching neophytes and those with little experience, in a very interesting landscape ring.

    ⚠ Although easy, it is a high-mountain equipped road: helmet and set from recommended ferrata. The ring route is long (about 11 km): calculate well times and weather.

    ▲Discipline

    From the end of the well-equipped path you will cross the section of the approach between Lake Pradalago and Cascina Zeledria down to the parking lot (30' from the end, 4h 45' overall).

    ▲To match

    In the same area of Adamello-Presanella and Brenta there are numerous itineraries equipped; moving south, over Pinzolo and in Val Rendena, the via dei Bocchette and the classics of the Brenta.

    ▲Gallery
    Technical data
    • DifficultyEasy
    • RegionTrentino-Alto Adige
    • ProvinceTrento
    • GroupAdamello-Presanella
    • Approach2h 45'
    • Fully equipped1h 30'
    • Ring itinerary4h 45'
    • Level difference70 m
    • Route difference646 m
    • Maximum2426 m
    • Length11 km
  • Ferrata Zucco Pesciola

    Ferrata Zucco Pesciola

    Vie Ferrate › Lombardia › Lecco
    Ferrata Zucco Pesciola
    Very difficult● OpenDescriptionComplexityMapsGallery

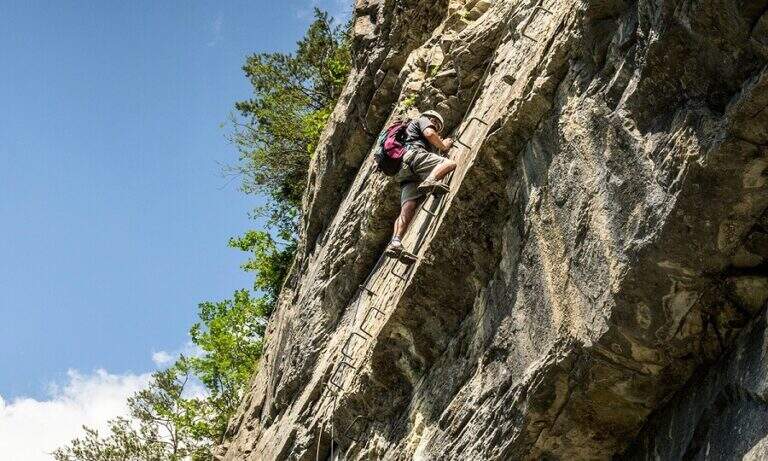
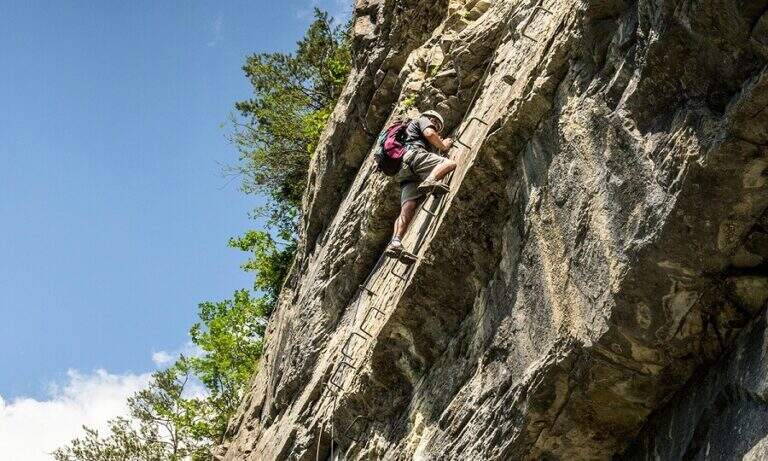
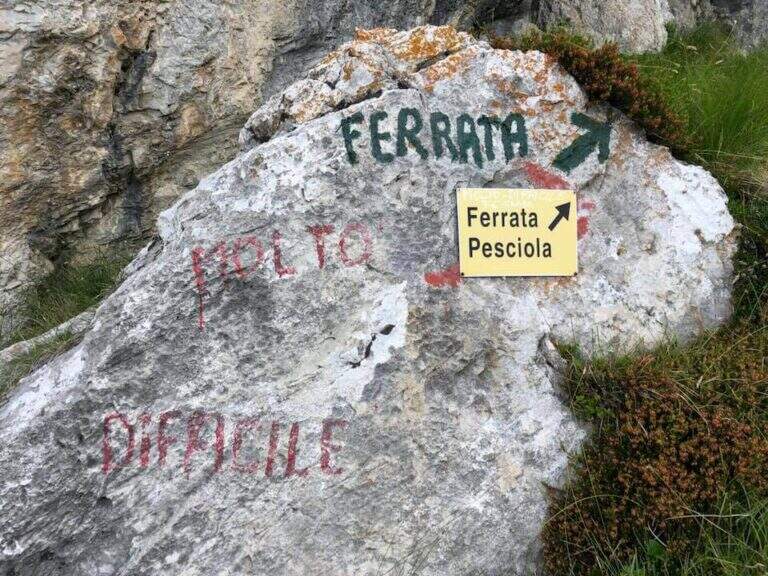
    La Ferrata Zucco Pesciola & a beautiful, challenging and panoramic Via delle Orobie over the Piani di Bobbio. Tests between fireplaces, diedri, climbing walls and ridge traits; its variante difficult & free; among the più traits; hard of the Italian railway landscape and should be faced only with excellent training.

    ▲Approach

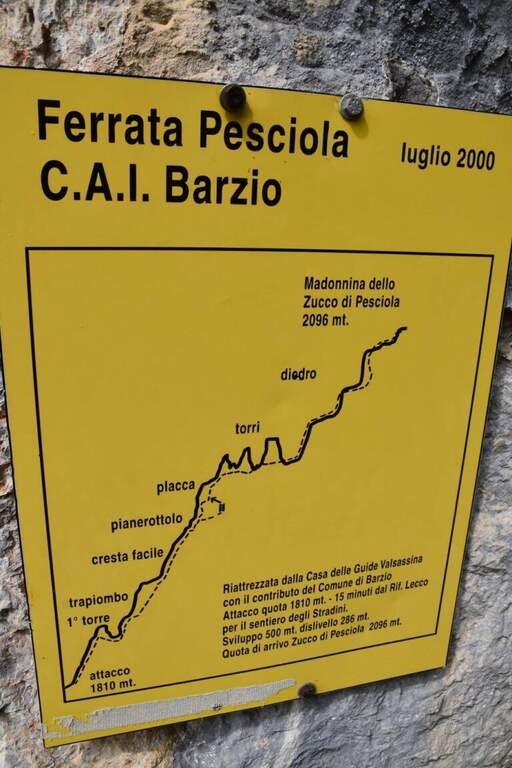
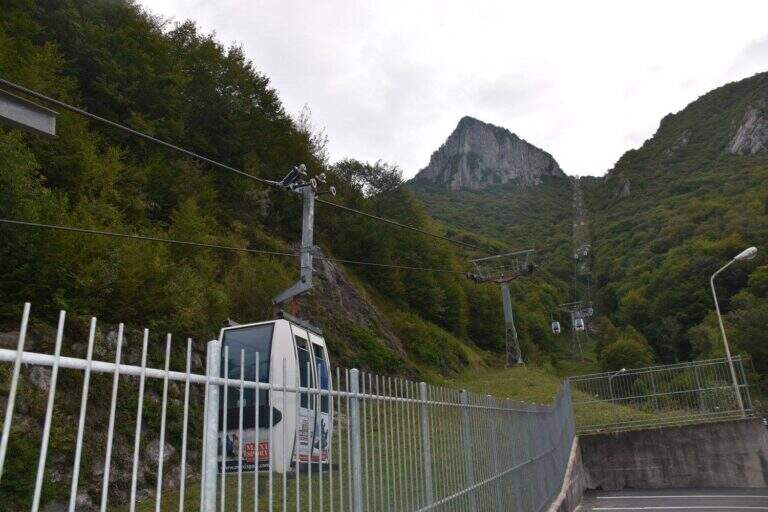
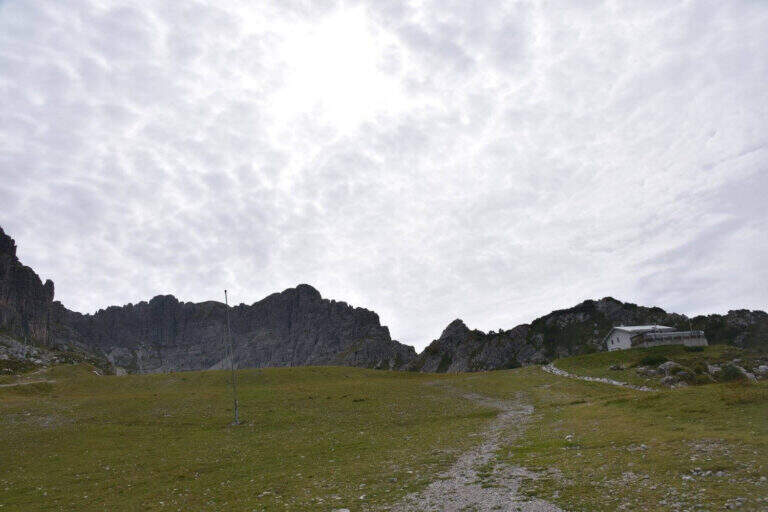
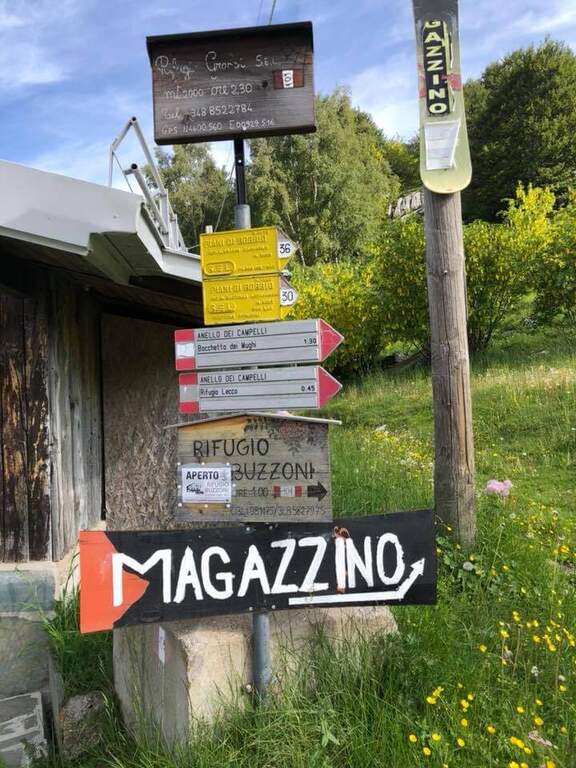
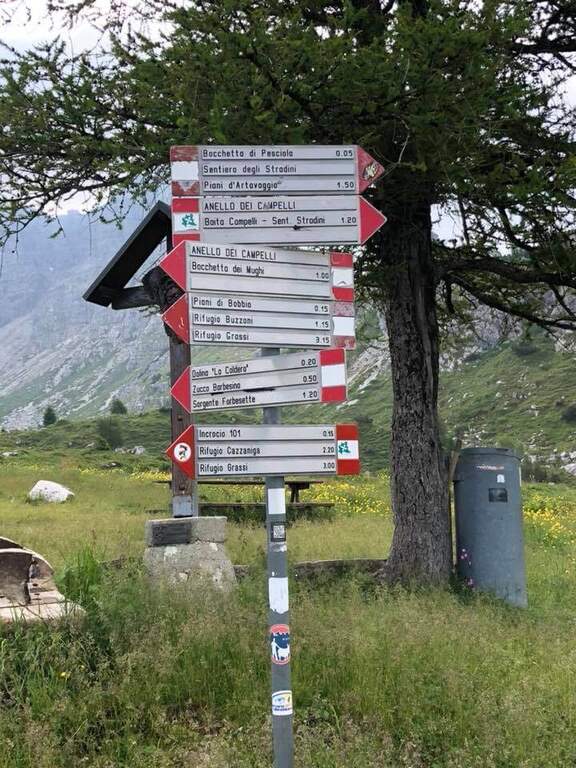
    From the upstream station of the funivia dei Piani di Bobbio (from Lecco to Barzio, then to the plants). Open road signs on Google Maps. You climb along the slopes towards the Rifugio Lecco, then to the right the sentiero 30 (which becomes Path Attrezza degli Stradini) towards the Bocchetta di Pesciola, up to a rock with l' indication of the ' attack just off the path (' from the mountain station). Alternatively, it can be recognised; it can be reached by Plans d' Artavaggio per il Sentiero degli Stradini.

    ▲The path

    Si inizia risalendo un torrione: roccette a sinistra, poi balzi e placche verticali su buona roccia fino a un traverso esposto che ne chiude la cima. Un breve tratto di discesa attrezzato porta alla seconda parte: una parete con fessura e poi un diedro strapiombante dove la catena scorre a destra e gli appigli sono a sinistra (si procede in spaccata, con una seconda catena e una maniglia nel punto più sporgente). Seguono cresta, un breve camino (4 m), un traverso atletico in diagonale su staffe e un impegnativo diedro con traverso a destra. Si arriva a un bivio: a destra la via facile (un canalino arrampicabile in spaccata fino a una scaletta), in verticale la variante estremamente difficile (parete strapiombante povera di appigli, catena lasca, occhielli per sostare con un rinvio). Le due varianti si ricongiungono; un ultimo tratto verticale, una sporgenza e un camino con cambio moschettone portano a un breve sentiero di cresta. Dopo un tratto pianeggiante e l'ultima parete appoggiata si raggiunge la madonnina di vetta (1h 45' from the attack, 2h 30' total).

    ▲Character and difficulty

    Hard way with many challenging steps: diedri and chimneys in which it is recommended, if not obligatory, proceed climbing so as not to get too busy. The chain is sometimes lasca (the carabiner flows badly) but can be used almost everywhere to stop. It traces almost entirely the historical ferrata dedicated to Domenico Rebuzzini. Level difference in ferrata 190 m, total 426 m, maximum altitude 2161 m, development 6 km.

    ⚠ Along the way there are many detriti: be careful not to move them. The difficult and extremely difficult variante; extremely difficult , overhanging and poor of hooks: carefully evaluate their conditions at the crossroads.
    ▲Discipline

    Towards the plains of Bobbio you go east for obvious track to a mouth, where on the left you take the steep Canale Madonna which leads to the Valley of the Camosci; from here you descend west towards the Rifugio Lecco (1h from the end of the ferrata).

    ⚠ The return channel is exposed to the north and often remains snowed until late season: it can be dangerous, equip itself accordingly.
    ▲To match

    For experienced hikers, from the top you can reach the Zuccone Campelli and descend along the Ferrata Mario Minonzio.

    ▲Gallery
    Technical data
    • DifficultyVery difficult
    • RegionLombardy
    • Group♪
    • Approach0:45 h
    • Ferrata1:45 h
    • Itinerary (a/r)3:30 h
    • Hardware level difference190 m
    • Route difference426 m
    • Max2161 m
    • Length6 Km
  • Ferrata Ziel (Rio di Tel)

    Ferrata Ziel (Rio di Tel)

    Vie Ferrate › Trentino-Alto Adige › Bolzano
    Ferrata Ziel (Rio di Tel)
    Moderately Hard● OpenDescriptionComplexityMapsGallery

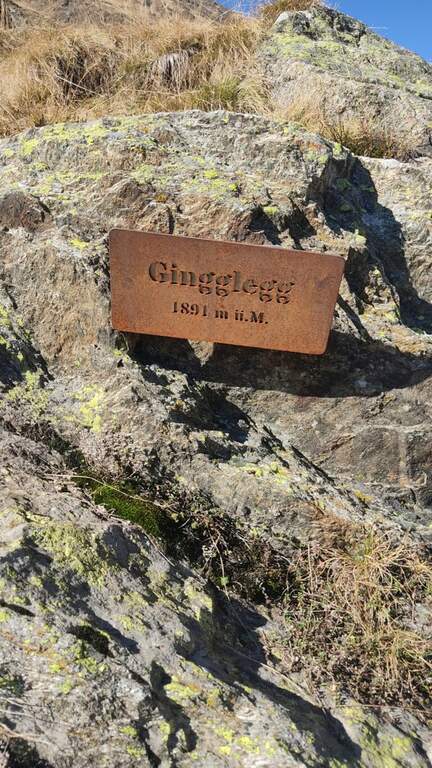
    La Ferrata Ziel (or Ferrata Rio di Tel), of medium difficulty and agrave;, go up the Zieltal valley following the bustling Rio di Tel, not far from the Parcines waterfall, up to the panoramic Gingglegg (1891 m) in the Gruppo di Tessa Nature Park. È was opened in Methà August 2020.

    ▲Approach

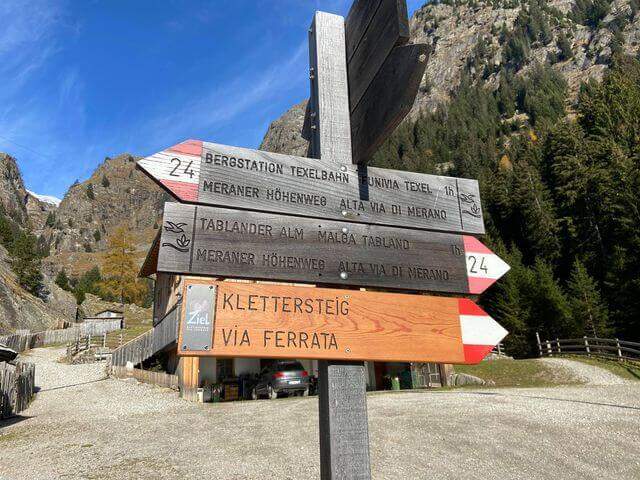
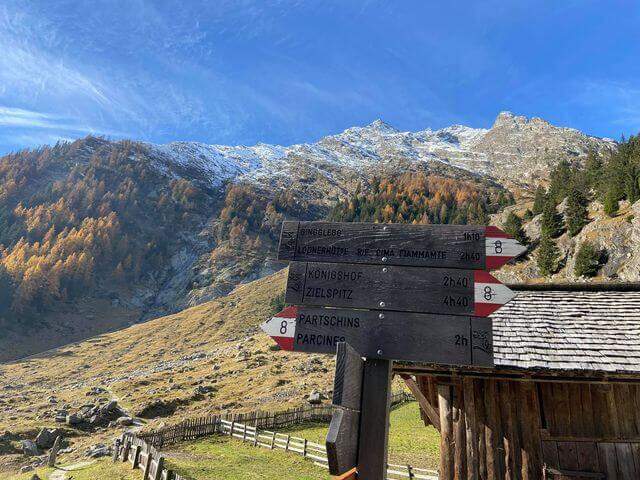
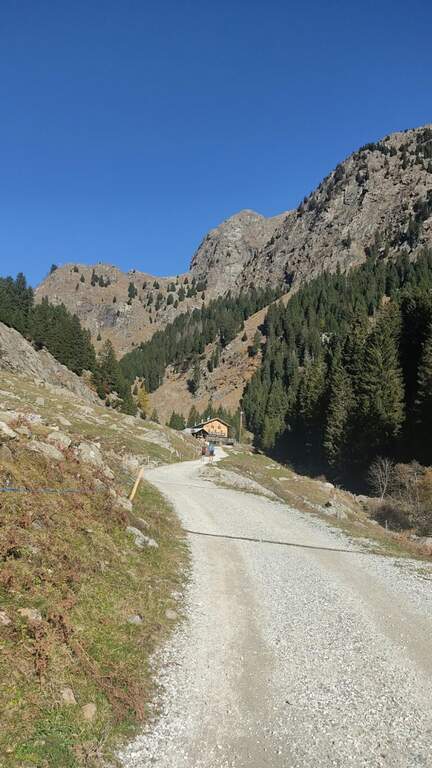
    Starting from the valley station of the funivia Texel in Rablà, fraction of Parcines, all' start of the Val Venosta (available from Merano also by public transport). Open road signs on Google Maps. From the mountain station, follow the sentiero 24 Alta Via di Merano to the Nasereit Refuge (1523 m, 45'); next to the refuge you cross the bridge over the stream and, immediately after, on the left you follow the red points along the rio until all' attack (15' from the shelter, 1h totali), with the top Ggging.

    ▲The path

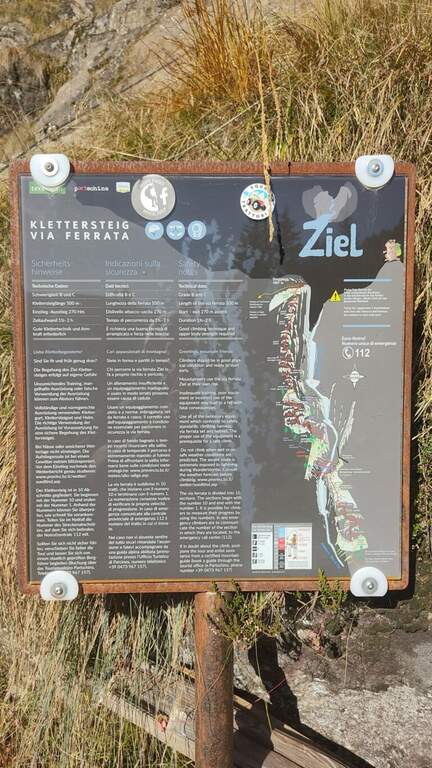
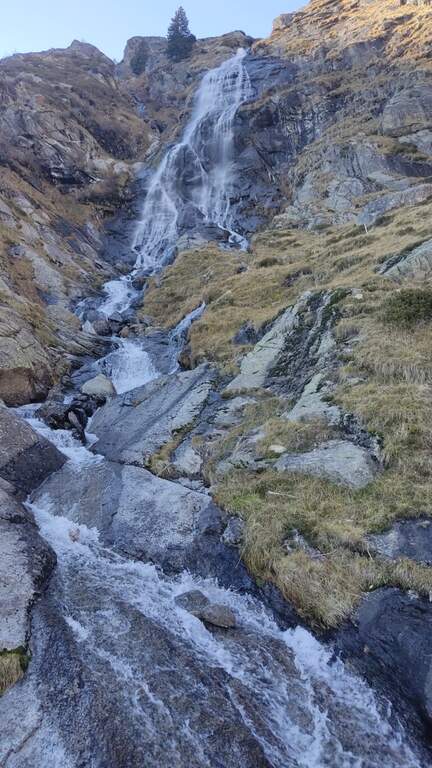
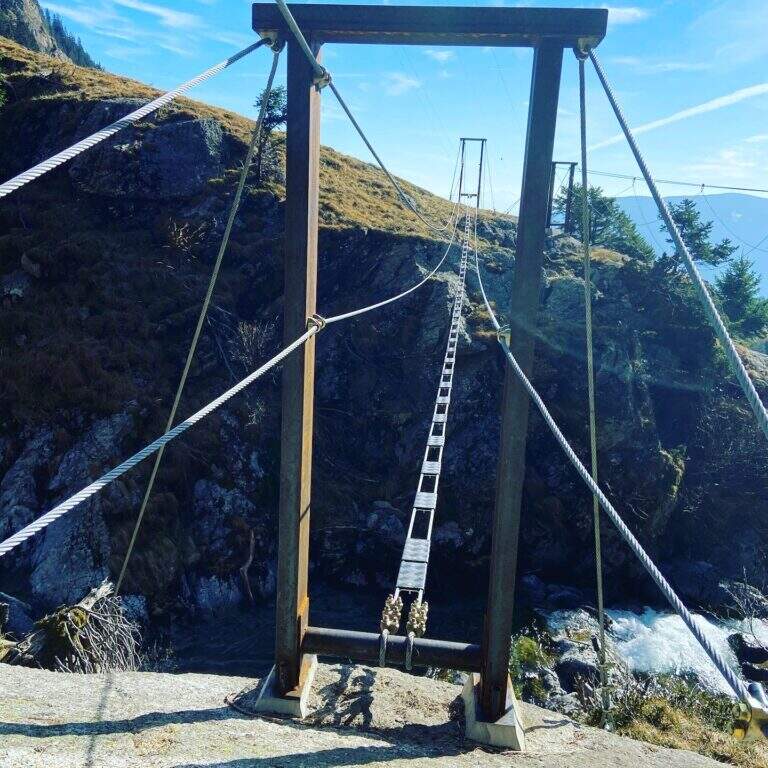
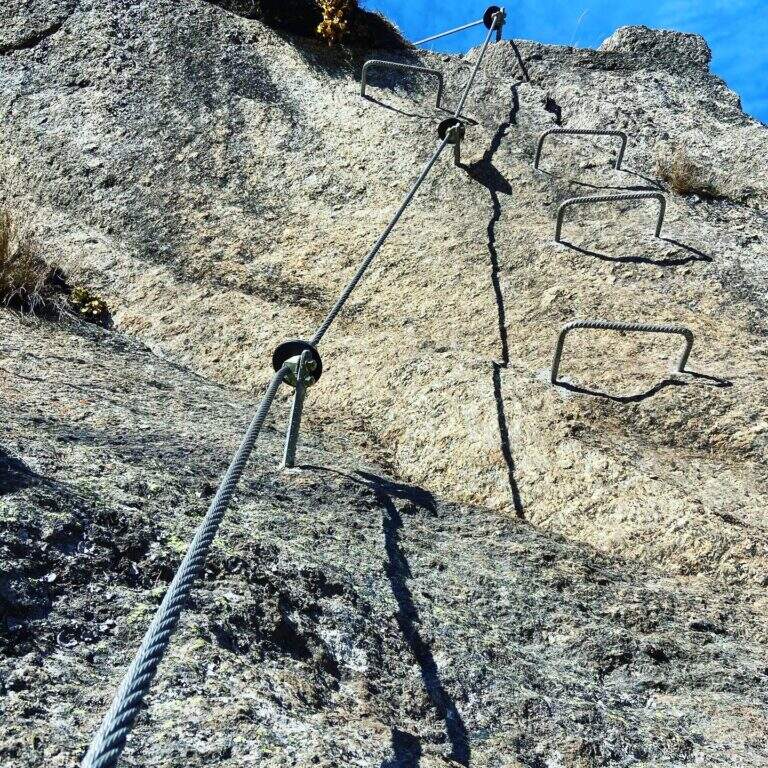
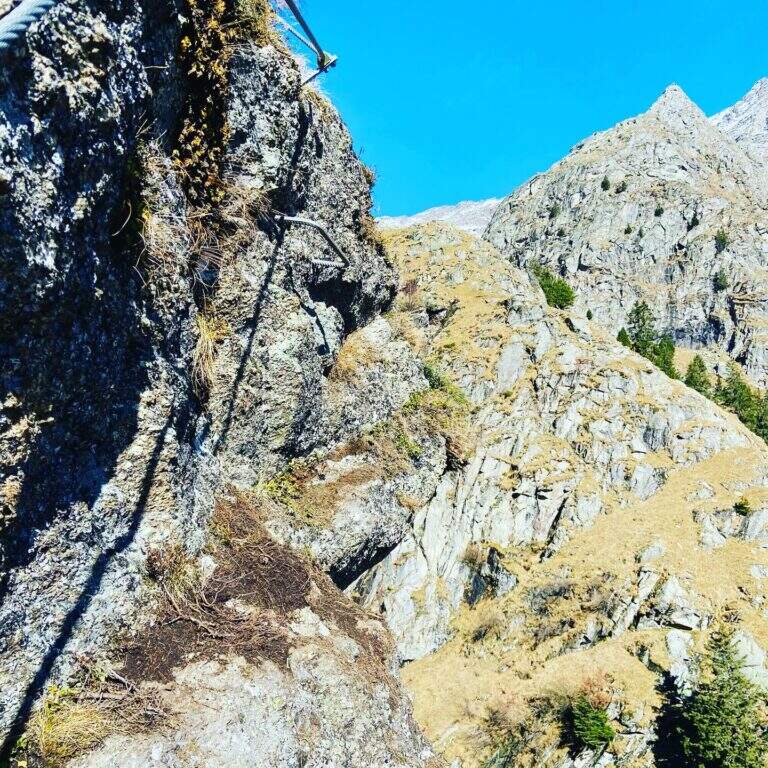
    The street, about 530 meters long, è divided into 10 sections of rope numbered and well anchored; the difficult ` are concentrated in the central part (some moderately difficult passages and a fairly difficult one). The first part rises a plaque resting with cambre and handles on the right side of the throat up to a step next to the first waterfall; after an easy stretch crosses the stream with two options: a suspended bridge not perfectly stable, with plates arranged in a longitudinal sense, or due thyrolienne (Flying Fox). We continue in front of a water conduct, we climb helped by wide cambre towards a rocky roof that is held on the right side on the plate, then we cross to the left over the roof; narrow brackets lead to a vertical wall and to a plate exposed to the right (here an escape route leads to the bridges). Follow the rope on grassy blocks and a wooden ladder up to the sentiero 8, with bench to remove l' equipment (1h 30' from the ' attack, about 2h 30' from the mountain station).

    ▲Character and difficulty

    Itinerary varied and fun in the hole environment, with the attraction of the suspended bridge and the Tyrolean. Level difference in ferrata 450 m, total 510 m, maximum altitude 1891 m, development 7.5 km.

    ⚠ In case of rain or even only of humidity the ferrata can be not completely agibile due to the numerous plaques. There is no indication of the correct use of the Tyrolean: if you are not practical, better inform yourself before or use the suspended bridge.
    ▲Discipline

    Dall'uscita si scende lungo il sentiero 8, si passa il Kaserstein (piccola baita presso un masso) e si arriva al Rifugio Nasereit (45' dal termine); dal rifugio, a ritroso sul sentiero 24 Alta Via di Merano, si torna alla stazione a monte della funivia Texel (circa 1h dal rifugio, 4h 15' totali).

    ▲To match

    The Val Venosta and its surroundings offer many ferrates: towards Solda la Ferrata Tabaretta, la Ferrata di Trafoi e la Cengles Croda; to Naturno the Hoachwool e la Knott; at Merano Heini Holzerin Val Passiria la Stuller Waterfalls and in Val Senales la Larix.

    ▲Gallery
    Technical data
    • DifficultyModerately Hard
    • RegionTrentino-Alto Adige
    • GroupGroup of Tessa
    • Approach1:00 h
    • Ferrata1:30 h
    • Itinerary (a/r)4:15 h
    • Hardware level difference450 m
    • Route difference510 m
    • Max1891 m
    • Length7,5 Km
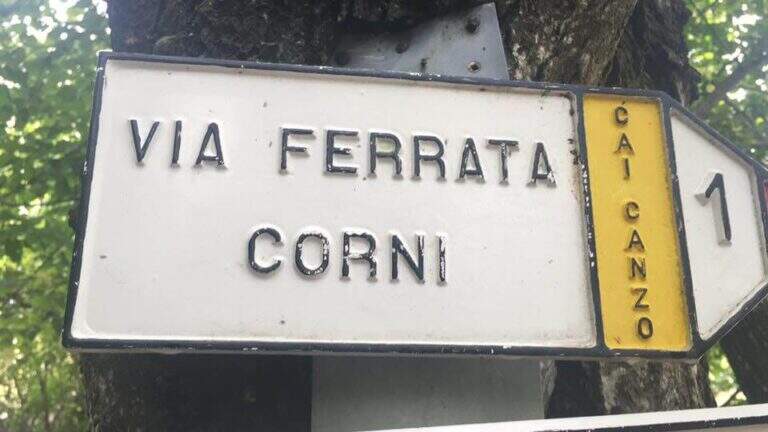
  • Ferrata del Twenty-fivennale al Corno Occidentale di Canzo

    Ferrata del Twenty-fivennale al Corno Occidentale di Canzo

    Vie Ferrate › Lombardy › Como
    Ferrata del Twenty-fivennale al Corno Occidentale di Canzo

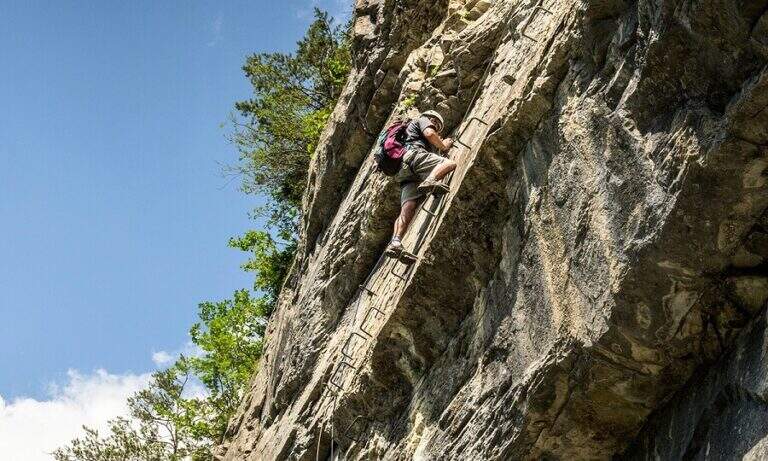
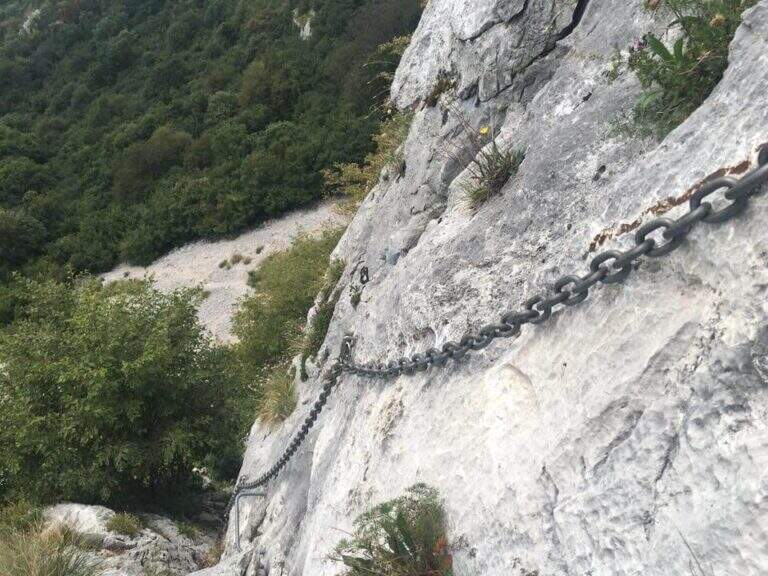
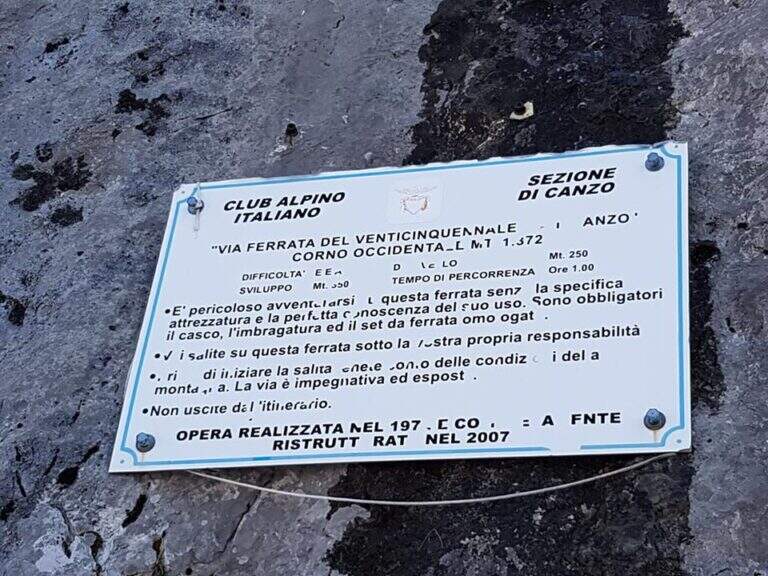
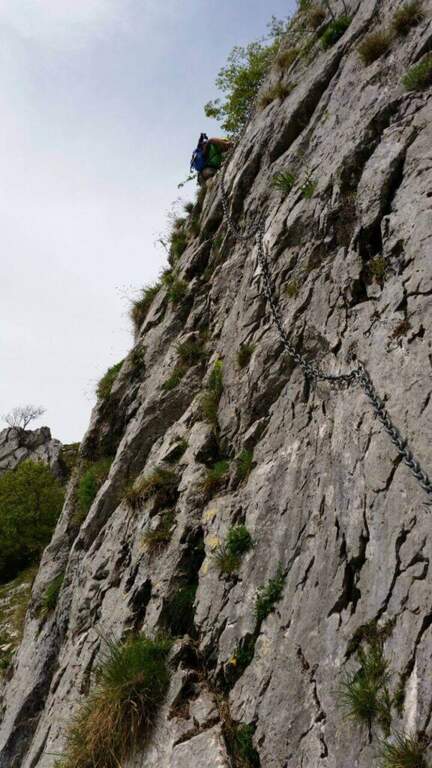
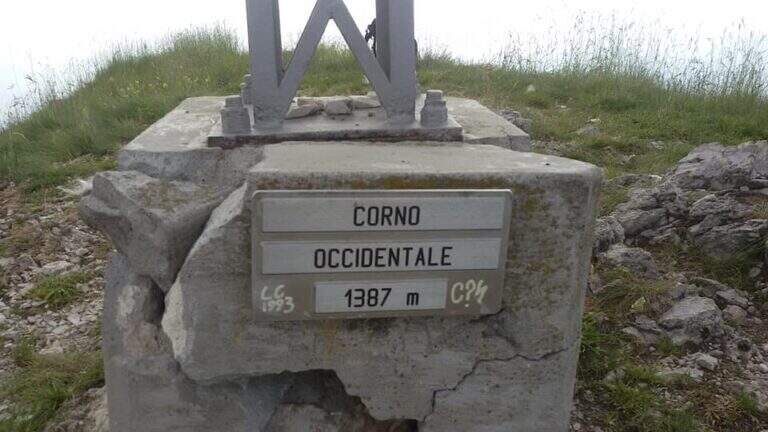
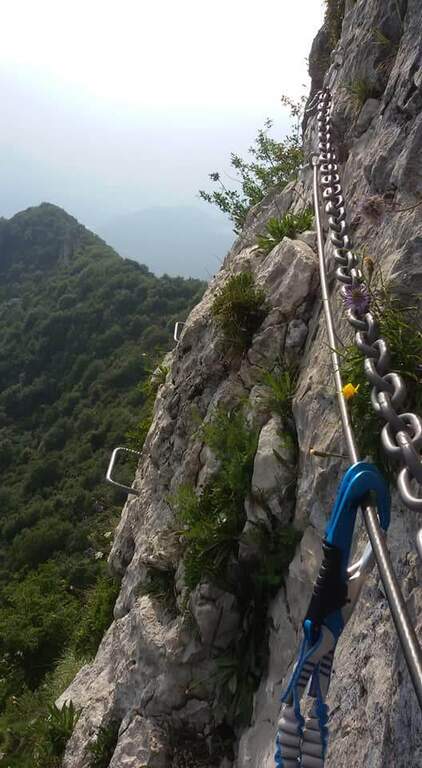
    La Ferrata del Twenty-fivennale at the Western Horn of Canzo, in the comasco, is a challenging route with rather long approach. It develops on a wall that makes little use of brackets: in order not to strain unnecessarily the arms on the chain it is advisable to climb, exploiting the excellent natural hooks.

    ▲Approach

    It starts from the Sorgenti of Gajum, in Canzo (Como), where at the end of via Gajum c'è a deck to park. Open road signs on Google Maps. Da Gajum si raggiunge il Rifugio Terz'Alpe (sentiero lungo il torrente Ravella oppure per Prim'Alpe e Second'Alpe); dal rifugio si sale ripidi a nord verso la Colma di Pianezzo e, poco prima della croce, si segue a destra una traccia che per un ghiaione porta all'attacco (1h 45' da Gajum).

    ▲The path

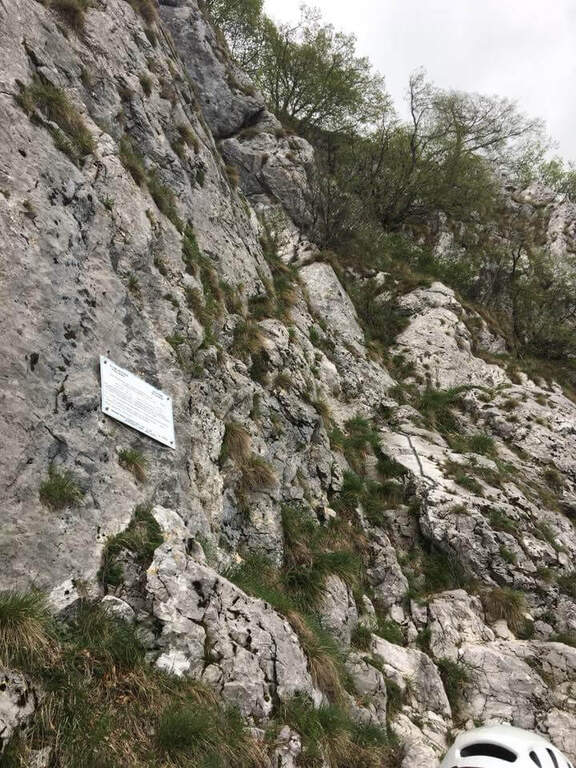
    It sticks on a short plate leaning on the right, then on the left diagonally on a well-dressed wall up to a long smooth plate, originally without brackets and today with some artificial hooks: it should climb. Turn right into a narrow canal with two brackets, walk around a tree and face a long traverse to the right with good supports but not always easy hooks (use the chain to balance, without induging in the stretches in light overhangs). There is a non-banal dihedron, some small rocks, a vertical wall of medium difficult to use; and a wire scale of about 20 meters; after a belly and small rocks you can reach a well-equipped path and l' last pillar, which requires good technique on smooth plaques (some staff present). After the walls, follow the red boils to the right, descend the saddle and go up to the summit of the Corno Occidentale (1h 30' from the attack, 3h total).

    ▲Character and difficulty

    Not long but with numerous technical steps, not recommended for beginners. The rope è often flanked or replaced by a catena coarse which sometimes prevents the carabiner to flow. Lifting height 250 m, total 900 m, maximum altitude 1373 m, development 11 km.

    ⚠ Beware of the Passo della Vacca, to be faced at least once at the end of the summit: passage not difficult but exposed, not to be underestimated just when you relax after the effort.
    ▲Discipline

    Two options. For a ripido Canalno (passages of I degree, slippery if wet) follow the red boils north to the fork of the Two Horns, then to the Rifugio Pianezzo and Gajum (1h 45' from the term, 4h 45' totali). Alternatively, go back to the path from the saddle to the ridge to a less steep canal, descending at the cross of the' approach and then to the Rifugio Pianezzo and Gajum (2h from the term, 5h total).

    ▲To match

    The most trained hikers can combine it in a long ring with Ferrata at Corno Rat, from Valmadrera.

    ▲Gallery
    Technical data
    • DifficultyHard
    • RegionLombardy
    • GroupLarian Triangle
    • Approach1:45 h
    • Ferrata1:30 h
    • Itinerary (a/r)4:45 h
    • Hardware level difference250 m
    • Route difference900 m
    • Max1373 m
    • Length11 Km
  • Ferrata Ventricini at Corno Piccolo

    Ferrata Ventricini at Corno Piccolo

    Vie Ferrate › Abruzzo › Teramo
    Ferrata Ventricini at Corno Piccolo
    Moderately Hard● OpenDescriptionComplexityMapsGallery

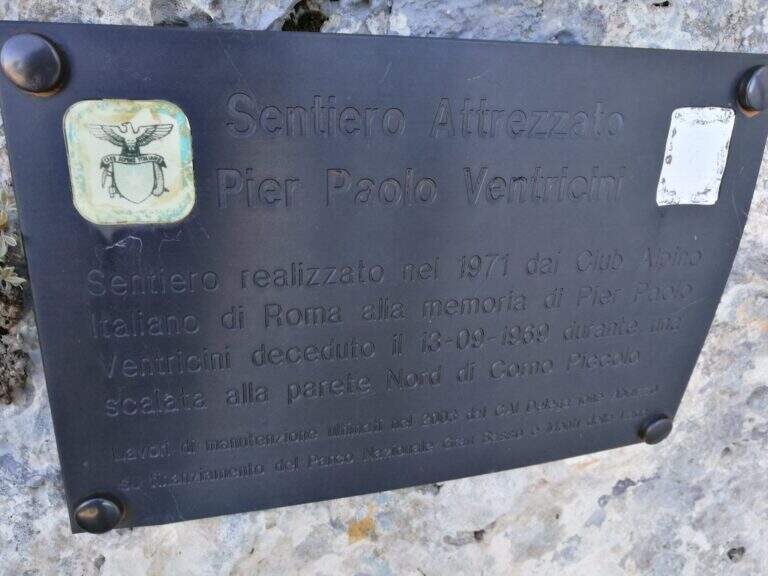
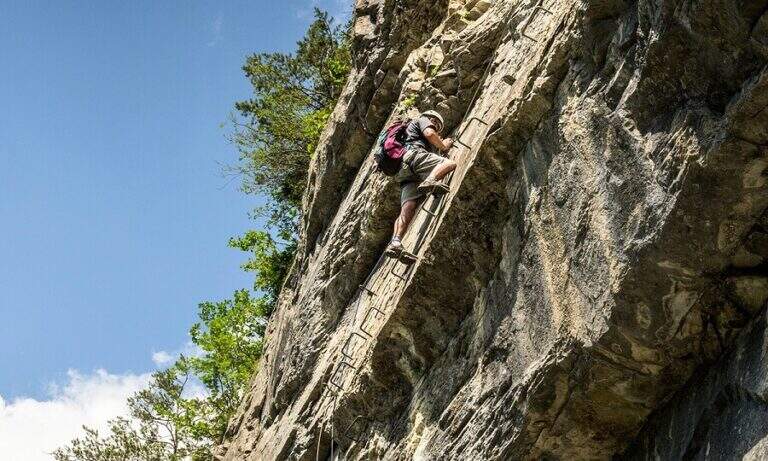
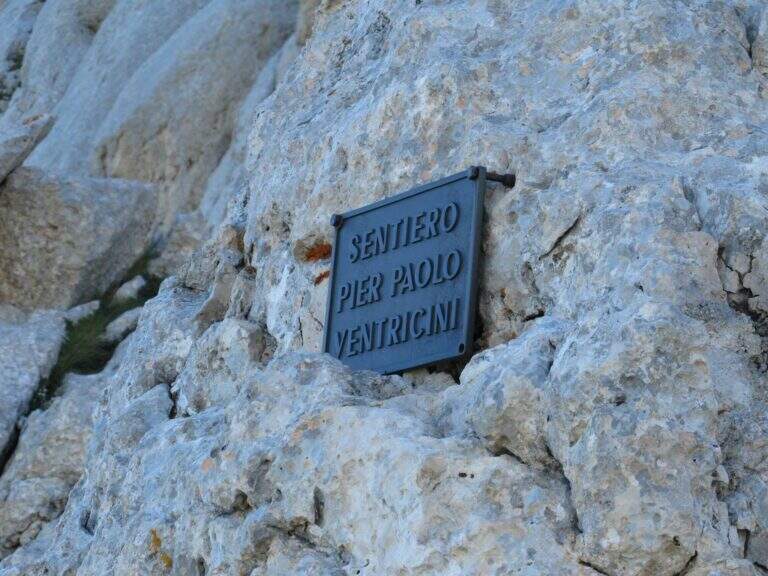
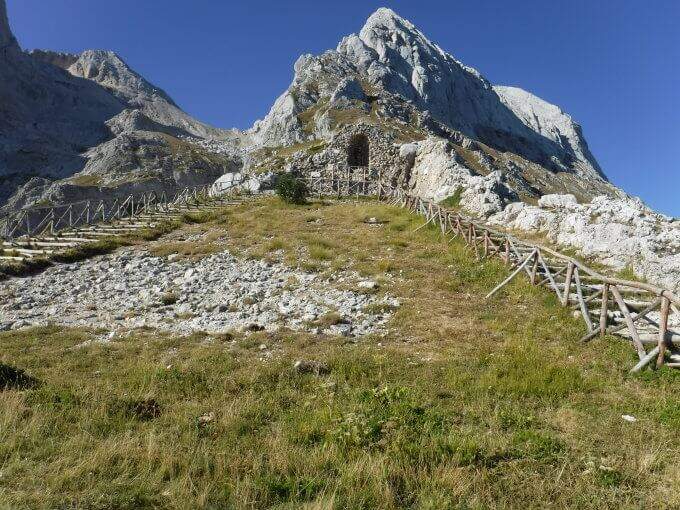
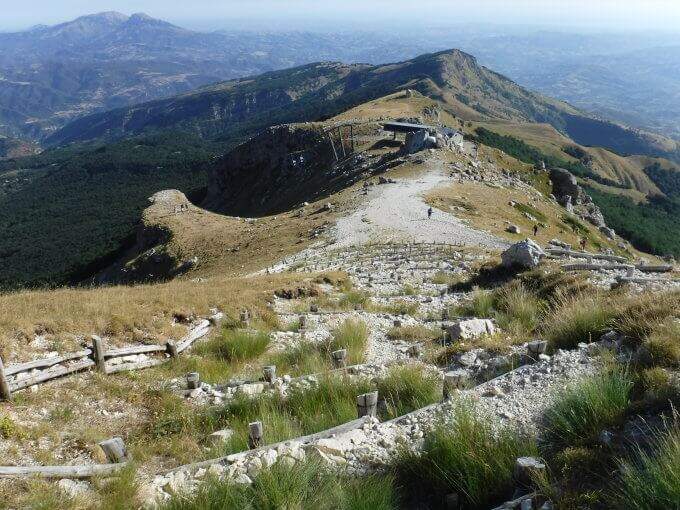
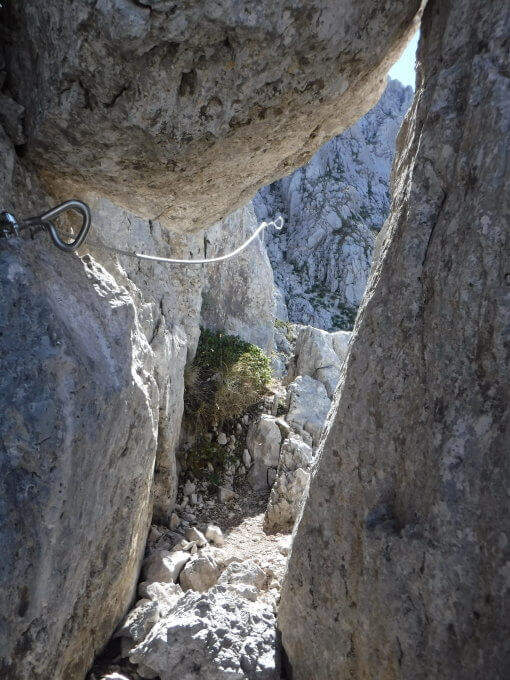
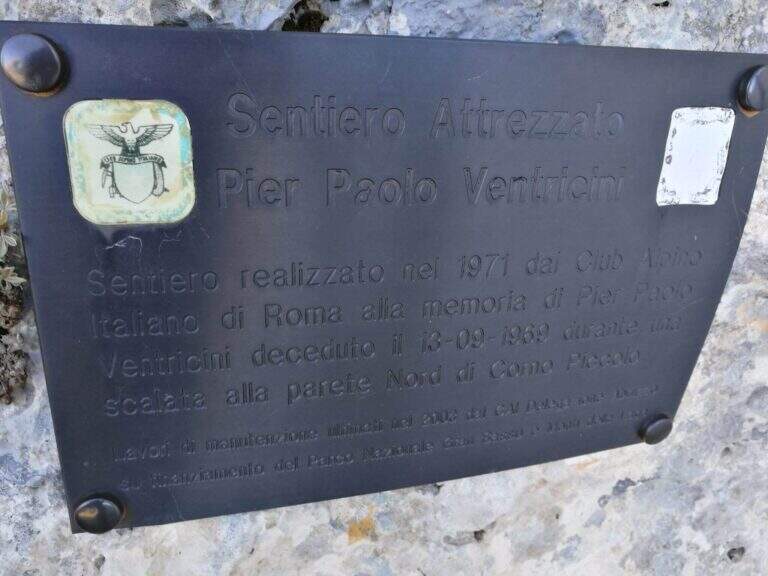
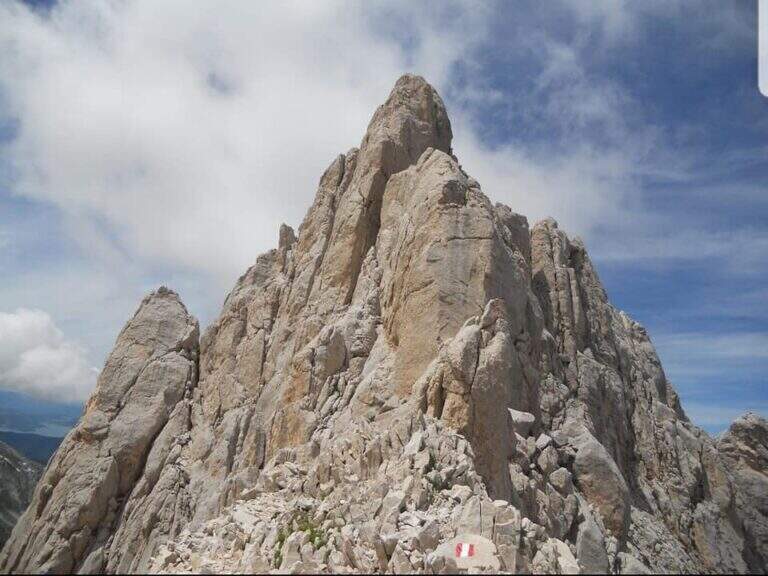
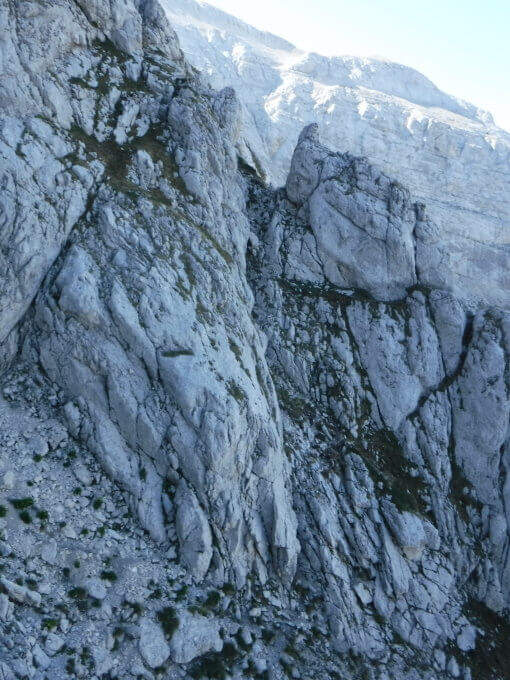
    Il Sentiero Ventricini, newly equipped with new ropes and stairs, bypasses the west wall of the Corno Piccolo in the Gran Sasso. È an interesting and never difficult itinerary, largely assimilated to a challenging equipped path: also suitable for those who have not yet gained experience on complex ferrate routes.

    ▲Approach

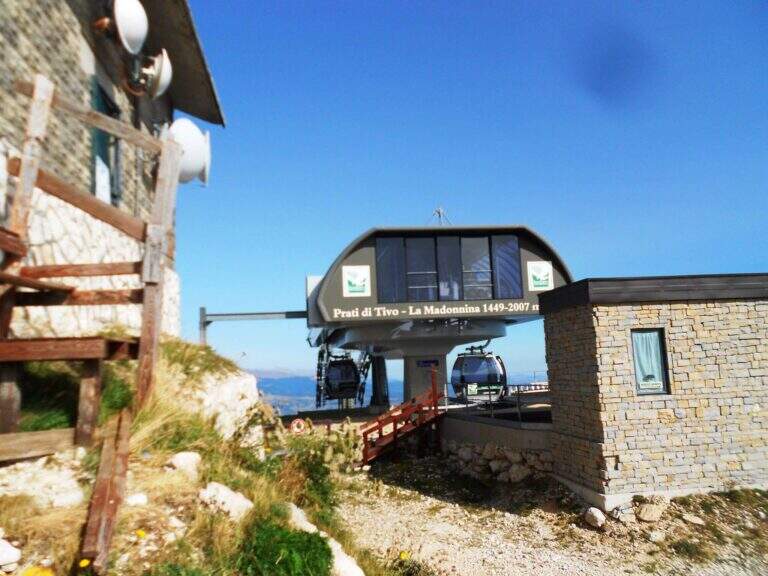
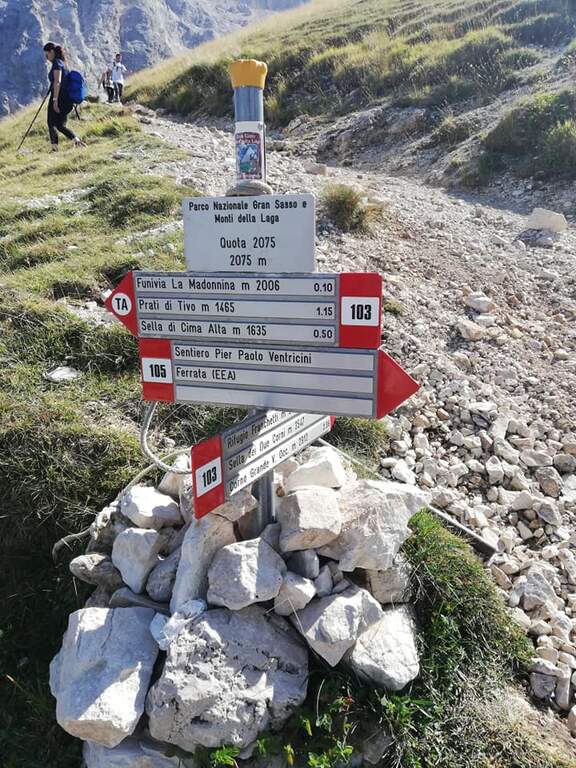
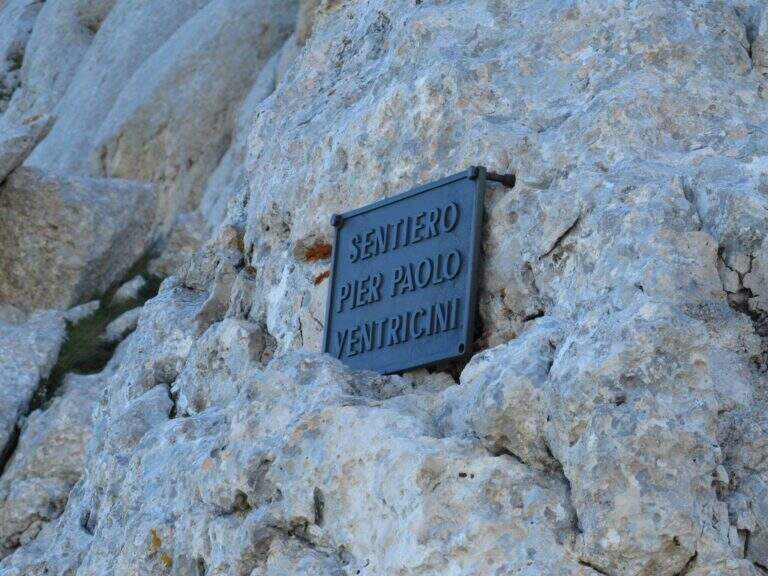
    You can reach Prati di Tivo (Teramo), on the slopes of the Gran Sasso (exit A24 S. Gabriele – Colledara, then SS del Gran Sasso). Open road signs on Google Maps. Dalla stazione a monte dell'ovovia (località la Madonnina) si segue il sentiero 103 verso il Rifugio Franchetti; dopo circa 10' si tiene il bivio a destra e, a mezzacosta sul fianco nord del Corno Piccolo, si raggiunge la targa d'inizio della ferrata (45' dall'ovovia).

    ▲The path

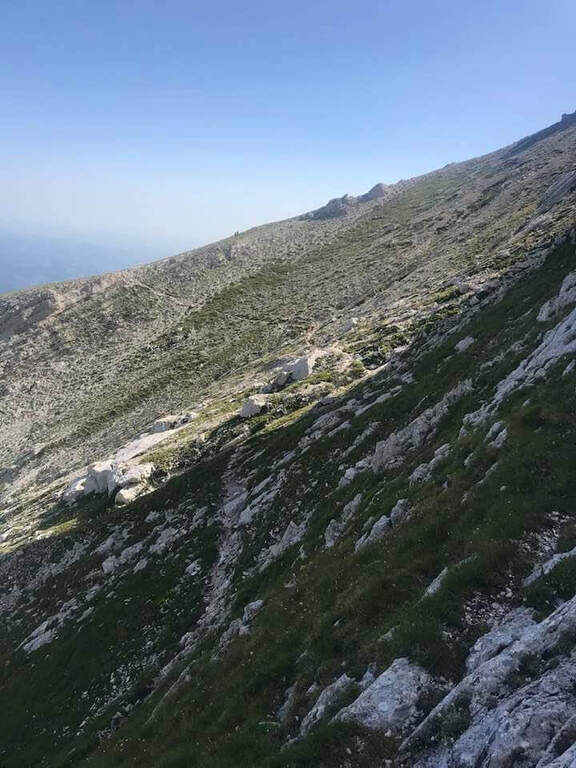
    The initial part è in discesa for a few meters along the white-red bubbles, up to a equipped stretch that goes up vertical with cable and never difficult stairs. You reach the west wall of the Corno Piccolo and continue between climbs, blinds and easy passages sometimes not protected, up to a passage framed between two massive where, impossible to pass with the backpack on the shoulder, it is best to hang it all' Imbrago with a postponement or a fettuccia. Shortly after the ferrata ends (1h 20' from' attack, 2h 15' totali).

    ▲Character and difficulty

    Technically easy way, great to take confidence with the environment of the Gran Sasso and to build ring routes. Level difference in ferrata 250 m, total 550 m, maximum altitude 2575 m, development 7 km.

    ⚠ Access depends on the opening of the Prati di Tivo ovovia: check the times and any closures of the plant before leaving, as an alternative, evaluating the ascent on foot from the Cima Alta refuge.
    ▲Discipline

    Dal termine si può salire a sinistra la via normale al Corno Piccolo (passaggi di I grado, 1h) e poi rientrare a ritroso lungo il Ventricini fino all'ovovia (5h 30' totali); oppure proseguire fino alla Sella dei Due Corni e scendere al Rifugio Franchetti, da cui per la Ventricini si torna all'ovovia (1h 30' dal termine, 4h 45' totali).

    ▲Gallery
    Technical data
    • DifficultyModerately Hard
    • RegionAbruzzo
    • GroupGran Sasso
    • Approach0:45 h
    • Ferrata1:20 h
    • Itinerary (a/r)5:30 h
    • Hardware level difference250 m
    • Route difference550 m
    • Max2575 m
    • Length7 Km
  • Ferrata di Volturara Irpina (Maroia)

    Ferrata di Volturara Irpina (Maroia)

    Vie Ferrate Campania › Avellino
    Ferrata di Volturara Irpina (Maroia)
    Moderately Hard● OpenDescriptionComplexityMapsGallery

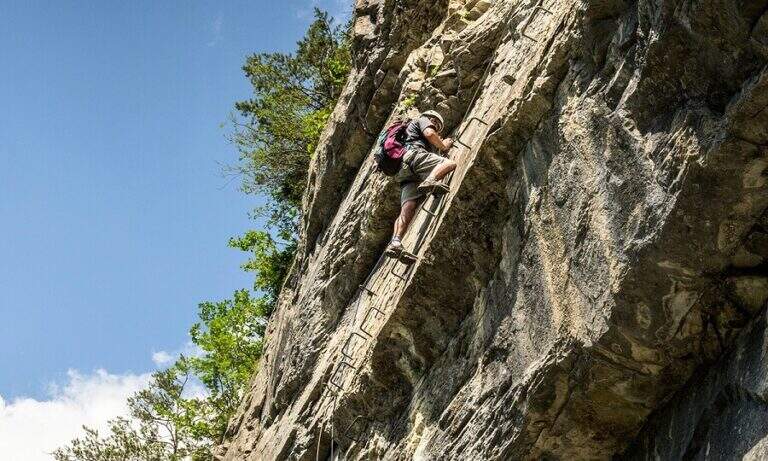
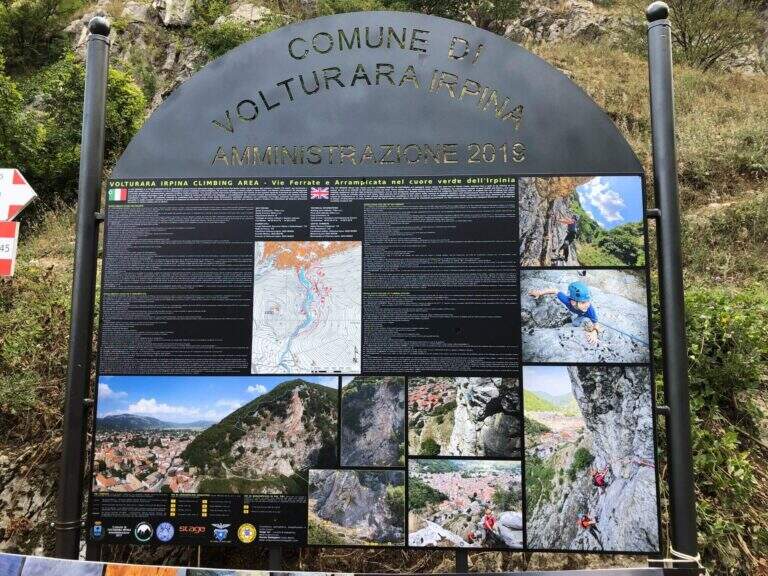
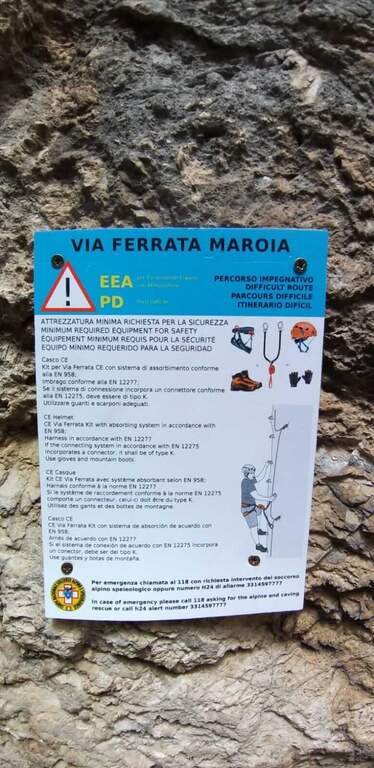
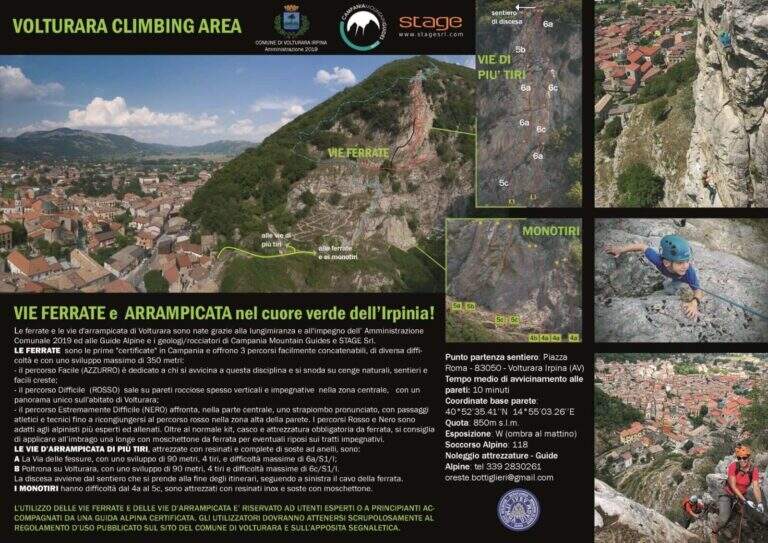
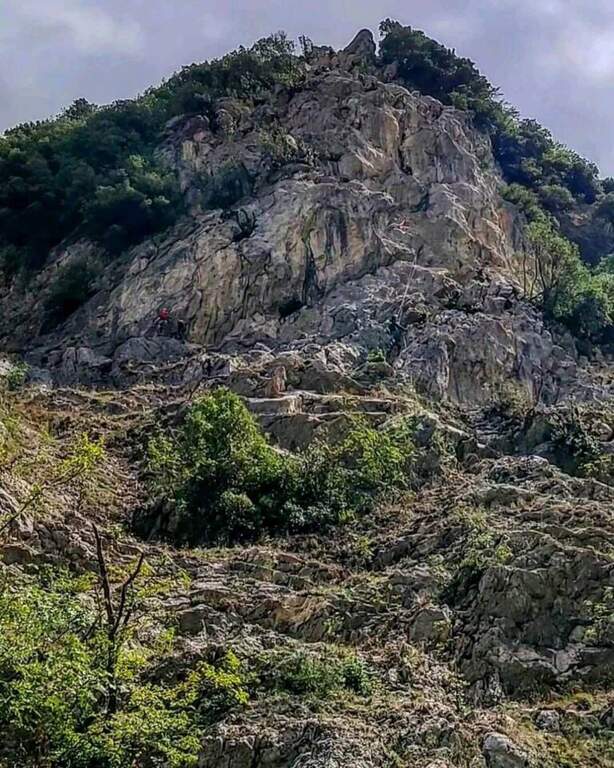
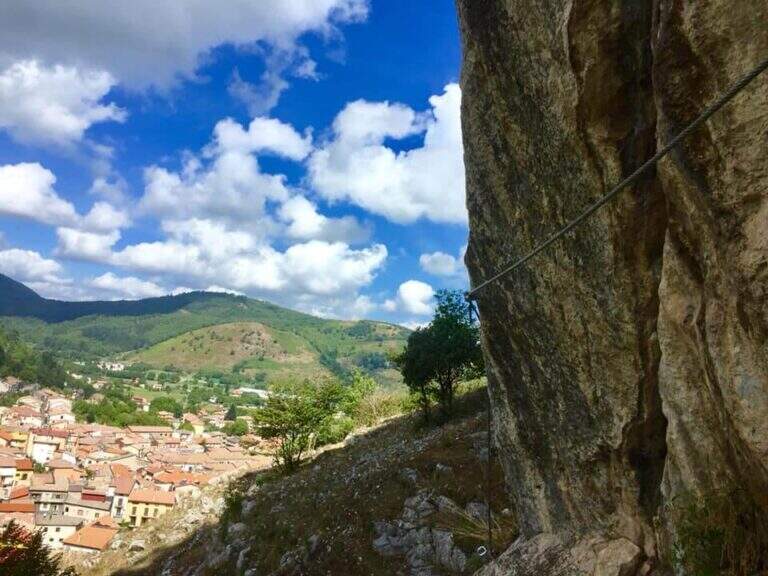
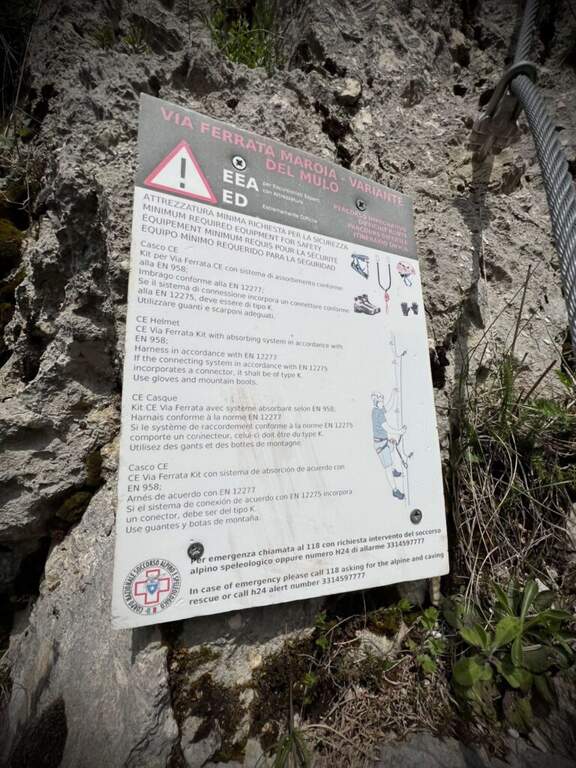
    La Ferrata di Volturara Irpina (or Ferrata di Maroia) è the first via ferrata certified in Campania, installed in 2019 on the west wall of Monte Costa. It offers tre routes difficultà growing – an easy base track, a moderately difficult variant and an extremely difficult variant with strapiombi – in a beautiful and out of the usual destinations.

    ▲Approach

    It starts from the center of Volturara Irpina (Avellino), with the wall clearly visible to the southeast. Open road signs on Google Maps. From' crossroads between Via Sibilla, Via Candragone and Via Pasquale de Feo a road to the wall: follow the signs, ignoring on the left the multipitch routes, and in a few meters you reach l' hardware attack (10' from center).

    ▲The path

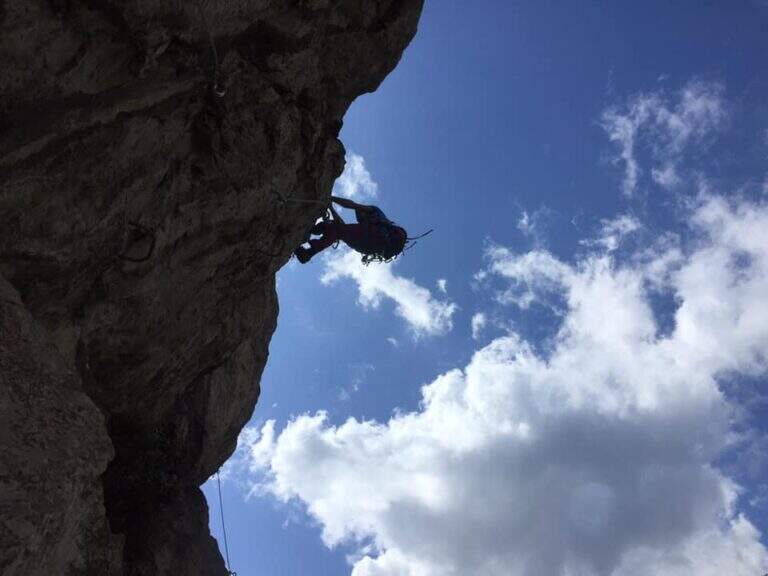
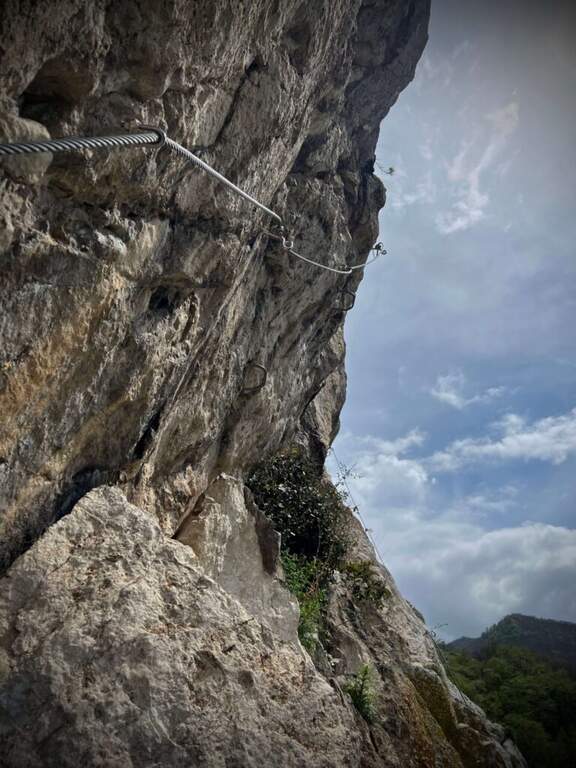
    The route has a first common obligated trait, then it is divided into three tracks with an escape route after the first stretch. The blue path (easy) climbs a ramp to the right and a stranded edge in climbing, then descends a couple of meters to the left on an exposed and panoramic traverse; it continues left on path in the forest (here the escape route) and ends with blinds and easy leaps on the summit cres. The Red Path (the real Ferrata Maroia, moderately difficult) keeps the right on a ' wide nod, exceeds a challenging diagonal traverse, a strapiombo with athletic pitch and beautiful exposure, until you reach the blue path. The Black Path (Mount, extremely difficult) & short but very athletic: after an easy start rooms challenging walls up to a netto vertical strapiombo devoid of hooks, to pass fast, before rejoining the red path.

    ▲Character and difficulty

    Recently with equipment in good condition and the possibility to choose the level suitable for your preparation. Level difference in ferrata 150 m, total 180 m, maximum altitude 800 m, development 4 km.

    ⚠ The red and especially black variants have athletic strapiombi: honestly evaluate their conditions before engaging them and taking advantage of the escape route after the first stretch if necessary.
    ▲Discipline

    From the word follow signs CAI 145 and 145a which in about 20' they report to the center of the village: on the left (north) you descend into the forest until the census of the ' attack, on the right (south) you reach the alleys of the country (2h totali).

    ▲Gallery
    Technical data
    • DifficultyModerately Hard
    • RegionCampania
    • GroupMonti Picentini
    • Approach0:10 h
    • Ferrata1:30 h
    • Itinerary (a/r)2:00 h
    • Hardware level difference150 m
    • Route difference180 m
    • Max800 m
    • Length4 Km
Need help? Write to us!