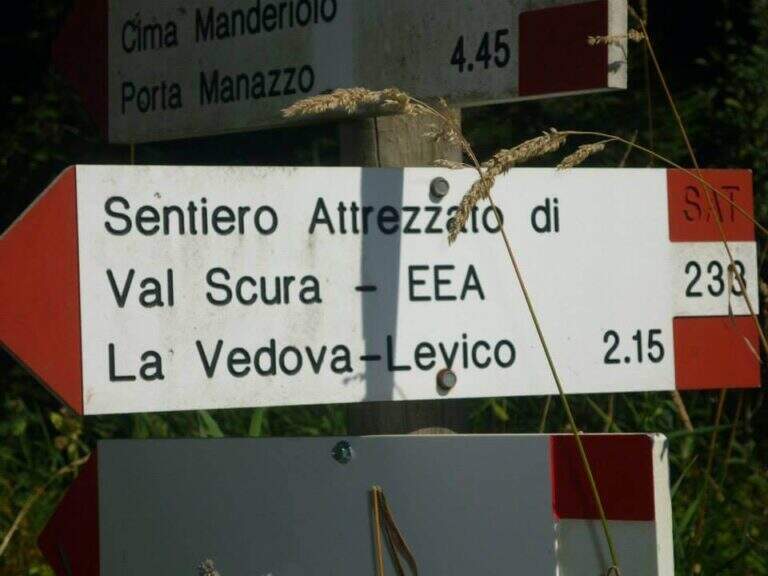
Paese: Italia

  • Sentiero Attrezzato Church in Val Scura

    Sentiero Attrezzato Church in Val Scura

    Vie Ferrate › Trentino-Alto Adige › Trento
    Sentiero Attrezzato Church in Val Scura
    Moderately Hard● To checkDescriptionComplexityMapsGallery

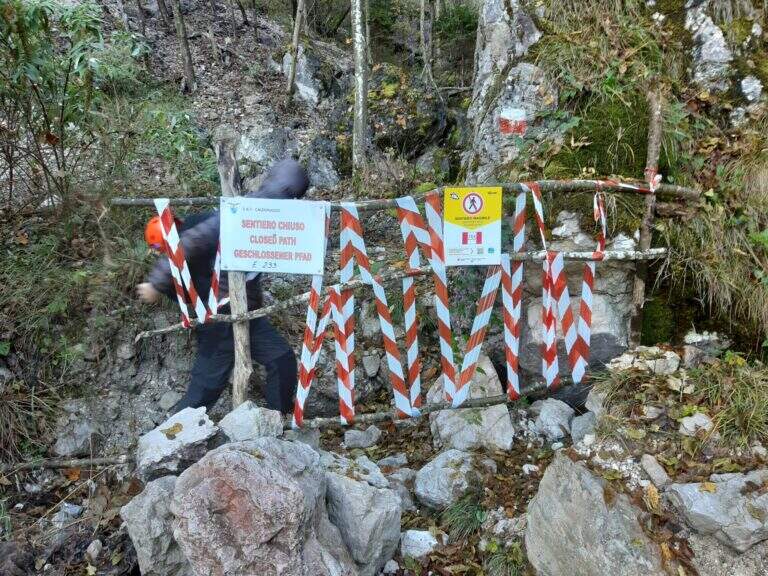
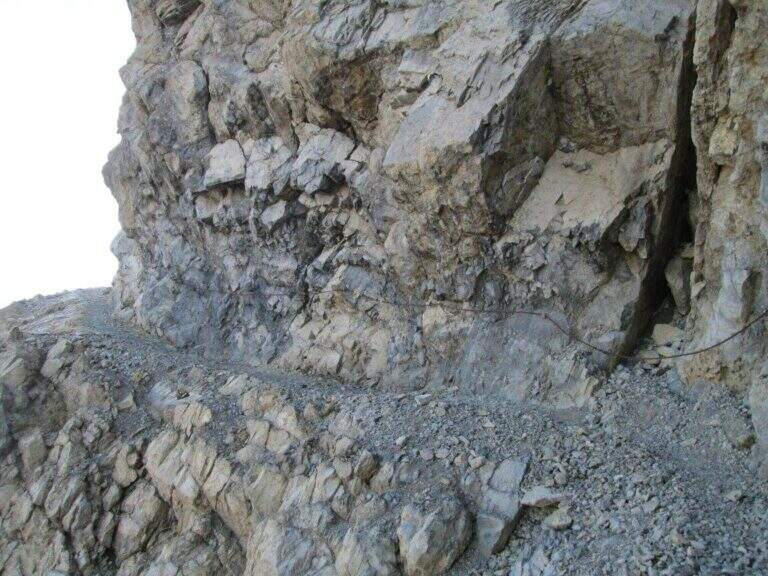
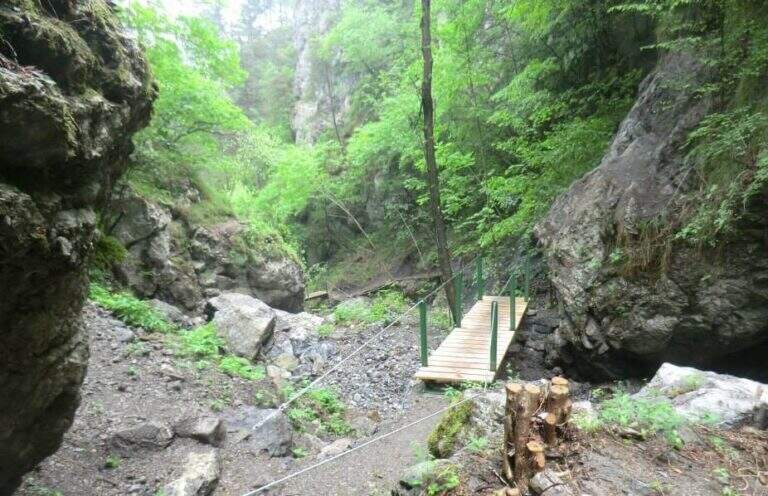
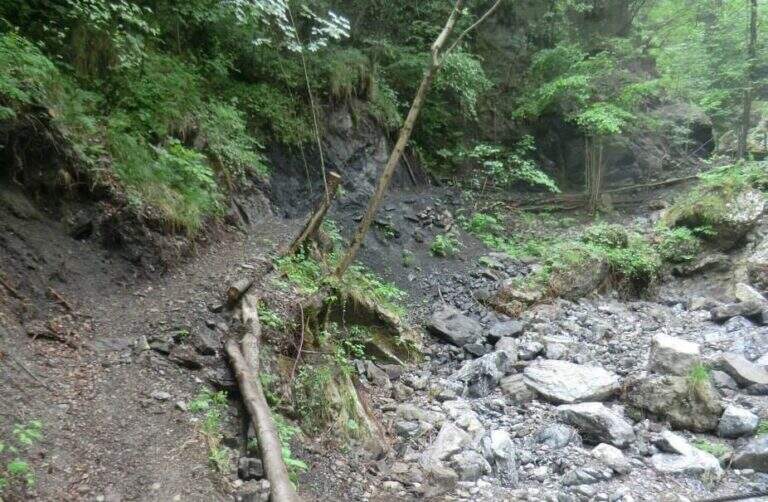
    viso Notice — In 2017 the ferrata was closed for maintenance and is not confirmed by official reopening. Two traits can present missing equipment or maintenance, which greatly increases the degree of difficulty. Check the updated conditions before leaving: to proceed safely, you need a steady foot and a rope to ensure the climbing companion.

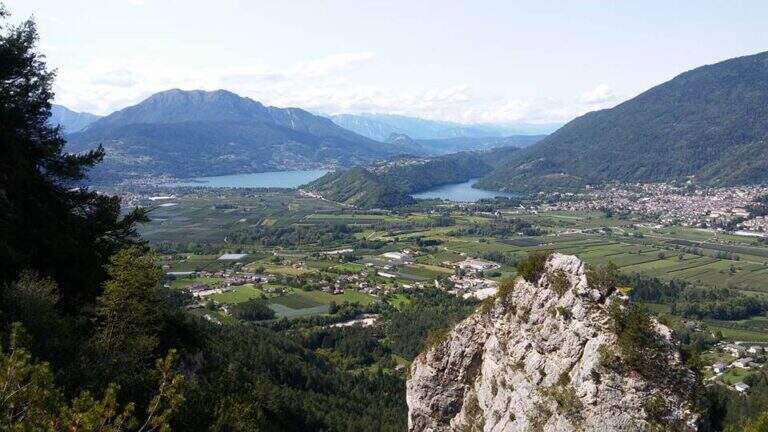
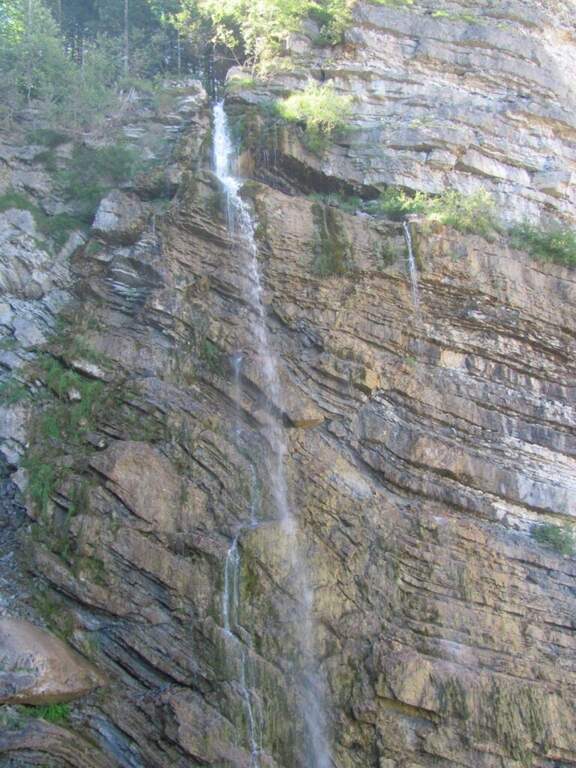
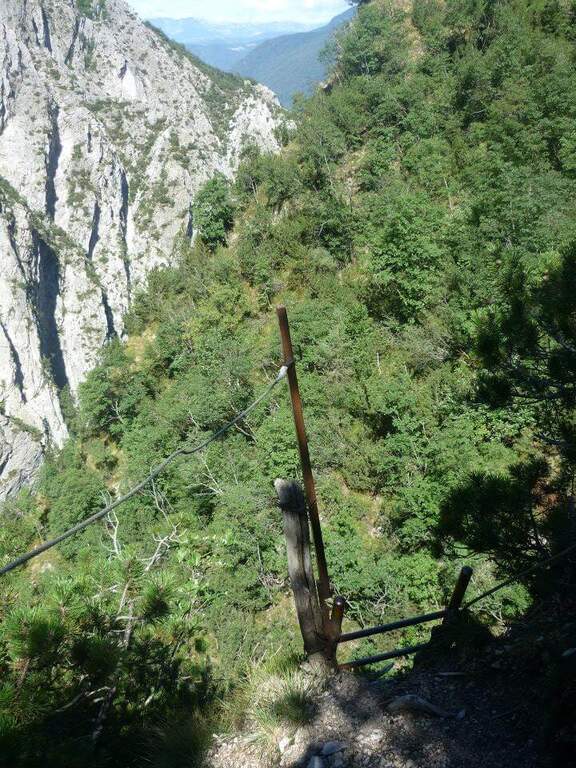
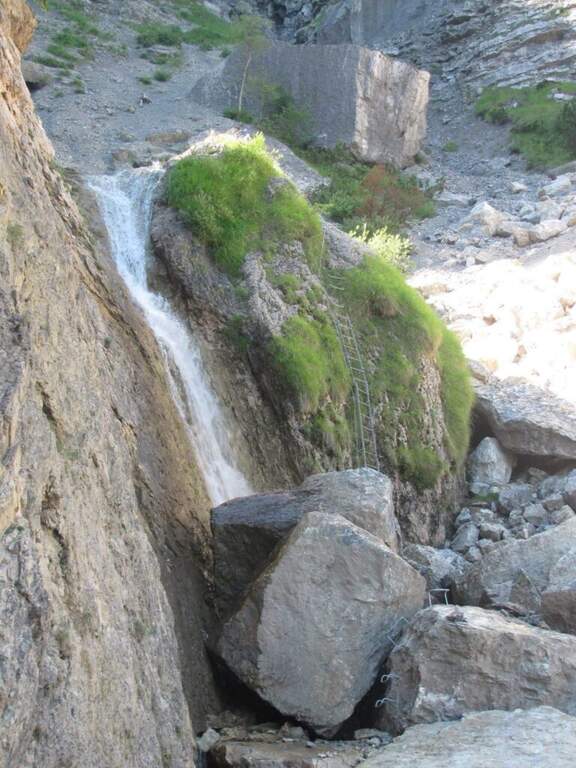
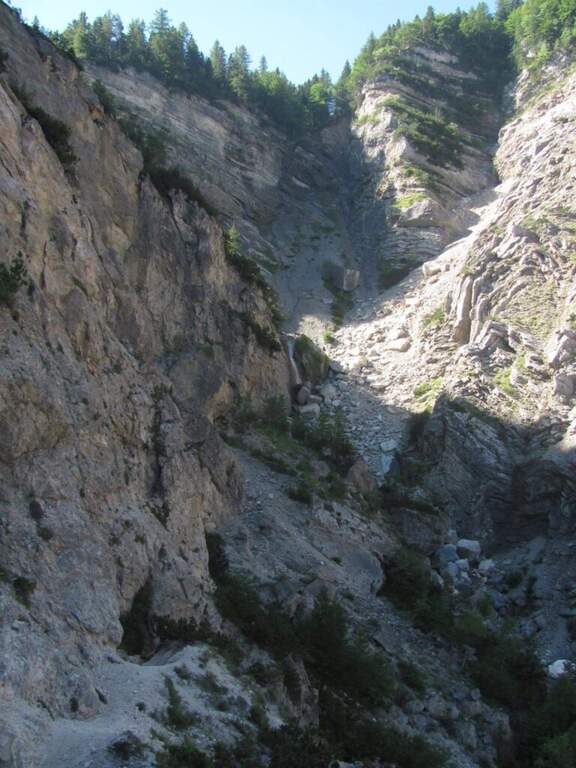
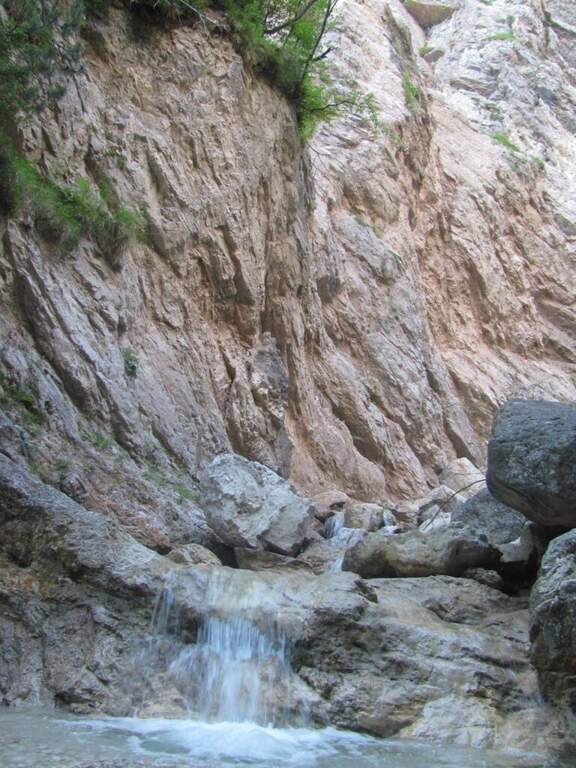
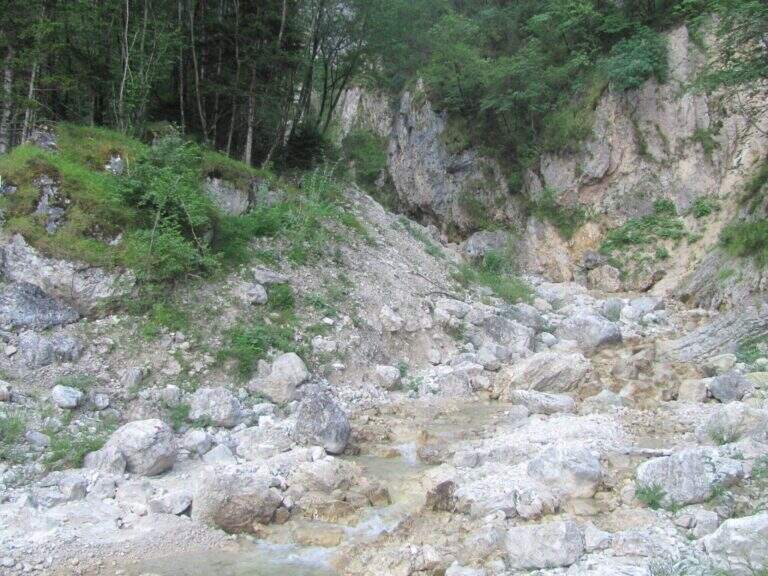
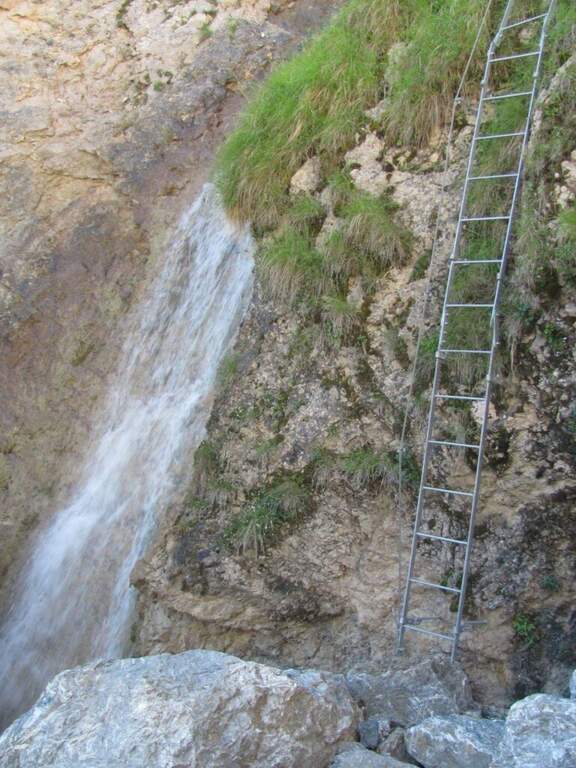
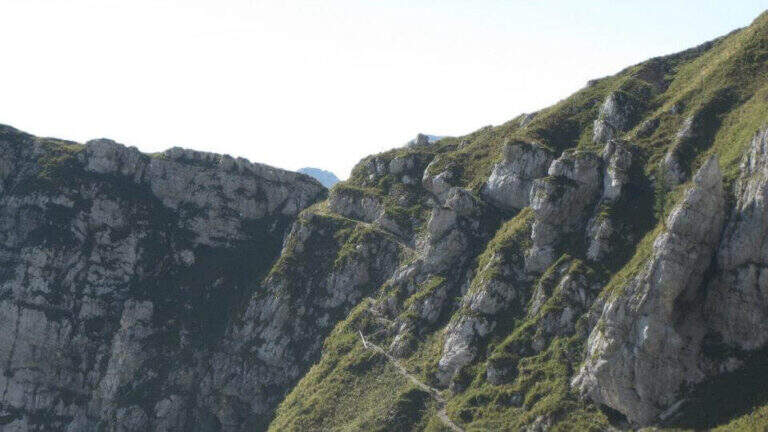
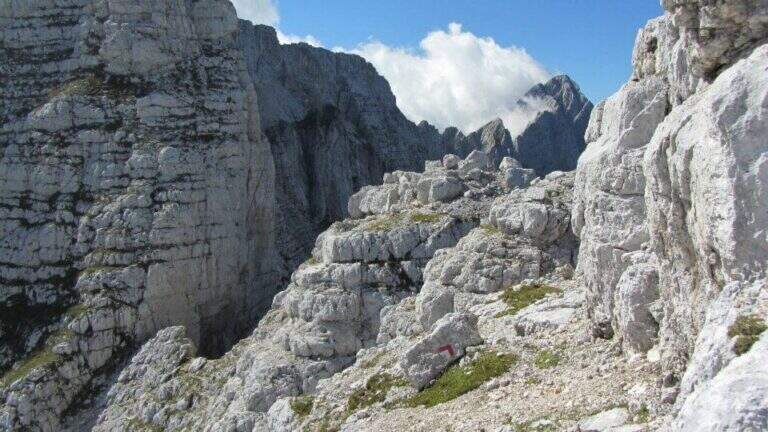
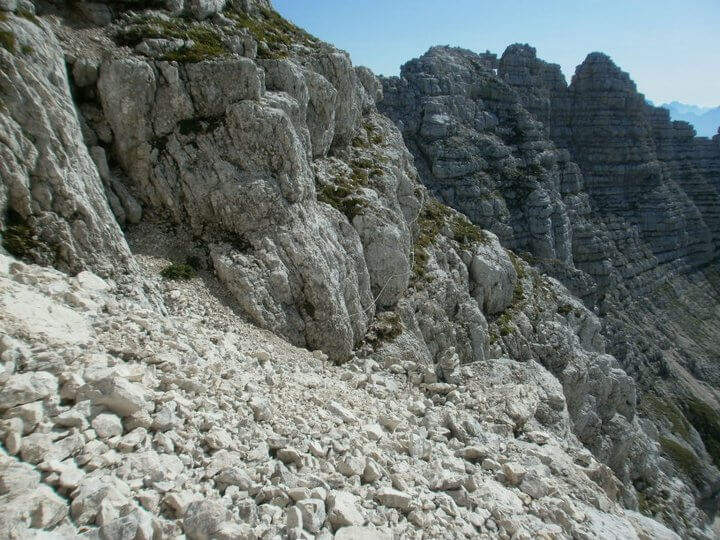
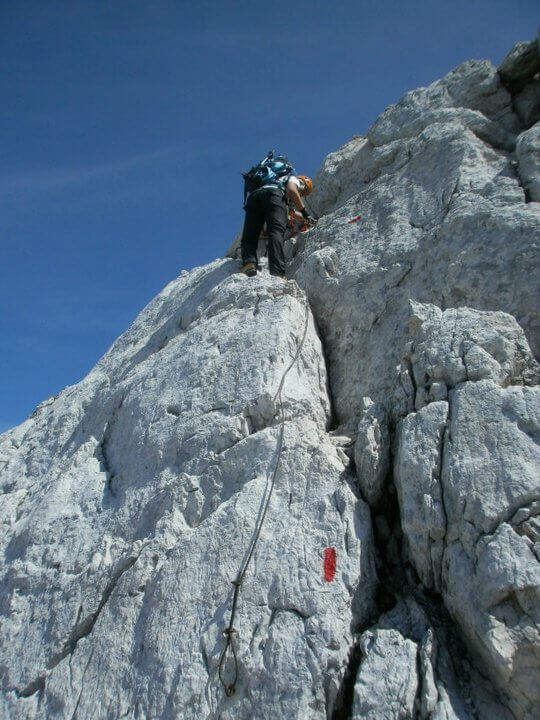
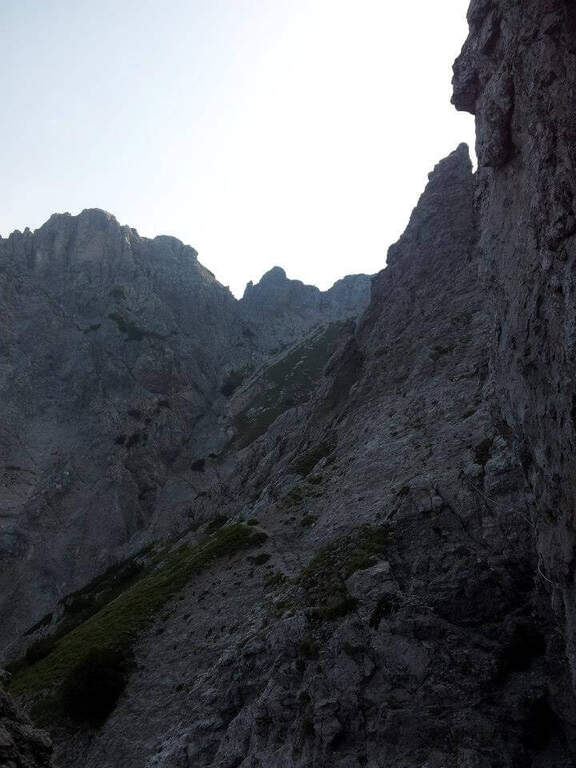
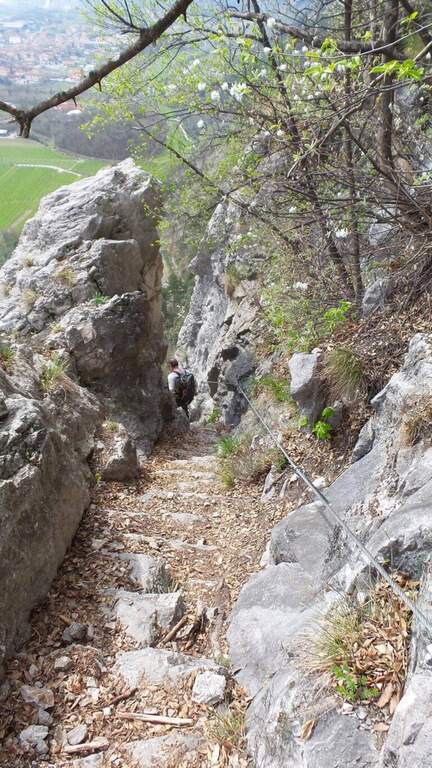
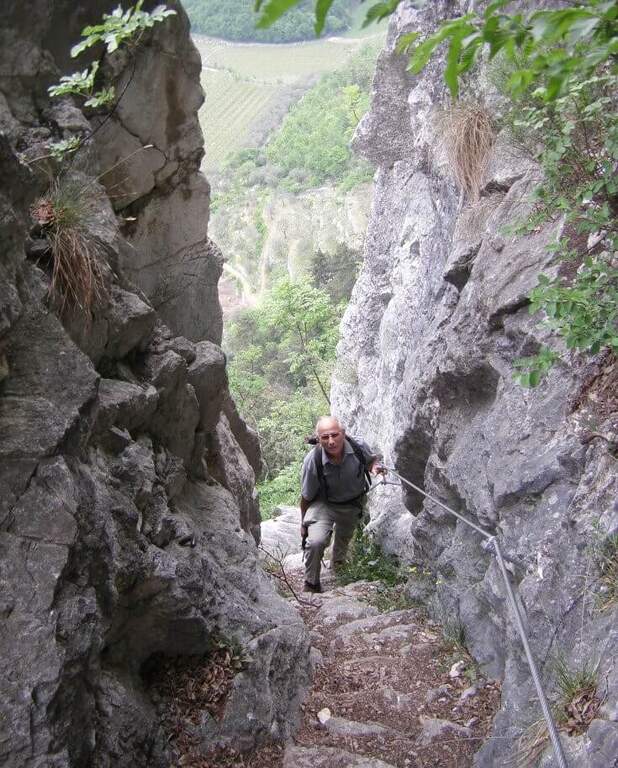
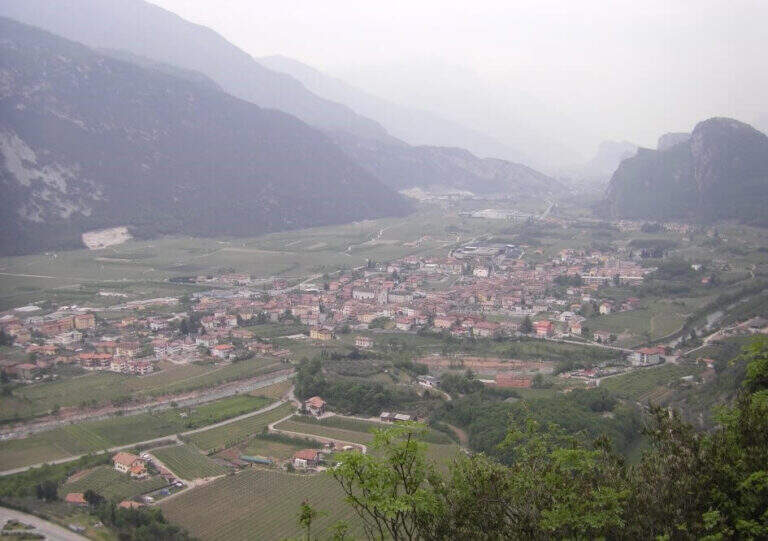
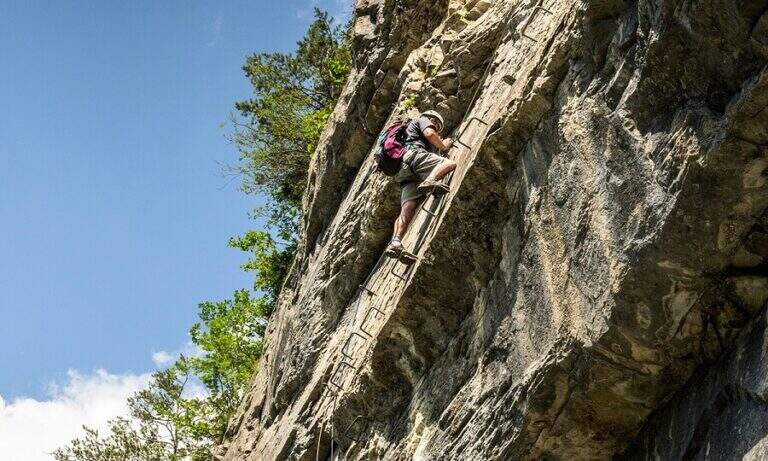
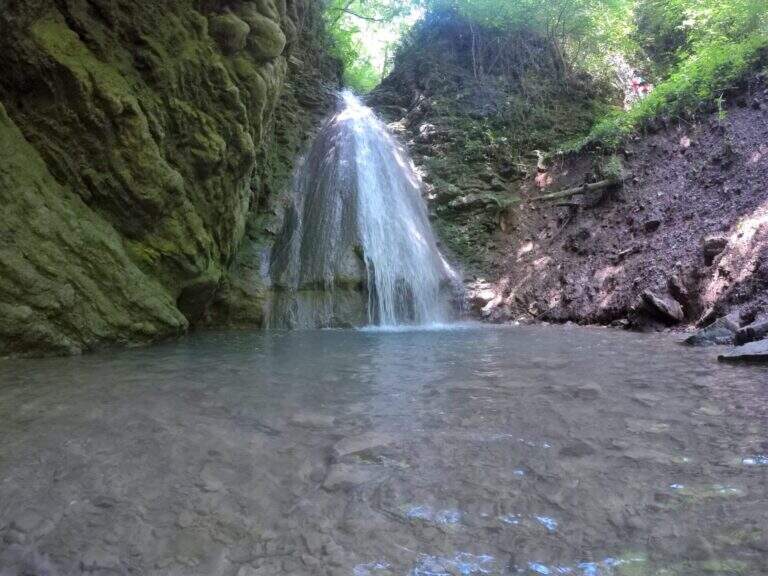
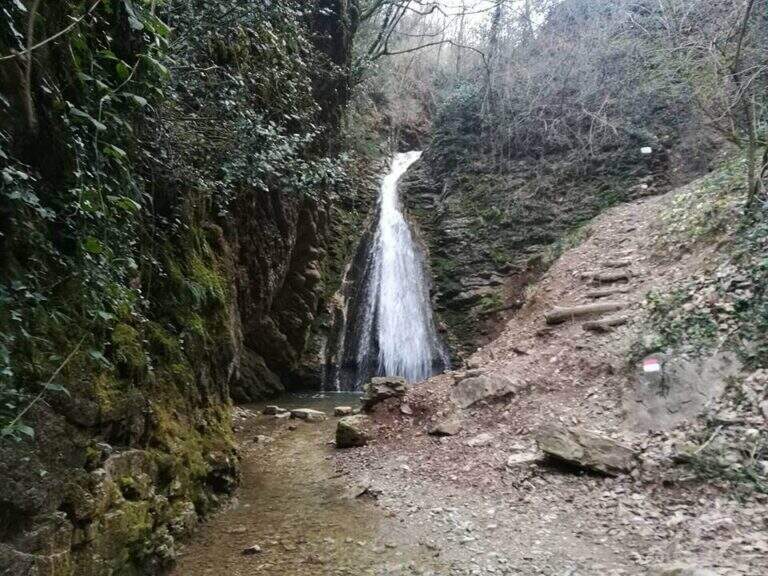
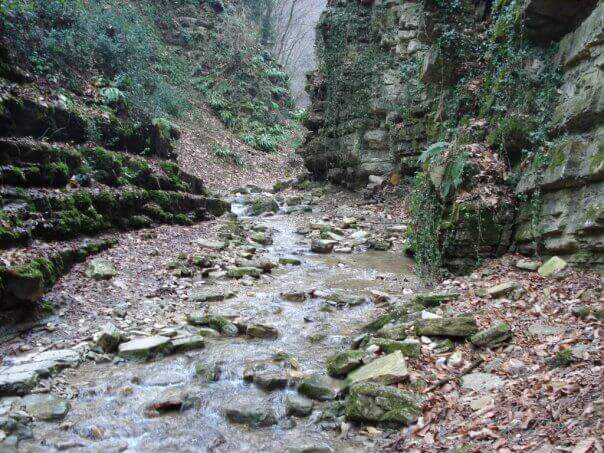
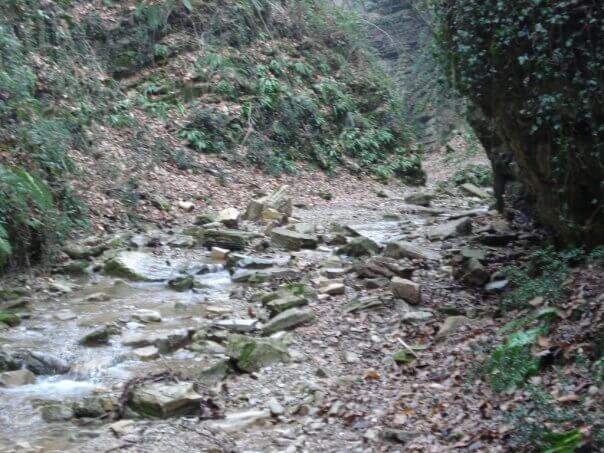
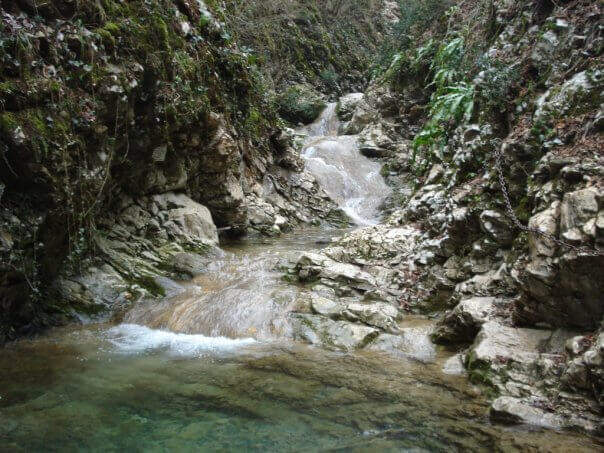
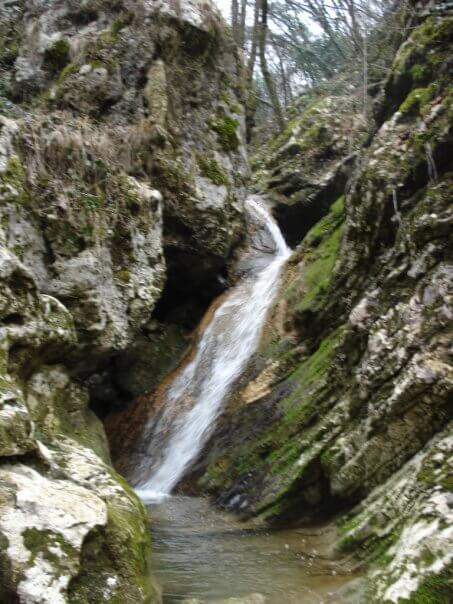
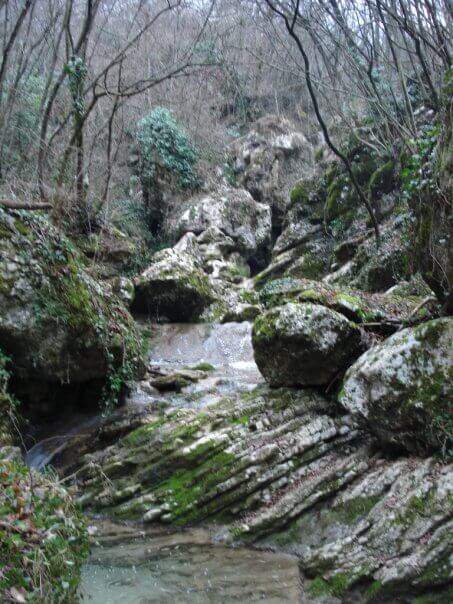
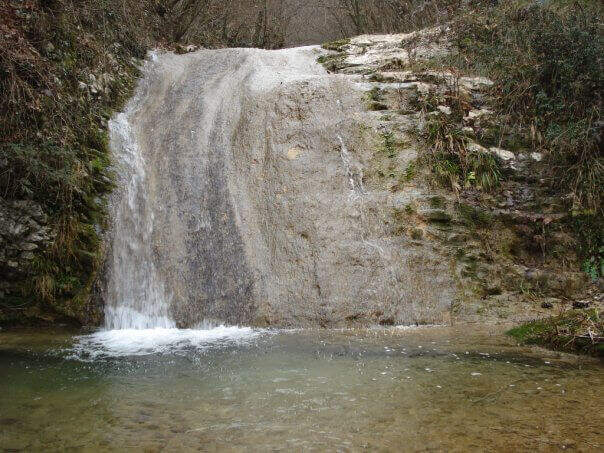
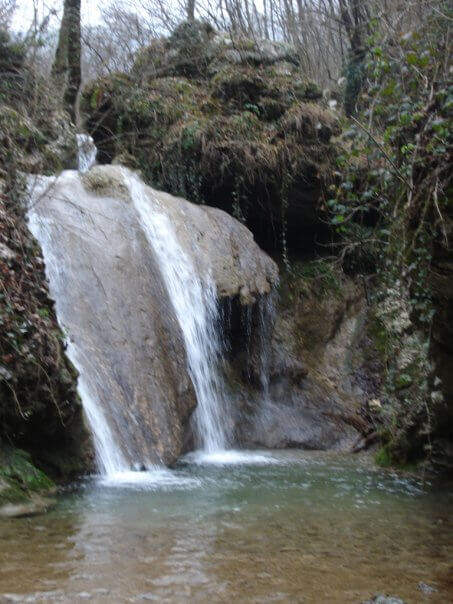
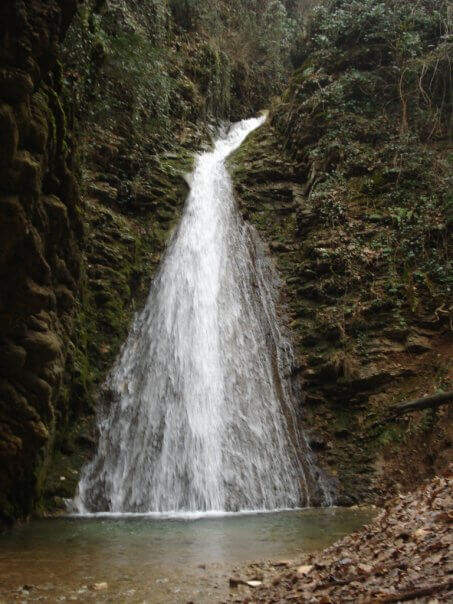
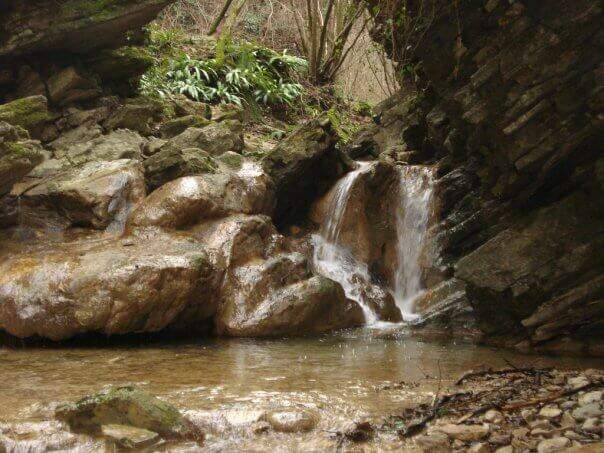
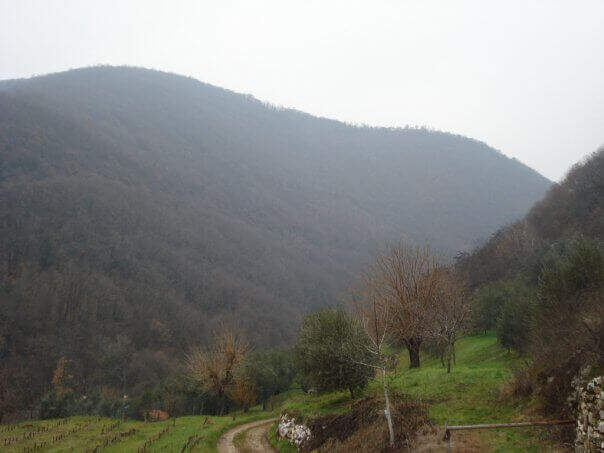
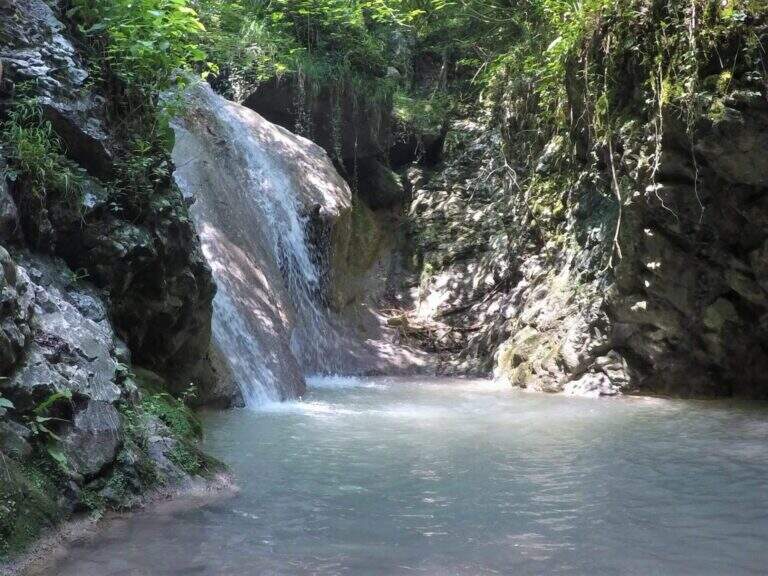
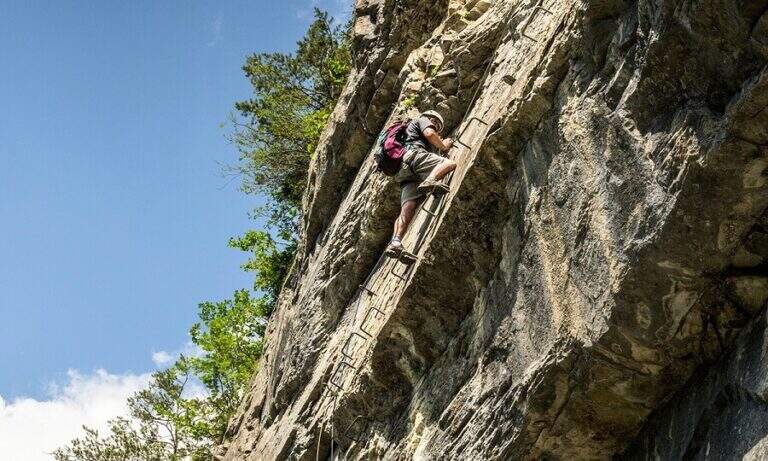
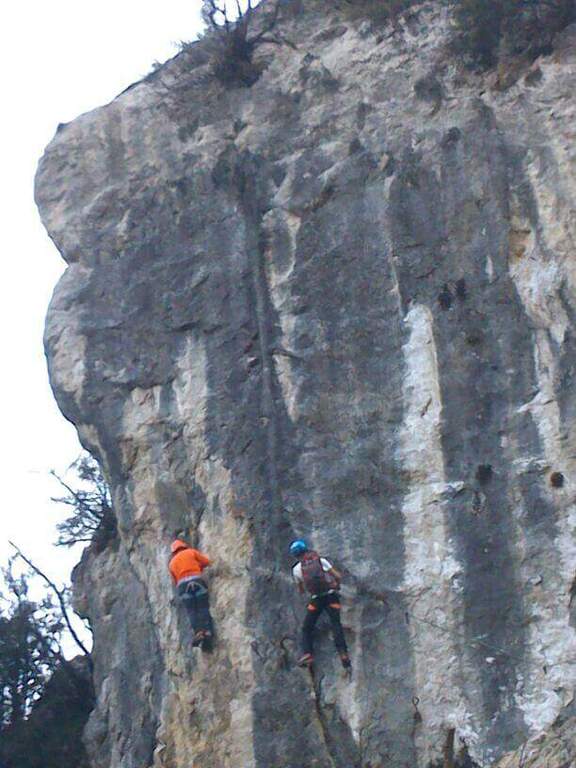
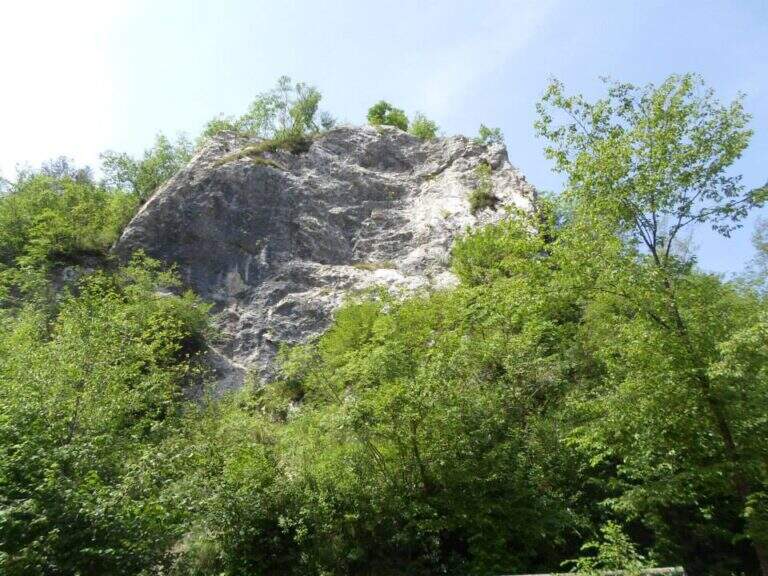
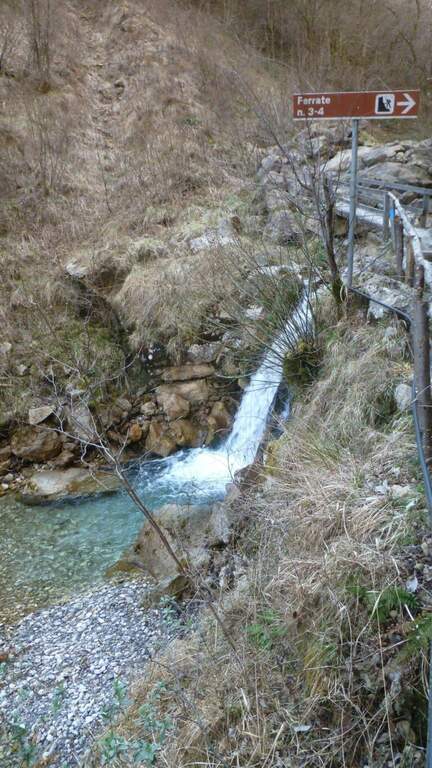
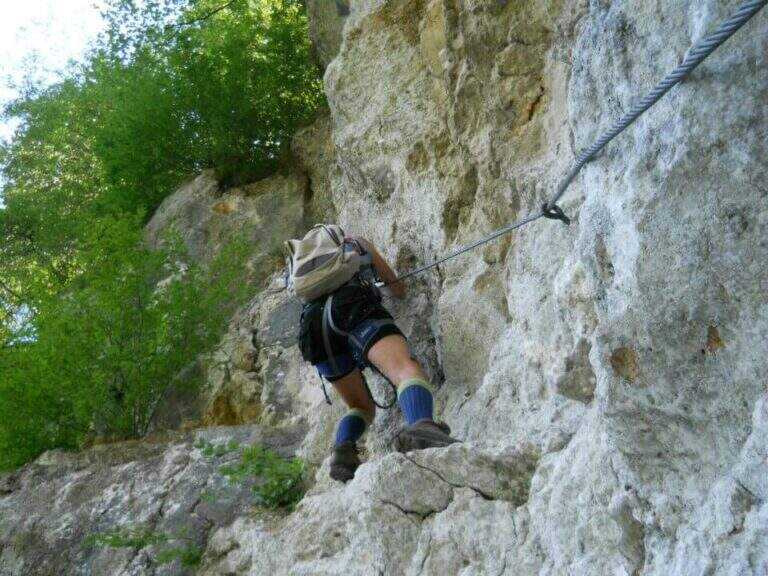
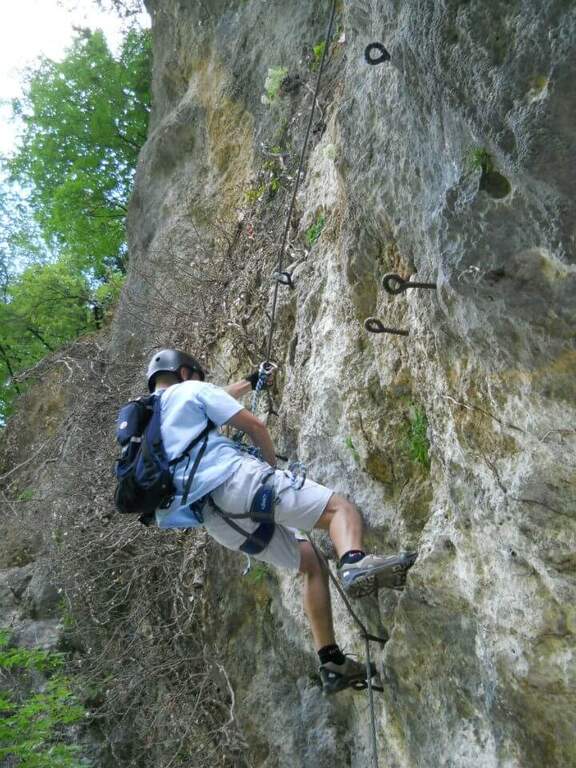
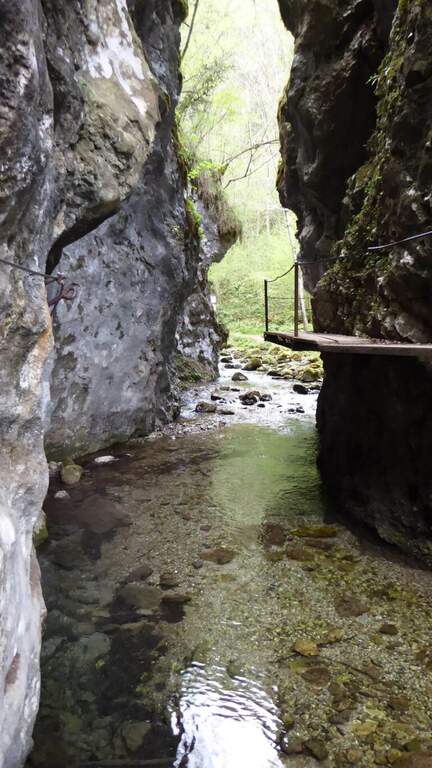
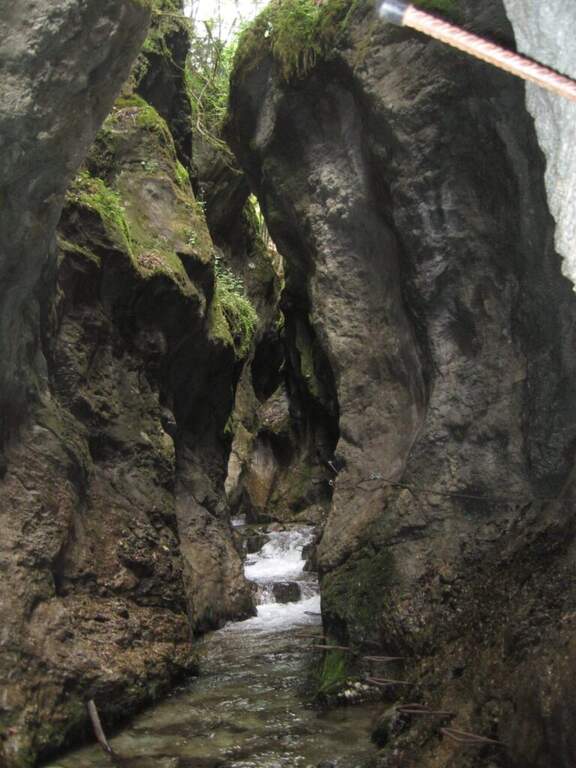
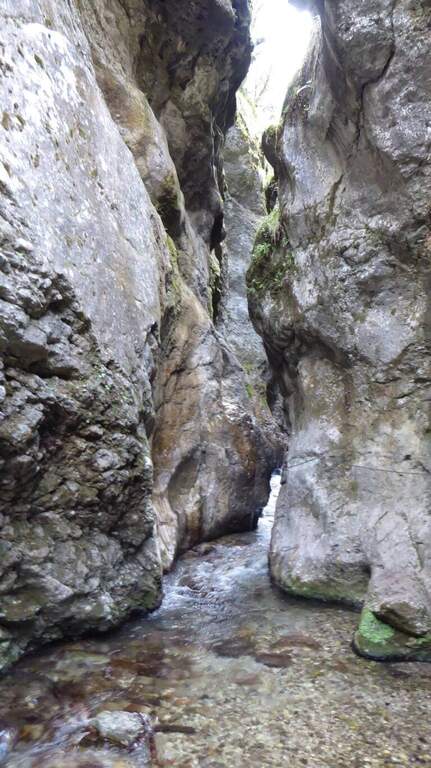
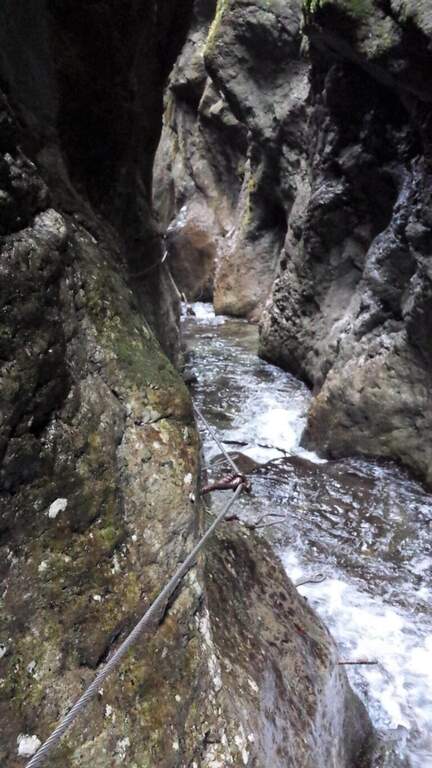
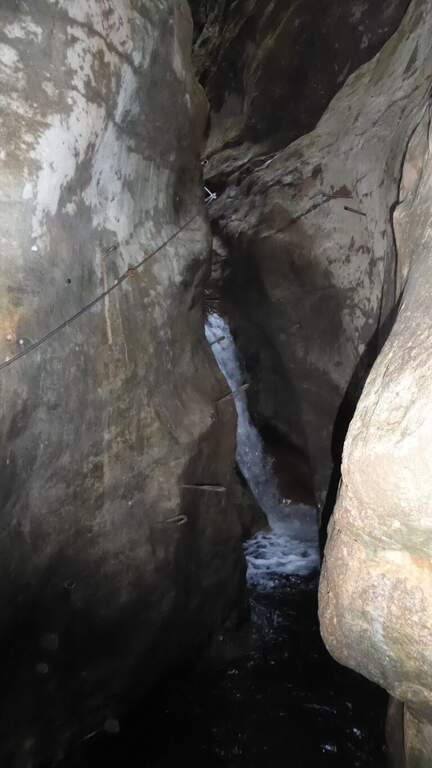
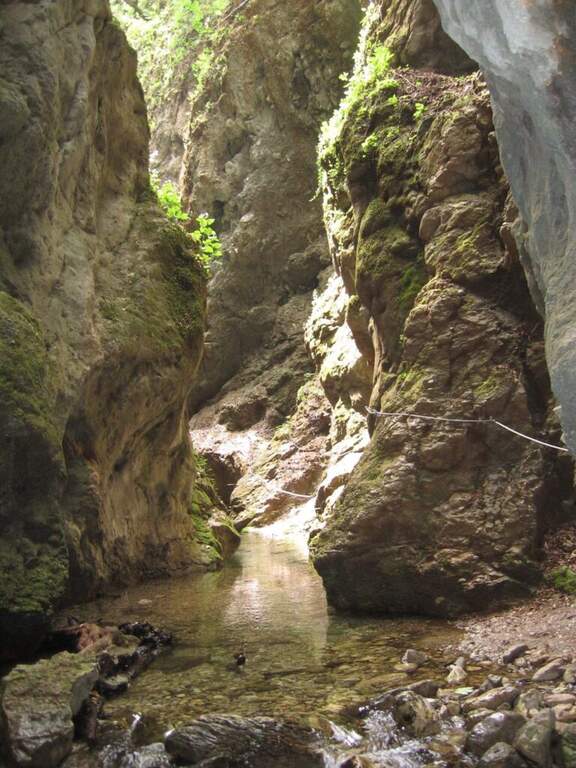
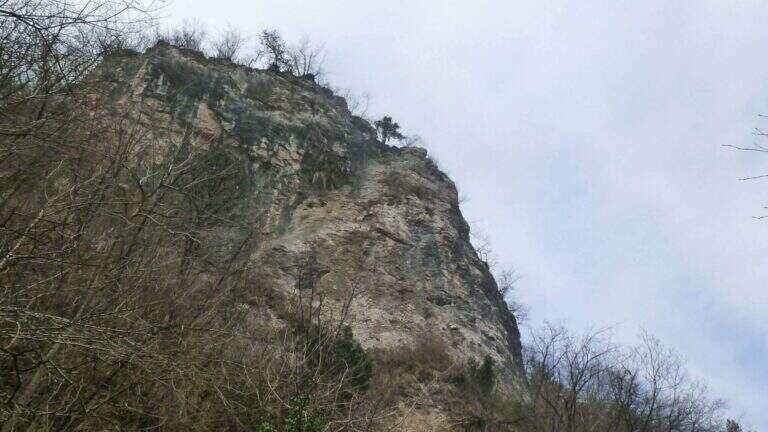
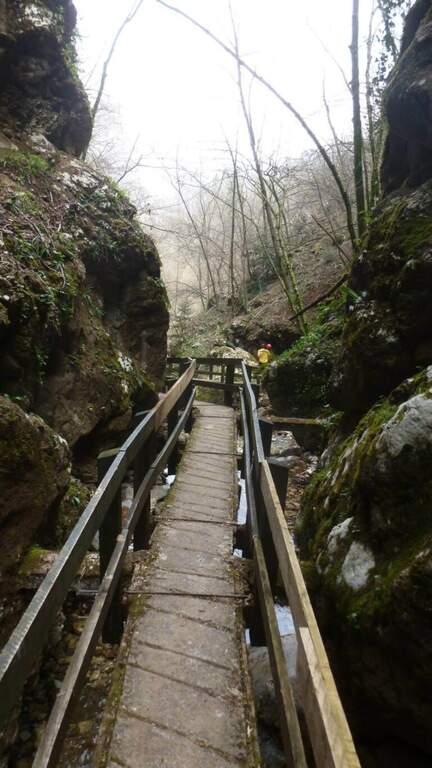
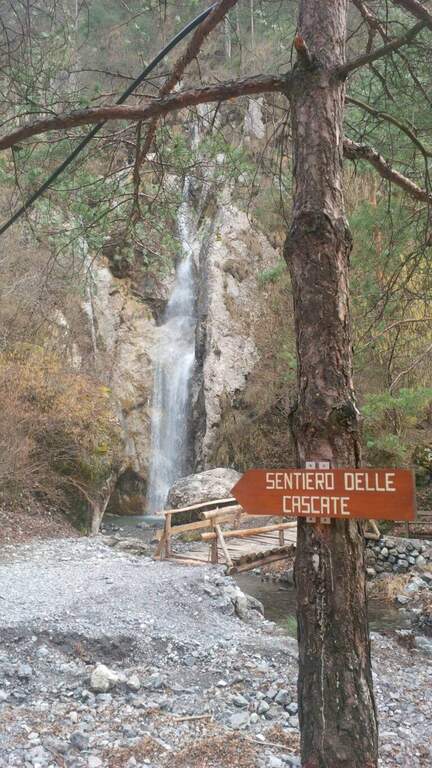
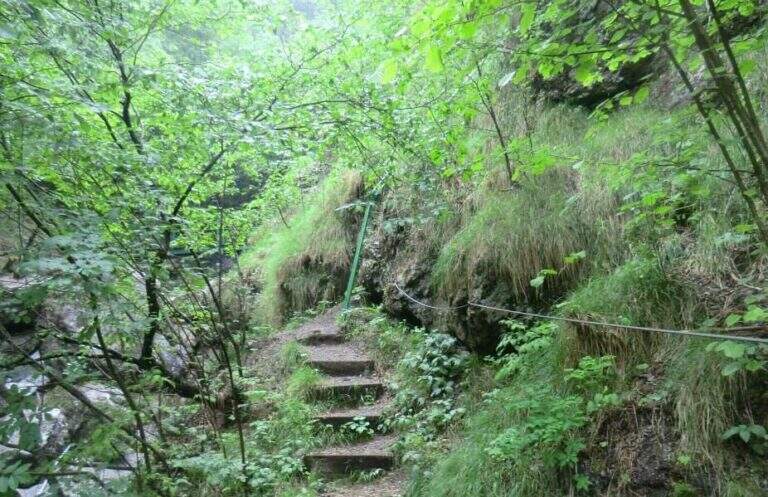
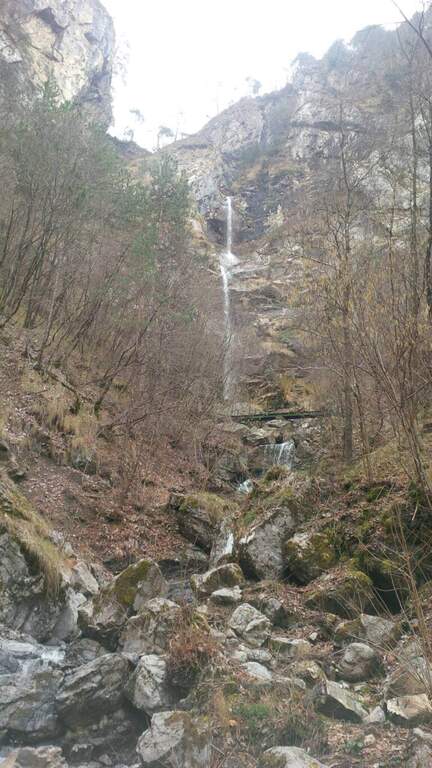
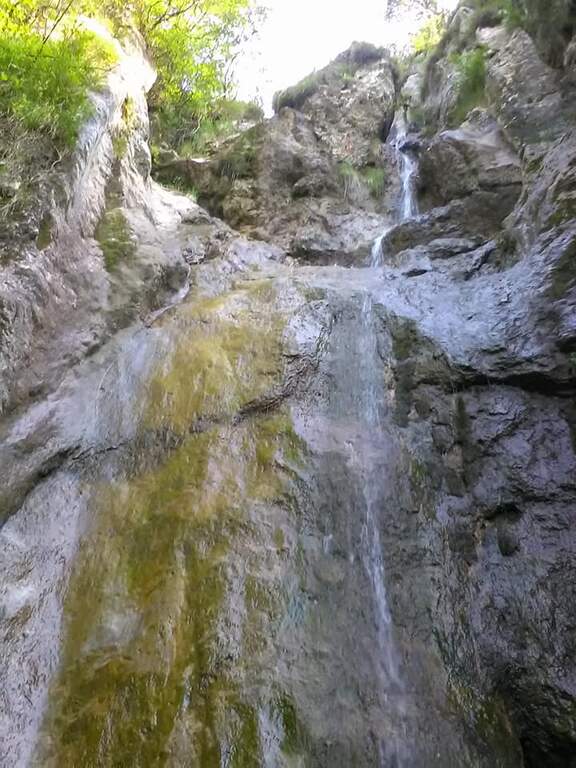
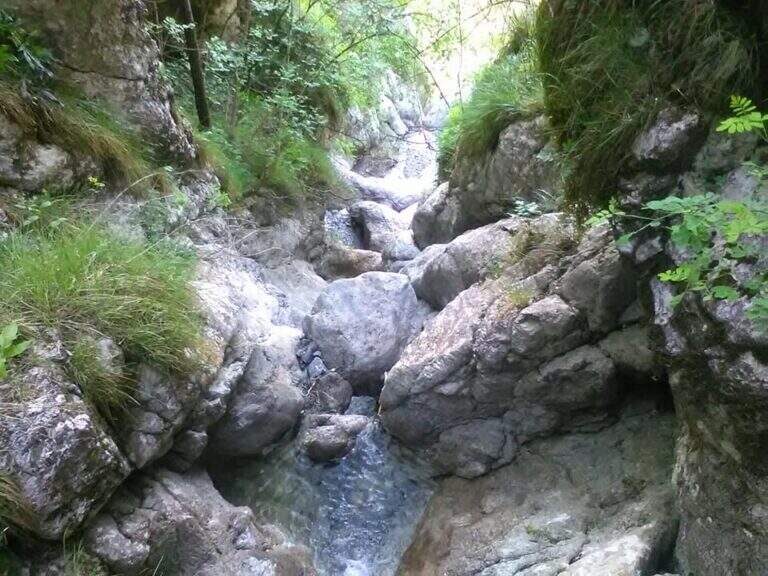
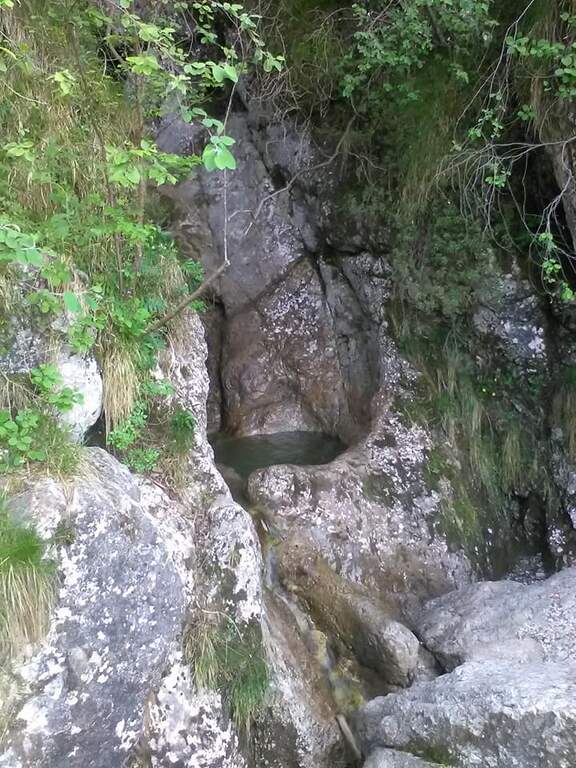
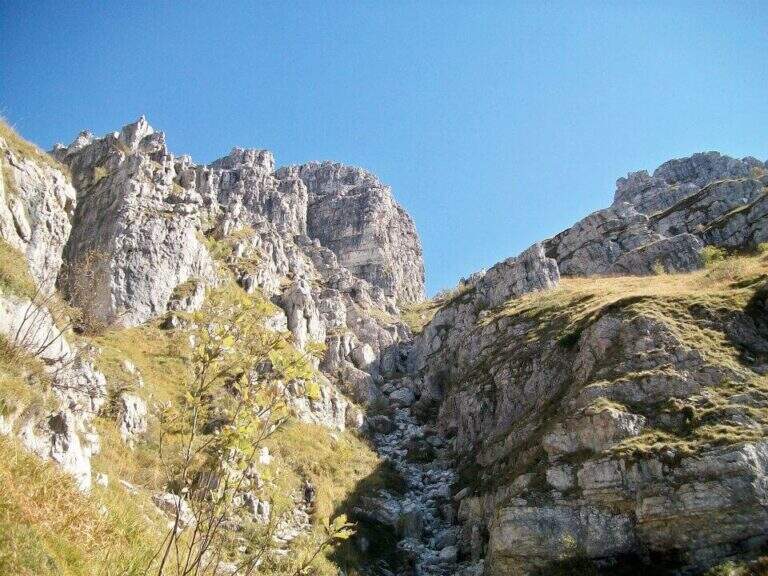
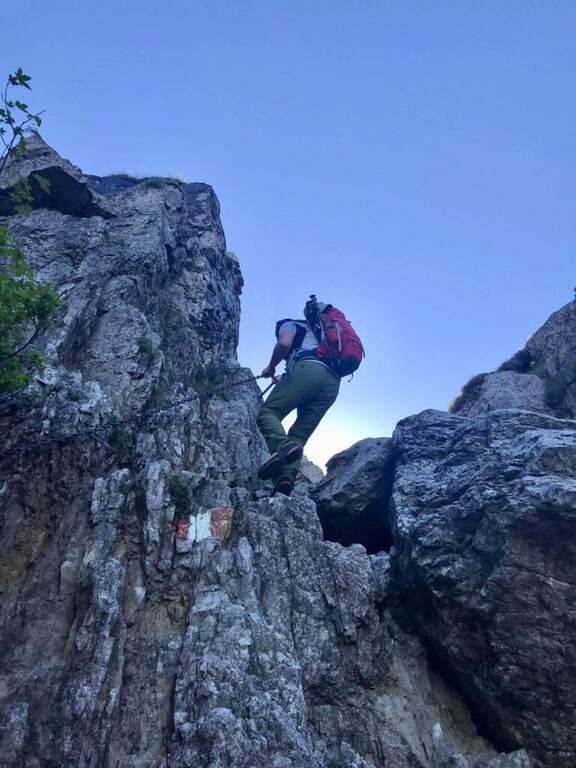
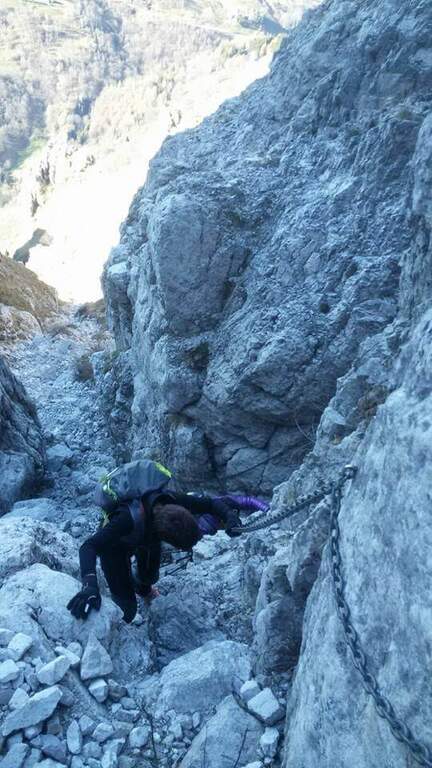
    The Sentiero Attrezzato Chiesa is a pleasant excursion that goes up the Val Scura, near Levico Terme, in the province of Trento. The difficulty is moderate and the bottom, at times unstable, requires a minimum of experience of equipped excursions. It is a perfect itinerary for half seasons, when the Rio Bianco has good flow and you can admire the many waterfalls along the way; we offer it as a ring with return from the Menador Path.

    ▲Approach

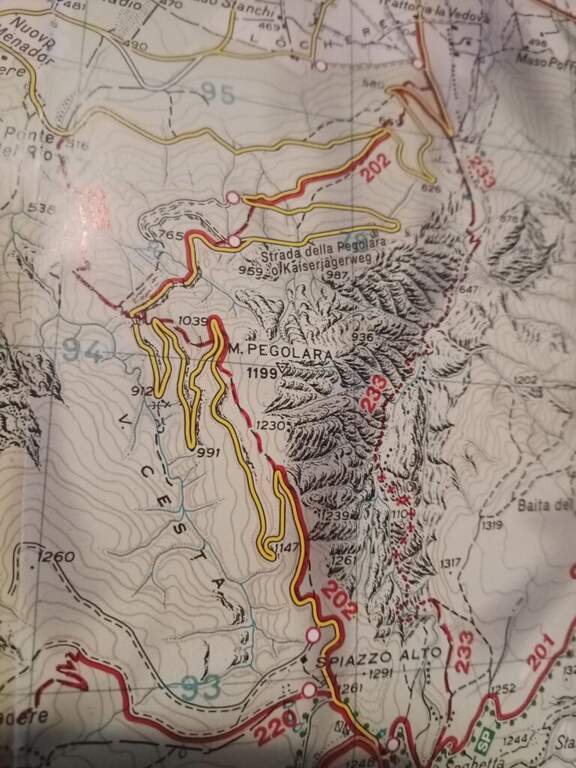
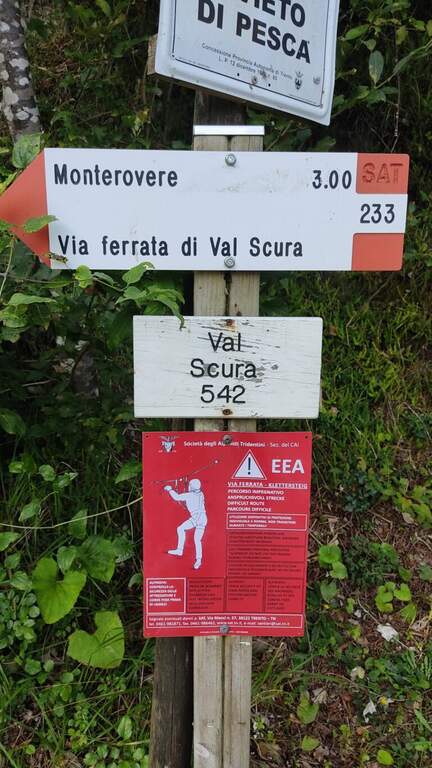
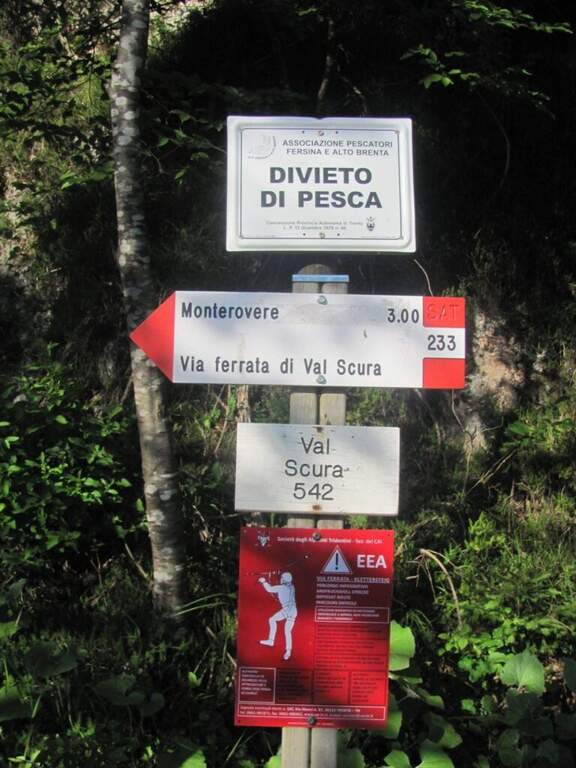
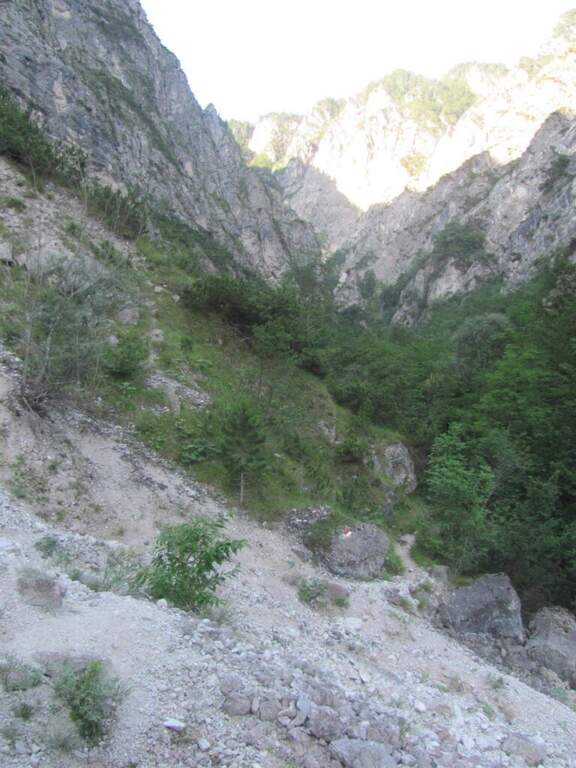
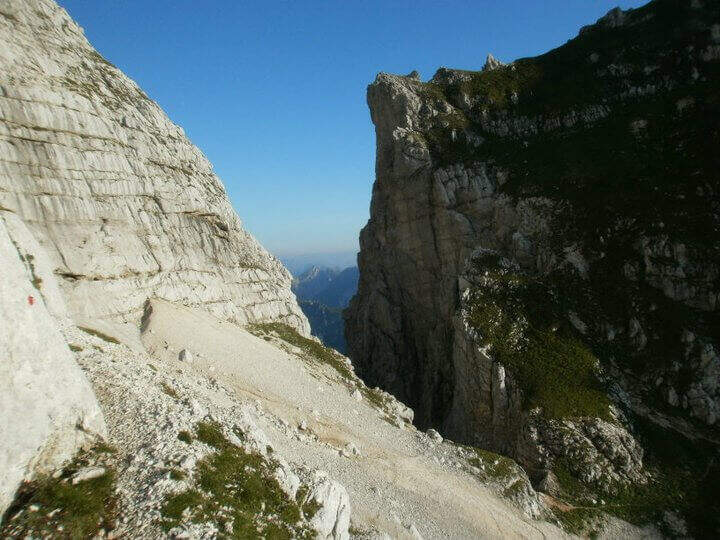
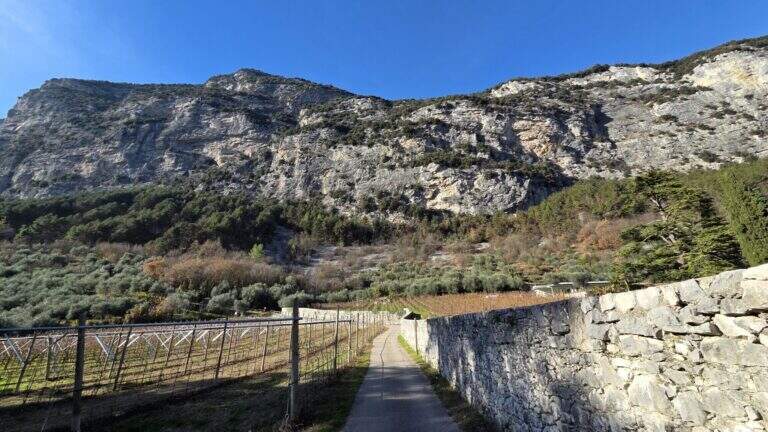
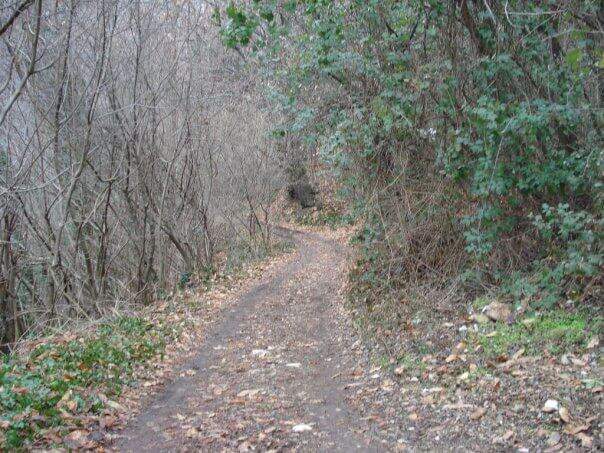
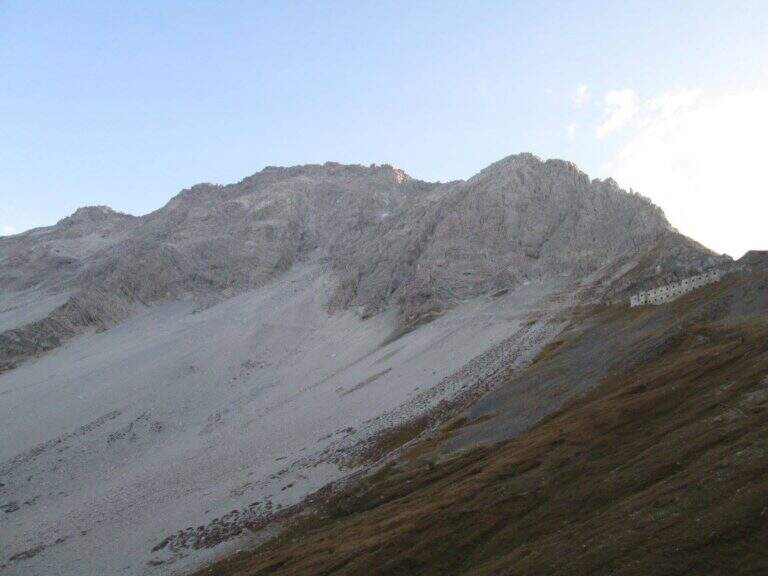
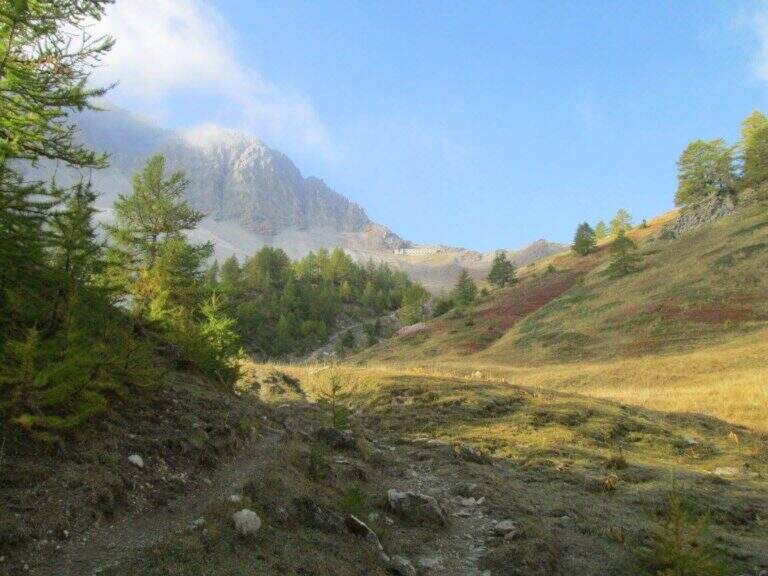
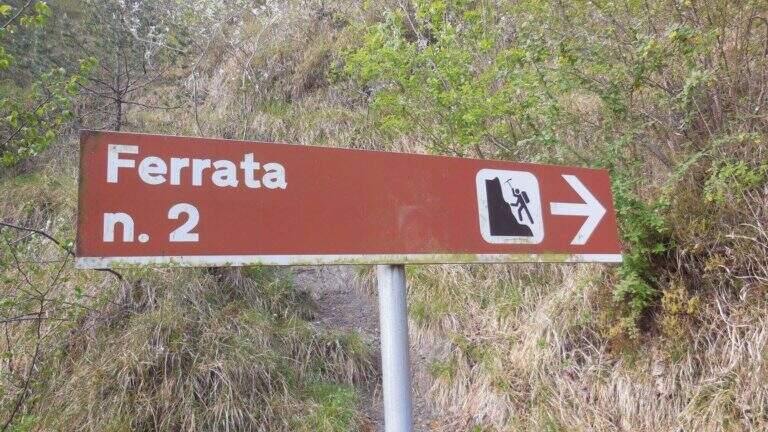
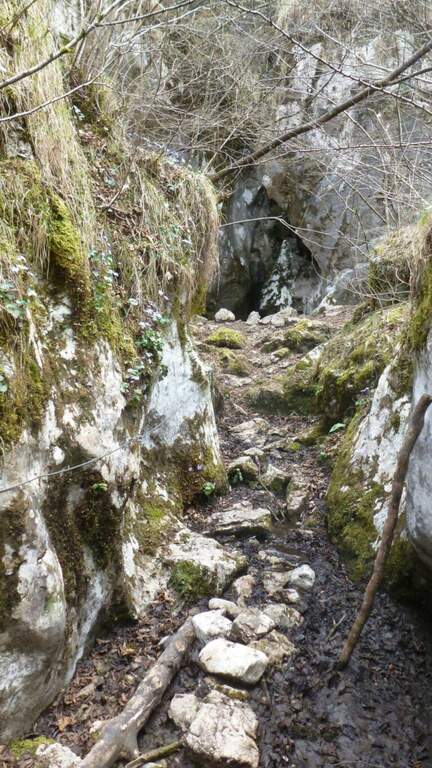
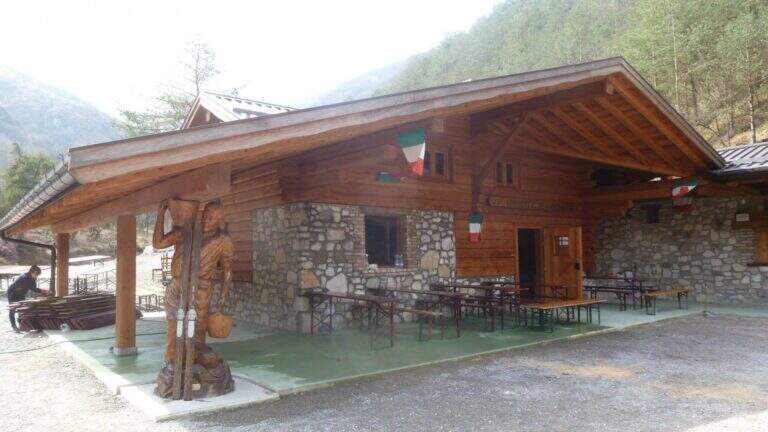
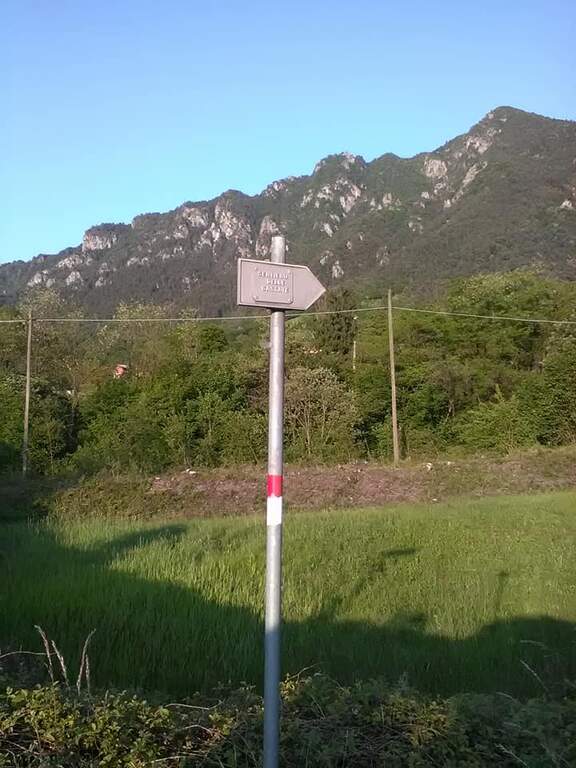
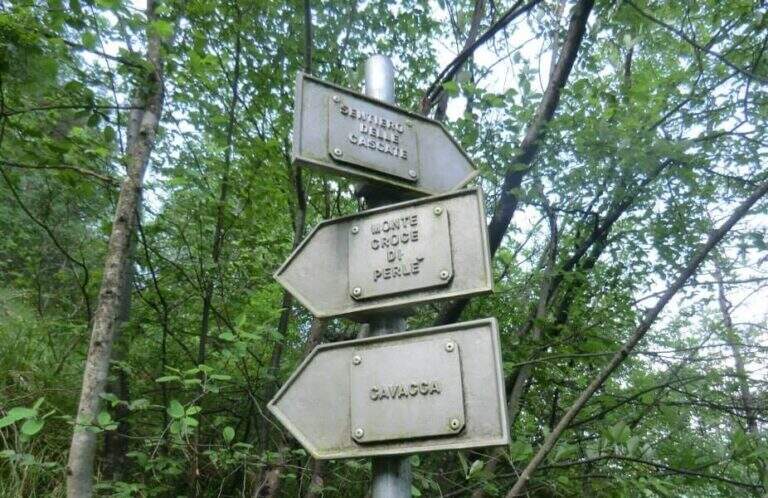
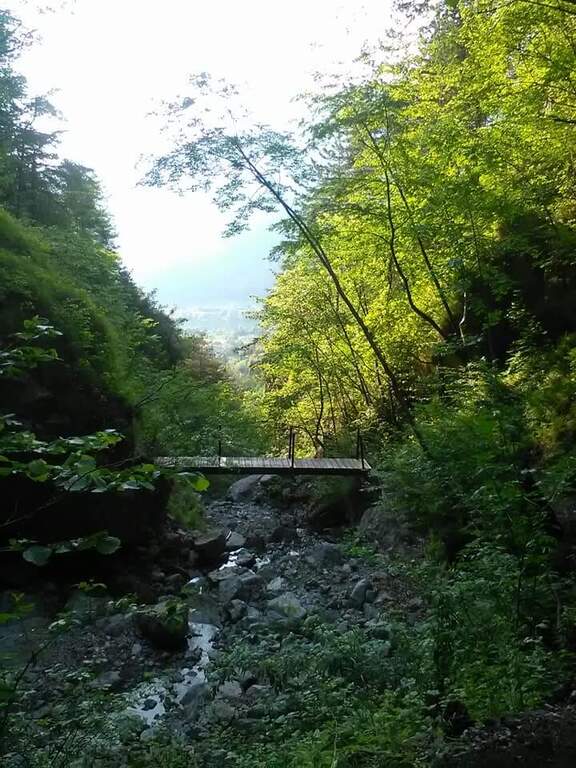
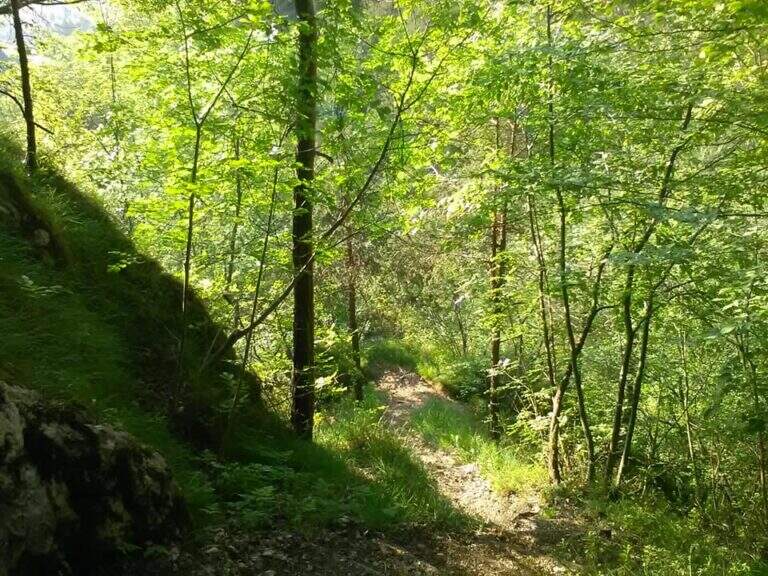
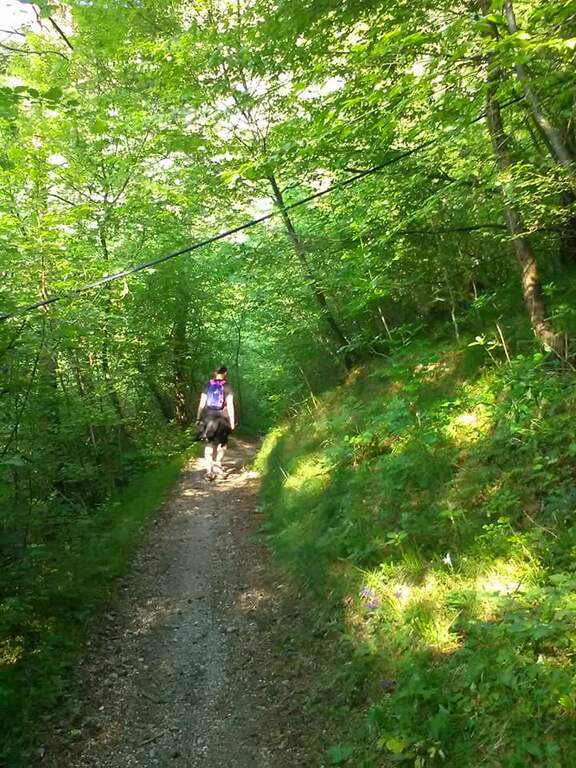
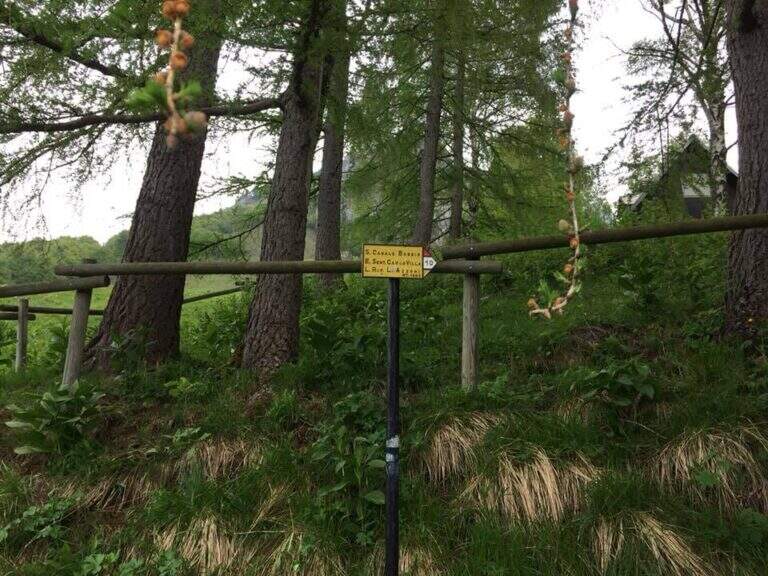
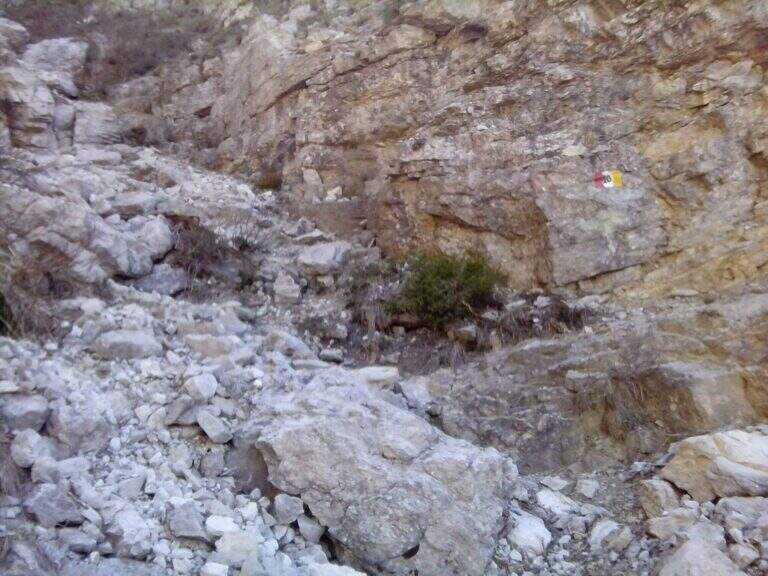
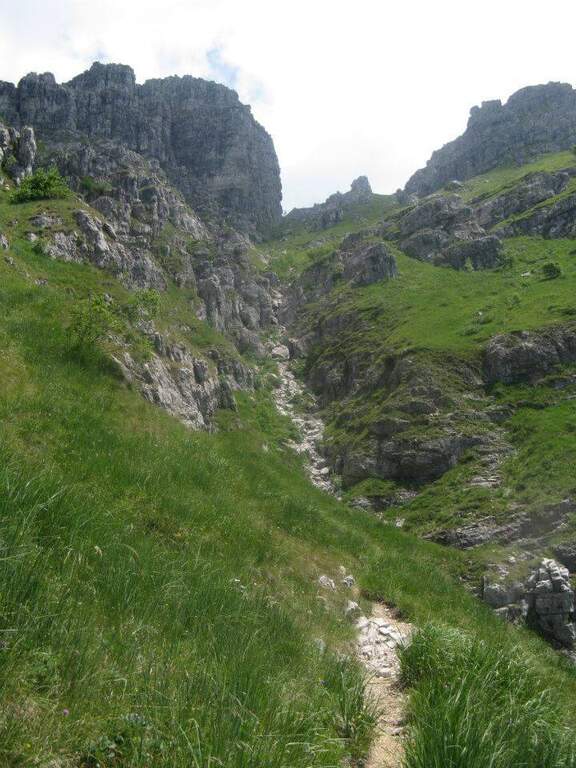
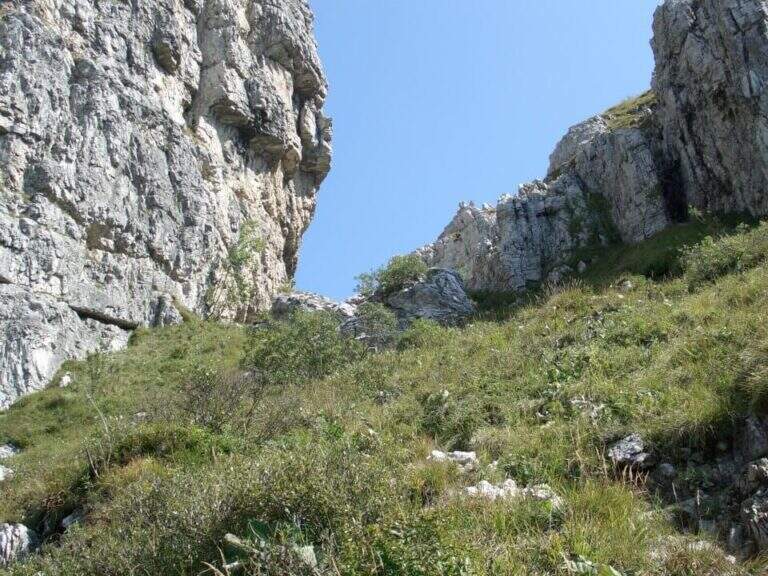
    The starting point is in the municipality of Levico (TN). From Levico Terme you go south towards Lochere until you reach the Hotel Paoli, where you park (a large street on the left), ideal for the ring with return from the Menador Path (open up Google Maps). The asphalted road goes up to the first bend: where it continues to the right uphill, a sign and a red plate indicate the entrance into the wood. You climb on an easy path, keeping the left on the southern side, with Mount Pegolara on the right and Mount Calmo on the left. Hand as you climb you face different cheeks of the White Rio — you are all before the start of the ferrata — while the environment becomes increasingly beautiful, with pronounced rocky spires on the sides. In short you will find the first equipped stretch (850 m, 1h from the parking lot).

    ▲The path

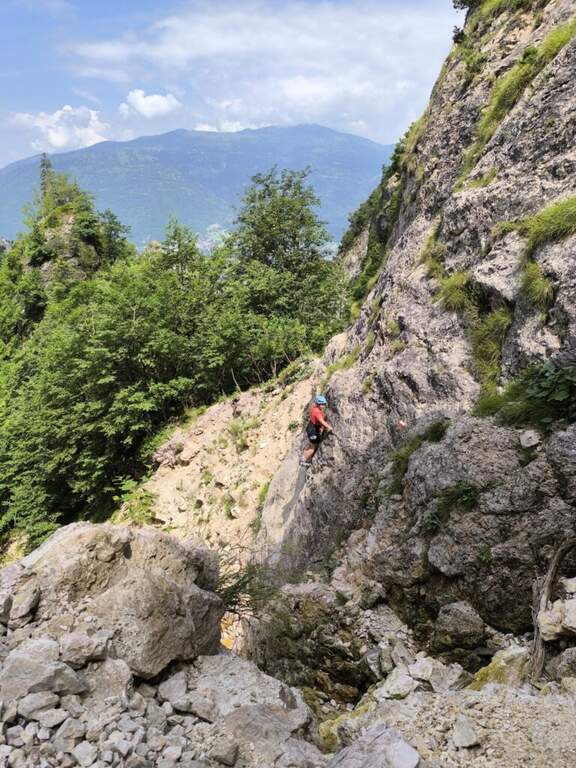
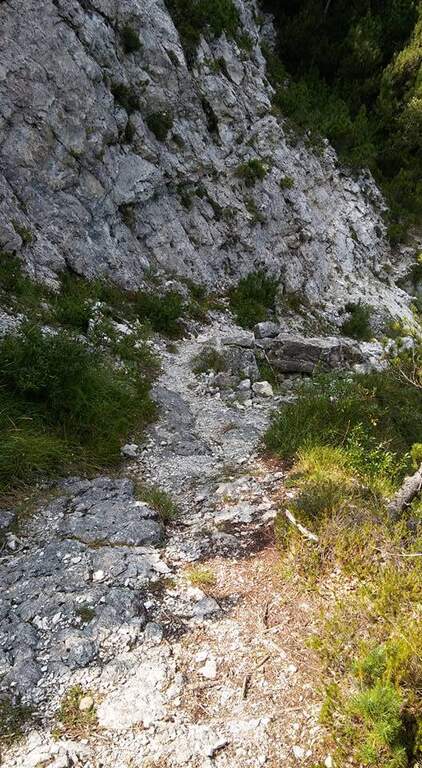
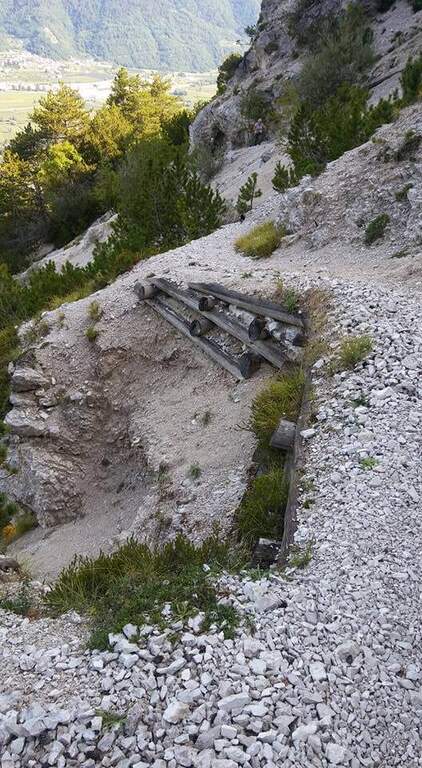
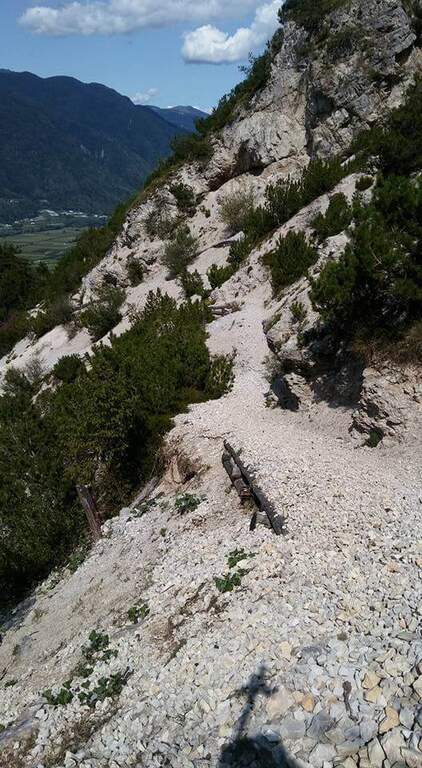
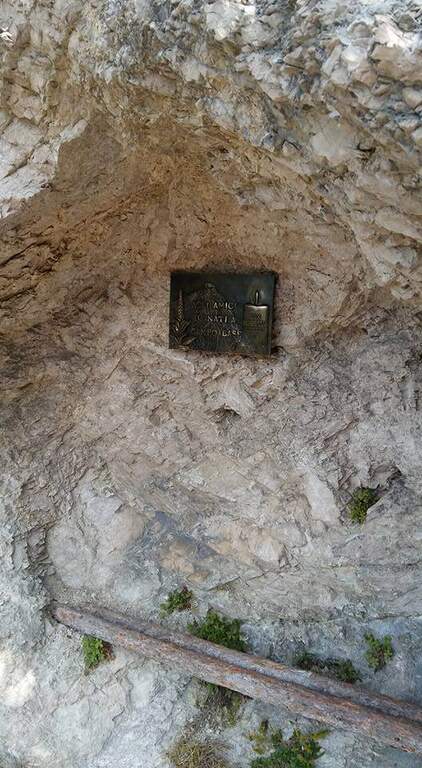
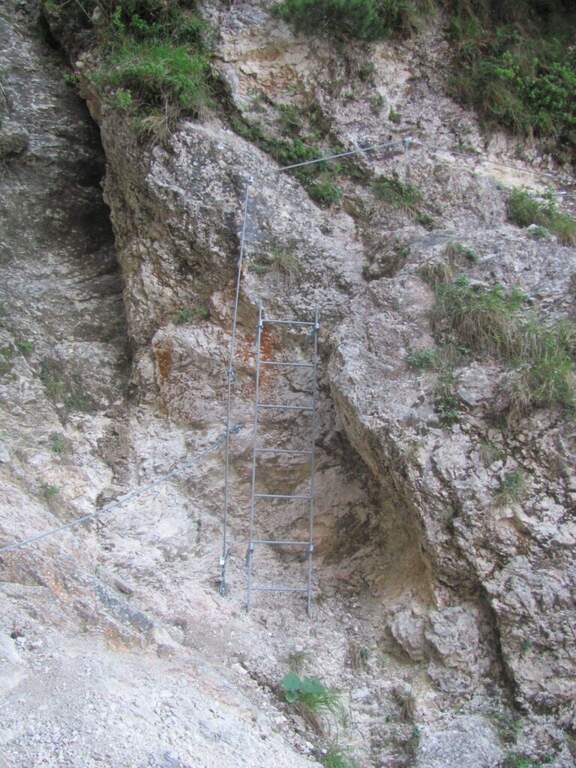
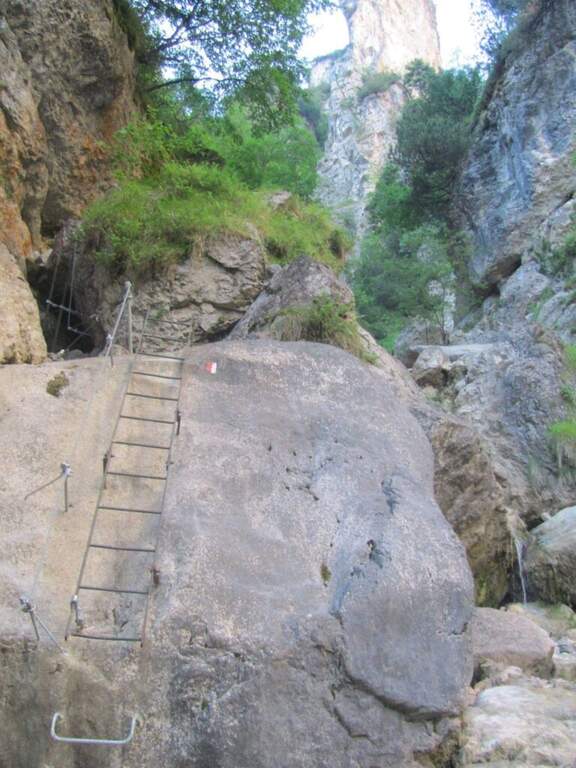
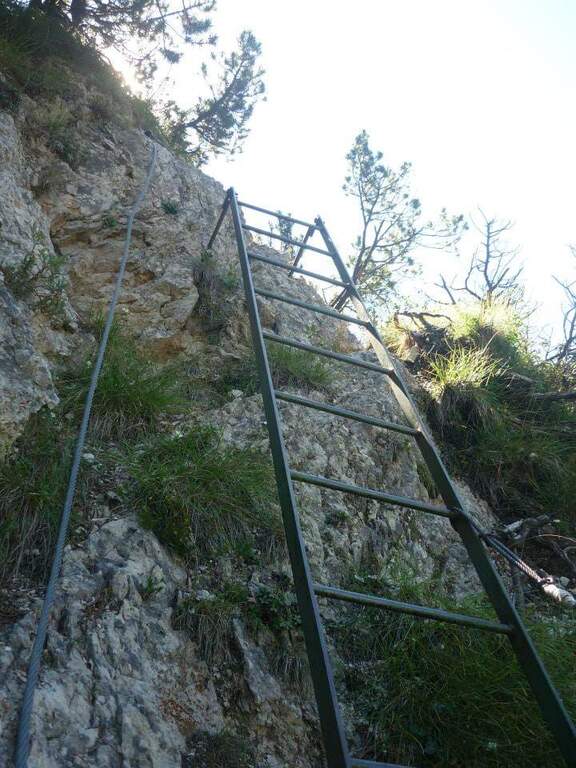
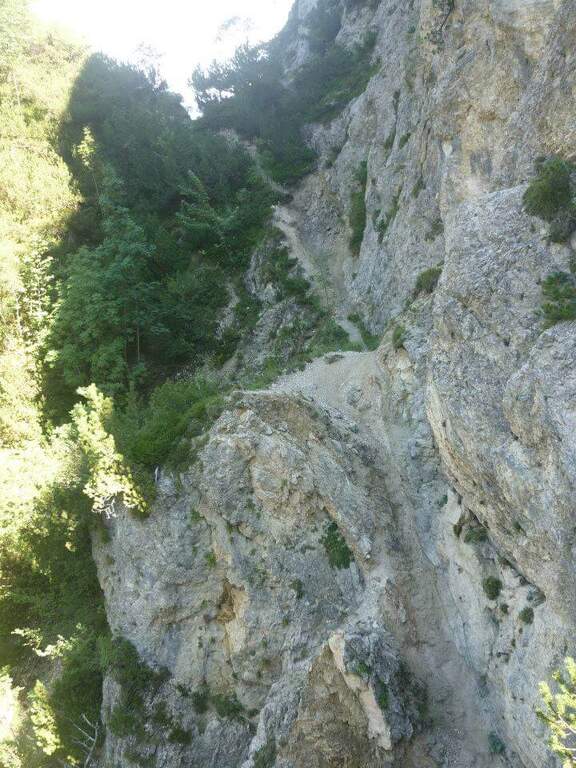
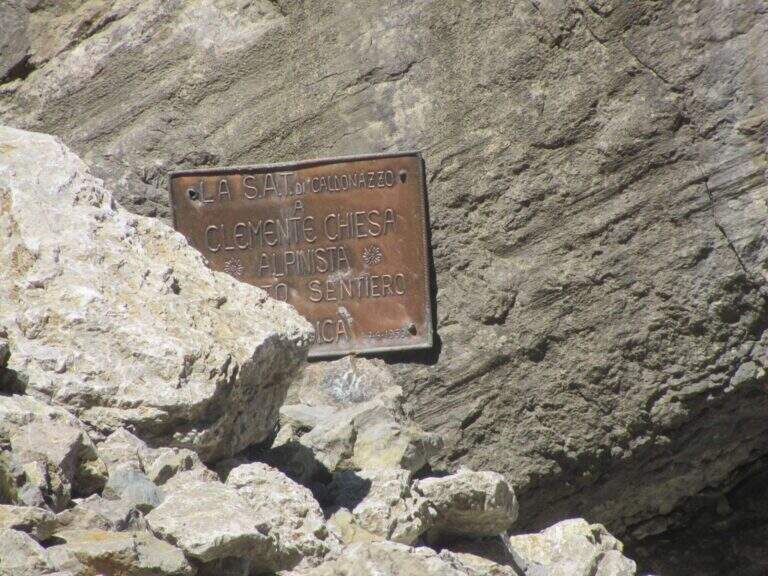
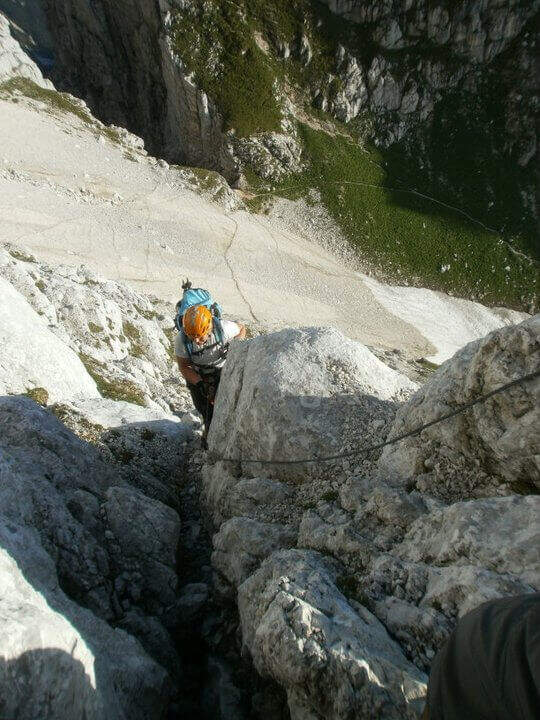
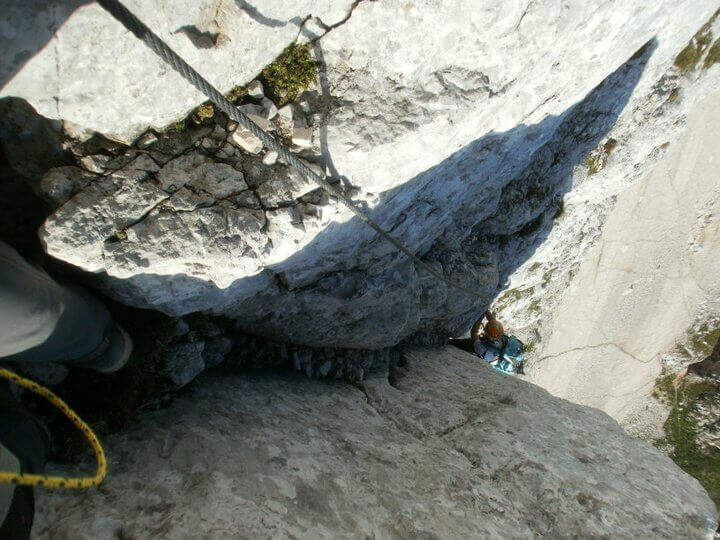
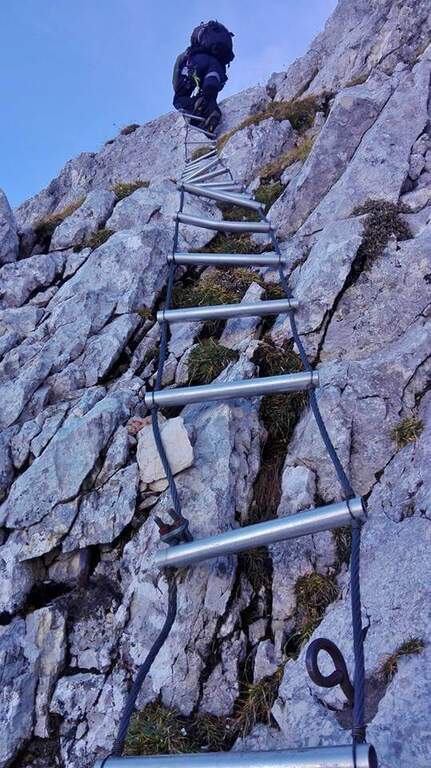
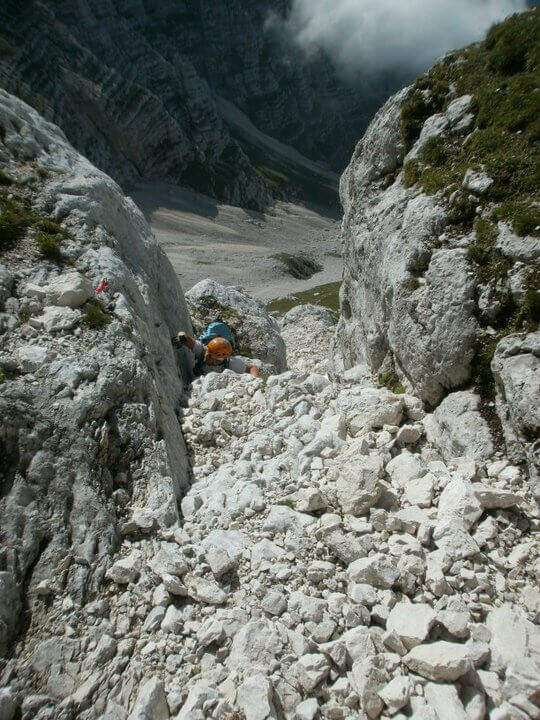
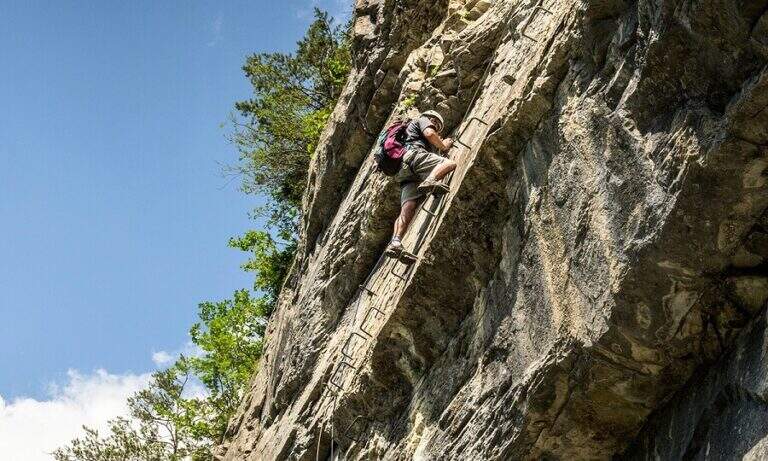
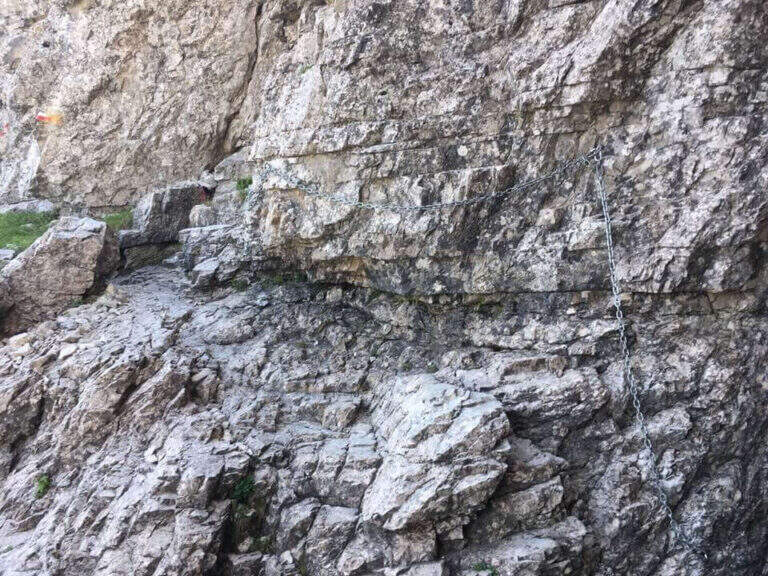
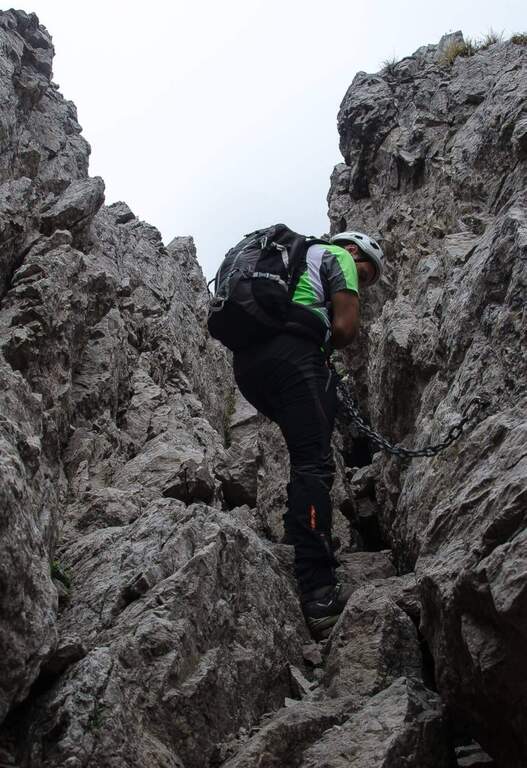
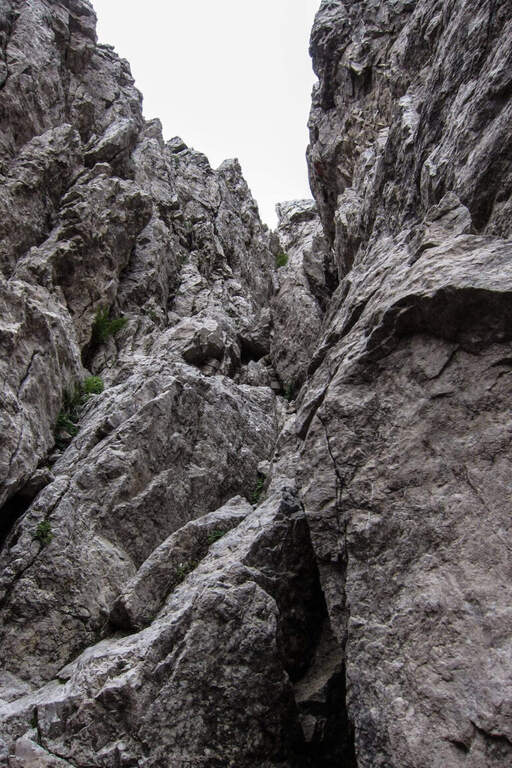
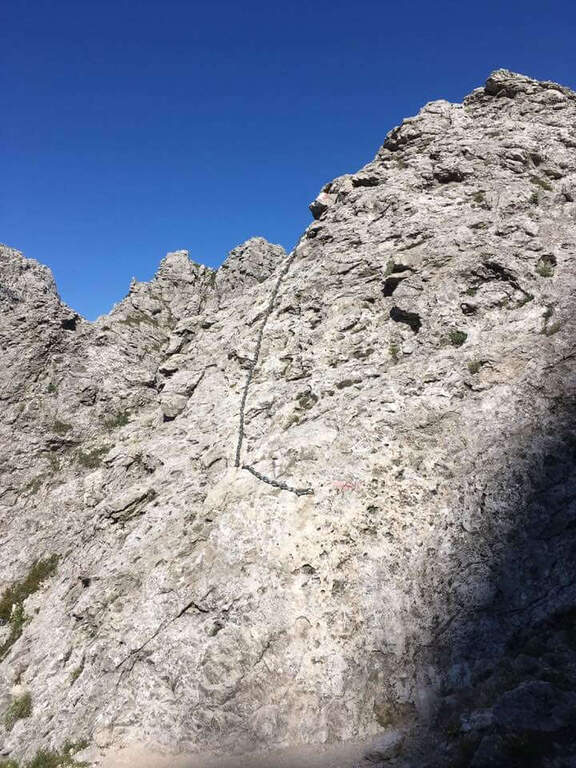
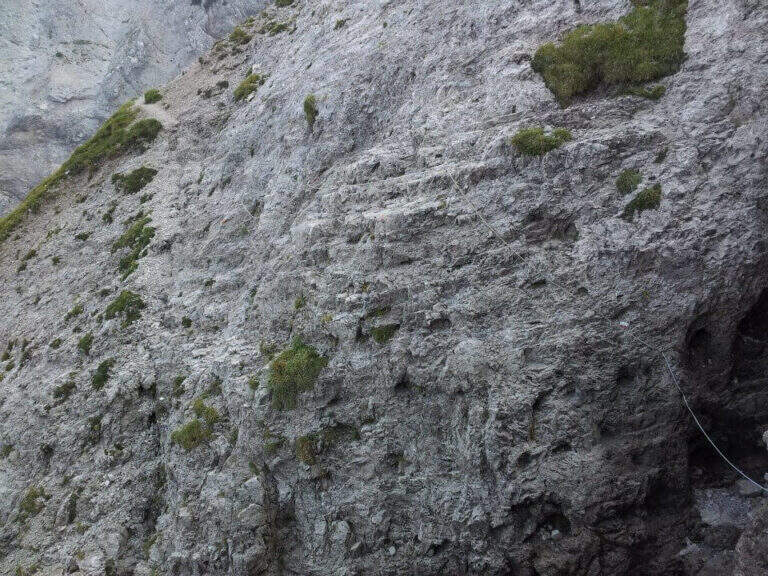
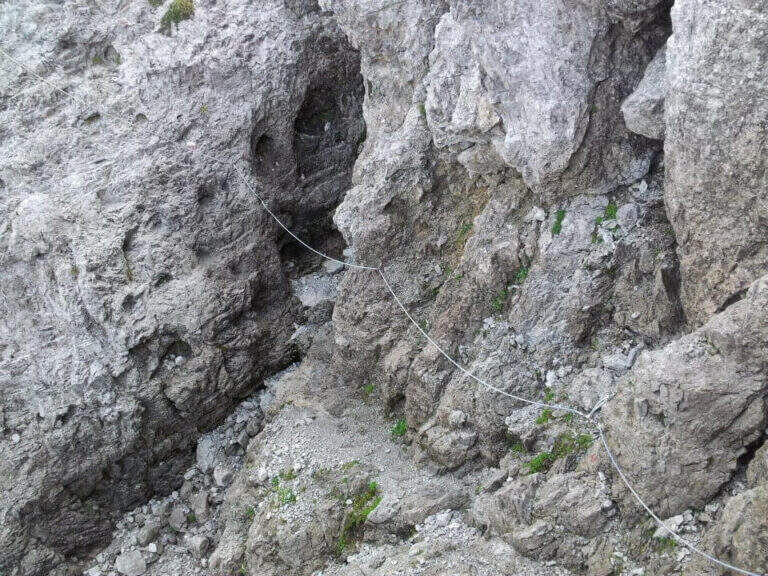
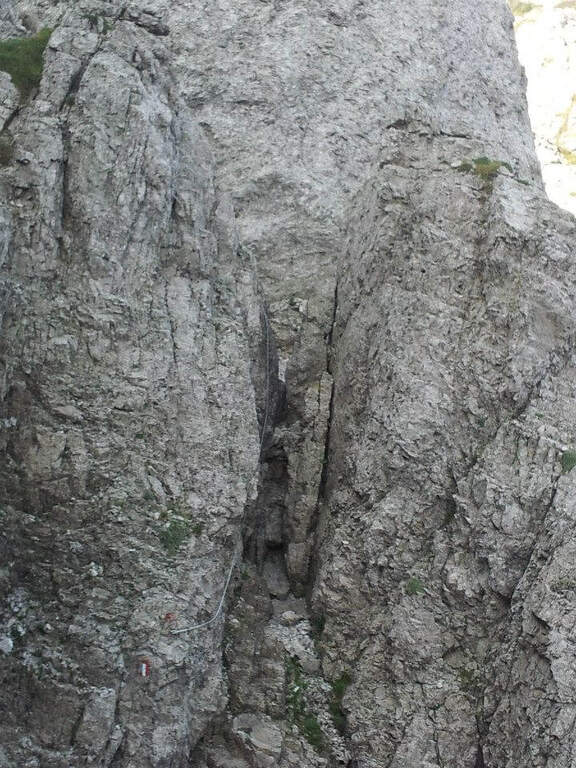
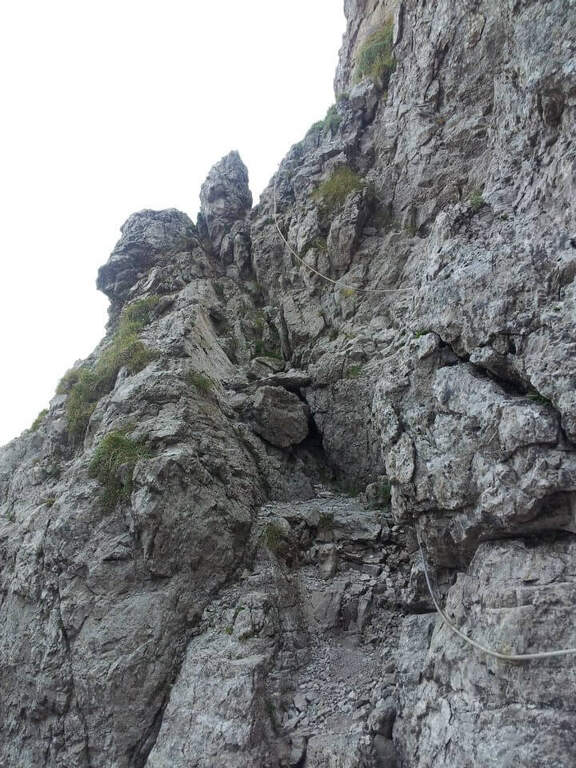
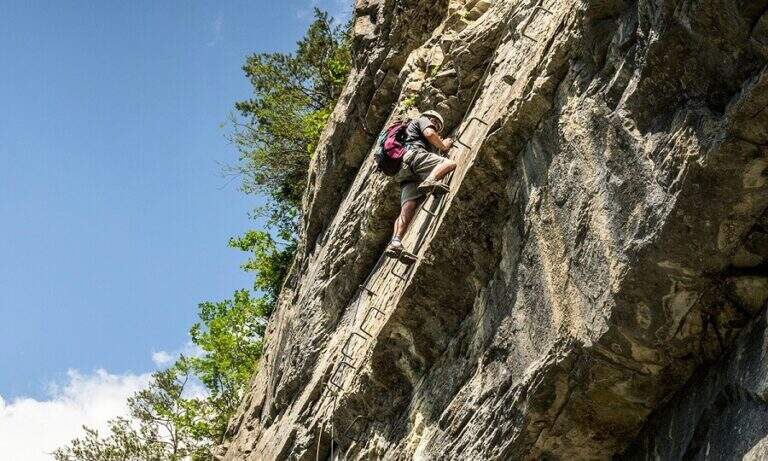
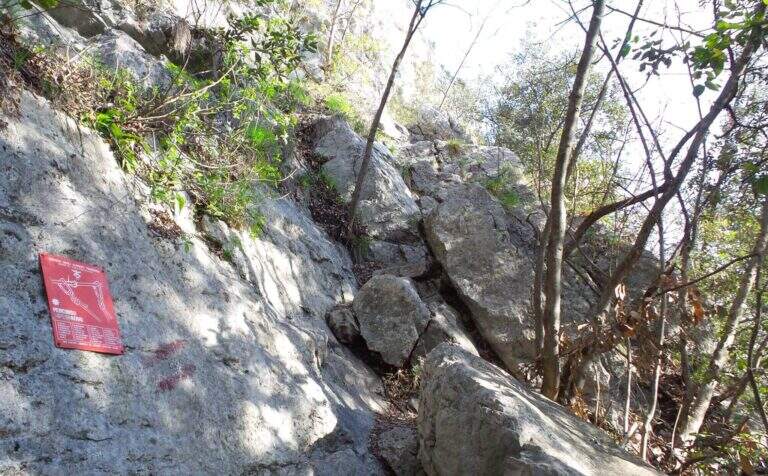
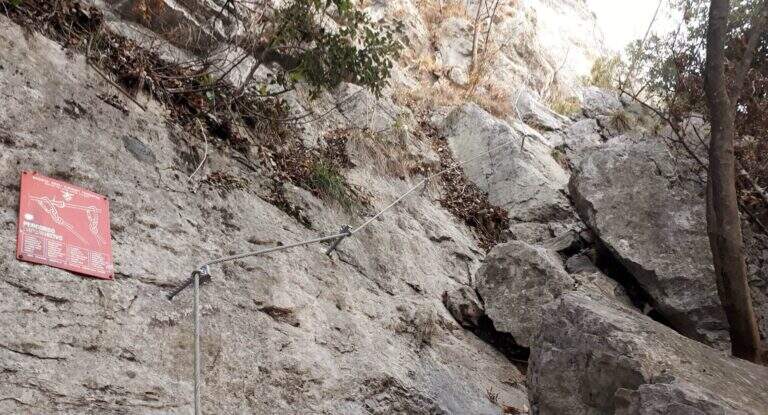
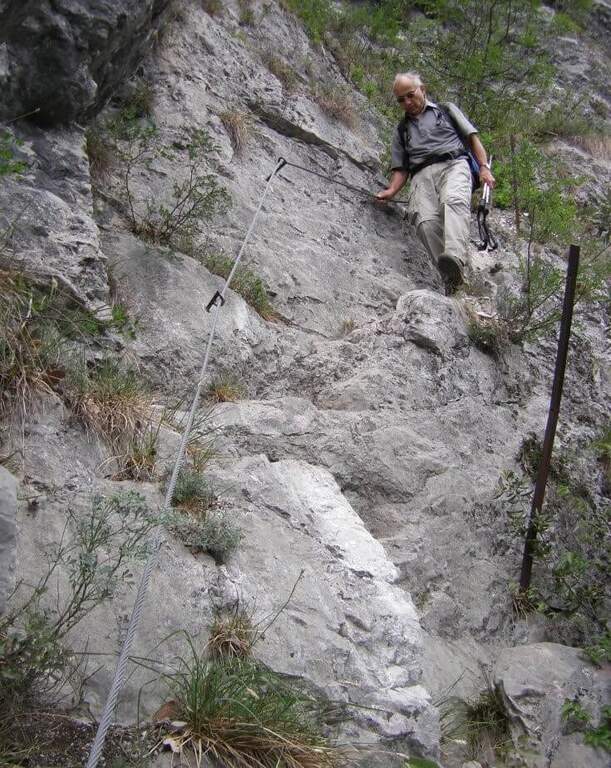
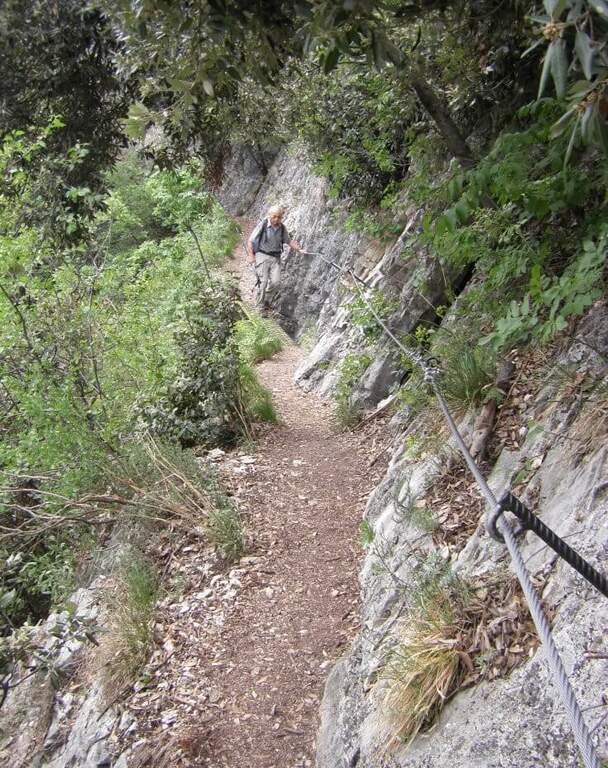
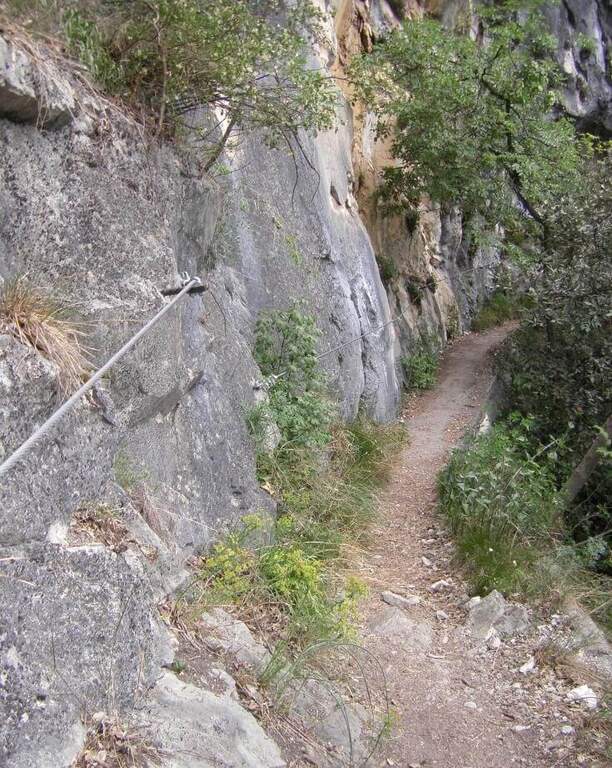
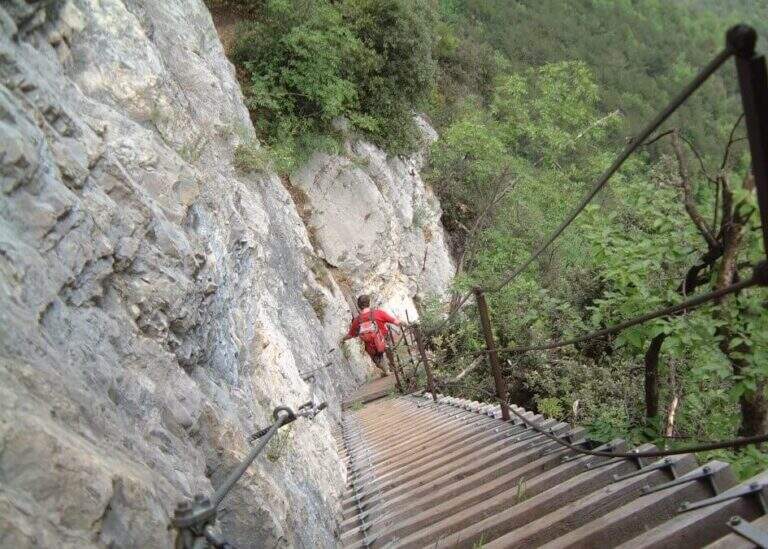
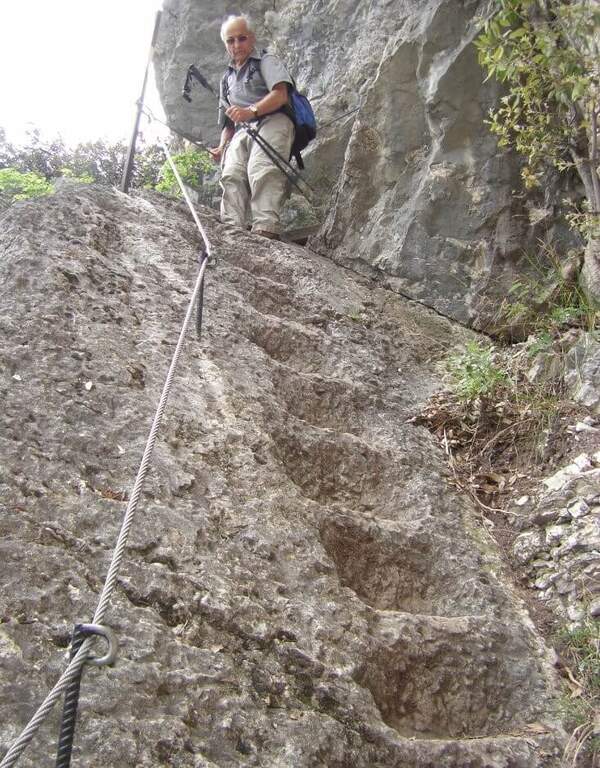
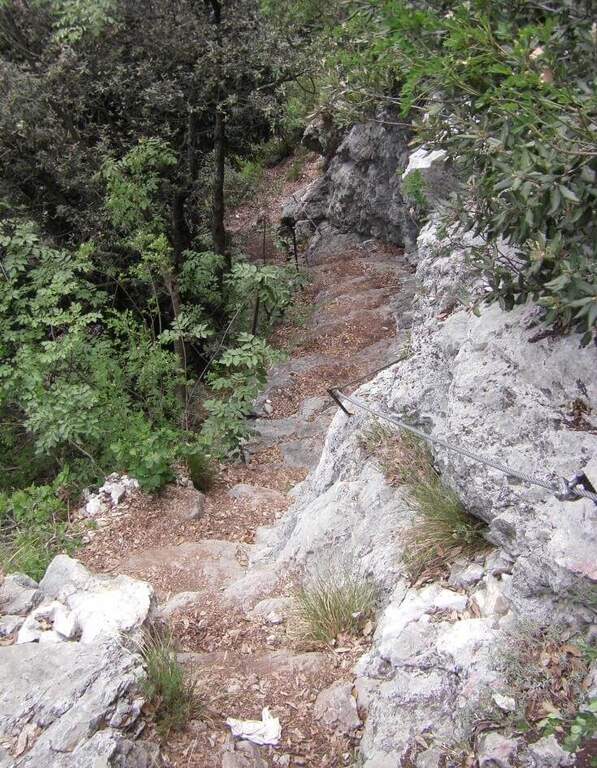
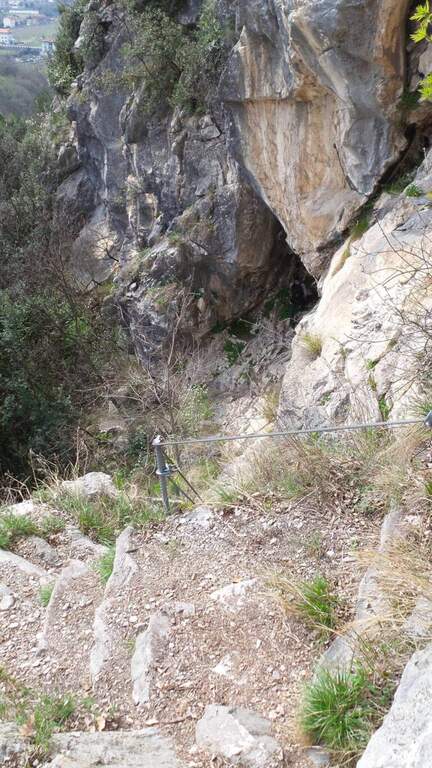
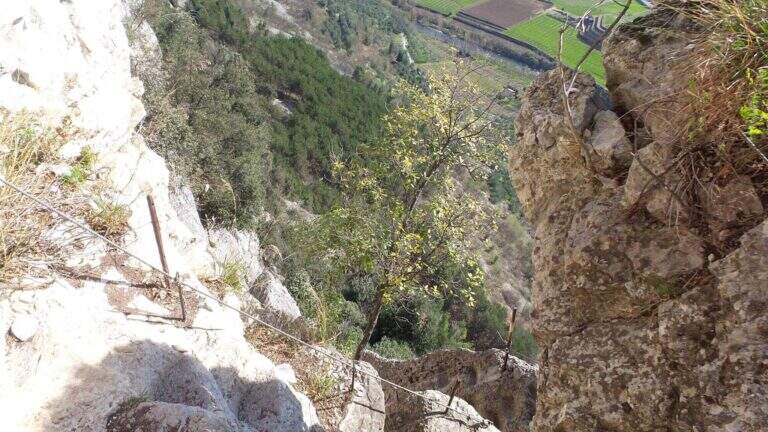
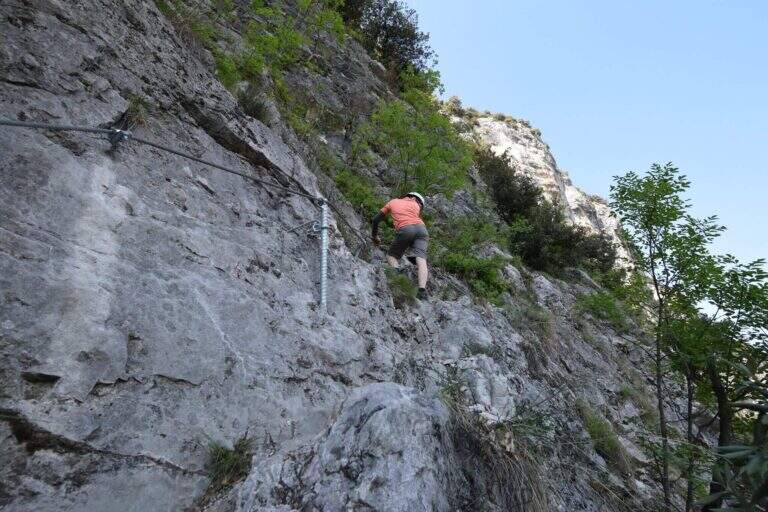
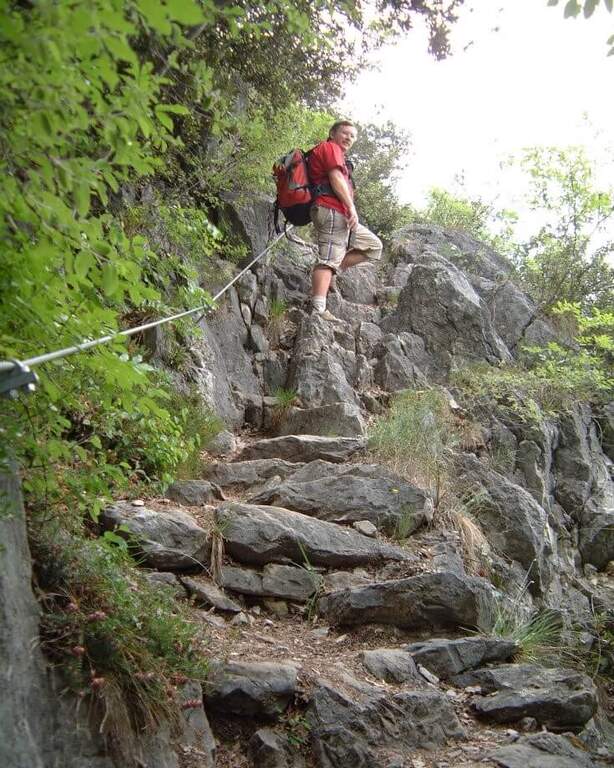
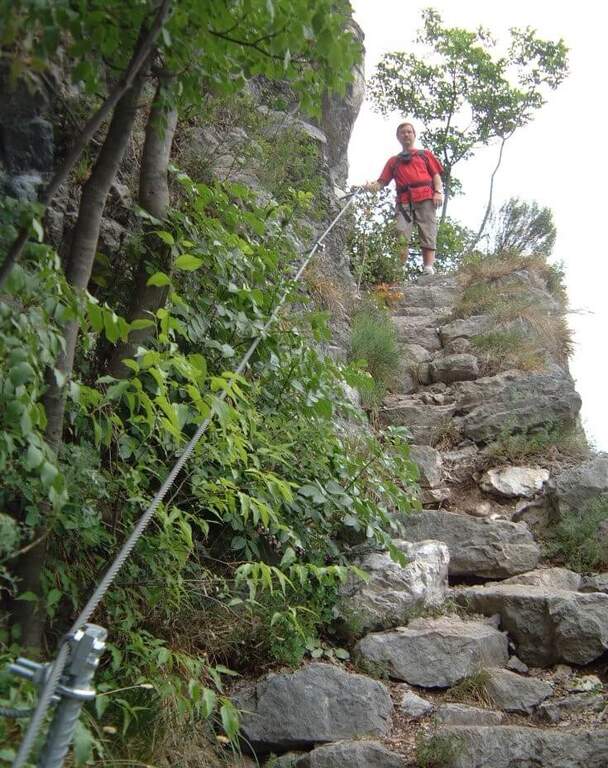
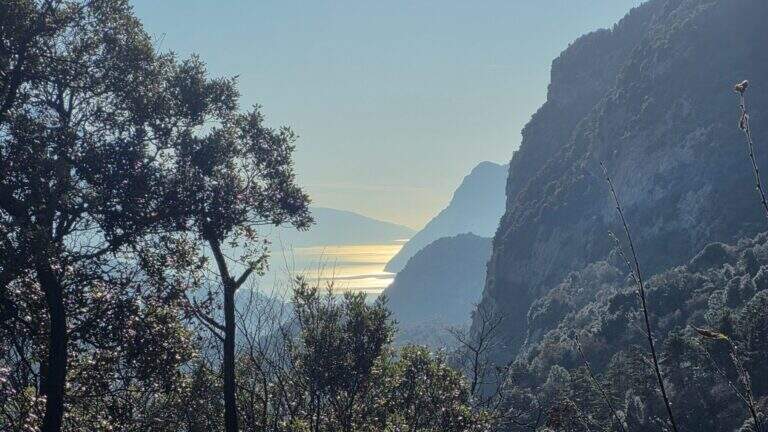
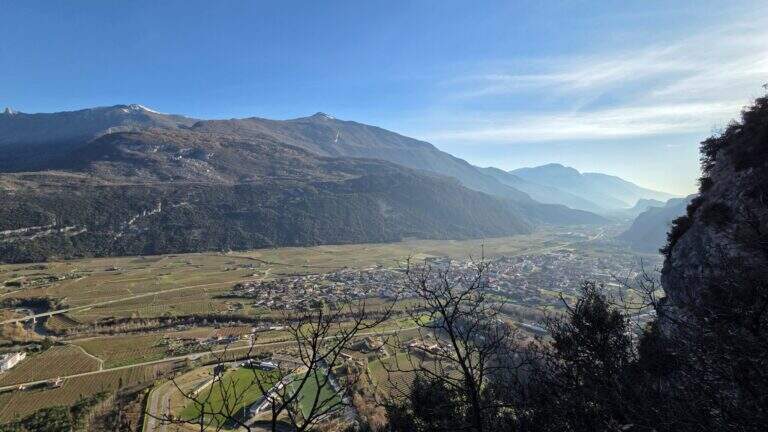
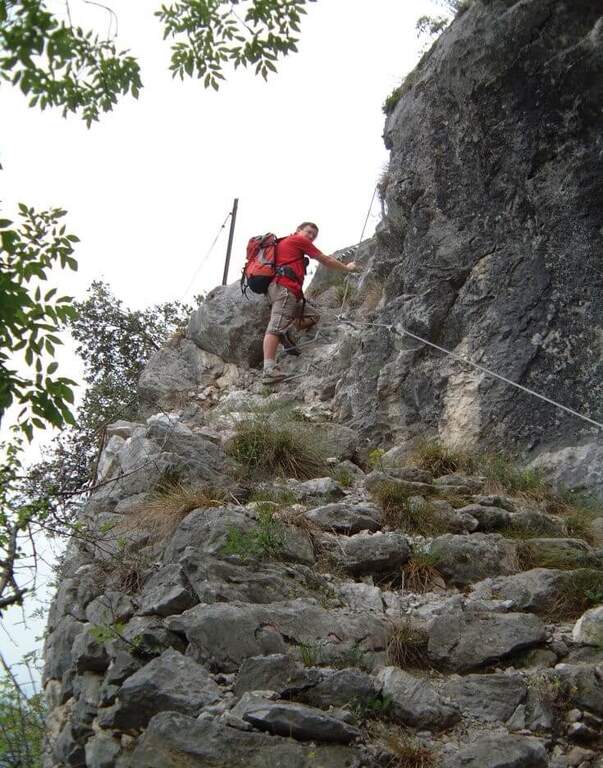
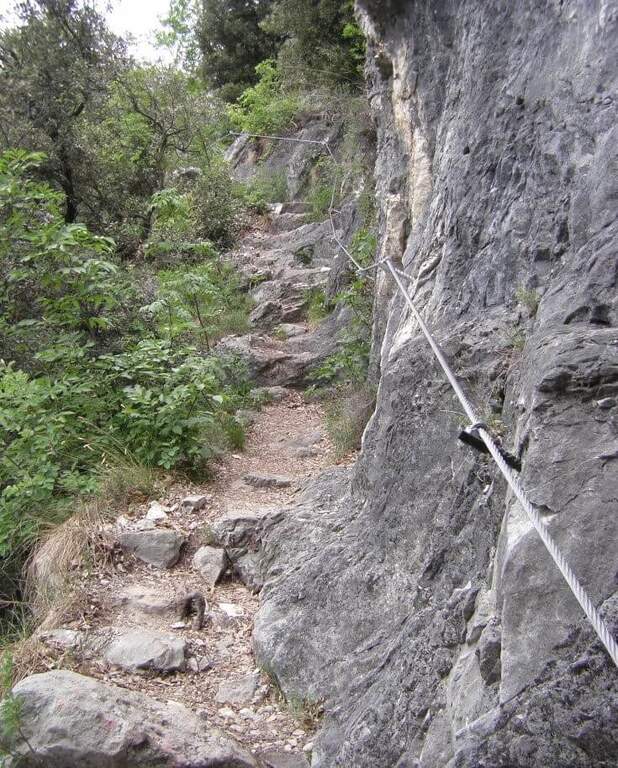
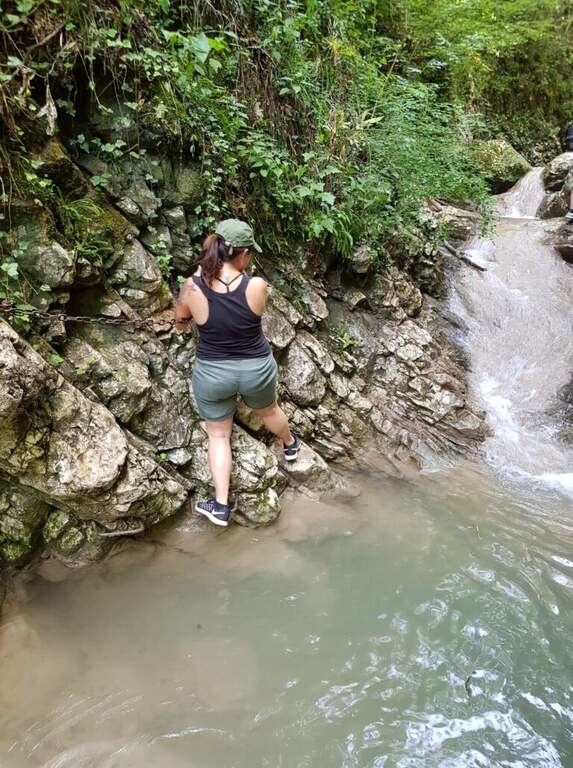
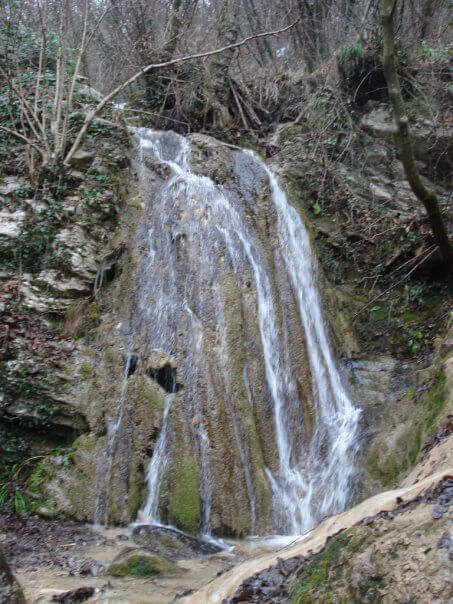
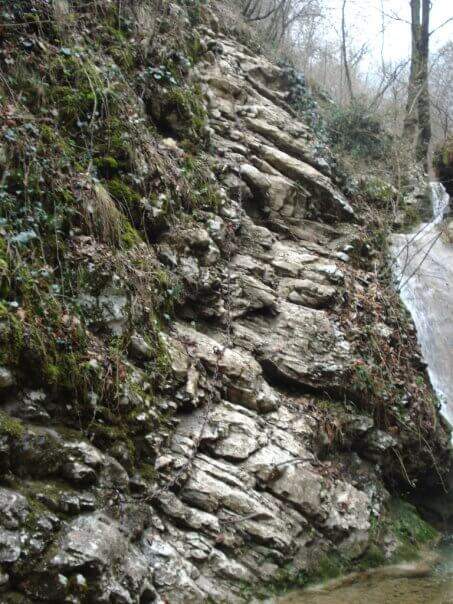
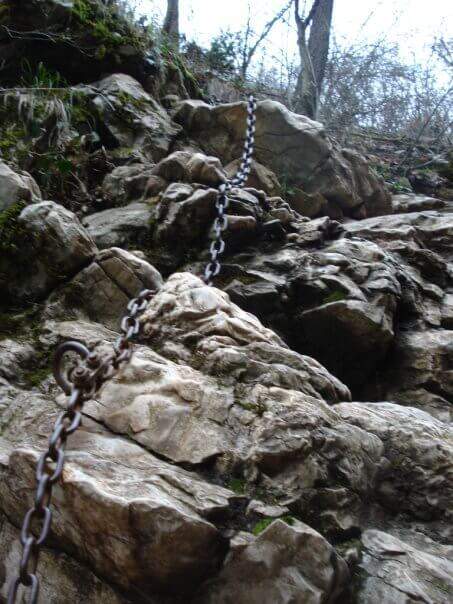
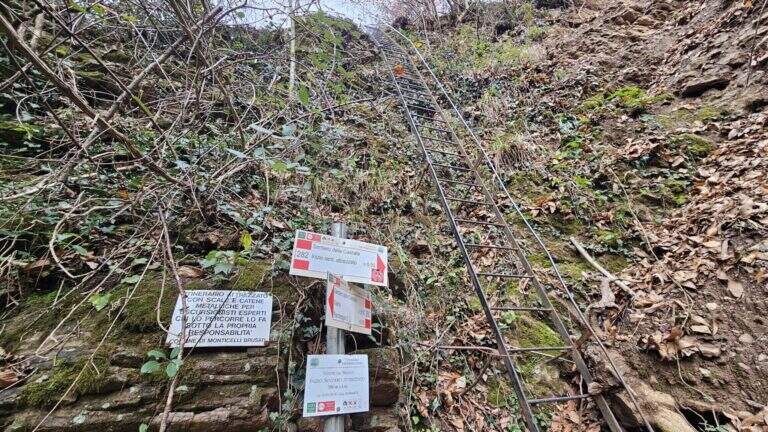
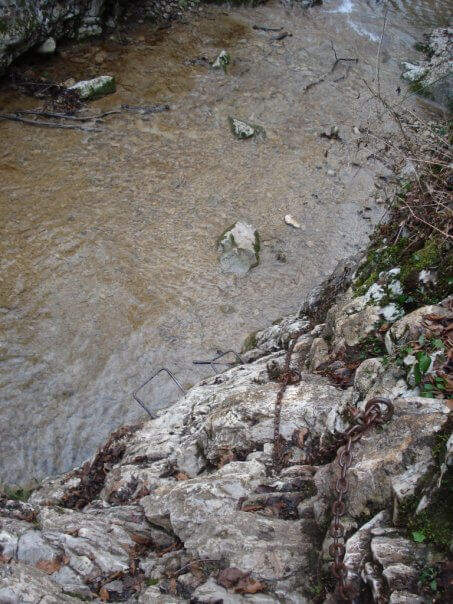
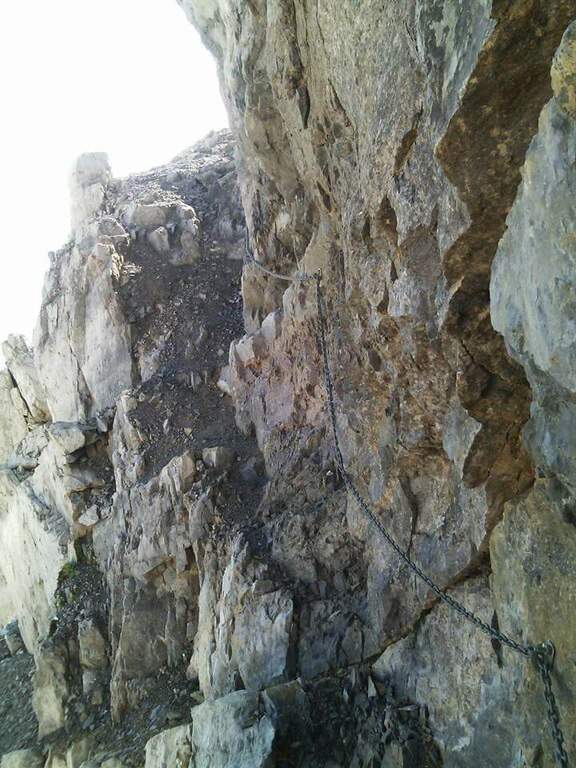
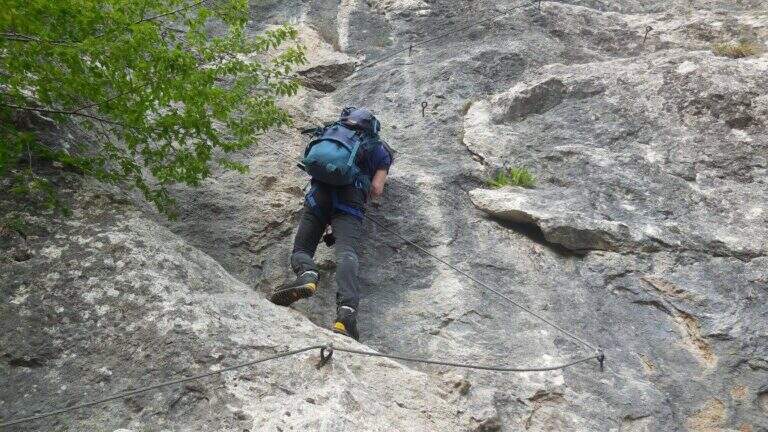
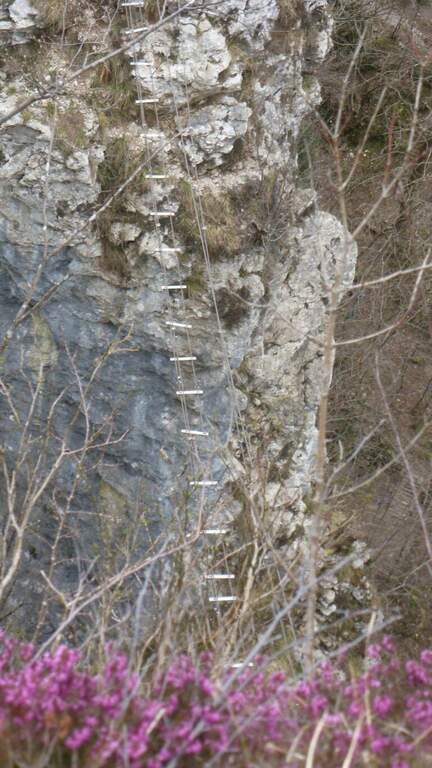
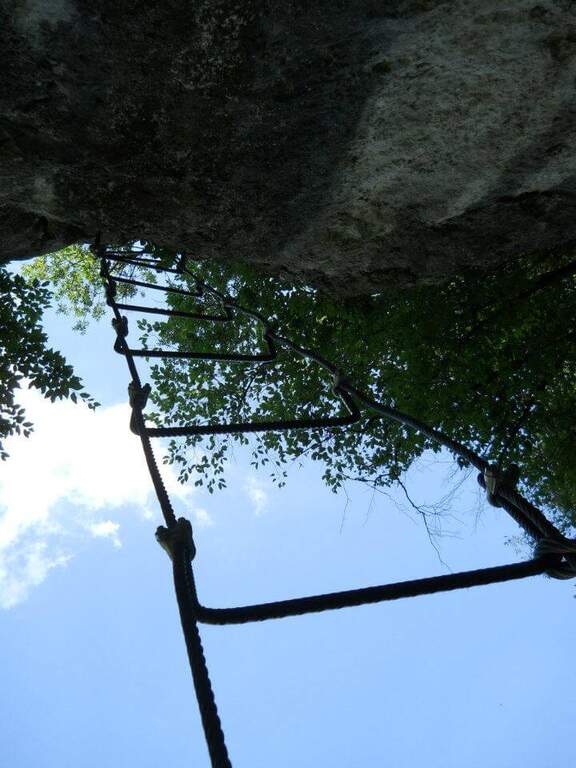
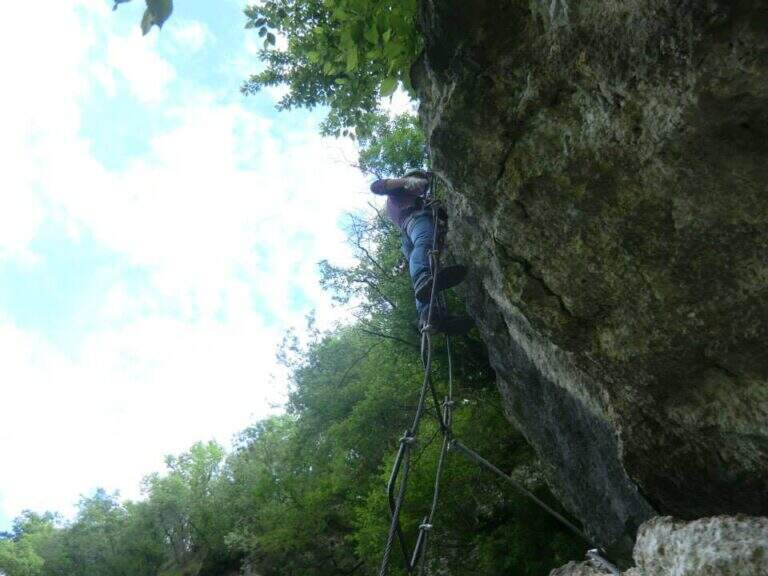
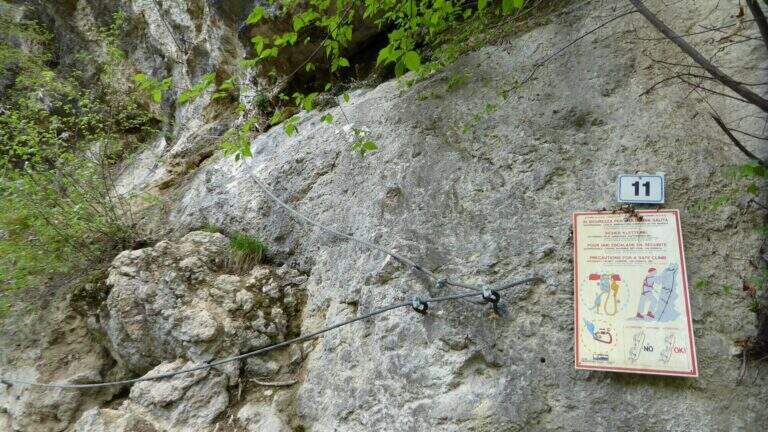
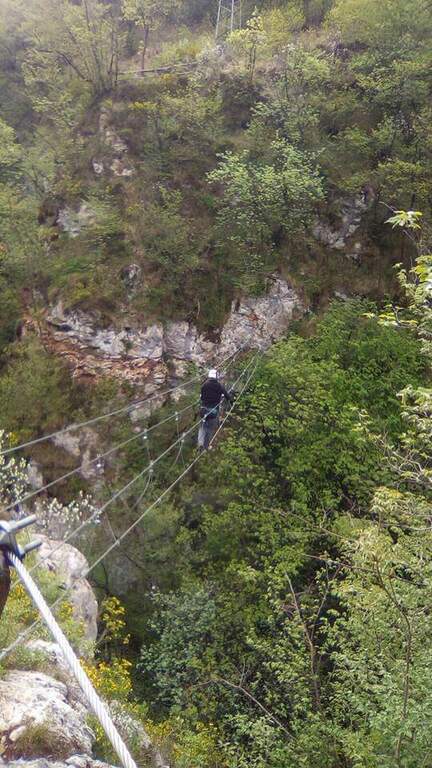
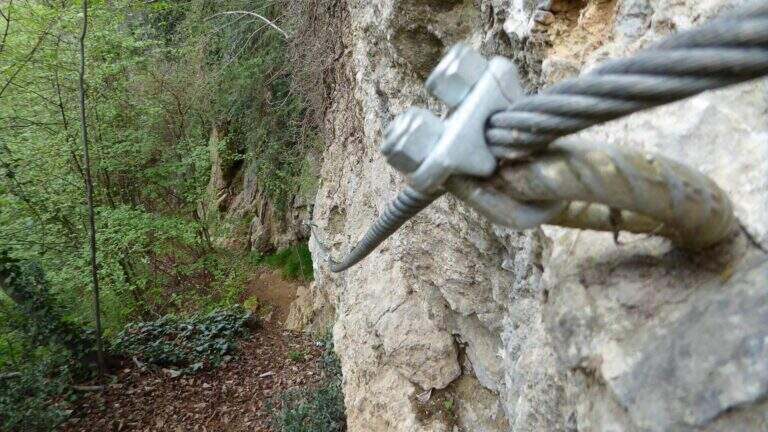
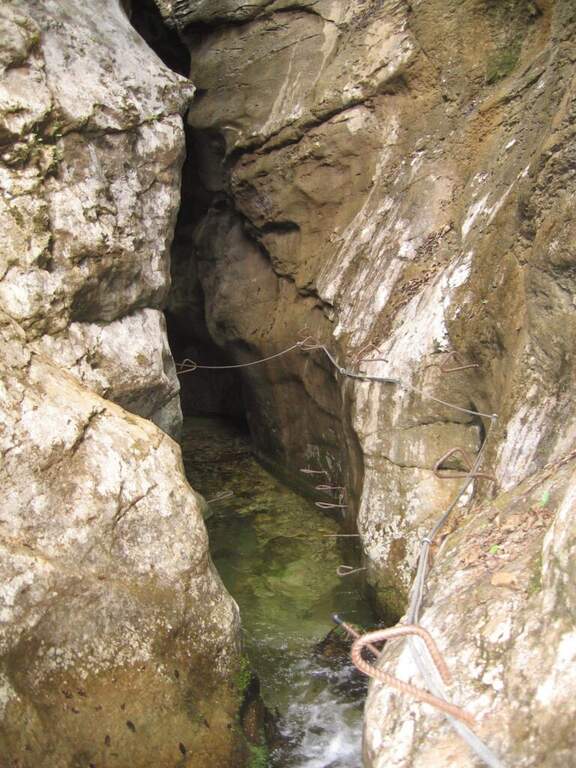
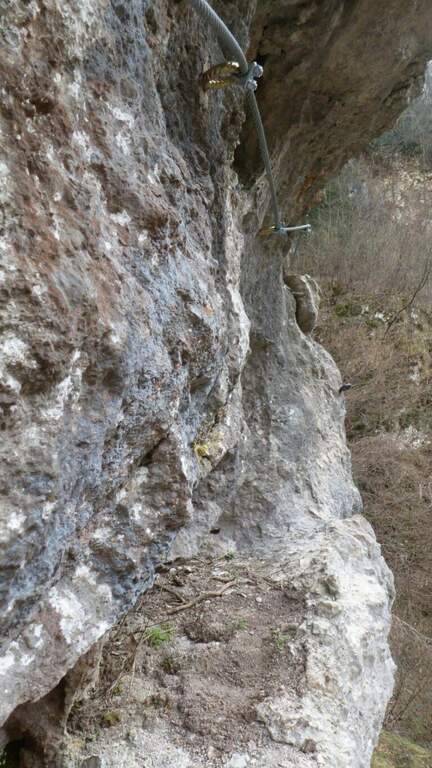
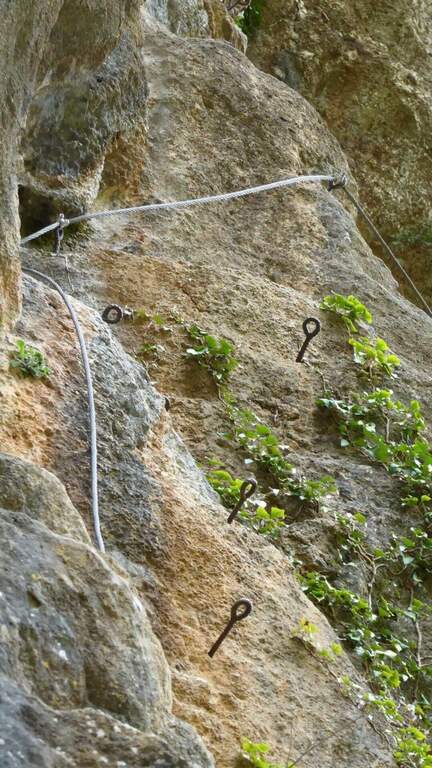
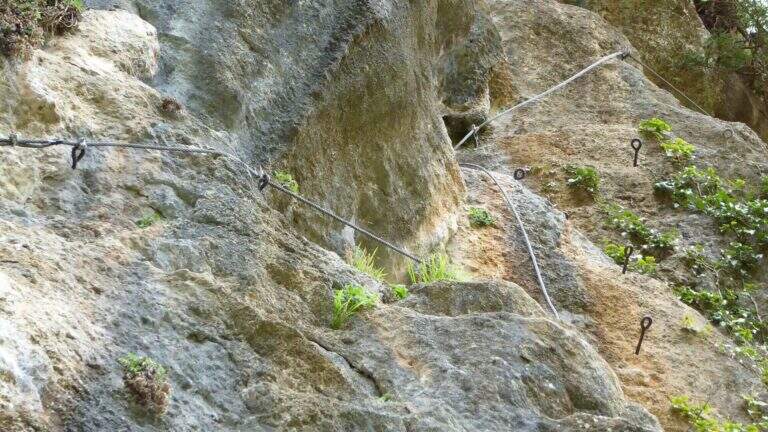
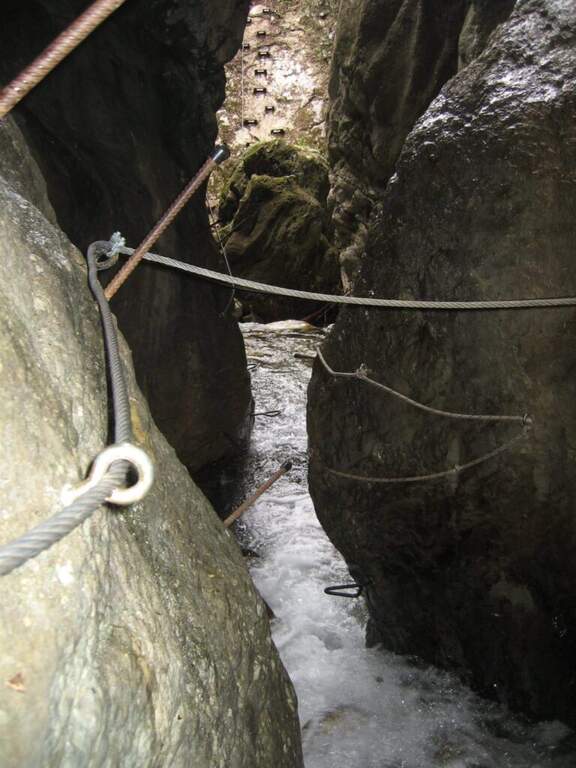
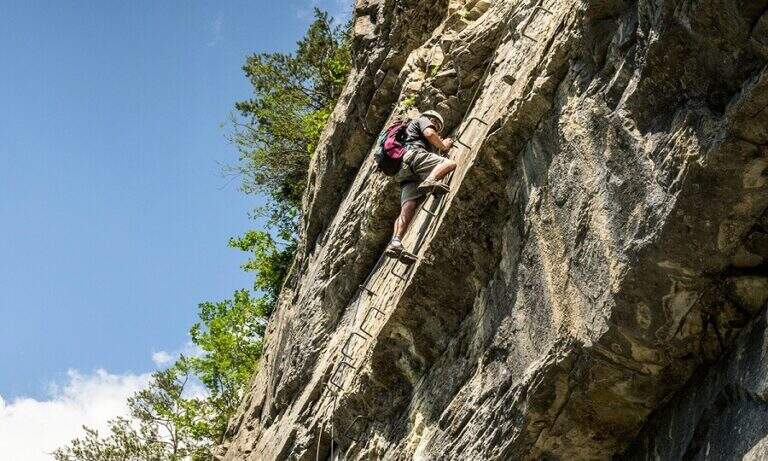
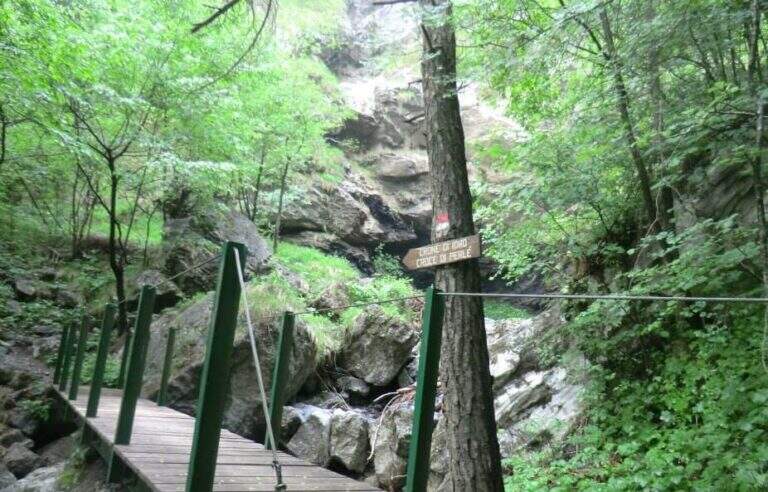
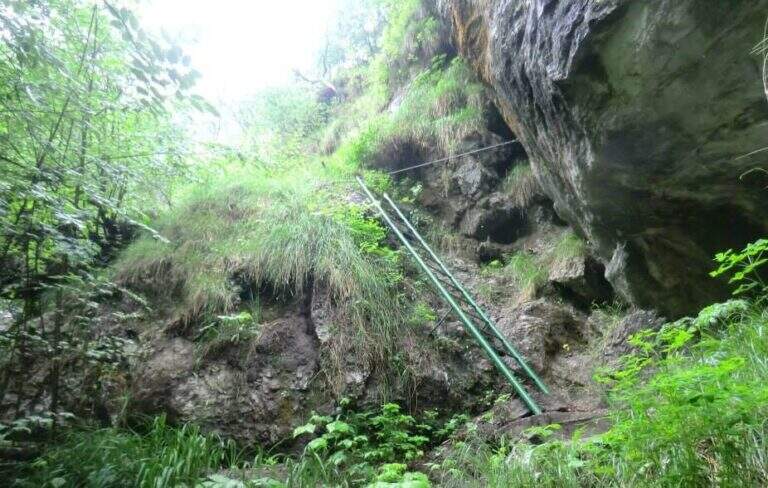
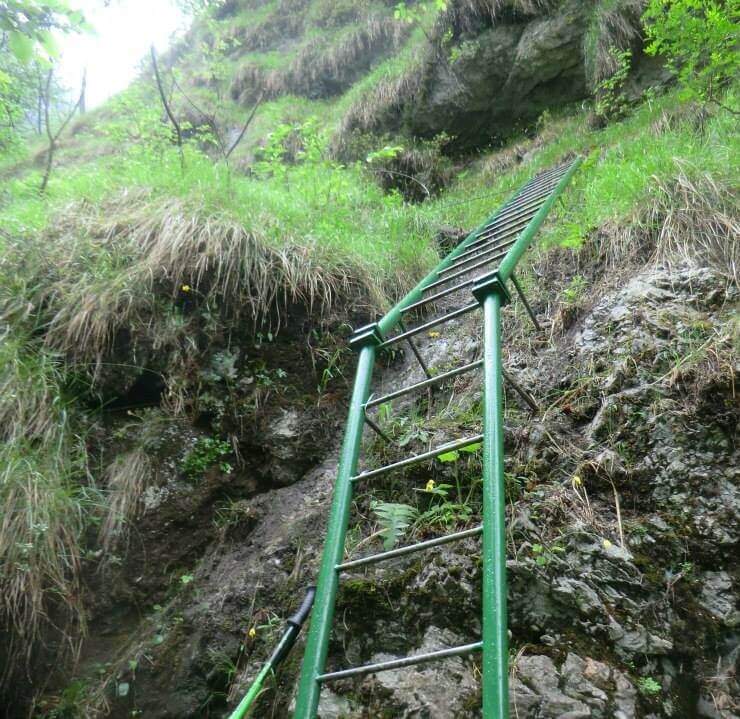
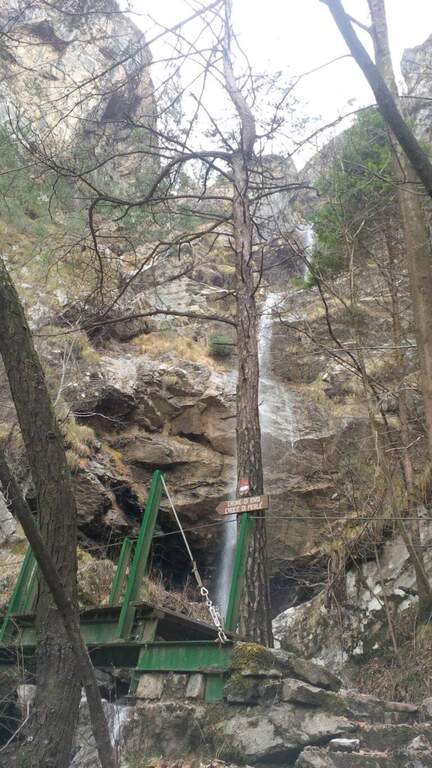
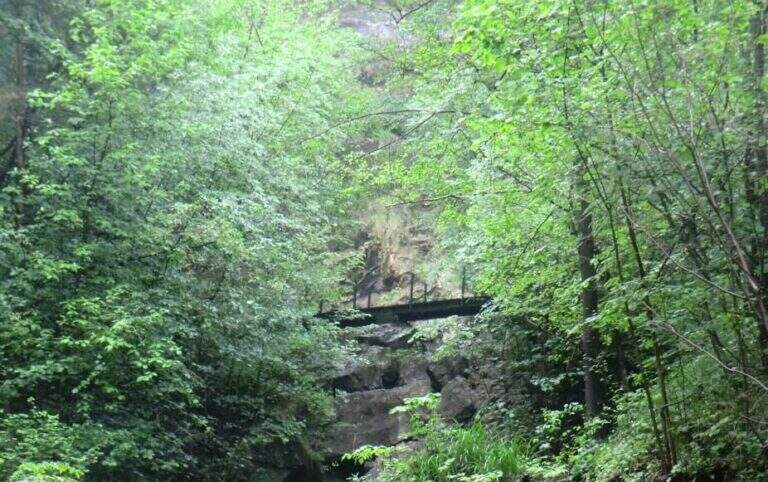
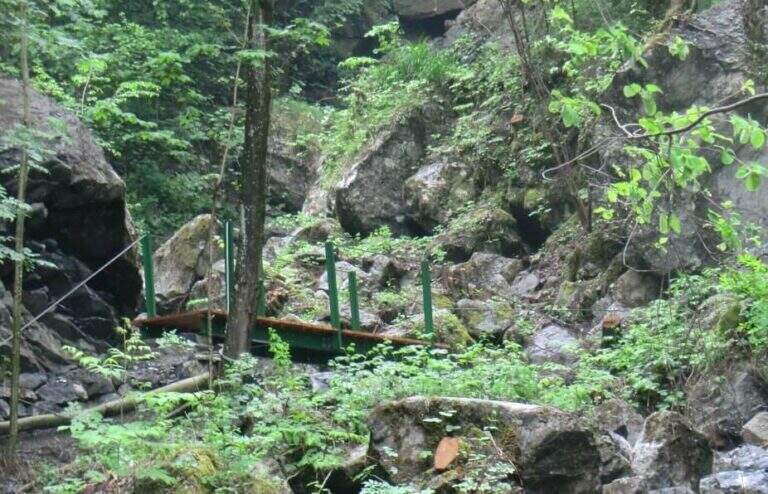
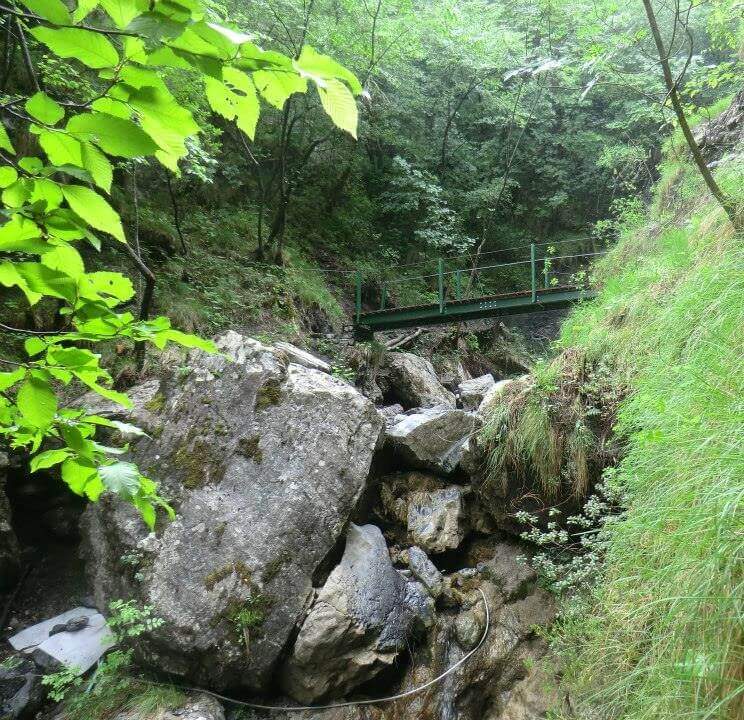
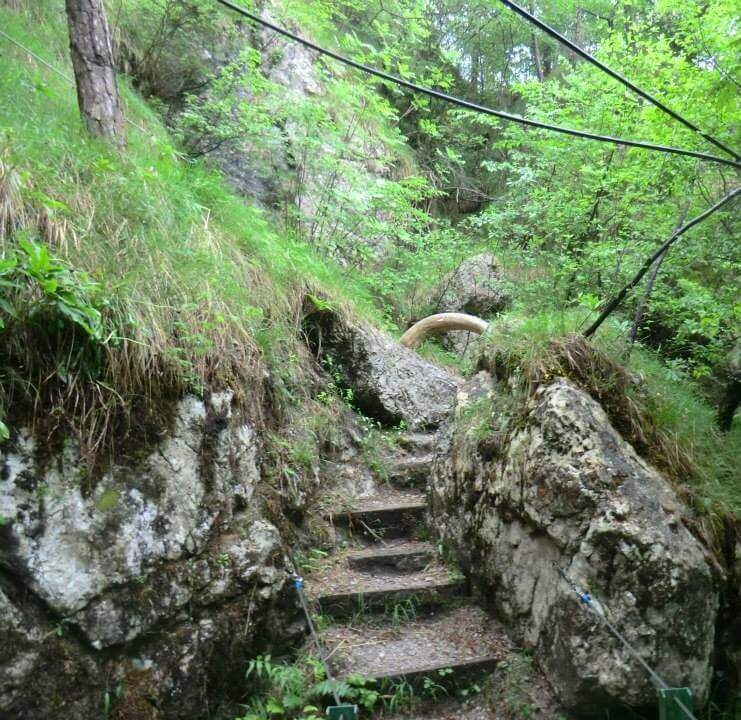
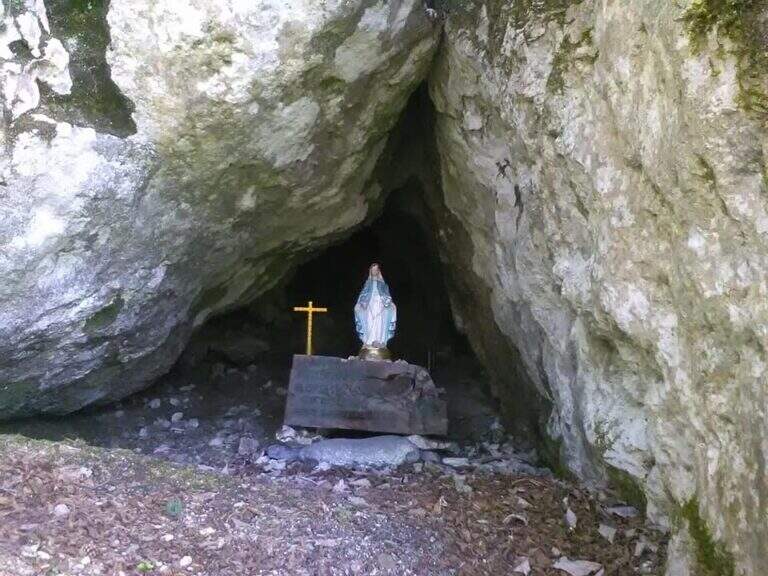
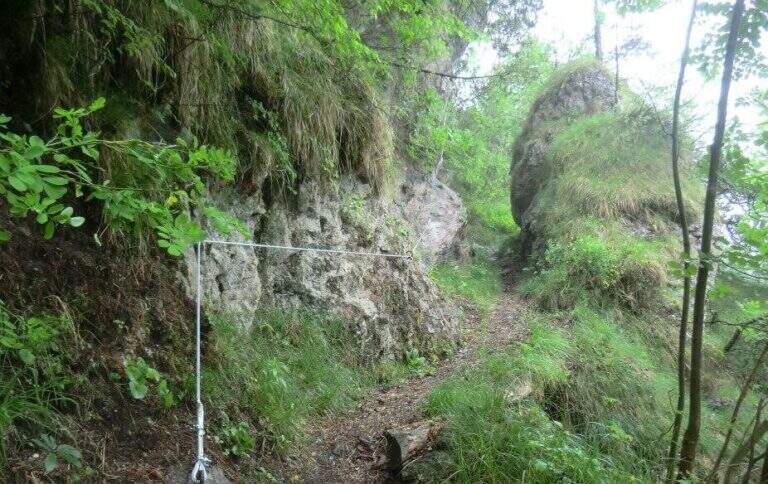
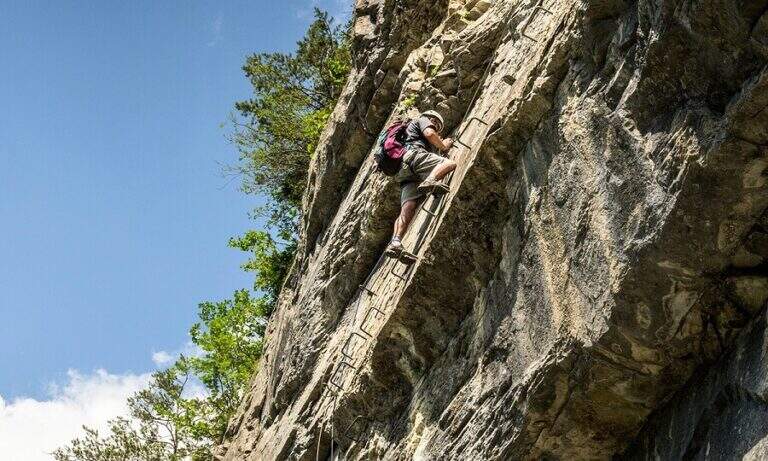
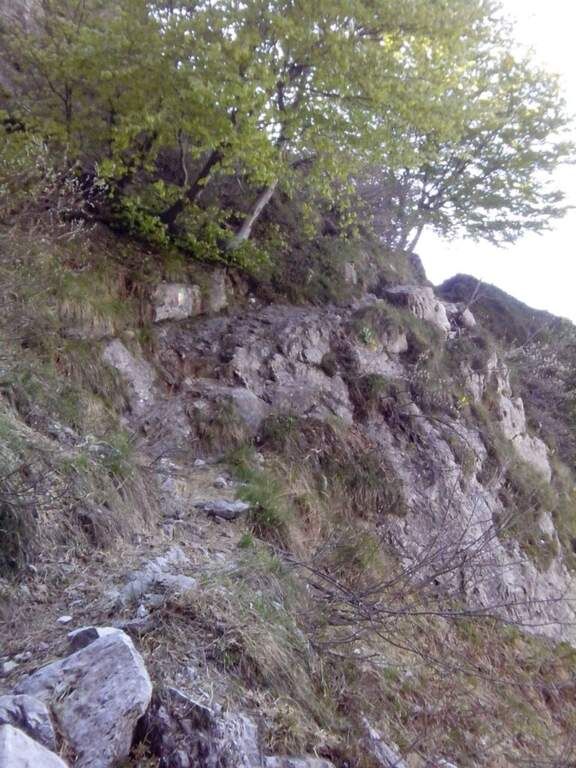
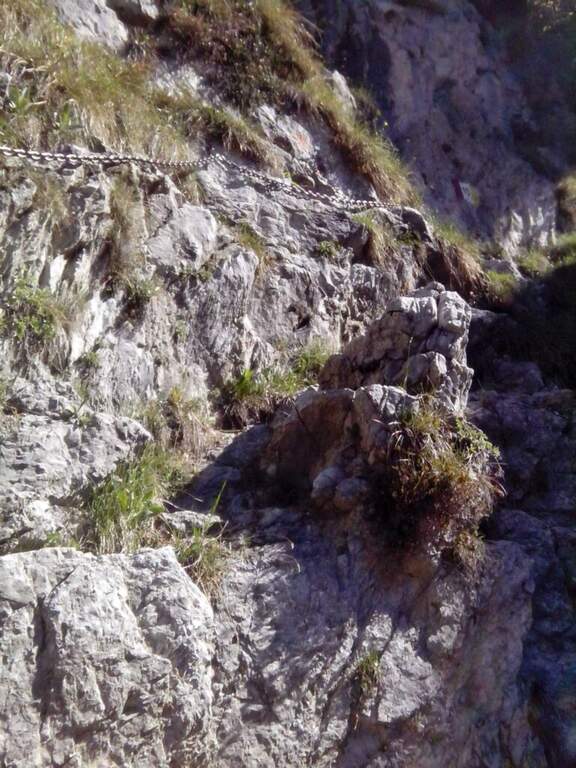
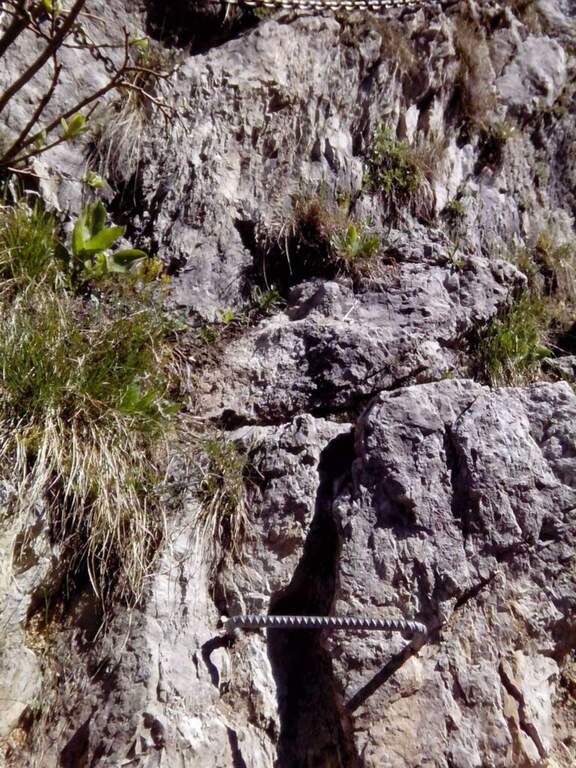
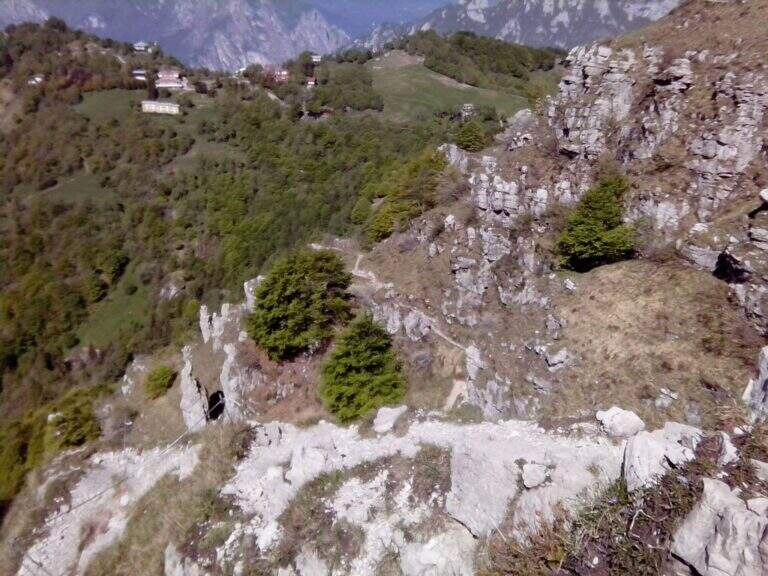
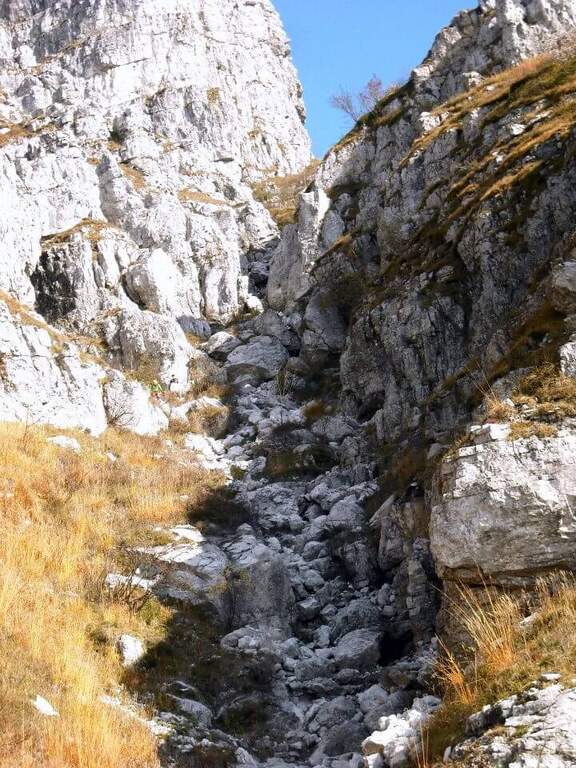
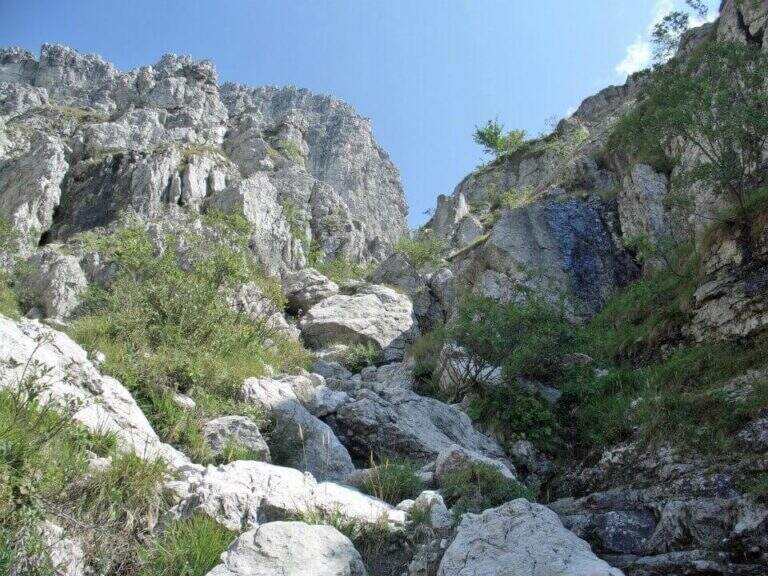
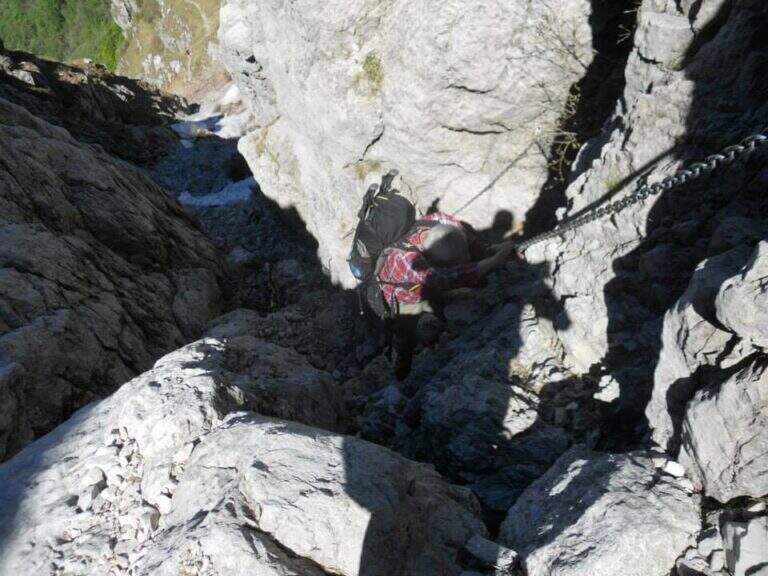
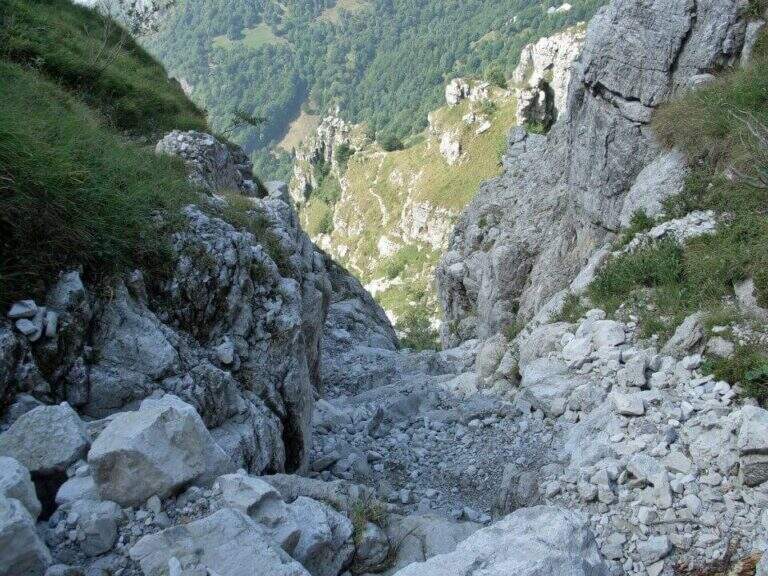
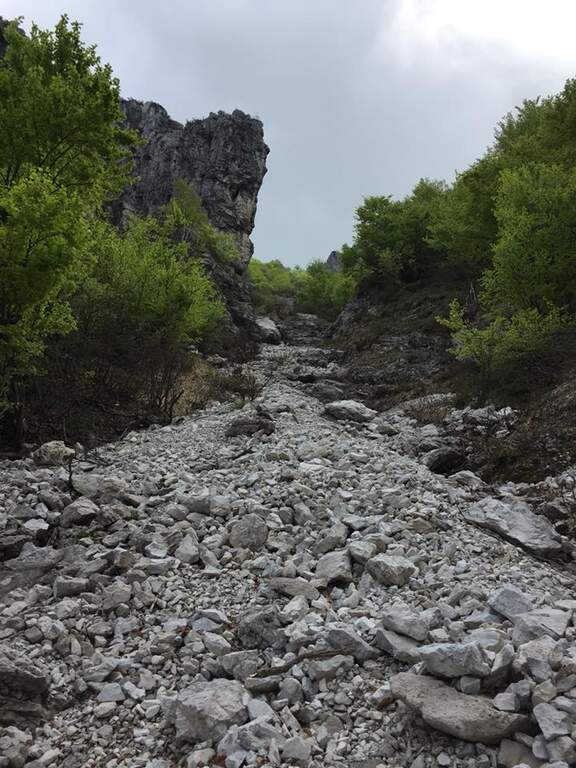
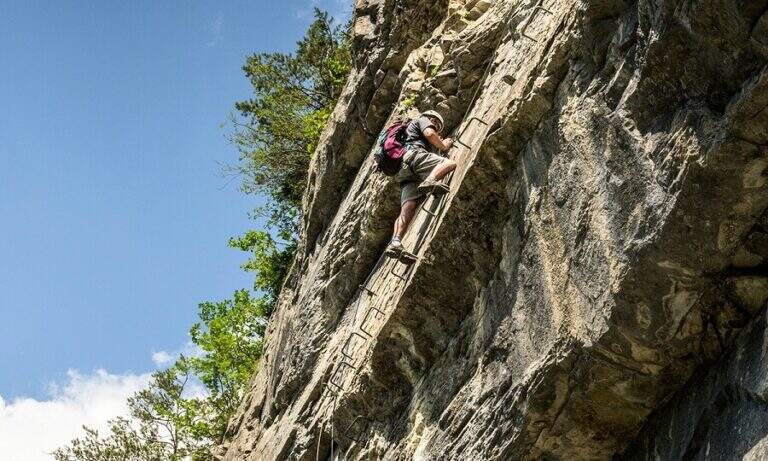
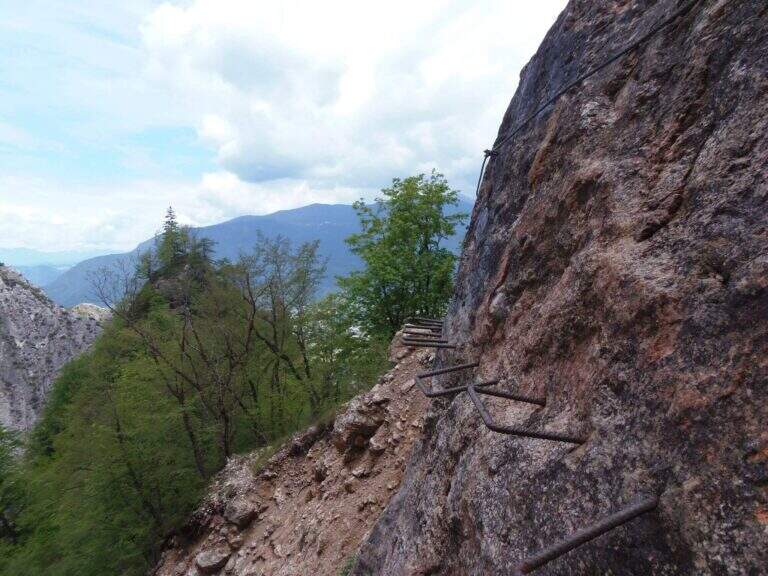
    You go up a first stretch of wire rope to overcome a saddle; besides, after an easy but slippery debris, you descend a metal ladder losing a little bit of altitude towards the stream and a spire that seems to land the valley. Cross the stream and climb the second metal staircase, which helps to overcome a swan, followed shortly after by a third staircase. There is a nod on the creek, where it serves attention because the cable tends to push out and the bottom is slippery for moisture. You go up a new staircase and continue on a comfortable path with a splendid view of mountains, waterfalls and streams; you pass this easy stretch, you face a steeper climb on a rough, unspoilt bottom up to a panoramic point on the Valsugana. The second part begins: the first equipped section is an exposed but not difficult traverse, with support brackets; they follow a comfortable nod and a new ladder. Then you go through an unequipped section, descend into a detritic groove and go up what is probably the most difficult passage of the road, a sloped wall composed of natural steps on which you need attention. There are two metal ladders and you continue to descend a detritic trait quite challenging; then go up on a little stable but not difficult, you pass the plate dedicated to Clement Church and you complete the detritic tract. Passing next to a beautiful waterfall you reach a new rocky nod, which takes you to the right; the complete one, you climb a ladder leaning on a rock and you cross the stream near some rocky rocks. With a last ladder the equipped part ends, near a plateau (1247 m, 1h45 from the attack, 2h45 overall).

    ▲Character and difficulty

    For technical difficulties the way would be to be cataloged as easy, but the state of the equipment has raised the degree: with two sections without protection or maintenance, they serve steady foot and a rope to ensure the companion. The environment is really suggestive and, for the low altitude, the itinerary is absolutely to visit, especially in the half seasons.

    ⚠ Along the way there are numerous guades of the Rio Bianco and several cenges on the creek with slippery bottom for moisture: attention to the step and tendency of the cable to push out.
    ▲Period and safety

    Low altitude (maximum 1370 m): the itinerary lends itself well to the half seasons, when the Rio Bianco has good flow and the waterfalls are at best. In addition to checking the state of the equipment, it is good to evaluate the flow of the stream for the numerous guades.

    ▲Discipline

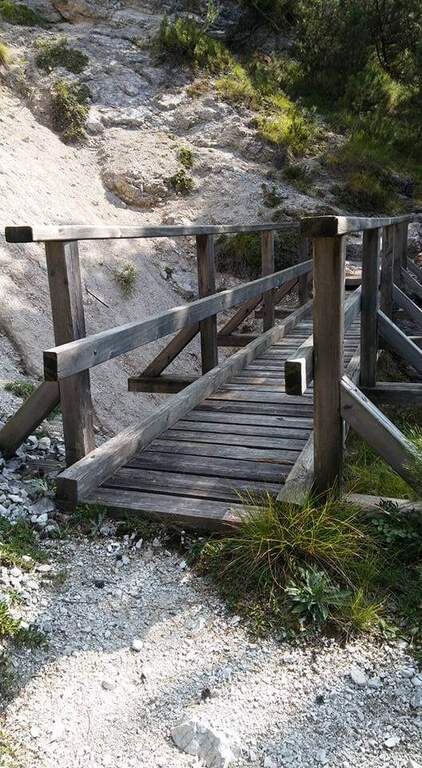
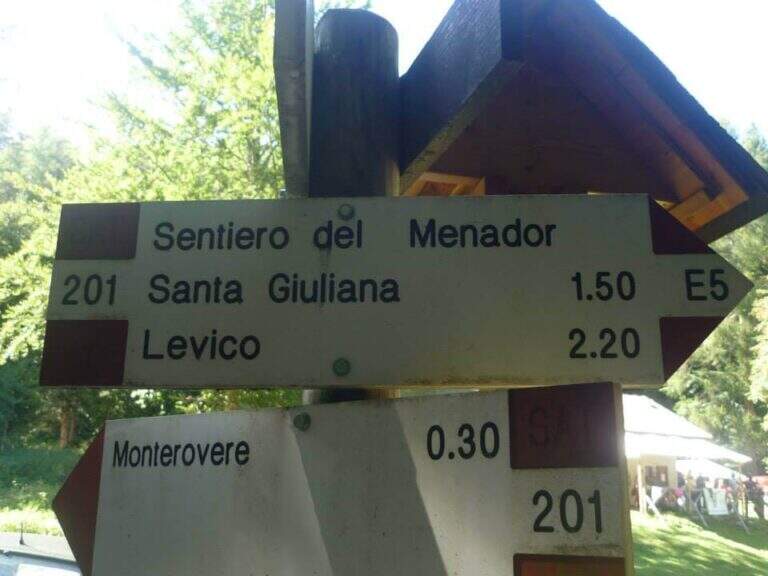
    After finishing the ferrata continue along the path in the wood that, southward, points to the locality Seghetta. At the first crossroads you will take the left towards Baita Cangi, on the 201 marker. Although not the fastest route, we offer the return to the Path of Menador in the Val Pisciavacca: at the second crossroads you still keep the left and you walk a pleasant path between uphills, take a little slippery on debris, bridges and gudes, until you return to the car. At the end of the Path of Menador (2h30 from the end of the ferrata) you keep the left along Via delle Valli until you resume the provincial road of the way; again on the left you reach in short the parking lot in front of the hotel (5h30 total).
    ▲Gallery
    Technical data
    • DifficultyModerately Hard
    • RegionTrentino-Alto Adige
    • GroupValsugana – Vigolana
    • Approach1:00 h
    • Ferrata1:45 h
    • Itinerary (a/r)5:30 h
    • Hardware level difference390 m
    • Route difference828 m
    • Max1370 m
    • Length11,7 Km
  • Path Ceria Merlone at Modeon del Buinz

    Path Ceria Merlone at Modeon del Buinz

    Vie Ferrate › Friuli-Venezia Giulia › Udine
    Path Ceria Merlone at Modeon del Buinz
    Moderately Hard● OpenDescriptionComplexityMapsGallery

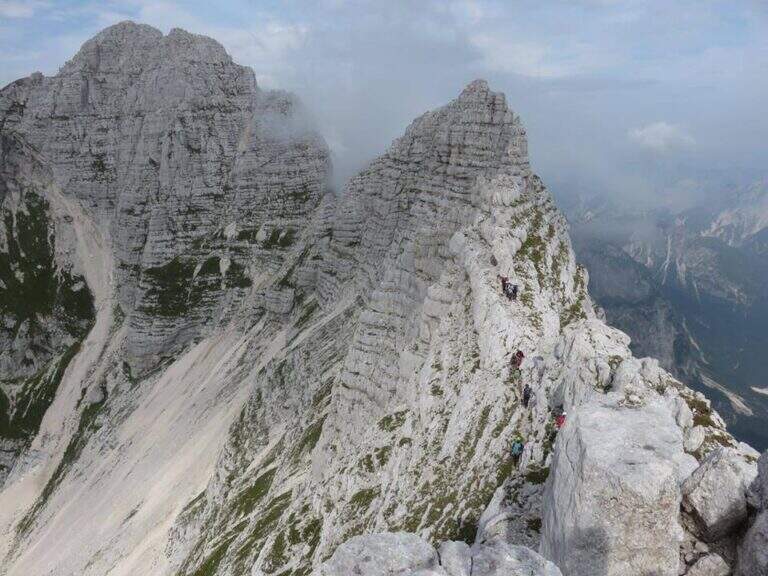
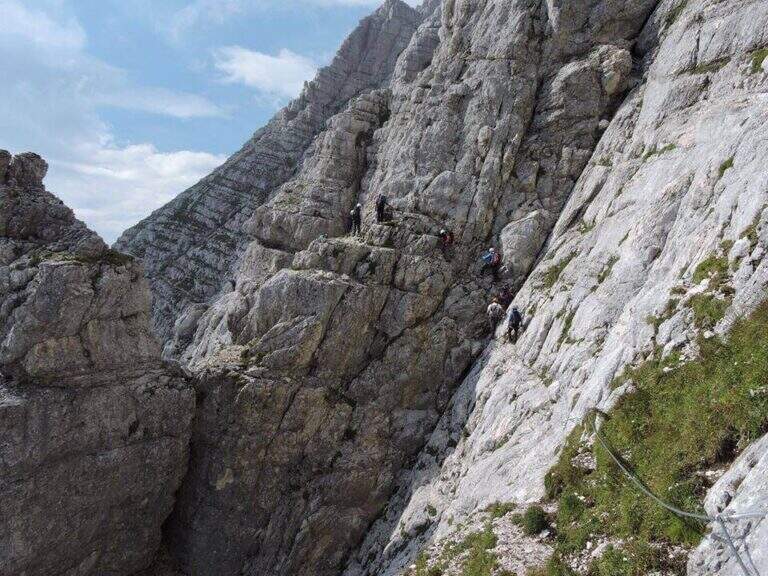
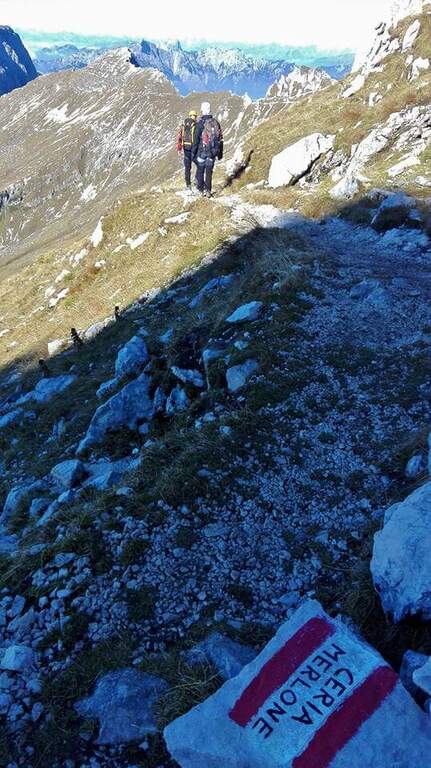
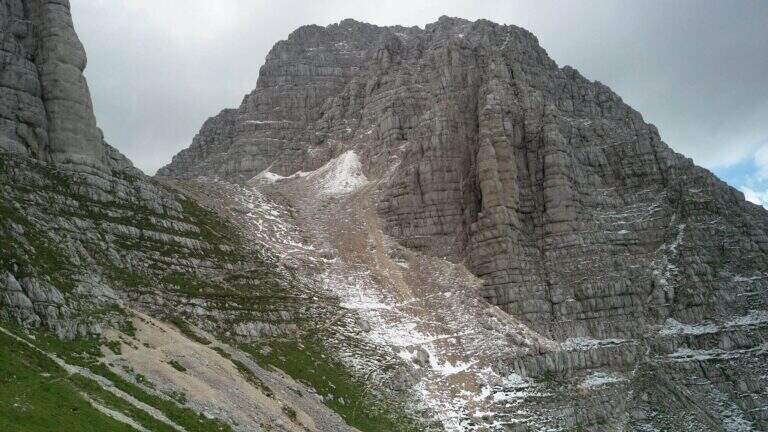
    The Ceria Merlone Trail is a long and panoramic route of the Julian Alps, starting from the Montasio plateau. After a long approach to the Forcella Lavinal dell’Orso, follow a magnificent ridge path that closes a large downhill ring to the Rifugio Brazzà. Numerous traits are not protected, and in some cases require short climbing passes: a superb path but to be experienced. The route is dedicated to the mountaineers Celestino Ceria and Ruggero Merlone, and was inaugurated in 1971 by the Cividale Alpine Battalion, in memory of the line held by the Alpini on this ridge during the Great War.

    ▲Approach

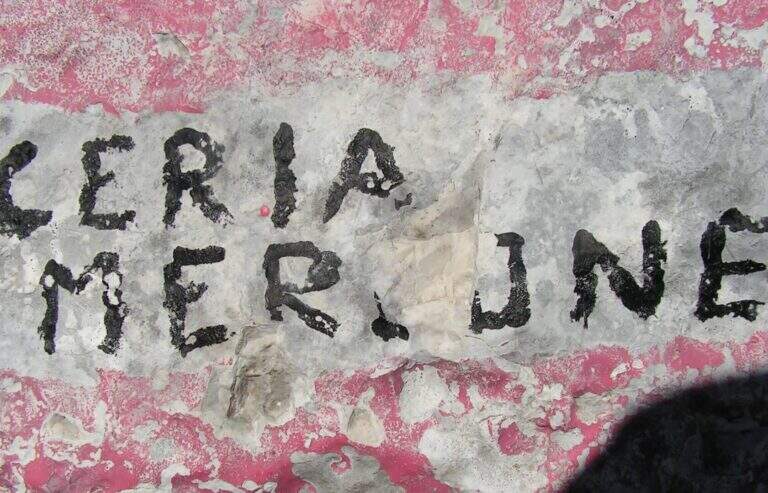
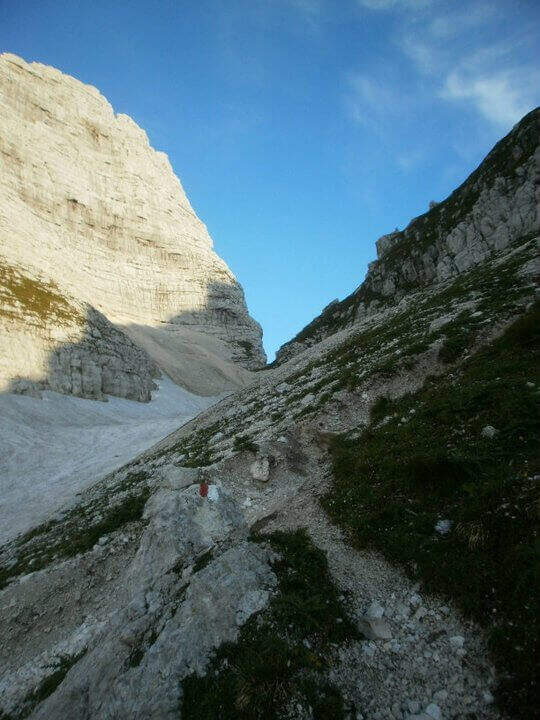
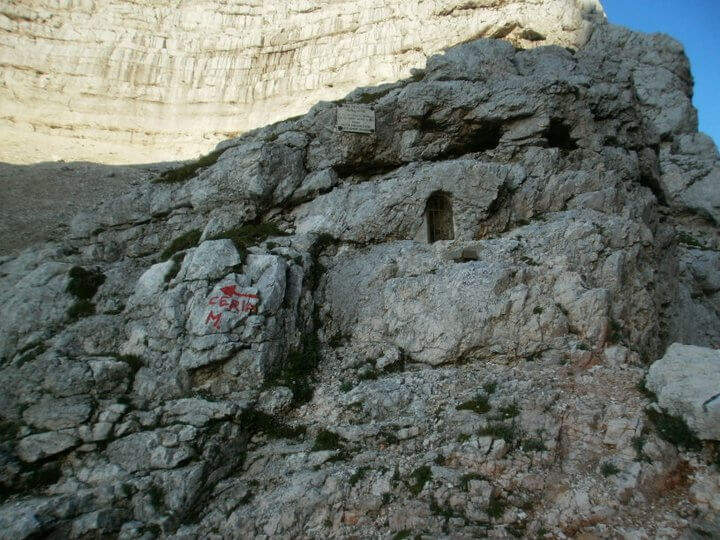
    It starts from a large parking lot along the road that connects Malga Montasio with Sella Nevea, on the Montasio plateau (UD). To get to Sella Nevea you reach Chiusaforte, 20 minutes from the Carnia-Tolmezzo exit of A23; from there follow the signs to Sella Nevea towards the east, you pass the bridge and you drive for 20 km to the village, where a hairpin a brown sign indicates the plateau of Montasio, to follow until the end of the road (open up Google Maps). The route is proposed here from the east (Forcella Lavinal dell’Orso) to the west (Cima Terrarossa), towards which many equipped sections run uphill. From the parking lot (about 1500 m) you climb on dirt road towards the Rifugio Brazzà; after a few minutes you cross a dirt road with 624 signpost that cuts right into a false plateau. Losing a little bit of altitude you pass the Casere Parte di Mezzo and then the Casere Larice (1479 m, 30′ from the parking lot); ignored a track to the right that goes down to Sella Nevea, you reach the Casere Cregnedul Refuge above (1515 m, 1h from the parking lot). It is snowed on the path 625 that climbs from Sella Nevea, it is held the left uphill, first in the forest and then pointing to the north; the south wall of the Cregnedul to Passo degli Scalini (2022 m, 1h from Casere Cregnedul Refuge, 2h totals). Passed the pass opens a valley: on the left you can see the Lavinal Forcella dell’Orso and the ridge of Ferrata Goitan. You cut the valley following the track and, on the opposite side, the white-red signs, going up with a certain affanno towards the fork; just before you follow a writing on rock and a trace that detaches to the left: here begins the Path Ceria Merlone (30′ from the Passo degli Scalini, about 2h30 total).

    ▲The path

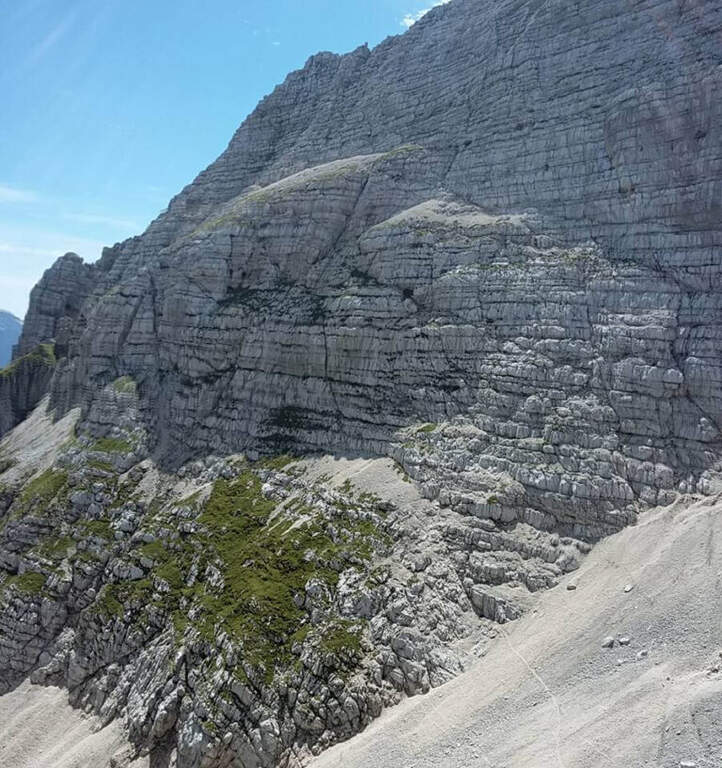
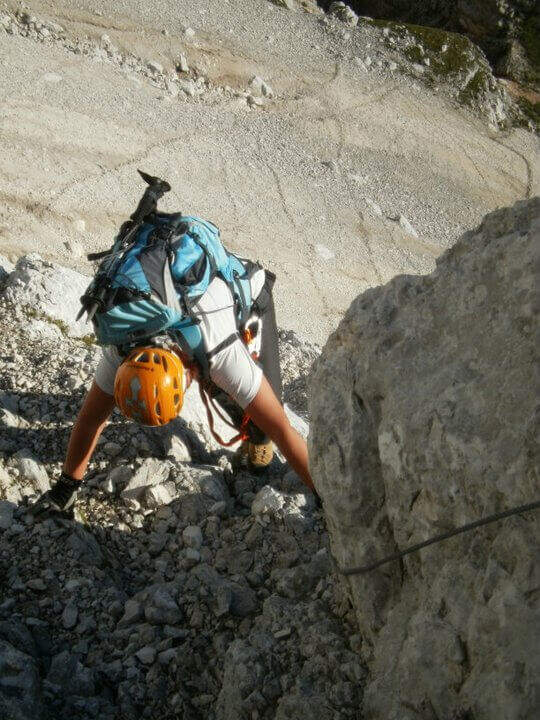
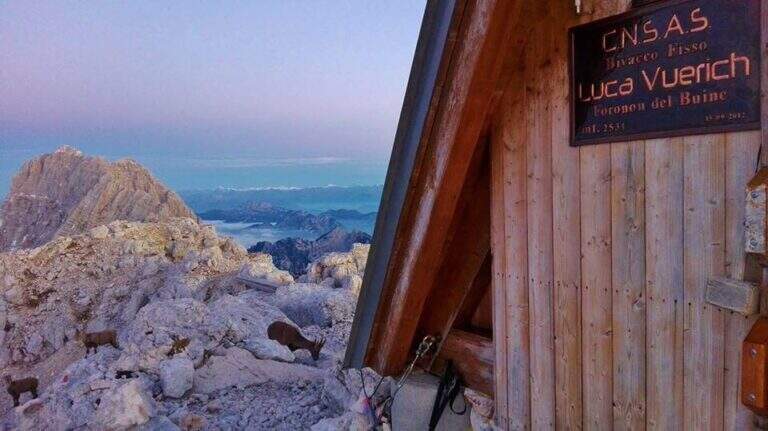
    The first goal is the Forcella Cregnedul, reached by gaining around 200 meters around the imposing walls of Punta Plagnis. It climbs on a pebble bottom up to a first stretch equipped that exceeds some rocks, a vertical wall and a tilted plaque; left behind the Lavinal Forcella dell'Orso, proceeds diagonally up to a fireplace equipped and a metal ladder resting on the rock, and in an alternation of passages on the right and on the left closes the first tiring section to the Forcella Cregnedul (2340 m). Now follow the trail on a wide unprotected nod that wanders the southern walls of Punta Plagnis, passing from the east to the west side: the passages are exposed but generally wide, except for a couple of forks and rocks on the west side where the path tightens; the most exposed sections have a handrail. With a stretch equipped downhill you descend a few meters, then walk on wide and comfortable cenges to the Forca de la Val (2352 m, 1h15 from Forcella Cregnedul), which separates the Modeon del Buinz from the Cima de la Puartate. You can climb equipped canals interspersed by detritic gland, holding to the south to avoid to the north the steep wall, in a stretch rich of exposed protected cenges; you reach a fork nestled and you begin to wander the southern wall of the Modeon del Buinz towards the Sella di Buinz, with in front of the Foronon del Buinz and its bivouac just below the summit. There is an exposed nod equipped, you climb a short stretch sprotetto on an unstable background, you walk a census and you take on the west wall of Modeon; along a wide ridge on the south side, on a slight ascent, you pass stretches equipped with rocks and easy rocky balconies up to the new and functional Bivacco Vuerich (2531 m, 1h15 from Forca de la Val, 3h45 from the attack). From the top of the Foronon del Buinz follow the wide ridge, walk through a walkway and start to lose altitude with easy passages of climbing, equipped in the most demanding cases; holding on the south side you walk exposed cenges usually not protected and you reach a new vertical stretch, with a well-equipped canal but well-dressed, followed by some rocks, up to the Forca de Lis Siens From the wide saddle the path runs on a false plateau between modest climbs on the south side to the crossroads marked with stone writing (2285 m, 15′ from Forca de Lis Siens, 5h from the attack) between the climb to Cima Terrarossa and the Path Ceria Merlone, where the equipped road ends.

    ▲Character and difficulty

    It has no particular technical difficulties, neither in the equipped or unprotected traits; however, it deserves great attention to the numerous passages exposed along the canals and canals. It develops entirely at altitude, with the Bivacco Vuerich halfway in excellent conditions, but with only two escape routes, both unmarked.

    ⚠ Itinerary very long (9h, 16 km) in high mountain environment, with many exposed and unprotected features and short climbing passes. The only two escape routes — in Forca de la Val towards the Conca di Casera Cregnedul and in Punta Plagnis for Plagnota — are steep and unmarked, to be used only in emergency. Start soon, with stable weather and good autonomy.
    ▲Period and safety

    High mountain summer itinerary in the Julian Alps (max. 2531 m). The equipment and signs are in good condition, but the development, exposure and scarcity of escape routes require experience, training and attention to the weather.

    ▲Discipline

    From the final crossroads (2285 m) the quickest descent is to the left, towards the plateau of Montasio; if you want you can climb to the nearby Cima Terrarossa (2420 m, 45′ return). Keeping the right and descending towards the plateau you reach the Rifugio Brazzà (1660 m, 1h15 from the end of the ferrata) and then parking (about 1h30 from the end, 9h overall).

    ▲To match

    The environment is suitable for several days: you can climb to the Jof in Montasio for the Ferrata Amalia and use the Ceria Merlone to return to the north side, or match it to Sentiero Attrezzato Leva overnight in a refuge or bivouac. From the Lavinal Fork of the Bear you can take the Ferrata Goitan towards the Jof Fuart. Staying in the Julian Alps we also signal Ferrata Julia at Canin e la Ferrata della Vita al Mangart.

    ▲Gallery
    Technical data
    • DifficultyModerately Hard
    • RegionFriuli-Venezia Giulia
    • GroupJulian Alps
    • Approach2:30 h
    • Ferrata5:00 h
    • Itinerary (a/r)9:00 h
    • Hardware level difference257 m
    • Route difference1031 m
    • Max2531 m
    • Length16 Km
  • Sentiero Attrezzato della Cengia Veronesi

    Sentiero Attrezzato della Cengia Veronesi

    Vie Ferrate › Veneto › Belluno
    Sentiero Attrezzato della Cengia Veronesi
    Moderately Hard● OpenDescriptionComplexityMapsGallery

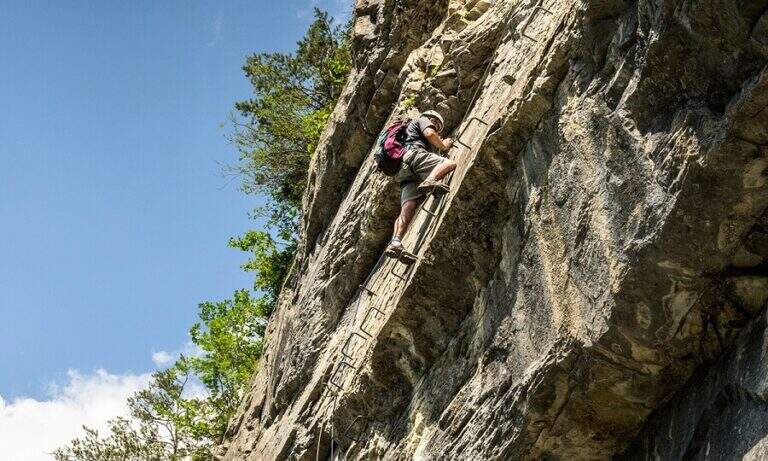
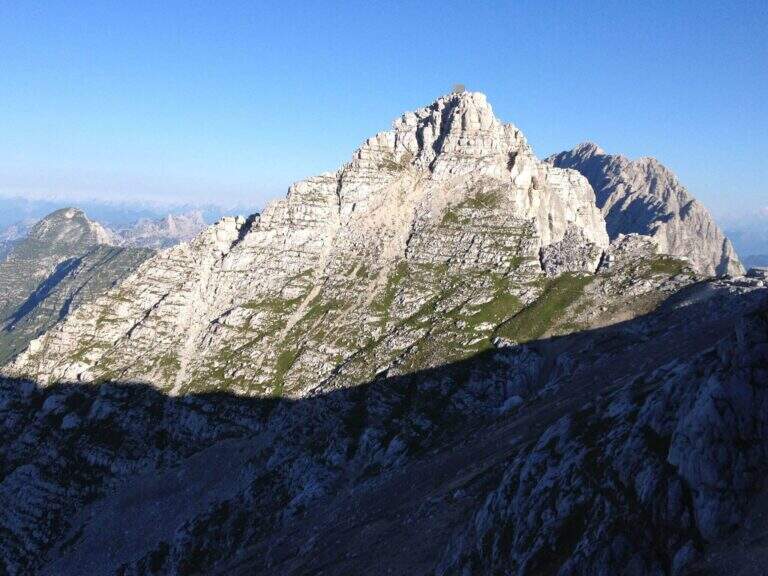
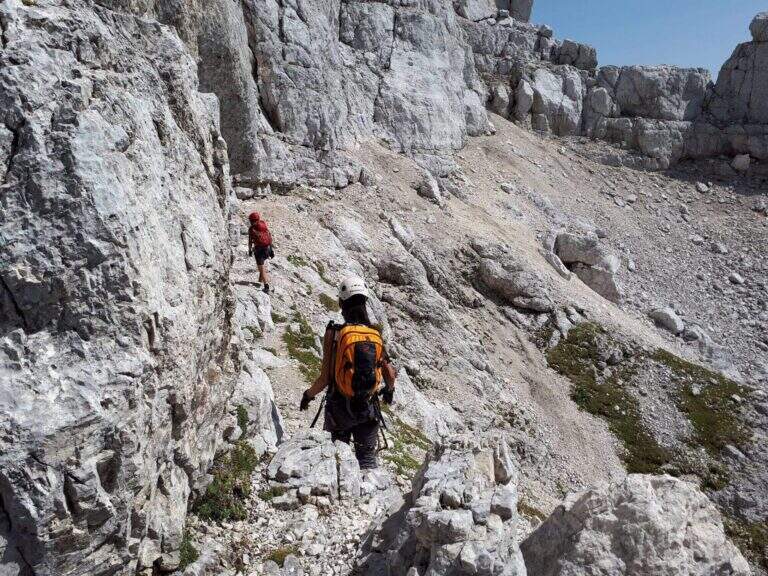
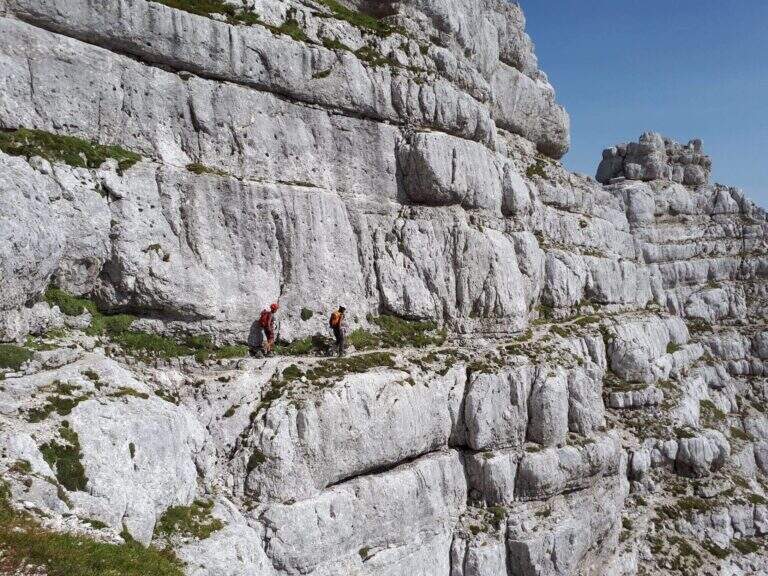
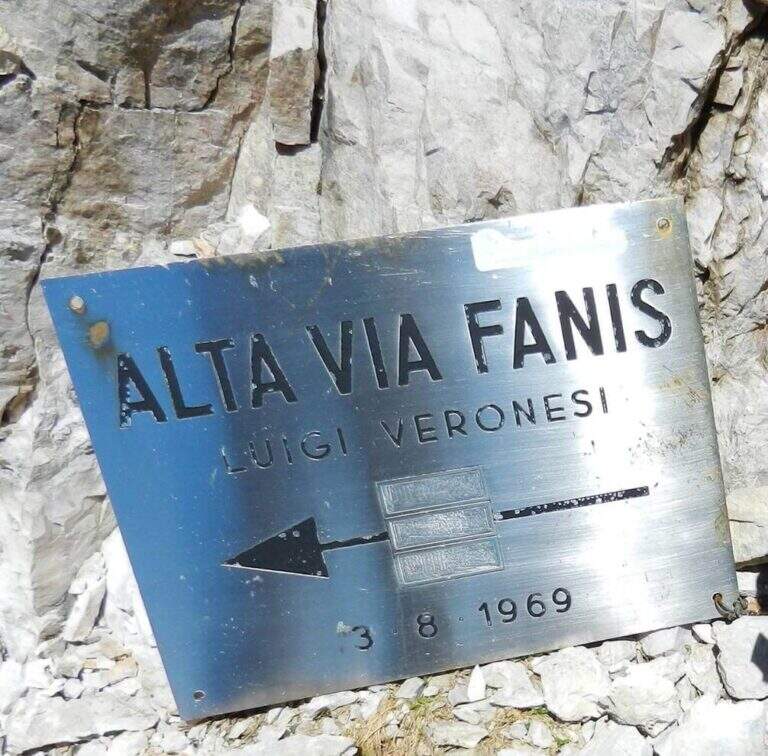
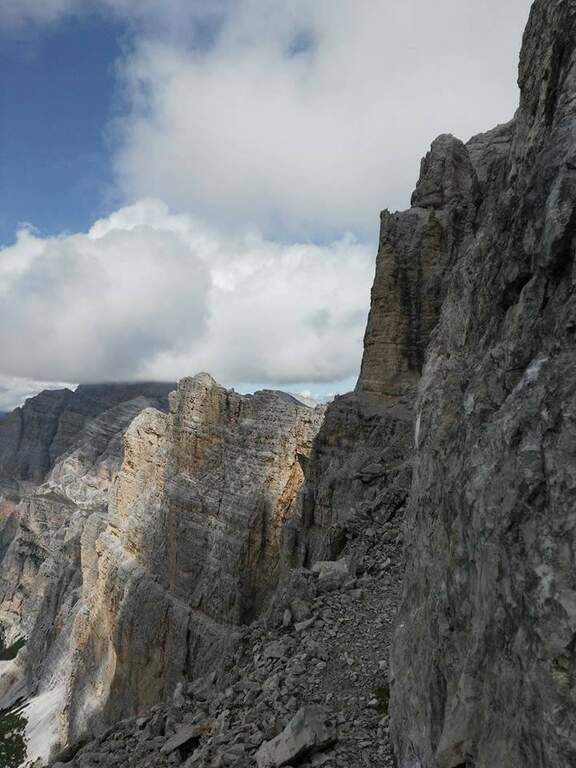
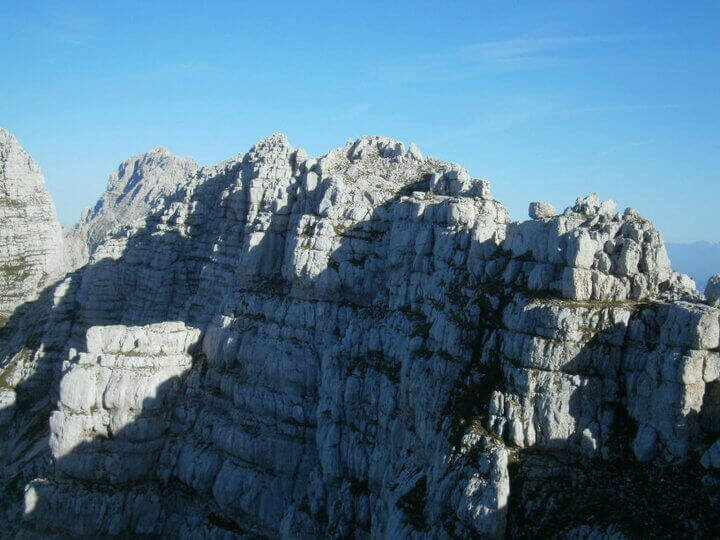
    The Cengia Veronesi is a technically not difficult but very exposed itinerary, not to be taken lightly already for the approach: in order to reach it, in fact, you have to follow a section of the difficult Ferrata Tomaselli. In return, it offers magnificent landscapes in the heart of the Fanis group. Here we describe it in the direction of Cima Fanis – Forcella Lech, but nothing forbids it in reverse direction, uphill.

    ▲Approach

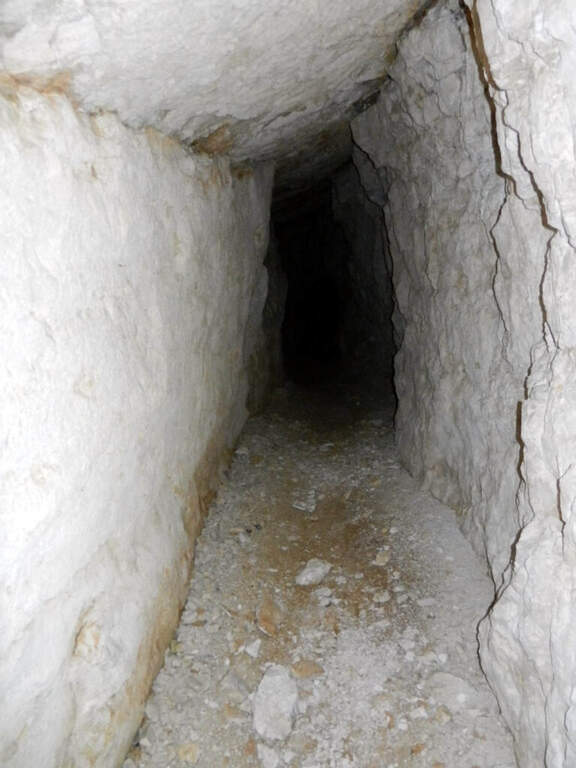
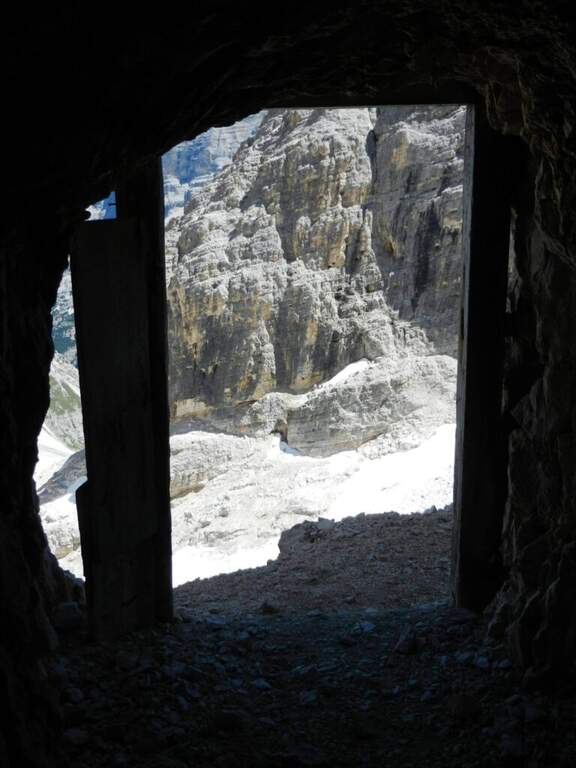
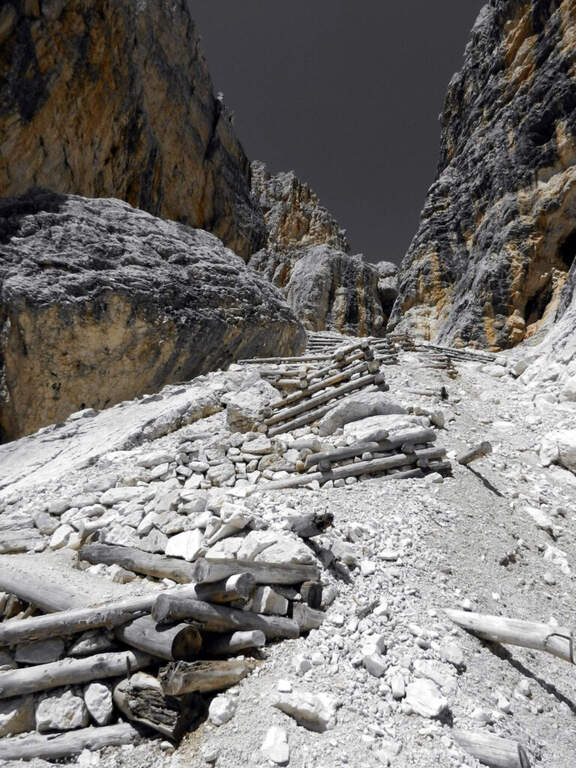
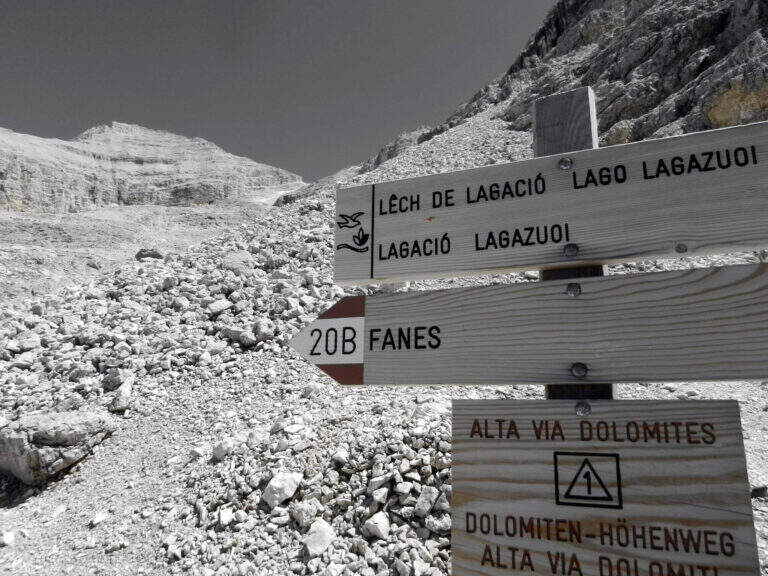
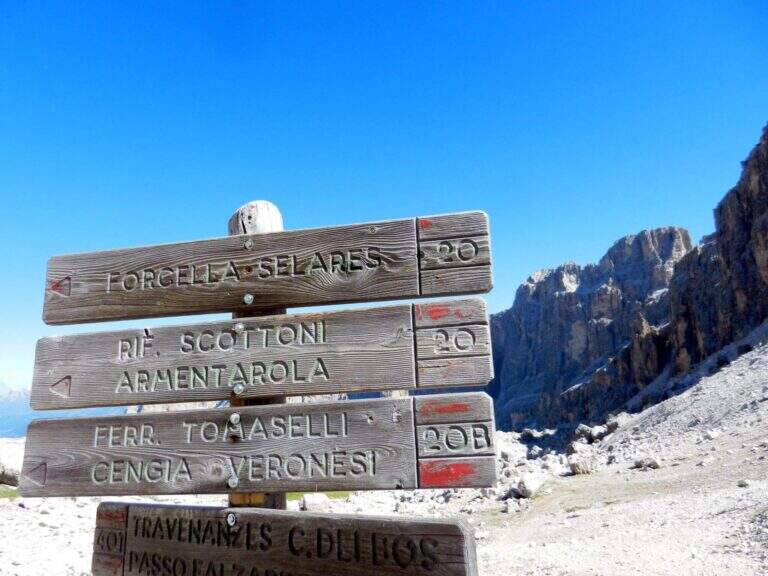
    You have to get under Cima Fanis Sud. The quickest way coincides with the approach of Ferrata Tomaselli: you reach the Falzarego Pass (2105 m) — from Cortina d’Ampezzo, from San Cassiano in Val Badia or from Alleghe (Belluno) — you park in the large square at the valley station and climb with the cable car to the Lagazuoi Refuge (open up Google Maps). From here there are three options, in increasing order of engagement. The first follows the approach of the Tomaselli on the eastern side of the Grande Lagazuoi, from Forcella Travenazes to Forcella Gasser Depot, then up to saddle Fanes; then the maximum attention is paid to a census that detaches on the left (omit), you walk it and you get to the nod from which the road (2h from the mountain station). The second reaches the Bivacco Chiesa always along the Tomaselli, it follows the first difficult stretch — including the famous traverse — and flows into the starting census (1h45 from the mountain station): it is the option described here for the times. The third walks through the difficult Ferrata Tomaselli (3h), descends the downhill ferrata and identifies a half-coast path that, with a first equipped section, leads to the tunnel for Cengia Veronesi (4h from the mountain station).

    ▲The path

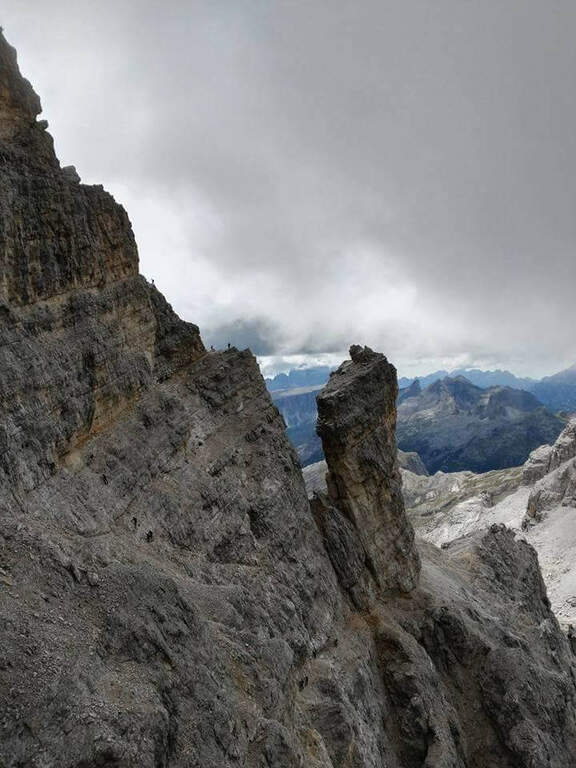
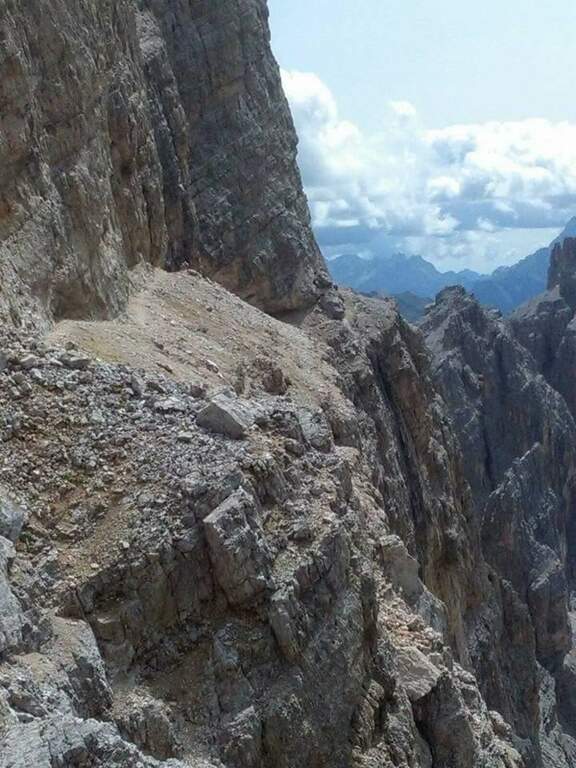
    From the second nod after the attack of Tomaselli we pay attention to a crossroads where Tomaselli continues to the right while the Cengia Veronesi goes left, with unfortunately faded signs. It starts immediately with an exposed and uninsured nod, followed by an even more exposed and narrow passage, in light descent but protected. After this, you go up a canal up to a saddle and continue to the left to a cave (a meeting point with approach 3): you can cross it for about 100 meters with a frontal stack, pouring on the opposite side of Cima Fanis. On the other hand, the long nod follows the track that, between modest climbs on exposed traits, leads to a edge that alternates short stretches equipped with long stretches, even very exposed, completely without protection. The nod runs with a remarkable precipice on the left and requires firm foot, even without any technical difficulties. We proceed up to a first fork between Cima Fanis and Piz Scottoni and then, with minor exposure, towards the Forcella Lech, where the route ends (1h15 from the deviation from Tomaselli, 3h overall).

    ▲Character and difficulty

    It is a difficult path to classify: the census in itself is very exposed and at times not equipped, but for the experienced hiker with a firm foot does not pose problems, indeed it becomes a very pleasant experience for the views. It is the constant exposure, more than the technique, to be able to trouble those who lack experience.

    ⚠ In each variant, access requires a stretch of the difficult Ferrata Tomaselli (including the famous cross): it must be evaluated honestly and not underestimated. The path is not marked and difficult to find. The census is very exposed and in several places without protection, with precipice at the side: it serves absolute firm foot. For the cave (100 m) a frontal stack is required.
    ▲Period and safety

    Itinerary of high mountain (max. 2843 m), to be faced in the summer season with stable weather. Reserved for experienced hikers, accustomed to exposure and autonomy on unprotected terrain.

    ▲Discipline

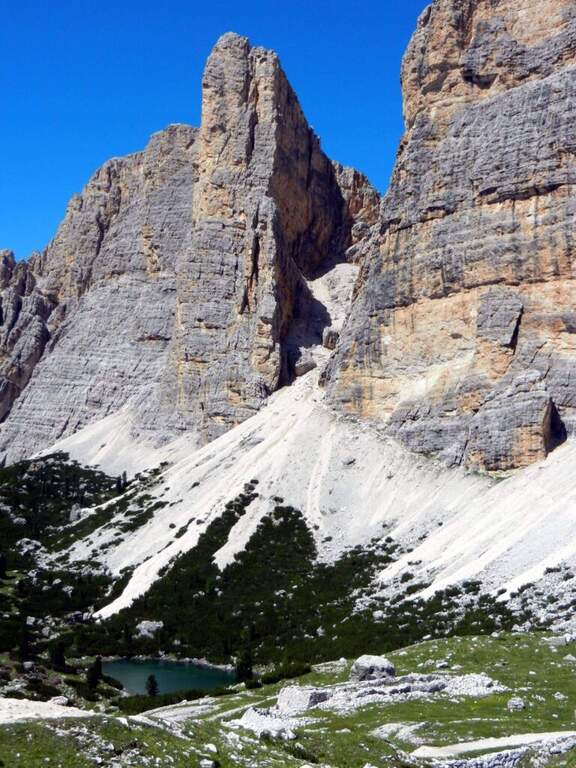
    From Forcella Lech (2486 m) you descend a steep detritic canyon that quickly loses altitude in the direction of Lake Lagazuoi. Before reaching the lake, at a crossroads, it is advisable to keep the left without going too far, to start further on the path 20 that climbs to Forcella Lagazuoi; from here, to backwards, you return to the mountain station of the cable car and then to the parking (2h from Forcella Lech, 5h overall).

    ▲To match

    Natural matching is precisely with Ferrata TomaselliThe Cengia Veronesi is often a variant or extension.

    ▲Gallery
    Technical data
    • DifficultyModerately Hard
    • RegionVeneto
    • GroupDolomiti d'Ampezzo – Fanis
    • Approach1:45 h
    • Ferrata1:15 h
    • Itinerary (a/r)5:00 h
    • Hardware level difference100 m
    • Route difference370 m
    • Max2843 m
    • Length7,8 Km
  • Sentiero Attrezzato Cecilia alla Grigna Meridio

    Sentiero Attrezzato Cecilia alla Grigna Meridio

    Vie Ferrate › Lombardia › Lecco
    Sentiero Attrezzato Cecilia alla Grigna Meridio
    Moderately Hard● OpenDescriptionComplexityMapsGallery

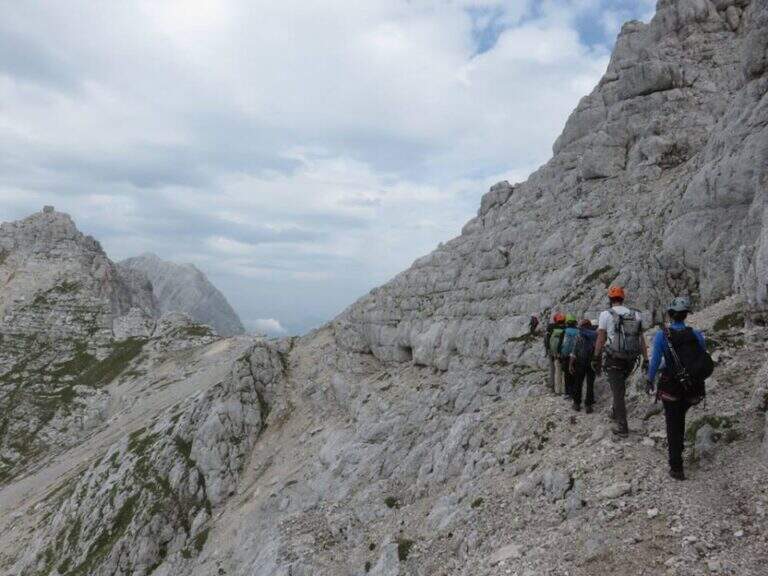
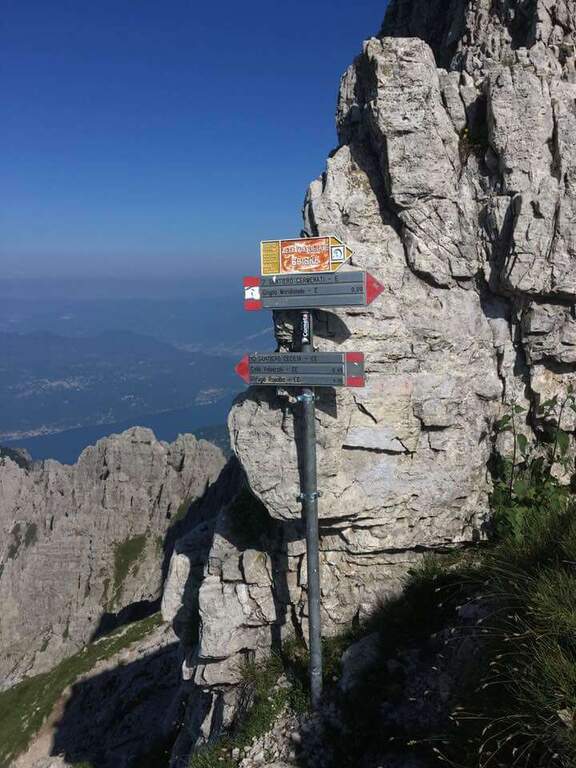
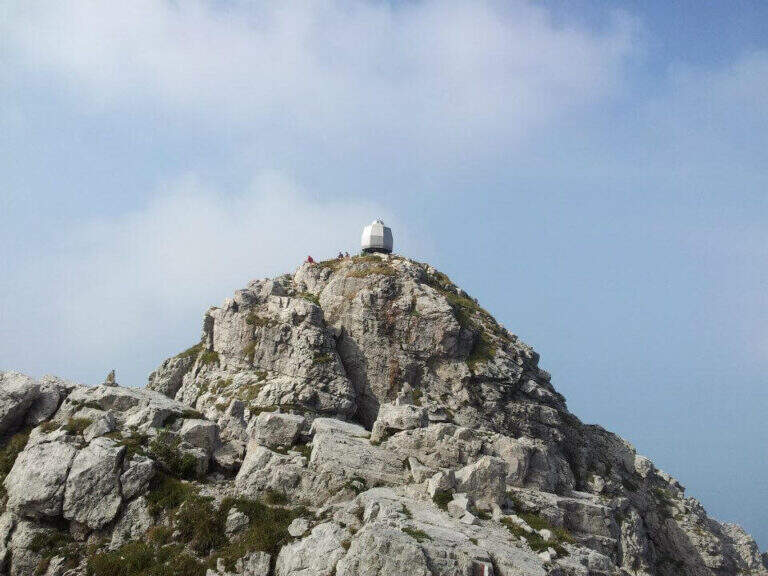
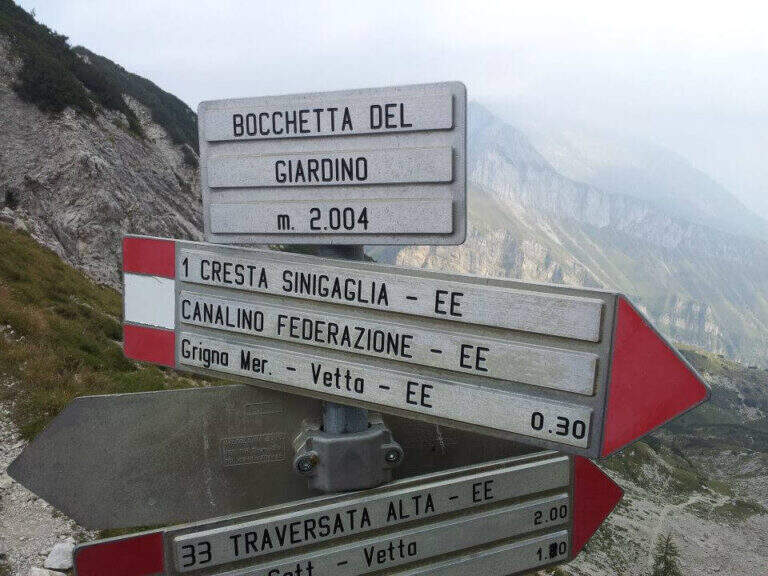
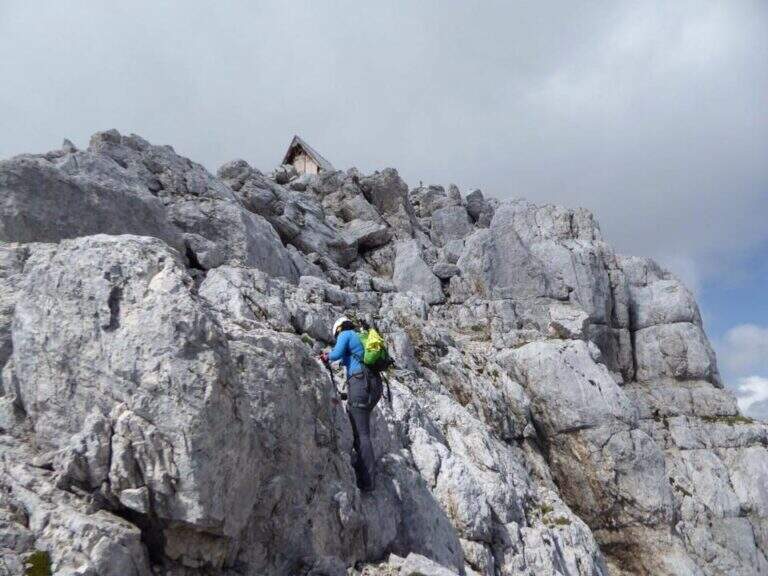
    The Path Attrezzato Cecilia connects the Rosalba Refuge to the path of the Cresta Cermenati, which climbs to the summit of the Grigna Meridionale (Grignetta). It is not a purely vertical path: it is useful to cut, among continuous climbs, the rocky wall that runs under the Cresta Segantini. A long and challenging itinerary in the legs, in one of the most beloved corners of the Grigne.

    ▲Approach

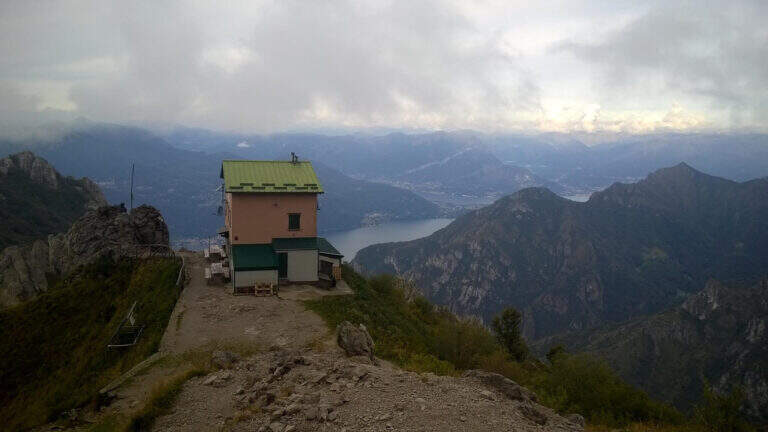
    Starting from Piani dei Resinelli, in the province of Lecco, reached by Ballabio climbing the hairpin bends. When you arrive at the hamlet you will find parking near the former Alippi refuge (open up Google Maps). From here you go up to the Rosalba Refuge following the path 9, known as Sentiero Attrezzato delle Foppe (1h45 from the parking lot). Alternatively, along the ascent you can choose the variant of the Attrezza dei Morti Path, steeper, which saves about fifteen minutes and still leads to the refuge (1h30 from the parking lot).
    ▲The path

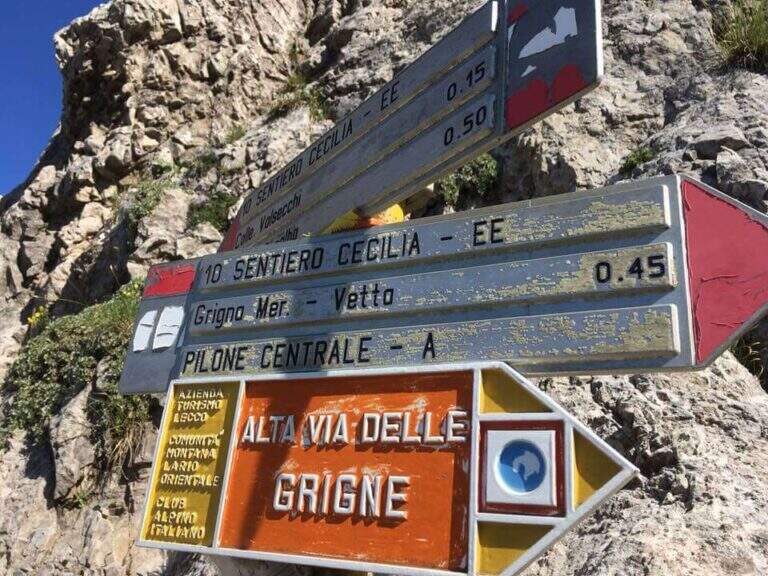
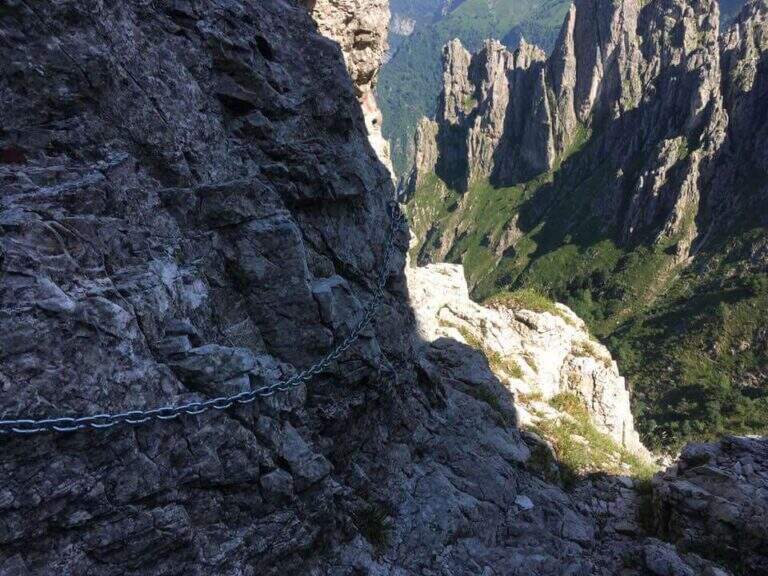
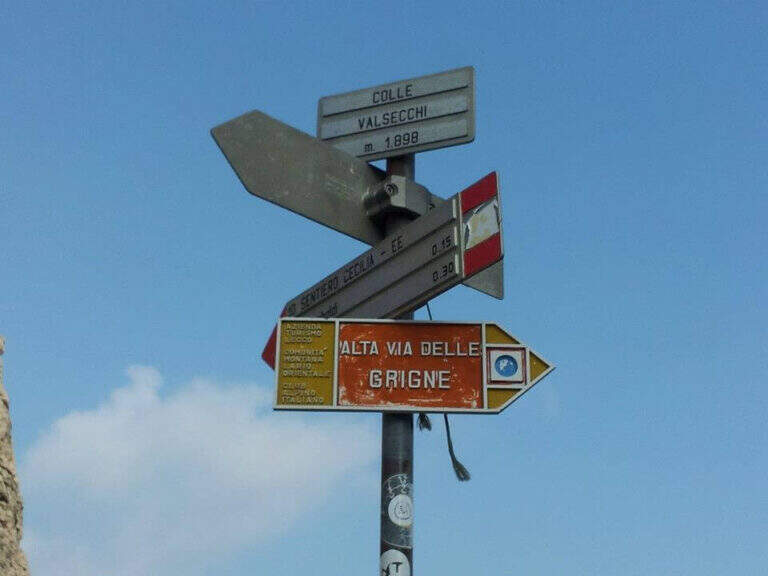
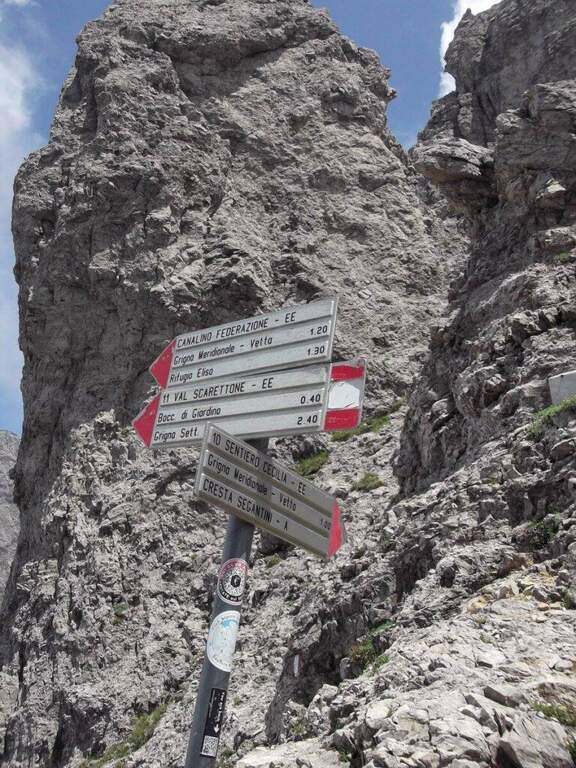
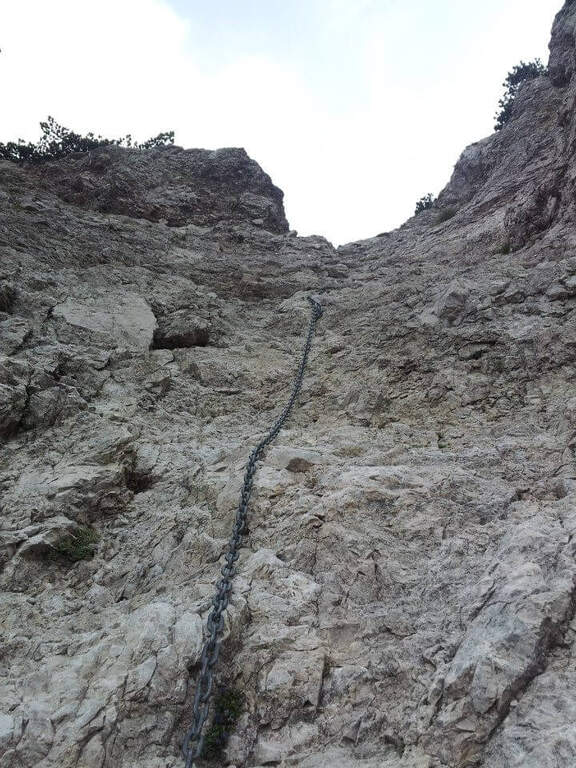
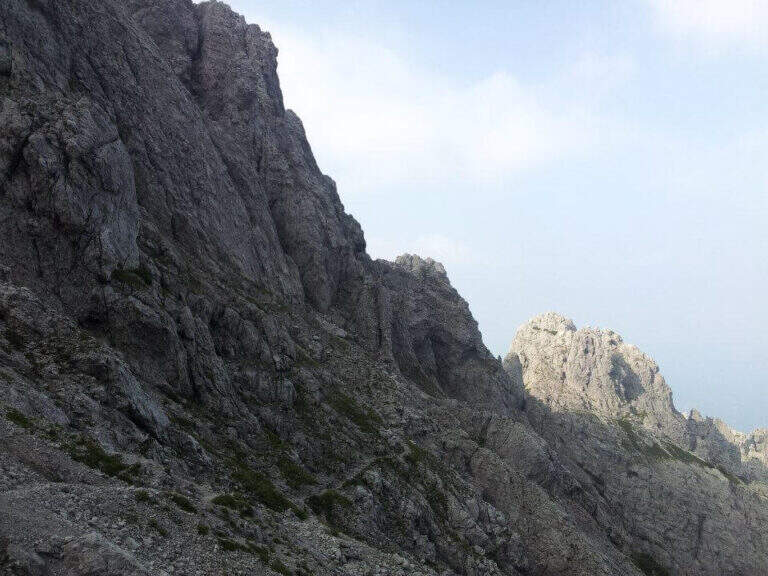
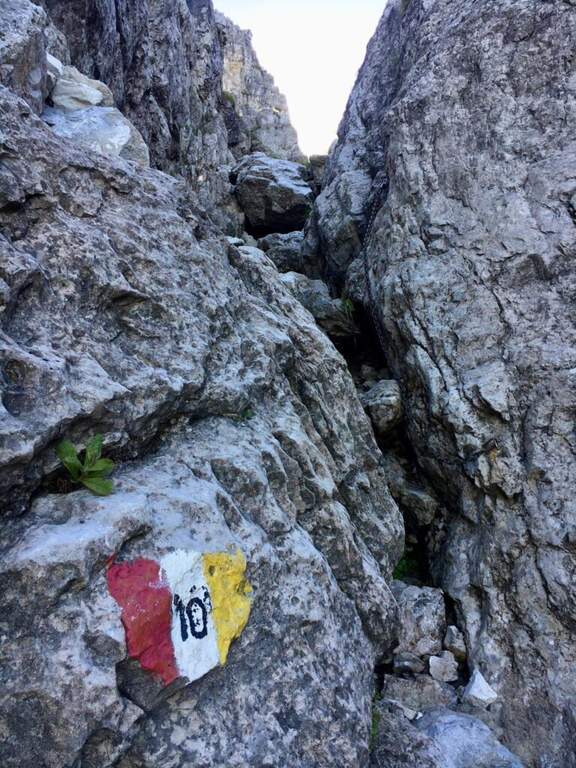
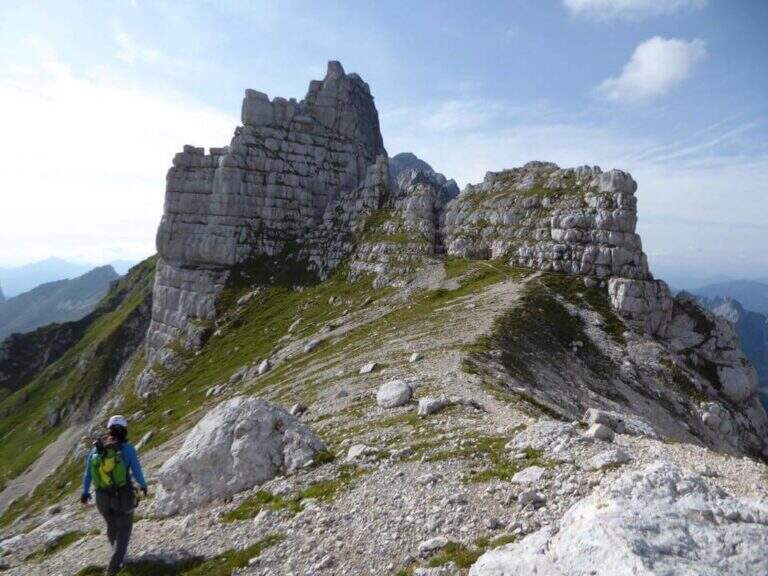
    From the Rifugio Rosalba take the path 10, which enters a rocky amphitheatre and in about ten minutes, with the first metal equipment, leads to the Colle Garibaldi (1824 m). Continue now on the slope of the Val Scarettone, meeting some equipped sections, up to the Colle Valsecchi (1898 m), where the Sentiero della Direttissima is set in Cecilia. Shortly after you ignore the left deviation for the Path of the Val Scarettone and continue between climbs under the Cresta Segantini. It faces a long diagonal crossing with chains under the Central Pilone, alternating stretches of convenient path to rocks, transverses and cenges, sometimes equipped with chains sometimes not. There are some exposed but well-painted walls up to the path 7 of the Cresta Cermenati: from here the difficulties fall clearly and, with still few steps equipped with chain, you gain the summit of the South Grigna (1h30 from the Rosalba Refuge, 3h15 overall).

    ▲Character and difficulty

    Technically it is not an extreme itinerary, but it demands constant attention for the numerous traits exposed on cenges and transverses, some of which are not protected, and for long and tiring development. Along the way it is necessary to follow carefully the signs (blue-red circles), which in some part is not immediate.

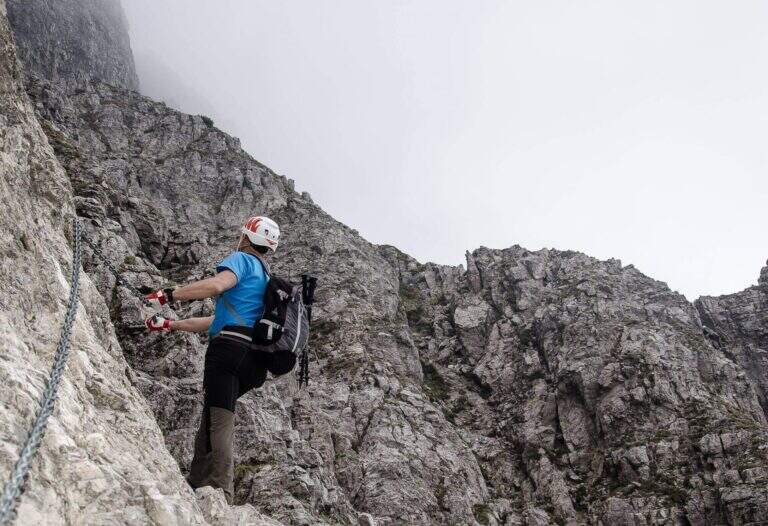
    ⚠ For most of the route you walk along traverses placed under the high Cresta Segantini, a mountaineering itinerary: the helmet is highly recommended for the whole route, for the risk of rocks from above.
    ▲Period and safety

    High mountain summer itinerary in the Grigne (max. 2184 m). The development of 14 km and the exposed sections require good physical preparation, steady pace and attention to orientation.

    ▲Discipline

    From the top of the Grignetta you can descend in several ways. Returning back, you can walk through the Path Attrezzato Cecilia or the Sentiero Attrezzato della Val Scarettone (an imperative downhill) to the Rifugio Rosalba, and then the Sentiero delle Foppe or the variant of the Morti (about 2h30 from the top, 5h30 total). Alternatively, go down the south side along the Cresta Cermenati up to the Rifugio Carlo Porta and then to the parking lot, or face the most complicated Cresta Sinigaglia, with its equipped path, always towards the Rifugio Carlo Porta: in the latter case a long and beautiful ring of about 7 hours total.

    ▲To match

    Cecilia is often faced after Sentiero Attrezzato delle Foppe. Staying in Grigne area you can think of a multi-day itinerary that includes the Ferrata del CAI Mandello al Sasso Carbonari on the Grignone; on the way down to the lake there is the Hiking Trail e il Route of the River.

    ▲Gallery
    Technical data
    • DifficultyModerately Hard
    • RegionLombardy
    • GroupGrims
    • Approach1:45 h
    • Ferrata1:30 h
    • Itinerary (a/r)5:30 h
    • Hardware level difference259 m
    • Route difference850 m
    • Max2184 m
    • Length14 Km
  • Sentiero Attrezzato delle Cavre (Scaloni e Anglone)

    Sentiero Attrezzato delle Cavre (Scaloni e Anglone)

    Vie Ferrate › Trentino-Alto Adige › Trento
    Sentiero Attrezzato delle Cavre (Scaloni e Anglone)

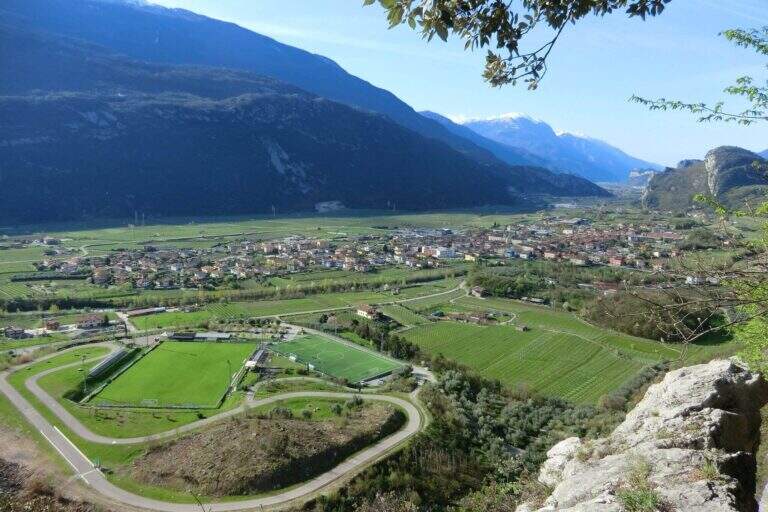
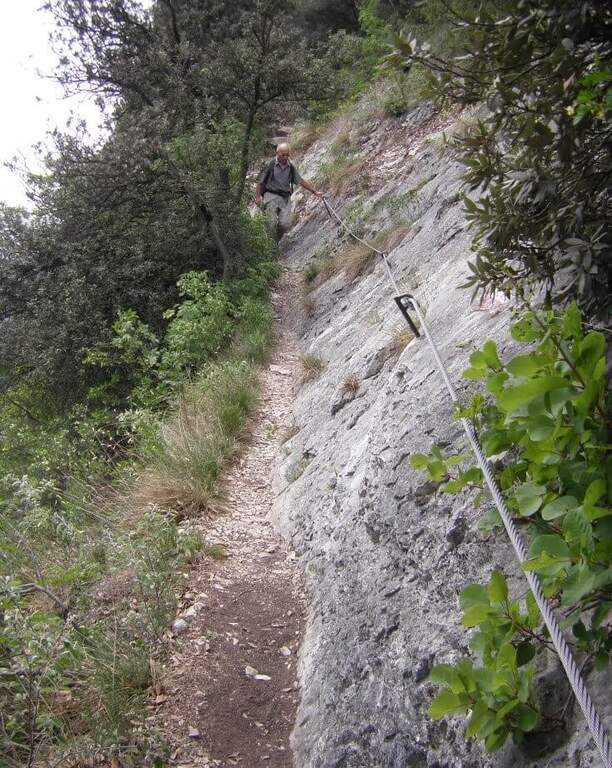
    The Path Attrezzato delle Cavre is a ring that cooks together two equipped sections — the Path of the Scaloni and the Path of the Anglon — connected up from a panoramic stretch. Easy, exposed and very well equipped, it is one of the ideal itineraries for those who are at first experiences. The low altitude, near Arco, makes it accessible all year round, with the only shortness to avoid it in the hottest hours.

    ▲Approach

    From the village of Ceniga, near Arco (TN). Coming from Arco, turn left from the state towards the center of the village; at the height of Via del Ponte, on the right, there is a large parking lot where to leave the car (open up Google Maps). From the parking lot you go up Via del Ponte on the opposite side of the road towards the Roman Bridge and, crossing it, you pass on the opposite bank of the Sarca River. The right is held and you will soon meet a CAI pole with the indication of the Attrezzato Path of the Scaloni; following the paline you climb on a rocky bottom until the attack of the first stretch (30′ from the parking lot).

    ▲The path

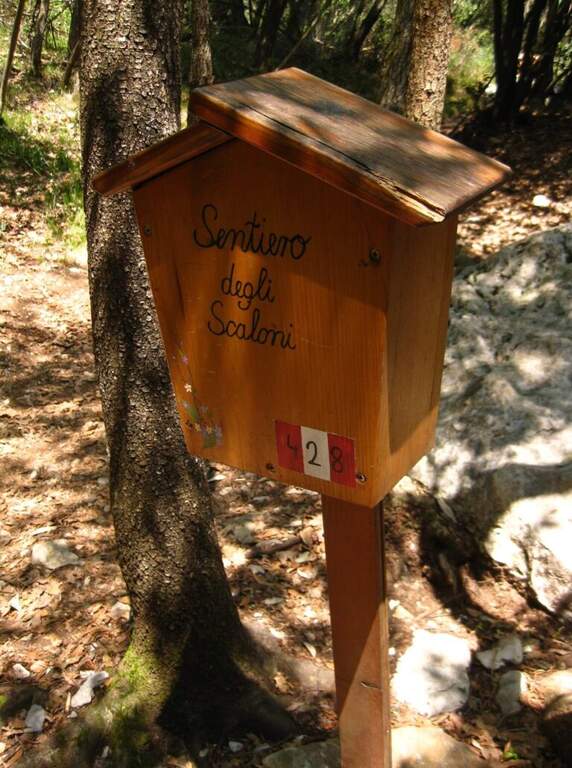
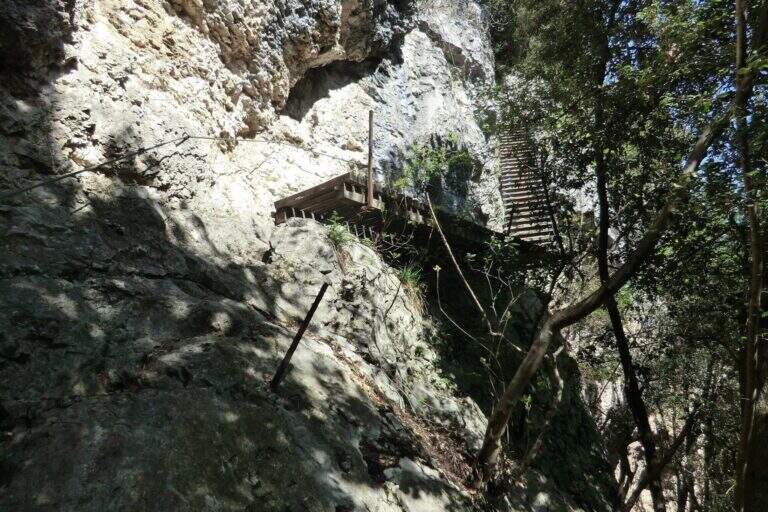
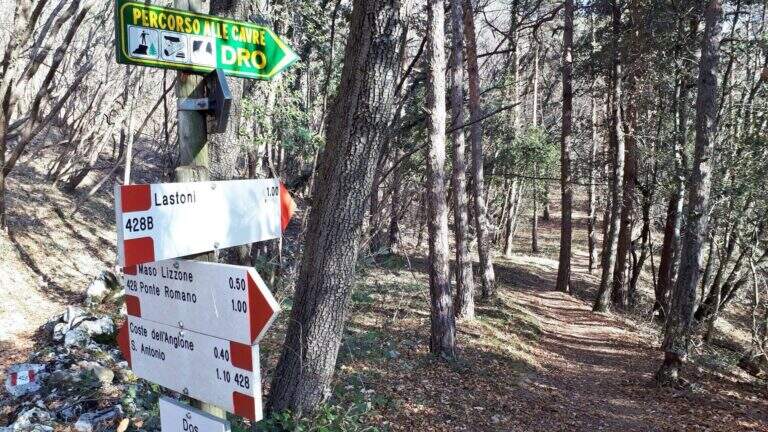
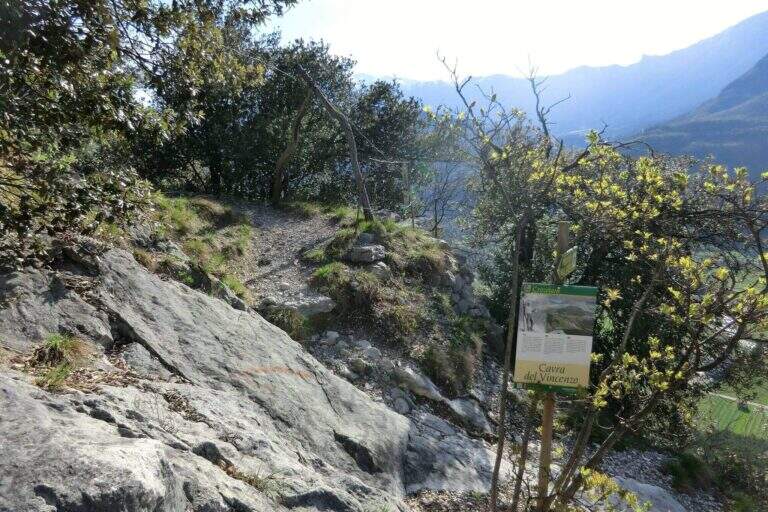
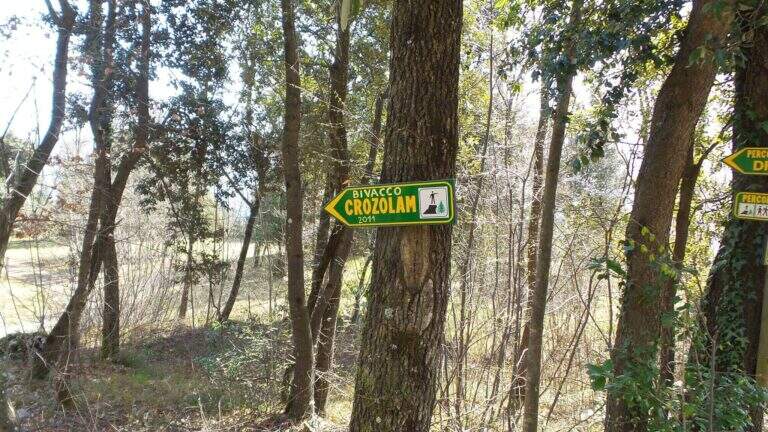
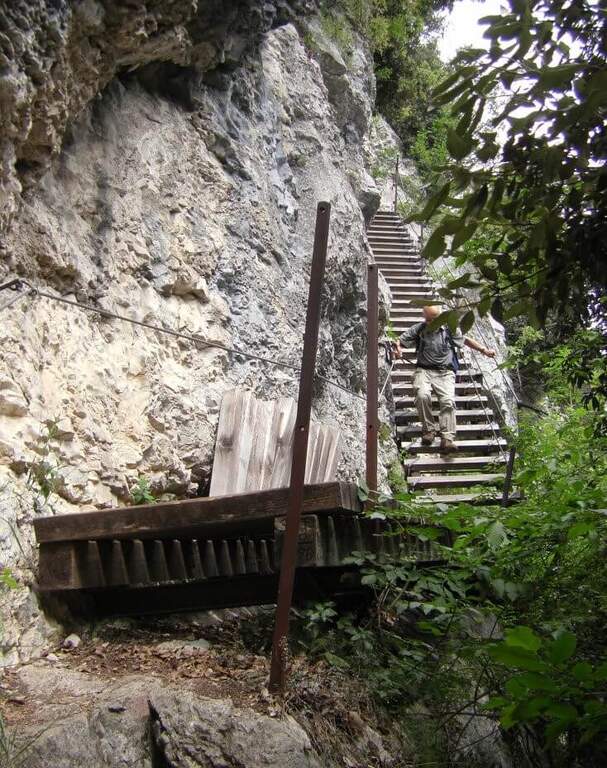
    The Path of the Scaloni rises diagonally on easy rocks and leads to a terrosa nod that continues to the left, equipped, with exposed traits and more steep; a short bridge over a gap and you get to the most characteristic section, from which the path takes the name. Under an imposing wall a staircase with metal base and wooden steps rises diagonally, first to the right and then to the left, earning altitude and exposure without any real difficulty. At the top of the staircase you face a sloped plaque with artificial steps made in the rock and rope on the left; you continue on a stretch of path equipped up to a sloped ramp with stone steps, exposed but easy. You go uphill to the left some small rocks and end the Scaloni at the wooden box with the signature book and the red sign (30′ from the attack, 1h from the parking lot). From here we go north/north-west to the Dos Tondo, where the path 428B begins; we ignore the crossroads on the left for the church of Sant’Antonio (CAI 408). The 428B, a true Cavre path, runs halfway towards the Bivacco Crozolam; from the bivouac it continues to the north ignoring the forest and follows for Dro up to a crossroads where, while the CAI 425 continues to the left, you go down to the right to intercept the Anglone Path (1h from the end of the Scaloni, 2h overall). The Anglone has exposed hinges equipped and stretches put in safety especially for bad weather: the upper part is definitely easy, while the second one is steeper and includes a tilted plate to be dropped with caution using the equipment to make adherence. You get to a canal with rock steps and equipped rocks — the most exposed point, which requires only a firm foot — and finally to a last nod dug in the rock that slopes steeply in the meadows, up to the houses of Dro and an asphalt road (45′ from the attack of the Anglo, 2h45 overall).

    ▲Character and difficulty

    The ring consists of two equipped sections, one uphill route and one downhill, but nothing prohibits facing them in both directions. It is suitable for neophytes, without particular technical difficulties, with abundant equipment and in good state of maintenance. Historical curiosity: the Path of the Scaloni dates back to 1909 as a military route of the Austrian soldiers.

    ⚠ Low altitude: in warm months it should be avoided in the central hours of the day. The sloped plate downhill on the Anglone requires attention, especially if wet.
    ▲Period and safety

    Throughout the year thanks to the quota (514 m). Although without technical difficulties, some sections on census are exposed: it serves steady step and constant attention.

    ▲Discipline

    From the end of the Anglone follow the CAI 425 path southwards, which runs on a little busy paved road, to the Roman Bridge and back to the parking lot (30′ from the end of the Anglone, 3h15 total).

    ▲To match

    Starting early in the morning, time and energy remain to concatenate a second itinerary of the area: easy Ferrata Colodri to Arco or Ferrata di Rio Sallagoni in Castel Drena. Moving to Fiavè you will find Ferrata di Ballino to the falls and, stretching a little, the Ferrata di Preore.

    ▲Gallery
    Technical data
    • DifficultyEasy
    • RegionTrentino-Alto Adige
    • GroupValle del Sarca
    • Approach0:30 h
    • Ferrata2:15 h
    • Itinerary (a/r)3:15 h
    • Hardware level difference390 m
    • Route difference400 m
    • Max514 m
    • Length6 Km
  • Sentiero Attrezzato delle Cascate di Monticelli Brusati

    Sentiero Attrezzato delle Cascate di Monticelli Brusati

    Vie Ferrate › Lombardy › Brescia
    Sentiero Attrezzato delle Cascate di Monticelli Brusati

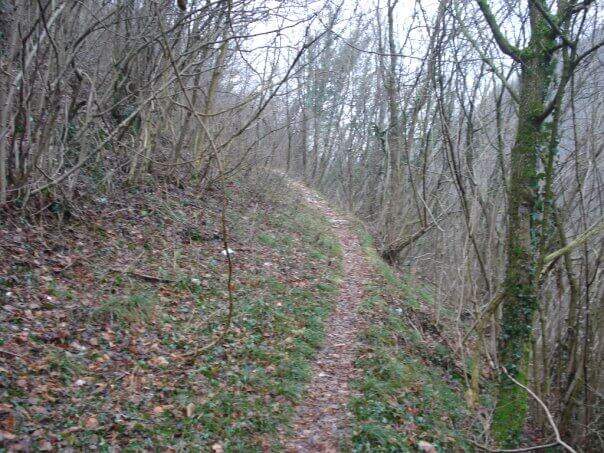
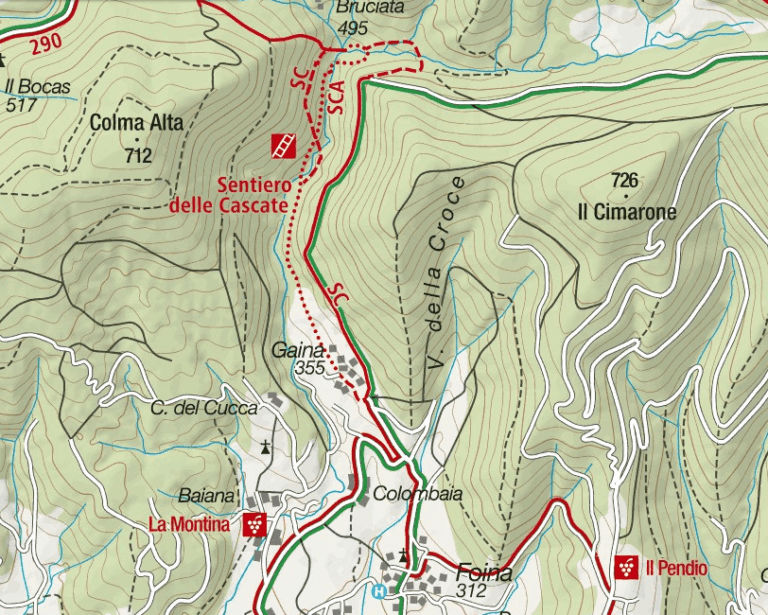
    In the gorge excavated by the Gaina stream, in the province of Brescia, this equipped path gives an easy and suggestive itinerary, without technical difficulties and with a landscape suitable also for families and children. It is the type of route that you play all about the environment: water, laminated rocks and waterfalls, with the equipment used only to accompany the progression along the stream.

    ▲Approach

    It starts from the village of Gaina, fraction of Monticelli Brusati (BS). After passing the bus station of Monticelli Brusati, after a few minutes you can see on the left a white sign that indicates Gaina: take the road uphill, which soon narrows, until the village, where the road biforca. You hold the right and you will immediately find the parking place where you leave the car (open up Google Maps). From the parking lot, in front, a brown sign indicates “Cascate”: continue on the road, initially asphalted, up to a junction (10′ from the parking lot) where you choose between the easy route and that for experts. The most beautiful solution is to climb from the path for experts and return from the easy one.
    ▲The path

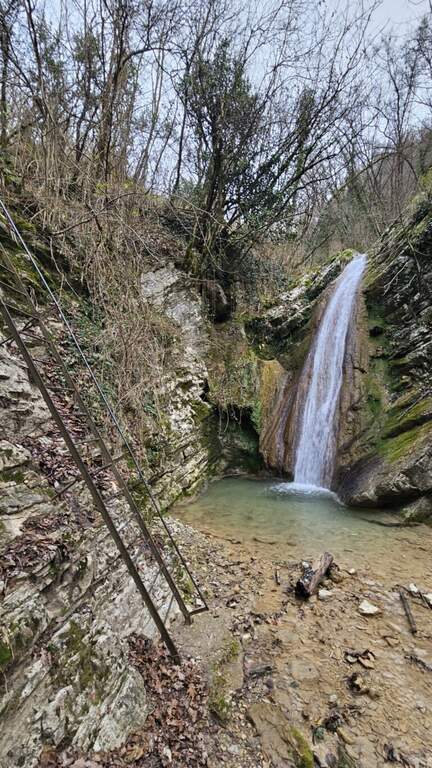
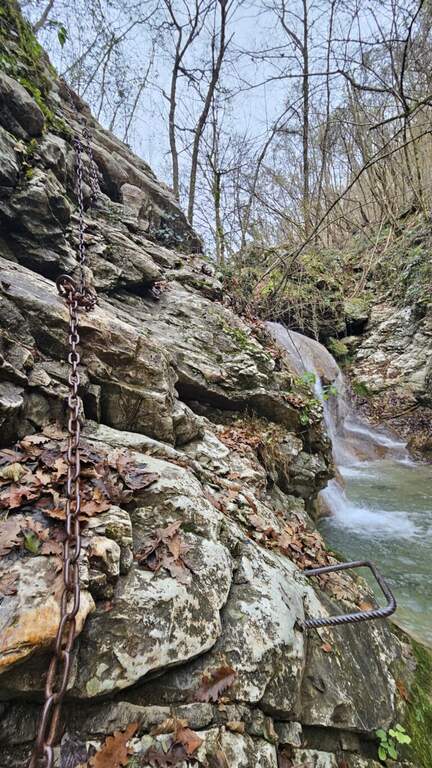
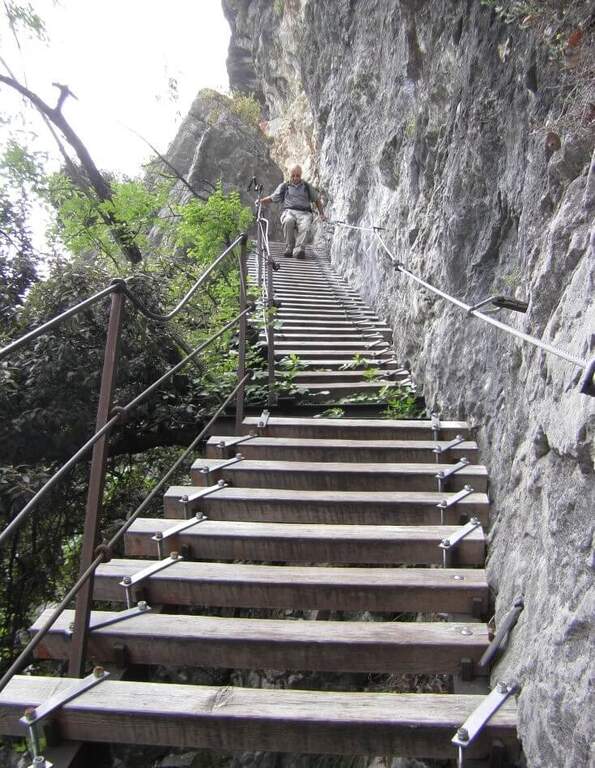
    You descend on the bed of the creek, now proceeding on the right now on the left horographic depending on where the bottom is dry, helping with the big rocks to cross it. You will encounter a crossroads that would bring you back to the easy path: you ignore it and head towards a waterfall, where the equipped section begins. It sticks up a metal staircase of about ten meters, then walks next to the stream between laminated rocks and wood. After a first curve the throat tightens and finally begins the equipped part: it starts on the left with some chains on sloping rocks, then it passes on the right horographic with a short traverse equipped with three brackets for the feet, which avoids entering the water. Continue on a slight diagonal and cross the stream, then go up a rocky slope diagonally next to the water (attention to the wet rock). A new crossing wets the feet, except in the summer months; on the other side you find the chain at a waterfall, in correspondence of the only vertical stretch equipped, a 6-8 meters wall to be overcome also with the help of the brackets. You cross the stream and enter the final stretch: in short, on the path, you reach the last beautiful waterfall, next to which a second staircase closes the route (1h15 from the attack, 1h30 total).

    ▲Character and difficulty

    Also in the variant for experts the path does not have significant technical difficulties: it is suitable for neophytes and keeps everywhere a contained exposure. The only real attention goes to the moisture brought from the stream, which can make more slippery some passages.

    ⚠ The rock at the creek is often wet: careful foot in the transverses and the cenges. Several crossings bathe the feet, except in summer when the flow is low or the bed is dry.
    ▲Period and safety

    The altitude is low (538 m), therefore the route is accessible in most of the year; in the warm months the stream can however show up with little water or dry, reducing the spectacularness of the falls.

    ▲Discipline

    From the end of the staircase you go up the track to a crossroads that indicates the easy return or that for experts. You can then go back to the equipped path or, more quickly, take the easy variant that runs higher than the stream. In both cases you reach the country and then parking (30′ from the end of the street, 2h overall).

    ▲To match

    Energies allowing, it is a route that lends itself to be combined with a more challenging route of the area, such as the Ferrata Corno del Bene o il Sentiero Attrezzato Trentapassi. Moving to Val Trompia you can reach Ferrata Caspai, la Ferrata Nasego e il Parco delle Fucine di Casto.

    ▲Gallery
    Technical data
    • DifficultyEasy
    • RegionLombardy
    • GroupPrealps Bresciane
    • Approach0:10 h
    • Ferrata1:15 h
    • Itinerary (a/r)2:00 h
    • Hardware level difference190 m
    • Route difference200 m
    • Max538 m
    • Length5 Km
  • Sentiero Attrezzato degli Alpini in Punta Charrà

    Sentiero Attrezzato degli Alpini in Punta Charrà

    Vie Ferrate › Piedmont › Turin
    Sentiero Attrezzato degli Alpini in Punta Charrà
    Moderately Hard● OpenDescriptionComplexityMapsGallery

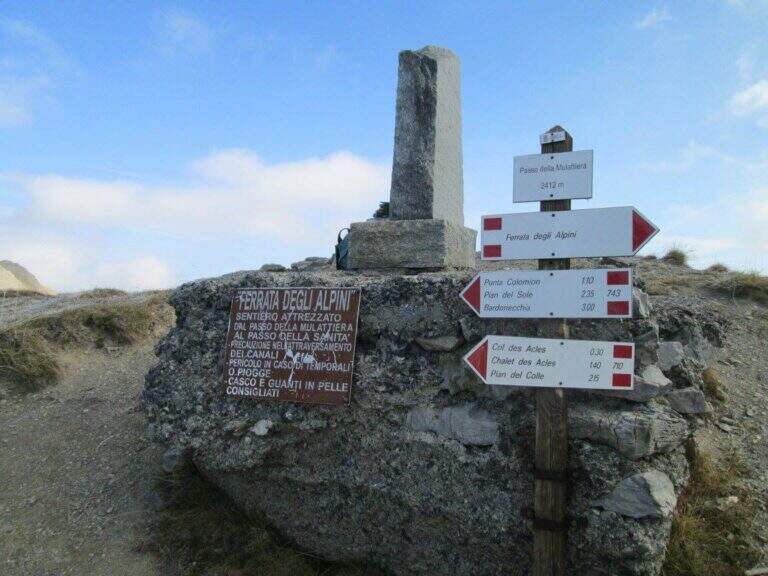
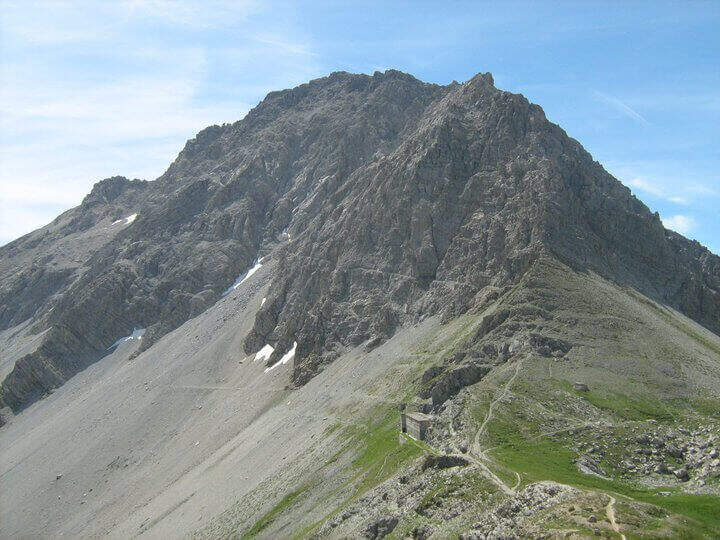
    On the ridge that divides Italy and France over Bardonecchia, this equipped path connects the Passo della Mulattiera to Passo della Sanità, at the foot of Punta Charrà. The development is almost entirely horizontal: the equipment is mainly used to secure the progression on soil at times unstable and on thin waxes, while the vertical passages are practically absent. There is a long itinerary and great hiking breath, but to be faced with stable time because along the path there are no support points.

    ▲Approach

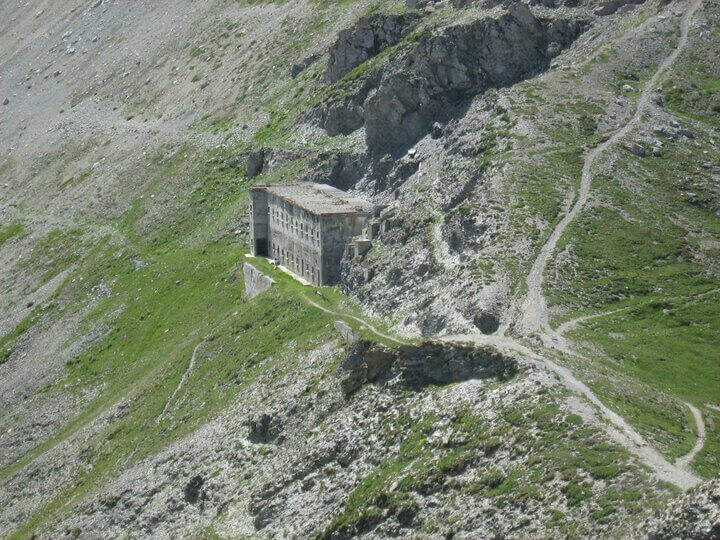
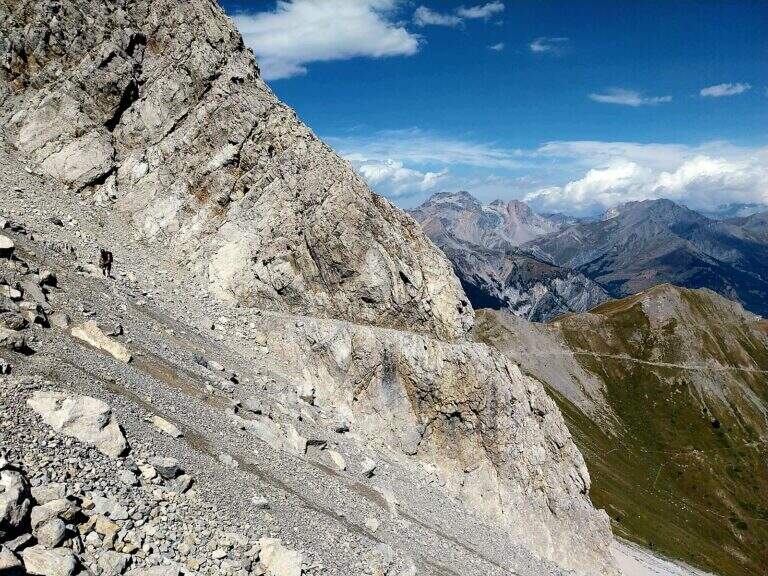
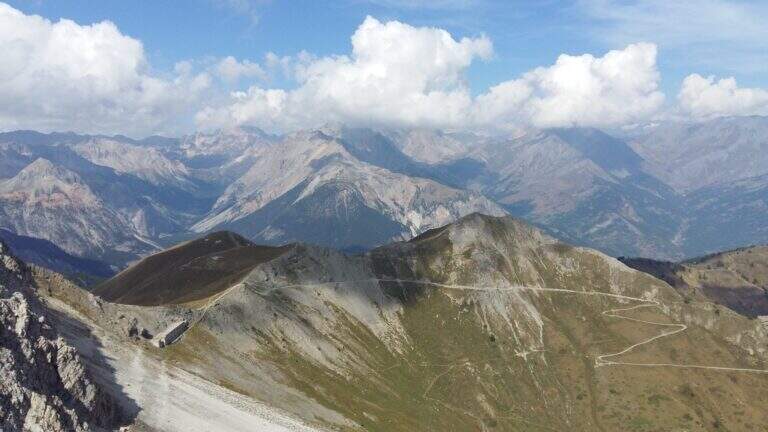
    The recommended base is the Colletto del Colomion, which can be reached by cable car from Bardonecchia (Pian del Sole) and by car. Who climbs by car points to the small town of Puys: you arrive first to Beaulard, in Val di Susa, and — going up from the valley — just before leaving the village you cross the railway to the left taking Via San Giusto; you follow it up to a blue sign that indicates Puys at 3 km, on narrow but asphalted road. From Puys you continue on dirt until the Colletto del Colomion, where you should leave the car because beyond the bottom becomes difficult (open up Google Maps). From the parking lot you walk on the dirt road towards the Passo della Mulattiera: the path climbs first to the edge of the forest in a beautiful valley, then cuts halfway up to the pass (2412 m, 1h15 from the parking lot), where rises the barracks of the Alpini XVI, abandoned but visitable. The Passo della Mulattiera is a well-marked crossroads: it is held the left towards Punta Charrà, which faces the obvious carving in the rock. It avoids the steep direct ridge and cuts diagonally the north slope, on a blue track and radi signs, until the beginning of the equipment (15′ from the step, 1h30 from the parking lot).

    ▲The path

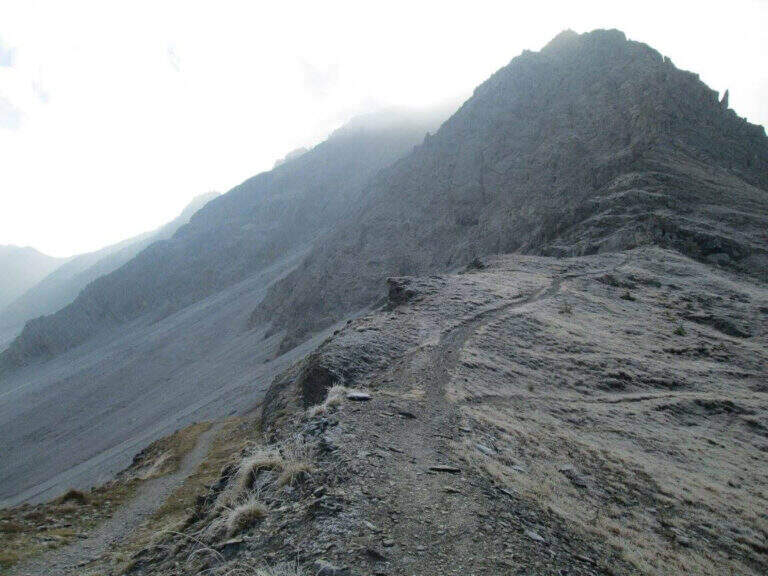
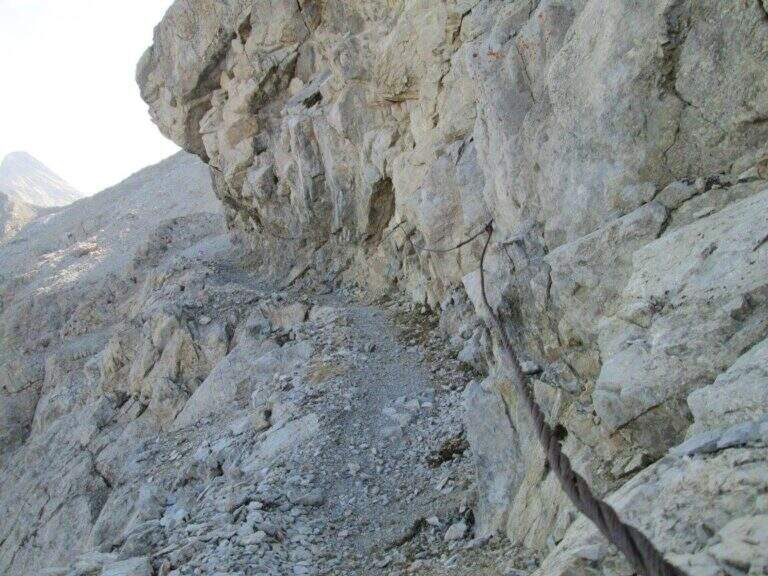
    The cable starts along a nod, first flat and then more marked. At first the rope is dated and lasca, but the ease of the soil does not create problems; later the nod shrinks and the bottom, made of guinea pig, gives little safety, so the cable acts as a precious handrail. We proceed between carvings and canals to be overcome with cable or chains, always to your right, with exposure that grows but technical difficulties almost null, except some point for the infido fund. The equipment ends at Passo della Sanità (2629 m, about 1h from Passo della Mulattiera). The optional climb — but recommended — to the summit follows the obvious ridge: you first gain a grassy slope on easy track up to a first natural carving, then you climb with caution between smossi rocks, transverses, spikes and rocks, following the numerous omits and red signs; where you do not follow the dorsal remains on the south side. After a couple of ups and downs you touch the top of Punta Charrà (2843 m, 1h from Passo della Sanità, 2h from Passo della Mulattiera, about 3h30 overall).

    ▲Character and difficulty

    Taken to itself, the equipped part is easy and without real technical difficulties, developing mainly horizontally. What is committed is the high mountain environment: the excursion is long and requires preparation, experience and orientation, especially in case of uncertain weather. The equipment was modernized and in good condition at 2021.

    ⚠ Itinerary not recommended with unstable weather: the route lacks support points. Also at the beginning of the summer season it is not rare to find snowy canals in rather exposed traits: recommended peak.
    ▲Period and safety

    Summer season, with a maximum altitude of 2843 m in the Alpine border. For the length of the ring and the exposure of some traits serve steady pace, training for the total 6h45 and attention to the snow conditions remaining in the canalons.

    ▲Discipline

    From the top you return to the Passo della Sanità (about 45′). From here two possibilities. The first is to retrace the Alpine Path to the Mulattiera Pass and then return to the parking lot on the ascent route. The second is to close a ring around Punta Charrà descending into French territory in the valley des Acles: it falls steeply to zig-zag on debris to the wood, where the path is almost flat, then cuts the south side up to a rocky shoulder beyond which appear the barracks of the French army under the Col des Acles; from there follow the signs that bring back to the ascent 30 From the pass you return to the parking lot (about 6h45 total).

    ▲Gallery
    Technical data
    • DifficultyModerately Hard
    • RegionPiedmont
    • GroupCozie Alps – Val di Susa
    • Approach1:30 h
    • Ferrata2:00 h
    • Itinerary (a/r)6:45 h
    • Hardware level difference217 m
    • Route difference850 m
    • Max2843 m
    • Length14 Km
  • Ferrate del Parco delle Fucine di Casto

    Ferrate del Parco delle Fucine di Casto

    Vie Ferrate › Lombardy › Brescia
    Ferrate del Parco delle Fucine di Casto

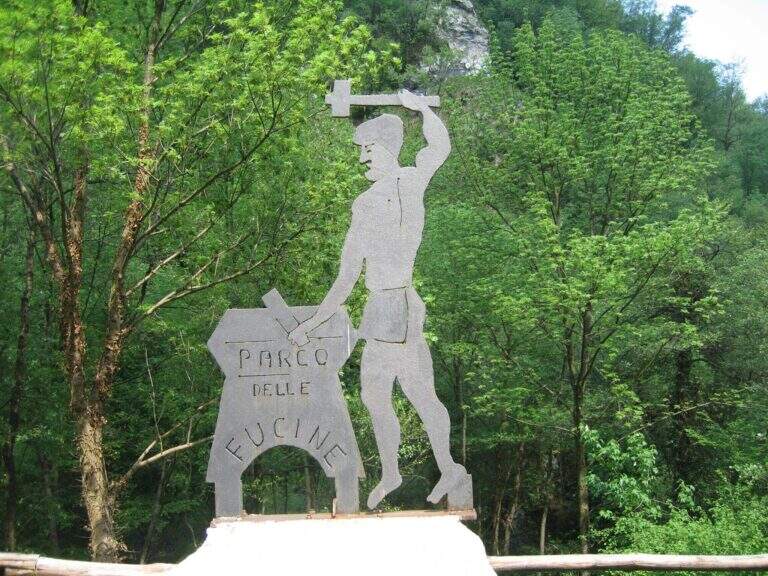
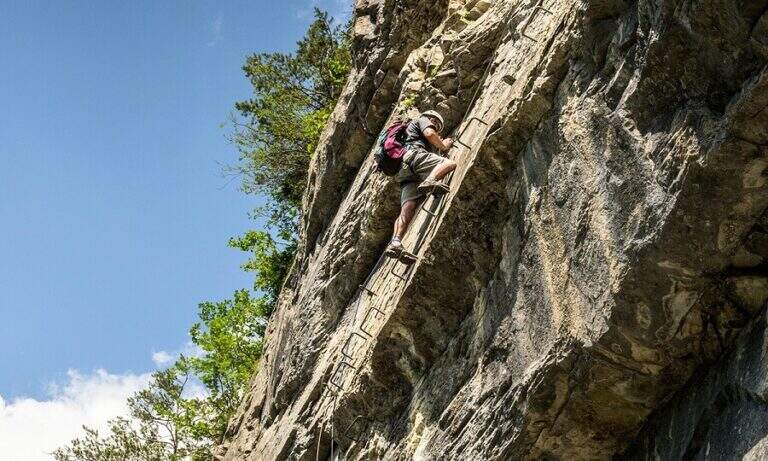
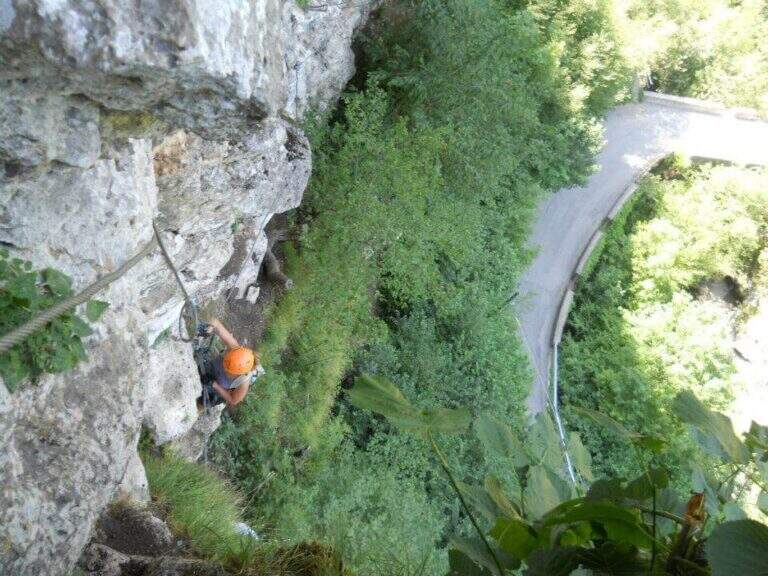
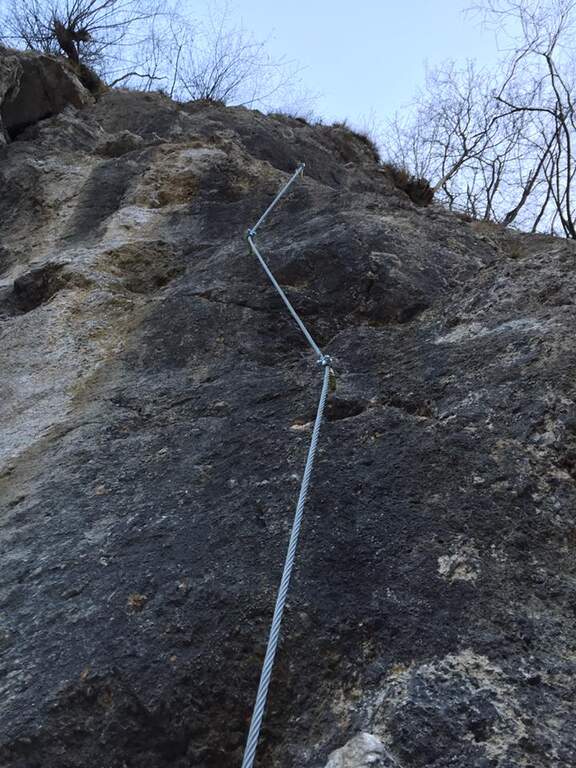
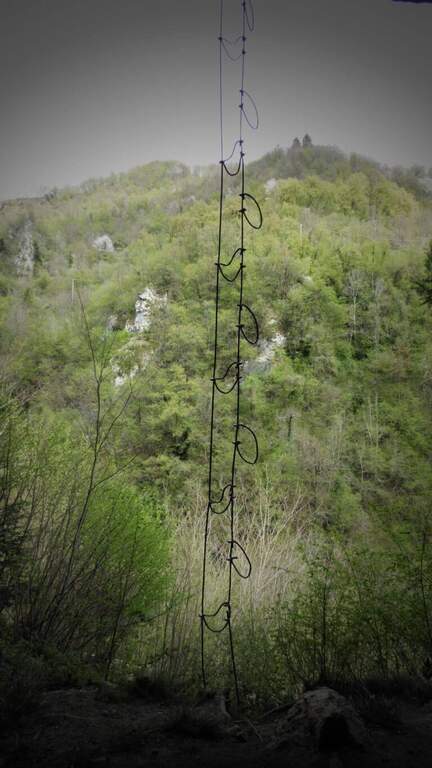
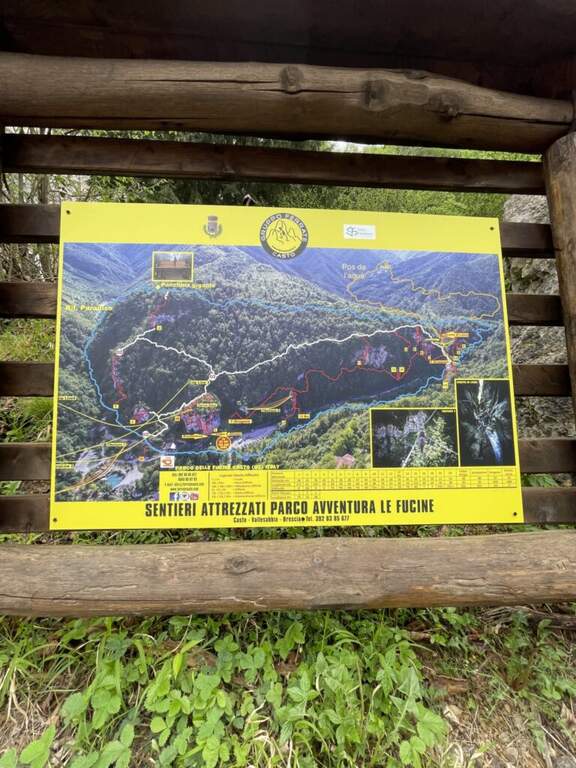
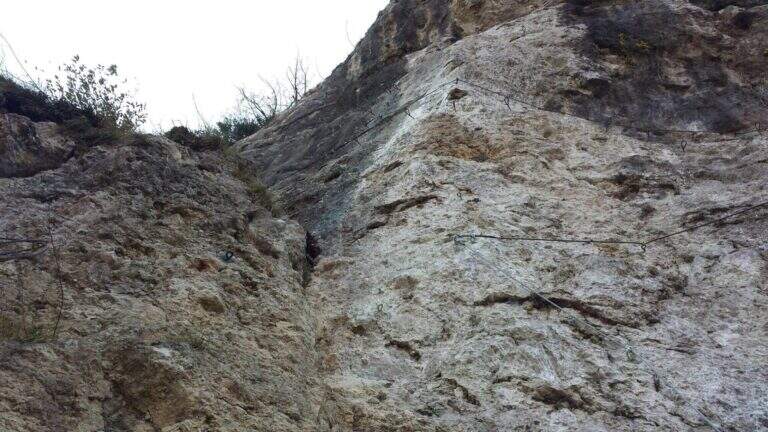
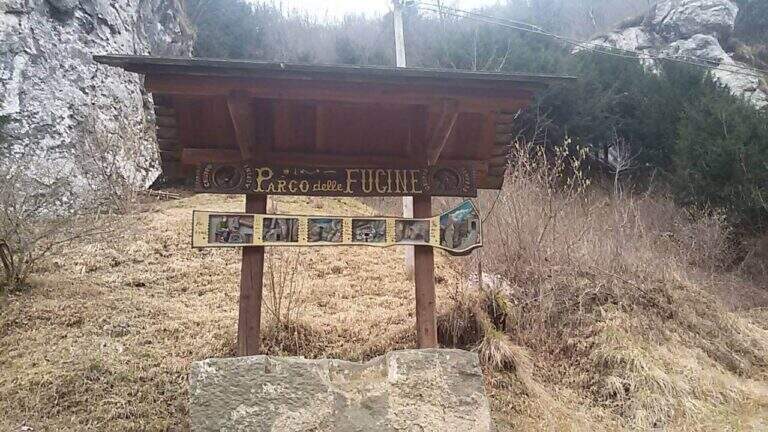
    Il Parco delle Fucine di Casto (Brescia, Valle Sabbia) è a unique park in Italy: at free entrance, it gathers on a few walls over fifteen equipped routes, as well as hiking, mountain biking, zip line, suspended bridges and refreshments. The streets are largely atletic and little climbable, excellent for l' training; the difficult ` ranges from an easy way to vertical and very demanding tracks.

    ▲Approach

    Starting from the ' ample parking along the park, at Casto. From the center of the village take left (south) via Marconi which, with clear indications, leads to the Parco delle Fucine in about a kilometer. Open road signs on Google Maps. Parking is just a few steps from the entrance (free); from here you can see some streets (the Strega Colpo, the Arcobaleno) and at least one suspended bridge. The times of approach to the individual attacks range from a few minutes up to about 15 minutes in the most distant ways, towards the Strait of Luina.

    ▲The equipped routes

    Each path has development to itself and signalled attack; below a faithful picture of length, difference in level and character.

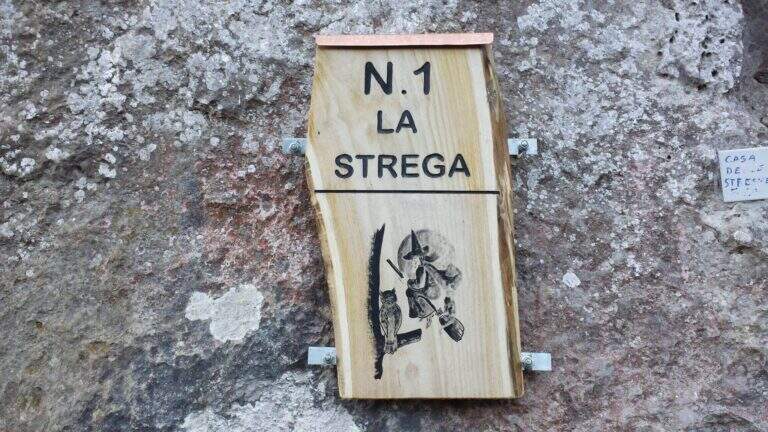
    Ferrata 1 (House of Witches, on Corna Zana, near the parking lot): 115 m, height difference 28 m. Dedicated diagonal traverse and horizontal beams exposed, with brackets and pioli on polished rock.
    Ferrata 2: 61 m, height difference 23 m. The least challenging of the park, on beams with good supports and a vertical variant; ideal for starting.
    Ferrata 3: 152 m, height difference 78 m. Long and challenging, with long beams on very smooth rock (strong traction on the cable) and vertical aerial traits.
    Ferrata 4: 60 m, height difference 49 m. Vertical, with first challenging and slightly overhanging meters and an aerial edge; higher climbing part.
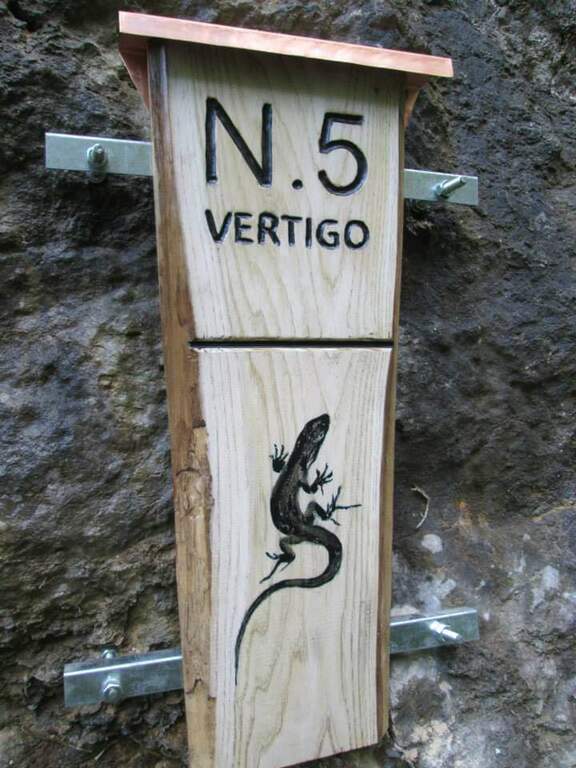
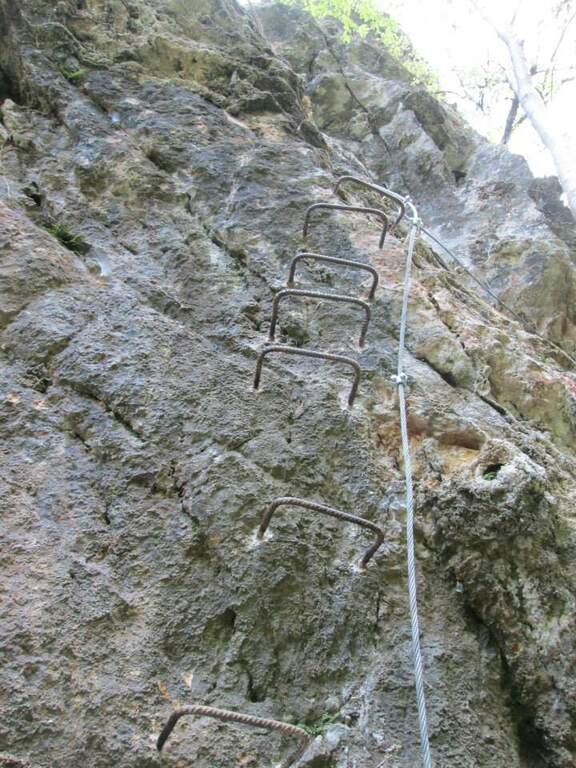
    Ferrata 5 «Vertigo»: 40 m, height difference 25 m. Verticality, slightly overhanging brackets and a challenging overhanging passage; ends at a suspended bridge of about 30 m.
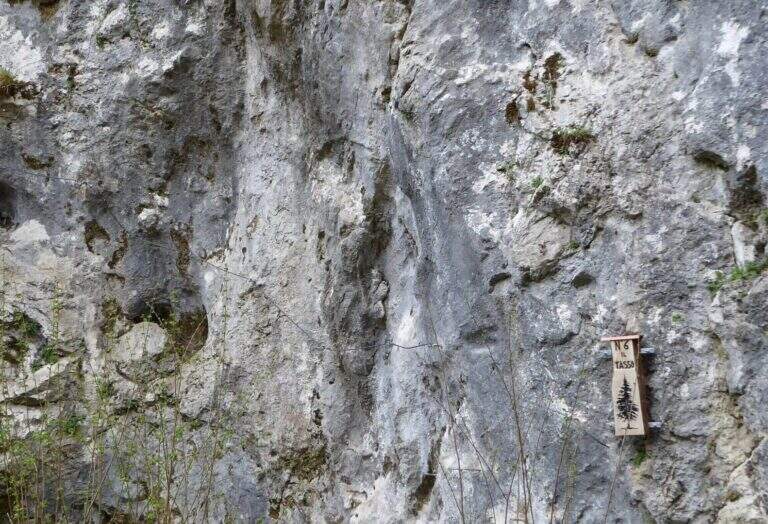
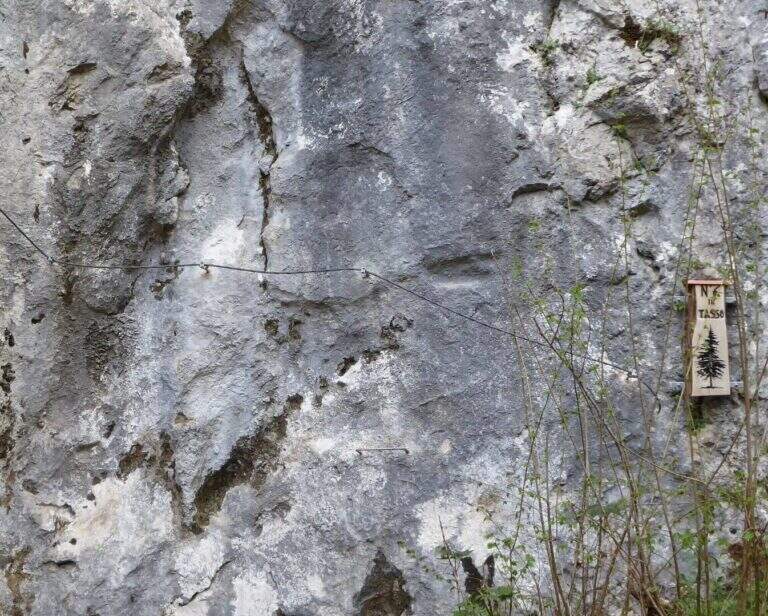
    Ferrata 6 «Tasso»: 28 m, altitude difference 25 m. Short: initial crossing, overhanging stretch with brackets; at the end you cross the bridge suspended on the Strait of Luina.
    Ferrata 7: 60 m, height difference 28 m. Follow us downhill from the suspended bridge; adrenaline exposed edge and tiring vertical descent, up to join Ferrata 8.
    Ferrata 8: 68 m, height difference 47 m. Impegnative, with key passage on dark and polished wall of 4-5 m and marine scale final.
    Ferrata 9: 68 m, height difference 47 m. Adjacent to 8, with a demanding vertical tear up to the common sea scale.
    Ferrata 10: 60 m, elevation difference 46 m. Diagonal copper, exposed beams and challenging vertical passages alternating with terraces.
    Ferrata 11: 58 m, dislivello 45 m. Tra le più dure del parco: parete giallastra verticale e strapiombante, variante verticale estrema e forte esposizione.
    Ferrata 12: 65 m, dislivello 28 m. Spigolo, canalino e un passo strapiombante; sale un gendarme (bandiera in vetta), con rientro per un ponte sospeso di quasi 40 m piuttosto ballerino.
    Ferrata 12 bis: 46 m, dislivello 26 m. Attacco subito verticale e strapiombante, ponte delle scimmie di circa 8 m, poi si innesta sulla Ferrata 12.
    Ferrata 14 «Edera»: 44 m, dislivello 36 m. Diedro tecnico e piacevole, poi un ponte sospeso a 4 corde di circa 35-40 m e un secondo ponte più stabile.
    Ferrata 15: 125 m, dislivello 23 m. Prevalentemente in traverso lungo il torrente, con ponti sospesi e un ponte delle scimmie; senza difficoltà particolari ma talvolta scivolosa.
    Colpo della Strega (sopra il parcheggio): 45 m, dislivello 38 m. Verticale, tecnica e difficile, su roccia levigata povera di appigli che sollecita molto le braccia.
    Arcobaleno: 55 m, dislivello 38 m. Privilegia l'arrampicata su pioli e prese sferiche (cavo «alla francese»), con spigolo aereo e passaggio strapiombante assistito.
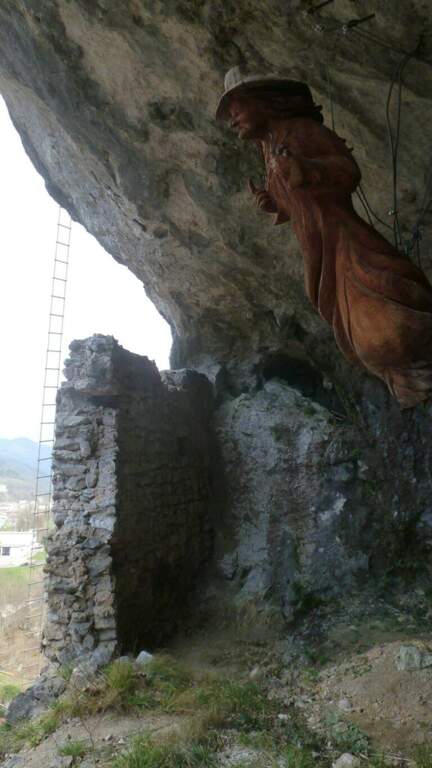
    Dragone (Grotta del Dragone): 240 m, sviluppo 50 m. Meno verticale, di fatto un sentiero attrezzato con scala marinara e un lungo ponte sospeso, che tocca gli attacchi delle vie 11, 10, 9, 8, 7 e quelle 5, 6 e 14.
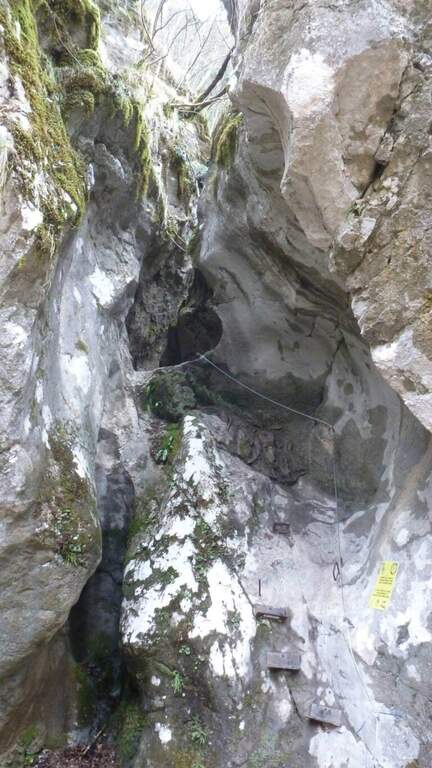
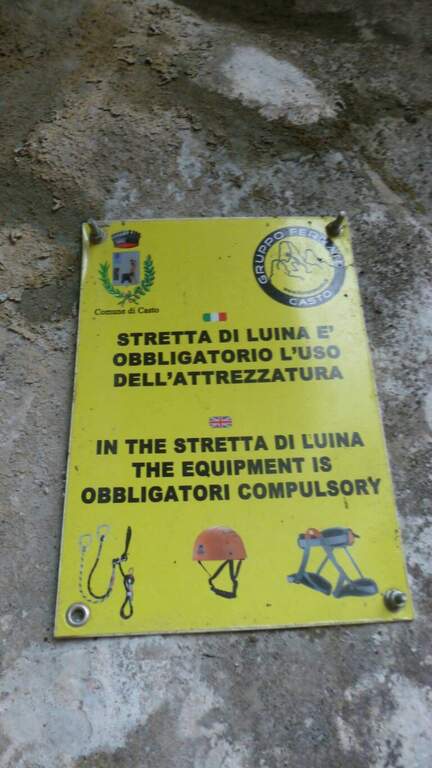
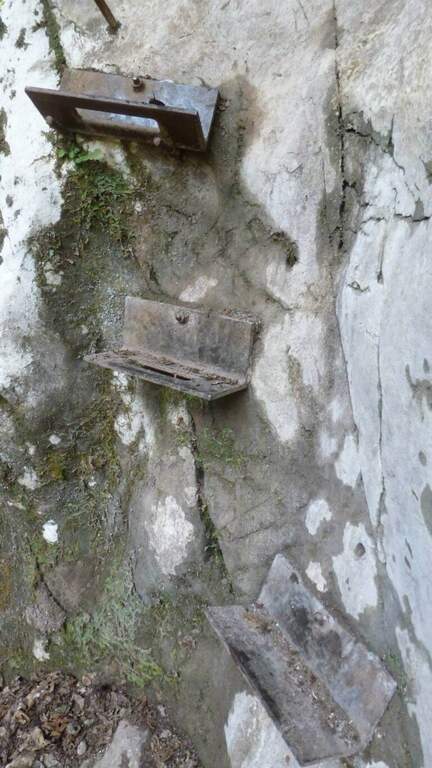
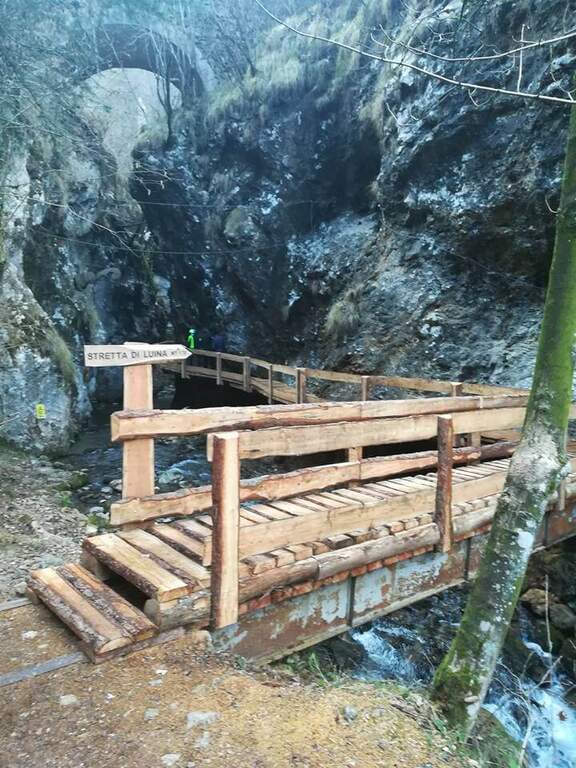
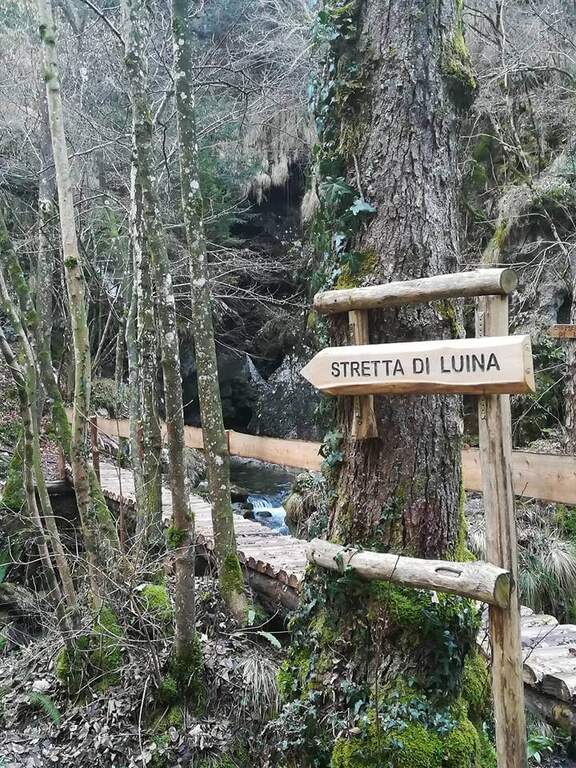
    Stretta di Luina: percorso prevalentemente orizzontale, quasi al pelo dell'acqua nella forra del torrente; non difficile ma scivoloso, con ponti su tronchi e ponti delle scimmie.

    ▲Character and difficulty

    The park offers a wide range: from easy Ferrata 2 and the Dragon to extremely athletic and overhanging routes (Ferrata 11, Vertigo, Colpo della Strega). The rock is often smoothed and undressed, with frequent traction on the cable; numerous suspended bridges and monkey bridges, exposed but fun.

    ⚠ Many routes are physically demanding and little climbing, not suitable for neophytes (except Ferrata 2 and Dragon). Helmet and hardware set are indispensable; attention to the slippery bottom in the holes and swinging bridges. Choose the route based on your training.

    ▲Discipline

    Almost all routes fall for sentiero (usually holding the right at the end). The routes 5, 6 and 14 and 7-8 use the bridges suspended on the Strait of Luina; the 12 and the 12 bis fall through the suspension bridge of almost 40 m at the tower. The times are short given the proximity to the parking lot.

    ▲Period and safety

    The best periods are the mezze season; the itineraries can also be covered d' winter, except in snowy periods. Being at low altitude, in the middle of summer some walls exposed to the sun are very warm.

    ▲To match

    Always in the area of Lake Idro you can walk Ferrata Crench, il Idro Waterfall Trail e la Ferrata delle Ginestre.

    ▲Gallery
    Technical data
    • DifficultyFrom Easy to Extremely Hard
    • RegionLombardy
    • ProvinceBrescia
    • GroupPrealps Bresciane
    • Approach5-15 min
    • Fully equippedover 15
    • EntryFree
    • PeriodHalf seasons (also winter except snow)
  • Sentiero Attrezzato delle Cascate di Idro

    Sentiero Attrezzato delle Cascate di Idro

    Vie Ferrate › Lombardy › Brescia
    Sentiero Attrezzato delle Cascate di Idro

    Il Sentiero Attrezzato alle Cascate di Idro ` an easy itinerary, equipped in the exposed part inside the hole of the torrente Neco, on Lake d’Idro. Very beautiful from the landscape point of view, shows a suggestive throat with short approach, ideal for those with little experience.

    ▲Approach

    Starting from Crone, on the eastern shore of Lake d’Idro: along the SP58 you can see on the right a road towards the Pizzeria Ristorante Bellavista, where you park (Via Coste), then take right the directions for the path. Open road signs on Google Maps. Follow the signs: straight the normal path, at destra il «Sentiero delle Cascate» (the two are reunited with più forward). You climb on the road between the meadows, then downhill to the bed of the Neco and its hole, at a wooden bridge and a first waterfall; you avoid the bridge and climb on the left side of the waterfall, entering the equipped path (15′ from the parking lot).

    ▲The path

    There are two inclined rock walls equipped with two metal scales (the second più long of the first); on the top you go left on a engineered grassy and, bypassing a edge, ends the equipped part (10′ from’ attack, 25′ from parking). Continue on the path passing a bridge at a ’ another beautiful waterfall and then in the forest, until a crossroads with the normal path left at ’ start. From here you can rejoin; close the short hike turning left towards Crone (40′ overall) or keep the right towards the Croce of Perlè : with lake view, then in the Serè valley; and in a thick forest, at a crossroads turn left and follow a short stretch of ridge with easy rocks up to the peak cross (1h 30′ overall).

    ▲Character and difficulty

    Itinerary without any technical difficulties of importance, it is also advisable for those who have little or no experience provided in form and with firm foot; equipment in good condition. Traced ex novo in 1995-96 and restored in 2004.

    ⚠ It is better to travel in the half seasons, avoiding the summer heat and l’ winter, when the falls can iced. Recommended helmet for stairs in the hole.

    ▲Discipline

    It can be traced back, possibly along the equipped path (about 1h from the summit, 2h 30′ overall). Alternatively, from the ’ last intersection can be combined; close a long anello for the Cocca di Idro, Cima Crench and Punta Pelada, returning to Crone (about 4h 30′ overall).

    ▲To match

    Concatenate well with the Ferrata Crench (saving Cima Crench and Cocca d'Idro) and, always on Lake Idro, with easy Ferrata delle Ginestre e la Ferrata del Fregio.

    ▲Gallery
    Technical data
    • DifficultyEasy
    • RegionLombardy
    • ProvinceBrescia
    • GroupLake Idro
    • Approach15 min
    • Fully equipped10 min
    • Complete itinerary2h 30′
    • Level difference200 m
    • Route difference220 m
    • Maximum620 m
    • Length3,5 km
  • Sentiero Attrezzato Carlo Villa al Canale Bobbio

    Sentiero Attrezzato Carlo Villa al Canale Bobbio

    Vie Ferrate › Lombardia › Lecco
    Sentiero Attrezzato Carlo Villa al Canale Bobbio
    Moderately Hard● OpenDescriptionComplexityMapsGallery

    Il Sentiero Attrezzato Carlo Villa al Canale Bobbio connects the Piani d'Erna to the crest of the Resegone, going up a suggestive channel with some exposed sections equipped. It is accessible in both directions and easily connected to the other routes of Resegone.

    ▲Approach

    Starting from the ' wide square of the funivia for the Plans d'Erna in Lecco (from the highway Lecco–Ballabio, exit «Piani d'Erna», between the hairpin bends to the square). Open road signs on Google Maps. It can be arranged; climb to Piani d'Erna in three ways: with the funivia, walk to Stoppani Refuge, or with the long but not difficult Ferrata Gamma 1. From Piani d'Erna descends to the Bocche d'Erna and follow the signs for the Sentiero 10, uphill on dirt road to some houses; from here, to the right (cartel), the path enters the forest where the actual route begins (20' from Piani d'Erna).

    ▲The path

    Il sentiero parte senza difficoltà verso sud-sudovest, con molti saliscendi, alcuni assistiti da catene e cavi nei tratti più esposti (attenzione col fondo umido). Si raggiungono alcune cenge esposte attrezzate, una con una staffa; da qui il percorso si fa più impegnativo addentrandosi nel canalone, seguendo i segni bianco-rosso-giallo. Si risale una costa esposta sul lato destro con l'aiuto del cavo, tratto più ripido e faticoso, incastonato tra le guglie della cresta nord del Resegone, fino nella parte più angusta del Canalone Bobbio. Si risale un tratto di poco meno di 100 metri con diversi massi attrezzati (paretine di 2-4 metri, in genere in traversata diagonale, con un paio di tratti verticali). Il paesaggio diventa più austero fino a una stretta gola dove si trova il passaggio chiave, comunque di difficoltà moderata; nella gola un gendarme roccioso di circa 3 metri si risale e si attraversa in diagonale a sinistra, chiudendo le difficoltà. Si prosegue in ripida salita su misto terra e sassi e poi sui prati sommitali fino alla Selletta di Bobbio, dove il sentiero termina (2h dall'inizio del tratto attrezzato, 2h 20' dalla stazione a monte).

    ▲Character and difficulty

    Itinerary of moderate difficulty: the equipped sections protect exposed cenges and the mass of the canalone, never really exposed but sometimes steep and tiring. Beautiful rocky environment between the Resegone spires.

    ⚠ With wet bottom the initial ups and the cenges become slippery: prudence. Helmet and essential hardware set, also for possible stones in the canalone.

    ▲Discipline

    L' più option; common: in about 20' we reach the Rifugio Azzoni by crossing the ridge south-southwest; from here we descend on Sentiero 1 and, at the crossroads on Sentiero 5 to Piani d'Erna and the cable car (1h 45' from the end, 4h complex Alternatively, from the Selletta Bobbio you can può take the north ridge of the Resegone (beware of the rocks) to the Passo Giuff.

    ▲To match

    It easily concatenates with other routes of Resegone, such as the Ferrata Gamma 1 approaching and the Sentiero del Caminetto downhill.

    ▲Gallery
    Technical data
    • DifficultyModerately Hard
    • RegionLombardy
    • ProvinceLecco
    • GroupResegone
    • Approach20 min
    • Fully equipped2h
    • Complete itinerary4h
    • Level difference400 m
    • Route difference451 m
    • Maximum1740 m
    • Length6 km
Need help? Write to us!