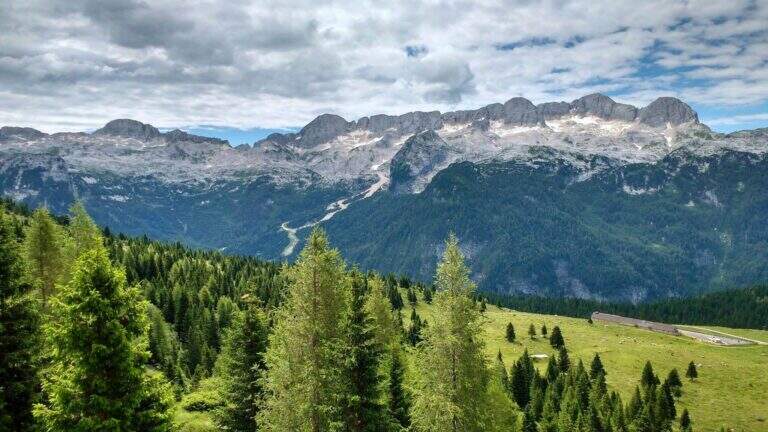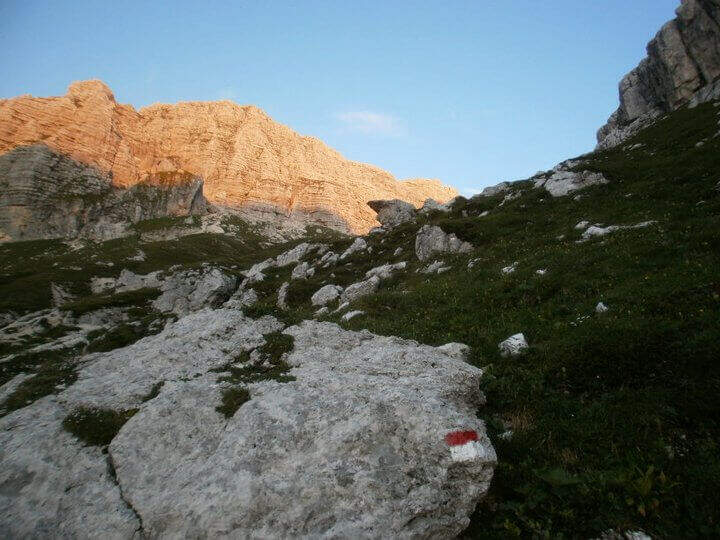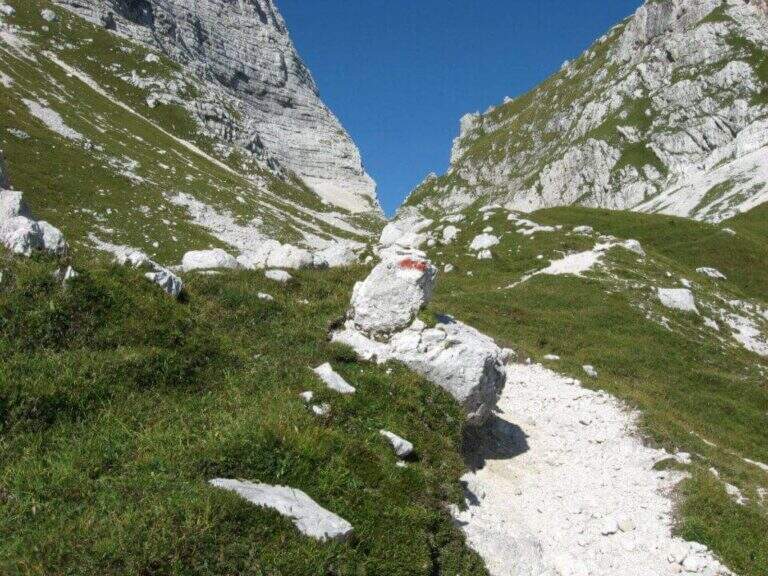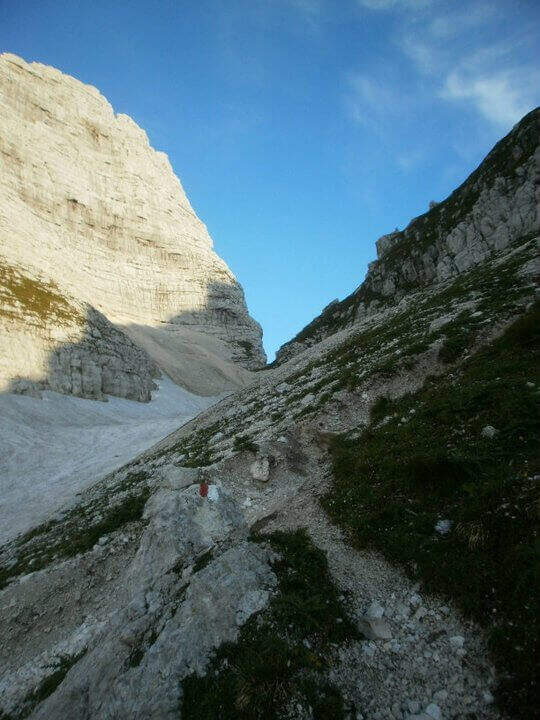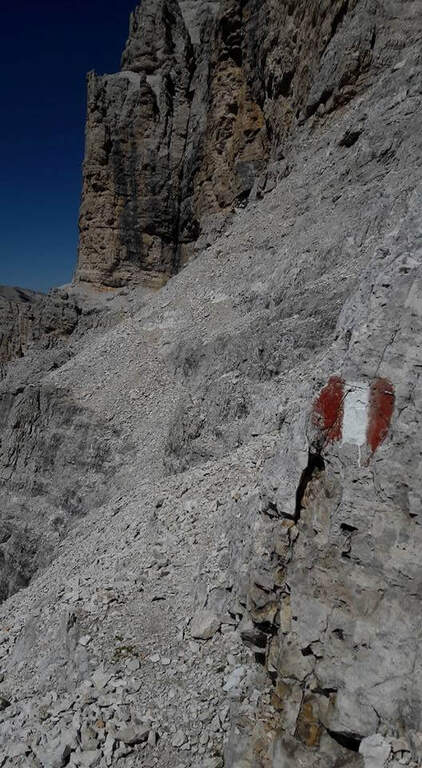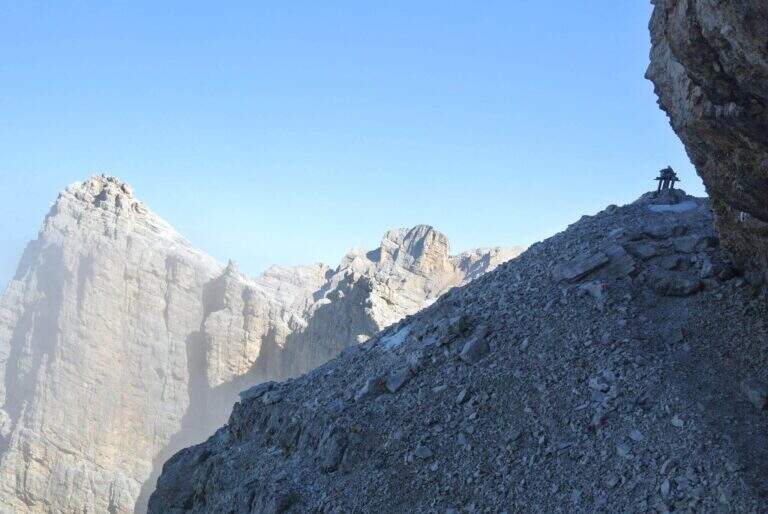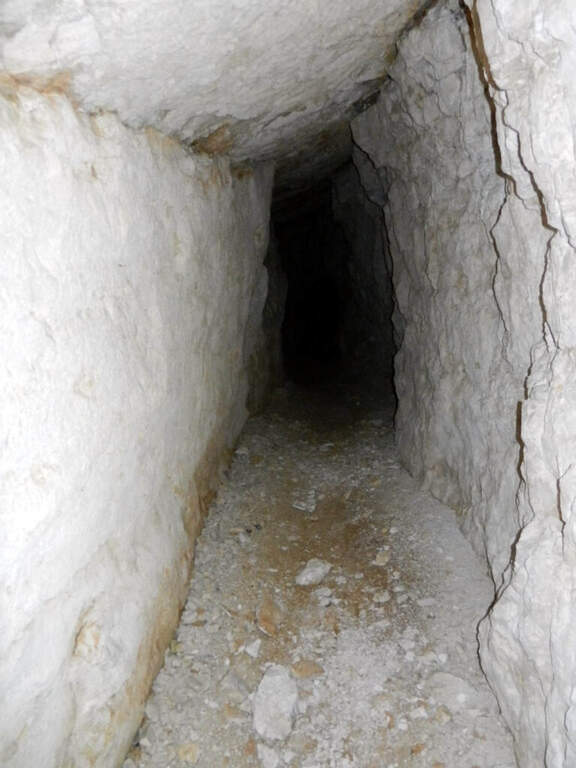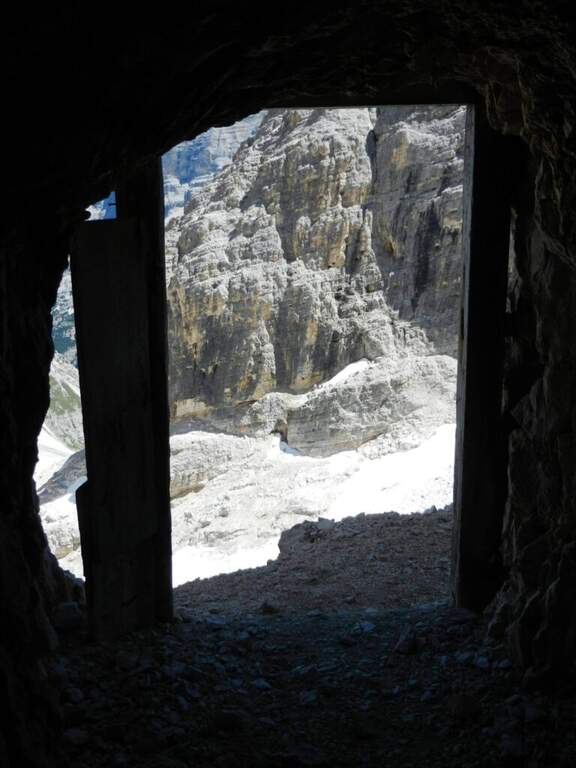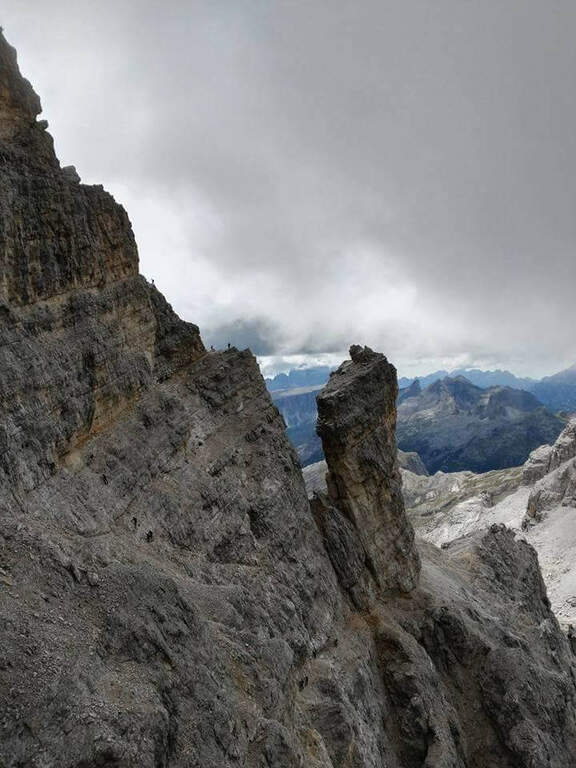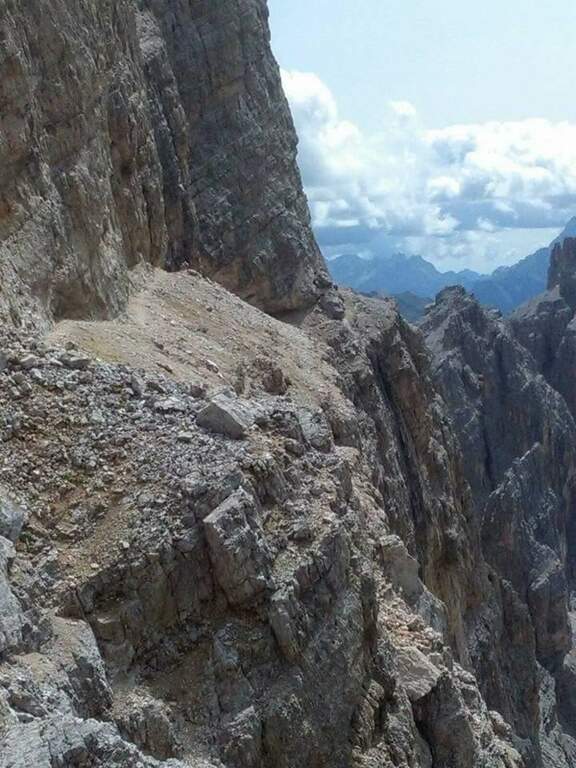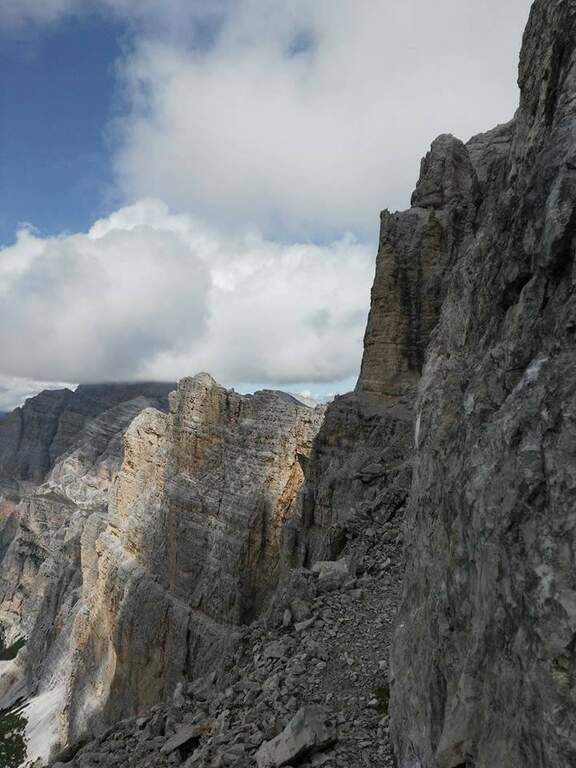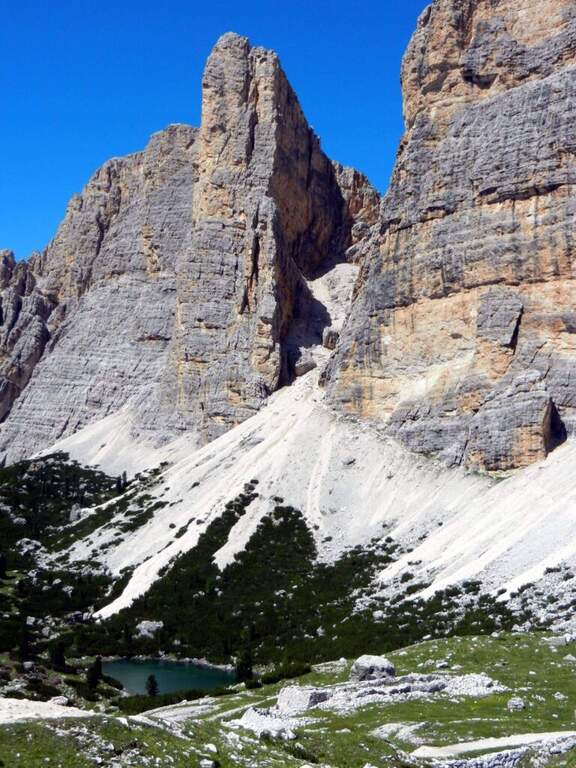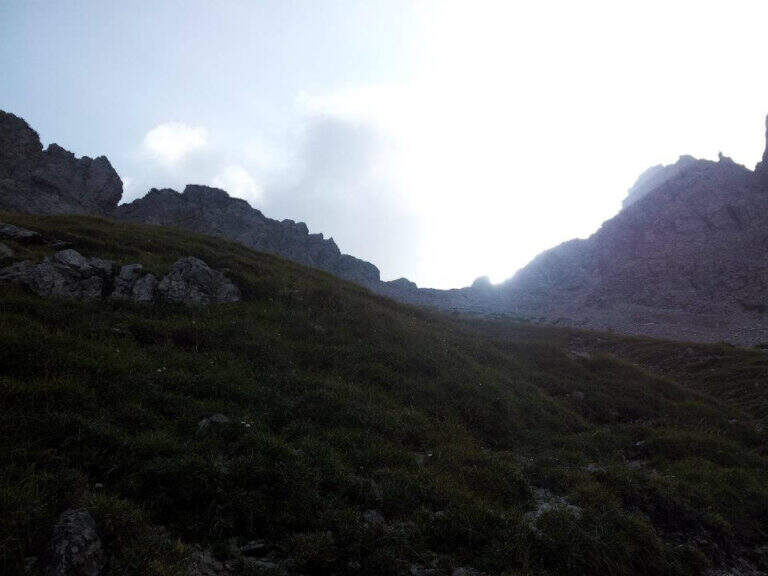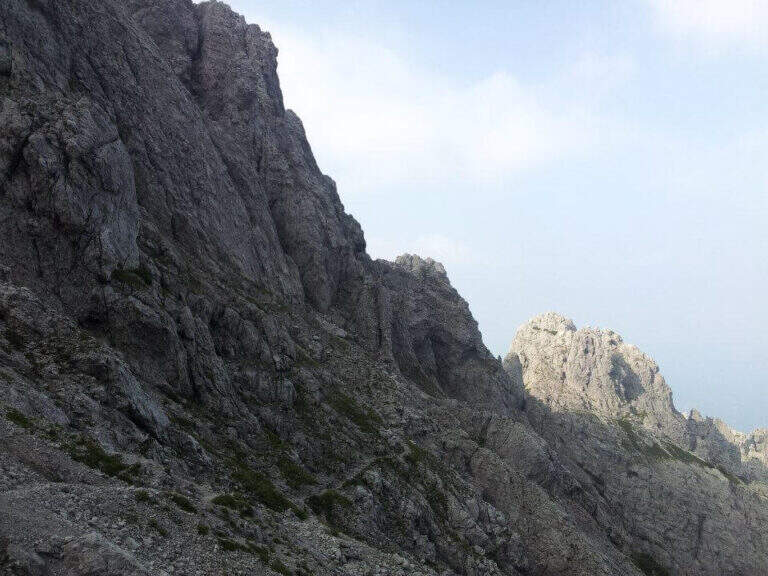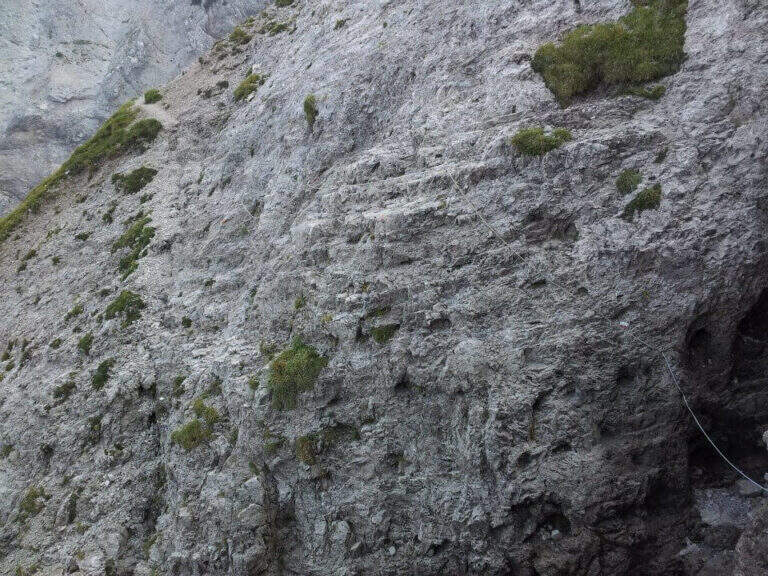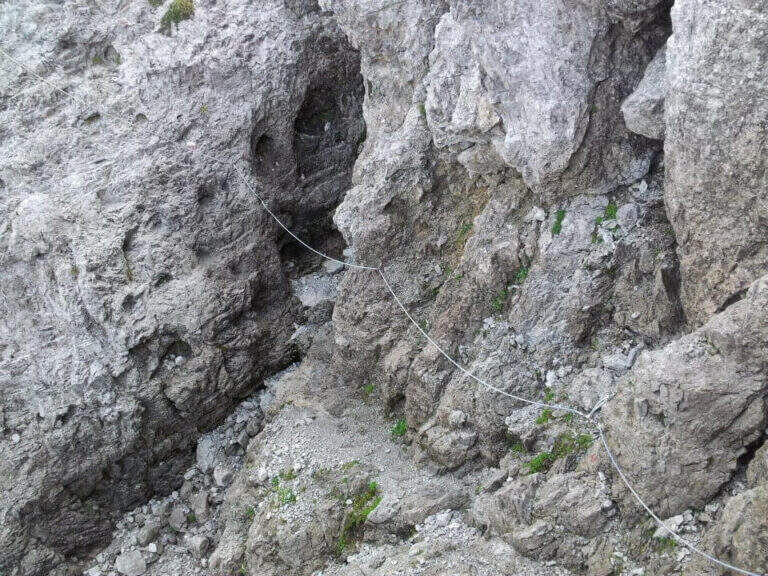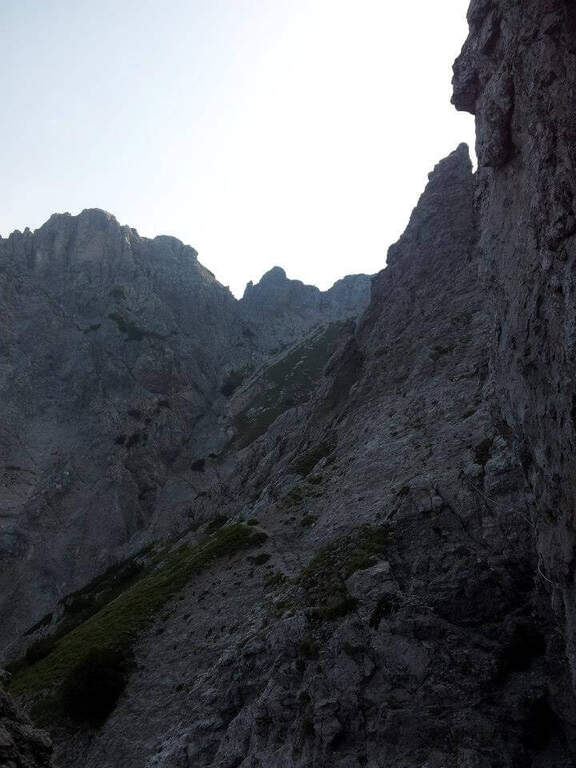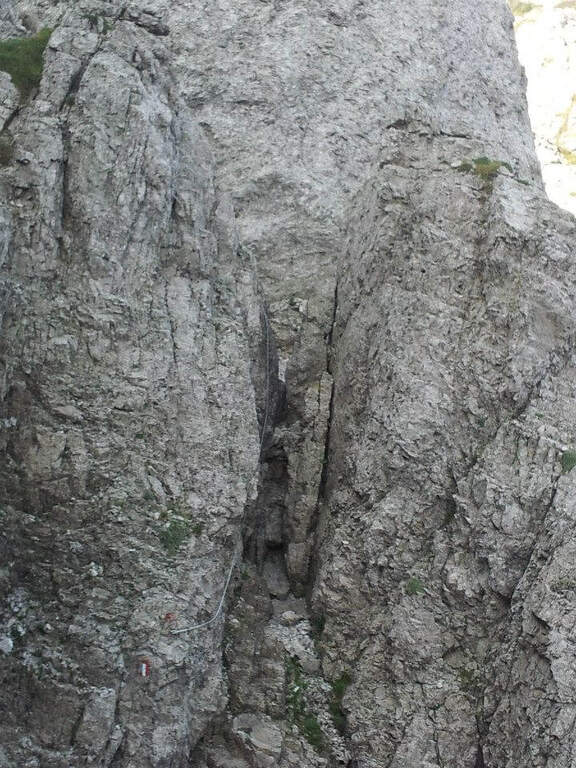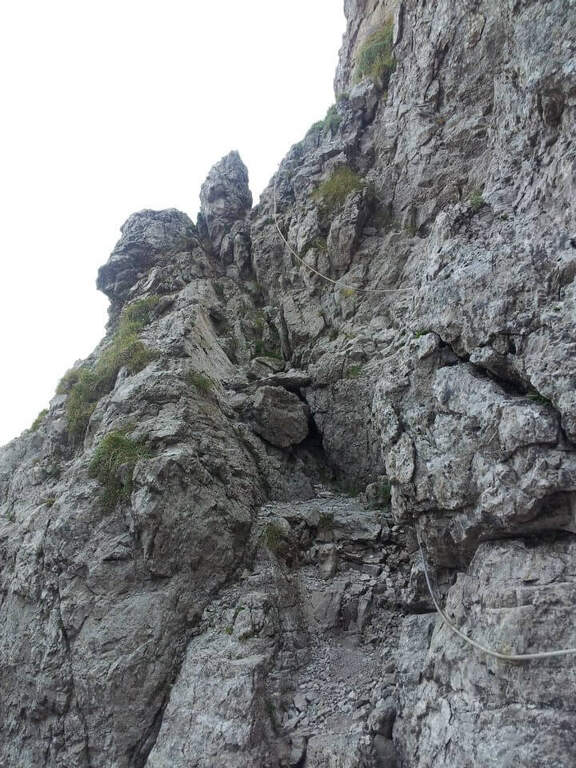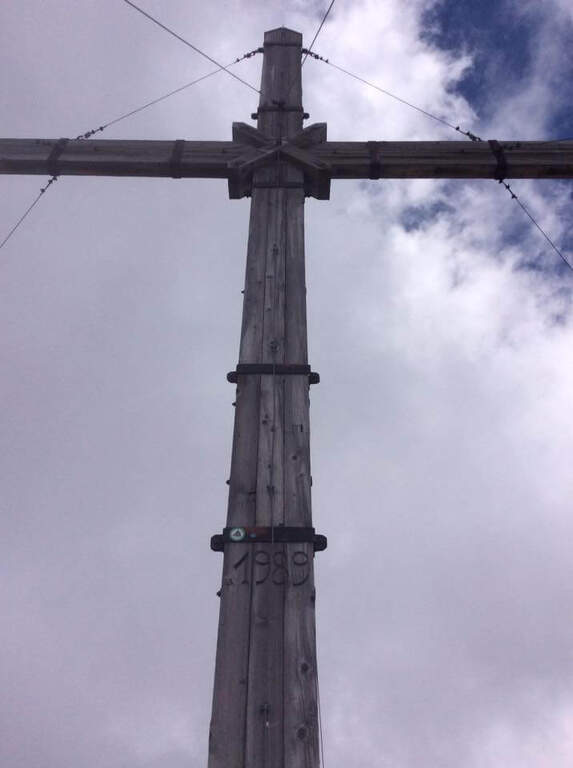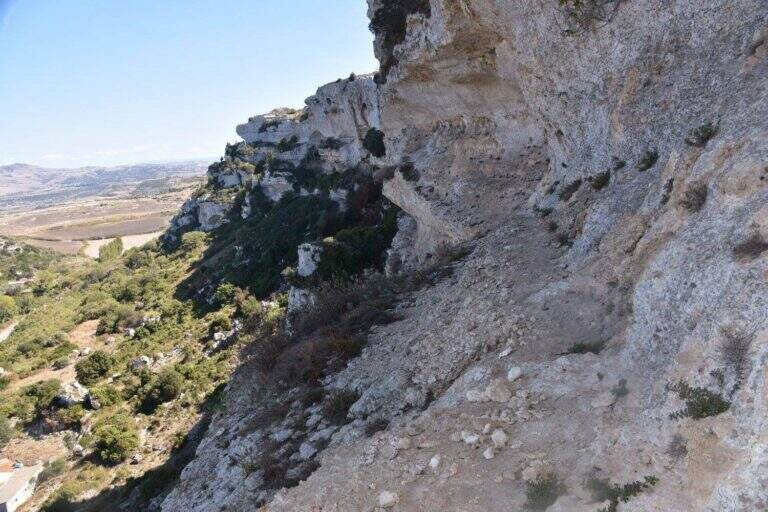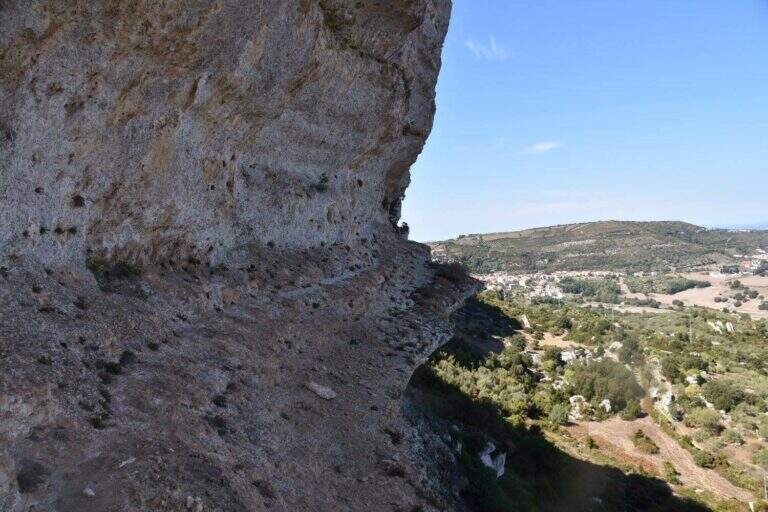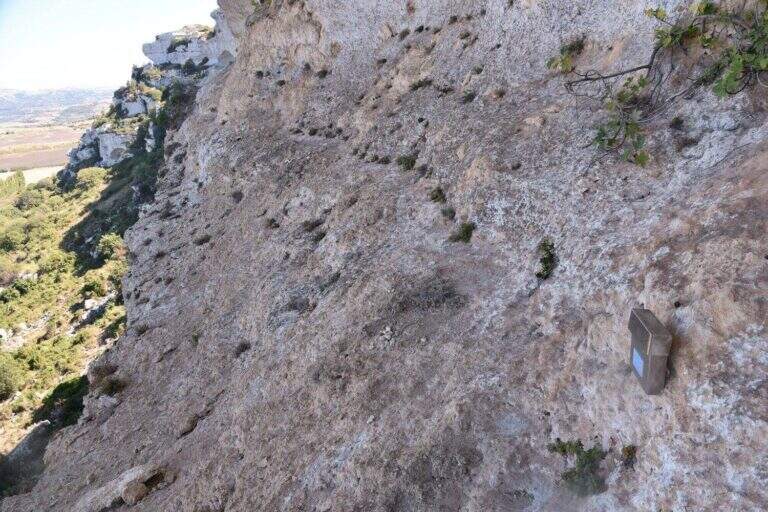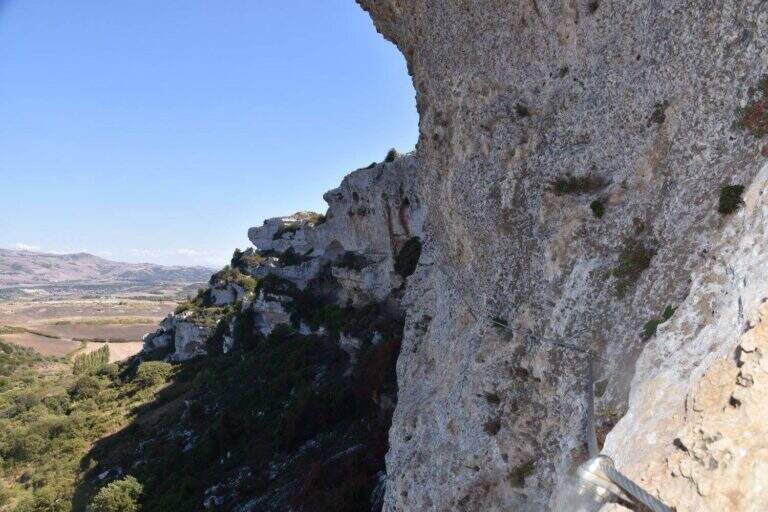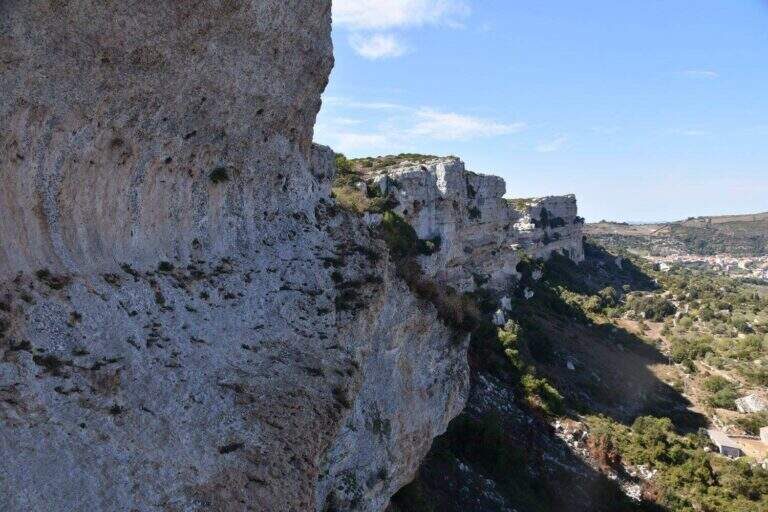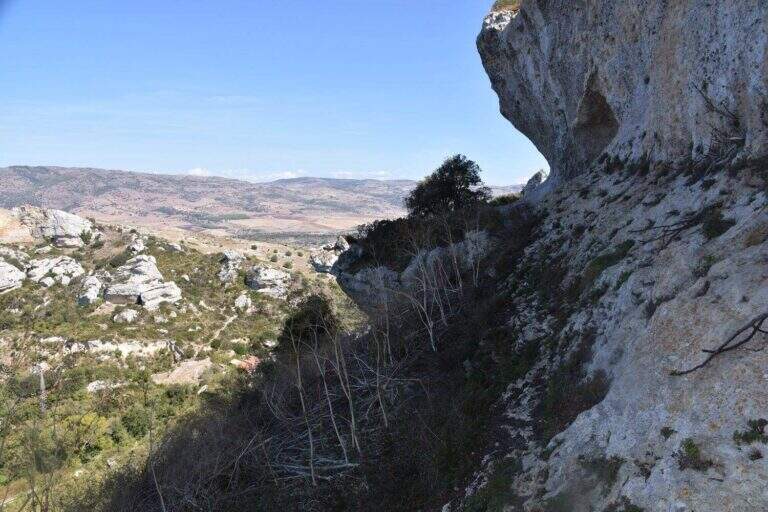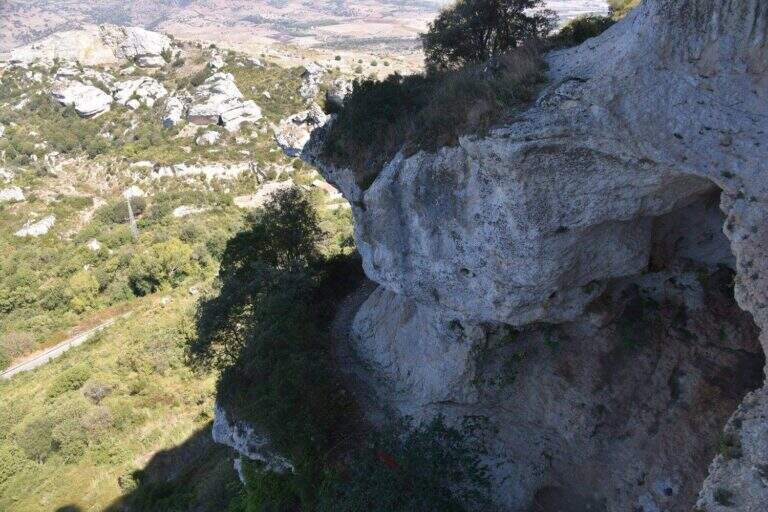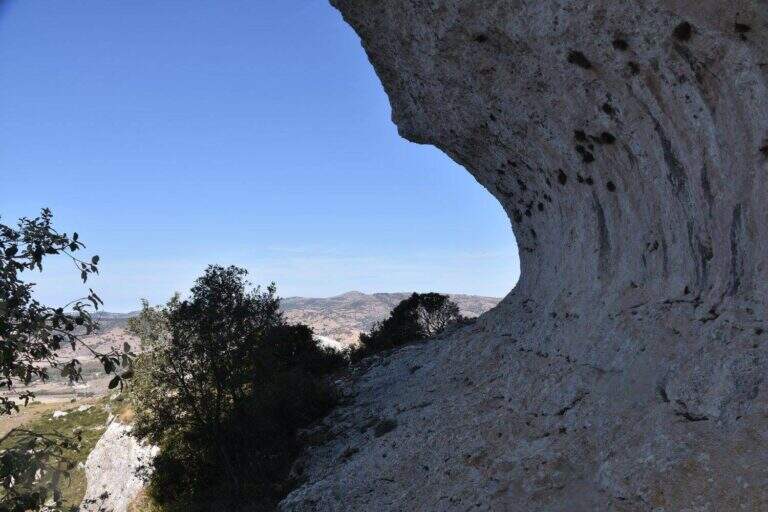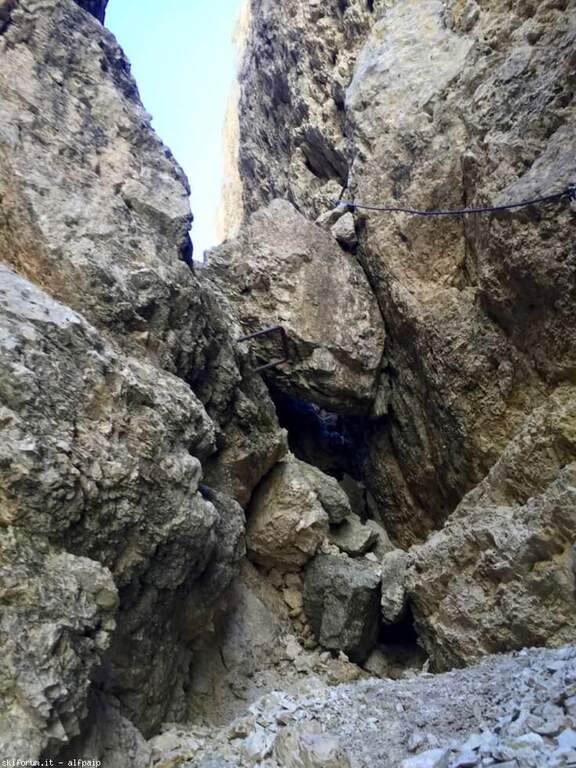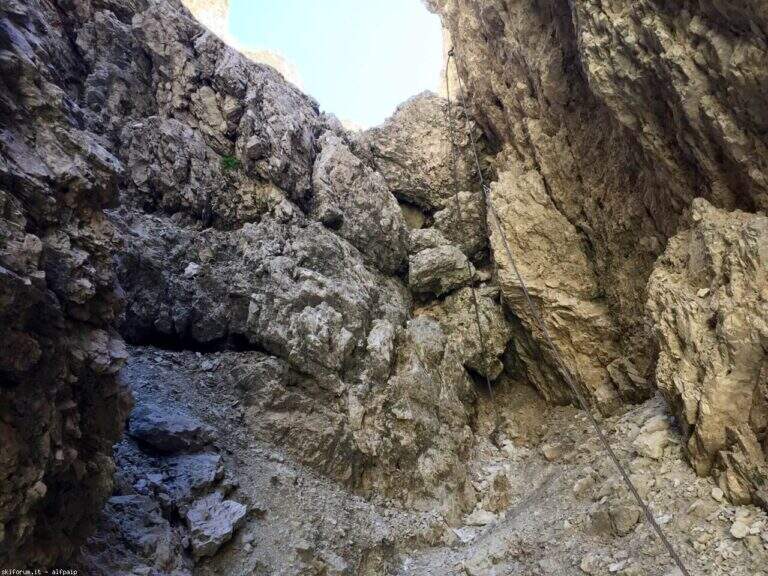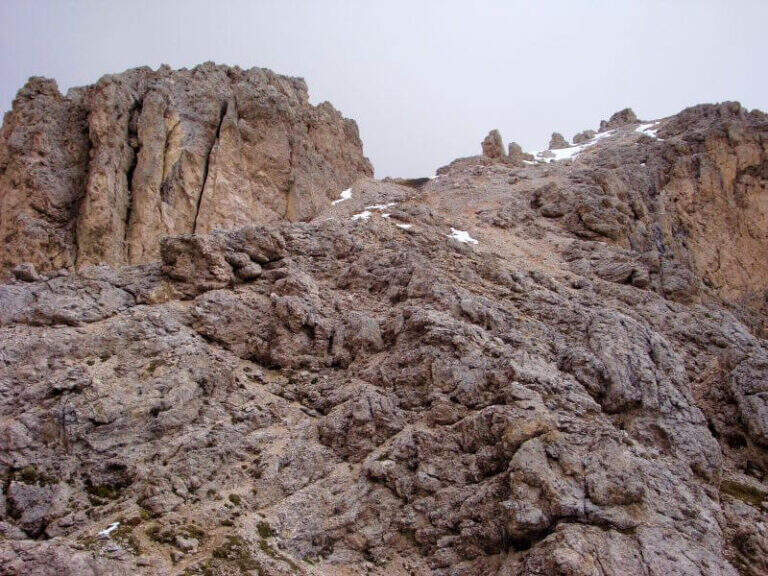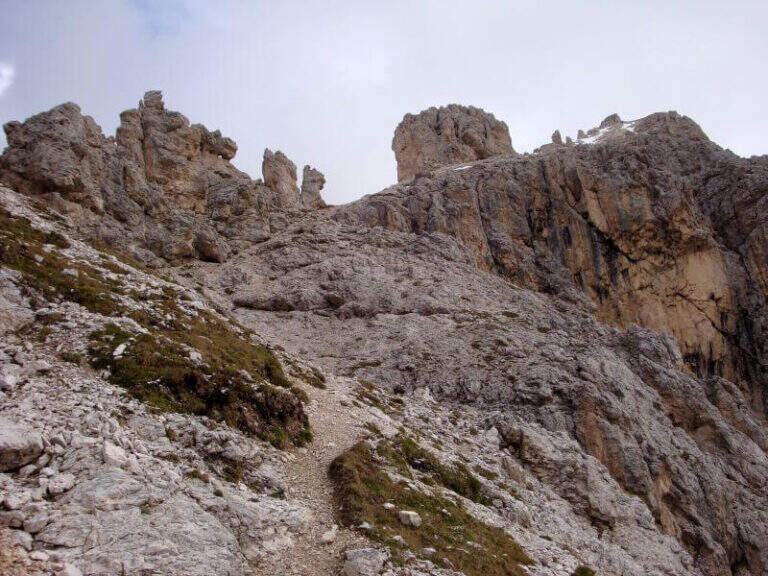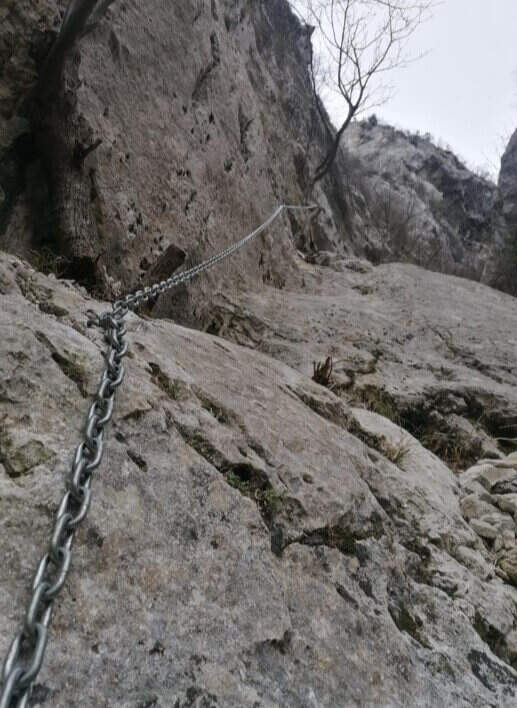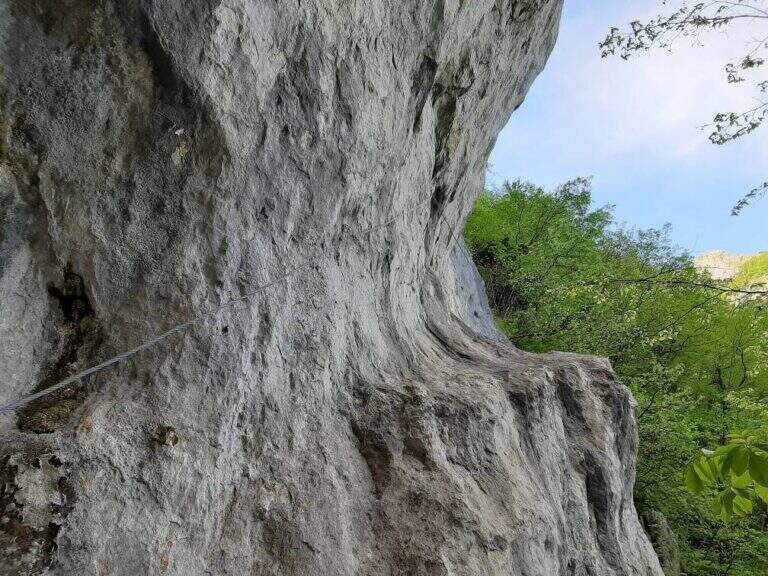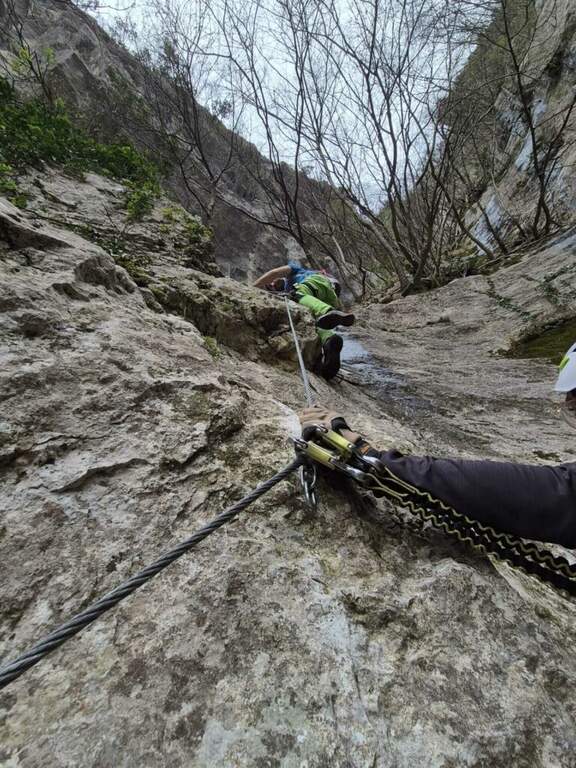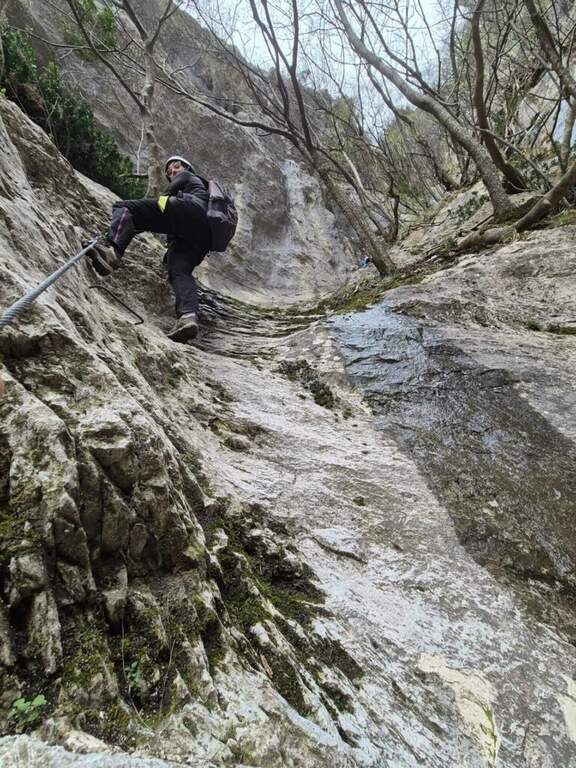
Caratteristica: Tratti non protetti

  • Sentiero Attrezzato degli Eroi al Monte Peurna

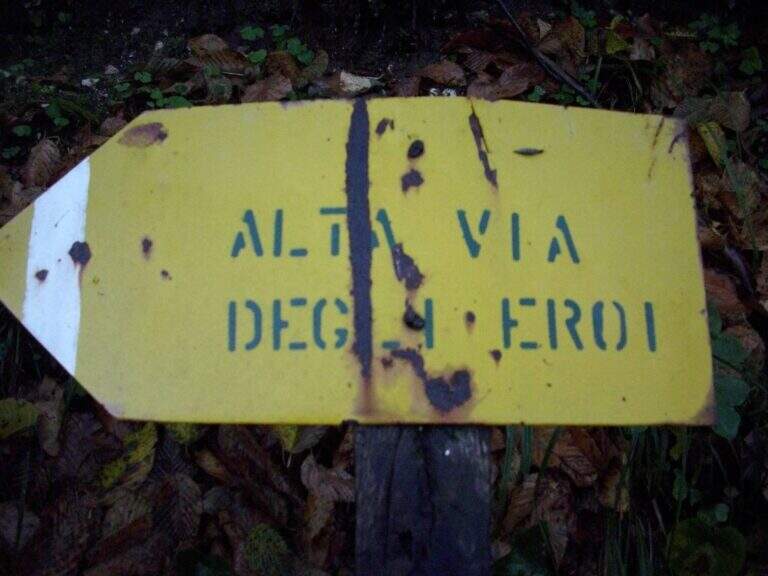
    Sentiero Attrezzato degli Eroi al Monte Peurna

    Vie Ferrate › Veneto › Belluno
    Sentiero Attrezzato degli Eroi al Monte Peurna

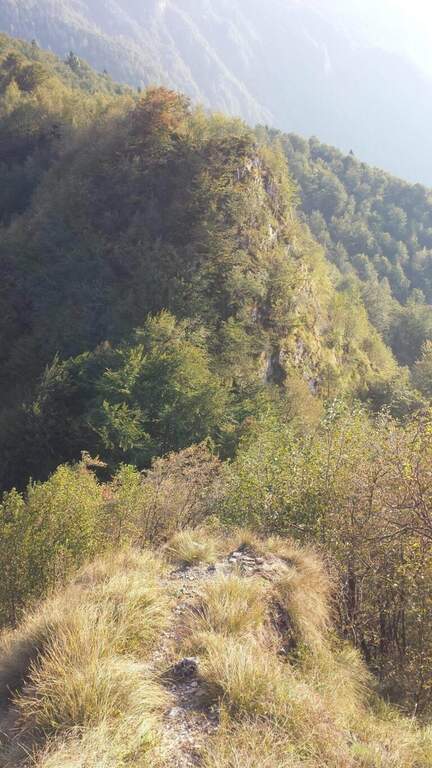
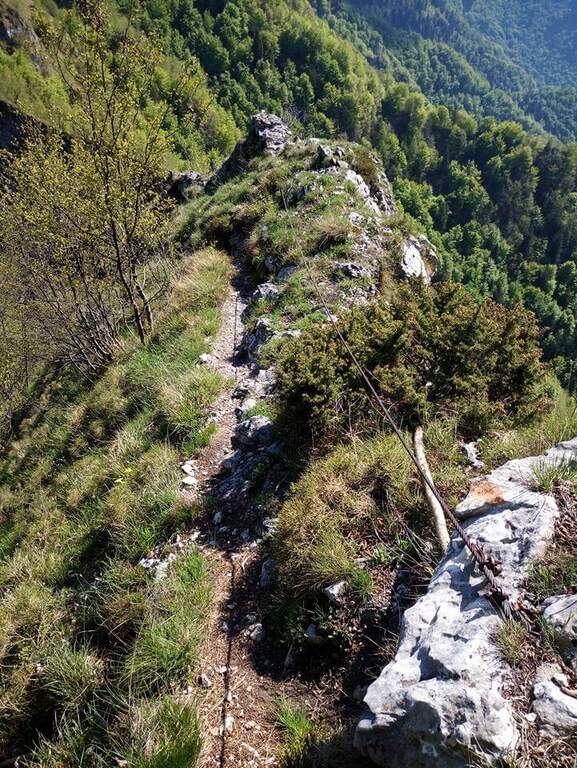
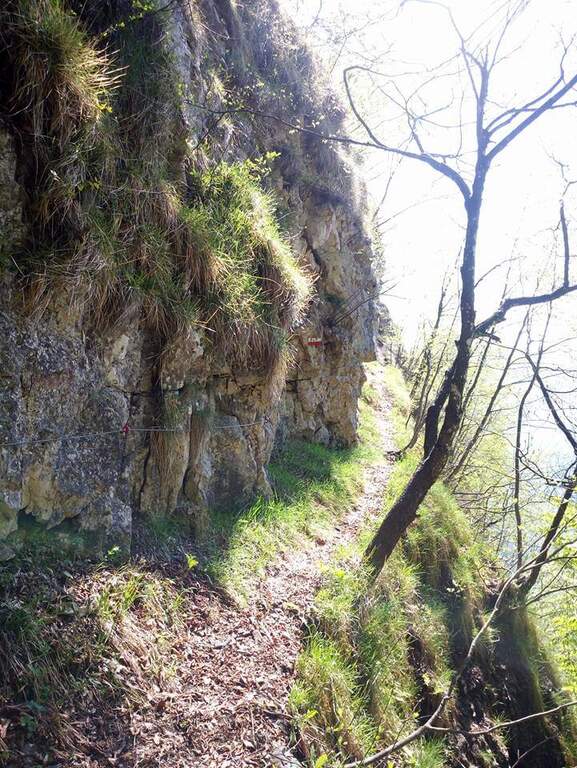
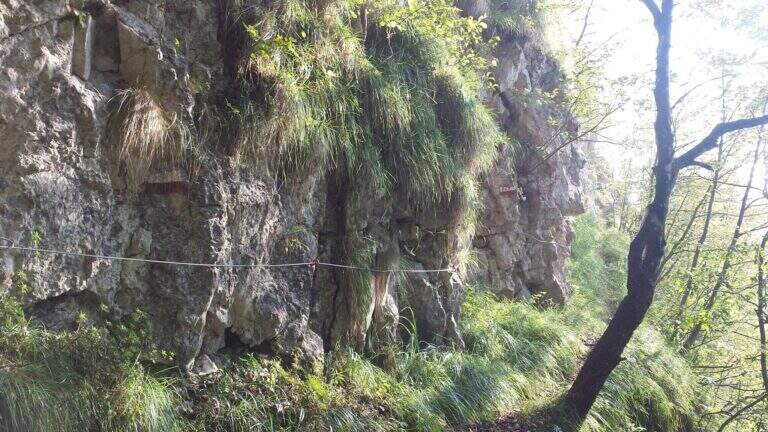
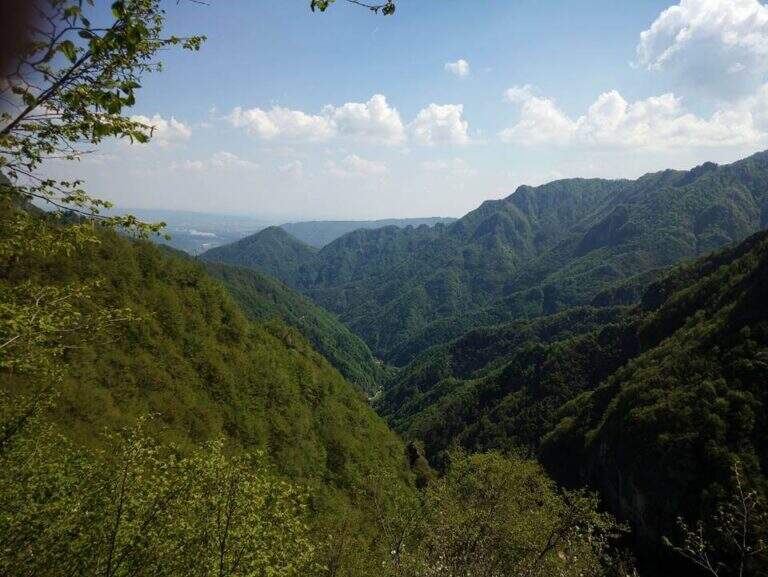
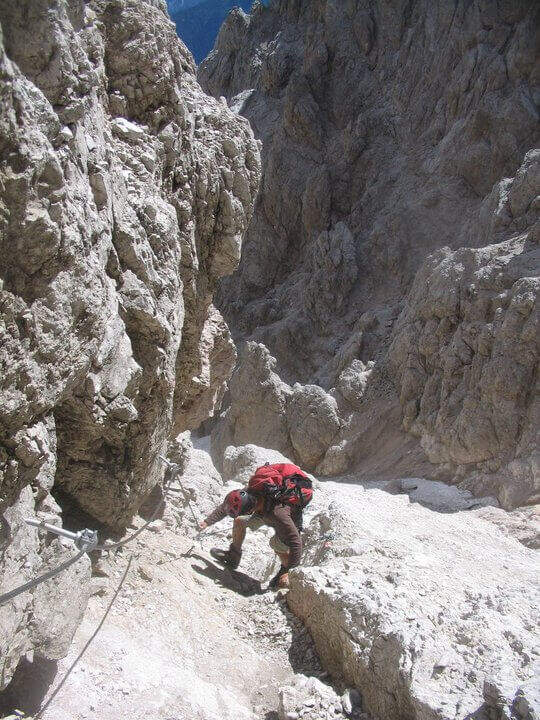
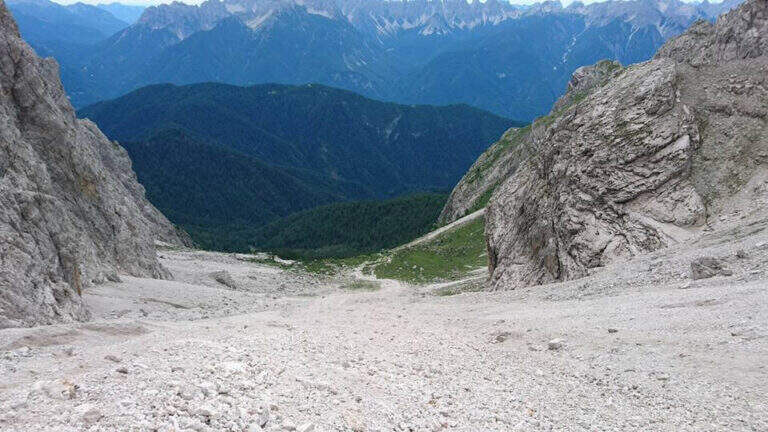
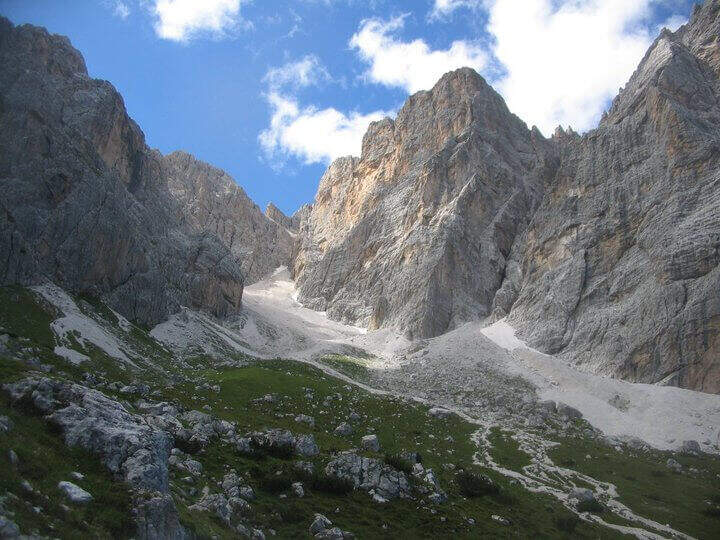
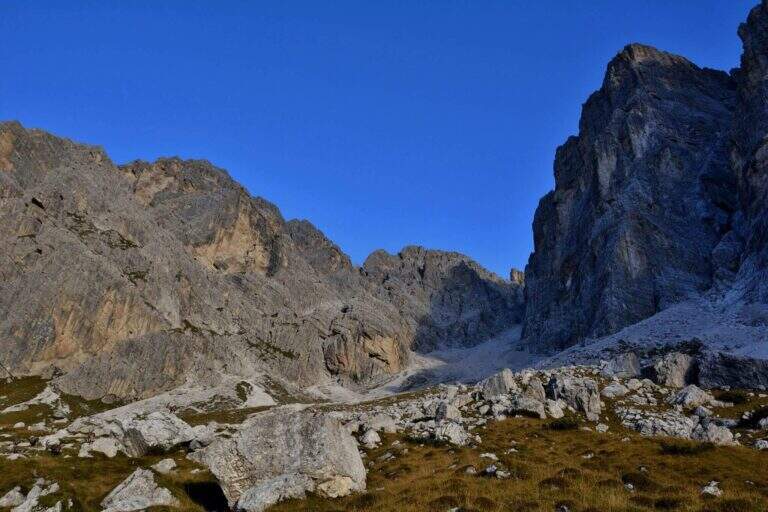
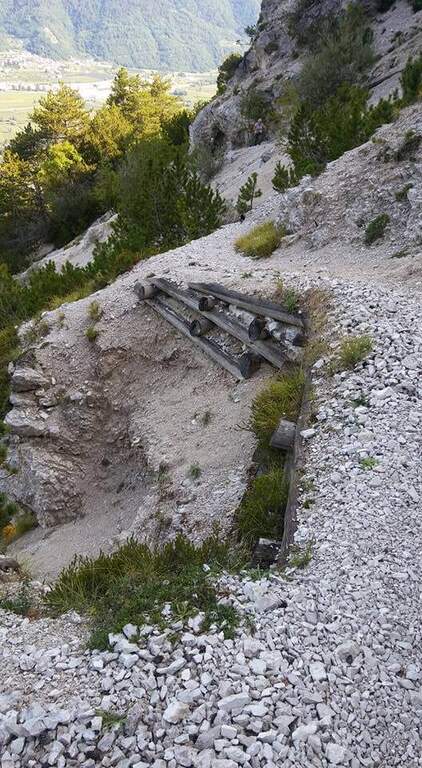
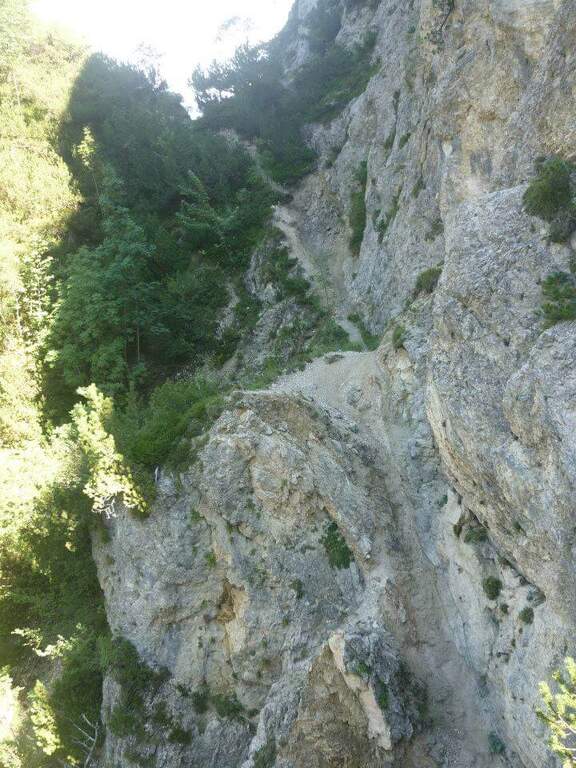
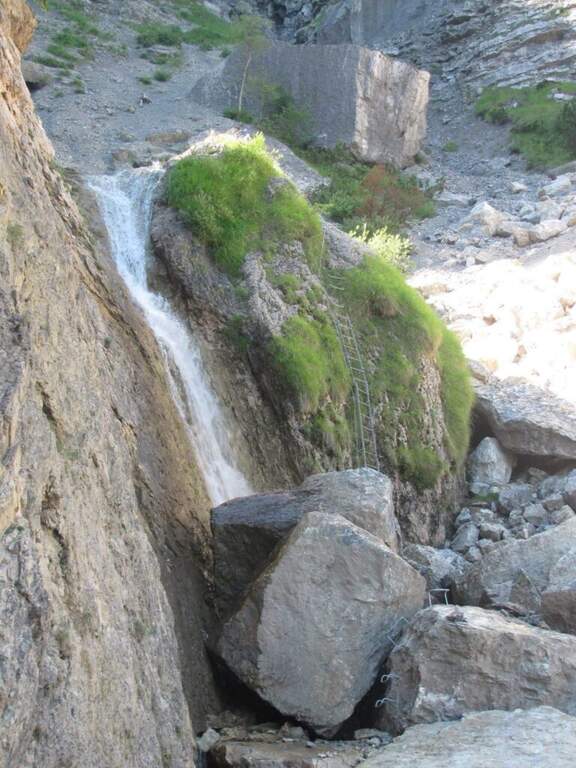
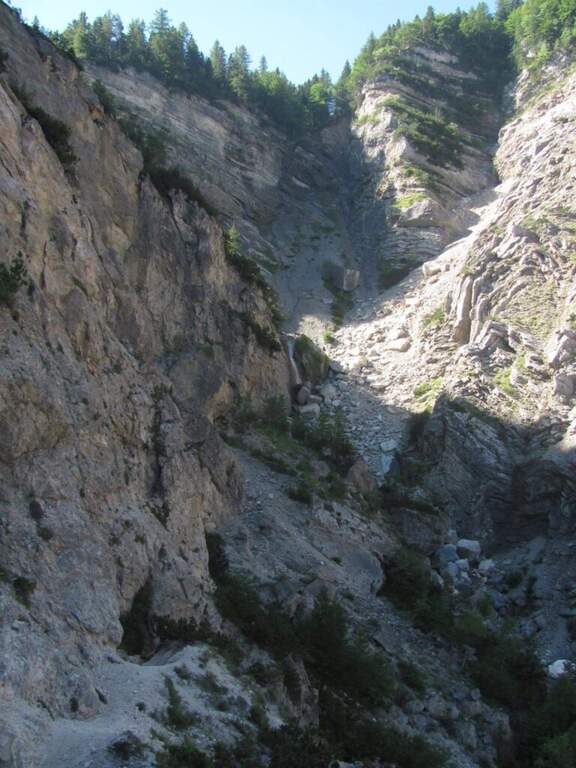
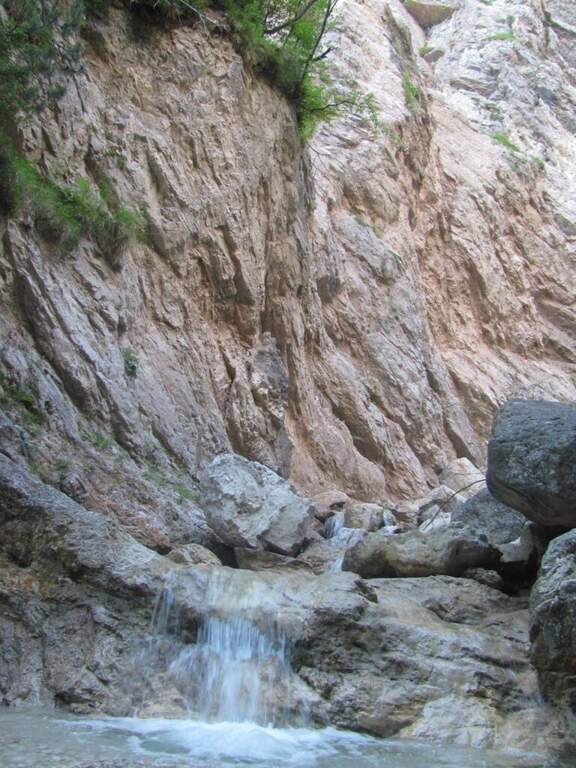
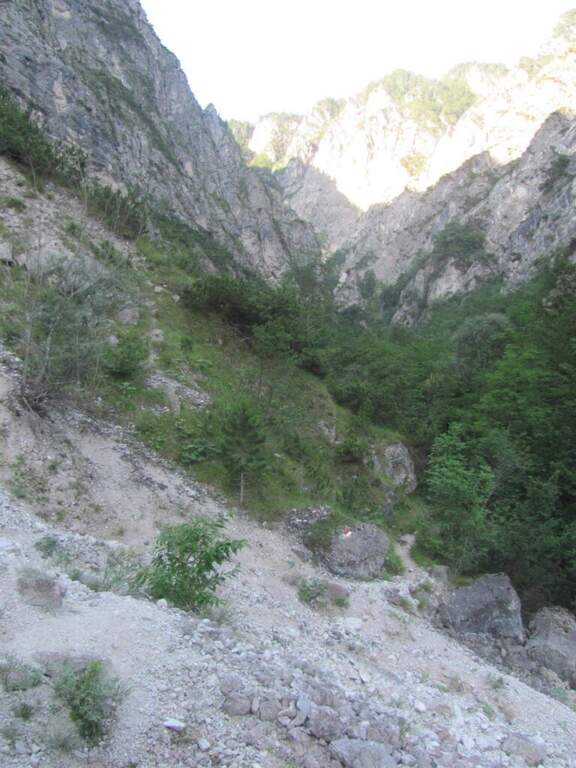
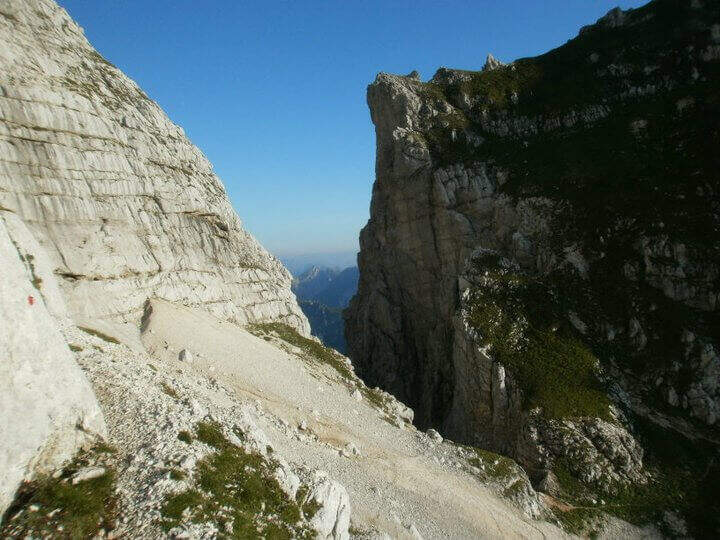
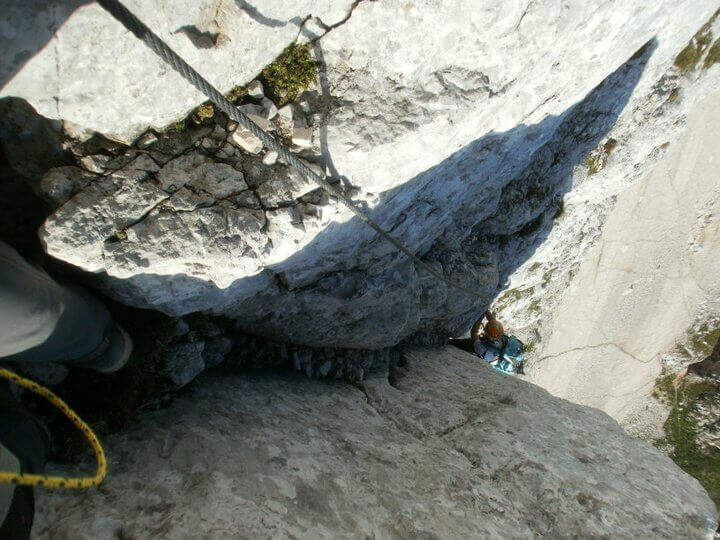
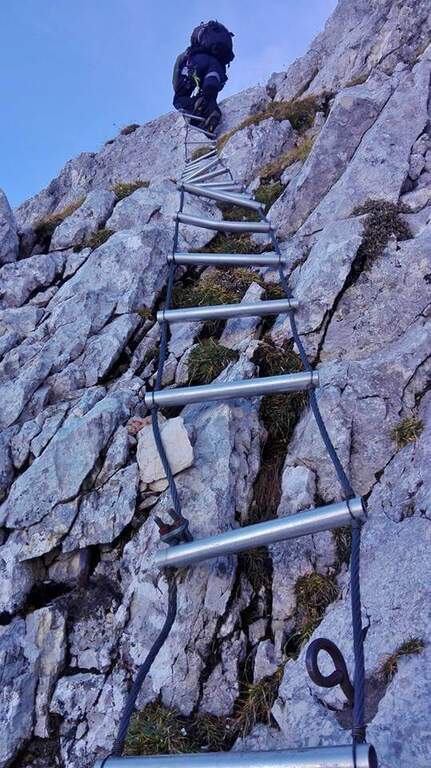
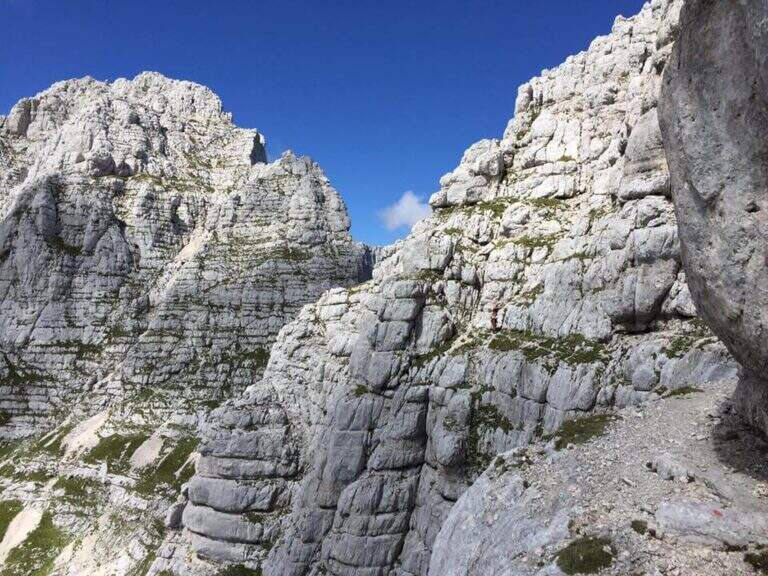
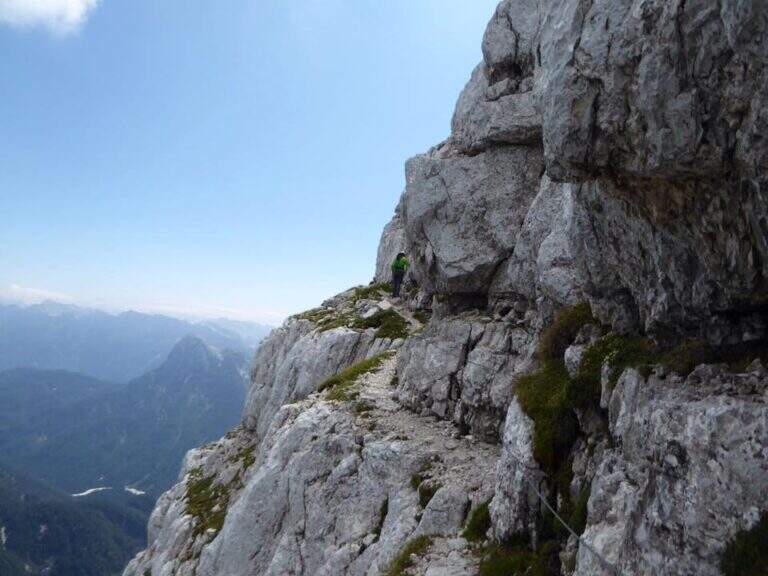
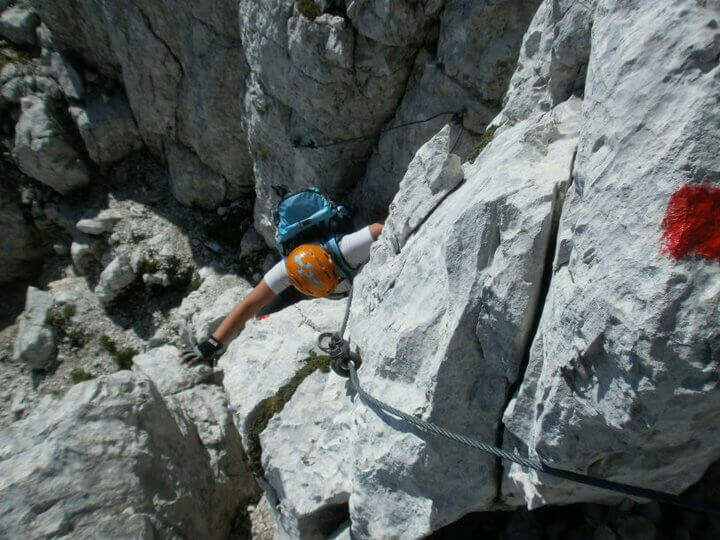
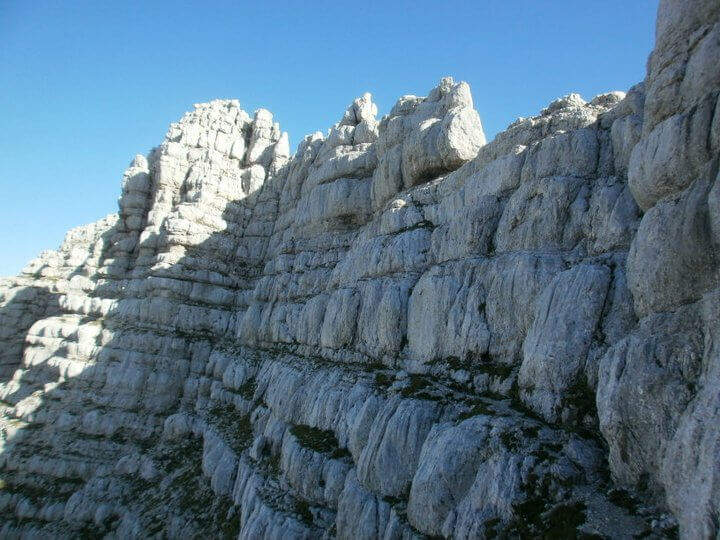
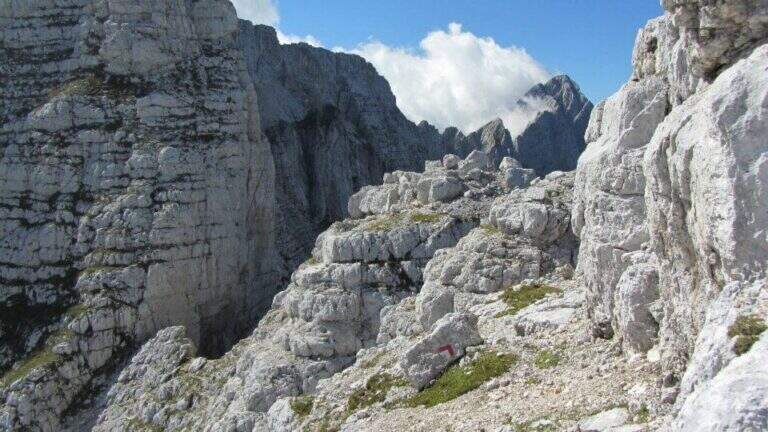
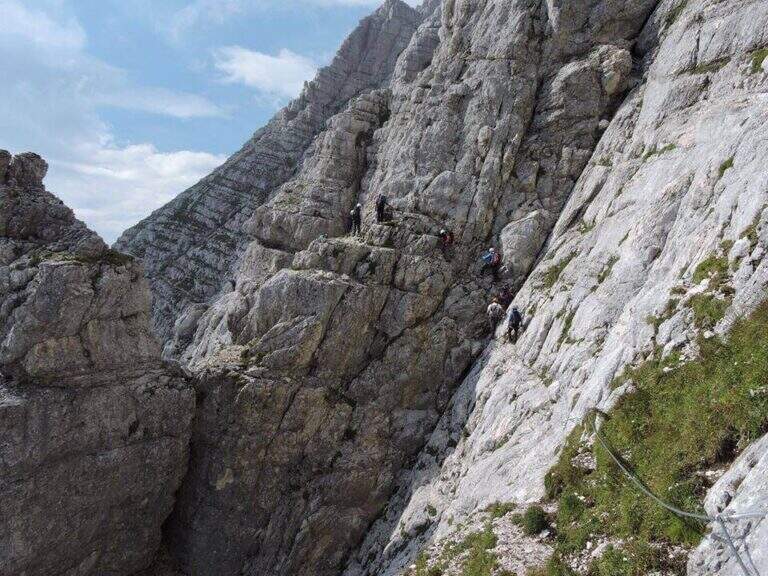
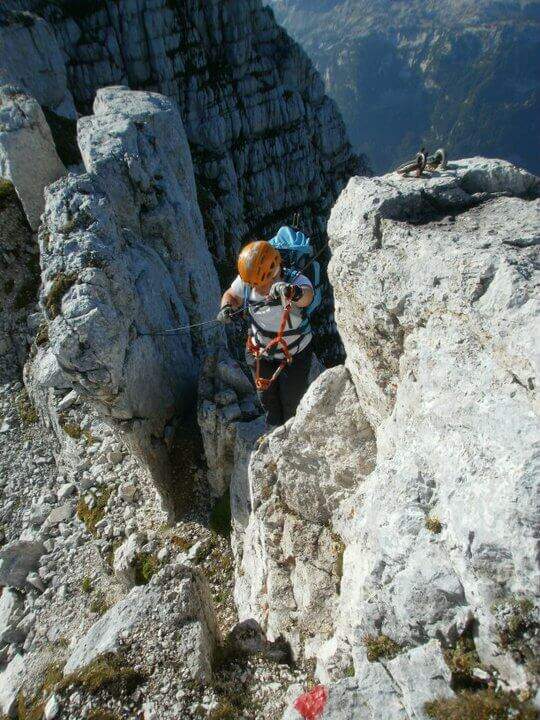
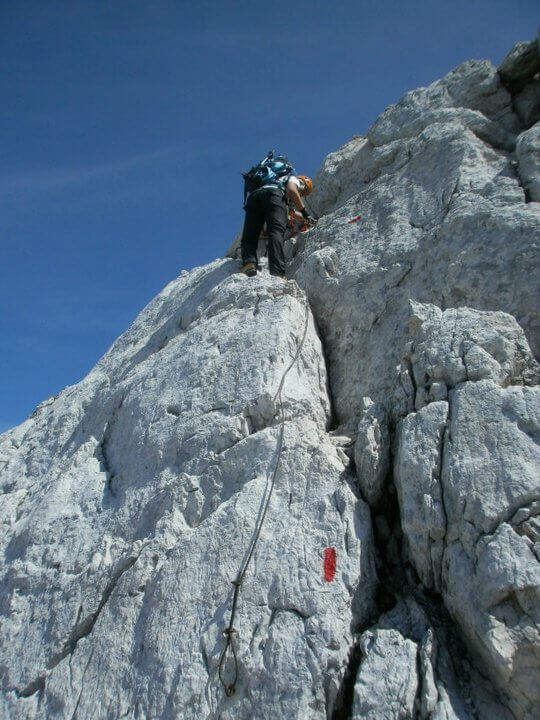
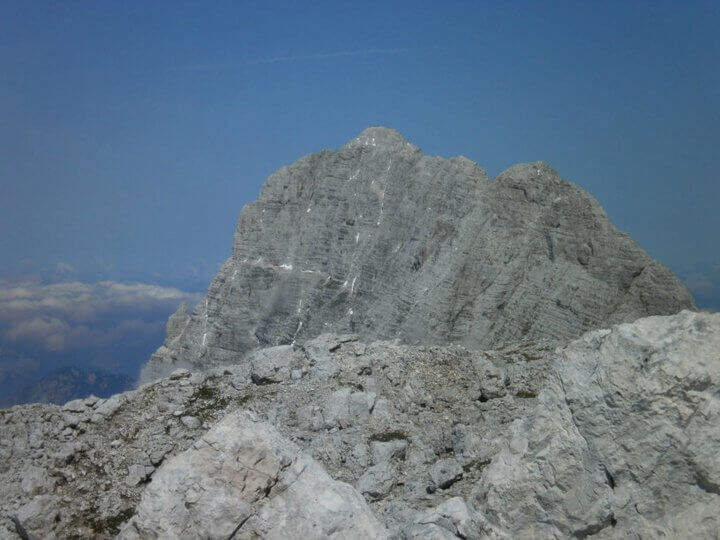
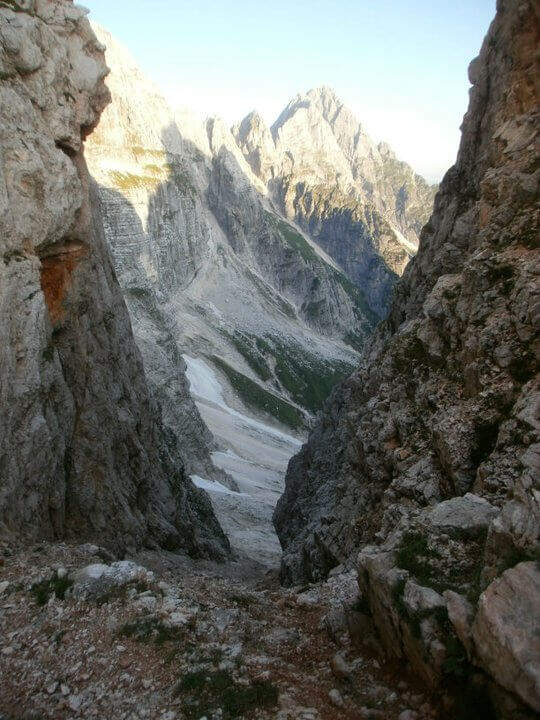
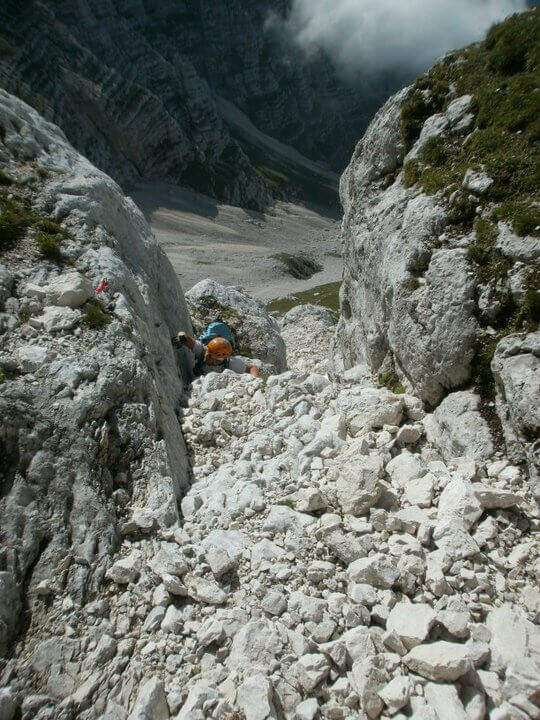
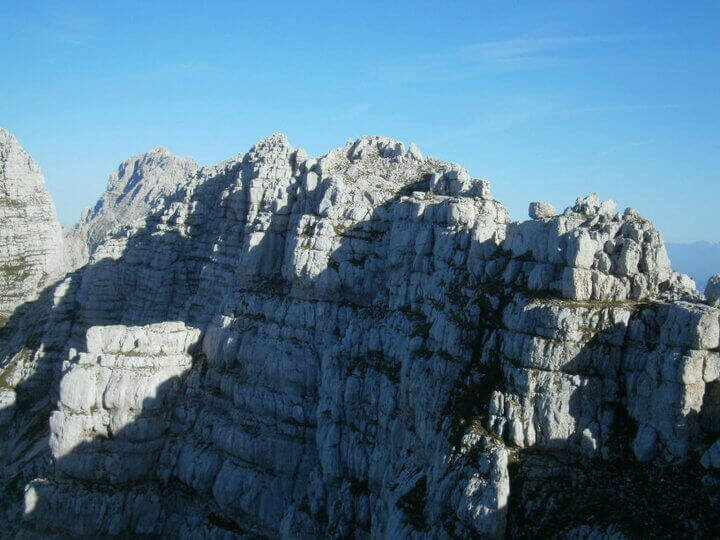
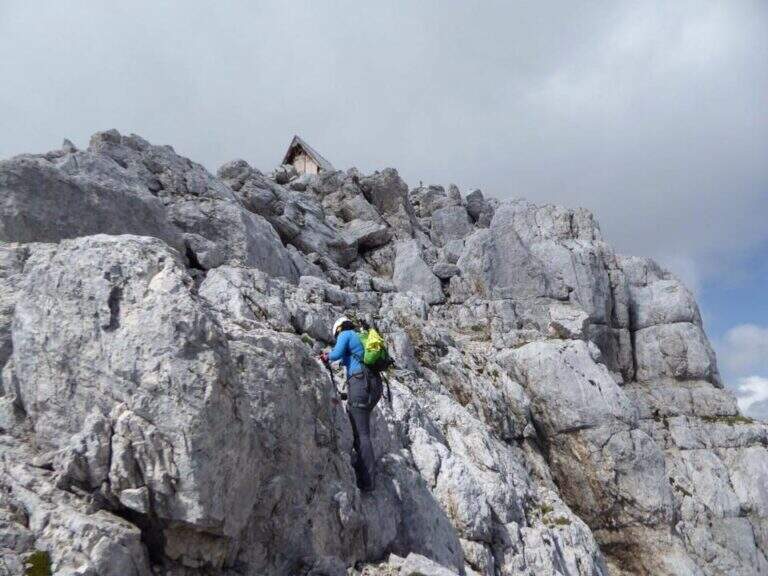
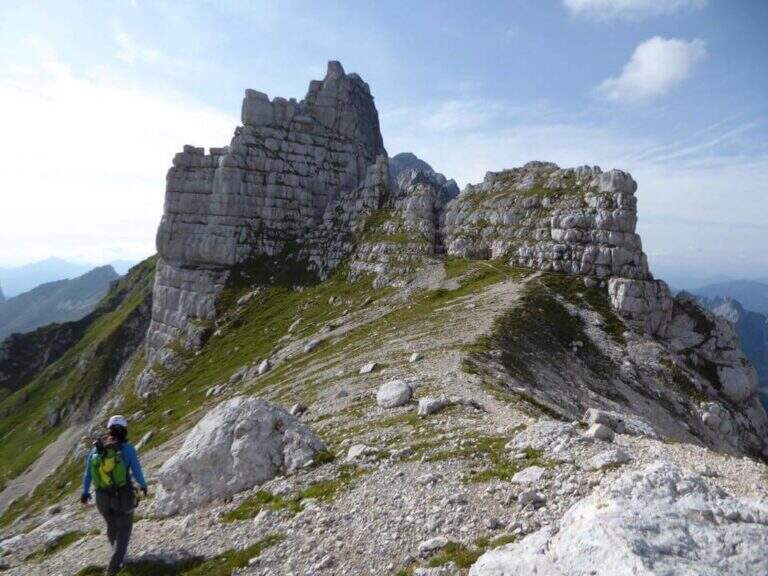
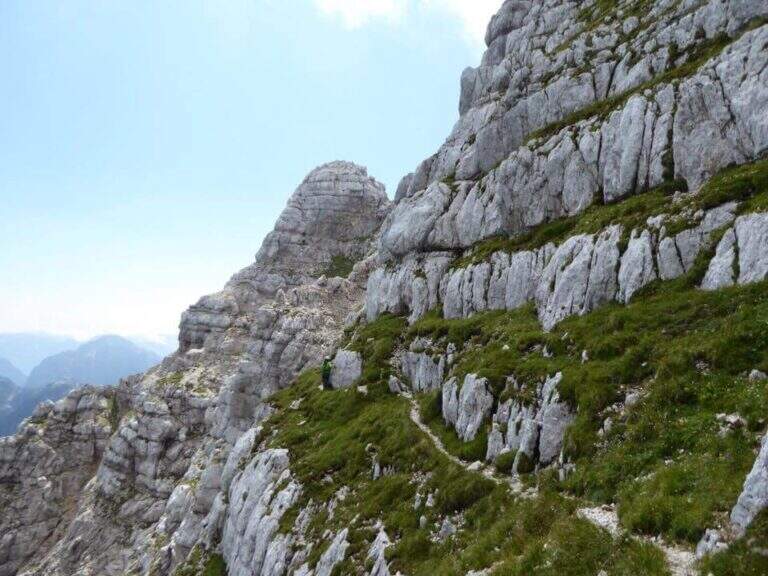
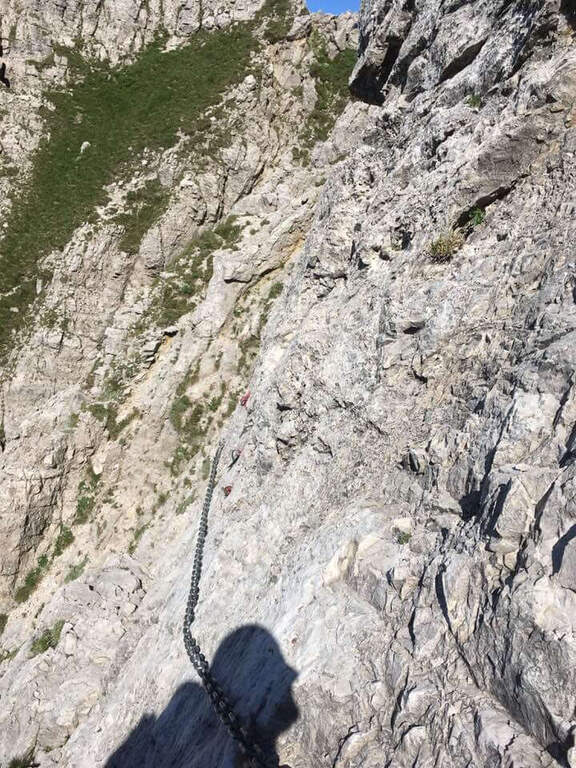
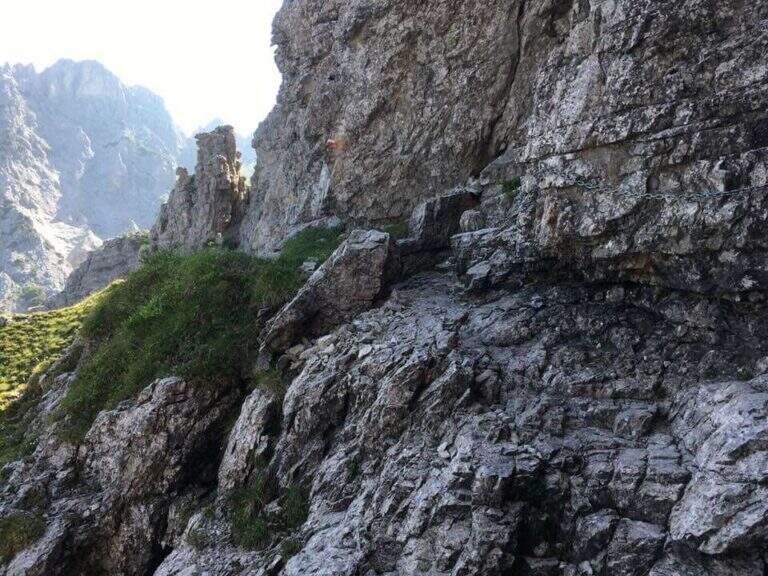
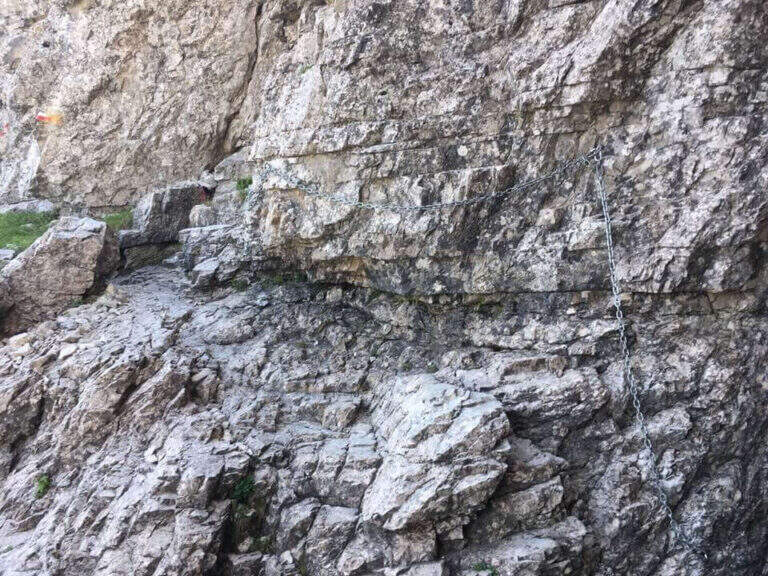
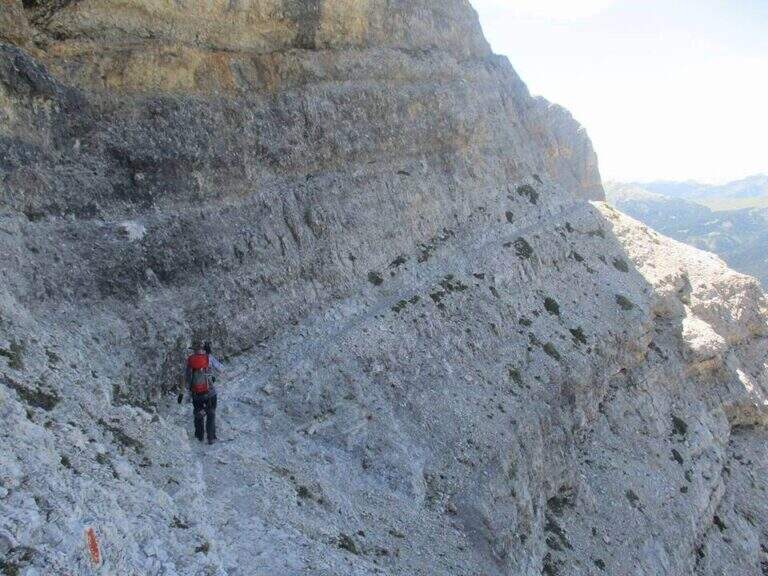
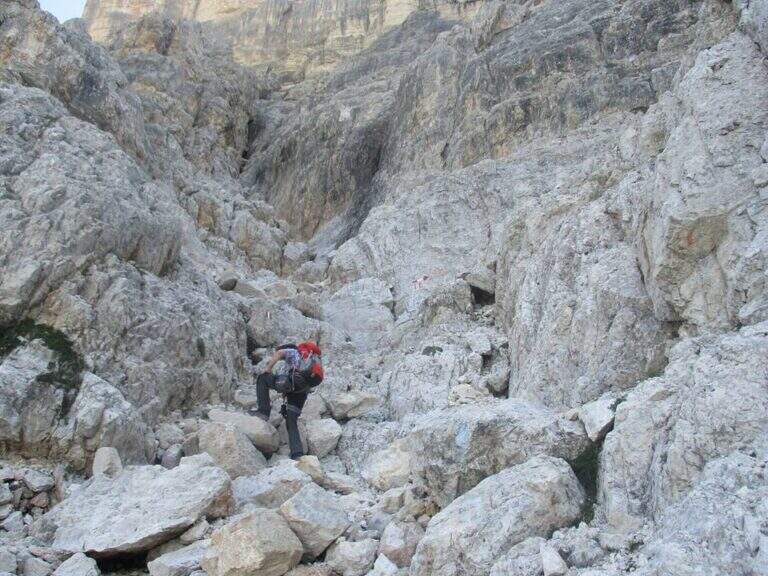
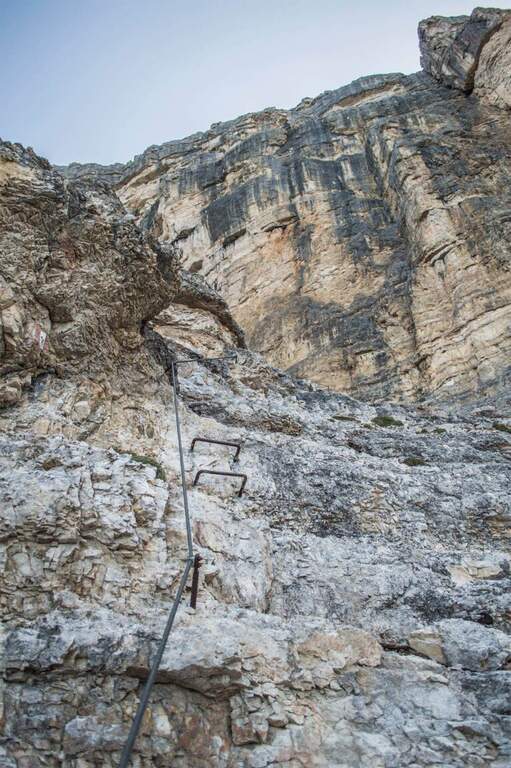
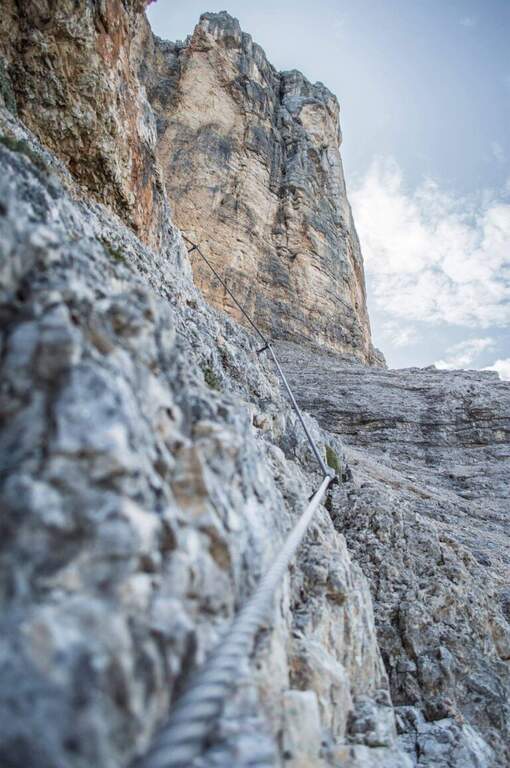
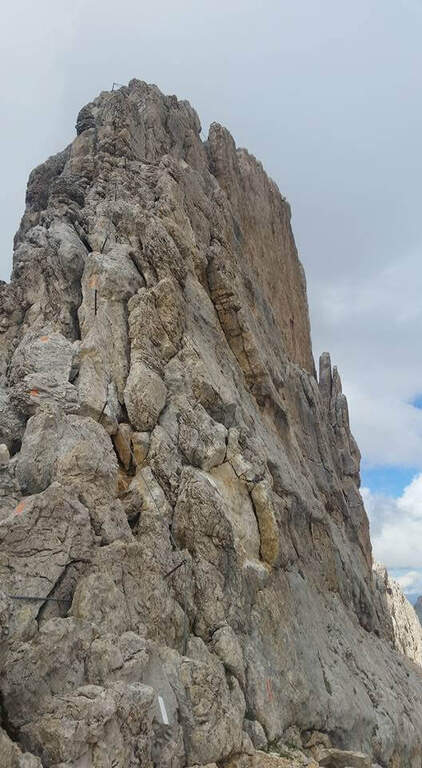
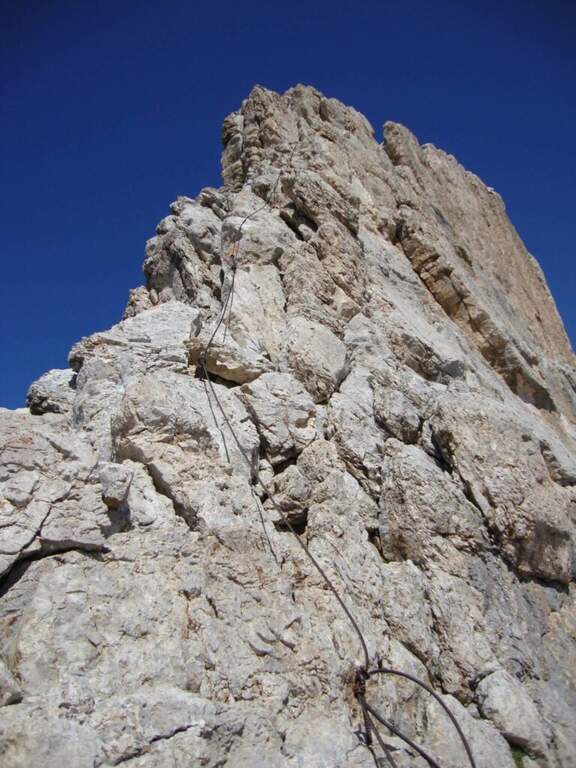
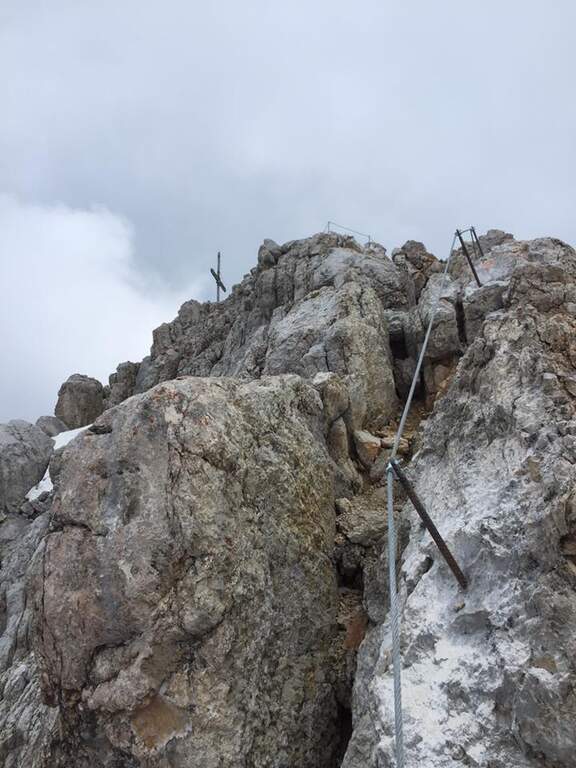
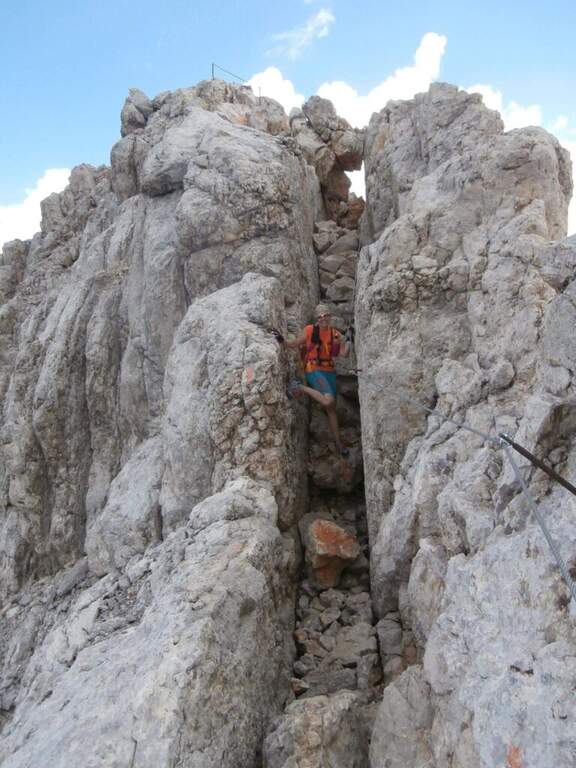
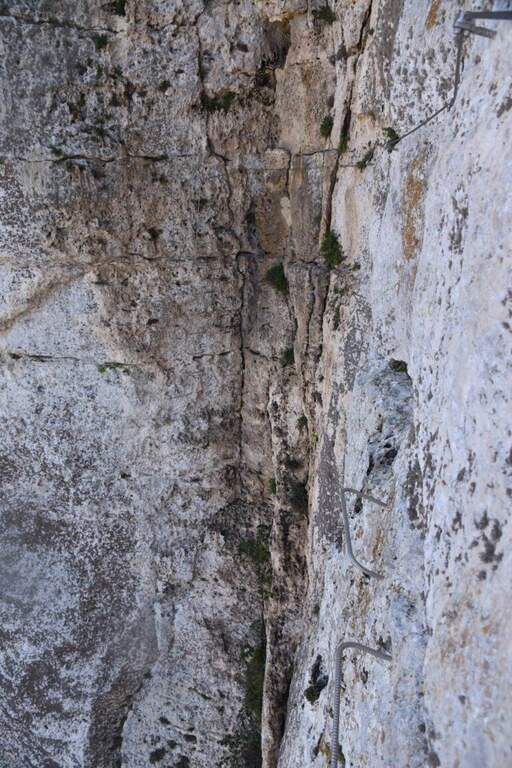
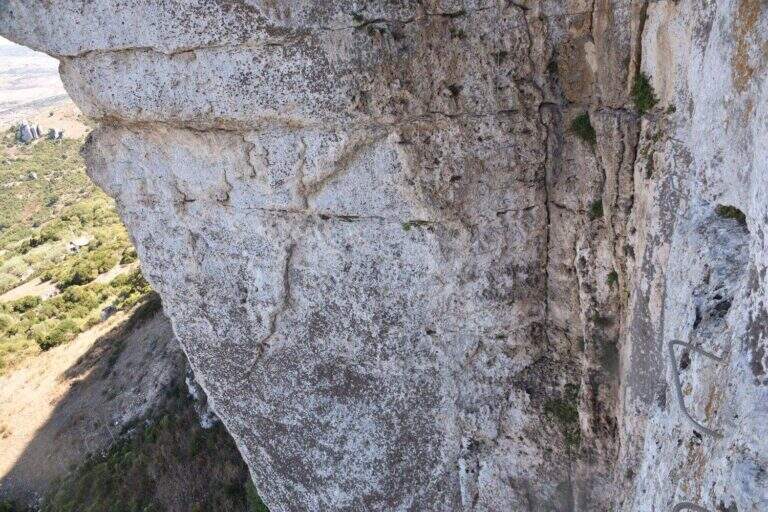
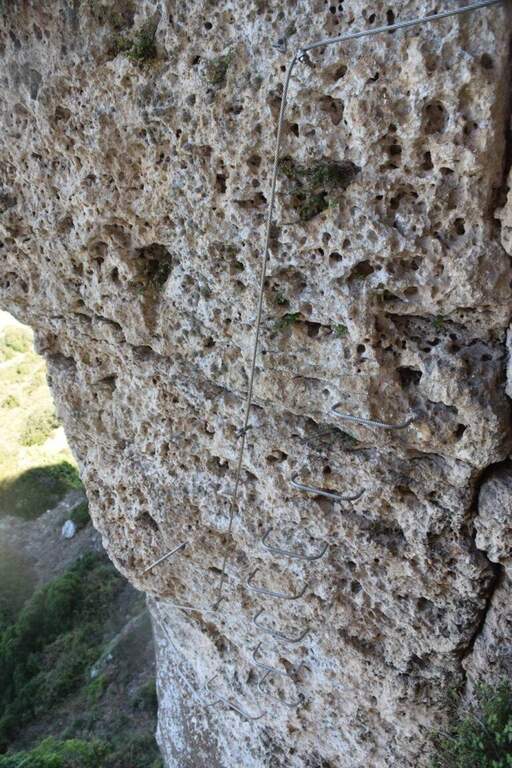
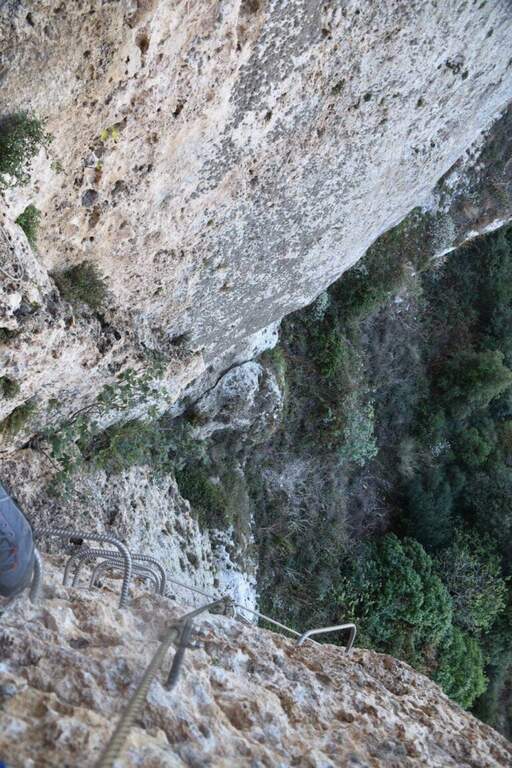
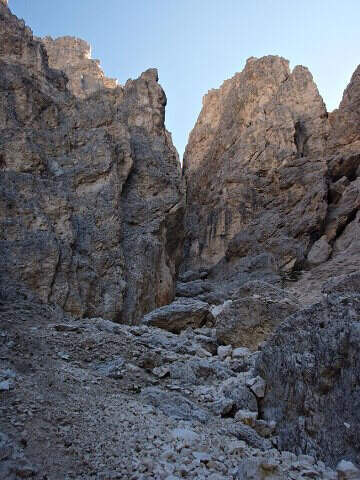
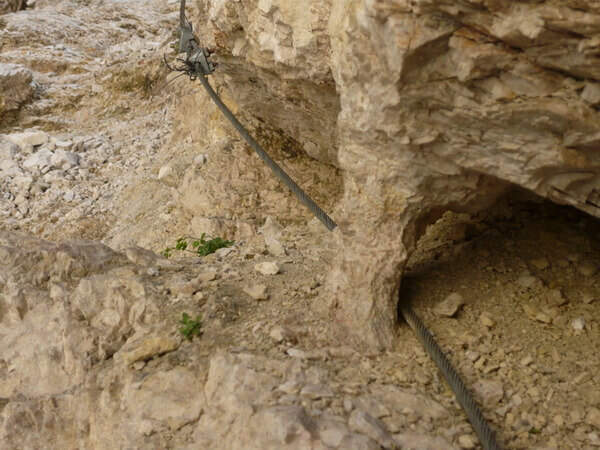
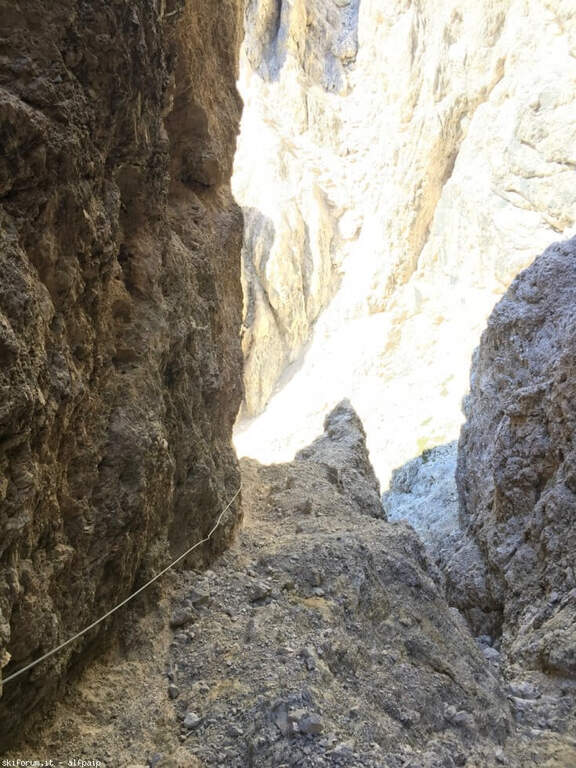
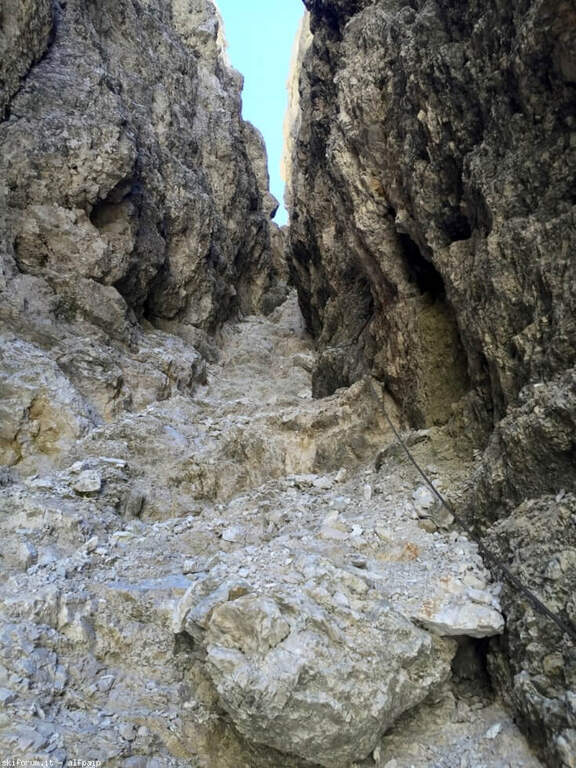
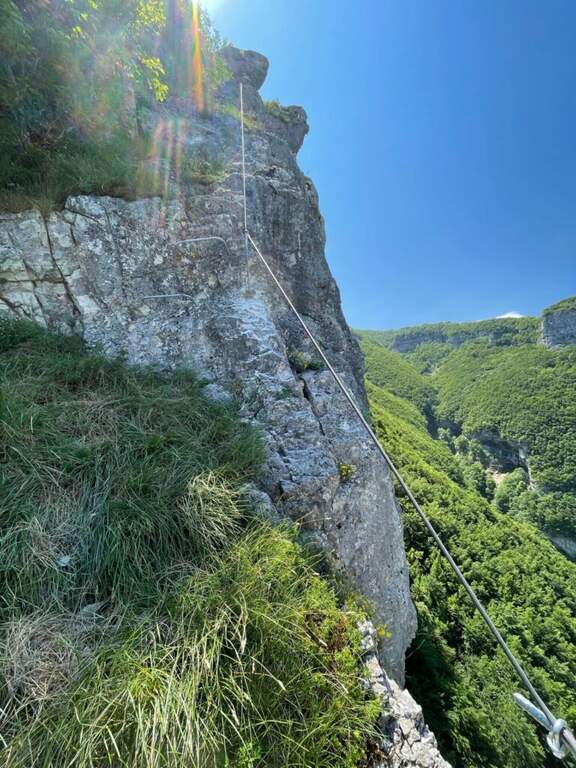
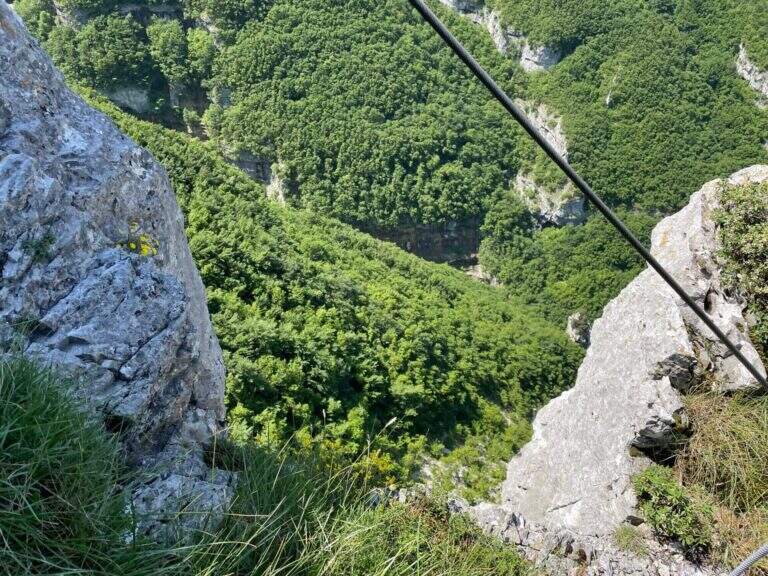
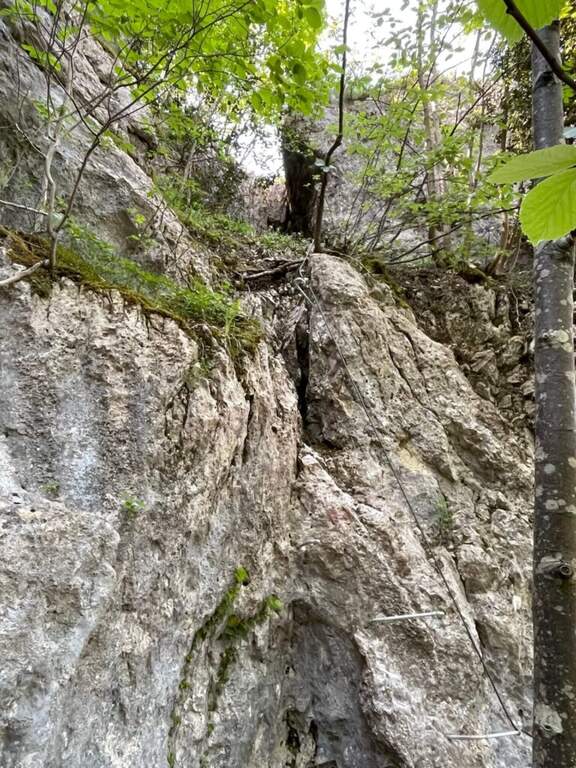
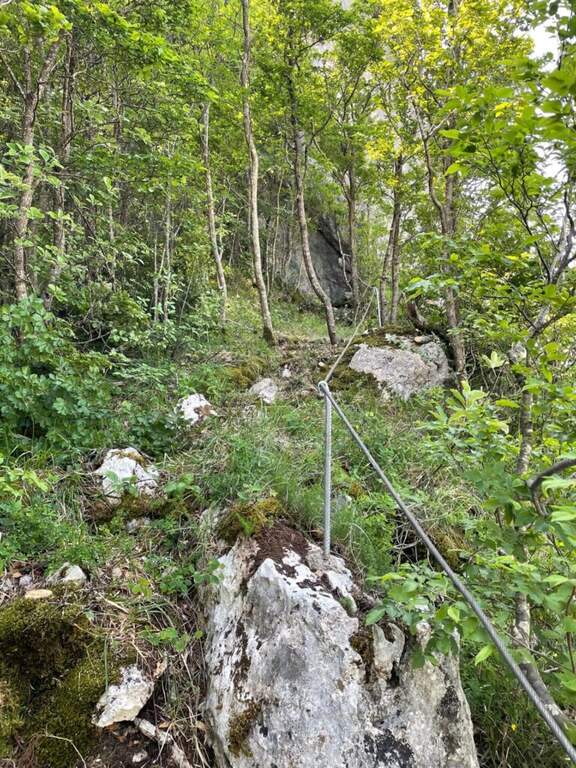
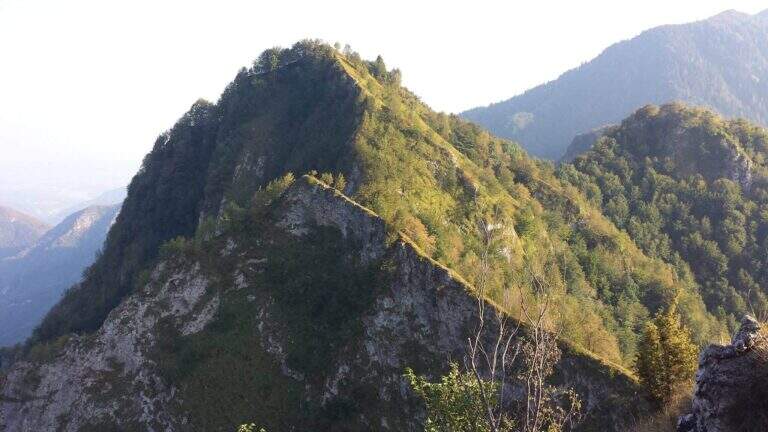
    The Athletic Path of the Heroes rises to Mount Peurna, in Val Schievenin. It is easy in the short stretches equipped, but ostic in the long stretches not protected on unstable background; the itinerary is not subject to punctual maintenance and sometimes it is difficult to identify. It runs in an area full of testimonies of the Great War.

    ▲Approach

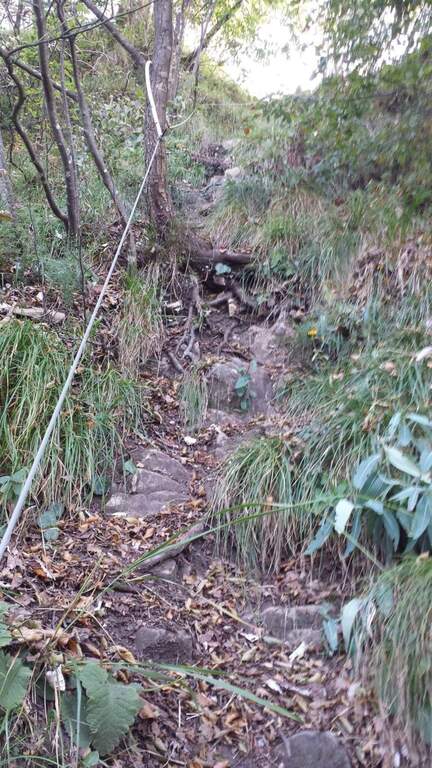
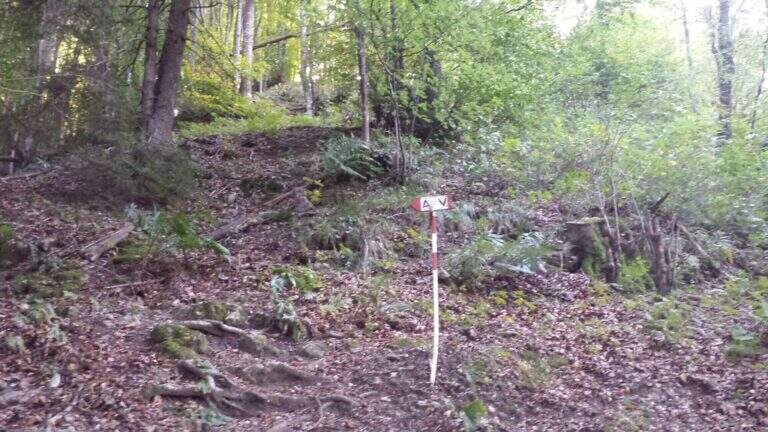
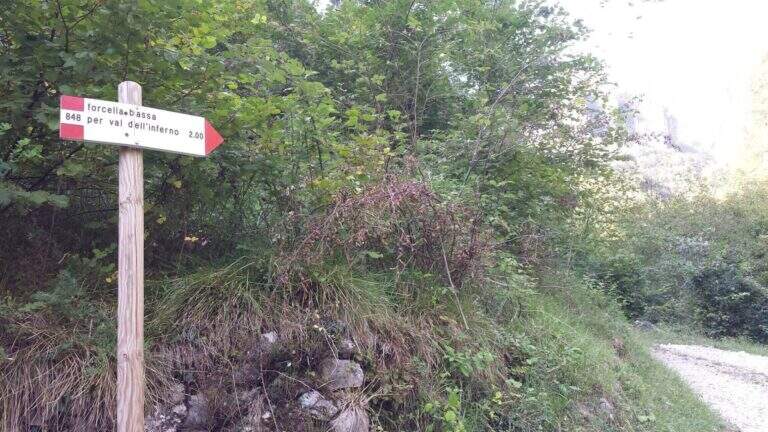
    You reach the Schievenin Valley, in the province of Belluno: from the Piave valley, near Quero, you proceed towards the east following the indications for Schievenin; arrived in the village you enter the valley on a narrow but paved road until a parking lot, beyond which there is no transit (attention to some colatoi and holes that can damage the low cars) (open up Google Maps). From the parking lot (515 m) you walk along the road to the north, on dirt road with signpost 848, following for Forcella Bassa; in proximity to a curve a track takes off to the left in the wood, without pole and signaled only by a small sign (15′ from the parking lot). The path 848 climbs along the Valley of Hell to Forcella Bassa: a stretch that at 2017 was rather poorly kept, with divel trees, trace at times difficult to spot and half-coast passes on slippery bottom and exposed on the left side. Adding Forcella Bassa (1044 m, 1h from the crossroads), the left is held on the longest path of the Heroes (AV8 carts), of which you only walk a stretch; southward, on the eastern side of the Peurna, the path has stretches on grass and insidious and unprotected soil. Attached the east wall, on the south-eastern side you reach the first equipped stretch (1h15 from Forcella Bassa, 2h30 total).

    ▲The path

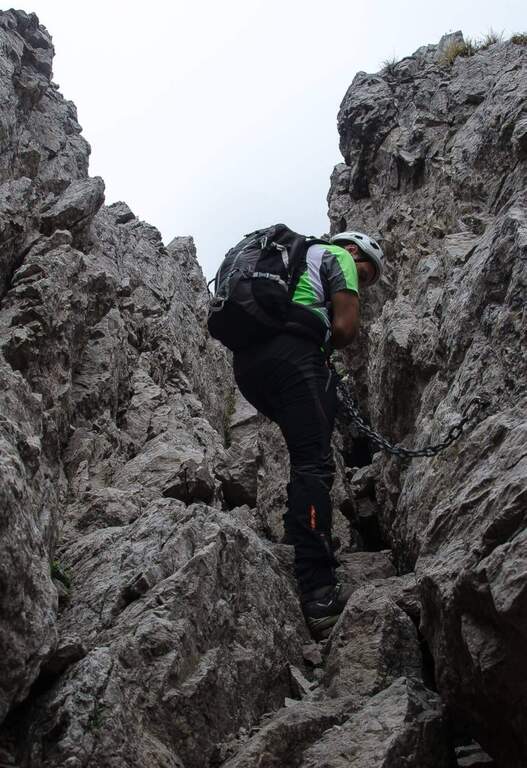
    The first equipped stretch develops in the ridge, with the cable to the right: it descends along this stretch until an easy and wide equipped nod. Continue on the path south to the second stretch equipped, where you go up a very steep passage on slippery bottom, protected for safety. Beyond this point the equipment ends and with them the equipped part of the Heroes Path (30′ from the attack, 3h total).

    ▲Character and difficulty

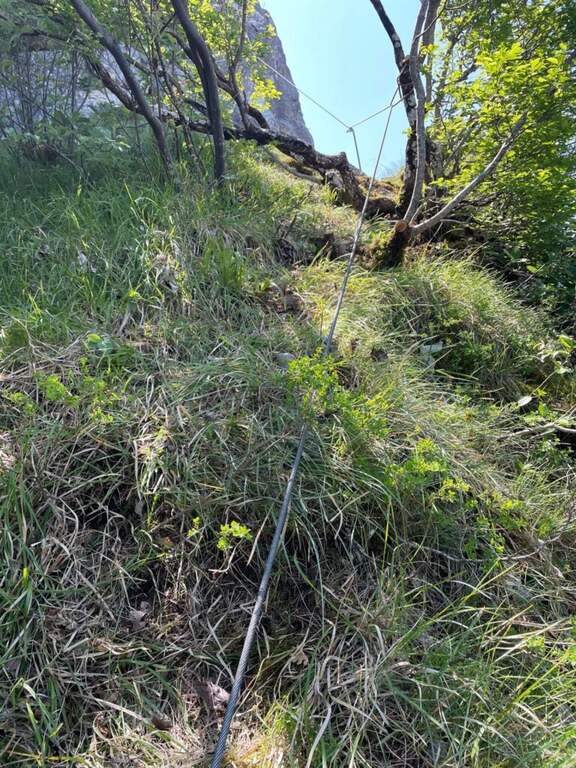
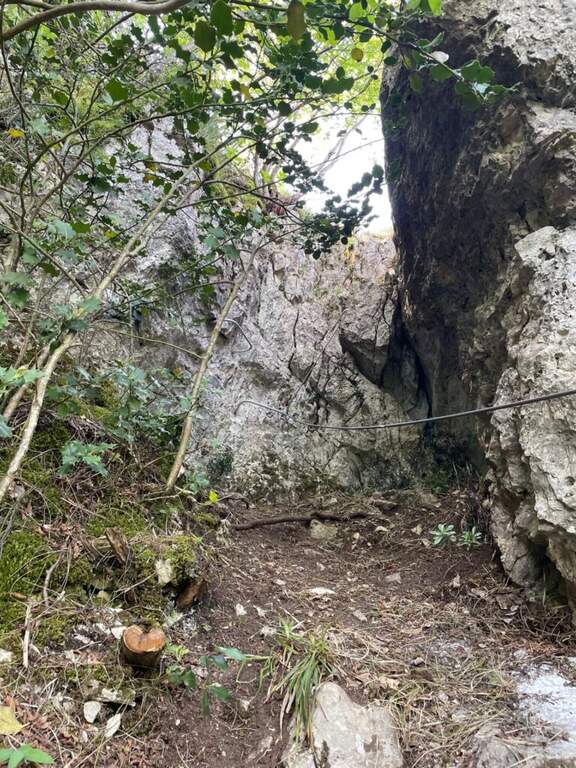
    Where protected, the itinerary does not have technical difficulties; the main difficulties are due to the numerous stretches of path on an insidious and unprotected background. It is also easy to lose the track: both approaching and returning there are points with fallen trees and traits invaded by tall orchards and herbs.

    ⚠ Itinerary little maintained and at times difficult to spot, with long stretches not protected on unstable, slippery and exposed background. Long trousers and telescopic poles are recommended; carefully evaluate weather and orientation capacity.
    ▲Period and safety

    Low altitude (maximum 1207 m): the route is accessible in most of the hiking season, but the conditions of the bottom and the vegetation can make it tiresome. Care in orientation is the main security factor.

    ▲Discipline

    Continue on a slight descent until you cross the path 843, you keep the left and shortly after the left following the signpost 839 that leads to Schievenin. Once the paved road runs along the way, you find yourself downstream from the parking lot, then you go up the road to the starting point (2h from the end of the equipment, 5h overall).

    ▲To match

    To the south, towards Bassano del Grappa, there are two ferrates that go up to the sacred area of Grappa, the Ferrata Sass Brusai e la Ferrata Guzzella; for something more challenging, although short Ferrata Santa Felicità. To the north you reach the Lagorai with the Ferrata Gabrielli in Cima d’Asta, while towards the Dolomites Feltrine lies Ferrata at Monte Coppolo.
    ▲Gallery
    Technical data
    • DifficultyEasy
    • RegionVeneto
    • GroupDolomiti Feltrine – Val Schievenin
    • Approach2:30 h
    • Ferrata0:30 h
    • Itinerary (a/r)5:00 h
    • Hardware level difference100 m
    • Route difference785 m
    • Max1207 m
    • Length9,1 Km
  • Sentiero Attrezzato degli Alpini in Forcella Jau Tana

    Sentiero Attrezzato degli Alpini in Forcella Jau Tana

    Vie Ferrate › Veneto › Belluno
    Sentiero Attrezzato degli Alpini in Forcella Jau Tana

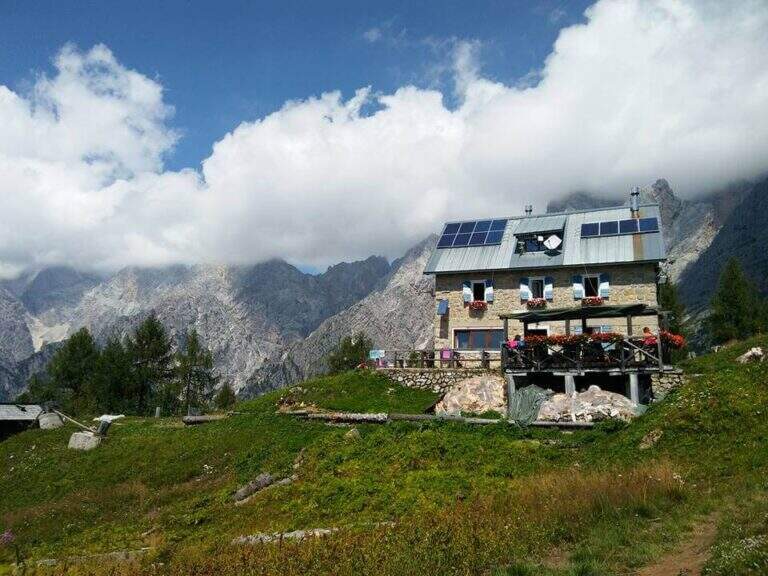
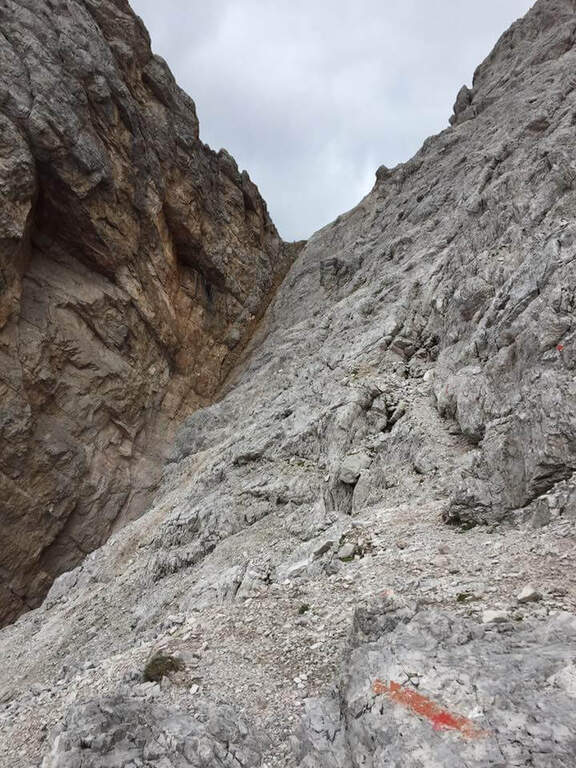
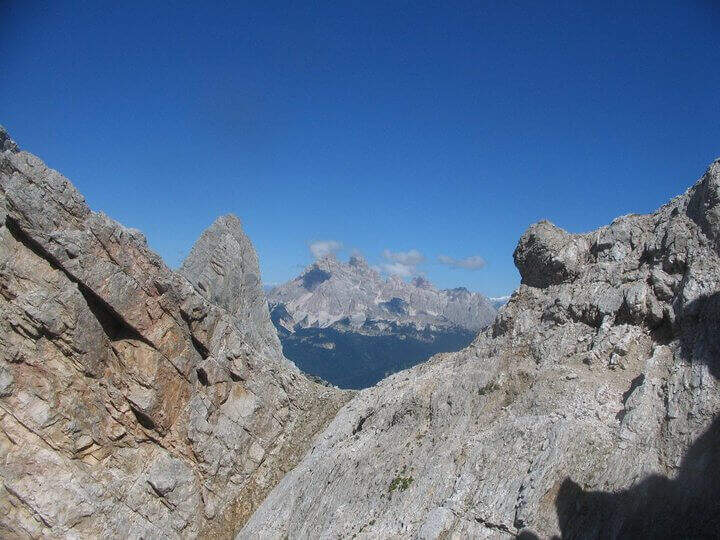
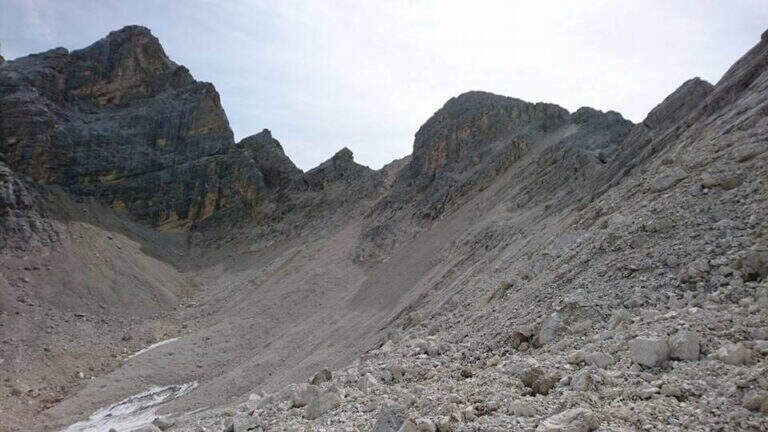
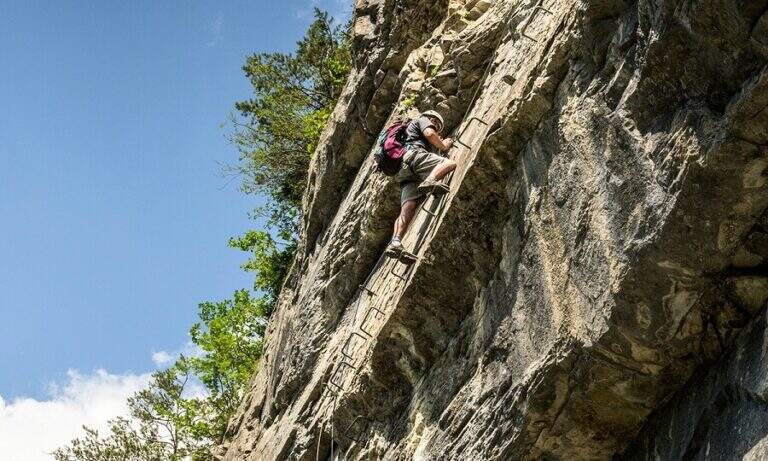
    The Sentiero Attrezzato degli Alpini in Forcella Jau Tana, in the Marmarole Group, is a challenging itinerary: high altitude difference, wild and unspoilt environment. The equipped strokes are of medium-low difficulty, but the long stretches are not protected and must be avoided absolutely with bad weather.

    ▲Approach

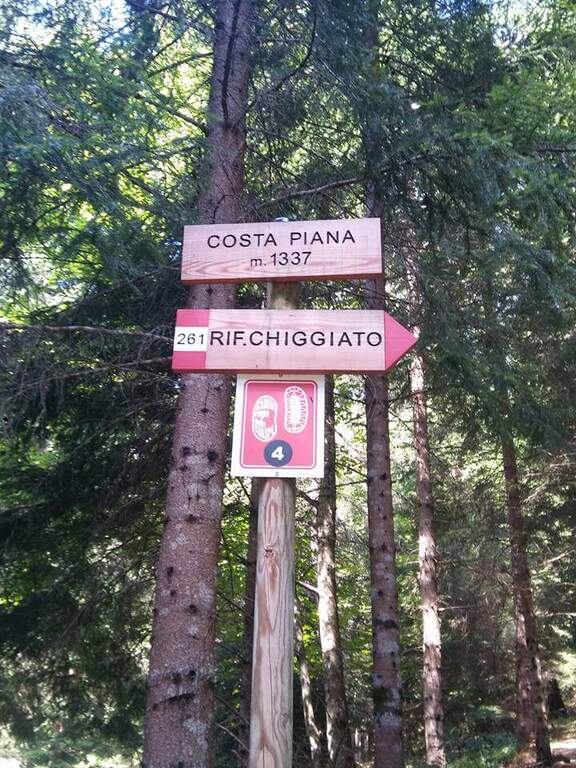
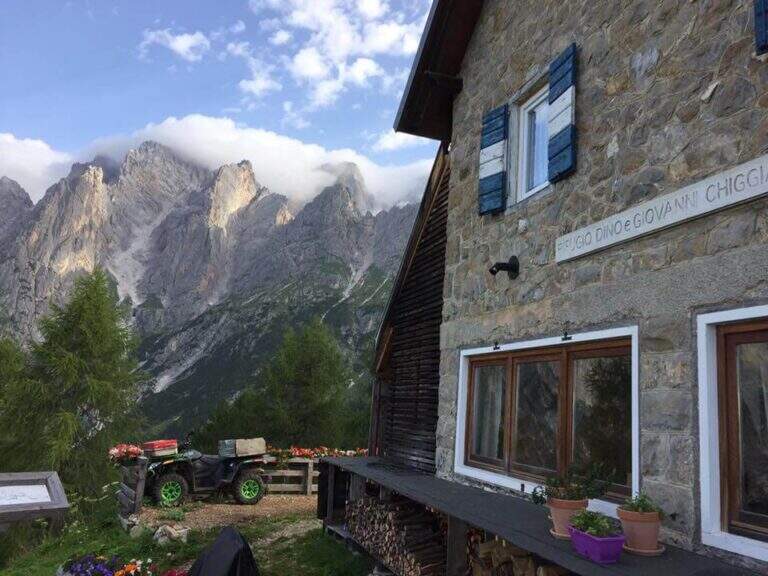
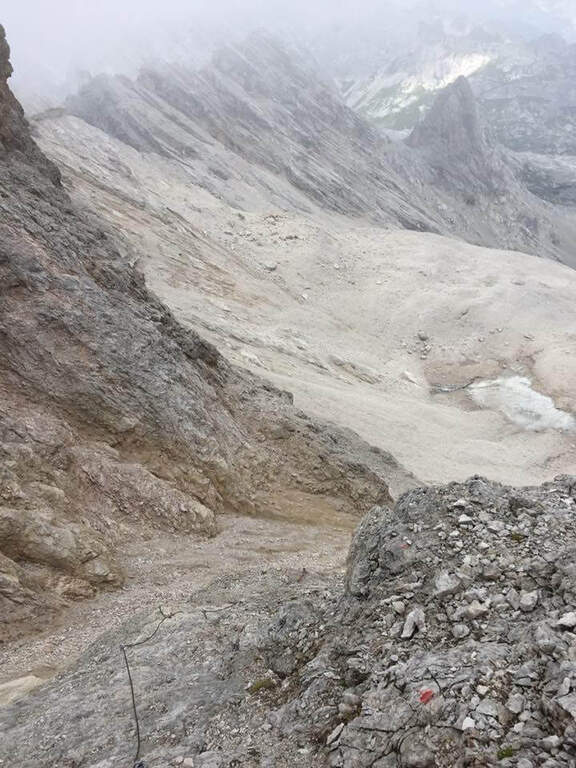
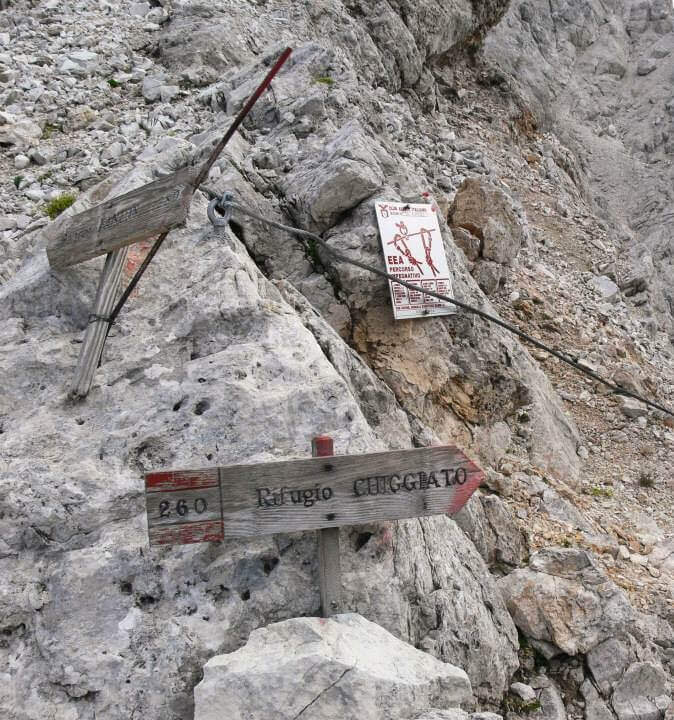
    It starts from the resort Stua, near Calalzo di Cadore (BL). In Calalzo follow the signs for Pian dei Buoi, on a narrow but asphalted road, entering the wood towards Val d’Oten up to a crossroads 2,5 km from the center, where you take to the right and continue for another 2,5 km in the wood until the parking lot (open up Google Maps). From Stua (1555 m) follow the path 261, which climbs steeply in the forest to the bends towards the Chiggiato Refuge: you pass the resort Costapiana (1337 m, 30′ from the parking lot) and the locality La Serra, recognizable for a trip that recalls the passage of Pope John Paul II, up to the Chiggiato Refuge (1911 m, 2h from the parking lot). From the refuge you go north along the high street 5, signpost 260/262, to the Forcella Sacu, where you will meet a first easy passage equipped (1914 m, 15′ from the shelter, 2h15 total). From here the path changes character and begins to climb north-east, cutting diagonally the south walls of the Cimon della Froppa with a succession of narrow cenges exposed; at the top, straight at the front, you can see the fork Jau Tana, the destination. Crossing a detritic valley meet the first metal equipment (1h by Forcella Sacu, 3h15 total).

    ▲The path

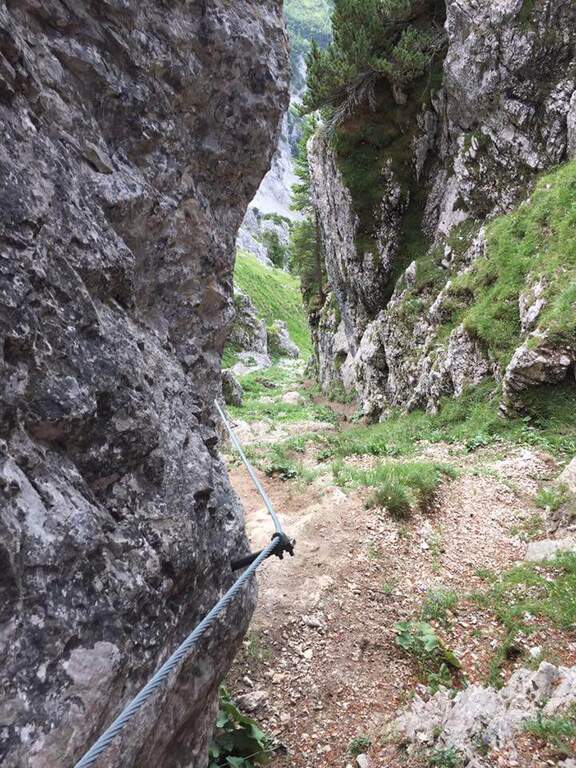
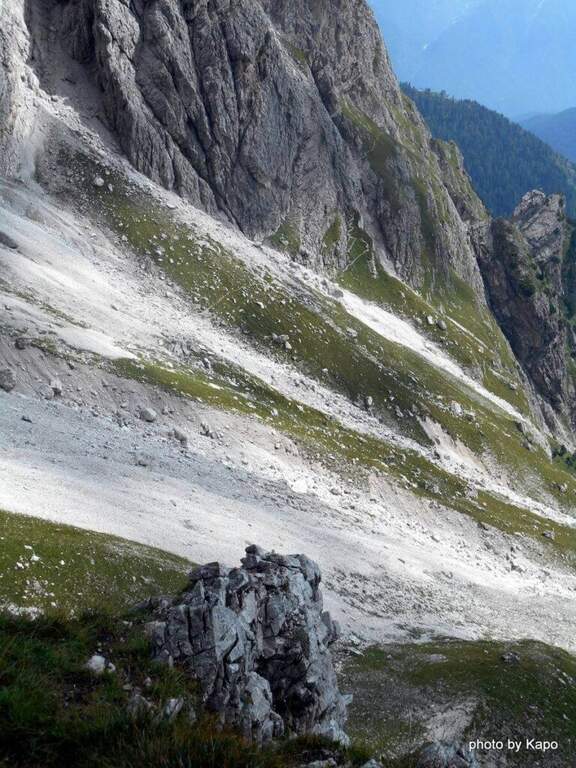
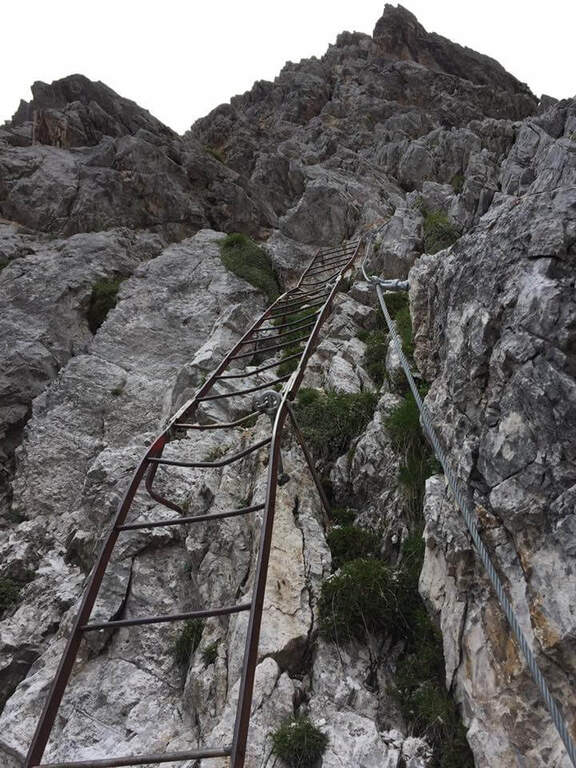
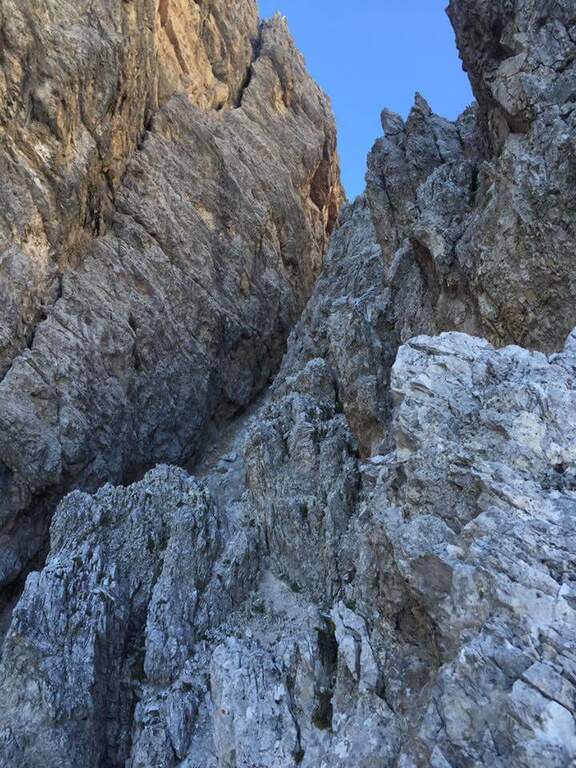
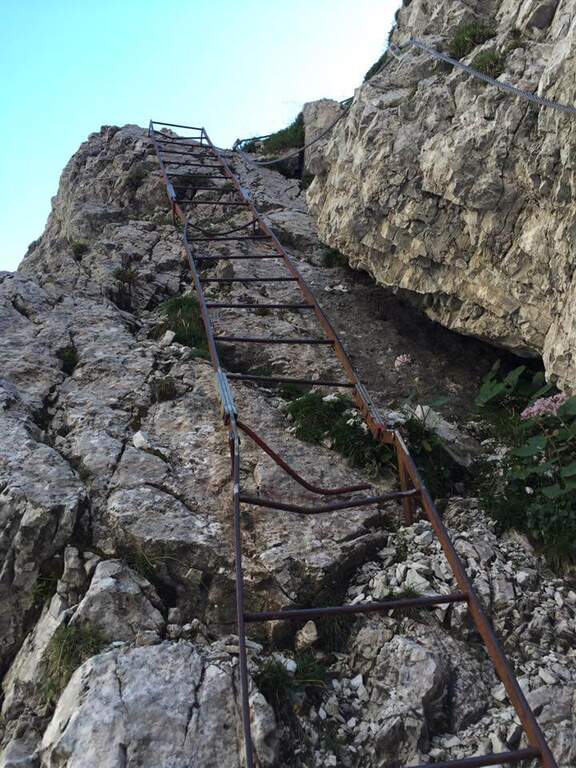
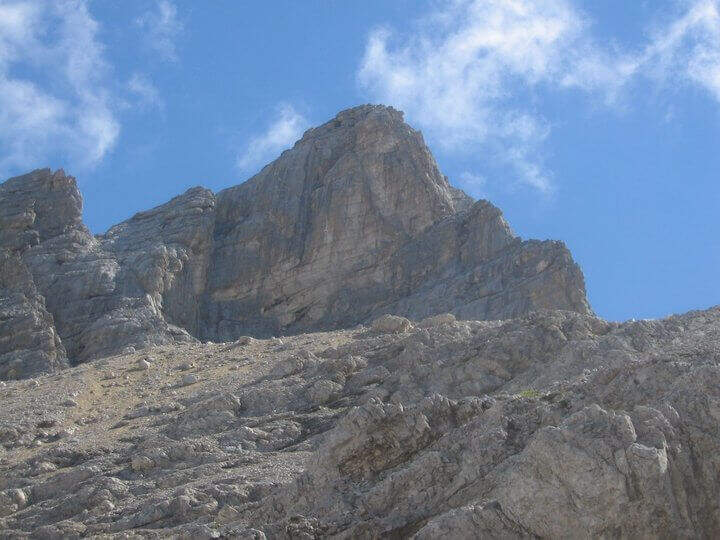
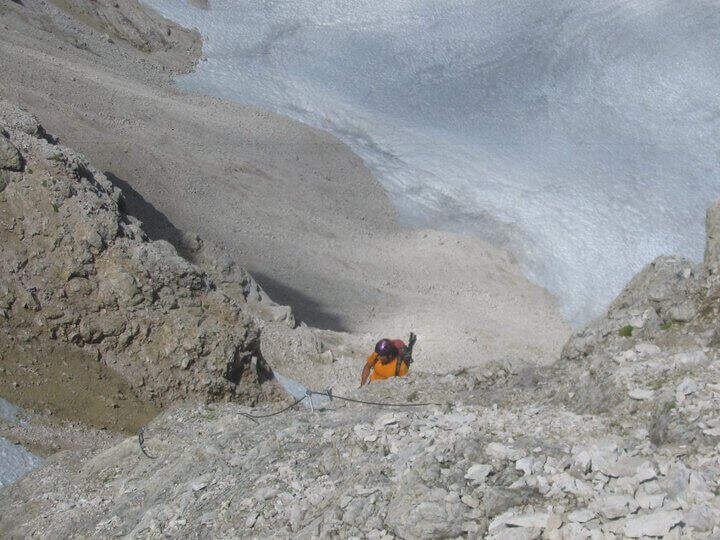
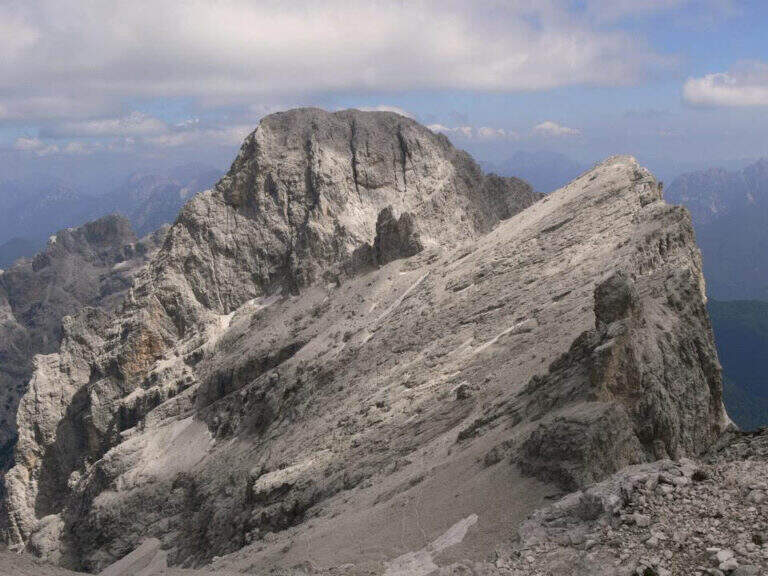
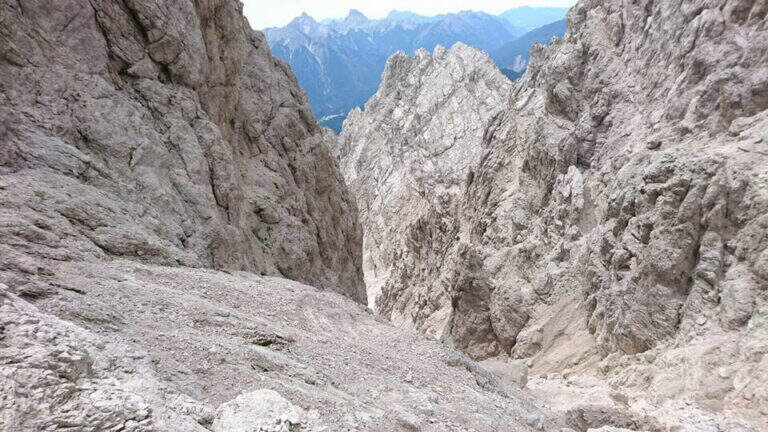
    There are about twenty meters of rocks without particular difficulty and you reach a first metal staircase resting; the ropes then help to climb up the canal, entering the throat that leads to the fork. After a second ladder, a corner is around and climbs towards the fork, with typically easy stretches alternating with stretches of unprotected and rather exposed path, to be faced with caution. In the upper part of the valley you climb on the right side without crossing it, with few equipment, until you reach the fork after a long and constant climb (1h from the attack, 4h15 total). The environment is wild and imposing, with the Cimon della Froppa that stands out right. The route now bends right towards the Forcella delle Marmarole, where the descent begins: it cuts in half-coast the summits, with attention to the bottom not always stable, until the Forcella delle Foppe (2790 m), then a stretch of descent at times equipped leads to the Forcella Marmarole (2661 m, 1h15 from Forcella Jau Tana), with in front of the Cresta degli Invalidi. The difficulties, however, are not finished: the descent continues along the Vallon del Froppa, a steep canyon with an unstable bottom, equipped in the first meters and followed by about 20 minutes on a steep and exposed background to be covered with great attention. At the end of the wreath we start on path 262, where the difficulties — and with them the equipped path — end (1h from Forcella Marmarole, 6h30 total).

    ▲Character and difficulty

    The equipped sections do not have any technical difficulties: the real difficulties are the long stretches not protected on unstable background, in particular the connection section at altitude and the descent in the Vallon del Froppa. It is a physically demanding itinerary, in a wild and unpopular environment.

    ⚠ Long stretches not protected on unstable and infido background, exposed, to avoid absolutely with bad weather. Development (17 km, 1498 m of altitude difference, 8h15) requires excellent physical preparation, experience and stable weather.
    ▲Period and safety

    High mountain summer itinerary (max. 2790 m), reserved for trained and experienced hikers, autonomous on unstable and unprotected terrain. The detritic background and exposure impose constant prudence.

    ▲Discipline

    Follow the path 262 downhill towards the south (right) to the Forcella Sacu and then back, along the approach path, to the Chiggiato Refuge and finally to the parking lot (1h45 from the graft on 262, 8h15 overall).

    ▲Gallery
    Technical data
    • DifficultyHard
    • RegionVeneto
    • GroupMarmarole
    • Approach3:15 h
    • Ferrata3:15 h
    • Itinerary (a/r)8:15 h
    • Hardware level difference200 m
    • Route difference1498 m
    • Max2790 m
    • Length17 Km
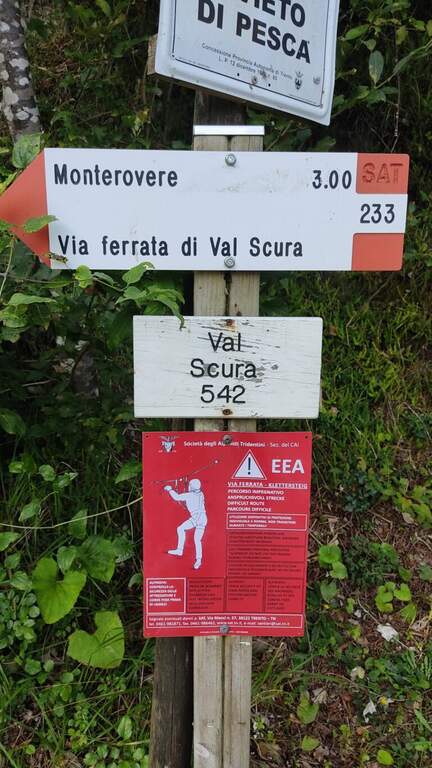
  • Sentiero Attrezzato Church in Val Scura

    Sentiero Attrezzato Church in Val Scura

    Vie Ferrate › Trentino-Alto Adige › Trento
    Sentiero Attrezzato Church in Val Scura
    Moderately Hard● To checkDescriptionComplexityMapsGallery

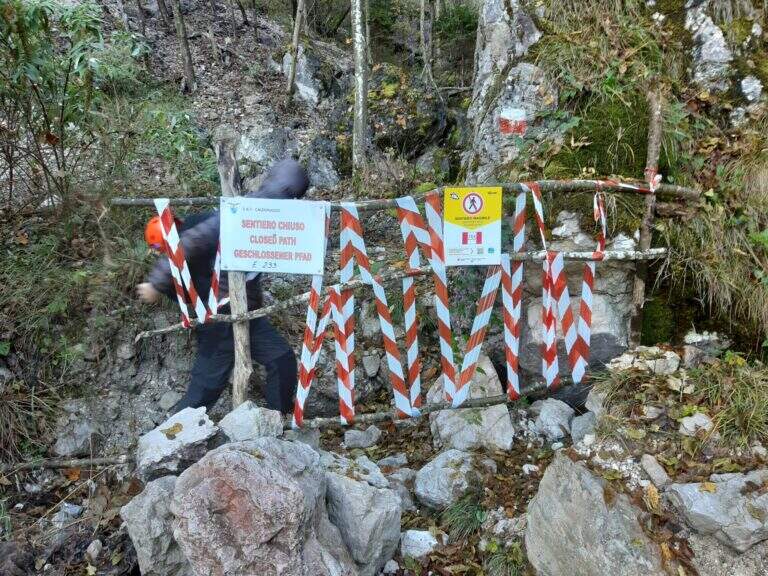
    viso Notice — In 2017 the ferrata was closed for maintenance and is not confirmed by official reopening. Two traits can present missing equipment or maintenance, which greatly increases the degree of difficulty. Check the updated conditions before leaving: to proceed safely, you need a steady foot and a rope to ensure the climbing companion.

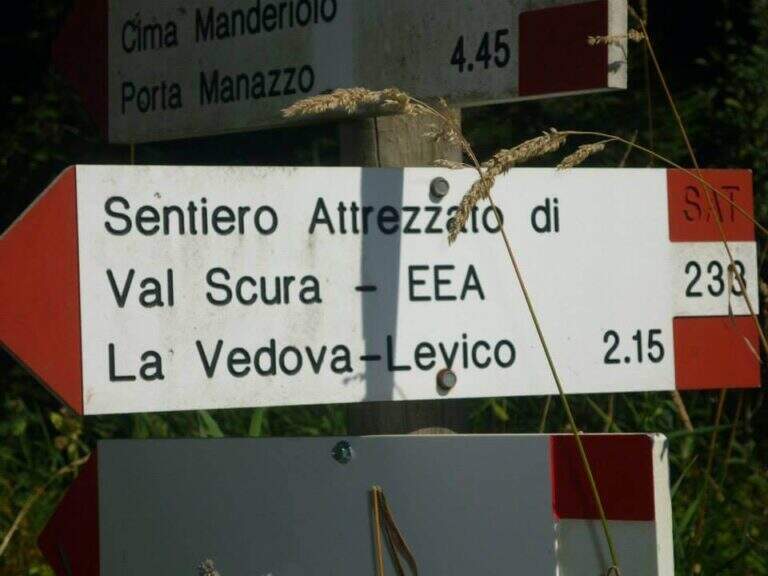
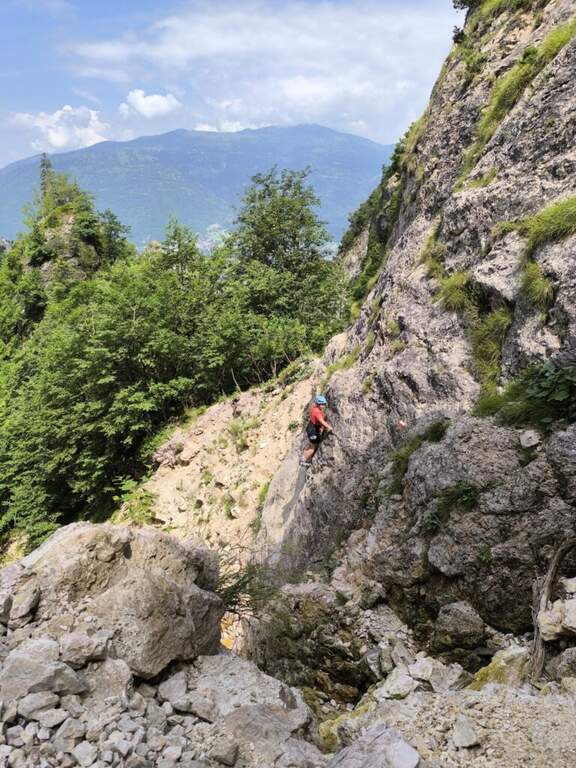
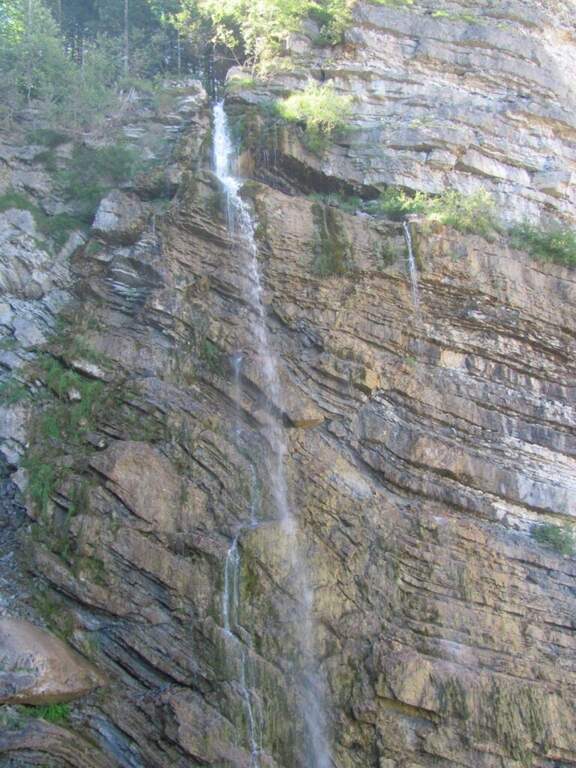
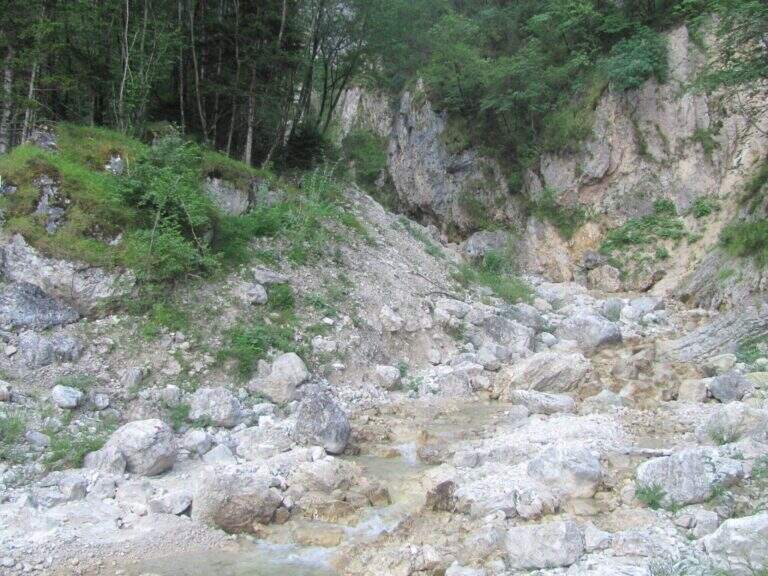
    The Sentiero Attrezzato Chiesa is a pleasant excursion that goes up the Val Scura, near Levico Terme, in the province of Trento. The difficulty is moderate and the bottom, at times unstable, requires a minimum of experience of equipped excursions. It is a perfect itinerary for half seasons, when the Rio Bianco has good flow and you can admire the many waterfalls along the way; we offer it as a ring with return from the Menador Path.

    ▲Approach

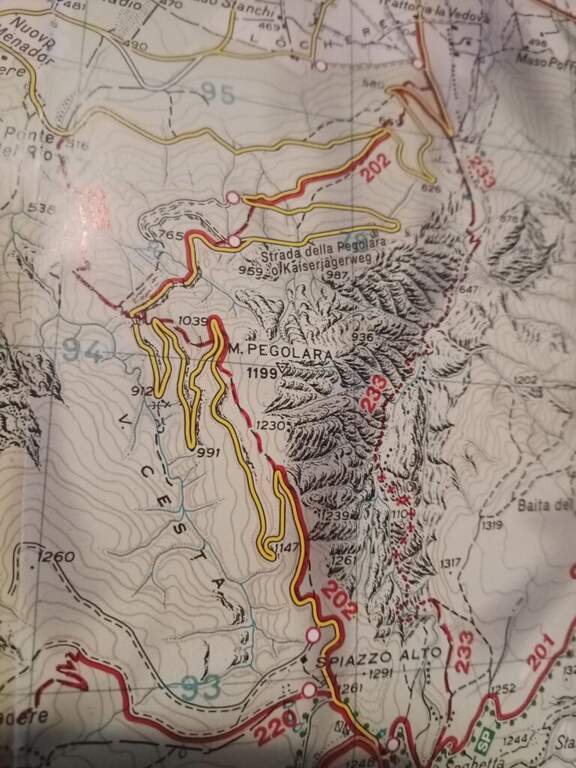
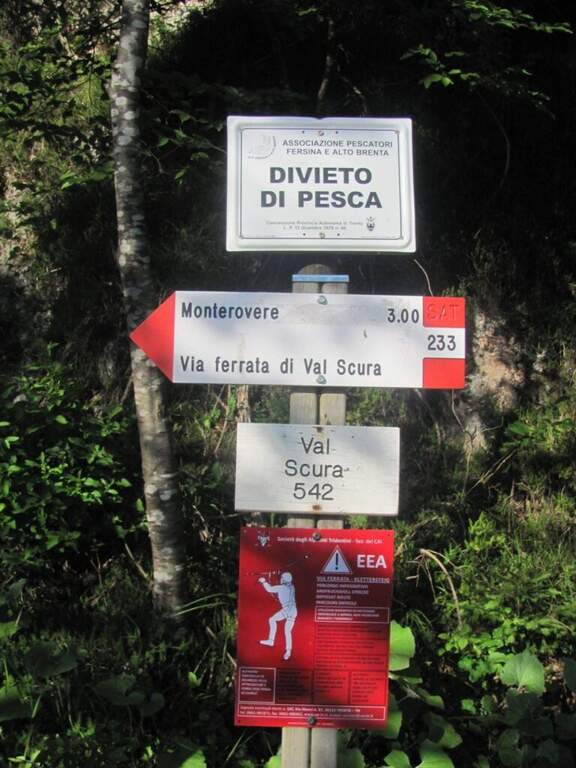
    The starting point is in the municipality of Levico (TN). From Levico Terme you go south towards Lochere until you reach the Hotel Paoli, where you park (a large street on the left), ideal for the ring with return from the Menador Path (open up Google Maps). The asphalted road goes up to the first bend: where it continues to the right uphill, a sign and a red plate indicate the entrance into the wood. You climb on an easy path, keeping the left on the southern side, with Mount Pegolara on the right and Mount Calmo on the left. Hand as you climb you face different cheeks of the White Rio — you are all before the start of the ferrata — while the environment becomes increasingly beautiful, with pronounced rocky spires on the sides. In short you will find the first equipped stretch (850 m, 1h from the parking lot).

    ▲The path

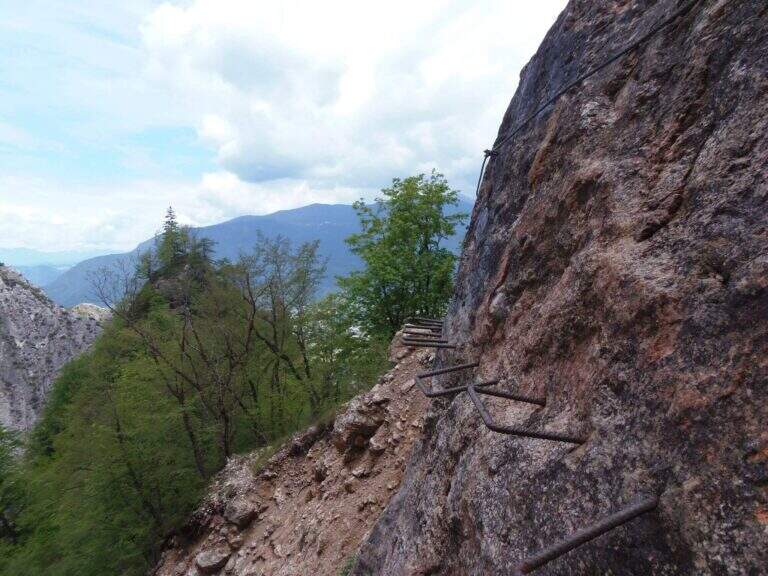
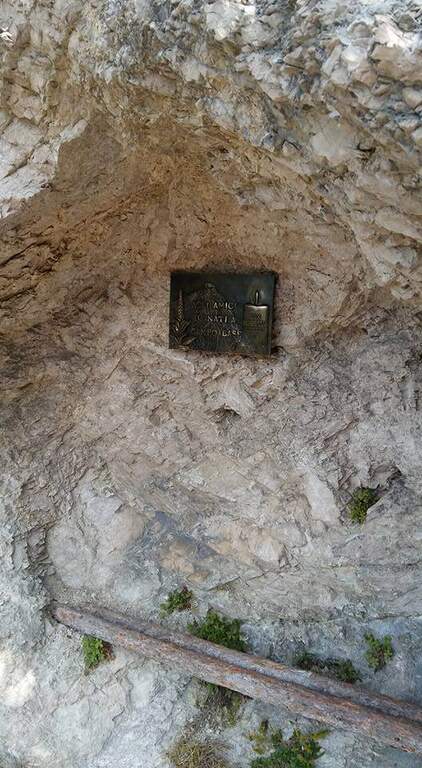
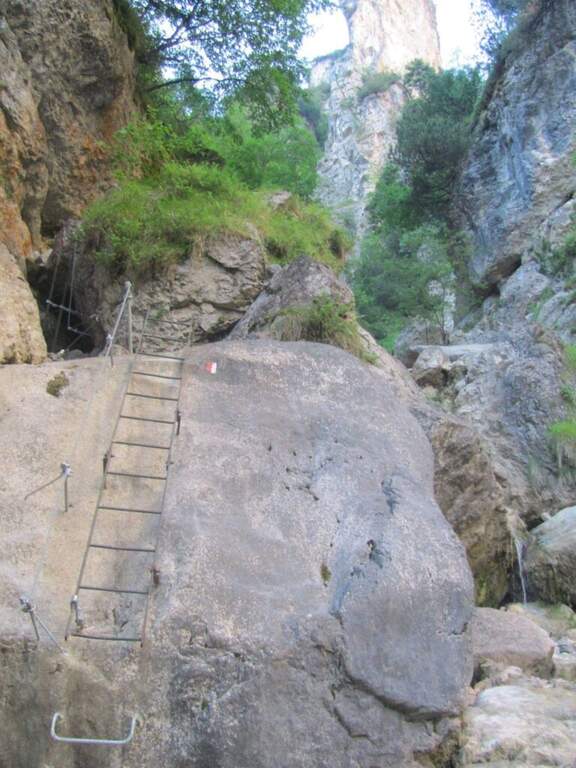
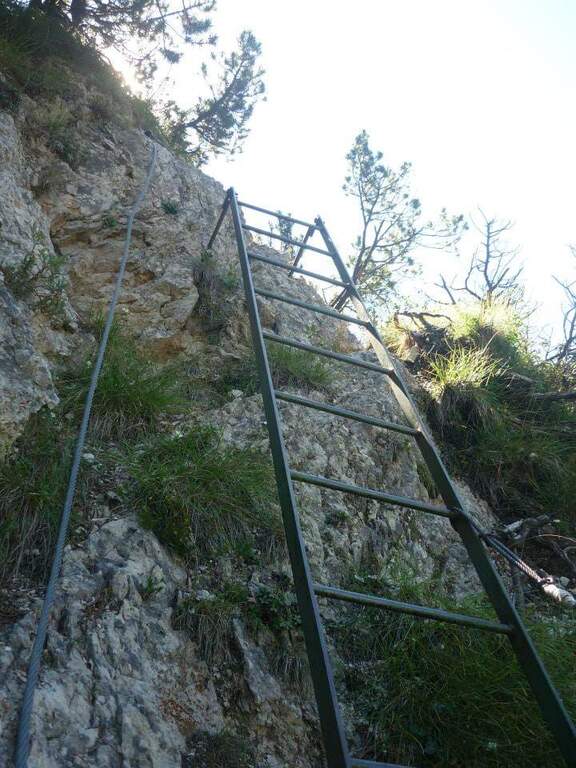
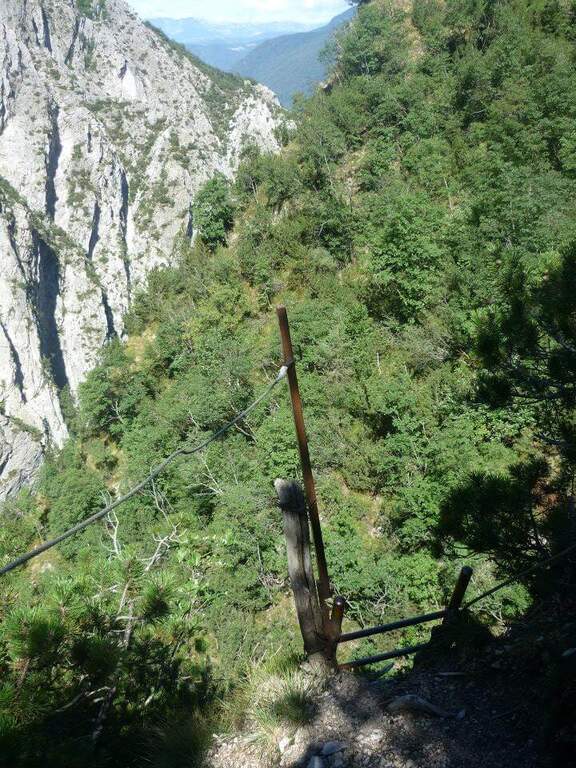
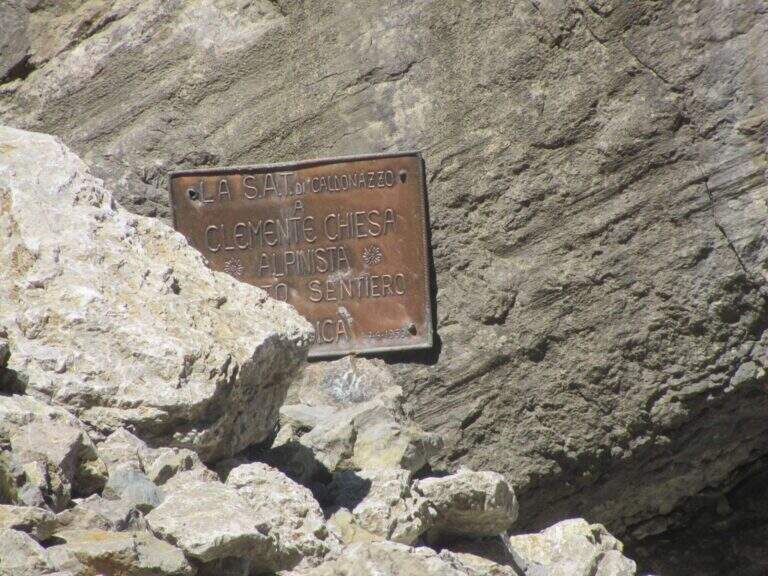
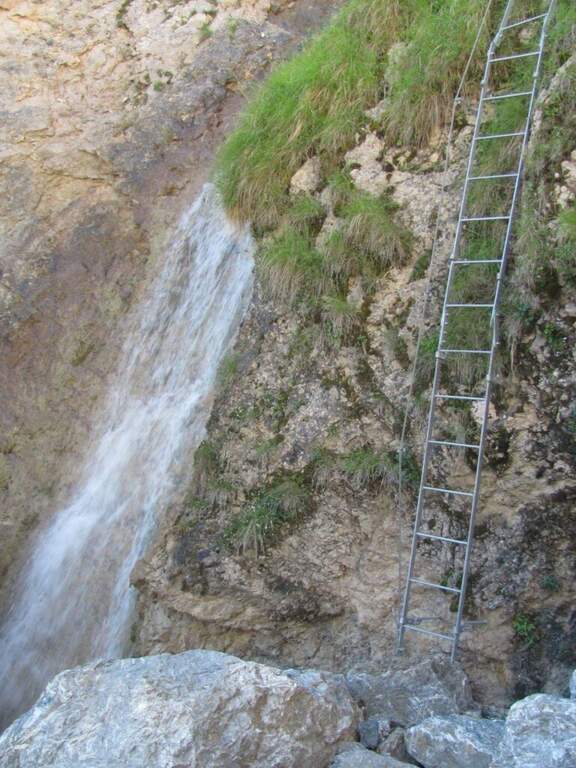
    You go up a first stretch of wire rope to overcome a saddle; besides, after an easy but slippery debris, you descend a metal ladder losing a little bit of altitude towards the stream and a spire that seems to land the valley. Cross the stream and climb the second metal staircase, which helps to overcome a swan, followed shortly after by a third staircase. There is a nod on the creek, where it serves attention because the cable tends to push out and the bottom is slippery for moisture. You go up a new staircase and continue on a comfortable path with a splendid view of mountains, waterfalls and streams; you pass this easy stretch, you face a steeper climb on a rough, unspoilt bottom up to a panoramic point on the Valsugana. The second part begins: the first equipped section is an exposed but not difficult traverse, with support brackets; they follow a comfortable nod and a new ladder. Then you go through an unequipped section, descend into a detritic groove and go up what is probably the most difficult passage of the road, a sloped wall composed of natural steps on which you need attention. There are two metal ladders and you continue to descend a detritic trait quite challenging; then go up on a little stable but not difficult, you pass the plate dedicated to Clement Church and you complete the detritic tract. Passing next to a beautiful waterfall you reach a new rocky nod, which takes you to the right; the complete one, you climb a ladder leaning on a rock and you cross the stream near some rocky rocks. With a last ladder the equipped part ends, near a plateau (1247 m, 1h45 from the attack, 2h45 overall).

    ▲Character and difficulty

    For technical difficulties the way would be to be cataloged as easy, but the state of the equipment has raised the degree: with two sections without protection or maintenance, they serve steady foot and a rope to ensure the companion. The environment is really suggestive and, for the low altitude, the itinerary is absolutely to visit, especially in the half seasons.

    ⚠ Along the way there are numerous guades of the Rio Bianco and several cenges on the creek with slippery bottom for moisture: attention to the step and tendency of the cable to push out.
    ▲Period and safety

    Low altitude (maximum 1370 m): the itinerary lends itself well to the half seasons, when the Rio Bianco has good flow and the waterfalls are at best. In addition to checking the state of the equipment, it is good to evaluate the flow of the stream for the numerous guades.

    ▲Discipline

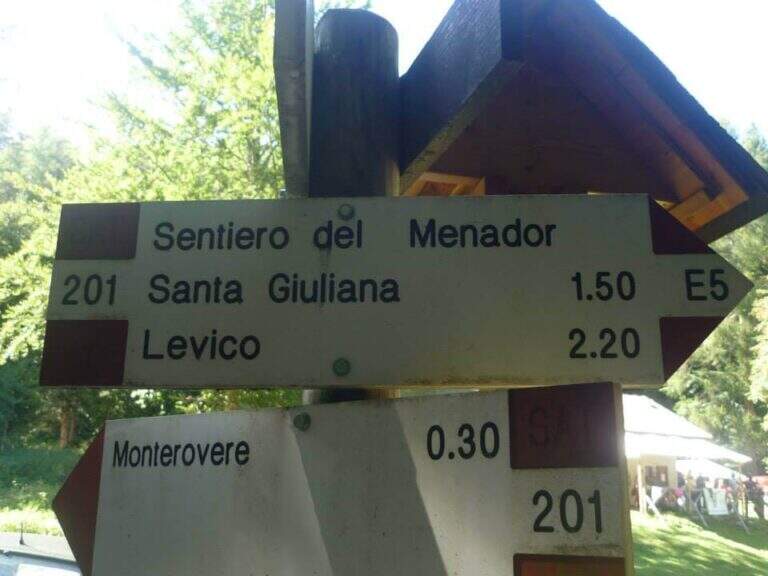
    After finishing the ferrata continue along the path in the wood that, southward, points to the locality Seghetta. At the first crossroads you will take the left towards Baita Cangi, on the 201 marker. Although not the fastest route, we offer the return to the Path of Menador in the Val Pisciavacca: at the second crossroads you still keep the left and you walk a pleasant path between uphills, take a little slippery on debris, bridges and gudes, until you return to the car. At the end of the Path of Menador (2h30 from the end of the ferrata) you keep the left along Via delle Valli until you resume the provincial road of the way; again on the left you reach in short the parking lot in front of the hotel (5h30 total).

    ▲Gallery
    Technical data
    • DifficultyModerately Hard
    • RegionTrentino-Alto Adige
    • GroupValsugana – Vigolana
    • Approach1:00 h
    • Ferrata1:45 h
    • Itinerary (a/r)5:30 h
    • Hardware level difference390 m
    • Route difference828 m
    • Max1370 m
    • Length11,7 Km
  • Path Ceria Merlone at Modeon del Buinz

    Path Ceria Merlone at Modeon del Buinz

    Vie Ferrate › Friuli-Venezia Giulia › Udine
    Path Ceria Merlone at Modeon del Buinz
    Moderately Hard● OpenDescriptionComplexityMapsGallery

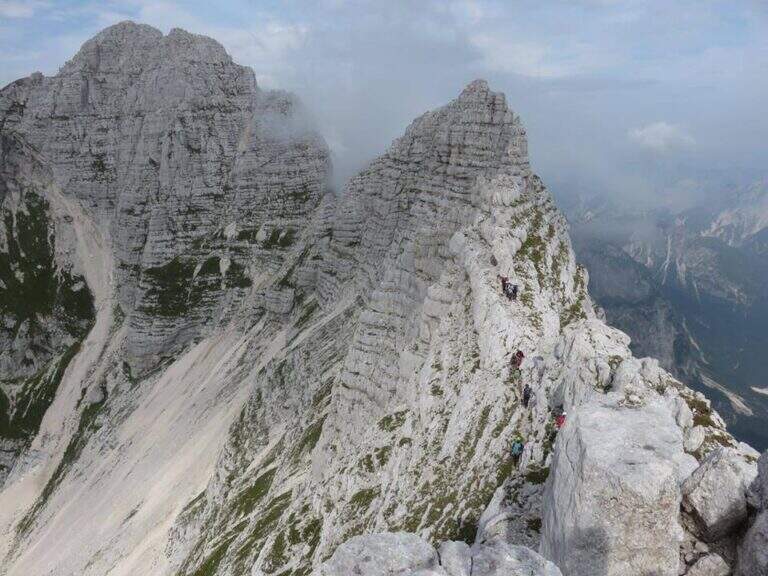
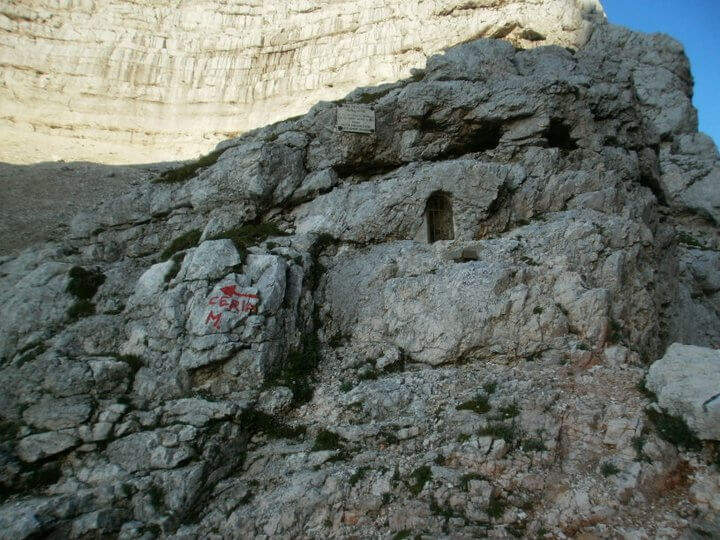
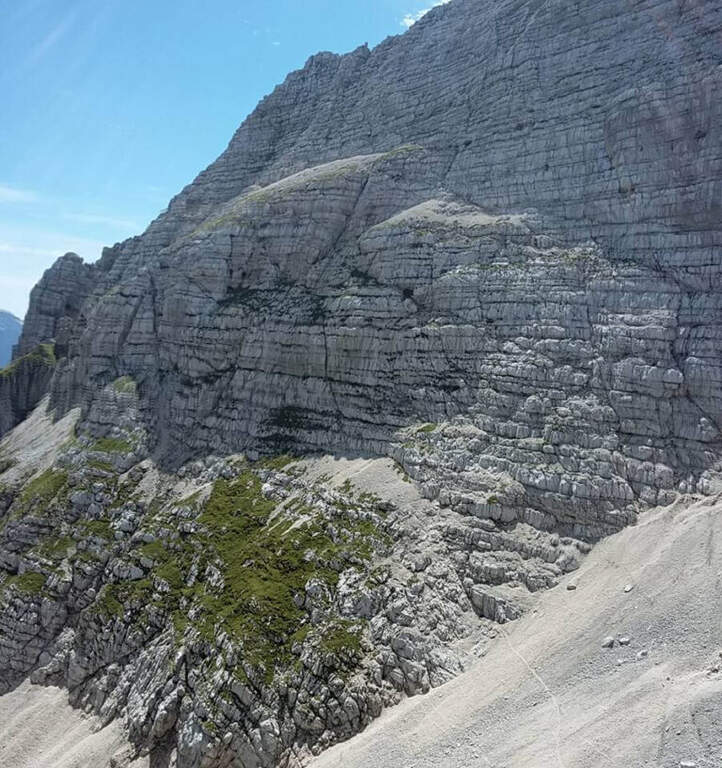
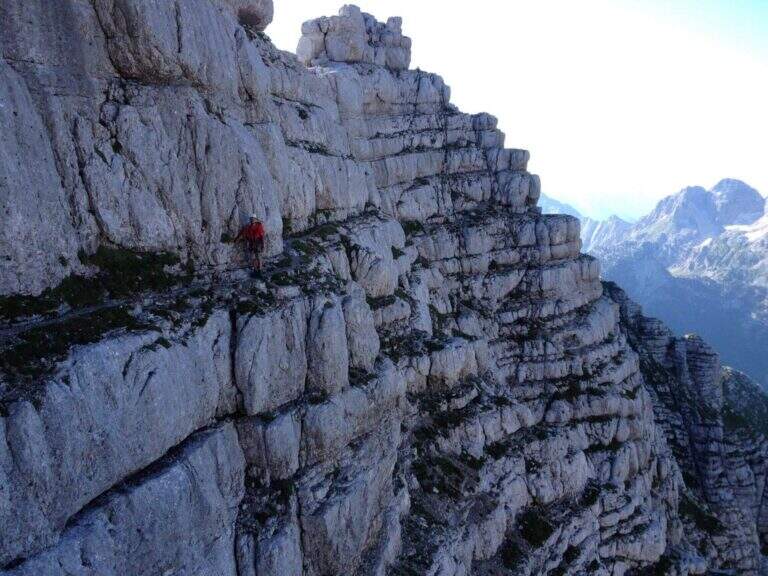
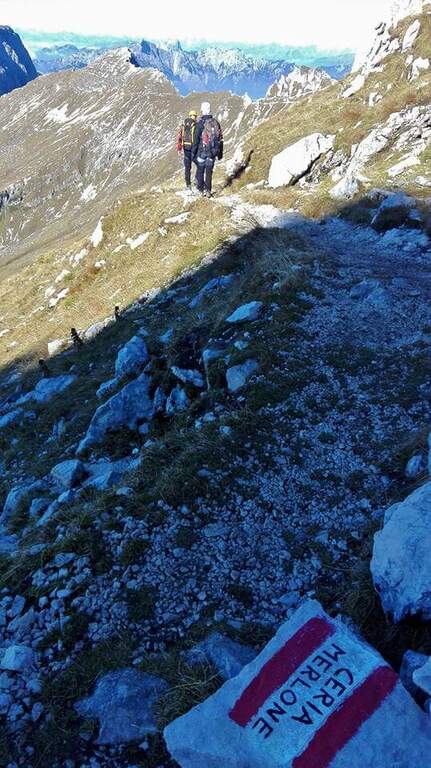
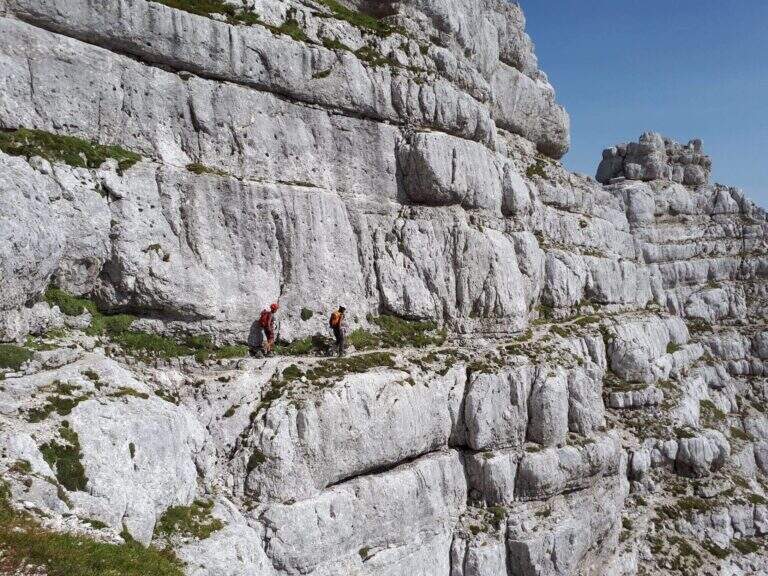
    The Ceria Merlone Trail is a long and panoramic route of the Julian Alps, starting from the Montasio plateau. After a long approach to the Forcella Lavinal dell’Orso, follow a magnificent ridge path that closes a large downhill ring to the Rifugio Brazzà. Numerous traits are not protected, and in some cases require short climbing passes: a superb path but to be experienced. The route is dedicated to the mountaineers Celestino Ceria and Ruggero Merlone, and was inaugurated in 1971 by the Cividale Alpine Battalion, in memory of the line held by the Alpini on this ridge during the Great War.

    ▲Approach

    It starts from a large parking lot along the road that connects Malga Montasio with Sella Nevea, on the Montasio plateau (UD). To get to Sella Nevea you reach Chiusaforte, 20 minutes from the Carnia-Tolmezzo exit of A23; from there follow the signs to Sella Nevea towards the east, you pass the bridge and you drive for 20 km to the village, where a hairpin a brown sign indicates the plateau of Montasio, to follow until the end of the road (open up Google Maps). The route is proposed here from the east (Forcella Lavinal dell’Orso) to the west (Cima Terrarossa), towards which many equipped sections run uphill. From the parking lot (about 1500 m) you climb on dirt road towards the Rifugio Brazzà; after a few minutes you cross a dirt road with 624 signpost that cuts right into a false plateau. Losing a little bit of altitude you pass the Casere Parte di Mezzo and then the Casere Larice (1479 m, 30′ from the parking lot); ignored a track to the right that goes down to Sella Nevea, you reach the Casere Cregnedul Refuge above (1515 m, 1h from the parking lot). It is snowed on the path 625 that climbs from Sella Nevea, it is held the left uphill, first in the forest and then pointing to the north; the south wall of the Cregnedul to Passo degli Scalini (2022 m, 1h from Casere Cregnedul Refuge, 2h totals). Passed the pass opens a valley: on the left you can see the Lavinal Forcella dell’Orso and the ridge of Ferrata Goitan. You cut the valley following the track and, on the opposite side, the white-red signs, going up with a certain affanno towards the fork; just before you follow a writing on rock and a trace that detaches to the left: here begins the Path Ceria Merlone (30′ from the Passo degli Scalini, about 2h30 total).

    ▲The path

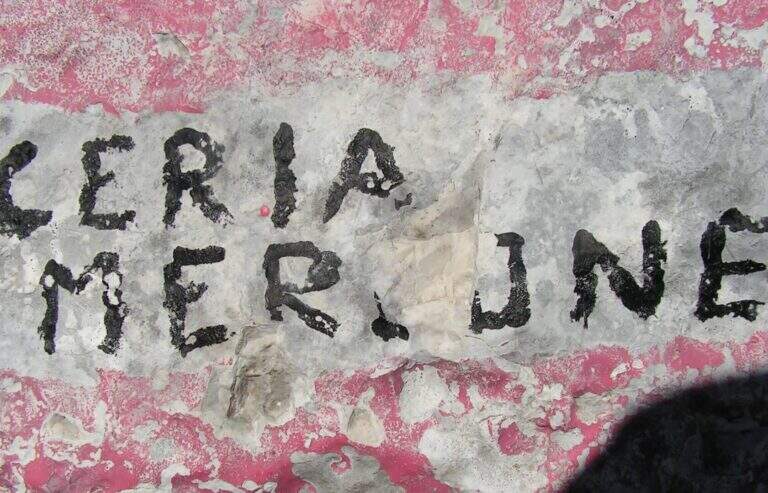
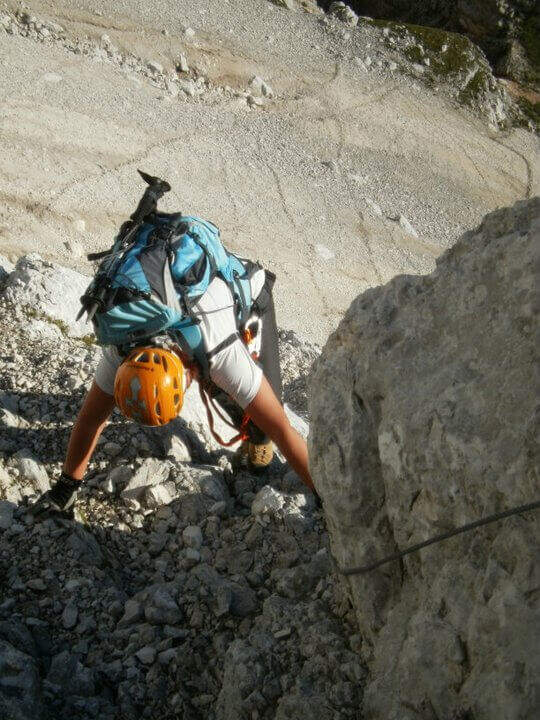
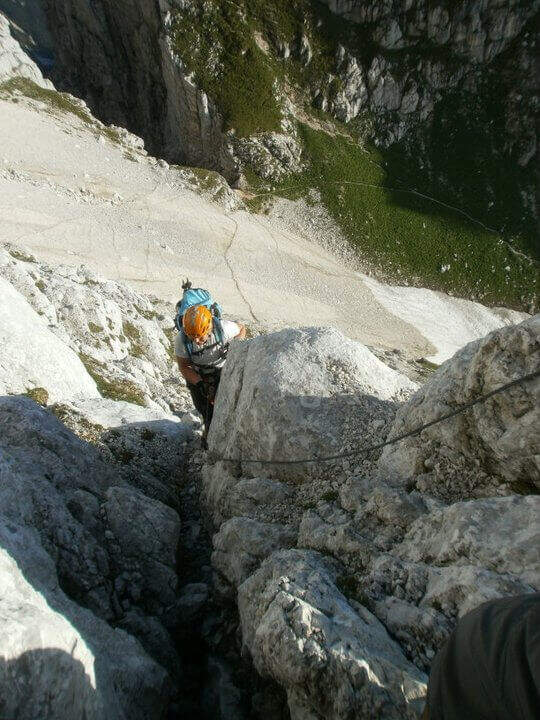
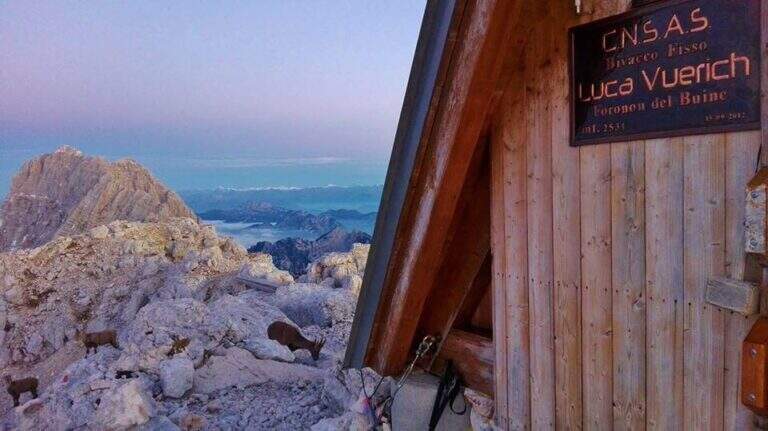
    The first goal is the Forcella Cregnedul, reached by gaining around 200 meters around the imposing walls of Punta Plagnis. It climbs on a pebble bottom up to a first stretch equipped that exceeds some rocks, a vertical wall and a tilted plaque; left behind the Lavinal Forcella dell'Orso, proceeds diagonally up to a fireplace equipped and a metal ladder resting on the rock, and in an alternation of passages on the right and on the left closes the first tiring section to the Forcella Cregnedul (2340 m). Now follow the trail on a wide unprotected nod that wanders the southern walls of Punta Plagnis, passing from the east to the west side: the passages are exposed but generally wide, except for a couple of forks and rocks on the west side where the path tightens; the most exposed sections have a handrail. With a stretch equipped downhill you descend a few meters, then walk on wide and comfortable cenges to the Forca de la Val (2352 m, 1h15 from Forcella Cregnedul), which separates the Modeon del Buinz from the Cima de la Puartate. You can climb equipped canals interspersed by detritic gland, holding to the south to avoid to the north the steep wall, in a stretch rich of exposed protected cenges; you reach a fork nestled and you begin to wander the southern wall of the Modeon del Buinz towards the Sella di Buinz, with in front of the Foronon del Buinz and its bivouac just below the summit. There is an exposed nod equipped, you climb a short stretch sprotetto on an unstable background, you walk a census and you take on the west wall of Modeon; along a wide ridge on the south side, on a slight ascent, you pass stretches equipped with rocks and easy rocky balconies up to the new and functional Bivacco Vuerich (2531 m, 1h15 from Forca de la Val, 3h45 from the attack). From the top of the Foronon del Buinz follow the wide ridge, walk through a walkway and start to lose altitude with easy passages of climbing, equipped in the most demanding cases; holding on the south side you walk exposed cenges usually not protected and you reach a new vertical stretch, with a well-equipped canal but well-dressed, followed by some rocks, up to the Forca de Lis Siens From the wide saddle the path runs on a false plateau between modest climbs on the south side to the crossroads marked with stone writing (2285 m, 15′ from Forca de Lis Siens, 5h from the attack) between the climb to Cima Terrarossa and the Path Ceria Merlone, where the equipped road ends.

    ▲Character and difficulty

    It has no particular technical difficulties, neither in the equipped or unprotected traits; however, it deserves great attention to the numerous passages exposed along the canals and canals. It develops entirely at altitude, with the Bivacco Vuerich halfway in excellent conditions, but with only two escape routes, both unmarked.

    ⚠ Itinerary very long (9h, 16 km) in high mountain environment, with many exposed and unprotected features and short climbing passes. The only two escape routes — in Forca de la Val towards the Conca di Casera Cregnedul and in Punta Plagnis for Plagnota — are steep and unmarked, to be used only in emergency. Start soon, with stable weather and good autonomy.
    ▲Period and safety

    High mountain summer itinerary in the Julian Alps (max. 2531 m). The equipment and signs are in good condition, but the development, exposure and scarcity of escape routes require experience, training and attention to the weather.

    ▲Discipline

    From the final crossroads (2285 m) the quickest descent is to the left, towards the plateau of Montasio; if you want you can climb to the nearby Cima Terrarossa (2420 m, 45′ return). Keeping the right and descending towards the plateau you reach the Rifugio Brazzà (1660 m, 1h15 from the end of the ferrata) and then parking (about 1h30 from the end, 9h overall).

    ▲To match

    The environment is suitable for several days: you can climb to the Jof in Montasio for the Ferrata Amalia and use the Ceria Merlone to return to the north side, or match it to Sentiero Attrezzato Leva overnight in a refuge or bivouac. From the Lavinal Fork of the Bear you can take the Ferrata Goitan towards the Jof Fuart. Staying in the Julian Alps we also signal Ferrata Julia at Canin e la Ferrata della Vita al Mangart.

    ▲Gallery
    Technical data
    • DifficultyModerately Hard
    • RegionFriuli-Venezia Giulia
    • GroupJulian Alps
    • Approach2:30 h
    • Ferrata5:00 h
    • Itinerary (a/r)9:00 h
    • Hardware level difference257 m
    • Route difference1031 m
    • Max2531 m
    • Length16 Km
  • Sentiero Attrezzato della Cengia Veronesi

    Sentiero Attrezzato della Cengia Veronesi

    Vie Ferrate › Veneto › Belluno
    Sentiero Attrezzato della Cengia Veronesi
    Moderately Hard● OpenDescriptionComplexityMapsGallery

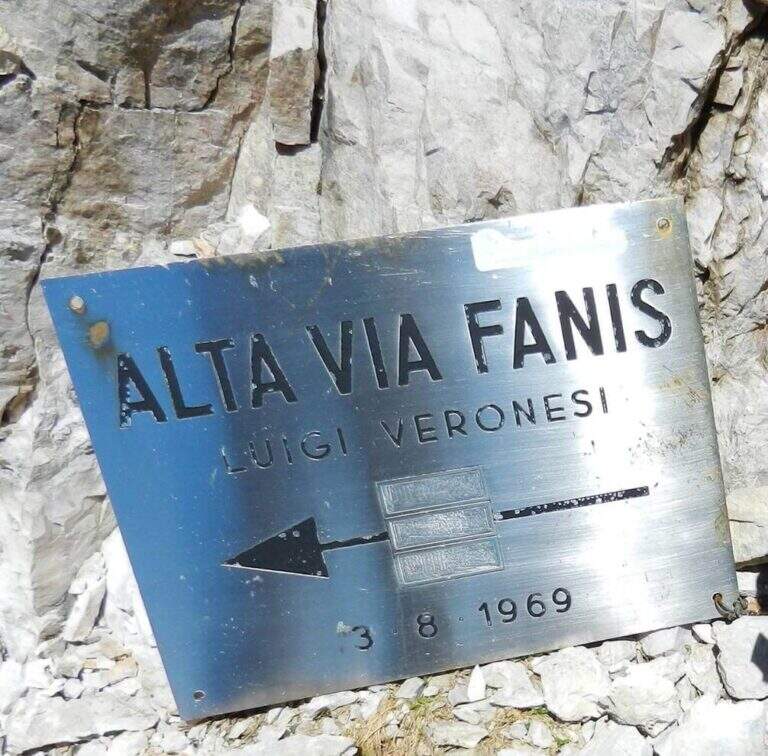
    The Cengia Veronesi is a technically not difficult but very exposed itinerary, not to be taken lightly already for the approach: in order to reach it, in fact, you have to follow a section of the difficult Ferrata Tomaselli. In return, it offers magnificent landscapes in the heart of the Fanis group. Here we describe it in the direction of Cima Fanis – Forcella Lech, but nothing forbids it in reverse direction, uphill.

    ▲Approach

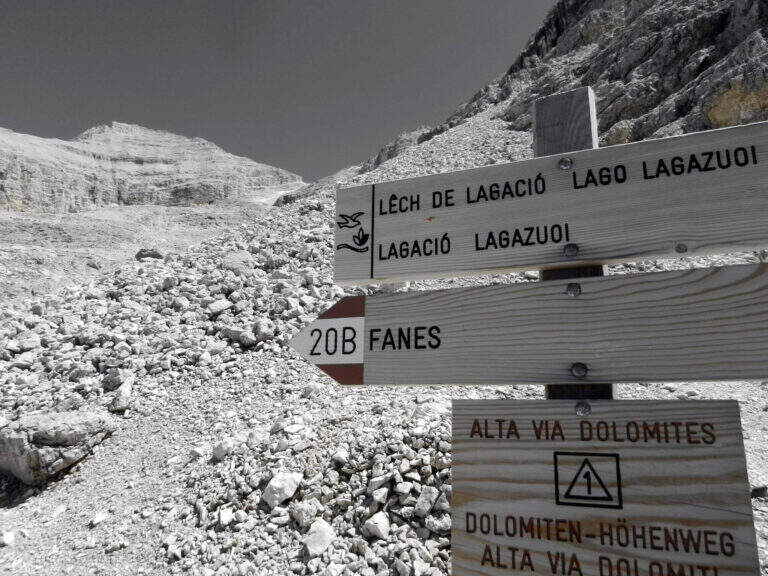
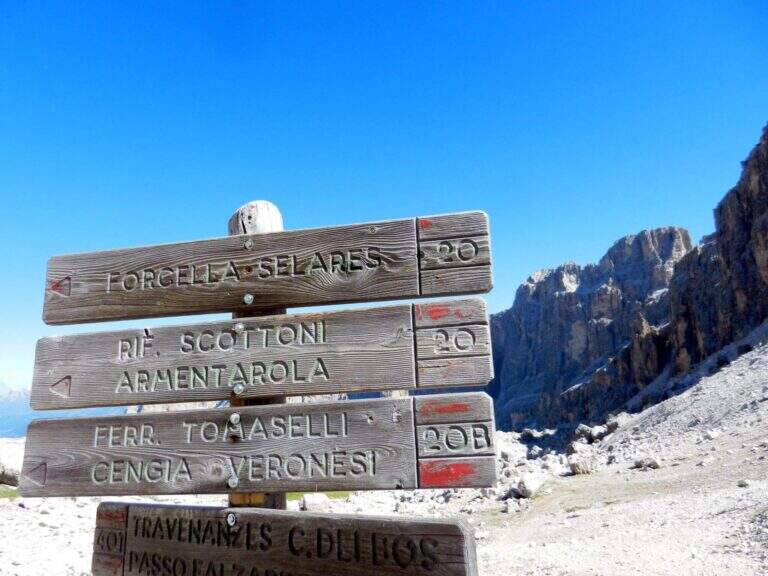
    You have to get under Cima Fanis Sud. The quickest way coincides with the approach of Ferrata Tomaselli: you reach the Falzarego Pass (2105 m) — from Cortina d’Ampezzo, from San Cassiano in Val Badia or from Alleghe (Belluno) — you park in the large square at the valley station and climb with the cable car to the Lagazuoi Refuge (open up Google Maps). From here there are three options, in increasing order of engagement. The first follows the approach of the Tomaselli on the eastern side of the Grande Lagazuoi, from Forcella Travenazes to Forcella Gasser Depot, then up to saddle Fanes; then the maximum attention is paid to a census that detaches on the left (omit), you walk it and you get to the nod from which the road (2h from the mountain station). The second reaches the Bivacco Chiesa always along the Tomaselli, it follows the first difficult stretch — including the famous traverse — and flows into the starting census (1h45 from the mountain station): it is the option described here for the times. The third walks through the difficult Ferrata Tomaselli (3h), descends the downhill ferrata and identifies a half-coast path that, with a first equipped section, leads to the tunnel for Cengia Veronesi (4h from the mountain station).

    ▲The path

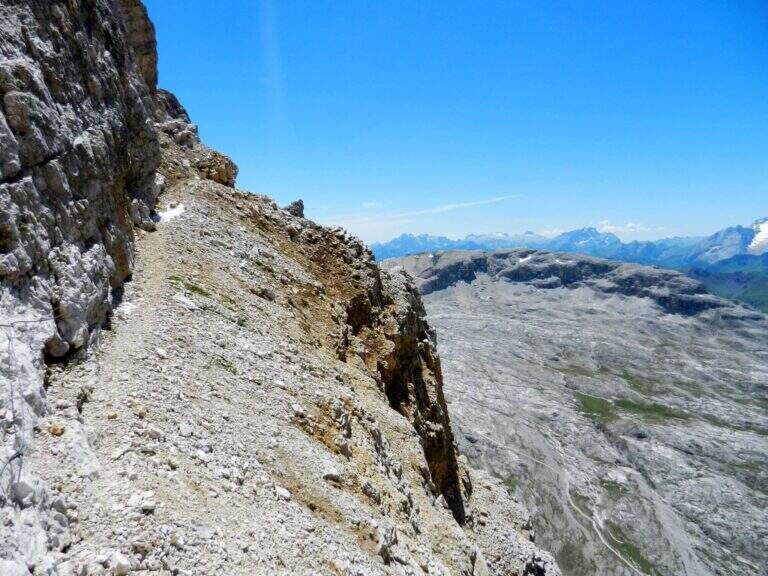
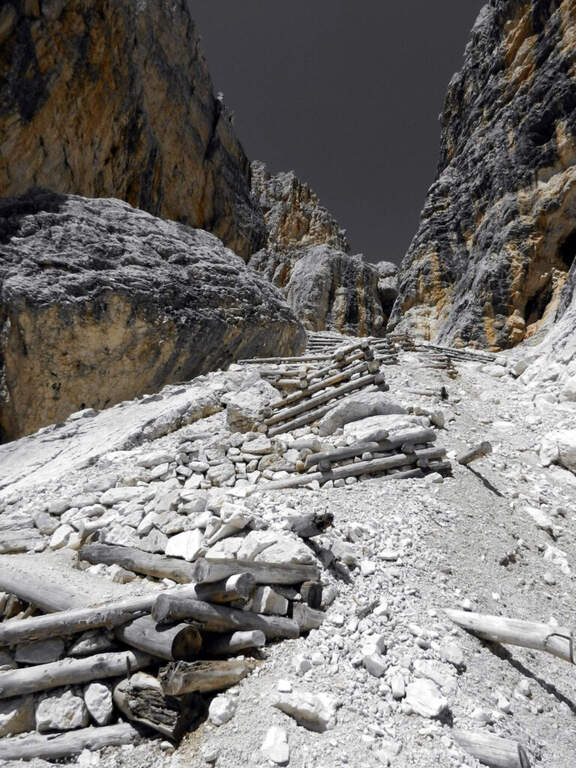
    From the second nod after the attack of Tomaselli we pay attention to a crossroads where Tomaselli continues to the right while the Cengia Veronesi goes left, with unfortunately faded signs. It starts immediately with an exposed and uninsured nod, followed by an even more exposed and narrow passage, in light descent but protected. After this, you go up a canal up to a saddle and continue to the left to a cave (a meeting point with approach 3): you can cross it for about 100 meters with a frontal stack, pouring on the opposite side of Cima Fanis. On the other hand, the long nod follows the track that, between modest climbs on exposed traits, leads to a edge that alternates short stretches equipped with long stretches, even very exposed, completely without protection. The nod runs with a remarkable precipice on the left and requires firm foot, even without any technical difficulties. We proceed up to a first fork between Cima Fanis and Piz Scottoni and then, with minor exposure, towards the Forcella Lech, where the route ends (1h15 from the deviation from Tomaselli, 3h overall).

    ▲Character and difficulty

    It is a difficult path to classify: the census in itself is very exposed and at times not equipped, but for the experienced hiker with a firm foot does not pose problems, indeed it becomes a very pleasant experience for the views. It is the constant exposure, more than the technique, to be able to trouble those who lack experience.

    ⚠ In each variant, access requires a stretch of the difficult Ferrata Tomaselli (including the famous cross): it must be evaluated honestly and not underestimated. The path is not marked and difficult to find. The census is very exposed and in several places without protection, with precipice at the side: it serves absolute firm foot. For the cave (100 m) a frontal stack is required.
    ▲Period and safety

    Itinerary of high mountain (max. 2843 m), to be faced in the summer season with stable weather. Reserved for experienced hikers, accustomed to exposure and autonomy on unprotected terrain.

    ▲Discipline

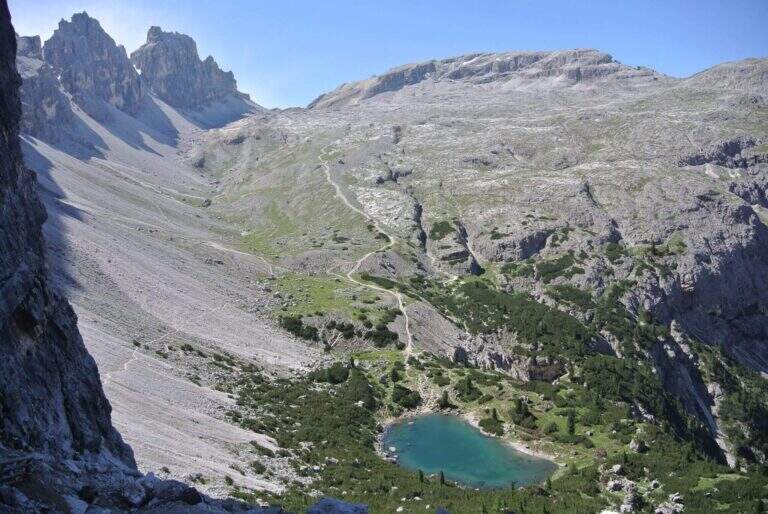
    From Forcella Lech (2486 m) you descend a steep detritic canyon that quickly loses altitude in the direction of Lake Lagazuoi. Before reaching the lake, at a crossroads, it is advisable to keep the left without going too far, to start further on the path 20 that climbs to Forcella Lagazuoi; from here, to backwards, you return to the mountain station of the cable car and then to the parking (2h from Forcella Lech, 5h overall).

    ▲To match

    Natural matching is precisely with Ferrata TomaselliThe Cengia Veronesi is often a variant or extension.

    ▲Gallery
    Technical data
    • DifficultyModerately Hard
    • RegionVeneto
    • GroupDolomiti d'Ampezzo – Fanis
    • Approach1:45 h
    • Ferrata1:15 h
    • Itinerary (a/r)5:00 h
    • Hardware level difference100 m
    • Route difference370 m
    • Max2843 m
    • Length7,8 Km
  • Sentiero Attrezzato Cecilia alla Grigna Meridio

    Sentiero Attrezzato Cecilia alla Grigna Meridio

    Vie Ferrate › Lombardia › Lecco
    Sentiero Attrezzato Cecilia alla Grigna Meridio
    Moderately Hard● OpenDescriptionComplexityMapsGallery

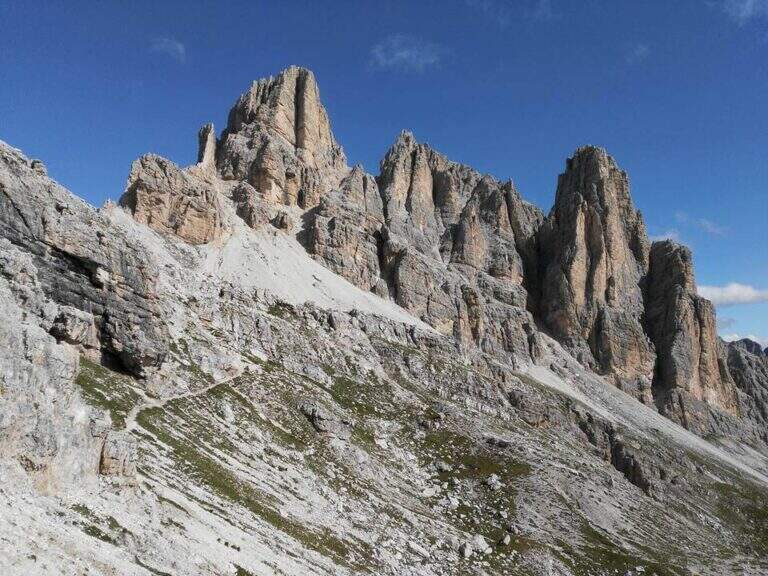
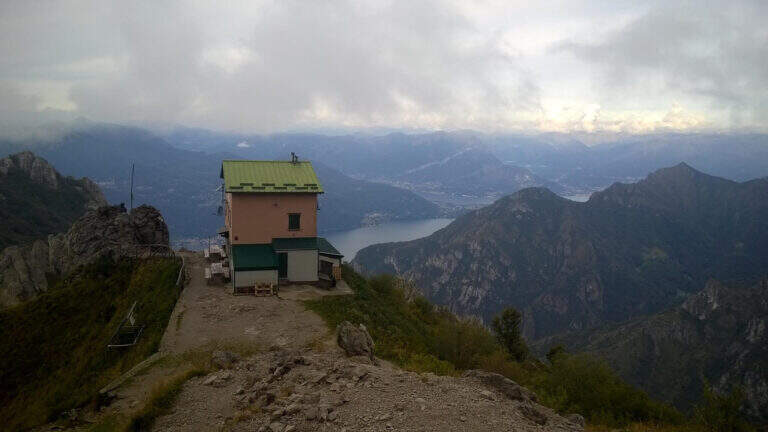
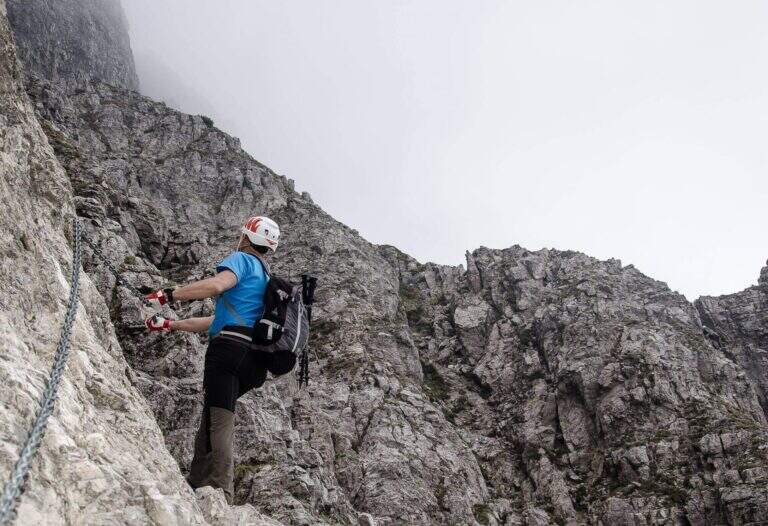
    The Path Attrezzato Cecilia connects the Rosalba Refuge to the path of the Cresta Cermenati, which climbs to the summit of the Grigna Meridionale (Grignetta). It is not a purely vertical path: it is useful to cut, among continuous climbs, the rocky wall that runs under the Cresta Segantini. A long and challenging itinerary in the legs, in one of the most beloved corners of the Grigne.

    ▲Approach

    Starting from Piani dei Resinelli, in the province of Lecco, reached by Ballabio climbing the hairpin bends. When you arrive at the hamlet you will find parking near the former Alippi refuge (open up Google Maps). From here you go up to the Rosalba Refuge following the path 9, known as Sentiero Attrezzato delle Foppe (1h45 from the parking lot). Alternatively, along the ascent you can choose the variant of the Attrezza dei Morti Path, steeper, which saves about fifteen minutes and still leads to the refuge (1h30 from the parking lot).

    ▲The path

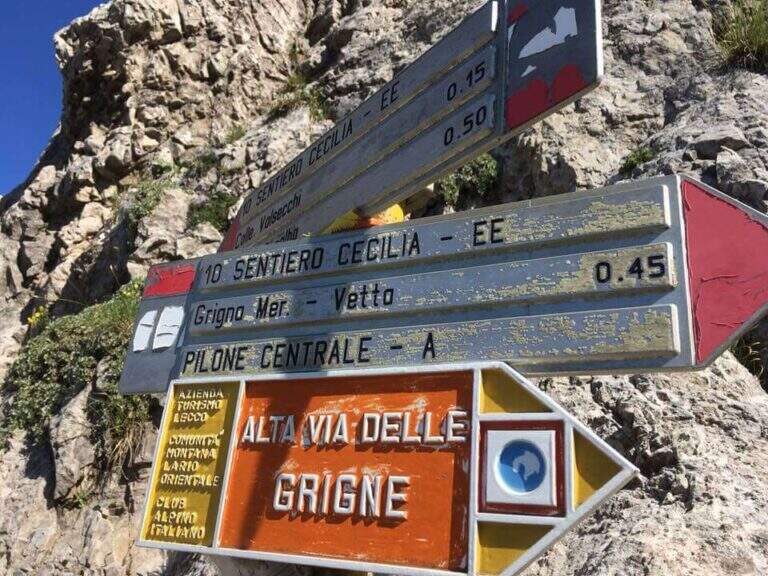
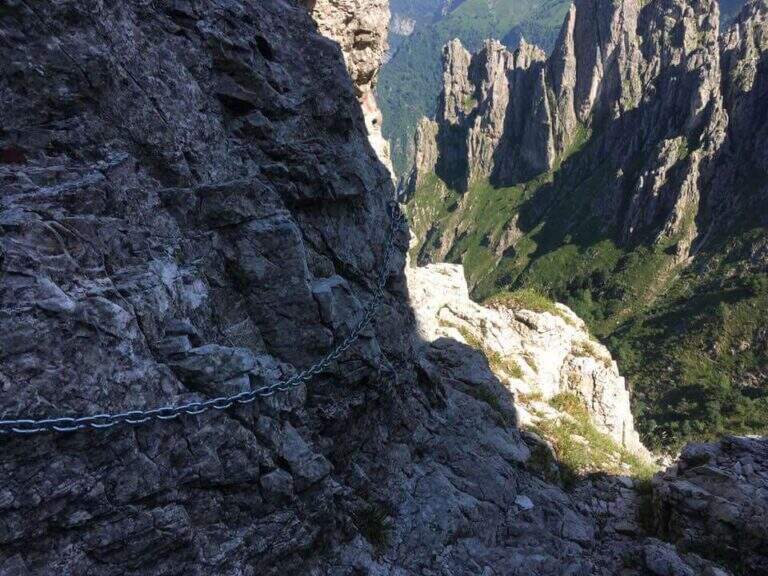
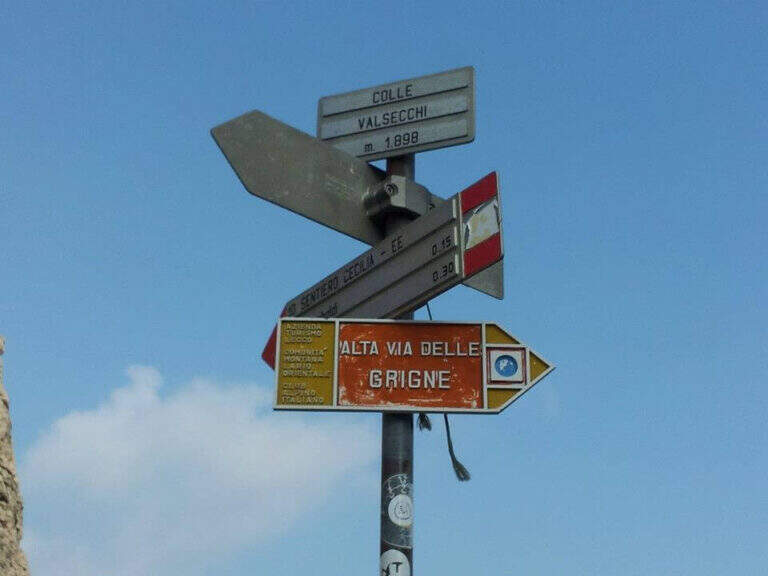
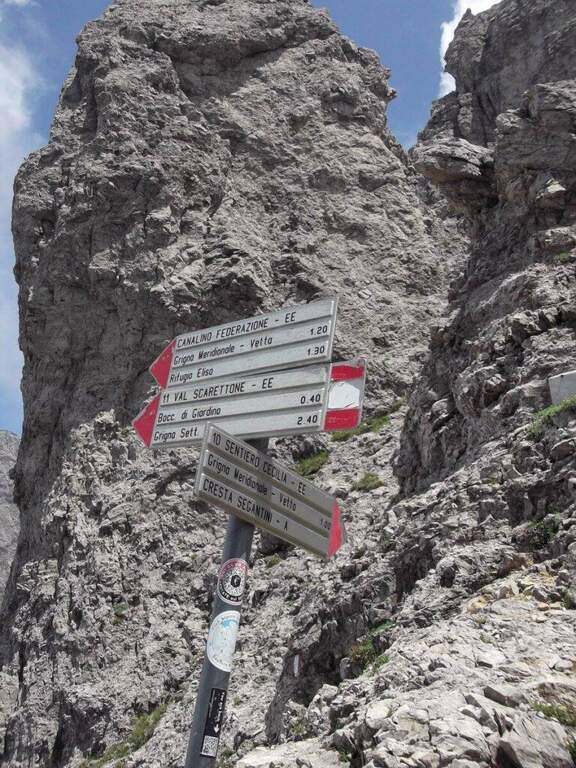
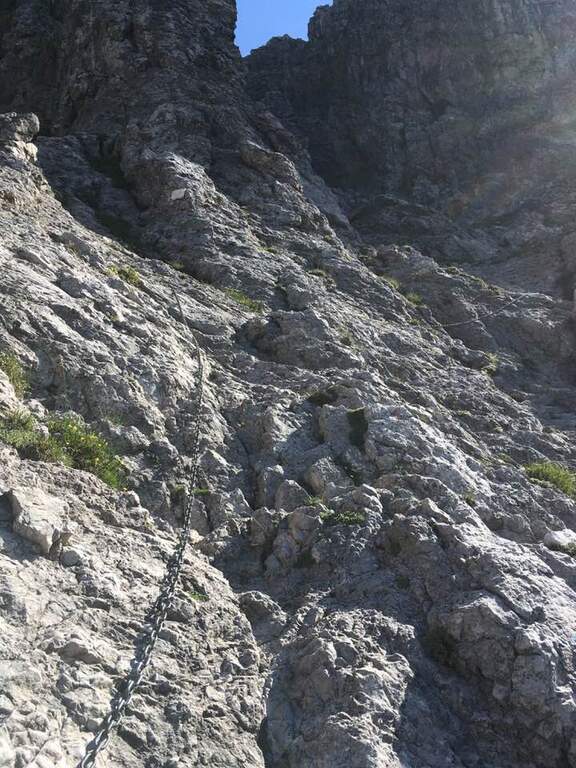
    From the Rifugio Rosalba take the path 10, which enters a rocky amphitheatre and in about ten minutes, with the first metal equipment, leads to the Colle Garibaldi (1824 m). Continue now on the slope of the Val Scarettone, meeting some equipped sections, up to the Colle Valsecchi (1898 m), where the Sentiero della Direttissima is set in Cecilia. Shortly after you ignore the left deviation for the Path of the Val Scarettone and continue between climbs under the Cresta Segantini. It faces a long diagonal crossing with chains under the Central Pilone, alternating stretches of convenient path to rocks, transverses and cenges, sometimes equipped with chains sometimes not. There are some exposed but well-painted walls up to the path 7 of the Cresta Cermenati: from here the difficulties fall clearly and, with still few steps equipped with chain, you gain the summit of the South Grigna (1h30 from the Rosalba Refuge, 3h15 overall).

    ▲Character and difficulty

    Technically it is not an extreme itinerary, but it demands constant attention for the numerous traits exposed on cenges and transverses, some of which are not protected, and for long and tiring development. Along the way it is necessary to follow carefully the signs (blue-red circles), which in some part is not immediate.

    ⚠ For most of the route you walk along traverses placed under the high Cresta Segantini, a mountaineering itinerary: the helmet is highly recommended for the whole route, for the risk of rocks from above.
    ▲Period and safety

    High mountain summer itinerary in the Grigne (max. 2184 m). The development of 14 km and the exposed sections require good physical preparation, steady pace and attention to orientation.

    ▲Discipline

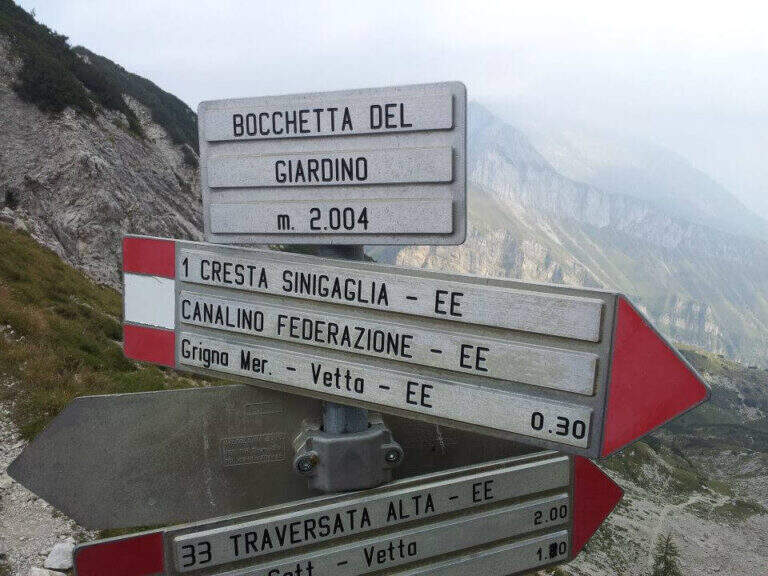
    From the top of the Grignetta you can descend in several ways. Returning back, you can walk through the Path Attrezzato Cecilia or the Sentiero Attrezzato della Val Scarettone (an imperative downhill) to the Rifugio Rosalba, and then the Sentiero delle Foppe or the variant of the Morti (about 2h30 from the top, 5h30 total). Alternatively, go down the south side along the Cresta Cermenati up to the Rifugio Carlo Porta and then to the parking lot, or face the most complicated Cresta Sinigaglia, with its equipped path, always towards the Rifugio Carlo Porta: in the latter case a long and beautiful ring of about 7 hours total.

    ▲To match

    Cecilia is often faced after Sentiero Attrezzato delle Foppe. Staying in Grigne area you can think of a multi-day itinerary that includes the Ferrata del CAI Mandello al Sasso Carbonari on the Grignone; on the way down to the lake there is the Hiking Trail e il Route of the River.

    ▲Gallery
    Technical data
    • DifficultyModerately Hard
    • RegionLombardy
    • GroupGrims
    • Approach1:45 h
    • Ferrata1:30 h
    • Itinerary (a/r)5:30 h
    • Hardware level difference259 m
    • Route difference850 m
    • Max2184 m
    • Length14 Km
  • Ferrata Sasso della Croce and Sasso delle Ten

    Ferrata Sasso della Croce and Sasso delle Ten

    Vie Ferrate › Trentino-Alto Adige › Bolzano
    Ferrata Sasso della Croce and Sasso delle Ten
    Moderately Hard● OpenDescriptionComplexityMapsGallery

    The combination of ferrates to Sass de la Crusc (Sasso della Croce) and Ten is a great mountain route starting from Badia, in Val Badia. The equipped sections are of medium difficulty, but the path is long (more than 16 km, almost 1000 m of altitude difference) and for wide stretches runs on exposed and unprotected path: it must be faced with good preparation and stable time. In return it offers spectacular views of Val Badia, Sassolungo, Gruppo Sella and the Dolomites peaks of Cortina, with the summit in 3026 m.

    ▲Approach

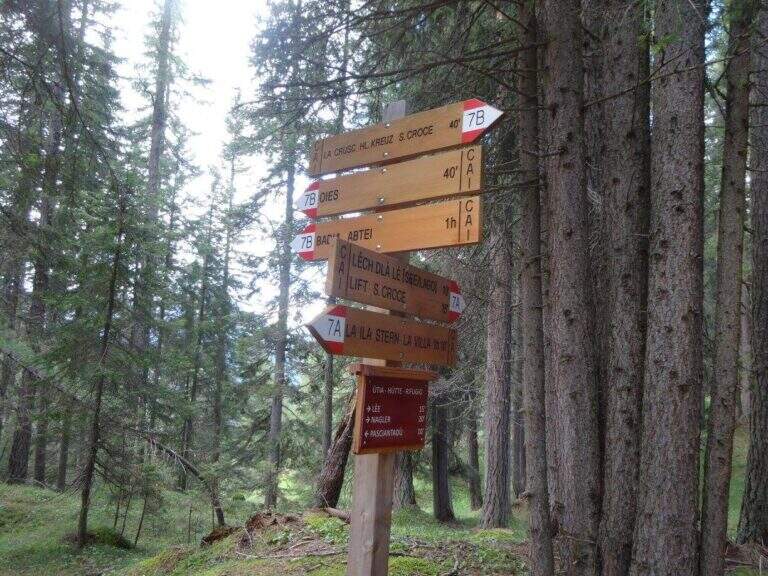
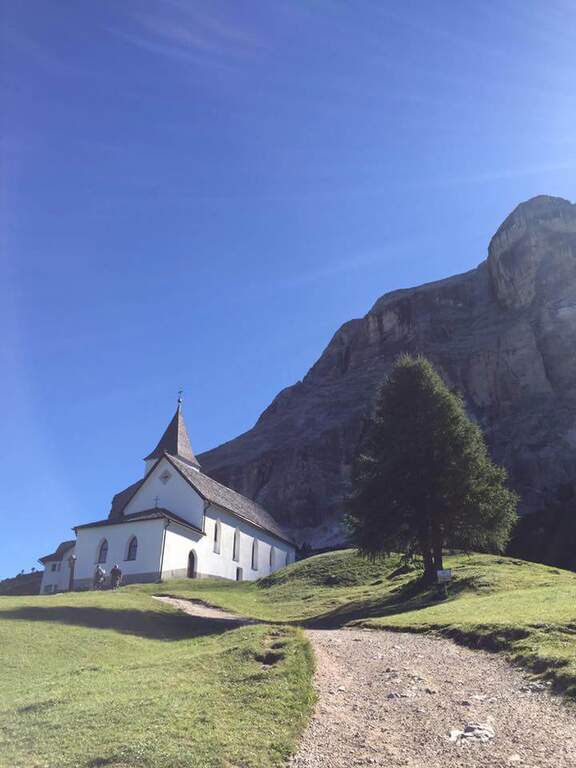
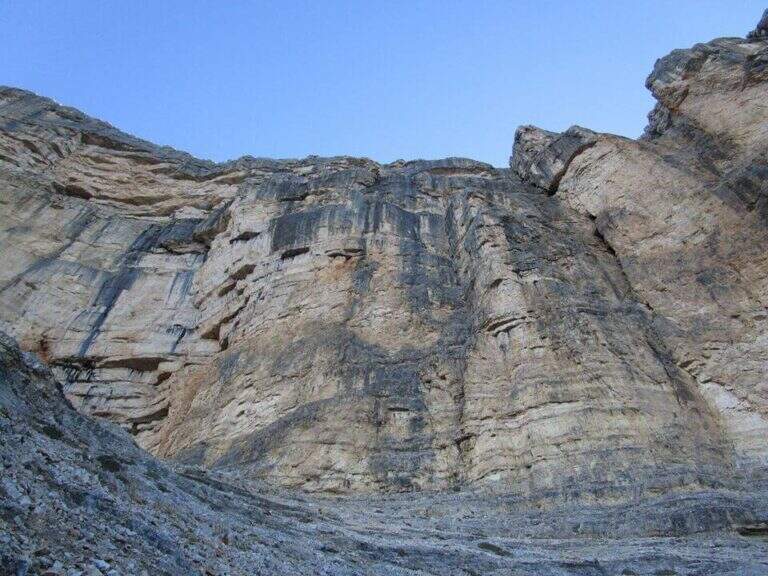
    The support is the Santa Croce refuge, on the eastern side of the Val Badia valley at the height of Badia, reachable with the chair lifts «La Crusc 1» and «La Crusc 2» or walk to the comfortable path 7 from Badia (about 1h 30'). Open road signs on Google Maps. From the mountain station (2045 m) you have in front of the imposing rampart of the Sass dla Crusc, the first destination of the day. Follow the signs 7 passing next to a white church; the path then climbs right towards the south, first sweet among the mughi and then più decided out of the wood, towards the wall. You walk under the rock along a path that takes you via più narrow and exposed: here begins the first equipped section (1h from the mountain station).

    ▲The path

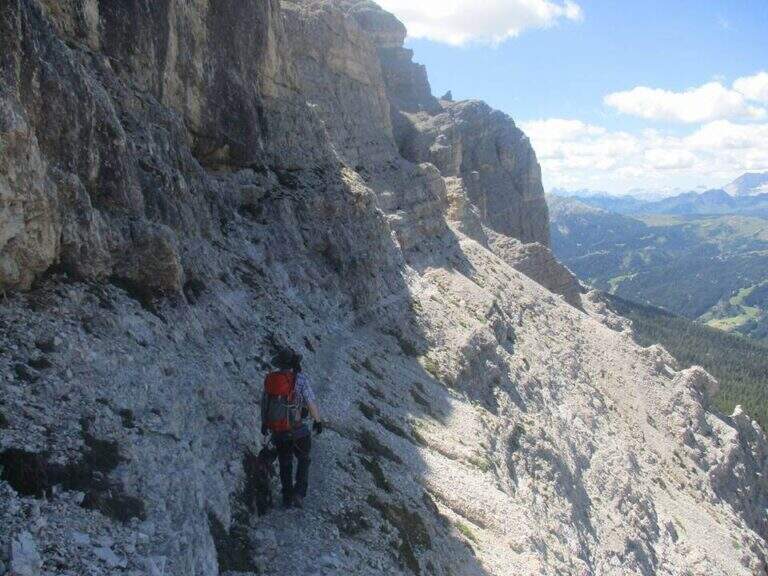
    The first cable helps on an exposed nod followed by a vertical leap; continue alternating halfway path exposed to short equipped stretches. You go up a sloped ramp with the cable on the left and you go on l' exposed path that wanders the south-west wall of the Sass dla Crusc; after a stretch of unequipped rocks you meet a equipped with two metal brackets and an easy crossing. A long nod, più narrow of the preceding, è protected by a self-insurance rope; therefore turns south for l' last stretch of path, partially equipped where it enters a steep franose canal, up to the Forcella dla Crusc (2h 30' in total). At the fork, crossroads of paths, the sinistra is held to stay on the ' plateau. You walk between stones and wreaths a po' slippery but not difficult until the Piz Zuber, then at the junction for the Sass dla Crusc (2907 m, optional but recommended deviation), and continue along the panoramic crest towards Cima Ten. Here begins the second stretch ferrato: short but very exposed, goes up the southern edge for about fifty meters of vertical rocky leaps. After the first metres, a series of più jumps is approached; marked with the cable on the left; from a panoramic balcony rises on a strong display on two challenging sections, then wanders the edge on the eastern side and you see, at about fifteen meters, the wooden cross. A few steps horizontally enters a chimney that goes up in the split, from the right to the left; the last rocks lead to the summit plateau and the croce of Cima Dieci, with a 360° view; (2h from Forcella, 4h 30' in total ). The ridge that detaches towards Cima Nove è travels from its ferrata.

    ▲Character and difficulty

    The first ferrata, the one that leads to the Forcella dla Crusc, è in the complex facile: it has three short and difficult vertical sections; techniques, while the other cables are mainly used to protect exposed paths. The Cima Ten hardware is short but intense, very exposed and with the first metà vertical and demanding.

    ⚠ Itinerary of high mountain, long and with important difference in altitude: it requires good physical form. Several stretches of path before the Forcella are exposed and not protected, not recommended to those who have no mountain or foot experience. Cima Ten requires no dizziness. The stability of the weather is fundamental: there are no real points of support and are equipped both at the beginning and at the end of the tour, to avoid with unstable weather.

    ▲History

    The Sasso della Croce è linked to the history of ' mountaineering by Reinhold Messner: in July 1968, climbing the Pillar of Mezzo with his brother Günther, he found himself in a smooth four-metre plaque from which he could not né climb né Get down. The superò, as it tells in its famous «Settimo Grado», and the attributables; an evaluation of VIII degree, until then never used; it should be remembered that the facedò with rigid sole boots.

    ▲Period and safety

    The GPS tracks (GPX and KMZ) can be downloaded from the card; the 4Land Val Badia map is useful for the area.

    ▲Discipline

    The descent takes place along the same path of the ' gone; the two equipped sections require special attention because of the eacute; downhill routes (3h from the summit, 7h 30' overall).

    ▲To match

    Hardly this tour leaves energy for a second ferrata in the day, but on several days from the Forcella dla Crusc you can climb to the Piz de Lavarella and get off towards the Sentiero Attrezzato Tru Dolomieu. In Val Badia there is Ferrata della Pace; by Corvara, on the Sella Group Ferrata at Piz de Lech and that of Vallontowards Passo Gardena la Ferrata at Gran Cir and, towards the Furcia Pass, the new Ferrata at Piz de Peres.

    ▲Gallery
    Technical data
    • DifficultyModerately Hard
    • RegionTrentino-Alto Adige
    • GroupRock of the Cross
    • Approach2:00 h
    • Ferrata0:45 h
    • Itinerary (a/r)7:30 h
    • Hardware level difference75 m
    • Route difference979 m
    • Max3026 m
    • Length16,1 Km
  • Ferrata di Giorrè

    Ferrata di Giorrè

    Vie Ferrate › Sardinia › Sassari
    Ferrata di Giorrè
    Moderately Hard● OpenDescriptionComplexityMapsGallery

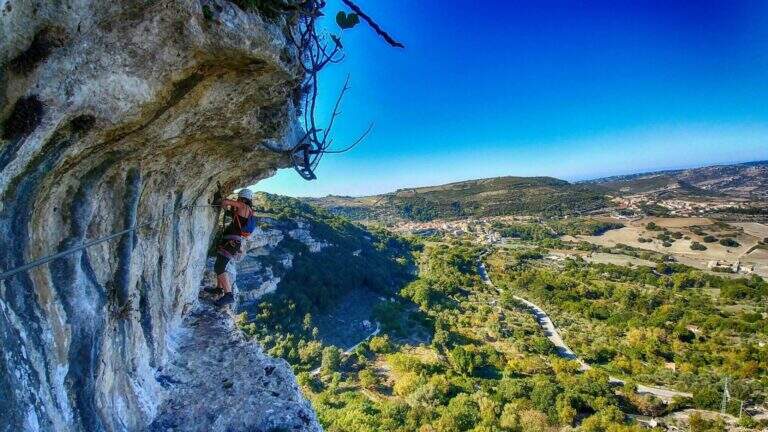
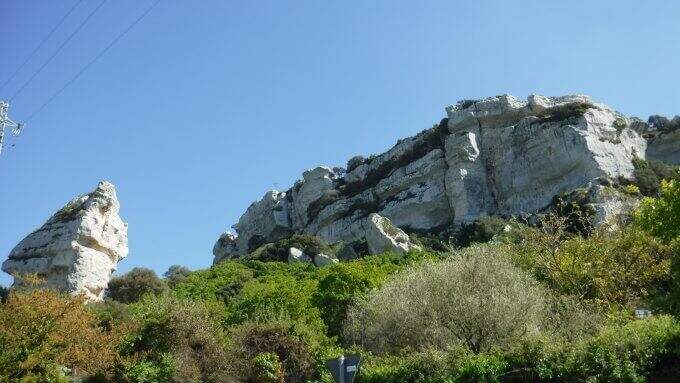
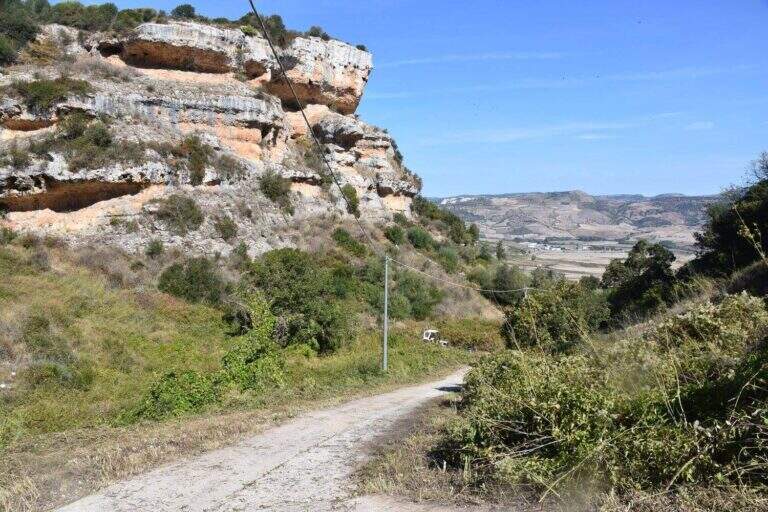
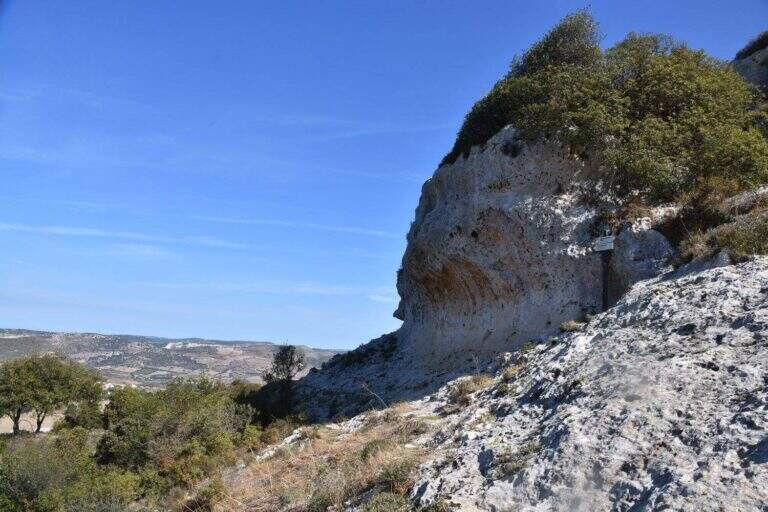
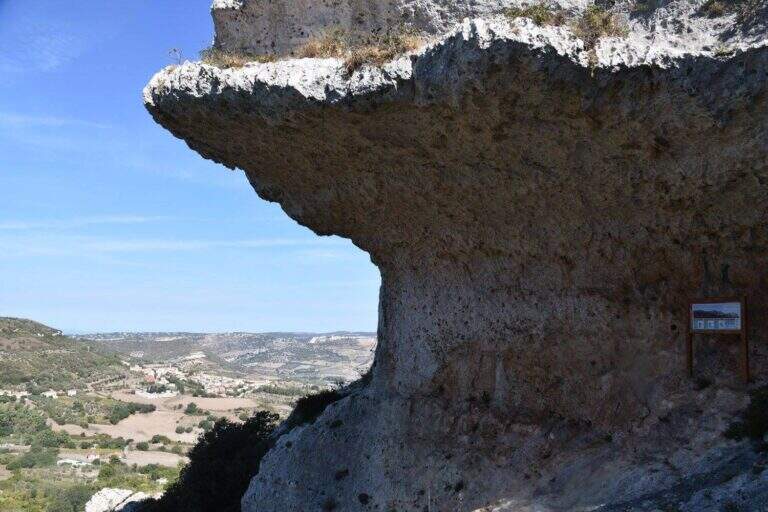
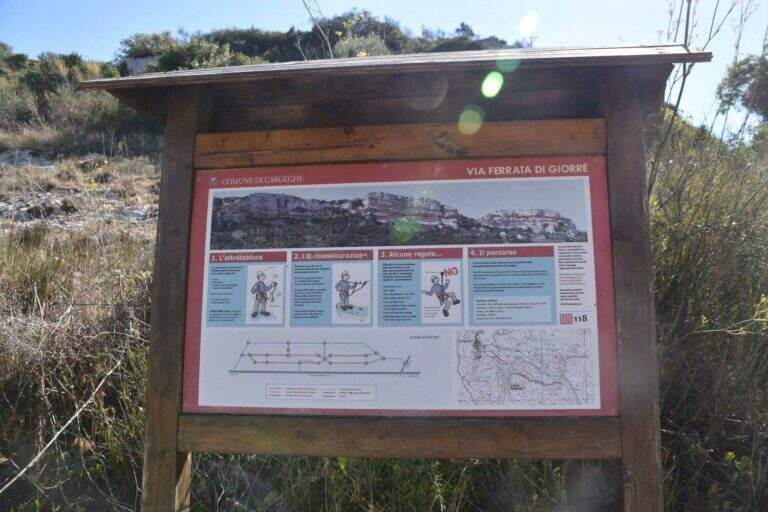
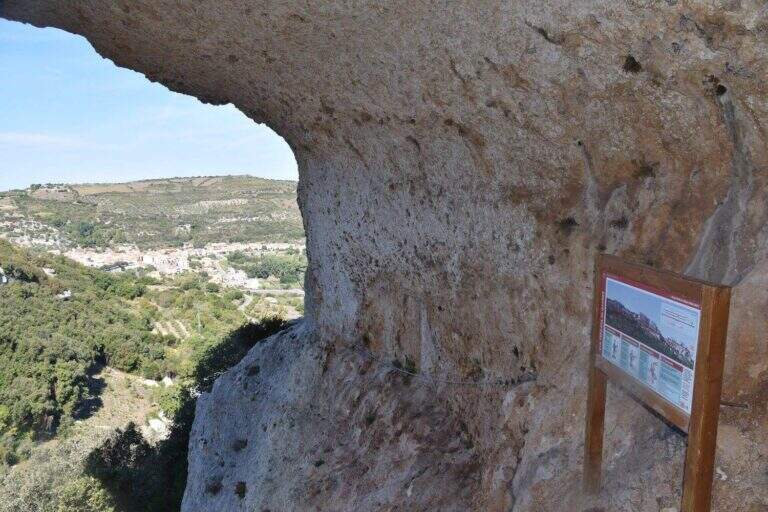
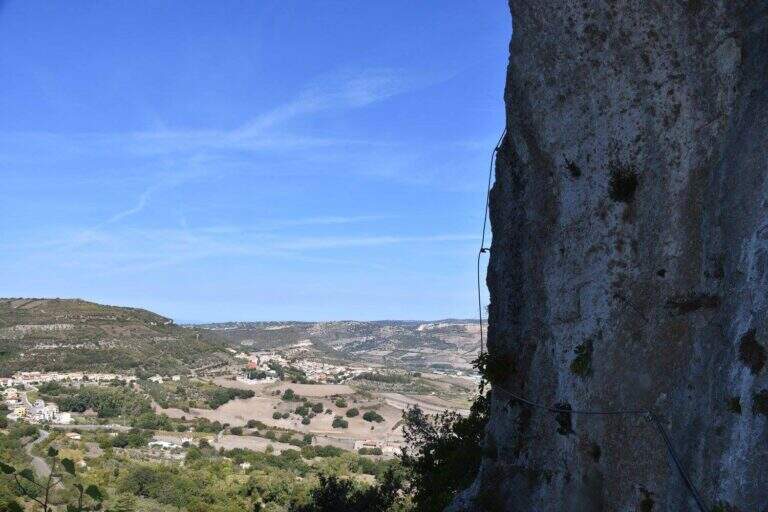
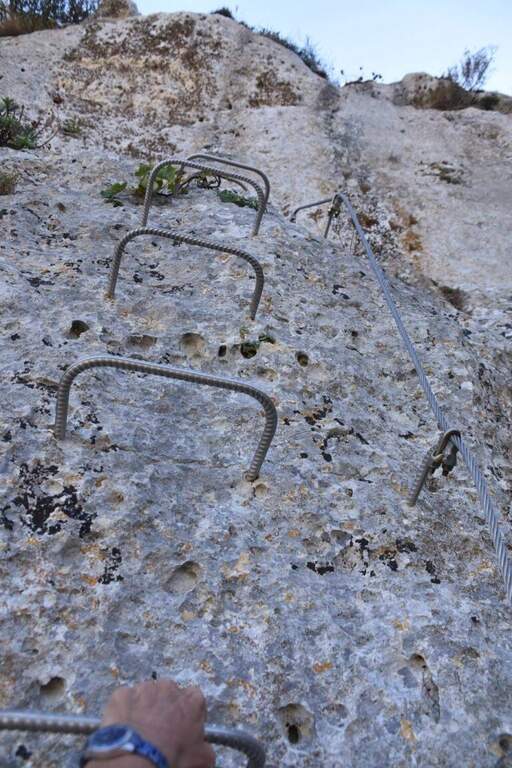
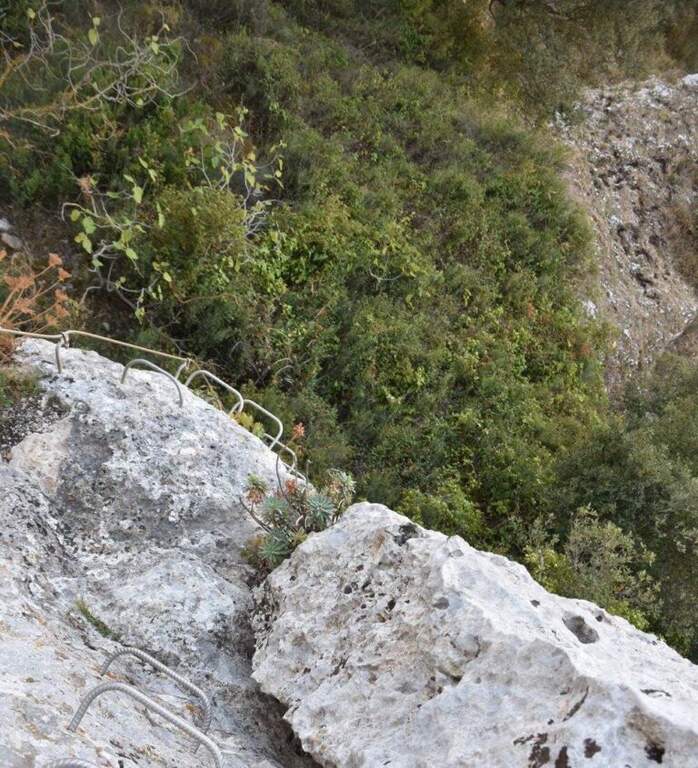
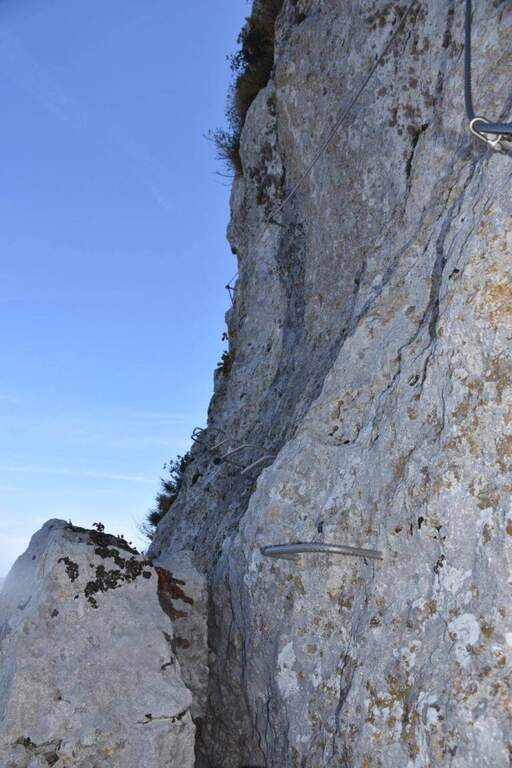
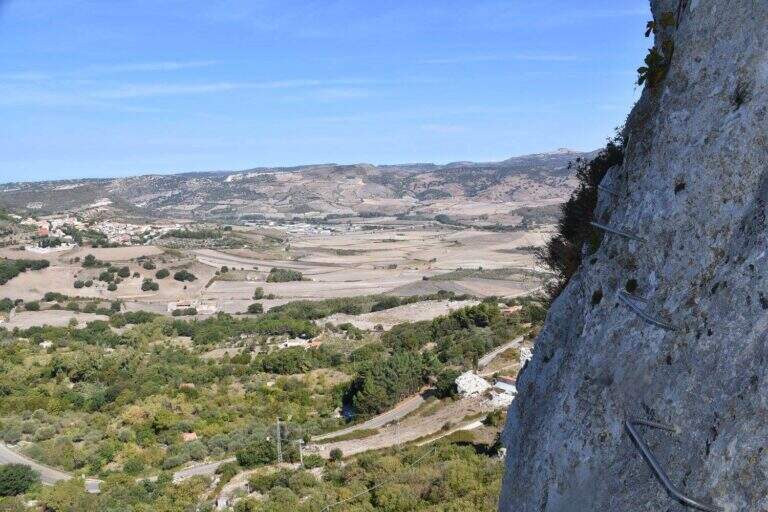
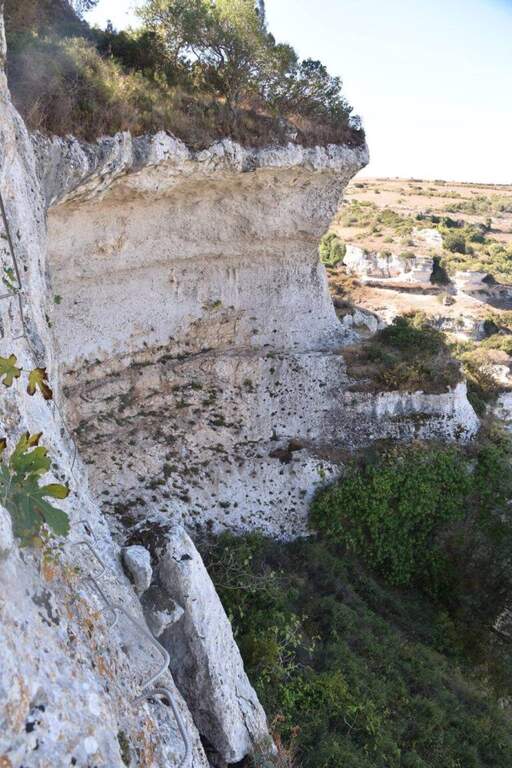
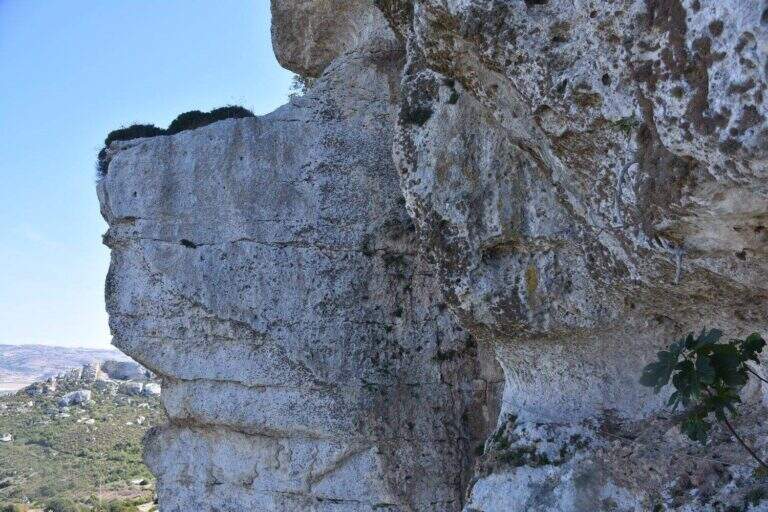
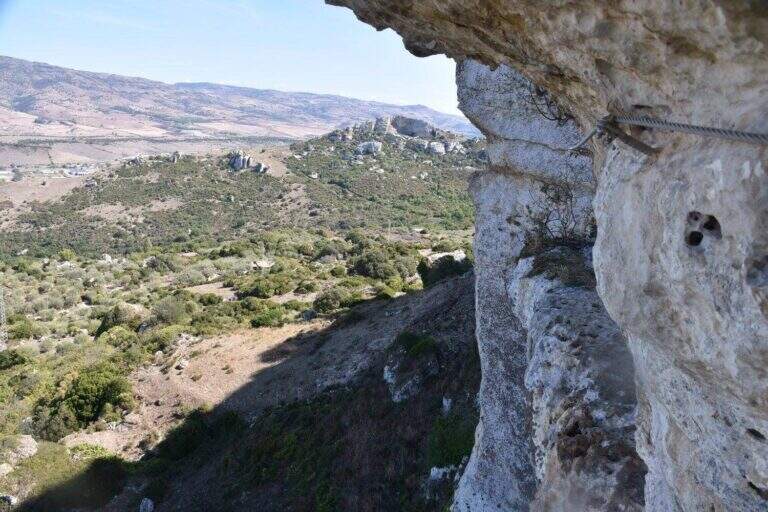
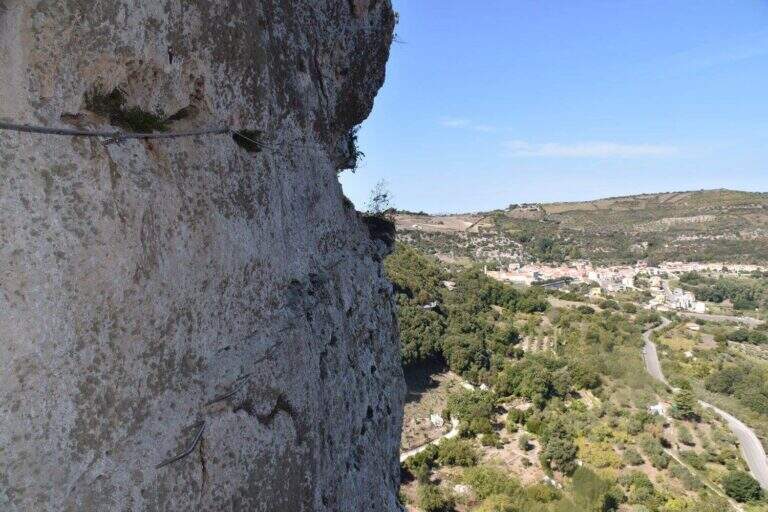
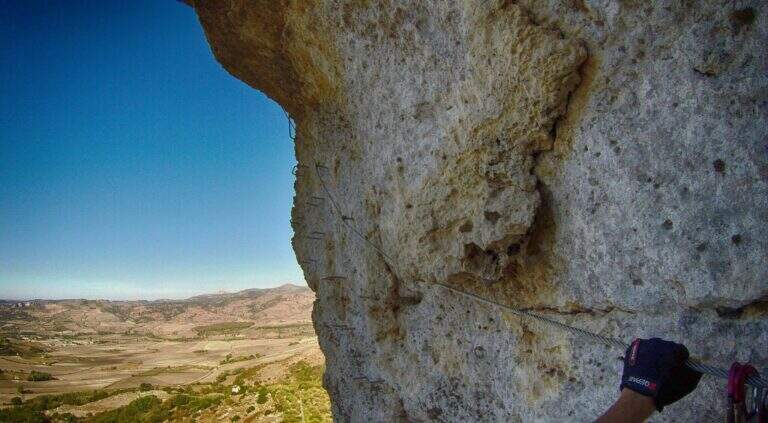
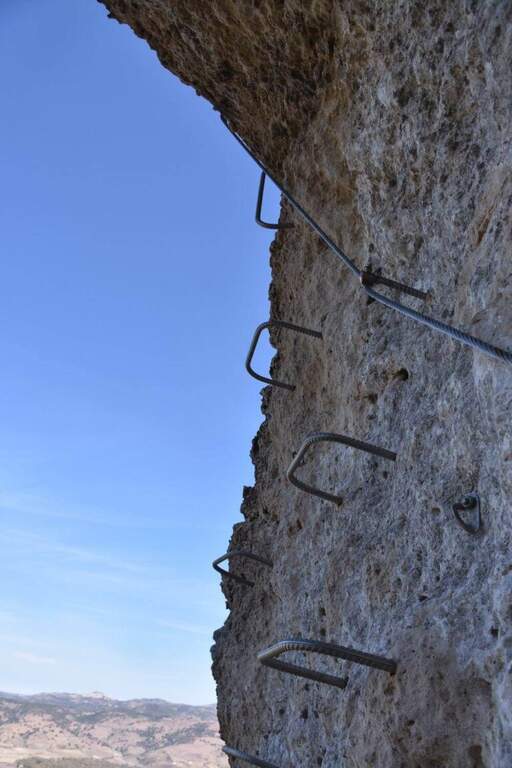
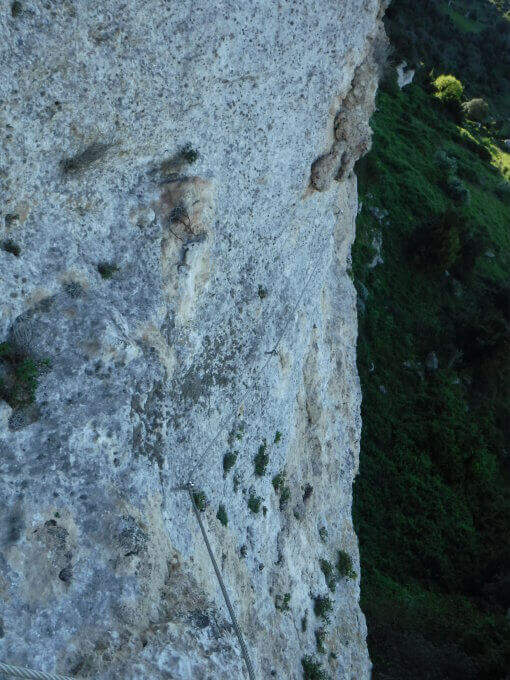
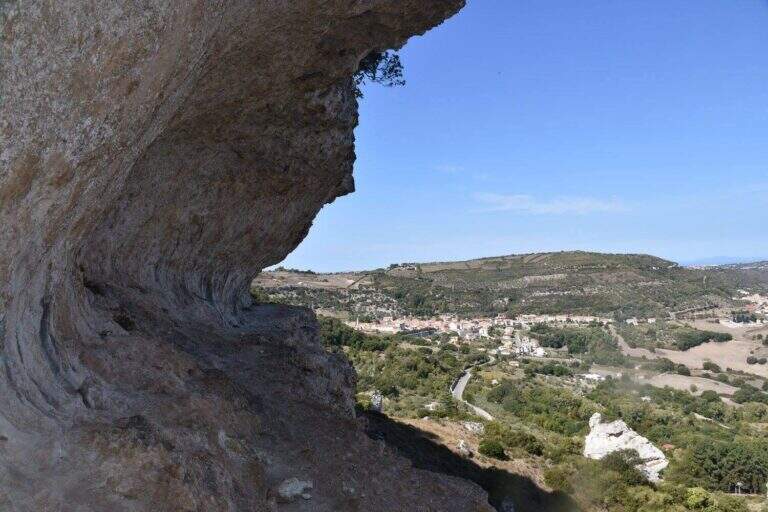
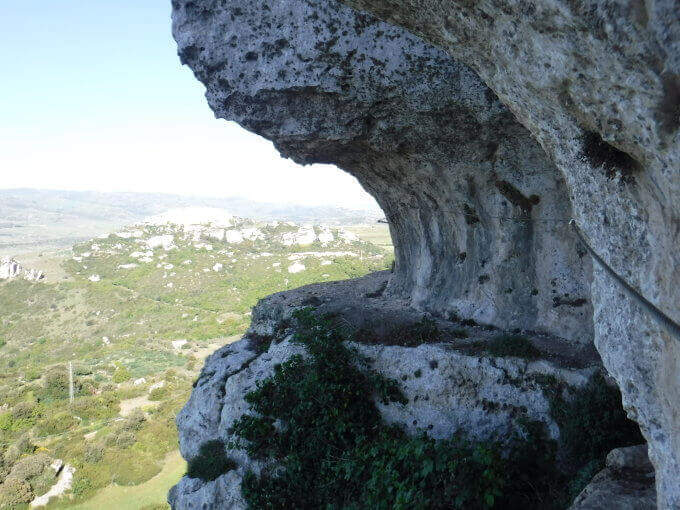
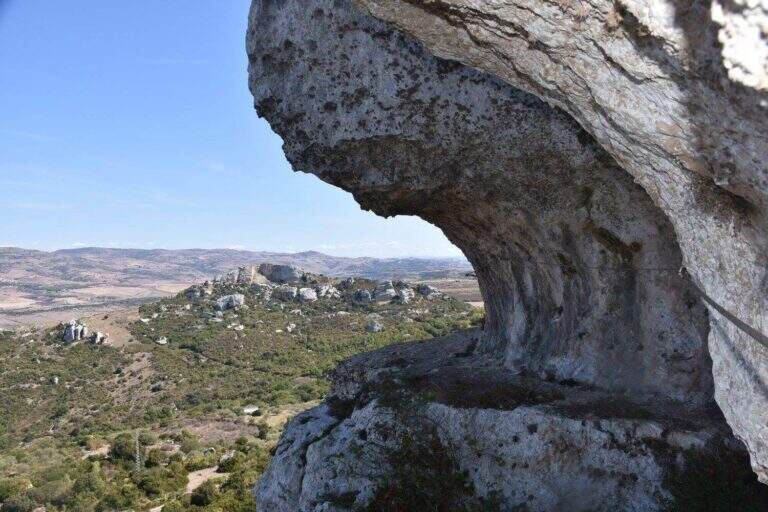
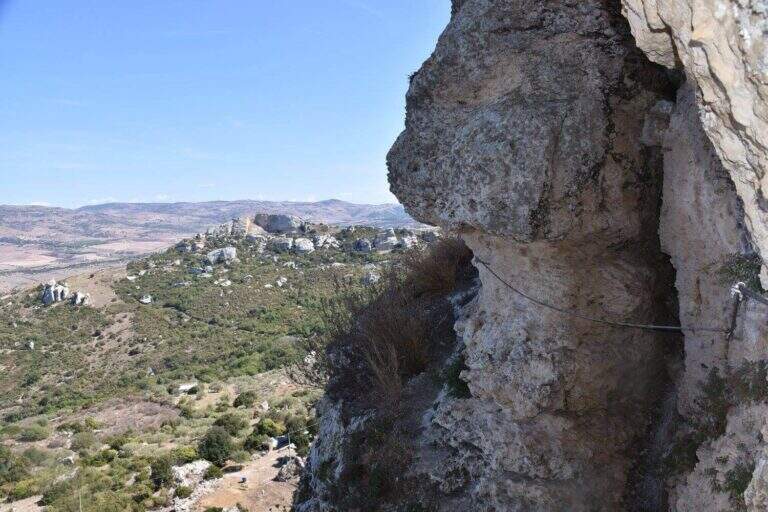
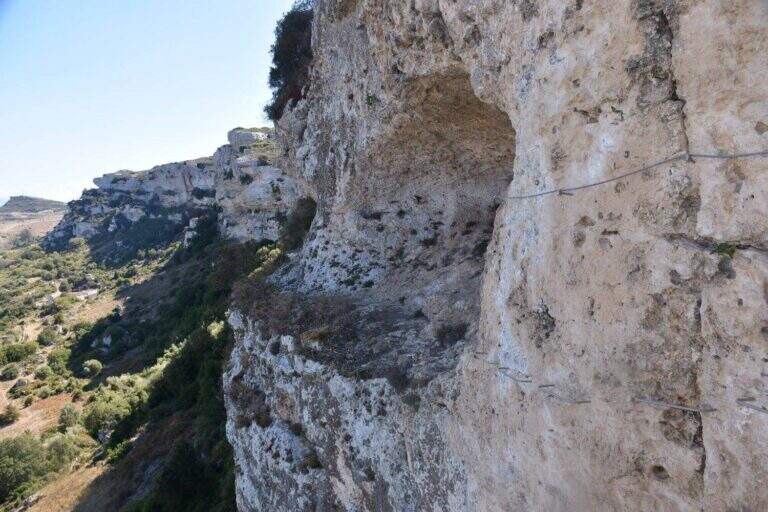
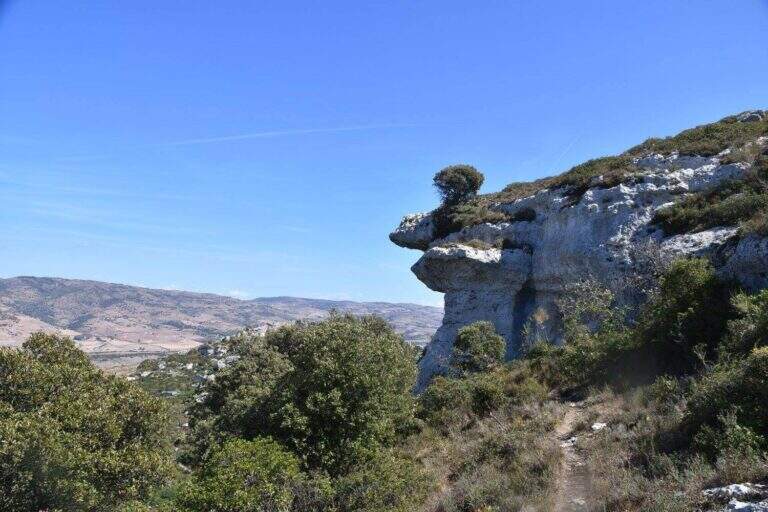
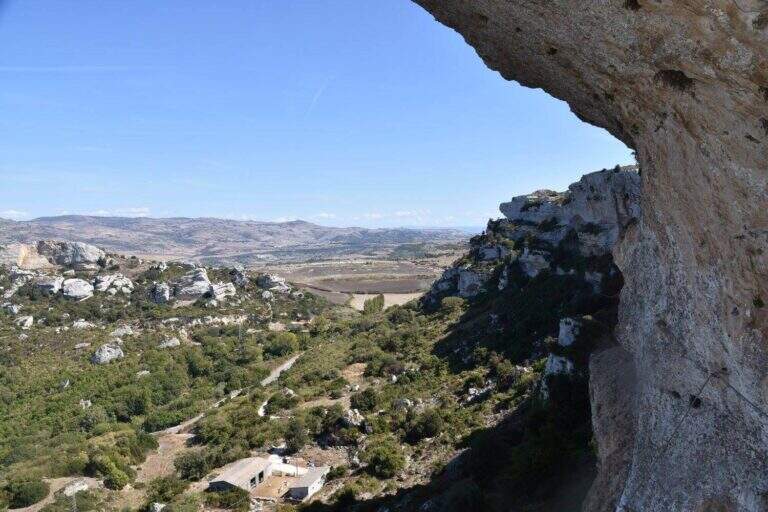
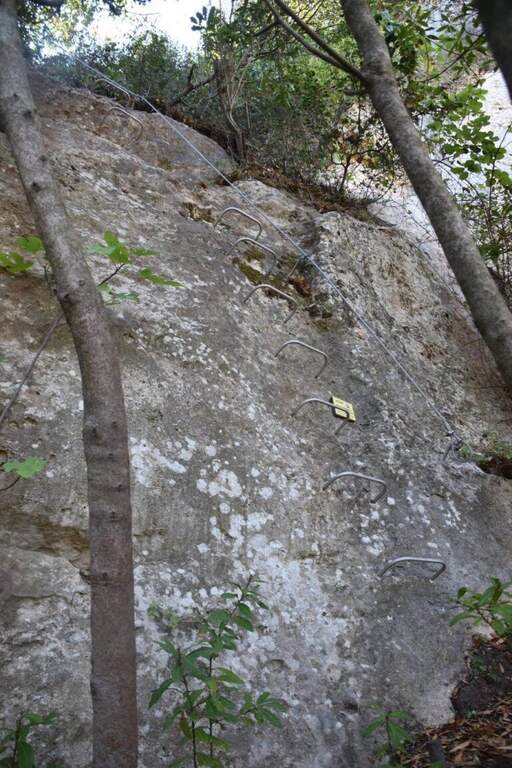
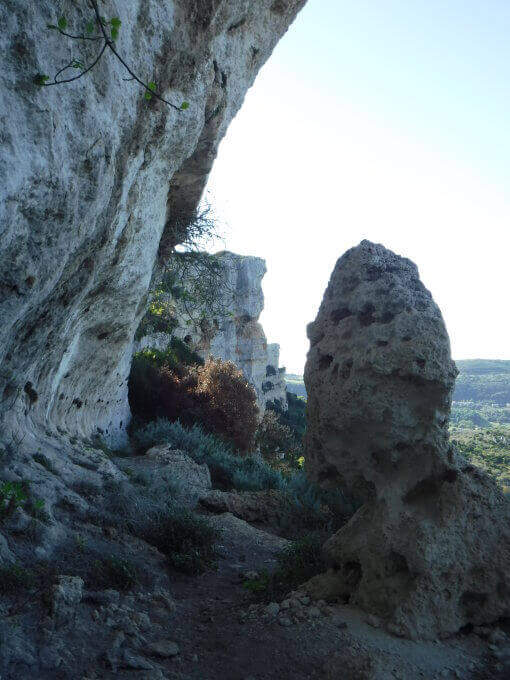
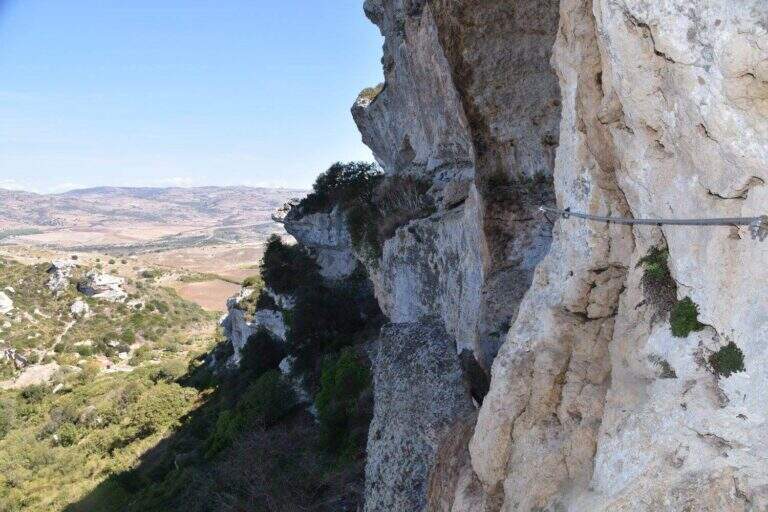
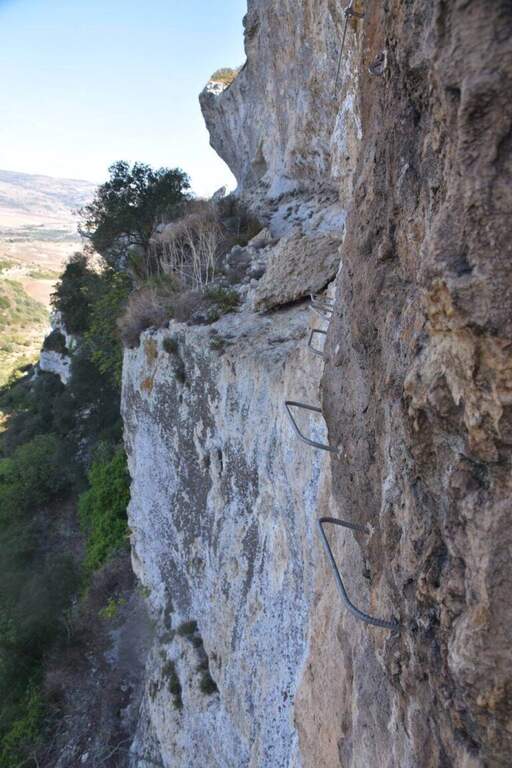
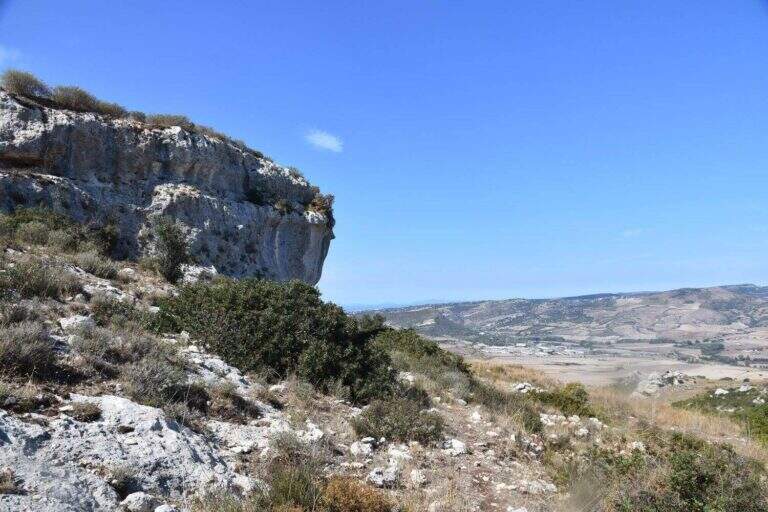
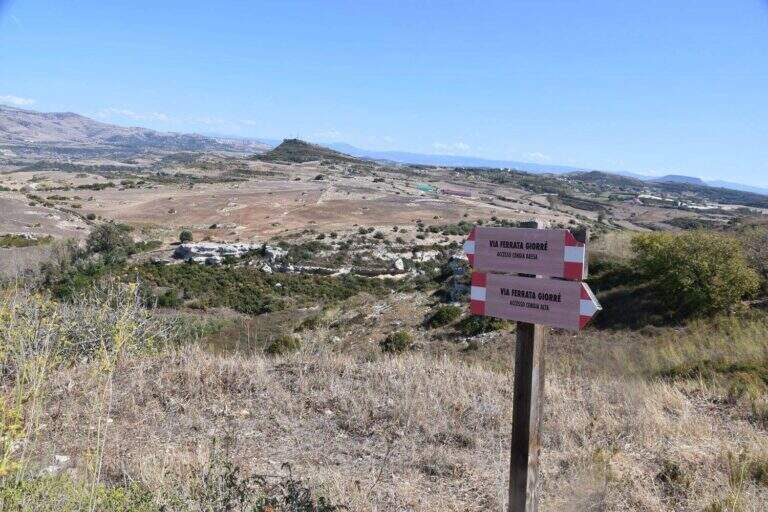
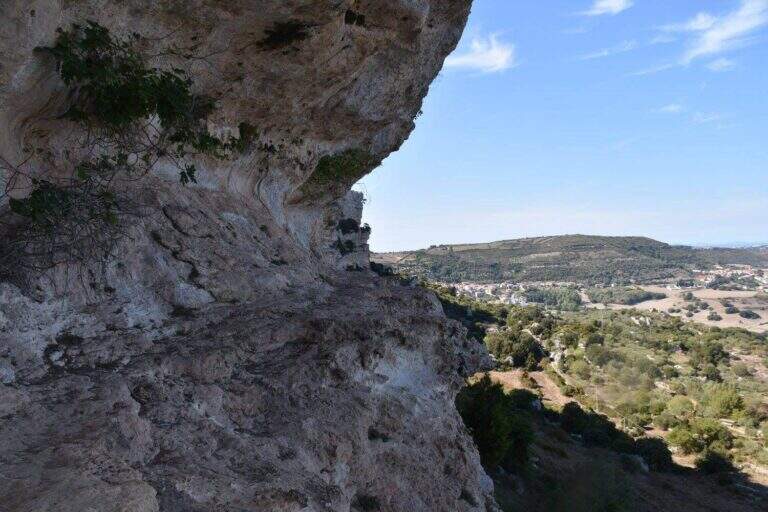
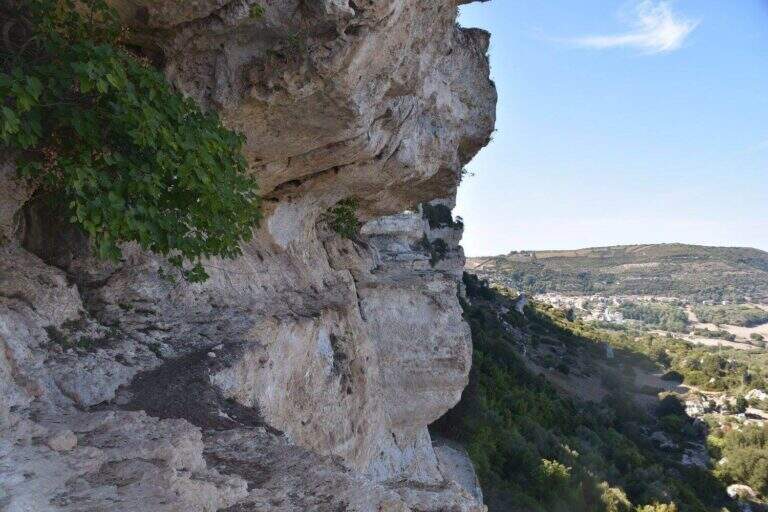
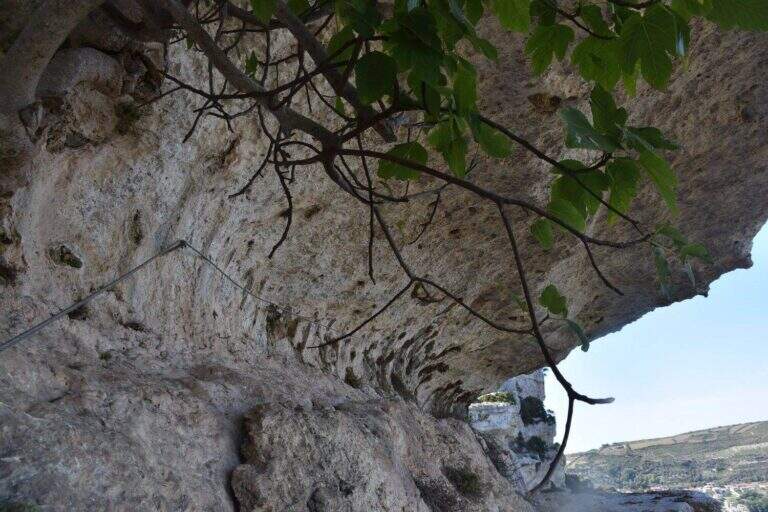
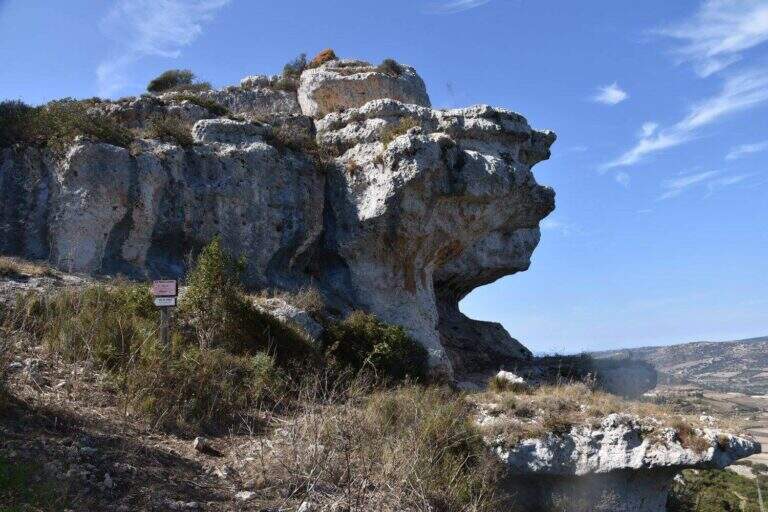
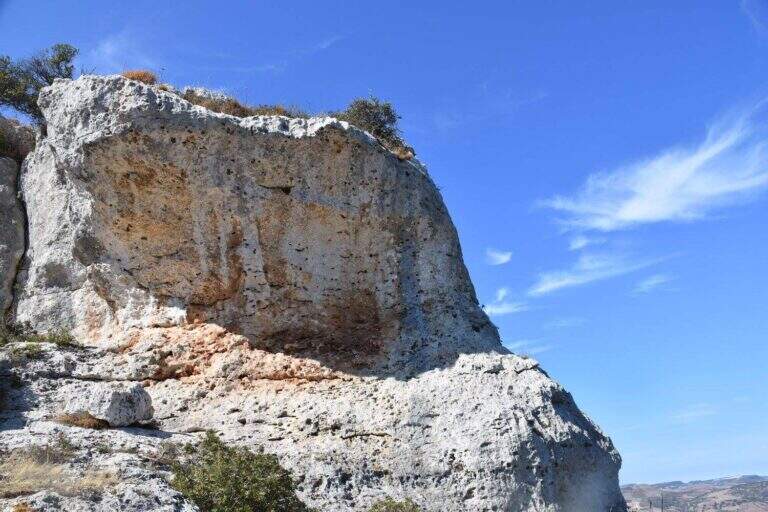
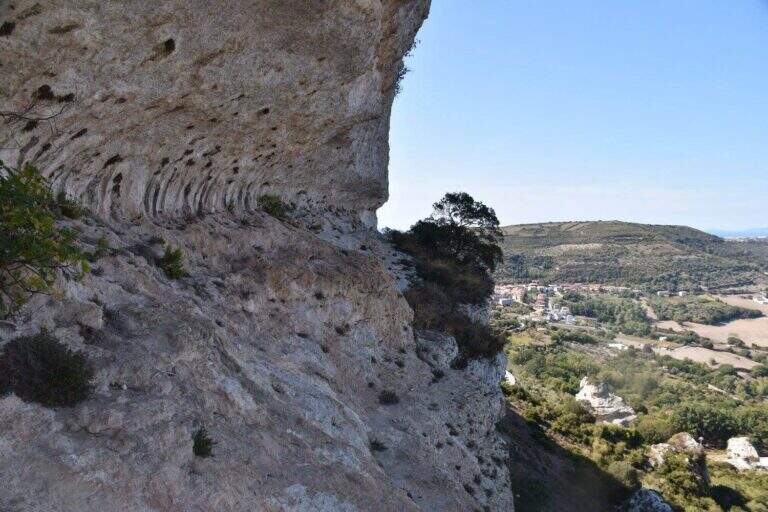
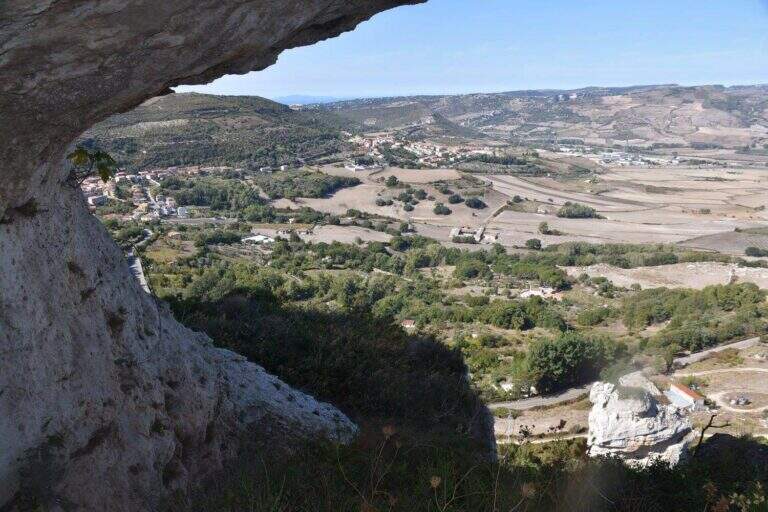
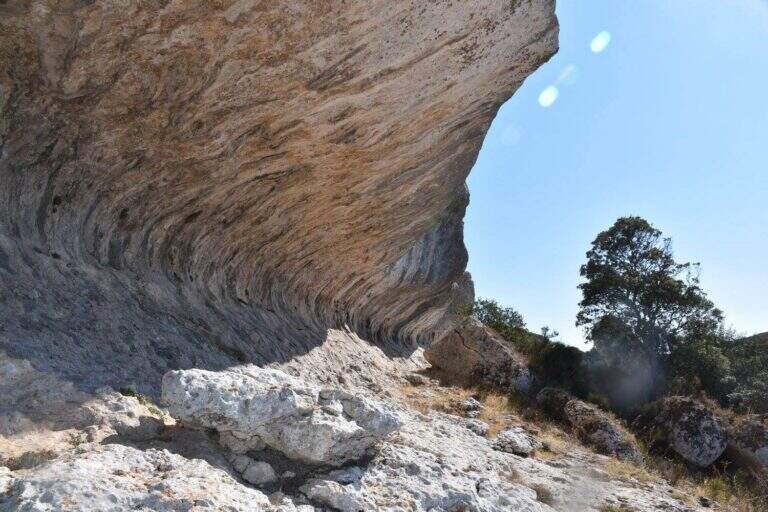
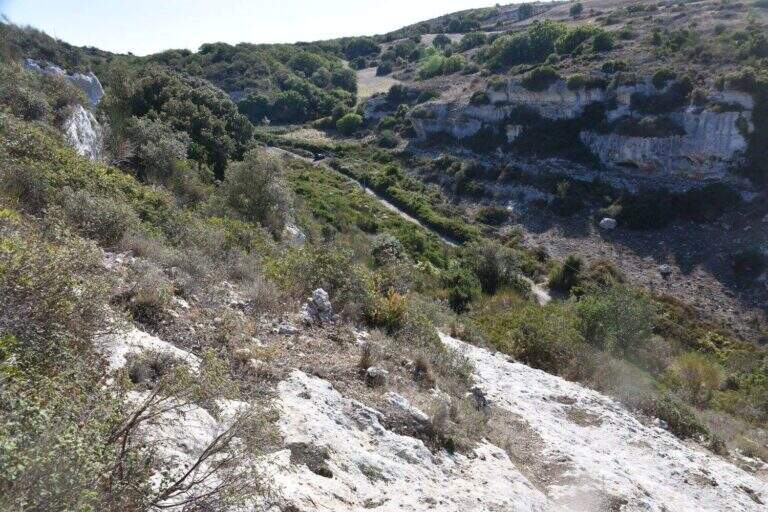
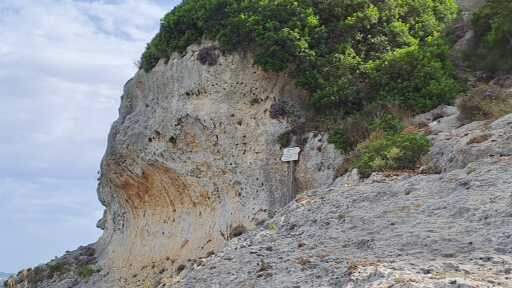
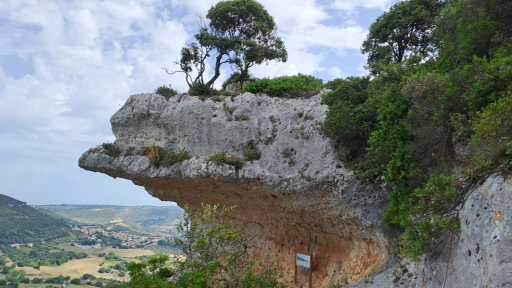
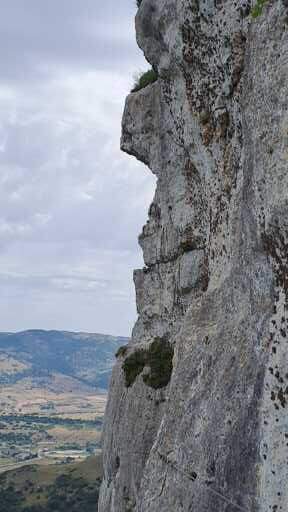
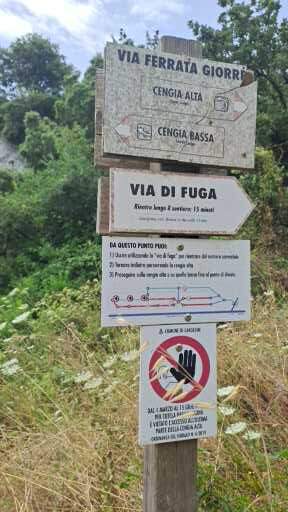
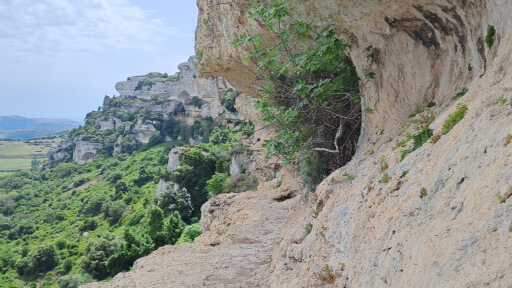
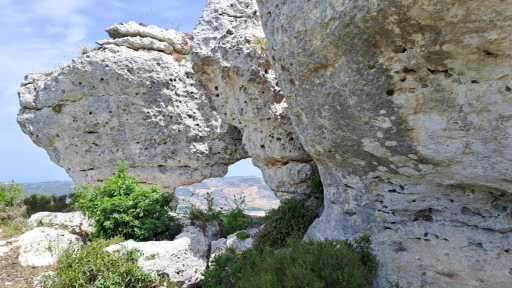
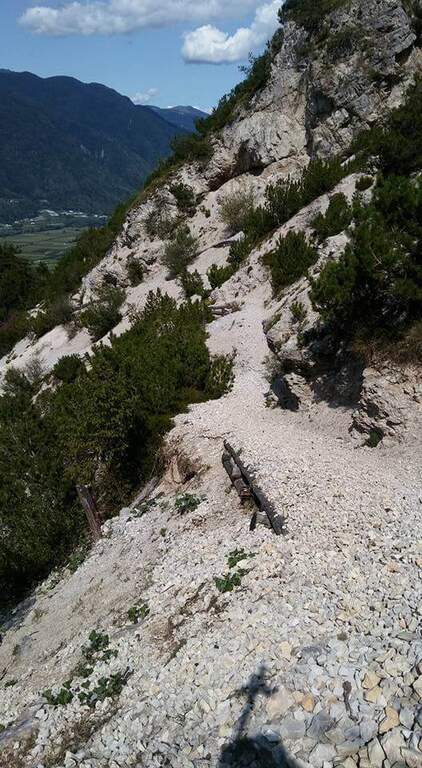
    La Ferrata di Giorrè corre lungo le alte pareti che delimitano l’altopiano di Giorrè, presso Cargeghe, nell’entroterra a sud di Sassari. È un percorso sorprendente fatto di cenge, traversi e brevi tratti verticali molto esposti, sviluppato come un lungo ‘8’ tra una Cengia Bassa e una Cengia Alta.

    ▲Approach

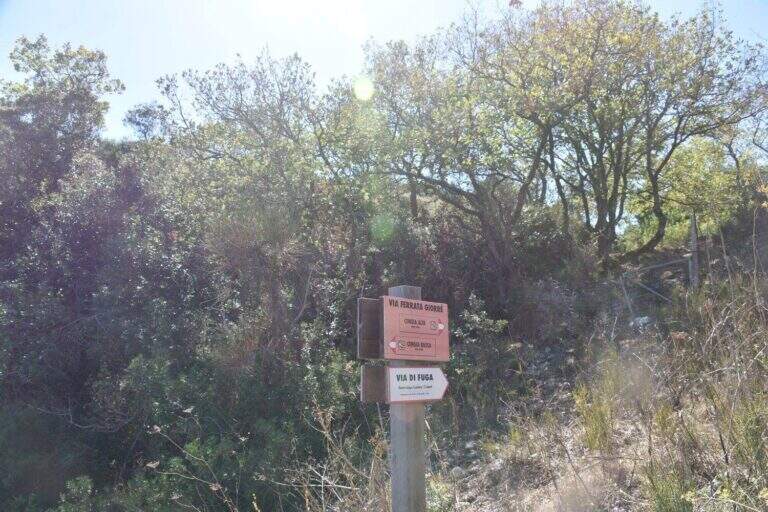
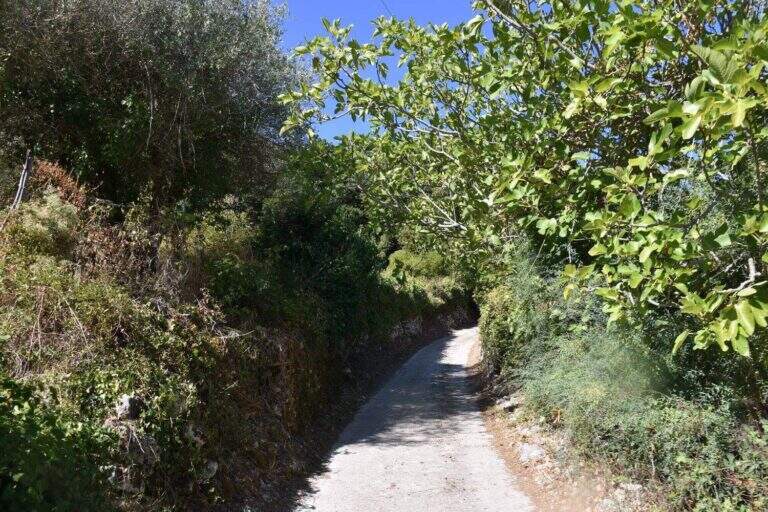
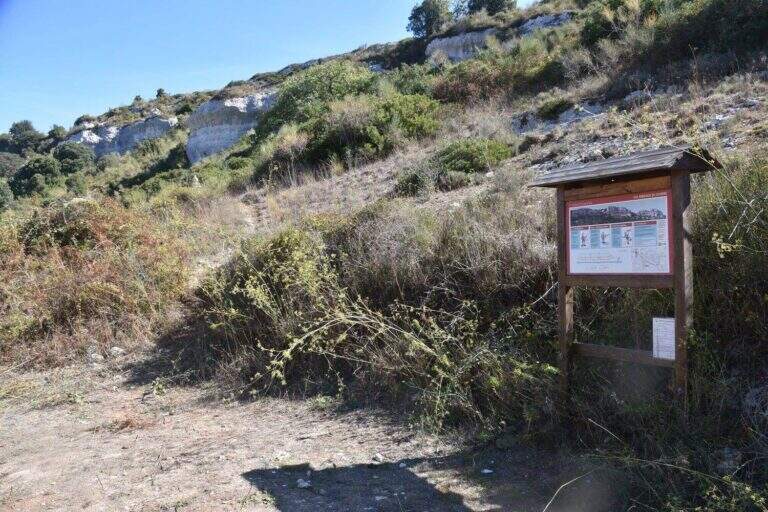
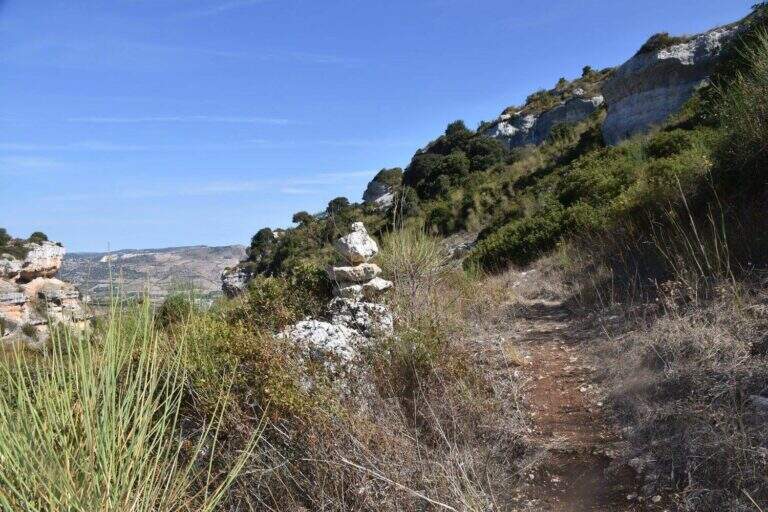
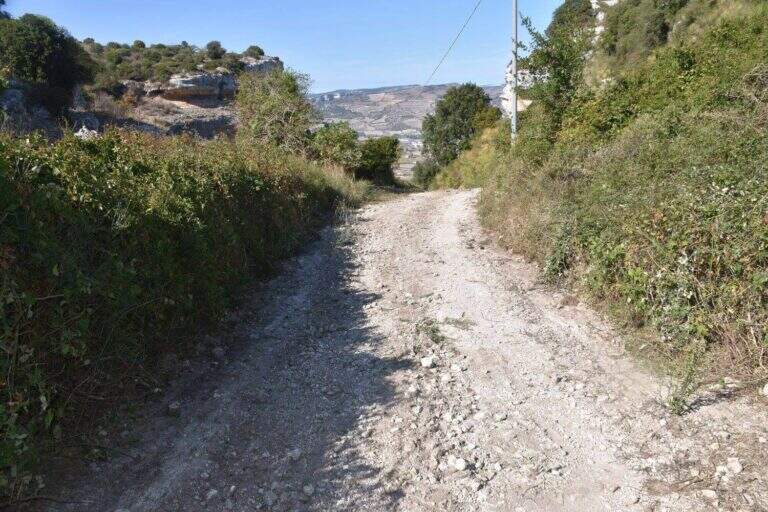
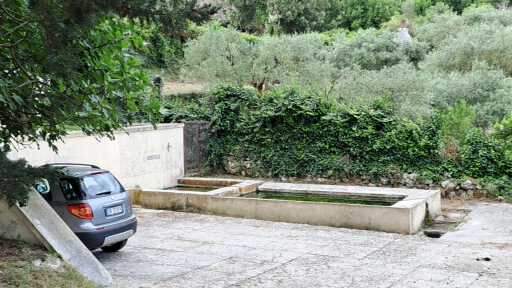
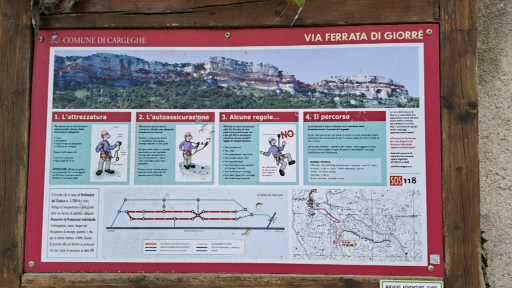
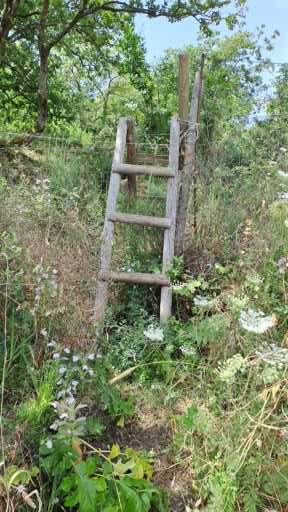
    L’attacco è appena fuori Cargeghe: si parcheggia lungo la provinciale che da Cargeghe porta a Florinas, dove una stradina si stacca dal lato destro; conviene fermarsi circa 200 metri oltre, in direzione Florinas, a bordo strada (starting point on Google Maps). Venendo da Cargeghe, con il paese alle spalle, si imbocca la prima stradina asfaltata in salita seguendo il cartello ‘Magola – Giorrè’; il sentiero è obbligato fino a una bacheca con la mappa, poi si sale seguendo gli ometti al bordo della macchia fino a un bivio segnato dove si tiene la sinistra, arrivando in breve all’attacco della Cengia Bassa (45′ dall’auto). Il rientro avverrà dalla Cengia Alta.

    ▲The path

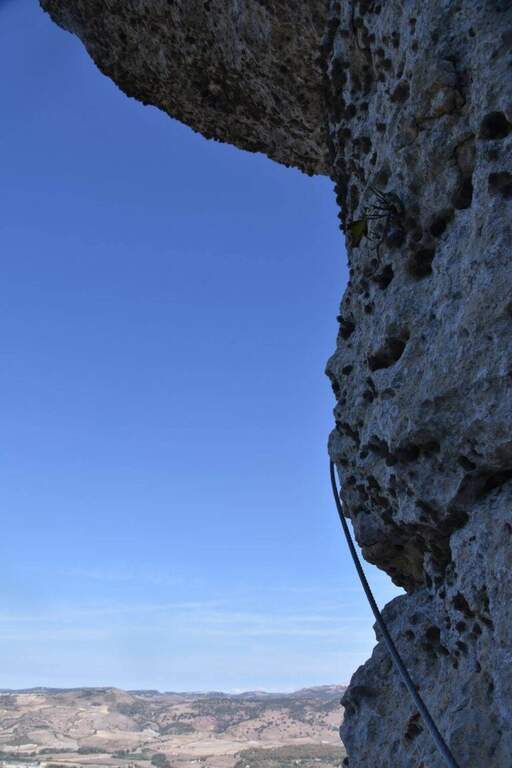
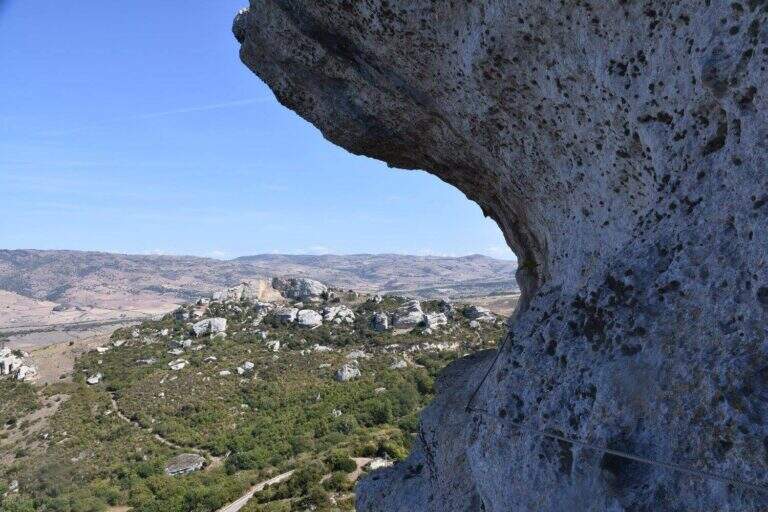
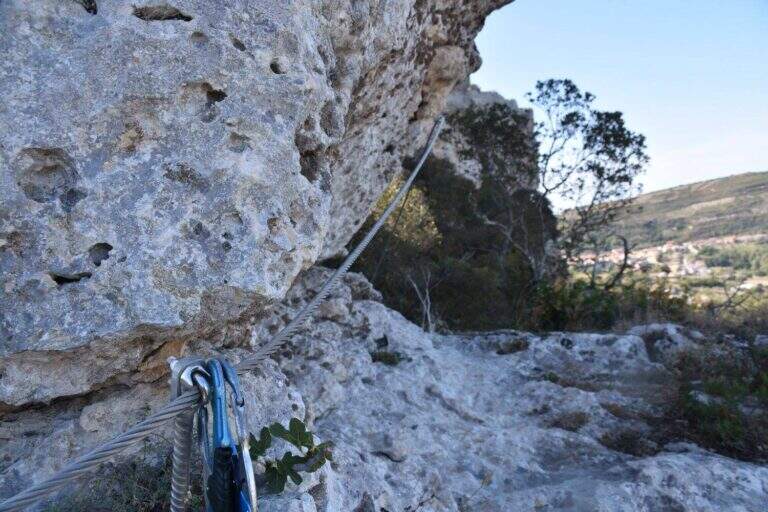
    Si attacca su un’ampia cengia verso sinistra, si aggira uno spigolo e si prosegue su cengia ampia ma non protetta; ci si stacca dal cavo scendendo alcuni metri su sentiero ripido, poi a destra si raggiunge una parete che si percorre in diagonale presso uno spigolo e quindi in verticale con alcune staffe, non difficile ma molto esposta. Un traverso orizzontale chiude la prima parte; segue un lungo alternarsi di strette cenge protette e brevi traversi fino al punto più iconico: un esposto traverso con staffe per i piedi che raggiunge un diedro, che non si risale ma si aggira a sinistra con un tratto di discesa facile ma molto esposto; si prosegue sul traverso e si supera un esposto spigolo con un passaggio in leggero strapiombo. Le attrezzature cessano momentaneamente su un’ampia cengia; dove si stringe, il cavo aiuta nei passaggi. Dopo un traverso che supera un canalino detritico e un altro traverso con staffe si arriva alla via di fuga: a destra sale verso la Cengia Alta (uscita anticipata), a sinistra prosegue la Cengia Bassa. Tenendo la sinistra, dopo un tratto di sentiero si ritrova il cavo che aggira uno spigolo; si prosegue lungo la cengia con un tratto di discesa e una sezione non protetta che si stringe presso il libro delle firme, poi una placchetta verticale con cambre e un sentiero più ampio oltre un piccolo pinnacolo. L’ultima parte della Cengia Bassa attraversa un esposto spigolo, un traverso su staffe in leggera discesa, una cengia non protetta piuttosto infida e un ultimo traverso esposto a sinistra, fino a uscire su sentiero al segnavia che indica a destra il rientro per la Cengia Alta. La Cengia Alta inizia non protetta (massima attenzione), poi le attrezzature proteggono la cengia, non difficile; superato l’incrocio della via di fuga, la seconda parte della Cengia Alta è quasi sempre in falsopiano fino ad aggirare uno spigolo e arrivare sotto i tetti rocciosi al termine della ferrata (1h 30′ dall’attacco, circa 2h totali).

    ▲Character and difficulty

    Via Moderatamente Difficile caratterizzata da forte esposizione ma difficoltà tecnica contenuta: una serie di cenge e traversi più o meno esposti con un paio di tratti verticali mai difficili grazie alle abbondanti staffe; richiede però piede fermo e testa per i tratti non protetti.

    ⚠ La via è in parte chiusa (ma comunque percorribile) tra il 1° marzo e il 15 giugno di ogni anno per tutelare la nidificazione della fauna: verificare il periodo. Diversi tratti di cengia non sono protetti dal cavo e sono esposti: attenzione costante.

    ▲Period and safety

    Bassa quota (massimo circa 513 m): percorribile gran parte dell’anno, preferibilmente fuori dalle ore e dai mesi più caldi e rispettando la finestra di tutela della fauna. Ambiente carsico e mediterraneo.

    ▲Discipline

    Dal termine della ferrata il rientro è intuitivo: si raggiunge il sentiero di avvicinamento e lo si ripercorre a ritroso fino all’auto (circa 3h totali).

    ▲To match

    In provincia di Sassari, vicine, la Ferrata di Cabriol e la Ferrata della Regina; verso Olbia la spettacolare Ferrata degli Angeli a Tavolara; nel Nuorese la Ferrata di Badde Pentumas, nell’Oristanese la Ferrata del Castello di Medusa; nel Sulcis-Iglesiente la Ferrata di Gutturu Xeu e la magnifica Ferrata Pan di Zucchero.

    ▲Gallery
    Technical data
    • DifficultyModerately Hard
    • RegionSardinia
    • GroupAltopiano di Giorrè
    • Approach0:45 h
    • Ferrata1:30 h
    • Itinerary (a/r)3:00 h
    • Hardware level difference130 m
    • Route difference170 m
    • Max513 m
    • Length4,2 Km
  • Ferrata Bepo de Medil

    Ferrata Bepo de Medil

    Vie Ferrate › Trentino Alto Adige › Trento
    Ferrata Bepo de Medil
    Moderately Hard● To checkDescriptionComplexityMapsGallery

    ⚠ ATTENZIONE: itinerario DA VERIFICARE. Il sentiero e di fatto chiuso (indicazioni rimosse e un muretto di sassi all’imbocco) e le attrezzature sono datate e in piu punti lasche, tanto da poter non reggere in caso di caduta: vanno considerate un sostegno solo psicologico. La gola e instabile, con tratti franati, ed e possibile trovare neve anche a stagione inoltrata. Caschetto obbligatorio. Adatto solo a escursionisti molto esperti, con passo fermo e assenza di vertigini.

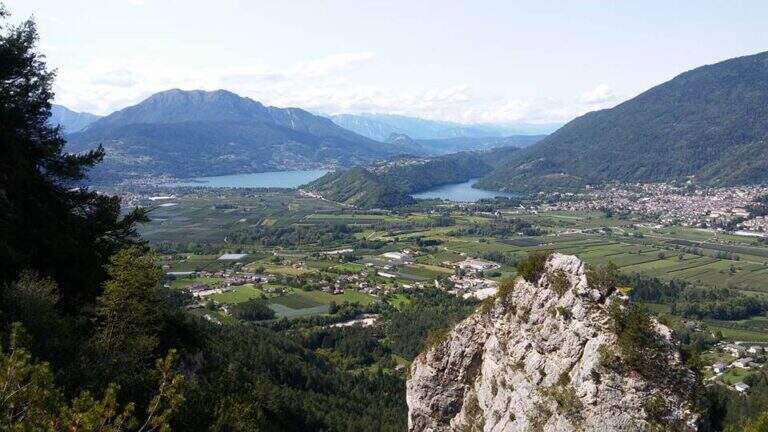
    L’antica Ferrata Bepo de Medil (1930) e una via poco frequentata e in scarso stato di manutenzione, che risale una stretta gola dalla Valle del Vajolet fino alla Pala di Mesdi e alla Valle del Larsec, nel gruppo del Catinaccio. L’ambiente e austero e affascinante, con panorami stupendi dalla parte alta, ma l’itinerario e riservato a chi ha solida esperienza.

    ▲Approach

    Si parte dal Rifugio Gardeccia (1949 m), in Val del Vajolet, interdetta al traffico privato: la si raggiunge con la funivia da Vigo di Fassa fino a Ciampedie e poi 45 minuti di sentiero, oppure con la funivia da Pera di Fassa (il bus navetta da Pozza non e piu in funzione dal 2019). Dal Gardeccia ci sono due opzioni per la gola della ferrata. La prima: verso nord-est si scende il greto del torrente secco e si risale sulla sinistra orografica con le indicazioni del “sentiero panoramico”; la traccia, dapprima debole, diventa evidente a un cartello per il Rifugio Vajolet e sale superando una frana fino a una palina (1 ora dal Gardeccia). La seconda, piu semplice ma piu lunga: si raggiunge il Rifugio Vajolet (2243 m) per il sentiero di valle e poi una traccia a destra verso est, a mezzacosta sotto i dirupi del Larsec, per circa mezz’ora fino a una palina (1 ora e 30 dal Gardeccia). Da li, verso nord-est, si stacca un sentiero non segnalato e apparentemente ostruito da un muretto di sassi: con alcuni sporadici bolli rossi inizia la ferrata. Apri il punto di partenza su Google Maps.

    ▲The path

    Dopo la palina, un tratto di sentiero in salita aggira uno spallone e apre la vista sulla gola. La parte iniziale e ampia ma franata, senza traccia: serve molta attenzione a rimontare la frana, a tratti decisamente instabile. Superata, alcuni segni rossi datati indicano la stretta gola dove iniziano le funi metalliche, dapprima sul lato destro. Si sale fino al passaggio piu ostico: un grosso masso ostruisce la via e occorre superare un balzo di un paio di metri sfruttando l’unica staffa della via, scomoda sul lato sinistro, con un po’ di agilita e forza. Si prosegue nell’angusta gola senza particolari difficolta tecniche fino a un diedro verticale ma ben appigliato, uscendo dalla gola (30 minuti dall’attacco, 1 ora e 45 totali). In un paesaggio brullo si segue un’esile traccia su detrito verso nord-est, verso la Pala di Mesdi, con due passaggi non protetti da segnalare: la discesa in un intaglio poco stabile con risalita sul versante opposto (attenzione al fondo detritico) e un tratto di cresta esposta. Si arriva a una forcella (20 minuti dal termine delle attrezzature, circa 2 ore totali) dove si puo scegliere se salire a destra la Pala di Mesdi su cresta ghiaiosa e rientrare (1 ora e 15 a/r) oppure concludere qui.

    ▲Carattere e difficolta

    Le difficolta tecniche dei tratti attrezzati non sono elevate, ma l’impegno complessivo si: gola instabile, attrezzature datate e lasche, passaggi non protetti. Il passaggio non protetto presso un canalino franoso, dopo l’uscita dalla gola, e probabilmente il piu esposto e pericoloso dell’intera escursione.

    ⚠ Affidatevi alla vostra capacita di muovervi su terreno instabile e non alle vecchie funi. Caschetto indispensabile per la caduta sassi; valutate le condizioni di innevamento, che possono persistere a lungo.
    ▲Discipline

    Dalla forcella si scende a est verso la valle del Larsec, su traccia detritica instabile (utili i bastoncini telescopici). Raggiunta la valle si hanno due opzioni: tenendo la destra in discesa verso il Passo delle Scalette e l’omonimo sentiero attrezzato fino alla Valle del Vajolet e al Gardeccia (5 ore totali), oppure a sinistra in salita al Passo Pope e giu per il sentiero Don Guido fino al Rifugio Vajolet e quindi al Gardeccia (5 ore totali).

    ▲Storia e da abbinare

    La via e dedicata a Giuseppe De Silvestro, detto Bepo de Medil, storico fondatore e gestore del Rifugio Gardeccia, che la attrezzo intorno al 1930. Si puo abbinare al Sentiero Attrezzato delle Scalette; dal Passo Pope si puo proseguire verso il Catinaccio d’Antermoia e la sua ferrata, oppure verso la Ferrata Laurenzi o la Ferrata Maximilian (con pernottamento). Scendendo nella Valle del Vajolet ci sono vie piu semplici (Passo Santner, Masare, Roda di Vael); in un’altra giornata, verso il Passo San Pellegrino, la Ferrata Bruno Federspiel e la Ferrata Bepi Zac.

    ▲Gallery
    Technical data
    • DifficoltaModerately Hard
    • RegionTrentino Alto Adige
    • GroupDolomiti di Fassa
    • Approach1:00 h
    • Ferrata2:00 h
    • Itinerary (a/r)5:30 h
    • Hardware level difference260 m
    • Route difference808 m
    • Max2758 m
    • Length9,2 Km
  • Sentiero Attrezzato del Canalino della Balza Forata

    Sentiero Attrezzato del Canalino della Balza Forata

    Vie Ferrate › Marche › Pesaro-Urbino
    Sentiero Attrezzato del Canalino della Balza Forata
    Moderately Hard● OpenDescriptionComplexityMapsGallery

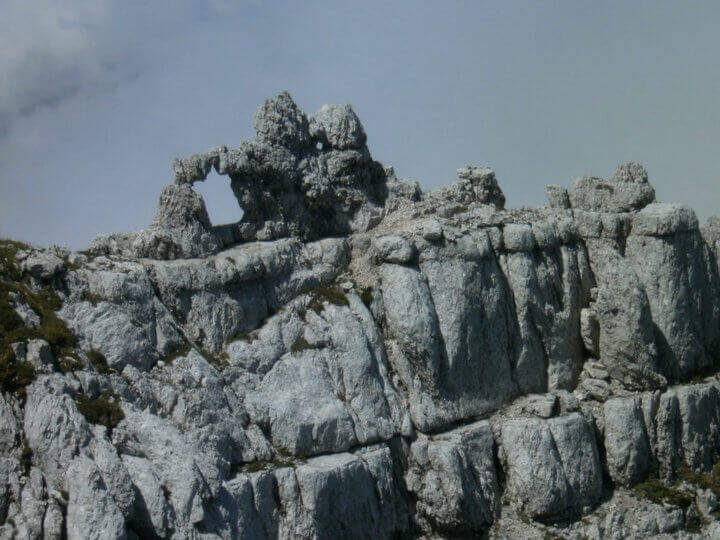
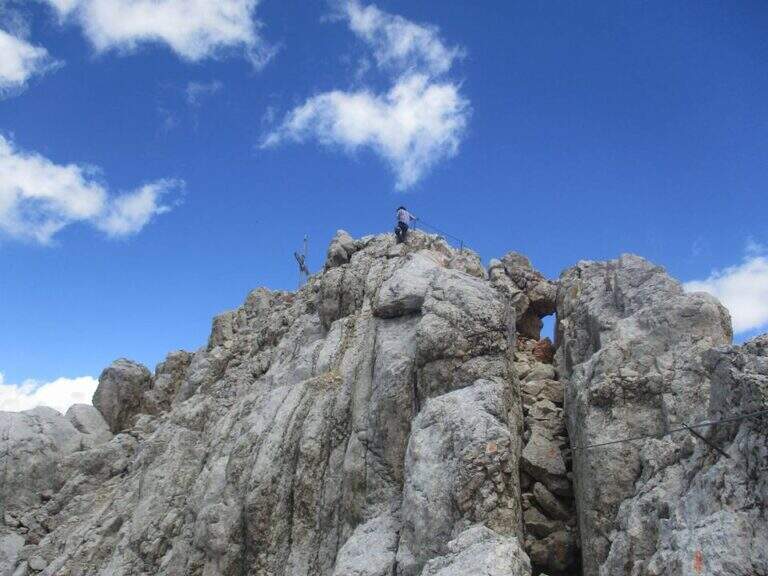
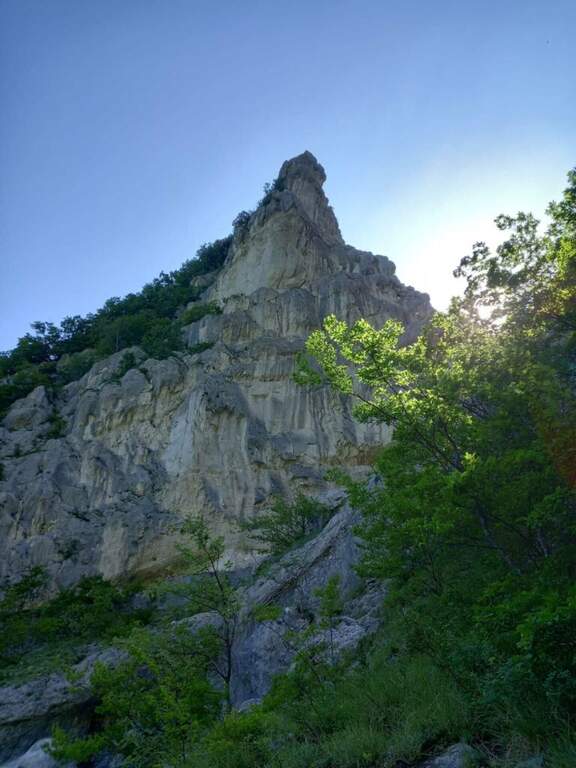
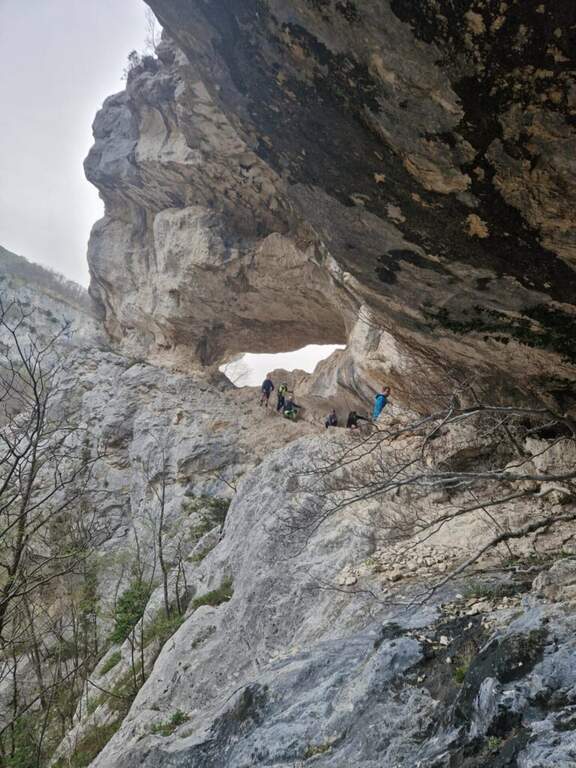
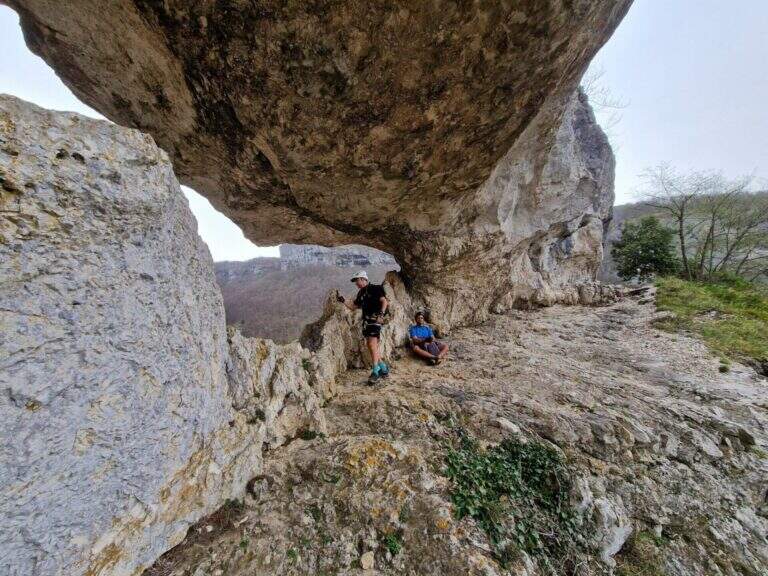
    Il Sentiero Attrezzato del Canalino della Balza Forata sale, tra cenge e tratti verticali, fino alla spettacolare apertura naturale a forma di finestra che da il nome alla parete, nella suggestiva cornice della Valle dell’Abisso e dell’Infernaccio del Monte Nerone. Non e una ferrata in senso stretto ma un itinerario alpinistico reso piu accessibile da corde fisse: difficolta tecniche moderate, ma ambiente serio con tratti sprotetti. Consigliato a chi ha gia esperienza.

    ▲Approach

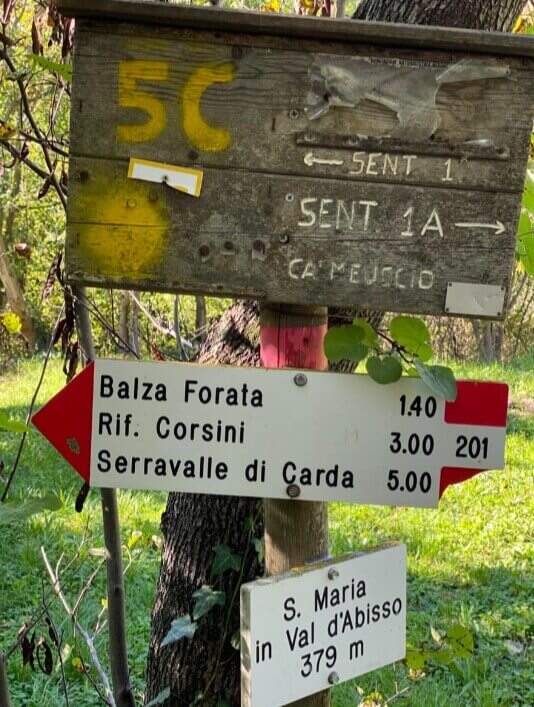
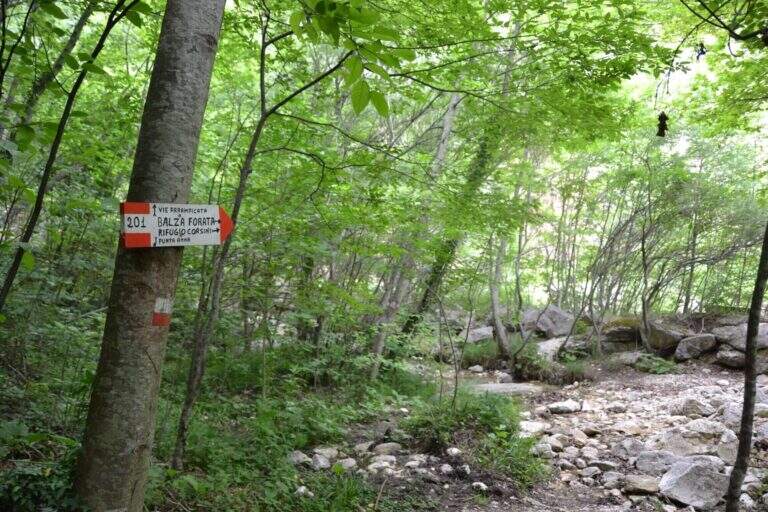
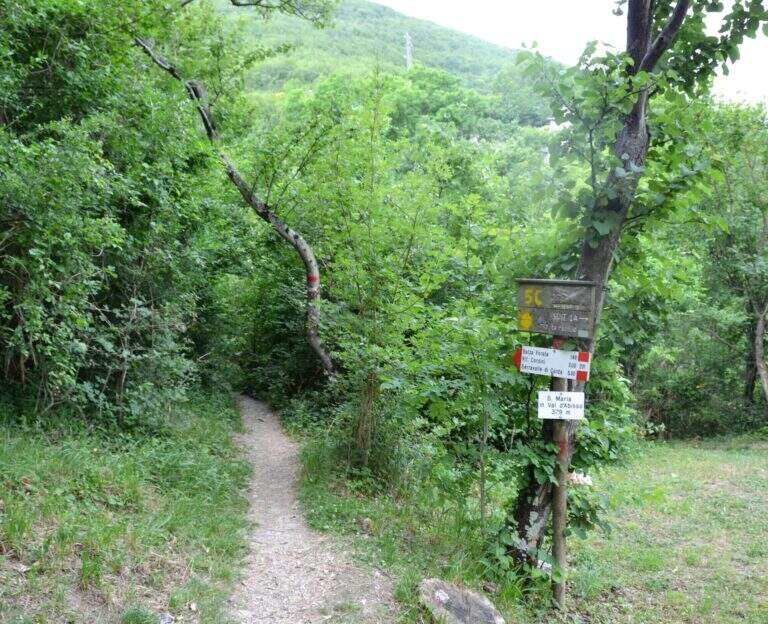
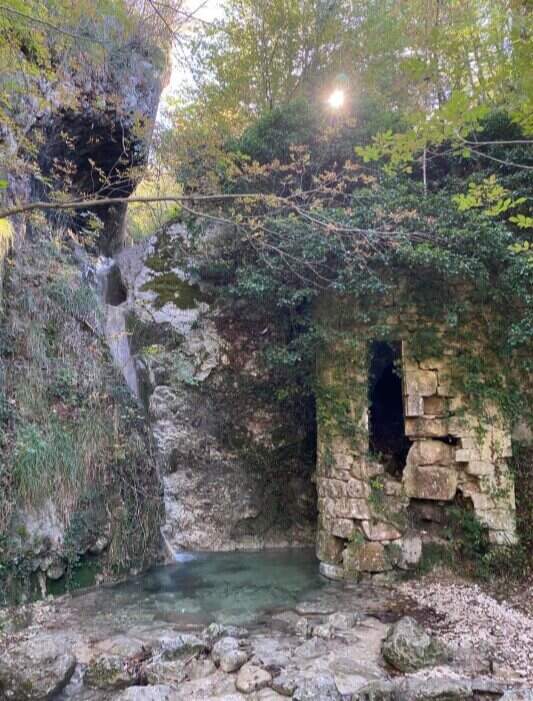
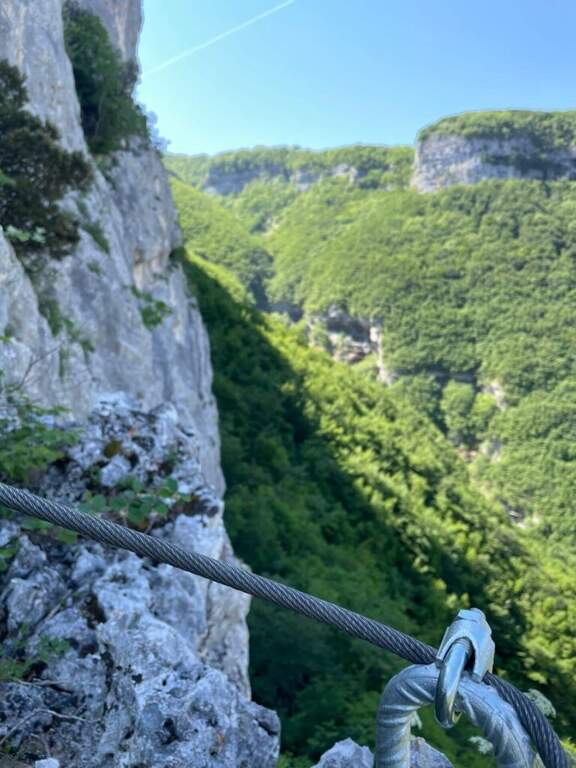
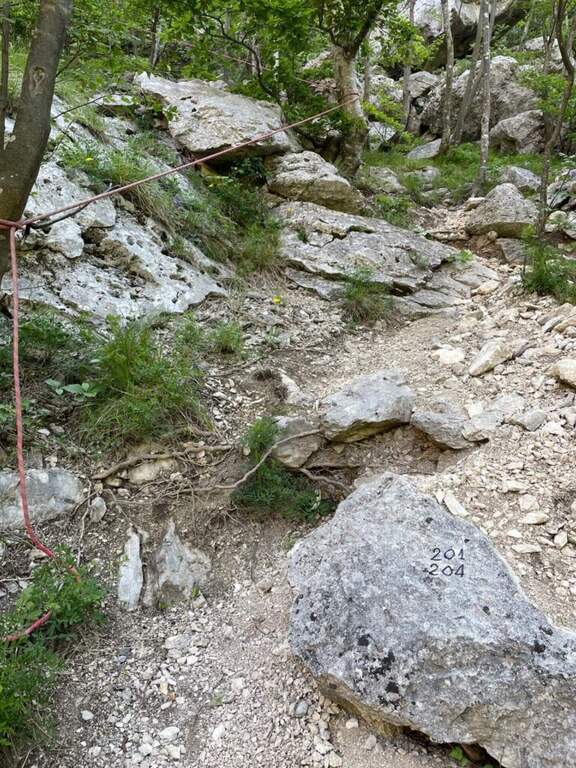
    Sono possibili due avvicinamenti. Avvicinamento 1 (consigliato per l’anello con la sola Balza Forata): si parte dal Santuario di Santa Maria in Val d’Abisso (380 m), dove si parcheggia. Oltrepassata la chiesa tenendola a sinistra, si imbocca il sentiero 201 che attraversa la Val d’Abisso per circa 40 minuti, supera un vecchio mulino dove si tiene la sinistra restando sul 201; si oltrepassa il torrente, poco dopo si tiene la destra in salita e a un bivio successivo ancora a destra (ignorando il sentiero a mezzacosta). Raggiunta la cava di travertino, con un ampio piazzale e una panchina sotto le pareti bianche di Punta Anna, si segue a sinistra il sentiero a bolli rossi fino a superare l’acquedotto col pannello solare; sulla sinistra un grosso masso segna l’attacco (cavetto metallico e corda gialla), circa 1 ora dal parcheggio. Avvicinamento 2 (consigliato in discesa se si vogliono fare entrambi gli itinerari): si raggiunge in auto il secondo tornante che si affaccia sulla valle dell’Infernaccio (1101 m) e si parcheggia; si scende per il sentiero 204 seguendo ometti e segni rossi fino al sentiero 201, poi a un bivio si scende a destra alla base della parete della Balza Forata, la si aggira a destra fino alla ferrata e si scende a sinistra fino al grosso masso dell’attacco (678 m), circa 1 ora. Apri il punto di partenza su Google Maps.

    ▲The path

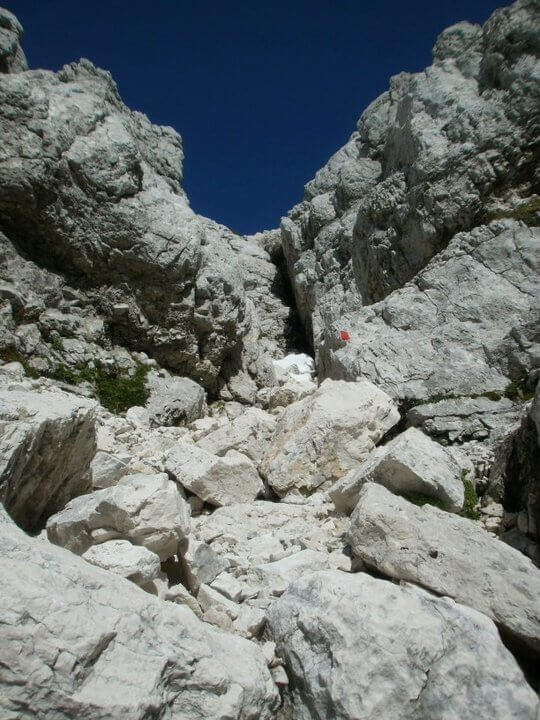
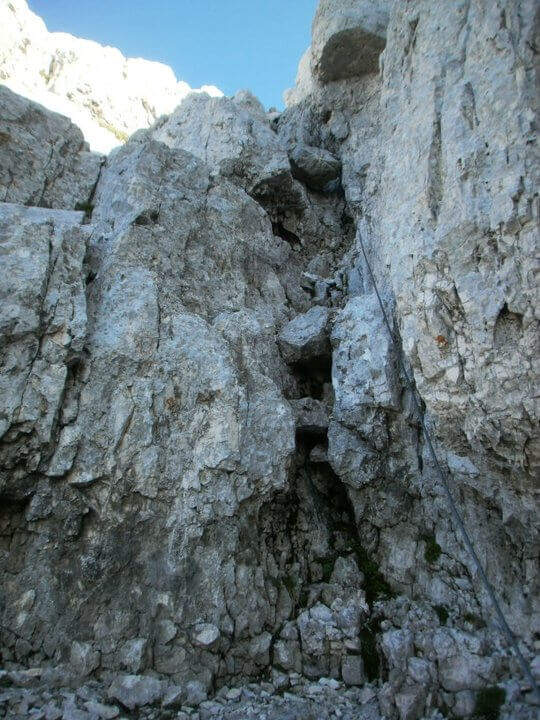
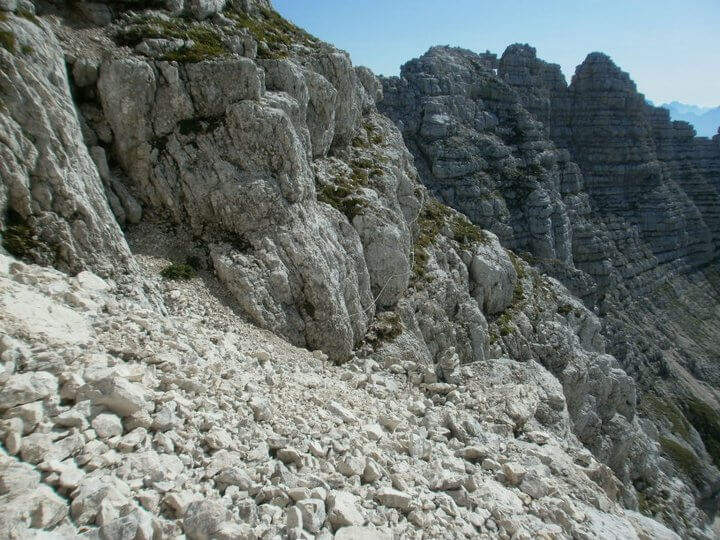
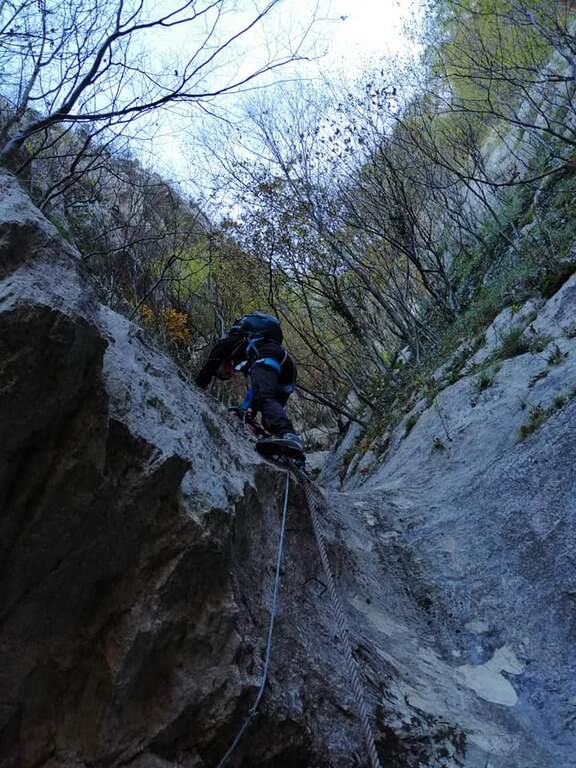
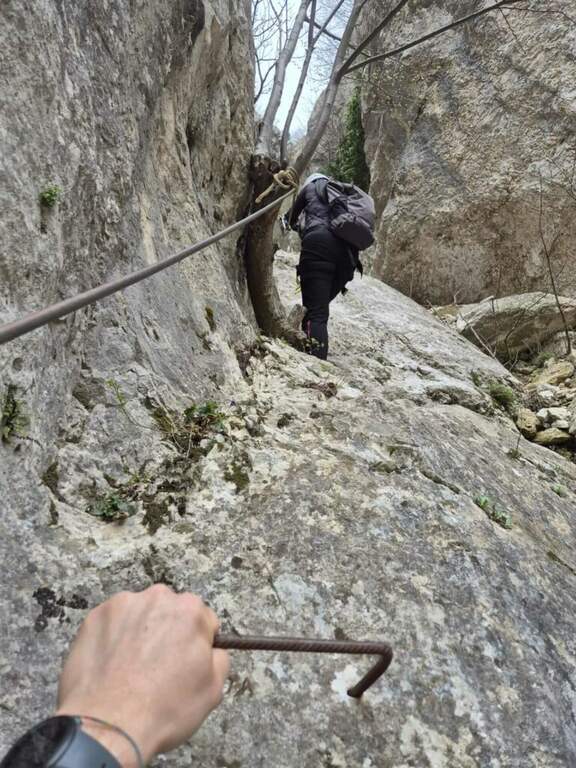
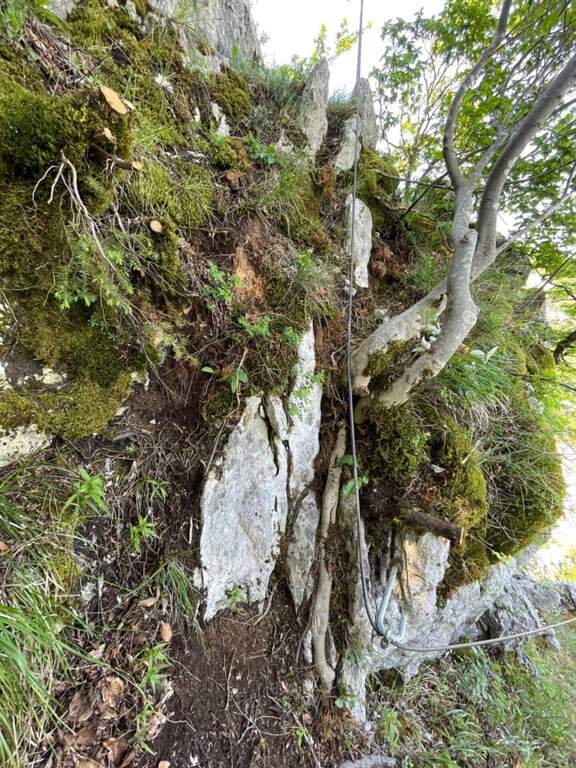
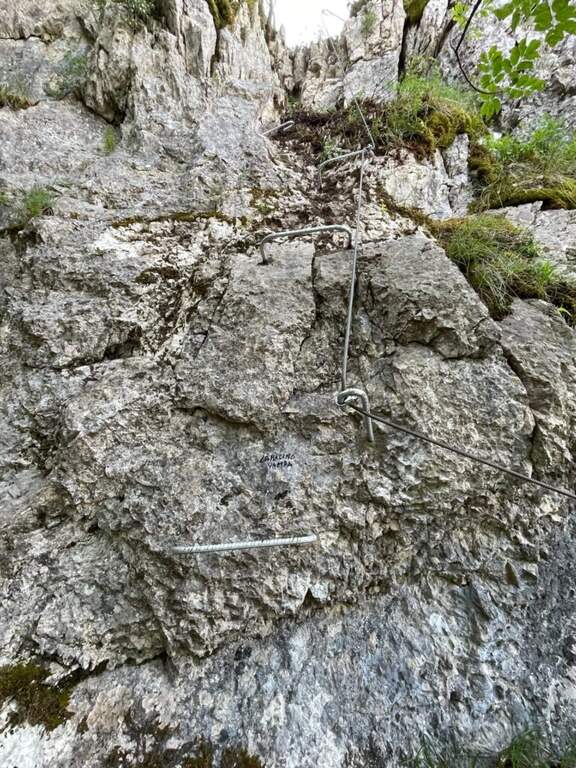
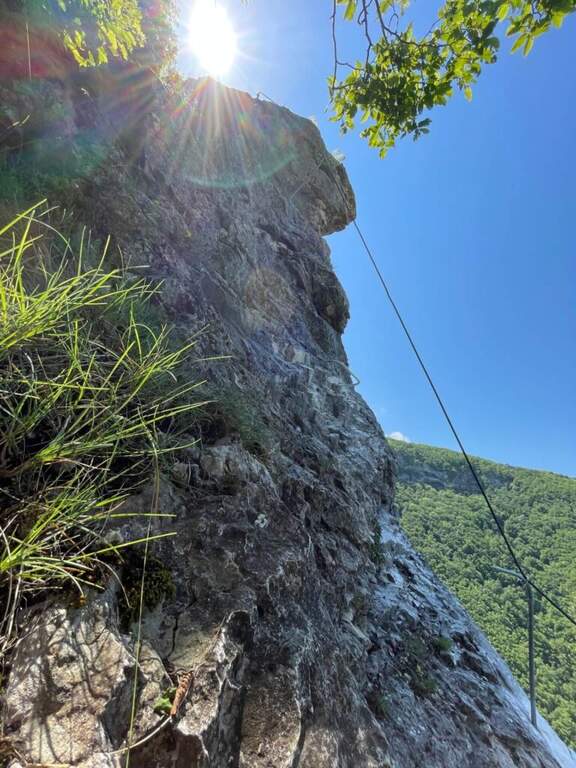
    Dall’attacco la via attrezzata alterna sezioni verticali a tratti piu agevoli, con alcuni passaggi impegnativi dove alcune cambre metalliche aiutano pur richiedendo passi di forza. Seguendo la parete fino all’entrata del canalino sulla sinistra (alcuni vecchi chiodi indicano la via), si risale il canalino detritico con catene e corde fisse fino a un primo tratto verticale piu attrezzato. Superato il muretto con gli scalini in ferro, si segue il cavo a sinistra lungo il canalone alternando fondo terroso e tratti verticali fino in cima a Punta Anna. Si arriva a un “grottino”: un tratto scivoloso attrezzato con gradini in ferro e fune d’acciaio, da affrontare con la massima attenzione perche il terreno e pieno di sassi. Raggiunto il “Grottone”, si prende una bella cengia leggermente esposta; svoltando a sinistra si supera un breve tratto con scalini e corda, si percorre un’altra cengia e infine l’ultimo tratto attrezzato che conduce all’interno della Balza Forata, dove la via termina (circa 1 ora dall’attacco, 2 ore dal parcheggio). Volendo, oltre la finestra si puo proseguire sul nuovo Canalino Vampa (circa 40 minuti), itinerario verticale ed esposto che costeggia lo strapiombo dell’Infernaccio.

    ▲Carattere e difficolta

    Le difficolta tecniche restano moderate, ma vanno distinte dall’impegno complessivo: l’itinerario presenta tratti sprotetti e si svolge in un ambiente che richiede attenzione ed esperienza. Il cavo e nel complesso in ottimo stato; qualche gradino in ferro e meno saldo ma non pericoloso, e in alcuni punti il cavo non e molto teso.

    ⚠ Forte rischio di caduta sassi: caschetto obbligatorio e, se si va in compagnia, mantenere ampia distanza. Dove il cavo e poco teso non restare vicini. Usate le corde fisse come corrimano e sicurezza, evitando di appendervisi: e un itinerario per escursionisti gia esperti.
    ▲Discipline

    Con l’avvicinamento 1 si oltrepassa la Balza Forata tenendo la sinistra fino a un ghiaione in discesa che si attraversa per immettersi nel sentiero 201, chiudendo l’anello fino alla cava di travertino e quindi a ritroso fino al Santuario. Con l’avvicinamento 2, dopo l’eventuale Canalino Vampa si rientra risalendo il sentiero 204 (e poi il 201), circa dieci minuti fino al tornante.

    ▲Storia e dintorni

    Il canalino fu percorso da alpinisti marchigiani a fine anni Sessanta; il progetto di attrezzarlo a sentiero attrezzato e iniziato nel 2015 e completato nel 2020, mentre il Canalino Vampa e stato trasformato in via attrezzata da alcuni volontari nel maggio 2026. La Balza Forata, con il sole che filtra dalla finestra naturale, regala un colpo d’occhio davvero scenografico (relazione a cura di Cristian Manduchi). In zona si possono abbinare il trekking dell’Orrido dei Cupi di Fiamma e le cascate di Pian dell’Acqua. Per quanto riguarda le vie ferrate, nelle Marche l’unica altra opzione al momento e la Ferrata dei Piceni a Pioraco, piuttosto lontana.

    ▲Gallery
    Technical data
    • DifficoltaModerately Hard
    • RegionMarche
    • GroupAppennino Marchigiano
    • Approach1:00 h
    • Ferrata1:00 h
    • Itinerary (a/r)3:00 h
    • Hardware level difference200 m
    • Route difference560 m
    • Max880 m
    • Length6,2 Km
Need help? Write to us!