Regione: Veneto

  • Ferrata Renè de Pol al Forame

    Ferrata Renè de Pol al Forame

    Vie Ferrate › Veneto › Belluno
    Ferrata Renè de Pol al Forame
    Moderately Hard● OpenDescriptionComplexityMapsGallery

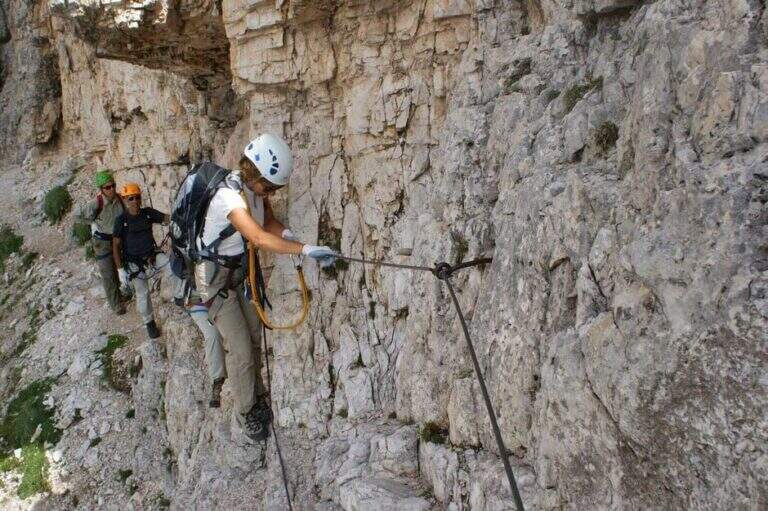
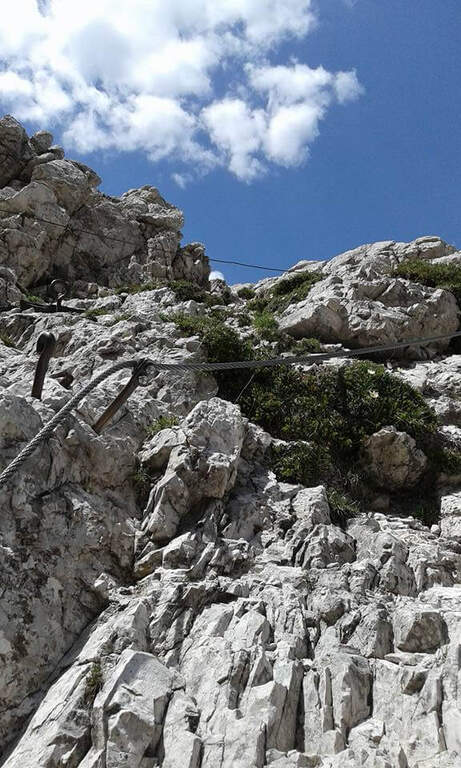
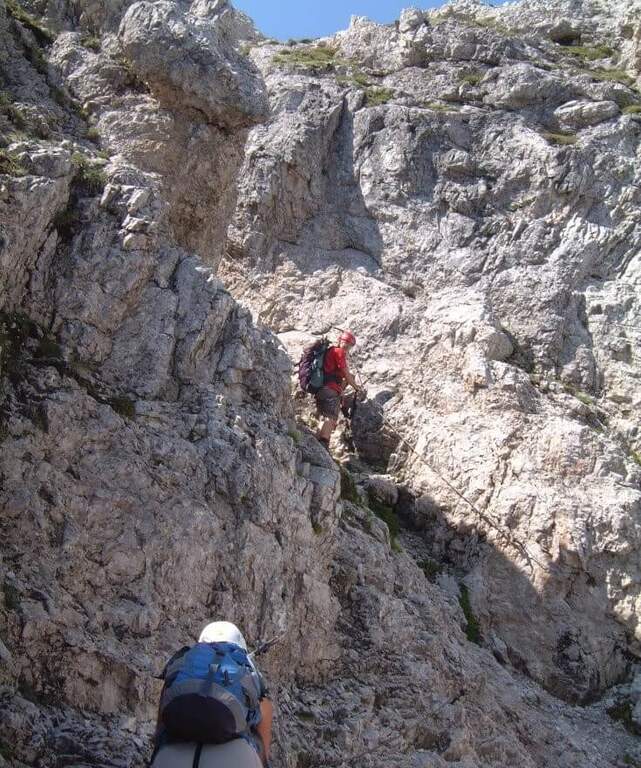
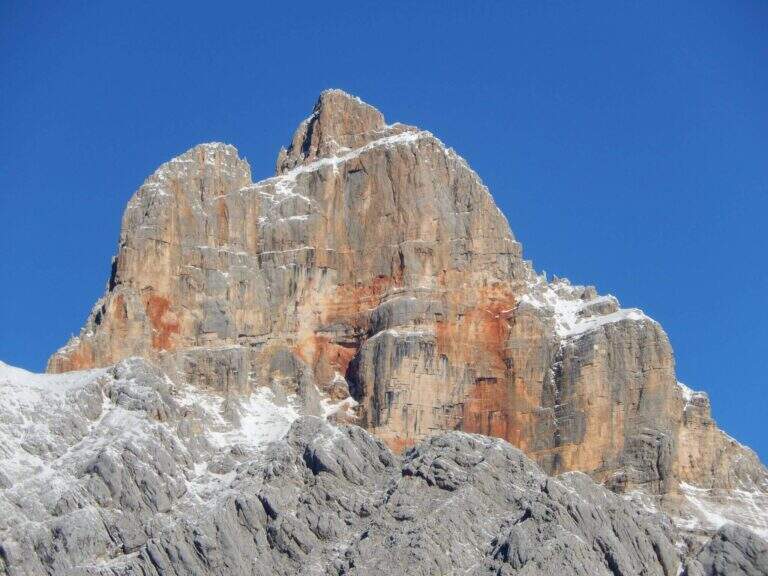
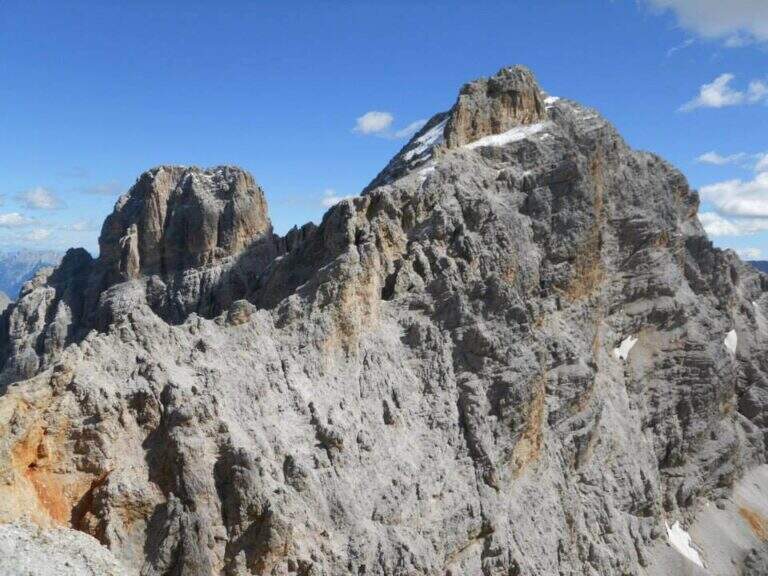
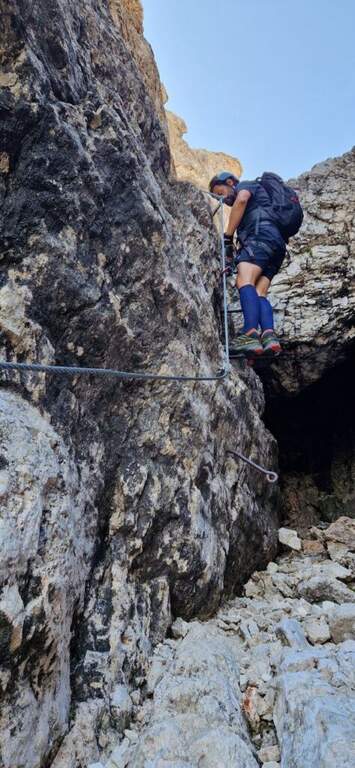
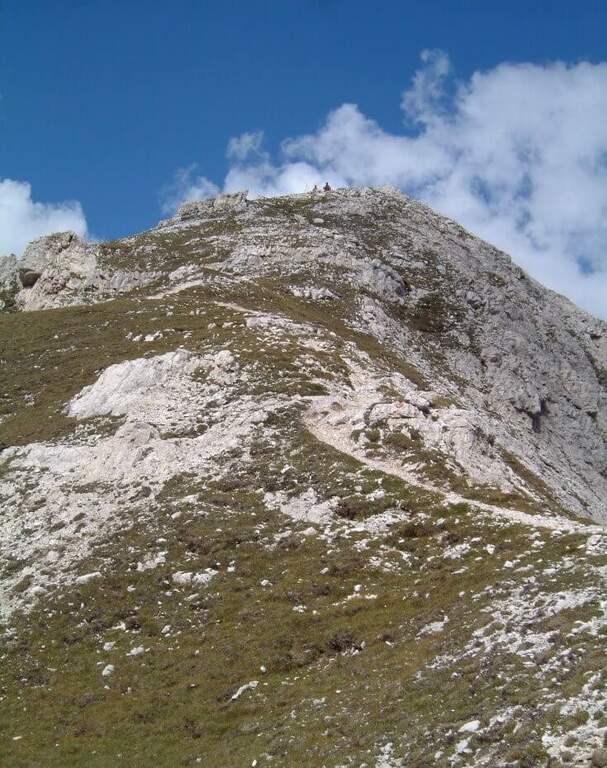
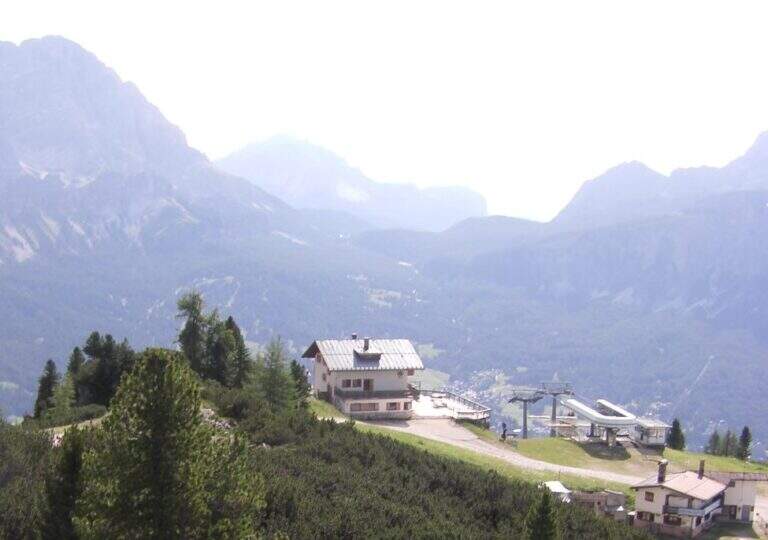
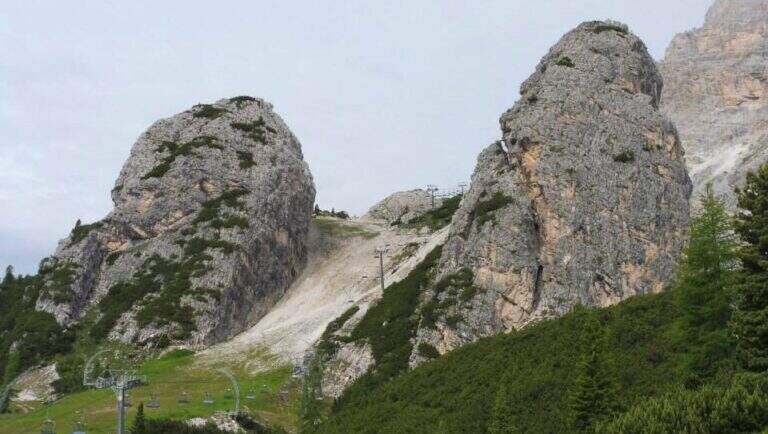
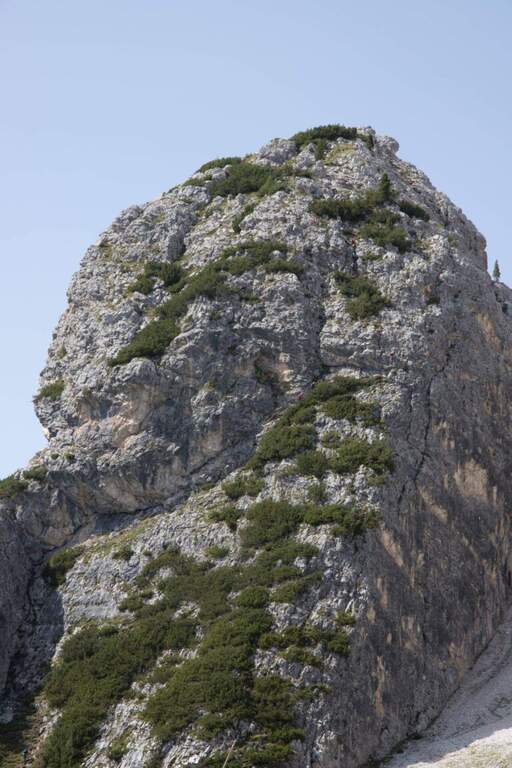
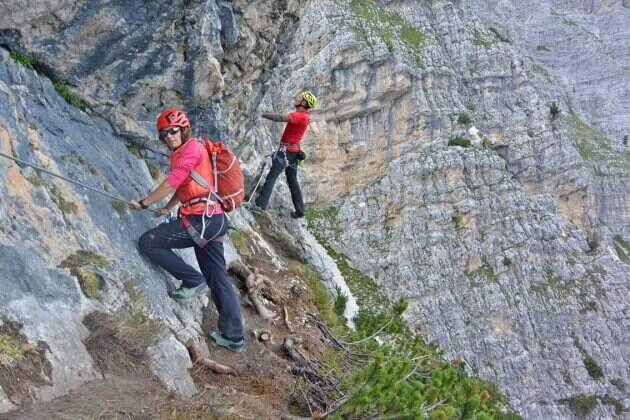
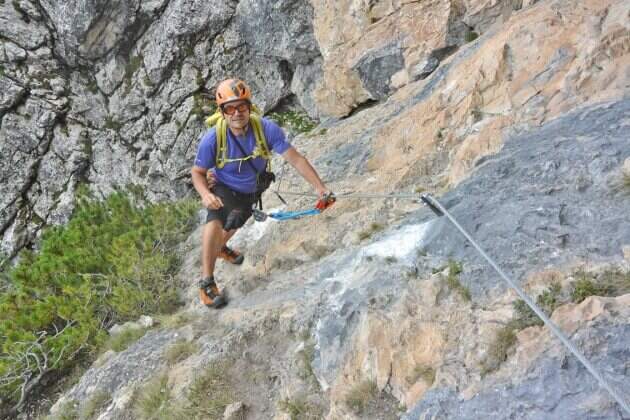
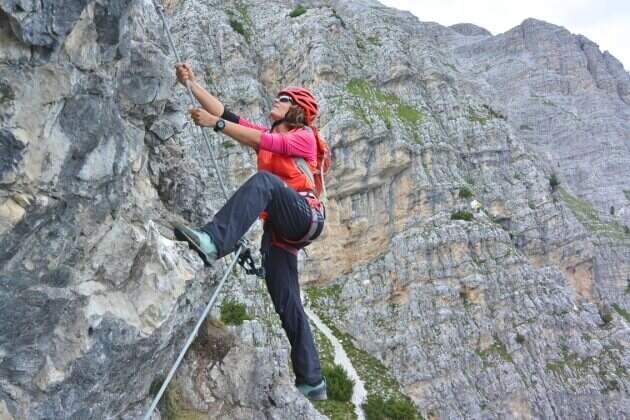
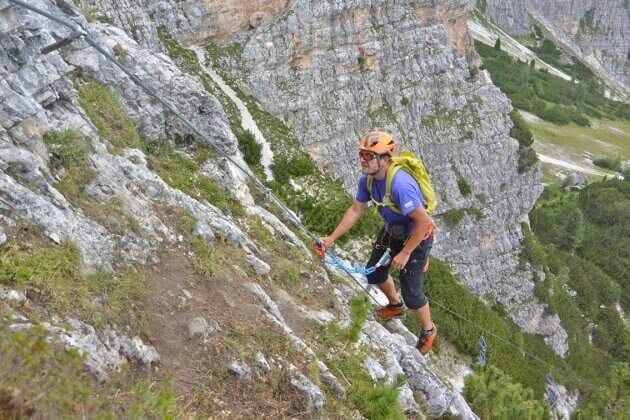
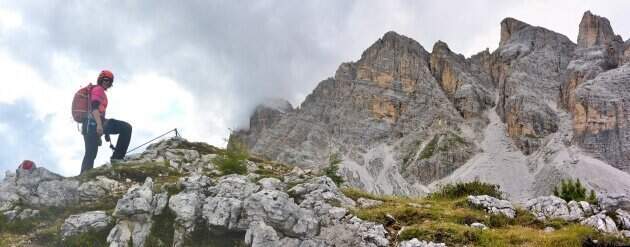
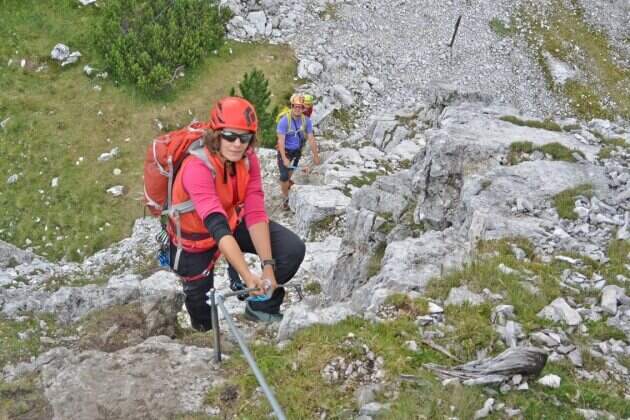
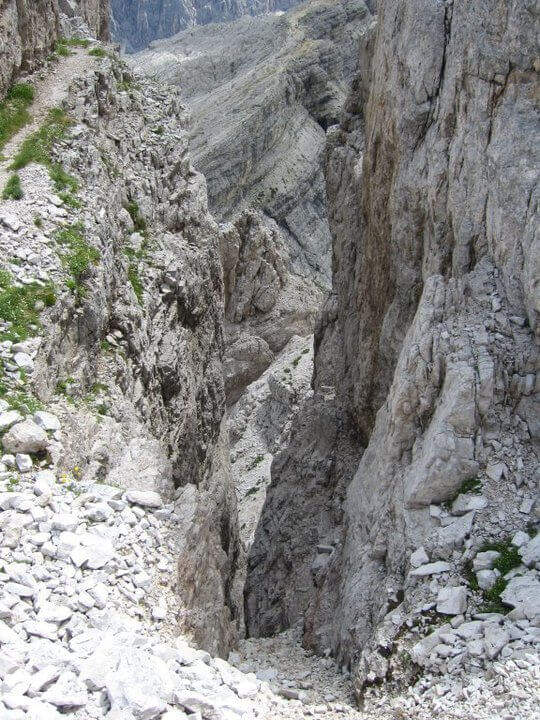
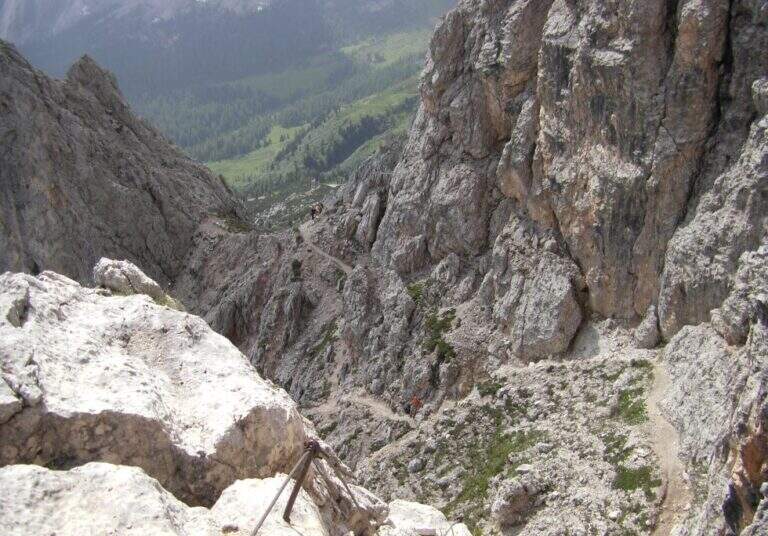
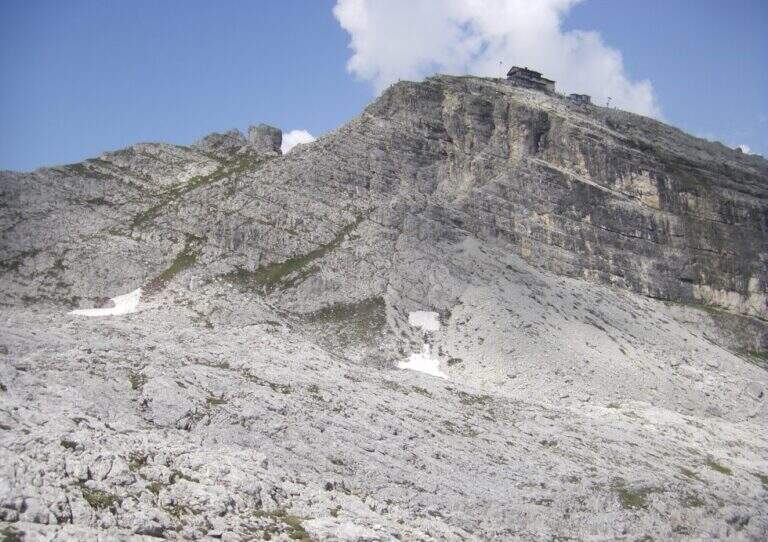
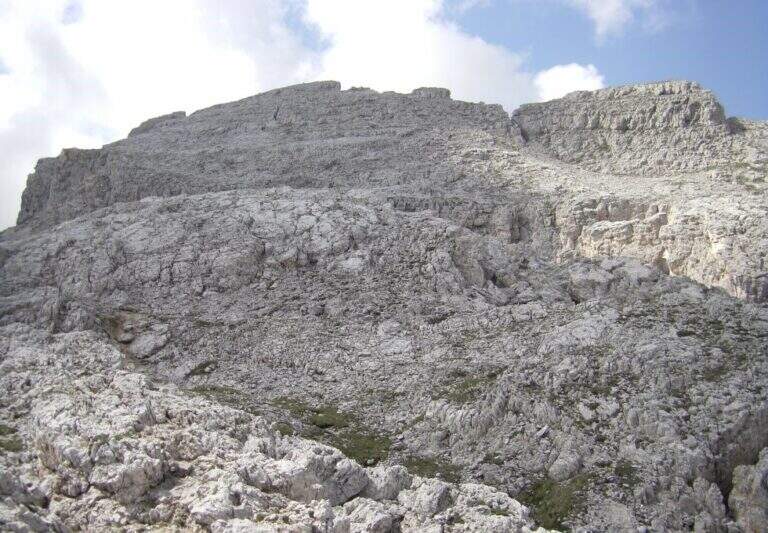
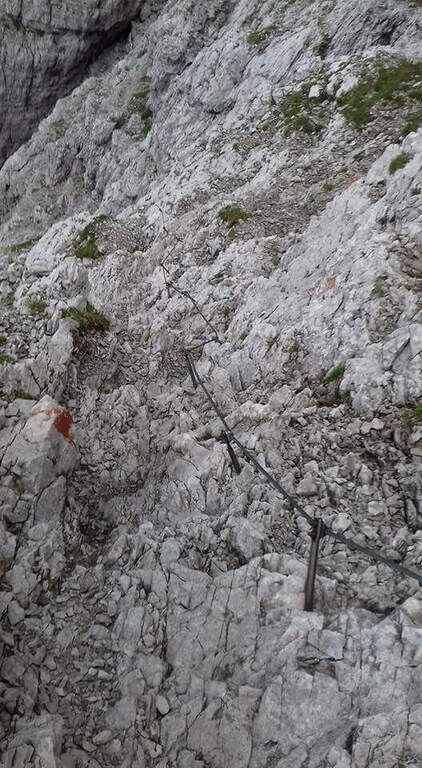
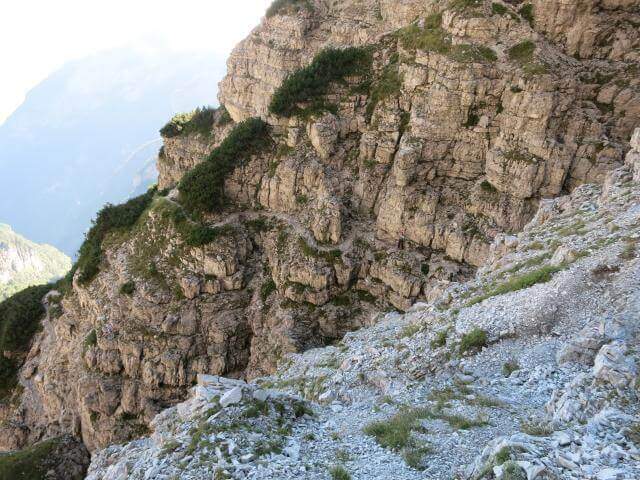
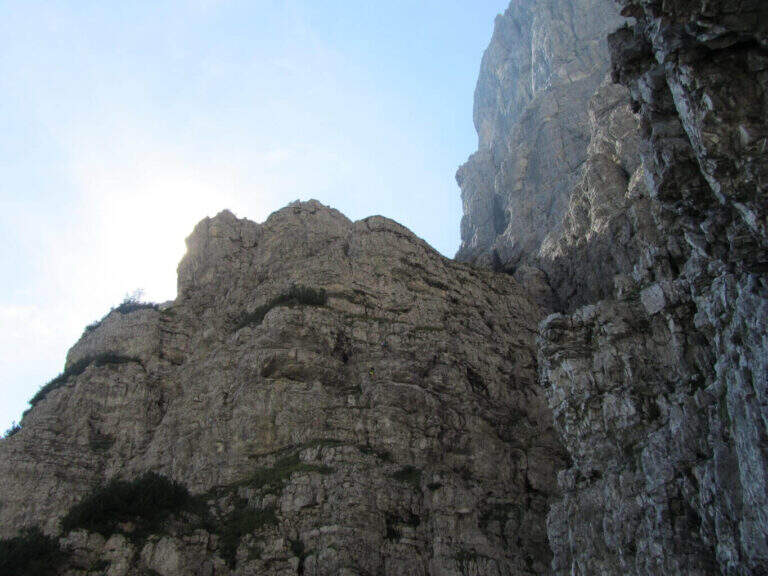
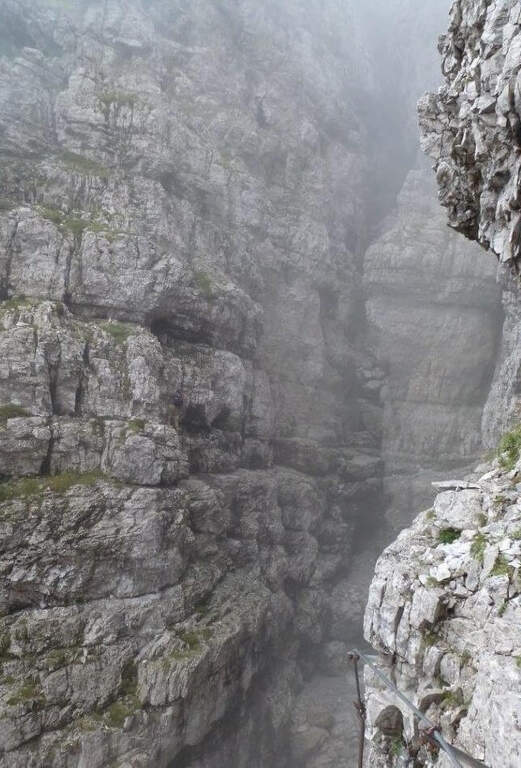
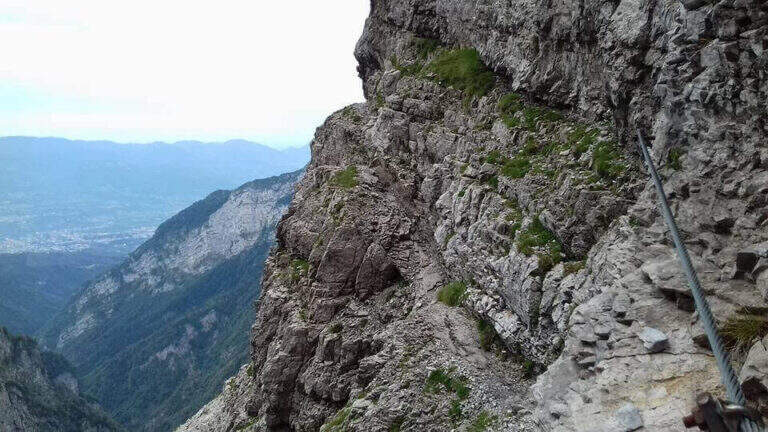
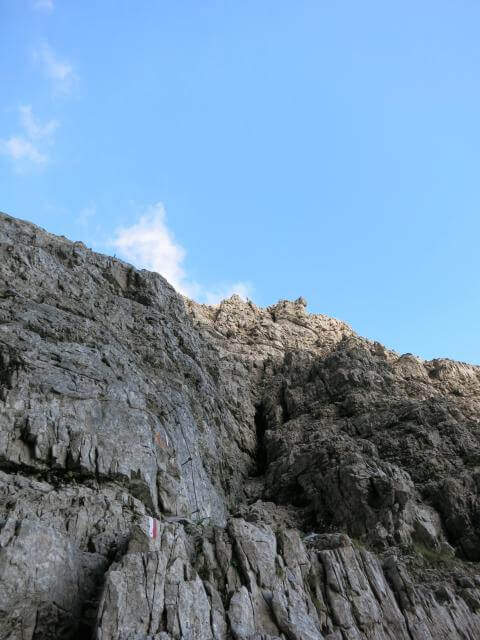
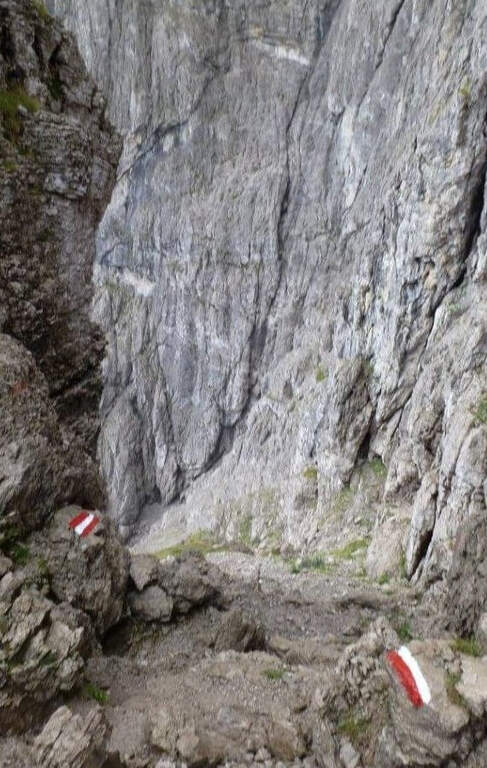
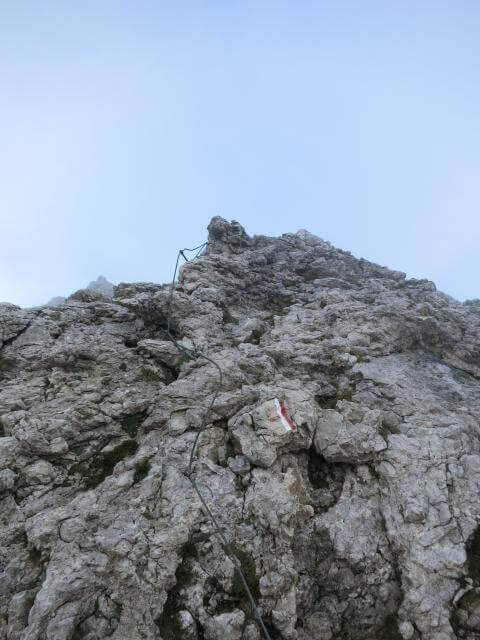
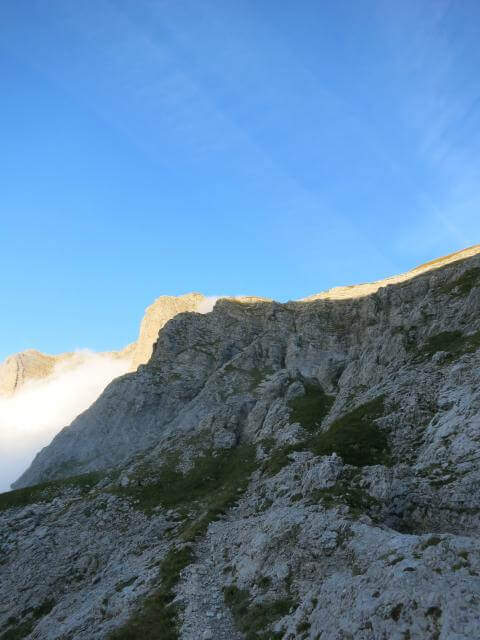
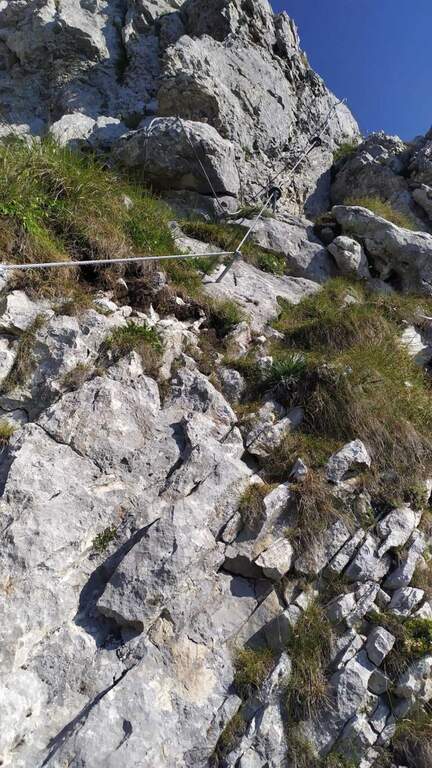
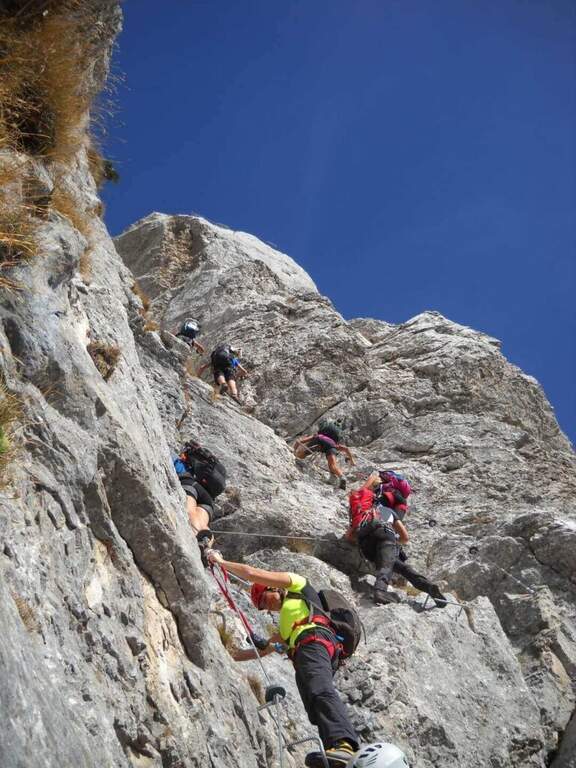
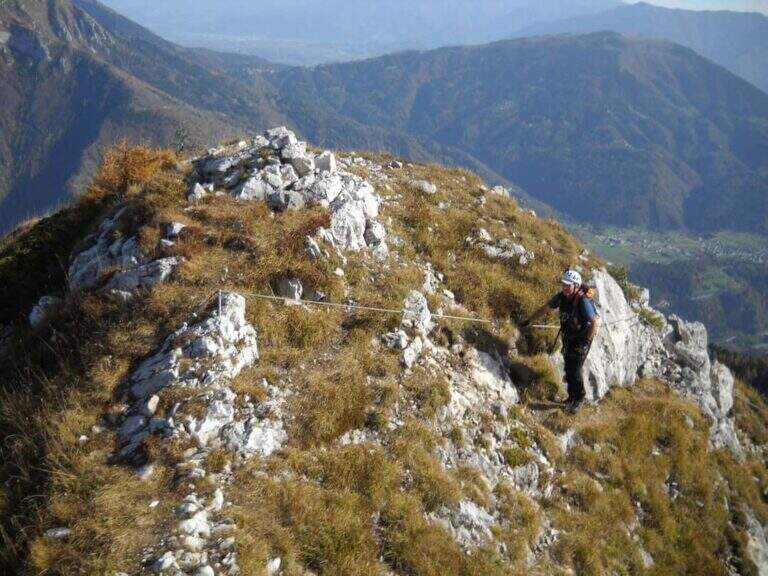
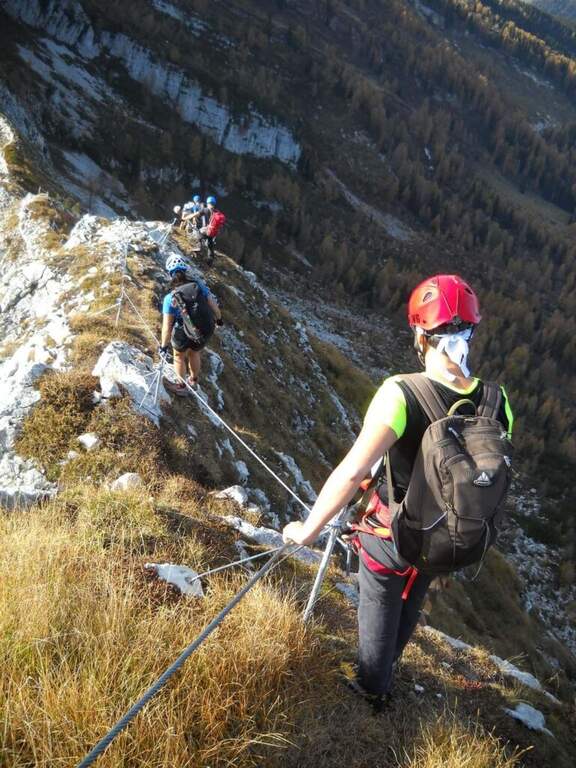
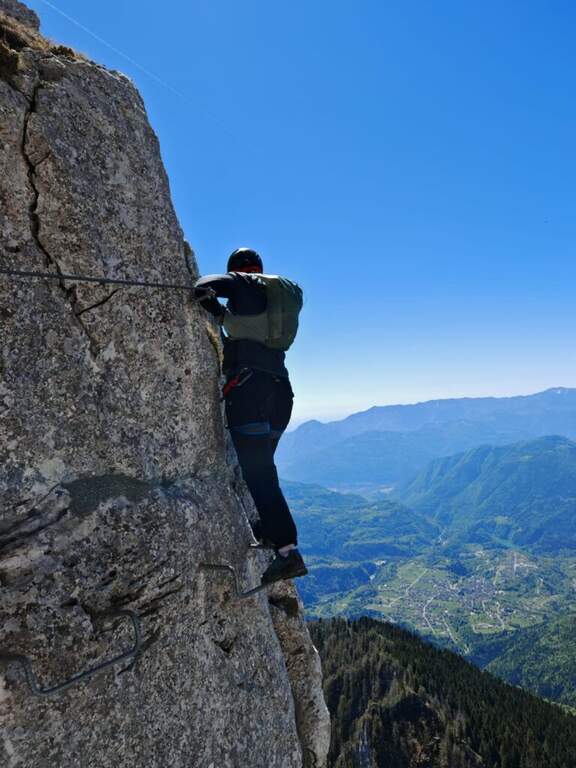
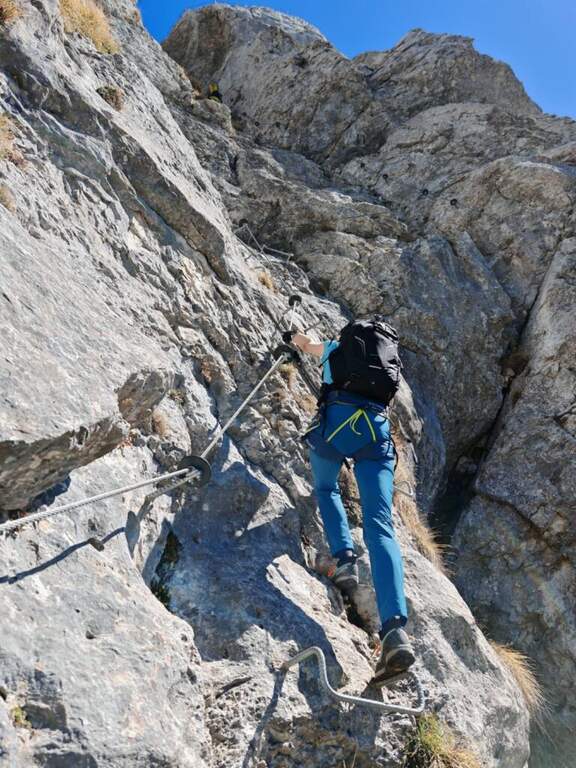
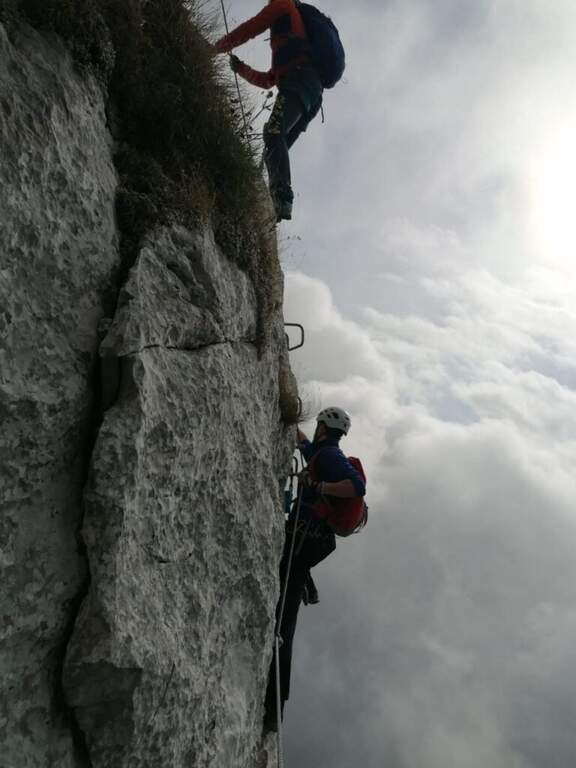
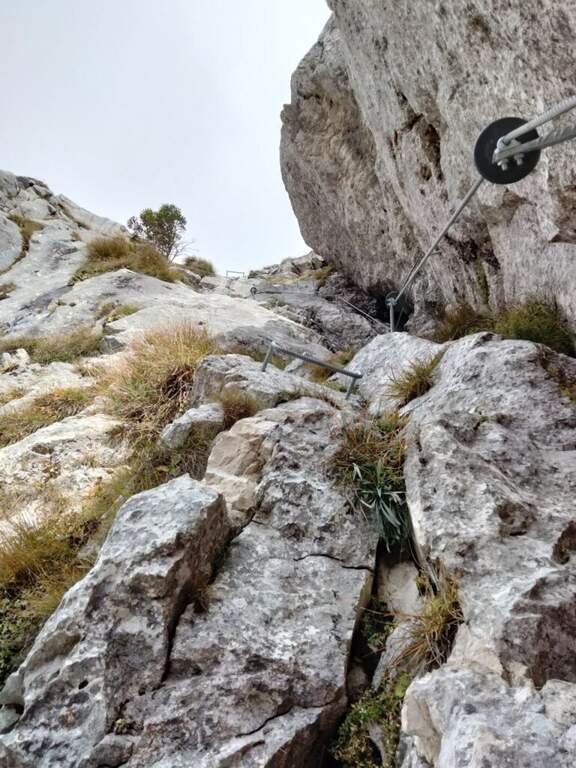
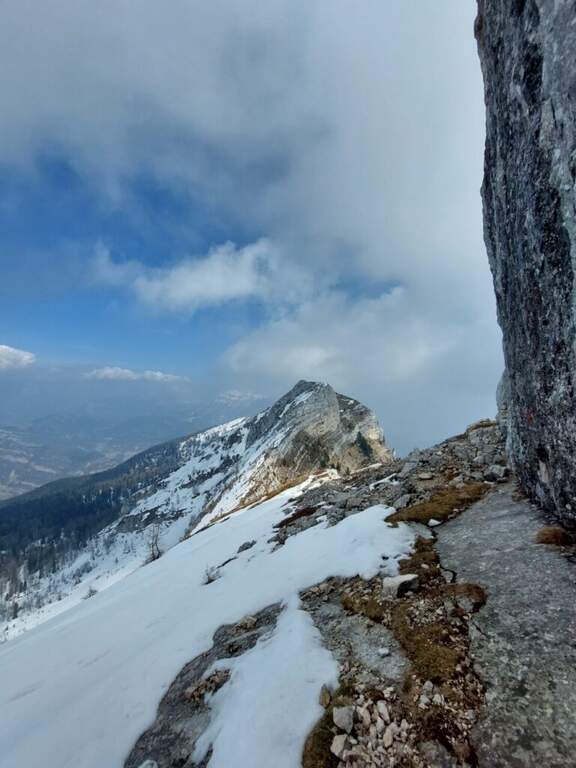
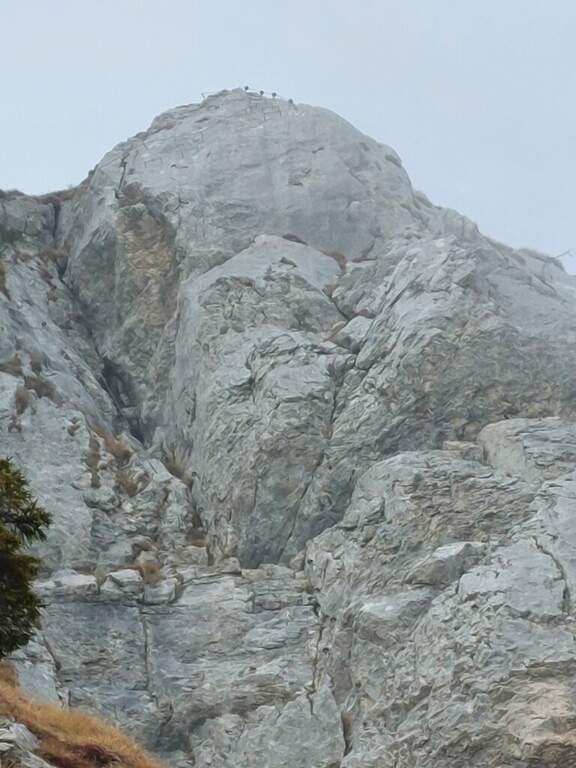
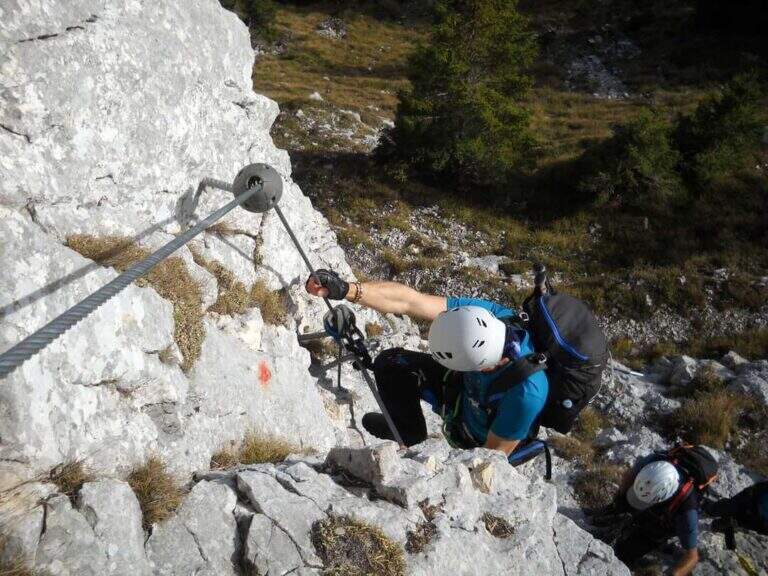
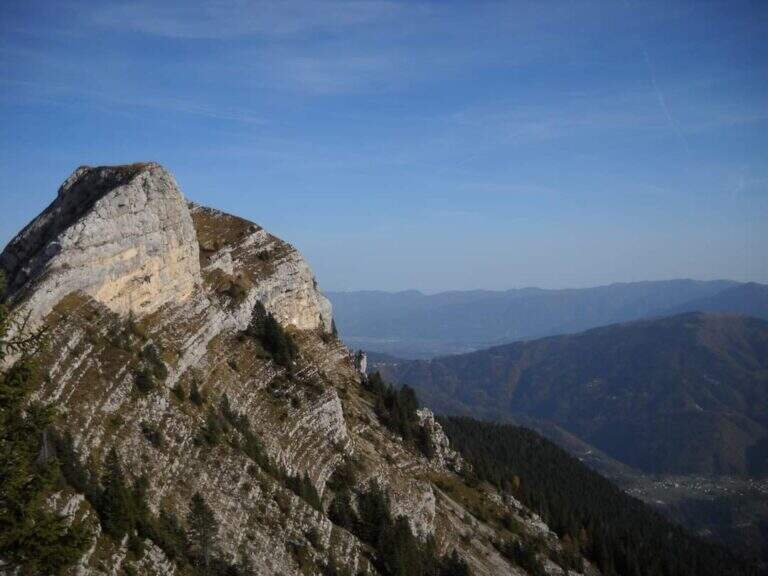
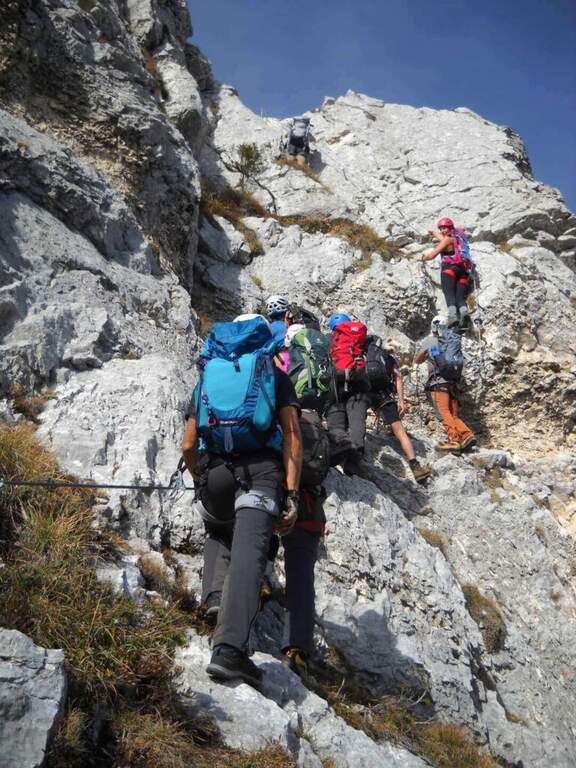
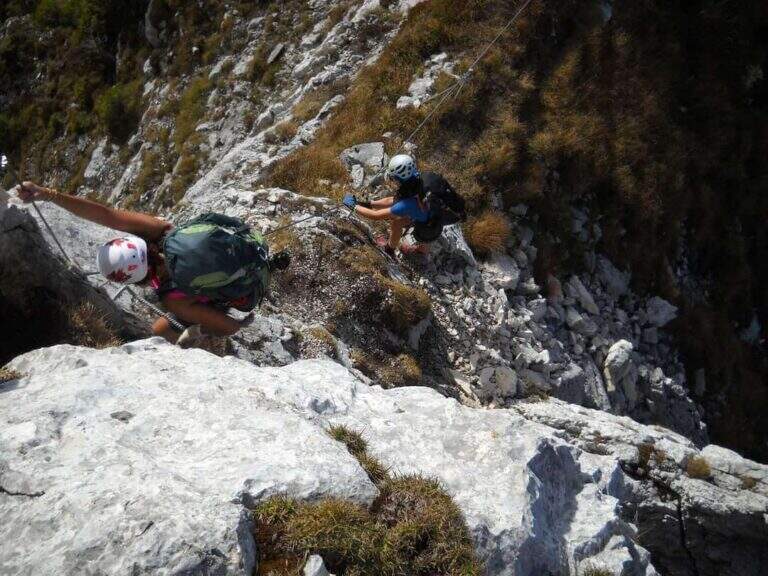
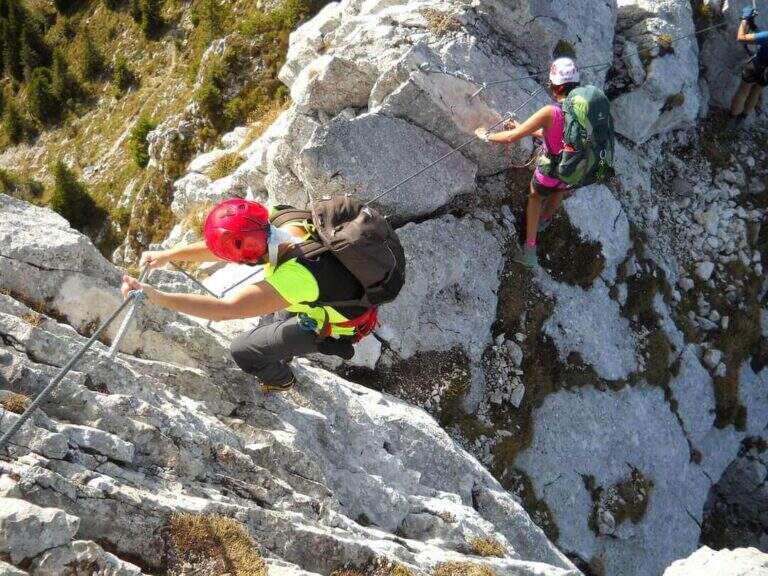
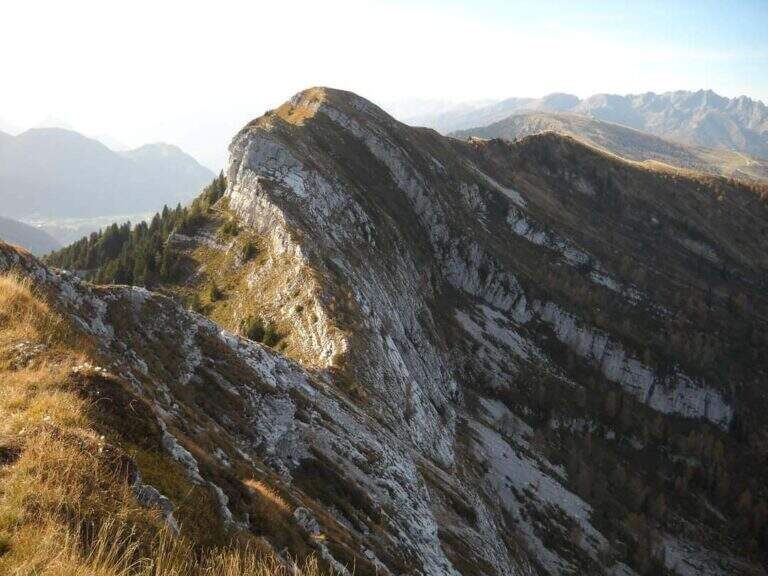
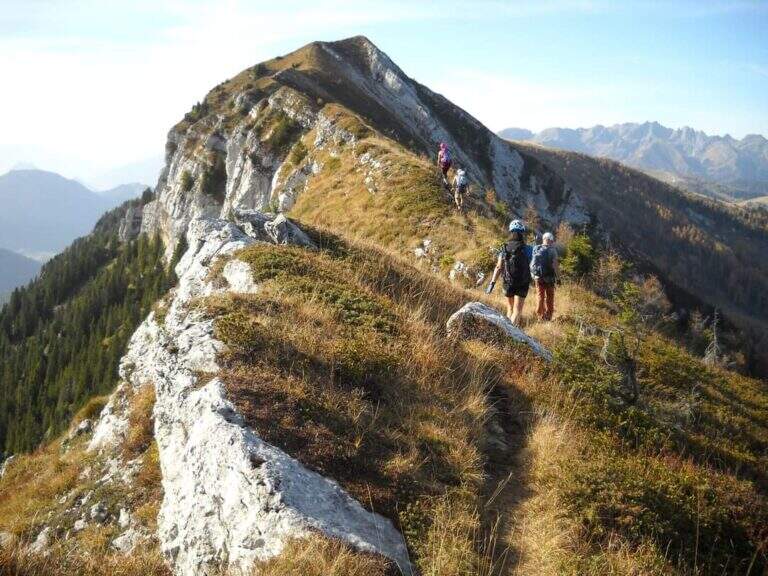
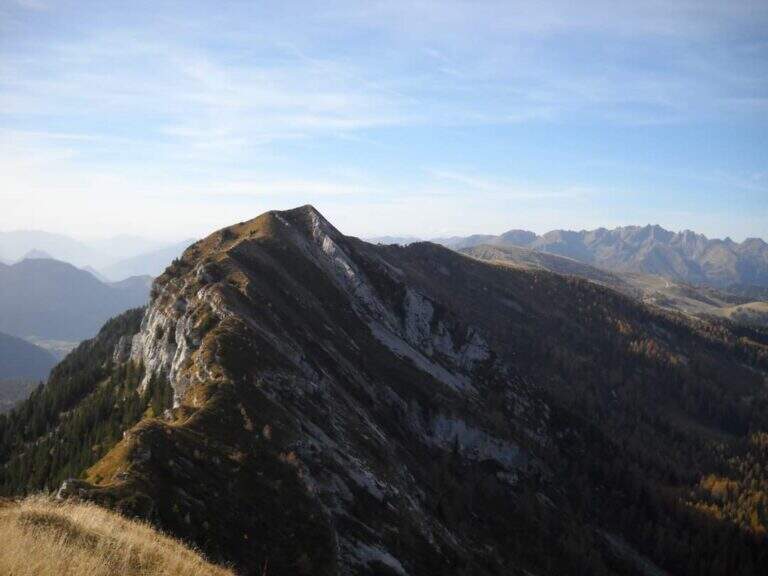
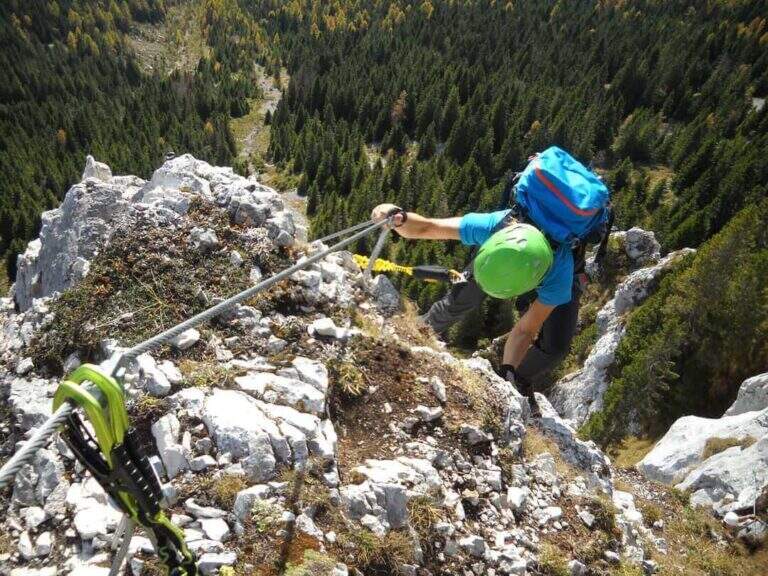
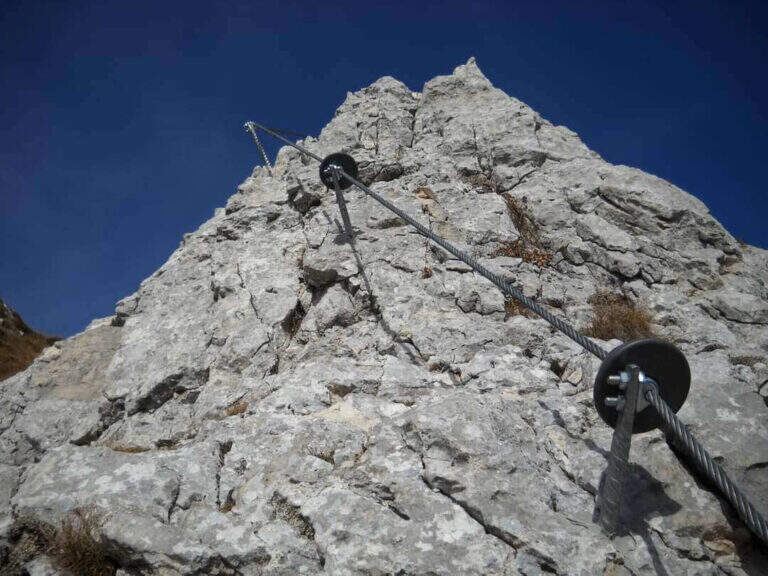
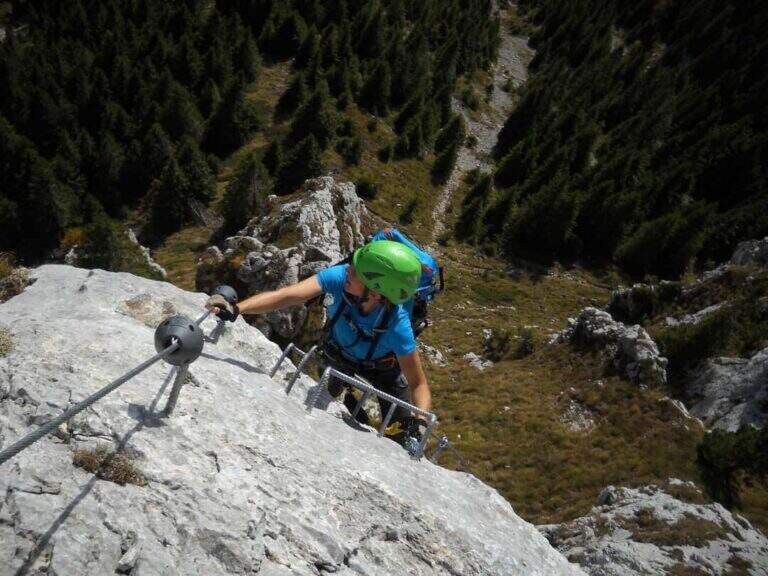
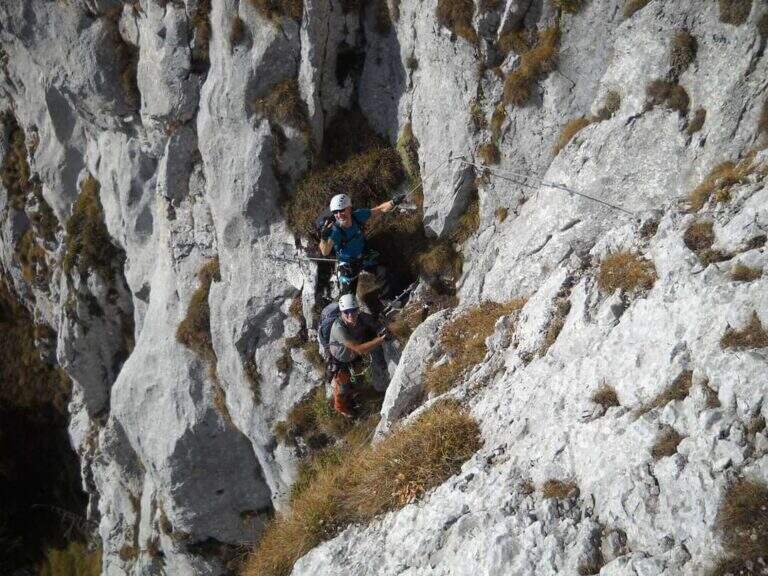
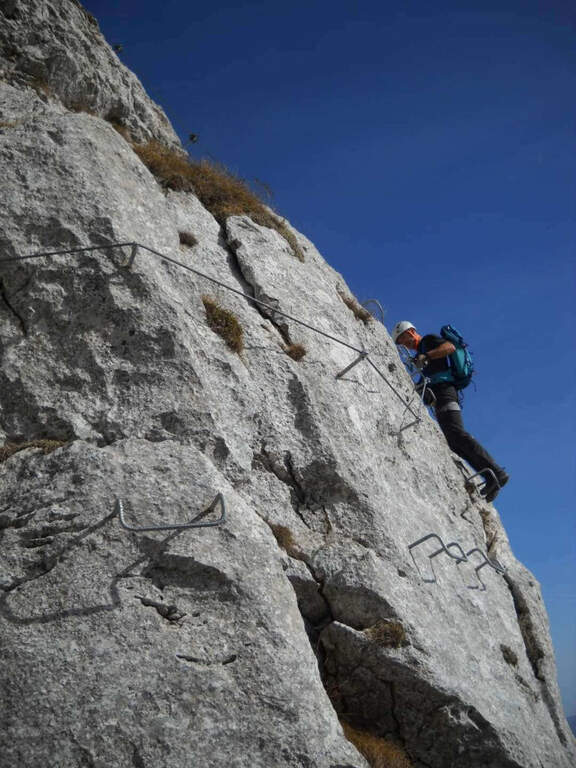
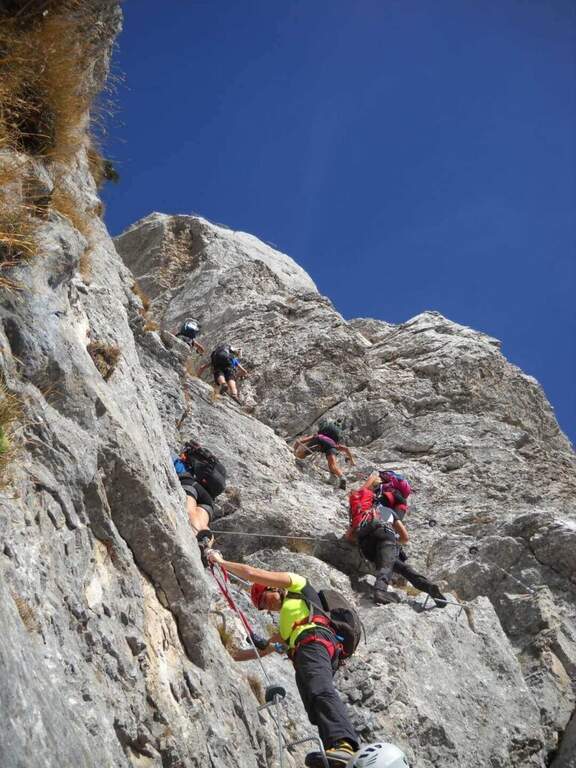
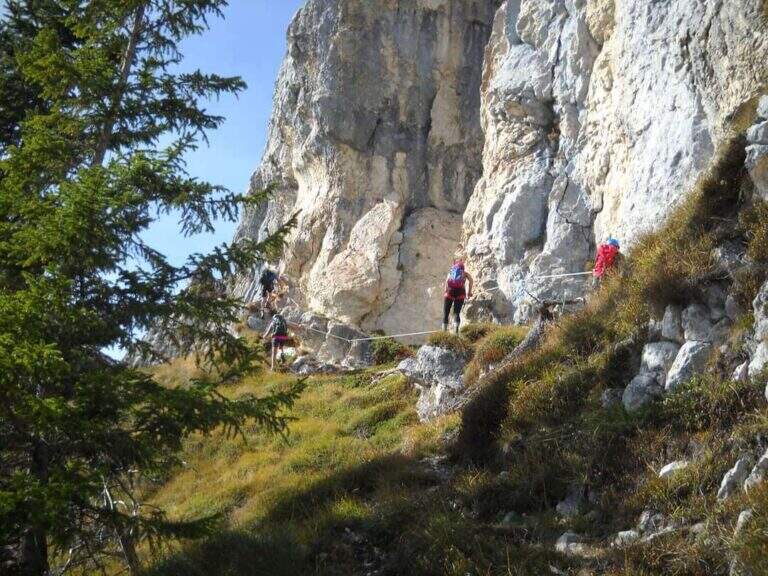
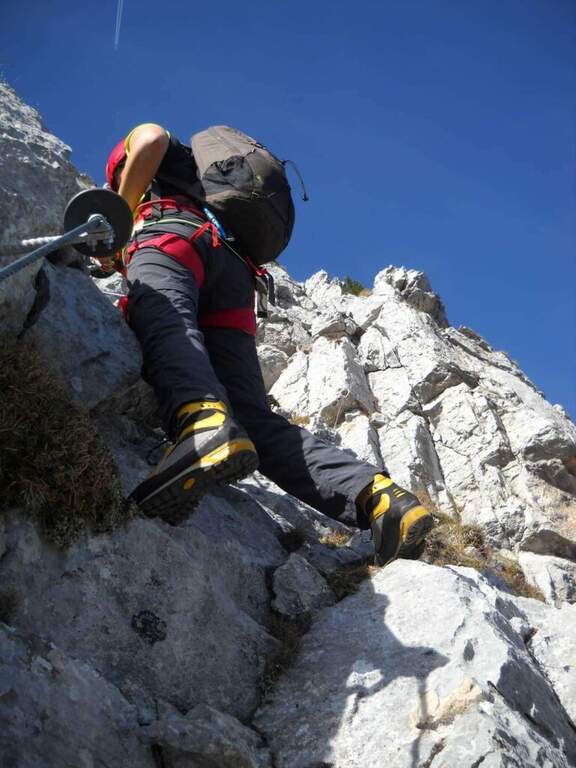
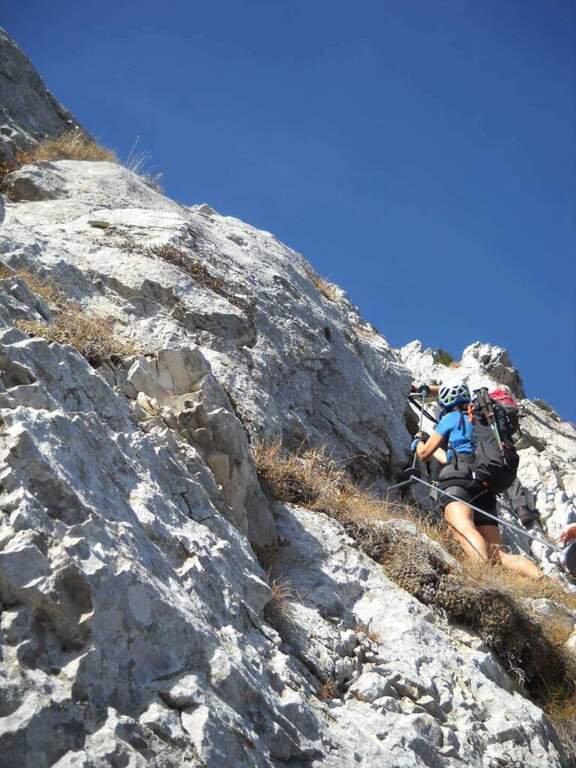
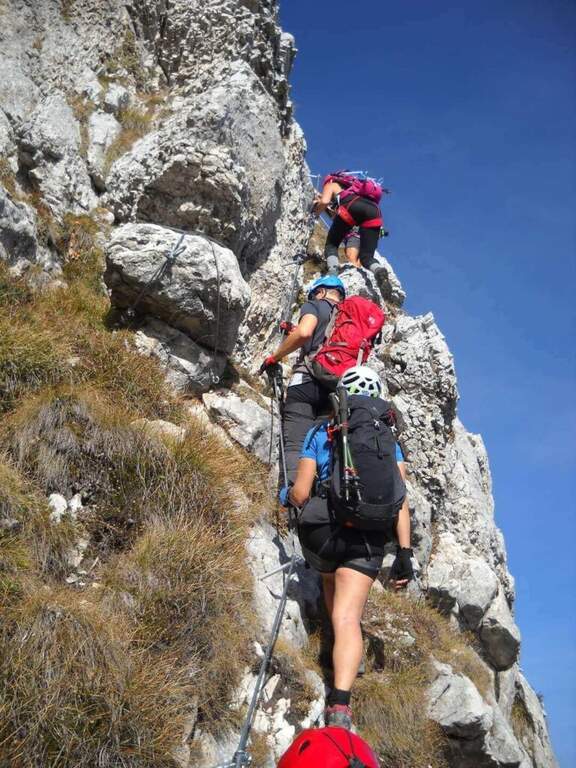
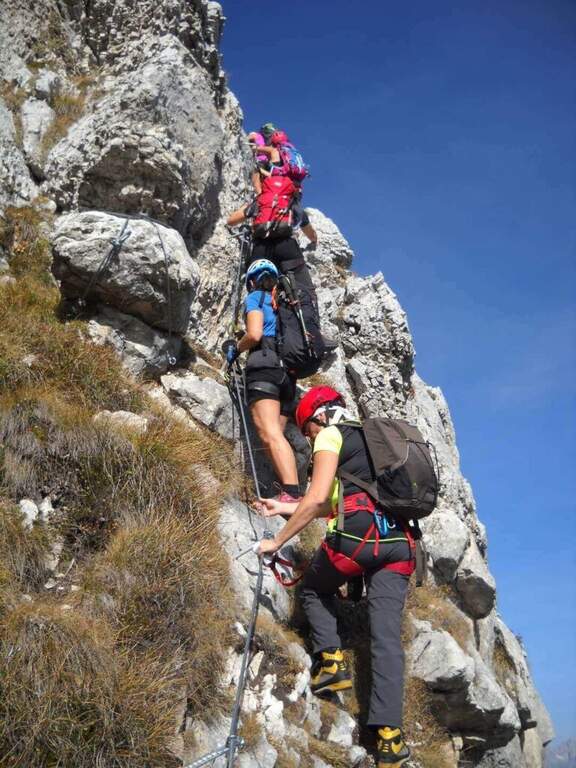
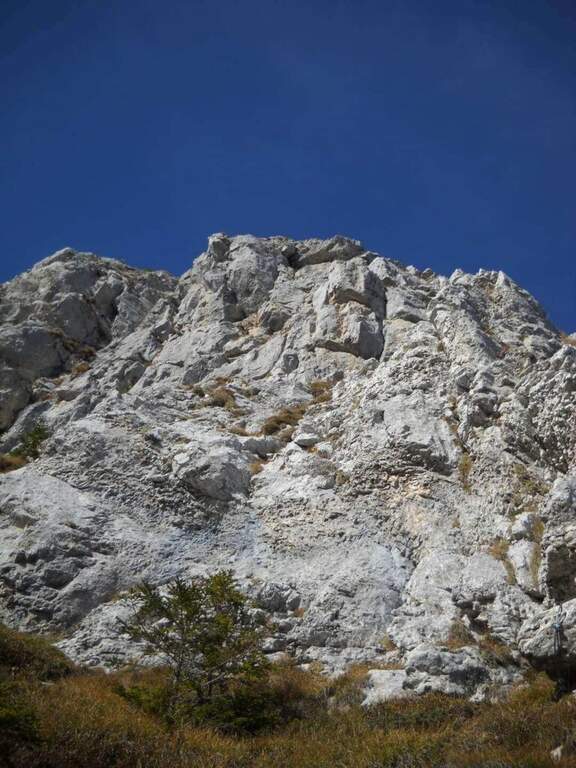
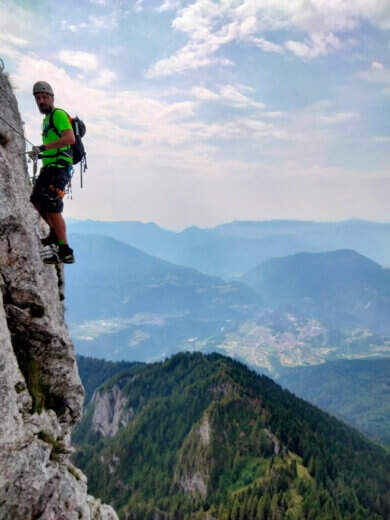
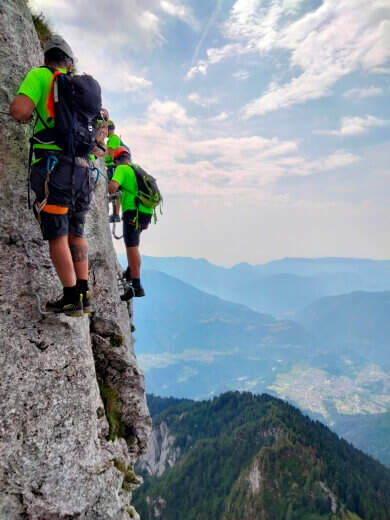
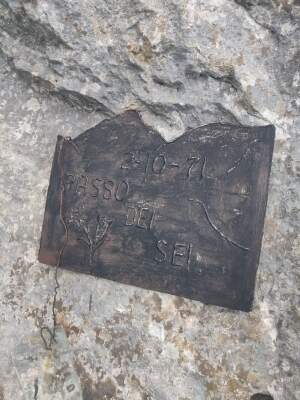
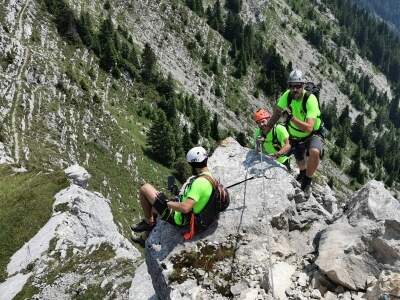
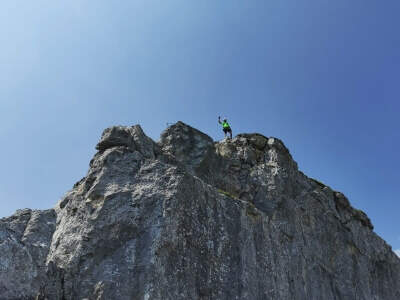
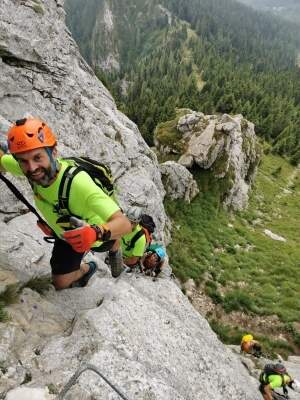
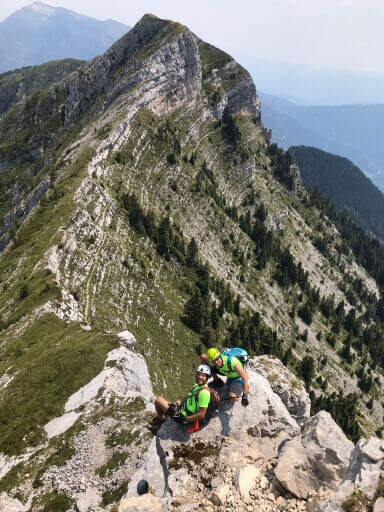
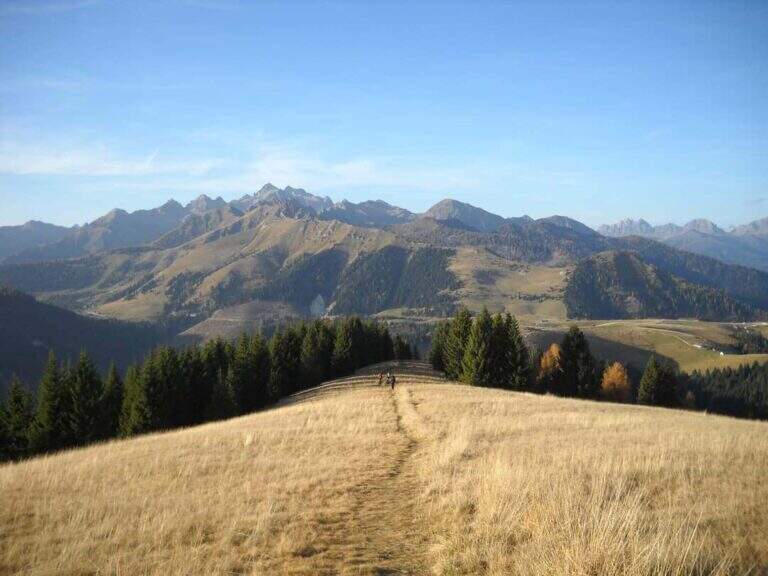
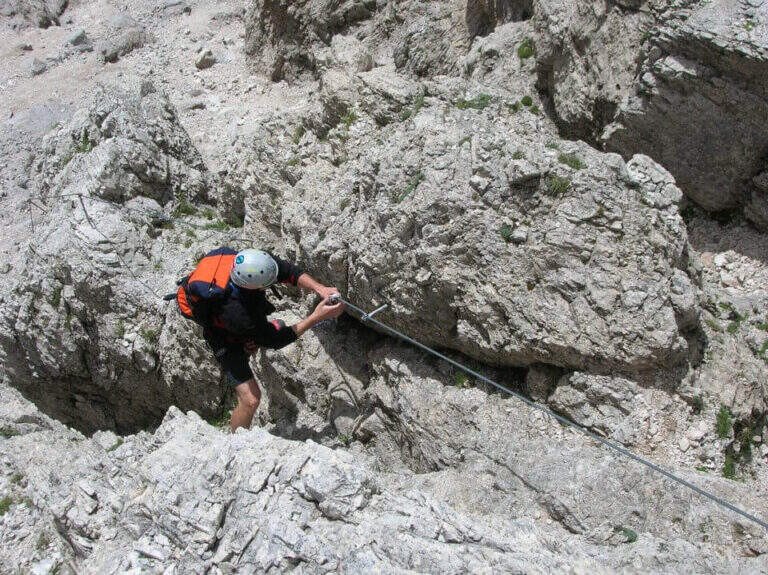
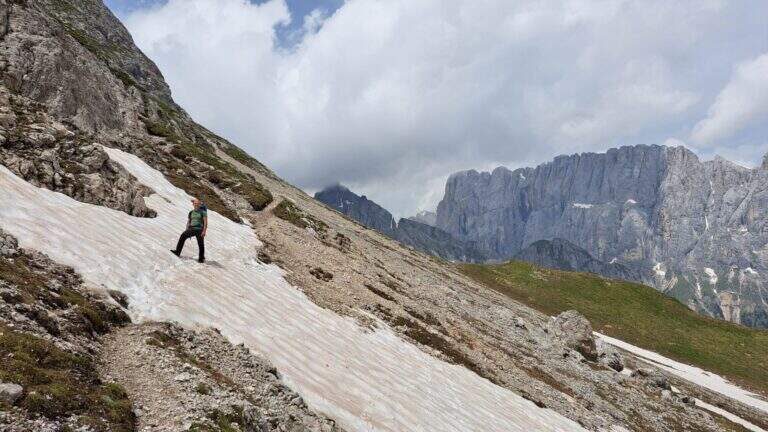
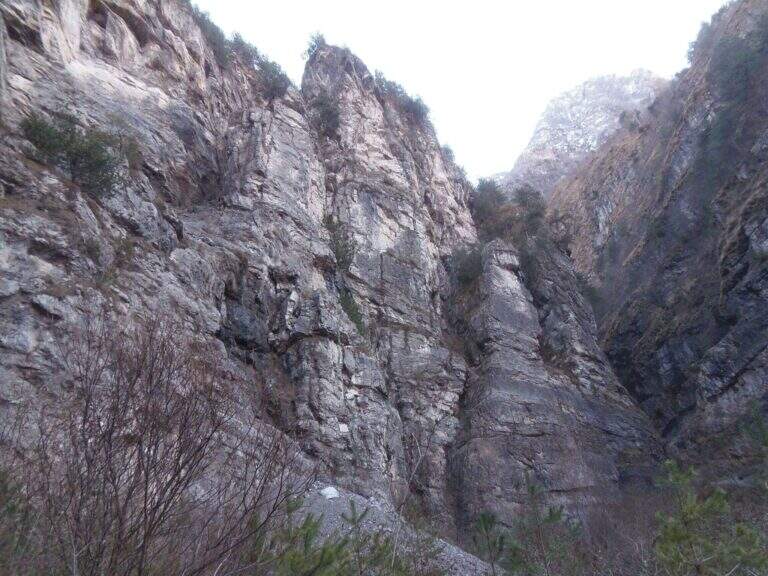
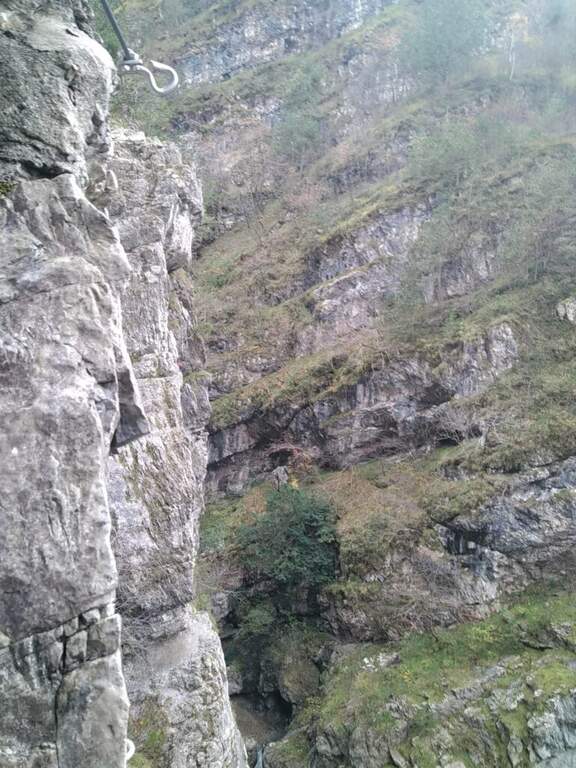
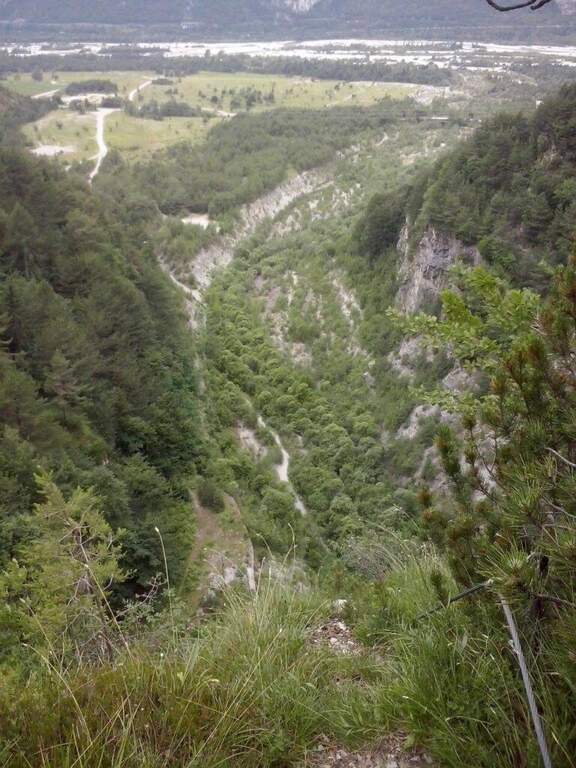
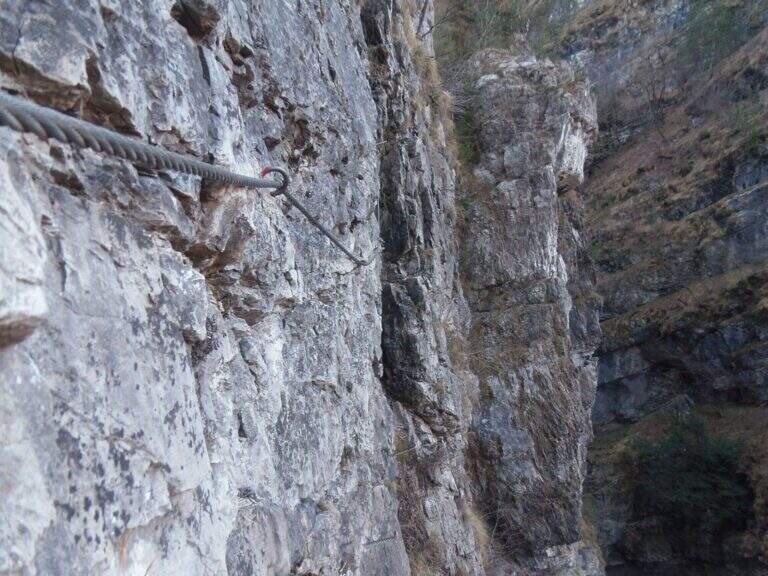
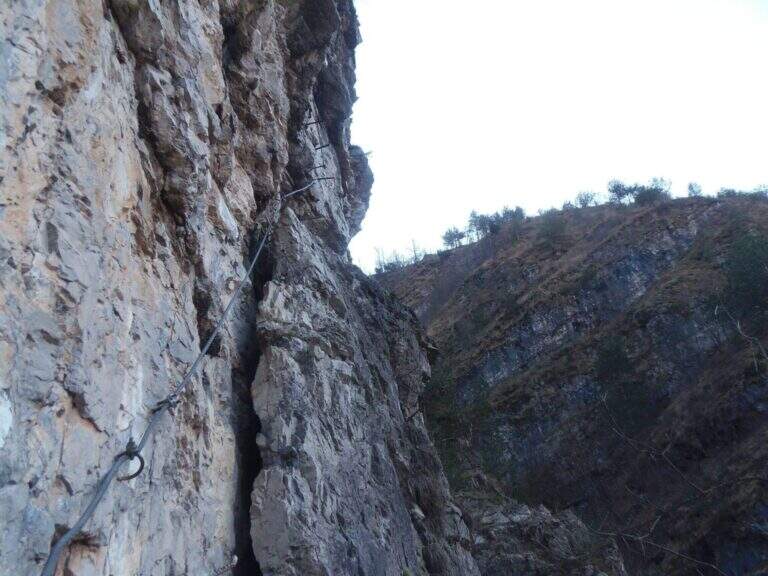
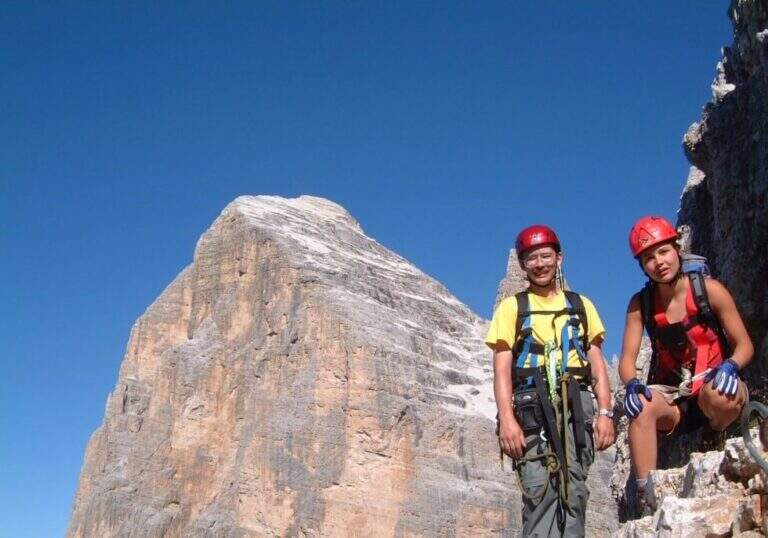
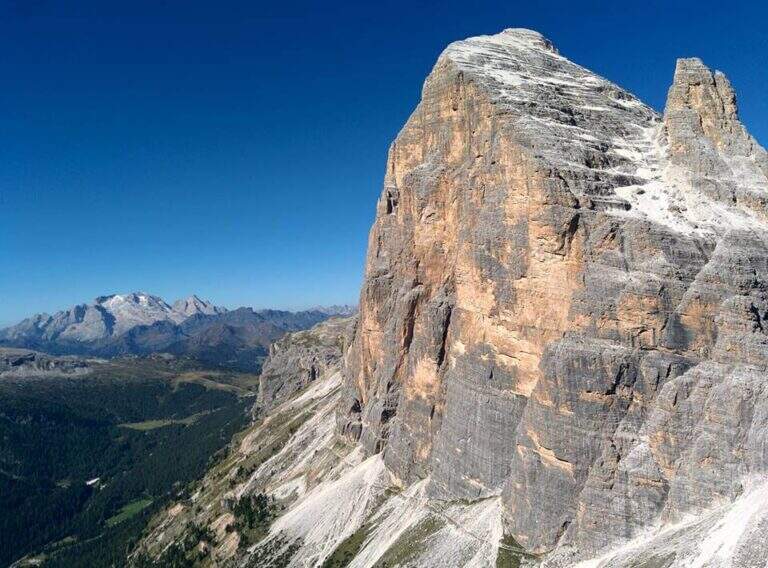
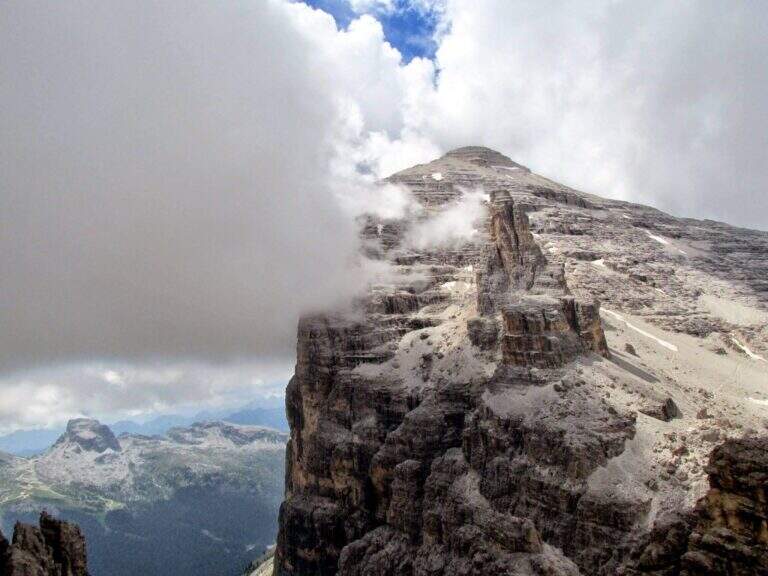
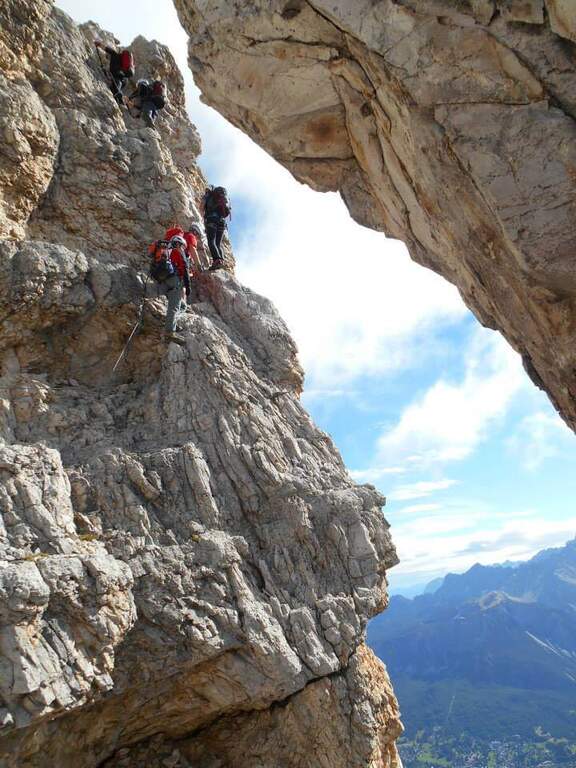
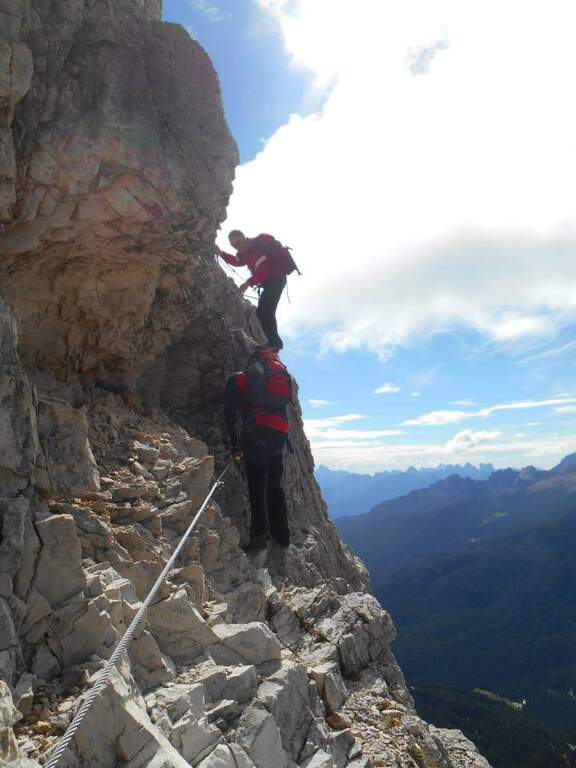
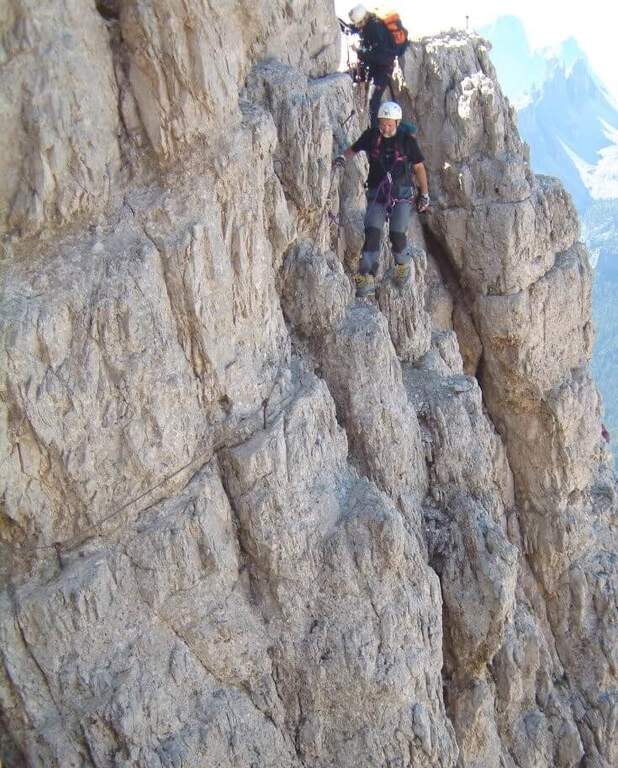
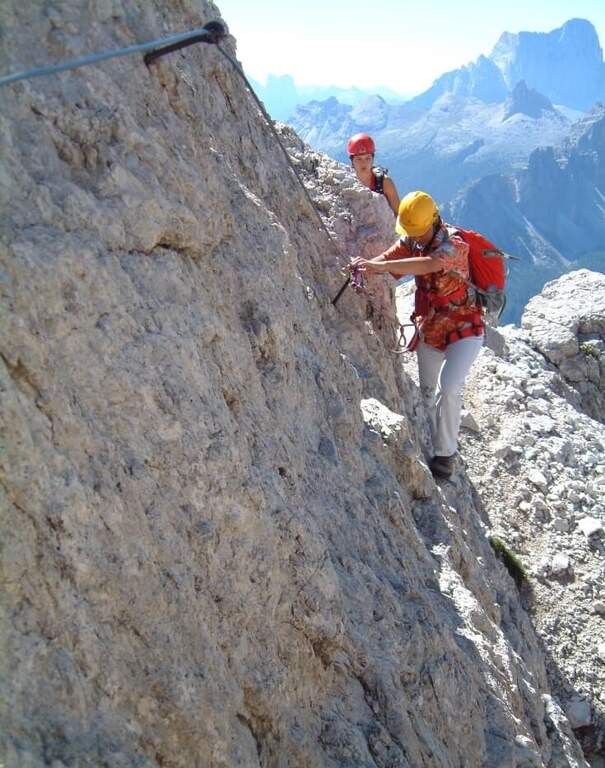
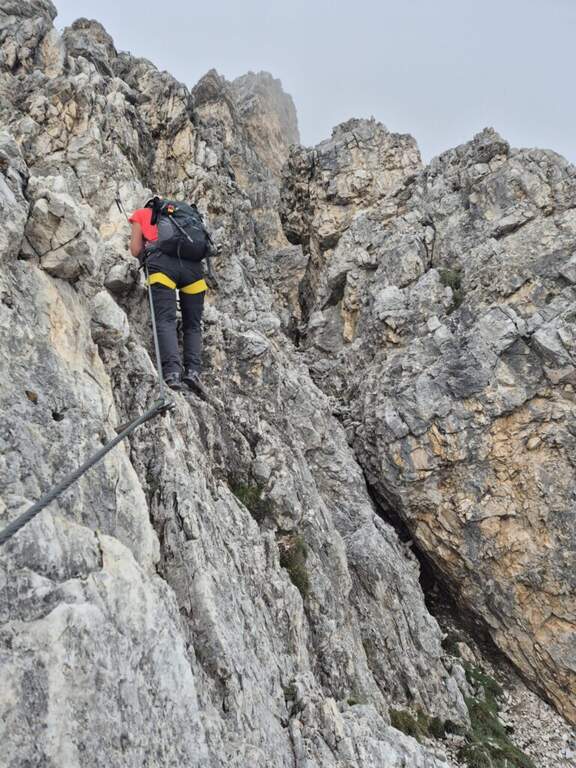
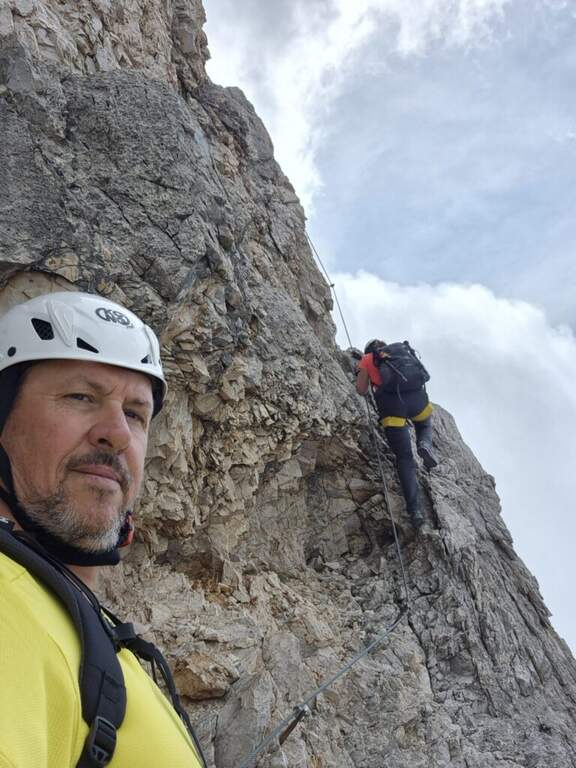
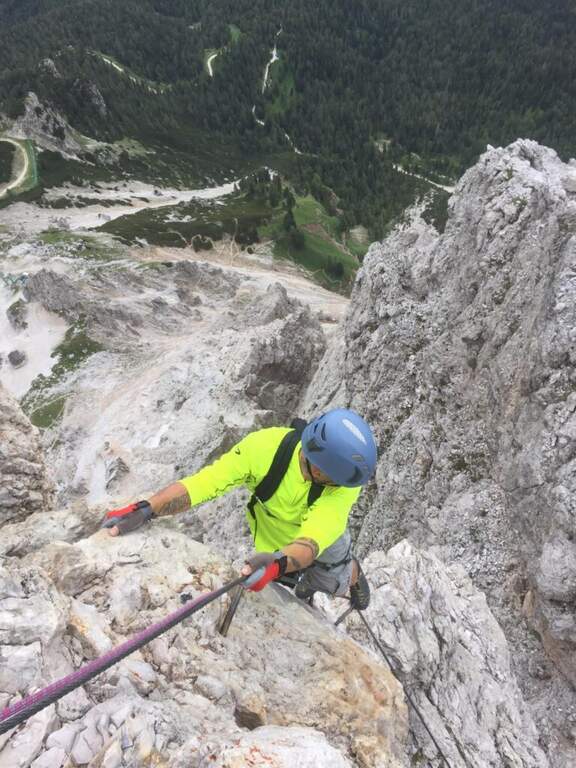
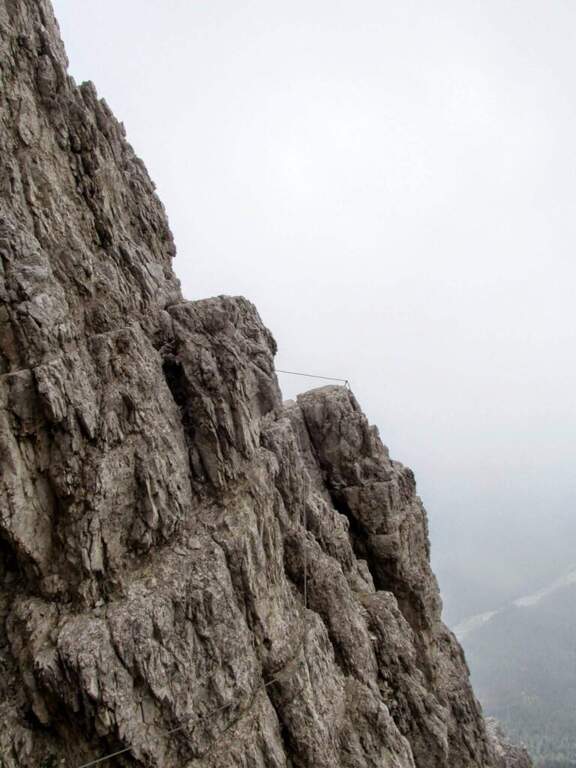
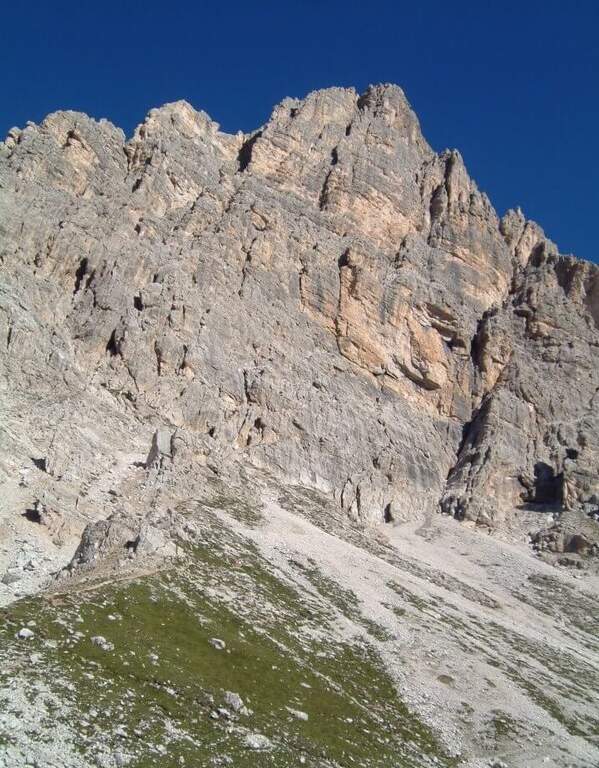
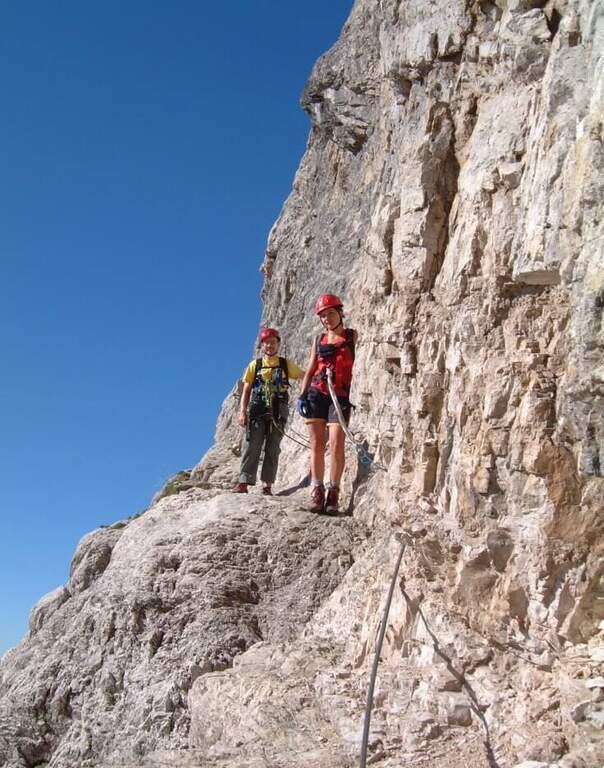
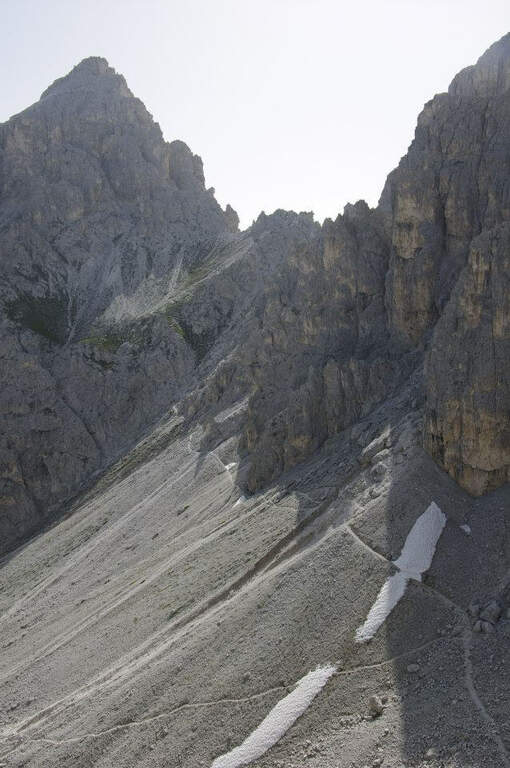
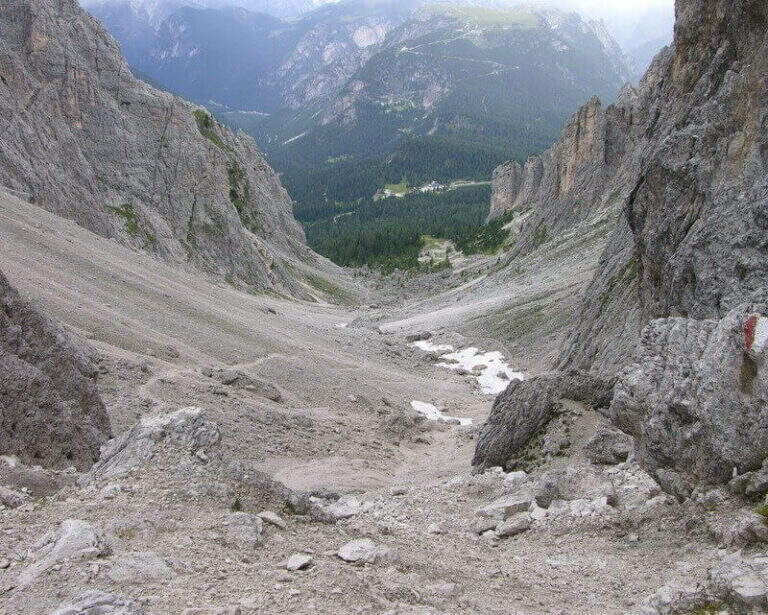
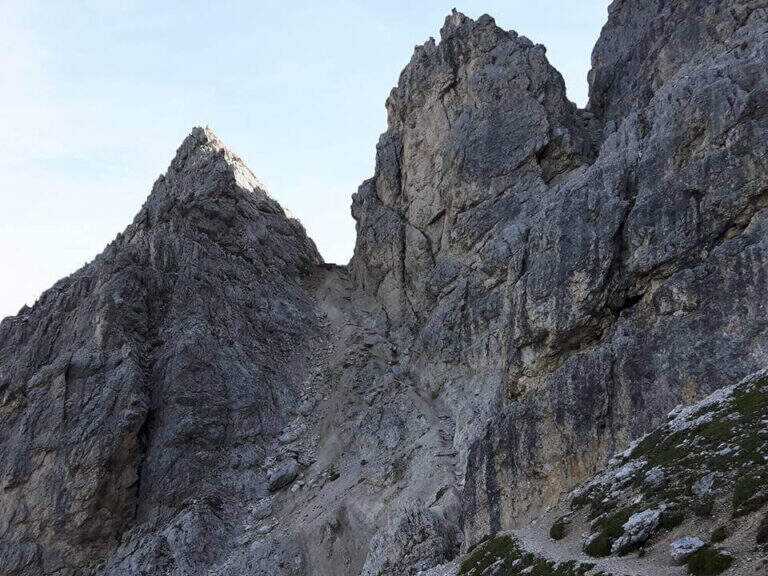
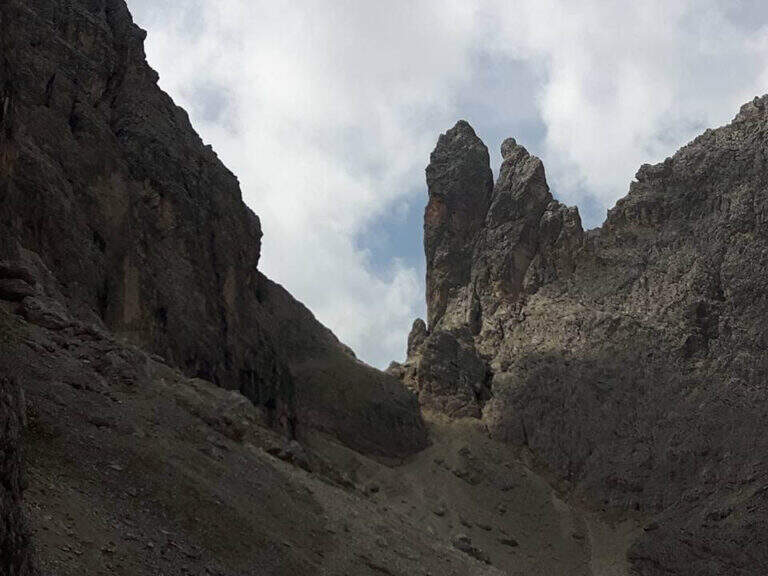
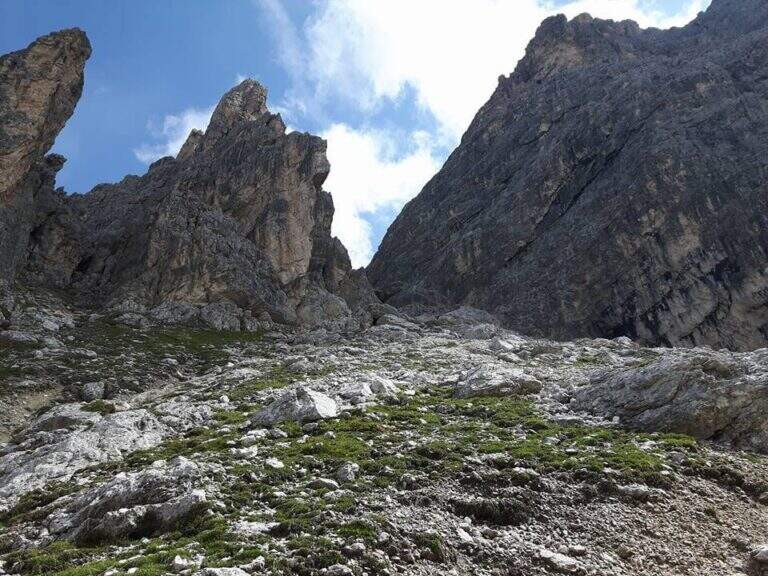
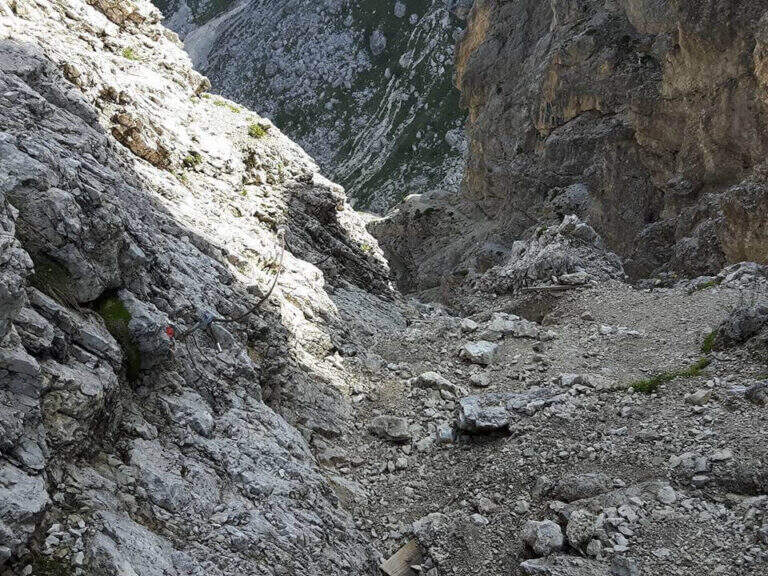
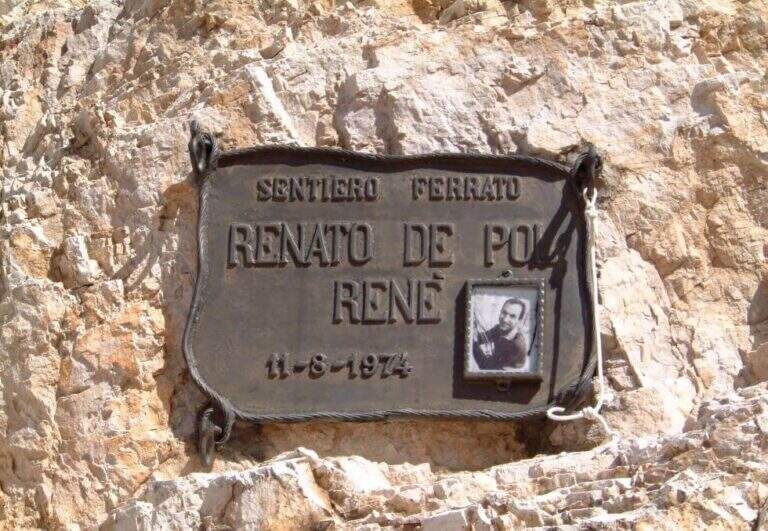
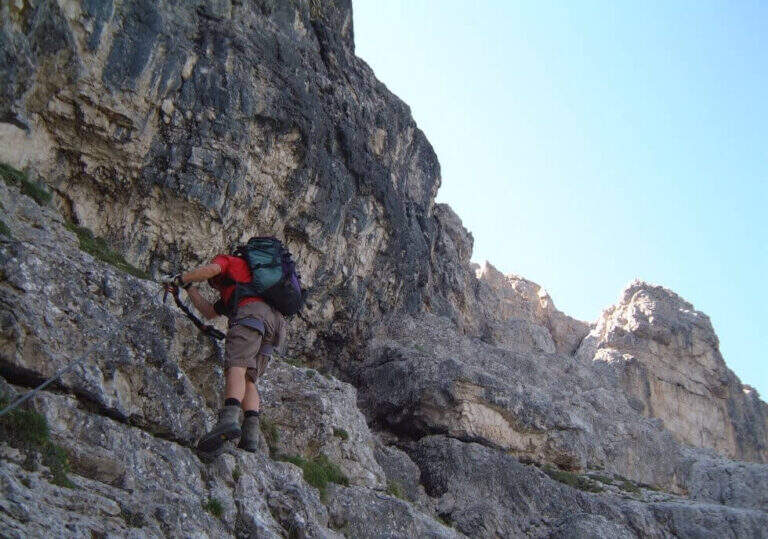
    The Ferrata De Pol is a short route that climbs to the Punta Ovest del Forame, in the Group of the Cristallo, in a rather long itinerary full of traces of the Great War. The equipped stretch has only one challenging passage, a fireplace; the return is long and the first stretch of ridge between Forcella Gialla and Forcella Verde should not be underestimated.

    ▲Approach

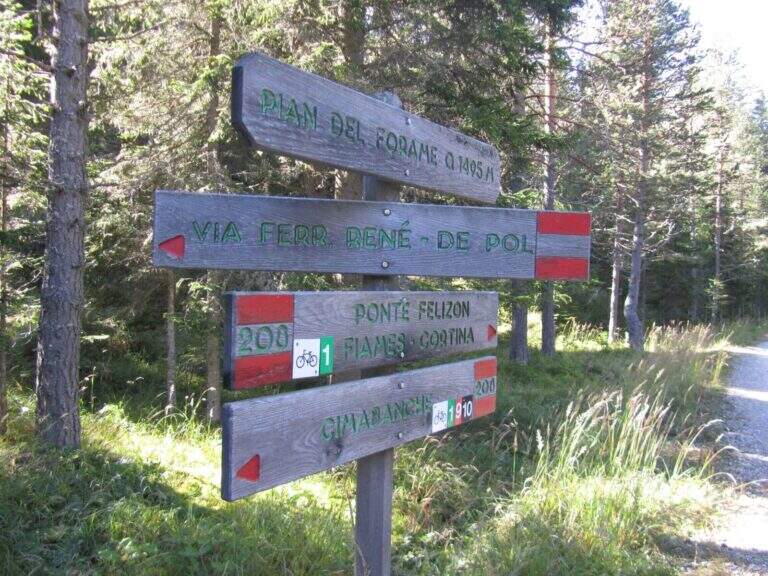
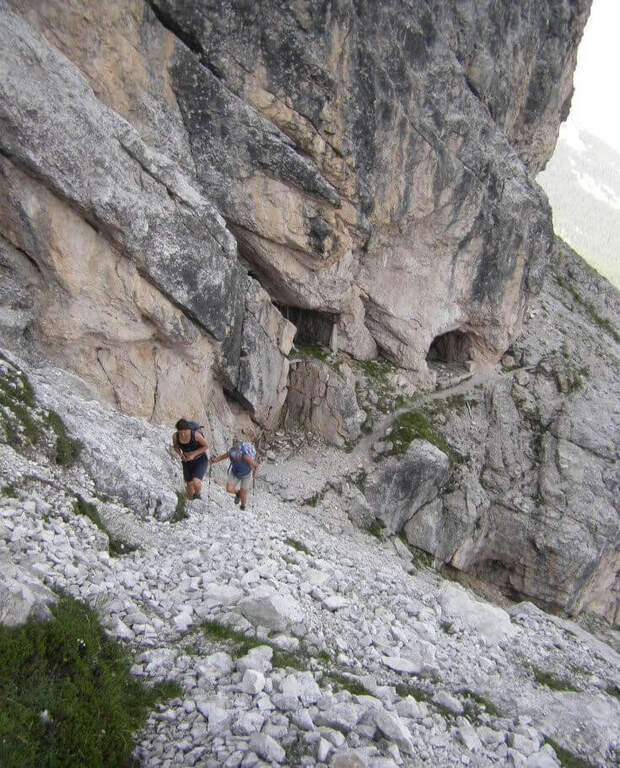
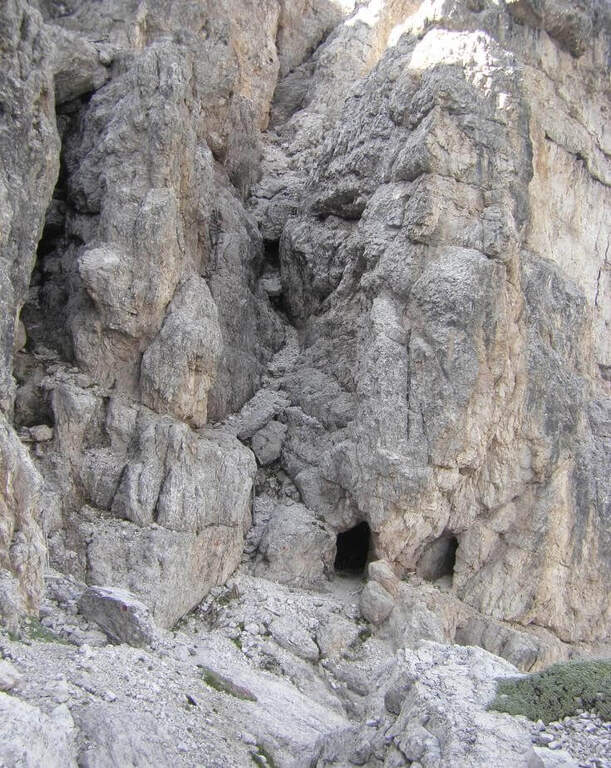
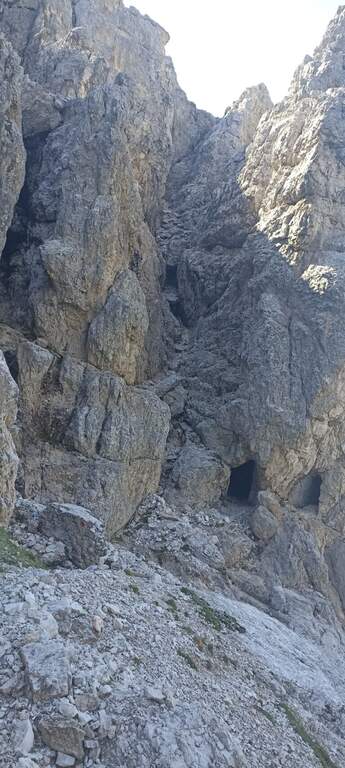
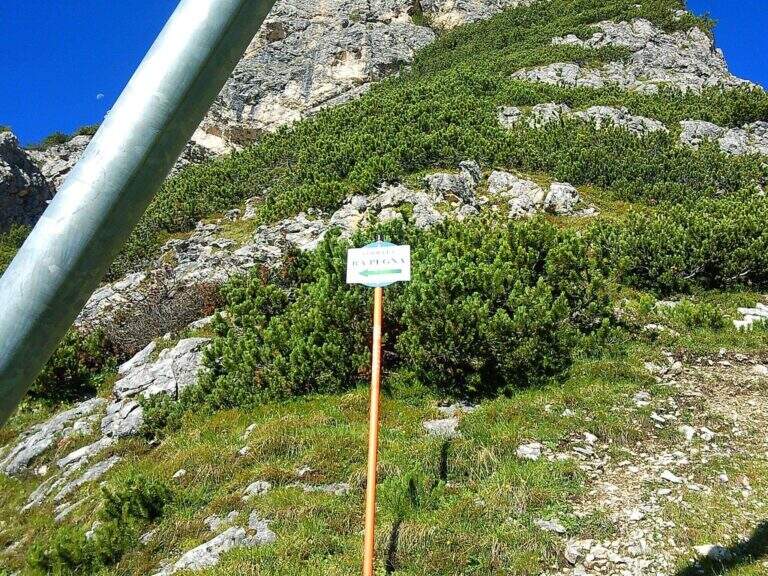
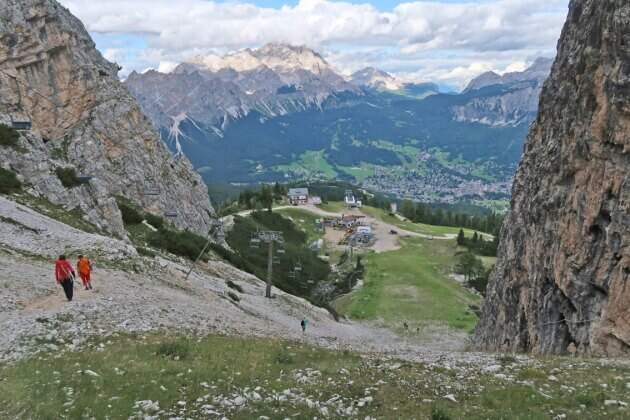
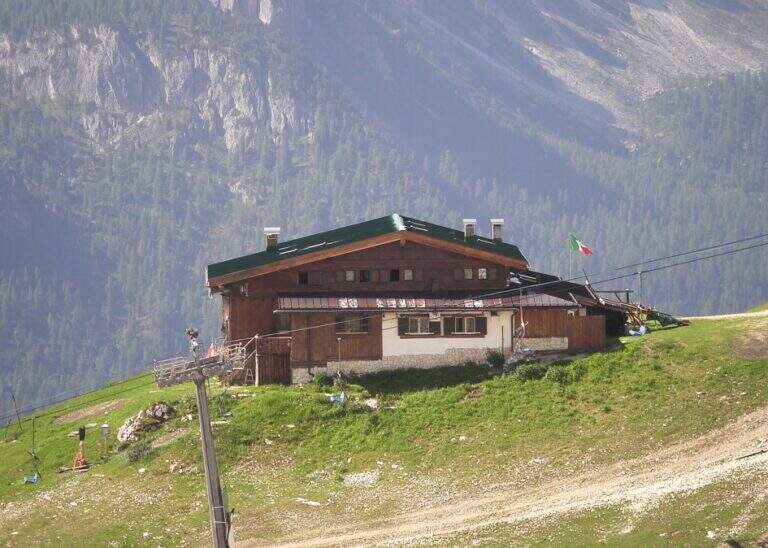
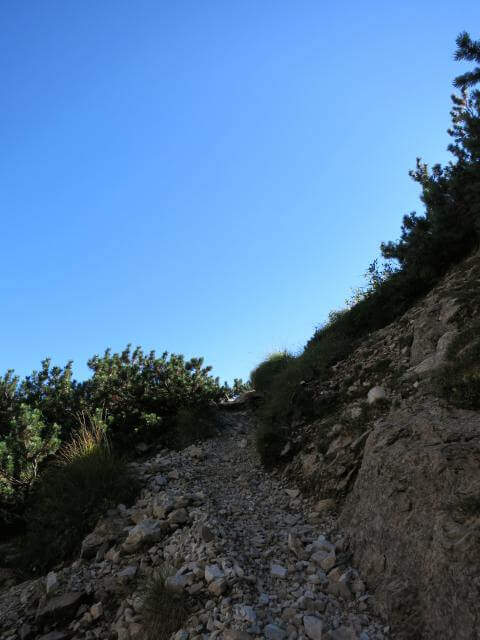
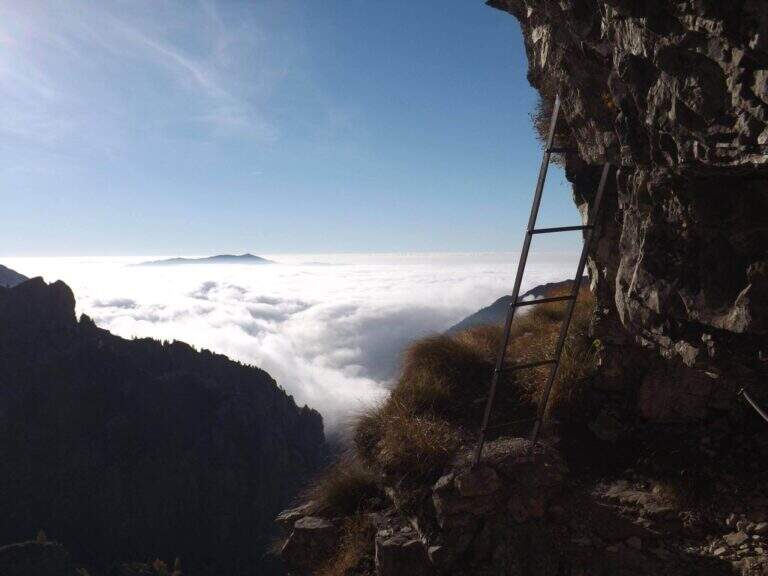
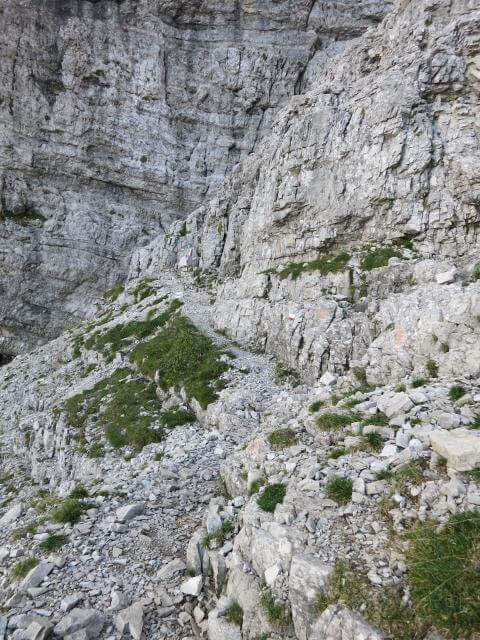
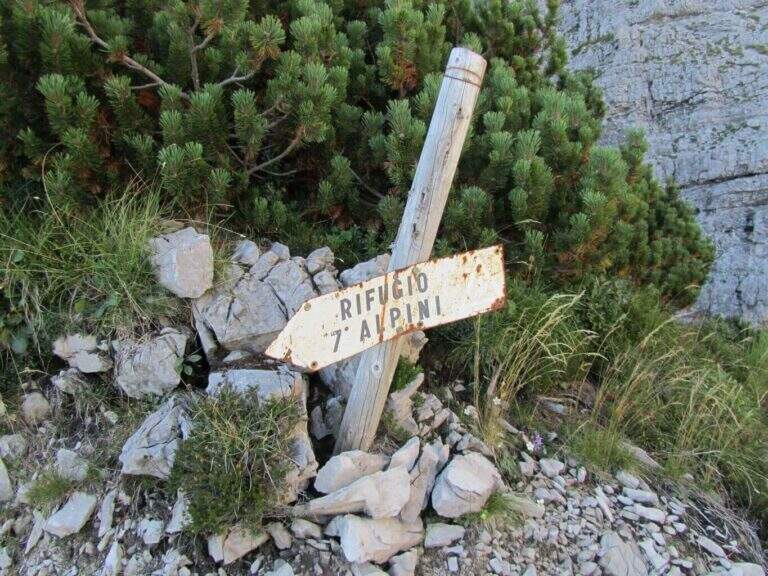
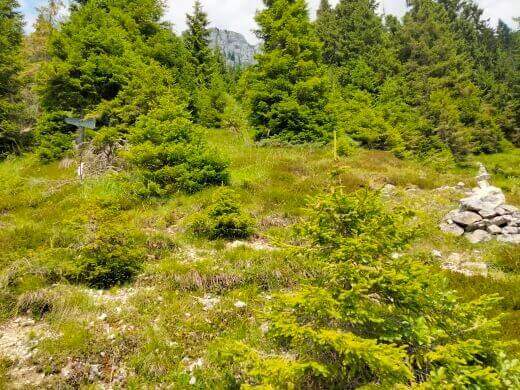
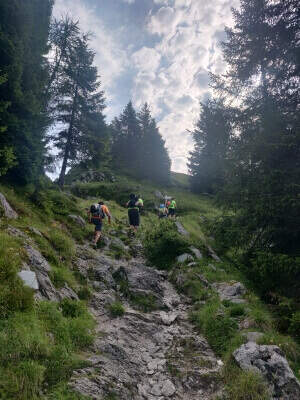
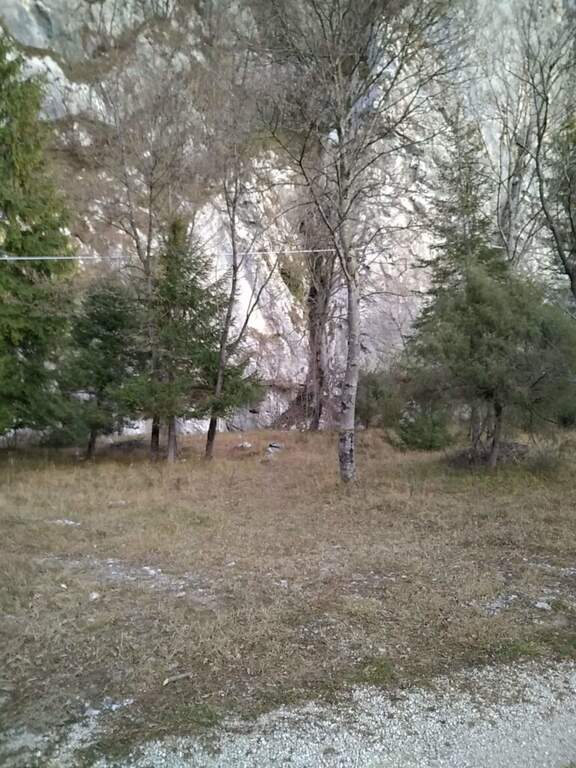
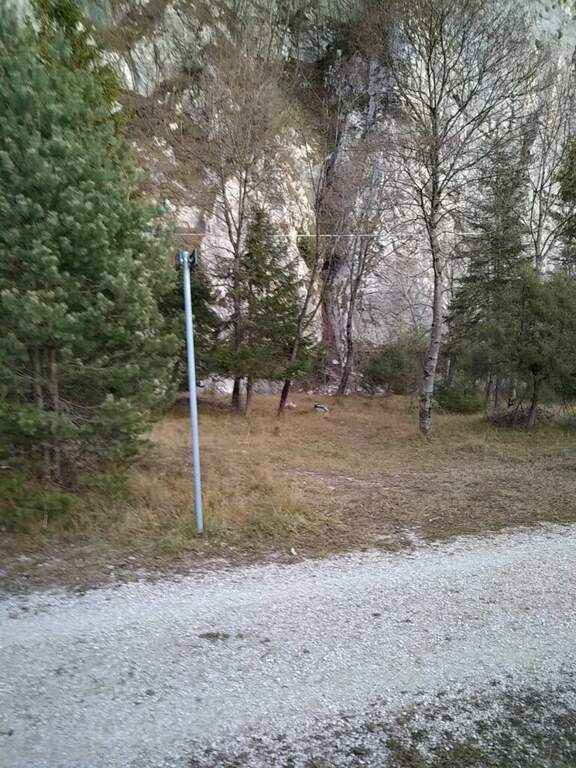
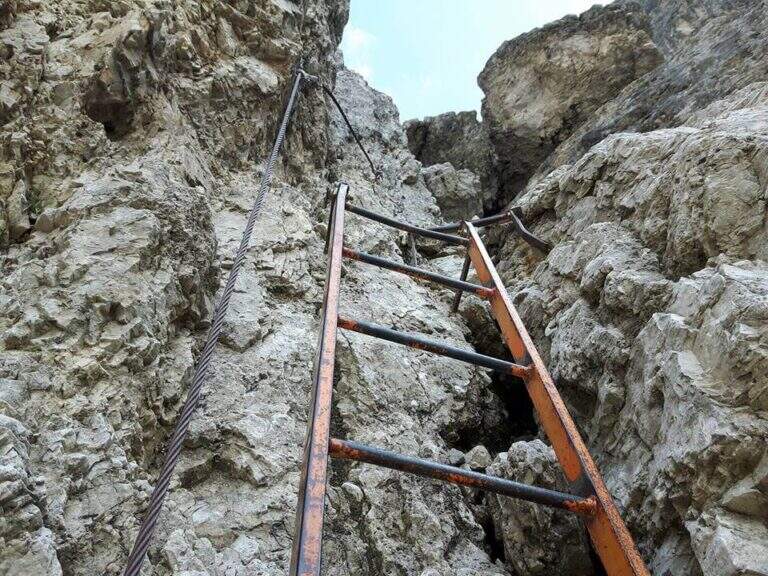
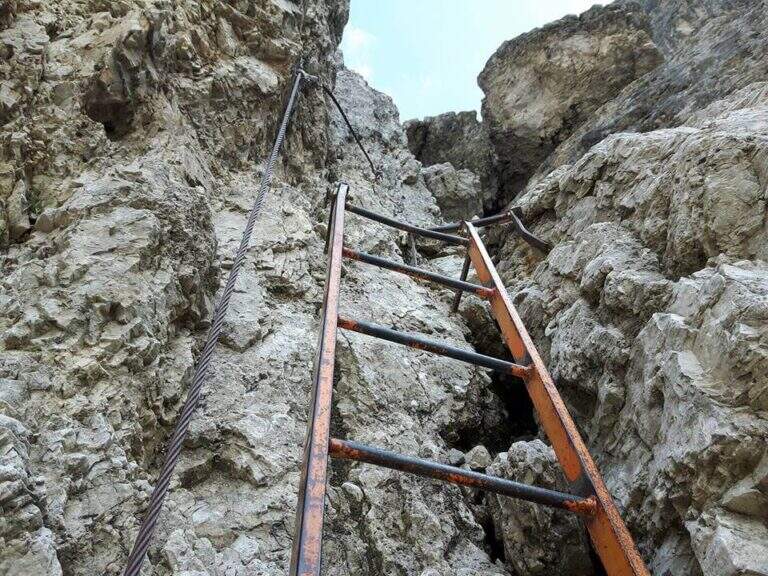
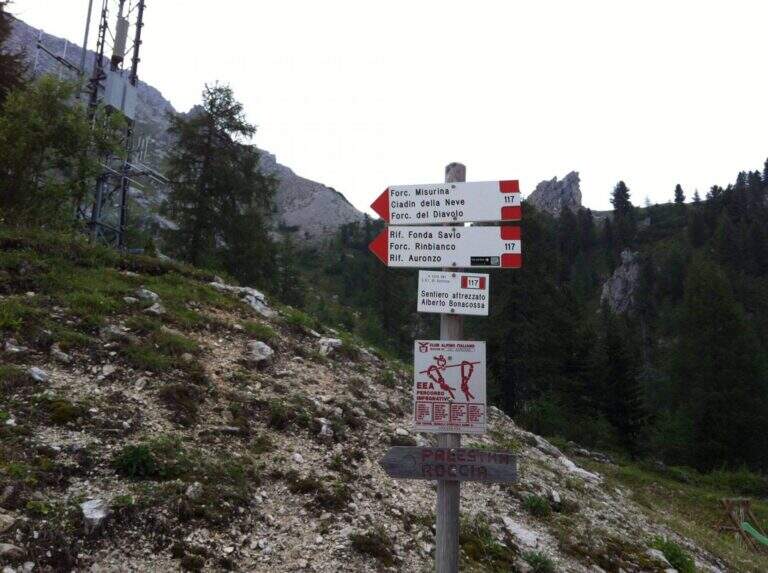
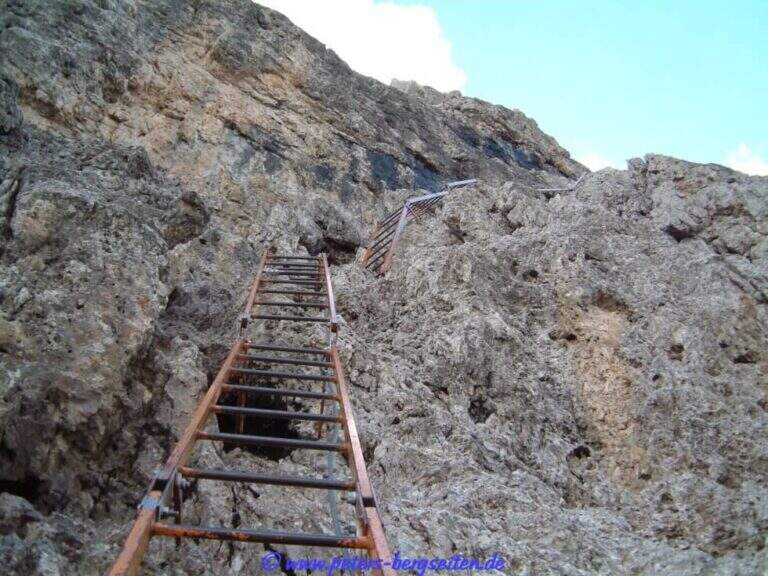
    The starting point is the Cimabianche Pass, on the SS51 between Dobbiaco and Cortina d'Ampezzo. Starting point on Google Maps. You can park even further downstream, on the side of Veneto at the Restaurant Ospitale, but you should leave the car at the pass: a landslide of 2017 made the way back from the end of the ferrata to the Ospitale, forcing to return to Cimabianche. From the pass you descend on the path 208, which runs on the left the road in moderate slope, remaining on the right side of a stream; in the town of Pian del Forame (1495 m, 30' from the pass) follow the signs left for Ferrata Renè de Pol. It climbs east into the woods, steep, up to a signposted crossroads where the left is held (right descended the old path of return, today franate); northwards you go up a channel meeting some military shelters of the First World War, and an uphill nod leads to the attack (1945 m, 2h from the junction on the state, 2h 30' total).

    ▲The path

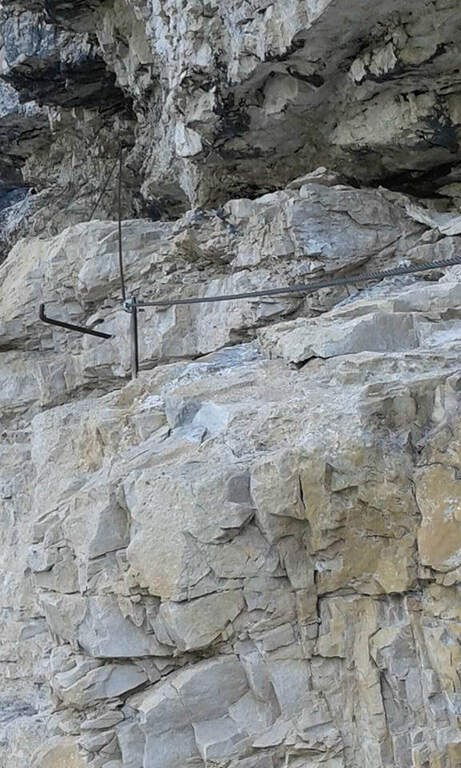
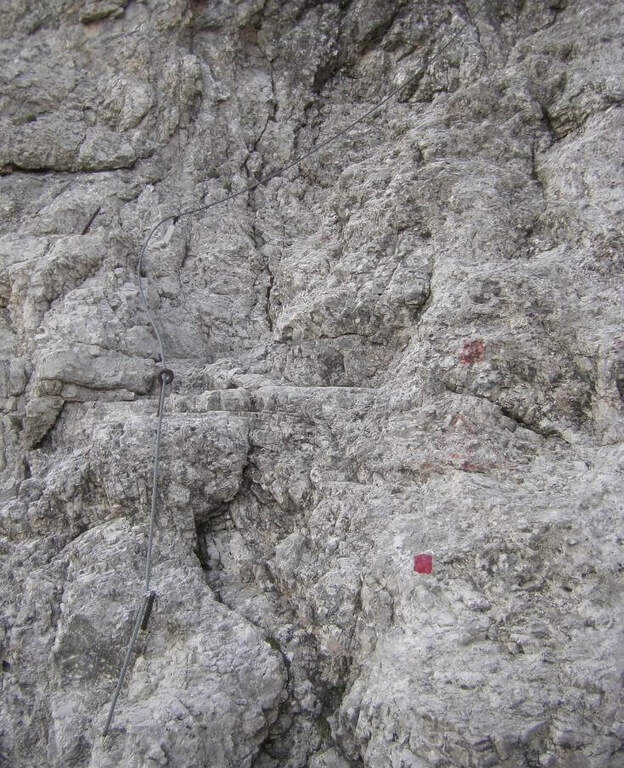
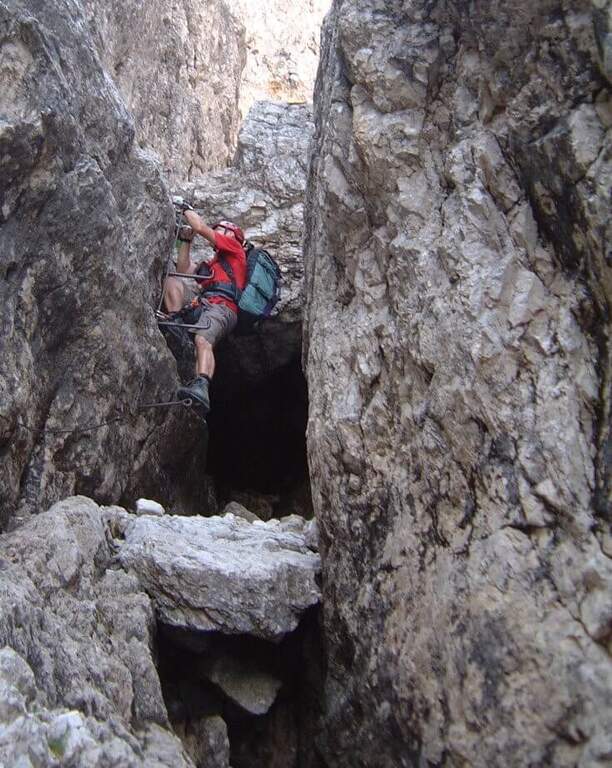
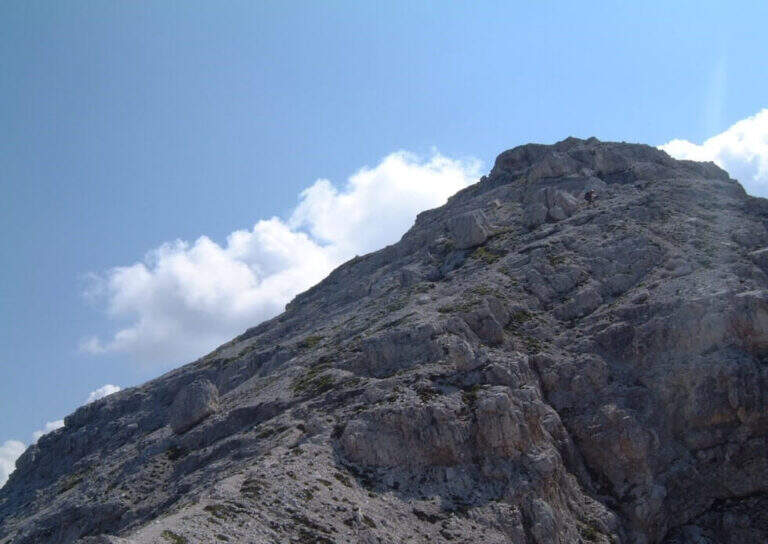
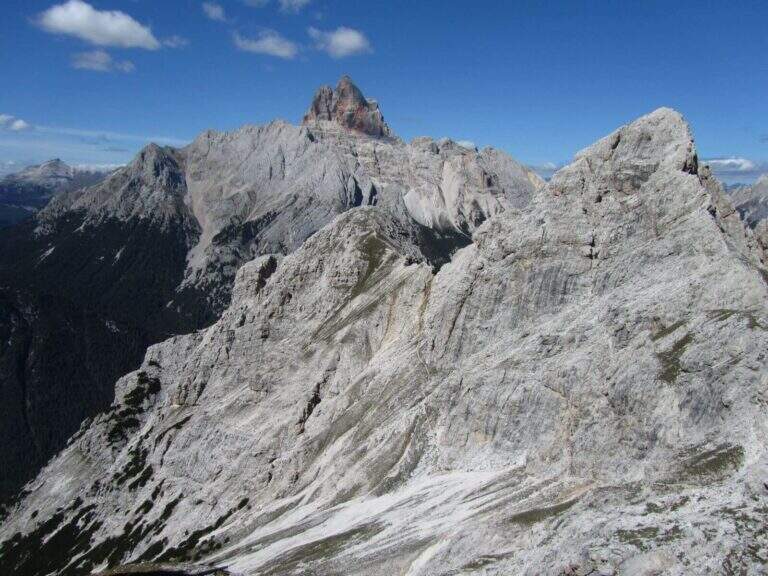
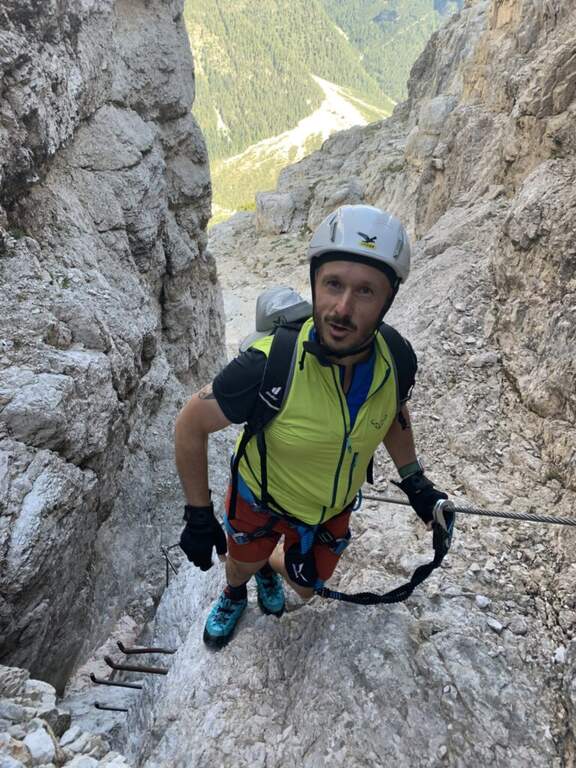
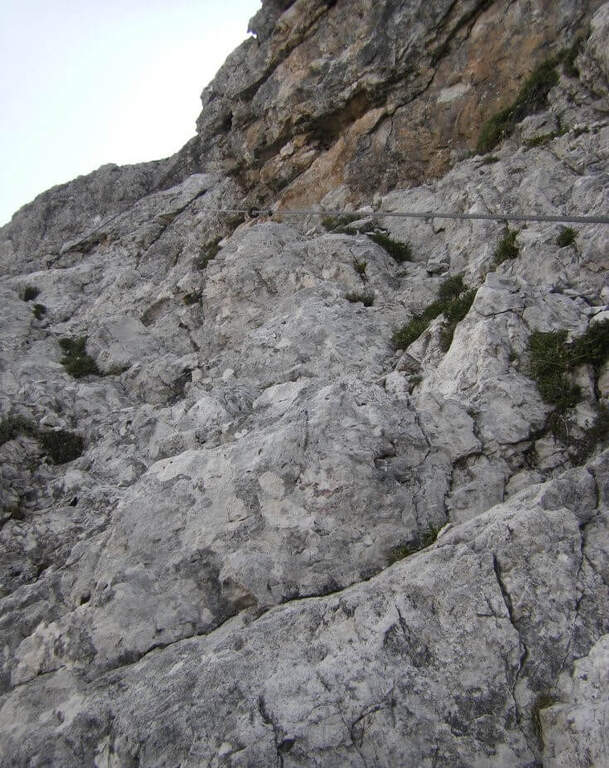
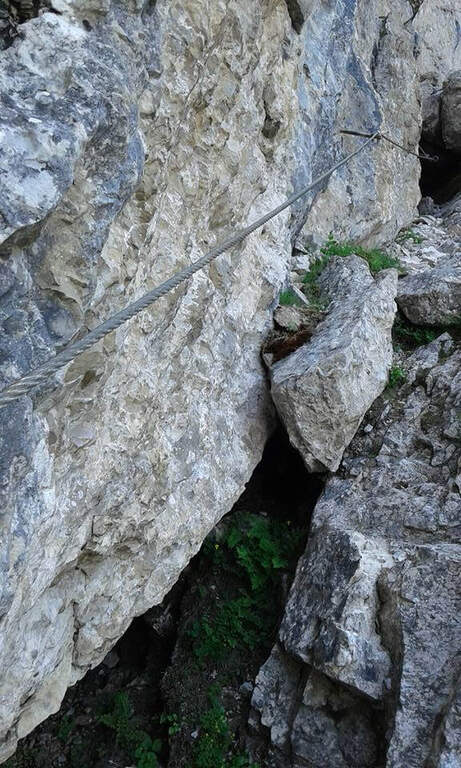
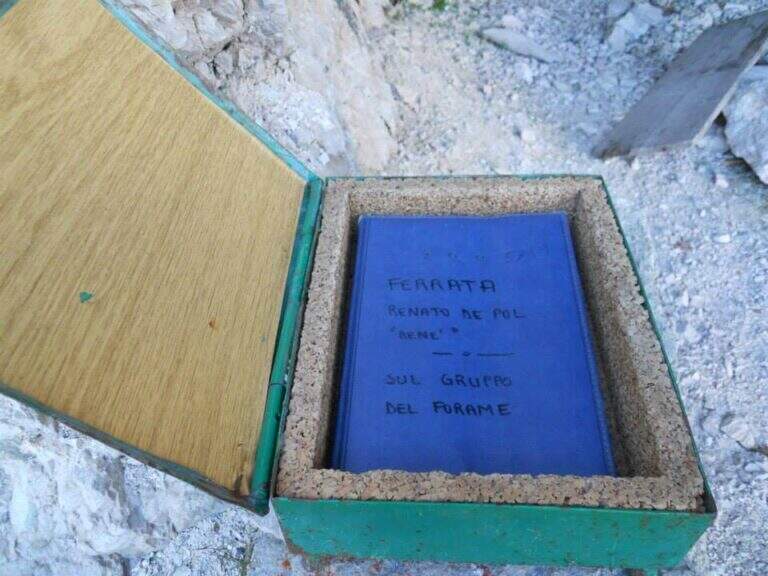
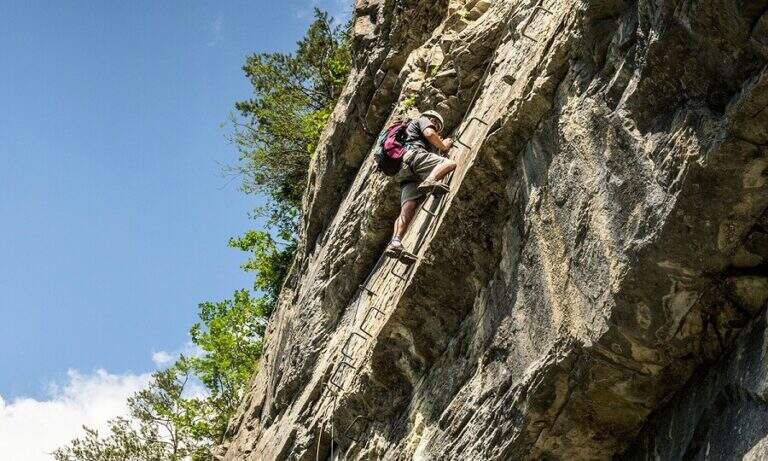
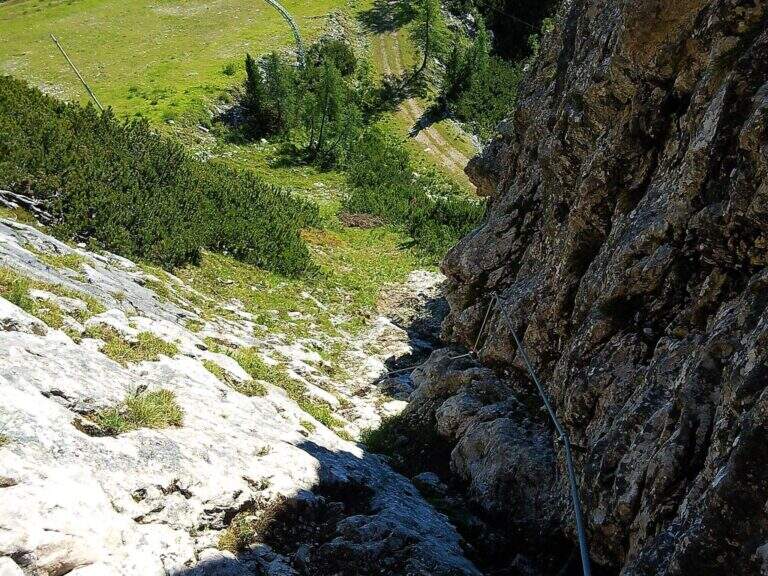
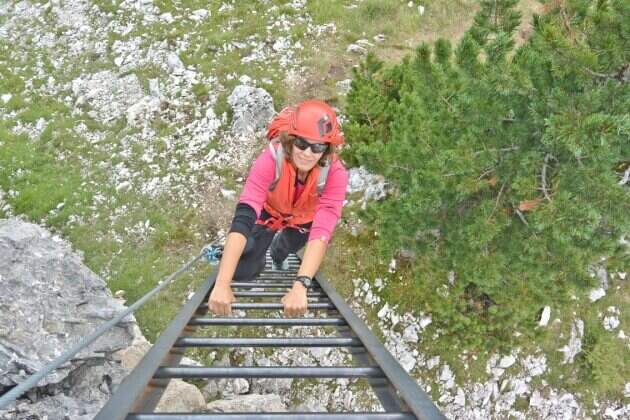
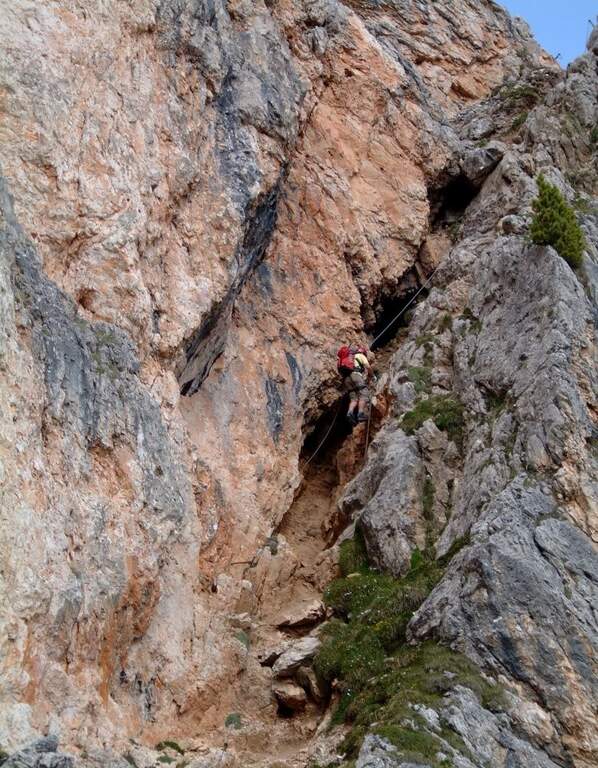
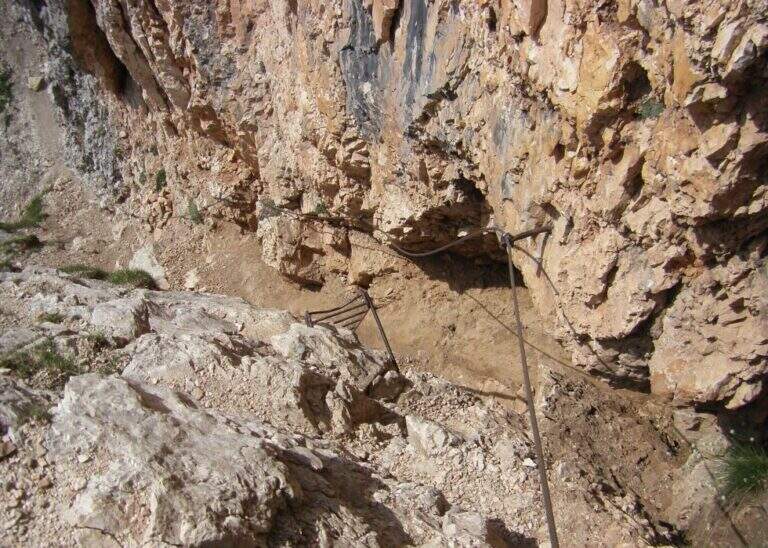
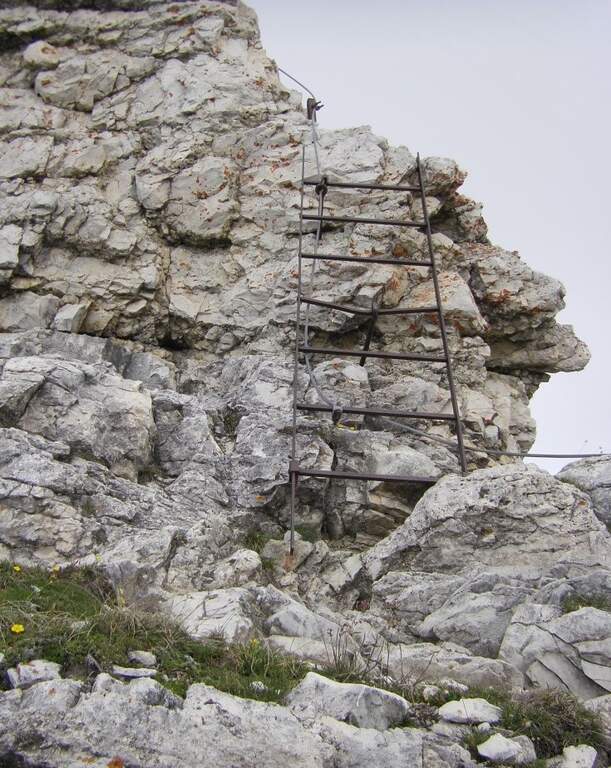
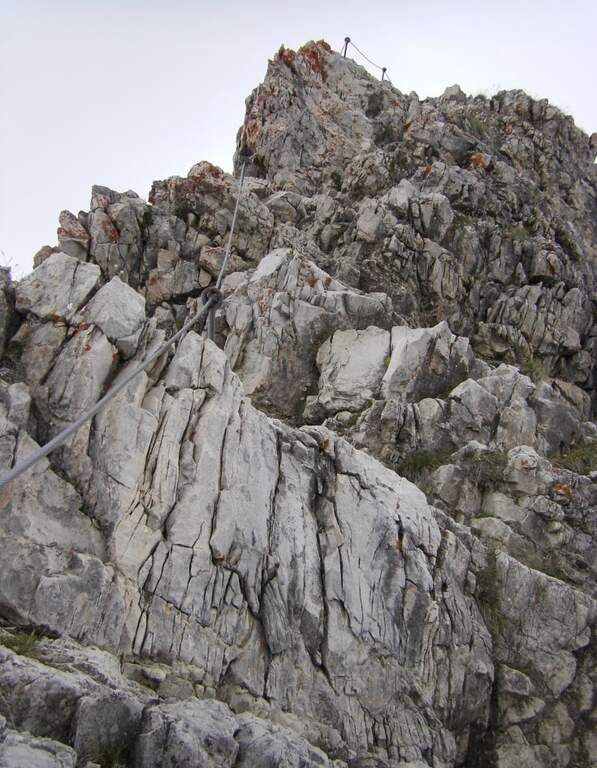
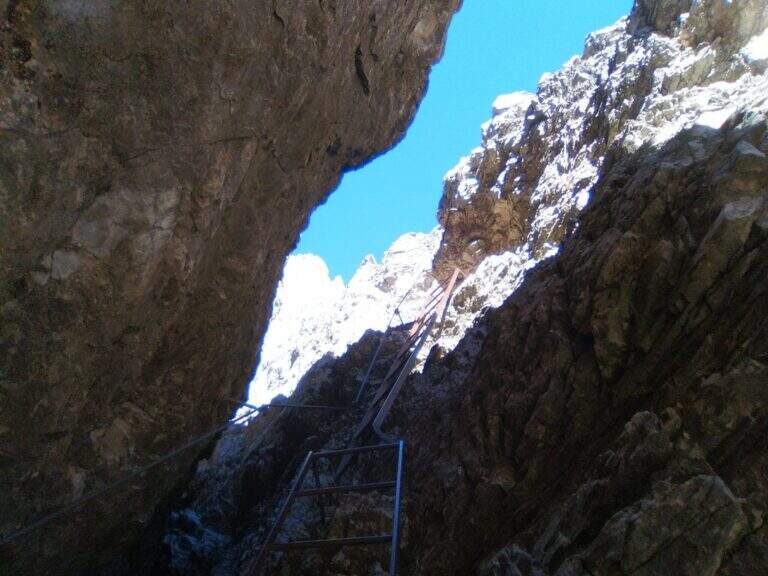
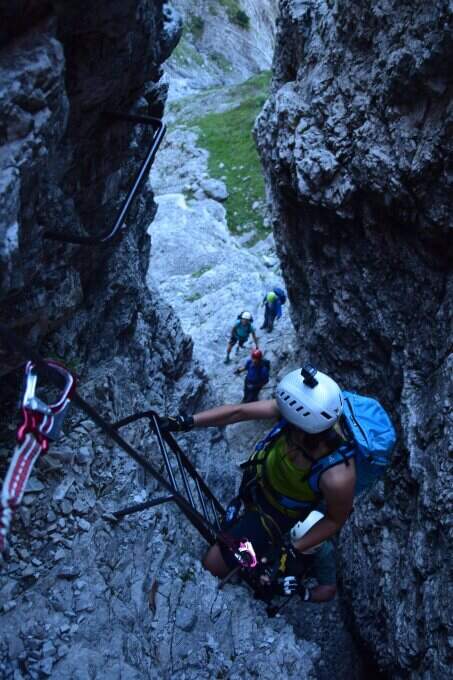
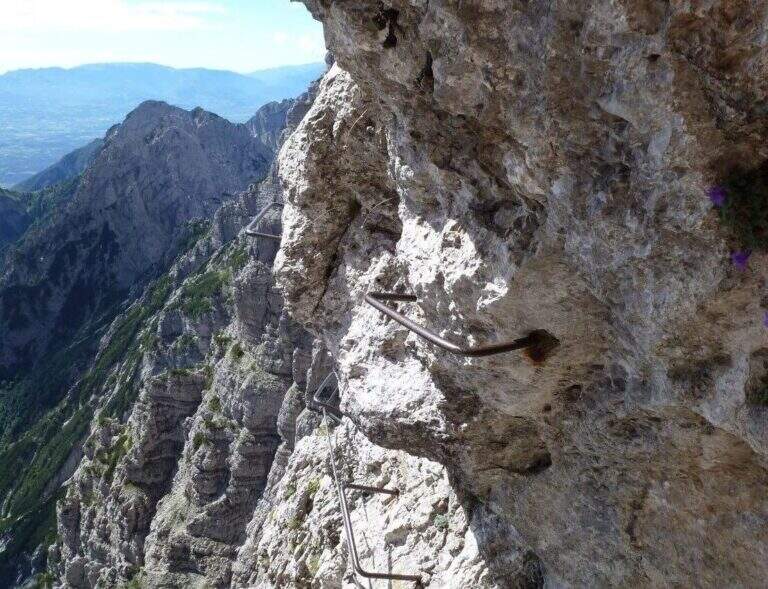
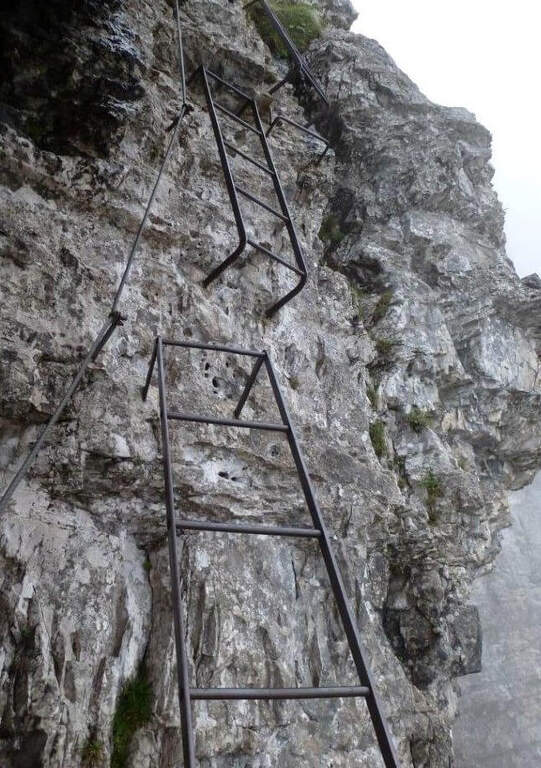
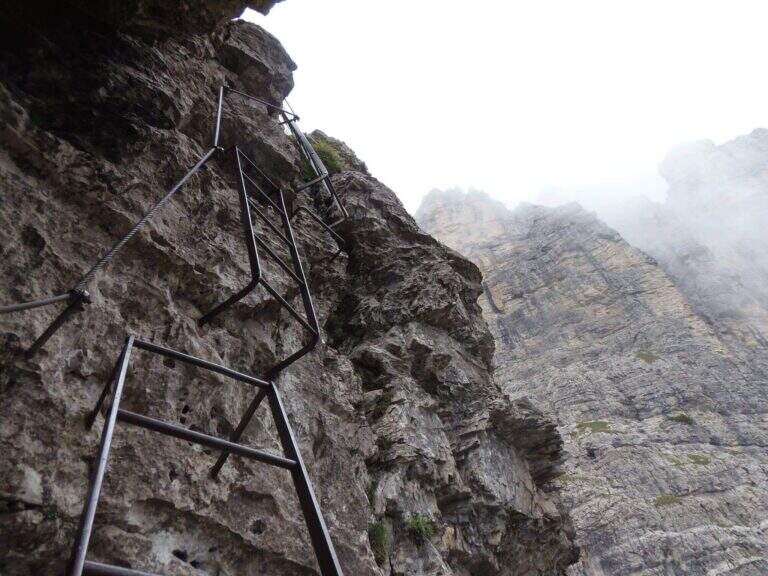
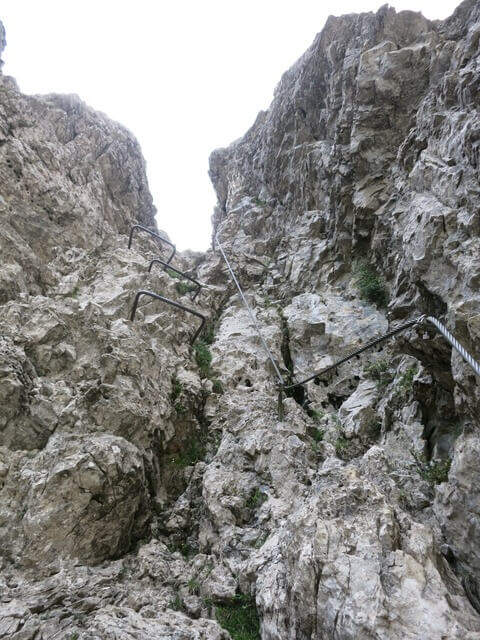
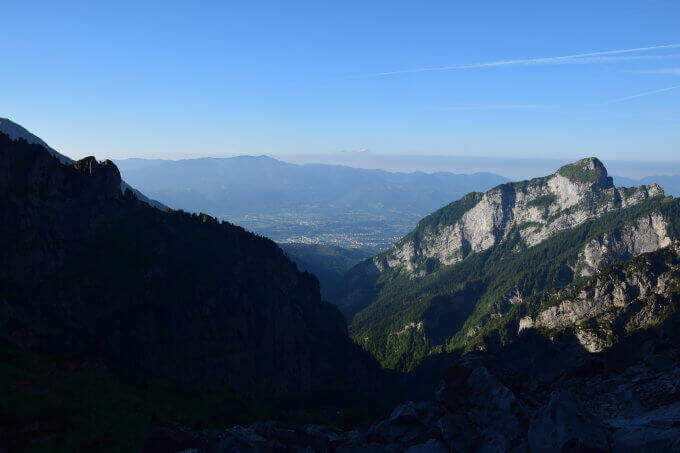
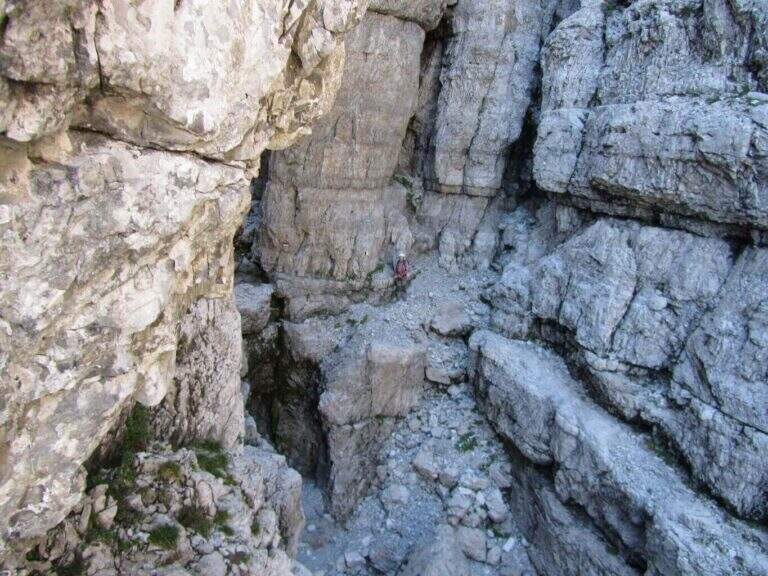
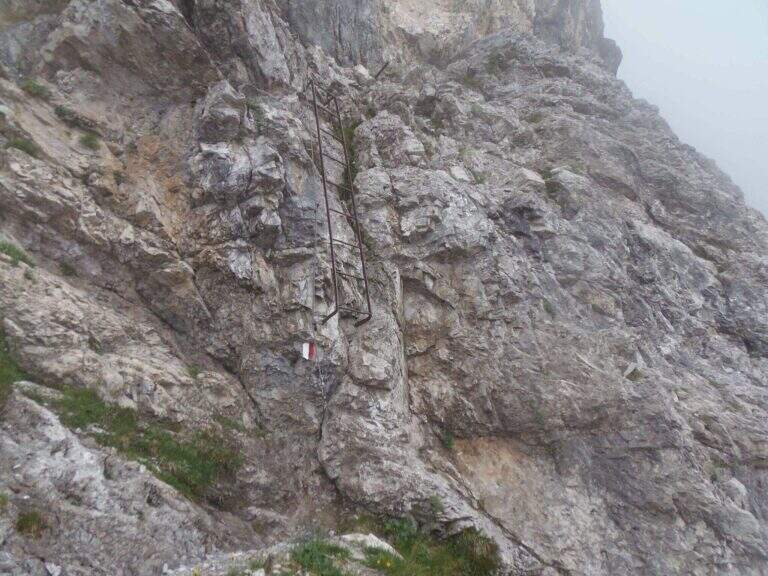
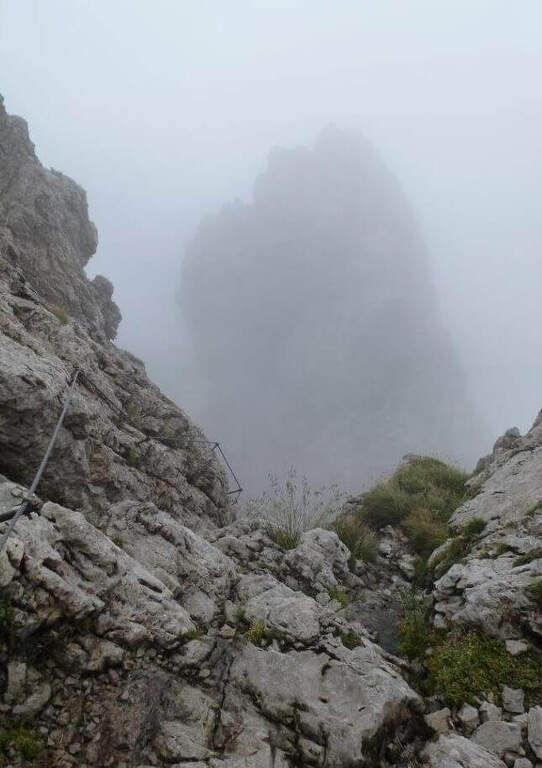
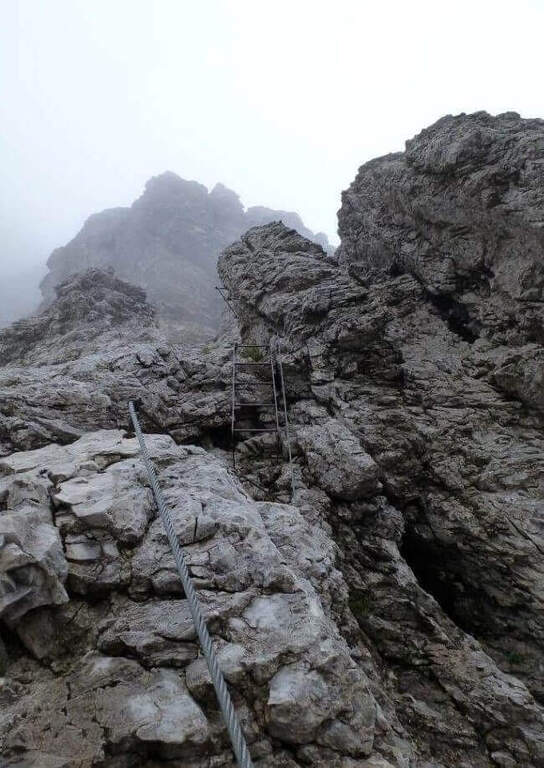
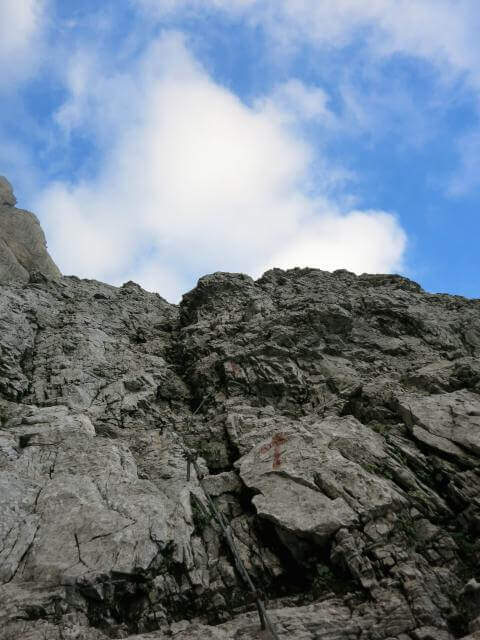
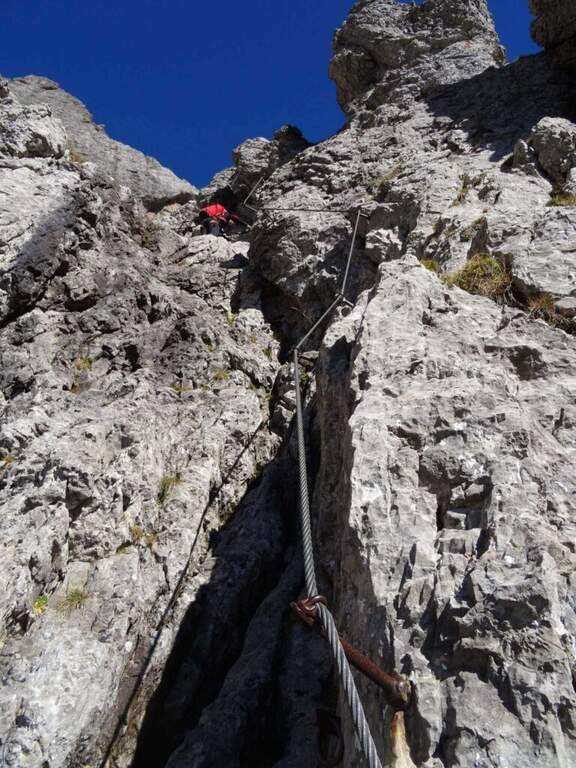
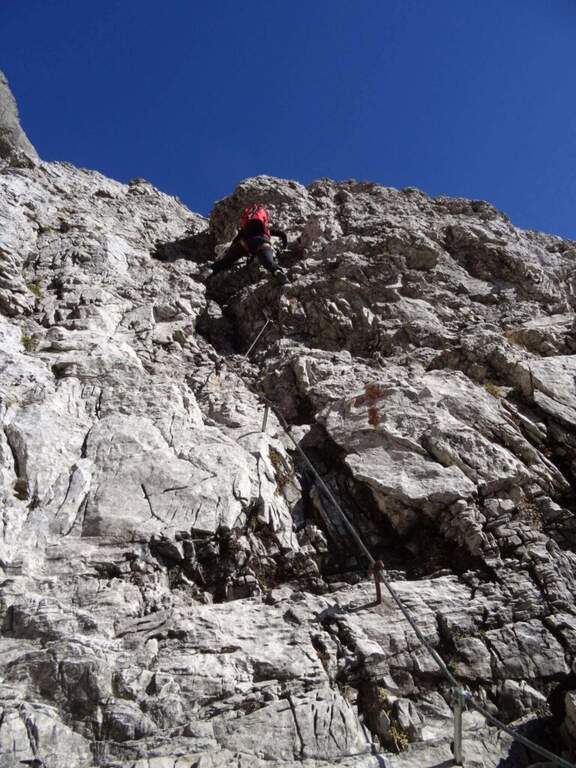
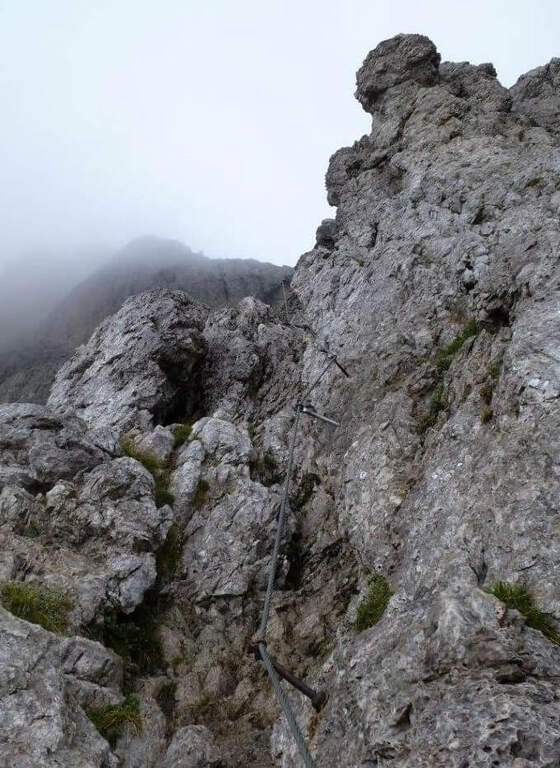
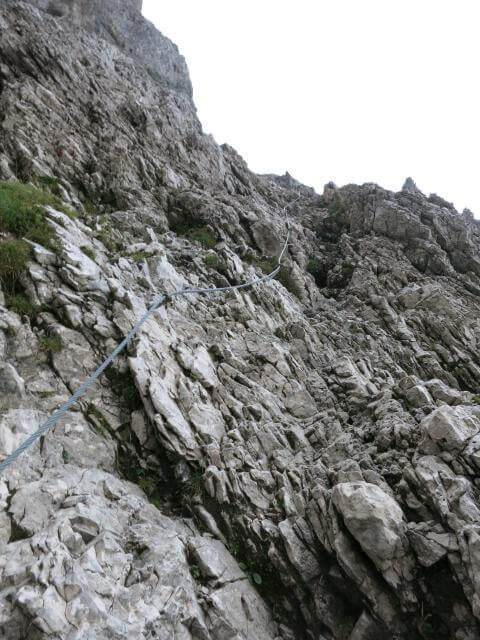
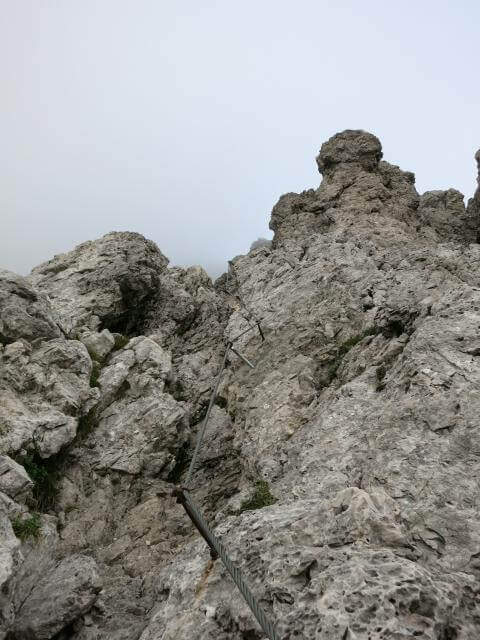
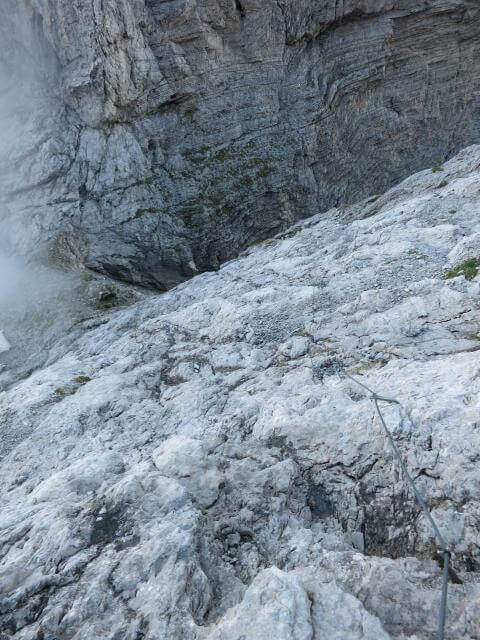
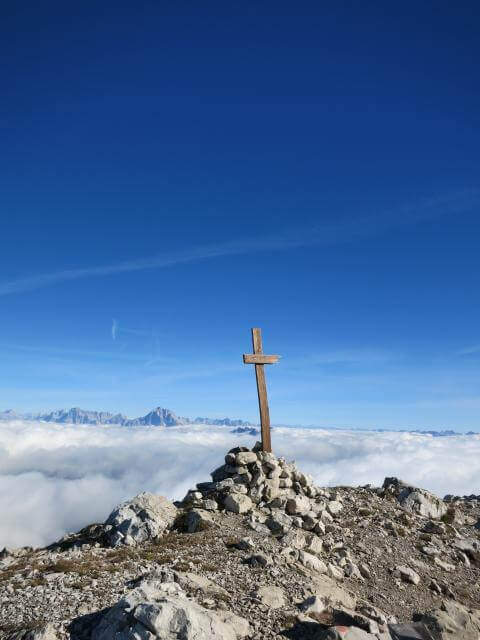
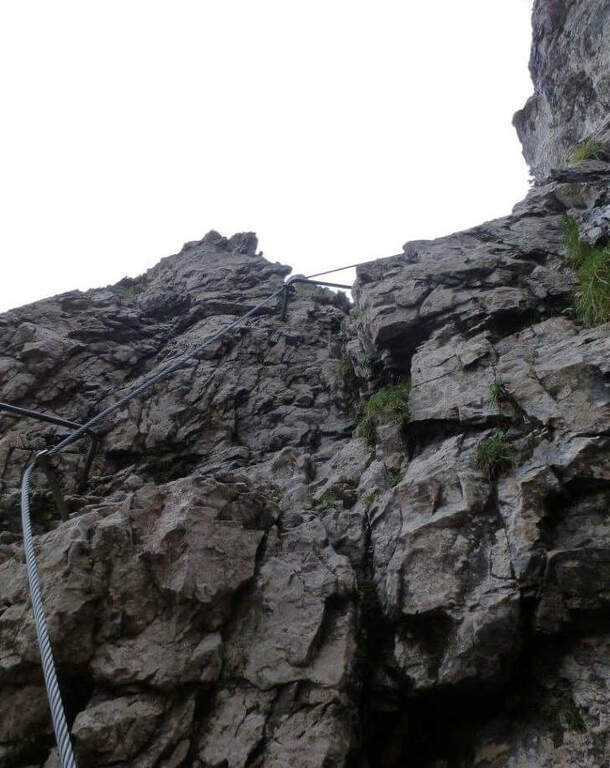
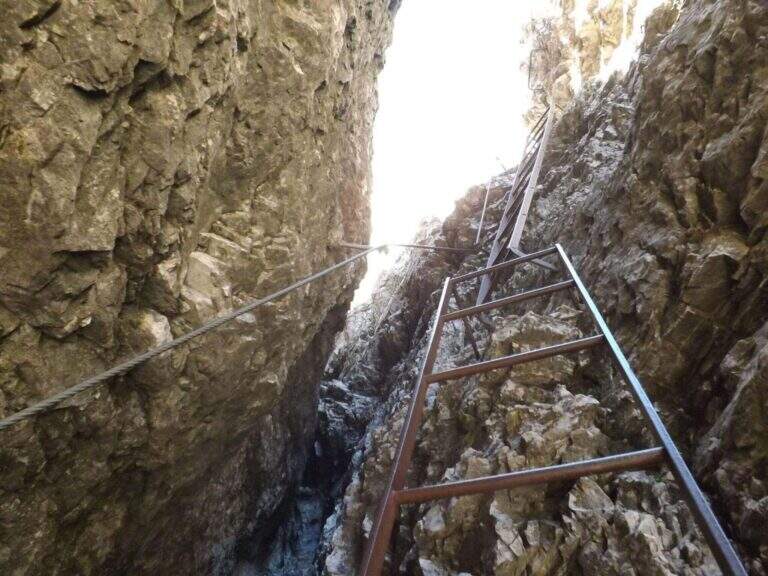
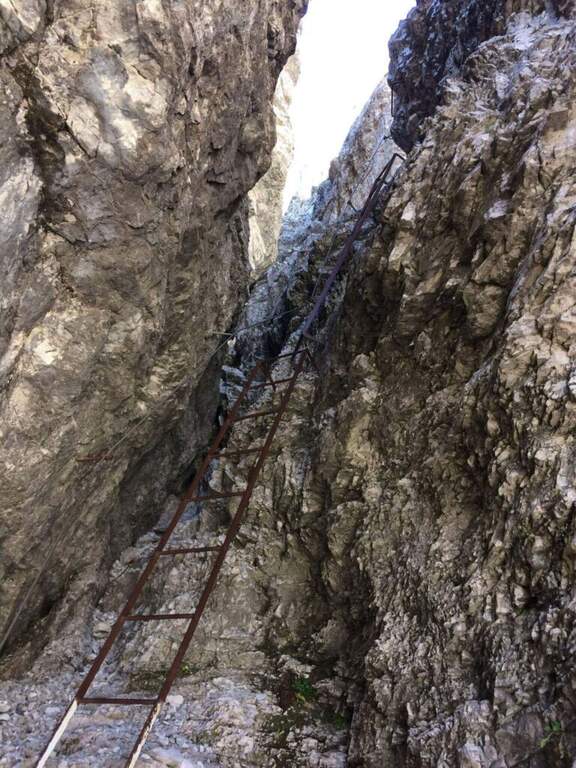
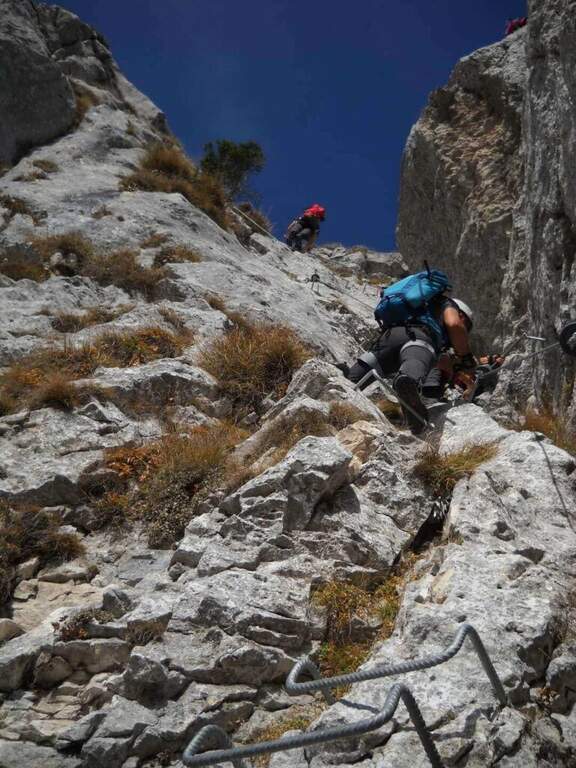
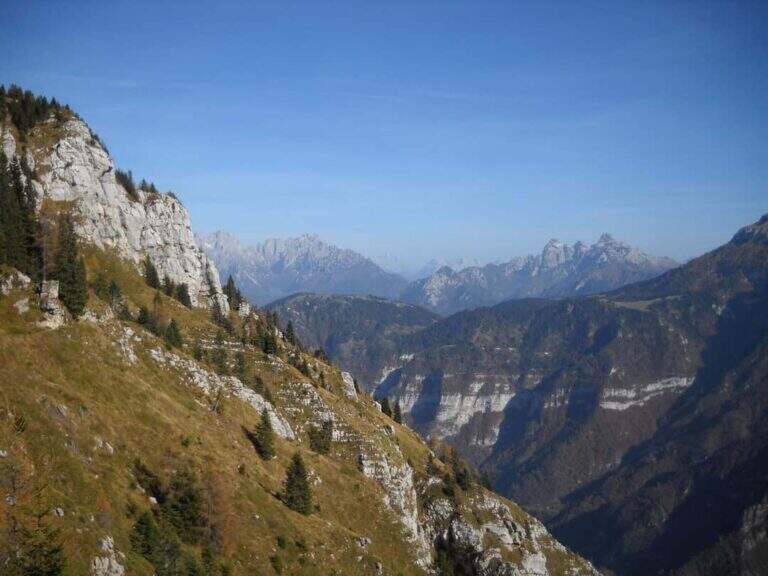
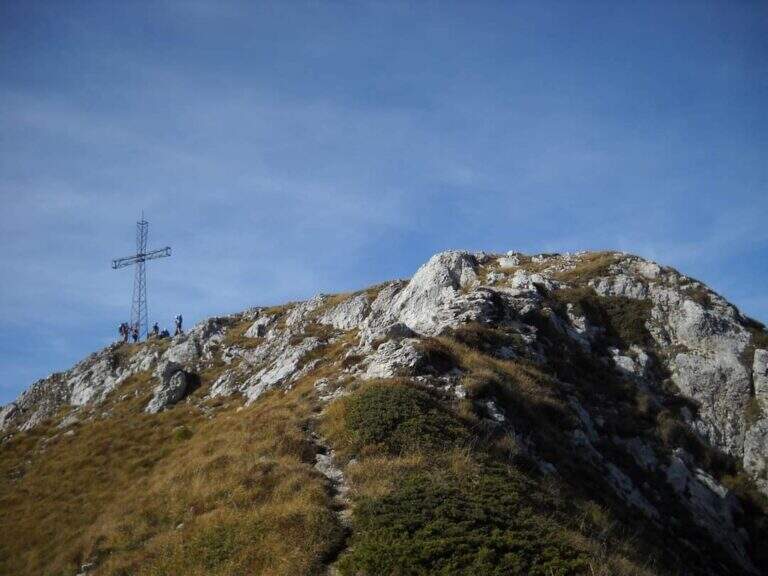
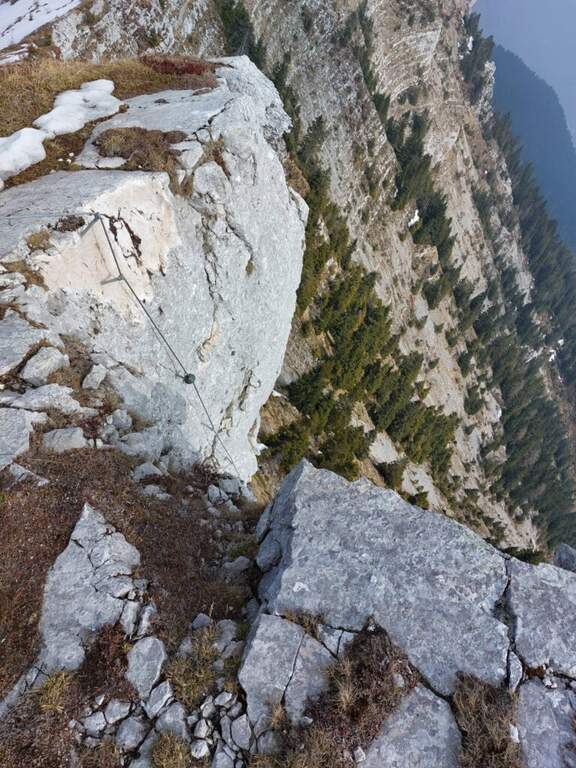
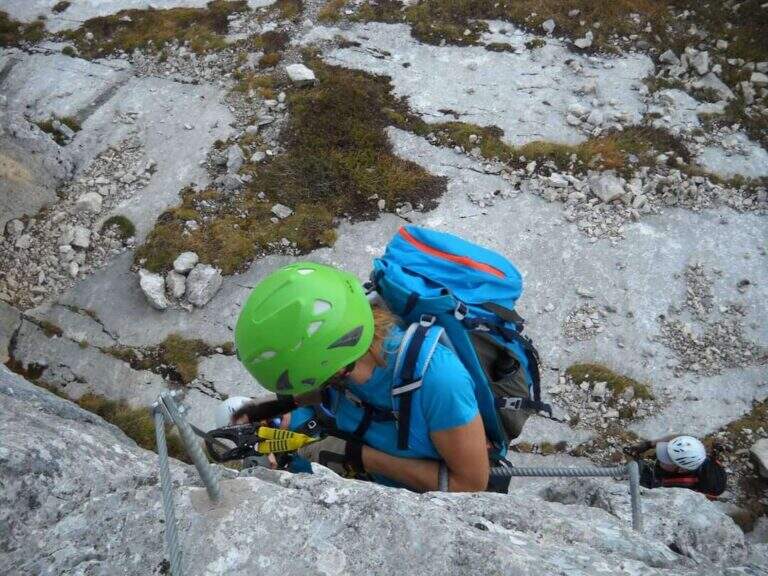
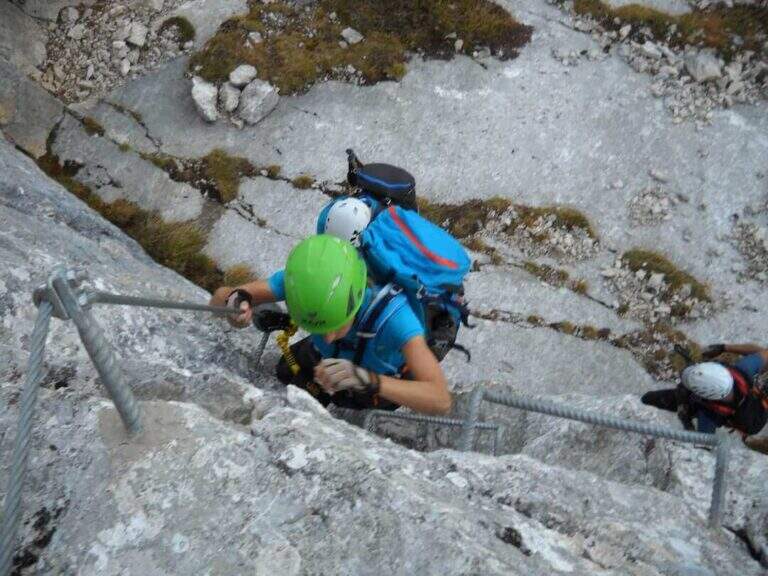
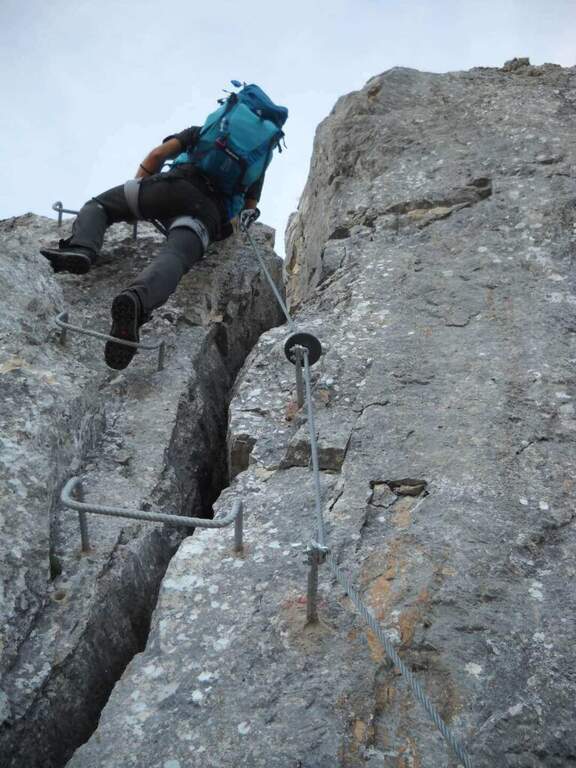
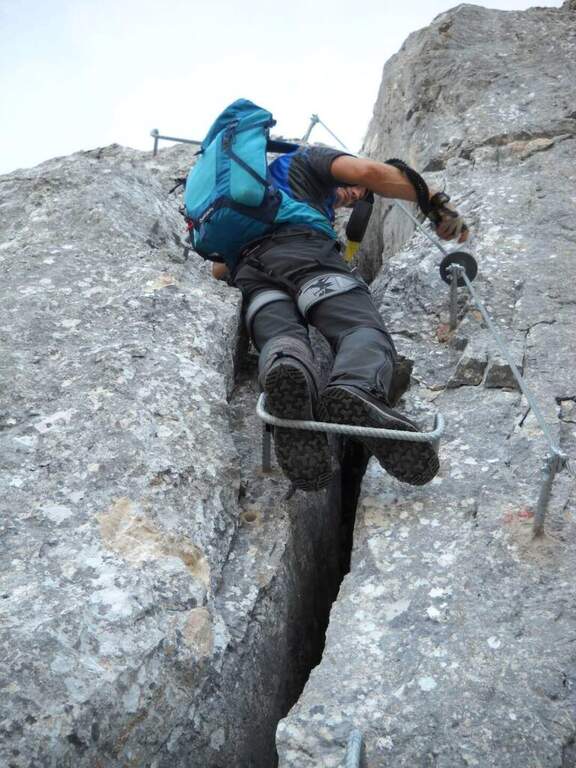
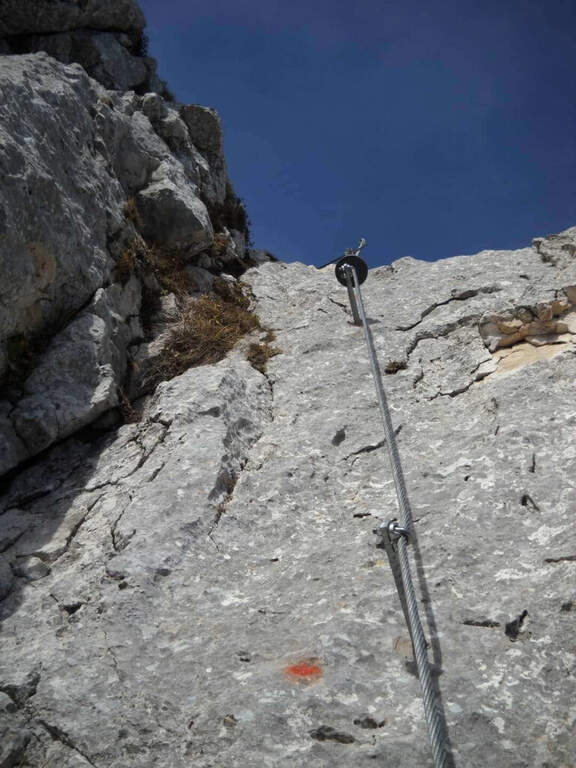
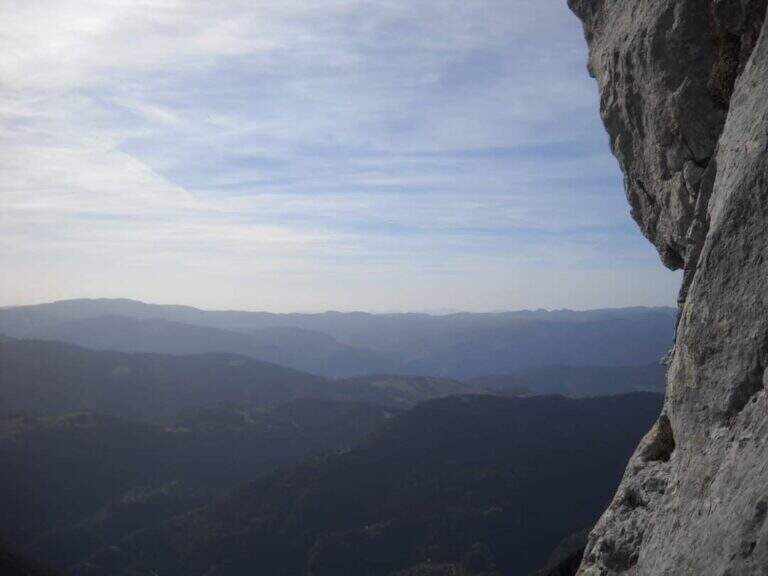
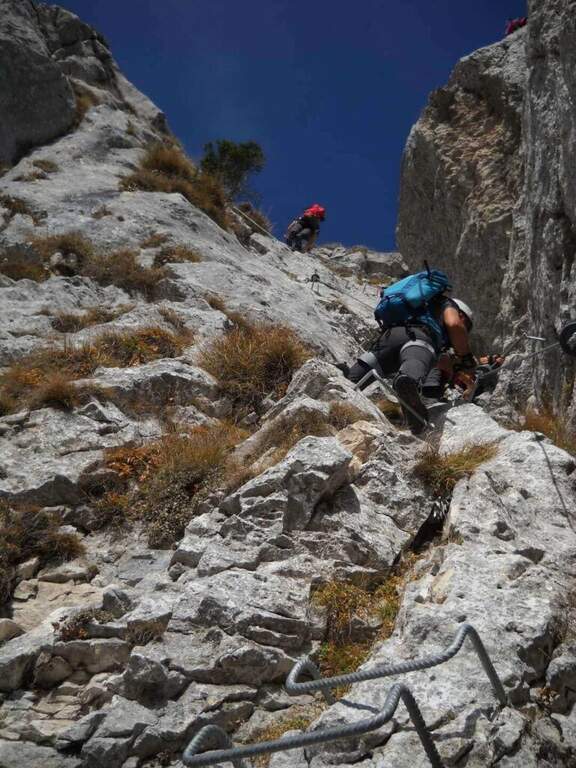
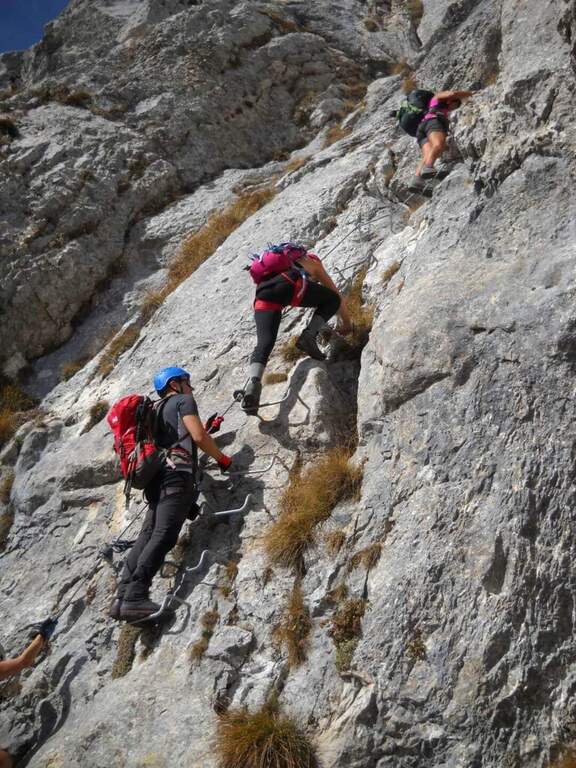
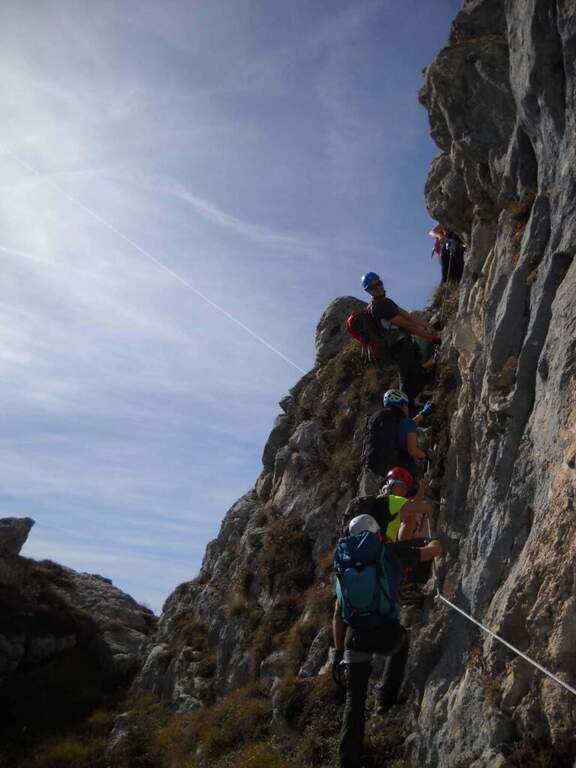
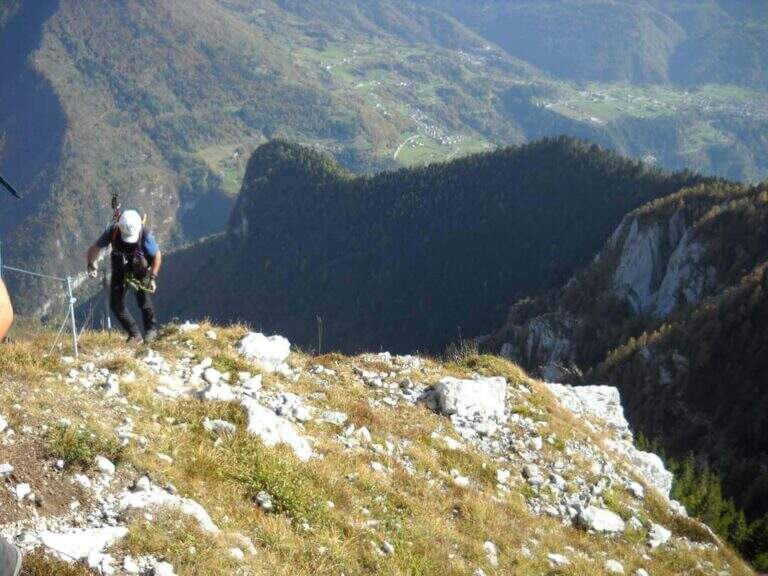
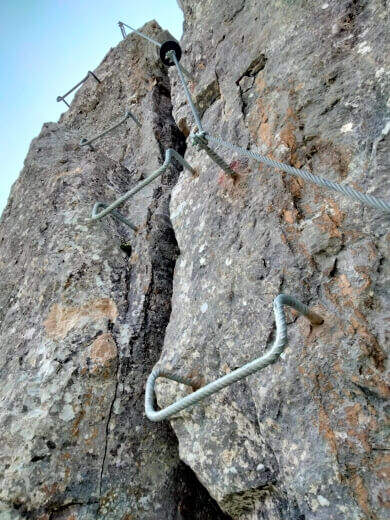
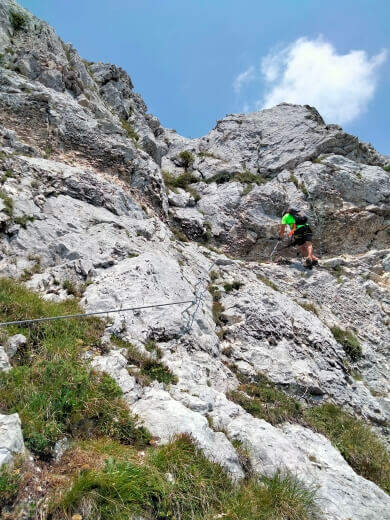
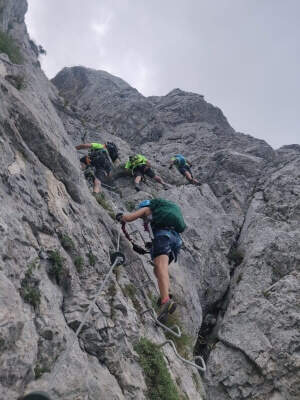
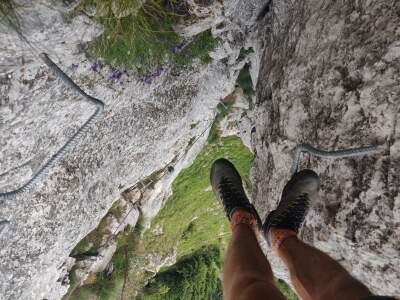
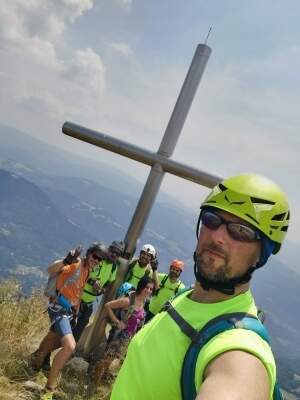
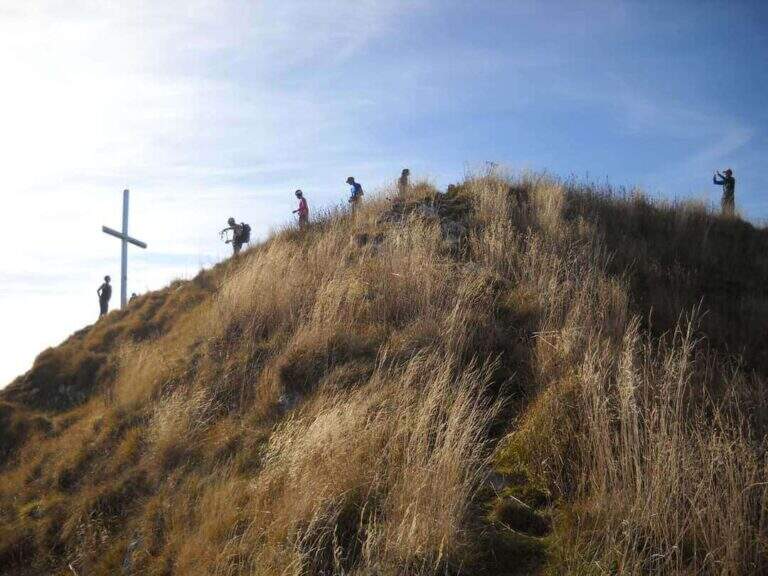
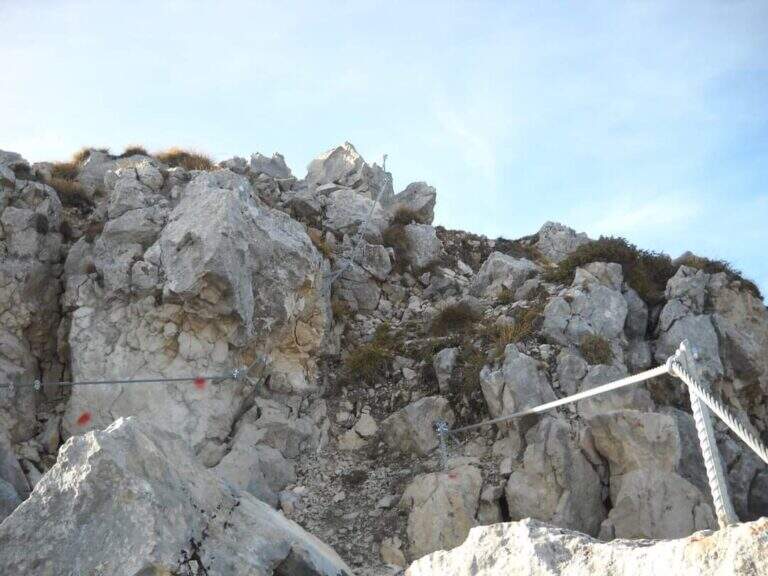
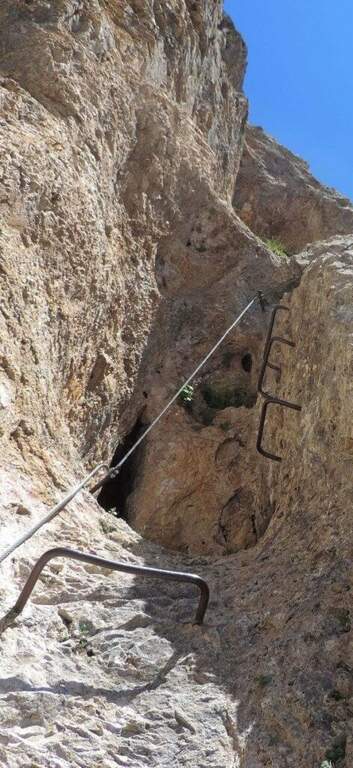
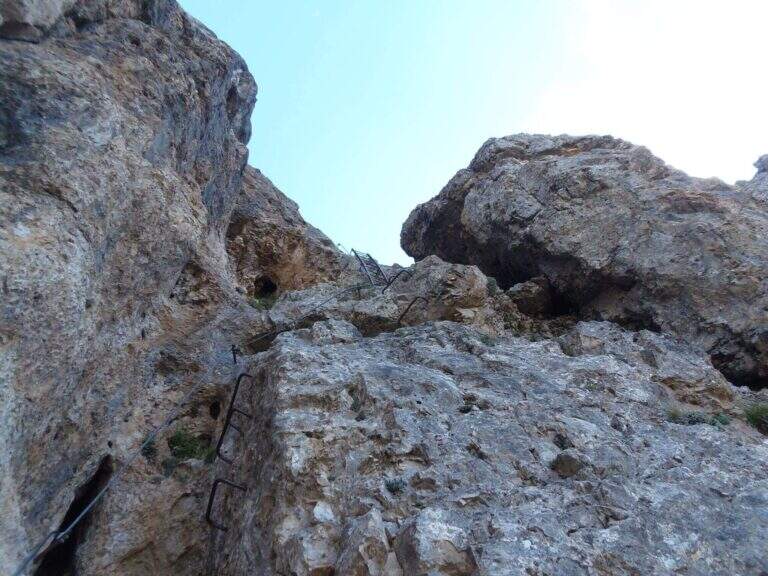
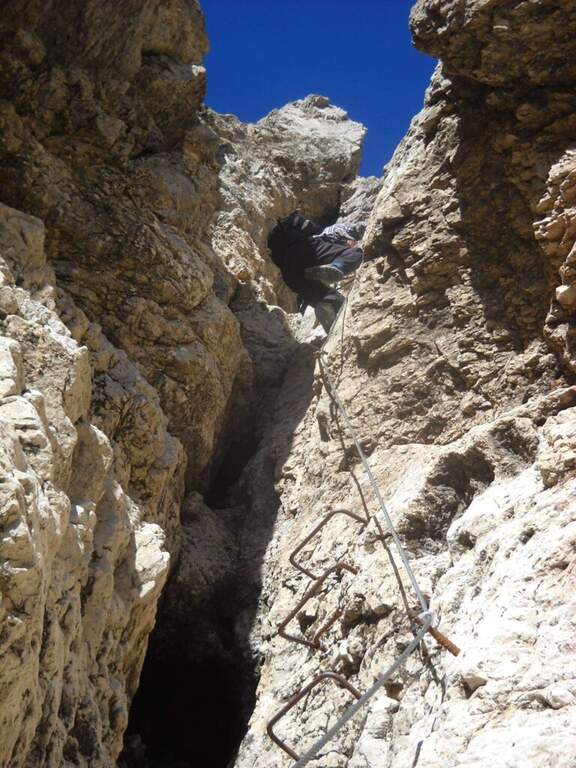
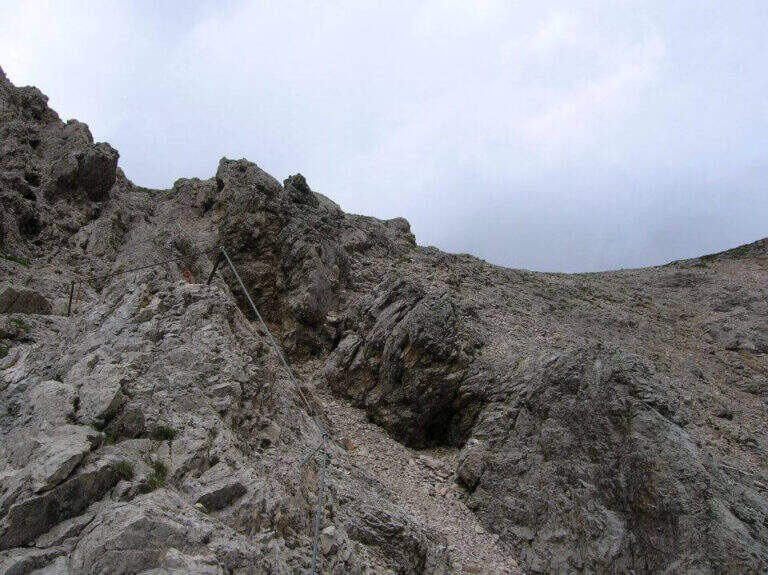
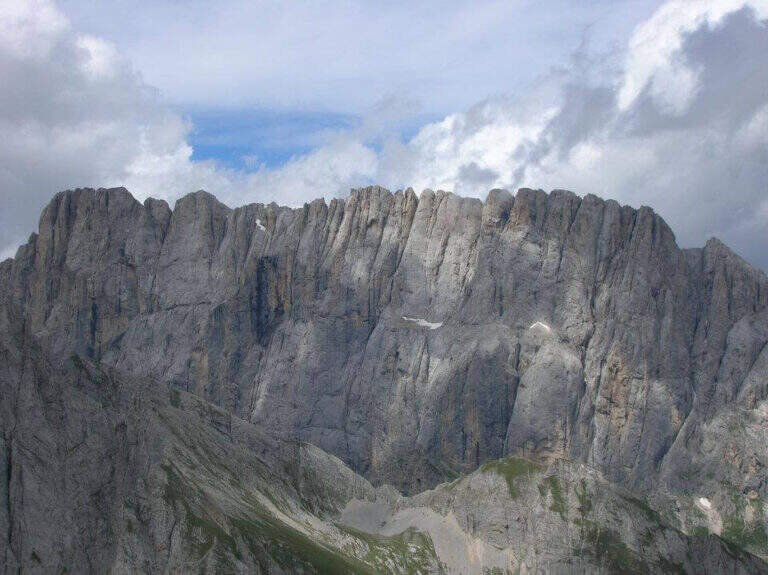
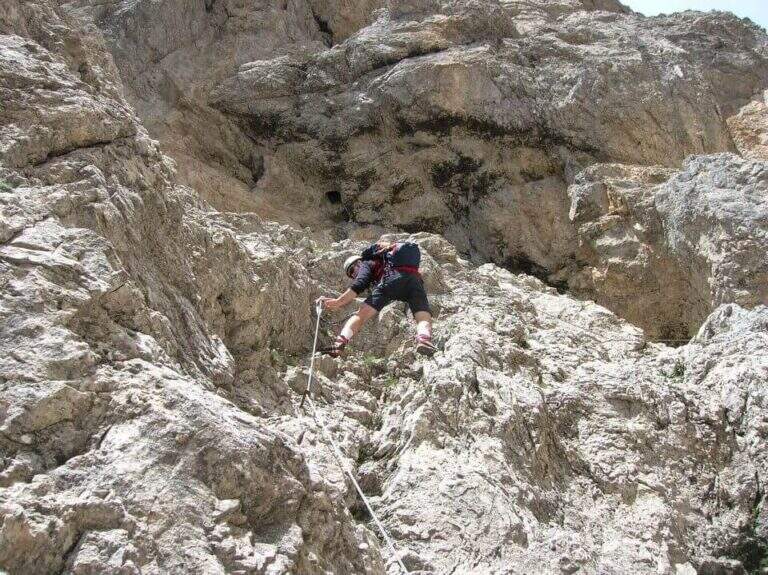
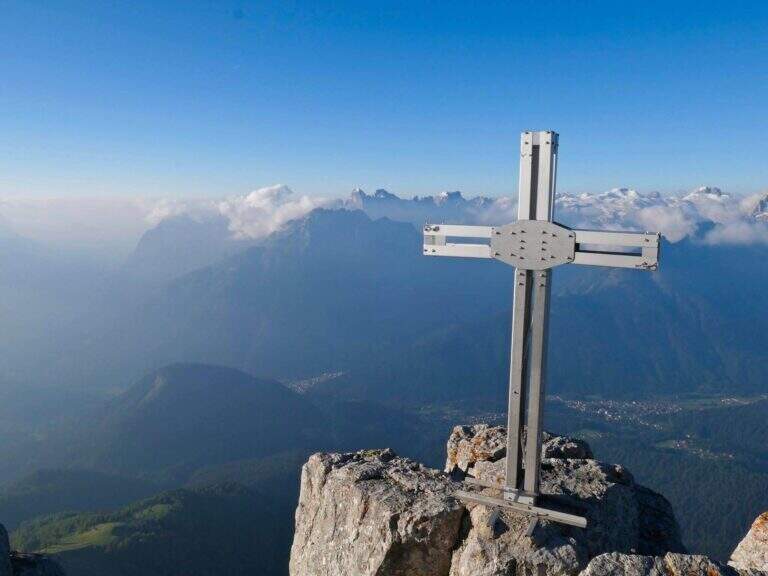
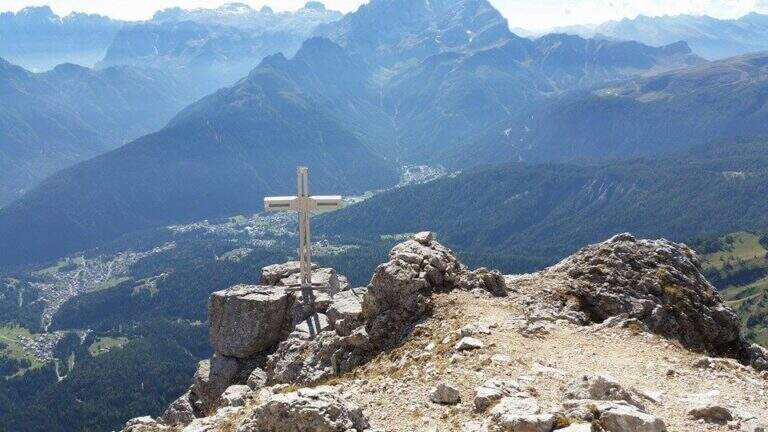
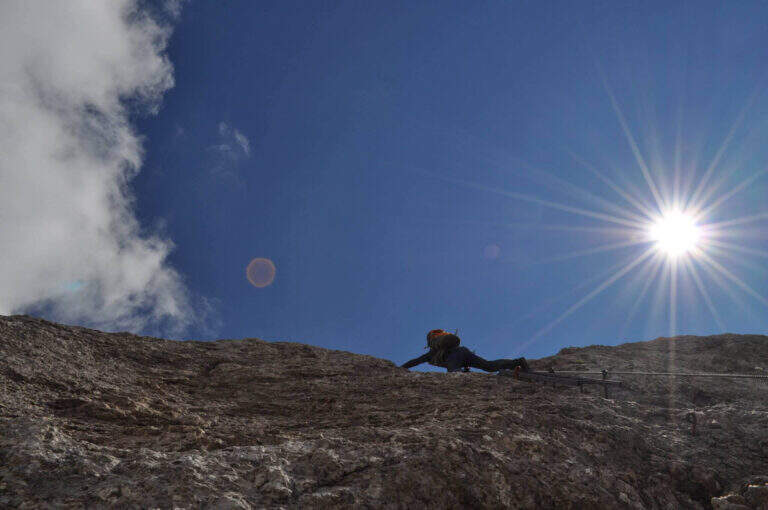
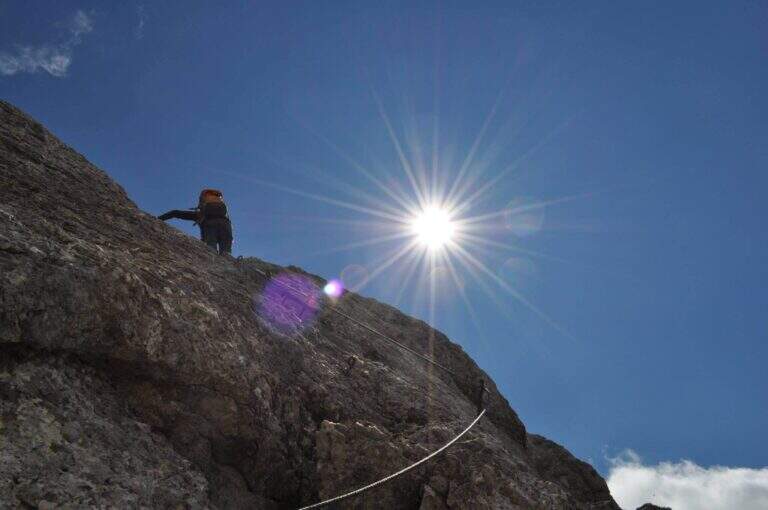
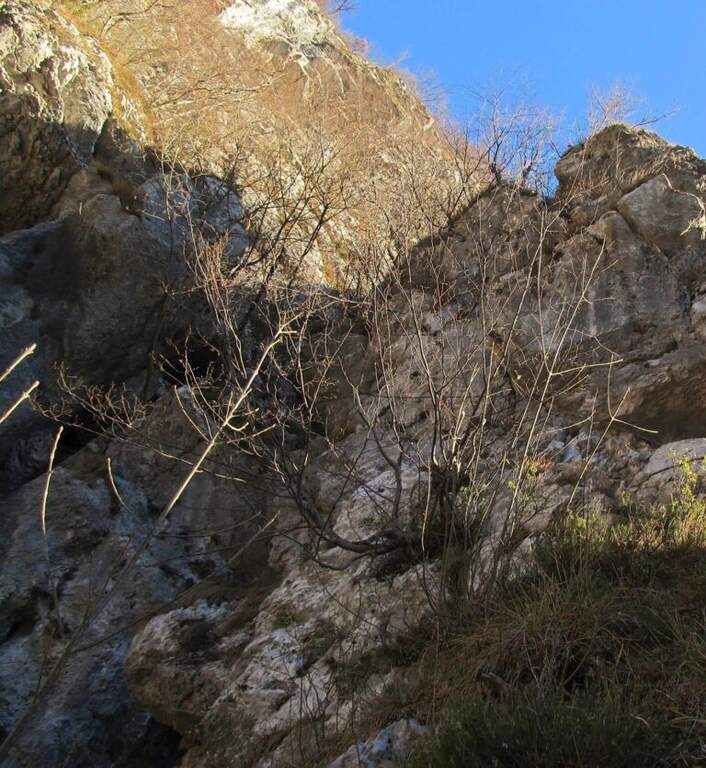
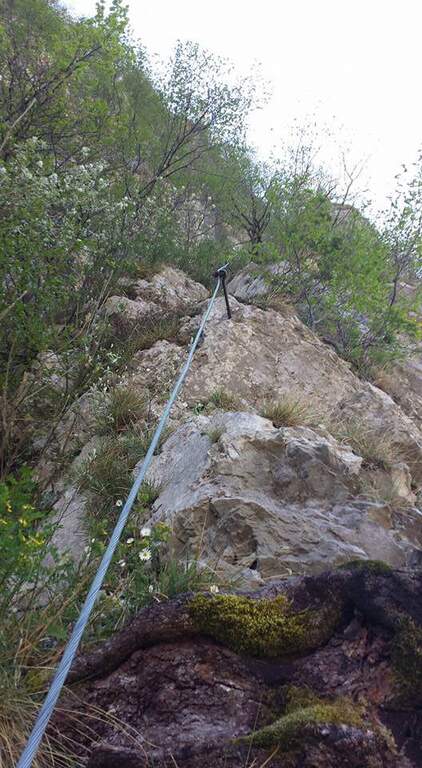
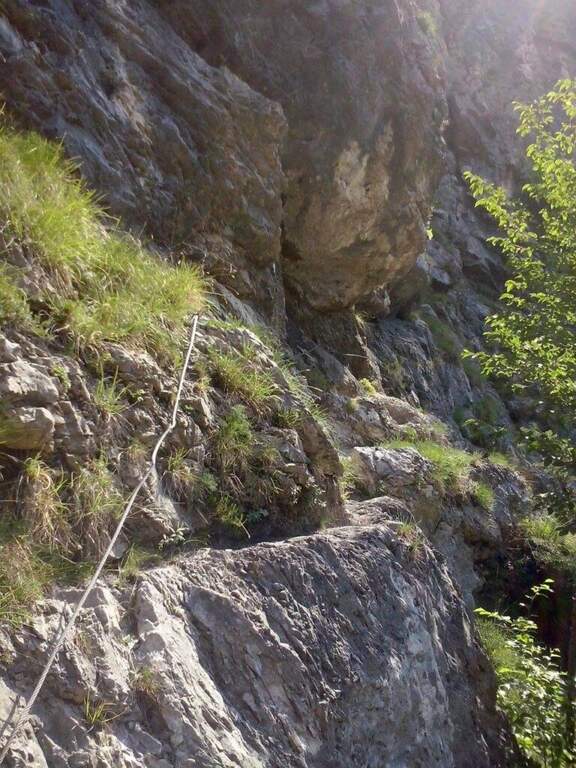
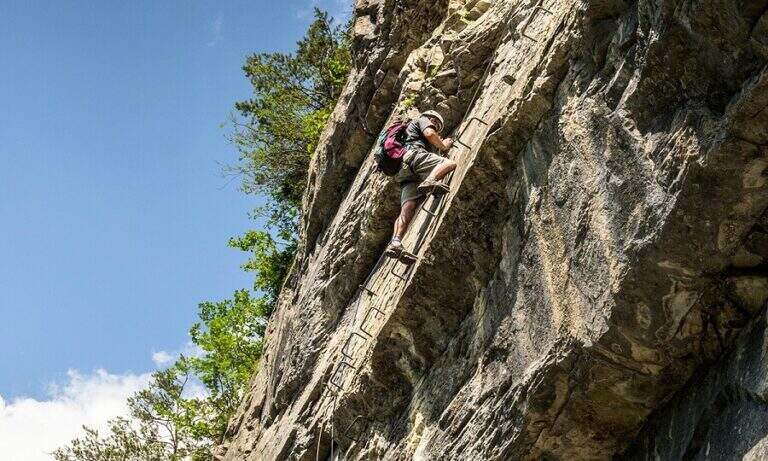
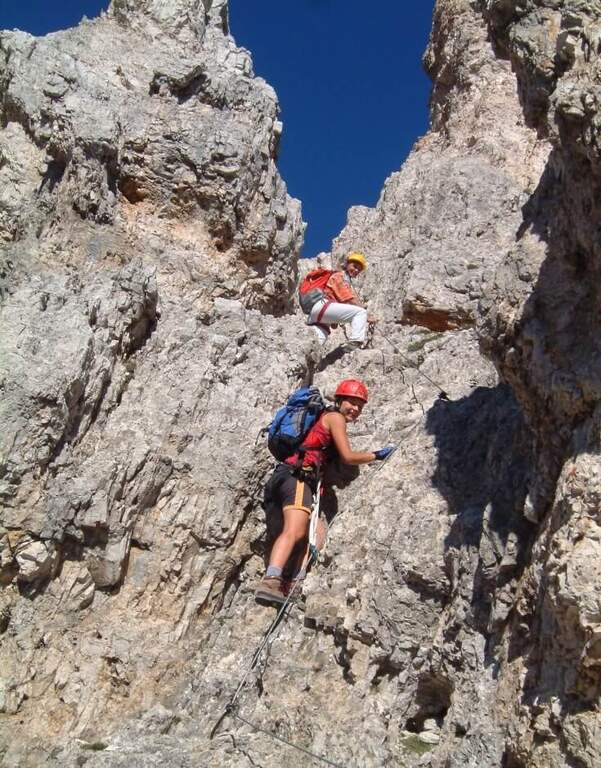
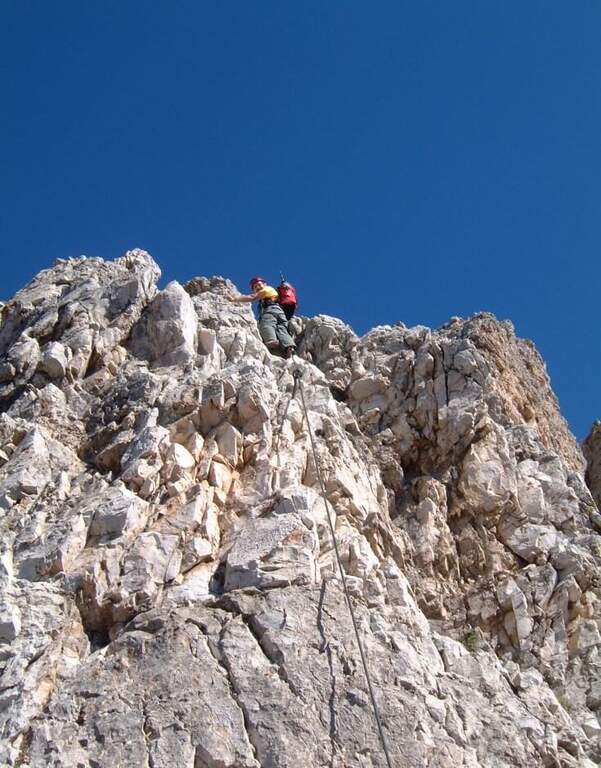
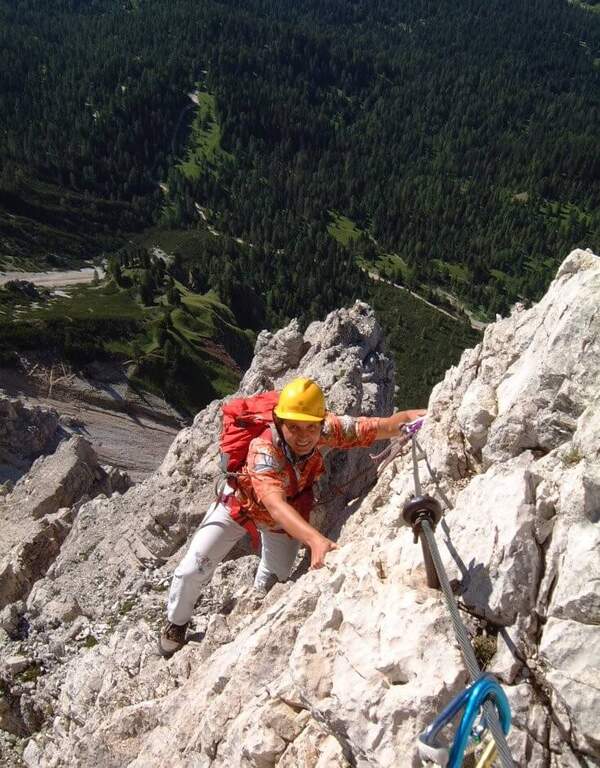
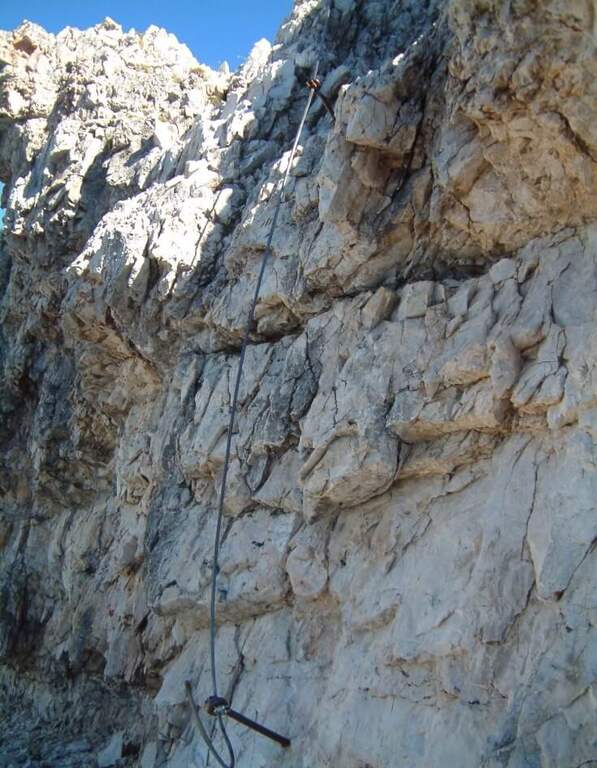
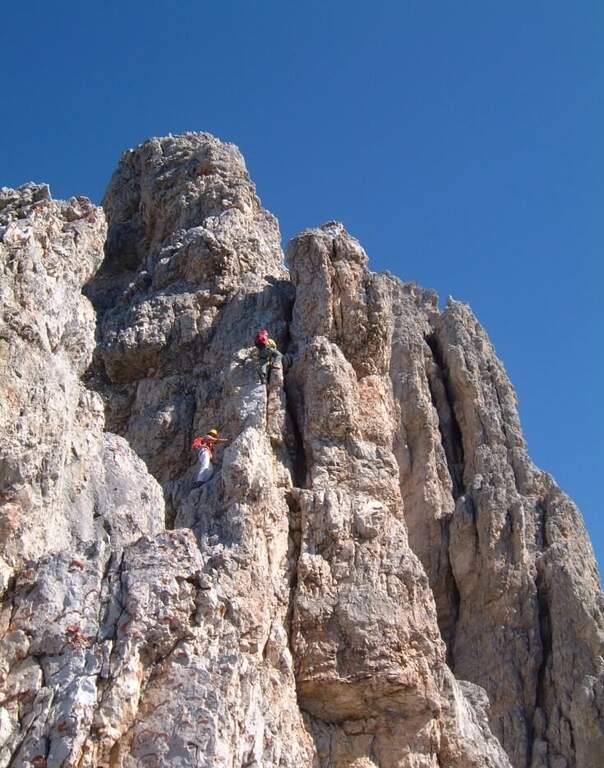
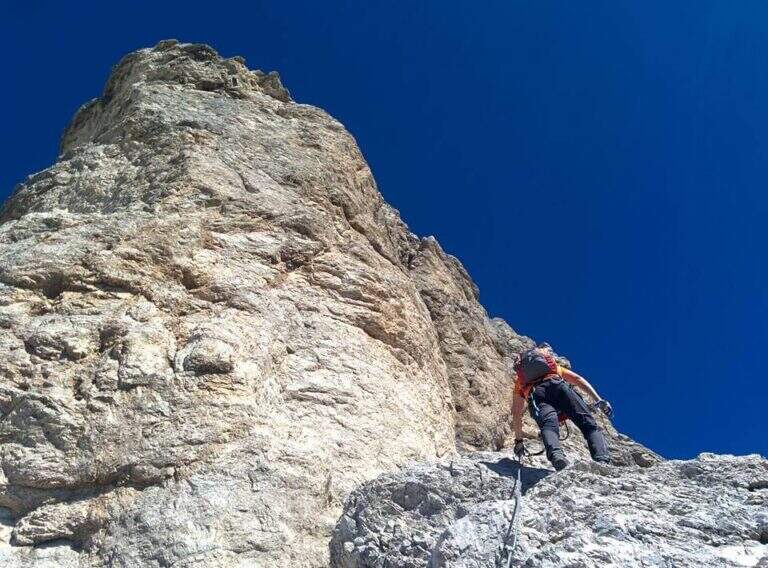
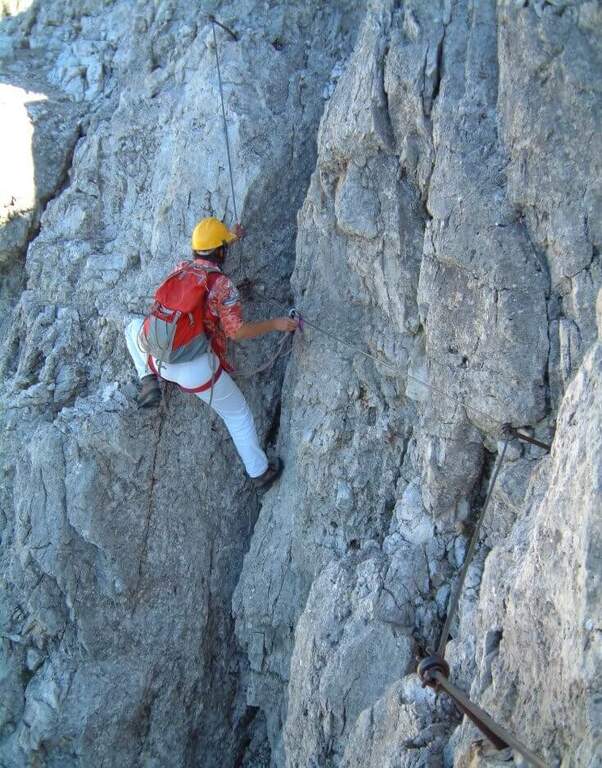
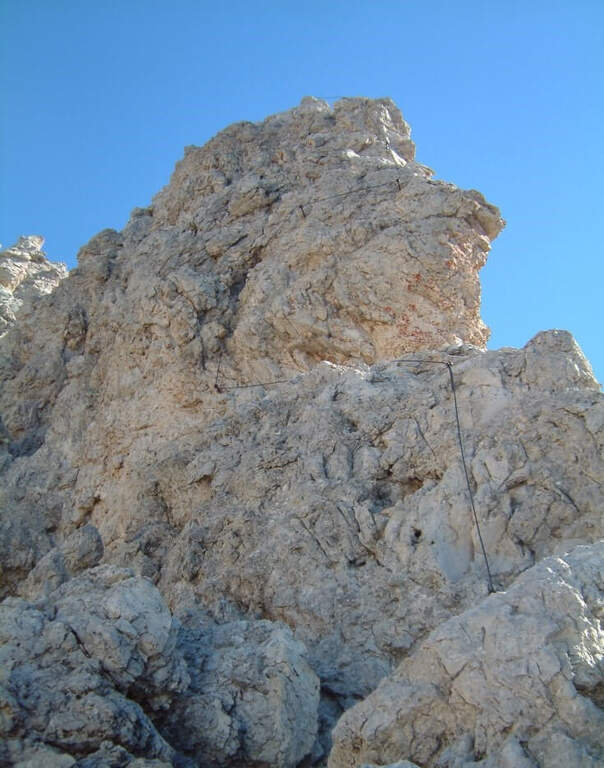
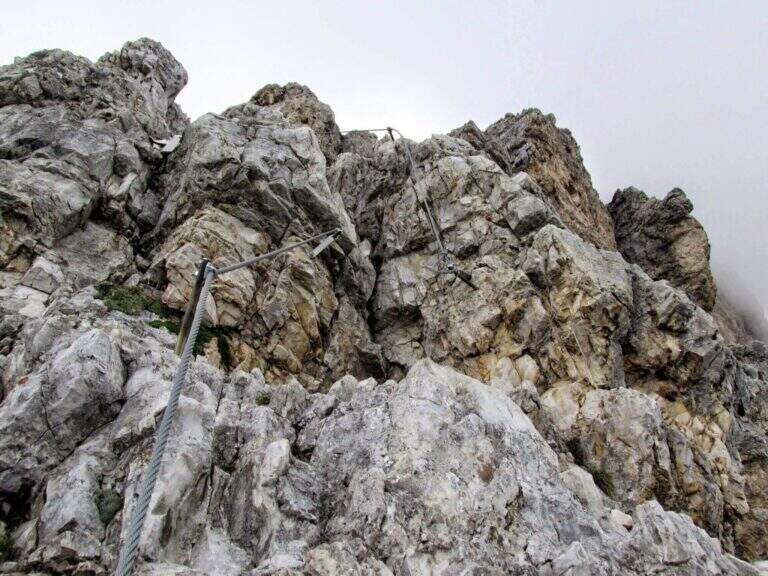
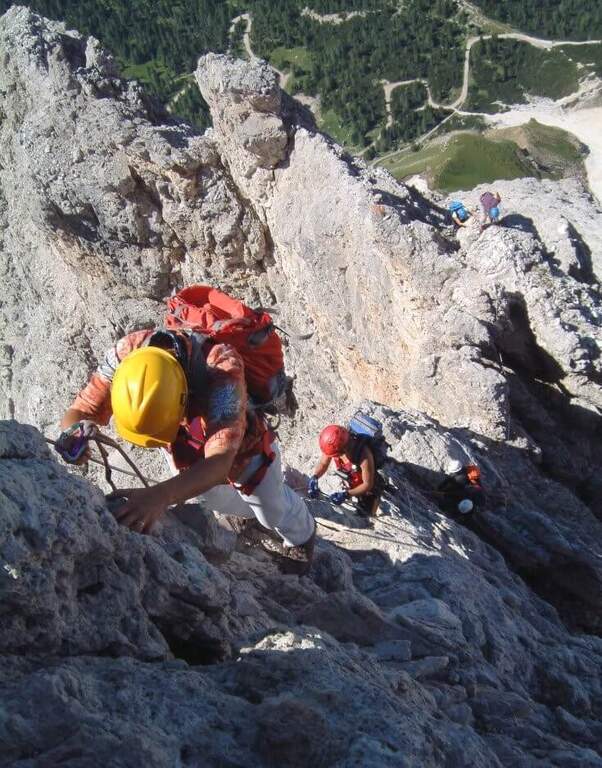
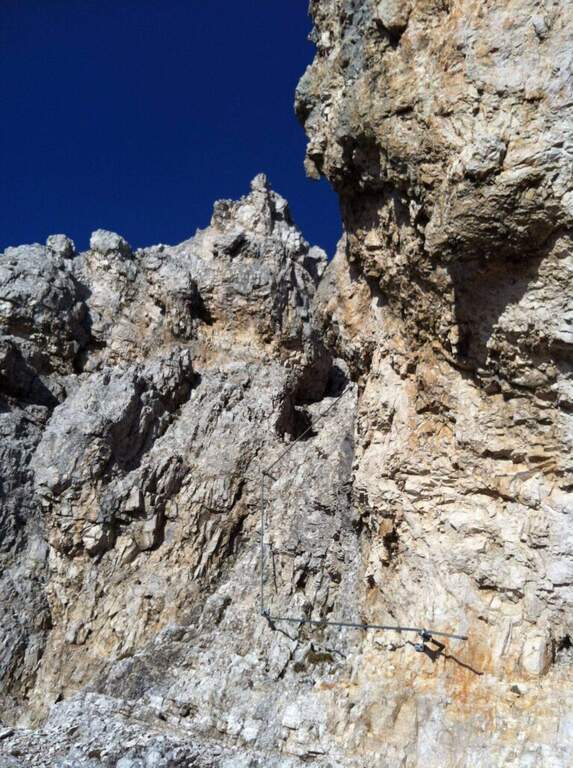
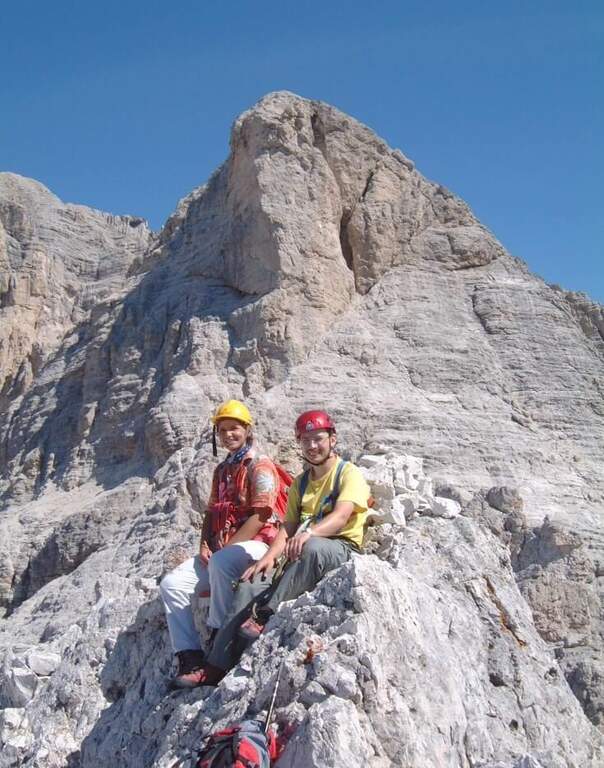
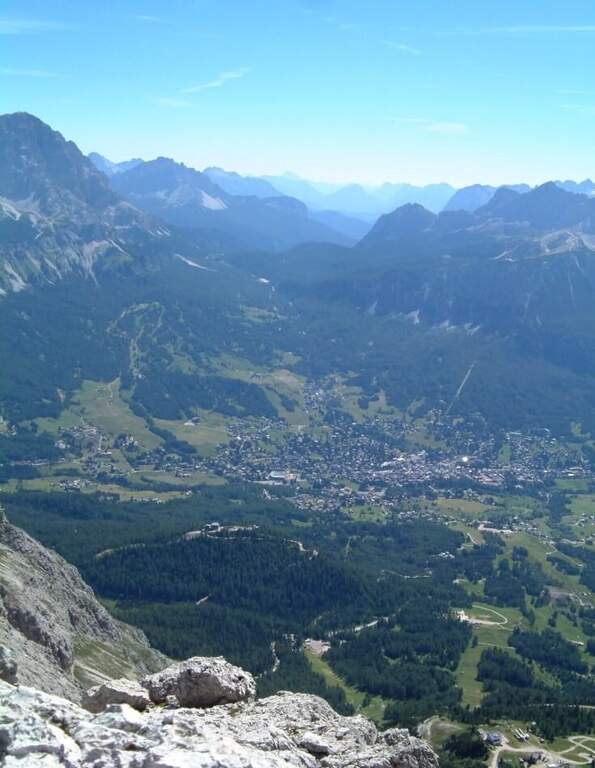
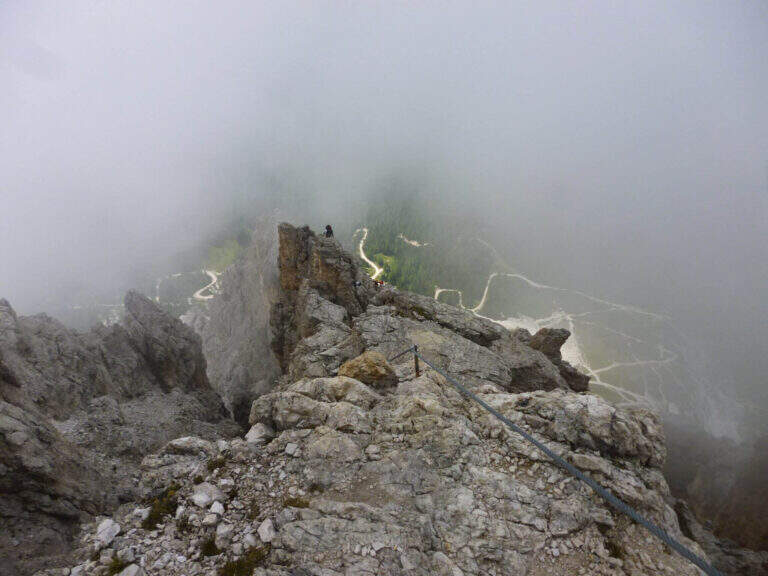
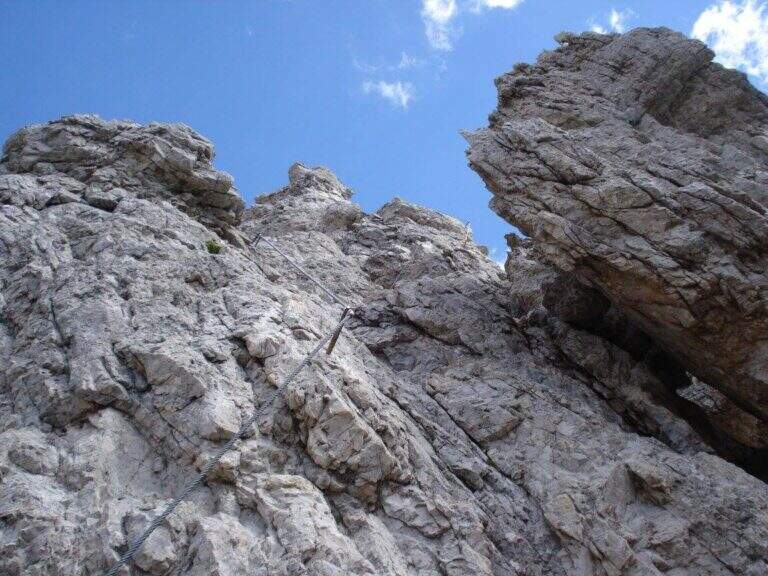
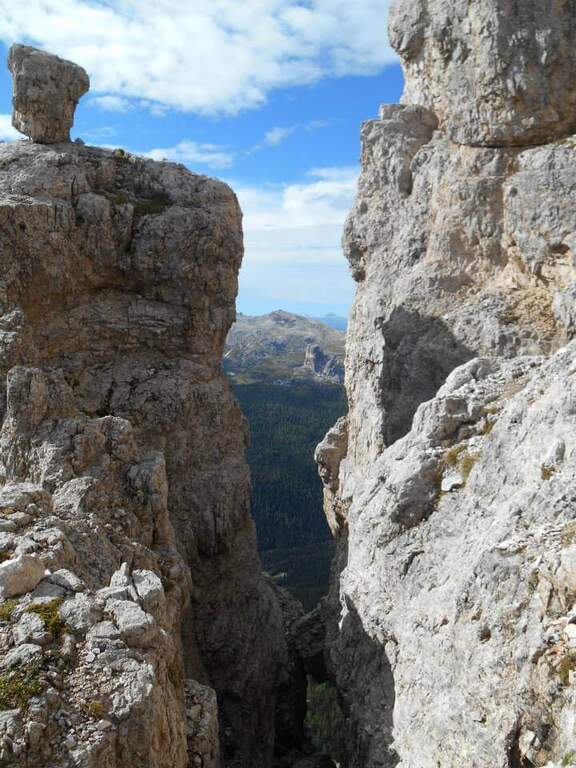
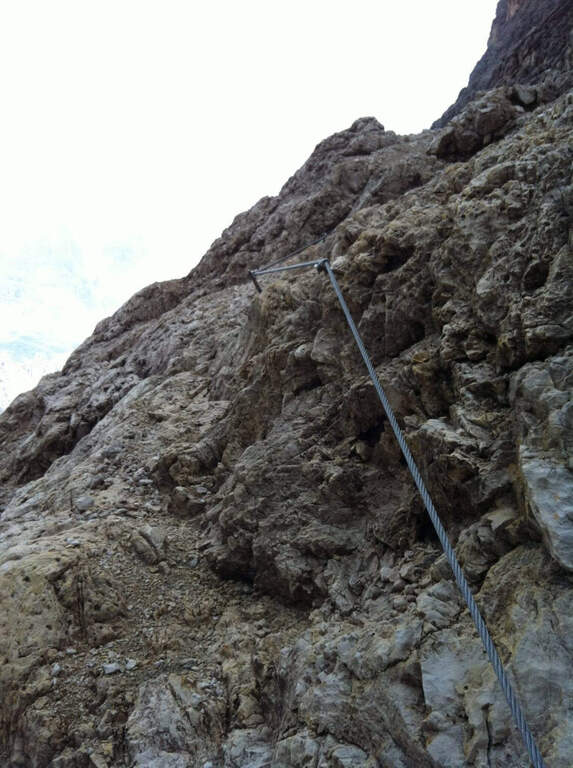
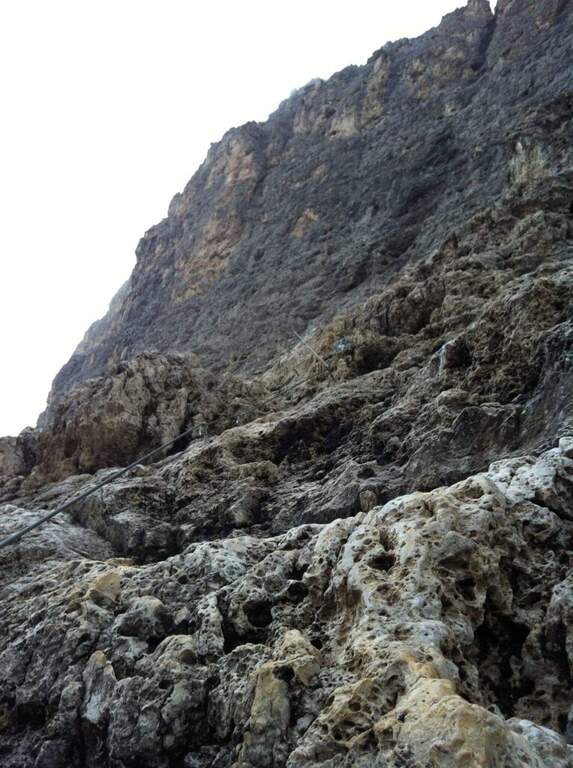
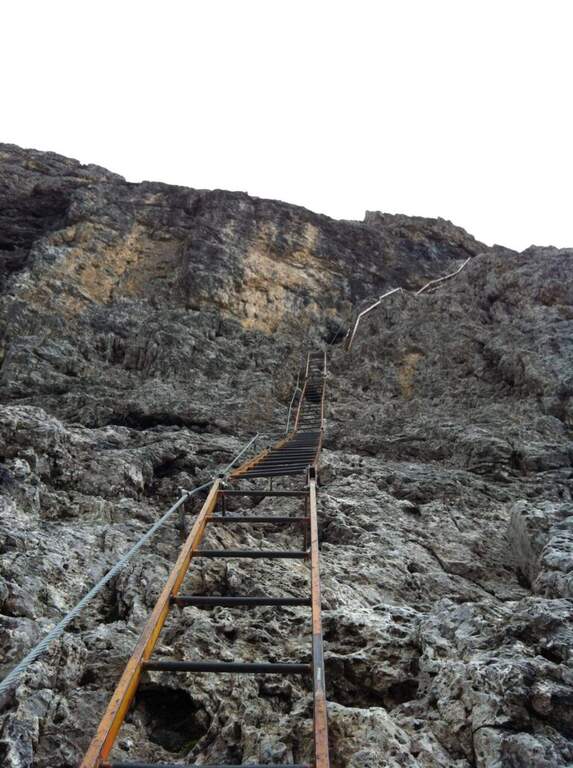
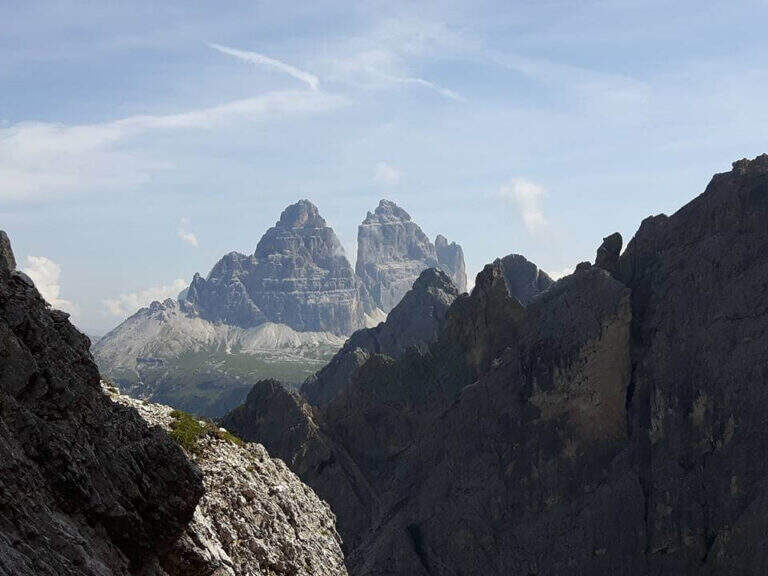
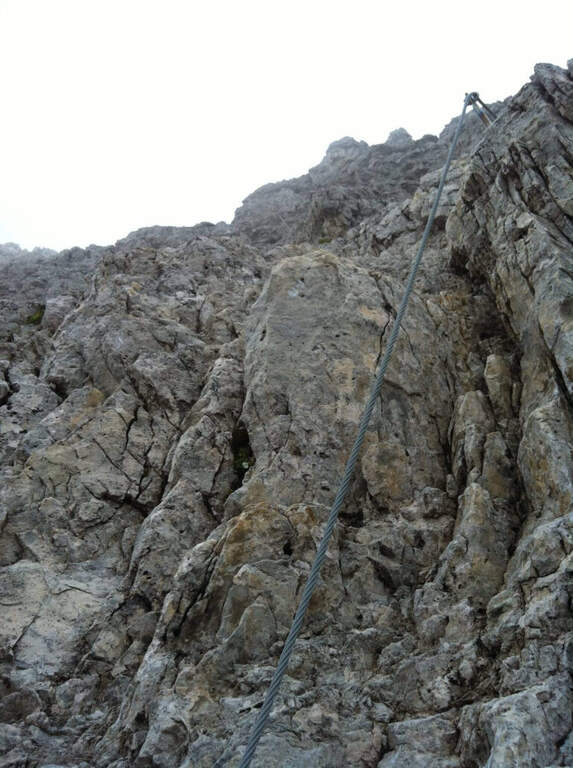
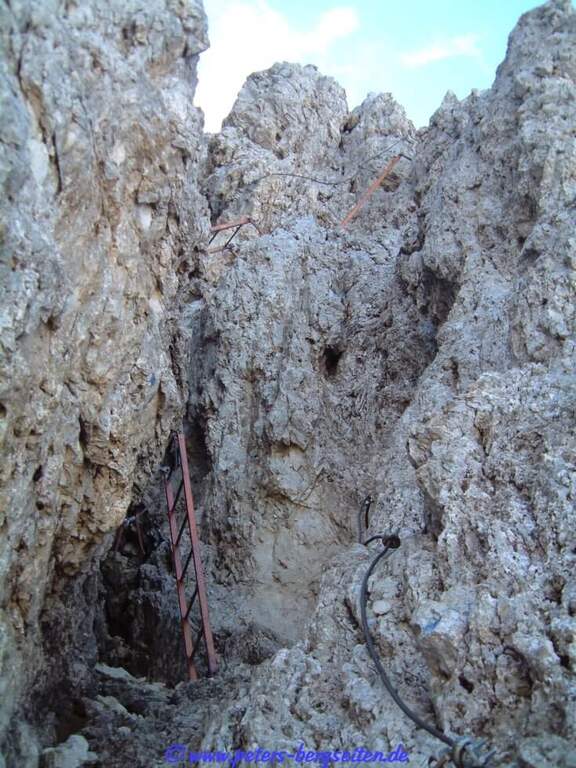
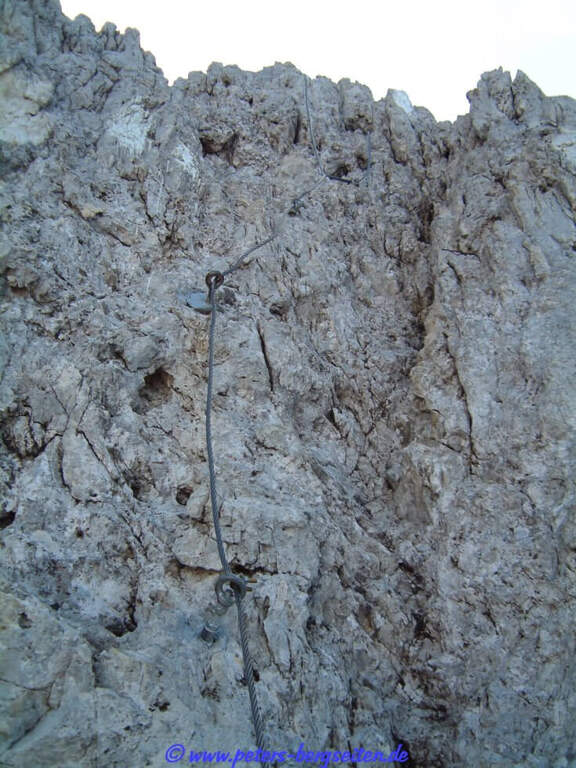
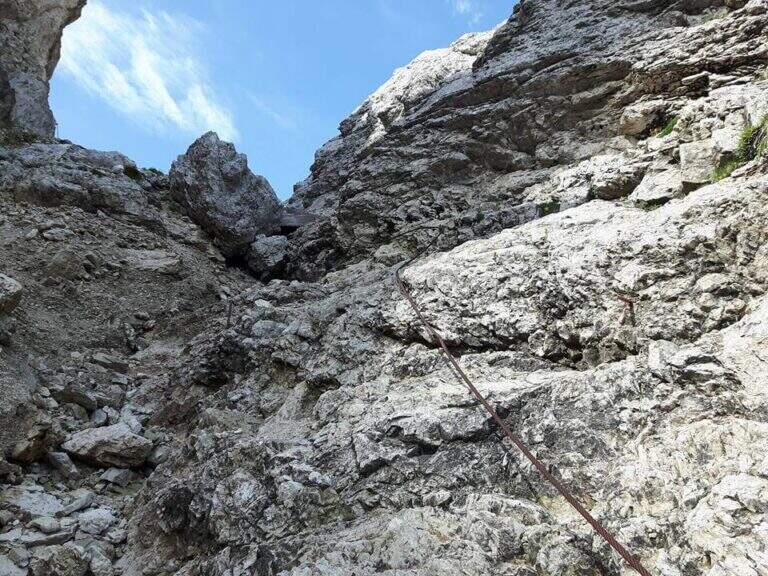
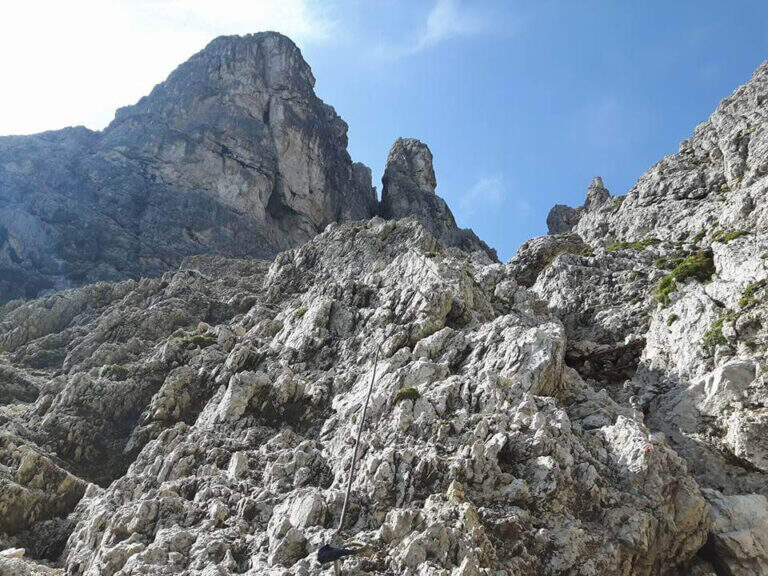
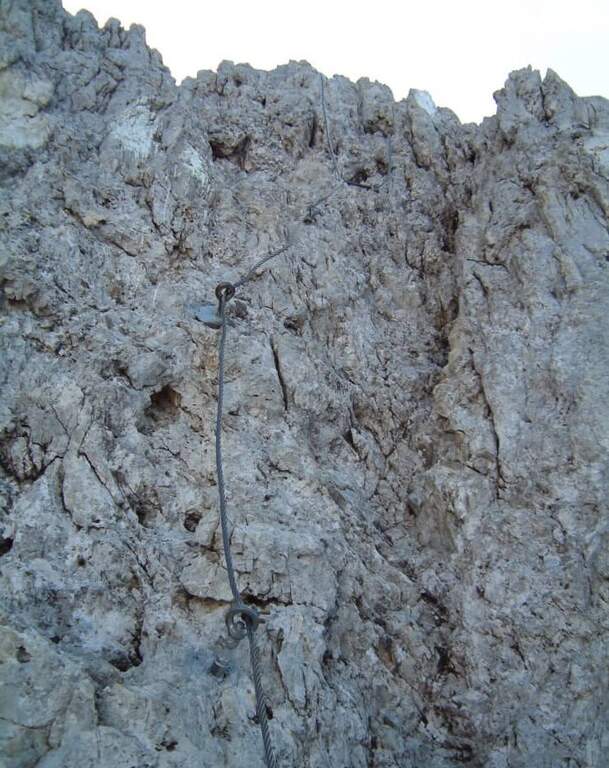
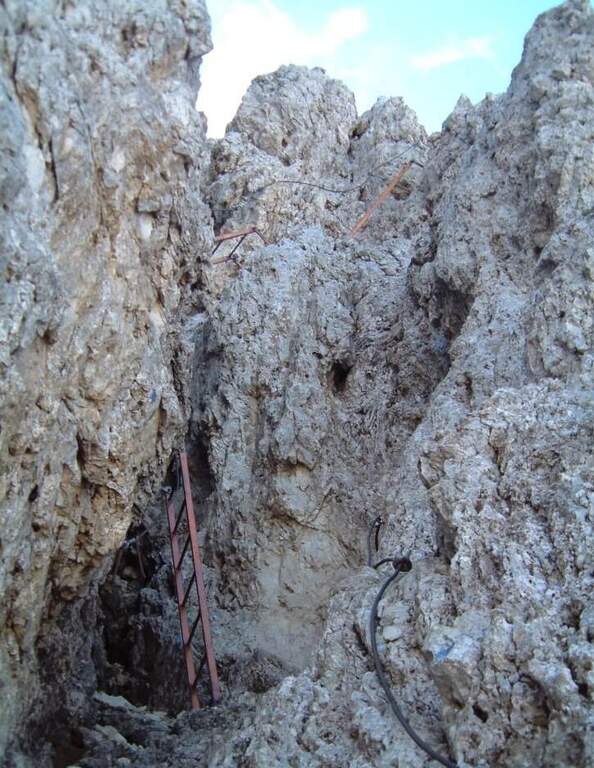
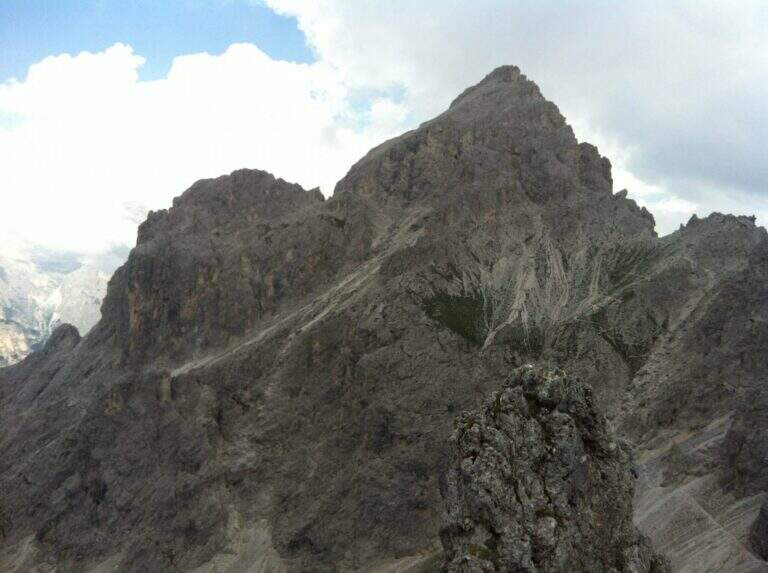
    You start with a short left turn, then the road continues without equipment to the right towards a canal; a rock that hinders the passage is reassembled with a metal ladder. Then go up on steep unprotected path following omits and red boils, then left on path at times equipped until a nod of military construction that leads to a fireplace. You climb it on the left side: a slightly athletic passage, then some pioli help in the remaining part. Exit from the fireplace you climb a vertical wall well-painted that bends right, then a wall of about twenty meters to the right; in the last stretch you go up a detritic canal with the rope on the right and on the path you reach the Punta Ovest del Forame (2318 m, 1h from the attack, 3h 30' total), with beautiful view on Croda Rossa d'Ampezzo, Monte Cristallo and Popena.

    ▲Character and difficulty

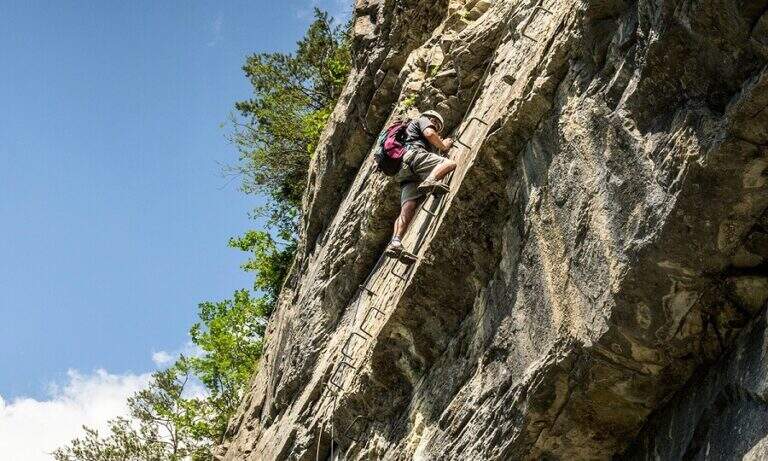
    The equipped sections do not have difficulty; the most challenging passage is the fireplace, however of average difficulty.

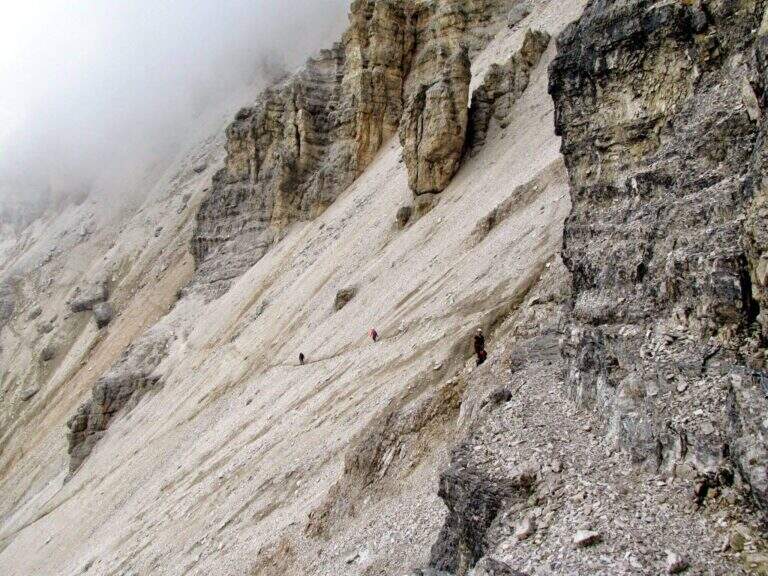
    ⚠ Itinerary long and quite isolated, return included along the wild Val Pra del Vecia. The downhill ridge path is a bit fragrant: walk through it with a stable time. Remember that from Forcella Verde it is no longer possible to go down to the Ospitale for the landslide, so you return to Cimabianche.
    ▲Discipline

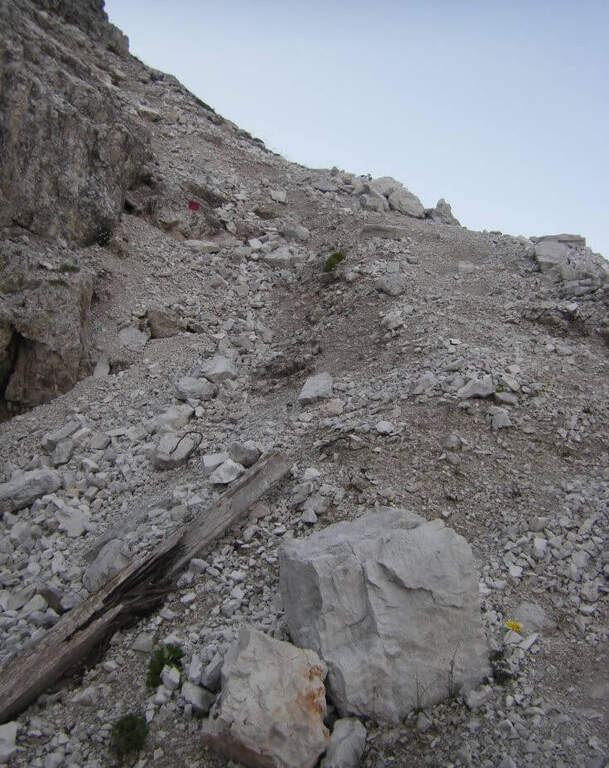
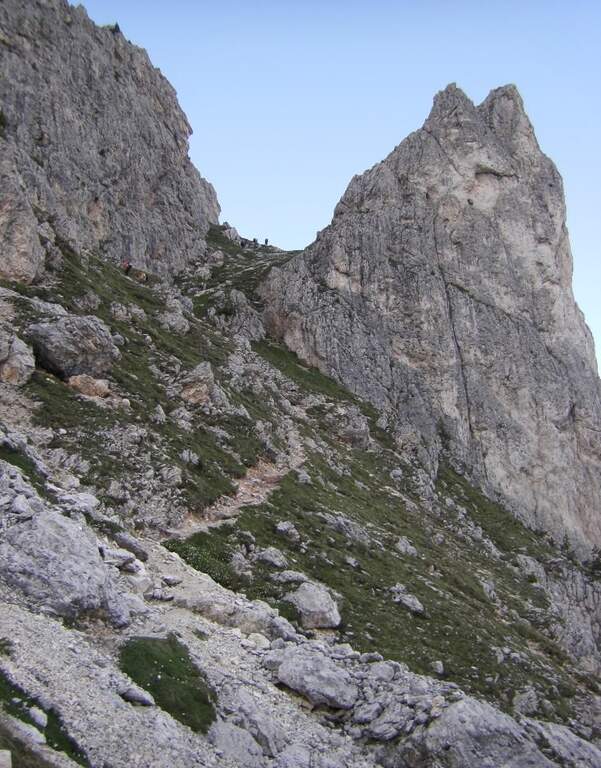
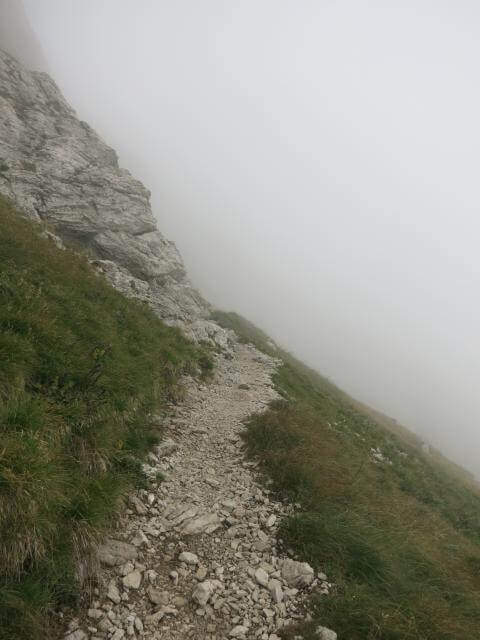
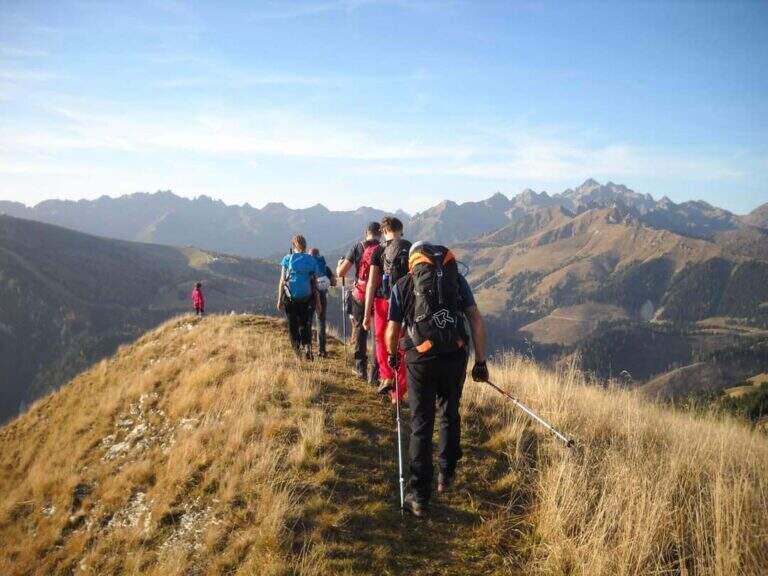
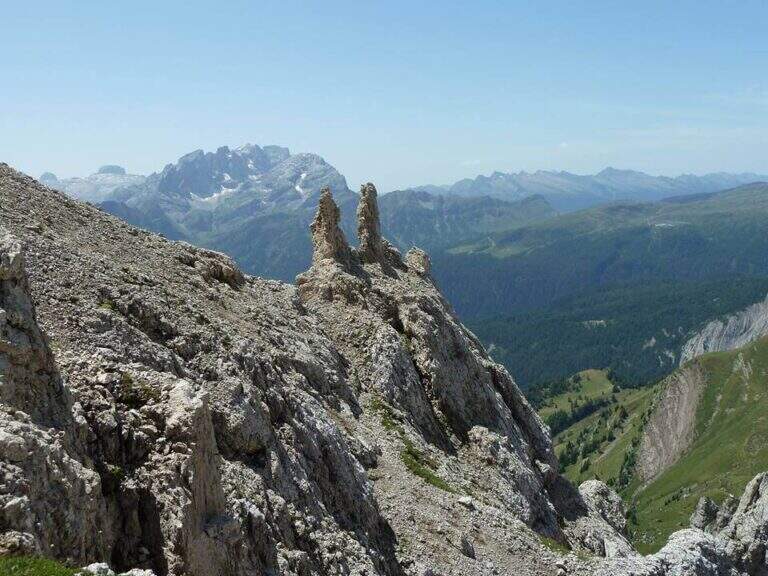
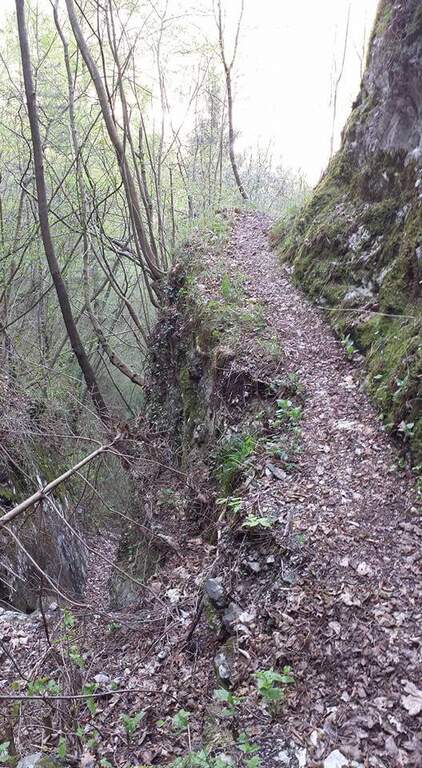
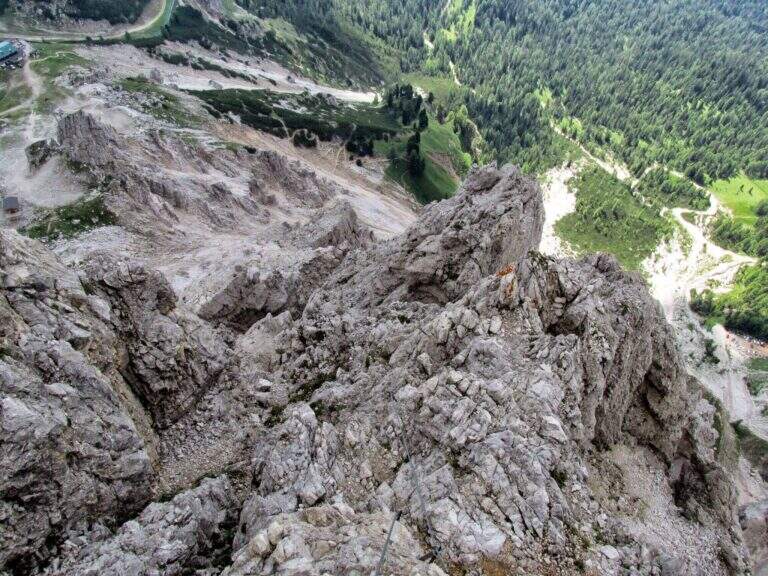
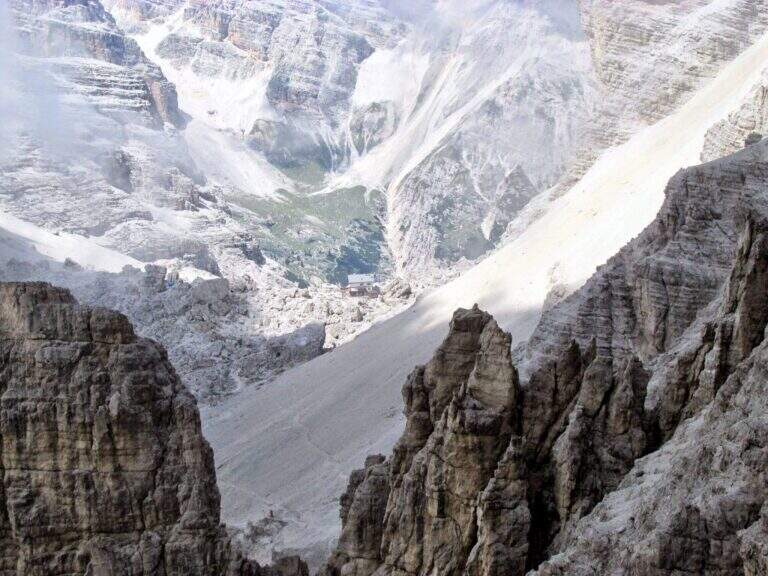
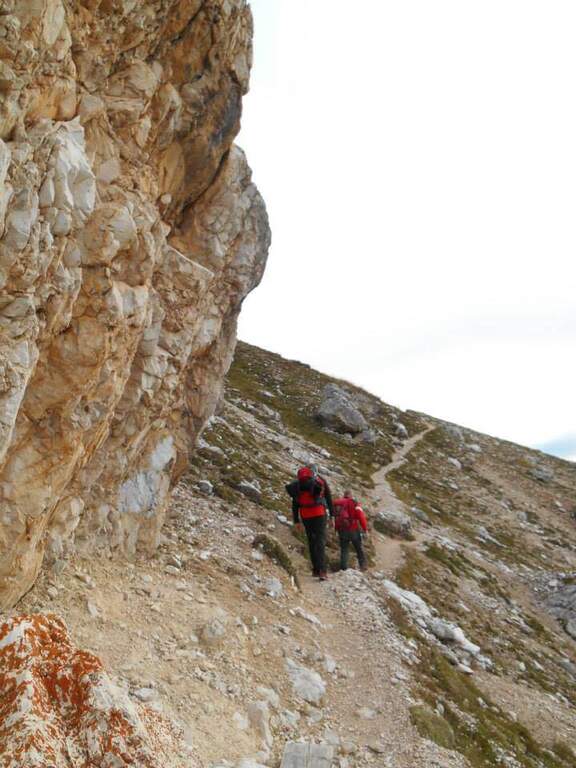
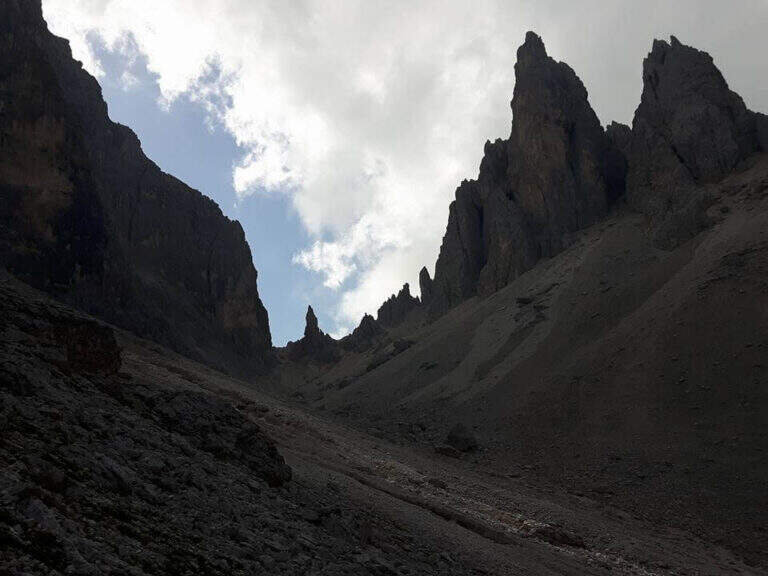
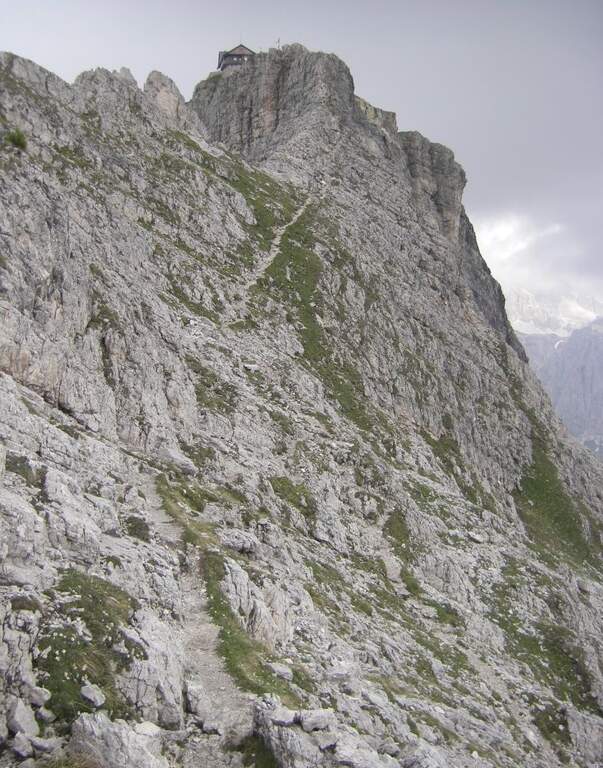
    It descends on the opposite side, to the south-east, on steep path following the red boils up to Forcella Gialla (2400 m), then with a crest climb to Forcella Verde (2380 m). From here take the path 233, which descends along the wild Val Pra del Vecia to the Cimabianche Pass (2h 30' from the end of the ferrata, 6h total).

    ▲To match

    The area of the Cristallo is rich in equipped routes: on the Cristallo la Ferrata Marino Bianchion Pomagagnon Ferrata Strobel e il Sentiero al Terza Cengia del Pomagagnon. Going down towards Cortina la la la la la la la la la la la la la la la la la la la la la la la la la la la la la la la la la la la la la la la la la la la la la la la la la la la la la la la la la la la la la la la la la la la la la la la la la la la la la la la la la la la la la la la la la la la la la la la la la la la la la la la la la la la la la la la la la la la la la la la la la la la la la la la la la la la la la la la la la la la la la la la la la la la la la la la la la la la la la la la la la la la la la la la la la la la la la la la la la la la la la la la la la la la la la la la la la la la la la la la la la la la la la la la la la la la la la la la la la la la la Ferrata Ettore Bovero and the difficult Ferrata Sci Club 18.
    ▲Gallery
    Technical data
    • DifficultyModerately Hard
    • RegionVeneto
    • GroupCrystal
    • Approach2:30 h
    • Ferrata1:00
    • Itinerary (a/r)6:00 h
    • Max2424 m
    • Length11,3 Km
  • Ferrata Ra Pegna

    Ferrata Ra Pegna

    Vie Ferrate › Veneto › Belluno
    Ferrata Ra Pegna

    The recent Ferrata Ra Pegna climbs the homonymous rocky monolith between the Duca d'Aosta Refuge and the Pomedes Refuge, above Cortina d'Ampezzo. It is an easy ferrata, inserted in a short itinerary suitable for neophytes and families.

    ▲Approach

    There are two starting points. You can climb from Cortina to the Falzarego Pass and take the right road to the Dibona Refuge; at a crossroad where on the right you go up to the Duca d'Aosta Refuge you should park in the beach near the crossroads, because the road is accidents (useful option to combine the ring return with the Astaldi Trail). Starting point on Google Maps. Alternatively, park at the large square of the Baita Pie Tofana (1675 m), from which a chairlift goes up to the Duca d'Aosta Refuge (useful option for jumping the approach or returning to the chairlift). For the ferrata you can reach the Rifugio Duca d'Aosta (2098 m): from the junction, 405 mark, about 30'; or by chairlift; or for the Sentiero dei Camosci (405) from the hut (1h 30'). From the hut a chairlift climbs towards Pomedes in the valley between two monoliths: on the right the Ra Bujela (with Ferrata Maria and Andrea Ferrari), on the left the Ra Pegna. On Ra Pegna you can see a rocky rib on the left side: the attack is under that rib, reached up to the slopes up to a sign on the left side (10' from the Rifugio Duca d'Aosta).

    ▲The path

    The street rises where the diagonal plate meets the rocky rib, forming a supported dihedron. Rockets rise and easy leaps for about ten minutes without any particular difficulty; under a rocky roof you go through a nod to the right, then you go still diagonally to the right and you face a well-dressed vertical leap (the key step). Continue on rocks and stretches of path equipped to the last easy meters and to the top of the monolith, with a splendid view on Punta Anna and the Tofane. It is advisable not to remove the sling: some easy stretches to the east and, with a ladder, a more marked leap that closes the way (45' from the attack, 1h from the Rifugio Duca d'Aosta).

    ▲Character and difficulty

    Easy fitting without challenging steps that, for the brevity of approach and return, is also accessible by families.

    ⚠ Although easy remains an equipped road with a stretch of descent: helmet and set of necessary ferrata, attention to the return ski slope.
    ▲Discipline

    From the end you turn right down the steep ski slope to the Rifugio Duca d'Aosta, already visible (15' from the end); from here you return to the car park backwards to the approaching path.

    ▲To match

    Easily match the neighbor Ferrata at Ra Bujela (longer and harder). Climbing towards the Pomedes the Path equipped Astaldi and, towards the Tophans, the Ferrata Olivieri e la Ferrata Aglio. Towards the Falzarego Ferrata Tomaselli, la Ferrata at Col dei Bos e la Ferrata all'Averau.

    ▲Gallery
    Technical data
    • DifficultyEasy
    • RegionVeneto
    • GroupTofane – Dolomiti Ampezzane
    • Approach1:00 h
    • Ferrata0:45 h
    • Itinerary (a/r)2:15 h
    • Hardware level difference100 m
    • Route difference200 m
    • Max2241 m
    • Length1,5 Km
  • Ferrata Ra Gusela at Nuvolau

    Ferrata Ra Gusela at Nuvolau

    Vie Ferrate › Veneto › Belluno
    Ferrata Ra Gusela at Nuvolau

    The easy Ferrata Ra Gusela climbs the south wall of the Nuvolau Group, in the Dolomites Ampezzane. It is suitable for neophytes, with no significant technical difficulties, and very beautiful landscape, with medium length approach and return. You can walk both from the Giau Pass and from the Falzarego side, possibly shortening with the plants.

    ▲Approach

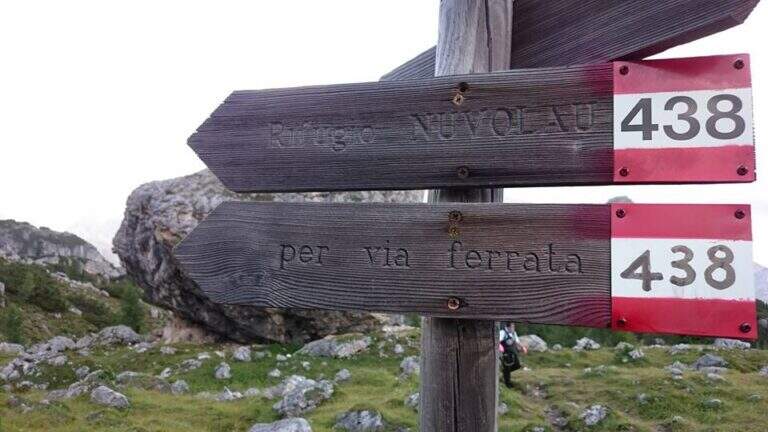
    The most logical option is from Passo Giau (2236 m), going up from Cortina d'Ampezzo or from Selva di Cadore, to close a ring without implants. Starting point on Google Maps. From the pass you walk north, towards the Nuvolau, and in less than 10' you reach a crossroads: to walk uphill you hold the right (path 443), then return on path 452. Continue north-east on a wide path to another crossroads, where the left is held on path 438 (indications for the Ferrata and the Nuvolau Refuge); the 438 is steep up to the first wire rope, at an easy nod (1h from the Giau Pass).

    ▲The path

    From the first cable you follow the right-hand side: it is wide and without difficulty, with the cable that acts as a handrail, and bypasses a edge taking under the yellowish eastern wall of Ra Gusela, where a canal cuts the mountain diagonally. You reach the canal with the nod, you climb easy rocks and you enter the canal, from the friable soil, holding on the left side along the rope; a more vertical leap is exceeded with a short metal ladder. Exit from the canal, after a few easy leaps you go through a new nod until a fork, besides which a plateau leads to the Nuvolau Refuge (attention not to lose the signs). There are about 60 meters of altitude to the ridge: first a census, then an edge that leads to greater exposure on the final ridge, with a first metal ladder, a couple of passages on exposed but not difficult rocks and a second ladder; in short you will reach the Nuvolau Refuge (2575 m, 1h from the attack, 2h from the Giau Pass).

    ▲Character and difficulty

    Itinerary easy, without difficult steps and exposed only in a few points: ideal also for half-day excursions and for those who approach the ferrates.

    ⚠ Attention to the friable bottom of the canal and to the stretches of crest exposed; however easy, remains a road equipped with helmet and iron set.
    ▲Discipline

    Follow the tourist path that descends gently north to Forcella Nuvolau and to the Averau refuge (from which the Ferrata to Auverau leaves); from here you return to the Giau Pass with the path 464/452 to the left (1h 30' from the term, 3h 30' total), or you go right to the Scoiattoli Refuge with the 439 (1h from the term).

    ▲To match

    The Nuvolau Group joins the neighbor Ferrata all'Averau; towards Selva di Cadore the easy Ferrata at Sass de Rocia. Towards the Civetta three challenging routes: the Ferrata degli Alleghesi, la Ferrata Tissi e la Ferrata Fiamme Gialle al Pelsa, up to Ferrata Costantini at Moiazza; towards Cortina la Ferrata Sci Club 18 faloria.

    ▲Gallery
    Technical data
    • DifficultyEasy
    • RegionVeneto
    • GroupNuvolau – Dolomiti Ampezzane
    • Approach1:00 h
    • Ferrata1:00 h
    • Itinerary (a/r)3:30 h
    • Hardware level difference174 m
    • Route difference338 m
    • Max2574 m
    • Length6,6 Km
  • Ferrata Piero Rossi at Forcella Marmol

    Ferrata Piero Rossi at Forcella Marmol

    Vie Ferrate › Veneto › Belluno
    Ferrata Piero Rossi at Forcella Marmol
    Moderately Hard● OpenDescriptionComplexityMapsGallery

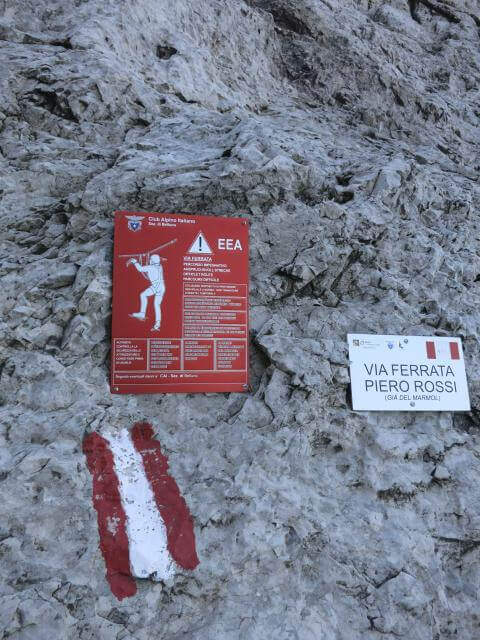
    Ferrata Piero Rossi (formerly Ferrata Marmol) climbs to Forcella Marmol in the Schiara group. It is of medium technical difficulty, but it develops in a severe and demanding environment, with a very long itinerary; it lends itself to numerous combinations with the other ferrates of the Schiara.
    ▲Approach

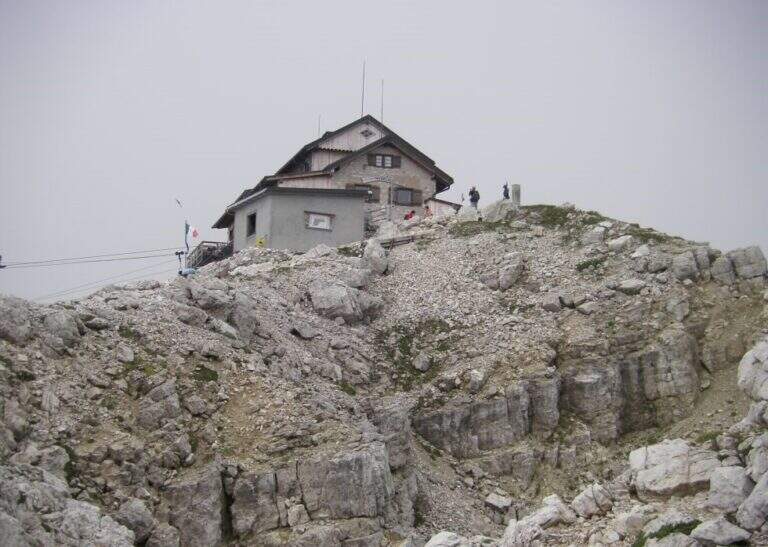
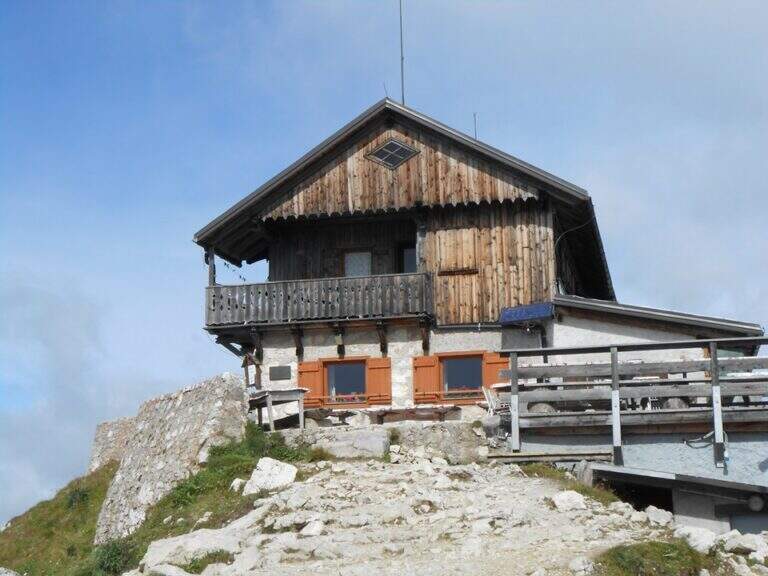
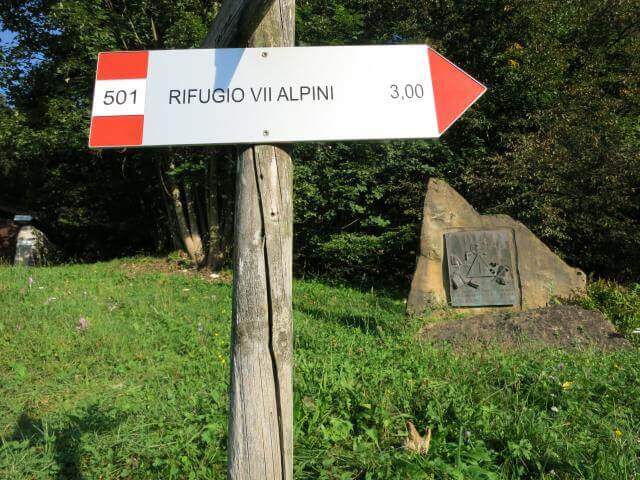
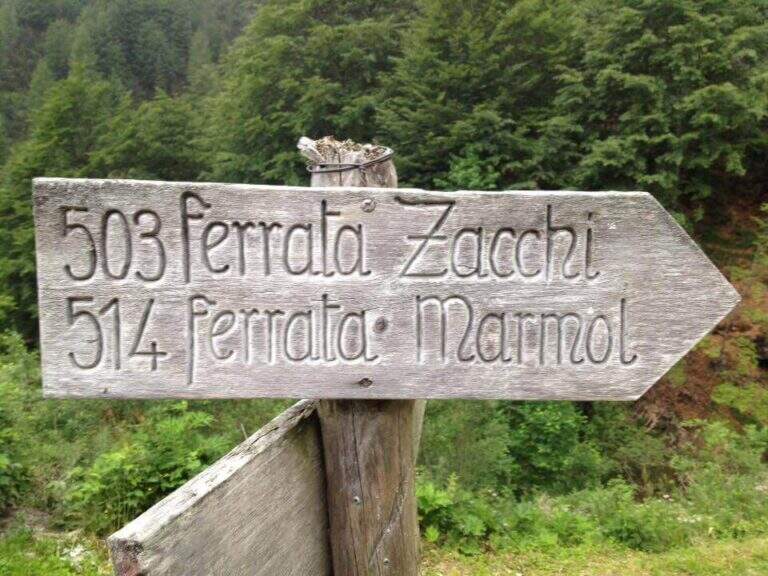
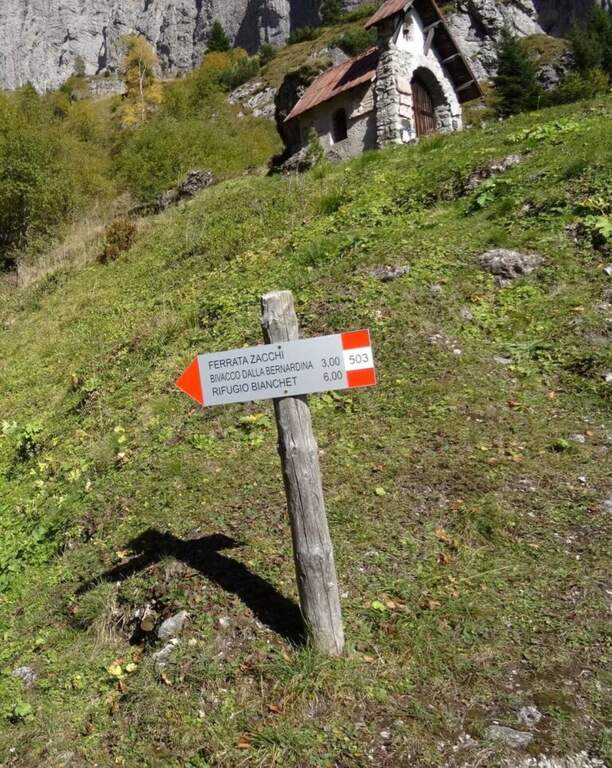
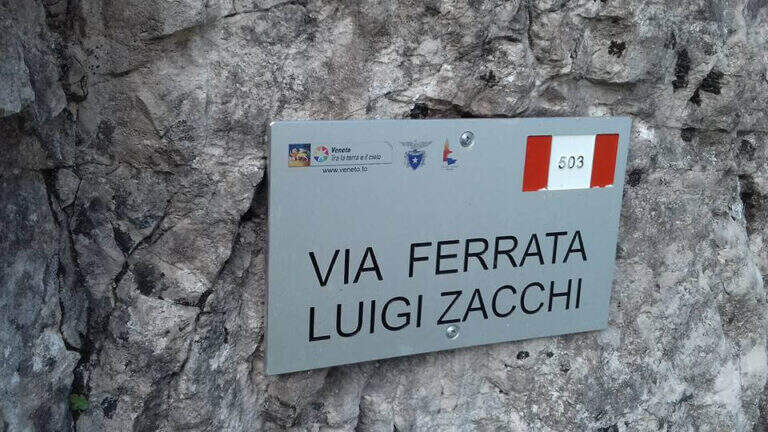
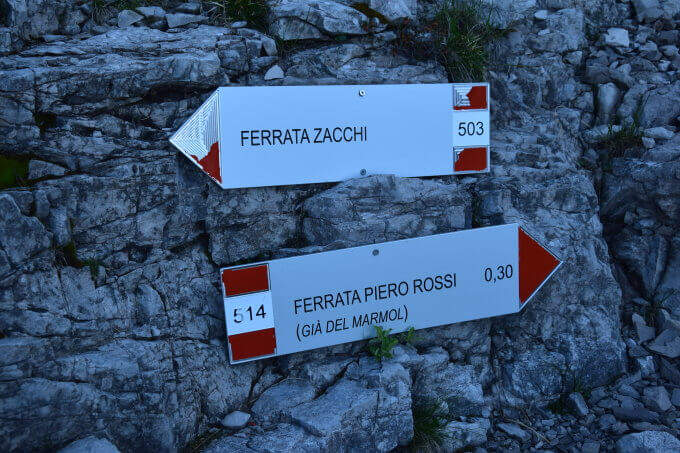
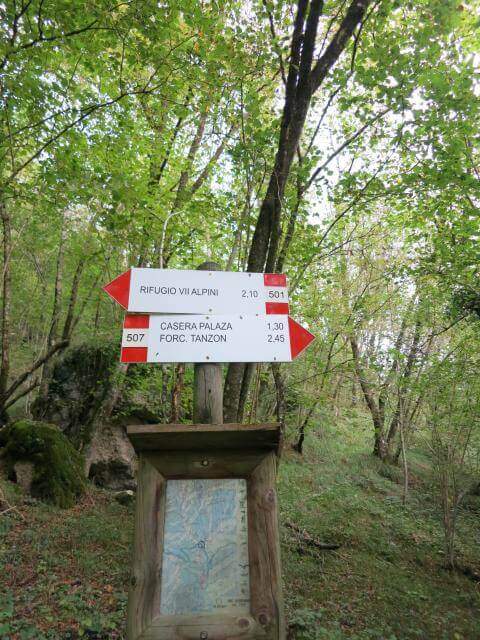
    Departure from Case Bortot (Belluno): from Belluno follow Bolzano Bellunese and the Parco delle Dolomiti Bellunesi, over Gioz, up to Case Bortot, where the road ends in a small street. Starting point on Google Maps. From the parking lot (695 m) follow the CAI 501 towards Rifugio VII Alpini: you descend to the Ponte del Mariano (30'), you ignore the junction with 507 and you climb to the forest along the Ardo stream until the clearing of Rifugio VII Alpini (1502 m, 2h 45'). Behind the shelter follow the CAI 503 signs towards the attack of Ferrata Zacchi, with which Piero Rossi shares the first hundred meters; passing through the characteristic Porton you reach the attack of Zacchi (45' from the refuge, 3h 30' total).

    ▲The path

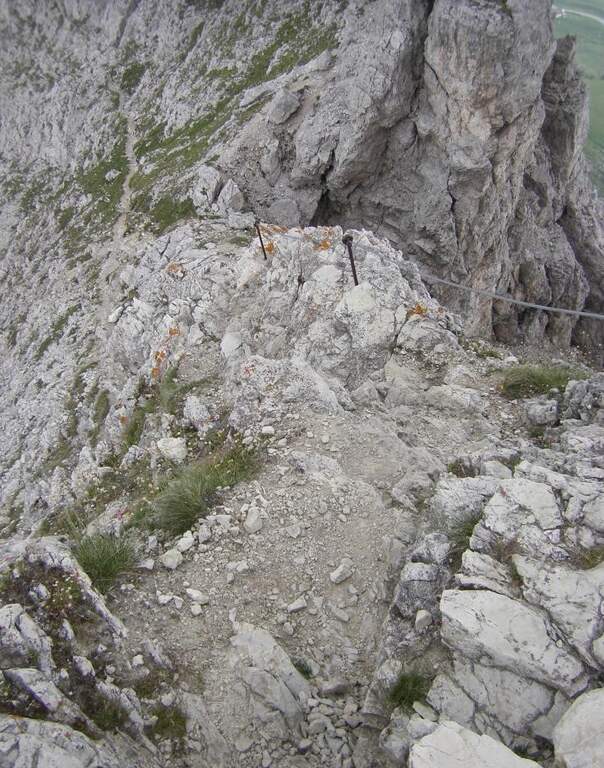
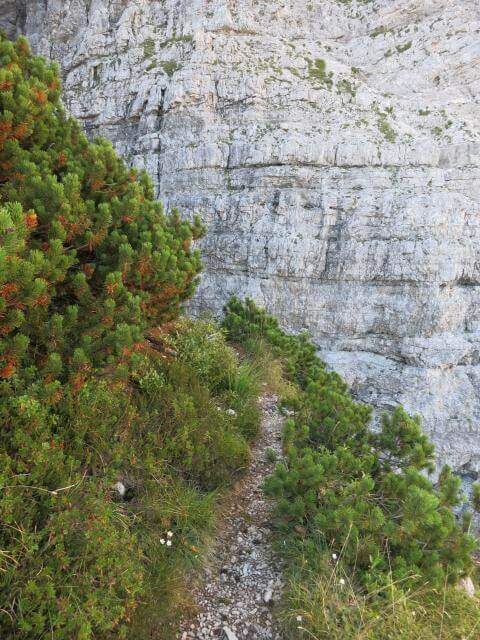
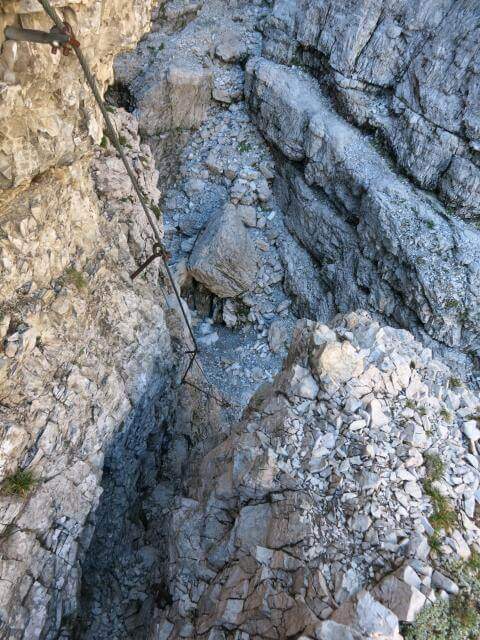
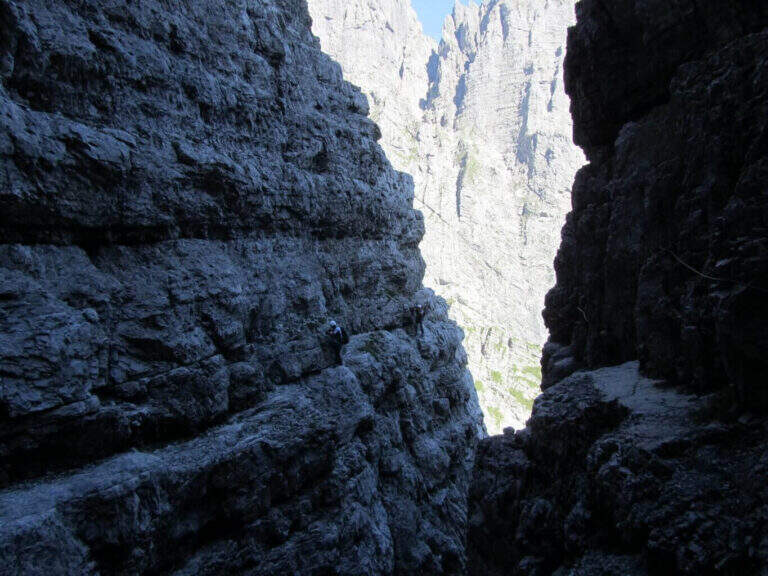
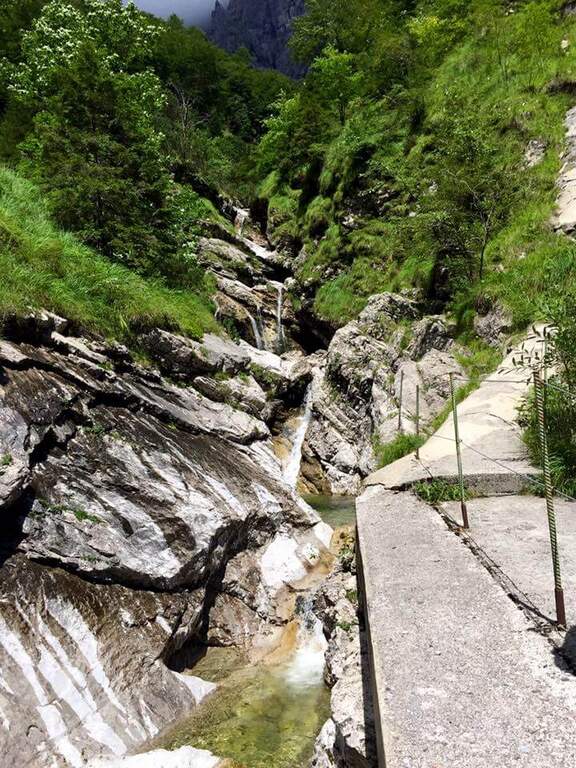
    The first section is in common with the Ferrata Zacchi: immediately challenging attack (a few vertical meters and a right traverse on good rock and graded), then a flat stretch that enters a gorge with some ladders, a nod on the left and a horizontal plane under other exposed ladders, finally a canal with climbing traits and brackets. Cessate the equipment, a link path leads to the crossroads between Piero Rossi and Zacchi: the right is held and the real Ferrata Piero Rossi begins towards the Forcella Marmol. An unprotected nod leads to the southeastern slope of the Schiara in a first throat; the nod becomes equipped until a descent of about 8 meters, then wanders a throat (often snowy at the beginning of the season) and continues on climbing balconies under the looming walls of the Schiara, alternating cenges, rocks and path. Attached another cove, some ladders and a vertical tract precede a short break on the path, prelude to the more vertical section: plaques and walls with a fireplace with a zigzag cable, to be climbed into the split. Continue right on horizontal and diagonal traits and another vertical stretch on good rock, up to the path leading to the Bivacco Bocco Zago (2266 m, 2h 30' from the attack). Beyond the bivouac a vertical wall and a stretch on the left, then another stretch equipped with a view on the Cadore groups; past the crossroads for the east ridge of the Schiara descends the last stretch equipped to the Forcella Marmol (2262 m, 3h from the attack), where the itinerary ends.

    ▲Character and difficulty

    Medium technical difficulty in harsh and spectacular Dolomite environment. Often inserted in the classic ring of the Schiara (salita con Zacchi o Sperti, summit with the Berti, return downhill with Piero Rossi, the easiest of the three downhill).

    ⚠ Itinerary very long (about 18 km and 1566 m of altitude difference): strongly recommended to break it in two or more days, staying at the refuge or in one of the bivouac at the altitude. Beware of the snowing of the gorges, which can complicate the way.
    ▲History

    The ferrata is dedicated to the alpinist and writer Piero Rossi (1930), a great connoisseur of the Belluno Dolomites and among the promoters of the National Park, author of the volume on the Schiara of the series Guida dei Monti d'Italia. It was inaugurated in 1967, redesigning the descent from the Forcella Marmol and avoiding the old way to the Gola del Canalone, subject to frequent drains of stones.

    ▲Discipline

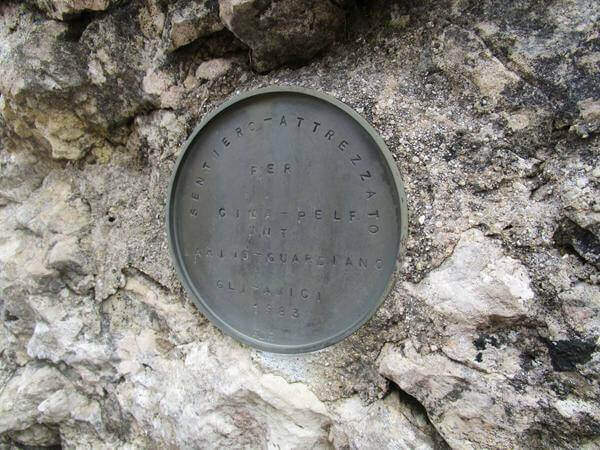
    From the Forcella Marmol more options: climb to the Pelf (1h 30') with the exhibited Sentiero Attrezzato Guardiano and get off the normal way to Case Bortot (11h 30' total); or climb to the Schiara for the east ridge and get off with Ferrata Berti and then Ferrata Sperti at Rifugio VII Alpini ( ring route, 14h 30' total). The quickest route is the return to the rear end (4h 30' from the fork, 11h total).

    ▲To match

    The Schiara is full of streets. To the east the Ferrata Costacurta al Teverone; little to the north three ferrates with short approach: the Ferrata della Memoria al Vajont, la Gym of Rock of Val Gallina e la Walls of the Hawks. To the Civetta la Titus and Alleghesi.

    ▲Gallery
    Technical data
    • DifficultyModerately Hard
    • RegionVeneto
    • GroupUnited States
    • Approach3:30 h
    • Ferrata3:00 h
    • Itinerary (a/r)11:00 h
    • Hardware level difference486 m
    • Route difference1566 m
    • Max2280 m
    • Length18 Km
  • Ferrata Passo dei 6 at Monte Coppolo

    Ferrata Passo dei 6 at Monte Coppolo

    Vie Ferrate › Veneto › Belluno
    Ferrata Passo dei 6 at Monte Coppolo
    Moderately Hard● OpenDescriptionComplexityMapsGallery

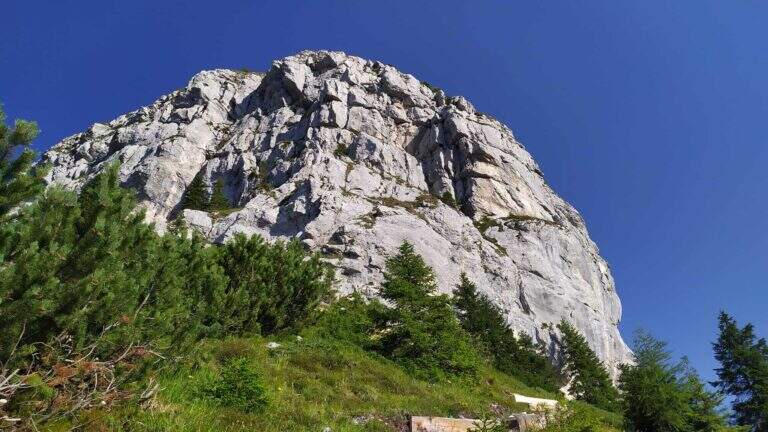
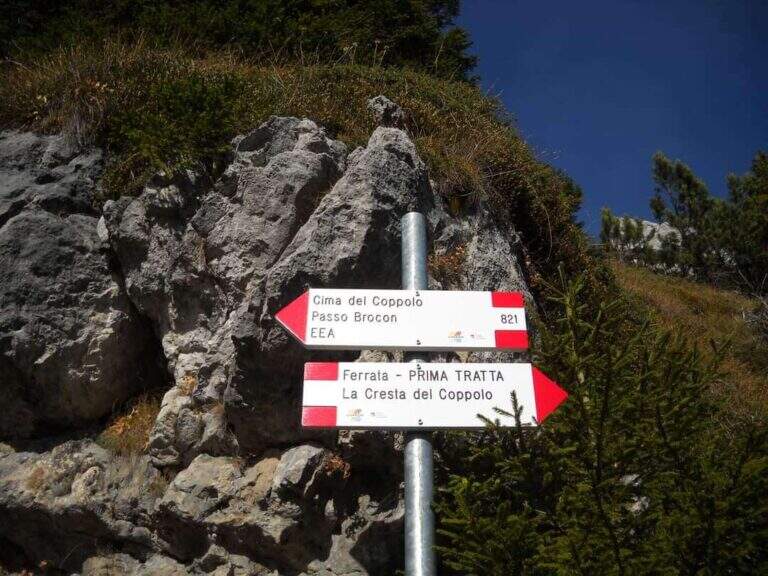
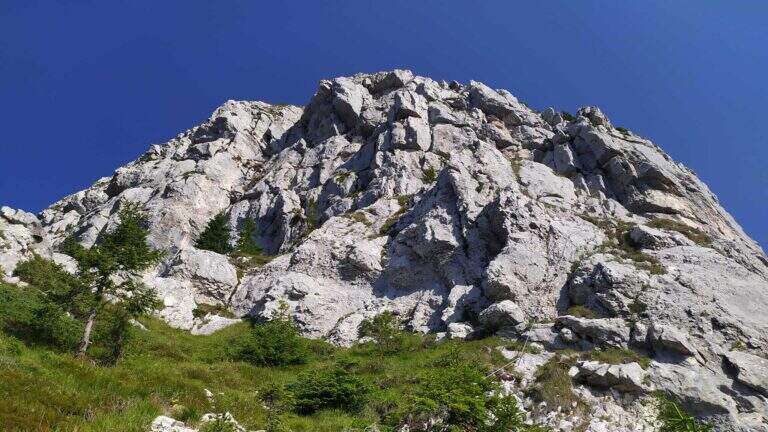
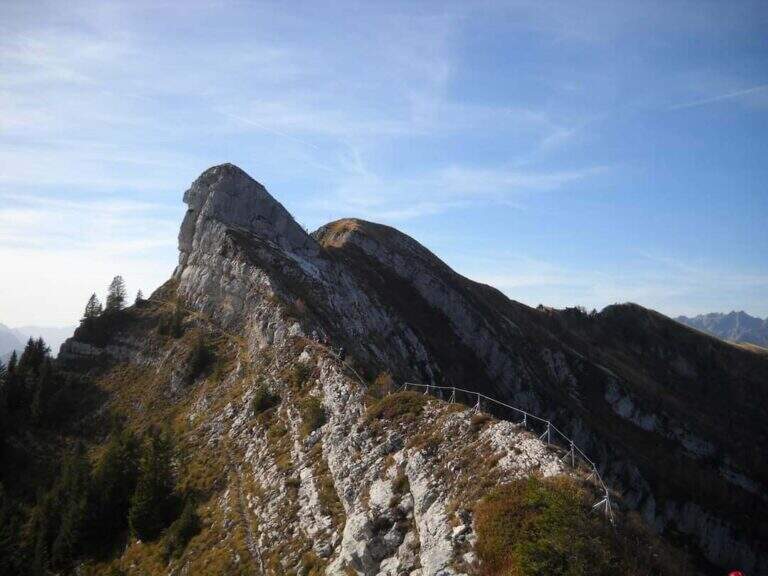
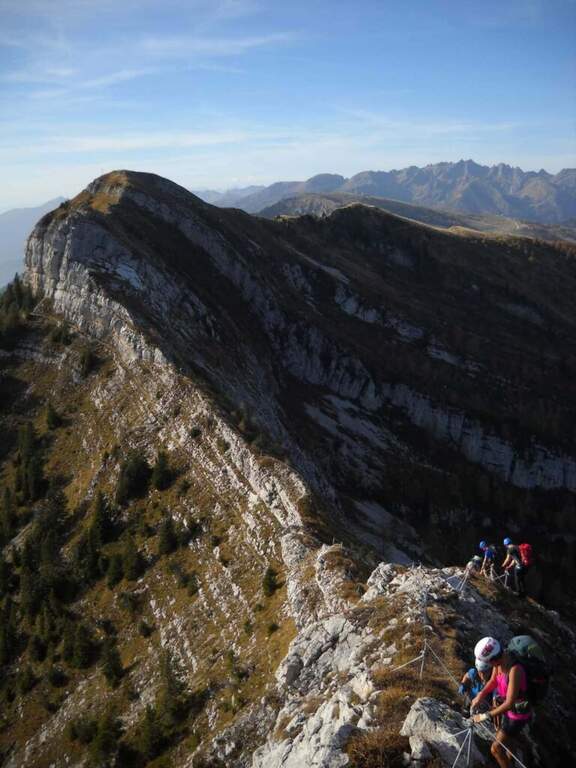
    The Monte Coppolo ferrata, in the Dolomites Feltrine, is a historical itinerary renovated and extended in 2022. Climb to Passo dei 6, continue along the ridge and closes on a last torrione: moderate difficulty with a couple of more challenging steps and a discreet exposure.

    ▲Approach

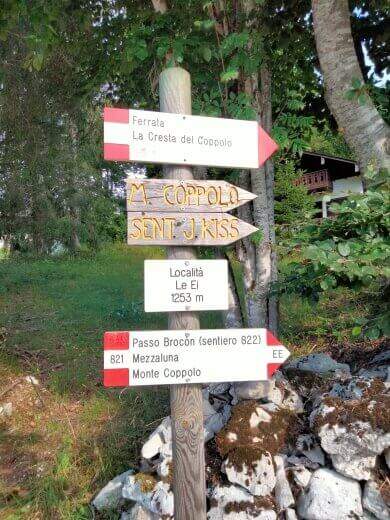
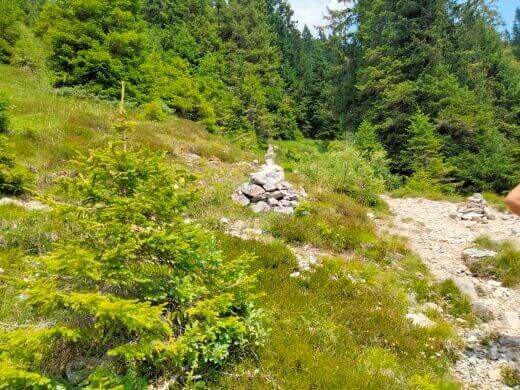
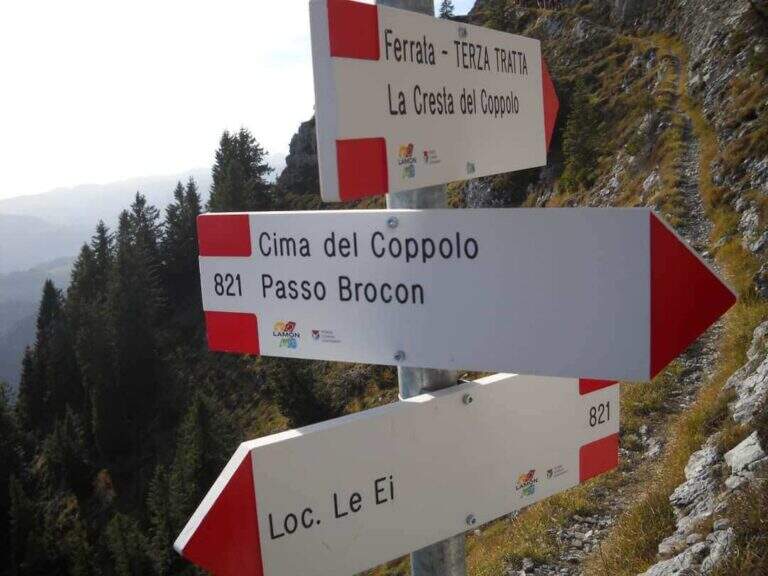
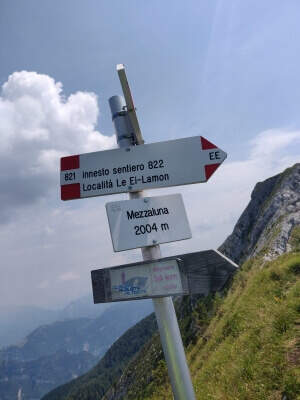
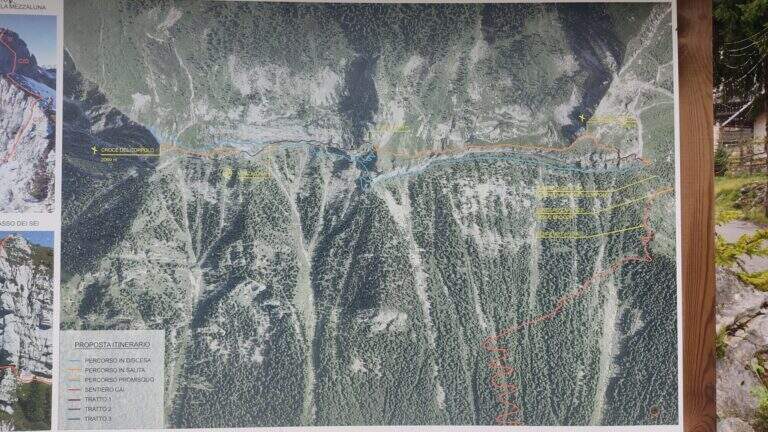
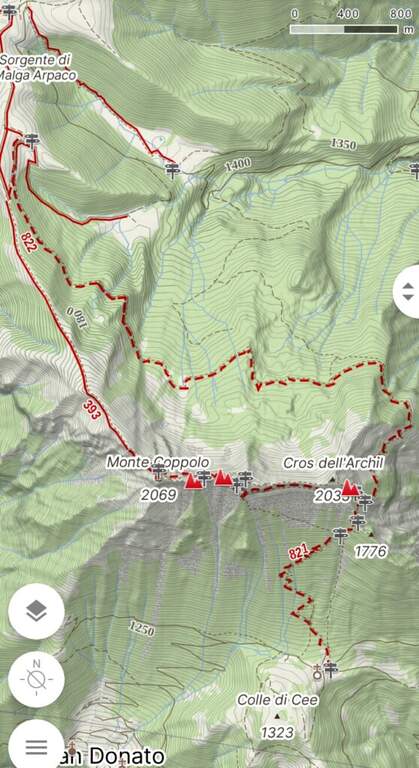
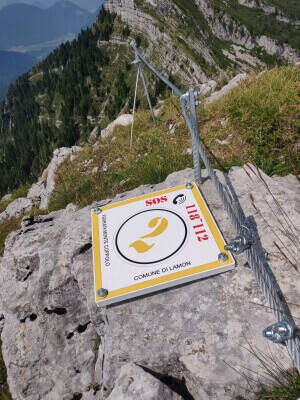
    Departure from the resort Le Ej (Belluno): from Lamon go up the road to the left of the municipality, under the old hospital, with indications Le Ej, for about 9 km, parking at the hotel El Tajol or the Chalet da Pina. Starting point on Google Maps. At the parking lot, a bulletin board illustrates the ring; follow the signs of an uphill CAI cartel and, shortly after, a trace clearly visible to the left with omits and signs up to an important crossroads: on the left the way back (normal to Monte Coppolo), on the right the ferrata. Continue starting to see the first equipped stretch (1h 30' from the parking lot).

    ▲The path

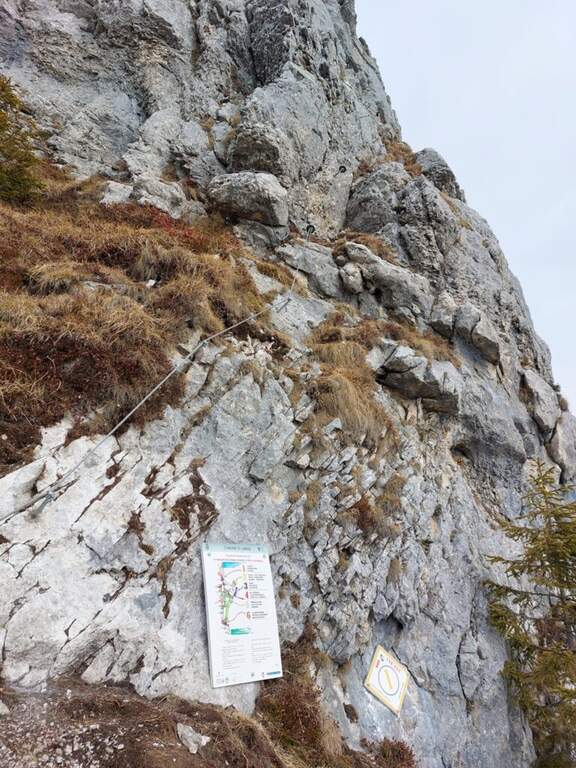
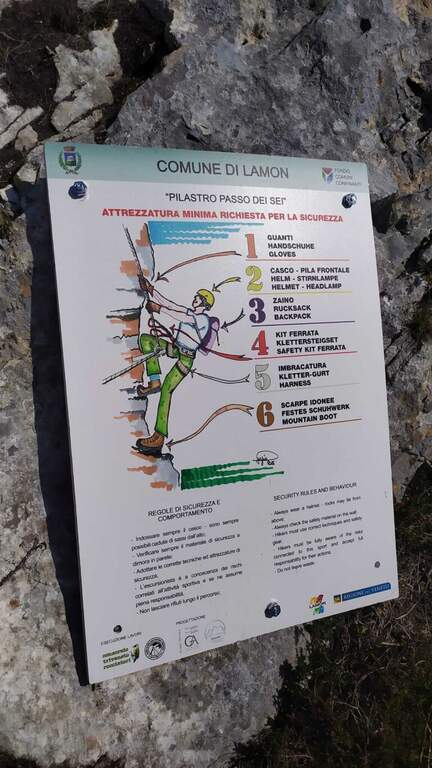
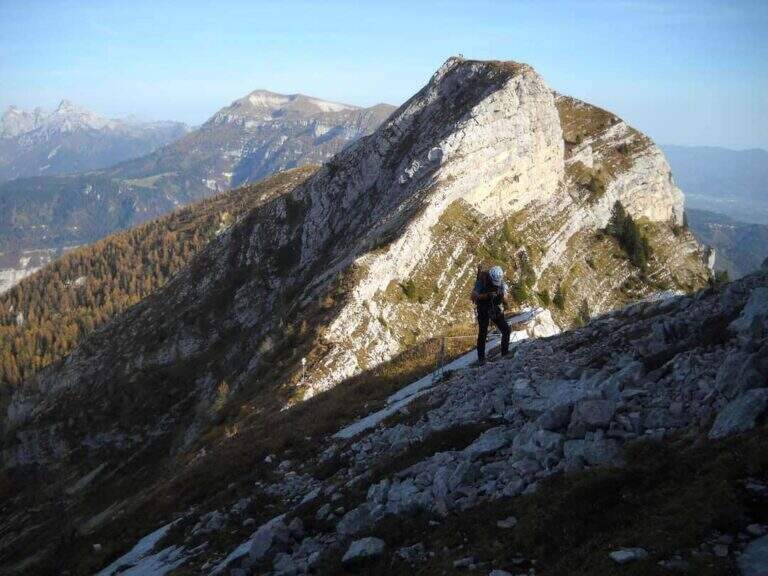
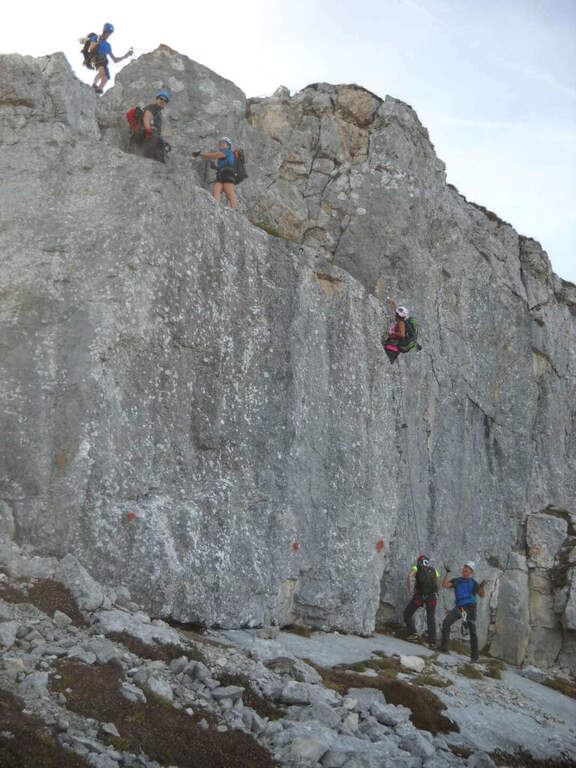
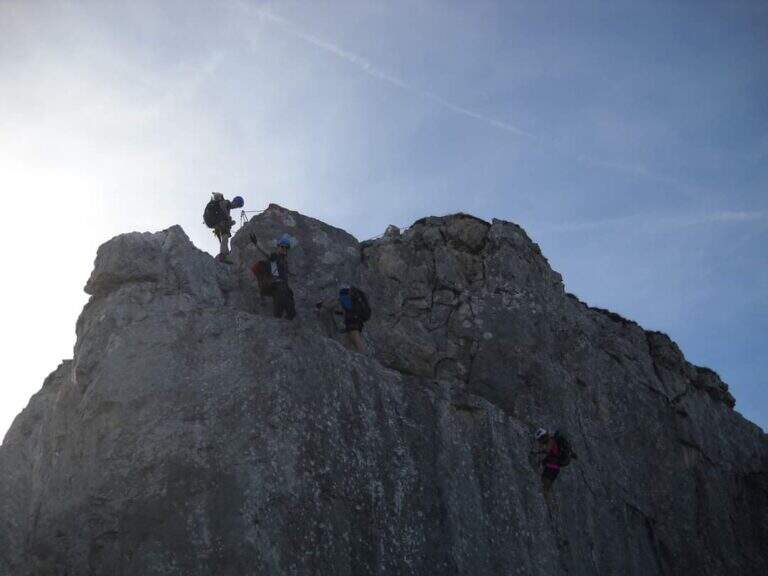
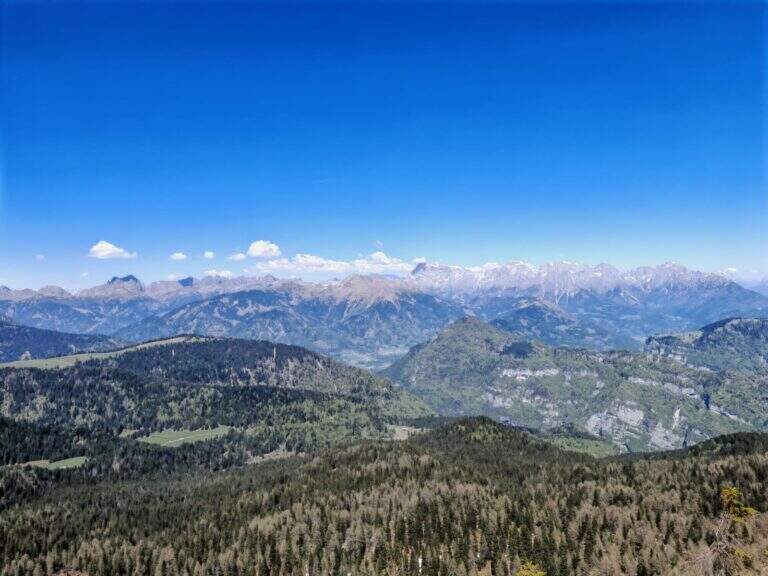
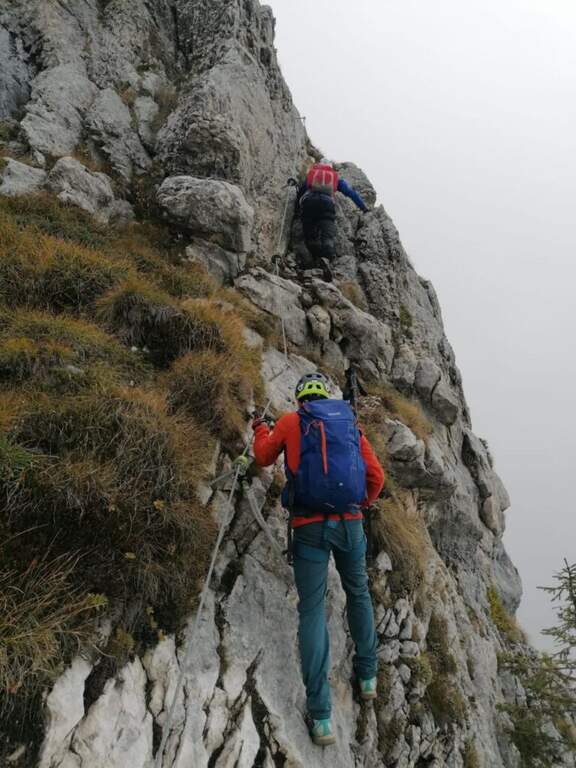
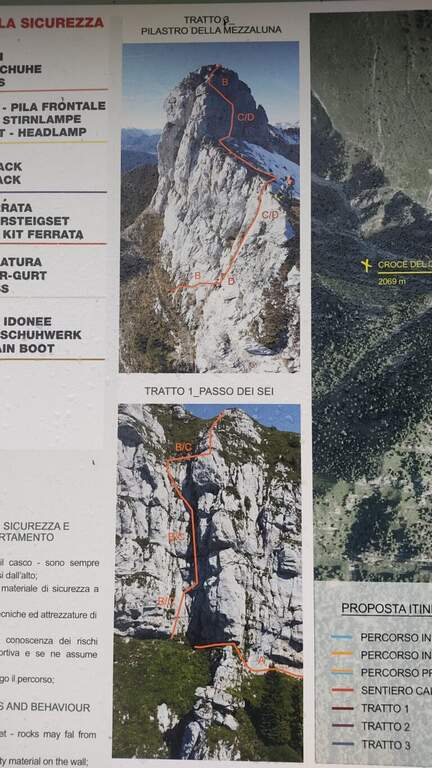
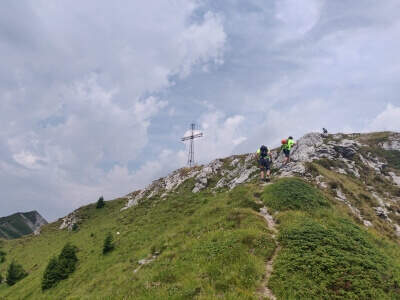
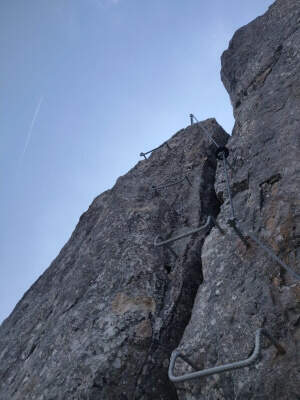
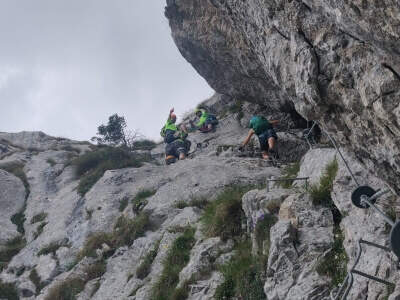
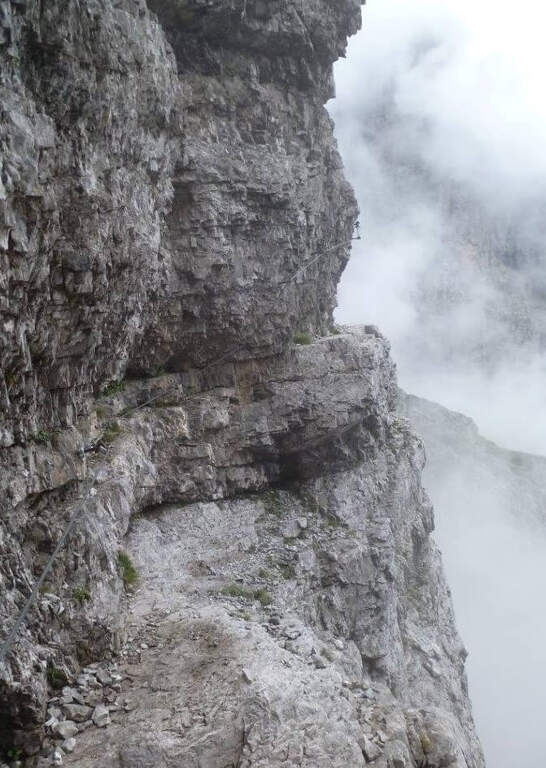
    The first section, at Passo dei 6, is the “Pilastro dei Six”: after an easy diagonal crossing, you climb to the right a small wall towards a canalone, then vertical with moderate difficulties helped by metal cambres and increasing exposure; a last traverse on the right closes the stretch, with beautiful view on the Dolomites Feltrine. Finish the equipment, on the path you reach the first cross with the top book. Then start the second stretch, an easy path equipped on the crest, first downhill, up to a crossroads where you keep the left towards the third section. The last stretch, the "Pilastro della Mezzaluna", is more challenging and exposed: after an easy crossing to the right the way climbs decided vertically with some difficult passages; coming into the crest follows the thread towards the obvious pillar, we move on the north side and climbs vertically on a challenging wall, then a traverse to the left and last steps ranked lead to the second cross, the west summit (about 1h attack).

    ▲Character and difficulty

    Moderate difficulty with a couple of more vertical and challenging passages (the two pillars) and discreet exposure; overall a beautiful excursion in an otherwise poor area of ferrate.

    ▲History

    The original ferrata, inaugurated in 1971, dates back to Passo dei 6; in 2022 it was completely renovated and reopened, with two additional sections that have expanded its interest. Report prepared with the contribution of Marco Marni of Gruppo Ferrate and Cazzate.

    ▲Discipline

    From the west peak you will find a little marked track to the junction between the second and the third section; from the slope you will descend and you will reconnect on the approach path, then to the parking lot (about 5h total).

    ▲To match

    The Dolomites Feltrine offer few ferrates: for other routes you can travel to the Belluno Dolomites. To the south, the Sentiero Attrezzato degli Eroi; going up to the Pale di San Martino the easy Ferrata della Val di Scala.

    ▲Gallery
    Technical data
    • DifficultyModerately Hard
    • RegionVeneto
    • GroupDolomites Feltrine
    • Approach1:30 h
    • Ferrata1:30 h
    • Itinerary (a/r)5:00 h
    • Hardware level difference200 m
    • Max2069 m
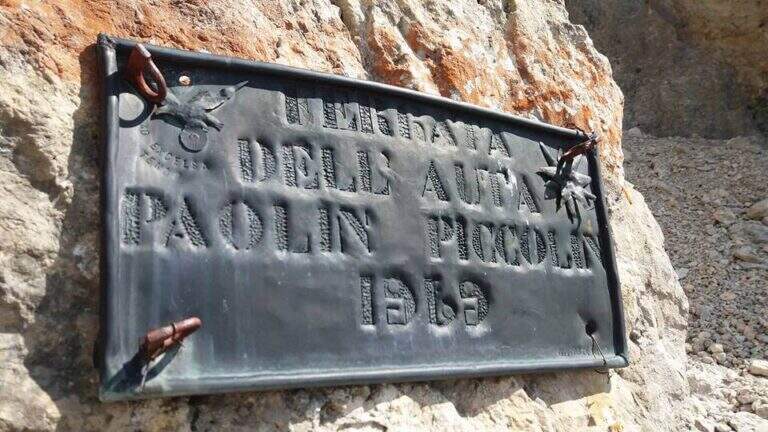
  • Ferrata Paolin Piccolin a Cima d’Auta Orientale

    Ferrata Paolin Piccolin a Cima d'Auta Orientale

    Vie Ferrate › Veneto › Belluno
    Ferrata Paolin Piccolin a Cima d'Auta Orientale
    Moderately Hard● OpenDescriptionComplexityMapsGallery

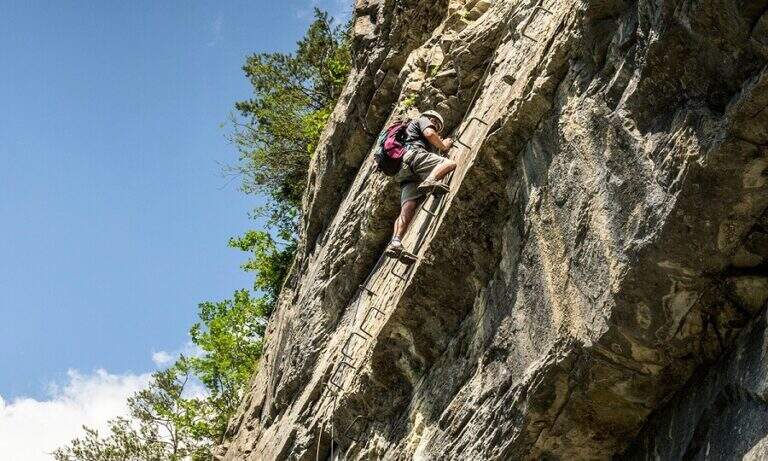
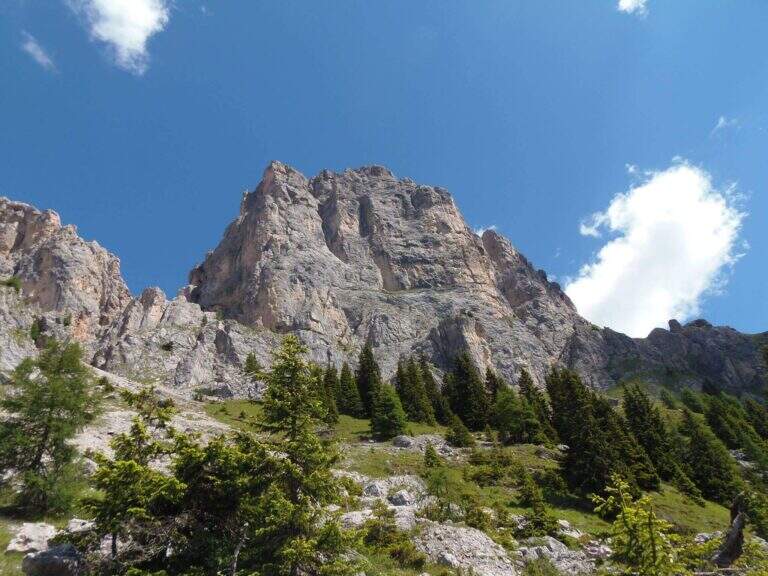
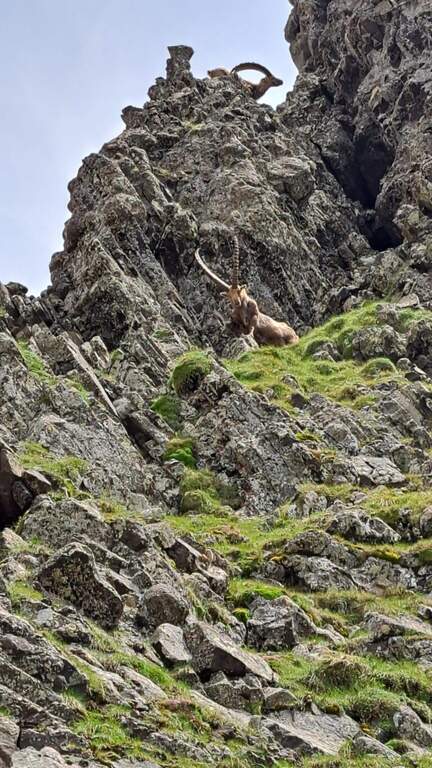
    La Ferrata Paolin Piccolin sale a Cima d'Auta Orientale, nel gruppo della Marmolada, ed è di media difficoltà. Fa parte di un itinerario che impegna l'intera giornata, con buon dislivello, avvicinamento e rientro attrezzati; l'ambiente è solitario, poco battuto e con frequenti incontri con gli stambecchi, e dalla cima il panorama è magnifico.

    ▲Approach

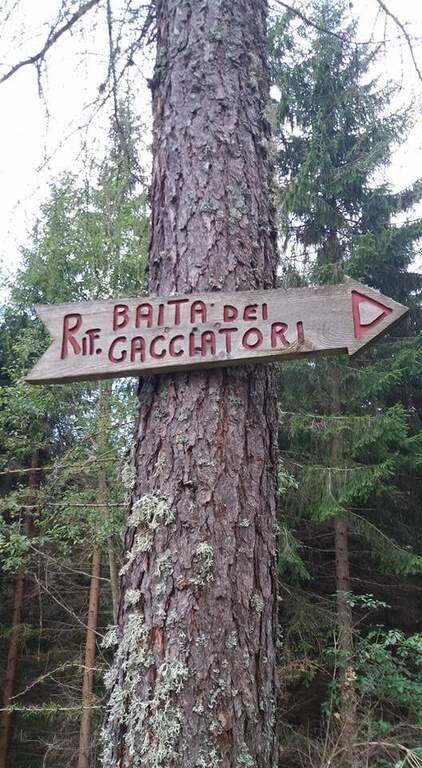
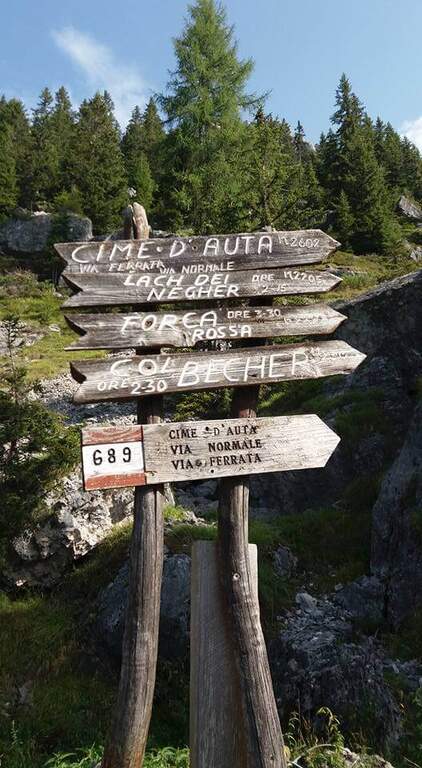
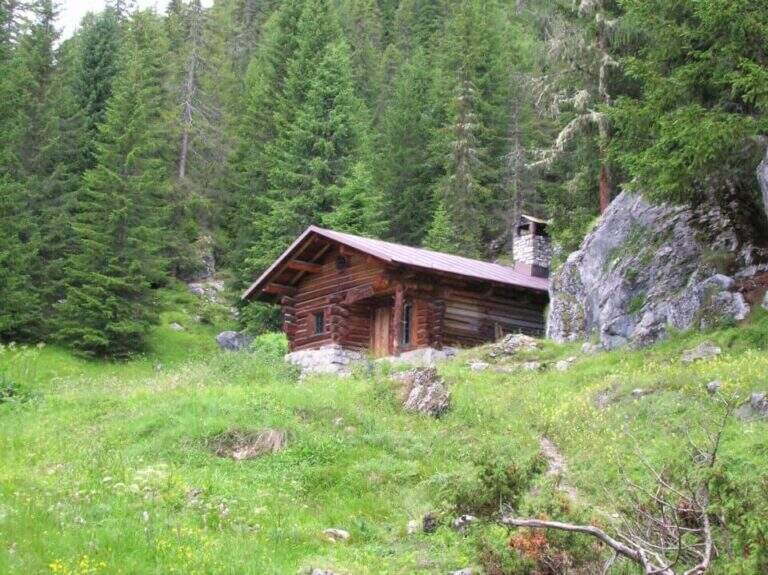
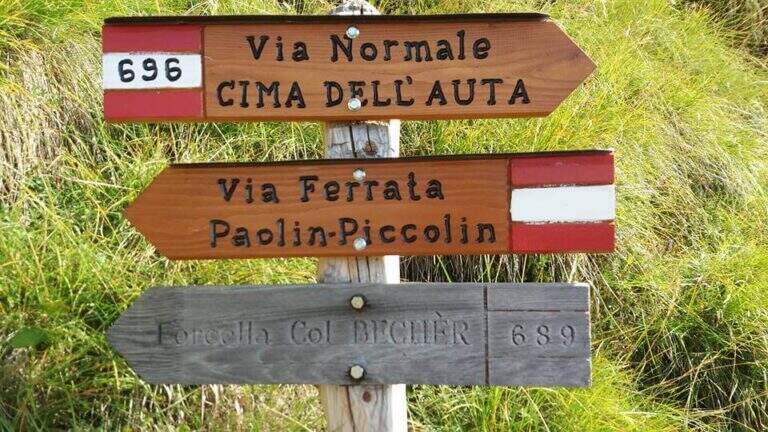
    Partenza dalla frazione di Colmean, presso Caviola (Belluno), raggiungibile dal Passo San Pellegrino, dal Passo Rolle via Falcade o da Cencenighe Agordino; in centro a Caviola, lungo via Patrioti, si seguono le indicazioni per Colmean. Starting point on Google Maps. Dal parcheggio (1274 m) si risale a nord nel bosco lungo la carrareccia CAI 689 fino alla Baita dei Cacciatori (1751 m) e, proseguendo, alla Baita Giovanni Paolo I (1865 m, 1h 15'). Presso la baita si prende a destra una traccia in salita (gradoni in legno) che esce dal bosco sotto la parete sud di Cima d'Auta Orientale e sale ripida verso la Forcella di Medil; a un bivio, dove a destra il CAI 696 è la via normale (usata per il ritorno), si tiene la sinistra seguendo le indicazioni per la ferrata, su traccia labile, fino all'attacco (2h 30' dal parcheggio).

    ▲The path

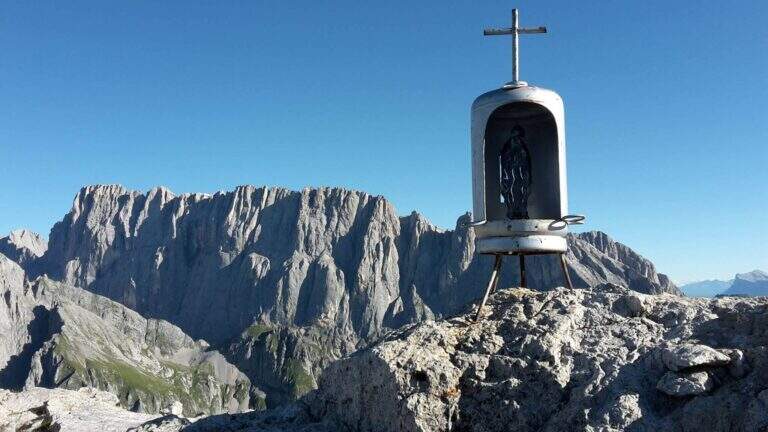
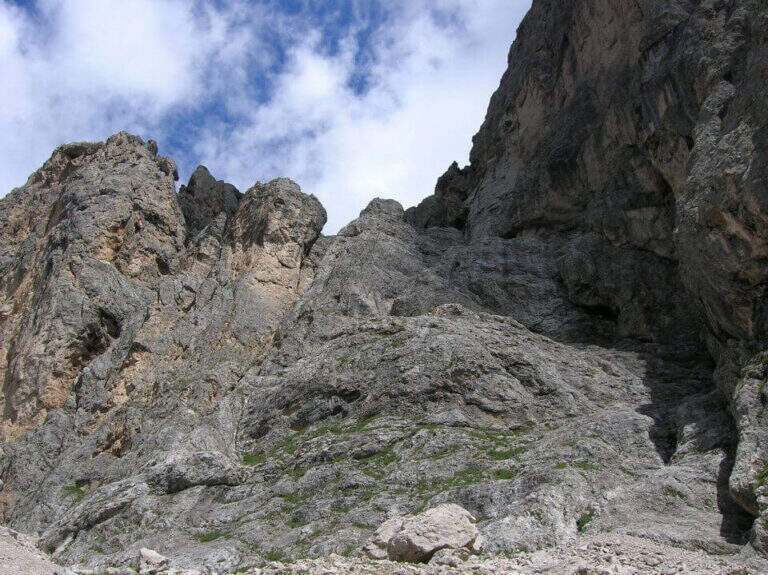
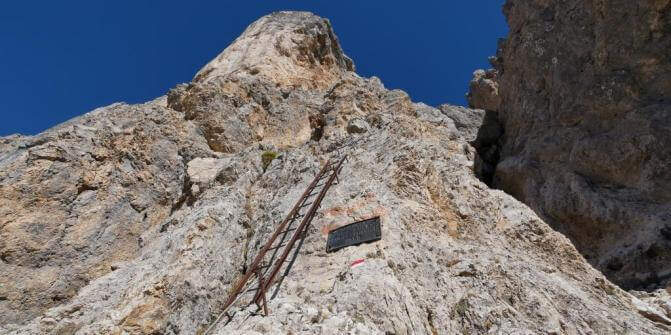
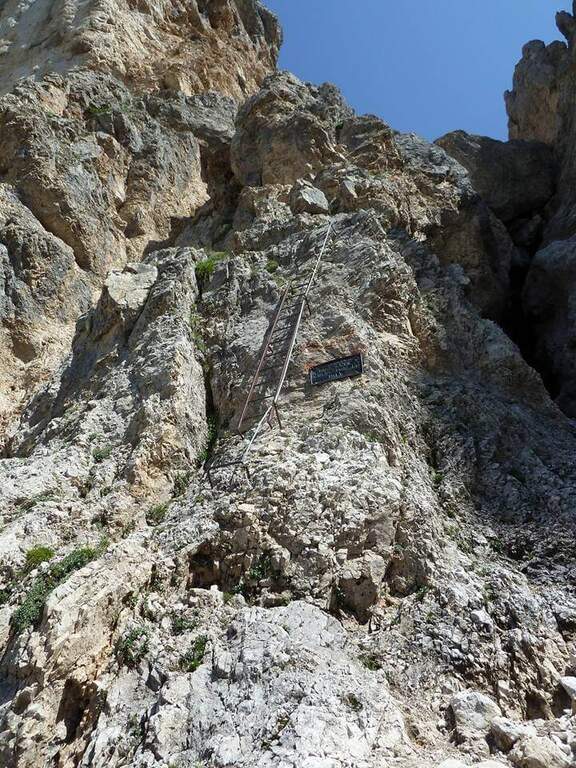
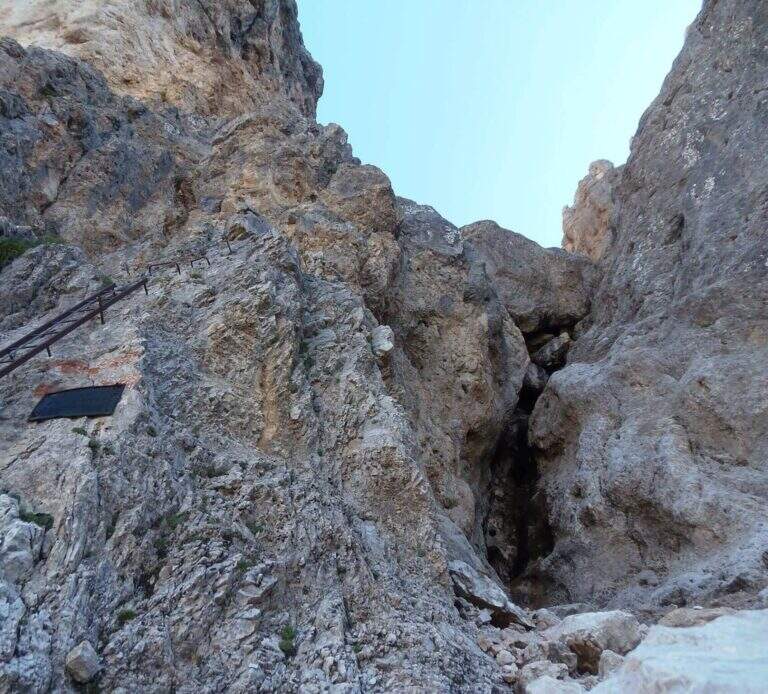
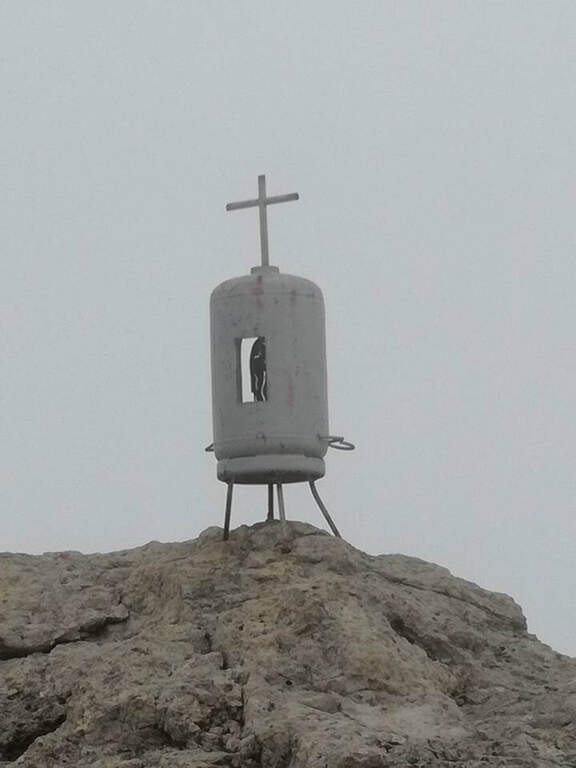
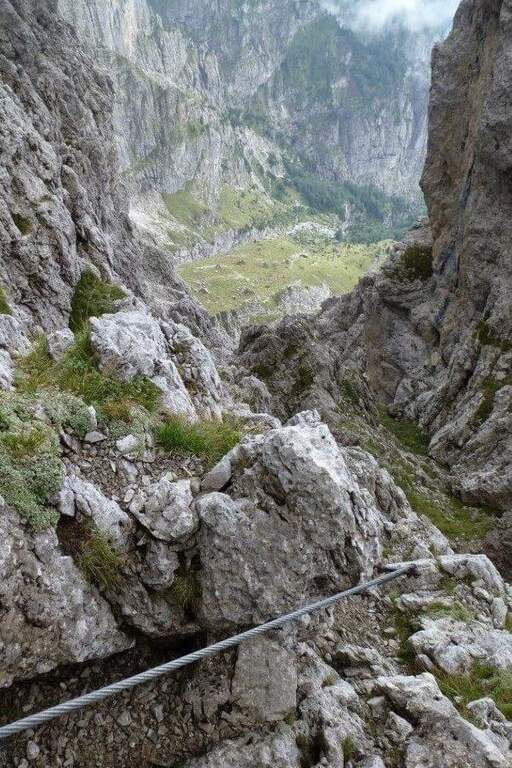
    Si parte su roccette e un balzo verticale (una staffa) fino alla prima scaletta; si completa la parete con altre due staffe e si piega a sinistra in un traverso orizzontale dentro un canalino, risalito con tre staffe e poi altre tre verso destra. Dopo un tratto diagonale attrezzato si sale una seconda scaletta di 6-8 metri, quindi roccette appoggiate e un canalino detritico verso l'evidente forcella. Dopo facili passi di sentiero, un'altra scaletta e roccette si arriva al passaggio chiave: un angusto camino, da affrontare sul lato destro con l'aiuto di staffe e, in uscita, di alcuni pioli su roccia poco appigliata. Si percorre una rampa a destra e si aggira uno spigolo con un traverso, poi un balzo verticale ben appigliato fino in vista della Forcella di Medil, dove la fune accompagna facili roccette fino al pianoro della forcella (a sinistra Cima d'Auta Occidentale, a destra l'Orientale, con la parete sud della Marmolada). Verso destra si seguono roccette e sentiero attrezzati (cavo come corrimano), si sale una placca con una scaletta e poi in aderenza, si percorrono una cengia e una nuova parete verticale a tratti appigliata, fino a un bivio: a sinistra inizia la discesa attrezzata, a destra in pochi minuti la croce di vetta di Cima d'Auta Orientale (2624 m, 1h 45' dall'attacco, 3h 45' totali).

    ▲Character and difficulty

    Via piacevole, con salita per lo più priva di difficoltà sostanziali ed esposizione non eccessiva; solo alcuni passaggi (camino, traverso, placca in discesa) richiedono più attenzione. Da non sottovalutare però l'avvicinamento faticoso e il rientro anch'esso attrezzato.

    ⚠ Itinerario lungo in ambiente di alta montagna poco frequentato: buona preparazione e meteo stabile. La discesa parte attrezzata con un paio di passaggi non banali (placca e tratto verticale con scaletta).
    ▲History

    La Ferrata Paolin Piccolin è stata costruita nel 1969.

    ▲Discipline

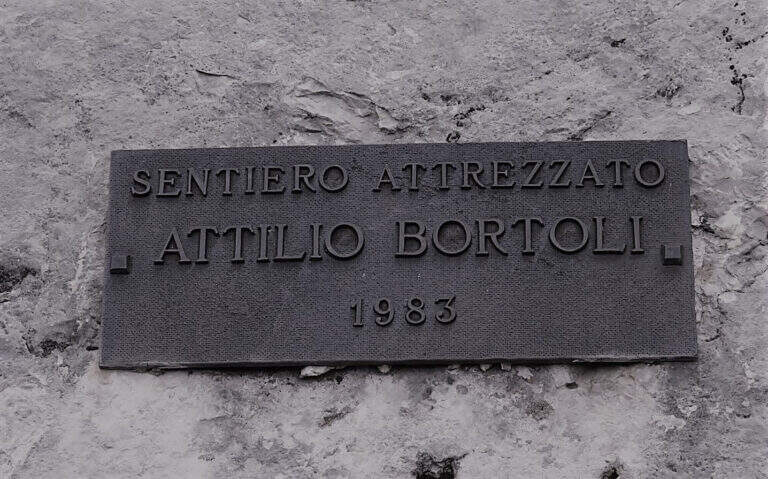
    Dalla vetta si torna al bivio dove inizia la discesa attrezzata: un tratto impegnativo su placca e un tratto verticale con scaletta, dopo i quali (circa 10') le difficoltà calano e si scende su sentiero lungo la via normale. A un bivio si tiene la destra (CAI 696) per il ripido Sentiero Attrezzato Bortoli, che con cenge e brevi balzi attrezzati sotto la parete sud riconduce al bivio dell'avvicinamento; da l' a ritroso fino alle baite e al parcheggio (2h 30' dalla vetta, 6h 30' totali).

    ▲To match

    Il lungo itinerario lascia poche energie per altro in giornata, ma la zona è ricchissima di vie. Verso il Passo San Pellegrino: l'Alta Via Bepi Zac e la Bruno Federspiel. Verso il Civetta: la Titus, gli Alleghesi e la Yellow Flames. Verso le Pale di San Martino: la Bolver-Lugli e la Gabitta d'Ignoti.

    ▲Gallery
    Technical data
    • DifficultyModerately Hard
    • RegionVeneto
    • GroupMarmolada
    • Approach2:30 h
    • Ferrata1:45 h
    • Itinerary (a/r)6:30 h
    • Hardware level difference344 m
    • Route difference1354 m
    • Max2624 m
    • Length9,2 Km
  • Ferrata Parete dei Falchi

    Ferrata Parete dei Falchi

    Vie Ferrate › Veneto › Belluno
    Ferrata Parete dei Falchi

    Attention: the road has long been maintained. The source signals (autumn 2020) cable in some parade points, soft terminals and very spaced thickens, with high fall factor in case of flight. The historic approach from the parking lot of the power station was also interrupted by a landslide on the cycle path. Carefully assess the state of the equipment before engaging and checking the current conditions.
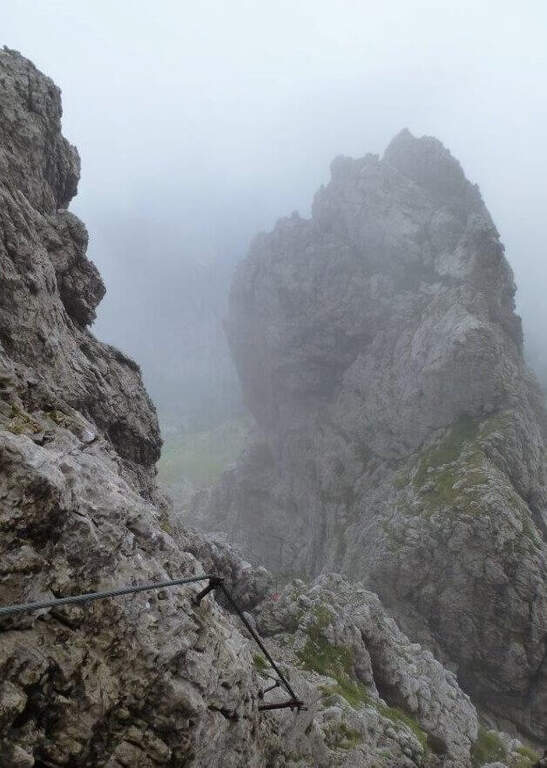
    The Ferrata alla Parete dei Falchi, near Soverzene (Belluno), is short, intense, athletic and difficult: it rises by making wide use of the arms, with a free attack and a striking key stroke. For brevity it is a good training, but the overall safety of the way is questionable and the return is exposed and on unstable background.

    ▲Approach

    The historic starting point is the Central Elettrica between Soverzene and Pian di Vedoia (Belluno): cross the bridge over the Piave you search parking at the central. Starting point on Google Maps. From here an unpaved road (transit prohibition) takes off to the right towards the Piave and, along the climbing walls, leads to a metal walkway beyond which, on a distinct rocky rib, you can see the attack (15' from the parking lot). After a landslide on the cycle path, this approach may be interrupted: Alternatively, you park at the church of the hamlet of Soccher (from Cadola) and you reach the base of the rib along the cycle path to the north, carefully identifying the attack, which is not on the road but higher.

    ▲The path

    The attack is the first test bench: the cable starts at 4 meters from the ground and you need to climb a section of III degree free to secure. Once you reach the cable you climb a vertical wall of about twenty meters where, despite the cambres, the slope makes you feel the first difficulties; beyond the cambre the road continues vertical and aerial on rock poor of hooks and at times covered with vegetation, little climbable. Attached a edge rises a grassy tract (useful hollow on slippery soil) and leads under a rocky roof on a spurt but easy; it wanders the roof on the left with a diagonal traverse and bends right onto balzi of mixed grass and rock up to a balcony. It follows the passage probably more challenging: a spur with ascending traverse to the right, at times overhanging, which requires strength and agility (some pioli help the feet on smooth rock); the last stretch on plaque is decidedly athletic. After passing this section of about fifteen meters the ferrata ends (30' from the attack, 45' from the parking lot).

    ▲Character and difficulty

    A short but not technically prohibitive way, where the force of arms counts above all. The main limit is safety: in several points the distance between the tokens is many meters, with high fall factor; maximum caution.

    ▲Discipline

    You follow the orange signs that descend steeply towards the central; the path is very steep and the foliage makes it slippery. Towards the end you walk an exposed and narrow nod with friable soil and slippery sloped rock, equipped with a unconscious cord: it is advisable to follow the arrow that, shortly before, bypasses the stretch exposed on the left. Then you return to the approach path and to the car (30' from the top, 1h 15' total).

    ▲To match

    For short approach and return it is well matched with other trips of the area: the neighbor Ferrata Palestra di Roccia della Val Gallina, the imprint Ferrata della Memoria al Vajont and, towards the Fall, the Costacurta; on the pordenonese sideAlta Via dei Rondoi.

    ▲Gallery
    Technical data
    • DifficultyHard
    • RegionVeneto
    • GroupVal Gallina
    • Approach0:15 h
    • Ferrata0:30 h
    • Itinerary (a/r)1:30 h
    • Hardware level difference150 m
    • Route difference170 m
    • Max250 m
    • Length1,5 Km
  • Ferrata Palestra di Roccia Val Gallina

    Ferrata Palestra di Roccia Val Gallina

    Vie Ferrate › Veneto › Belluno
    Ferrata Palestra di Roccia Val Gallina

    Alla Palestra di Roccia della Val Gallina (nota anche come VII Reggimento Alpini), presso Soverzene (Belluno), si sviluppano sulla stessa bastionata più vie attrezzate: la Ferrata A, facile ma molto esposta, e la Ferrata B, decisamente difficile con un paio di passaggi che richiedono tecnica e forza nelle braccia. Nel 2019 è stata aperta anche una terza via, C, difficile e atletica. Itinerari brevi, ottimi come allenamento anche in stagione invernale.

    ▲Approach

    Si raggiunge Soverzene sul versante orientale del Piave: da sud si arriva da Pian di Vedoia attraversando il ponte sul Piave, si passa accanto alla centrale elettrica (punto di partenza della vicina Ferrata Parete dei Falchi) e si entra in paese; verso nord si imbocca via Val Gallina e, a un bivio presso un piccolo edificio religioso, si tiene la sinistra verso Longarone fino alle indicazioni per il parcheggio della palestra di roccia. Starting point on Google Maps. Dal parcheggio, attraversato un torrente, in pochi minuti si è sotto la parete: a sinistra la Ferrata A, a destra il diedro della Ferrata B.

    ▲The path

    Ferrata A. Verso sinistra si sale una rampa diagonale di una decina di metri, poi una parete verticale di roccia impegnativa resa semplice da numerosi pioli e staffe. Una nuova rampa a sinistra porta sotto il passaggio più impegnativo della A: un canalino ben attrezzato ma verticale ed esposto. Seguono una stretta e aerea cengia a sinistra, un camino non difficile e un traverso a destra; dopo alcuni balzi innocui si raggiunge il termine (15' dall'attacco, 30' dal parcheggio).

    Ferrata B. Dallo spiazzo si va a destra in discesa fino al torrente, dove attacca la via. Dopo i primi metri di cavo in diagonale si sale verticali e, dopo 4 metri, si affronta un tratto strapiombante: la roccia spancia, il cavo sale a destra della sporgenza mentre gli appigli migliori (naturali e staffe) sono a sinistra; conviene procedere rapidi nei 3 metri strapiombanti. Si esce su un balconcino, si risale un breve tratto di roccette che piega a sinistra sotto un camino (cavo prima a sinistra poi a destra, con staffe e appoggi naturali); usciti dal camino, un traverso di 3 metri a destra porta a una lunga serie di cambre su parete levigata, poi a una stretta cengia verso sinistra fino a un breve diedro. Si arriva al passaggio chiave: un impegnativo traverso che prima risale un tetto roccioso (con pioli, aggirando uno spigolo), poi prosegue orizzontale, aereo e su roccia molto levigata; il cavo sale quindi in una fessura con buoni appoggi per i piedi e, dopo un altro traverso ascendente a destra, porta sotto una parete verticale e leggermente strapiombante con staffe e pioli. Superato il tratto chiave si sale su parete più appoggiata, poi due lunghe serie di cambre unite da un breve traverso diagonale; il cavo piega infine a destra su una rampa di terra e roccia, aggira uno spigolo e termina (30' dall'attacco, circa 50' dal parcheggio).

    Ferrata C. Aperta nel 2019, difficile e atletica; la relazione di dettaglio non è ancora disponibile sulla fonte.

    ▲Character and difficulty

    Per i ferratisti l'itinerario consigliato è salire la B e scendere la A. La Ferrata B è la più difficile: il tratto strapiombante iniziale, il camino e il traverso non sono da sottovalutare (per questo è classificata difficile nonostante la brevità). La Ferrata A non ha passaggi tecnici impegnativi ma è decisamente esposta.

    ⚠ Le vie sono state ri-attrezzate di recente, con cavo largo ma non sempre teso. Un tratto della Ferrata B risultava (2017) instabile, con un fittone su una porzione di roccia in distacco: serve prudenza. Casco sempre obbligatorio.
    ▲Discipline

    Dalla Ferrata A si scende per una traccia a sinistra fino al punto di partenza e al parcheggio (20' dal termine). Dalla Ferrata B si segue la traccia a sinistra fino al termine della A e si scende come per quest'ultima (circa 1h 30' totali).

    ▲To match

    Vista la brevità, si abbina bene alla vicina Ferrata Parete dei Falchi. Verso Longarone l'impegnativa Ferrata della Memoria al Vajont; a est la Ferrata Costacurta e l'Alta Via dei Rondoi; sullo Schiara diverse ferrate impegnative (Sperti, Berti, Marmol, Zacchi).

    ▲Gallery
    Technical data
    • DifficultyHard
    • RegionVeneto
    • GroupVal Gallina
    • Approach0:05 h
    • Ferrata0:30 h
    • Itinerary (a/r)1:30 h
    • Hardware level difference90 m
    • Route difference100 m
    • Max560 m
    • Length1 Km
  • Ferrata Olivieri a Punta Anna (Tofane)

    Ferrata Olivieri a Punta Anna (Tofane)

    Vie Ferrate › Veneto › Belluno
    Ferrata Olivieri a Punta Anna (Tofane)

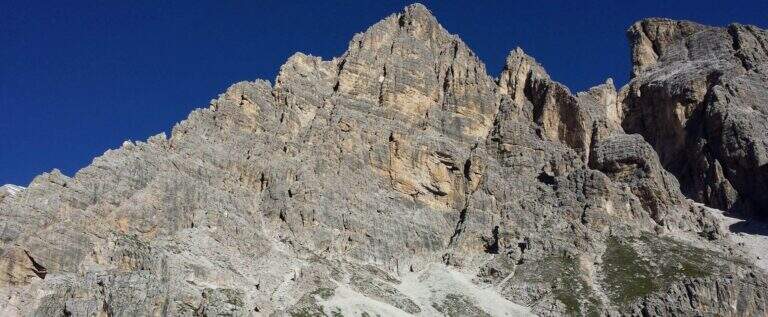
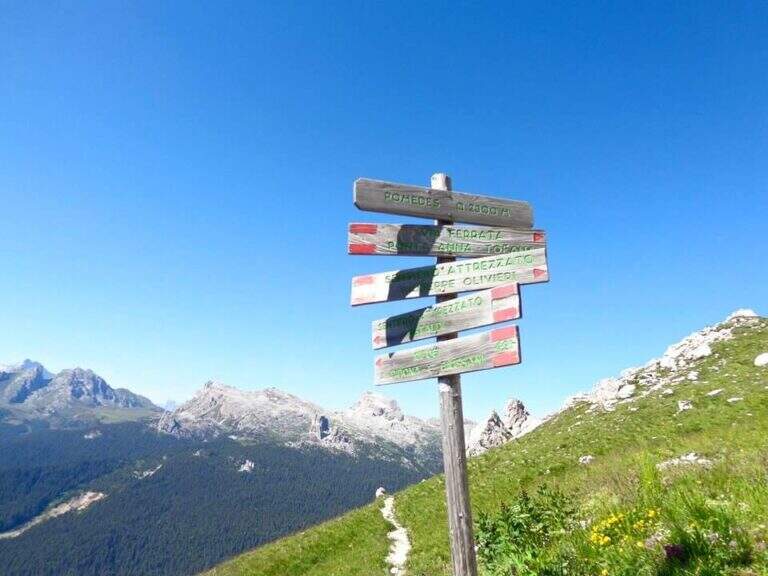
    La Ferrata Olivieri sale a Punta Anna nelle Tofane, sopra Cortina d'Ampezzo: bella e impegnativa, si svolge su ottima roccia con passaggi esposti molto arrampicabili e appaganti. Si parte dal Rifugio Pomedes lungo lo spigolo-cresta fino al Dos de Tofana.

    ▲Approach

    Punto di partenza la Baita Pie Tofana (1675 m) sopra Cortina, da cui salire al Rifugio Pomedes (2303 m): comodo in seggiovia (via Rifugio Duca d'Aosta), oppure a piedi col sentiero 405 al Duca d'Aosta (2098 m) e poi per carrareccia al Pomedes (2h). Open road signs on Google Maps. In alternativa, partendo dal Rifugio Dibona si raggiunge il Pomedes col sentiero 421 (45'). Dal Rifugio Pomedes, dietro la stazione di arrivo della seggiovia, le indicazioni portano su un ripido sentierino (prati poi ghiaione) verso una forcella dove si trova la targa d'attacco (2440 m, 30' dal Pomedes).

    ▲The path

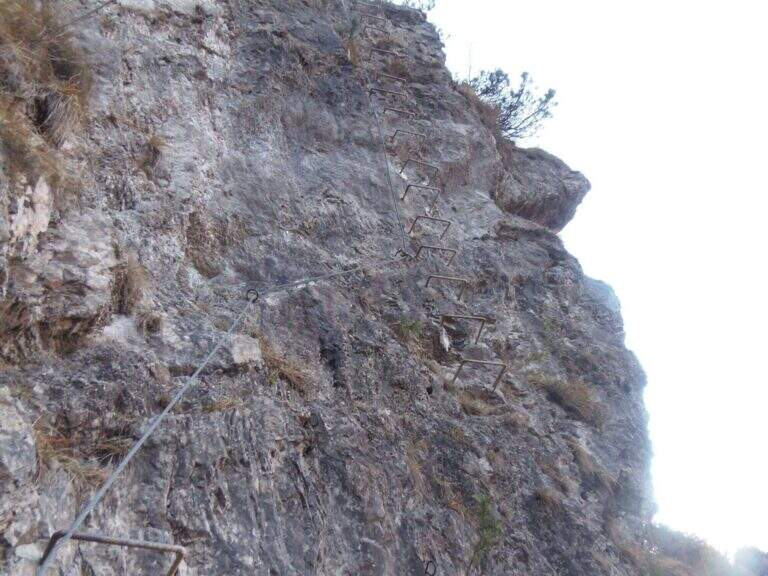
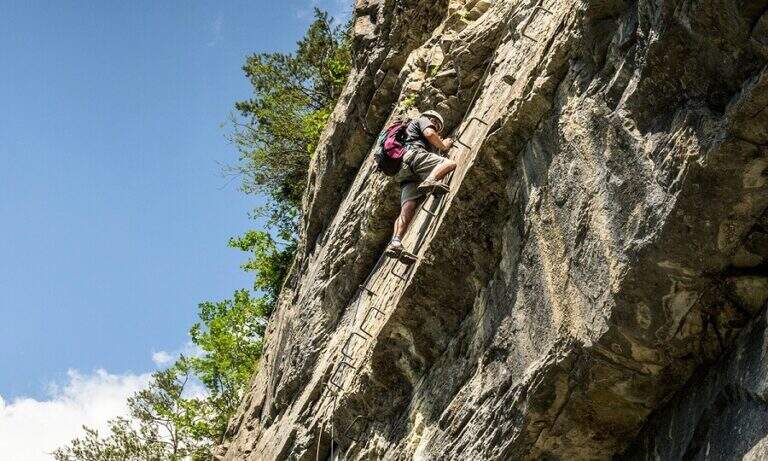
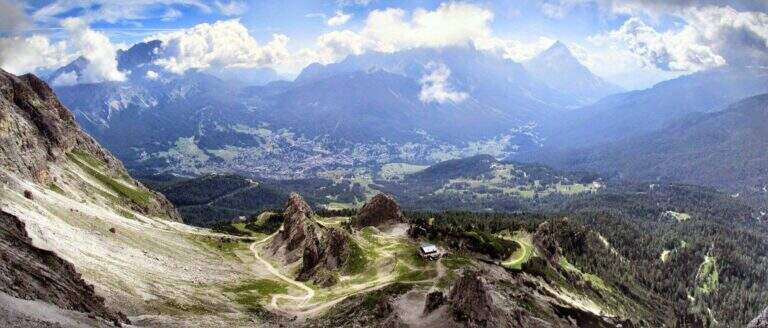
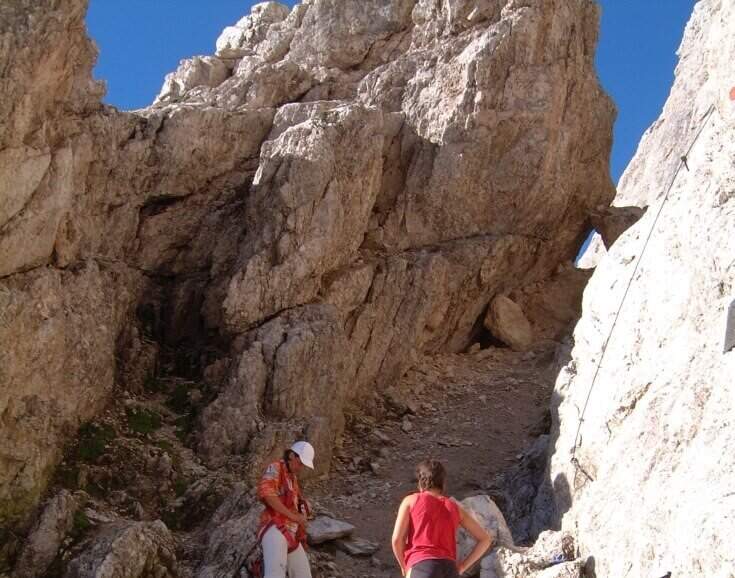
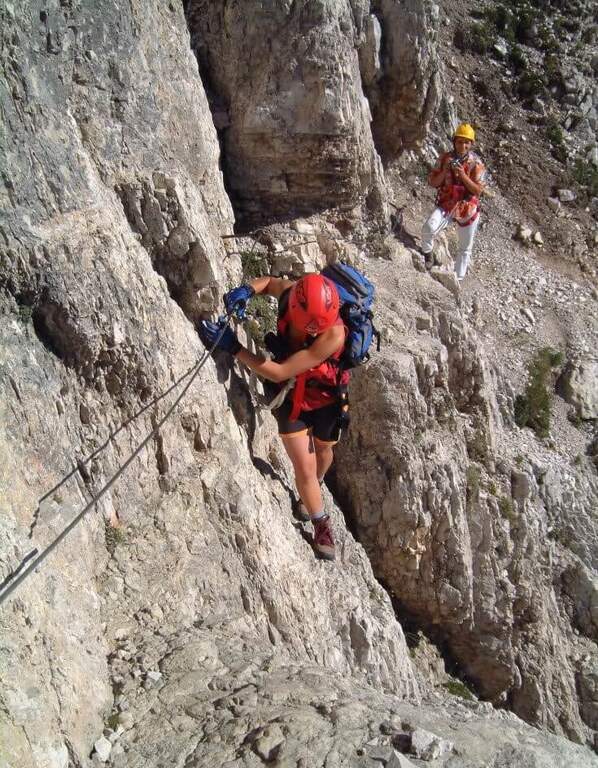
    Fin dall'attacco la via mostra il suo carattere: roccia verticale, poche staffe e attrezzature di sostegno ma ottima roccia. Si sale una prima parete di una ventina di metri, ben appigliata, che piega a destra in alto; segue un tratto in leggera discesa, un traverso con buoni appoggi per i piedi e roccette verso destra, poi una comoda cengia a sinistra. Si aggira uno spigolo e si sale un balzo verticale fino a un terrazzino con vista sulla Tofana di Rozes; su roccette facili si raggiunge una forcella dove le attrezzature si interrompono. Si attacca poi un esposto spigolo, arrampicabile e ben appigliato: nella prima parte si resta sul lato destro del filo guadagnando quota, con un paio di punti angusti dove sostare, fino a un balconcino panoramico su Averau e Nuvolau. Si sale una parete di 4 metri leggermente strapiombante con pochi appigli (necessario il cavo), quindi il tratto conclusivo dello spigolo, affilato e molto esposto, che piega a sinistra verso un evidente pulpito. Si traversa a sinistra (passaggio non banale) e si sale una parete dove la fune zigzaga, sempre molto esposti ma su roccia ben appigliata; un canalino con traverso a sinistra, roccette in diagonale e una parete verticale frastagliata portano oltre i 2700 m, dove il cavo termina su un punto panoramico affacciato su Cortina. Segue un tratto di sentiero in quota con alcuni passaggi attrezzati e un bivio da cui a sinistra si scende al Rifugio Giussani (opzione 3); tenendo la destra (segnavia rossi verso il Dos de Tofana) si supera una placca verticale levigata in aderenza e un breve diedro angusto, quindi una cengia che porta al Dos de Tofana (2850 m, 1h 30' dall'attacco, 2h dal Pomedes), dove la ferrata termina.

    ▲Character and difficulty

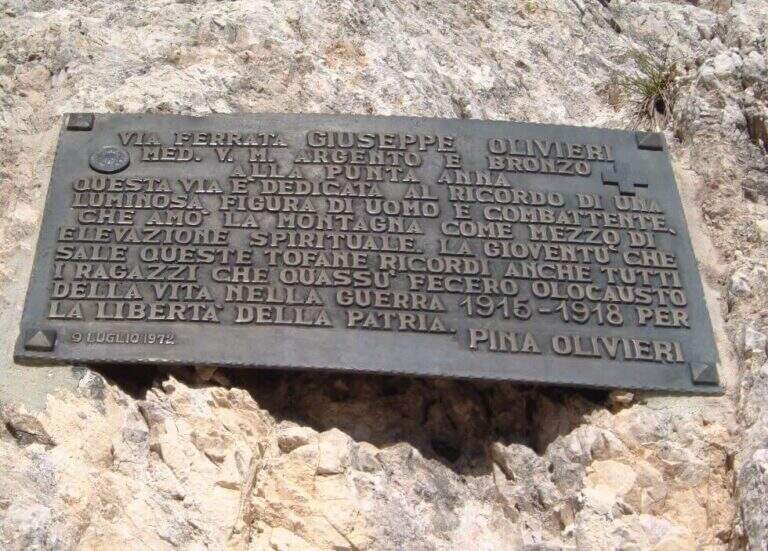
    Ferrata esposta e intensa, di media difficoltà; alcuni passaggi più impegnativi, sommati all'ambiente di alta montagna, la rendono difficile ma non proibitiva. Roccia molto buona, frastagliata e ben arrampicabile; cavo generalmente ben teso e d'aiuto. È intitolata a Giuseppe Olivieri, alpinista veneziano; costruita e inaugurata nel 1972 dalla guida alpina Luigi Ghedina.

    ⚠ Ambiente di alta montagna esposto: valutare meteo e condizioni. Diverse opzioni di rientro impongono di pianificare in anticipo dove lasciare l'auto (Baita Pie Tofana o Rifugio Dibona).
    ▲Period and safety

    Piena estate, con roccia asciutta e meteo stabile. Quota fino a 2850 m.

    ▲Discipline

    Tre opzioni: (1) dal Dos de Tofana si scende verso il Rifugio Ra Vales fino a un bivio (2580 m), dove a destra si prende il Sentiero Attrezzato Olivieri che riporta al Rifugio Pomedes (2h 15' dal termine, 4h 30' dal Pomedes); (2) a sinistra del bivio, la Ferrata Aglio porta alla Tofana di Mezzo e alla stazione a monte della funivia, con cui scendere a Col Druscè e poi al parcheggio col sentiero 413 (3h dal termine, 5h 30' totali); (3) dal bivio per il Rifugio Giussani, prima dell'ultimo tratto, si scende per un sentiero a tratti attrezzato ed esposto ma non difficile fino al Giussani e, col sentiero 403, al Rifugio Dibona (preferibile lasciare qui l'auto per questa opzione).

    ▲To match

    Spesso abbinata alla Ferrata Aglio alla Tofana di Mezzo o al Sentiero Attrezzato Olivieri; dal Pomedes si raggiungono anche le ferrate Ra Bujela e Ra Pegna. Verso il Passo Falzarego: Ferrata Tomaselli, Ferrata Fusetti at Sas de Stria e Ferrata at Col dei Bos; to the south Ferrata dei Caprioli san Vito di Cadore.

    ▲Gallery
    Technical data
    • DifficultyHard
    • RegionVeneto
    • GroupTofa
    • Approach0:30 h
    • Ferrata1:30 h
    • Itinerary (a/r)4:30 h
    • Hardware level difference312 m
    • Route difference514 m
    • Max2850 m
    • Length5,1 Km
  • Ferrata Merlone ai Cadini di Misurina

    Ferrata Merlone ai Cadini di Misurina

    Vie Ferrate › Veneto › Belluno
    Ferrata Merlone ai Cadini di Misurina
    Very difficult● OpenDescriptionComplexityMapsGallery

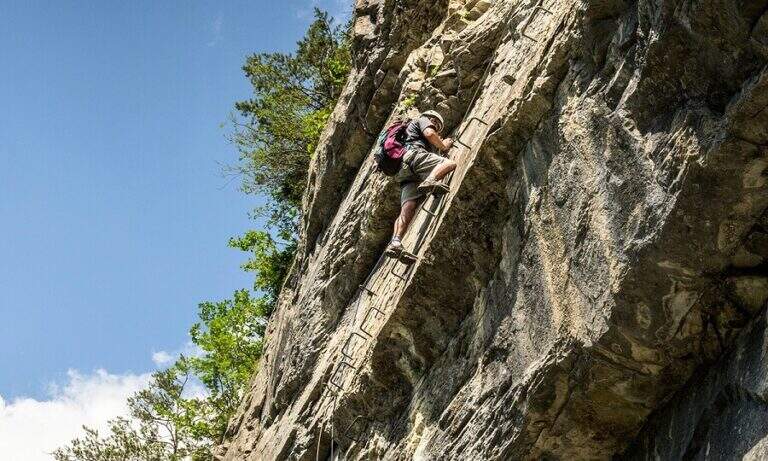
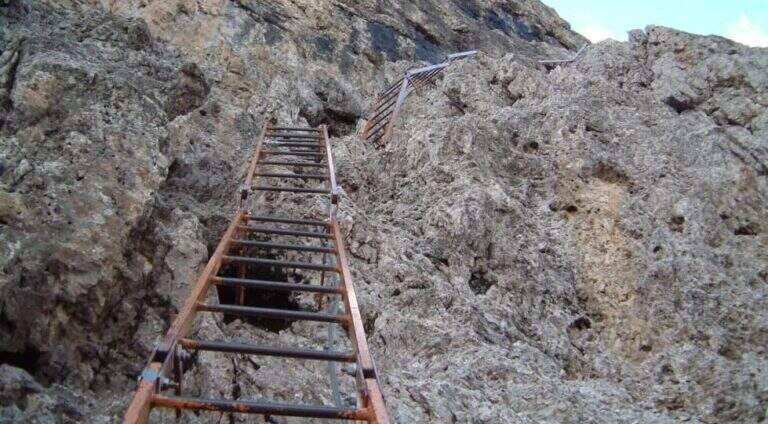
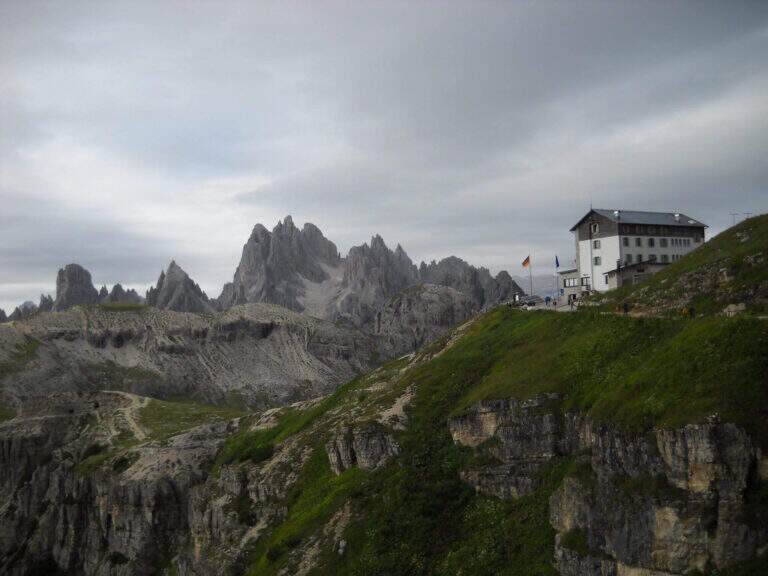
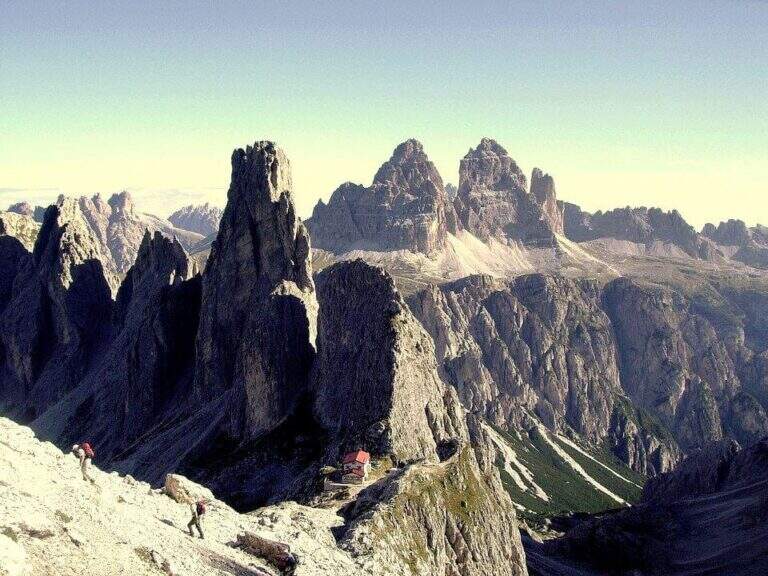
    La Ferrata Merlone raggiunge la cima più alta del sottogruppo dei Cadini di Misurina, nelle Dolomiti di Sesto: una linea verticale e fortemente aerea, celebre (e discussa) per le sue interminabili scalinate metalliche e per un traverso esposto che resta impresso. Itinerario lungo, con dislivello assoluto importante e un rientro che impone saliscendi e la risalita di forcelle.

    ▲Approach

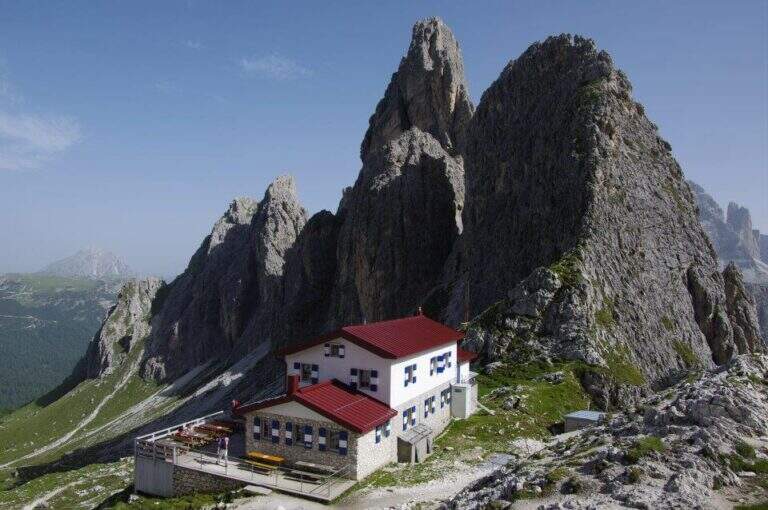
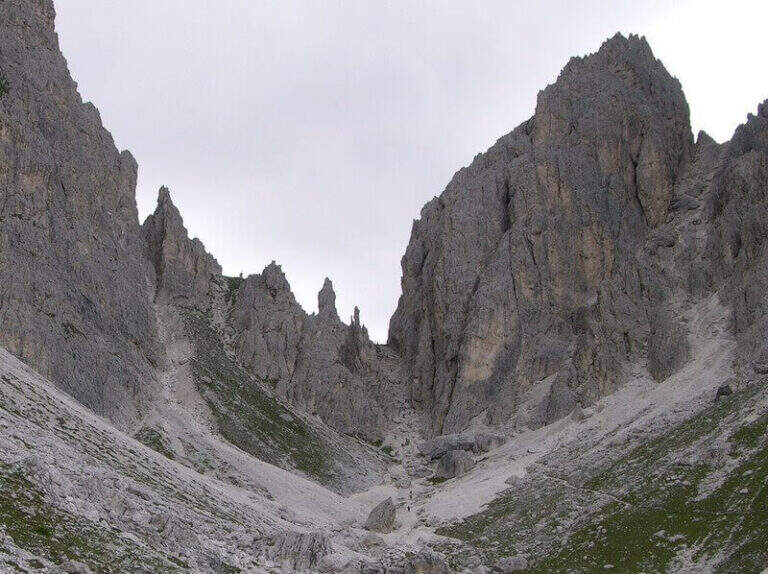
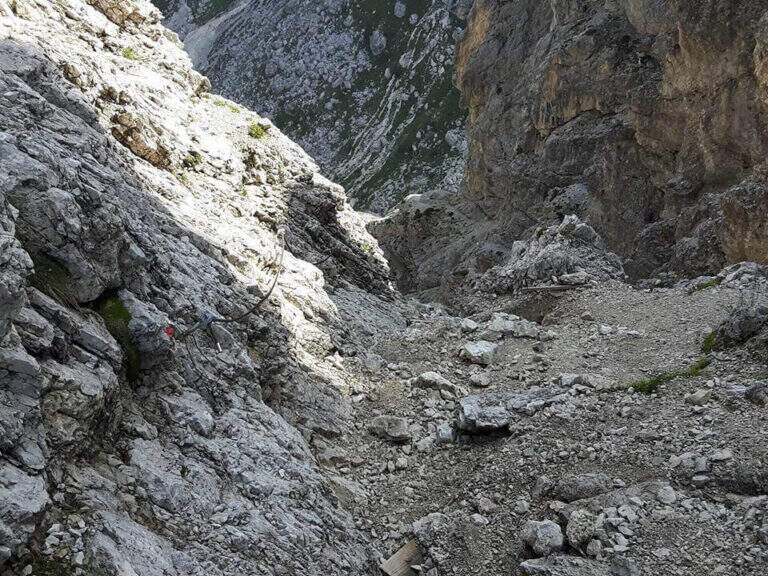
    Si parte dalla strada che collega il Lago di Misurina al Rifugio Auronzo. Poco prima del pedaggio, dopo una doppia curva, sulla destra si apre uno spiazzo in leggera discesa dove lasciare l'auto (posti limitati in alta stagione), riconoscibile da una palina biancorossa del CAI. Open road signs on Google Maps. Dallo spiazzo si imbocca la sterrata che sale verso est nel bosco di conifere seguendo il segnavia CAI 115; superato il Pian degli Spiriti (1895 m) la pendenza resta moderata fino al Rifugio Fonda Savio (2367 m, 1h 30' dal parcheggio), al Passo di Toce. Da qui si segue l'indicazione in ripida salita verso sud fino a un vallone detritico; una traccia con radi segni lo attraversa portando sul versante opposto, dove due lunghe scale metalliche — già visibili dal basso — annunciano l'attacco (30' dal rifugio, 2h totali dall'auto).

    ▲The path

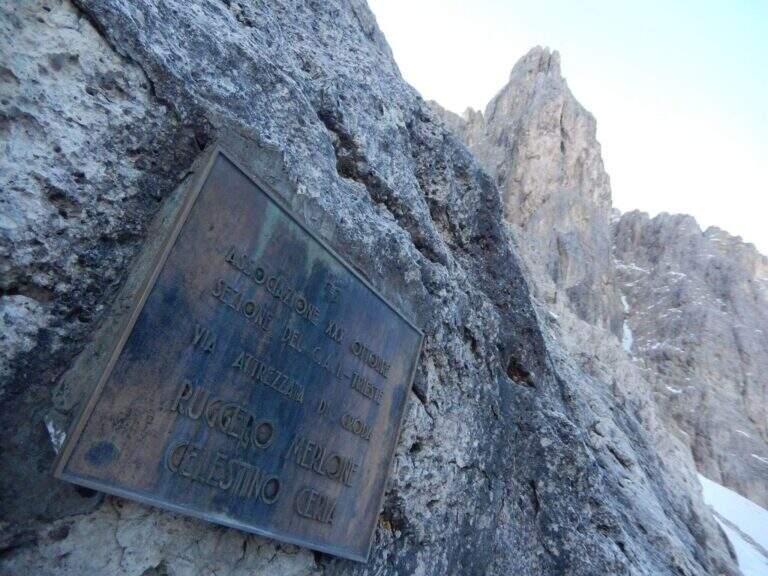
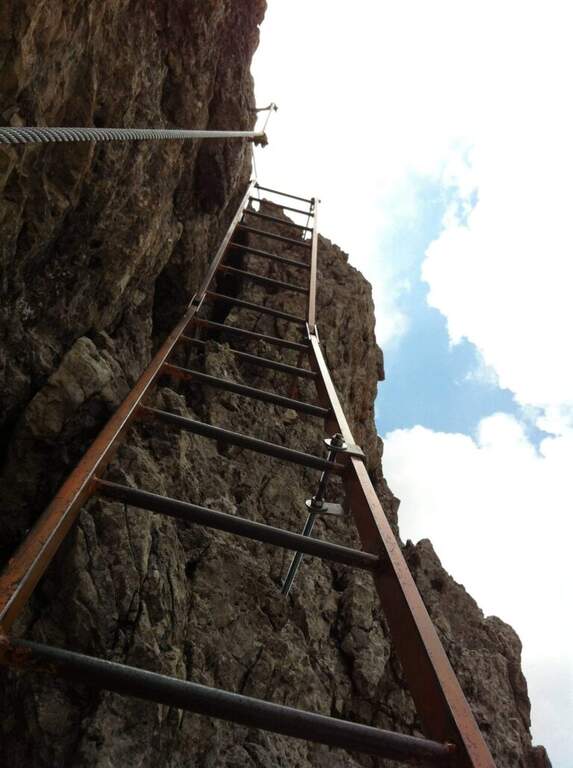
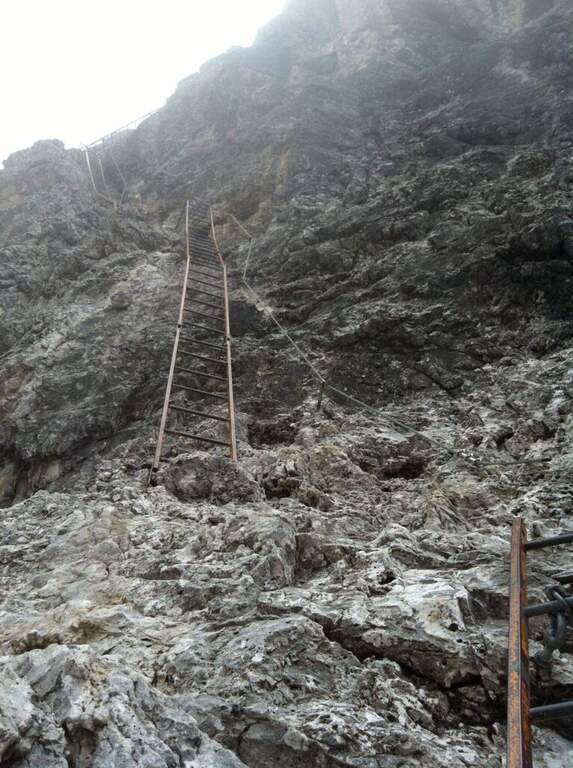
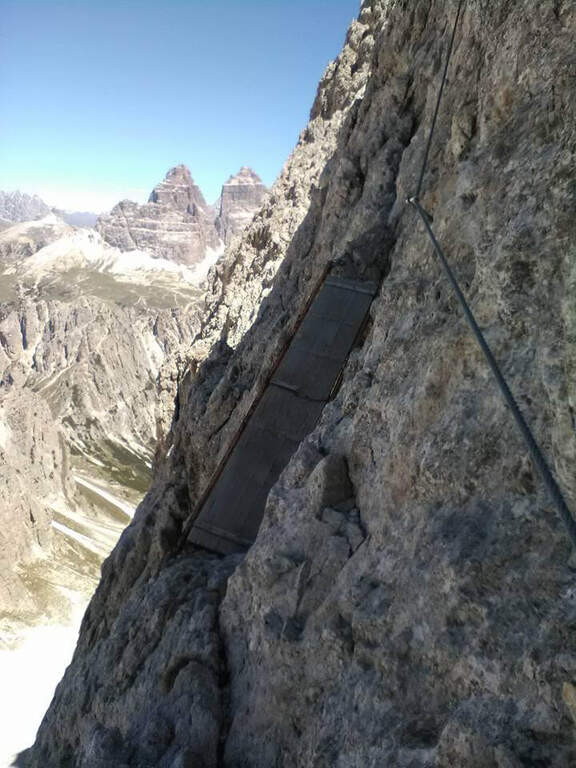
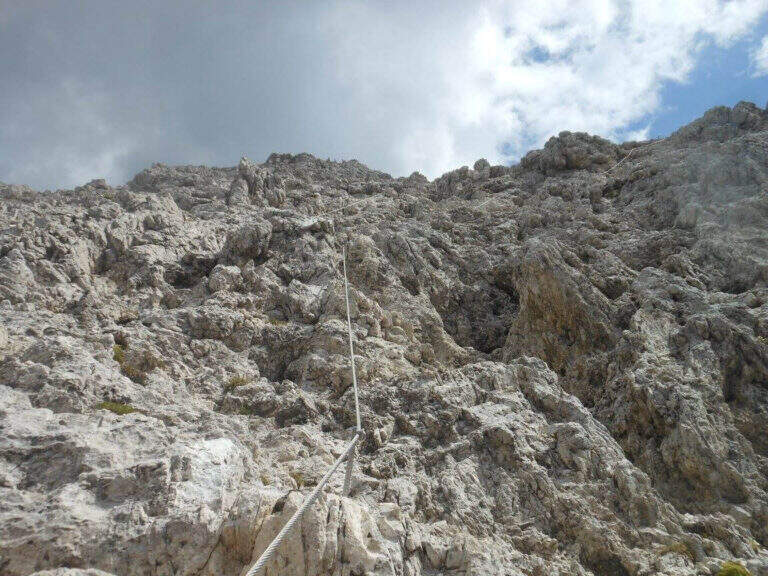
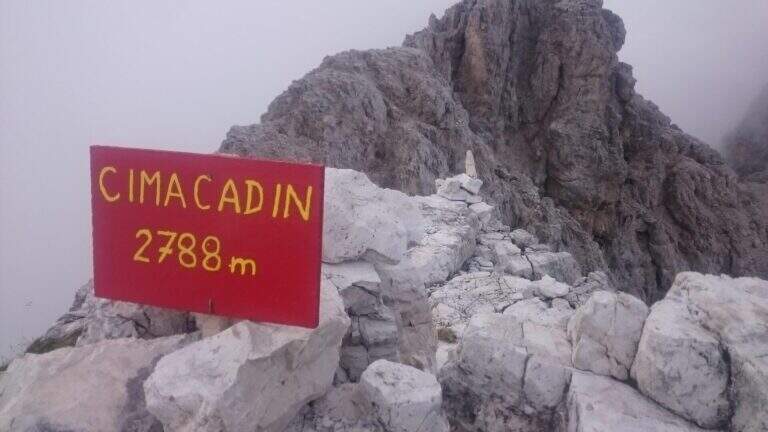
    Si risalgono alcune roccette instabili fino alla prima fune, che procede orizzontale per pochi metri prima di un balzo di un paio di metri dove si trova la targhetta dedicatoria. La prima sezione alterna roccette attrezzate e un paio di facili salti da arrampicare in libera (I grado, segni blu, roccia ben appigliata) e porta verso destra, in direzione delle lunghe scale. La prima parte da un terrazzino panoramico affacciato sulle Tre Cime di Lavaredo: inizia qui la salita di oltre 300 gradini, tecnicamente facile ma via via sempre più esposta. Un tratto diagonale verso destra, un breve diedro e una parete appoggiata conducono a nuove serie di scale in forte esposizione, a volte sorprendenti perché da verticali piegano bruscamente a destra o a sinistra. Si raggiunge un traverso esposto verso sinistra che porta a una passerella in legno; oltre la passerella il traverso si impenna nel passaggio chiave, molto aereo, fino a un'altra scaletta verticale. Questa termina sotto un masso, che si aggira a sinistra per riprendere a salire in verticale; segue un traverso ascendente verso destra che, presso un salto, piega a sinistra dove una delle poche staffe della via aiuta a superare un leggero spanciamento. Nel tratto conclusivo si sale una parete appigliata ma verticale ed esposta, quindi un sentiero e un ultimo dislivello di circa 70 m fino alla vetta Cadin di Nord Est (2788 m), segnalata da uno spartano cartello rosso (1h 30' di sola ferrata).

    ▲Character and difficulty

    Le scale — a tratti davvero troppe per i puristi dell'arrampicata — abbassano la difficoltà tecnica di una parete che, senza attrezzatura e su roccia spesso verticale e tendente all'unto, sarebbe molto difficile. Resta però la forte esposizione, costante, e un paio di passaggi più impegnativi nella seconda metà: di qui la valutazione complessiva Molto Difficile. Attenzione anche ai brevi tratti in libera (I grado), dove la sabbiolina può rendere insidiosi gli appoggi.

    ⚠ La via è percorsa nei due sensi: il caschetto è obbligatorio per il rischio di scariche di sassi smossi da chi sta sopra. Il vallone che precede l'attacco resta spesso innevato anche a stagione inoltrata; la pendenza è modesta (i ramponi sono in genere eccessivi), ma per le condizioni conviene sentire il Rifugio Fonda Savio.
    ▲Period and safety

    Stagione estiva, quando il vallone d'attacco è libero dalla neve. Verificare le condizioni al Rifugio Fonda Savio. Calma e prudenza nei tratti in libera e nei diagonali sabbiosi; la discesa è impegnativa per l'esposizione continua.

    ▲Discipline

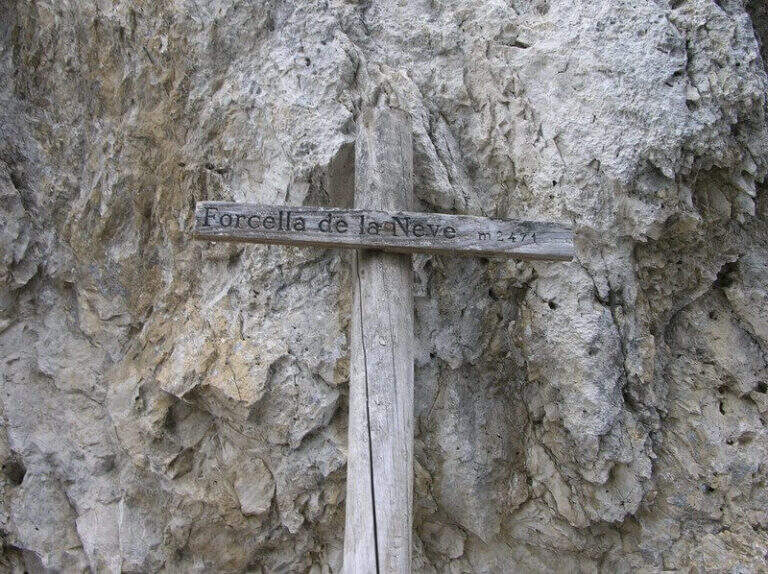
    Si scende disarrampicando la stessa Ferrata Merlone fino al vallone detritico (1h 30' dalla vetta, 5h totali). Da qui tre opzioni: (1) verso sud, tenendosi sul versante destro del vallone, con brevi tratti attrezzati fino alla Forcella de la Neve (2471 m, 1h 30'), poi giù nel Ciadin de la Neve sul sentiero 118 fino alla deviazione a destra per il 115 e ritorno all'auto (1h 30', 8h totali); (2) tenere la destra fino al Rifugio Fonda Savio e prendere il sentiero 117 verso la Forcella del Diavolo (alcuni tratti attrezzati), scendendo poi nel Ciadin de la Neve come nell'opzione 1 (7h 30' totali); (3) a ritroso per il sentiero dell'andata (2h, 7h totali).

    ▲To match

    Con partenza all'alba la Merlone si concatena con il Path equipped Bonacossa. Nelle vicinanze, sulle Dolomiti di Sesto: Ferrata delle Scalette, Ferrata Cappellano Hosp alla Torre di Toblin e Ferrata Innerkofler al Monte Paterno; sul Cristallo la Ferrata Bianchi.

    ▲Gallery
    Technical data
    • DifficultyVery difficult
    • RegionVeneto
    • GroupCadini di Misurina
    • Approach2:00 h
    • Ferrata1:30 h
    • Itinerary (a/r)8:00 h
    • Hardware level difference438 m
    • Route difference1036 m
    • Max2788 m
    • Length11 Km
Need help? Write to us!