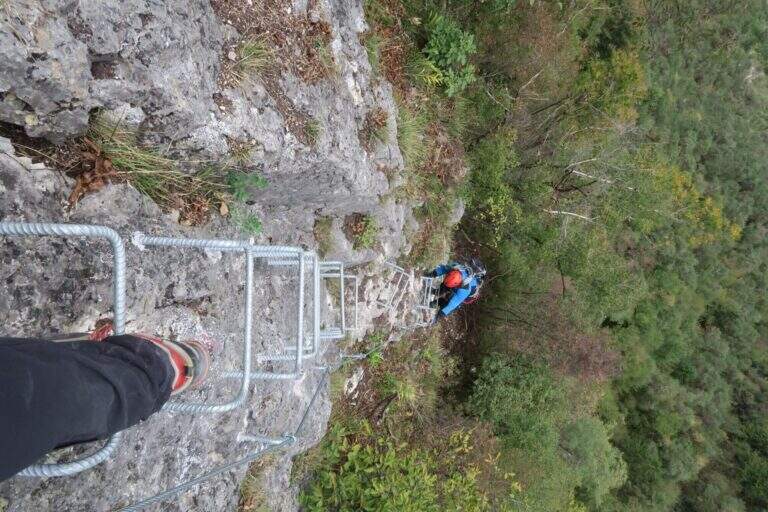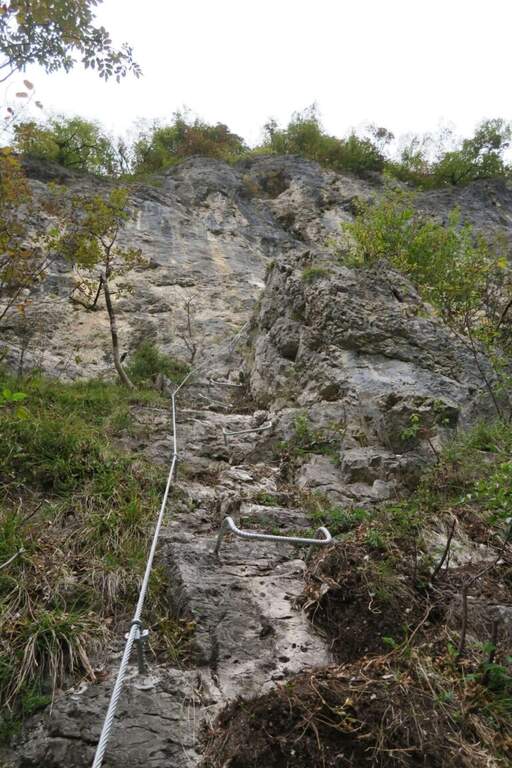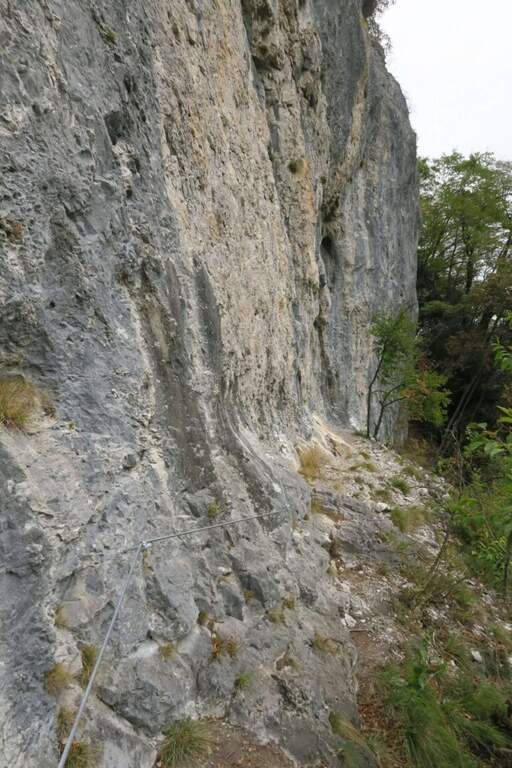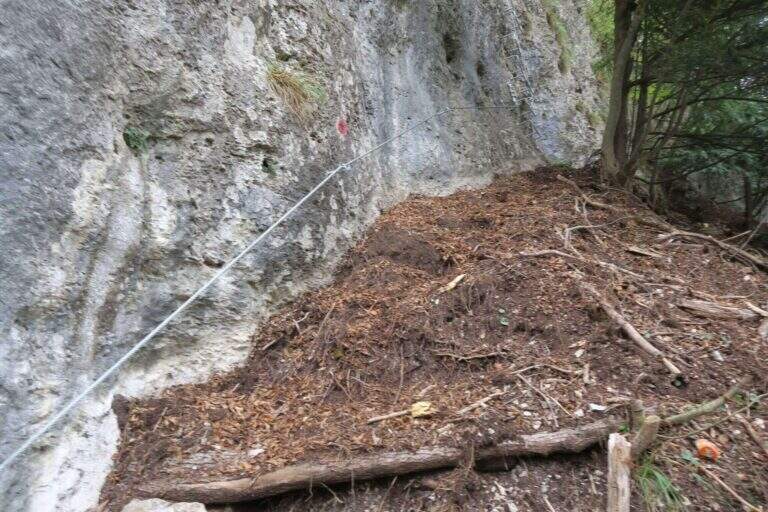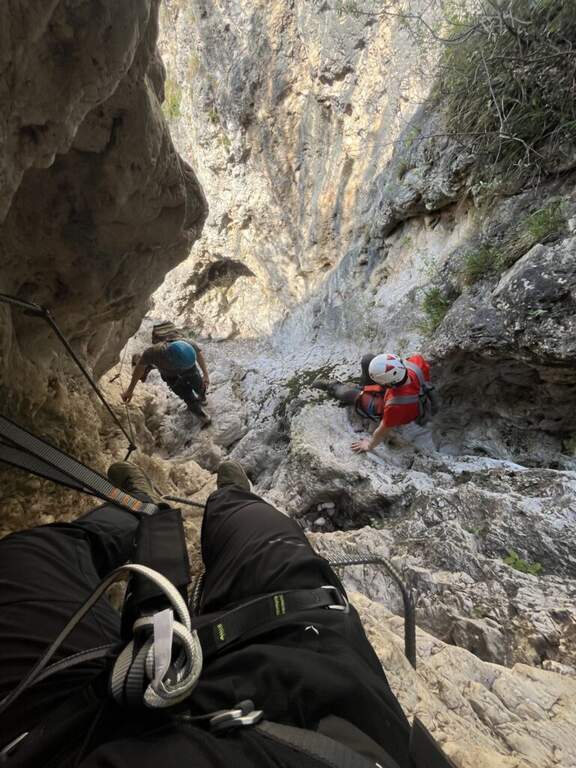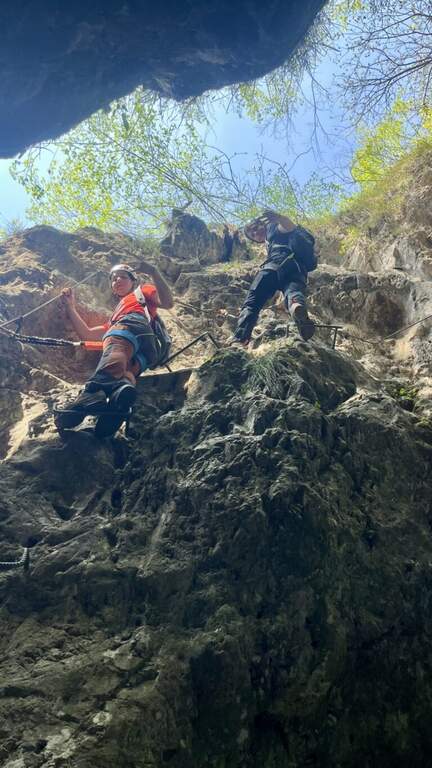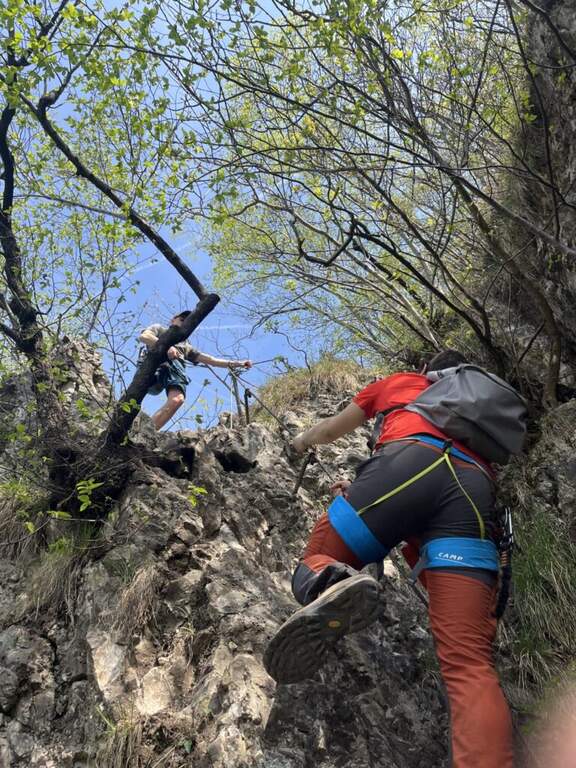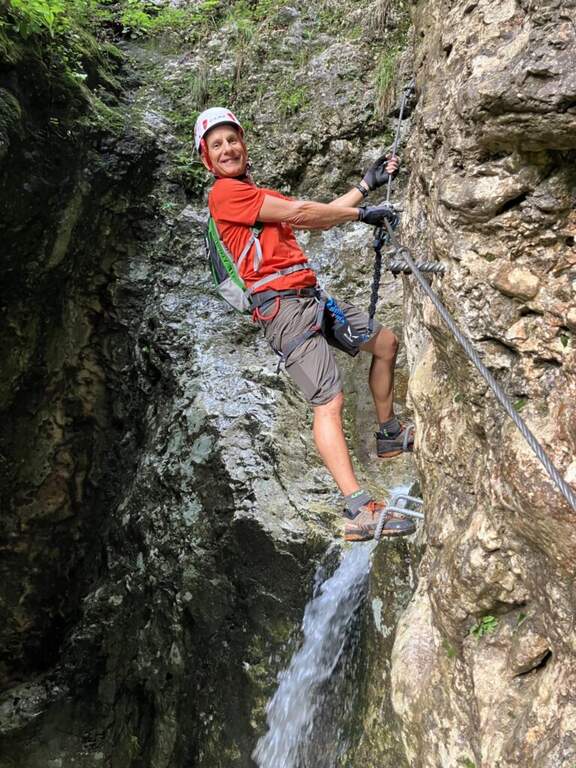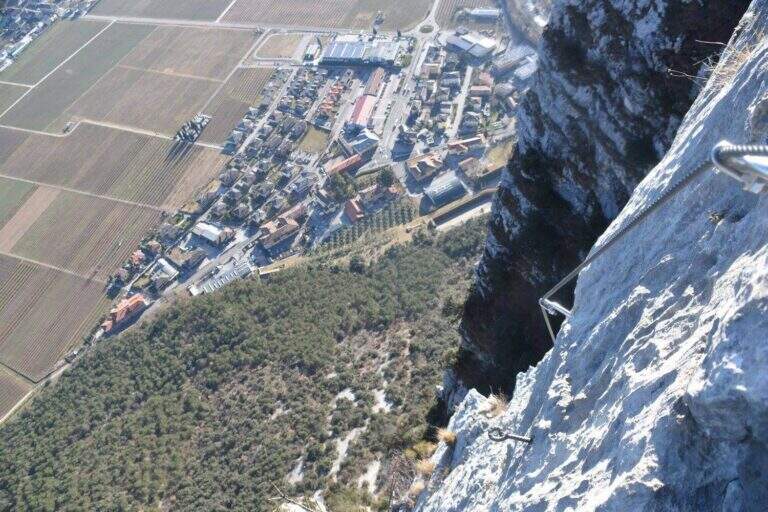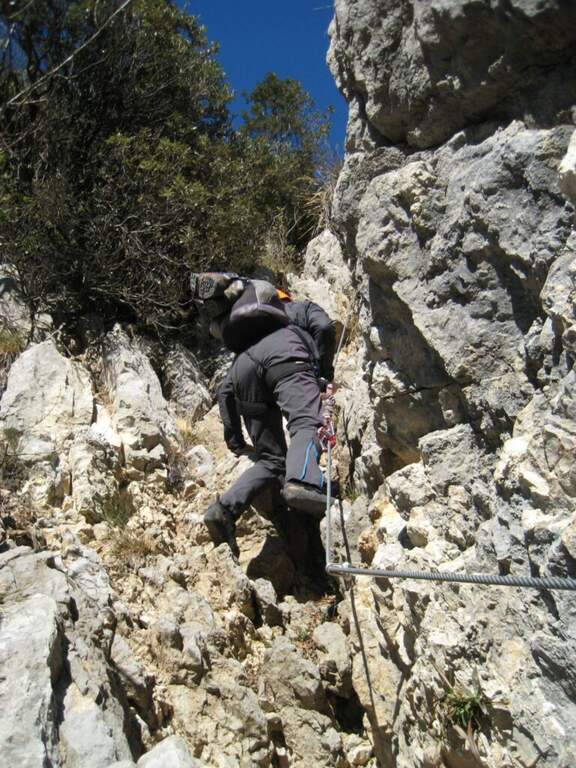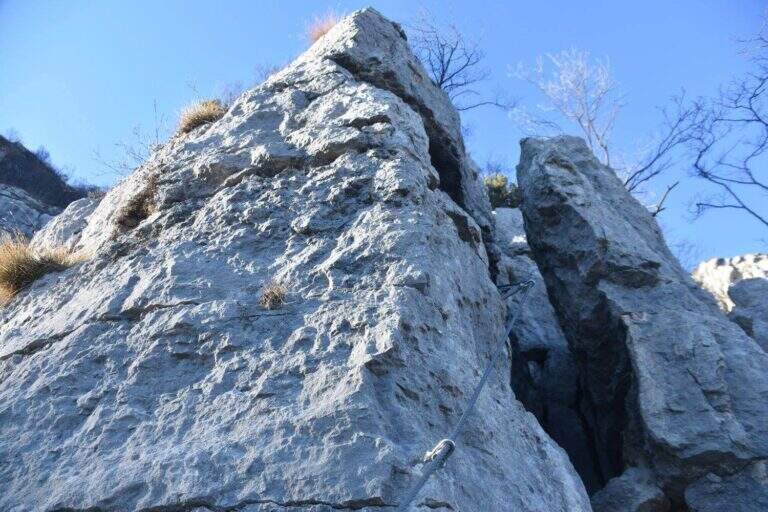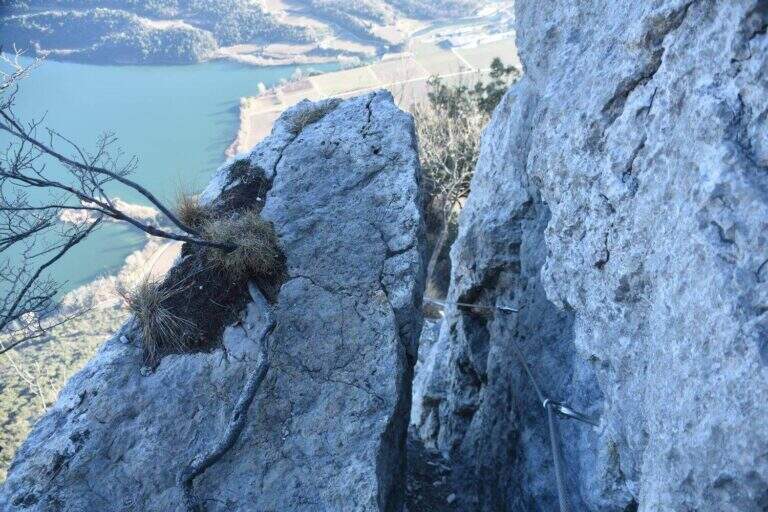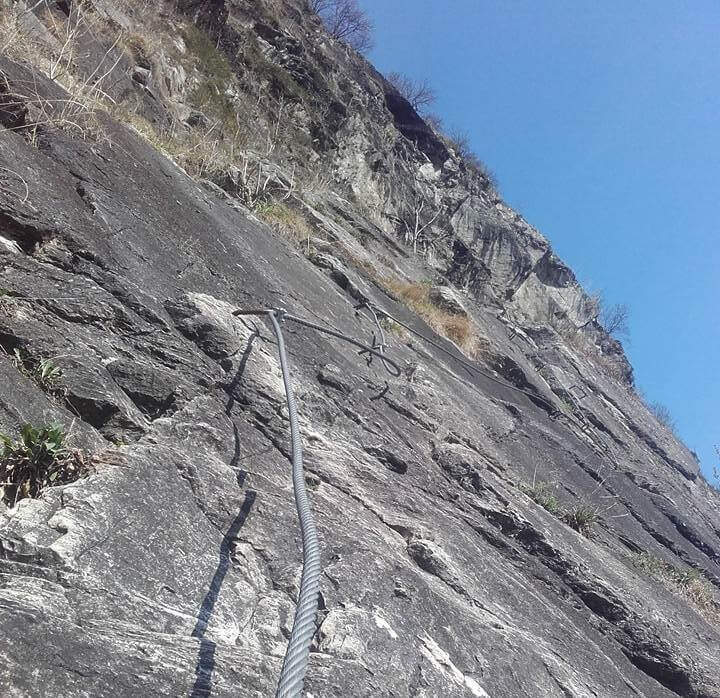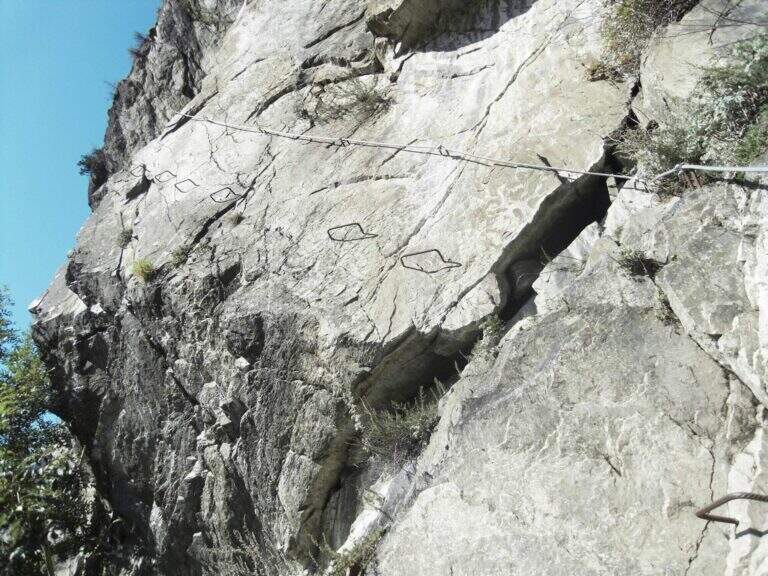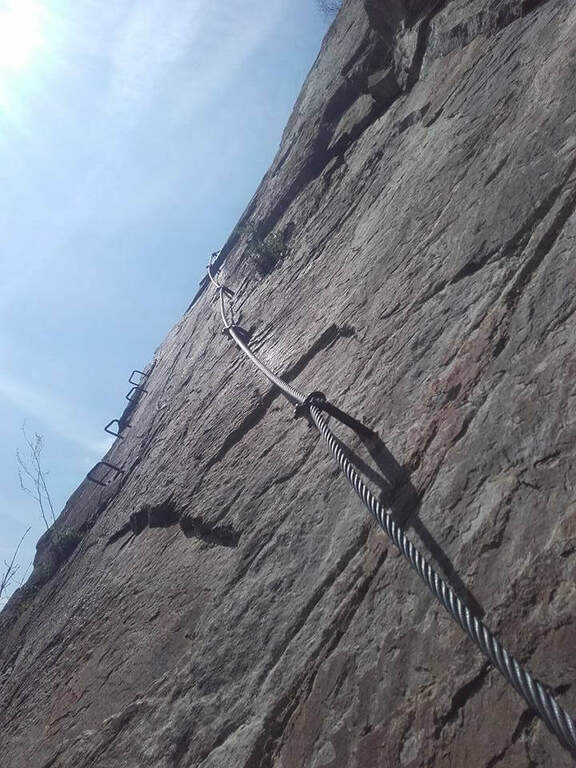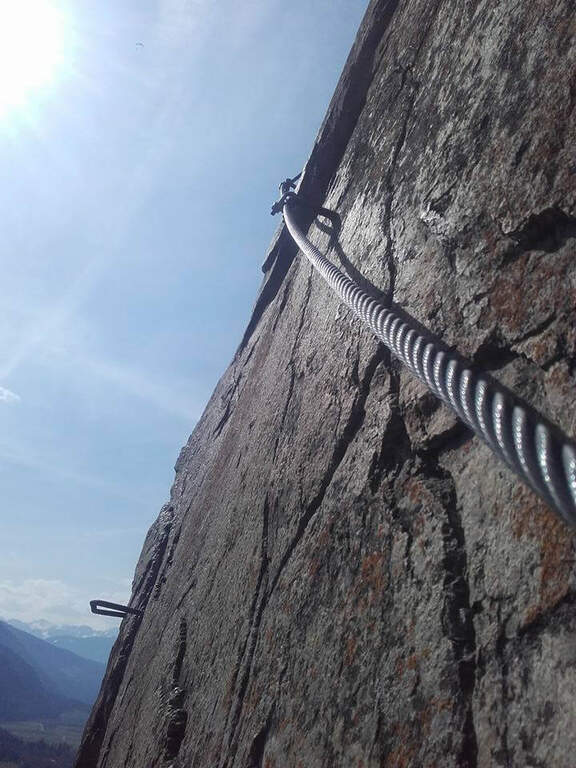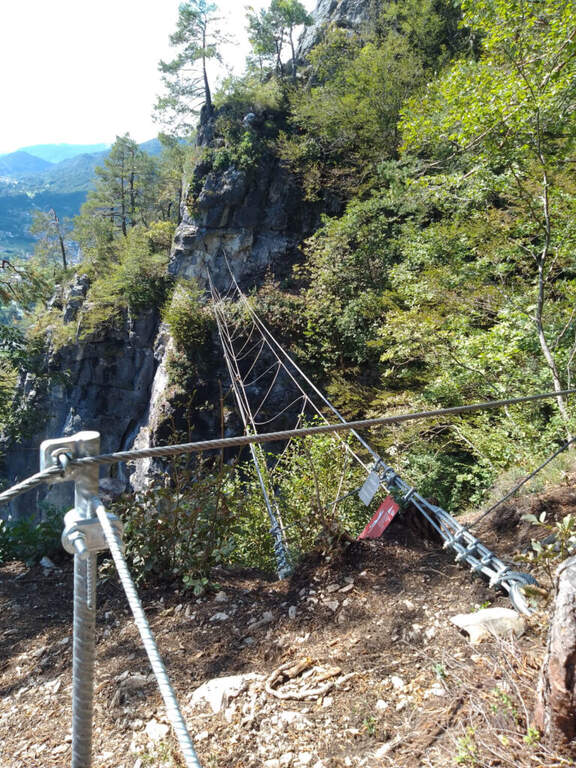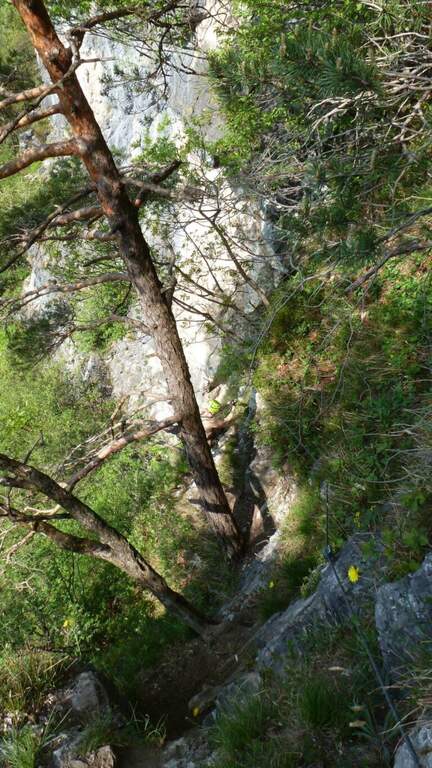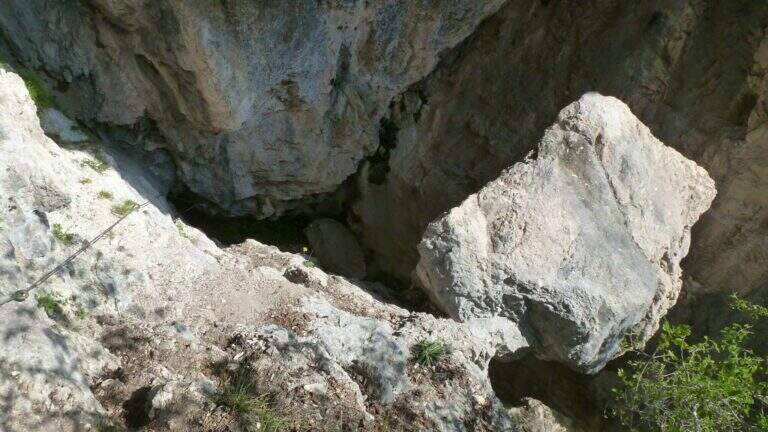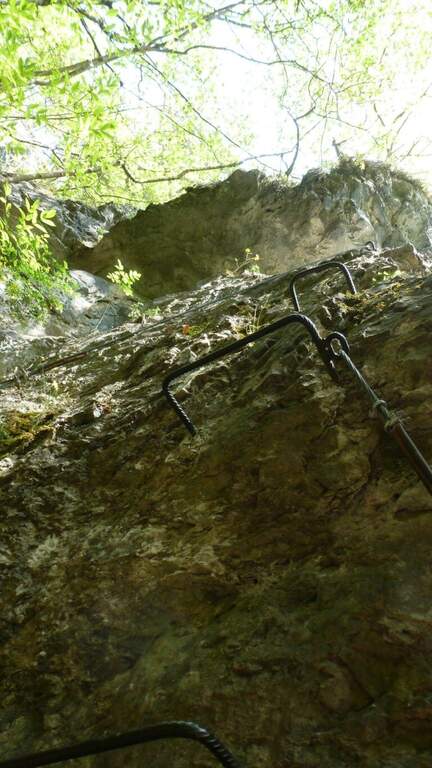
Regione: Trentino-Alto Adige

  • Ferrata Sasso delle Nove (Cima Nove)

    Ferrata Sasso delle Nove (Cima Nove)

    Vie Ferrate › Trentino-Alto Adige › Bolzano
    Ferrata Sasso delle Nove (Cima Nove)
    Moderately Hard● OpenDescriptionComplexityMapsGallery

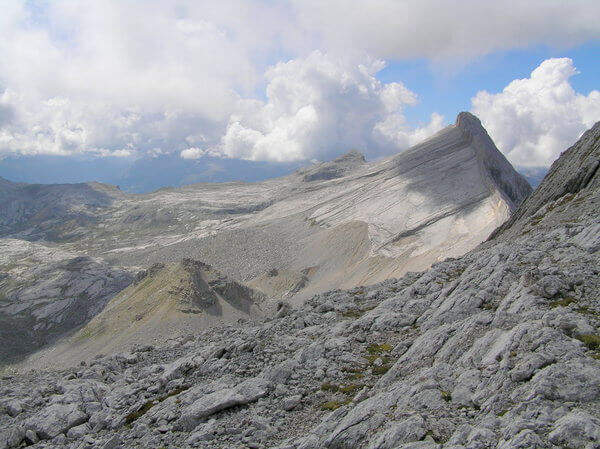
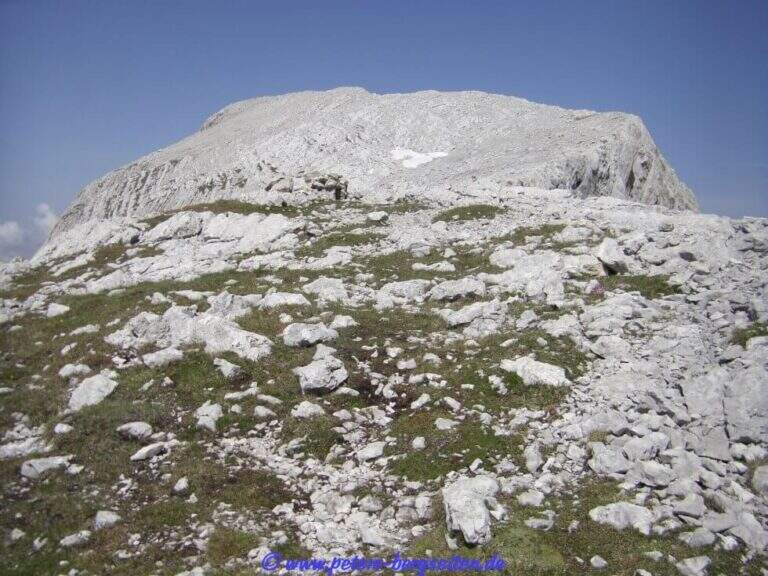
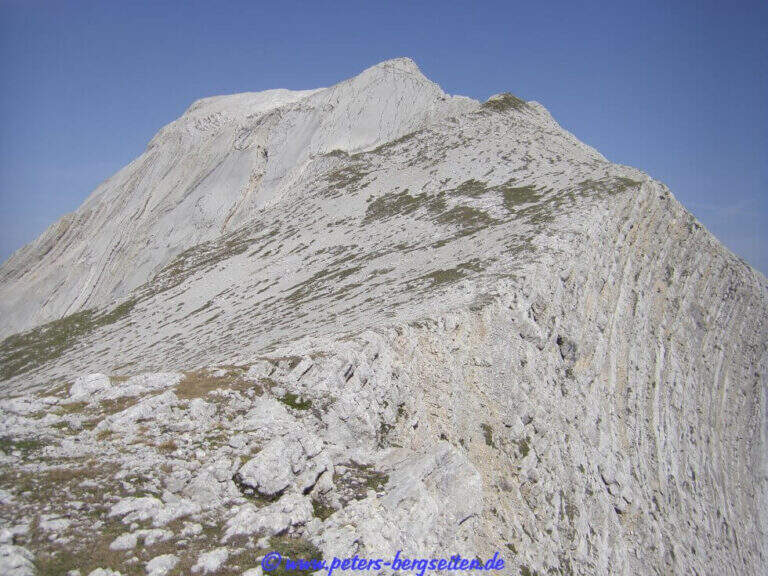
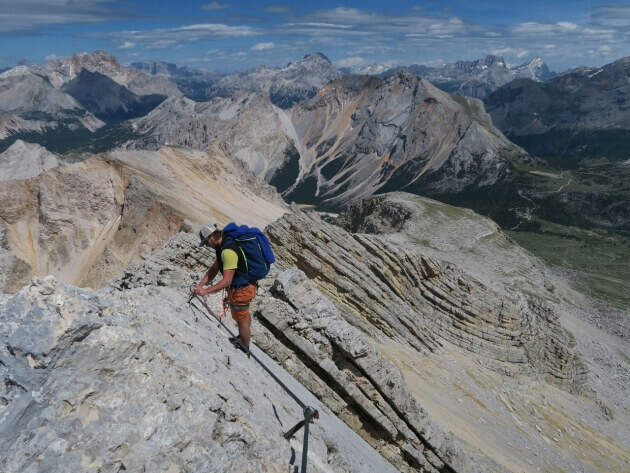
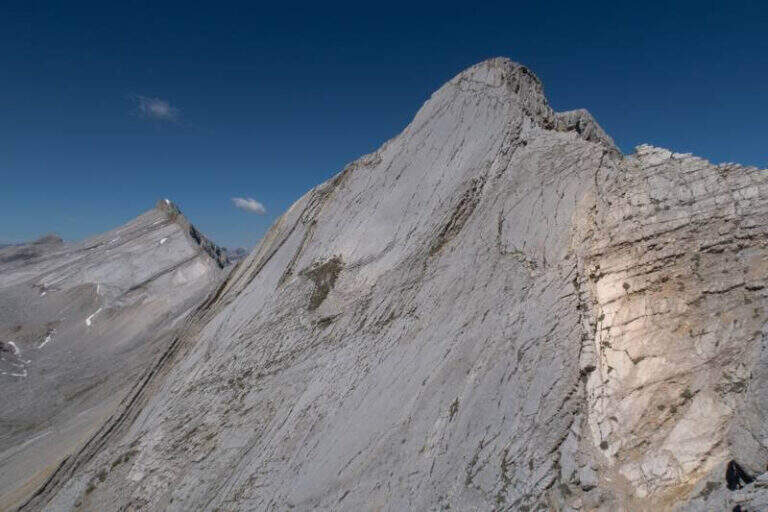
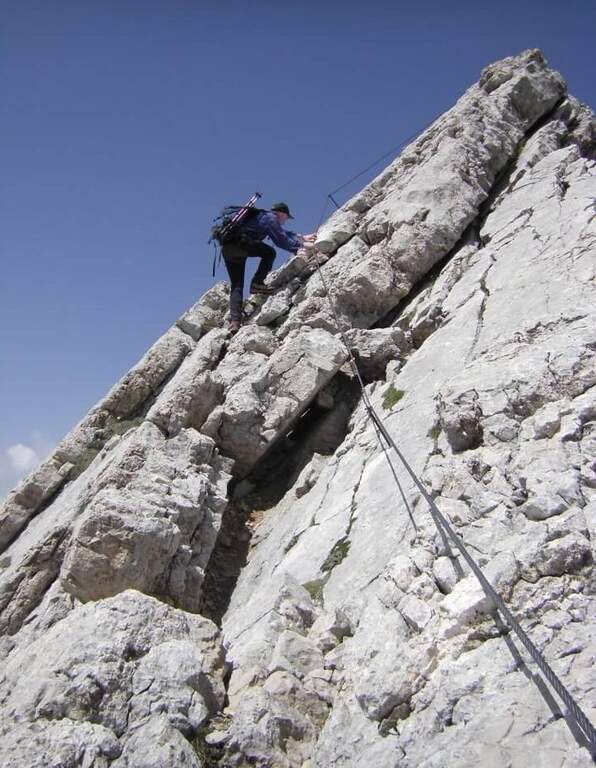
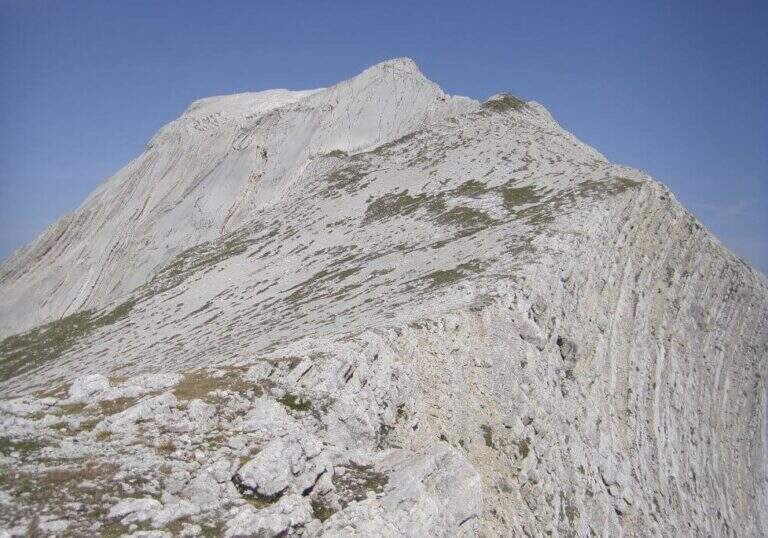
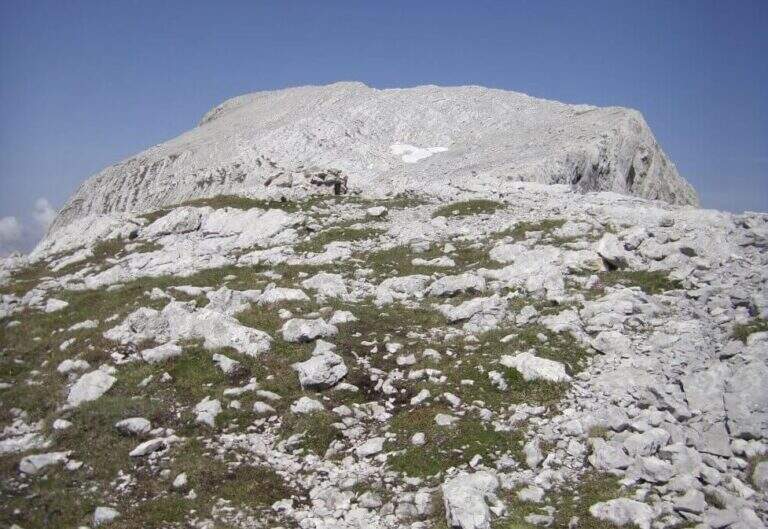
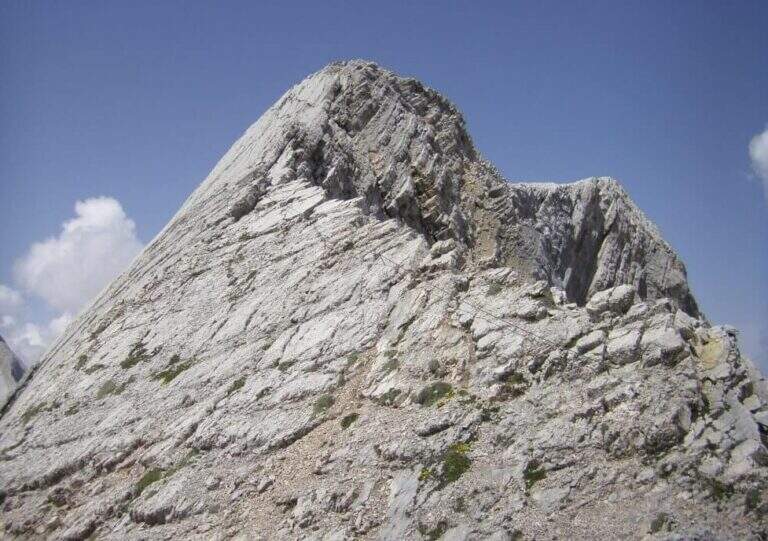
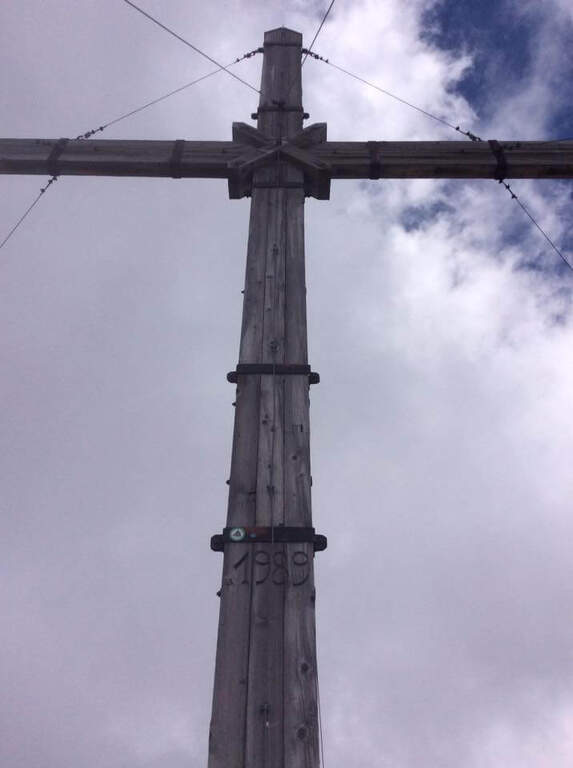
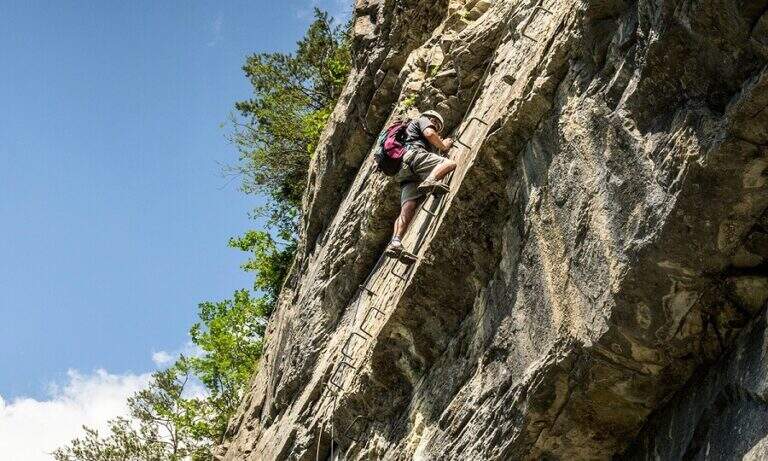
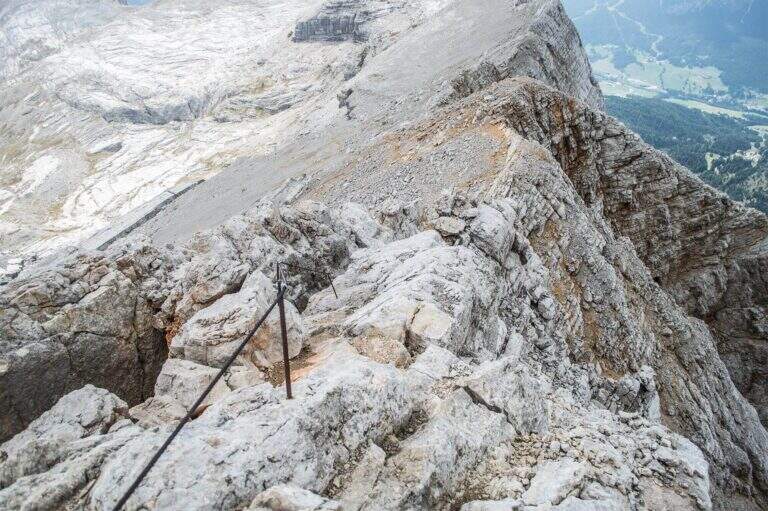
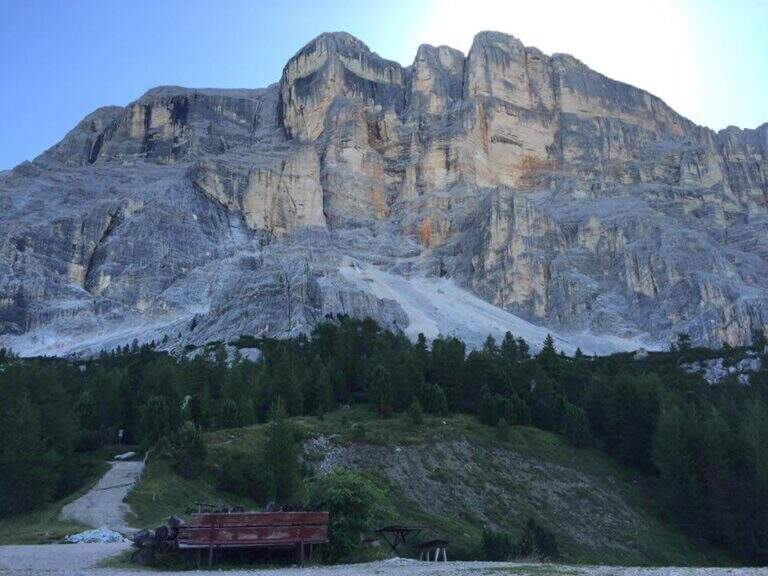
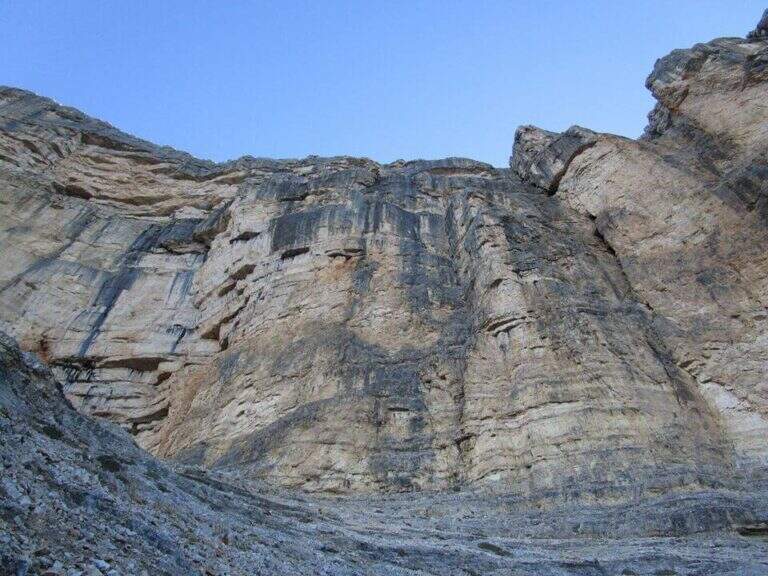
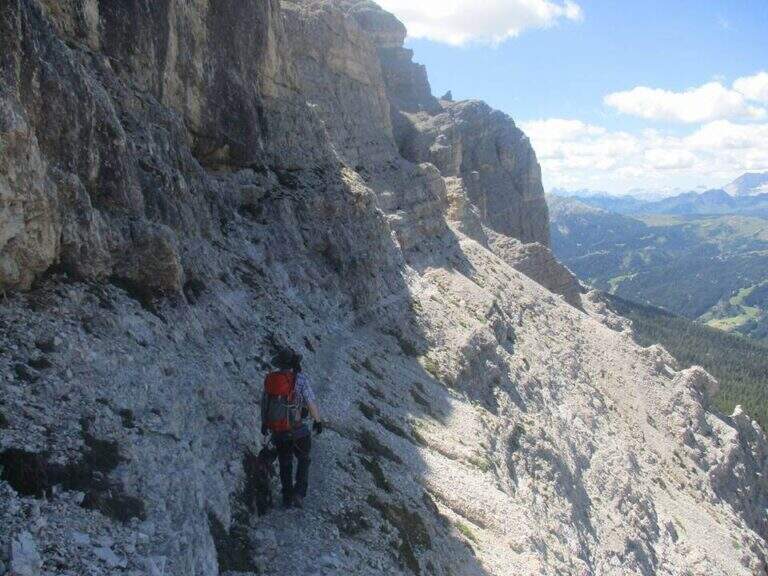
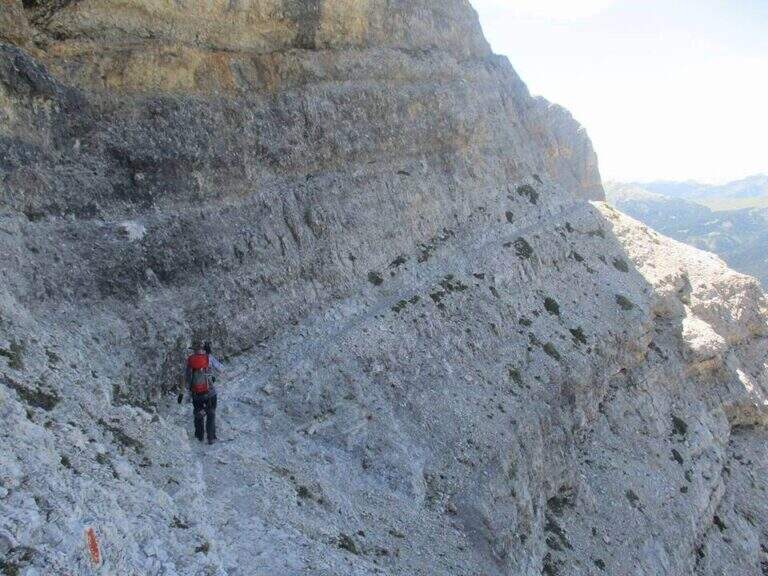
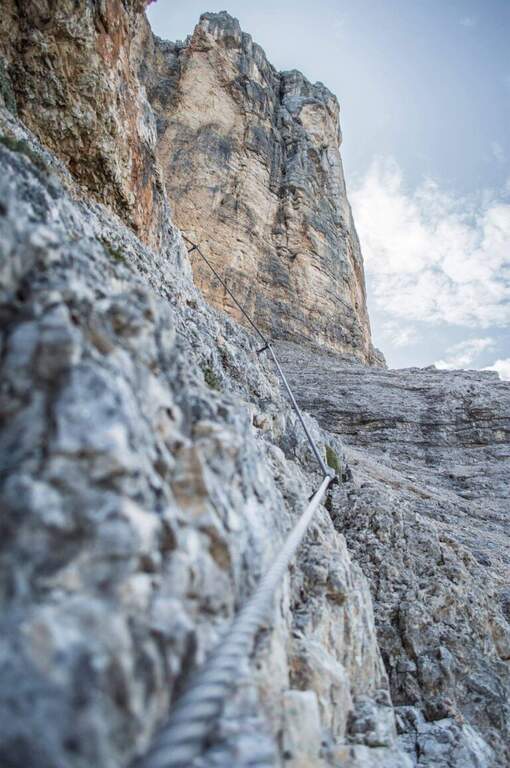
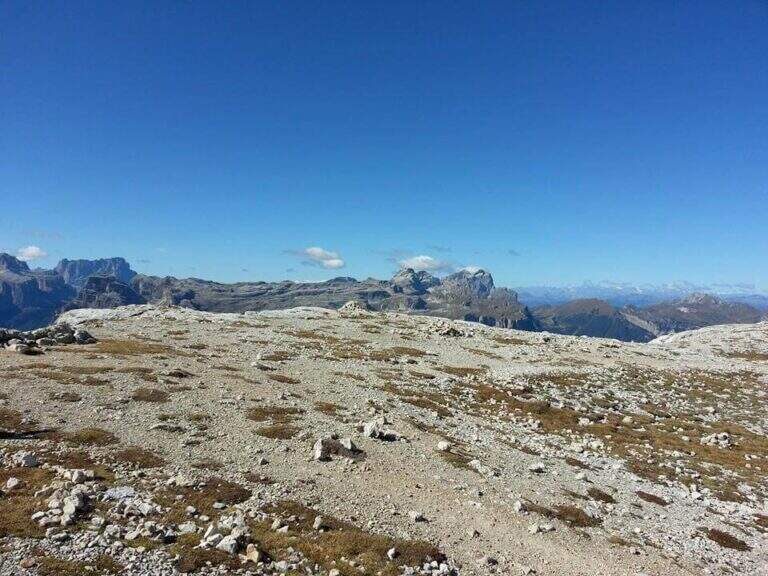
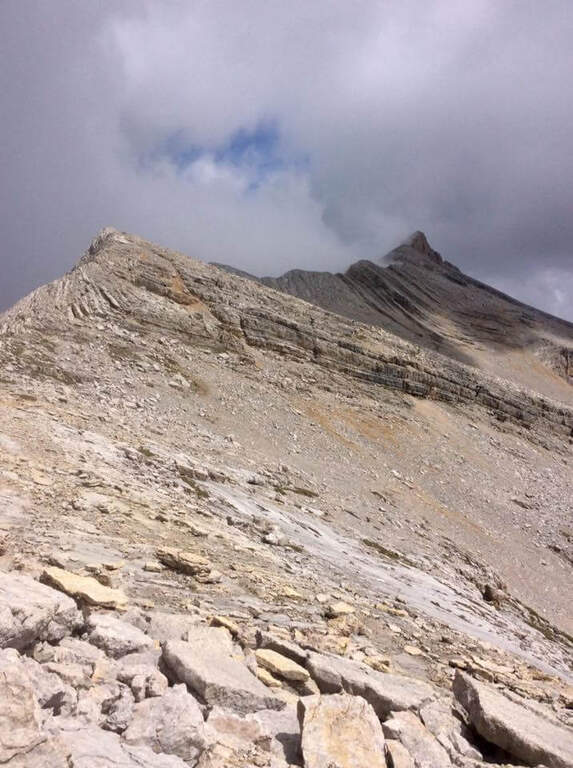
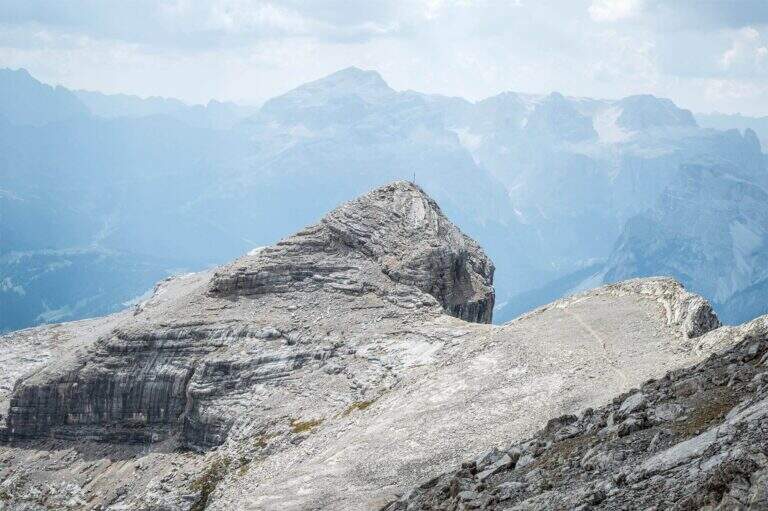
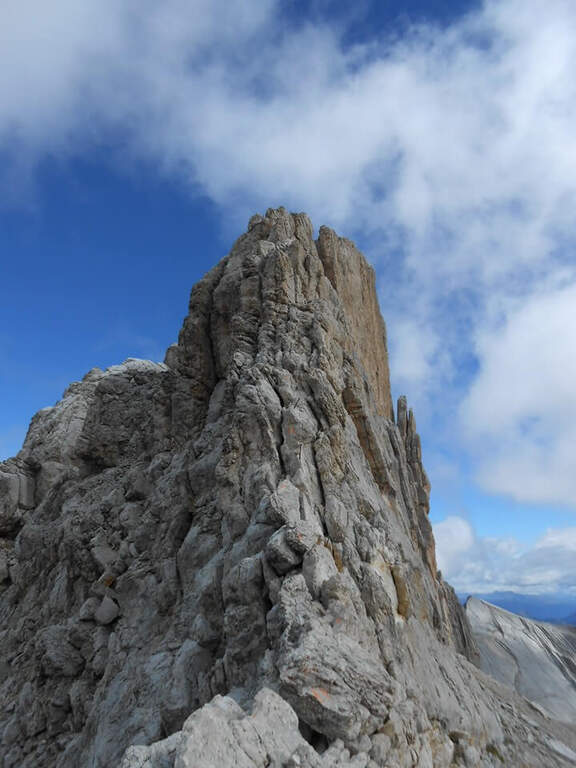
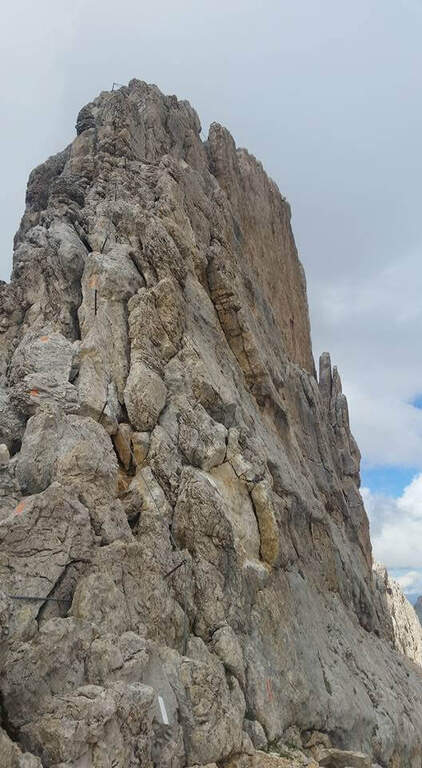
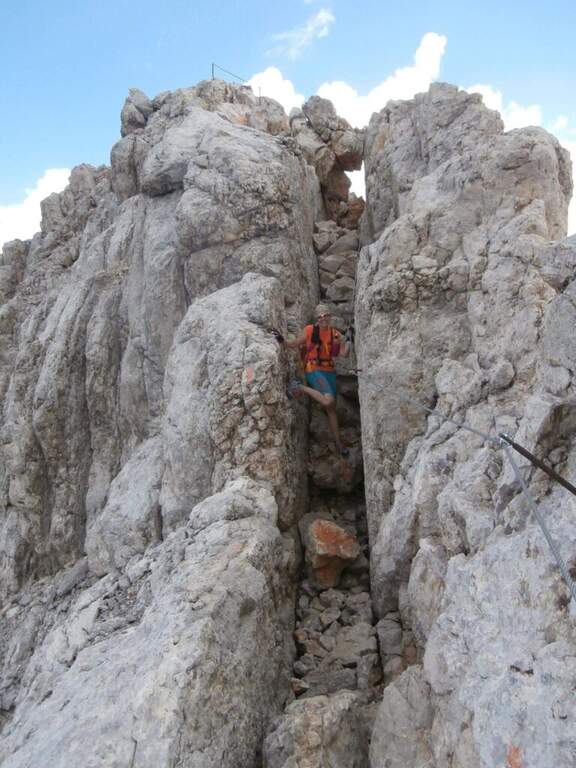
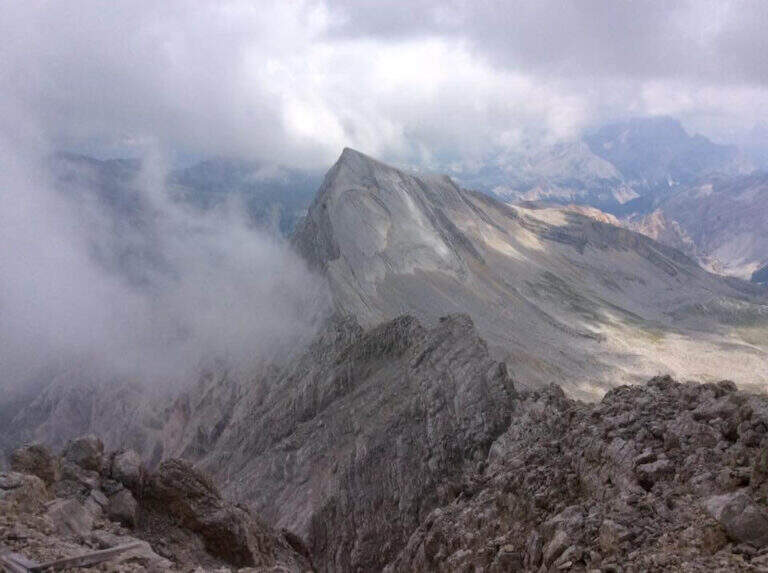
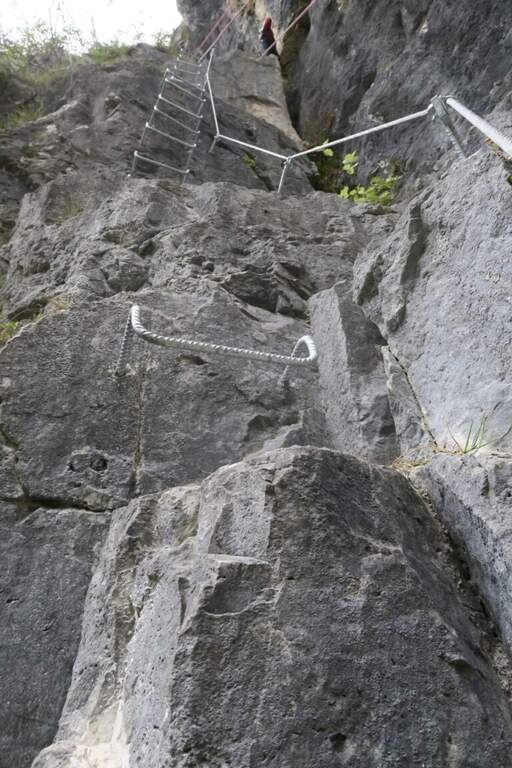
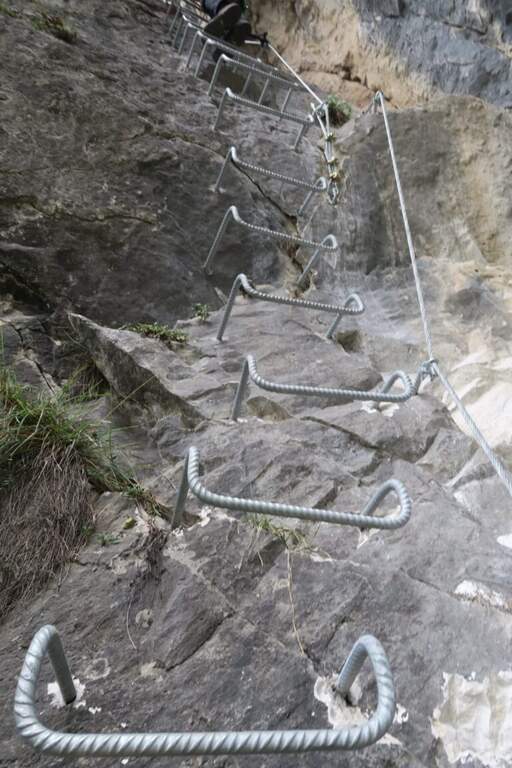
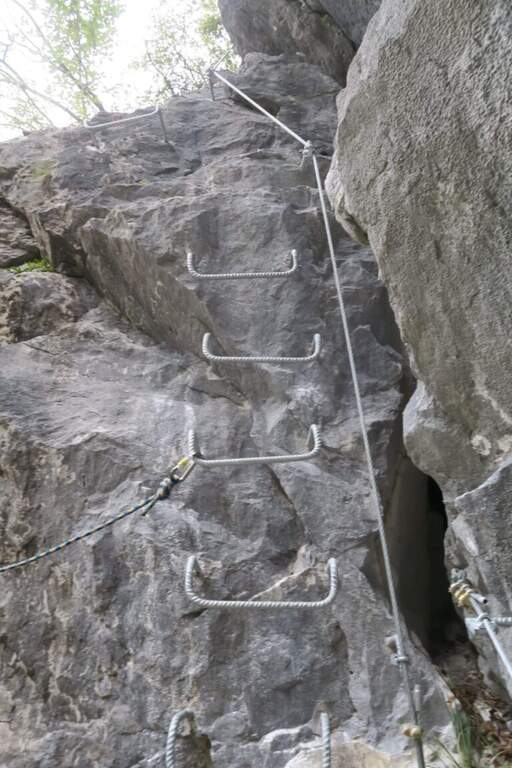
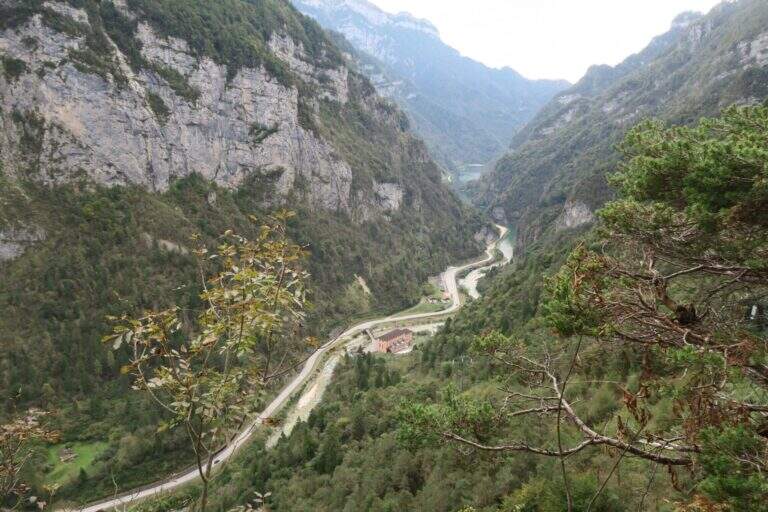
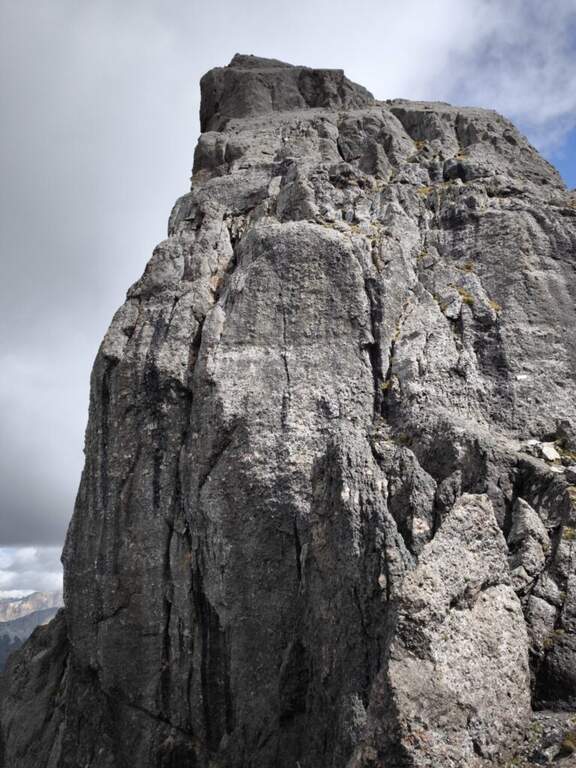
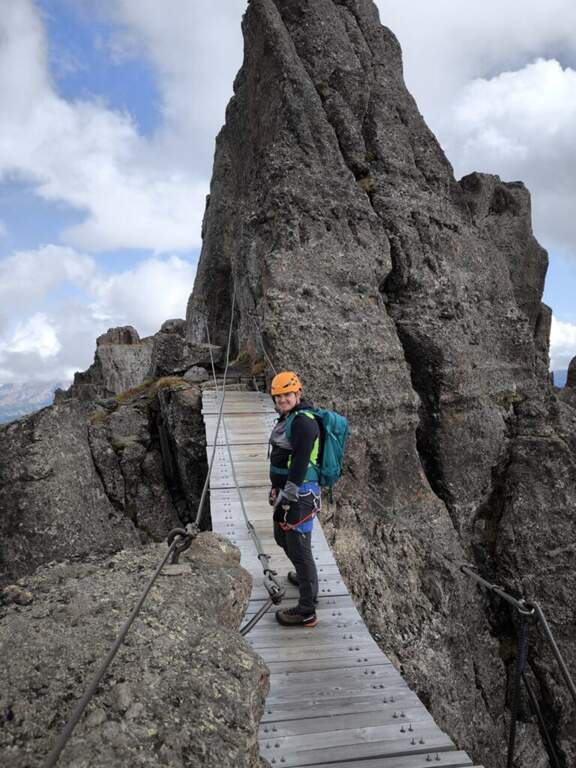
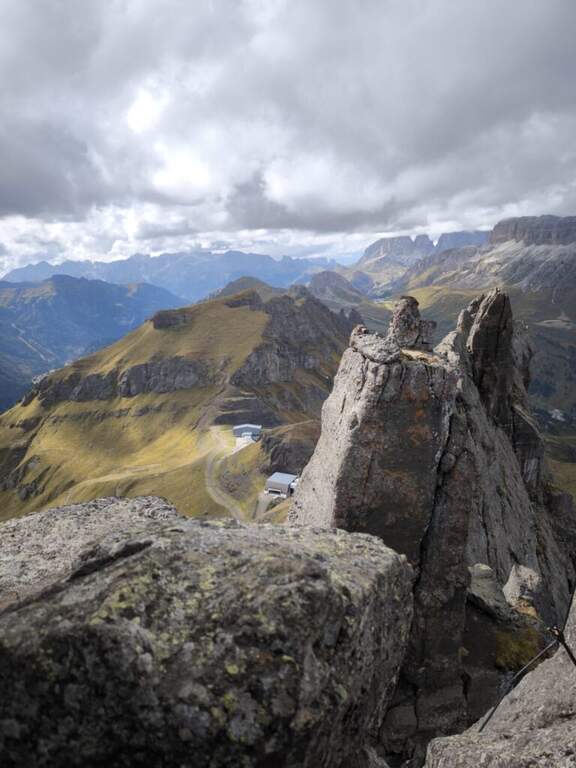
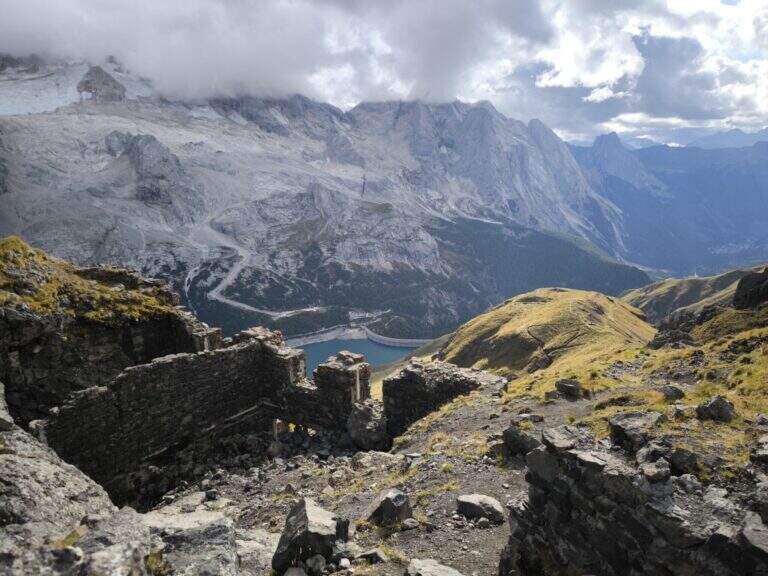
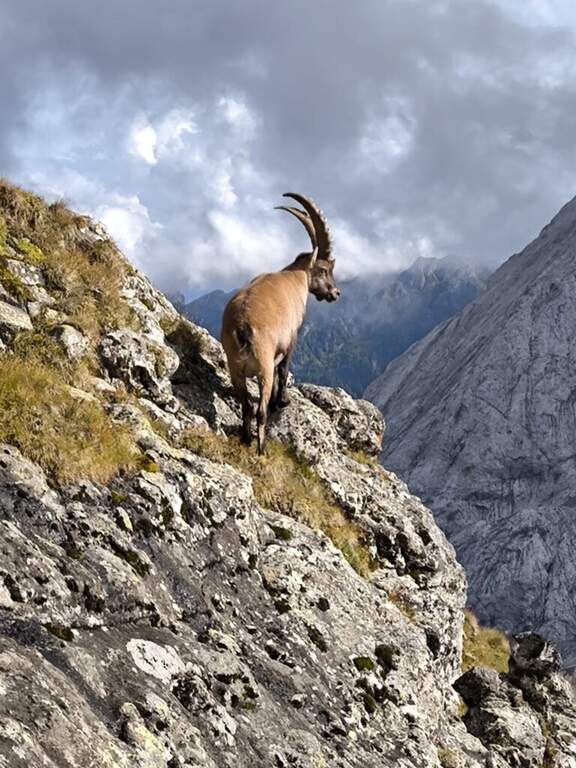
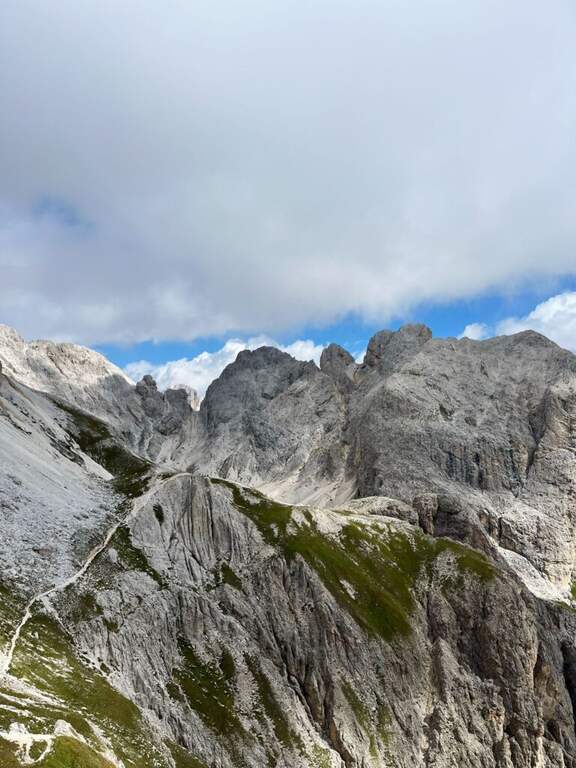
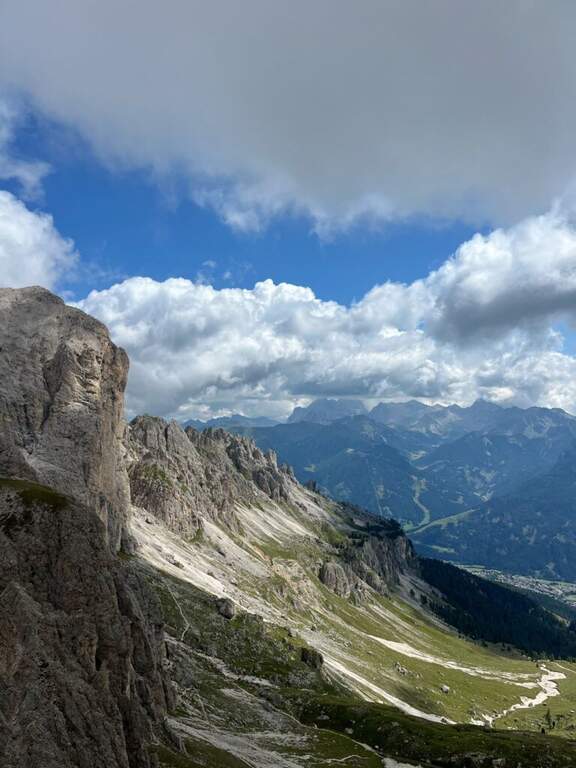
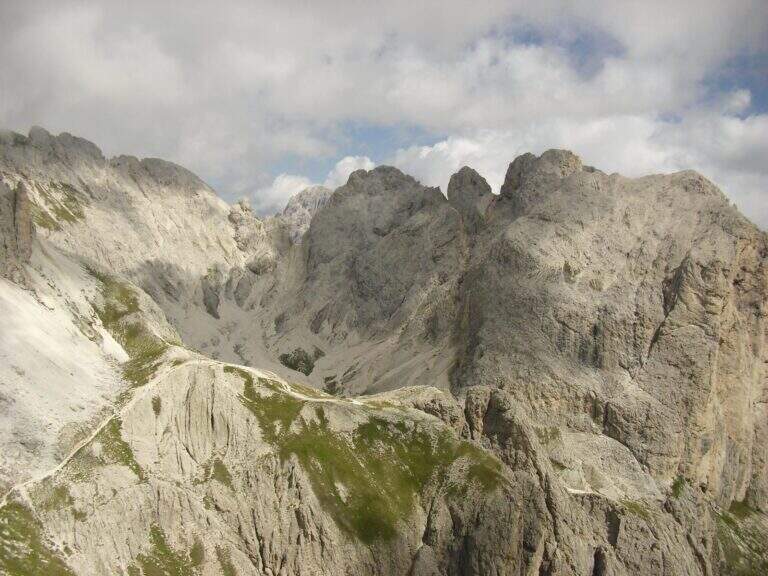
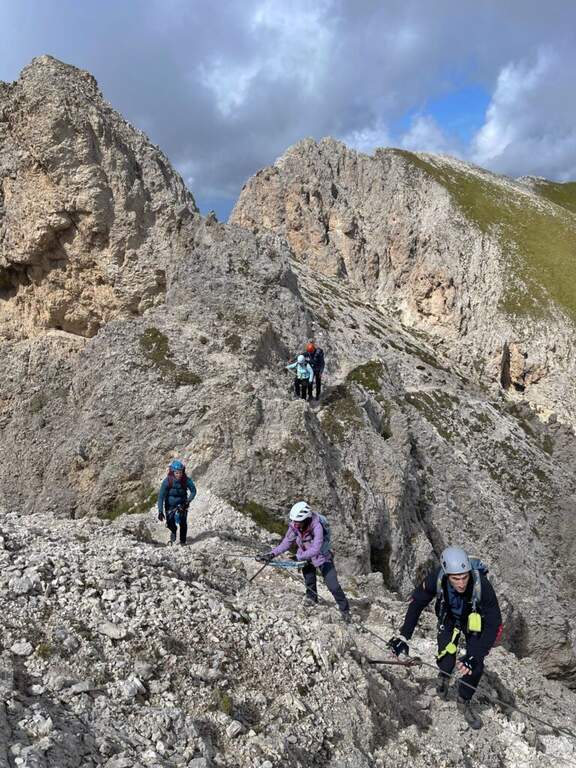
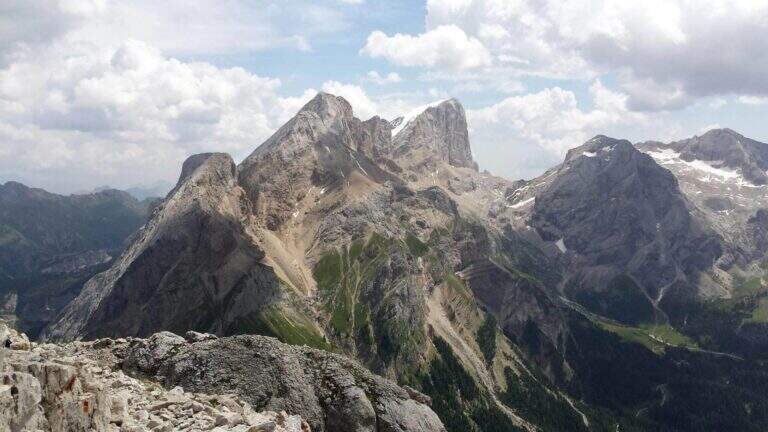
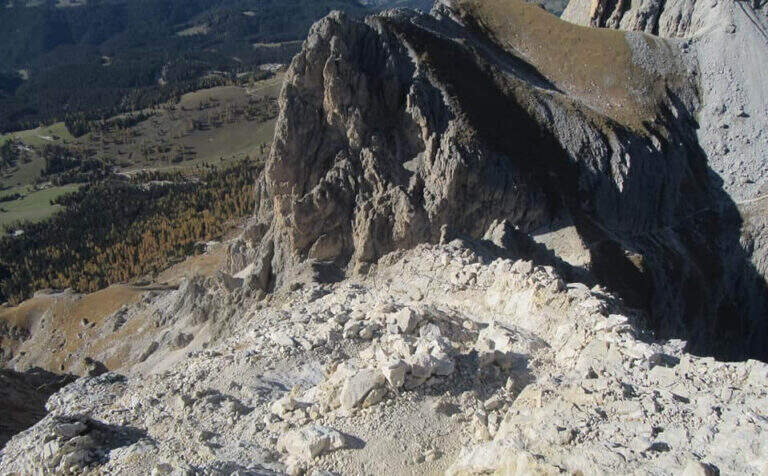
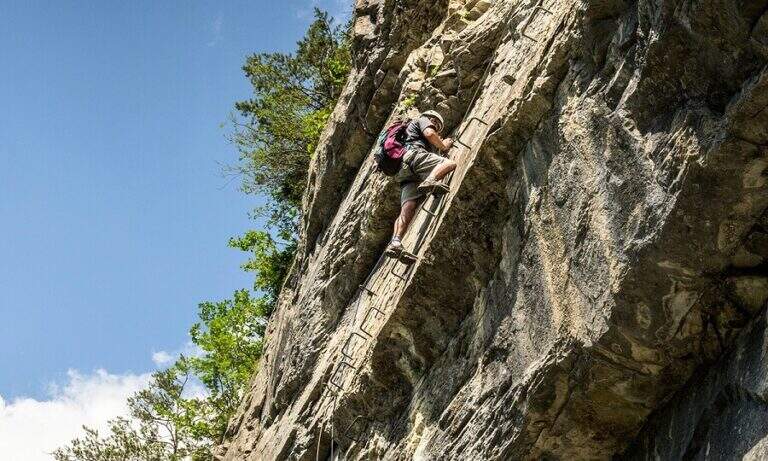
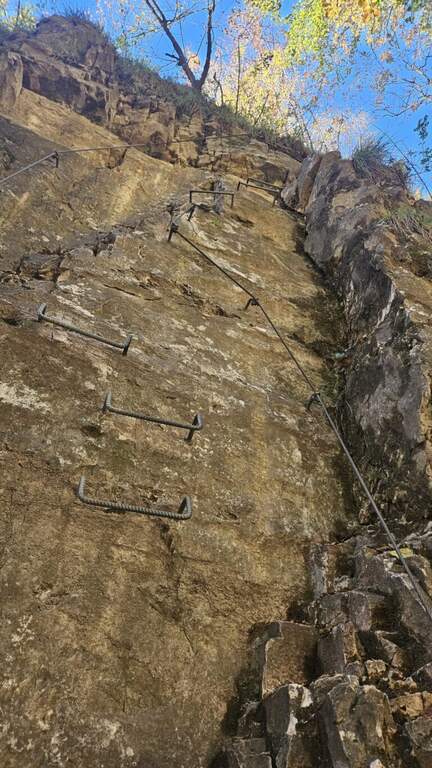
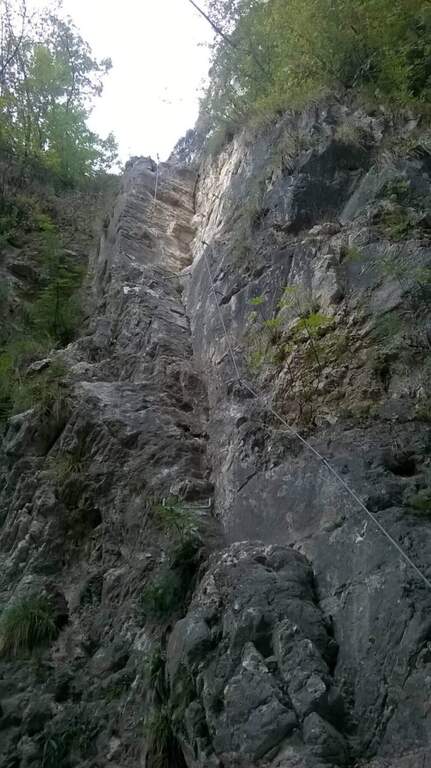
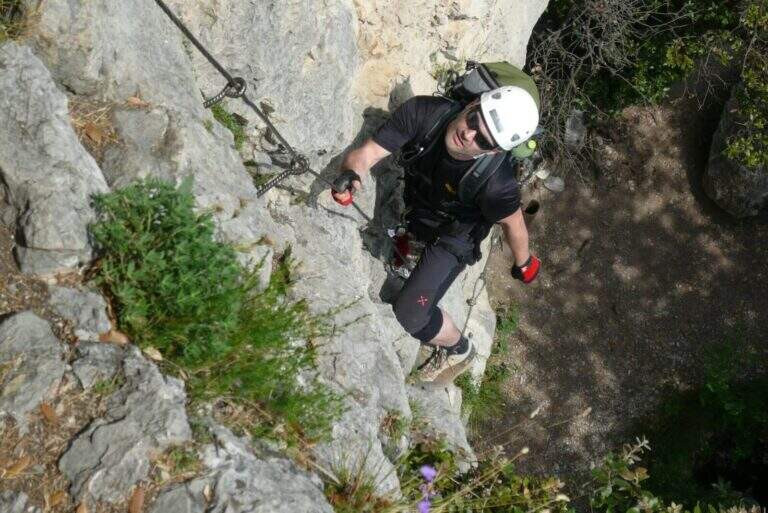
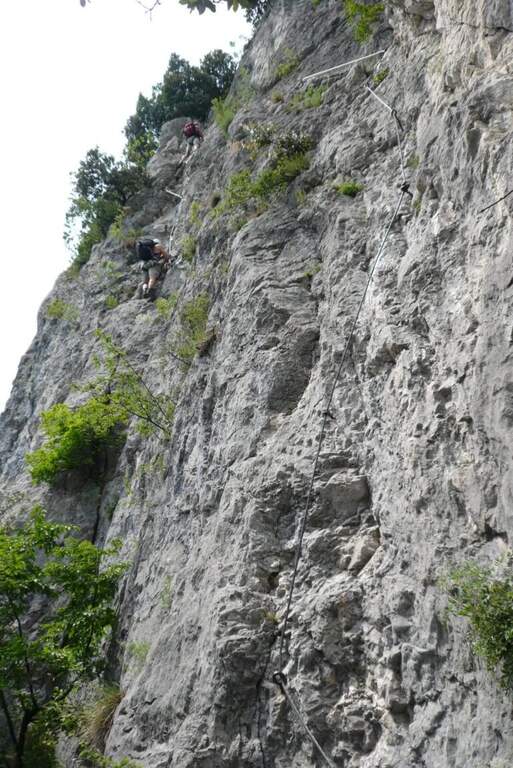
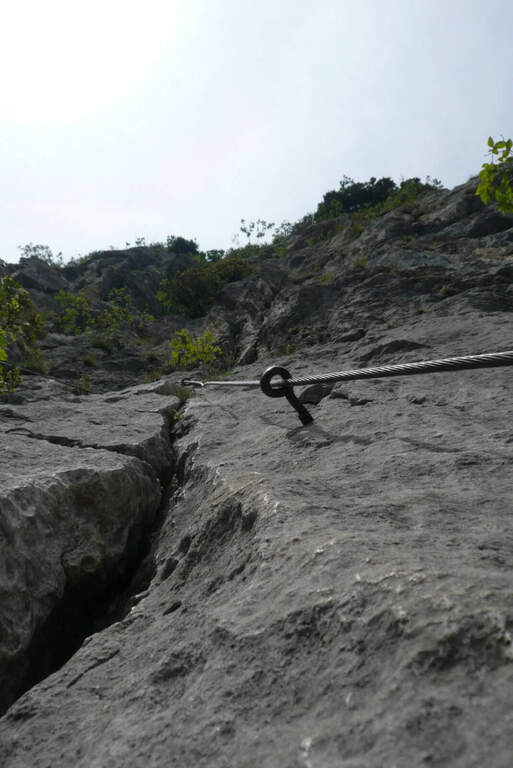
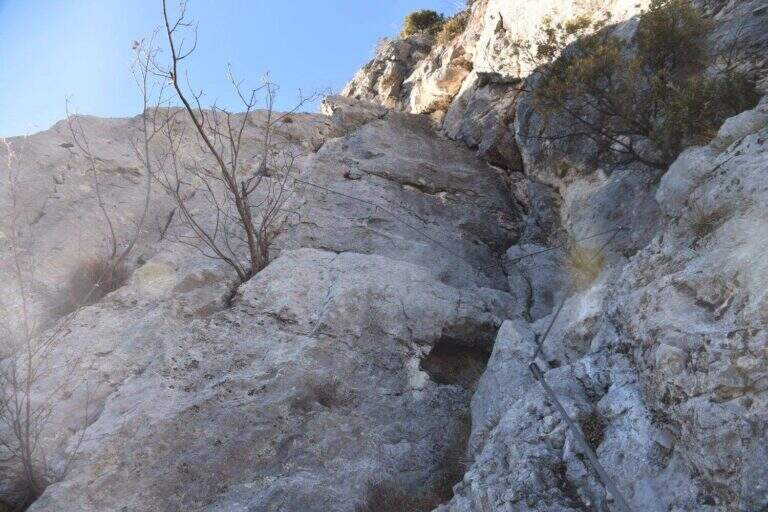
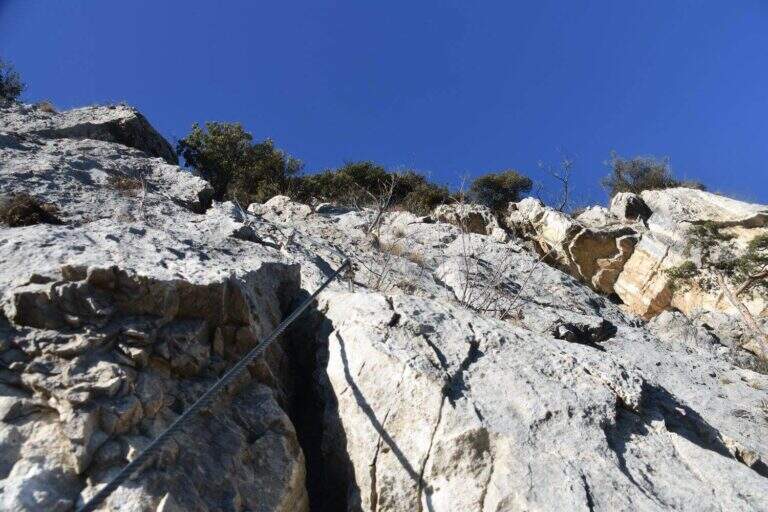
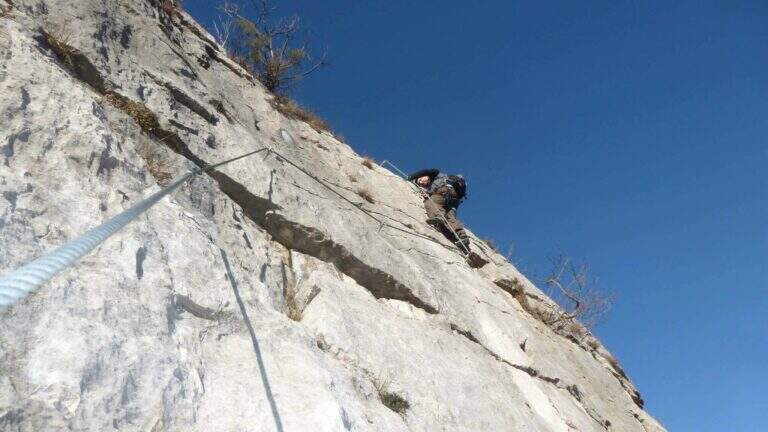
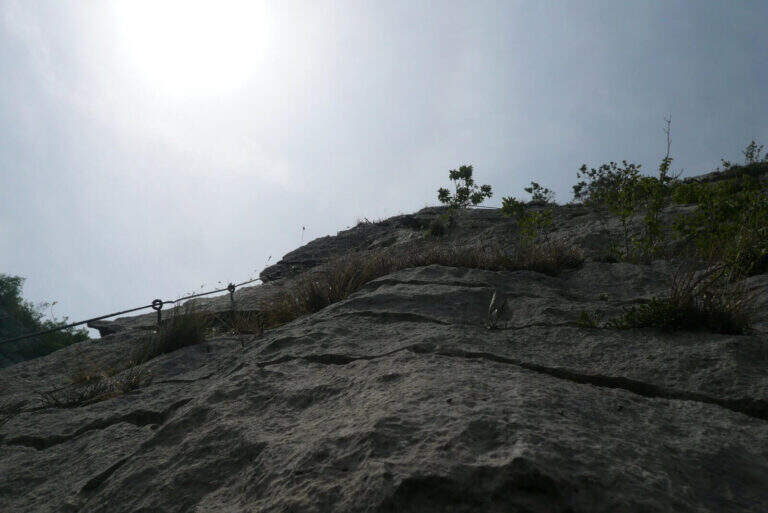
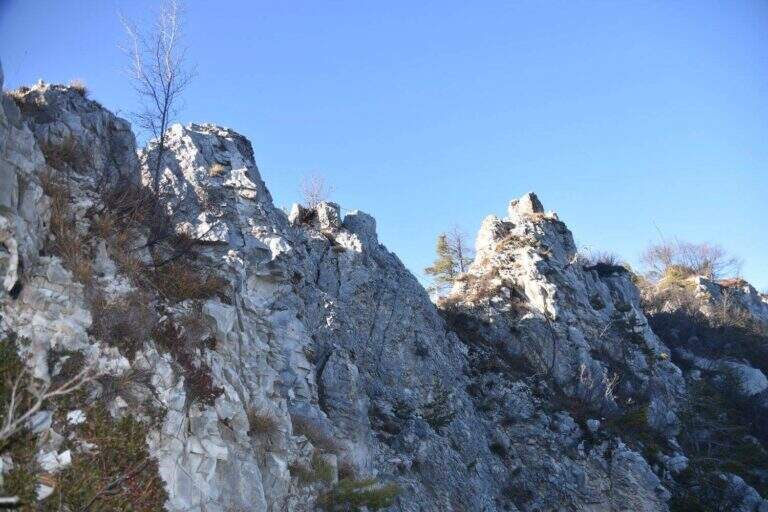
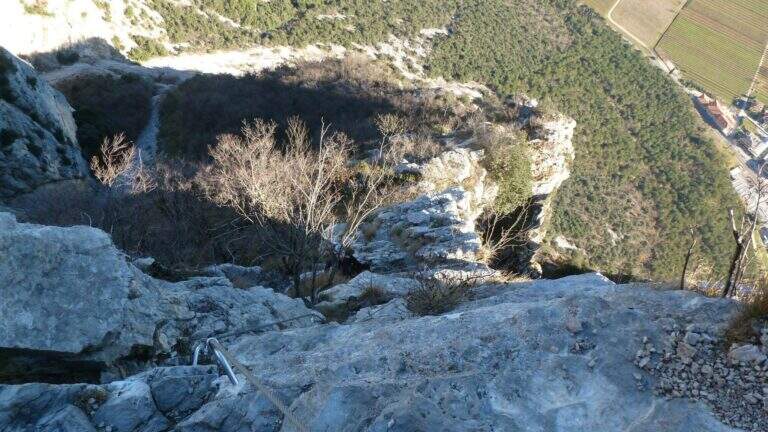
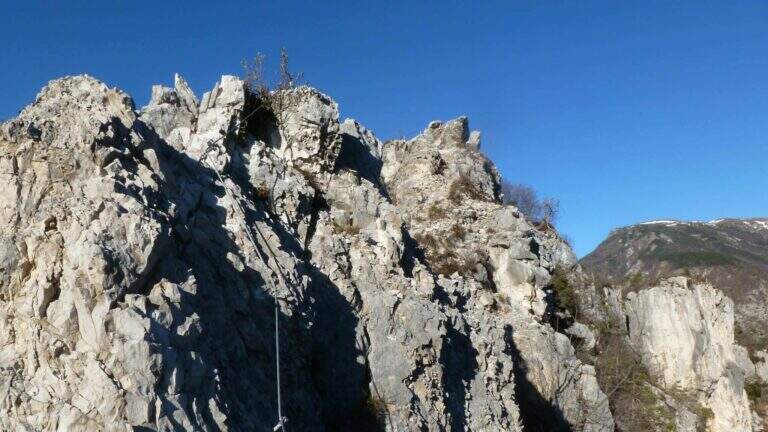
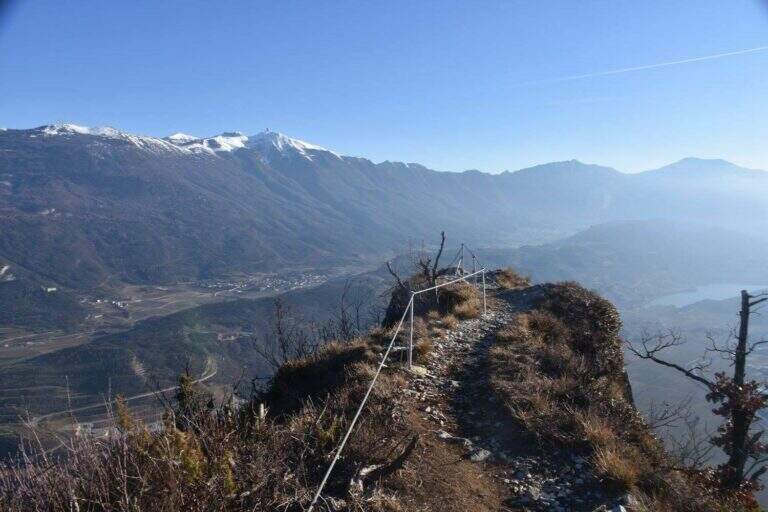
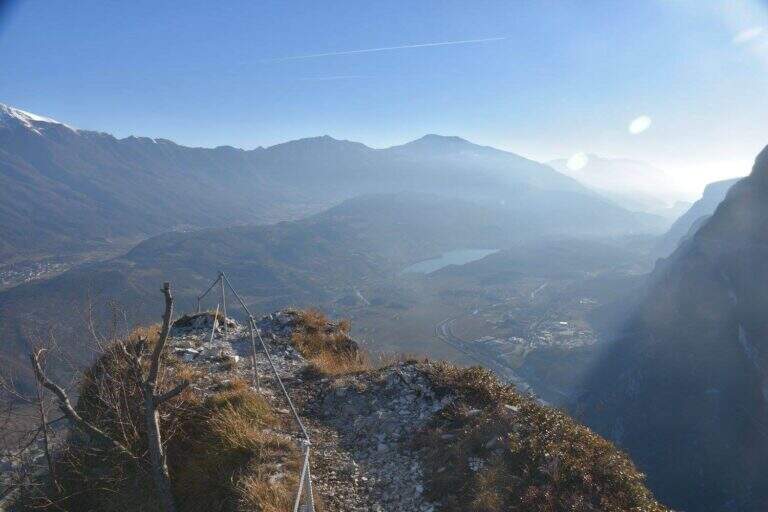
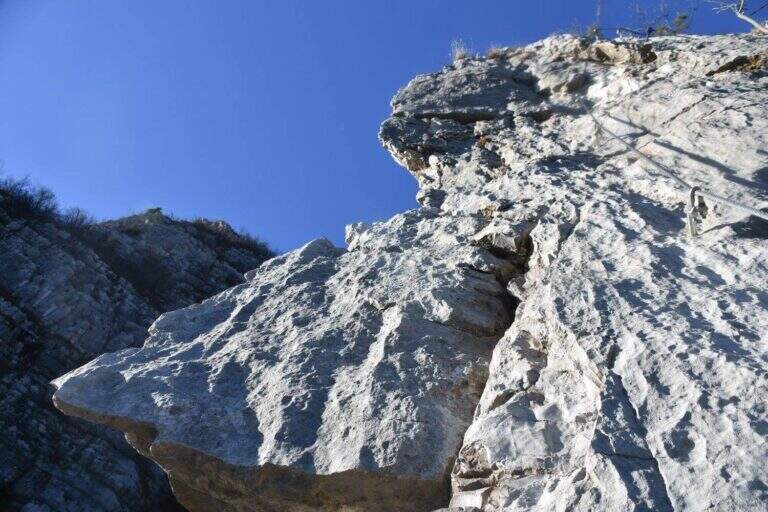
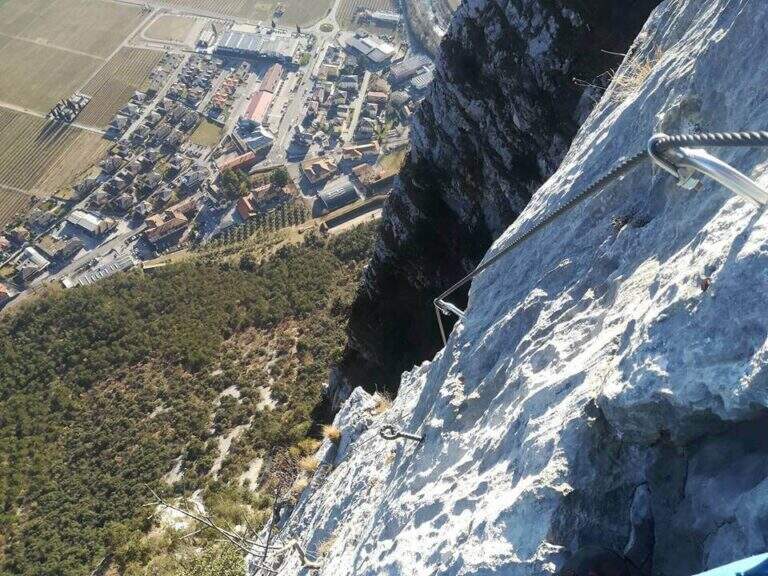
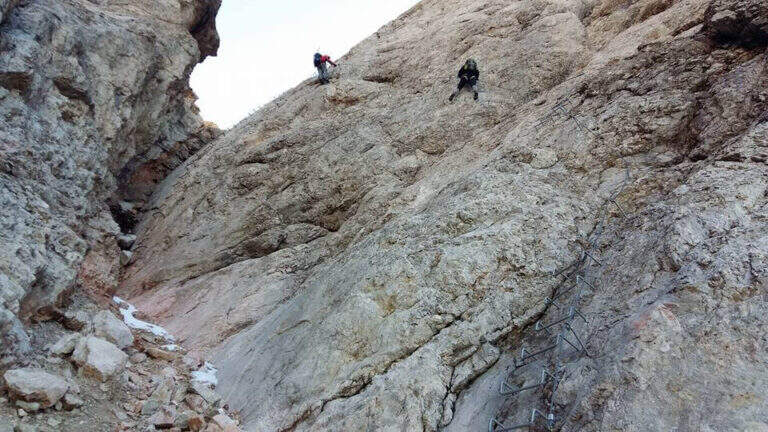
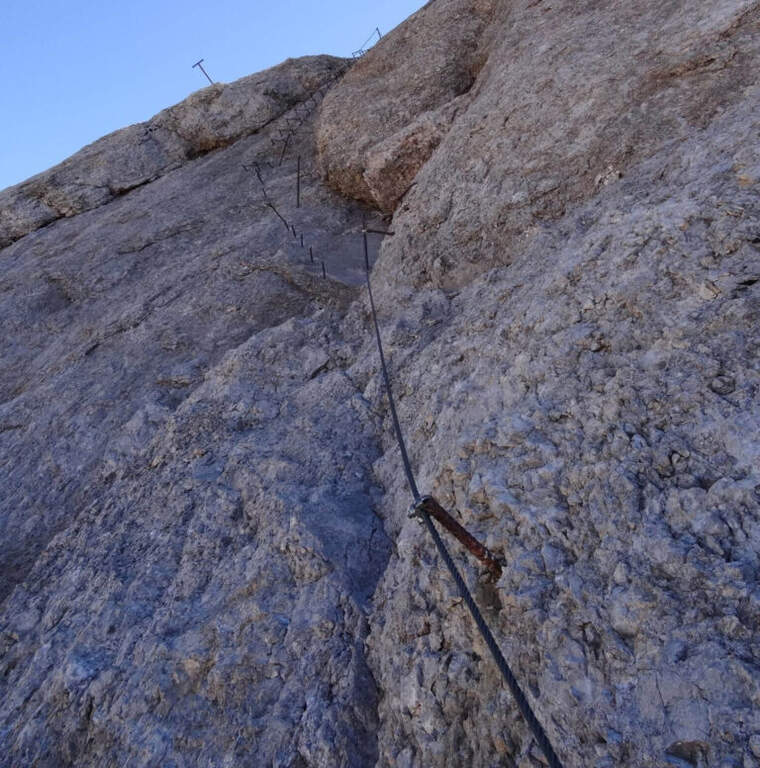
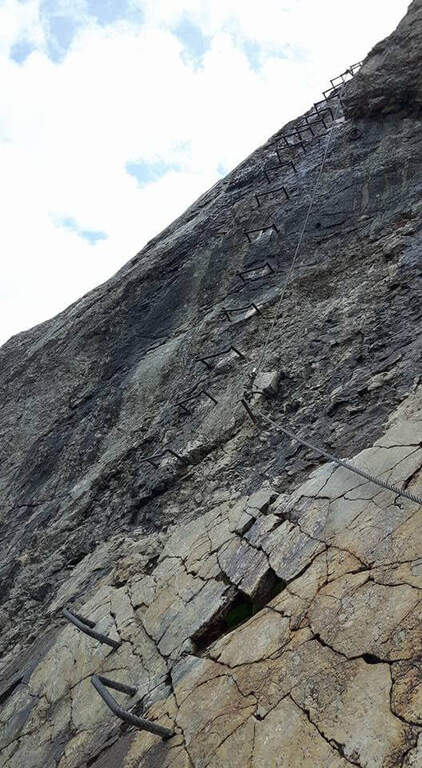
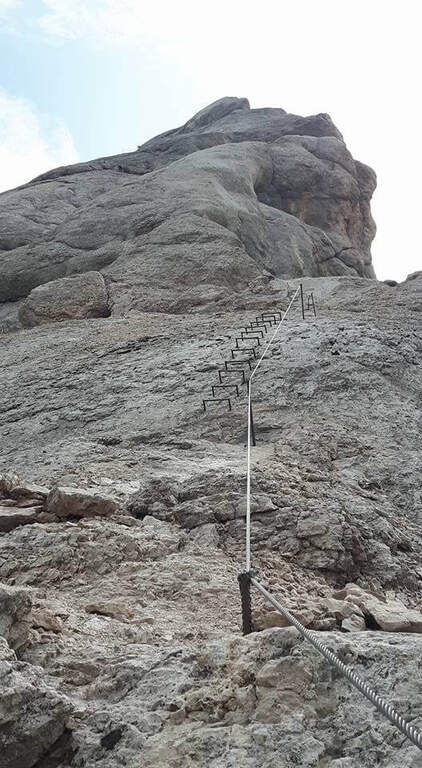
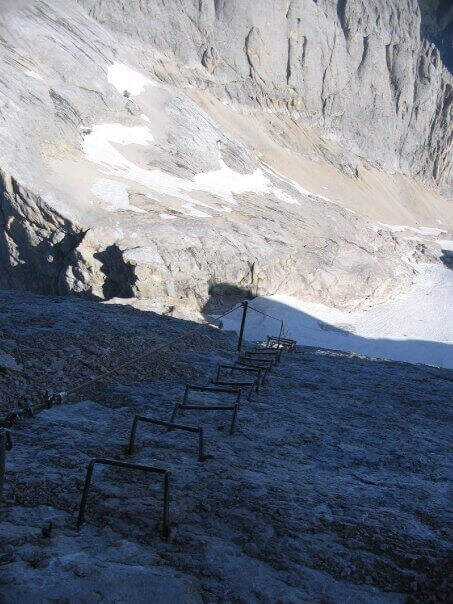
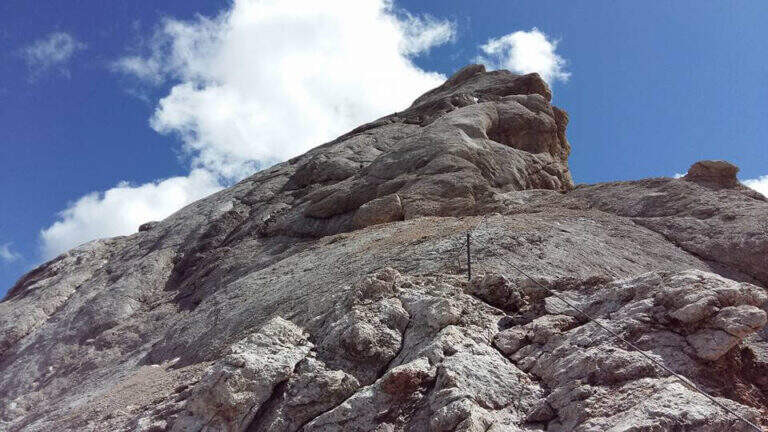
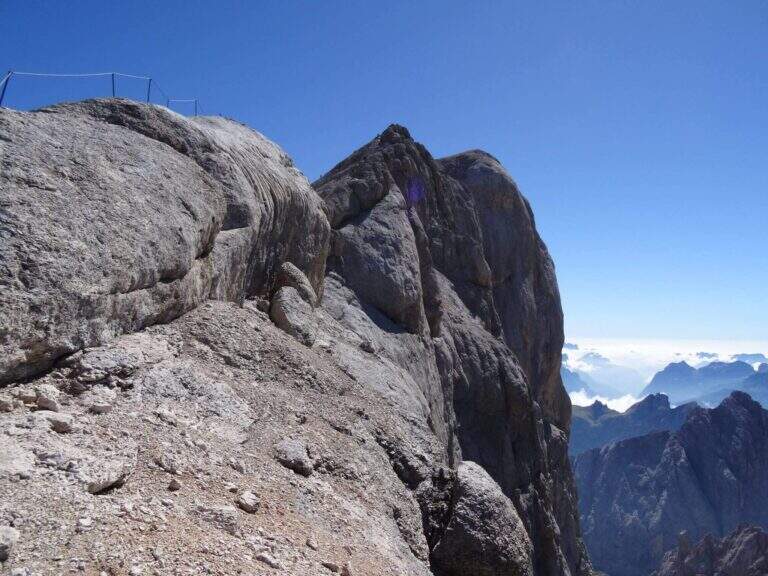
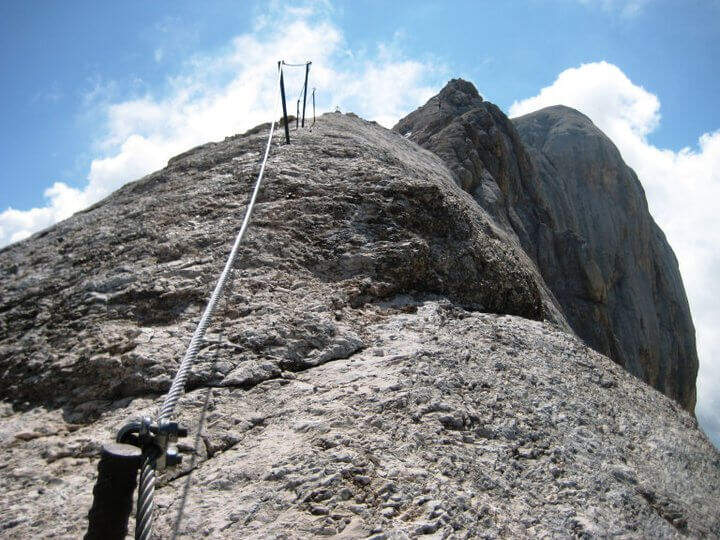
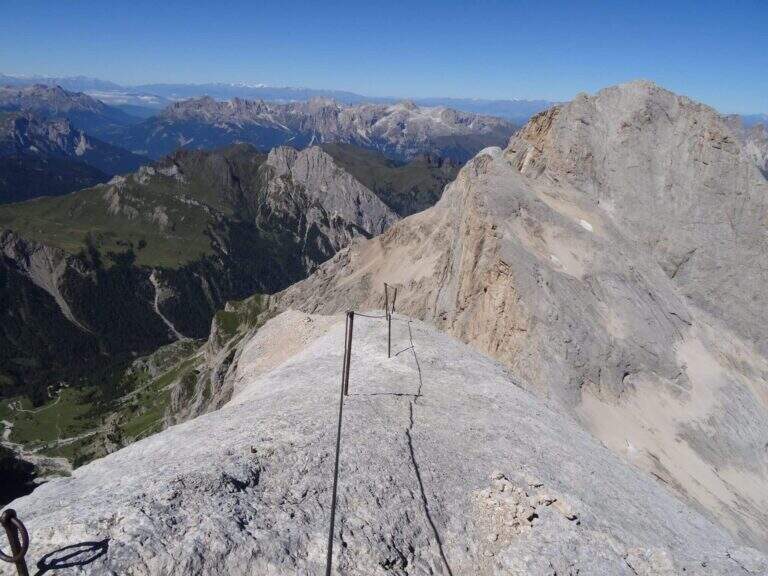
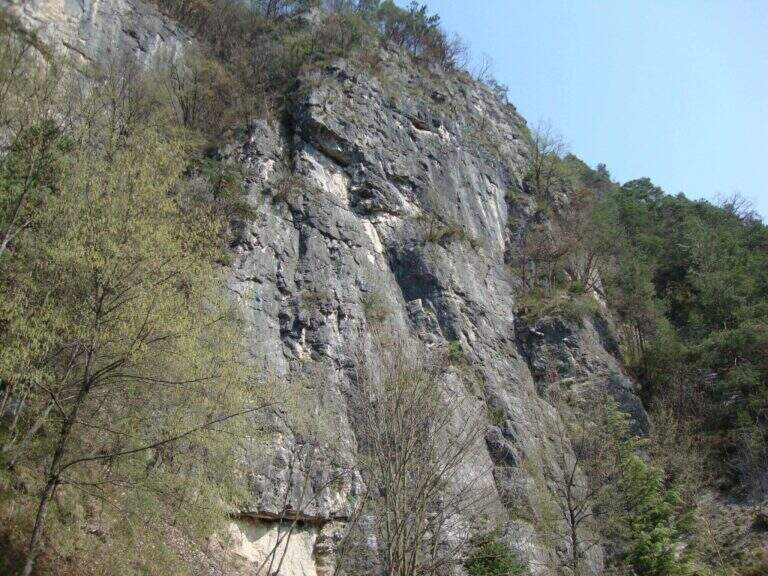
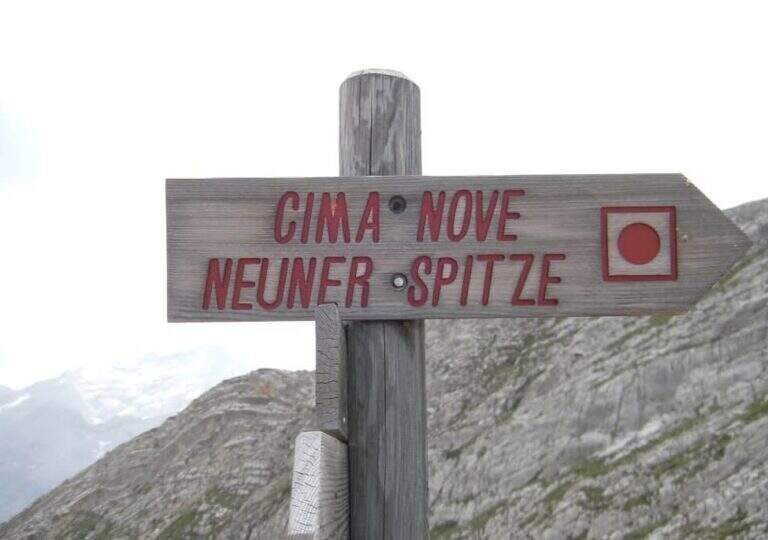
    La Ferrata in Cima Nove (Sasso delle Nove) is a short stretch equipped — the last 100 meters before the cross — placed at the end of a long and challenging high mountain route in Val Badia. Technically it is not prohibitive, but runs along a wall very exposed, especially on the southern placconata characteristic, in a solitary and austere environment with some exposed and unprotected passages. The summit touches the 2968 m.

    ▲Approach

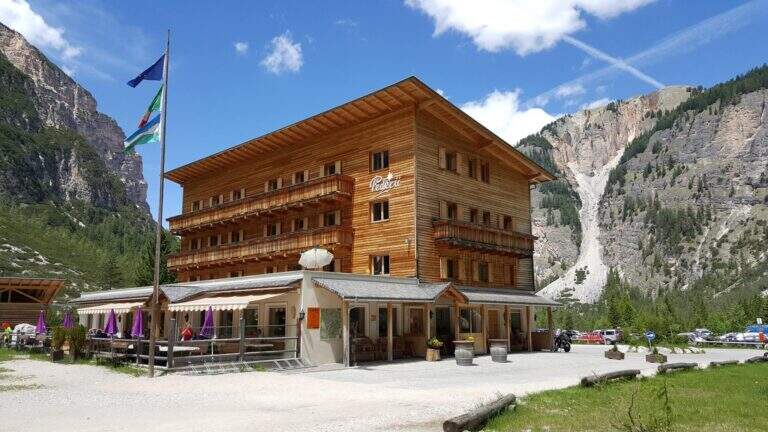
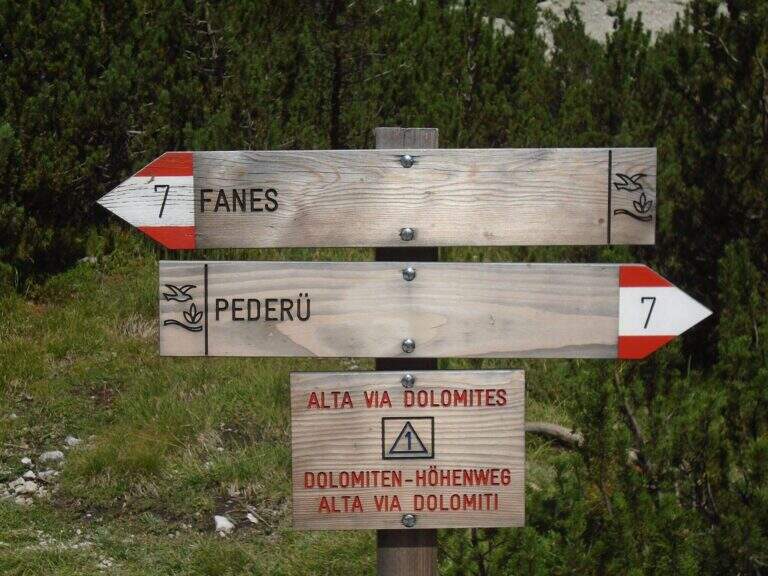
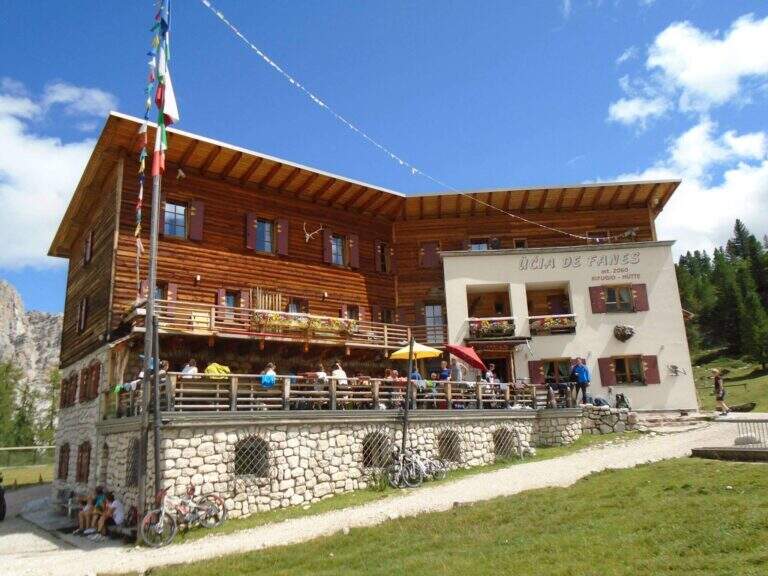
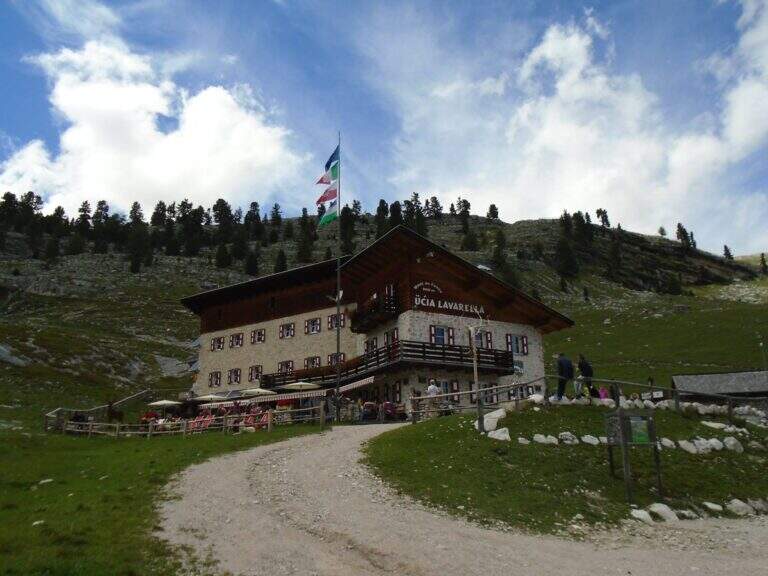
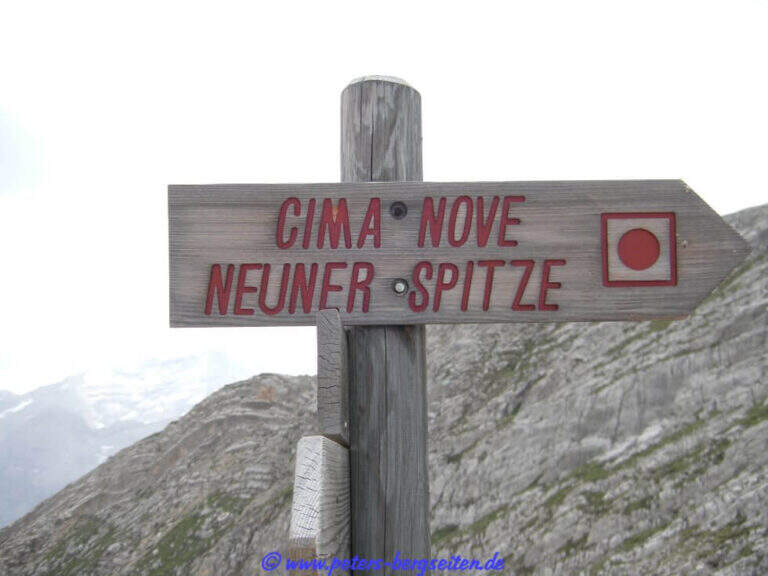
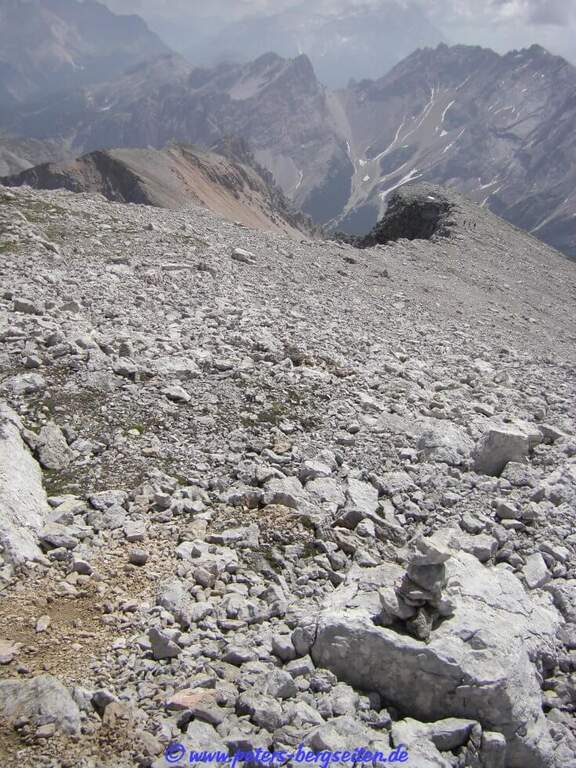
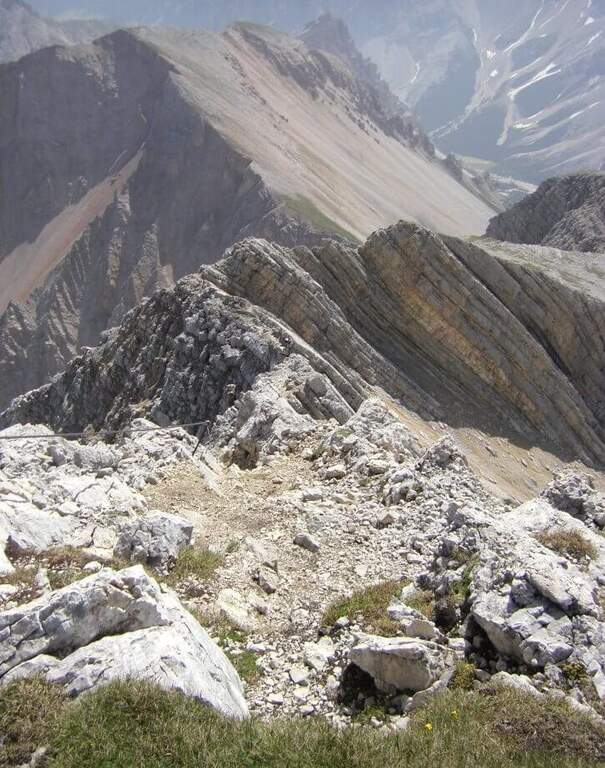
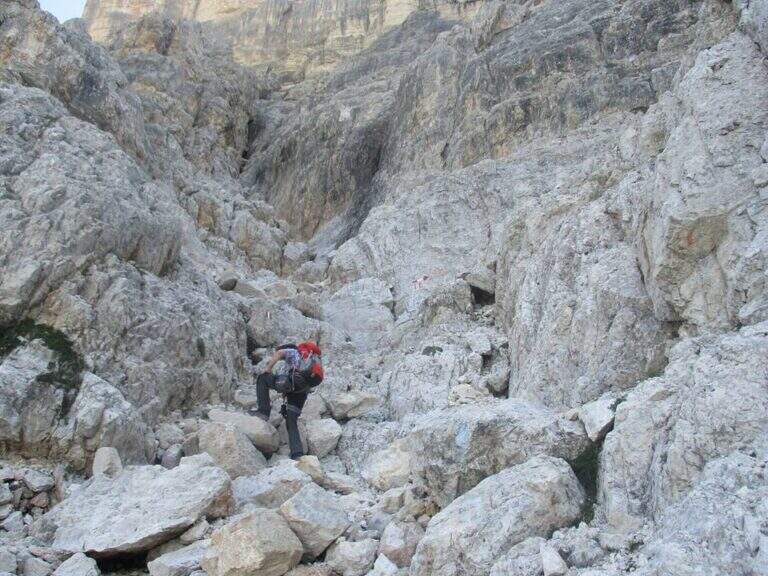
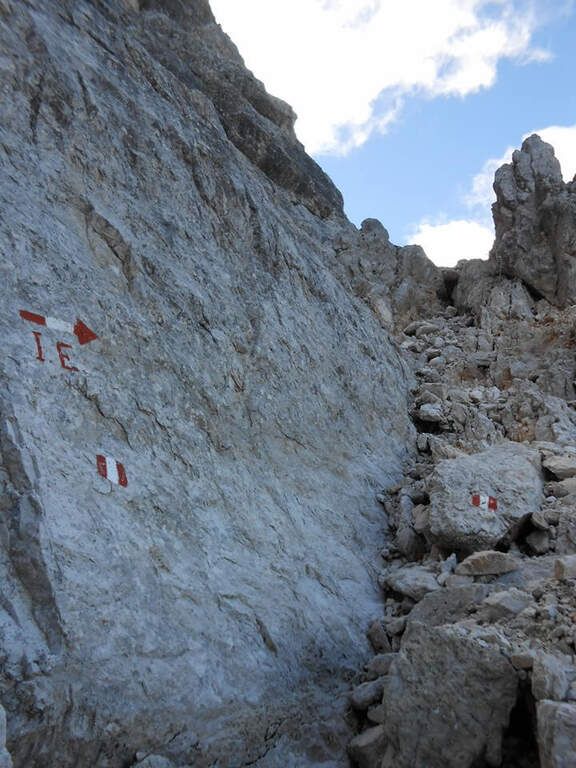
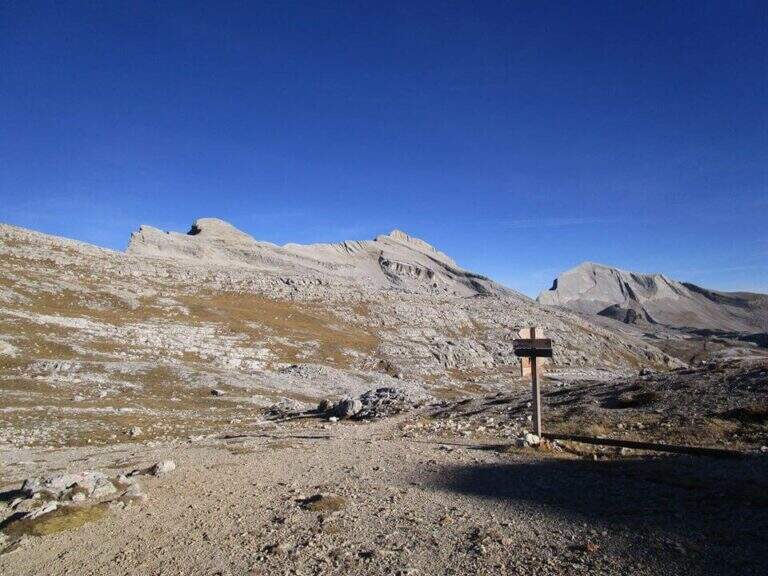
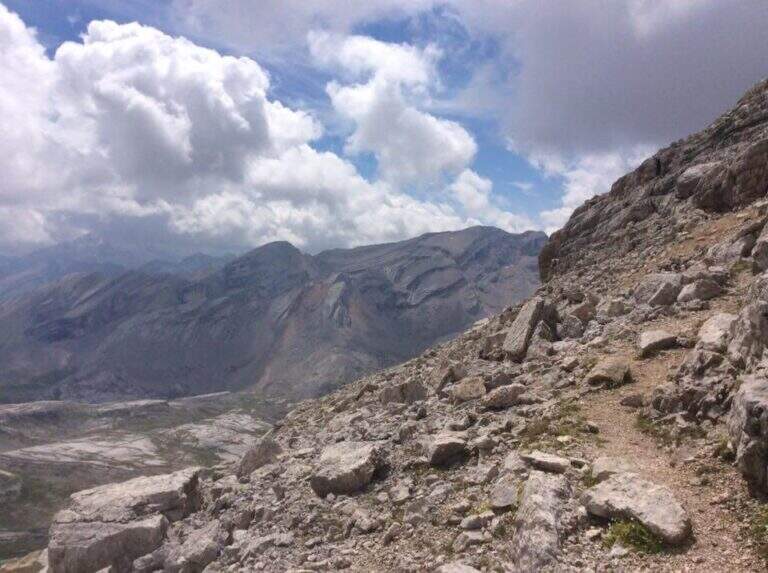
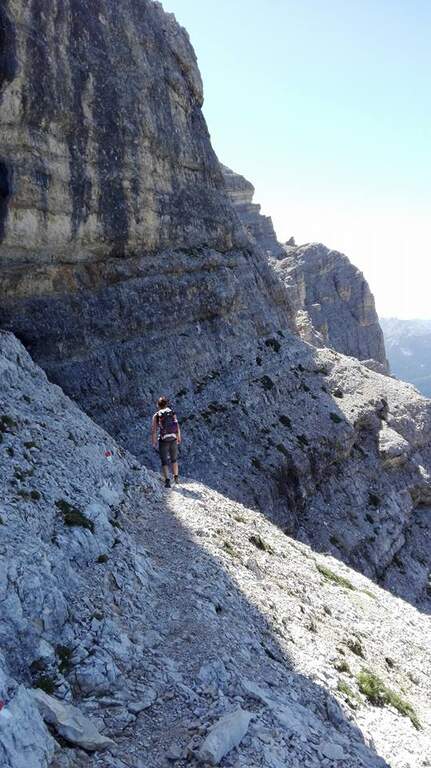
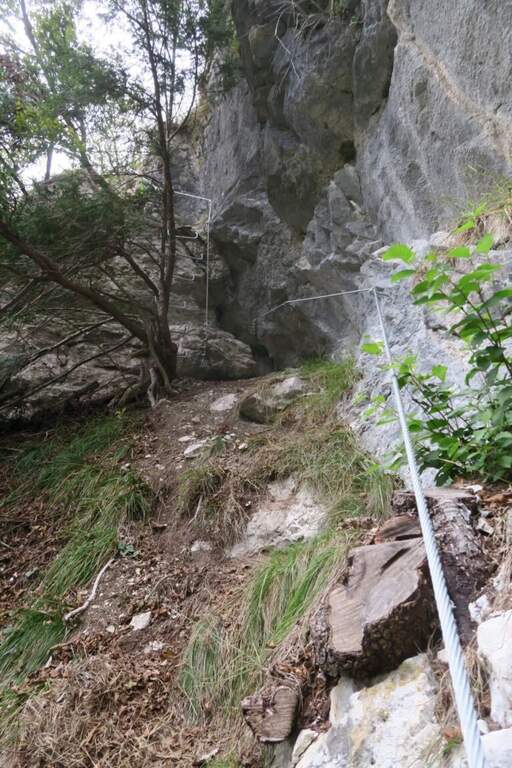
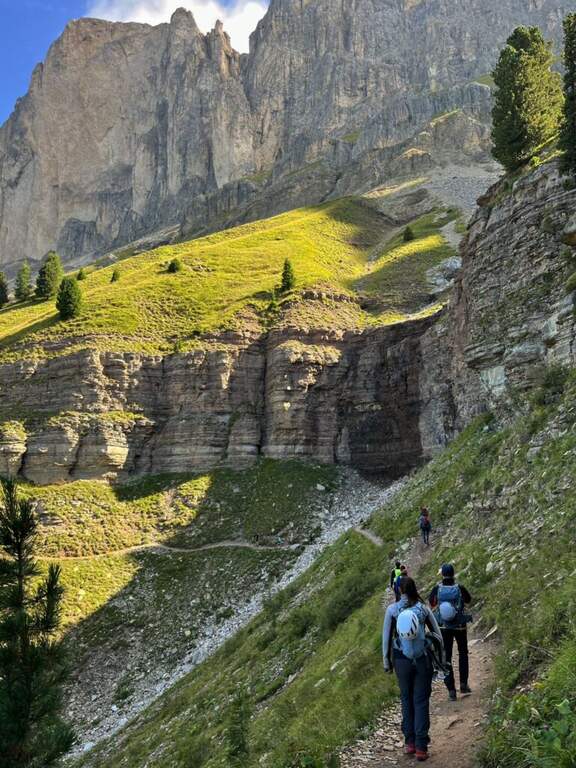
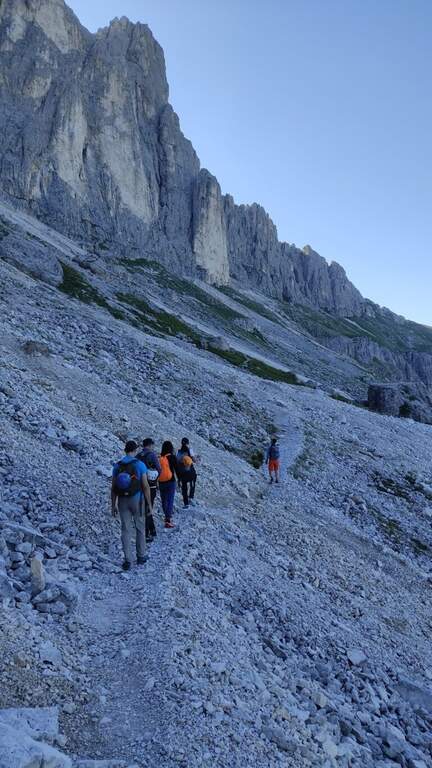
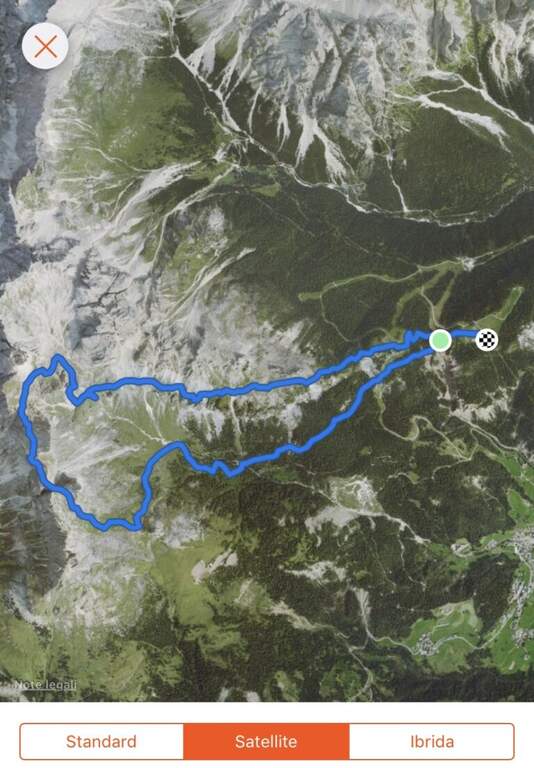
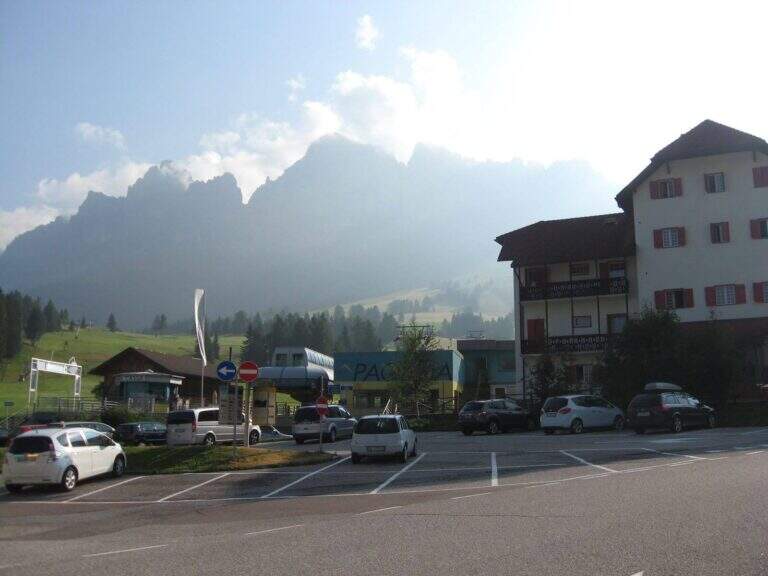
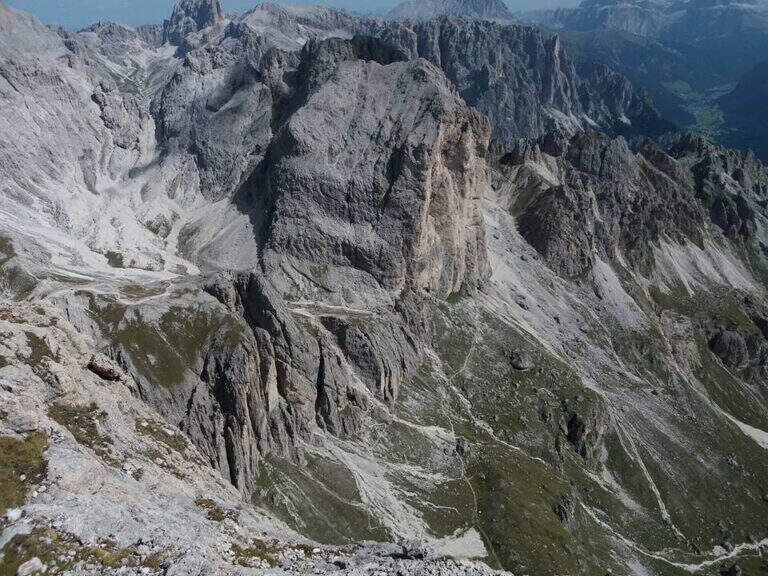
    Starting point the Rifugio Pederù (1548 m), reachable from San Vigilio di Marebbe following the signs «Pederù» già in the village, on asphalted road up to ' wide parking. Open road signs on Google Maps. From the hut follow the wide tourist path 7 to the south in the Fanes Valley, quickly touching the Pices Fanes Refuge (2007 m), the Fanes Refuge (2060 m, short optional deviation) and the Lavarella Refuge (2050 m, 1h 30' from departure). From here you take the marker 13 verso nord, a destra, sul Piano delle Sarenes, salendo costantemente fino al Passo di Sant'Antonio (Ju de Sant'Antone, 2466 m, 2h 30' totali). Si lascia il 13 e, seguendo il cartello, si sale verso est su un ripido ghiaione con alcuni bolli rossi e facili roccette fino a una sella prativa con vista su Cima Dieci e Cima Nove; qui i segni finiscono ma si segue a vista la cresta verso nord-ovest, fra precipizi su entrambi i lati, fino all'attacco delle attrezzature (2800 m, 3h 30' totali).

    ▲The path

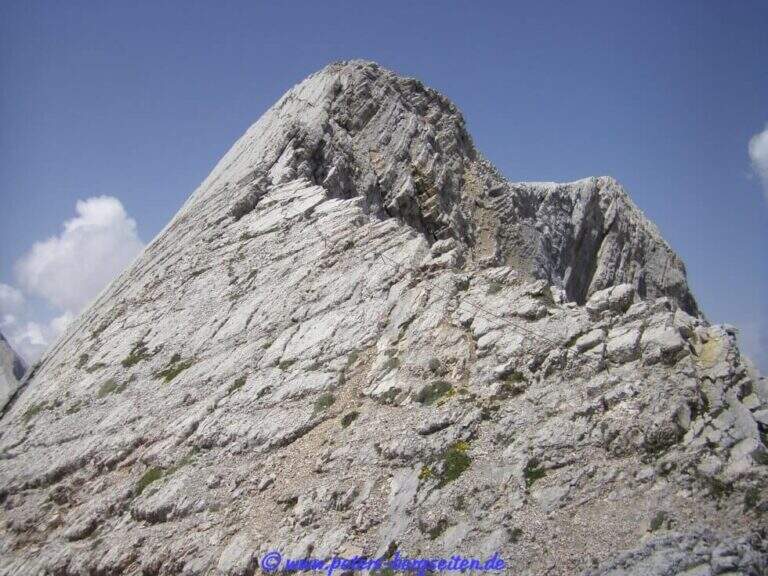
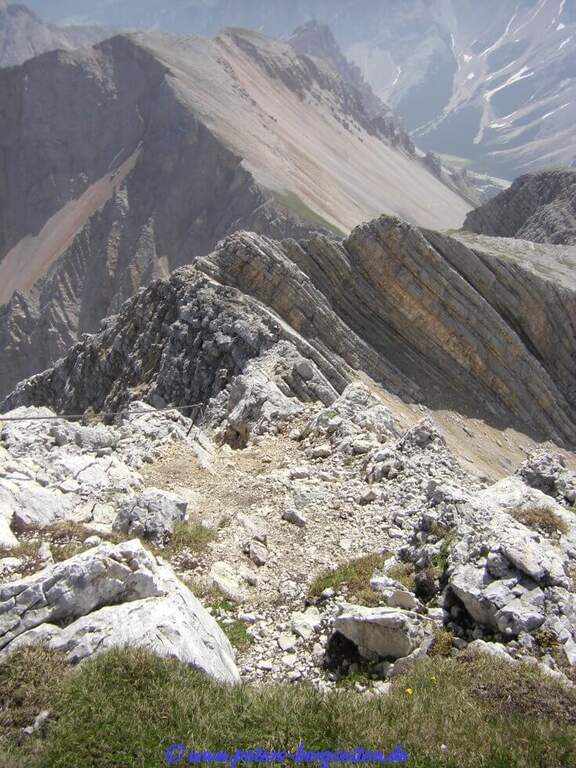
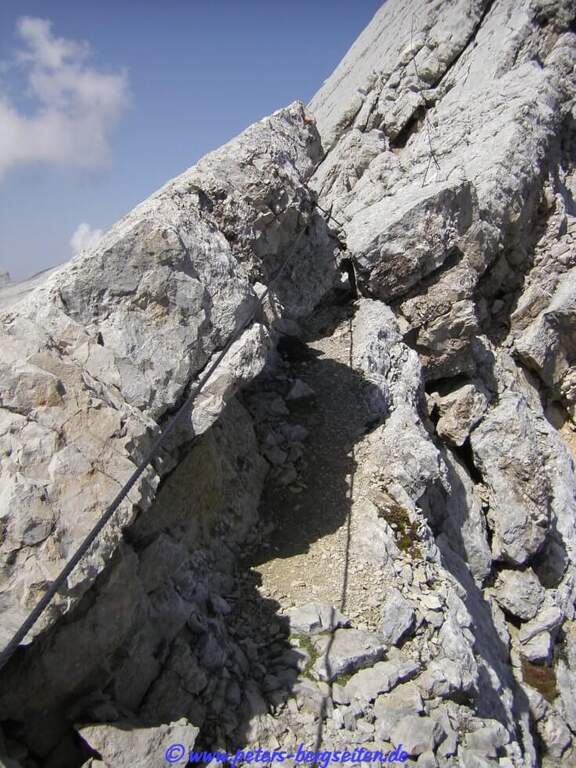
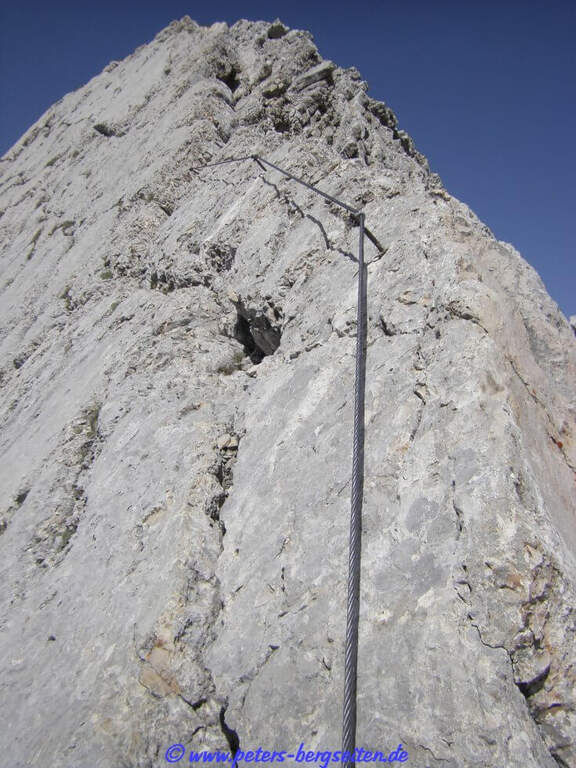
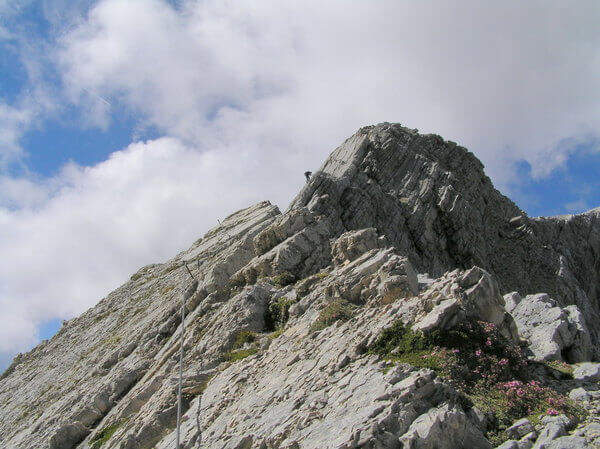
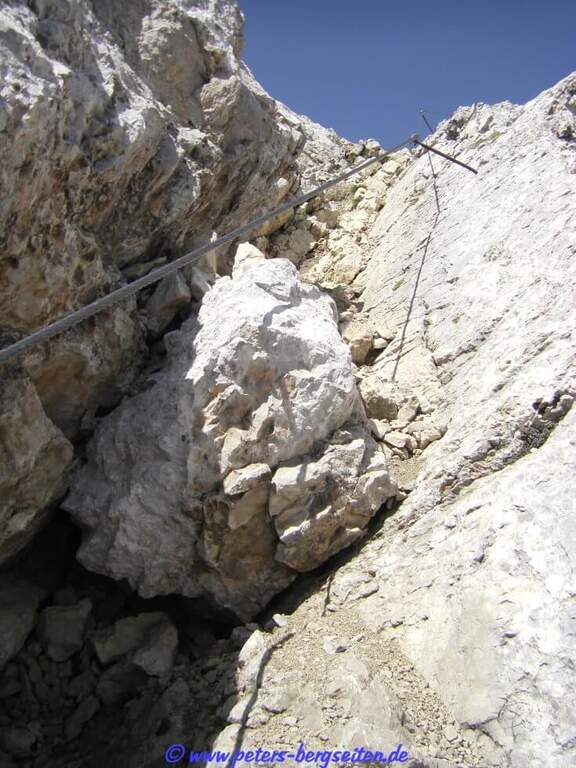
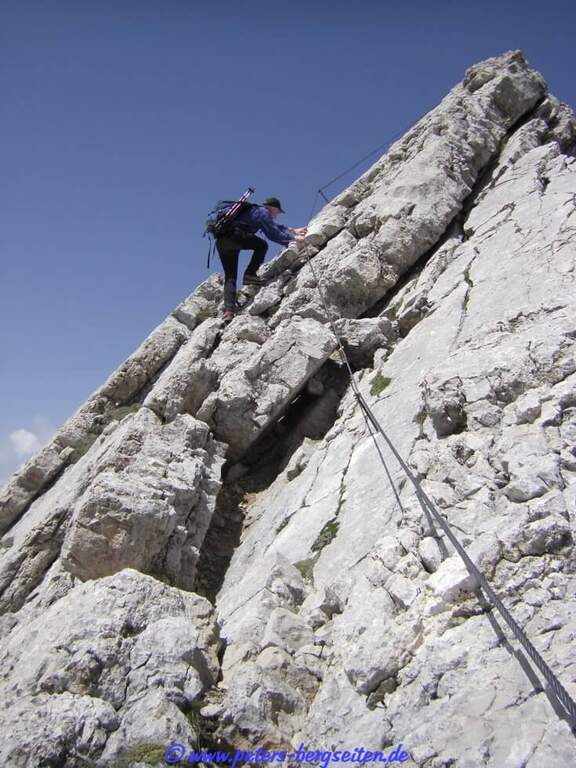
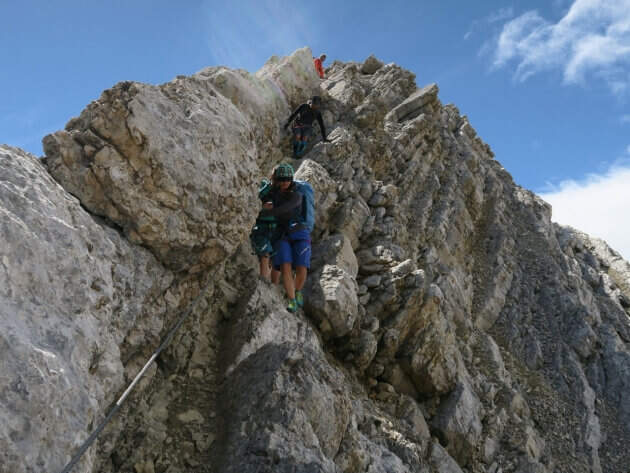
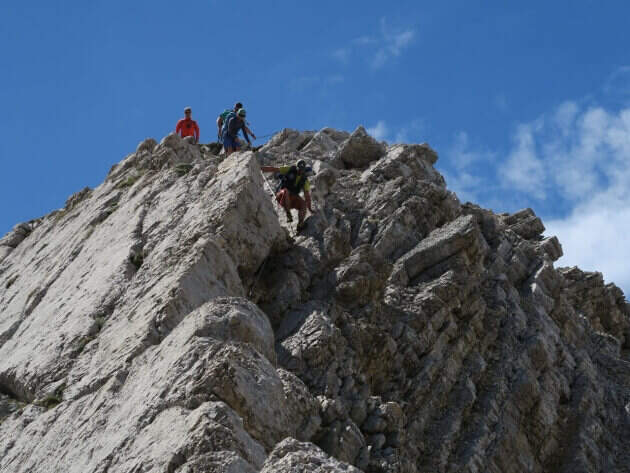
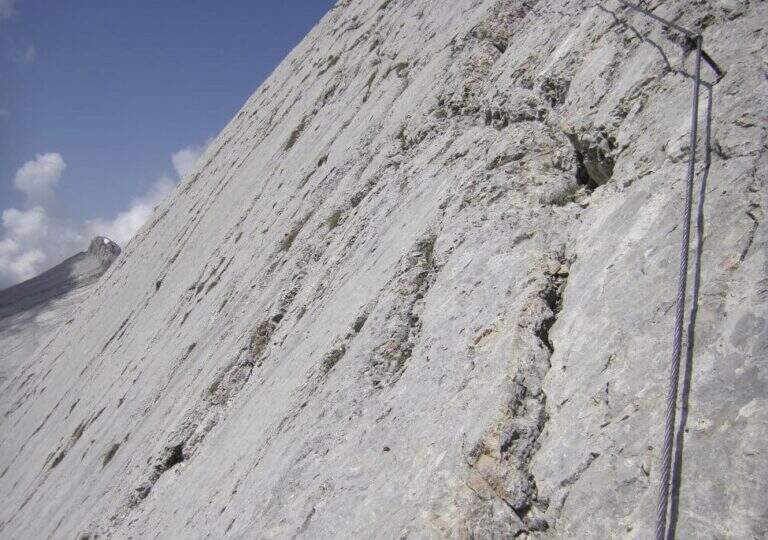
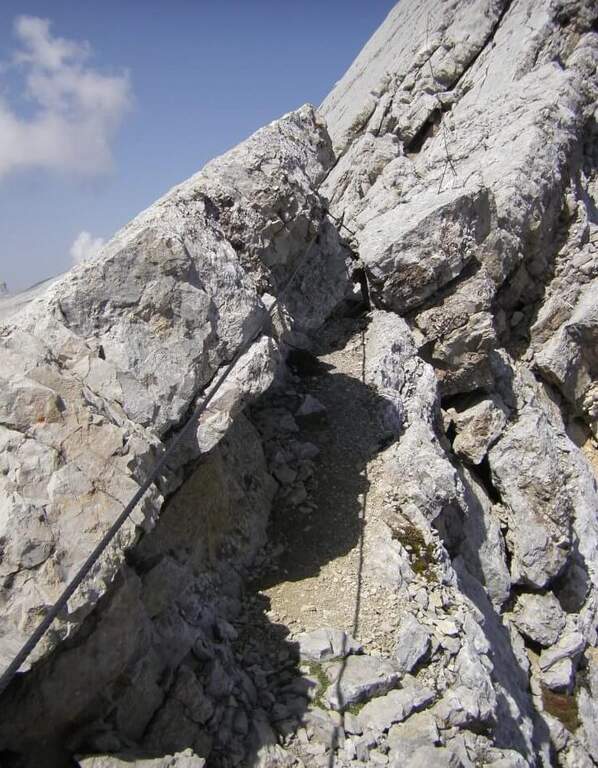
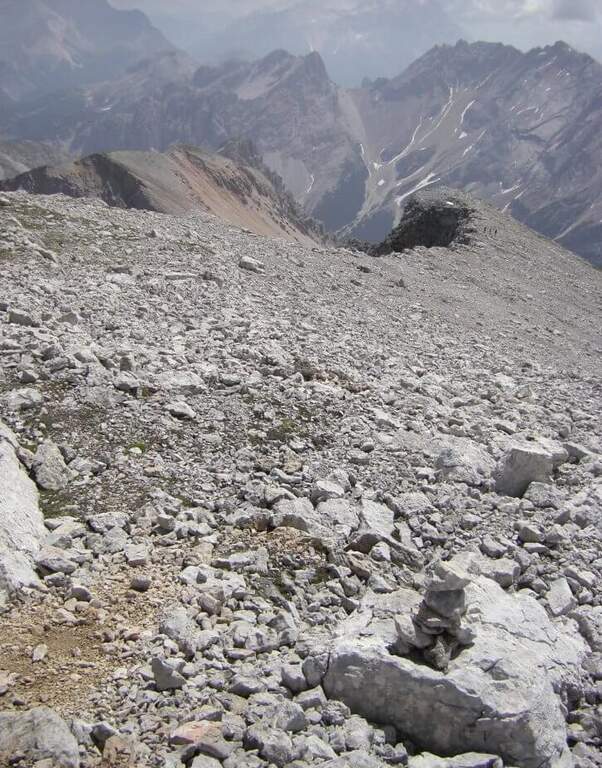
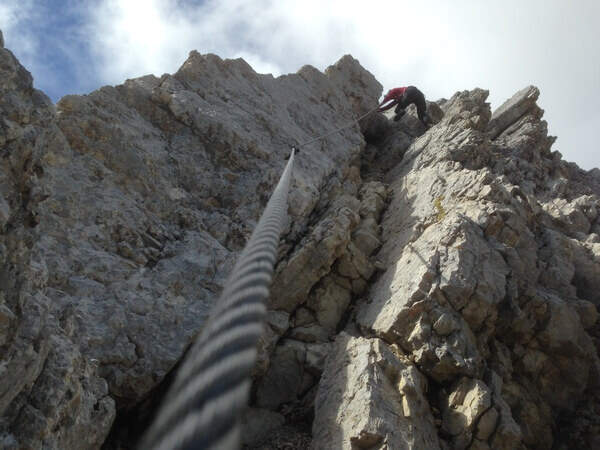
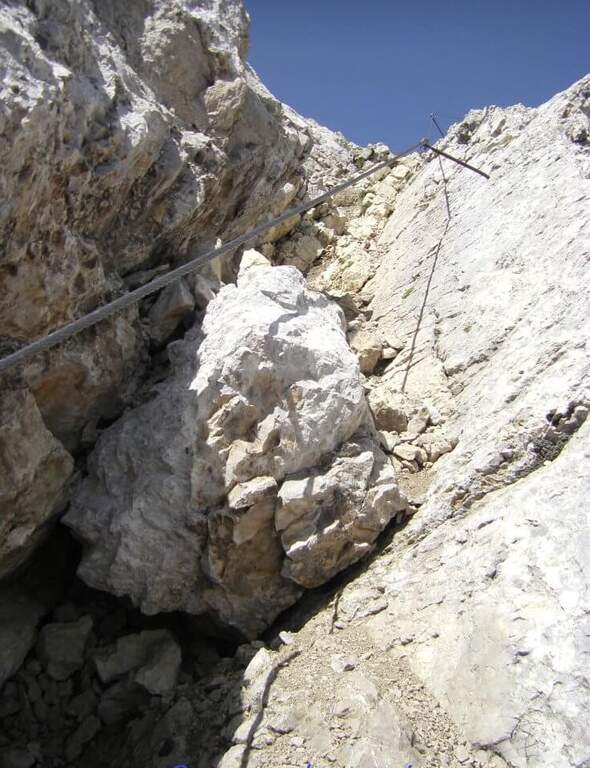
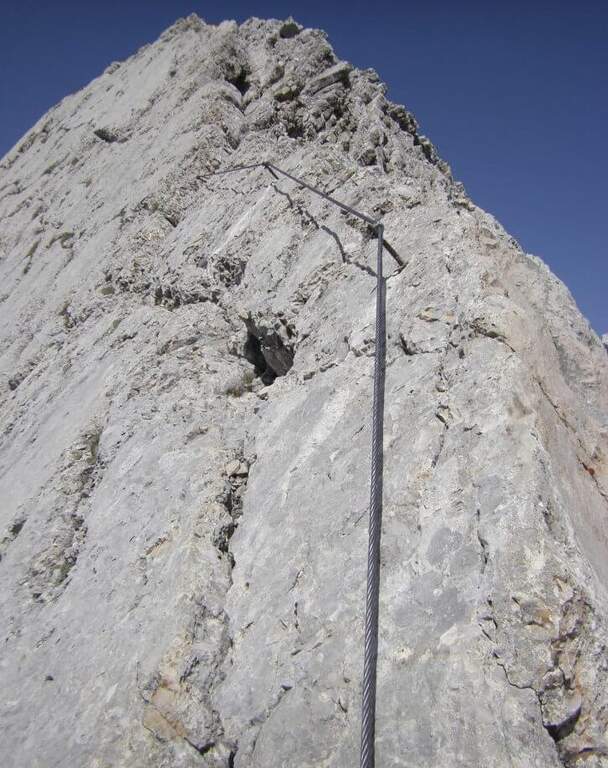
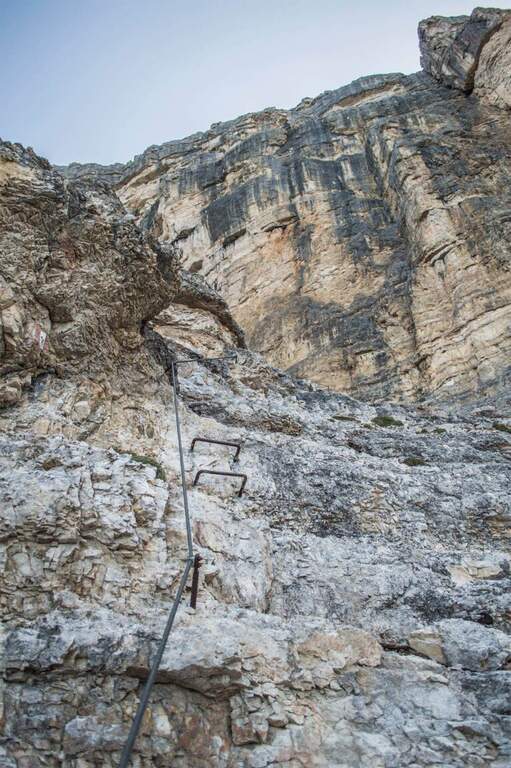
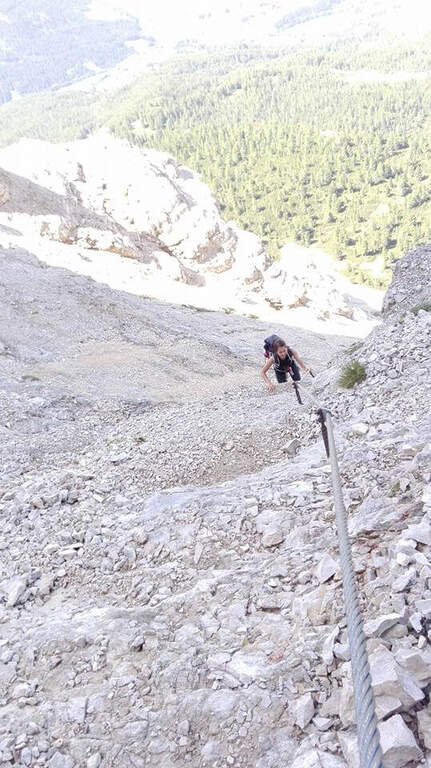
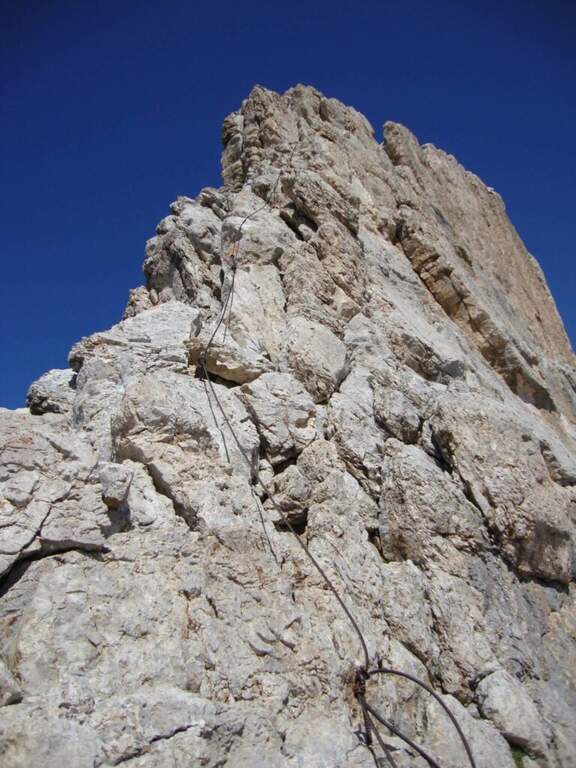
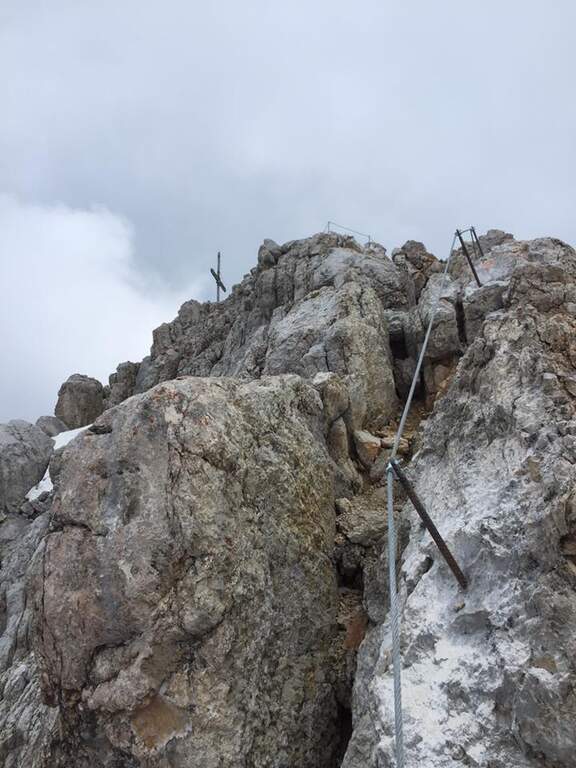
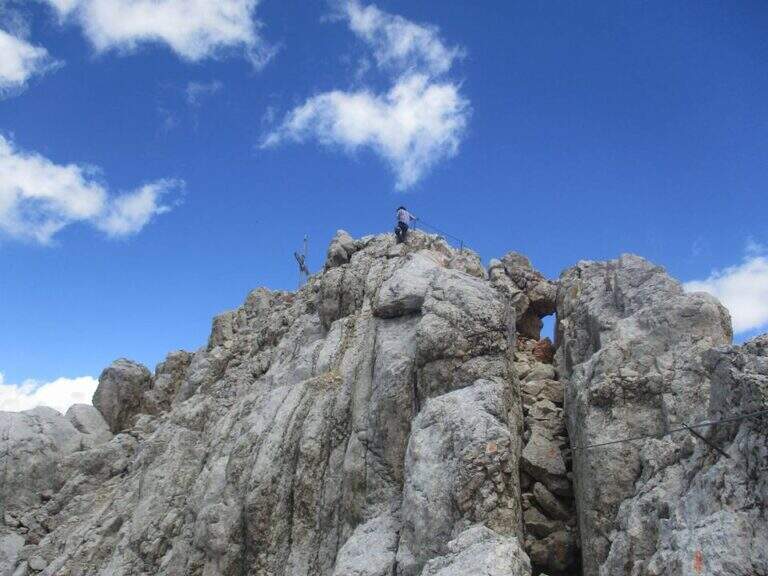
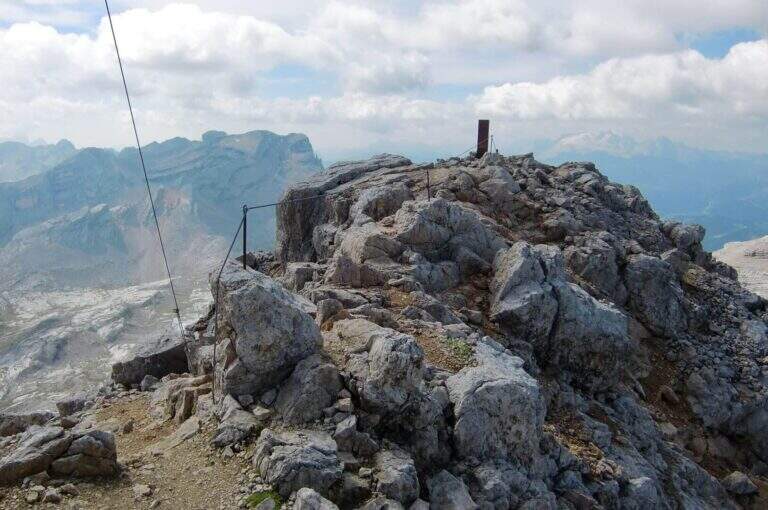
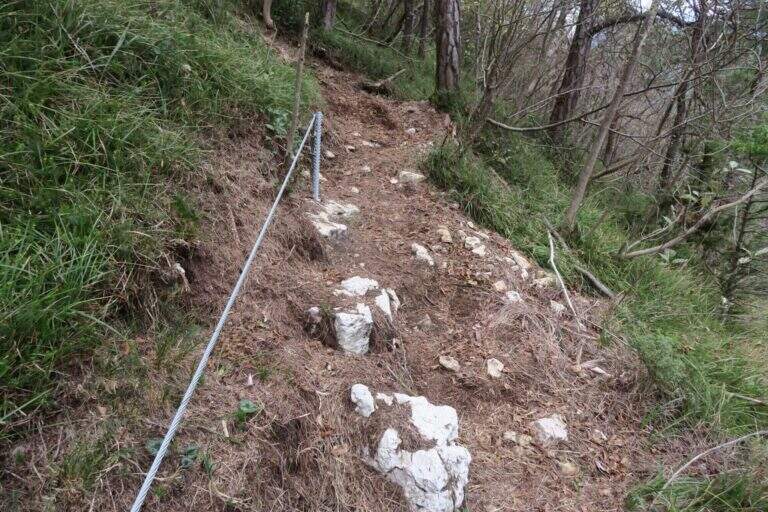
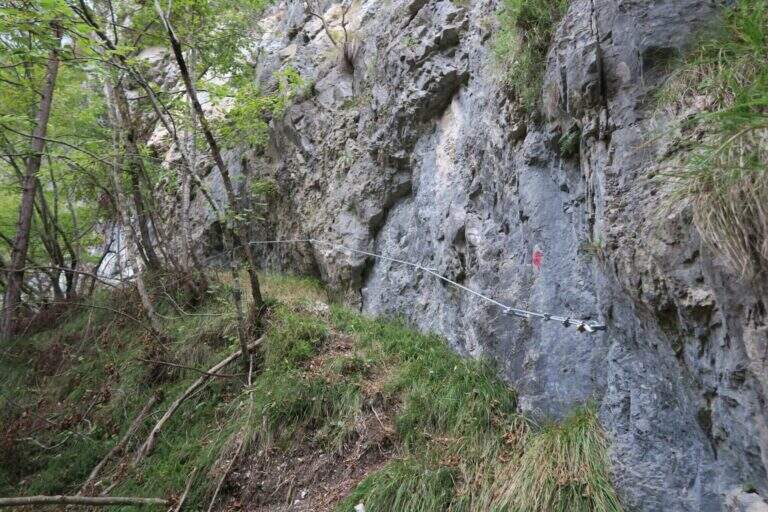
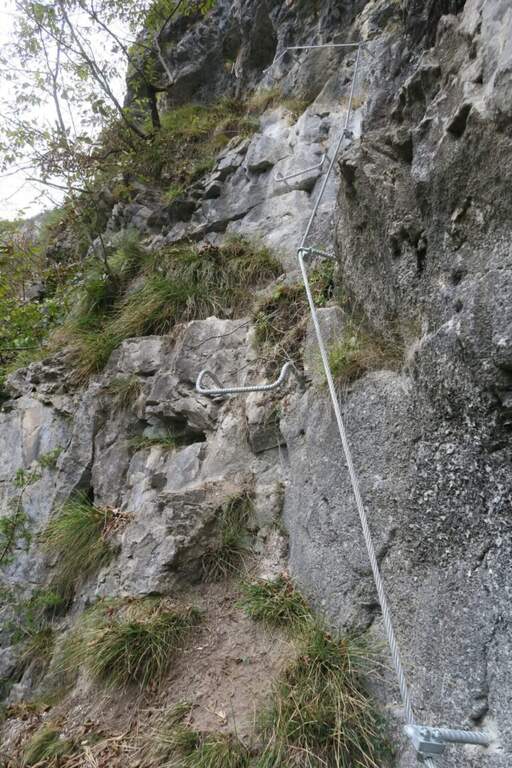
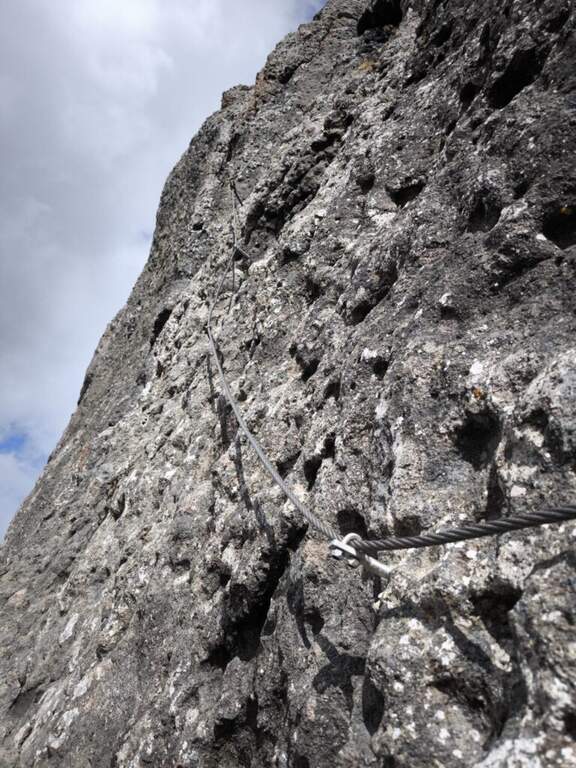
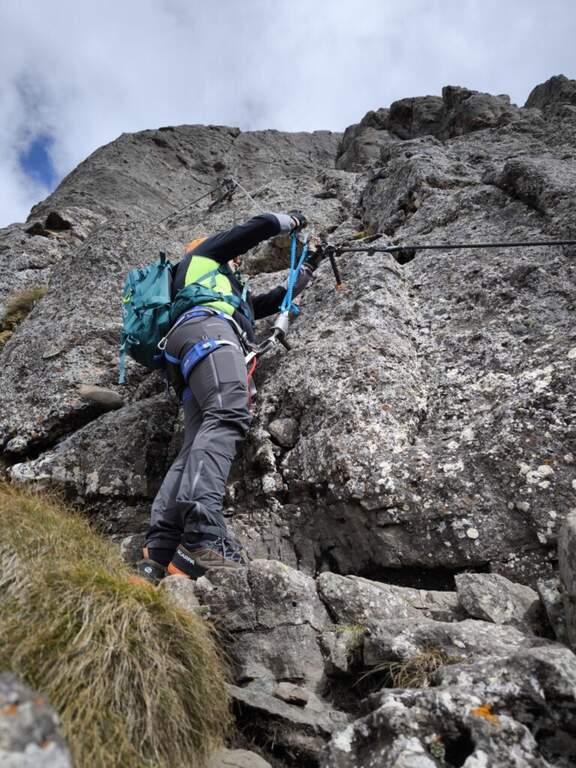
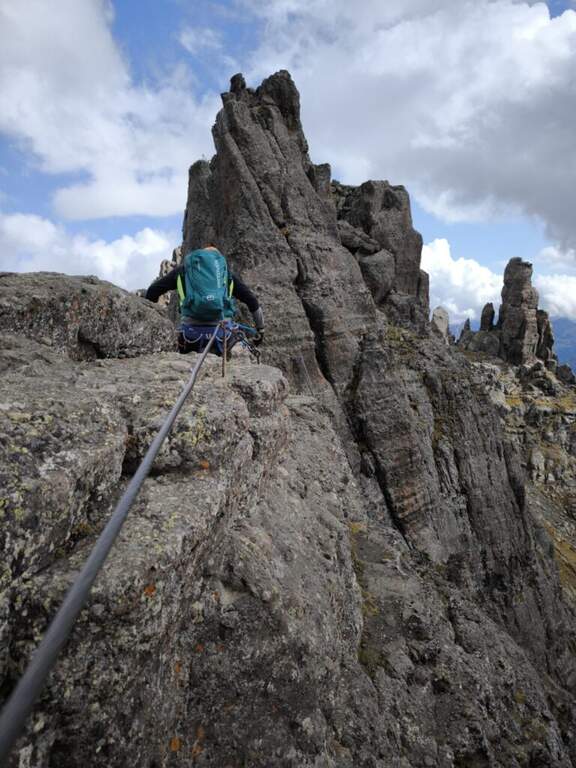
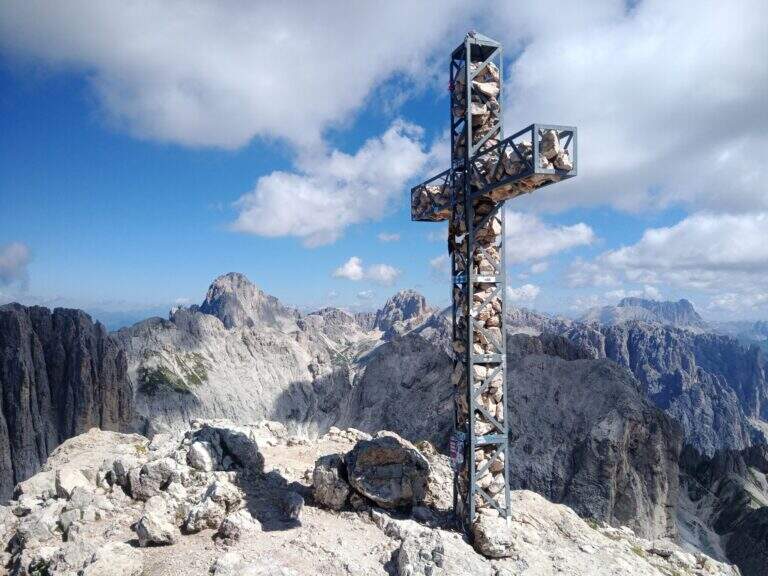
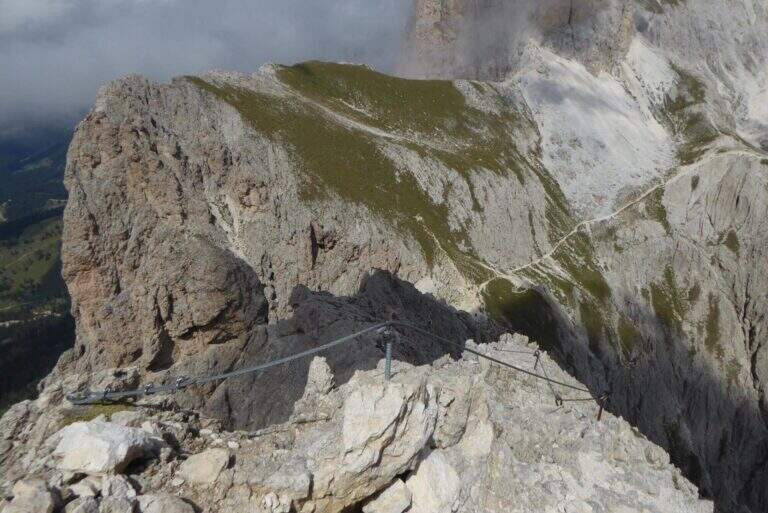
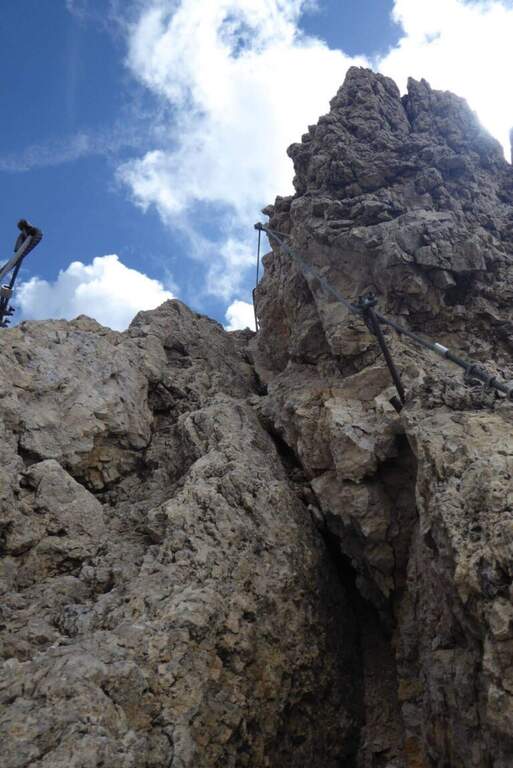
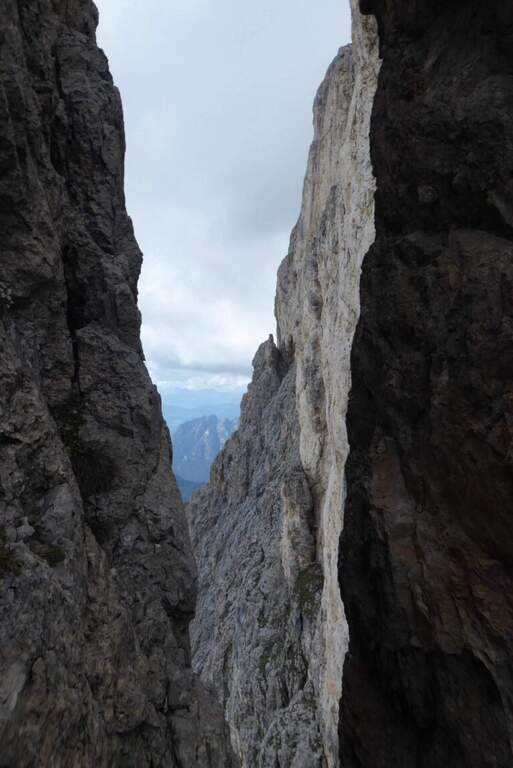
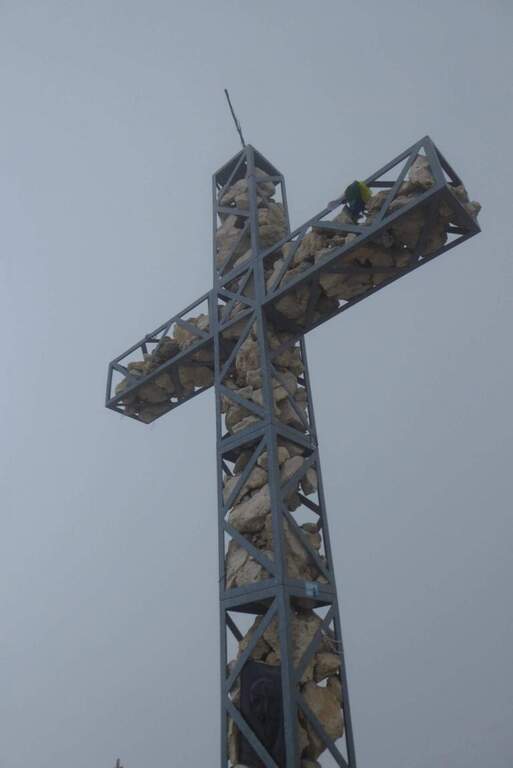
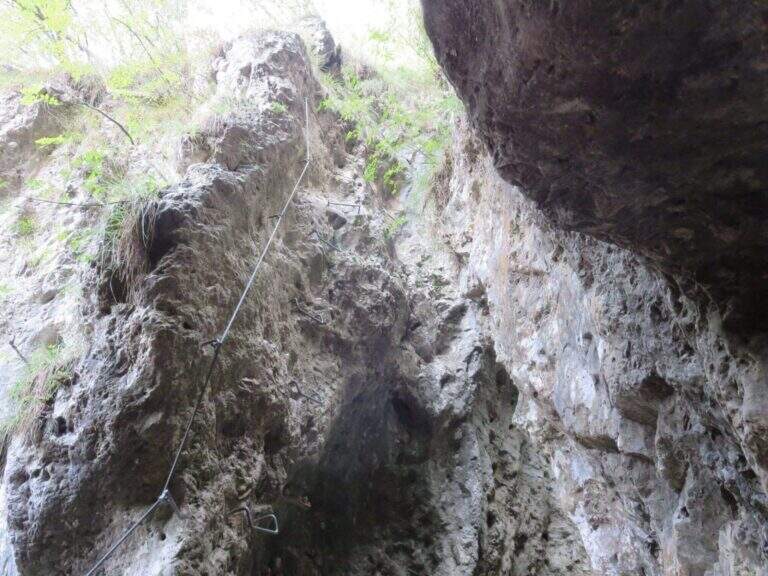
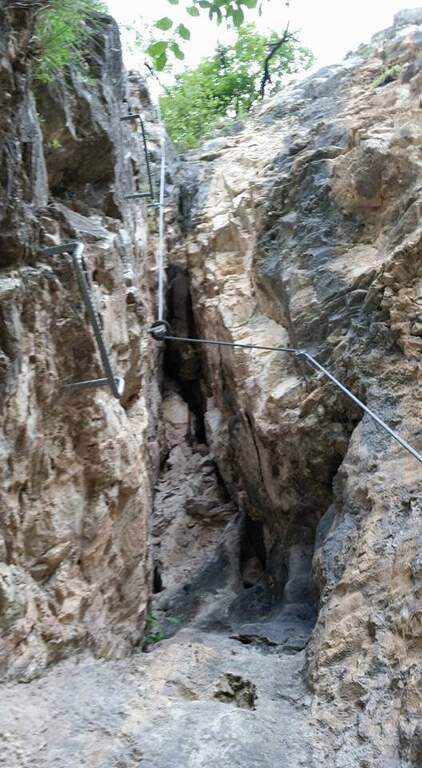
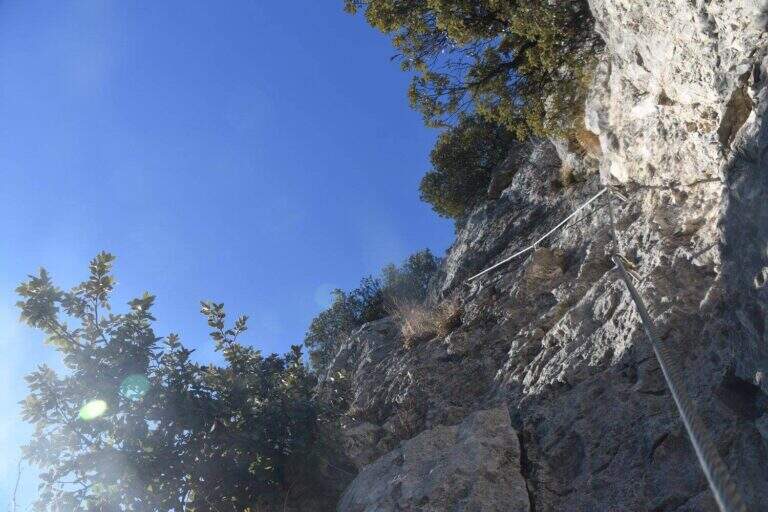
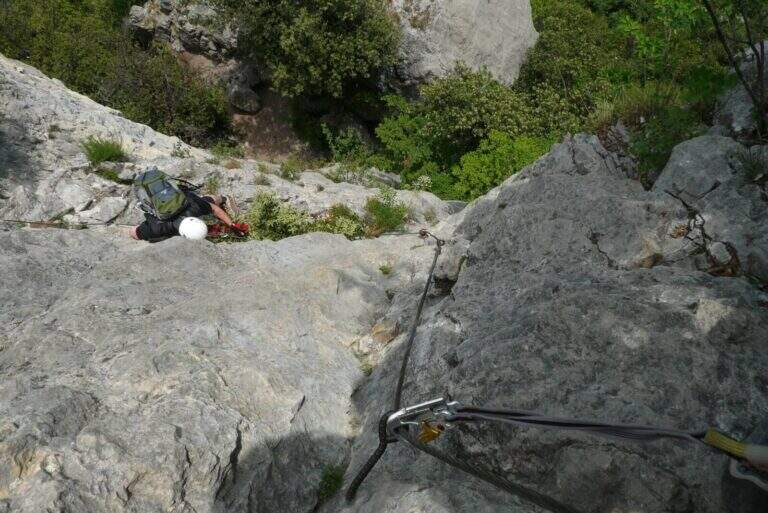
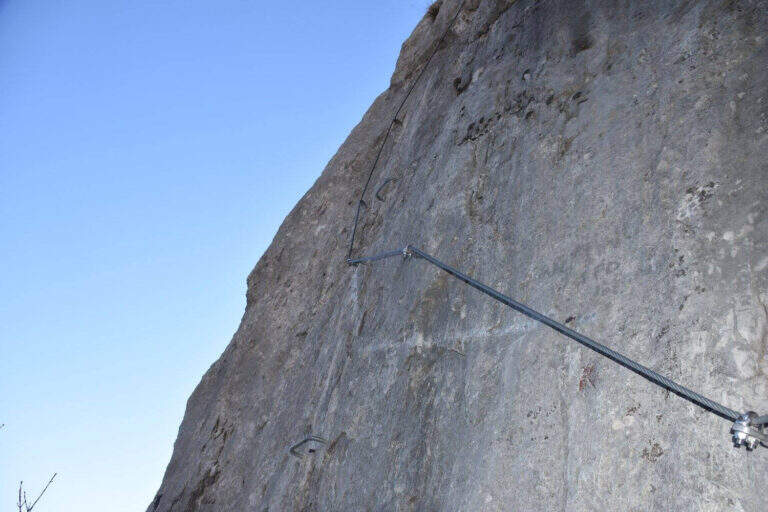
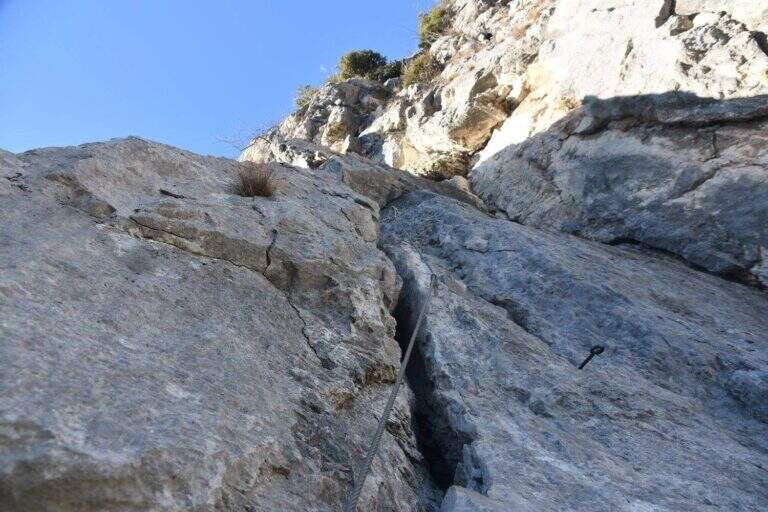
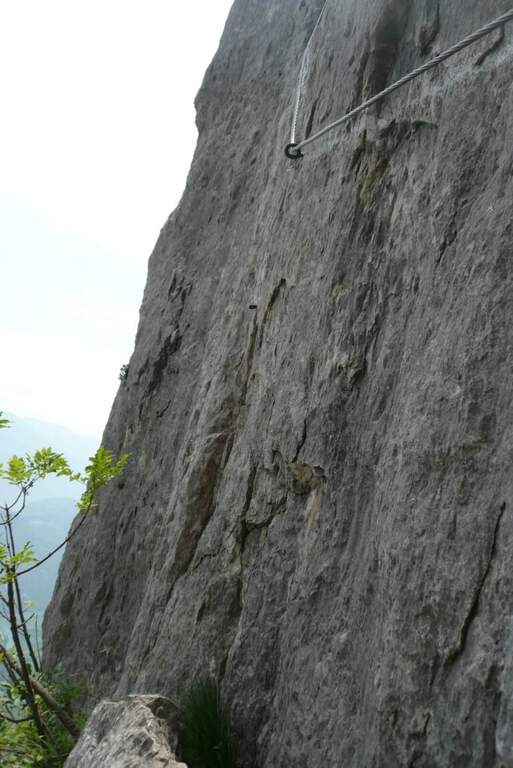
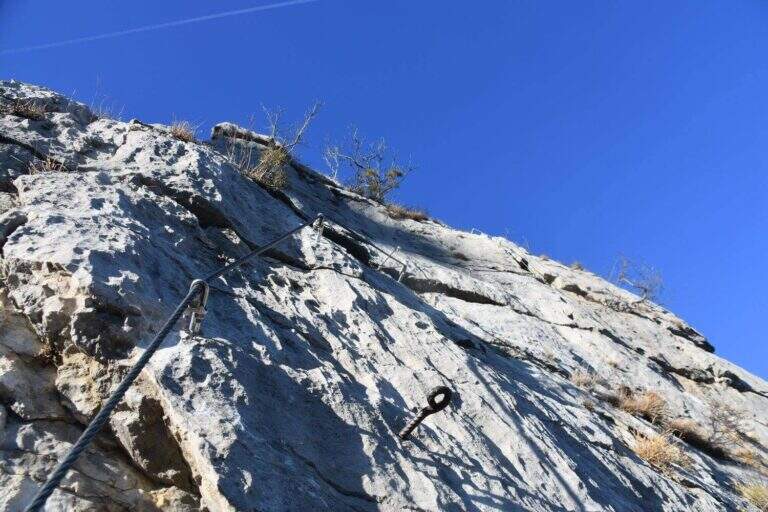
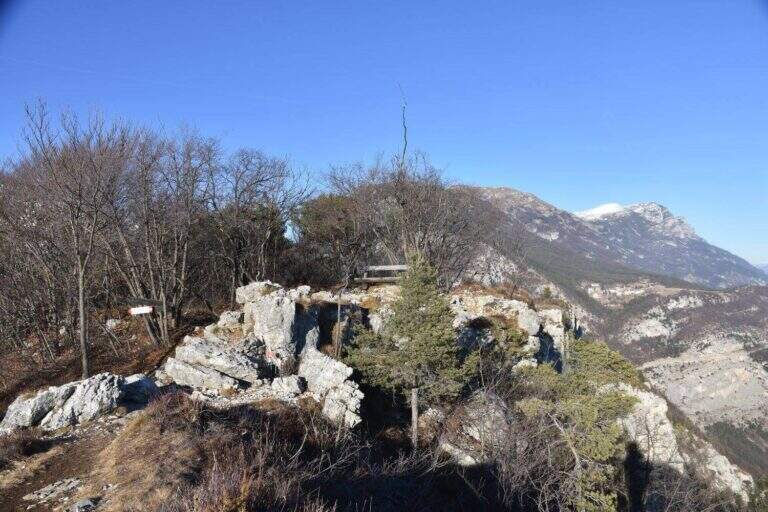
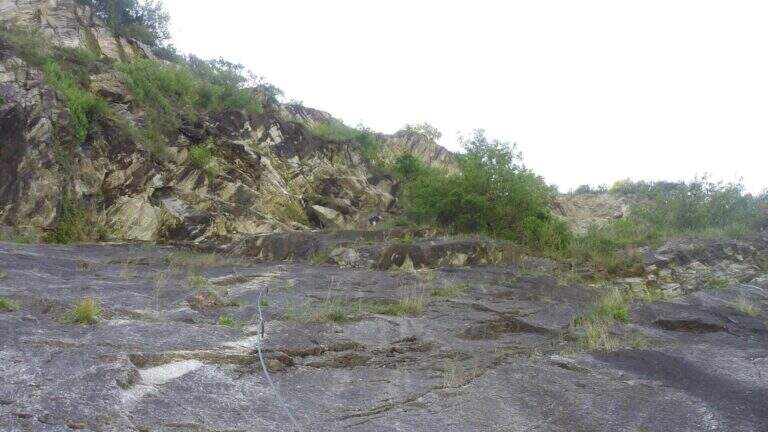
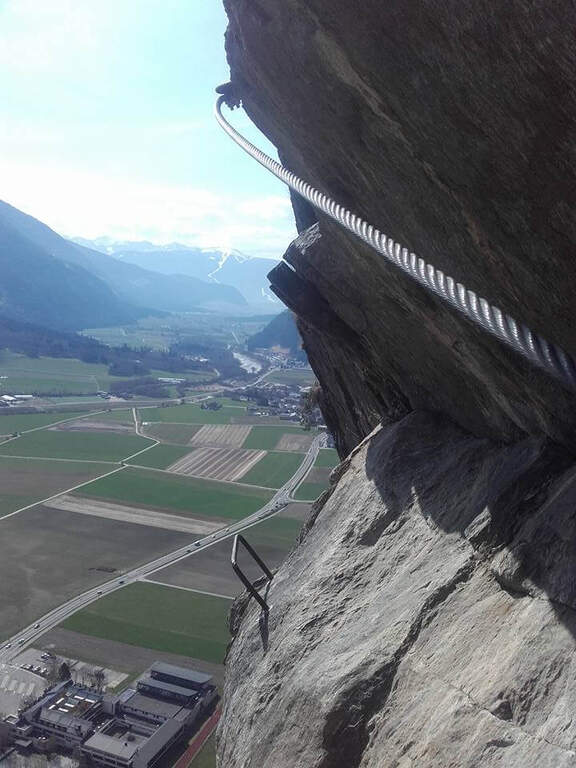
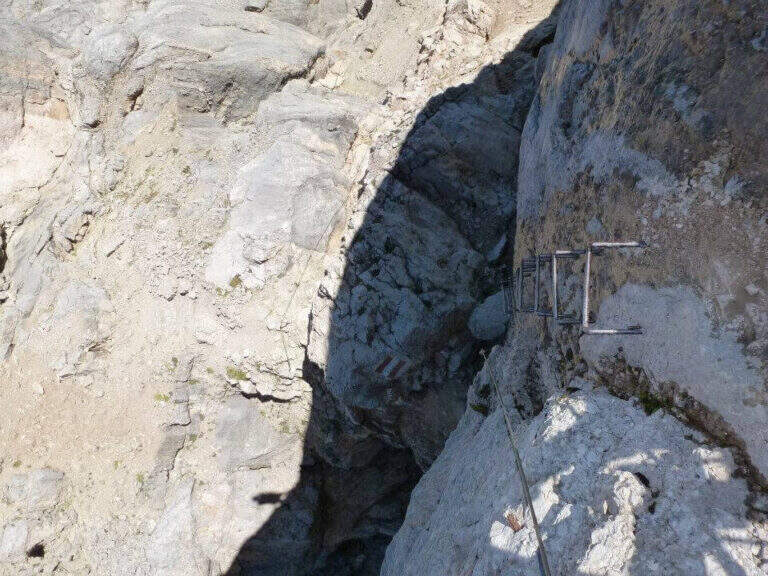
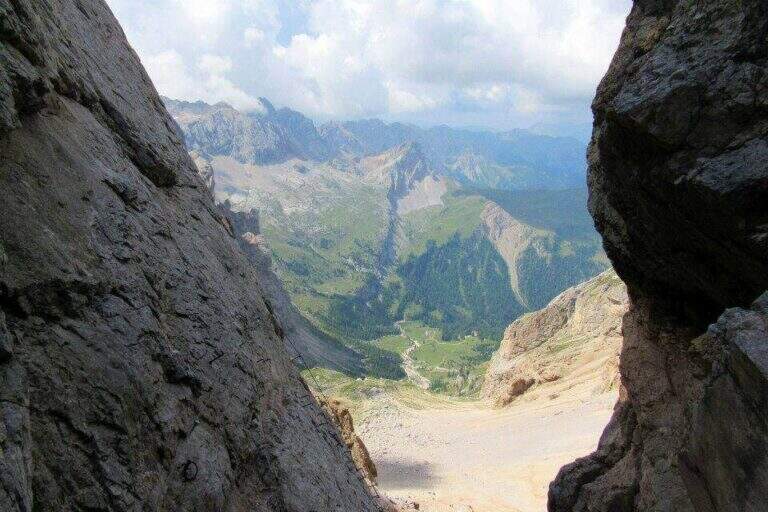
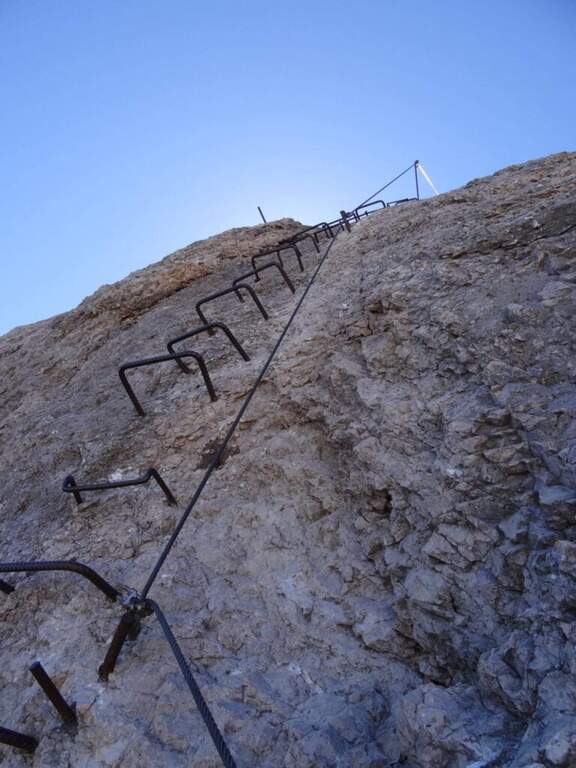
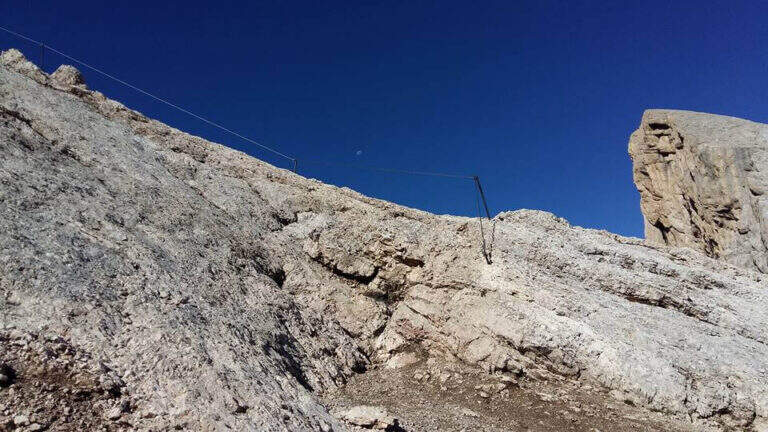
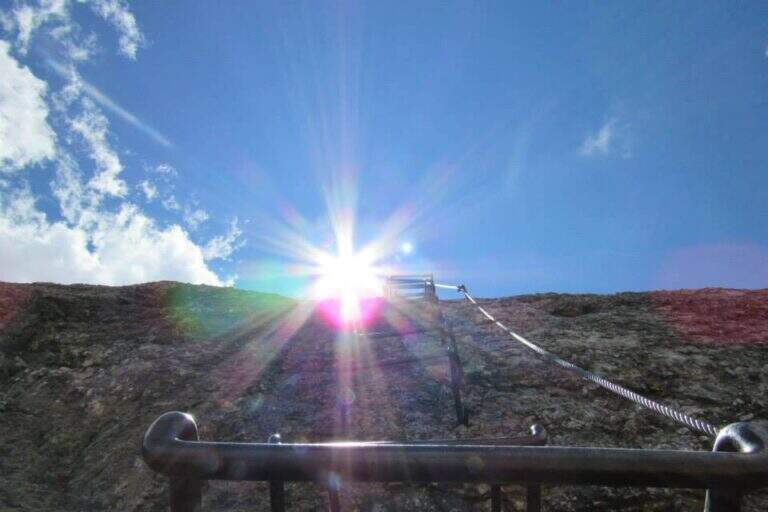
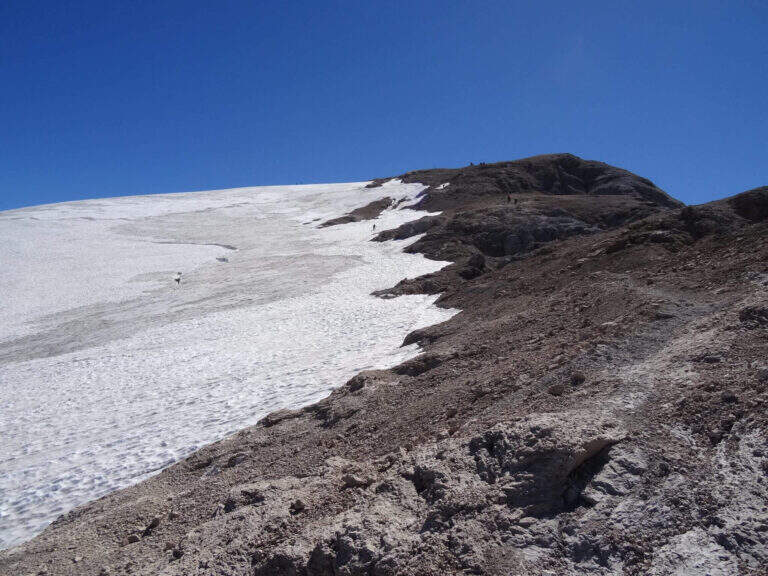
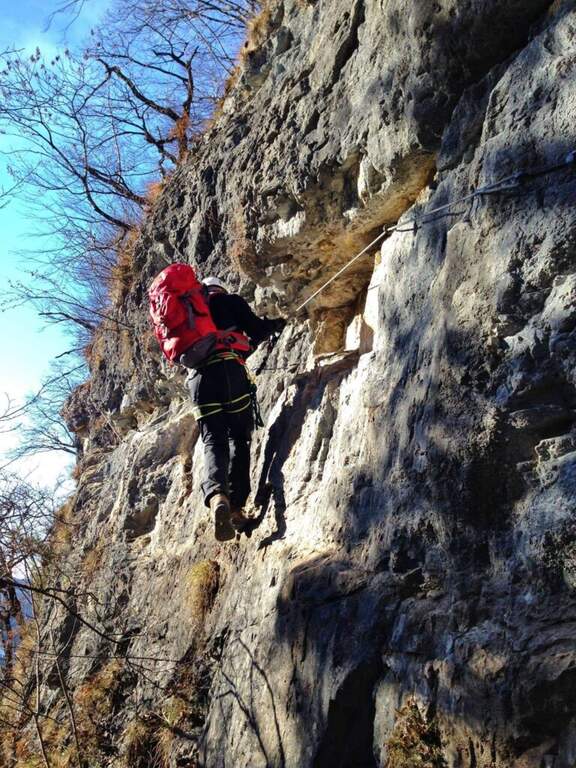
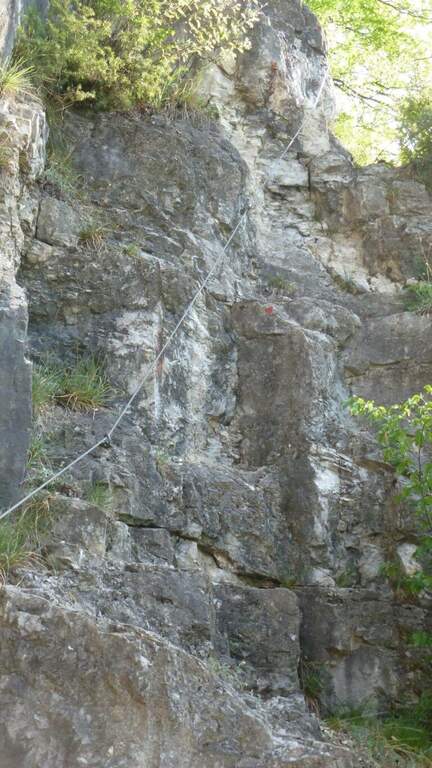
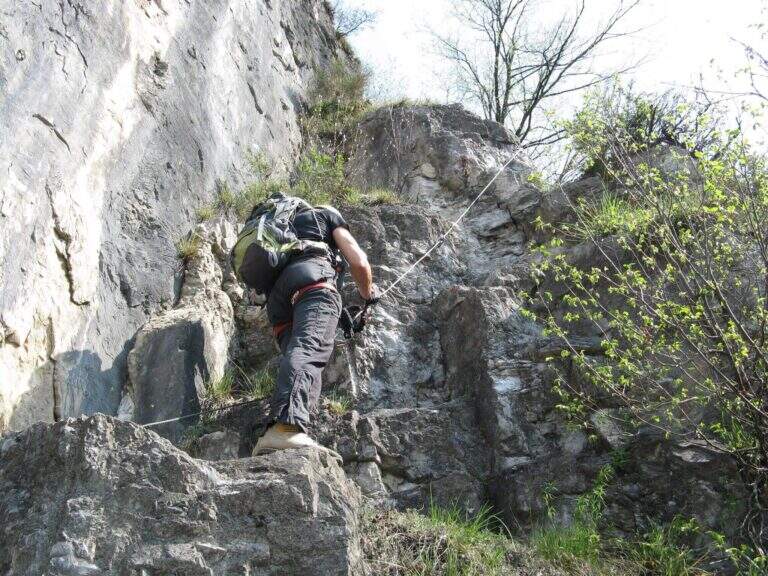
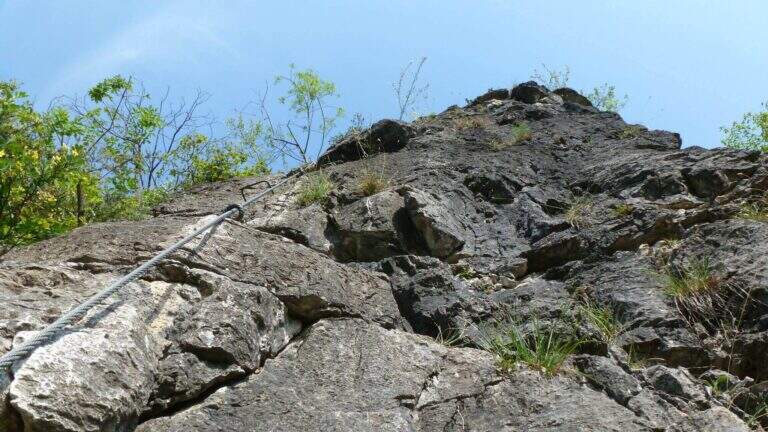
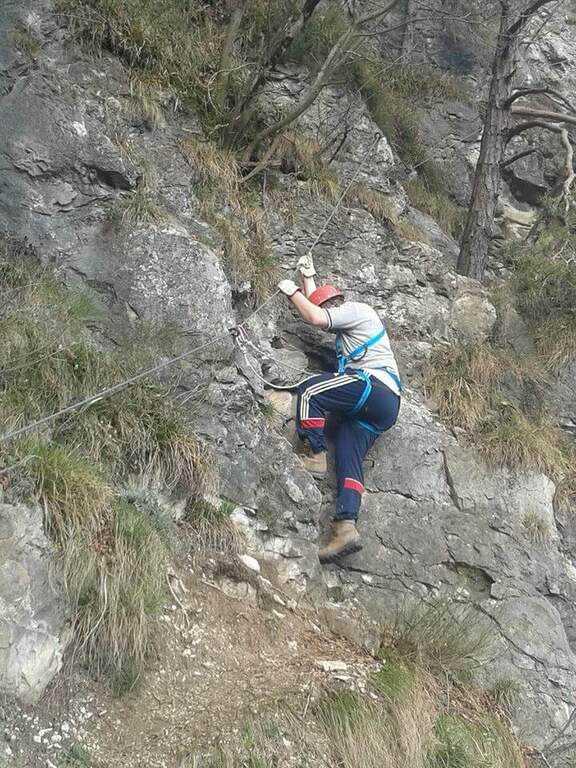
    The ferrata exceeds about 100 meters. The first sections ensure a well-graded crest near the precipice of the north wall, più similar to an equipped path; then you move on the south side, più exposed, where the cable continues without difficulty; techniques on moderate slope up to a rock where the cable stops and resumes two pi & pigrave meters; ahead. Here begins the più tract; interesting: a long and plane traverse to the left on a smooth placconata to be covered in adherence. The cable then goes up più vertical towards a stretch of very aerial edge, on strong exposure, up to a difficult & agrave medium camino; — the passage probably più technical, però enough supported. Un' last tilted plaque and some exposed top rocks close the equipment (45' from' attack). Continue on gravel slope to the cross of Cima Nove (2968 m, 15' from the end of the equipment, 4h 30' totali).

    ▲Character and difficulty

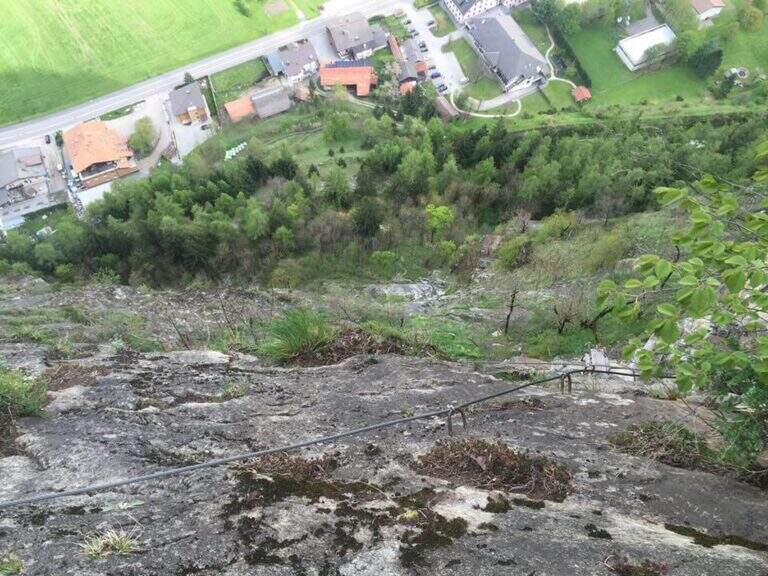
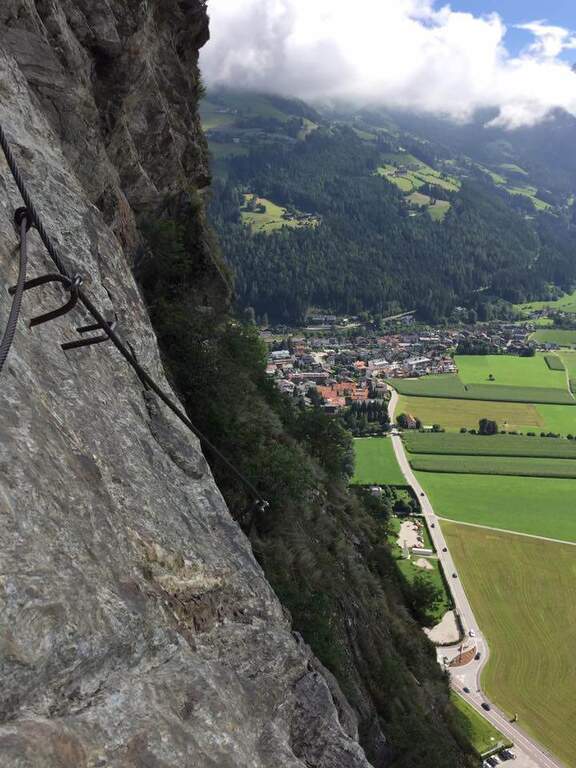
    The road does not have any technical difficulties but it develops on a very exposed wall, with smooth and vertical plates that can put in difficulty those who have little experience or non-stop foot; the equipped passages however alternate at times without difficulty.

    ⚠ The return takes place through the downhill ferrata, to be faced with great attention given the exposure. The excursion is long and, after the first shelters, quite isolated: to travel only with stable time. Downhill, on the top floor, with fog or low clouds be careful to locate the canal where the equipment runs.

    ▲Period and safety

    Alternatively, you can start from Spescia (1549 m) in Val Badia by steeply climbing the path 13 along the Fanes Valley to the Ju de Sant'Antone: shorter as a distance but more tiring and steep (about 7h a/r). GPS tracks (GPX and KMZ) are available; the 4Land Val Badia map is useful for the area.

    ▲History

    The Sasso delle Nove is a particular mountain: its long sloped southern wall was climbed by the Messner brothers with three itineraries of pure adhesion (Direttissima, Heidi, Placche), at the end of the Sixties real test benches, finally faced with rigid boots. The most repeated is today the very Direct Messner.

    ▲Discipline

    The return takes place back along l' ascent itinerary, including ferrata (3h 30' from the summit, 8h totali).

    ▲To match

    Cima Nove is the northern peak of the Sasso della Croce Group, where there is also the often combined ferrata at the Sasso della Croce and Cima Ten. Further south on the group run Sentiero Attrezzato Tru Dolomieu and the long Ferrata della Pace; towards Lake Braies easy Ferrata di Valdaora alla Cima dei Colli Alti and, at the Furcia Pass, the Ferrata at Piz de Peres.
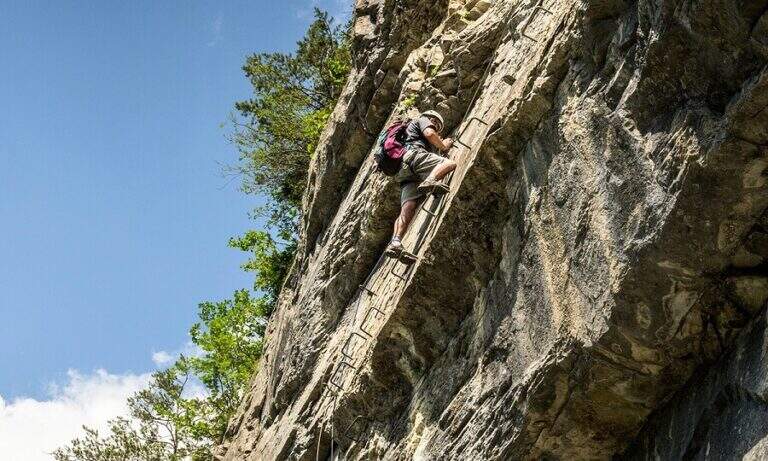
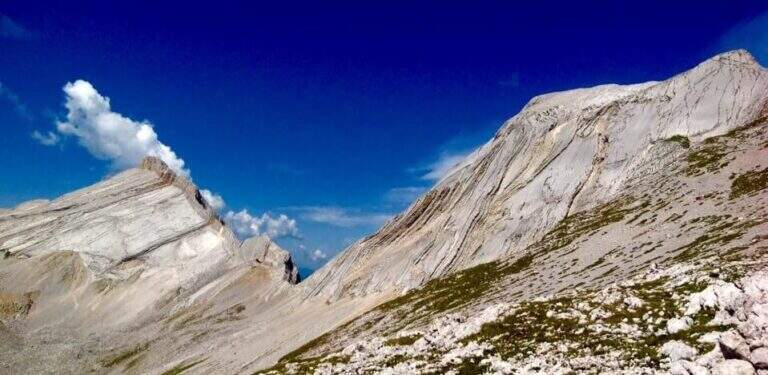
    ▲Gallery
    Technical data
    • DifficultyModerately Hard
    • RegionTrentino-Alto Adige
    • GroupRock of the Cross
    • Approach3:30 h
    • Ferrata1:00 h
    • Itinerary (a/r)8:00 h
    • Hardware level difference110 m
    • Route difference1424 m
    • Max2968 m
    • Length19 Km
  • Ferrata Sasso della Croce and Sasso delle Ten

    Ferrata Sasso della Croce and Sasso delle Ten

    Vie Ferrate › Trentino-Alto Adige › Bolzano
    Ferrata Sasso della Croce and Sasso delle Ten
    Moderately Hard● OpenDescriptionComplexityMapsGallery

    The combination of ferrates to Sass de la Crusc (Sasso della Croce) and Ten is a great mountain route starting from Badia, in Val Badia. The equipped sections are of medium difficulty, but the path is long (more than 16 km, almost 1000 m of altitude difference) and for wide stretches runs on exposed and unprotected path: it must be faced with good preparation and stable time. In return it offers spectacular views of Val Badia, Sassolungo, Gruppo Sella and the Dolomites peaks of Cortina, with the summit in 3026 m.

    ▲Approach

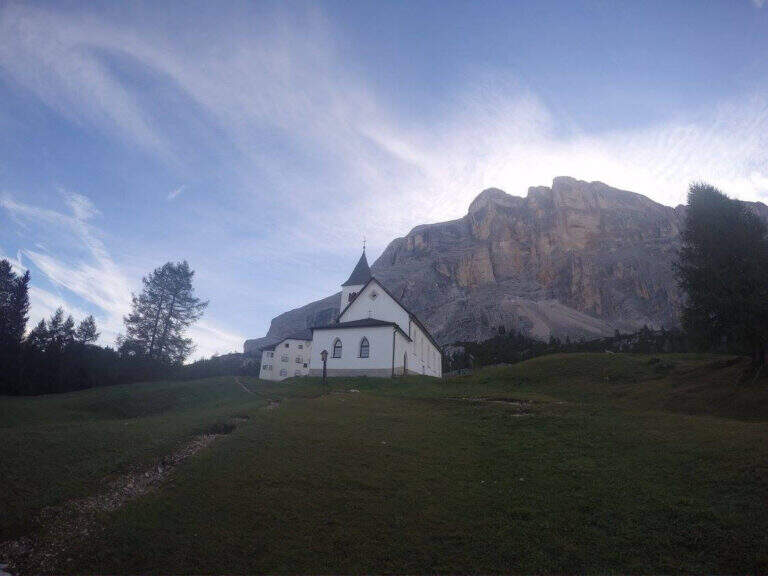
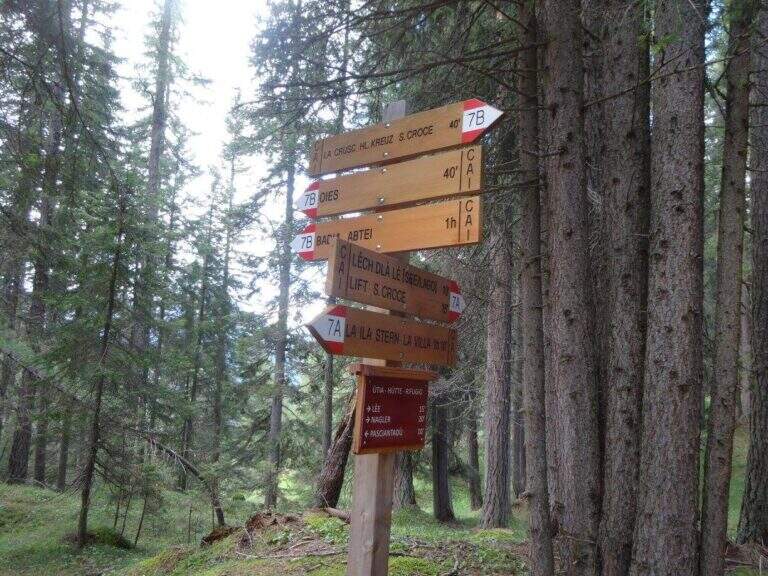
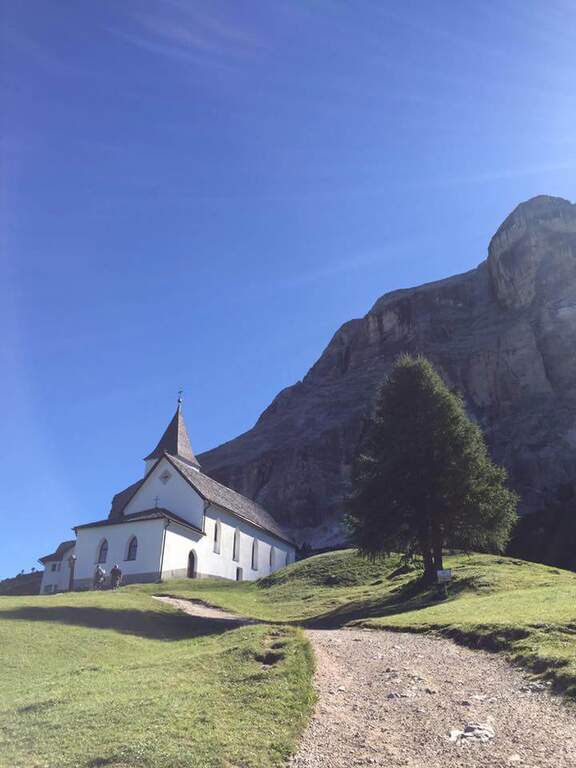
    The support is the Santa Croce refuge, on the eastern side of the Val Badia valley at the height of Badia, reachable with the chair lifts «La Crusc 1» and «La Crusc 2» or walk to the comfortable path 7 from Badia (about 1h 30'). Open road signs on Google Maps. From the mountain station (2045 m) you have in front of the imposing rampart of the Sass dla Crusc, the first destination of the day. Follow the signs 7 passing next to a white church; the path then climbs right towards the south, first sweet among the mughi and then più decided out of the wood, towards the wall. You walk under the rock along a path that takes you via più narrow and exposed: here begins the first equipped section (1h from the mountain station).

    ▲The path

    The first cable helps on an exposed nod followed by a vertical leap; continue alternating halfway path exposed to short equipped stretches. You go up a sloped ramp with the cable on the left and you go on l' exposed path that wanders the south-west wall of the Sass dla Crusc; after a stretch of unequipped rocks you meet a equipped with two metal brackets and an easy crossing. A long nod, più narrow of the preceding, è protected by a self-insurance rope; therefore turns south for l' last stretch of path, partially equipped where it enters a steep franose canal, up to the Forcella dla Crusc (2h 30' in total). At the fork, crossroads of paths, the sinistra is held to stay on the ' plateau. You walk between stones and wreaths a po' slippery but not difficult until the Piz Zuber, then at the junction for the Sass dla Crusc (2907 m, optional but recommended deviation), and continue along the panoramic crest towards Cima Ten. Here begins the second stretch ferrato: short but very exposed, goes up the southern edge for about fifty meters of vertical rocky leaps. After the first metres, a series of più jumps is approached; marked with the cable on the left; from a panoramic balcony rises on a strong display on two challenging sections, then wanders the edge on the eastern side and you see, at about fifteen meters, the wooden cross. A few steps horizontally enters a chimney that goes up in the split, from the right to the left; the last rocks lead to the summit plateau and the croce of Cima Dieci, with a 360° view; (2h from Forcella, 4h 30' in total ). The ridge that detaches towards Cima Nove è travels from its ferrata.

    ▲Character and difficulty

    The first ferrata, the one that leads to the Forcella dla Crusc, è in the complex facile: it has three short and difficult vertical sections; techniques, while the other cables are mainly used to protect exposed paths. The Cima Ten hardware is short but intense, very exposed and with the first metà vertical and demanding.

    ⚠ Itinerary of high mountain, long and with important difference in altitude: it requires good physical form. Several stretches of path before the Forcella are exposed and not protected, not recommended to those who have no mountain or foot experience. Cima Ten requires no dizziness. The stability of the weather is fundamental: there are no real points of support and are equipped both at the beginning and at the end of the tour, to avoid with unstable weather.

    ▲History

    The Sasso della Croce è linked to the history of ' mountaineering by Reinhold Messner: in July 1968, climbing the Pillar of Mezzo with his brother Günther, he found himself in a smooth four-metre plaque from which he could not né climb né Get down. The superò, as it tells in its famous «Settimo Grado», and the attributables; an evaluation of VIII degree, until then never used; it should be remembered that the facedò with rigid sole boots.

    ▲Period and safety

    The GPS tracks (GPX and KMZ) can be downloaded from the card; the 4Land Val Badia map is useful for the area.

    ▲Discipline

    The descent takes place along the same path of the ' gone; the two equipped sections require special attention because of the eacute; downhill routes (3h from the summit, 7h 30' overall).

    ▲To match

    Hardly this tour leaves energy for a second ferrata in the day, but on several days from the Forcella dla Crusc you can climb to the Piz de Lavarella and get off towards the Sentiero Attrezzato Tru Dolomieu. In Val Badia there is Ferrata della Pace; by Corvara, on the Sella Group Ferrata at Piz de Lech and that of Vallontowards Passo Gardena la Ferrata at Gran Cir and, towards the Furcia Pass, the new Ferrata at Piz de Peres.
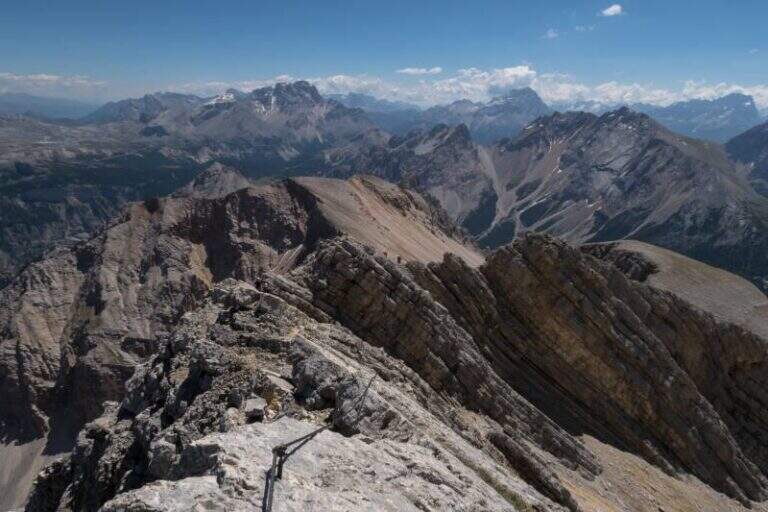
    ▲Gallery
    Technical data
    • DifficultyModerately Hard
    • RegionTrentino-Alto Adige
    • GroupRock of the Cross
    • Approach2:00 h
    • Ferrata0:45 h
    • Itinerary (a/r)7:30 h
    • Hardware level difference75 m
    • Route difference979 m
    • Max3026 m
    • Length16,1 Km
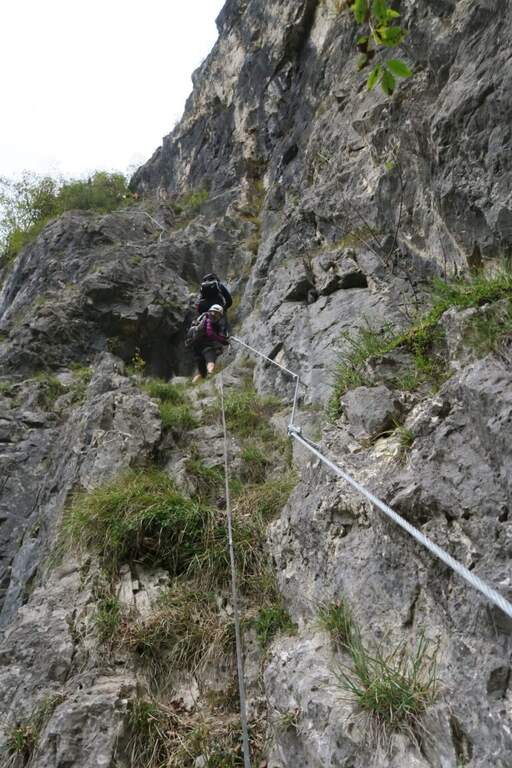
  • Ferrata di San Silvestro al Monte Totoga (Primiero)

    Ferrata di San Silvestro al Monte Totoga (Primiero)

    Vie Ferrate › Trentino-Alto Adige › Trento
    Ferrata di San Silvestro al Monte Totoga (Primiero)
    Moderately Hard● OpenDescriptionComplexityMapsGallery

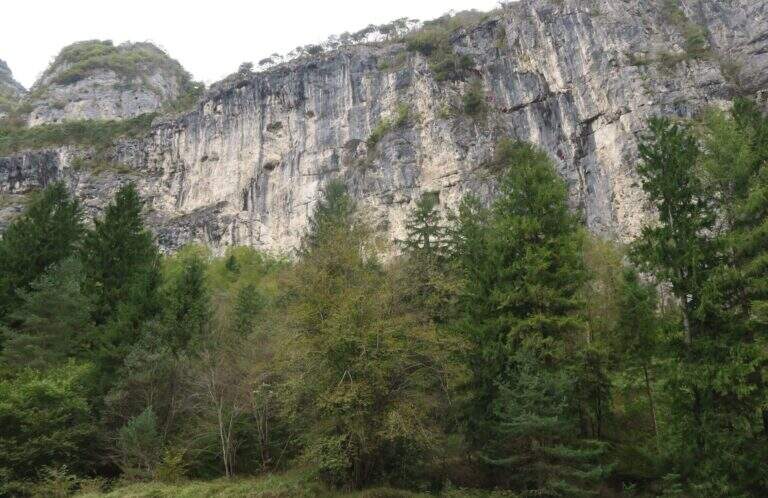
    The Ferrata di San Silvestro takes its name from the chiesetta on the middle coast of Monte Totoga, the final destination of the ' itinerary. È a short route, mainly facile with some moderately difficult passages, divided into two sections; approaching less than 5 minutes, low exposure and quick return make it ideal for beginners and hikers looking for a simple equipped route.

    ▲Approach

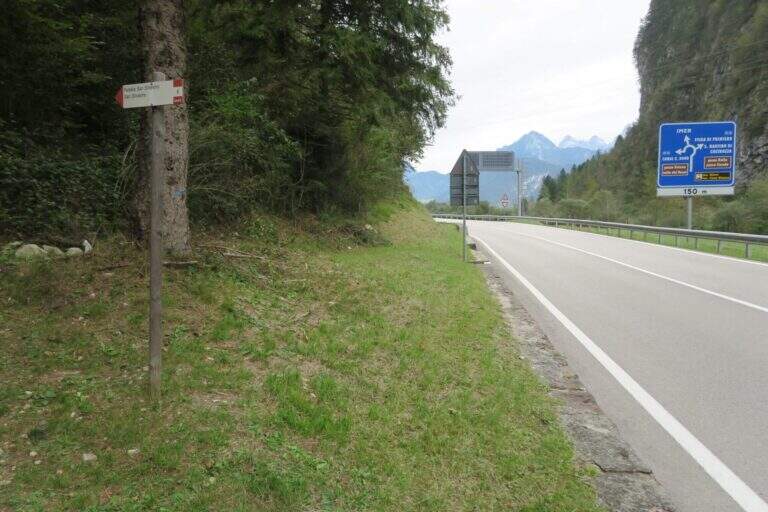
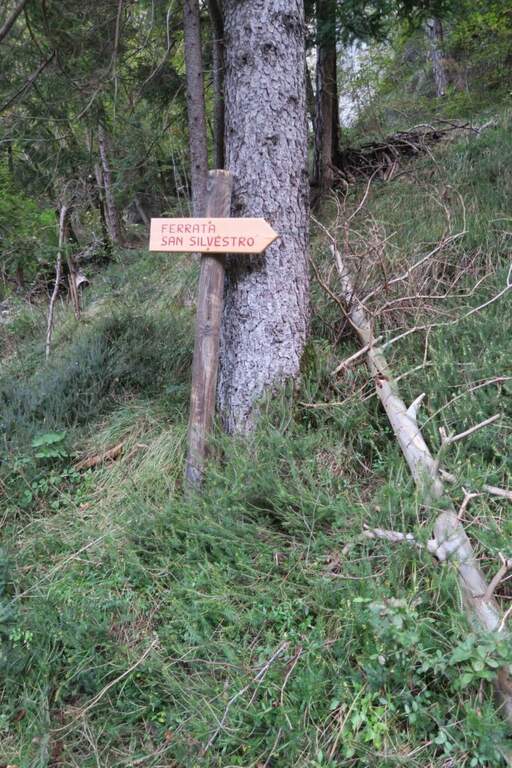
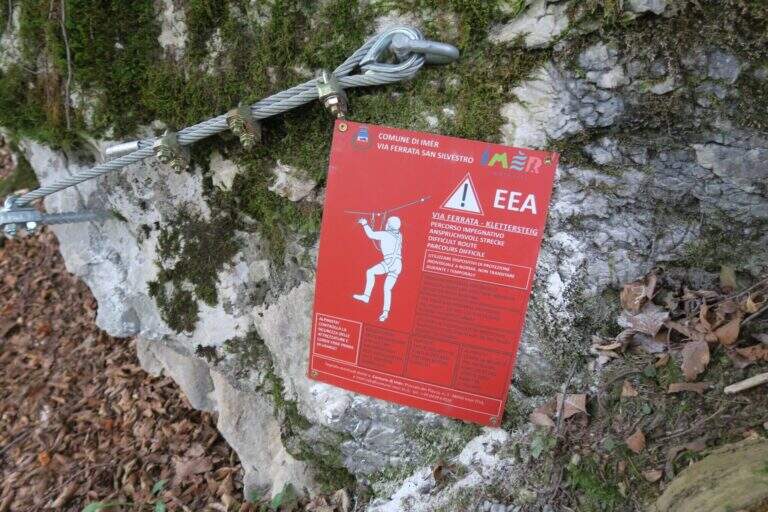
    The starting point is on board the SS 50 of Grappa and the Rolle Pass, climbing from Feltre to Primiero: just finished the lago of Schenér, just before the roundabout for Imer and just before the tunnel for Canal San Bovo, c'è a deck with indication «Falesia San Silvestro» (another più parking lot; large on the opposite side). Open road signs on Google Maps. Follow the path «Falesia di San Silvestro» and, shortly after, a sign on the right indicates l' attack, with the classic red sign (5' parking ).

    ▲The path

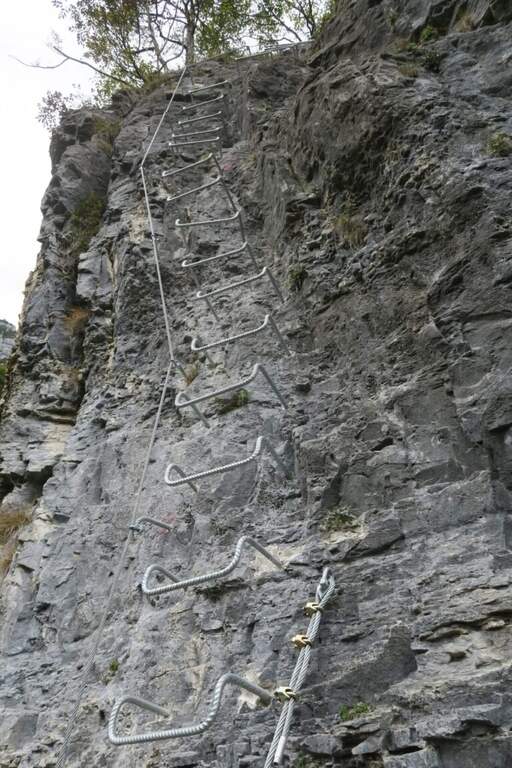
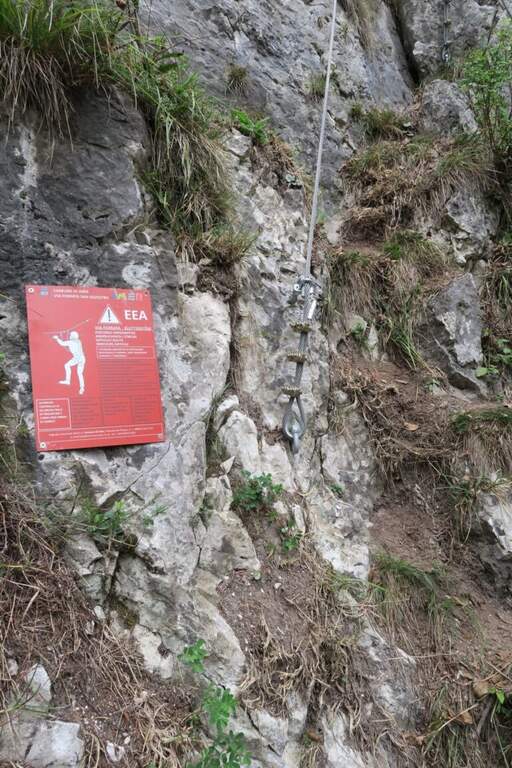
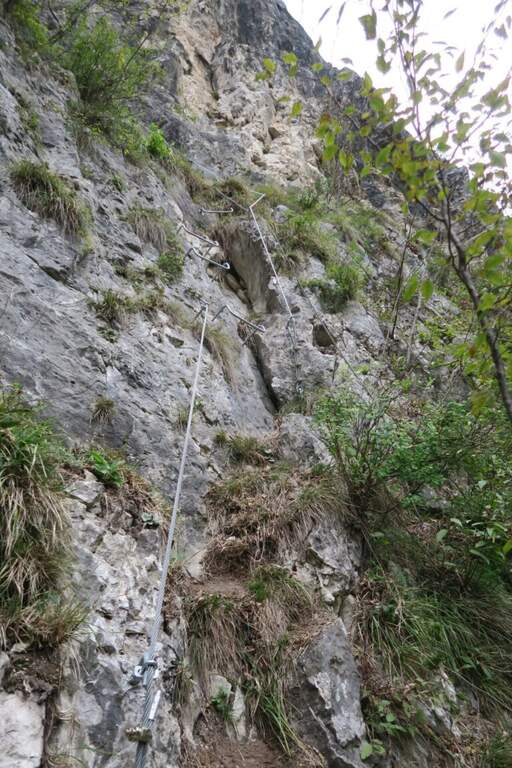
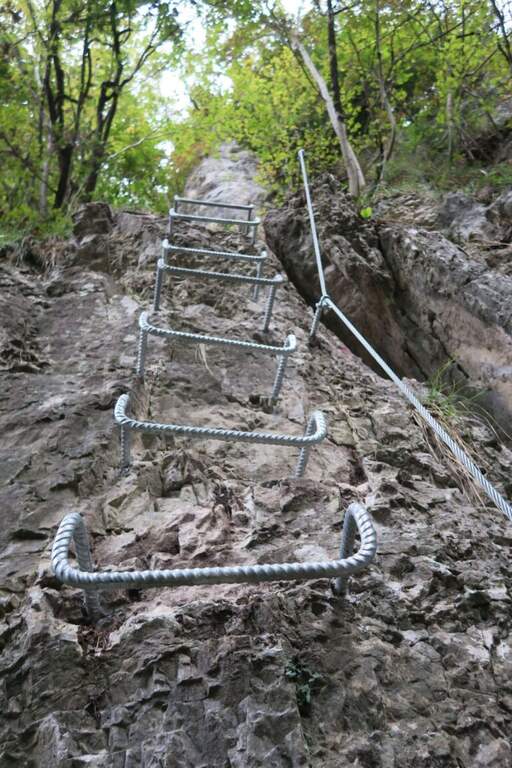
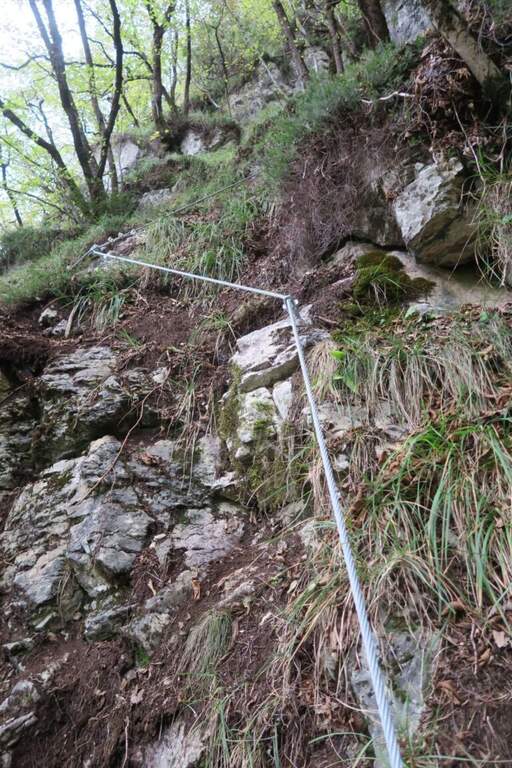
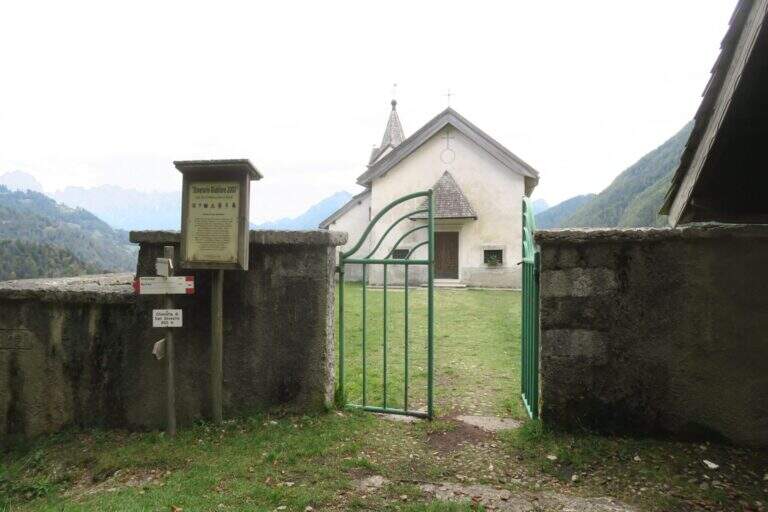
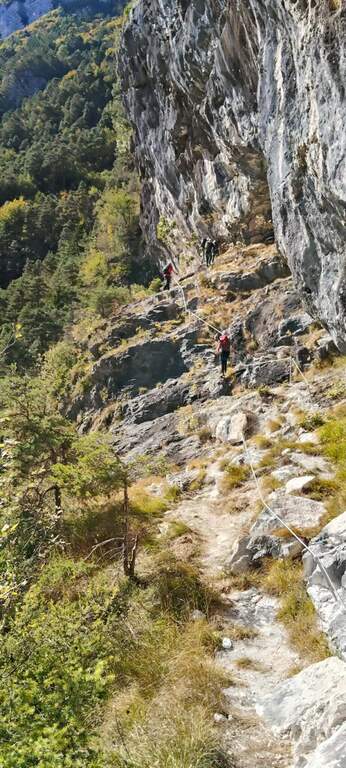
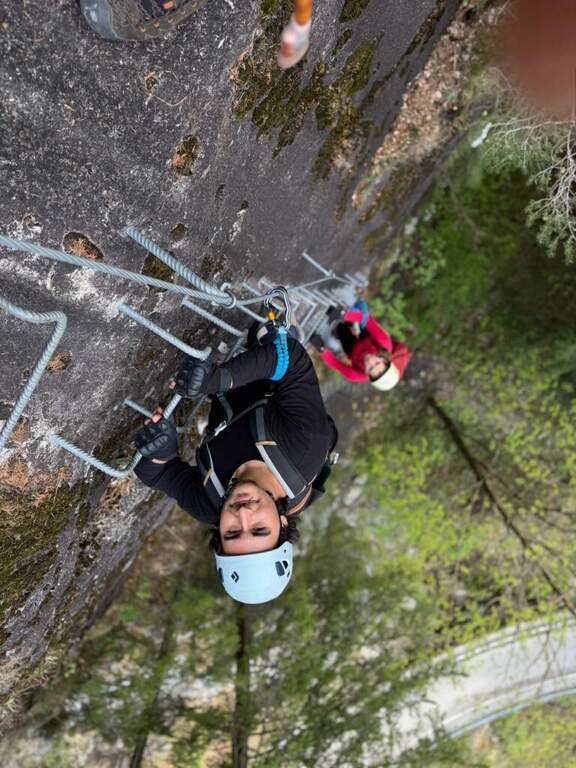
    First section: si parte con un tratto abbastanza verticale ma ben ammanigliato (gradini in roccia, staffe e facili roccette), poi si sale in diagonale verso sinistra su gradoni di solida roccia con varie cambre, una serie di cambre verticali, qualche balzo e una paretina staffata, fino al pianoro boschivo che chiude la prima sezione (circa 150 m di quota dal parcheggio): la parte iniziale è moderatamente difficile, il resto facile. In 5 minuti si arriva a un bivio sotto un traliccio: a sinistra il percorso per ragazzi «Sandokan», dritto la seconda sezione (qui un primo rientro per chi non vuole proseguire, 20' dall'attacco). Si prosegue nel sottobosco e in circa 15' si raggiungono le attrezzature: tre tratti di semplice sentiero attrezzato, poi facili roccette con qualche staffa e un traverso a sinistra fino a una parete verticale di circa 10 m ben provvista di cambre — il primo dei due tratti più esposti, comunque contenuto. Da un terrazzino panoramico (a destra il lago di Schenér, a sinistra Imer e Mezzano) si continua con altri passaggi su appoggi naturali e staffe; un traverso a destra e una lunga serie di staffe irregolari per circa 15 m costituiscono il secondo tratto più esposto. Si prosegue tra roccette, scalini e staffe, poi un lungo e semplice traverso a destra protetto dal bosco; si aggira la parete in obliquo aiutandosi col cordino a sinistra e, dopo un ultimo facile tratto attrezzato (terreno a tratti fangoso dopo le piogge), si arriva alla Chiesetta di San Silvestro, splendido punto panoramico (circa 1h dall'attacco / 1h 5' dal parcheggio).

    ▲Character and difficulty

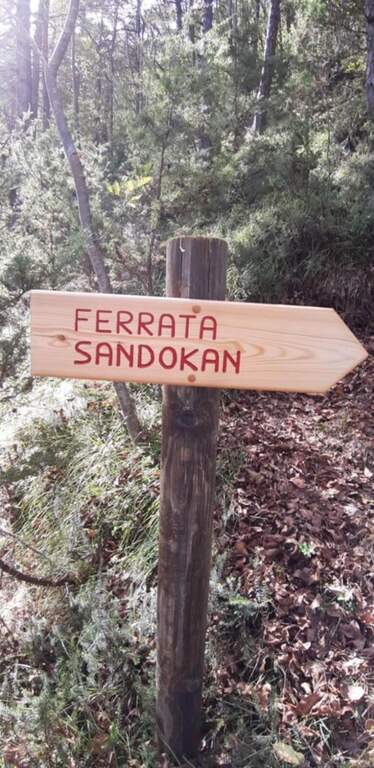
    Way adapted to the principianti: very short approach, contained exposure, modest physical commitment. A metà path, at the crossroads, the easy variant « is separated;Sandokan» (edited by Alberto Zanon), which descends to a large census and then to zig-zag in the forest up to one' another crag and parking (about 20', accessible uphill or downhill).

    ▲Period and safety

    Low altitude: all year round, with attention to snow or ice in winter. Exposed to the south-east, it is not recommended on very hot summer days, while being partly sheltered from the vegetation. No official GPS available on this route.

    ▲Discipline

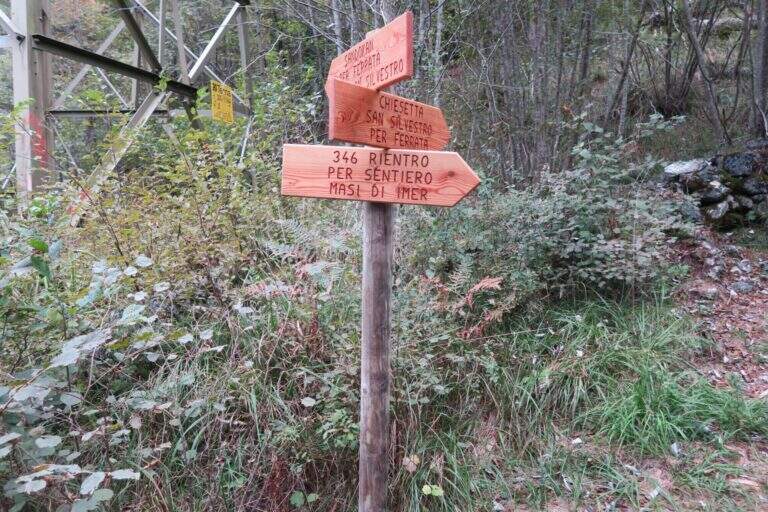
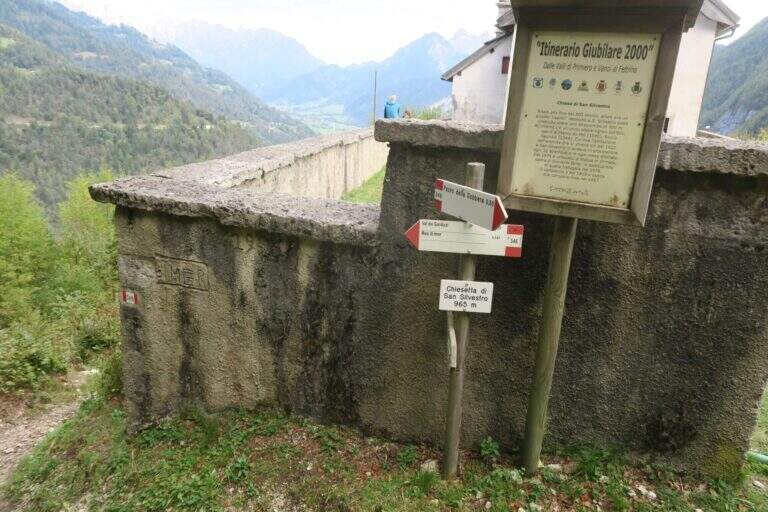
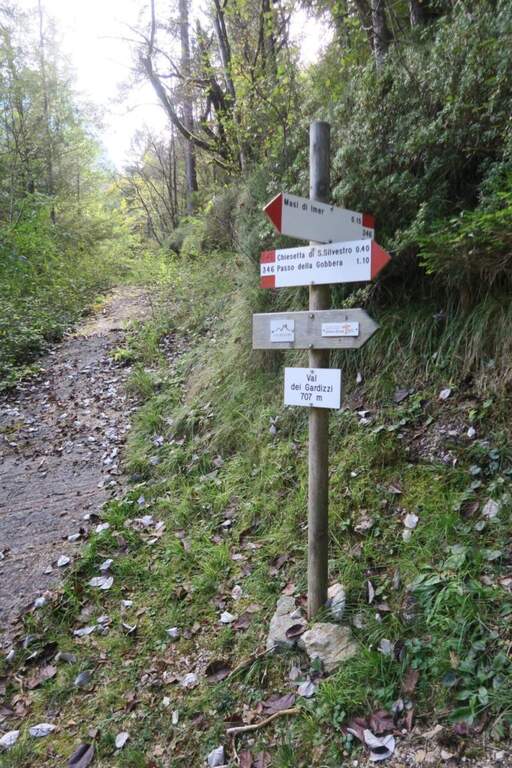
    From the church a sign indicates two options. Recommended: trail 346 which in about 40' leads to the provincial to the Masi of Imer (restaurant « At Bus») and in other 10' at the parking lot, crossing the road and the roundabout in front of the tunnel (50' from the term). Alternatively, it can be può stretch the lap up to 346 until the Passo Gobbera and get off for the provincial road towards Imer or for dirt/summer that connects più below the first option (about 1h 30').

    ▲To match

    In the Primiero and surroundings: the Ferrata del Canalone at the refuge Treviso and, at the Pale, the Ferrata Bolver-Lugli; towards the Dolomites Feltrine la Ferrata at Monte Coppolo.

    ▲Gallery
    Technical data
    • DifficultyModerately Hard
    • RegionTrentino-Alto Adige
    • GroupPrimiero
    • Approach0:05 h
    • Ferrata1:00 h
    • Itinerary (a/r)1:50 h
    • Hardware level difference330 m
    • Route difference380 m
    • Max965 m
    • Length5,4 Km
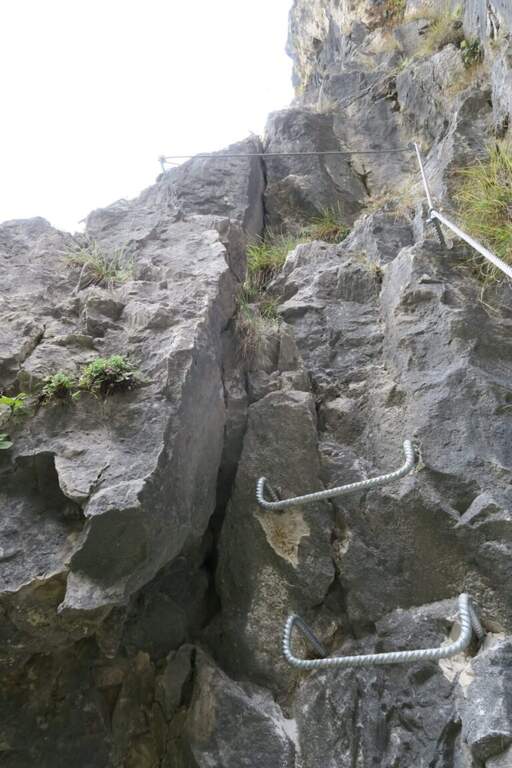
  • Ferrata Roda di Vael (Catinaccio)

    Ferrata Roda di Vael (Catinaccio)

    Vie Ferrate › Trentino-Alto Adige › Trento
    Ferrata Roda di Vael (Catinaccio)
    Moderately Hard● OpenDescriptionComplexityMapsGallery

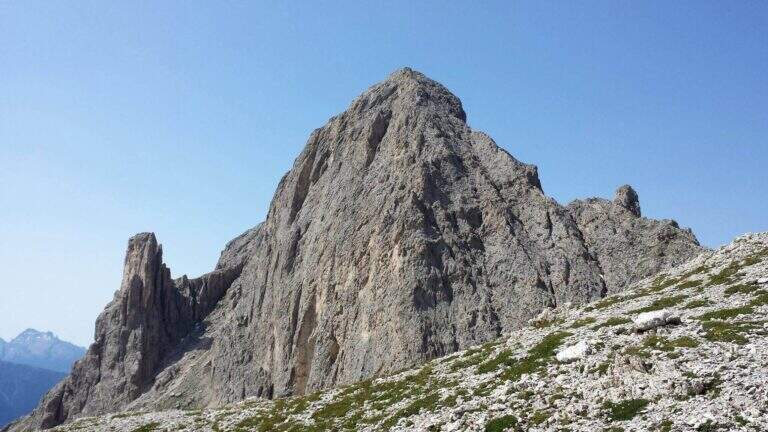
    The Ferrata Roda of Vael brings all' imposing peak of the same name (2806 m) to the Gruppo del Catinaccio, with an itinerary of difficult and difficult averages;. The climb from the Vajolon Pass è easy; the descent to the Window Tower presents individual più passages; challenging. It can be combined with the Ferrata Masarè for a satisfying ring tour.
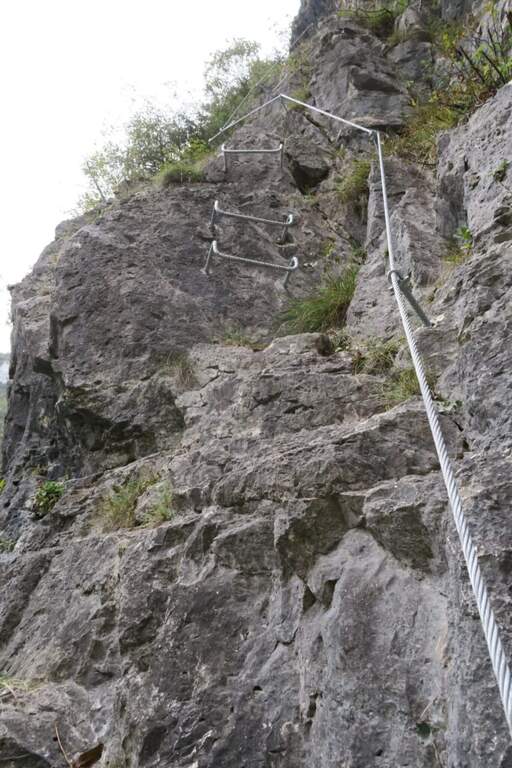
    ▲Approach

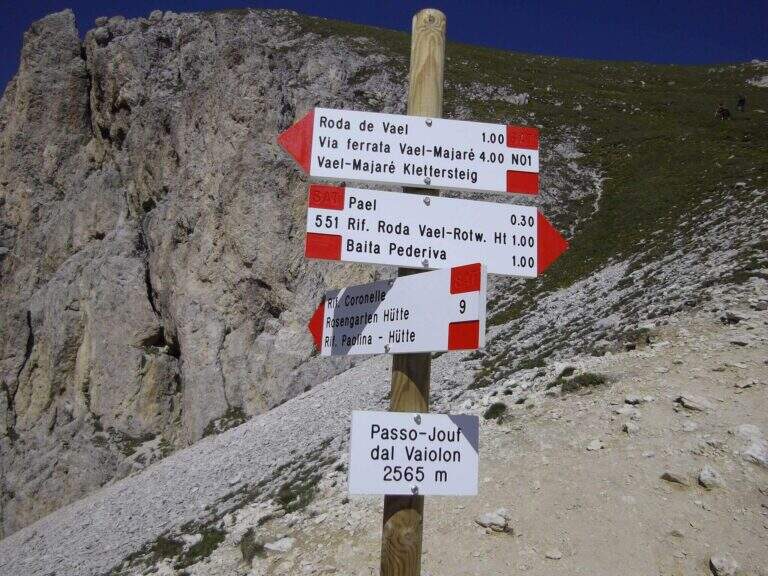
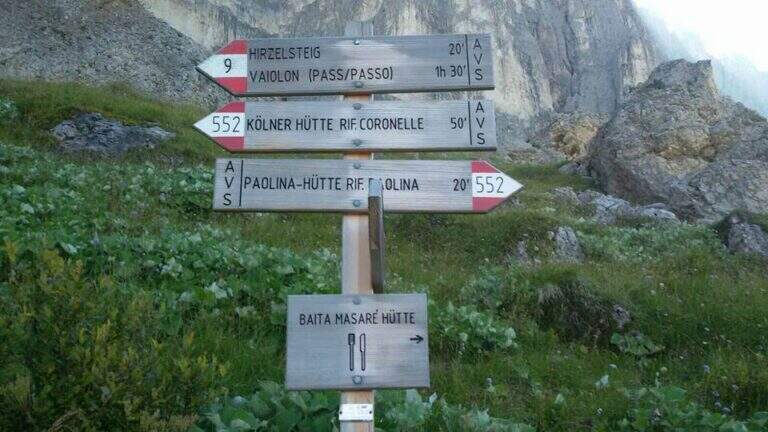
    Base the Rifugio Paolina (2125 m), reachable with the Paolina cable car from Carezza, at the Costalunga Pass; large parking to the plants. Open road signs on Google Maps. Dal Paolina si va verso nord/sinistra sul CAI 552, in leggera salita verso la parete ovest della Roda di Vael, poi sul CAI 549 e in direzione del Passo del Vajolon; superato un primo tratto attrezzato con fune e scaletta, lungo la traccia detritica si raggiunge il Passo del Vajolon (2565 m, 1h dal Rifugio Paolina). In alternativa si parte dalla Val di Fassa: da Vigo, funivia al Rifugio Ciampedie e sentieri CAI 541 poi 551 al Passo Vajolon (2h dalla stazione a monte).

    ▲The path

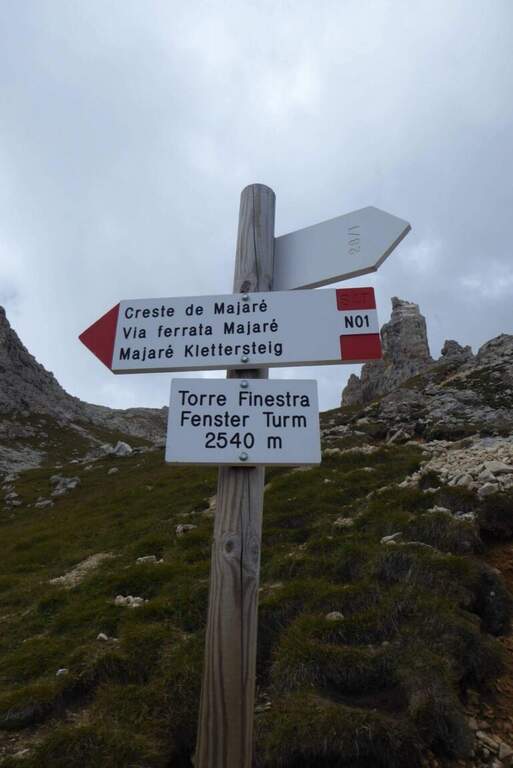
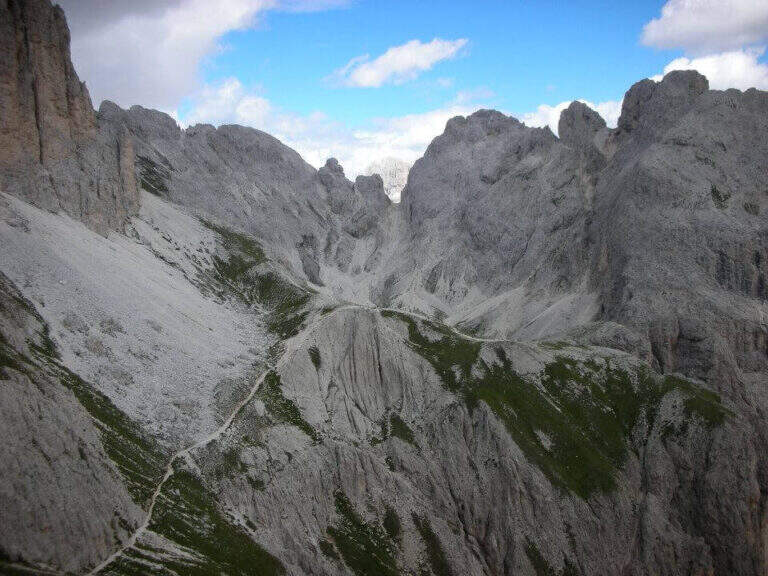
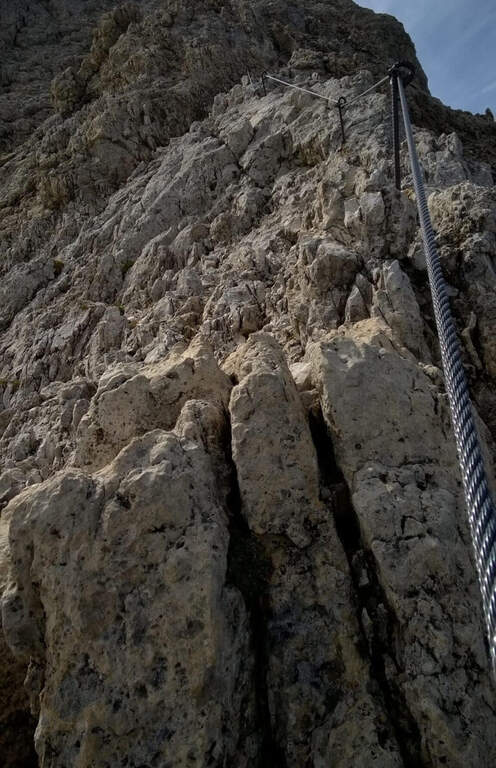
    Dal passo si risale in linea logica il filo di cresta dello spigolo della Roda di Vael seguendo le attrezzature: la salita non presenta particolari difficoltà e alterna tratti attrezzati medio-facili a roccette non attrezzate, con bella vista sulla valle detritica dietro il Catinaccio. Per sentiero di cresta attrezzato e qualche facile balzo si arriva in vetta alla Roda di Vael (2806 m), con la croce metallica (45' dal Passo del Vajolon / 1h 45' totali). Si scende quindi sul versante opposto su ampio sentiero, attrezzato nei tratti più ripidi: alcune roccette e una scala portano verso la Forcella delle Rode (si ignorano le funi che scendono ripide nel canalino e si prosegue in quota). Raggiunta la forcella si affronta il passaggio chiave: una parete verticale e molto esposta, con pochi appigli naturali, da risalire in diagonale verso sinistra; le numerose staffe sostengono la progressione e si esce al Pian del Diaol (2625 m, 1h 15' dall'attacco / 2h 15' totali). Si passa sotto la Torre Finestra (la fessura con la croce al centro) fino a un bivio: a destra sale la Ferrata Masarè (2h), a left you descend for a narrow stretch with a staircase in a rocky anfract and a couple of other equipped sections that close the ferrata (45' from the junction / 3h 15' totali). In both cases you descend to the Rifugio Roda di Vael (2283 m).

    ▲Character and difficulty

    Average difficulty in high altitude environment. The most challenging point is the diagonal wall of Pian del Diaol, exposed and able to put in difficulty the less experienced, although without any difficulty relevant techniques thanks to the excellent equipment.

    ⚠ Possible presence of neve also in late season in the stretch towards the Vajolon Pass. Beware of the detritic material that moves into the downhill section.
    ▲Period and safety

    Summer season, dry rock and no residue. Maximum altitude 2806 m.

    ▲Discipline

    From the Rifugio Roda di Vael you return to the Rifugio Paolina for a comfortable half-coast path CAI 549 and then 539, passing through the Monumento to Christomannos, up to the cable car station (1h from the Roda Refuge of Vael; without Ferrata Masarè 4h 15' total, with the Masarè 6h 15' total).

    ▲To match

    Natural continuation is the Ferrata Masarè. In the Catinaccio also the easy Ferrata Santner, la Ferrata Bepo de Medil, la Ferrata at the Catinaccio d'Antermoia, la Ferrata Laurenzi and the answer Ferrata Maximilian.

    ▲Gallery
    Technical data
    • DifficultyModerately Hard
    • RegionTrentino-Alto Adige
    • GroupCatering
    • Approach1:00 h
    • Ferrata1:00 h
    • Itinerary (a/r)4:15 h
    • Hardware level difference246 m
    • Route difference681 m
    • Max2806 m
    • Length13,1 Km
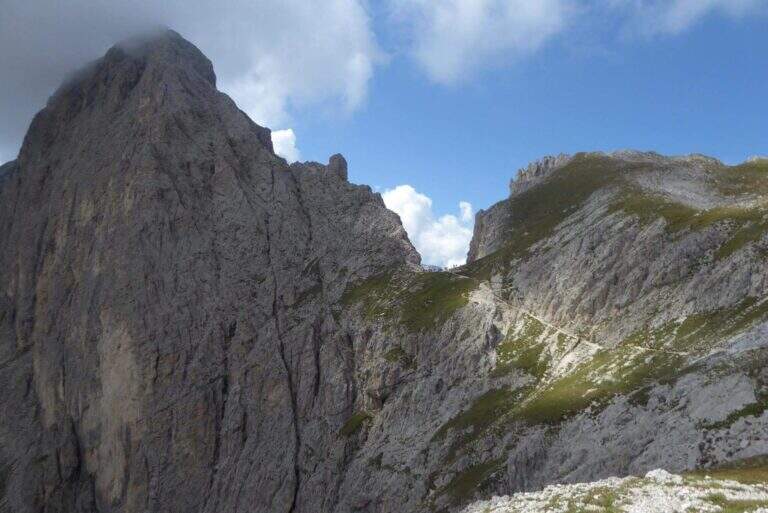
  • Ferrata Rio Secco in Cadino

    Ferrata Rio Secco in Cadino

    Vie Ferrate › Trentino-Alto Adige › Trento
    Ferrata Rio Secco in Cadino
    Moderately Hard● OpenDescriptionComplexityMapsGallery

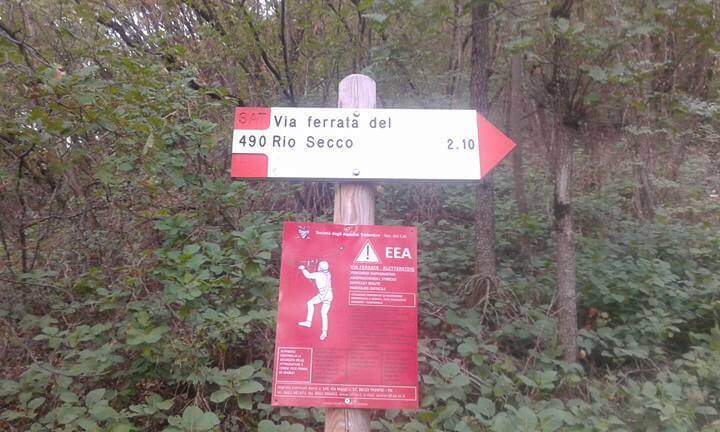
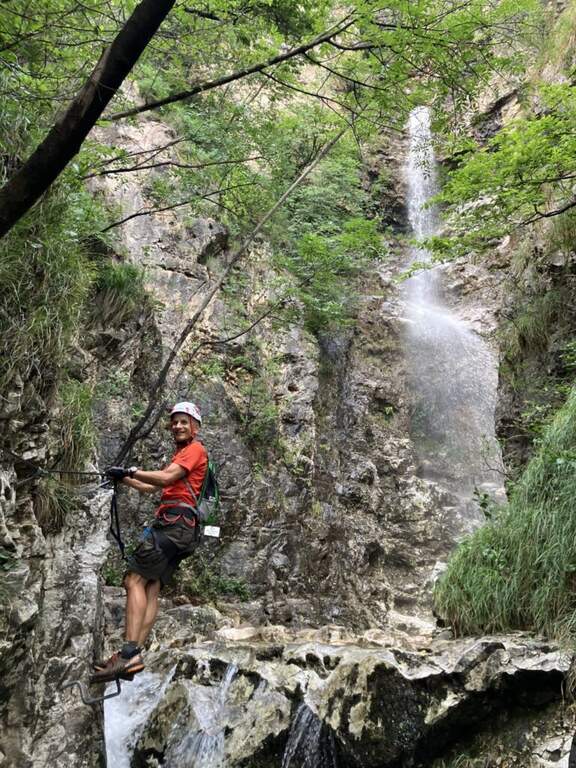
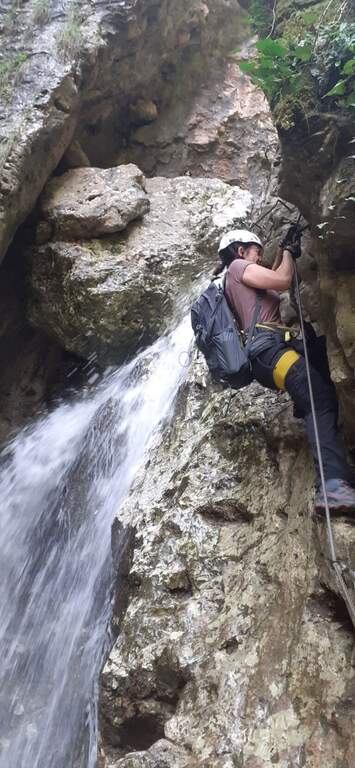
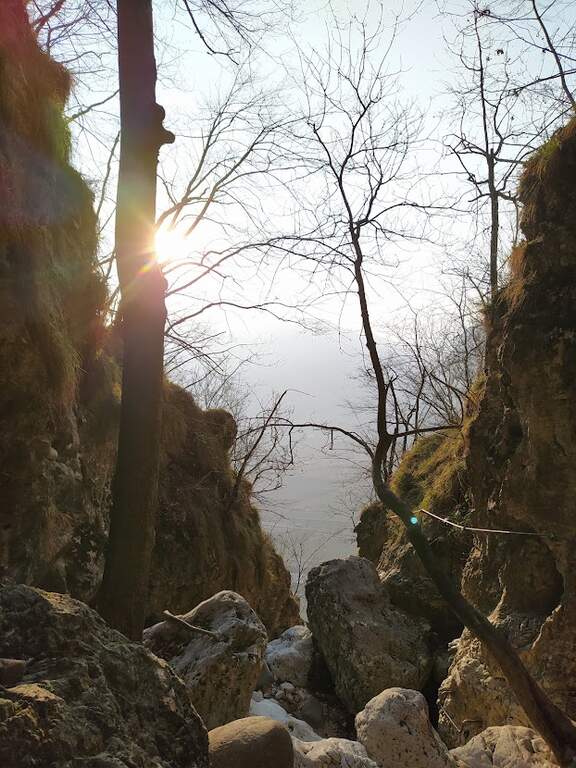
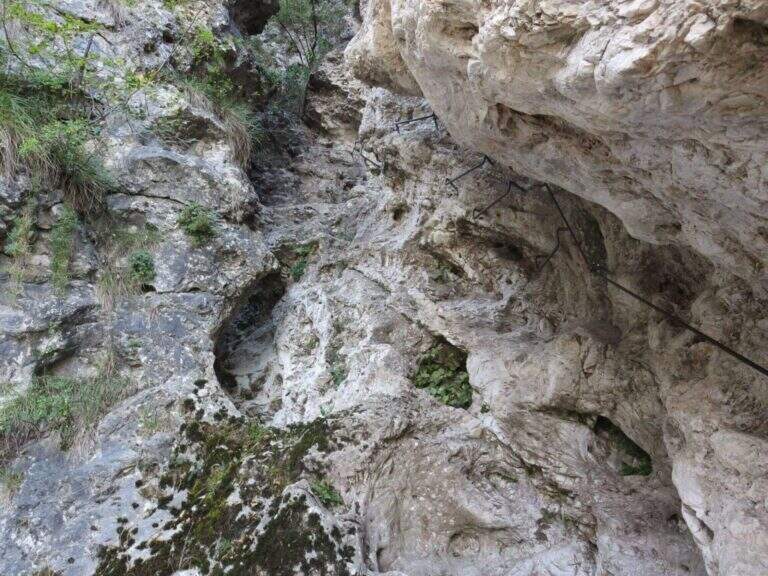
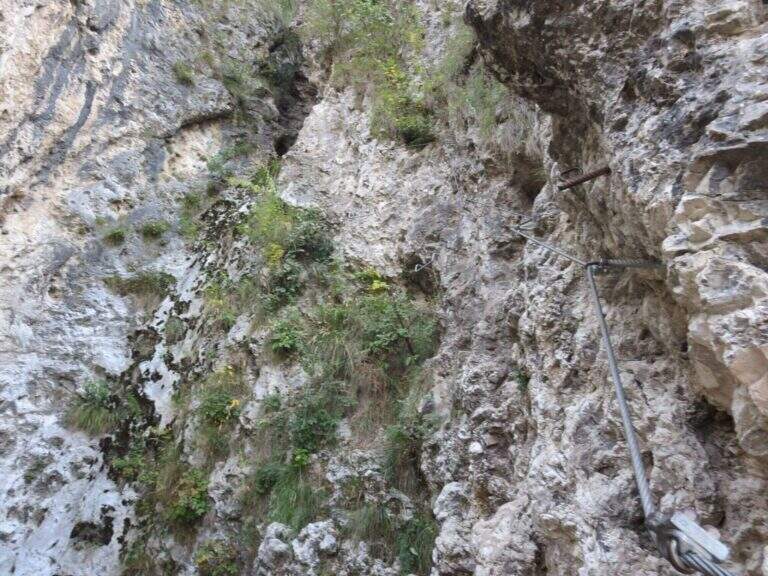
    The Ferrata Rio Secco takes place in the picturesque forra of a rio almost always dry (from which the name), above Cadino. È a varied and satisfying way, with some athletic traits but never technically prohibitive; remaining for the più at' shadow, the temperature remains pleasant also d' summer.

    ▲Approach

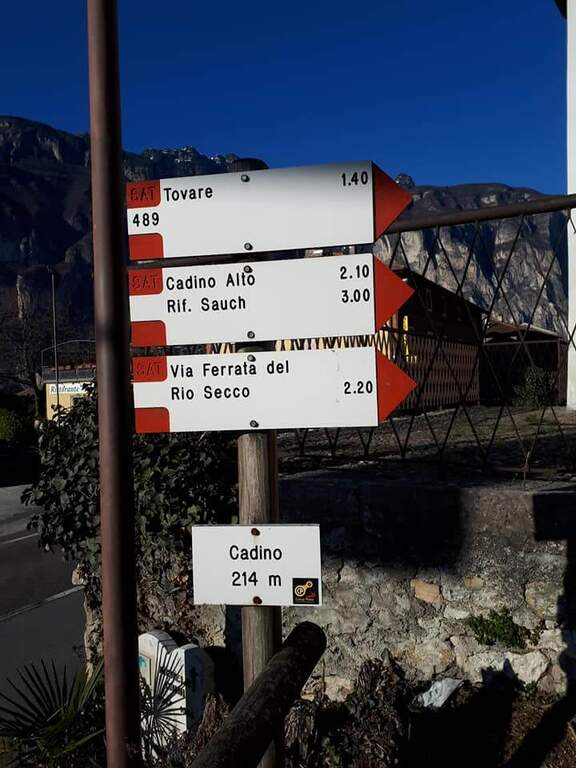
    Starting point l' inhabited by Cadino (TN): exit from ' Brennero highway in San Michele all'Adige and, remaining on the eastern side of the valley, go up for about 4 km towards Bolzano until you find convenient parking at the Restaurant Al Cadino. Open road signs on Google Maps. On the opposite side of the parking lot the white red marks CAI rise steeply in the woods; at a crossroad you hold the destra (left go down the return path) and climb up to a wooden bench, where you can comfortably wear a harness and helmet (15' from the parking lot).

    ▲The path

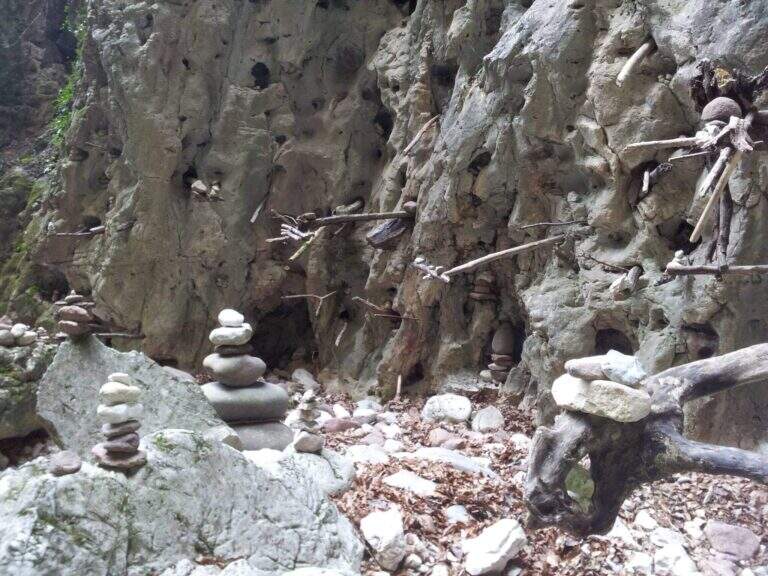
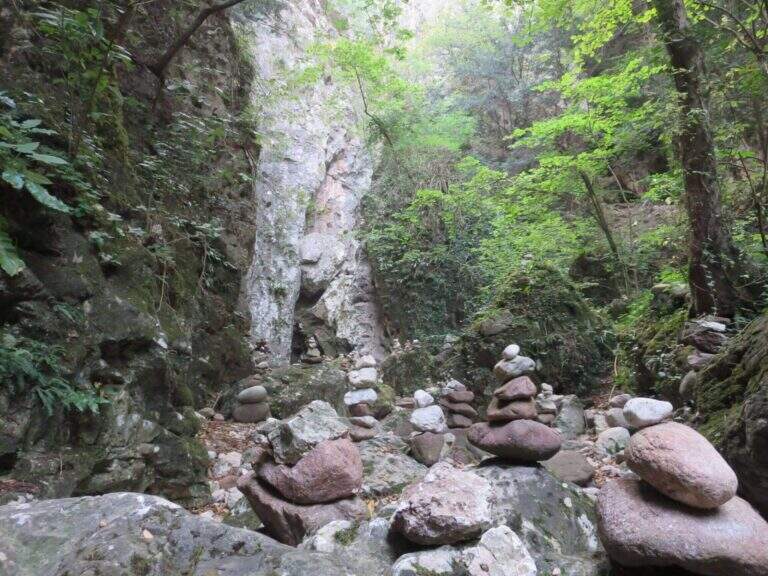
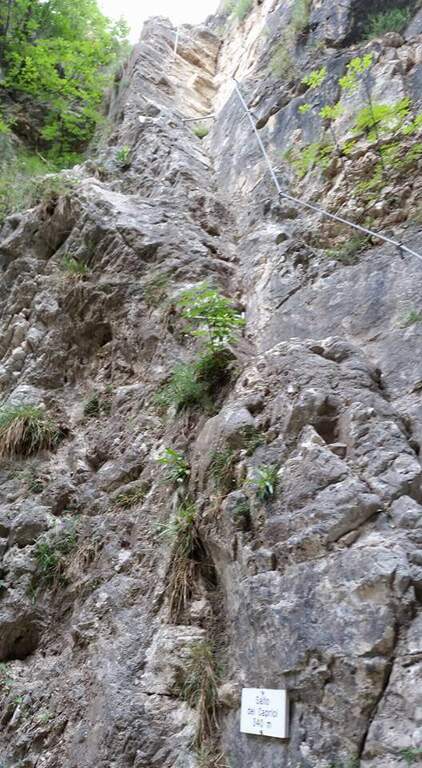
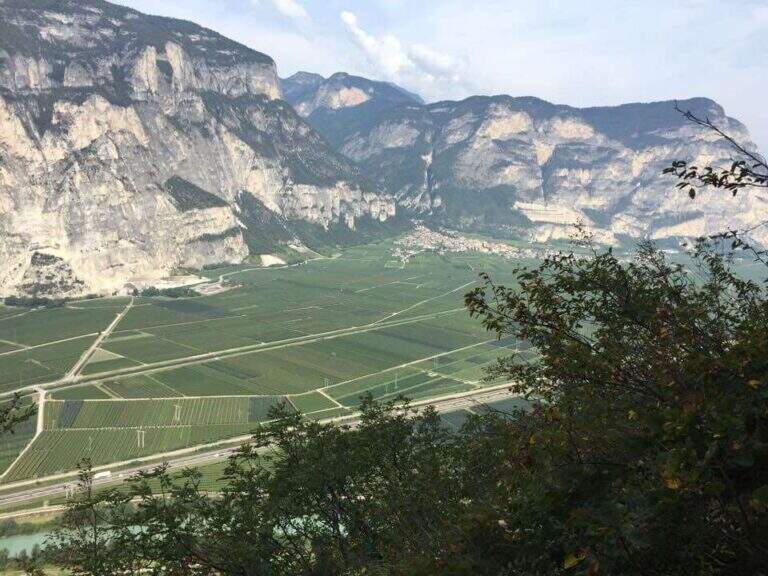
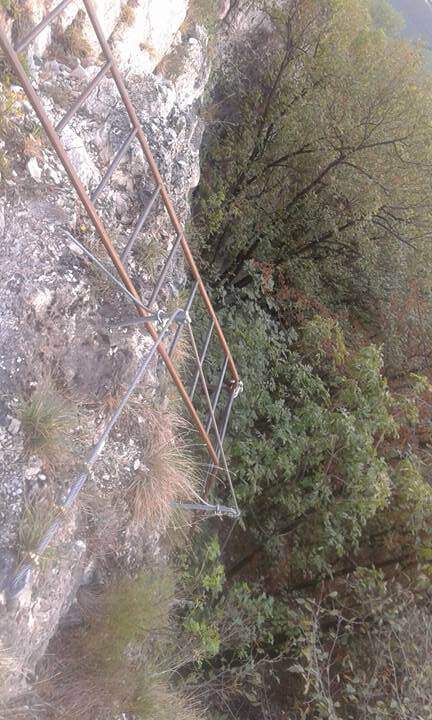
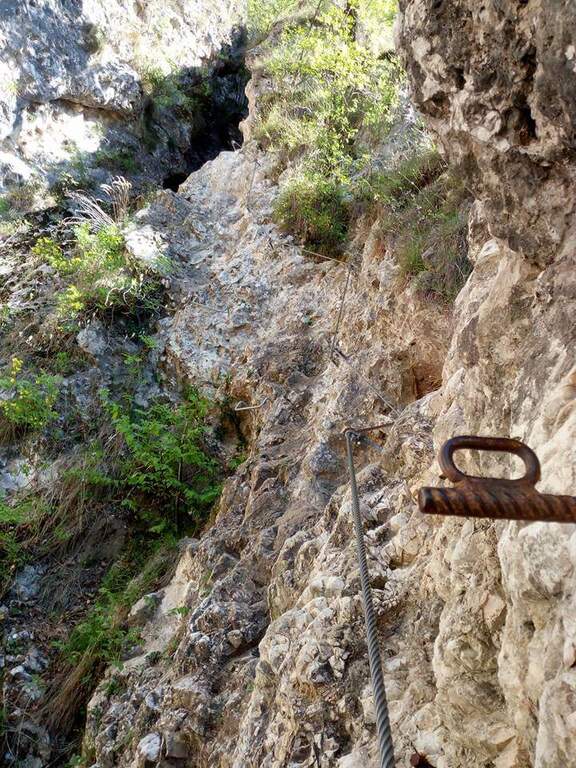
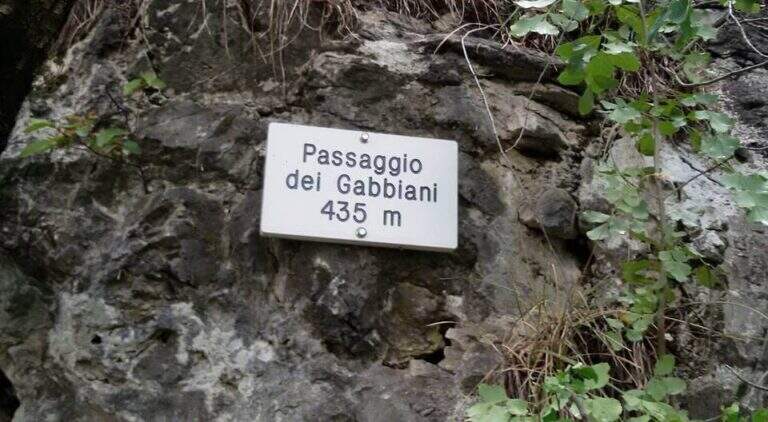
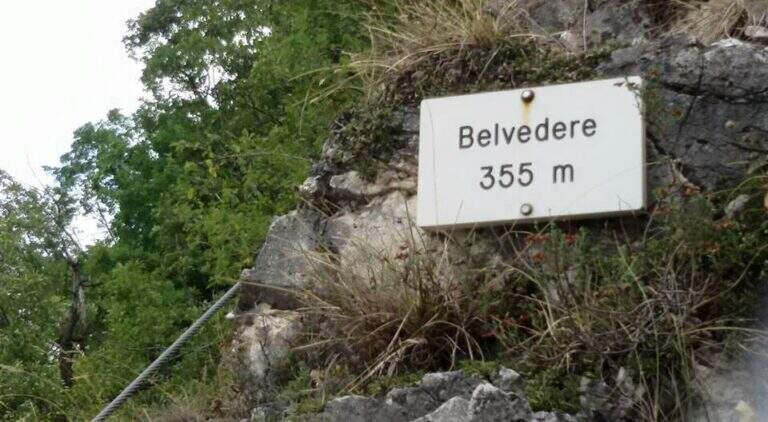
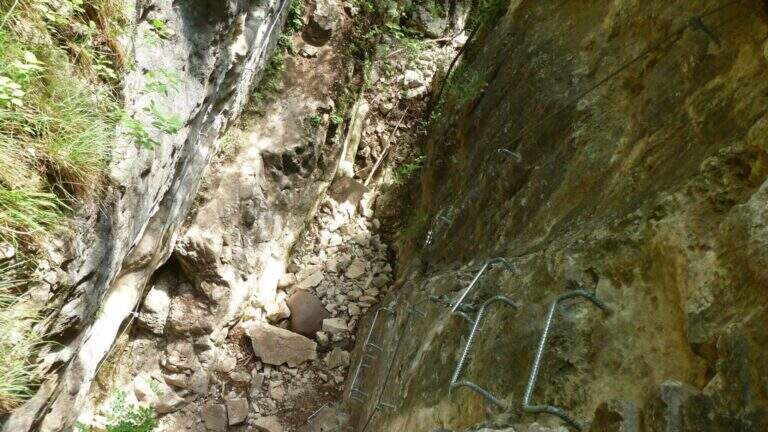
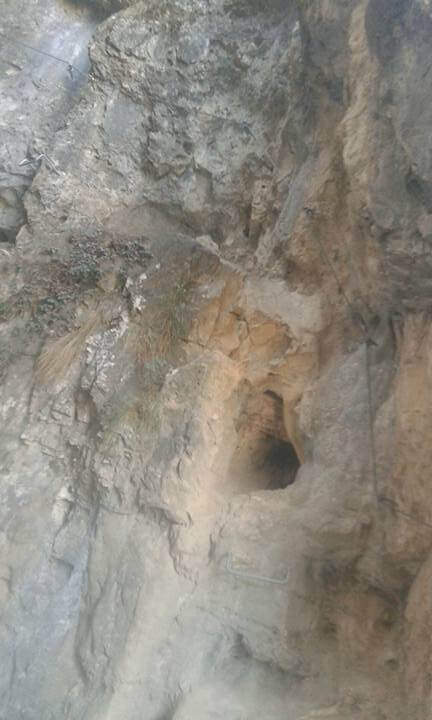
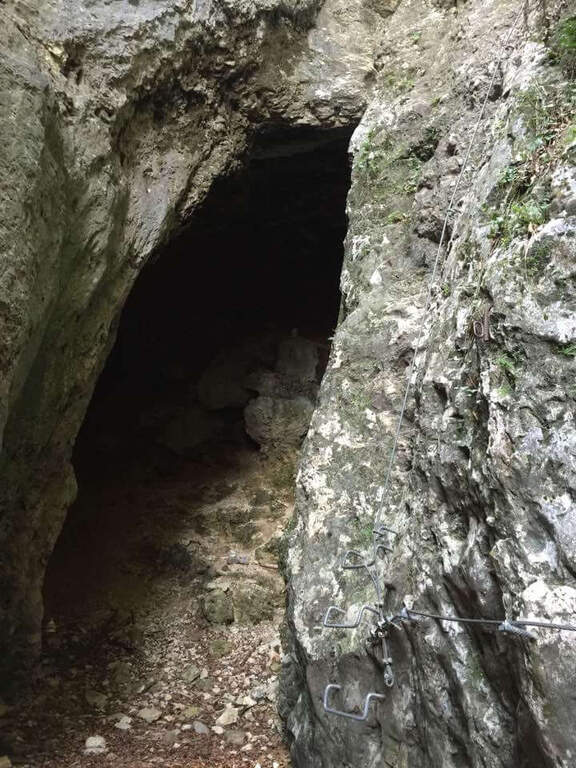
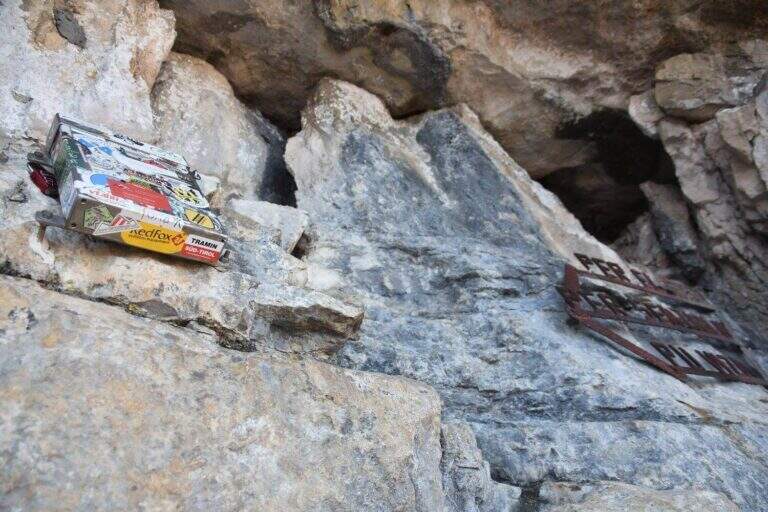
    I primi metri seguono una facile cengia discendente fino al letto del torrente, spesso secco. Sul versante opposto si risale una parete liscia e leggermente strapiombante, agevolata da numerose cambre metalliche e da due corde; poi si traversa a destra su un tratto pianeggiante prima del «Salto dei Caprioi», un bel diedro che alterna ottimi appigli naturali e ampie cambre. Si piega a sinistra su una cengia che aggira uno spigolo e porta sotto una parete verticale solcata da una profonda fessura (buoni appigli naturali e artificiali). Una targhetta «Belvedere» invita a voltarsi sul panorama della piana Rotaliana; un tratto di sentiero attrezzato scende in un caratteristico anfiteatro roccioso con molti omini di pietra. Si risale il versante opposto (sinistra orografica) in un anfratto di roccia levigata e si percorre un lungo traverso a sinistra risalendo il rio, fino a un sentiero attrezzato nel bosco e al «Passaggio dei Gabbiani», un aereo spigolo oggi superabile con discreto sforzo ma senza affanno eccessivo. Segue un lungo traverso in leggera salita con brevi balzi; si passa sulla destra orografica e la parete si stringe in verticale, da risalire con le cambre, poi un breve traverso fino a una via di fuga: a sinistra il CAI 490A (30' per il rientro), a destra si prosegue la via (45' dall'attacco / 1h totali). Si continua su facili roccette e passaggi attrezzati fino al secondo anfiteatro, la «Grotta del Basalisc», dove i passaggi si fanno più impegnativi per la roccia levigata: il primo tratto sale in diagonale su roccia liscia priva di appigli naturali, resa percorribile dalle cambre (media difficoltà, un po' spinti in fuori dal cavo). Al libro delle firme seguono un paio di facili traversi a sinistra e l'aggiramento di uno spigolo esposto dove le staffe aiutano molto; presso la Grotta della Mariotta si risale una parete verticale ben servita da staffe e appigli, dove terminano le attrezzature (1h 15' dall'attacco / 1h 30' totali). Un sentiero ripido nel bosco porta in 5 minuti al cartello che indica a sinistra il rientro a Cadino.

    ▲Character and difficulty

    Difficultà media: varied route, with athletic traits but without technically prohibitive steps. Recent and abundant equipment; very suggestive hole environment, to be covered also in the warm months.

    ⚠ Rio water flow varies with the season: in spring and winter water can be present even impetuous; in summer and autumn (new rains rising) the rio is actually dry. Evaluate the conditions after precipitation.
    ▲Period and safety

    It can be traveled most of the year thanks to the low altitude (maximum 640 m) and shaded exposure. Level difference of 234 m, total development about 2.5 km.

    ▲Discipline

    Il sentiero esce in breve dal bosco affacciandosi sulla Val d'Adige 600 metri più in basso e scende ripido (utili i bastoncini). Si incontra una lunga scala metallica e alcuni facili tratti attrezzati in discesa, per cui conviene tenere ancora l'imbrago; si prosegue ripidi nel bosco fino al bivio dell'avvicinamento, dove si tiene la destra per scendere al parcheggio (1h dal termine della ferrata / 2h 30' totali).

    ▲To match

    For the short approach it combines well with other routes of Val d'Adige: the nearby Ferrata di Favogna, la Ferrata Mendola al Roen, la Ferrata delle Aquile in Andalo, or, in Val di Sarca, the Ferrata Pisetta, la Ferrata Che Guevara e la Ferrata Marangoni to Mori. To be noted also the recent Ferrata della Croce di Fai.

    ▲Gallery
    Technical data
    • DifficultyModerately Hard
    • RegionTrentino-Alto Adige
    • GroupVal d'Adige
    • Approach0:15 h
    • Ferrata1:15 h
    • Itinerary (a/r)2:30 h
    • Hardware level difference234 m
    • Route difference384 m
    • Max640 m
    • Length2,5 Km
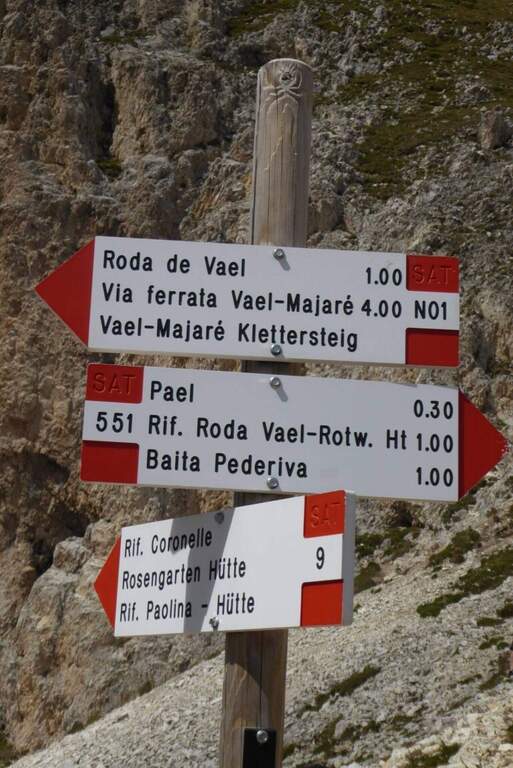
  • Ferrata Rino Pisetta at Cima Garzolet (Sarche)

    Ferrata Rino Pisetta at Cima Garzolet (Sarche)

    Vie Ferrate › Trentino-Alto Adige › Trento
    Ferrata Rino Pisetta at Cima Garzolet (Sarche)
    Extremely Hard● To checkDescriptionComplexityMapsGallery

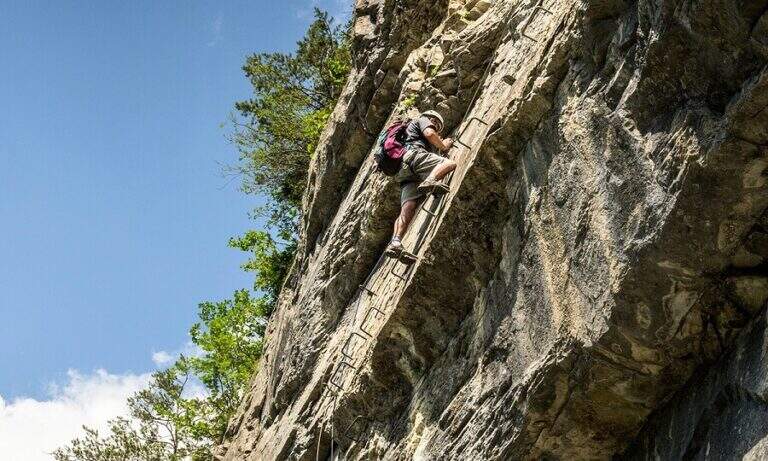
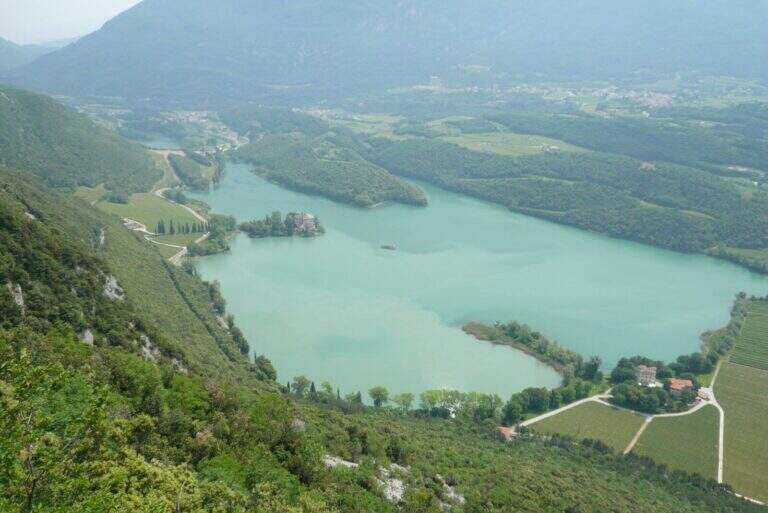
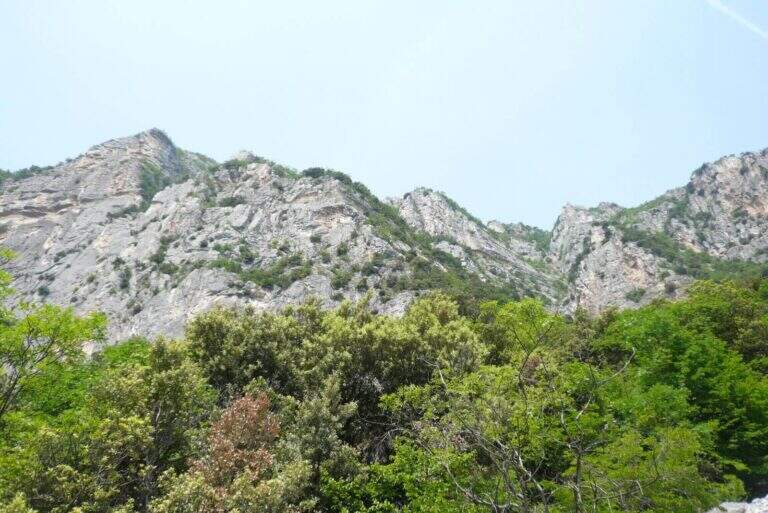
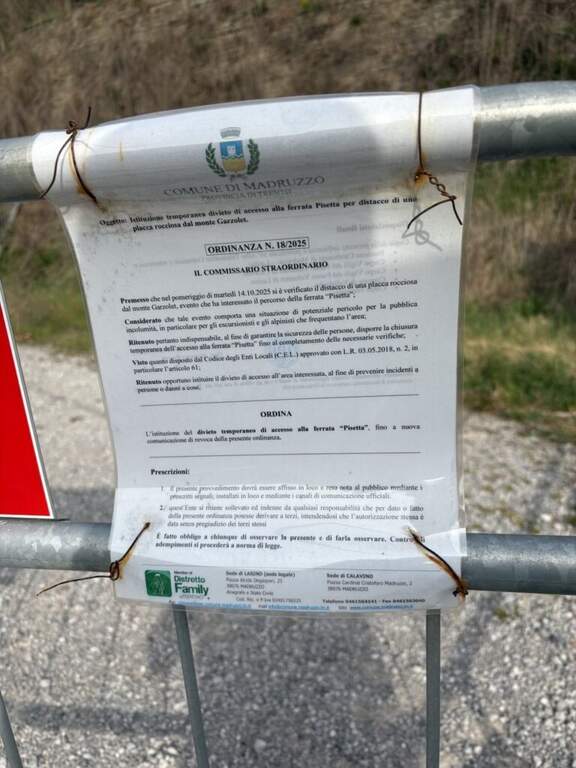
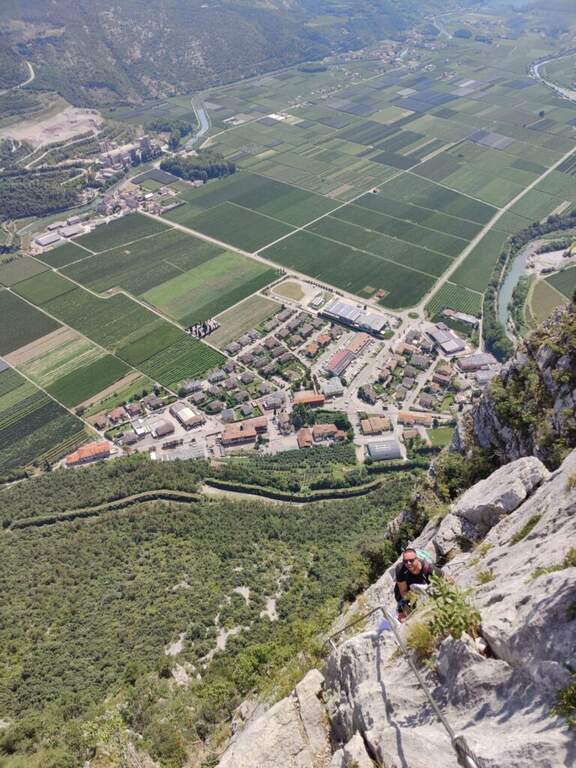
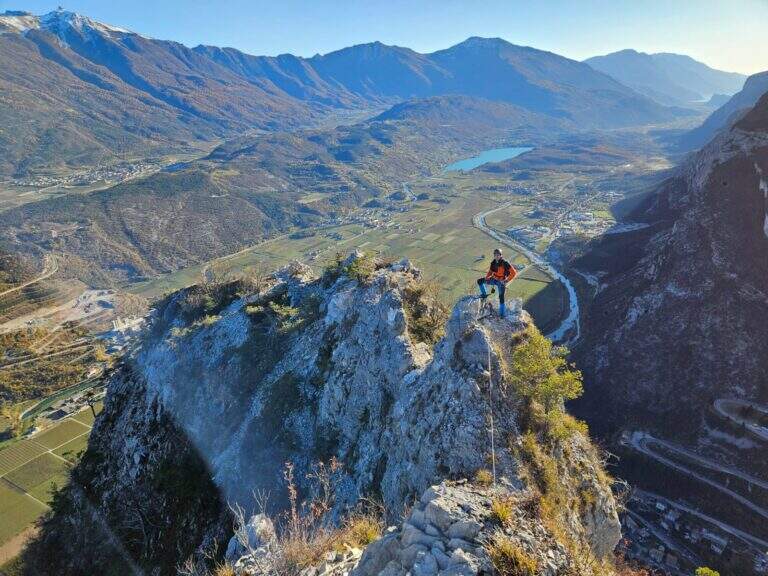
    The Ferrata Rino Pisetta climbs l' impressive wall of the Cima Garzolet, above Sarche: a historic street, among the pi` hard and athletics d' Italy, strongly vertical and exposed, alternating overhanging walls, challenging beams and chimneys with slot. It should be faced only in good physical conditions and with solid experience of equipped routes.

    ▲Approach

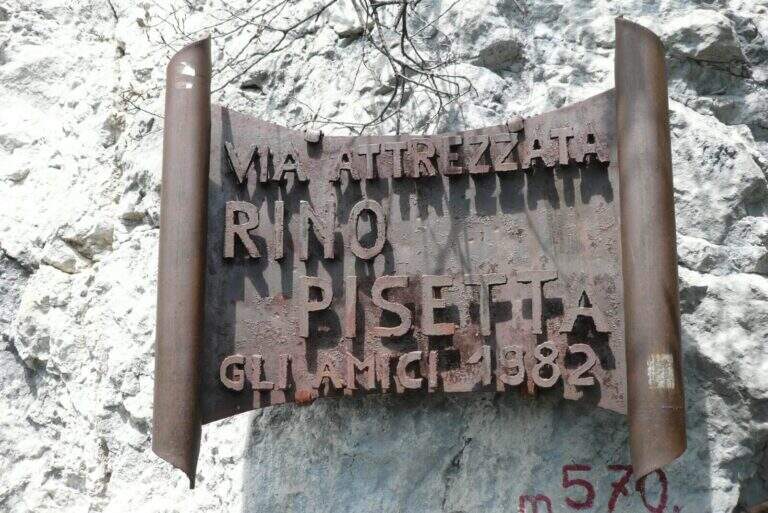
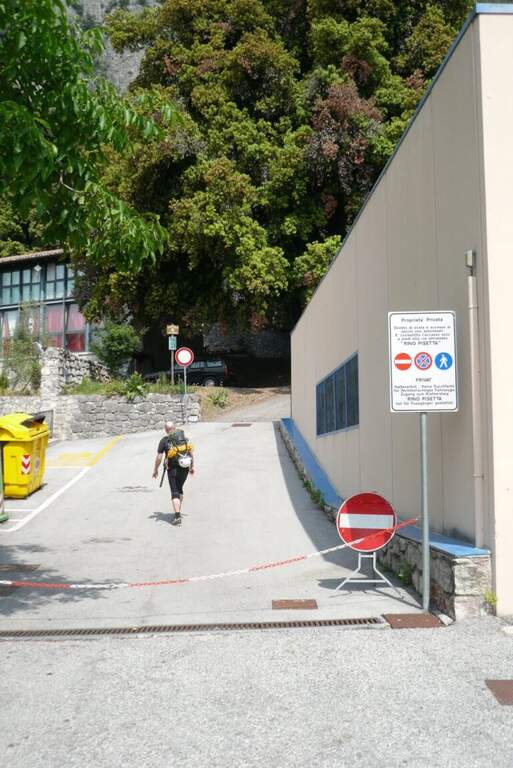
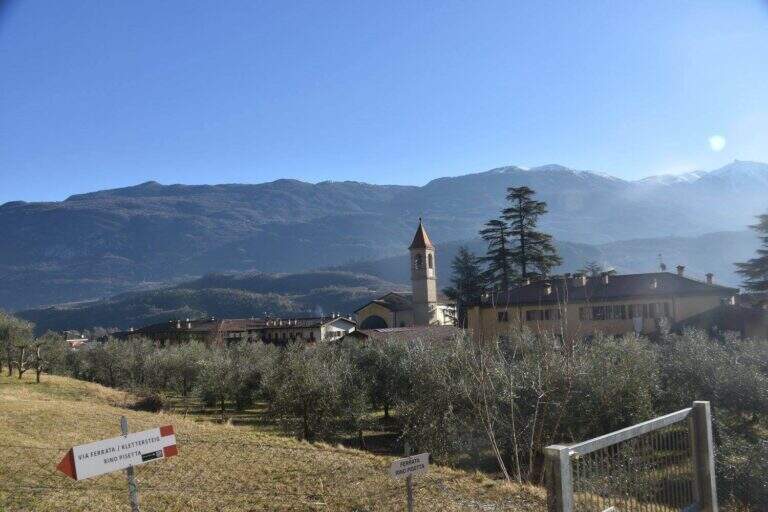
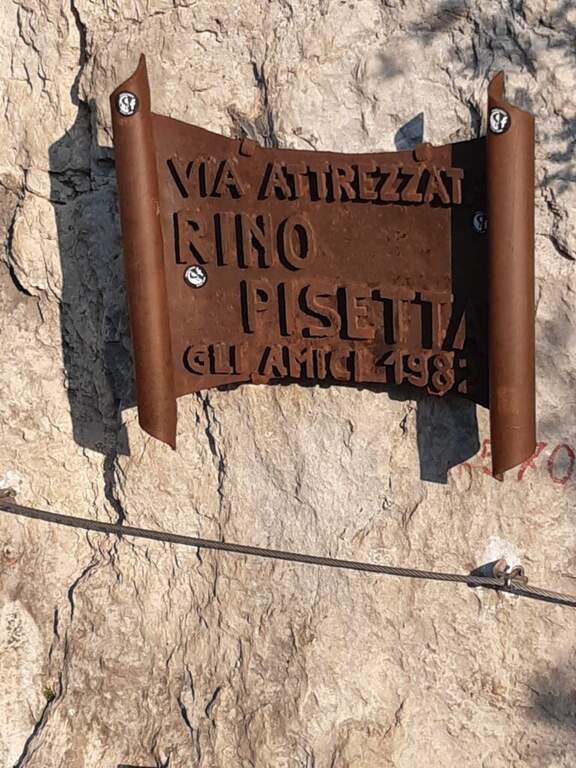
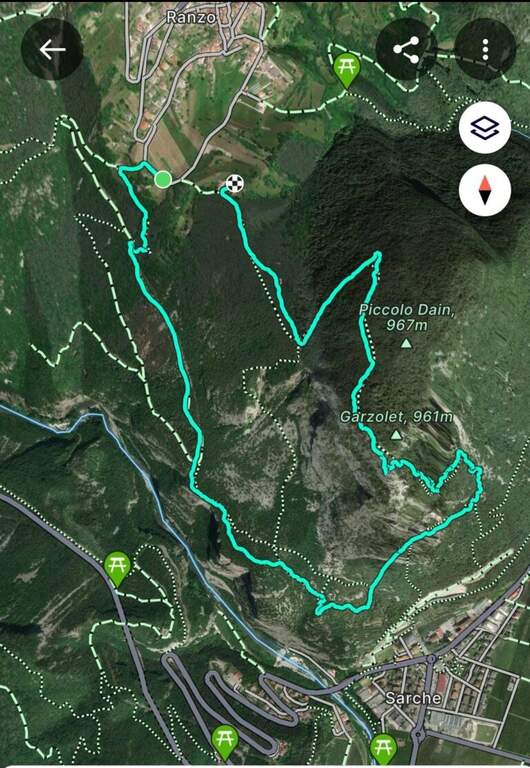
    Starting from the 'inhabited of Sarche (TN): from the roundabout you proceed towards Madonna di Campiglio, you pass a distributor on the left and take the road to destra for the parking space of Ferrata Rino Pisetta, at the elementary school and the bocciofila. Open road signs on Google Maps. Along the bocciodromo and, behind l' building, a white sign indicates the path. You enter the forest, at the first crossroads you will keep the destra and the next sinistra, going up steep until the red-white signs of the street; a tiring climb leads all' attack, with the metal plate of the ' year of construction (45' from the parking ).
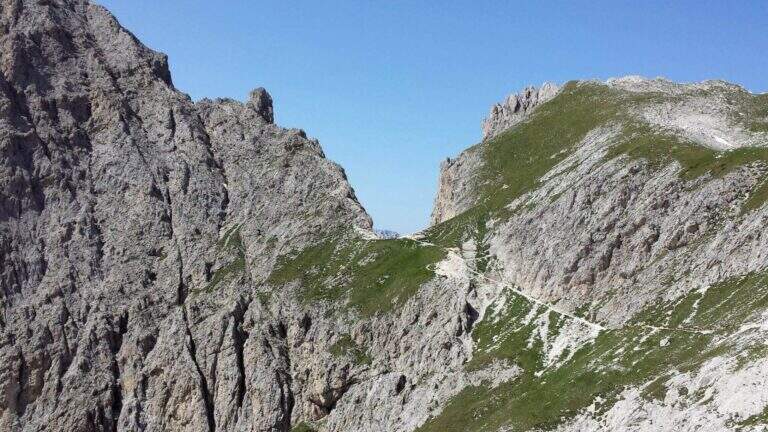
    ▲The path

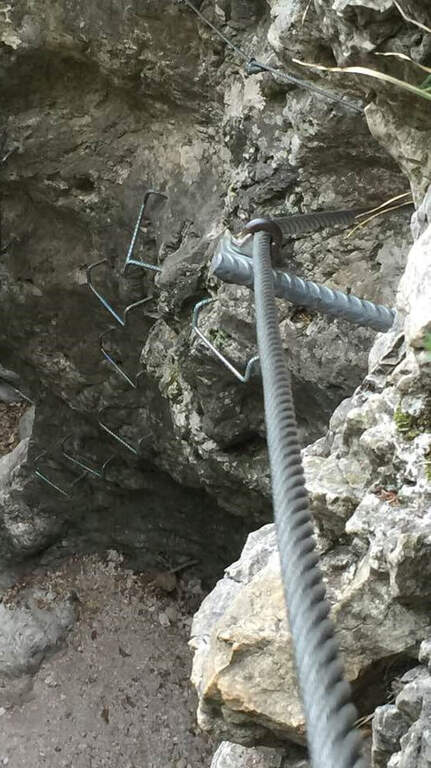
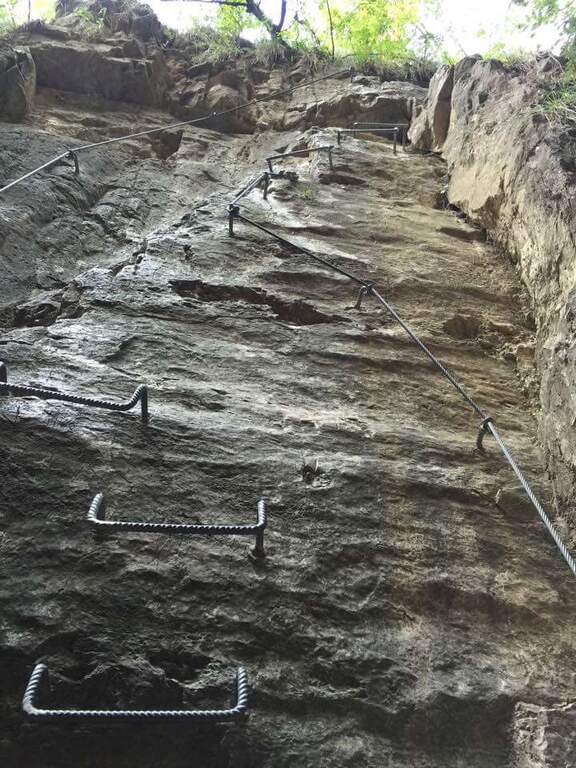
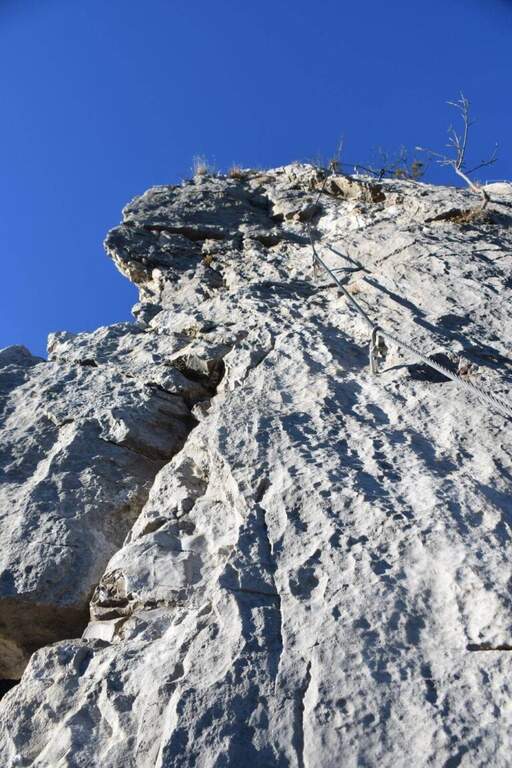
    Si comincia subito con una parete verticale di una ventina di metri, uno dei passaggi più impegnativi dell'intera via: appigli scarsi per mani e piedi, spesso necessario tirarsi sulle braccia; conviene cercare gli appigli naturali meno evidenti per risparmiare forze. In alto il cavo piega a sinistra su un esposto traverso in leggera discesa, poi riparte verticale dentro un camino; superato un albero si guadagna una cengia a sinistra dove conviene rifiatare (qui una via di fuga a destra). Dopo pochi metri in piano la via riparte verticale su roccia più frastagliata e appigliata, con un traverso a sinistra e alcuni balzi rocciosi, fino a un tratto verticale con una caratteristica fessura utile per piedi e mani. Segue un impegnativo, esposto e faticoso traverso a sinistra, con un paio di passaggi in piena aderenza: bisogna arrivarci con ancora molta forza nelle braccia. Il traverso aggira uno spigolo esposto e sale in diagonale fino a un piccolo balcone. Si entra nel tratto più atletico: si continua in traverso sfruttando un paio di appigli artificiali, poi il cavo riparte verticale in forte esposizione, con maniglie, staffe e una fessura sul lato sinistro; si sale cercando i pochi appigli naturali (anche a destra della fessura), a tratti tirando sul cavo. Al termine della placca il cavo piega a sinistra su una cengia rocciosa (sosta e panorama). Ci si sposta a sinistra e si riparte verticali: come prima, una fessura e qualche piolo aiutano la progressione e offrono brevi soste. Questa seconda parete verticale è molto esposta e aerea; la fessura si allarga in un camino poco profondo, da cui si esce presso un alberello con buoni appigli. Un traverso a sinistra porta a risalire un'altra parete verticale con un basso tetto roccioso (non utile come sosta); si prosegue verticali in un tratto povero di appigli, dove arrampicare diventa molto difficile e si procede in buona parte tirando sul cavo, fino a uno stretto balconcino dove riposare le braccia. Ancora verticale su roccia liscia, un breve traverso a destra e si riparte con una nuova fessura sulla destra: qui terminano le difficoltà sostenute. Restano un paio di passaggi impegnativi ma assai più abbordabili; gli ultimi 30-45 minuti sono fatti di canalini, brevi pareti e balzi di media difficoltà, con roccia più facile da arrampicare. Si guadagna l'ultimo sperone con il libro delle firme (2h dall'attacco / 2h 45' dal parcheggio) e quindi la crestina sommitale, non difficile ma esposta e faticosa, attrezzata con cavo come corrimano, fino alla panchina di legno affacciata sulla valle dove la via termina (2h 15' dall'attacco / 3h totali).

    ▲Character and difficulty

    Via extremely difficult, technique, athletics and exposed: often smooth rock, long vertical and overhanging traits where it serves strength in the arms and ability to climb. Built in 1982, it has been for years the Ferrata-banco test par excellence and has inaugurated the season of sports ferrates. The equipment is in good condition, with very tense rope.

    ⚠ Only for very trained and experienced drivers. In summer the wall è completely in the sun in the morning: better fresh hours and days not torrid. Useful climbing shoes (adhesion) and gloves (cuts and shots on the cable). The source reports the state as « To check »: check the conditions of the route before leaving.
    ▲Period and safety

    Typical season from spring to autumn with dry rock; to avoid the full summer sun of the morning. Maximum altitude 971 m, difference in level of the ferrata 406 m, total development of the itinerary about 8 km.

    ▲Discipline

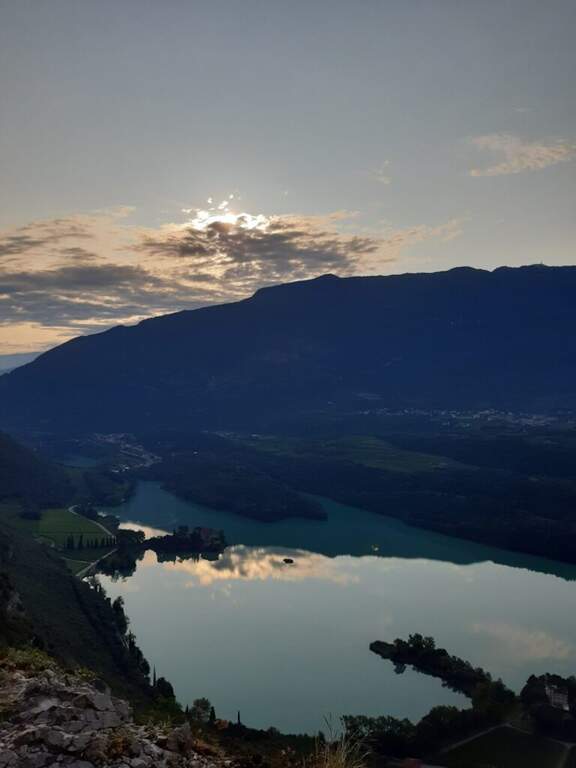
    Dalla Cima Garzolet (961 m) si scende verso ovest in direzione di Ranzo: si raggiunge un'area picnic e si prosegue in discesa fino a una mulattiera. La si percorre interamente e, in vista di Ranzo, a un bivio si tiene la sinistra sulla strada fino a una palina CAI; si segue a sinistra in discesa fino a un piccolo edificio religioso, dove un cartello poco visibile a sinistra indica «Sarche» e l'attacco est della Pisetta. Si scende una ventina di minuti su mulattiera e poi sentiero fino a un bivio: si tiene la sinistra seguendo «Via Attrezzata». Dopo un faticoso saliscendi si scende con alcuni tratti attrezzati su cenge esposte ma non difficili, quindi per ripidi tornanti nel bosco si ritrova il sentiero dell'avvicinamento e si torna al parcheggio (1h 30' dalla vetta / 4h 30' totali). In alternativa, dalla cima si può scendere a destra verso la Val Dossel sul CAI 613 fino al CAI 01 ST per Castel Toblino (segni azzurri nel bosco), poi in discesa verso Sarche percorrendo l'esposta cengia attrezzata della Costa di Monte Oliveto, fino a ritrovare il sentiero dell'andata (2h dalla vetta / 4h 45' totali).

    ▲To match

    In Valle dei Laghi and low Val di Sarca, on the same sports front, the Ferrata Che Guevara at Monte Casale, la Ferrata del Rio Sallagoni in Castel Drena and the Ferrata di Preore; not far from the historical Ferrata Marangoni to Mori.

    ▲Gallery
    Technical data
    • DifficultyExtremely Hard
    • RegionTrentino-Alto Adige
    • GroupValley of Lakes
    • Approach0:45 h
    • Ferrata2:15 h
    • Itinerary (a/r)4:45 h
    • Hardware level difference406 m
    • Route difference713 m
    • Max971 m
    • Length8 Km
  • Ferrata Poppele Knott in Laces (Val Venosta)

    Ferrata Poppele Knott in Laces (Val Venosta)

    Vie Ferrate › Trentino-Alto Adige › Bolzano
    Ferrata Poppele Knott in Laces (Val Venosta)

    The Ferrata Poppele Knott is a short equipped street just above Laces, in Val Venosta: short and uncomplicated itinerary, perfect for a half day or for those who move the first steps on the ferrates. The name comes from a big erratic rock, the Poppele Knott, which meets right near the attack.

    ▲Approach

    You leave l' car to the small parking lot of the church in locality; Tiss, near Laces (about fifteen places). Open road signs on Google Maps. From the parking lot take the road that descends towards sinistra among the apple groves; in about ten minutes you arrive almost to the state of Stelvio. Shortly before reaching it, on the sinistra, a pole clearly signals the ferrata («Tiss Klettersteig»); a last steep tear in the wood leads to all' attack (15' from parking ).

    ▲The path

    The street is short: about 60 m of height difference for 0,6 km of development, available in about twenty minutes, with a maximum quota around 750 m. At present the source does not publish the detailed description, step by step, of the equipped section: for correctness we do not bring it back and we stick to the only certain data (development, difference in level, times and degree). The overall character is easy, in a sunny setting between the apple trees of Val Venosta.

    ▲Character and difficulty

    Difficultà facile, also suitable for those who ` the first experiences on an equipped basis. The brevità makes it ideal as an introductory exit or as a complement of one' another in the area.

    ⚠ Although it is easy to use a rock-mounted road: imbrago, helmet and homologated ferrata kit are mandatory. It should be covered with dry rock.
    ▲Period and safety

    Low altitude: accessible in most of the season with dry rock. In summer the wall remains exposed to the sun.

    ▲Discipline

    After finishing the ferrata follow the sentiero 5A towards sinistra, which in about fifteen minutes reports all' attack; from here you return to the parking lot (circa 50' in total).

    ▲To match

    In the surroundings, in Naturno, the difficult Ferrata Hoachwool and varied Ferrata Knott; in Merano Ferrata Heini Holzer (deadly difficult), good next step to raise the degree. Recently inaugurated: the Ferrata Olberg near Vipiteno (2022) and the Ferrata Larix in Val Senales (2022). Along the state road of Stelvio you reach the Ferrata di Trafoi; to Trento, of medium difficulty, the Ferrata Mendola al Roen e la Ferrata di Favogna.

    ▲Gallery
    Technical data
    • DifficultyEasy
    • RegionTrentino-Alto Adige
    • GroupVal Venosta
    • Approach0:15 h
    • Ferrata0:20 h
    • Itinerary (a/r)0:20 h
    • Hardware level difference60 m
    • Route difference90 m
    • Max750 m
    • Length0,6 Km
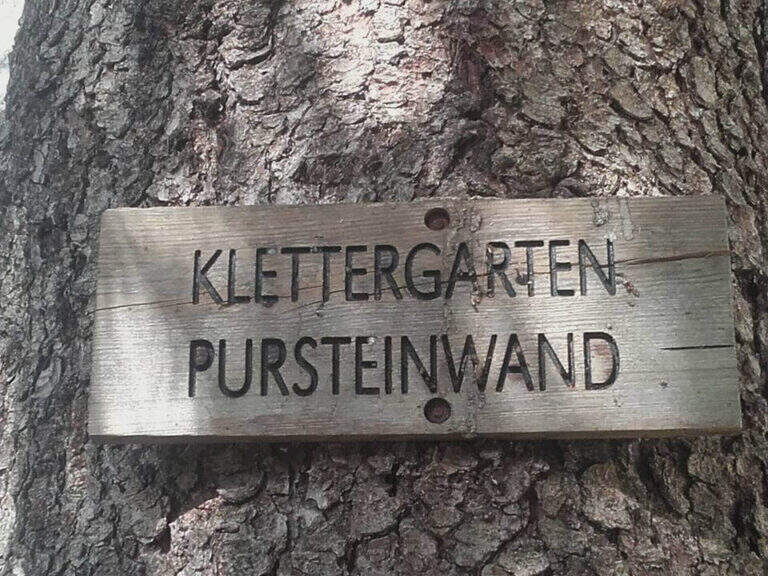
  • Ferrata Pursteinwand

    Ferrata Pursteinwand

    Vie Ferrate › Trentino-Alto Adige › Bolzano
    Ferrata Pursteinwand
    Very difficult● OpenDescriptionComplexityMapsGallery

    The recent and athletic Ferrata Pursteinwand climbs up a steep slope on the eastern side of the Aurina Valley, above Campo Tures. It is a short itinerary but not to be underestimated, which requires strength and technique and does not lead to a peak but to a panoramic point on the valley. For style — polished rock and abundant metal equipment — it recalls more the French ferrates of the Western Alps than the classic Dolomite routes.

    ▲Approach

    The starting point is Campo Tures, in Valle Aurina, reachable from Brunico; just before the village, in an industrial area, you park at the last building. Starting point on Google Maps. You follow the signs for the ferrata and the rock gym towards the wall, well visible from the parking lot; you pass under the wall on the floor, then to the right you take the marked deviation. A sign of stone fall is held on the right, climbing a rocky slope up to the attack sign (15' from the parking lot).

    ▲The path

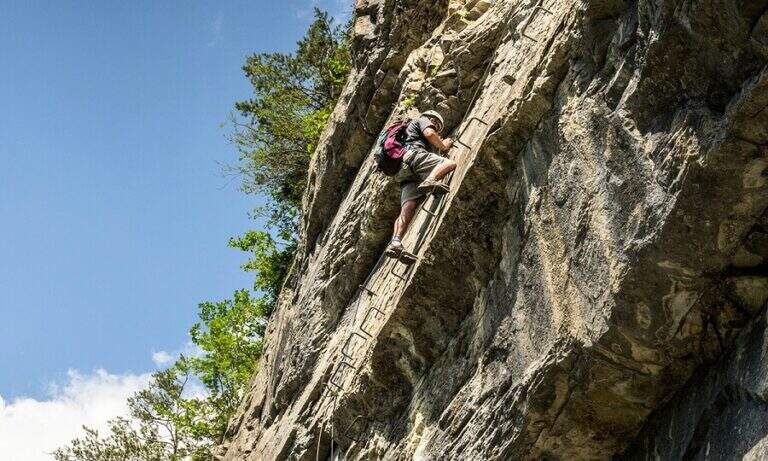
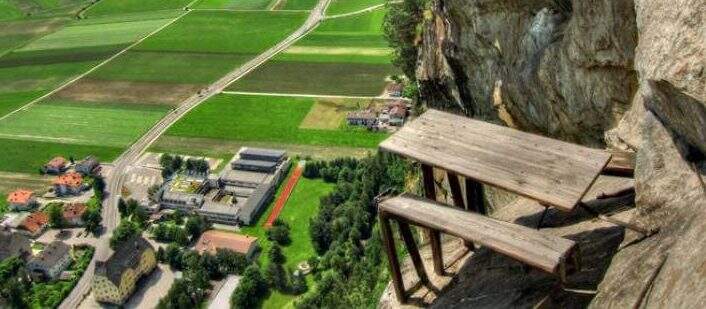
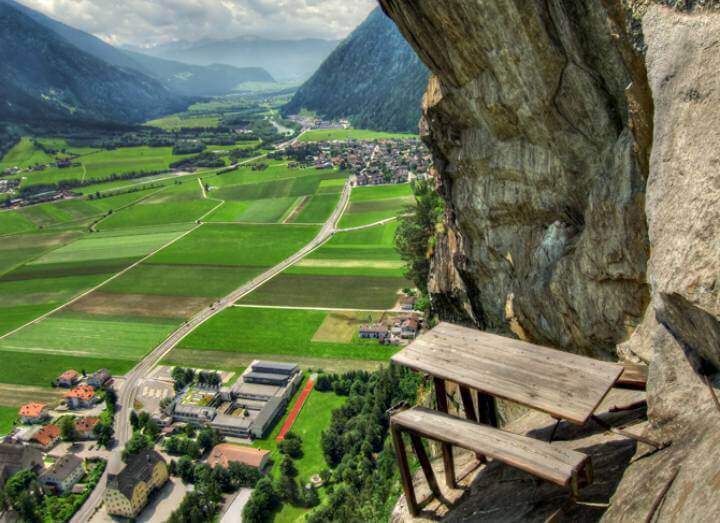
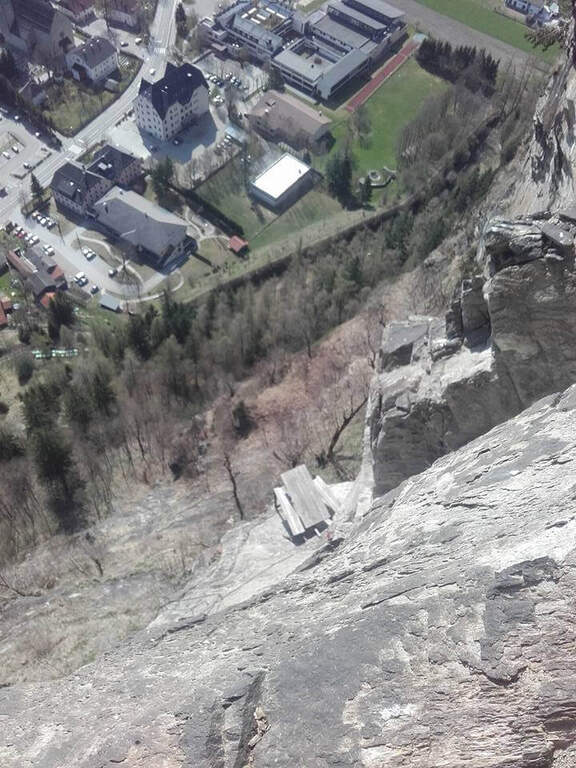
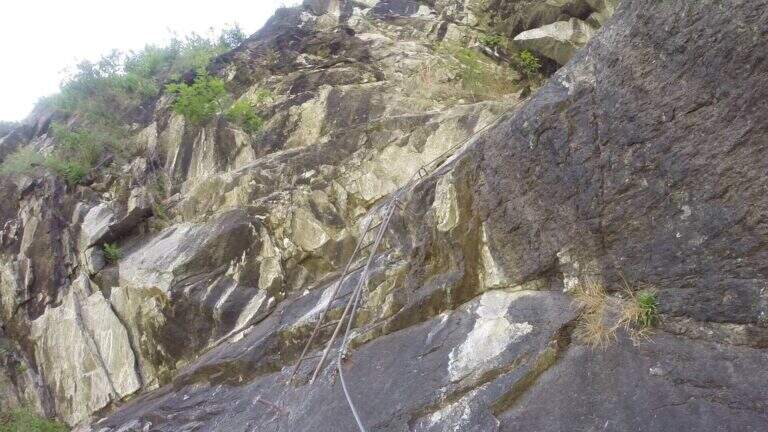
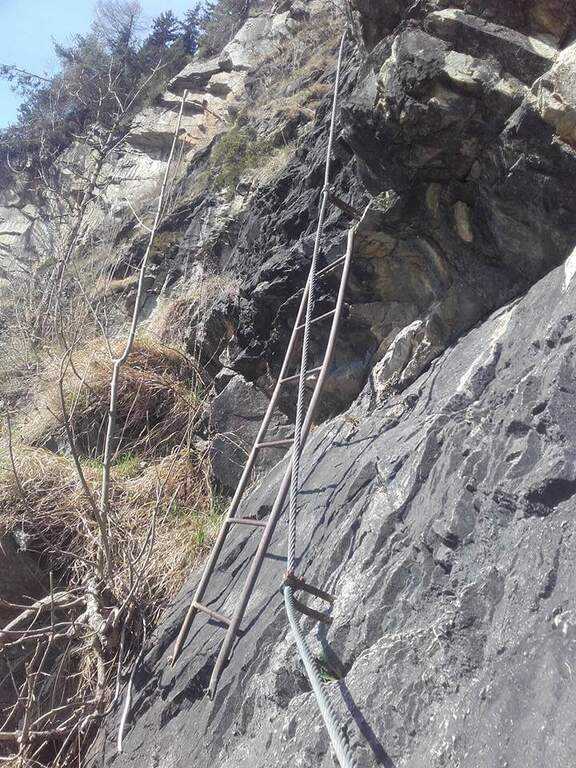
    The attack is under a long tilted black plate. The first meters, vertical and often humid, with a couple of brackets, then bend to the left before a difficult oblique traverse to the right: immediately you notice the figure of the street, a compact and smooth rock that, in the absence of natural hooks, obliges you to use a lot of the cable. You climb vertically on narrow brackets up to a challenging leap with a overhanging belly, to be overcome with good force of arms; diagonally to the left and then on an exposed and difficult traverse to the right you gain a panoramic terrace on the Aurina Valley. A pair of vertical and diagonal tears make gain altitude and exposure before a long traverse, less challenging but challenging for the distance between the brackets; it comes out on an exposed edge where the cable changes direction of 90° and goes right up to one of the most iconic points of the street, a table with two benches anchored to the rock, with the feet almost empty. The last part is the most vertical: a wall smoothed with many brackets, a short oblique traverse on the right, a very athletic overhanging stretch at a corner, the passage under a roof with a first metal scale to overcome of momentum, then the cable bends left under an evident rocky roof. On a strong display there is a new vertical and a traverse on the right (providential brackets when the energies fall), then a overhanging leap with a second metal scale in the lower part, whose exit remains very demanding and requires good technique or traction on the cable; the last meters are a right traverse without hooks and some vertical passages closing the street (1h 30' from the attack, 1h 45' total).

    ▲Character and difficulty

    Athletic and anomalous Ferrata for the South Tyrolean landscape, which deliberately seeks technical difficulties and overhanging passages on polished rock; it varies, with many horizontal and obliquious traverses that also test the expert Ferratists. Recent equipment and in good condition.

    ⚠ It requires strength, technique and absence of dizziness. Useful to bring a fectuccia or a referral to rest in the most demanding traits. Itinerary short, ideal on uncertain days where a long excursion is not recommended.
    ▲Discipline

    From the end you follow the trail in the forest that leads in short to a road; you keep the right downhill and, following the signs (cartel 27A), you descend to Campo Tures and on asphalt you return south to the parking lot (30' from the end, 2h 15' total).

    ▲To match

    In the Aurina Valley, further north, the long and challenging mountain route of the Ferrata del Ghiste-Camino al Sasso Nero; near Campo Tures the difficult Ferrata Hans Kammerlander (2022). To the south Ferrata di Valdaora and, towards the Alps of Sesto, the Ferrata dei Costoni di Croda Rossa.

    ▲Gallery
    Technical data
    • DifficultyVery difficult
    • RegionTrentino-Alto Adige
    • GroupValle Aurina
    • Approach0:15 h
    • Ferrata1:30 h
    • Itinerary (a/r)2:15 h
    • Hardware level difference200 m
    • Route difference380 m
    • Max1125 m
    • Length3,4 Km
  • Ferrata di Punta Penia (cresta Ovest della Marmolada)

    Ferrata di Punta Penia (cresta Ovest della Marmolada)

    Vie Ferrate › Trentino-Alto Adige › Trento
    Ferrata di Punta Penia (cresta Ovest della Marmolada)
    Moderately Hard● OpenDescriptionComplexityMapsGallery

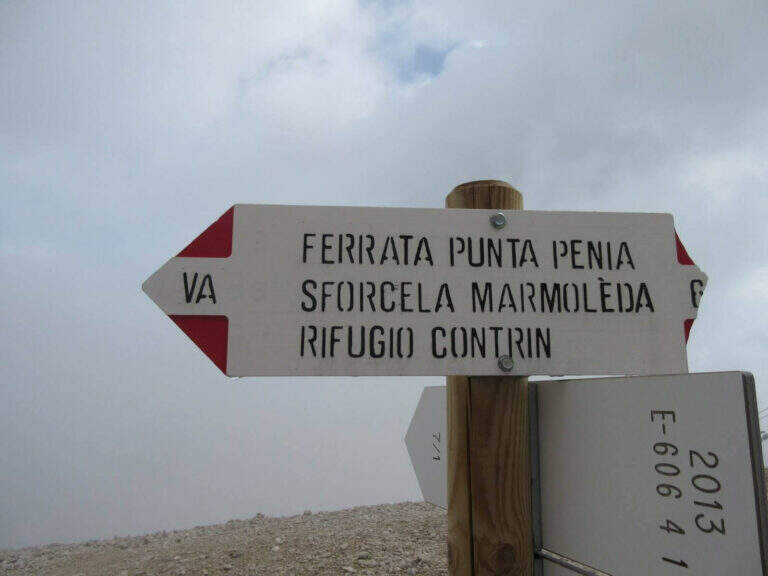
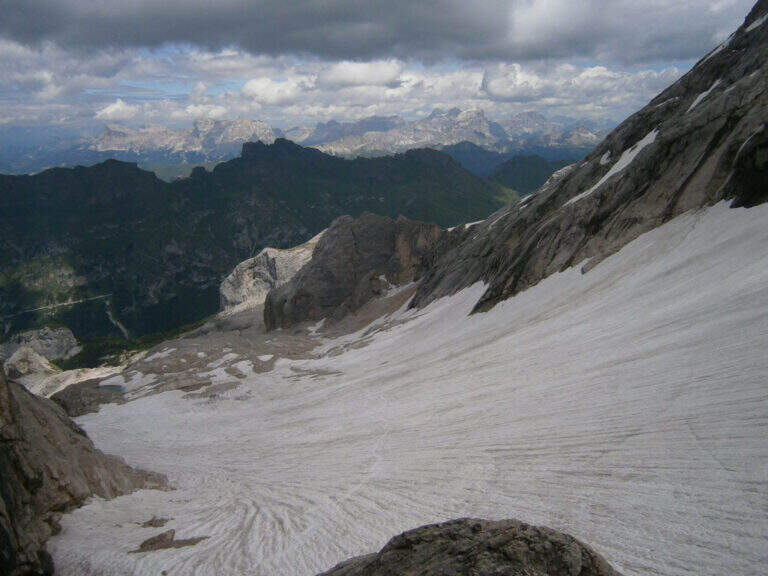
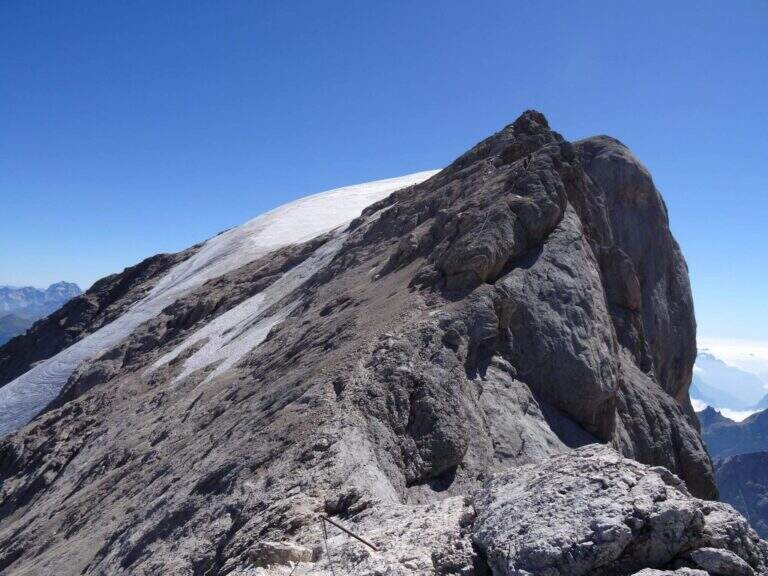
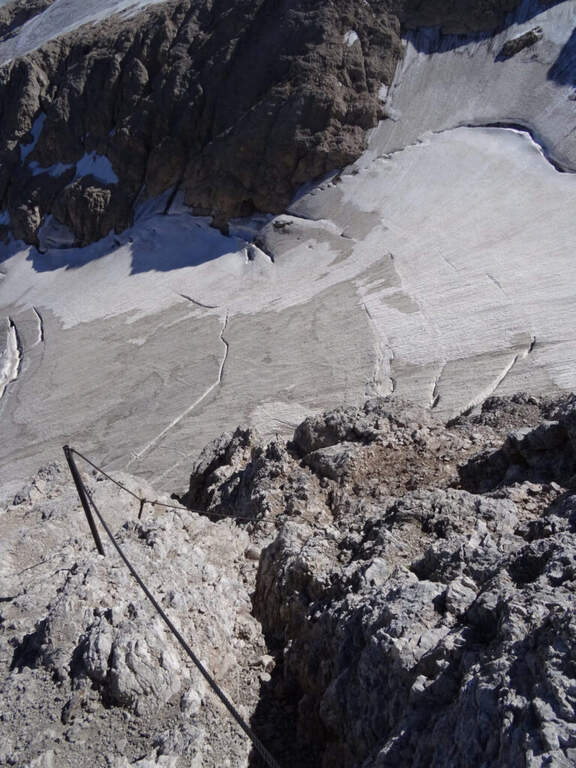
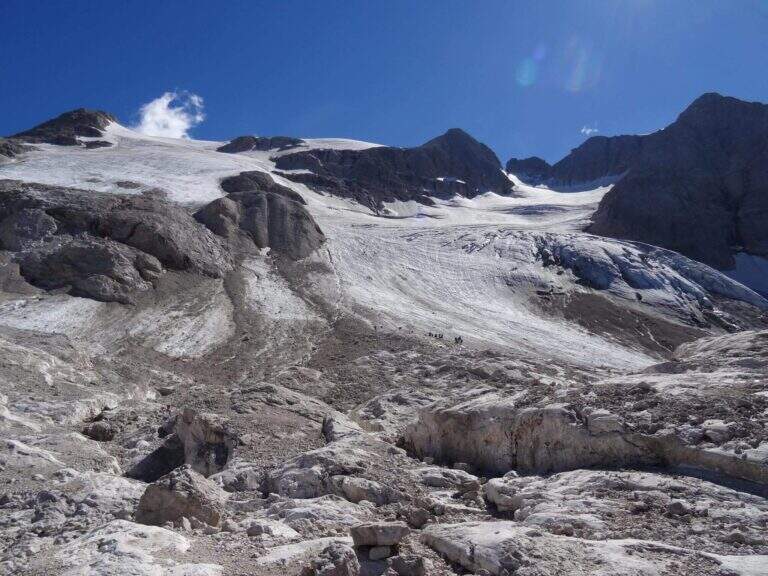
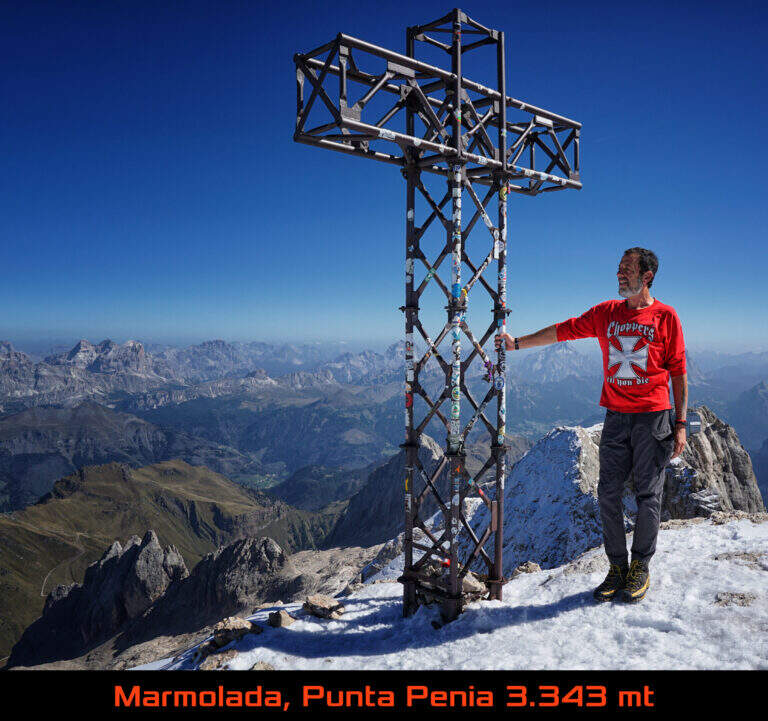
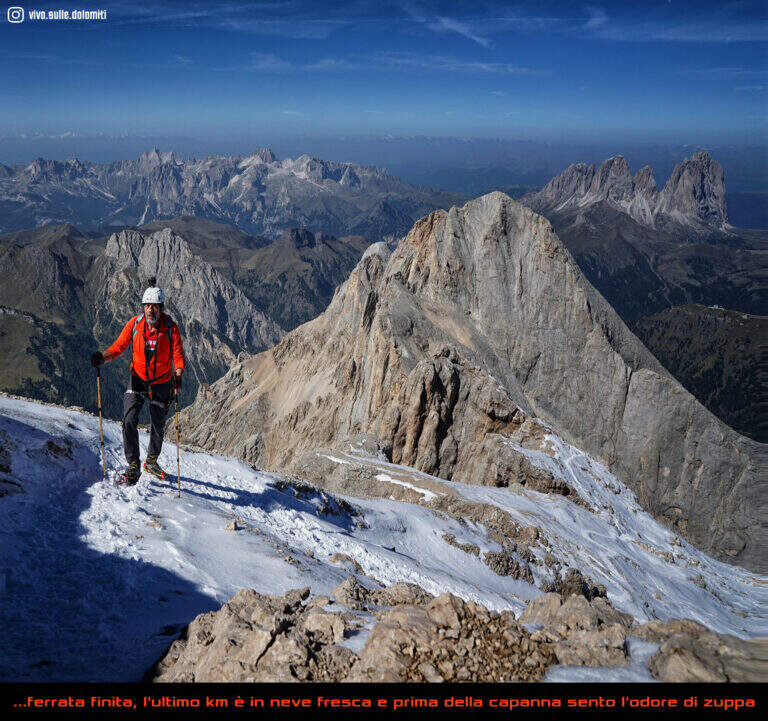
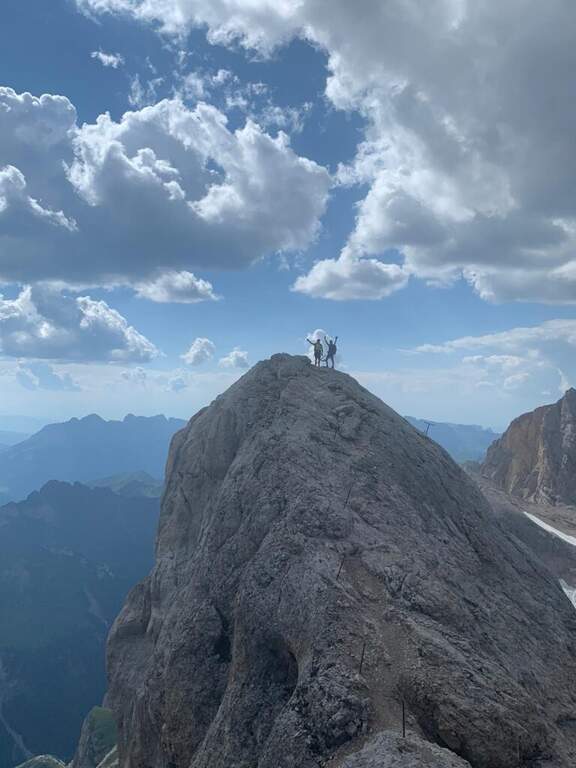
    The Ferrata di Punta Penia climbs up the western ridge of Marmolada to the highest point of the group (3343 m). It is a historical route that during the ascent does not present particular technical difficulties, but develops in a wild high mountain environment; the return takes place for the Marmolada glacier. An itinerary to be carefully planned for length, altitude difference and glacial conditions.

    ▲Approach

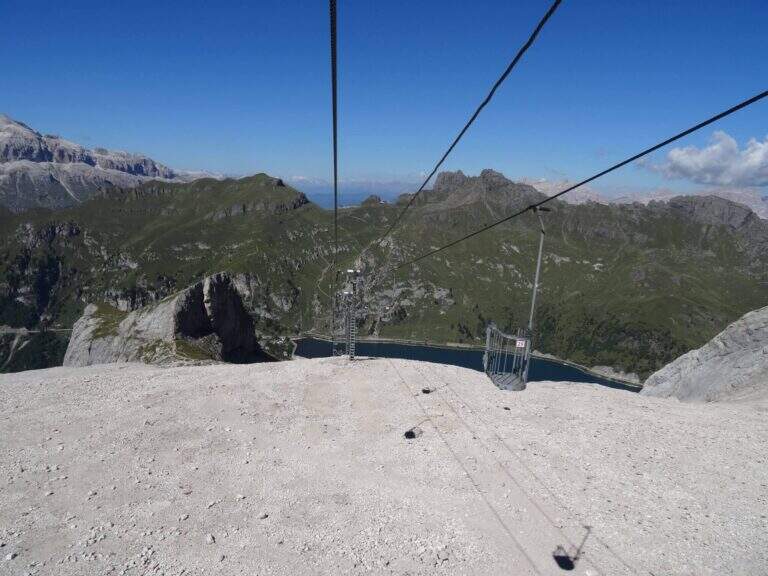
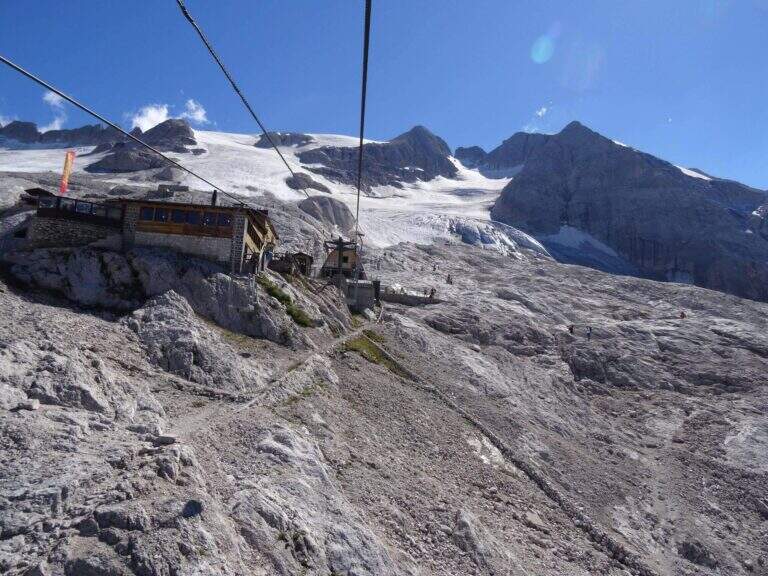
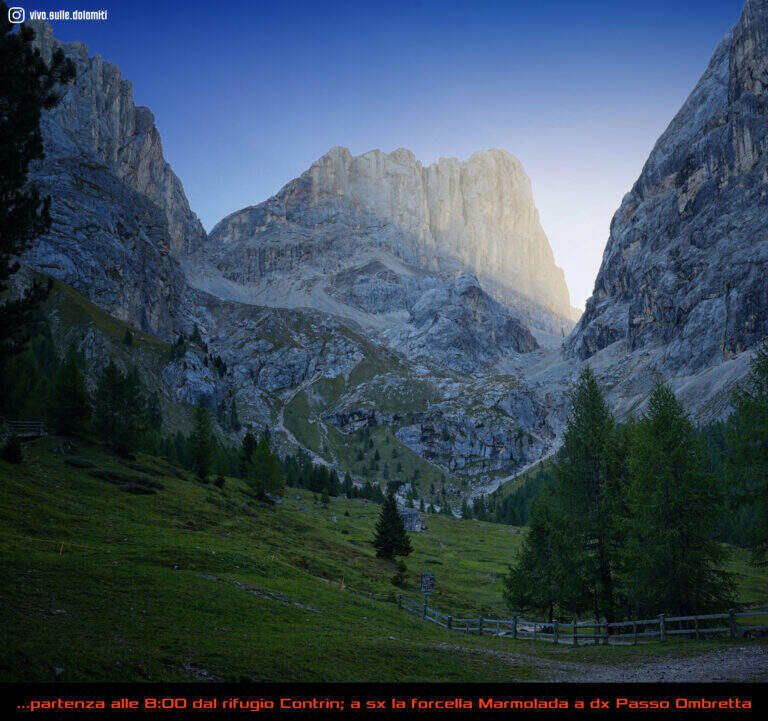
    The starting point is Passo Fedaia, reachable from Canazei (Trento) or from Malga Ciapela (Belluno); park in the square at the plants for Pian dei Fiacconi. Starting point on Google Maps. From the dam (2070 m) it once climbed into the cable car to Pian dei Fiacconi (2722 m); the plant is now closed, following an avalanche that destroyed the shelter, therefore it climbs on foot in about 1h 30' for the CAI 606 path. From Pian dei Fiacconi we continue west on CAI 606, on a glacial valley, bypassing the northern spallon of Punta Penia; we lose altitude up to 2470 m and then steeply go up the detritic valley towards Forcella Marmolada. Entering the Vernel glacier you should keep the central part (and not the left side); you can reach the right edge of the glacier until the first ropes, at a red sign (1h 45' from the mountain station).

    ▲The path

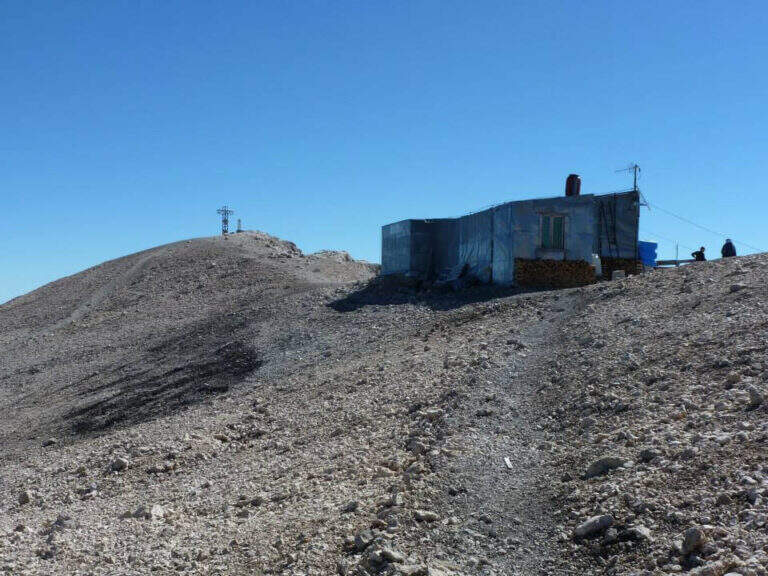
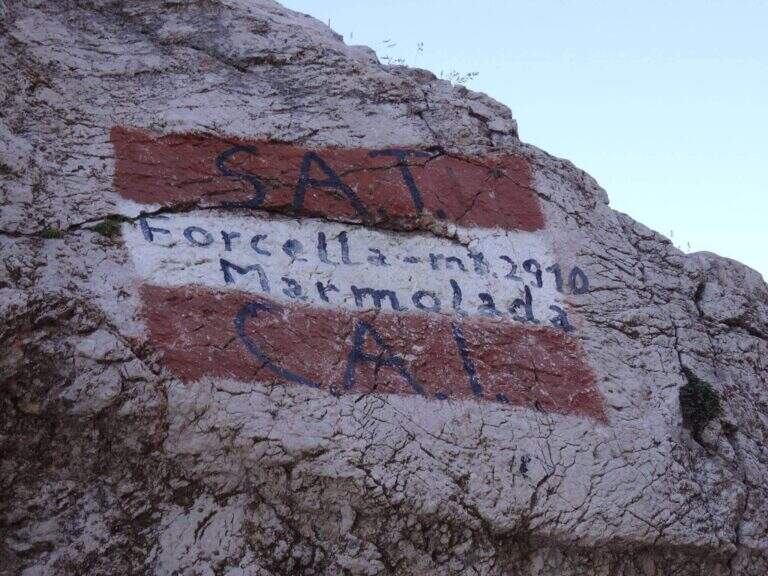
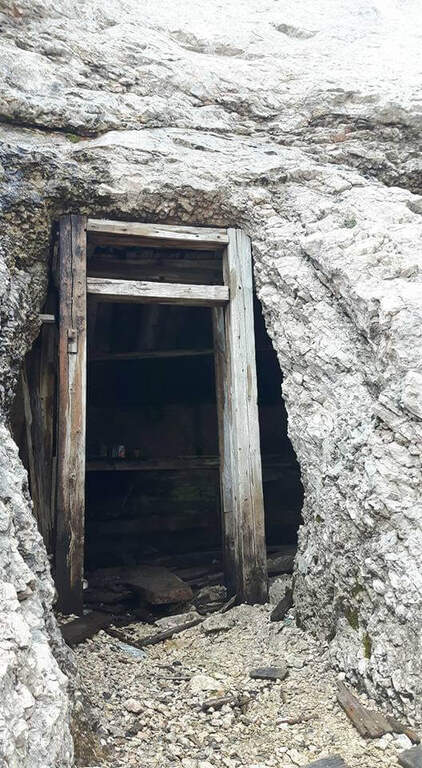
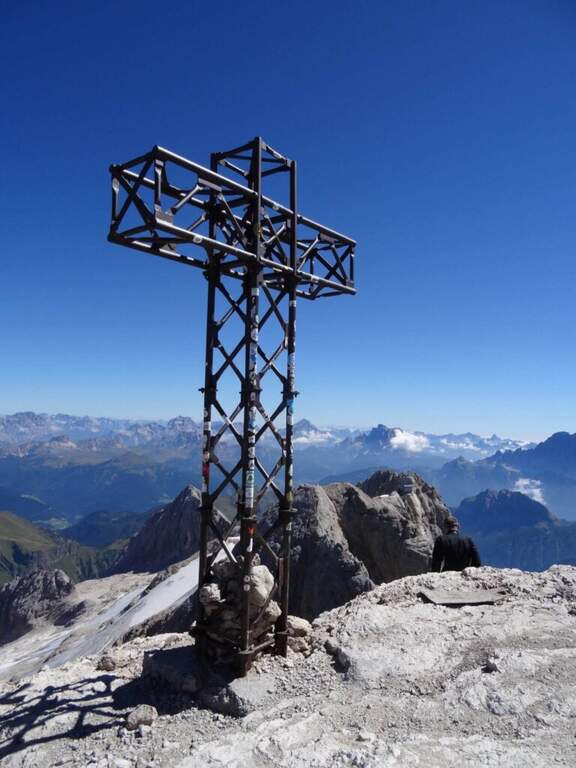
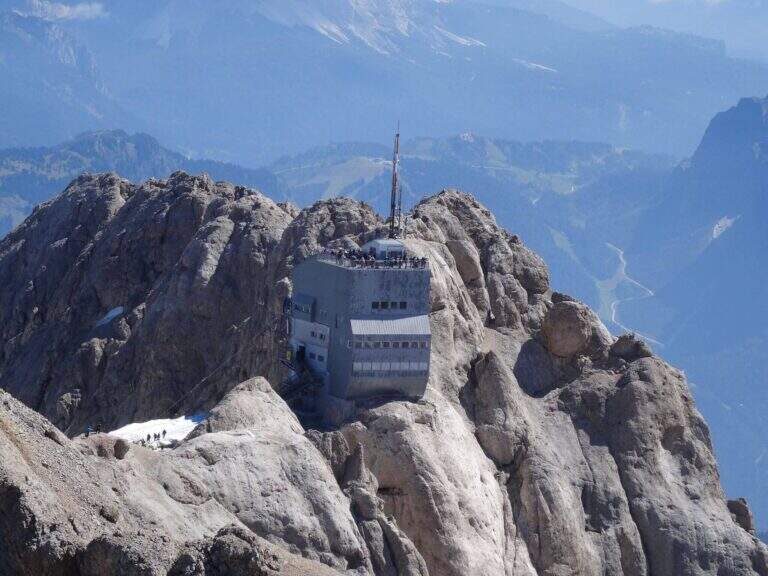
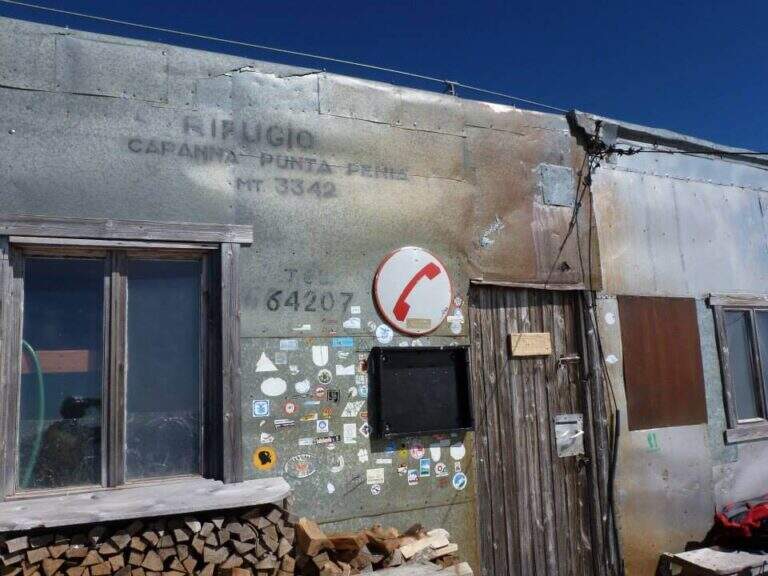
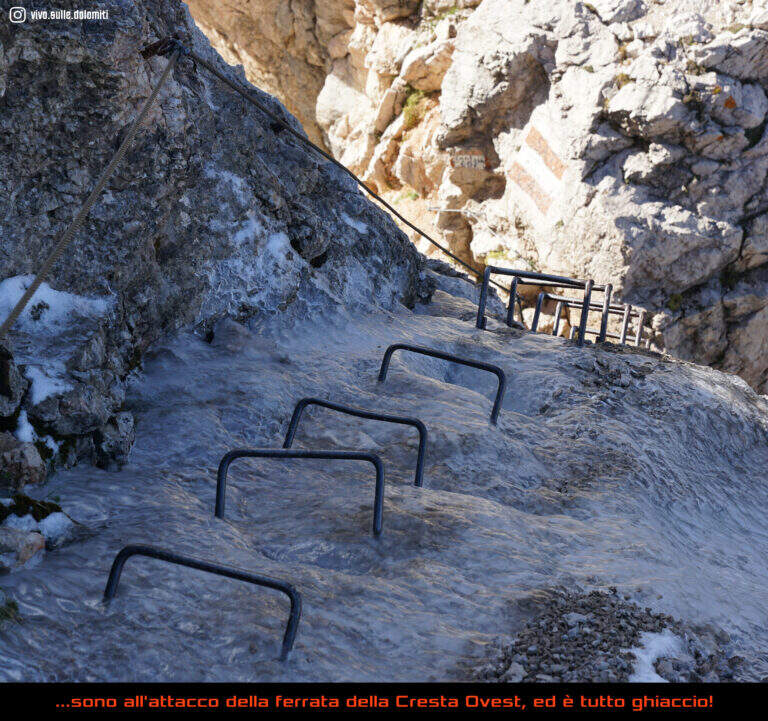
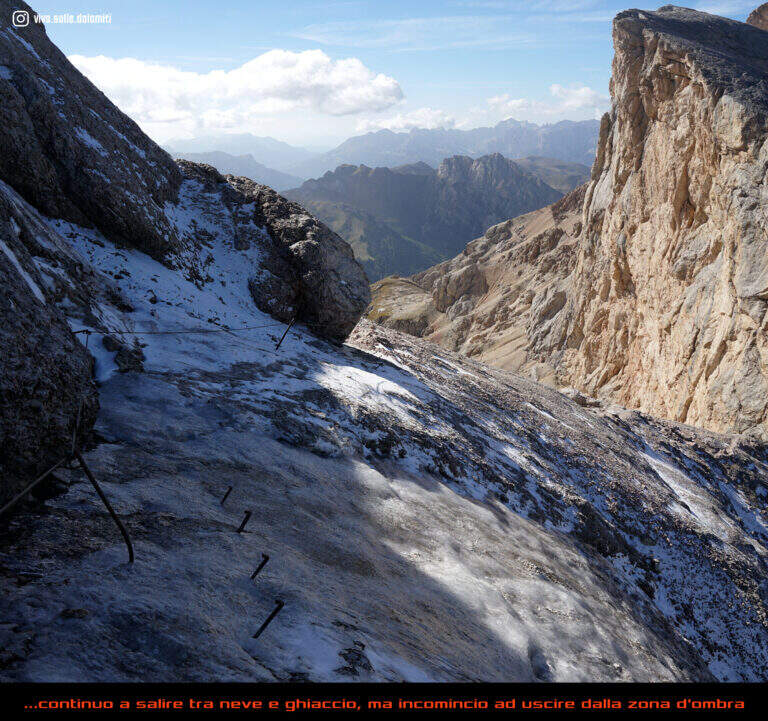
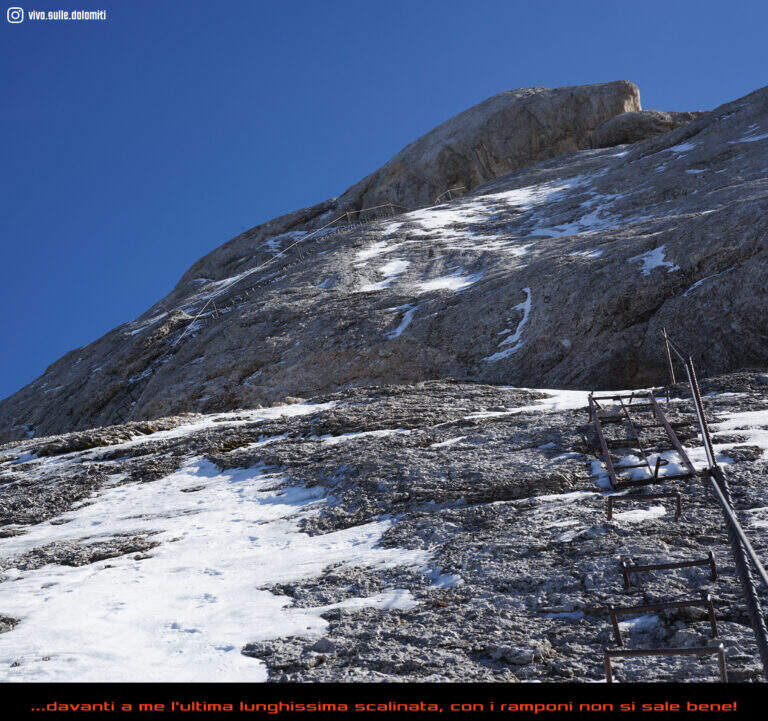
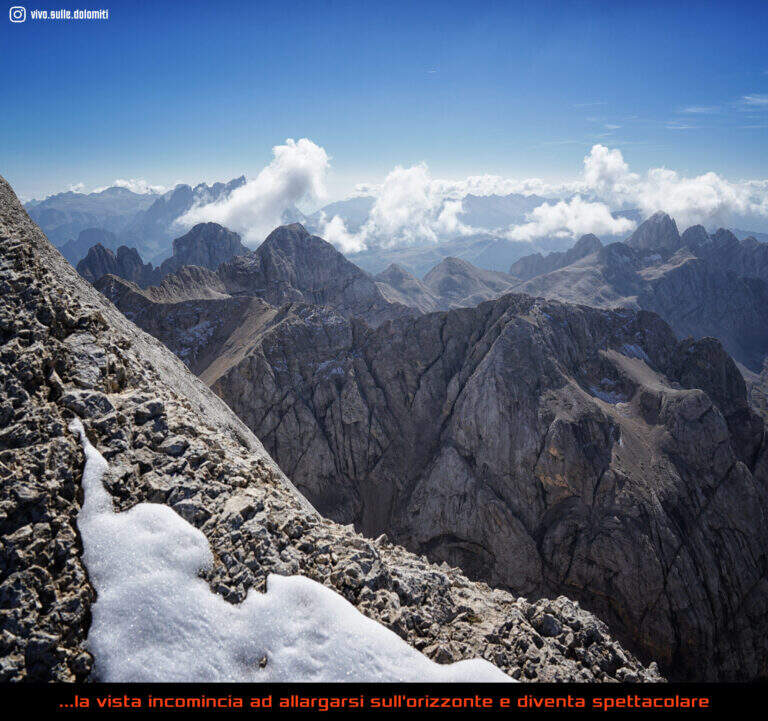
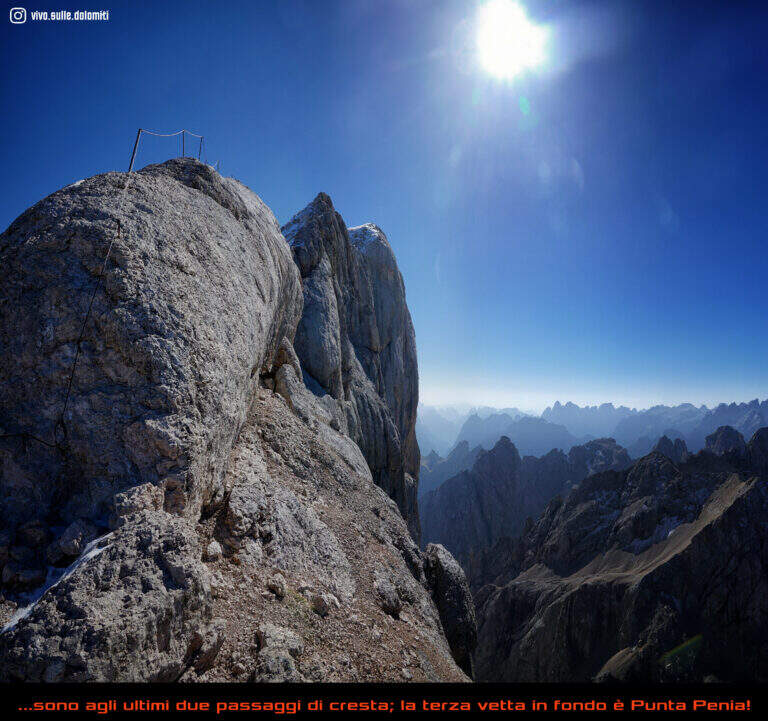
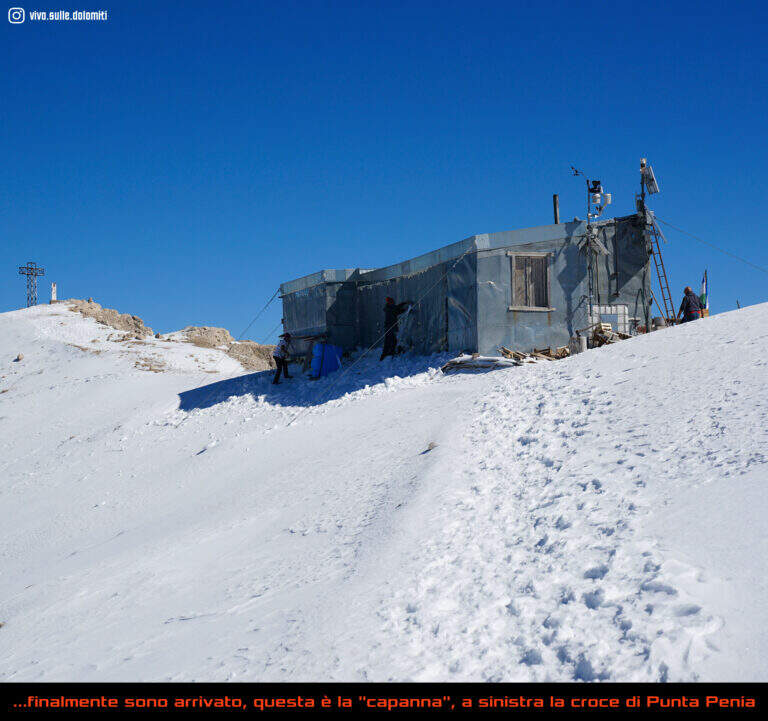
    The first ropes carry, without difficulty (short sloped plates and easy balconies), to Forcella Marmolada (2910 m, 2h total), where you will meet the path from Val de Contrin and the remains of war huts dug into the rock. Then a plate with no flats is climbed thanks to a series of brackets, continue on tracks until a sloped ramp equipped and at a more steep stretch with cambre; after a crossing with piles and brackets you enter a fireplace equipped with piles, brackets and a ladder. Exit from the fireplace, small rocks and a vertical wall lead to a long sloped ramp where the cable helps balance; it follows a plaque with brackets, quite lean, and then a stretch that seems to be repeated, alternating cambre and plaques, up to a panoramic terrace. The last section runs on the crest above the imposing bastion of the south wall of Marmolada: between modest climbers and easy rocks the equipment ends, and a last stretch without cable leads to the Capanna di Punta Penia and then to the summit cross (3343 m, 2h 15' from the attack, 4h totals).

    ▲Character and difficulty

    Technically the way is modest, but the environment is that of the high mountain, with all its pitfalls. It dates back to the early 20th century (1903, then known as Hans-Seyffer-Weg) and logically follows the weaknesses of the wall.

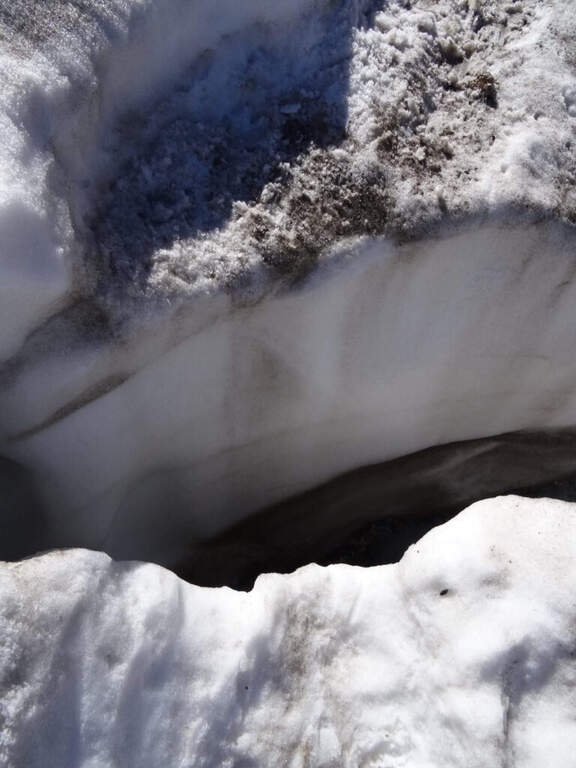
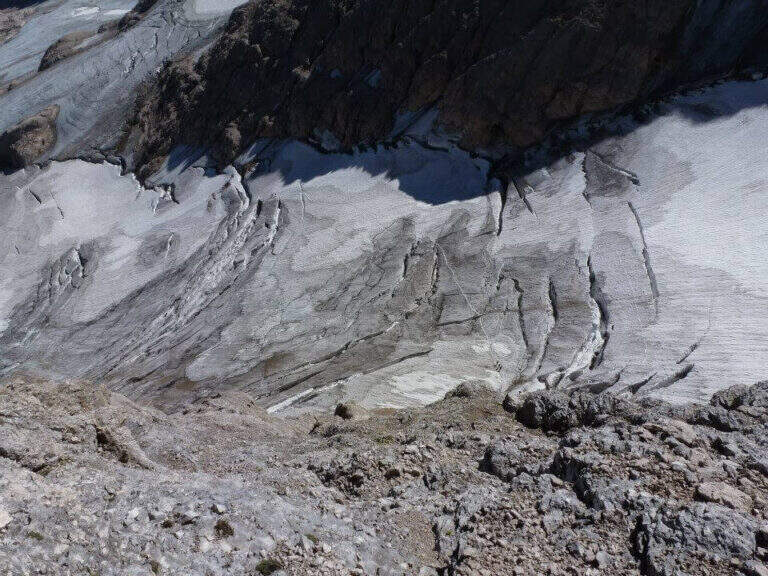
    ⚠ Itinerary of serious mountaineering. The cabin of Pian dei Fiacconi is closed: approach only on foot. Approaching and returning through snow and the glacier of Marmolada, today in strong retreat and solcato by crepacci: they serve experience, self insurance, ramps and reliable weather (conditions can change quickly). At the beginning of the season the fresh snow facilitates the climb; in late season you walk on live ice.
    ▲Period and safety

    High altitude road to be tackled in summer; planning must take into account the conditions of the Vernel glacier uphill and the Marmolada glacier downhill, as well as the weather.

    ▲Discipline

    It is possible to descend backwards along the ferrata, but the most logical descent, with a ring, reaches the Ghiste della Marmolada below after some stretches equipped downhill; then follow the obvious trace on the glacier — with attention to the crevices, especially in case of fog — up to the Rifugio Pian dei Fiacconi (26262626 m) and back downstream (1h 45' from the summit, 5h 45' total).

    ▲To match

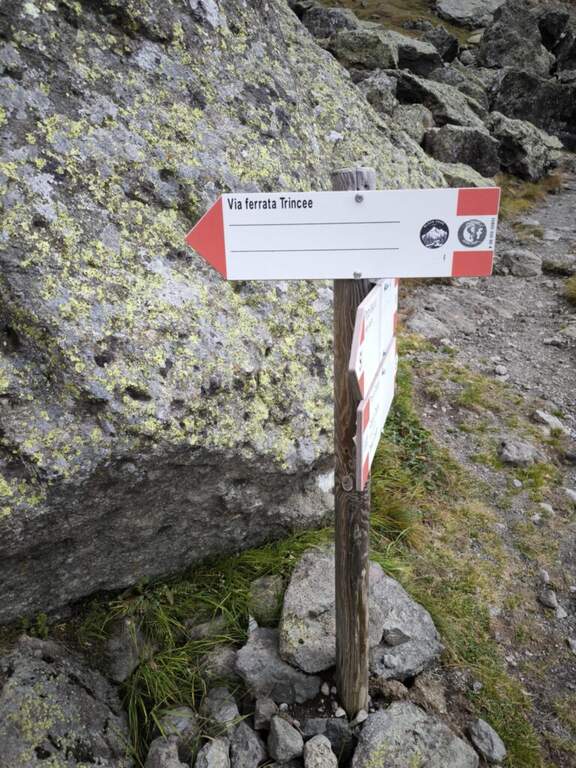
    On the opposite side of the Marmolada runs the other historic street, the Eterna Ferrata at Piz Serauta, longer, exposed and difficult. From Passo Fedaia, towards Porta Vescovo, the beautiful Ferrata delle Trincee; in Val de Contrin la Funds for the Colac, la Ferrata Ombretta e la Ferrata at Col Ombert.

    ▲Gallery
    Technical data
    • DifficultyModerately Hard
    • RegionTrentino-Alto Adige
    • GroupMarmolada
    • Approach3:00 h
    • Ferrata2:15 h
    • Itinerary (a/r)7:30 h
    • Hardware level difference443 m
    • Route difference720 m
    • Max3343 m
    • Length7 Km
  • Ferrata di Preore (Giro Artpinistico delle Niere)

    Ferrata di Preore (Giro Artpinistico delle Niere)

    Vie Ferrate › Trentino-Alto Adige › Trento
    Ferrata di Preore (Giro Artpinistico delle Niere)
    Moderately Hard● OpenDescriptionComplexityMapsGallery

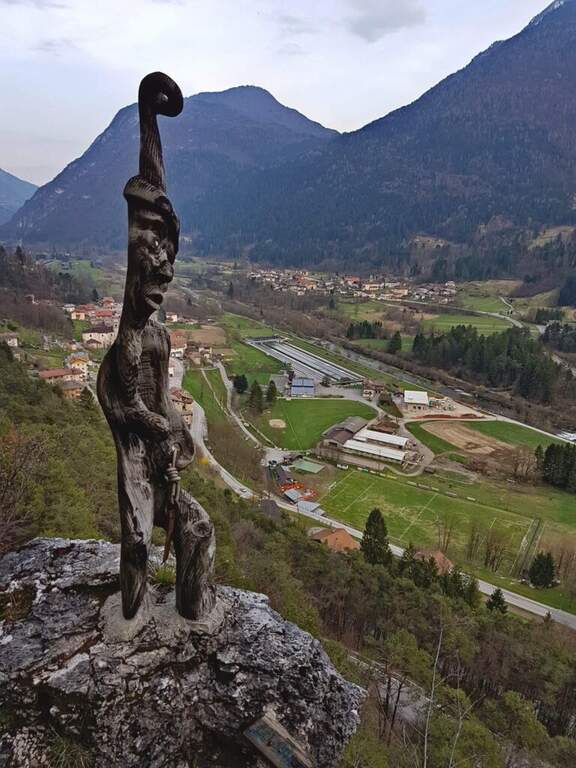
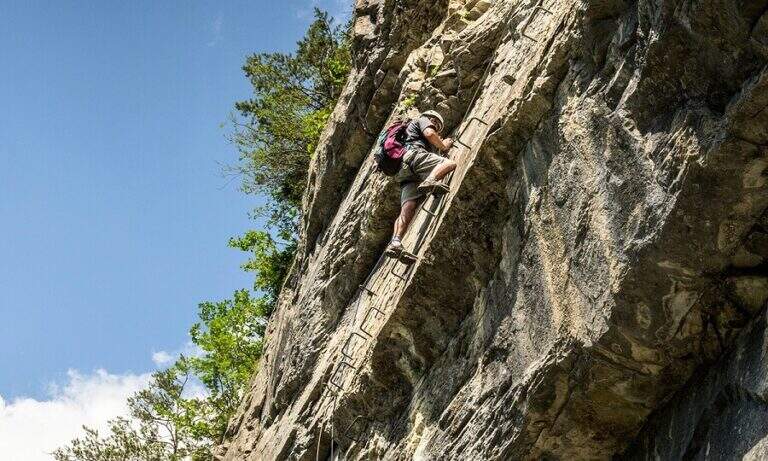
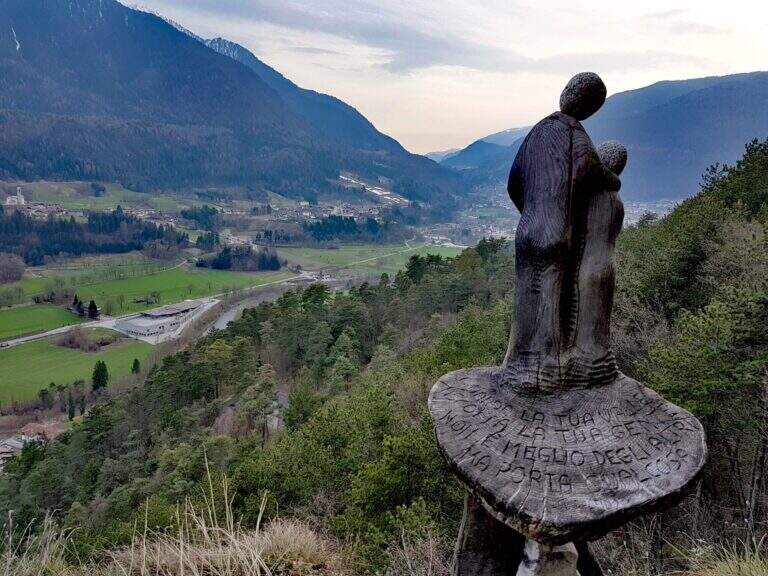
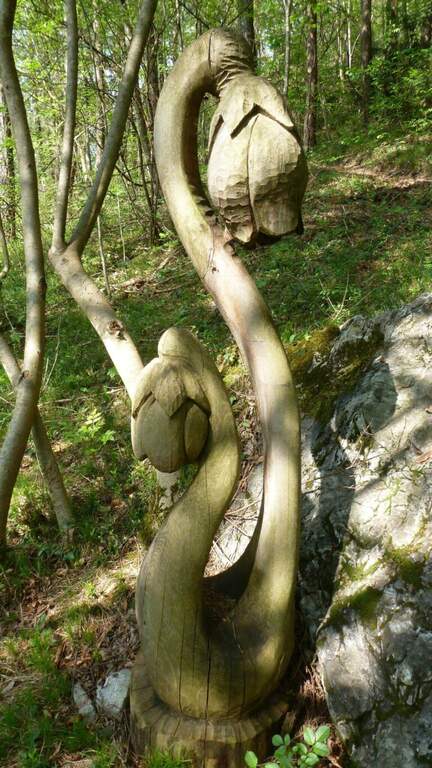
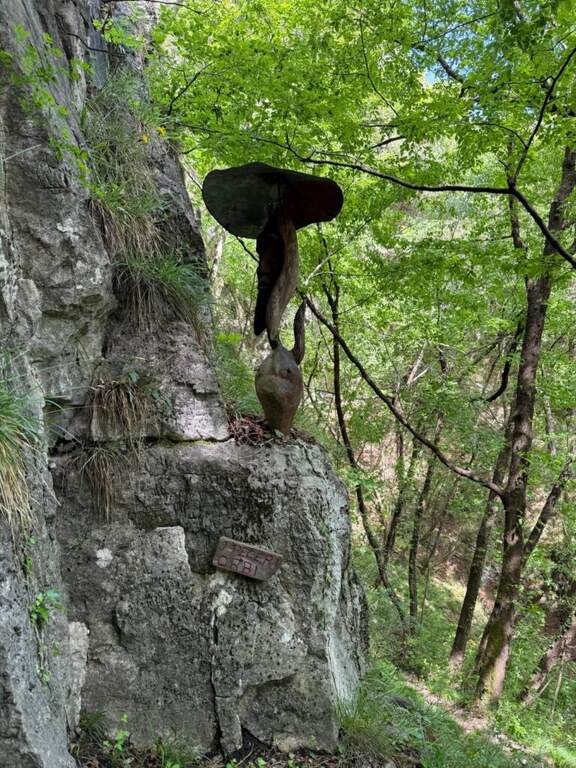
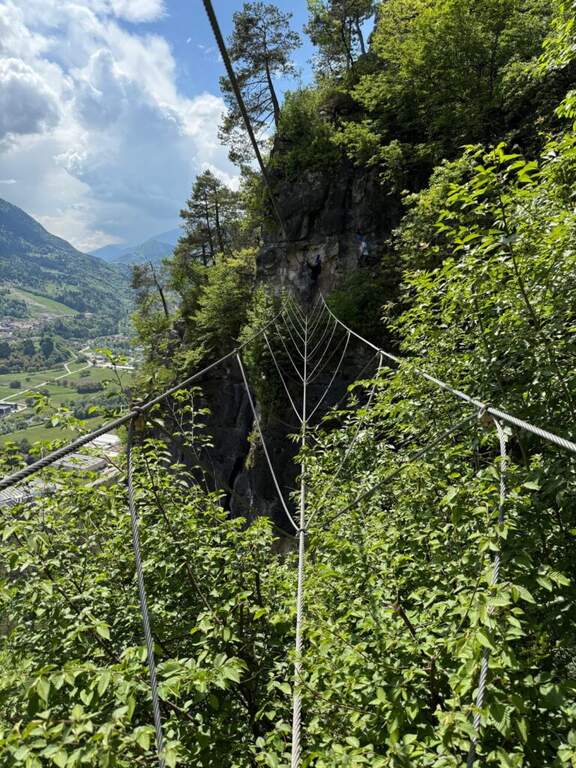
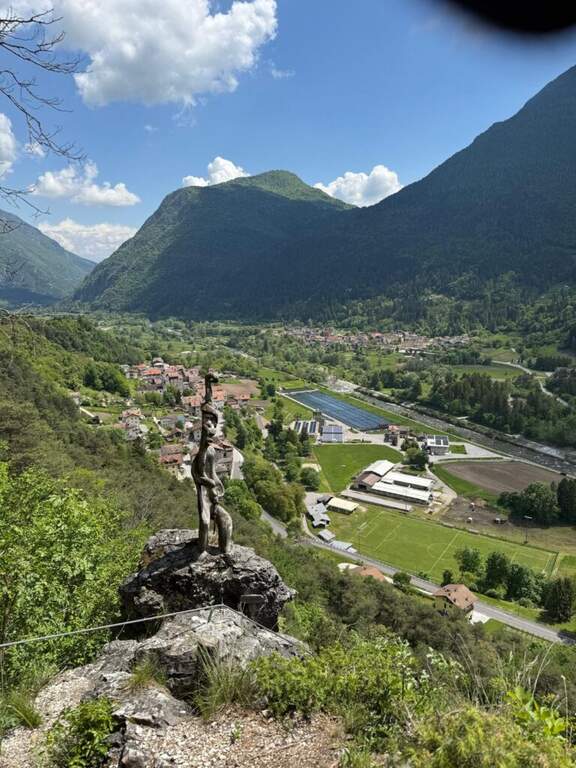
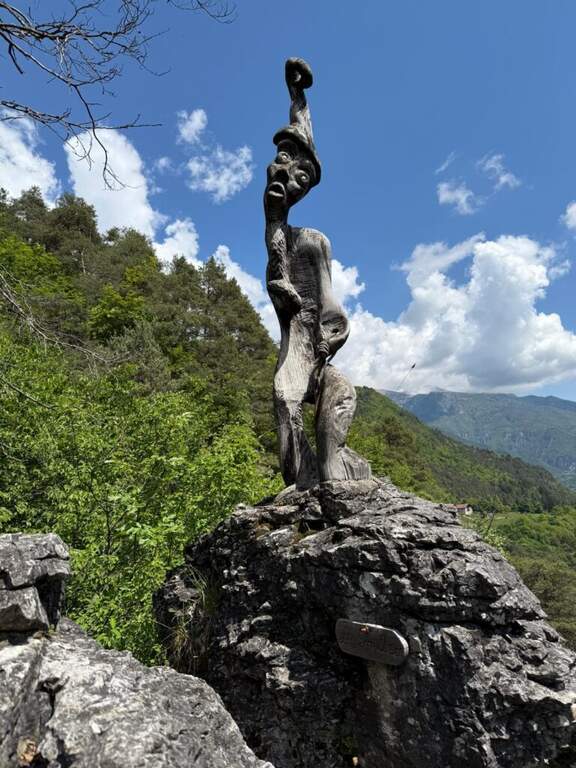
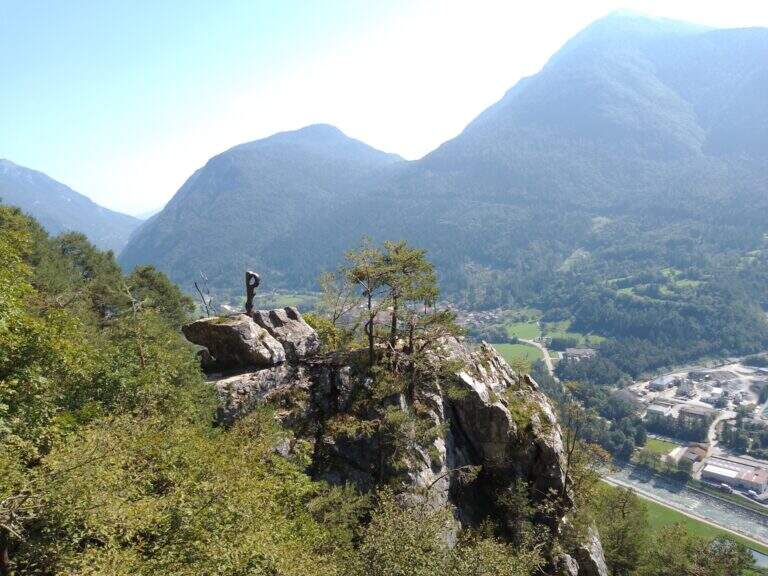
    The Ferrata di Preore, also known as Giro Artpinistico delle Niere, is a pleasant low-altitude street near Preore, near Tione di Trento. Alterna easy and moderately difficult passages and has the unique characteristic of accompanying many traits with works of art in wood, from which the name "artpinistico".

    ▲Approach

    Coming from Trento or Riva del Garda, just before Tione a roundabout points to the right the climb to Preore. Enter the village, on the left there are directions to Passo Daone and Larzana; after the first bend you park at the picnic area of the rock gym. Starting point on Google Maps. From the parking lot you go to the gym, from which you leave two paths: you hold the right (the one left will be the return) and, climbed some tiring wooden steps, you reach the attack with the white plate (5' from the parking lot).

    ▲The path

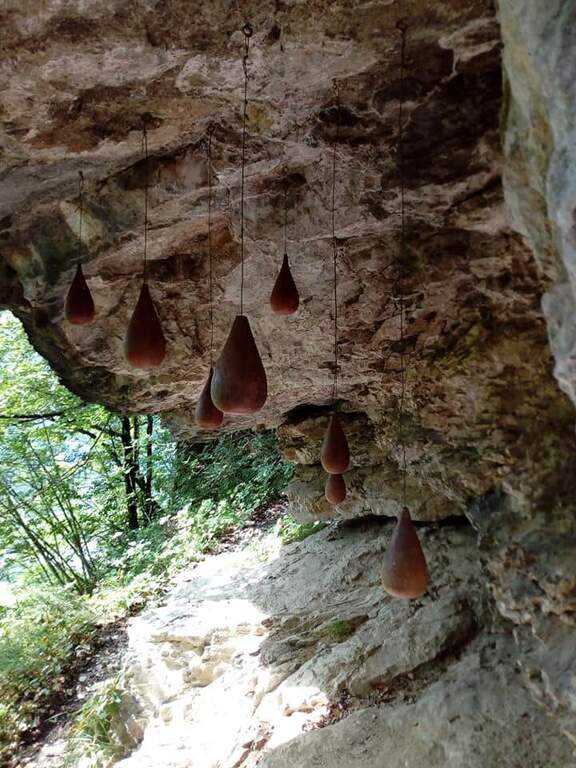
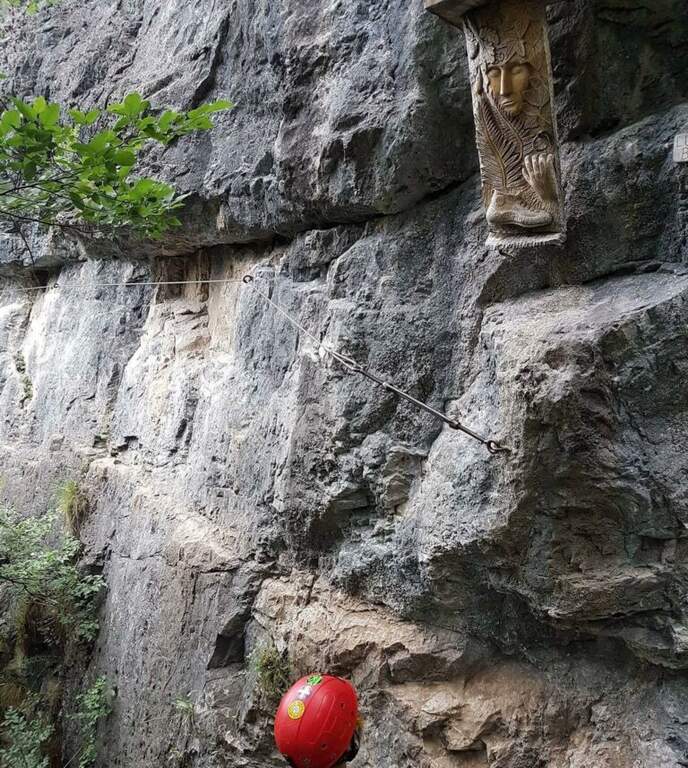
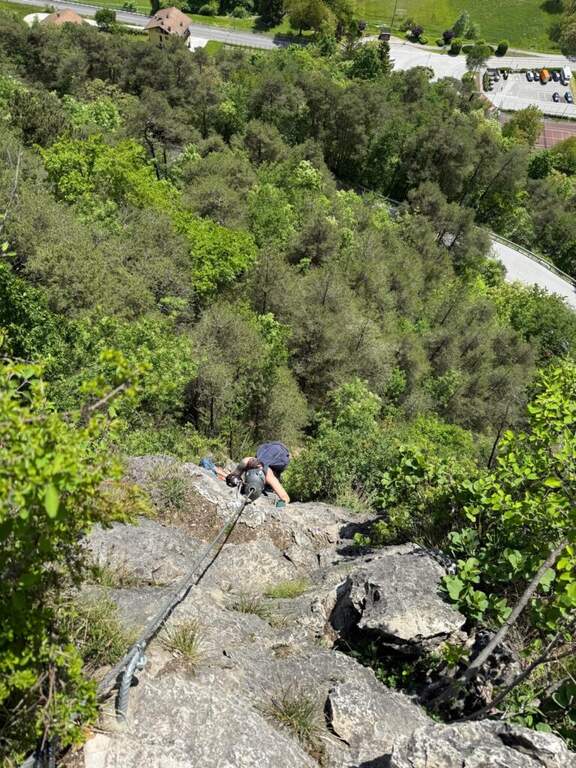
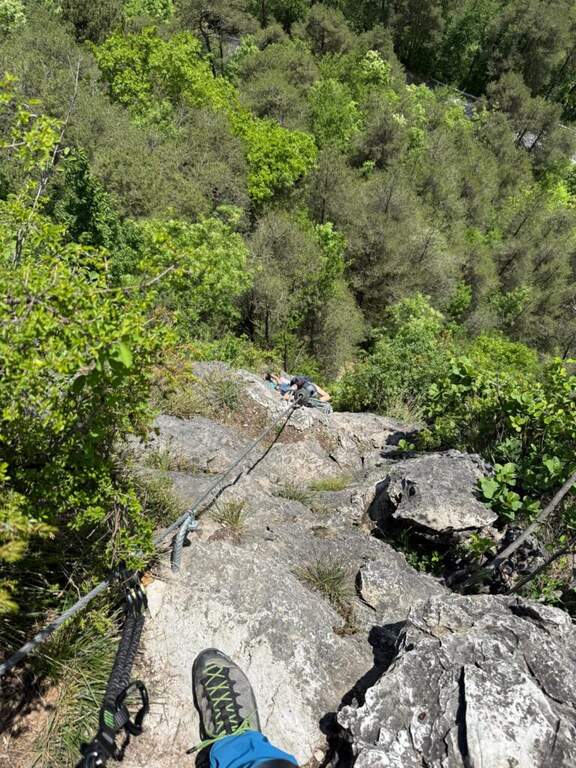
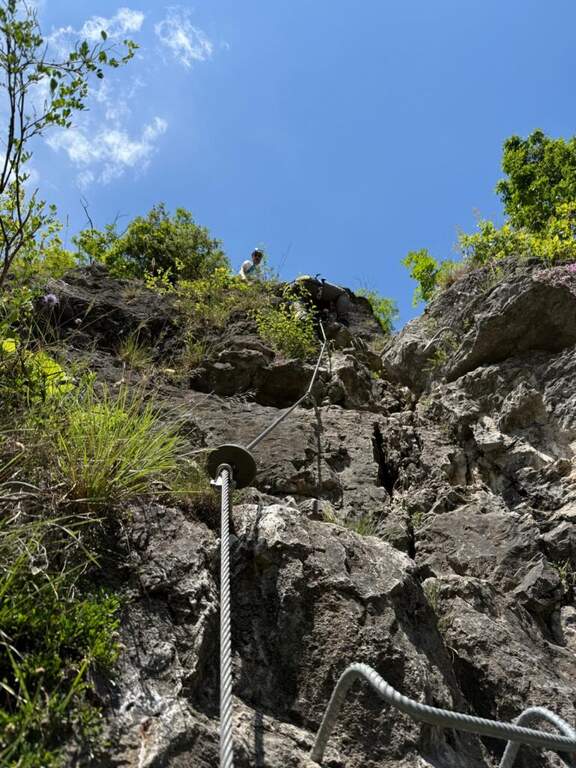
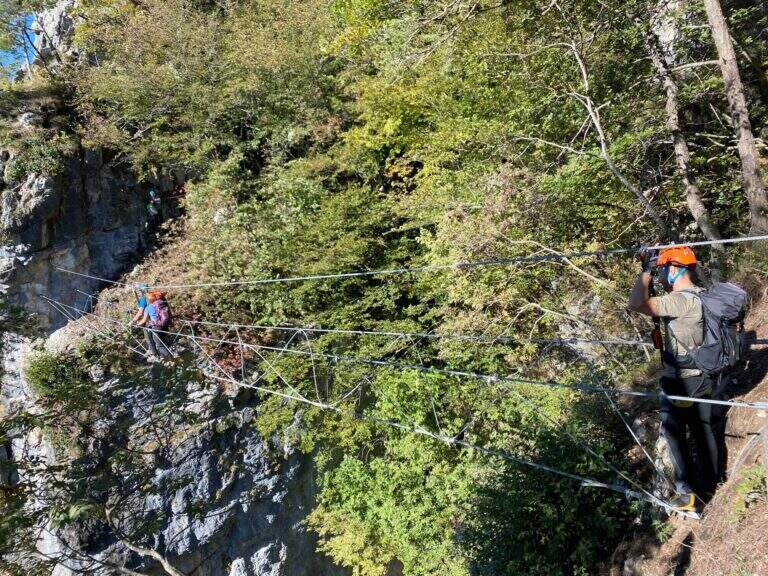
    The street begins with a diagonal stretch to the left that wanders an easy edge; a step is set up to the most demanding point, a vertical wall on the right with good natural but a little distant from each other. Besides an easy dihedron follows a vertical wall with some metal brackets, then a series of small rocks closes the first part, the more vertical. Continue on the path and cenges without difficulty (where exposed are assured), in the most rich section of works of art; climb into the wood until a characteristic staircase between two narrow rocky walls and a panoramic balcony, beyond which begins the second part equipped, with a long horizontal traverse exposed but well appreciated. Attached a edge, after a short vertical and a stretch of wood you get to a bell, where an optional suspended bridge offers a variant that meets shortly after the original route. It follows a not difficult traverse on the right (with the book of signatures), a well-equipped vertical wall, a short traverse on the left and a couple of easy descents; the path then descends into the wood, always between wooden sculptures, where the equipment ends (about 1h 30' of equipped path).

    ▲Character and difficulty

    Ferrata varies and fun that concentrates the technical difficulties in the first vertical section; the rest is a succession of paths and paths equipped at low altitude.

    ⚠ Although easy in the complex, the first section requires familiarity with the vertical; suspended bridge and beams are exposed. Helmet and essential hardware set.
    ▲Period and safety

    The low altitude makes it accessible practically all year round, with dry rock.

    ▲Discipline

    You descend along the path until you return to the rock gym and then to the parking (10' from the end of the equipment, about 1h 45' total).

    ▲To match

    In the area, towards Trento, the two difficult Ferrata Pisetta e Ferrata Segata, reserved for well-trained experts; easier but very long Ferrata Che Guevara. To Riva del Garda the easy Ferrata Rio Sallagoni e la Ferrata Colodri.

    ▲Gallery
    Technical data
    • DifficultyModerately Hard
    • RegionTrentino-Alto Adige
    • GroupJudges
    • Approach0:05 h
    • Ferrata1:30 h
    • Itinerary (a/r)1:45 h
    • Hardware level difference260 m
    • Route difference270 m
    • Max812 m
    • Length1,3 Km
Need help? Write to us!